• Home
  • Eat
    • Breakfast
    • Appetizers
    • Main Dishes
      • Chicken
      • Beef
      • Seafood
      • Healthy Dishes
      • Paleo Dishes
      • Salads
    • Desserts
      • Decorated Cookies
      • Cookies
      • Bars and Brownies
      • Cakes and Cupcakes
  • Shop
    • Cookie Decorating Supplies
    • Bakeware
    • Cookware
    • Kitchen Gadgets
    • House
  • About
    • Contact
    • Bucket List
  • Cookie Decorating 101

Follow the Ruels

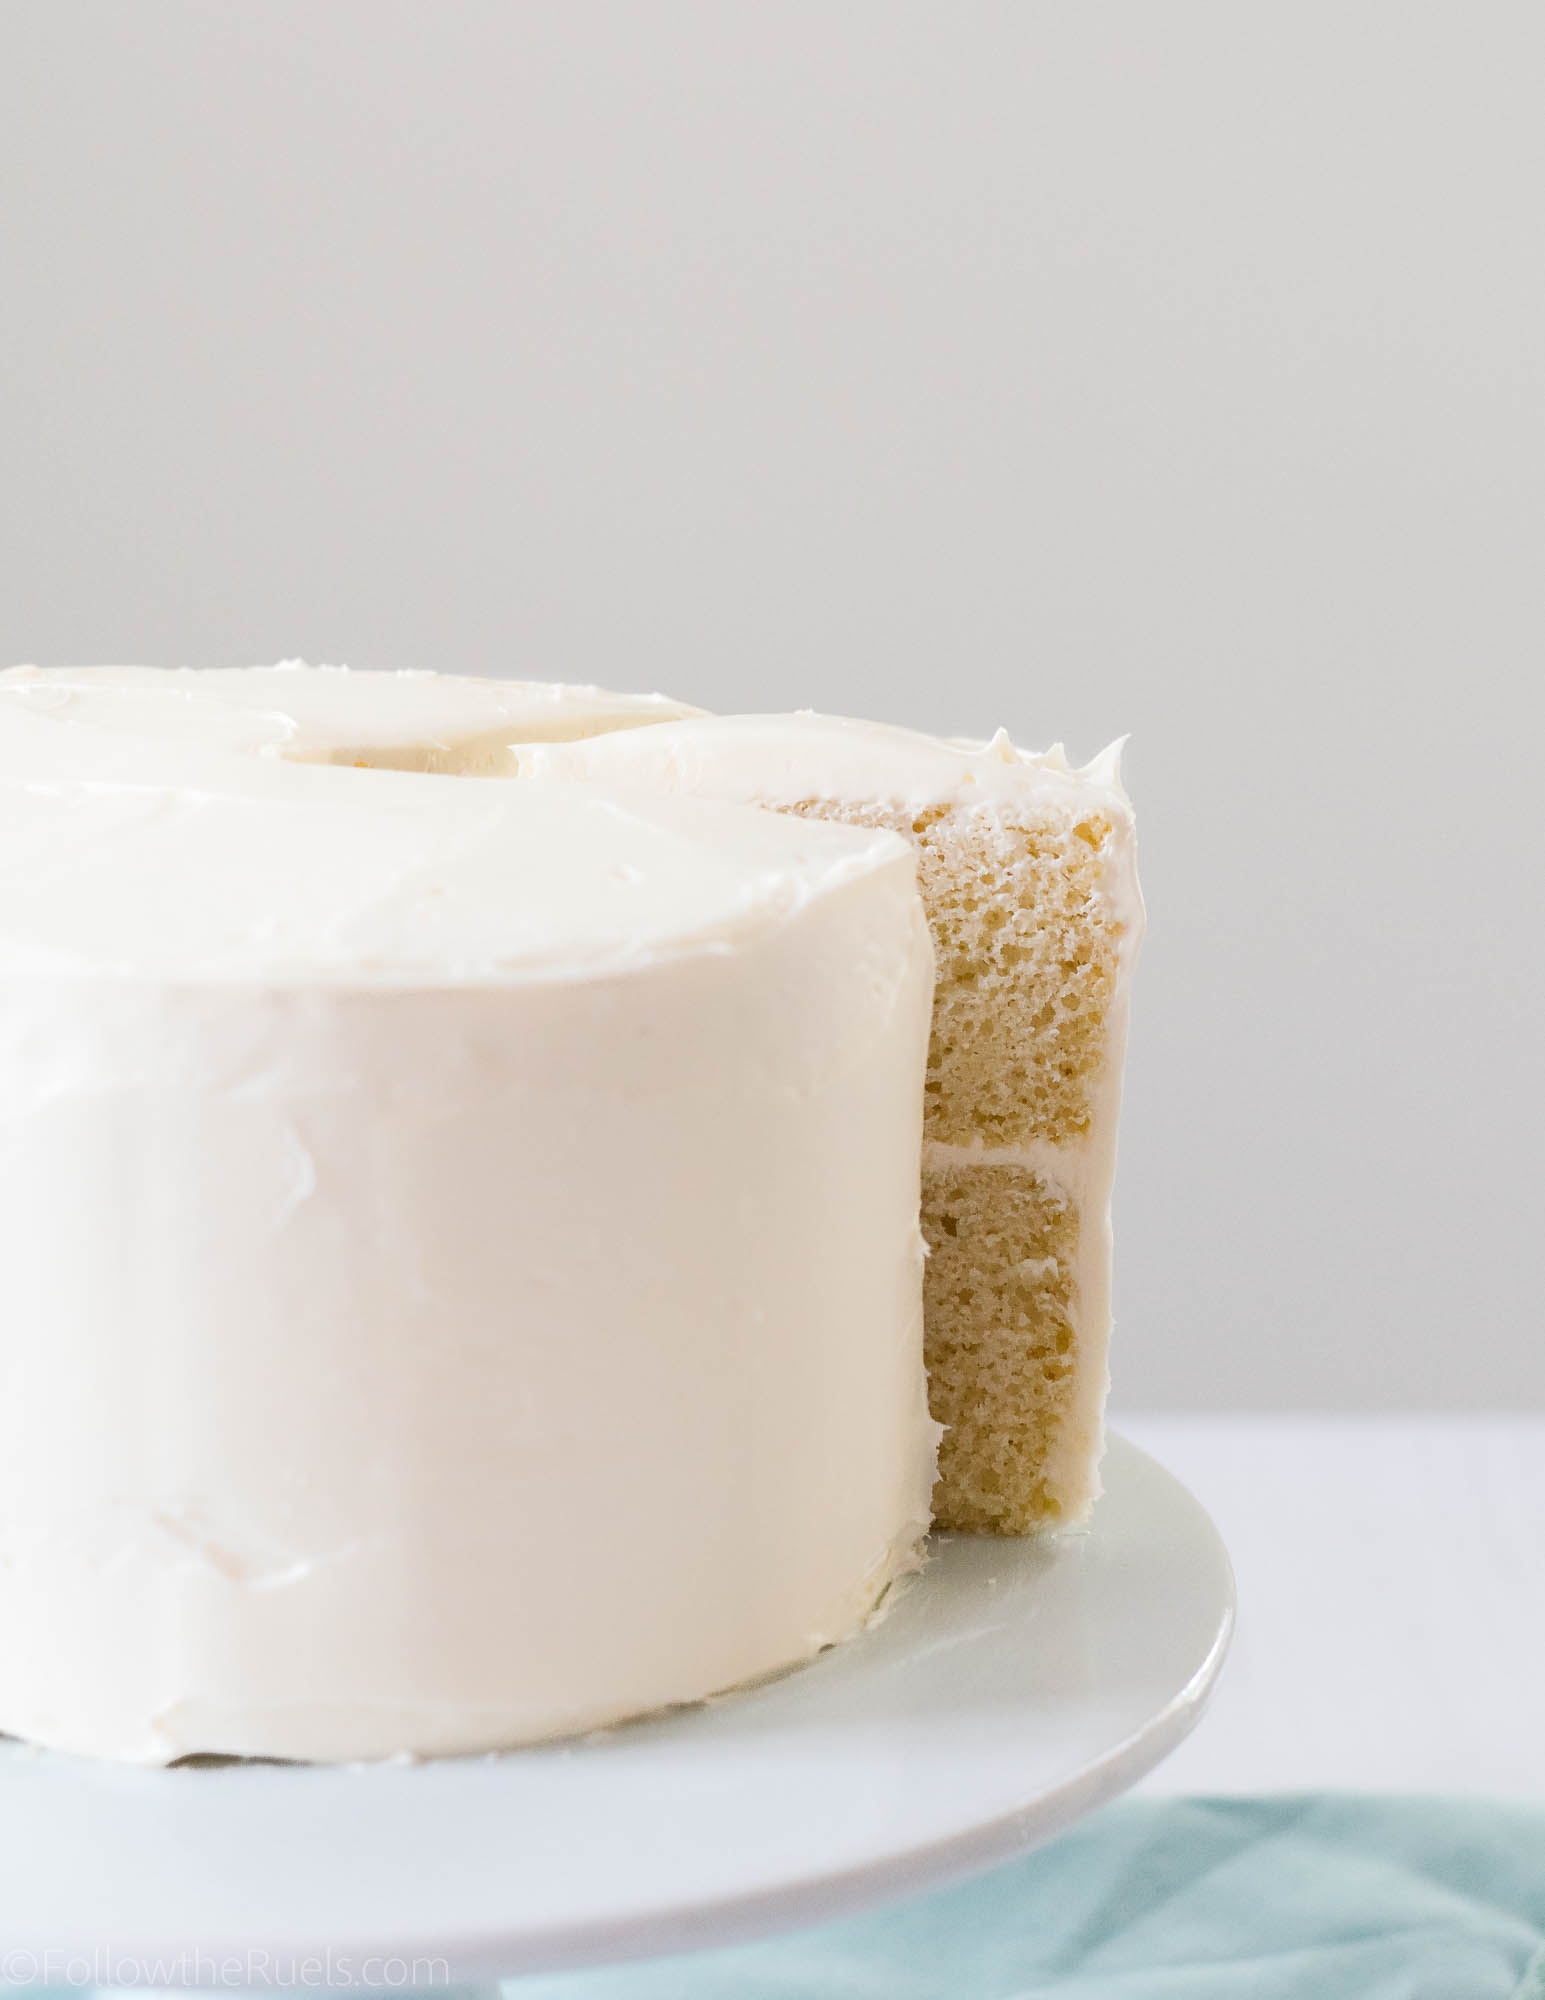
Surprise Inside Gender Reveal Cake

July 20, 2018

Since gender reveal week is coming to a close, I guess it’s about time I reveal the gender. 

Some of you already know or have guessed. If you follow me on Instagram, then you may have seen my latest (and only) bump pic asking you whether you thought I was carrying high or low. A few were pretty certain you knew after I posted that picture. I guess my bump gives it away.

I also mentioned in the last post that I knew the gender of this baby before it was even born thanks to an old “wives tale” that my former boss used to preach to us anytime anyone we knew ended up pregnant. 

Here’s how it goes:

Because the gender of the baby is determined by the father (sperm), look at his family line. Is he the youngest of all girls? Is his dad one of four boys? If the male side of the family is dominated by girls, then there is a good chance you are having a girl. If it’s dominated by boys, well then you are having a boy.

I think this wives tale only really works well if there are lots of kids in the family and it heavily swings one way or the other. Otherwise, if the grandfather had an older sister, but dad has a younger sister, it may be a total crapshoot.

Luckily for me, Billy’s side of the family swings very heavily in one direction. 
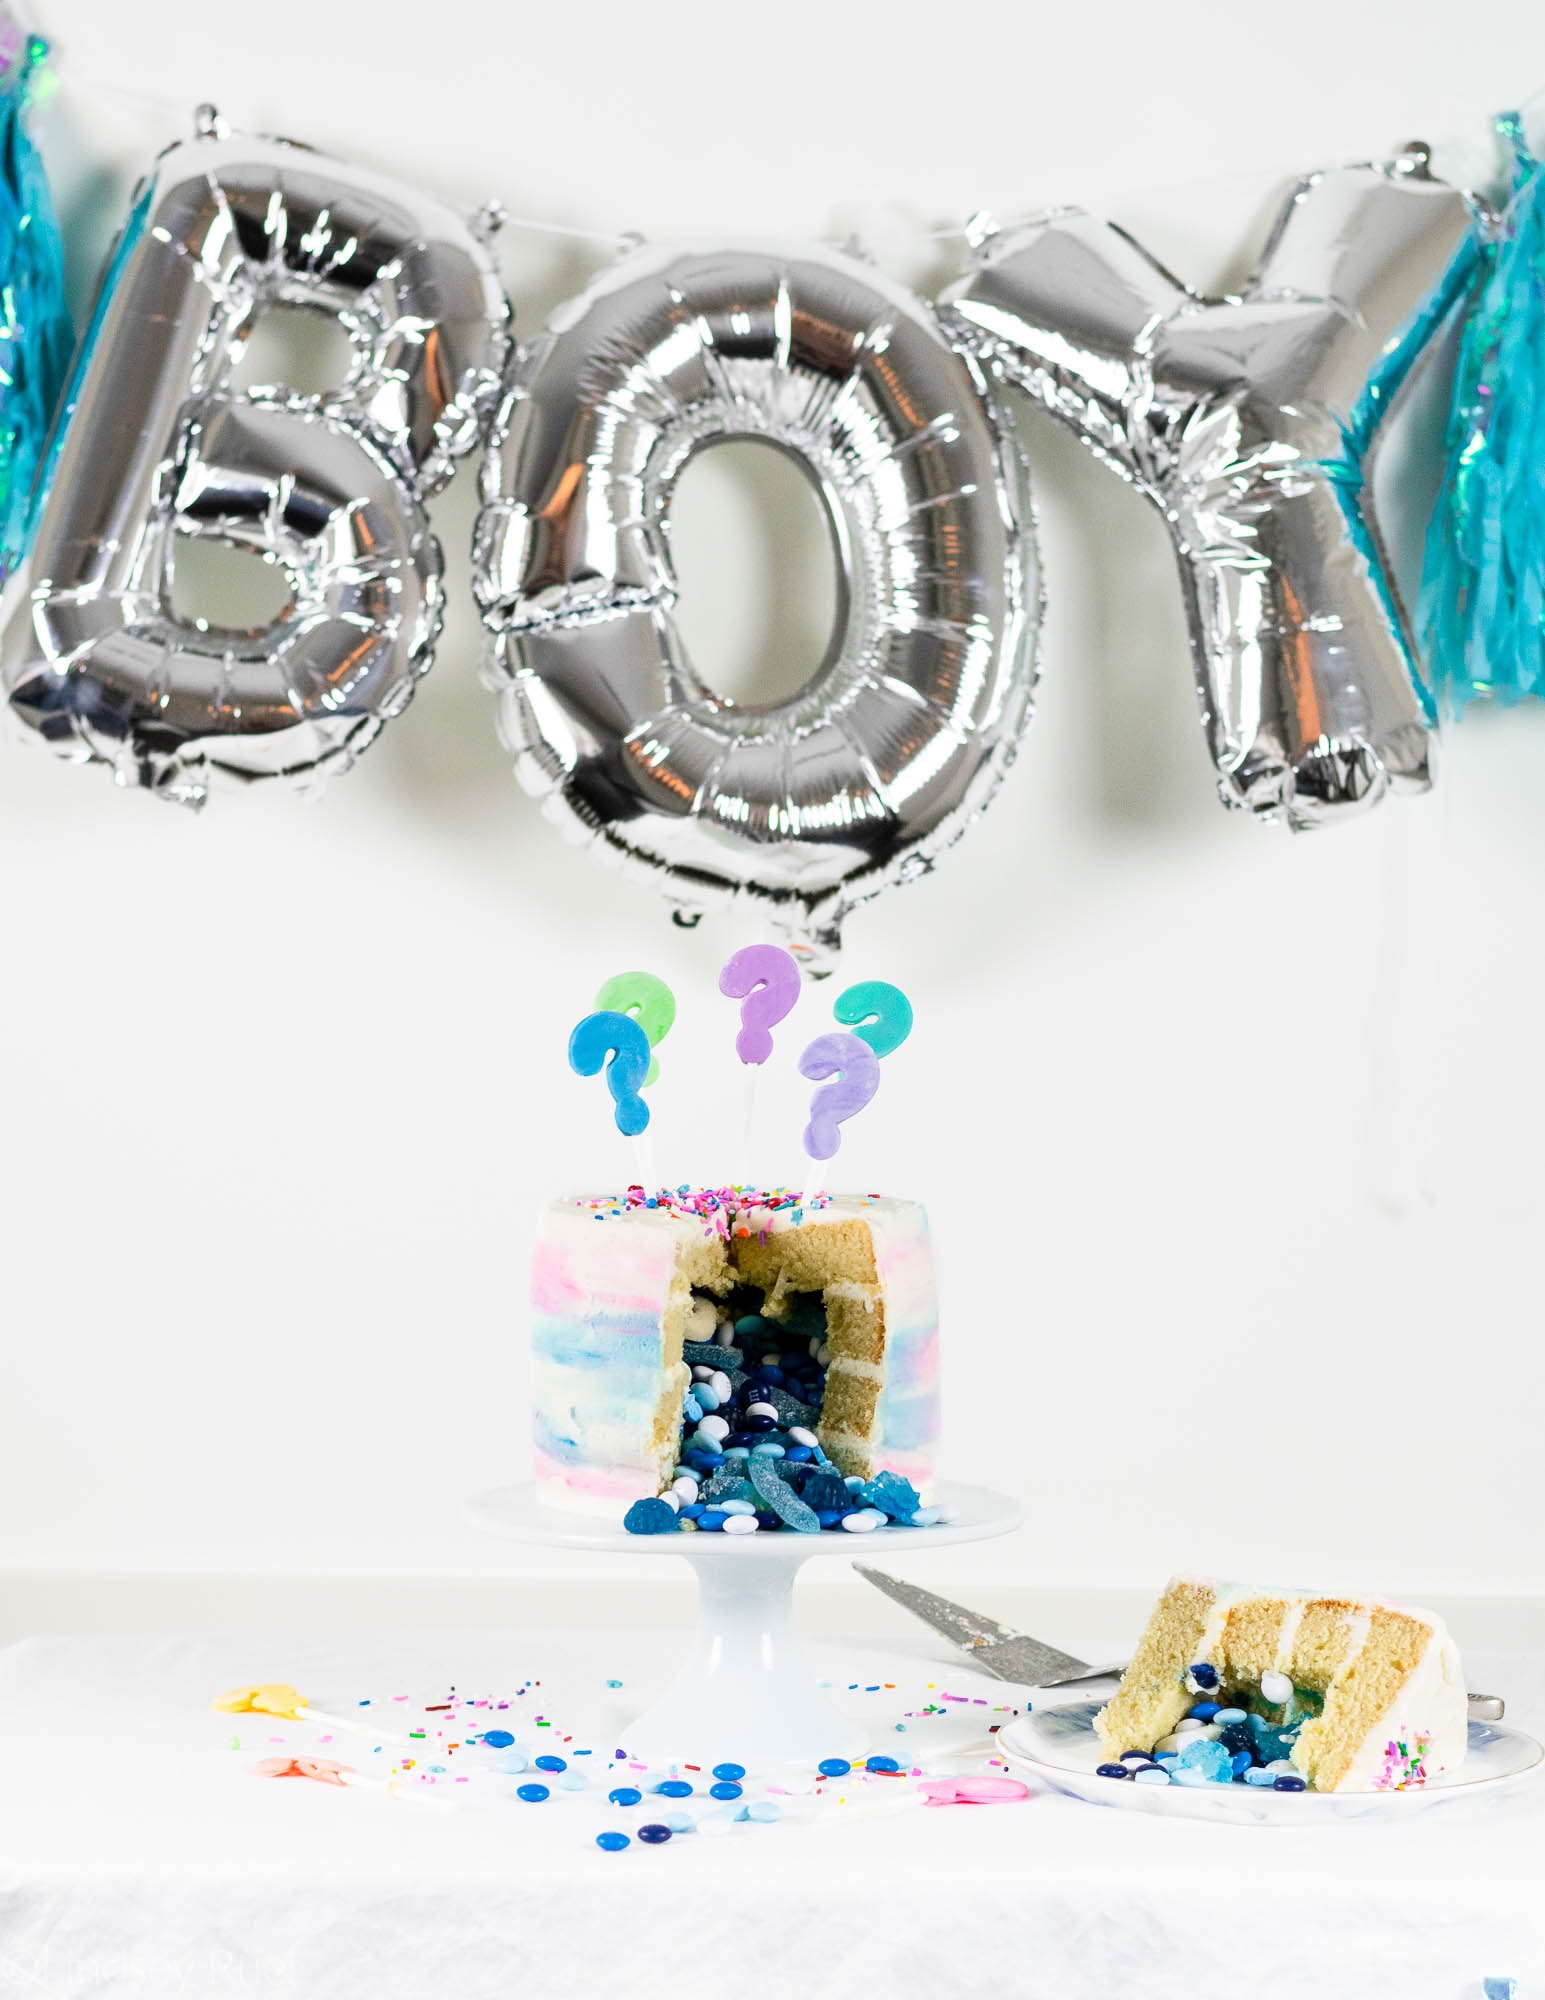
It’s a boy!! 

Because Billy’s family is pretty much all boys (I don’t think he has a single girl cousin on his dad’s side of the family), we were pretty sure we were having a boy. So when the nurse called us after my 12-week blood test with the news, we were not surprised in the least to hear the results!

Of course, we would have been happy with either, but we are thrilled for a boy. If we were having a girl, I just know she would have her dad wrapped around her finger the instant she was born. At least now this child stands a slight chance of not being completely spoiled by dad. 

We’ll leave the spoiling for the grandparents. 

Okay, enough about this baby boy. Let’s get to the cake!

Recipes and Supplies

The beauty of this cake is that you can make any flavor you like! The only thing that really matters is the color of the candies in the center. 

However, I will caution you against strawberry cake if you are having a boy. That may be a little confusing. 

For my cake, I made a simple vanilla cake recipe, adapted from my favorite cupcake recipe. You can find the recipe at the end of the post. 

You could also make a boxed cake because there is no shame in that. Here are my tips for making a boxed mix taste like a homemade cake. 

You just need enough cake to make at least 3 layers of cake, so that one layer can hold the candy center. A typical cake recipe can make a 3 tiered 6″ cake, but I would double most recipes if you want to make a bigger cake, such as a 8″ or 9″ cake. 

For reference, I made a 4 tiered 6″ cake. I doubled my cake recipe and had enough batter left over to make a few cupcakes. It would have been the perfect amount of batter to make a 4 tiered 8″ or 9″ cake. 

Aside from the actual cake, you will need the following:

  • 1-2 batches of buttercream (1 batch for a 2 tiered cake 6-9″ in diameter, 2 batches for a 3-4 tiered cake 6-9 inches in diameter)
  • Food coloring
  • Fondant
  • Lollipop sticks
  • Sprinkles
  • Assorted candies in pink or blue

I would also recommend the following to make your cake assembly and decorating much easier:

  • Cake turntable
  • Cake leveler
  • Piping bags
  • Offset spatula
  • Bench scraper

[show_shopthepost_widget id=”3217770″]

How to Make It
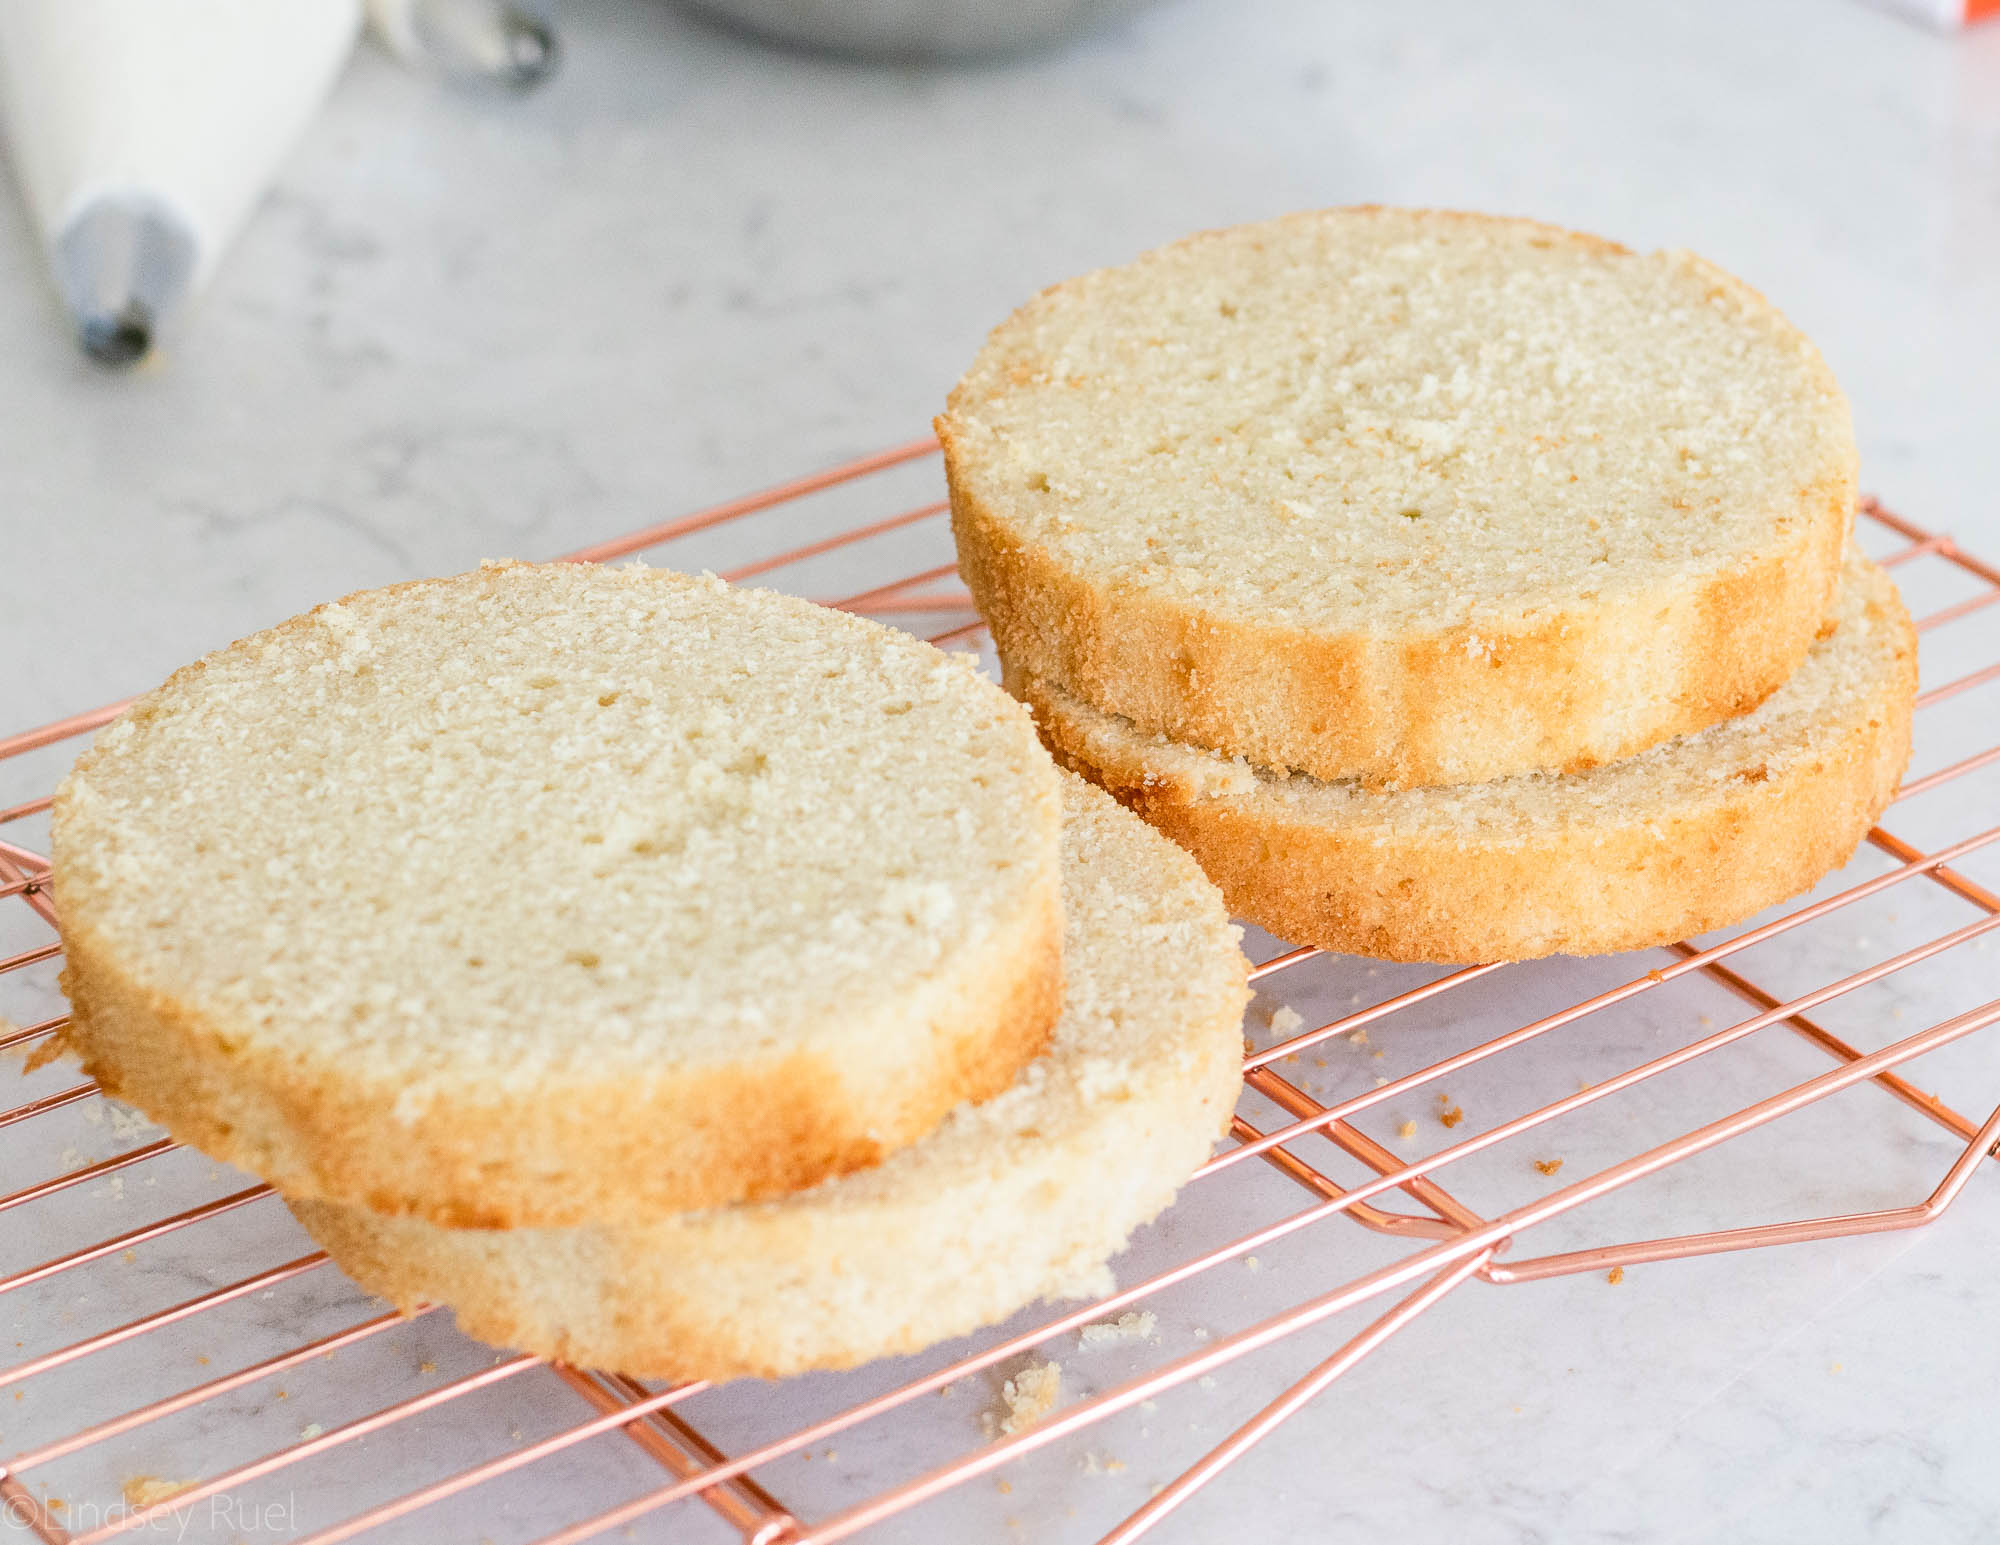
Start with your already baked cake. Level and divide the cake into however many layers you like. 

Tip: Chill your cake before you start cutting into it. It will cut much easier and will not produce as many crumbs.
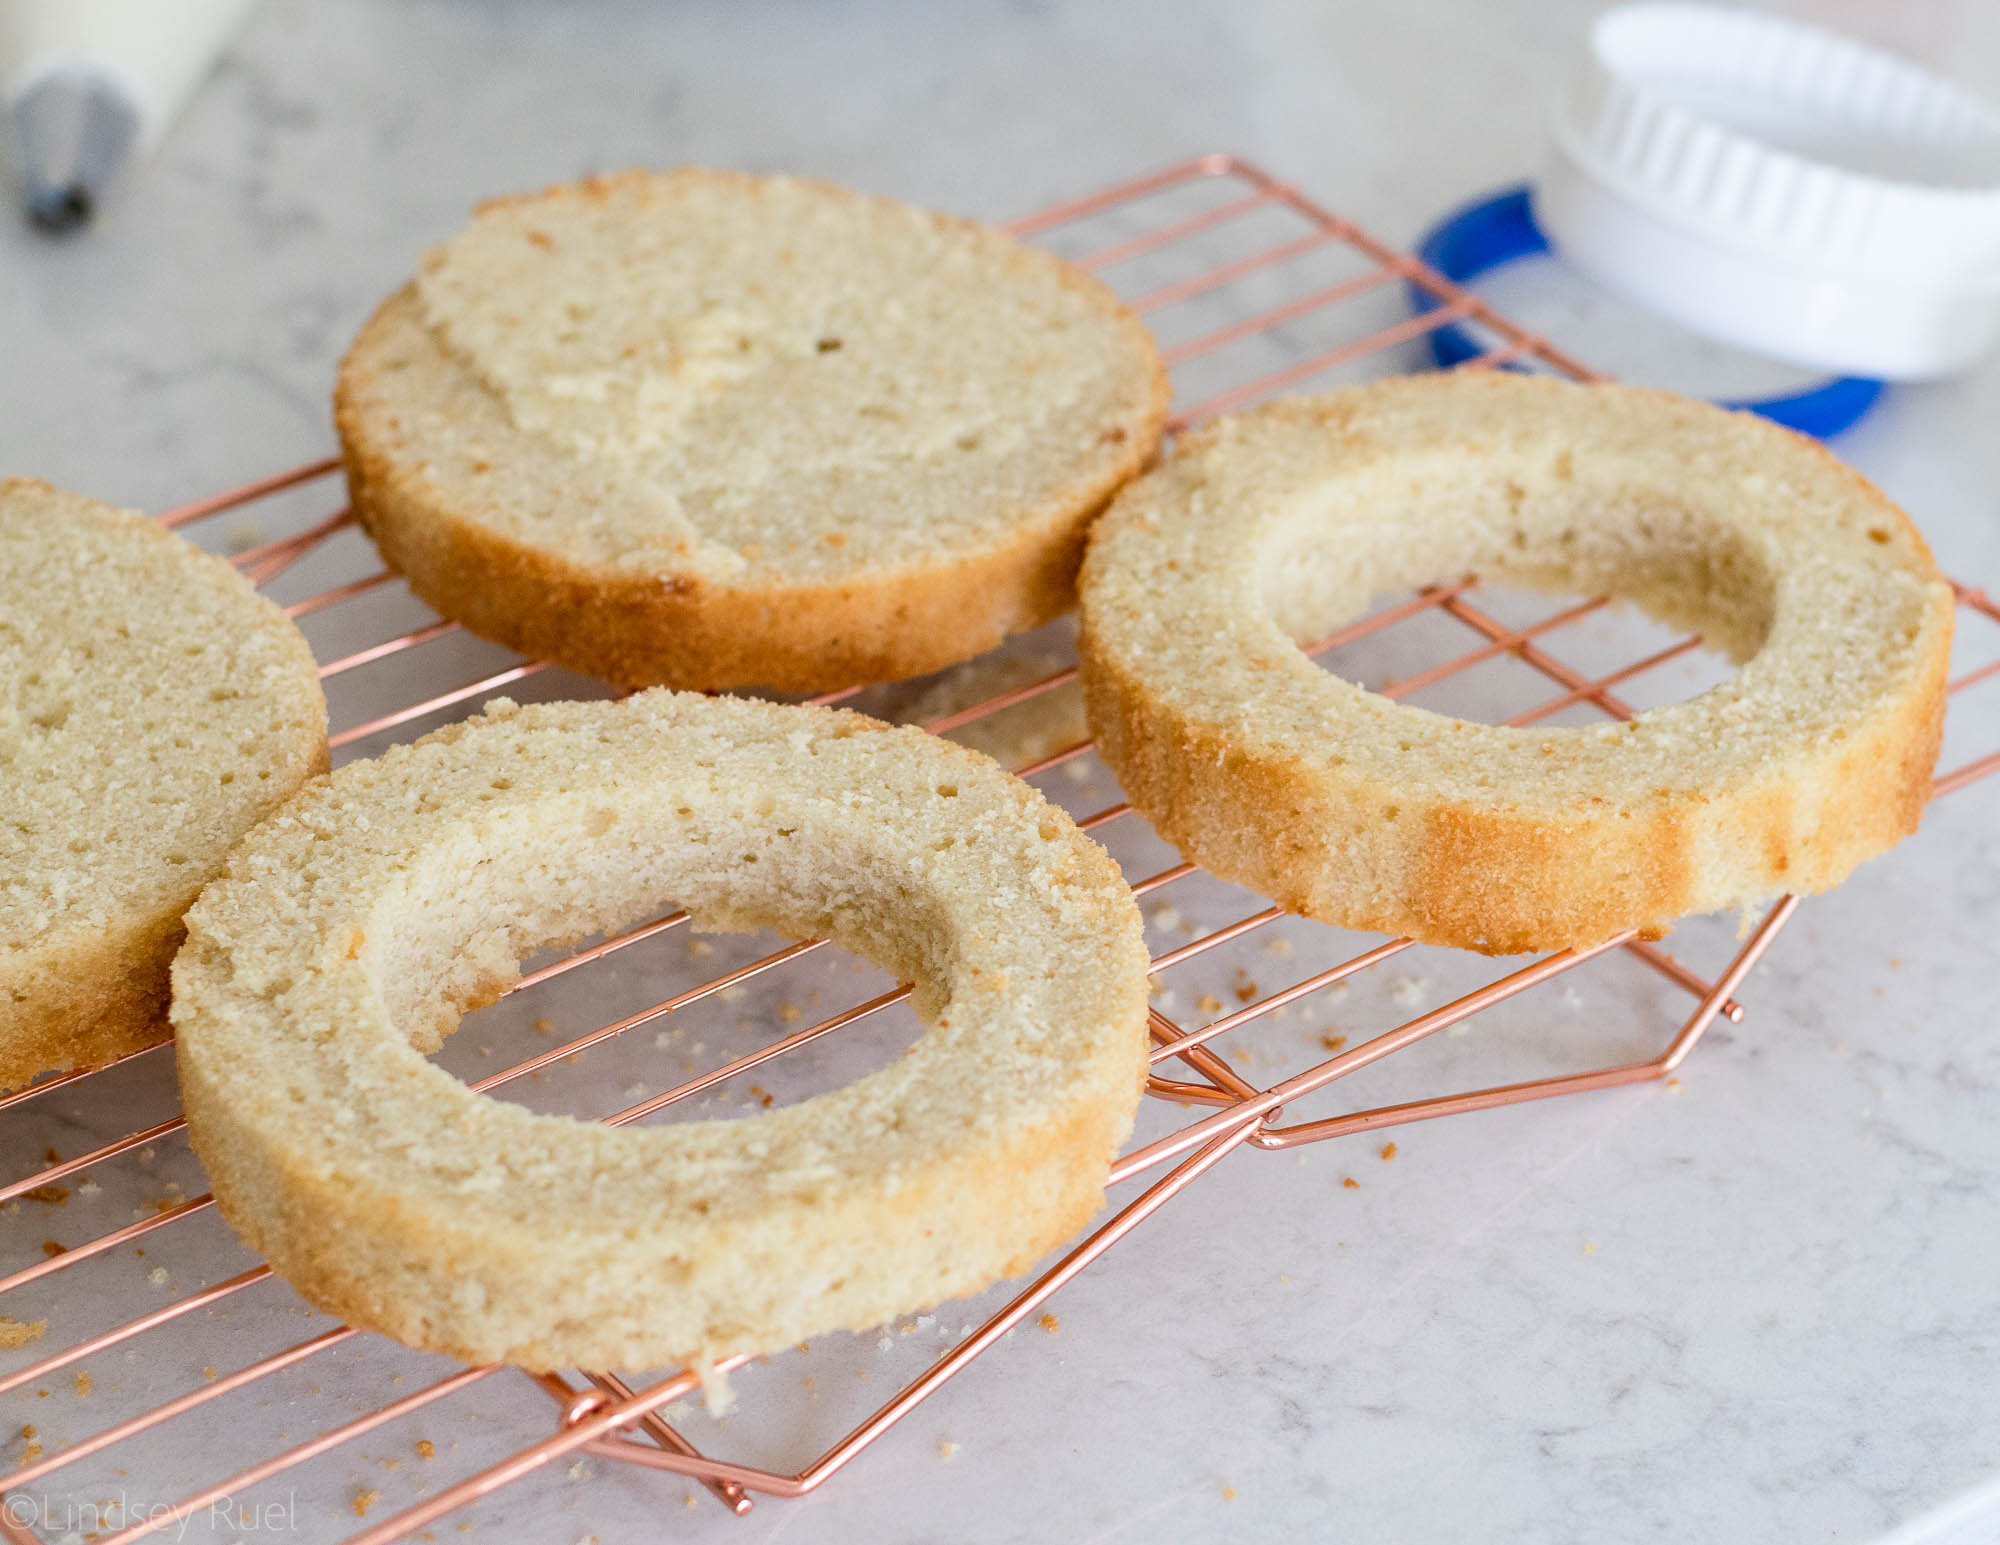
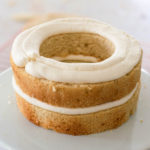
Identify your center layer or layers. Use a round cookie cutter to cut a circle in the center of the layer(s). 


To build the cake, start by placing the bottom layer on a cake board or cake stand. Afix it to the board or stand with a little buttercream. 

Then pipe a ring of buttercream around the edge of the cake as wide as the second layer. 

Place the second layer on repeat with the third layer.
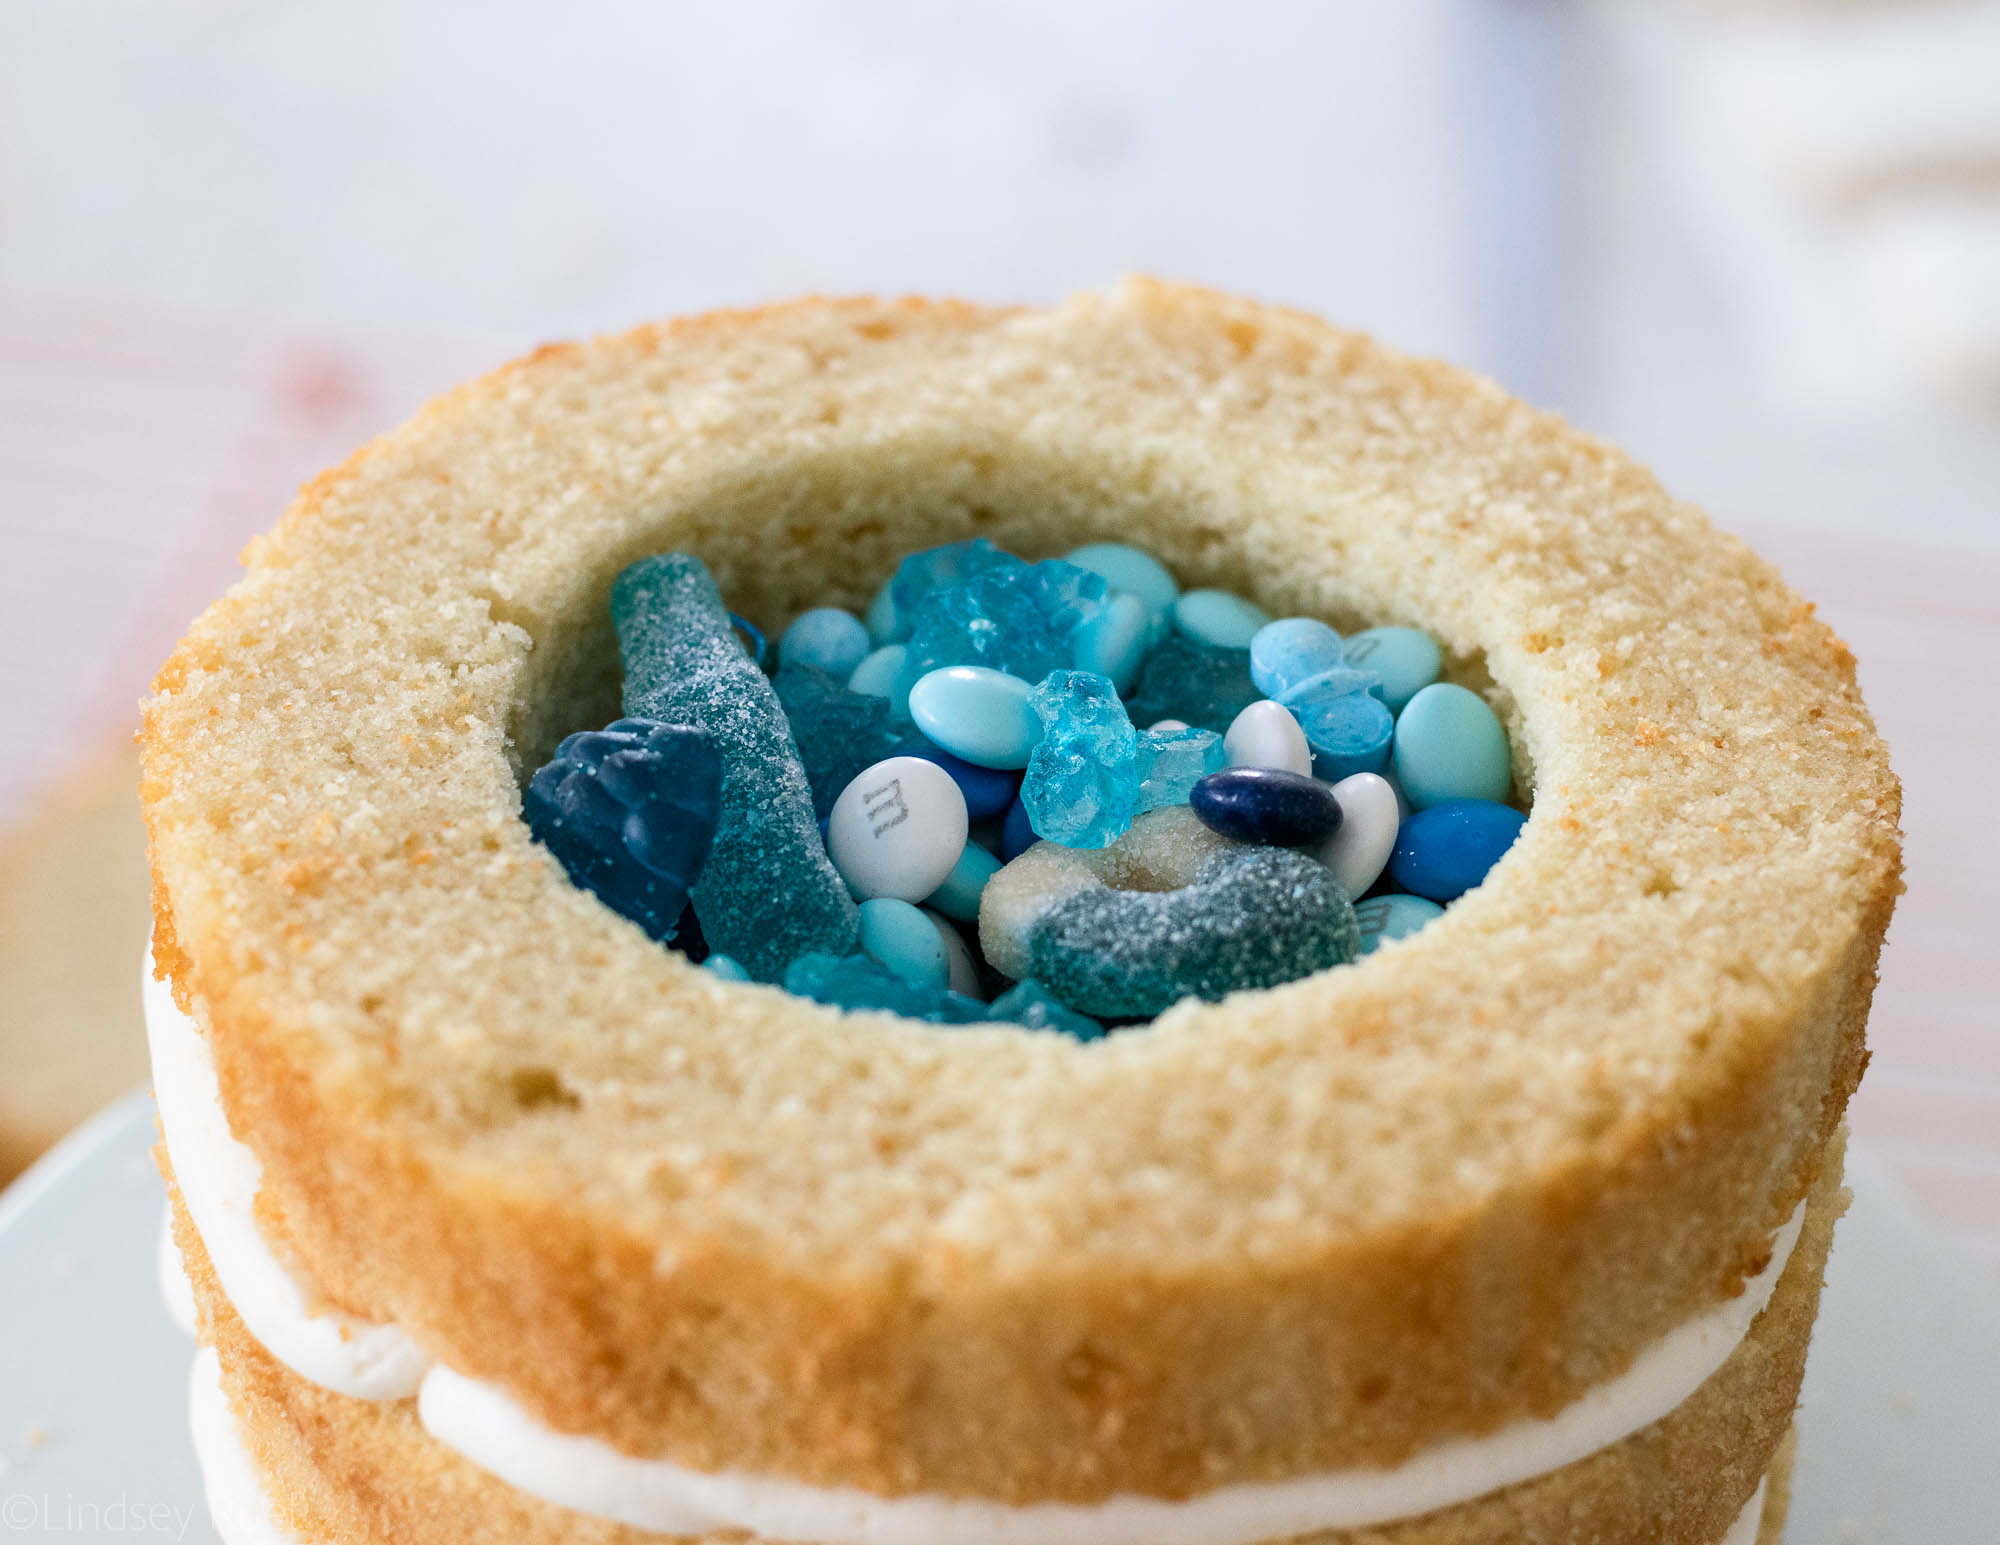
Fill the center hole with blue or pink candies. 

Tip: Hit up your local candy store that sells candy by color. Many sell M&Ms, Jelly Beans, and other goodies separated by color. That way you don’t have to go digging through a bag of M&Ms for just the blue or pink ones. 
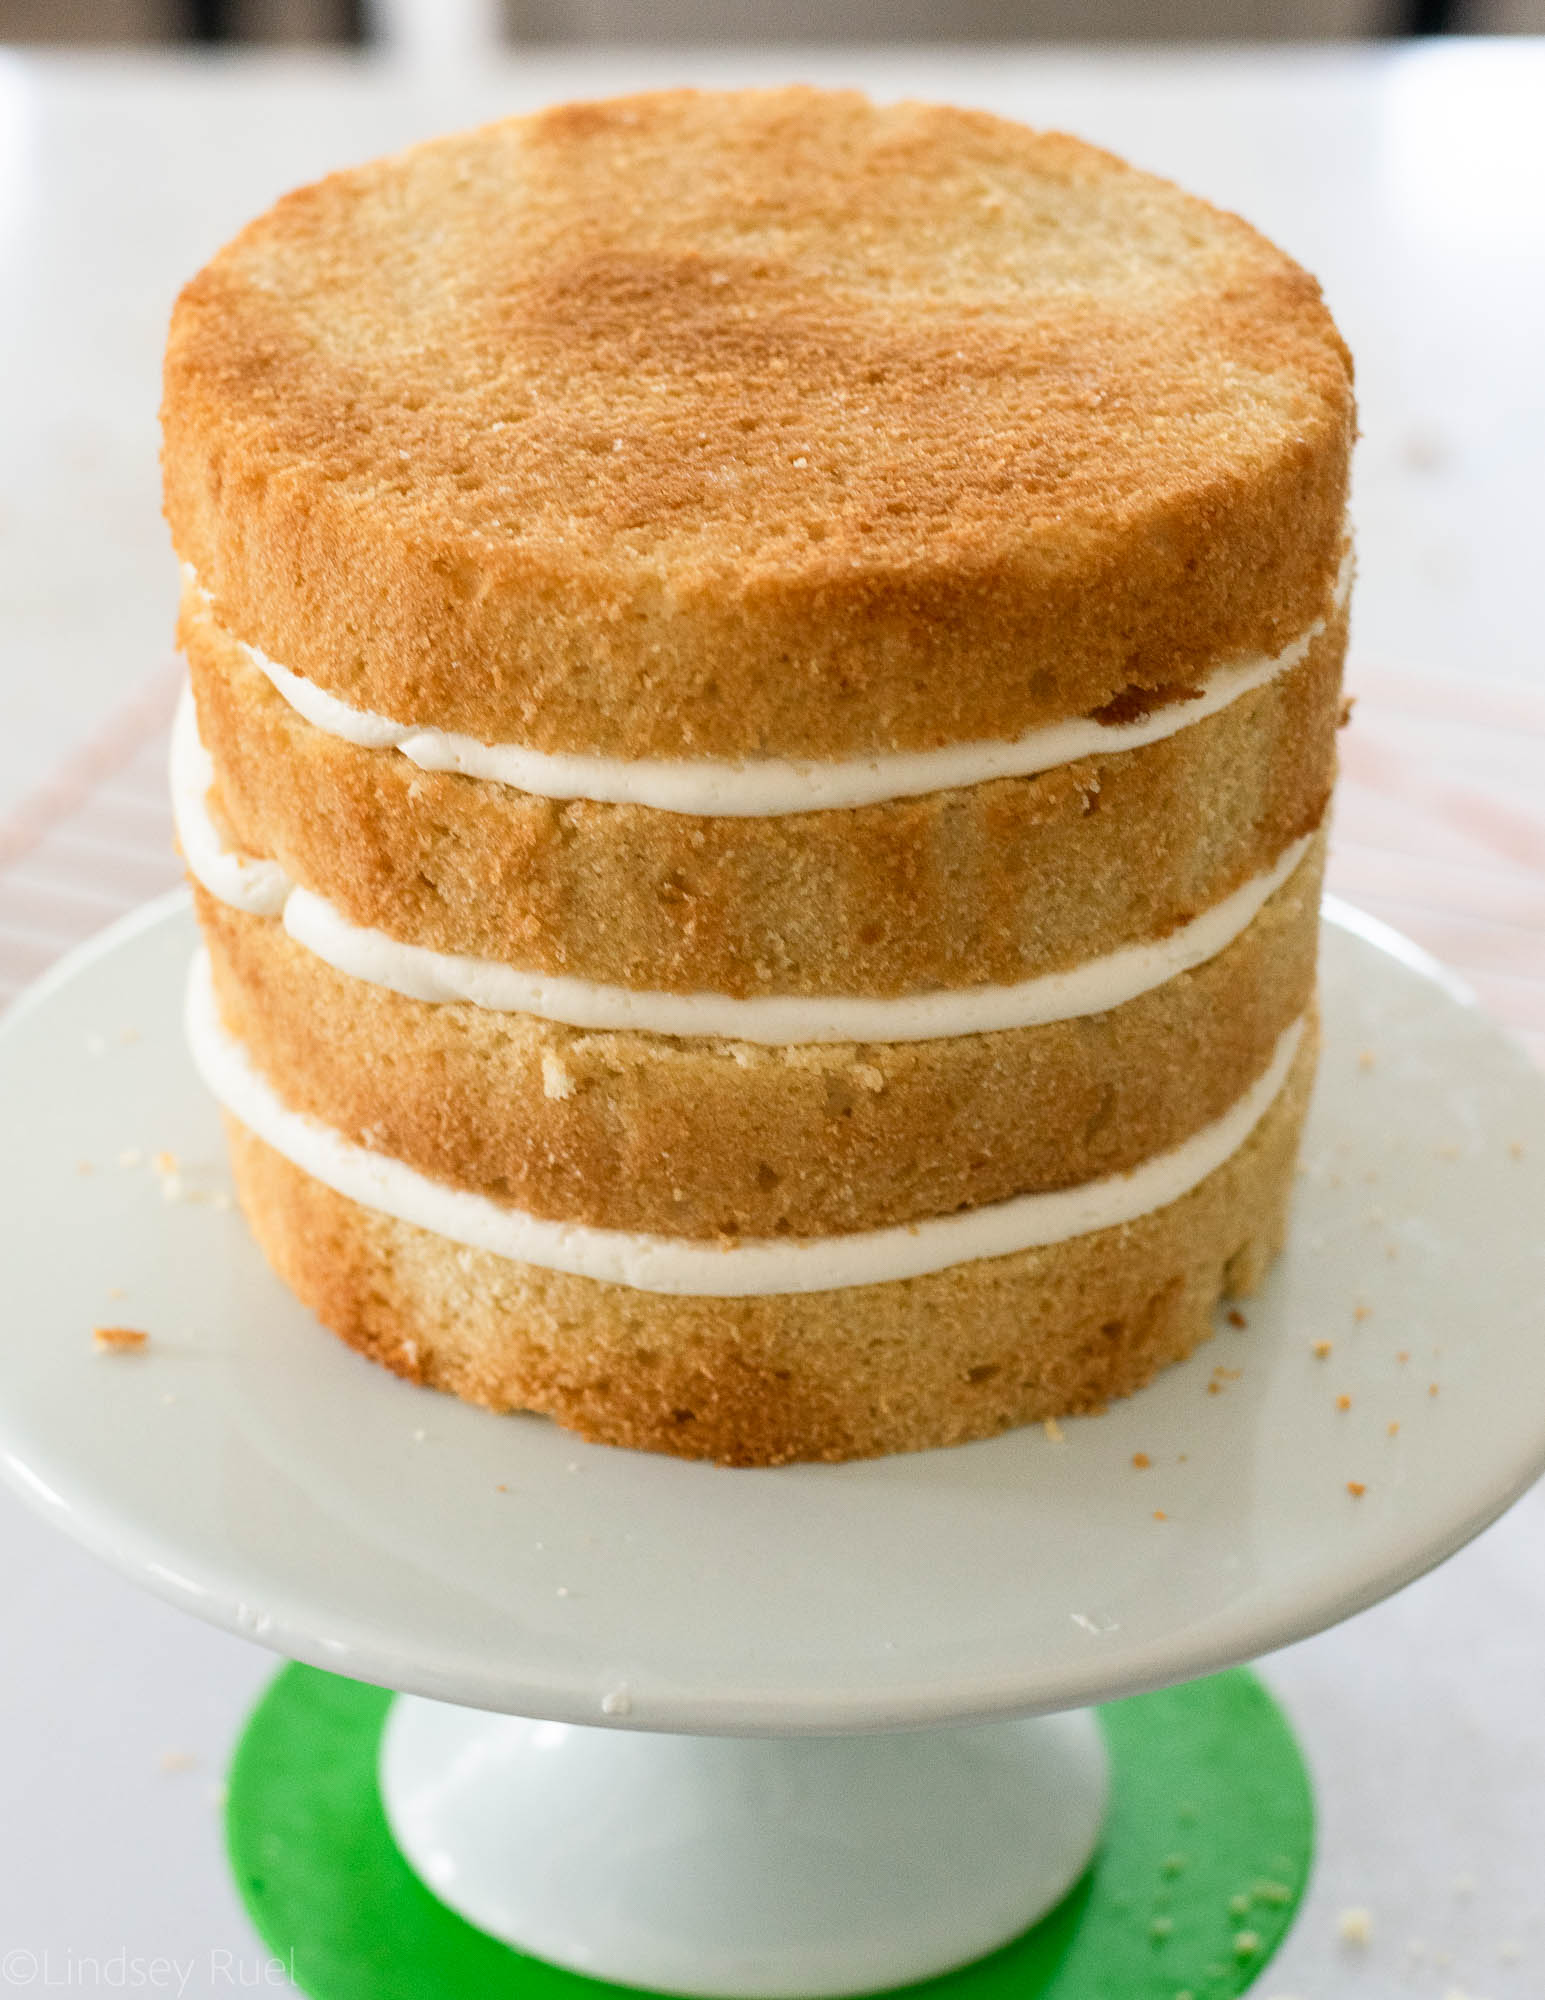
Top with the final layer of cake and press down to make sure all layers are secure and level.

Cover the entire cake with a very thin layer of frosting to trap in all the crumbs then place back in the fridge to set for about 20 minutes. 
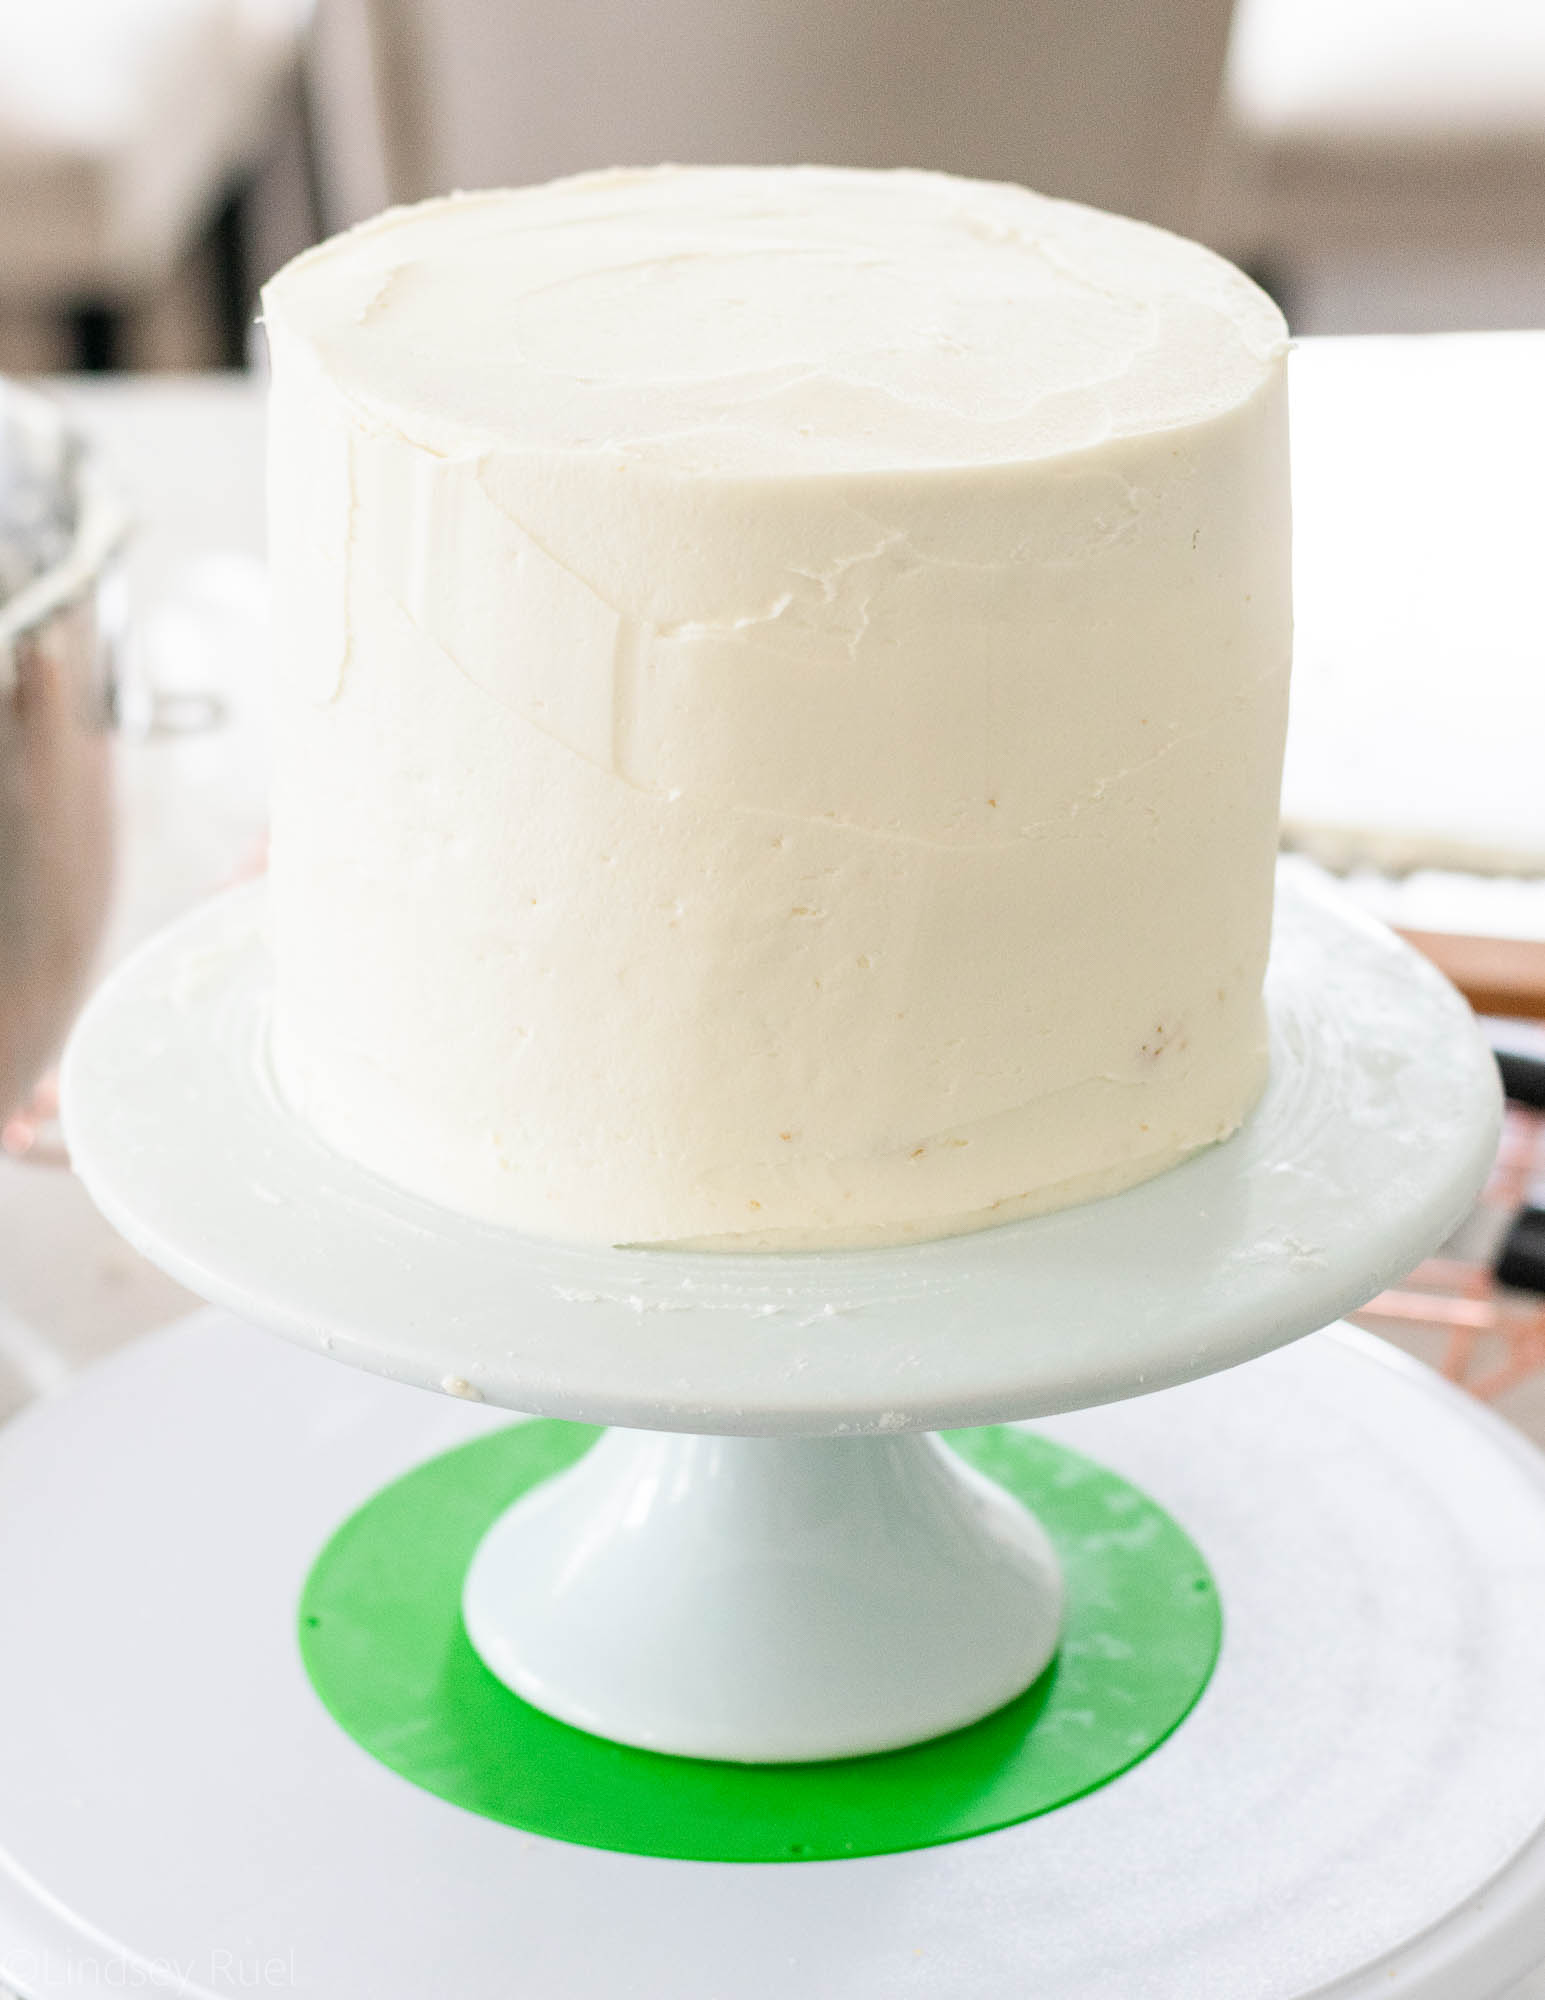
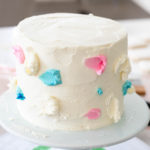
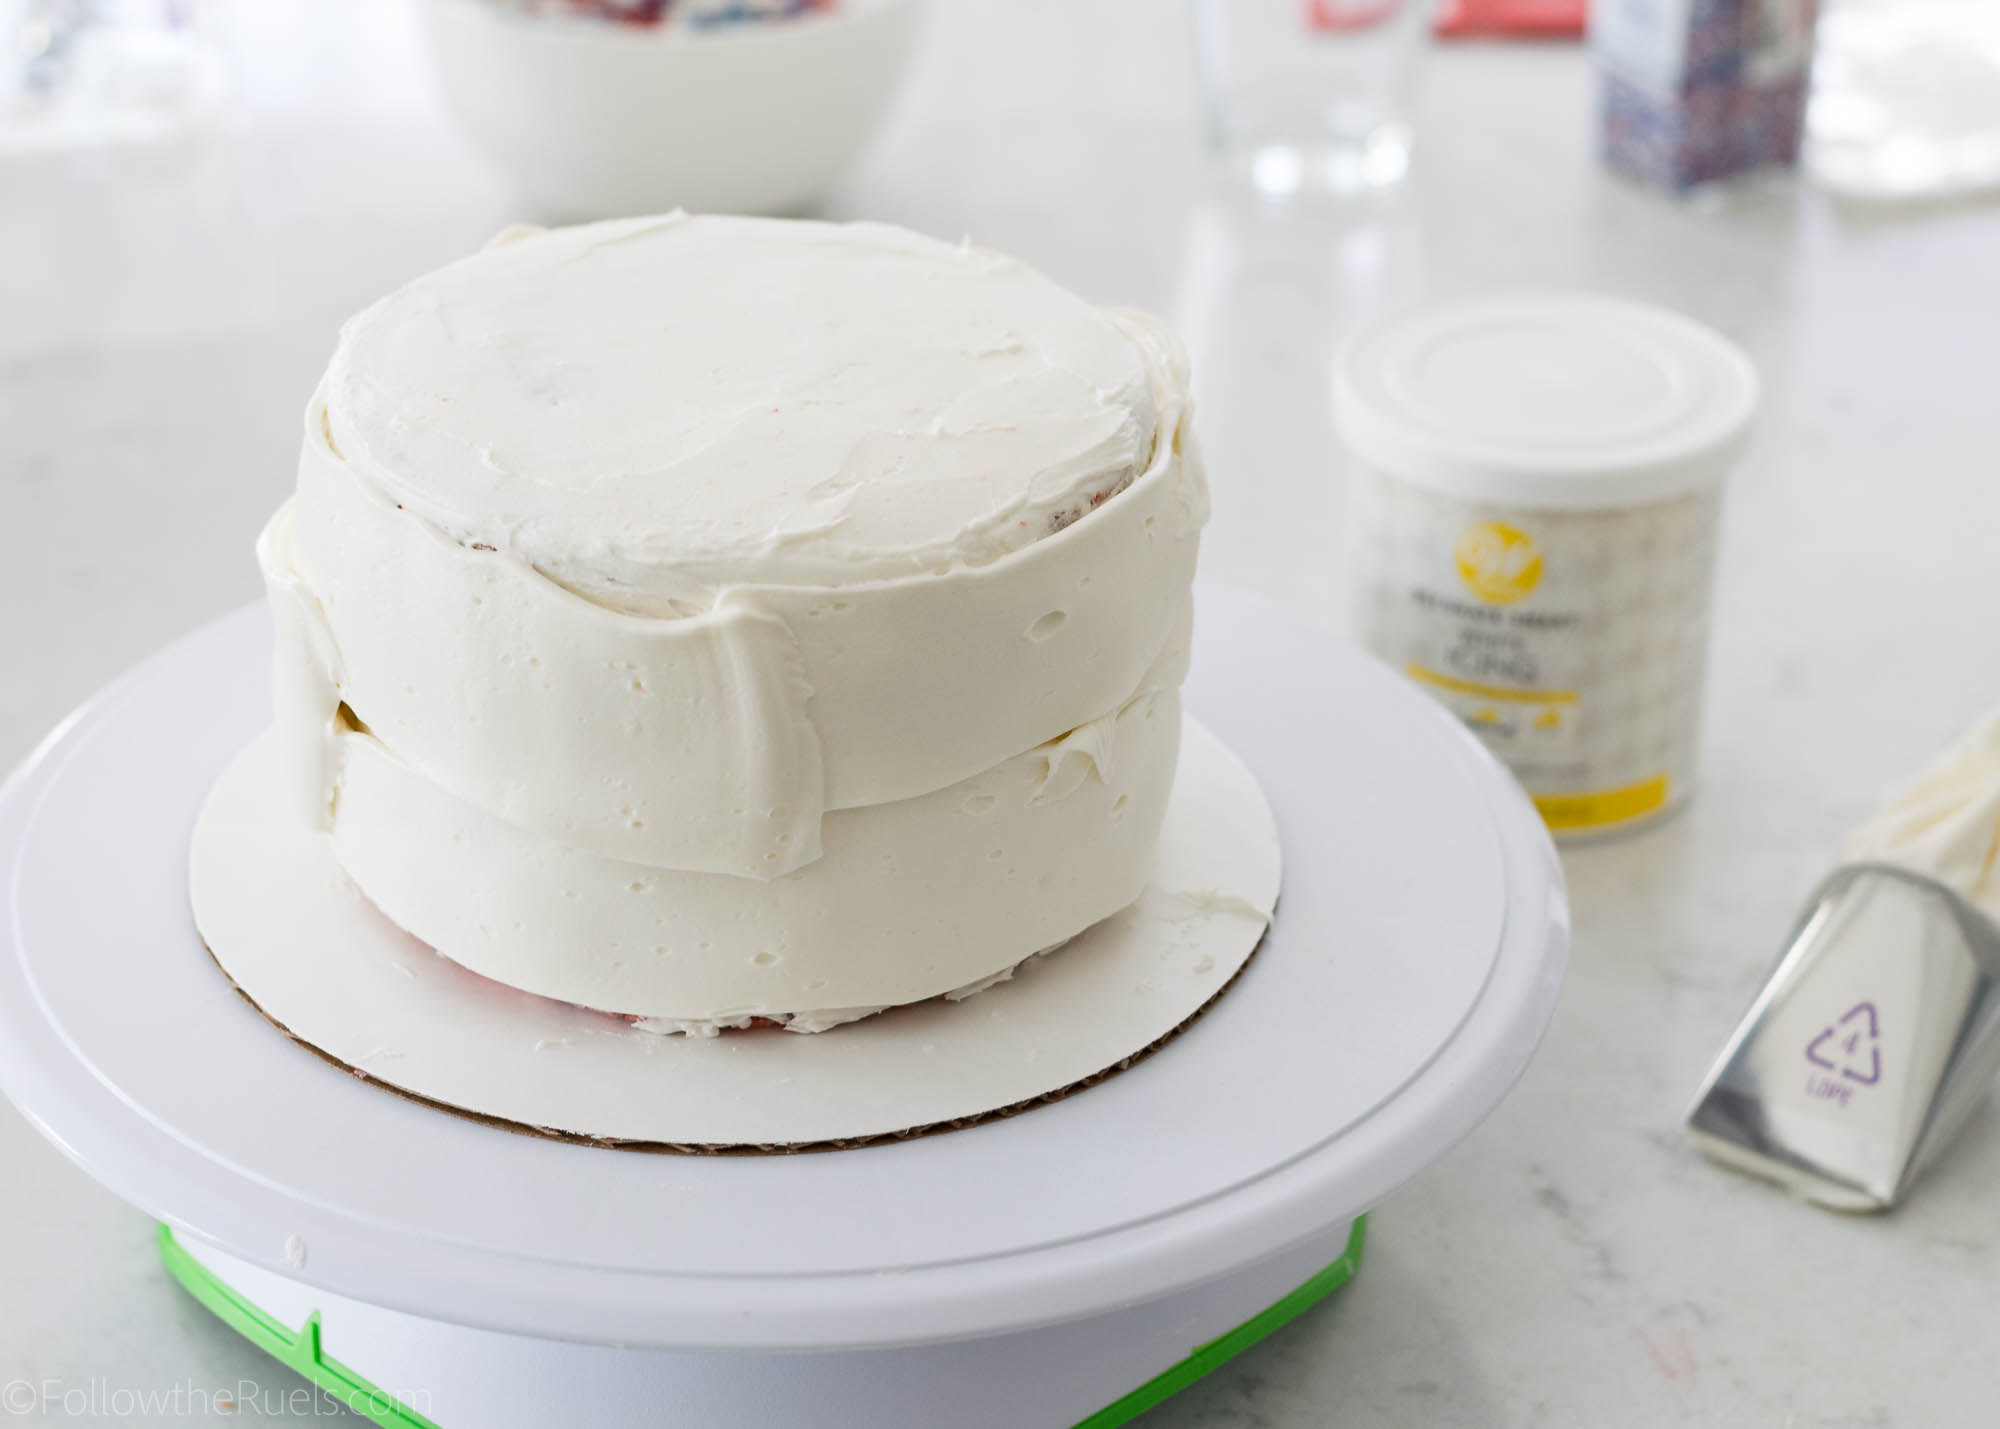
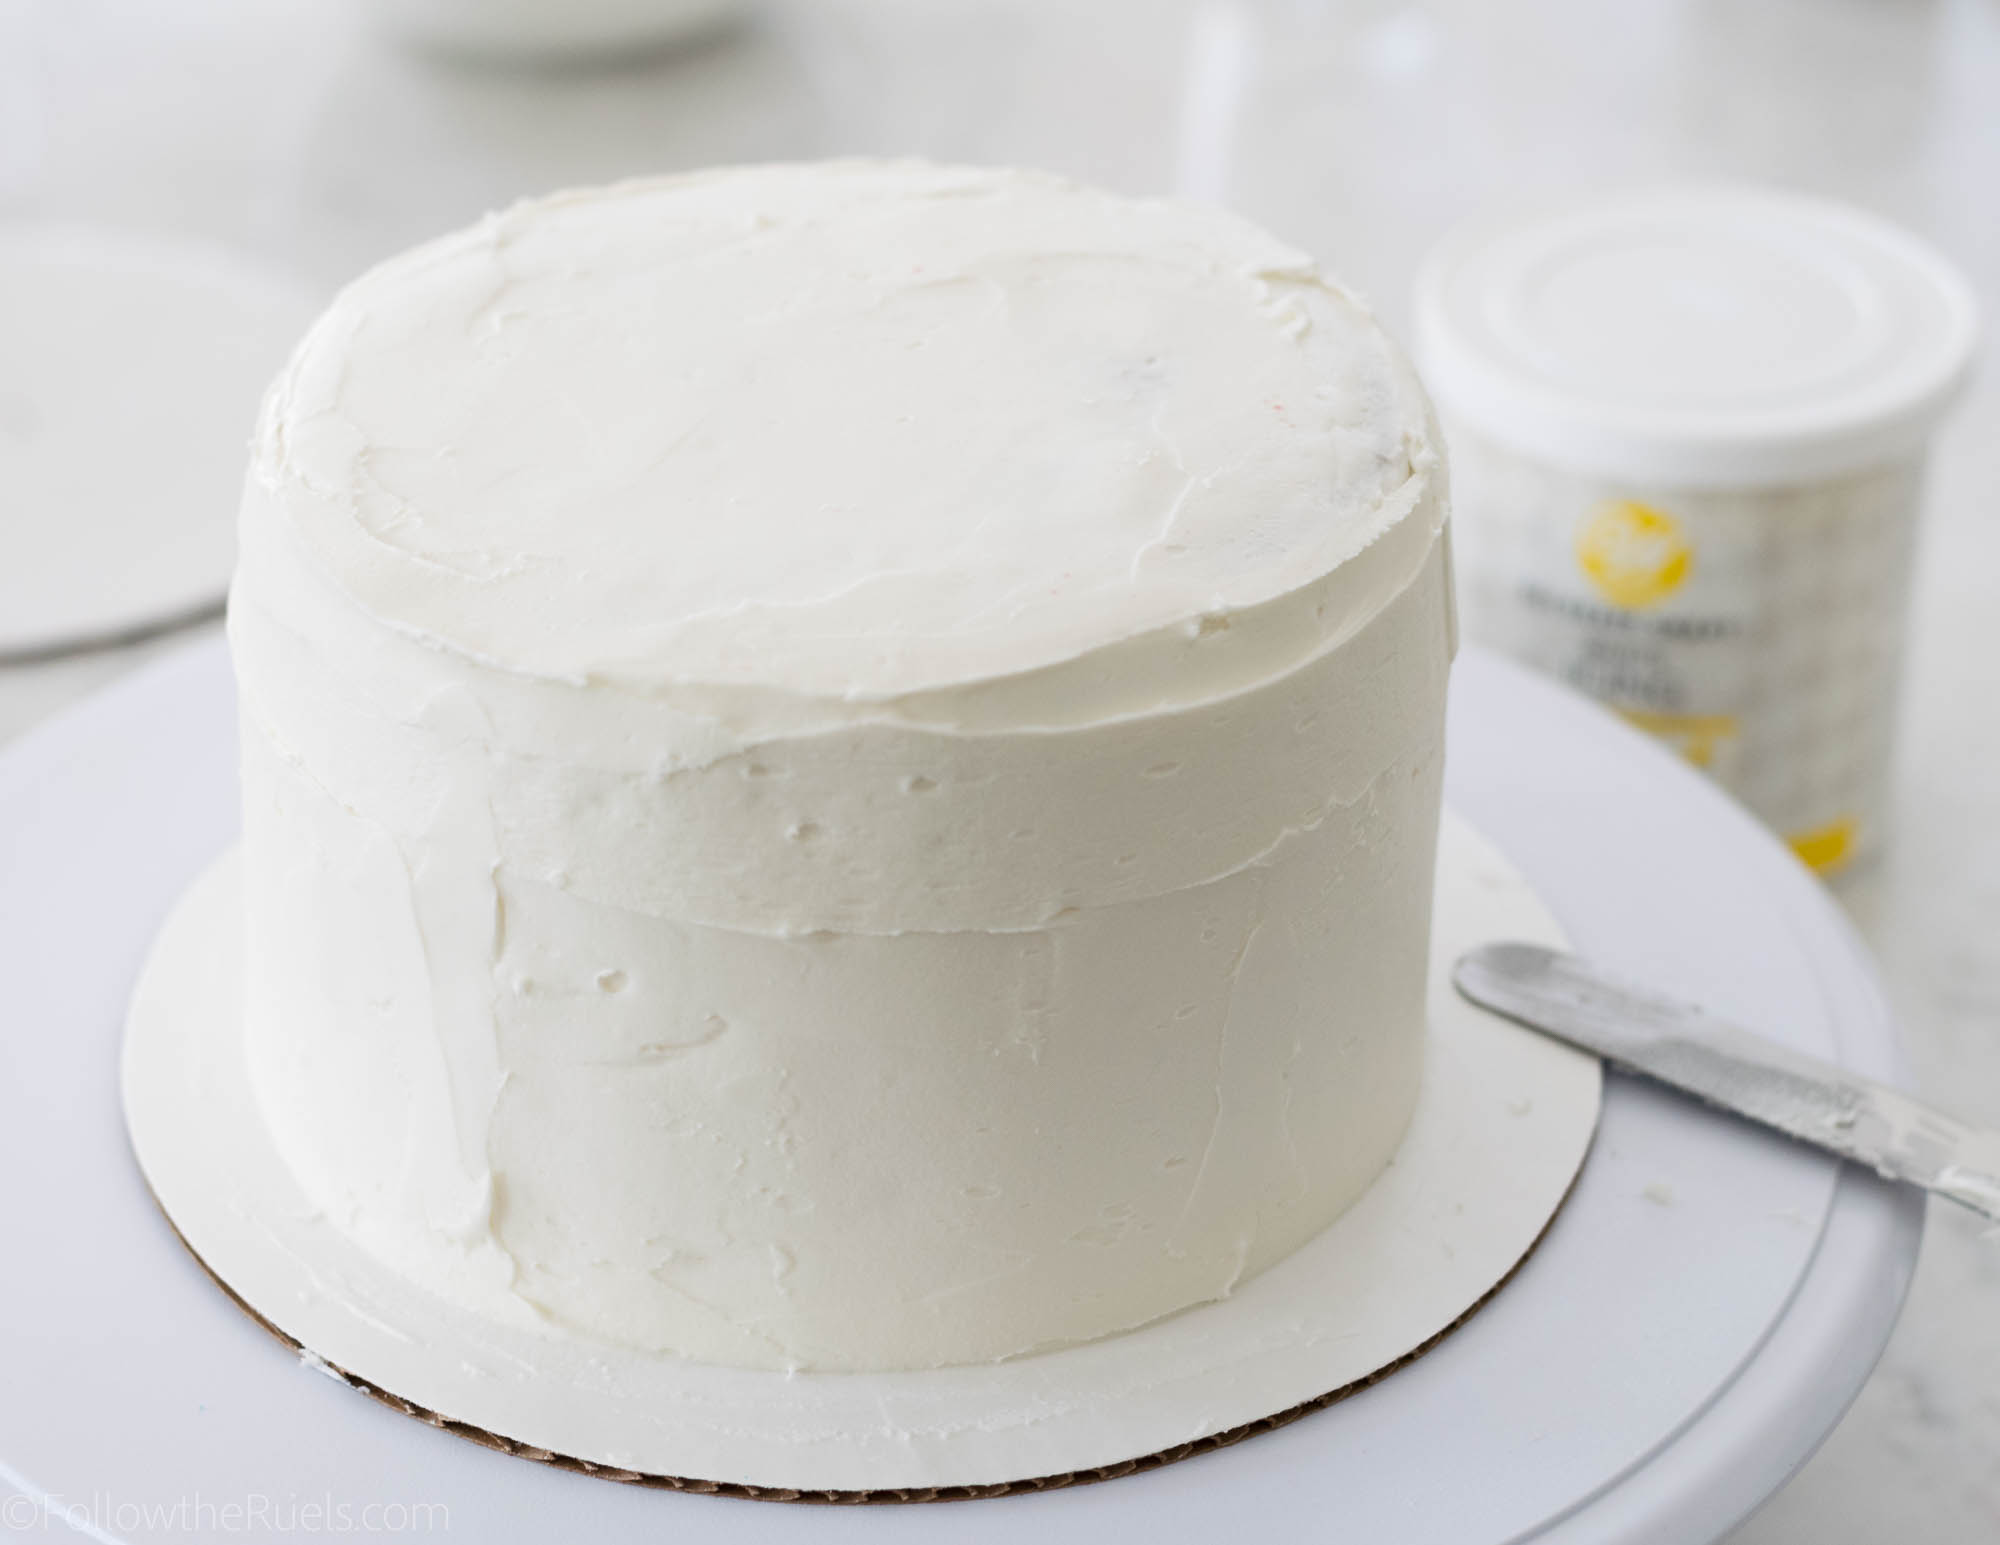
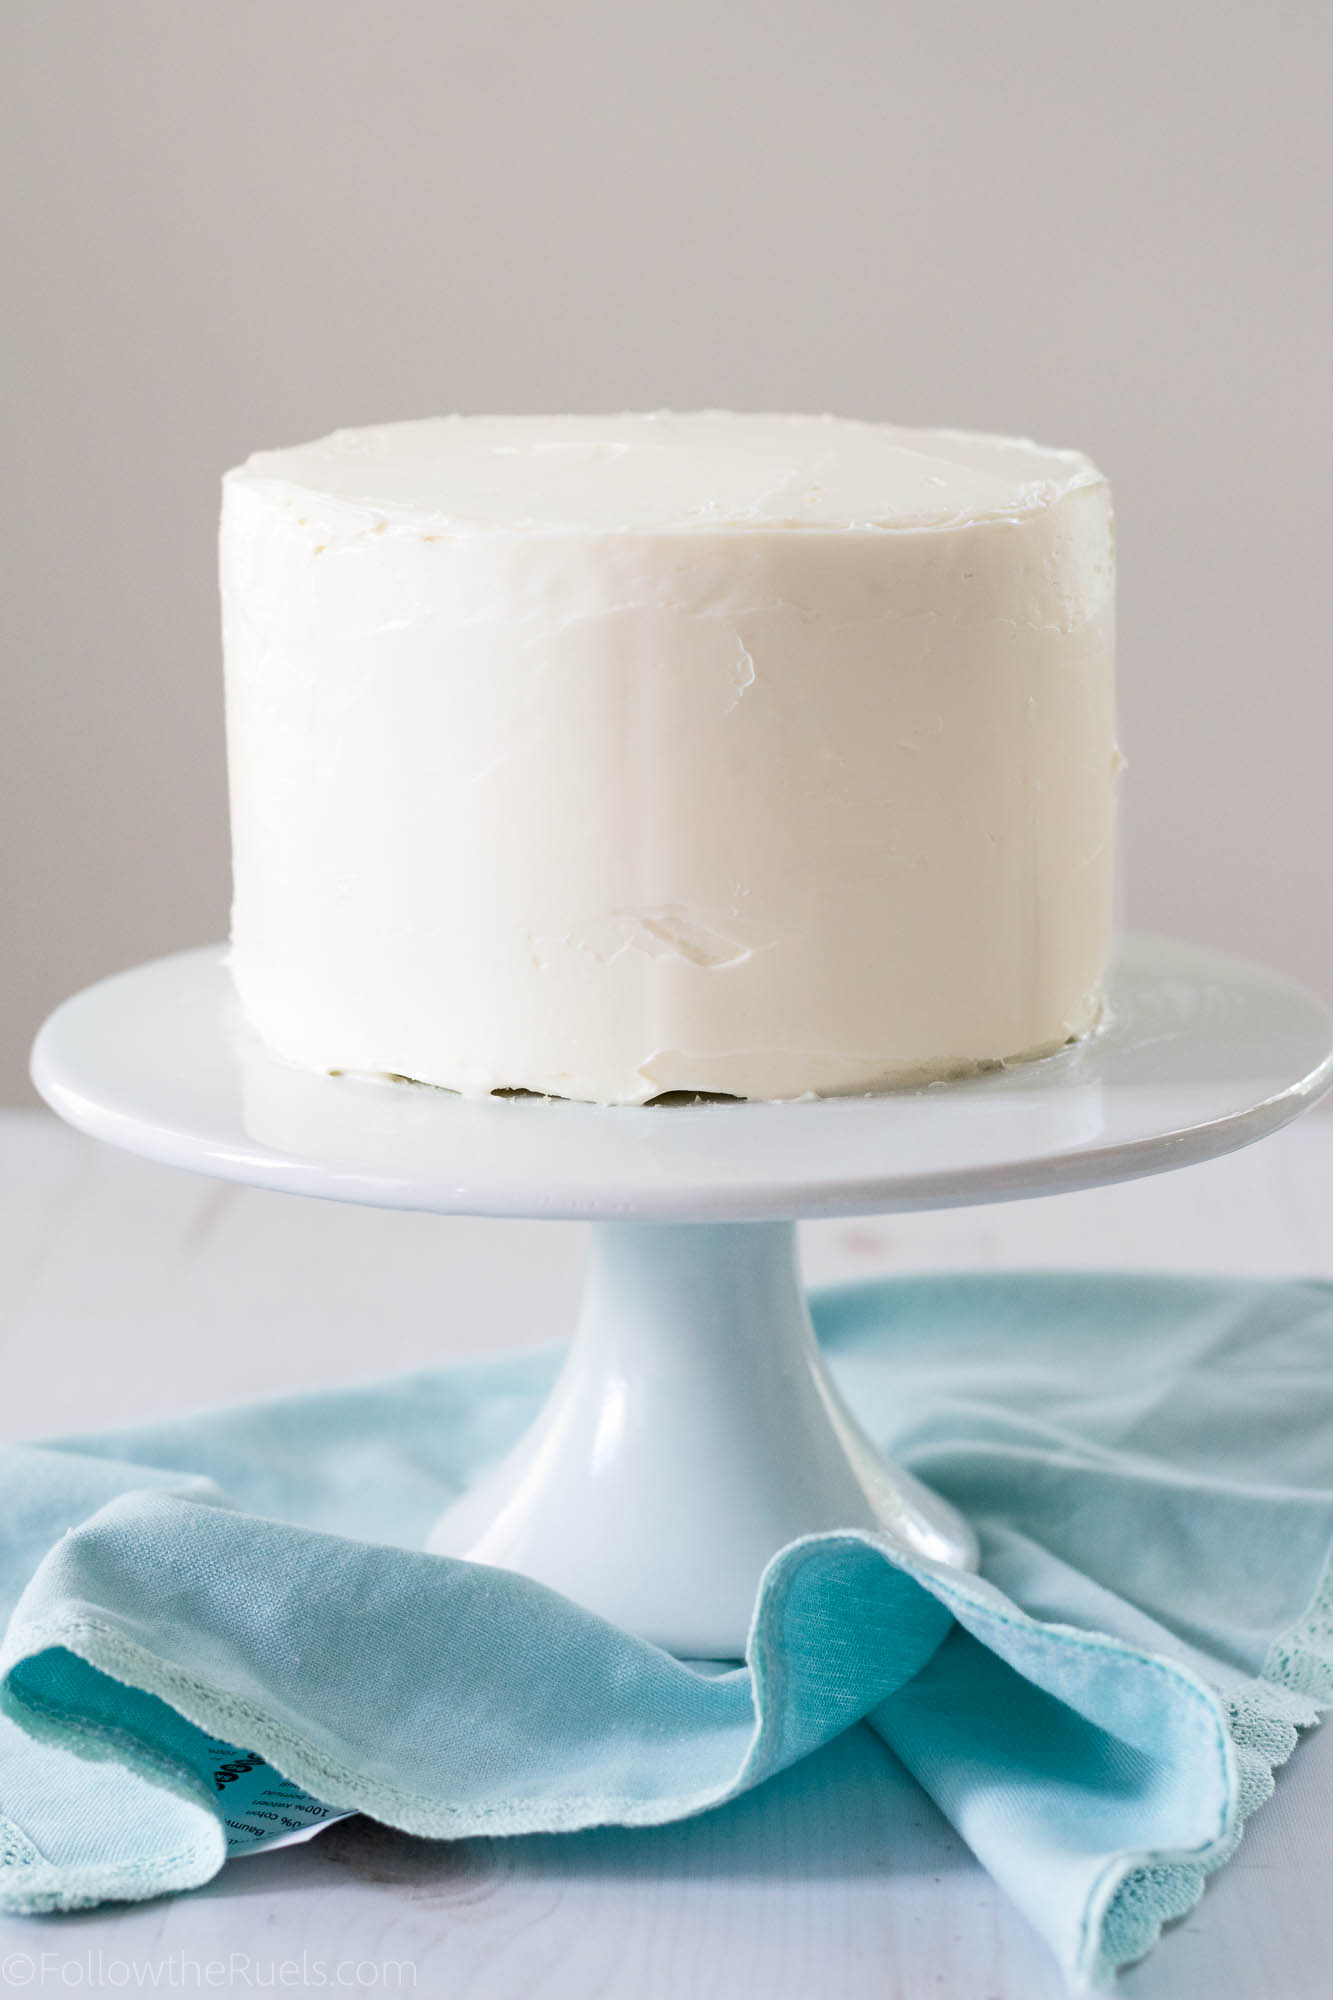
Once the cake is out of the fridge, cover the entire thing with a generous amount of frosting. The frosting doesn’t have to be perfect but make sure the entire cake is covered and it’s generally pretty square and level. 

Using a large spatula will make your life a lot easier in this endeavor!


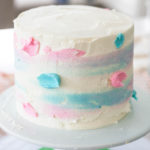
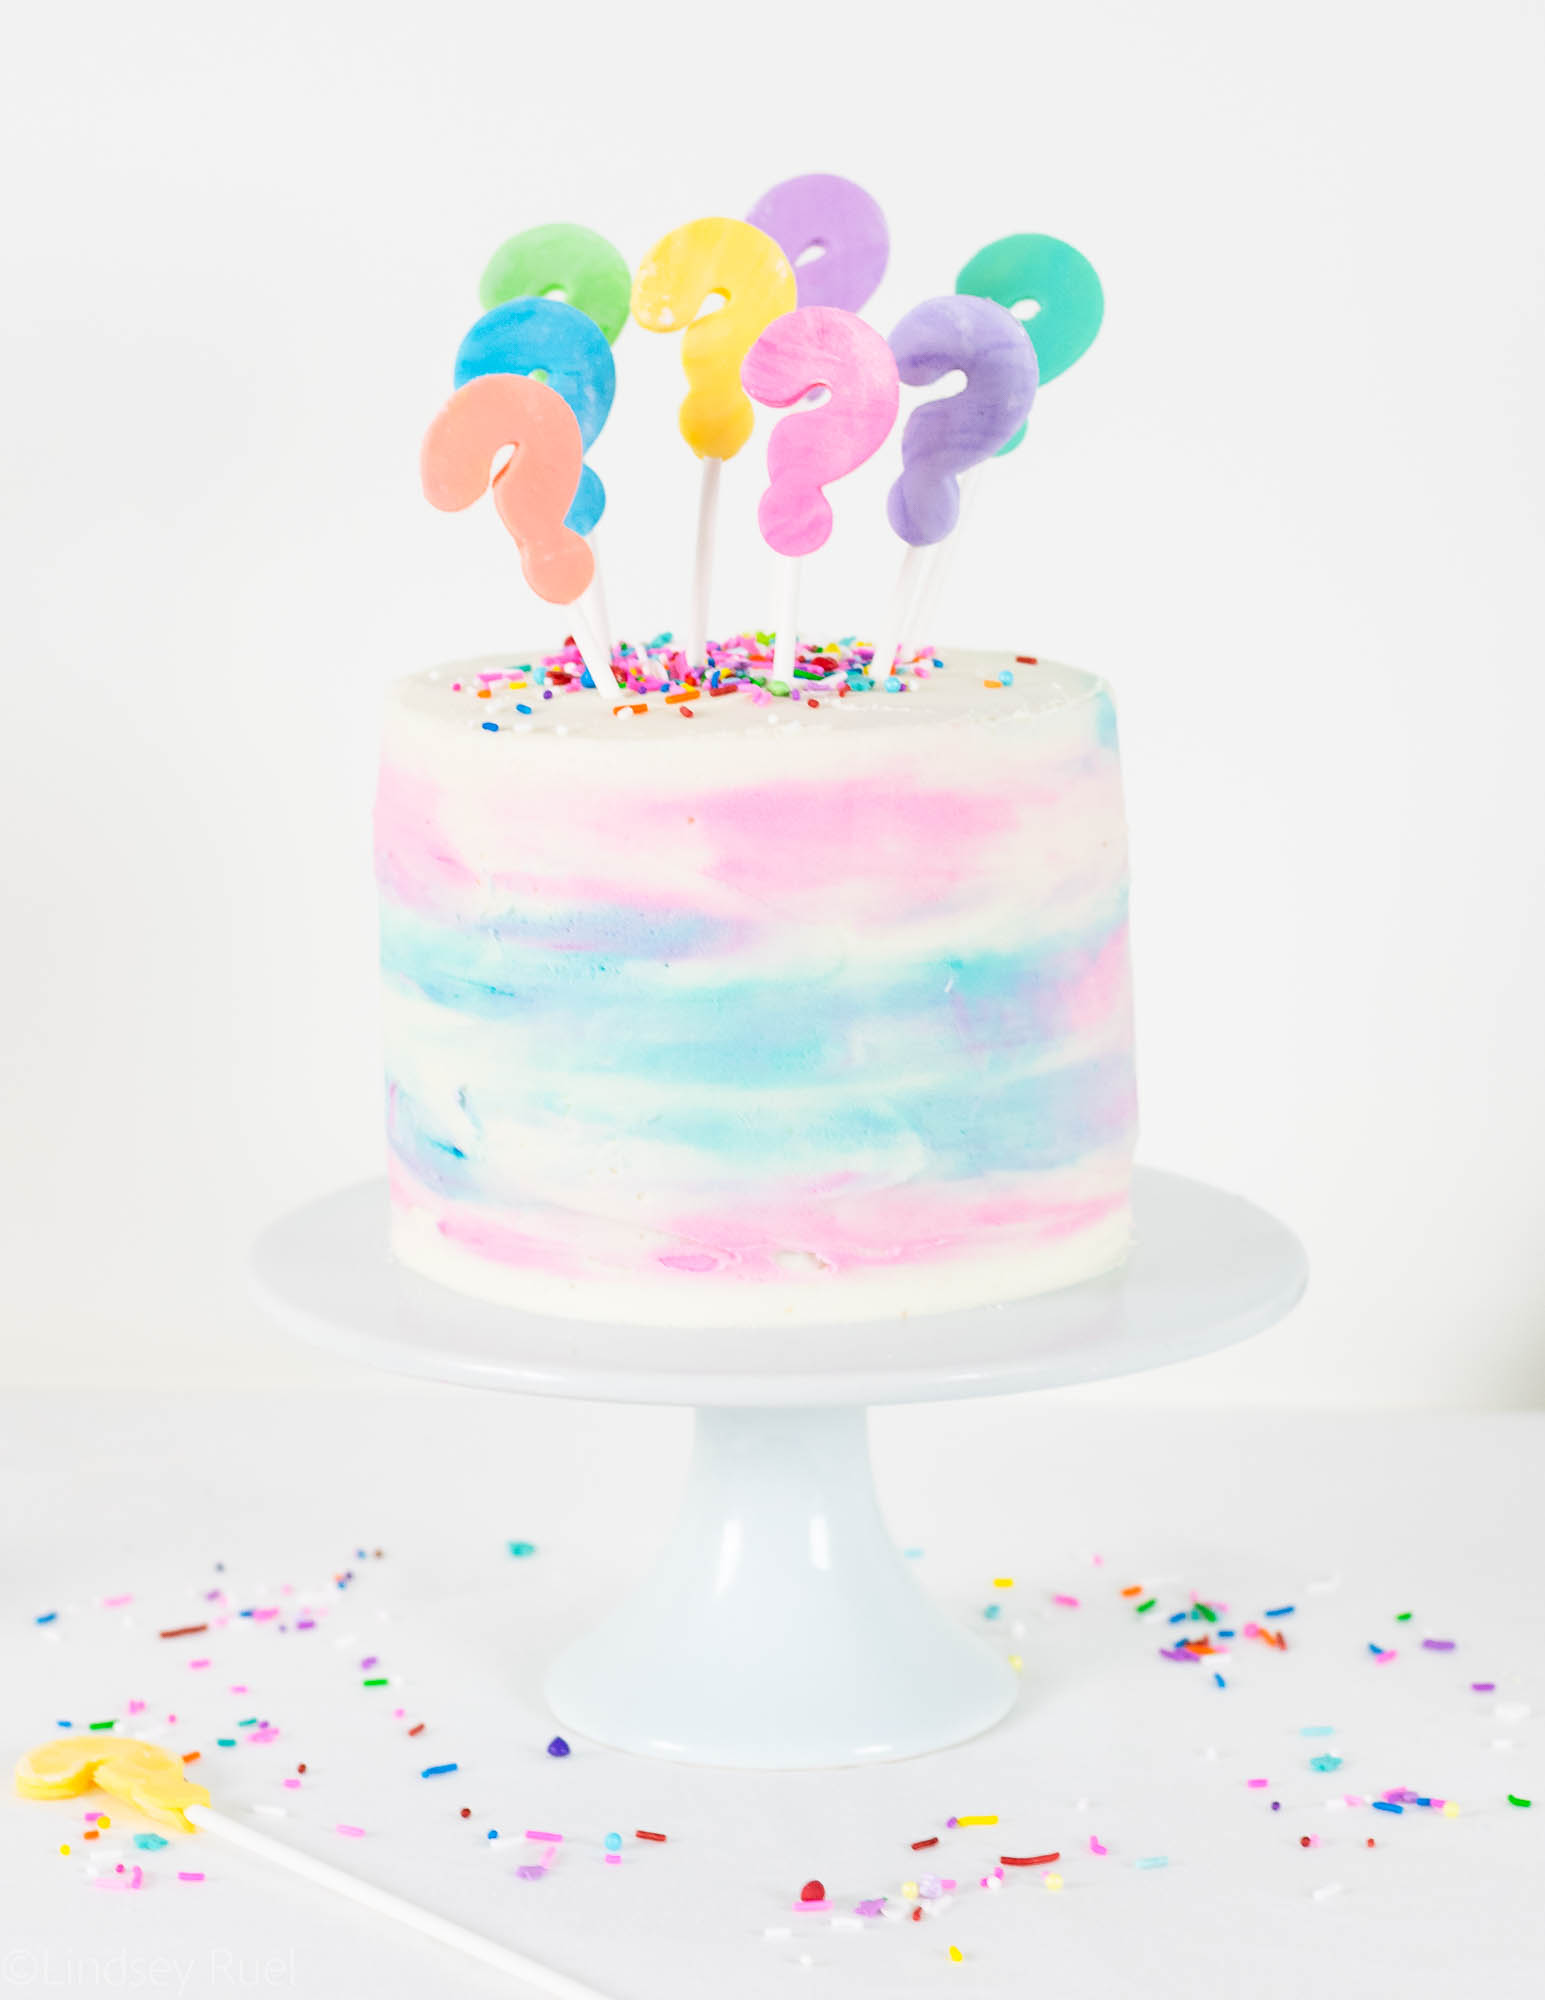
To get the pink and blue streaks, just tint a small amount of frosting pink and blue. Then add dots of frosting haphazardly around the cake. Use a spatula or bench scraper to then drag the icing around the cake in one big motion. 

If you want to add more color, add more dots of icing and repeat the process. 
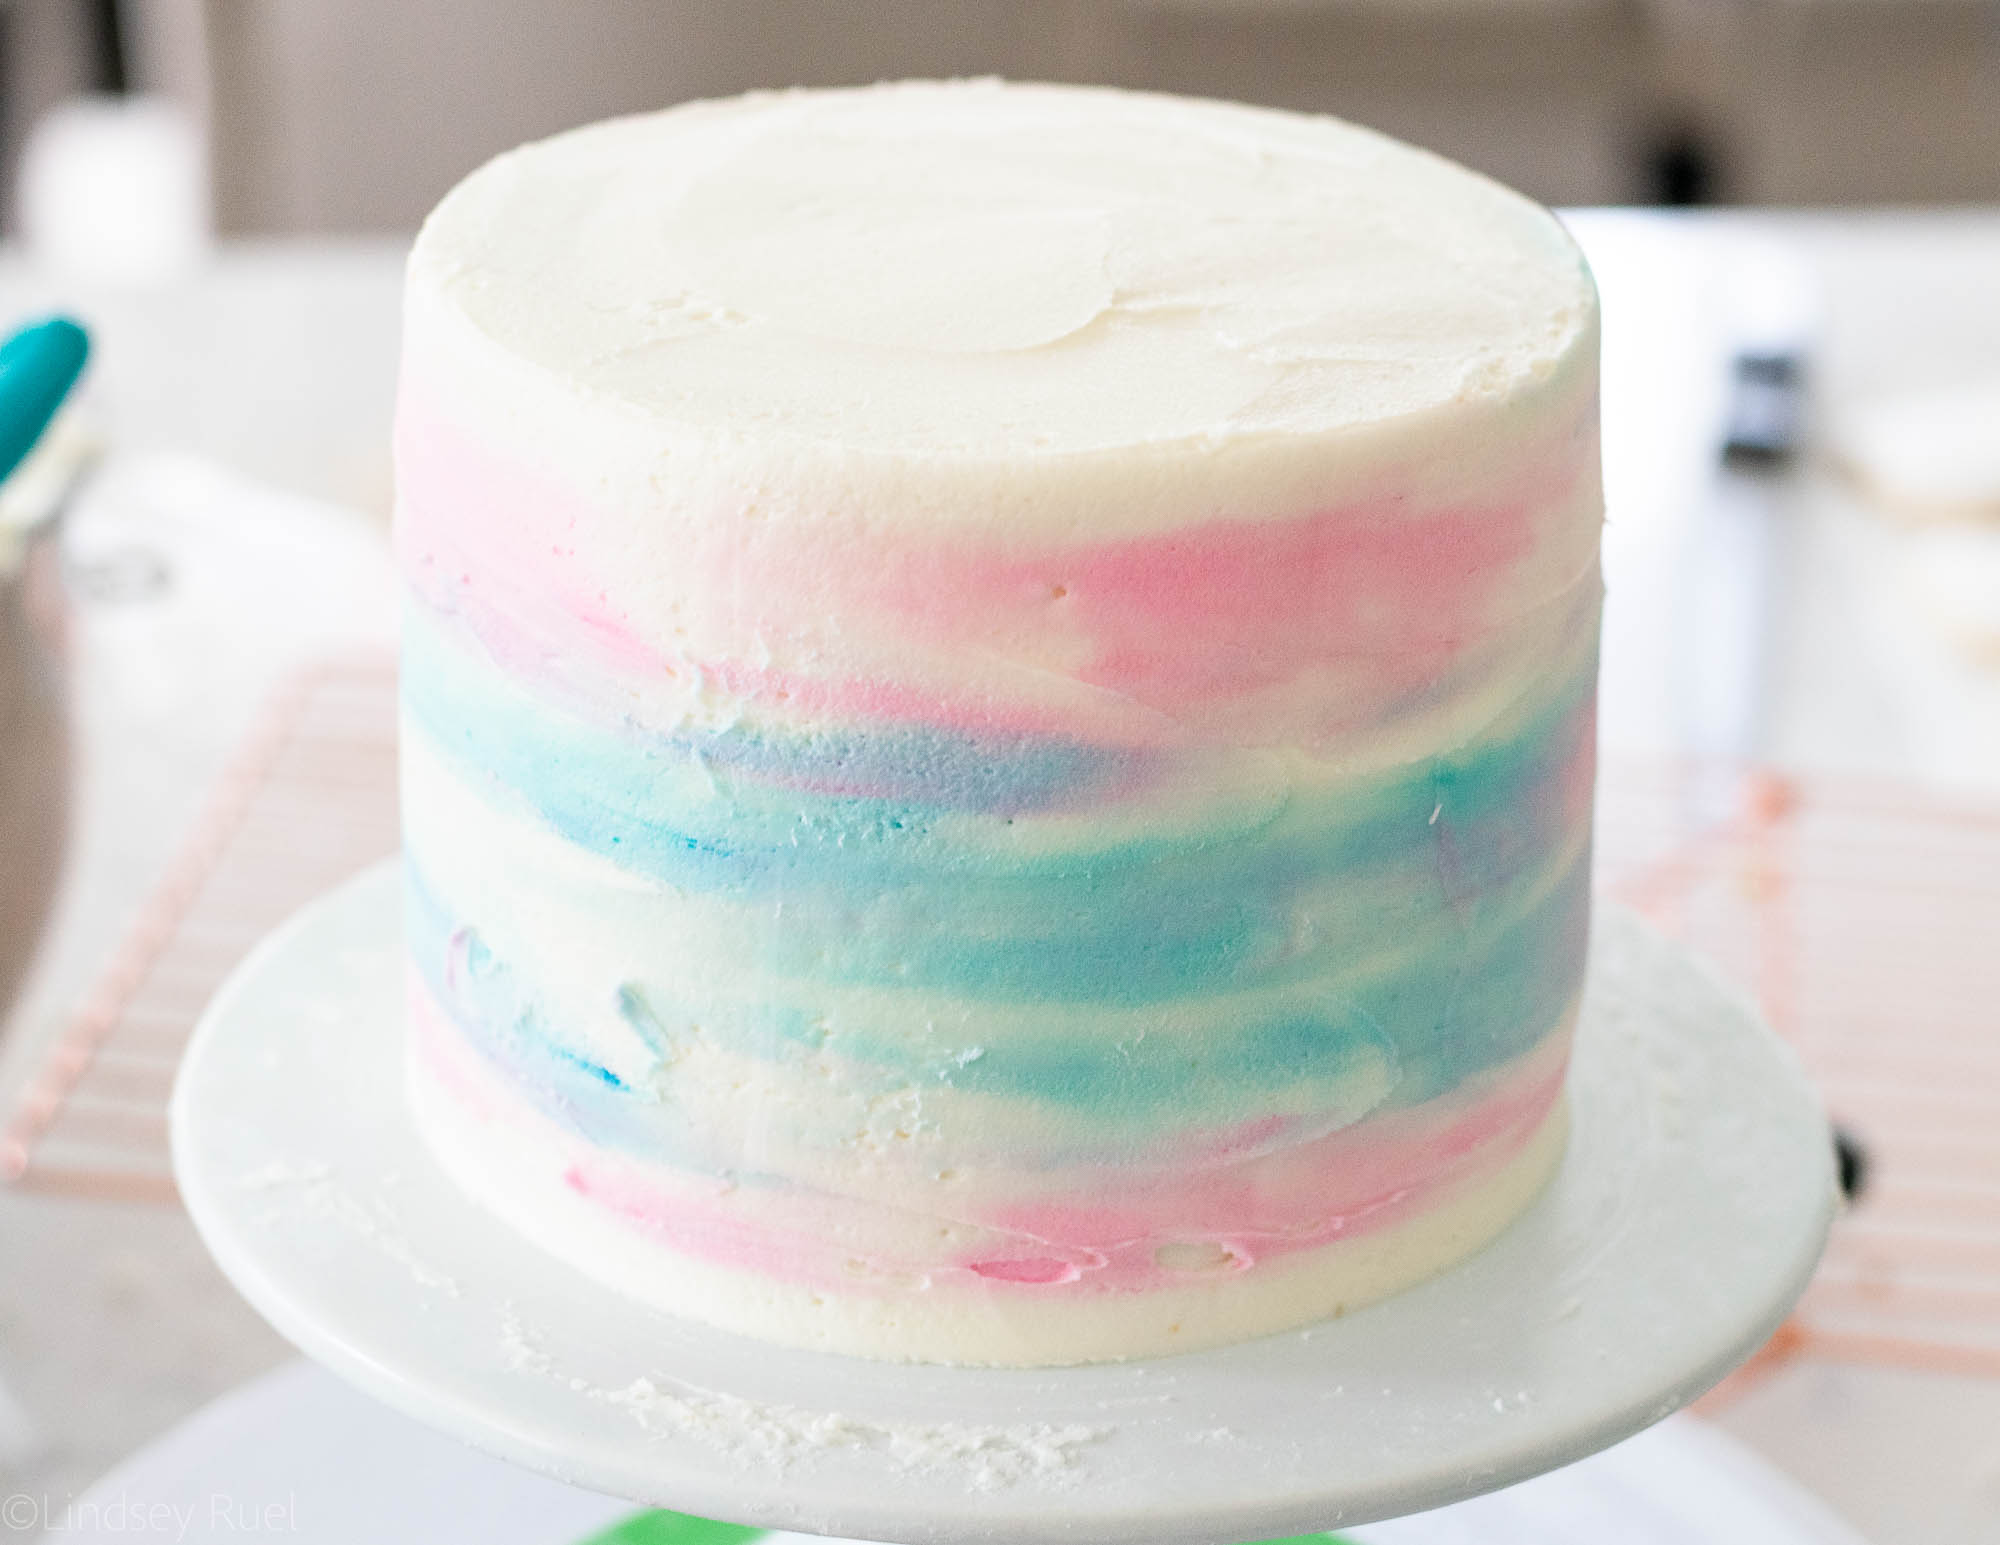
There is very little technique involved with this! Just keep spreading the frosting until you are happy with the results. 


If you want to add a little something extra to the top of the cake, might I suggest these little fondant question marks!

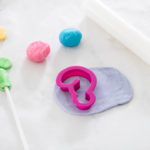
I colored several small balls of white fondant with gel food coloring. Rolled them out and cut them with a question mark cookie cutter, then attached them to a lollipop stick. 

Place one cut out question mark backwards on your work surface, spread a bit of water on the back, place the stick in the center, then add the other question mark on top. Be sure to press down the edges and wrap the top question mark around the stick.

Let these sit out flat for at least an hour so they can dry and harden.
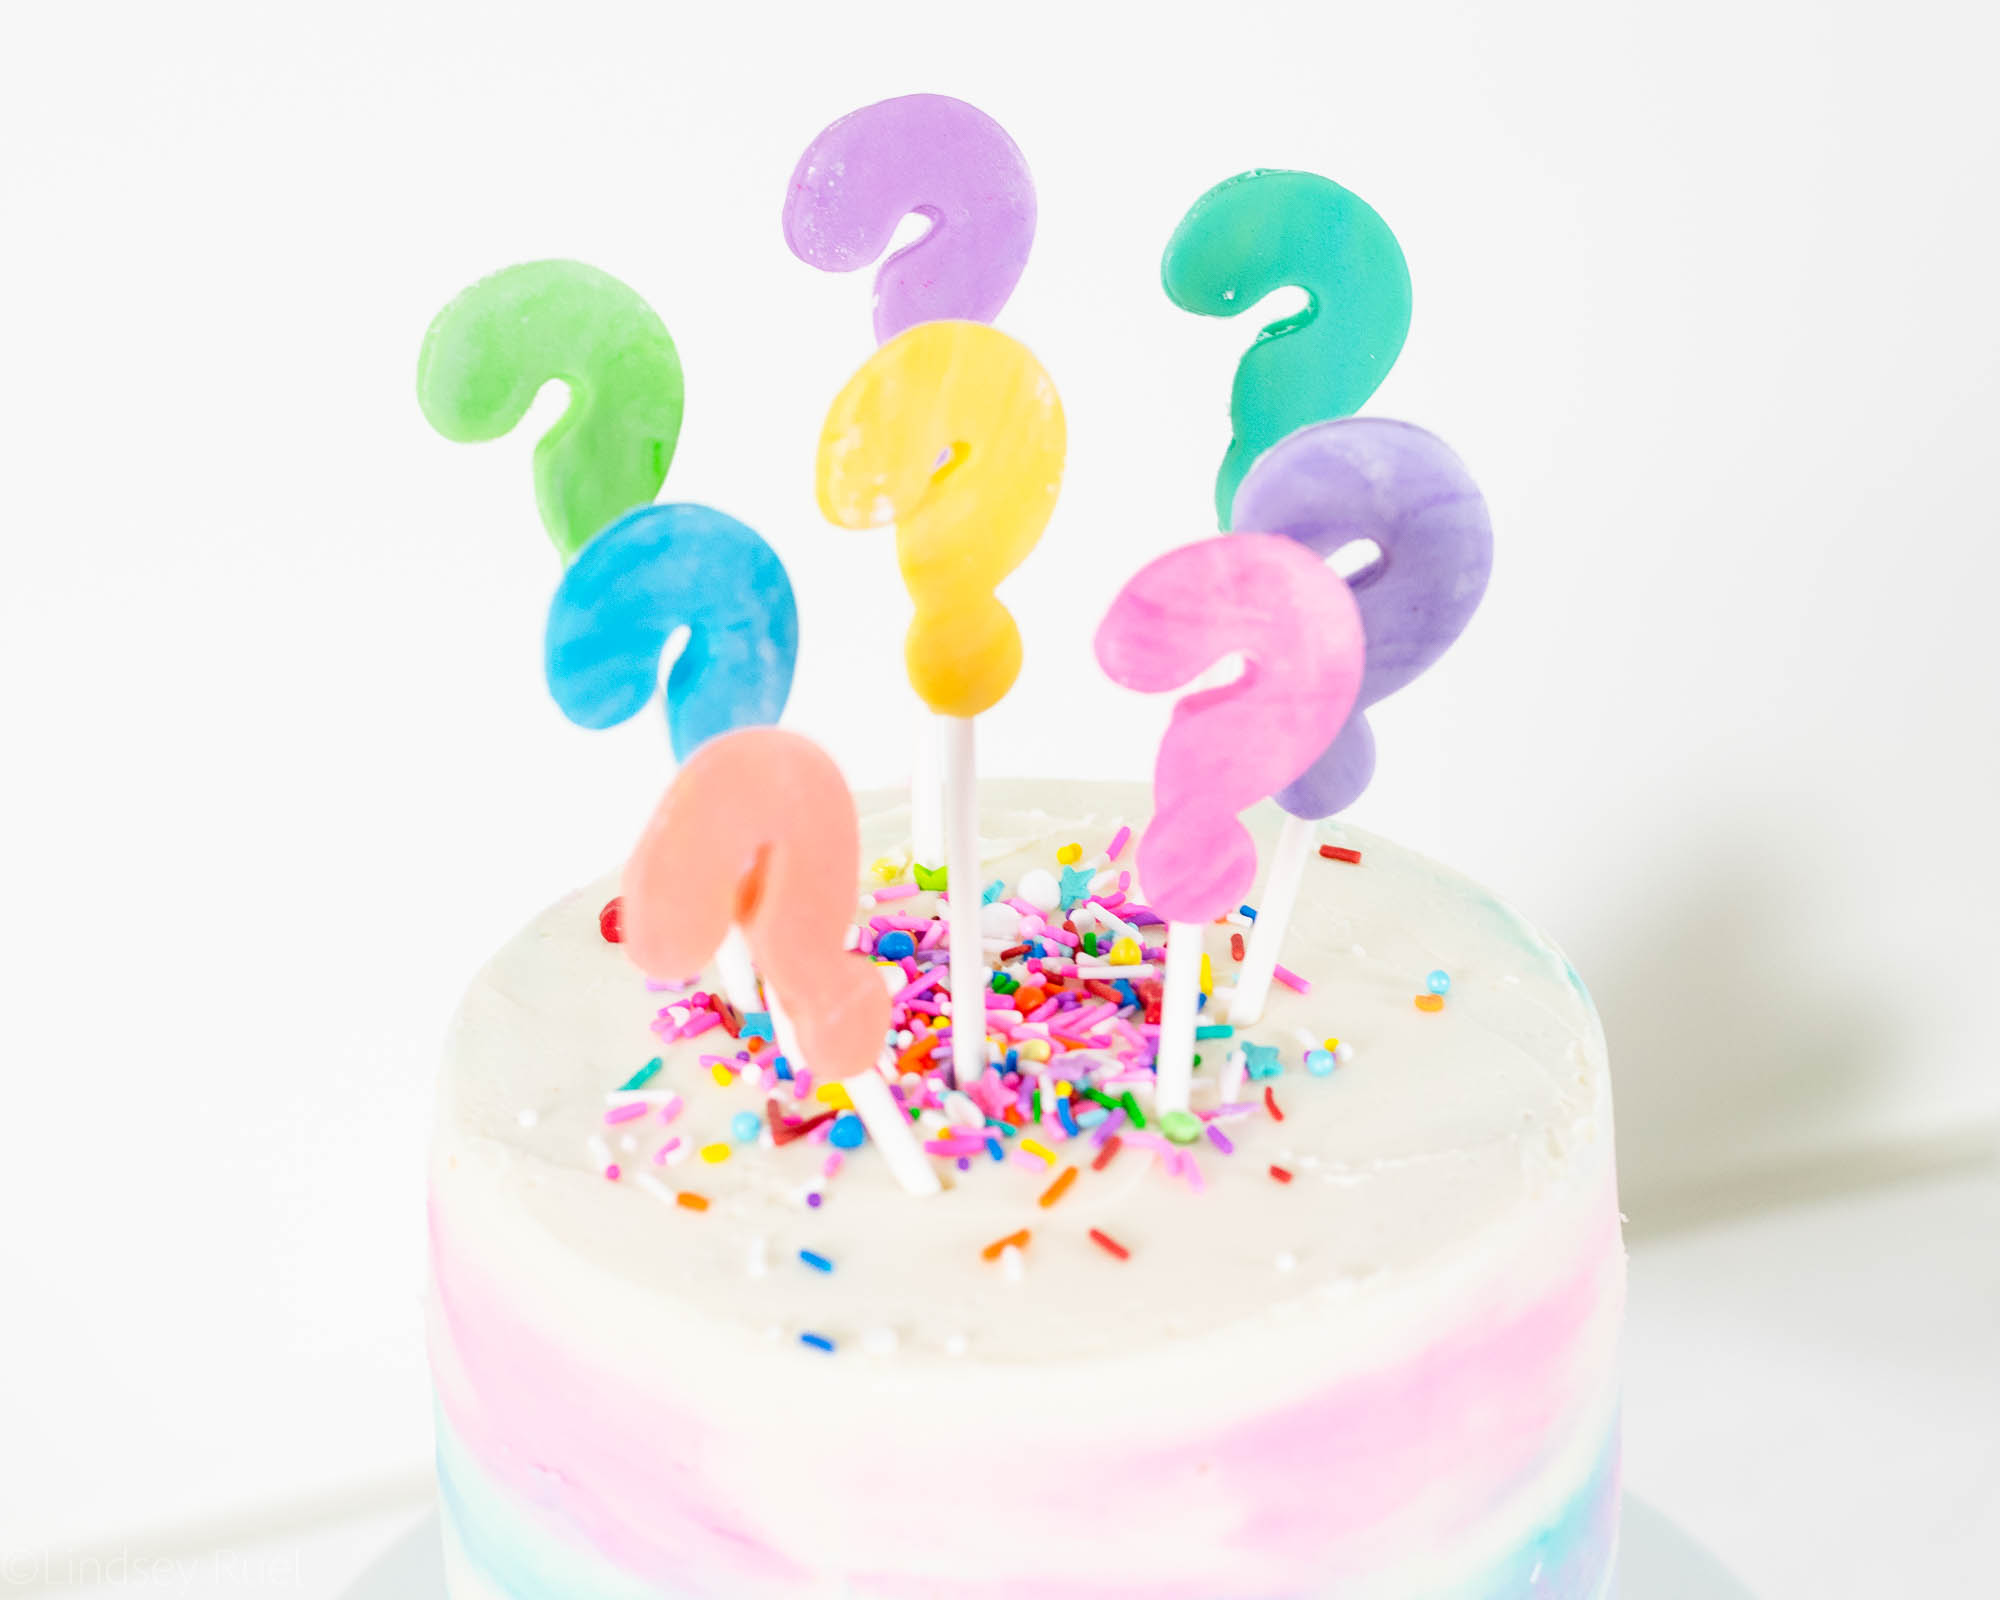
All that’s left to do is to add some sprinkles on top and stick the question marks in!
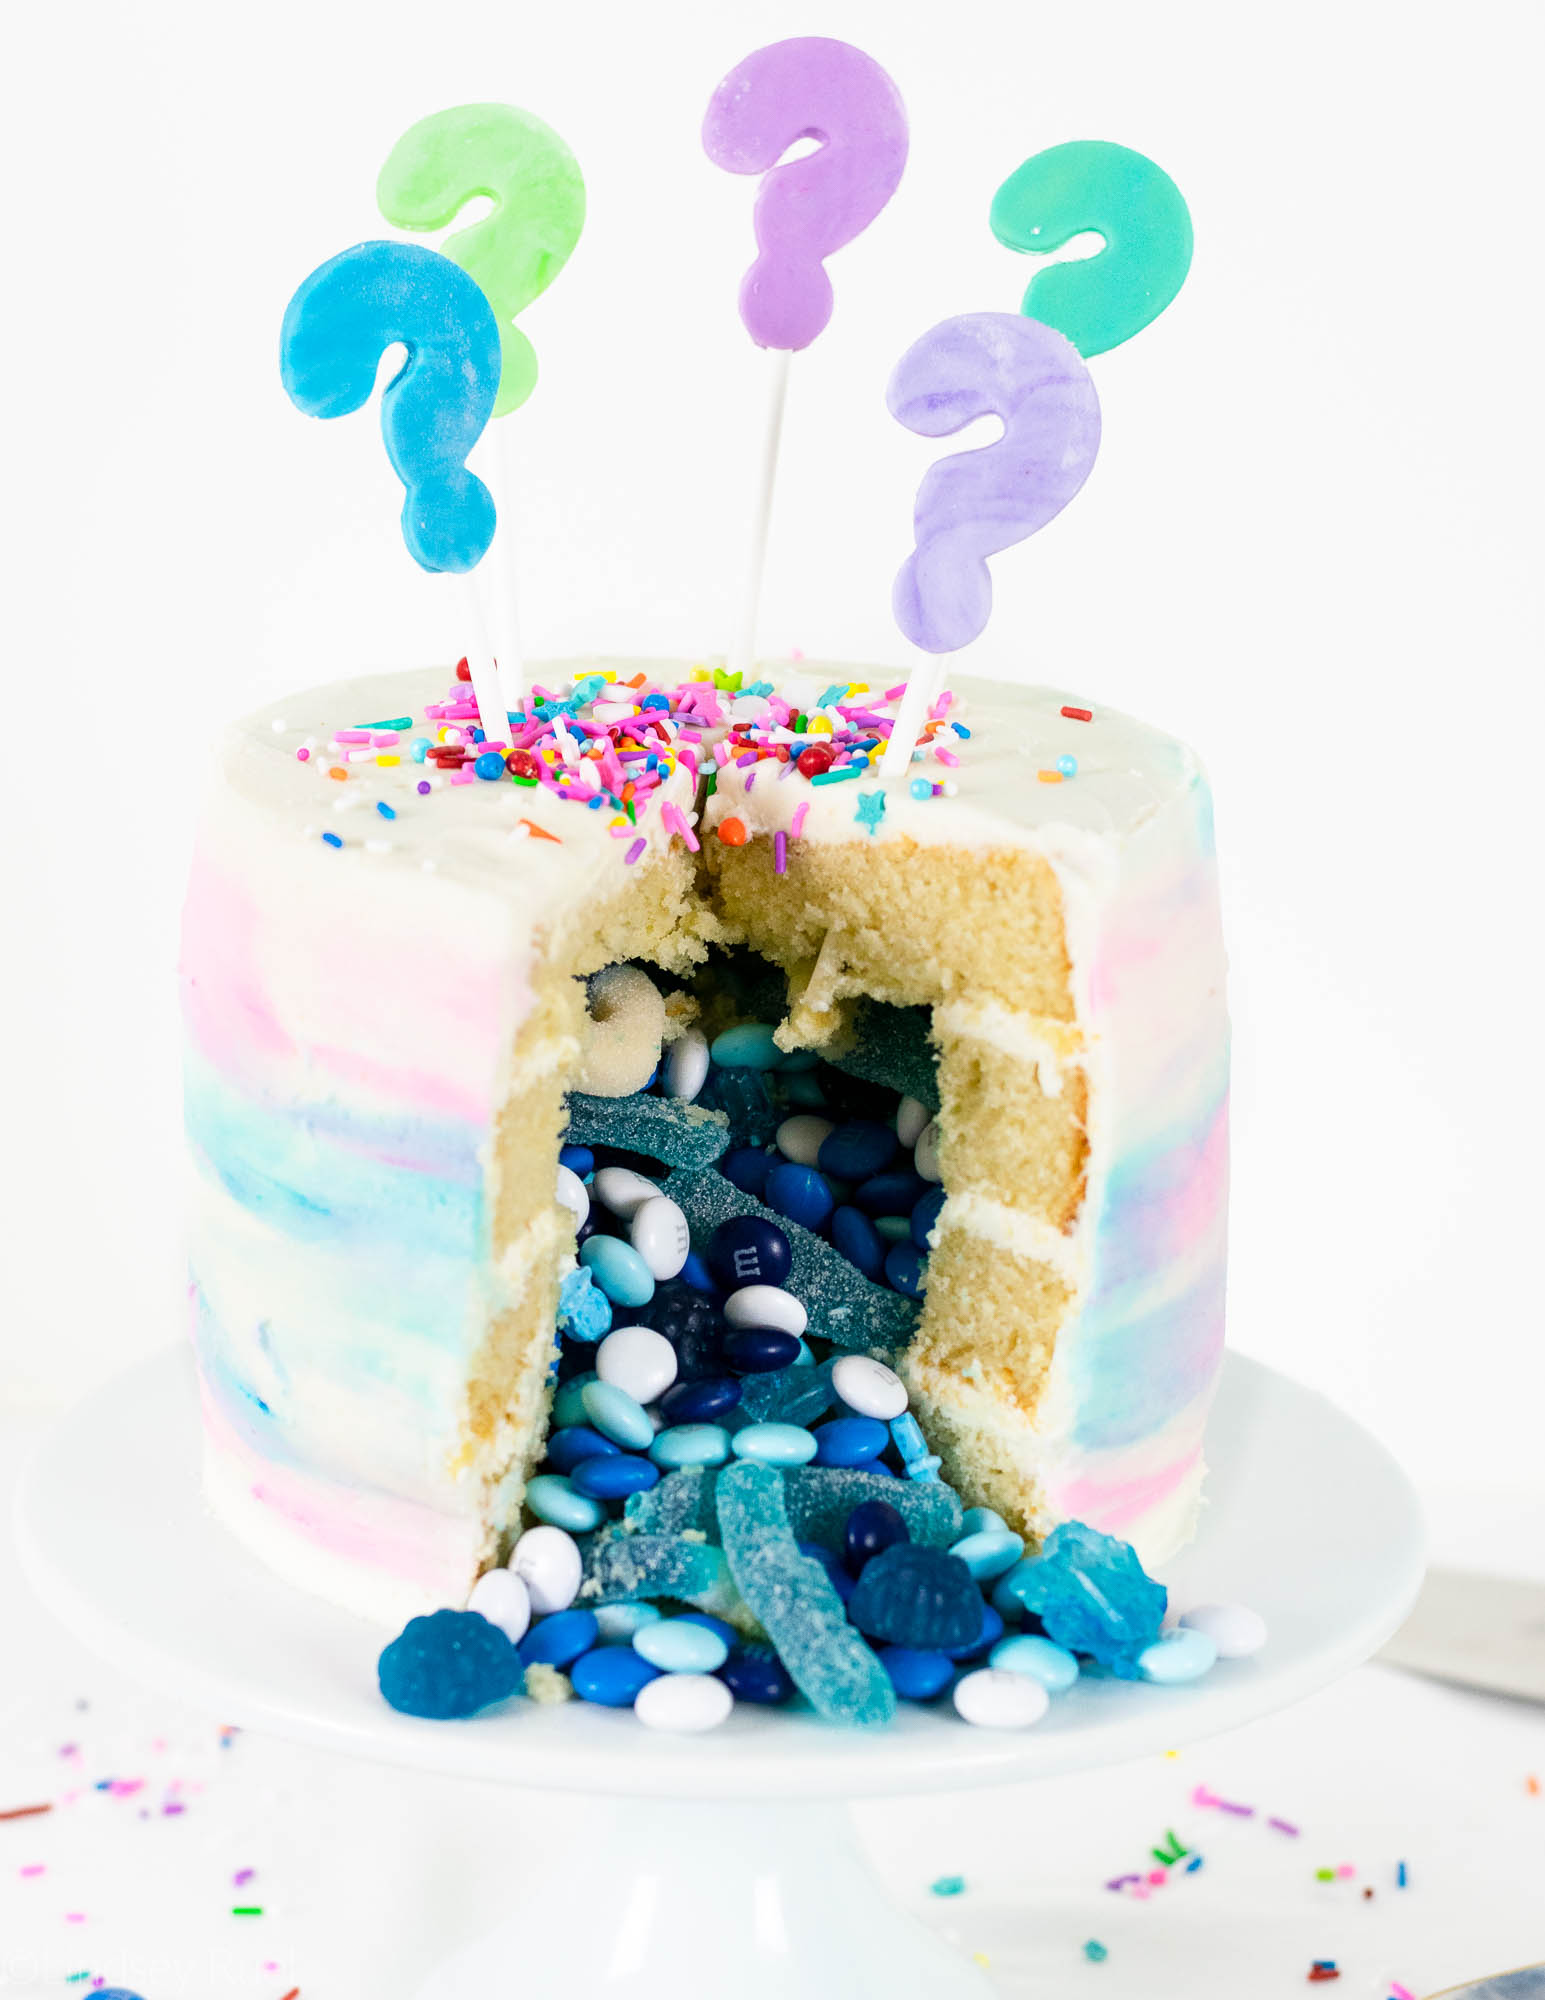
Oh…and cut into it!

That’s the best part.
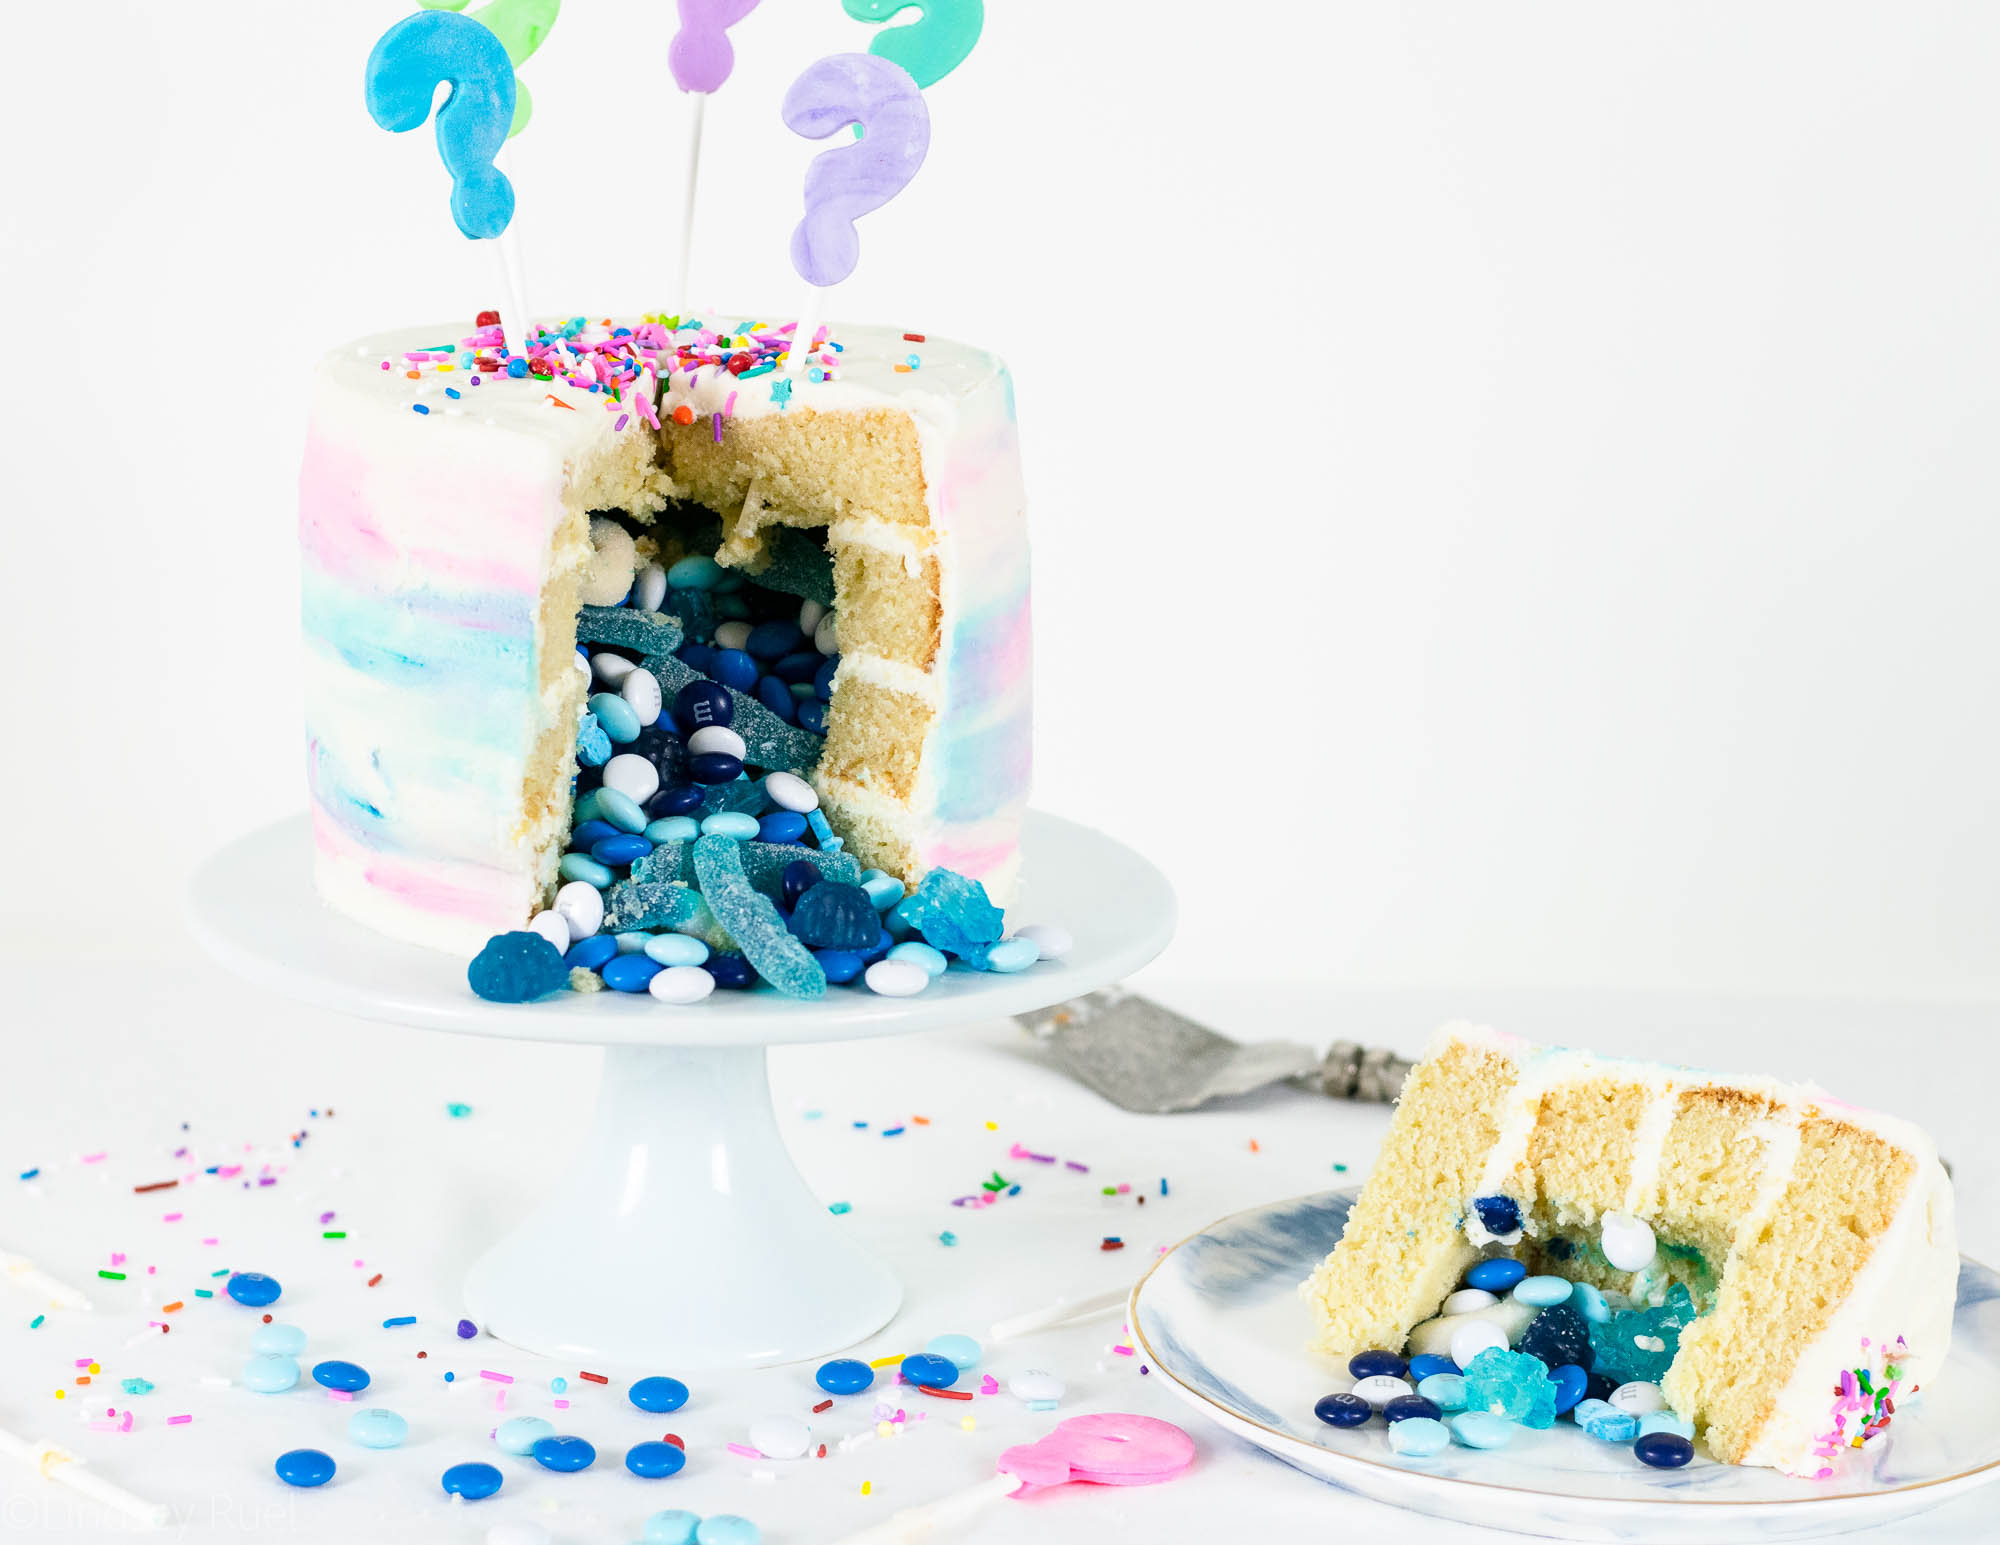
Which just slightly edges out eating it!

Vanilla Cake Recipe

[amd-yrecipe-recipe:167]
/ Filed In: Cakes and Cupcakes, Cakes New, Desserts, Eat
Tagged: baby, baby shower, cake, candy, decorated cake, gender reveal, Surprise Inside

4th of July Firework Cake

June 13, 2018

A lot of times, my motto is less is more. 

But not with this cake. The motto for this cake is MORE is MORE!

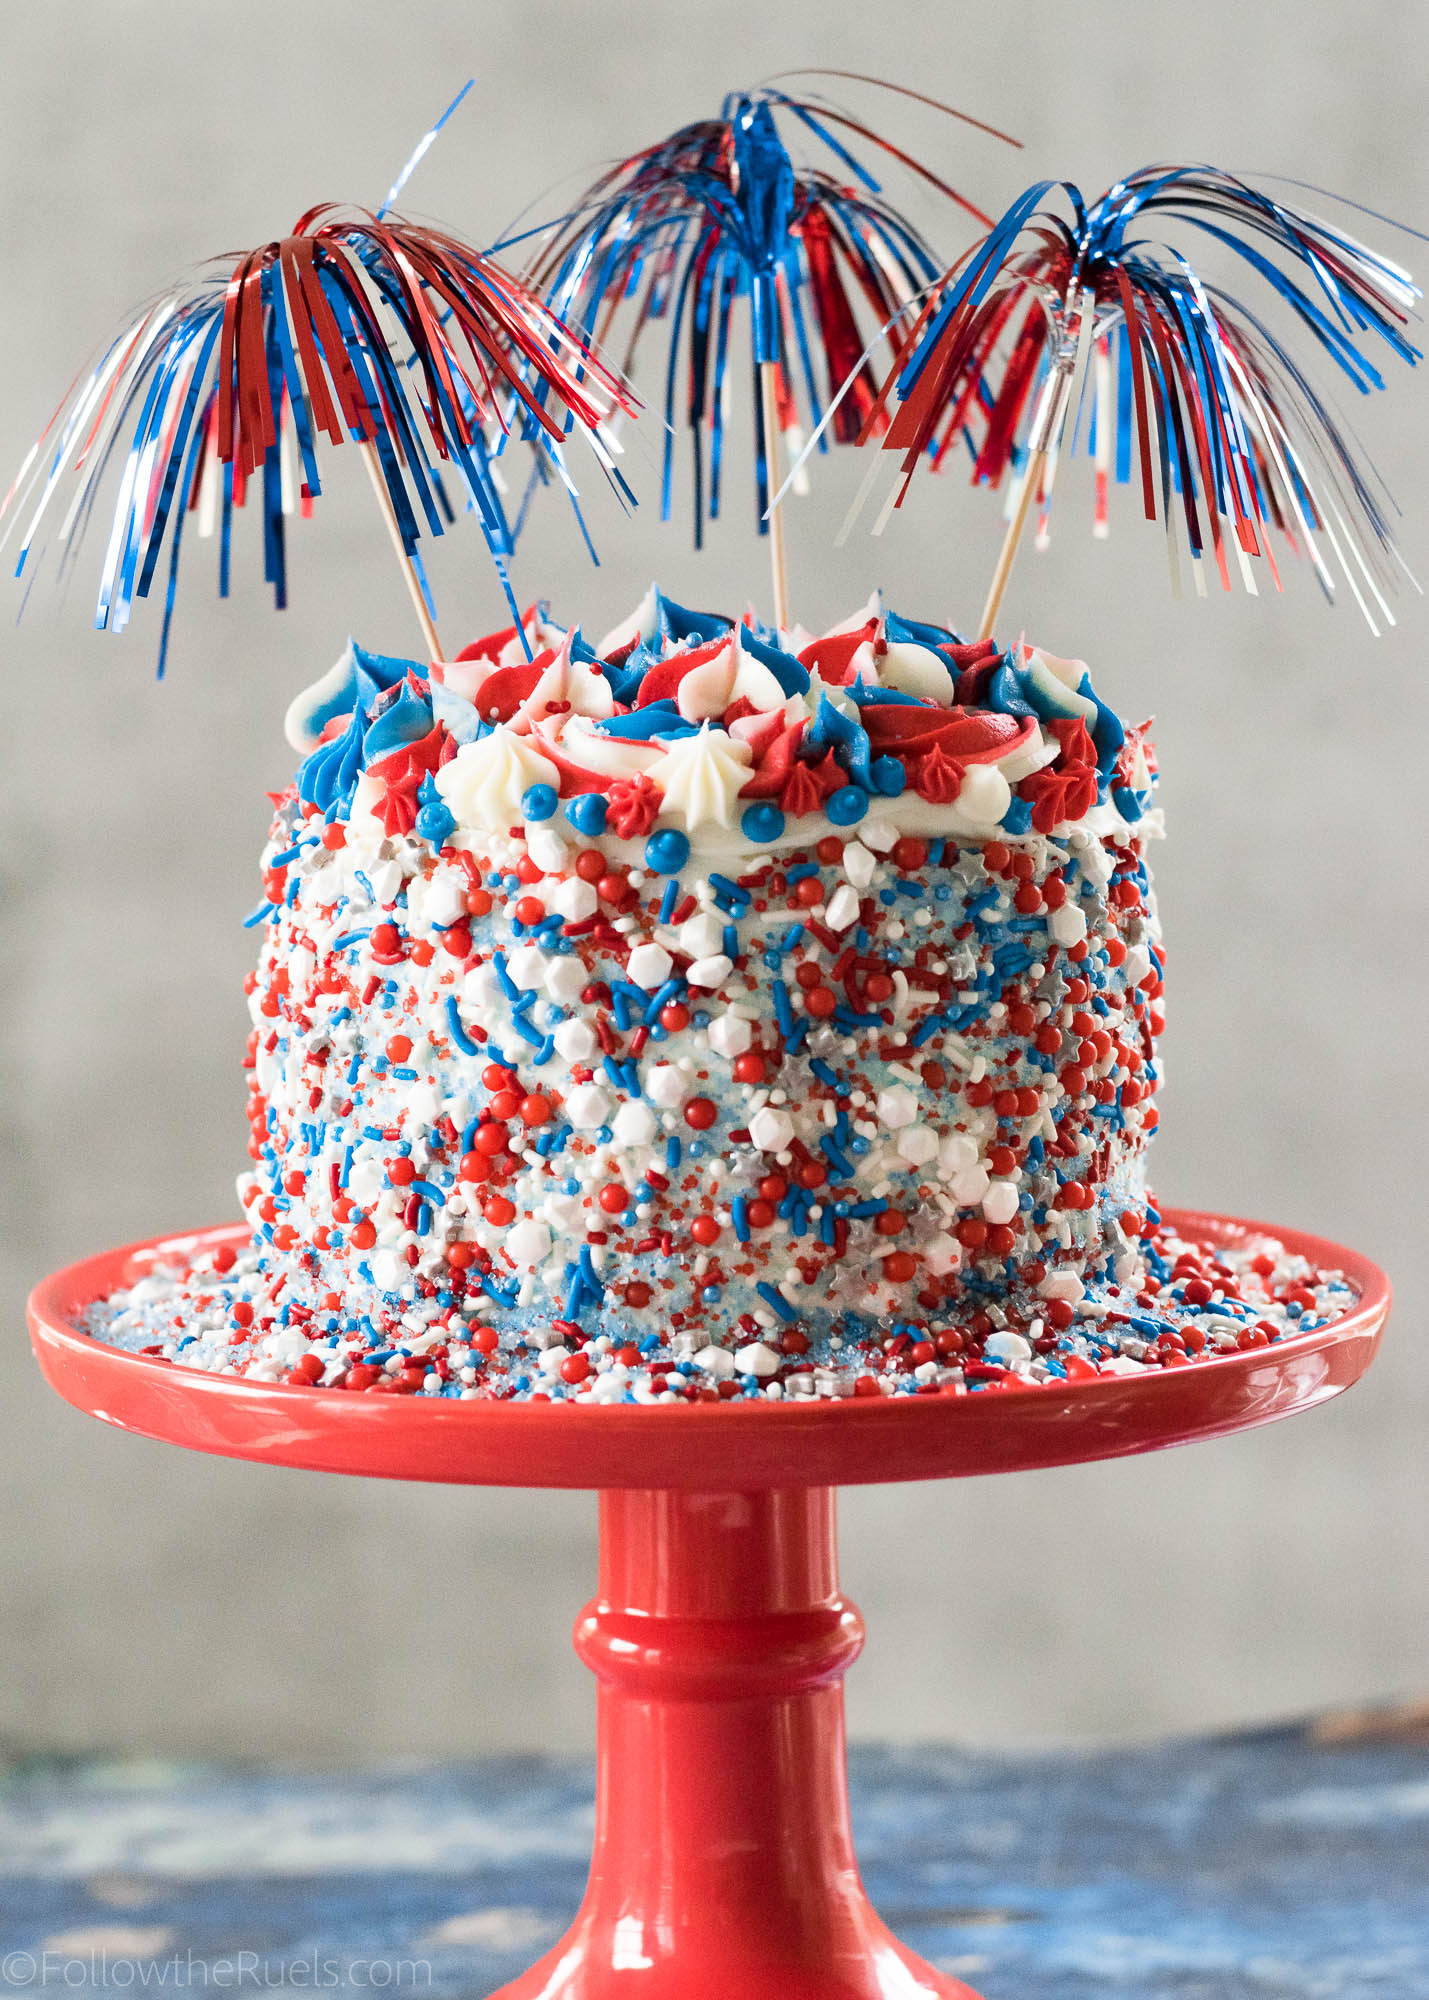
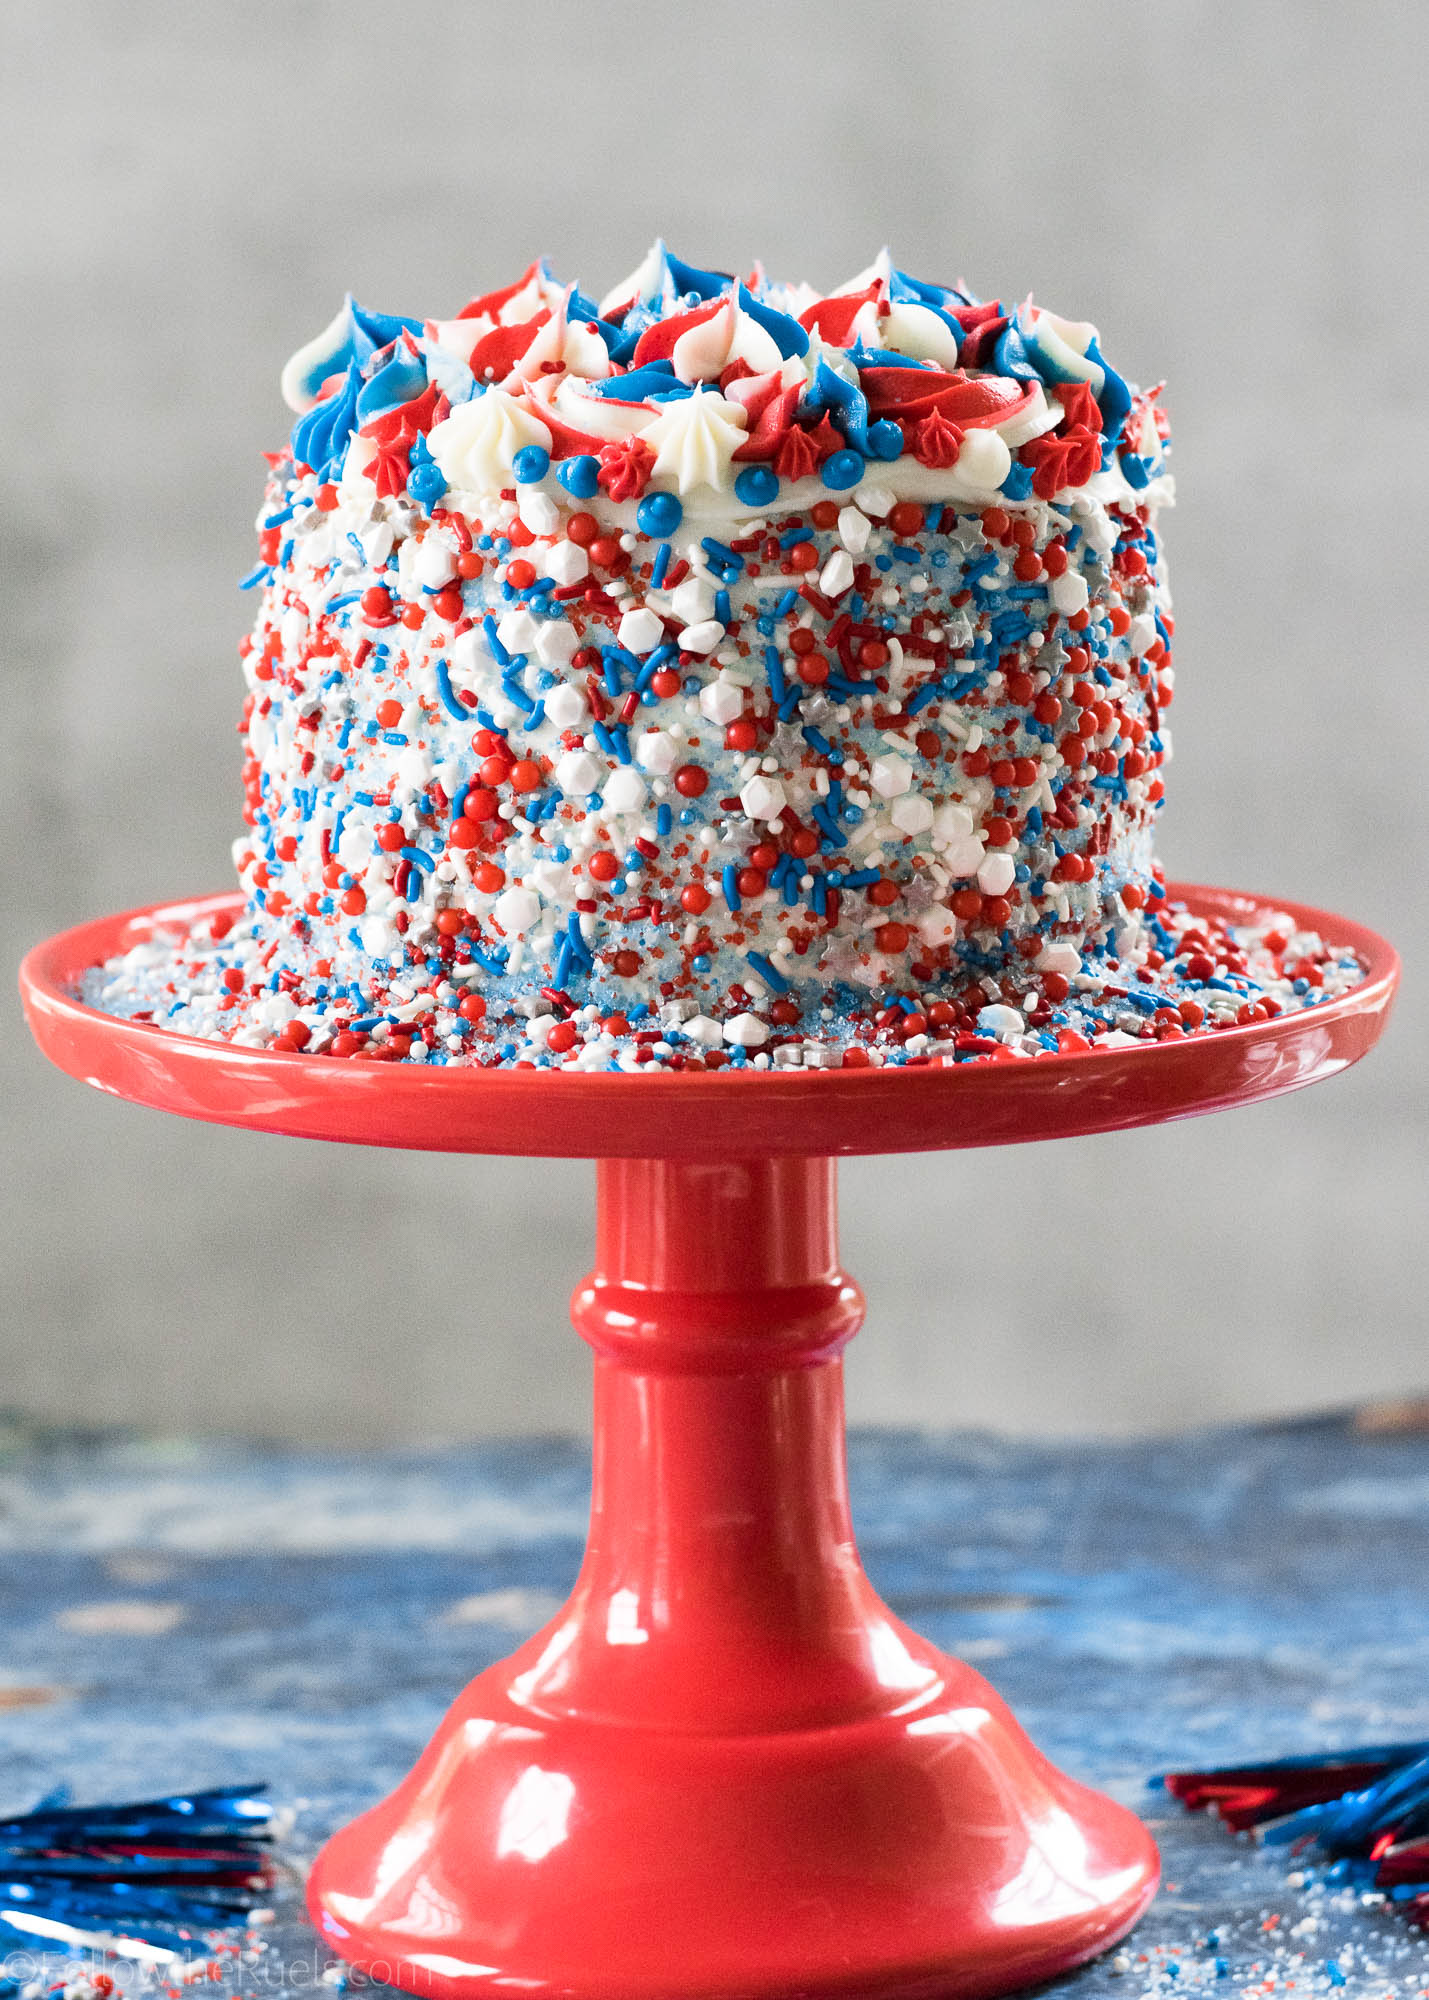
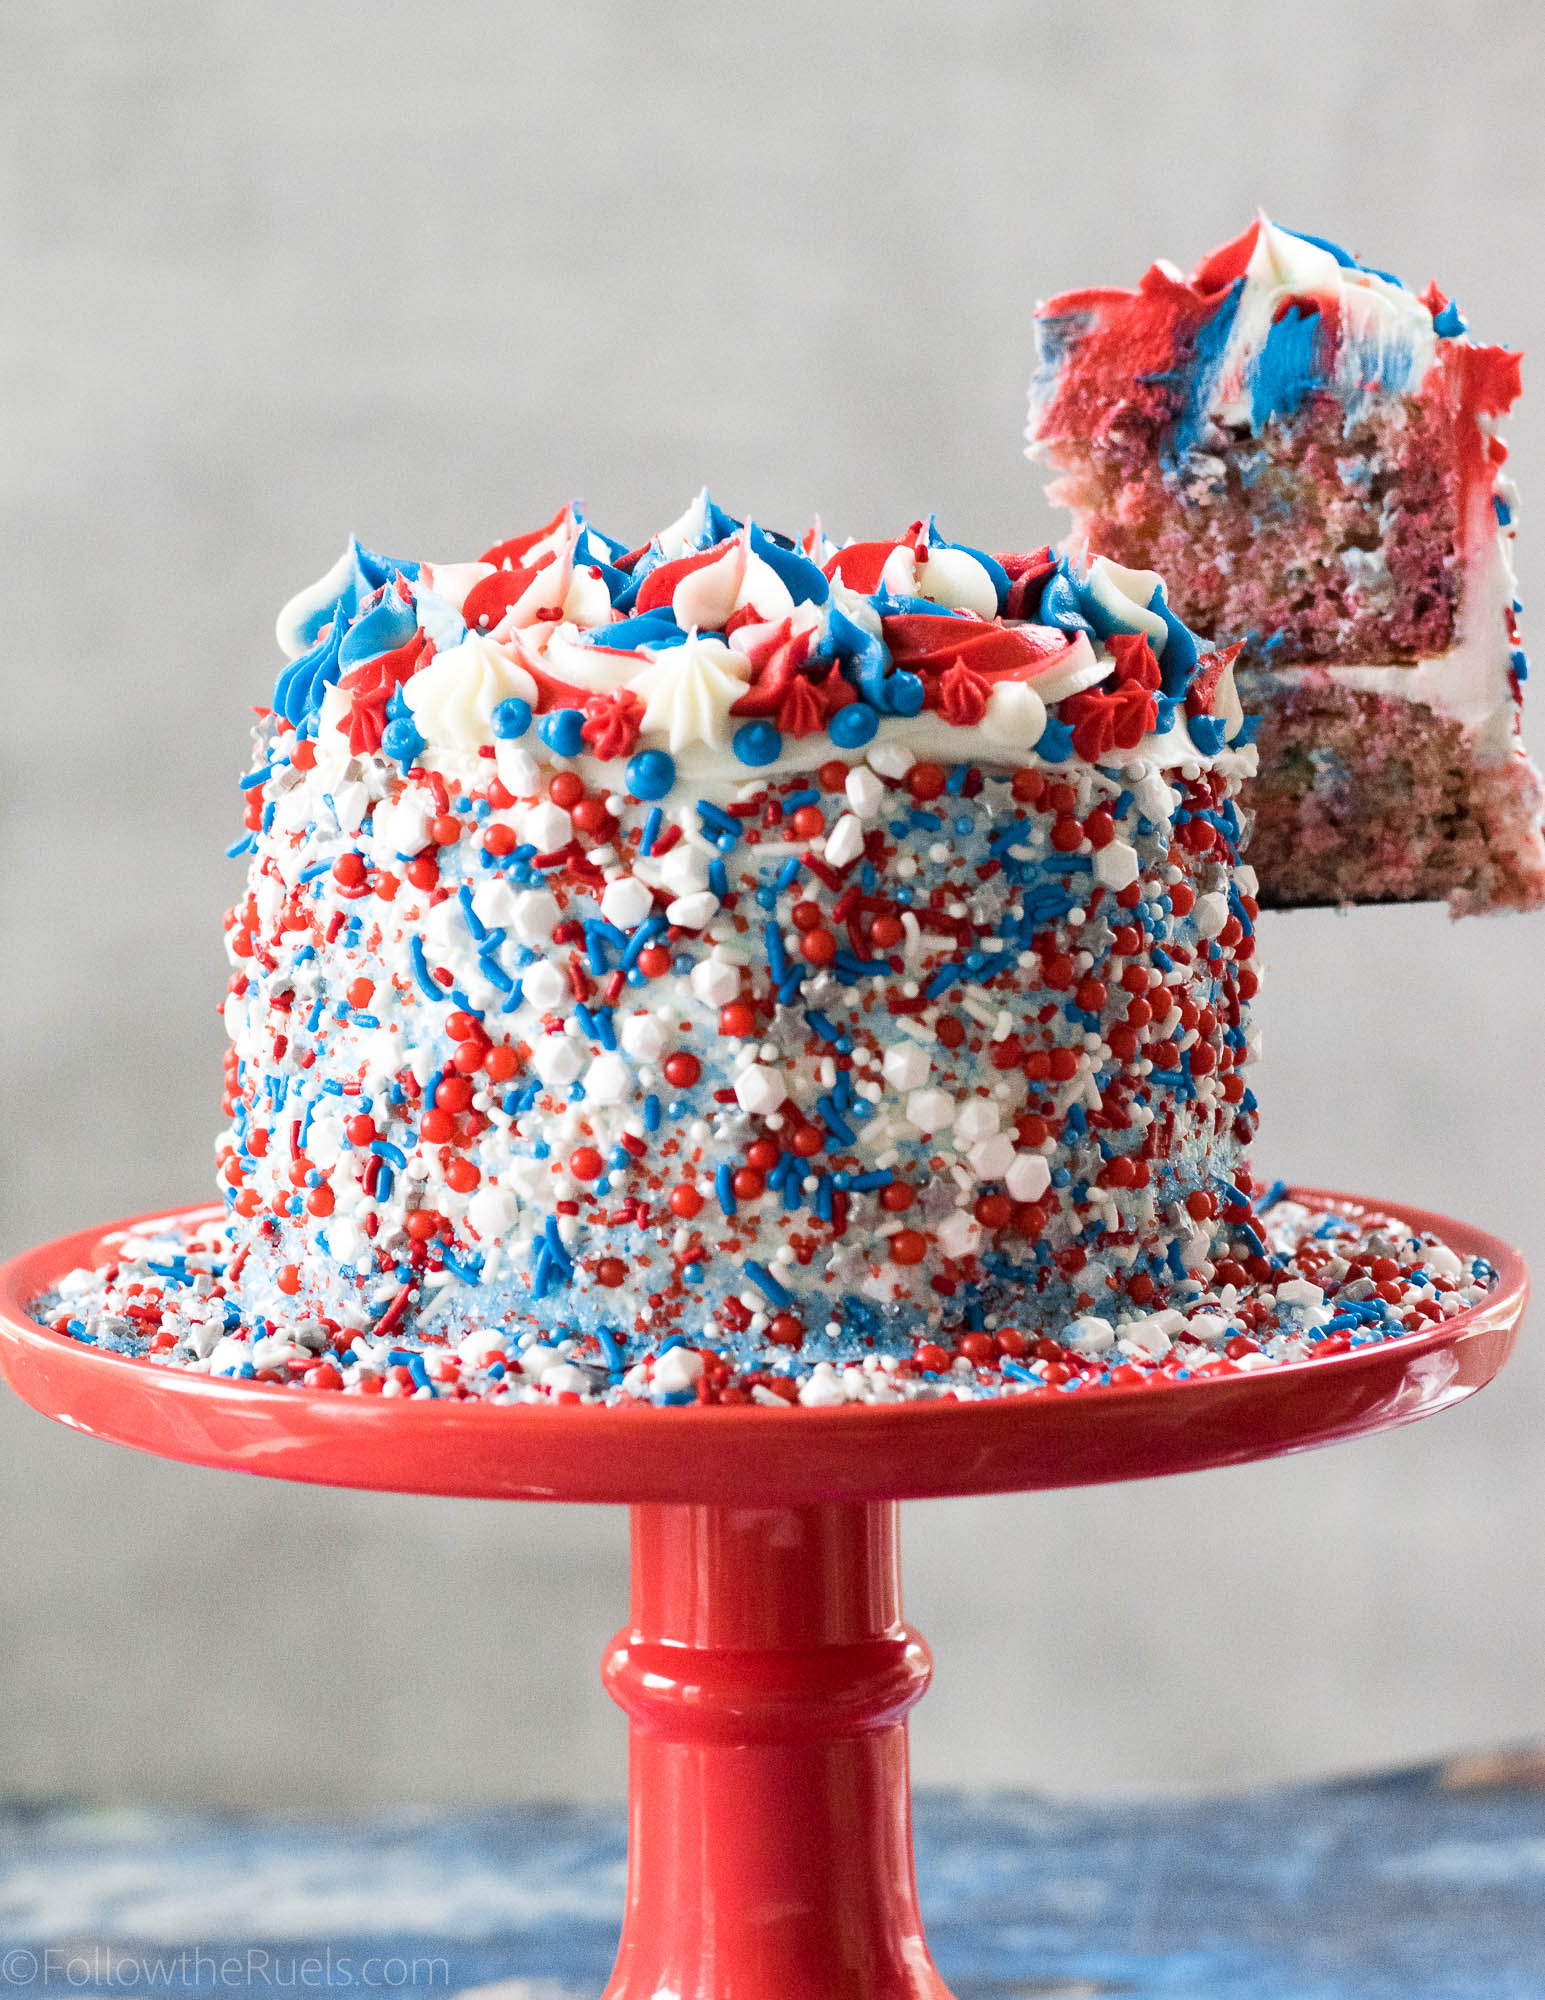
Which is perfect for 4th of July, and hence why I am calling it the 4th of July firework cake, because it reminds me of a firework. Just all the red, white, and blue, all over the place. 

Wilton Cakes was kind enough to send me one of their new cake decorating kits and I had so much fun coming up with this cake which was inspired by a few of the various cake designs they had in their book.

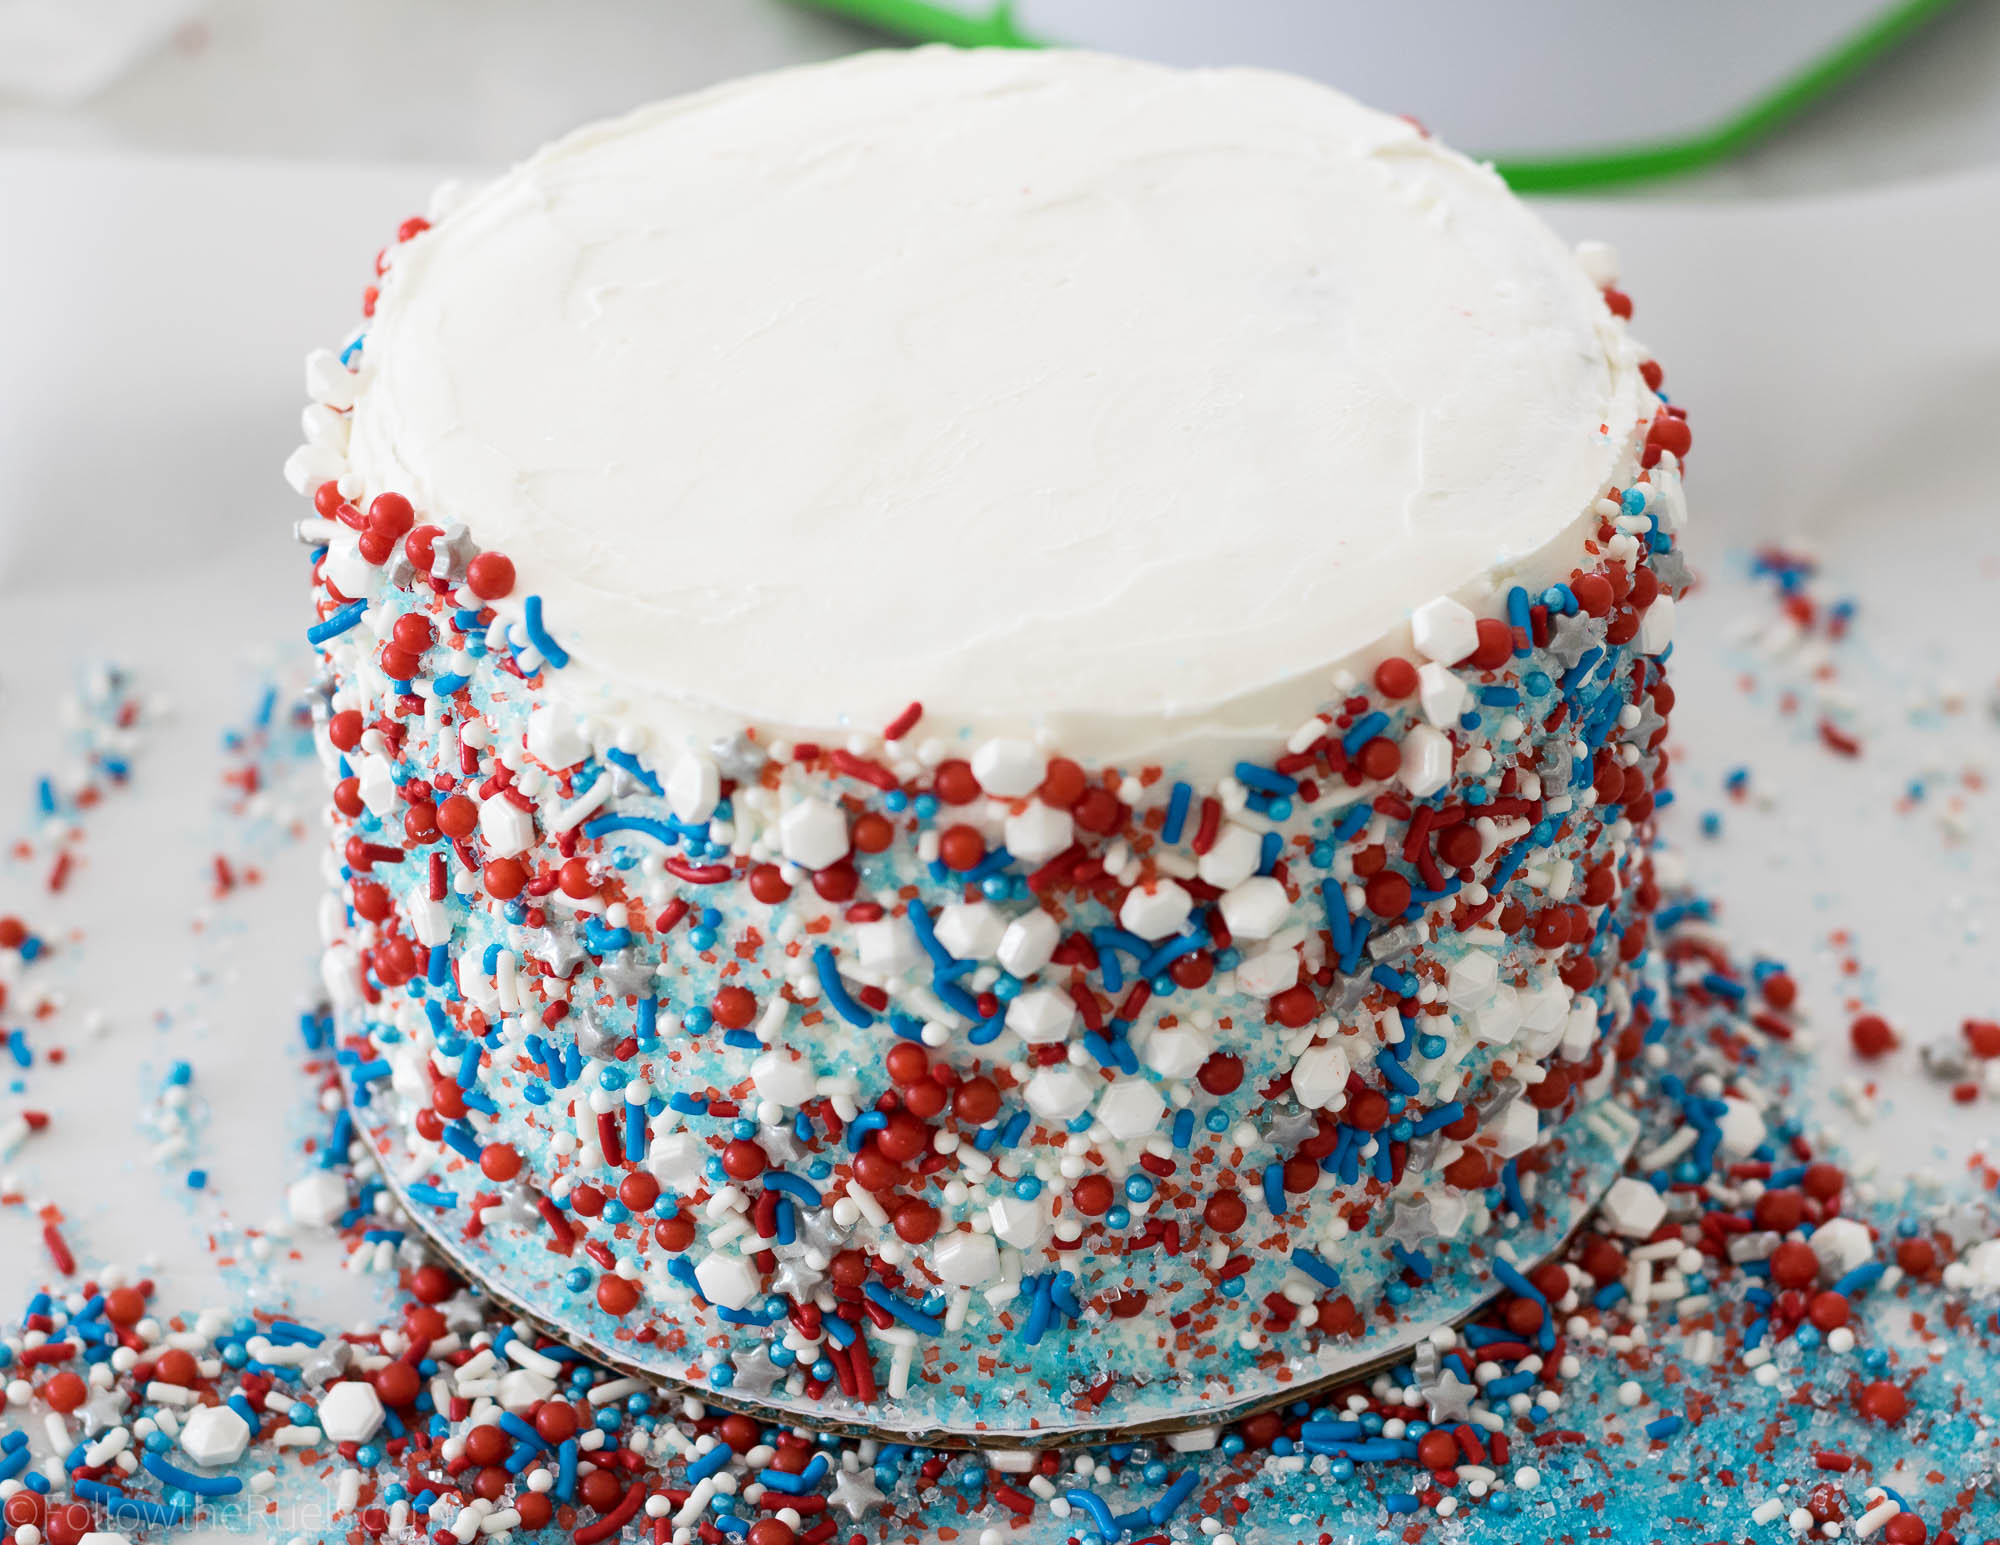
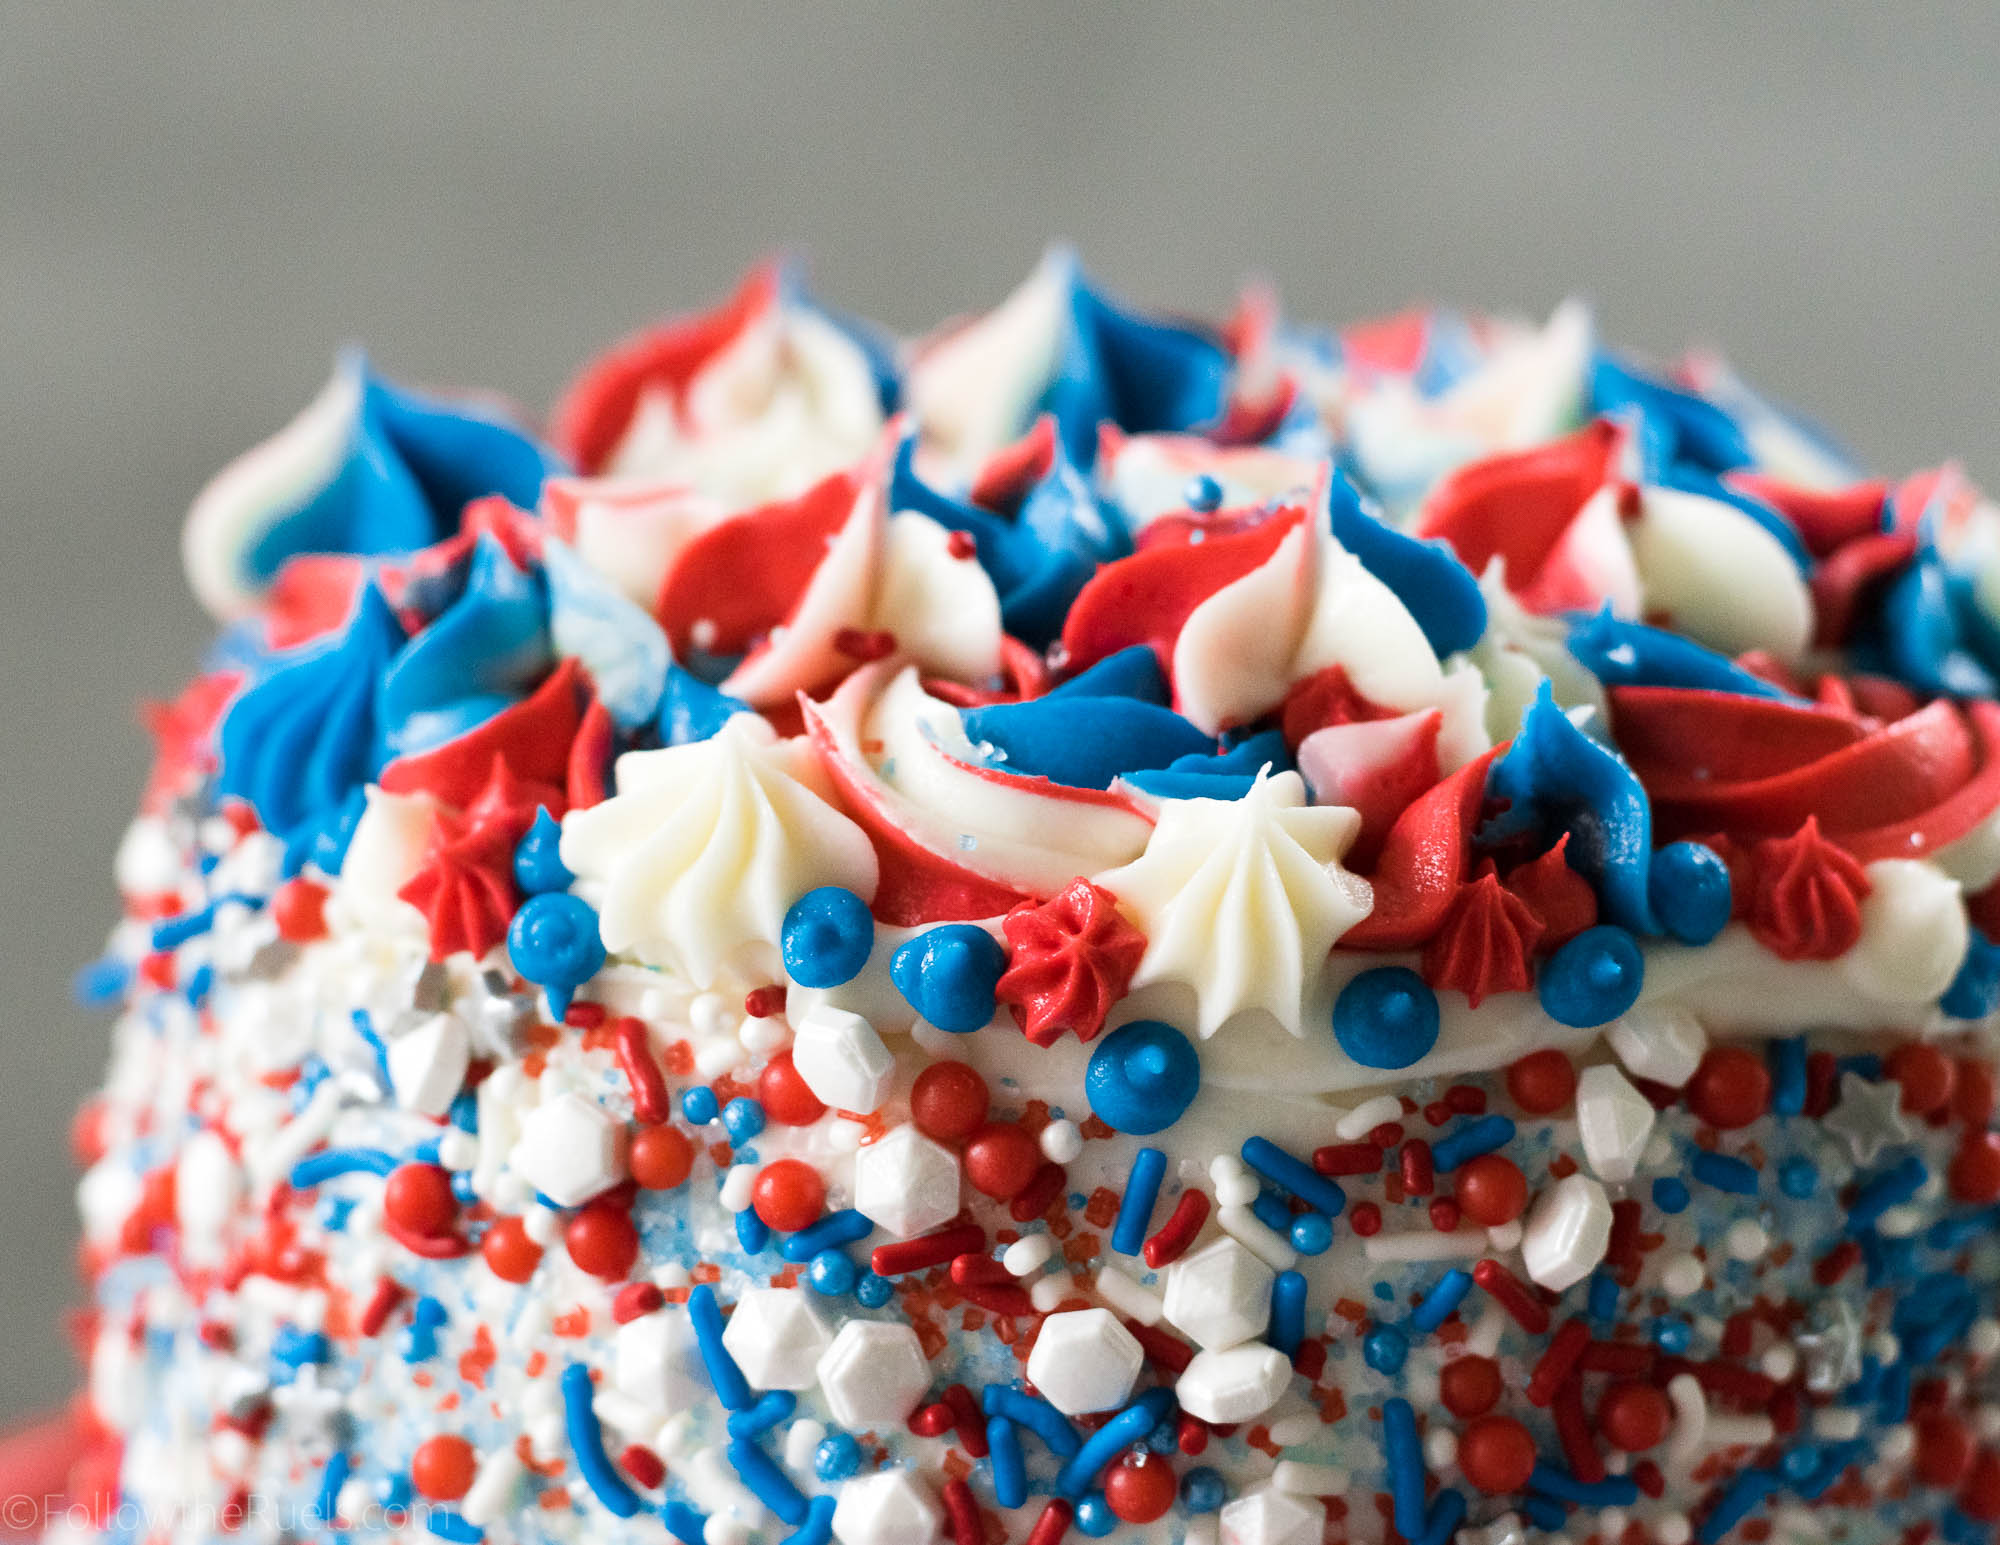
I decided to cover the entire sides of the cake in red, white, and blue sprinkles and then cover the top of the cake in red, white, and blue buttercream stars and rosettes. 

Other than the sprinkles, frosting, and food coloring, which I already had on hand, everything I used to decorate the cake came with the How to Decorate Cakes and Desserts Kit which made it incredibly easy to make!

How to Make It

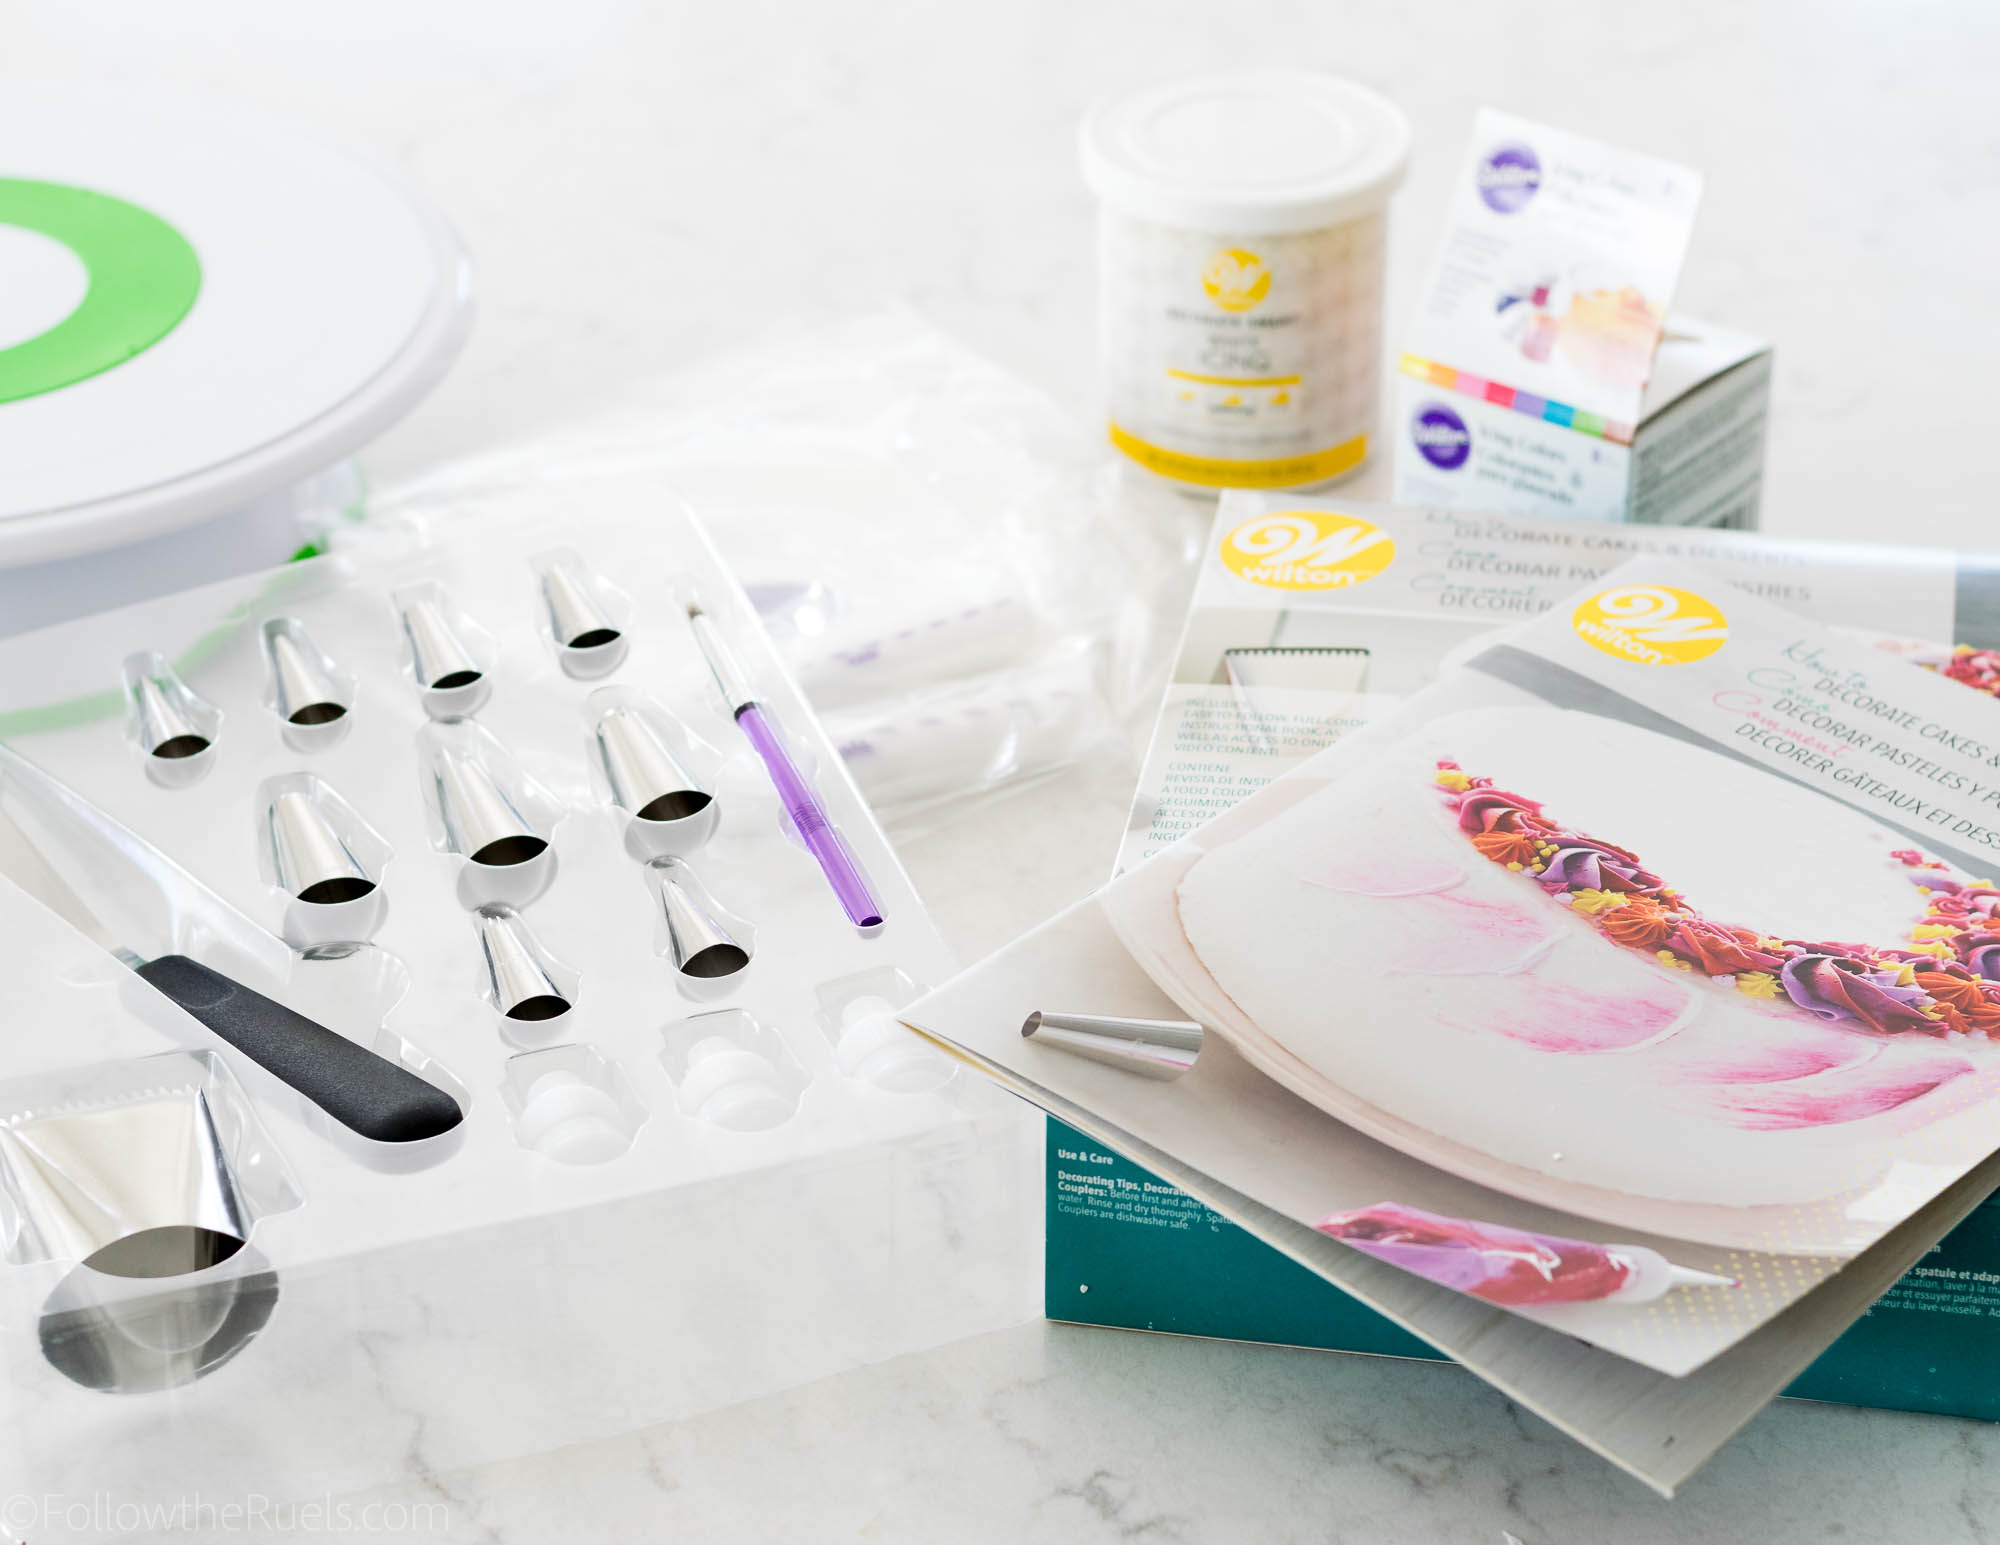
As I mentioned above, I used the How to Decorate Cakes and Desserts kit, which comes with an awesome instruction and inspiration book (below) and all the supplies you will need to decorate your cake.

The kit also comes with 10 piping tips, 3 couplers, a spatula, decorating brush, and 24 piping bags in two different sizes. 

I also used their tiltable turntable, gel food coloring, and white buttercream icing. 


The instruction book shows you everything from how to bake your cake, cut your cake, layer your cake, and frost your cake. Since I am still learning how to decorate cakes, a lot of their instruction was very helpful.

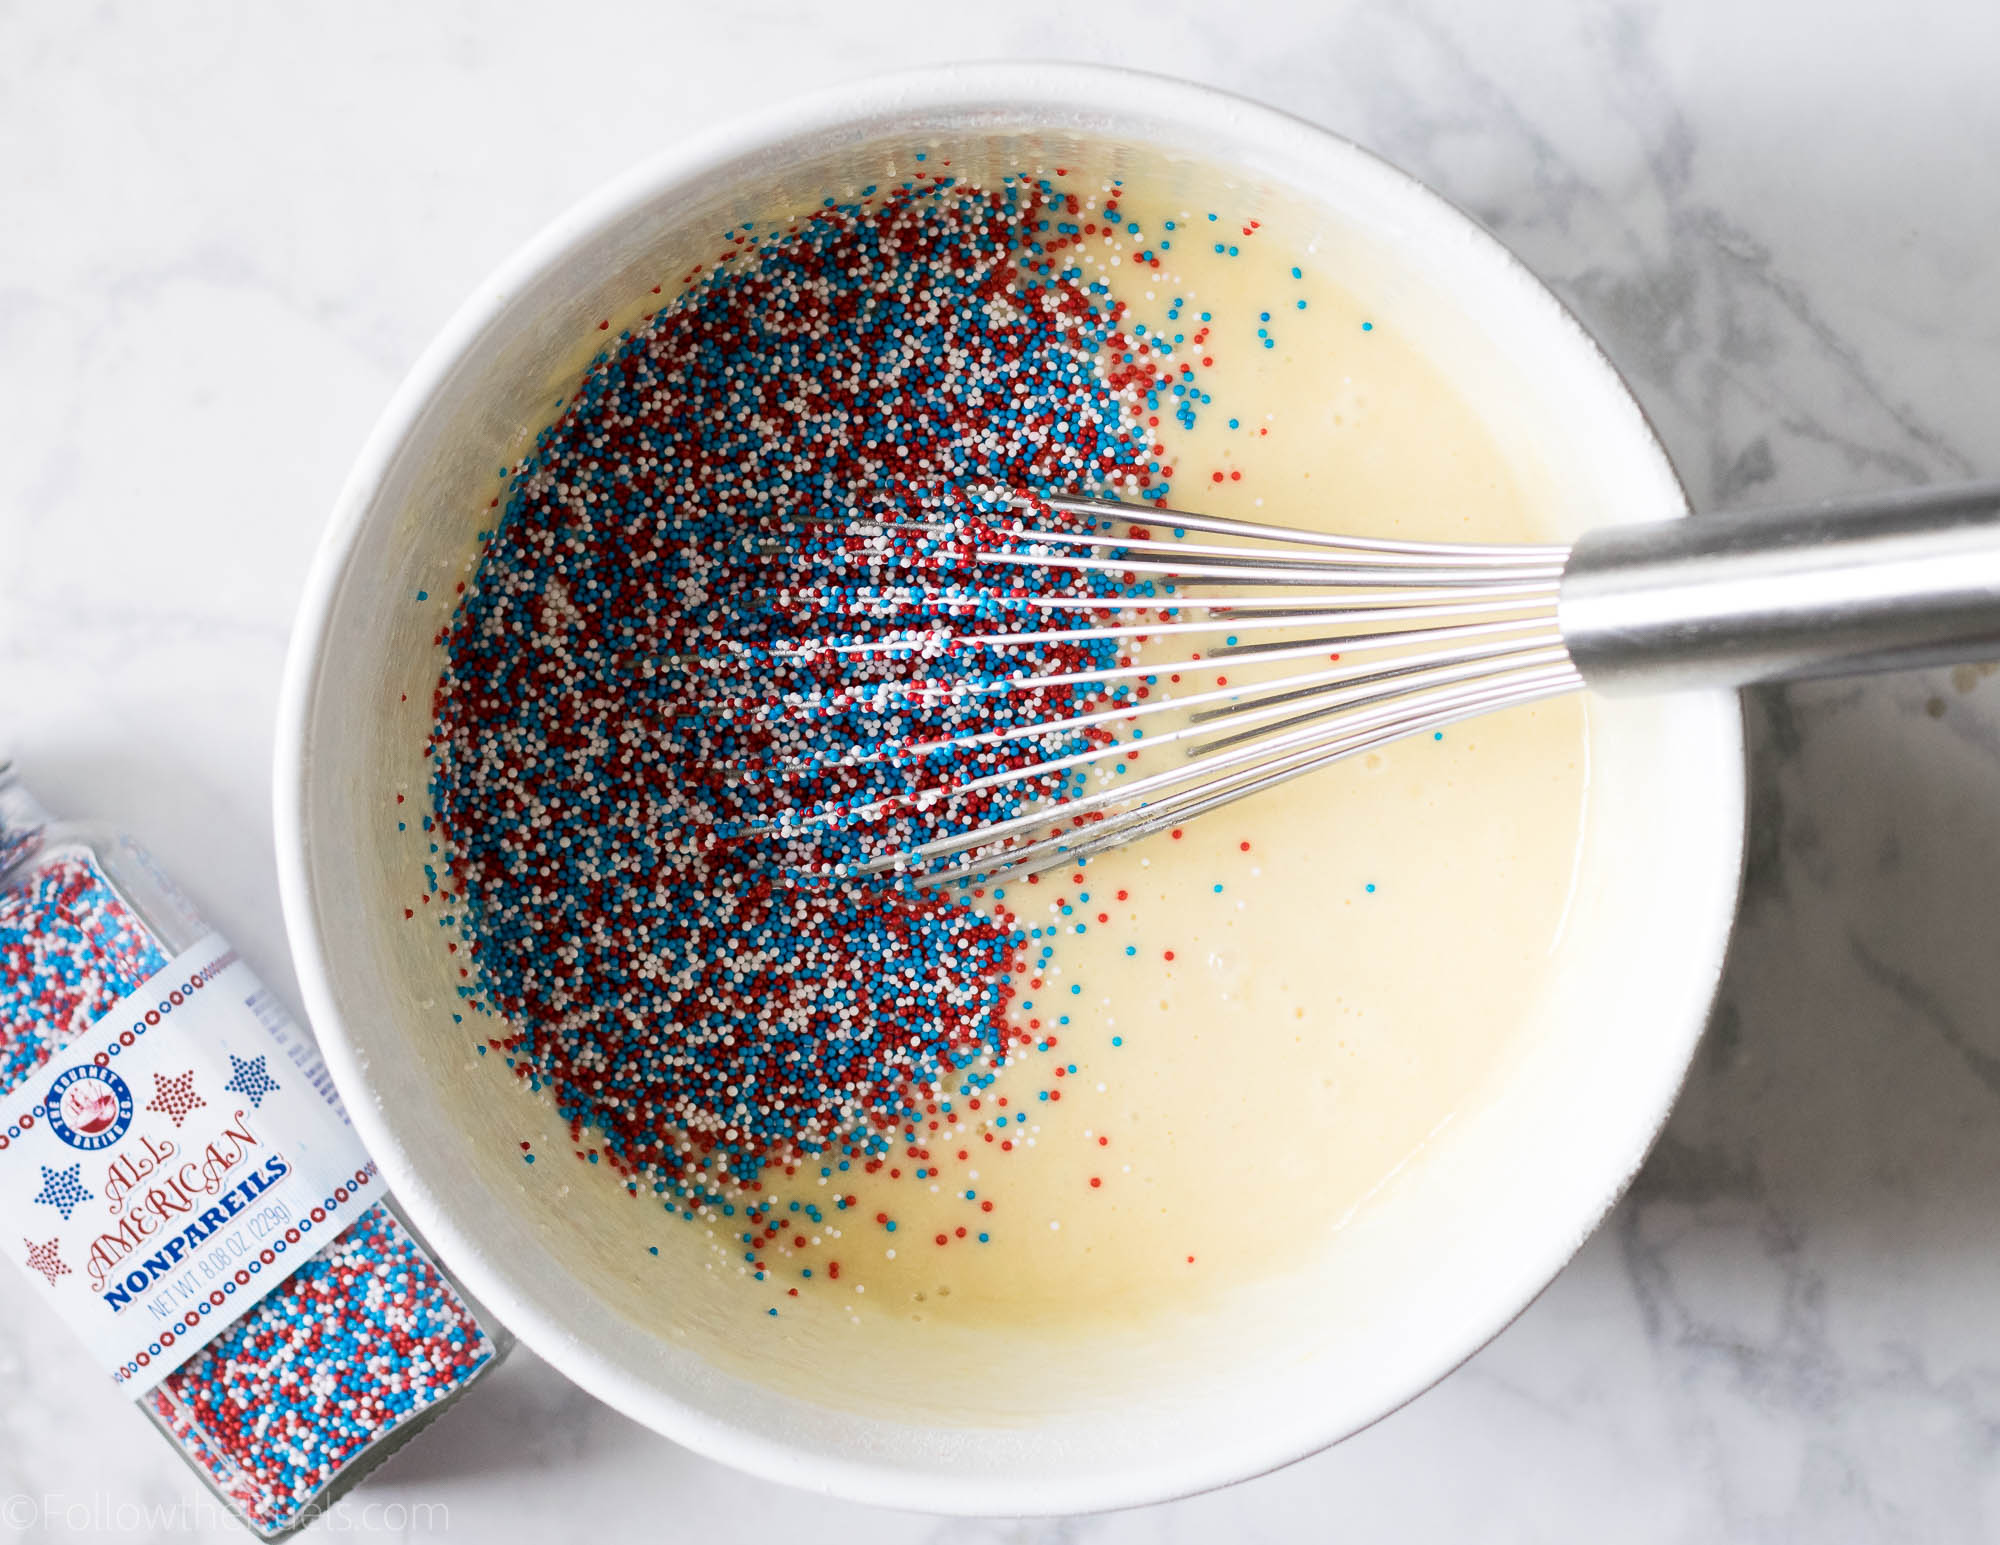
Since the theme for this cake is “more is more” I added these red, white, and blue non-pareliels to give it a marbled funfetti look. If you want a true funfetti look, I recommend using jimmies instead of nonpareils. 


I used a box cake mix for this cake to make things easy on myself. You can see my tips for making a boxed cake mix taste homemade here. 

The cake is made up of two layers baked in a 6″ cake pan. For a larger cake, double the amount of batter and bake it in an 8″ or 9″ cake pan. 

Once the cake is baked, cooled, and leveled, spread the buttercream icing over the first layer. Top with the second layer of cake and another layer of icing, this time spreading it around the entire cake to seal in the crumbs. 

Chill the cake for about 30 minutes. 

After the crumb coat has chilled, spoon the buttercream into a large piping bag fitted with the specialty tip 789. Pipe the buttercream around the sides of the cake so that there is a nice thick layer of icing. 

Use the off-set spatula to spread the icing around the cake. It doesn’t have to be pretty, because the sides will be covered with sprinkles. 

How to Decorate It

Speaking of sprinkles, mix together all the red, white, and blue sprinkles you can get your hands on. I like mixing together jimmies with some larger round sprinkles and sanding sugars. I also through in a few novelty sprinkles. 

To cover the sides of the cake, place the cake in the center of a baking sheet covered with parchment. Pat the sprinkles all around the sides of the cake. Reuse any extra sprinkles that have fallen away.

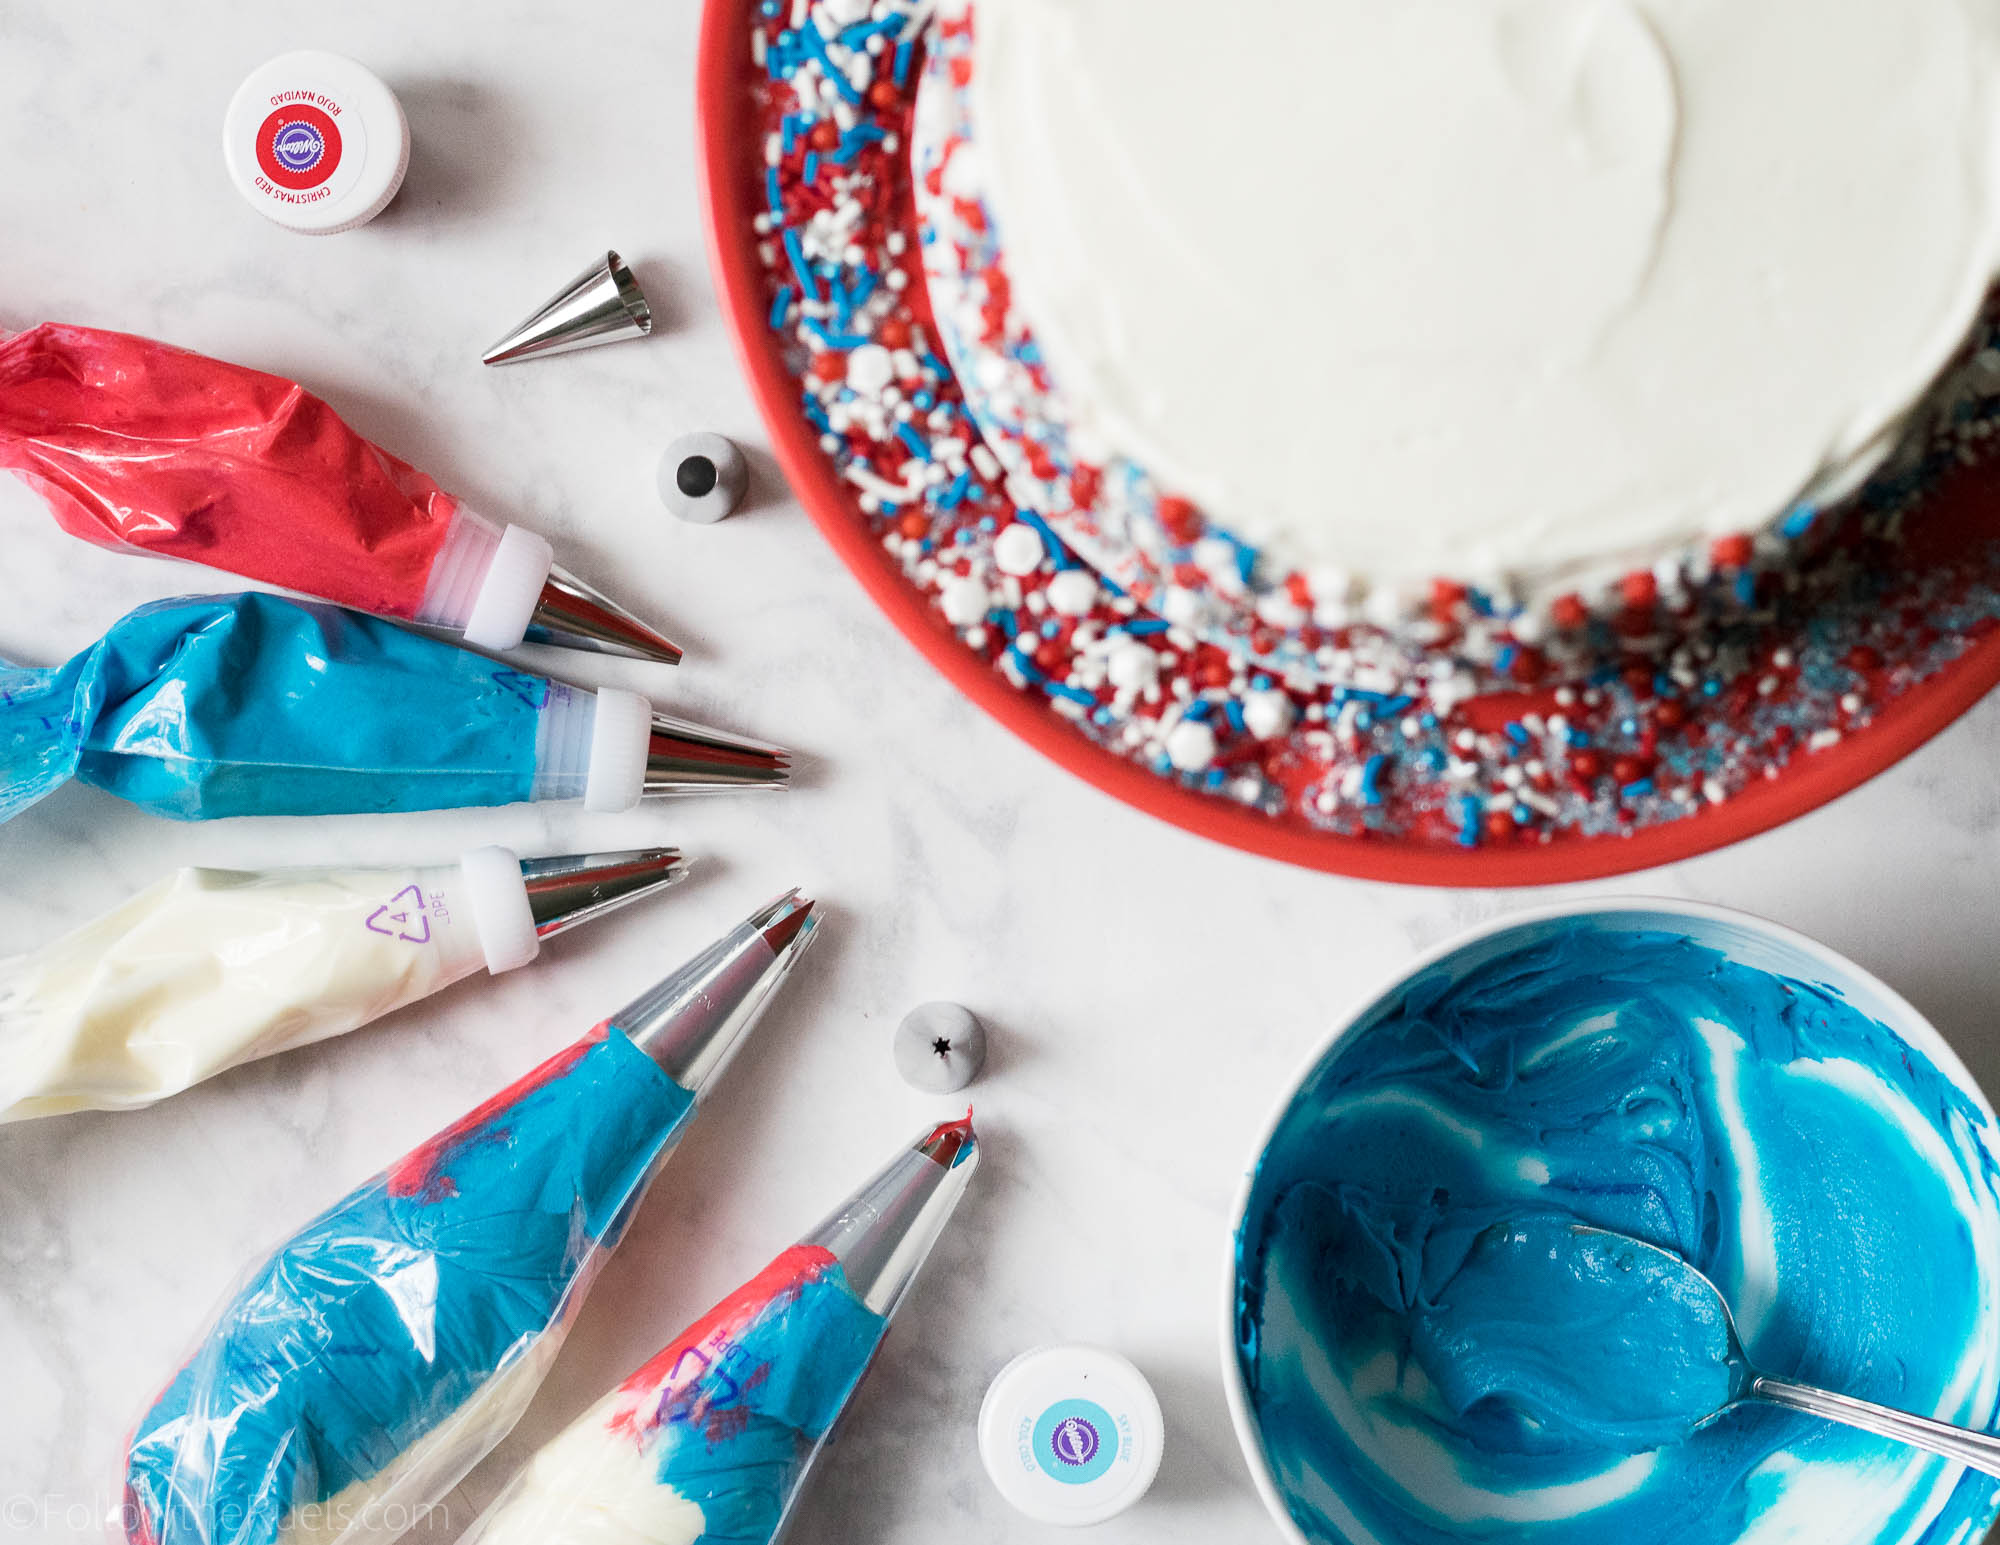
Finally, prepare the piping bags to decorate the top of the cake. 

For the larger piping tips (2D and 1M) mix together red, white, and blue icing by spreading lines of icing on a sheet of plastic wrap. Roll the plastic wrap into a tube, then feed the tube into the piping bag with the piping tip inside. You made need to cut off any excess plastic wrap so the icing flows through.

Then prepare three other piping bags, all fitted with a coupler and a smaller piping tip. Fill each one with a different color. 


Start by piping the larger stars and rosettes first. Then fill in with the smaller decorations. Don’t be afraid to layer them on top of one another. Also feel free to change out the piping tips using the couplers to get lots of various shapes. 

Once you are done, sprinkle a few sprinkles right on top. 

And viola! Your very own super patriotic cake! Perfect for 4th of July!

Supplies and Recipe

Follow my How to Make Boxed Cake Mix Taste Homemade tutorial for an easy semi-homemade cake. Or I highly recommend my vanilla cupcake recipe, which will make 1 6″ round two layer cake. Double to make a larger cake. 

  • How to Decorate Cakes and Desserts Kit: http://bit.ly/2xChT1U
  • Icing Gel Set: http://bit.ly/2xMNBd8
  • Turntable: http://bit.ly/2Hi9yjH
  • White Buttercream Icing: http://bit.ly/2kQK9F3
  • Red, white, and blue sprinkles: https://www.wilton.com/shop-sprinkles/


/ Filed In: Cakes and Cupcakes, Cakes New, Desserts, Eat
Tagged: 4th of July, cake, cake decorating, layer cake, patriotic, Summer

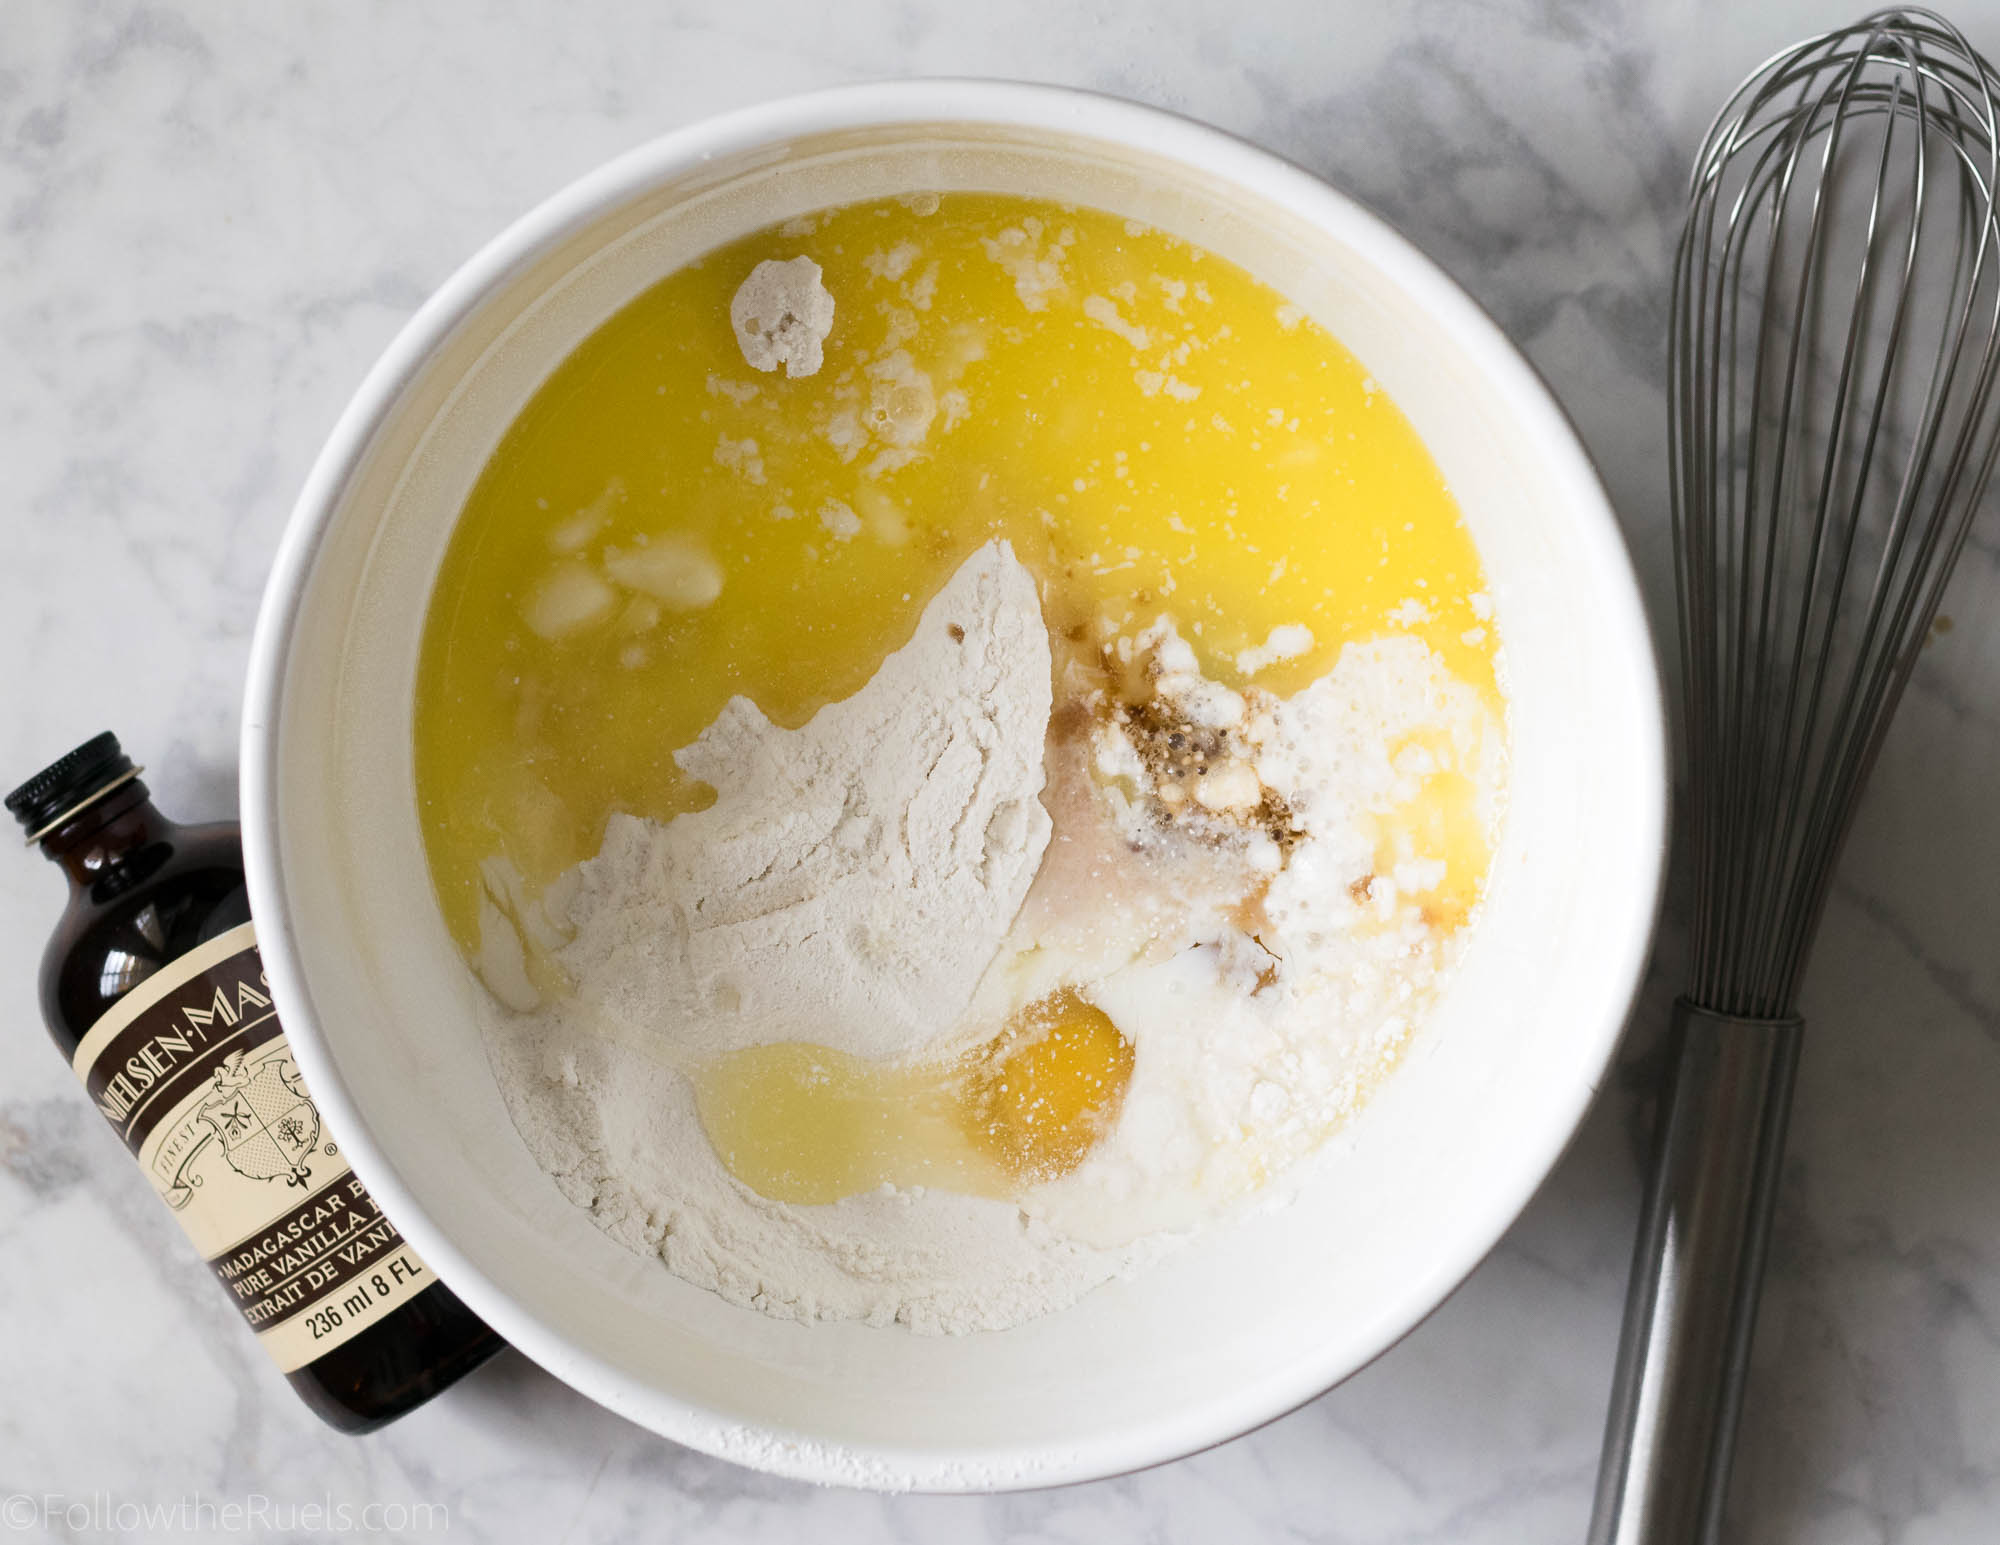
How to Make Boxed Cake Mix Taste Homemade

June 12, 2018

Even though I love making things from scratch, even I have my days where I don’t want to mess with measuring, leveling, etc. That’s why I turn to box mixes, particularly boxed cake mix, more often than I would like to admit.

However…

I rarely ever follow the exact recipe on the back of the box. 

Over the years, I have tinkered with that recipe so that I can have the best version of boxed cake mix that I can possibly have. It doesn’t require any more work, just a few different ingredients. Trust me, these ingredients make a world of difference. 

Instead of having a semi-dry, crumbly cake that you typically get from a boxed mix. The cake is super moist and has a lot more flavor. Sure it still has that distinct boxed cake mix taste, but there is something so nostalgic about it that I don’t really care. 

How to Make It

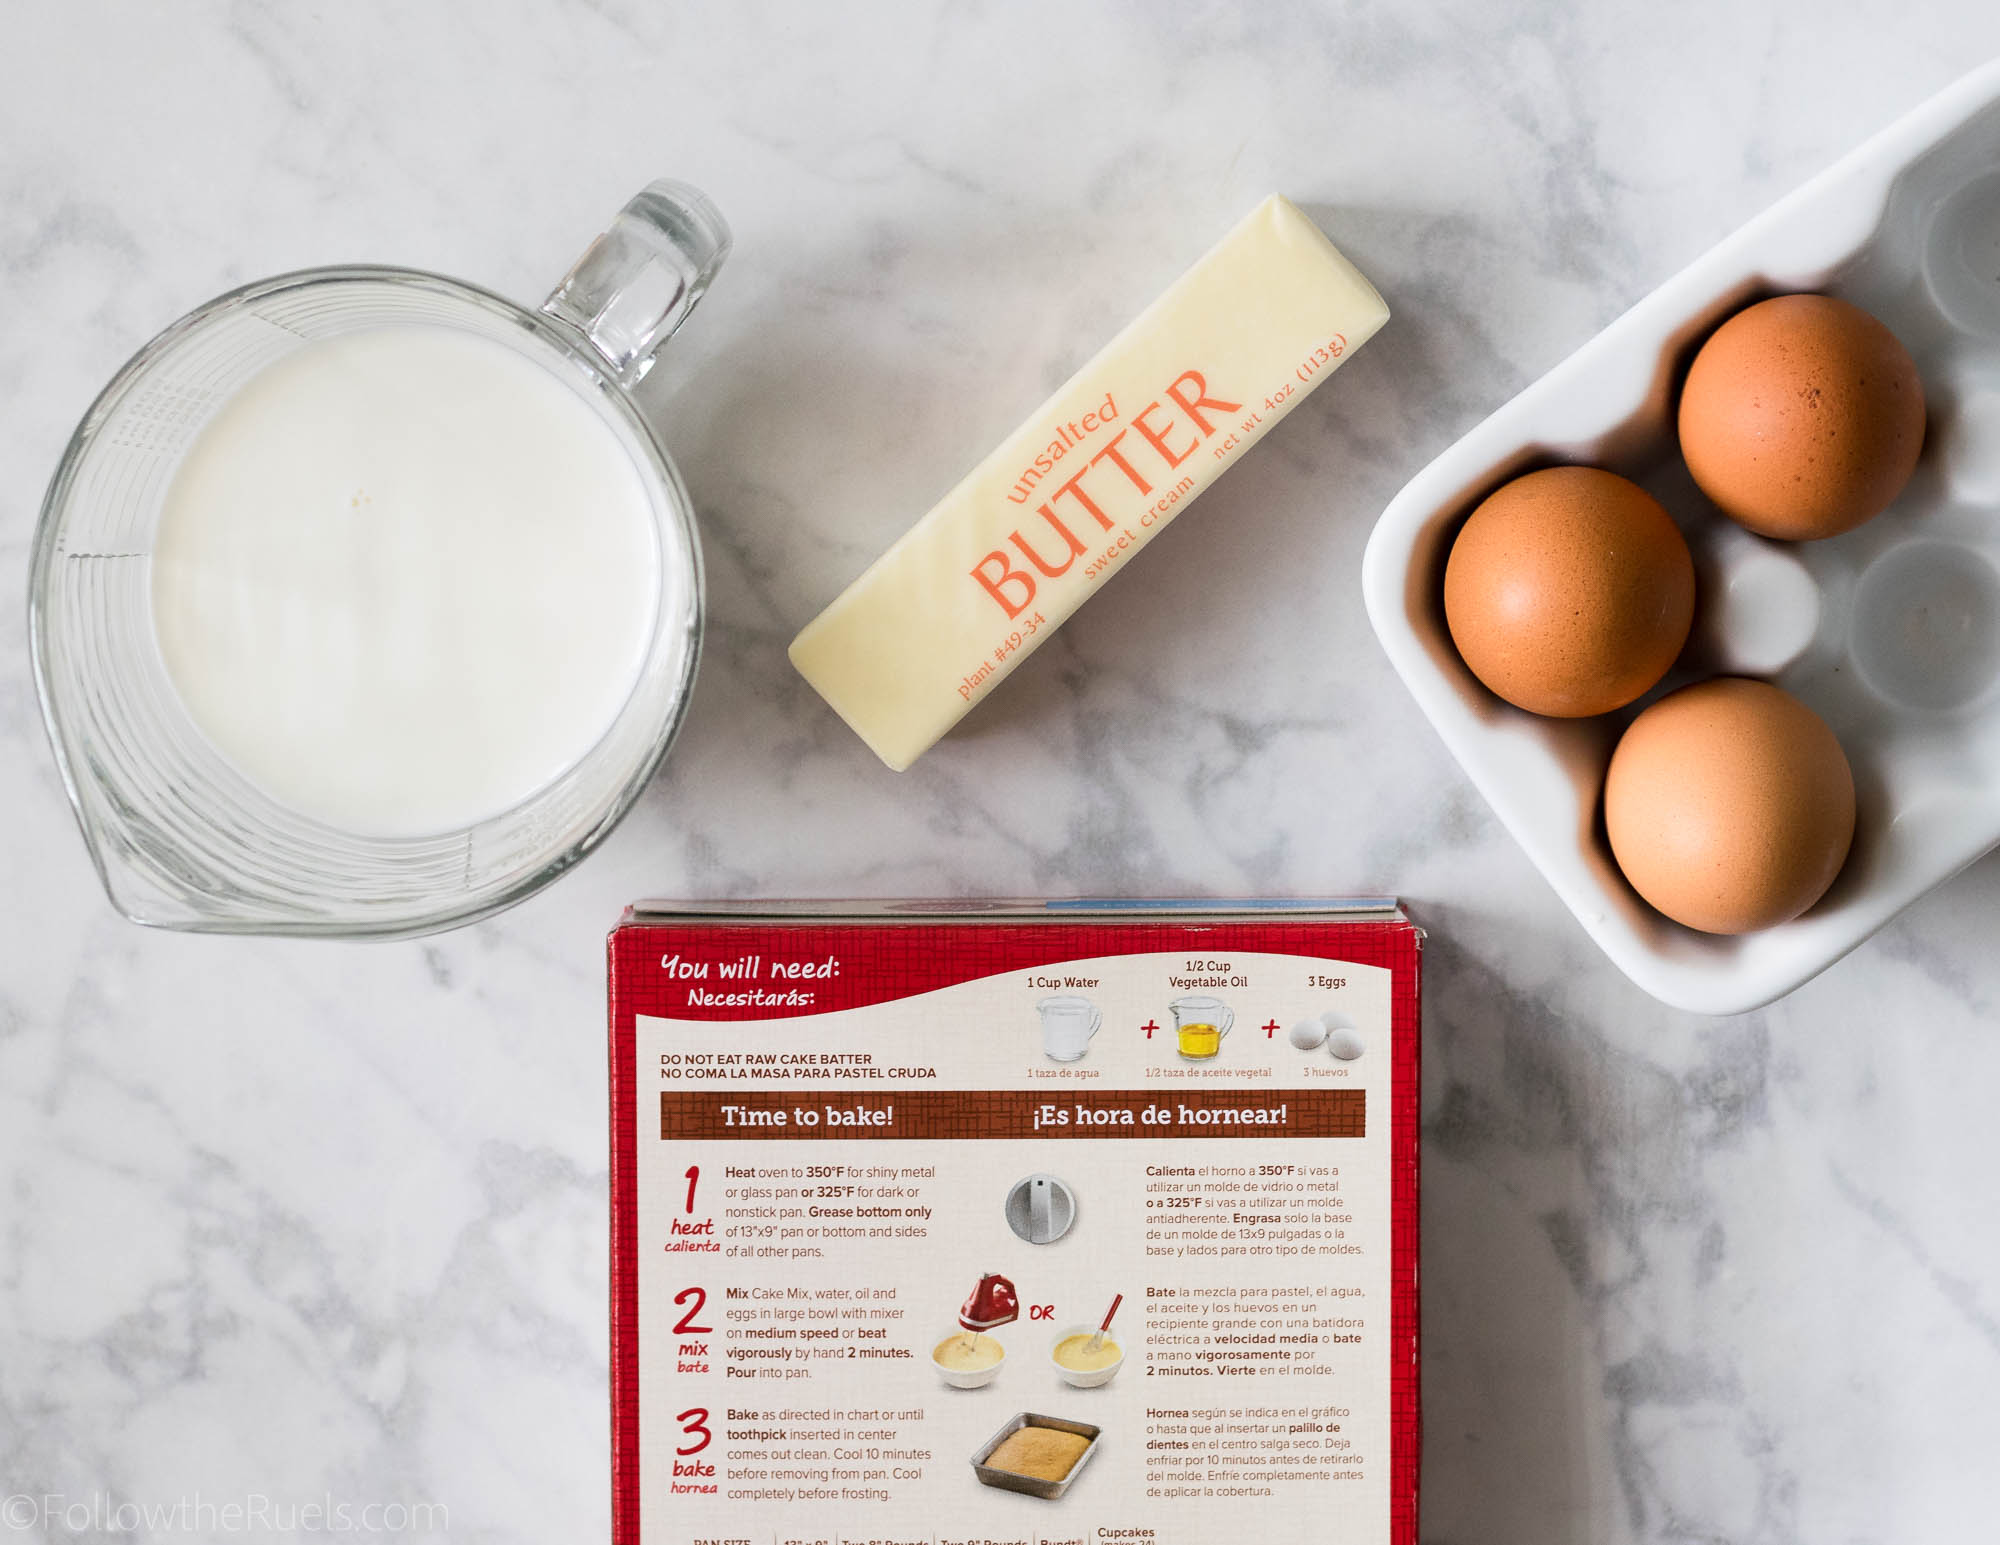
The first tip to making a boxed cake mix taste homemade is to swap out the oil and water. 

Tip #1: Use whole milk and melted butter in place of water and oil for a richer and moister cake. 

It doesn’t end there. 

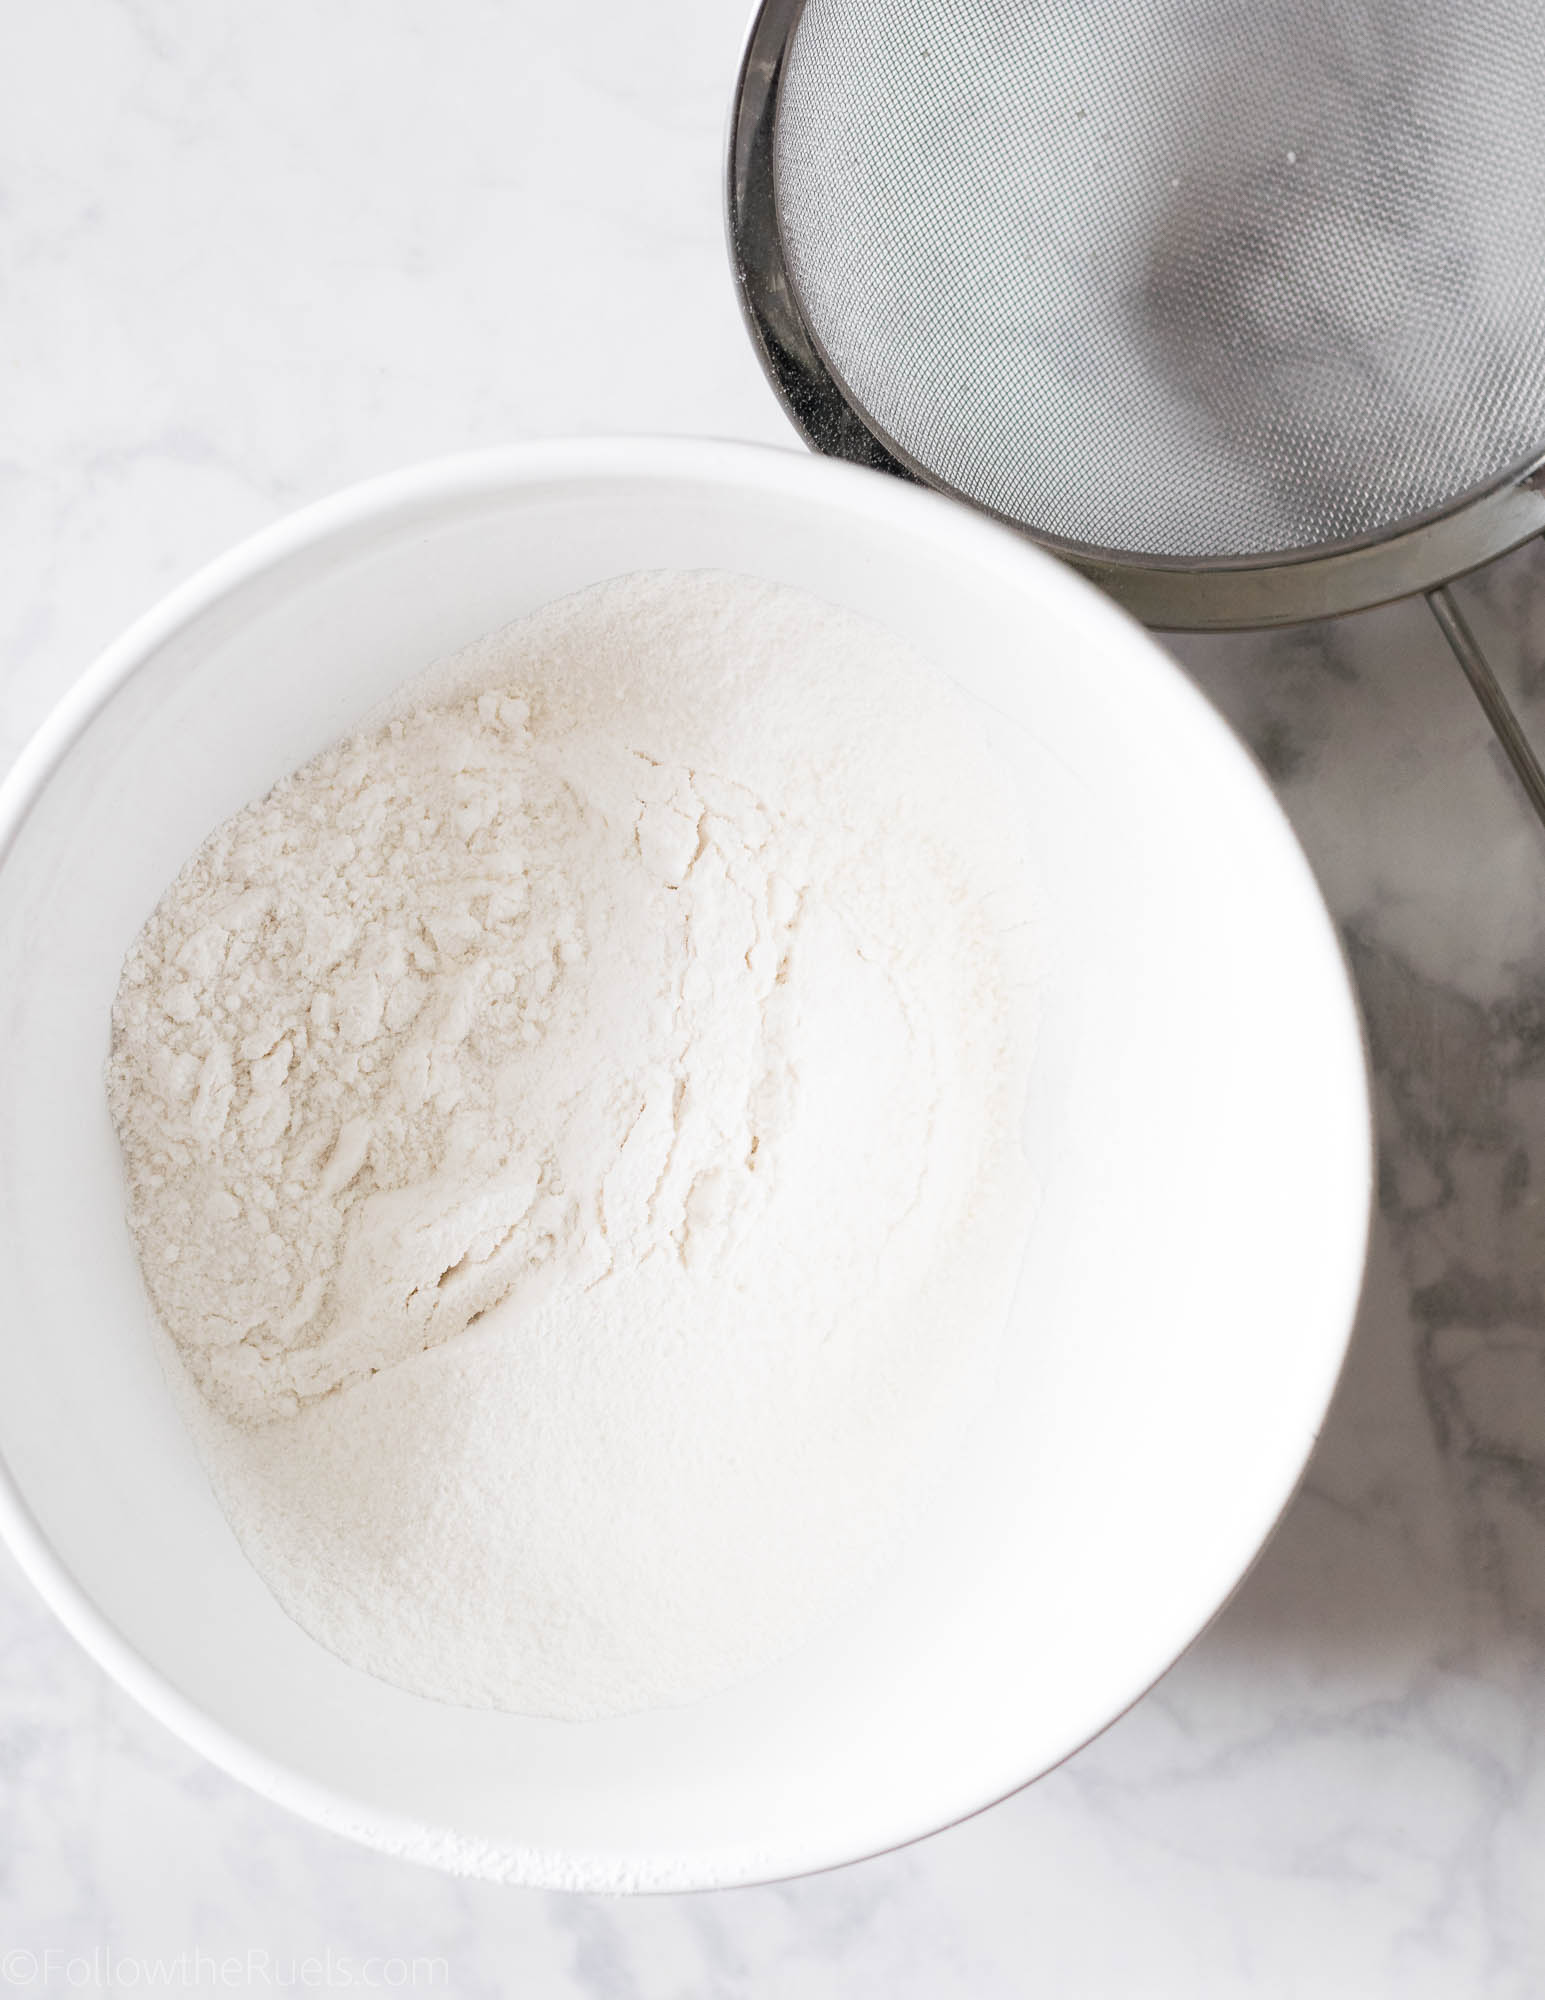
Tip #2: Sift the cake mix before mixing in the wet ingredients. 

Have you ever noticed how lumpy cake mix is? Then you mix everything together and you still have dry clumps of the dry mix? That stuff doesn’t bake away, they are left in the cake so that you have these little pockets of powdery cake mix. 

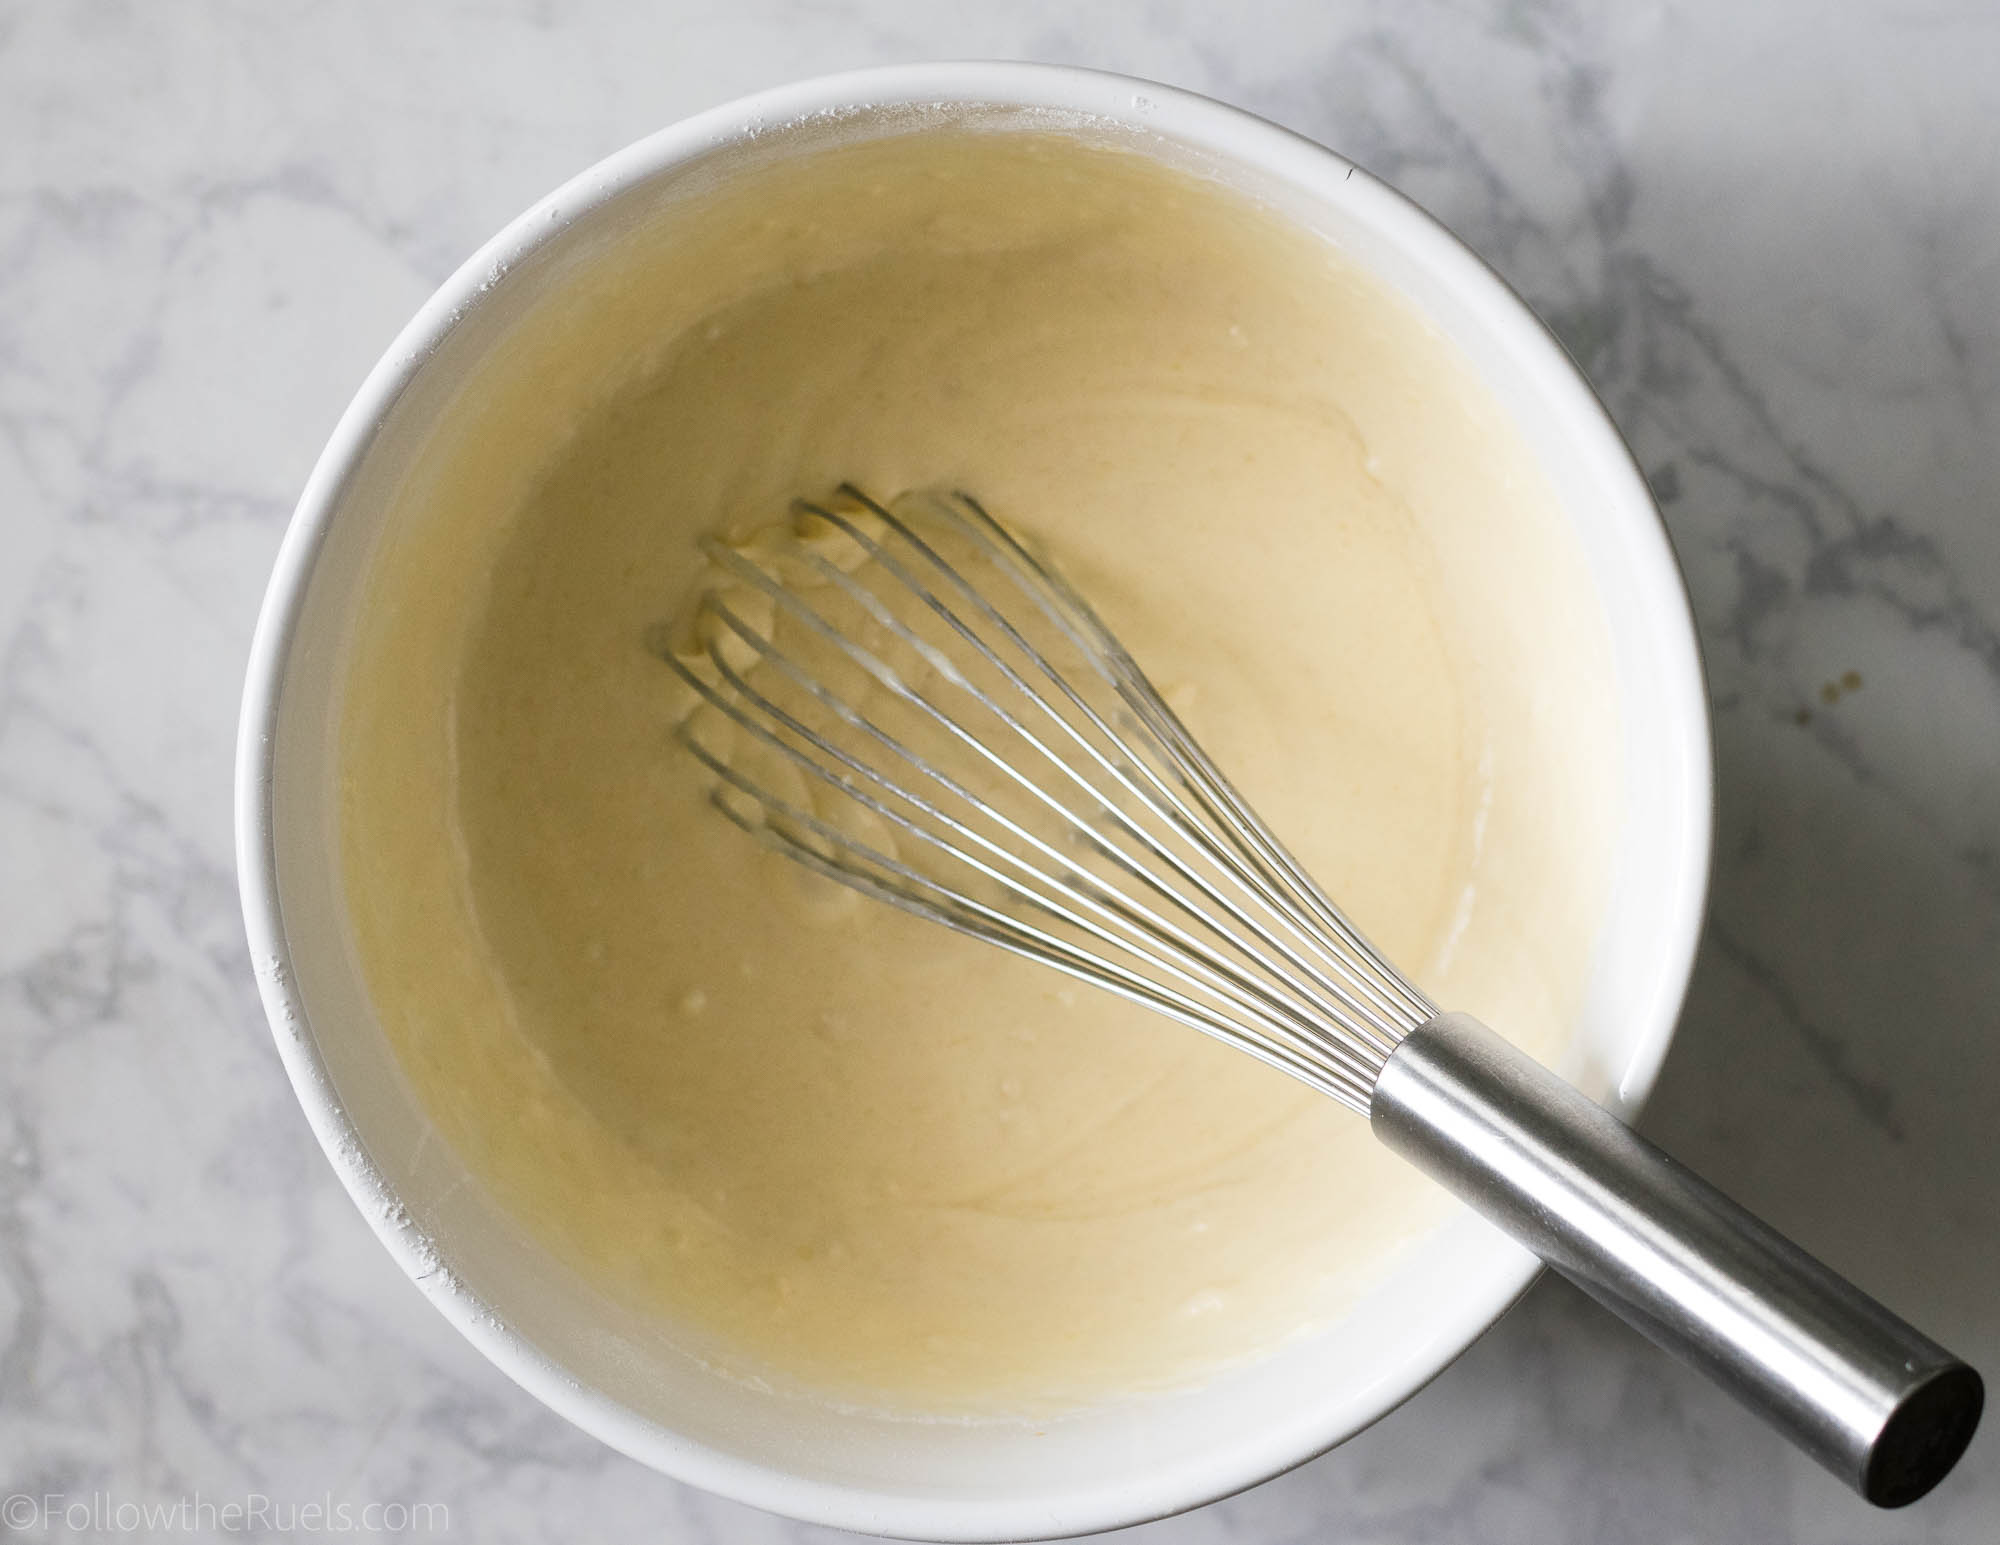
Sifting the cake mix beforehand will quickly get rid of those lumps so that you have a nice smooth batter.

Once you add the wet ingredients into the dry ingredients, there is one last tip to making sure you have a delicious cake. 

Tip #3: Add in extra flavoring (i.e. vanilla, almond, lemon, etc.).

Using a high-quality extract or a natural juice/zest will help the cake taste more homemade.

Once you have everything mixed together into a batter, you can make this mix into anything from cupcakes, to a cake, to cake balls. 

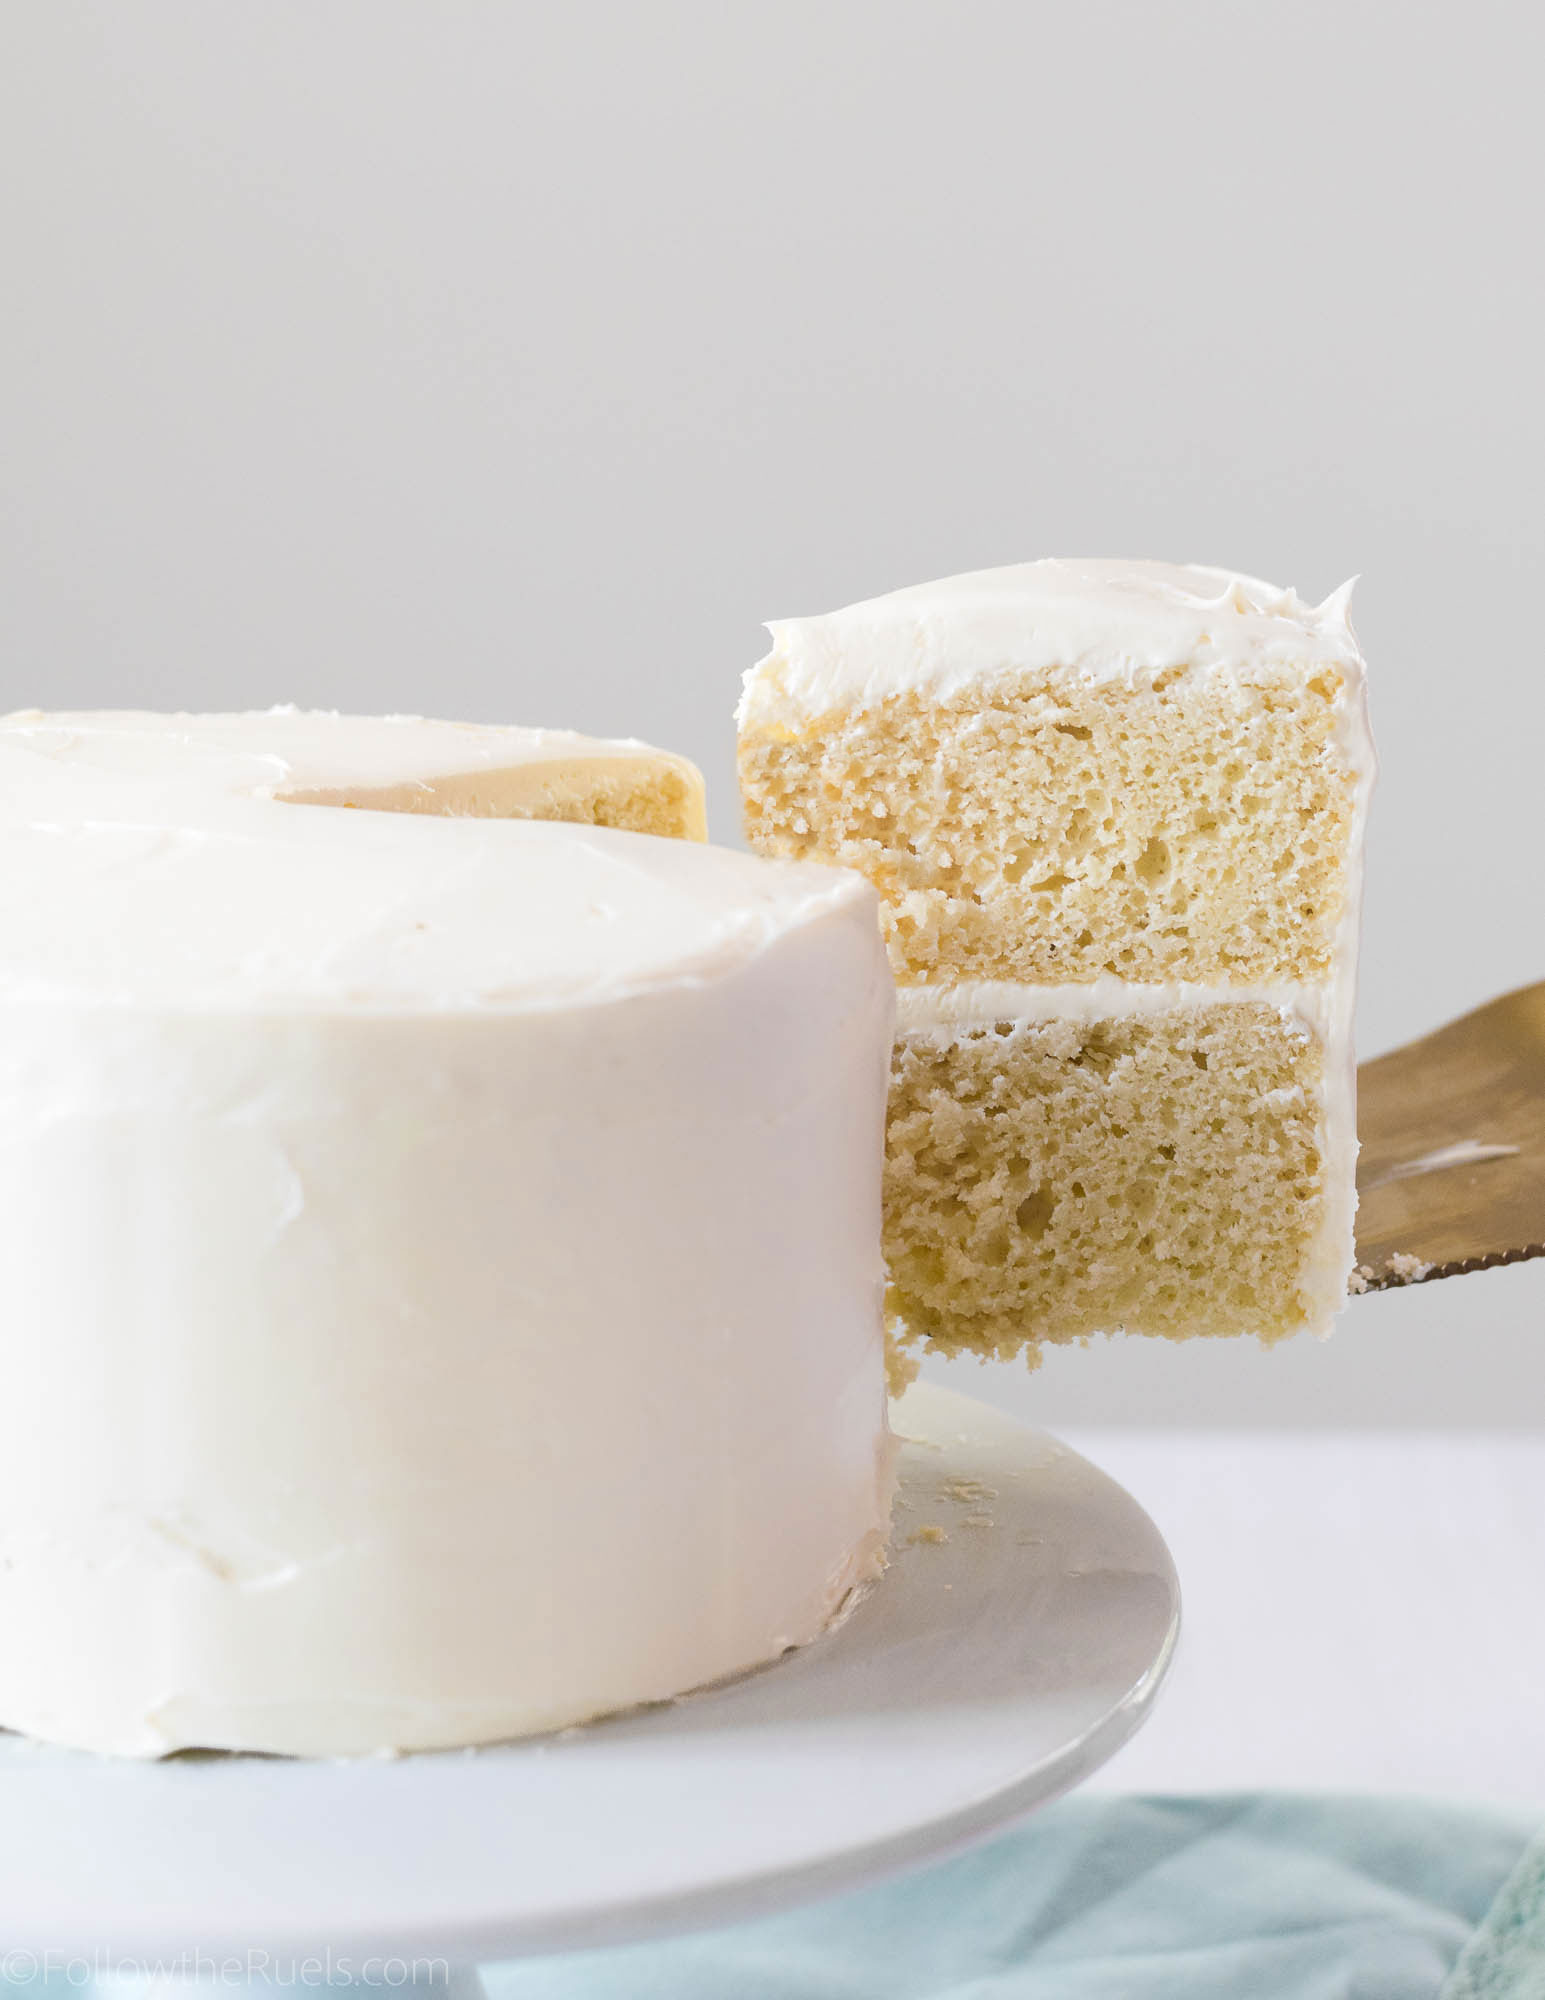
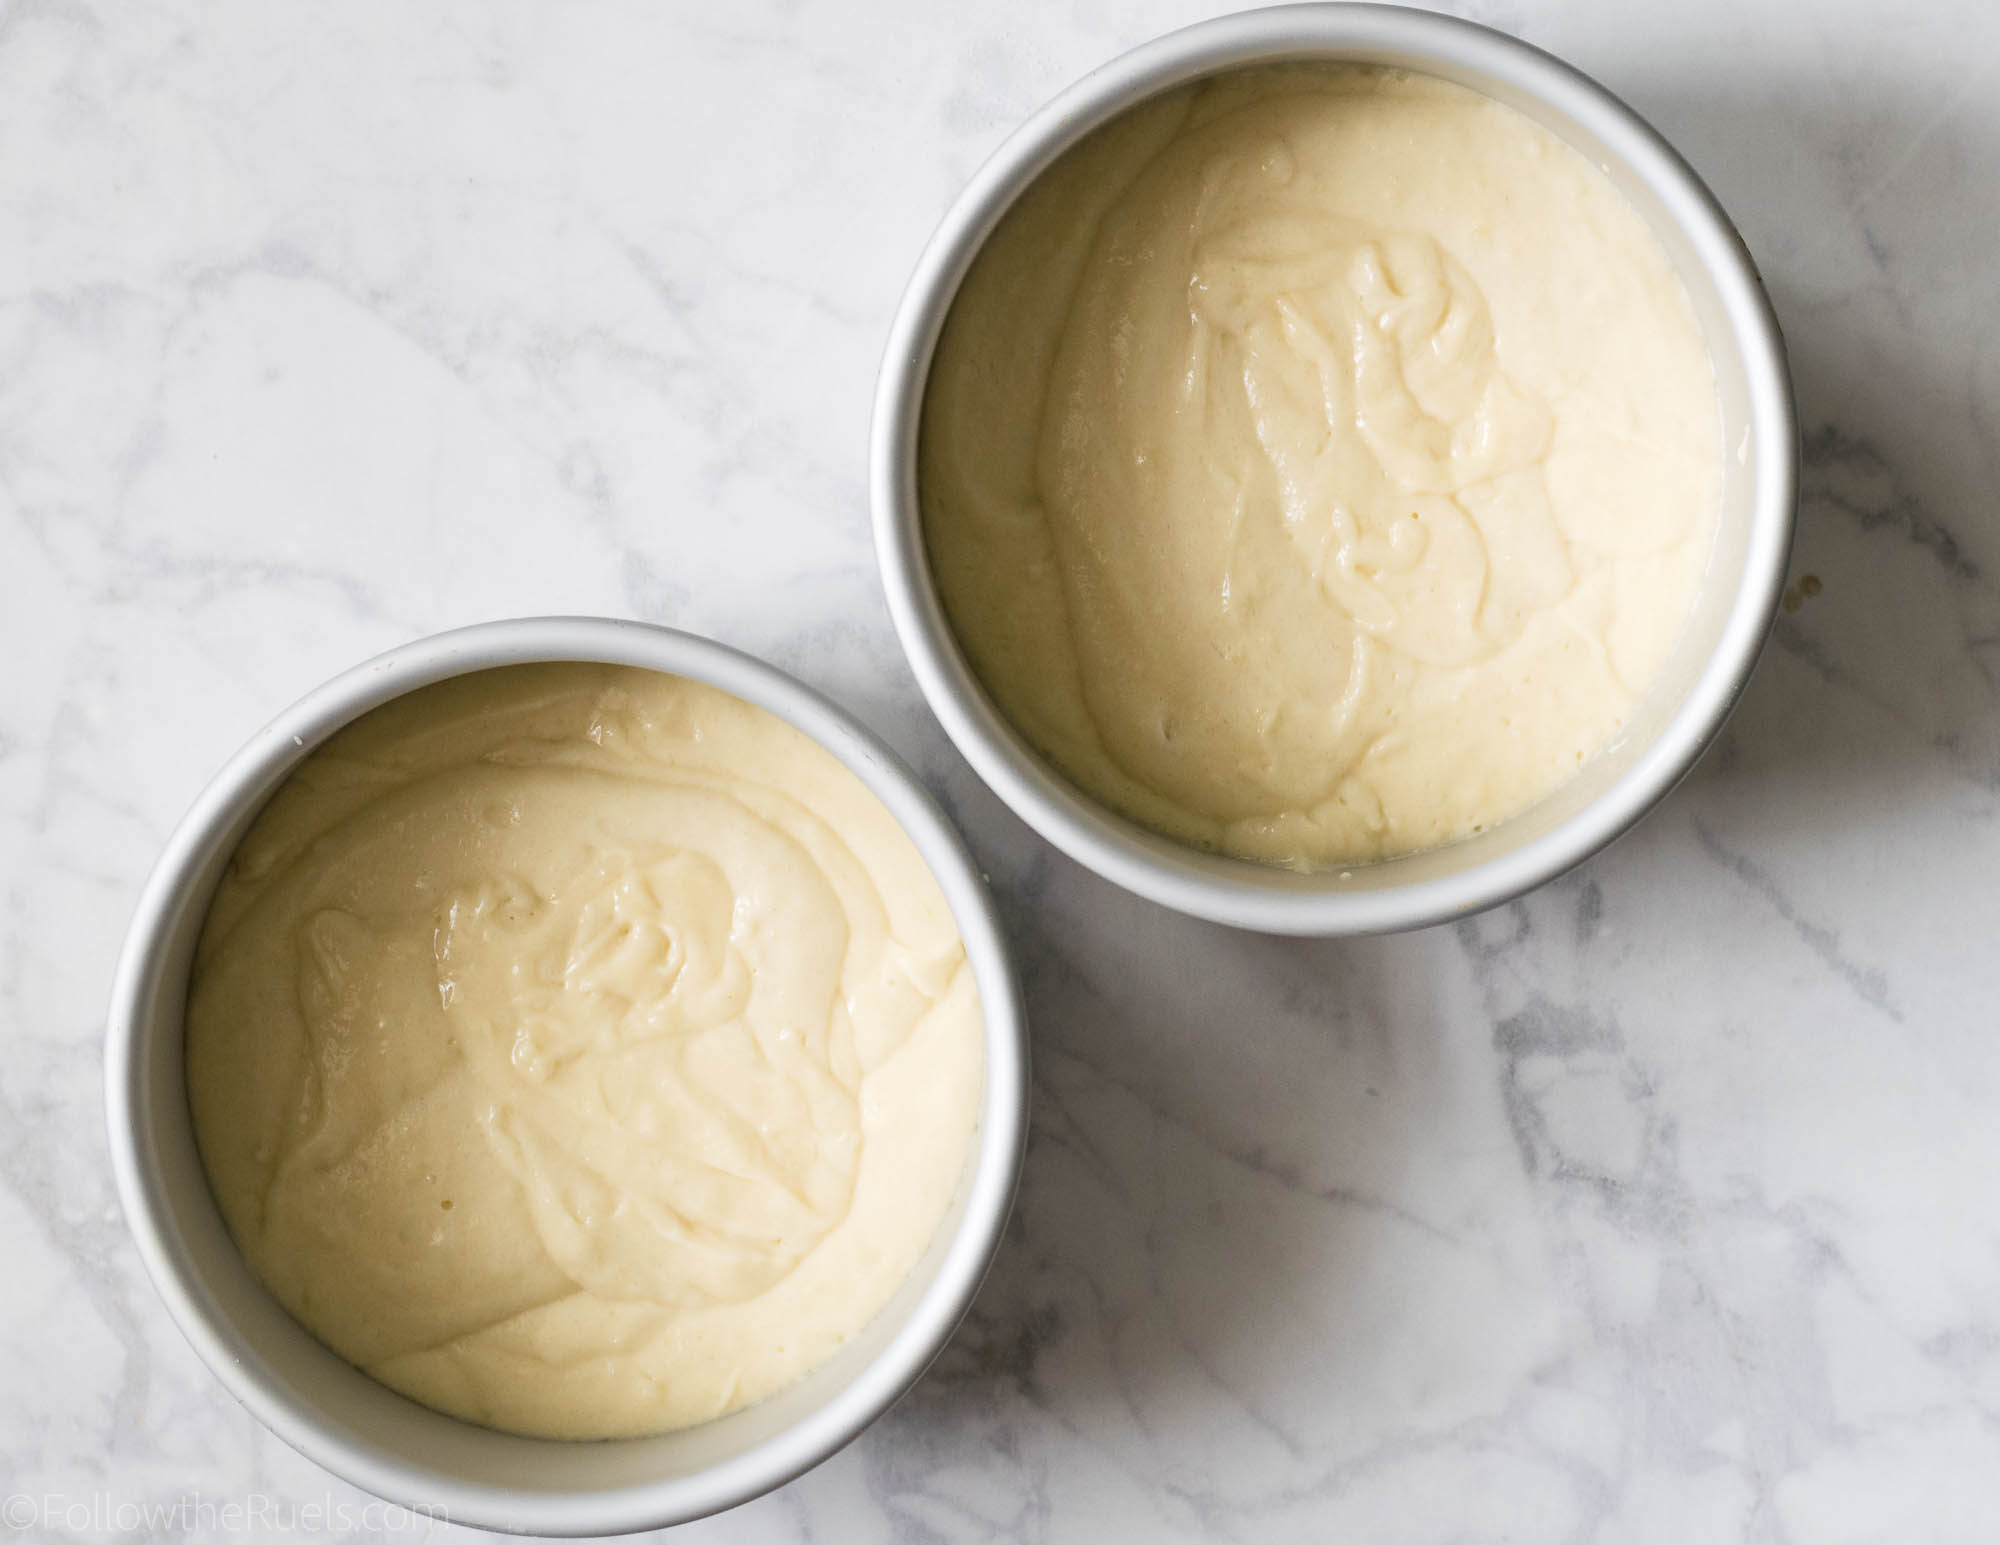
In this instance, I baked this batter into a two-layer cake. 

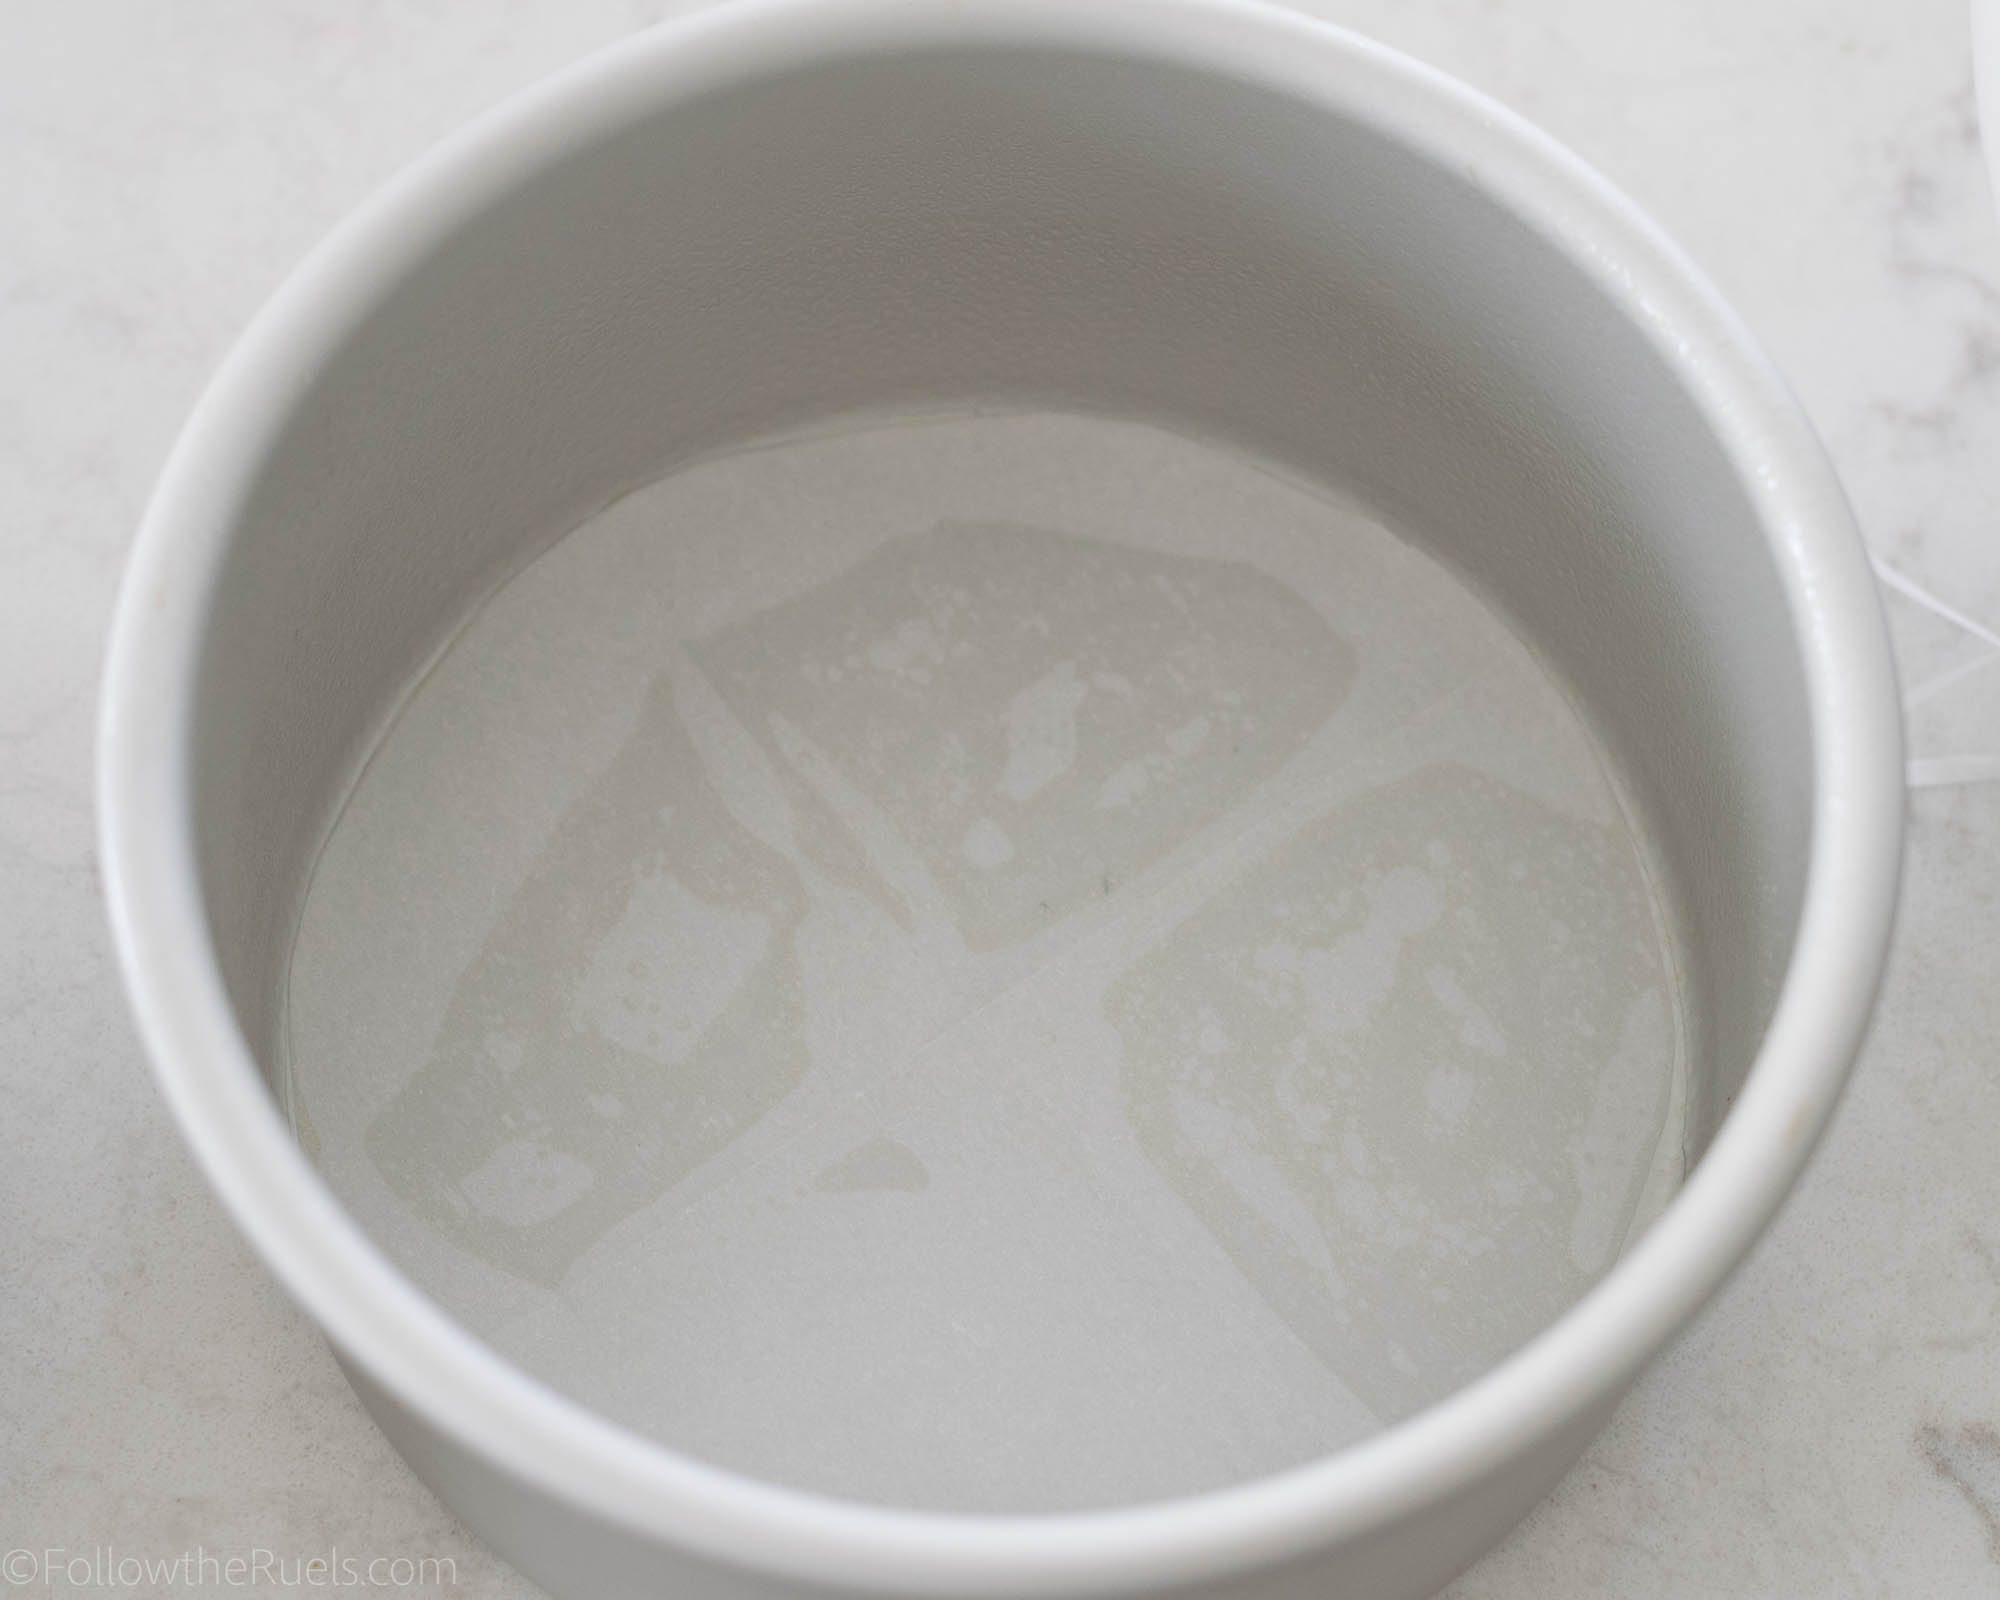
Whenever I bake a cake in cake pans I always line the bottom of the pan in a sheet of parchment so that the cake releases from the pan with very little hassle. 


All that is left is to ice the cake. 

Now my last tip to making a boxed cake mix taste homemade is to avoid using the store-bought frosting. 

Tip#4: Frost the cake with homemade frosting.

You don’t have to make a fancy Swiss meringue buttercream. Even a basic American buttercream or cream cheese frosting will work. But please avoid using that store-bought stuff, which has a distinct flavor that makes that whole cake taste like it’s not homemade. 

And that’s all you need to know to make a boxed cake mix taste like a homemade cake! 

So for those who hate baking from scratch, you can still make a fabulous cake without all the extra work!

Recipe

[yumprint-recipe id=’183′]
/ Filed In: Cakes and Cupcakes, Cakes New, Desserts, Eat
Tagged: baking, cake, cake mix, homemade, layer cake, semi-homemade

Golf Cake Balls

June 6, 2018

I don’t know about you, but most of the dads in my life are big golfers, or at least golf fans. I wonder if that’s a requirement for fatherhood: must like golf. 

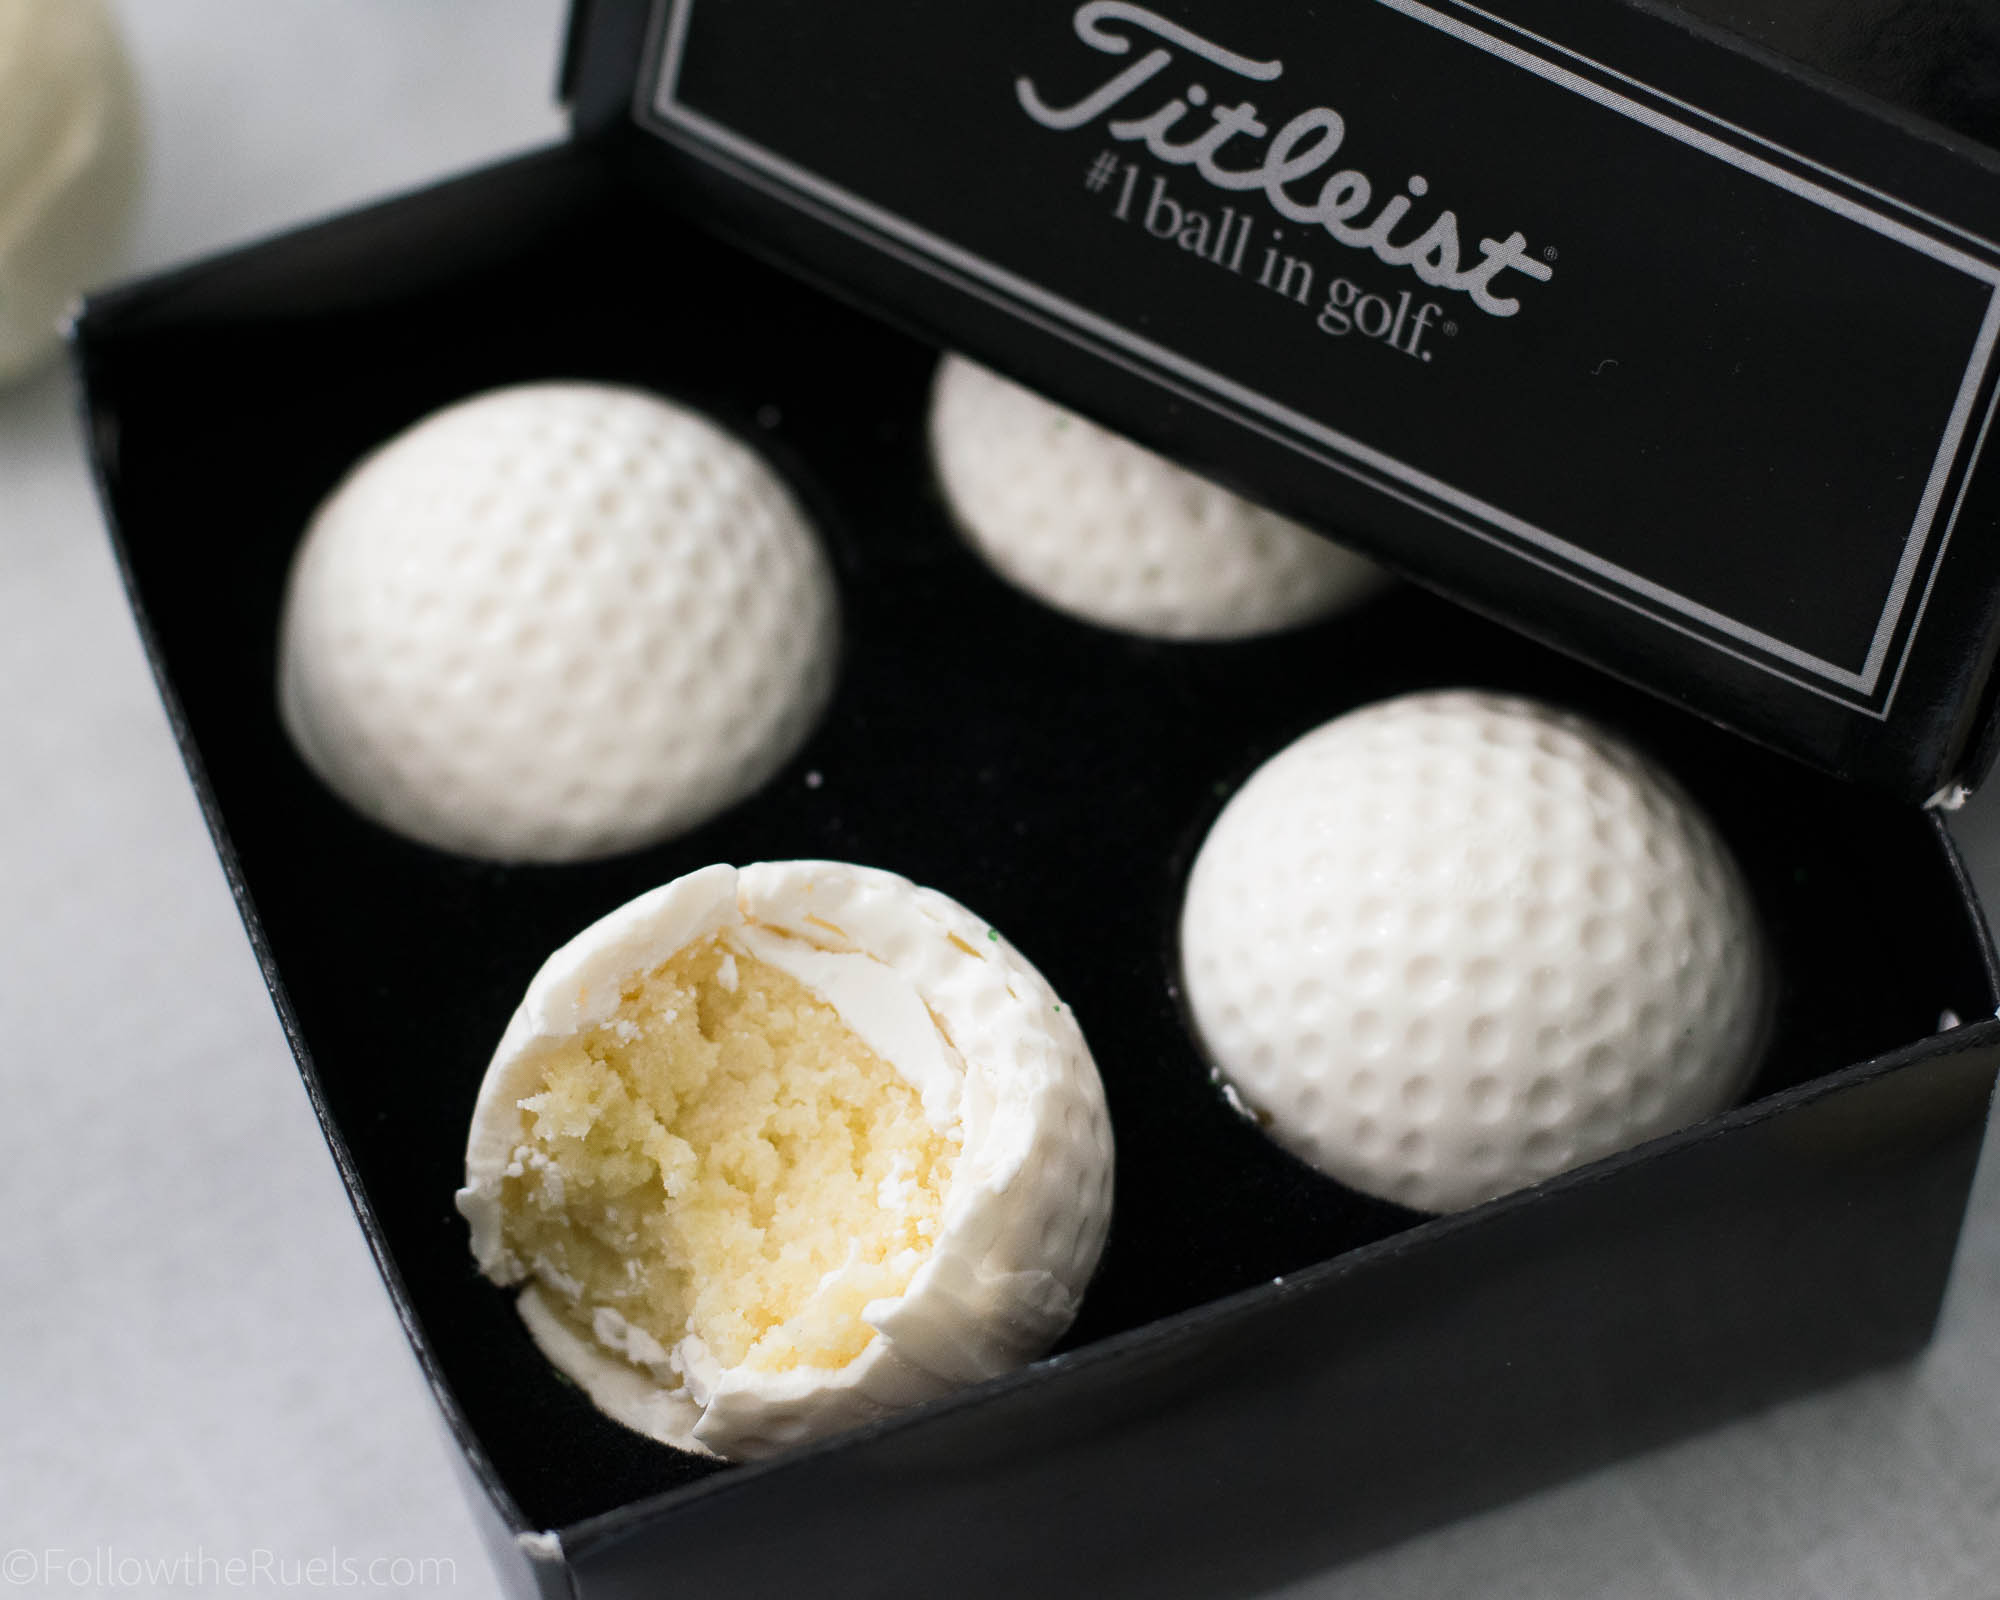
As a fun Father’s Day treat this year, I thought I would tap into their love of golf and love of sweets to make these super cute golf cake balls. I have actually had the molds for these golf balls for over a year (maybe 2) and finally found the chance to use them!

If you haven’t made cake balls before, you should know that they are incredibly easy to make. And I think the molds make it even easier! No dipping the balls into melted chocolate only to have the ball fall in, or not cover the ball enough. Nope! Just set the cake ball in the mold, let it harden, and you are set! I’ll share all my tips for making these cute golf cake balls below.

How to Make Them

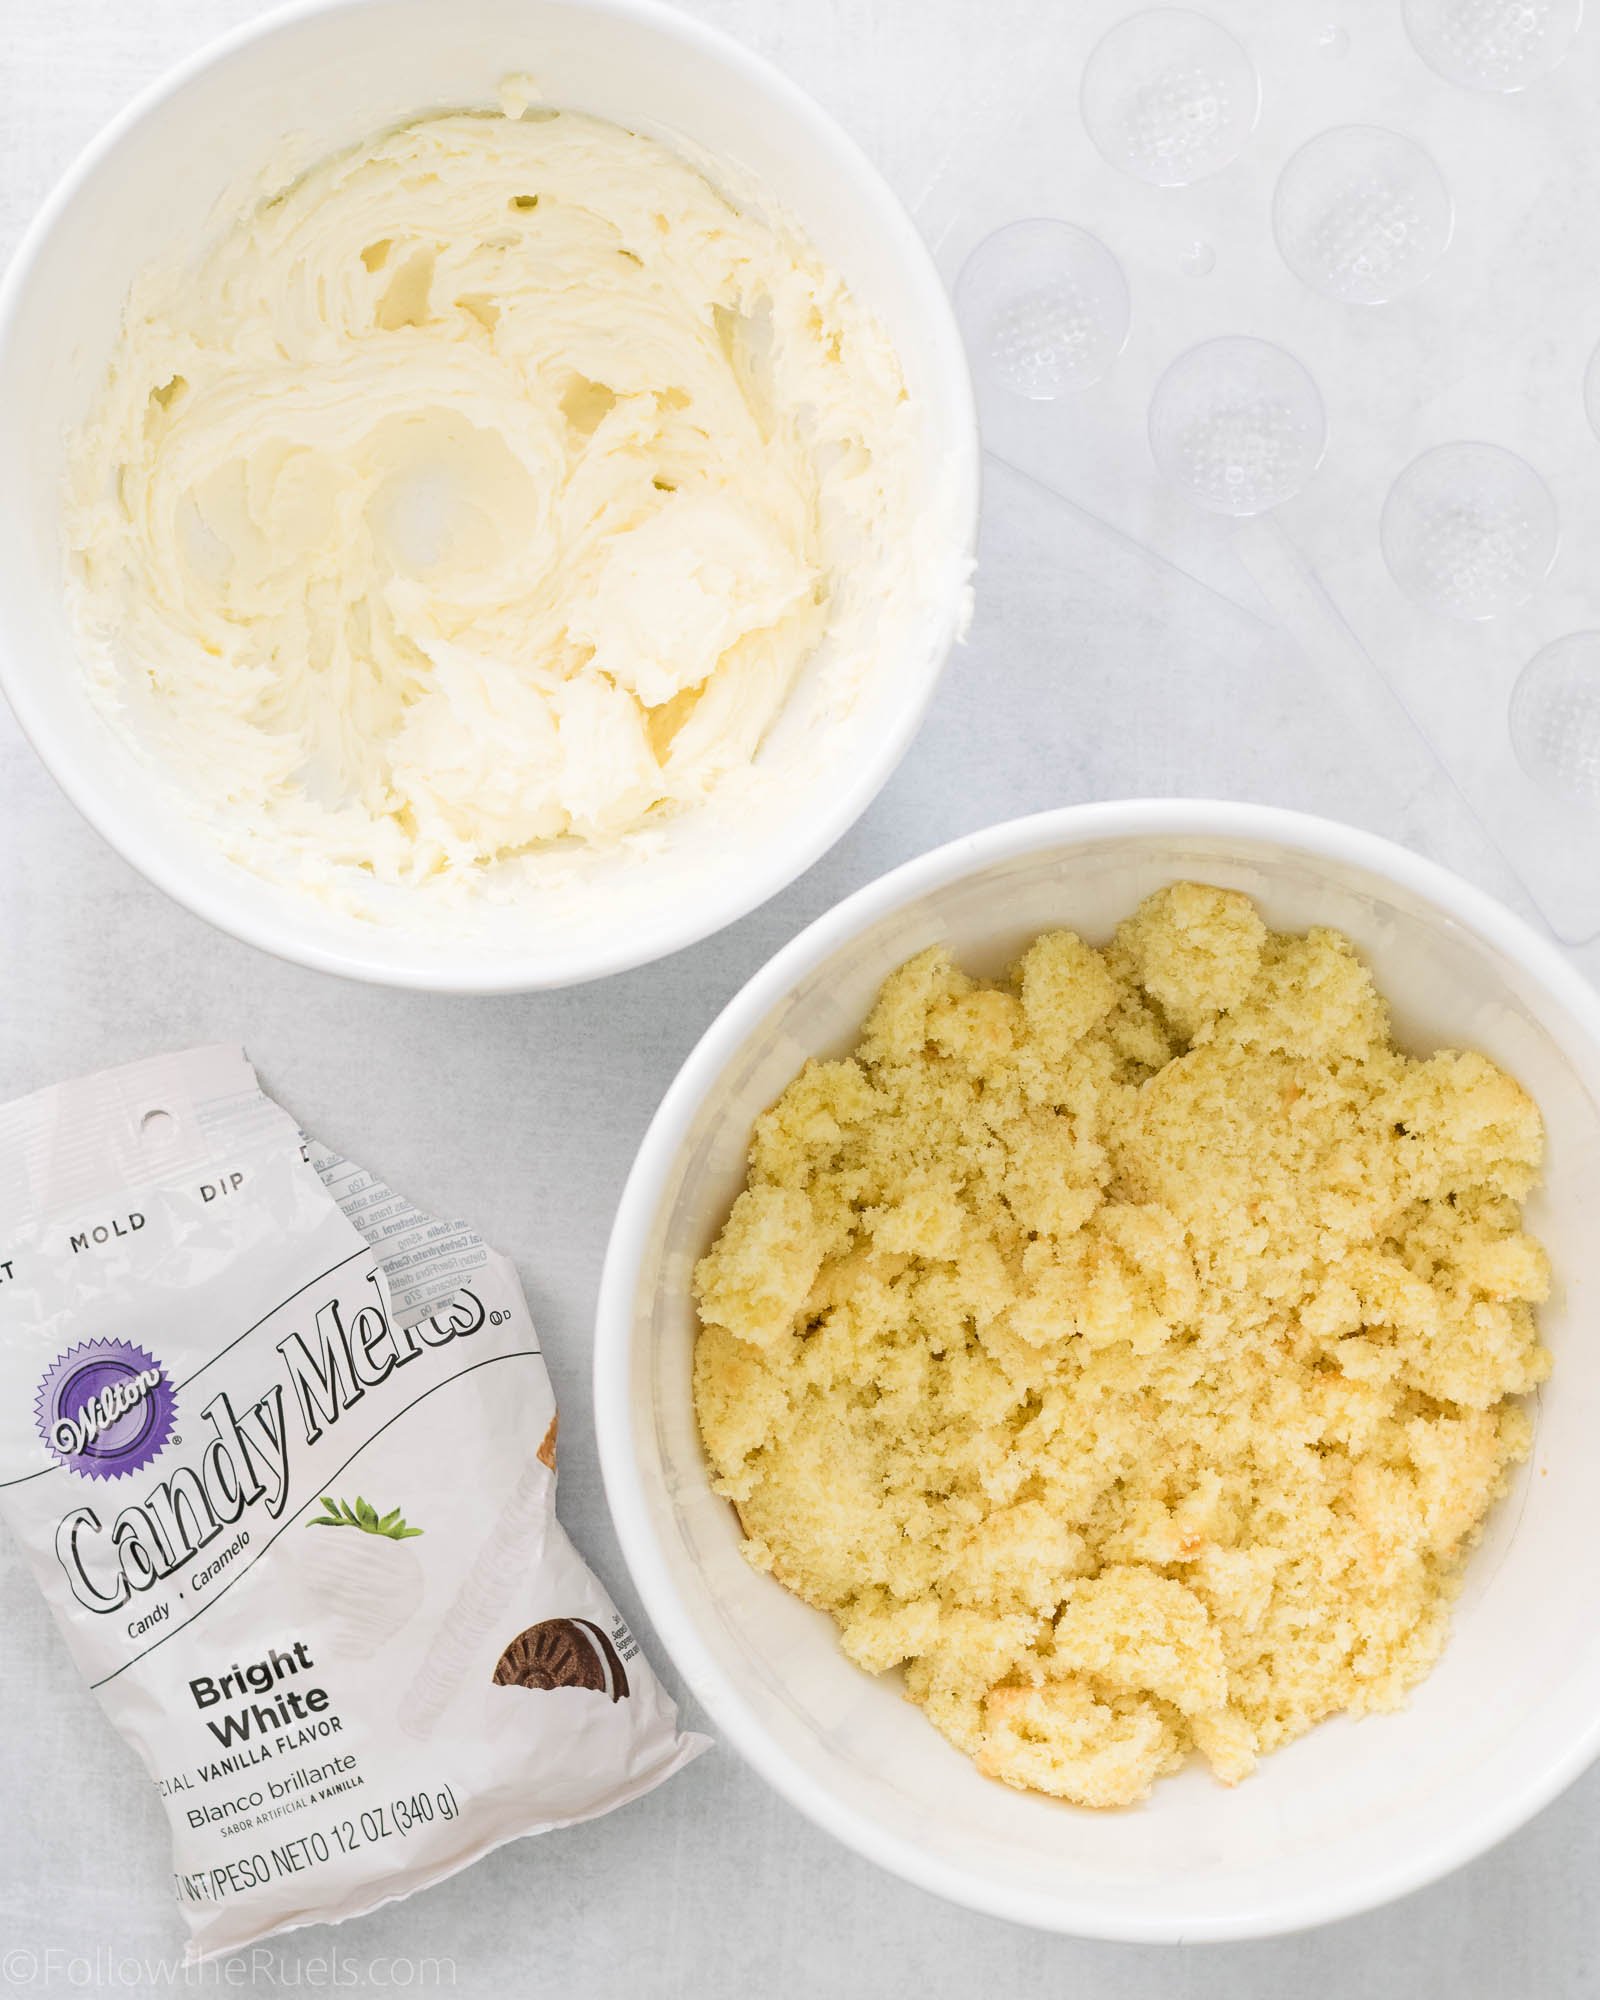
Cake balls don’t require a whole lot of supplies or ingredients. All you need is some cake (it can be homemade, from a box mix, or store bought), some icing (again, homemade or storebought), and some candy melts. I highly recommend candy melts over plain white chocolate because it has a higher melting point. That will come in really handy if you have to handle the cake balls after they set.

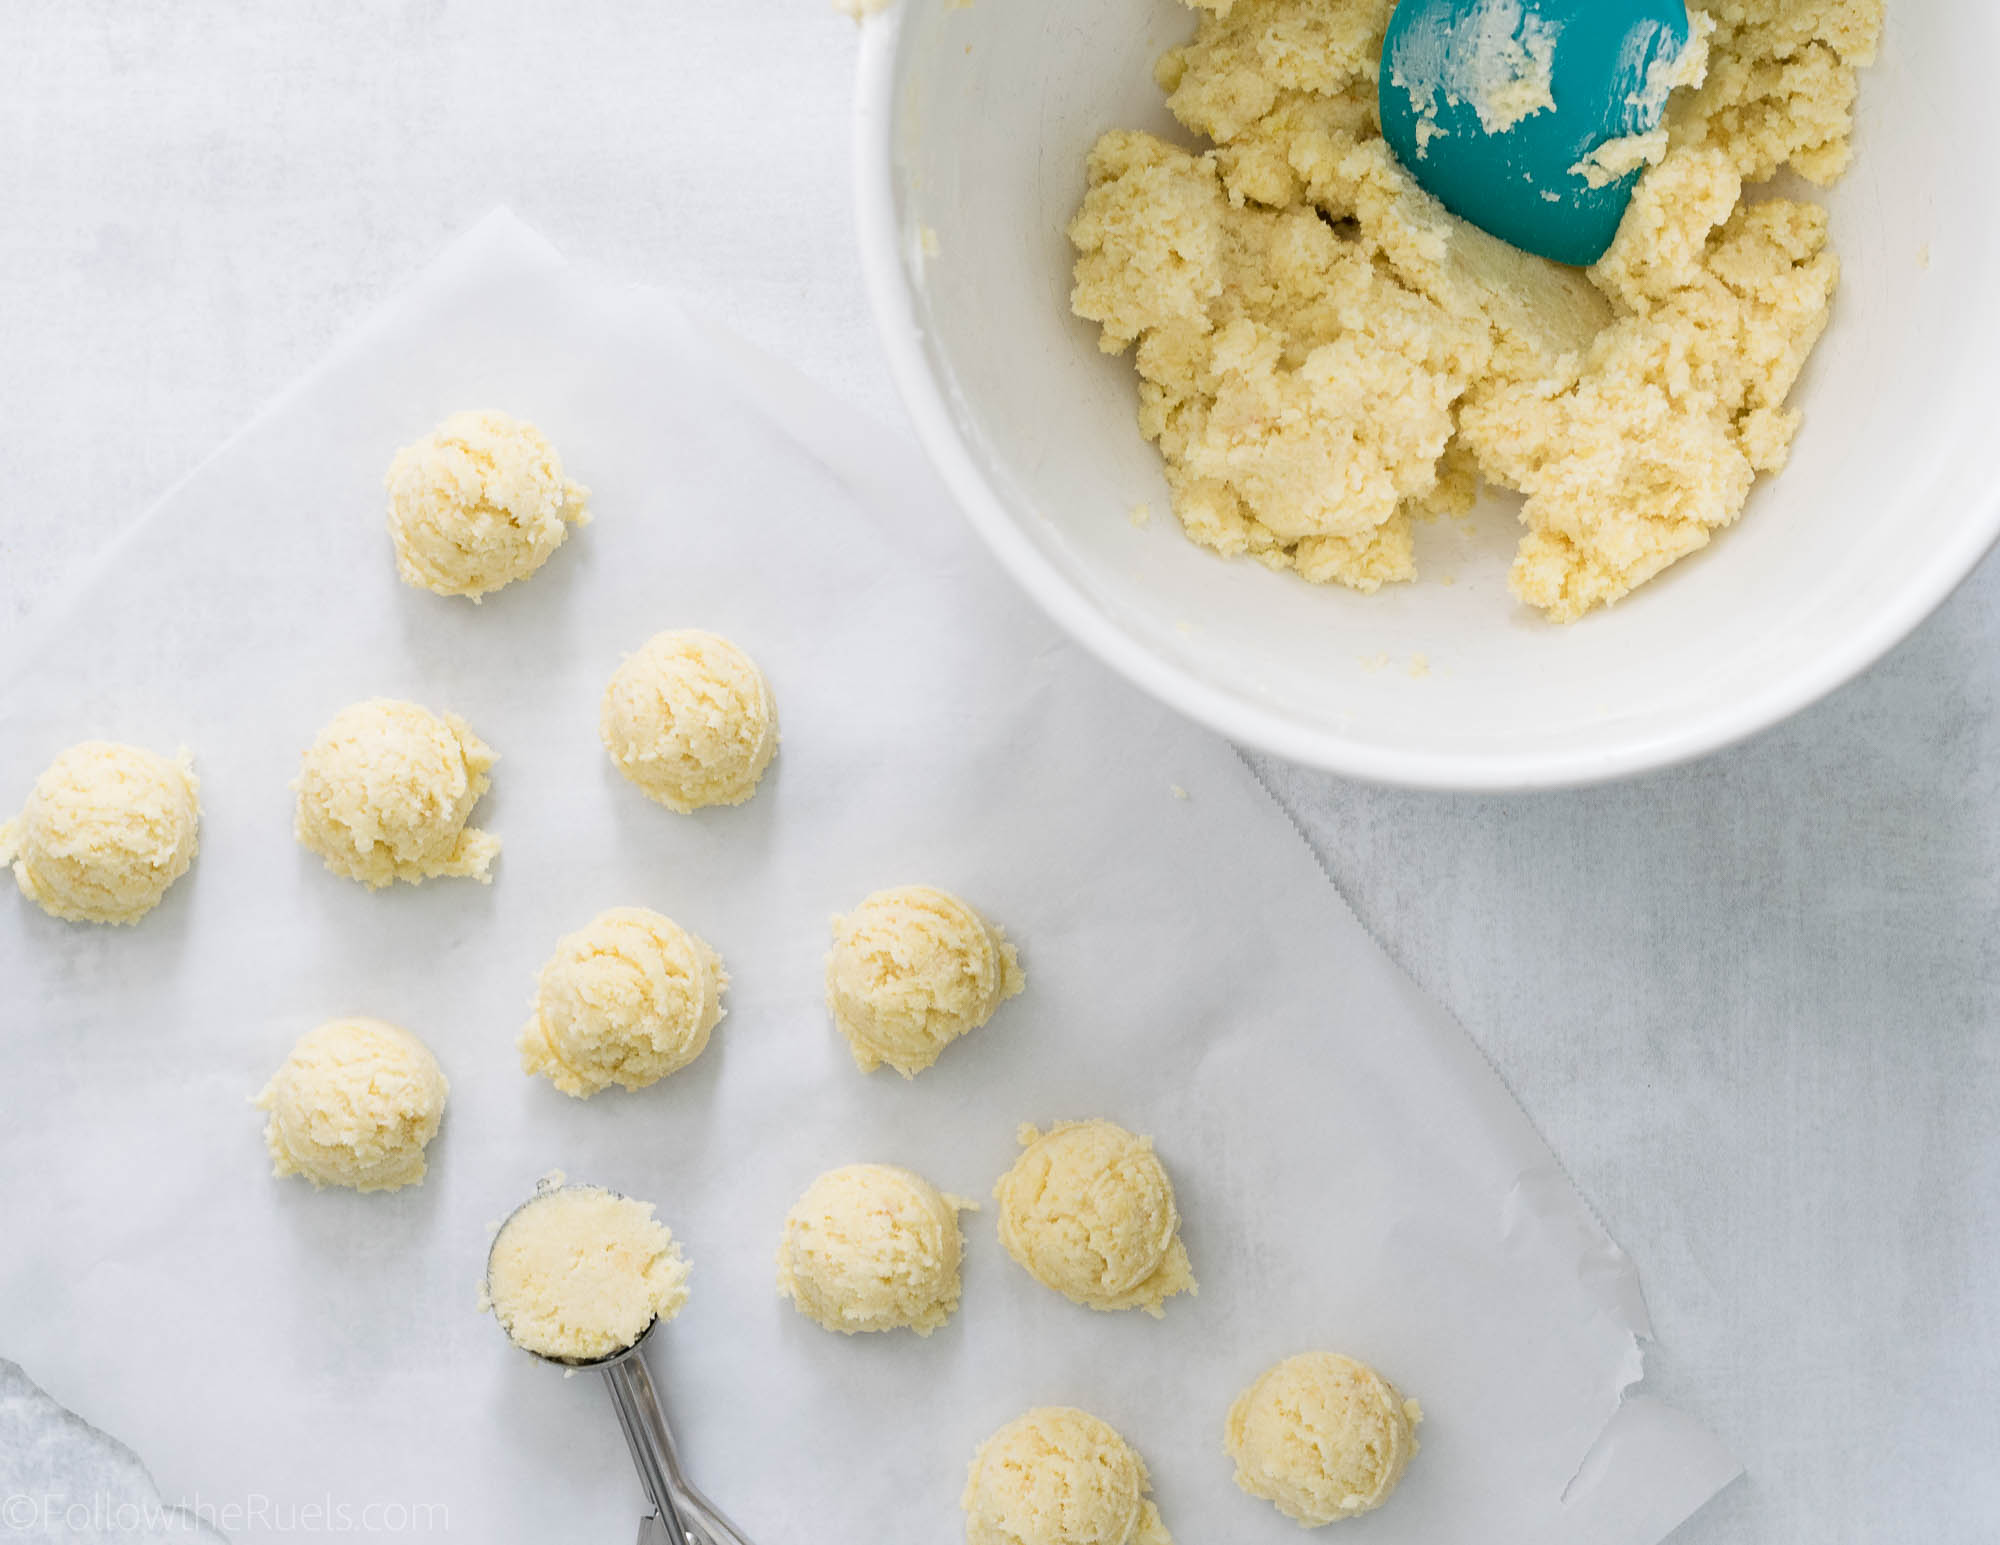
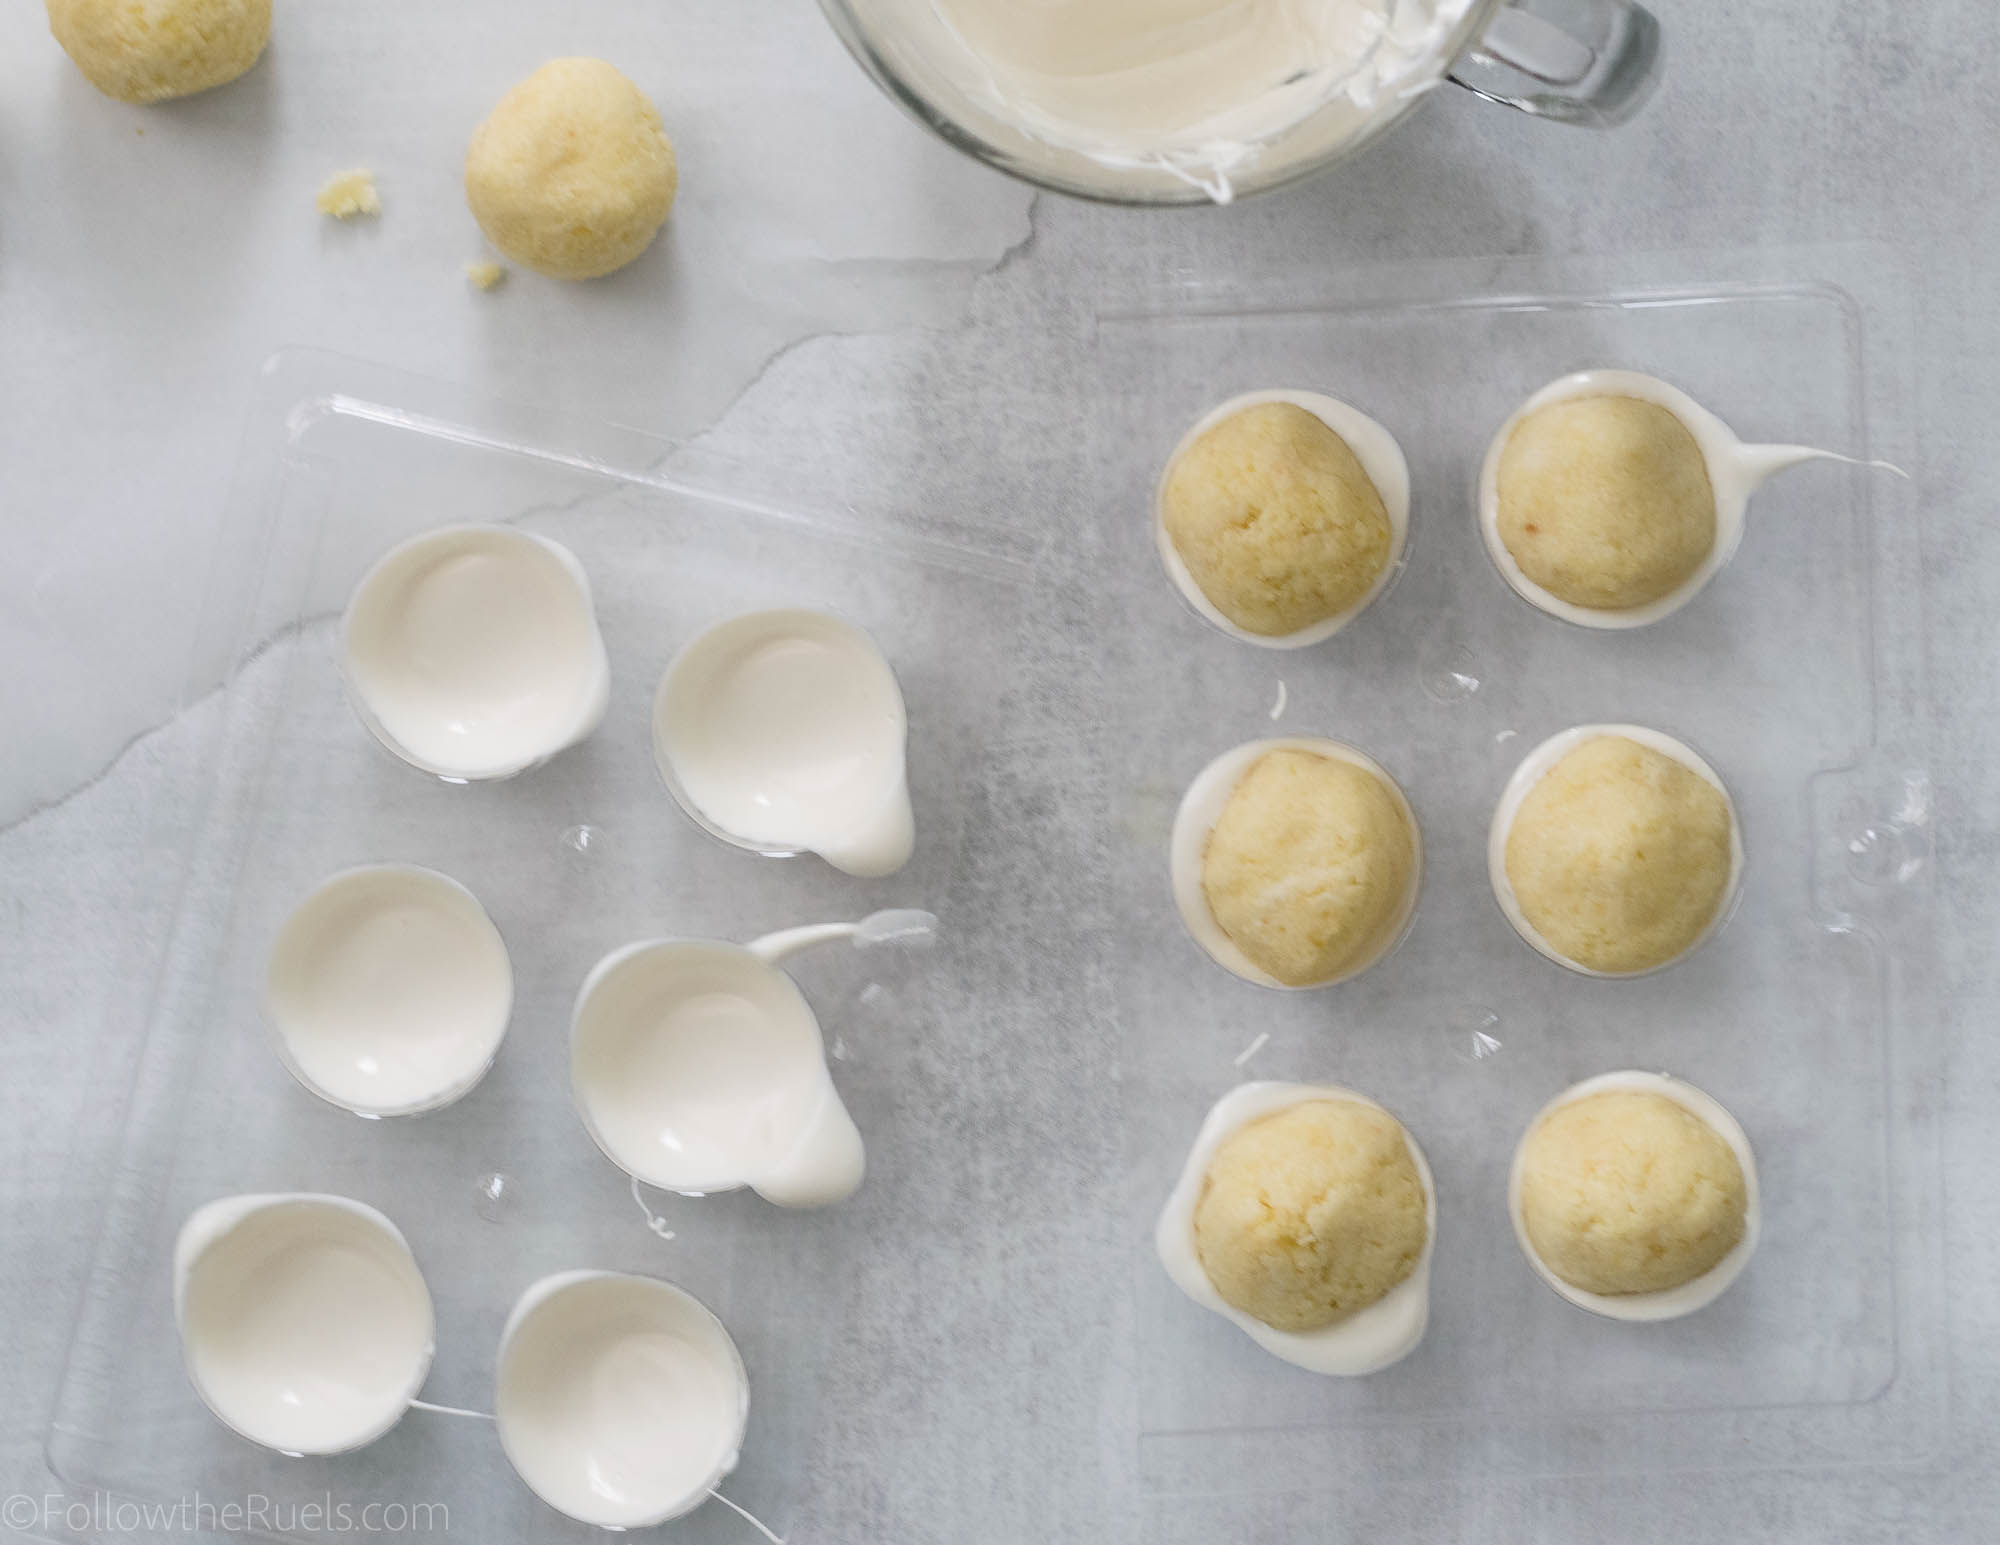
First, crumble up the cake into pretty fine crumbs. Then mix in the frosting until it’s about the consistency of a dry cookie dough. You want the cake balls to stick together, but you don’t want them to be too soggy with frosting.

Use a spoon or scoop to create almost golf ball sized balls of the cake ball mixture. You want the balls to be slightly smaller than the golf ball mold.

Roll the balls between the palms of your hands so they are nice and smooth. 

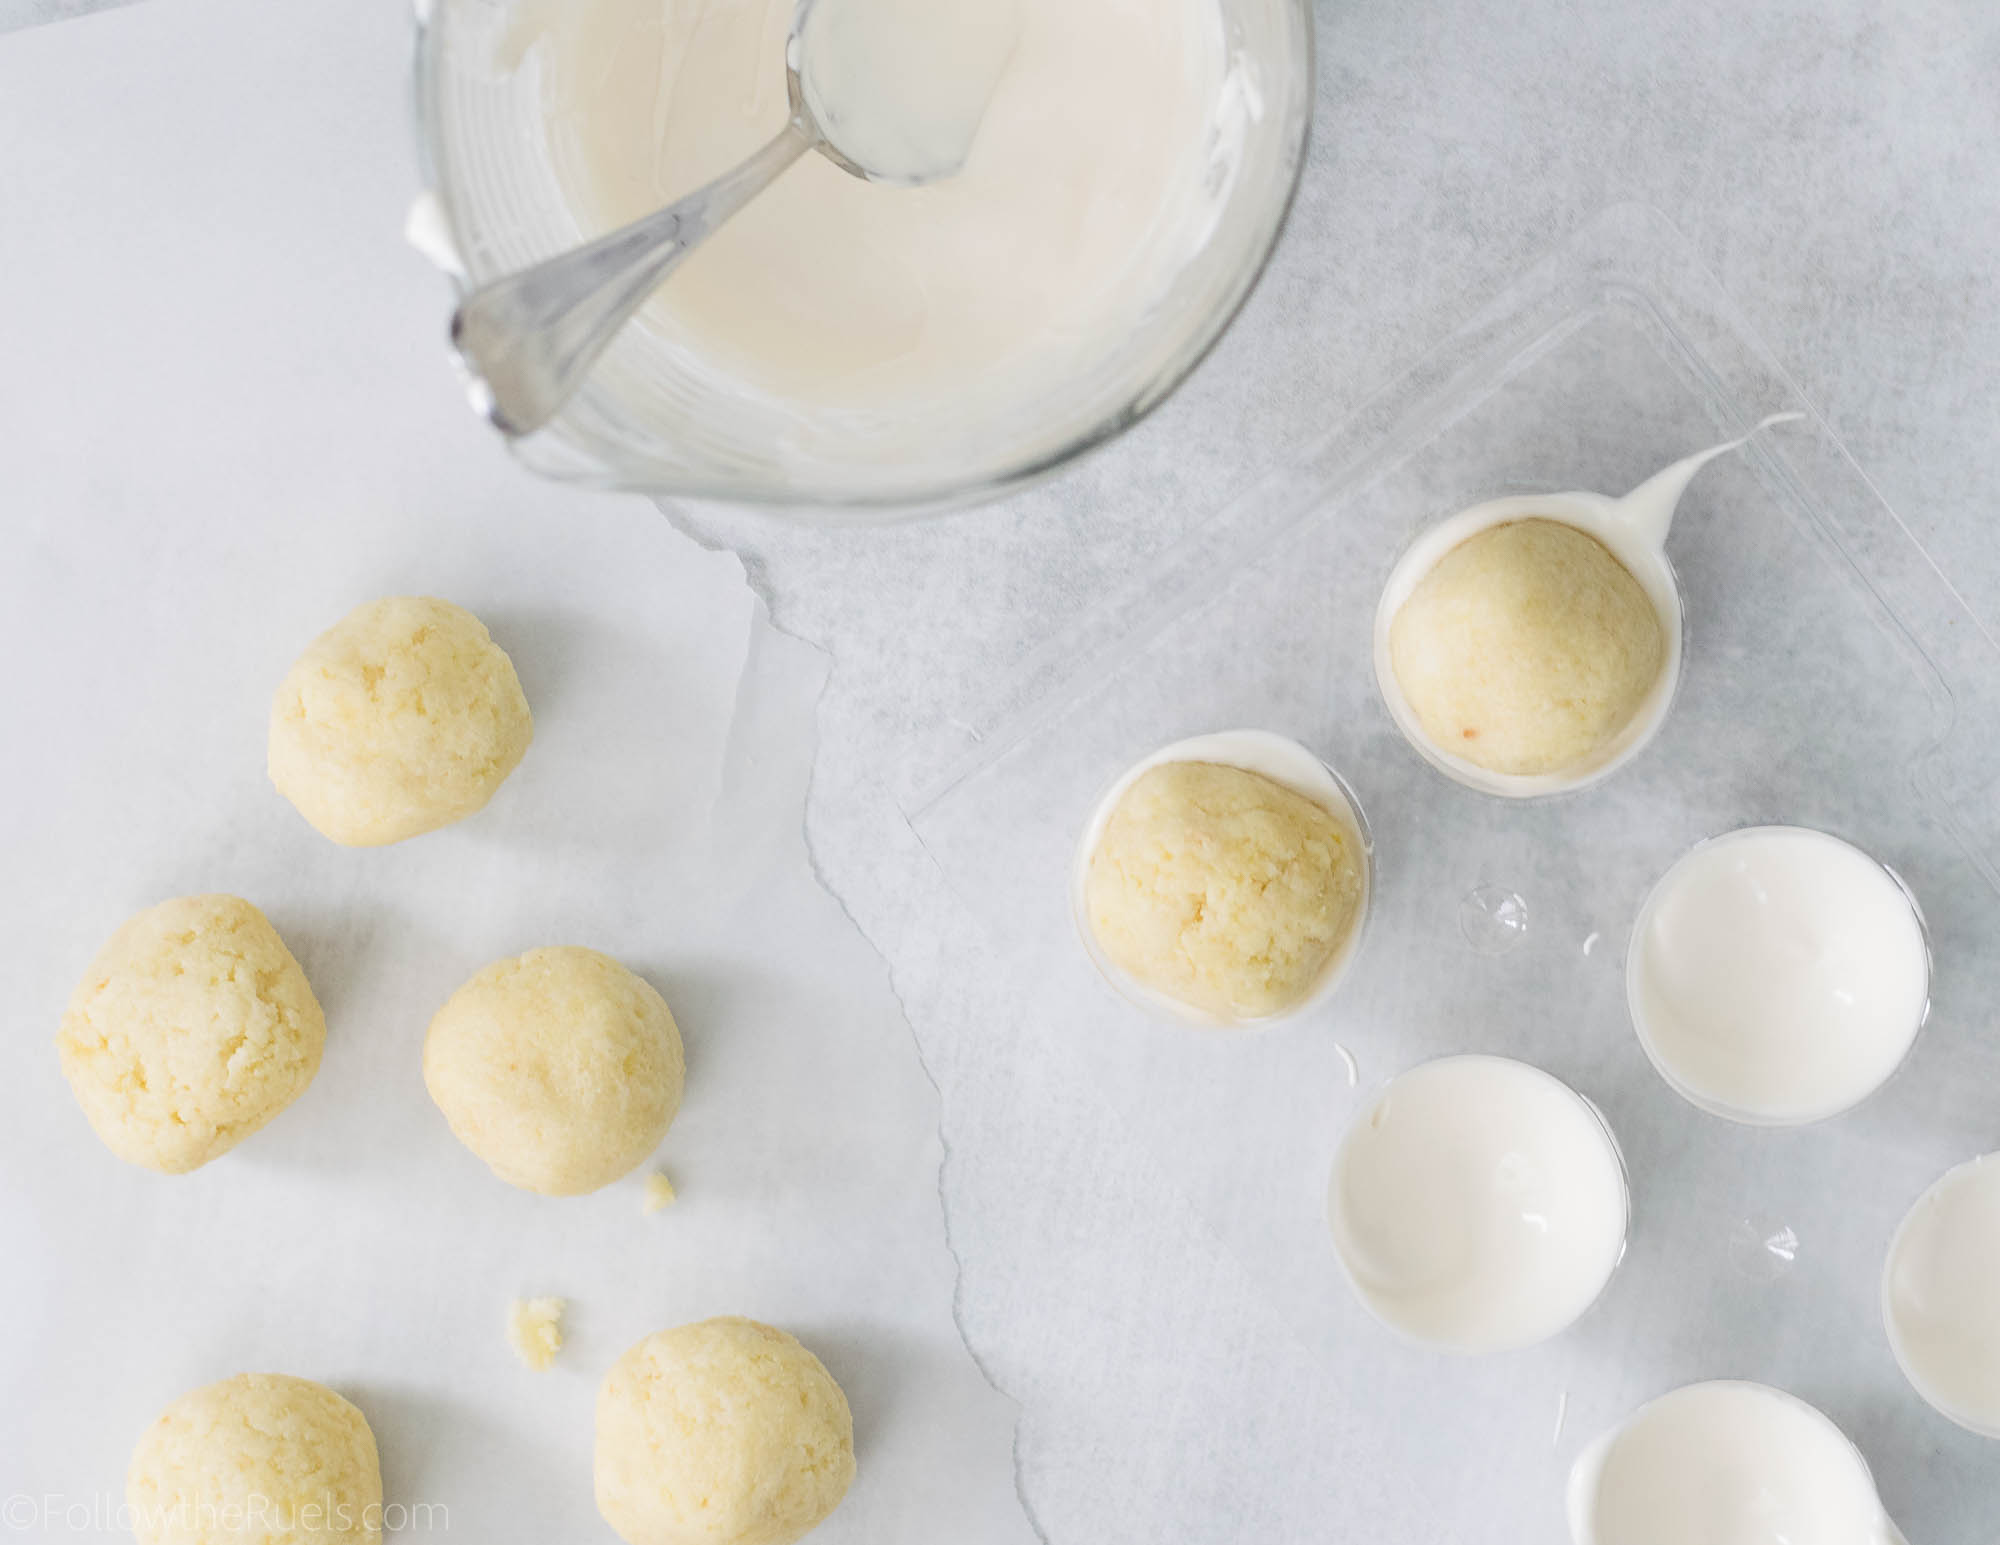
Spoon the melted candy melt mixture into half of the cake ball mold. Swirl the candy around the cavity making sure that it is covering every part of the hole created by the golf ball mold. I would even recommend having some of the candy come up over the edge, but you don’t want too much that it spills out too much when the cake ball is placed in it.

Then, place the cake ball into the molds.

Repeat the candy melt process with the other half of the mold, making sure to cover every little nook and cranny of the cavity.

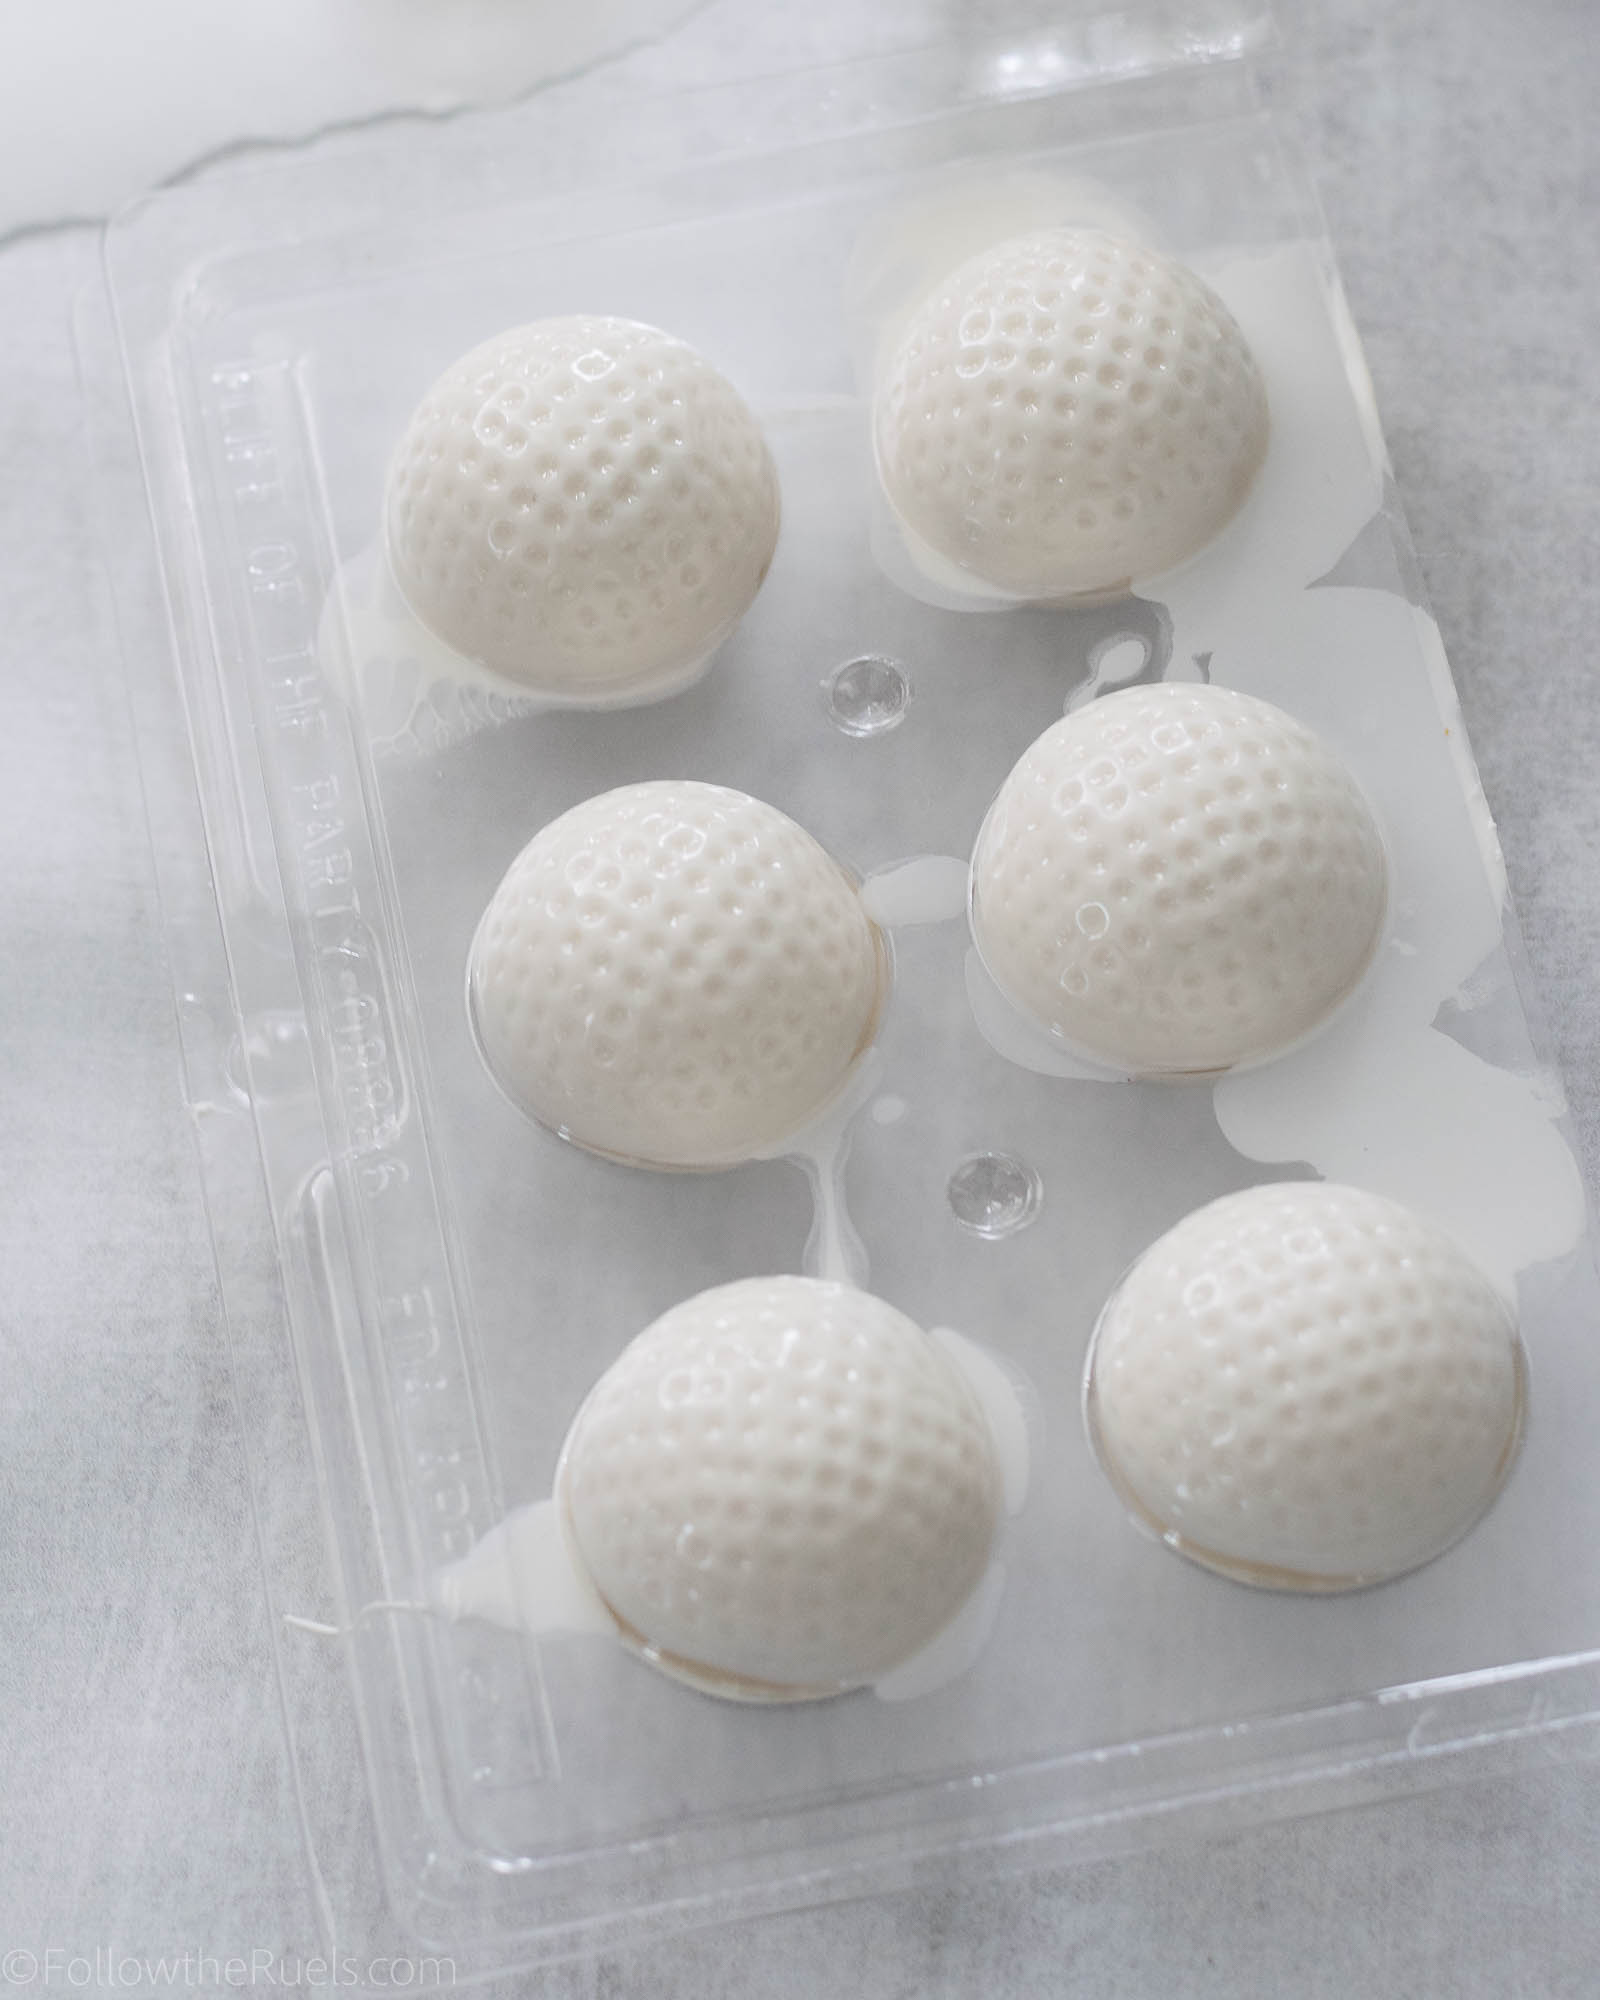
Invert the mold without the cake balls onto the mold with the cake balls and align them so that the edges line up. Give the mold a good squeeze and tap to ensure that the candy comes together at the seam.

Place the mold in the fridge or freezer to set for about 15-20 minutes. 

Once out of the fridge or freezer, you can scrape off any exposed seams with a small knife. 

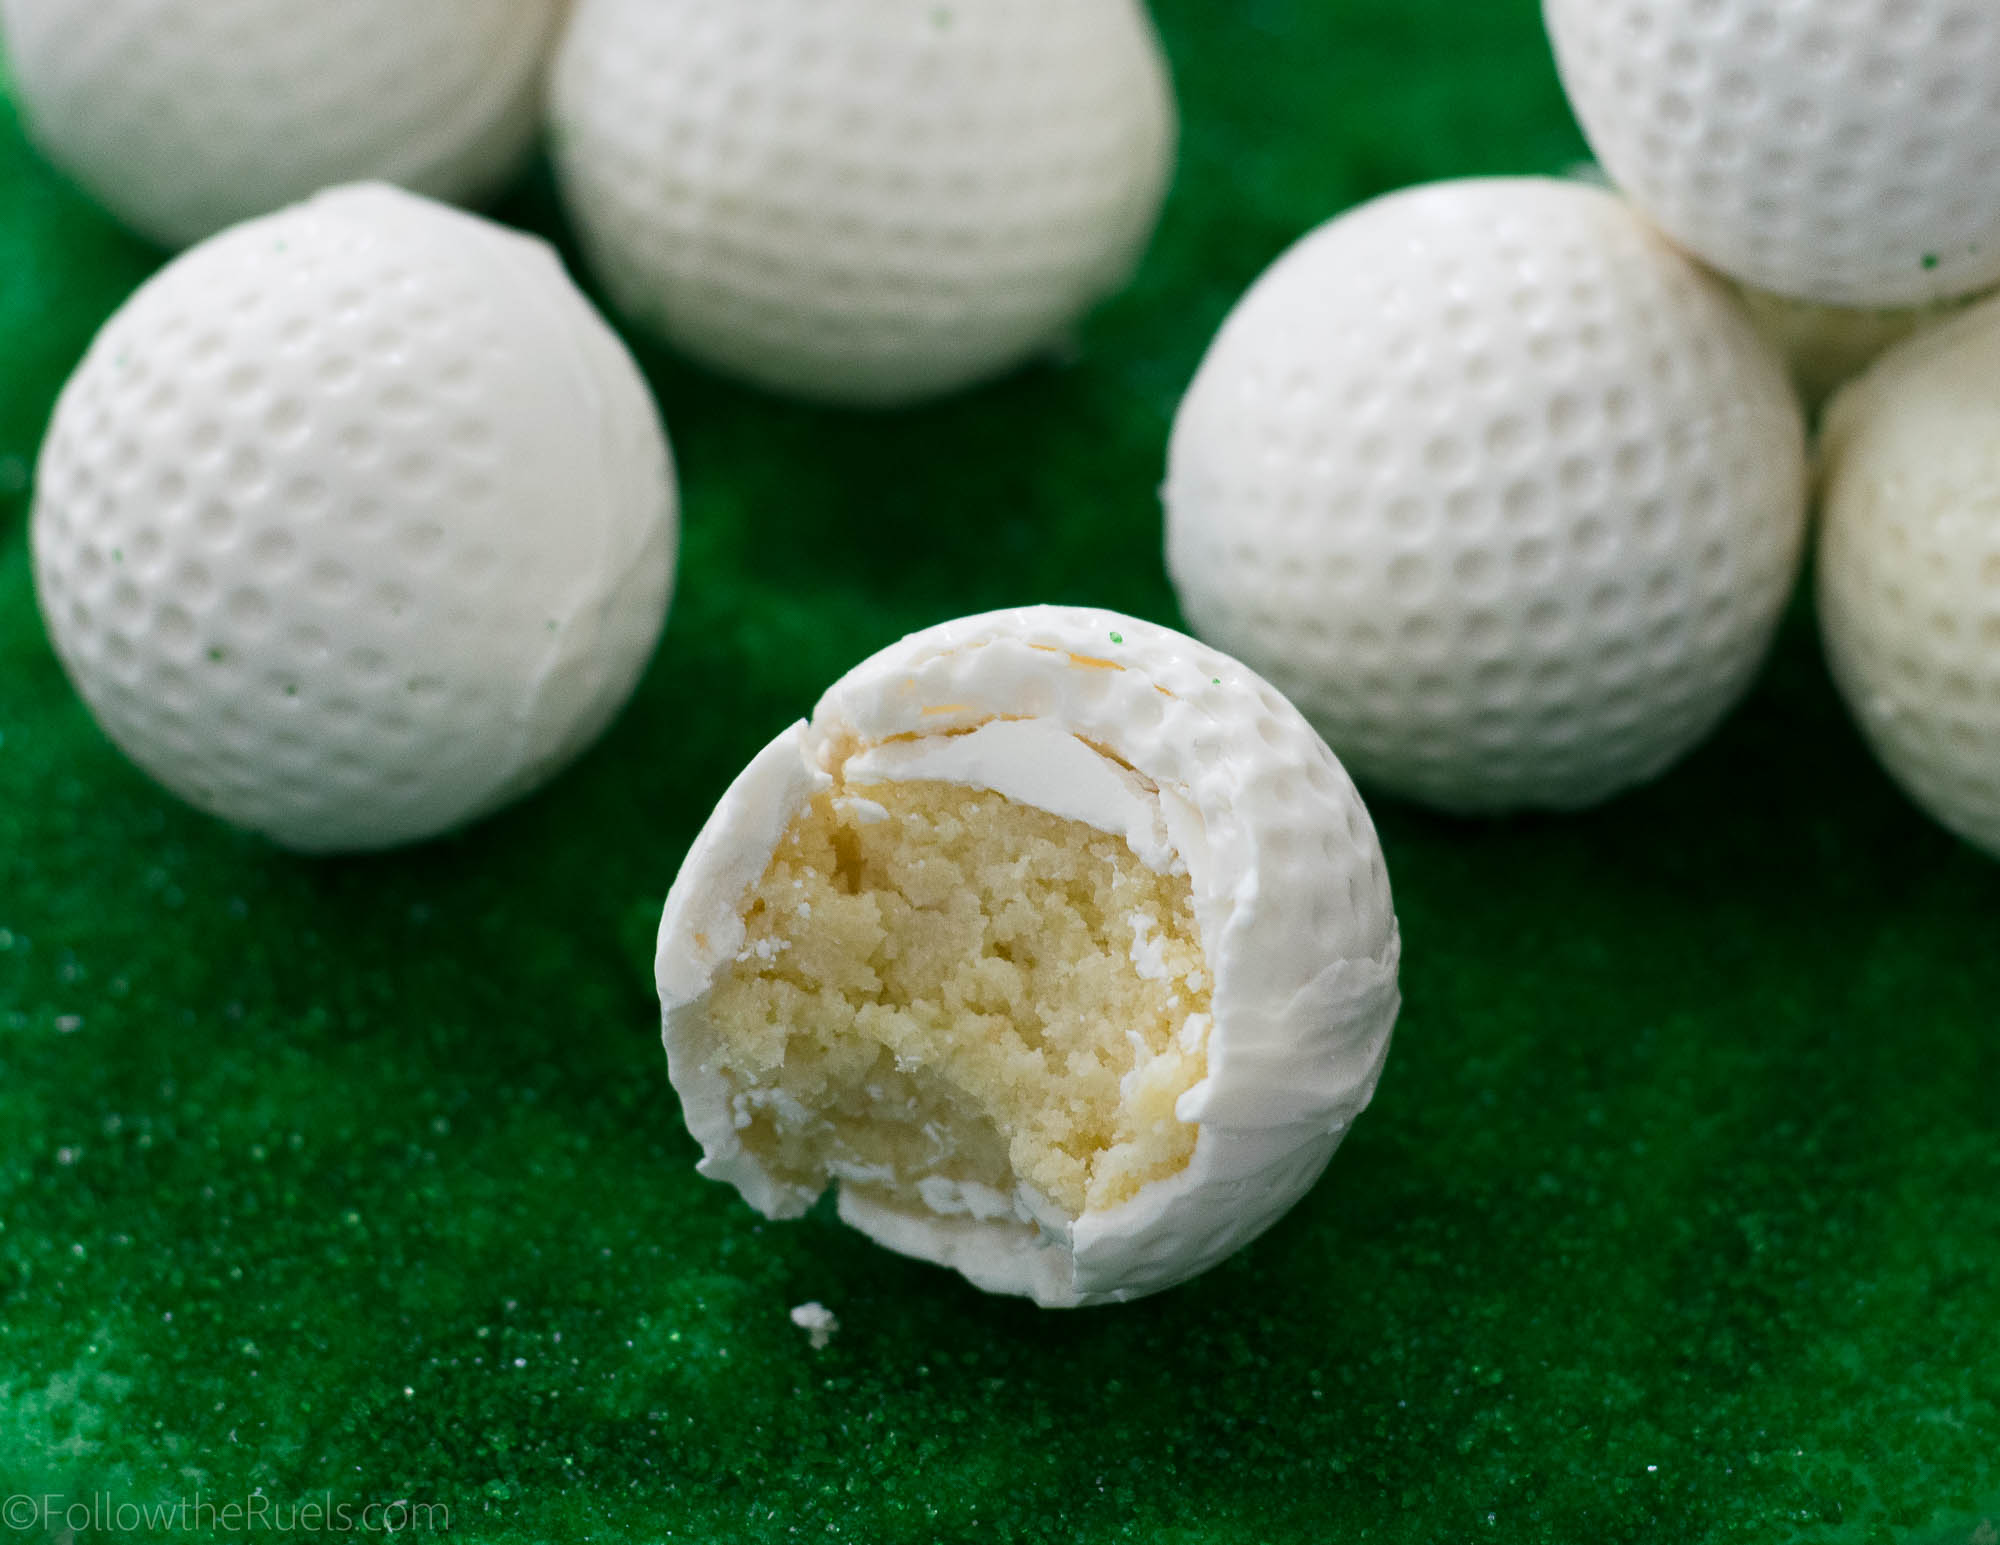
After that, they are ready to eat!!

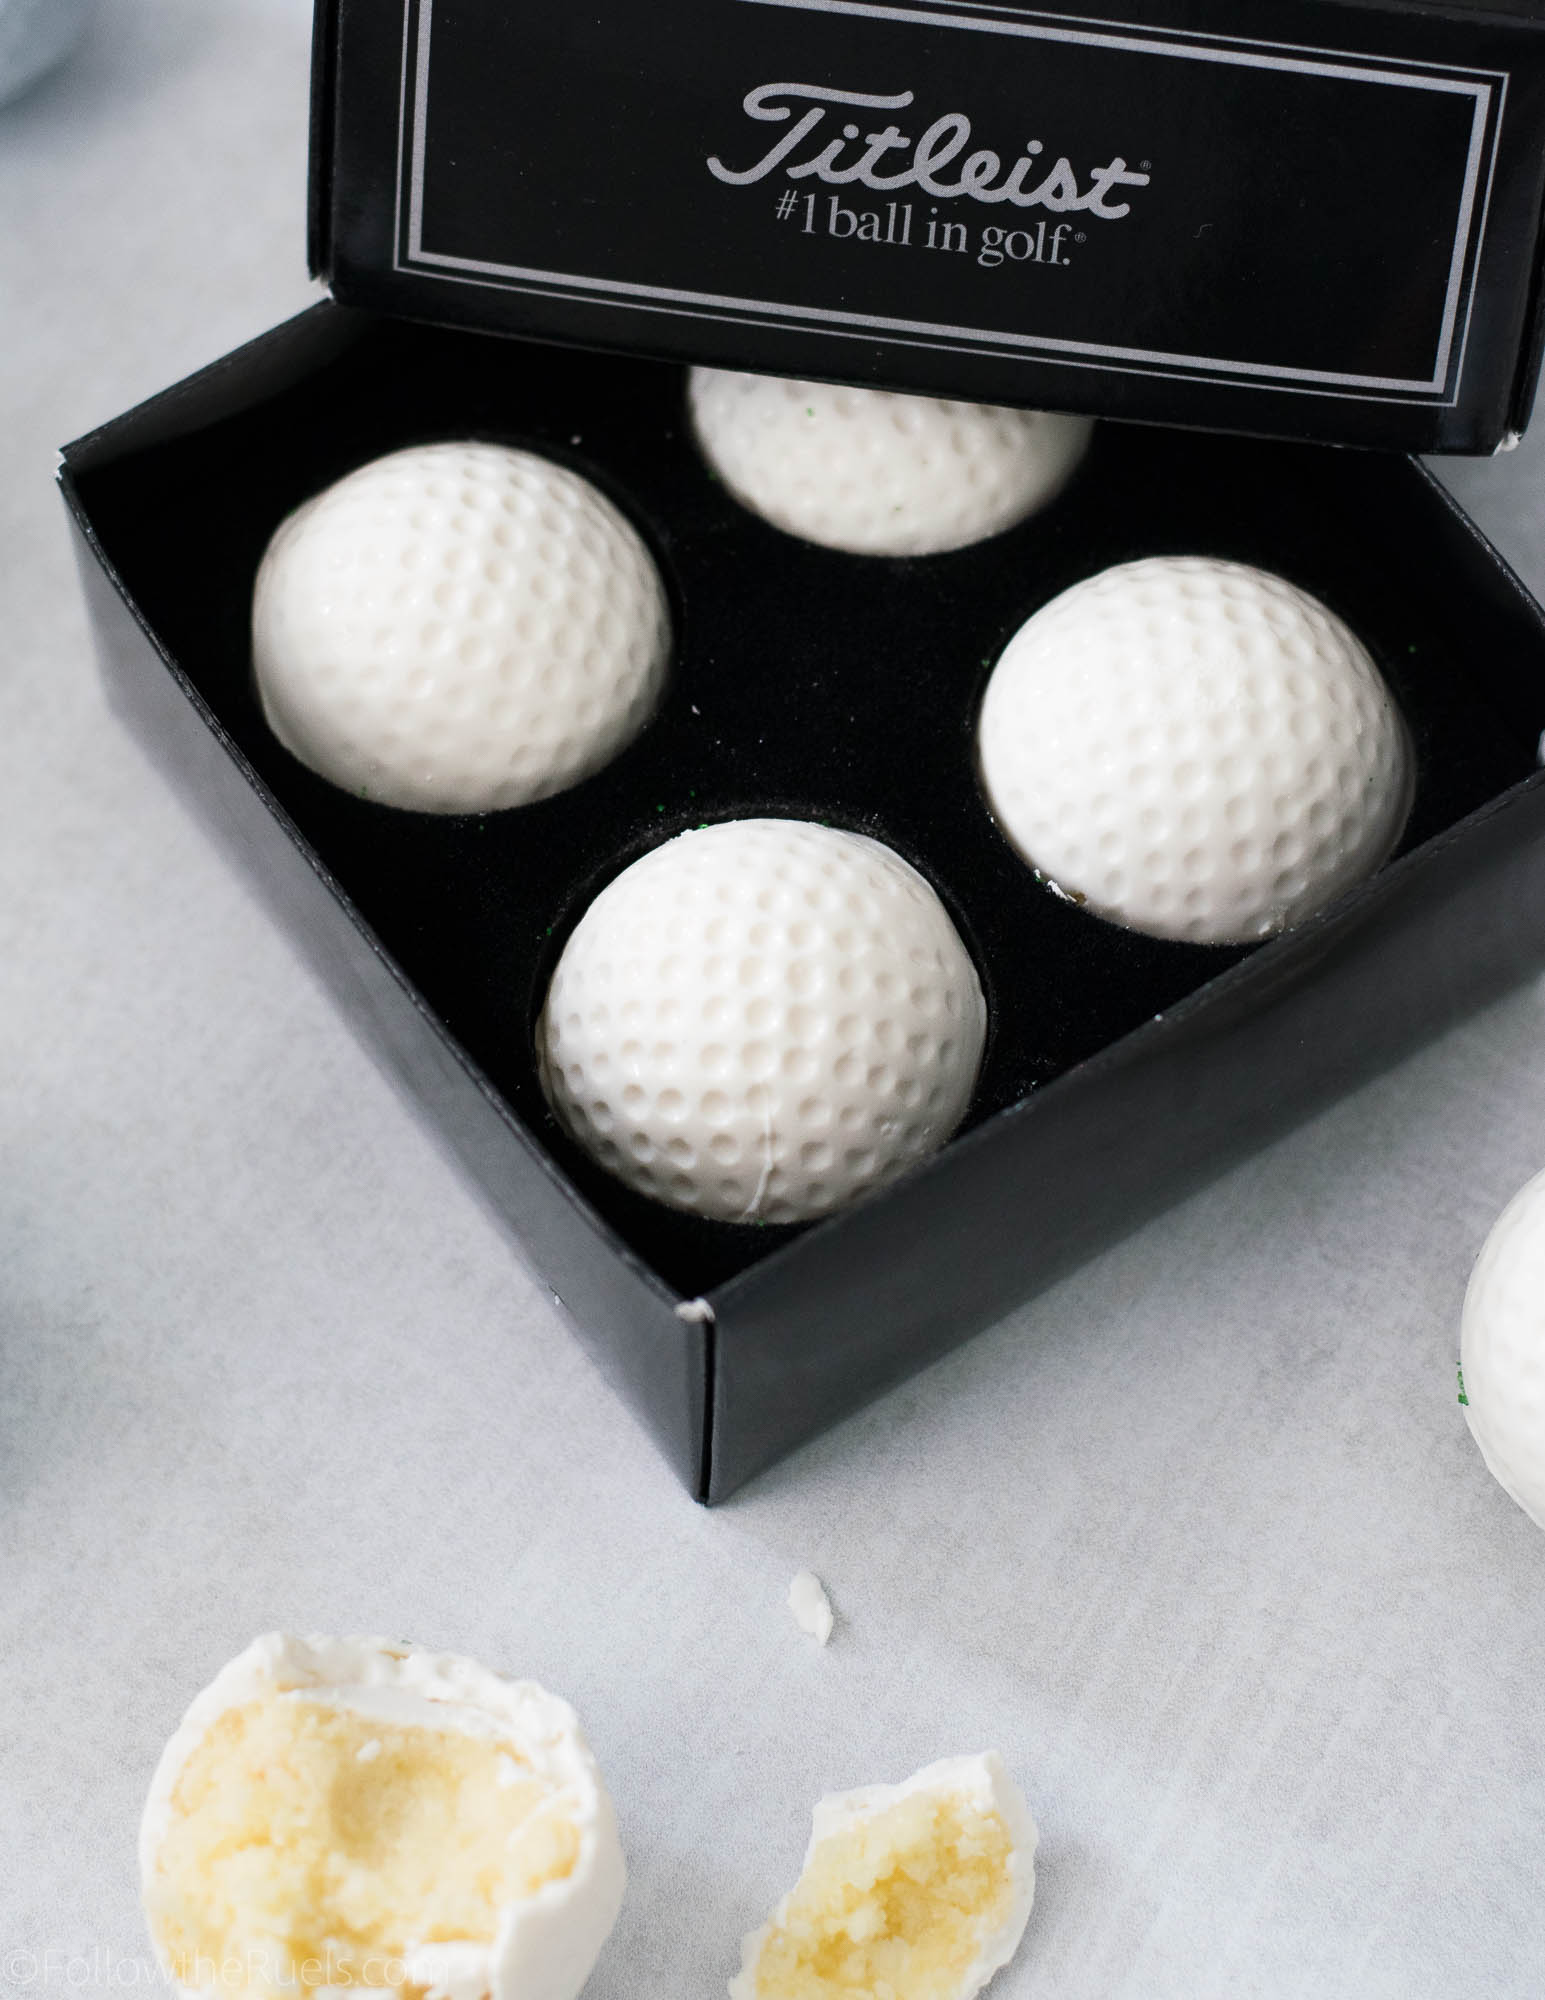
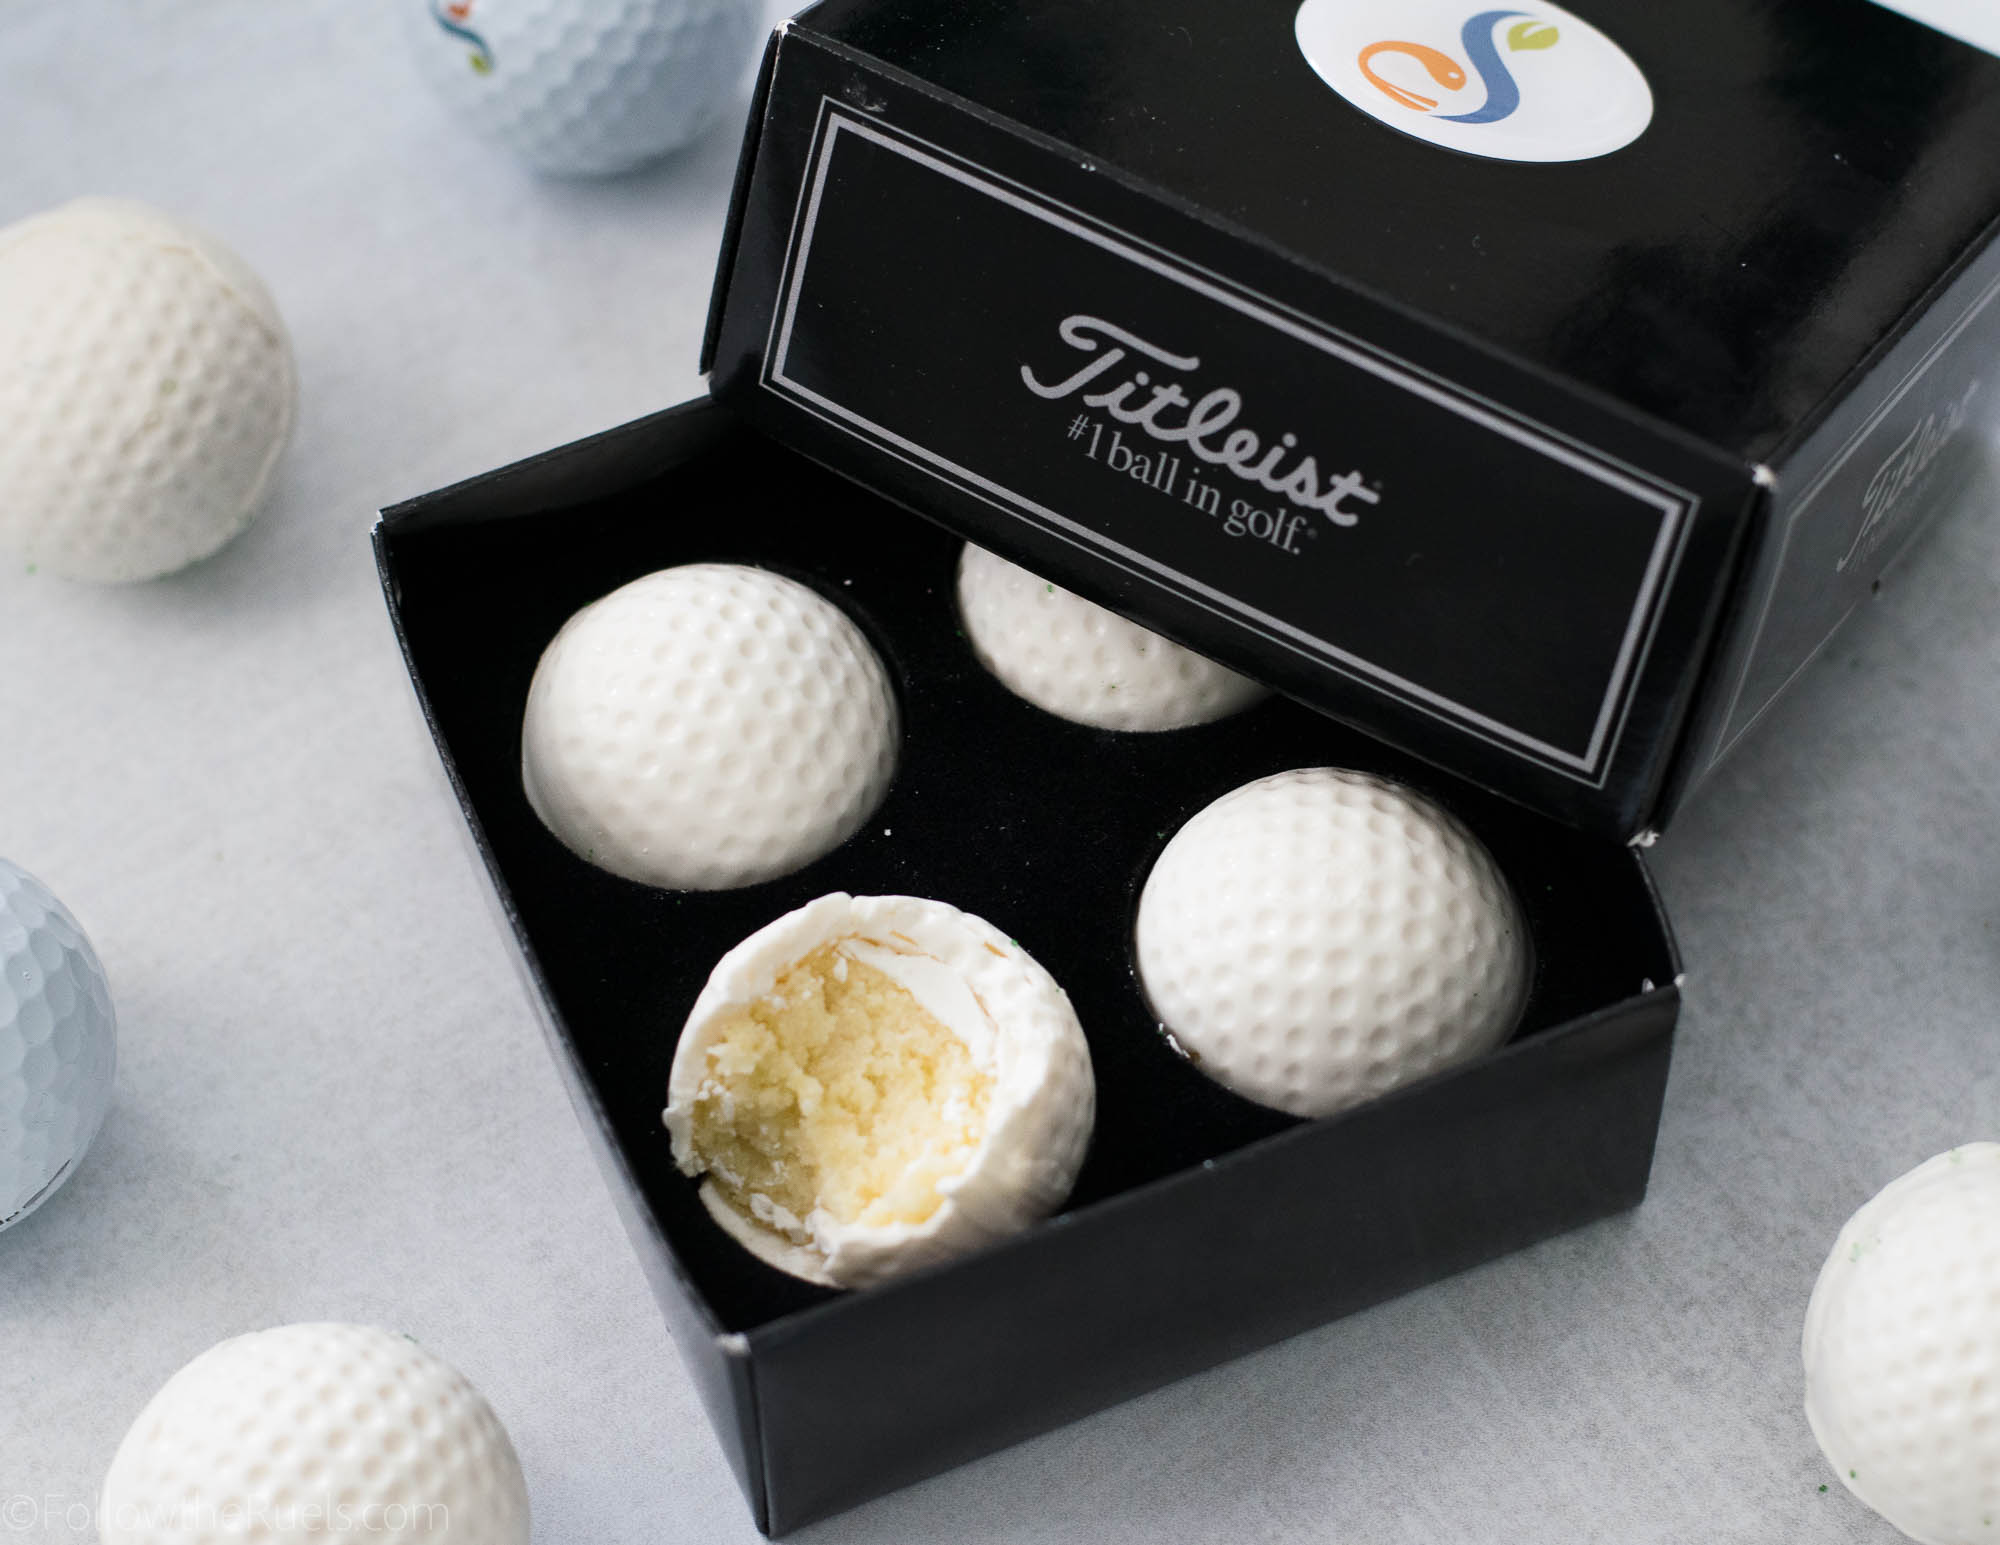
These gold cake balls are so cute on their own. I put them in one of Billy’s golf ball boxes (I only recommend doing this if you cover the inside with parchment and use a brand new piece of foam) for presentation. But they would also be so cute as a cupcake topper or on top of a cake. 

If you don’t want to bake anything else, but want to step up the presentation, I recommend covering a platter with frosting and green sanding sugar to look like grass. Then place all the cake balls on top! 

Although, I don’t think Dad will care too much about presentation. He will just be excited to bite into the golf cake balls!

Supplies and Recipe

To make these cake balls, you will need a few supplies that you may not readily have on hand. 

  • Golf ball candy molds – depending on how many cake balls you want to make, you may want to get more than one since they only make 6 at a time.
  • Bright white candy melts – 2 bags will cover about 18 balls
  • Parchment paper or wax paper
  • Microwave safe bowl and spoon (you probably have this already)

[show_shopthepost_widget id=”3157396″]
[yumprint-recipe id=’182′] 

/ Filed In: Cakes and Cupcakes, Cakes New, Desserts, Eat
Tagged: cake, cake balls, candy melts, candy molds, Father's Day, golf balls

Limoncello Cupcakes with Fondant Topper

June 5, 2018

Since we are headed off to Italy, I have been getting into the spirit with all things Italian. I have been taking Italian lessons with Duolingo, doing some very in-depth research (eating) of the various types of pasta and pizza, and have been finding ways to incorporate my favorite Italian liquor into anything I can think of.

Hense these limoncello cupcakes that just as delicious as they are nice to look at!

How to Make Them

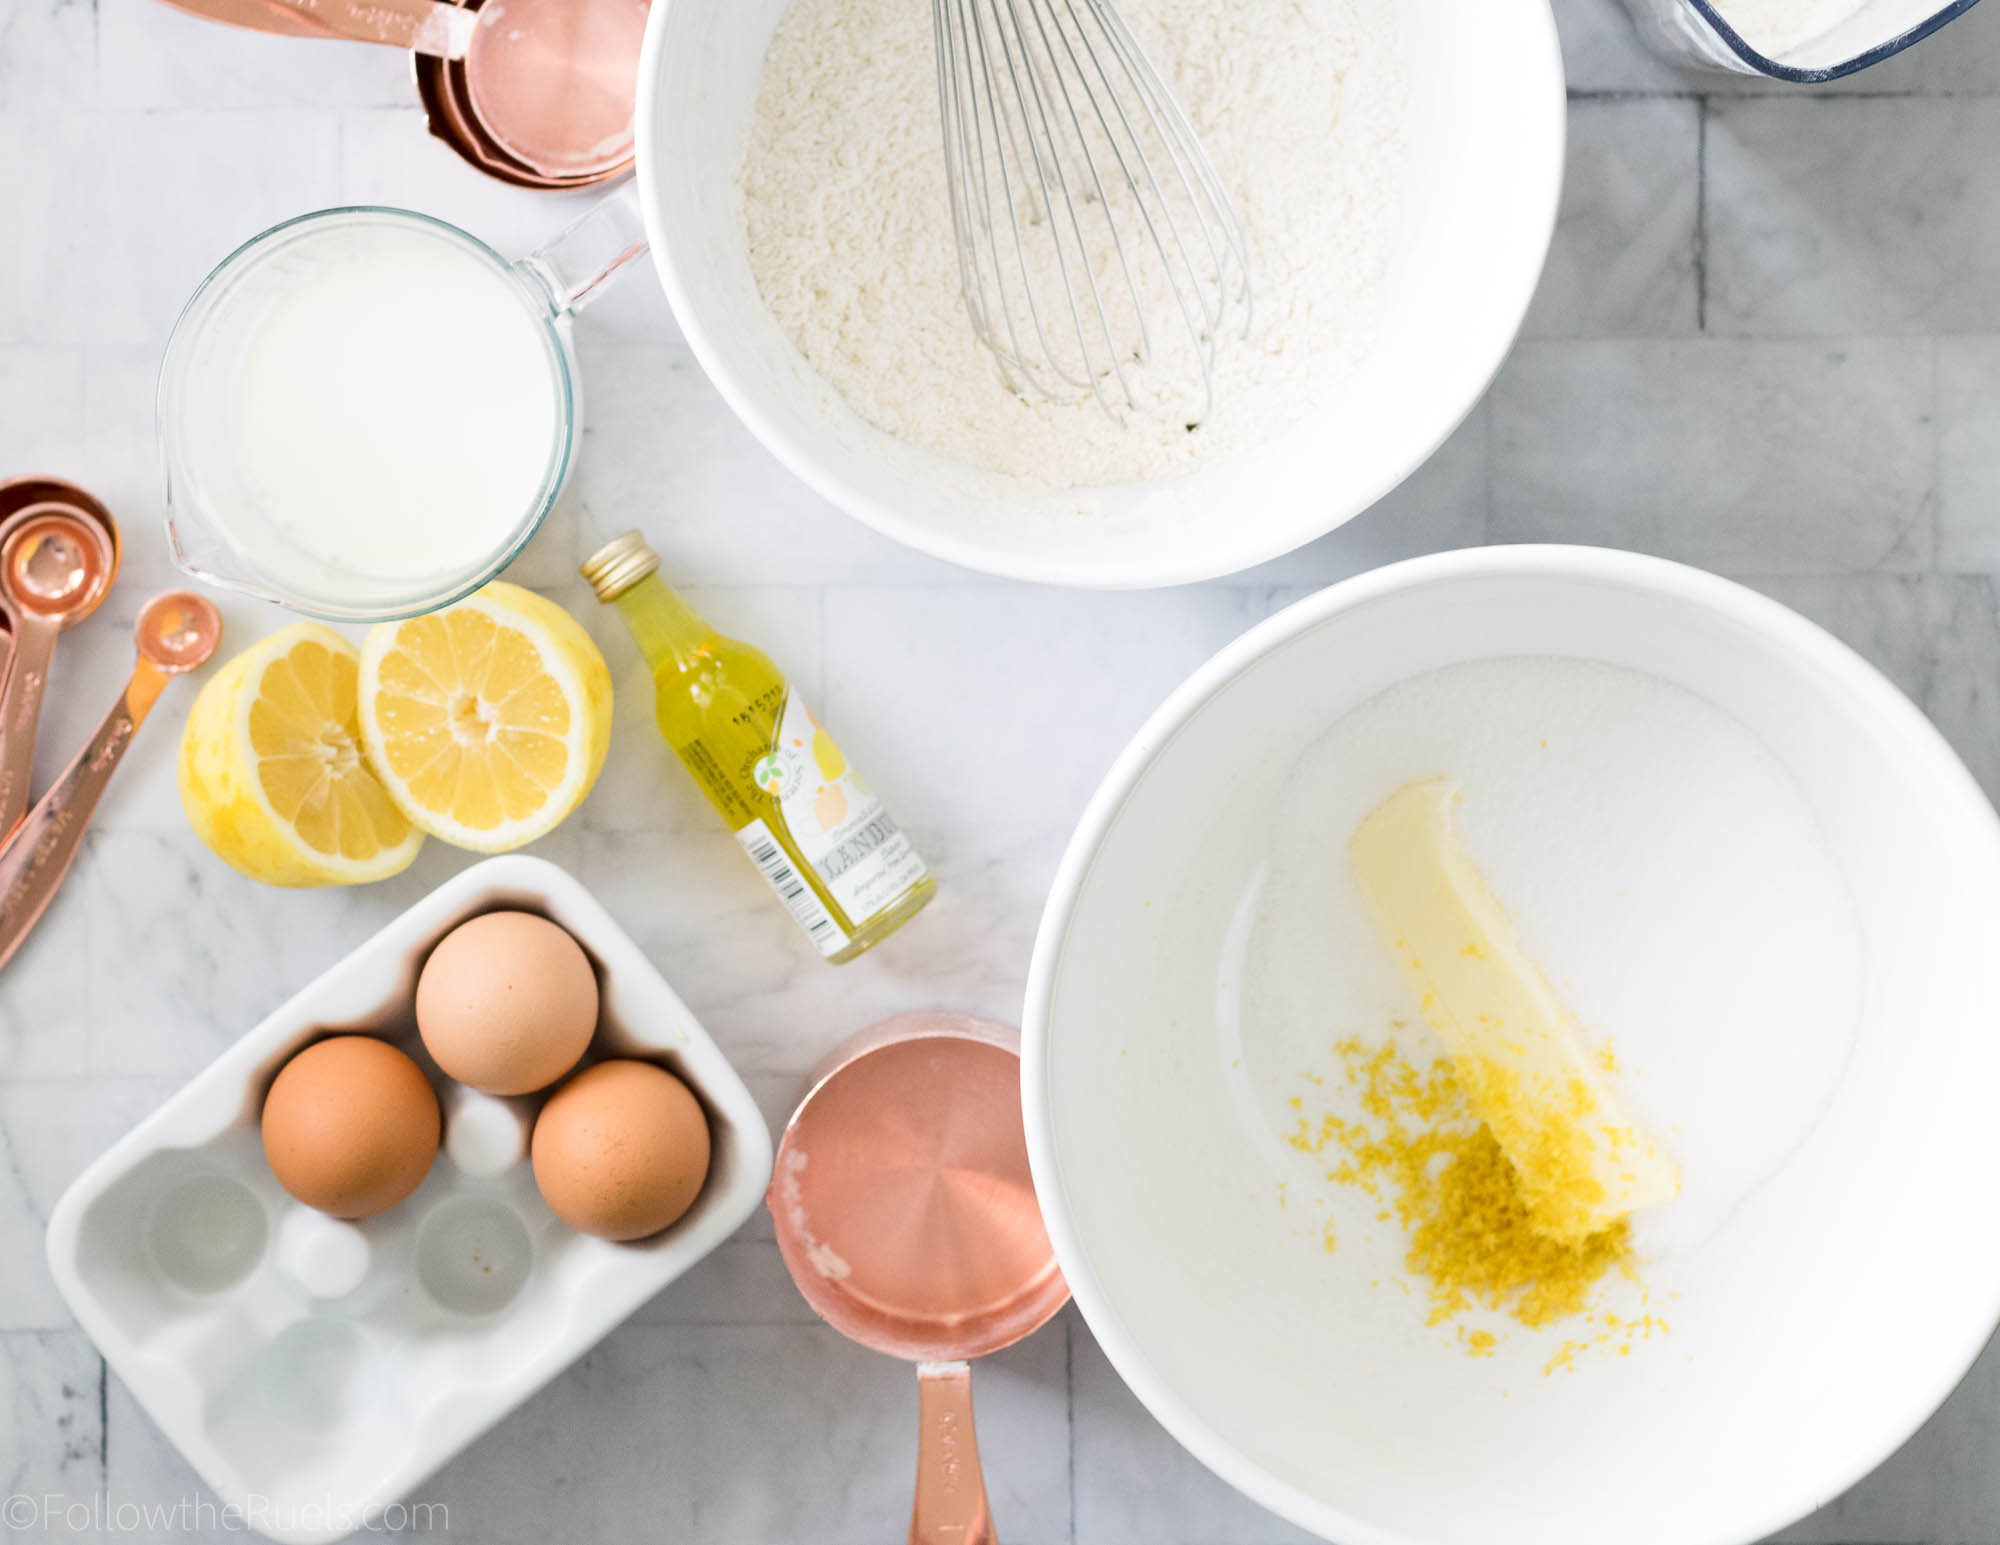
To make the cupcakes, start by getting all your ducks in a row. It will make the cake making process so much easier. 

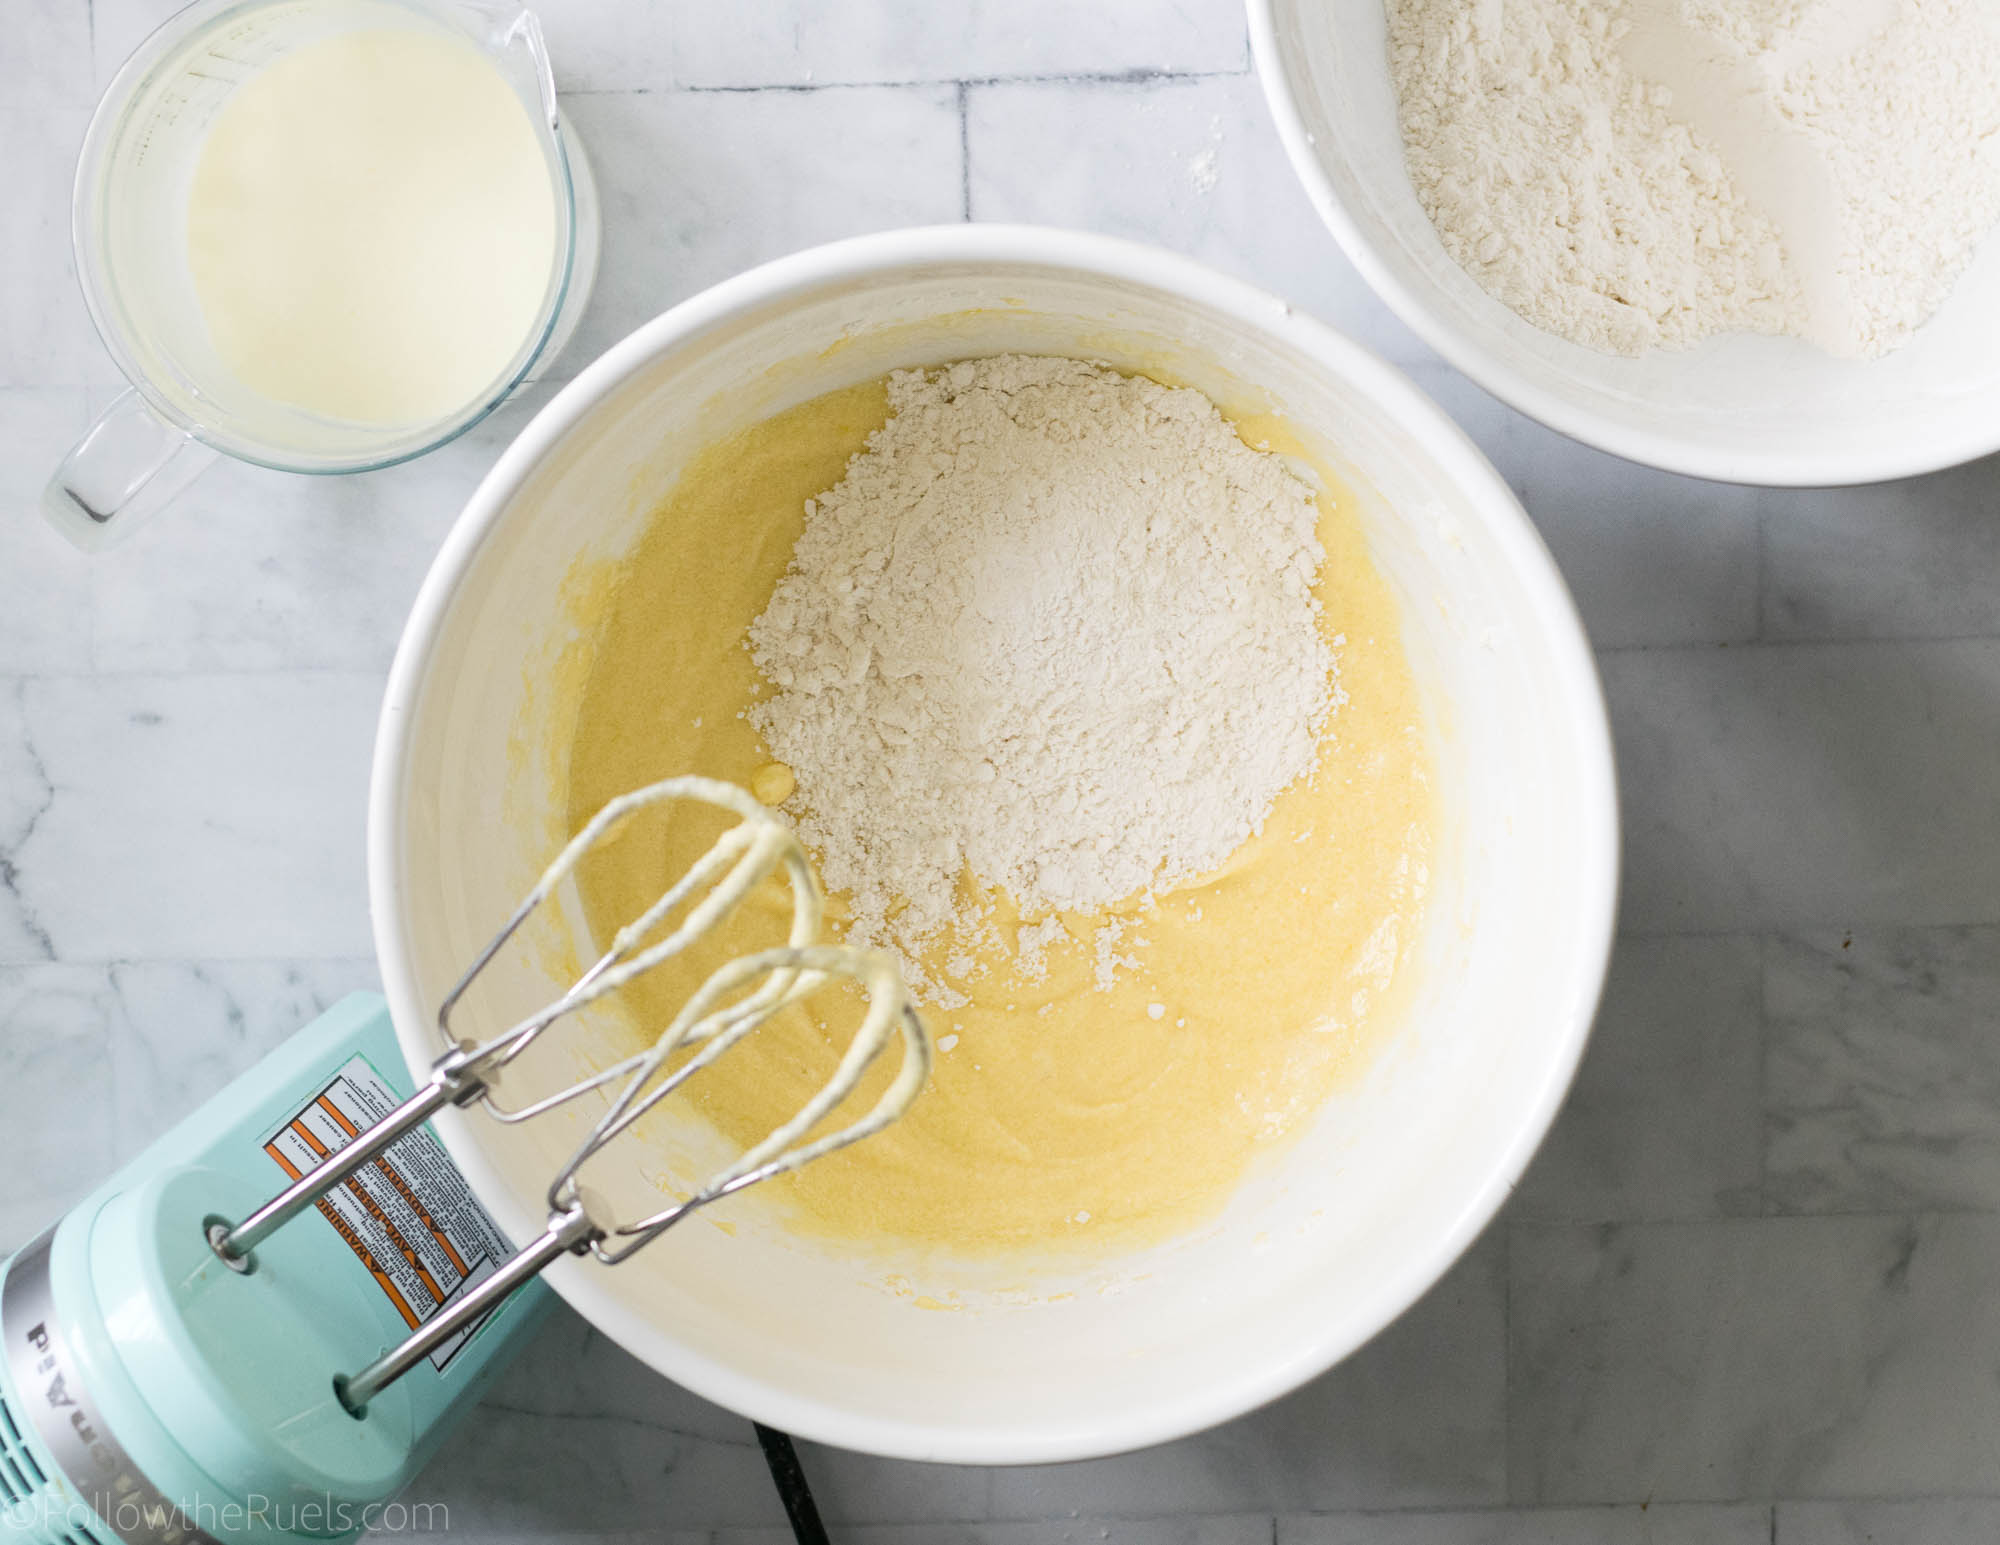
First combine the butter, sugar, and lemon zest. In a separate bowl mix together the dry ingredients. Then in another bowl or measuring cup combine the wet ingredients. 

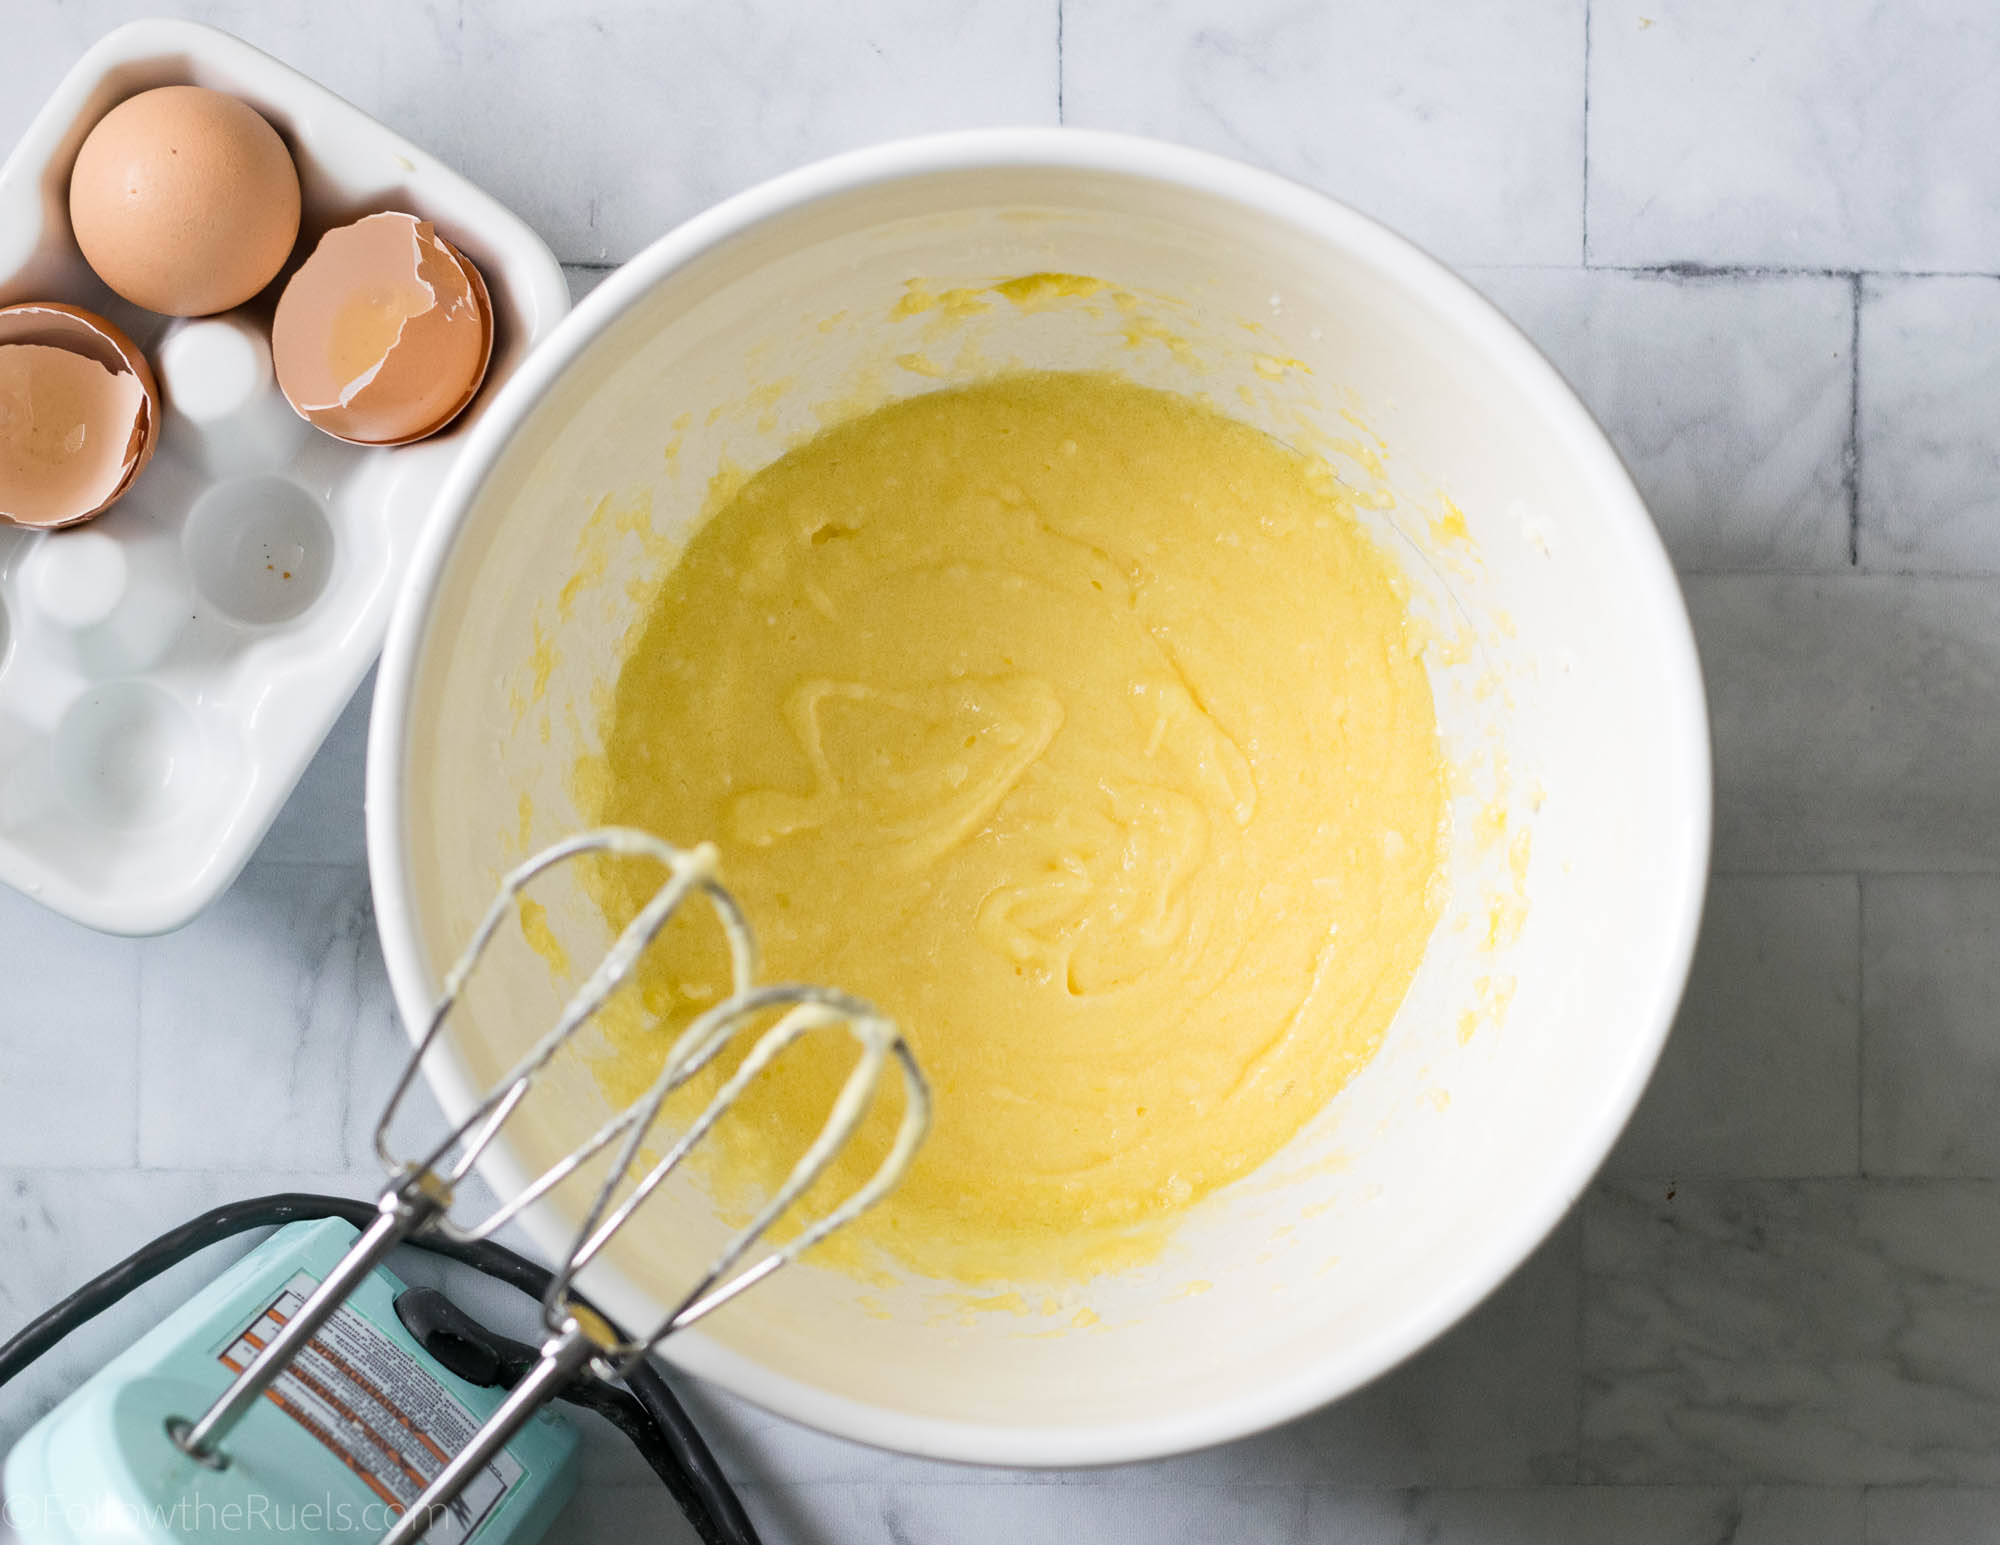
Cream together the butter and sugar until light and fluffy. Then mix in the eggs one at a time. 

Alternate mixing in the dry and wet ingredients, starting and ending with the dry. For me, I like to do this in five parts: dry, wet, dry, wet, dry. 

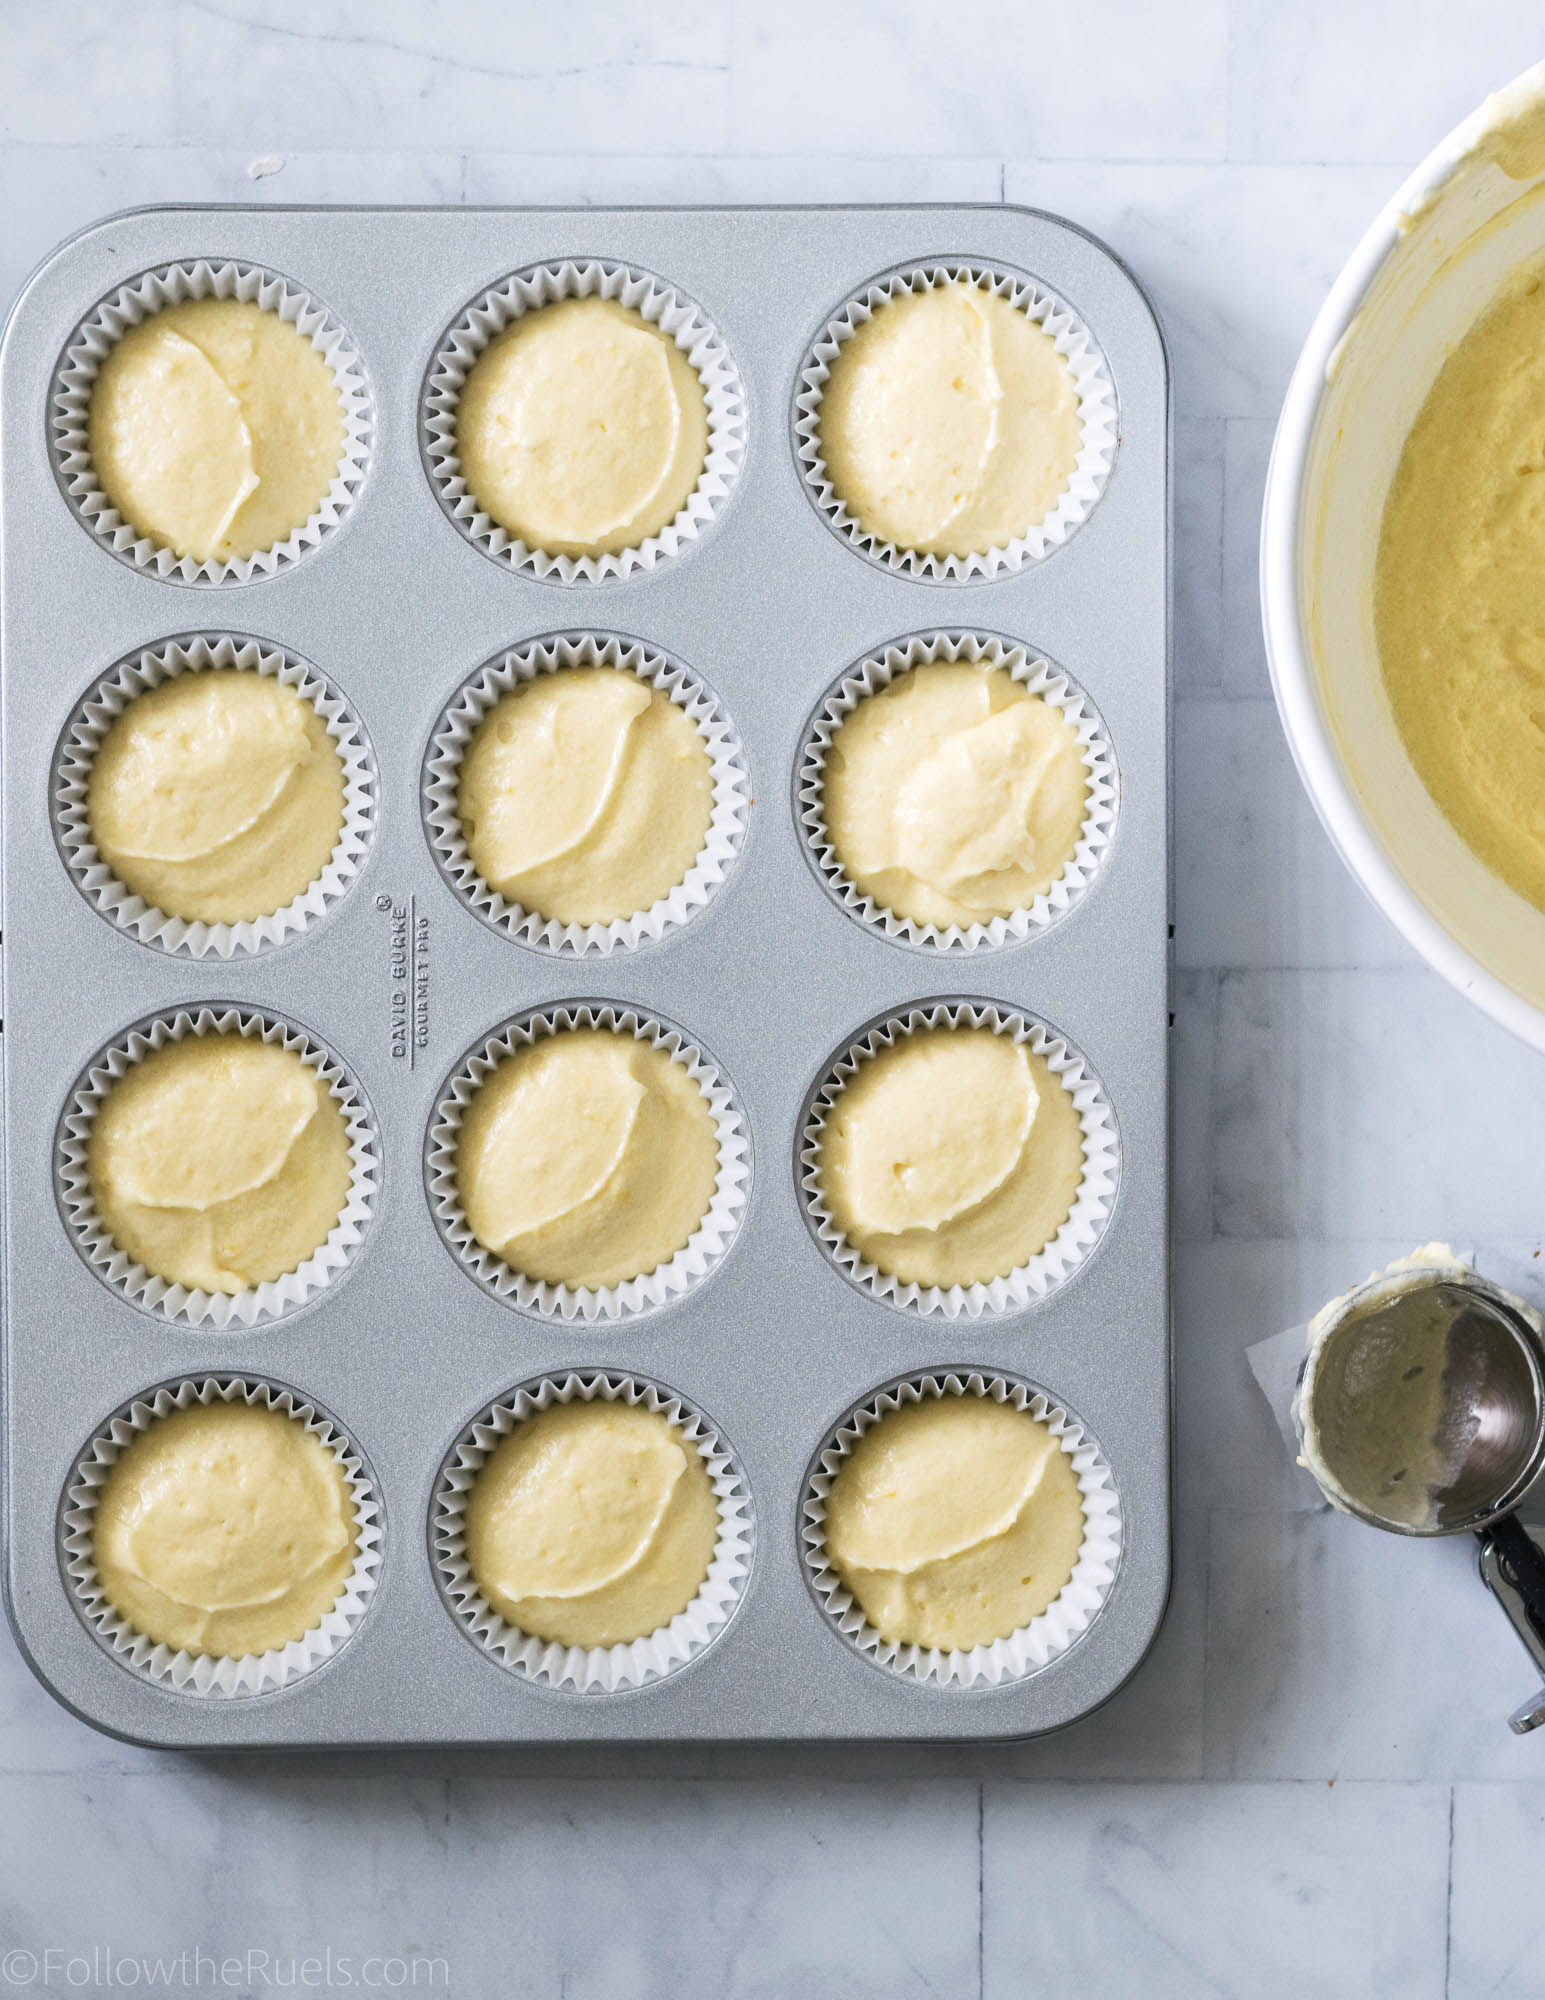
Portion the batter into the muffin tin so that each cup is about 2/3rds full. I like using an ice cream scoop because it makes this step so much easier. 

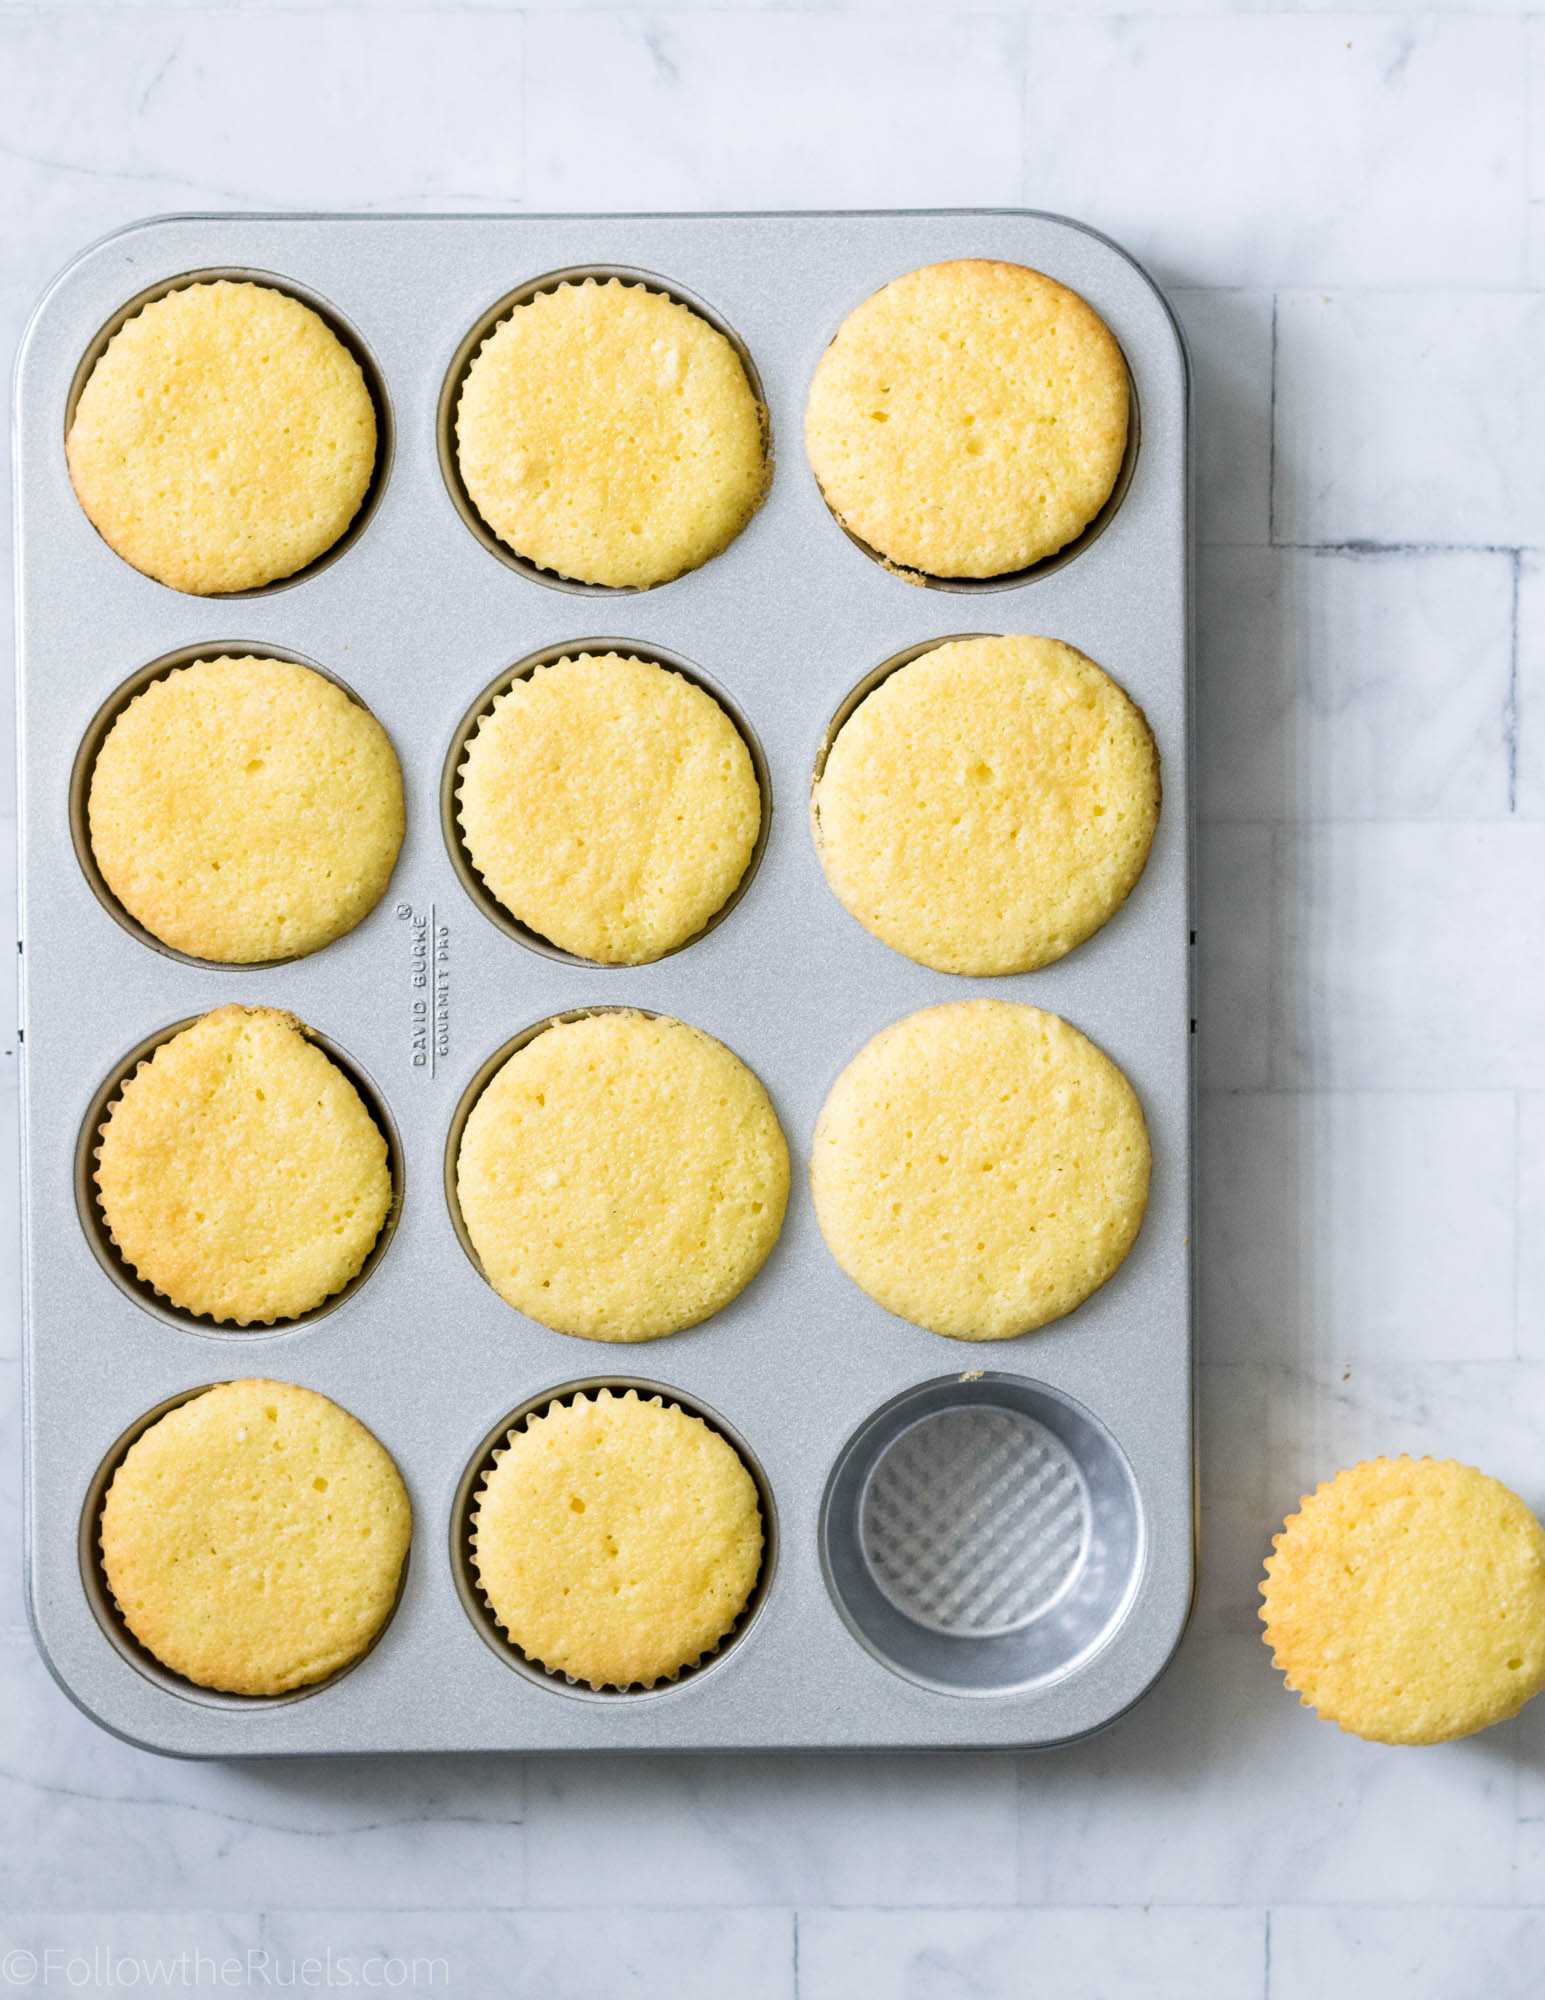
Bake until they are just a little bit golden around the edges or until a toothpick stuck into the center of the cupcake comes out clean. 

As an optional step to really impart more limoncello flavor into the cupcakes, you can brush the tops of the cupcakes with a little bit of limoncello. Not only will you get a tad more flavor (and a little kick!), but it will ensure that the cupcakes stay nice and moist.

How to Decorate Them

Decorating, for me, is the best part. And these limoncello cupcakes are actually really simple to decorate thanks to the fondant topper.

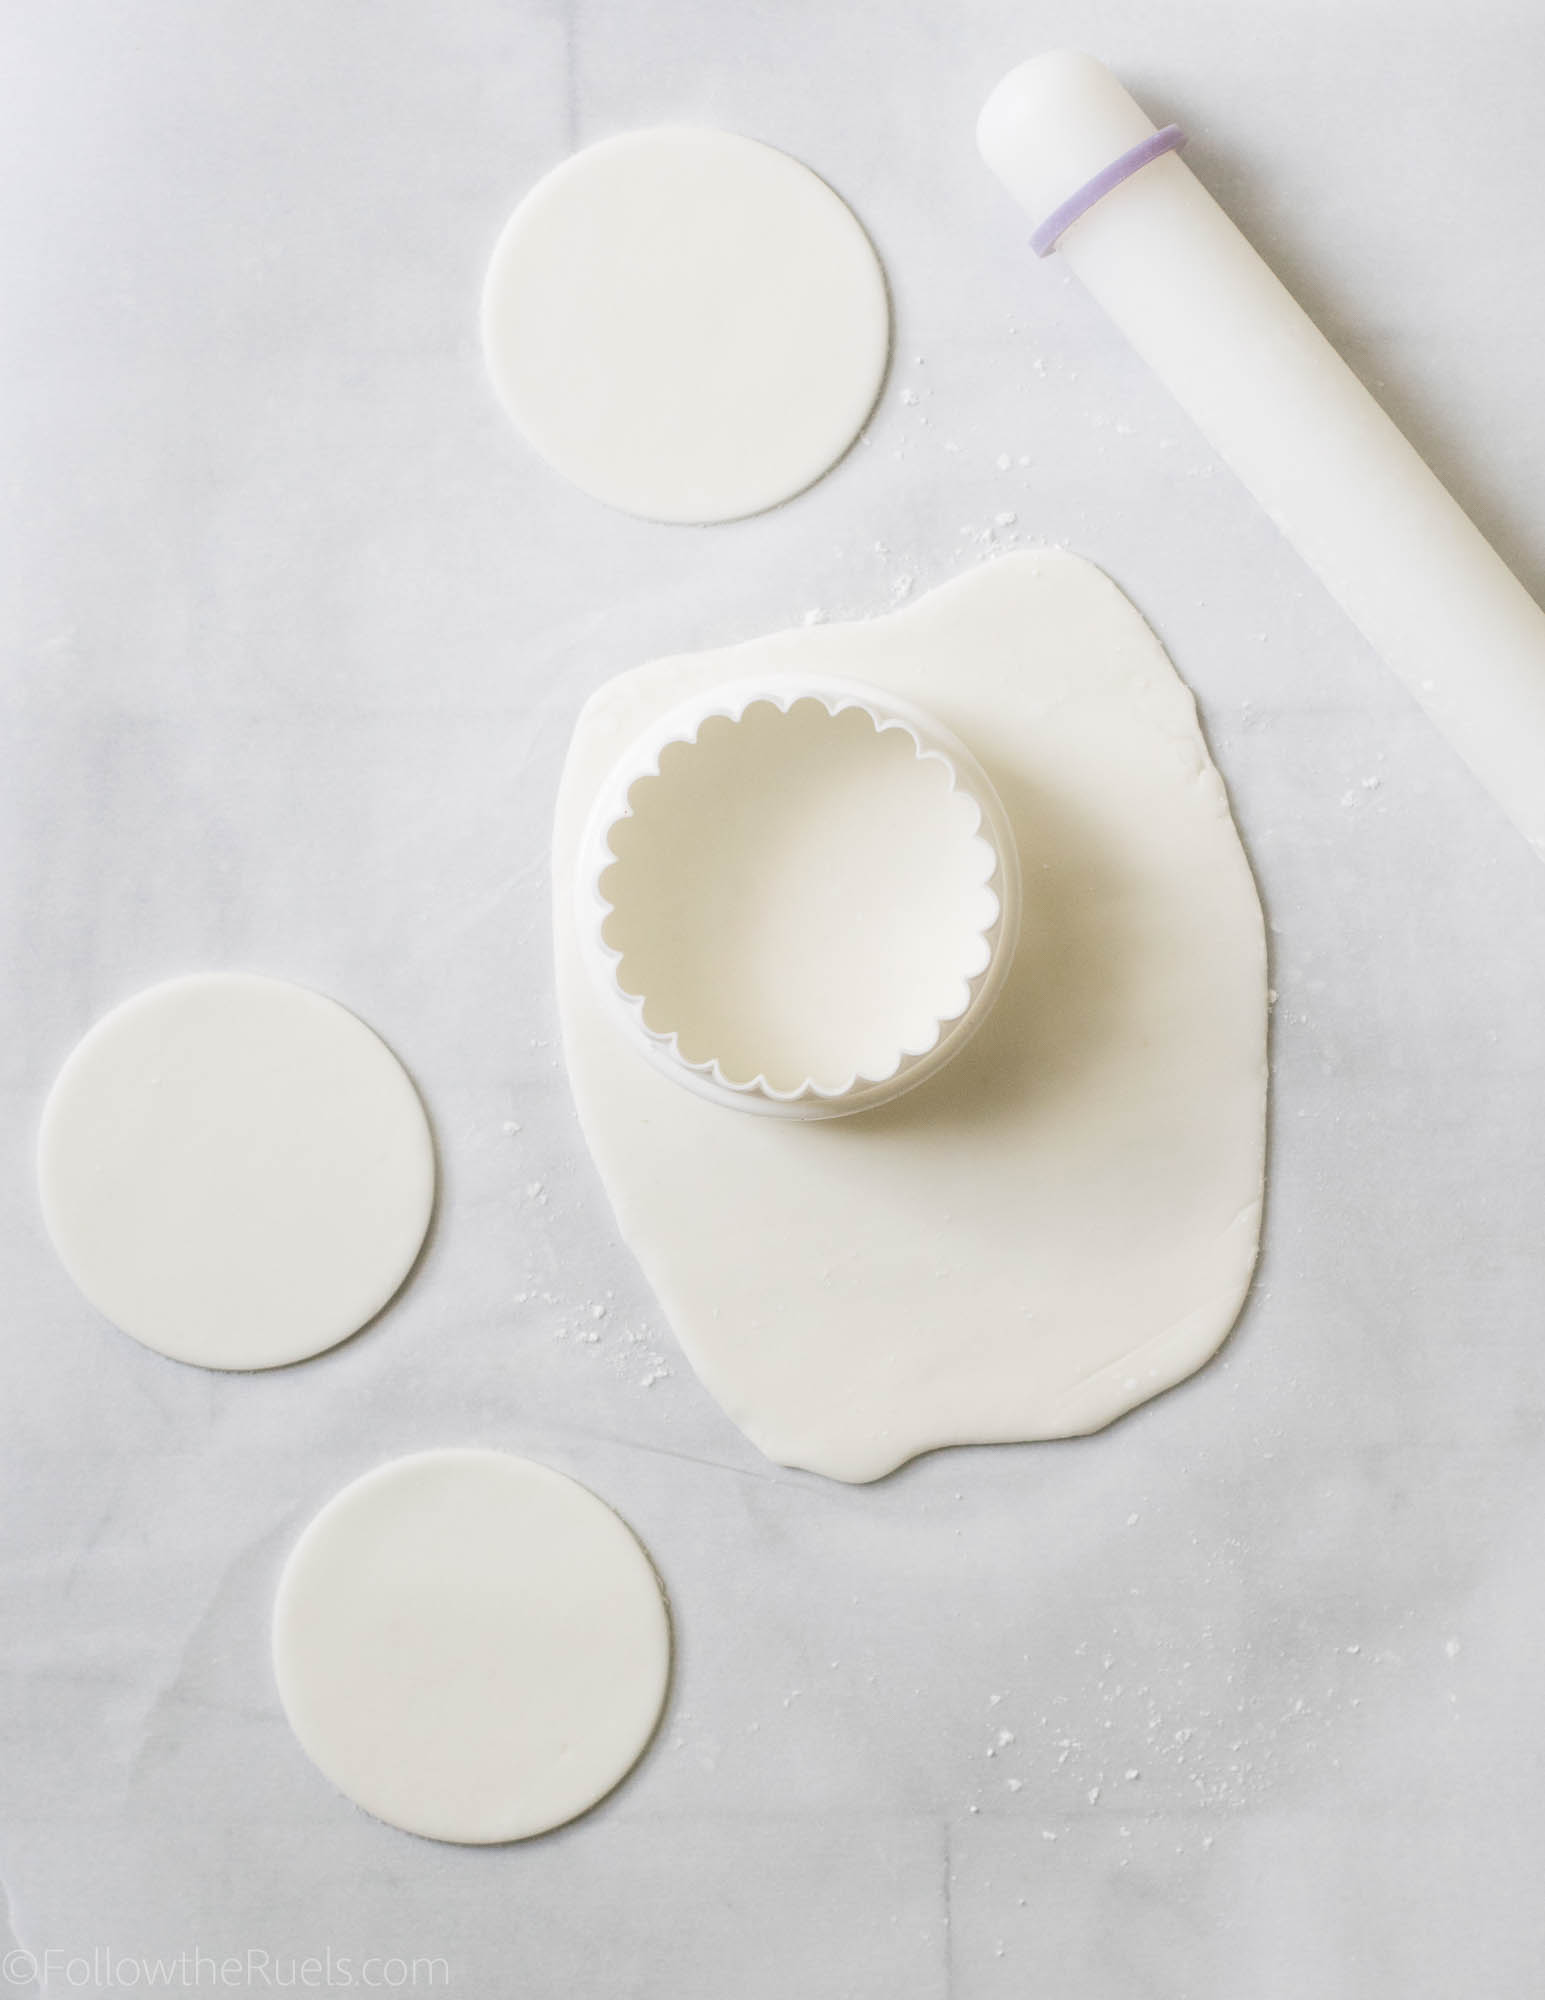
Start by rolling out some fondant so that it’s about 1/8th to 1/4th inch thick. Then cut out with a round cutter about the diameter of the top of the cupcake.

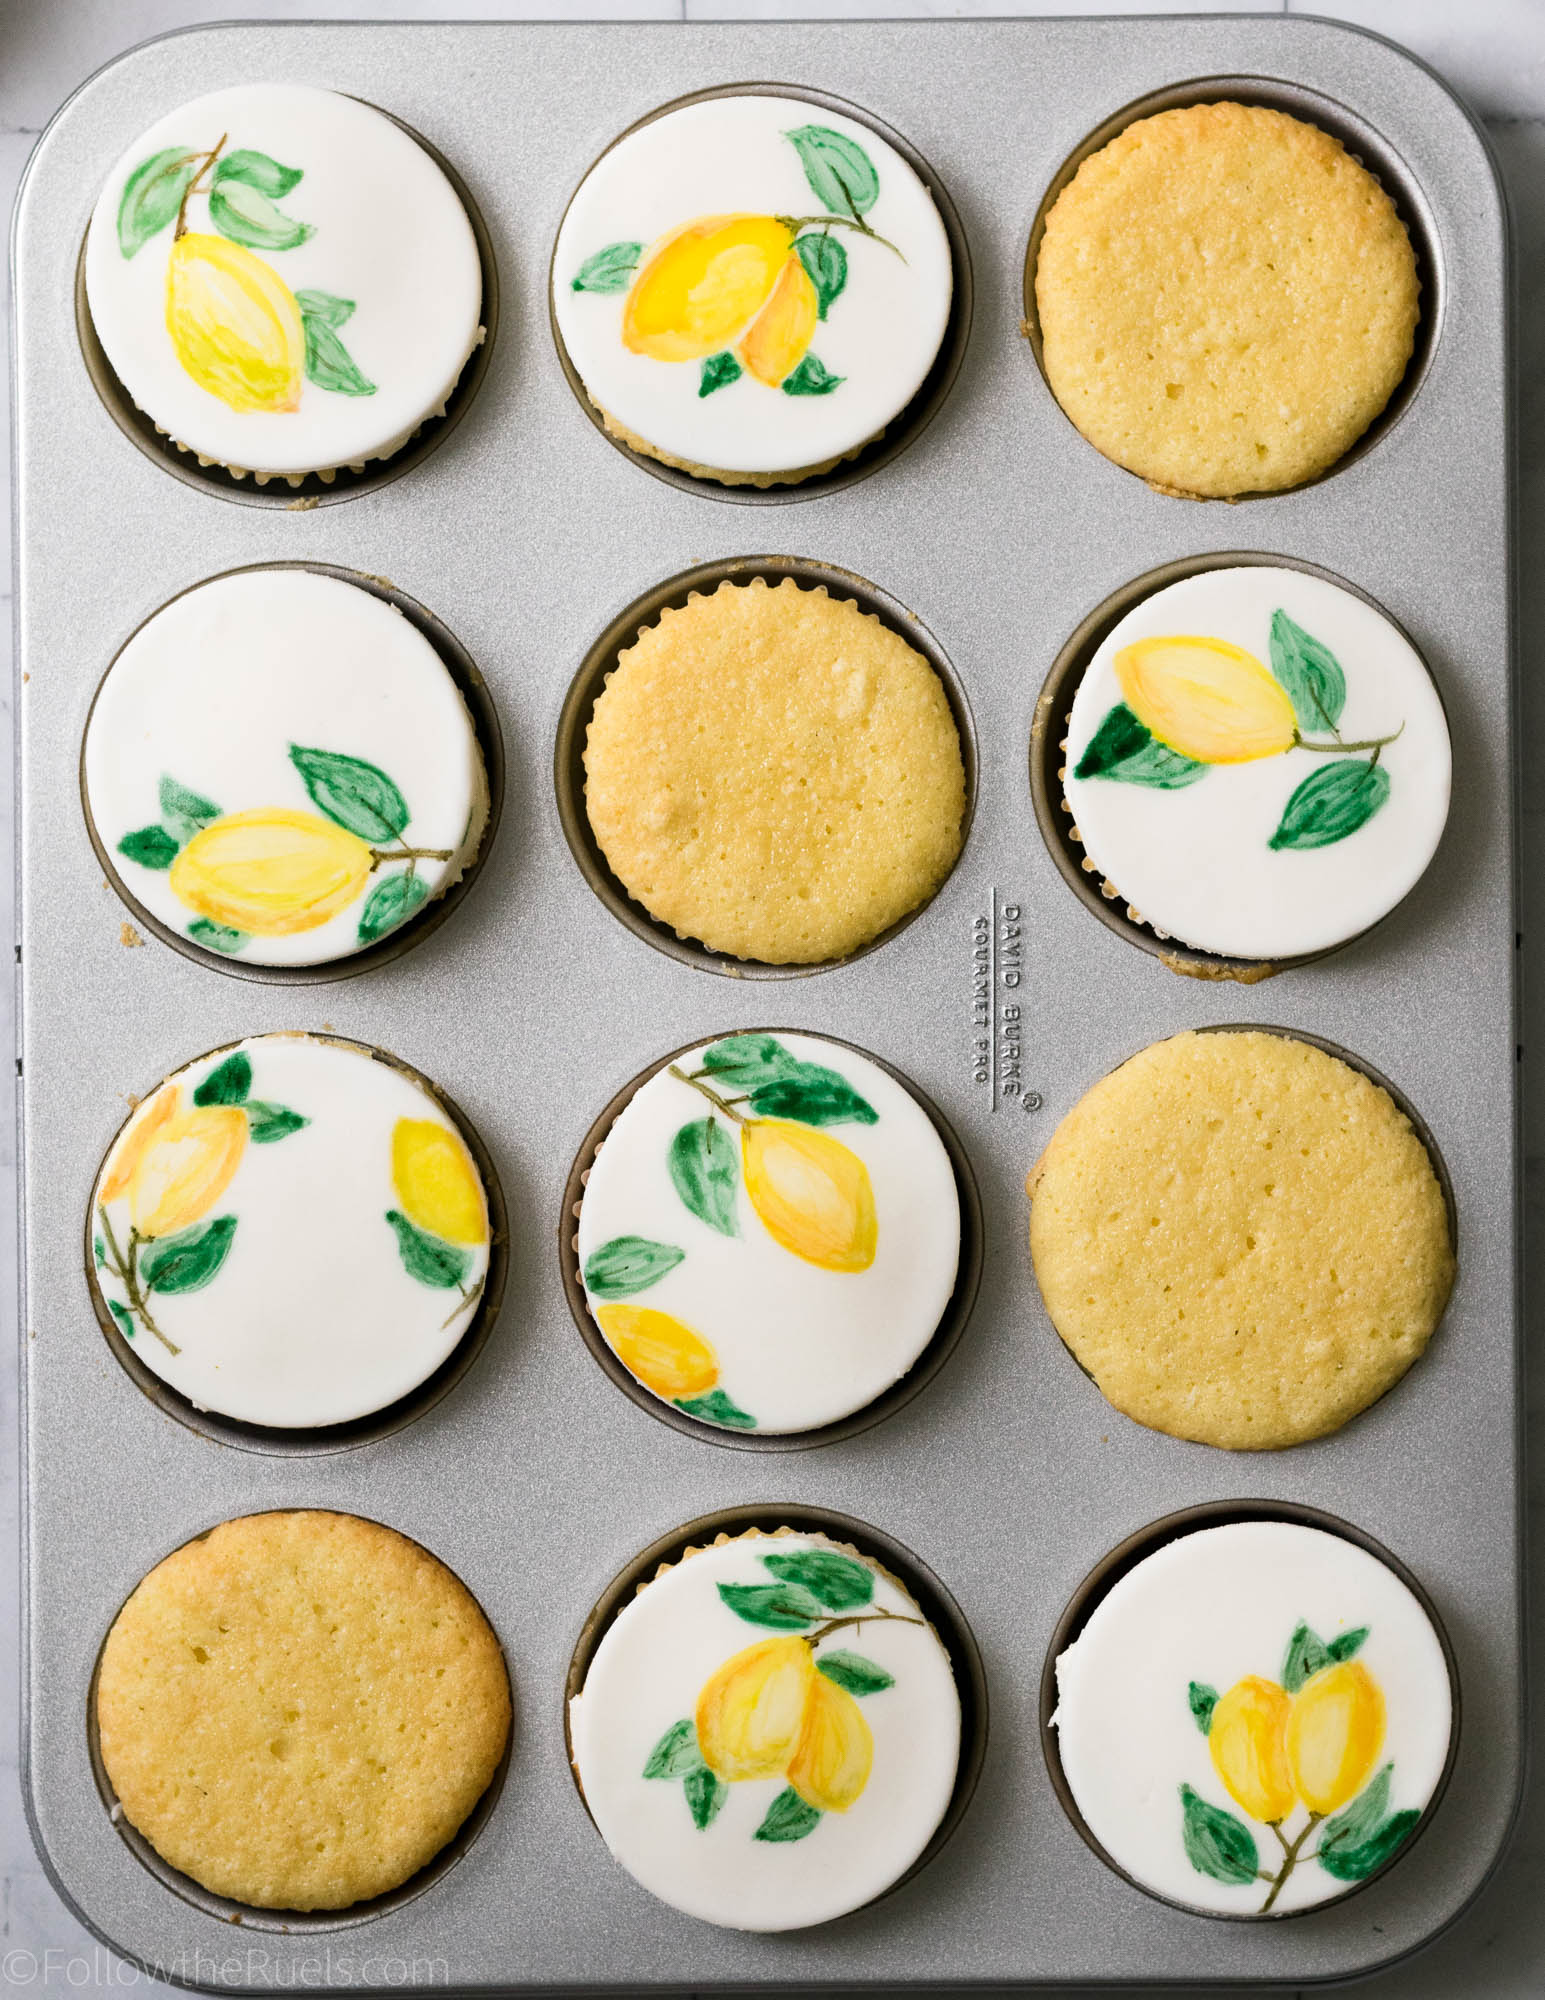
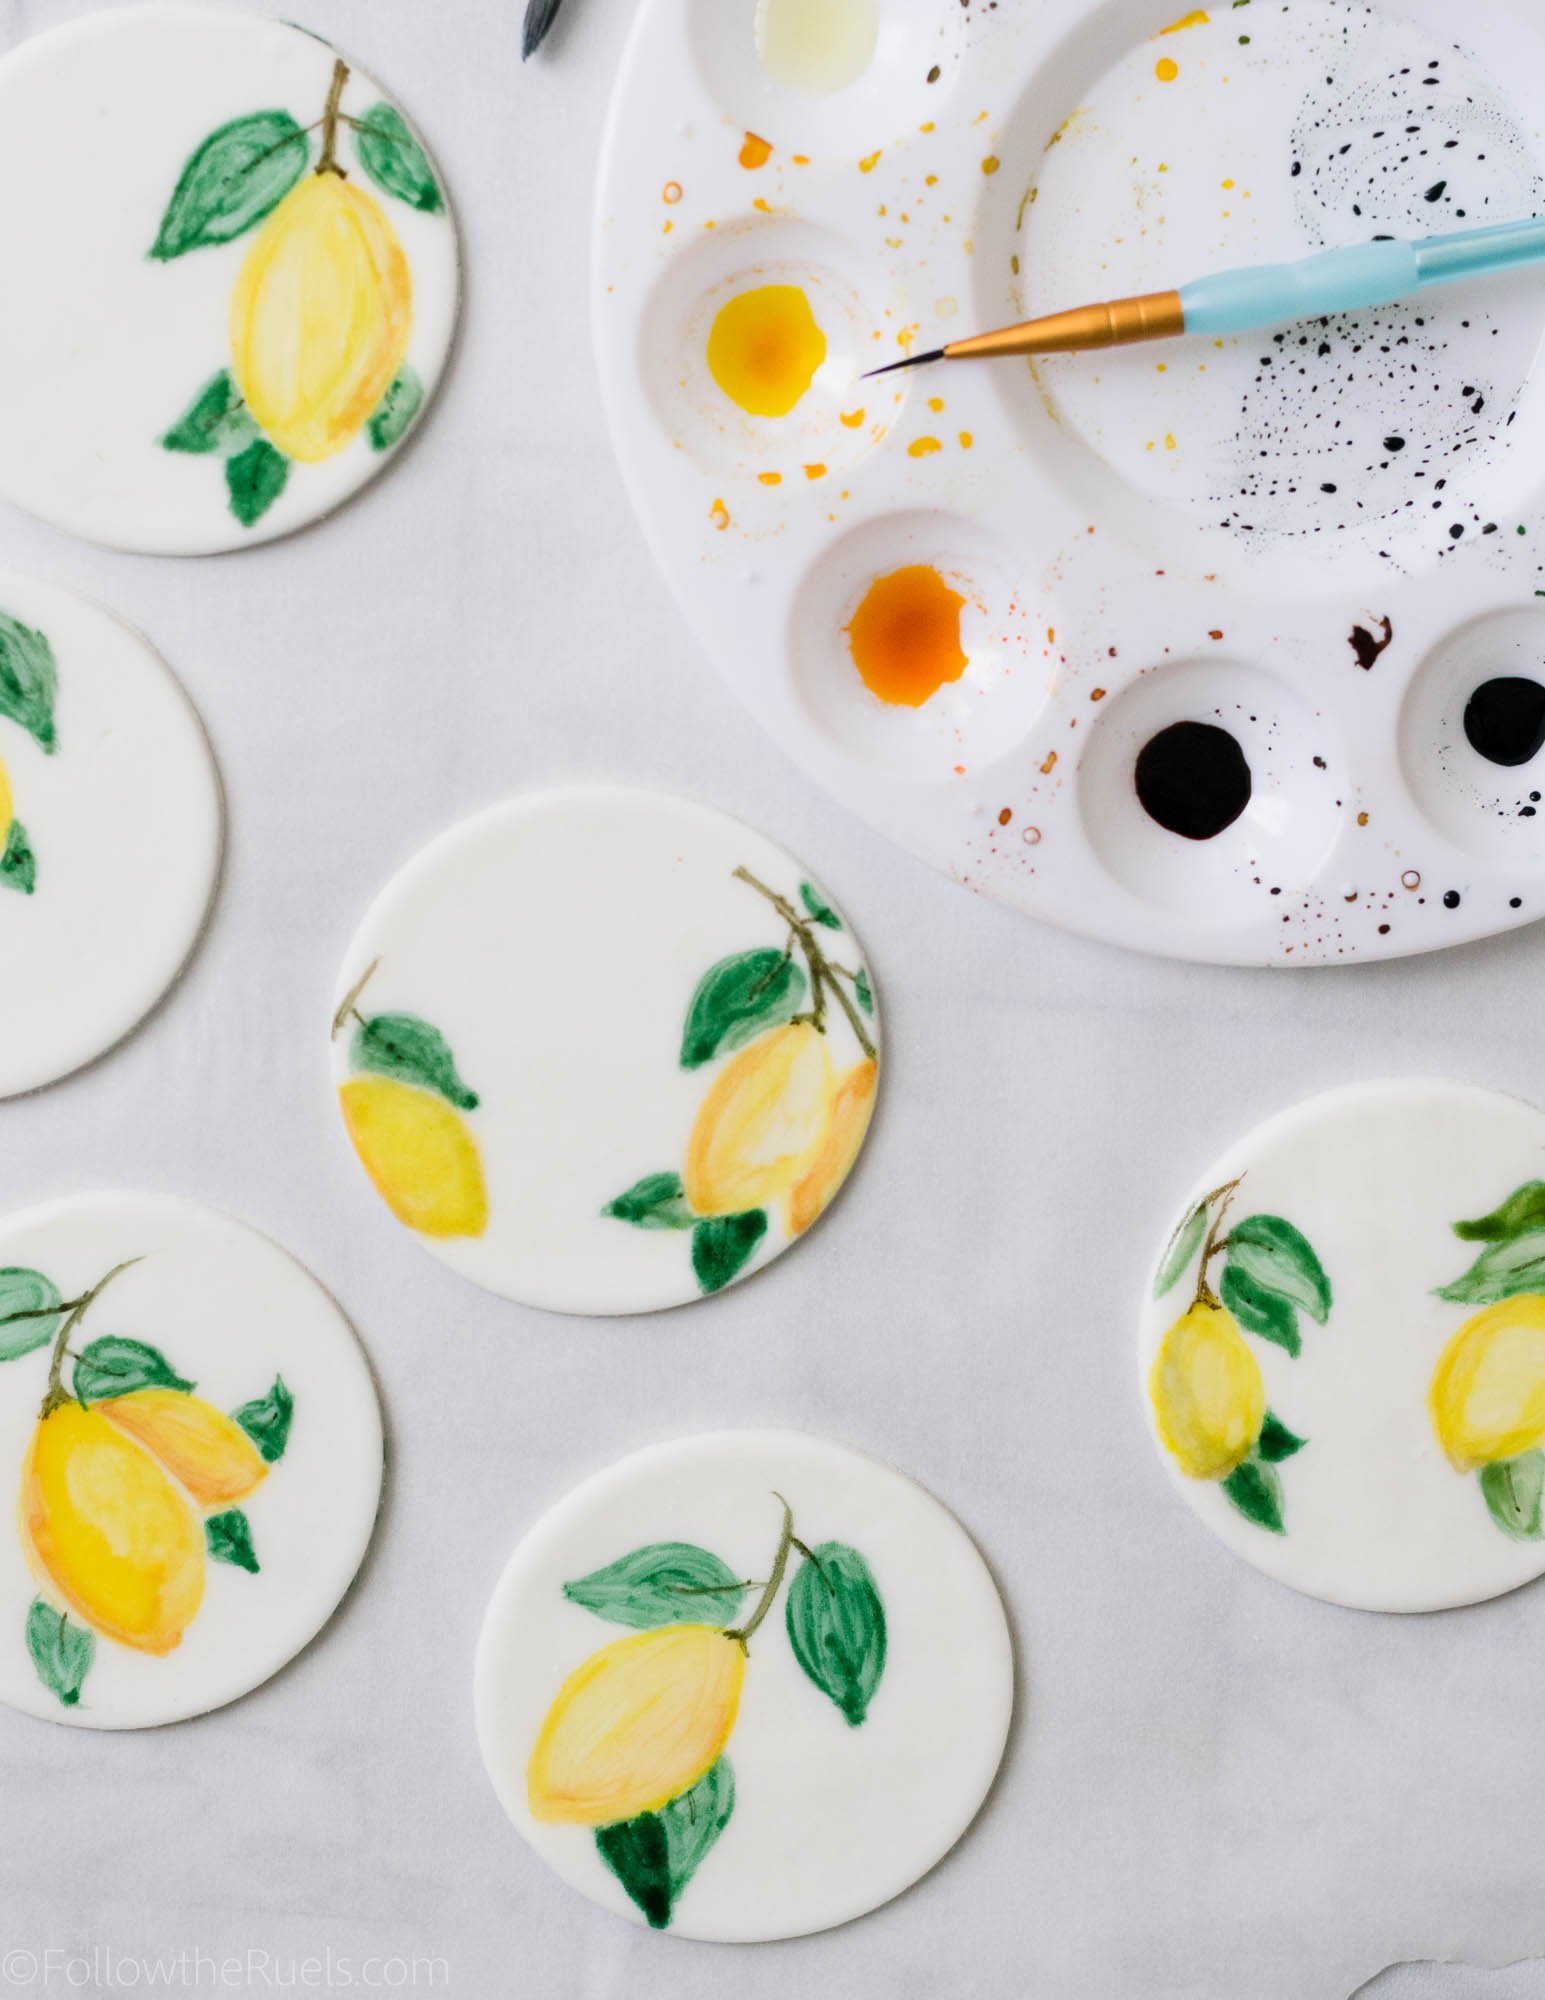
Paint the fondant using a combination of food coloring and clear alcohol (I use vodka) to create a paint similar to watercolor. 

From here, let your creativity shine and paint whatever you like. I personally like to paint the basic shapes first, let that layer of paint dry a bit, then paint in additional details on top. One thing to know about painting on fondant is that it can get gummy if you use too much liquid. Just keep that in mind as you are painting or painting over another color.

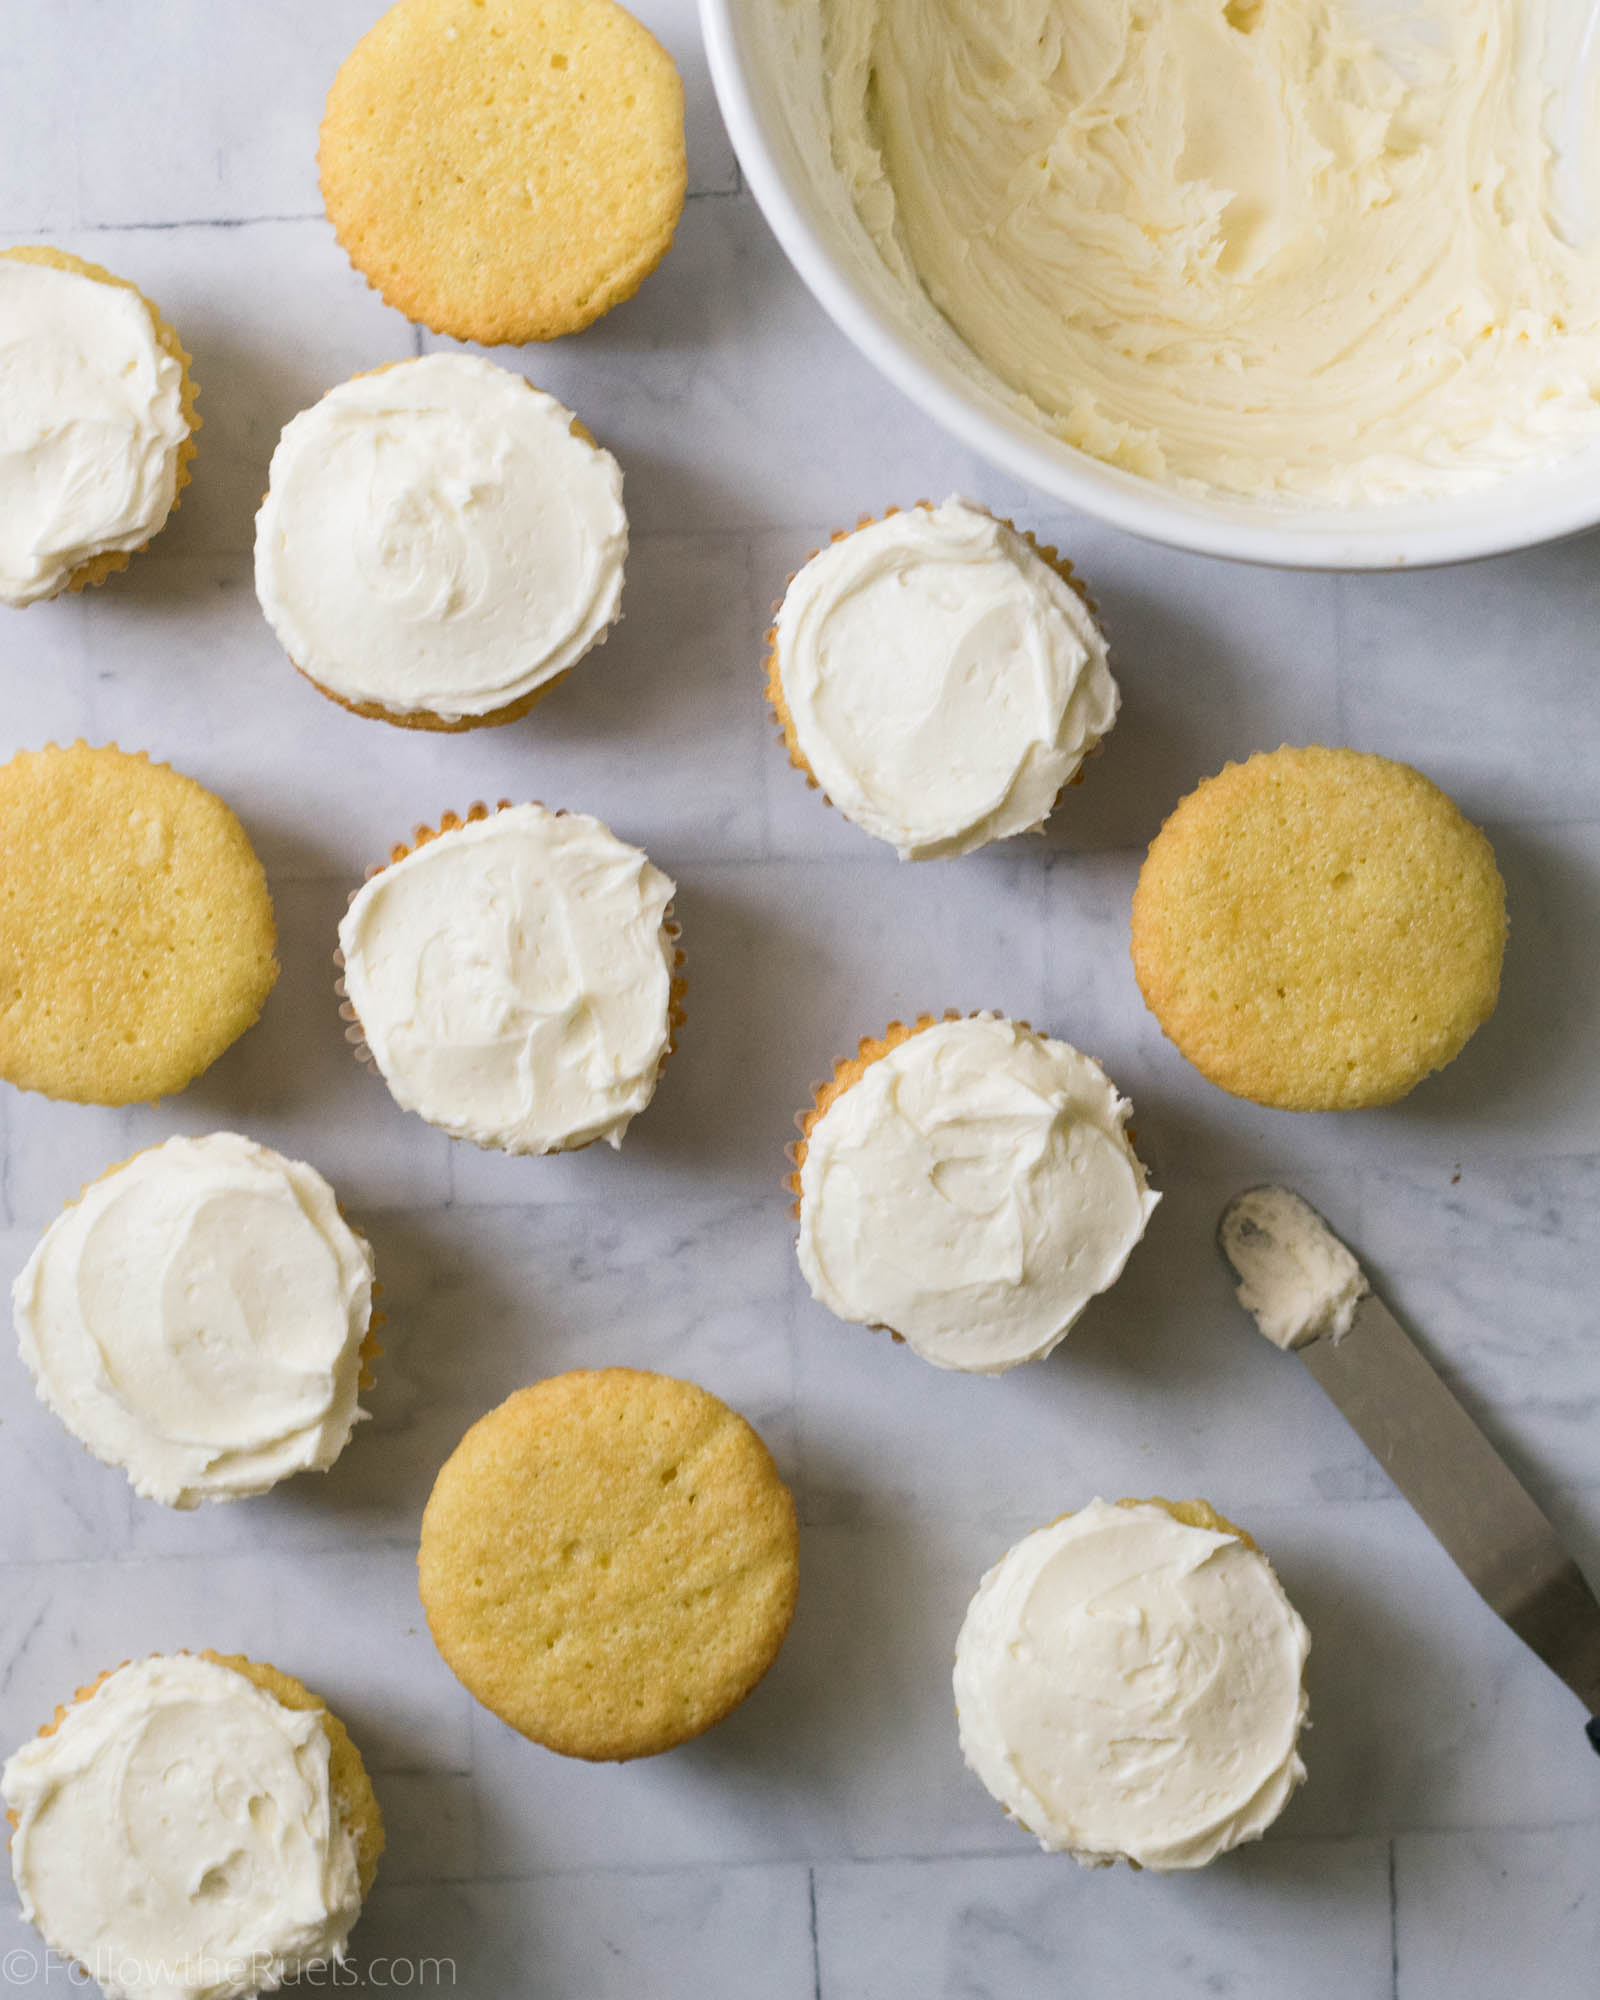
Once the paint has dried (which will only take a few minutes), you can add the fondant toppers to the cupcakes. First spread on a bit of buttercream over the top of the cupcake. It doesn’t have to be pretty, but I recommend trying to get the top as even as possible.

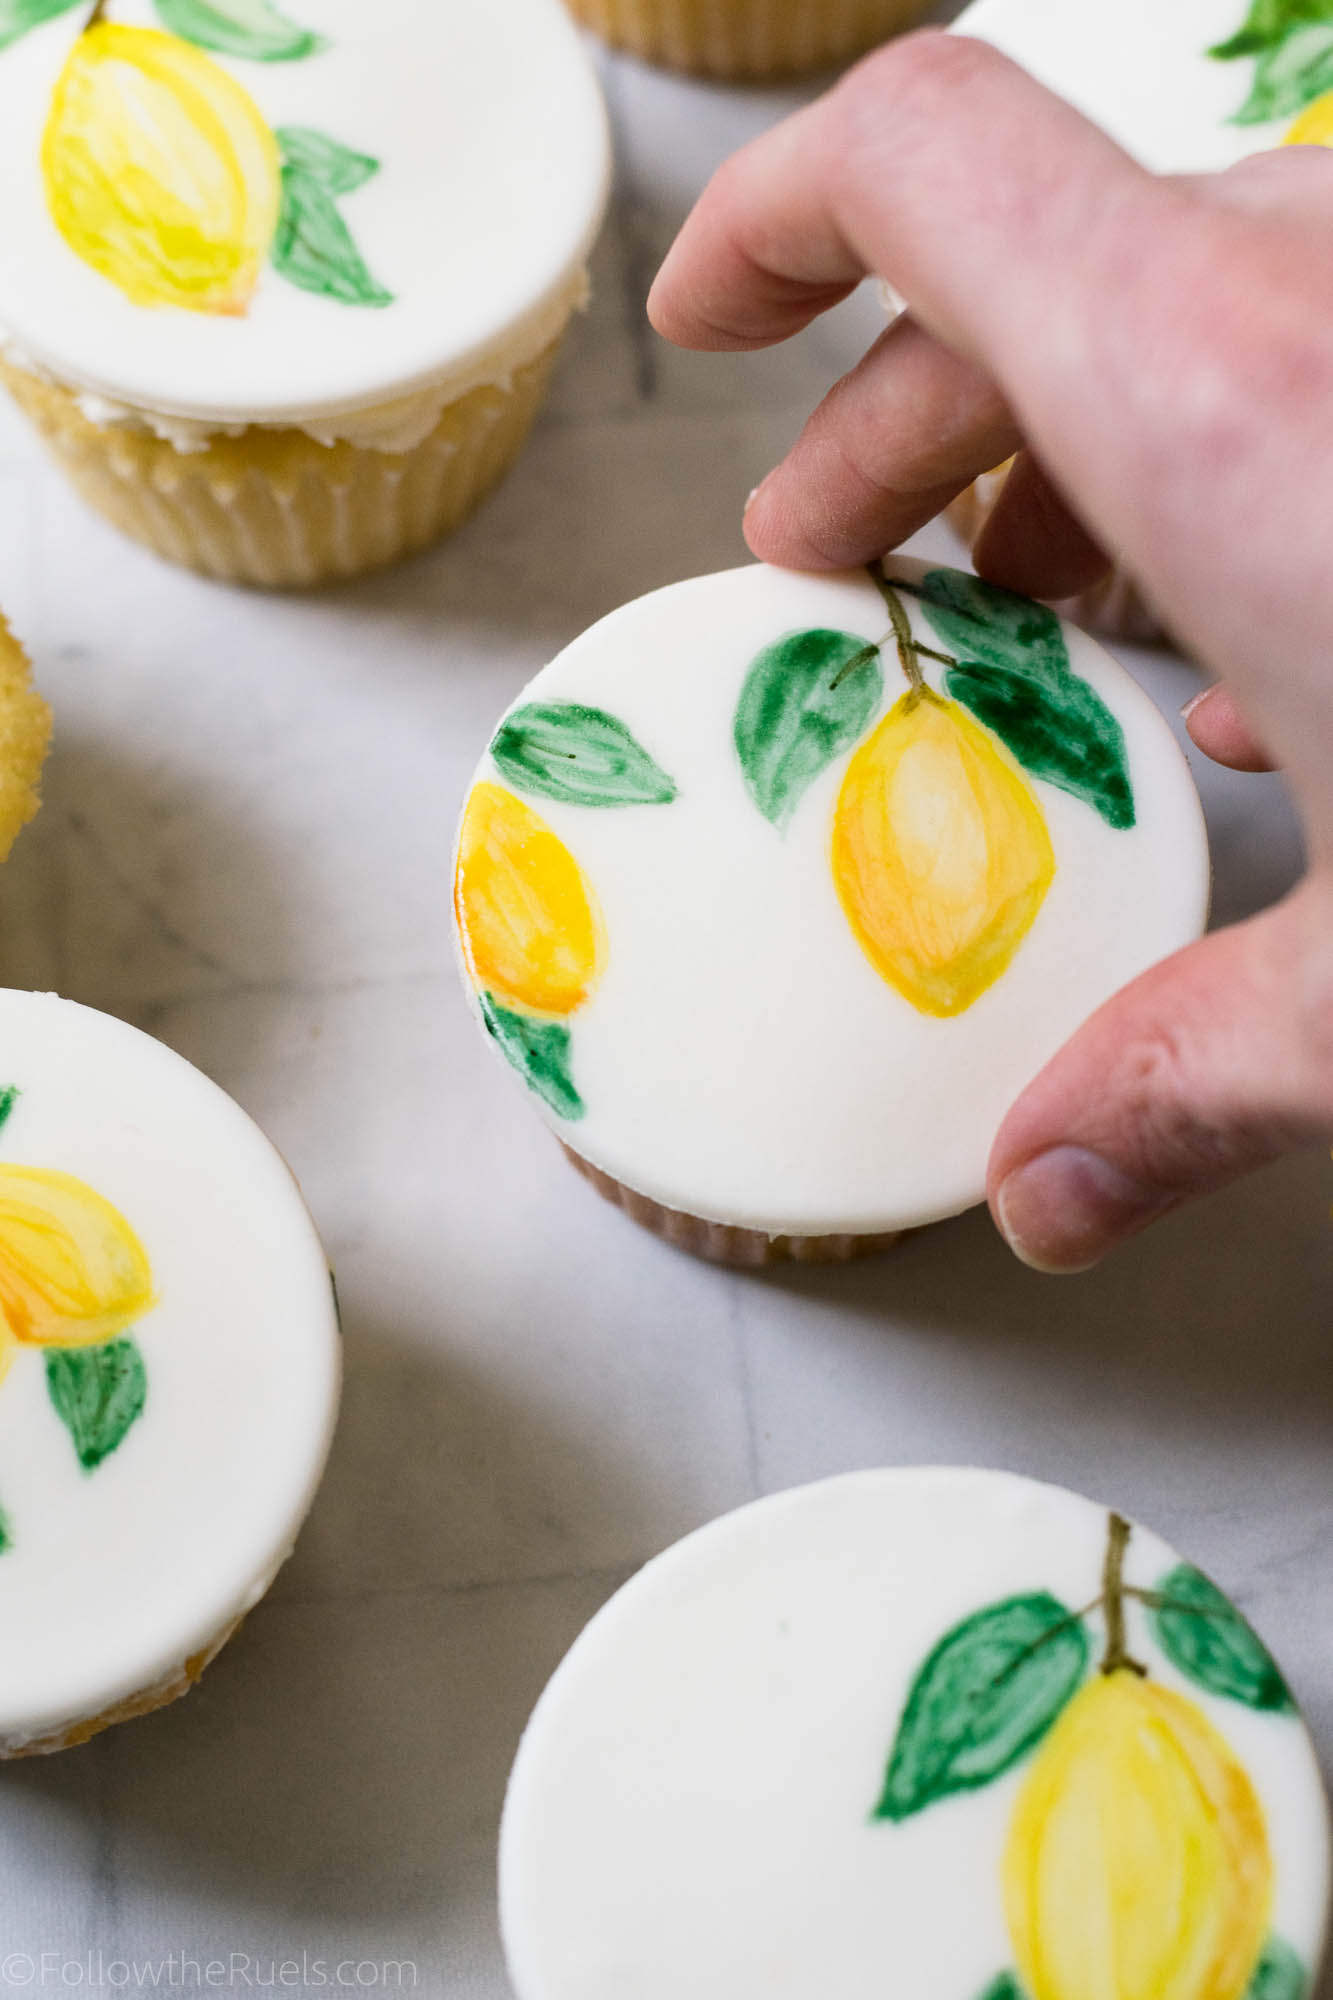
Then lay the fondant circle right on top.

Gently press down the fondant so that it is firmly attached to the buttercream and is laying flat. 

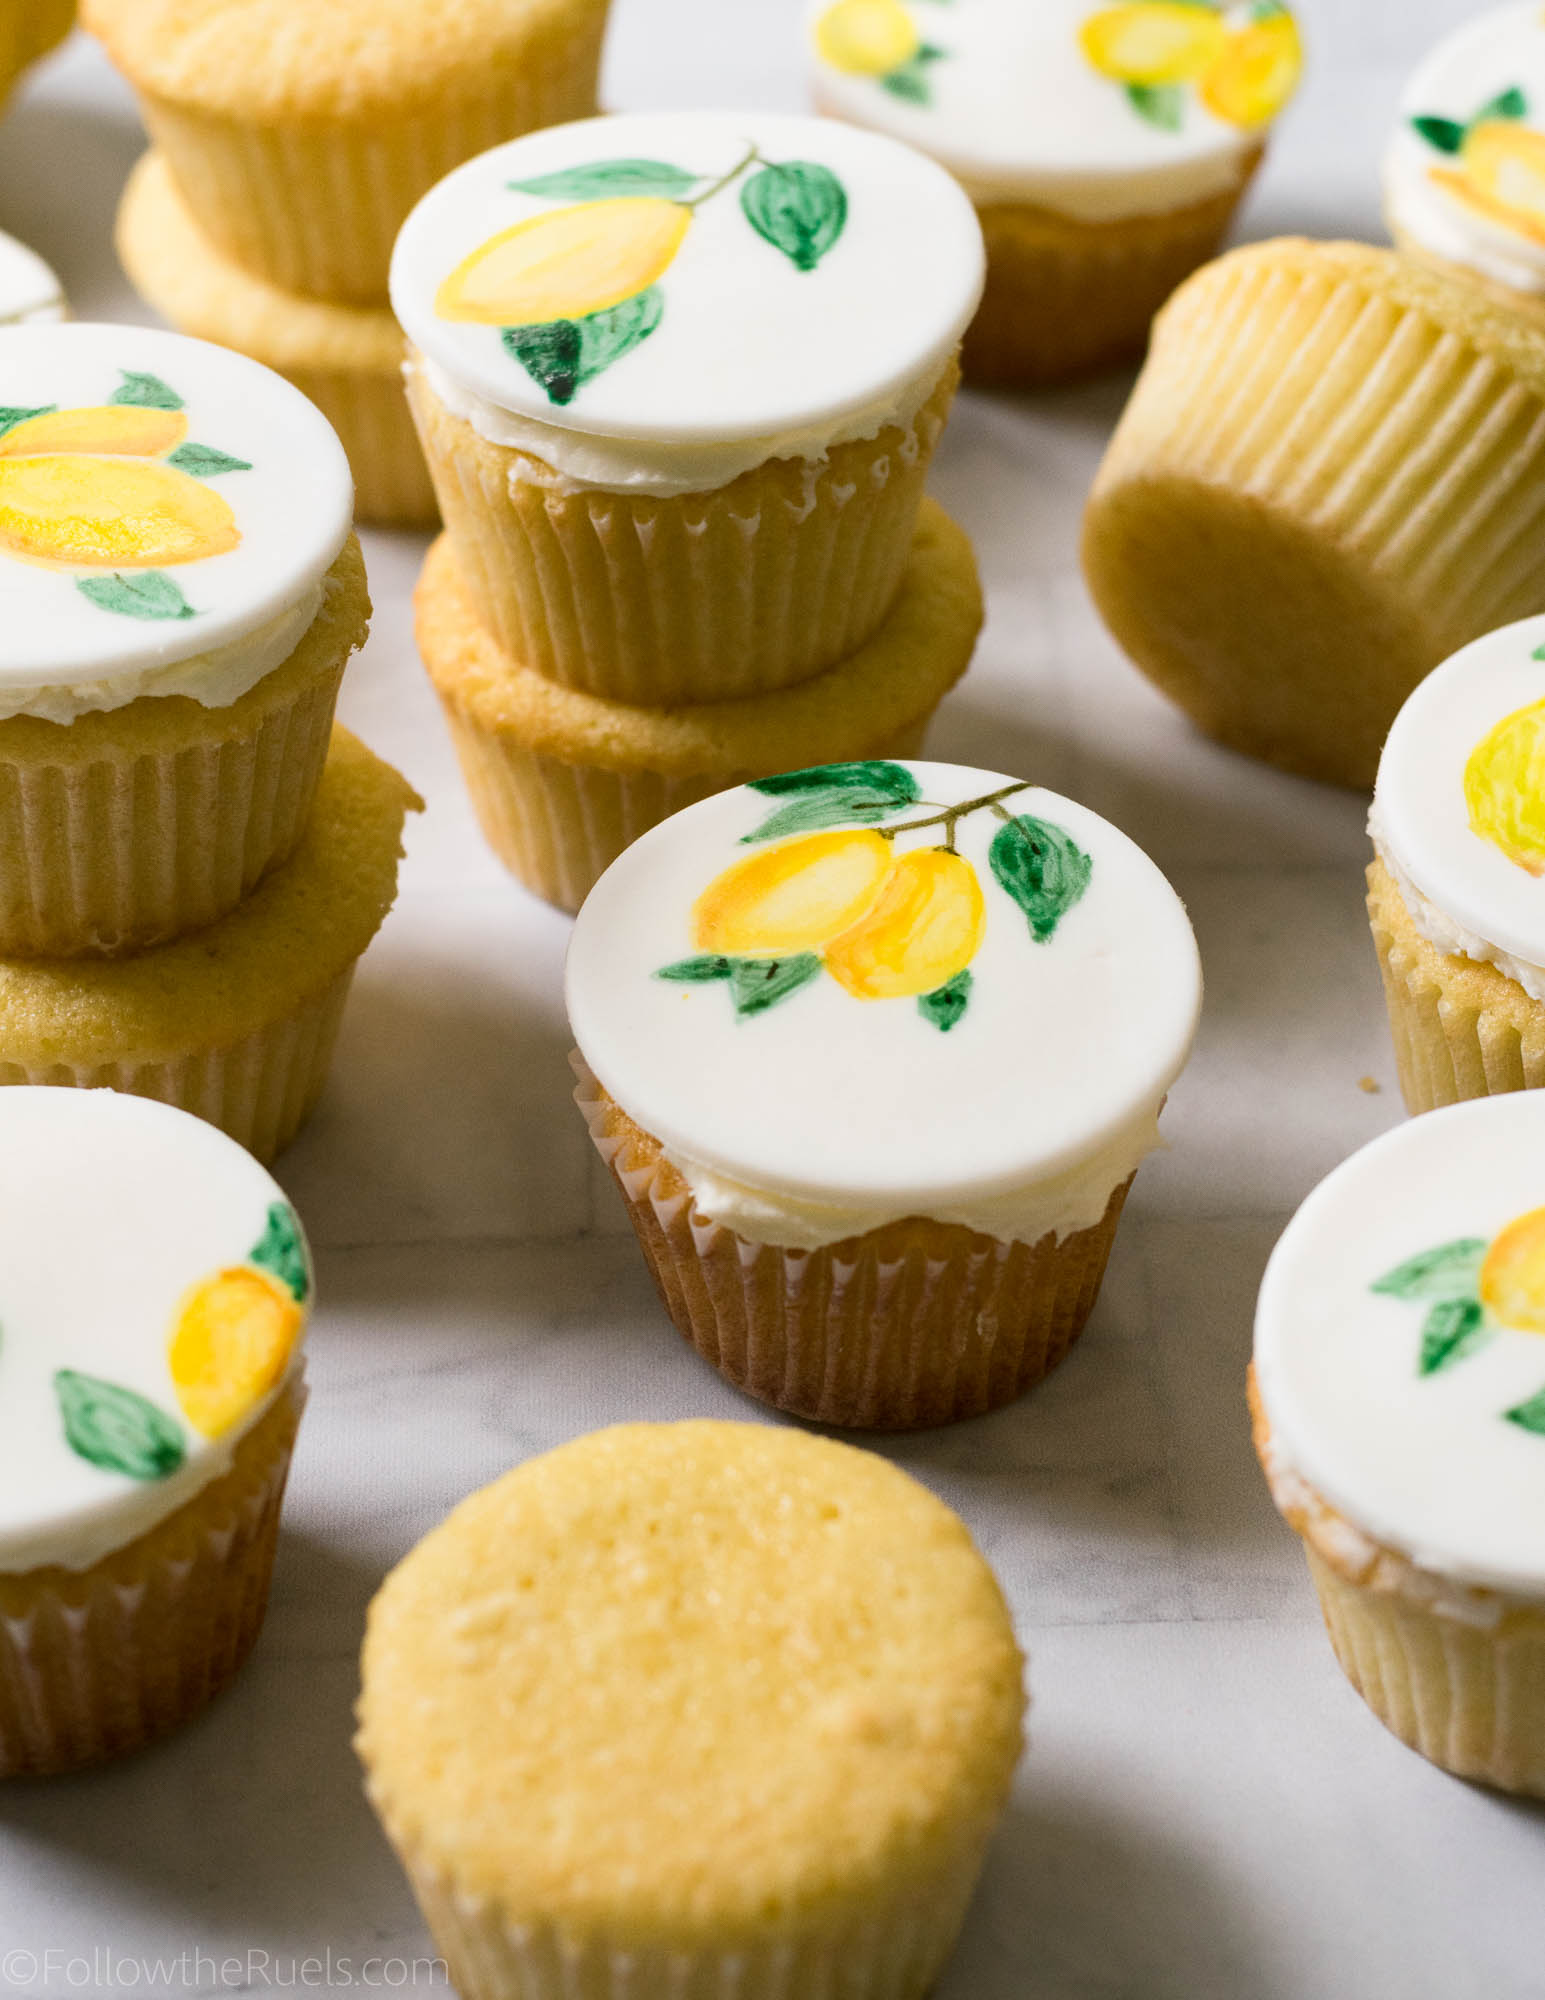
And there you have it. Super delicious, beautiful, but easy to make limoncello cupcakes! In my mind, it’s the perfect way to get excited for our Italian adventure!

Supplies and Recipe

[show_shopthepost_widget id=”3139899″]

[yumprint-recipe id=’179′]

/ Filed In: Cakes and Cupcakes, Cakes New, Eat
Tagged: cake, cupcake decorating, cupcakes, fondant, fondant topper, lemon, limoncello

Blueberry Angel Food Cake

May 24, 2018

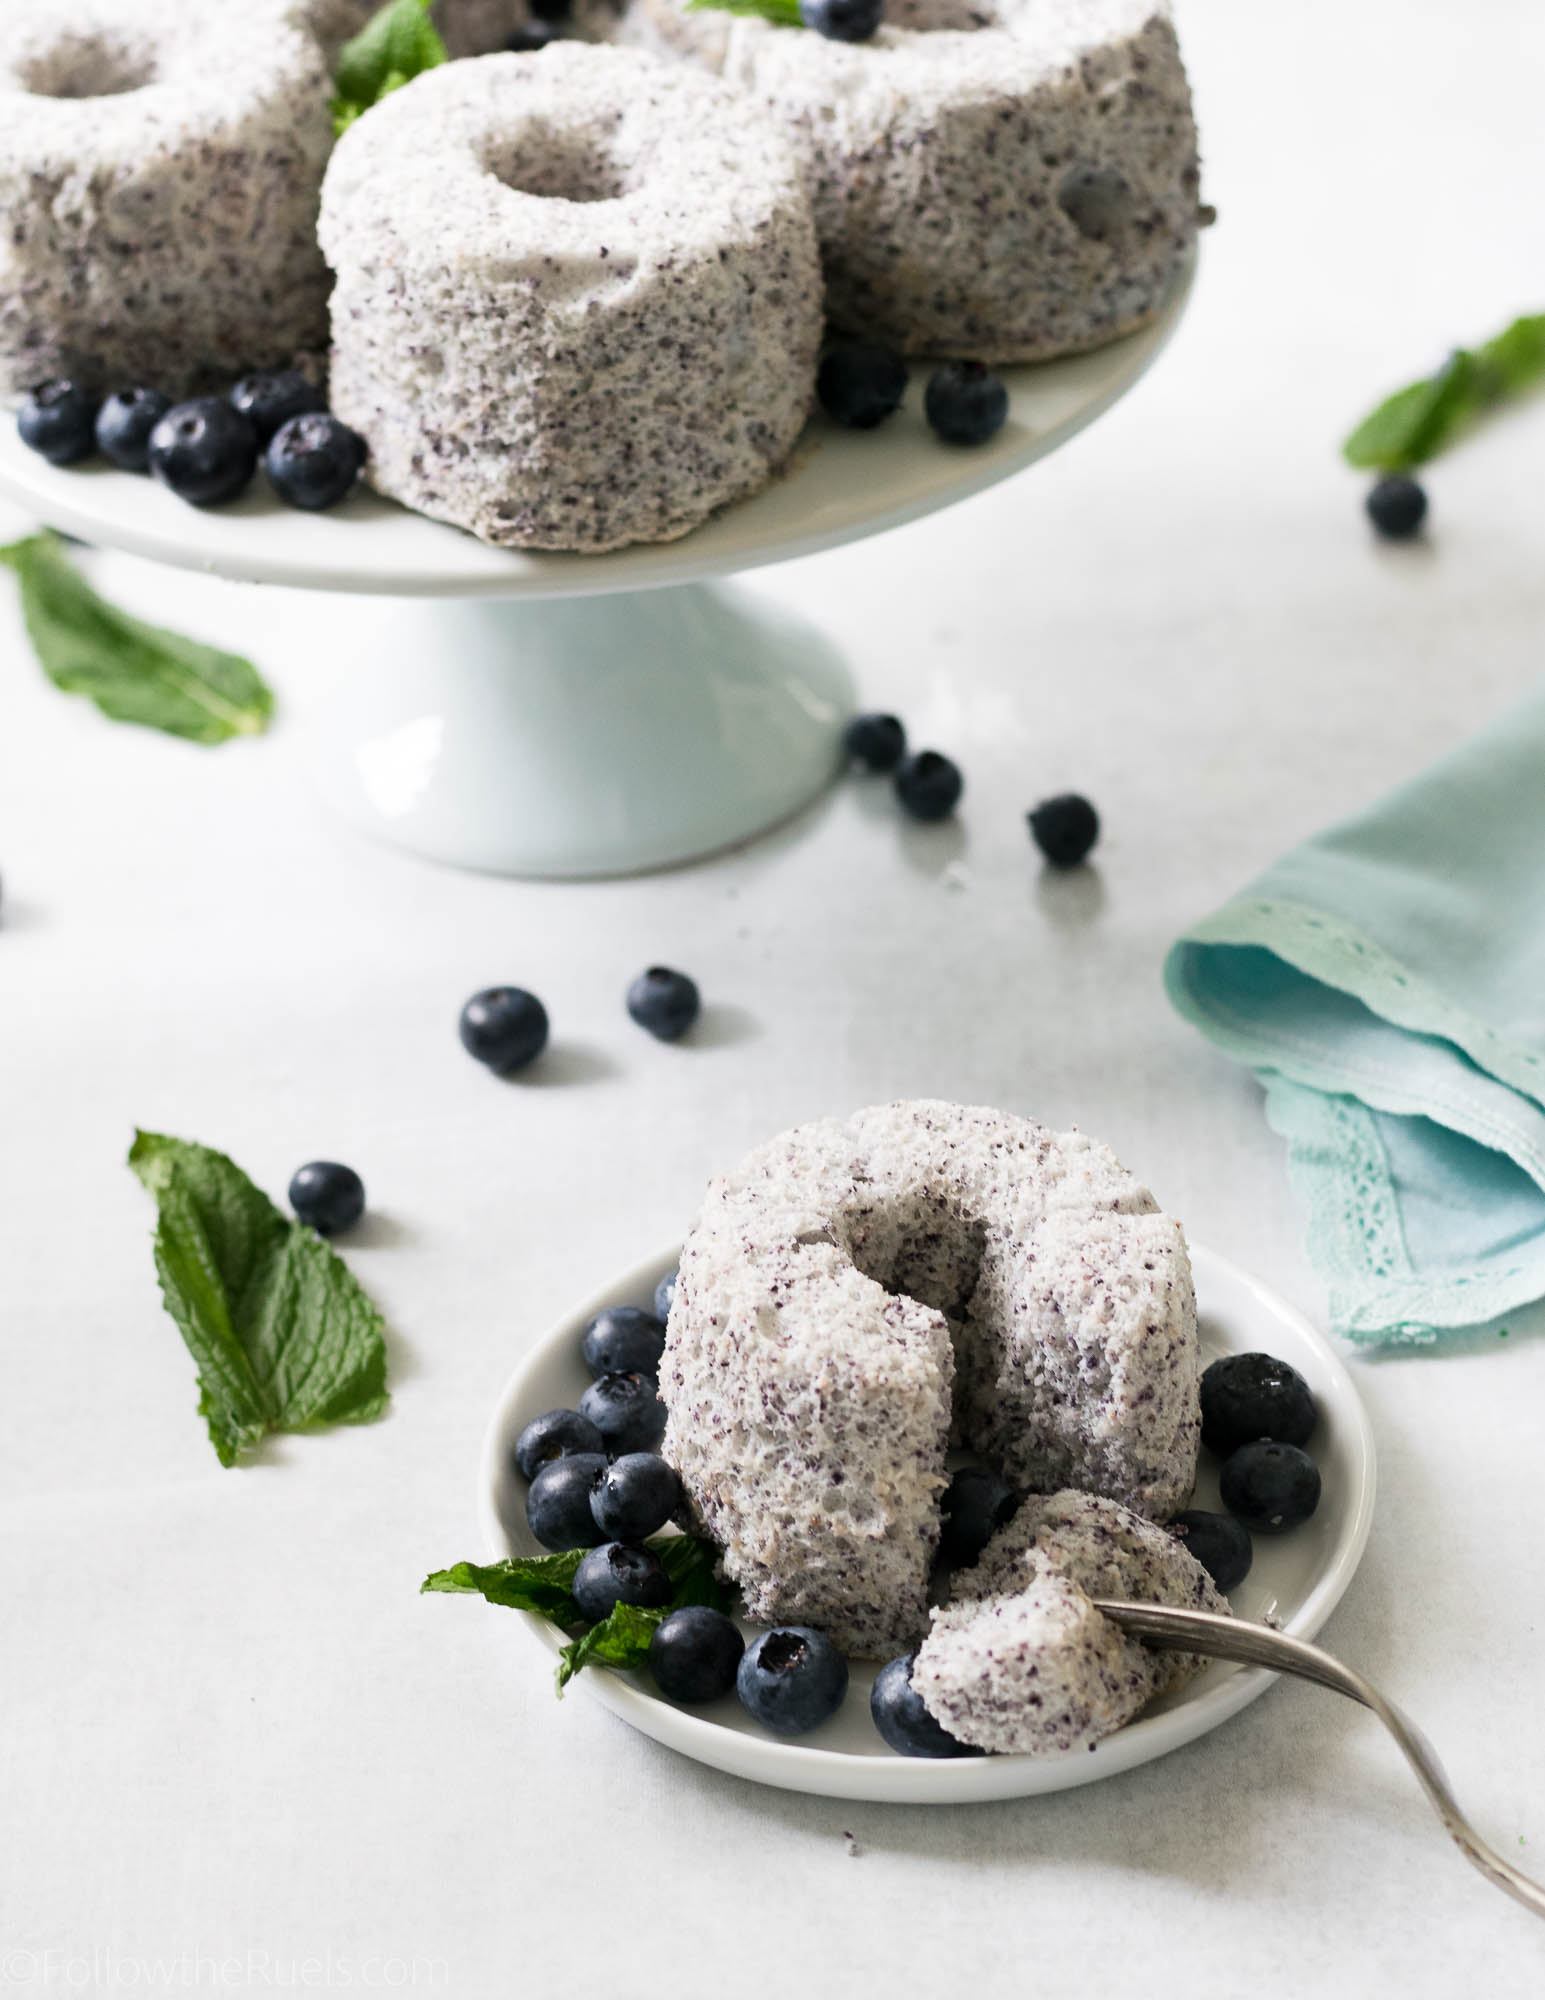
Angel food cake was my go-to dessert in college. Mainly because it was a tad healthier than your average cake, but also because the boxed cake mix made it easy to make at home.

Angel food cake has a reputation for being difficult to make from scratch. But I’m here to tell you, it’s really not! It definitely took me a while to build up the courage to ditch the boxed mix and make it from scratch, but once I did I realized it really isn’t so bad. 

Plus, when you make it from scratch at home you can play around with the recipe and make it your own! Like adding in blueberries! 

Well, freeze dried blueberries.

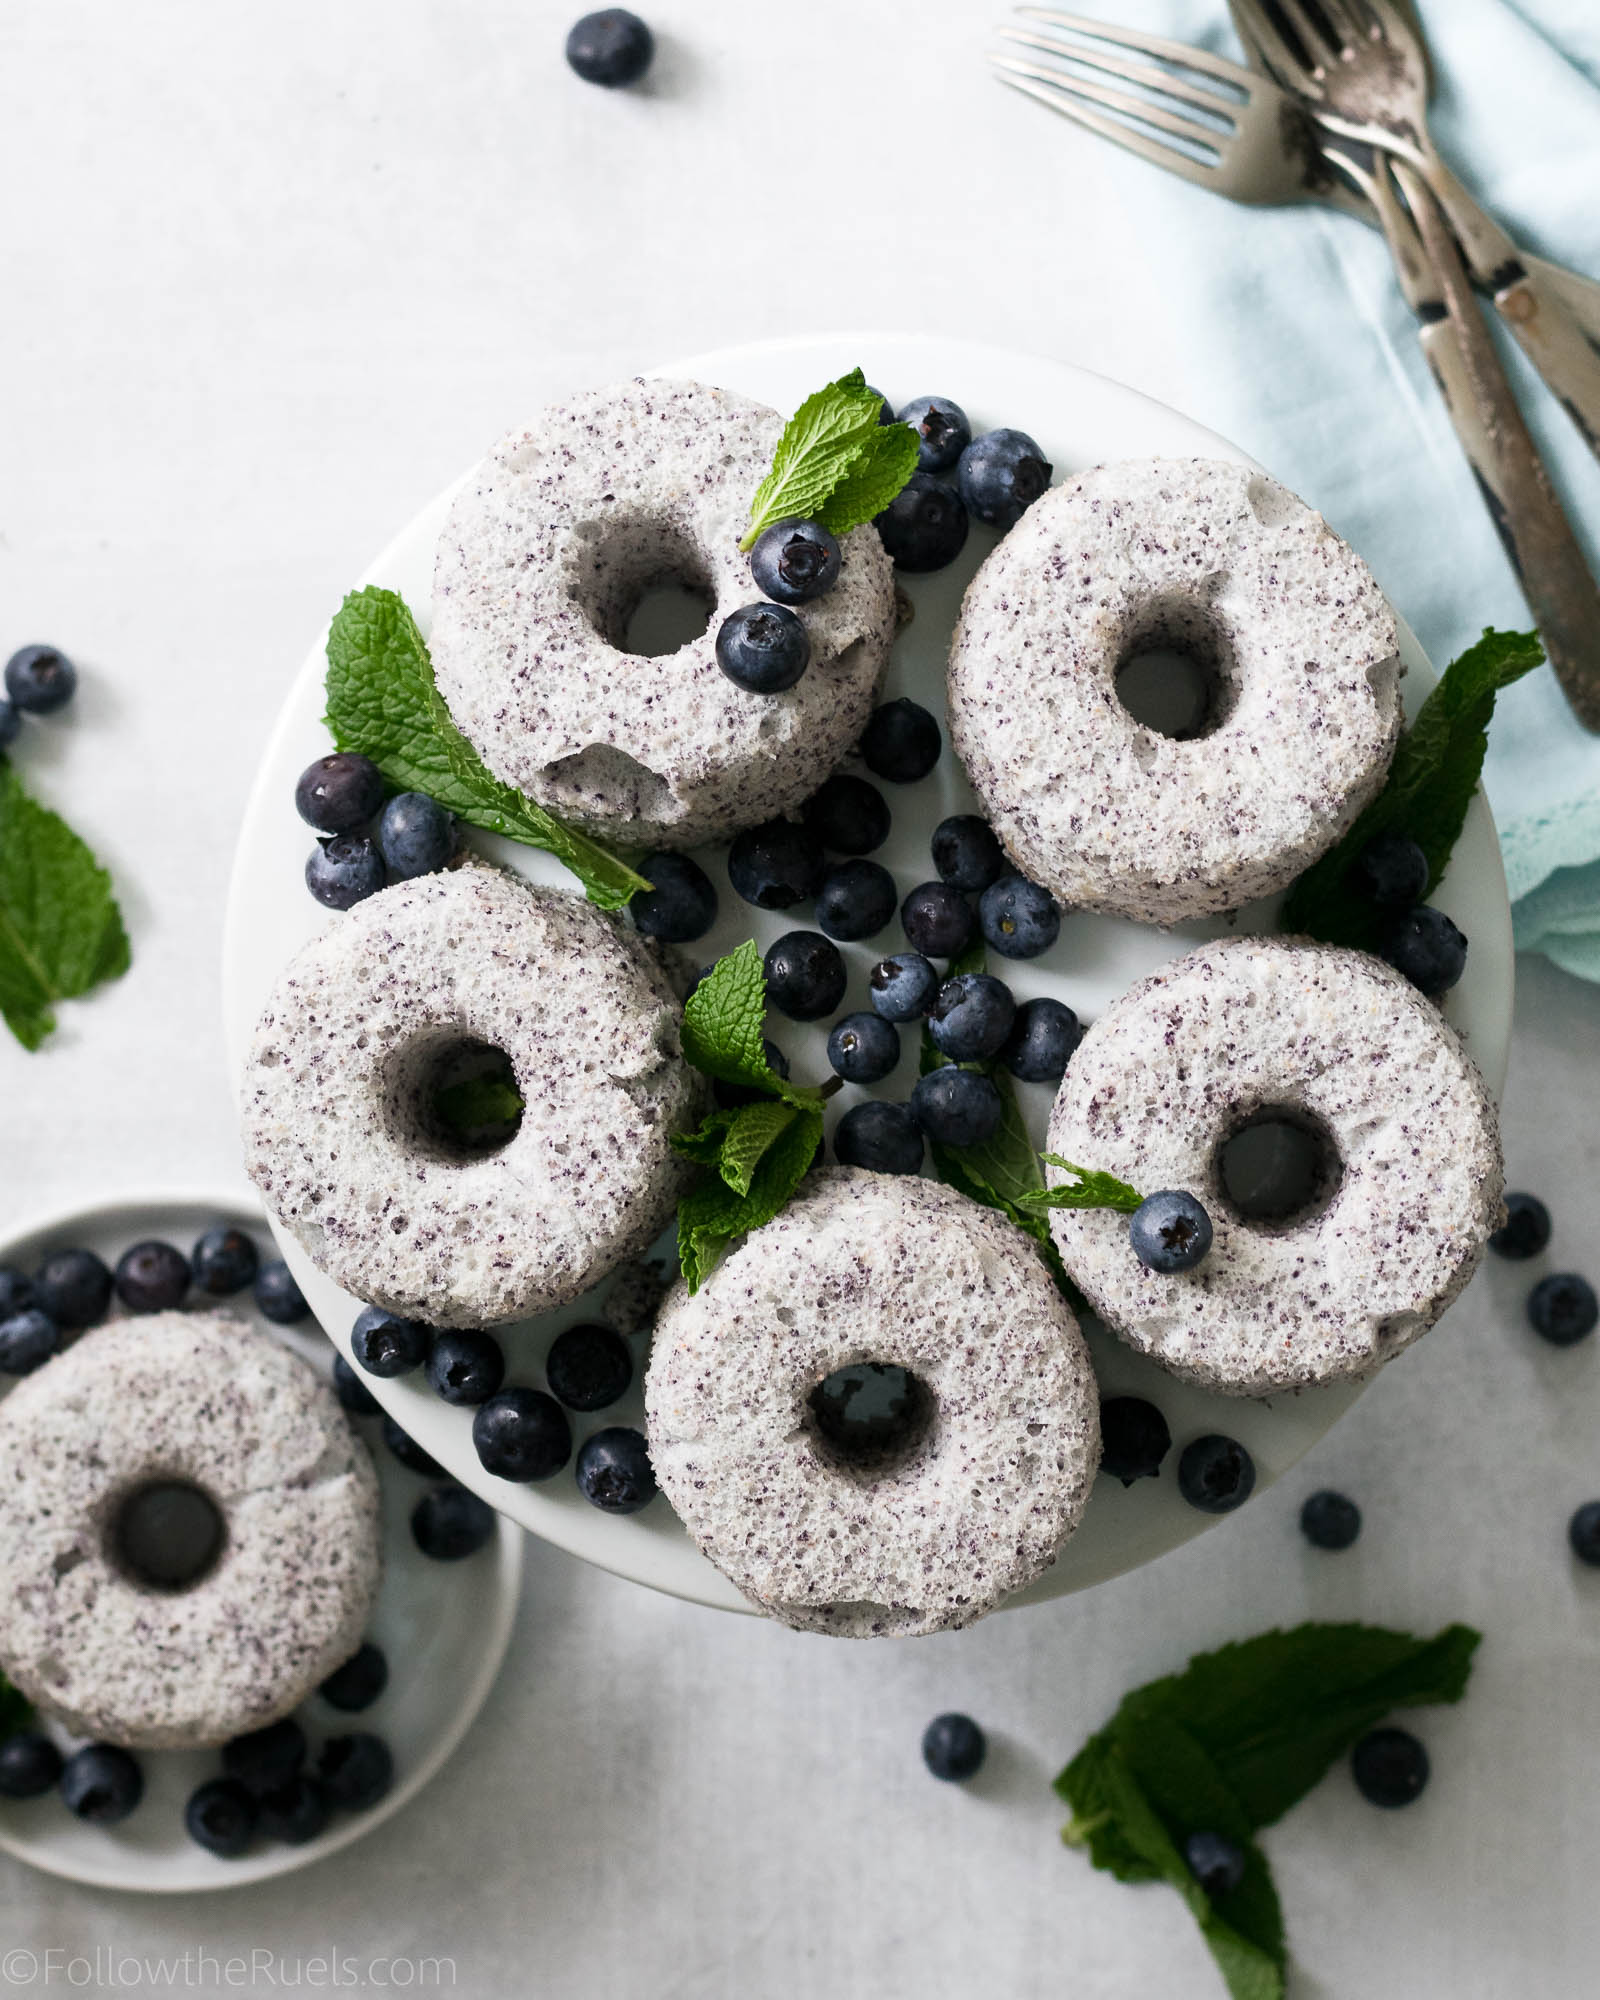
Which make a super delicious and subtly flavored blueberry angel food cake. 

How to Make It

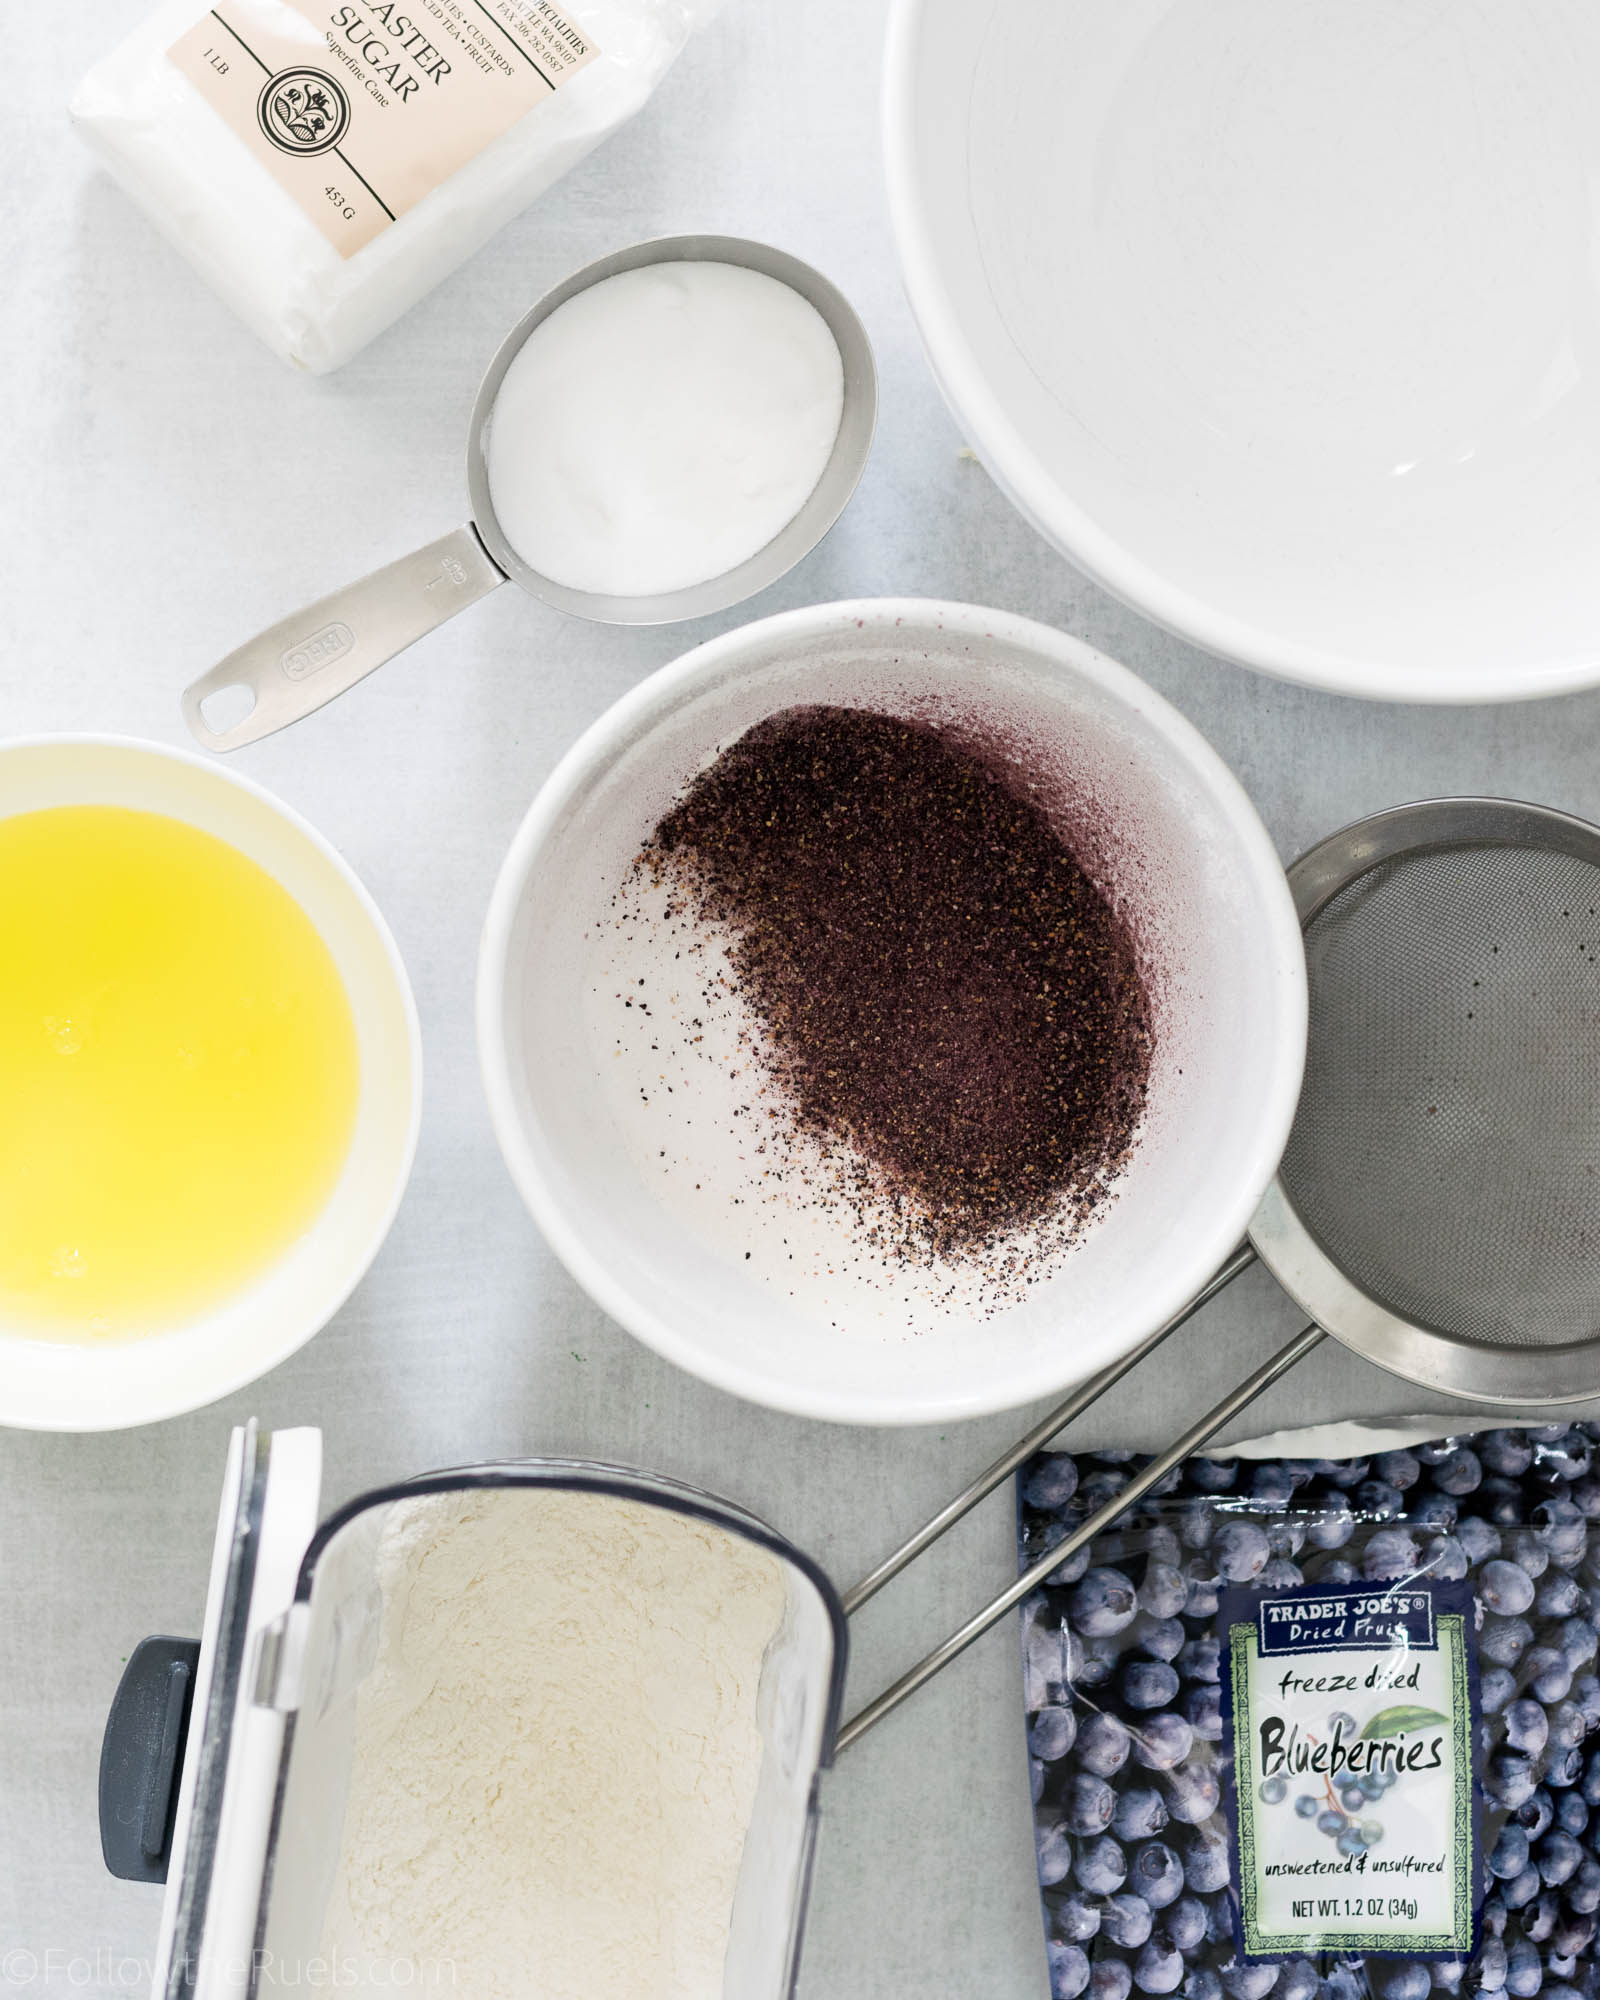
First things first. Process the blueberries until they form a fine powder. You can do this by processing them in a food processor or by tossing them in a zip-top bag and giving them a good wack.

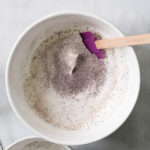
Next, sift all the dry ingredients together. It’s super important to sift everything because you want it to be as light as possible.

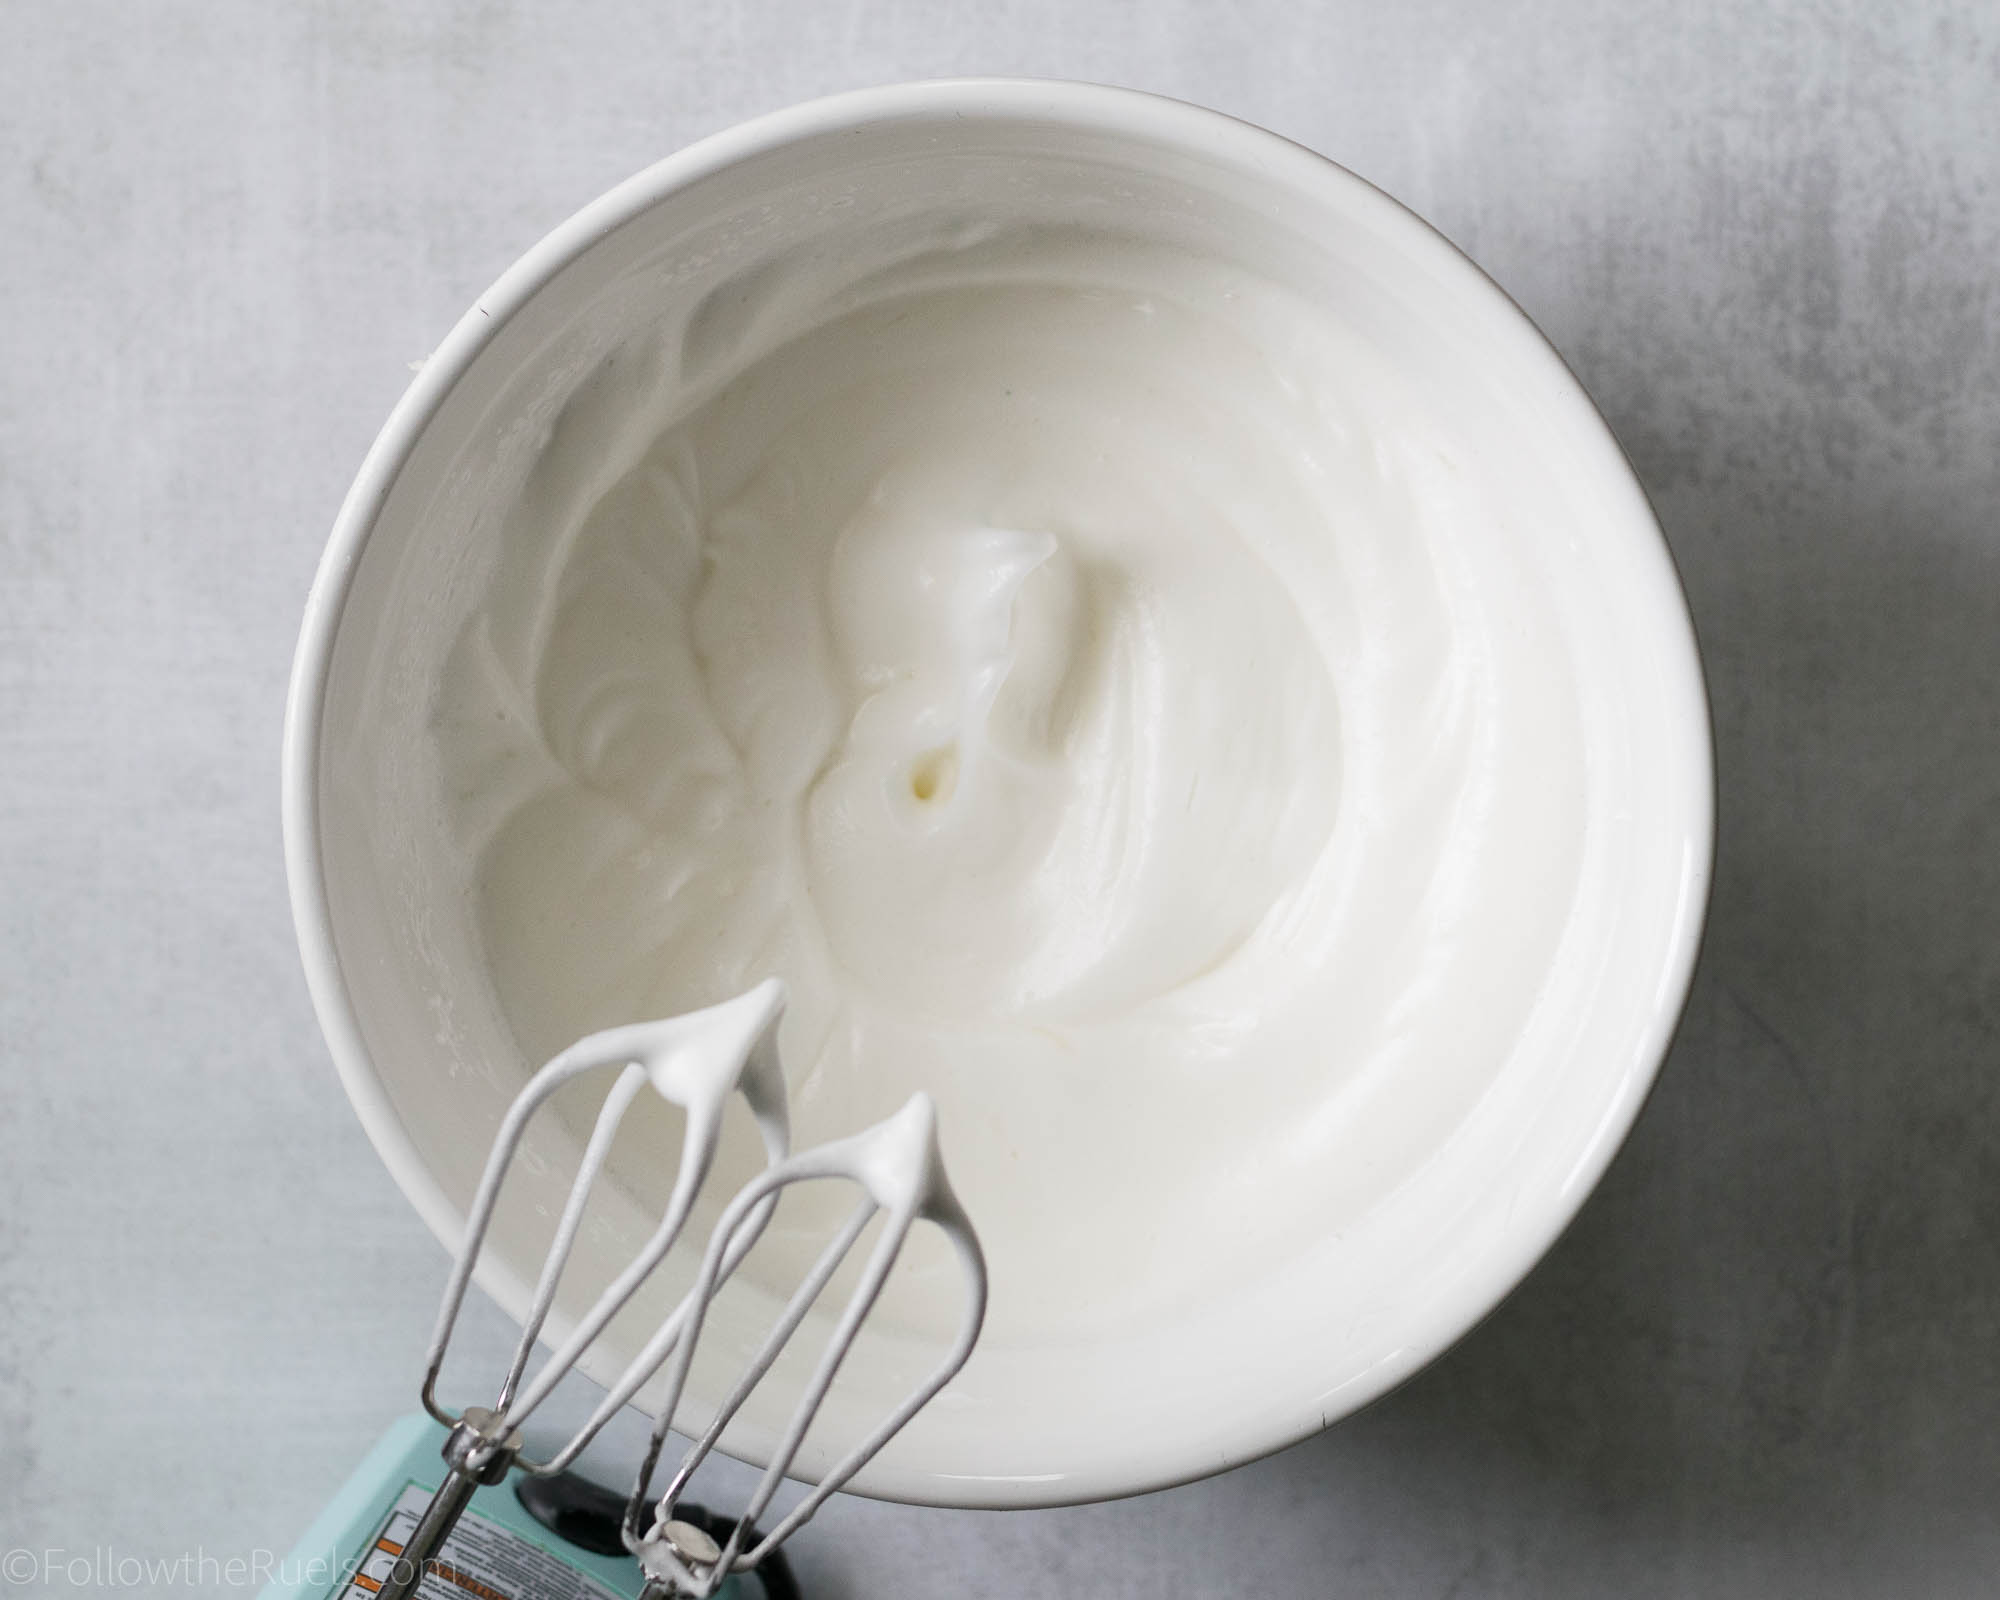
Then start making the meringue which is the foundation of the cake.

Slowly start beating the egg whites until a little bit of foam forms, then add the cream of tartar and lemon juice. 

After a little more foam builds, add in about a third of the sugar. Beat for another 30 seconds or so and add a little more sugar. Finally, when the egg whites are almost done, add in the rest of the sugar.

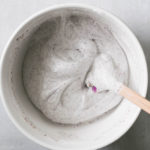
The meringue should be in medium stiff peak form, meaning it can form a peak, but the tips fall over.


Now slowly fold the dry ingredients into the meringue a little at a time. Try not to deflate the meringue.

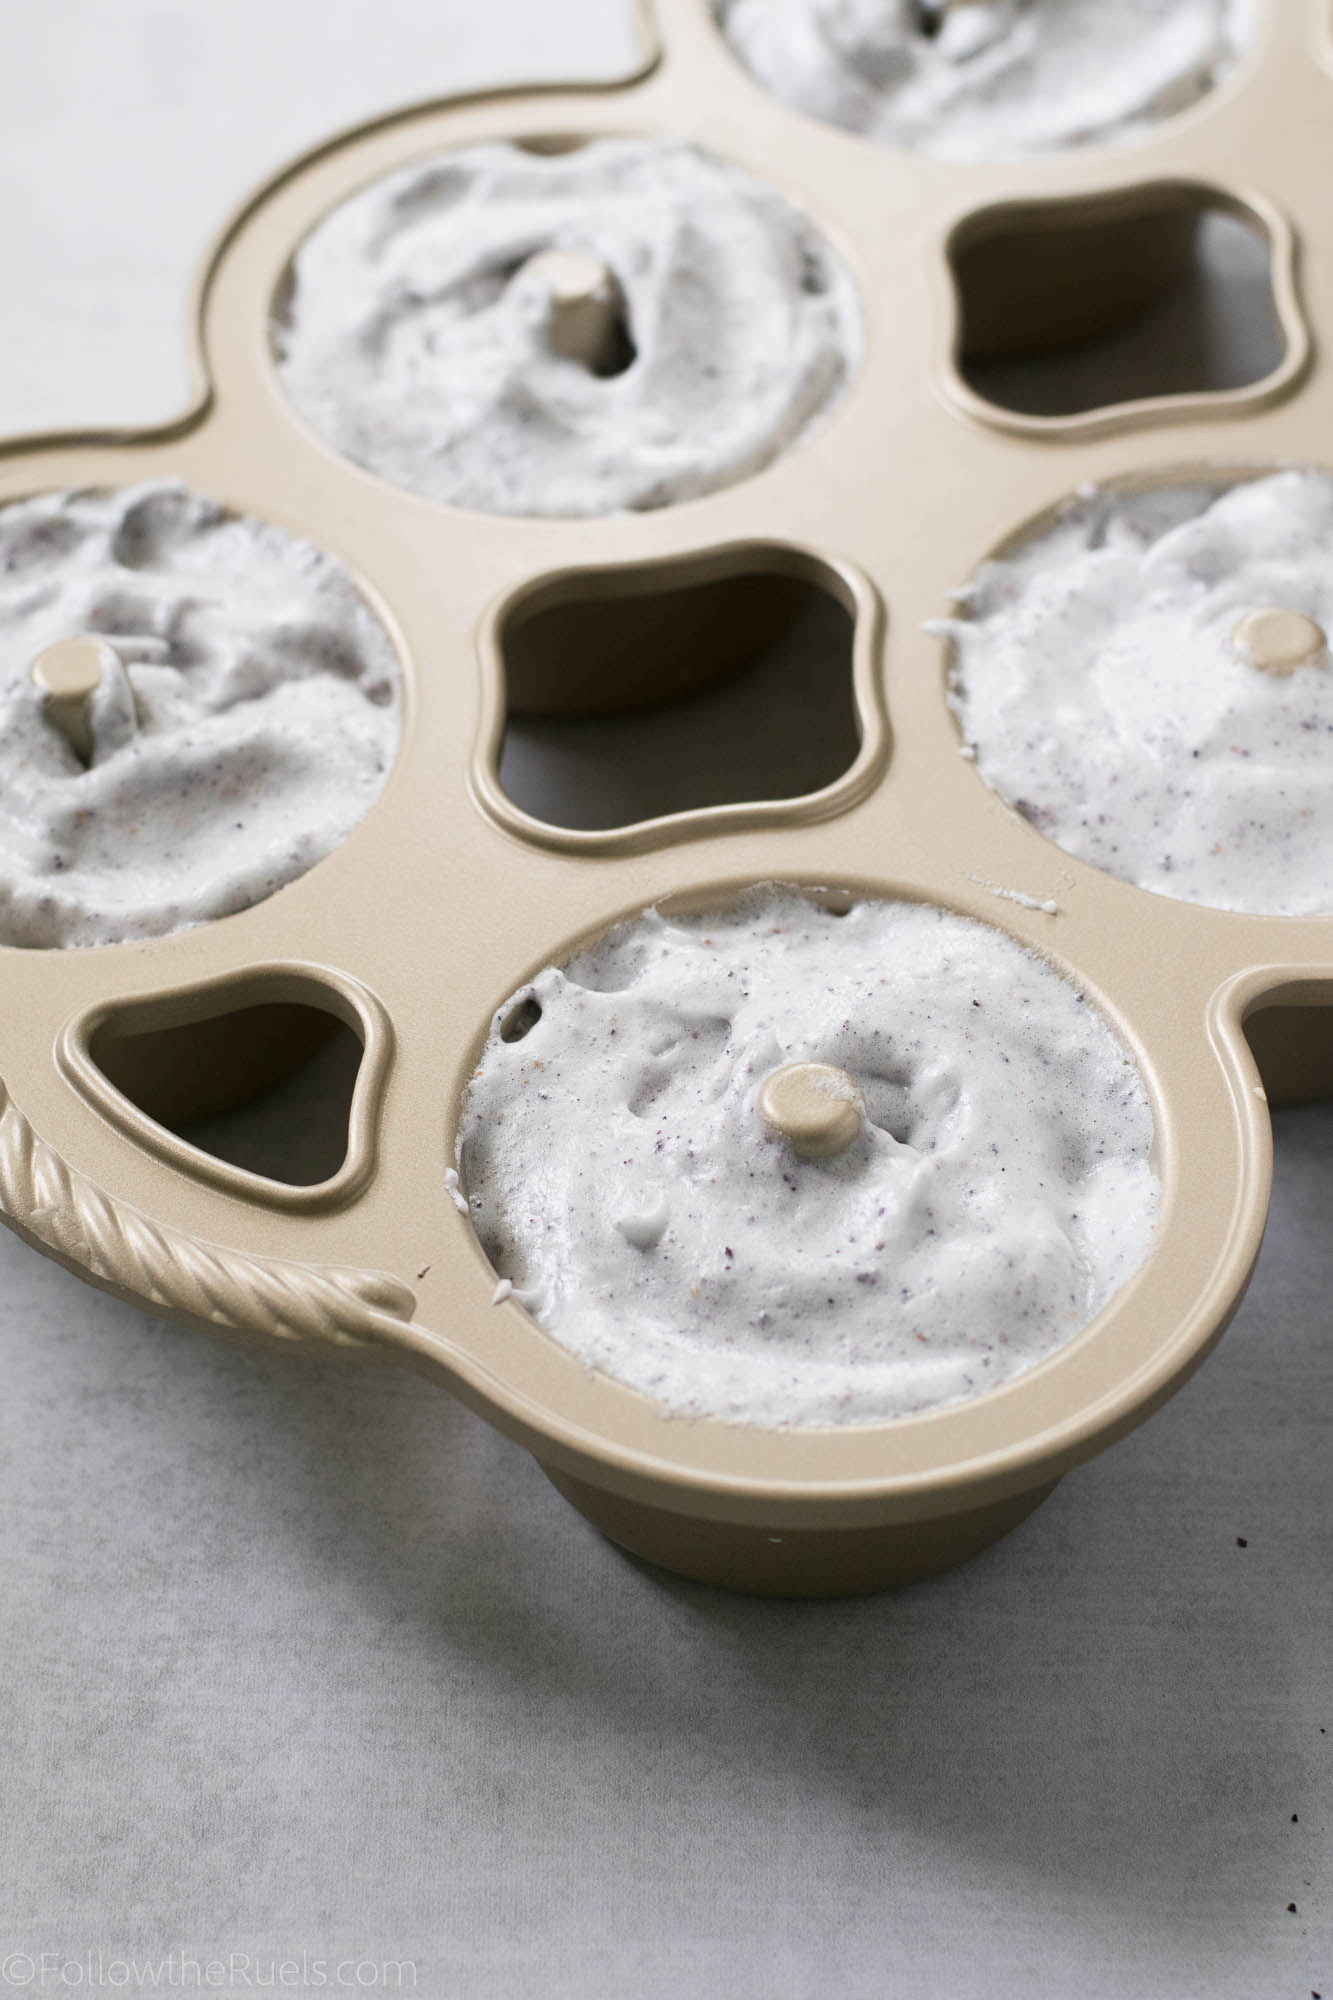
Spoon the batter into your cake pan, or in my case, a mini cake pan, then bake until a toothpick comes out clean. It takes about 15-20 for the small pan and 30-35 for a standard pan.

Once out of the oven, let the cake cool upside down over a cooling rack or balanced on a wine bottle. This helps ensure that your cake doesn’t deflate and lose all that beautiful air you worked so hard to incorporate into the cake.

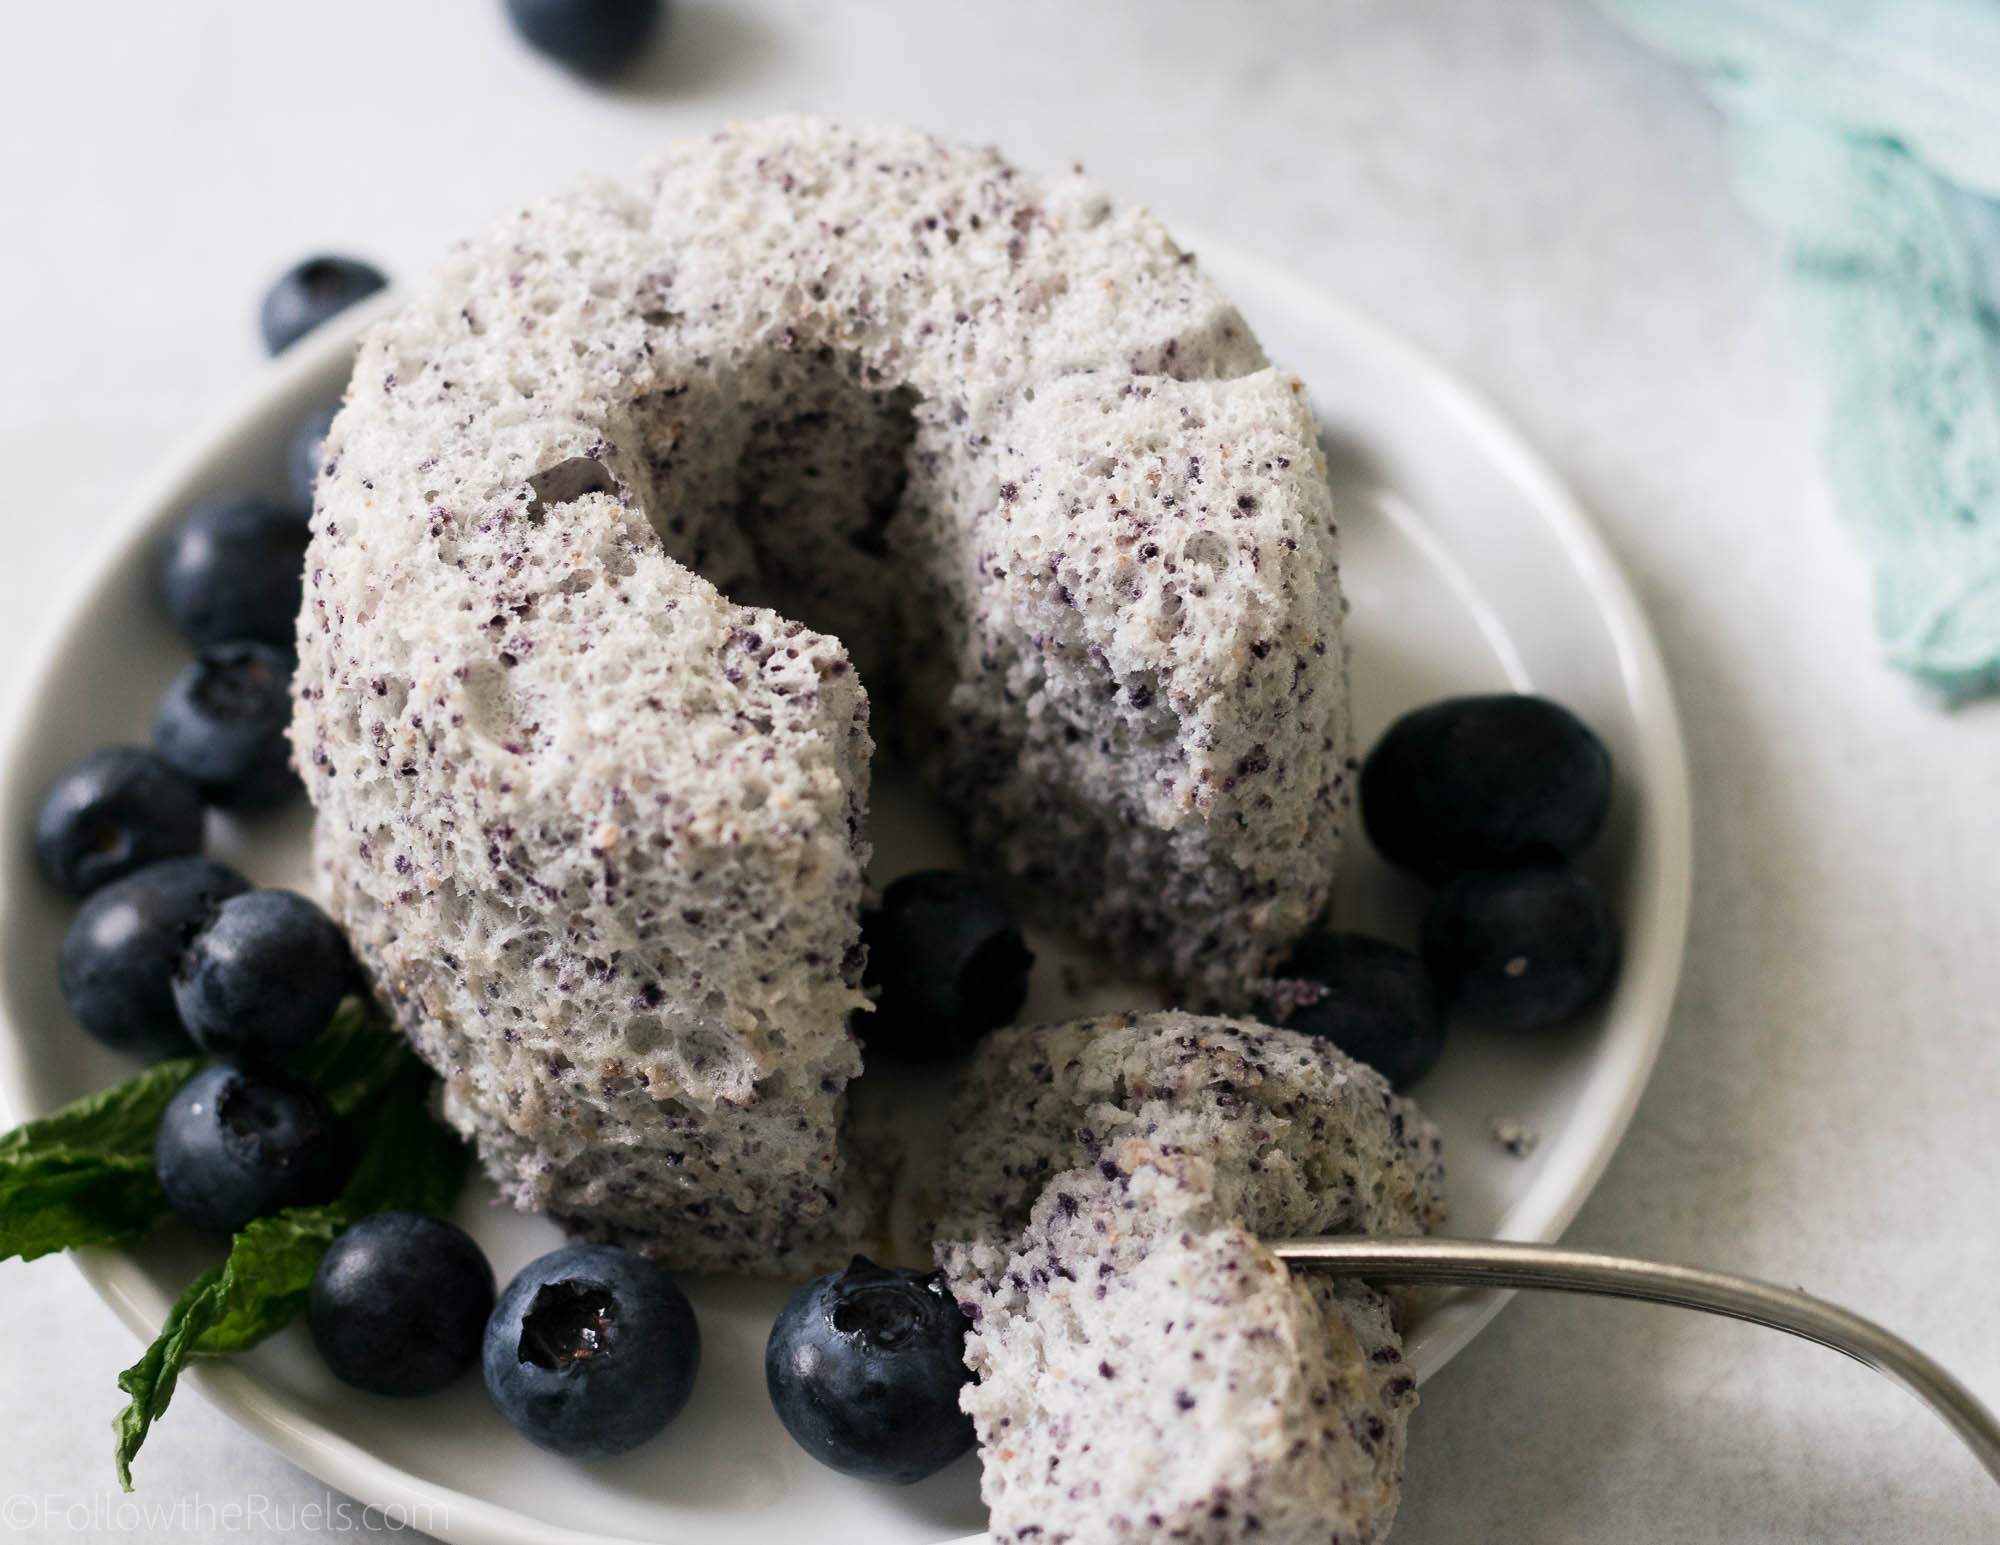
If all of those things are done well, you should have yourself a beautiful, light, airy, and delicious blueberry angel food cake! Perfect for any occasion, or just to make for yourself. 

You definitely don’t have to worry about the guilt with this recipe. It is about as “light” as any cake can be! Plus, it probably packs a full serving of fruit thanks to those freeze-dried blueberries. 

Tools and Recipe

[show_shopthepost_widget id=”3147139″]

[yumprint-recipe id=’180′]

/ Filed In: Cakes and Cupcakes, Cakes New, Desserts, Eat
Tagged: angel food, blueberry, cake, egg whites, light, meringue, Summer

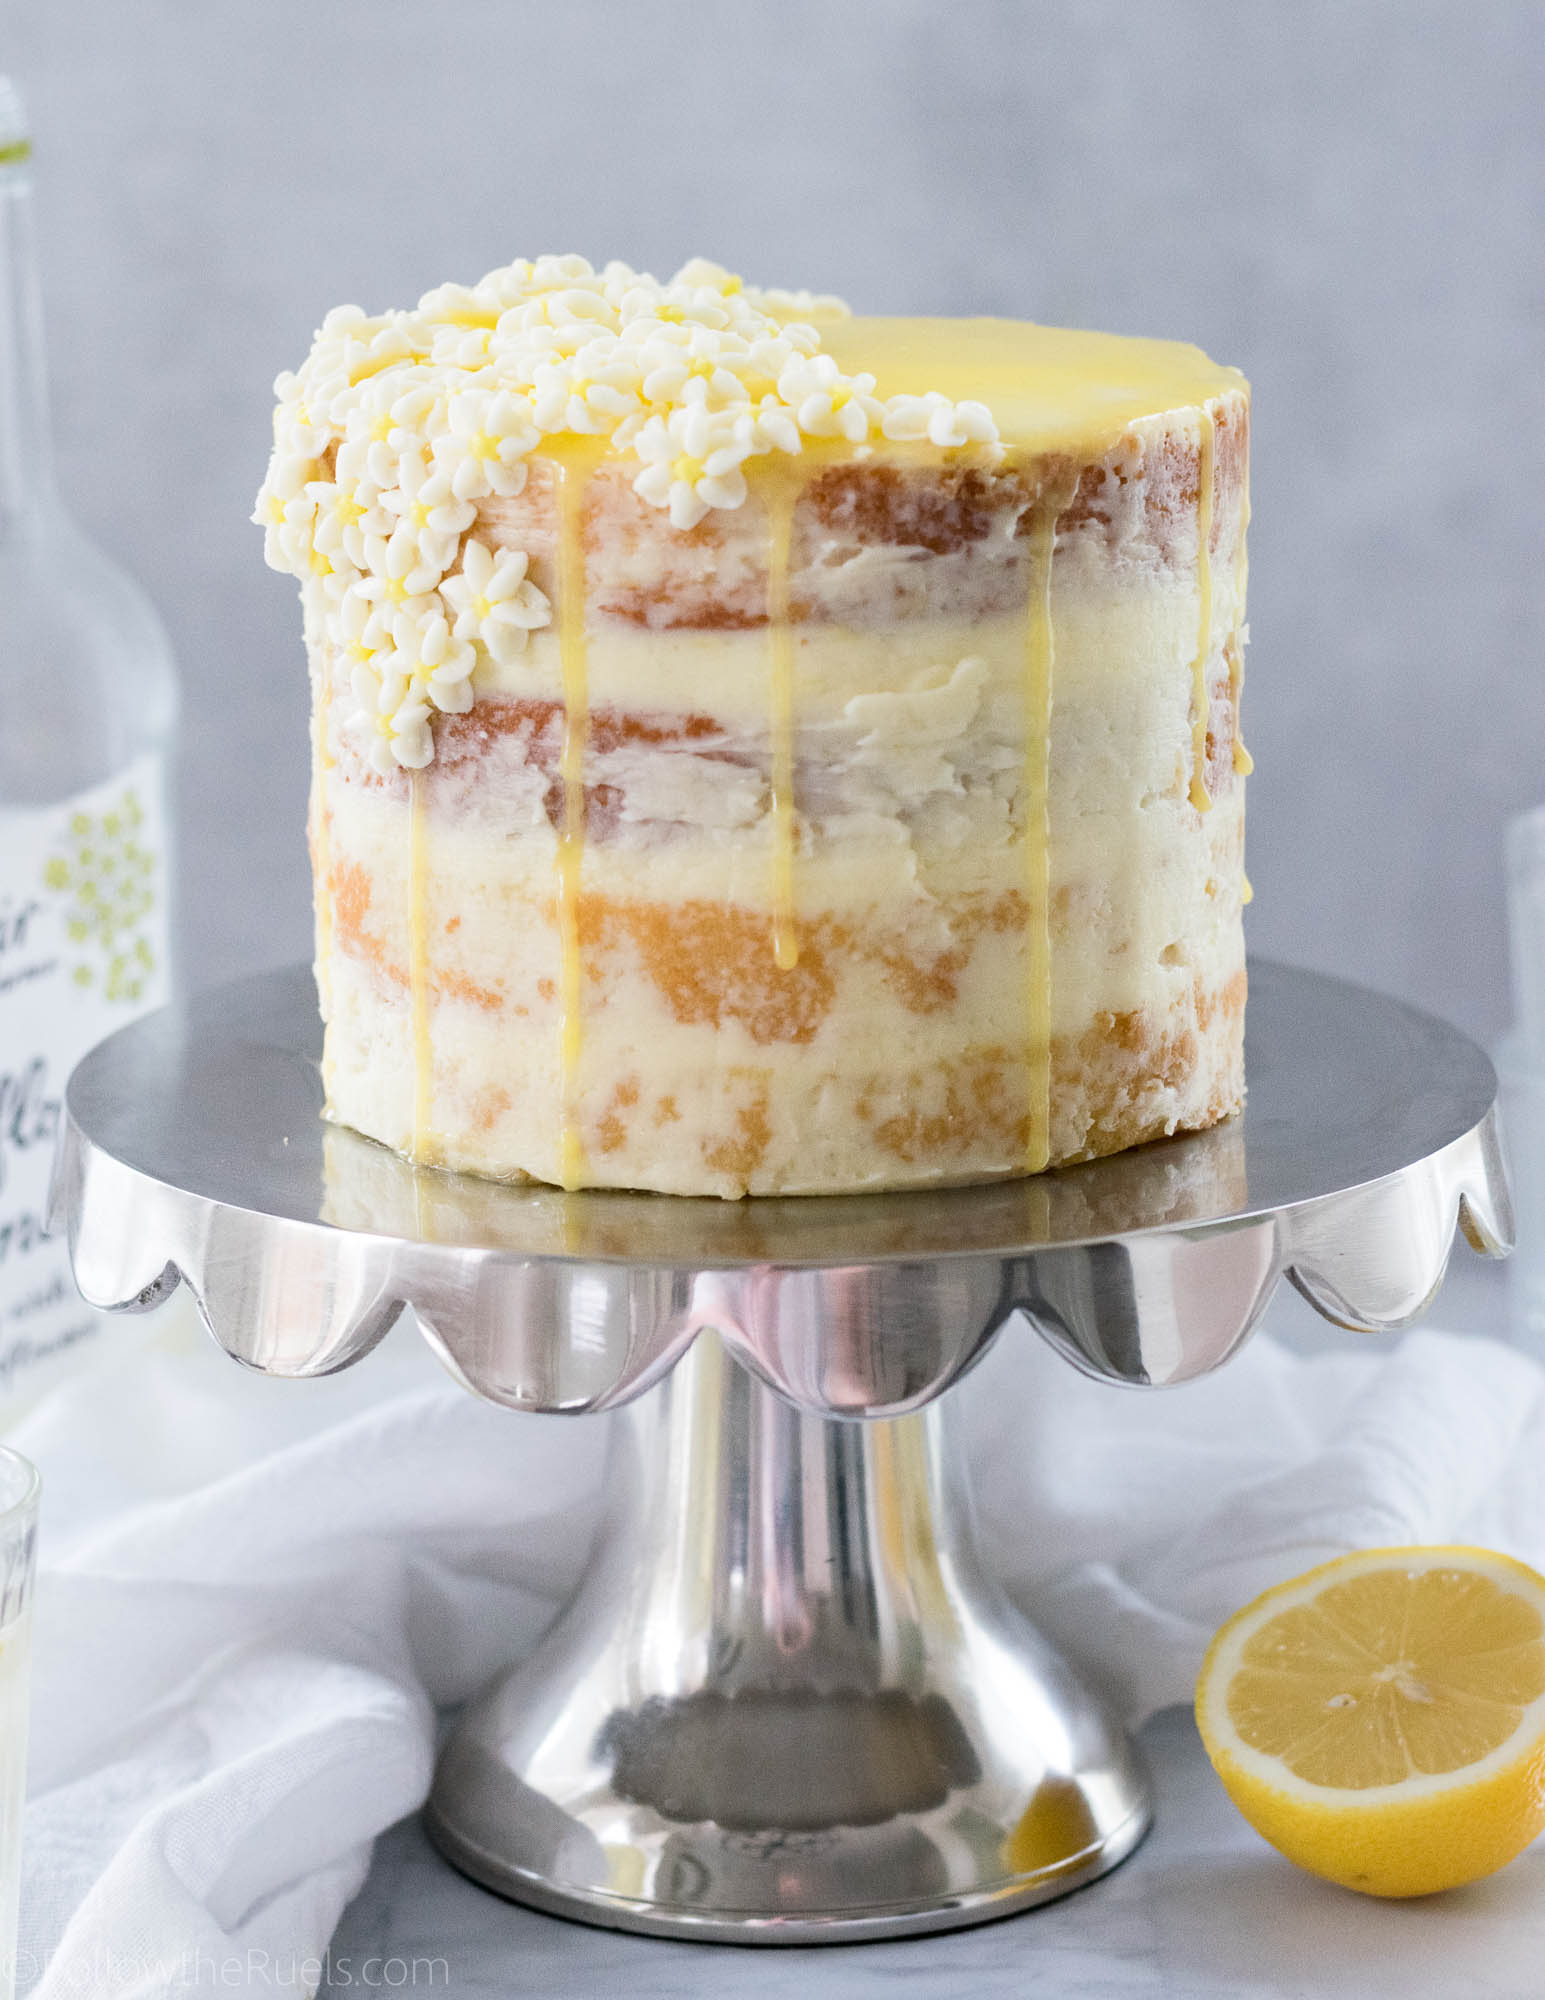
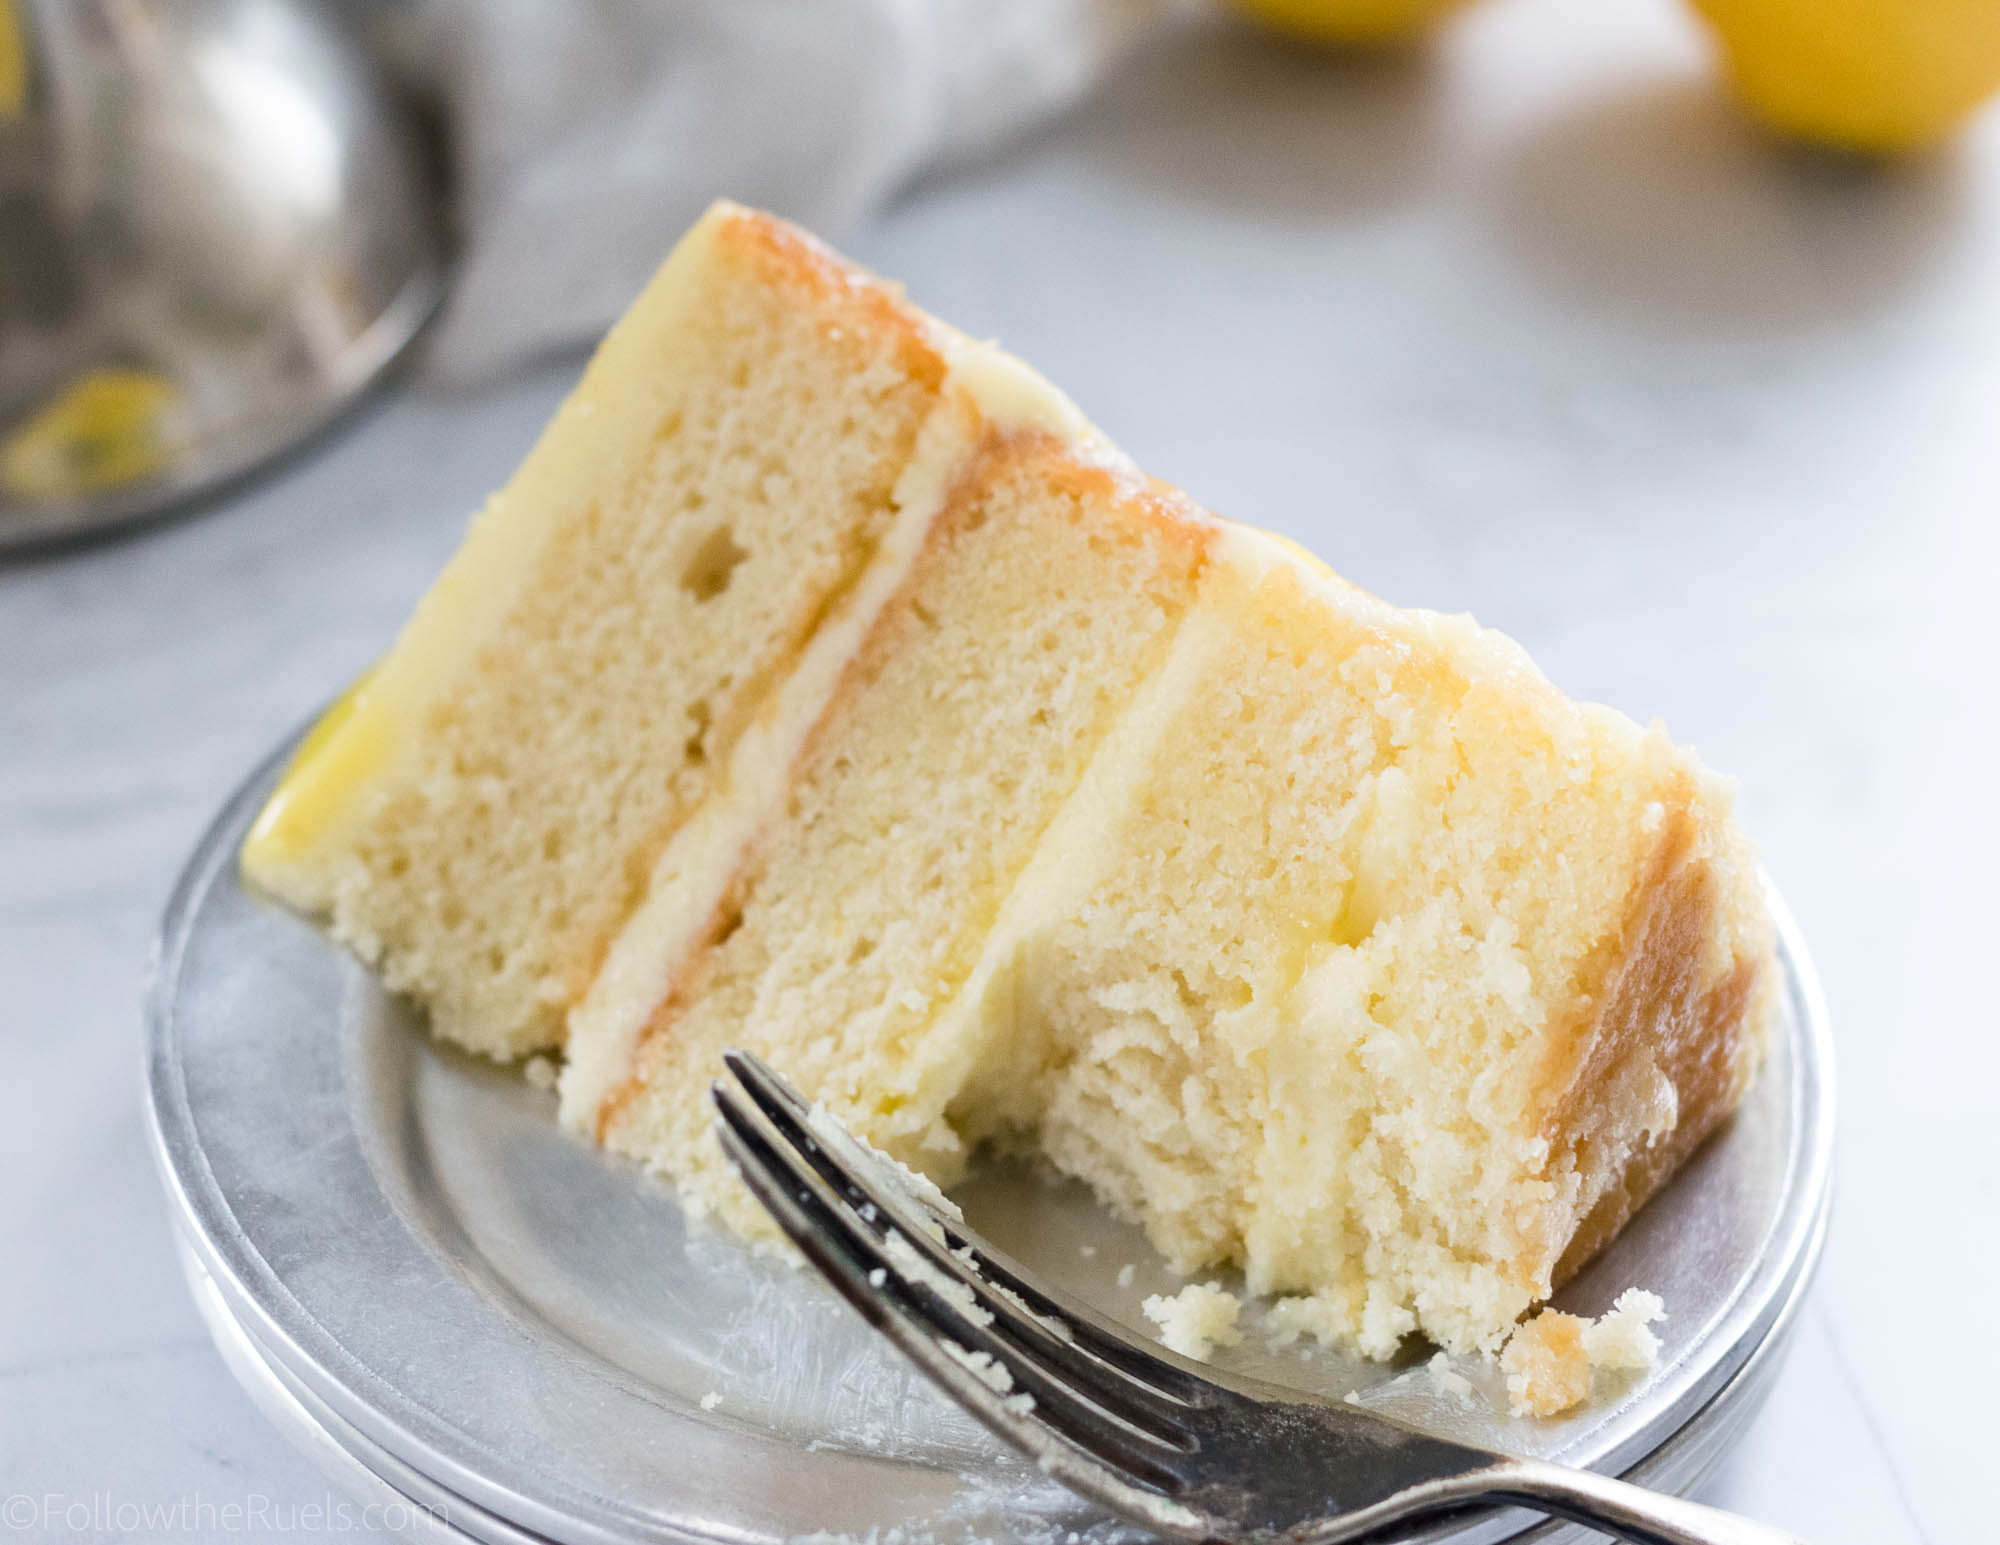
Lemon Elderflower Cake

April 10, 2018

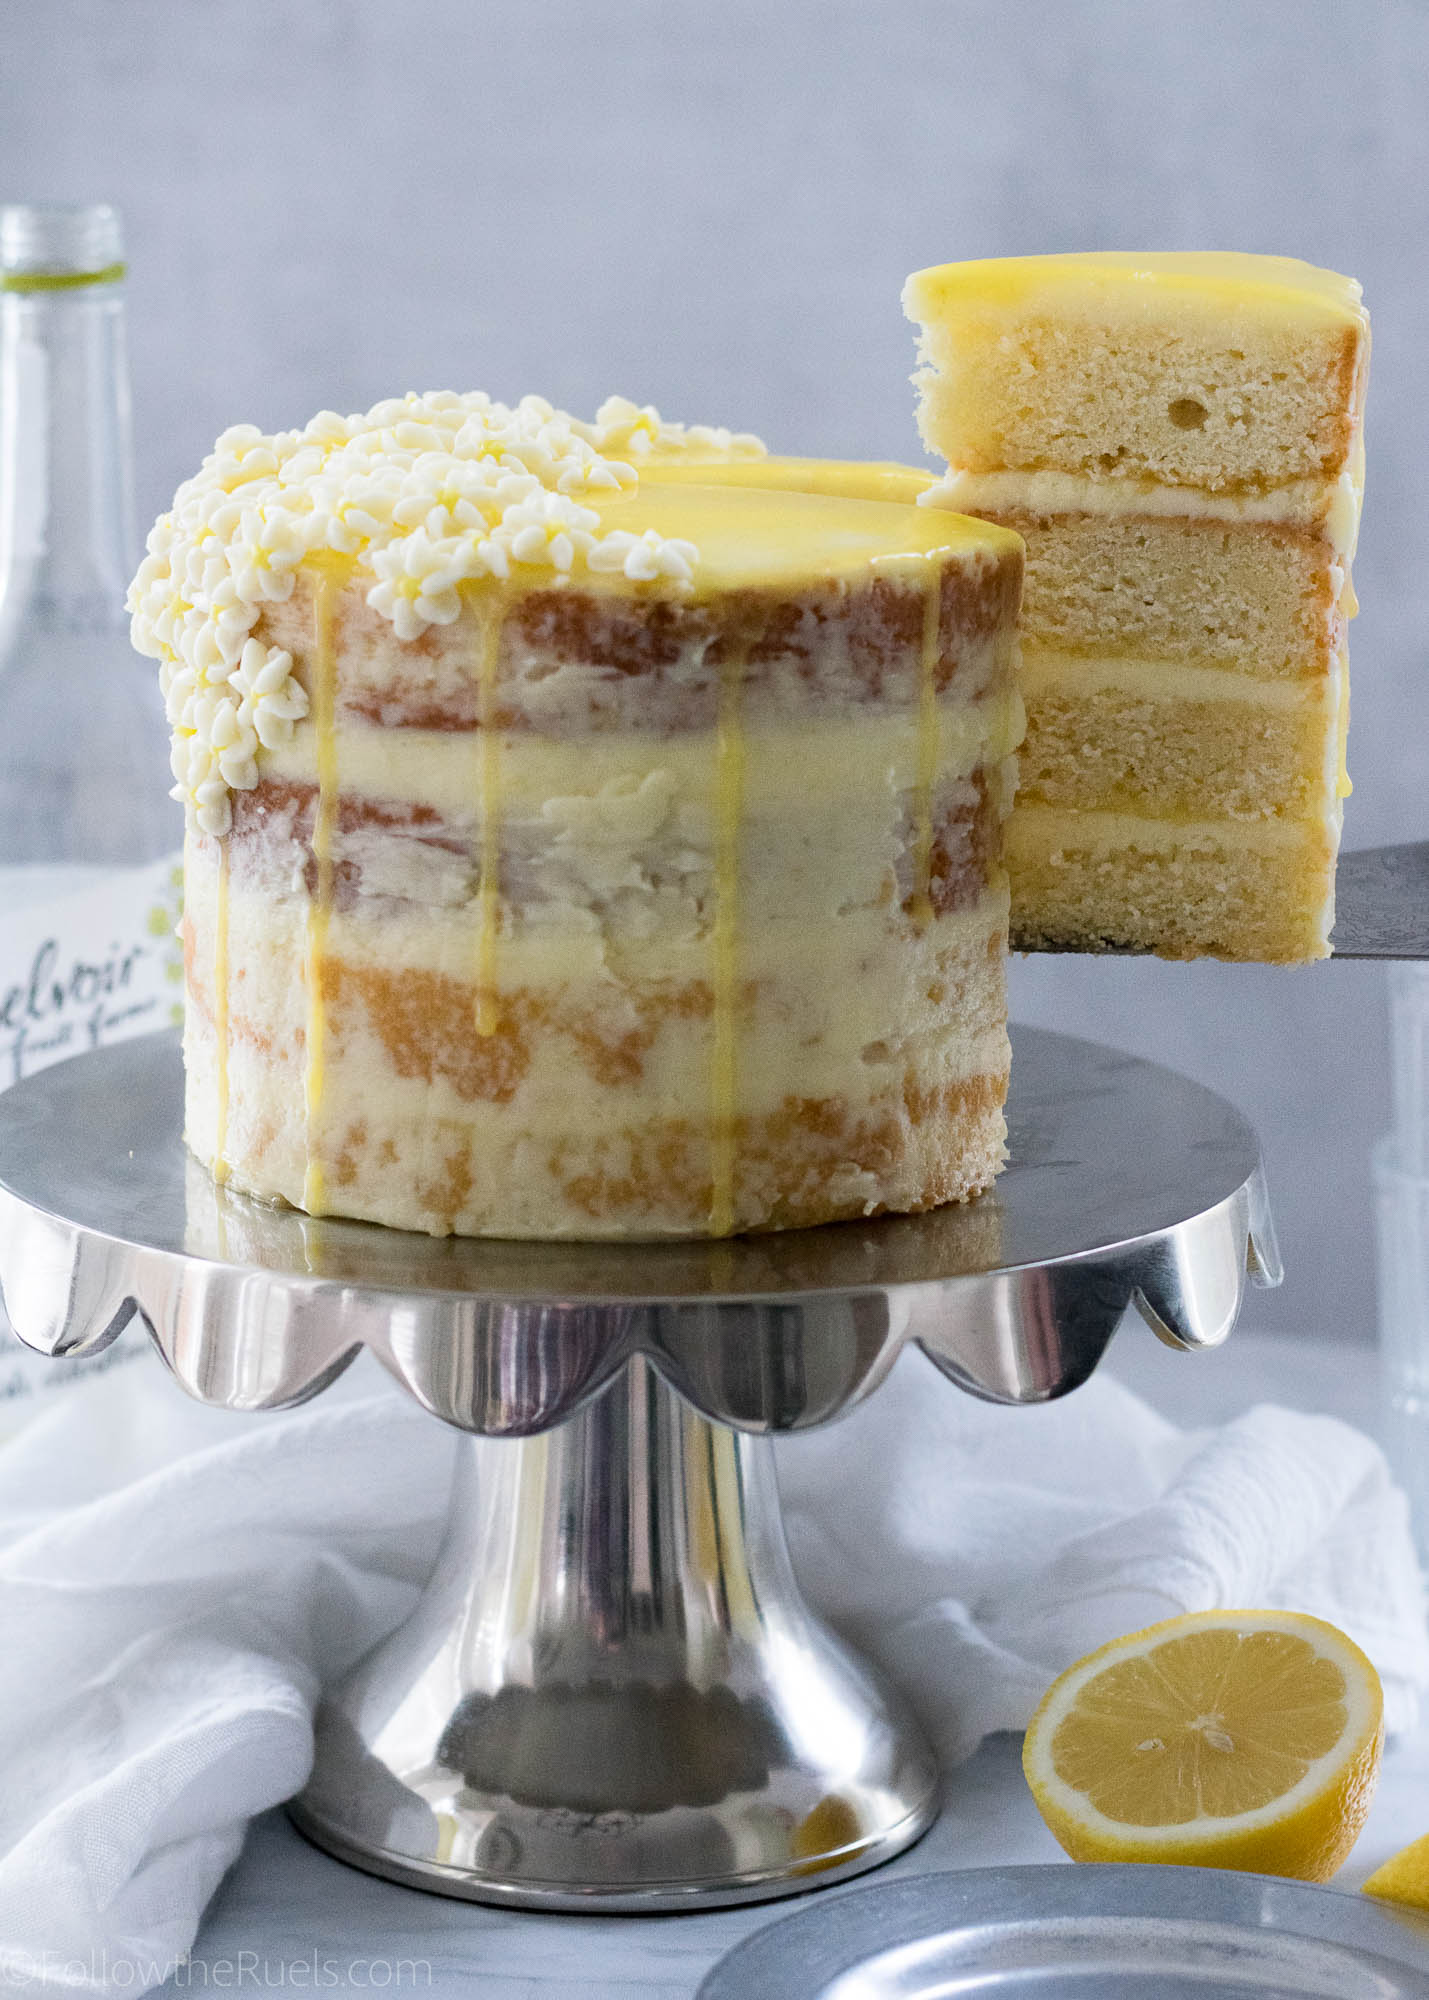
 What can I say about this lemon elderflower cake? Other than it didn’t turn out at all like I had expected. But, in the best way possible!

If you follow me on Instagram, then you already saw a sneak peek of this cake last week. In the comment, I mentioned that this is not what I had planned on the cake looking like. In my head, before I started, I had planned on this being a cake completely covered in a layer lemon buttercream frosting then topped with white and yellow buttercream flowers complete with buttercream leaves. 

Now, I am often overly ambitious when it comes to my baking projects which often leads to a last minute change of plans. In this case, it was just poor planning. I simply didn’t make enough buttercream! I couldn’t even cover the whole dang cake!

Whoops!

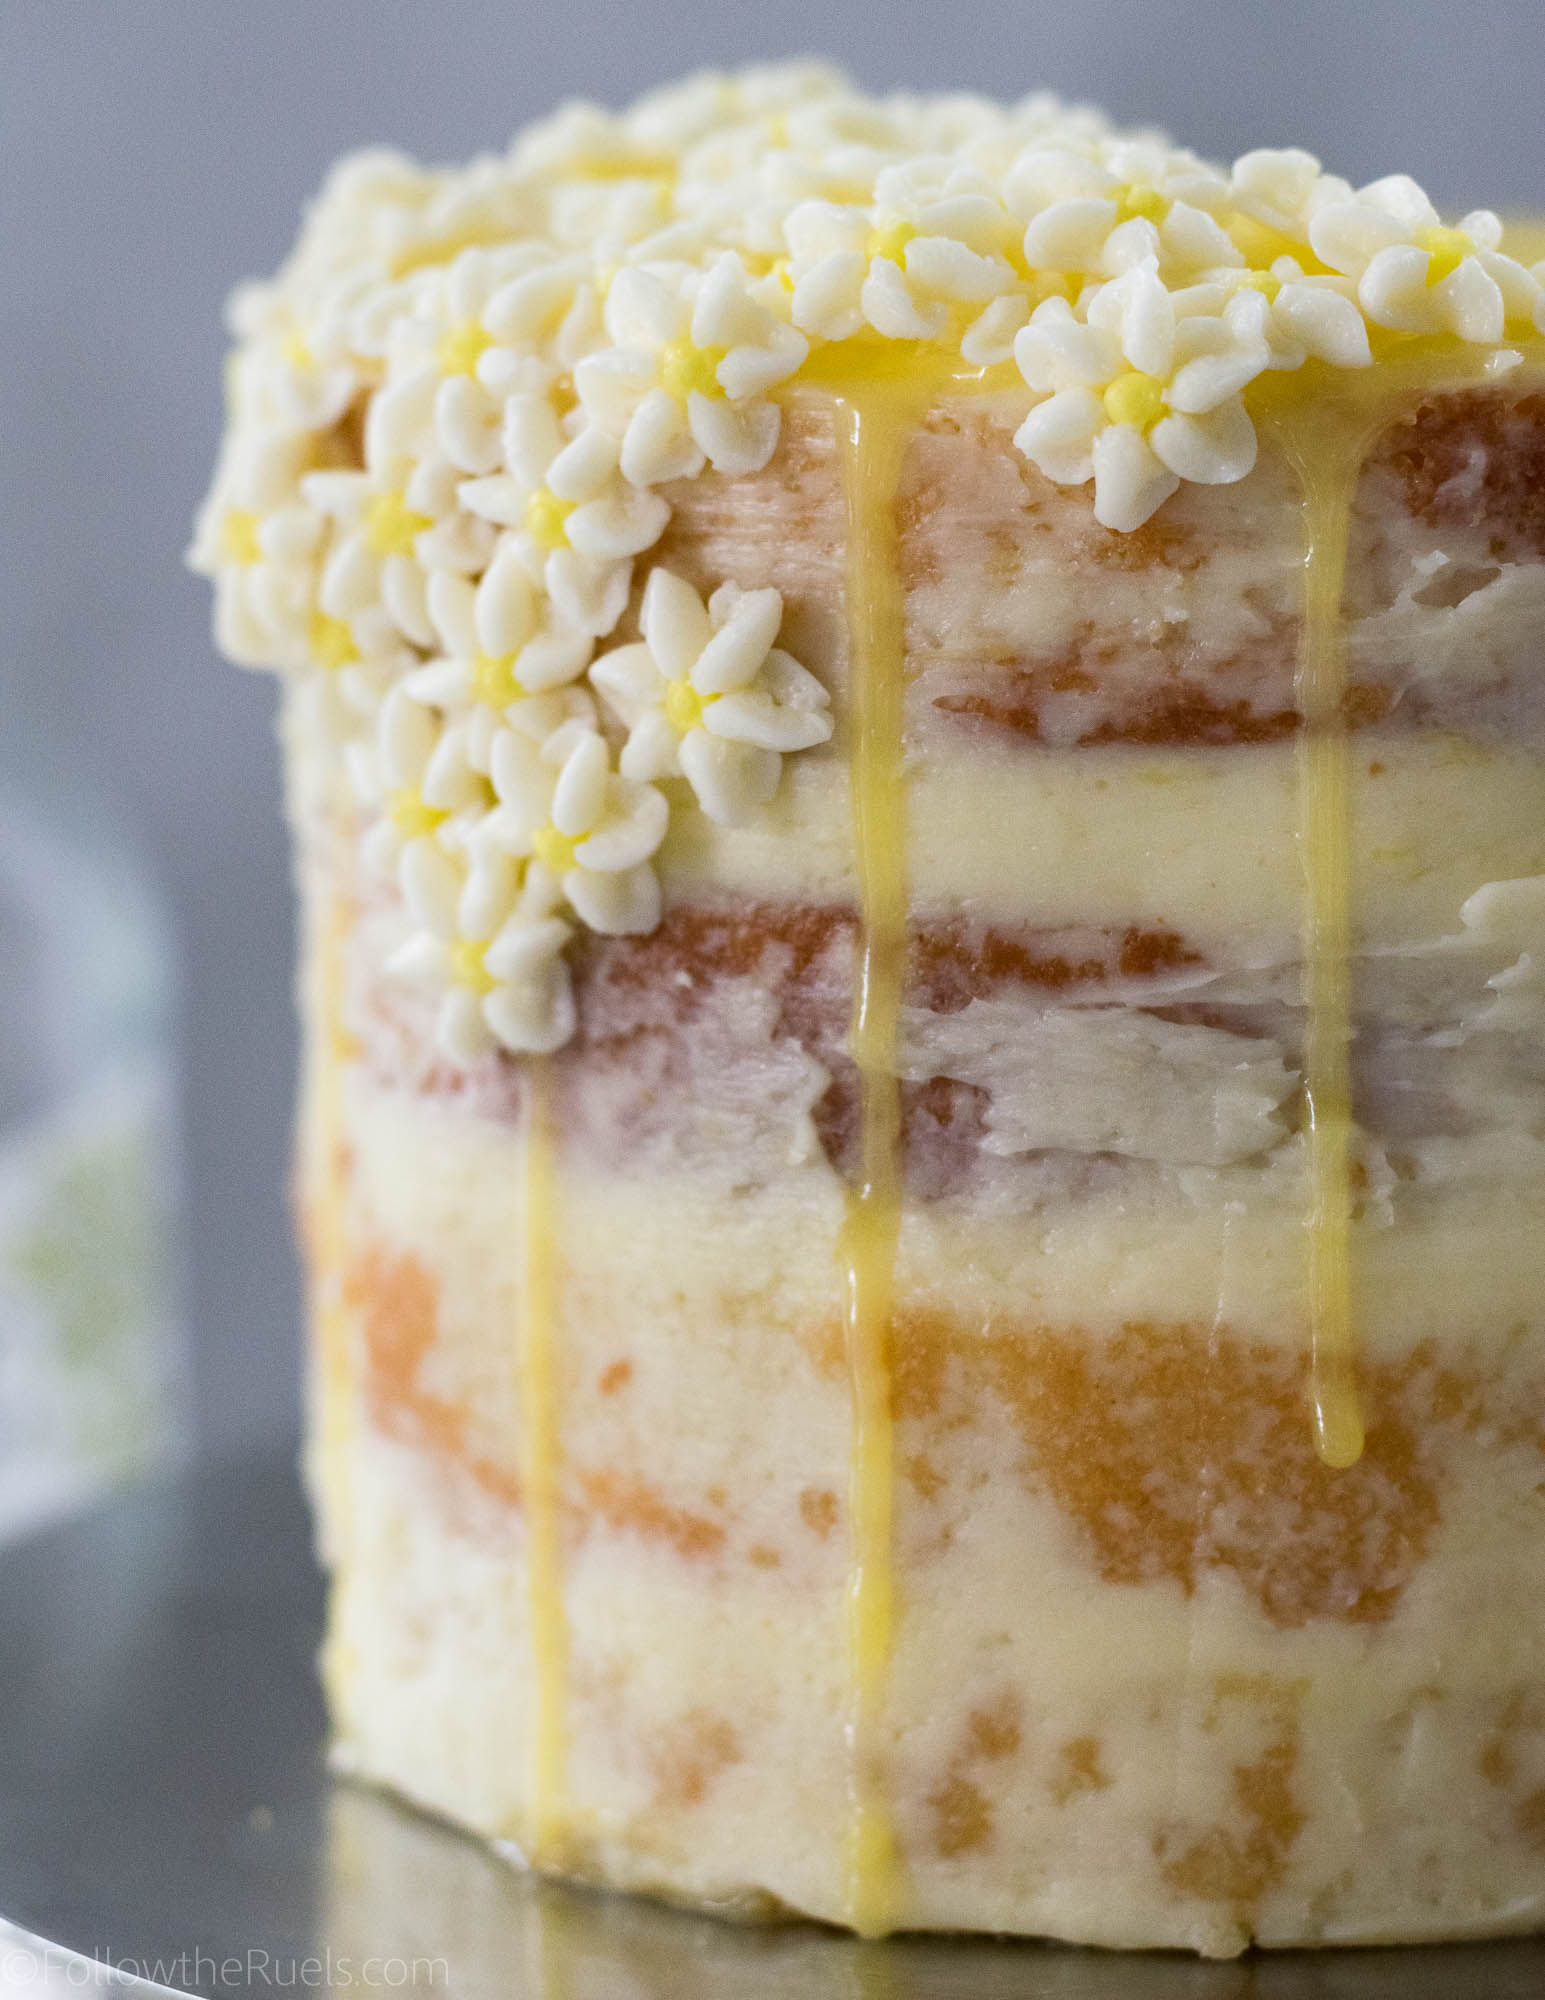
But in the end, I think the lack of buttercream led to this beautiful, simple, and rustic cake that perfectly embodies the actual cake within. The lemon elderflower cake layers are just that. Beautiful, simple, rustic, and delicious! The lemon flavor is dominant, but not overpowering and there is a hit of that sweet elderflower with each bite thanks in large part to the elderflower simple syrup that I drizzled over each layer. 

If you have never had elderflower flavored anything, then you may be a bit skeptical. Not to worry, it’s not an overly floral taste, like rose or lavender, so you won’t think you are eating soap. It really just provides an extra layer of sweetness and perfectly compliments the lemon.

However, if you are just not into elderflower at all, ditch it! Just make a lemon cake! It will still be wonderful!

How to Make It

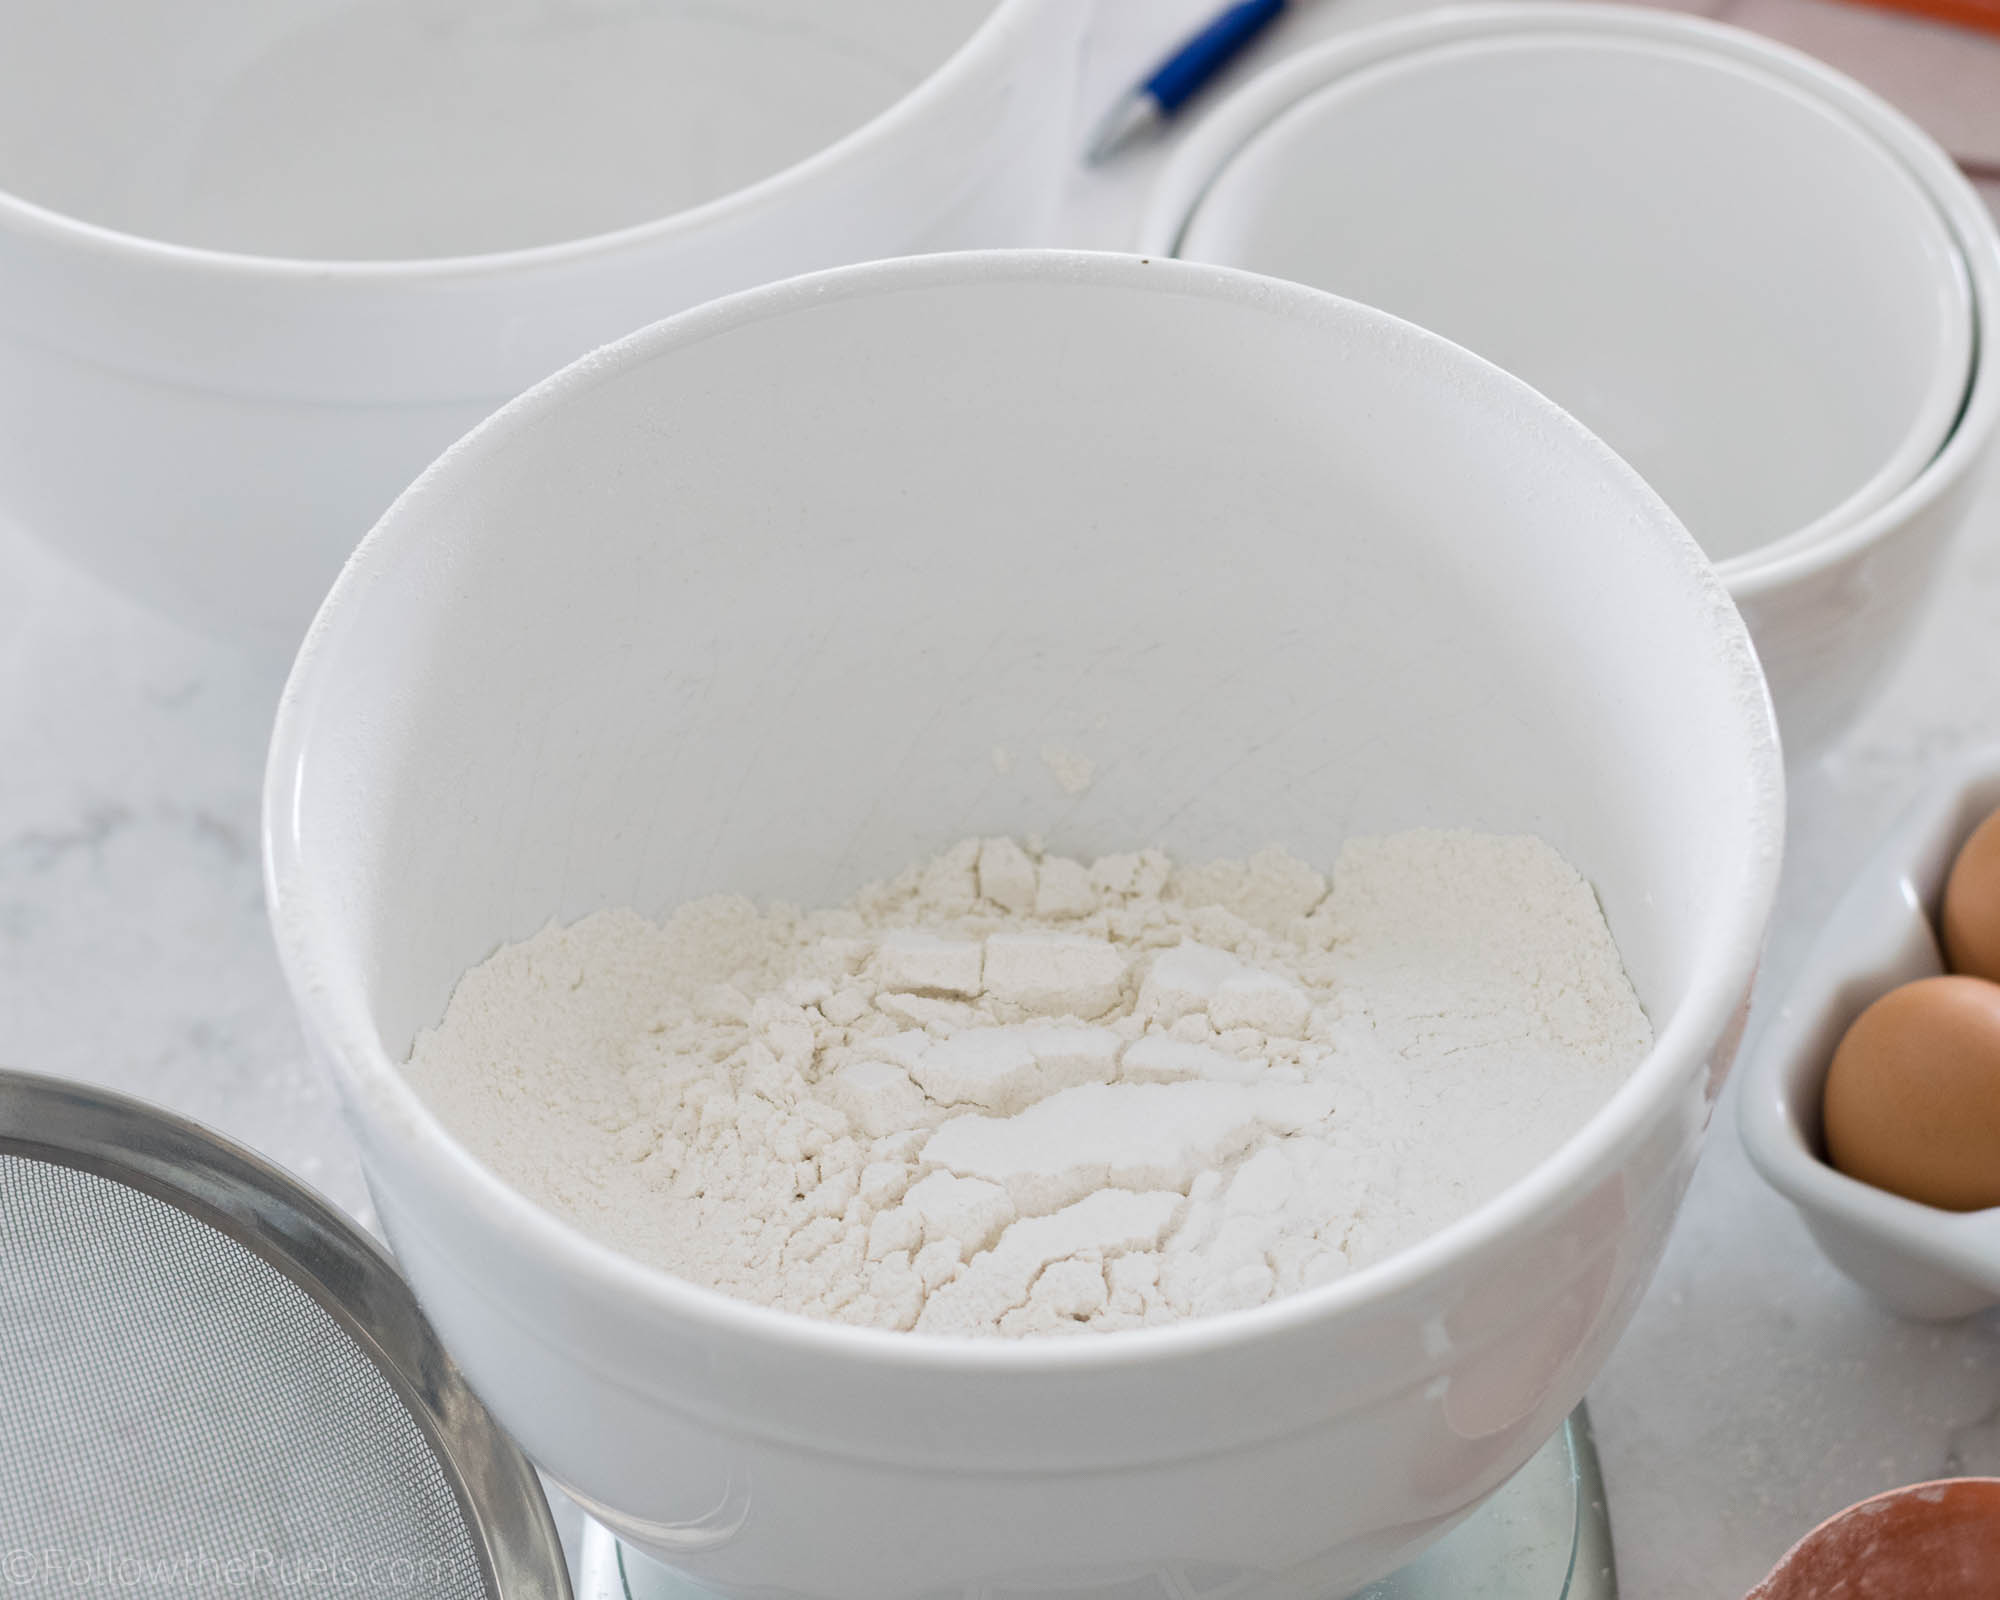
The first step to making this cake, and any cake, really, is to sift the dry ingredients together. I used to skip this step, but now I know that this simple step really changes the texture of a cake. Sifting the flour creates a much lighter, less dense cake.


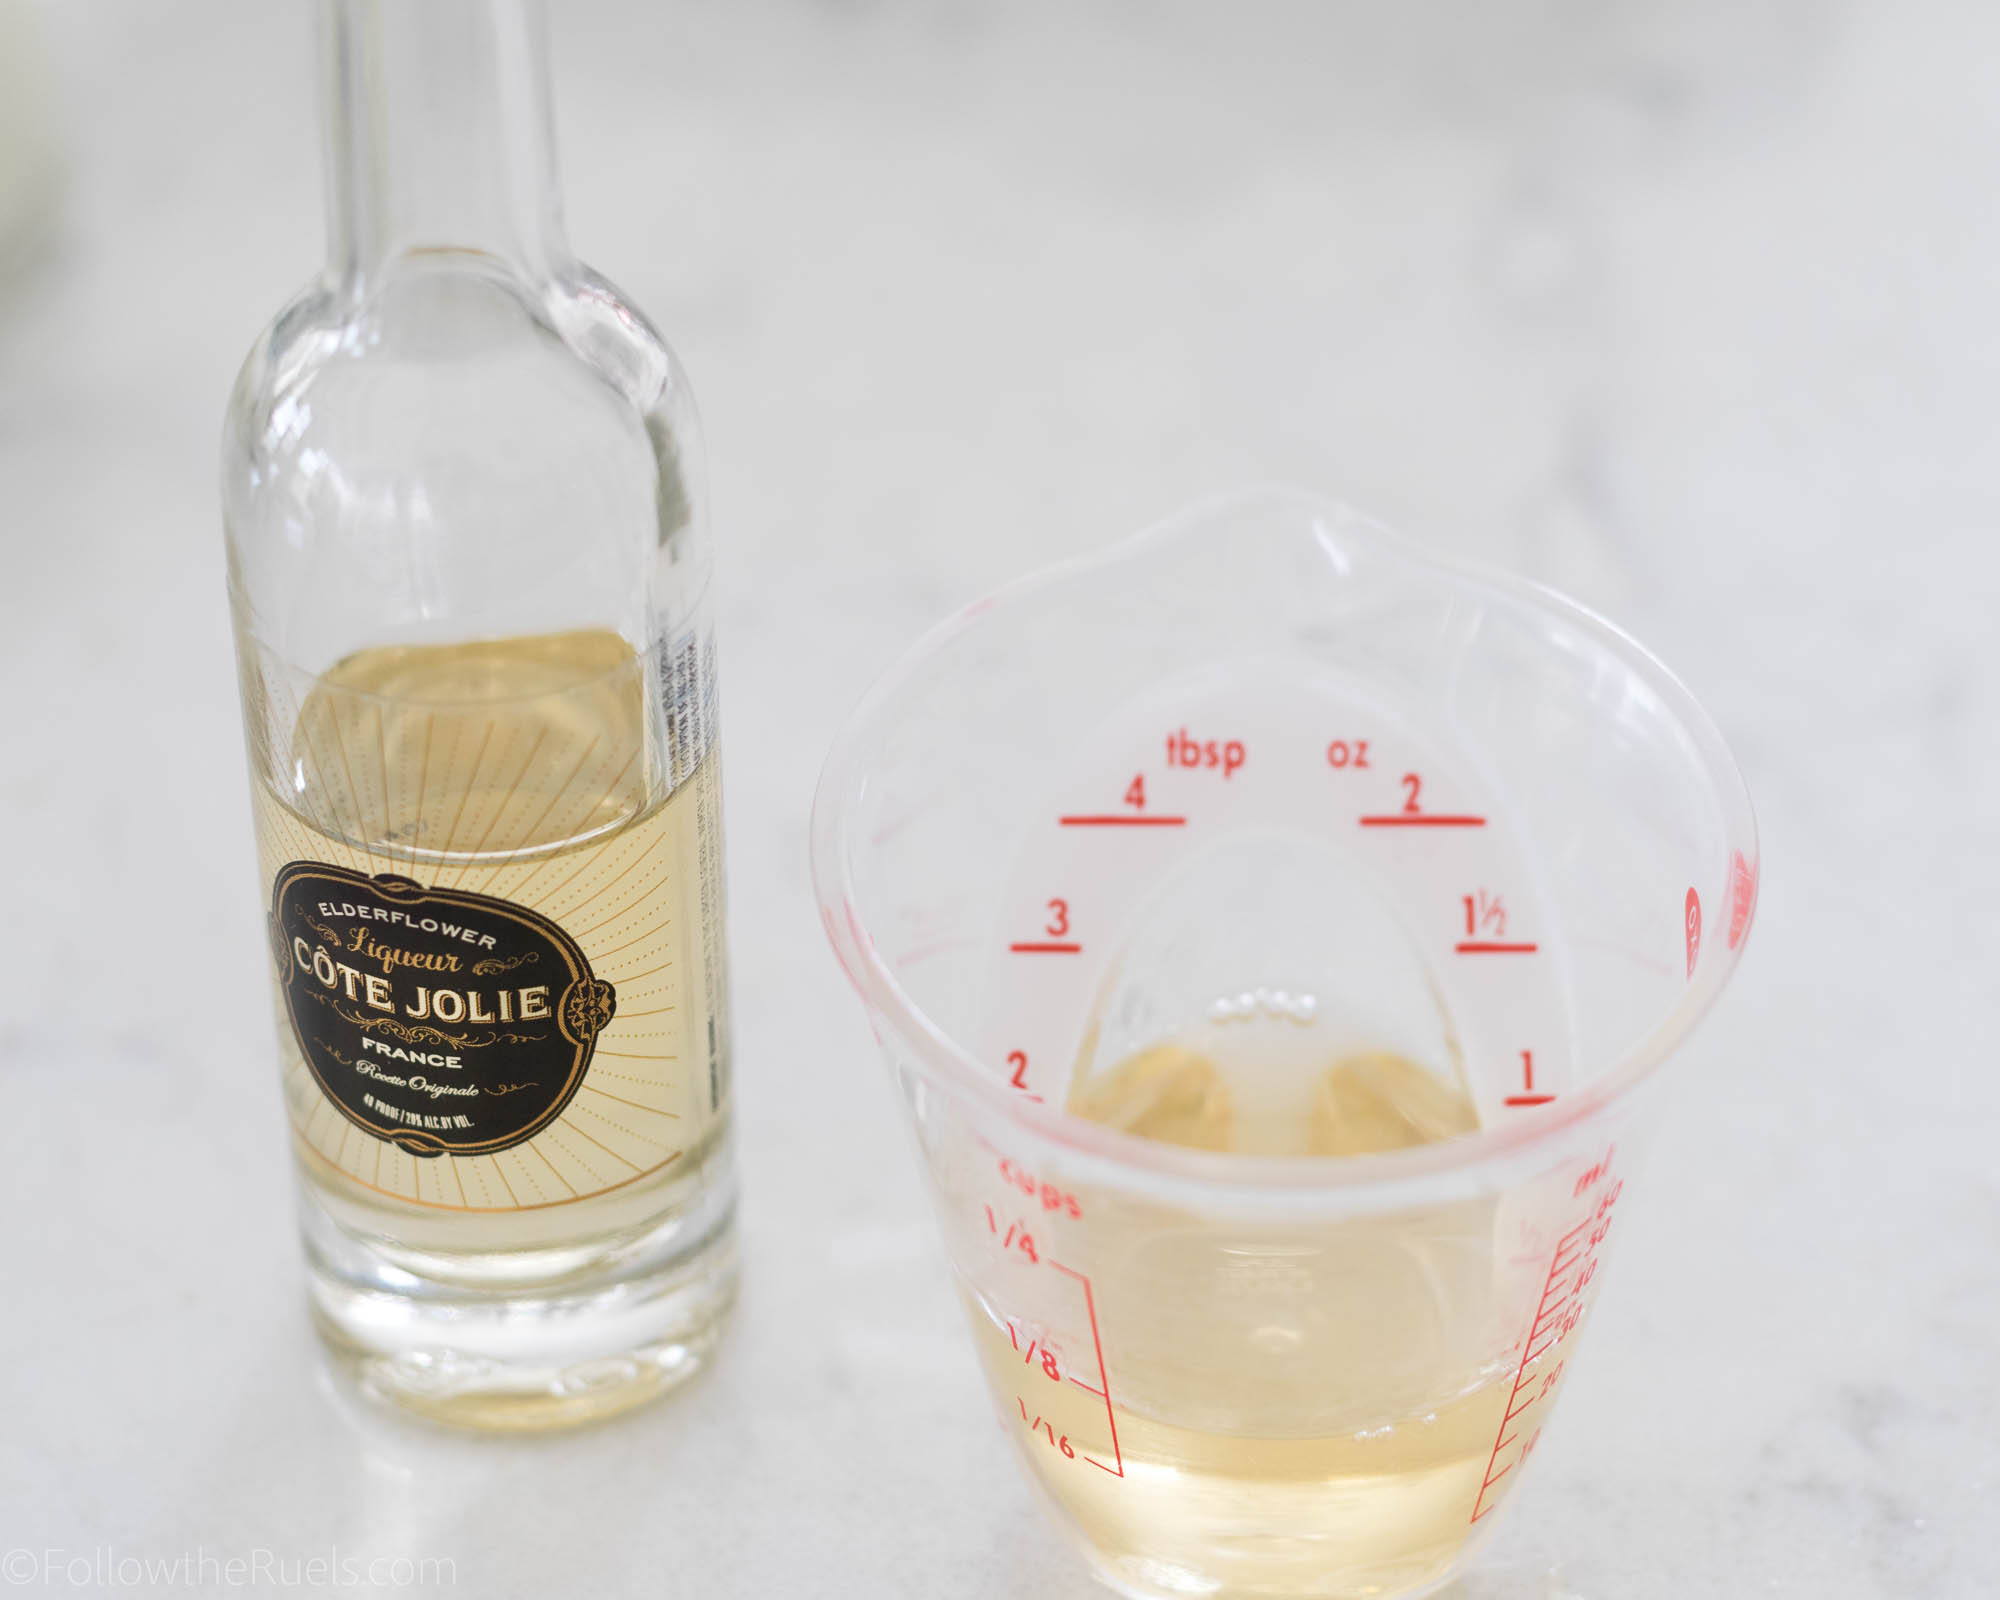
Set the flour aside and move on to the lemon. First zest one or two lemons until you have about 2 tablespoons of zest. Then squeeze the juice out of the lemon. You will be adding the lemon juice to the milk along with the elderflower liquor.

Speaking of which, if you have never had elderflower liqueur in a drink before, it is delicious! I don’t drink a lot to begin with, so I didn’t have any elderflower liqueur on hand. But I did find mini bottles at my local liquor store. I highly recommend just getting 1-2 mini bottles instead of 1 big bottle unless you plan on drinking the rest of it.

Now that we have that covered, lets move on to making the batter.

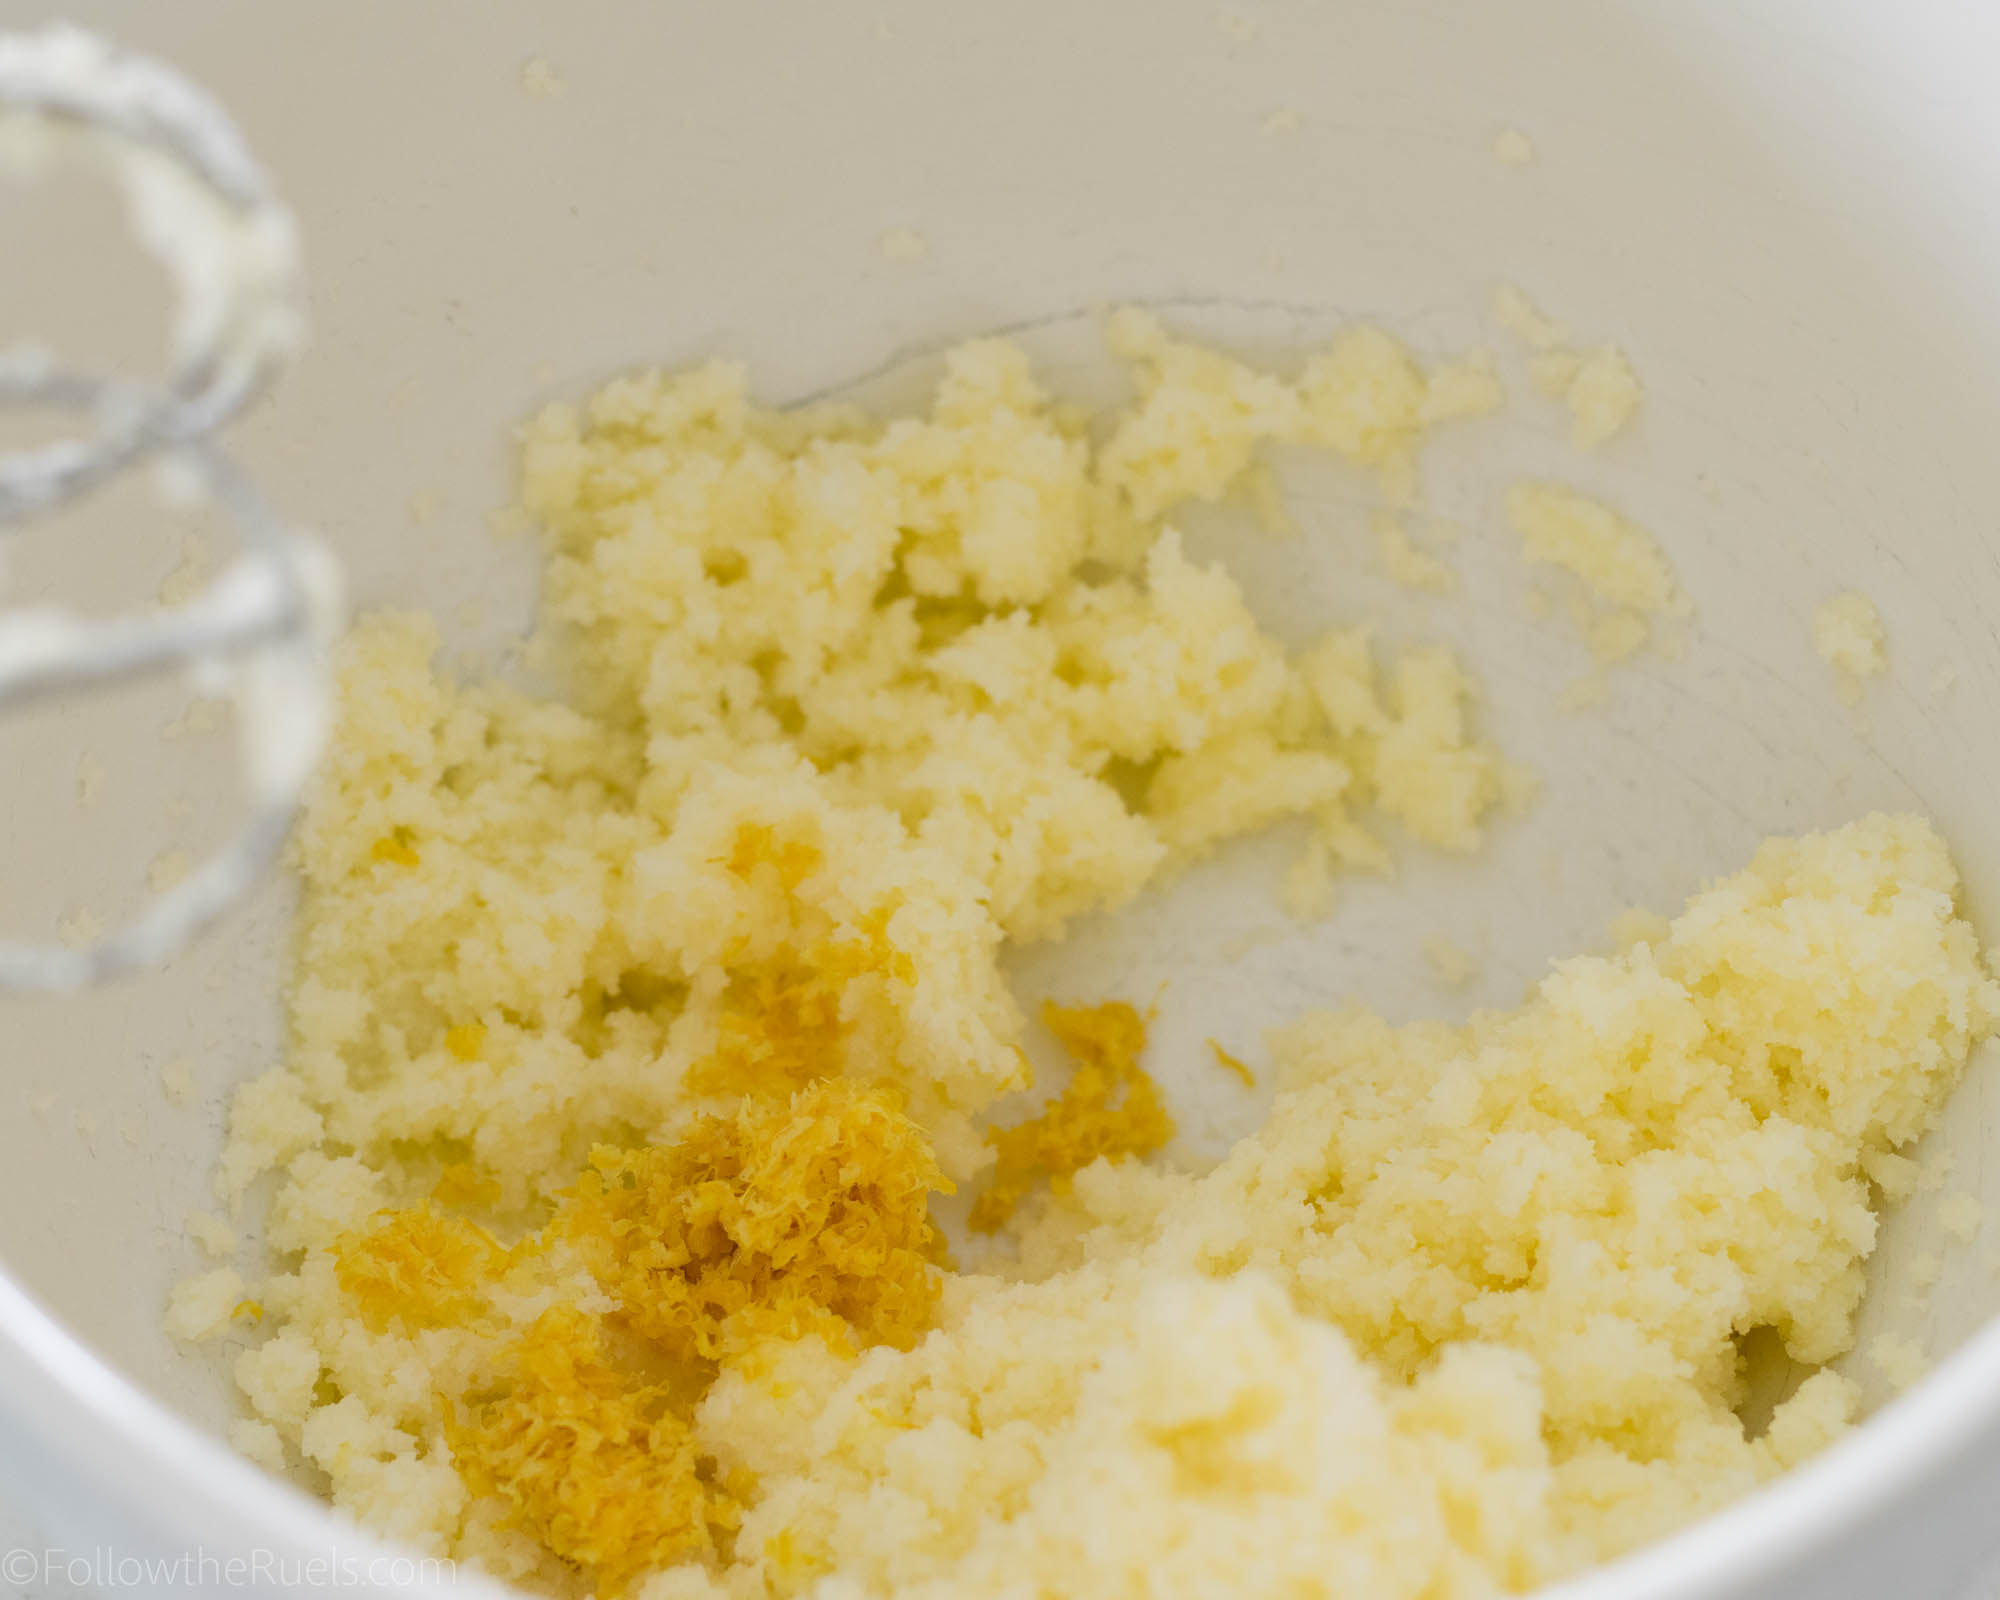
Cream together the butter and sugar then add in the lemon zest.

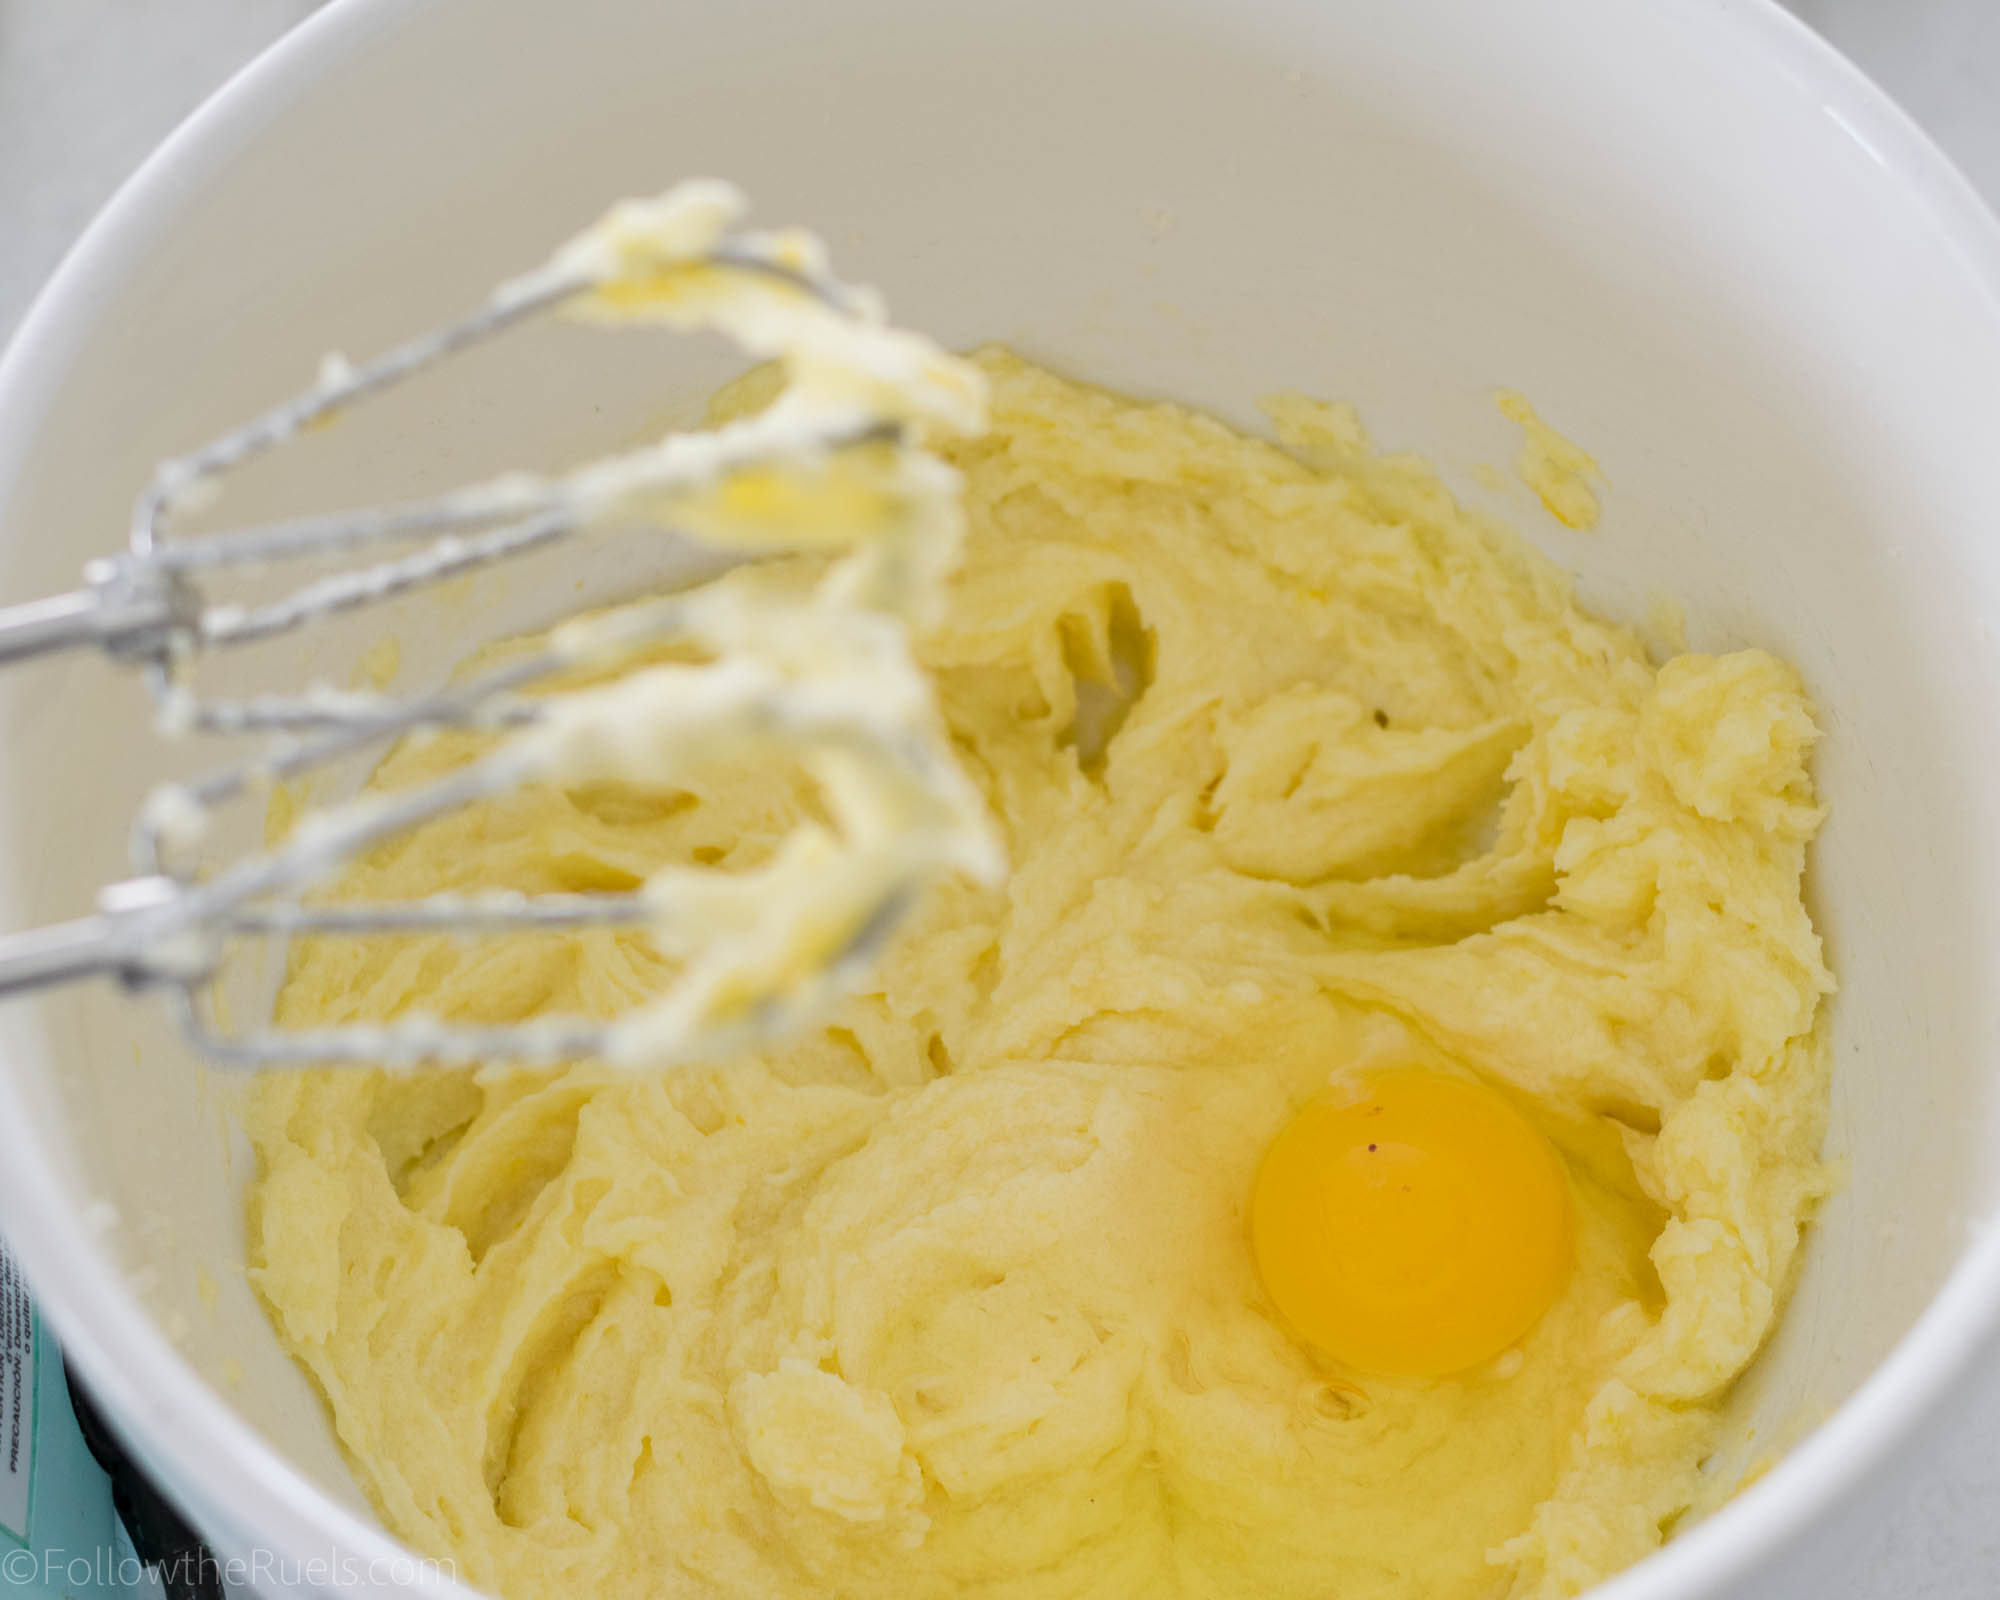
Mix in the eggs one at a time until they are completely incorporated into the butter. You don’t want the egg-butter mixture looking likes it’s separated or curdled.


Now mix in the dry and wet ingredients, alternating between the two. I like to add the dry ingredients in three parts and the wet ingredients in two. So it looks something like this: dry, wet, dry, wet, dry. Always start and end with dry.

One of my biggest cake tips I have for you is to line the bottom of the cake pay with parchment paper! This will make getting the cake out super easy even if the cake is still warm. I still recommend spraying the pans with baking spray, too. But this is just added insurance. 

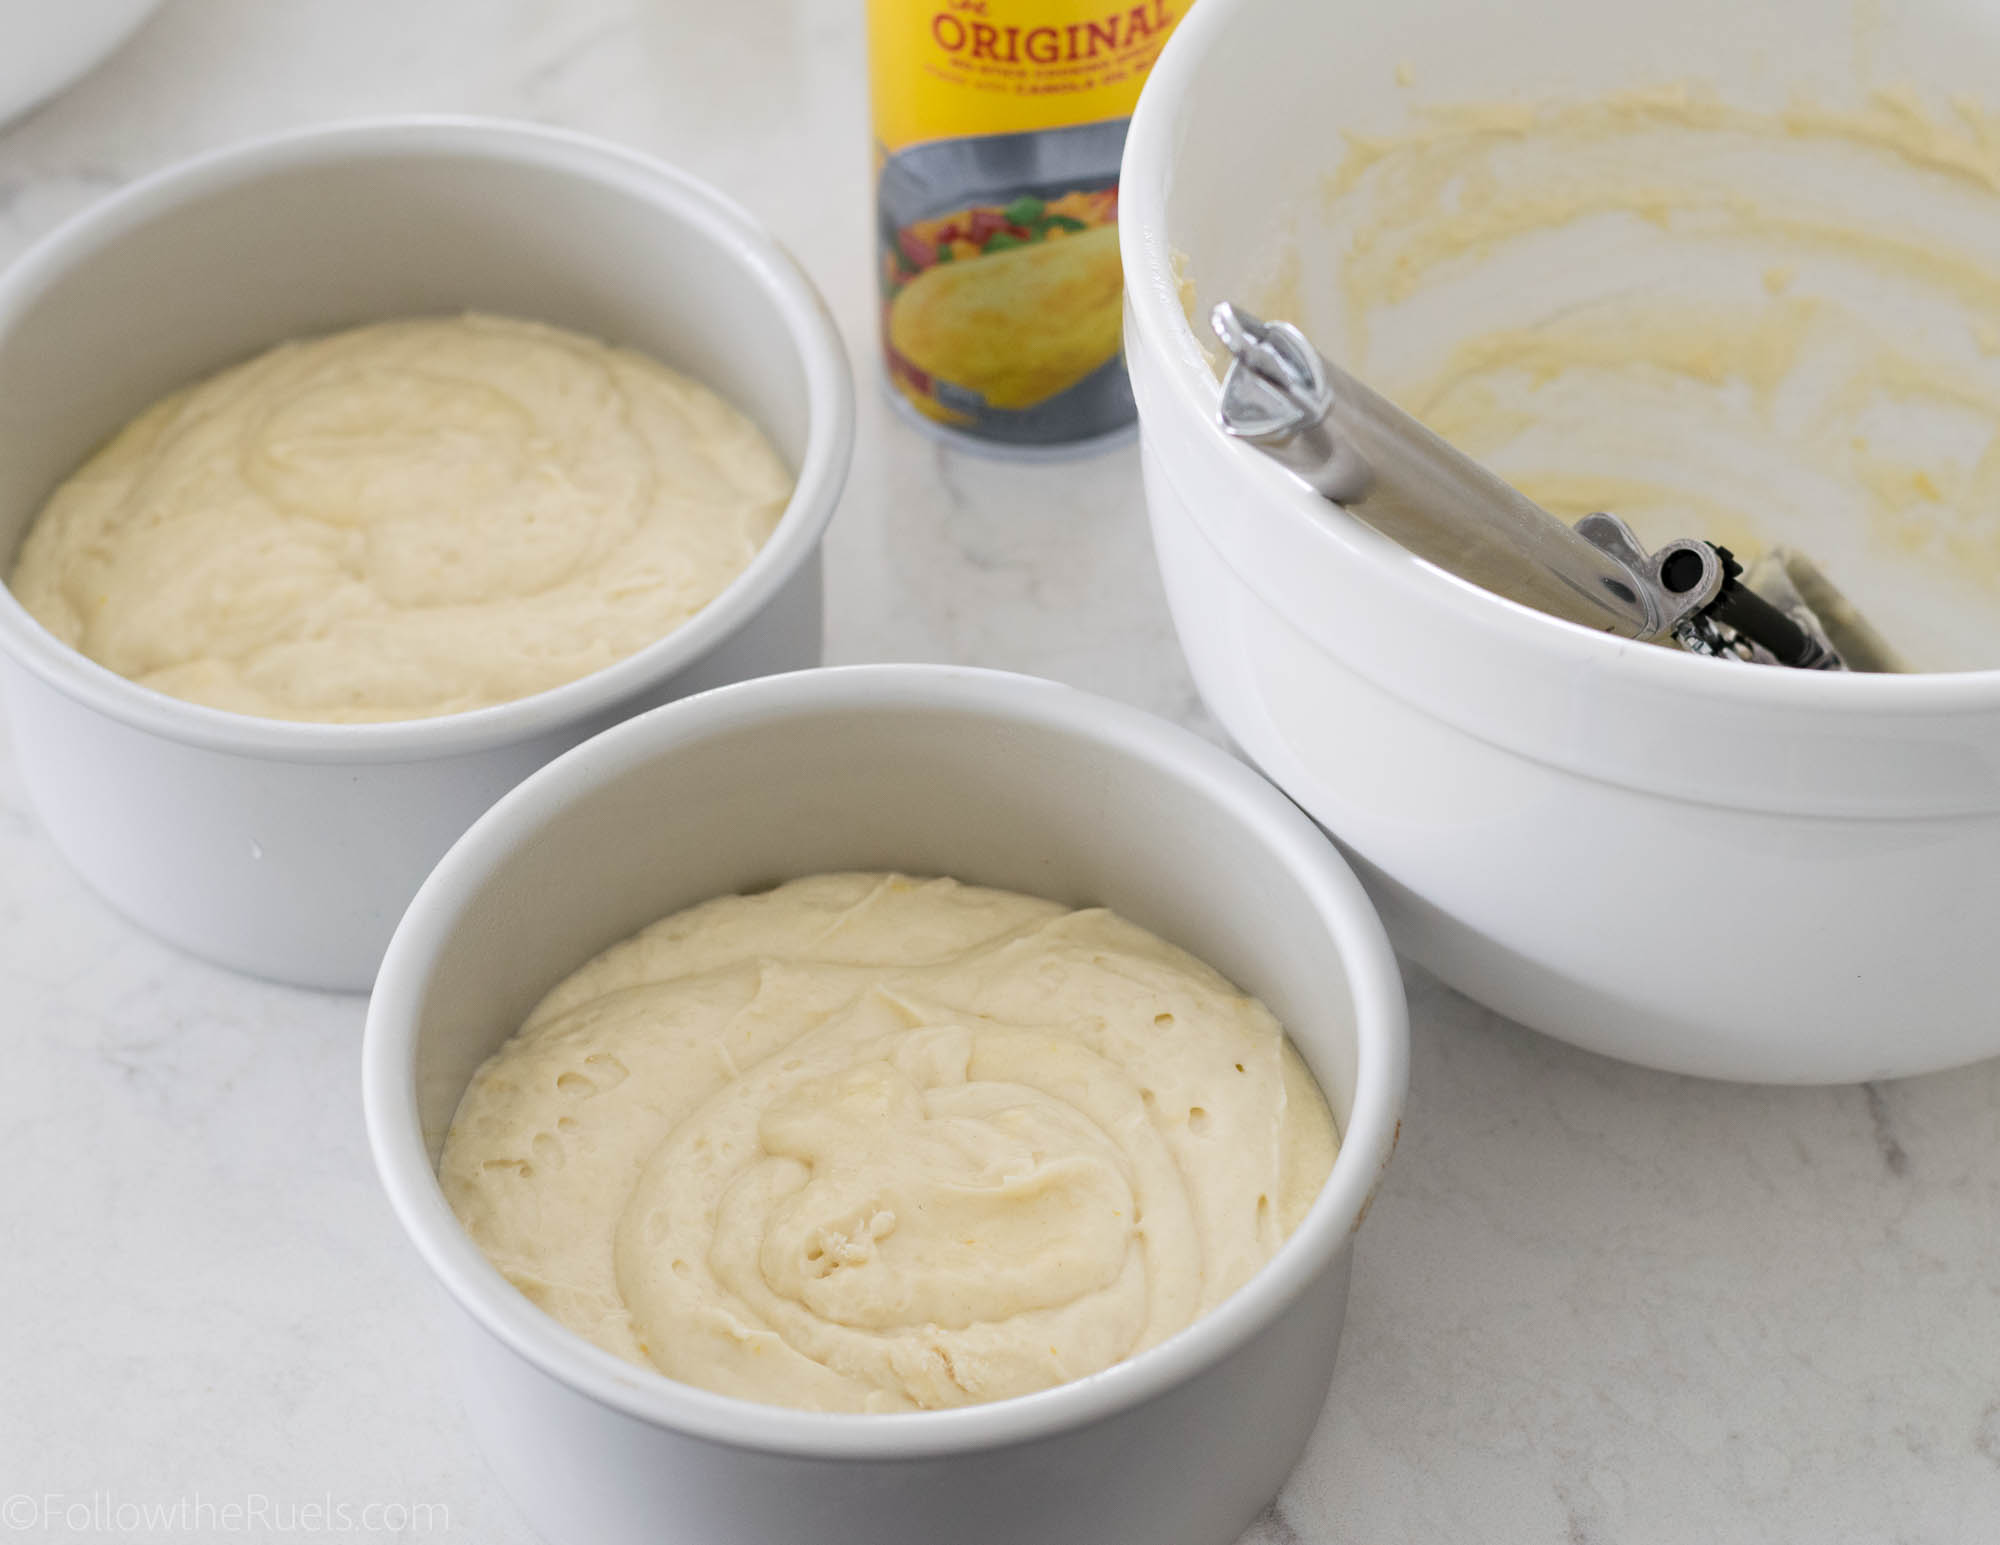
Then portion the batter between the cake pans. I like to use a scale to make sure that the amount of batter in each one is pretty even. But that may be overkill. You can just eyeball it.

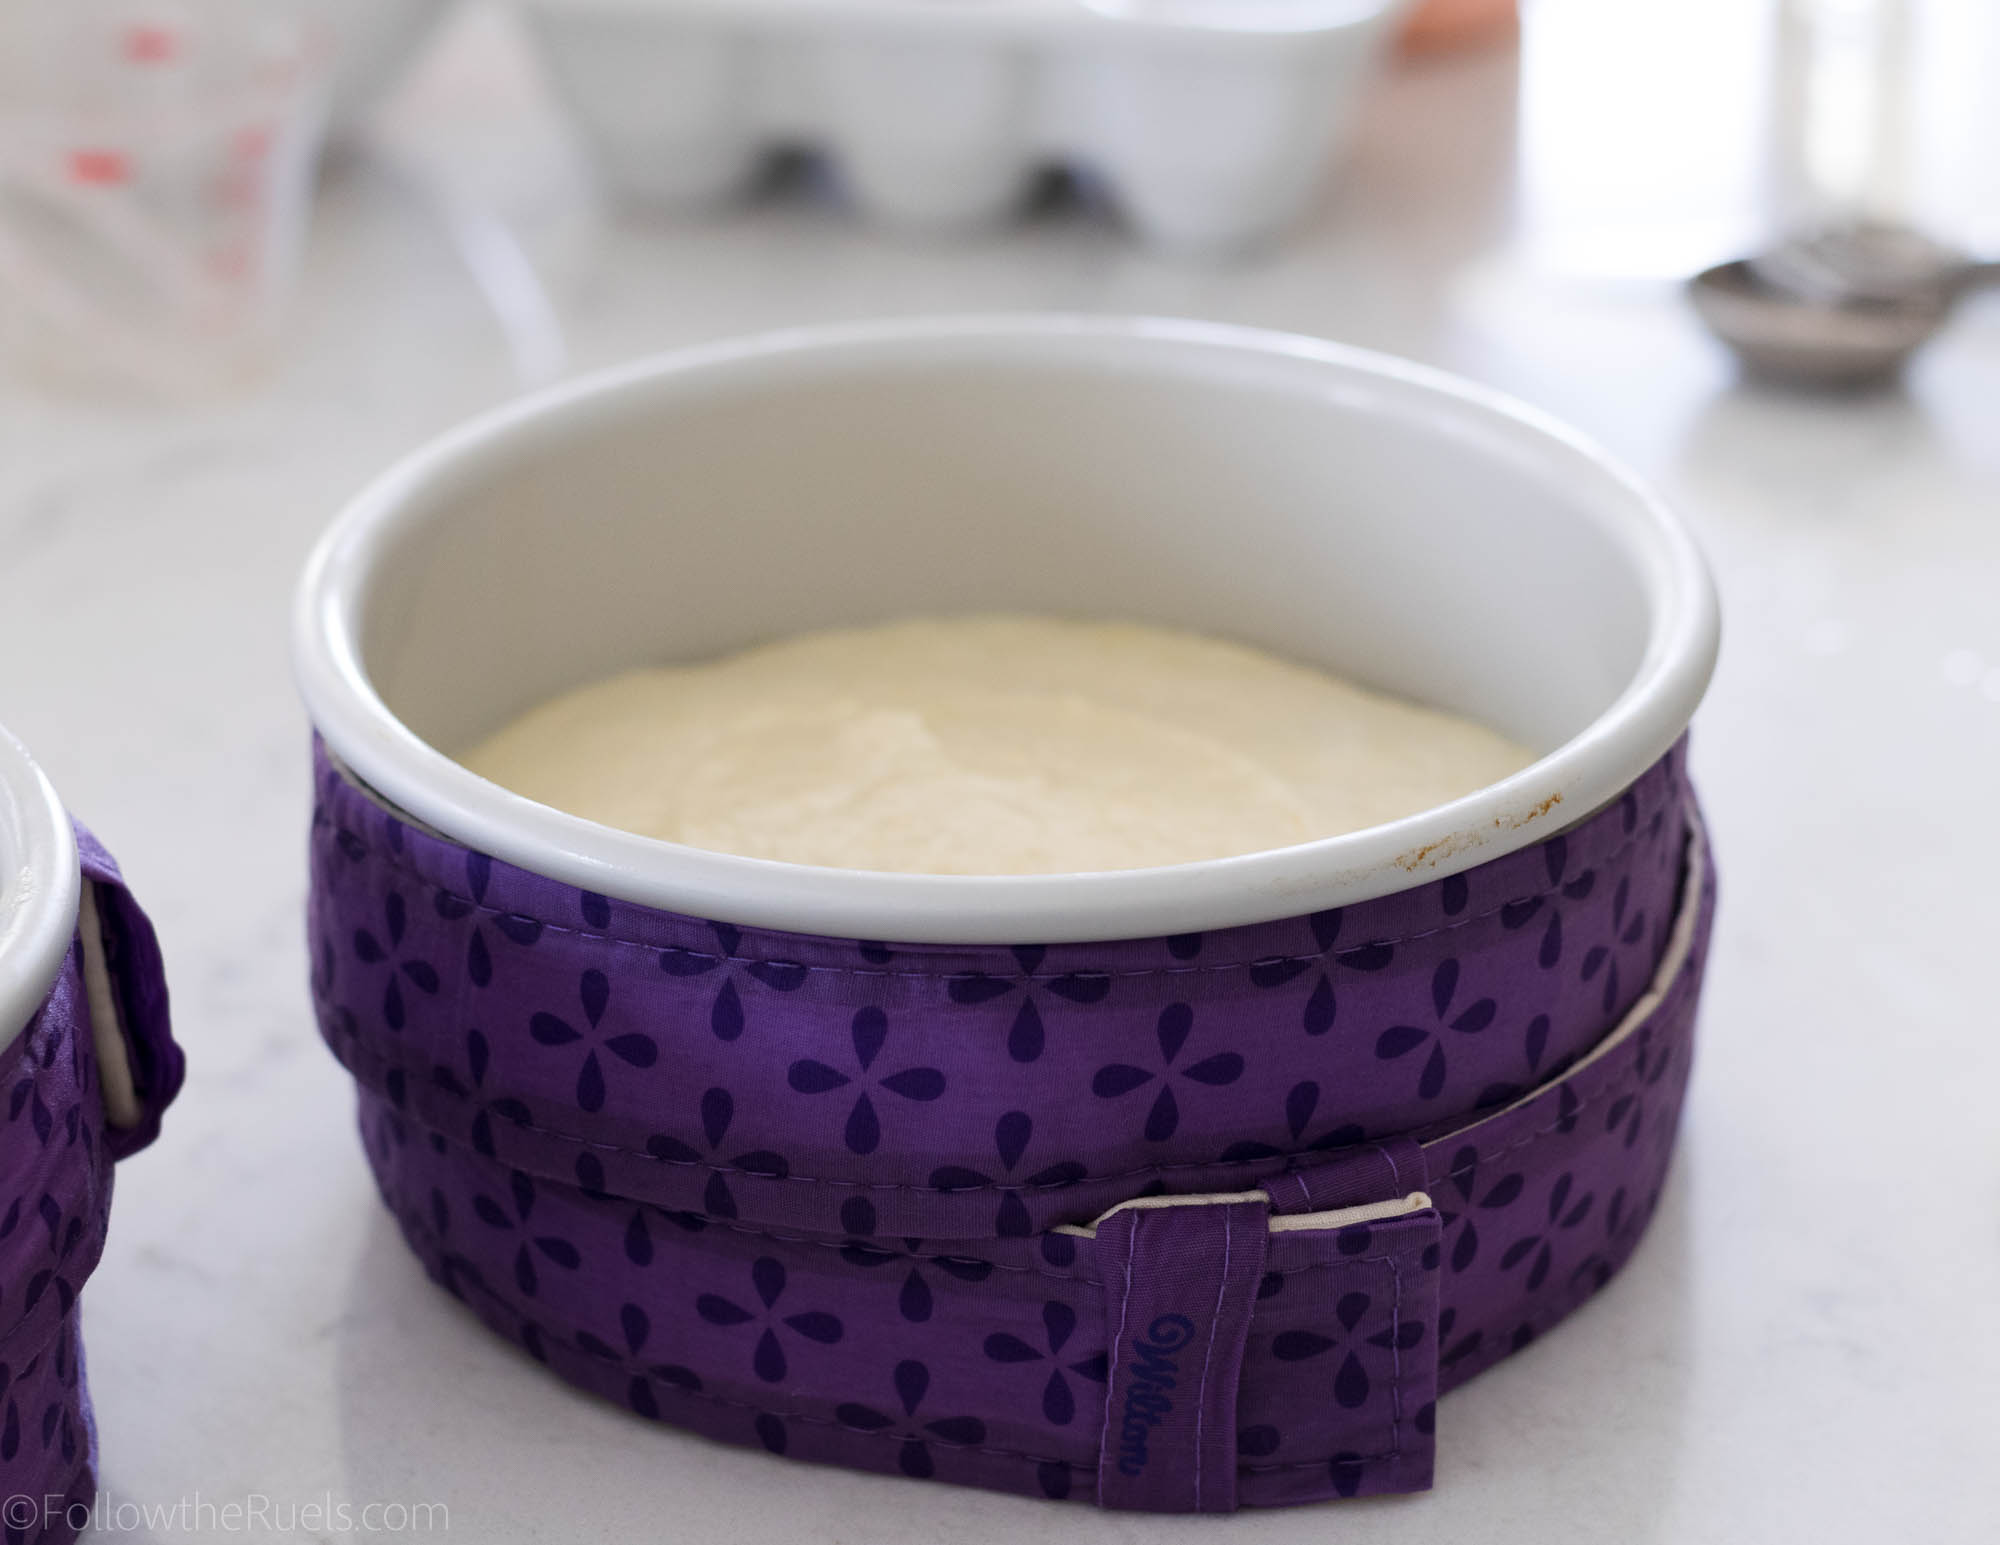
A new thing I tried with these cakes is using the Wilton Bake-even strips. Then insulate the cake pan so that ideally your cakes bake evenly on top (no weird dome that you have to slice off), and they don’t caramelize around the edges. 

Verdict: They sort of helped. One cake was very even, but slightly caramelized. One cake wasn’t as even but not at all caramelized. Overall, they turned out better than they would have without the strips, so it was well worth the money for these!

How to Assemble and Decorate the Cake

Then the cakes come out of the oven and they magically stack and decorate themselves! Isn’t that a fun trick!

Actually, this is where I really dropped the ball and stopped taking photos. I think because I was in such a tizzy over the buttercream that I didn’t get any photos of the actual decorating process. What a horrible blogger I am!

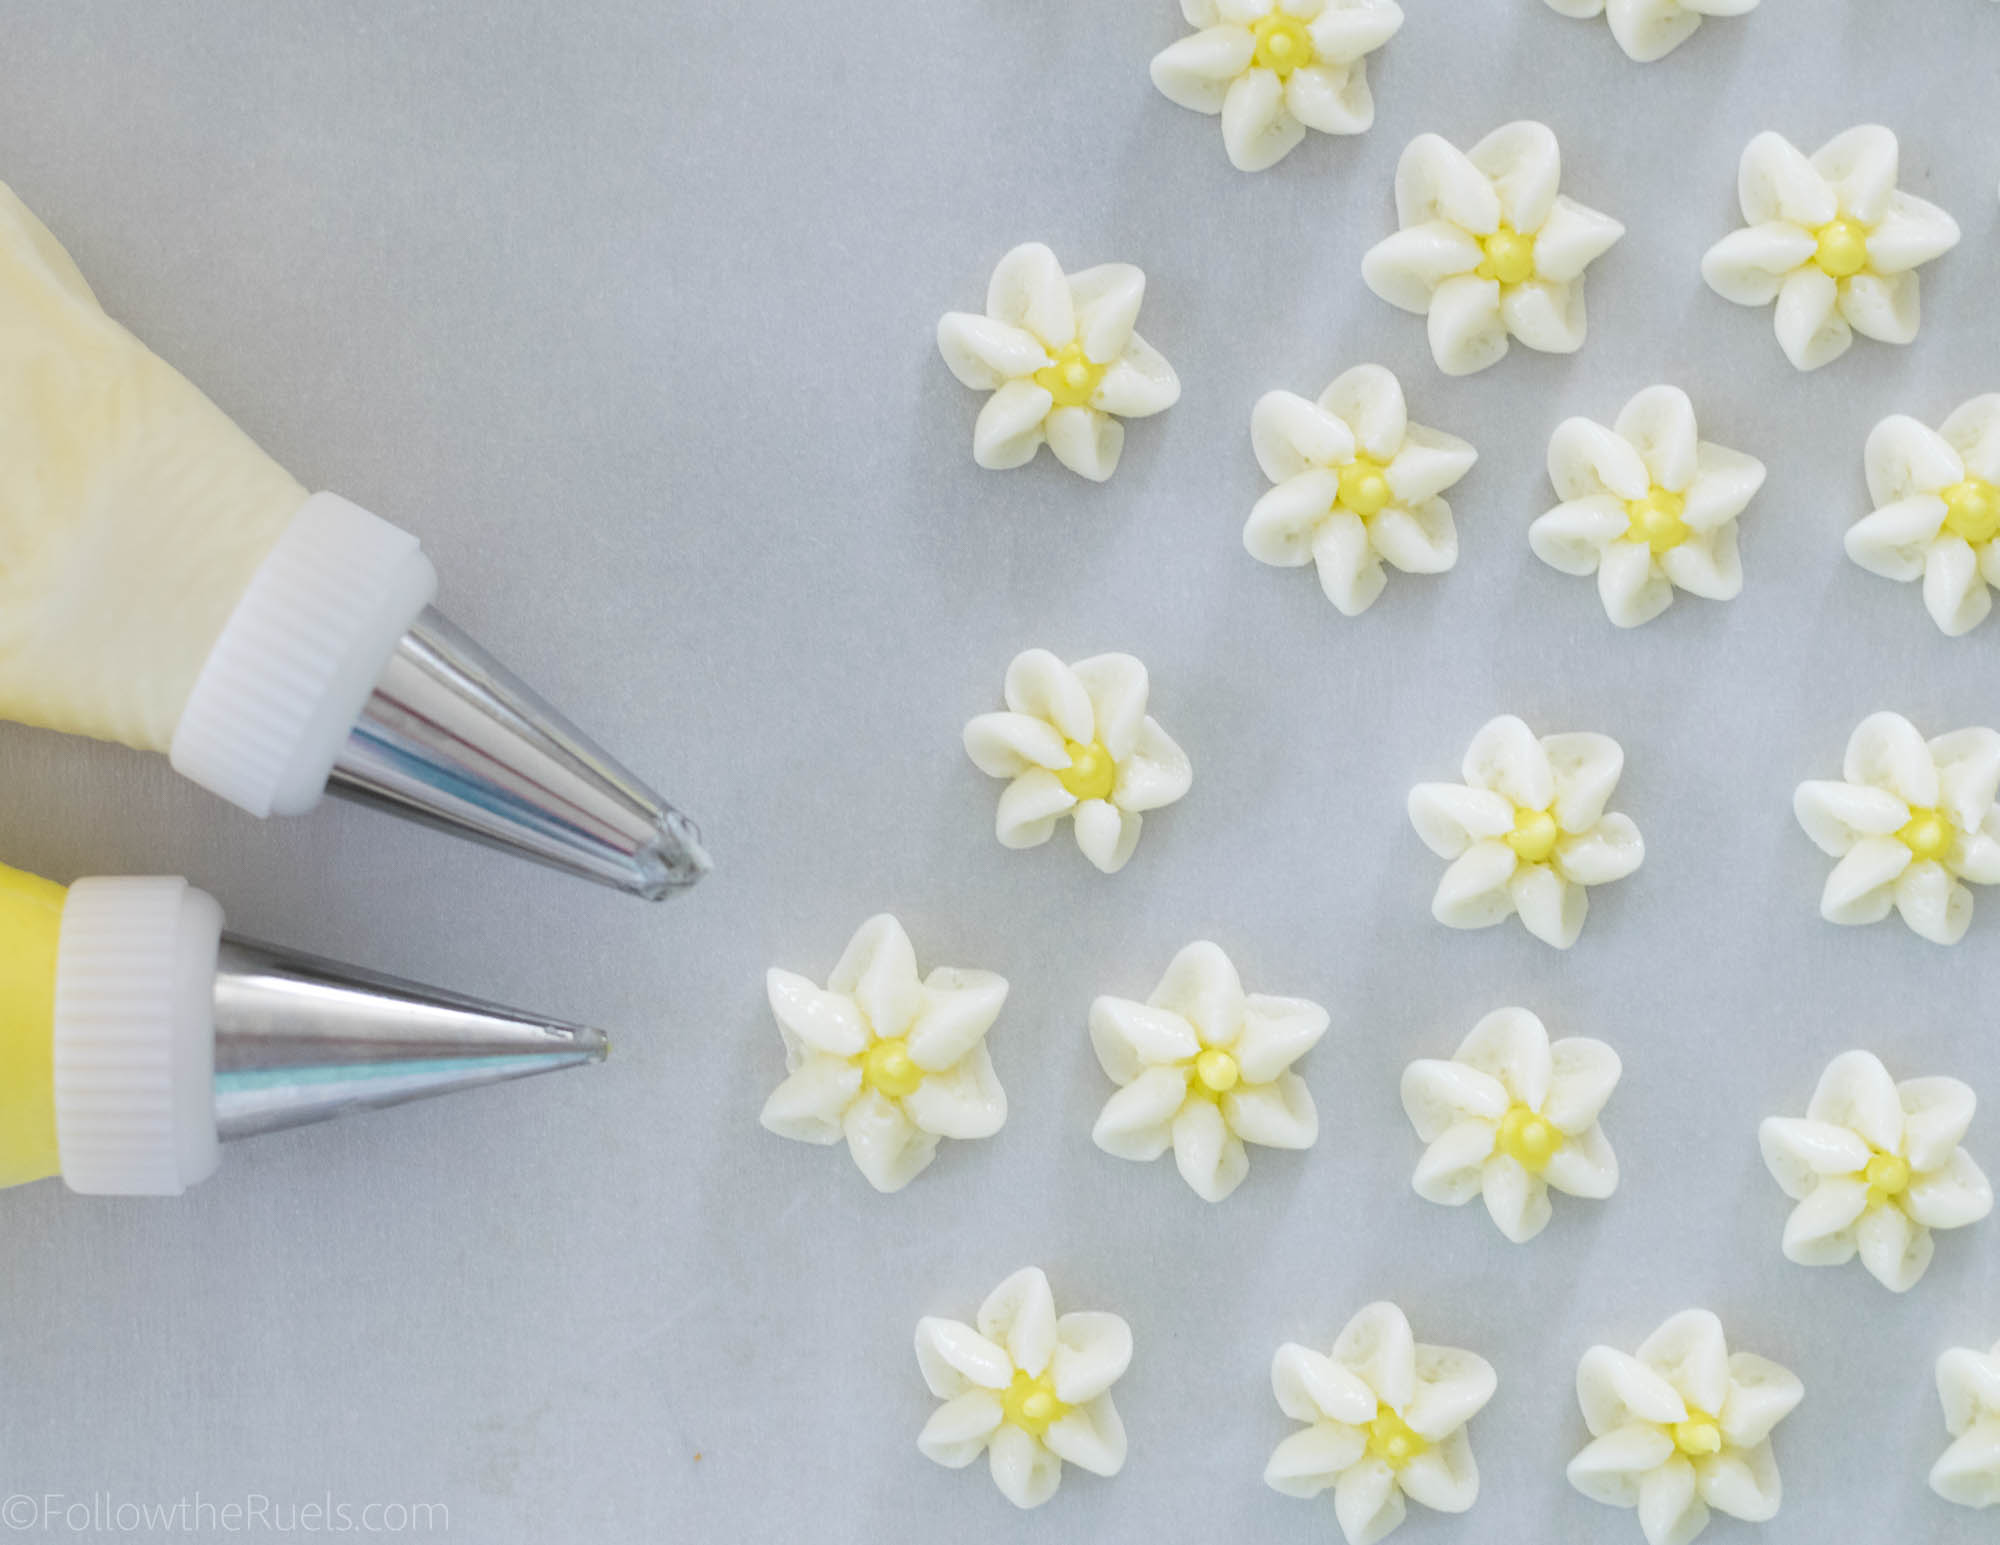
I did capture part of the decorating process, and that is the little flowers that I did manage to make!

These little guys were so easy to make with my #107 piping tip. You just press the tip to a sheet of parchment paper, squeeze, and turn your wrist slightly which produces the cute little drop flowers. Then I just dotted the center with a little yellow buttercream.

I put these in the freezer to harden while I worked on the rest of the cake. 

Actually, the rest of the cake was pretty easy to assemble.

Step 1: Cut the cake into two layers for four total layers (if you want, you can leave it as a two layer cake).

Step 2: Brush elderflower simple syrup over each of the cake layers (recipe and directions below)

Step 3: Spread a thin layer of buttercream on the first layer, top with some lemon curd (optional), then top with another cake layer. Repeat until all layers have been added.

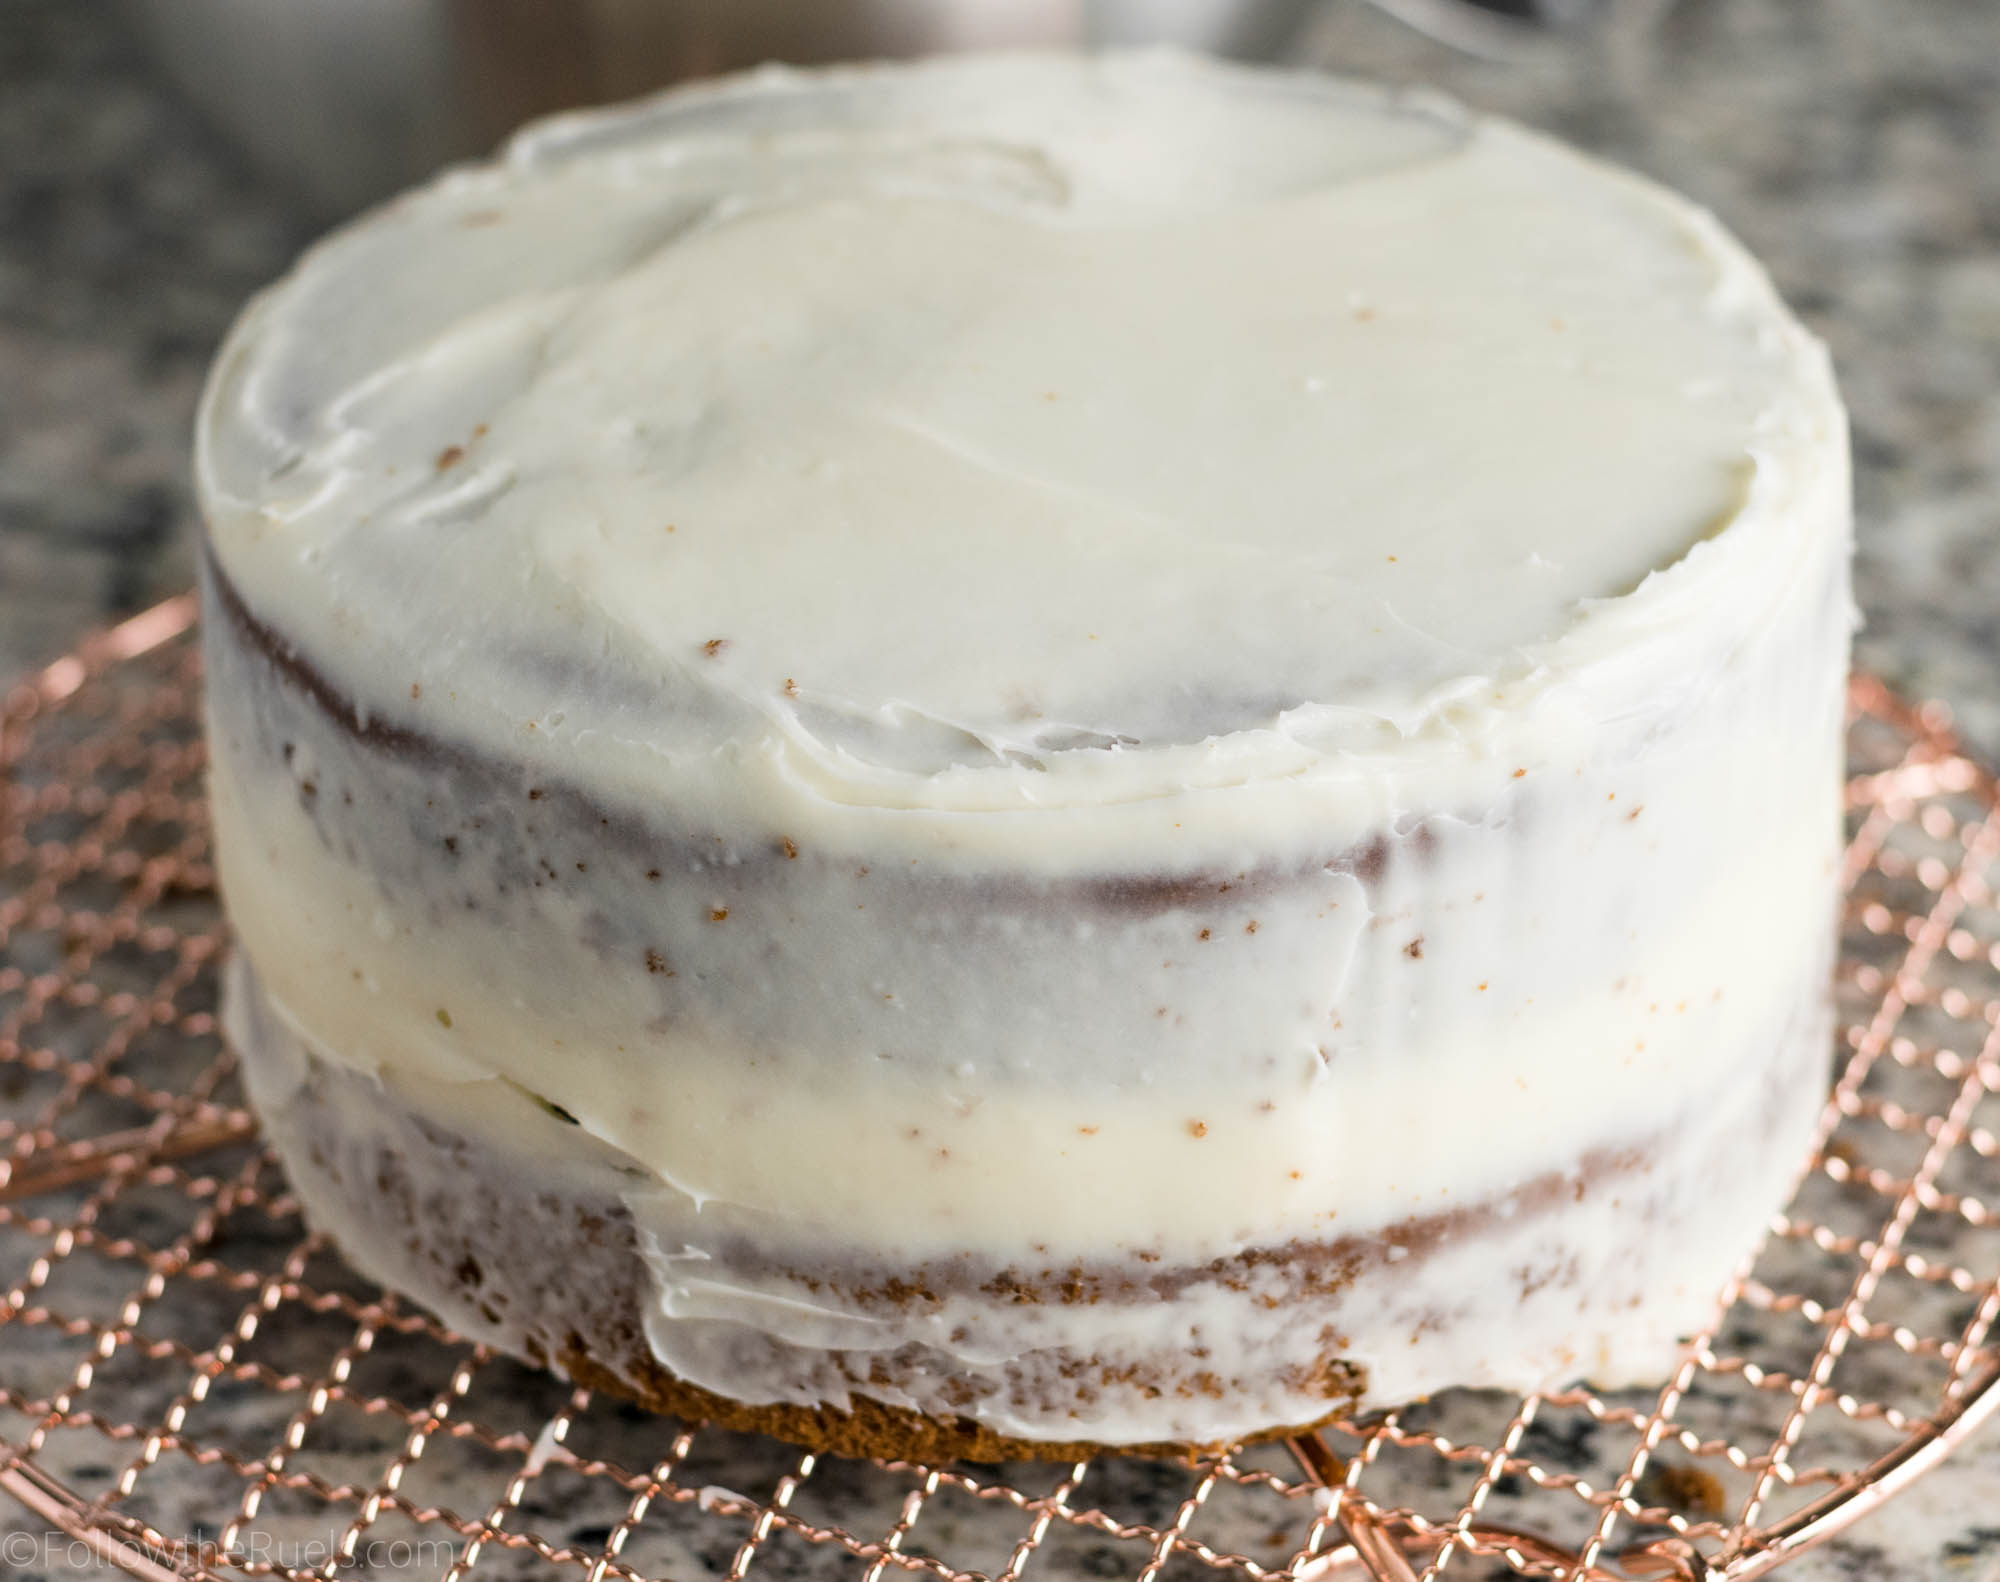
Step 4: Spread buttercream all over the top and sides of the cake, then use an offset spatula or bench scraper to scrape the sides of the cake to create a naked cake look. Leave a thin layer of buttercream on top.

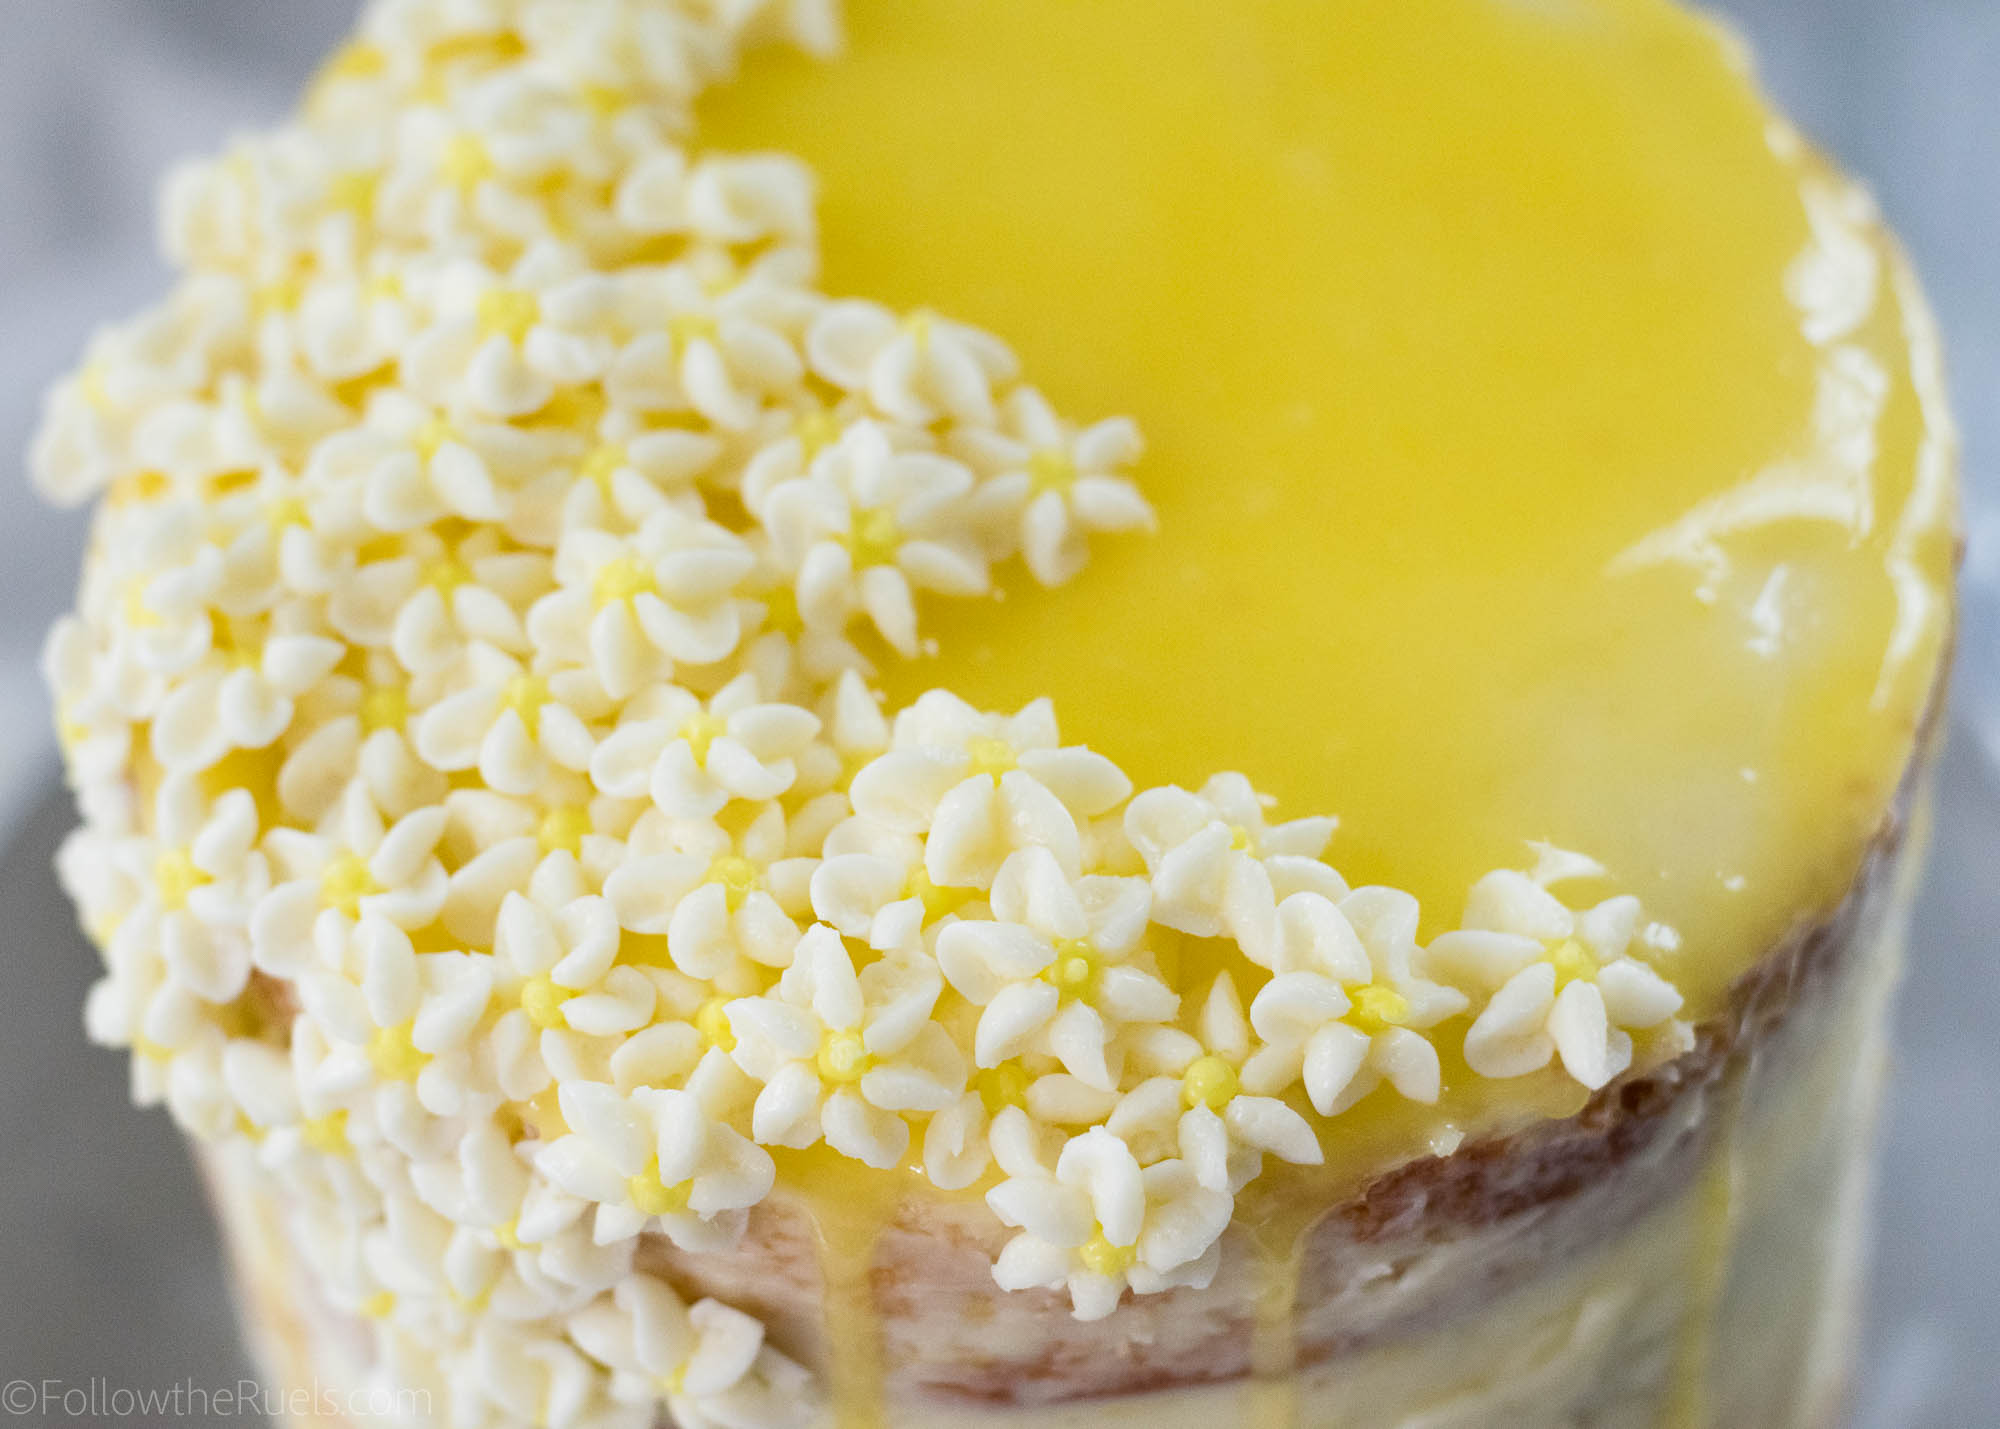
Step 5: Pour some lemon curd over the top of the cake and spread out to cover the top, pushing some of the curd over the edges. You may need to heat up your lemon curd to make it more liquid if you are using a store bought version.

Step 6: Add the flowers in whatever arrangement you like. Because they are frozen, they are easy to peel off the parchment and stick onto the cake.

Step 7: Admire your handy work!

Truly, this cake wasn’t hard to decorate and assemble once I realized my mistake and that I wouldn’t have enough buttercream to achieve the look I was after.

And, making naked cakes is really easy for even those with no cake decorating experience because you don’t have to worry about your frosting being perfect! Actually, you want it to look imperfect!

I, for one, like the limited buttercream on this cake because it lets the lemon elderflower cake shine through. 

Of course, if you are a frosting lover, you may want to double up on the buttercream recipe so you can cover your whole cake like I was supposed to!

Tools and Recipe

[show_shopthepost_widget id=”3095132″] 

[yumprint-recipe id=’170′]

/ Filed In: Cakes and Cupcakes, Cakes New, Desserts, Eat
Tagged: buttercream, buttercream flowers, cake, decorated cake, elderflower, layer cake, lemon, naked cake, Spring

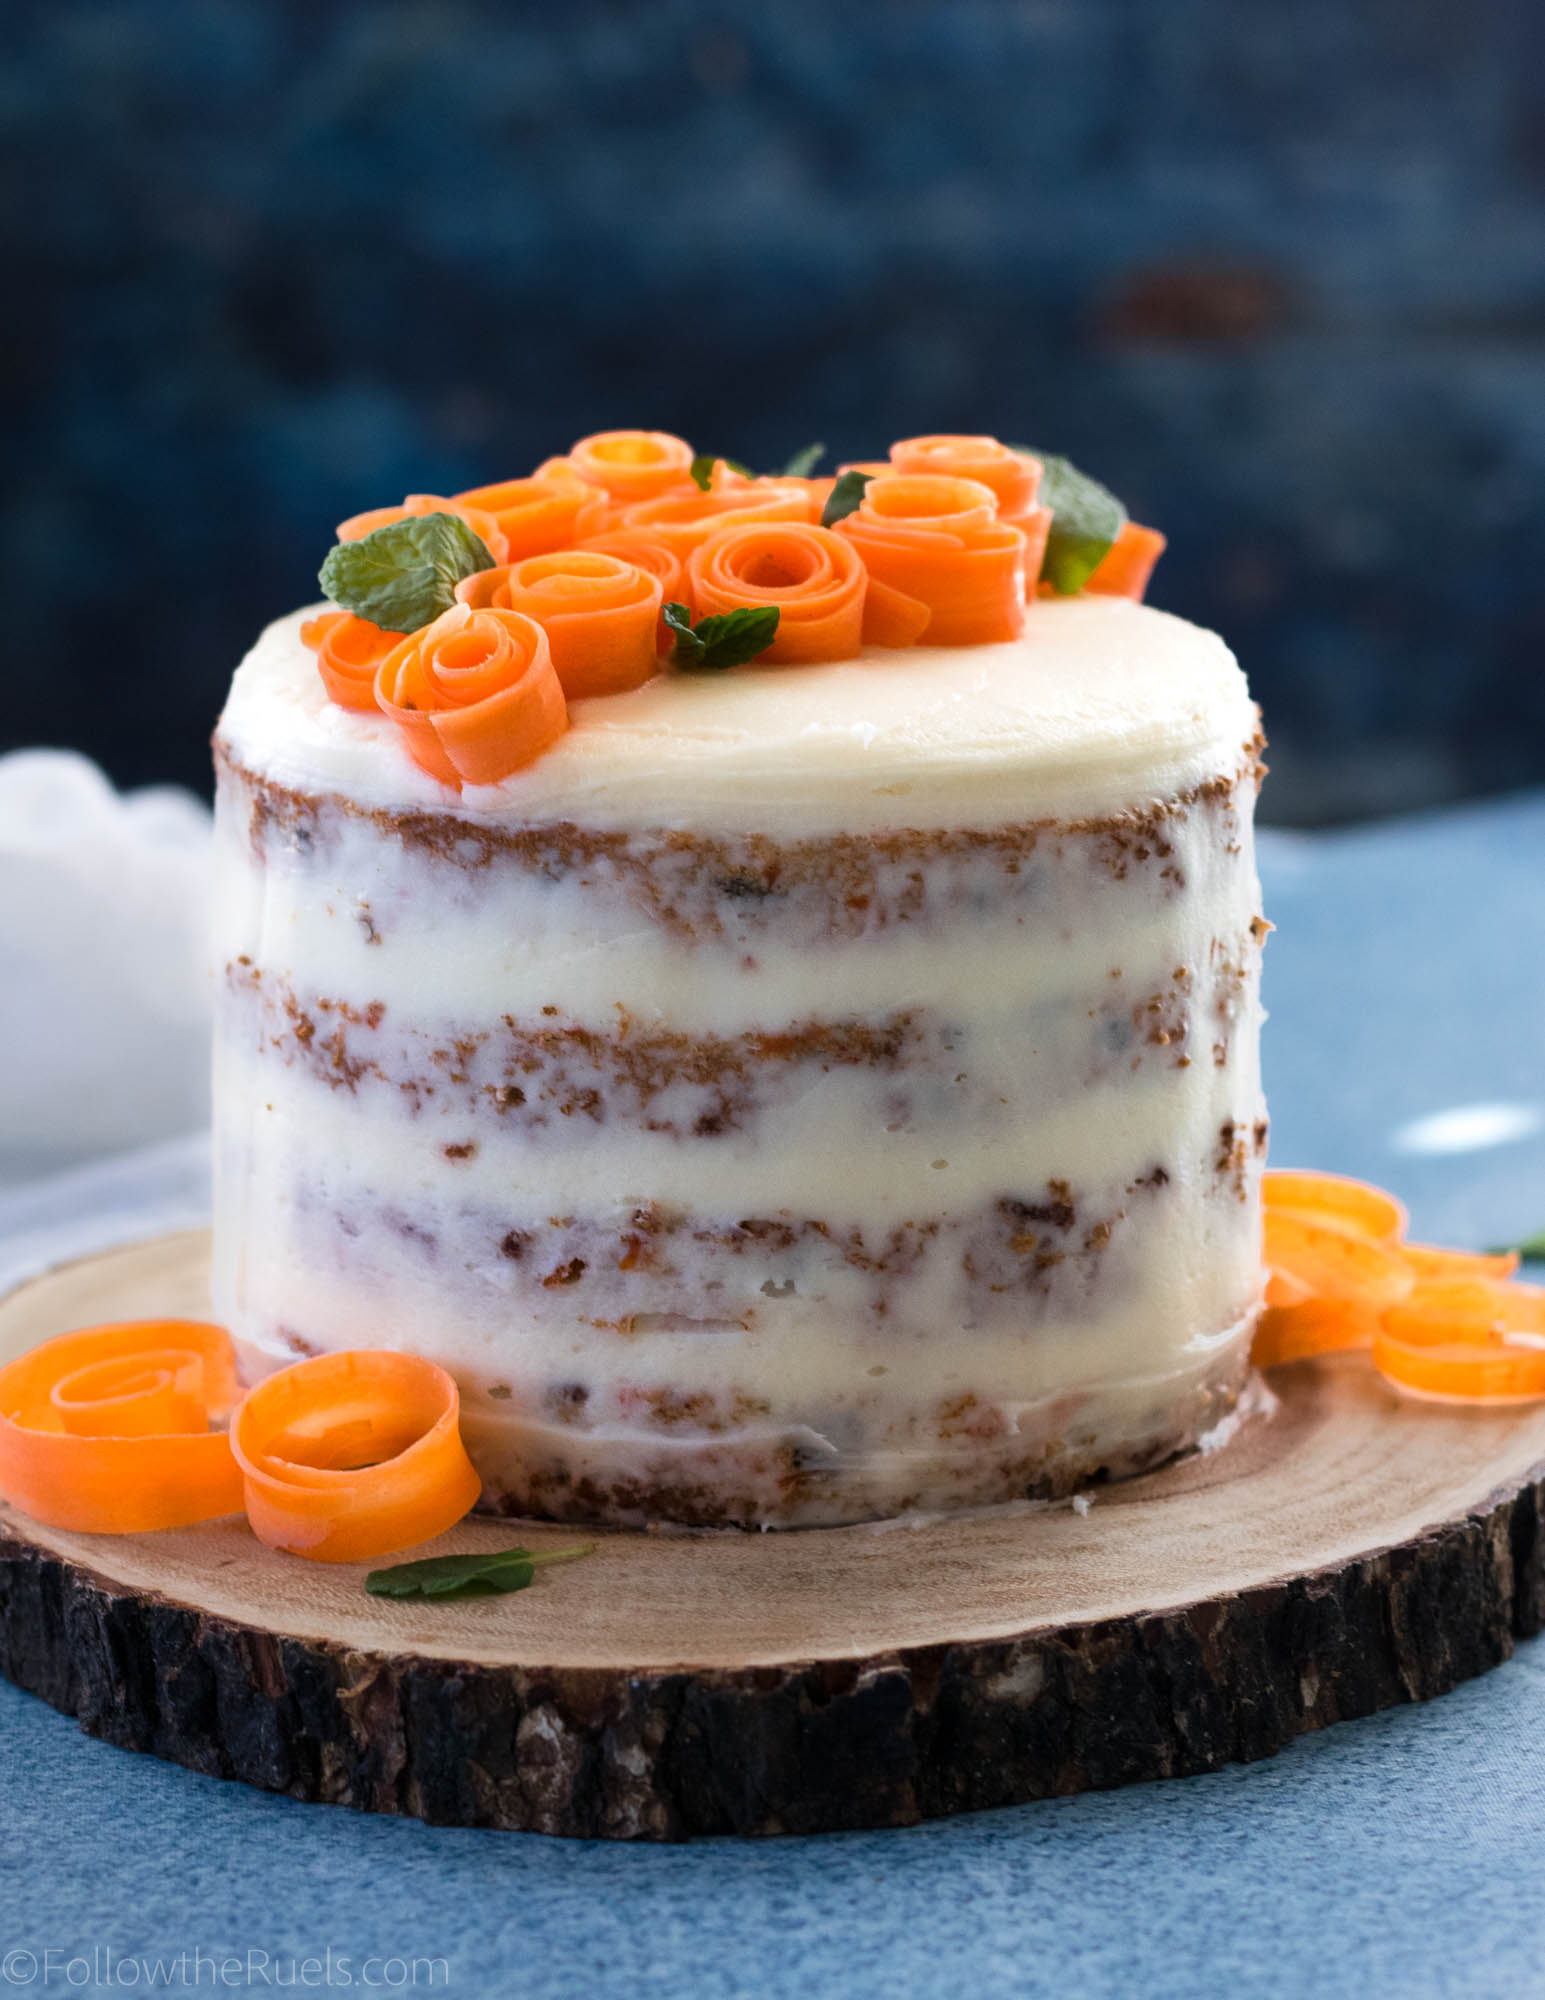
The Best Ever Carrot Cake

March 6, 2018

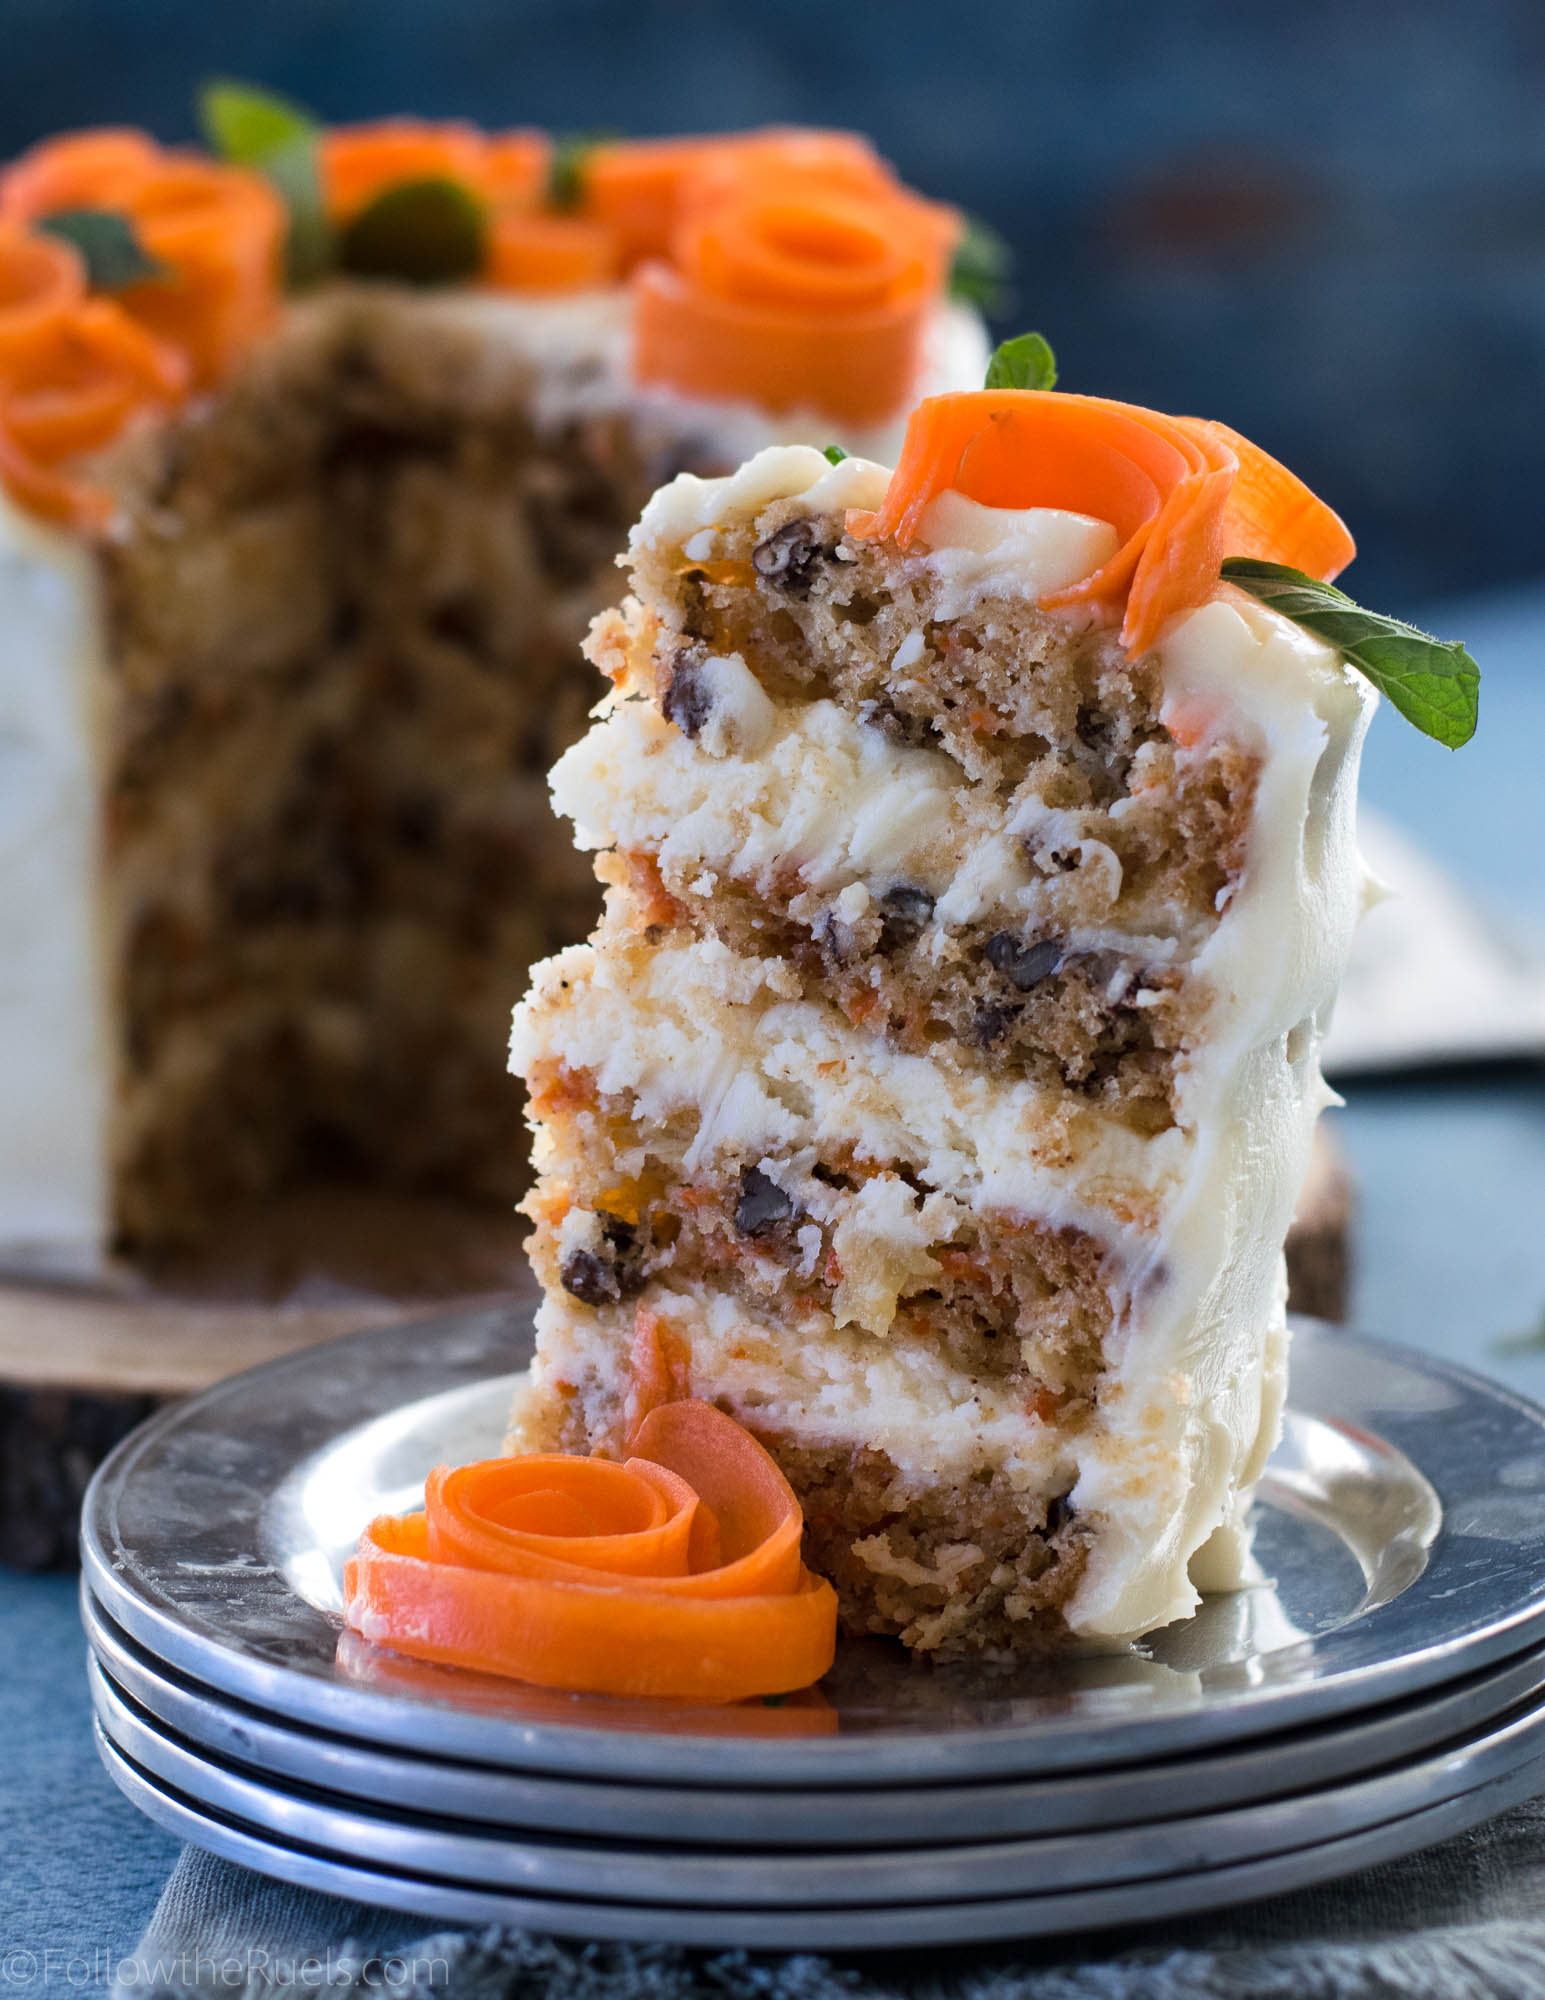
I’ll admit, that up until recently, carrot cake was my least favorite of all the cakes. It wasn’t until I made this recipe that I completely changed my mind about carrot cake. Who knew that a cake packed with fruits and vegetables could be so delicious?

Not me!

But that is exactly what this cake is. Moist and oh so delicious!

How to Make It

Well, since I have made this recipe before, I thought it was only right to make a video so you can see for yourselves! Also, wait till the end to see how I decorated the cake (three different ways, although I only showed two). 

But in case you like pictures and words, here is a brief recap of how to make it.

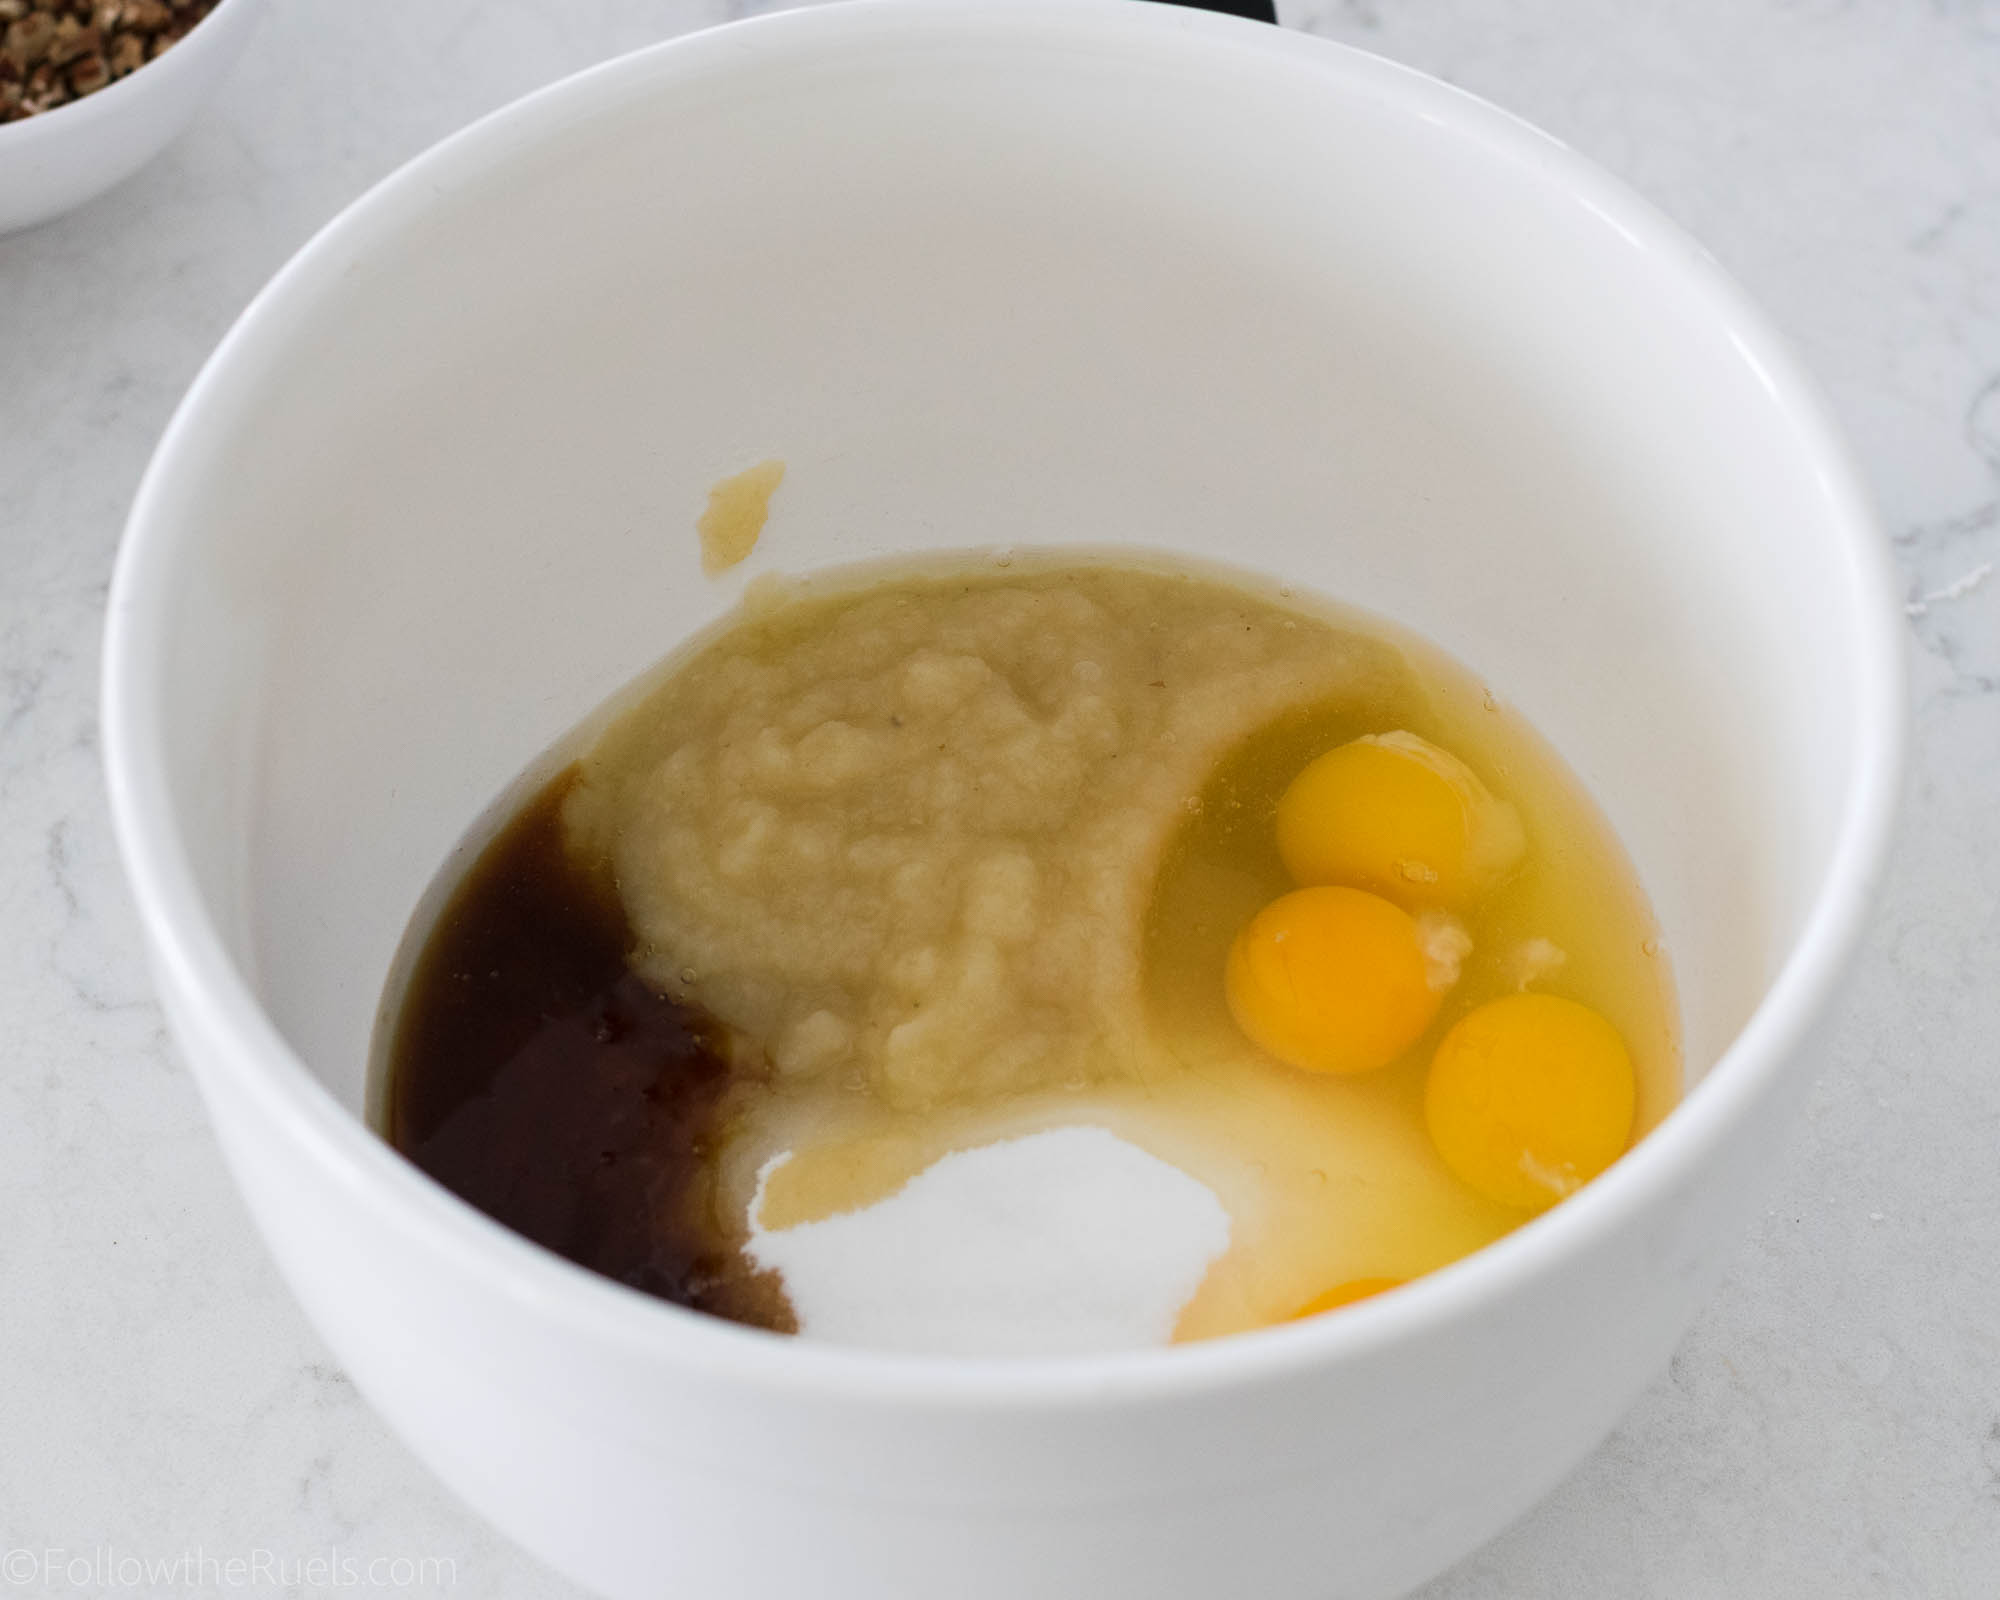
First mix together the sugar, eggs, apple sauce, maple syrup, and vanilla extract.

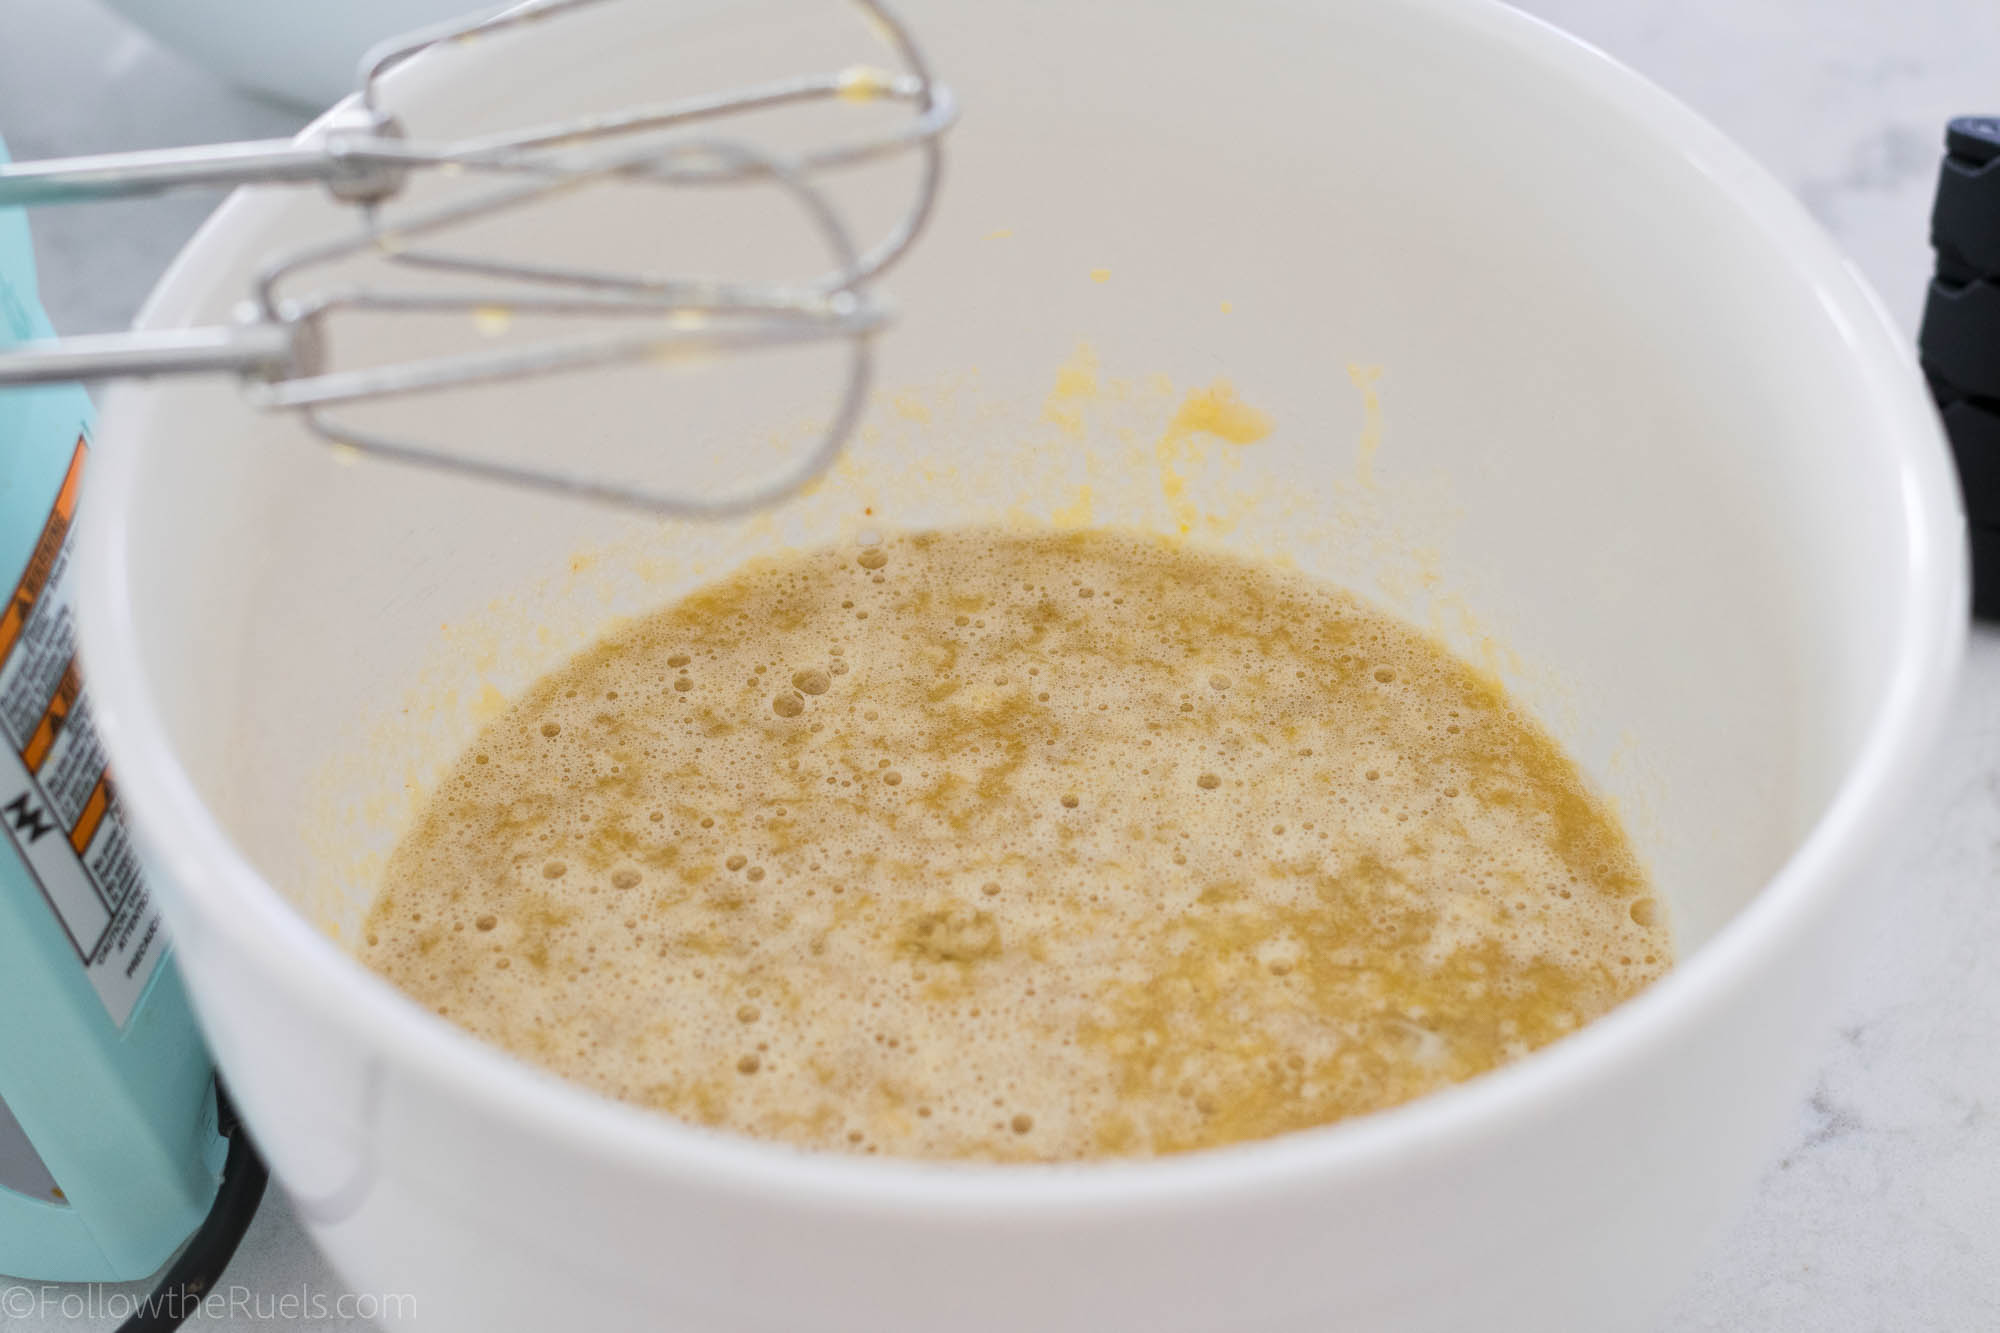
Until it’s nice and smooth.

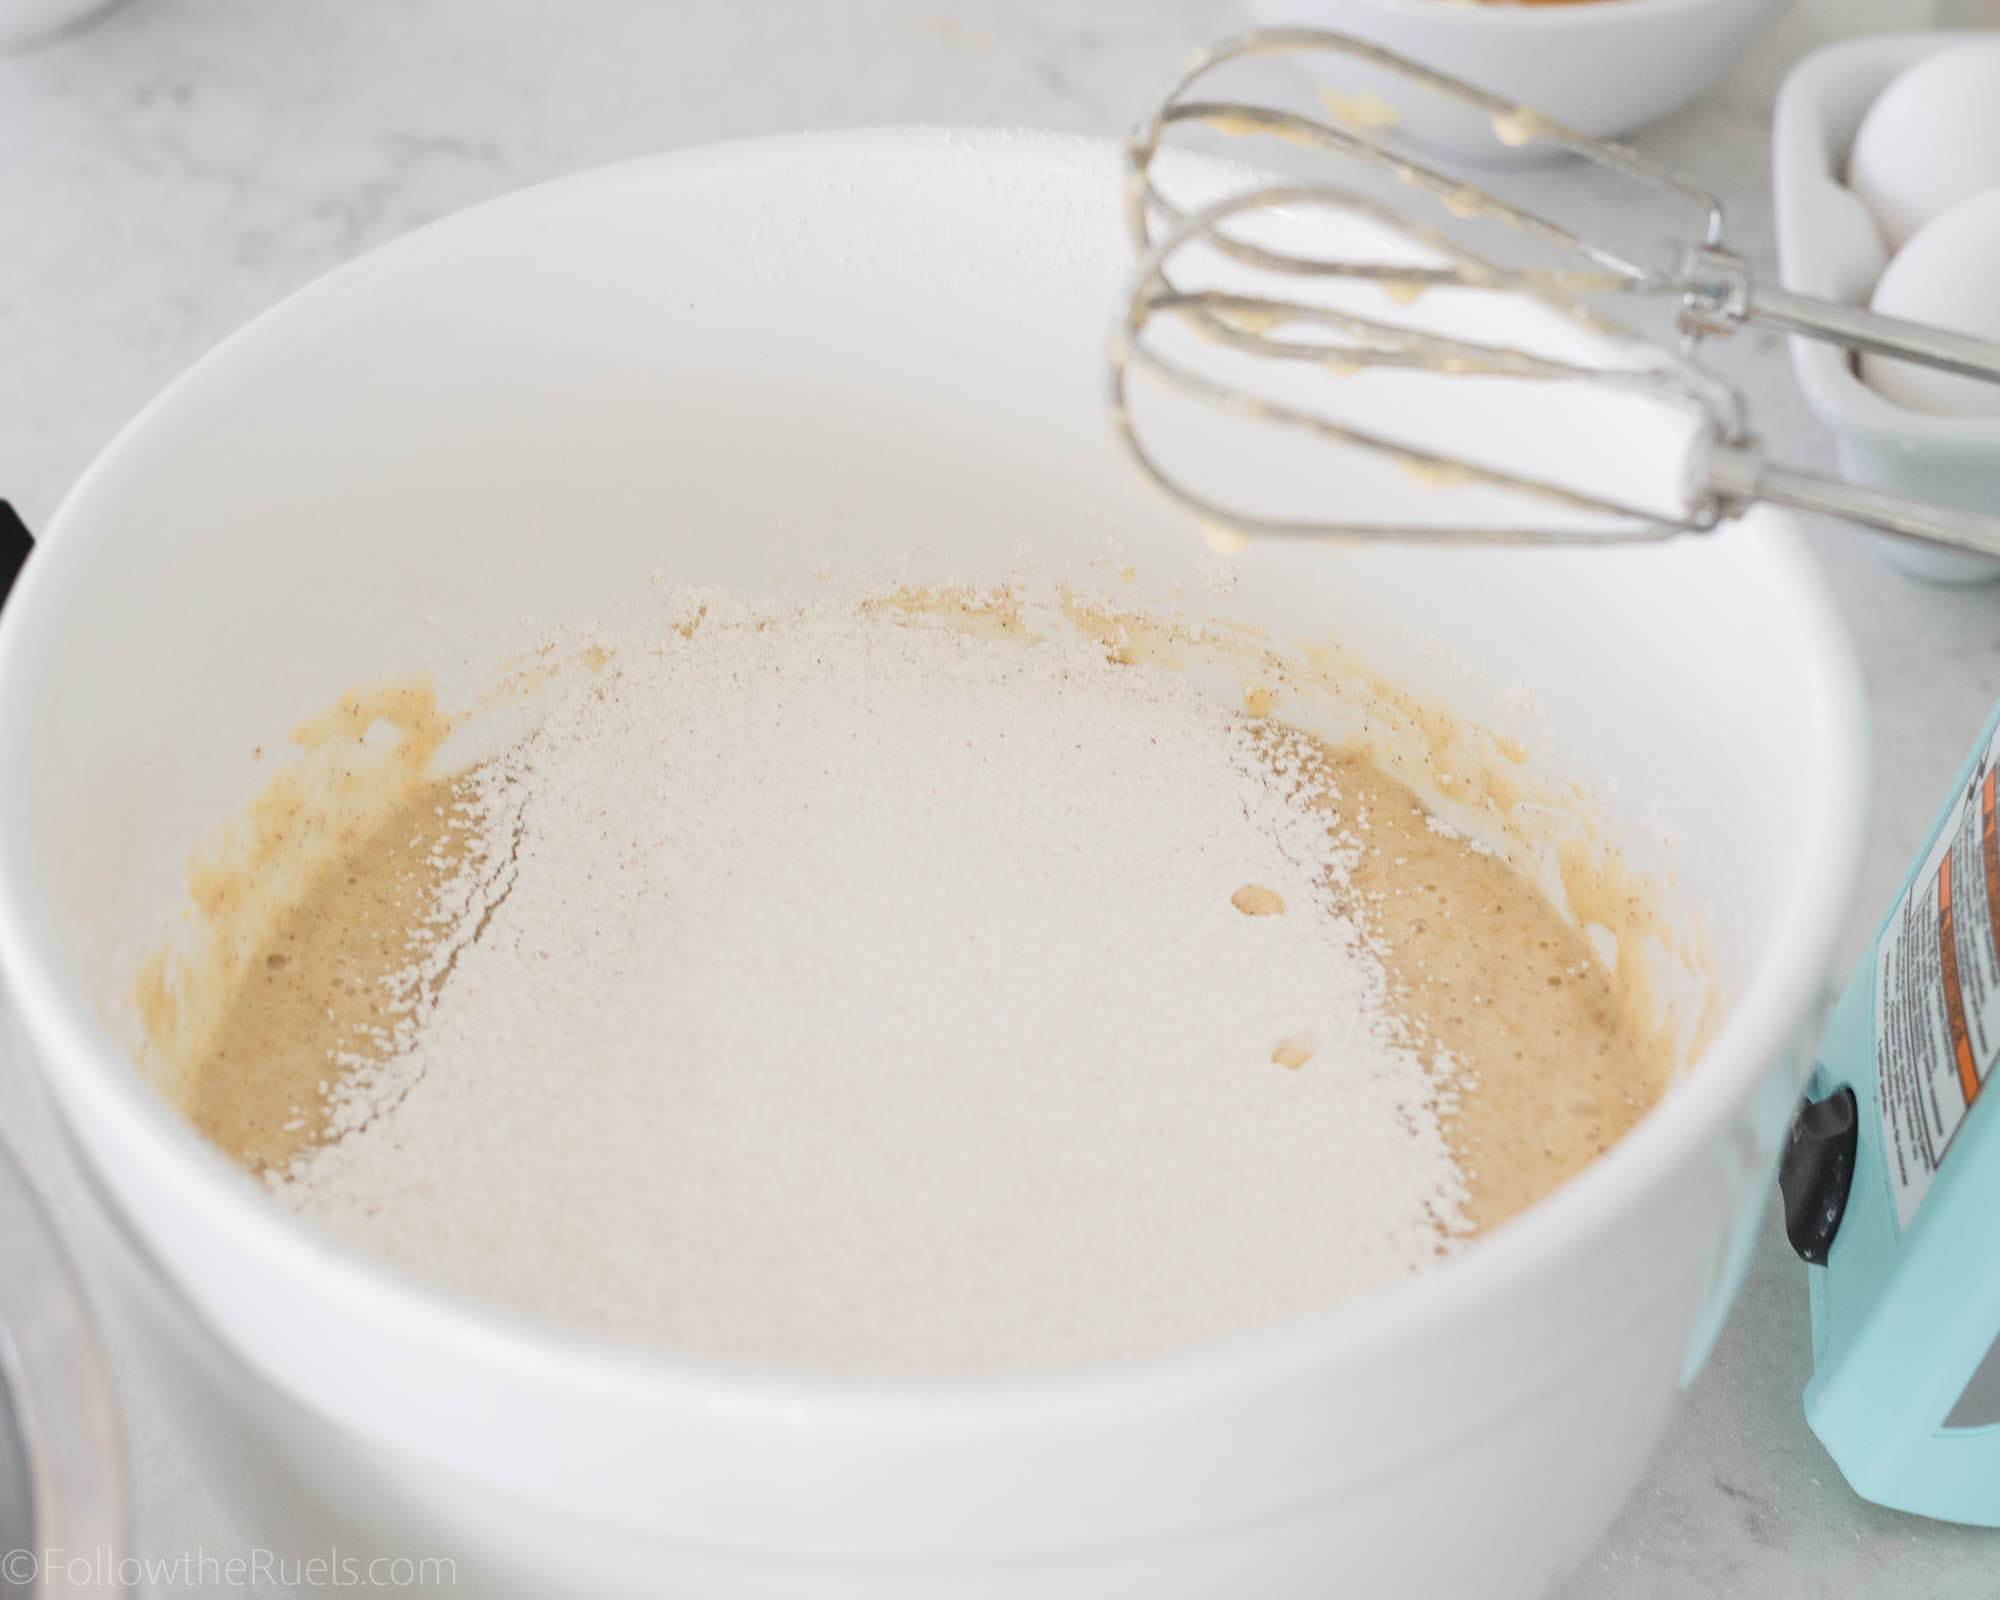
Sift in the dry ingredients: flour, baking soda, baking powder, cinnamon, nutmeg, and salt. Then mix until everything is incorporated. 

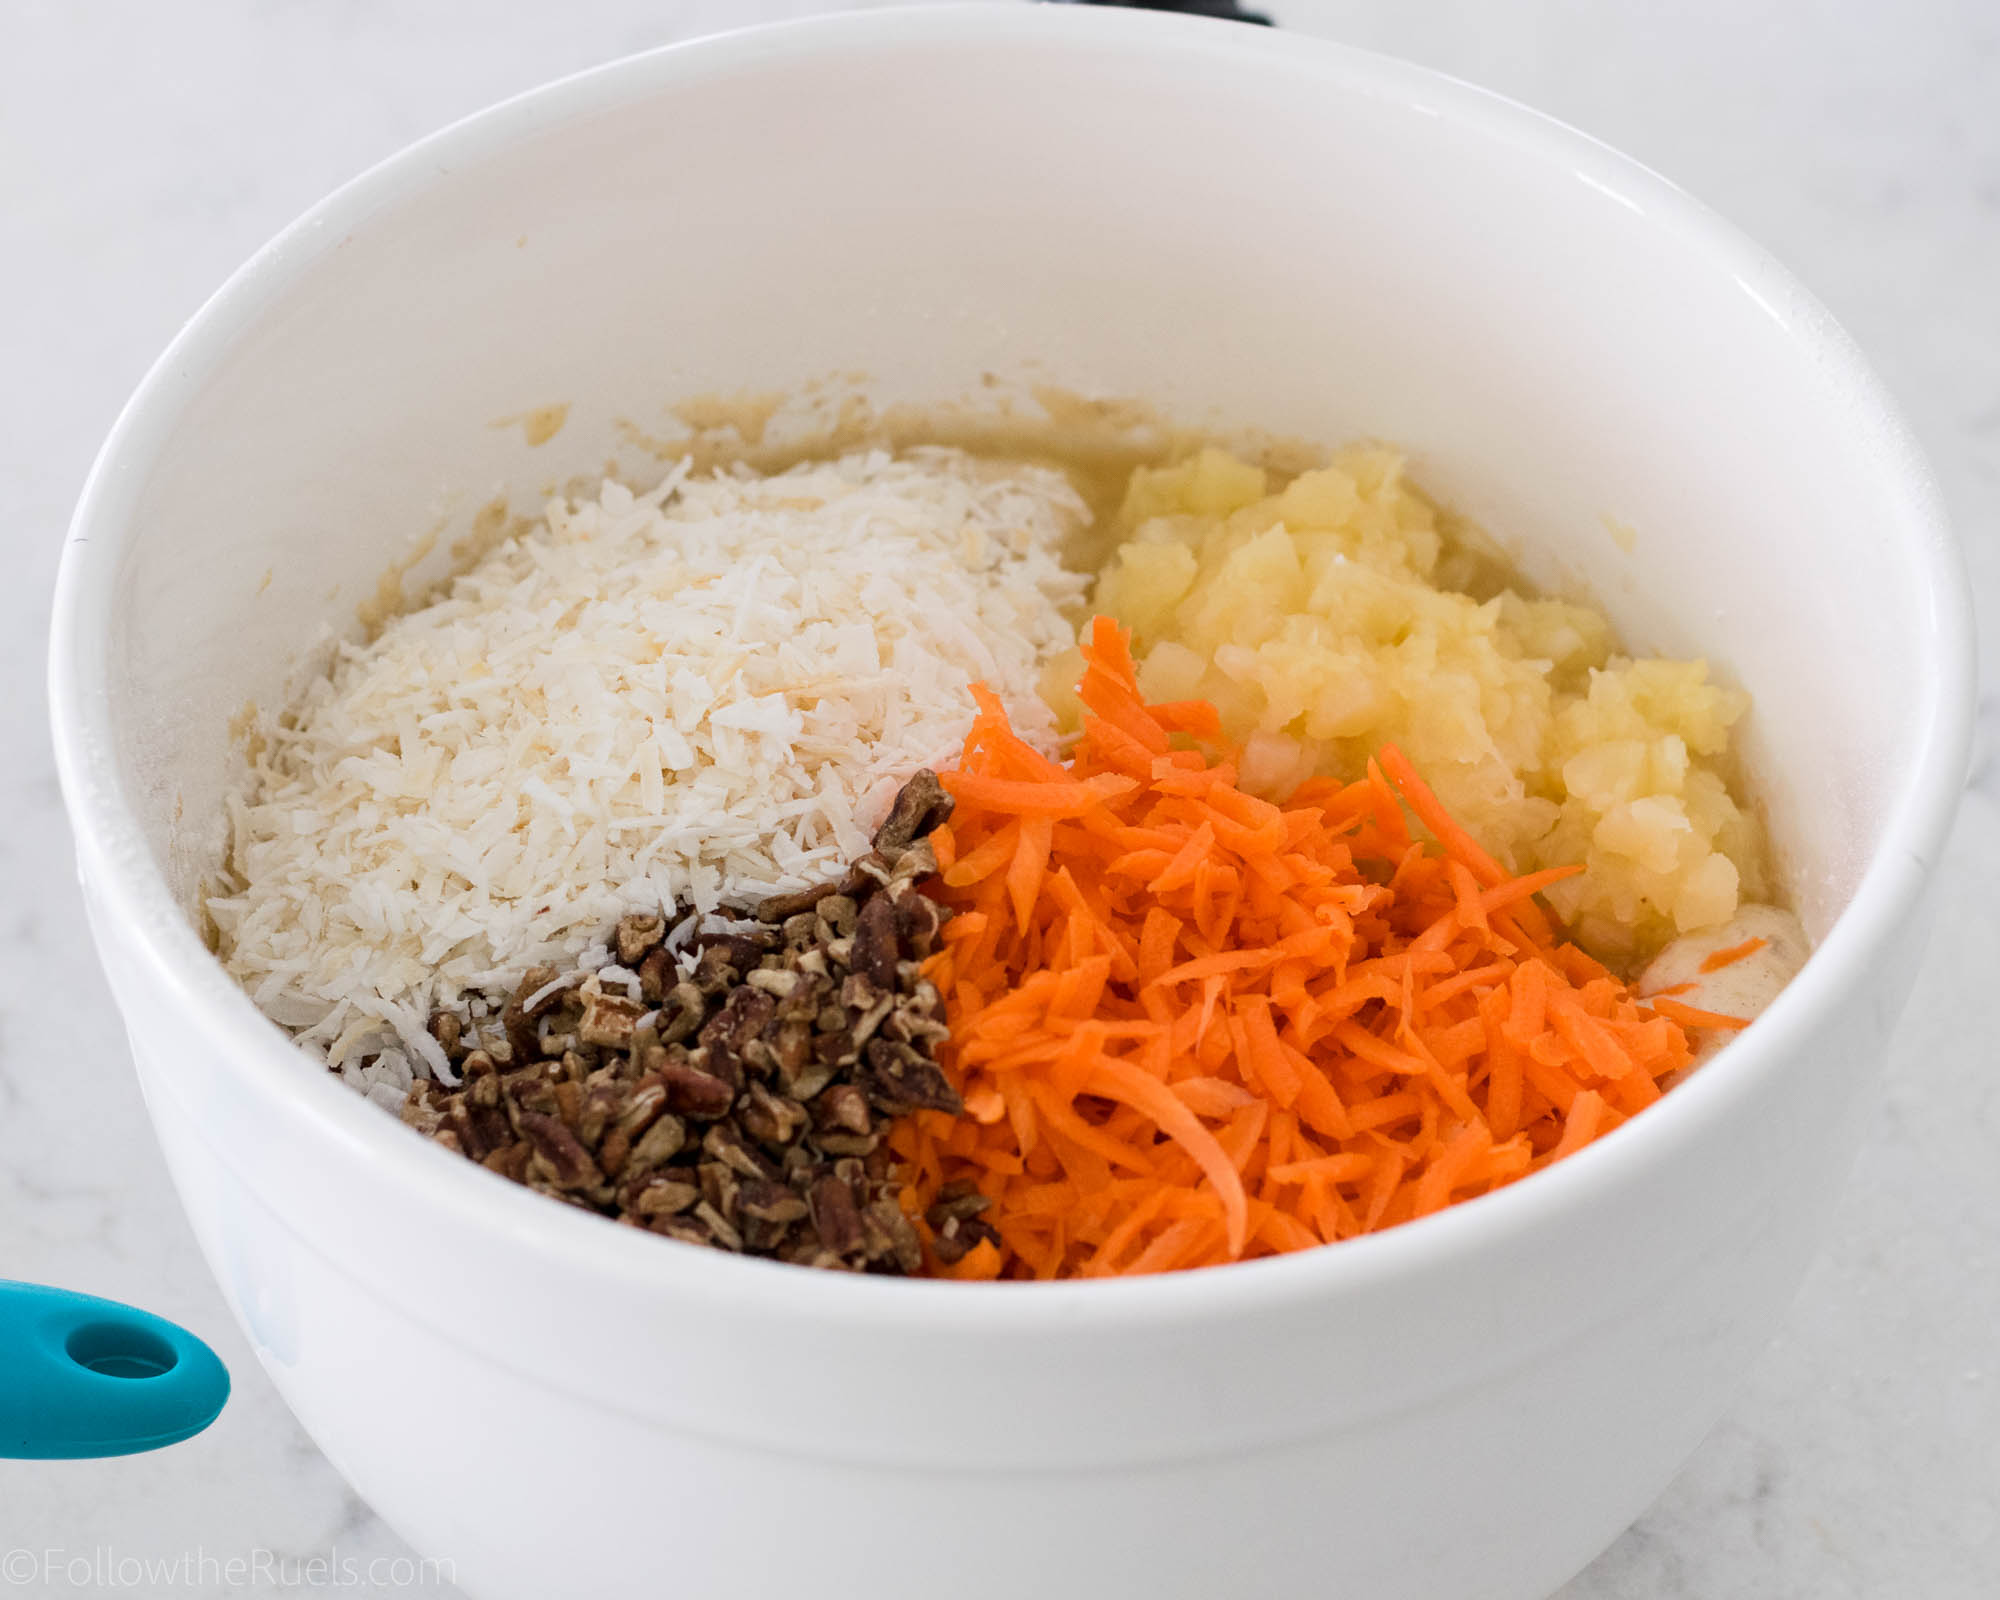
Fold in grated carrots, pineapple, coconut (preferably unsweetened), and chopped pecans. 

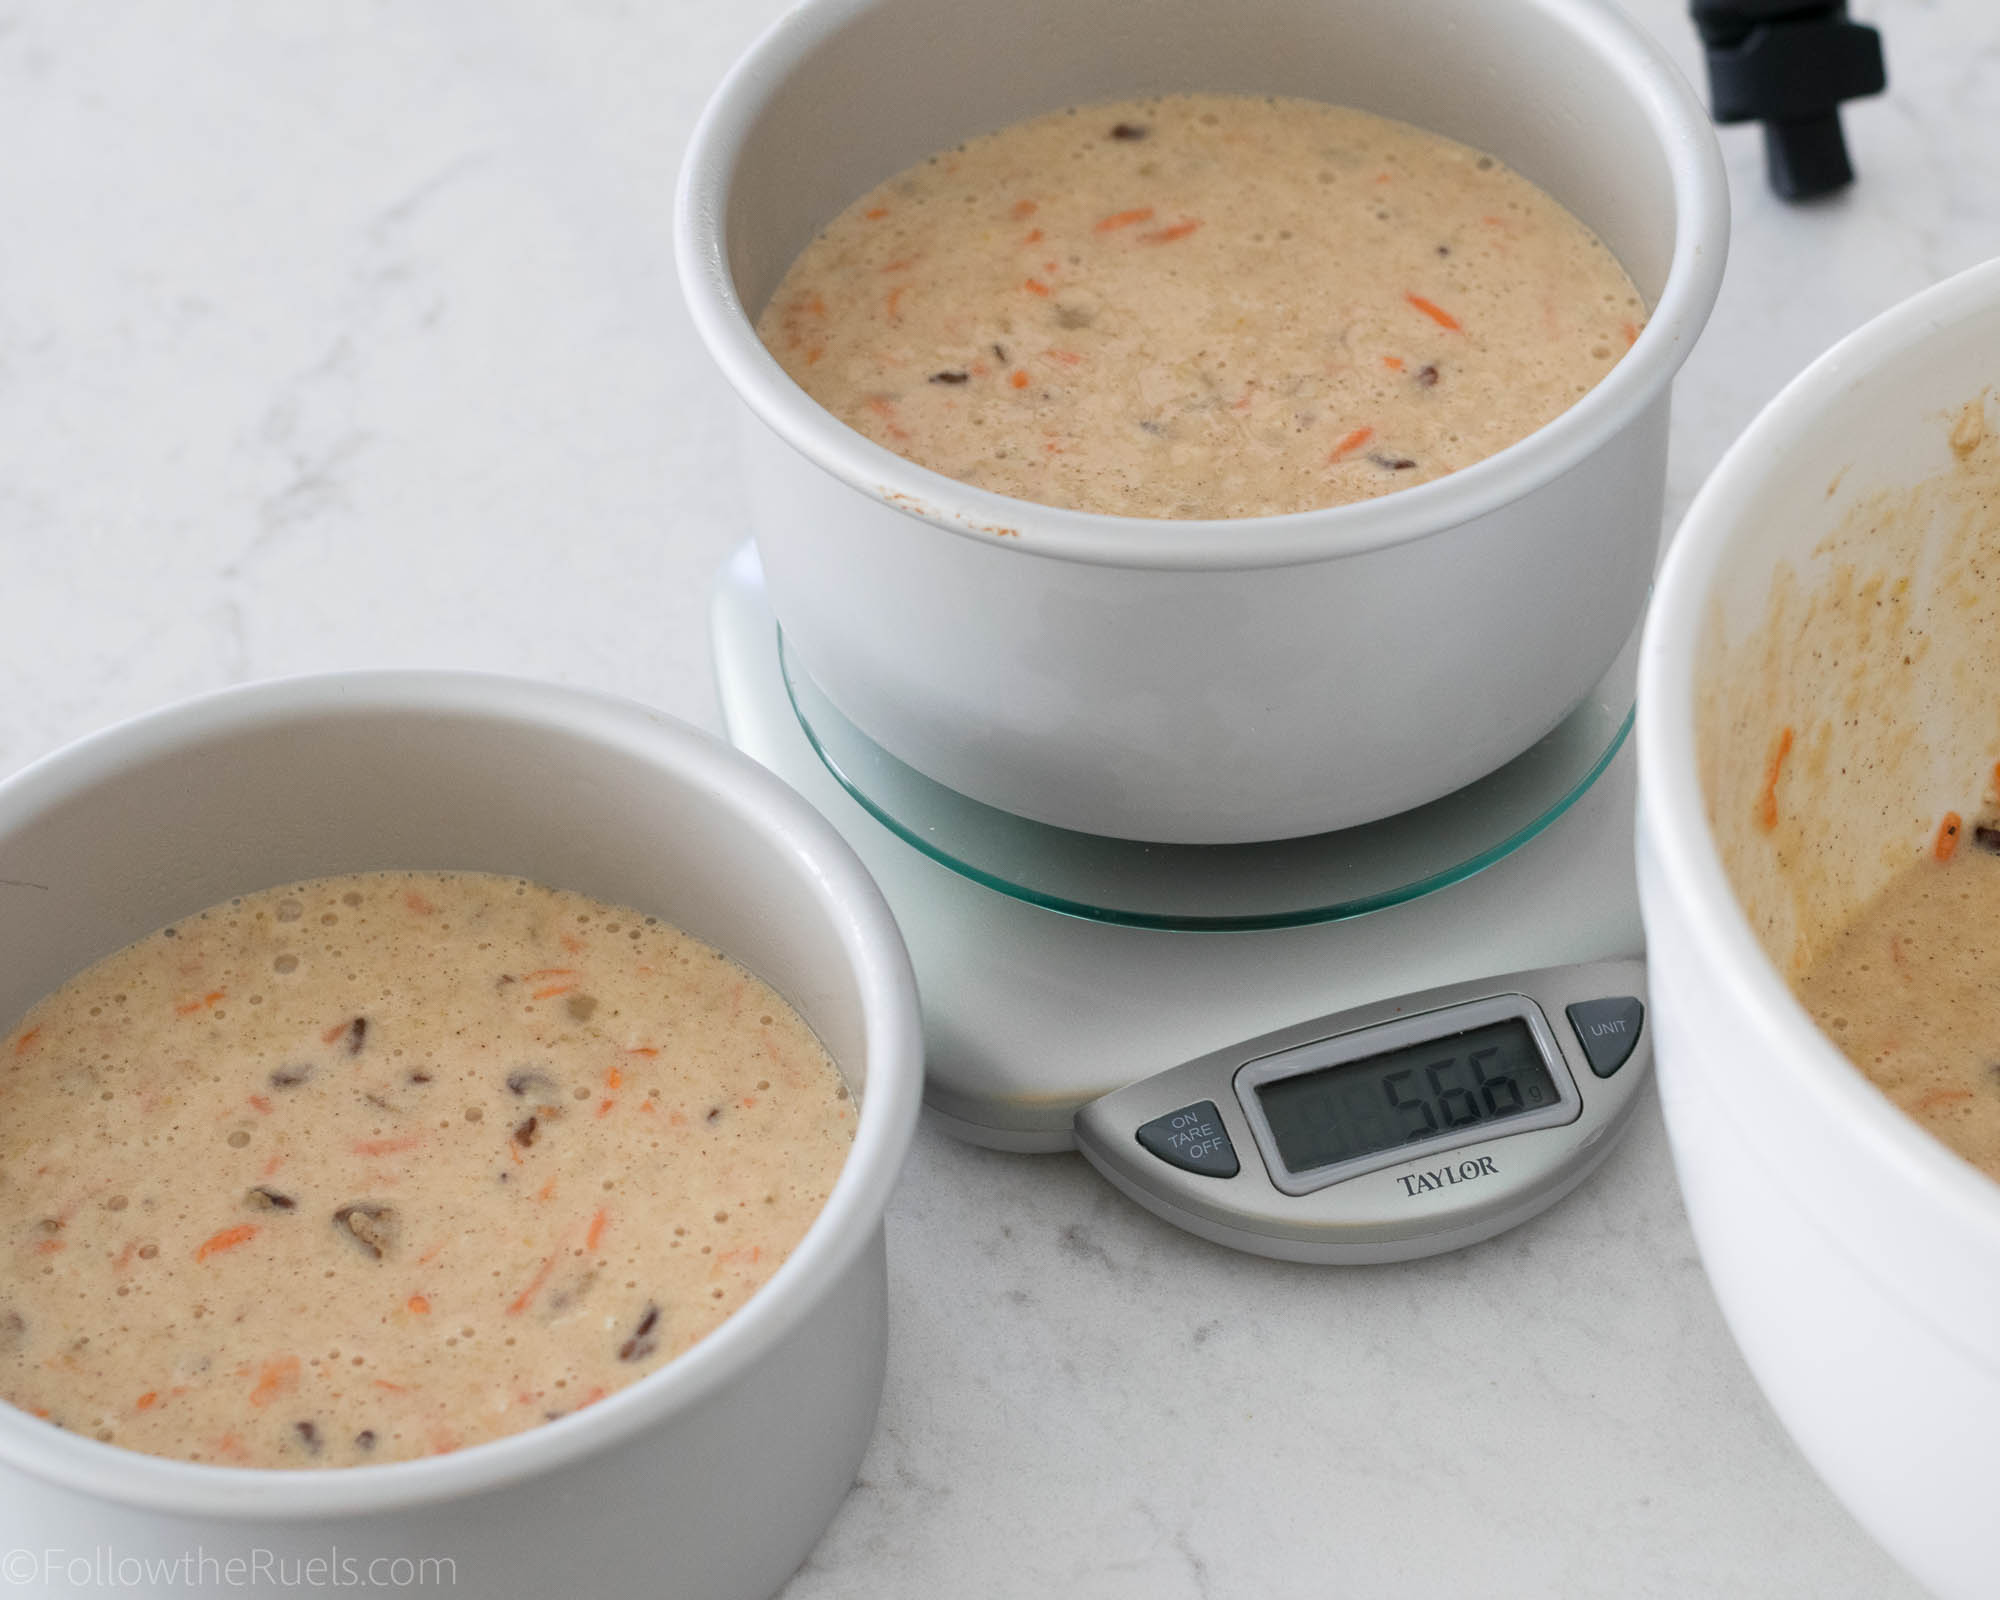
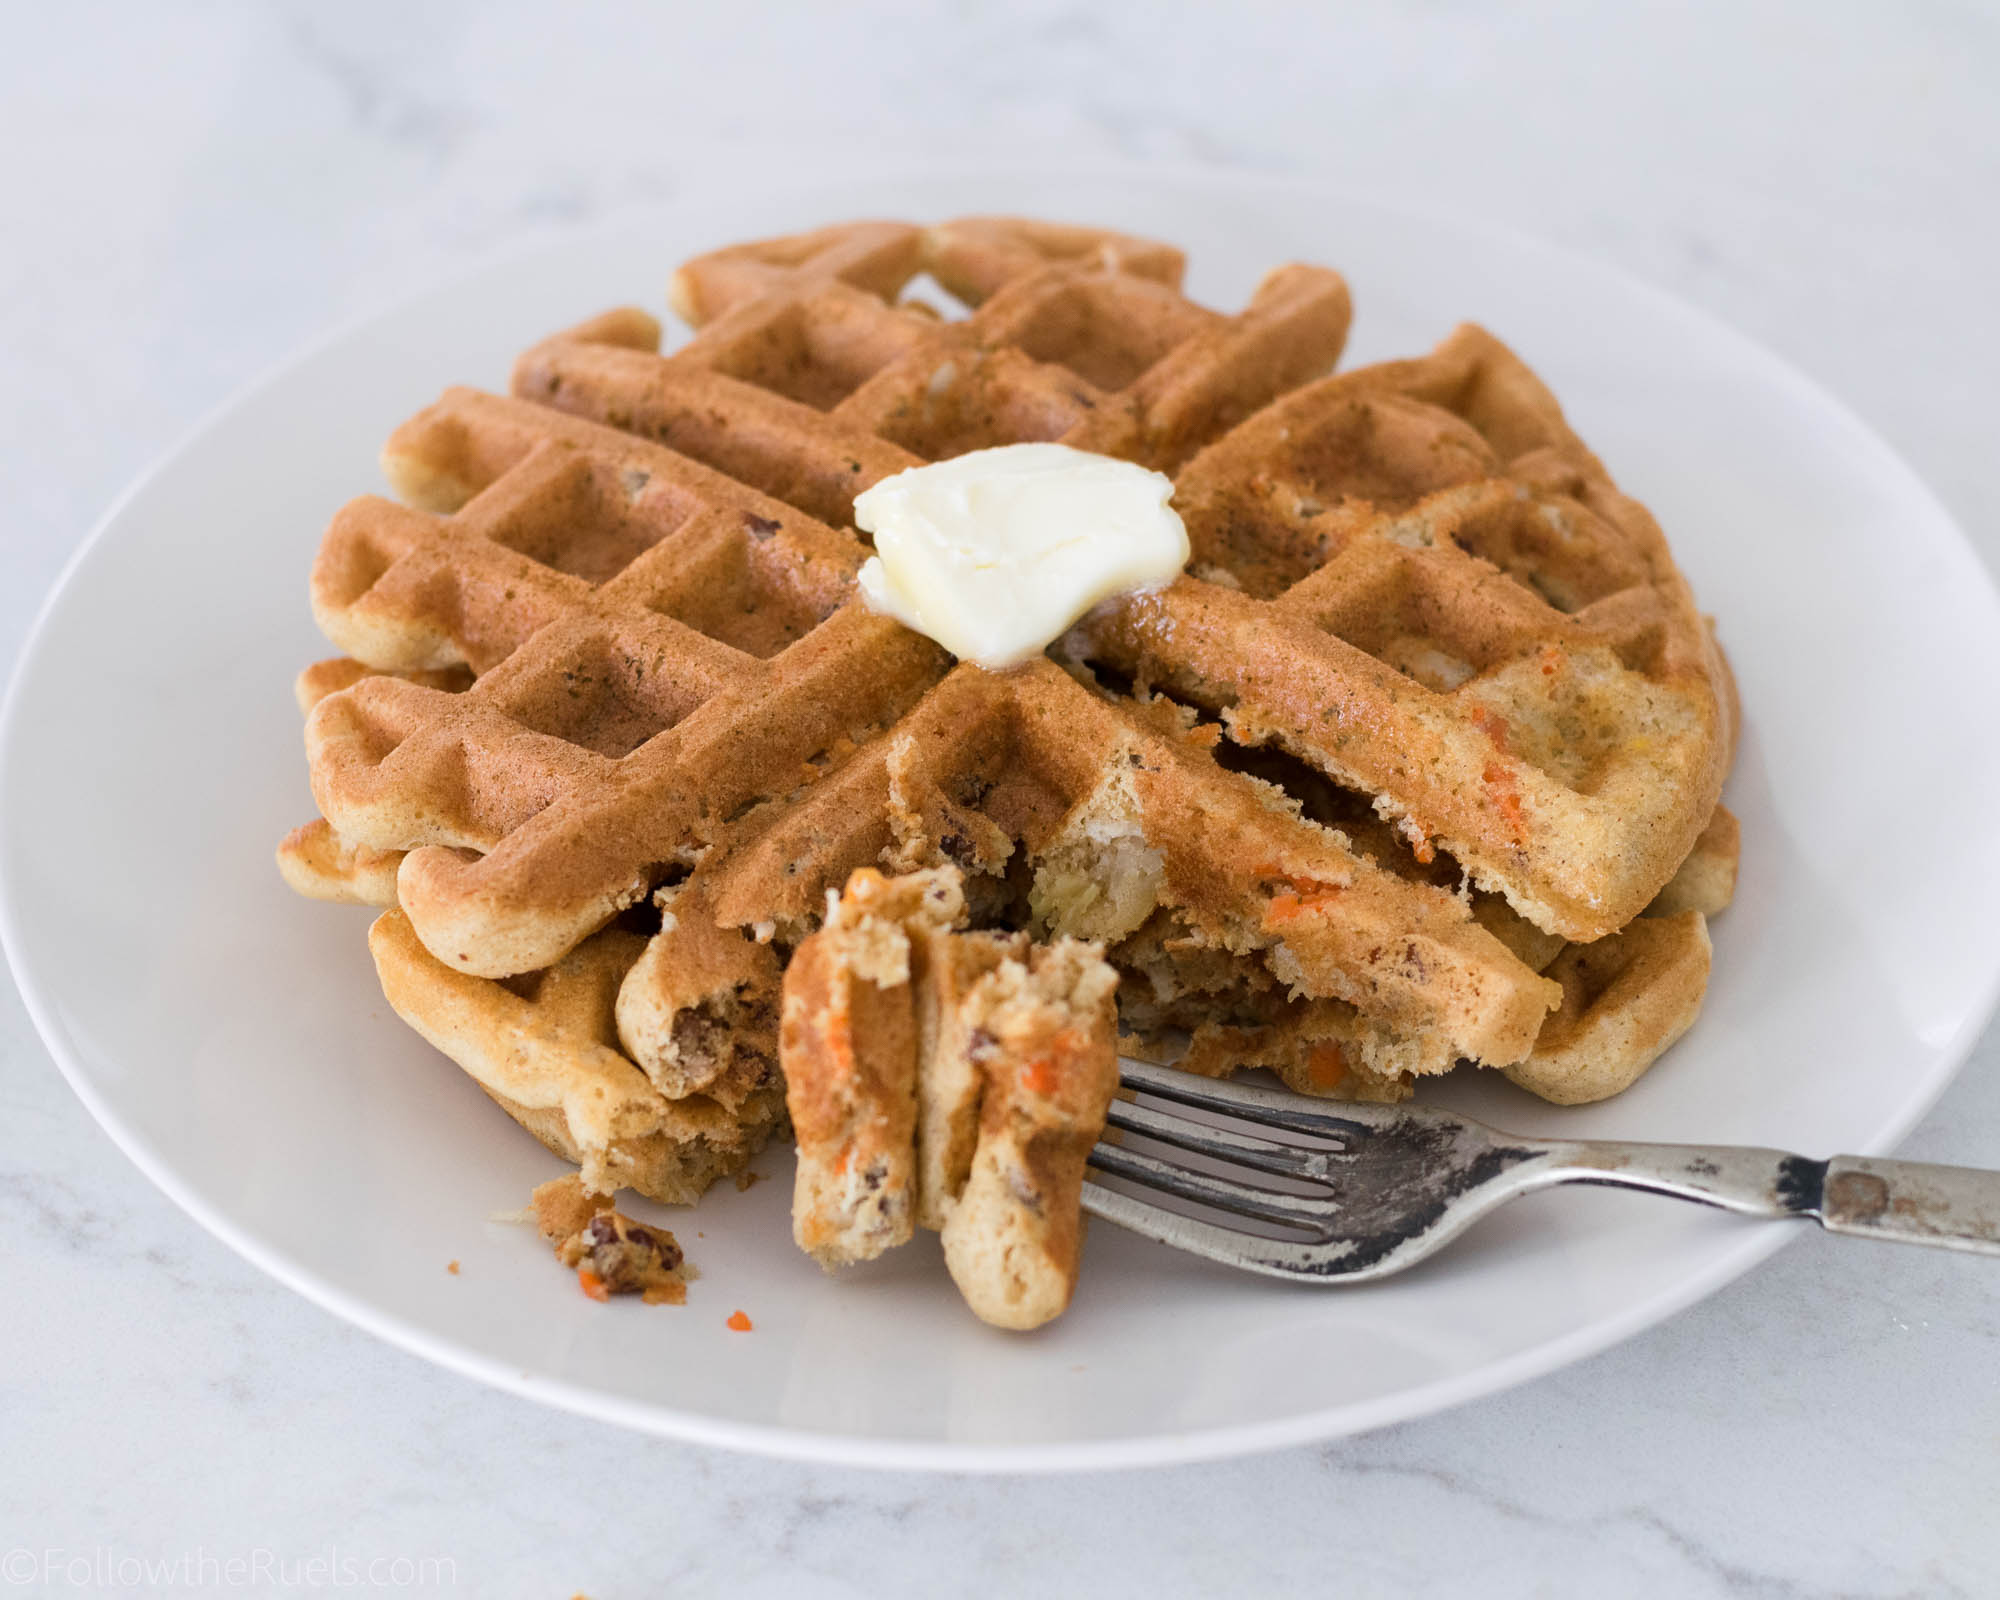
Then pour the batter into whichever vessel you would like to bake your cakes in. I have baked this in a sheet pan, a square pan, cupcake tin, even a waffle iron! But for this cake, I baked the cakes in two cake pans.

To make sure the cakes are even, I actually weigh the batter in each pan. OCD much? I am really not, but I just like knowing that my cakes will be as even as possible. 


Finally, decorate your cake however you wish! I highly recommend frosting the cake with cream cheese frosting, because that is really the best frosting for carrot cake. 

But if you prefer buttercream, I highly recommend this Swiss buttercream recipe, which is my absolute favorite. 

However you choose to frost this cake, or even if you leave it completely naked, you will love this cake. I can say that confidently as a former non-carrot cake lover. 

And, if you happen to have any leftover batter, you can make waffles with it!

[yumprint-recipe id=’164′]

/ Filed In: Cakes and Cupcakes, Cakes New, Desserts, Eat
Tagged: cake, cake decorating, carrot cake, layer cake, Spring

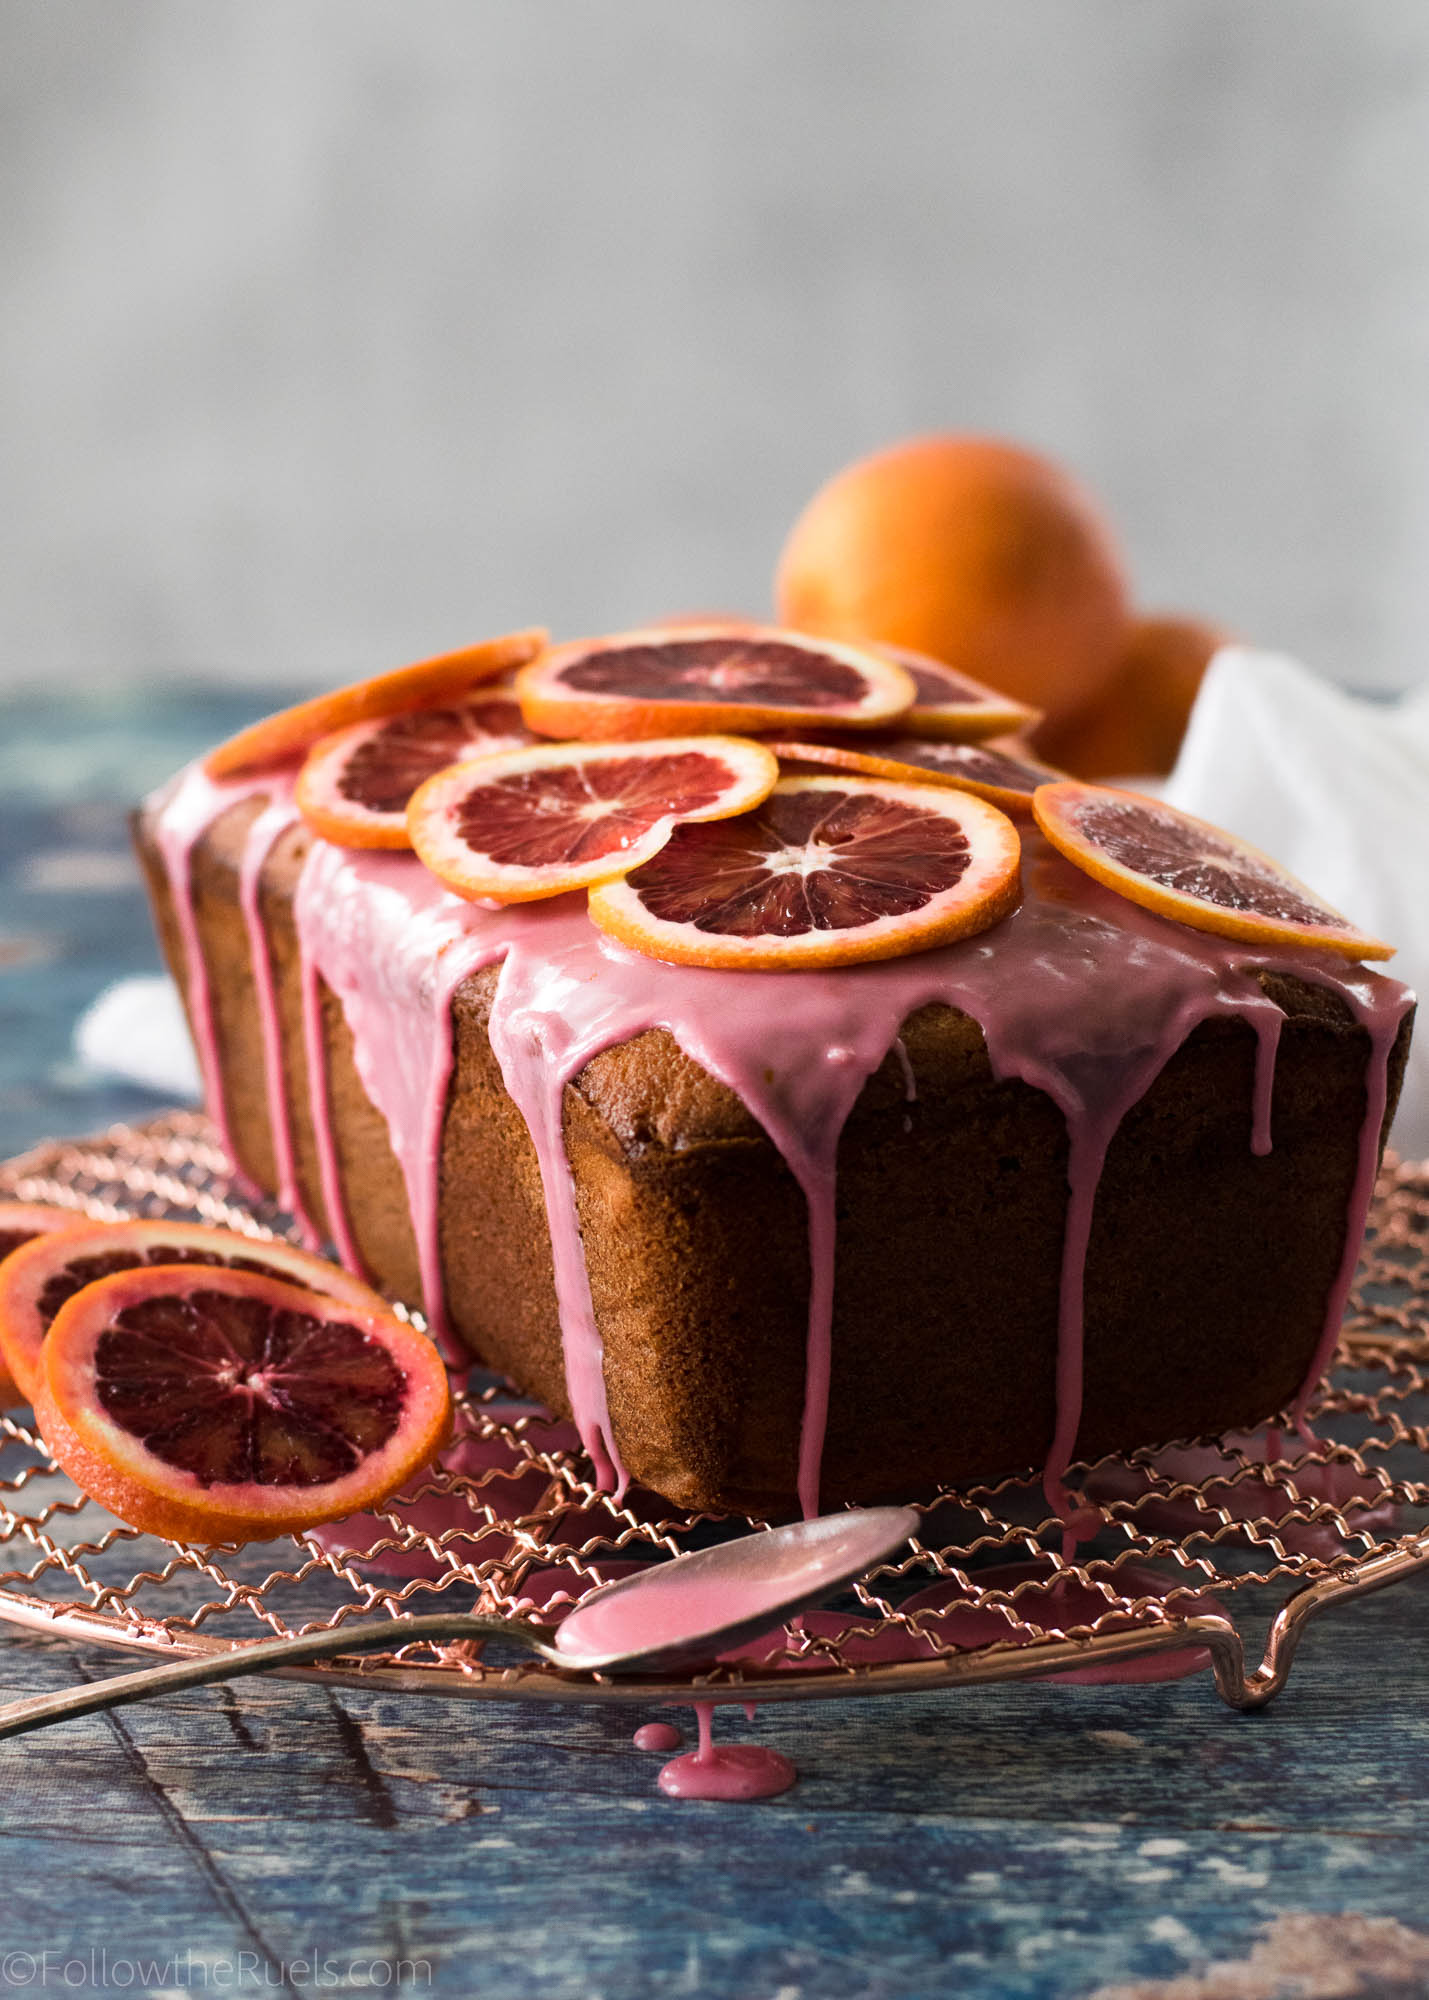
Blood Orange Pound Cake

February 20, 2018

We are right smack in the middle of blood orange season and I couldn’t be happier about it! If you have been to a grocery store lately, then you have probably the slightly discolored oranges that are sitting next to the normal oranges. You may even think that the grocery store is trying to sell you some bad oranges. But’s it what’s on the inside that counts, guys! 

And that beautiful blood orange pulp and juice is what’s on the inside. 

While blood oranges definitely look a little bit different than normal oranges when you slice them open, they taste very similar. Blood oranges, to me, are a bit more tart (which I love) which makes them great for baking! You can replace blood oranges in any recipe you would normally find a citrus fruit, like lemon or orange (duh!).

Which is why I decided to use this batch of blood oranges to dress up one of my favorite desserts: the pound cake!

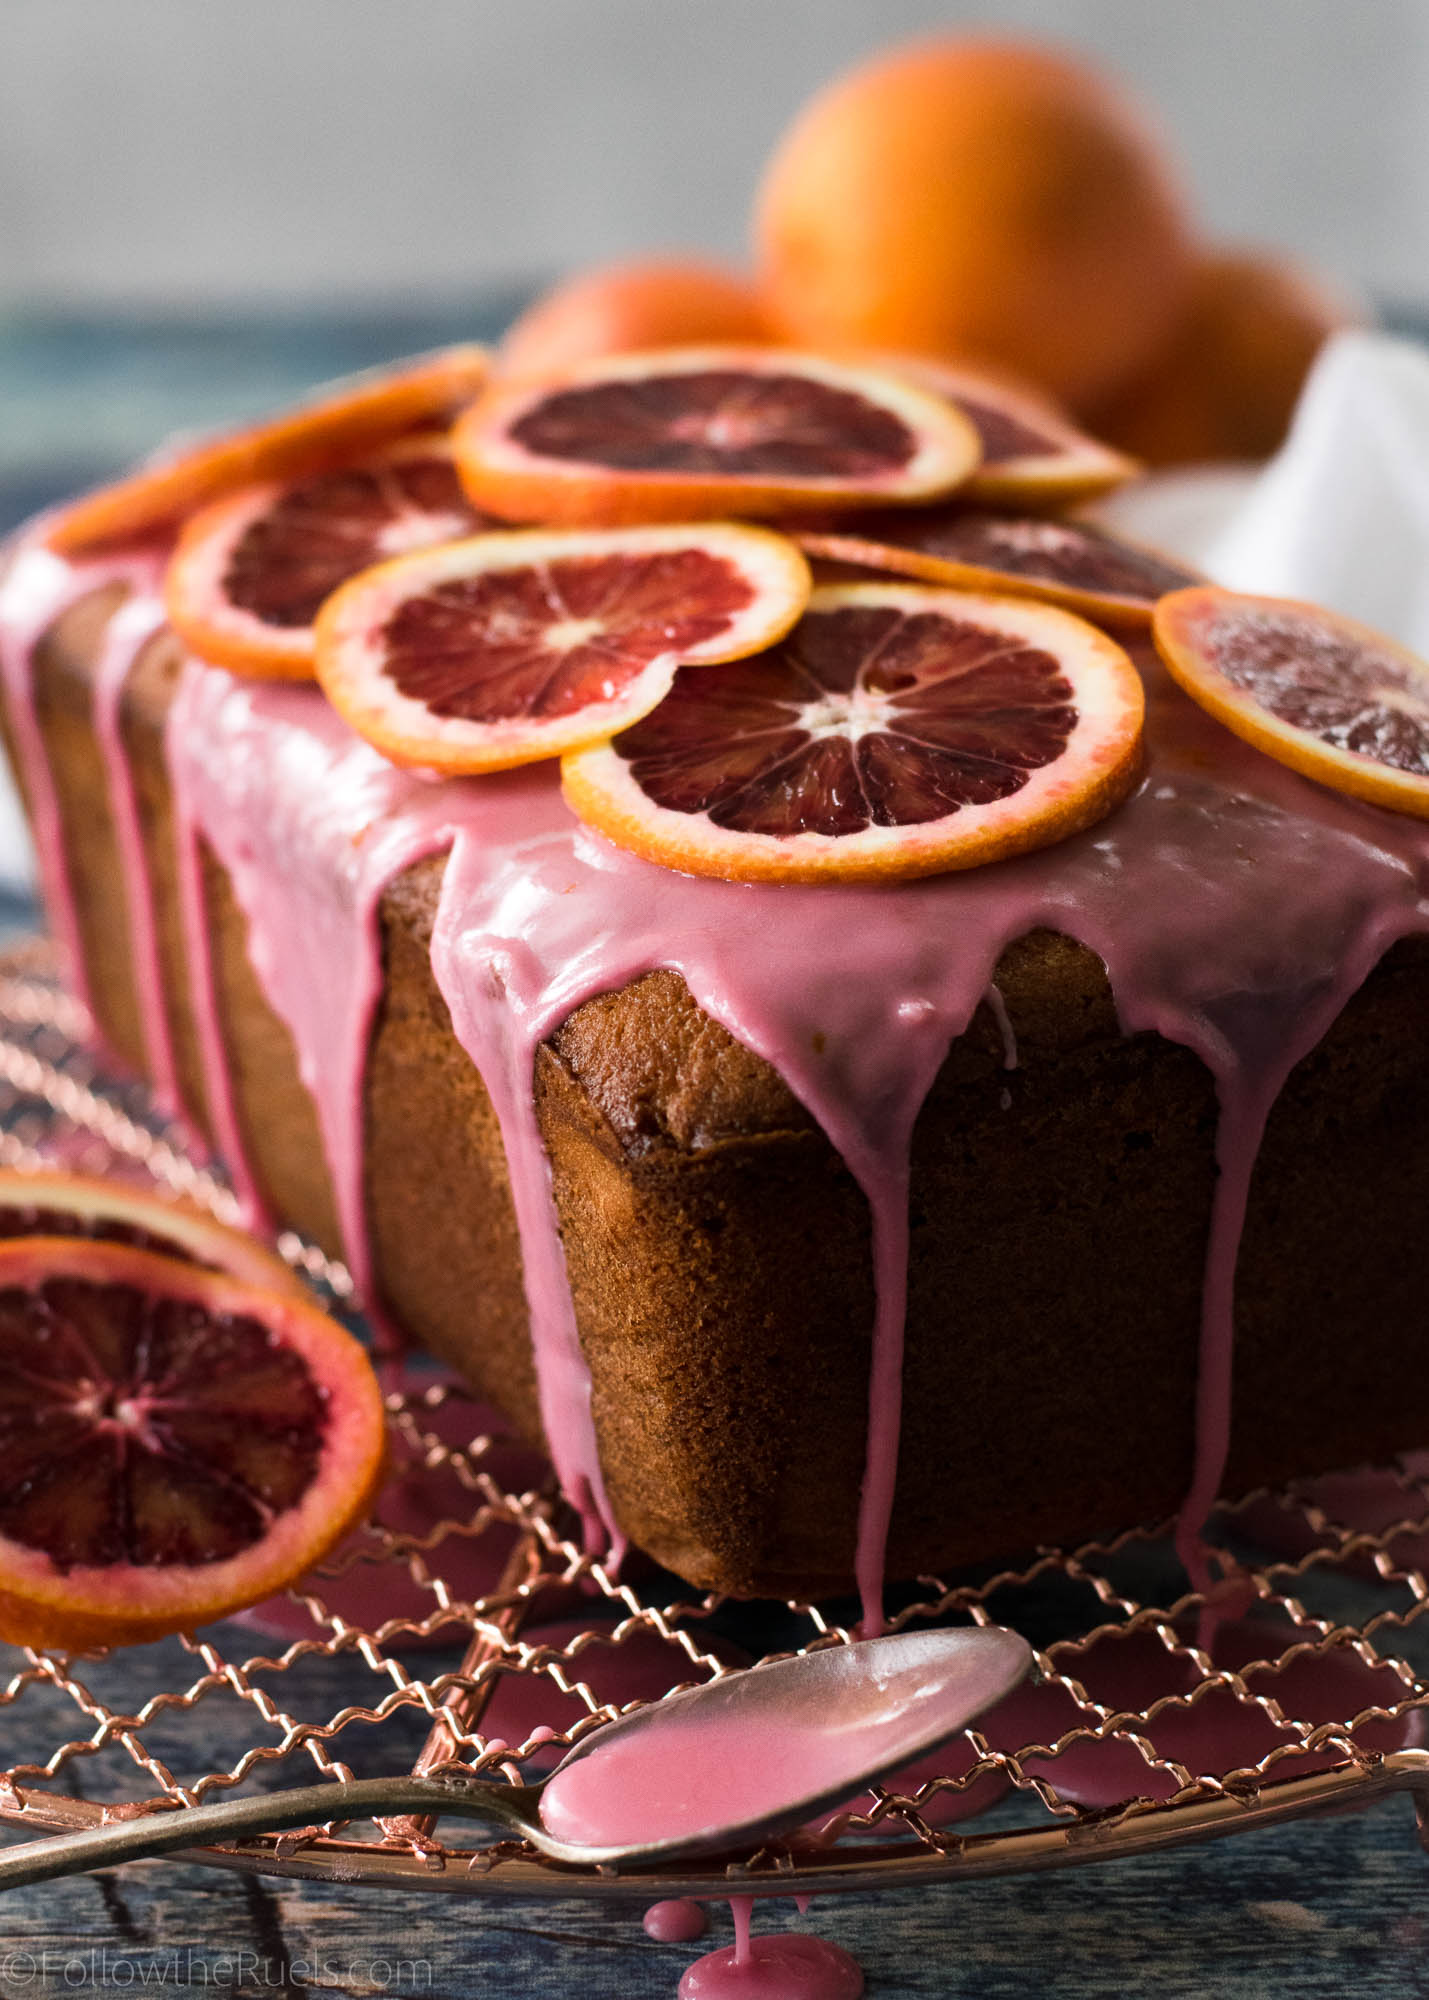
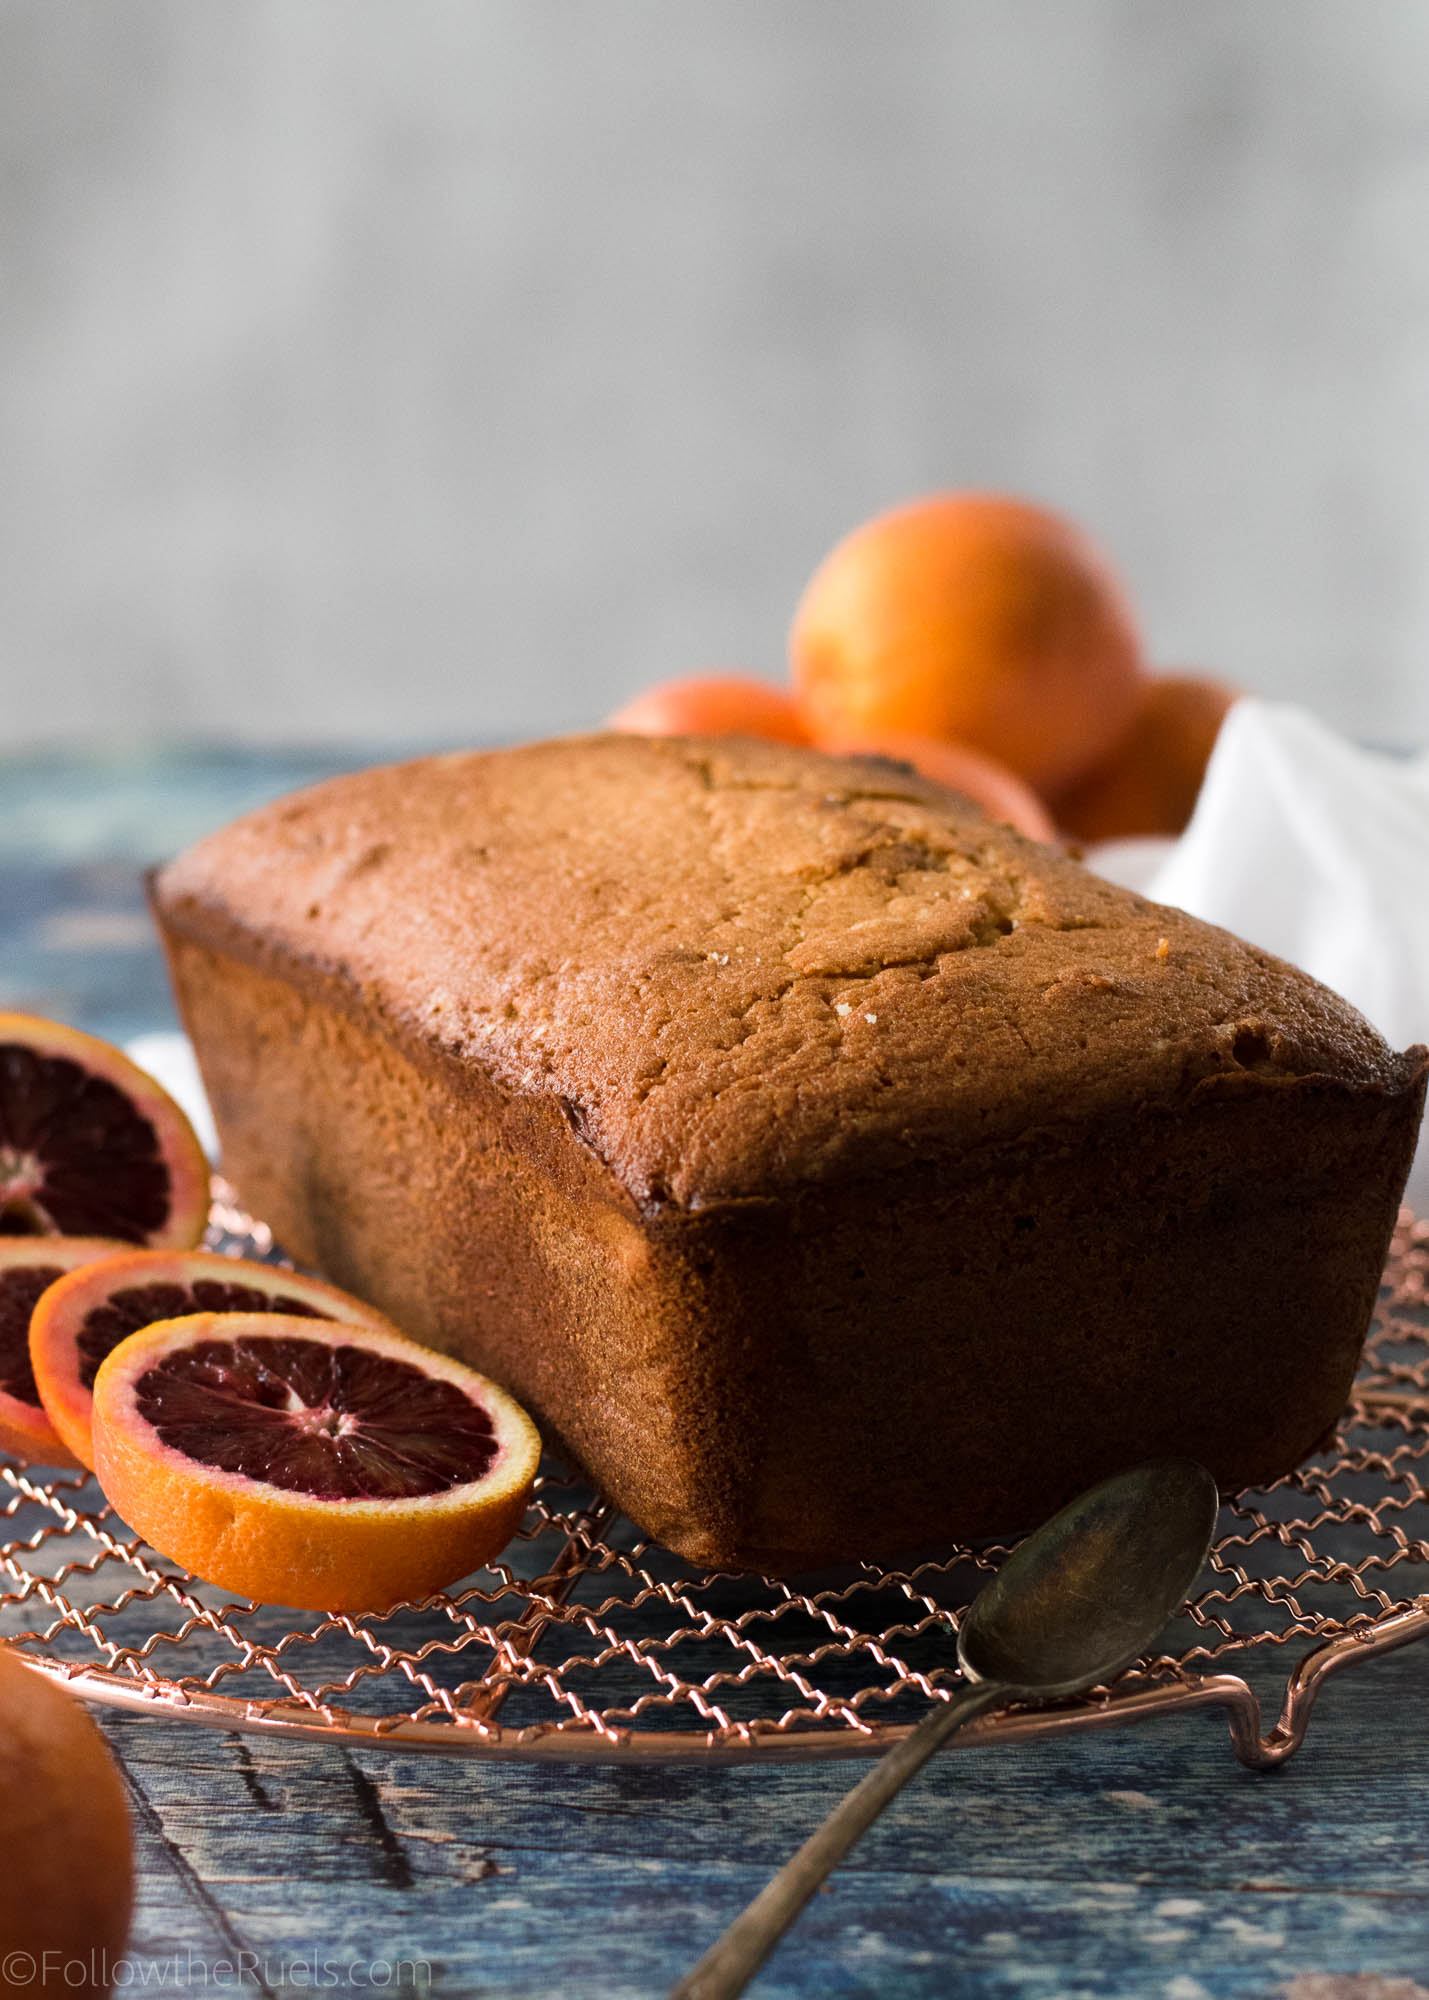
This blood orange pound cake may look a bit fancy, but it’s really just your typical pound cake with a few extra accessories. Of course, there is blood orange juice and zest in the batter itself, but it is also topped with a blood orange glaze. Since I love almonds and citrus fruit together, this pound cake is also made with almond meal and almond extract. The almond meal does make the cake a bit denser, but it also makes it super moist!

How to Make It. 

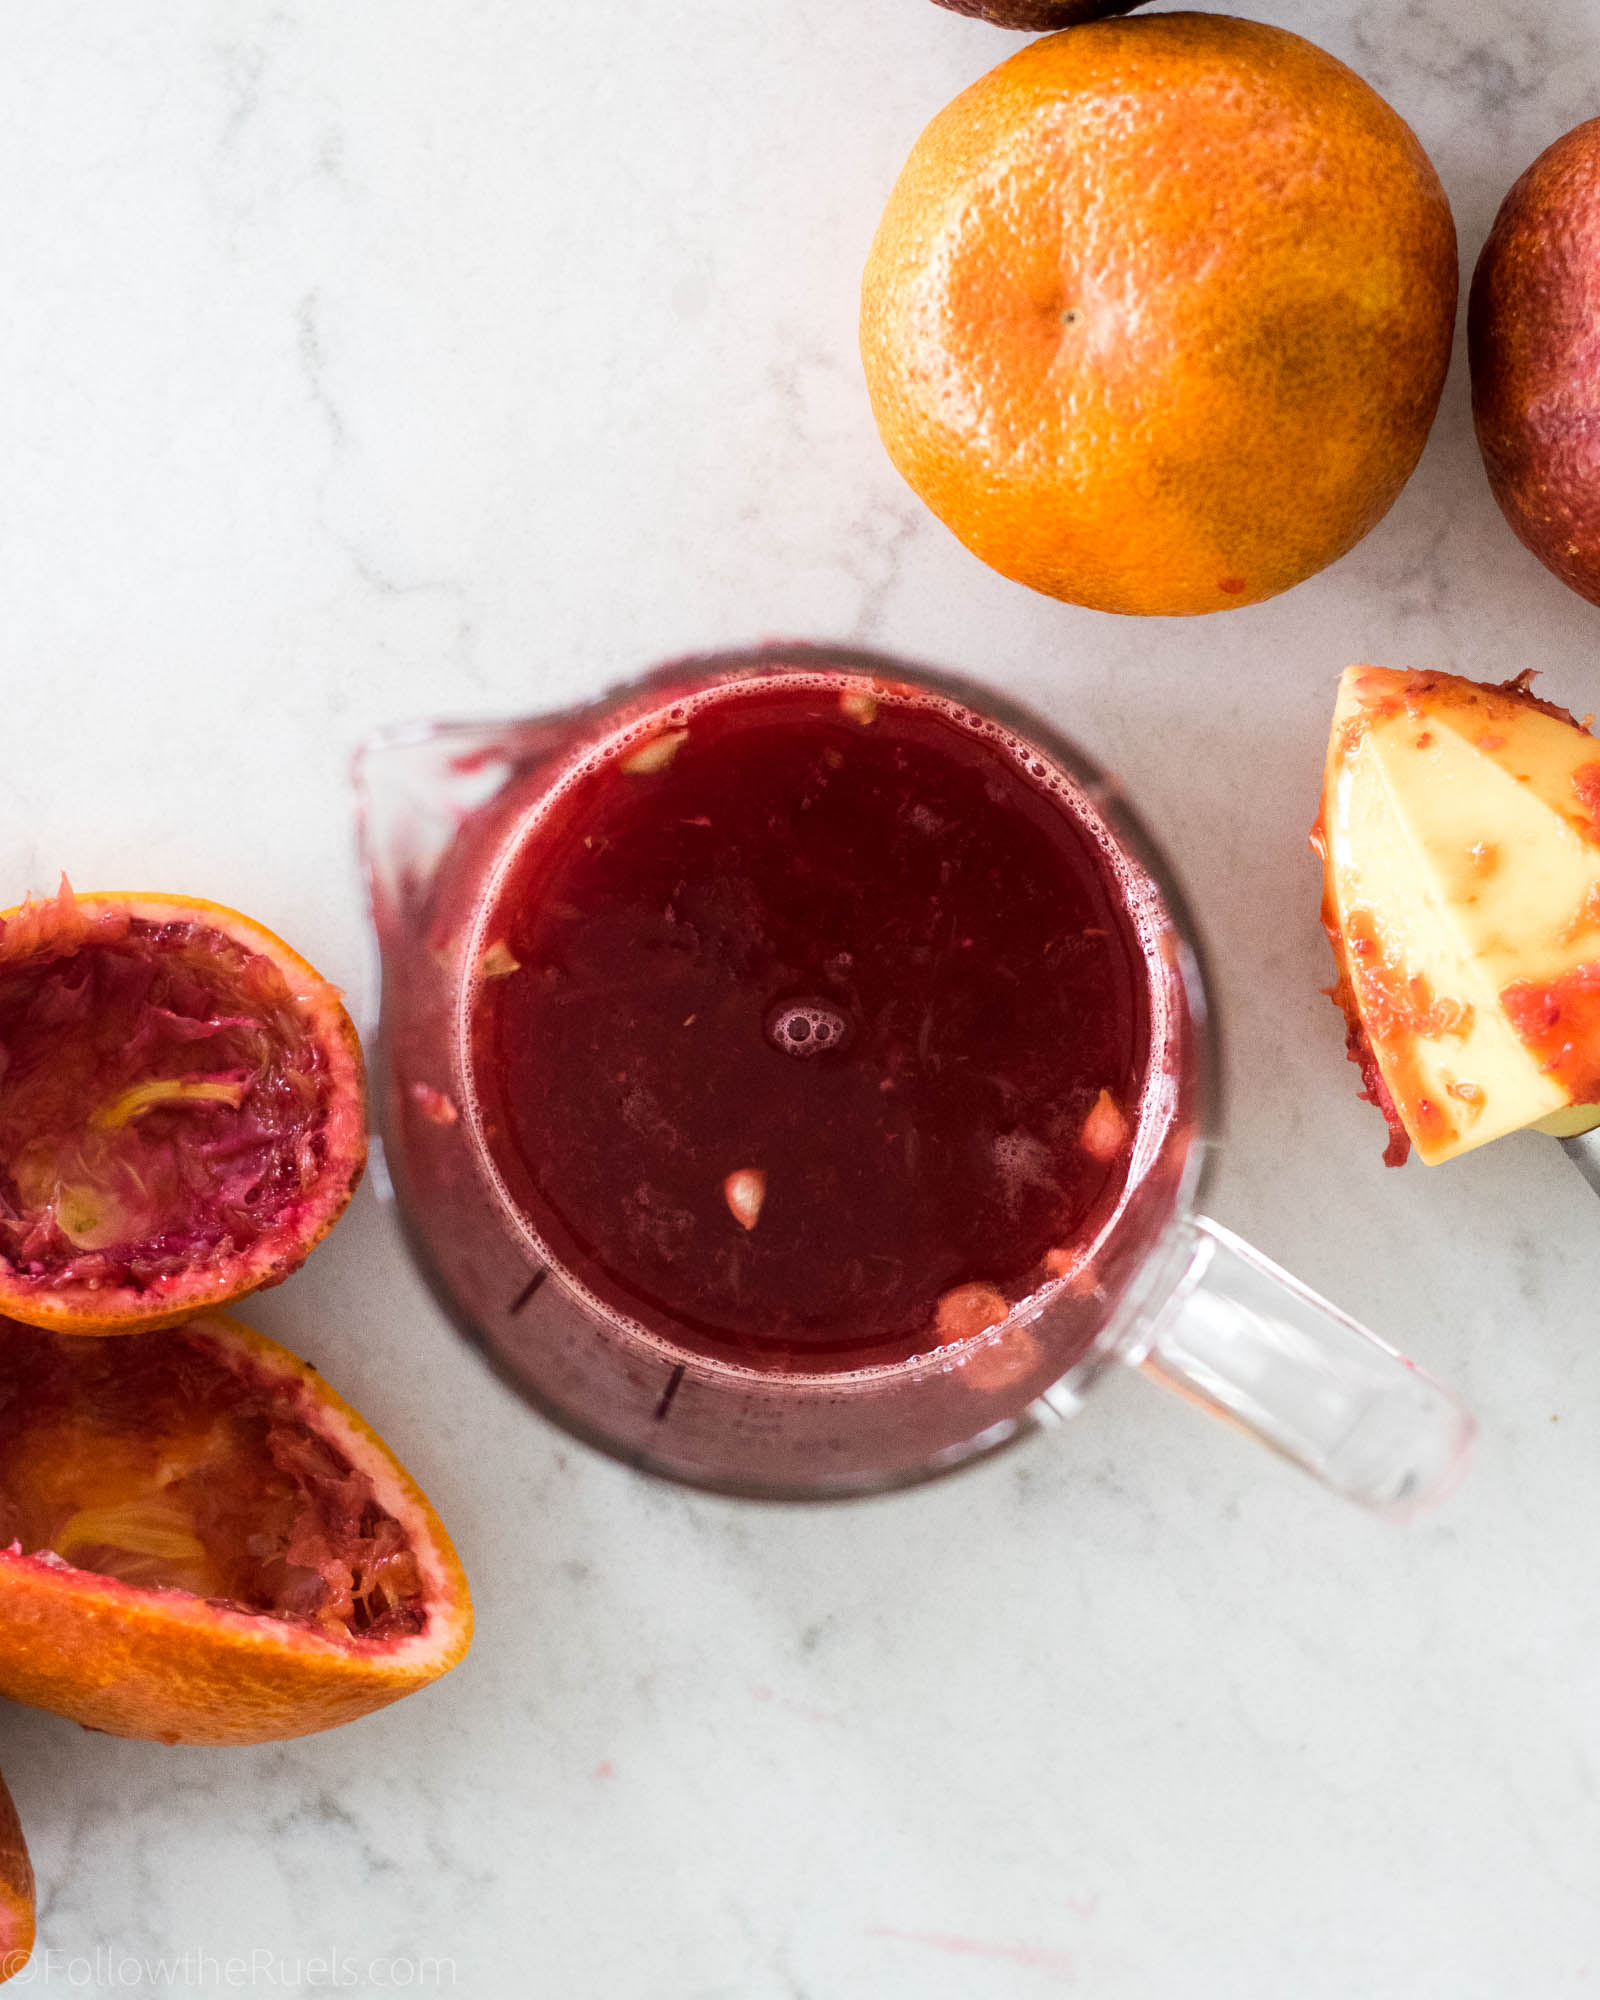
The first thing to do is juice and zest a couple blood oranges. If you have a juicer, please use that otherwise you will end up with blood (orange juice) all over your hands. It’s not attractive. But it is delicious!

Mix the blood orange juice with some milk which will be added to the batter towards the end. 

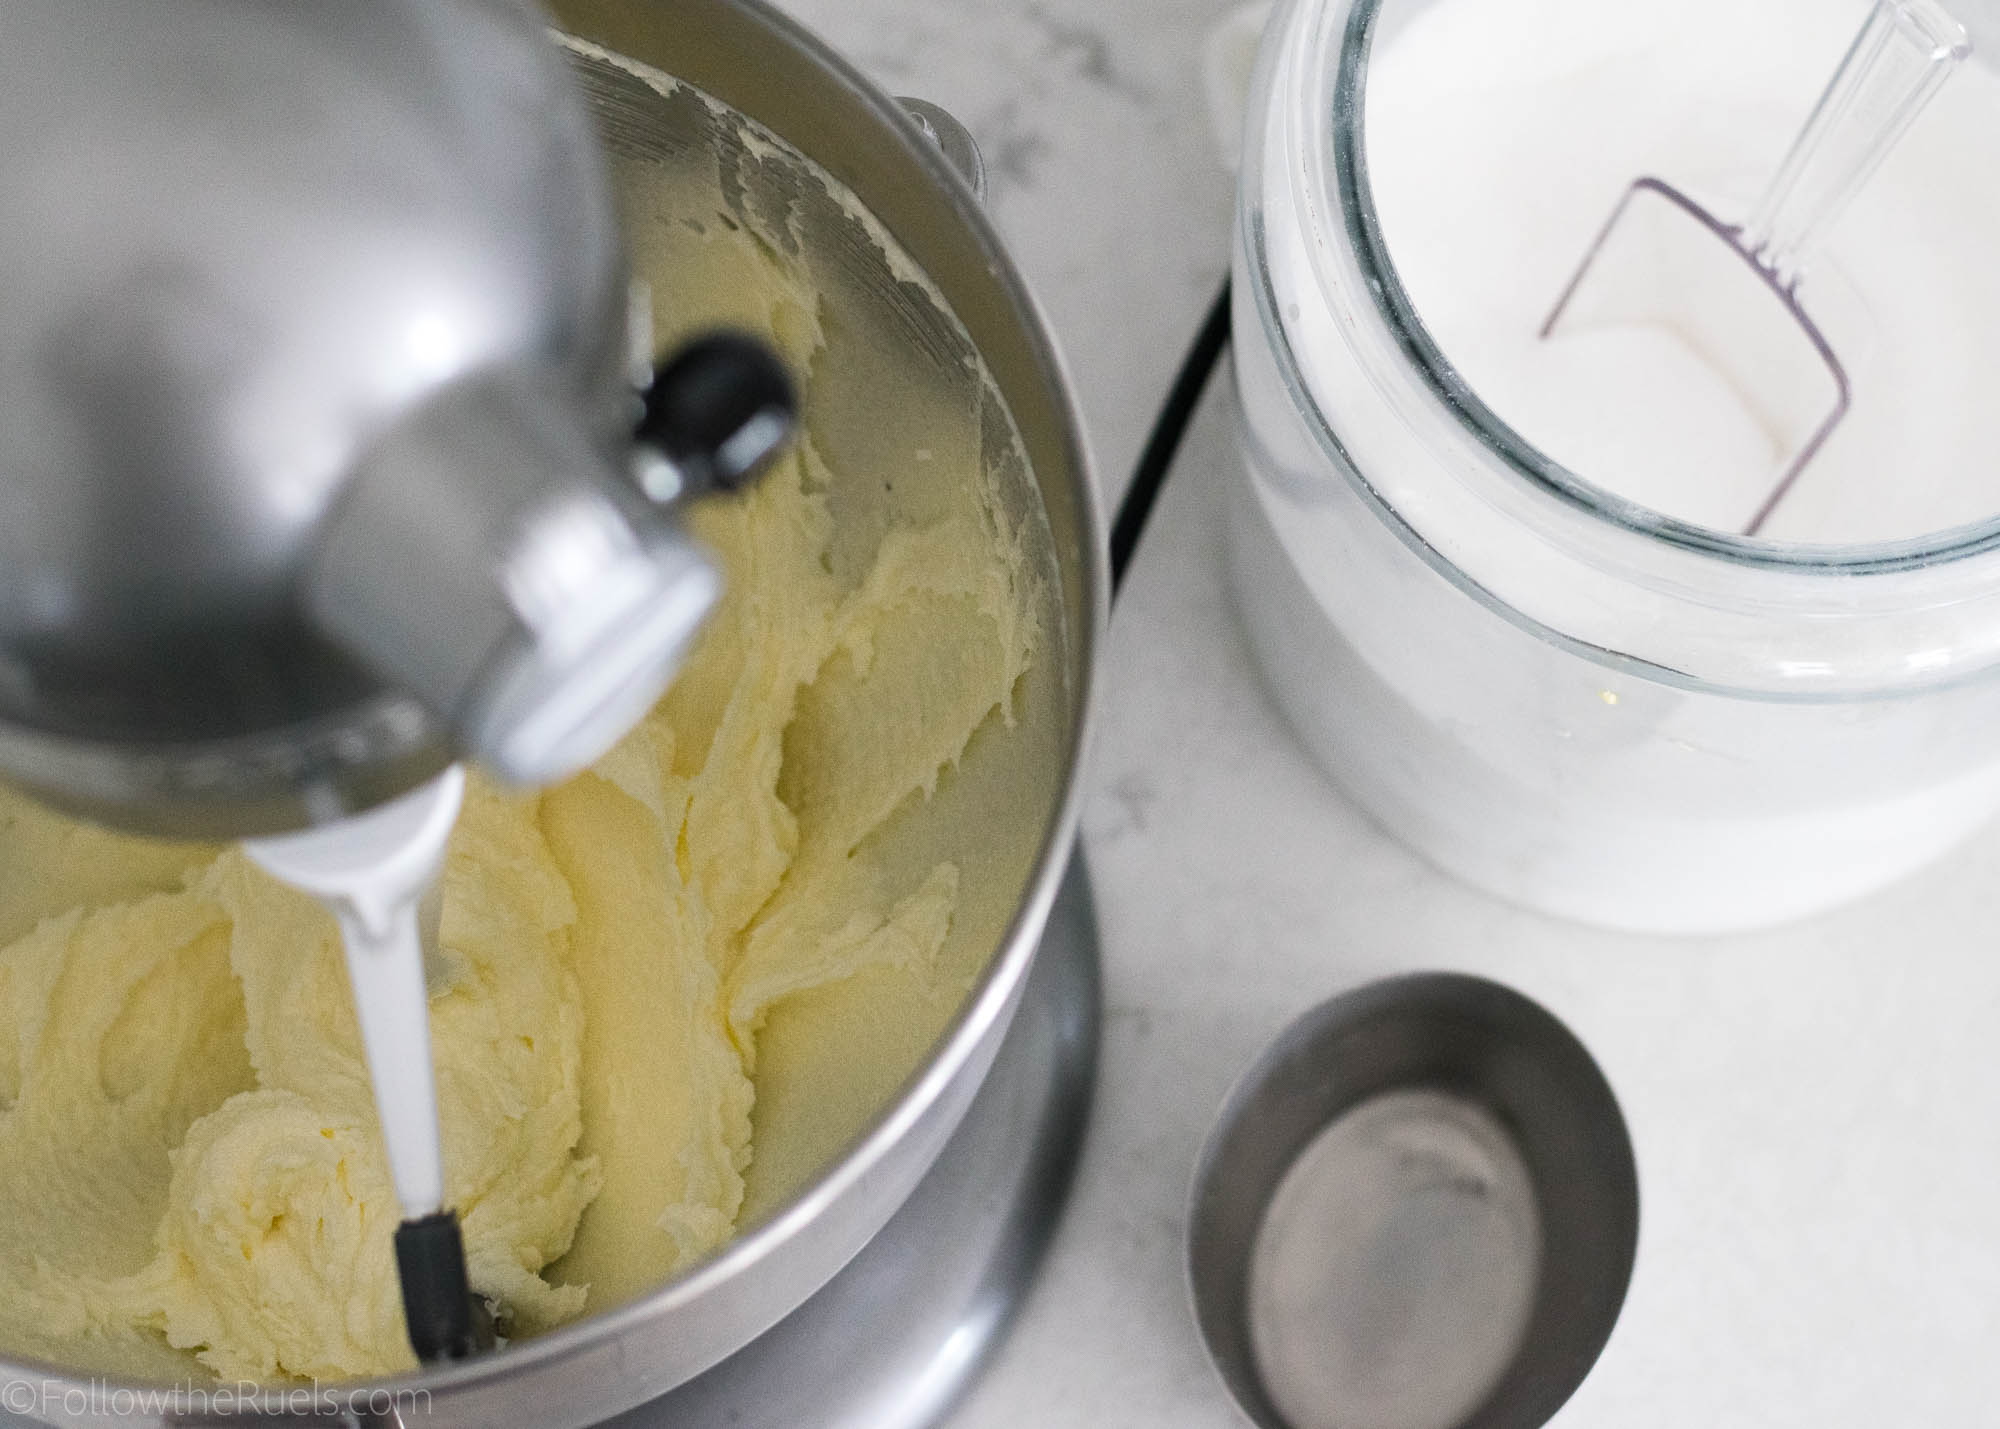
Next, cream together the butter and the sugar. Since this is pound cake and not half-pound cake or quarter-pound cake that means you are creaming a POUND of butter. I don’t trust any other pound cake recipe that doesn’t use a pound of butter because then it just isn’t pound cake!

One thing to note is that there isn’t any leavening agent (baking soda, baking powder) in this batter so the main source of leavening is the butter. More specifically, the air that is beaten into the butter. 

Really whip up this butter so it’s nice and fluffy in order to have a little bit lighter of a cake. 

I mean, it’s not going to be THAT light…it is a pound cake, after all. 

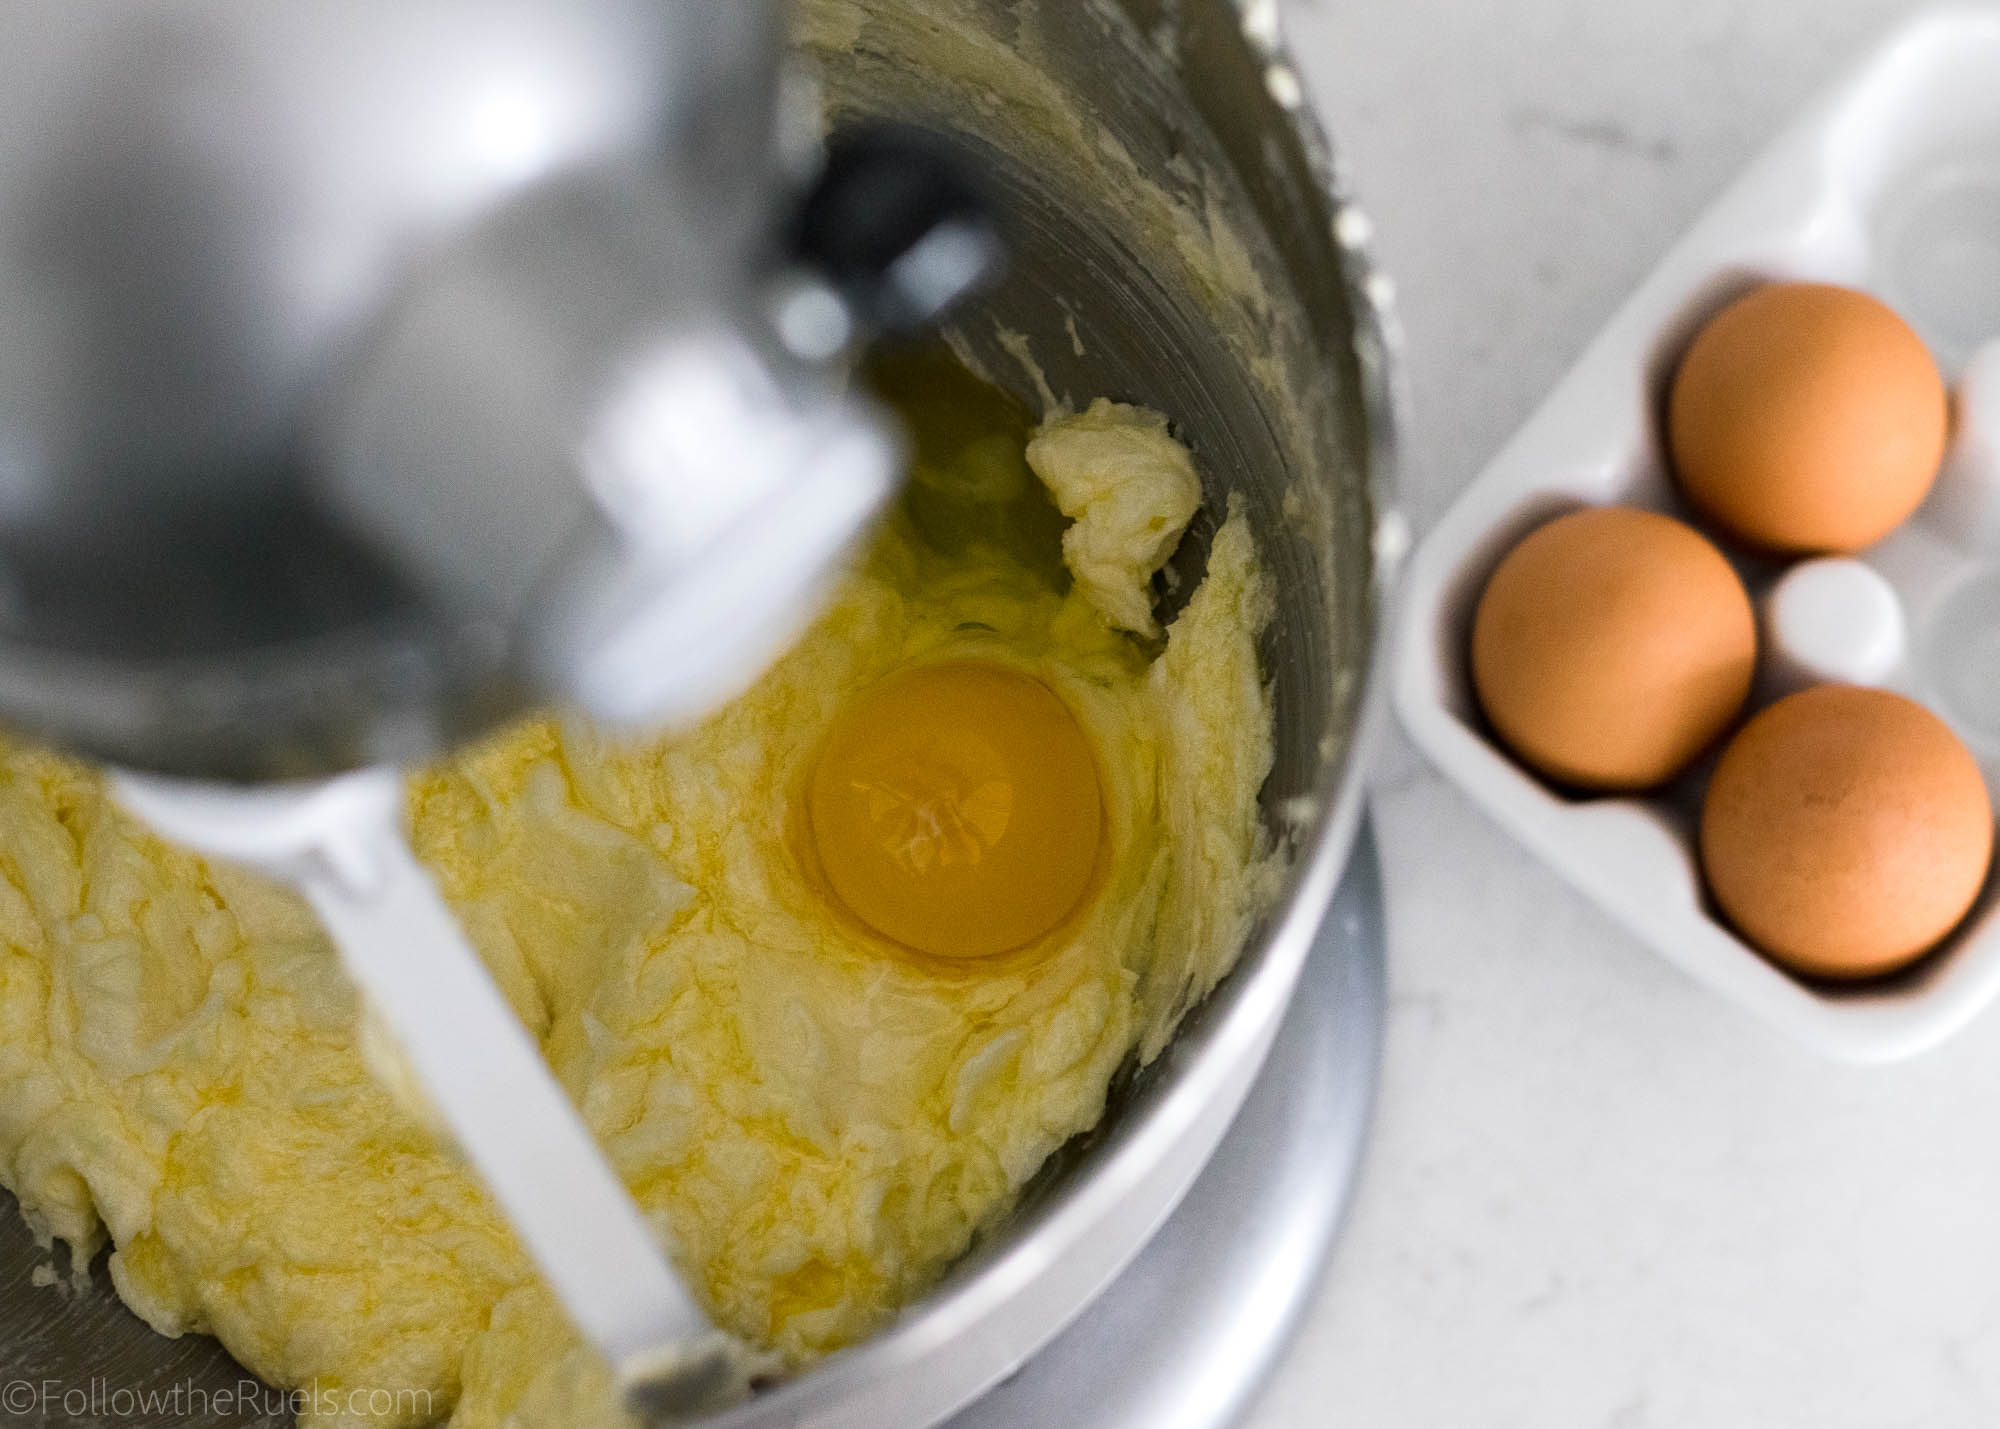
Then add your eggs, one at a time. 

Or two, if you are impatient like me. 


Then, like any other cake, you are going to alternating mixing in the dry ingredients with the wet ingredients, starting and ending with the dry.

Lastly, pour the batter into a prepared loaf pan or bunt pan.

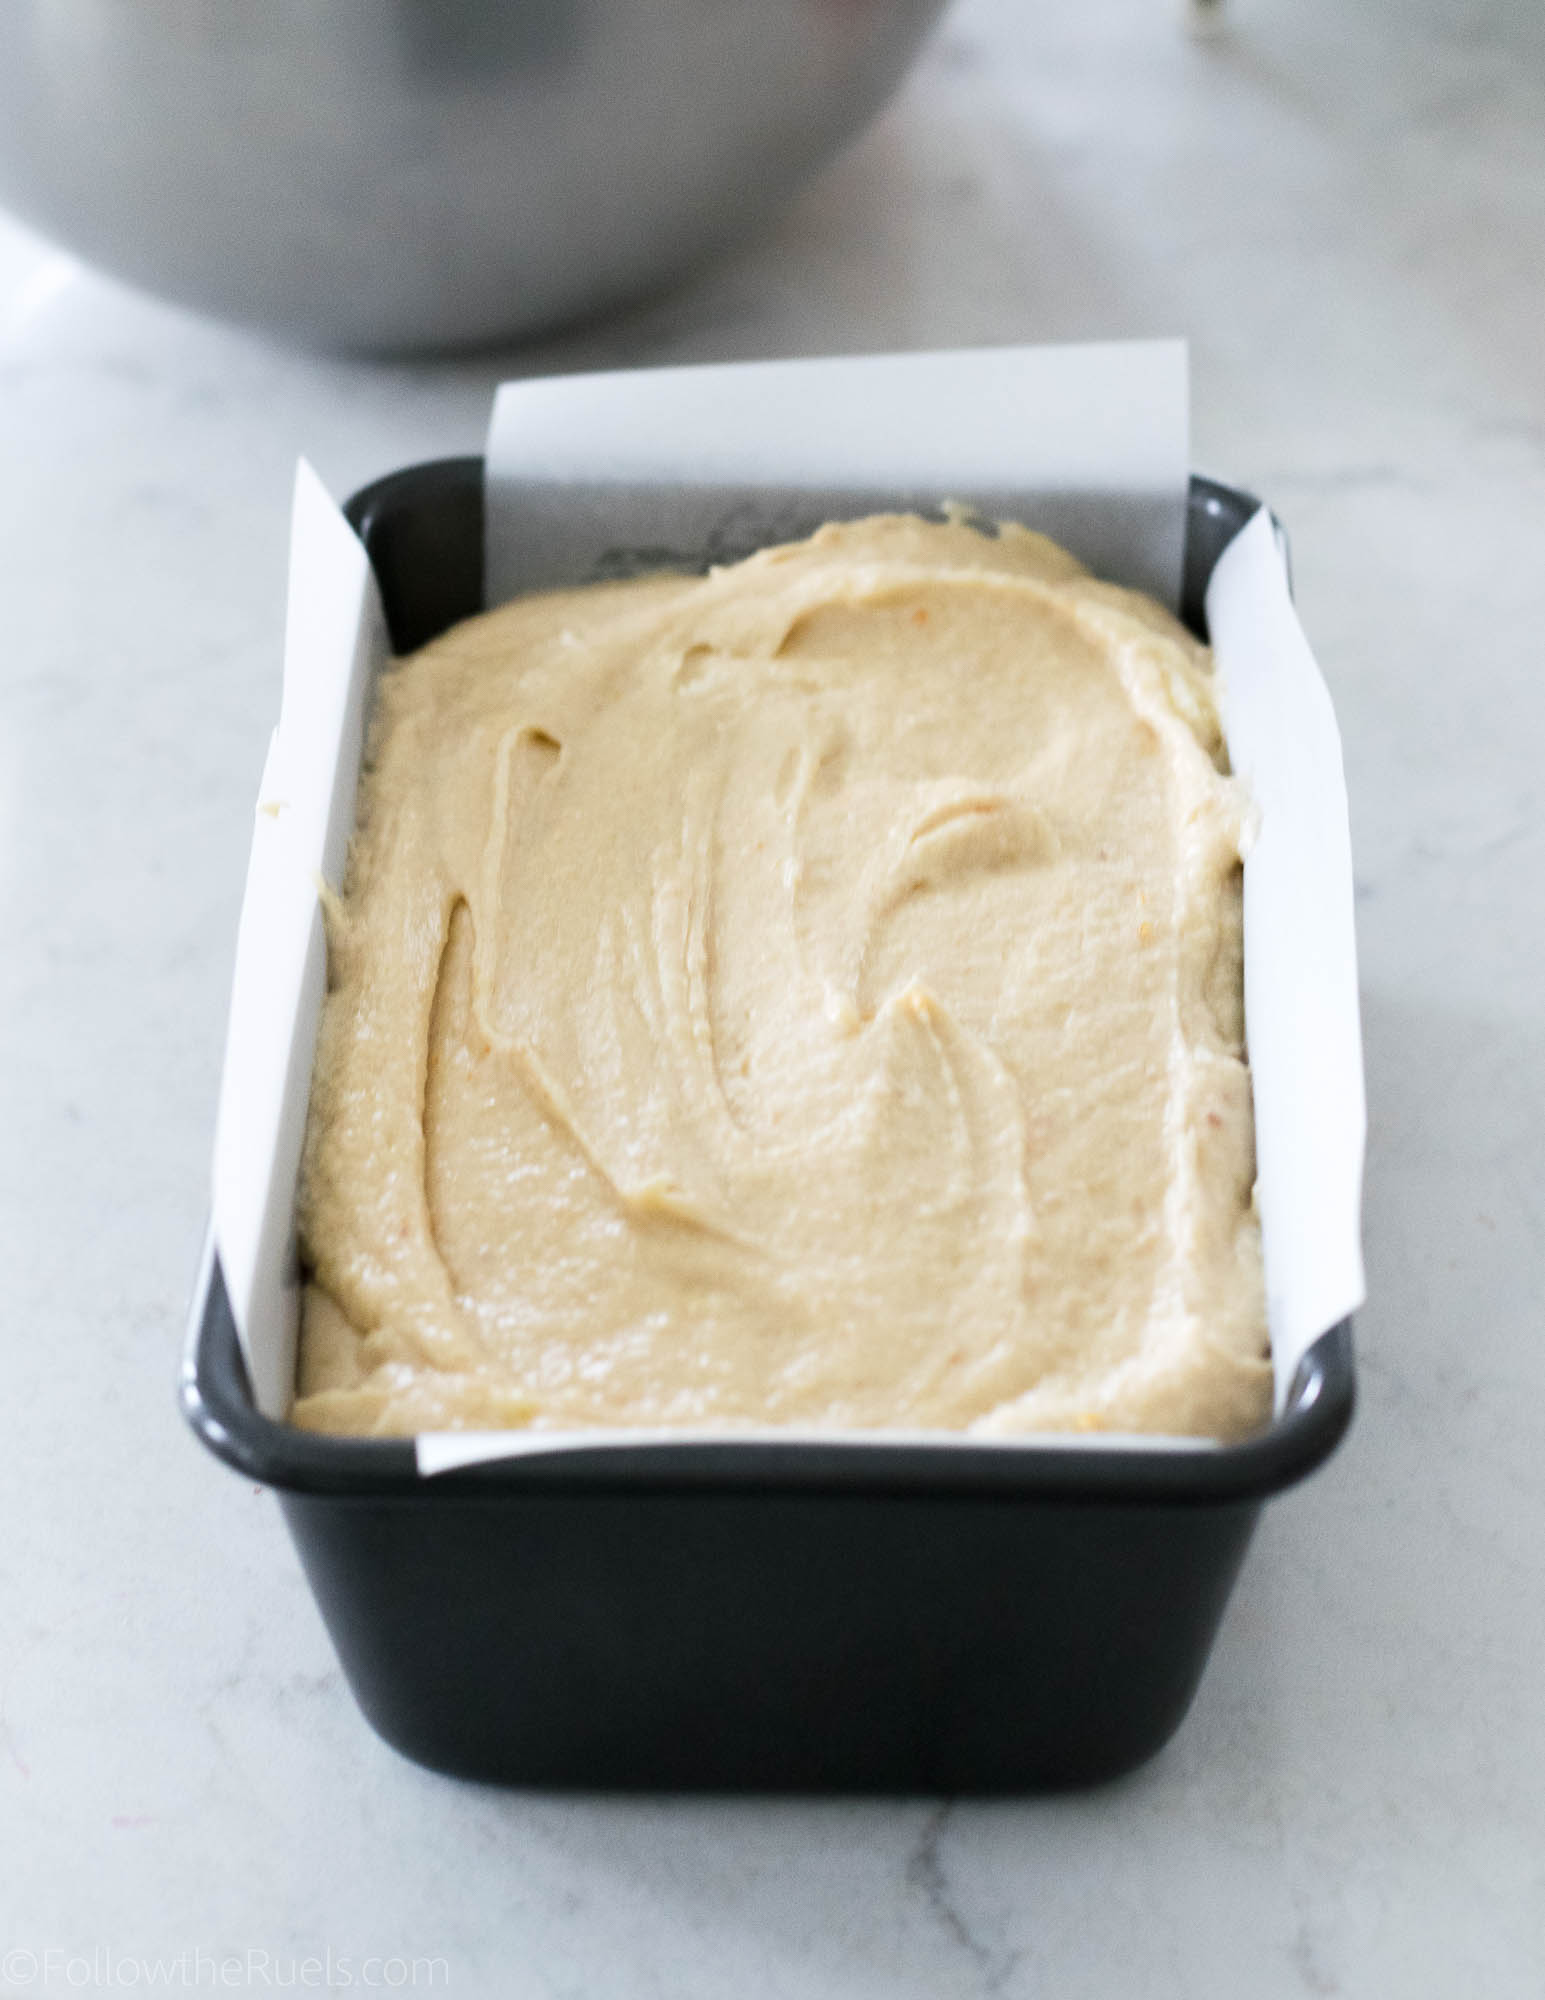
I prepare my loaf pans by spraying them with a little baking spray then lining them with parchment paper, as you see above.

For bunt pans, spray the inside with baking spray, then sprinkle flour all along the inside making sure to get all the nooks and crannies. Then just tap out any excess flour. 

Pound cakes do take quite a while to bake. So once you pop it in the oven you have a little over an hour to do whatever you want: clean the kitchen, read a book, mindlessly watching Insta Stories…whatever!

Once out of the oven the pound cake will smell like heaven! Is there anything better then the smell of something sweet baking? Now combine that with the delicious smell of oranges. And that is the smell that will be filling your kitchen!


But wait! There’s more!

You can’t just leave this almond blood orange pound cake all nekkid. It needs a little something extra so people know that this isn’t just your average pound cake. It’s a blood orange pound cake!

The glaze on top is very simple to make: mix the juice of one blood orange with 1 1/2 cup of powdered sugar. If it’s too thick, add a couple drops of water at a time until its thin enough to run off the back of a spoon. 

Then pour that glaze all over the top of your blood orange pound cake. 

If you really want to get fancy, then you can add some sliced blood oranges on top. 

But I really only did that for the pictures. 

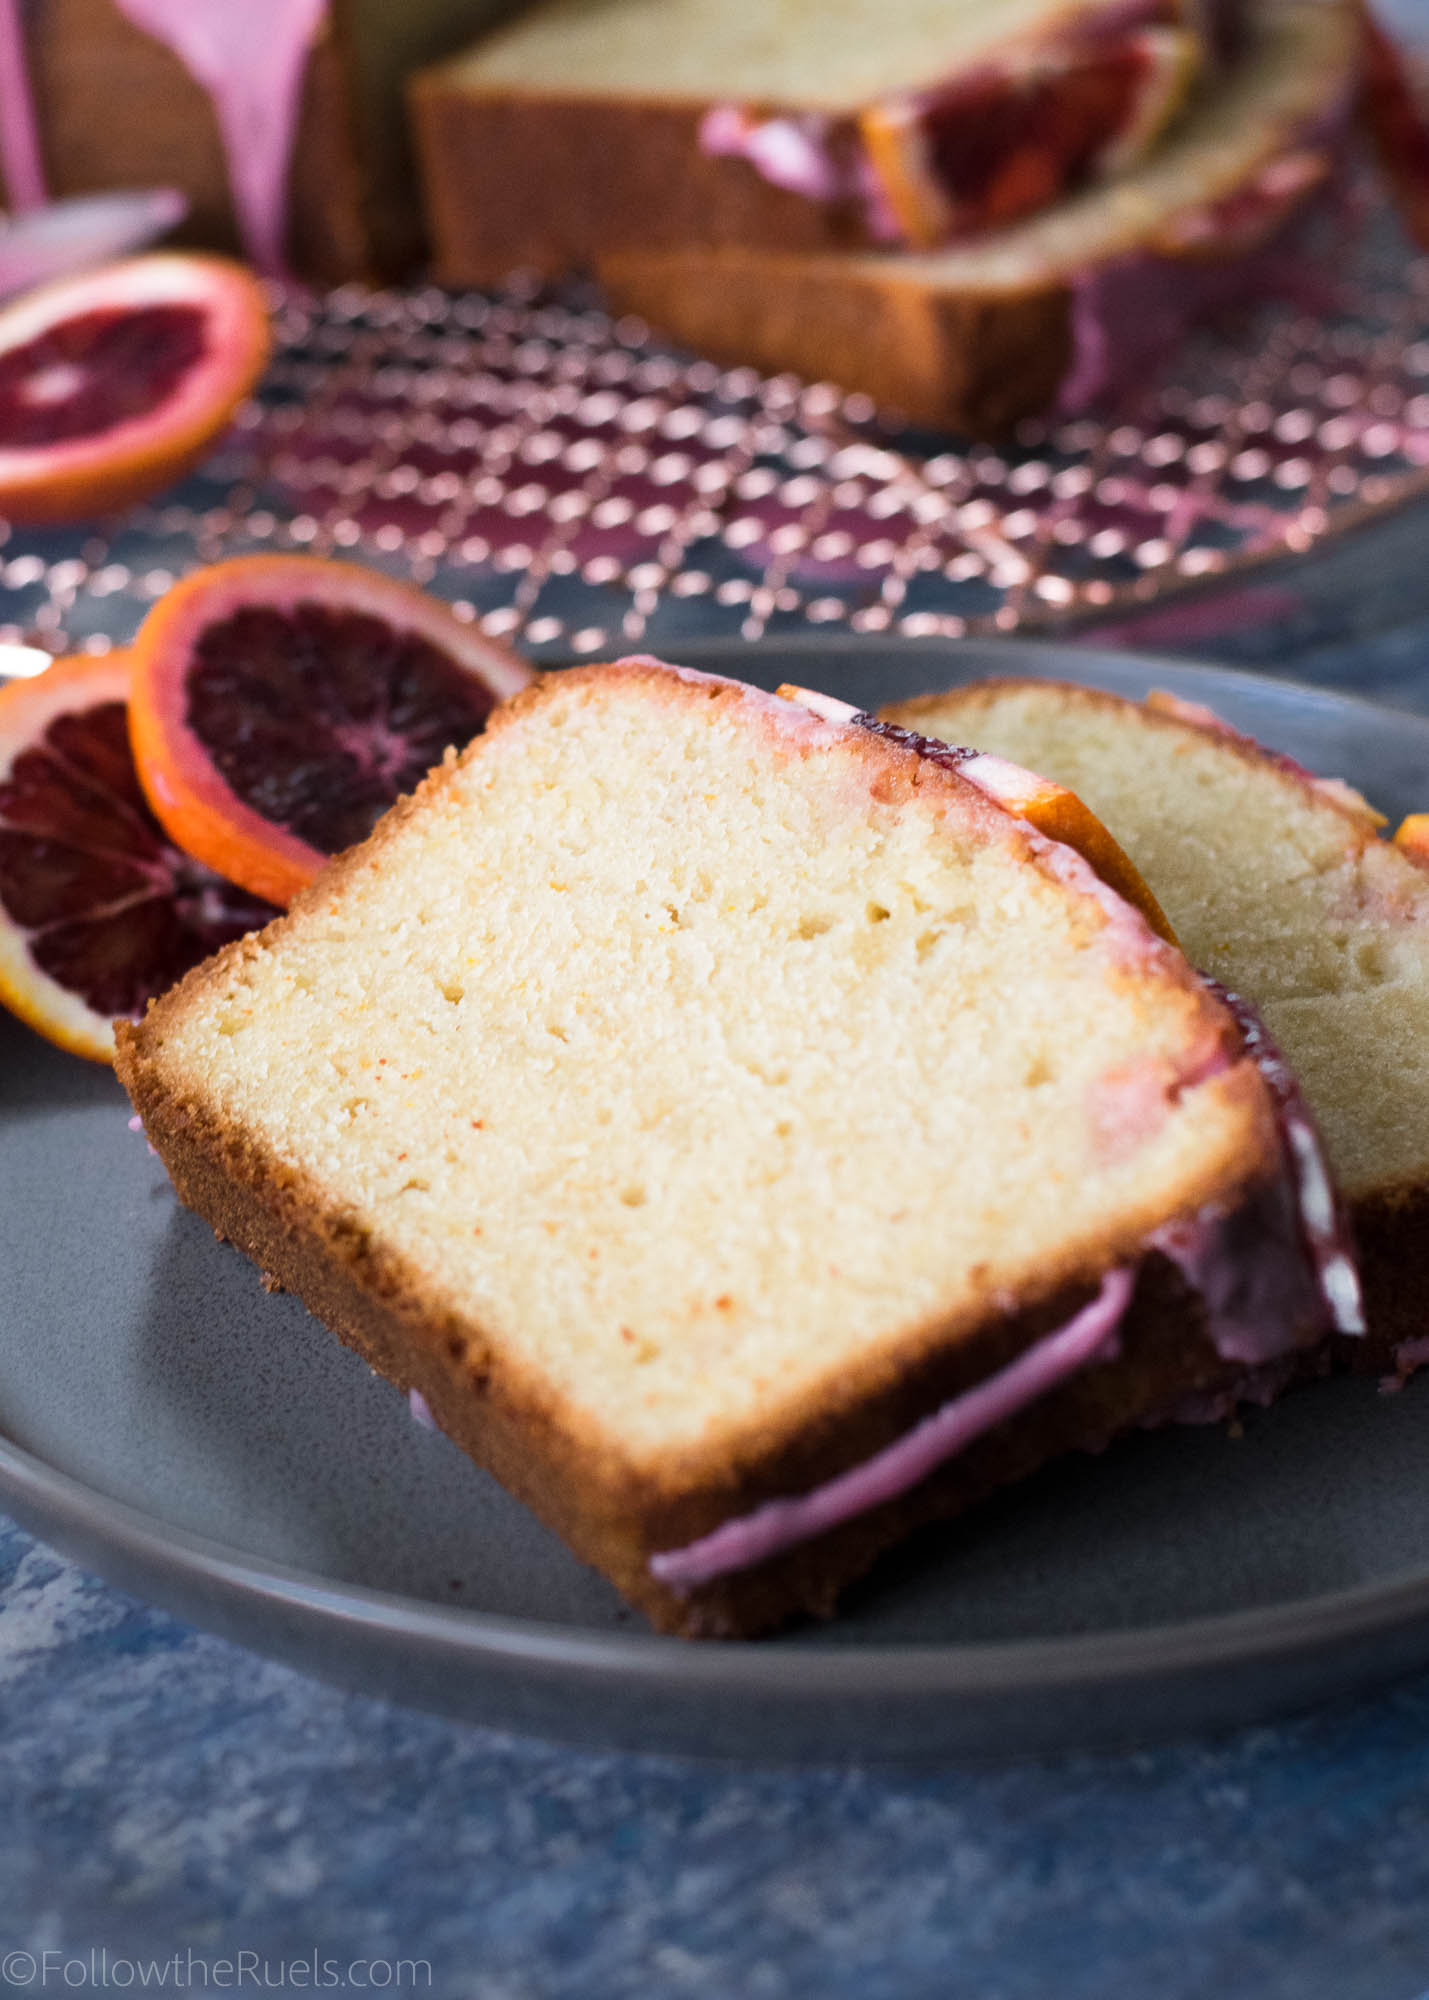
Or just immediately slice right into that cake and take a bite!

[show_shopthepost_widget id=”3035531″] 
[yumprint-recipe id=’160′] 

/ Filed In: Cakes and Cupcakes, Cakes New, Desserts, Eat
Tagged: blood orange, cake, citrus, orange, pound cake

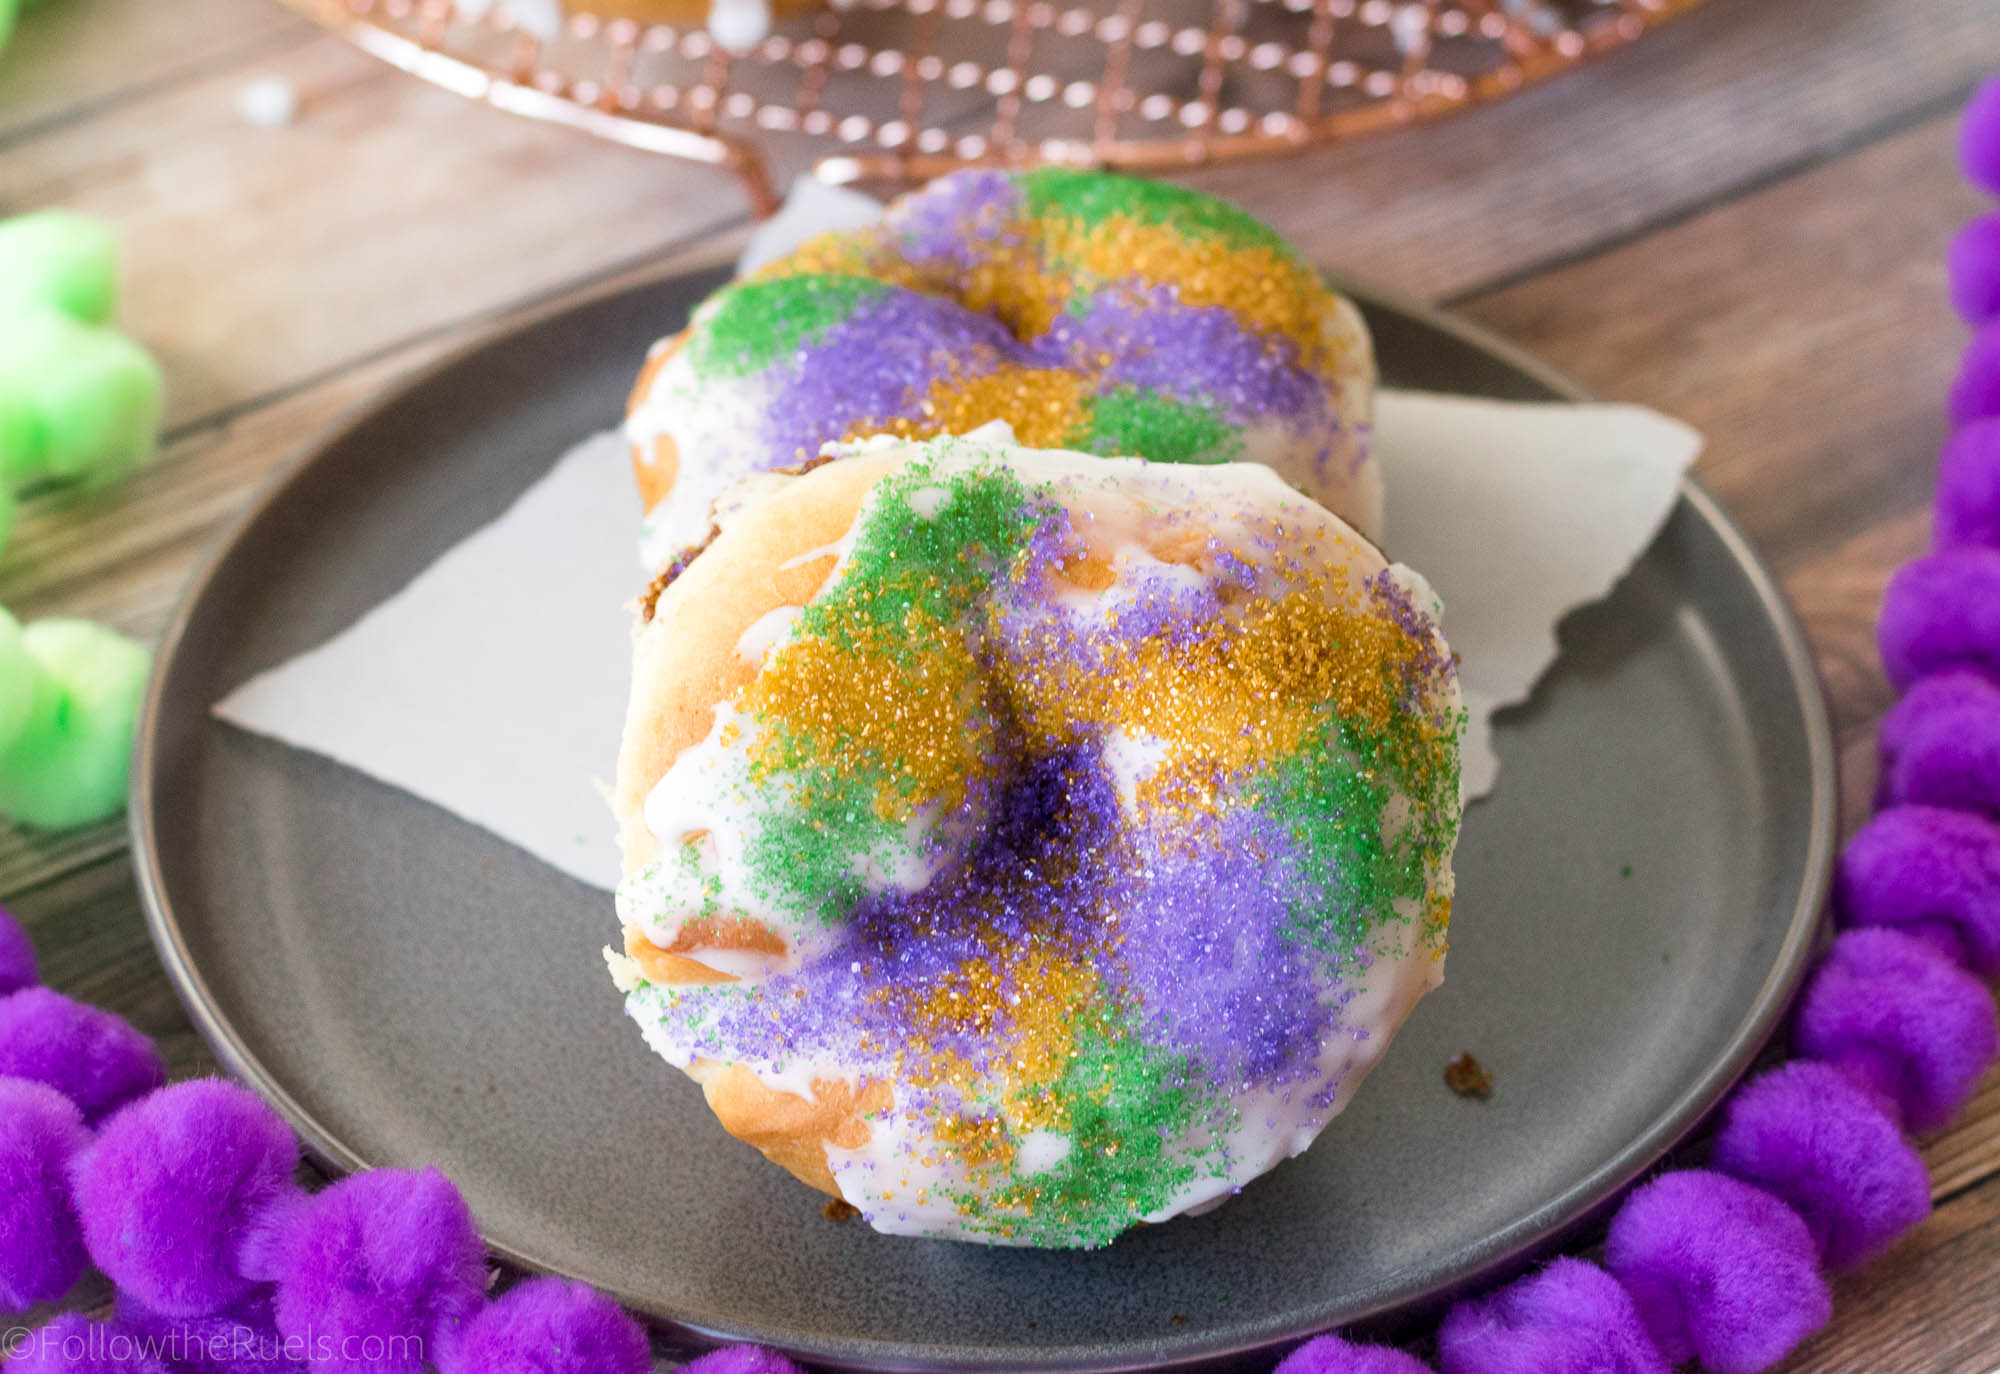
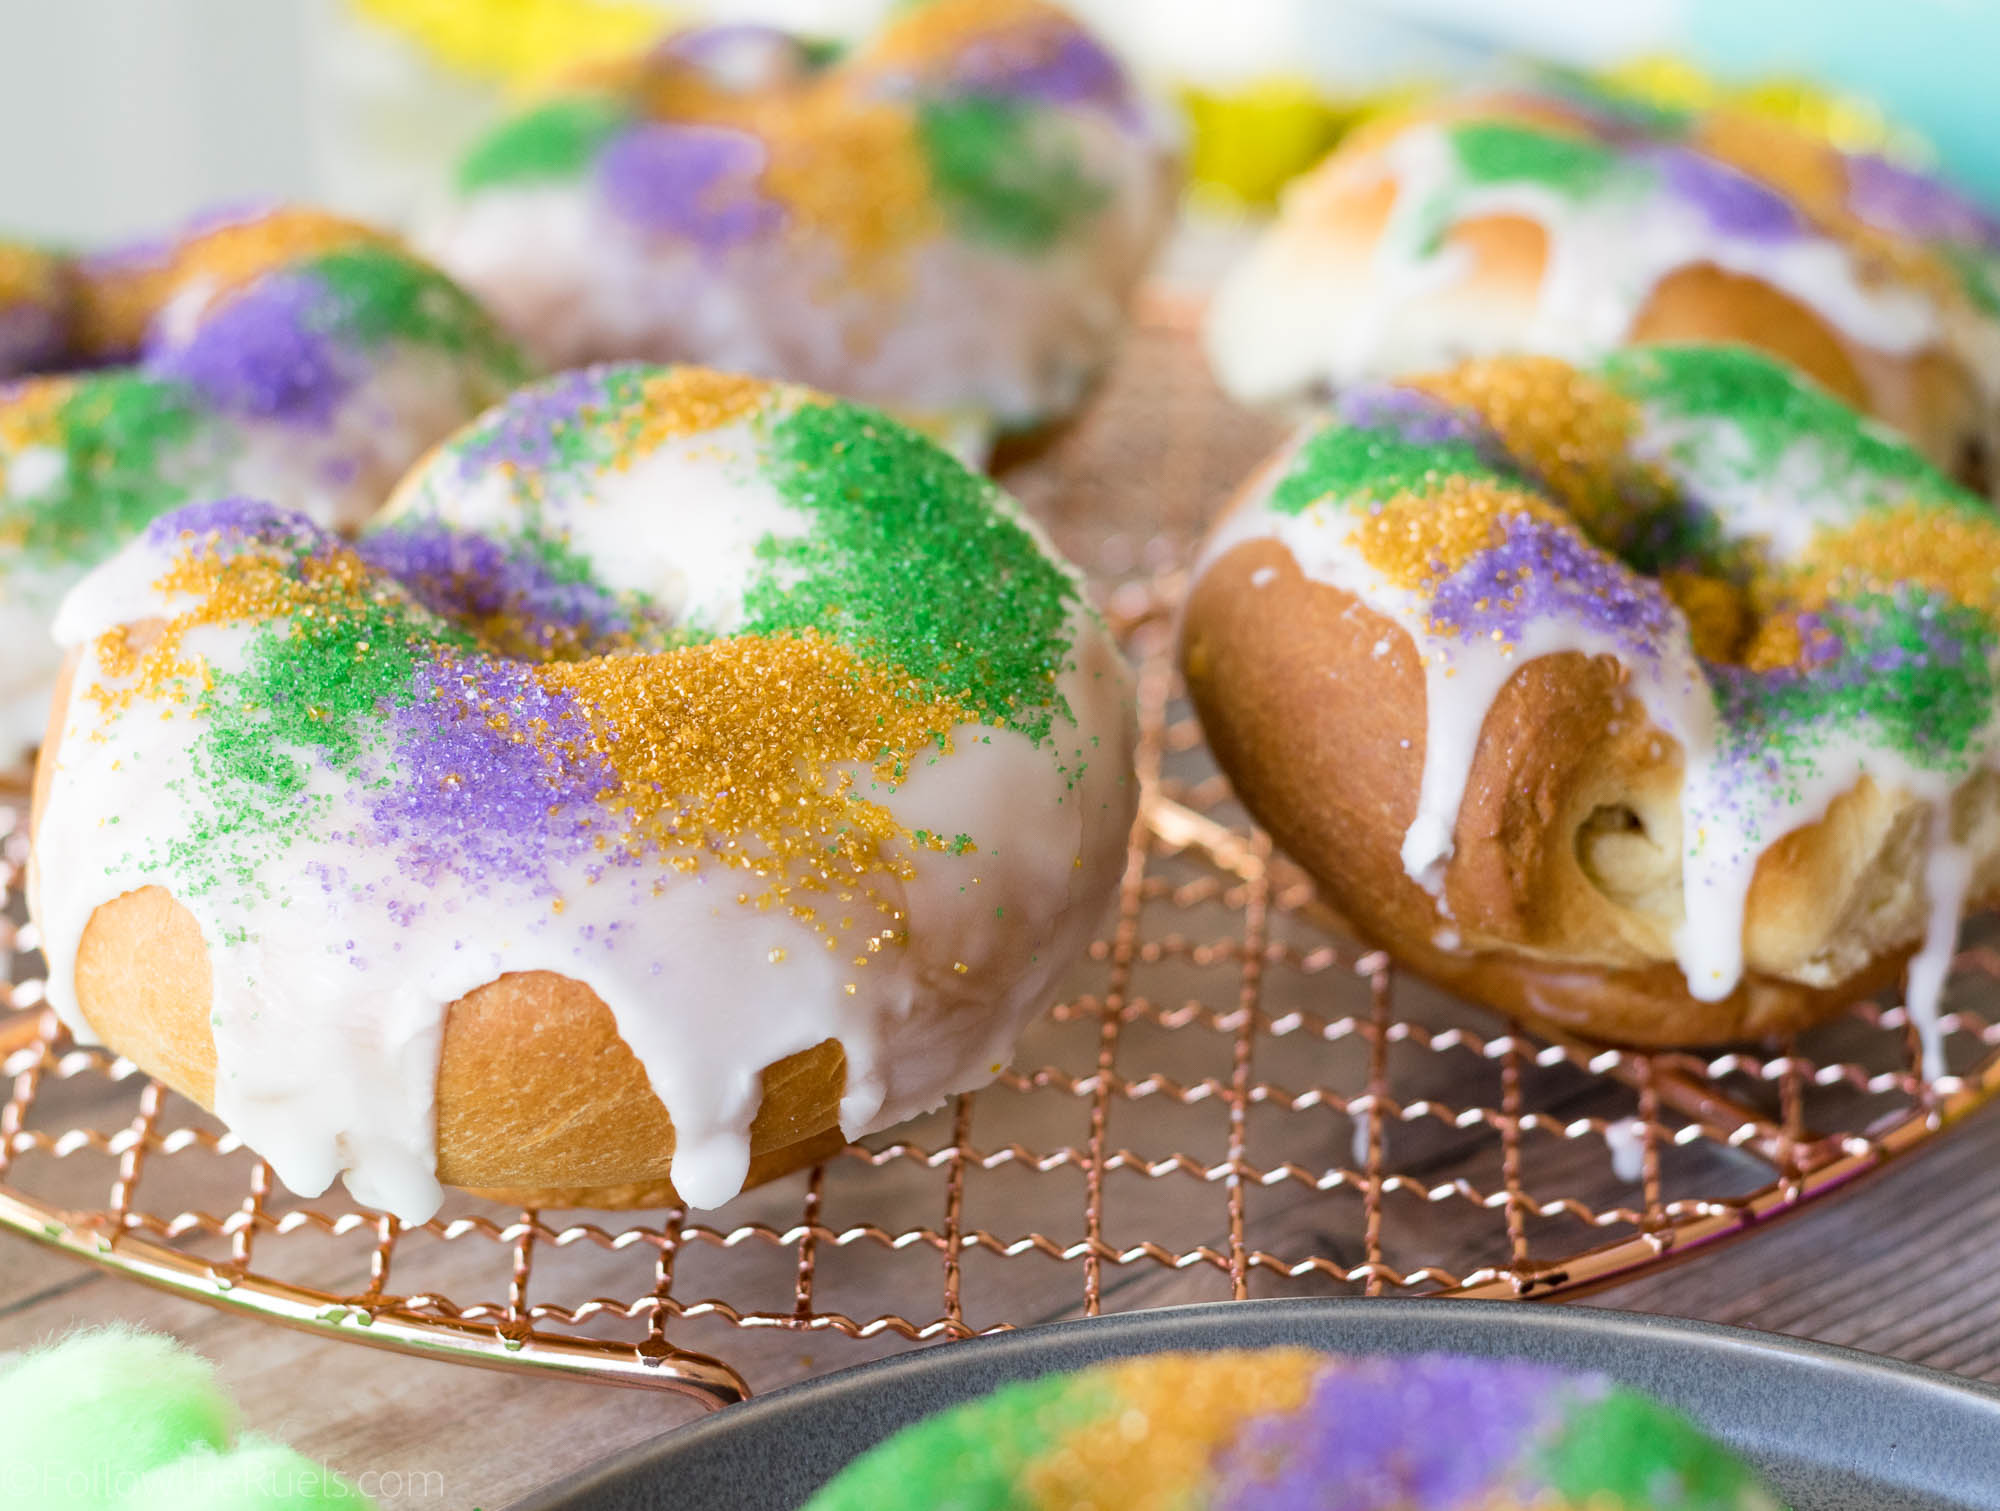
King Cake Donuts (aka Mini King Cakes)

February 9, 2018

I had never even heard of King Cake until I went college. If you live on the West coast and have never been remotely near the South during Mardi Gras, you may not have either. 

Everything I know about King Cake I learned from my college roommate who was from Louisiana. For her first Mardi Gras, her mom sent her a King Cake all the way from Baton Rouge. From that point on, I knew you can’t celebrate Mardi Gras without one of these cakes.

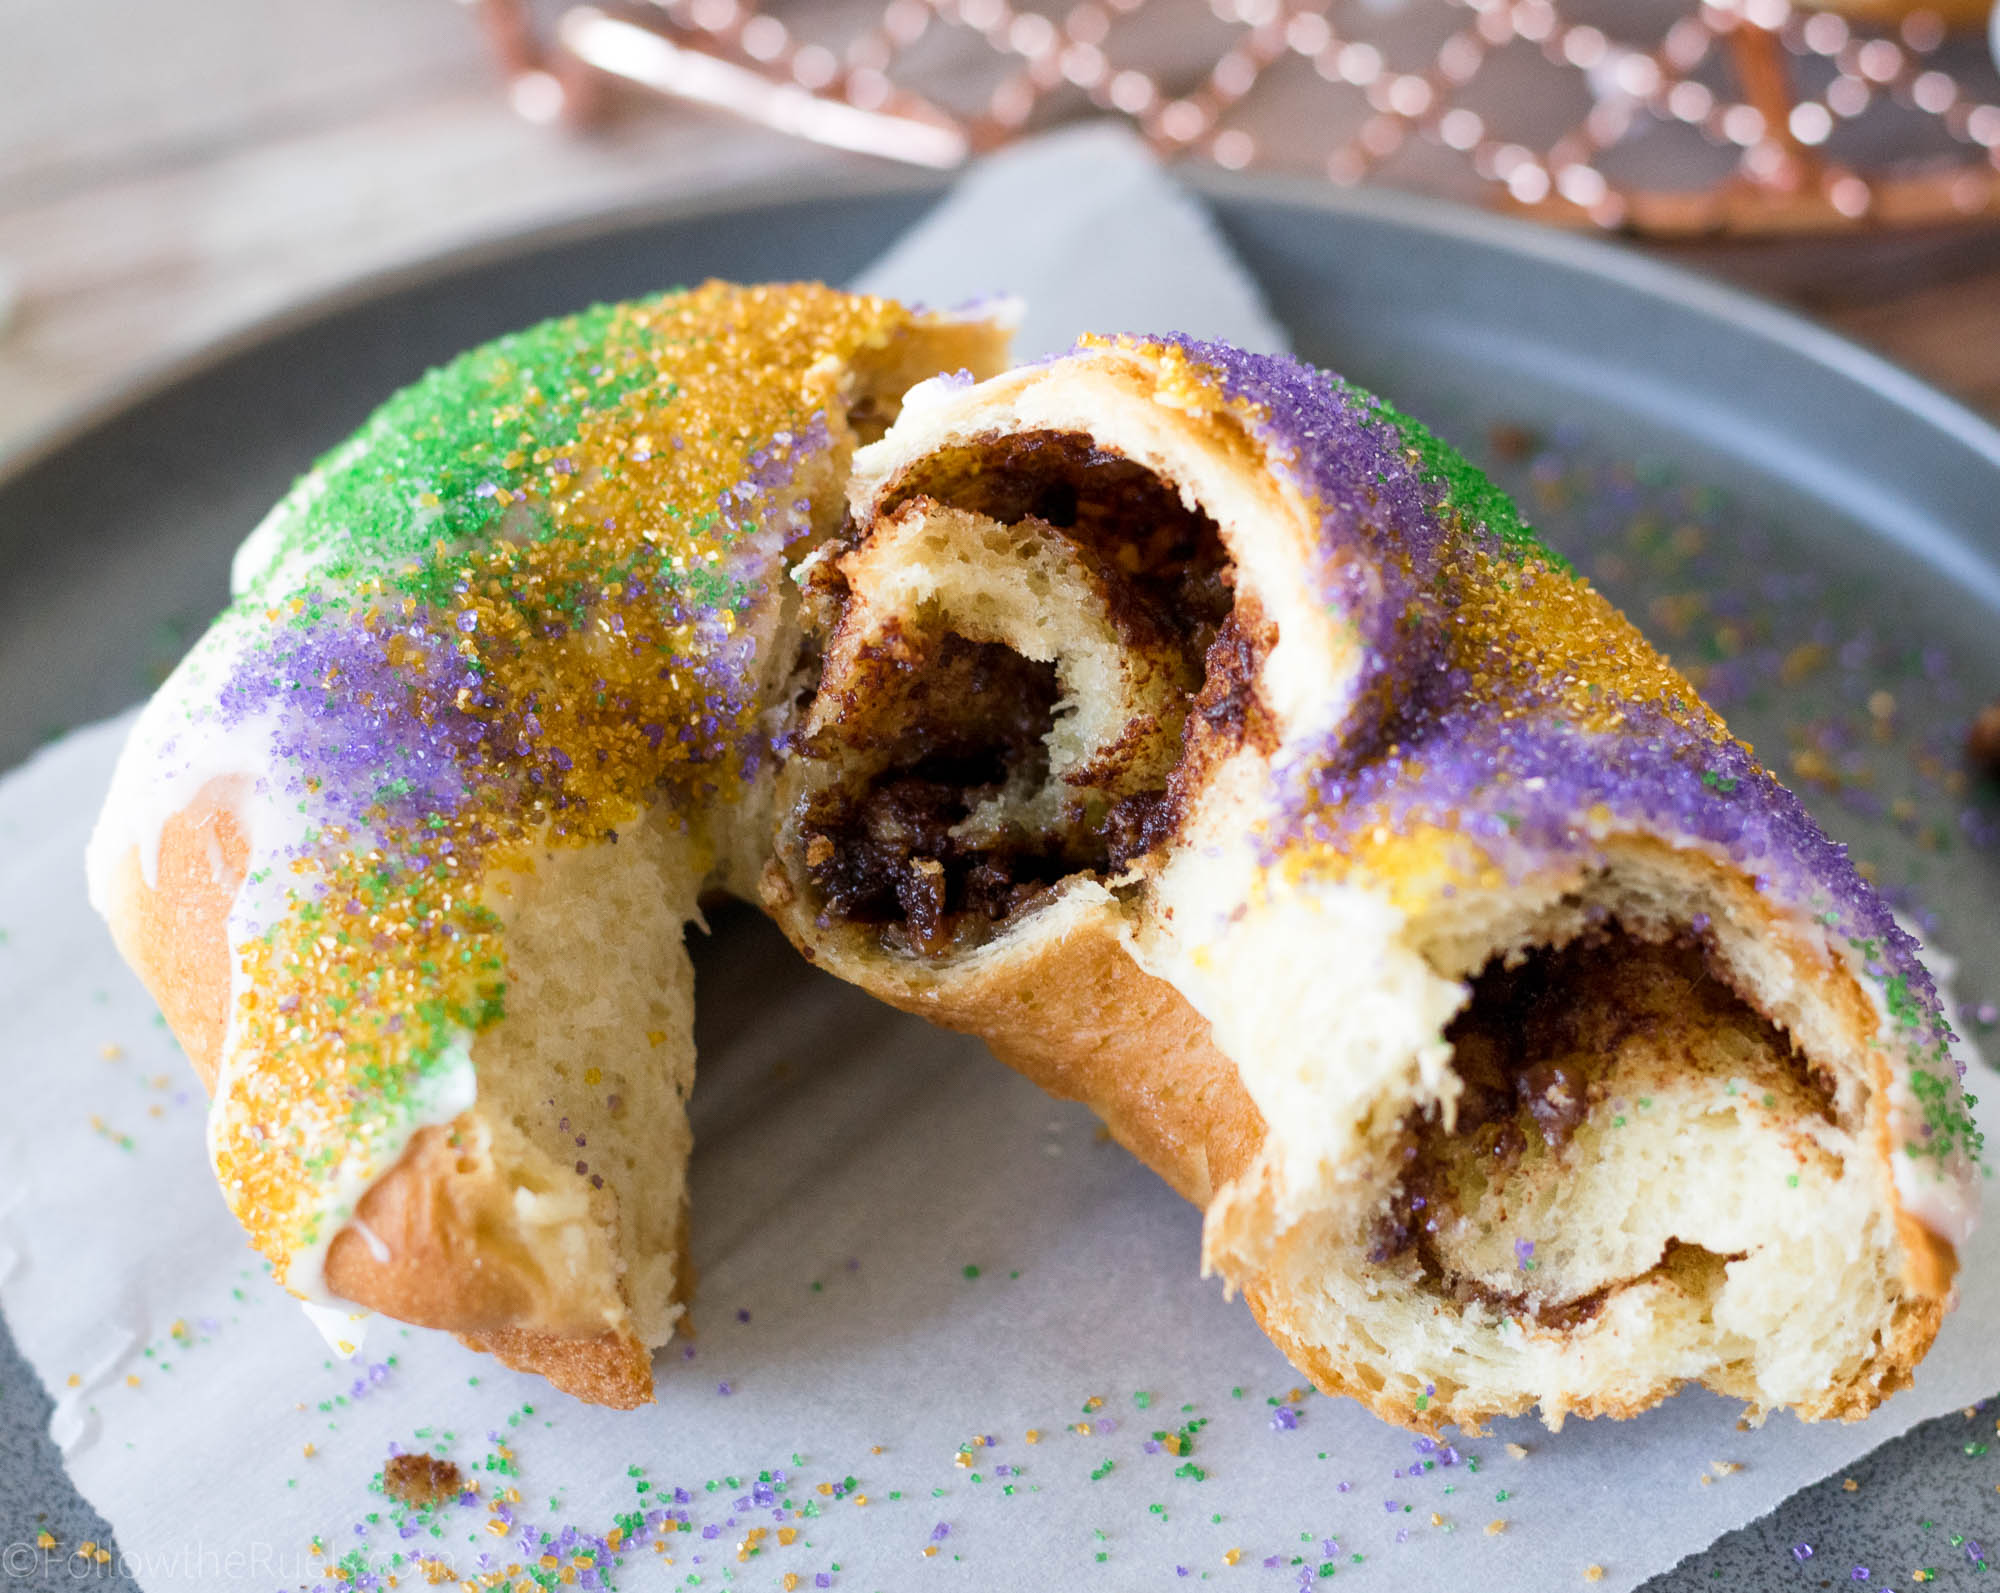
Although, I wouldn’t classify it as a cake. It’s a light enriched dough that is filled with a cinnamon-sugar filling formed into a giant ring. Sound familiar? It’s almost like a giant cinnamon roll formed into a donut. 

Which sounds to me like it’s just begging to be made into a mini King Cake donuts!

How to Make Them

I made this super handy video of me making these King Cake Donuts so that I wouldn’t drown you in the wordy explanation of the process. It’s so much easier to watch!

Things to Know

Even though I didn’t want to inundate you with words, there are a couple things that are important to know about making these donuts. 

The Yeast

The first step to making these King Cakes is to make the dough. And like most bread doughs, this one starts with yeast. 

Yeast can be a little tricky if you aren’t familiar with it. So here are three things I want you to remember about yeast:

  • It is a living thing, so it can go bad very quickly. Make sure your yeast is fresh by keeping it in the freezer and abiding by the expiration dates.
  • It also loves sugar! Always add sugar to your yeast so that it has something to feed off of which creates that foaminess.
  • But it doesn’t do well in heat. When you mix together your liquid, sugar, and yeast, your liquid should lukewarm and never be more than 110 degrees F. 

Got it? 

Ideally, after 10 minutes, your yeast should have “bloomed” and look something like this:


See how nice and fluffy? If it doesn’t look like this either your yeast is bad or the liquid was too hot. But there is no need to fret, just try it again!

The Dough

Once you mix the yeast with all the other dough ingredients, you will have a very loose shaggy dough like you saw in the video. While you can let your stand mixer to the work and knead in the dough, sometimes it’s very therapeutic to knead the dough by hand.

You will know the dough is ready when it forms a ball and no longer sticks to your hands or the counter. 

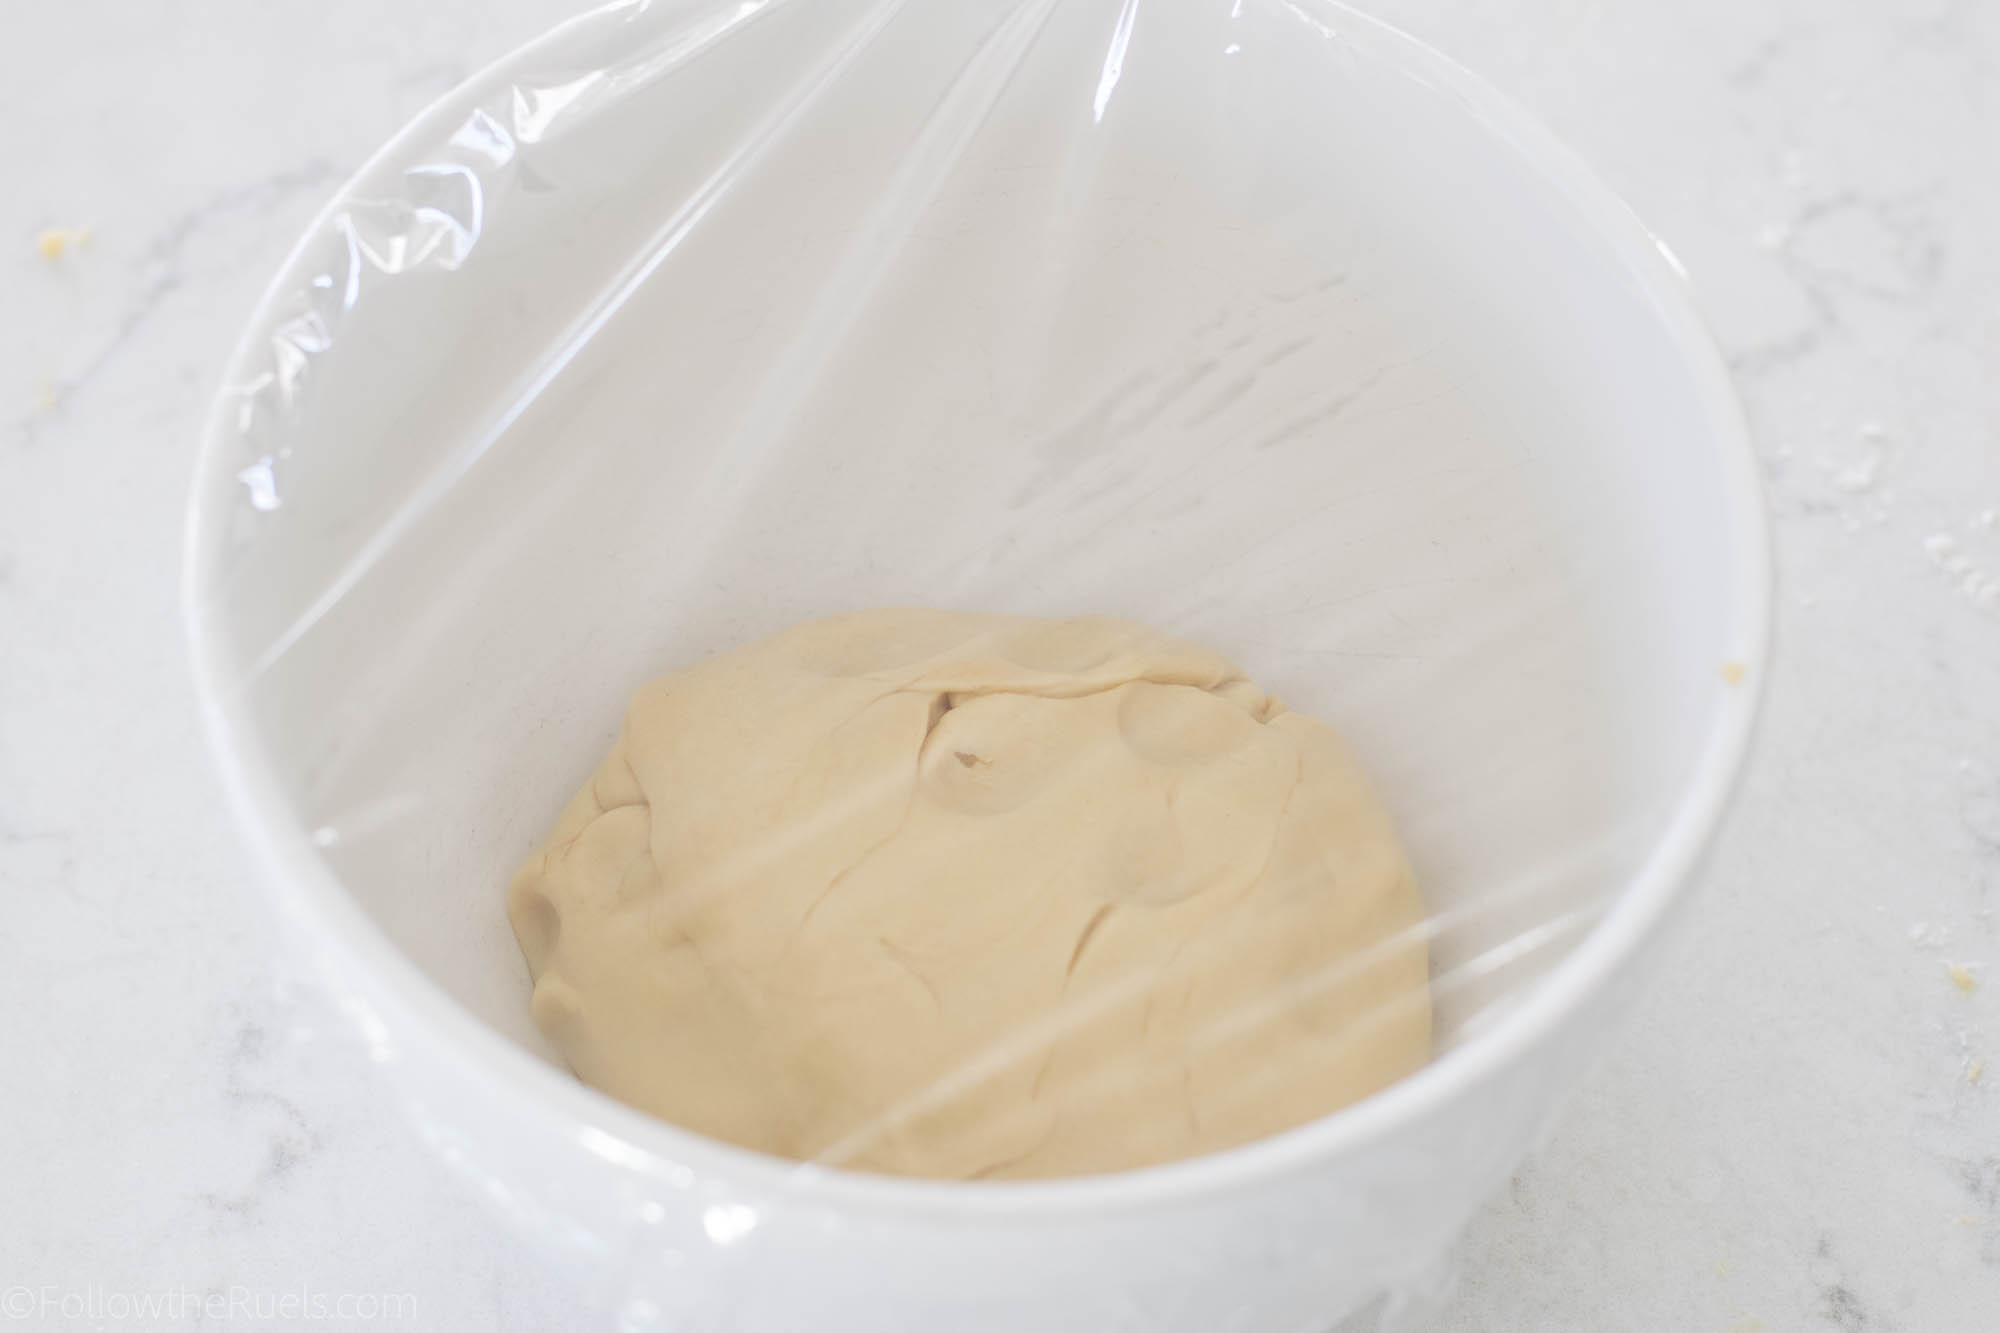
Let the dough rise in an oiled bowl covered with a bit of plastic wrap and place in a warm spot. If it’s cold in your neck of the woods, it may take longer for the dough to rise. 

OR

You can use my favorite trick when I am in a hurry and want my dough to rise faster. 

Turn your oven on to it’s lowest temperature (ideally less than 200 degrees F). Once it’s up to temperature, turn the oven off and place your bowl of dough in there to rise. It will have doubled in size in no time!

The Cakes

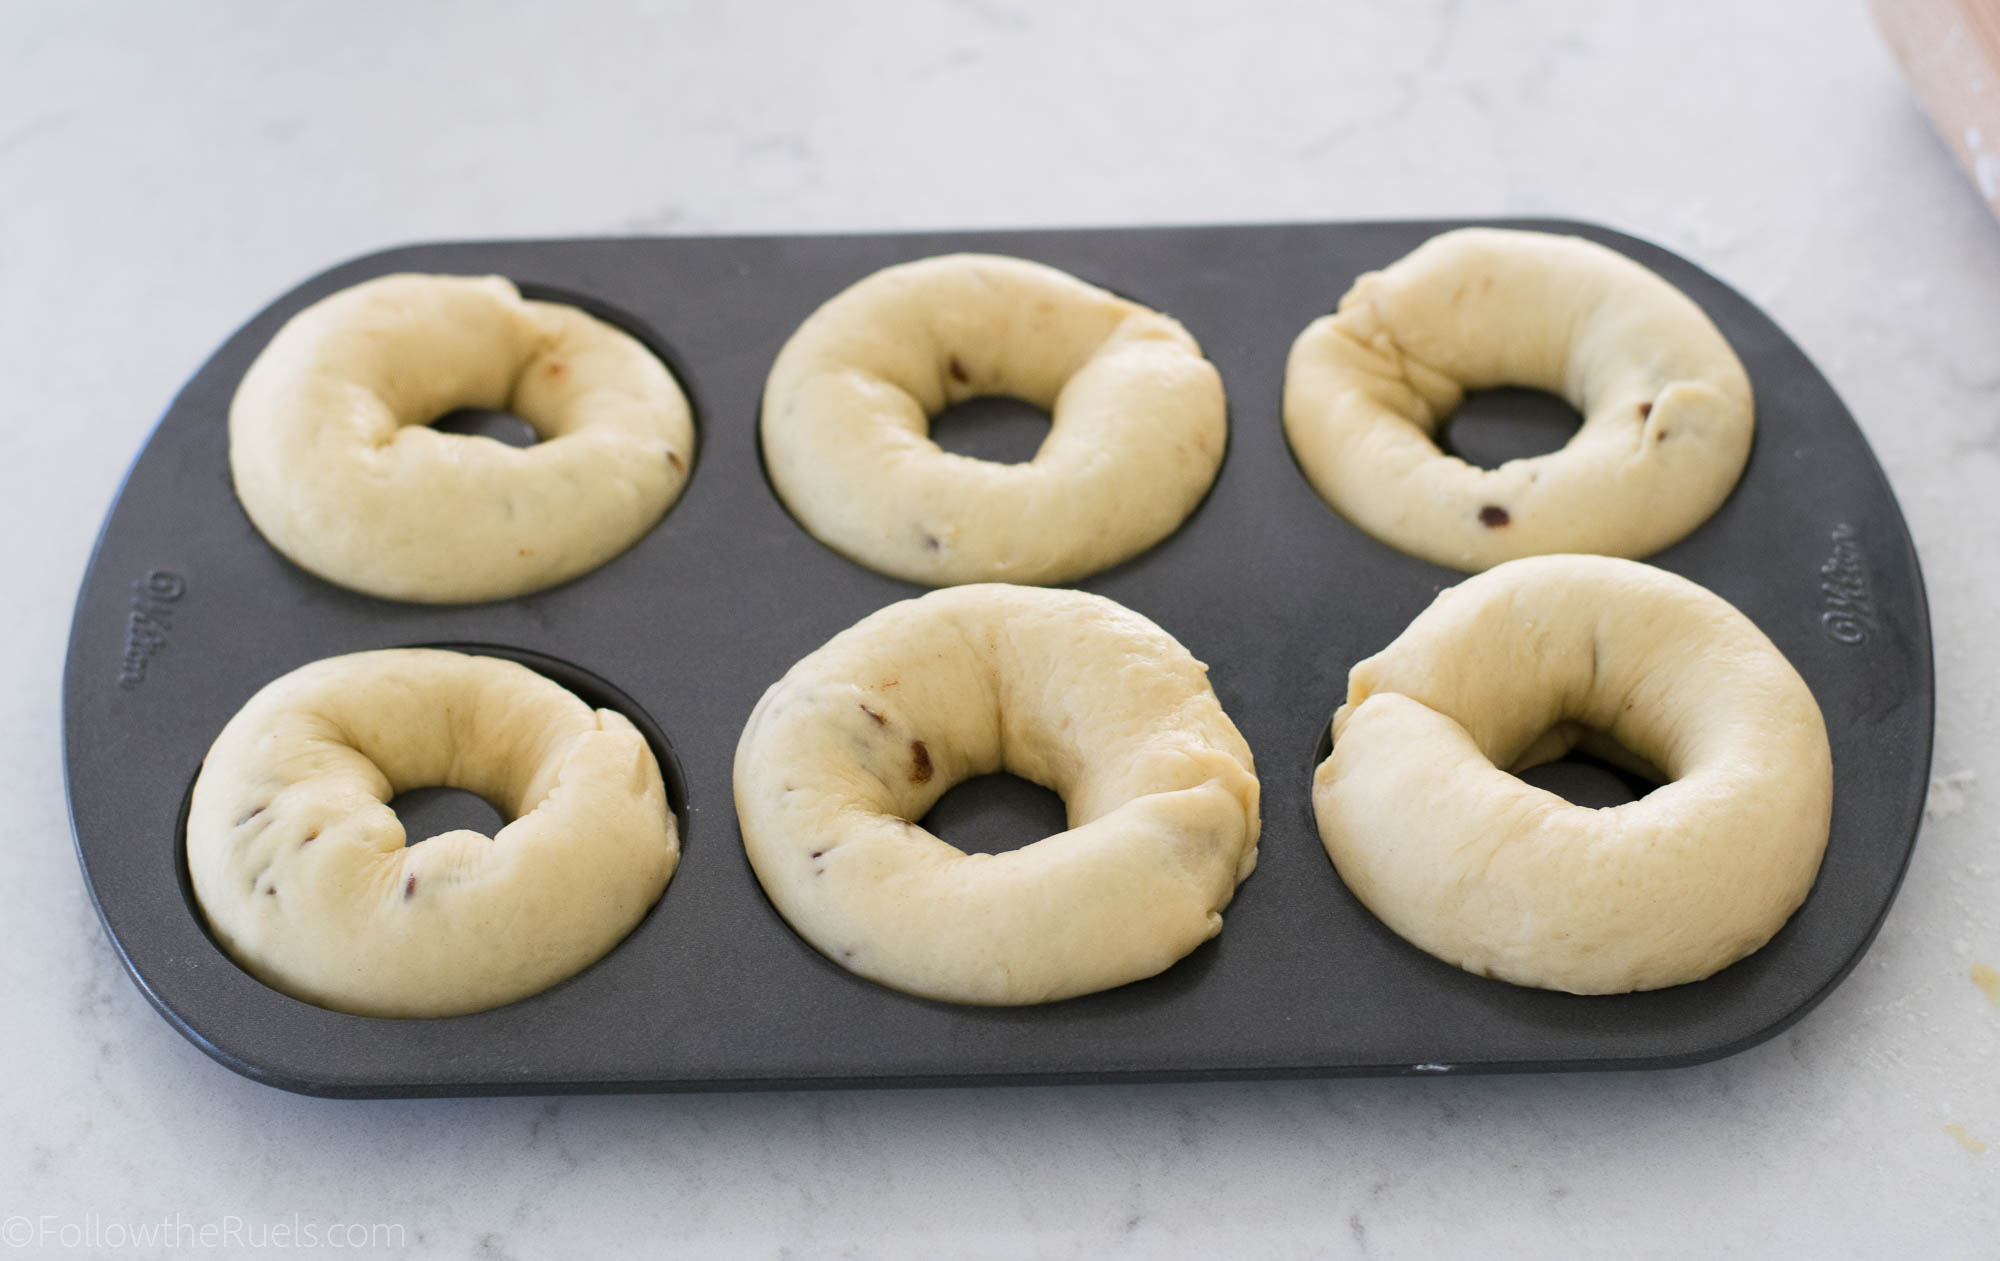
Once you are ready to make your individual cakes, you have a couple of choices. You can make one big King Cake or you can make the donut version. If you choose to make the King Cake donuts it does not mean you need a donut pan. It just helps them keep their shape.

You can easily form them into small rings and place them on a baking sheet as is. 


And now you know everything you need to know to make perfect and delicious King Cake donuts (or a full-size King Cake if you so choose!). Remember, you can’t celebrate Mardi Gras without them!

[show_shopthepost_widget id=”3023150″] 

[yumprint-recipe id=’157′]

/ Filed In: Cakes and Cupcakes, Cakes New, Desserts, Eat
Tagged: cake, cinnamon, donuts, king cake, Mardi Gras, rolls

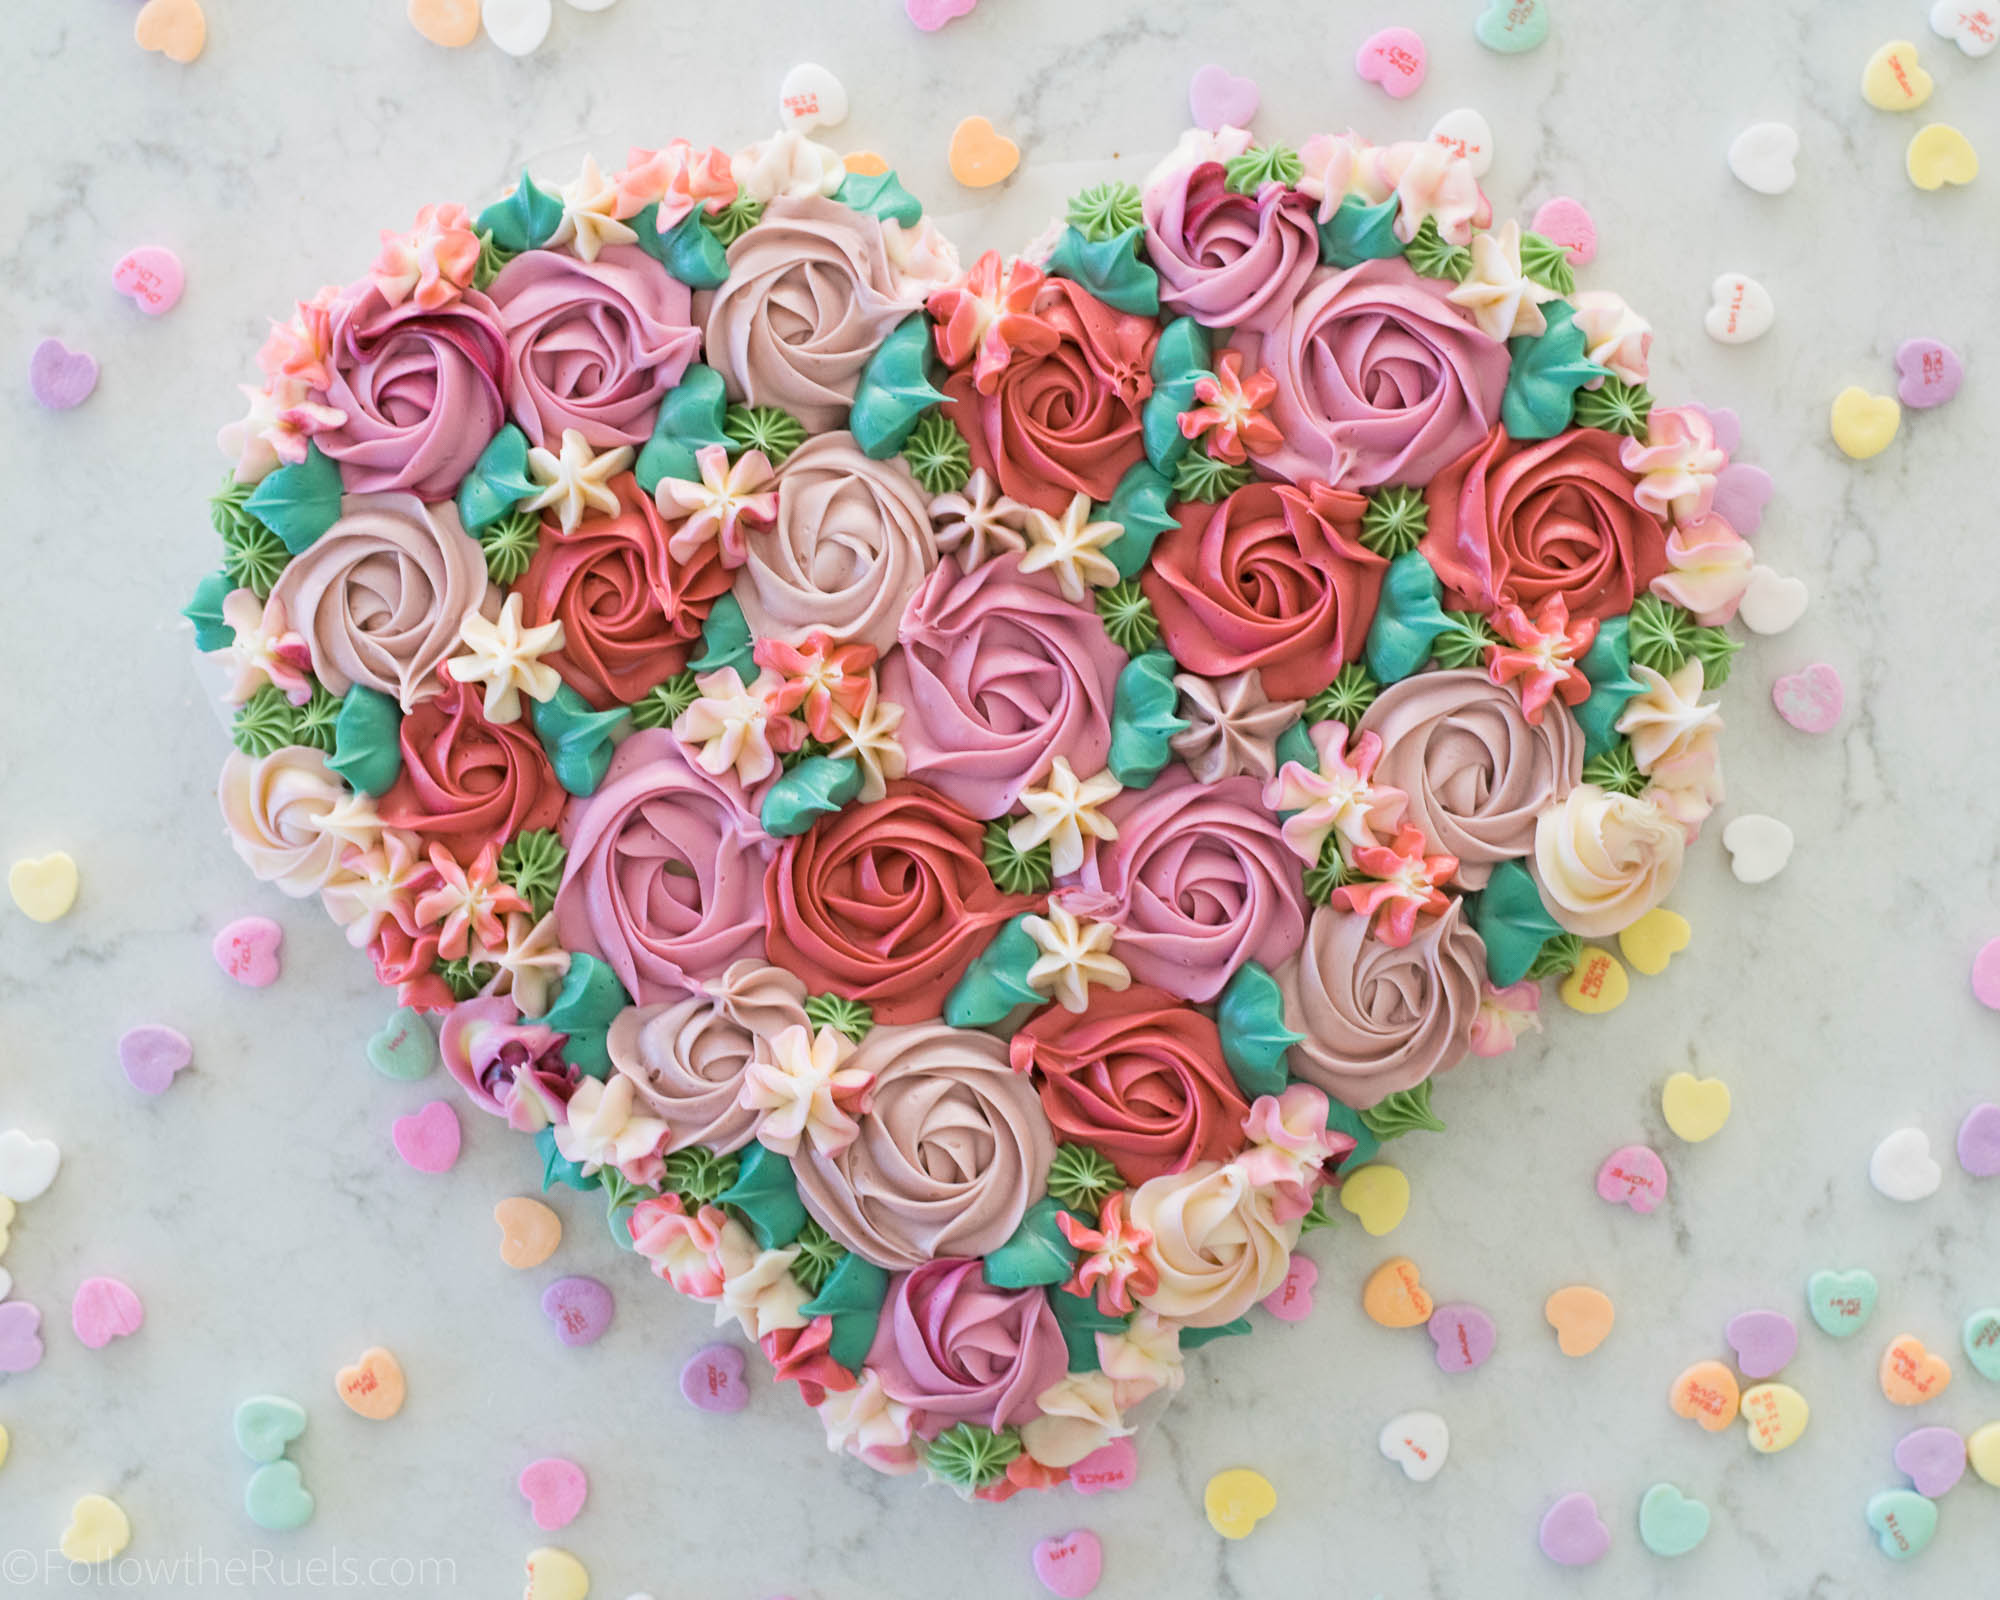
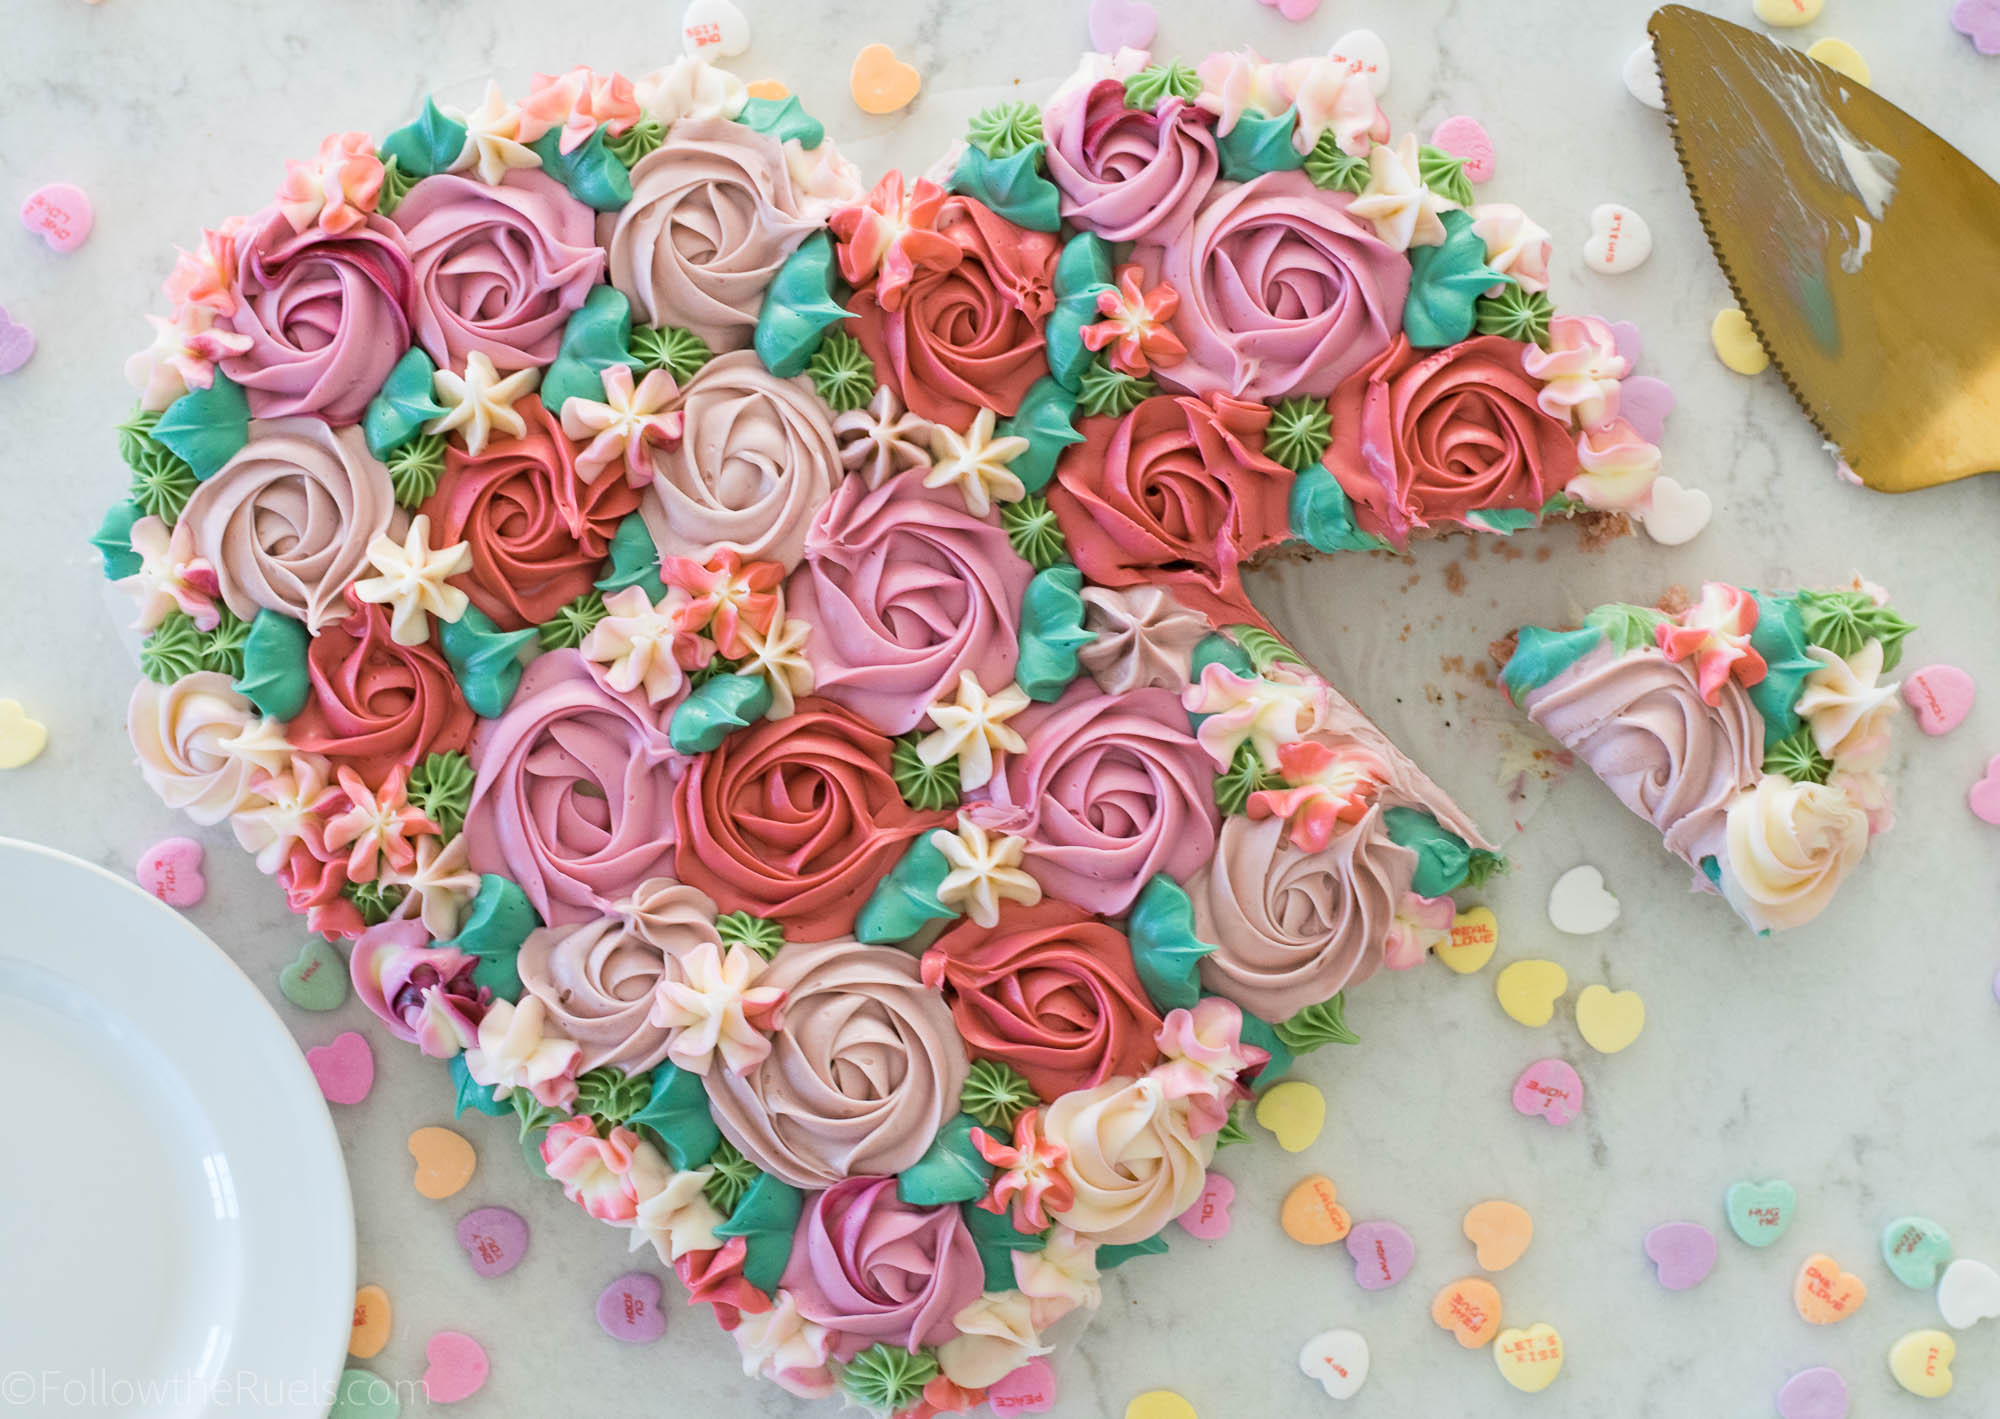
Buttercream Flower Heart Cake

February 5, 2018

If you have followed this blog or my Instagram long enough, you know that I love a good floral pattern. Most of the time you will find me adding flowers to cookies. But that doesn’t mean they aren’t perfect for cakes, too. 

Especially this Valentine’s Day cake in the shape of a heart!

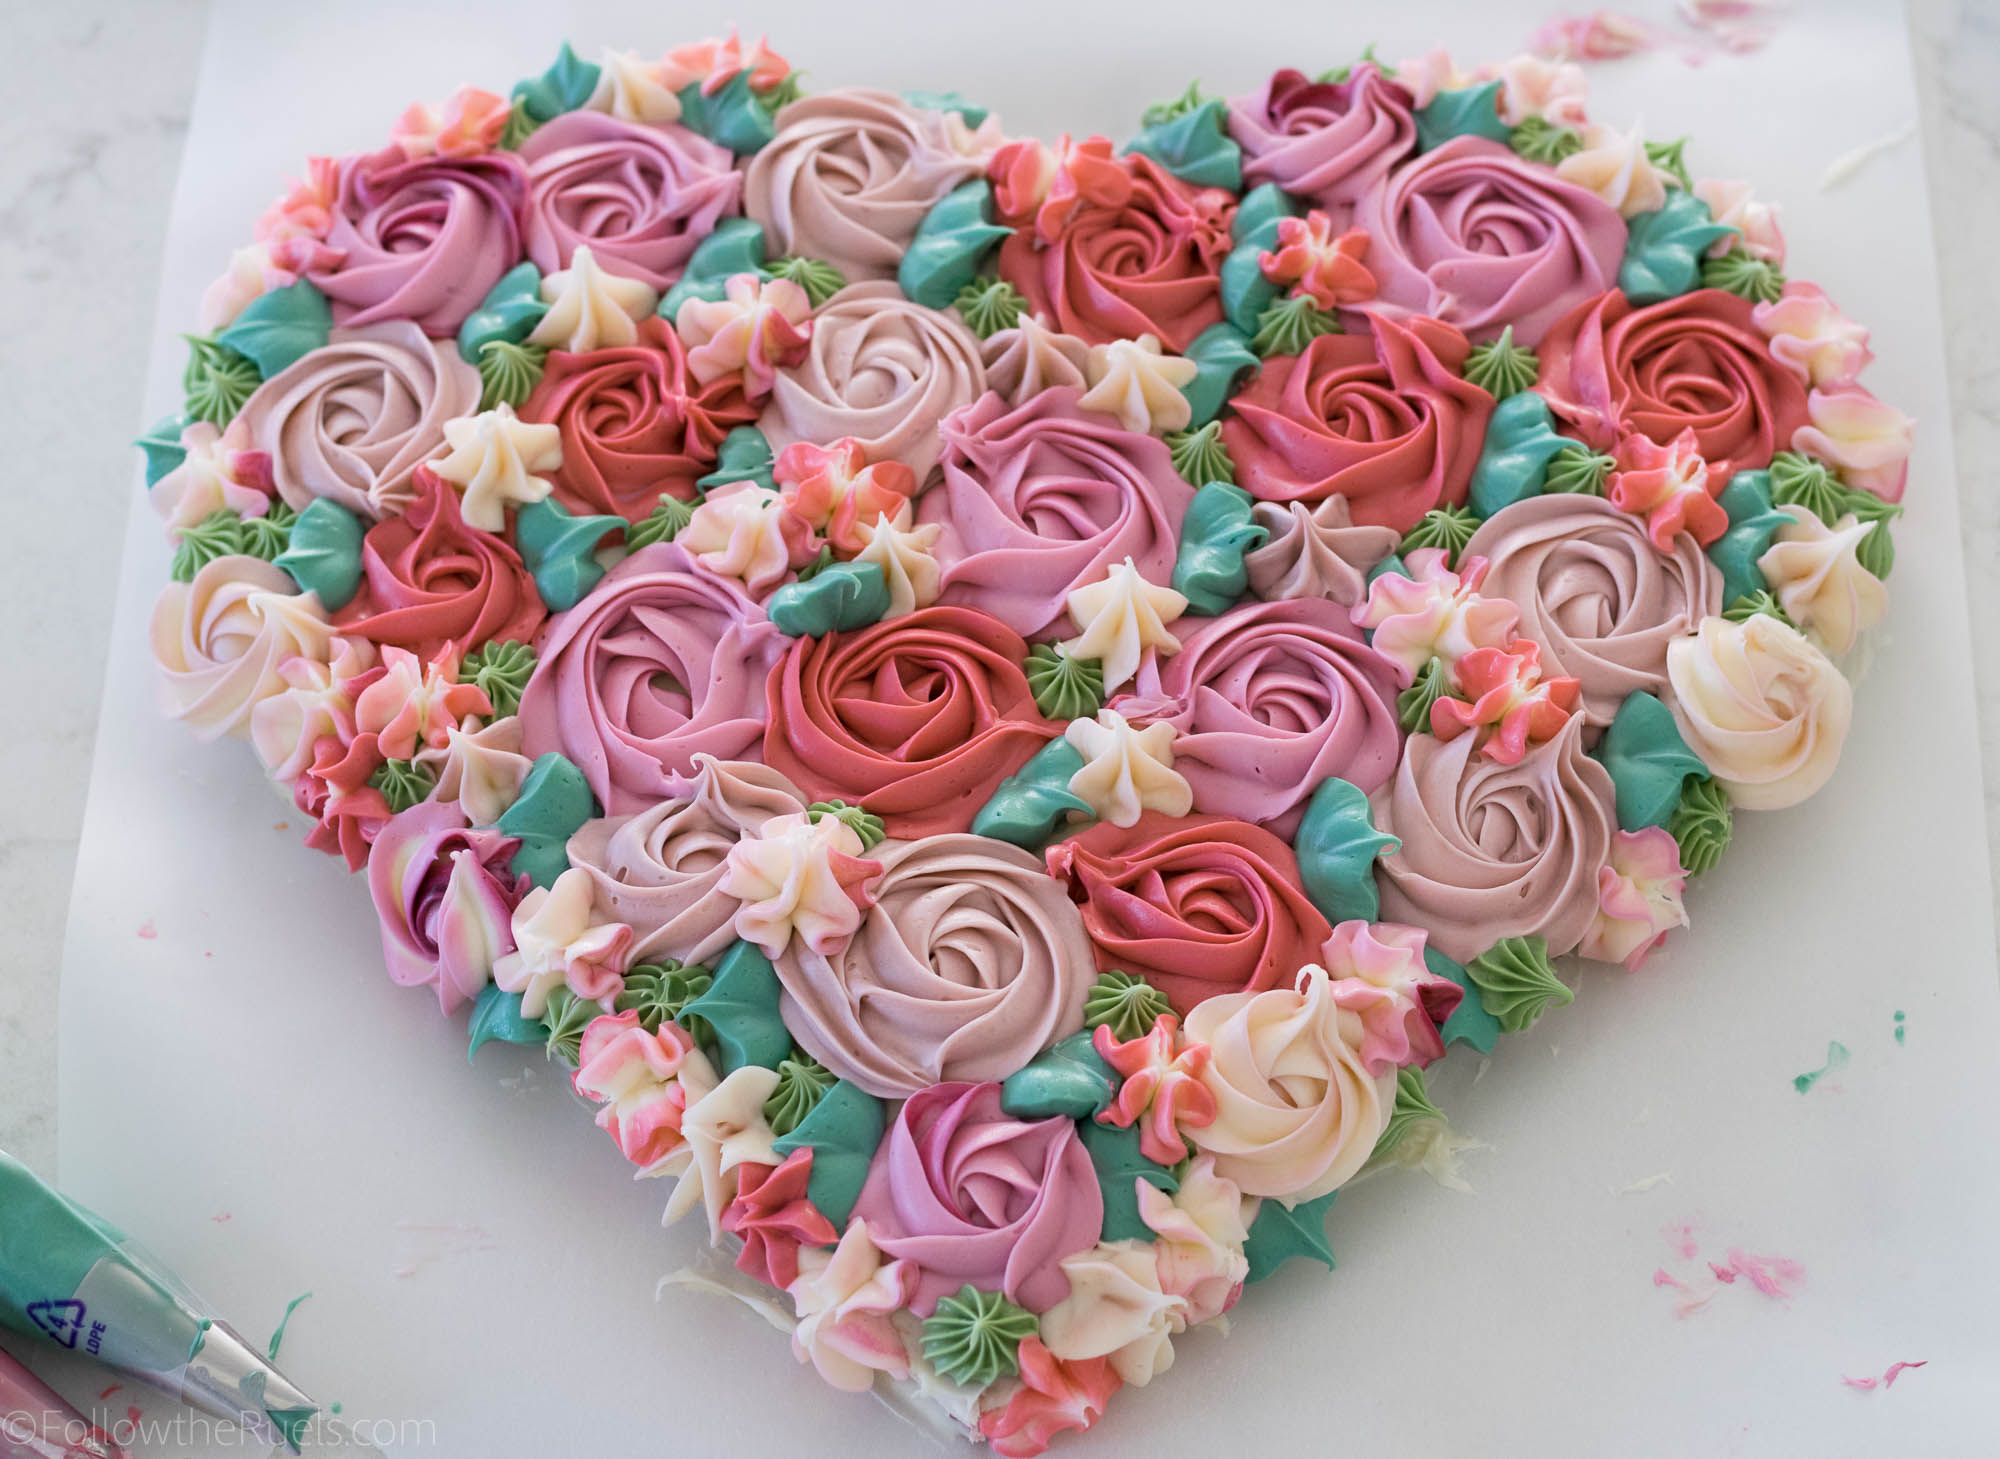
The great thing about this buttercream flower heart cake is that both the flowers and the heart shape of the cake are actually pretty easy to achieve if you have the right tools on hand. 

All you need is a round cake pan, a square cake pan, and a few piping tips. You got all that, right? 😉

Tools Needed:

Well, pretty much all you need is a couple of cake pans and some piping tips. Okay, and maybe a few other things like food coloring. 

For the cakes, my recommendation is to make sure your round cake pan is equal in size to your square pan, if not smaller. I.e. if you have a 9″ square pan, use a 9″ round cake pan, too. However, if you only have a 9″ square pan and a 8″ round pan, you can cut the edges of the square cake to make an 8″ cake (which is what I did). Does that make sense?

To make the various shades of pink and green I mixed together some of my Americolor gel food coloring:

  • Lightest pink color is a mixture of taupe and light pink
  • Medium shade of pink is just a couple drops of maroon
  • Darkest shade of pink is watermelon and coral red
  • Light green is avocado
  • Dark green is forest green

To create the flower and leaf shapes, I used the following piping tips:

  • For the roses I used a #2D and #1M piping tips
  • The dark green leaf was created with #366 tip
  • For the light green blobs I used a #32 tip

Most of these piping tips come in this piping tip set. 

How to Make It:

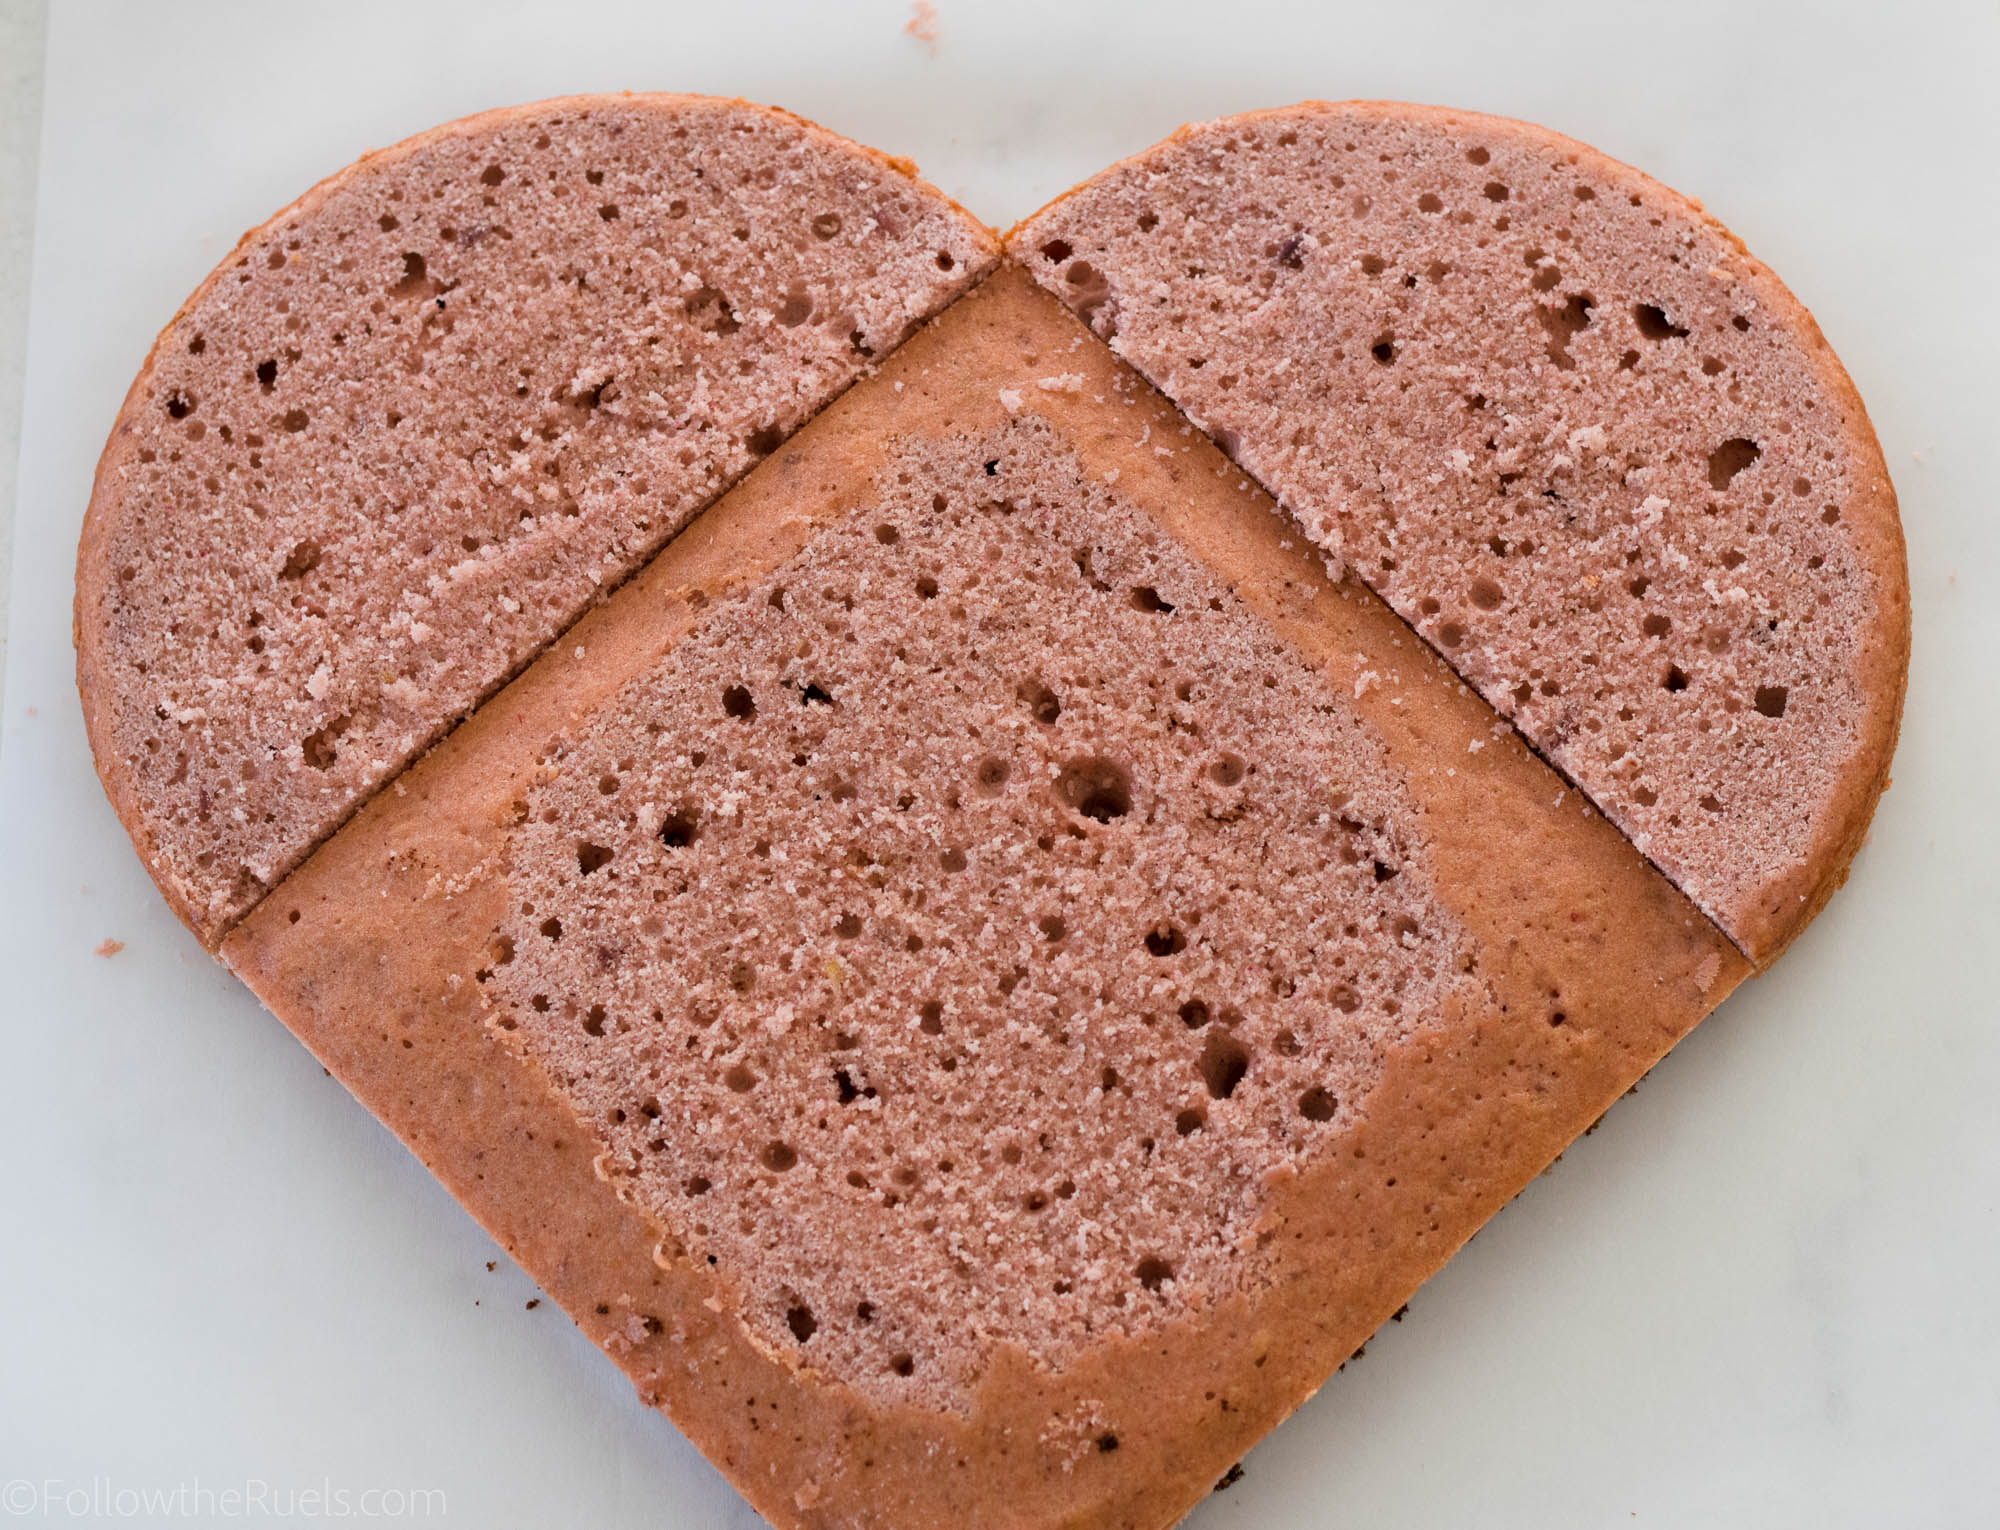
Start by baking a round cake and a square cake in the flavor of your choice.  You can even use your favorite boxed mix if you like! Level the cakes so that they are both flat and both the same height. 

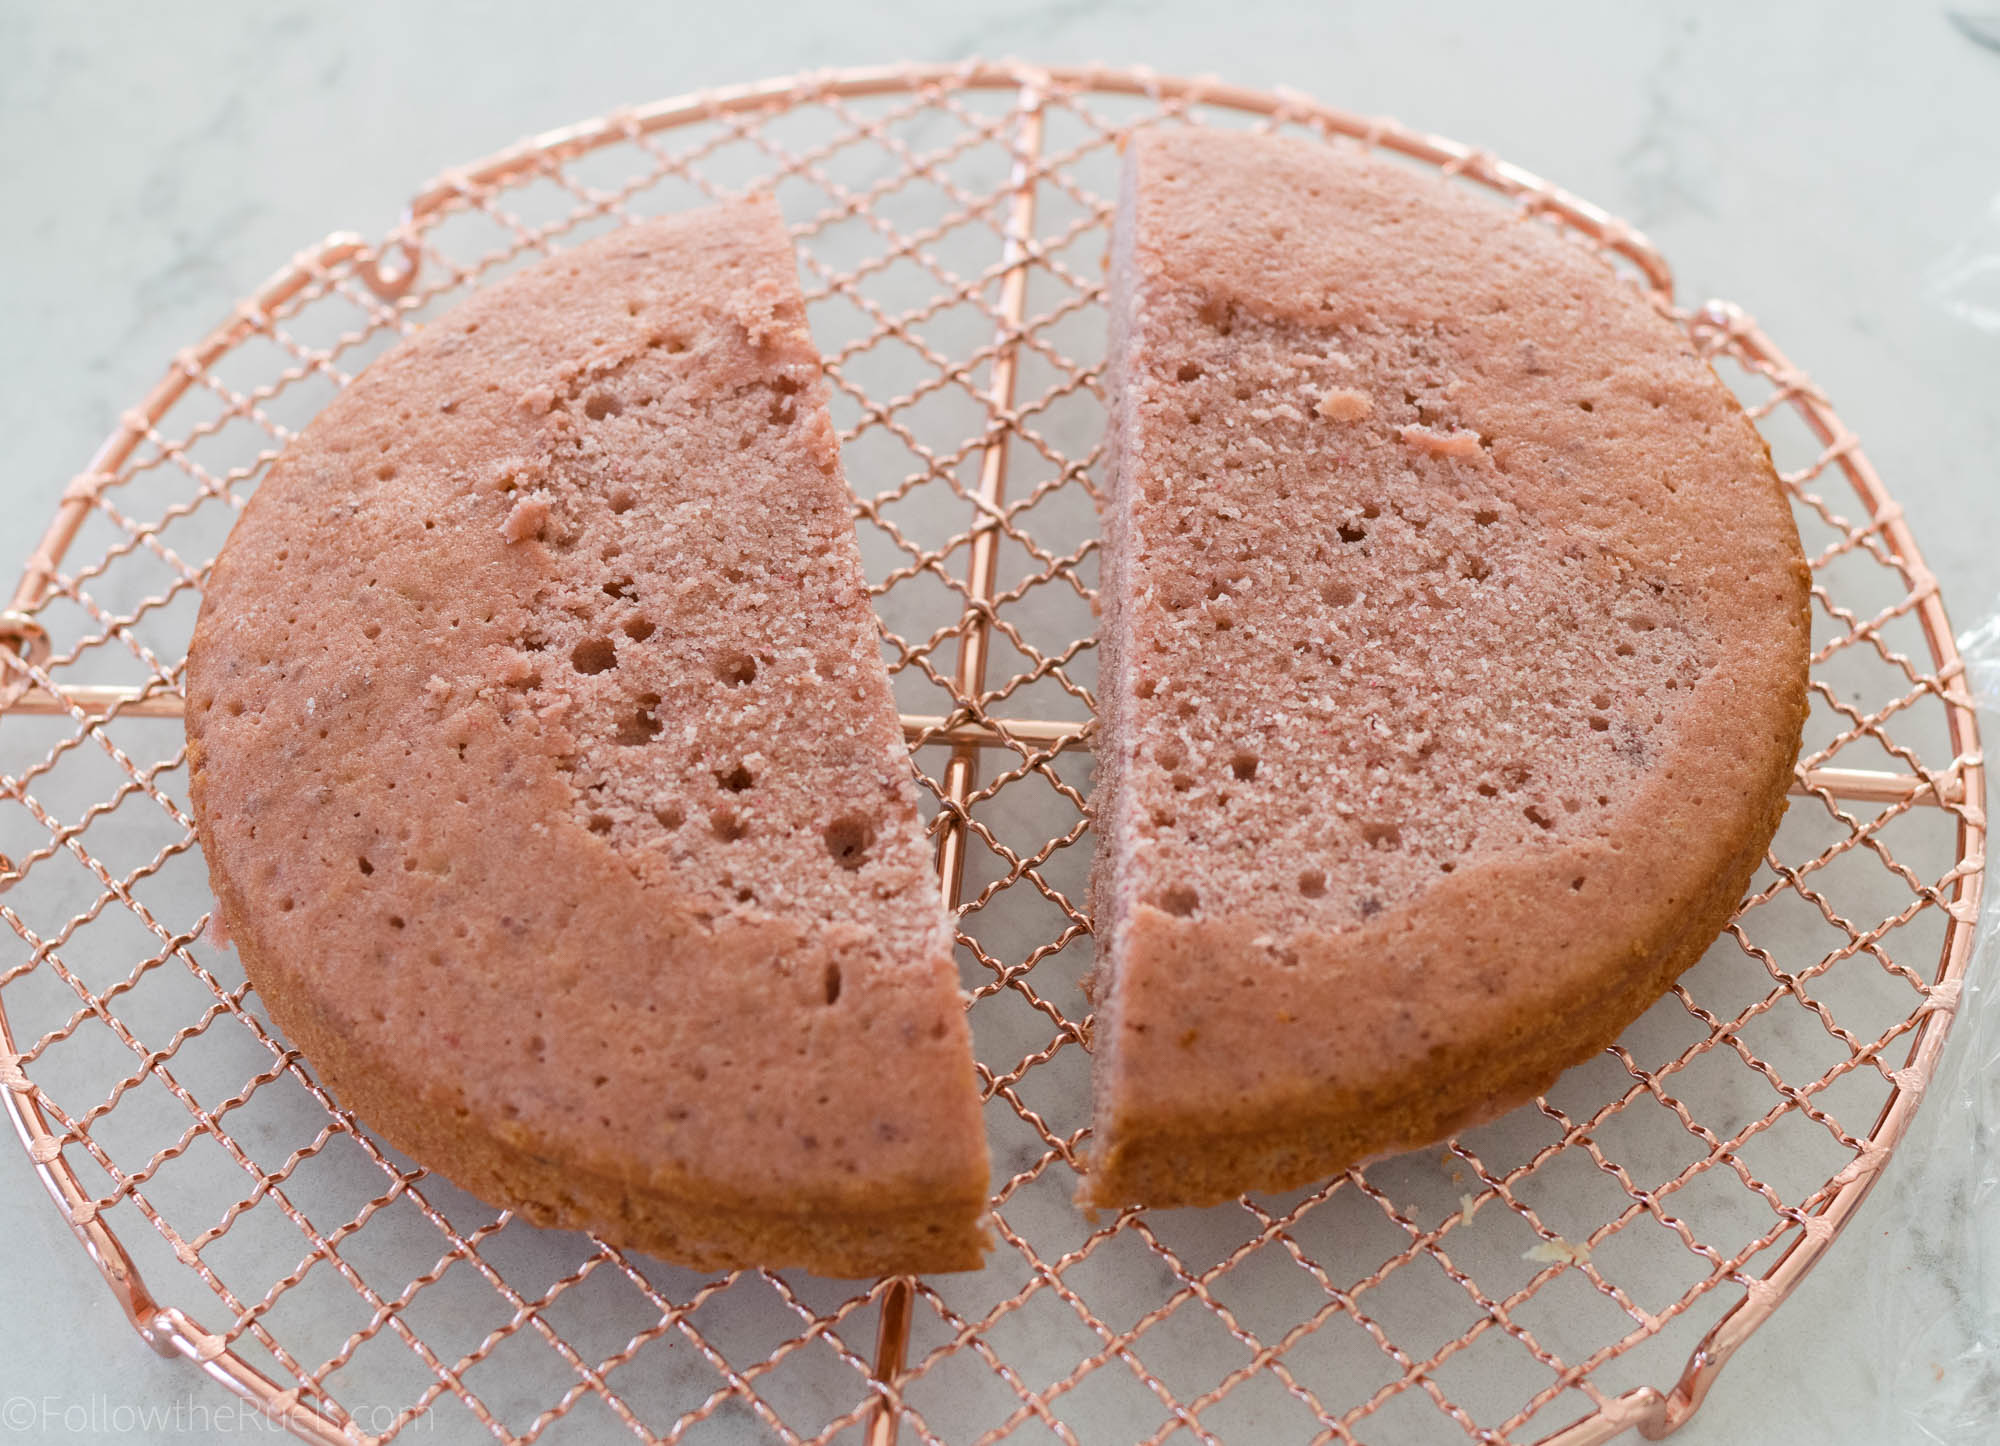
Cut the round cake in half so that you have two equal pieces. 

Place the to half rounds along two of the edges of your square cake to form a heart shape. How easy was that!?

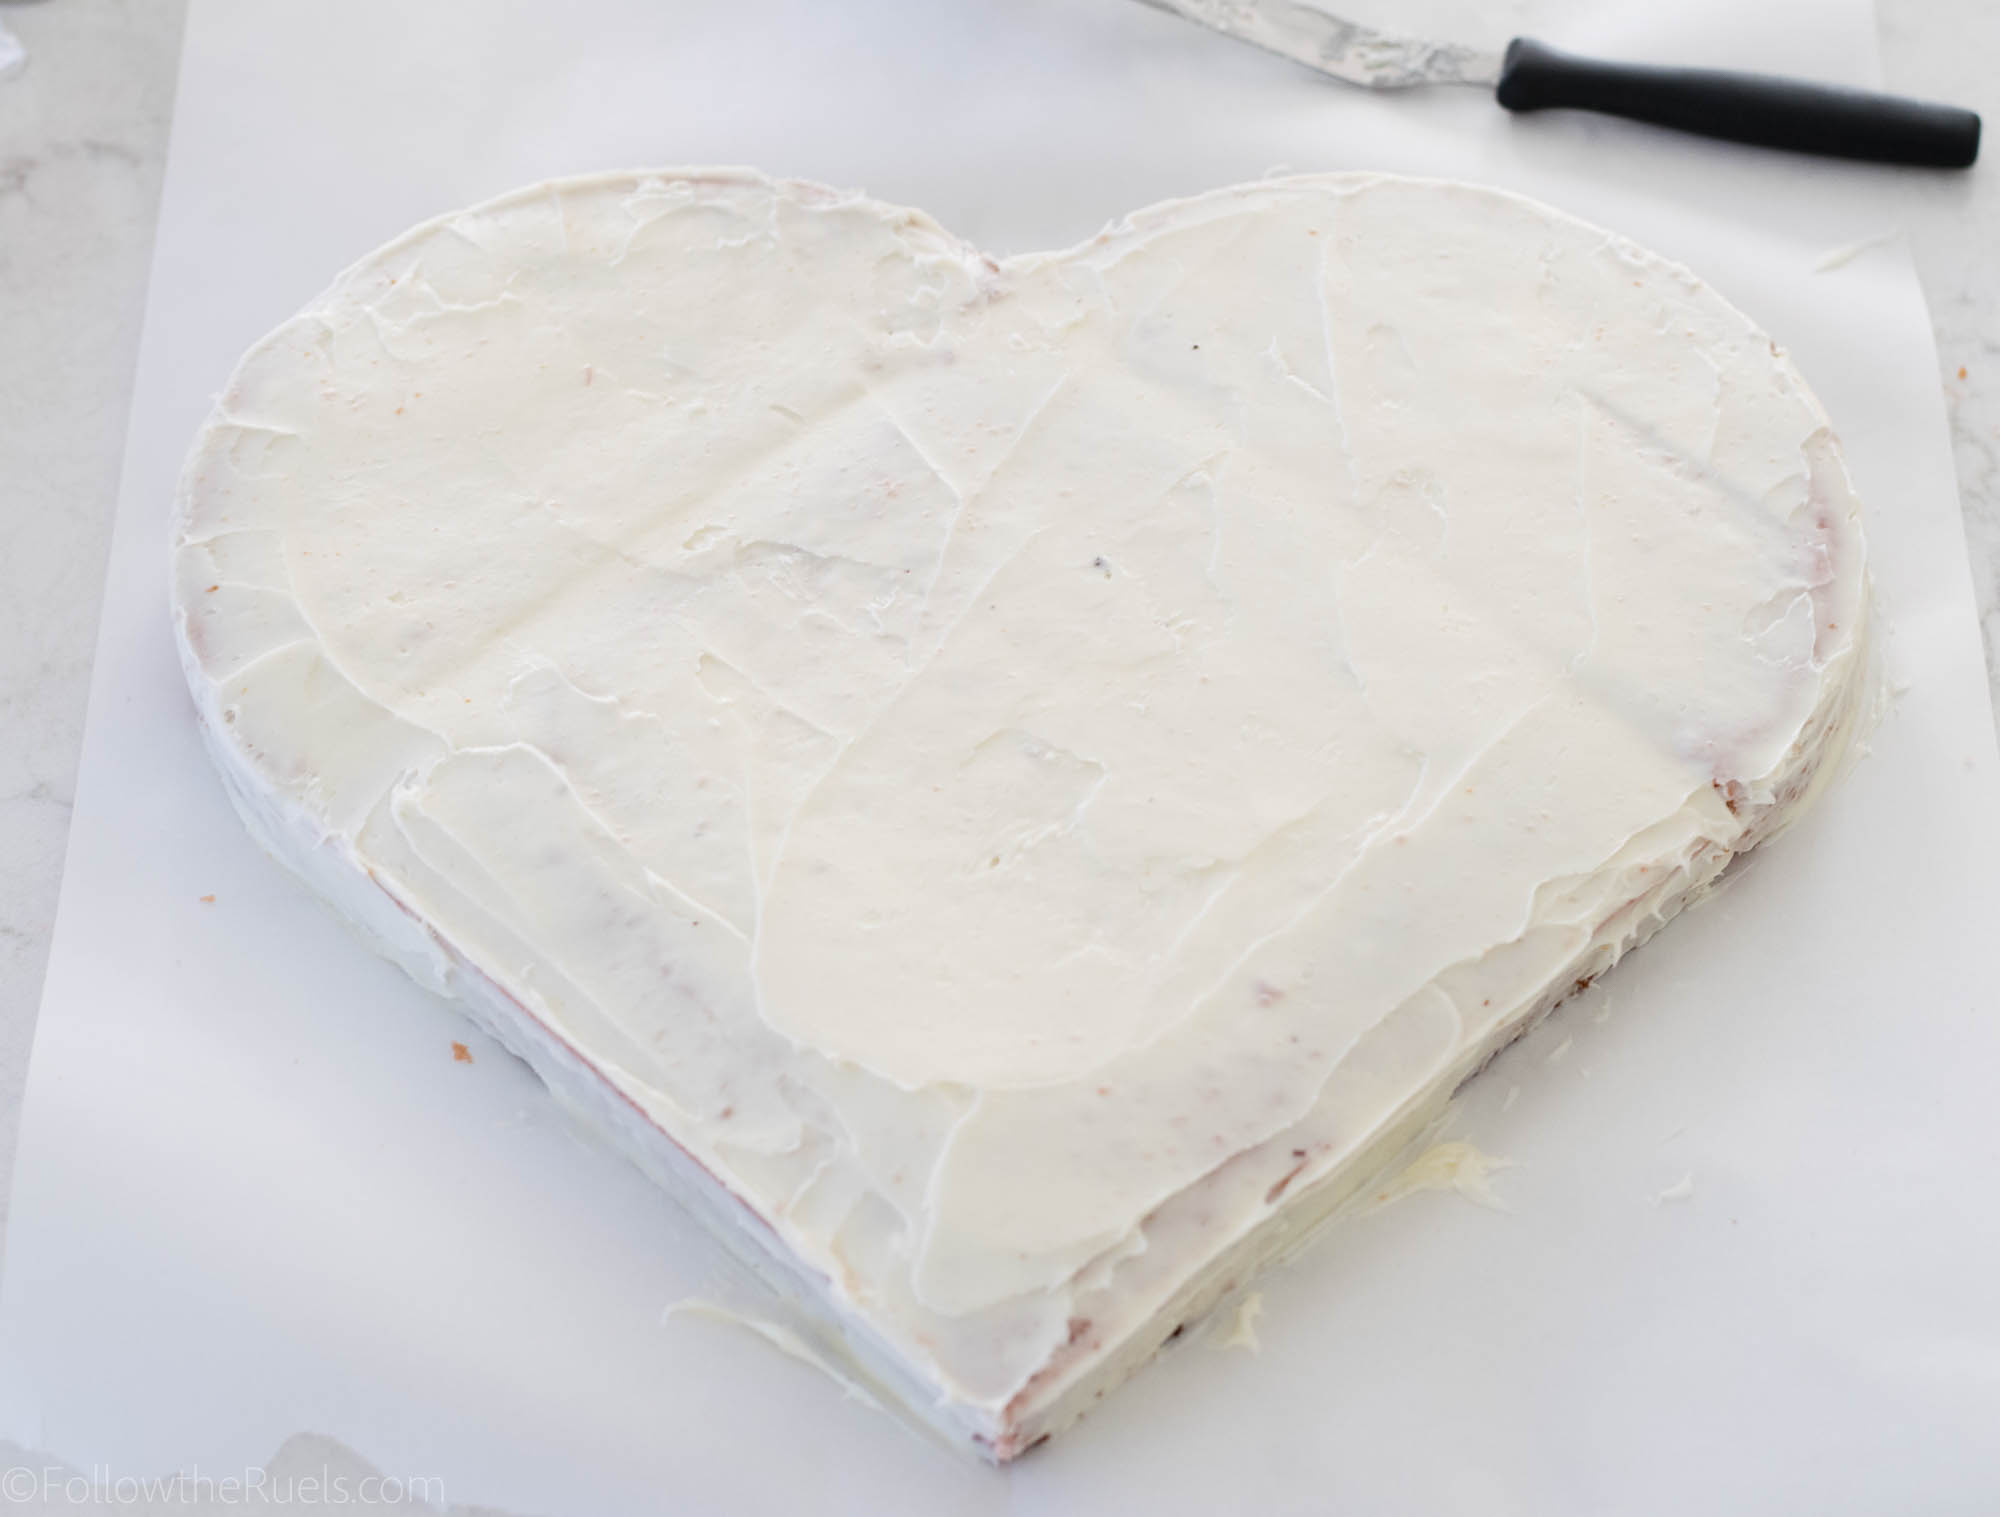
Cover the entire cake in a layer of plain frosting so that all the pieces of the heart are stuck together. This layer of frosting doesn’t need to be pretty because it will get covered up. 

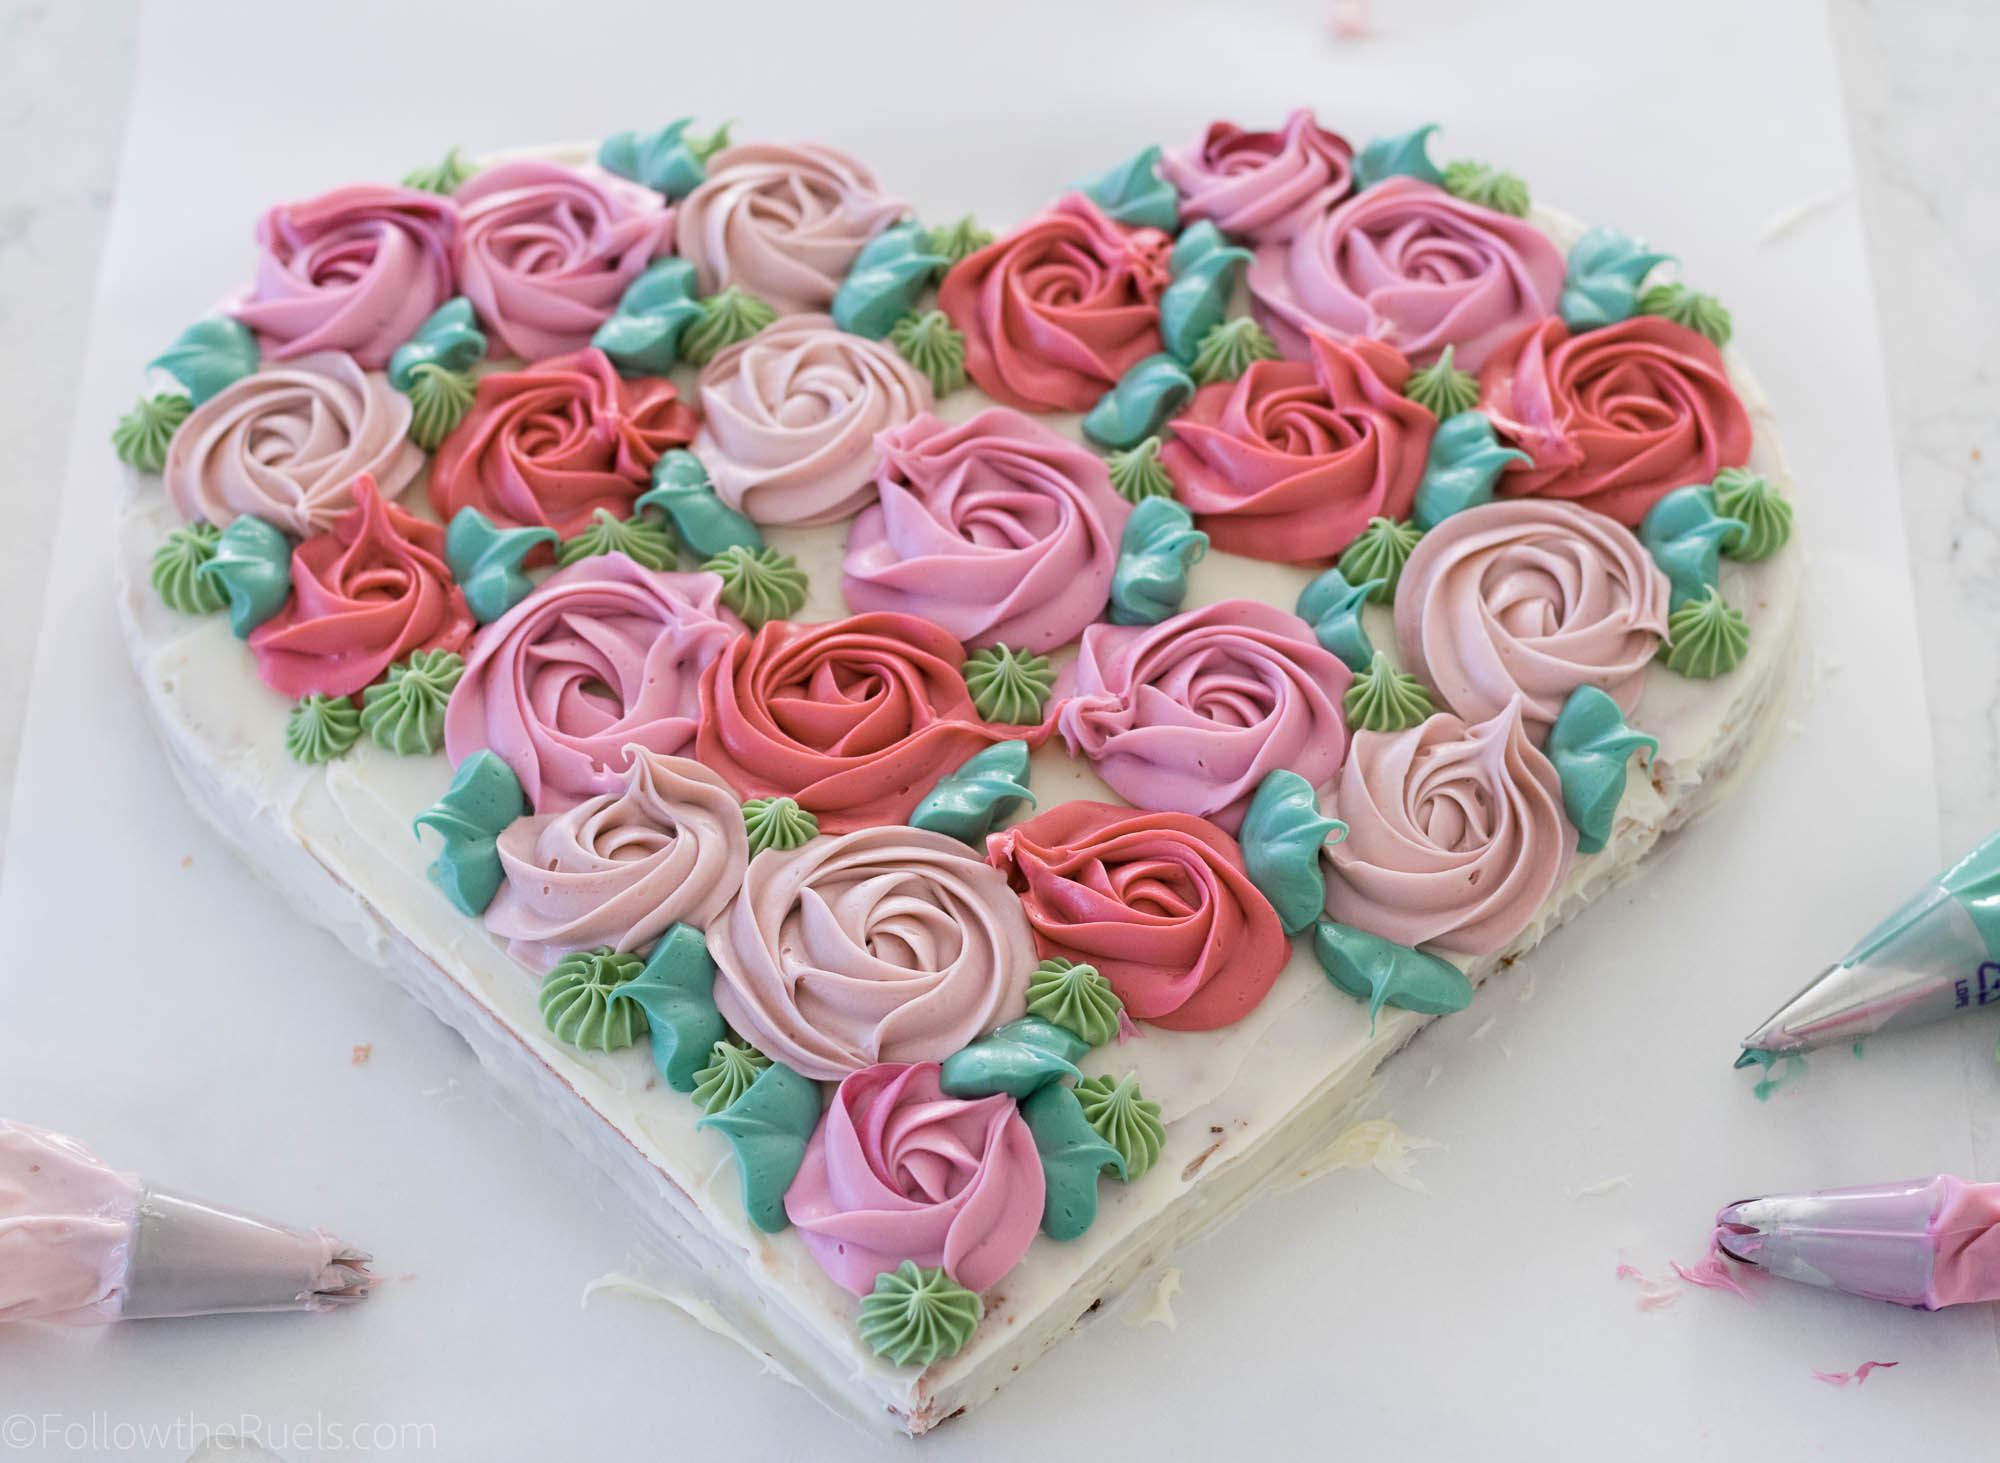
Divide the rest of the icing up in to several smaller batches and colors them in various shades. 

To decorate the cake, start by making the large roses to fill in most of the empty space of the cake. Then go in and fill in some of the holes with the leaves. 

Add more flowers and leaves until you can no longer see any of the cake underneath. 

You could totally make this! And I didn’t even tell you the best part. 

To make this cake you don’t even have to make anything from scratch. You could make your favorite boxed cake mix and even used the canned frosting. While I would highly recommend making your own frosting (this is my favorite buttercream recipe and this is my favorite cream cheese frosting recipe), I know not everyone has the time or desire to make frosting from scratch.

Plus, there is something so nostalgic about store-bought cake mix and frosting out of a can, right?

Now you have no excuse but to make this for your sweetheart, your kids, your mom, your dog, yourself. Whoever your Valentine happens to be!


/ Filed In: Cakes and Cupcakes, Cakes New, Eat
Tagged: buttercream, cake, cake decorating, frosting, hearts, Valentine's day

White Chocolate Cheesecake

December 18, 2017

Cheesecake is a holiday favorite in my family. My mom has been making it for holiday parties longer than I can remember. 

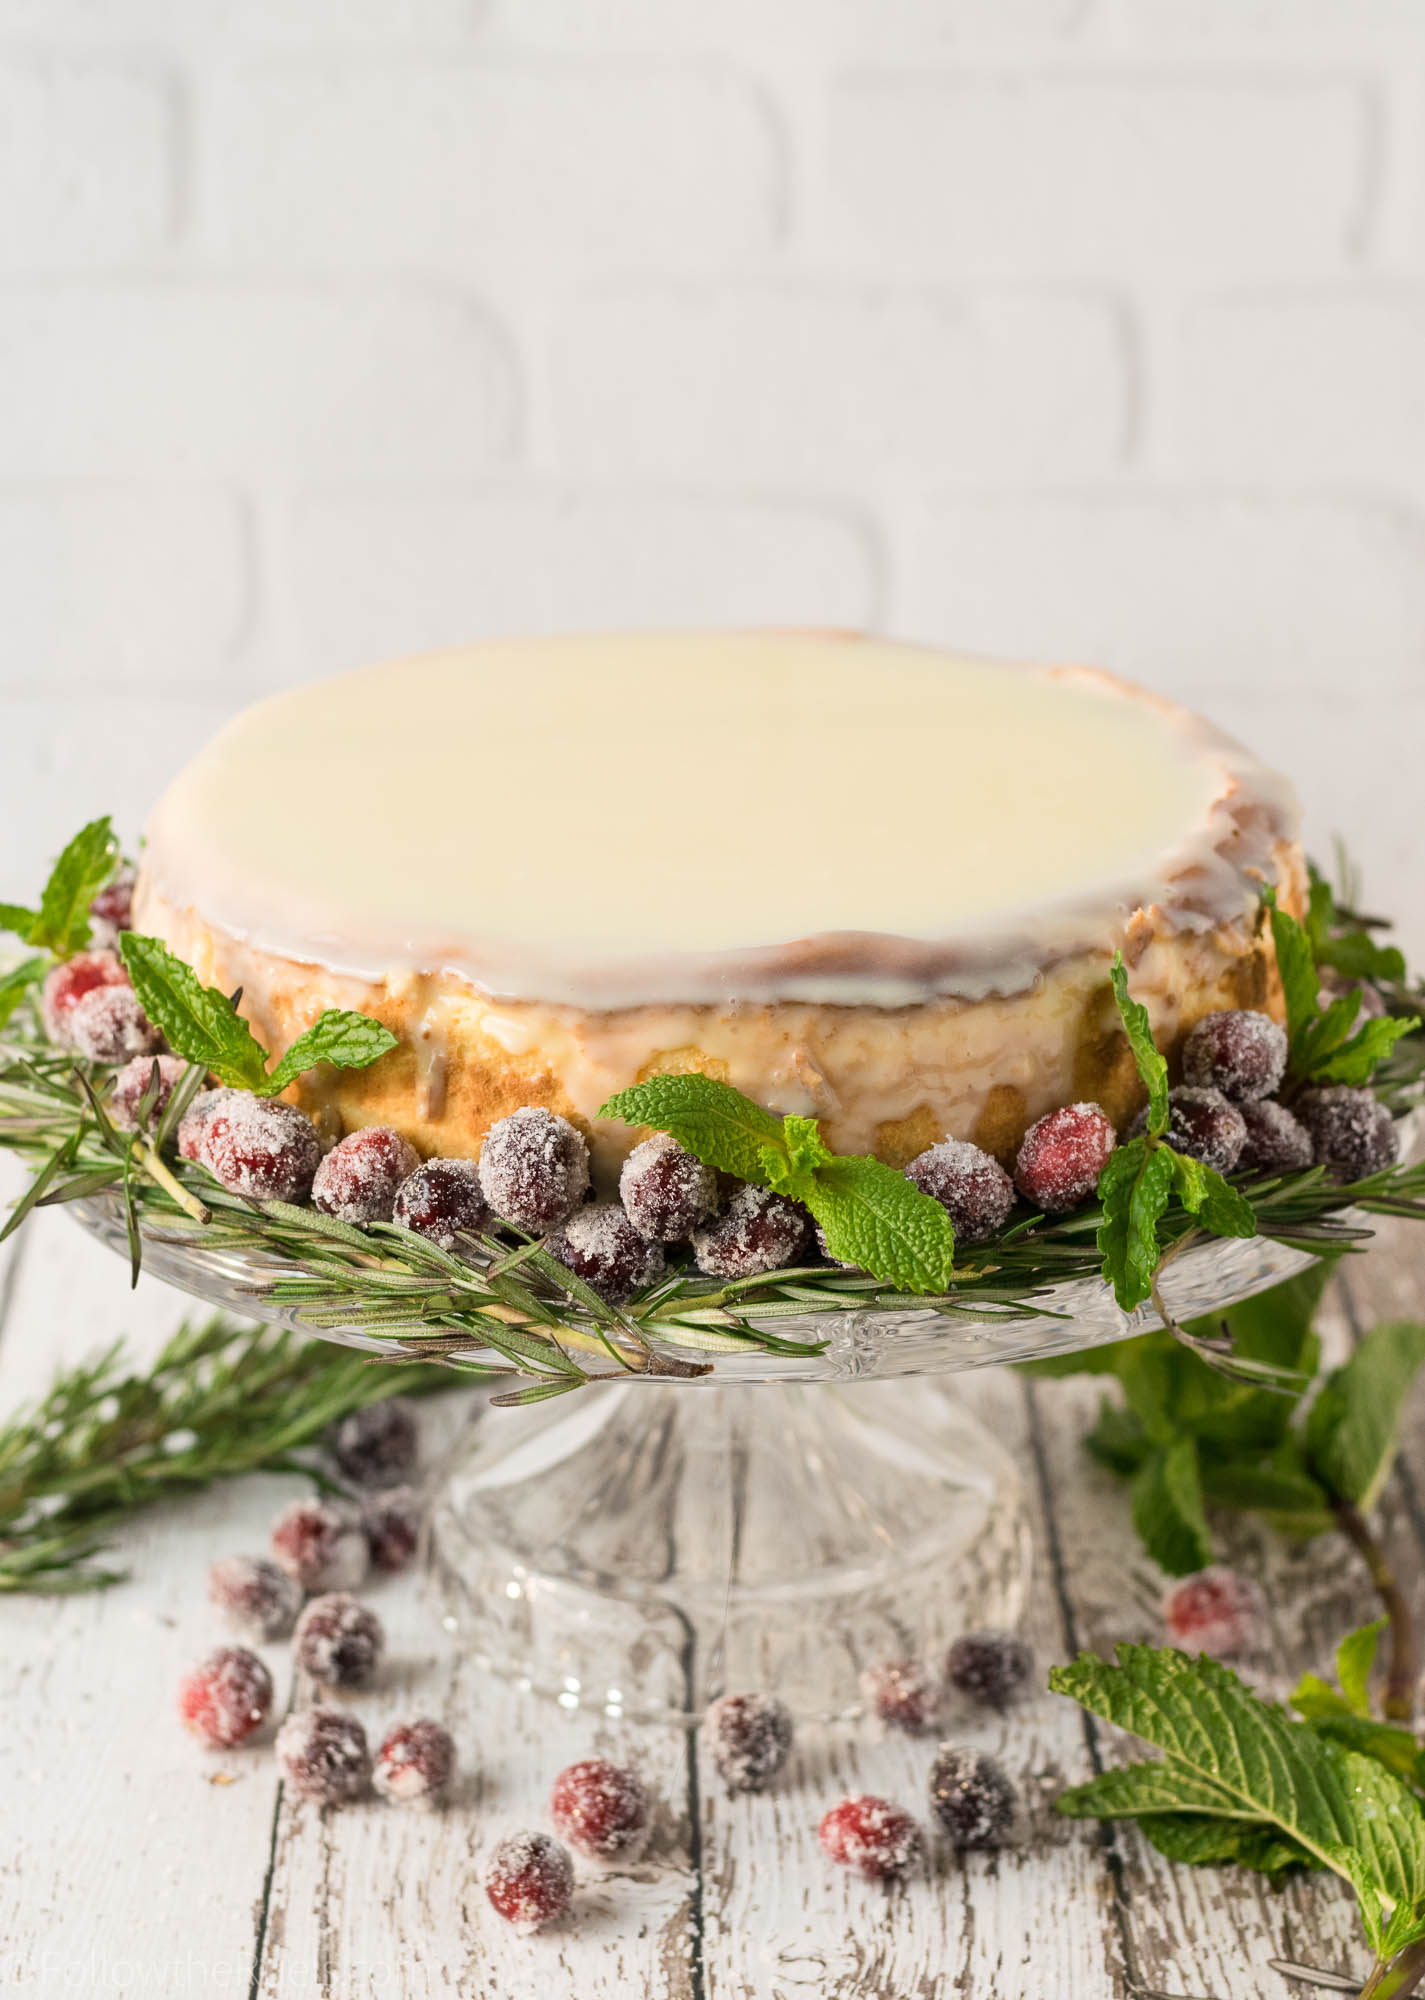
For my office holiday party this year, I kept the family tradition alive and made my own version of mom’s cheesecake by adding a little bit of white chocolate. 

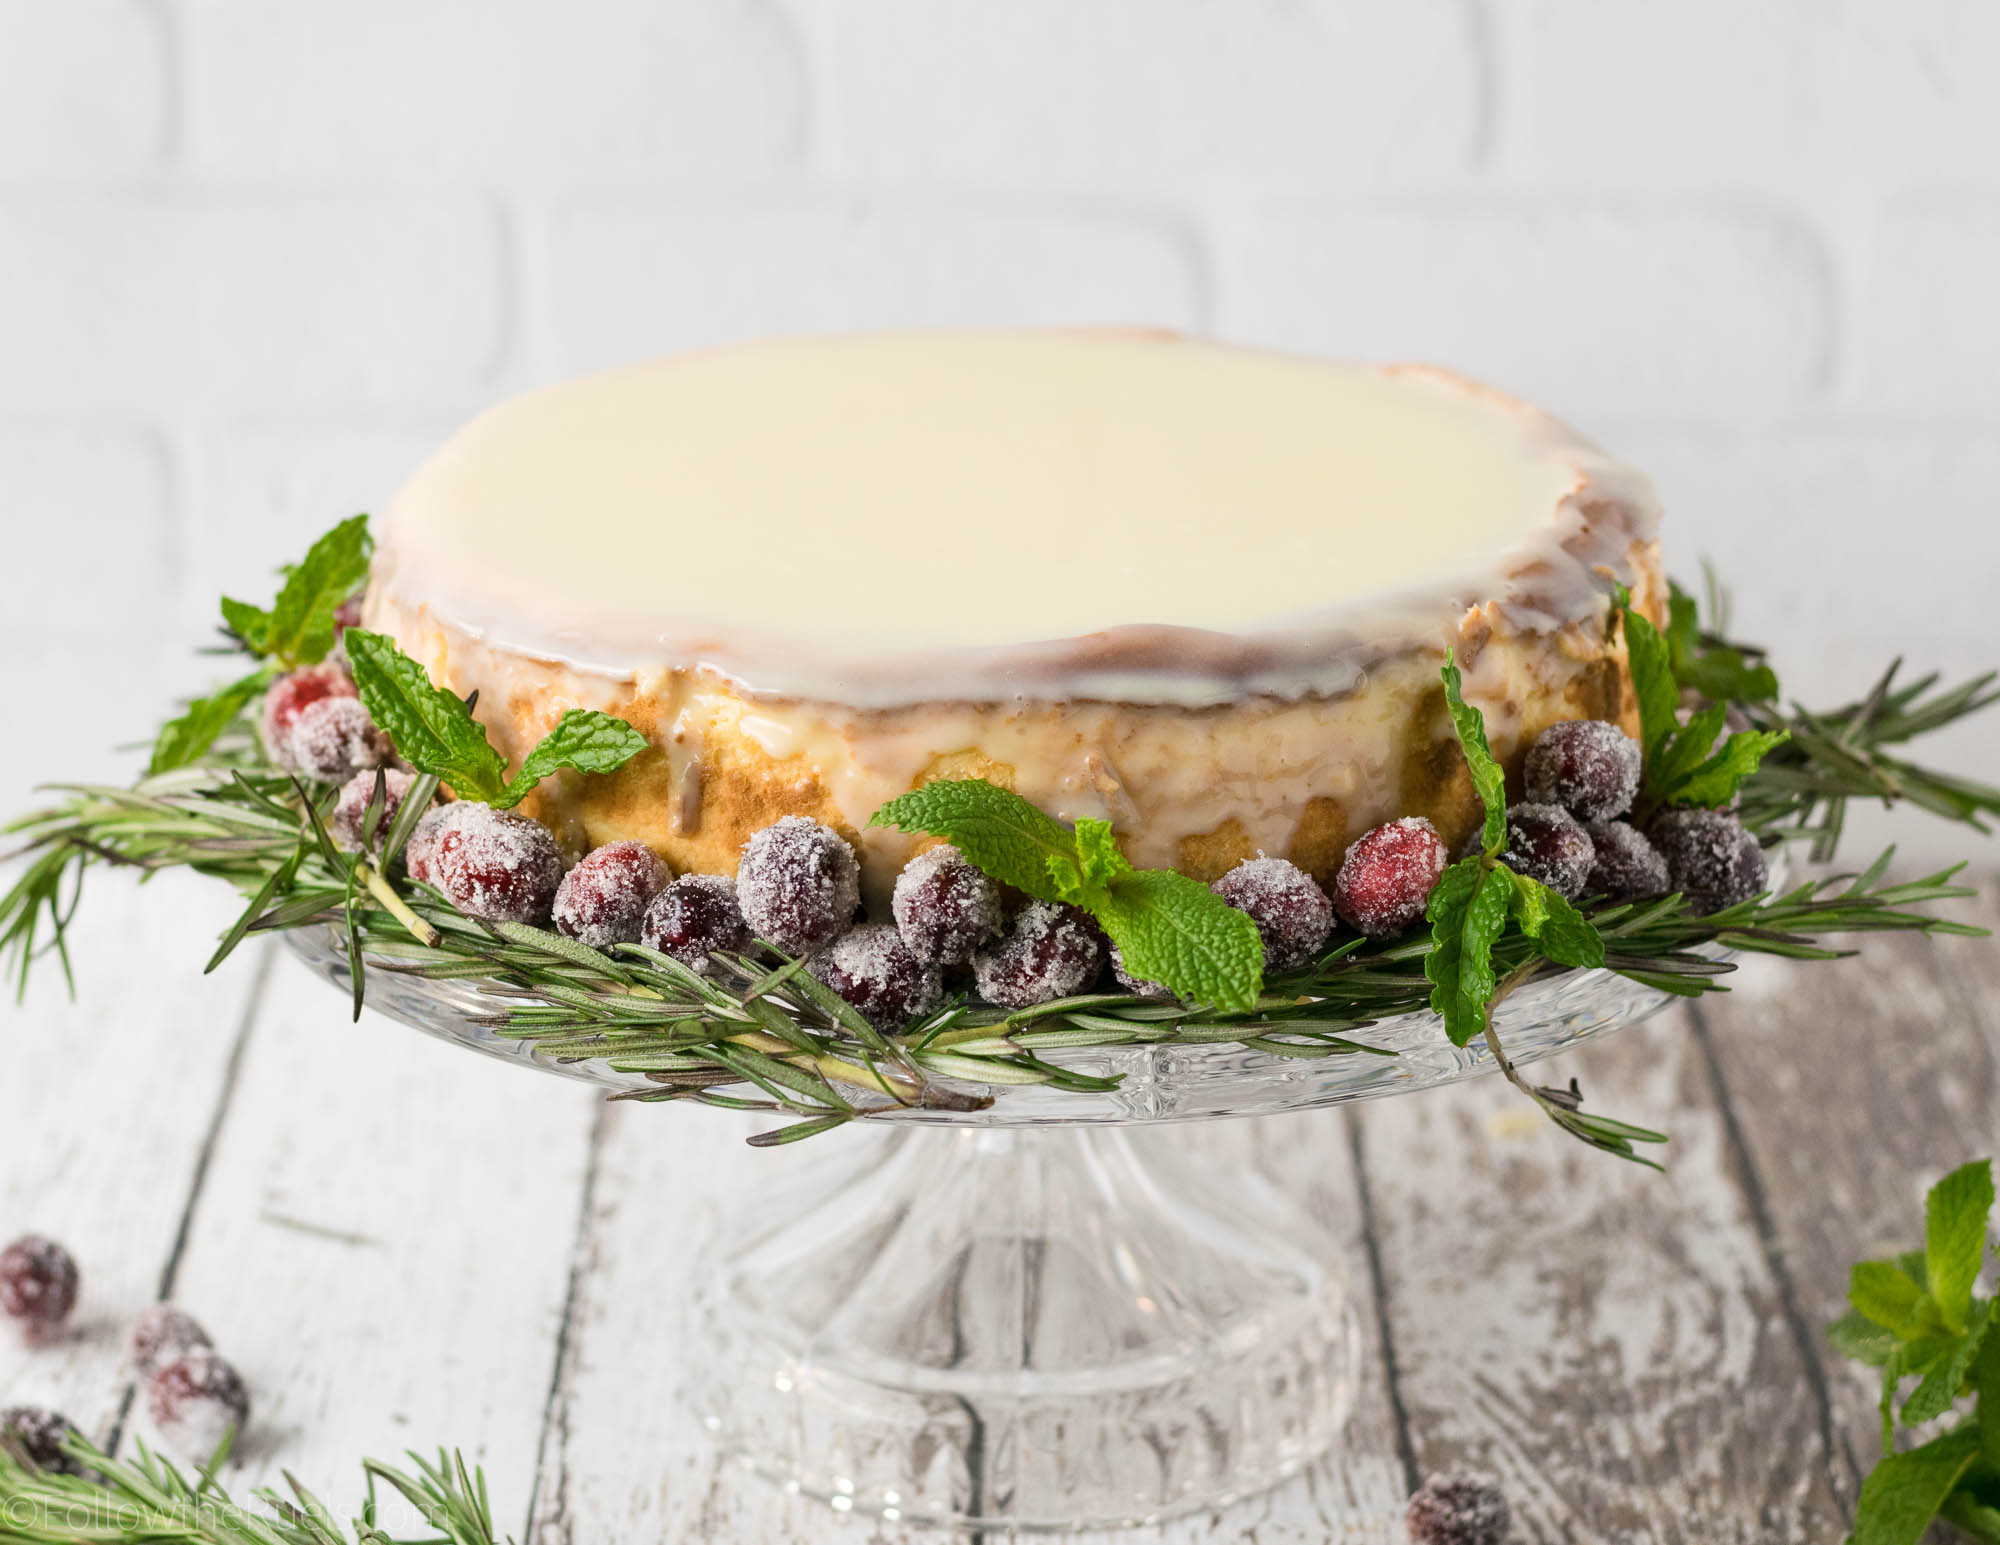
Not only is there white chocolate IN the cheesecake, but there is also white chocolate ON the cheesecake. The white chocolate in the cheesecake is very subtle so the extra chocolate on top helps boost that white chocolate flavor so people aren’t confused about what they are eating. 

How I Made It 

Let’s start with the crust, shall we? Because this is not your ordinary graham cracker crust. Although that would also be very nice. This is a Biscoff cookie crust. You know the cookies Cookie Butter is made out of? The cookies have a nice cinnamon spice flavor to them which is perfect with the white chocolate. 

Like a graham cracker crust, I first smashed them into bits with my handy food processor until the cookies resembled something between breadcrumbs and sand. 


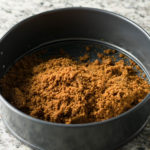
Then I mixed in some butter so that all the crumbs would stick together and poured them into the bottom of a springform pan. 

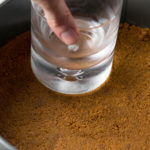
To evenly distribute the crust around the bottom of the pan, I, first, used my hand to cover the bottom. Then I used the bottom of a heavy glass to tap them down into a smooth crust. 

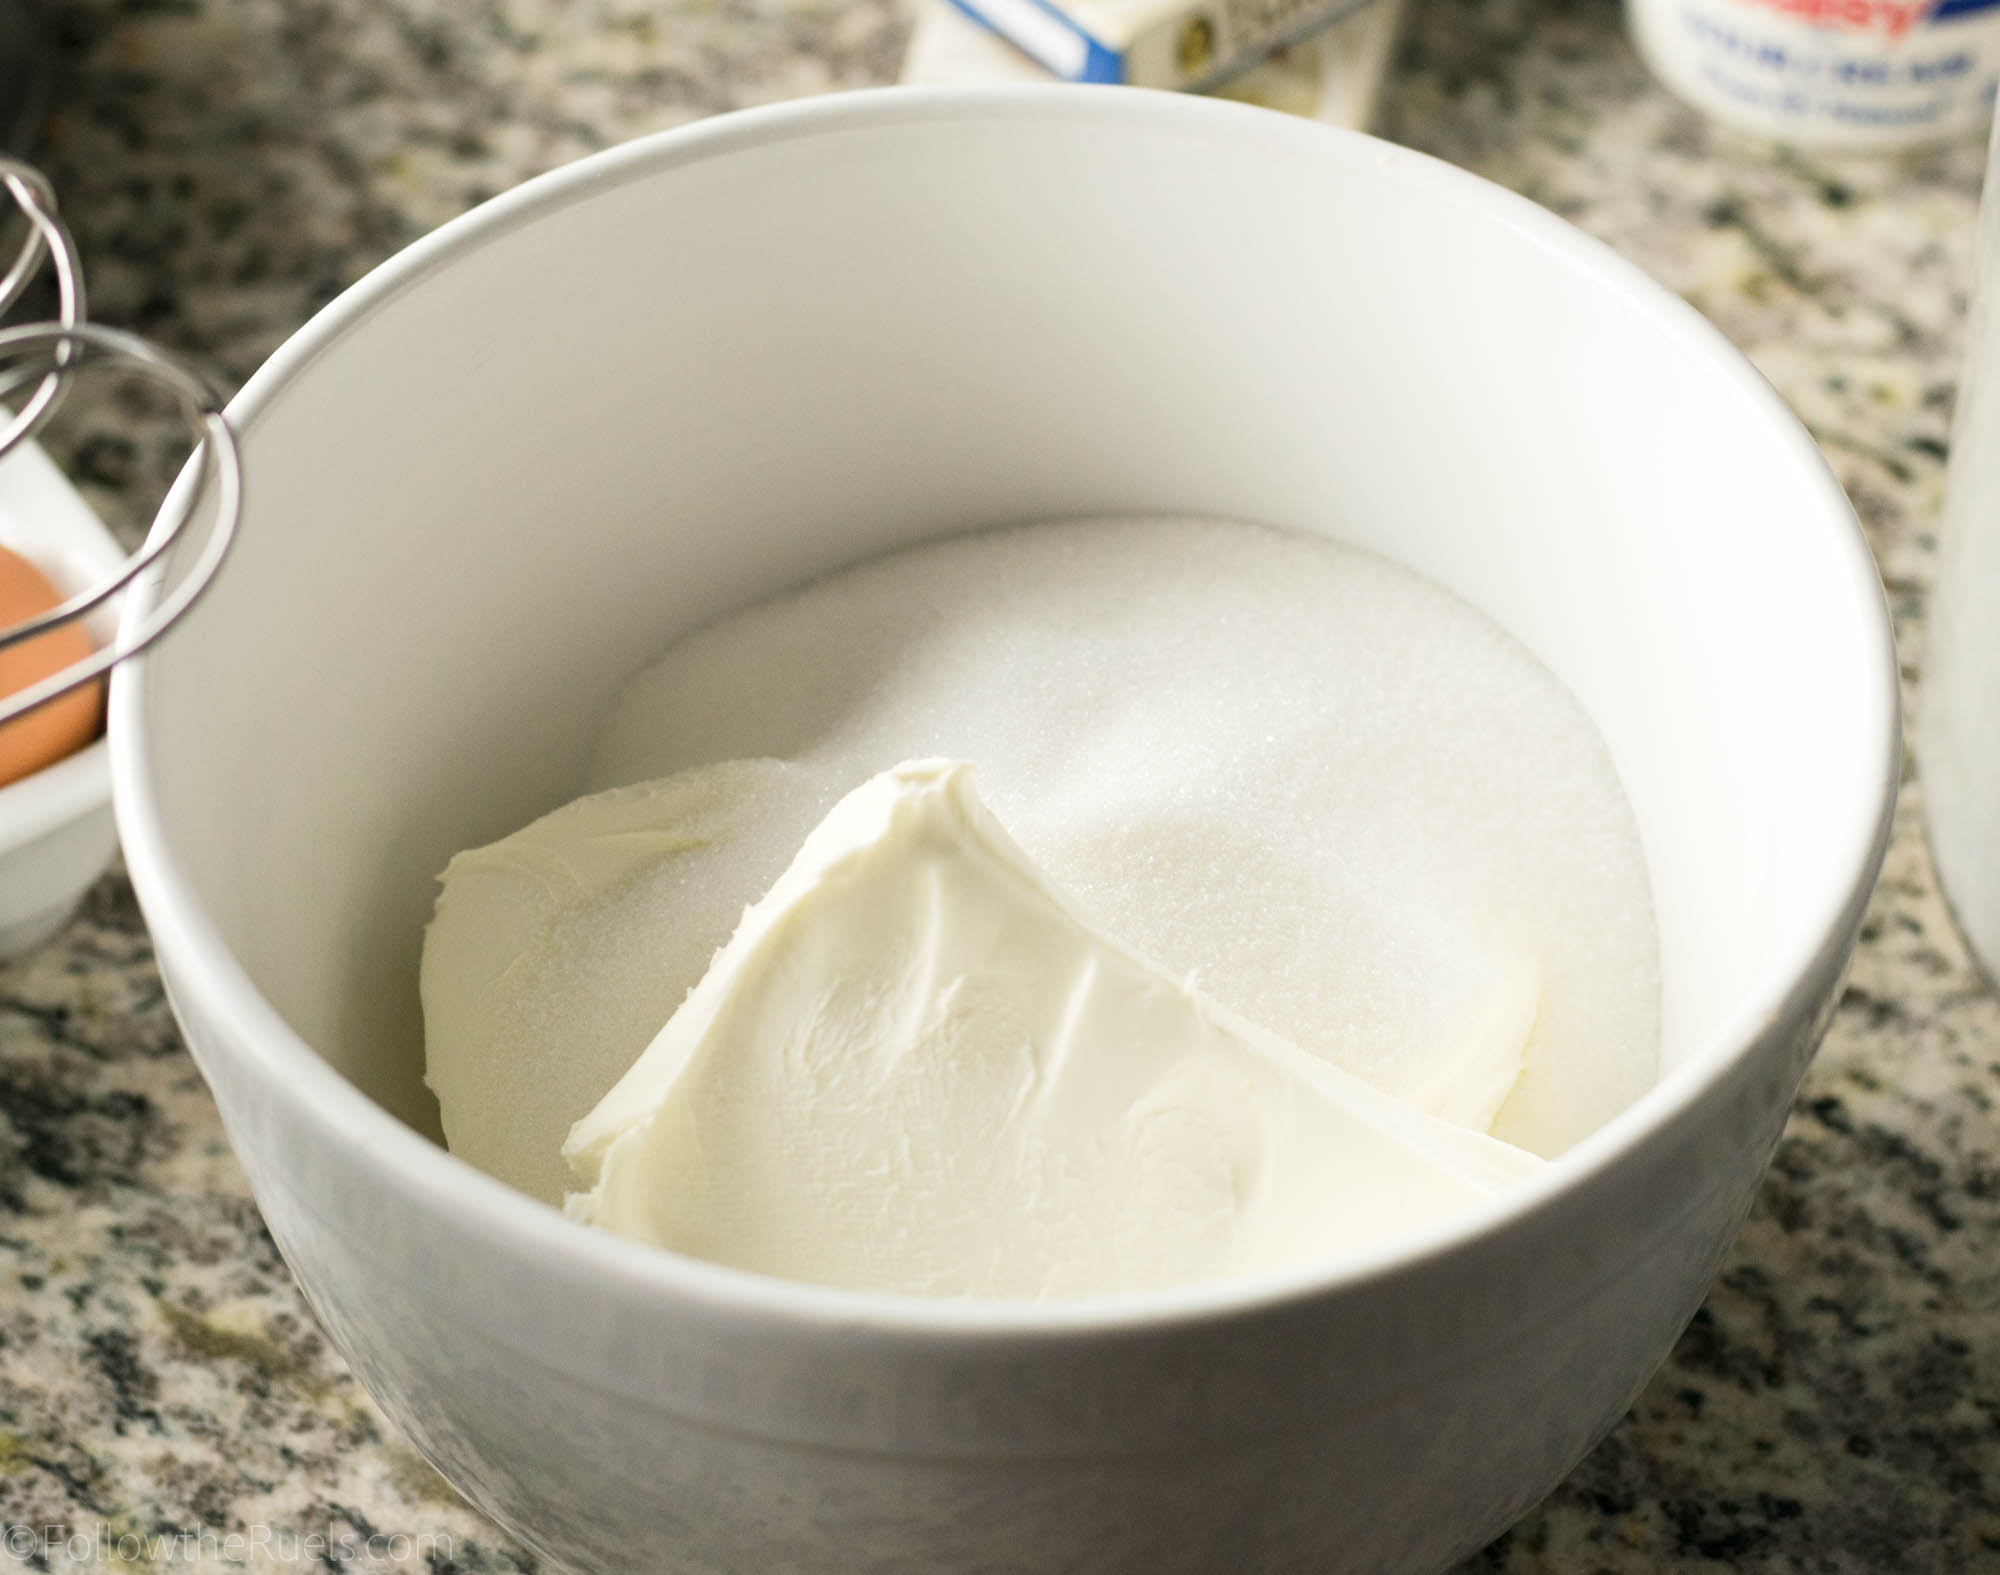
For the cheesecake itself, I first creamed together the cream cheese and the sugar until they were well combined. 

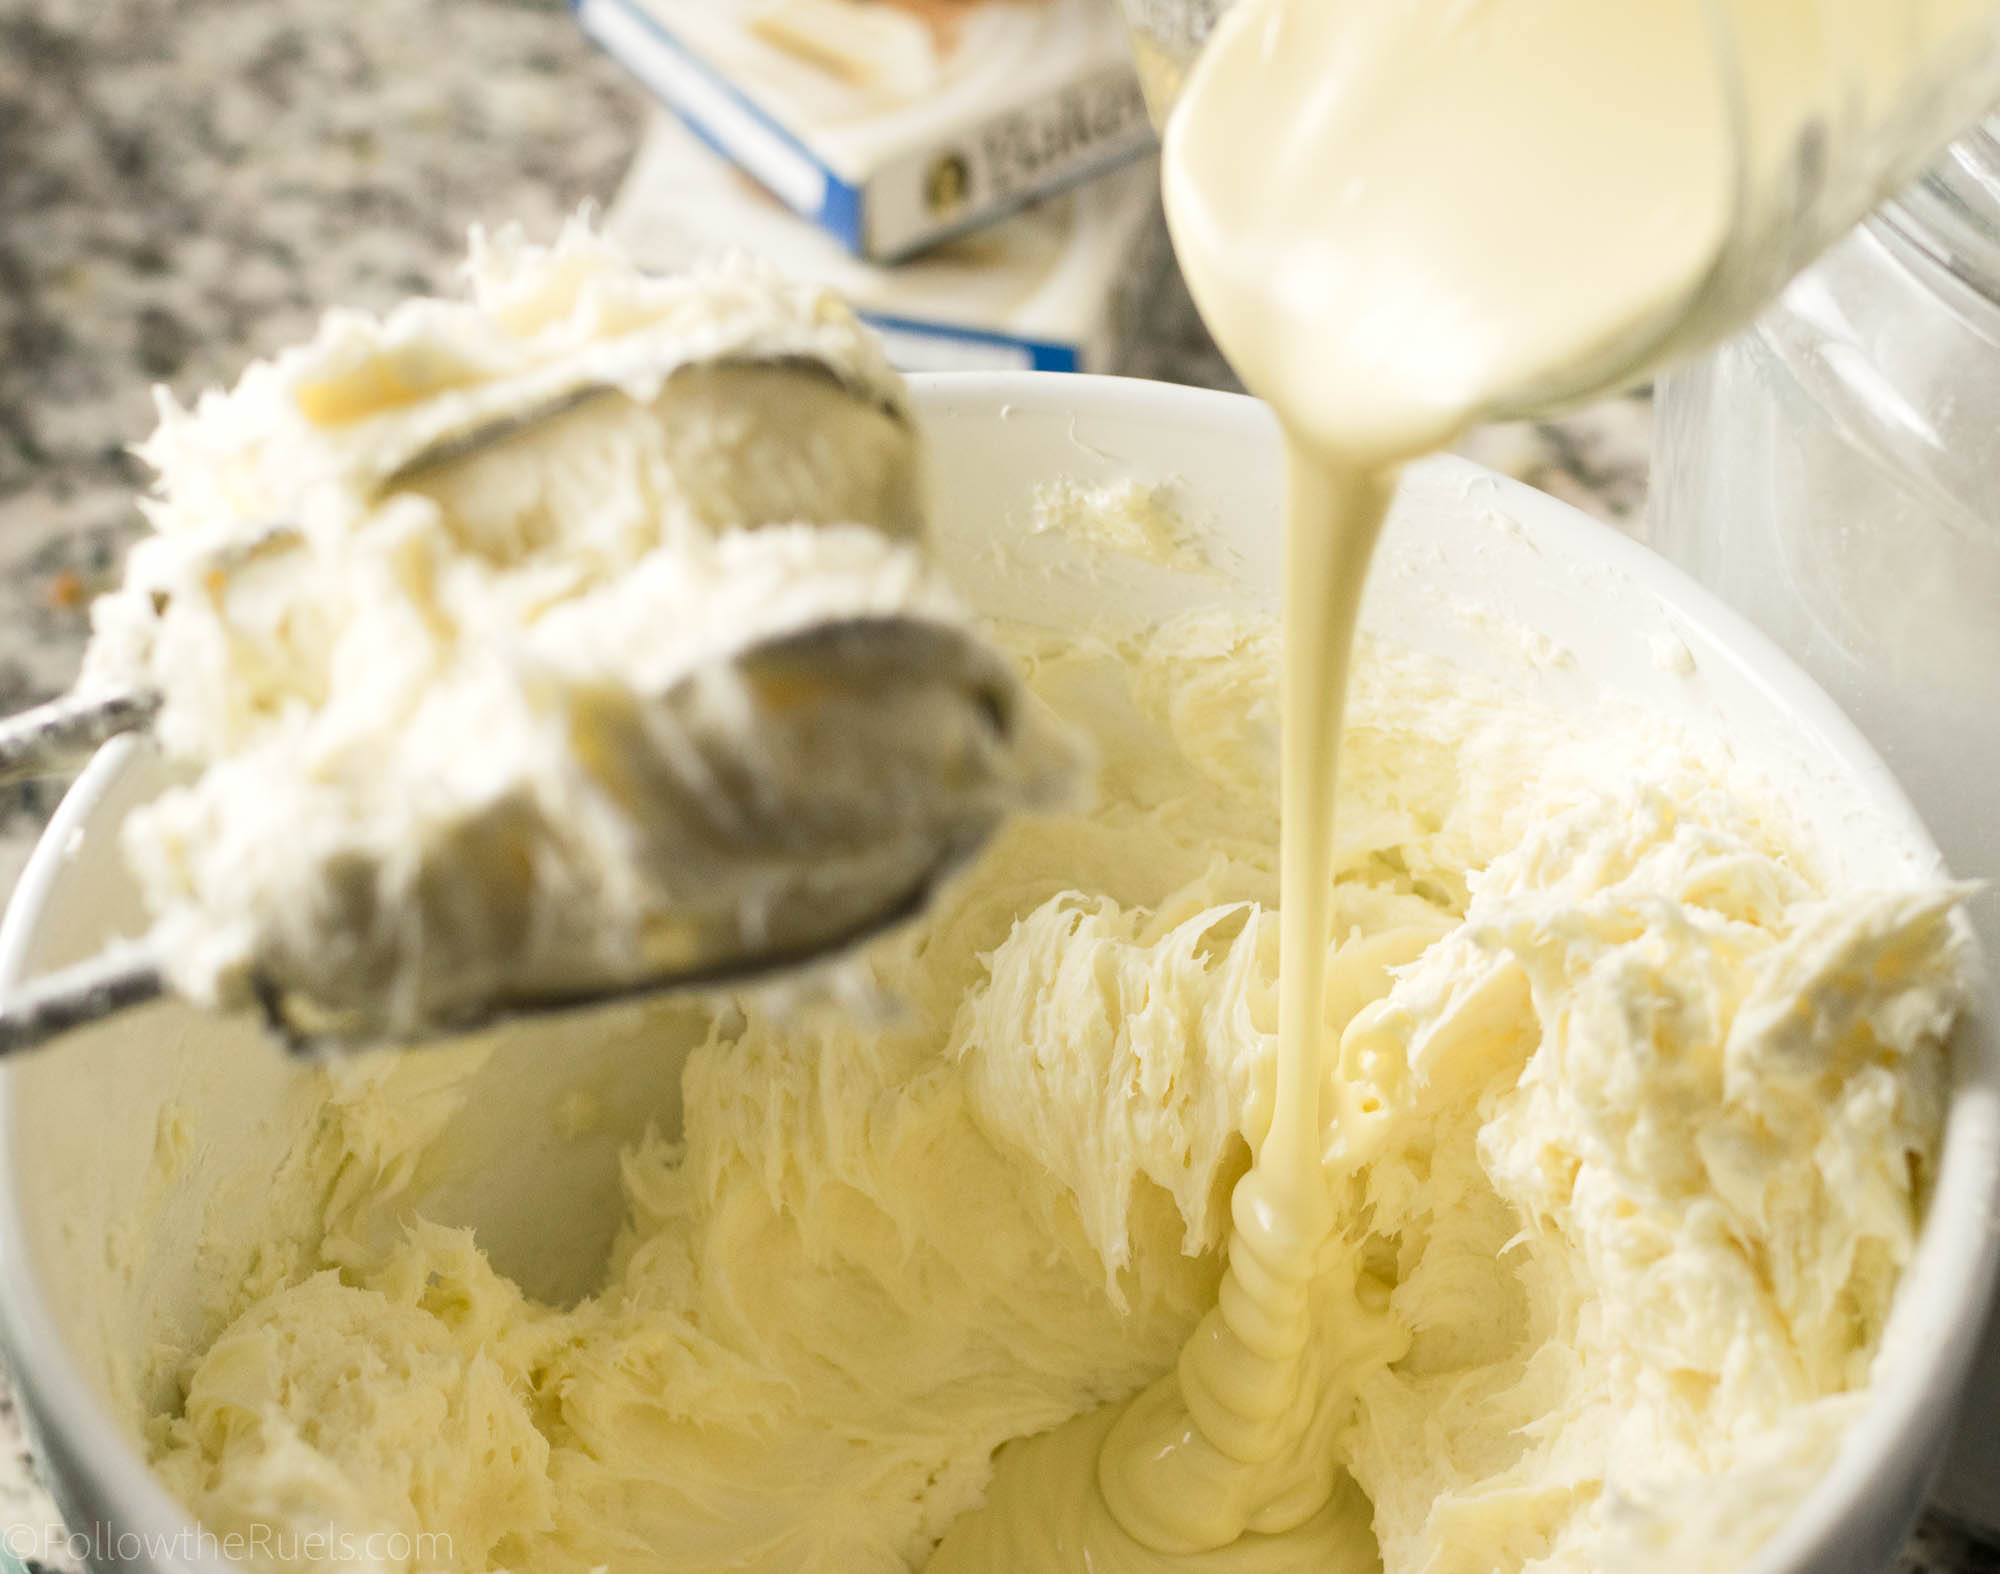
Then I mixed in the melted white chocolate

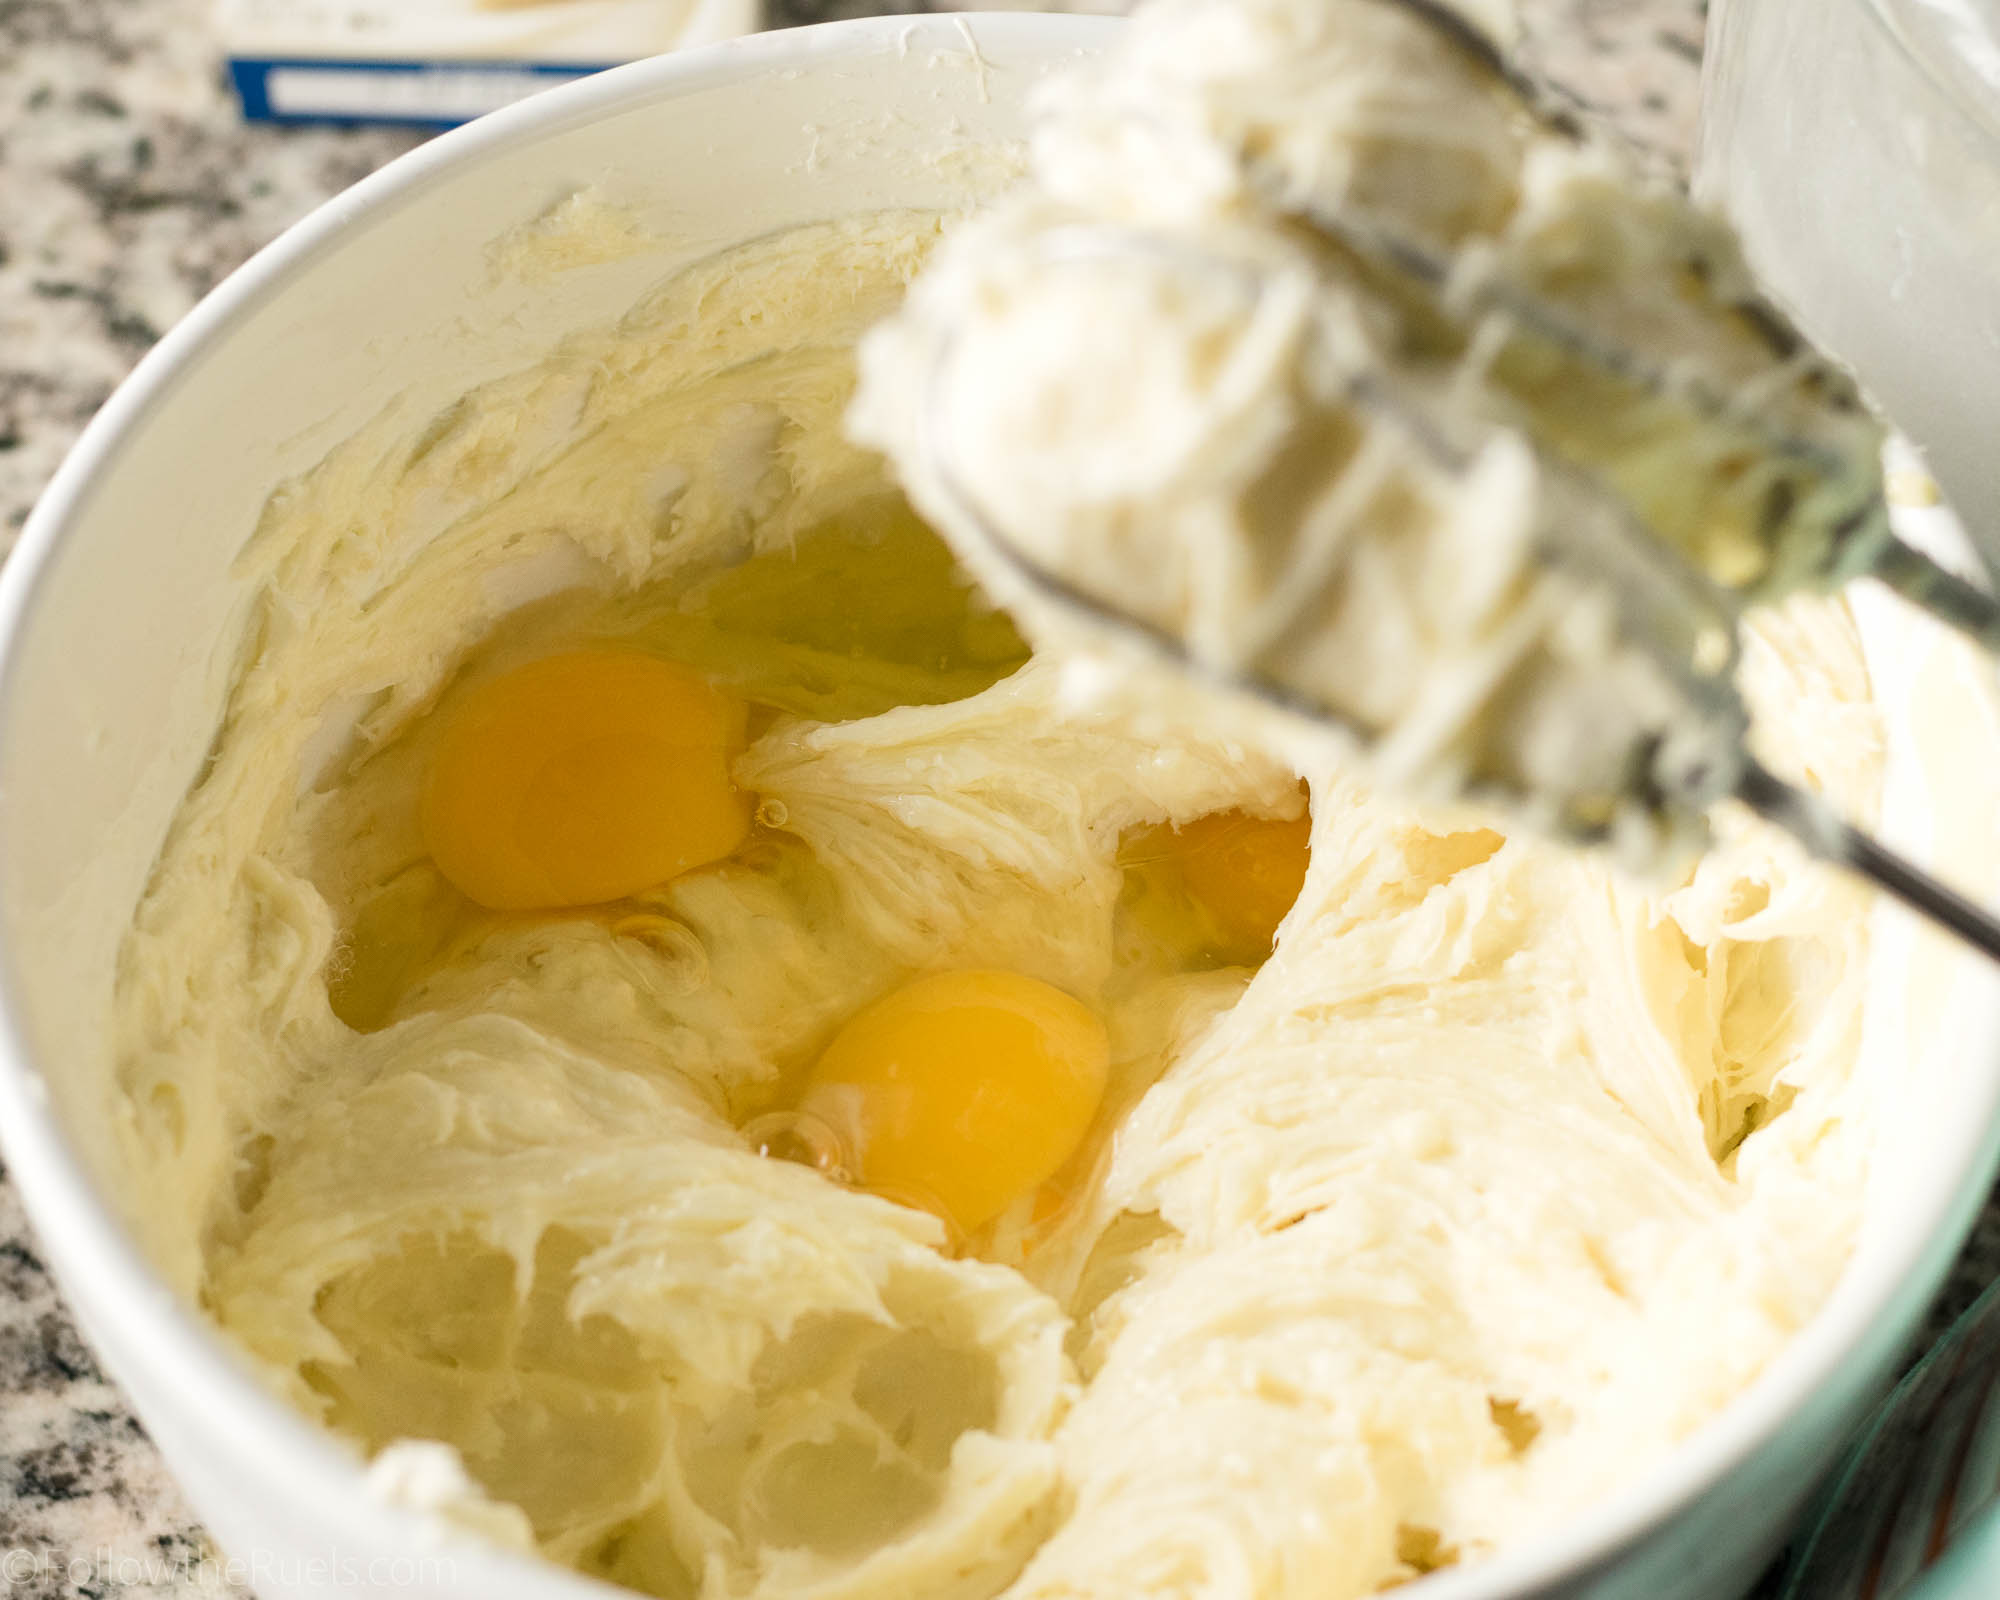
Next came the eggs. Cheesecake requires lots of eggs, but I am too impatient to mix them in one at a time. So I just do three at a time.


Last, I added in vanilla (in this case, vanilla bean paste) and sour cream.

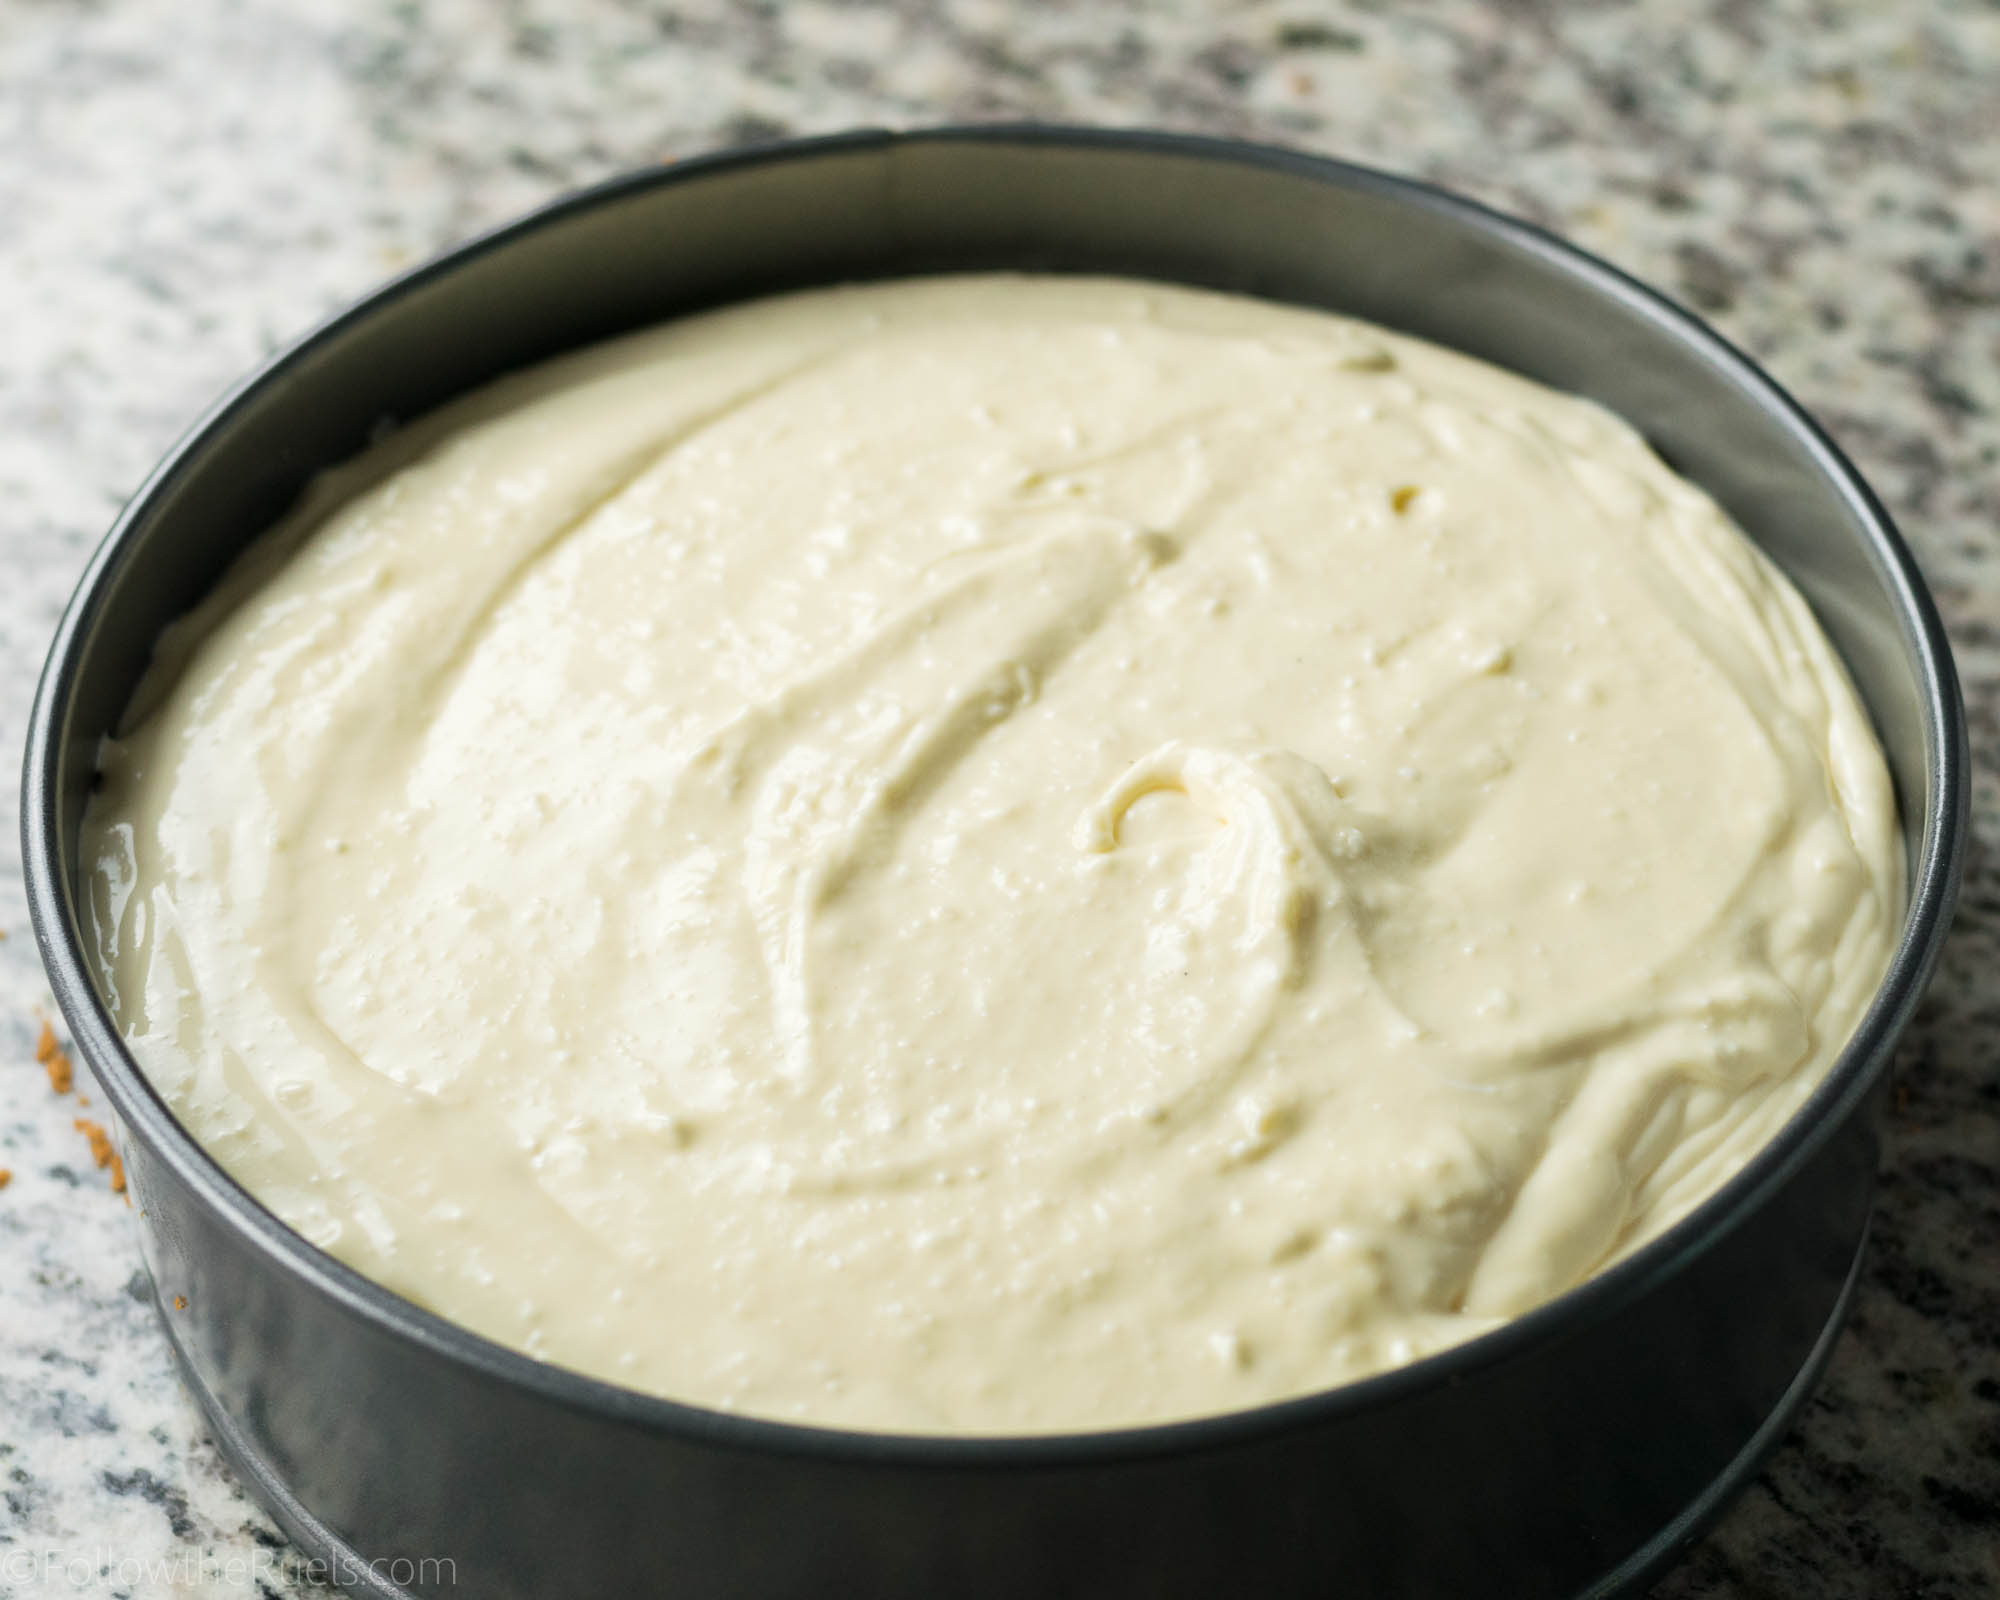
Finally, I poured the batter into the pan and evened out the top before popping it in the oven to bake. 

Now, cheesecake takes a little while to bake, so this is typically where I clean up a bit, check email, browse Instagram, etc. until it’s done. 

You will know your cheesecake is done when it is slightly brown around the edges but still has a little wobble in the middle. The center shouldn’t be “wet”, but it will still wobble.

If your cheesecake is browning too much around the edges, then cover it with foil and continue baking. 

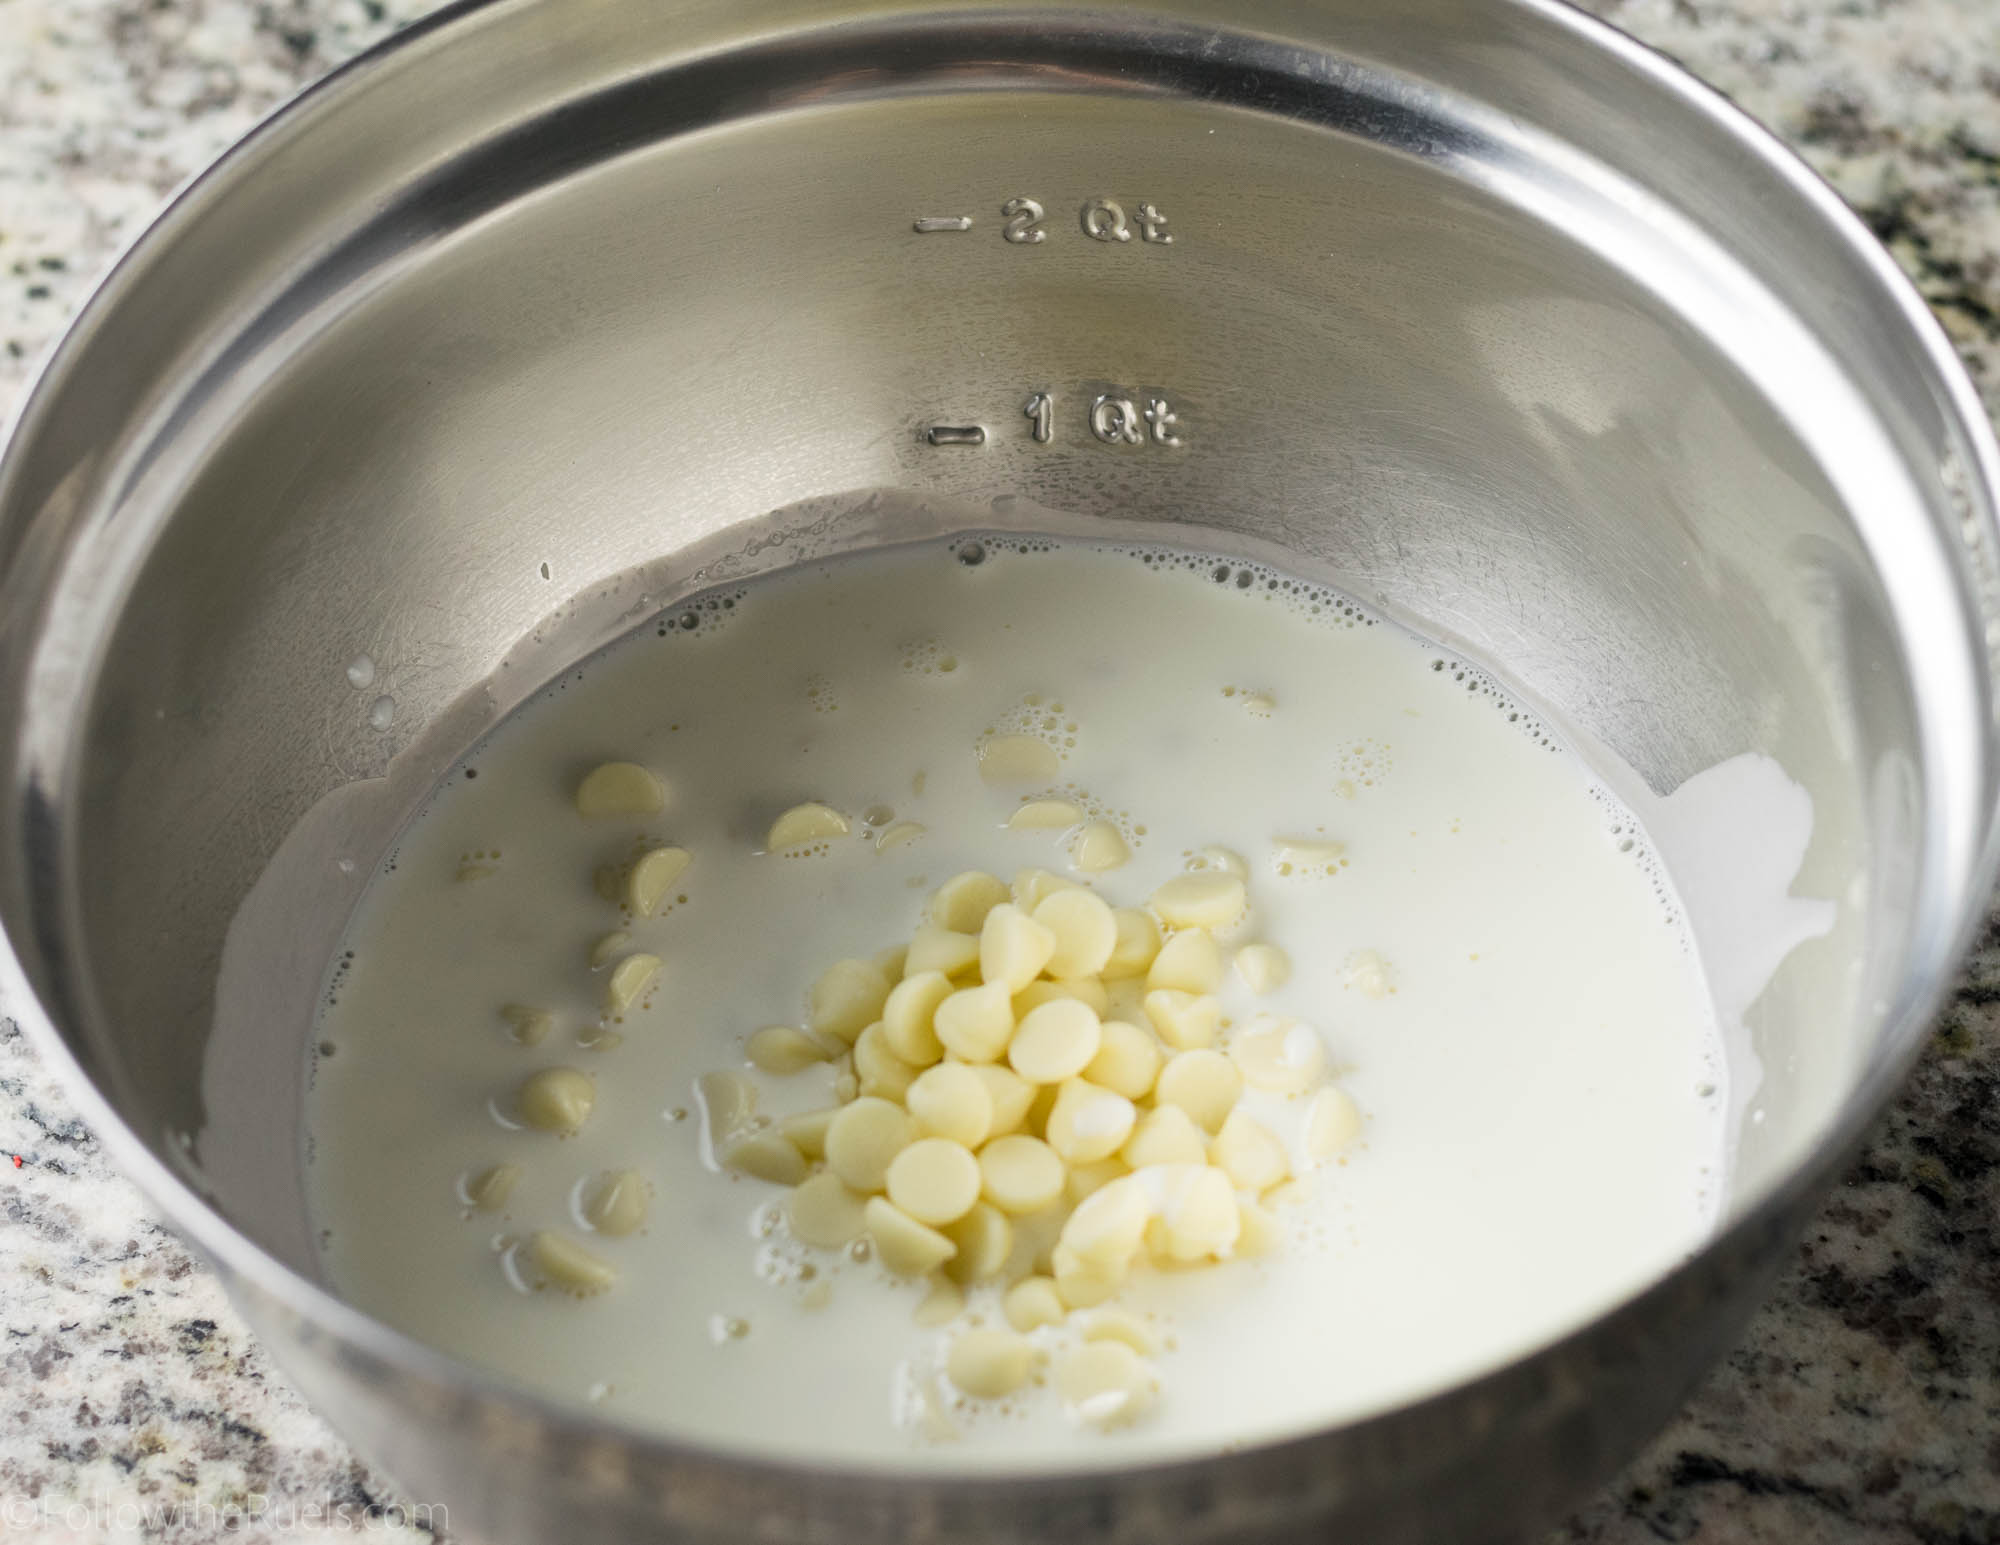
After the cheesecake baked, and while it was cooling, I prepared the white chocolate ganache topping. 

I poured hot heavy cream over the white chocolate and let that sit for a bit to begin to melt. 

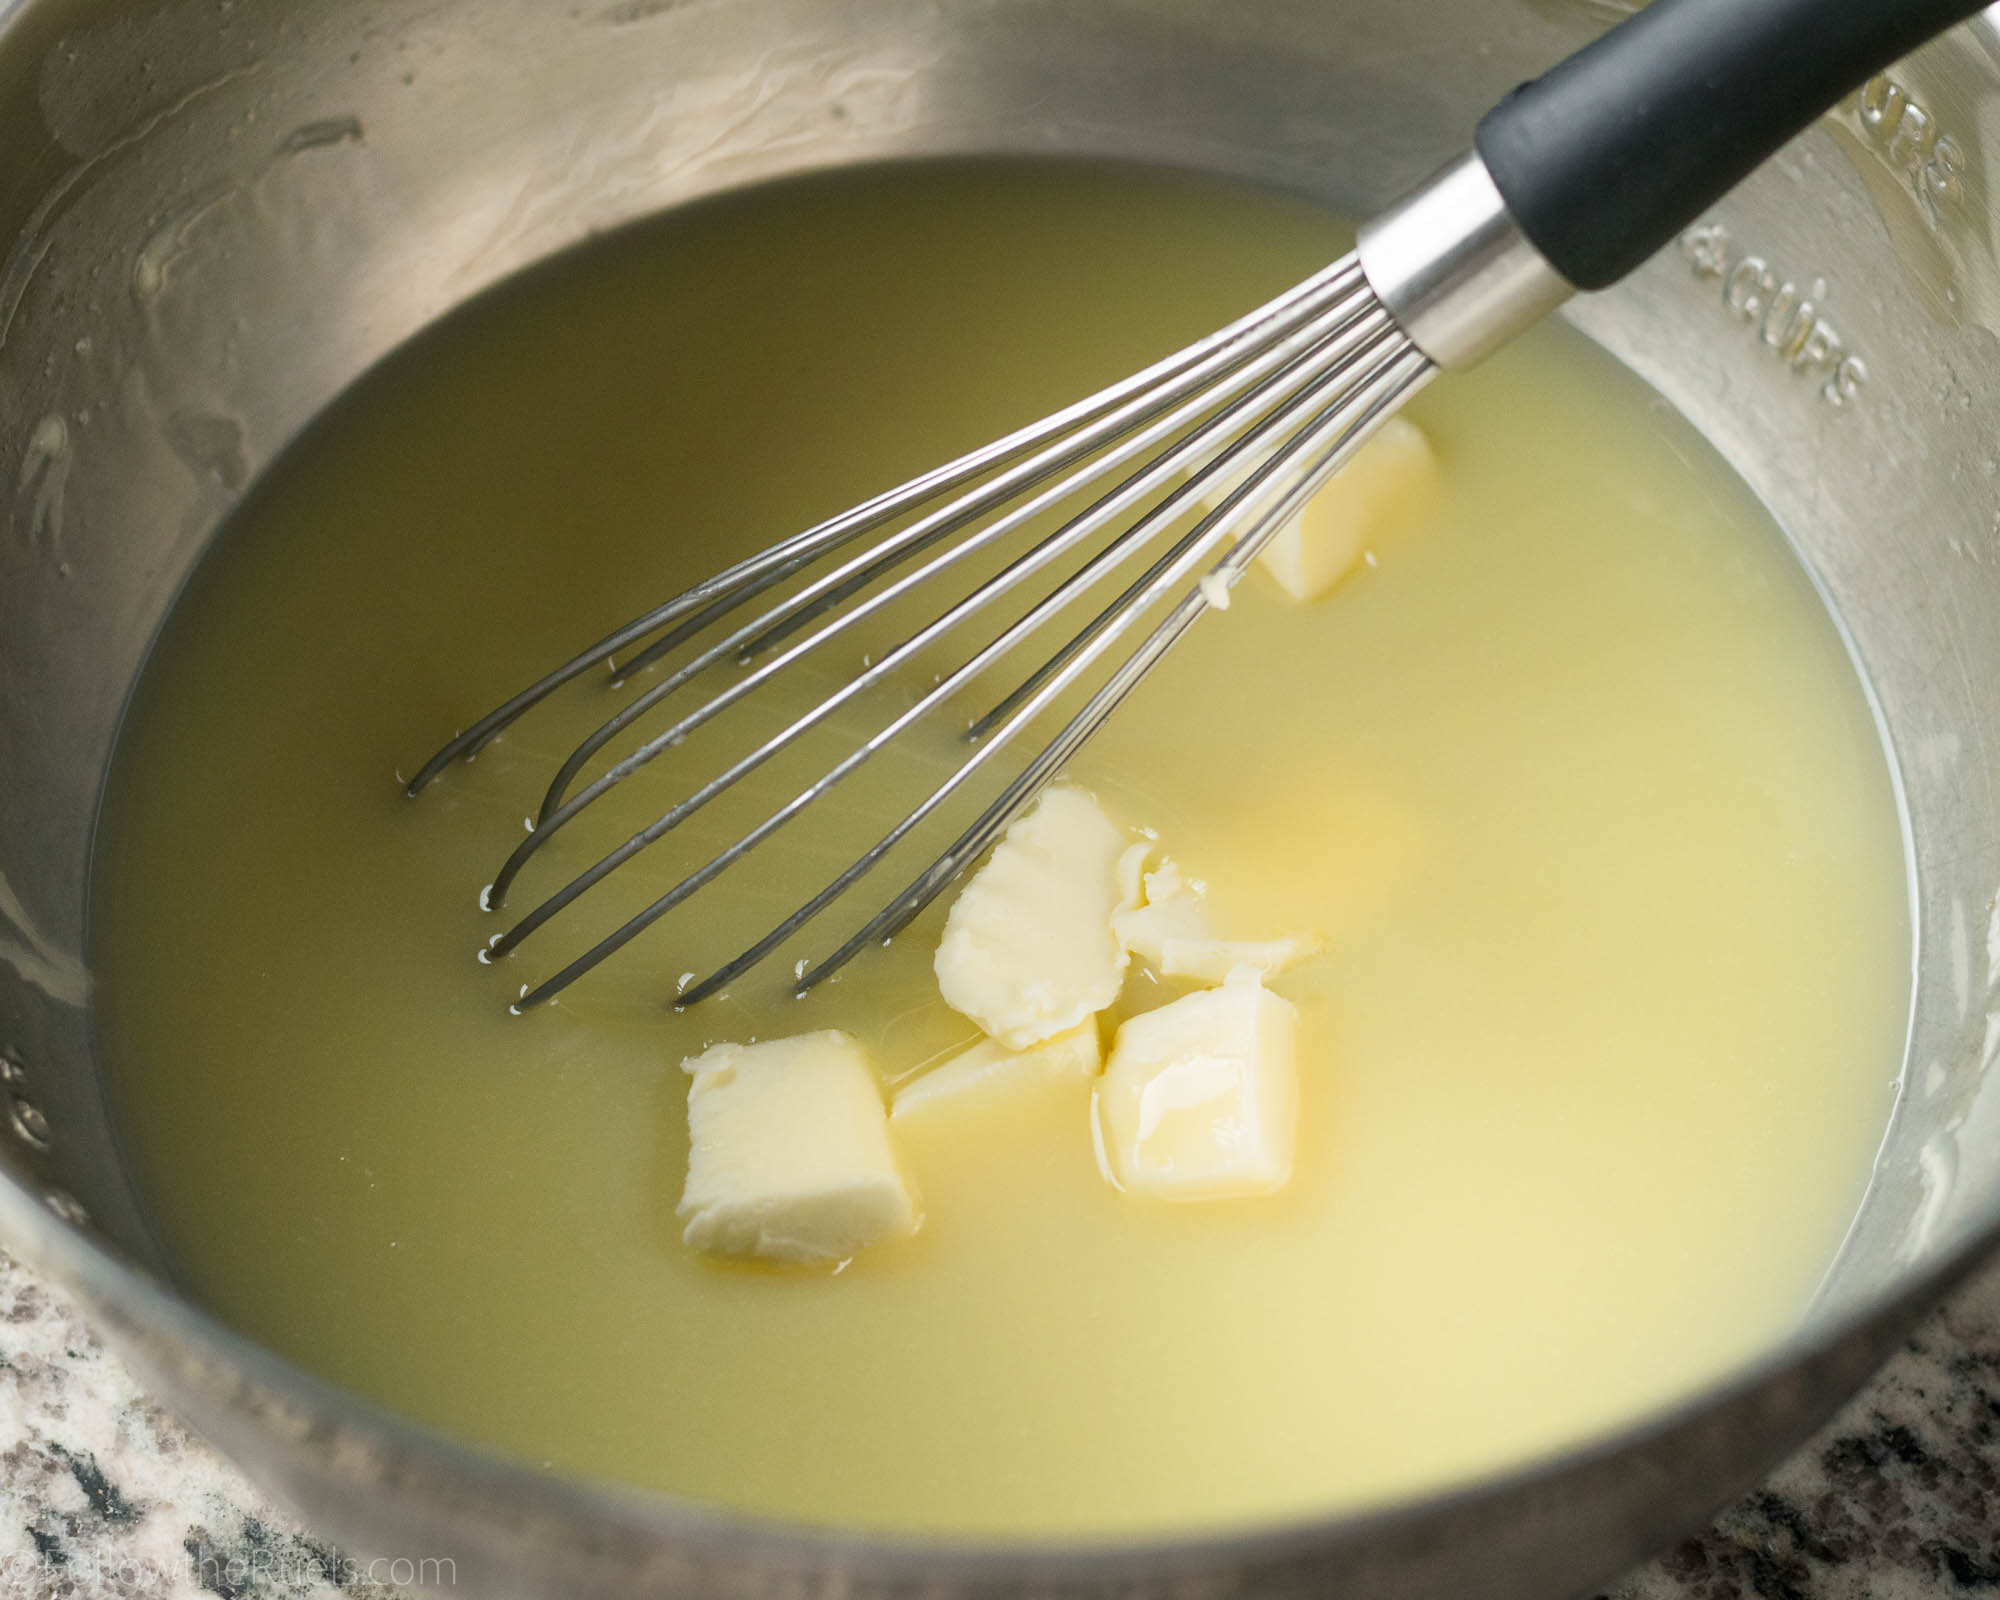
After a few minutes, I stirred the ganache to make sure all the chocolate pieces had melted. Then I stirred in some butter. 

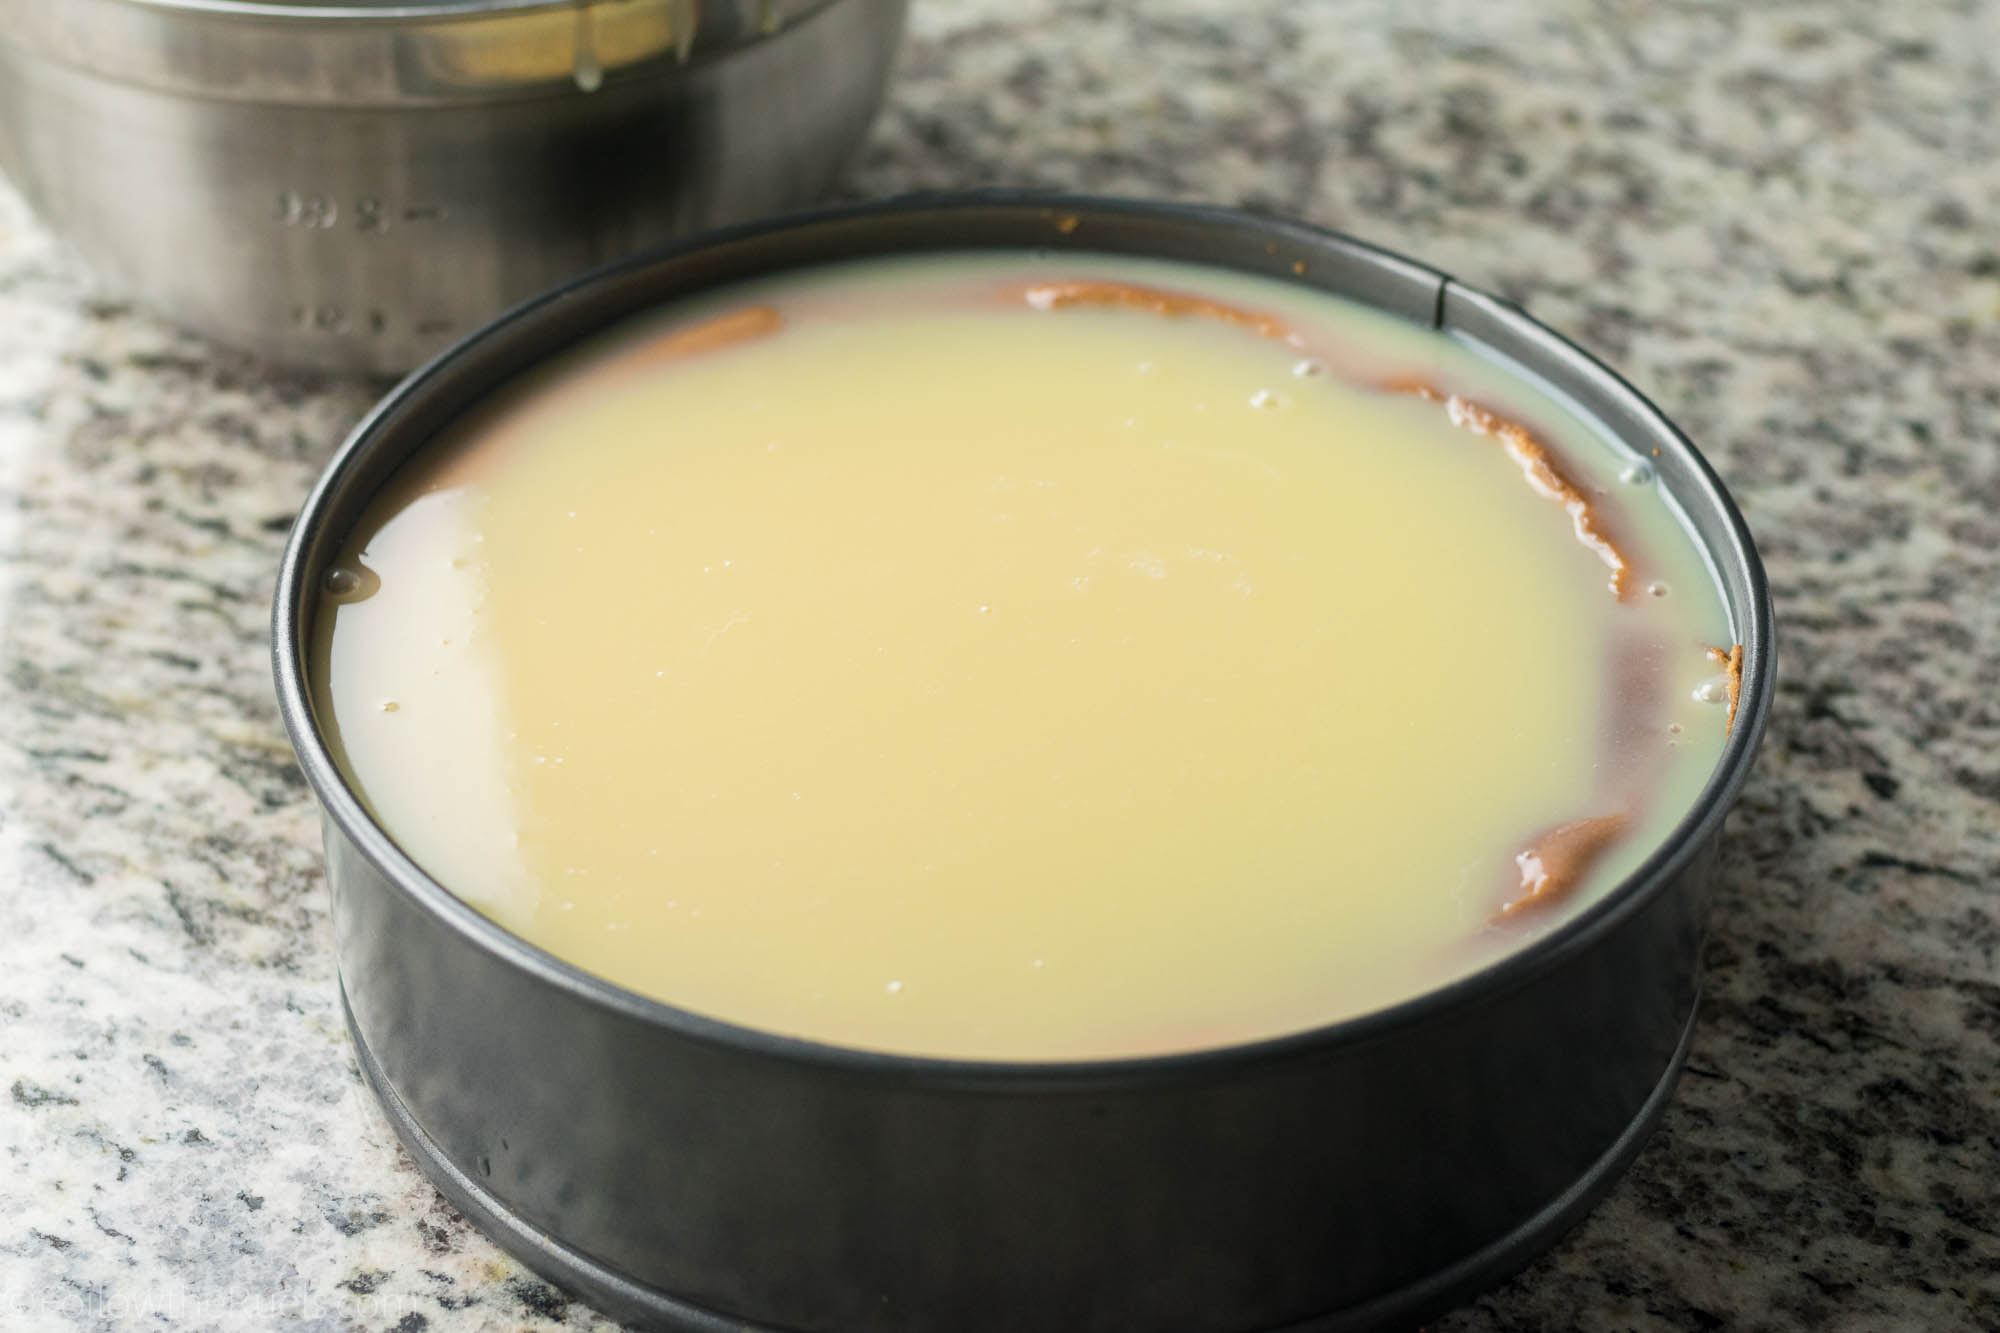
Once the ganache had cooled to room temperature but was still liquid, I poured it over the cheesecake. 

At this point, my cheesecake had already cooled to room temperature, so it was safe to cover and pop in the fridge. 

You never want to put a warm cheesecake in the fridge, otherwise, the crust and the center will get really soggy and not set properly. 

I let the cheesecake and ganache set overnight in the fridge so that it was ready the next day for the Christmas party.

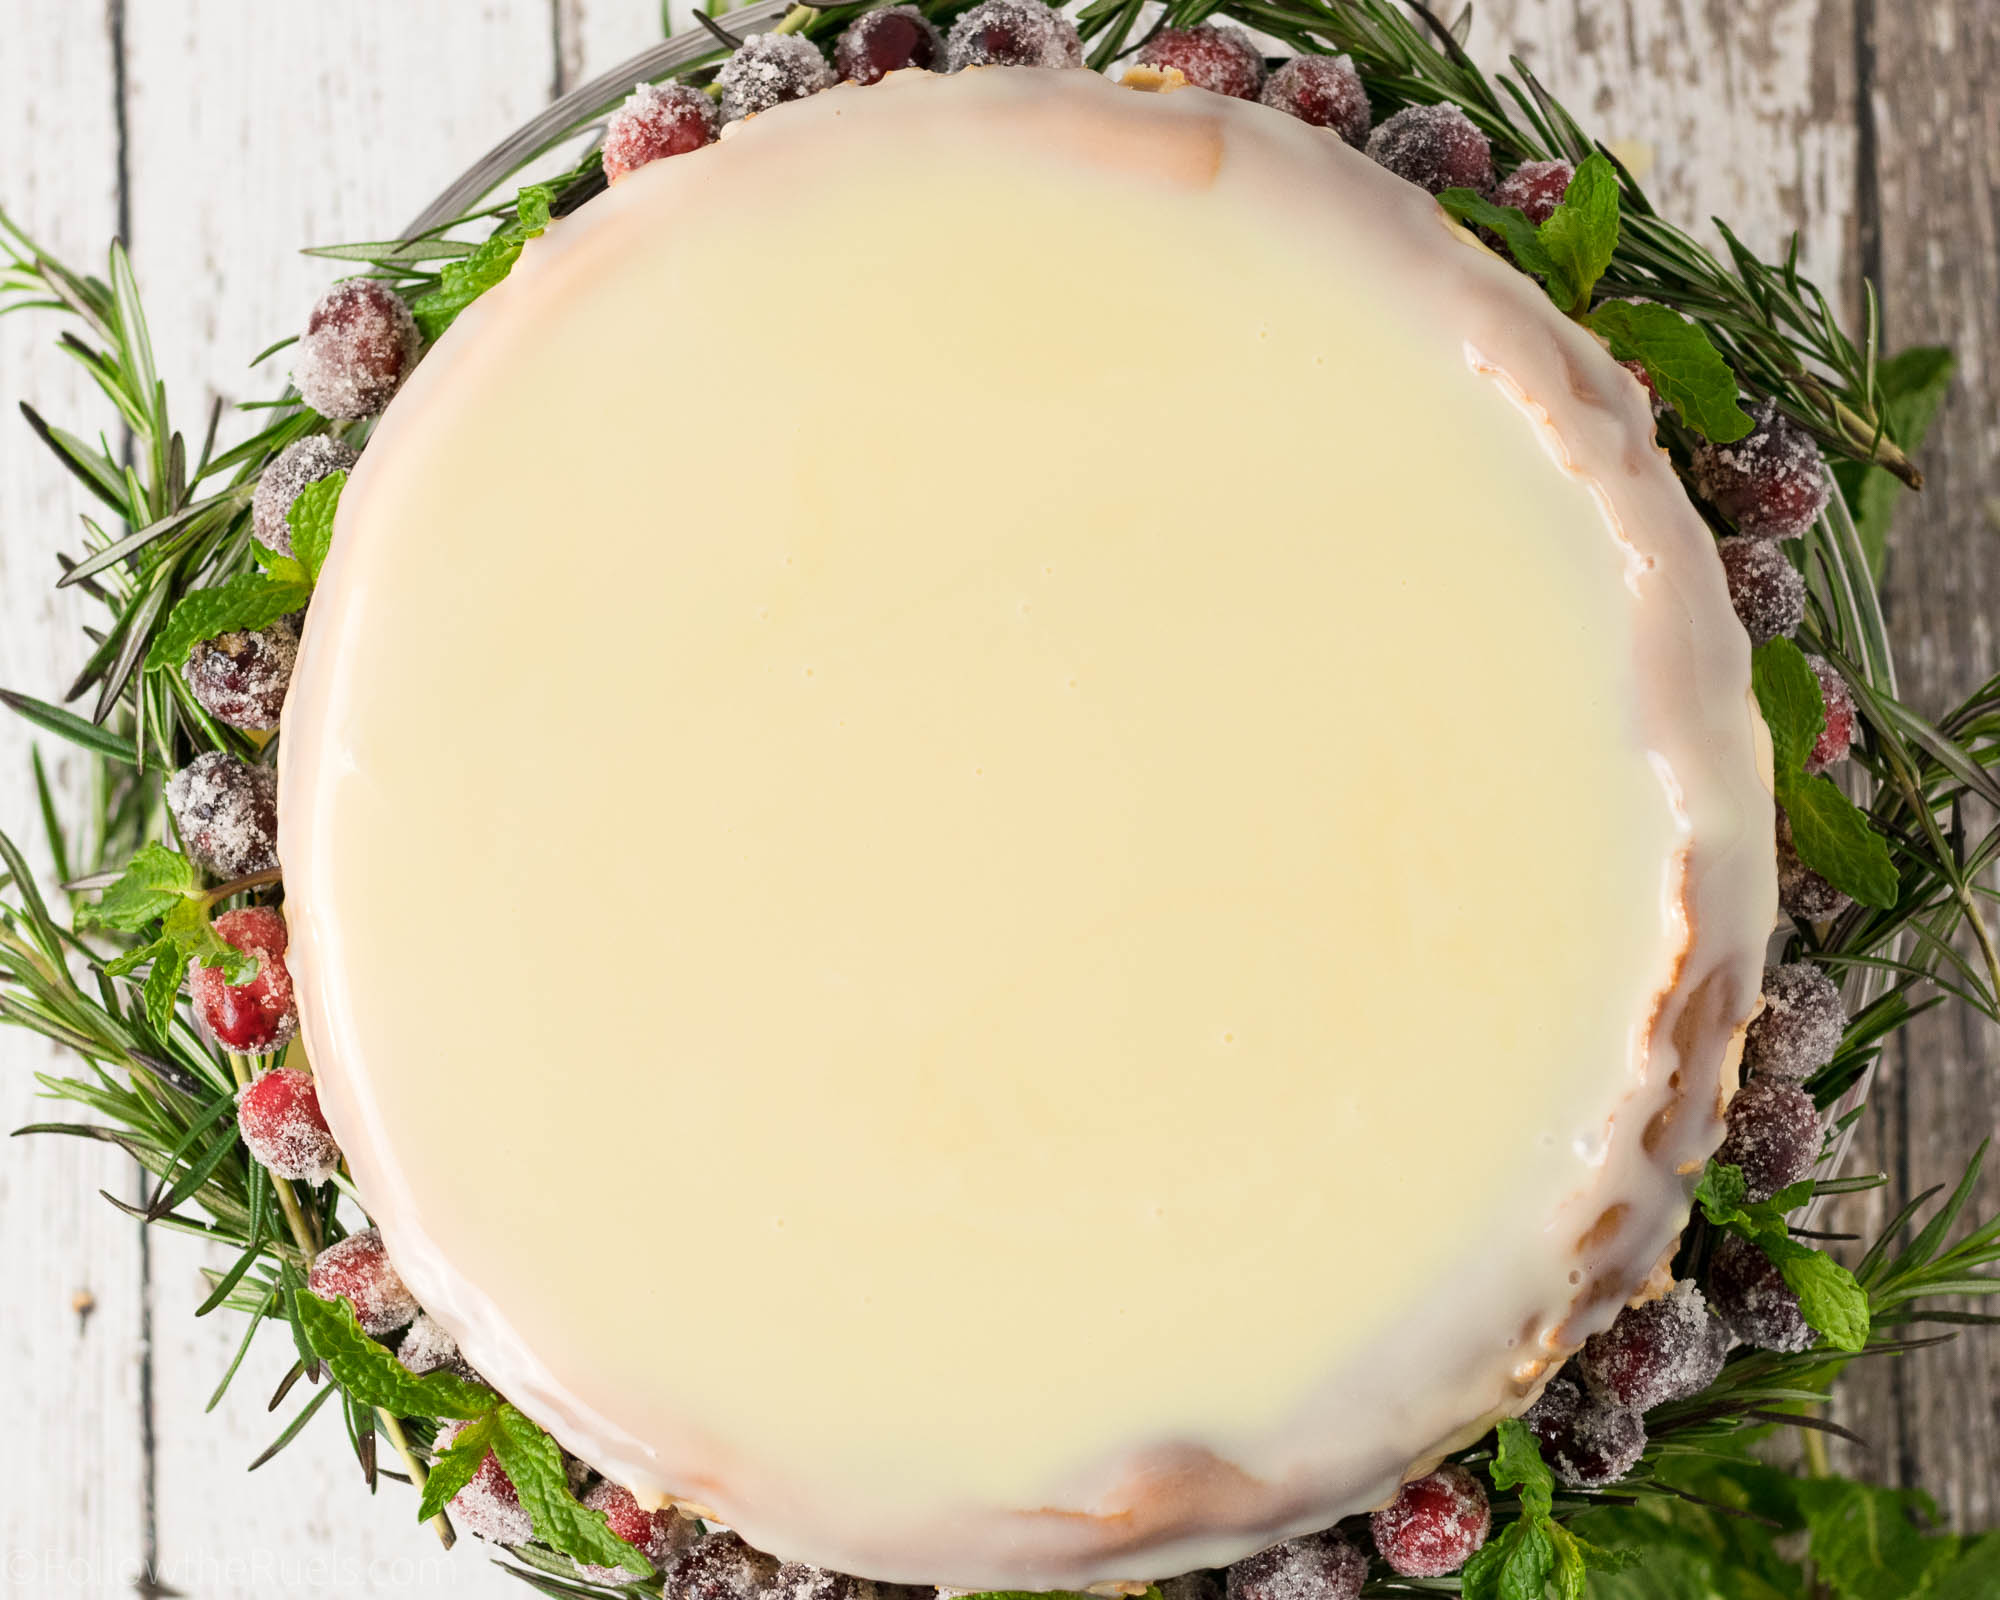
To dress her up a bit, I added some rosemary, sugared cranberries, and mint around the outside for a holiday wreath look.

Actually, this look was just for photos. When I reassembled the cheesecake at work, I put the cranberries and mint right on top, like you can see here on Instagram. 

Either way, I think it’s a beautiful holiday dessert and it’s delicious, too!

[yumprint-recipe id=’150′]

/ Filed In: Cakes and Cupcakes, Cakes New, Eat
Tagged: Biscoff, cake, cheesecake, Christmas, cream cheese, holiday, white chocolate

Gingerbread Village Cake

December 8, 2017

 Every year around Christmas time I convince myself that I should make a gingerbread house. From scratch. But I never actually go through with it. I think I have been burned by gingerbread houses in the past. The pieces never fit together well, so they end up just awkwardly stuck together. Or the house ends up collapsing under the weight of all the candy and decorations (maybe I am a little heavy handed with the candy and decorations). 

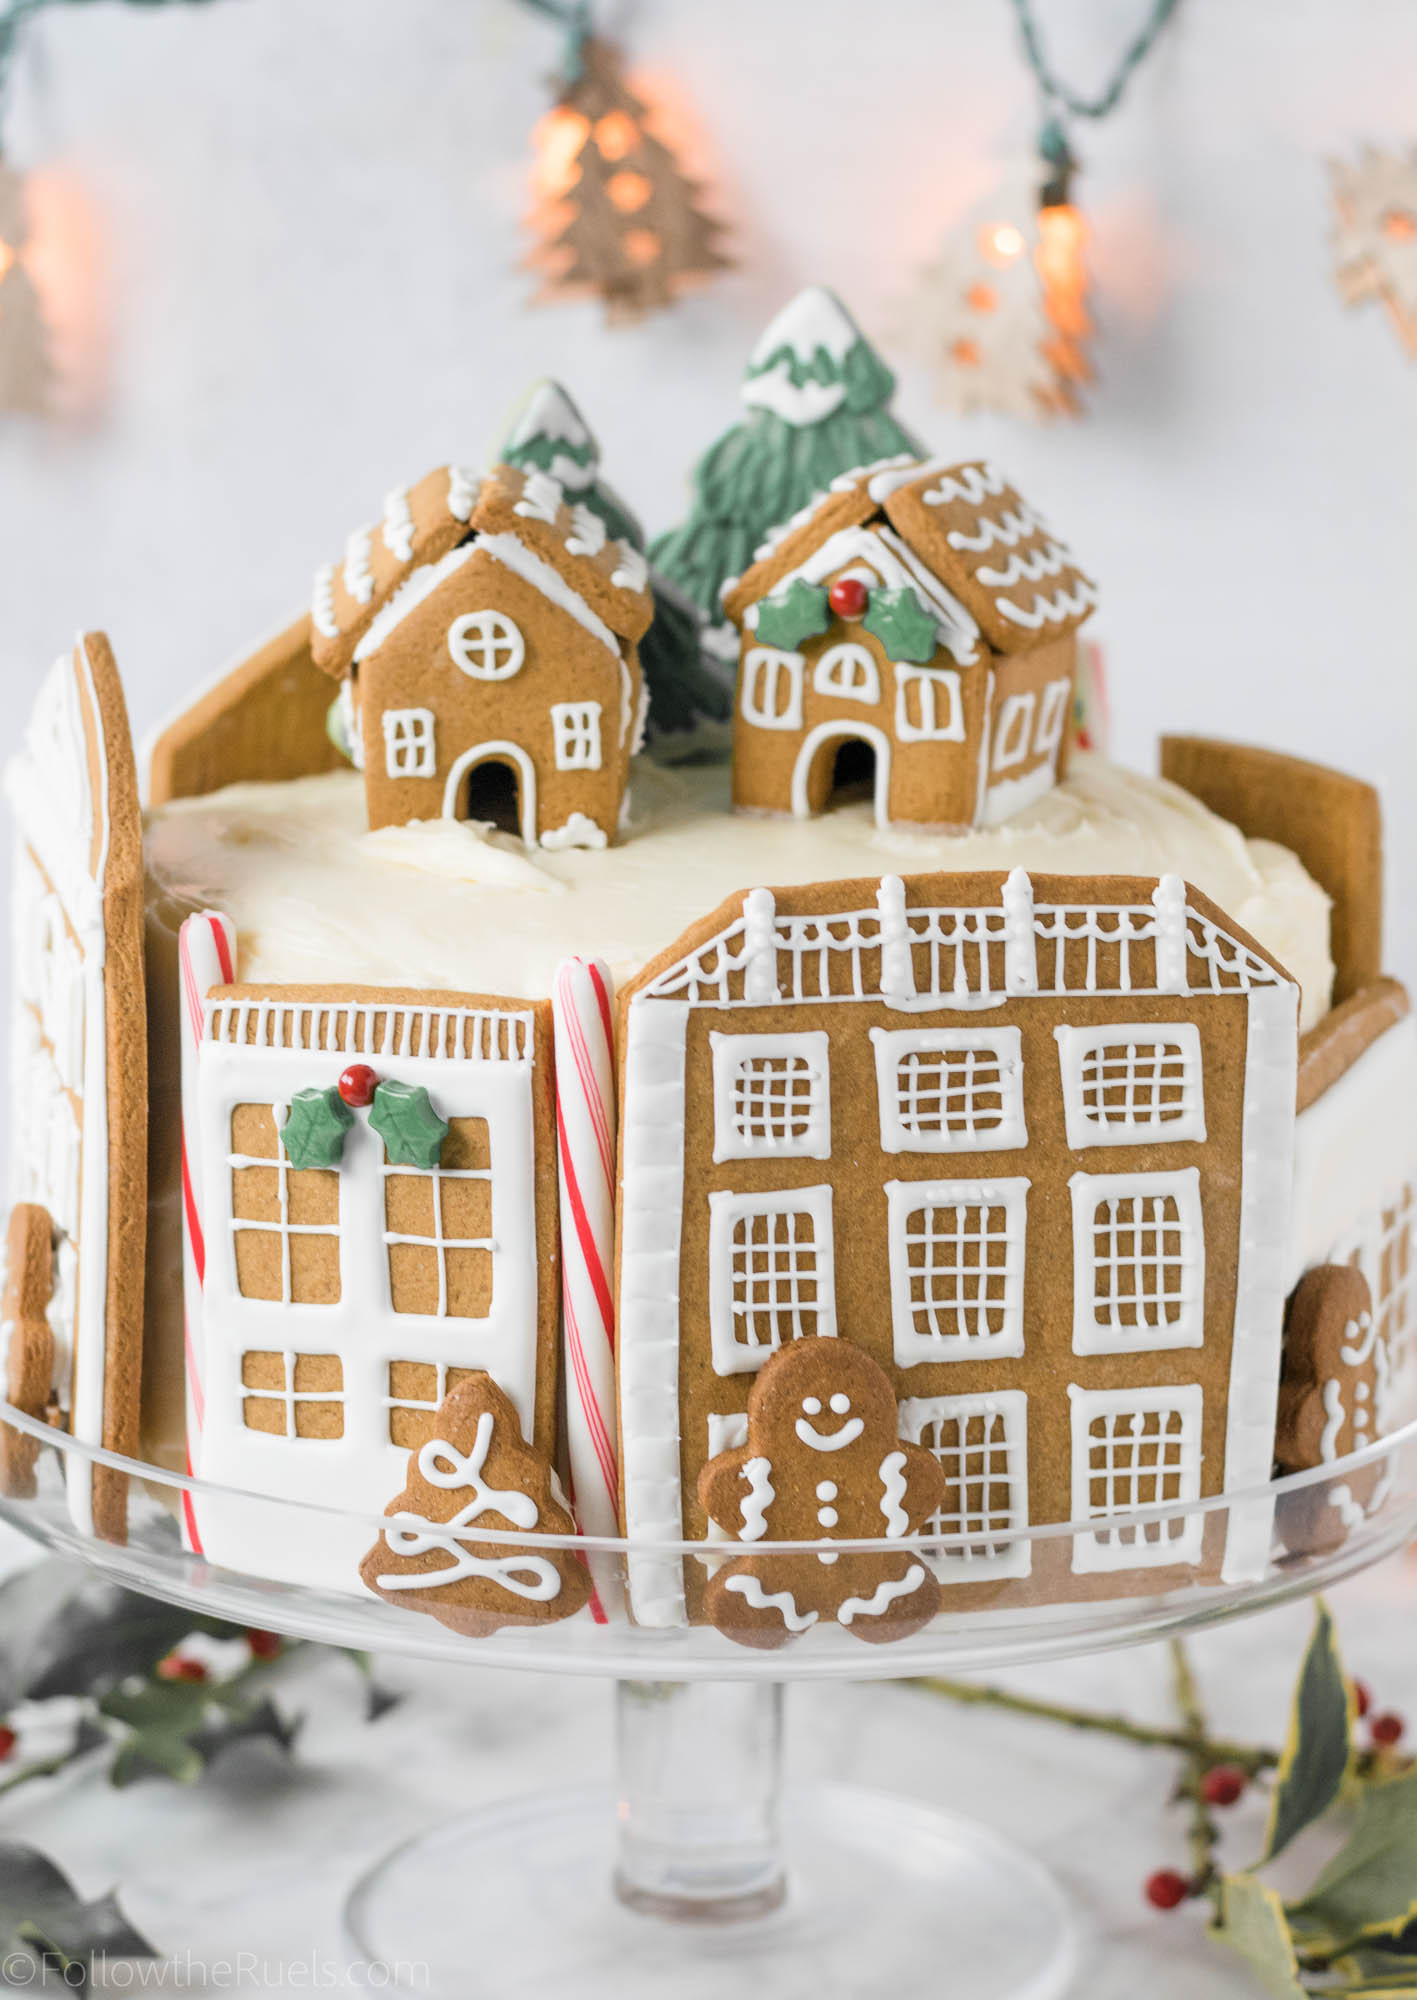
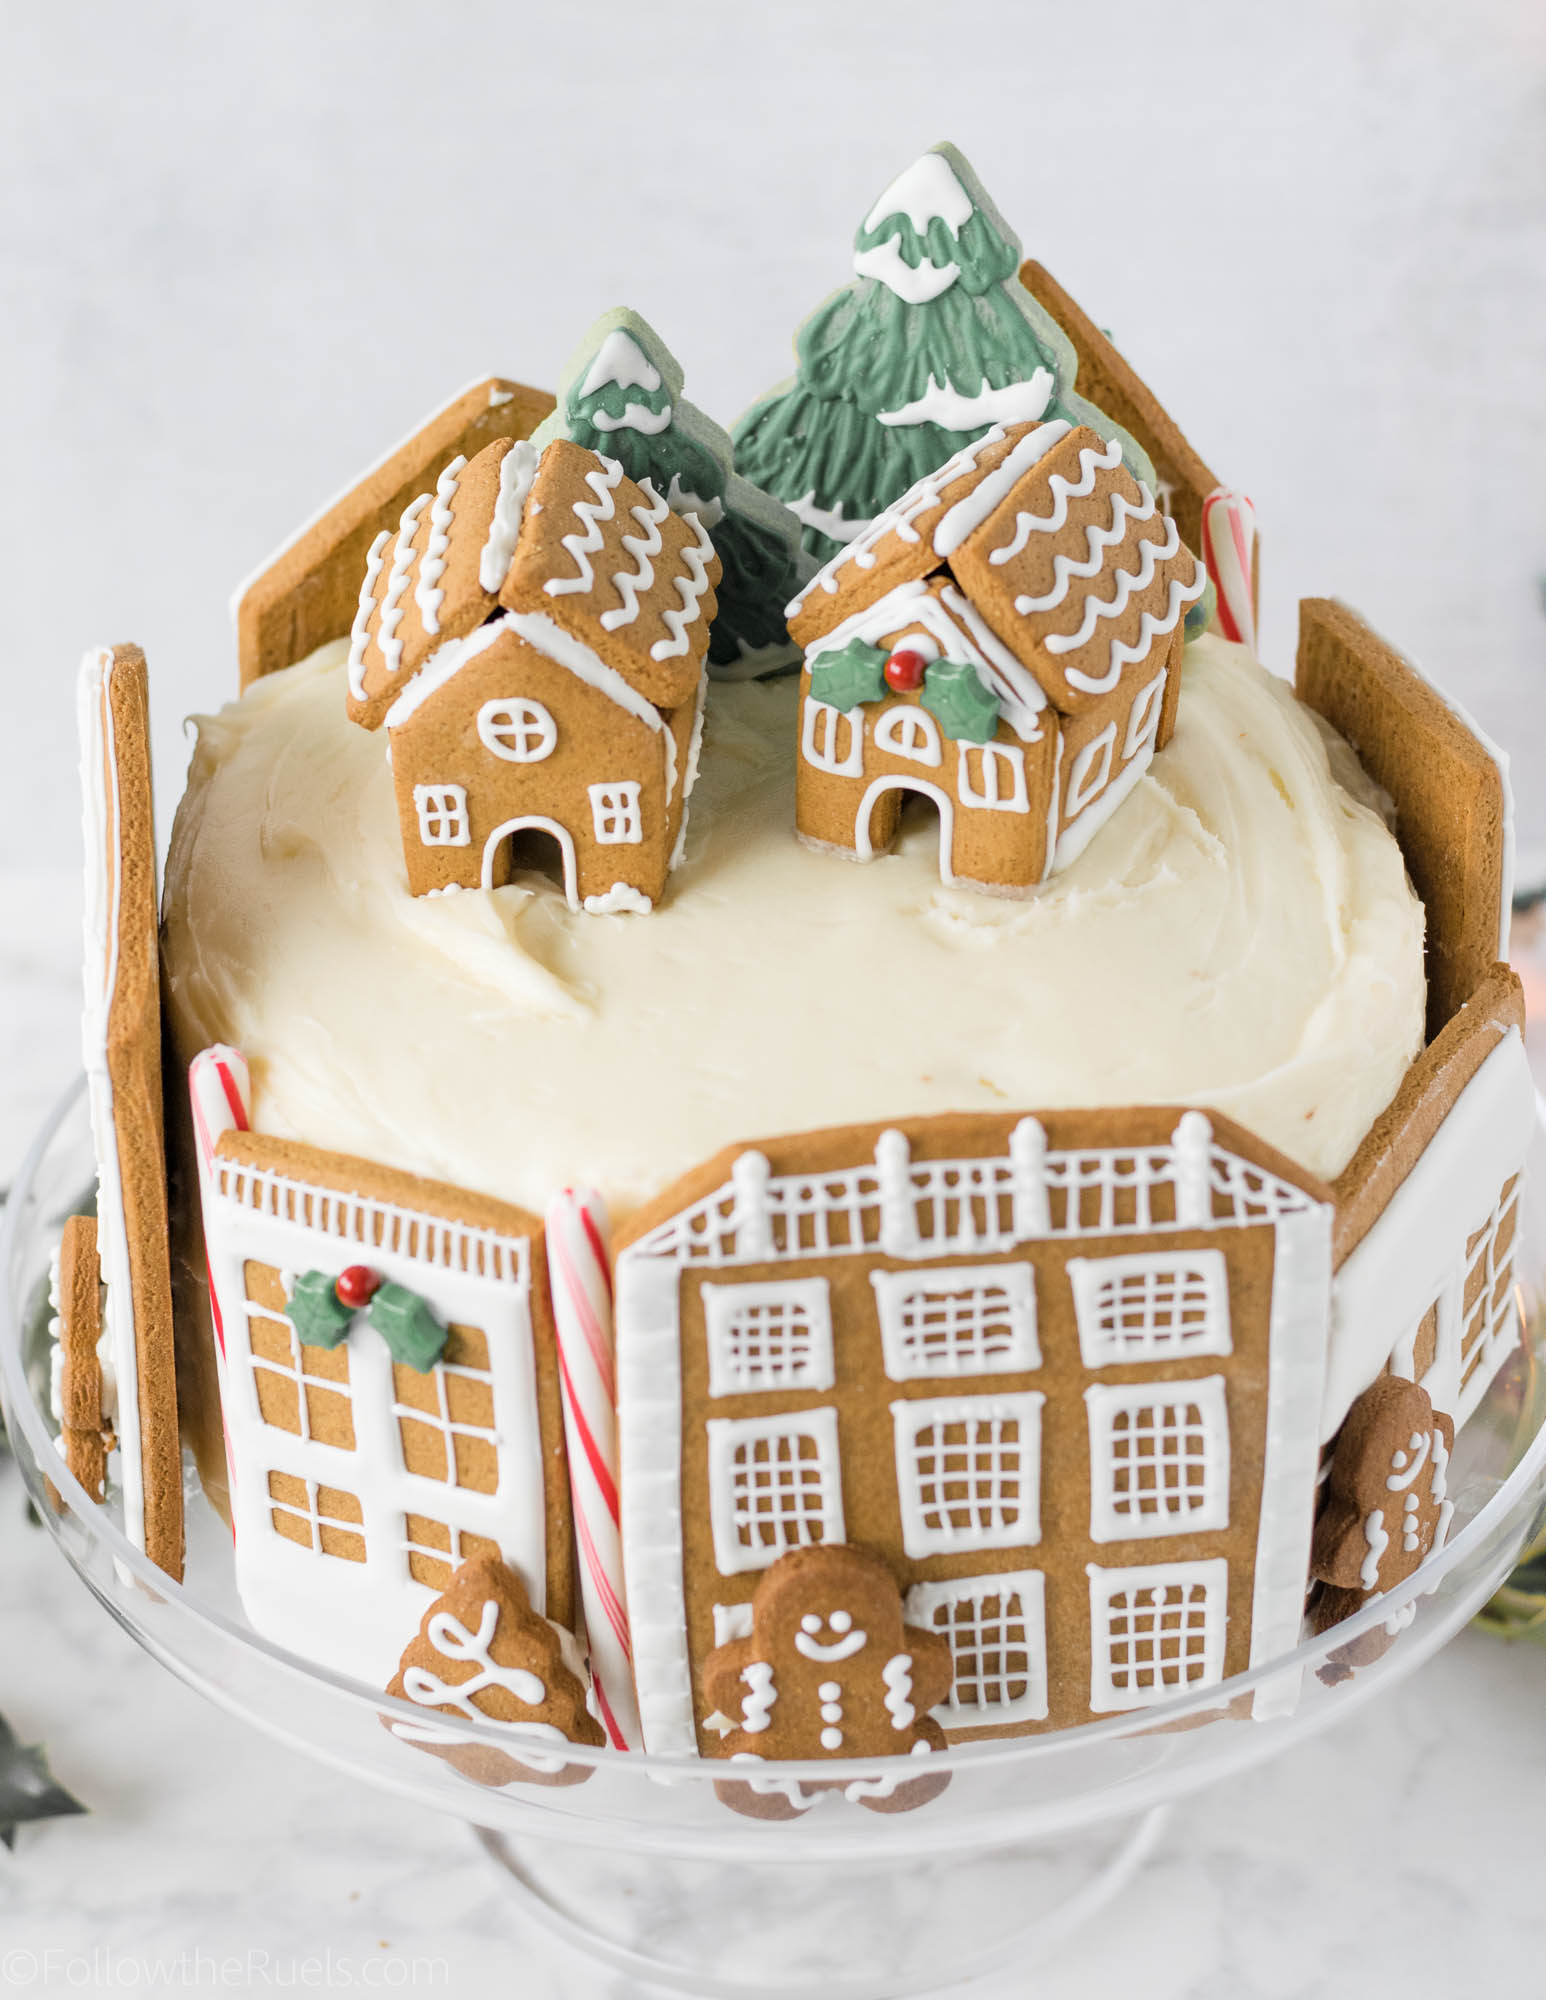
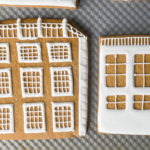
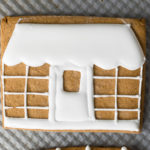
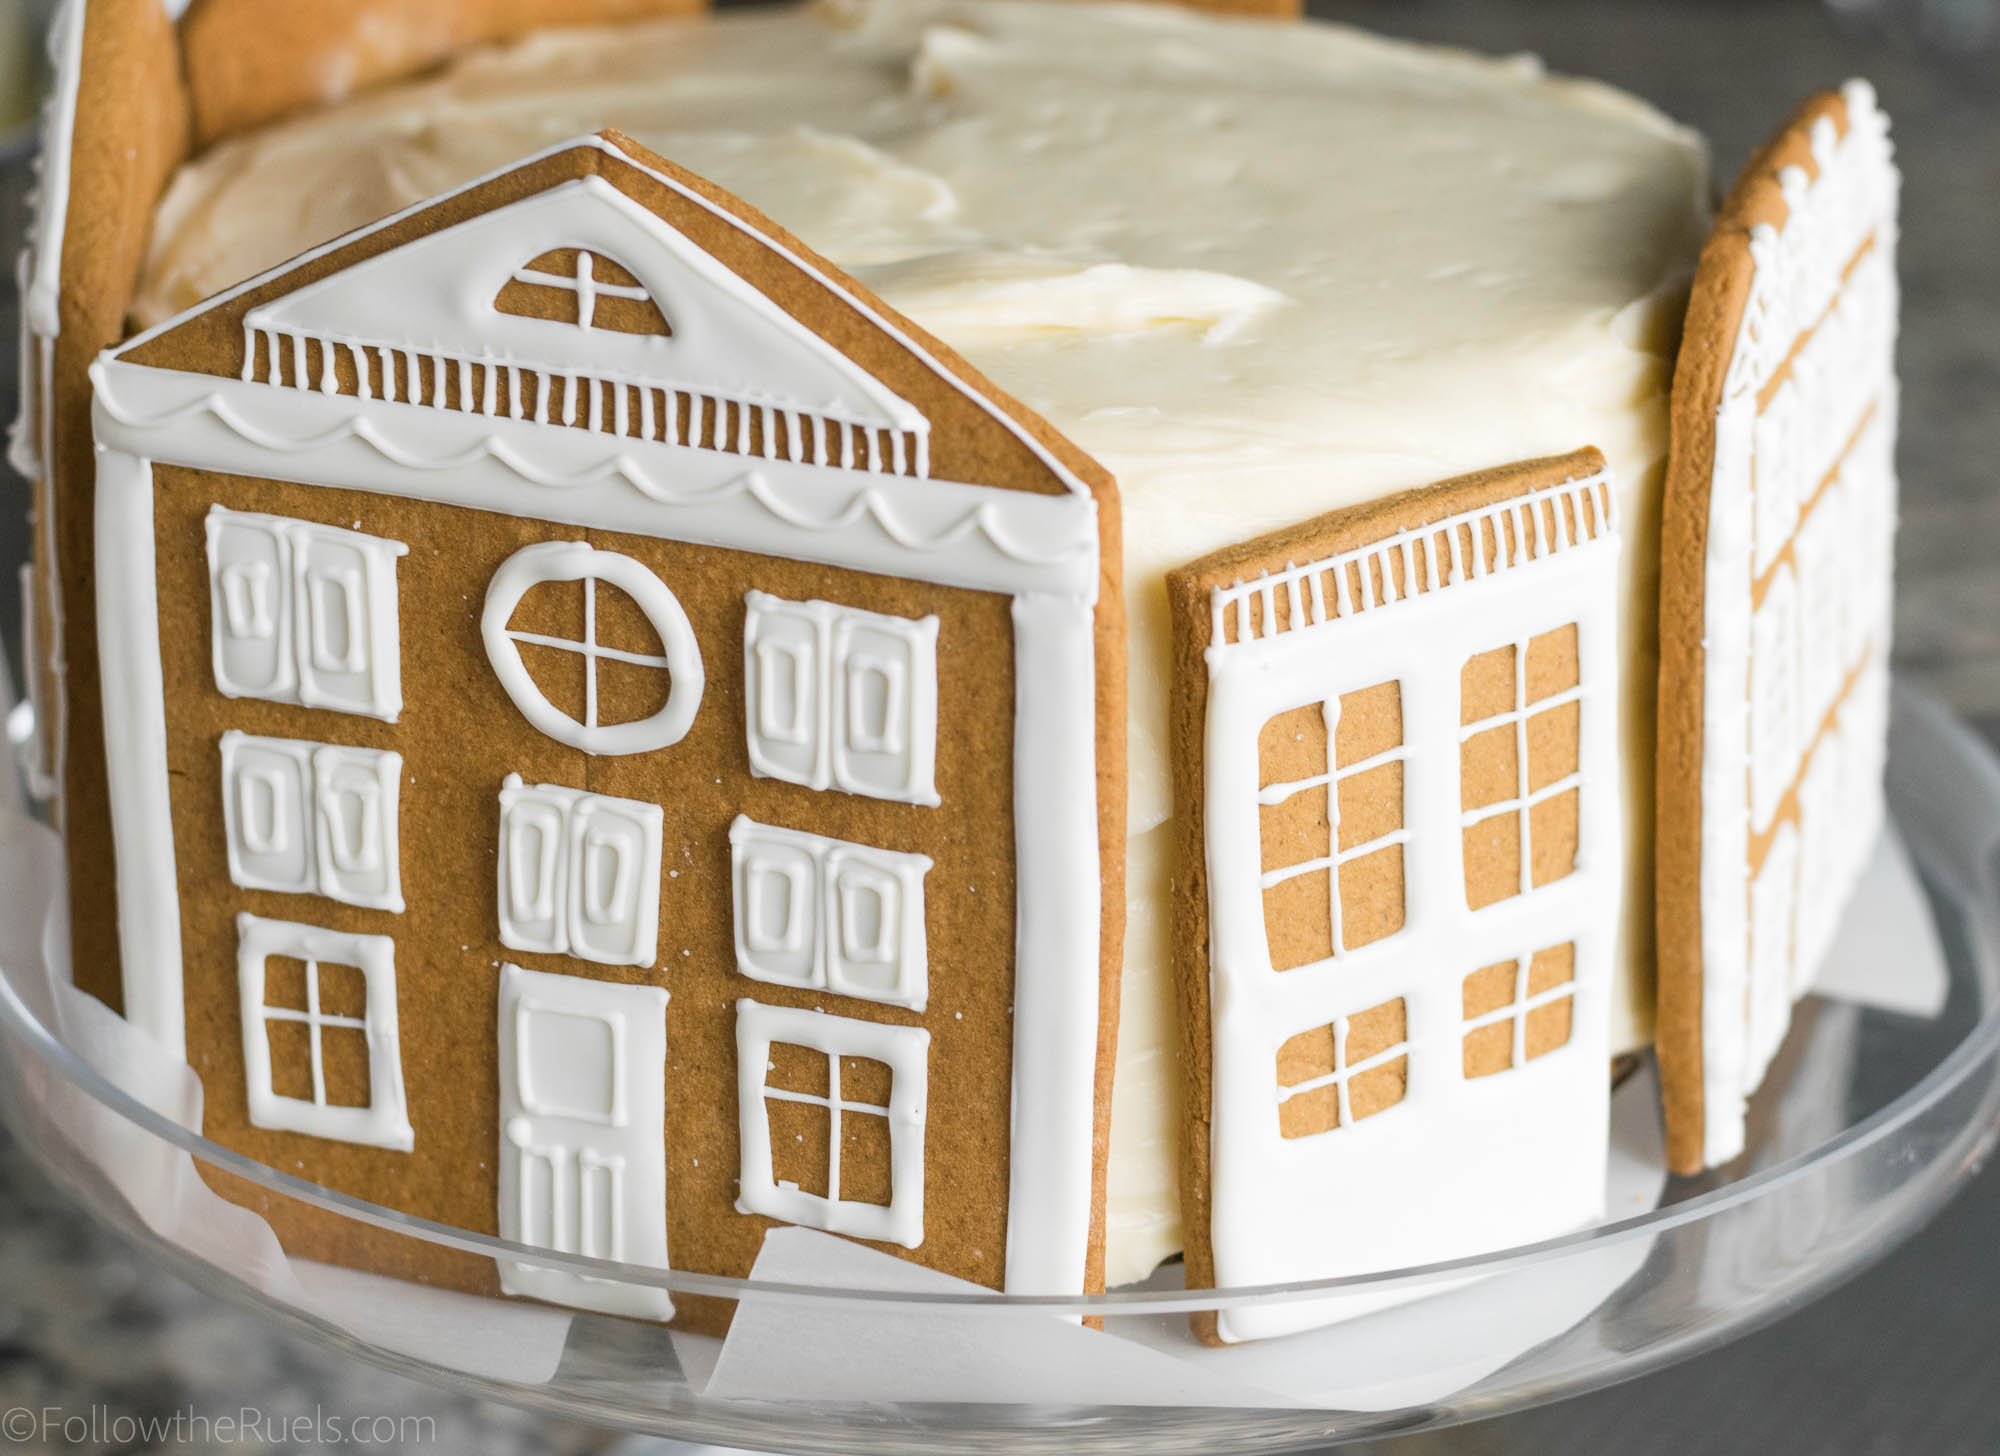
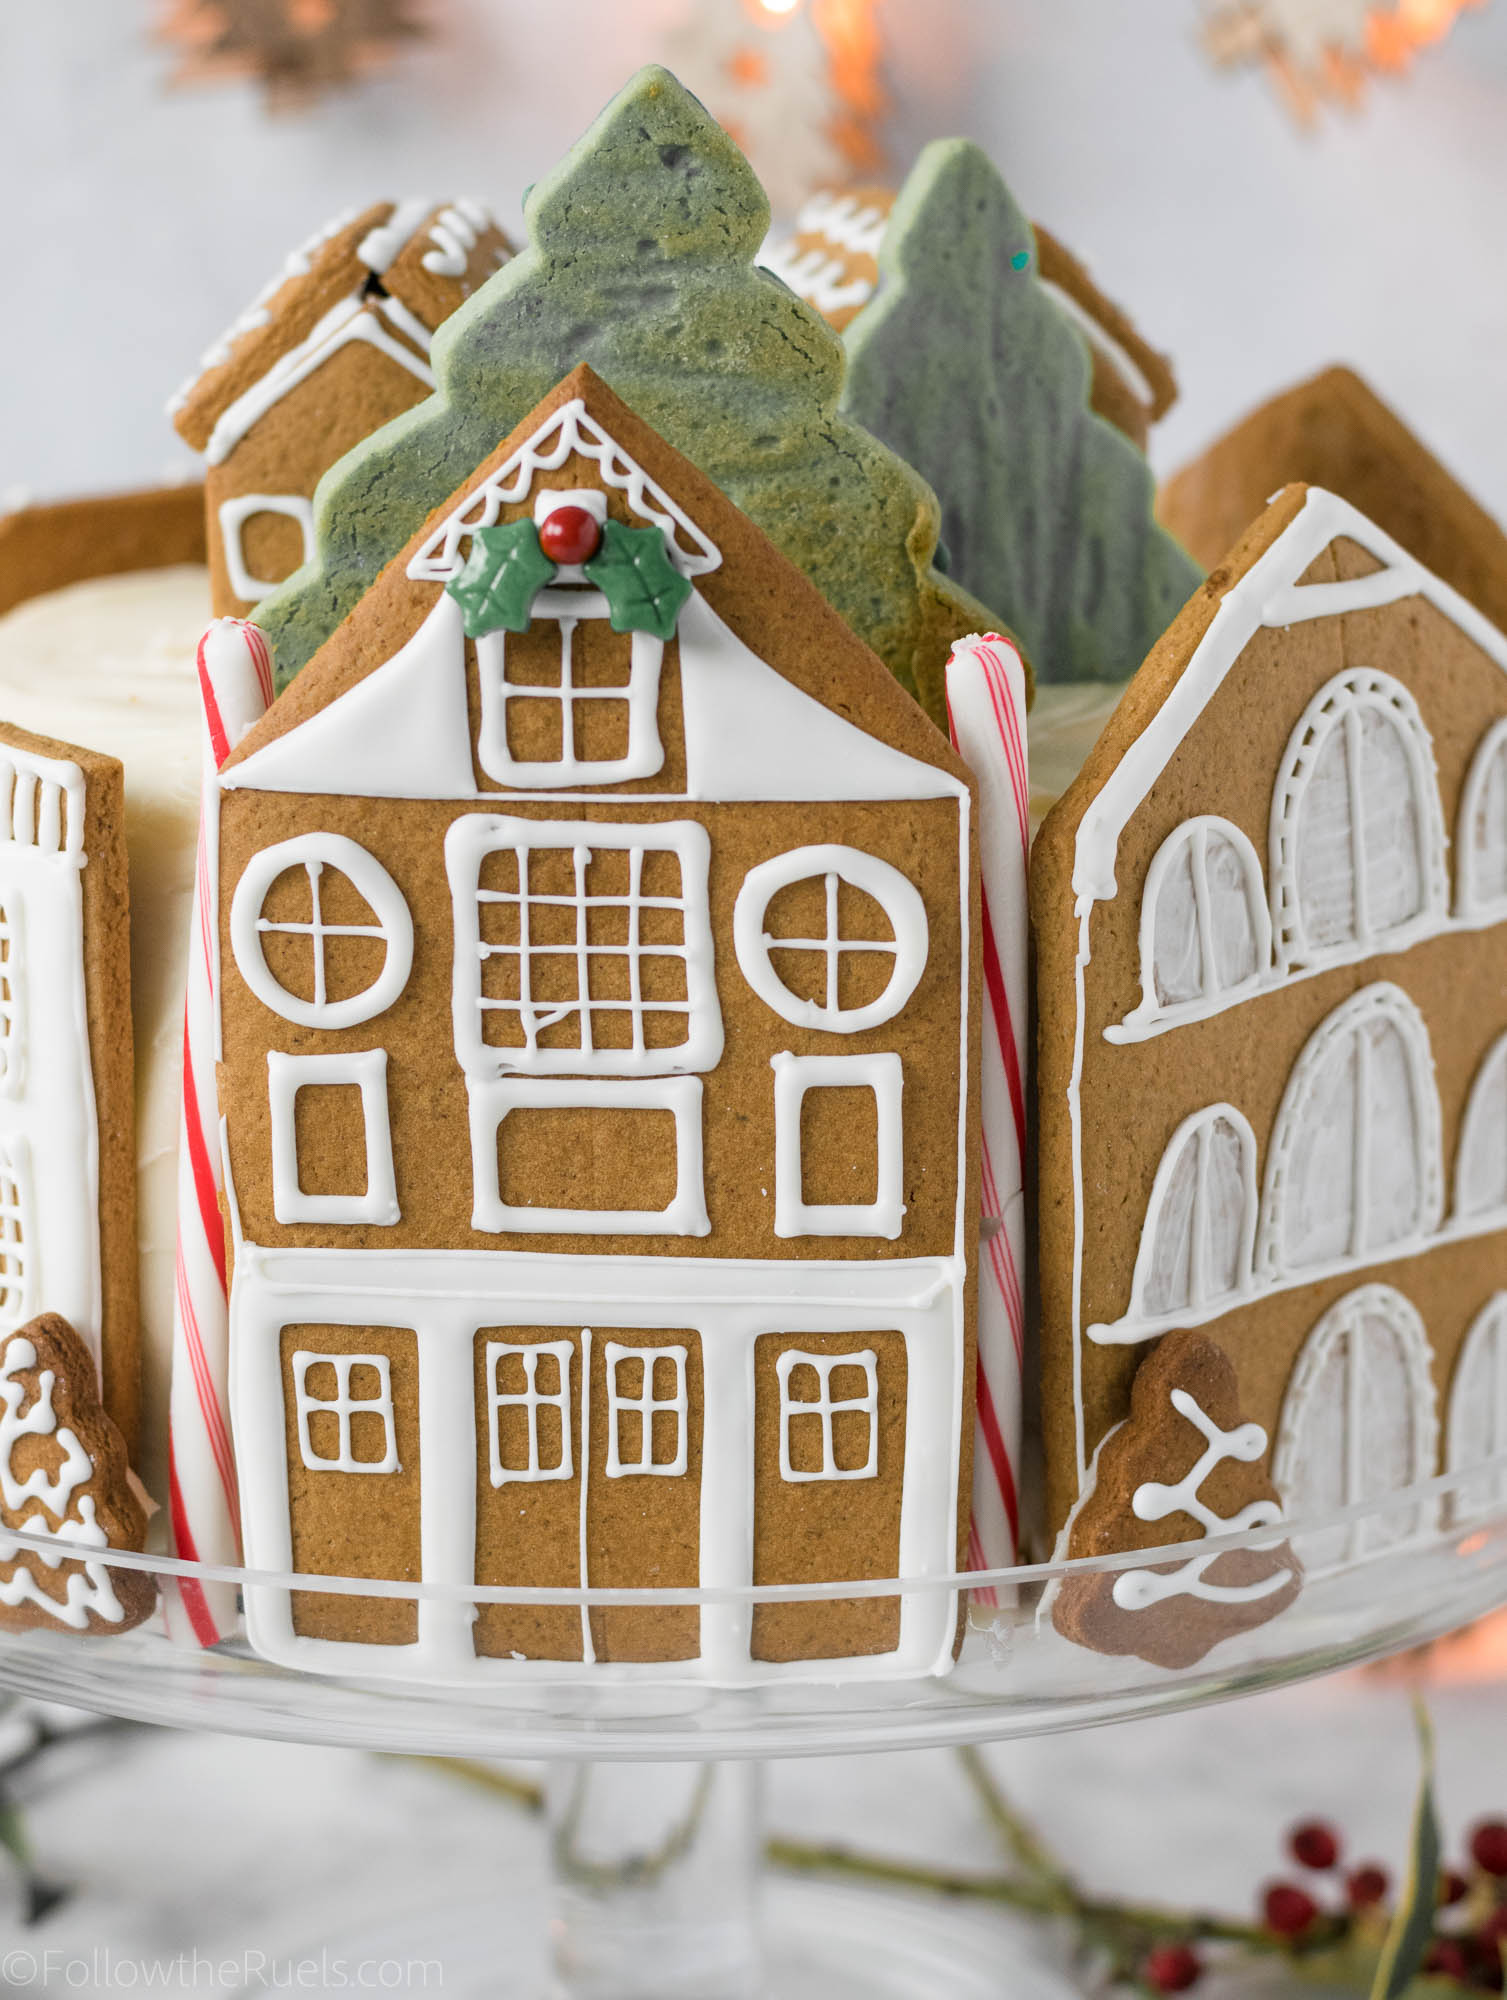
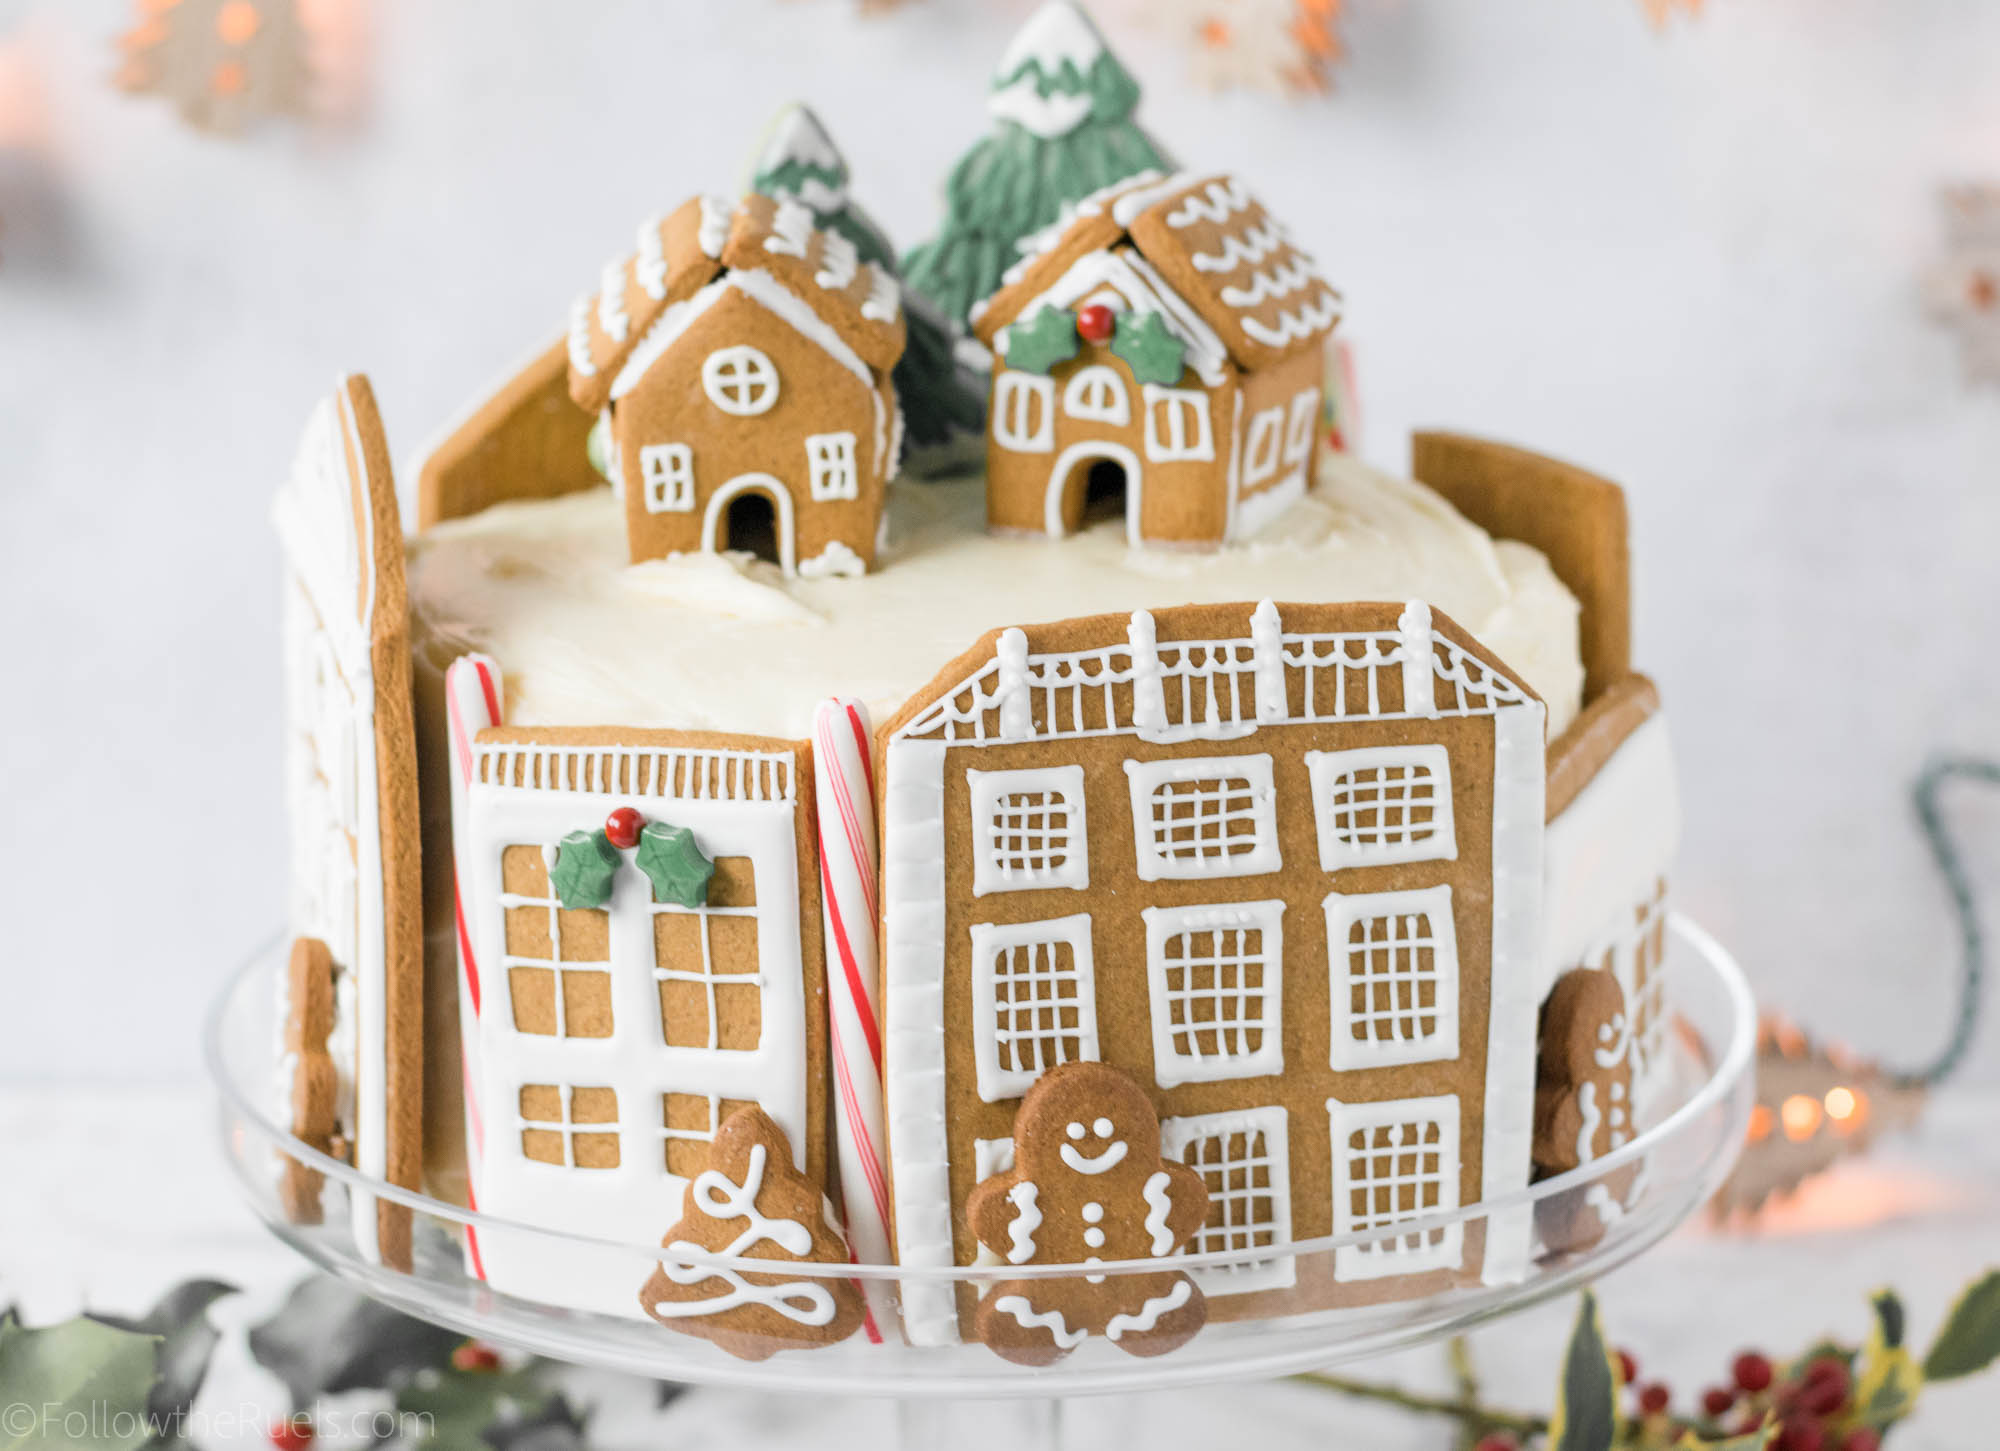
So this year, instead of kidding myself I decided to make a gingerbread village cake! It was the best of all worlds because I could still bake the gingerbread from scratch and decorate them to my heart’s content, but I didn’t actually have to build a whole house! Except for the two little ones on top. But those were so cute, I couldn’t resist (I used this cookie cutter)

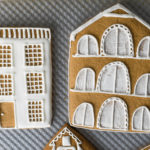
I took inspiration for my little gingerbread village cake from the canal houses in Amsterdam. I am not sure why. I certainly have never been to Amsterdam or seen a canal house in person, but that is that came to mind. 

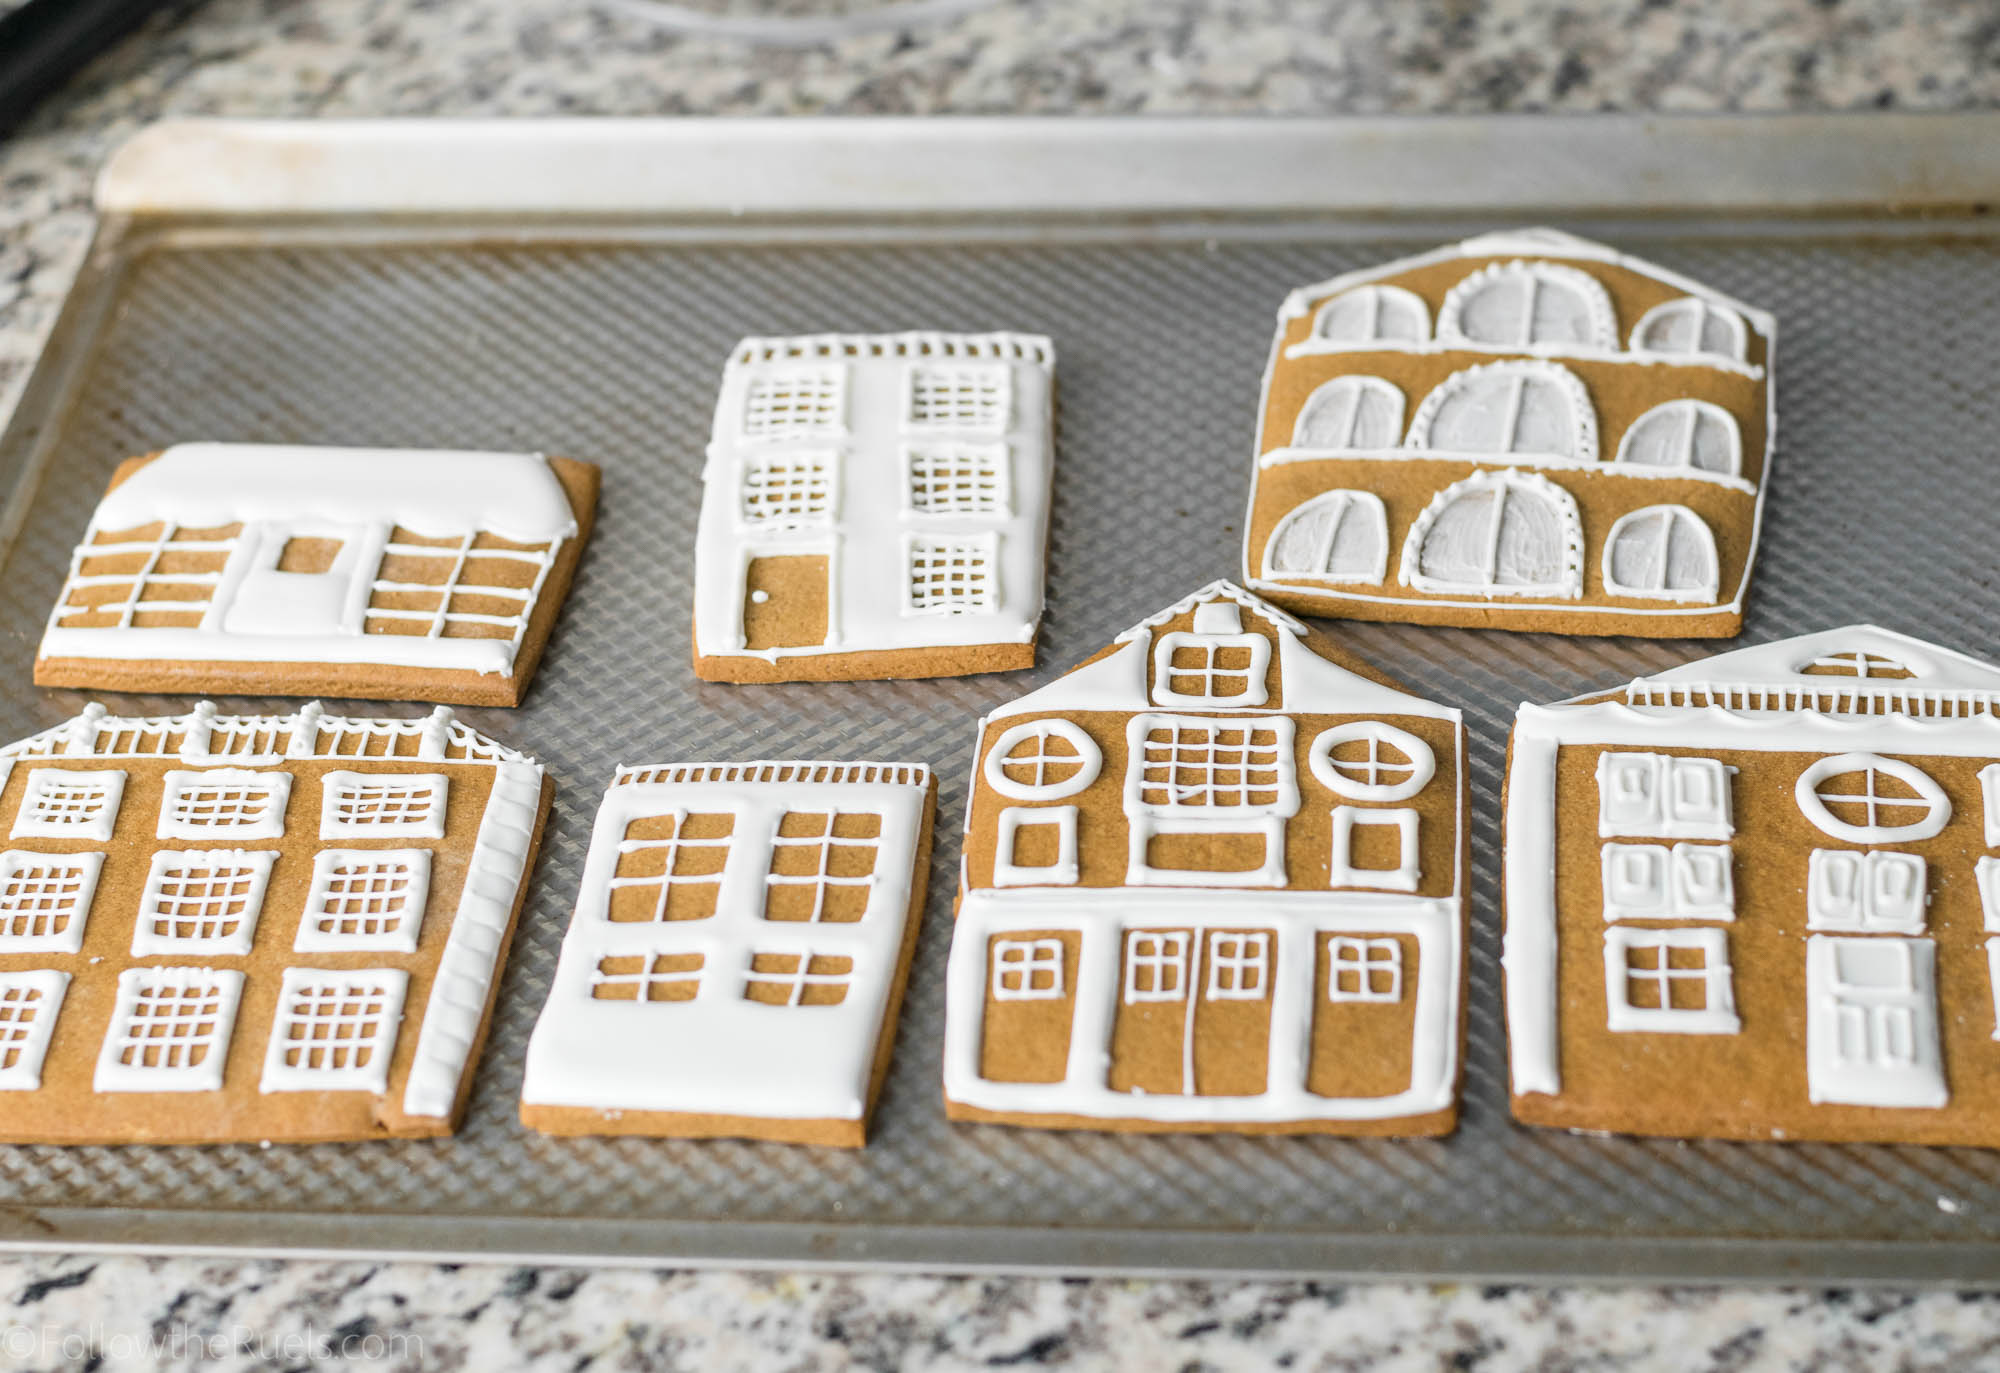
I made the houses from my gingerbread cookie recipe and iced them with royal icing. I just cut them by hand into various shapes and sizes. Some tall and skinny, some short and fat. Some with flat tops, other with pointed tops. There wasn’t really any rhyme or reason to it, other than I wanted some variety.

Then I went to decorating. I used images from Google to help me figure out the windows, roof, doors, etc. 


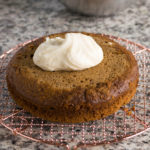
For the cake itself, I adapted this recipe for a gingerbread latte cake. Talk about scrumptious! Oh my word, this cake was good! The best part, though, was the cream cheese frosting on top.


After the layers of cake were baked then chilled, I leveled them with a serrated knife. I topped the first layer with a huge dollop of cream cheese frosting and spread it evenly around the surface with an offset spatula. Then set the next layer on top of that and repeated with another huge dollop of icing.

This time, I spread the icing all the way down the sides to cover most of the cake. I didn’t do a huge layer of icing, I just wanted to catch all the crumbs first so they didn’t end up in the outer layer of icing.


After a quick chill in the fridge, just long enough for the icing to set up, I finished icing the whole cake and set it on my cake stand. The beauty of this cake is that you don’t have to be an expert icer because you are just going to cover it with the gingerbread houses.

The little houses just stick right onto the cream cheese frosting. Almost a little too well. I wanted to move one of the houses and it just lifted the icing right along with it. 


To attach the little gingerbread men, I put a dot of the frosting on the back an stuck them right on top of the house.

I did finish off a couple of the houses with a few other decorations. I had these cute holly sprinkles that I stuck right on using a bit of left over royal icing. And I added some candy canes and left over Christmas tree cookies. 

While this cake may have been a bit more work than a gingerbread house, I think I like it even more. For one, when you are done you can eat the cake along with the gingerbread cookies. It’s the best of all worlds! If you also want some candy in there, throw a few more candy decorations on top. That way there is a little something for everyone!

[yumprint-recipe id=’148′] 


/ Filed In: Cakes and Cupcakes, Cakes New, Eat
Tagged: cake, Christmas, cream cheese frosting, gingerbead house, gingerbread, gingerbread latte, holidays

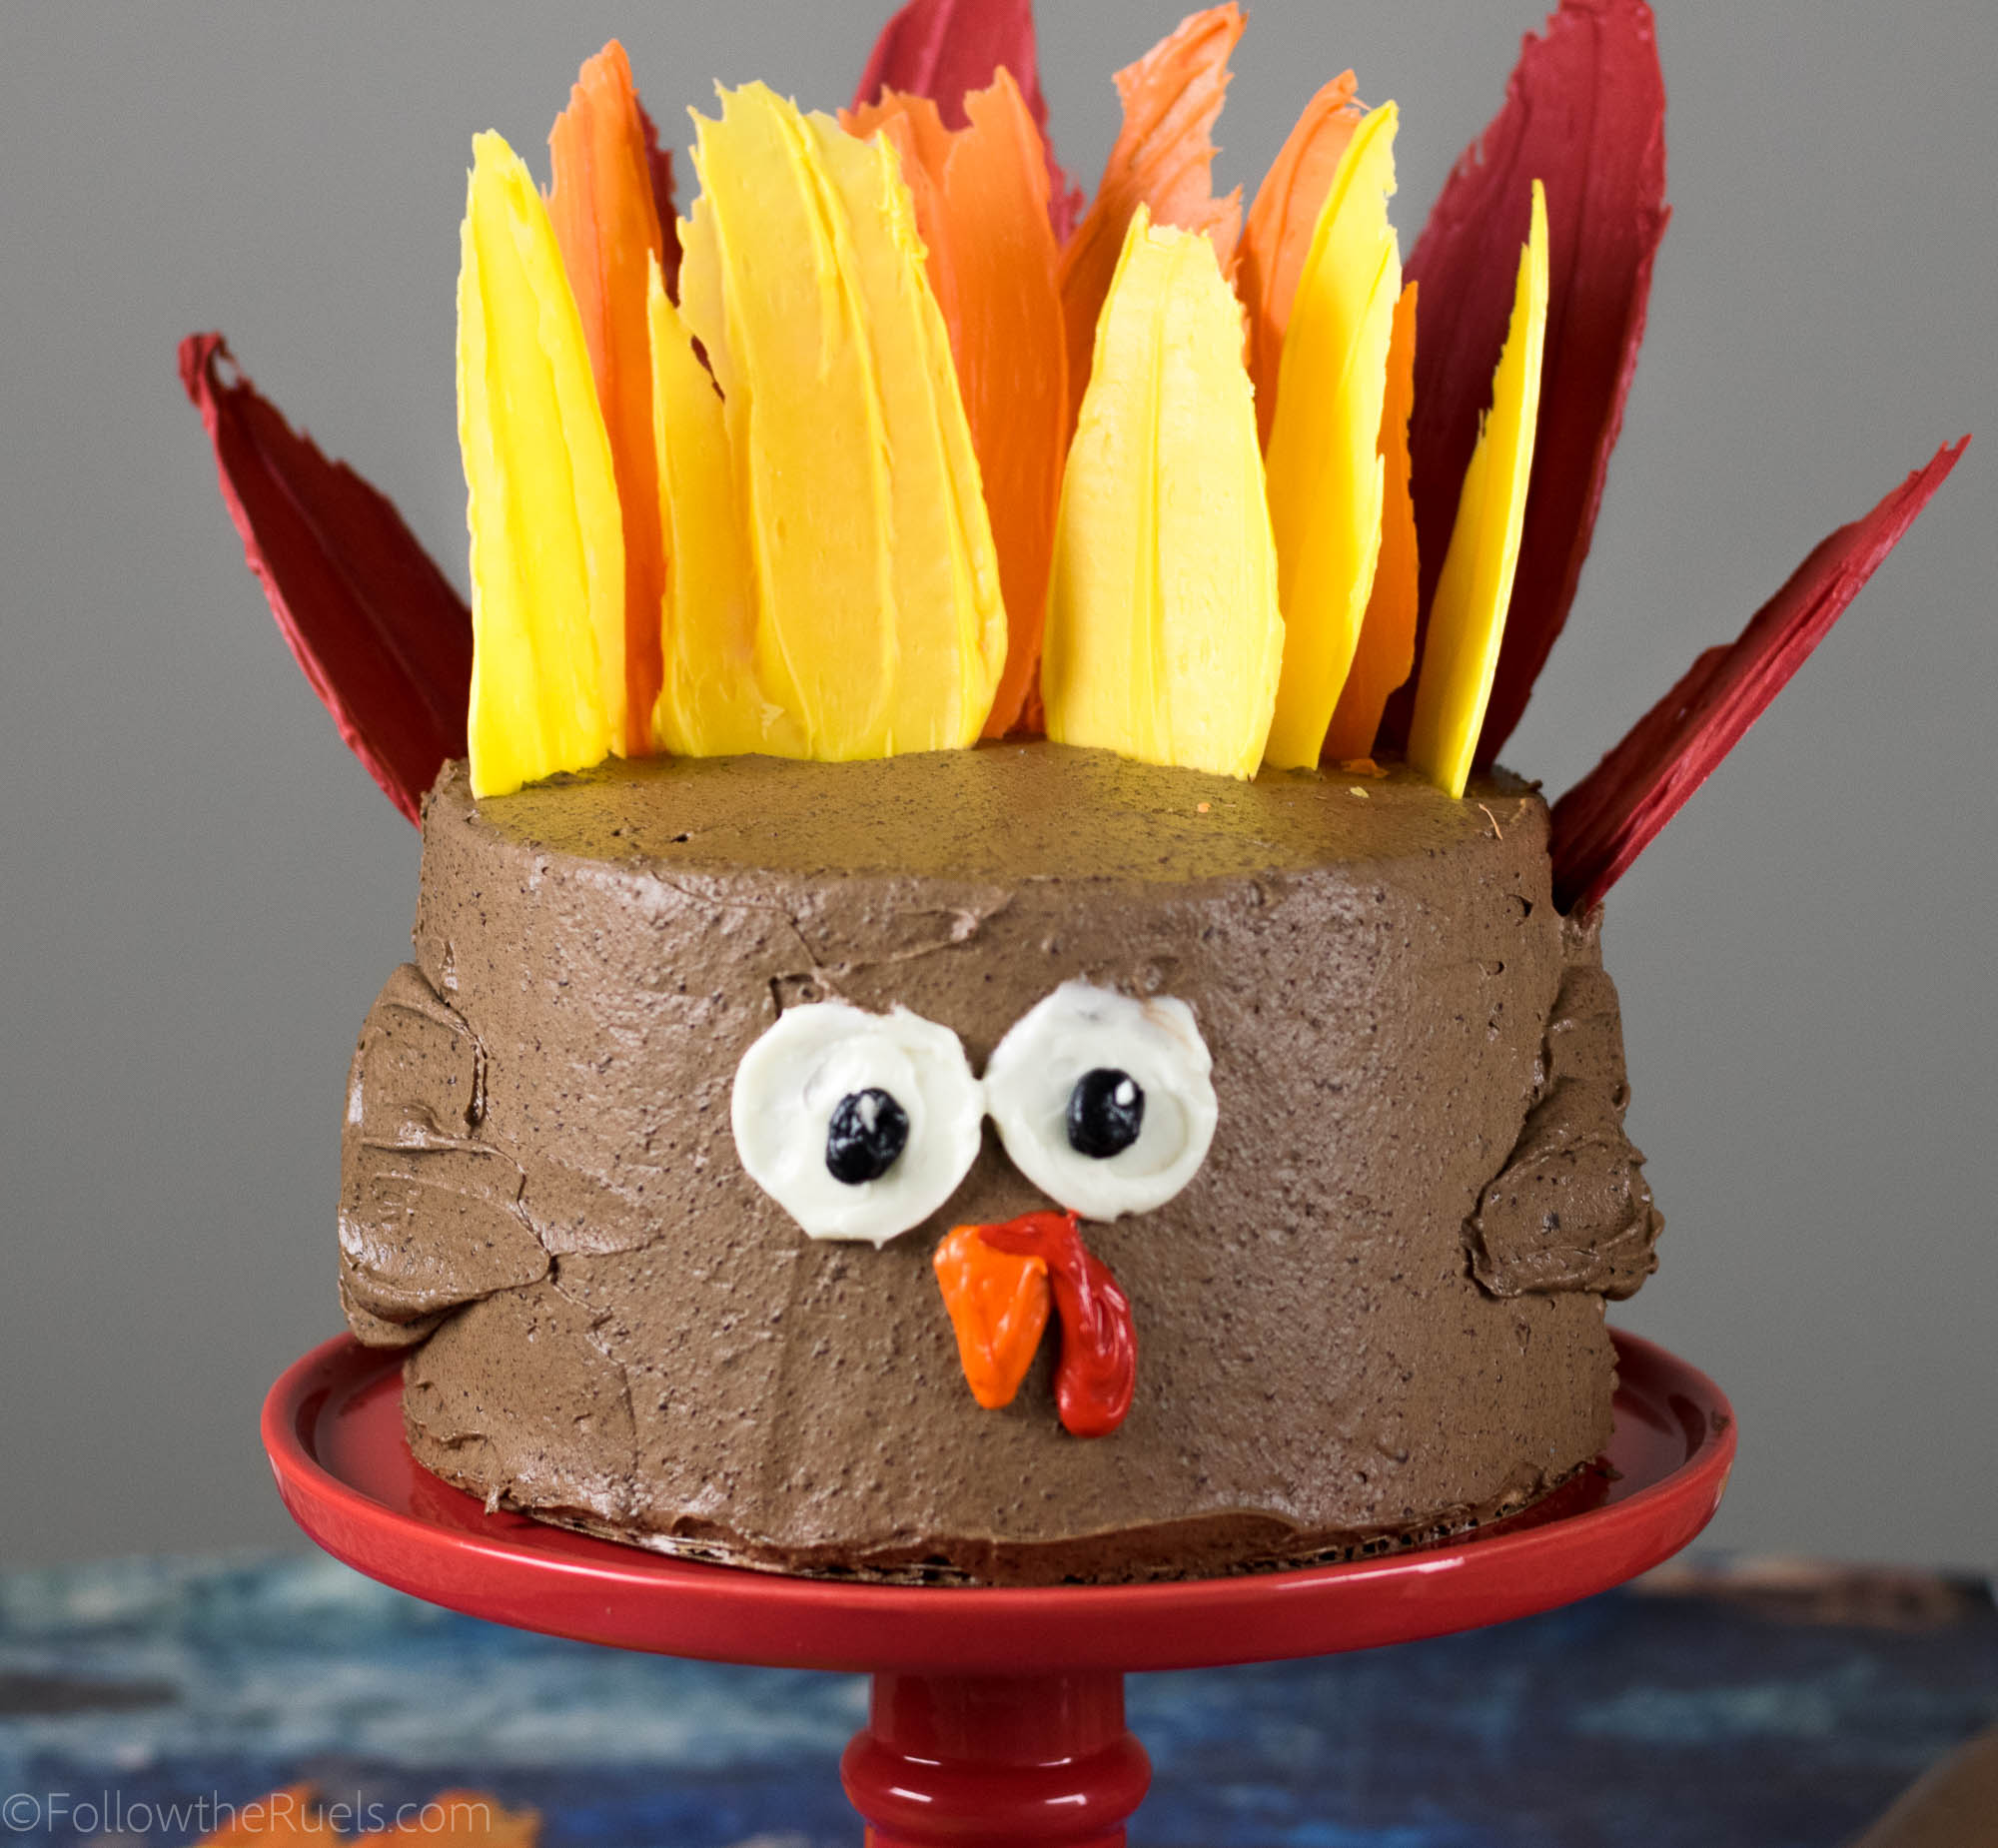
Thanksgiving Turkey Cake

November 21, 2017

This is about the closest thing I am going to get to a Thanksgiving turkey this year. And I am totally okay with that!

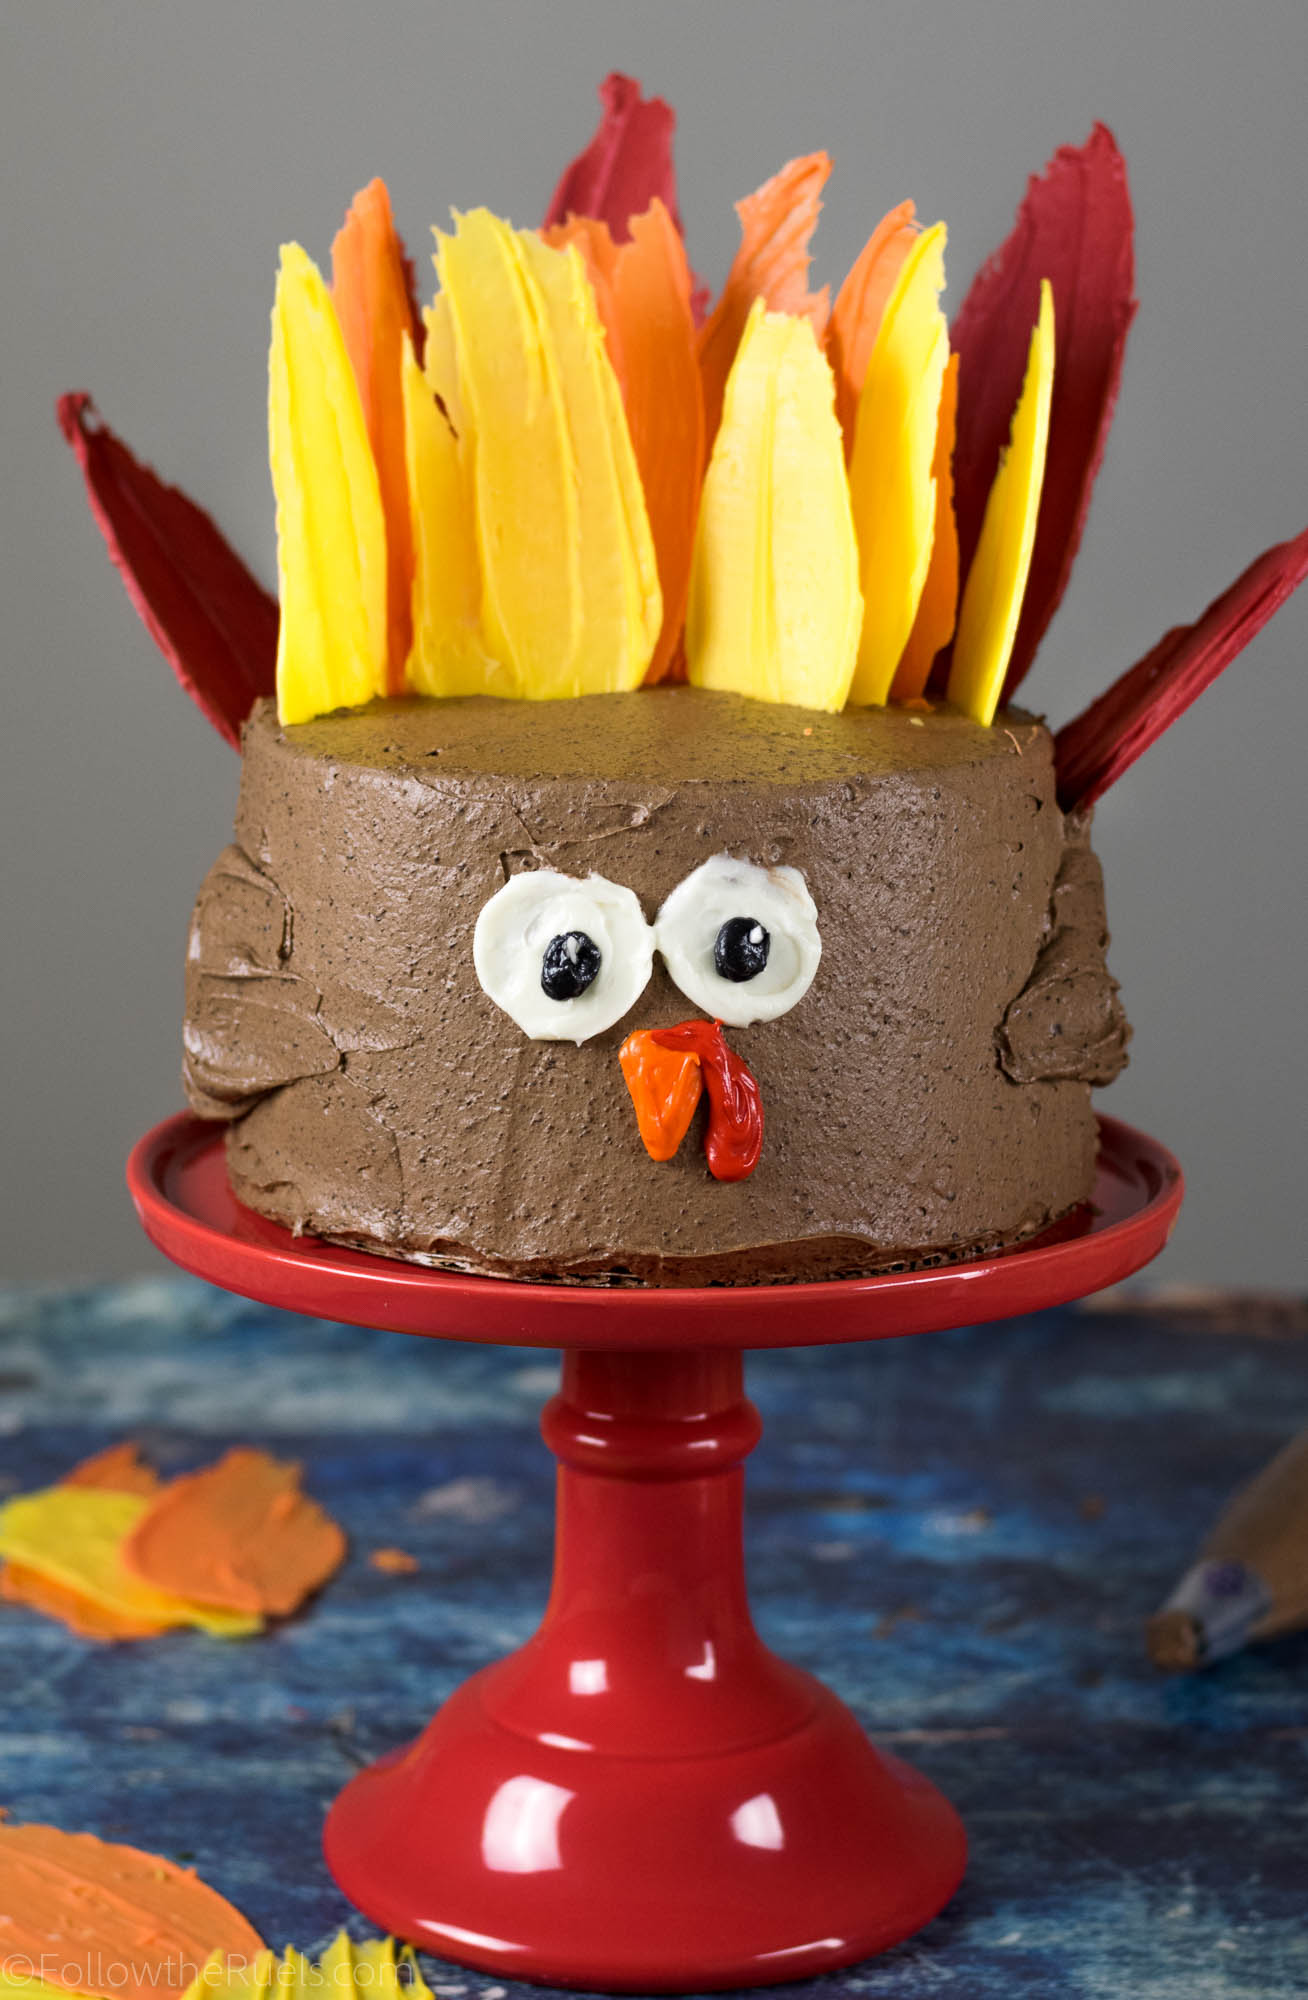
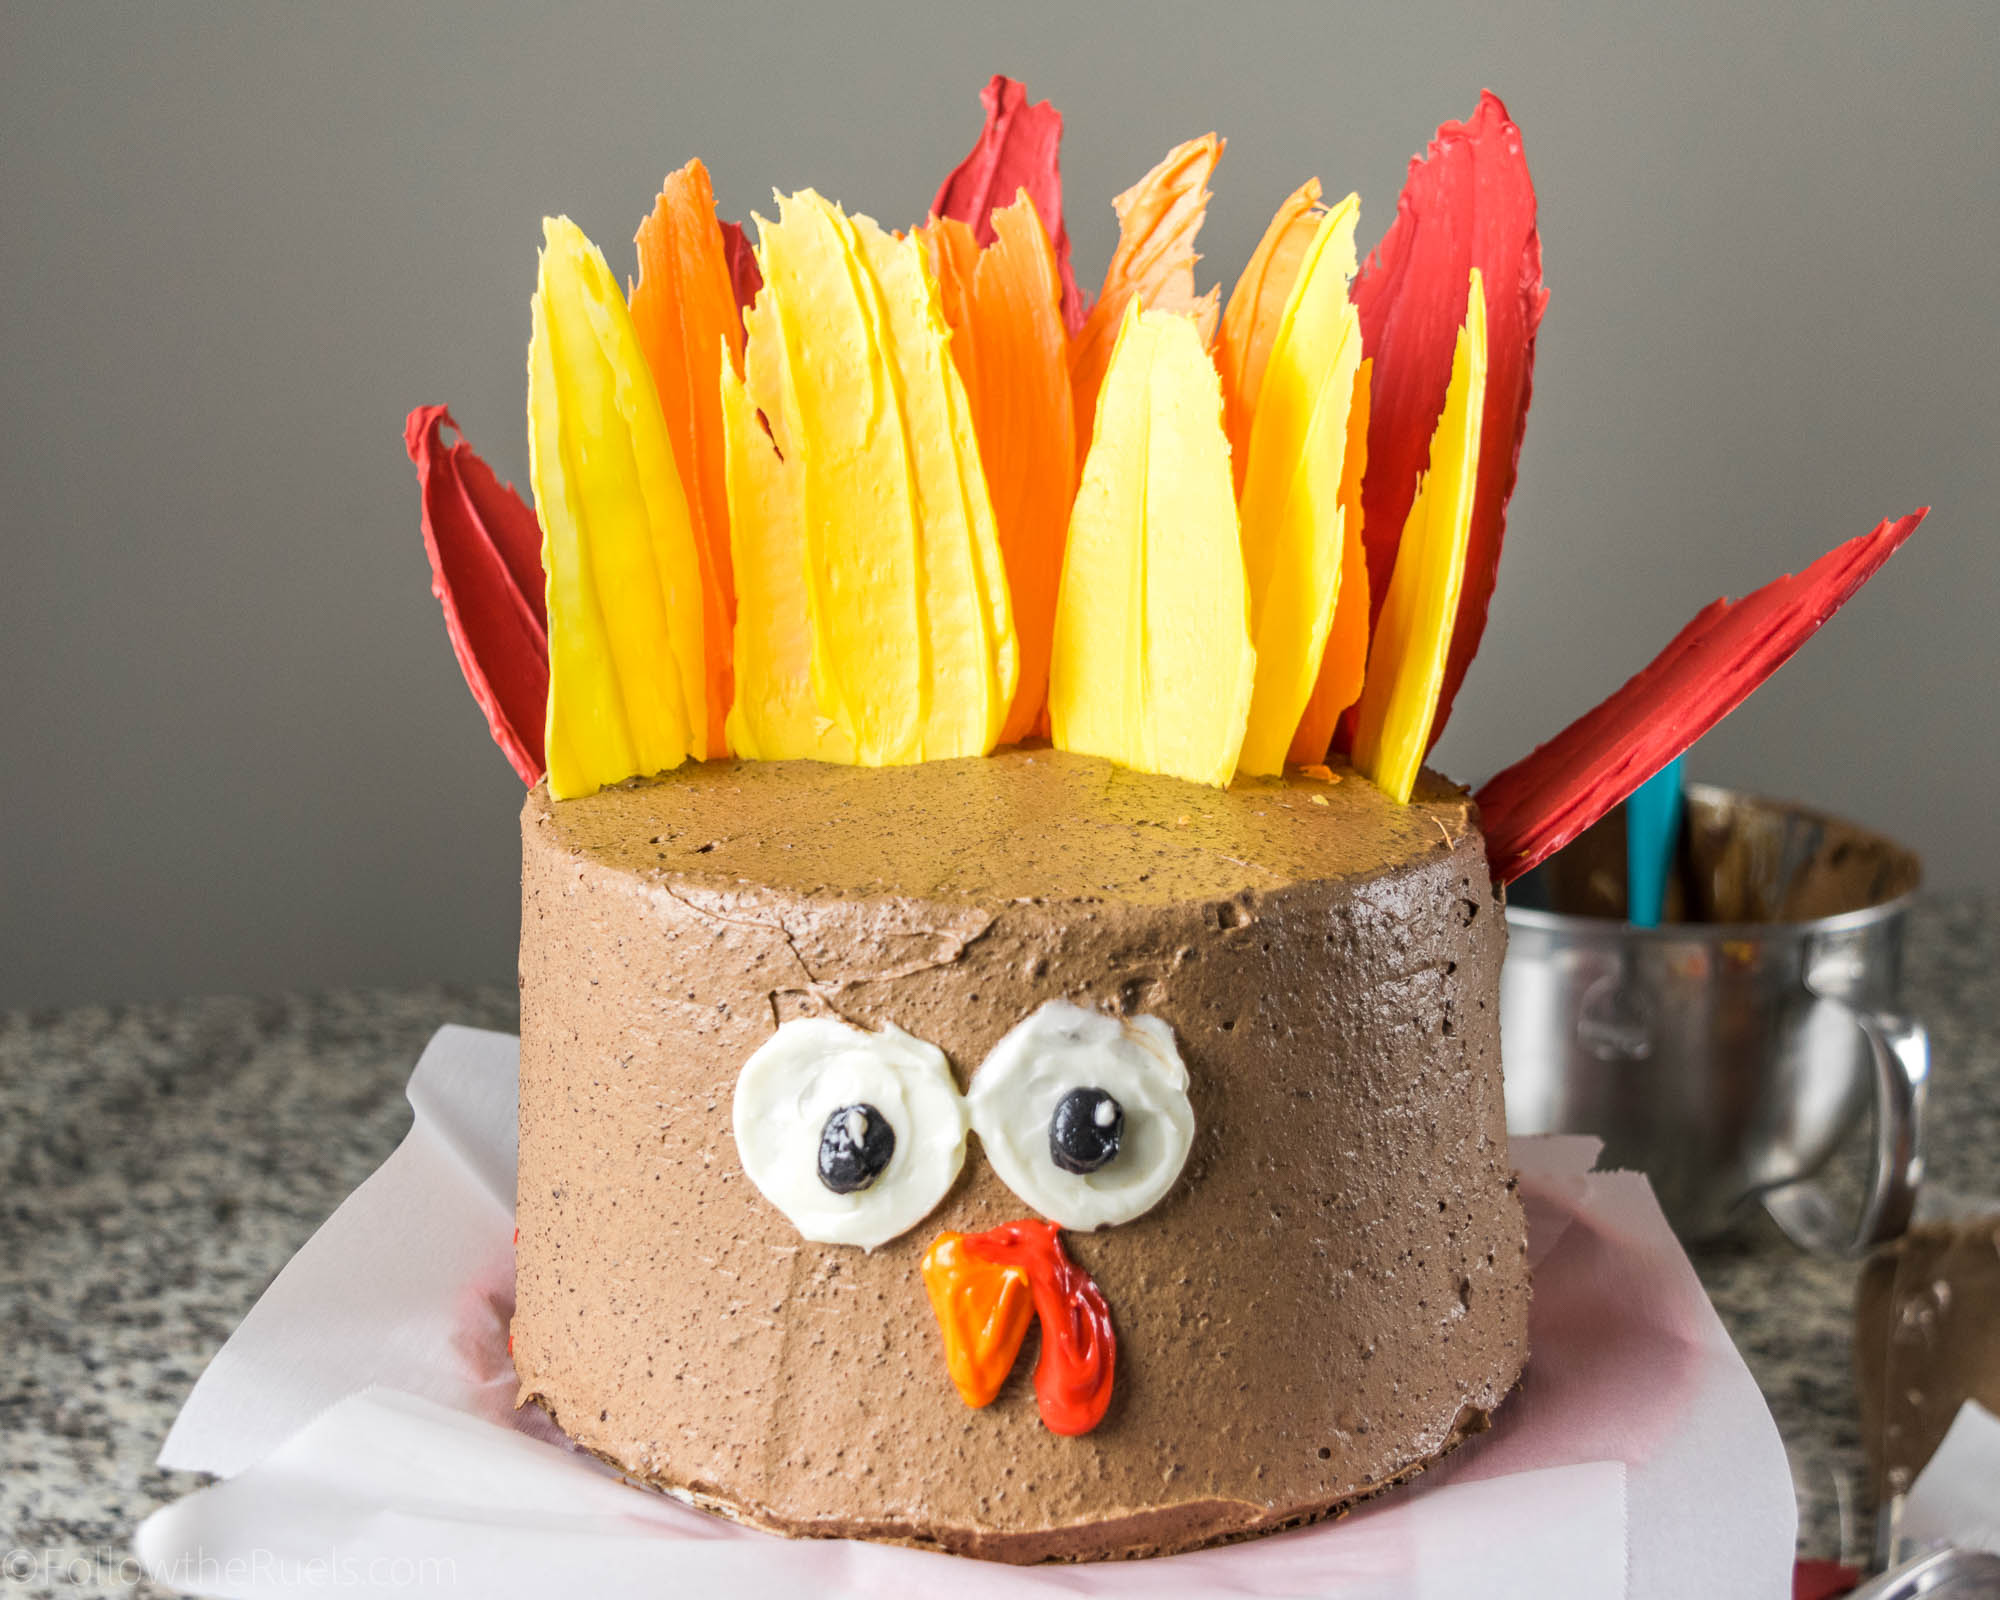
We had friends over for a little Friendsgiving this past weekend and I used it as an excuse to make this Thanksgiving turkey cake. I had seen quite a few similar cakes on Pinterest and Instagram, so I thought I would throw my hat into the ring. 

I think he turned out rather handsome, if not a little goofy looking. But there is nothing wrong with goofy.

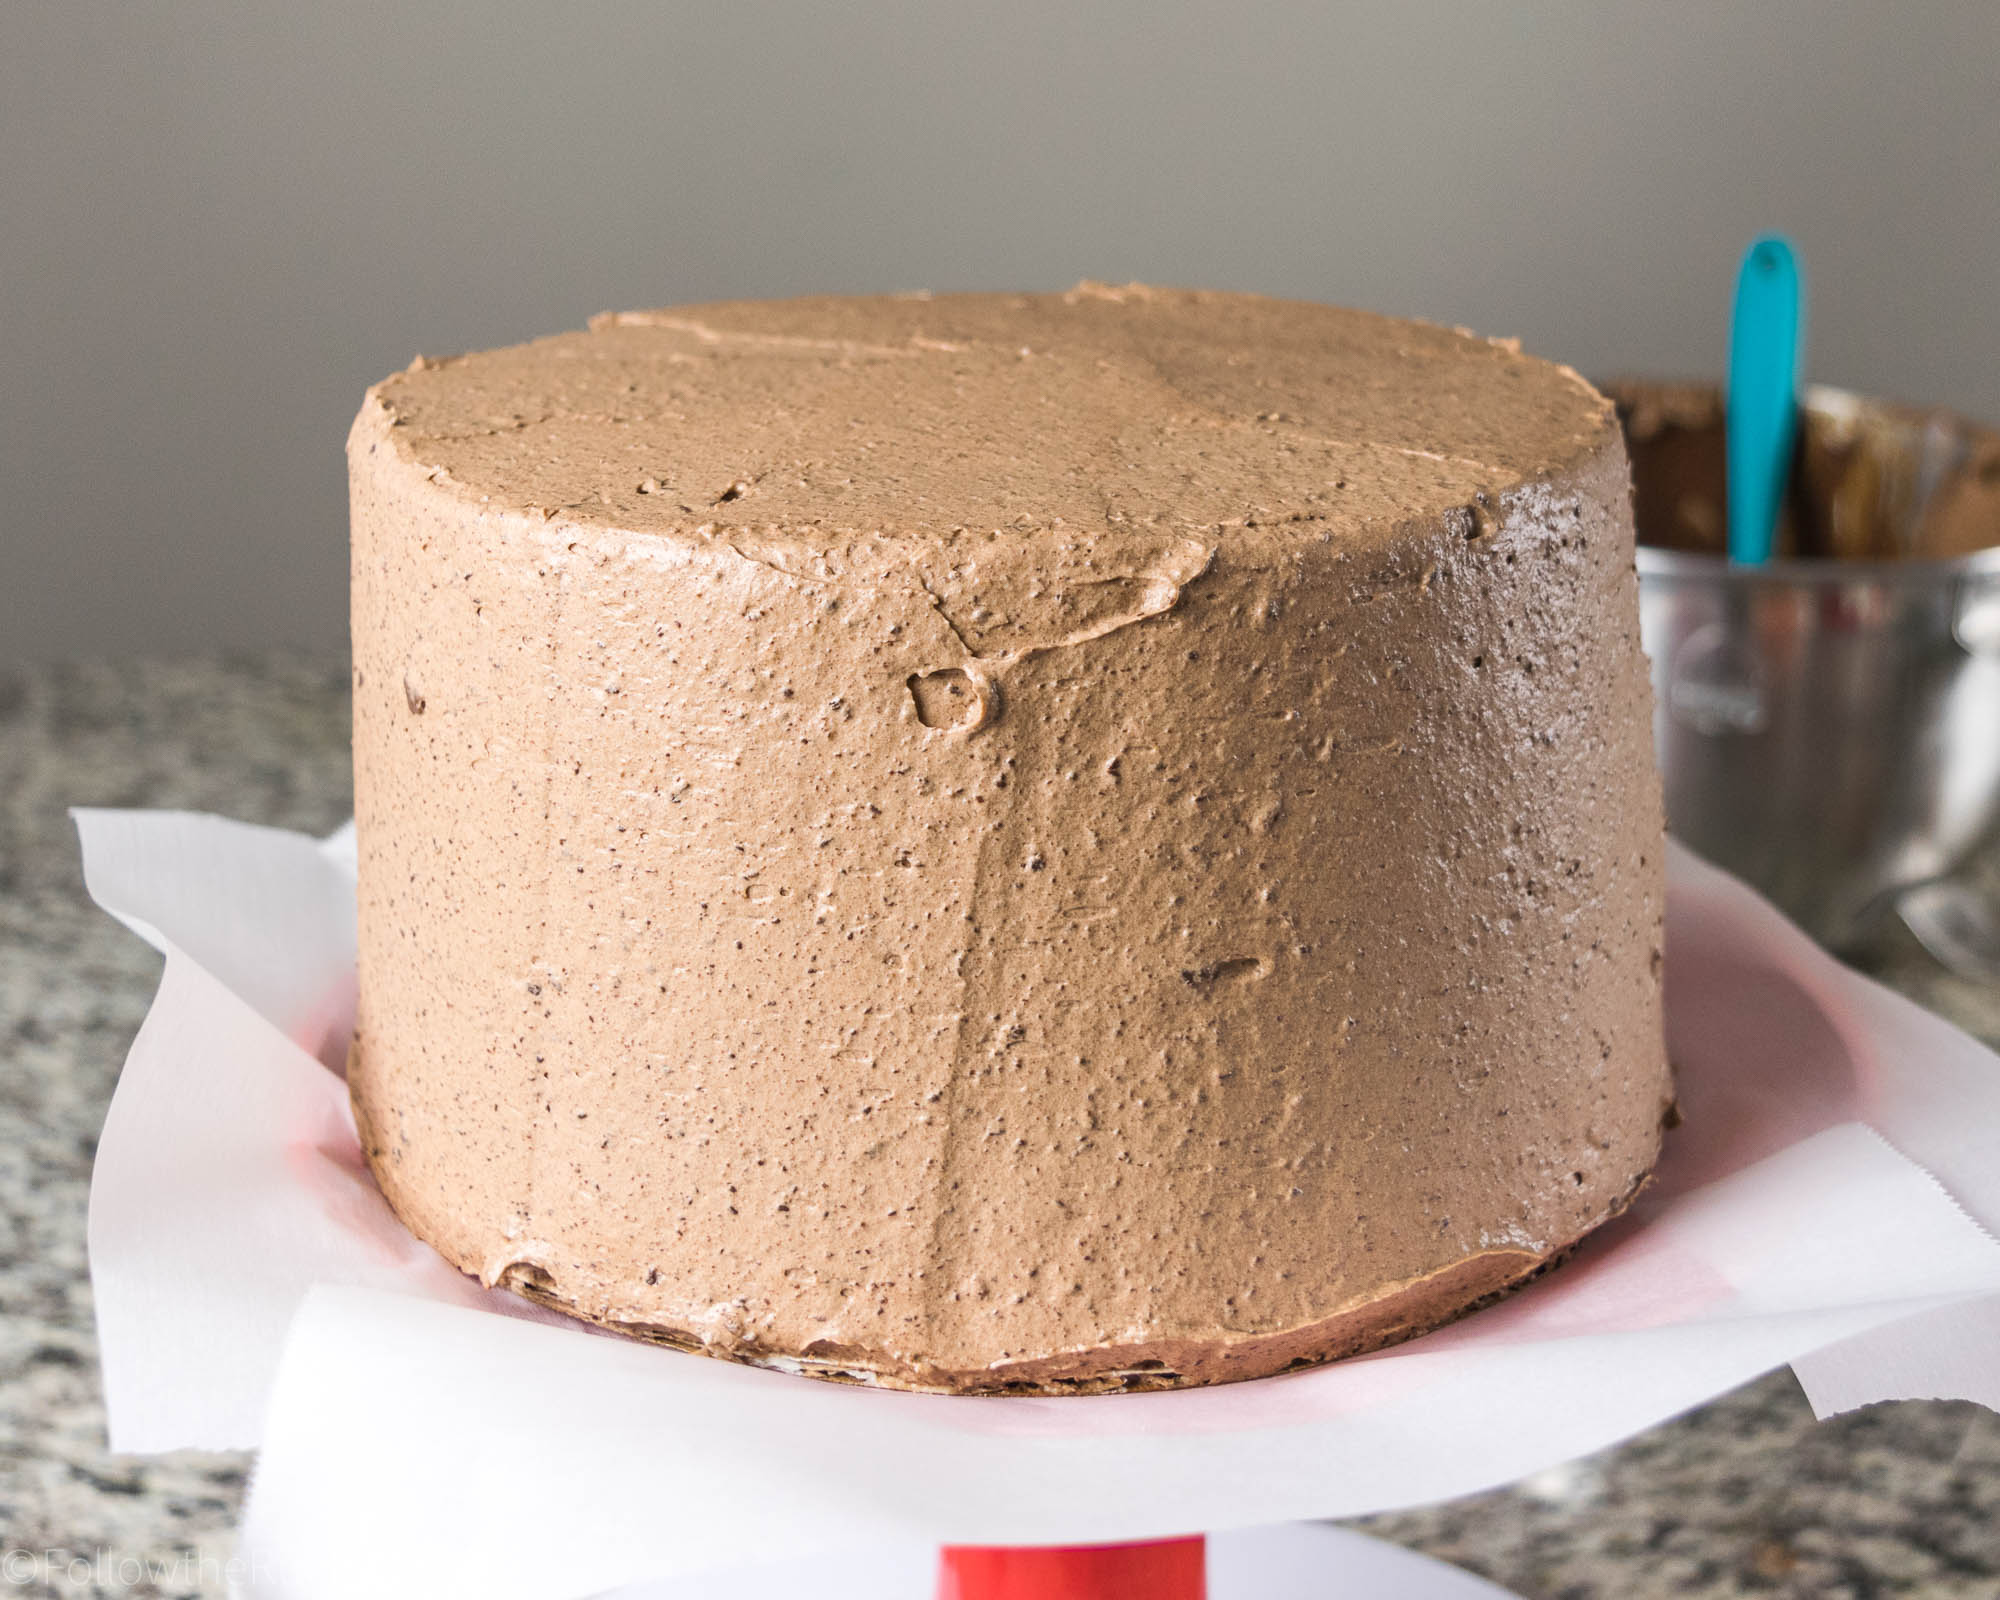
To make him, (Yes, I decide that it is a “him” and I named him Tom. Tom the Turkey.) I made one batch of this pumpkin spice cake. I also whipped up a batch of my cream cheese frosting for the filling. Since I wanted his outer layer to be brown, I made a chocolate ganache which I then whipped to form a frosting.

Chocolate ganache is actually pretty simple to make. However, I totally understand if you want to run out and grab a can of chocolate frosting or bake your own chocolate buttercream.


All you do is pour hot cream over chopped chocolate and let it melt. Once it has completely melted, you toss it in the fridge to harden. I recommend doing this overnight as it does take a few hours. When it is nice and set, transfer it to a bowl of a stand mixer and whip it up. Ta-da! 

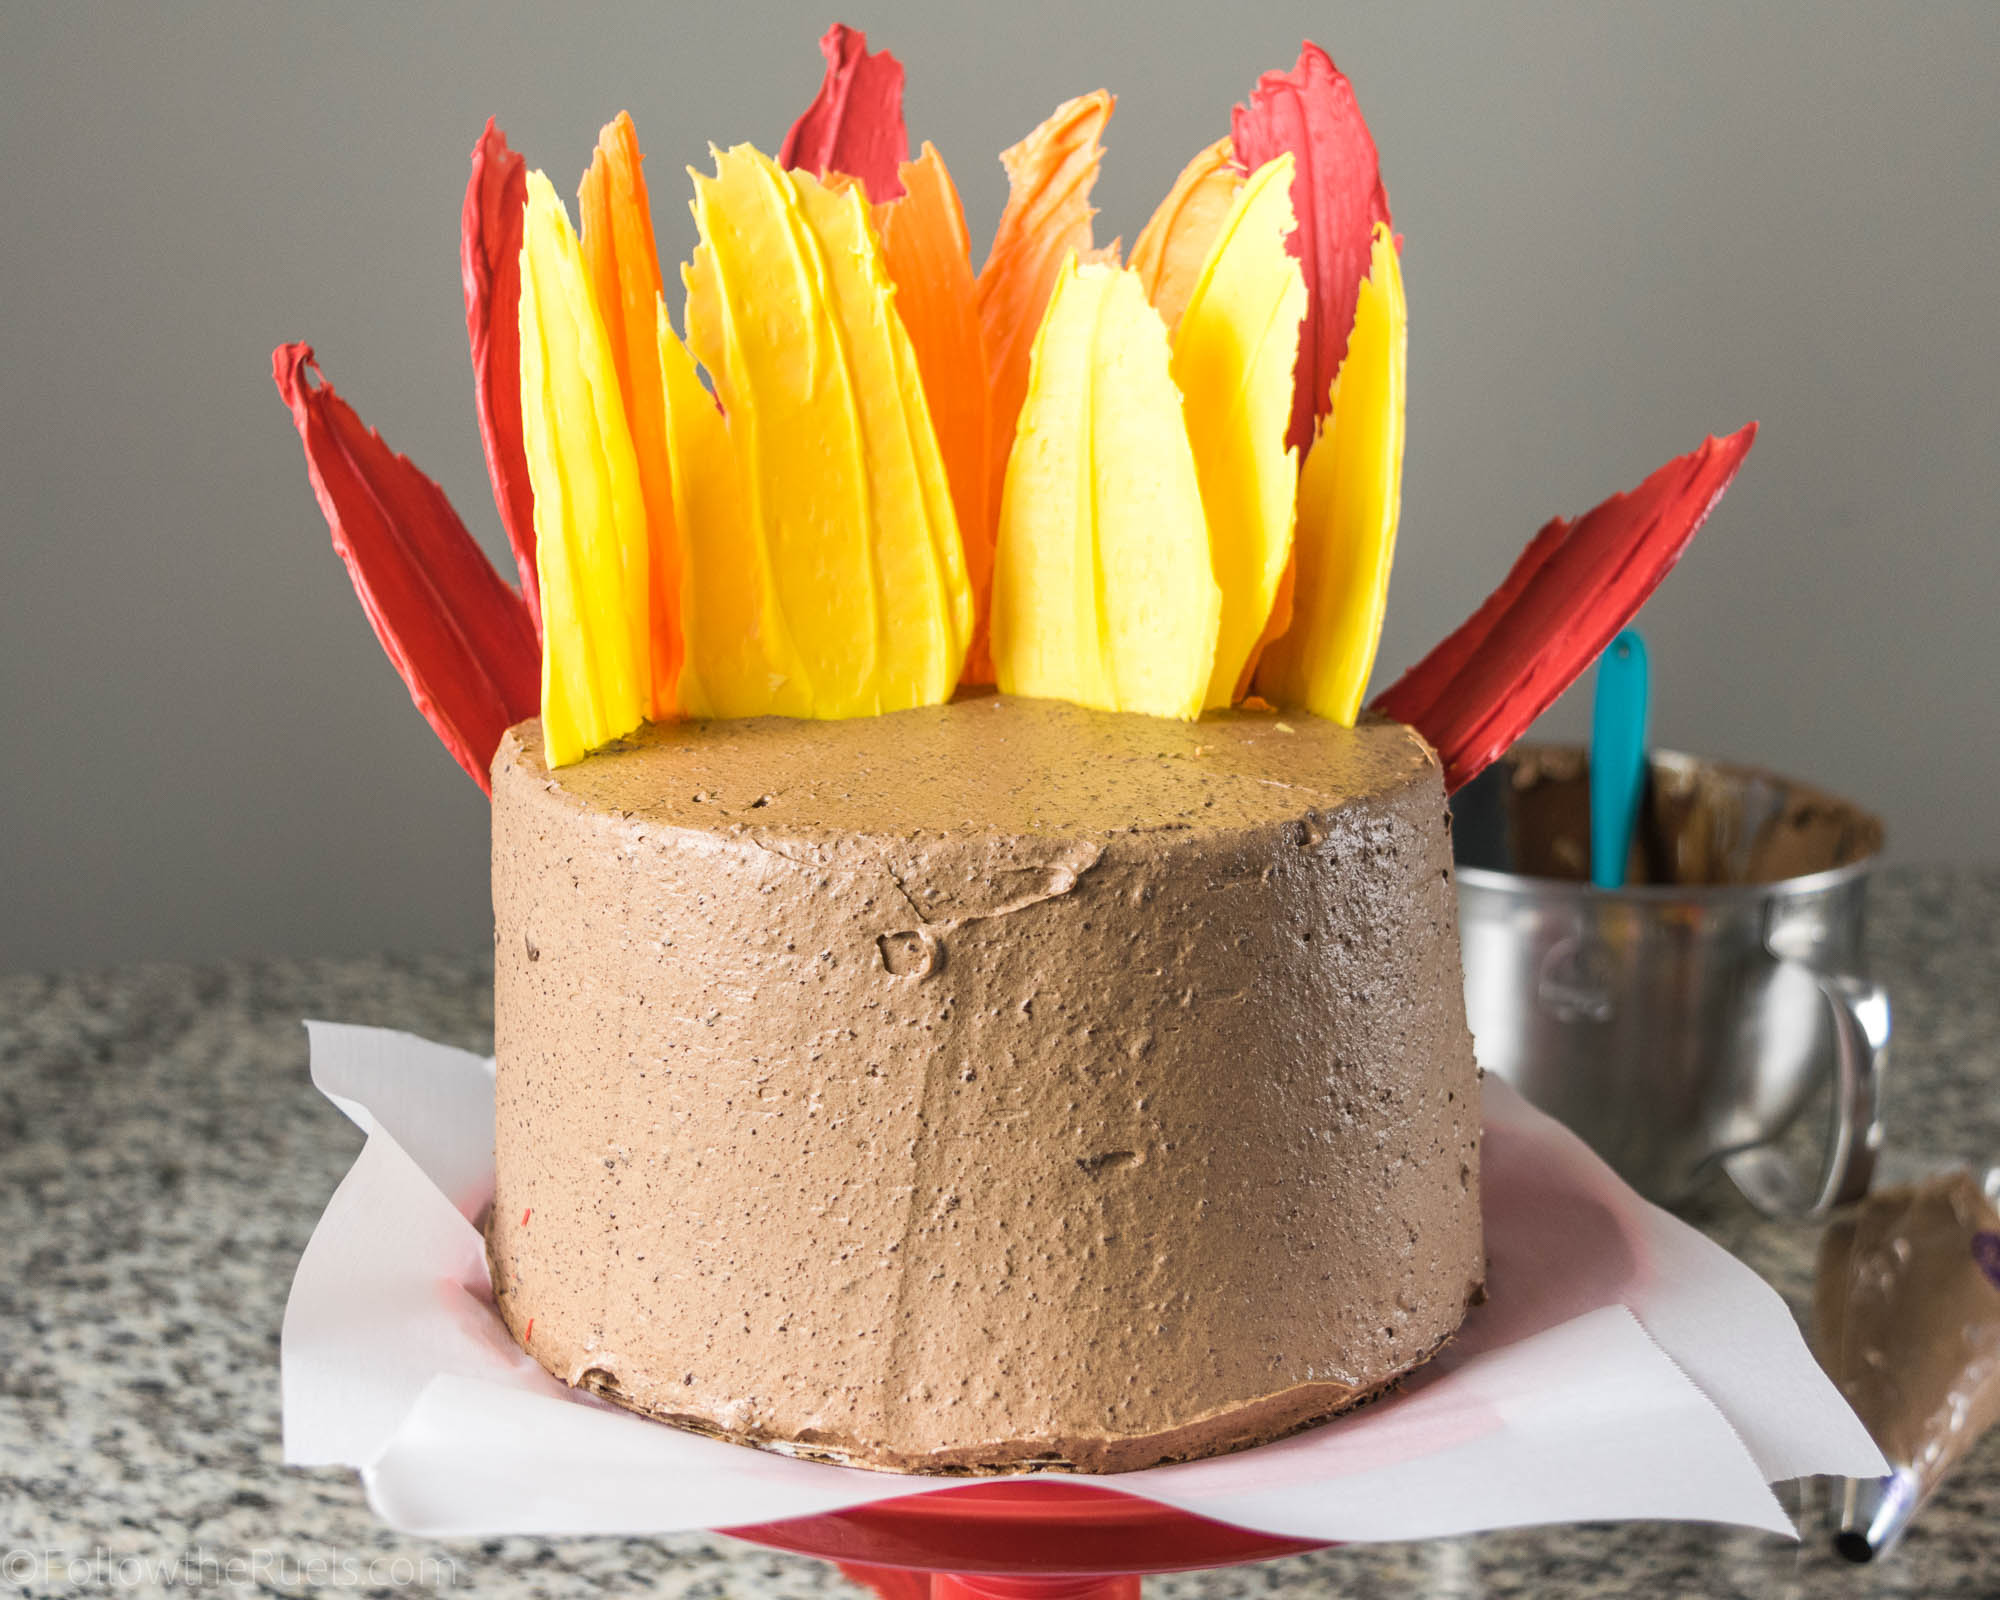
I used that whipped chocolate ganache to completely cover my entire cake. 

Then I stuck in the feathers that I made with my red, orange, and yellow candy melts.

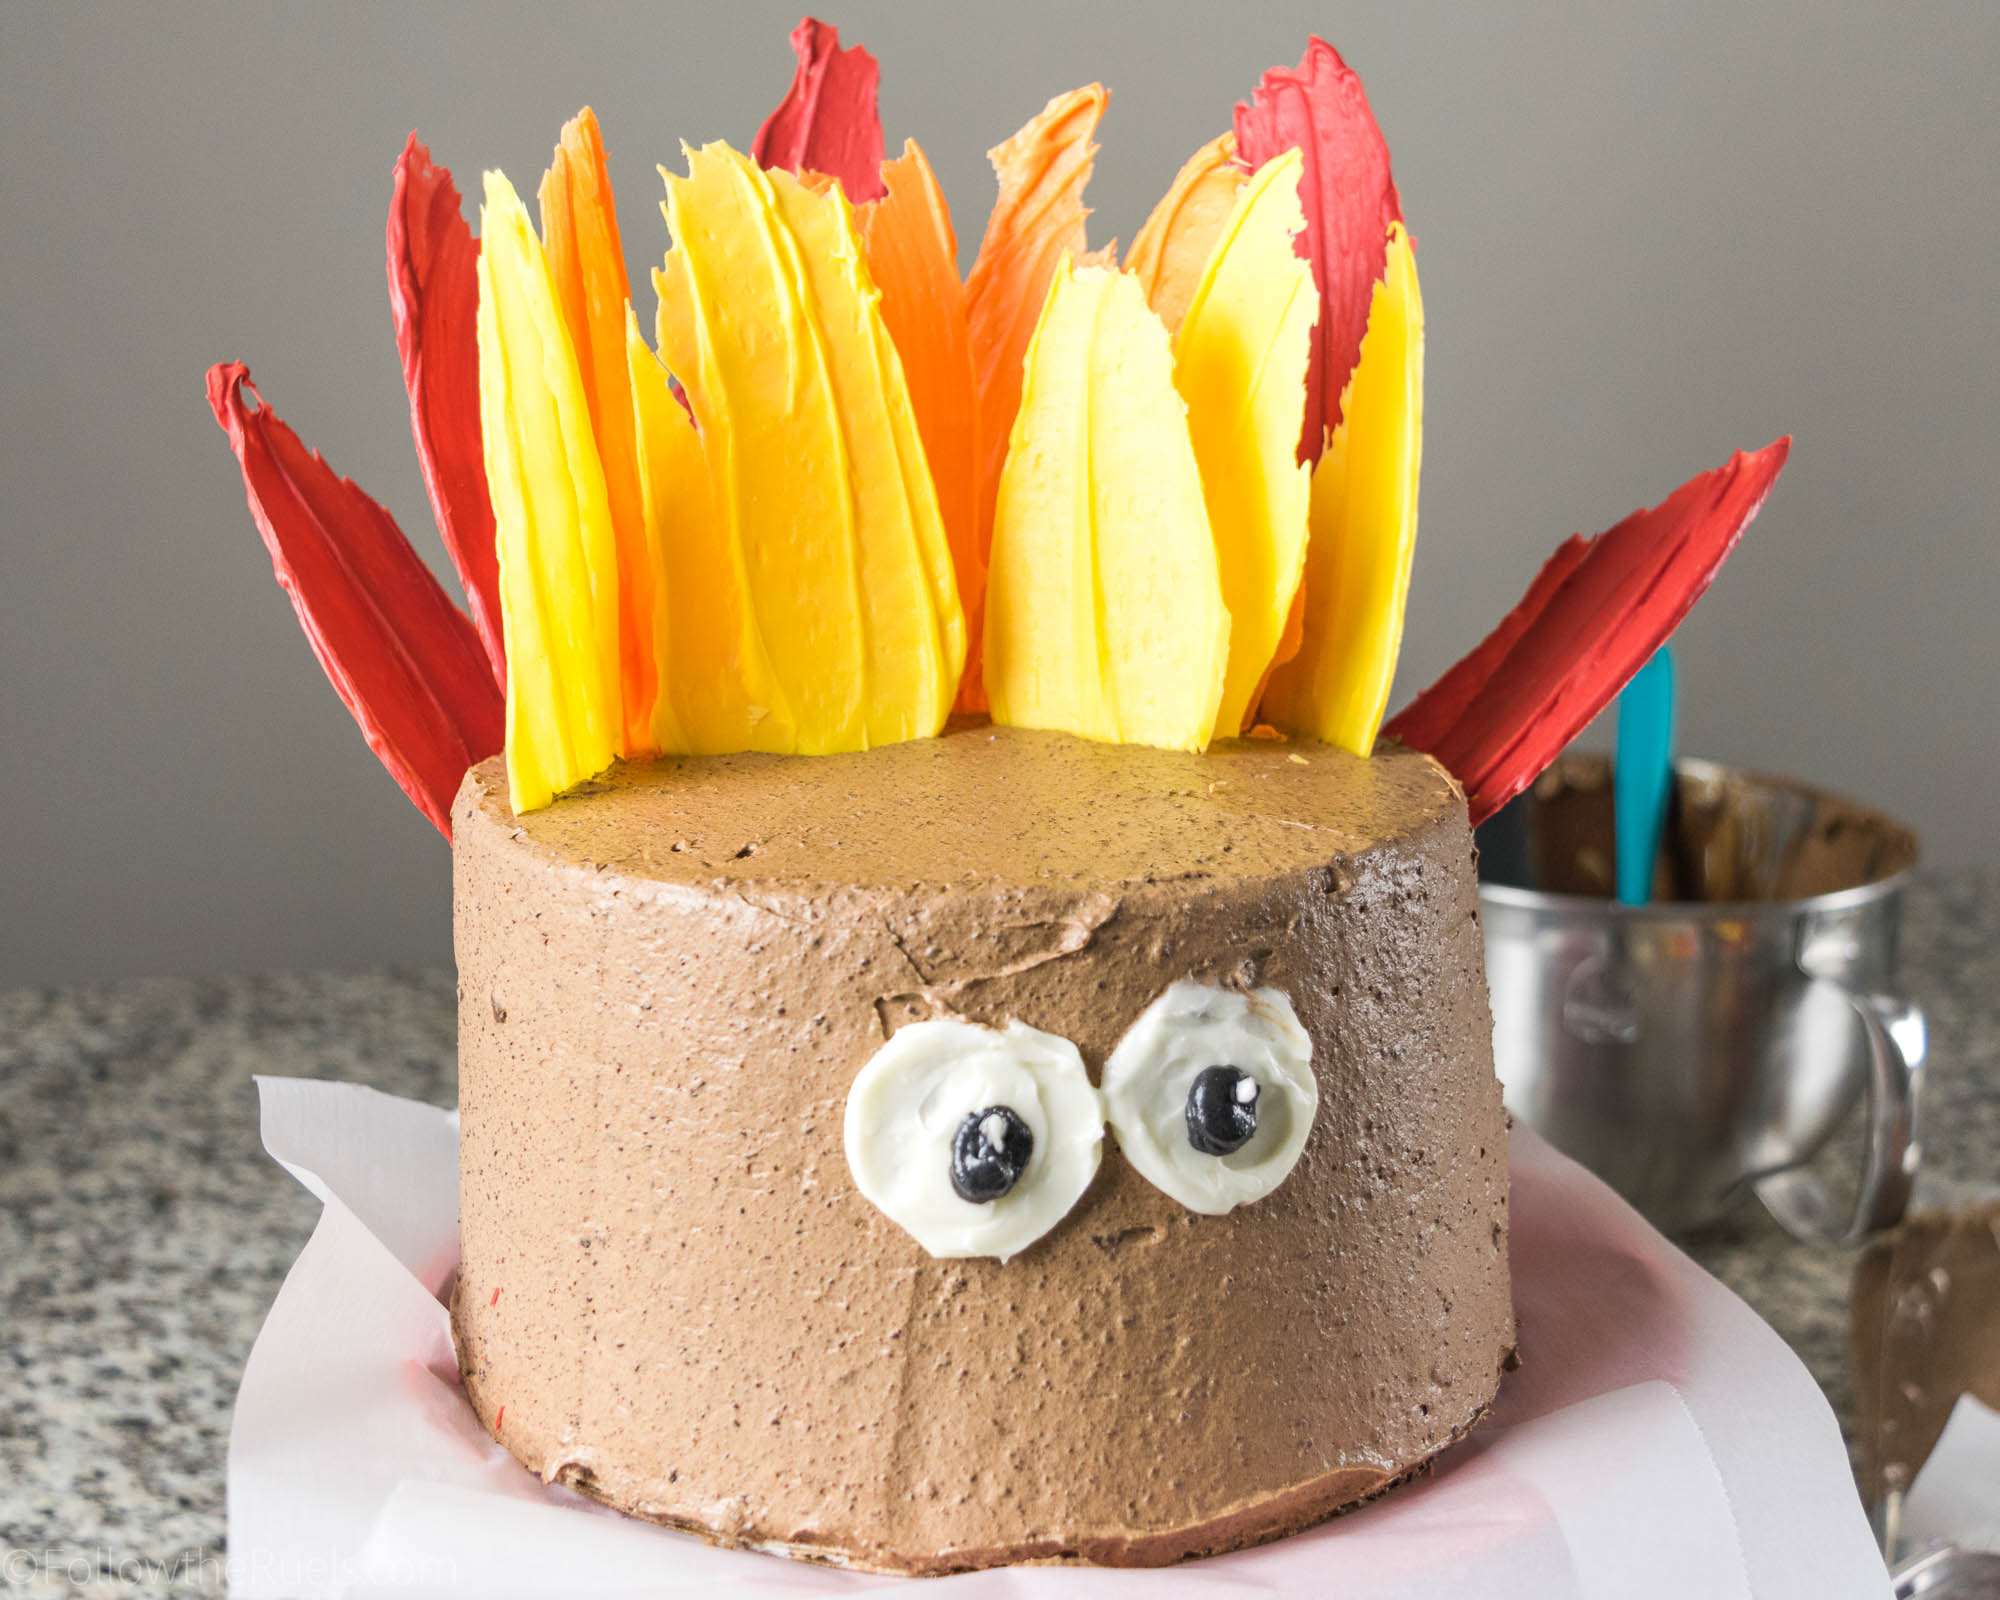
Added some eyes using leftover cream cheese frosting.

And a beak and a little red thing….anyone know what that’s called?

Now you can make your very own Tom the Thanksgiving turkey cake! But you don’t have to name your’s Tom. You don’t have to name it at all. It’s kind of weird to name your food.

Recipes used:

  • How to Cake It’s Pumpkin Spice cake
  • My Cream Cheese Frosting
  • Savory Sweet Life’s chocolate ganache

Supplies used:
[show_shopthepost_widget id=”2907438″]
 

/ Filed In: Cakes and Cupcakes, Cakes New, Desserts, Eat
Tagged: cake, cake decorating, Fall, pumpkin, Thanksgiving

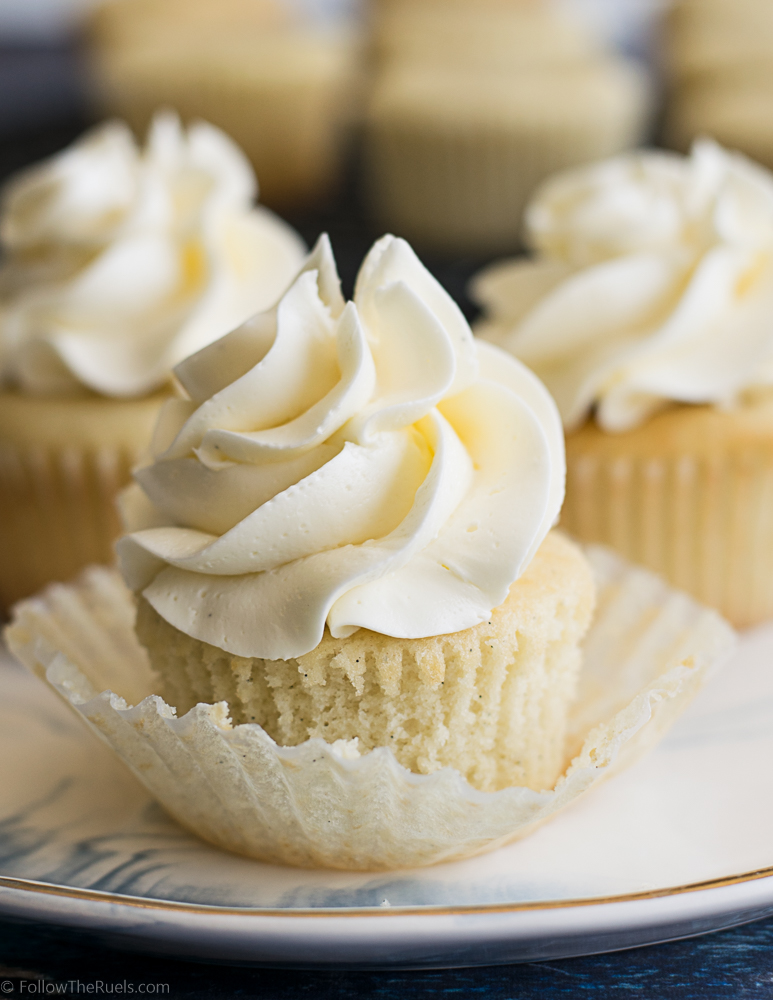
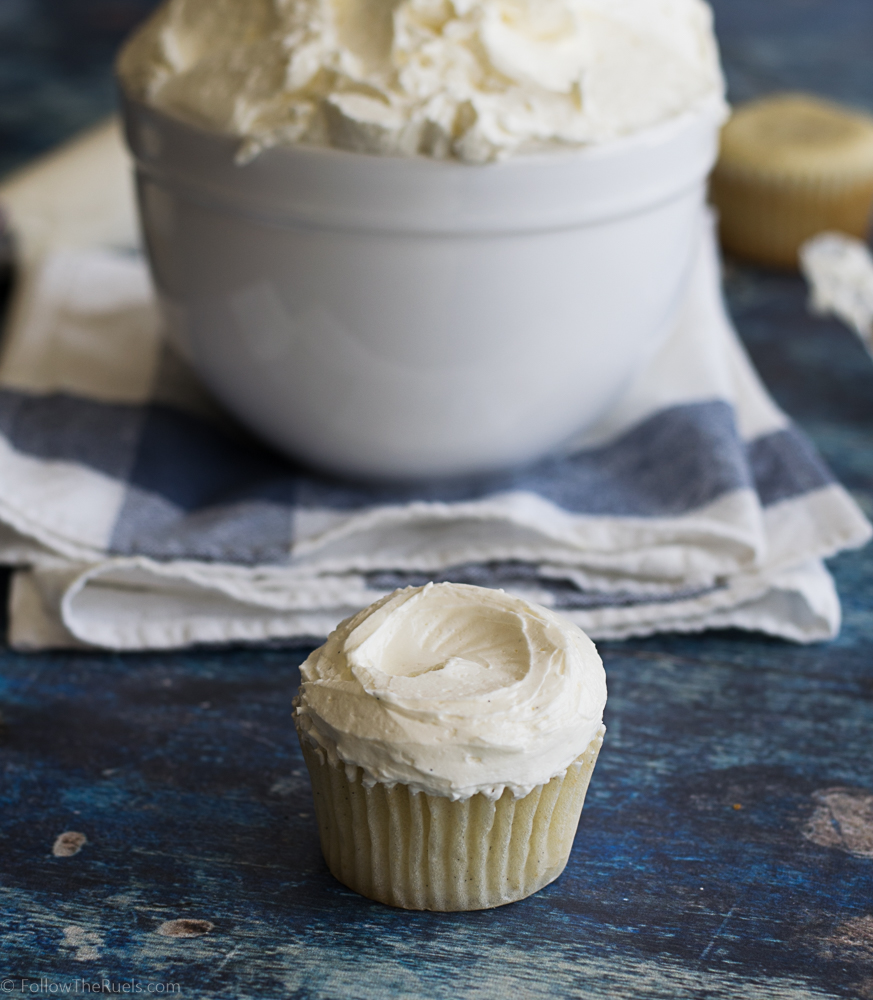
Classic Vanilla Cupcakes

September 19, 2017

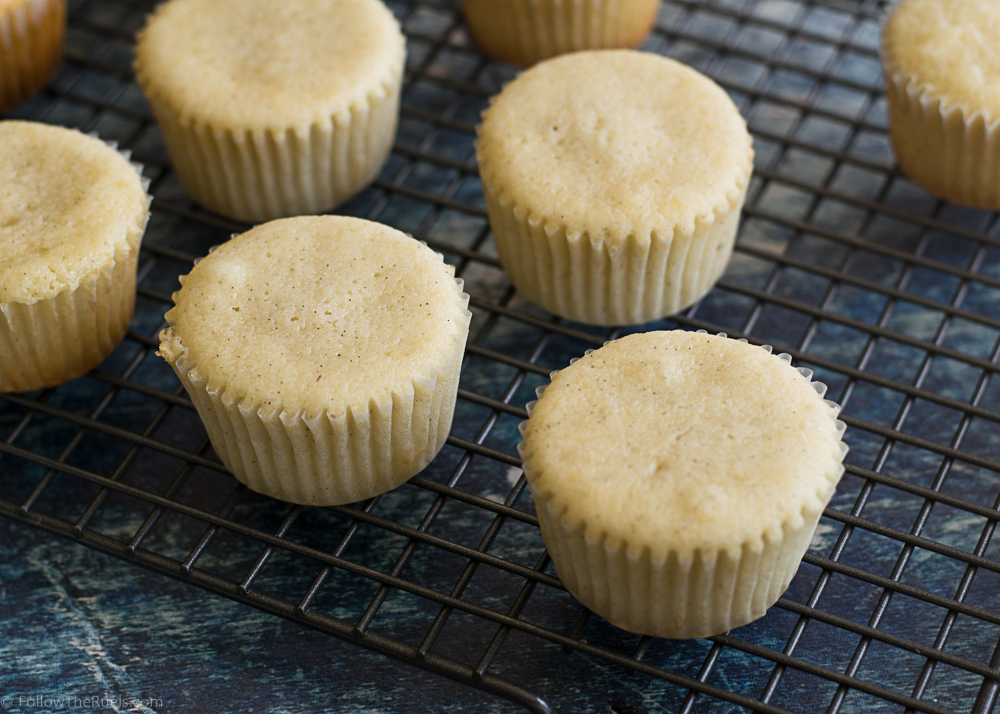
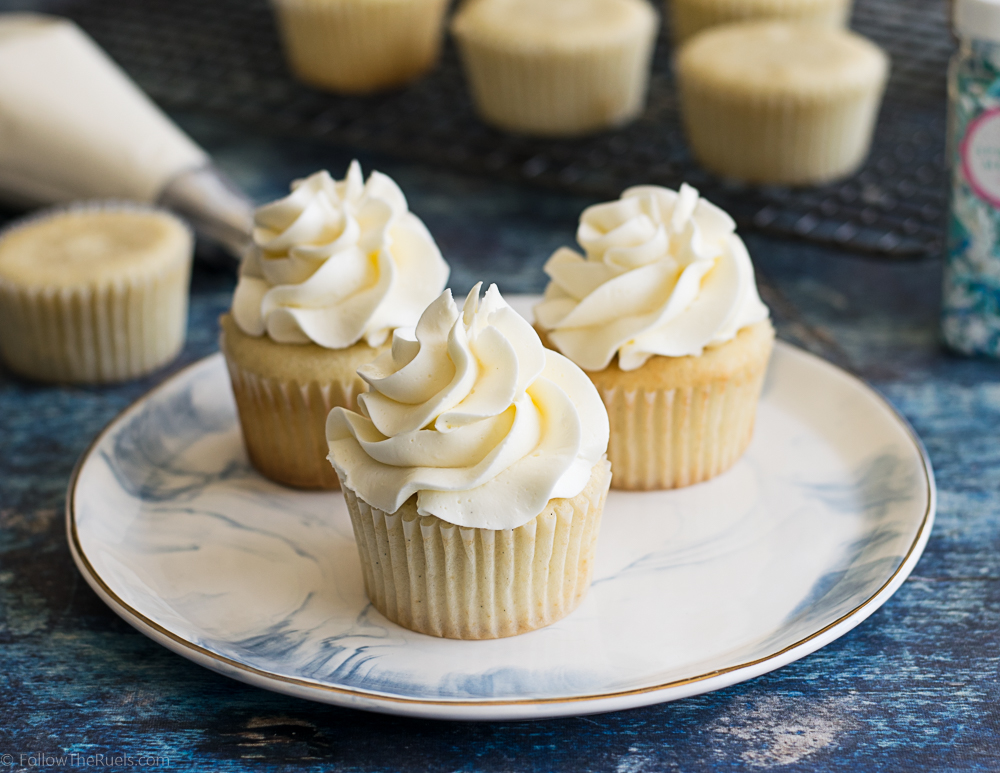
Vanilla gets a bad rap, doesn’t it? It’s equated with being plain and boring. Sure, when vanilla, particularly vanilla cake or cupcakes, is done poorly it’s pretty “meh”. But when vanilla cake or cupcakes are done well they are delicious. 

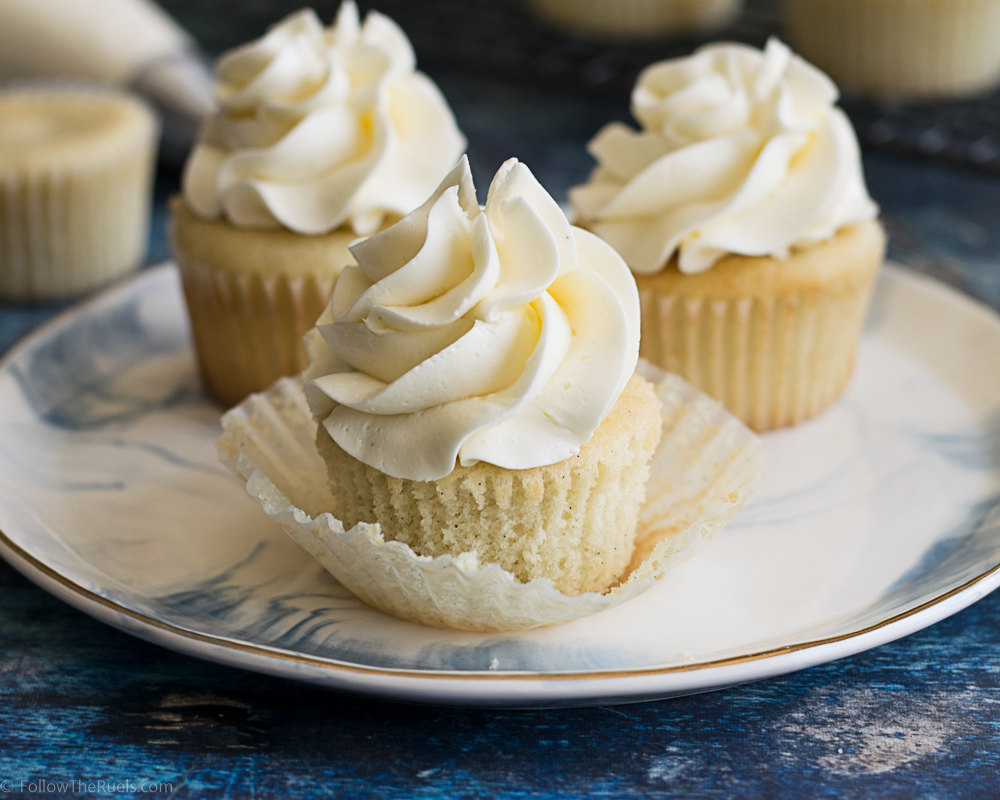
And let me tell you, these vanilla cupcakes are delicious! They make the perfect foundation for any other flavor, filling, frosting, or just all on their own. 

I have been testing out vanilla cupcake recipes for a while. Everything  from Martha Stewart to How to Cake It. While everything I tried was good and definitely tasty, nothing really knocked my socks off until this recipe. These cupcakes are light and airy, yet moist and rich. They pack a serious vanilla punch that is anything but plain and boring. 

There are a couple things I have learned after making more than a few vanilla cupcake recipes:

  • Cake flour is nice and all, and will definitely make the texture of the cupcakes a bit lighter and softer, but it is not necessary. You can still make a darn good cupcake with all purpose flour.
  • Always use whole milk. I have learned over the years that when it comes to baking (and lots of other things, actually), whole milk is king. Please do not use 2% or (dare I even say it) skim. And if you do, don’t tell me about it, k?
  • Measure your flour by spooning your flour into the measuring cup, then level. While some other recipes are a little bit more forgiving with the amount of flour, you don’t want to weigh down your cake or cupcakes with any more flour than the recipe calls for. 

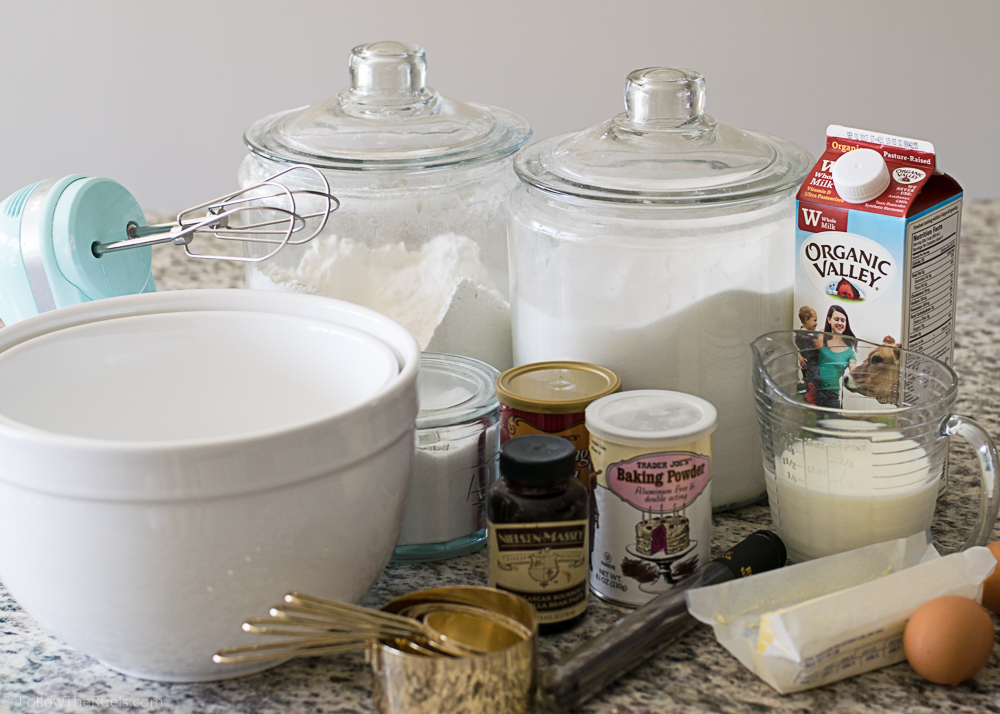
To make these cupcakes start by whisking together all your dry ingredients. If you want to ensure that there are no lumps, you can run everything through a sifter. I find that giving it a good whisk pretty much does the job.

Set the dry mixture aside and cream together the butter and sugar, then mix in the eggs (preferable 1 at a time, but I am a little impatient when it comes to cake).

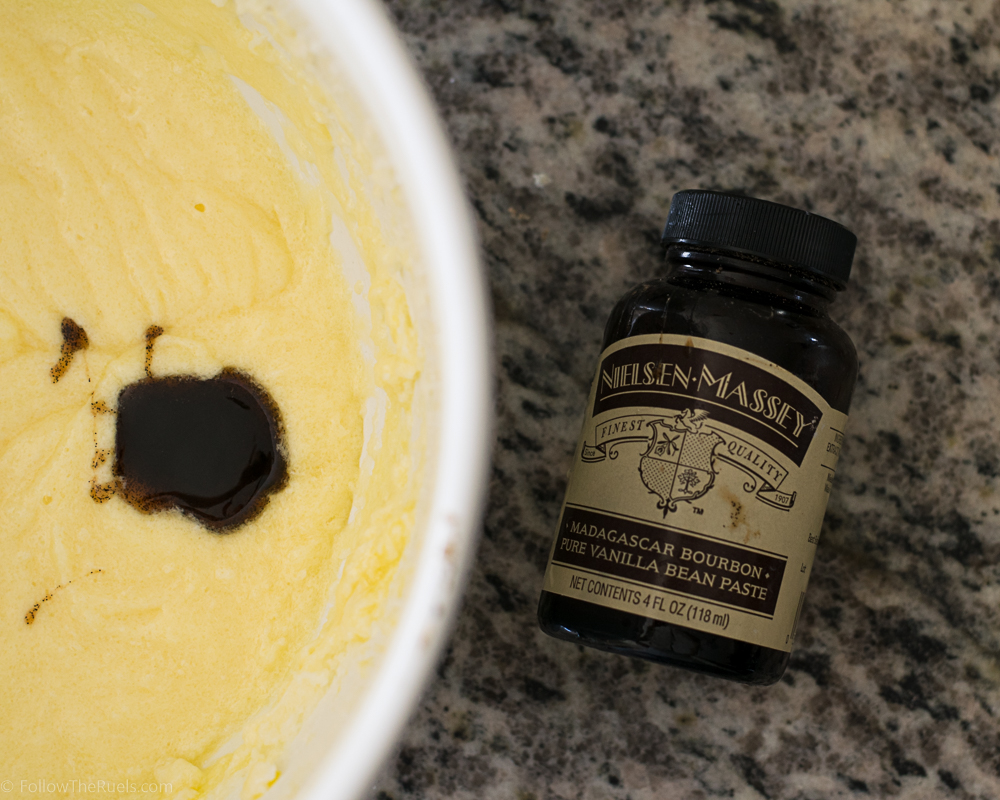
Now for the good stuff. I like using vanilla bean paste in these cupcakes because the flavor is so concentrated and rich. It really makes the flavor of these cupcakes stand out. Plus, I like the little vanilla beans speckled throughout the cake. 

If you don’t have vanilla bean paste, don’t fret! You can substitute with the seeds of one vanilla bean (split in half, and scrape a knife over the inside, scraping out all the seeds) and a bit of vanilla extract. If you only have vanilla extract, just add a bit more.


With the butter, sugar, eggs, and vanilla all mixed together, its time to mix in the flour and the milk alternating between the two. I like to mix the flour in 3 parts and the milk in 2 parts. So I mix flour-milk-flour-milk-flour. Always start and end with dry ingredients. 

I am not sure the exact reason for this mixing method, but I have found that alternating between wet and dry, you get a smoother batter and a lighter cake.

Bake the cupcakes until they are just cooked all the way and a toothpick comes out mostly clean. I take my cupcakes out before they brown too much and when there are still some crumbs that stick to the toothpick. That way they are nice and moist and not dried out at all!

The beauty of these vanilla cupcakes is that they can be paired with anything. Here I just paired them with my favorite buttercream frosting, which was still delicious. But they can be paired with chocolate frosting, caramel frosting, strawberry frosting. Maybe even filled with lemon curd, chocolate sauce, or raspberry jam. They are the most delicious canvas for any of your cupcake creations!

Supplies:
[show_shopthepost_widget id=”2822336″]
 

[yumprint-recipe id=’132′]

/ Filed In: Cakes and Cupcakes, Cakes New, Eat
Tagged: cake, cupcakes, vanilla, vanilla bean

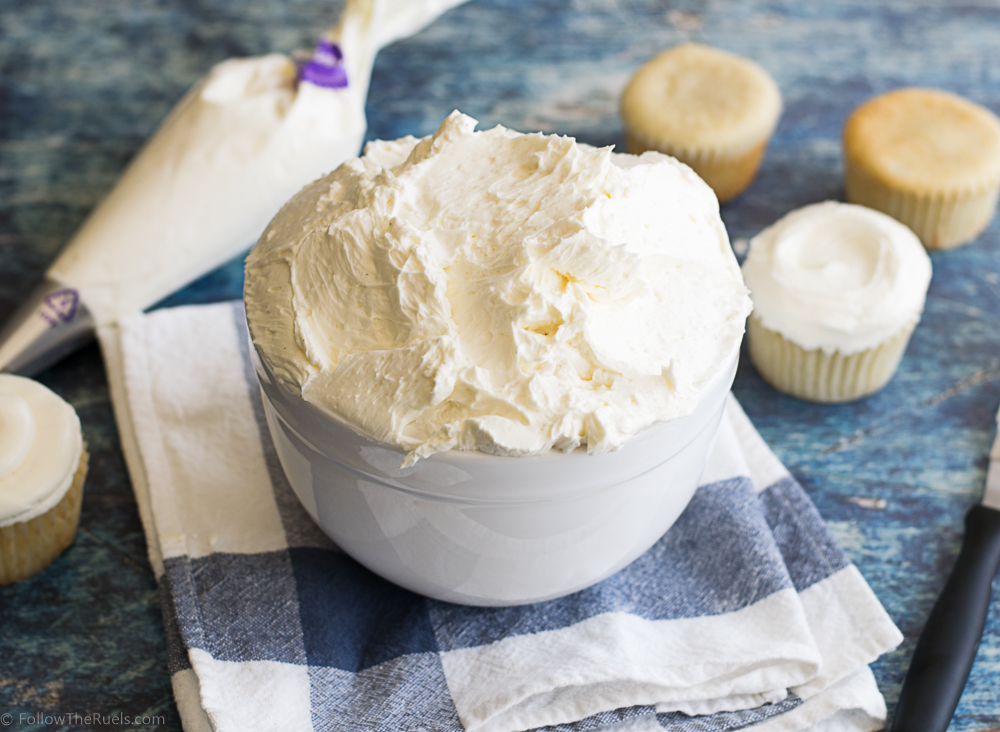
The Best Buttercream Frosting Recipe

September 8, 2017

It may surprise you to hear that I am not much of a frosting person. Whenever I eat cake, I typically eat around the frosting, leaving a huge heap of it on my plate. 

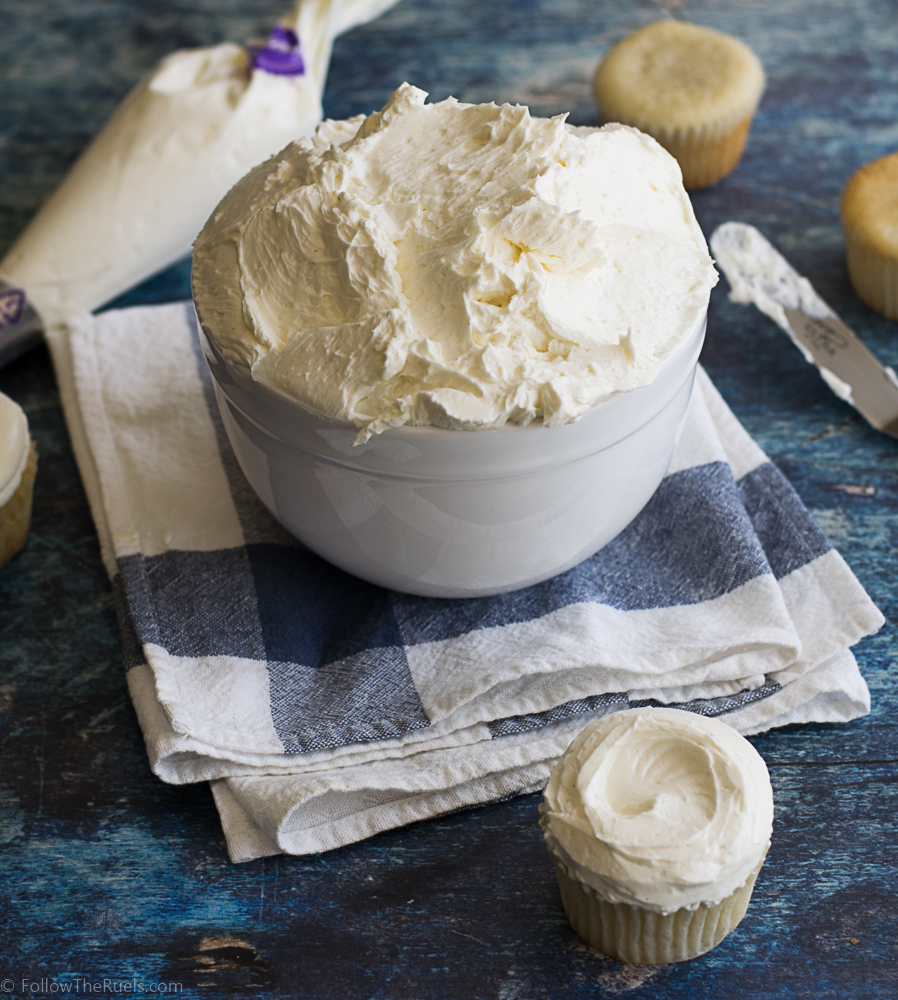
But of course, there are always exceptions. The exception is this buttercream. Every time I make it I get so many compliments on how light, airy, and not-too-sweet it is. People are used to that dense, buttery, sickeningly sweet buttercream so this one is basically like a breath of fresh air. 


There are actually three main types of buttercream frosting (that I am aware of): American, Italian, and Swiss. The American version is what we are used to. It is basically just butter and sugar mix together. American buttercream is totally fine in moderation and is really good if you need to make some intricate designs on your cake or cupcake. But when it piled on top of said cake or cupcake, it’s just too much. 

Italian meringue buttercream incorporates meringue (fluffy egg whites), which makes it super light and airy. To make Italian meringue, you heat up sugar and water until it boils, then pour it into to a stand mixer bowl that is whipping up the egg whites. The only reason I don’t like this version is that making Italian meringue dirties up one extra pan and you have to make sure the sugar get’s to the perfect temperature or you risk ruining your meringue.

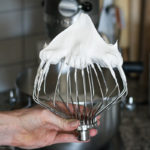
I prefer the Swiss meringue buttercream because it has all the benefits of the Italian version but with a lot less hassle. Instead of heating up water and sugar, you actually heat up the egg whites with the sugar and whisk them over a double boiler until the sugar has dissolved. Then you whip up the egg whites until you have stiff peaks. I do this all in the bowl of my stand mixer so that I only have one bowl to clean up in the end. 


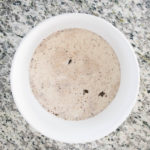
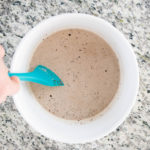
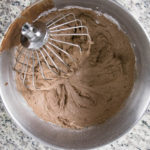
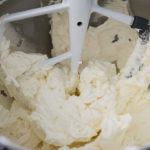
Once the meringue has cooled, you add in your butter. Now this is where I have gotten a little thrown off in the past, and I know other people struggle with this too. So many times I think I have ruined my buttercream because it looks super lumpy and gross, like the picture on the left. But, that’s just a step in the process to getting it nice and smooth. 

When you slowly add the butter  to the egg whites, it’s almost like trying to mix together oil and water. They just don’t want to go together without a little coaxing. So after just a little mixing it will appear that the frosting has separated. Just keep mixing and you will get a creamy, smooth buttercream frosting!

The best part about this frosting is that it goes with anything! You can add other flavors to it, but the plain vanilla can top off any cake flavor. 

It’s also sturdy enough to pipe any details, like flowers, leaves, ruffles, etc. If you have seen any of my cakes or cupcakes that have some design on them, this is the frosting I use. 

Its also the only buttercream frosting that I don’t scrape off my cake because it’s just too good to let go to waste!

[yumprint-recipe id=’129′] 

/ Filed In: Cakes and Cupcakes, Cakes New, Desserts, Eat
Tagged: butter, buttercream, cake, cupcakes, egg whites, frosting, Swiss meringue, vanilla

  • 1
  • 2
  • Previous Entries

Follow

Hey There!

Hey there, I'm Lindsey. I'm a number cruncher by day and a home cook and baker by night. While I love to eat healthy and find fresh and healthy alternatives for my favorite foods, I will never turn down dessert! Life is all about moderation, right?

Recipes

  • All Recipes
  • Breakfast
  • Appetizers
  • Salads
  • Main Dishes
  • Side Dishes
  • Desserts
  • Drinks

Favorite Finds

[show_lookbook_widget id=”388783″]

Theme by 17th Avenue · Powered by WordPress & Genesis