• Home
  • Eat
    • Breakfast
    • Appetizers
    • Main Dishes
      • Chicken
      • Beef
      • Seafood
      • Healthy Dishes
      • Paleo Dishes
      • Salads
    • Desserts
      • Decorated Cookies
      • Cookies
      • Bars and Brownies
      • Cakes and Cupcakes
  • Shop
    • Cookie Decorating Supplies
    • Bakeware
    • Cookware
    • Kitchen Gadgets
    • House
  • About
    • Contact
    • Bucket List
  • Cookie Decorating 101

Follow the Ruels

Nutella Linzer Cookies

February 13, 2018

I have always had a special interest in Linzer cookies. They are, obviously, Linzer. I am and Lindsey. 

You get it (right?).

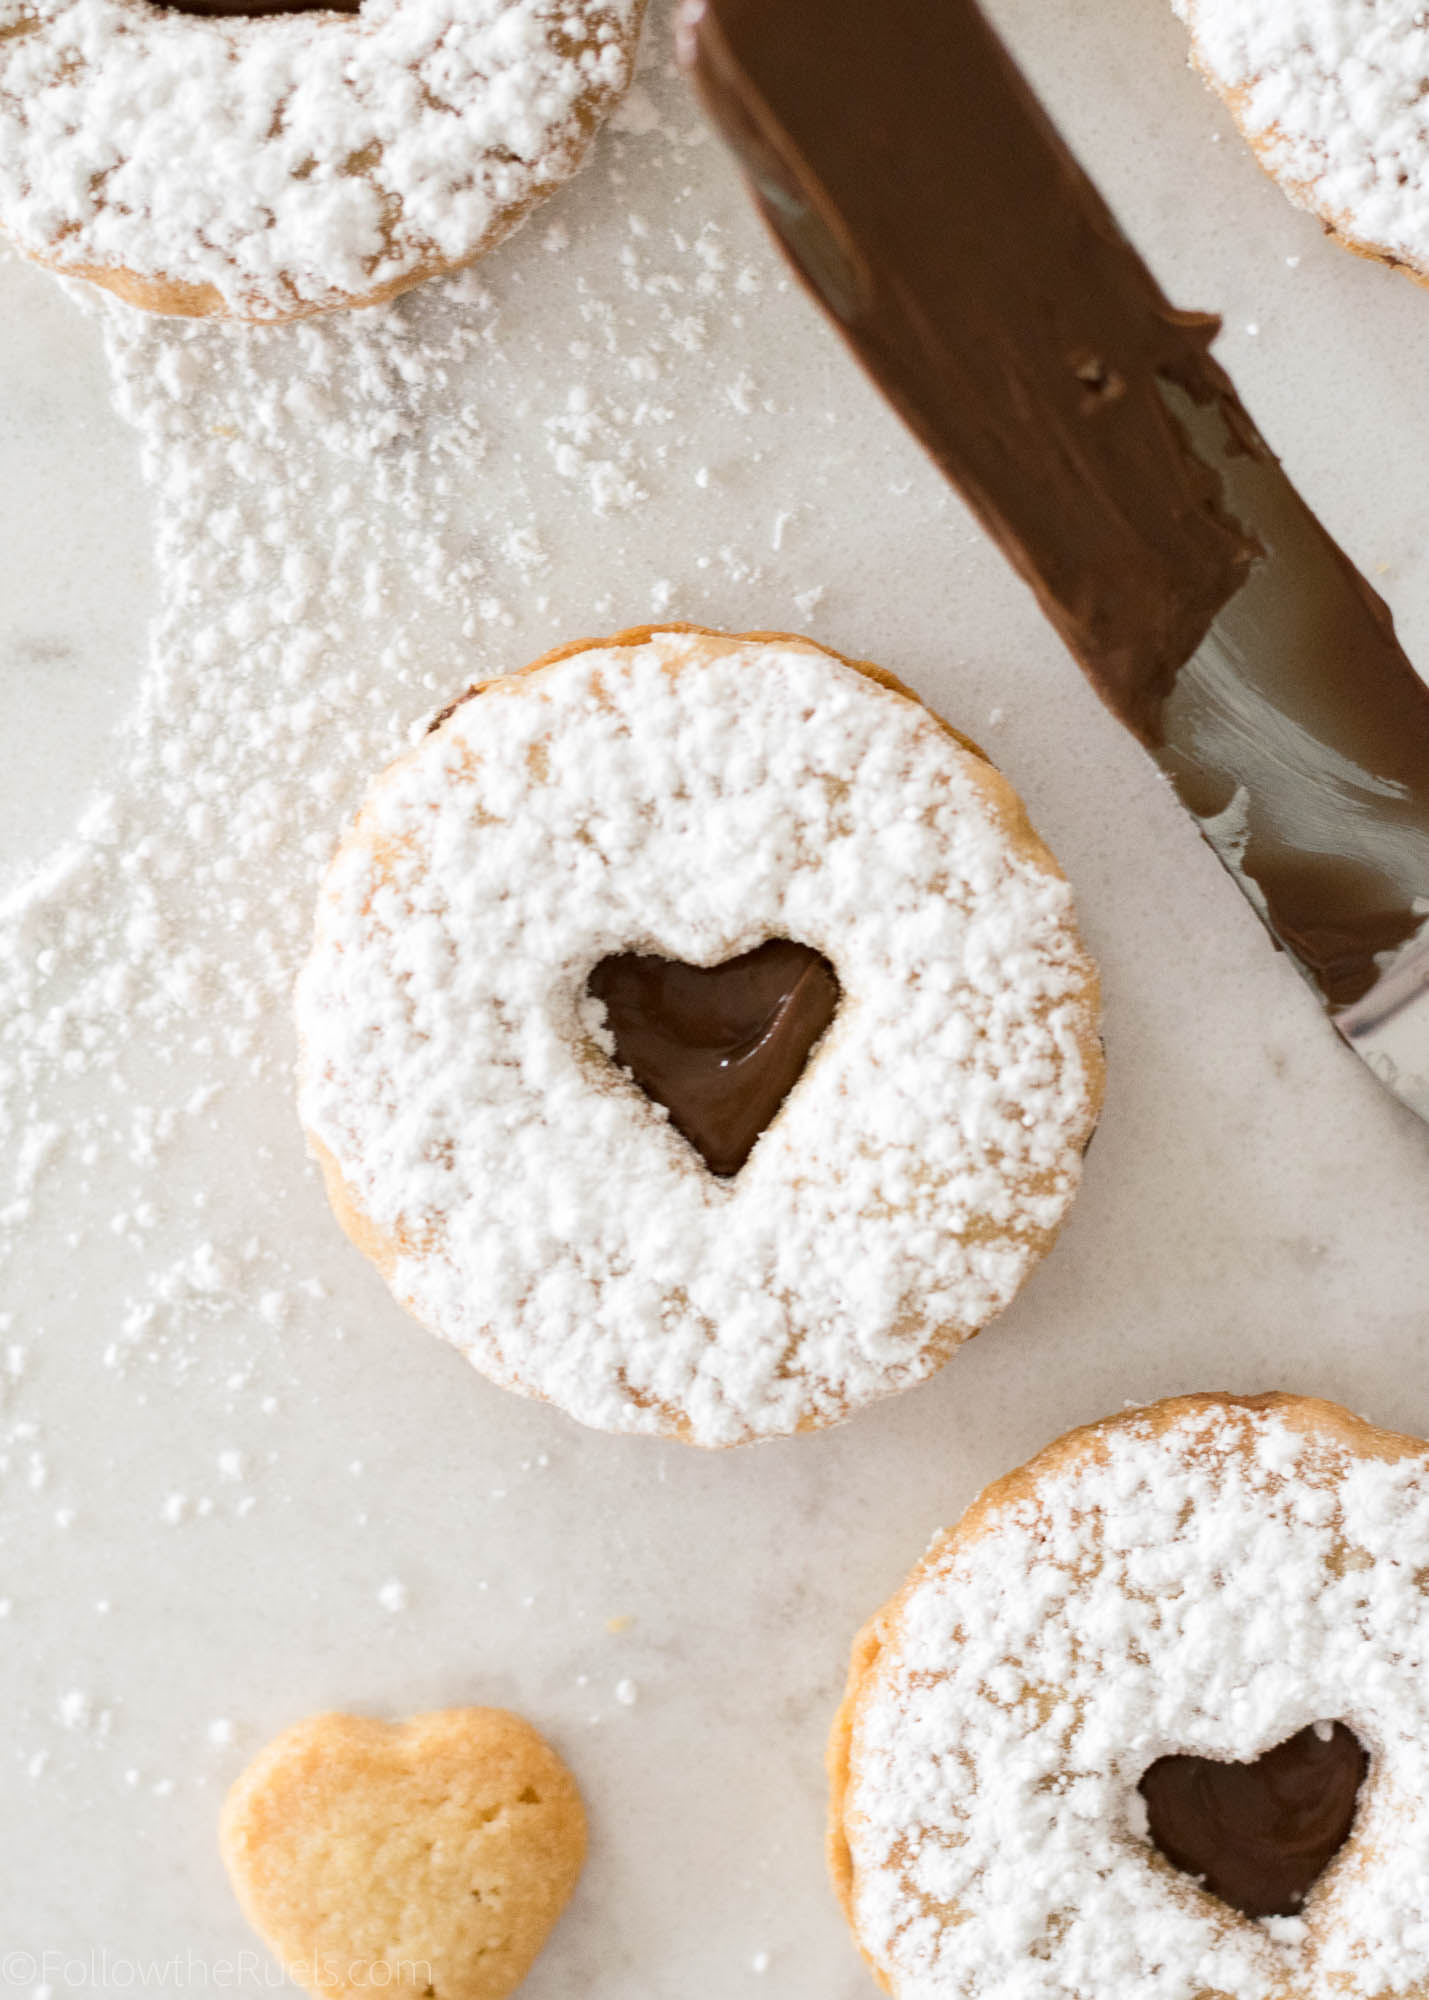
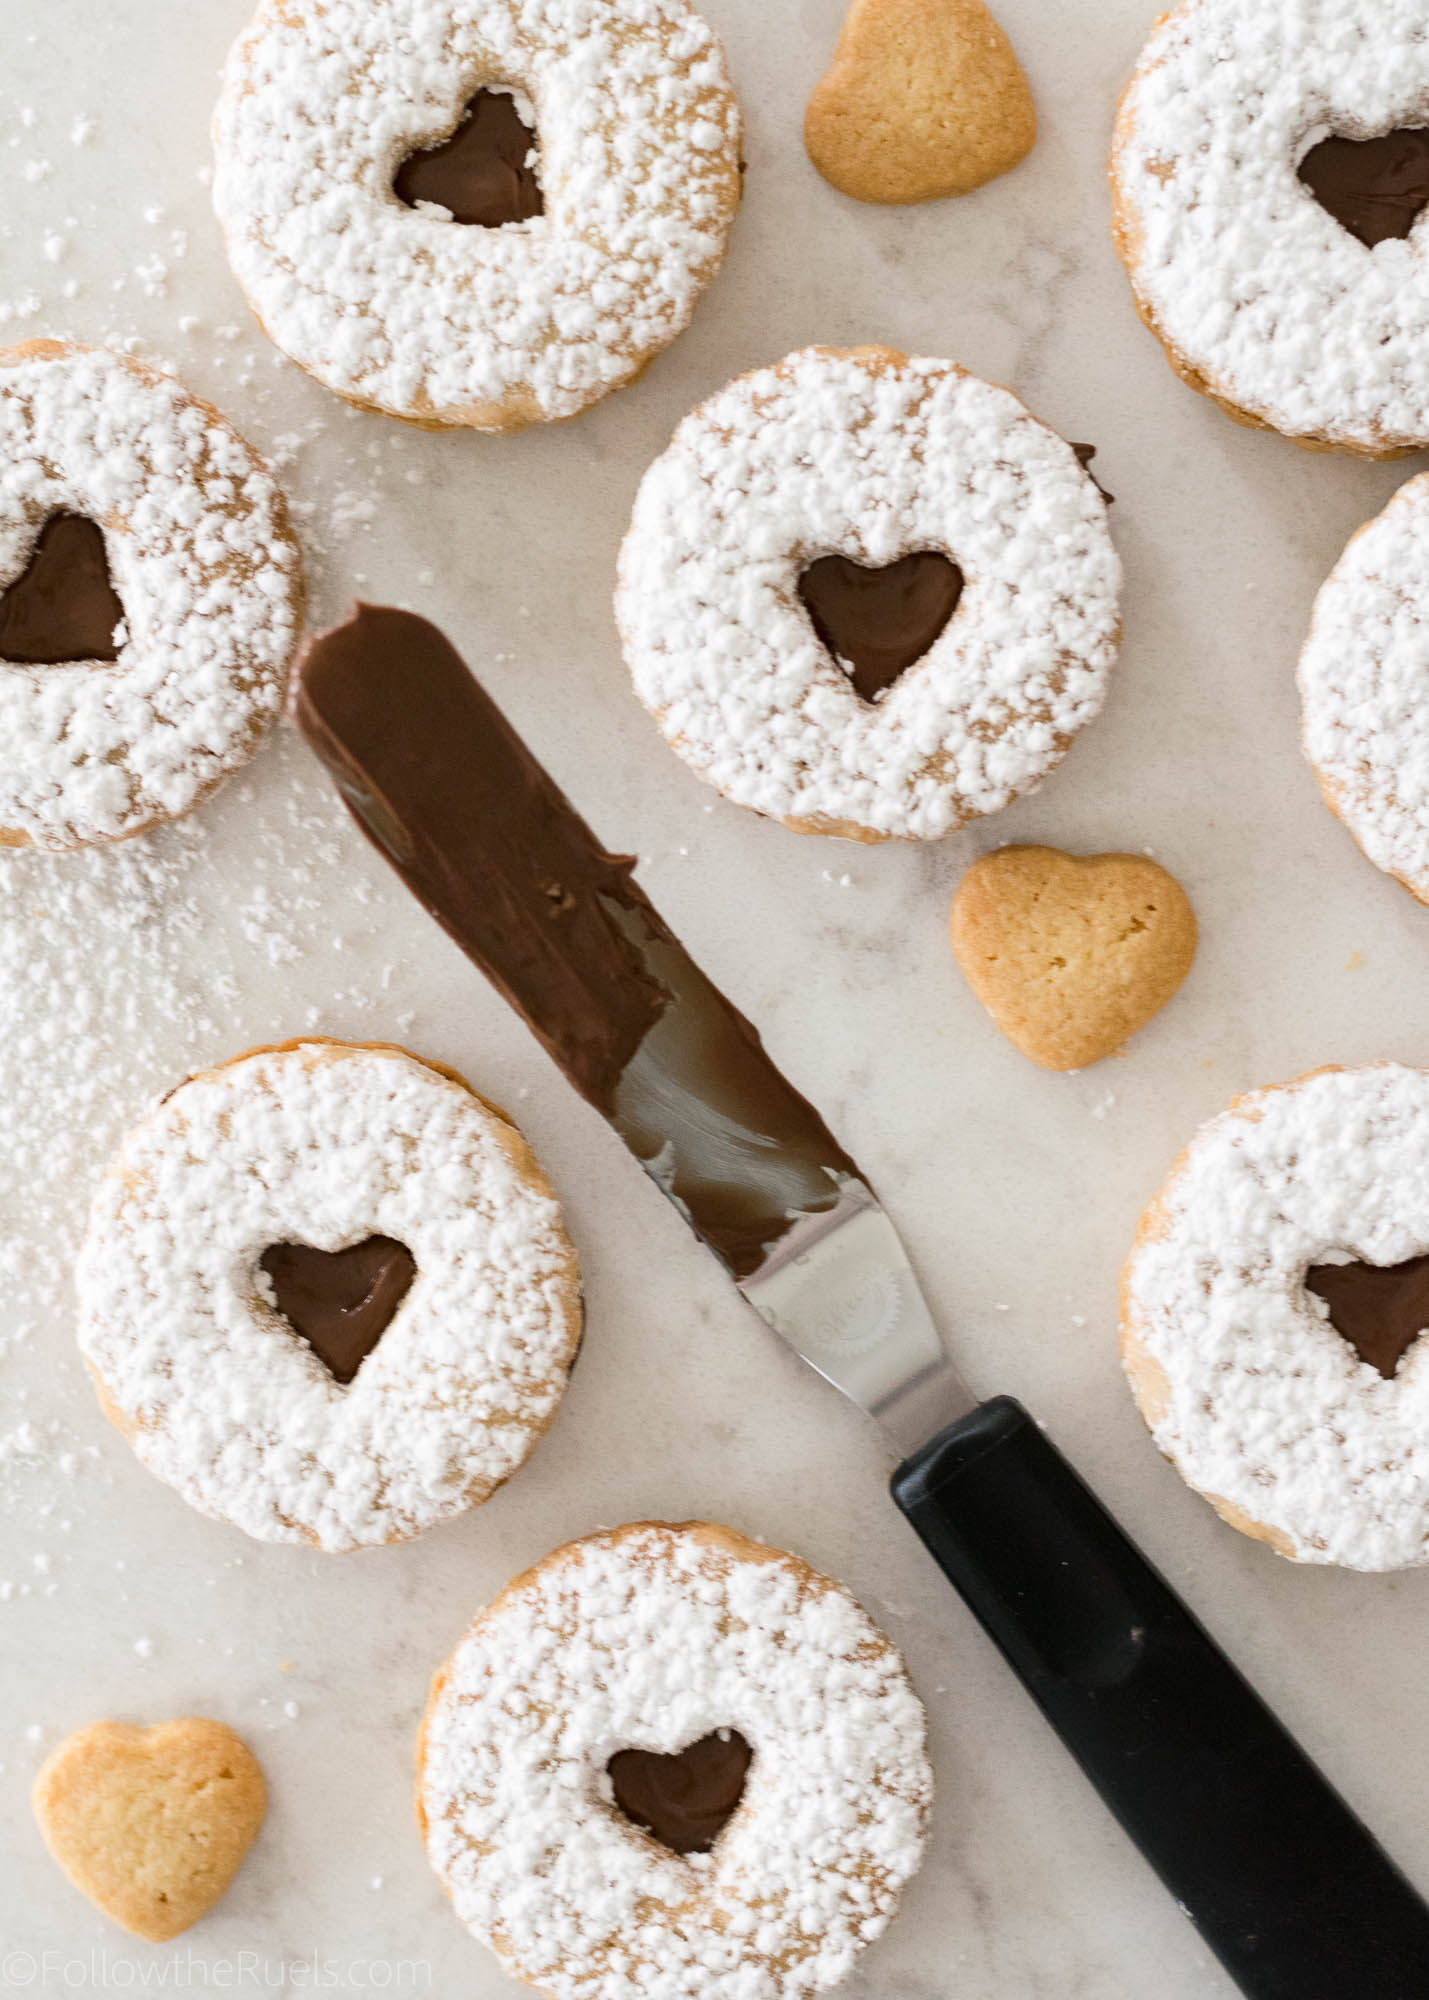
But I rarely ever make them (I just eat them). Which is a crying shame because they are beautiful, delicious, and fun to make! I love the little window in the sugar-coated top cookie to let the delicious filling peak out. That filling is typically raspberry jam.

Now, I love some good raspberry jam as much as the next girl, but you know what would be better?
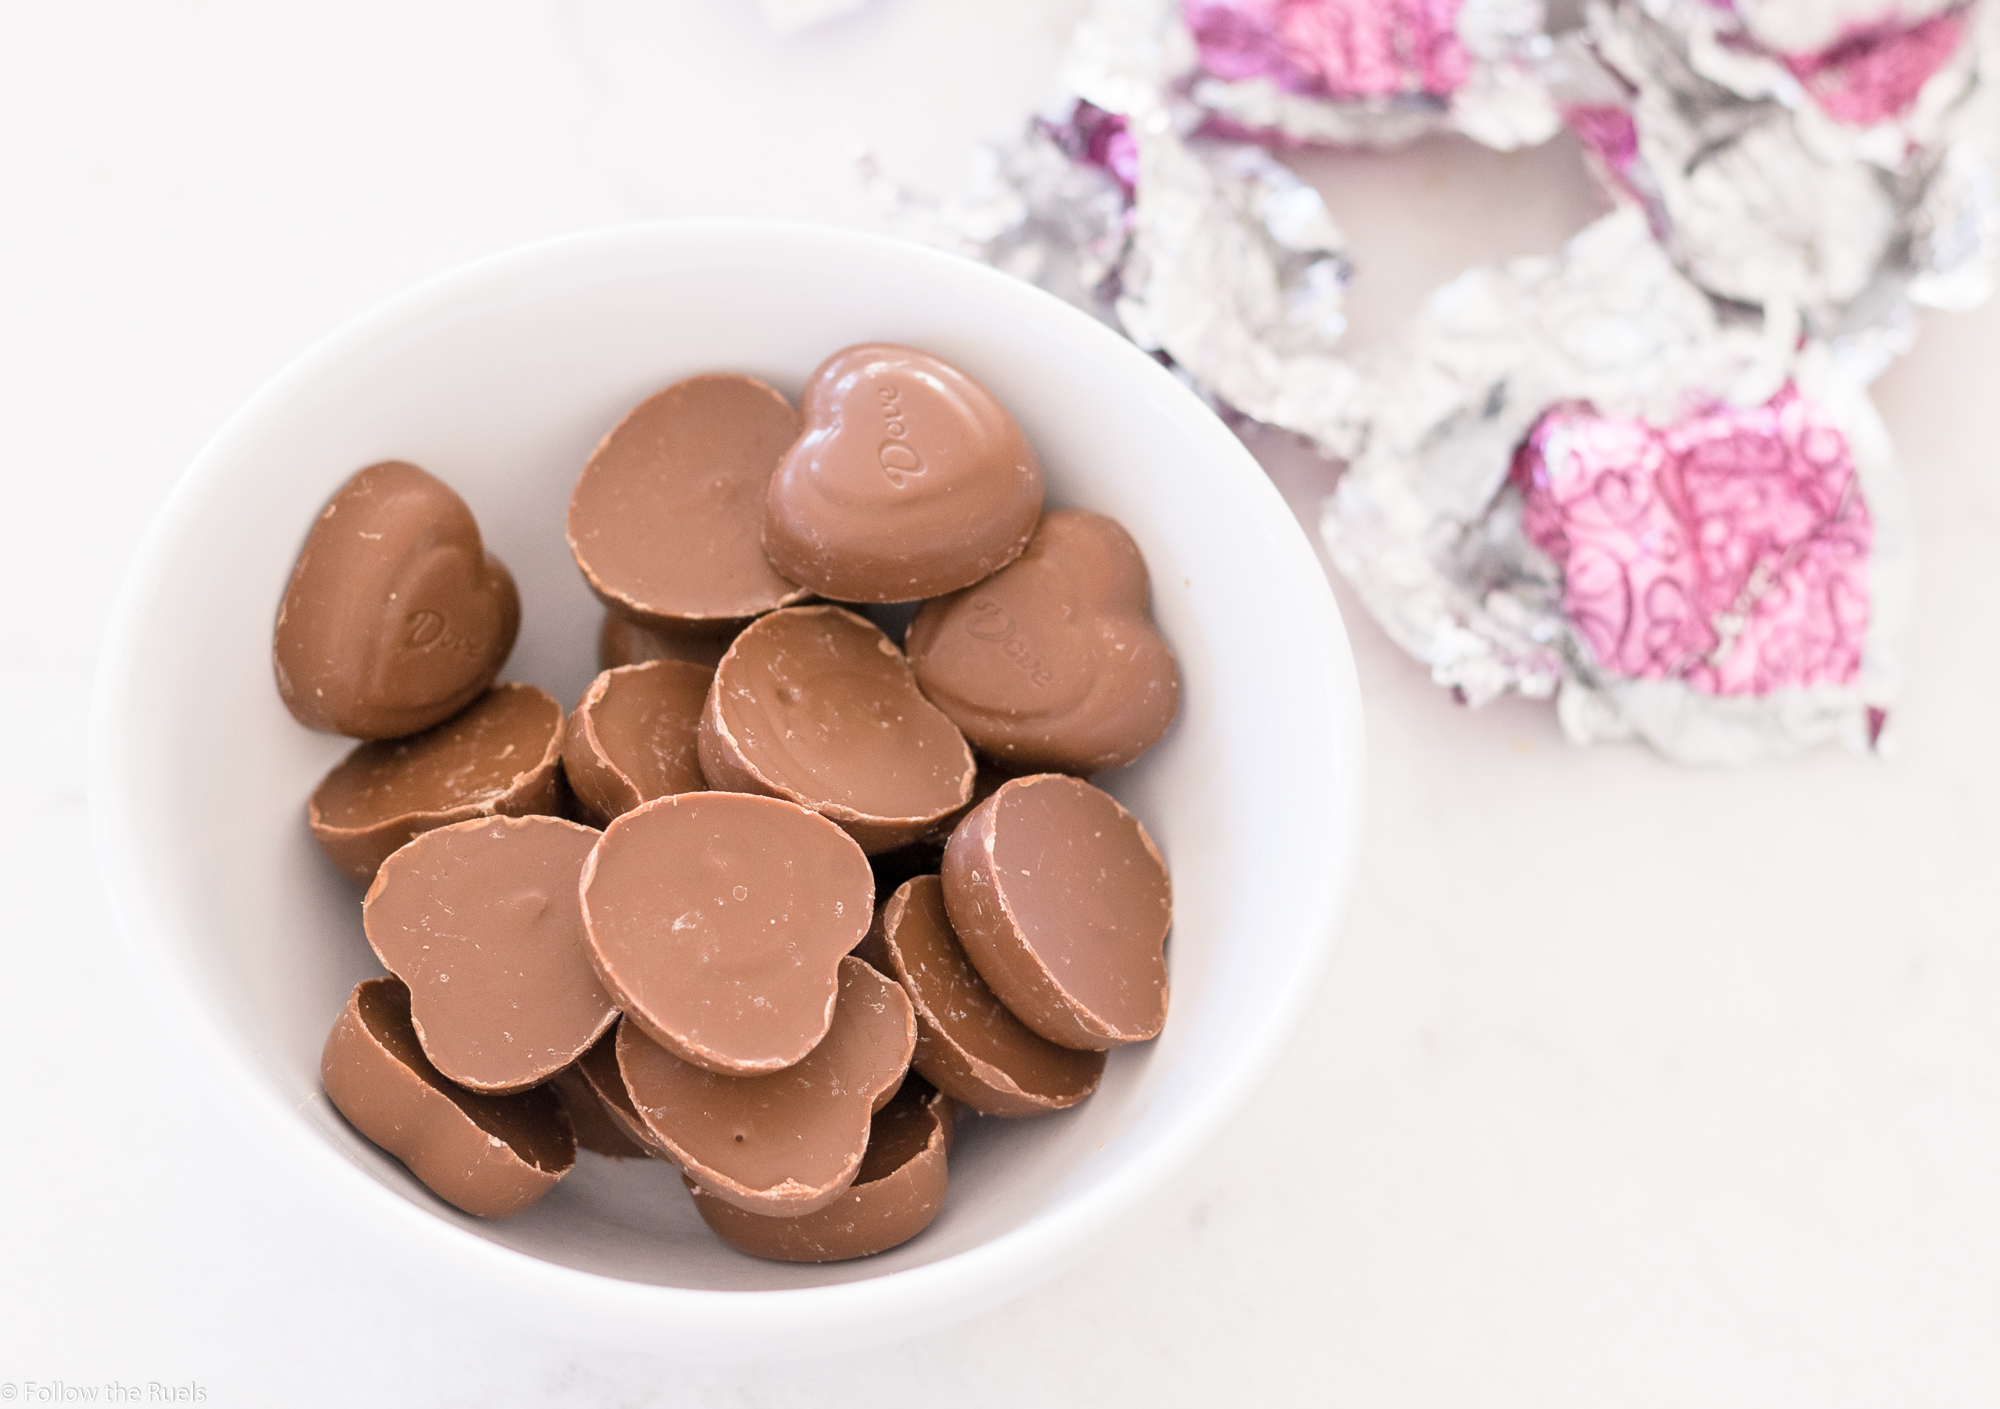
Nutella. 

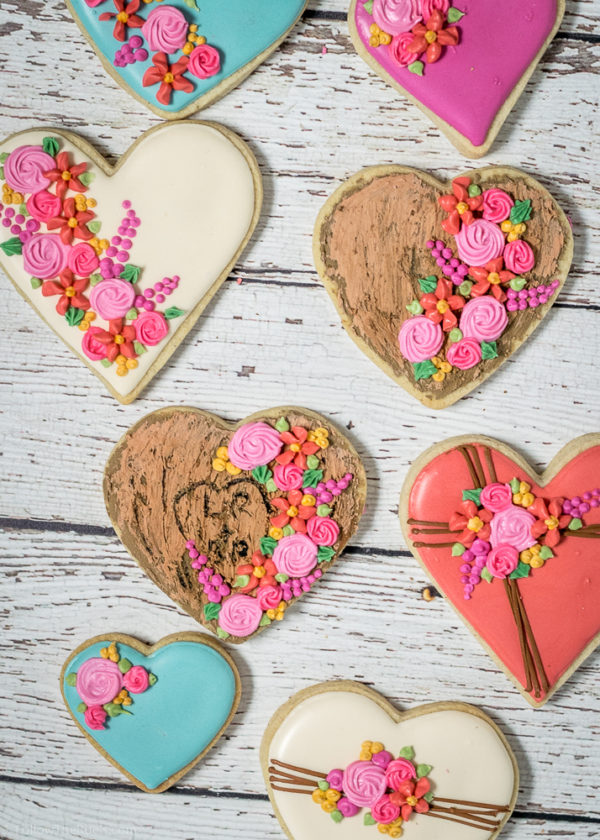
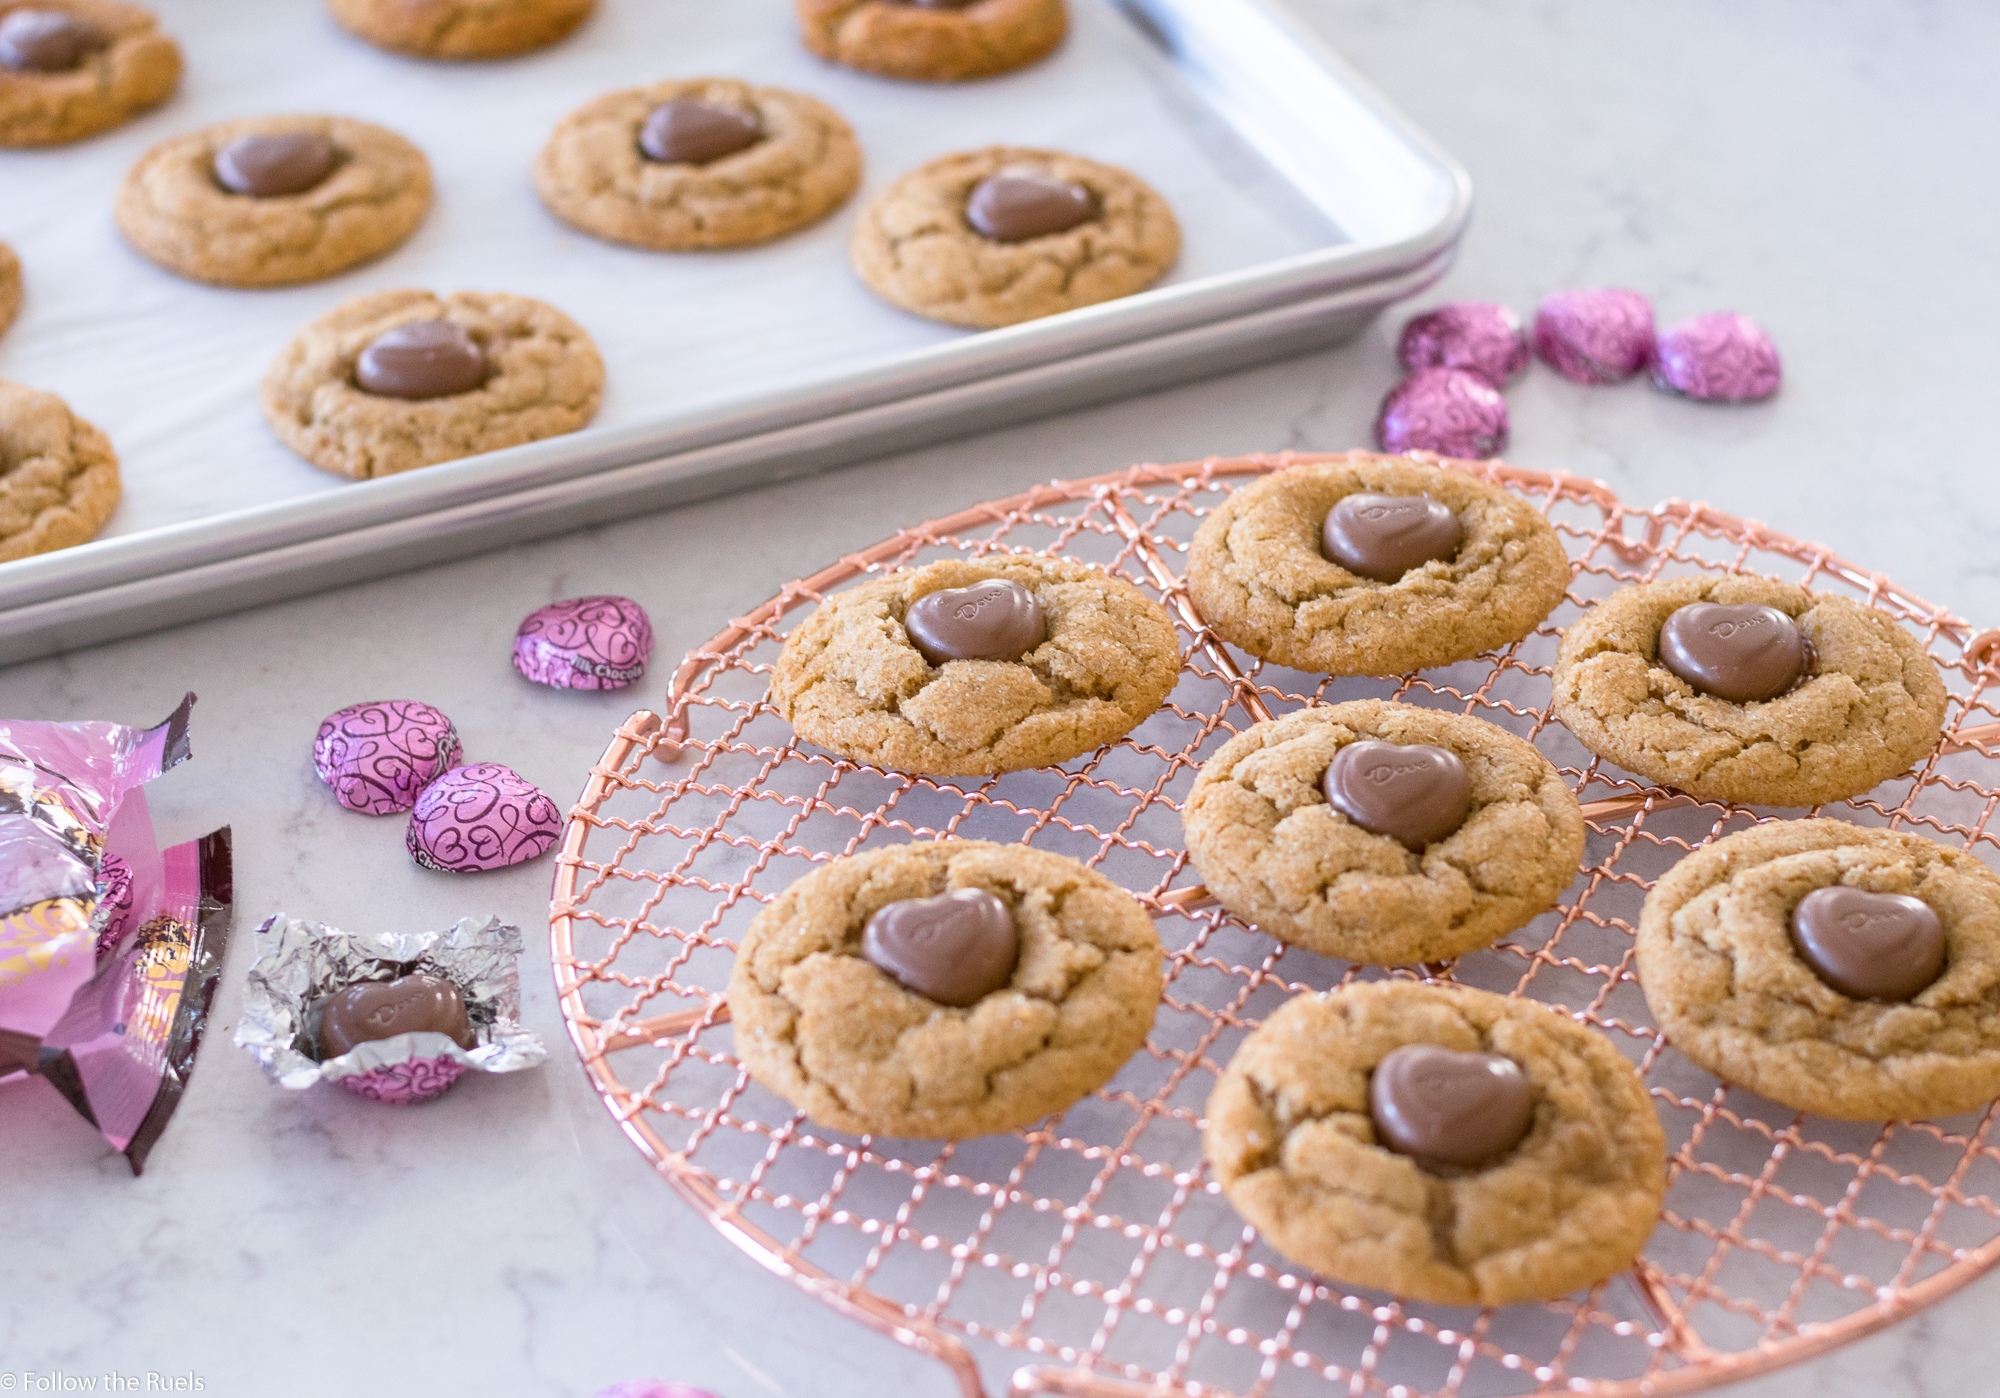
And these Nutella Linzer cookies are absolutely perfect for Valentine’s Day! They have everything you need! A little sugar, a little chocolate, a heart cut out. Do you need anything else?

How to Make Them

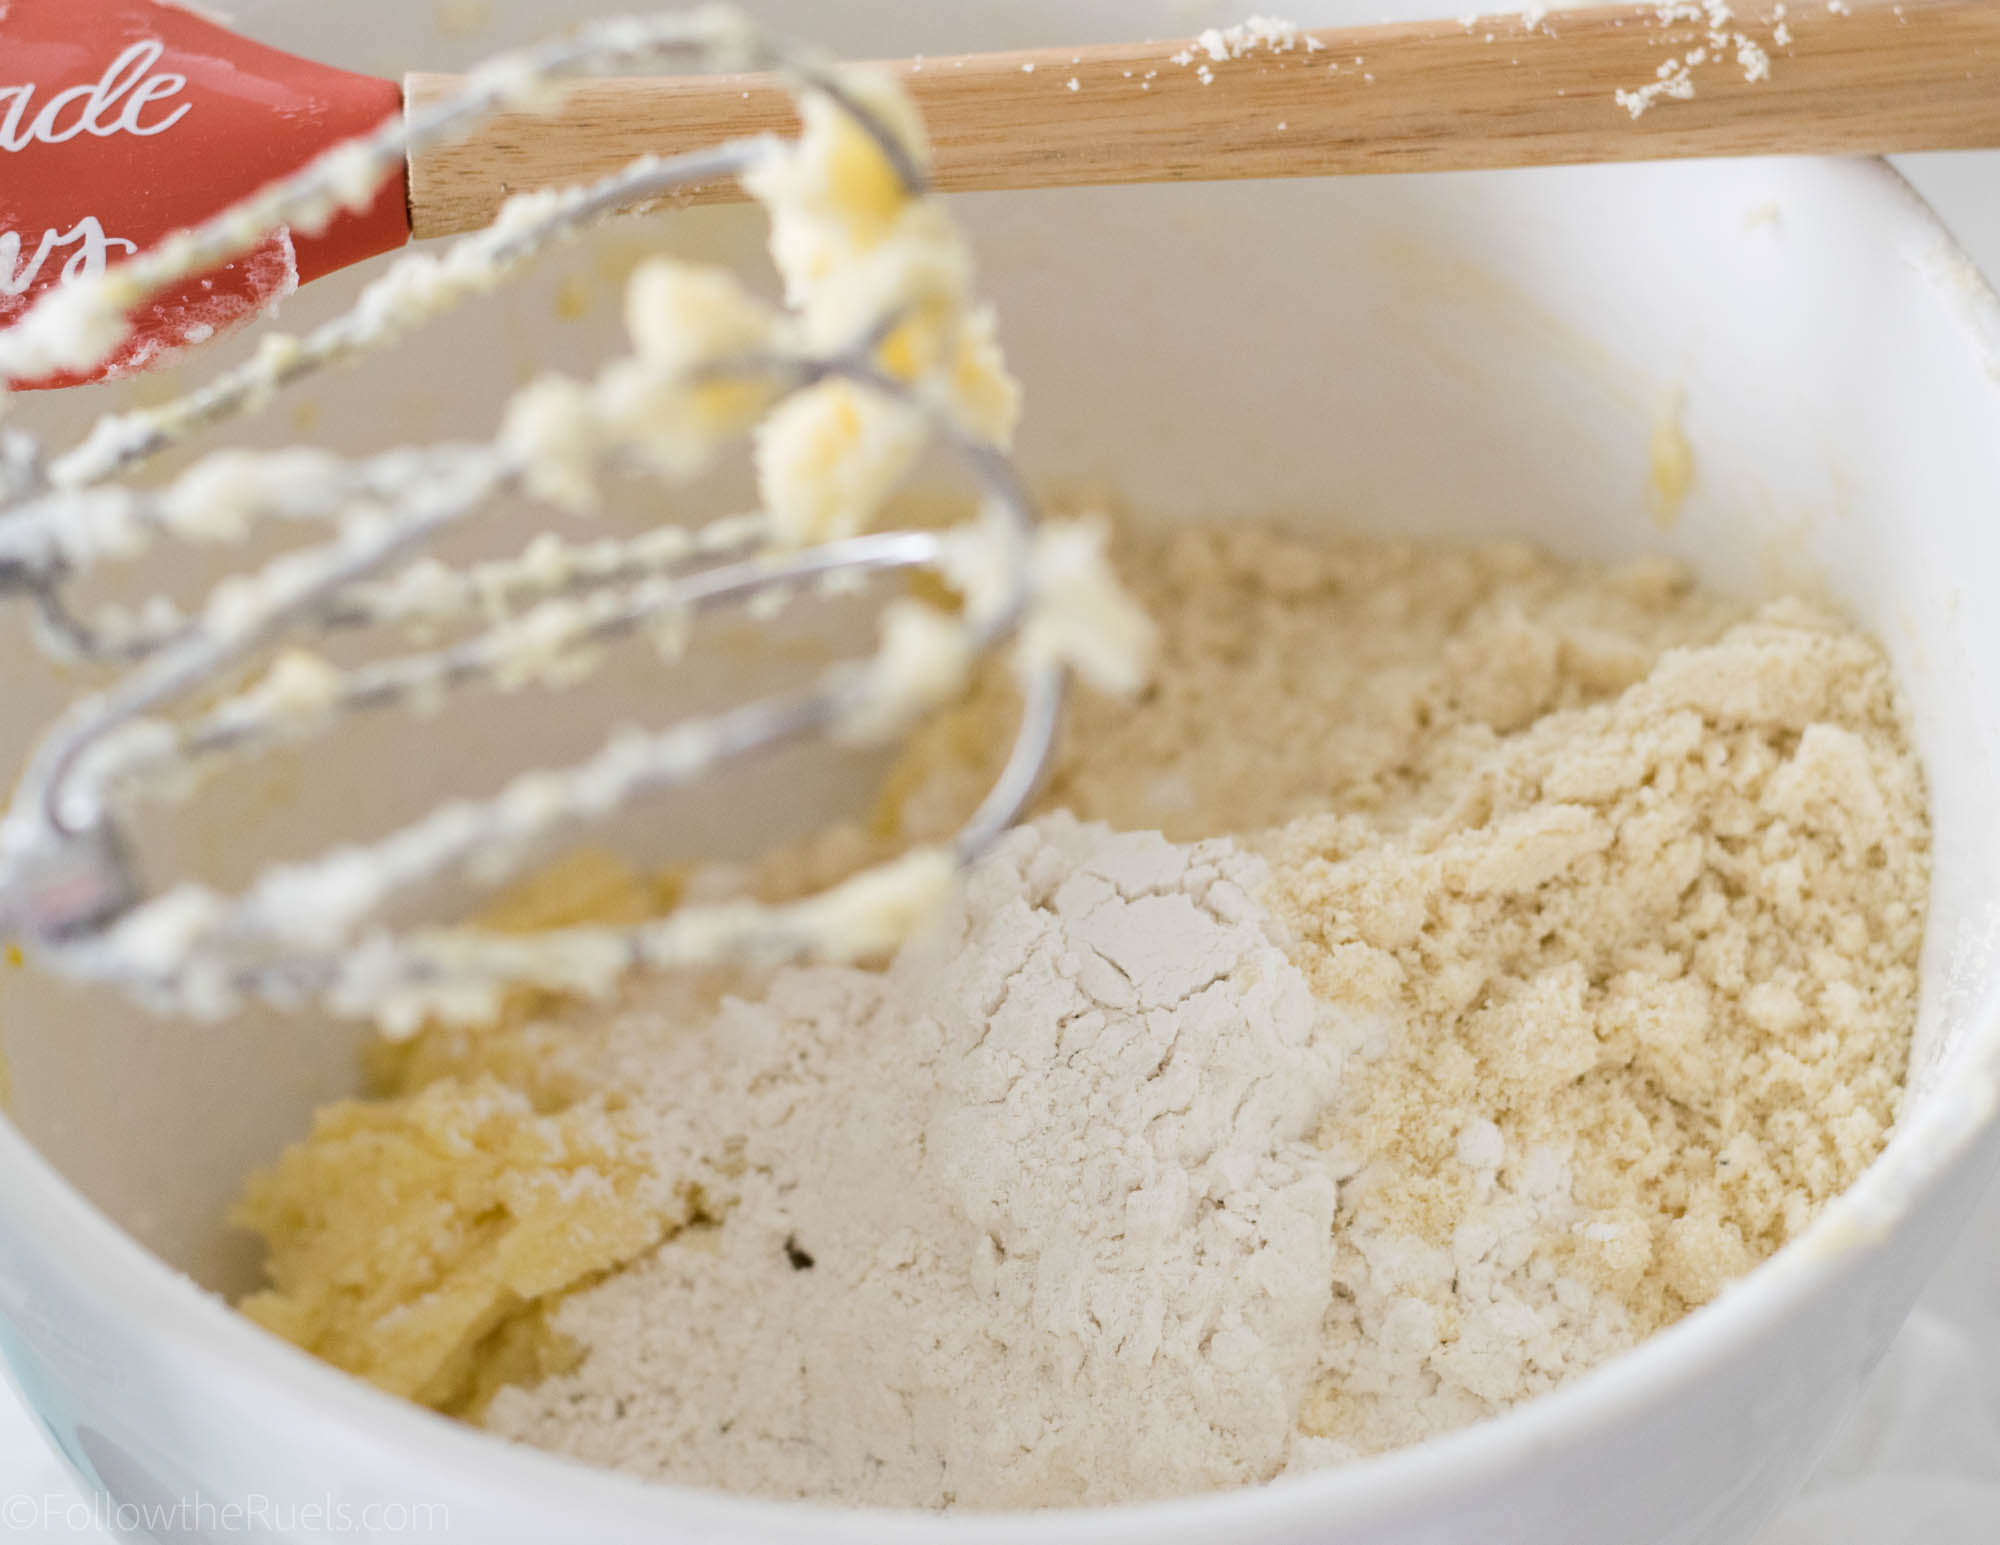
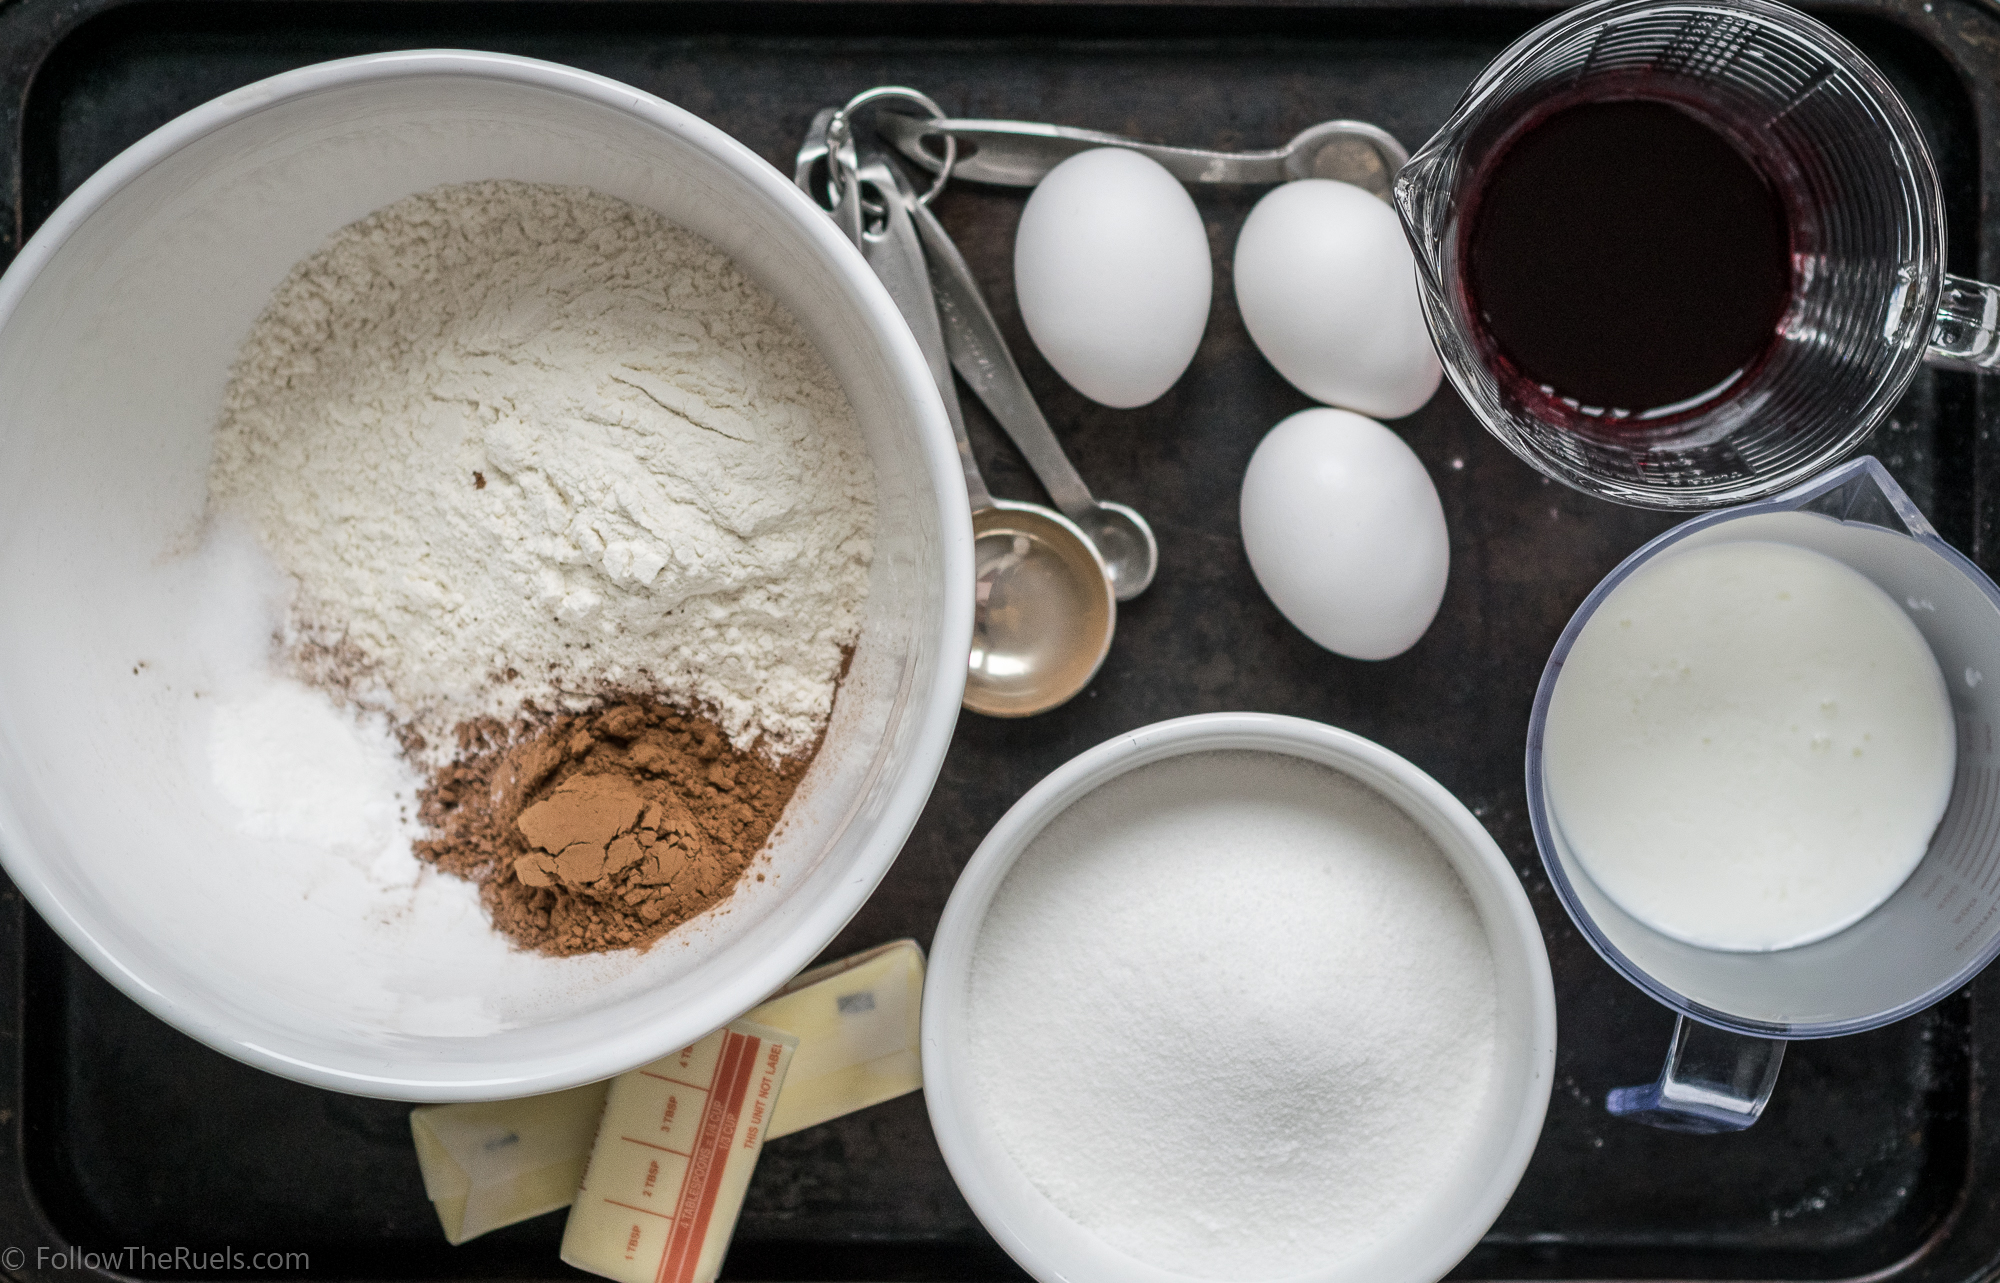
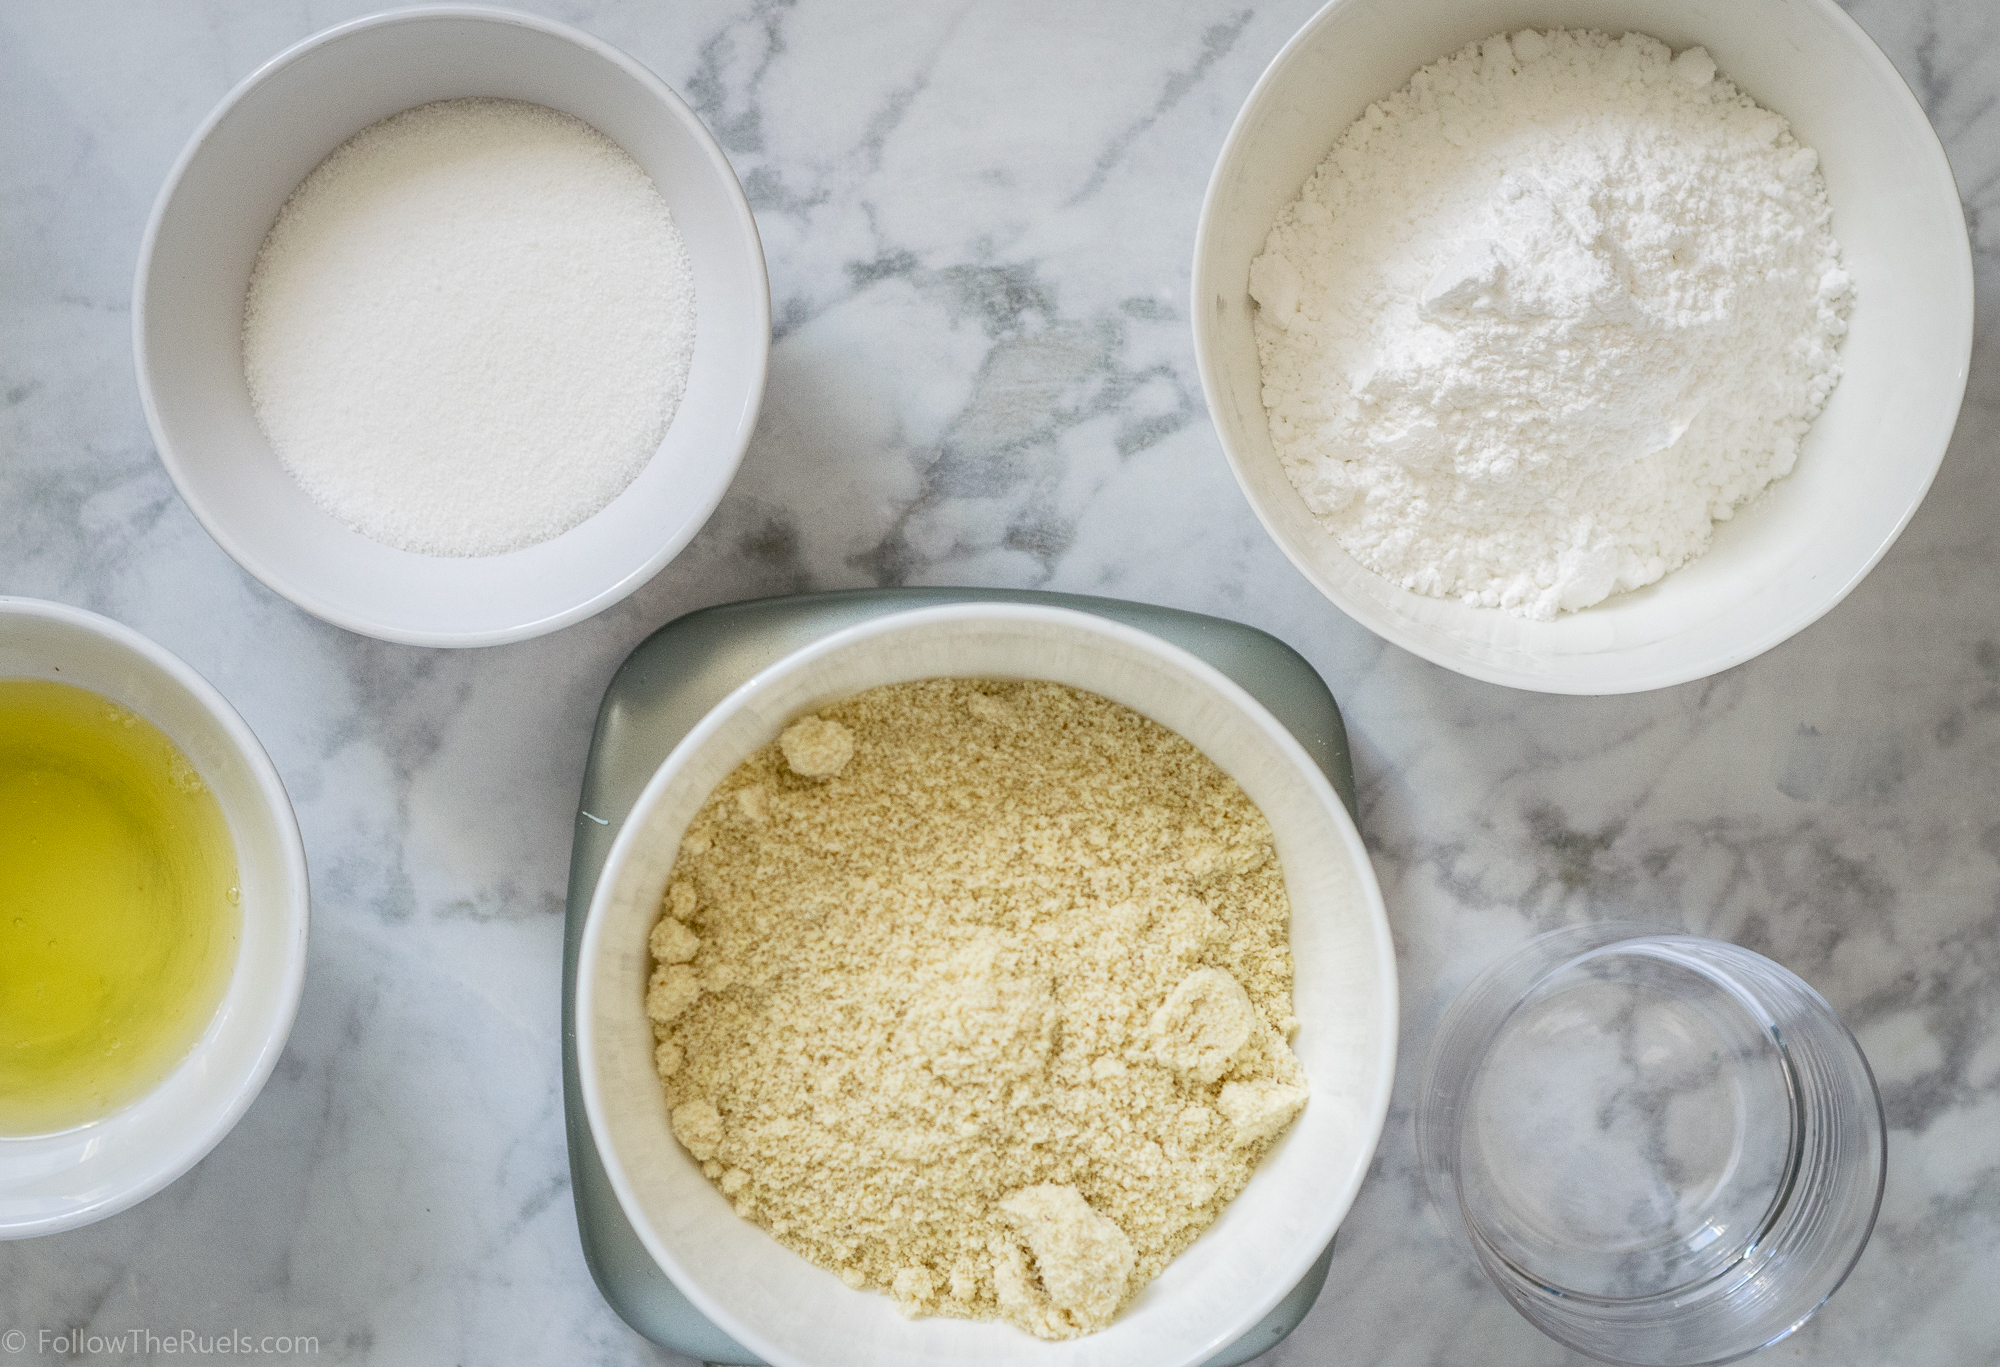
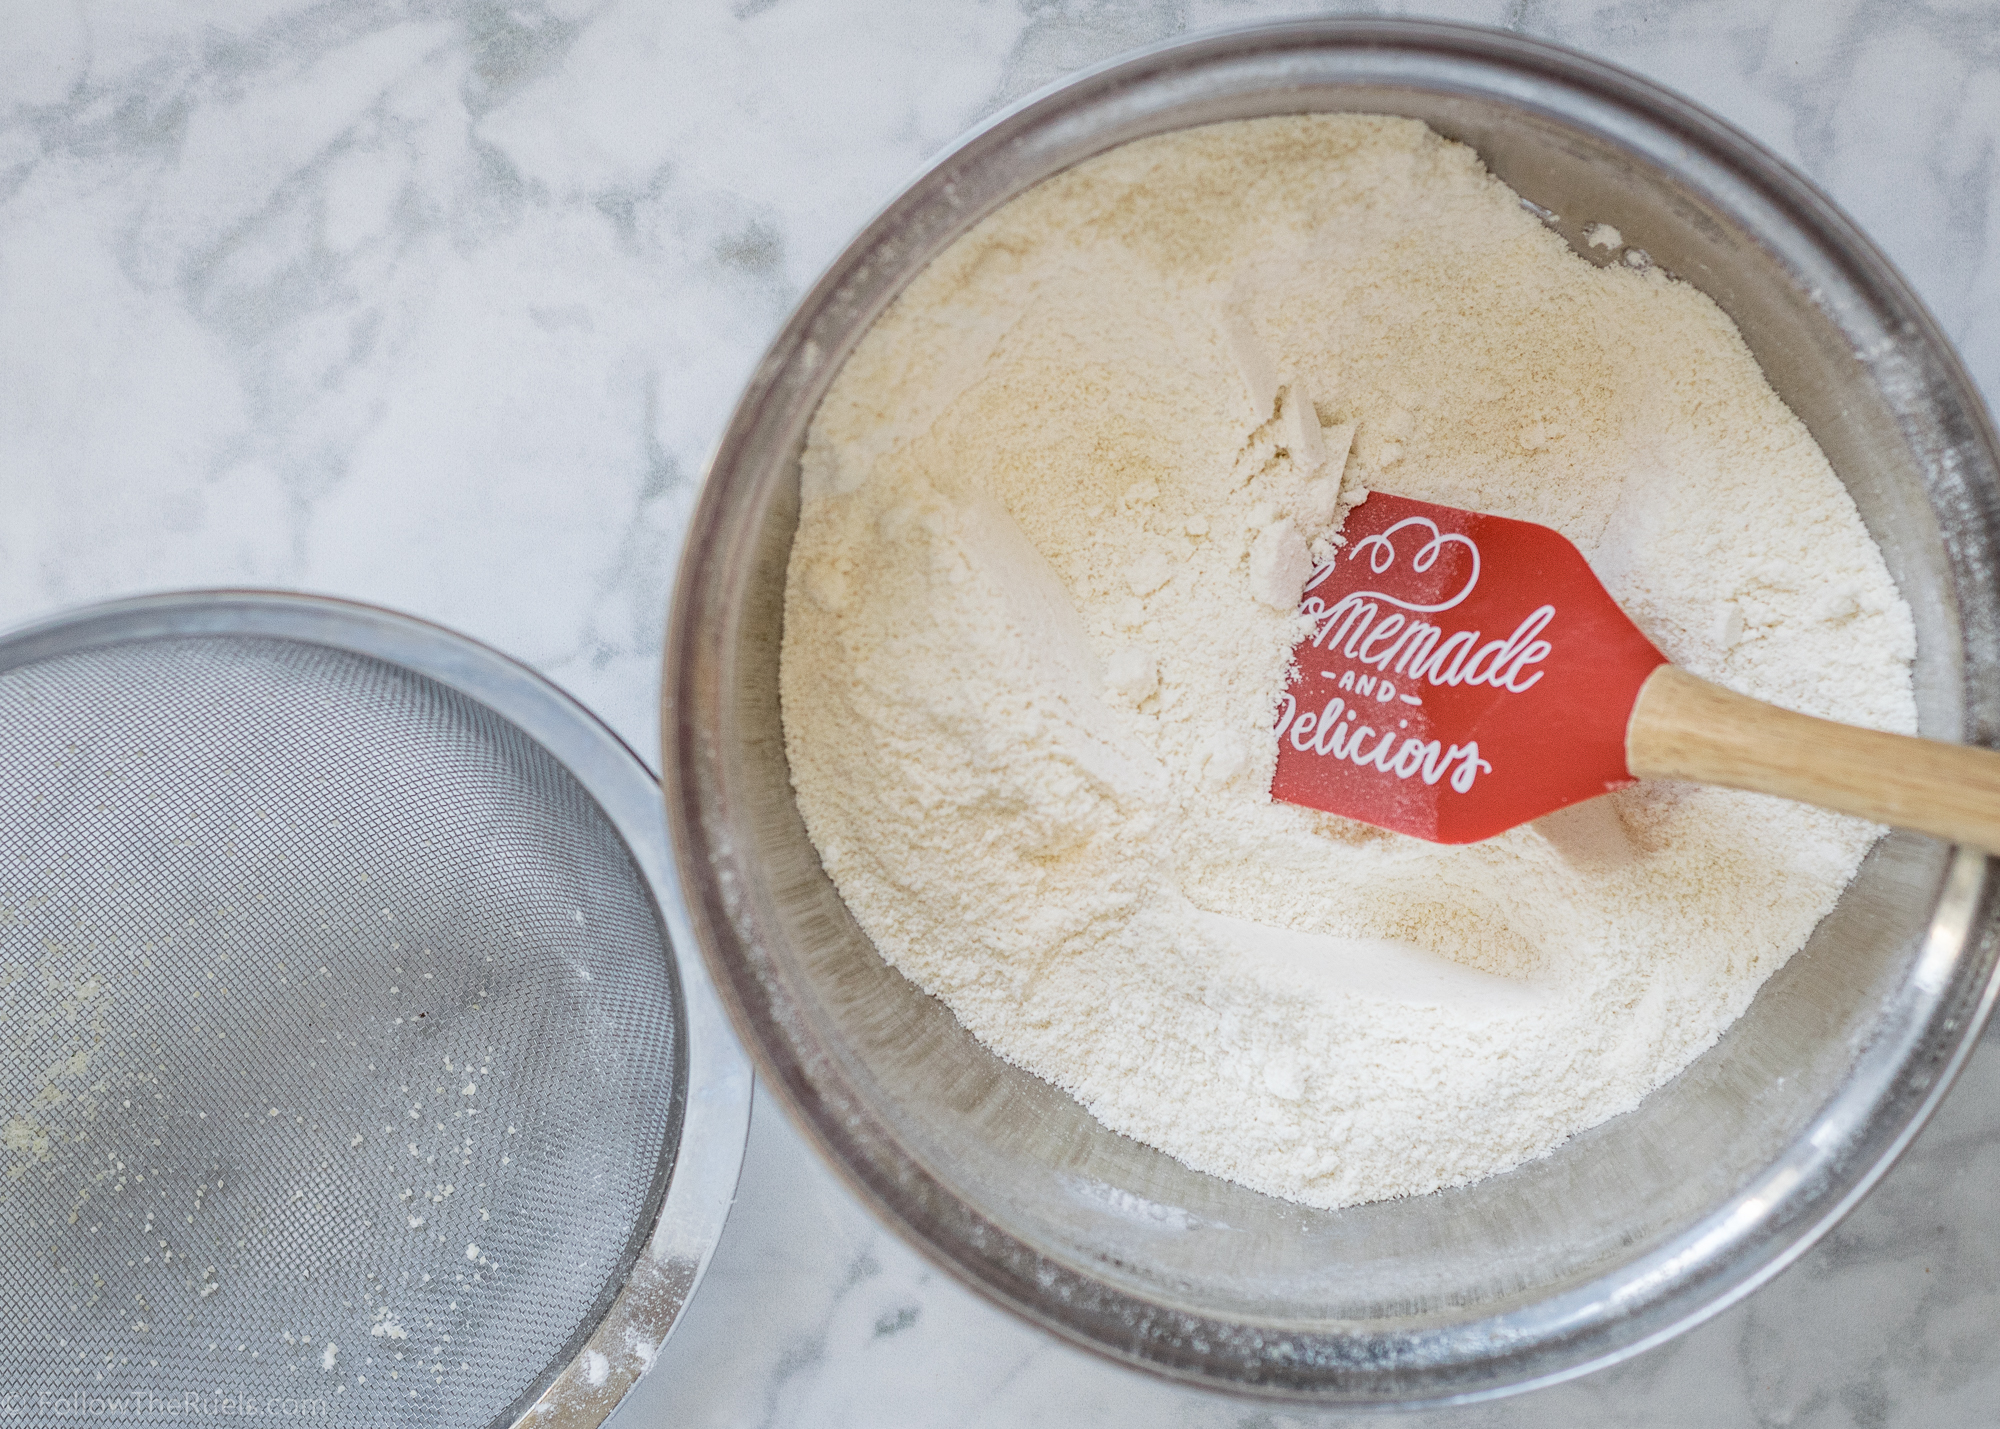
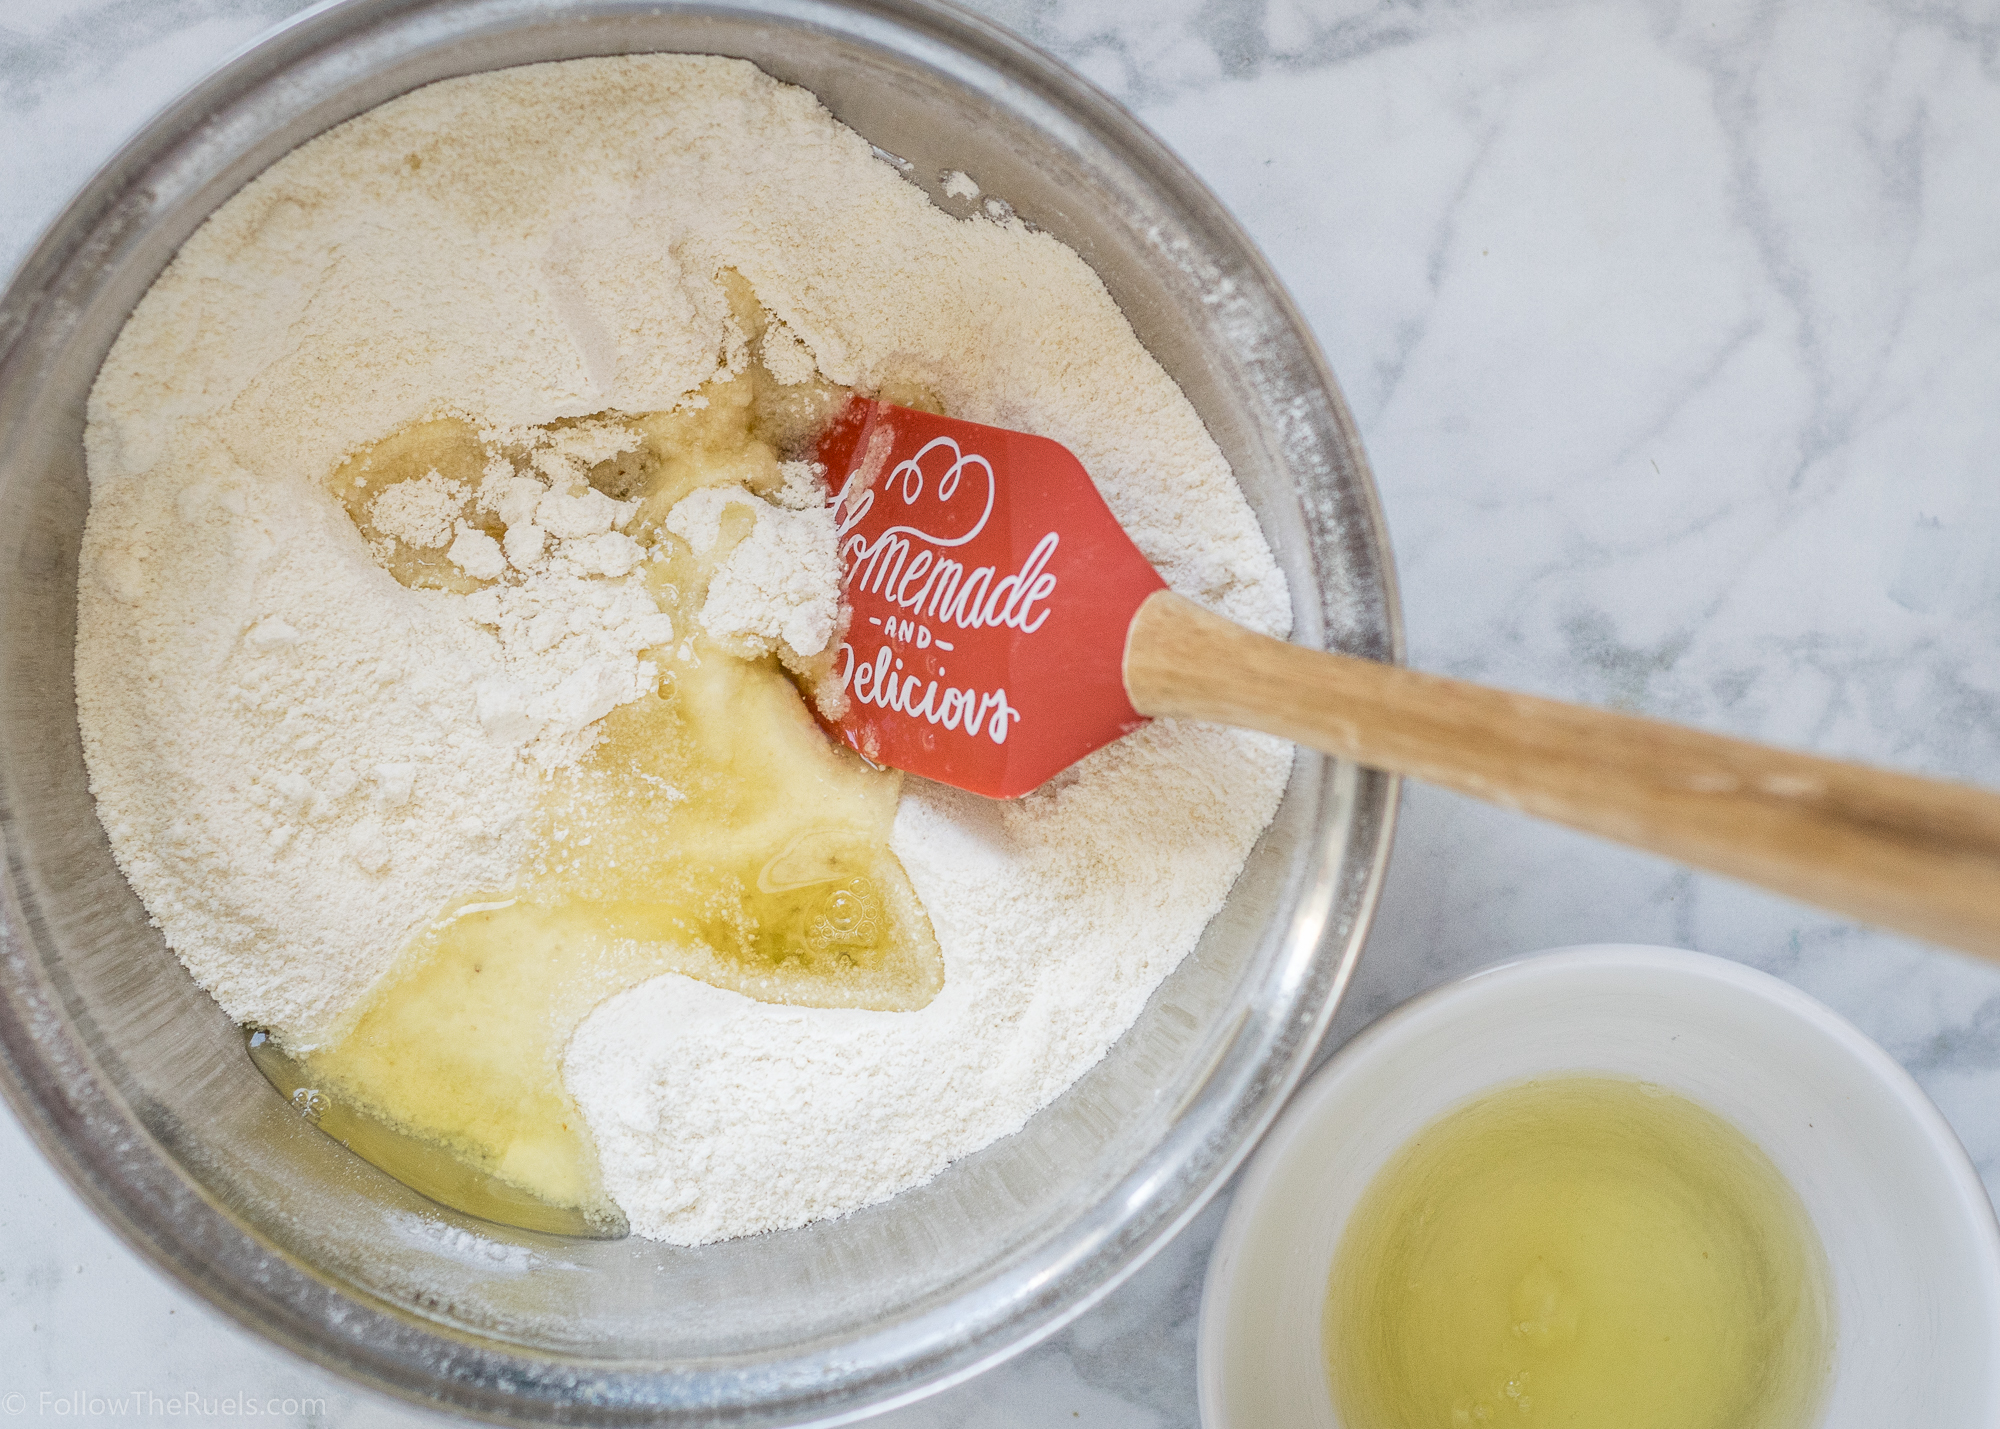
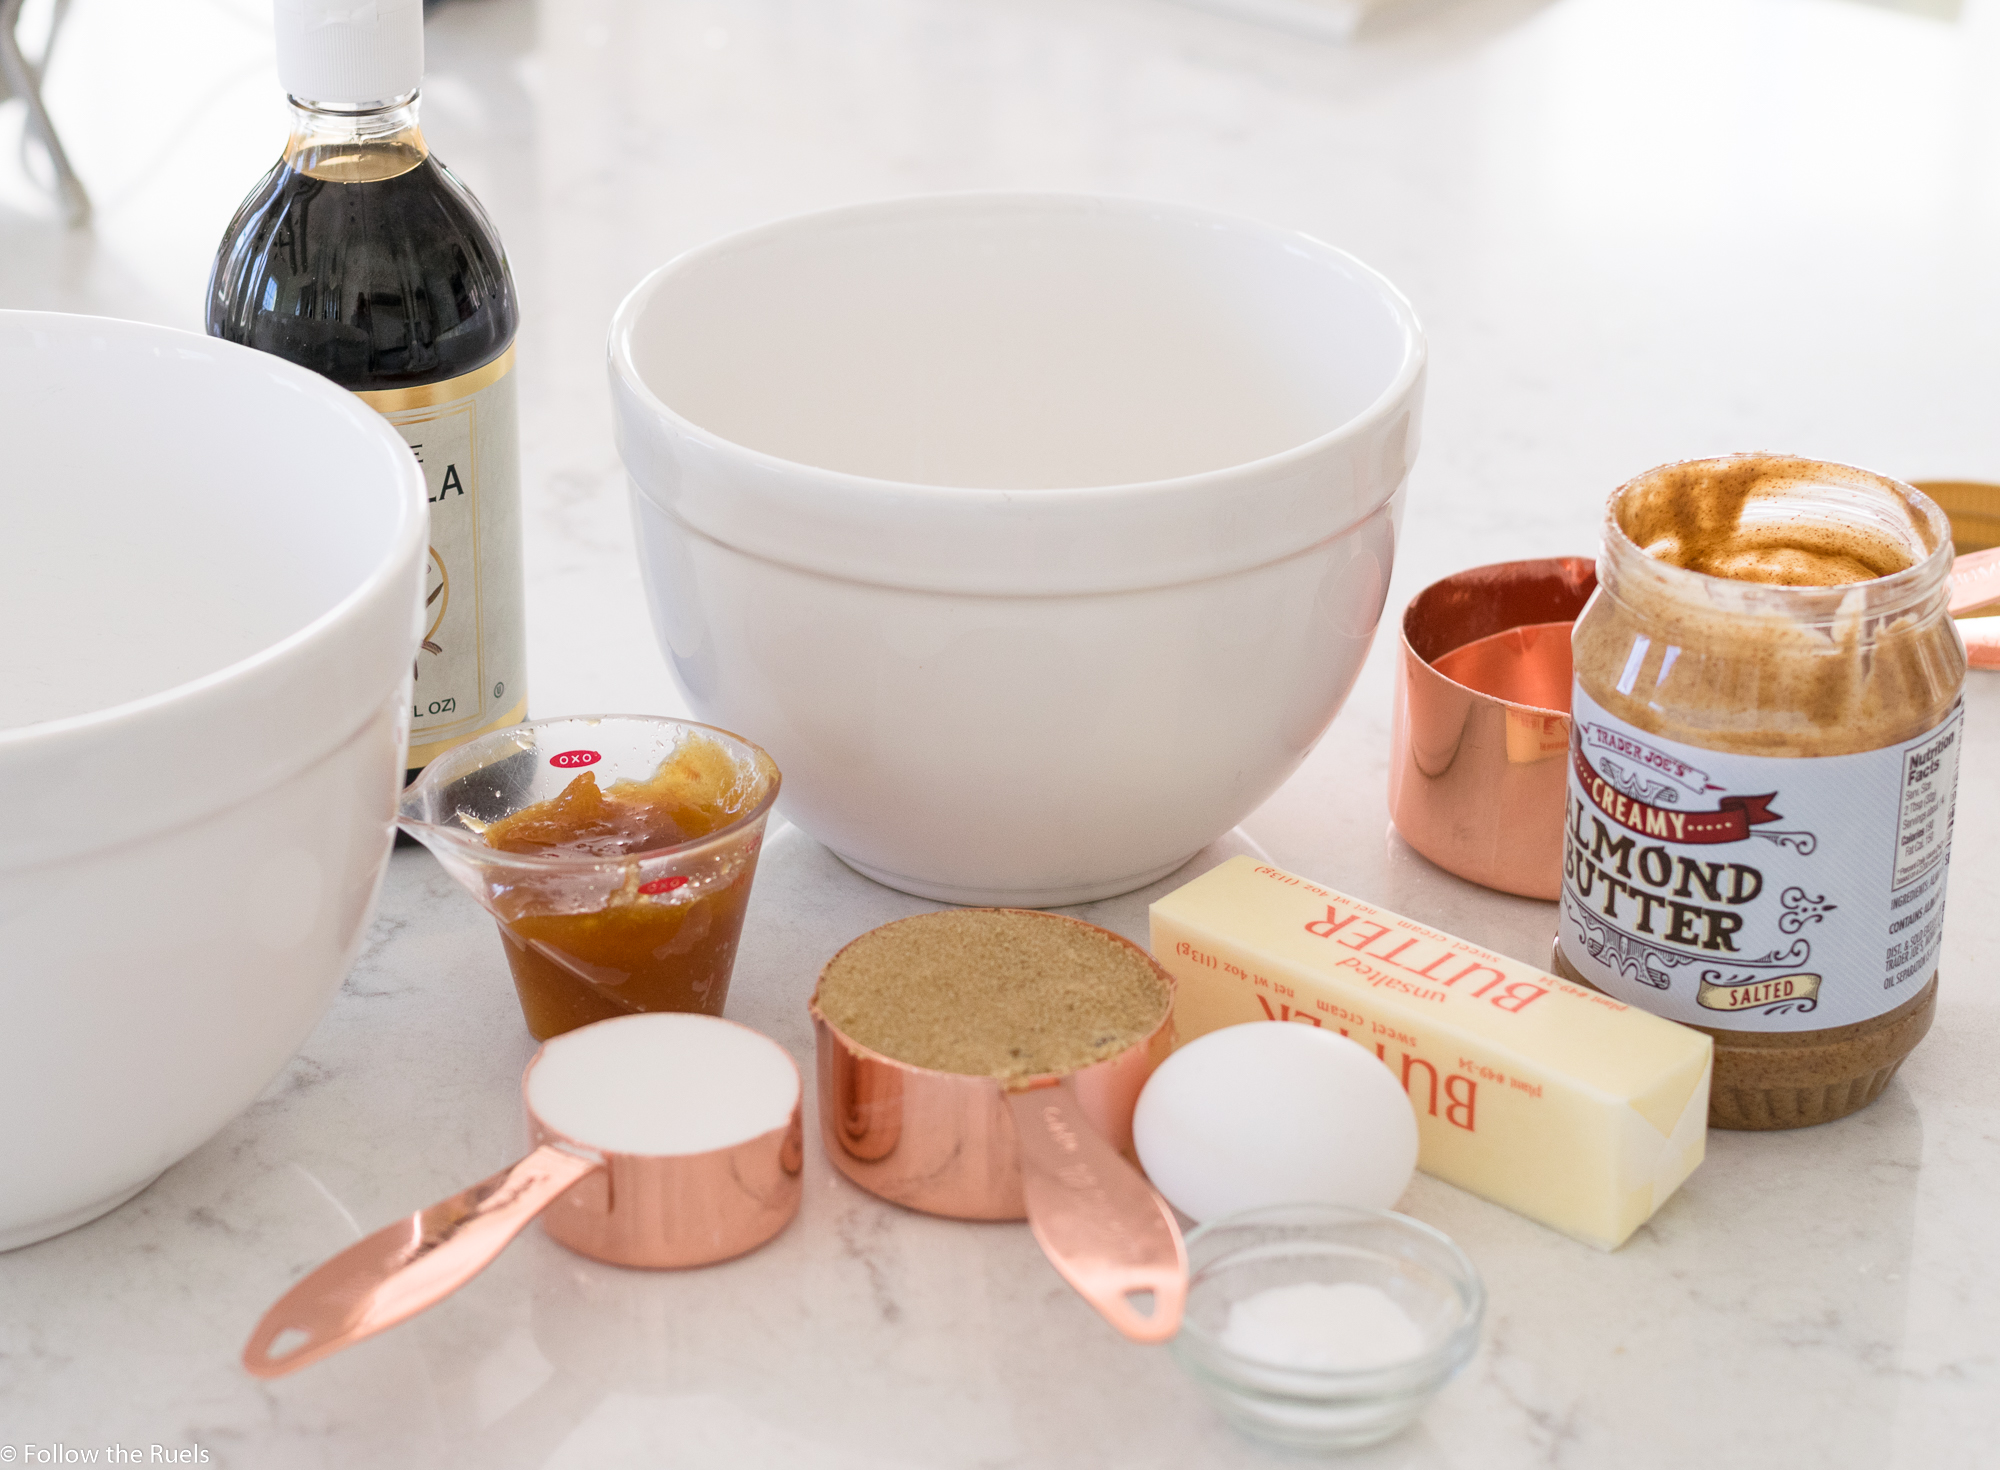
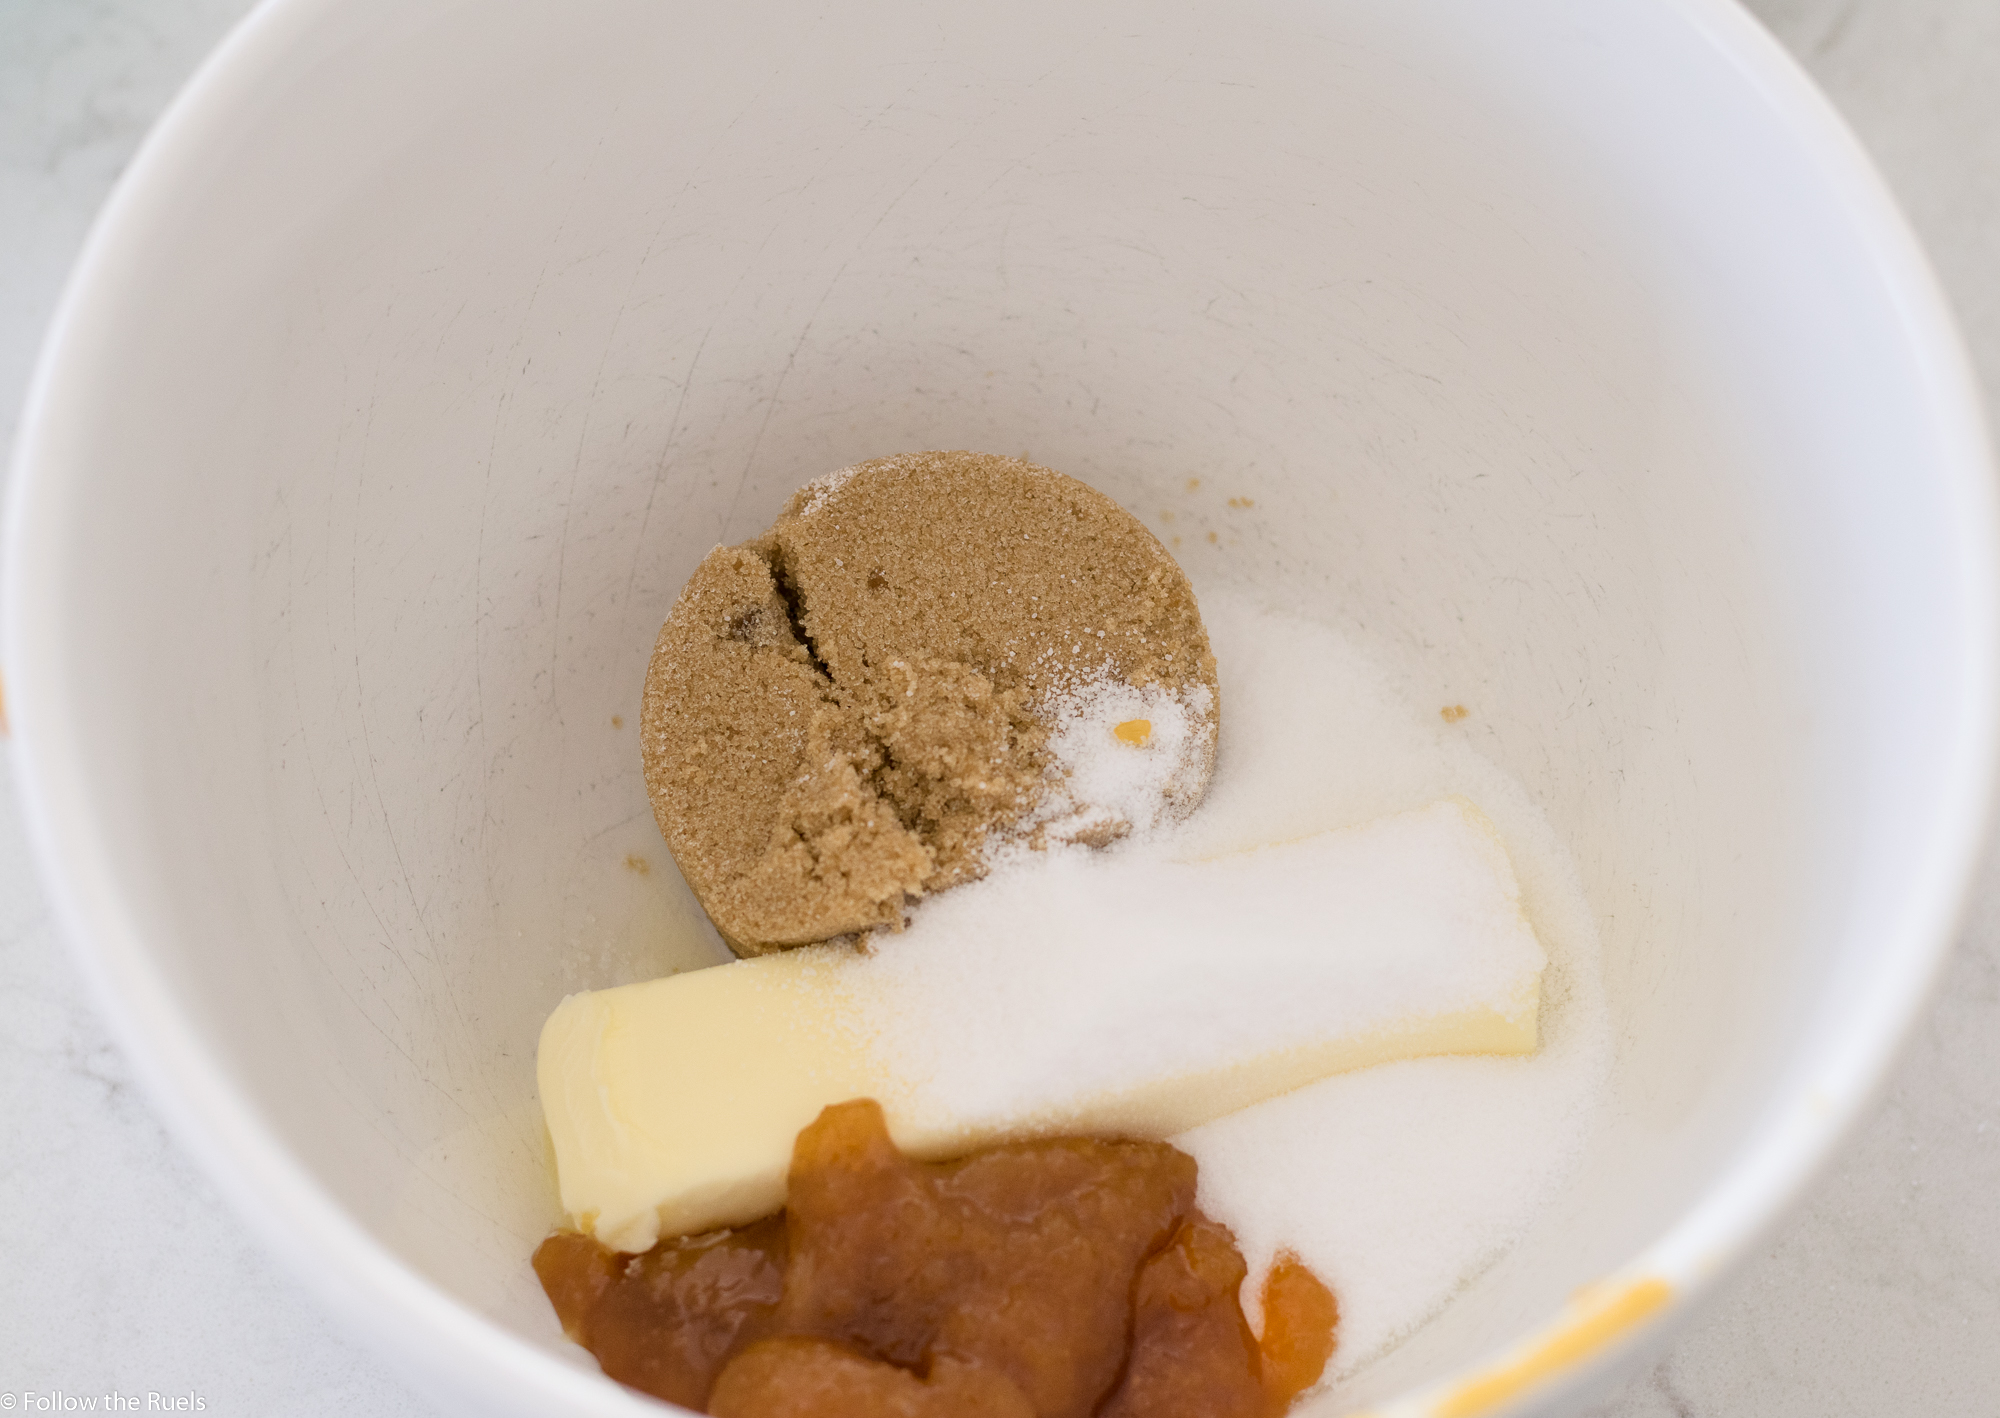
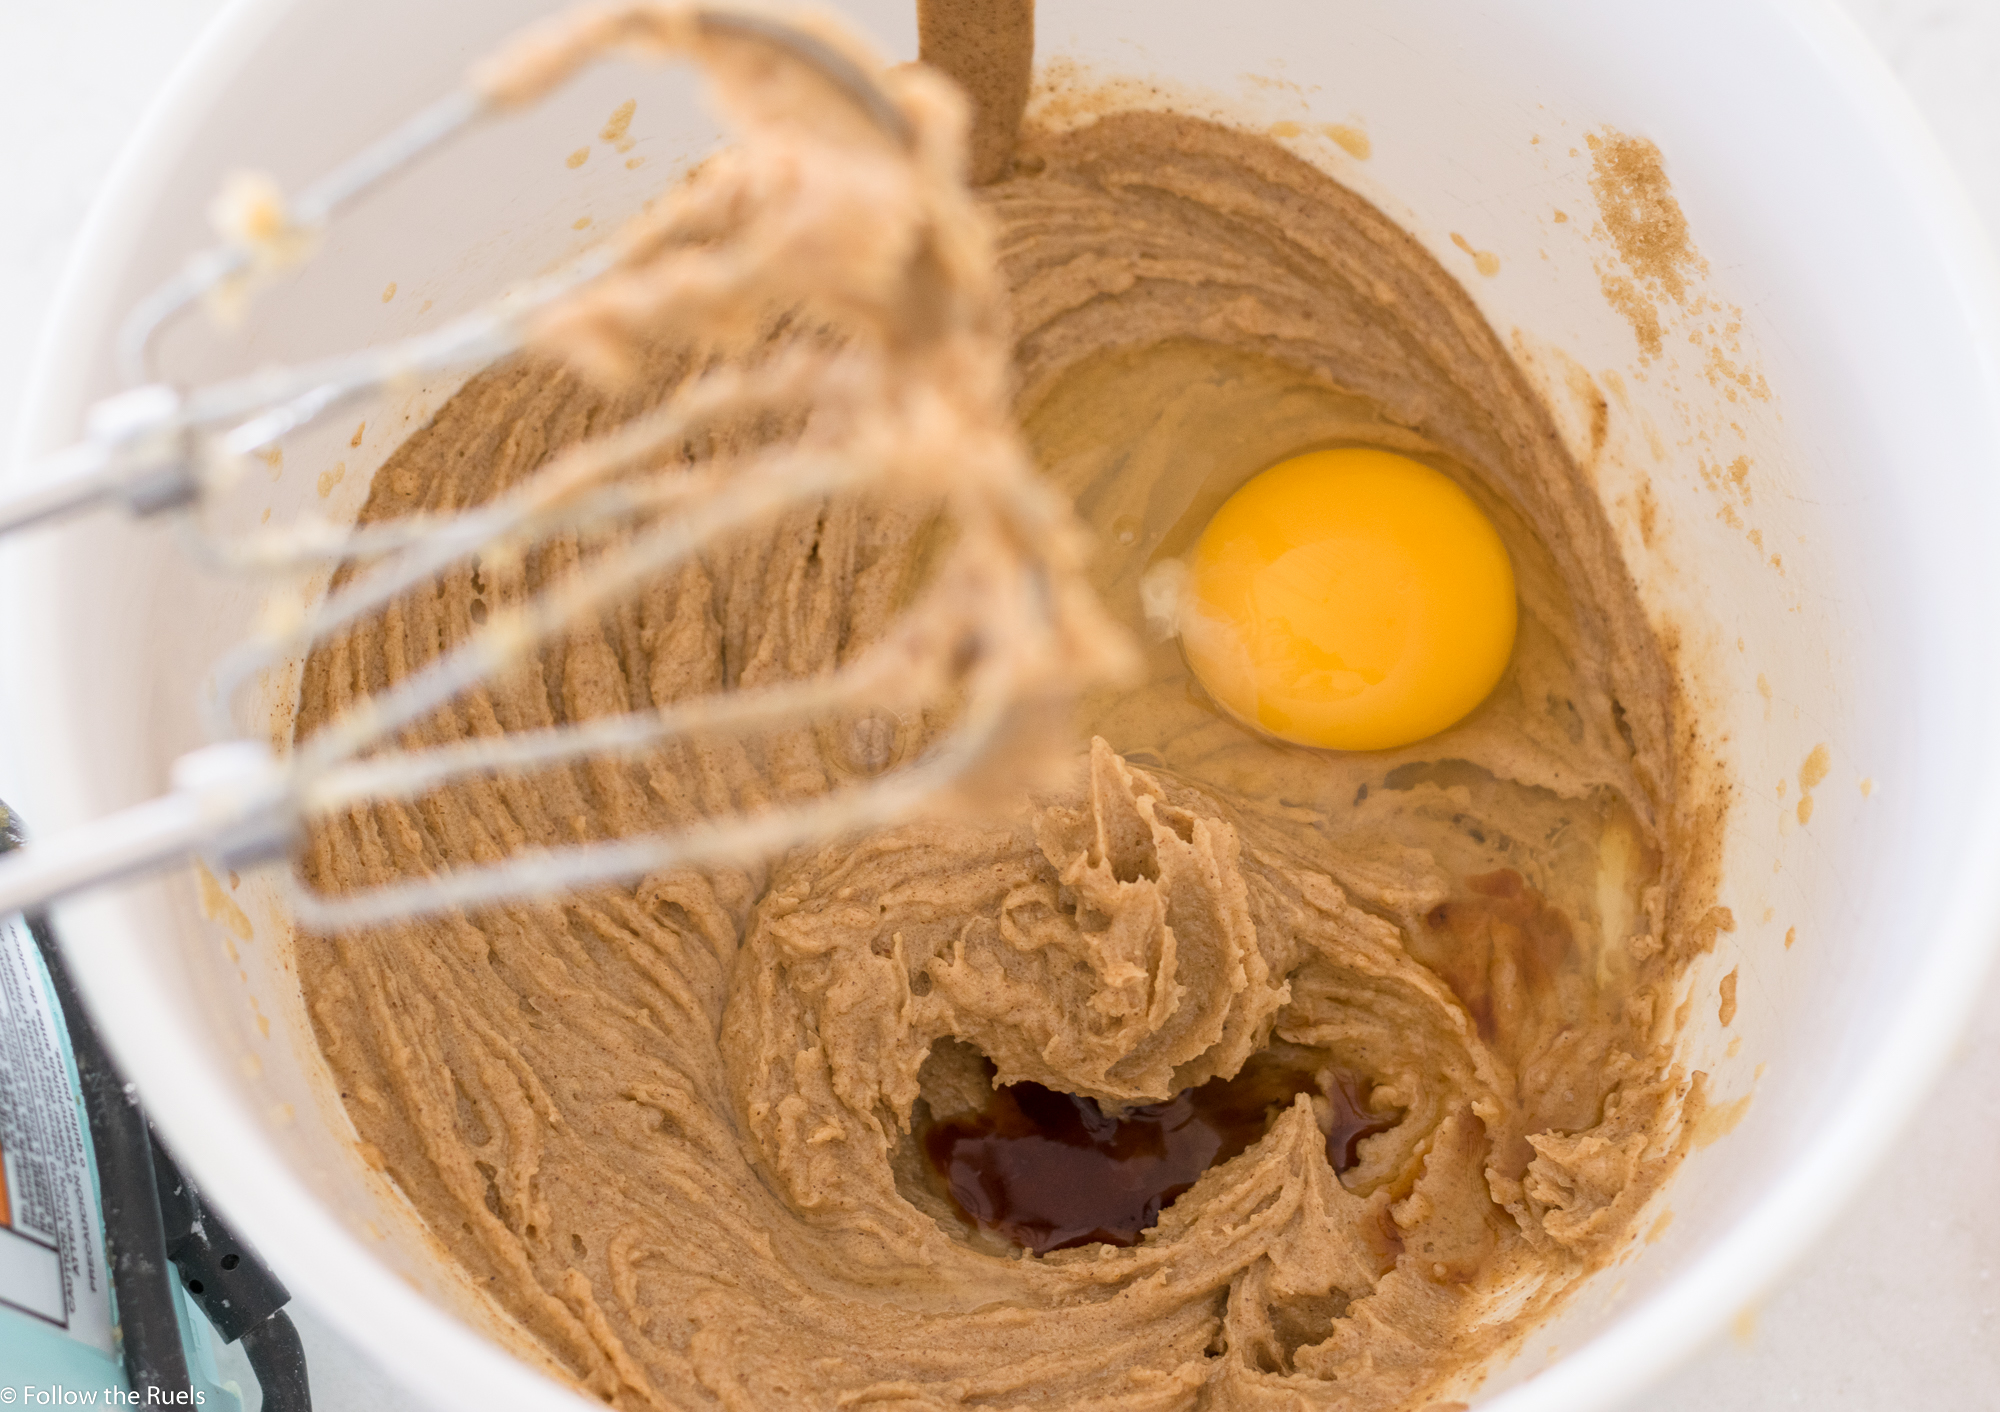
The cookies that make up the Linzer are traditionally made with almond meal. However, using pure almond meal would result in a very crumbly and hard cookie. These cookies are a mix of my favorite sugar cookie and an almond cookie so that they still have that great almond flavor and texture, but aren’t overly crumbly or tough.

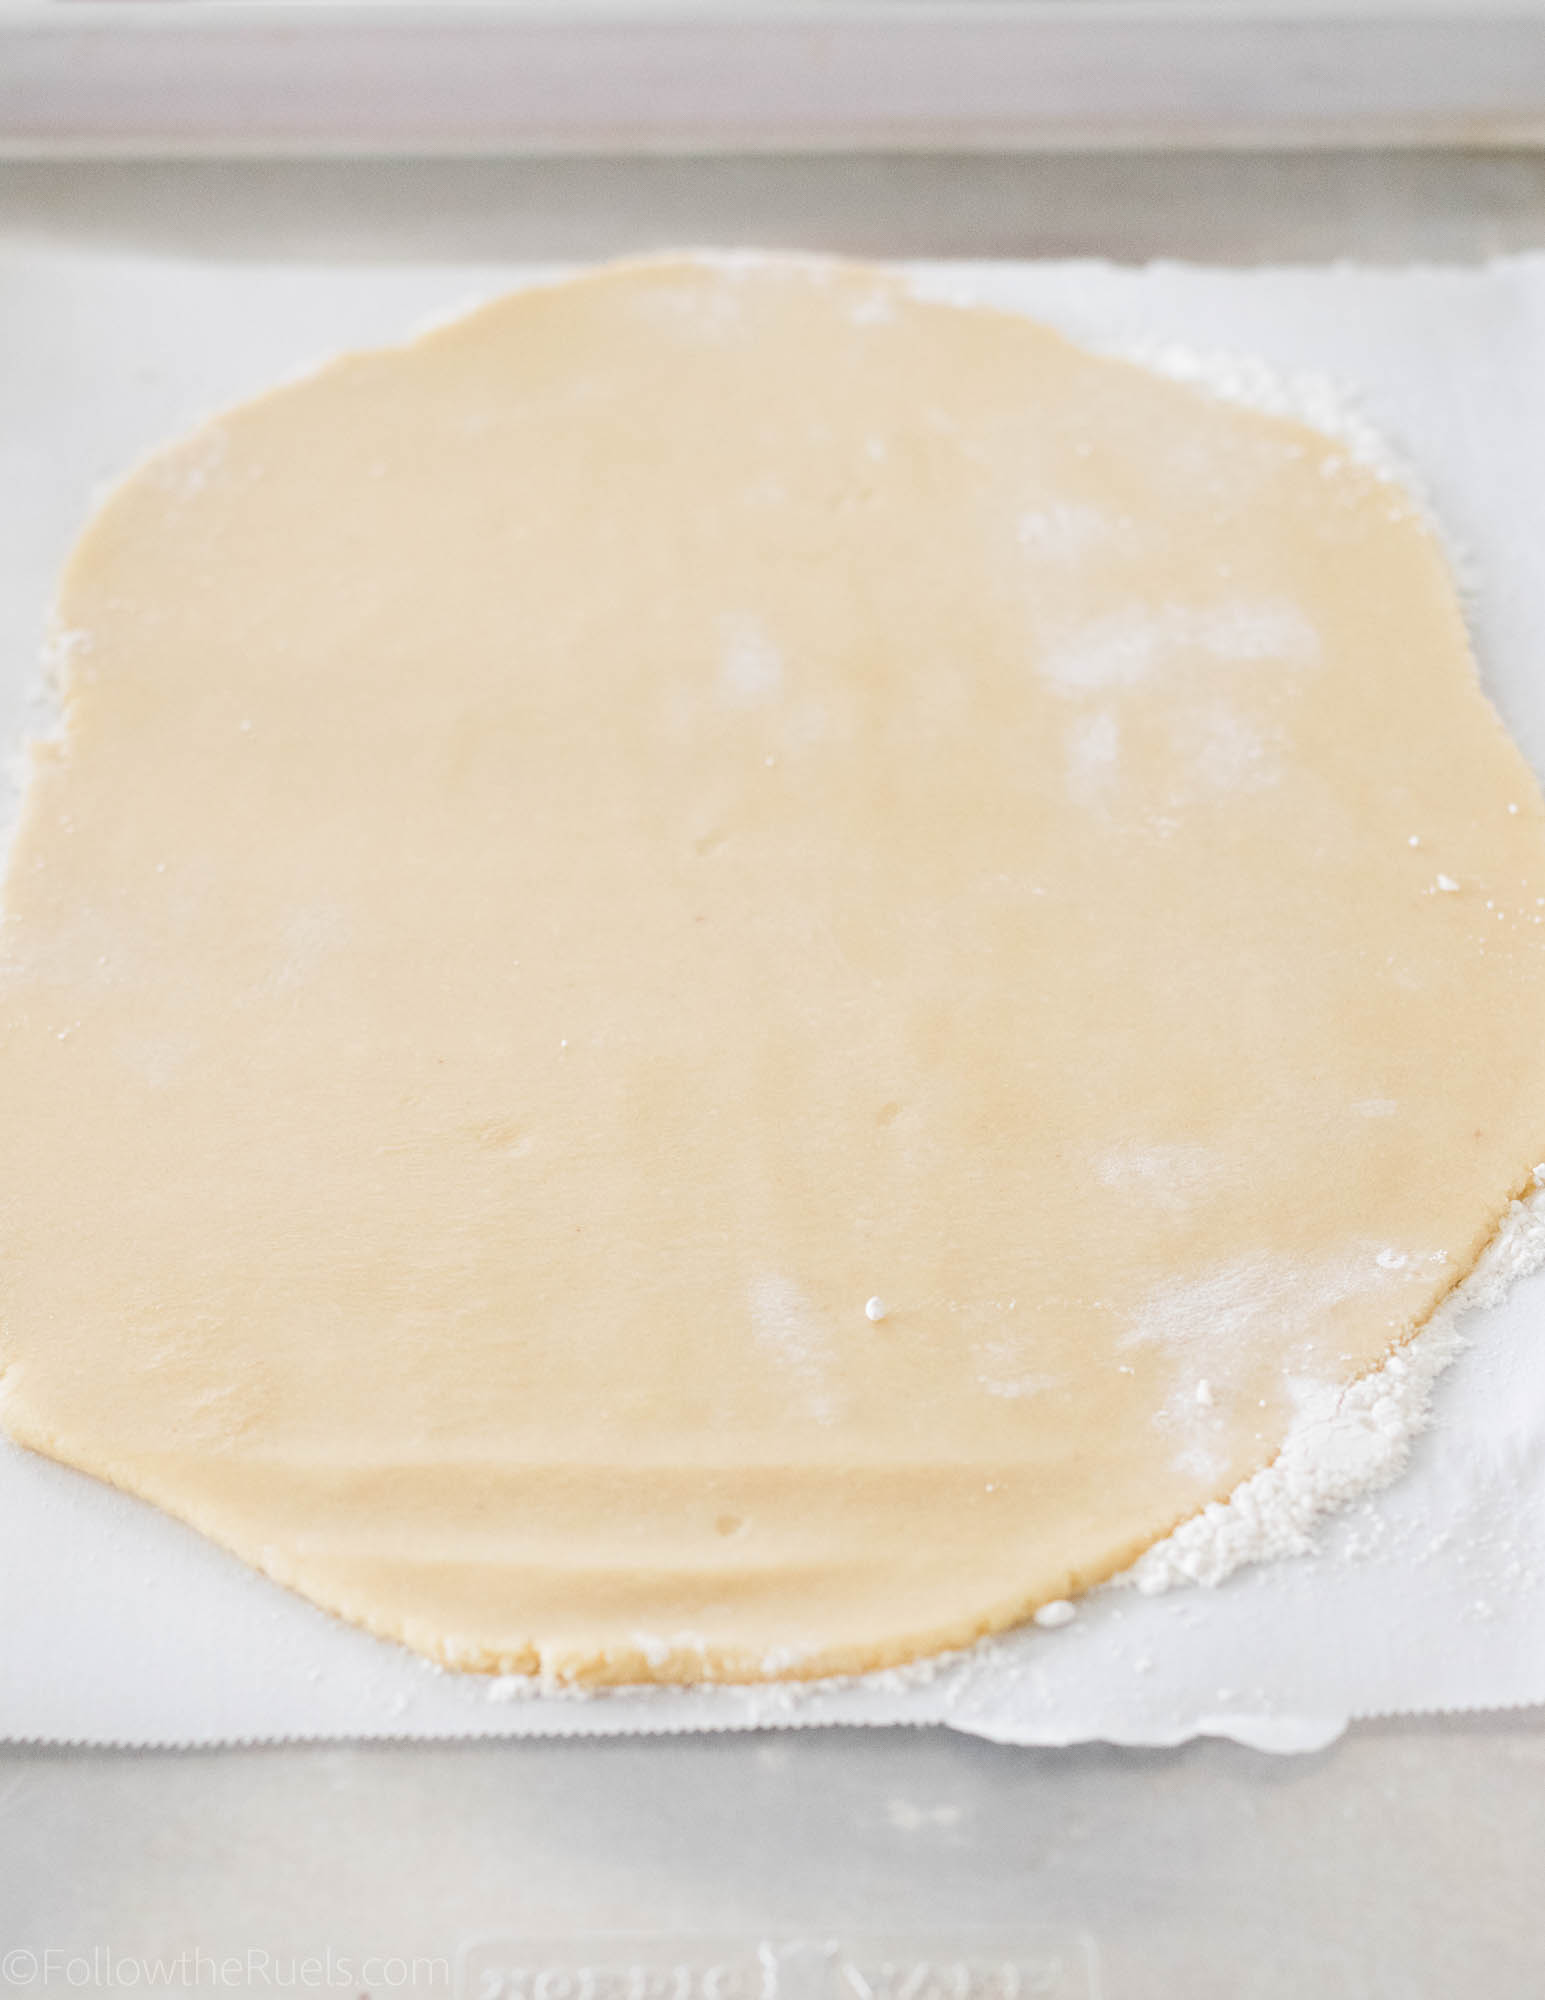
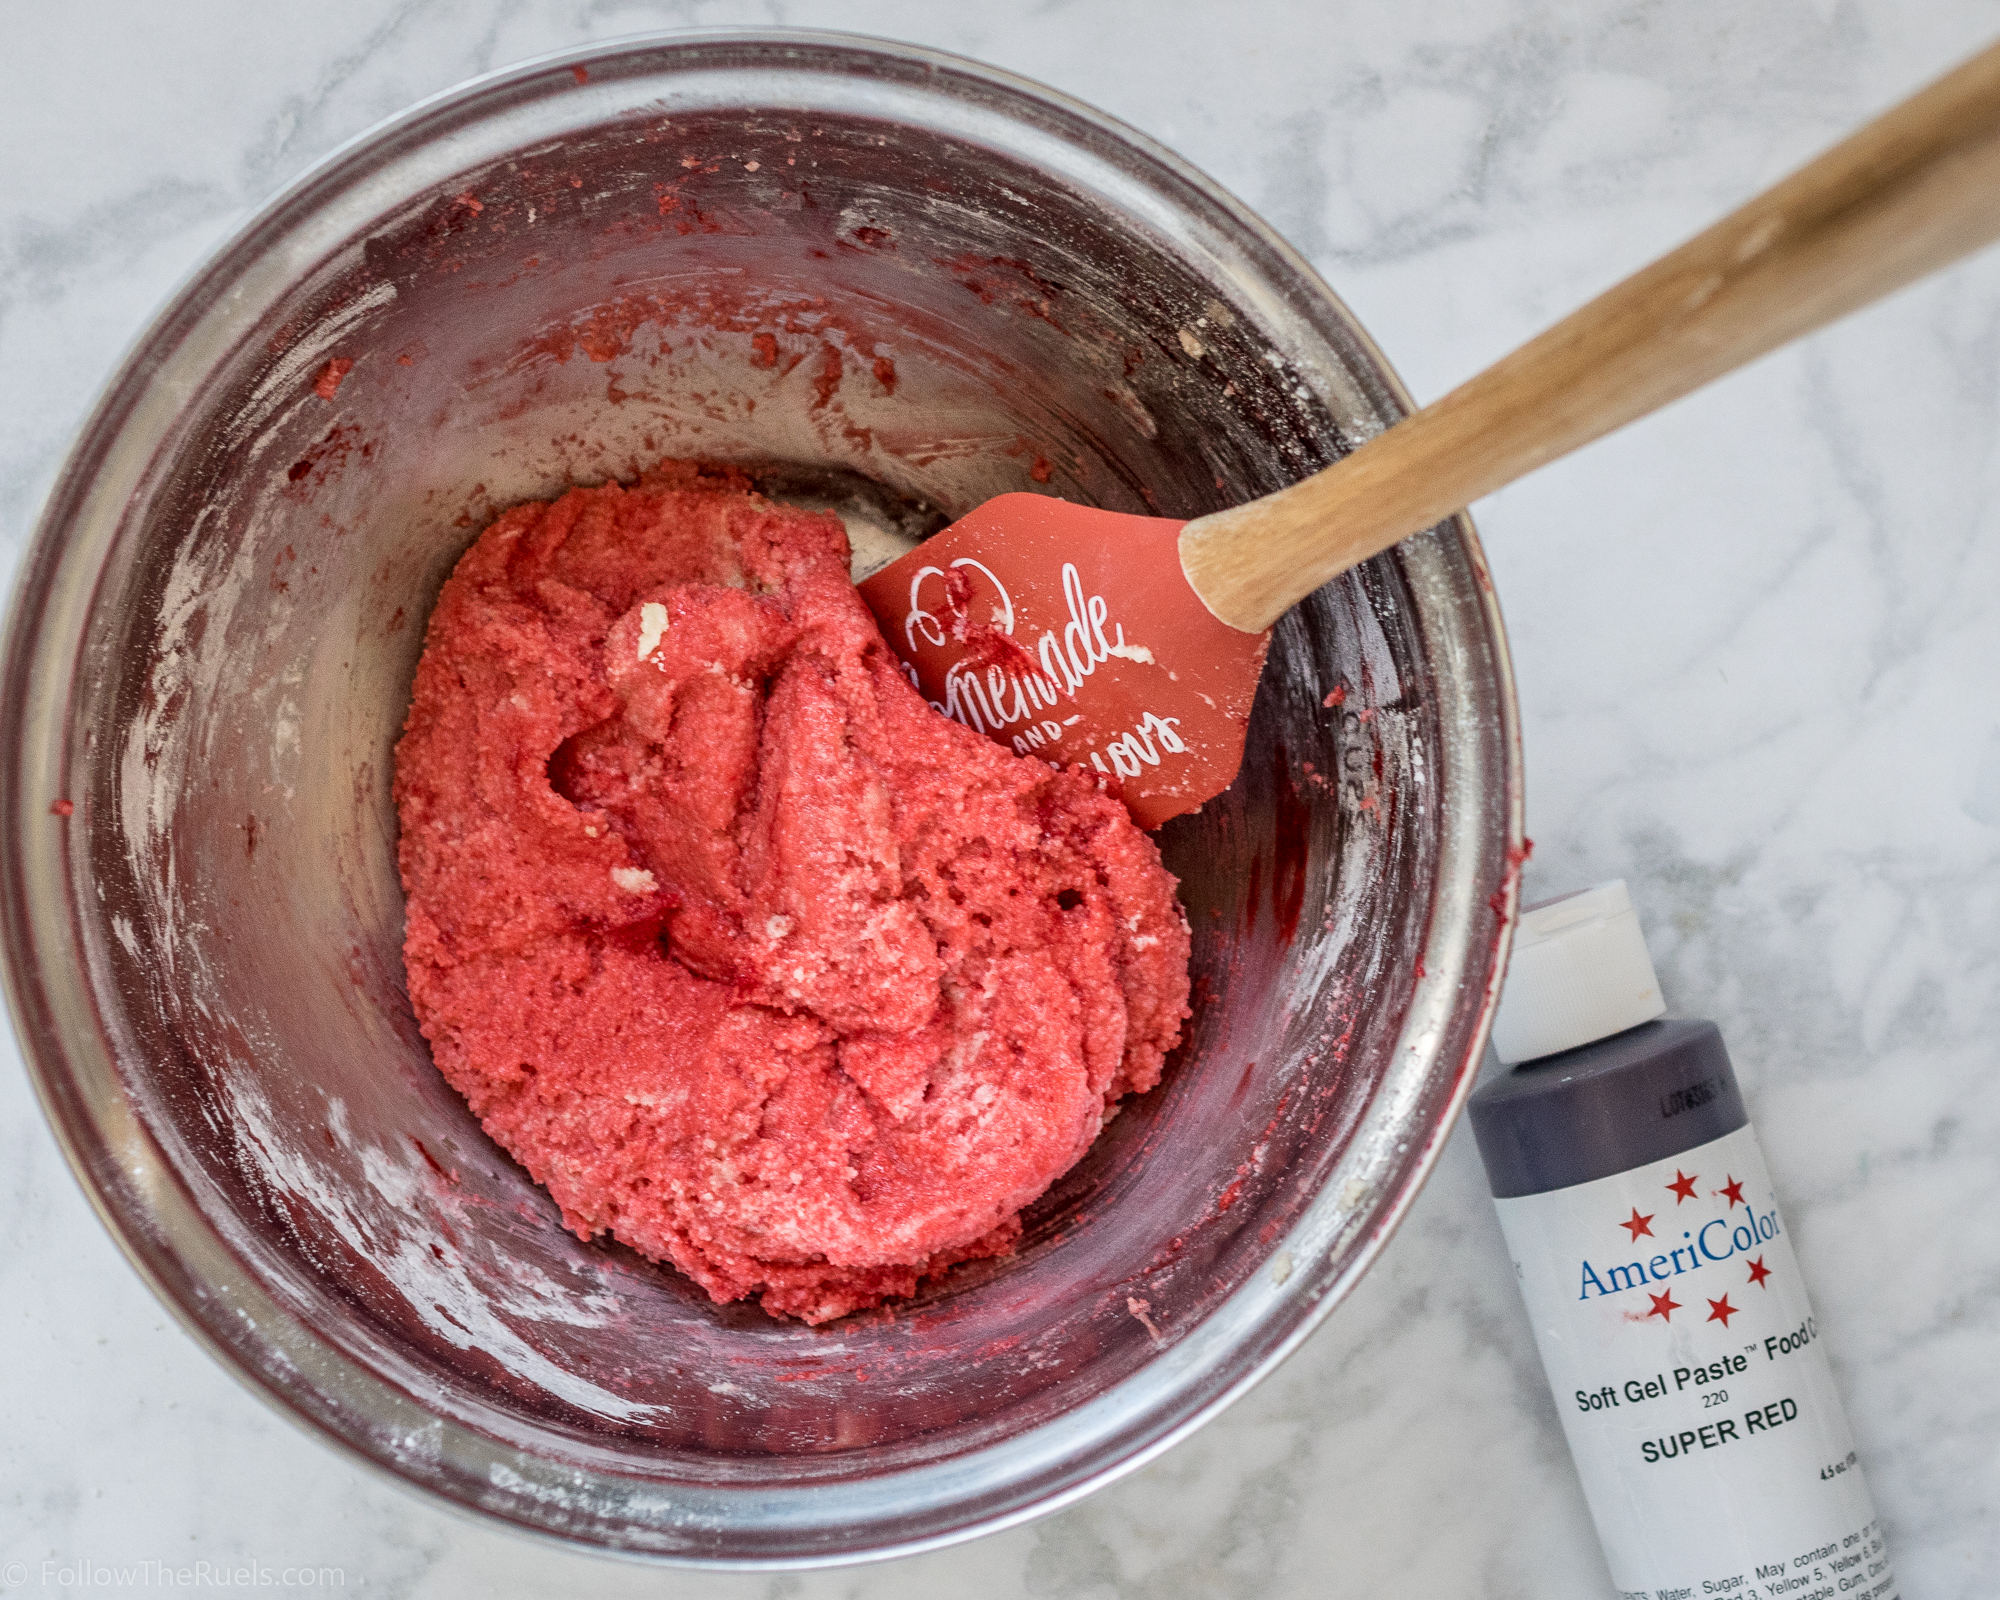
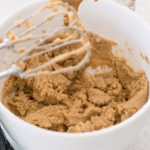
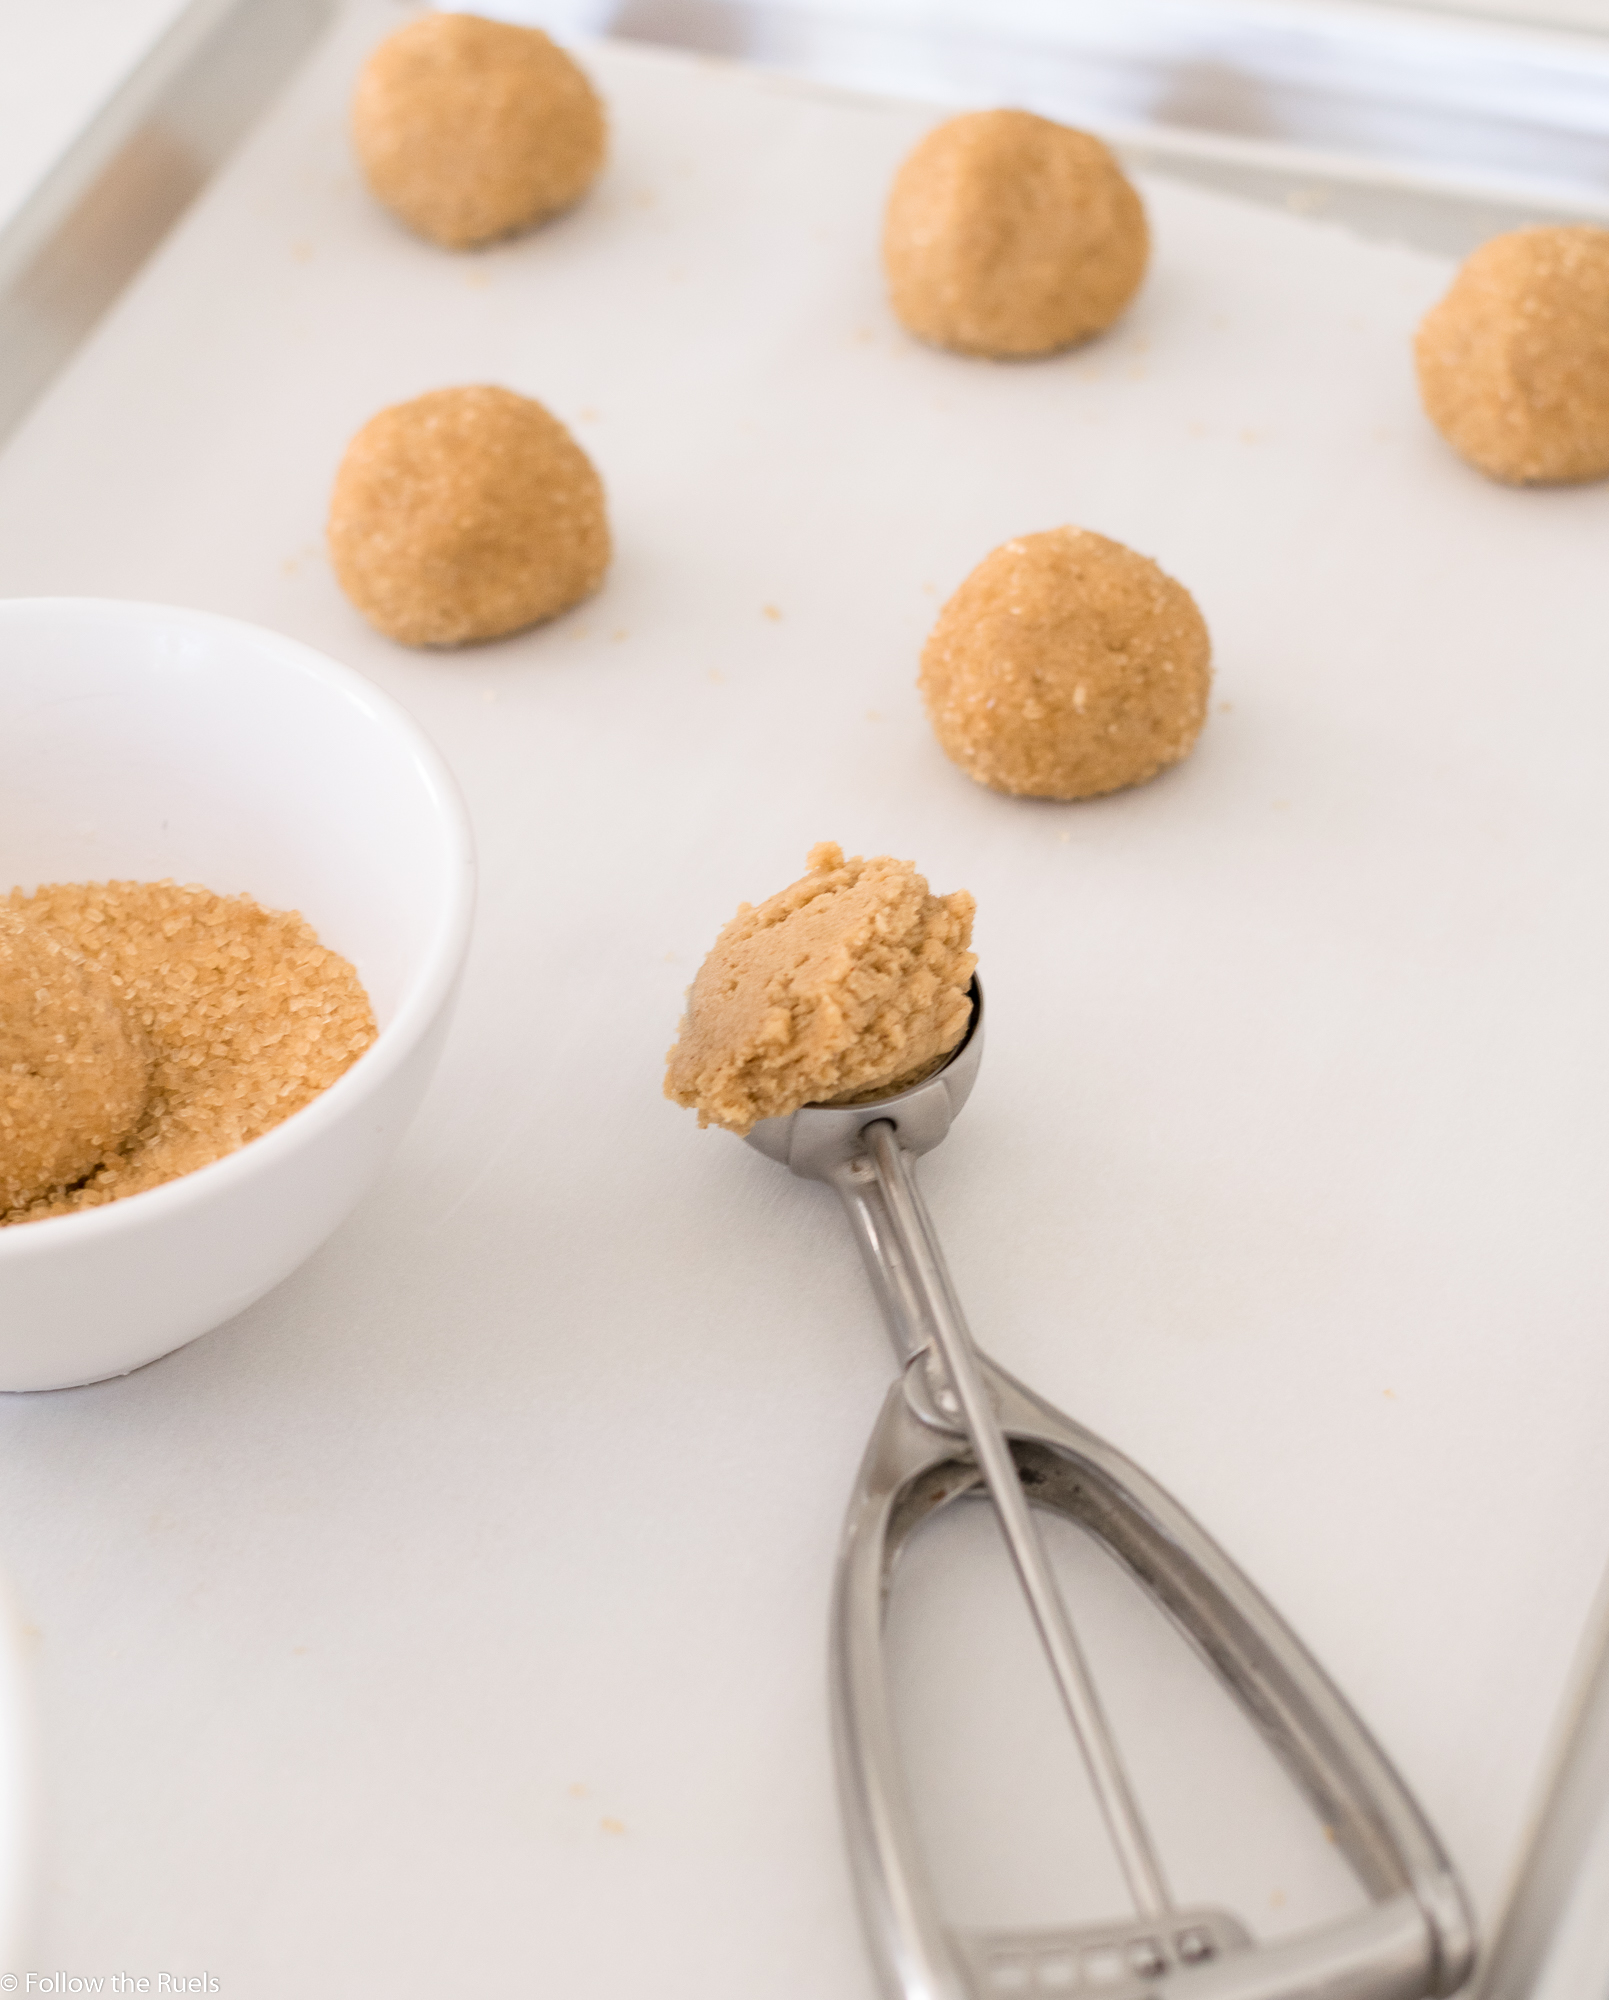
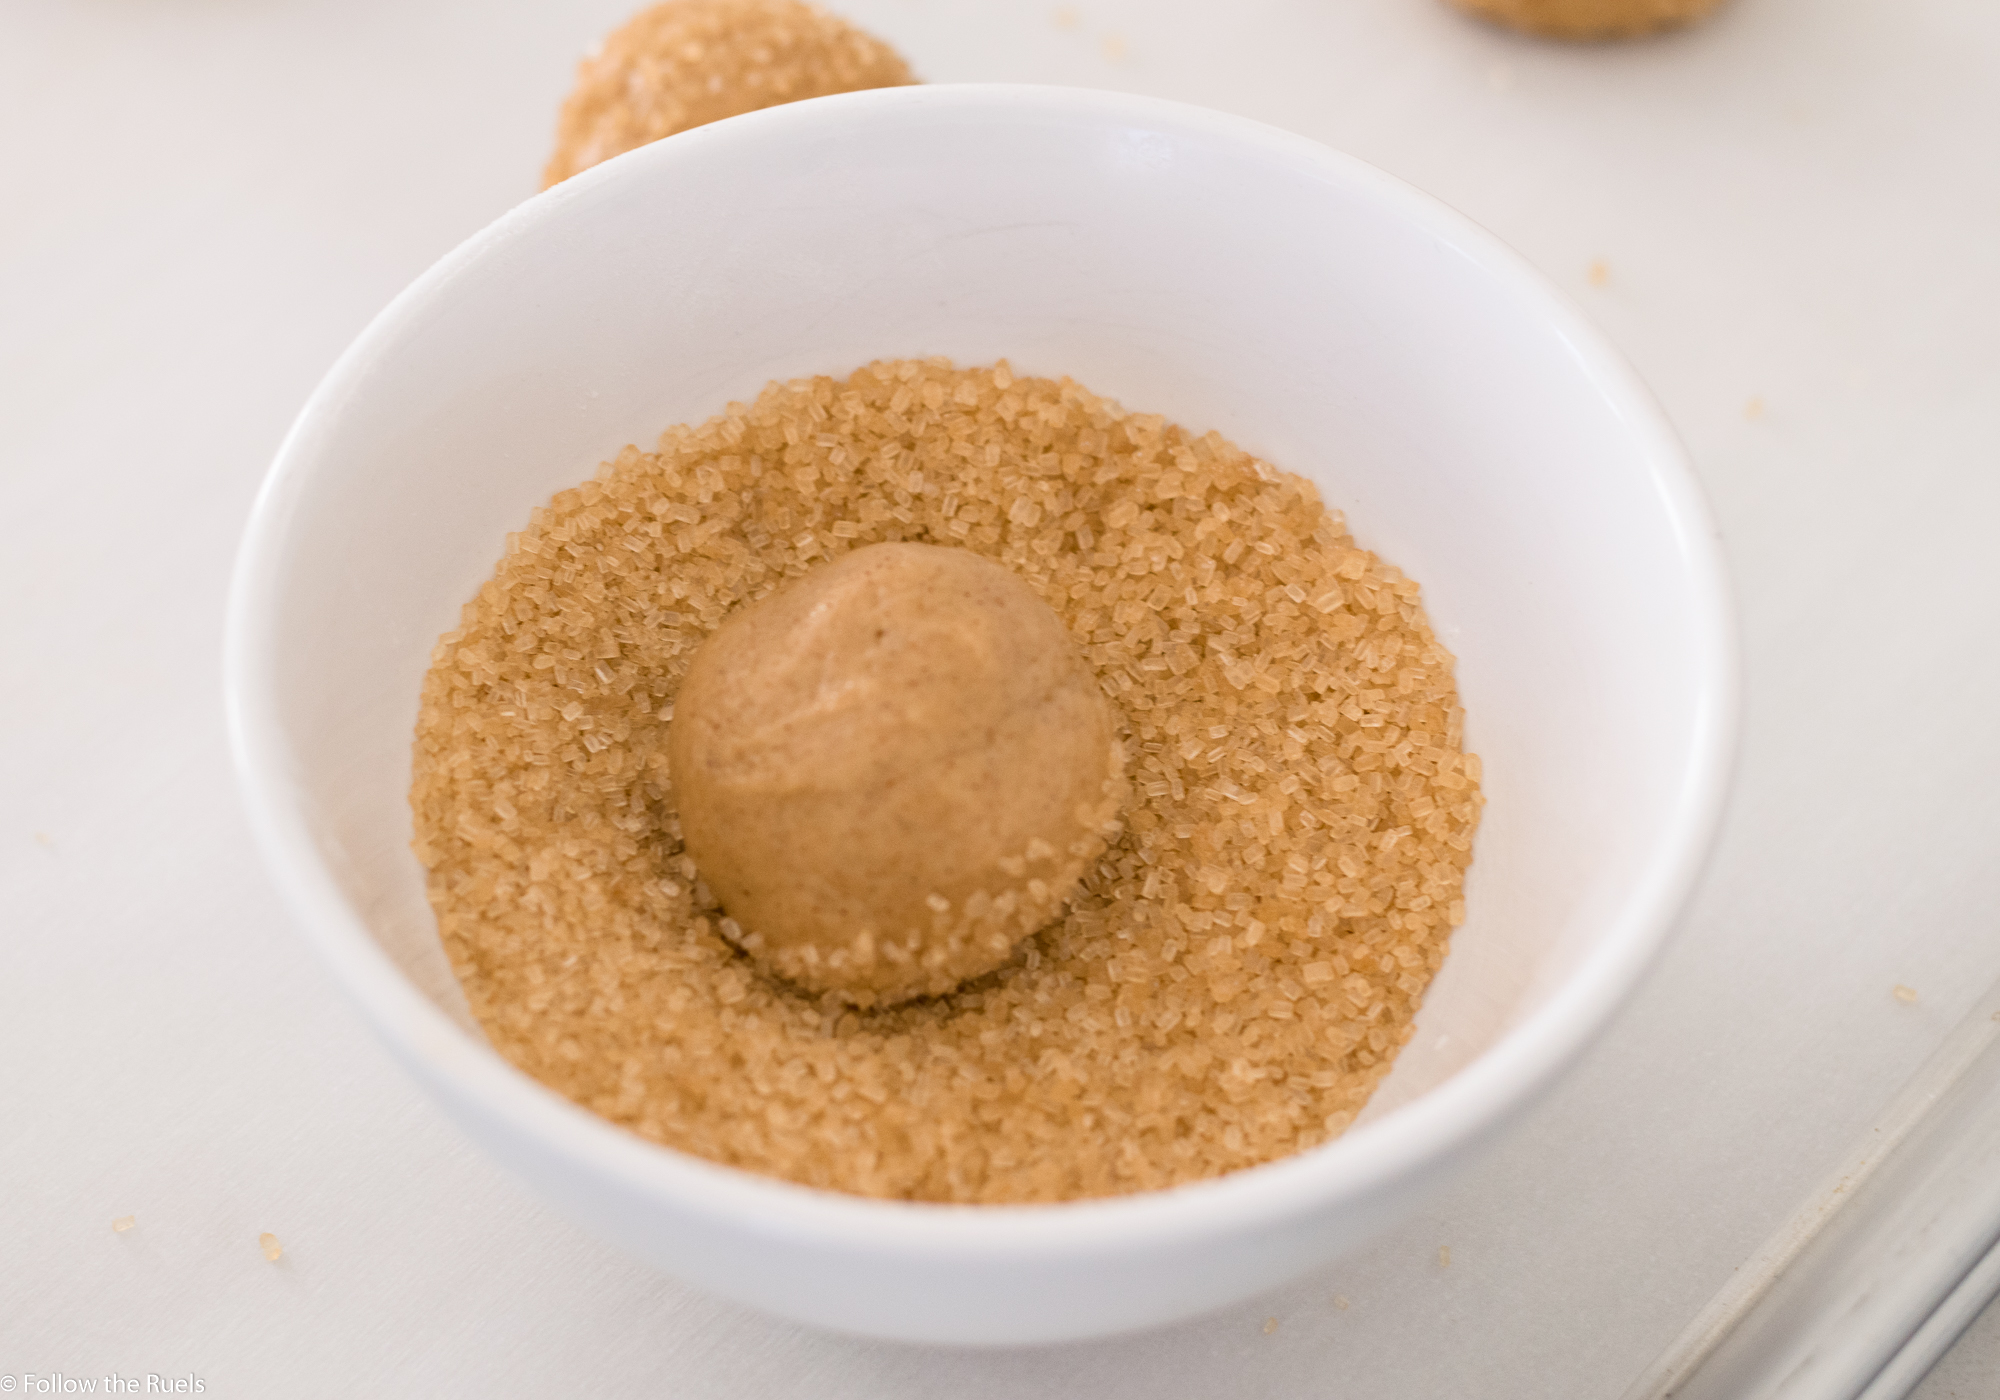
After the dough has been mixed, dump it out onto a sheet of plastic wrap and wrap it up into a ball. Chill in the freezer for 20 minutes or until it’s slightly firm. This will help you roll it out into a nice even sheet. 

Since the dough is rather soft, it would also help to chill the dough after it’s been rolled out which will help create evenly shaped cookies (which is pretty important when you are making cookie sandwiches). 

I like to roll my dough out on a sheet of parchment then transfer the parchment to a baking sheet, then the baking sheet to the fridge.

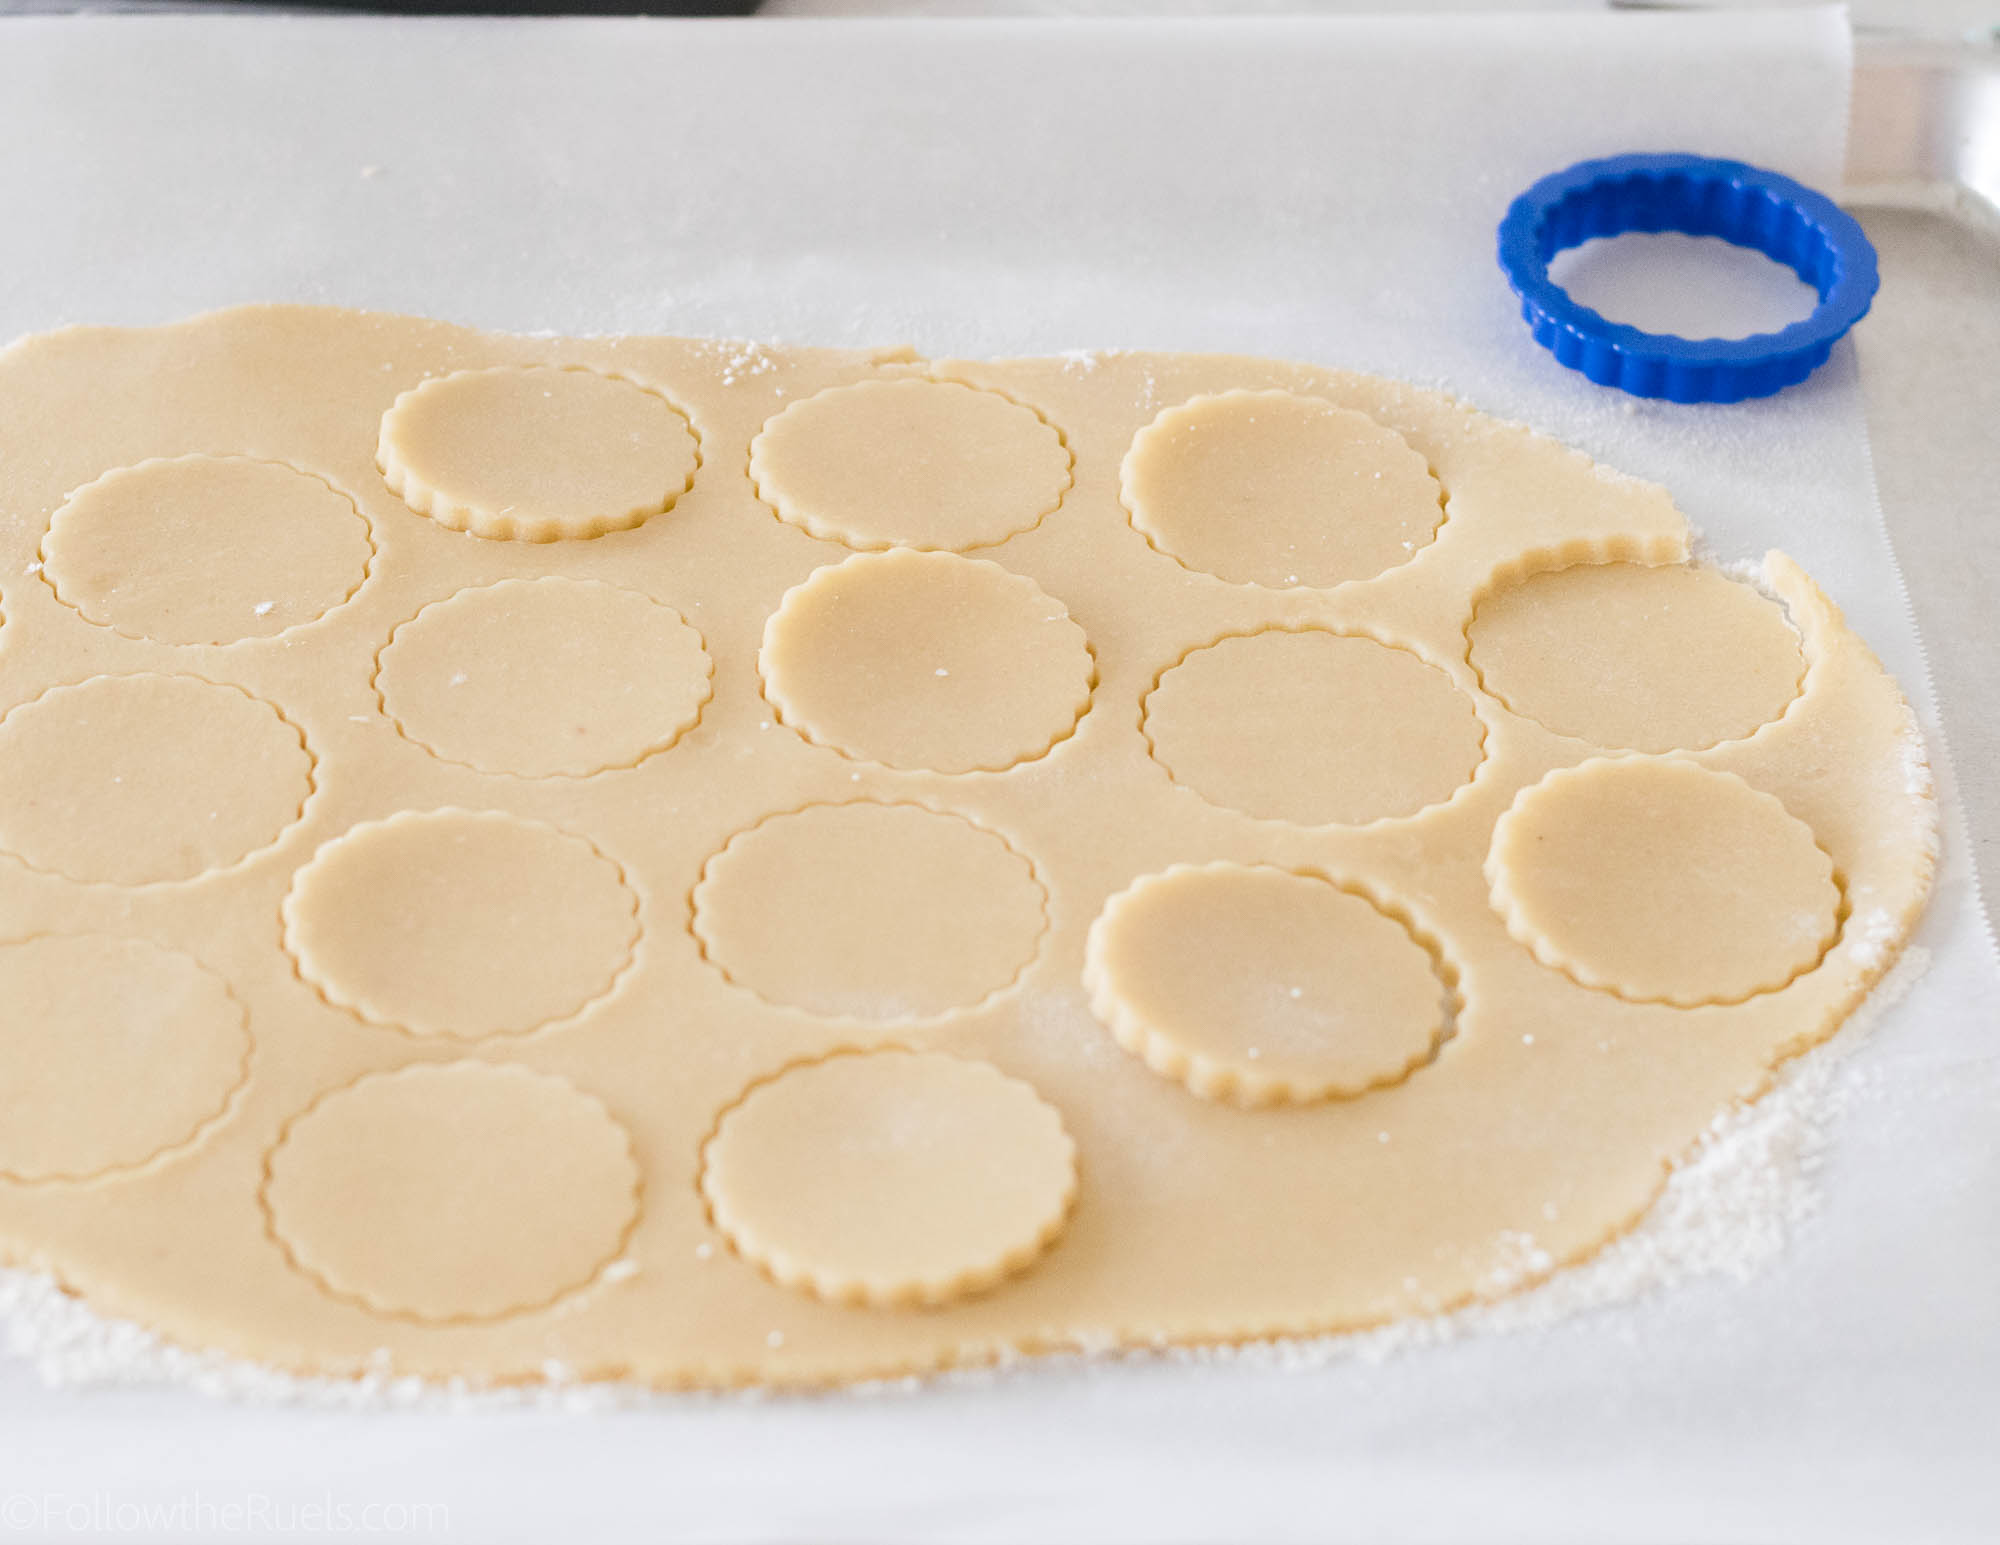
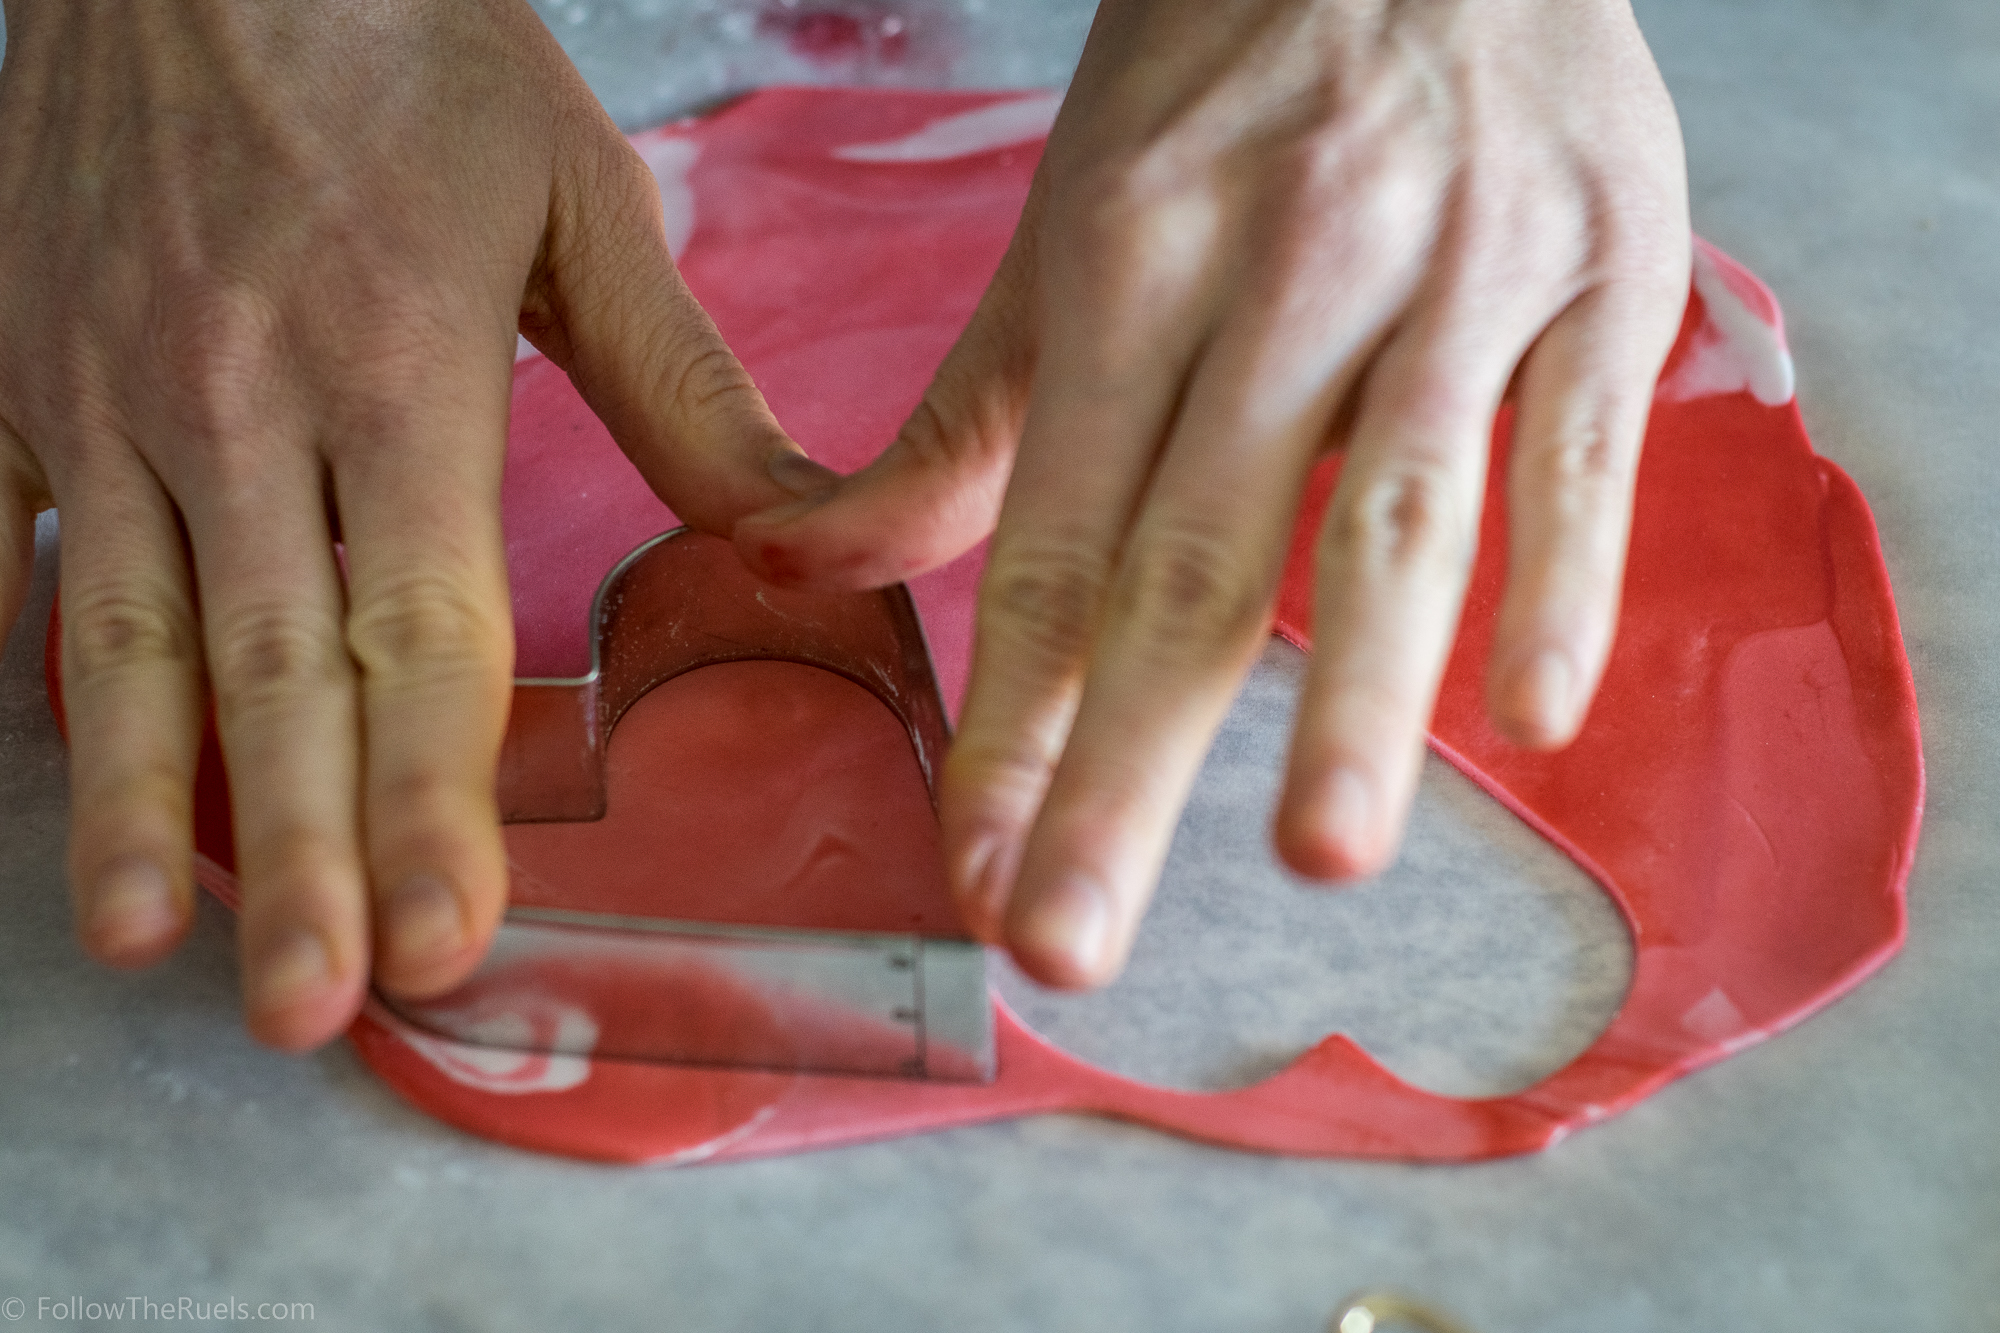
After a few minutes, the dough should be firm enough to cut out into shape.

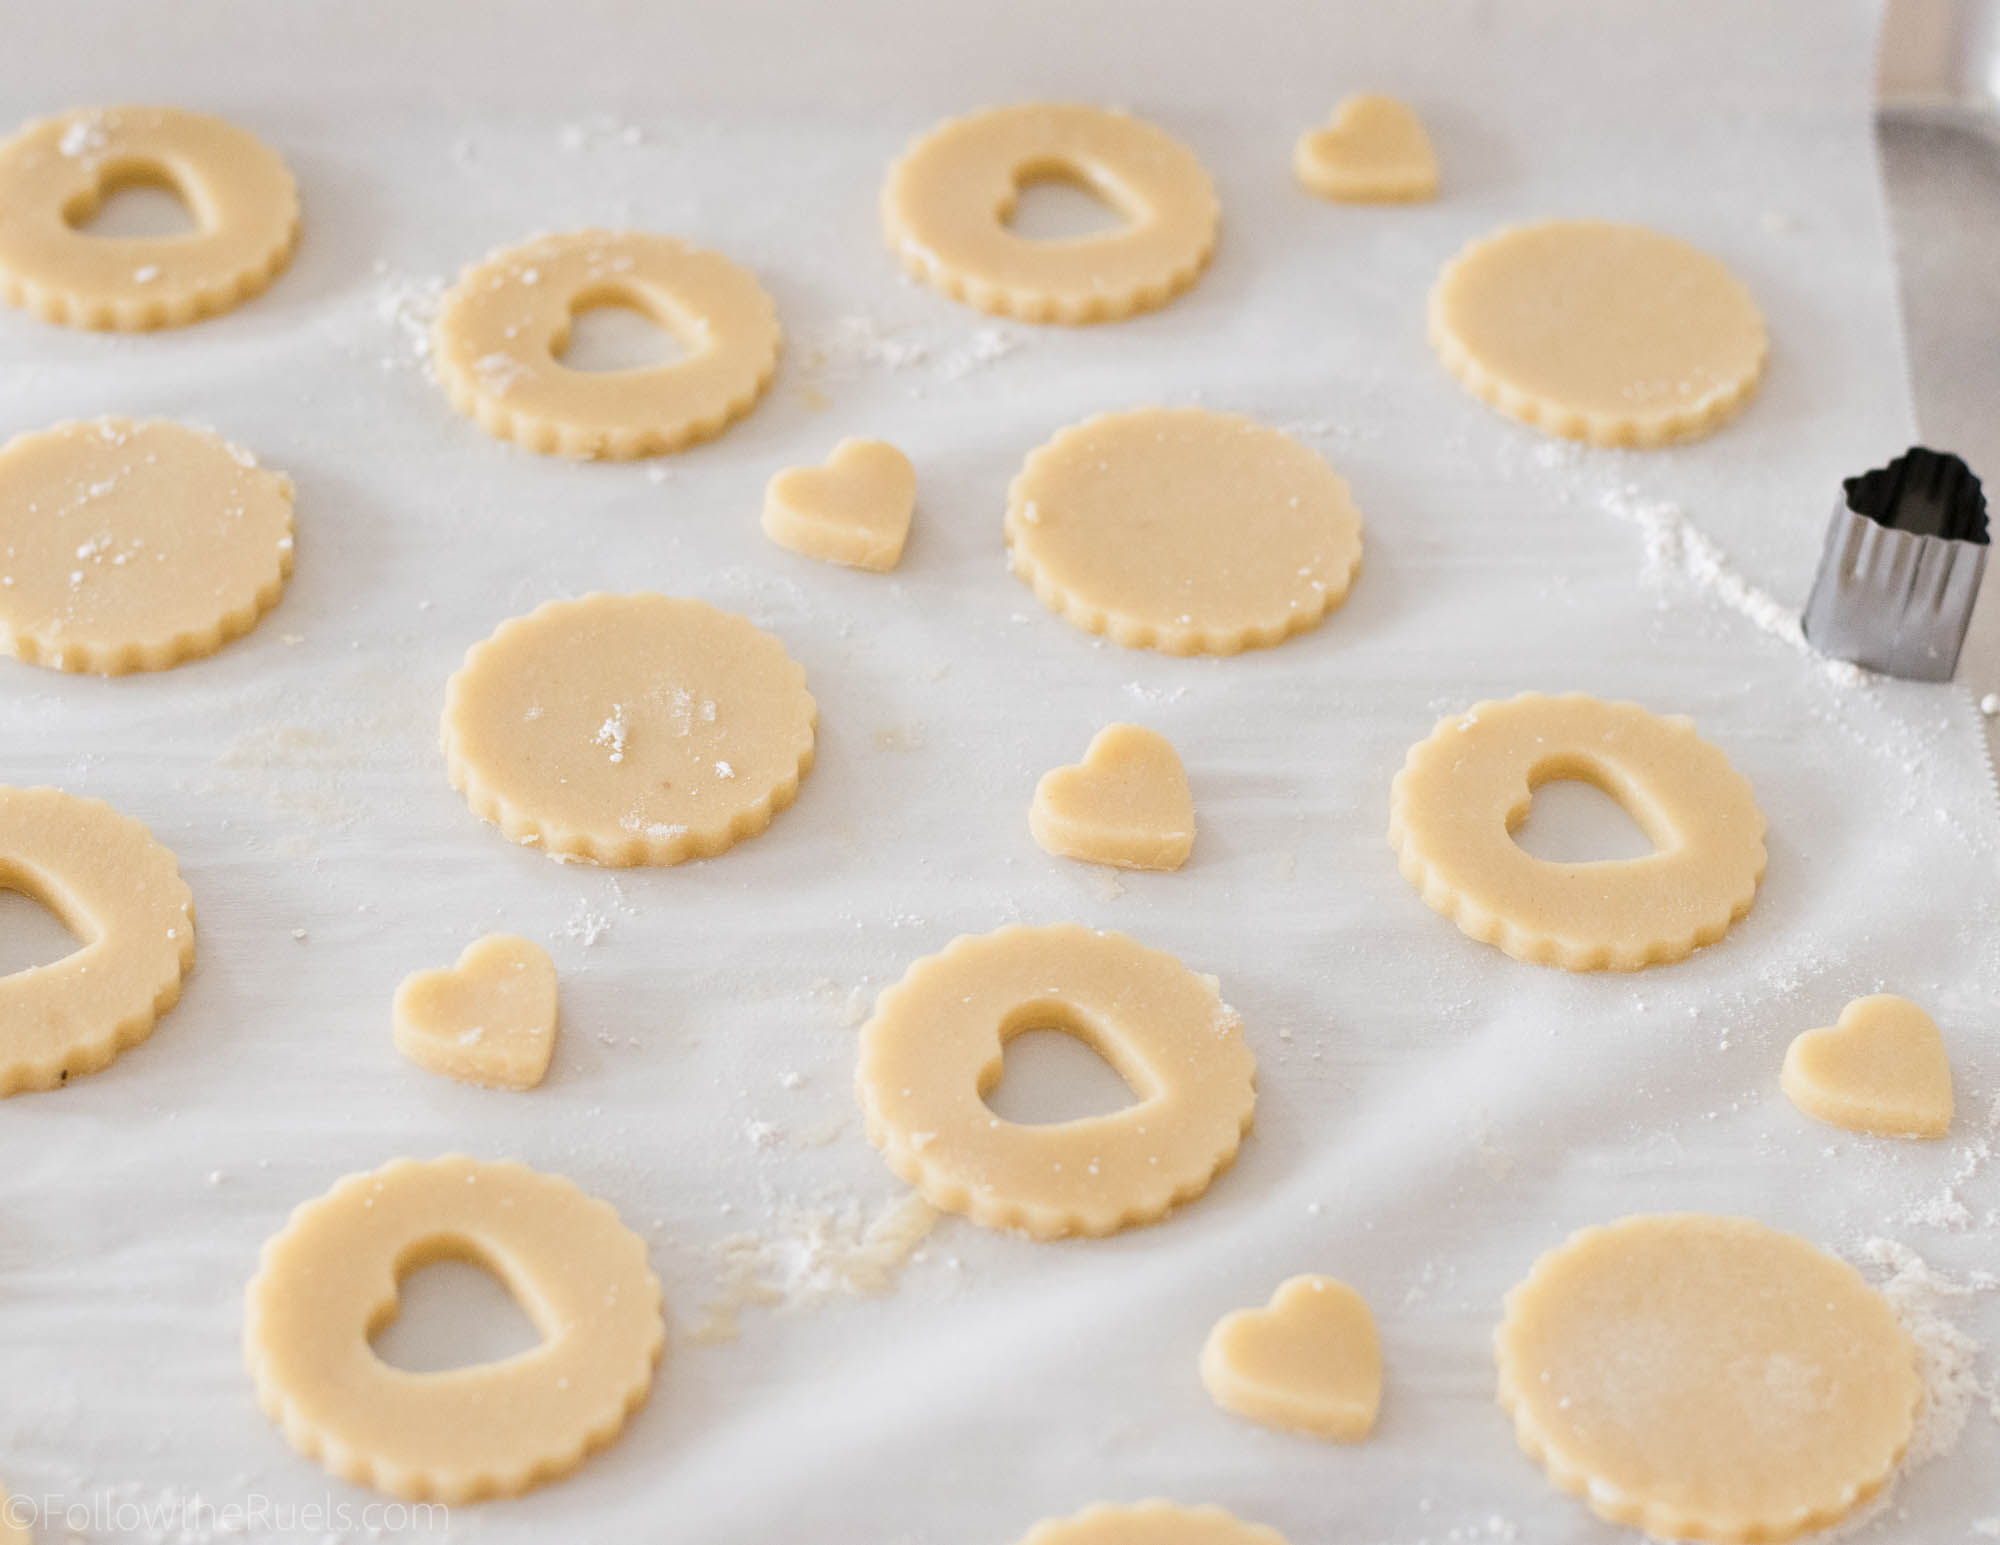
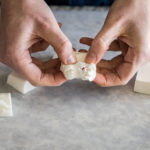
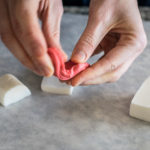
Cut out circles (or whatever shape you like), then cut out the window in every other cookie. In this case, I used a small heart cookie cutter. 

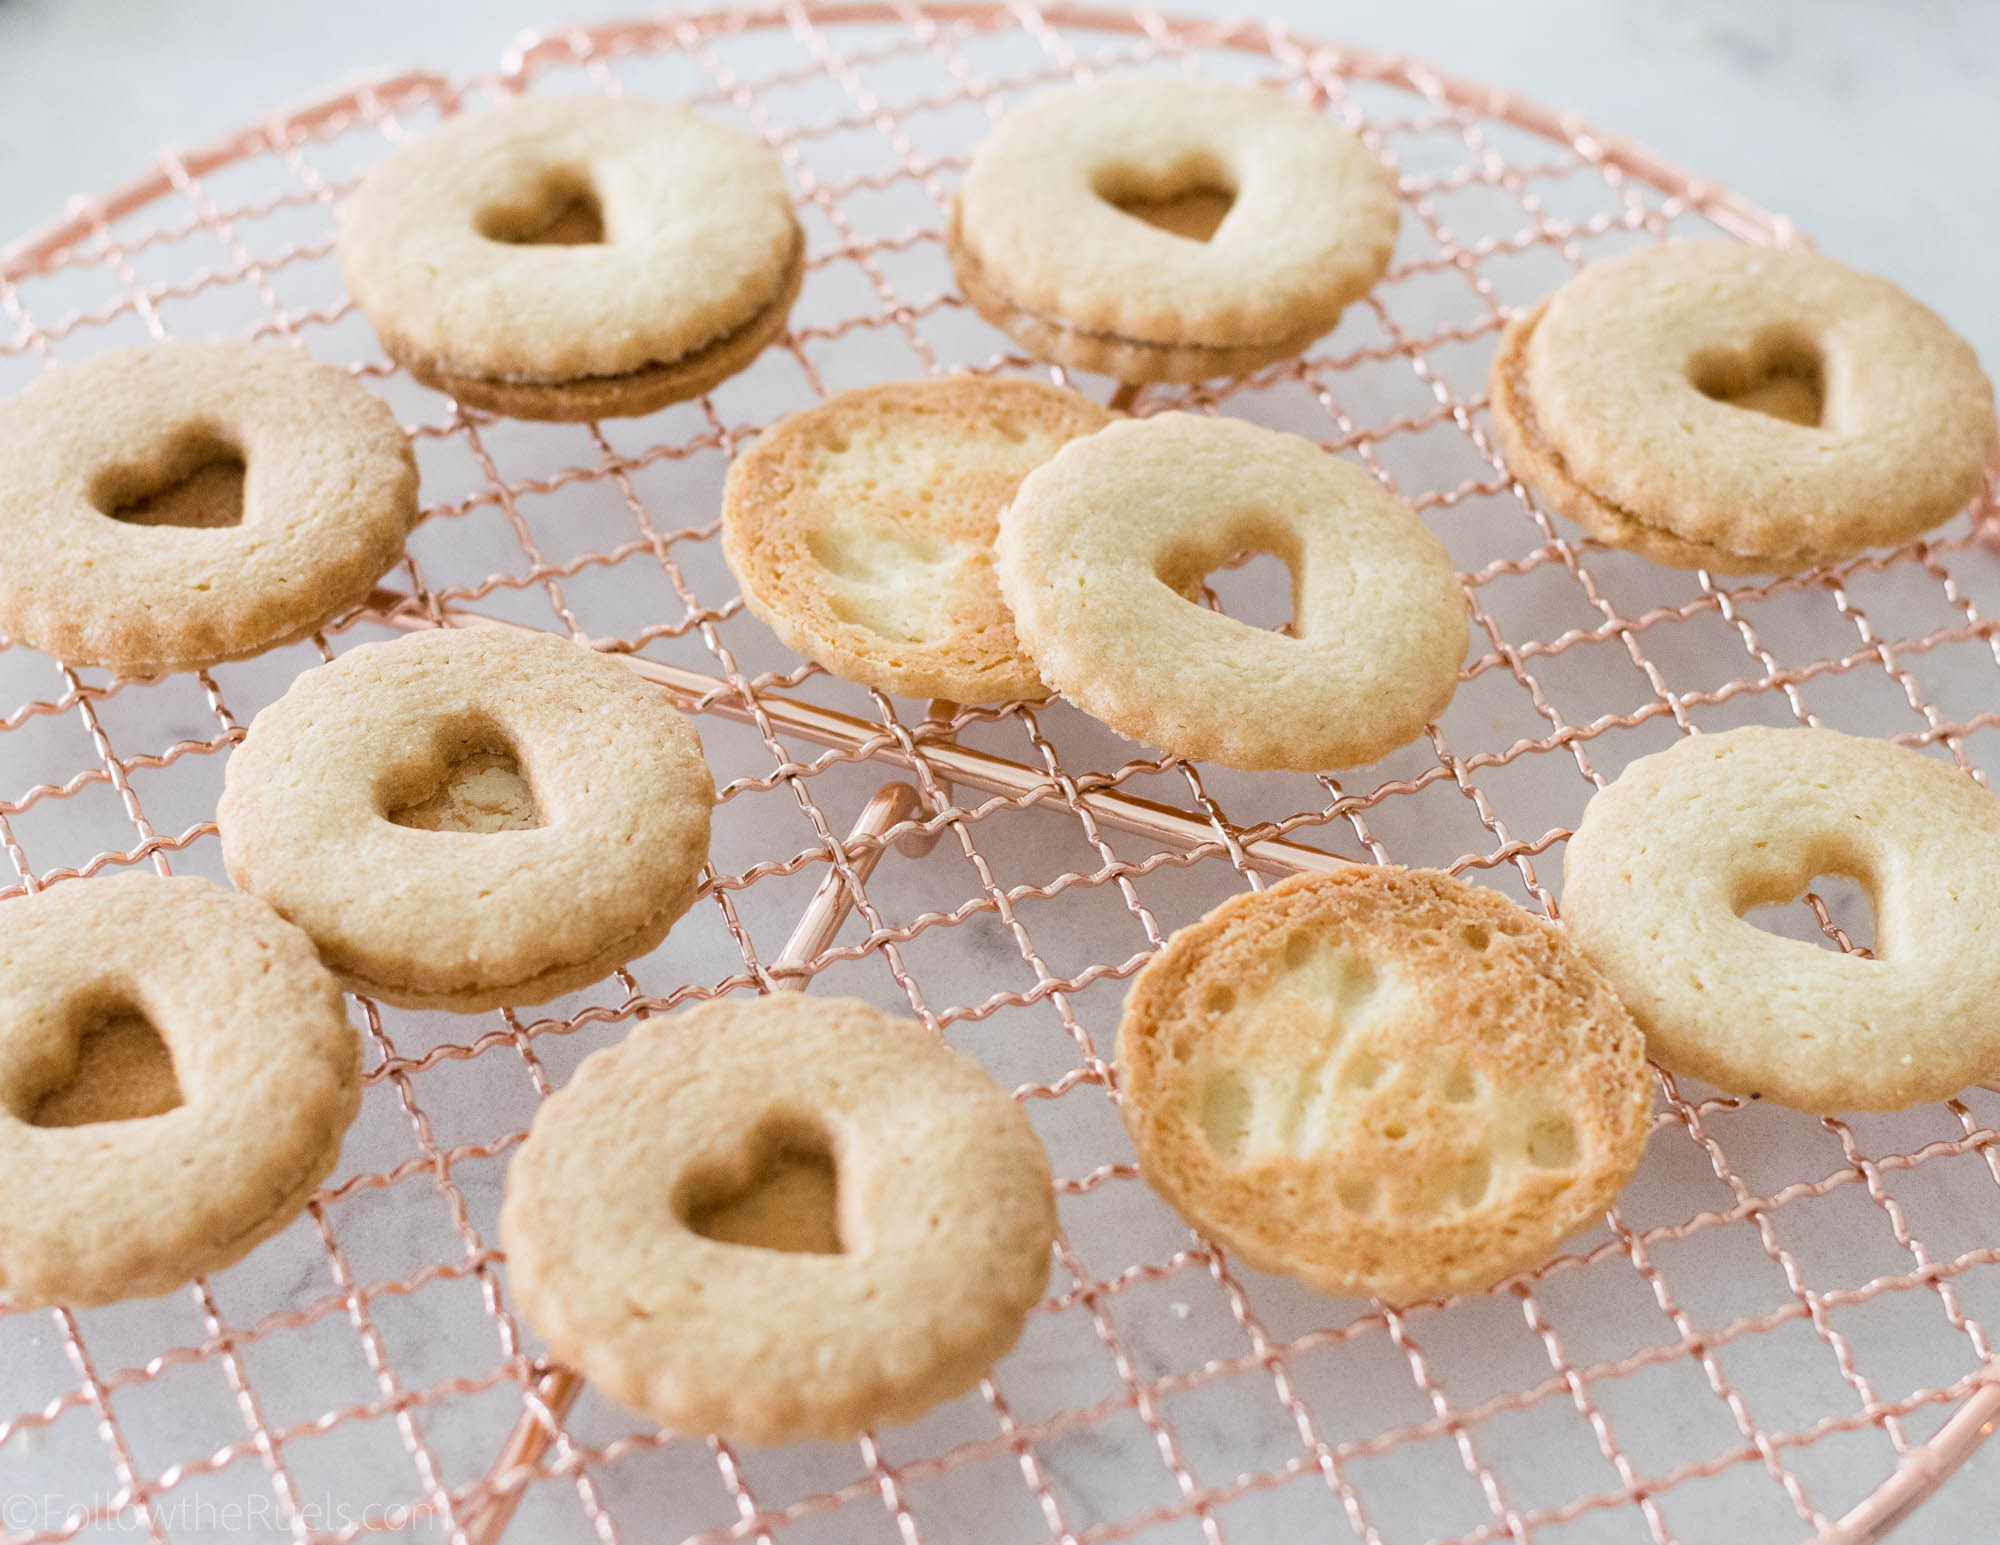
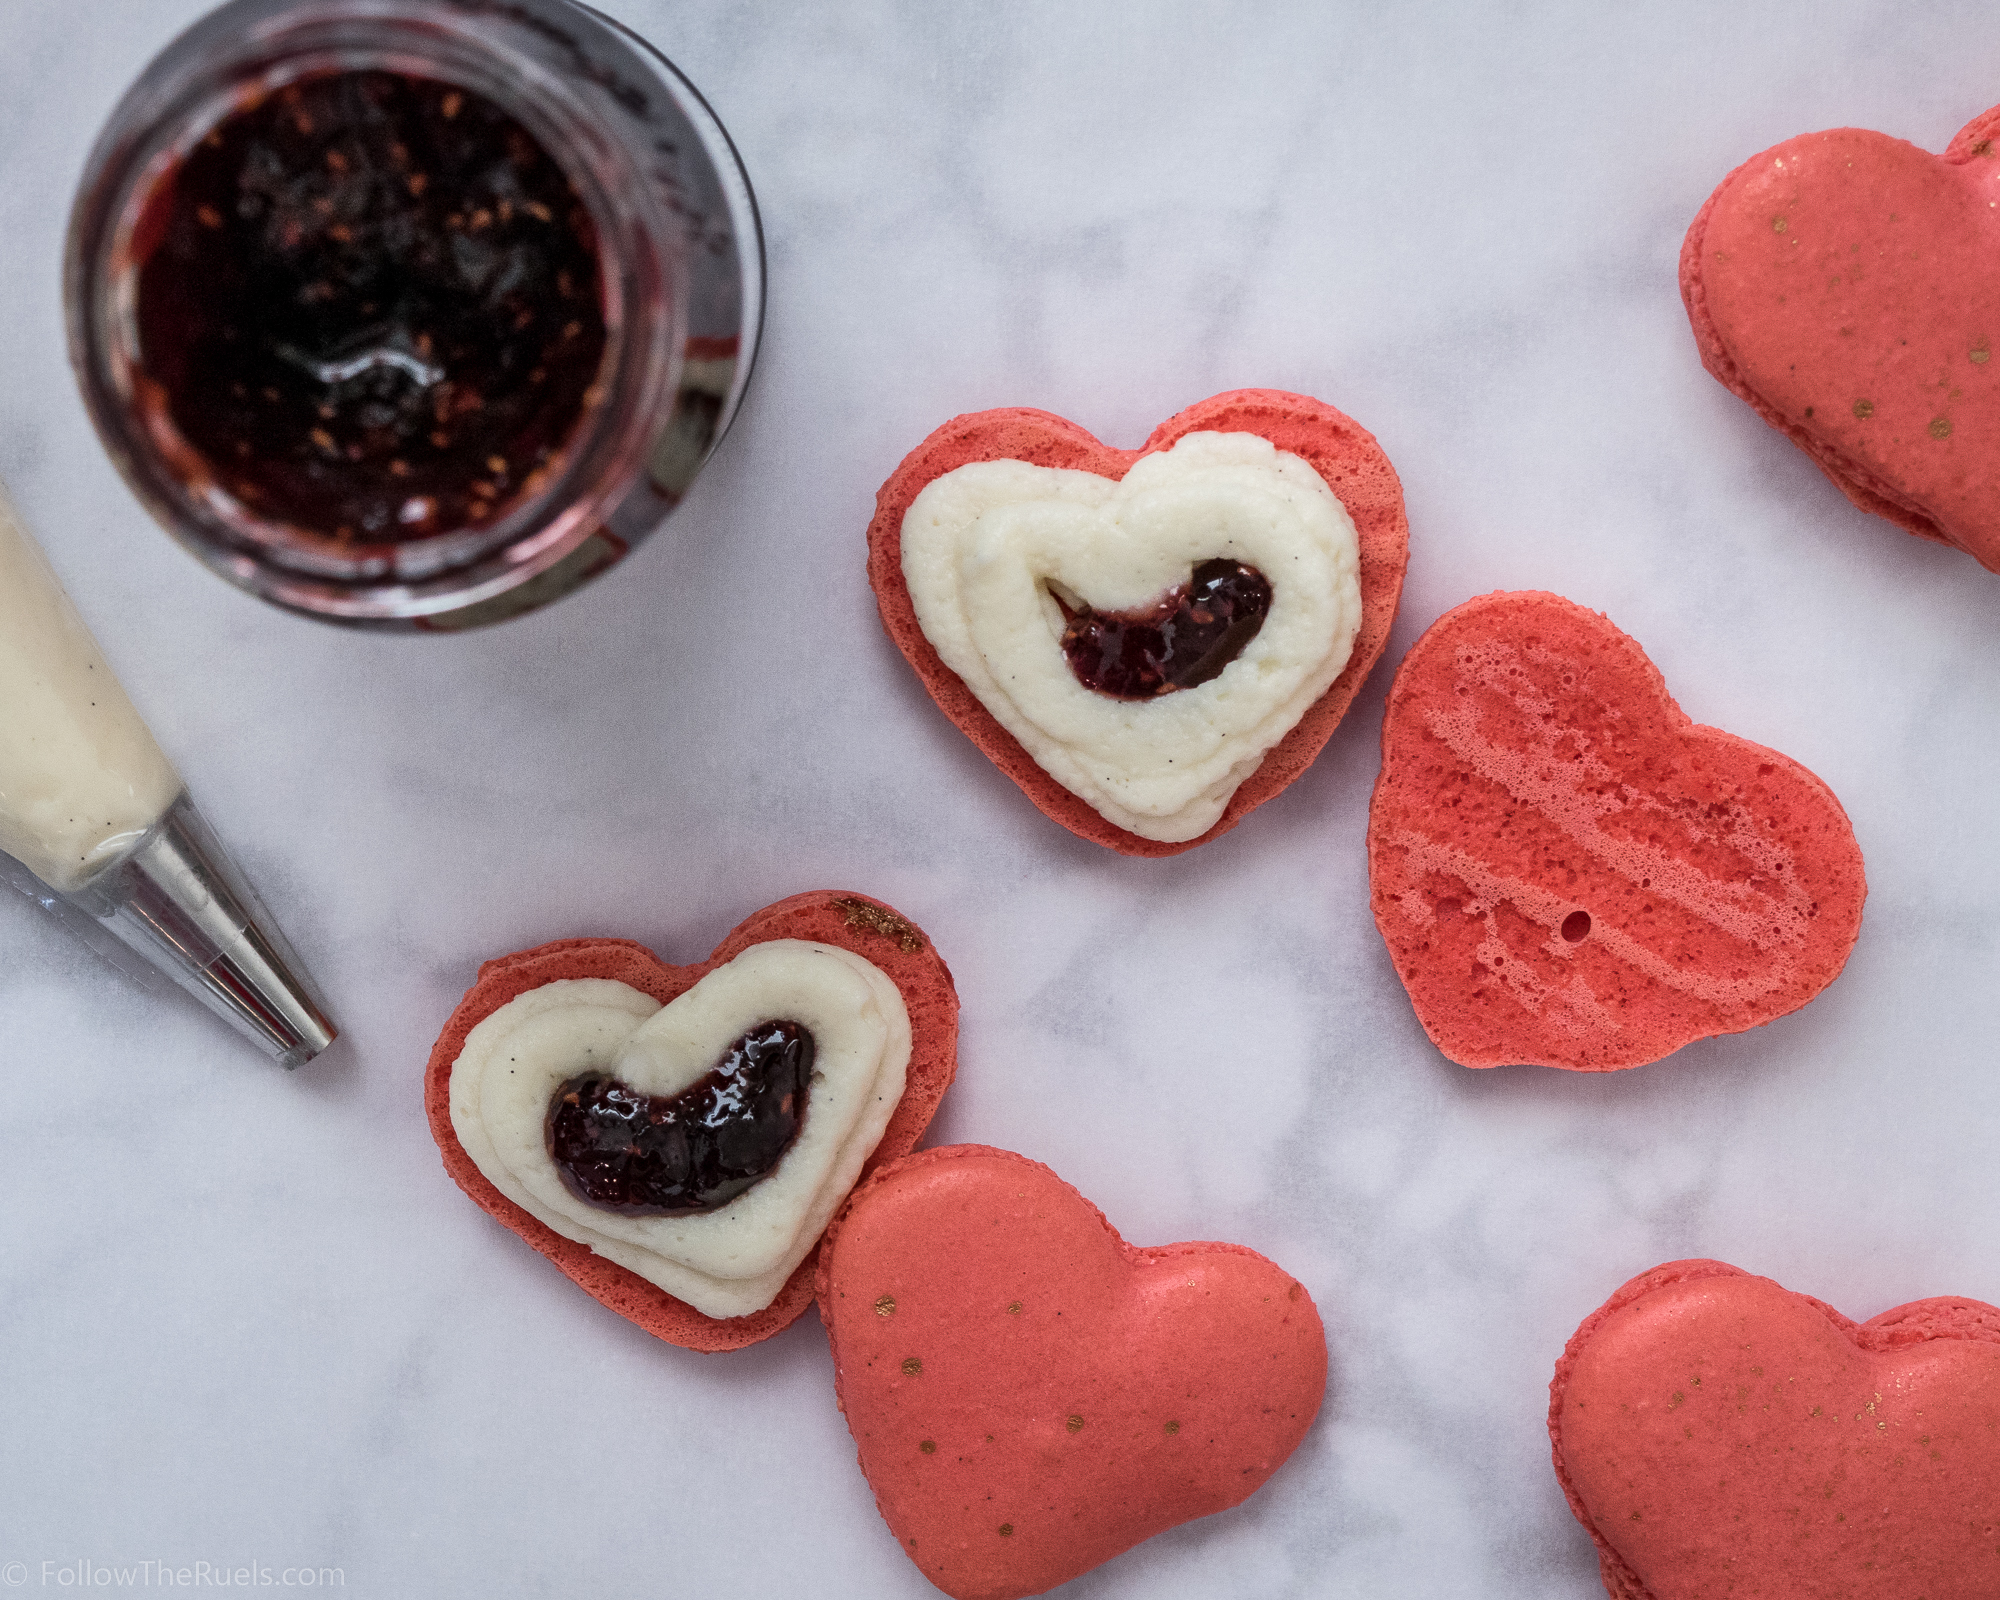
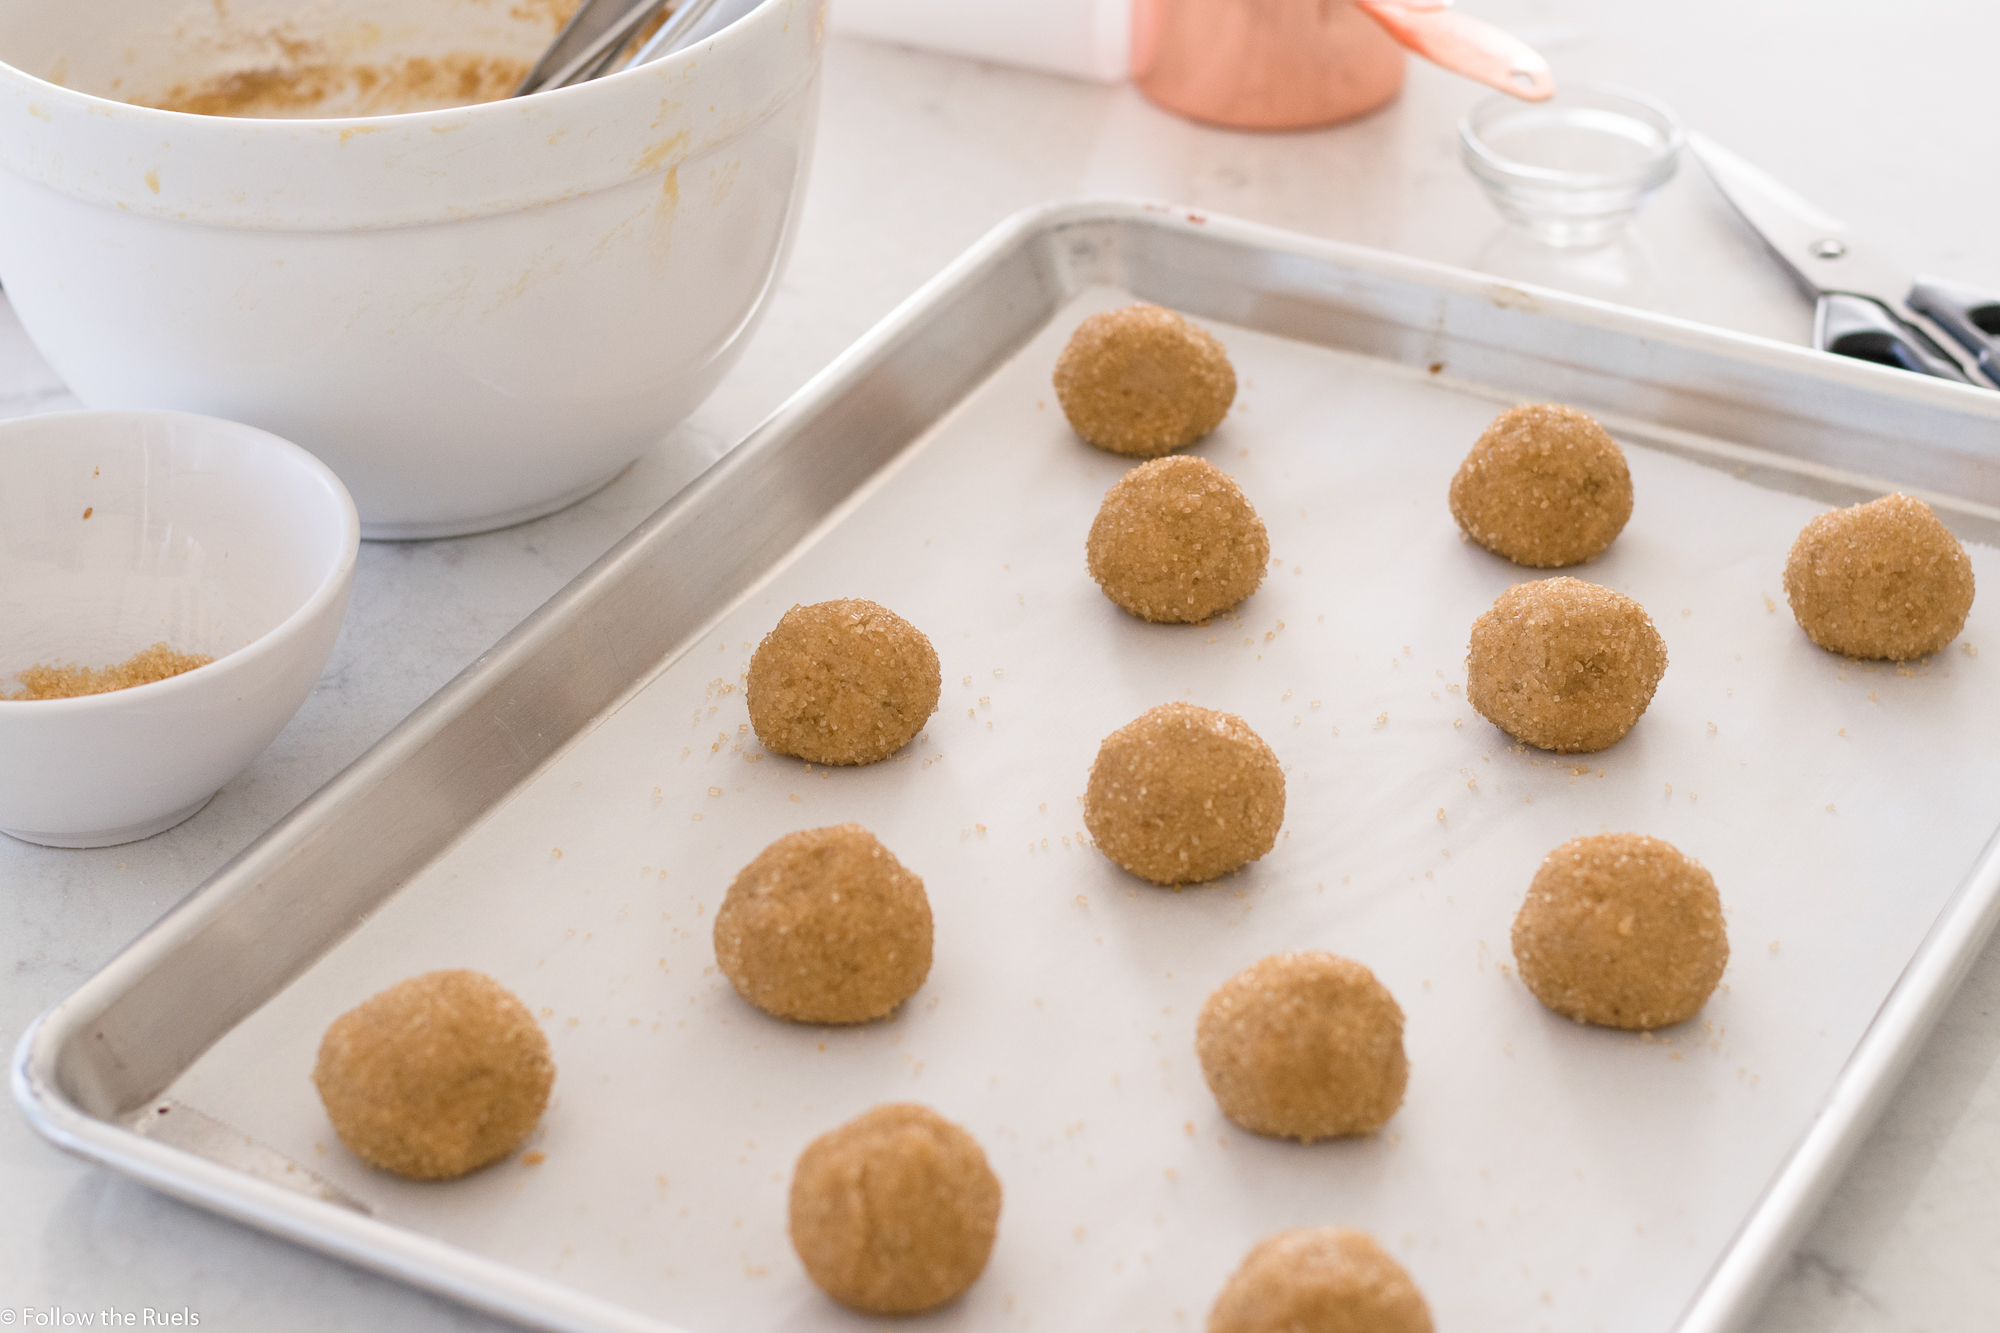
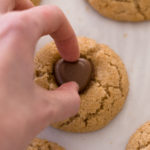
Once the cookies come out of the oven and had had a chance to cool, match them up to find a tip and a bottom that are of similar size. 

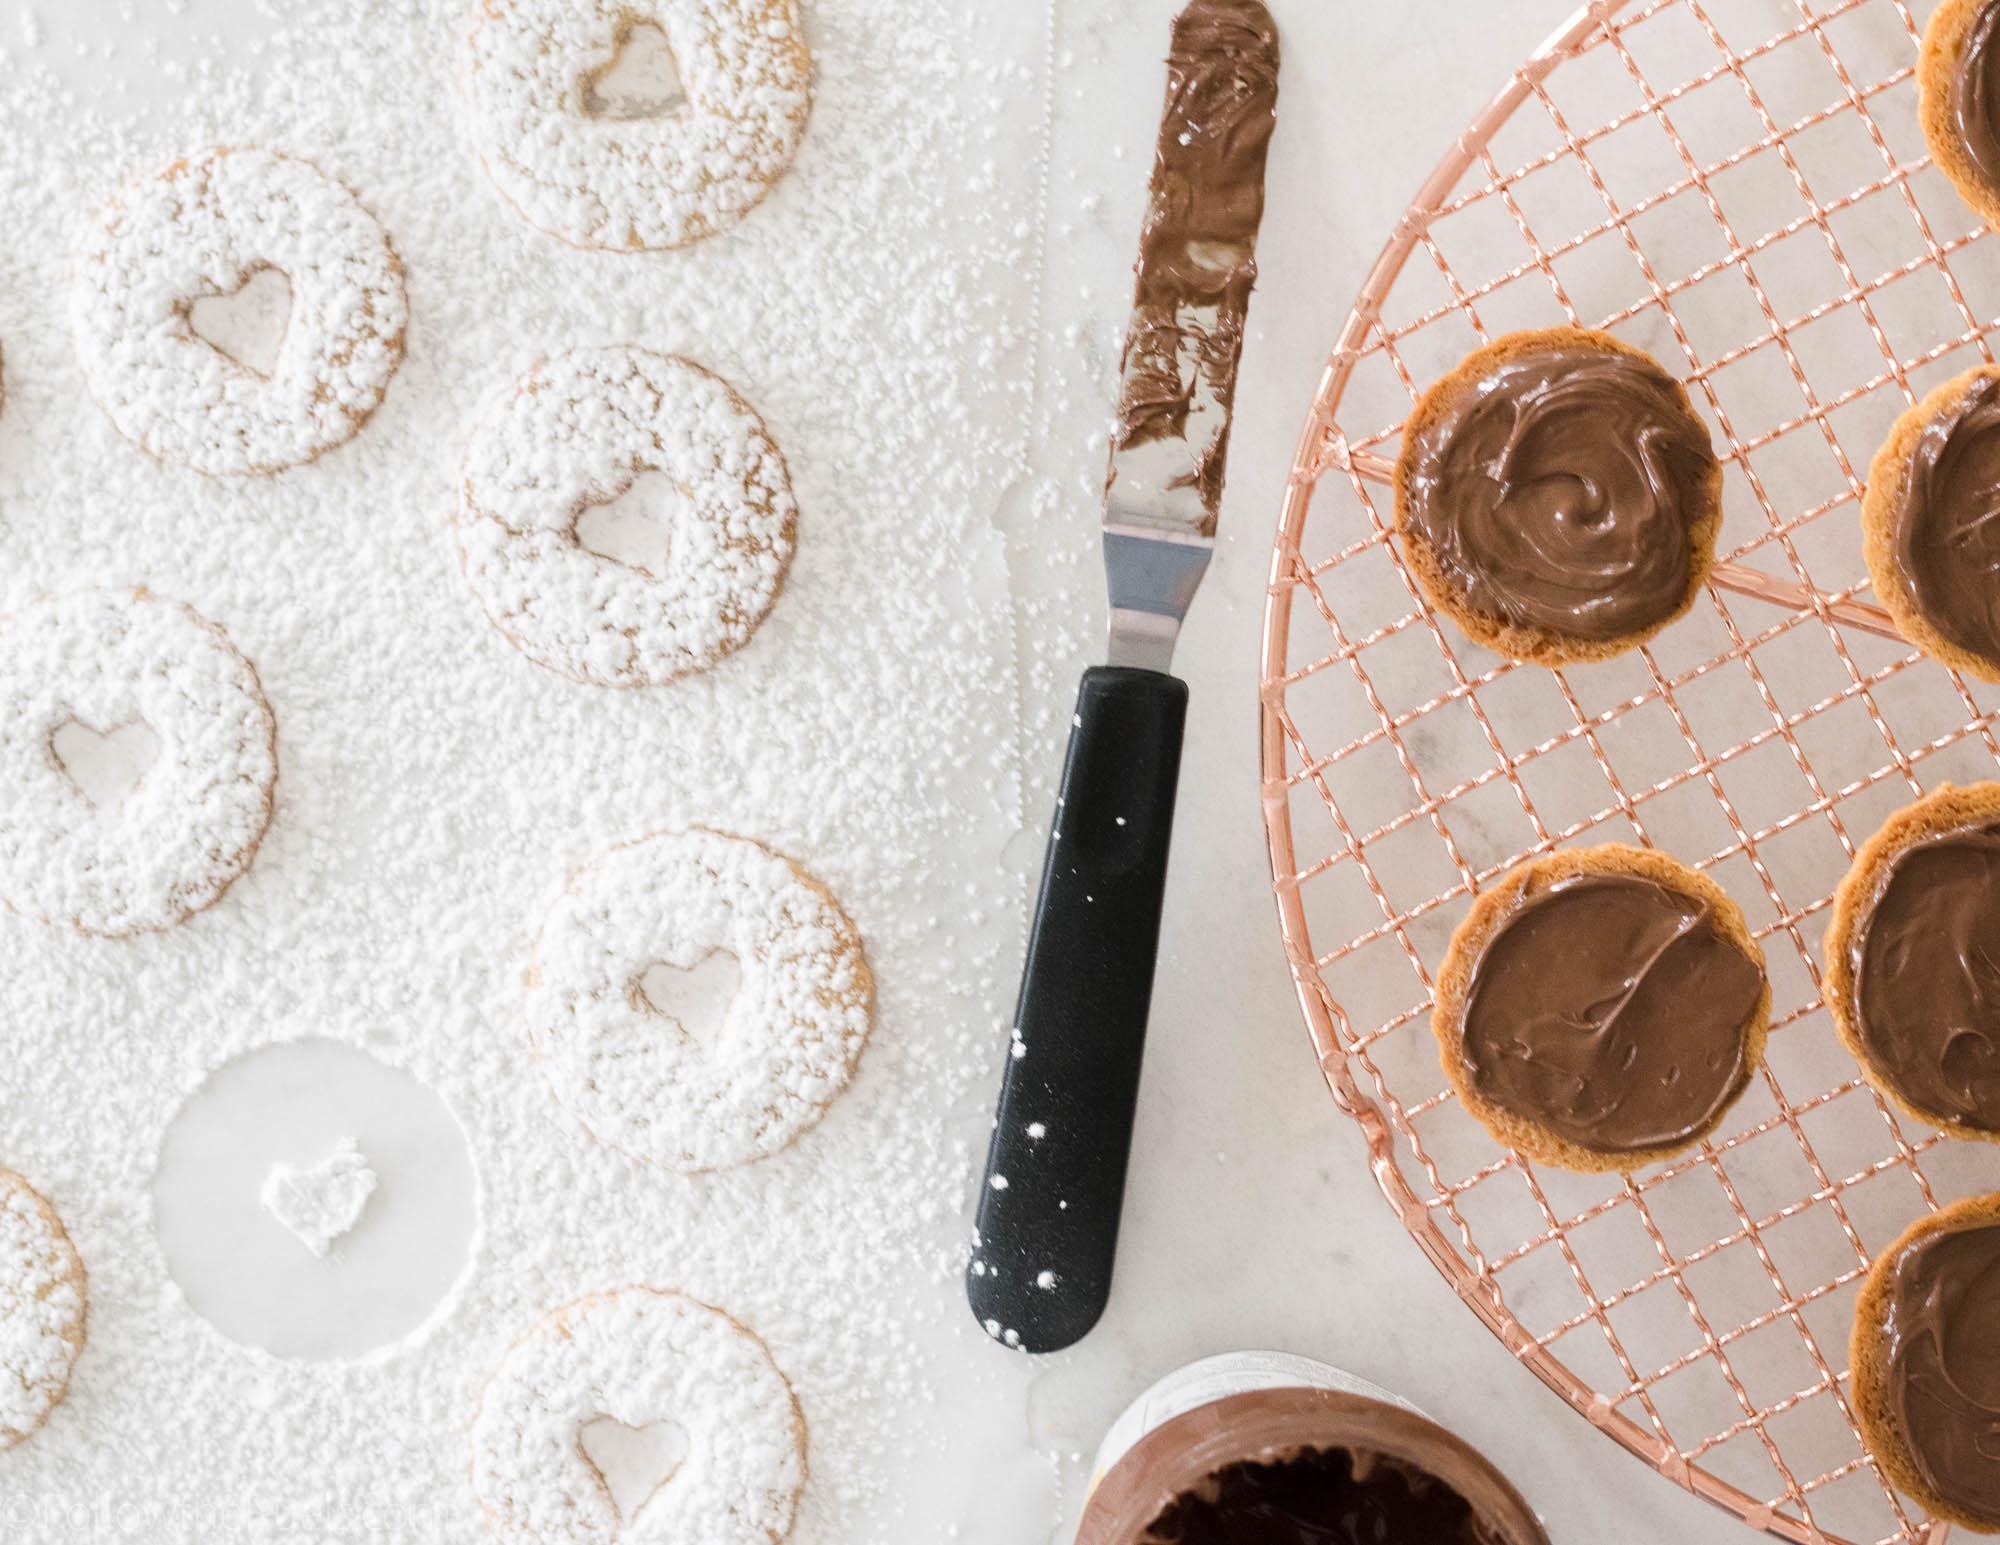
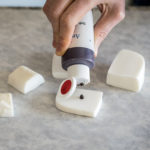
Dust confectioners sugar over the top cookie and spread the Nutella over the underside side of the bottom cookie. 

Finally, reunite the top cookies with the bottom cookies to create delicious Nutella Linzer cookies. 

[yumprint-recipe id=’158′]

/ Filed In: Cookies, Cookies New, Desserts, Eat
Tagged: chocolate, cut out cookies, hazelnut, Linzer cookies, Nutella, powdered sugar, Valentine's day

Love Letter Cookies

February 7, 2018

What is better than a love letter? An edible love letter!! Who wouldn’t want to get a sweet little love note that it completely made of sugar? 

I absolutely adore these cookies even though they are less than perfect. It’s those little imperfections that make them even cuter. I mean, if you look at a lined piece of paper, not all the lines are sharp or even. And neither is our handwriting (unless you are one of those amazing calligraphers, which I am most certainly not). 

Another thing to love about these cookies is that they are one of the easier cookies I have made in a while. It doesn’t really require a whole lot of technique to make the lined paper look. Then once they are dry, you can just write right on top. No fancy piping skills required!

Supplies Needed:

You will need some sugar cookies in any shape you would like, but I think a square or rectangle looks best for these little love note cookies.

Don’t forget the royal icing, which you will need in three colors: white, red, and blue (I used Sky Blue by Americolor). For both the outlining and filling I used flood consistency.

Since these cookies don’t require a lot of precision, I just used standard zip-top sandwich bags for the icing. While I love using these bags because they are cheap, easy, and the icing doesn’t flow out of the top, they do have their faults (watch all the way to the end of the video to see what I am talking about). 

You will also probably want to use either the rubber stamps, which I picked up at my local craft store or an edible food marker (also found at the craft store). I wanted to try out both the “typed” look and the handwritten look. I actually love both of them, so you may want to mix it up as well.


How to Make Them:

There is nothing better than a good old video to show you how I made them, right? 

What do you think? Do you think you could make these for Valentine’s Day? I am positive you can! Remember, the beauty is in the imperfections! 

 
[show_shopthepost_widget id=”3020905″]

/ Filed In: Cookies New, Decorated Cookies, Desserts, Eat
Tagged: cookies, edible marker, hearts, love, stamps, Valentine's day

Buttercream Flower Heart Cake

February 5, 2018

If you have followed this blog or my Instagram long enough, you know that I love a good floral pattern. Most of the time you will find me adding flowers to cookies. But that doesn’t mean they aren’t perfect for cakes, too. 

Especially this Valentine’s Day cake in the shape of a heart!

The great thing about this buttercream flower heart cake is that both the flowers and the heart shape of the cake are actually pretty easy to achieve if you have the right tools on hand. 

All you need is a round cake pan, a square cake pan, and a few piping tips. You got all that, right? 😉

Tools Needed:

Well, pretty much all you need is a couple of cake pans and some piping tips. Okay, and maybe a few other things like food coloring. 

For the cakes, my recommendation is to make sure your round cake pan is equal in size to your square pan, if not smaller. I.e. if you have a 9″ square pan, use a 9″ round cake pan, too. However, if you only have a 9″ square pan and a 8″ round pan, you can cut the edges of the square cake to make an 8″ cake (which is what I did). Does that make sense?

To make the various shades of pink and green I mixed together some of my Americolor gel food coloring:

  • Lightest pink color is a mixture of taupe and light pink
  • Medium shade of pink is just a couple drops of maroon
  • Darkest shade of pink is watermelon and coral red
  • Light green is avocado
  • Dark green is forest green

To create the flower and leaf shapes, I used the following piping tips:

  • For the roses I used a #2D and #1M piping tips
  • The dark green leaf was created with #366 tip
  • For the light green blobs I used a #32 tip

Most of these piping tips come in this piping tip set. 

How to Make It:

Start by baking a round cake and a square cake in the flavor of your choice.  You can even use your favorite boxed mix if you like! Level the cakes so that they are both flat and both the same height. 

Cut the round cake in half so that you have two equal pieces. 

Place the to half rounds along two of the edges of your square cake to form a heart shape. How easy was that!?

Cover the entire cake in a layer of plain frosting so that all the pieces of the heart are stuck together. This layer of frosting doesn’t need to be pretty because it will get covered up. 

Divide the rest of the icing up in to several smaller batches and colors them in various shades. 

To decorate the cake, start by making the large roses to fill in most of the empty space of the cake. Then go in and fill in some of the holes with the leaves. 

Add more flowers and leaves until you can no longer see any of the cake underneath. 

You could totally make this! And I didn’t even tell you the best part. 

To make this cake you don’t even have to make anything from scratch. You could make your favorite boxed cake mix and even used the canned frosting. While I would highly recommend making your own frosting (this is my favorite buttercream recipe and this is my favorite cream cheese frosting recipe), I know not everyone has the time or desire to make frosting from scratch.

Plus, there is something so nostalgic about store-bought cake mix and frosting out of a can, right?

Now you have no excuse but to make this for your sweetheart, your kids, your mom, your dog, yourself. Whoever your Valentine happens to be!


/ Filed In: Cakes and Cupcakes, Cakes New, Eat
Tagged: buttercream, cake, cake decorating, frosting, hearts, Valentine's day

Almond Butter Blossoms

January 29, 2018

Ever since I was a kid, I have been a whole-hearted peanut butter fan. I love the stuff and will eat it on just about anything. But as I have gotten older, I have grown very fond of almond butter. It is now my nut butter of choice.

Don’t tell the peanuts.

And I am certainly not the only one. For so many reasons, people are eschewing the pb for the ab. Especially those who have peanut allergies. Which is exactly who I made these cookies for. 

So many of my friends kids have peanut allergies now, I feel horrible that that can’t enjoy one of my favorite childhood cookies: the peanut butter blossom. Instead I made almond butter blossoms. 

And guess what. They are amazing! I haven’t done much baking with almond butter, but it works perfectly as a substitute for peanut butter and adds it’s own amazing yet subtle flavor. 

HOW TO MAKE THEM

Get out your flour, sugar, butter, eggs, and all those basic cookie ingredients. You will also need almond butter and honey. Yes, honey! I subtituted some of the sugar for honey which added an extra flavor that perfectly compliments the almond butter. 

If you don’t have any honey, just use plain old granulated sugar. 

First, cream together the butter, brown sugar, granulated sugar, and honey.

Then mix in the almond butter. Make sure it is good and mixed in before adding in the egg. 

Now it’s time to add the egg and vanilla. If you really want to ramp up the almond flavor, add 1/4 tsp almond extract. A little goes a long way, friends. 


Once the egg is mixed in, but not overly mixed, add in the flour, baking soda, and baking powder. If you are using unsalted almond butter, add a pinch of salt. 

Mix until it forms a stick but firm dough. 

Use a spoon or a small cookie scoop to form the dough into small 1 – 1 1/2 inch sized balls. Roll the balls in between the palms of your hands to form a smooth ball. 

Roll the ball in some sugar. I like to use turbinado sugar because it’s nice and coarse. But if you don’t happen to have that on hand (I wouldn’t expect you to),  just roll it around in some granulated sugar. 

Place the balls about 2 inches apart on a baking sheet and then pop in the oven to bake for 10 minutes, or so, until they are just barely golden brown on the bottom. 

While the cookies are in the oven start unwrapping whatever chocolate you plan to use for you cookies. Since Valentine’s Day is right around the coner, I use these Dove Chocolate Hearts. But you could, of course, use Hersey Kisses or any of your other favorite chocolates.


As soon as the cookies come out of the oven they will be nice and puffy and a little cracked on top. Immediately press your unwrapped chocolate into the center of the cookie so that the cookie puffs up around the chocolate. 

While there is nothing better than a cookie straight out of the oven, I would encourage you to wait to dig in, or serve, these cookies until they have cooled. The chocolate will start to melt from the hot cookie, so once the cookie cools the chocolate will start to come back to it’s original state. 

Then it’s ready to eat!

Even after they have cooled, the cookies are super soft but have a little crunch on the outside thanks to that sugar.

The almond butter and honey flavors are subtle but wonderful! 

These cookies are perfect for just about anyone, regardless of their love for almond butter. Even those who are loyal to peanut butter will love these cookies!

[yumprint-recipe id=’155′] 

/ Filed In: Cookies, Cookies New, Eat
Tagged: almond butter, chocolate, cookies, honey, Valentine's day

Classic Red Velvet Cupcakes (made without Food Coloring)

February 13, 2017

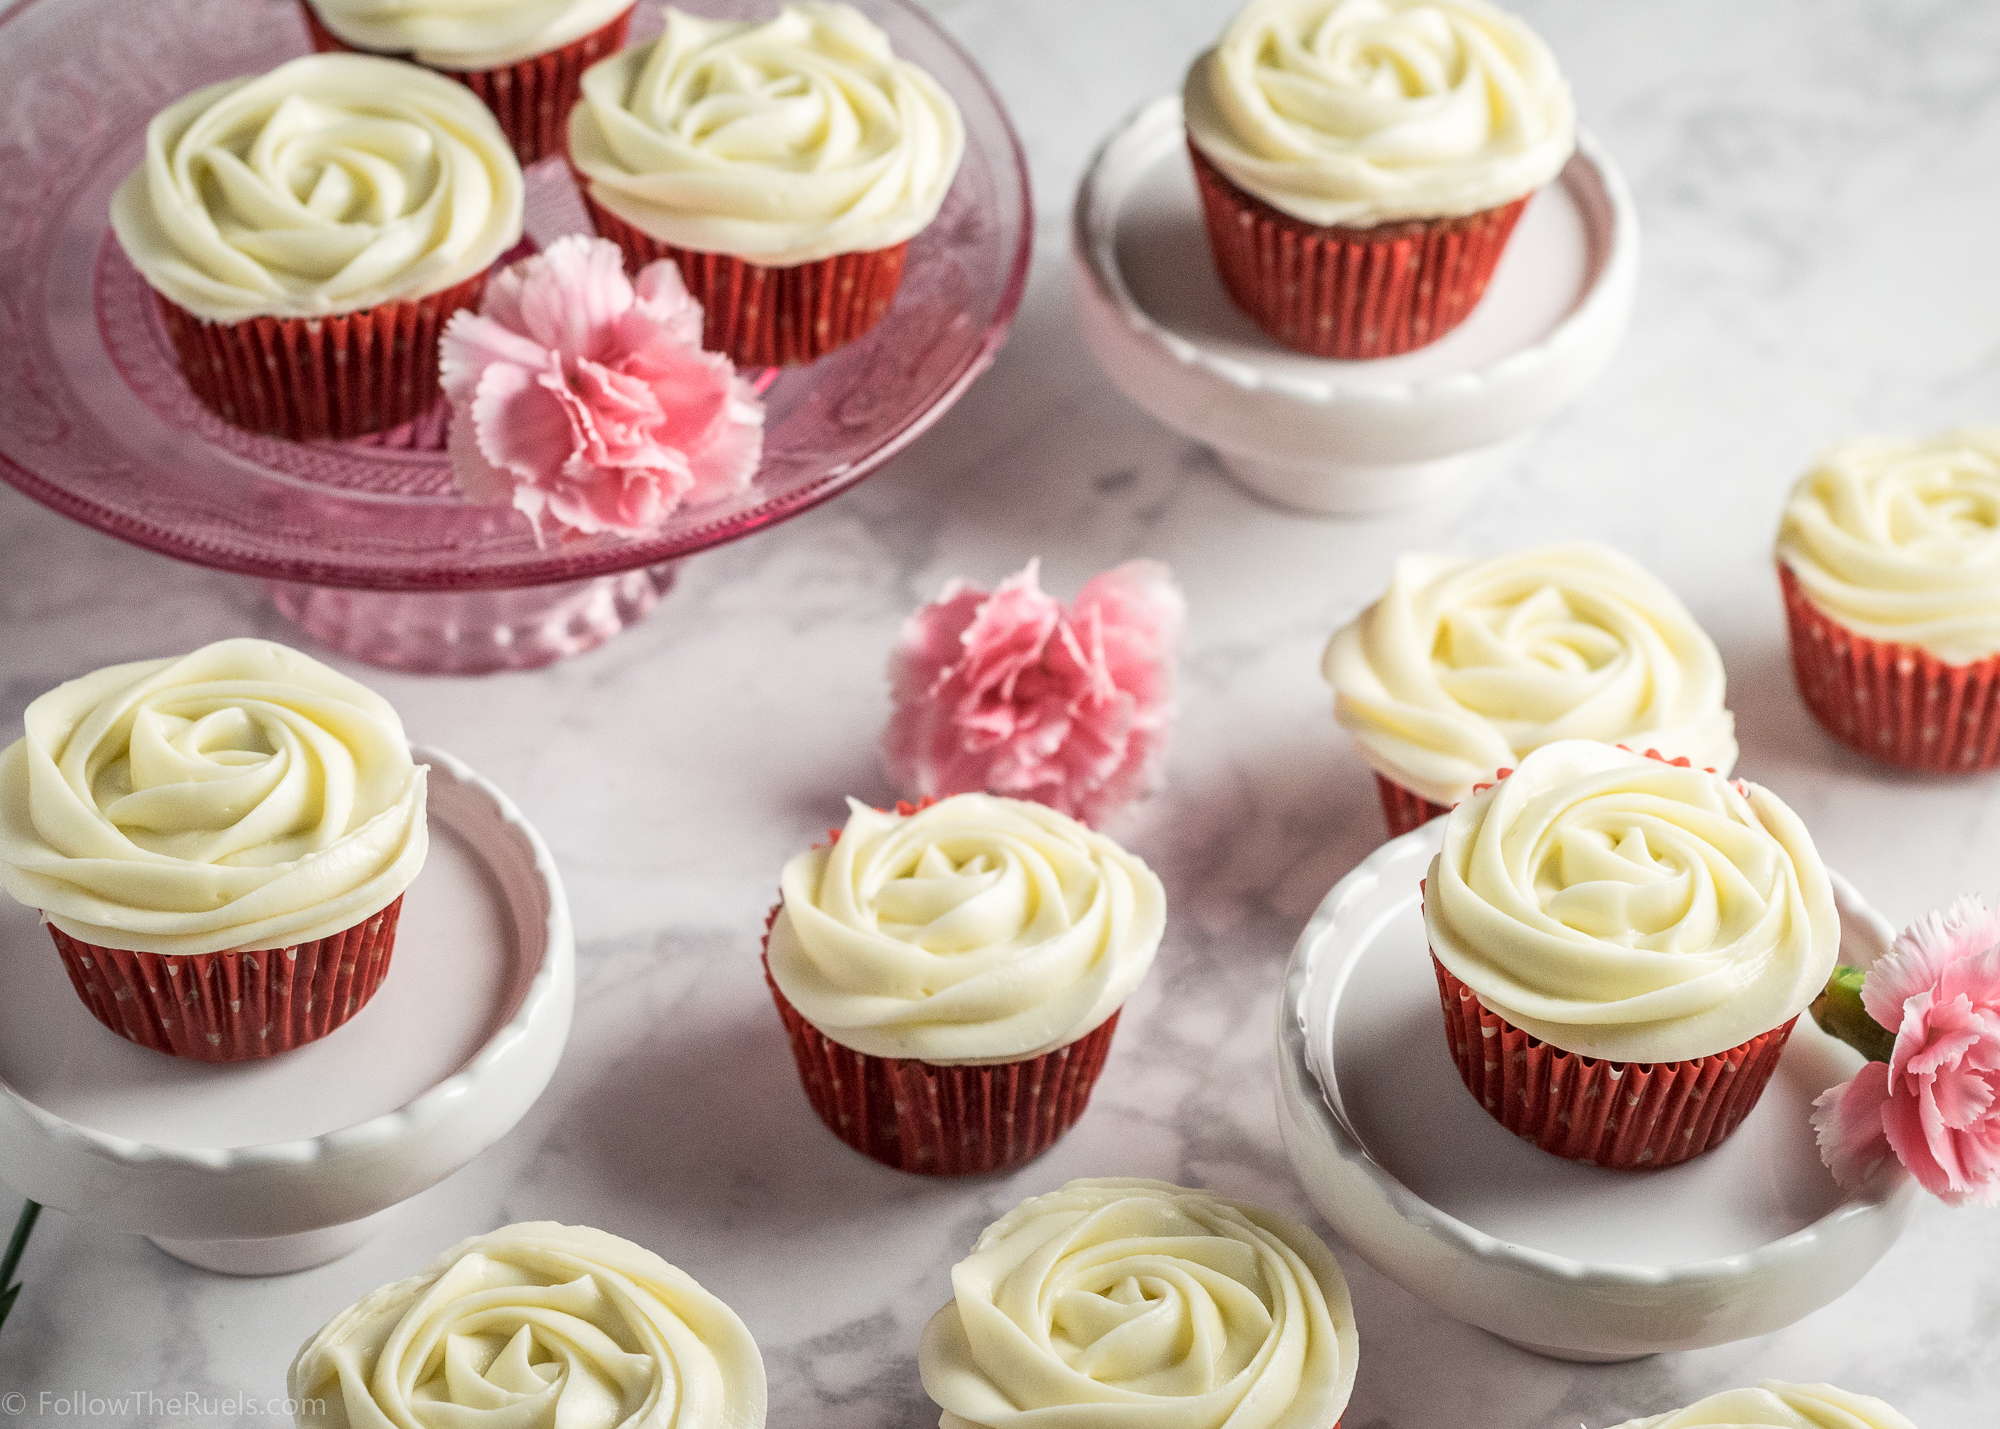
My very first experience with Red Velvet cake was watching Steel Magnolias as a kid. Not sure why, but that experience didn’t really inspire me to try red velvet cake for myself (maybe something to do with the Armadillo shape to the cake). It would take another 10+ years and a move to the South for me to have my first bite of red velvet. 

And I have been hooked ever since. I have experimented with several recipes over the years trying to find the ultimate recipe for red velvet cupcakes. 

But there is something a little bit different about my red velvet cupcakes. Beet juice. Yes friends, my secret ingredient is beet juice. Well, it’s not that big of a secret. A couple of decades ago, just about every red velvet recipe called for beets to give the cake that redish hue. Nowadays, we just dump a whole bottle of red food coloring into the batter and call it day.  

But aren’t you kind of sick of using excessive amounts of food coloring? I think it says a lot that the girl that owns no less than 75 bottles of food coloring is telling you not to use food coloring. But I promise, you will feel so much better about eating these cupcakes knowing that they are pretty much au naturale. 

Just like any other red velvet recipe, this one combines flour with a touch of cocoa powder and buttermilk to get it that moist velvety texture. 

Then to put the red in red velvet I used Mother Nature’s very own food coloring. I actually found some beet juice in the juice aisle of my local grocery store. But I wanted to have a much more concentrated color pay-off without adding too much moisture. So I decided to reduce it on the stove. I poured half a cup of the juice into a sauce pan and let it simmer on the stove for a few minutes until it had reduced by half, resulting in 1/4 cup of some thick beet juice. 

I know that seems like a little bit more work than your typical cupcake recipe. But look at how great that batter looks? It’s nice and red, but not artificially so. You know, it’s not that bright stop-sign red. 


Once they are baked, they are wonderfully moist and delicious! There is absolutely no sign of beets anywhere in these cupcakes except in color. There is a subtle chocolate flavor, but it’s not too heavy or rich. 

And of course I topped off my red velvet cupcakes with my favorite cream cheese frosting. Because in my opinion it’s the cream cheese frosting that really makes a red velvet cupcake so good. 

While red velvet is definitely appropriate for Valentine’s Day, I think of red velvet being in season year round. It’s a perfect cake for Summer, since it’s not as rich and heavy as chocolate cake can be. It also seems like a perfect choice for Christmas paired with some green sprinkles or something festive. But please, whatever you do, don’t turn it into an armadillo cake like they did in Steel Magnolias. Nobody wants that. 

[amd-yrecipe-recipe:128]

/ Filed In: Cakes and Cupcakes, Cakes New, Desserts, Eat
Tagged: cake, chocolate, cupcakes, dessert, red velvet, Valentine's day, video

Easy Marbled Fondant Valentine’s Day Cookies

February 10, 2017

We are only a few short days away from Valentine’s Day my friends. Which means I am trying my hardest to get in all my Valentine’s Day posts! One post that I have been meaning to share for a while, but kept getting pushed to the back burner, is these SUPER EASY Fondant Valentine’s Day cookies. 

I stress the SUPER EASY because they are just that. If you have ever played with Play-Doh as a kid, then you know everything you need to know to recreate this marbled effect. 

The reason I love working with fondant so much is that it doesn’t require any icing. Don’t get me wrong. I love working with royal icing. But making up all the icing and decorating each cookie is time consuming. Sometimes you just want to do something simple and easy. You know what I mean?

Also fondant doesn’t require any special skills or equipment. All you need is fondant, a rolling pin, and cookie cutters. The last two I assume you already have if you are making cookies. But if not, you could sub the rolling pin for a wine bottle (I know you have one of those lying around!) and a drinking glass for a cookie cutter.


So to get the marbled affect I first divided my fondant into different pieces and colored them all with various shades of red. To dye the fondant, I added a drop or two to the fondant, then stretched and folded the fondant on top of itself. I would highly recommend wearing food safe gloves for this, if you have them, so your hands don’t turn bright red.

After all my pieces of fondant were various shades of red, I rolled them into ropes and stacked all them together to form one multicolored piece of fondant. From this point on I just kind of haphazardly folded and stretched the fondant (just like I did when I was coloring it), in different directions, until I was happy with the effect. 


Note: the more folding you do, the more the colors will blend together. Eventually, it will just turn into one color, so stop before you over do it.

Once I liked how my fondant was looking, I rolled it out into a really thin sheet. If you have a fondant roller and/or rolling pin bands I would recommend rolling it as thin they will allow. Most people aren’t huge fans of fondant because it can be a little gummy. But if its rolled really thinly, hardly anyone will notice!


After it’s all rolled out I cut it with the same cookie cutter that I used to cut out my cookies. Then I brush one side of the fondant with water and stick that to the cookie. I use my fingers to rub out any lumps or bumps. I also like to run my fingers around the cut edge to make sure that it’s nice and smooth. 

And….that’s it! Now tell me that’s not easy. I dare you!

If you make these for Valentine’s Day I can almost guarantee that people will be impressed with your cookie decorating skills. You don’t need to tell them that a 5 year old could make them. That little secret can stay between us. 

Happy Valentine’s Day!

[amd-yrecipe-recipe:127]

ITEMS USED IN THIS POST

[show_shopthepost_widget id=”2413095″]

/ Filed In: Cookies New, Decorated Cookies, Eat
Tagged: cookie decorating, cookies, fondnt, Valentine's day

Rustic Floral Valentine’s Day Cookies

February 6, 2017

It’s been a while since I have decorated a cookies. Actually, it’s only been about an hour. But at the time of making these rustic Valentine’s Day cookies, it had been a while. After the cookie-decorating marathon that is Christmas, I had to take a break. But what better occassion than Valentine’s Day to get back into the cookie decorating game. 

I also used the opportunity to teach myself how to create the wood effect. I have seen a bunch of amazing cookies on Pinterest and I knew it would be a fun thing to try for Valentine’s Day! The best part was that it was a lot easier than I expected. 

But since a cookie that looks like tree bark isn’t very romantic, I added some flowers. And to put it over the top, I carved my husband’s and my initials into it! So cute, right?

Wanna see how I did it?!

I loved the mixture of the wood and the flowers. I actually loved the carved initials cookie so much that I still have it! I put it in bag and it’s sitting on my desk. 

I also loved these cookie so much, I taught this technique in my last cookie decorating class. I think people really liked them, especially the flowers! It’s amazing what a difference piping tips can make.

If you want to make these at home, here are some things you will need:

  • 1 stiff bristled brush
  • toothpick or scribe tool
  • piping tips #18, #20, #224
  • 2 colors of brown piping consistency icing (you don’t want it to thick, or else you won’t be able to spread it very well, but also not to thin that it won’t hold texture)
  • 2-3 colors of pink stiff consistency icing 
  • 1-2 colors of green stiff consistency icing

If you try these cookies, I would love to see what you create! 

As always, I used my favorite sugar cookie recipe (although these would be great with my chocolate sugar cookie, too!) and royal icing recipe. 

PIN NOW, MAKE LATER

PRODUCTS USED:
[show_shopthepost_widget id=”2436432″]


/ Filed In: Cookies New, Decorated Cookies, Eat
Tagged: cookie decorating, cookies, floral, royal icing, sugar cookies, Valentine's day, video

Heart Shaped Macarons (Italian Meringue Method)

February 3, 2017

Did you know there is more than one method for making macarons!? Up until very recently, I had no idea! Apparently there are several methods. The one that I have posted about before, the French method, is the traditional method. But there is also an Italian meringue method and a small batch method (more on this later). 

Even though I have had more success with the Laduree macaron recipe, they can still be hit or miss. Which is why I have been eager to try the Italian method for my Valentine’s Day-themed heart shaped macarons!

The ingredients for the Italian method are largely the same as the French: almond flour, confectioner’s sugar, egg whites, and granulated sugar. This method requires making a sugar syrup with the granulated sugar and a bit of water. 

First, I sifted together the almond meal and the confectioners sugar. 

Then, instead of whisking all of the egg whites into a meringue, I mixed half of the egg whites into the almond/sugar mixture to create an almond paste. 

Which also seemed like a good time to add in some food coloring. 


The next big difference to this recipe is meringue. With the French method, you just whip up the meringue with a bit of granulated sugar. The problem is that this meringue is very fragile and if you over or under mix the batter, you can completely ruin the cookie.

For the Italian method, you an Italian meringue by drizzling a hot sugar syrup into egg whites that were already been whisked into soft peeks. 

Once my meringue was back to room temperature, I mixed it into the almond paste. I was very skeptical that my macarons would turn out okay considering how much I had to mix the batter. It will feel like you killing the meringue, but since it’s an Italian meringue, it was much sturdier and held up to the mixing.

I knew the batter was completely mixed when I had no more lumps of the almond paste and the batter just fell off the back of my spatula in a steady ribbon. 


And since these macarons are for Valentine’s Day, of course I had to make them into hearts! I outlined a heart shape onto the back of the parchment paper, then used that as a guide to pipe my macarons. I basically pipped a ‘V’ shape, putting more pressure on the piping at the top of the ‘V’, and less at the point. I also used a toothpick to help fill in the shape and make the point even pointier. 

I also wanted to add a little something extra to these macarons, so I spattered them with some edible gold paint. It’s one of my favorite decorating techniques because all I do is dip the brush in the paint and shake it over the cookies. No skill required!

When it comes to filling, macarons can be filled with really anything. I love filling them with Nutella or chocolate ganache. But since this if Valentine’s Day, I decided to go with a raspberry cheesecake filling! Which is essentially my cream cheese frosting and a dollop of raspberry preserves. 

I will say, I am a big fan of this method. It worked out wonderfully and every macaron came out perfectly! That may seem like I have low expectations, and that’s because I do.

If you have ever tried making macarons at home, you know that sometimes they work, sometimes, they don’t. And sometimes the first macarons piped out turn out fine, while the ones at the end do not. So yes, I value consistency when it comes to my macaron recipes!

My only gripe is that it takes significantly more time and is a bit more cumbersome than the already cumbersome French method. If you plan on making lots of macarons, this is the method for you! 

And at the very least, you will have some very delicious macaons to reward you for all your extra effort!

[amd-yrecipe-recipe:124]


/ Filed In: Cookies, Cookies New, Desserts, Eat
Tagged: cream cheese frosting, macarons, meringue, pink, raspberry, Valentine's day

Personal Gift Ideas for Everyone

February 10, 2016

Dipped Lace Heart Necklace

Dipped Lace Heart Necklace

If you thought January first marked the end of the gift giving season, think again. We have Valentines Day right around the corner. Then Mother’s Day and Father’s Day right after that. And what about all those friends getting married, buying a new home, having babies? There’s a lot of gift giving left, my friends. 

My favorite kinds of gifts to give, especially as wedding gifts or to celebrate a new baby, are those that are personal and show the person how much they mean to me. Something that they couldn’t get just anywhere. 

Lately, I’ve had a lot of friends have babies and my favorite thing to give the new mom is a beautiful necklace that holds some meaning. Uncommon Goods has a lot of unique, hand made jewelry pieces that would be great for anyone. They also have a lot of other unique gifts to give for any occasion. Here are some of my favorites:

Personalized Gift Ideas

  1. I am sort of obsessed with lockets. If I had a child, or even a dog, I would definitely be wearing their picture in this locket. I think they are so sweet and would make a wonderful gift for a new mom, grandmother, or yourself!
  2. Another one of my favorite gifts to give my new-mom friends is something that has their baby’s name on it. This necklace is so subtle that only the wearer knows the true meaning. The necklace has beads on it in a Morse code to represent the name of your choice. Here are other delicate necklace options. 
  3. For the person or couple that loves to travel, why not get them this personalized map. The best part about this map is that it is mounted on cork board so that they can use push pins to mark all the places they have been! This seriously may be my new go-to wedding gift for my friends!
  4. I love the idea of getting something for new parents to hang in their nursery like this birth announcement. I know I had a birth announcement as a baby, but it’s probably tucked away in some box. Why not display it proudly so that the parents always remember that special day. 
  5. Now this necklace is a gift for any mom! What a beautiful way to show off the whole family, with all the kids birthstones. Birthstone necklaces are some of my favorite, but if you aren’t a fan of your birthstone, there are some other beautiful necklace options. 
  6. These cuff links have to be my favorite gift idea (maybe ever)! It would be prefect for either a wedding or anniversary gift for your husband or husband-to-be (or even father of the bride!). Most of us get our wedding dresses altered so there will be some extra dress fabric to spare. Use that extra fabric to put into cuff links for your man to wear on the wedding day, or just for all those special occasions after. 
  7. These mugs are the cutest gift for just about any occasion – Valentine’s, Mothers, Fathers, Labor Day…whatever! Every family member gets their own mug with a cute caricature of themselves on it. No more fighting over the mugs. 
  8. If you and your significant other have a special place, memorialize the cross streets with this print! The would be a great Valentine’s Day gift or 1st Anniversary gift (the traditional gift is paper). 

There are so many other amazing personal gifts that would be perfect for your significant other, newlyweds, new parents, or family members at Uncommon Goods. This cutting board would be a great wedding shower gift. This necklace looks like initials carved into a tree and would be perfect for your girlfriend or wife. Here is another great birthstone necklace for a mom or grandma. We also have a few friends who have either gotten these custom whiskey barrels to use for their wedding ceremony or to give for the wooden anniversary. 

Thanks to Uncommon Goods for sponsoring this post. Words and opinions are my own. 

/ Filed In: Life, Wear
Tagged: gifts, Mother's Day, personal, Valentine's day

Valentine’s Day Heart Cookies

February 8, 2016

Hearts-Cookies-3title

Valentine’s Day was one of my favorite holidays as a kid! In elementary school we would all design a box or bag to attach to our desk, then we would all pass around those store-bought Valentine’s Day cards and candies. Sometimes, those kids with the super creative parents would even bring in homemade cards, which were the best!

I wish we could still do that as adults. I would love to walk around my office and hand out cards and cookies to all of my coworkers. Then I could spend the afternoon reading the corny cards, eating candy, and not working. 

Hearts Cookies-5


Even though I won’t be handing out Valentine’s Day cards, I will still be bringing in some Valentine’s Day treats for all my coworkers. Like these cute heart cookies, which were 100% inspired by this Pin. The original picture looks like they were made with chocolate and sugar cookie dough, but I wanted them to be more festive, so I made mine with pink and purple dough instead. 

Heart Cookies-1

To get the little hearts within the big hearts, I first cut out small hearts in the pink dough. I then stuck the hearts on a small plate and put them in the freezer. Trust me, this makes the next step a lot easier. 

Heart Cookies-2

I then cut out the same size heart in the purple dough and stuck the pink hearts in the void. 

Heart Cookies-3

Once all the hearts are filled in, I cut out larger hearts, making sure to get some whole hearts inside. Naturally, you will have some dough left over after you cut out the hearts. Make sure to separate the pink dough from the purple dough so that you can reuse it. 

Heart Cookies-4

Then just bake as normal! So easy, right? Sometimes decorating cookies can be very time consuming – making the icing, coloring the icing, decorating, then waiting for the icing to dry – it’s a lot. These are a great alternative to decorated cookies but look just as nice, don’t you think?

Hearts Cookies-1

[yumprint-recipe id=’101′]

/ Filed In: Cookies New, Decorated Cookies, Desserts, Eat
Tagged: hearts, sugar cookie, Valentine's day

Follow

Hey There!

Hey there, I'm Lindsey. I'm a number cruncher by day and a home cook and baker by night. While I love to eat healthy and find fresh and healthy alternatives for my favorite foods, I will never turn down dessert! Life is all about moderation, right?

Recipes

  • All Recipes
  • Breakfast
  • Appetizers
  • Salads
  • Main Dishes
  • Side Dishes
  • Desserts
  • Drinks

Favorite Finds

[show_lookbook_widget id=”388783″]

Theme by 17th Avenue · Powered by WordPress & Genesis