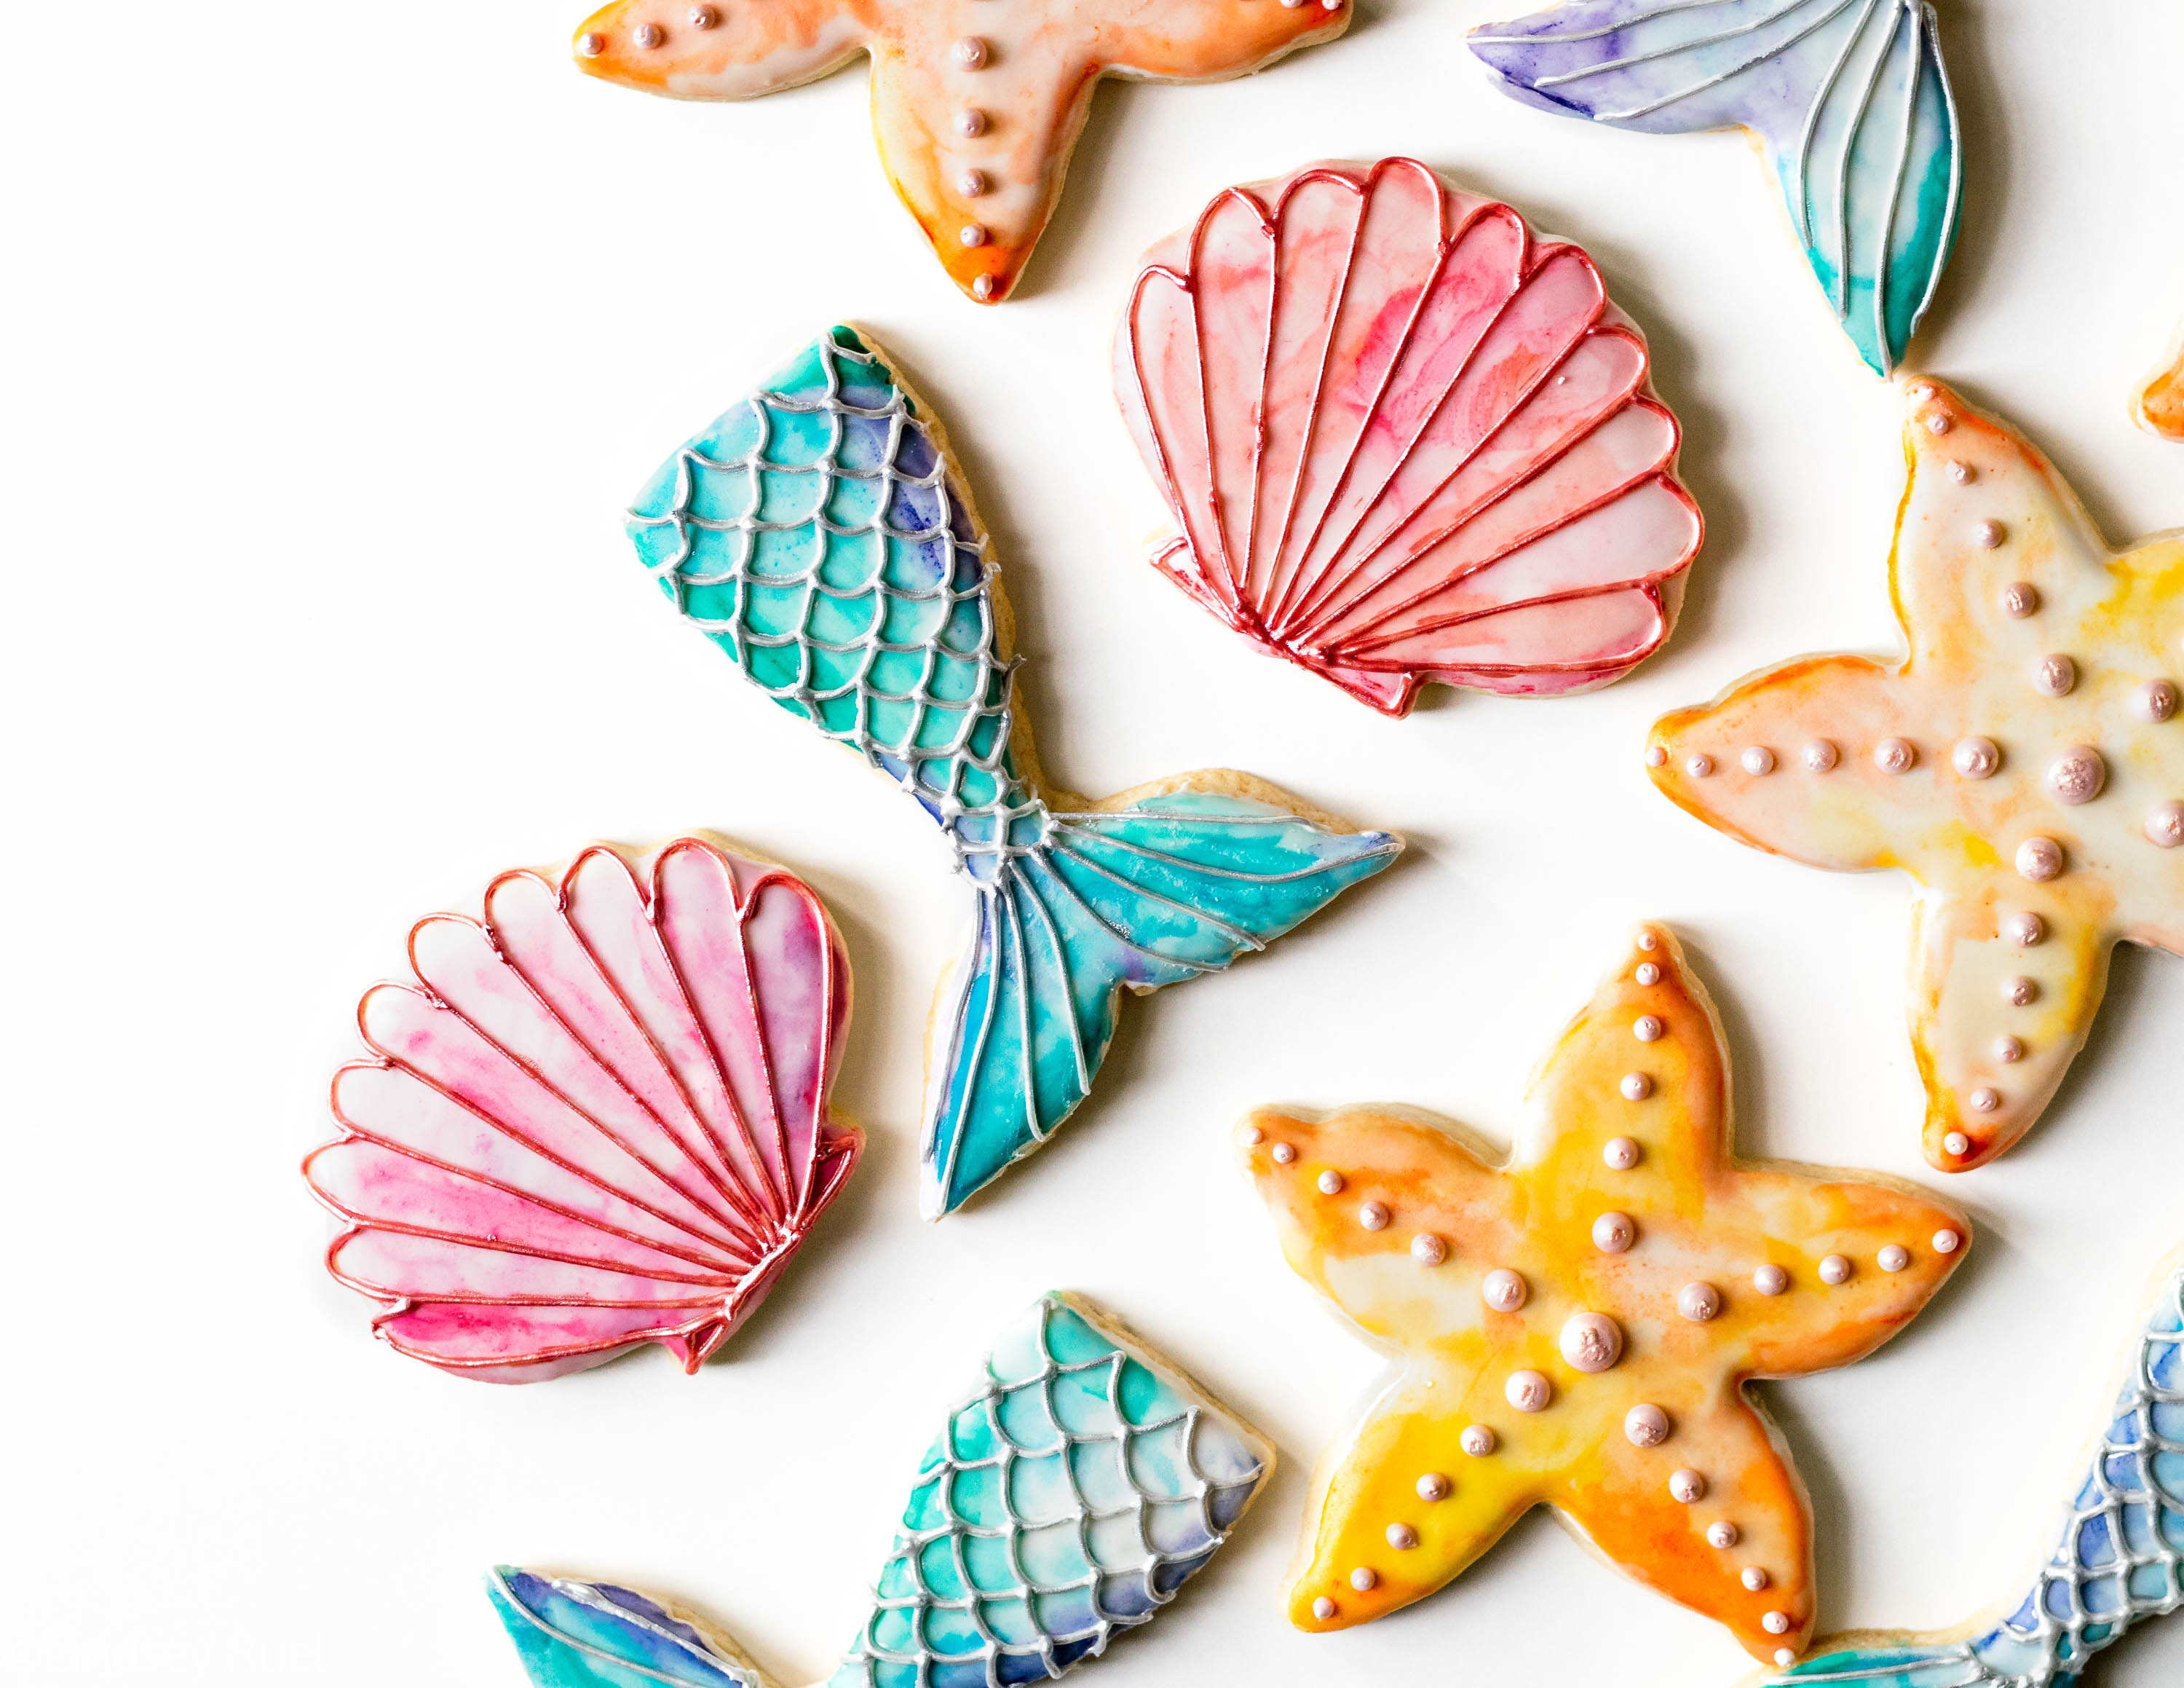
I have been dying to make some cookies that combined both watercolor and metallic details. Various ideas floated around in my head. It wasn’t until I was organizing my cookie cutters and came across these long-lost seashell and starfish cookie cutters that I had never used that it hit me! All at once I had the idea to make these beautiful watercolor seaside cookies.
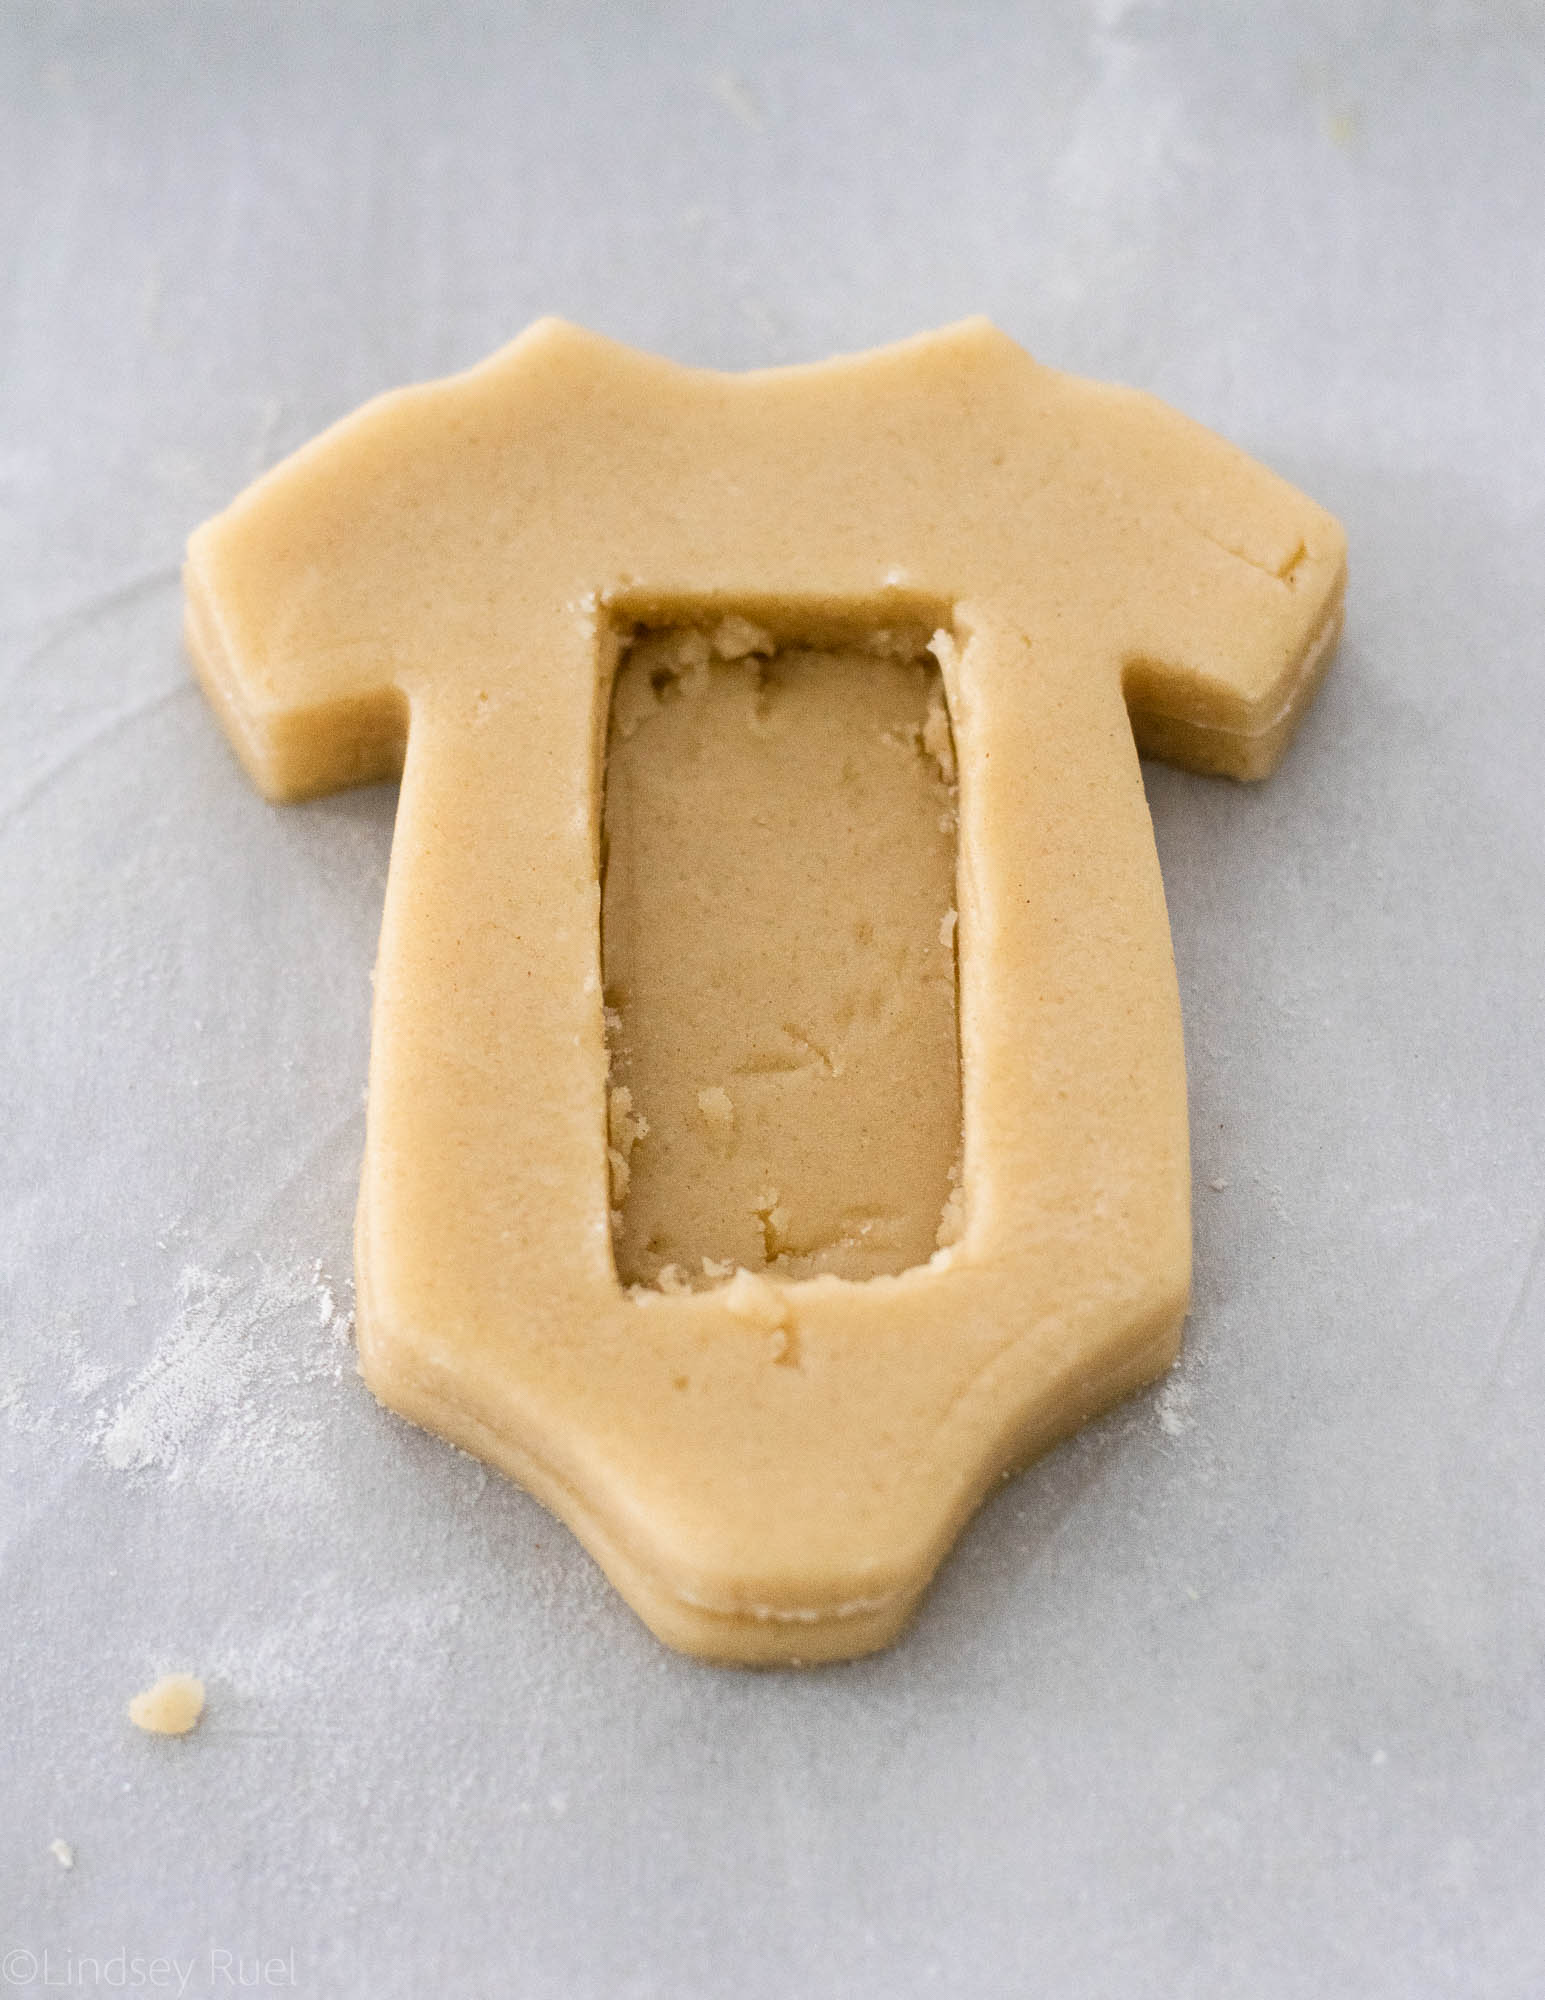
But the set didn’t seem complete without a mermaid tail. Sadly, I didn’t have my own mermaid tail cookie cutter and was too impatient to order one. So I improvised! I printed out a mermaid tail shape and cut the dough around it.
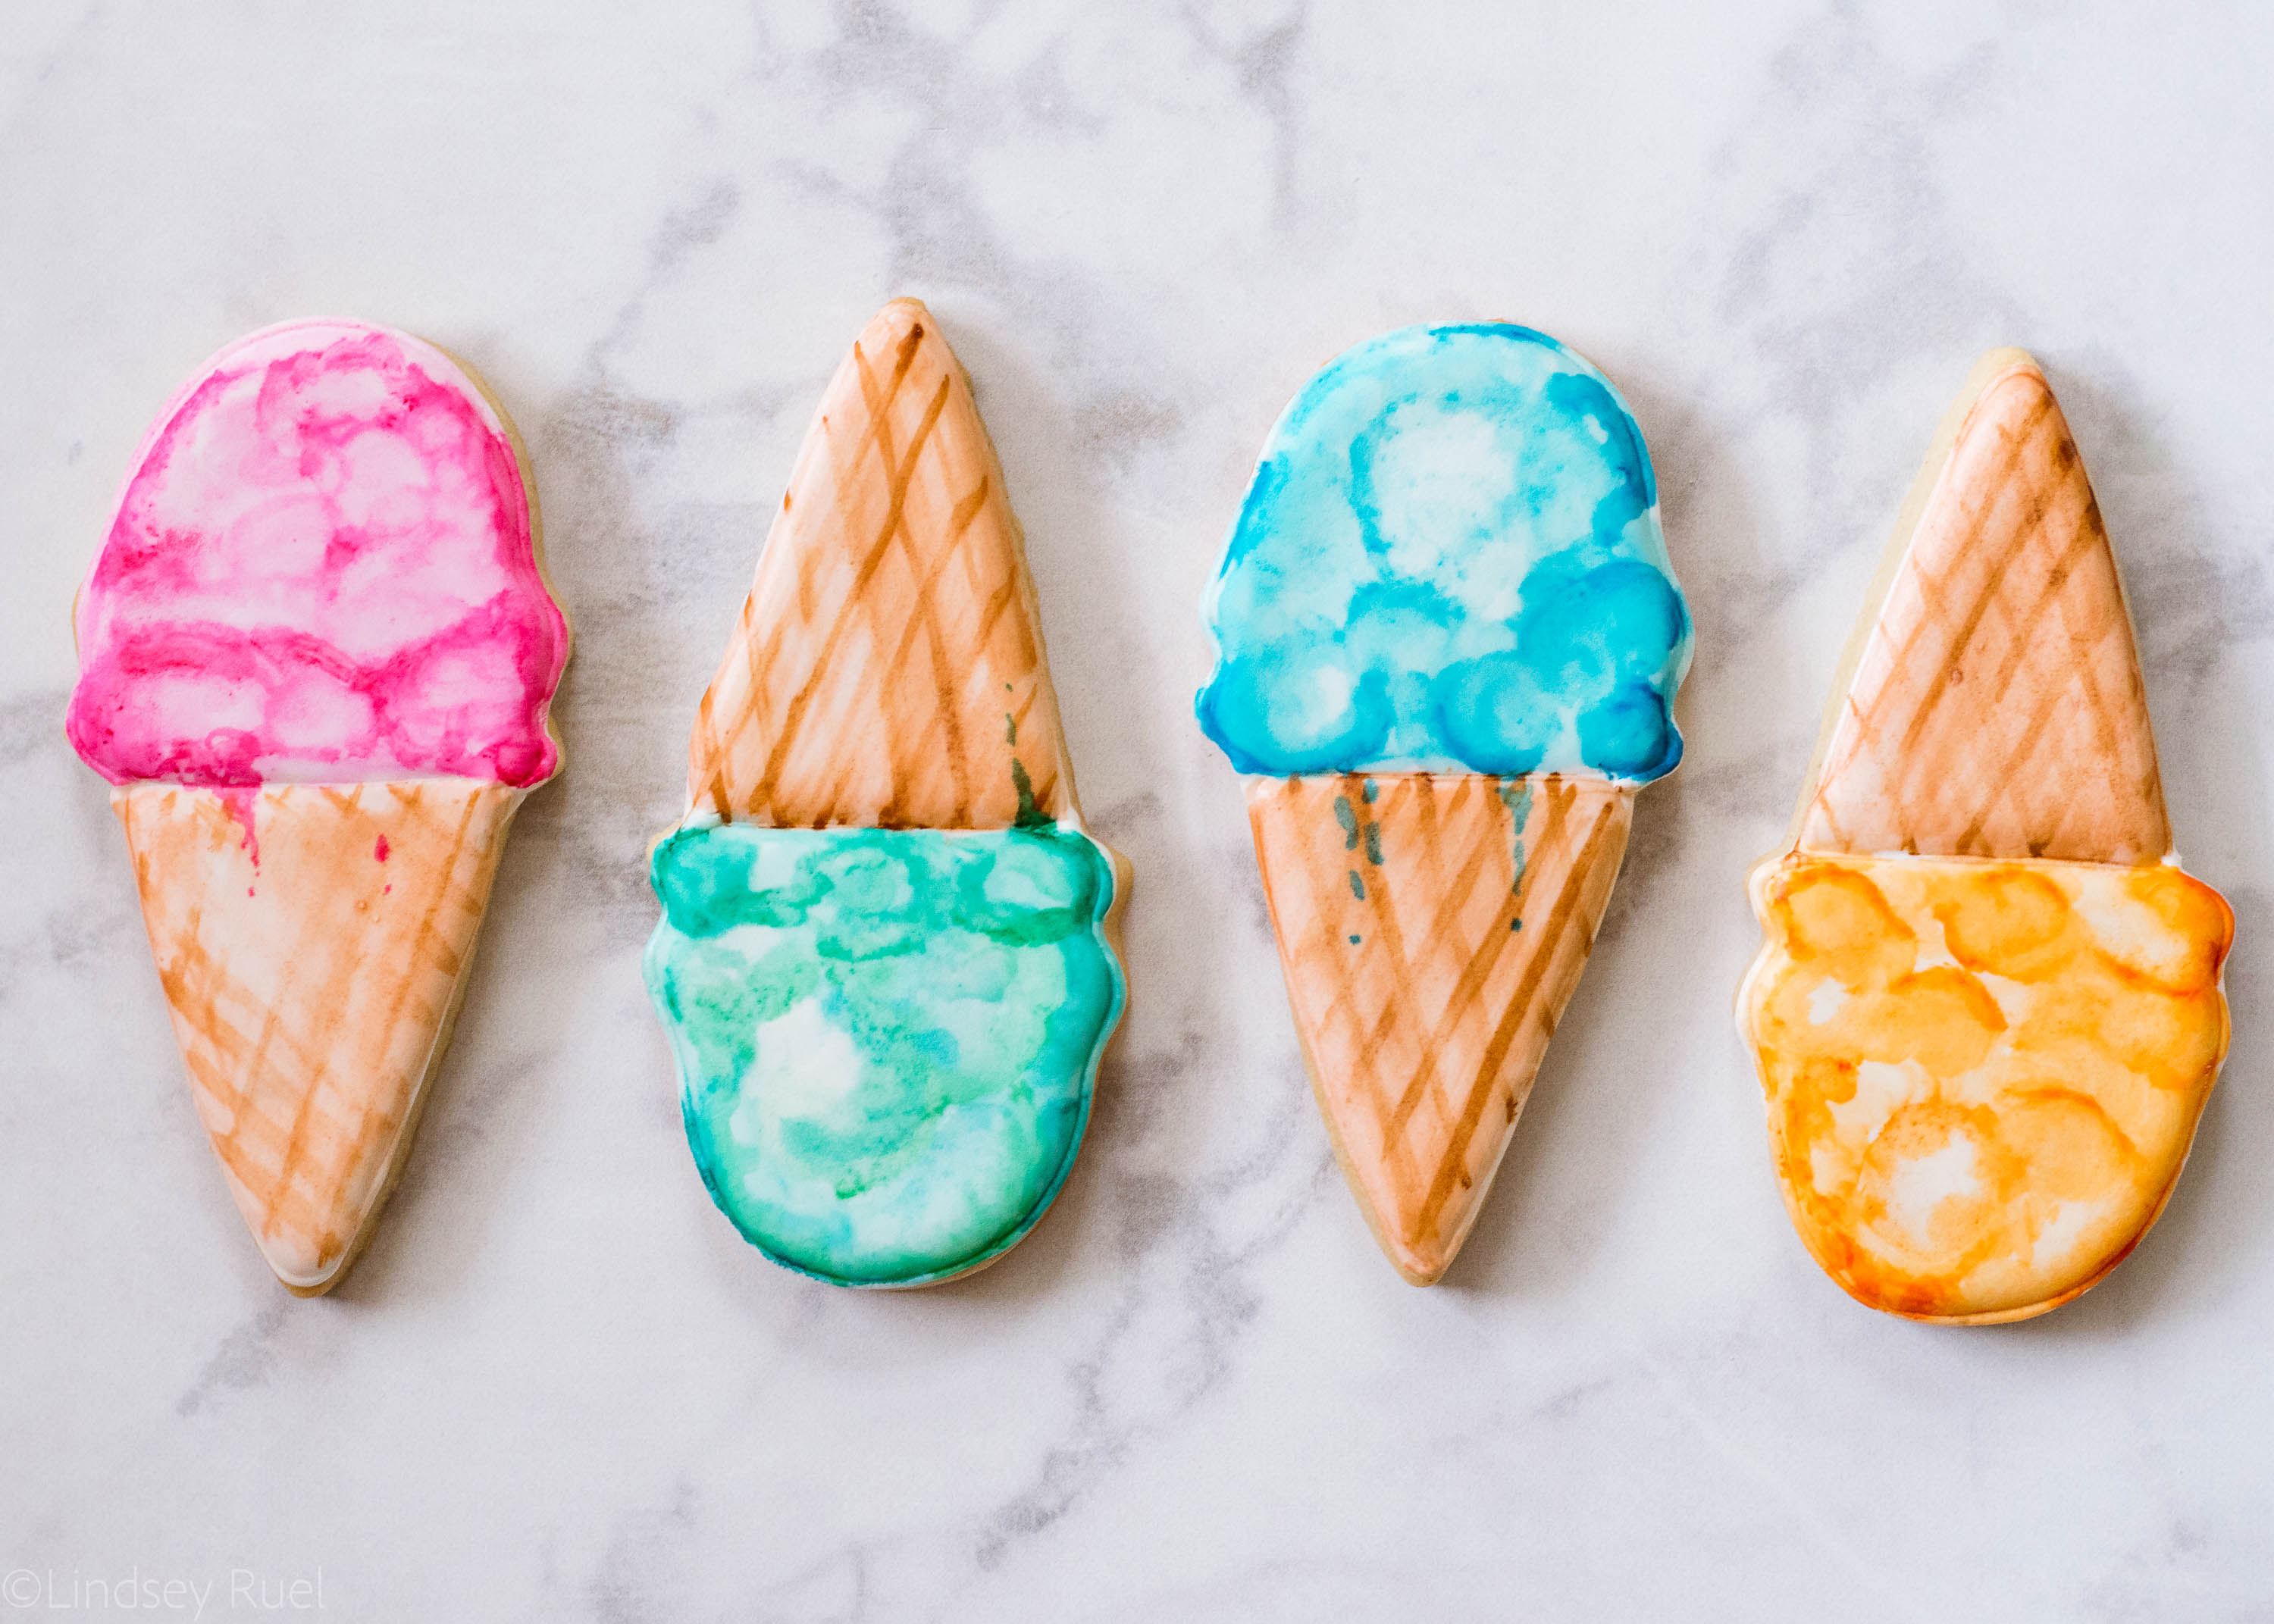
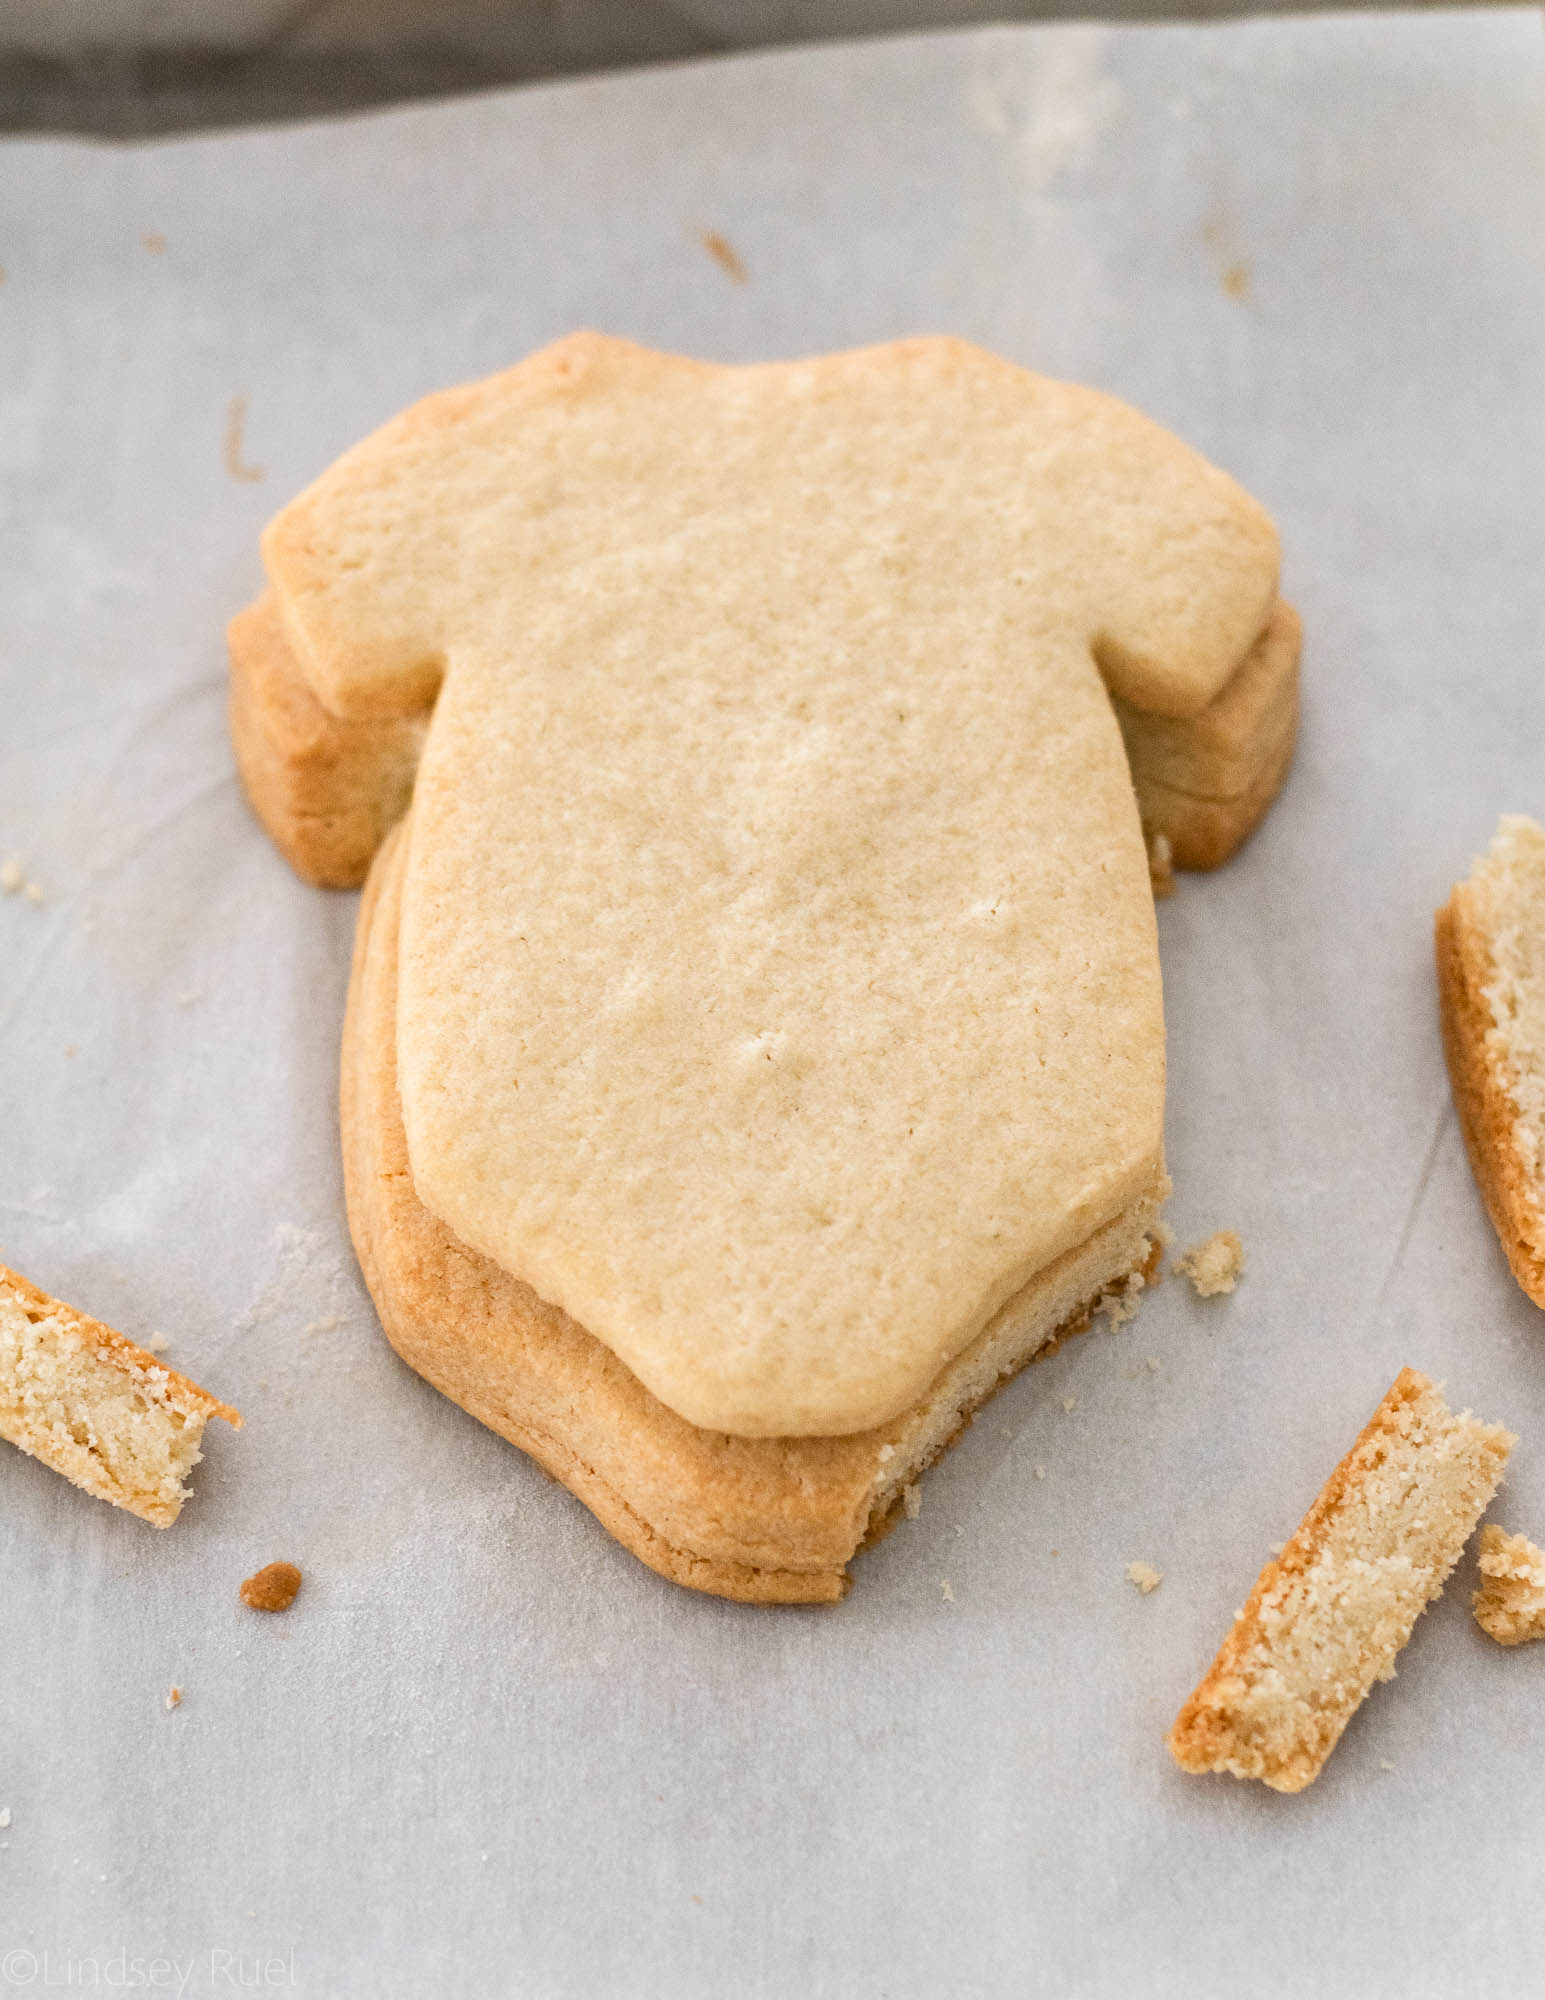
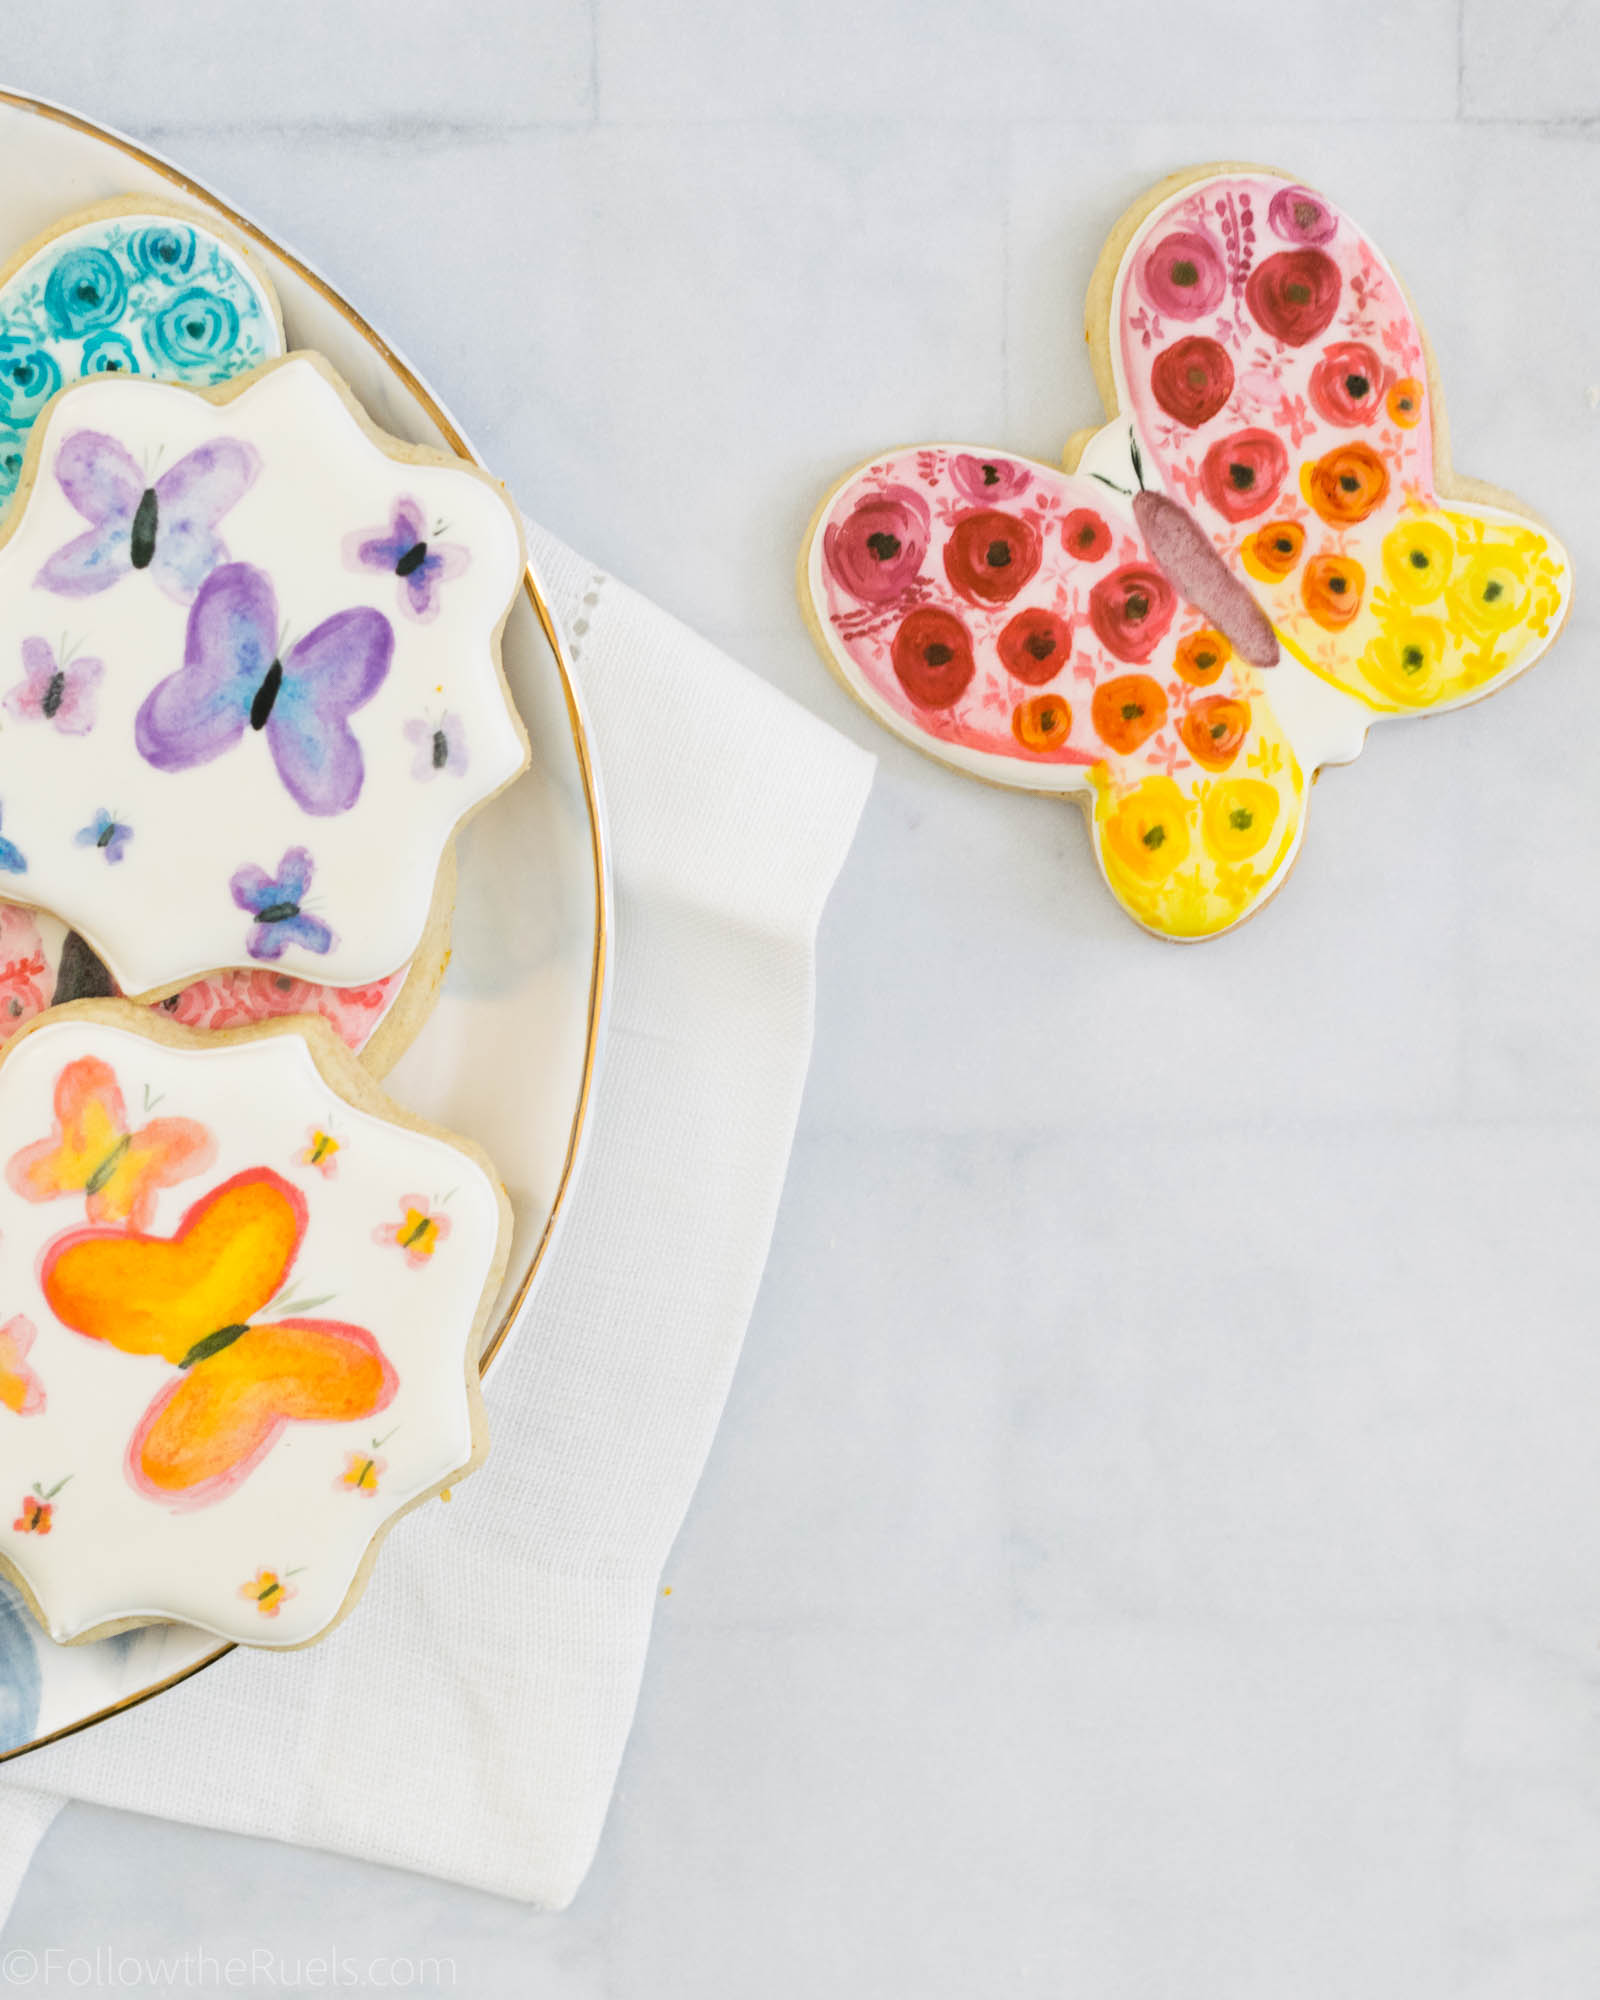
With my three seaside shapes cut and baked, I was all set to make these watercolor cookies. I couldn’t be happier with how they turned out!
While painting on metallic details is not the most efficient process, the combination of the watercolor and metallic may be my new favorite cookie decoration. What do you think?
Tool and Recipes

Recipes:
- Sugar Cookie Recipe
- Royal Icing Recipe
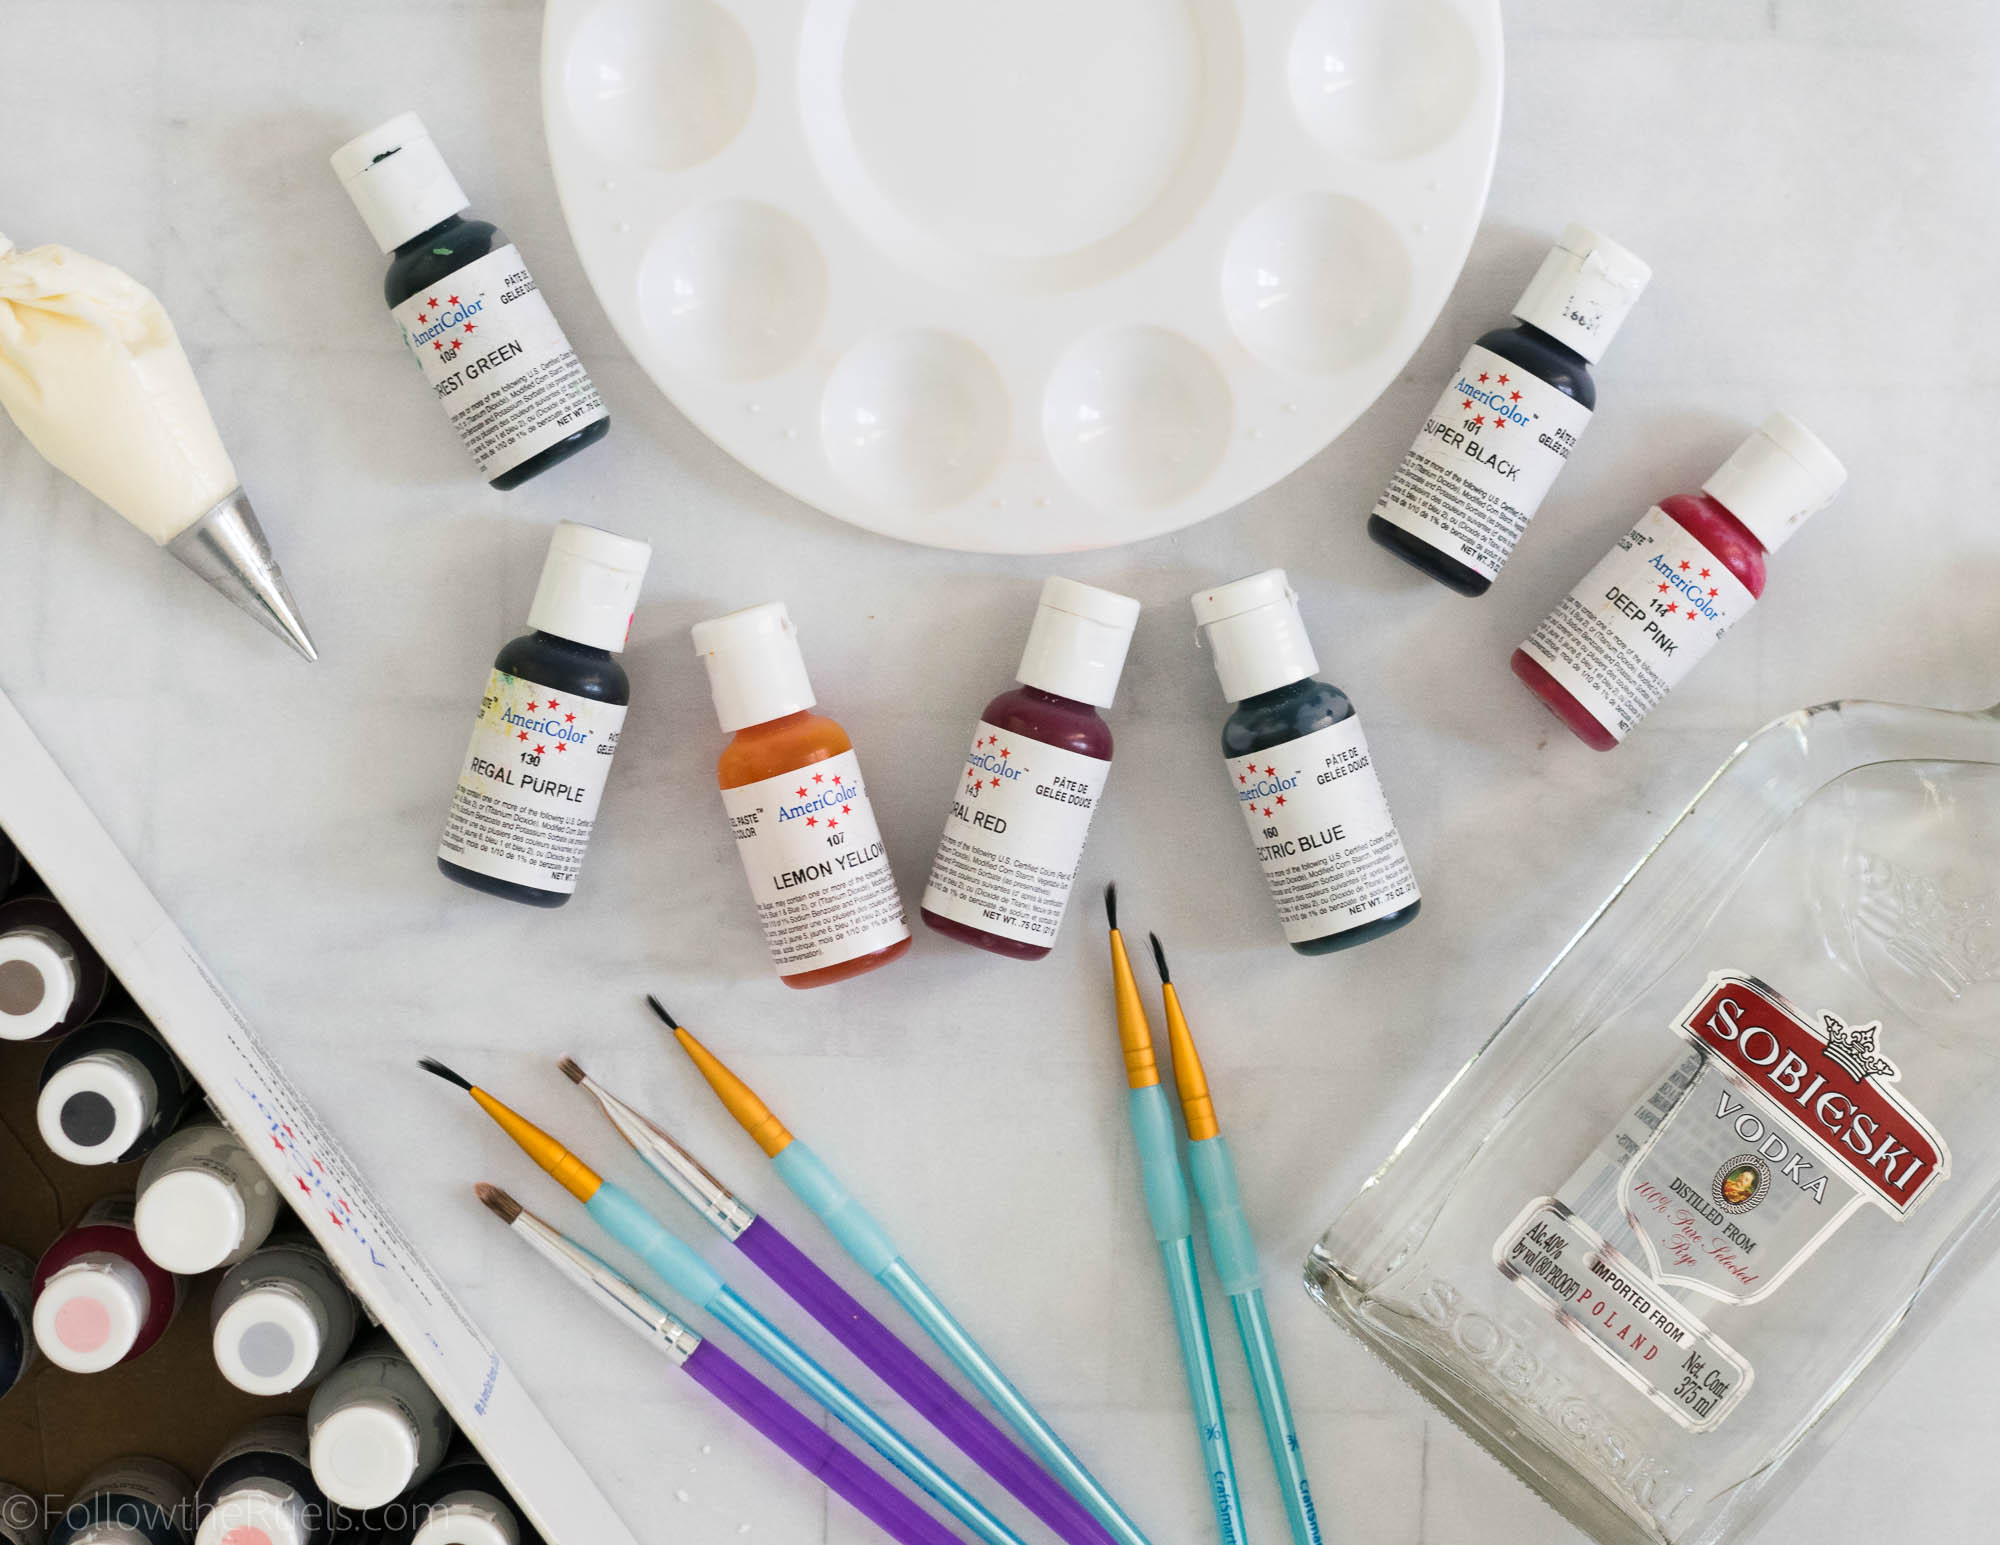
Tools:
- Gel food coloring
- Clear alcohol (Vodka or Everclear work great)
- Paint brushes (for food only, please and thank you)
- Metallic food paint
- Scribe tool
- Piping bags
- Piping tips (#1 and #2)
- Coupler
- Cookie cutters
[show_shopthepost_widget id=”3238963″]
How to Make Them
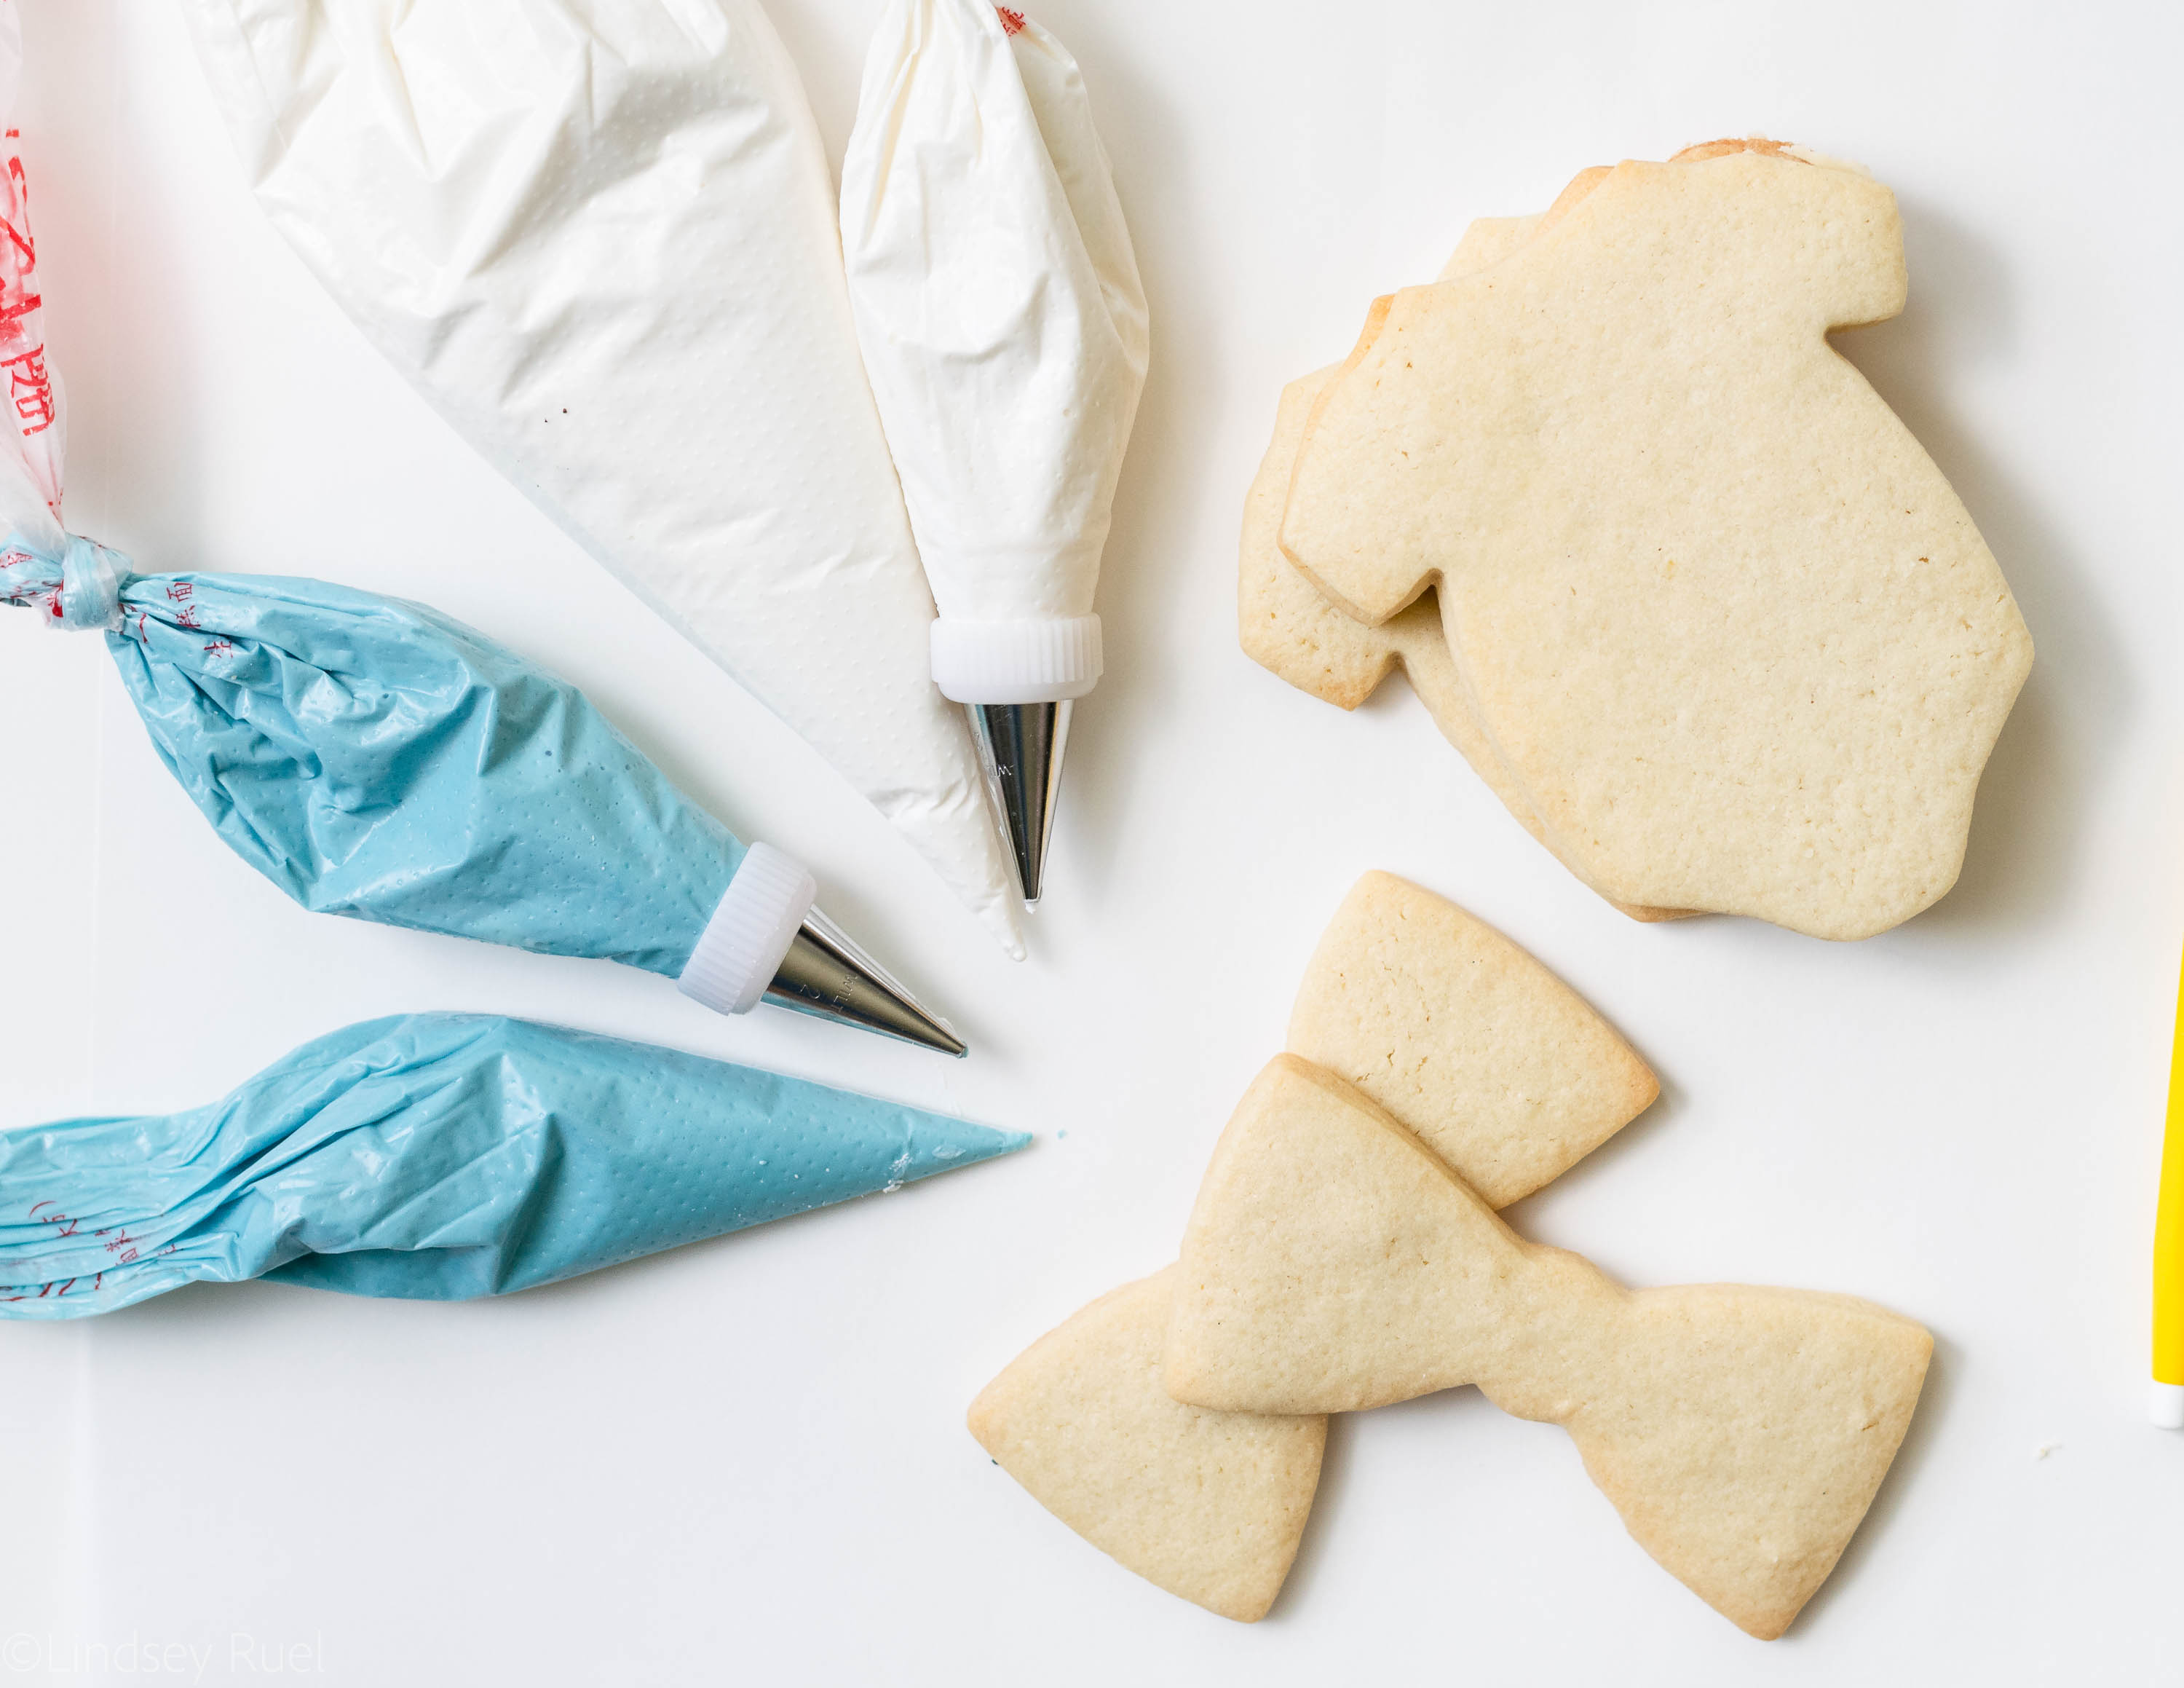
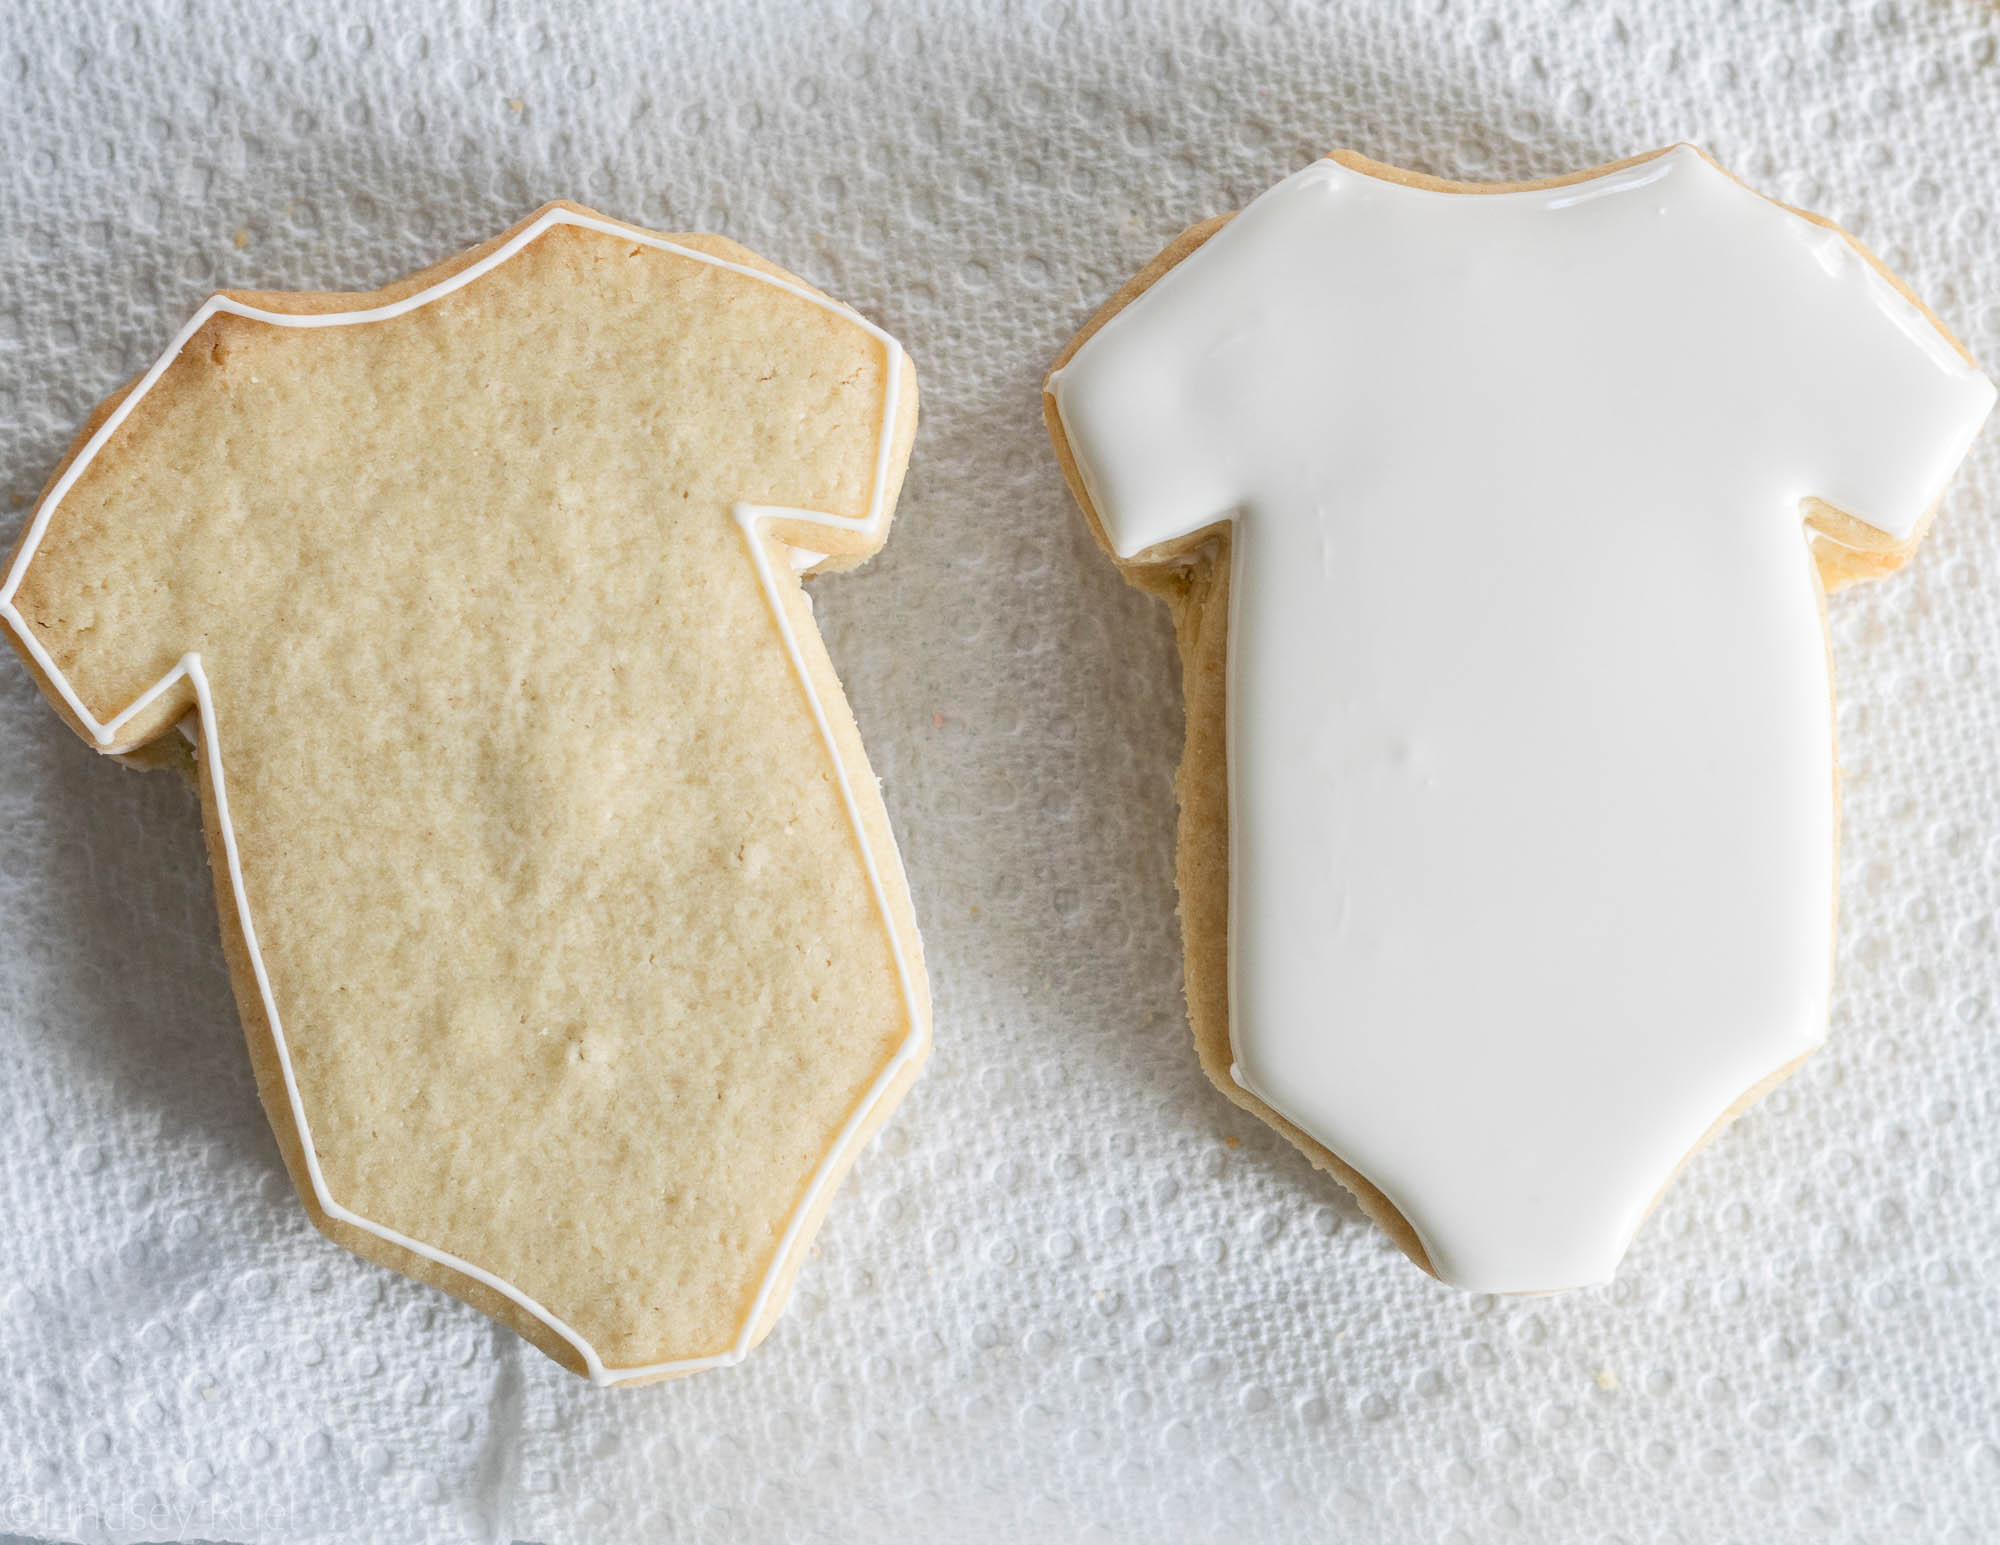
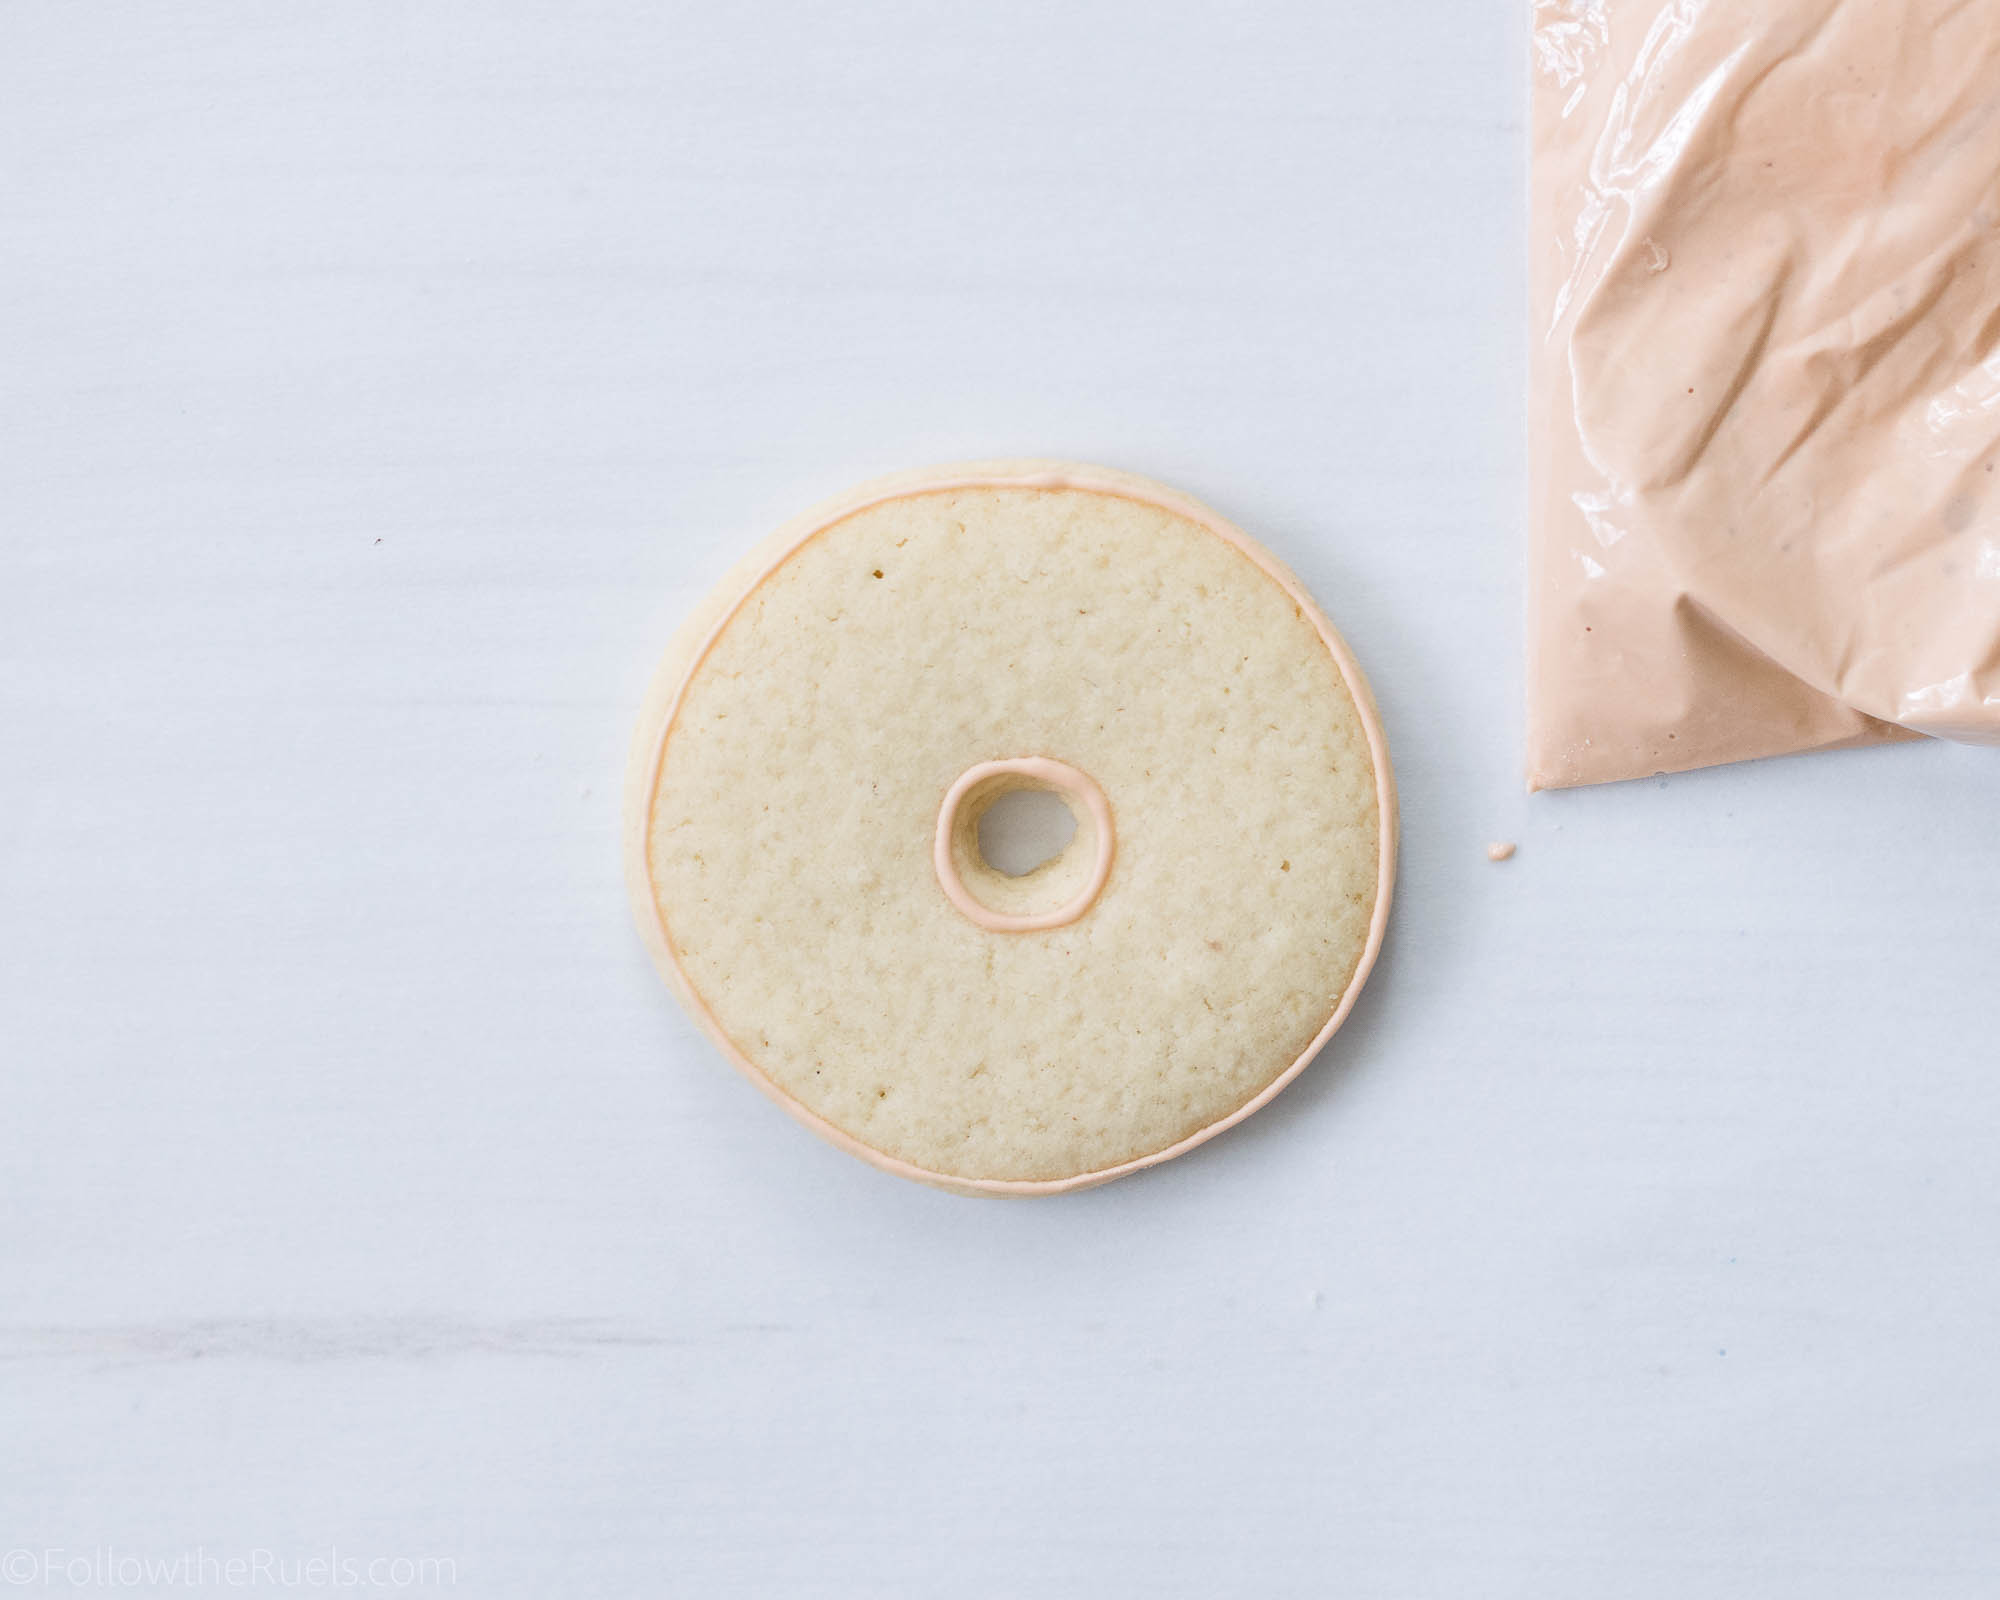
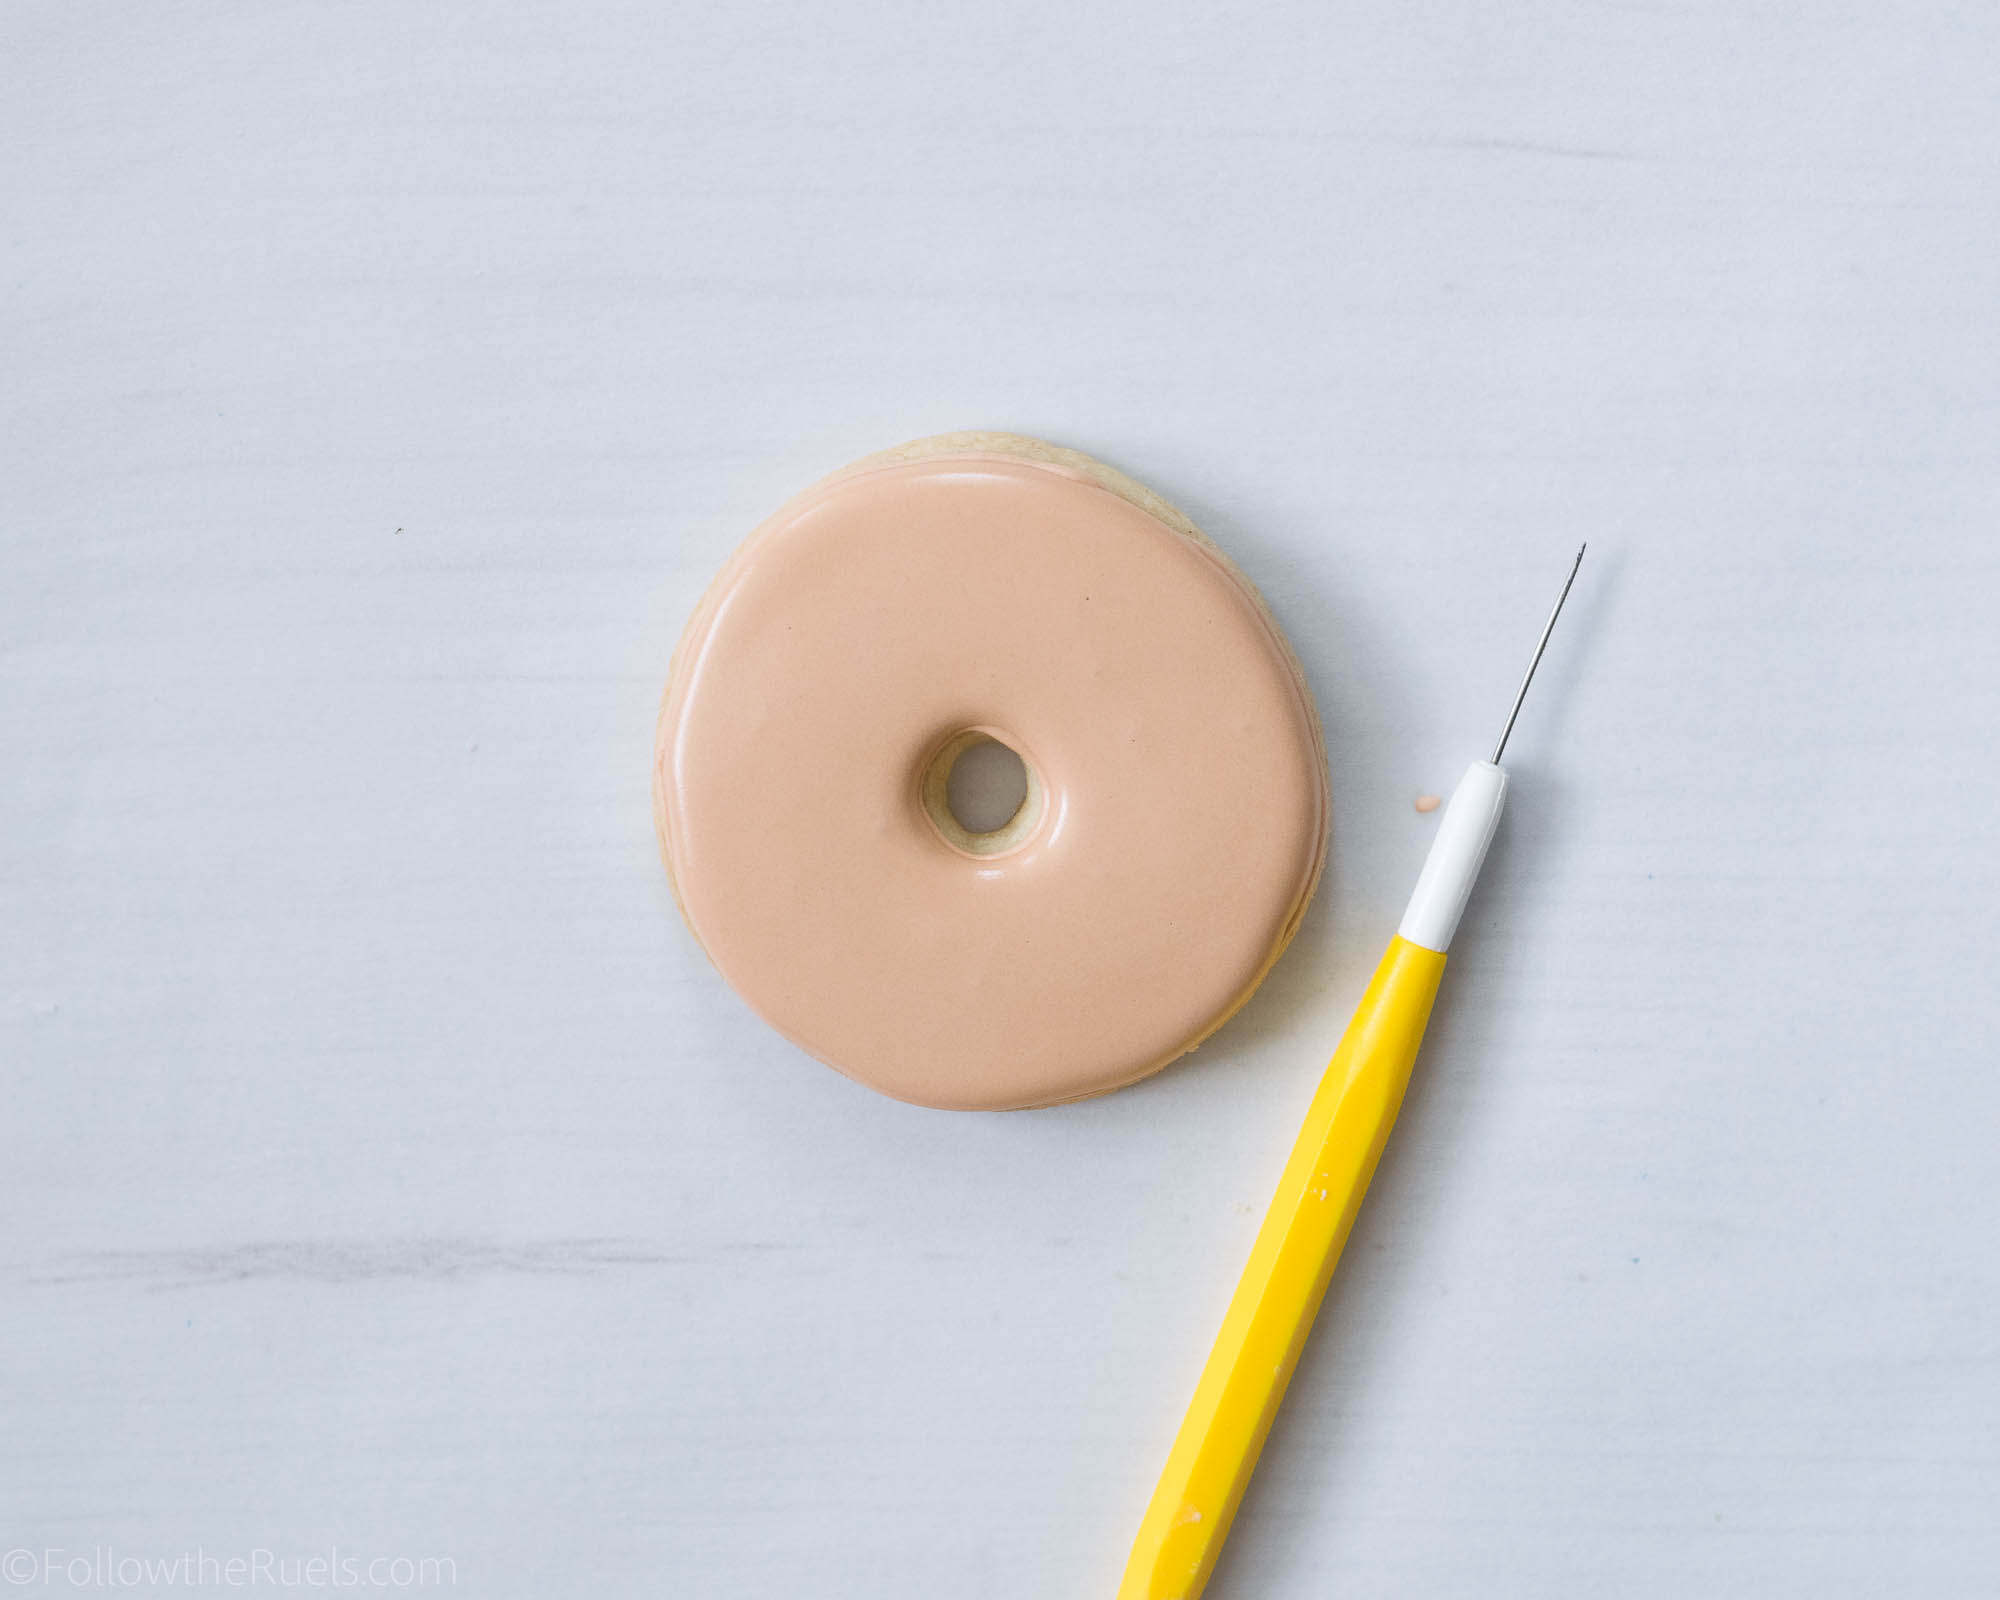
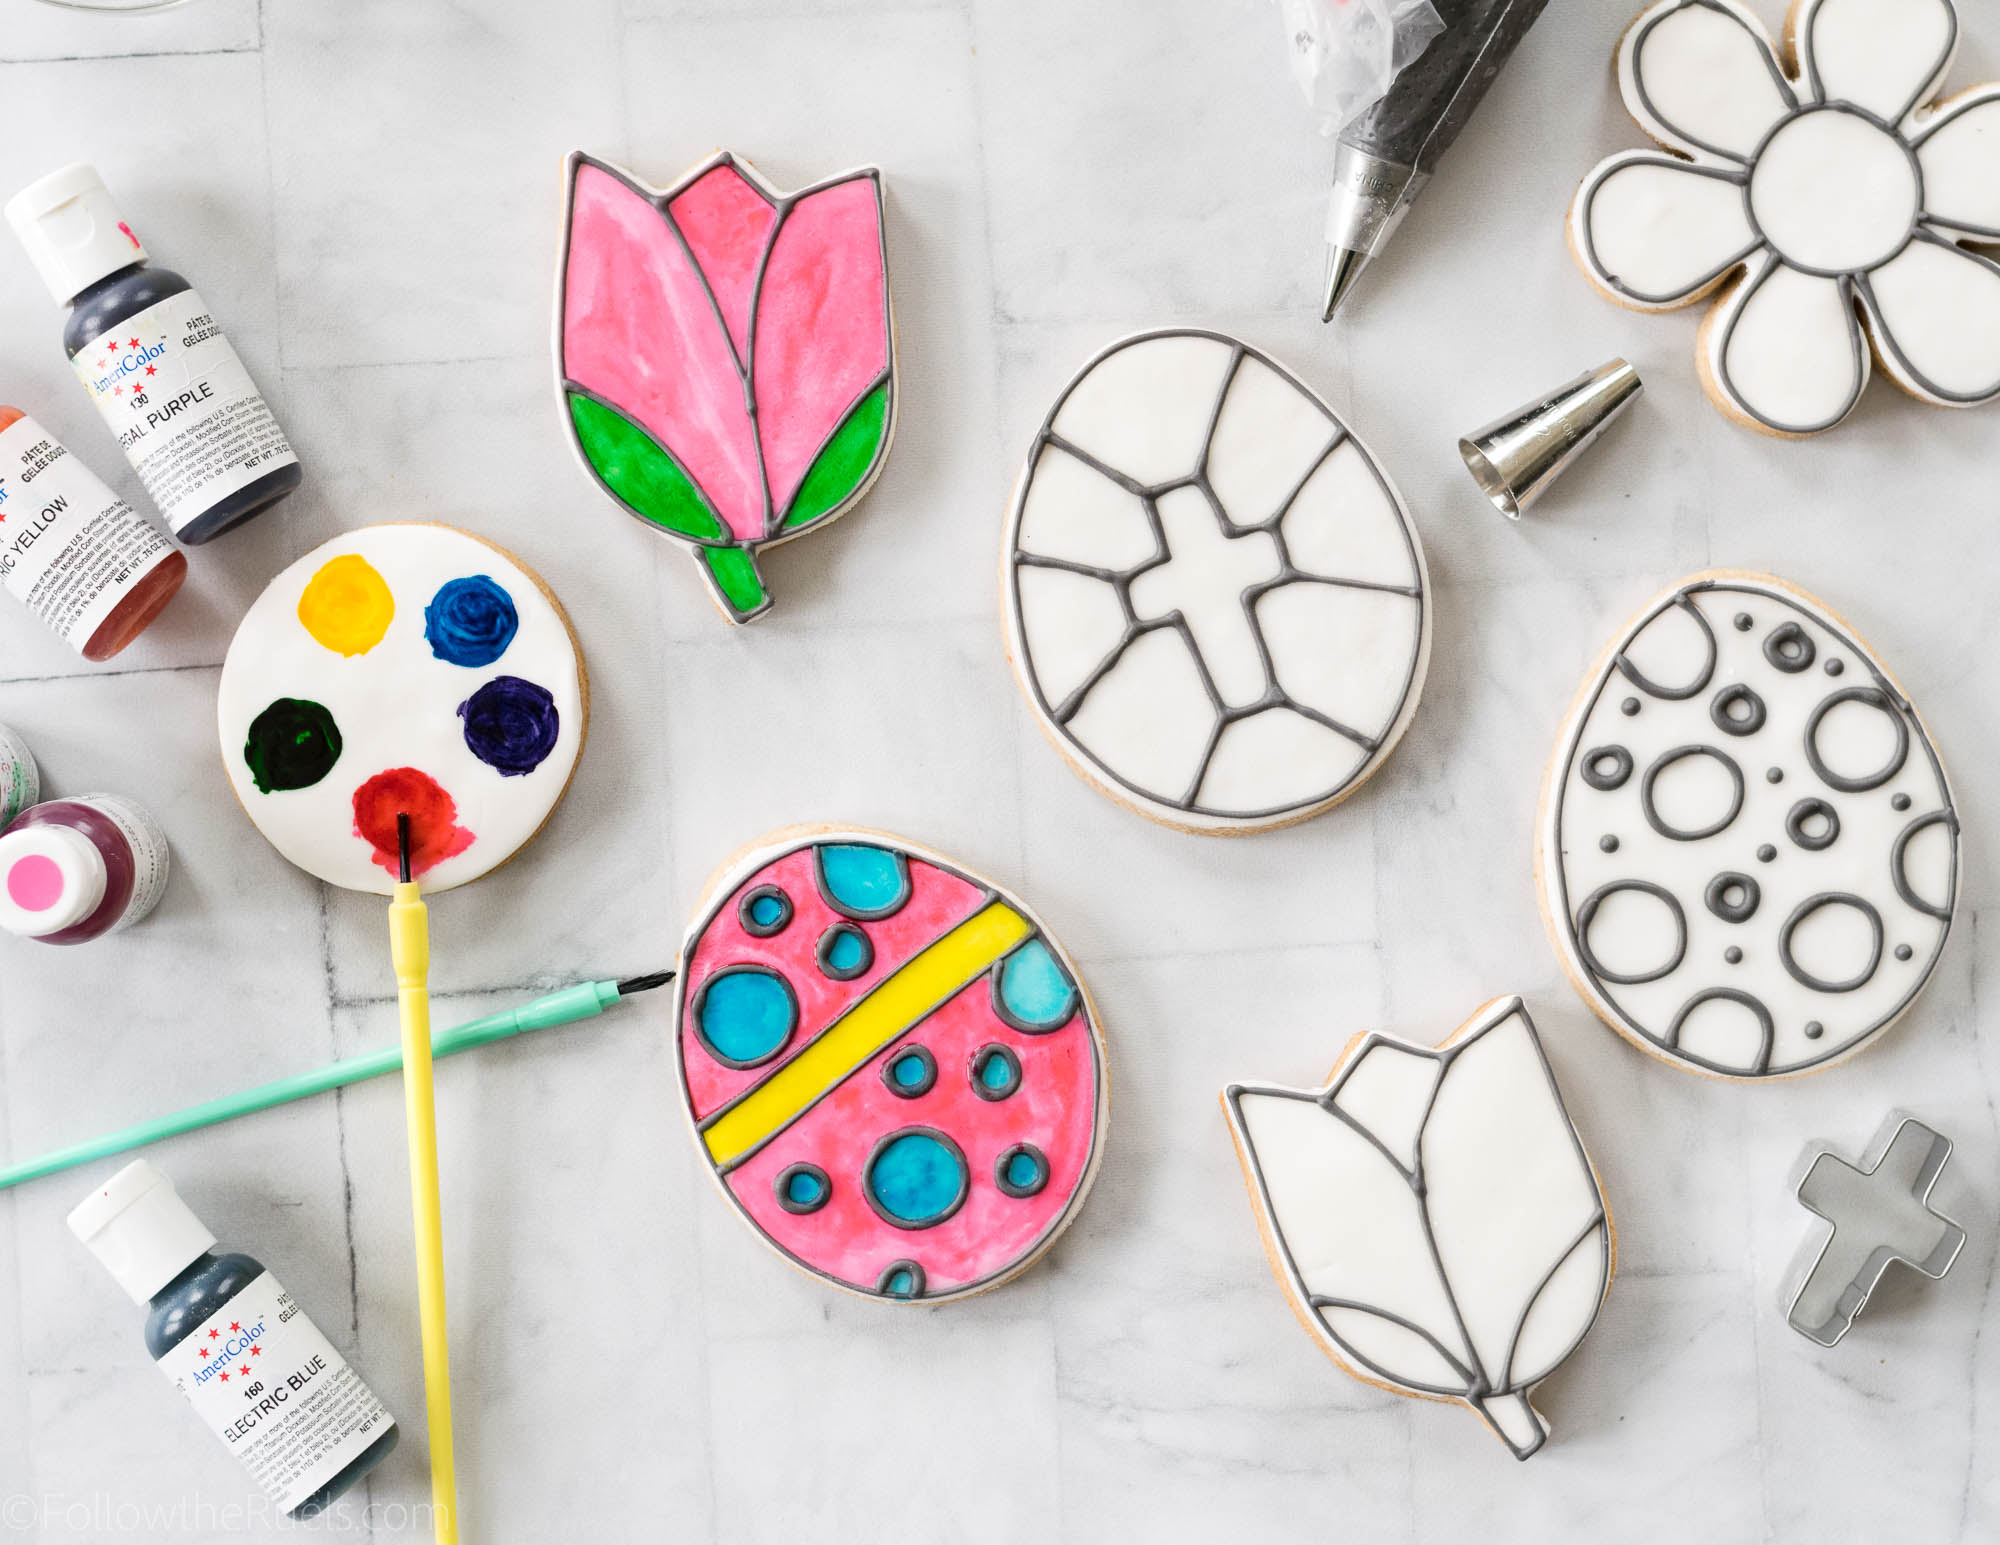
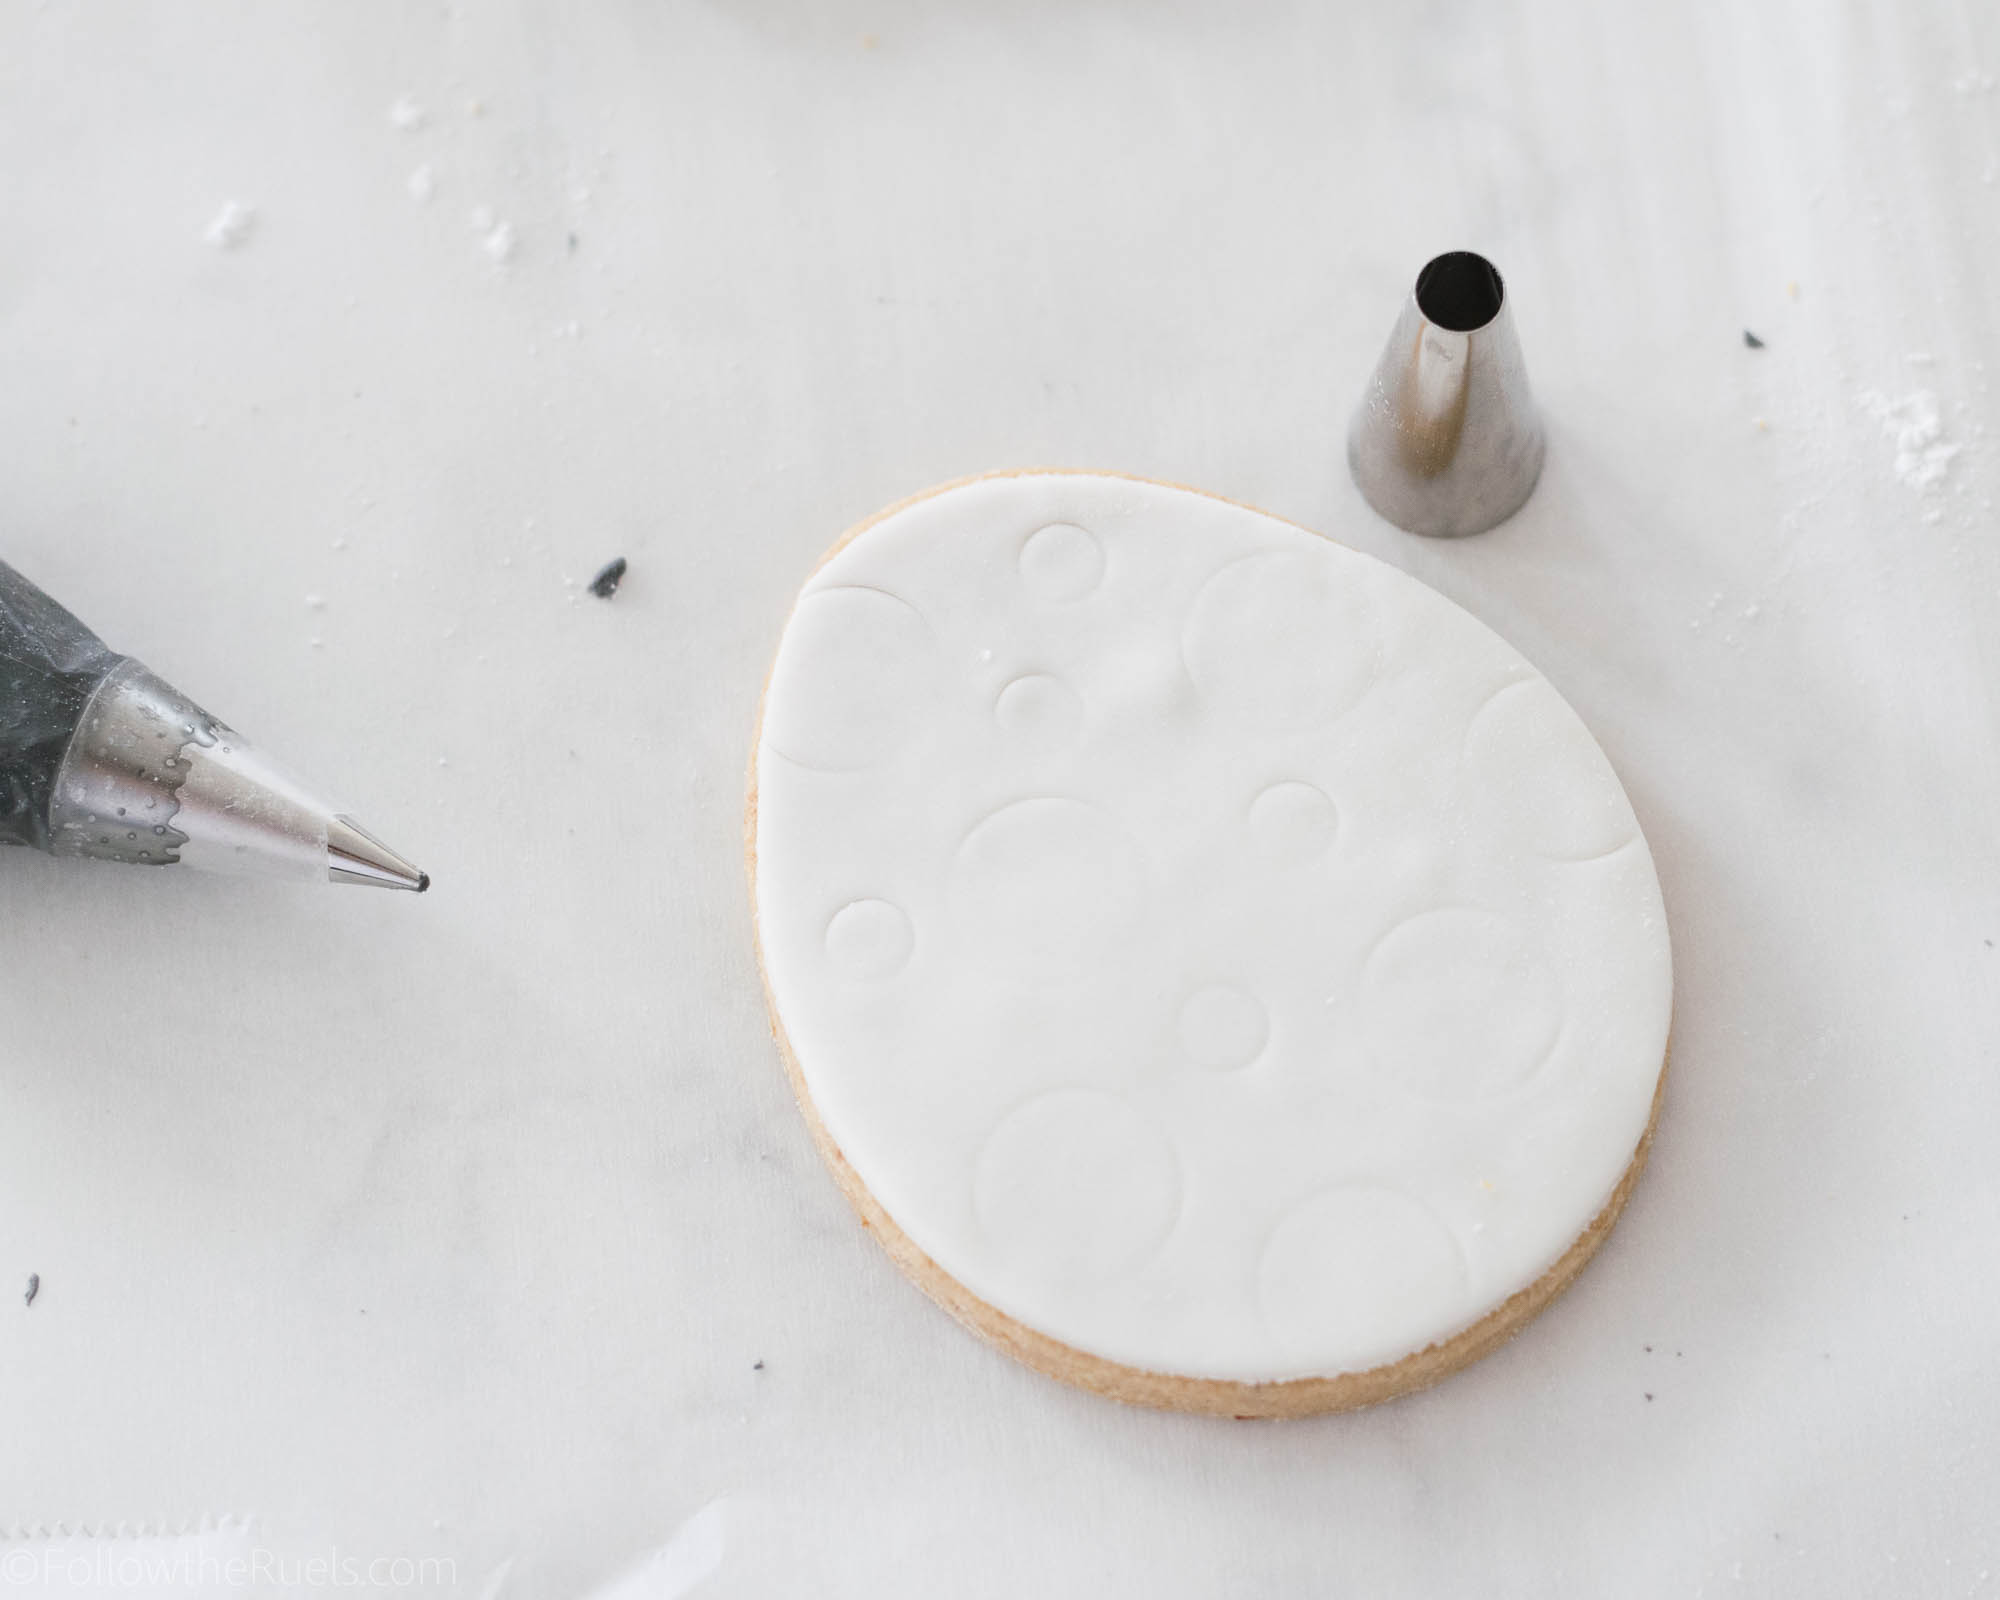
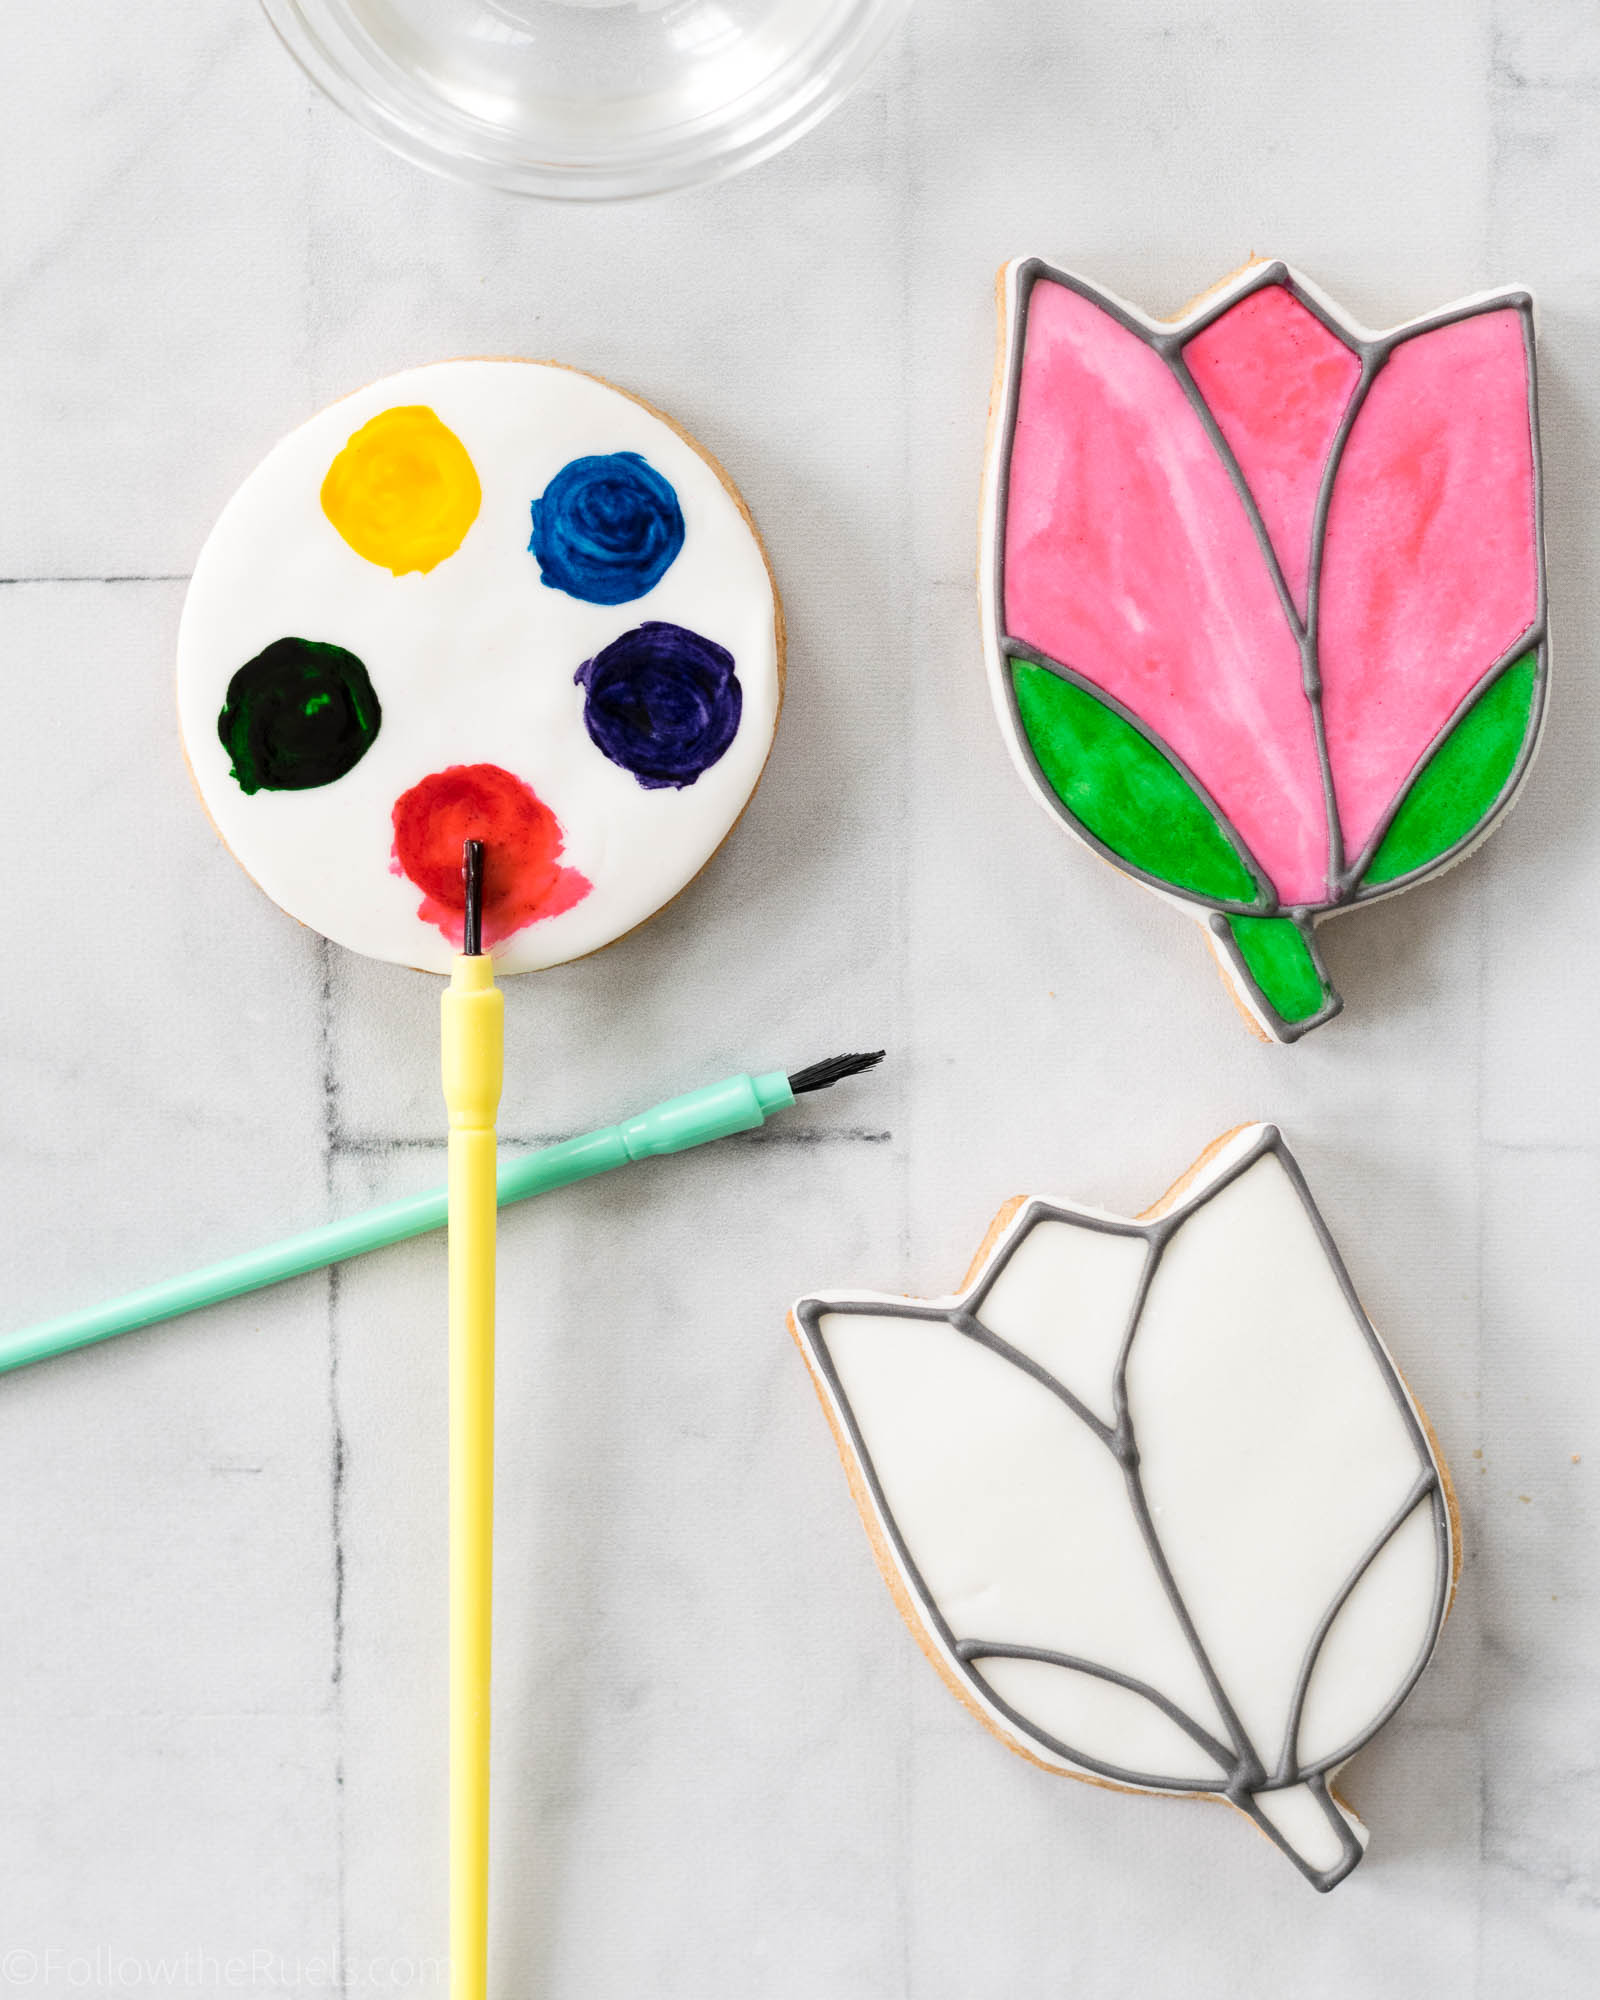
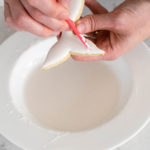
What makes these cookies a little bit different than my usual cookies is that I dip them into the icing instead of piping them. I find that it’s a little bit easier to dip the cookies. And since you just need a plain, flat surface to paint on, it doesn’t matter how the icing gets there!
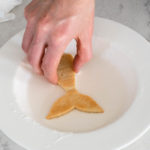
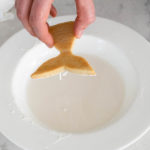
Use thin down icing until its slightly thinner than flood consistency. It should return to a flat surface within 10 seconds after “scraping” the surface. I find that this consistency of icing creates a nice even surface that covers the entire cookie.
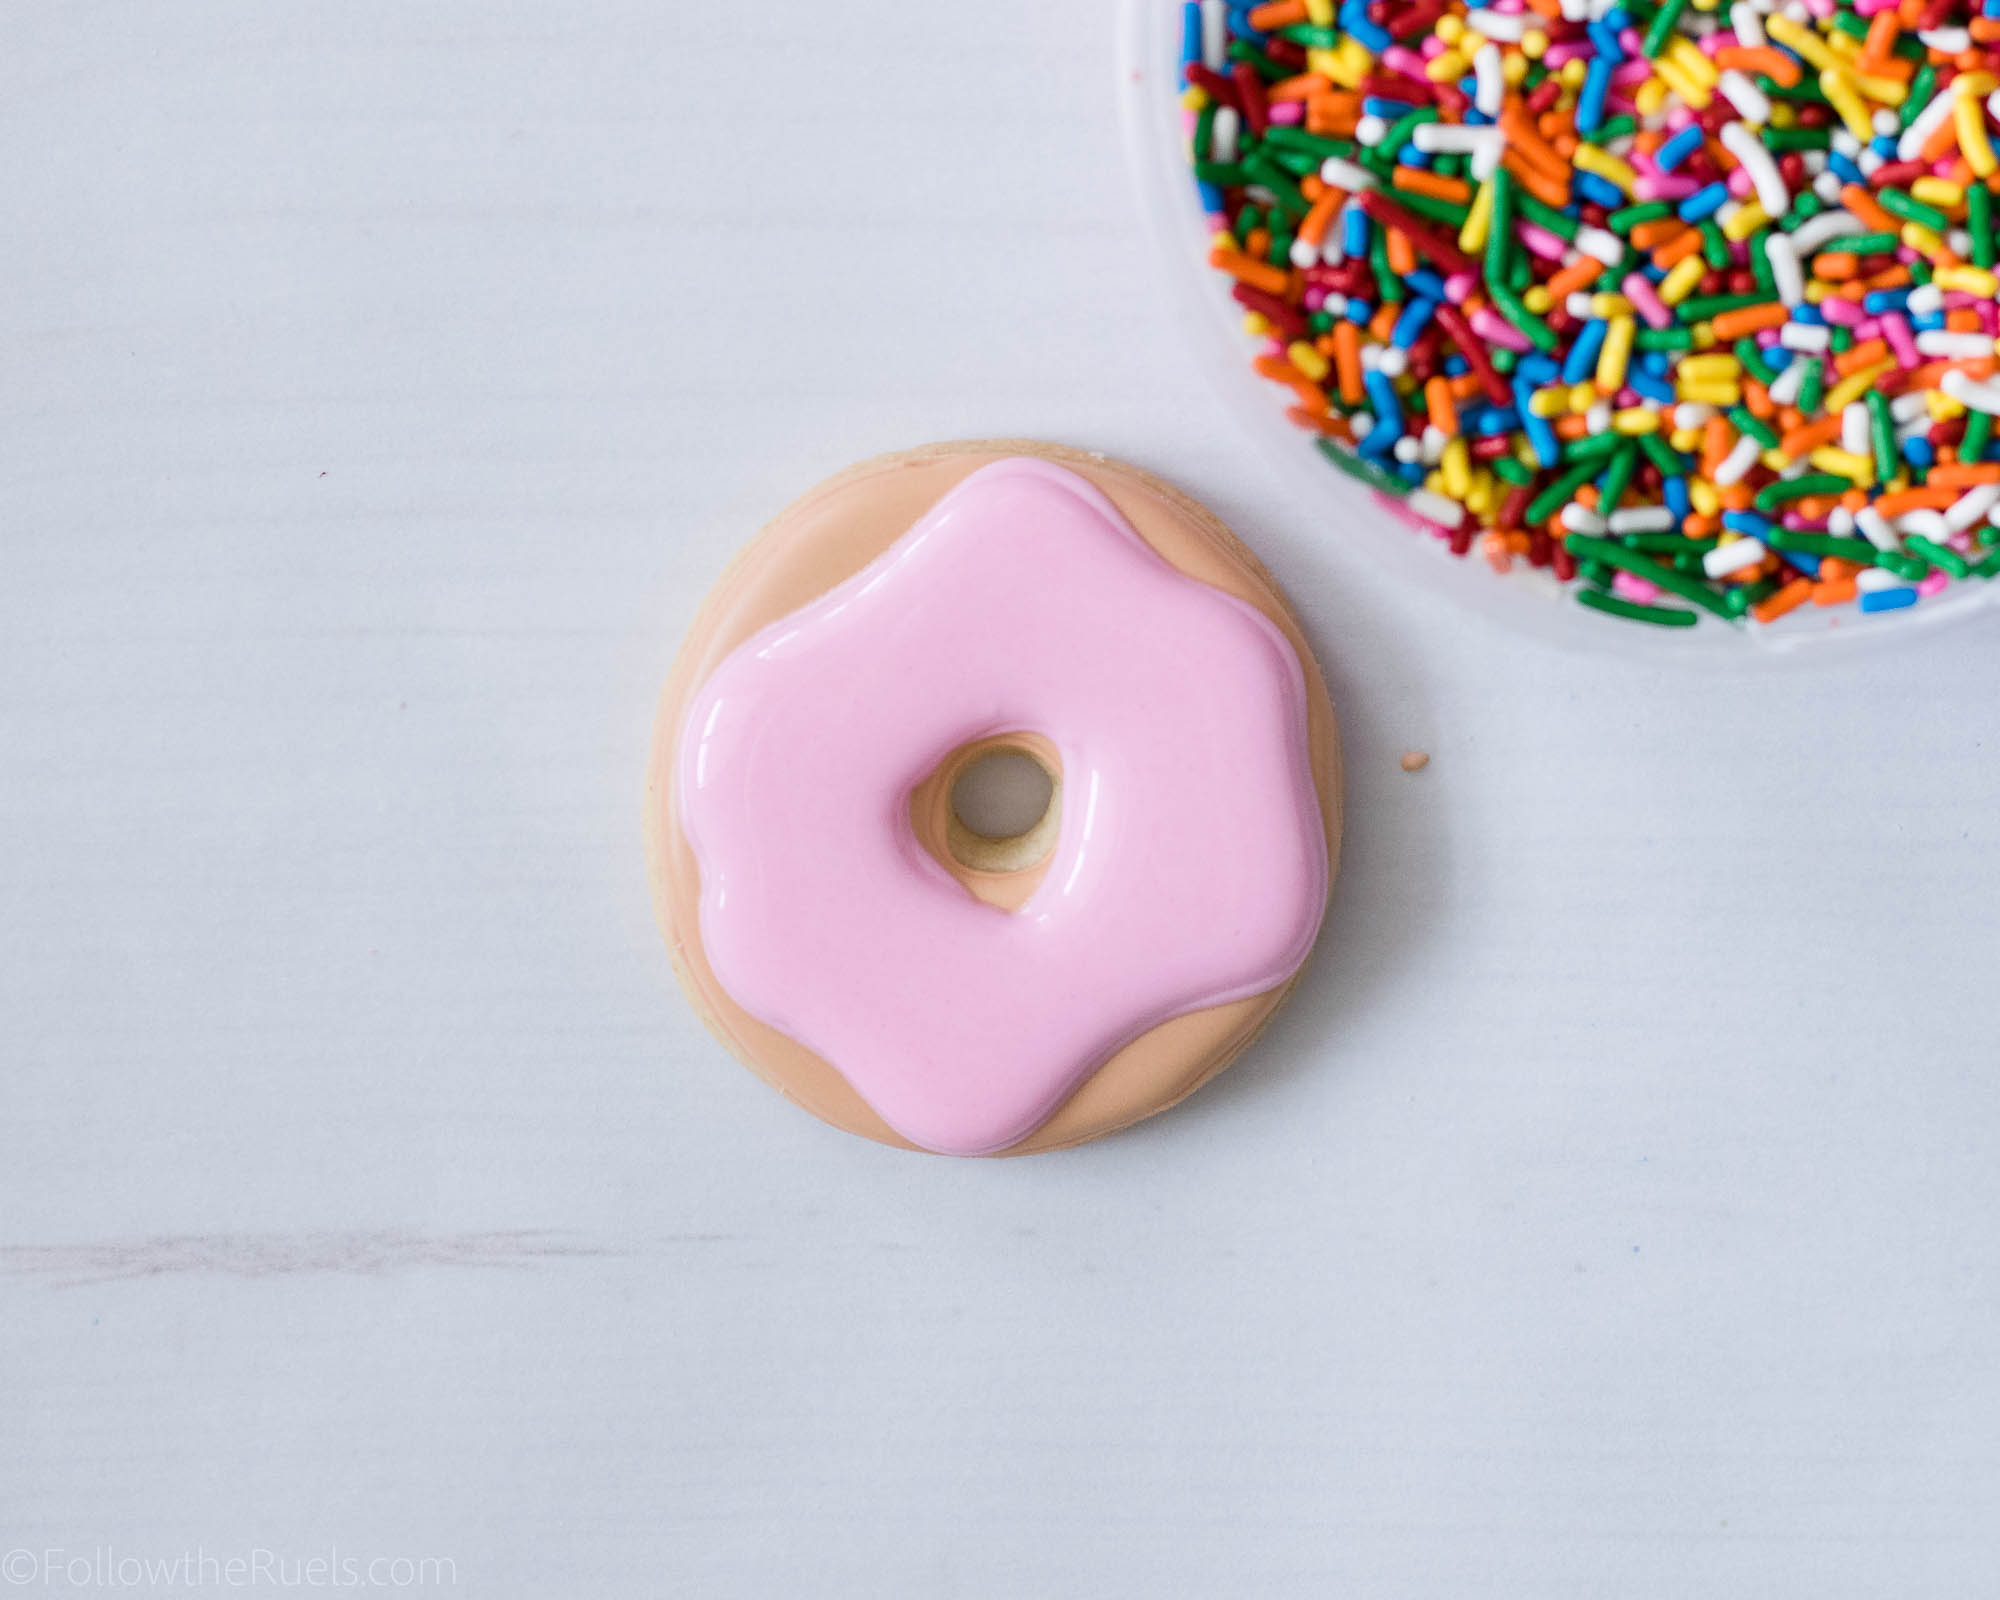
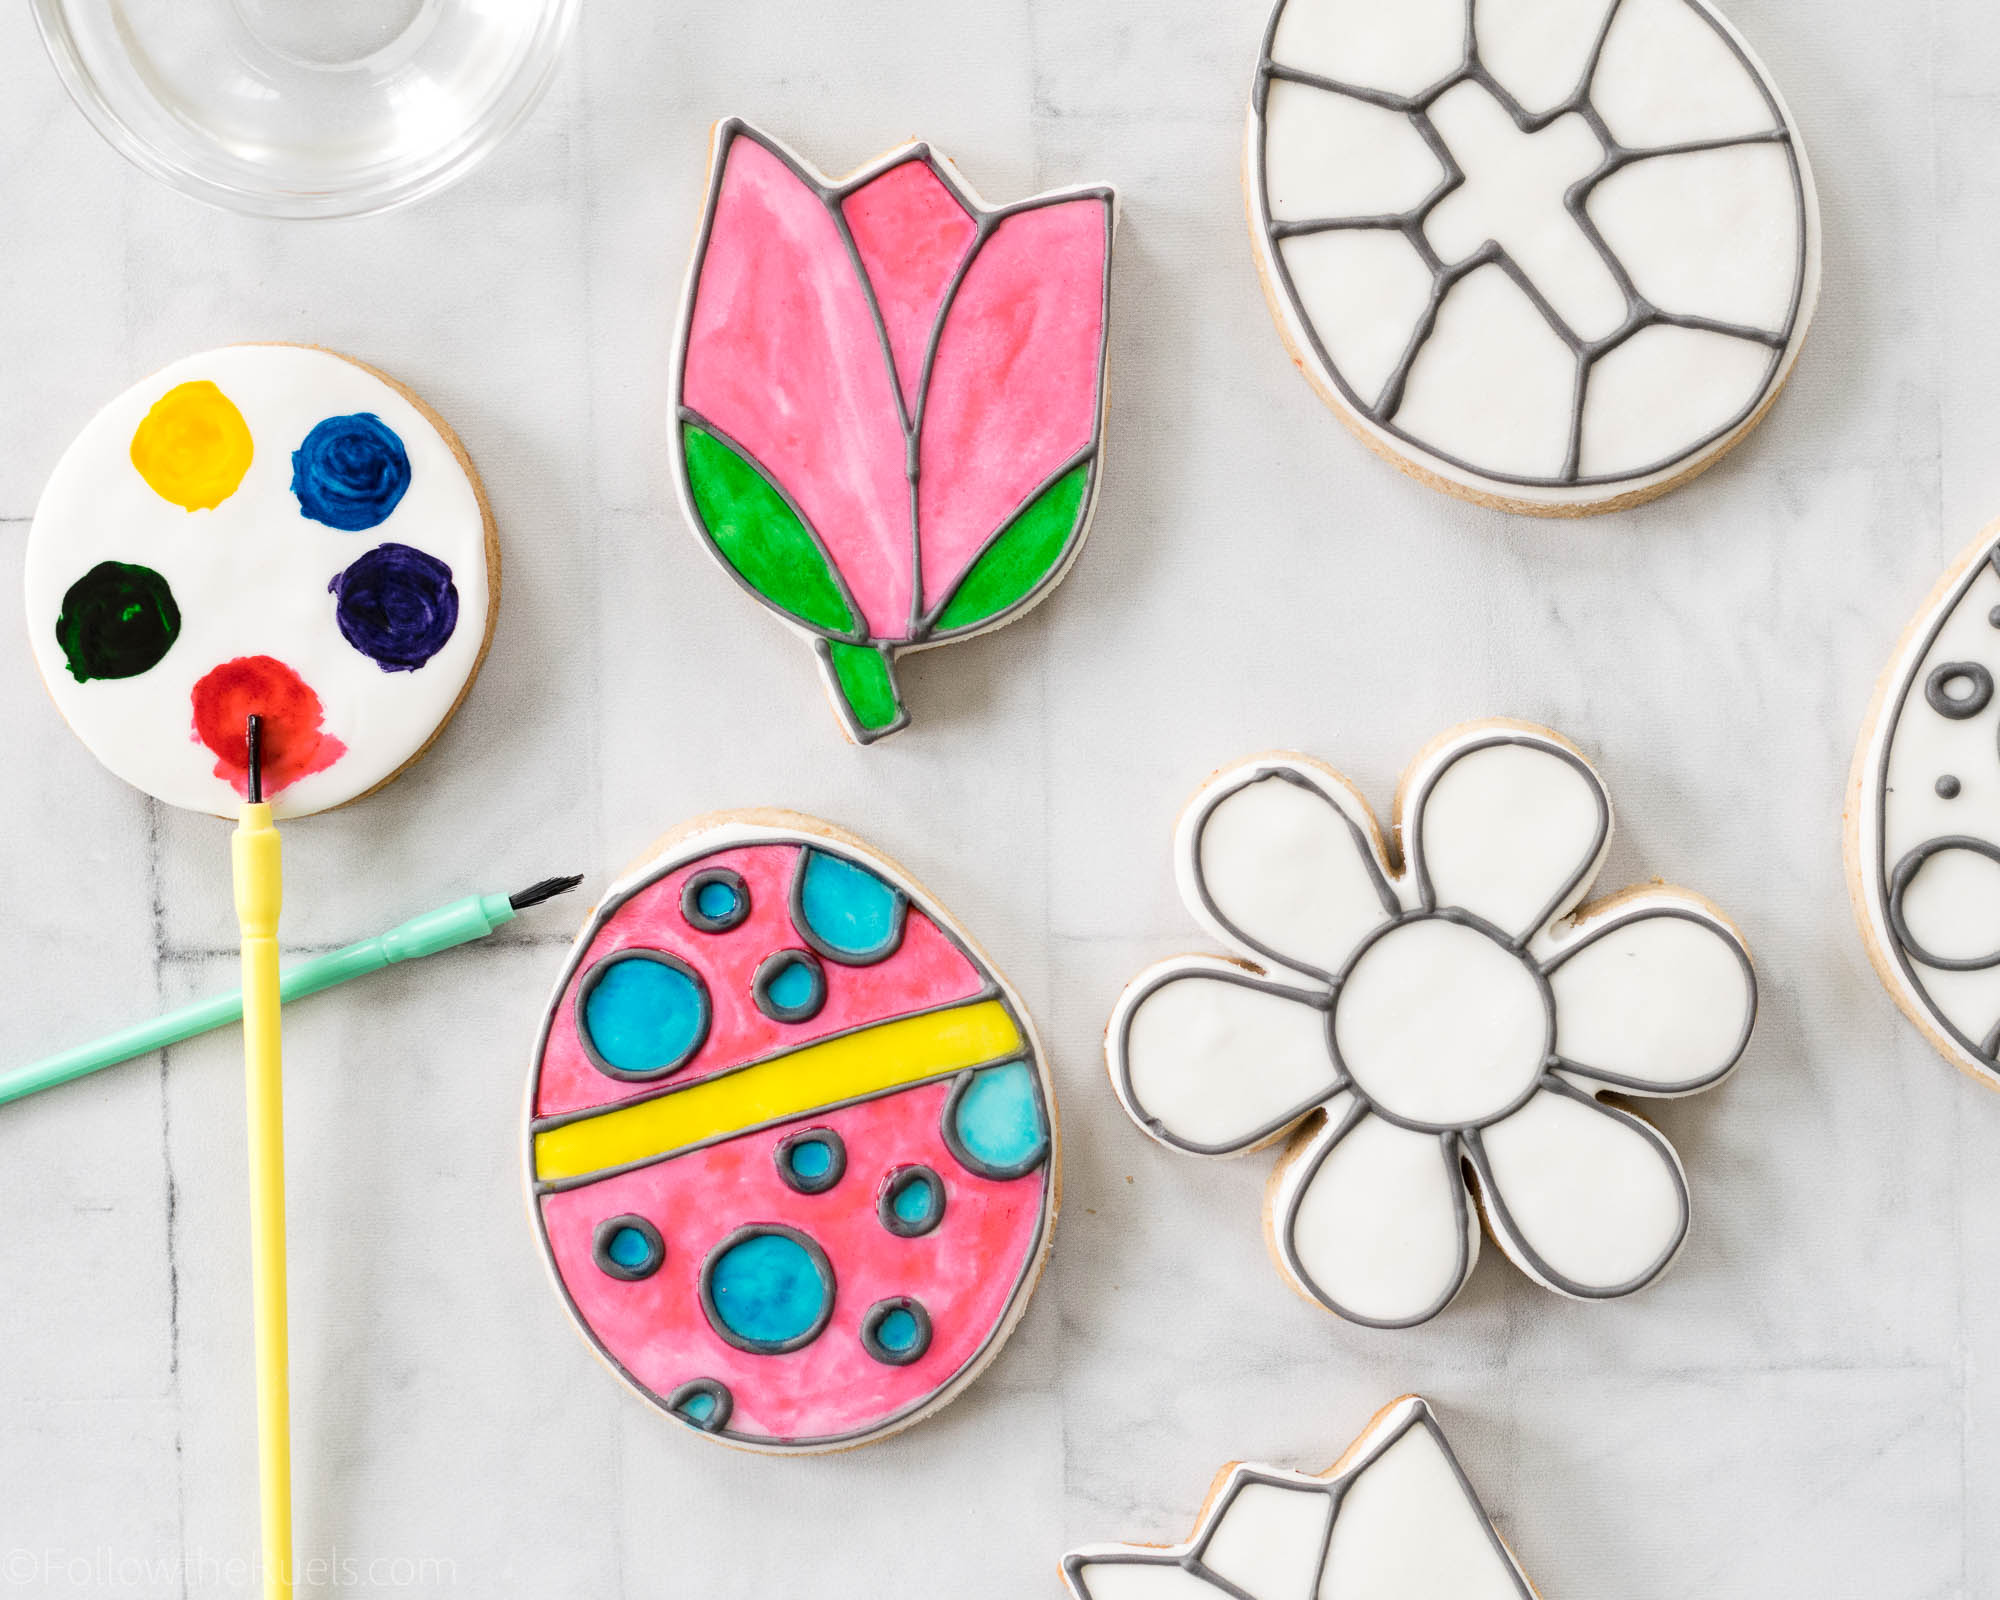
Let the icing dry completely (about 4 hours) before beginning to paint.
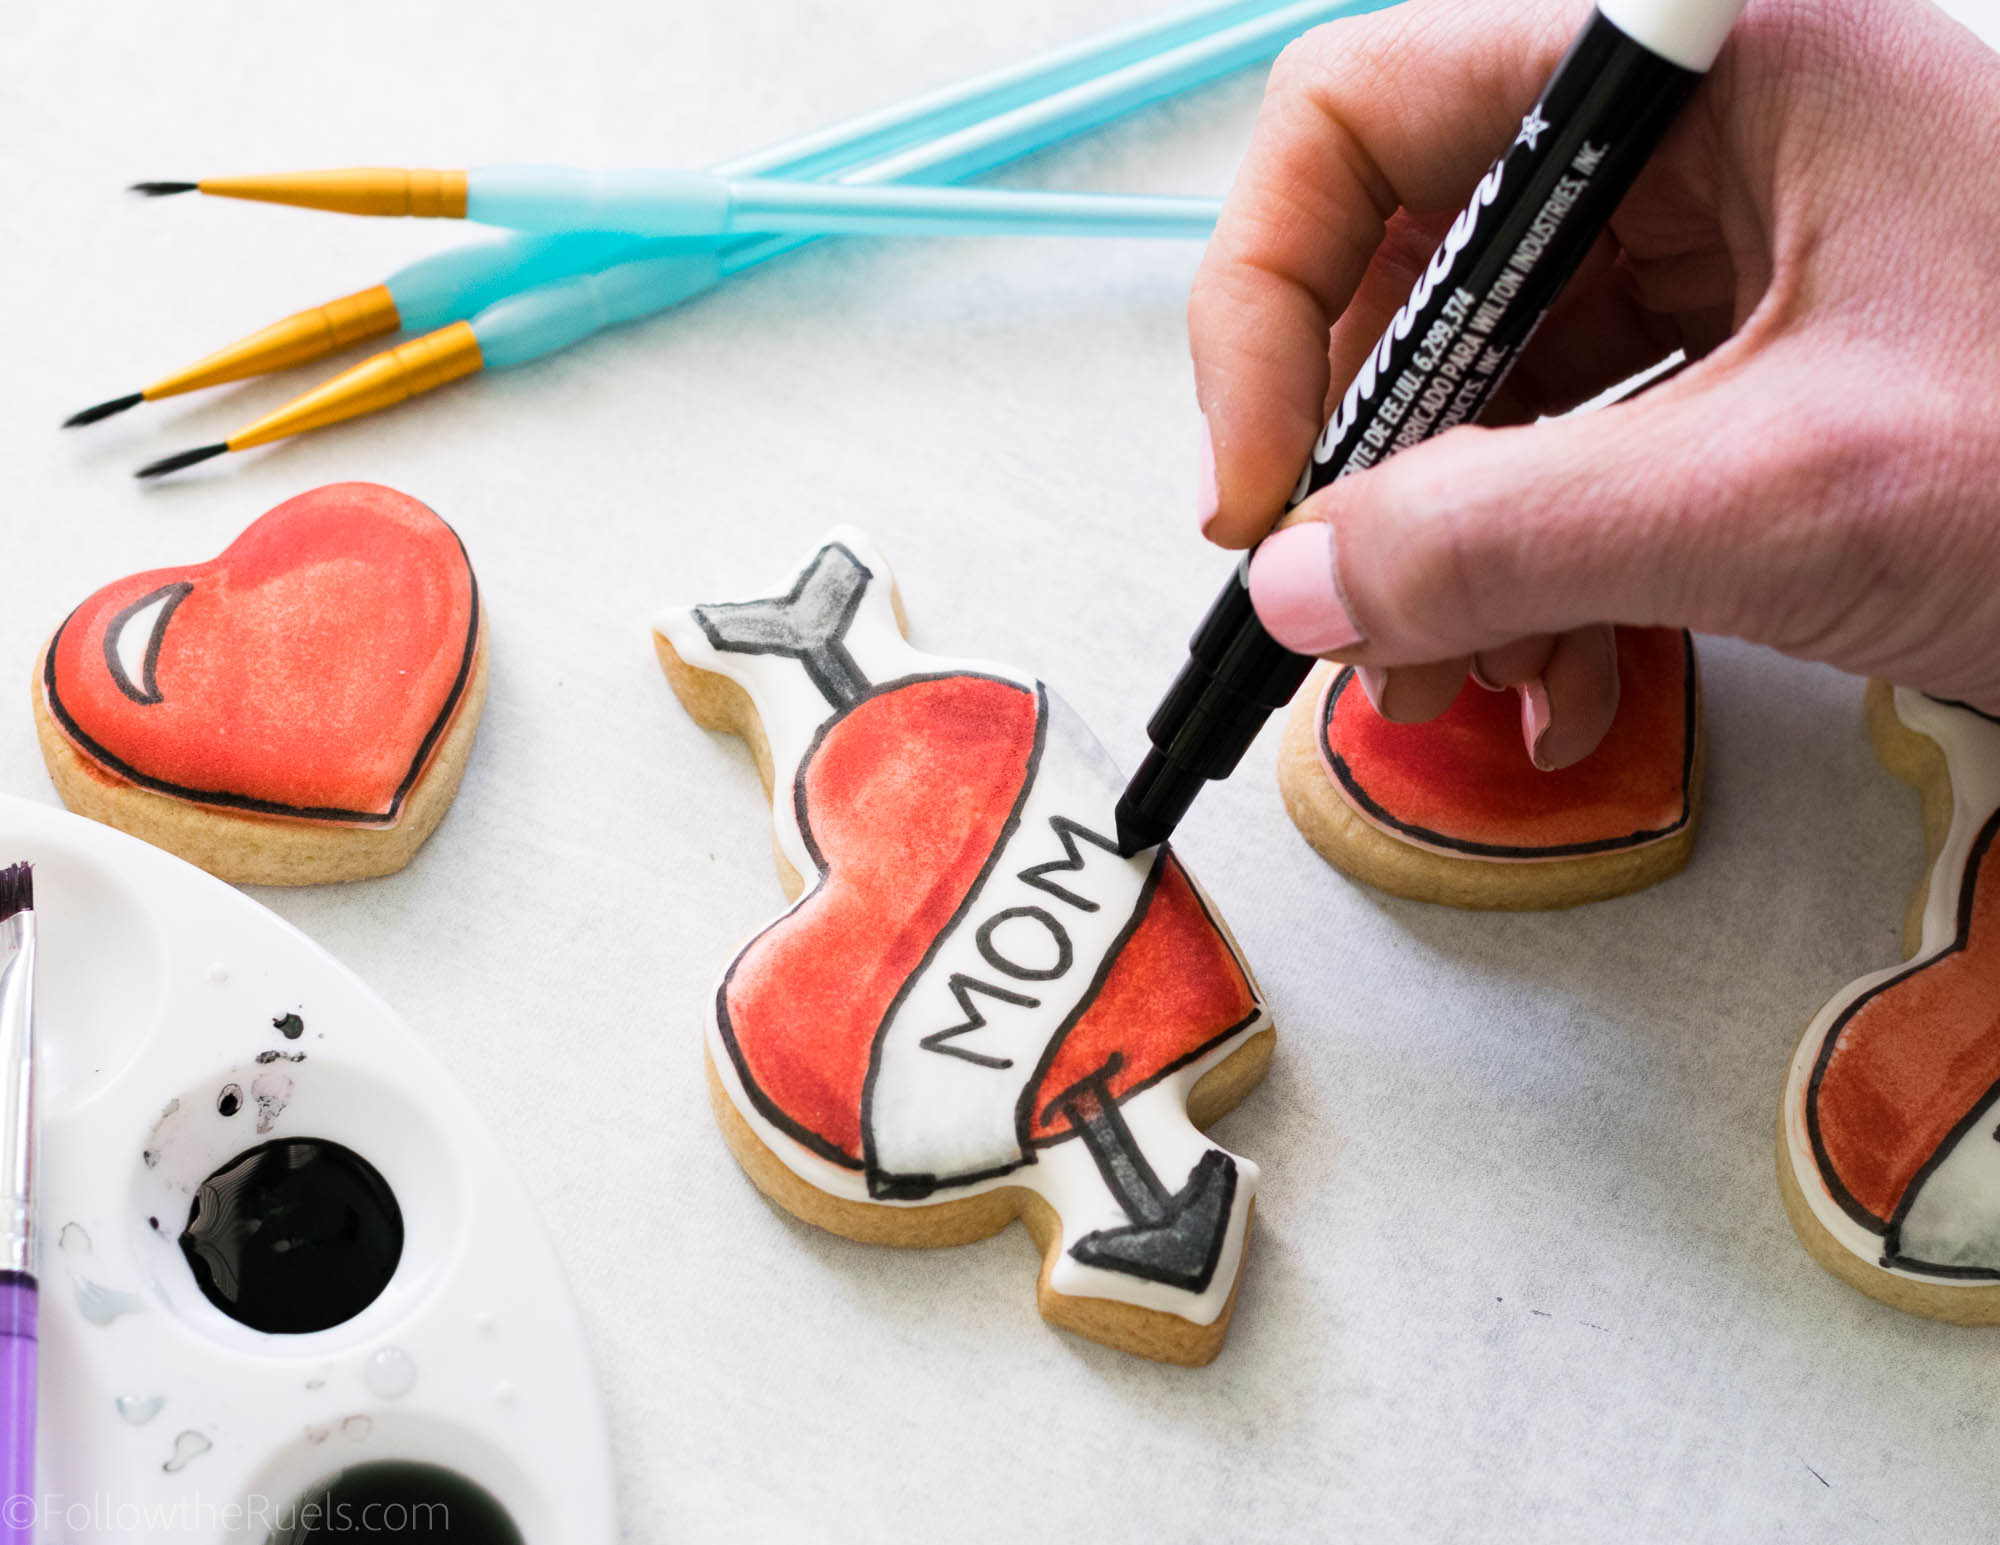
Painting these cookies is the most fun and relaxing part. I could just do that for hours!
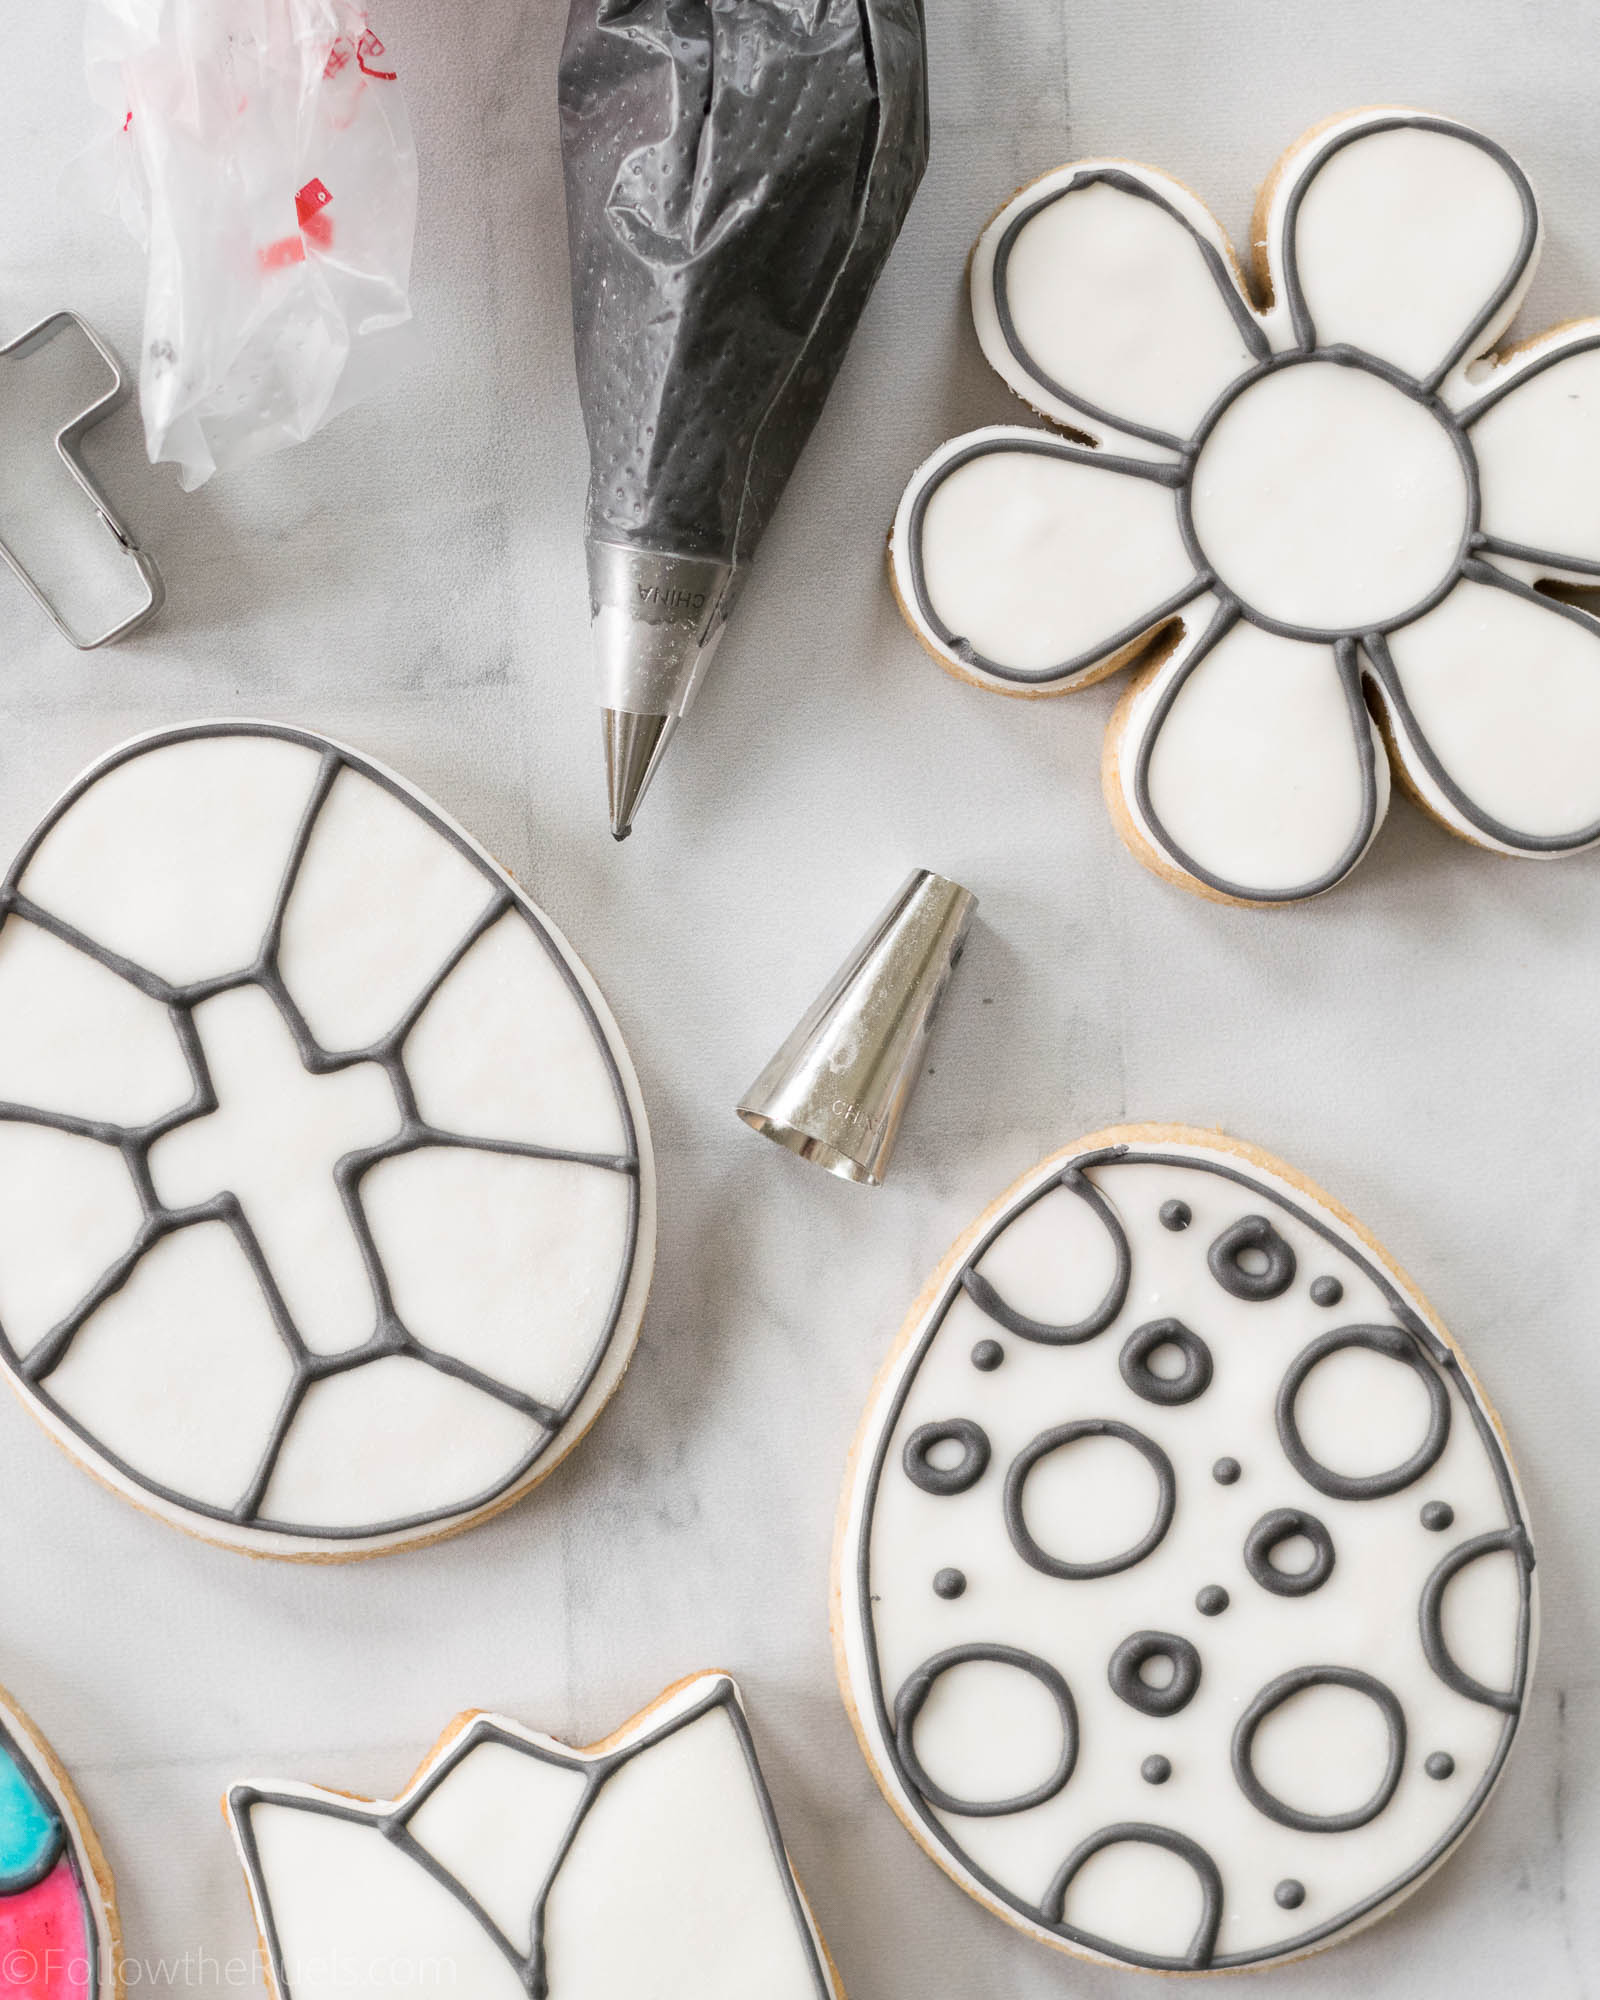
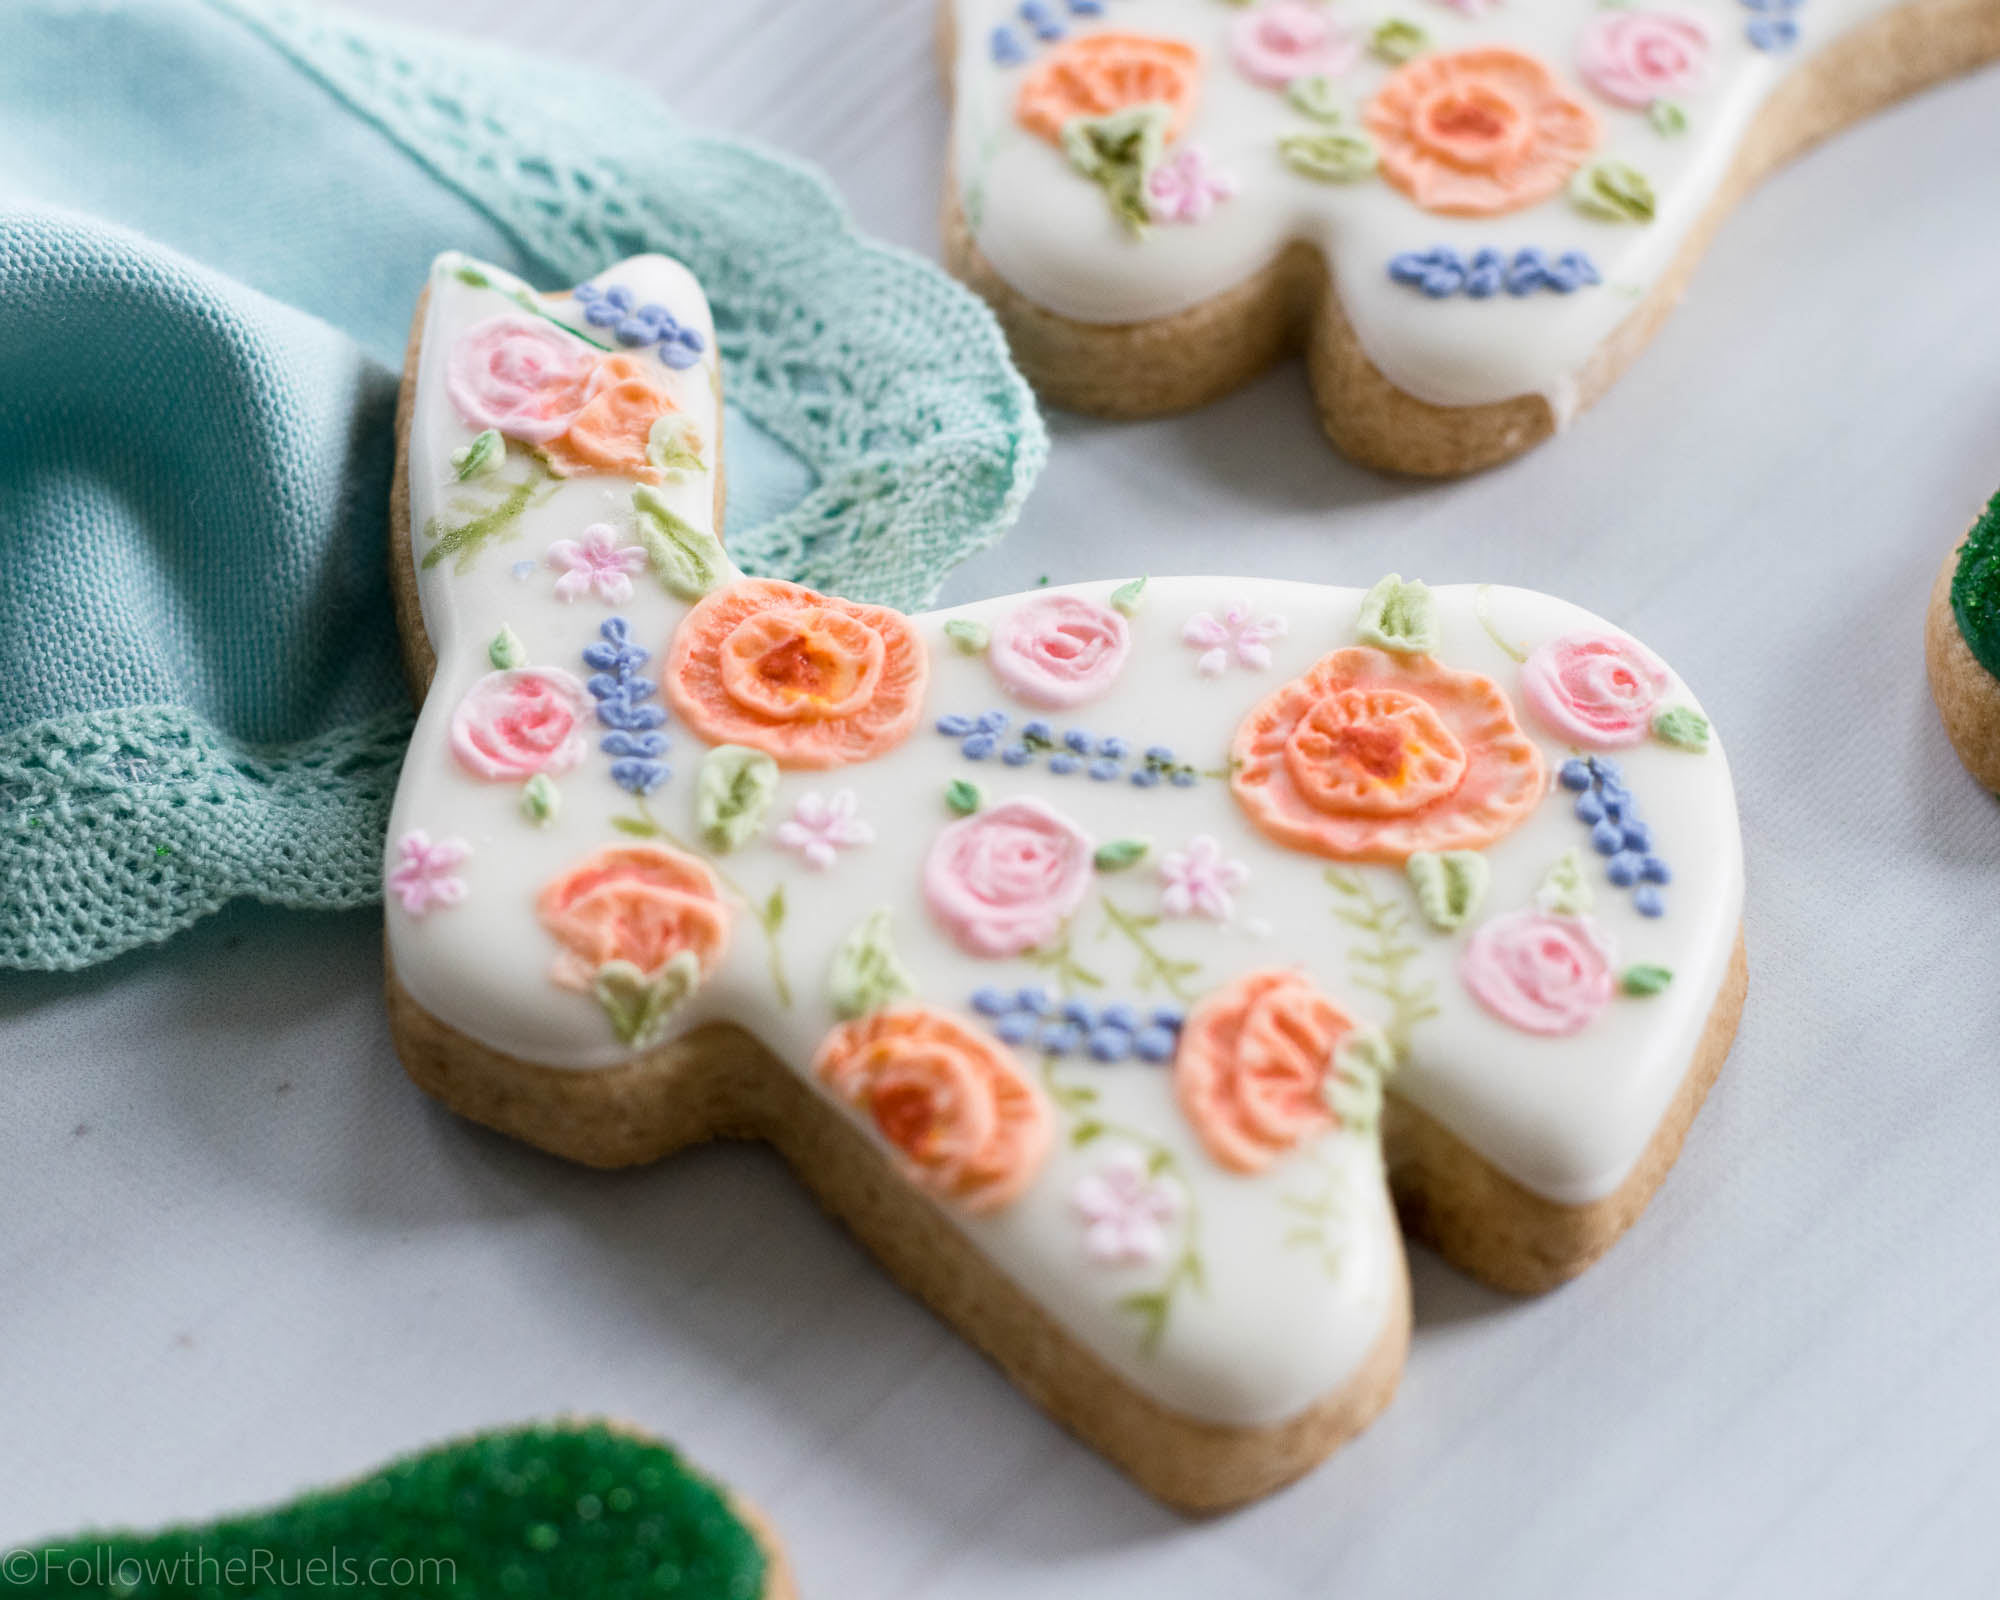
I can’t say the same for the piping. While I love the metallic accents, painting on the metallic paint can be a bit tiresome after a while. So maybe enlist a friend or break it up into batches if you are making lots of cookies!


All in all, I am totally enamored with these cookies. I can’t wait to put the watercolor-metallic combination to work again in another fun cookie set!