• Home
  • Eat
    • Breakfast
    • Appetizers
    • Main Dishes
      • Chicken
      • Beef
      • Seafood
      • Healthy Dishes
      • Paleo Dishes
      • Salads
    • Desserts
      • Decorated Cookies
      • Cookies
      • Bars and Brownies
      • Cakes and Cupcakes
  • Shop
    • Cookie Decorating Supplies
    • Bakeware
    • Cookware
    • Kitchen Gadgets
    • House
  • About
    • Contact
    • Bucket List
  • Cookie Decorating 101

Follow the Ruels

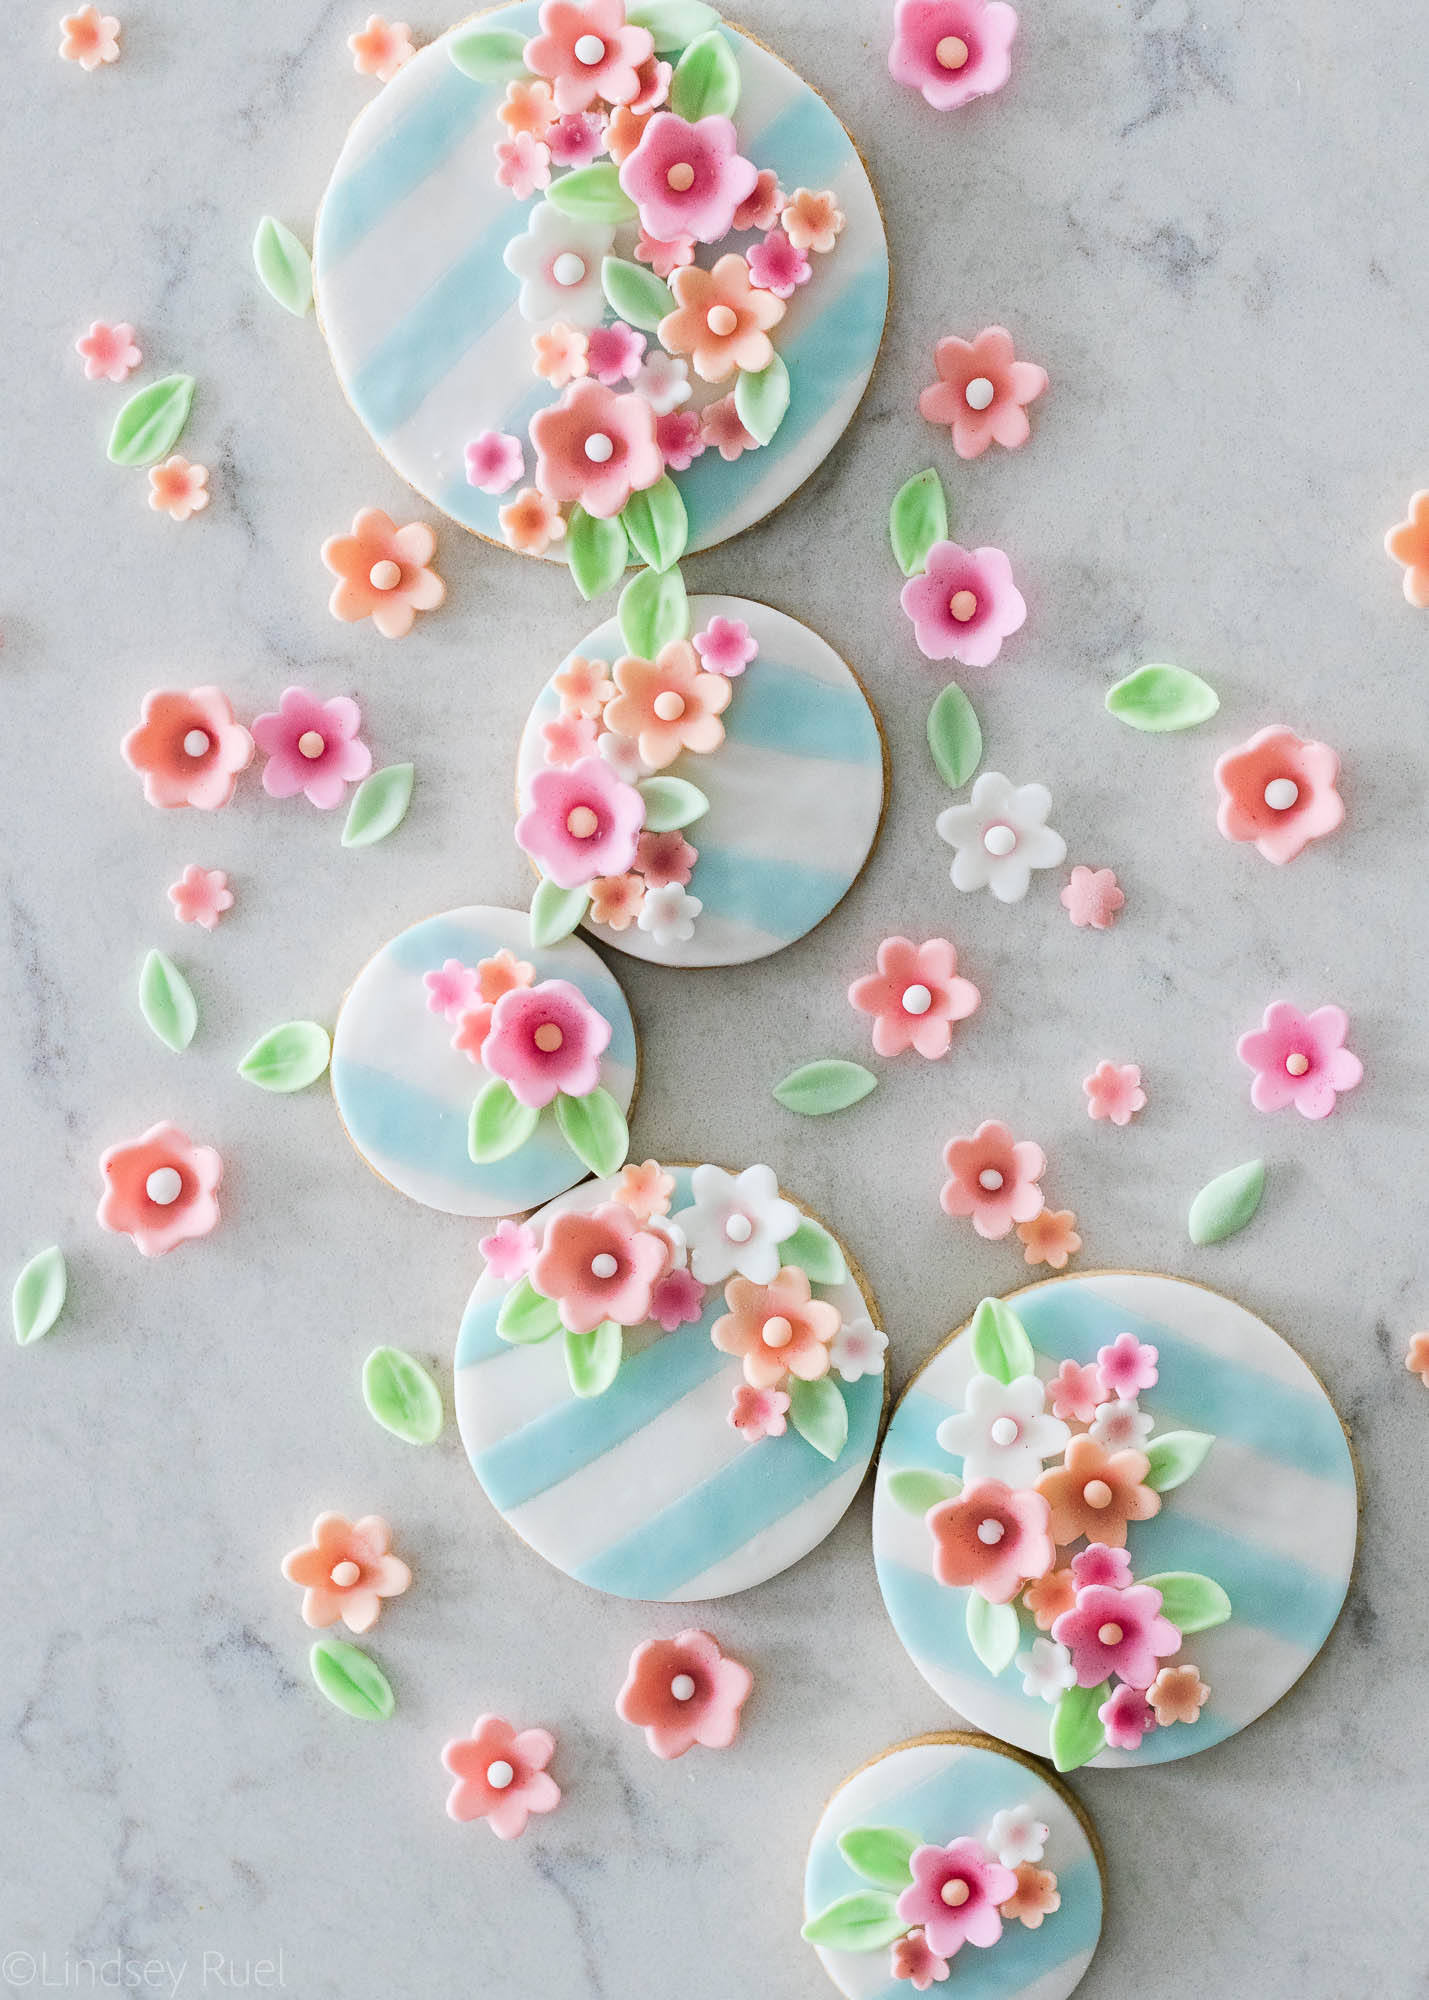
Fondant Flower Sugar Cookies

June 29, 2018

Disclaimer: Wilton provided me with their new decorating kits and other supplies in exchange for a blog post about their new products. However, all thoughts and opinions in this post are my own.

Fondant isn’t just for wedding cakes anymore!

Well, you guys know that already. I have been using fondant on cookies for a while now (exhibit 1, 2, 3). But these cookies take fondant to a whole new level, IMO, thanks to the Wilton Fondant Shapes and Cutout Kit. 

I was so inspired by the photo on the front of the box that I was dying to make a similar cake. But, sometimes I need to know my strengths (and weaknesses), and I knew I could execute a similar look on a cookie. 

The cookies were a lot of fun to create, and actually kind of therapeutic. Working with fondant is a lot like working with modeling clay. It can be very forgiving and if you mess up, you can just roll it up and try again. These cookies are definitely something that just about anyone can recreate with the right tools!

How to Make Them
Start by dying fondant in the desired shades of colors. A little fondant goes a long way, so you may only need a gumball (or smaller) -sized ball of fondant per color. 
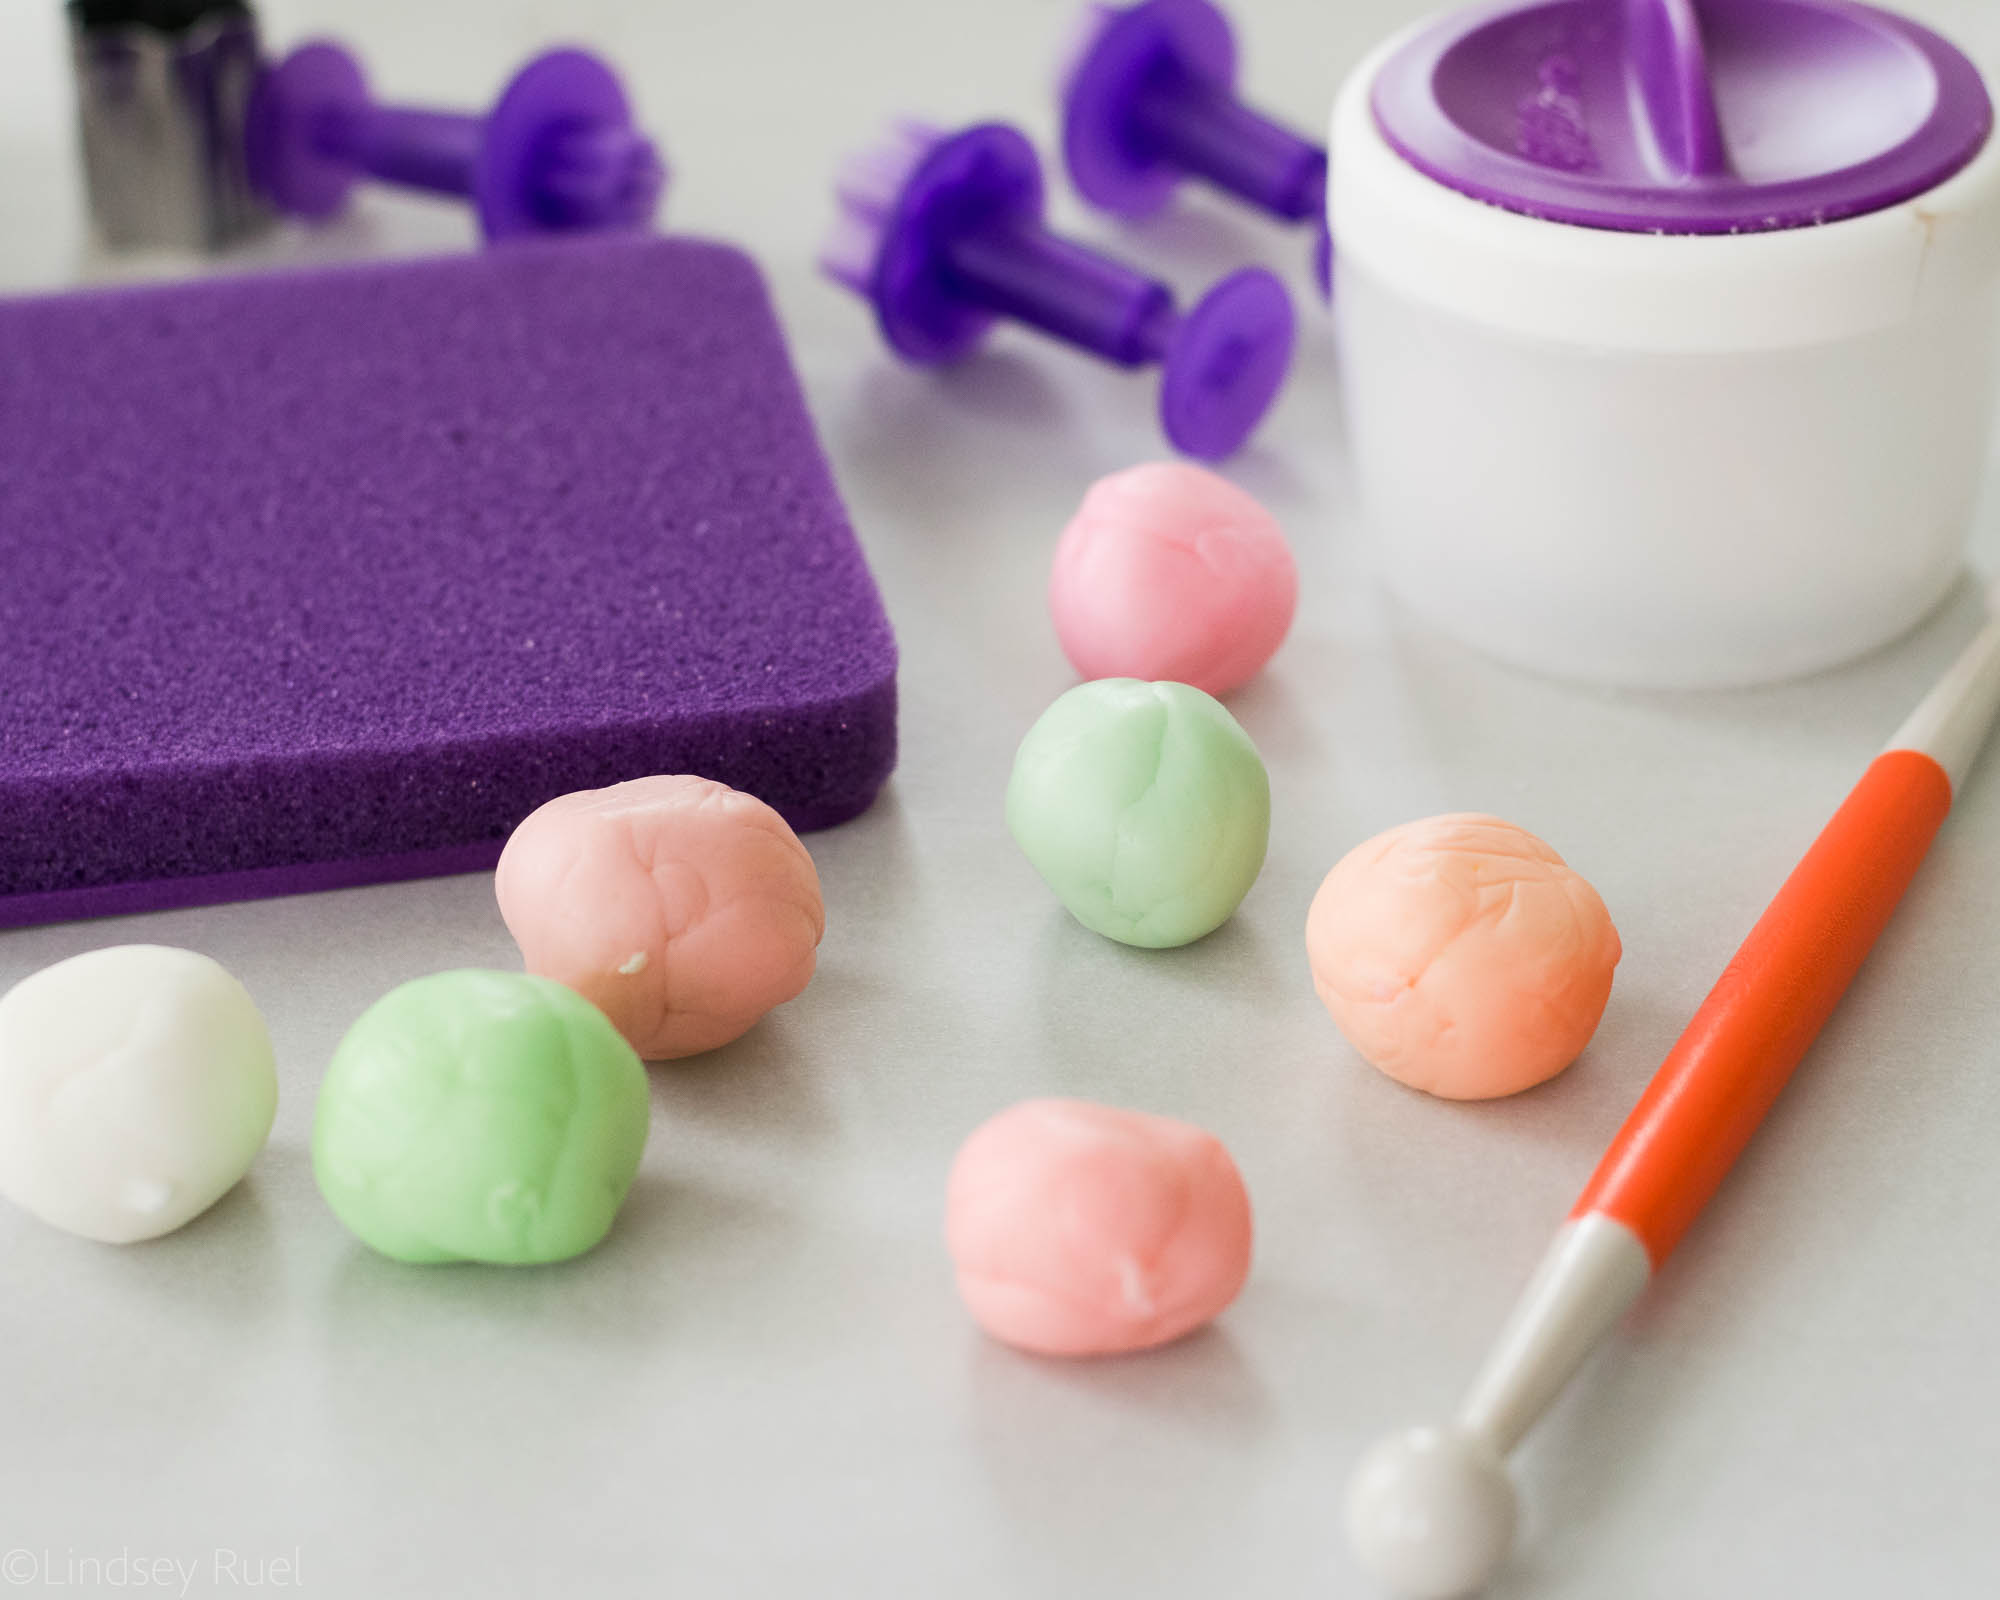
To dye the fondant, dab a tiny amount of gel food coloring onto the fondant. Then using your hands, stretch and knead the fondant until the color is evenly incorporated. If the color is too light, add additional food coloring.

Tip: Use food-safe gloves to prevent getting food coloring all over your skin. 

Roll out the fondant with the fondant roller and the thinnest of the roller bands. Punch out various sized flowers and leaves. 


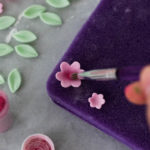
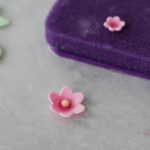
Place the cut-out flowers onto the foam and press down using the ball tool to create a more dimensional flower. 

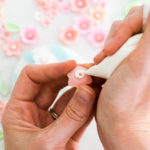
To add some more dimension and color, brush some pink luster dust in the center of the flower. Add a little ball of the same or different color fondant to the center of the flower. Attach with a dab of water. 


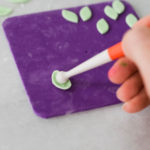
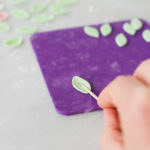
To add a little more detail to the leaves, use the smaller end of the ball tool to roll around the edges. Use a toothpick to add a little line down the center. 
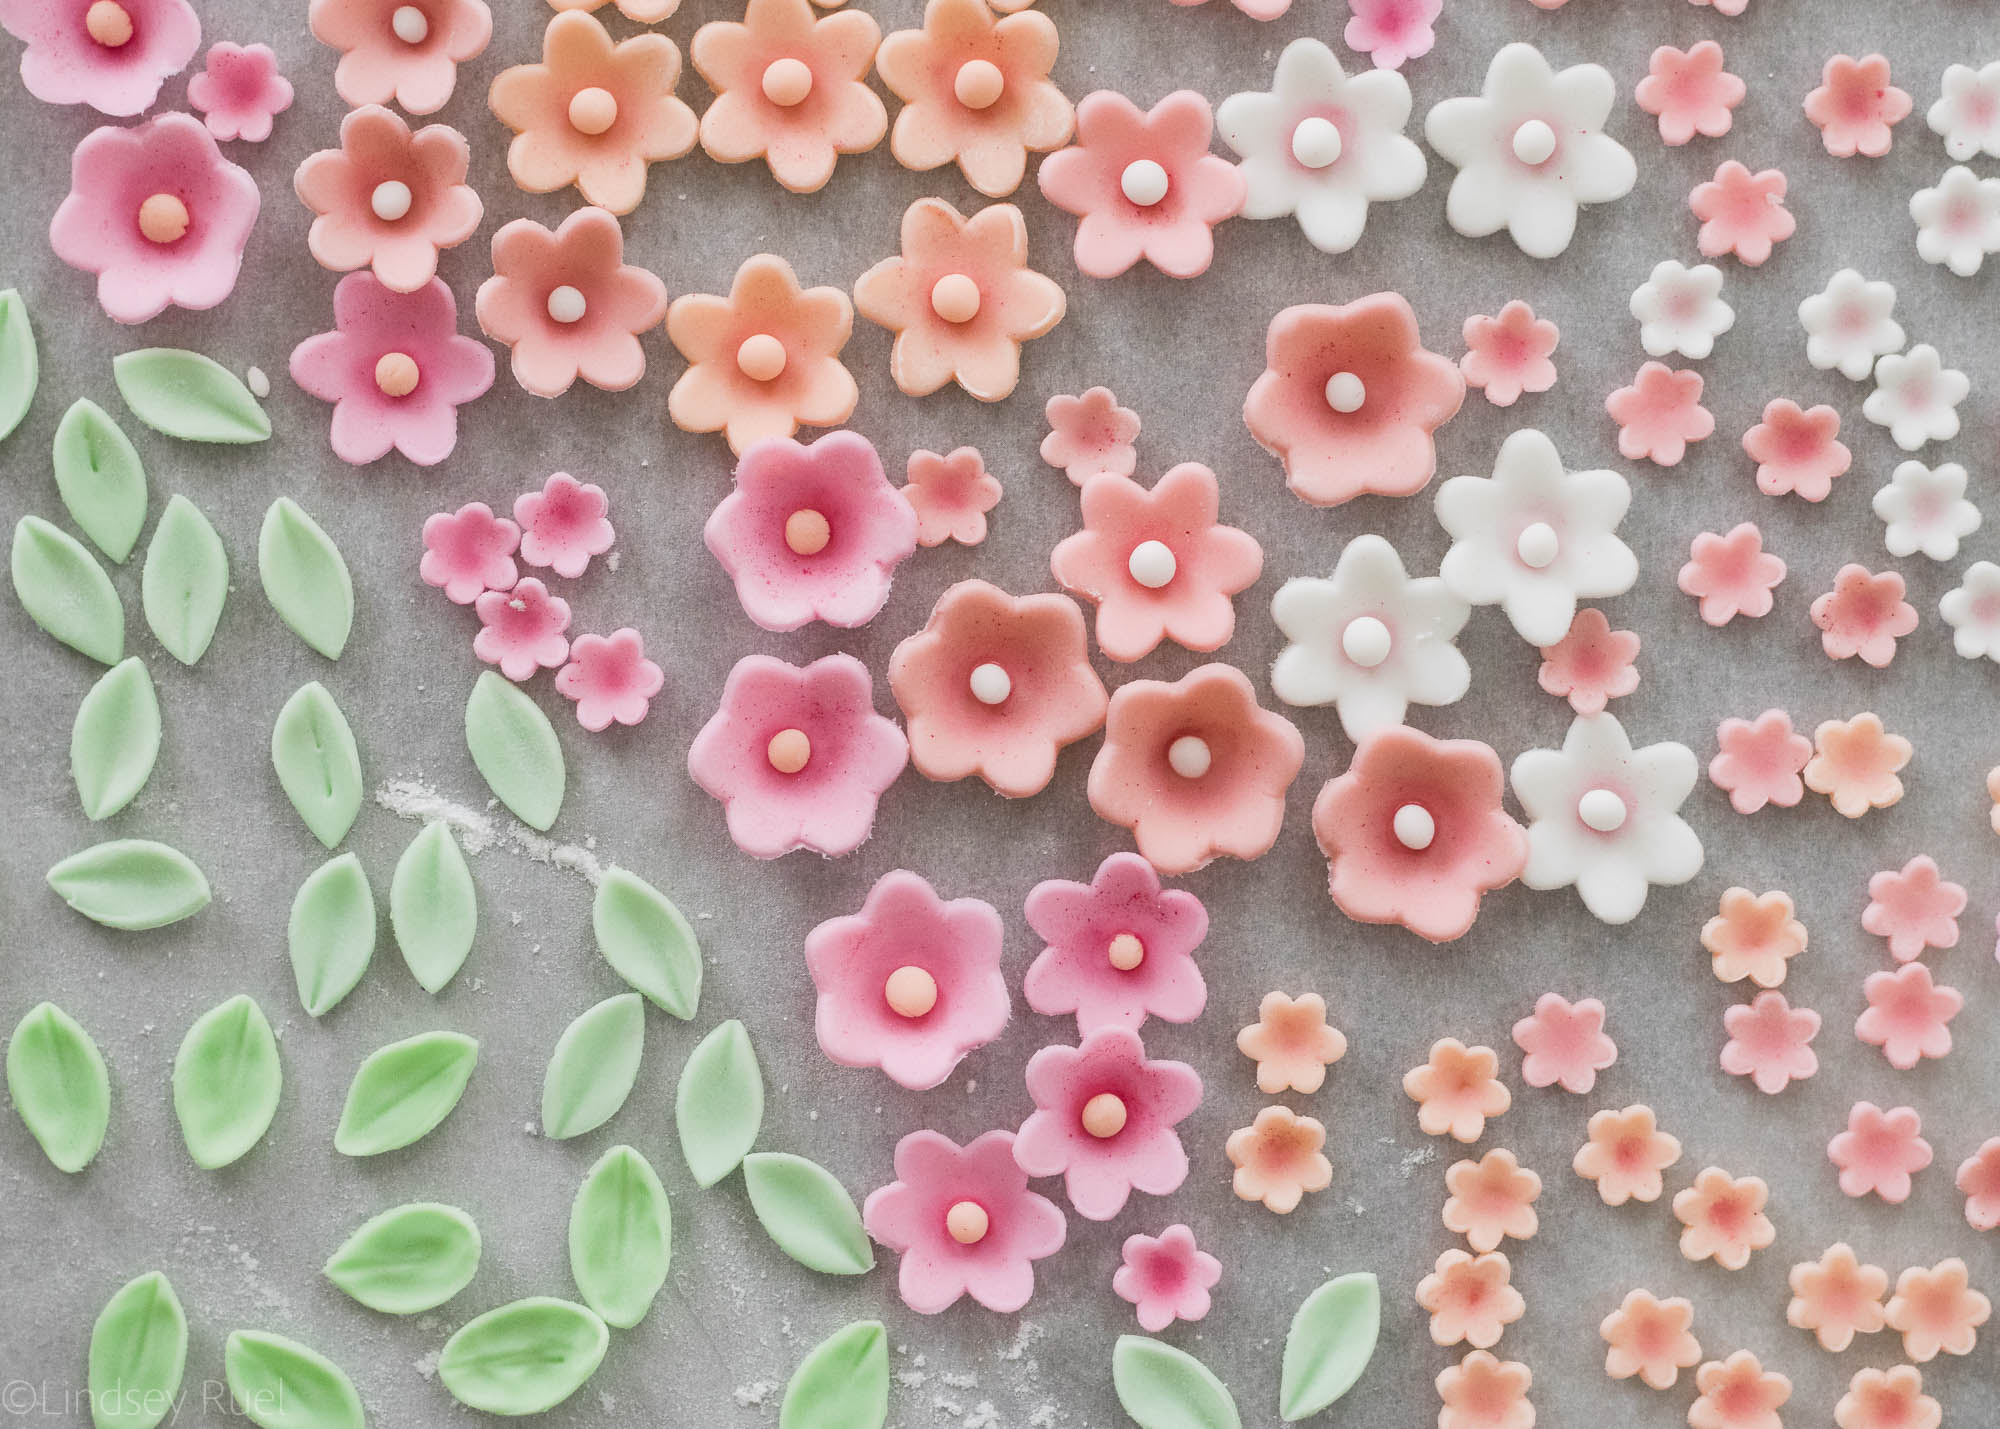
Allow to dry and harden while you work on the next step.


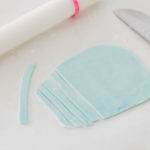
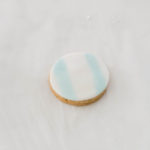
To create the striped fondant, dye a small ball of fondant a light blue (or your color of choice). Roll out the blue fondant using the fondant roller, then cut into equal sized strips. 

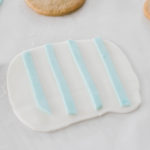
Roll out the plain white fondant and attach the strips of colored fondant with a little bit of water. 

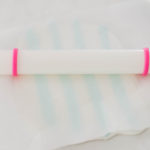
Place a piece of parchment on top of the fondant and roll out the fondant with the fondant roller and widest fondant roller guide. 
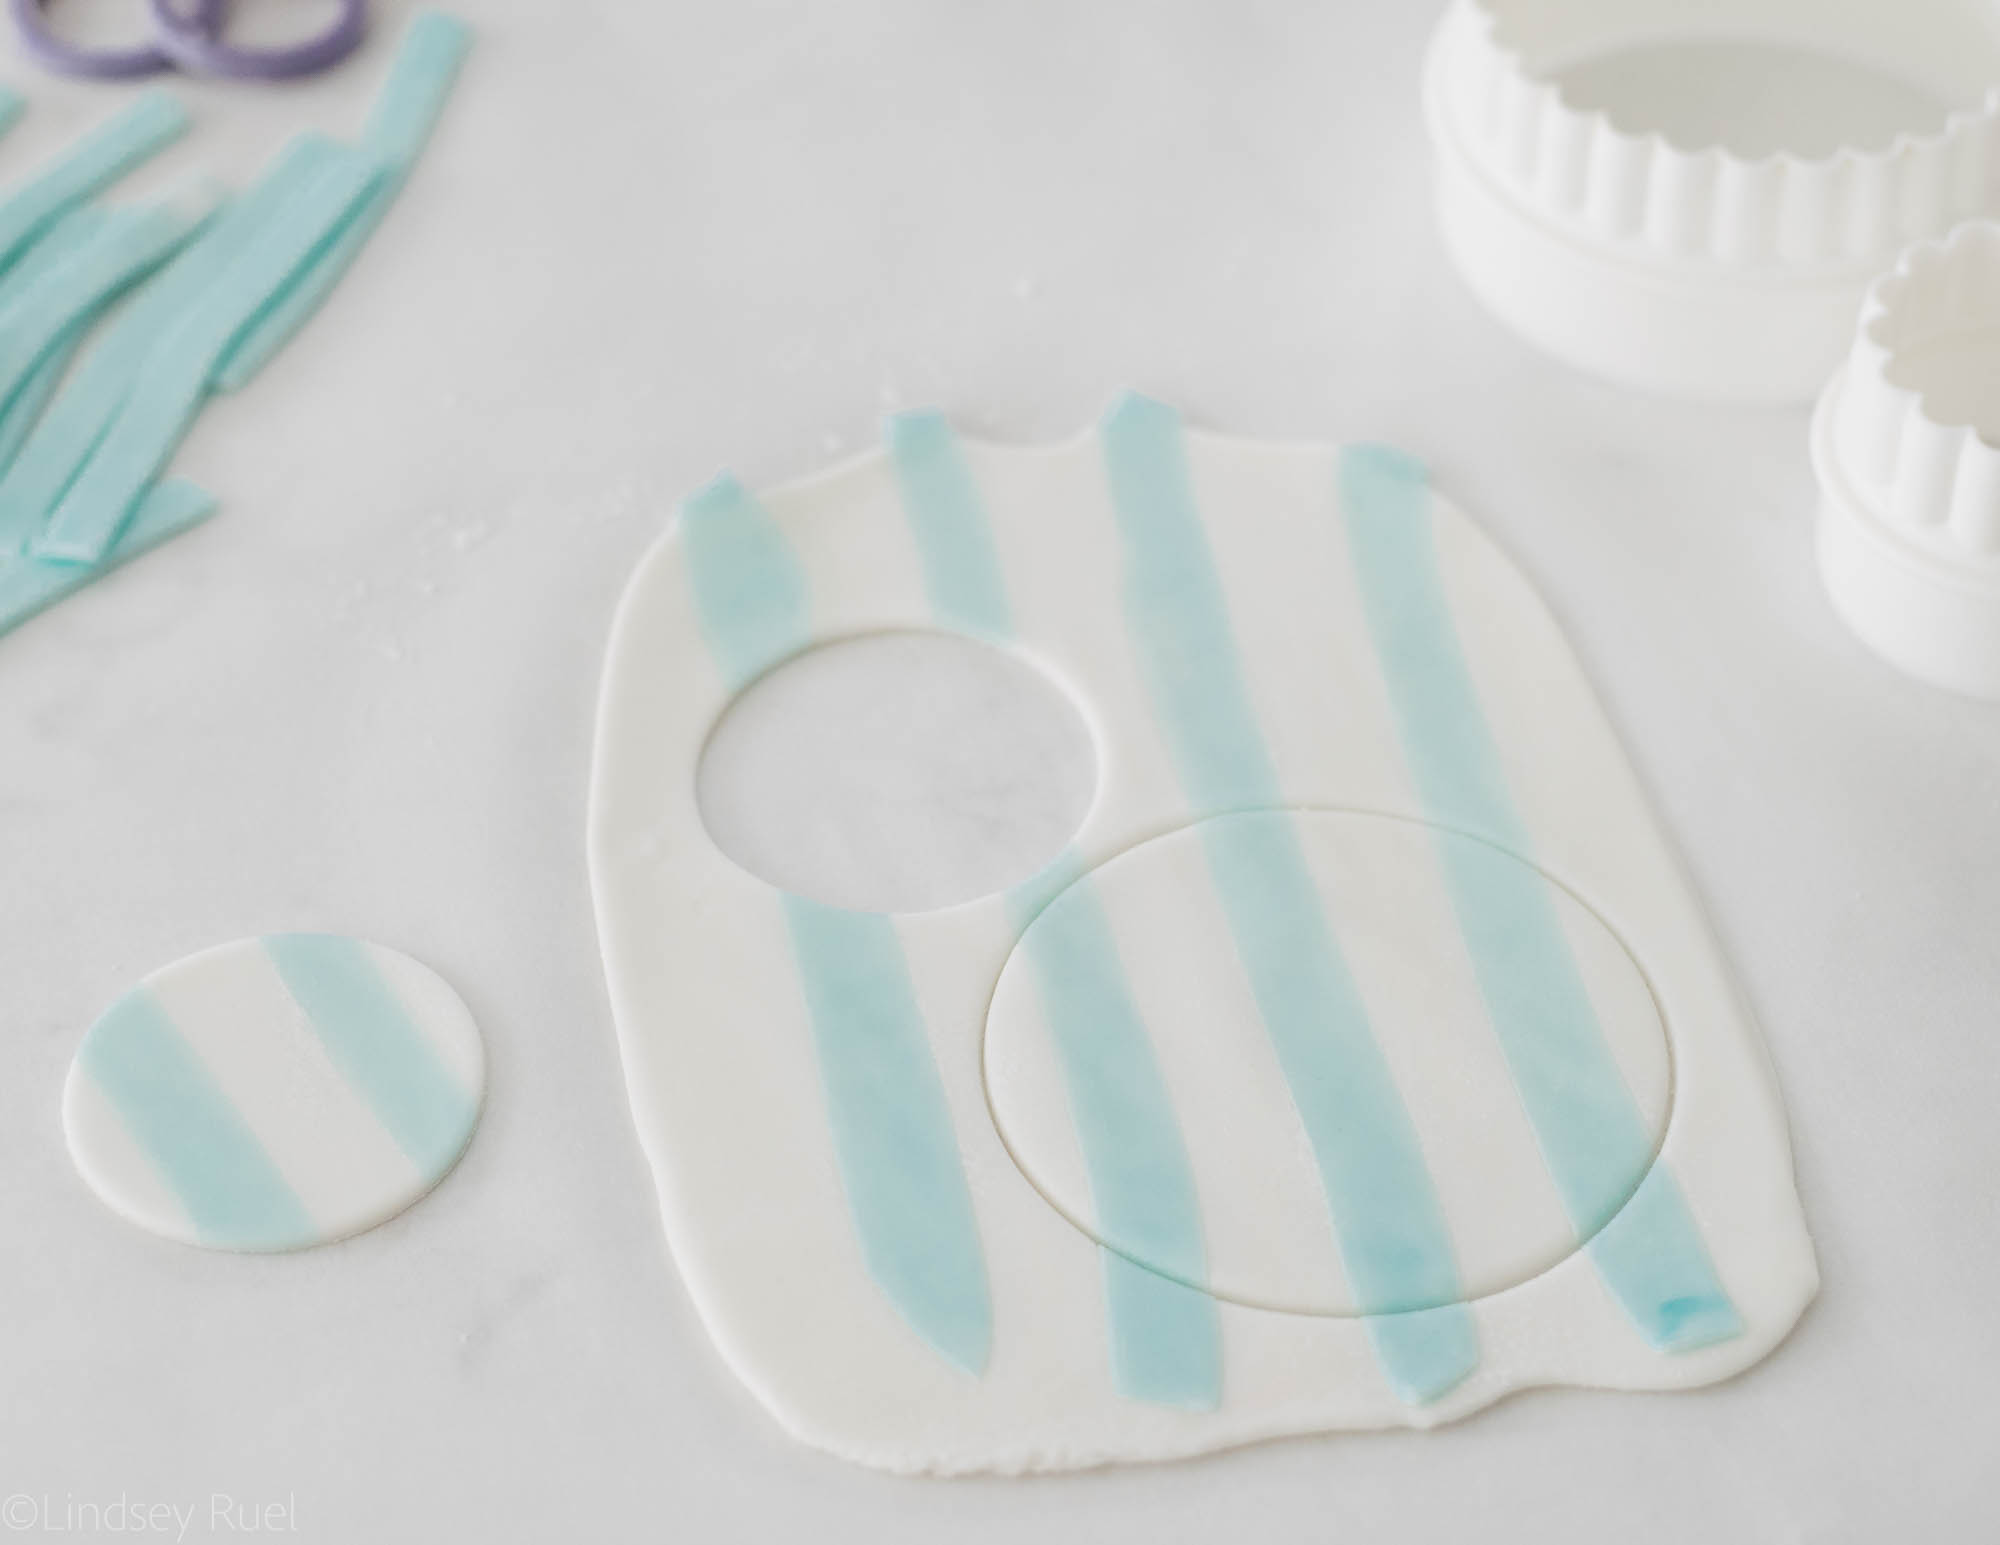
Cut out the fondant using the same sized cookie cutter as the cookies the fondant will be placed on. 

Tip: Work in small batches because once your roll out the striped fondant, you will not be able to re-roll it and maintain the stripes. 


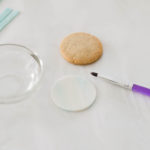
Attach the fondant to the cookie by brushing a little bit of water onto the back of the fondant then sticking it to the cookie. Use your finger to smooth out the top and edges of the fondant. 
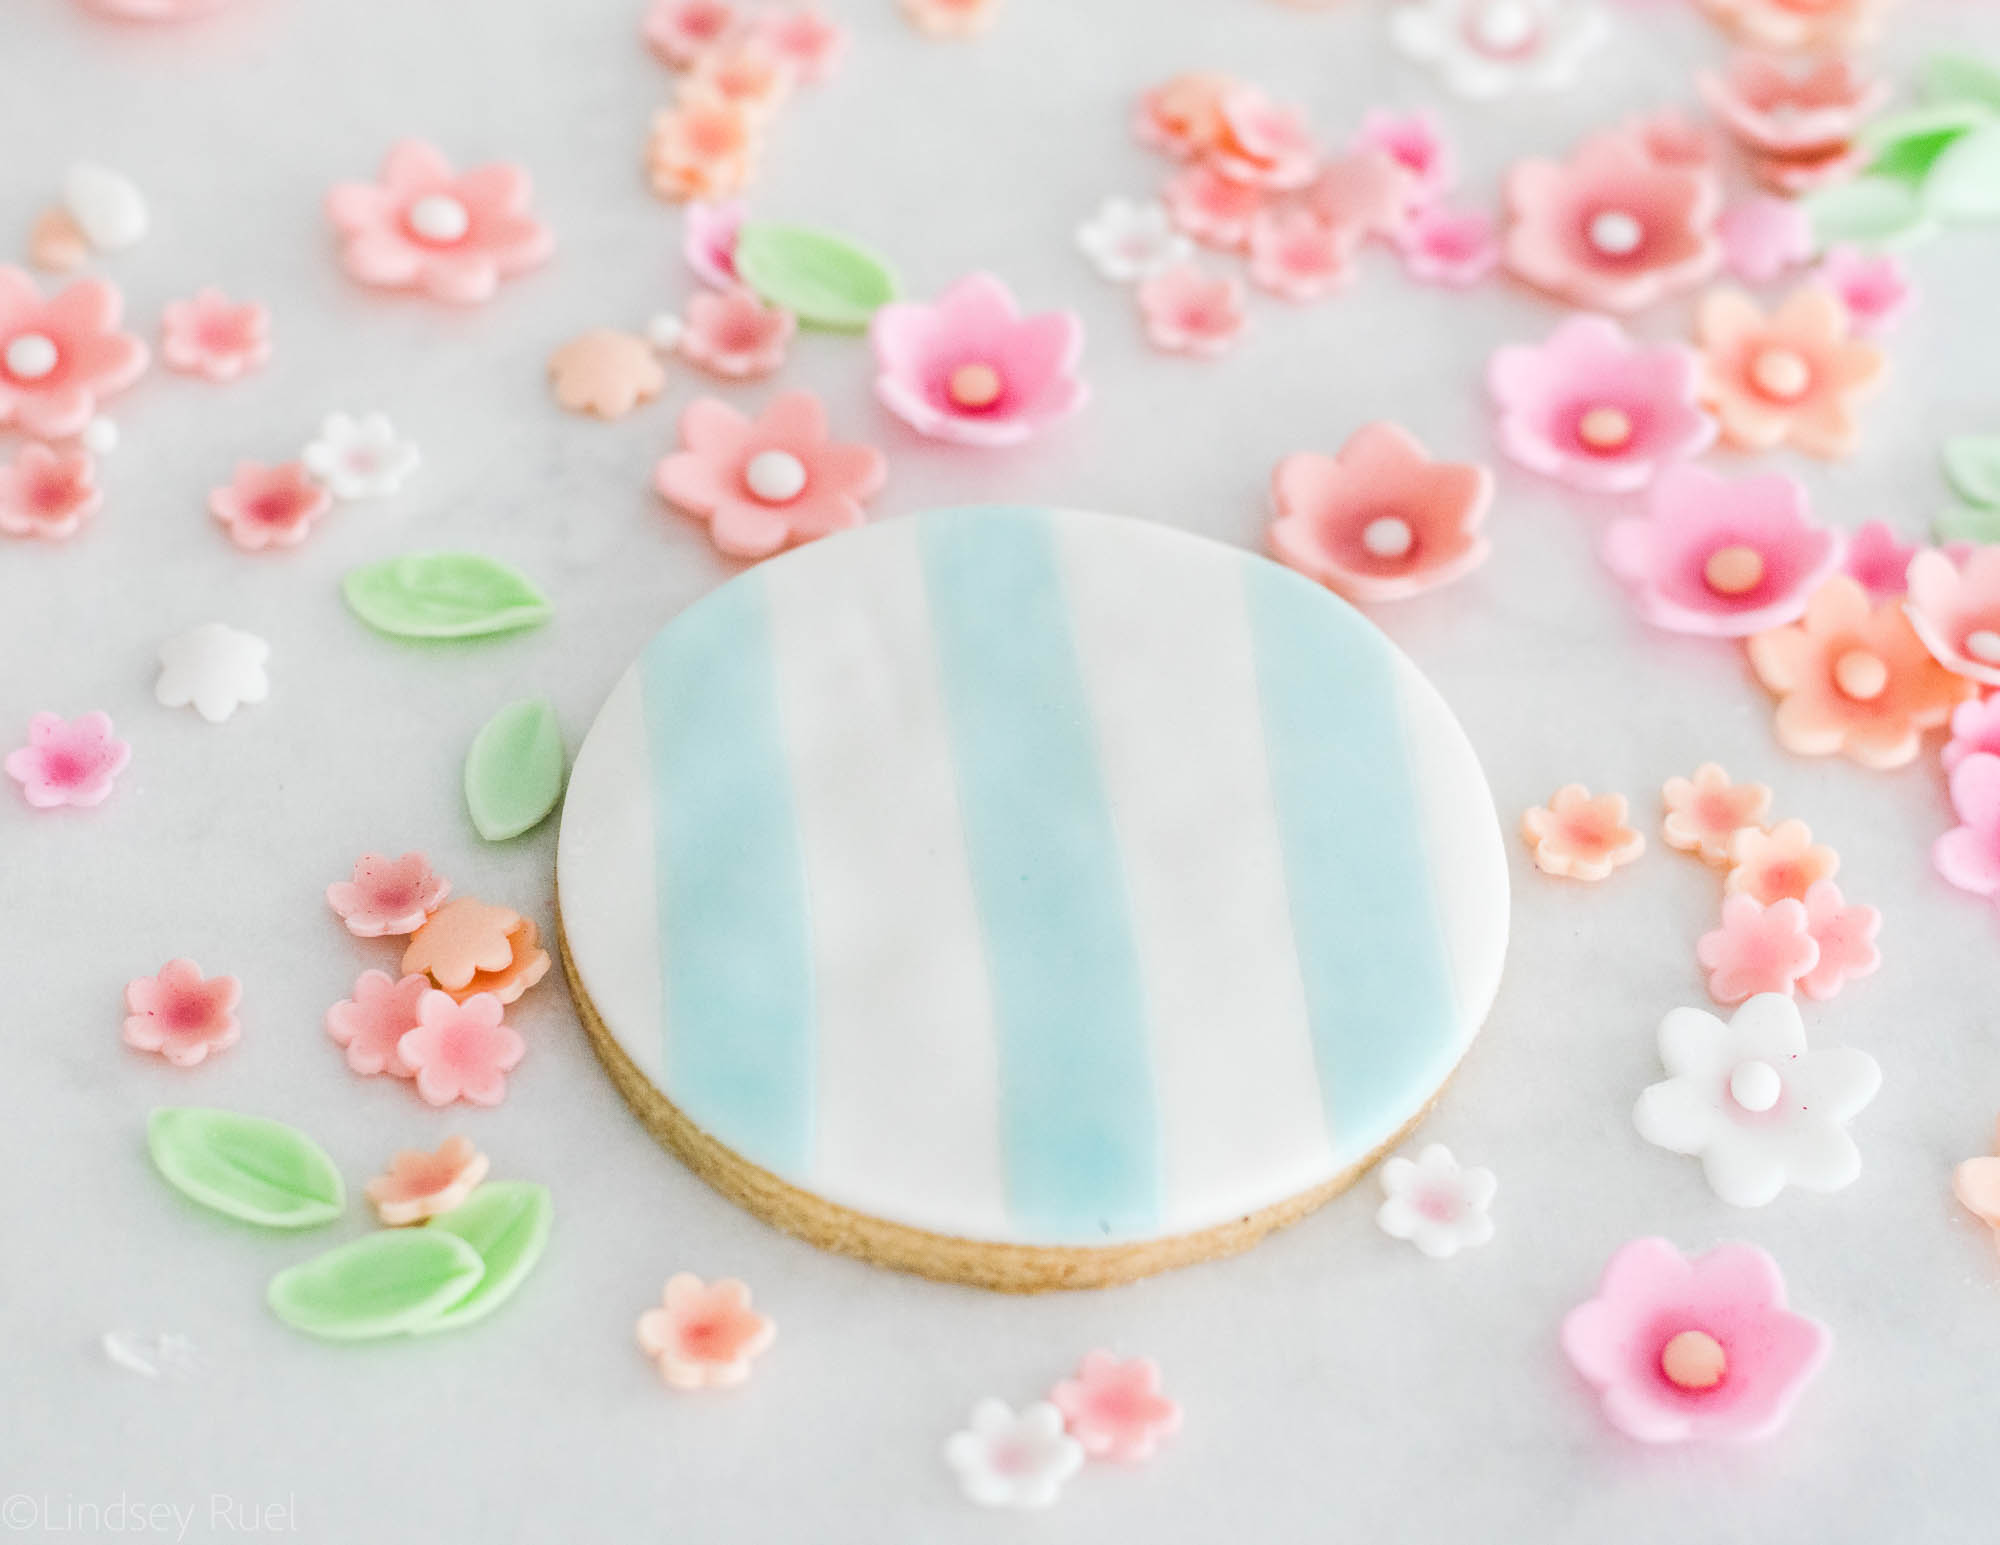
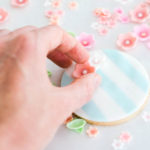
There is not a lot of rhyme or reason for placing the flowers on the cookie. I like to start by adding the biggest flowers first, then adding smaller flowers around it. 

I also like to make sure that the arrangement is asymmetrical. So if there is one large center flower with two small flowers on one side, I won’t add two flowers to the other. I will make sure the two sides are not balanced which will make it look a bit more natural. 


“Glue” the flowers onto the cookies with a bit of stiff consistency royal icing. 
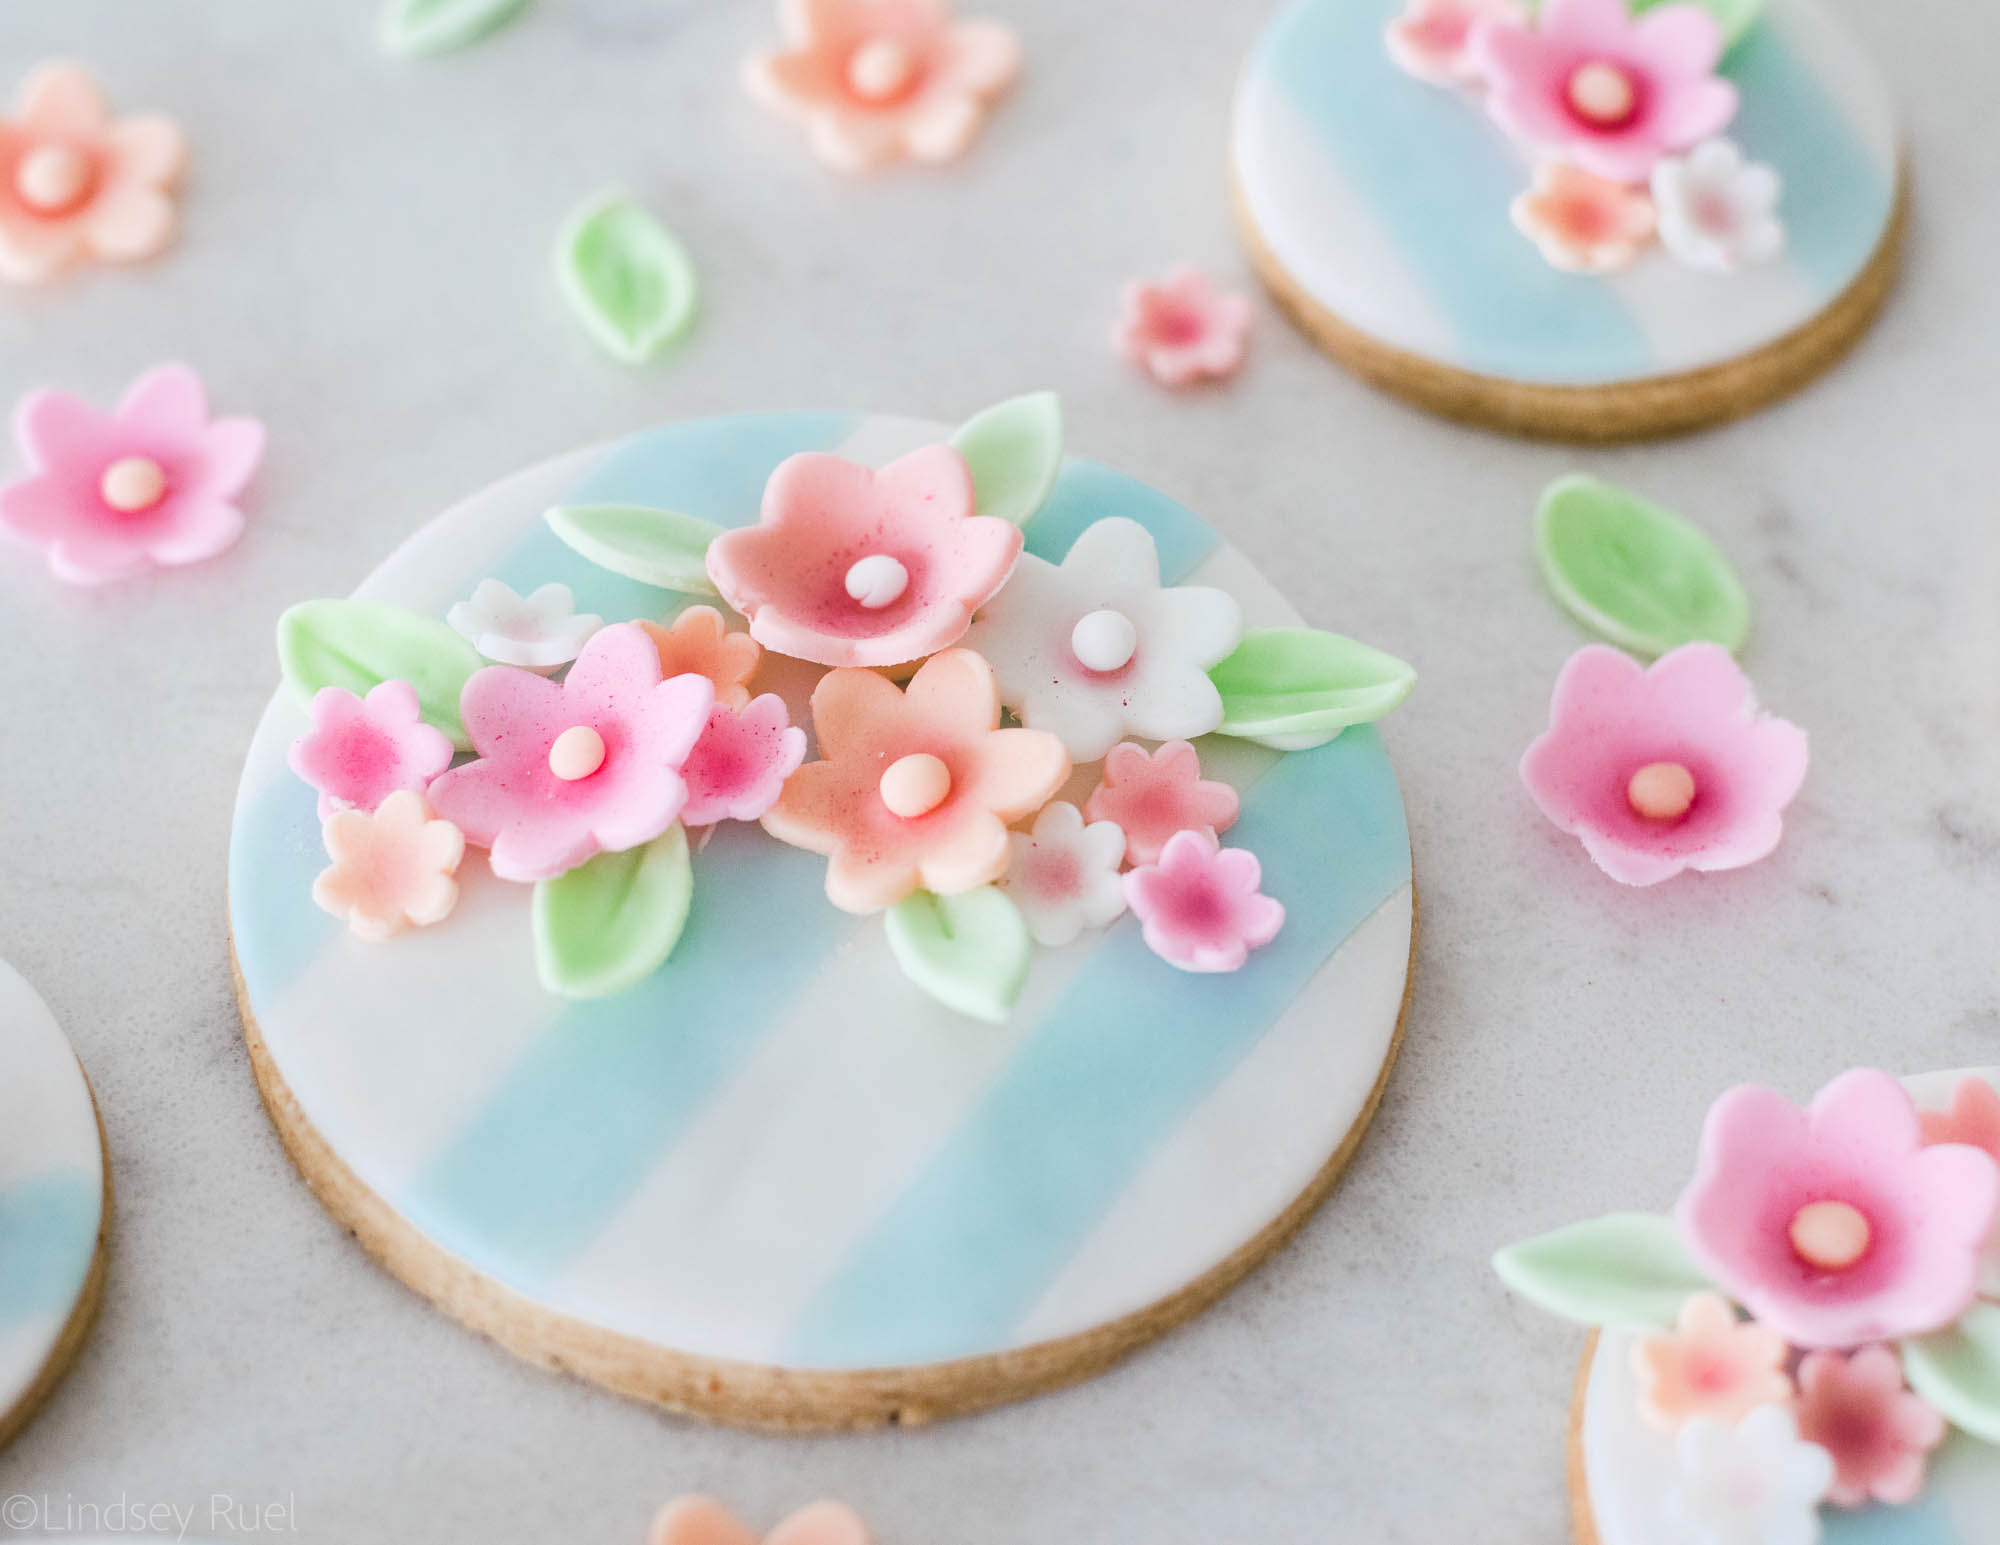
Layer the flowers and leaves until you are happy with the arrangement. Allow the royal icing to dry for about 15-20 minutes before stacking or packaging. 

Tools and Recipes
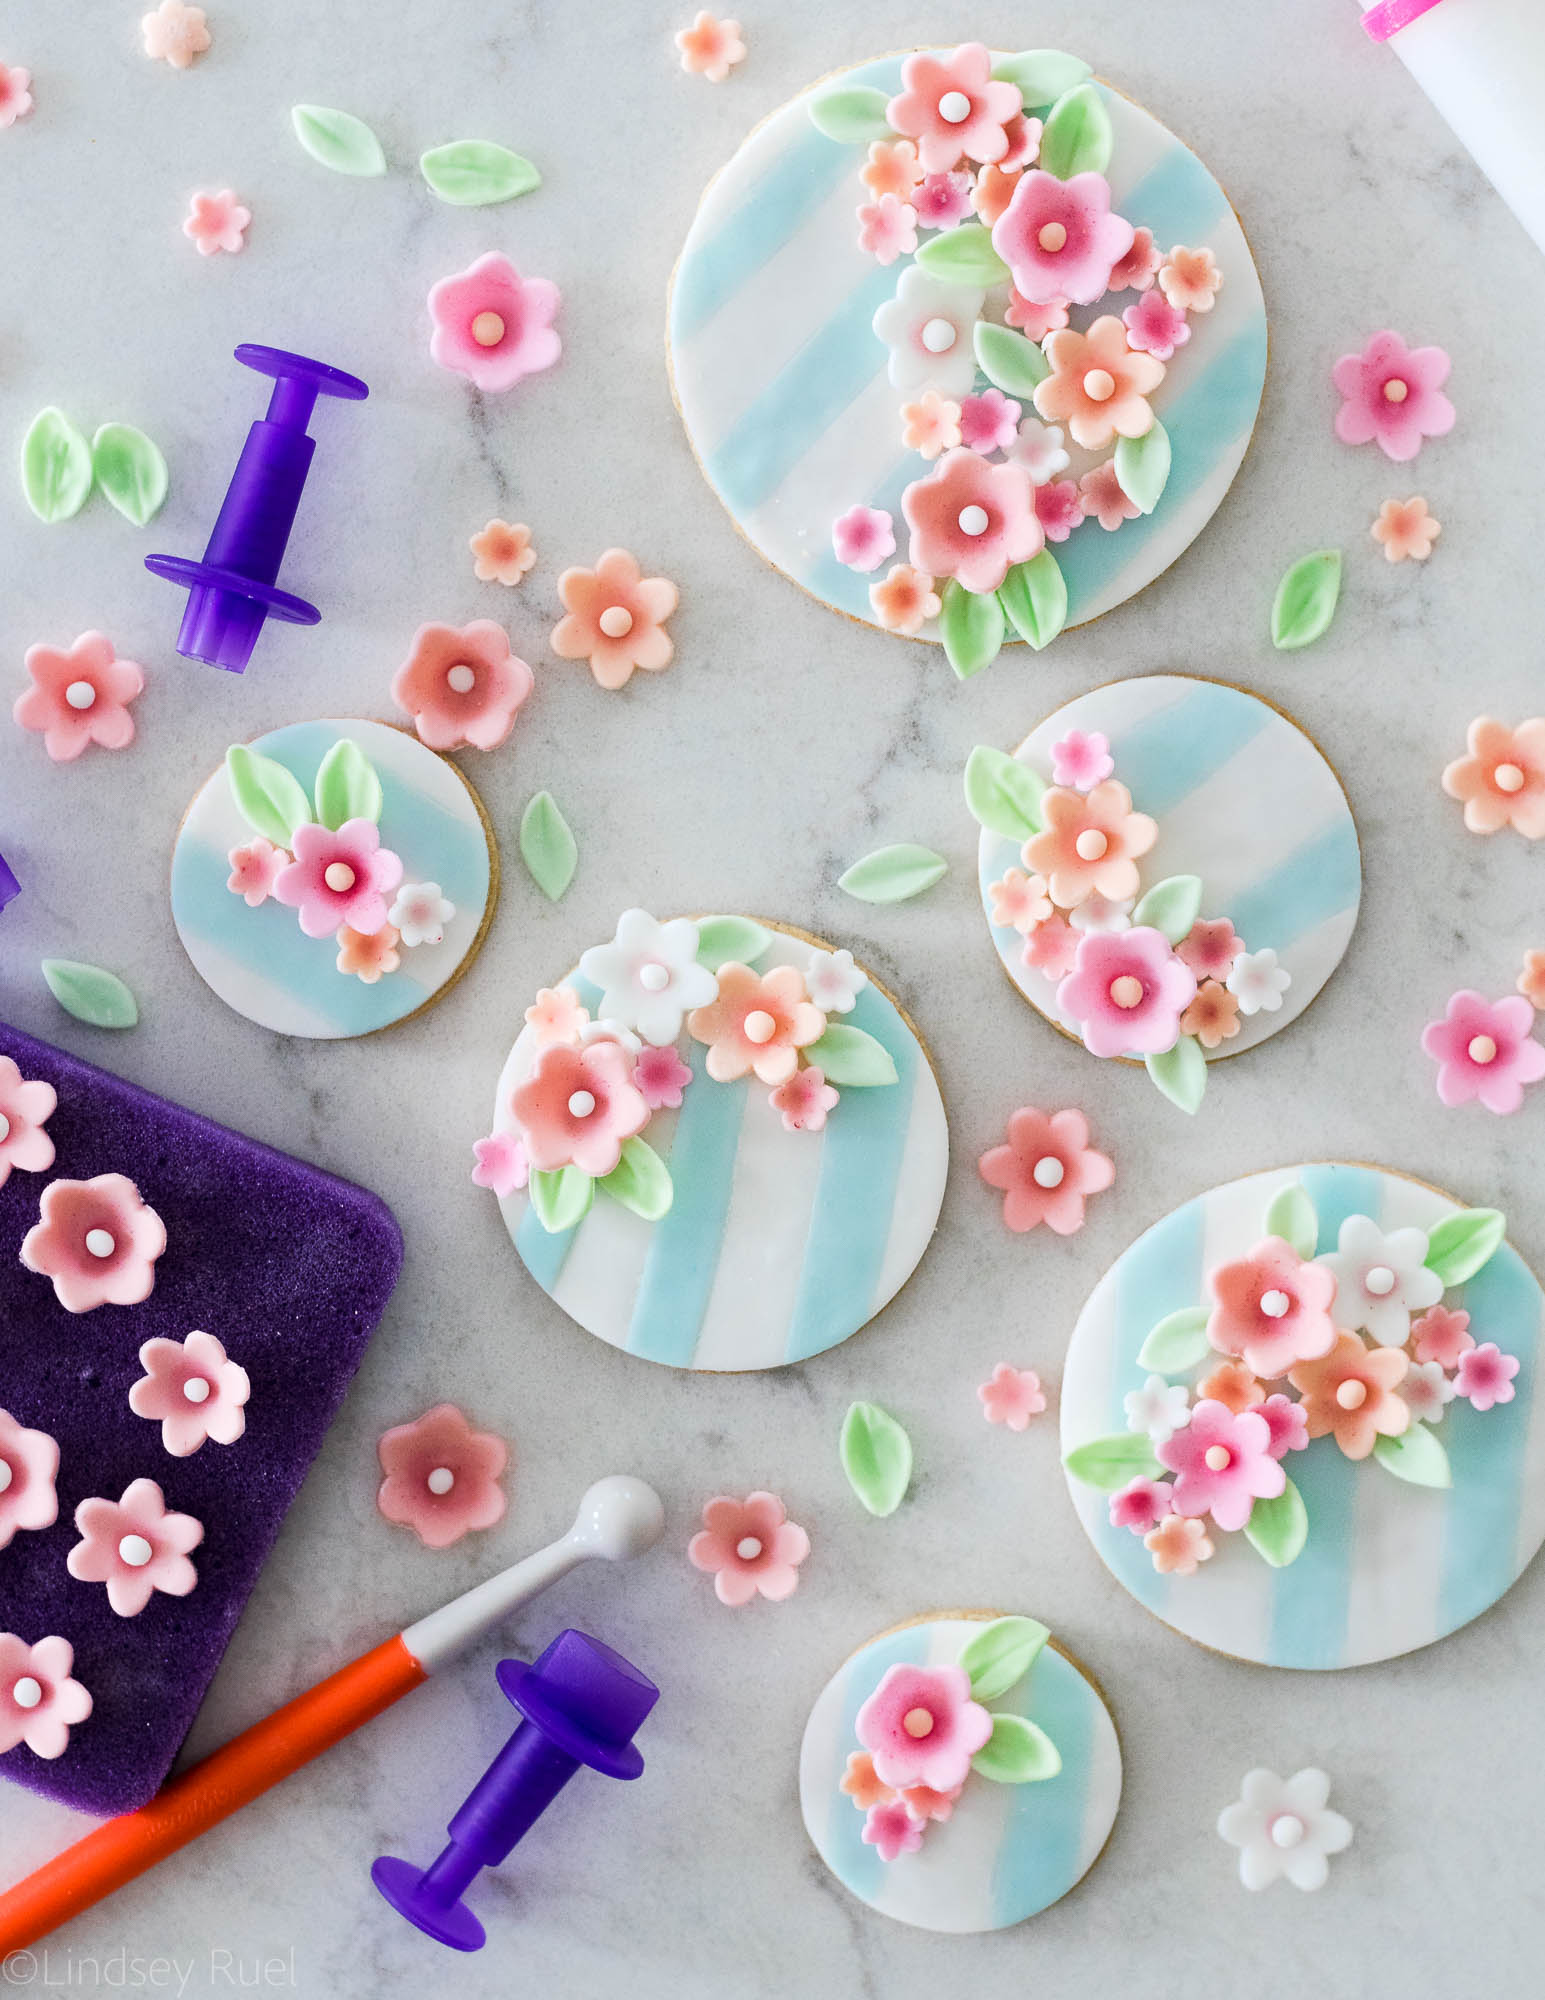
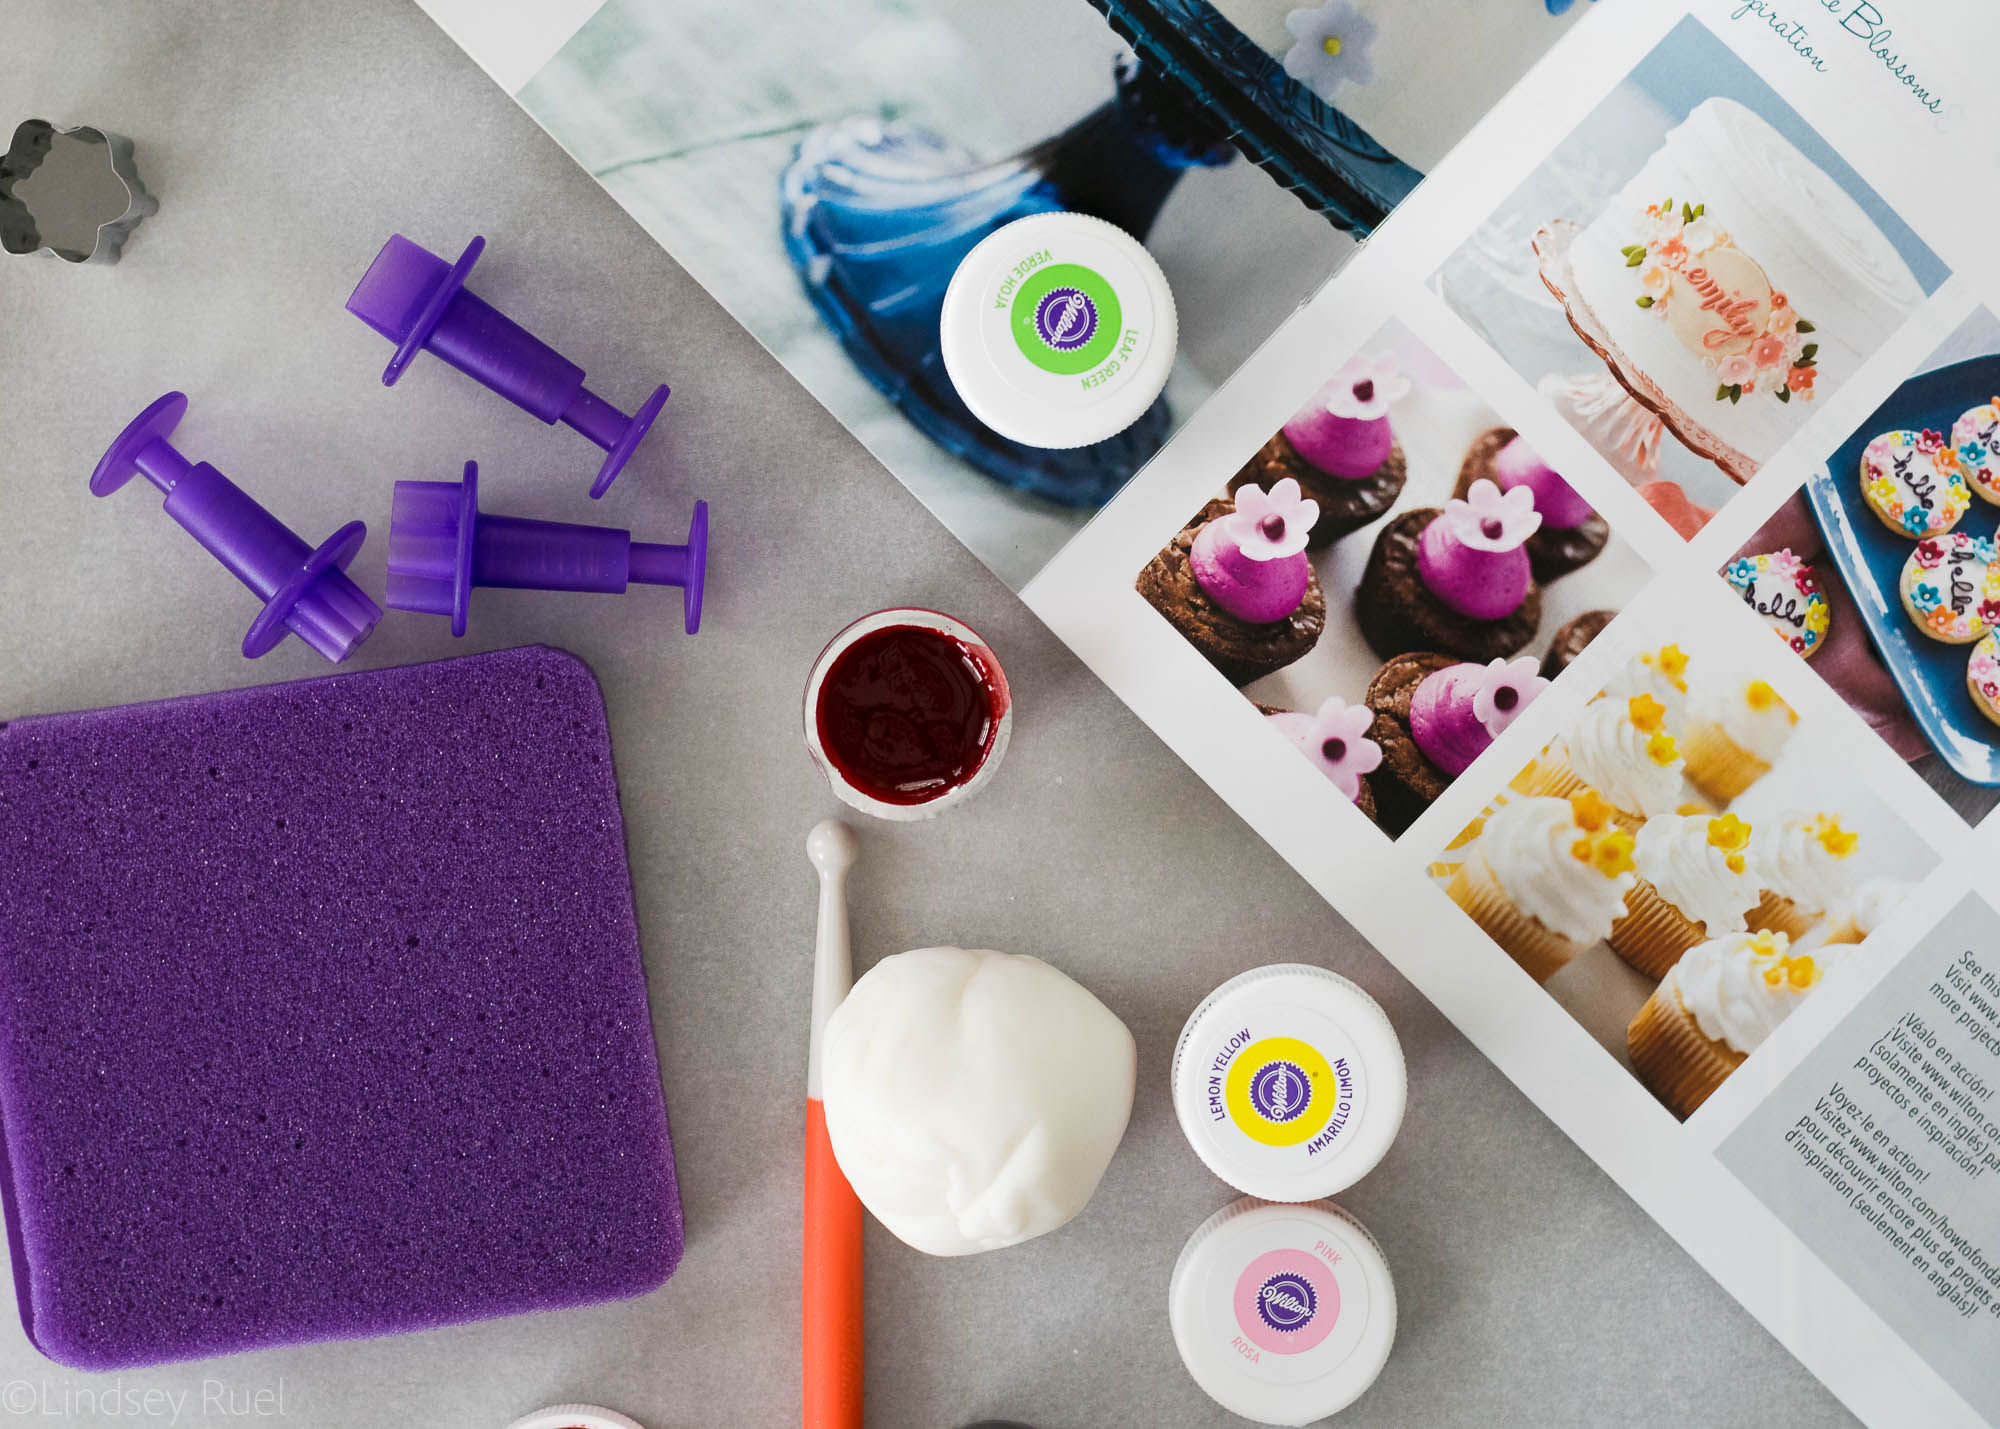
As I mentioned above, almost all of the tools I used came from the How to Decorate with Fondant Shapes and Cut-Outs including the fondant cutters, the fondant roller, the ball tool, and the foam.

I also used Wilton fondant in white and their gel food coloring, both of which I already had on hand but they had provided me with extras. 

For the exact colors of the flowers and leaves, I used very small amounts of the following colors:

  • Pink + Red
  • Pink + Brown
  • Pink + Orange + Brown
  • Orange + Pink
  • Leaf Green + Blue
  • Leaf Green + Brown

Then, of course, I left one ball of fondant just plain white. In all of the cases, the first color listed was the main color, then I added a tiny amount of the second color just to add a different tint. It’s a little bit of trial and error. 

The cookies themselves were made with a version of my favorite sugar cookie recipe. I am still working on perfecting the flavor, but my basic cookie is always a winner. Or you could try the lavender-vanilla recipe (scroll to the bottom of the post for the recipe) for a nice floral twist. 


/ Filed In: Cookie Decorating 101, Cookies New, Decorated Cookies, Desserts, Eat
Tagged: decorated cookies, floral, flowers, fondant, patel, Spring, stripes, sugar cookies, Summer, Wilton

Watercolor Butterfly Cookies

May 15, 2018

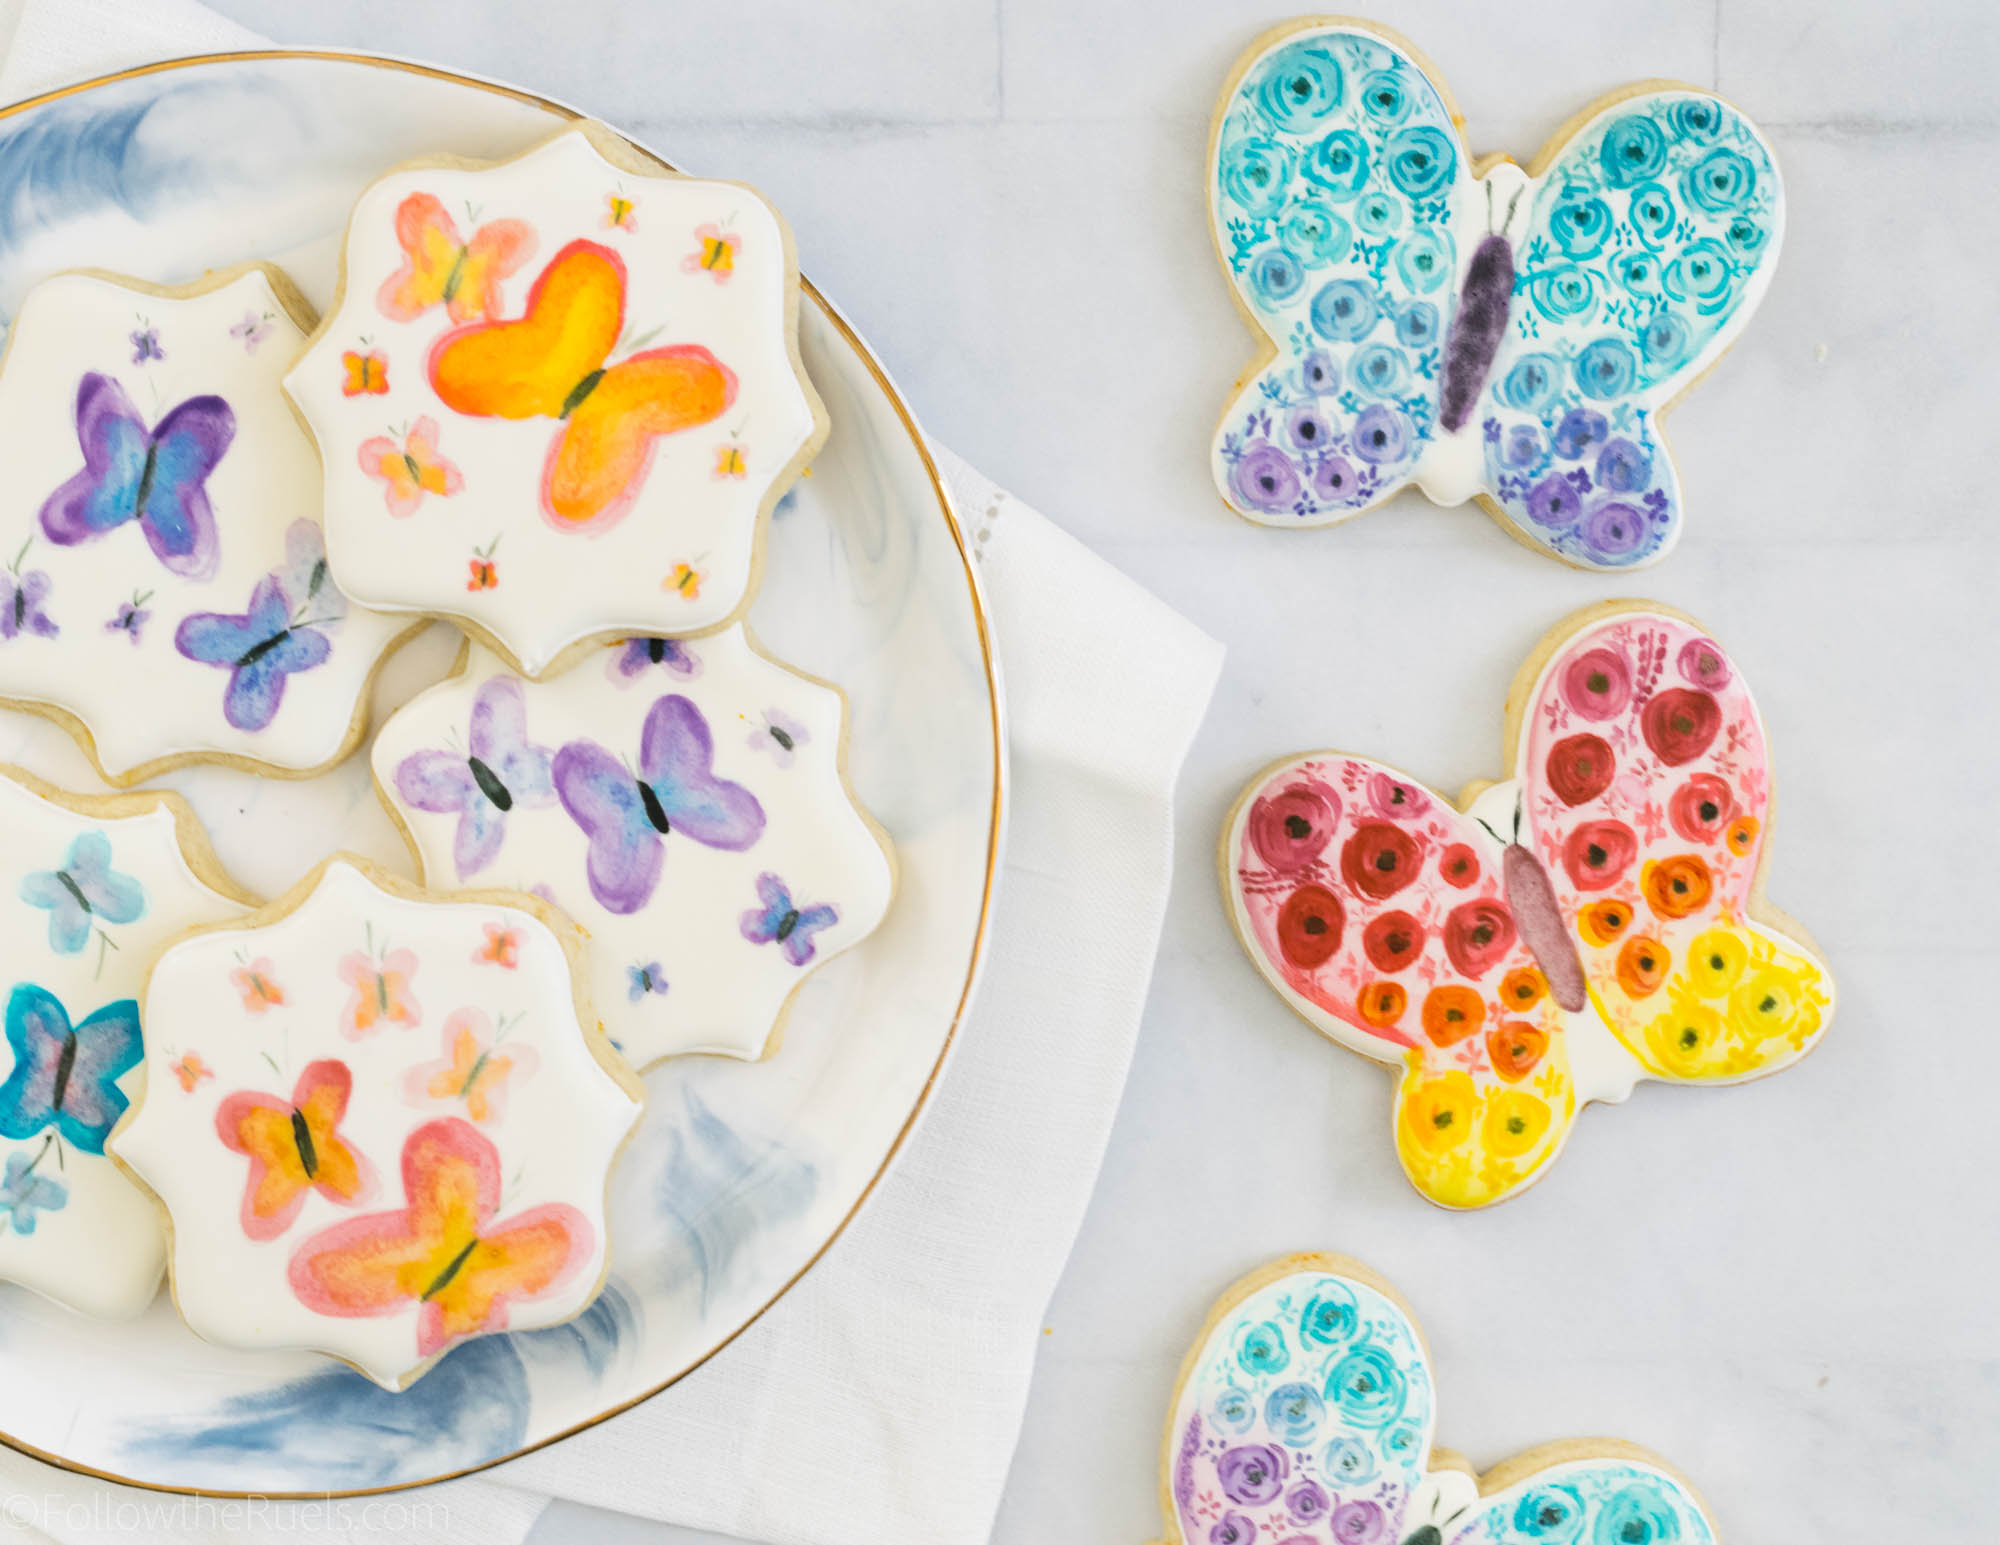
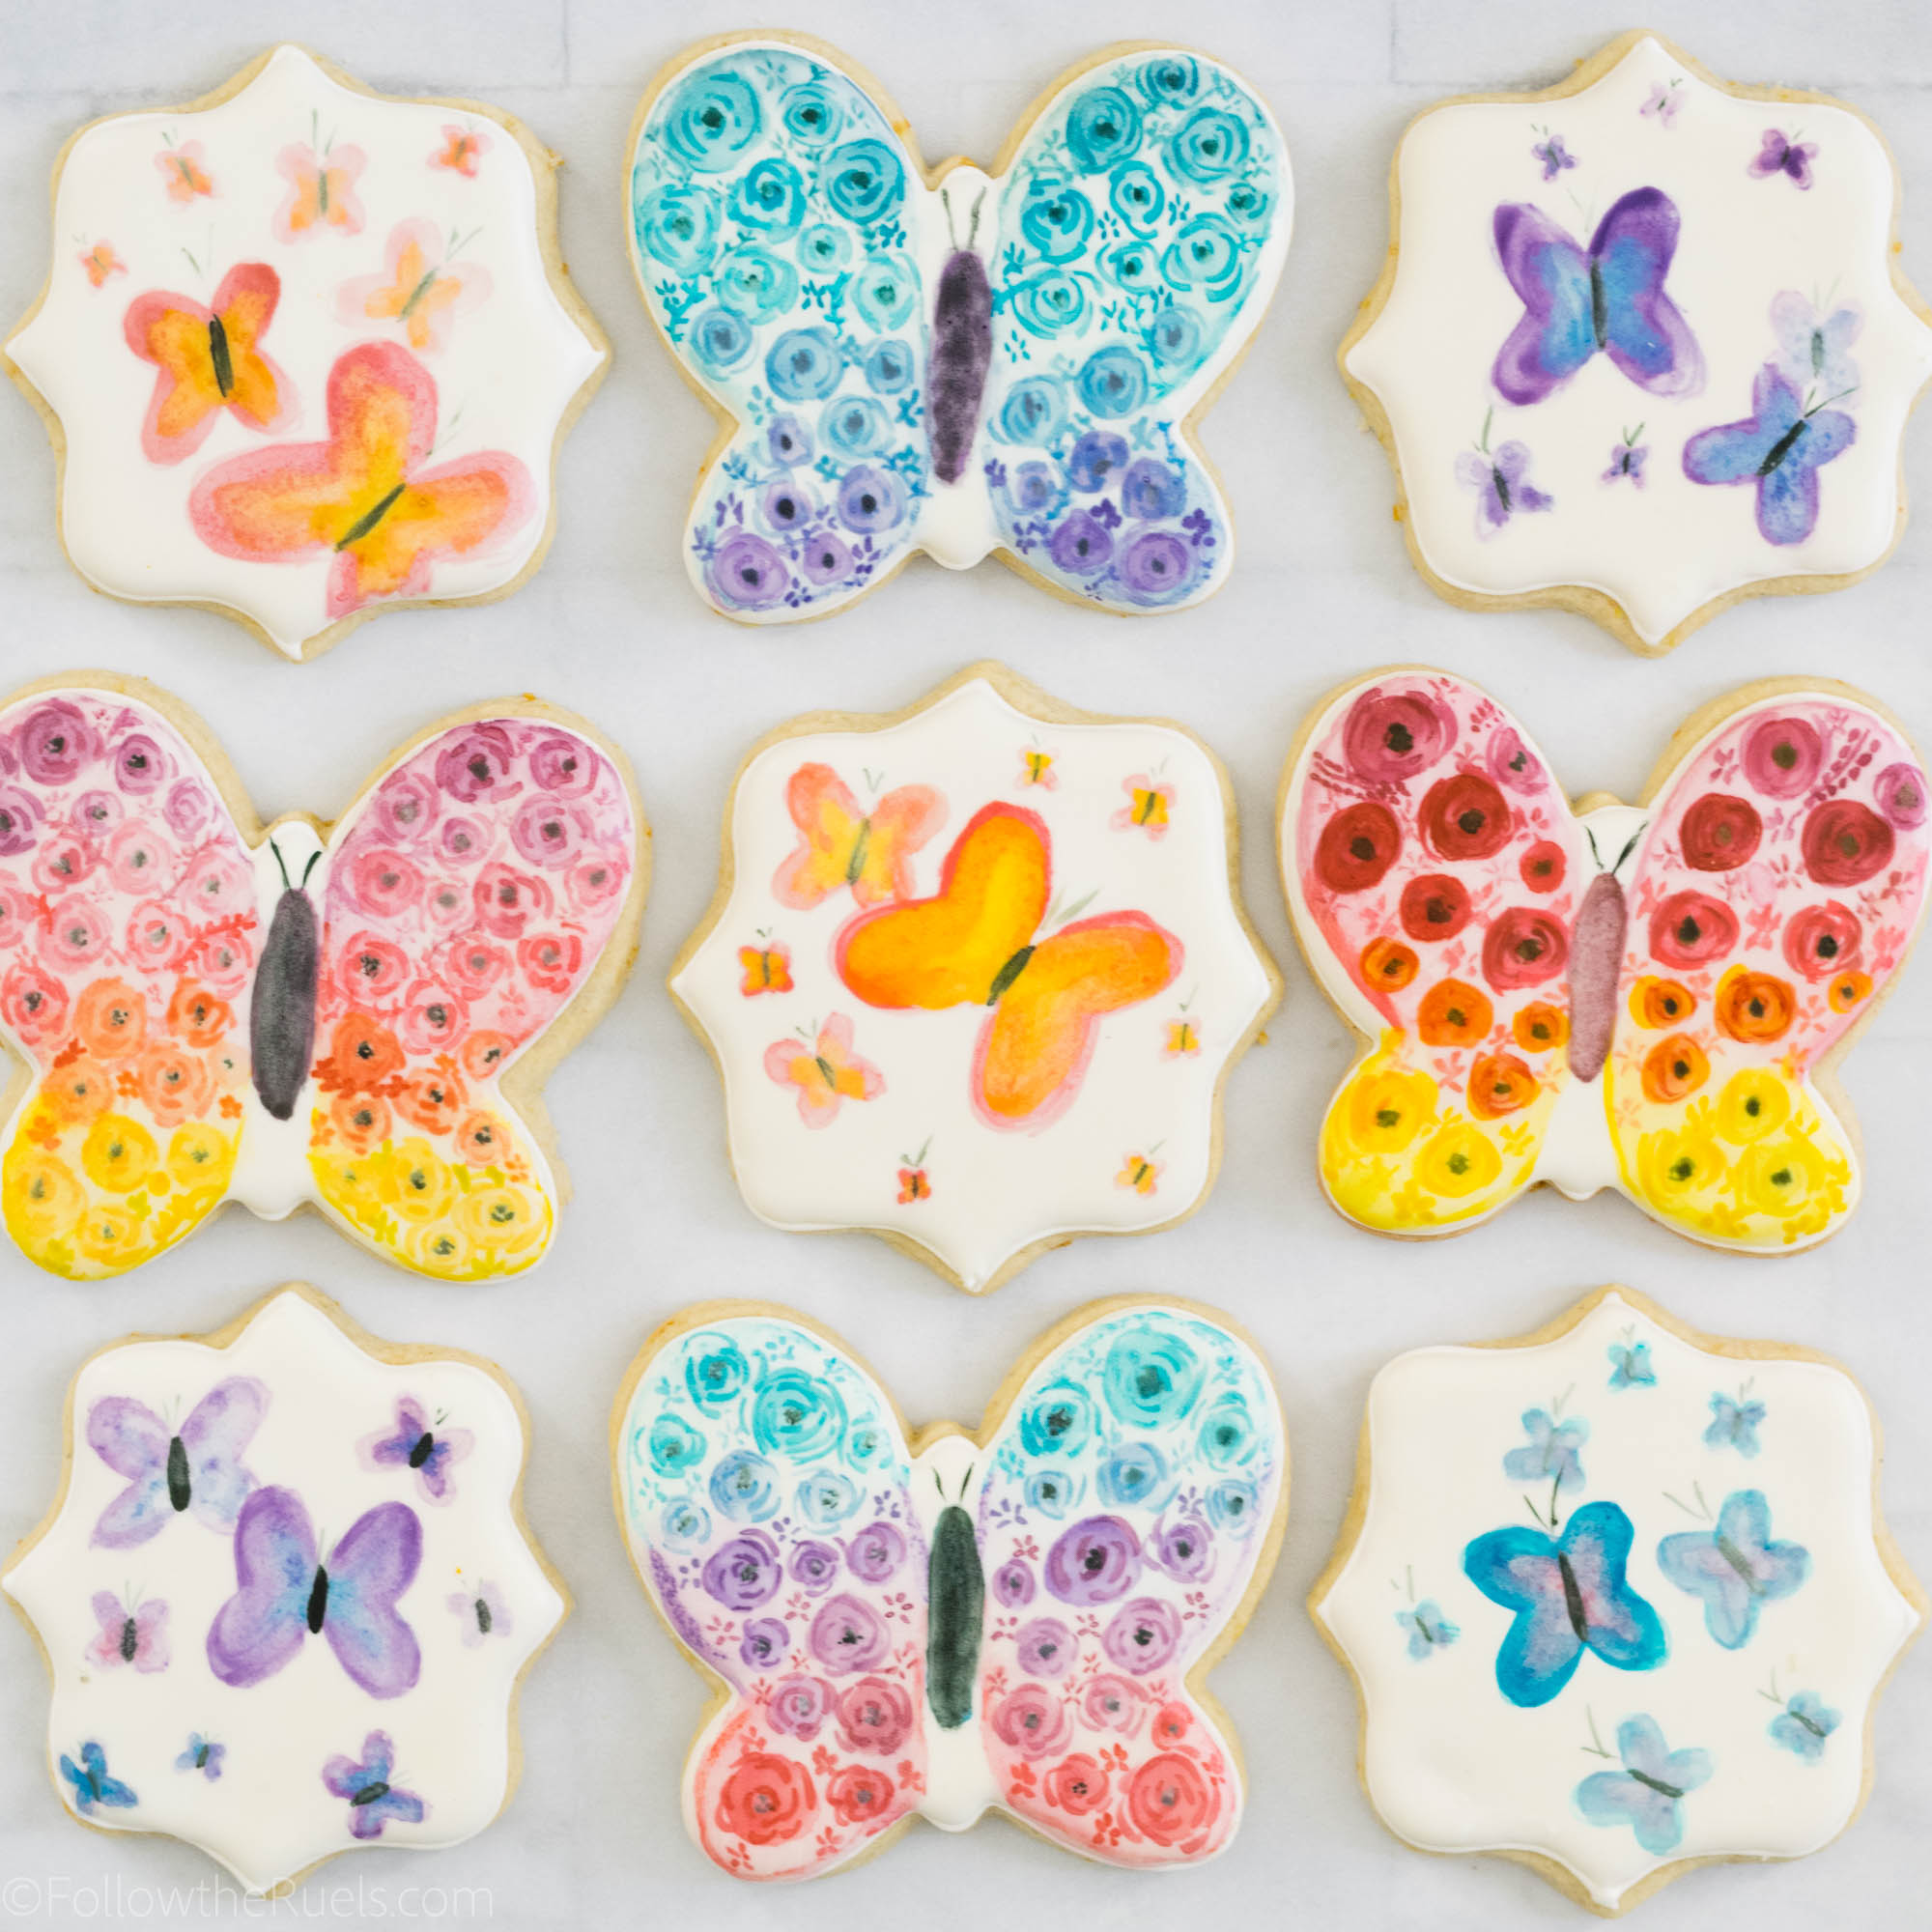
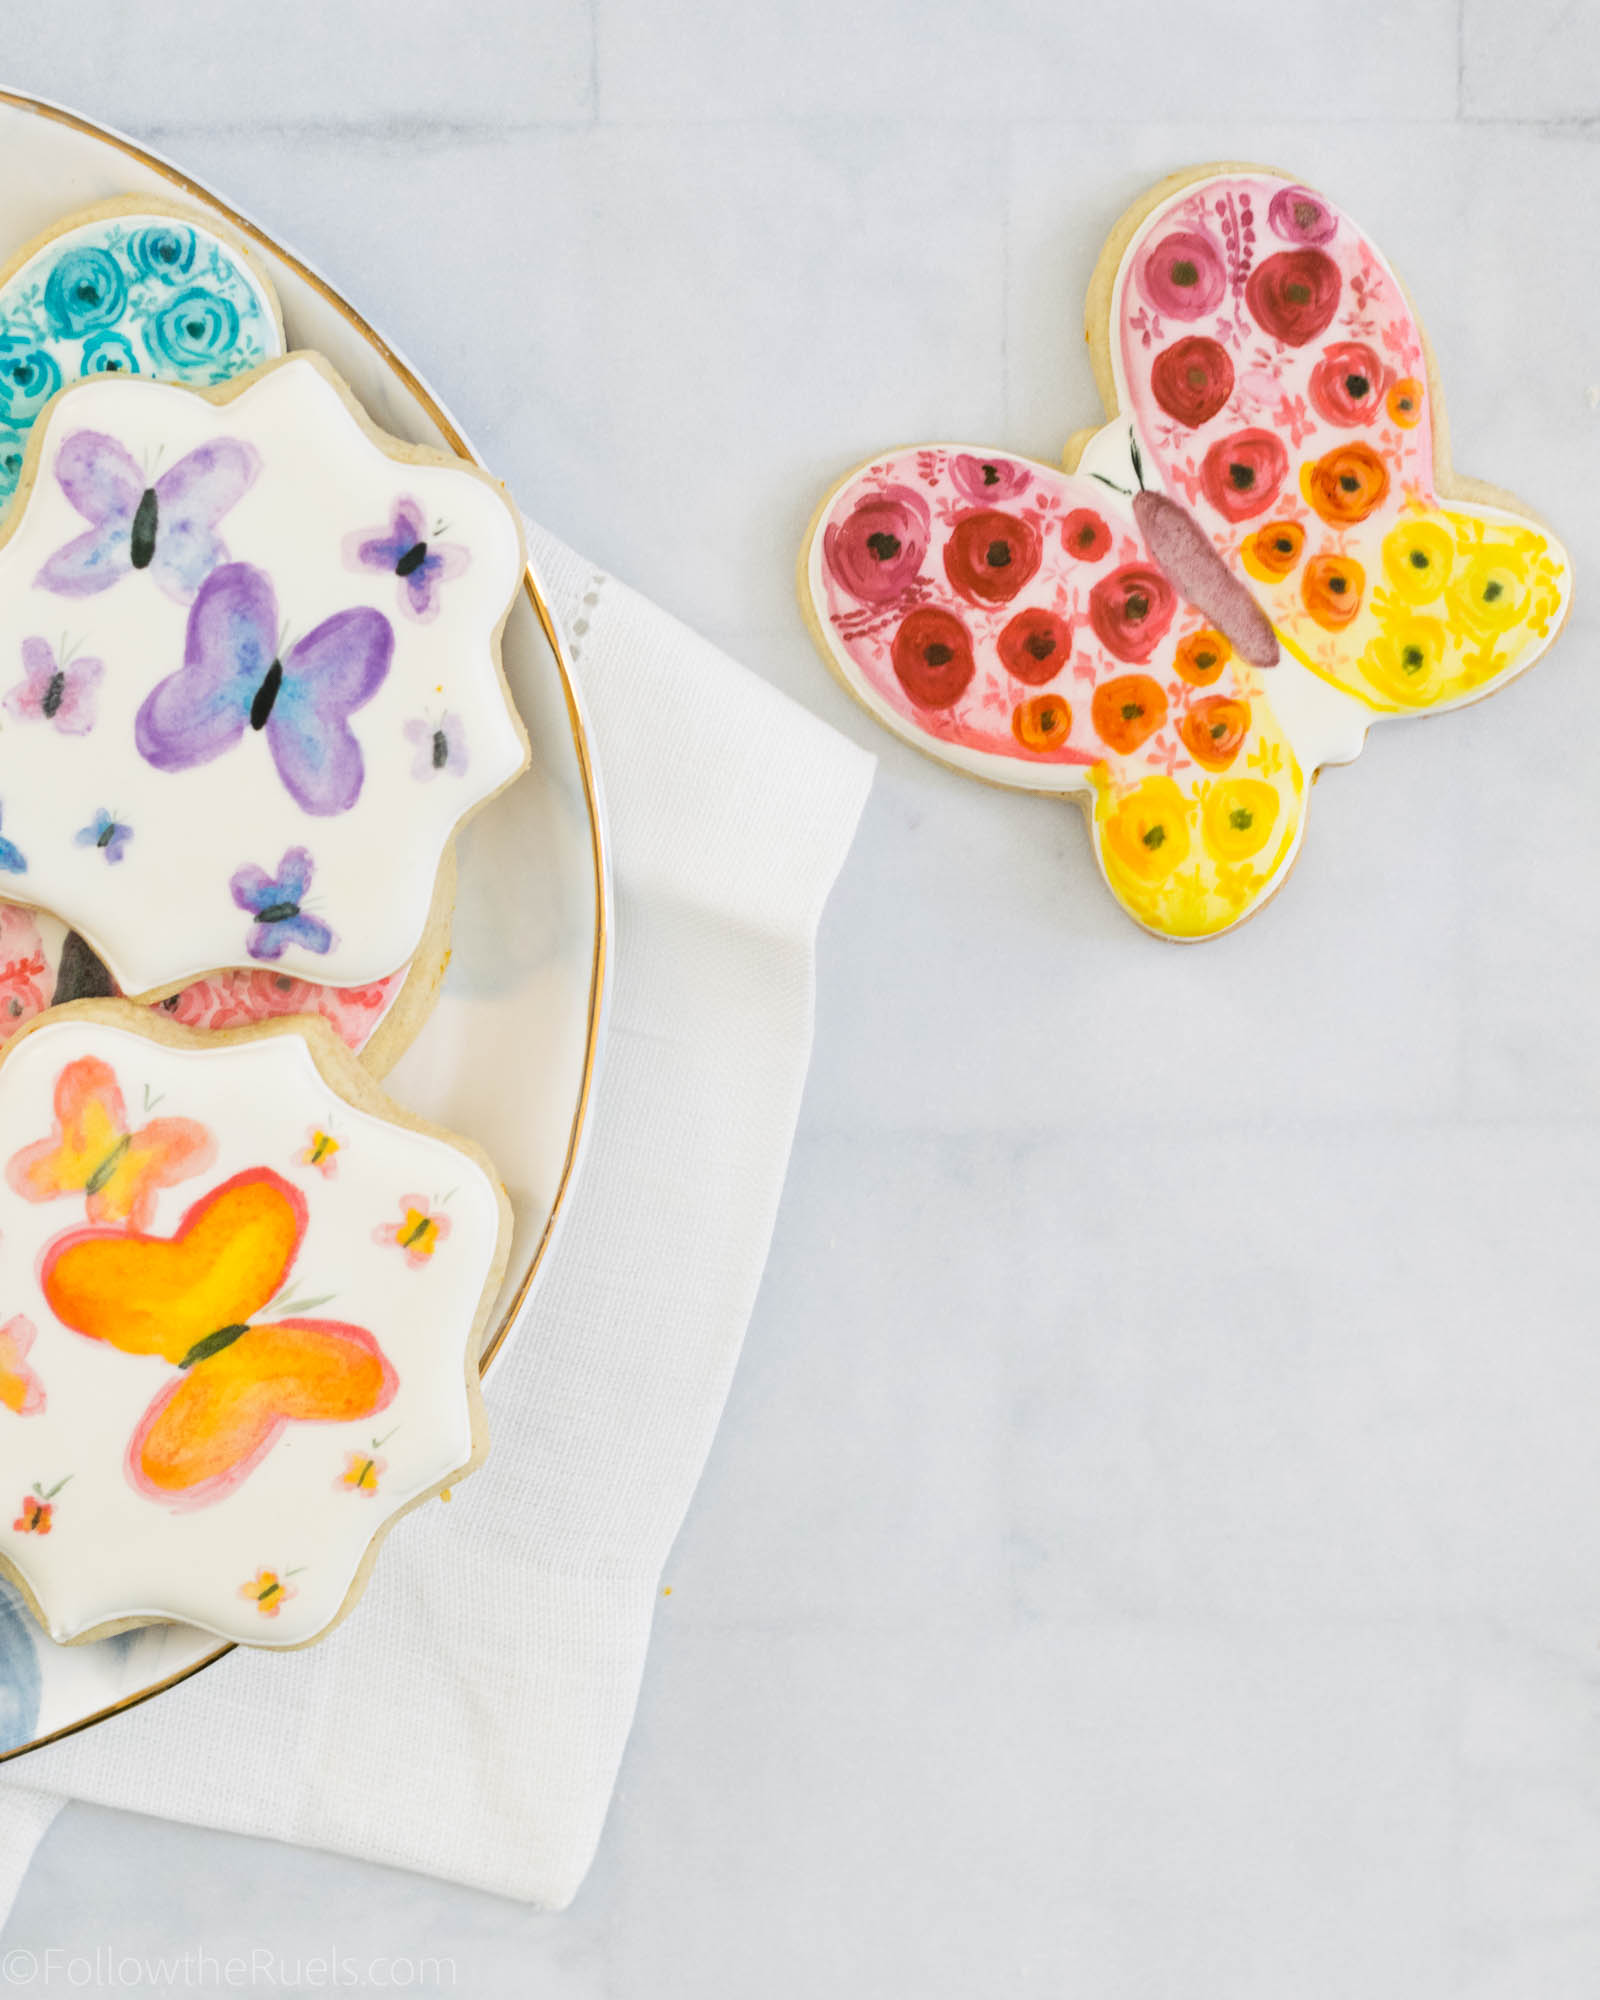
Who doesn’t love a pretty little butterfly? Or better yet, butterfly cookie! 

I made these watercolor butterfly cookies for a couple of my best friends for Mother’s Day. I love any excuse to send them, their husbands, and their kiddos cookies. And what better way to say “you’re a totally awesome mom!” than with cookies!

Of course, I didn’t share these before Mother’s Day because I wanted my friends to see them first. But since there isn’t an overly “Mother’s Day” theme to these cookies, they would be perfect almost any time of year! Like a baby shower, bridal shower, birthday, graduation, or just to celebrate Spring!
How to Make Them

Of course, start by making your cookie dough. For these cookies, I actually flavored the dough with some orange zest and cardamom. Oh my were they heavenly. I actually share the exact recipe in my Christmas Cookie guide, even though this flavor is good year-round. 

Cut out the cookies into your desired shape, in this case a butterfly, plaque, or any other standard shape (circles always work!), then bake them until they are barely golden brown around the edges. 

Once the cookies have cooled, you can start to decorate!

First, outline and fill the entire cookie with flood consistency icing and leave it uncolored. Let the icing dry completely (overnight is preferred) so that they will be at their best for painting. 

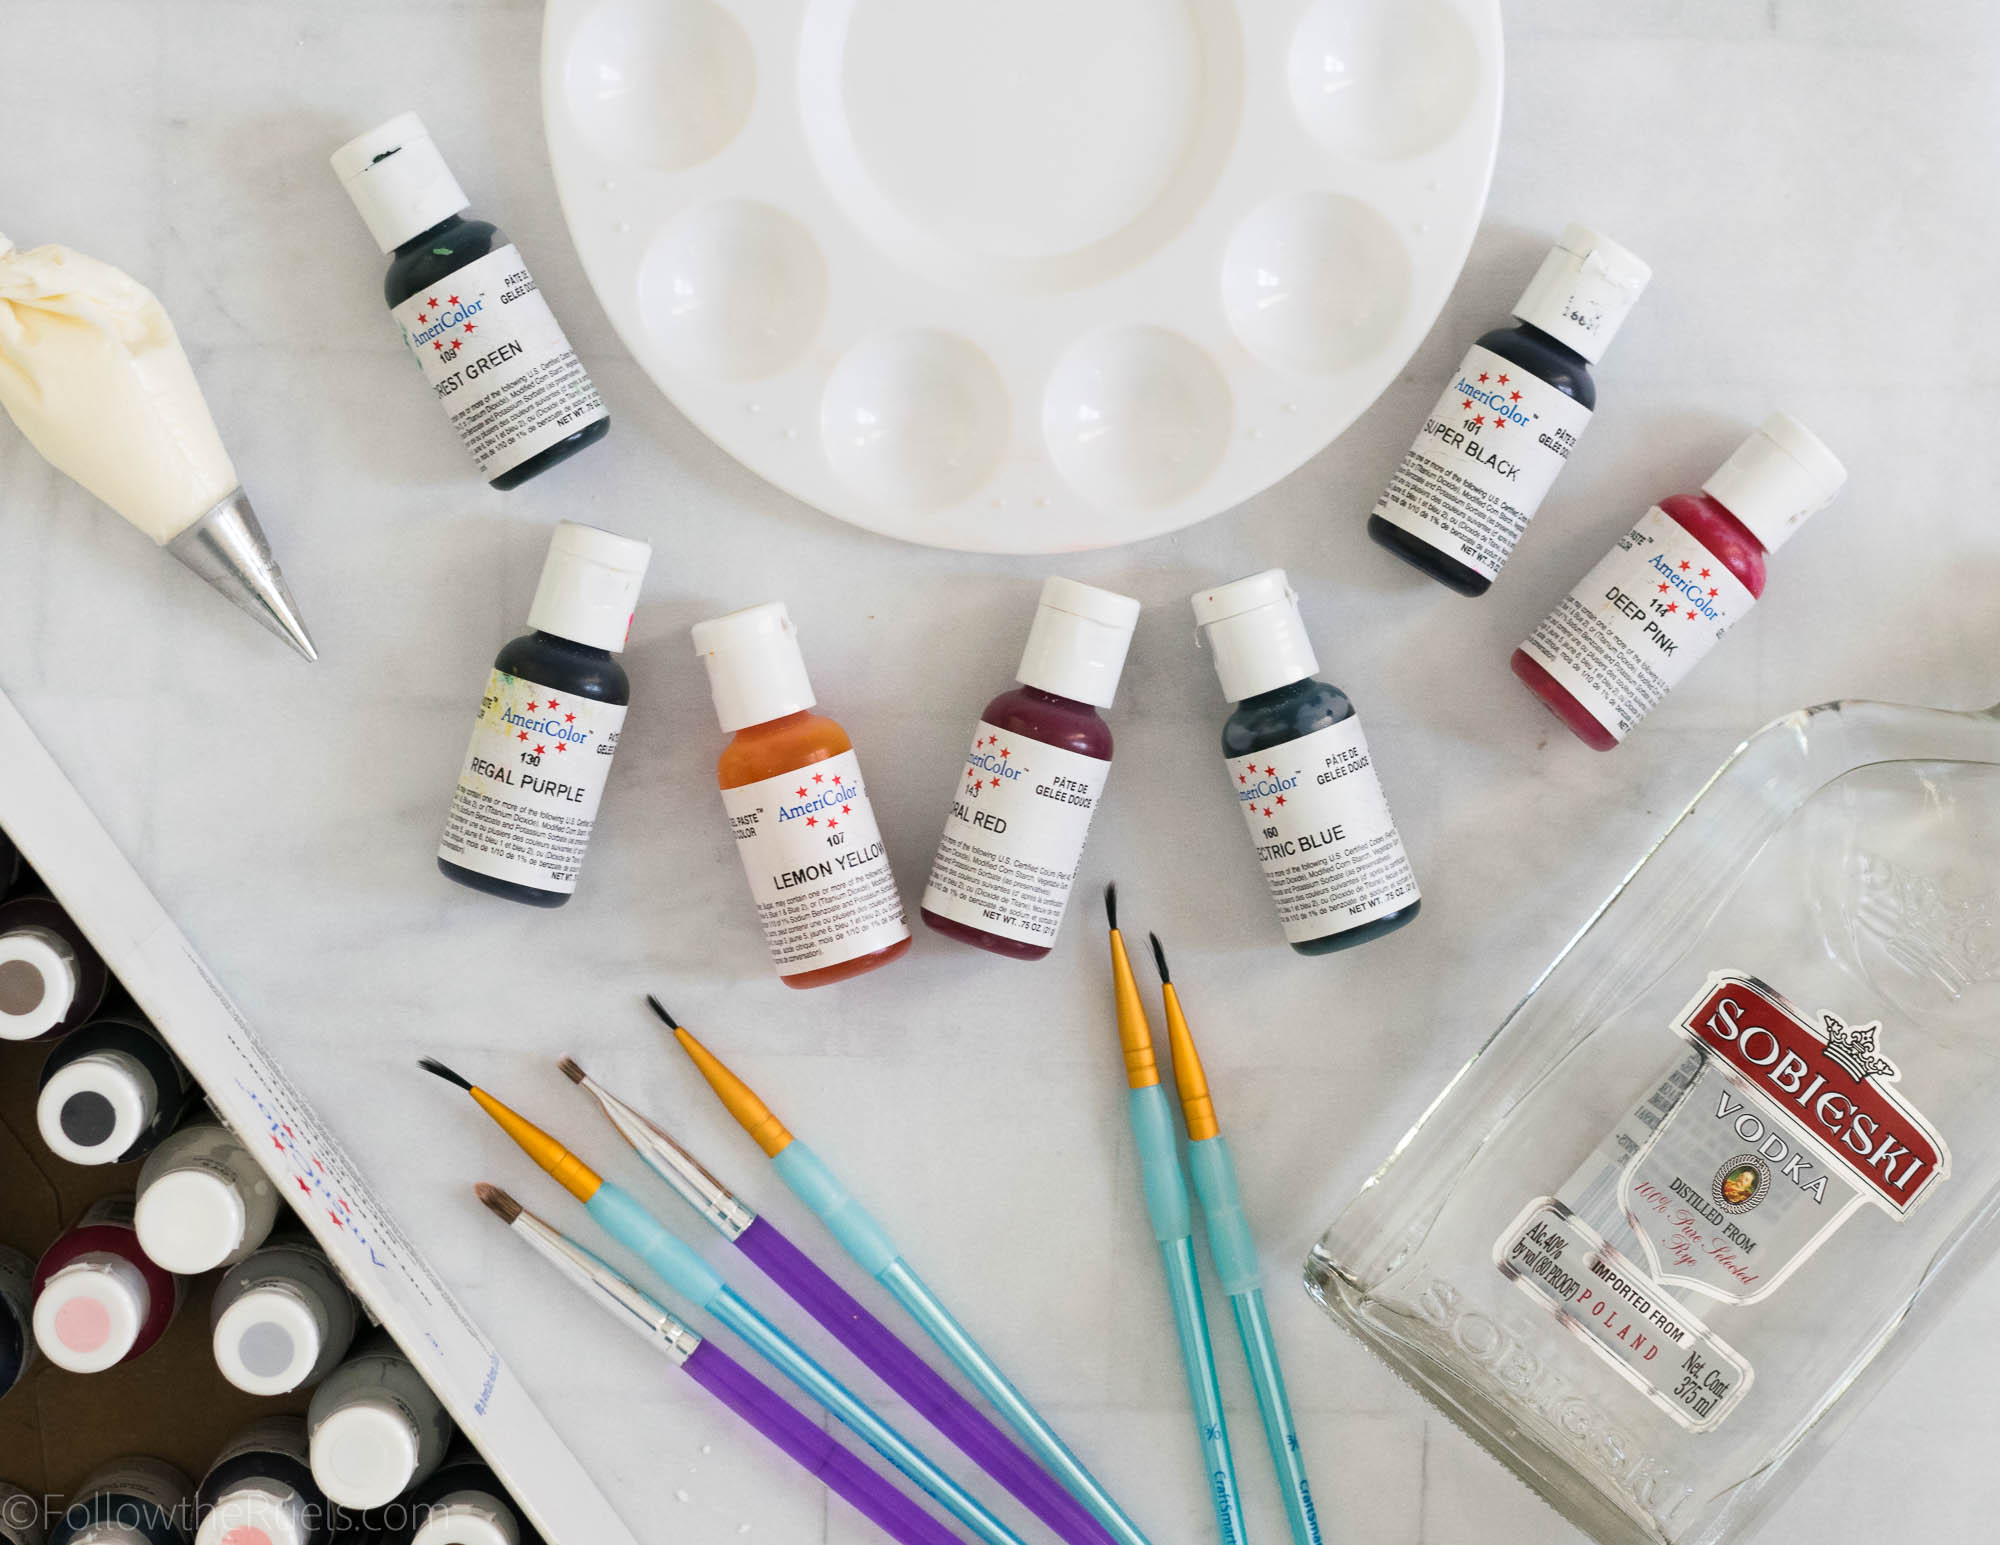
To prepare for the painting, dilute 1-2 drops of gel food coloring with a clear alcohol, like vodka, then paint on top of the cookie. The more vodka added the more diluted the color will be. I like to leave one well very pigmented, then add another little well of plain alcohol which I can use to create a more diluted shade of the color. 

Finally, you are ready to paint away! There isn’t a lot of rhyme or reason for painting, other than make sure you aren’t painting with a water-soaked brush. Between colors, clean your brush off in a glass of water, but then brush off all excess water before dipping back into the paint. The water will degrade the icing leaving little craters all across your cookie. Not cute!
The paint only takes a few minutes to dry, so once you are done you can pack the cookies into bags or set out to eat! 

Supplies

Like all my watercolor and painted cookies, the supplies for these cookies are pretty standard: food coloring, alcohol, and paint brushes. 

For the gel food coloring, I used all the bright colors in my collection: purple, pink, orange, yellow, and blue. I diluted the food coloring with some cheap vodka that I picked up at the liquor store. If you don’t keep vodka in your house or don’t have access to it, you can also use a clear extract, like almond extract.

Now for the paint brushes. I stress this in every post, but it is important to use clean (i.e. never used with paint) brushes. Wilton makes paint brushes specifically for baking, but I use normal craft brushes that I clean with dish soap before using. 

[show_shopthepost_widget id=”3136059″]

/ Filed In: Cookies New, Decorated Cookies, Desserts, Eat
Tagged: butterfly, cookie decorating, cookies, Mother's Day, painted cookies, Spring, watercolor

Mason Jar Bouquet Cookies

April 13, 2018

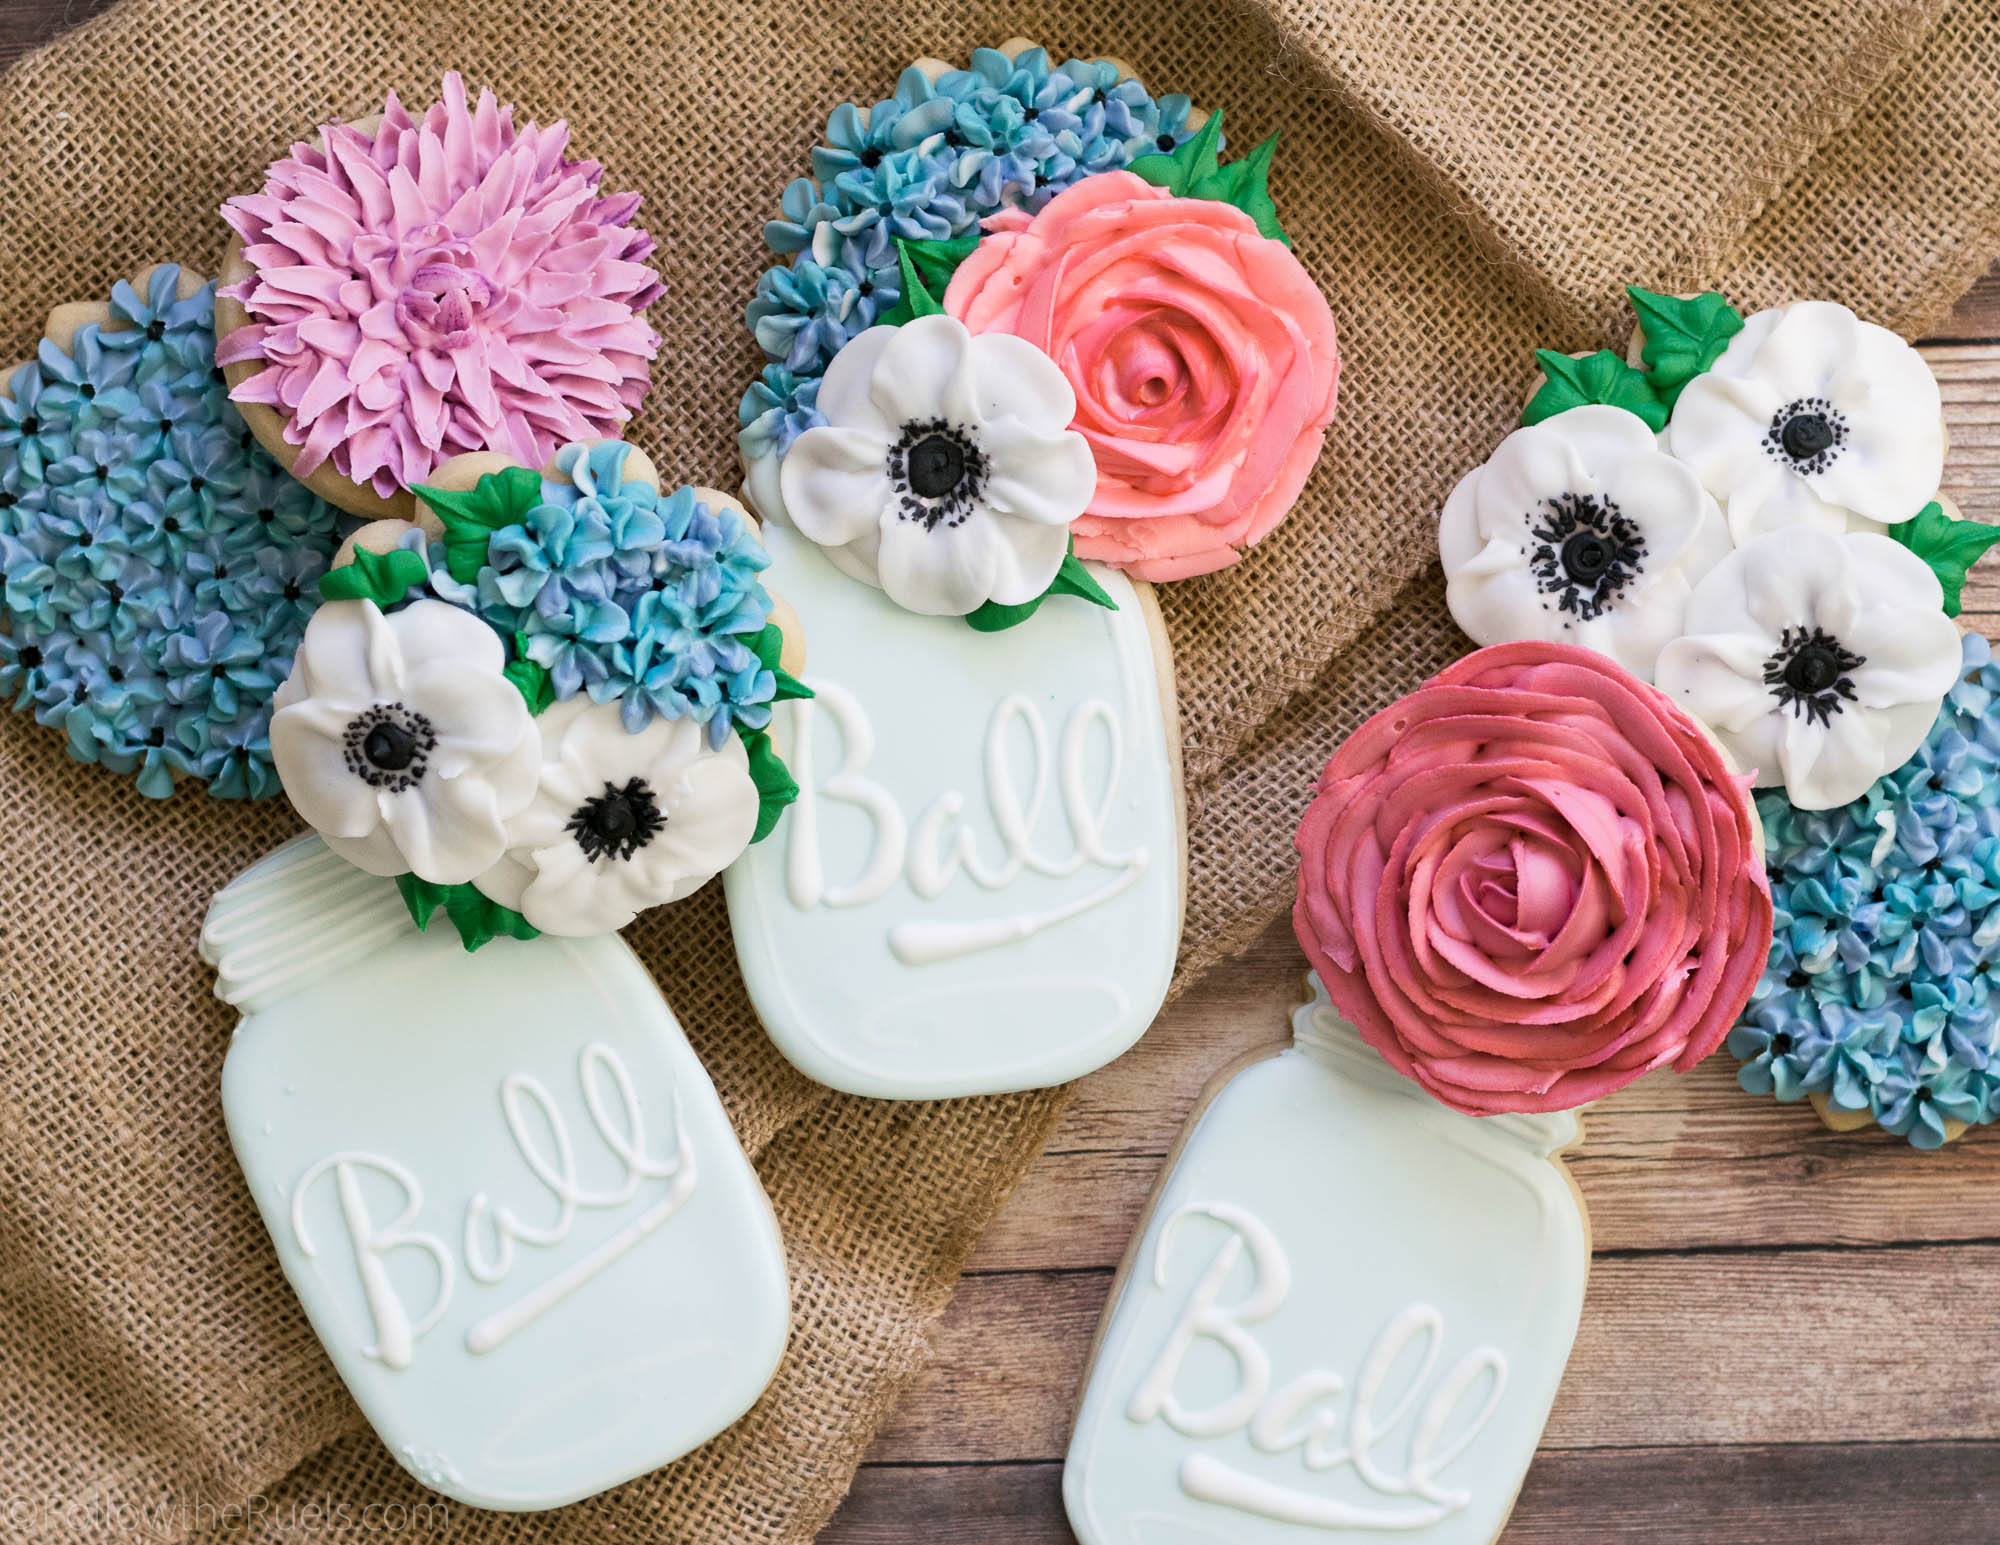
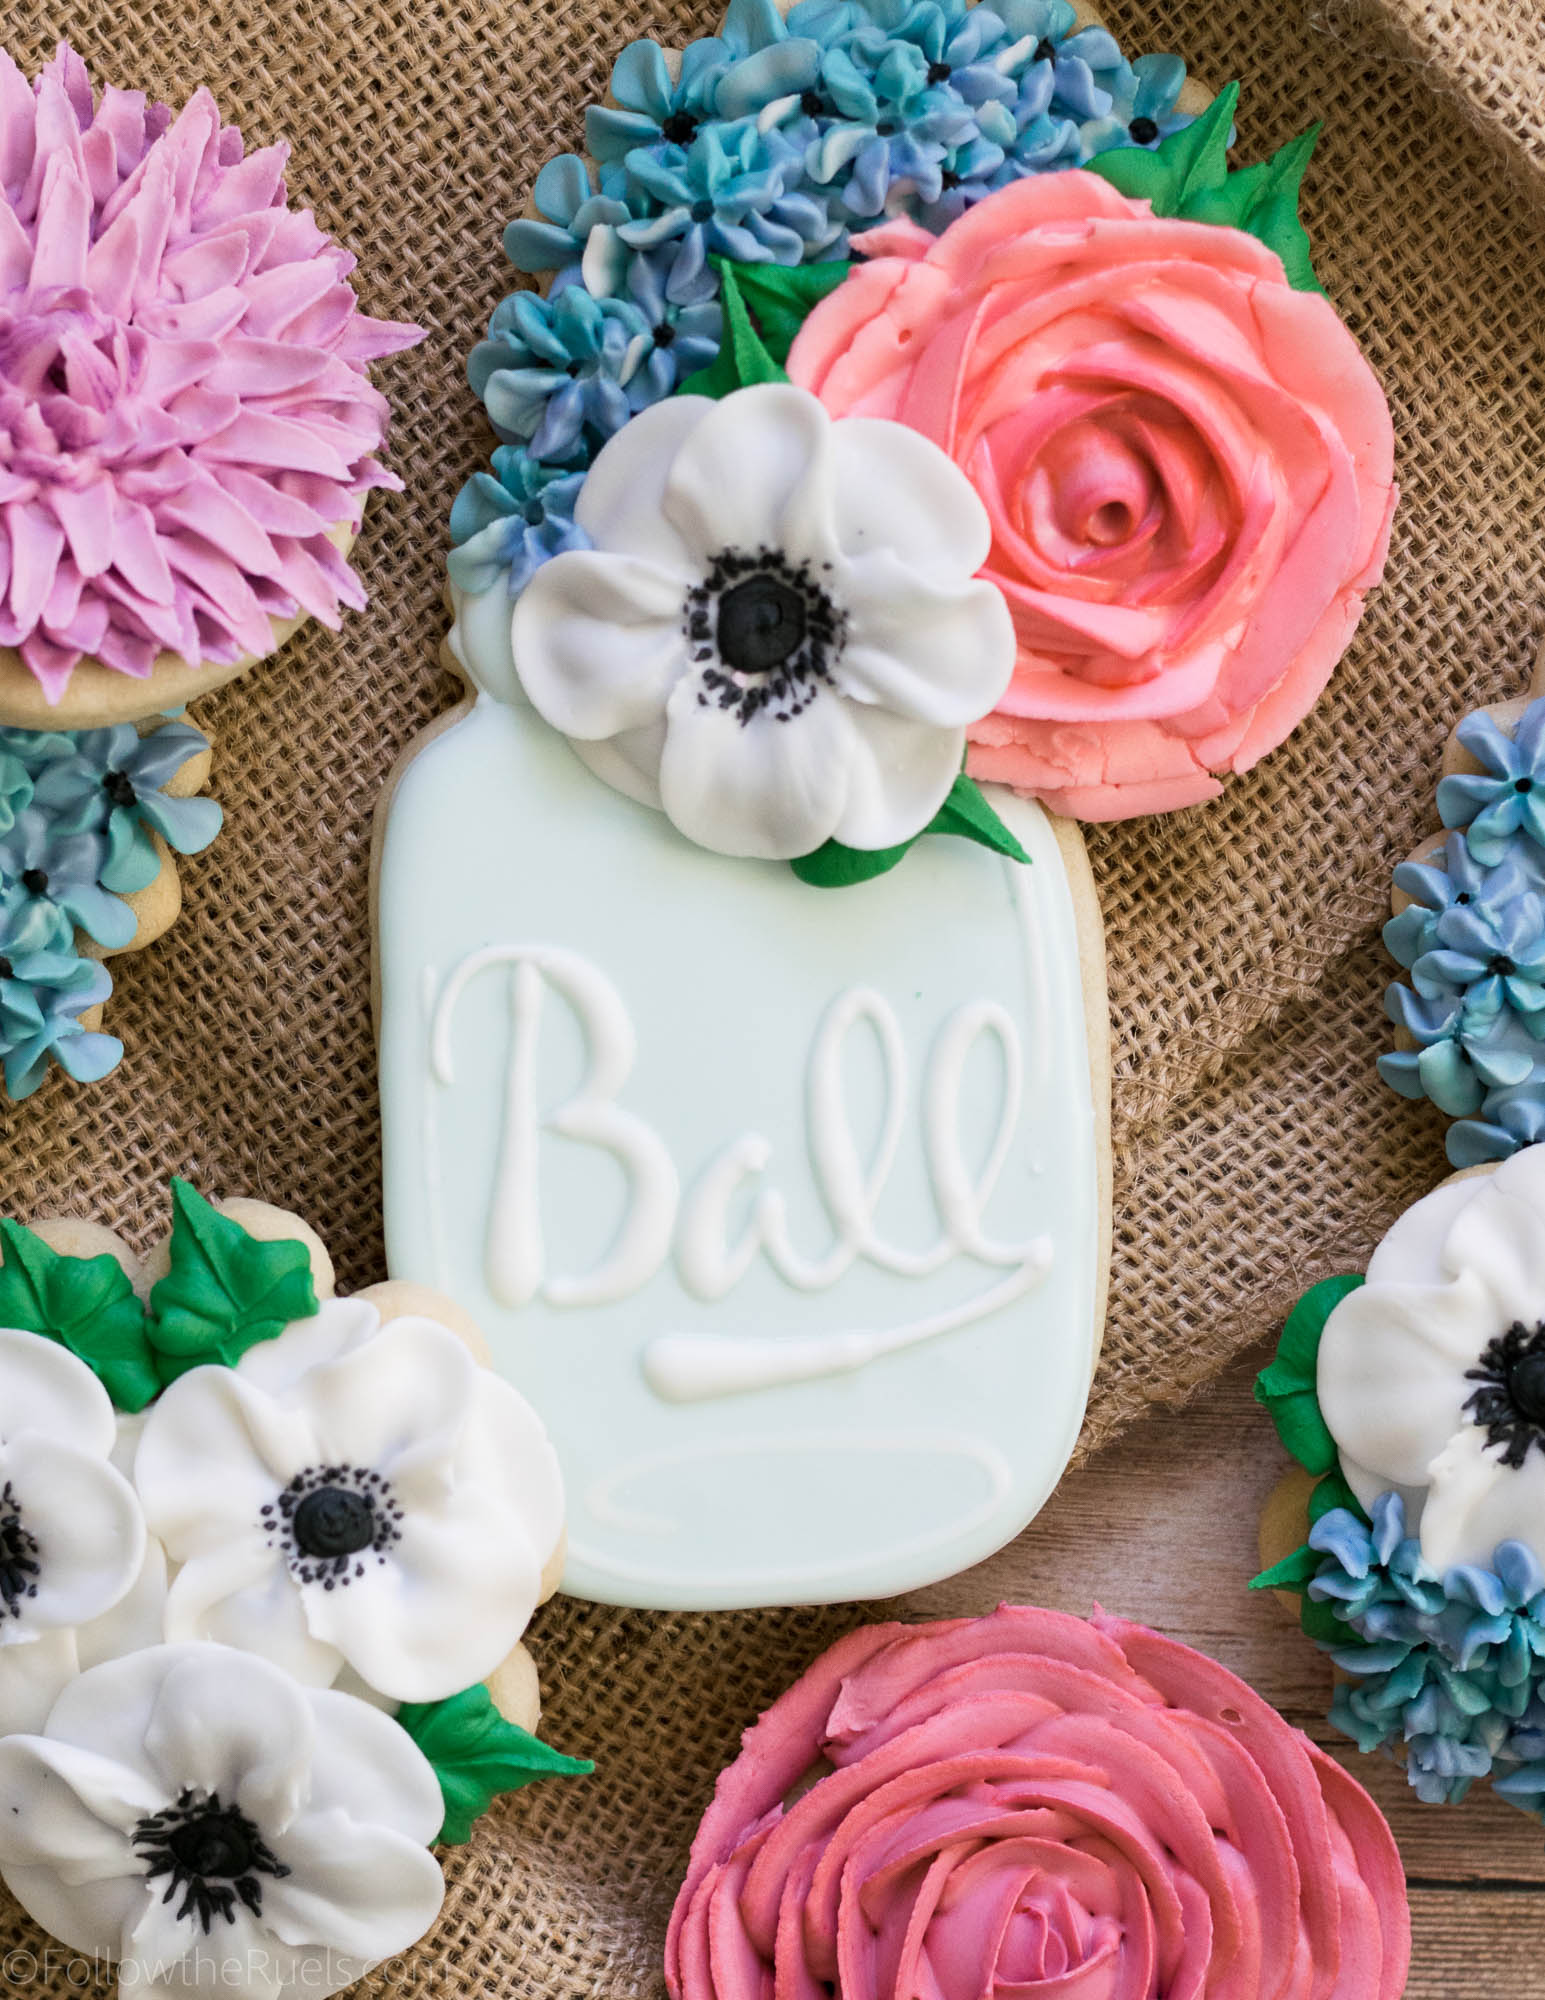
What can I say about these cookies except that I love them so much!

I love mason jars, I love flowers (especially royal icing flowers, as you know), and anemones are one of my absolute favorites. In fact, I really wanted mason jars and anemones as my wedding! Sadly, anemones weren’t in season in October and my mom thought that mason jars and burlap were too “rustic”. Pshh…she clearly didn’t spend enough time on Pinterest in 2013.

So now I am living out my wedding flower dreams through these cookies (5 years later…don’t worry about it).

One thing I will say about these cookies before we dive in is that there is SOOO much icing on these things. It’s a little out of control. Unless you LOVE icing, it will be too much for you and you may want to scrape it off before you take a bite. Instead, you can make any of these cookies with buttercream instead which is a bit more palatable in large quantities. But I would keep the mason jar cookies iced in royal icing so you get a nice smooth surface.

How to Make Them

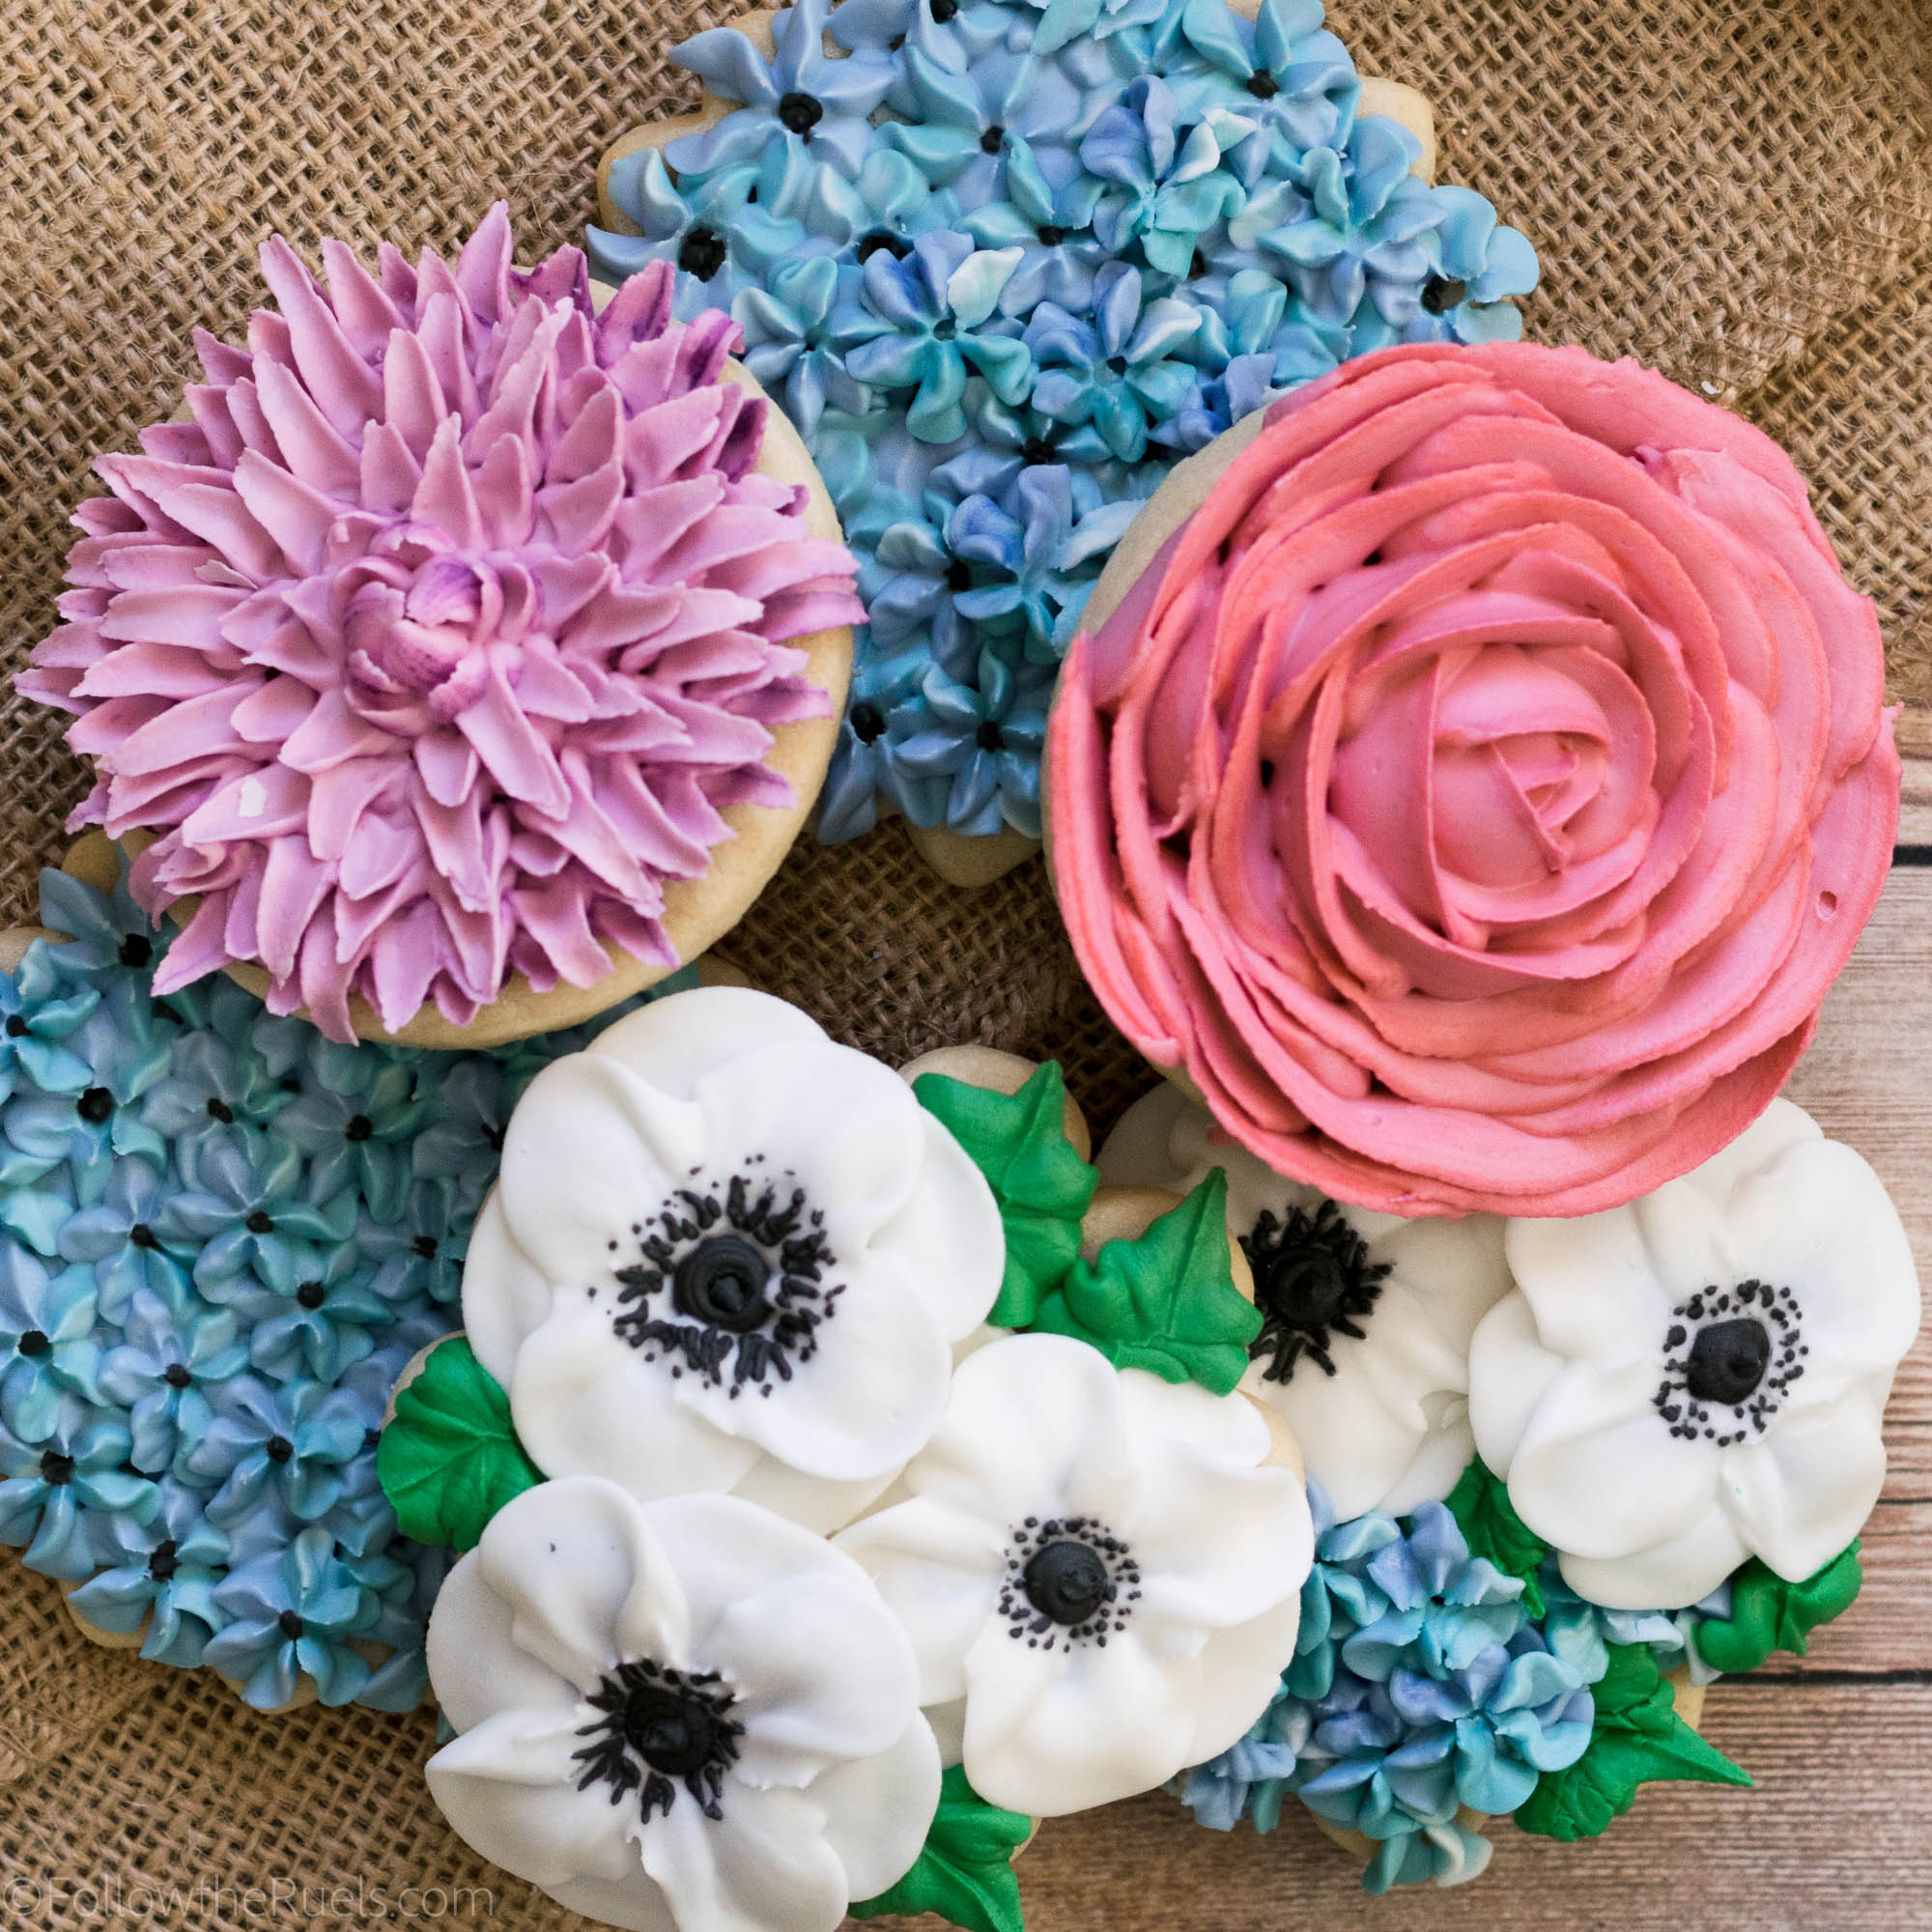
I had never made the anemone flowers before this video. Sure, I have some experience with piping other flowers, but I wanted to share that with you because you will probably get the hang of it after a few tries. I found that it was easier to keep them on the smaller side. Don’t try to make them too big. 

Another thing I have learned over the years from making flowers and watching others make flowers is that you want to use various shades of color in the same flower. No flower is just one flat color. It’s easy to mix the colors together by wrapping them up in plastic wrap. Plus, it keeps your piping bags clean so you can reuse them!

Tools and Recipes

I used a few different piping tips to create these flowers, even one I had never used before, the #150 flat petal tip. I found that this one was better at piping the anemone petals than the standard #104 petal tip. However, if you only have the standard petal tips at home, that will work just fine!

Piping Tips and Food Coloring:

Anemone:

Petals – #150 flat petal tip. Layered plain icing with a very light violet center.

Filament – #1 round tip. A mix of eggplant and black food coloring.

Center – #3 round tip. Same color as filament.

Hydrangea:

Flowers – #131 drop flower dip. Layered together plain, Wedgewood blue, and violet (mixed with a little Wedgewood blue) icings.

Rose:

Large cookie – #125 petal tip. Brushed watermelon food coloring directly onto the plastic wrap, and then spooned icing dyed with watermelon and purple on top.

Smaller rose in bouquet – #104 petal tip. Brushed watermelon food coloring directly onto the plastic wrap, and then spooned icing dyed with watermelon on top.

Leaves: #352 tip. Forest and leaf green mixed together.

Other tools:

[show_shopthepost_widget id=”3099734″] 

Recipes:

It should come as no surprise that I made my one and only royal icing recipe and sugar cookie recipe for these. Duh! You knew that was coming. However, one thing I will mention about the icing is that for the flowers you want it to be super duper thick. It should form a stiff peak when you lift a spoon up from the surface. You want each petal to be distinct and not melt into one another. If you accidentally mix in too much water, just add a bit more powdered sugar to thicken it up.

For the mason jars, though, you will want to use your regular ol’ flood consistency icing. 

/ Filed In: Cookies New, Decorated Cookies, Desserts, Eat
Tagged: anemone, cookies, decorated cookies, flowers, hydrangea, icing flowers, mason jar, roses, Spring

Lemon Elderflower Cake

April 10, 2018

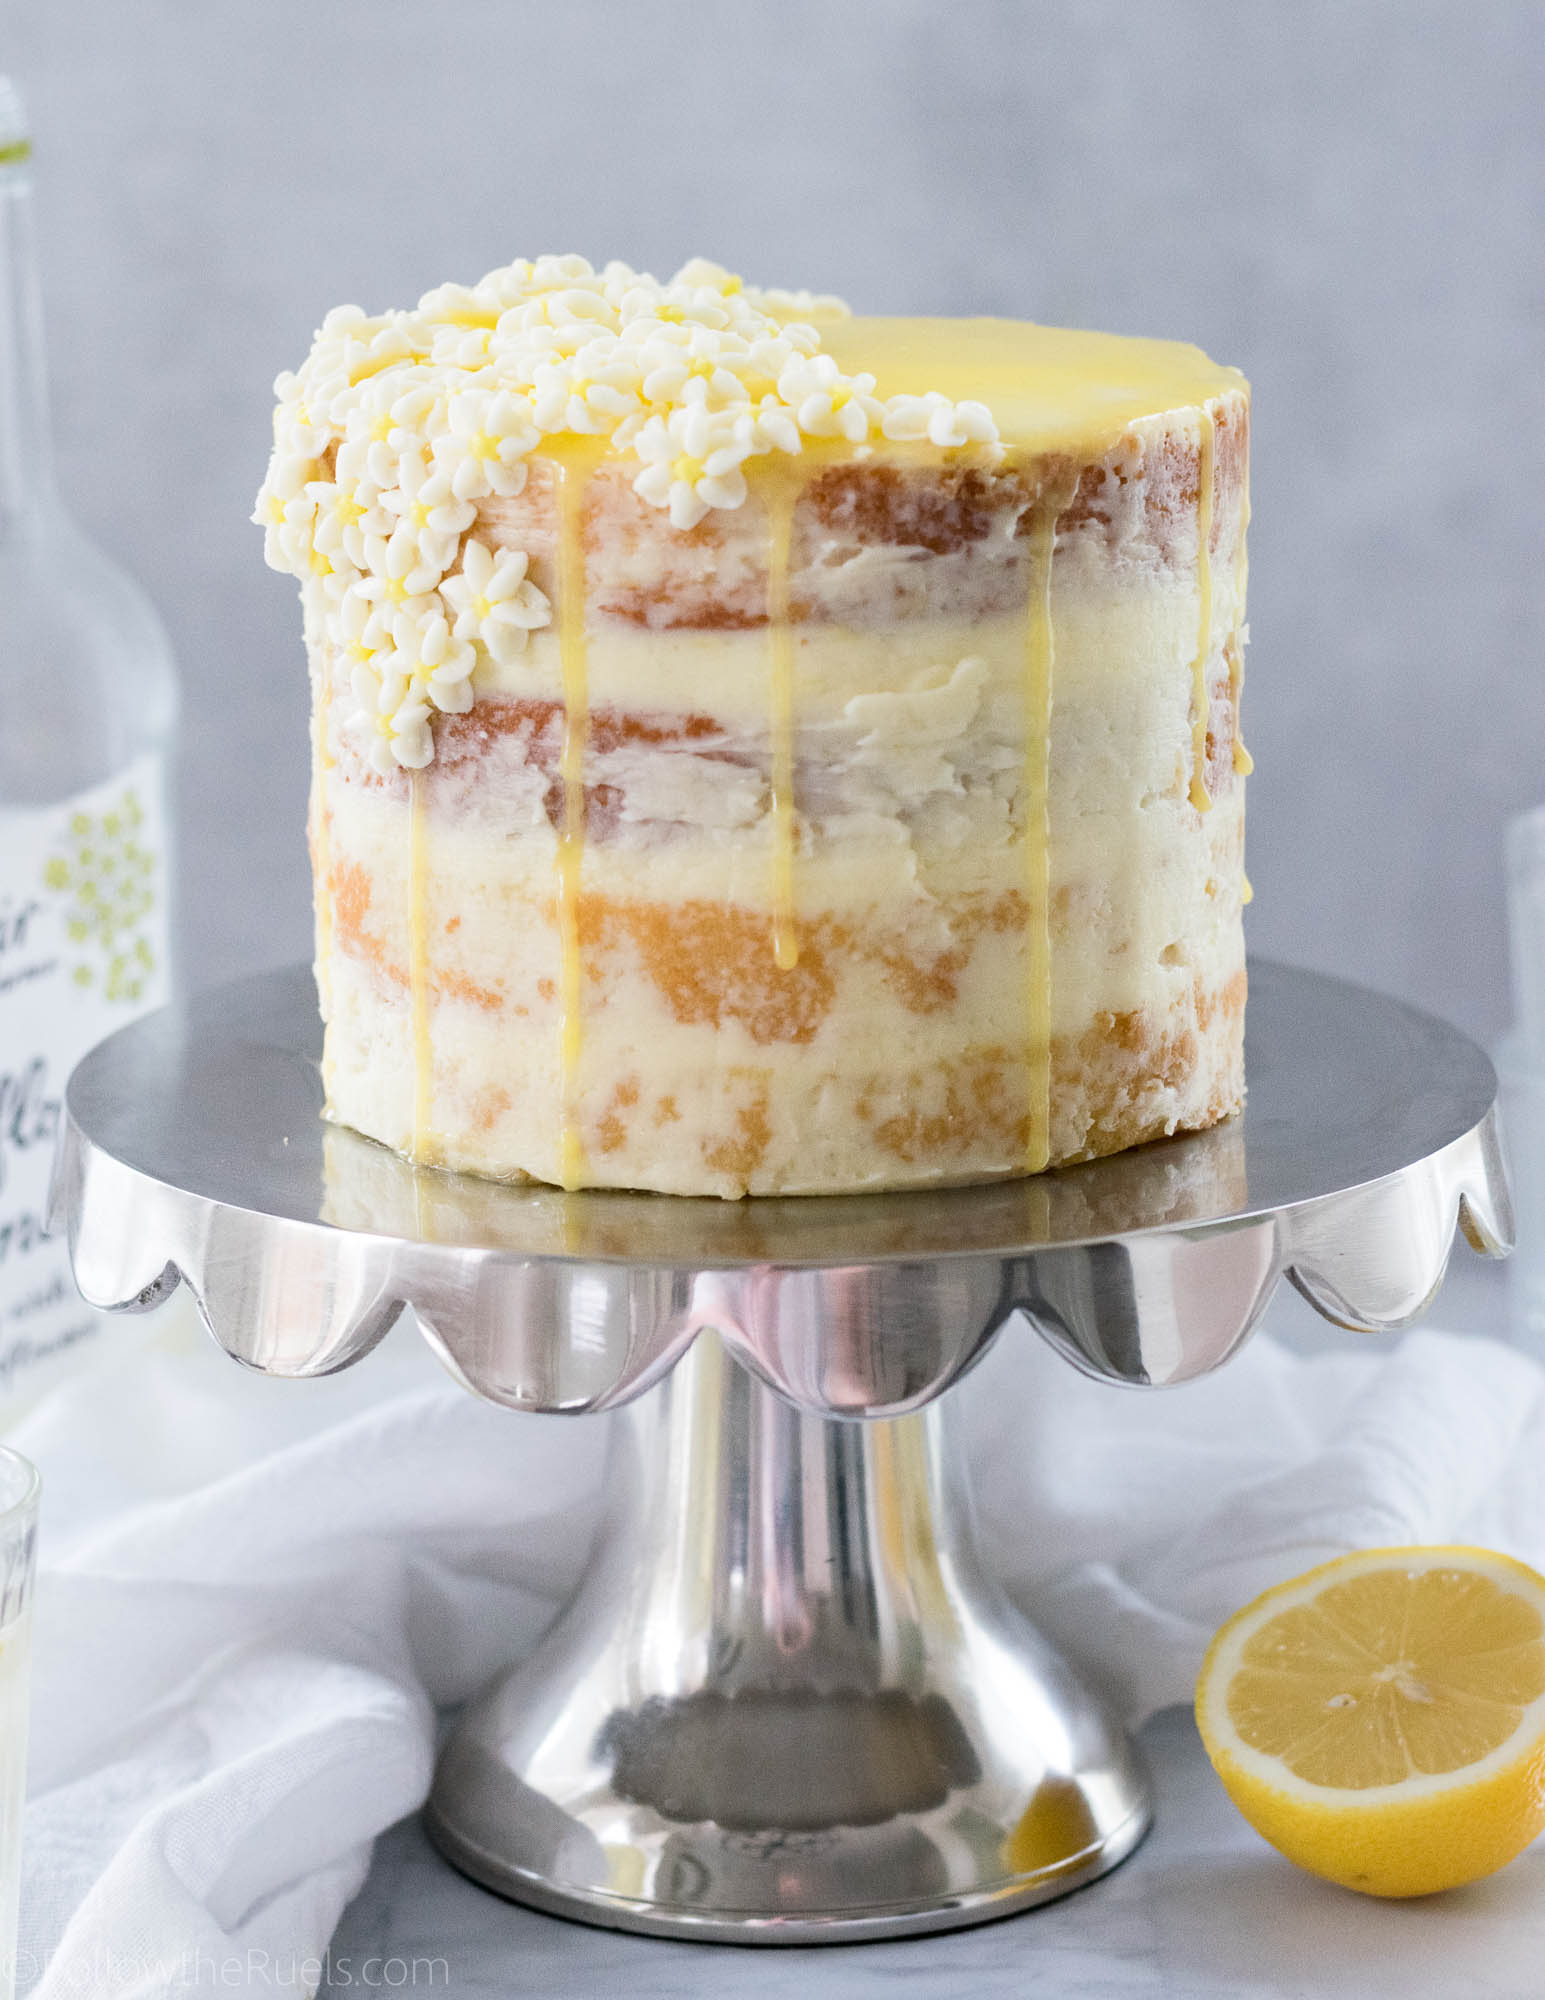
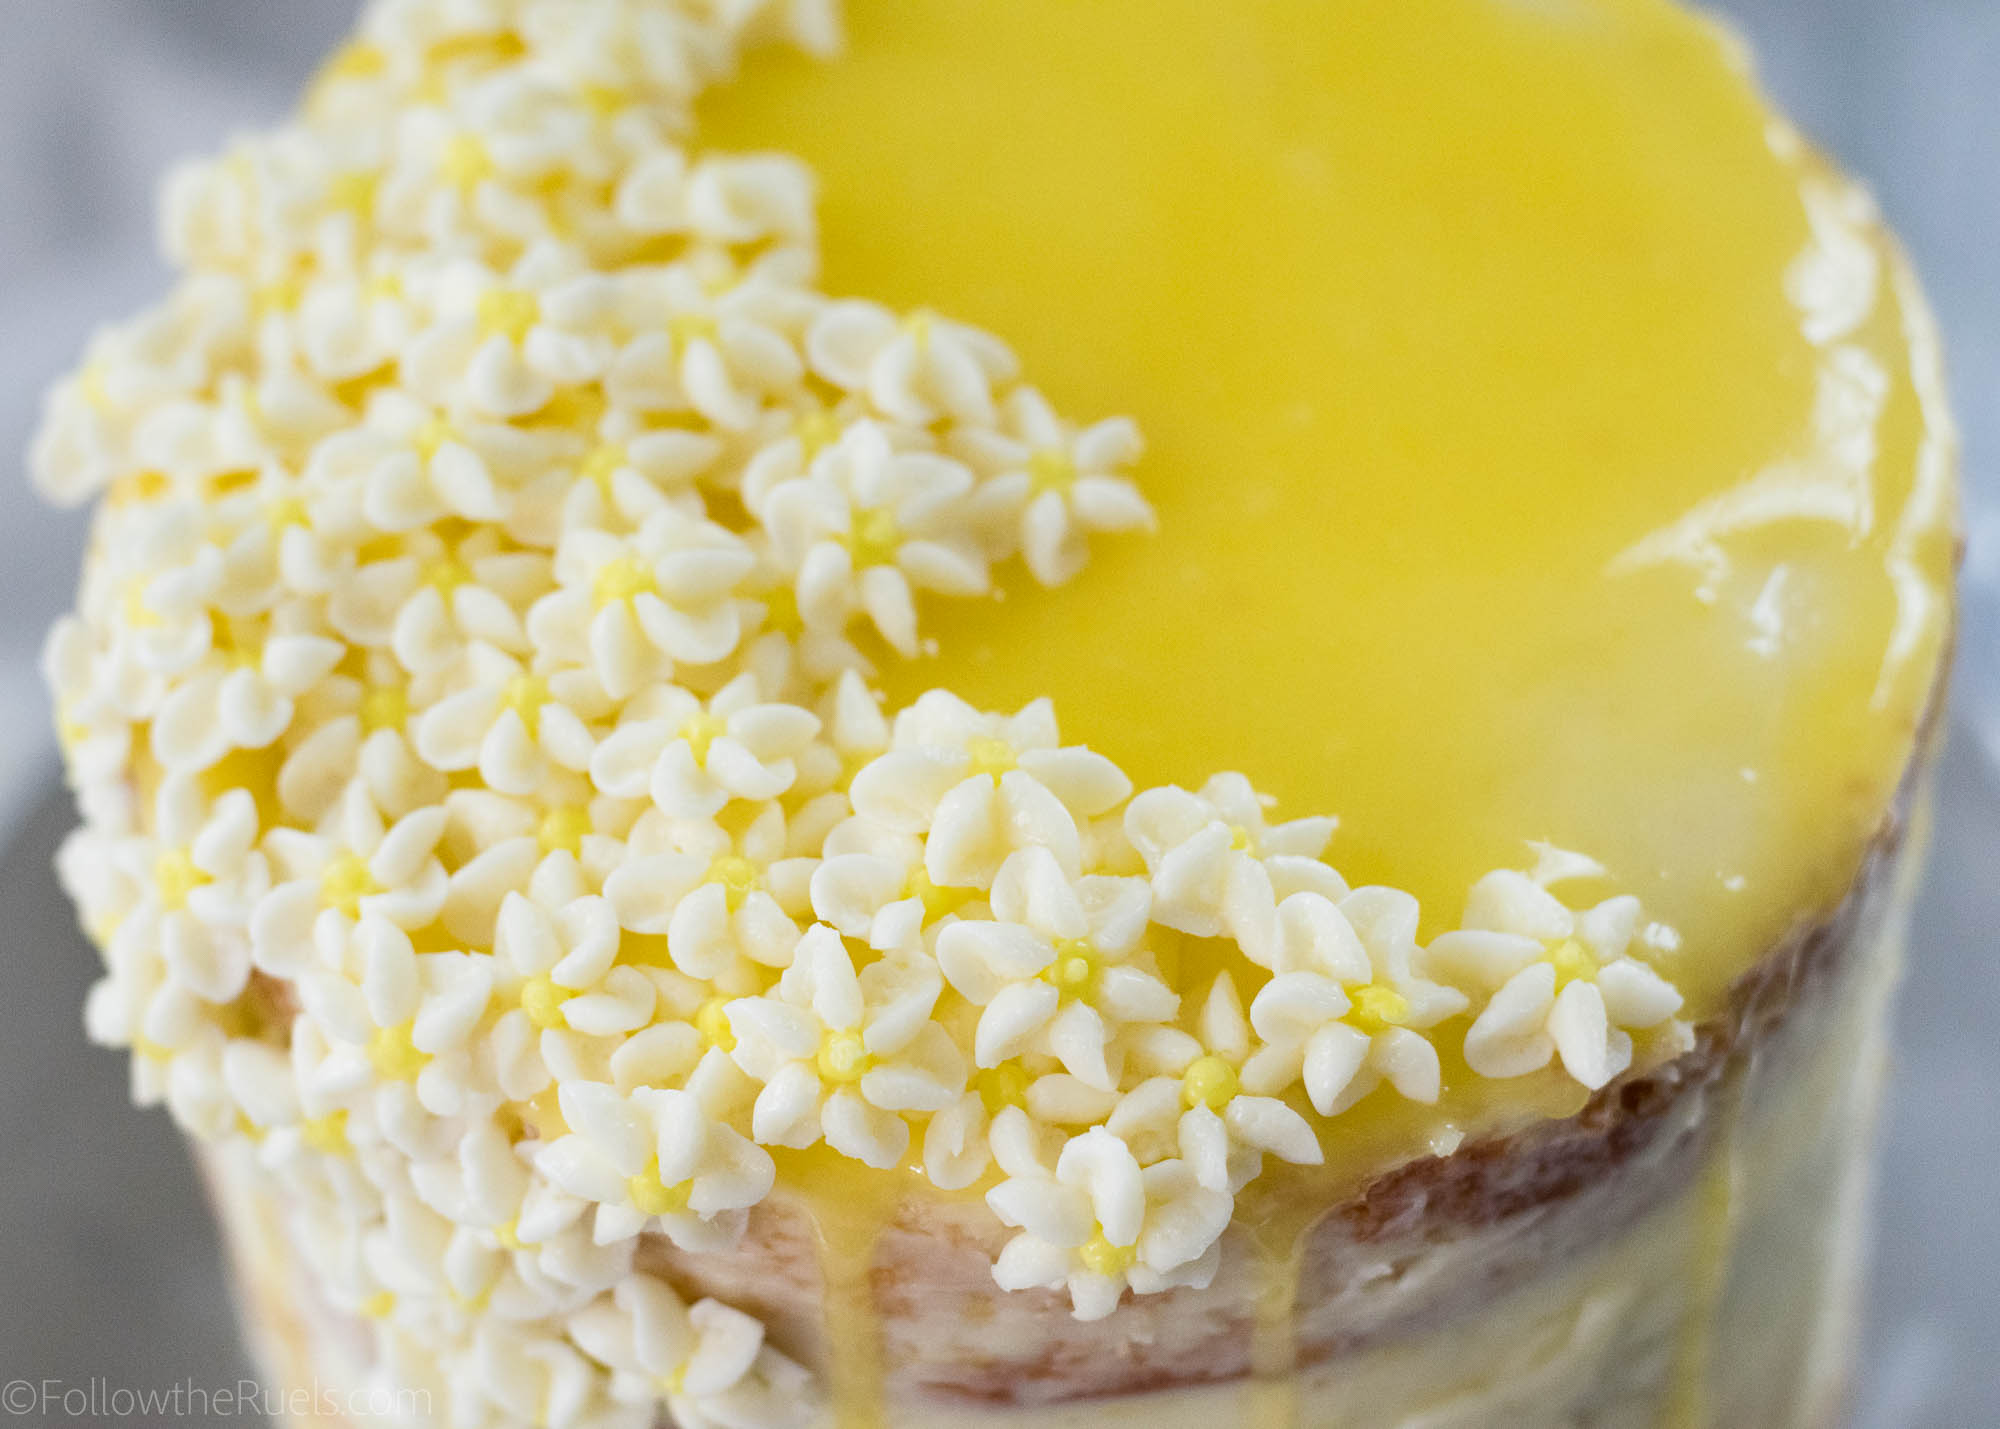
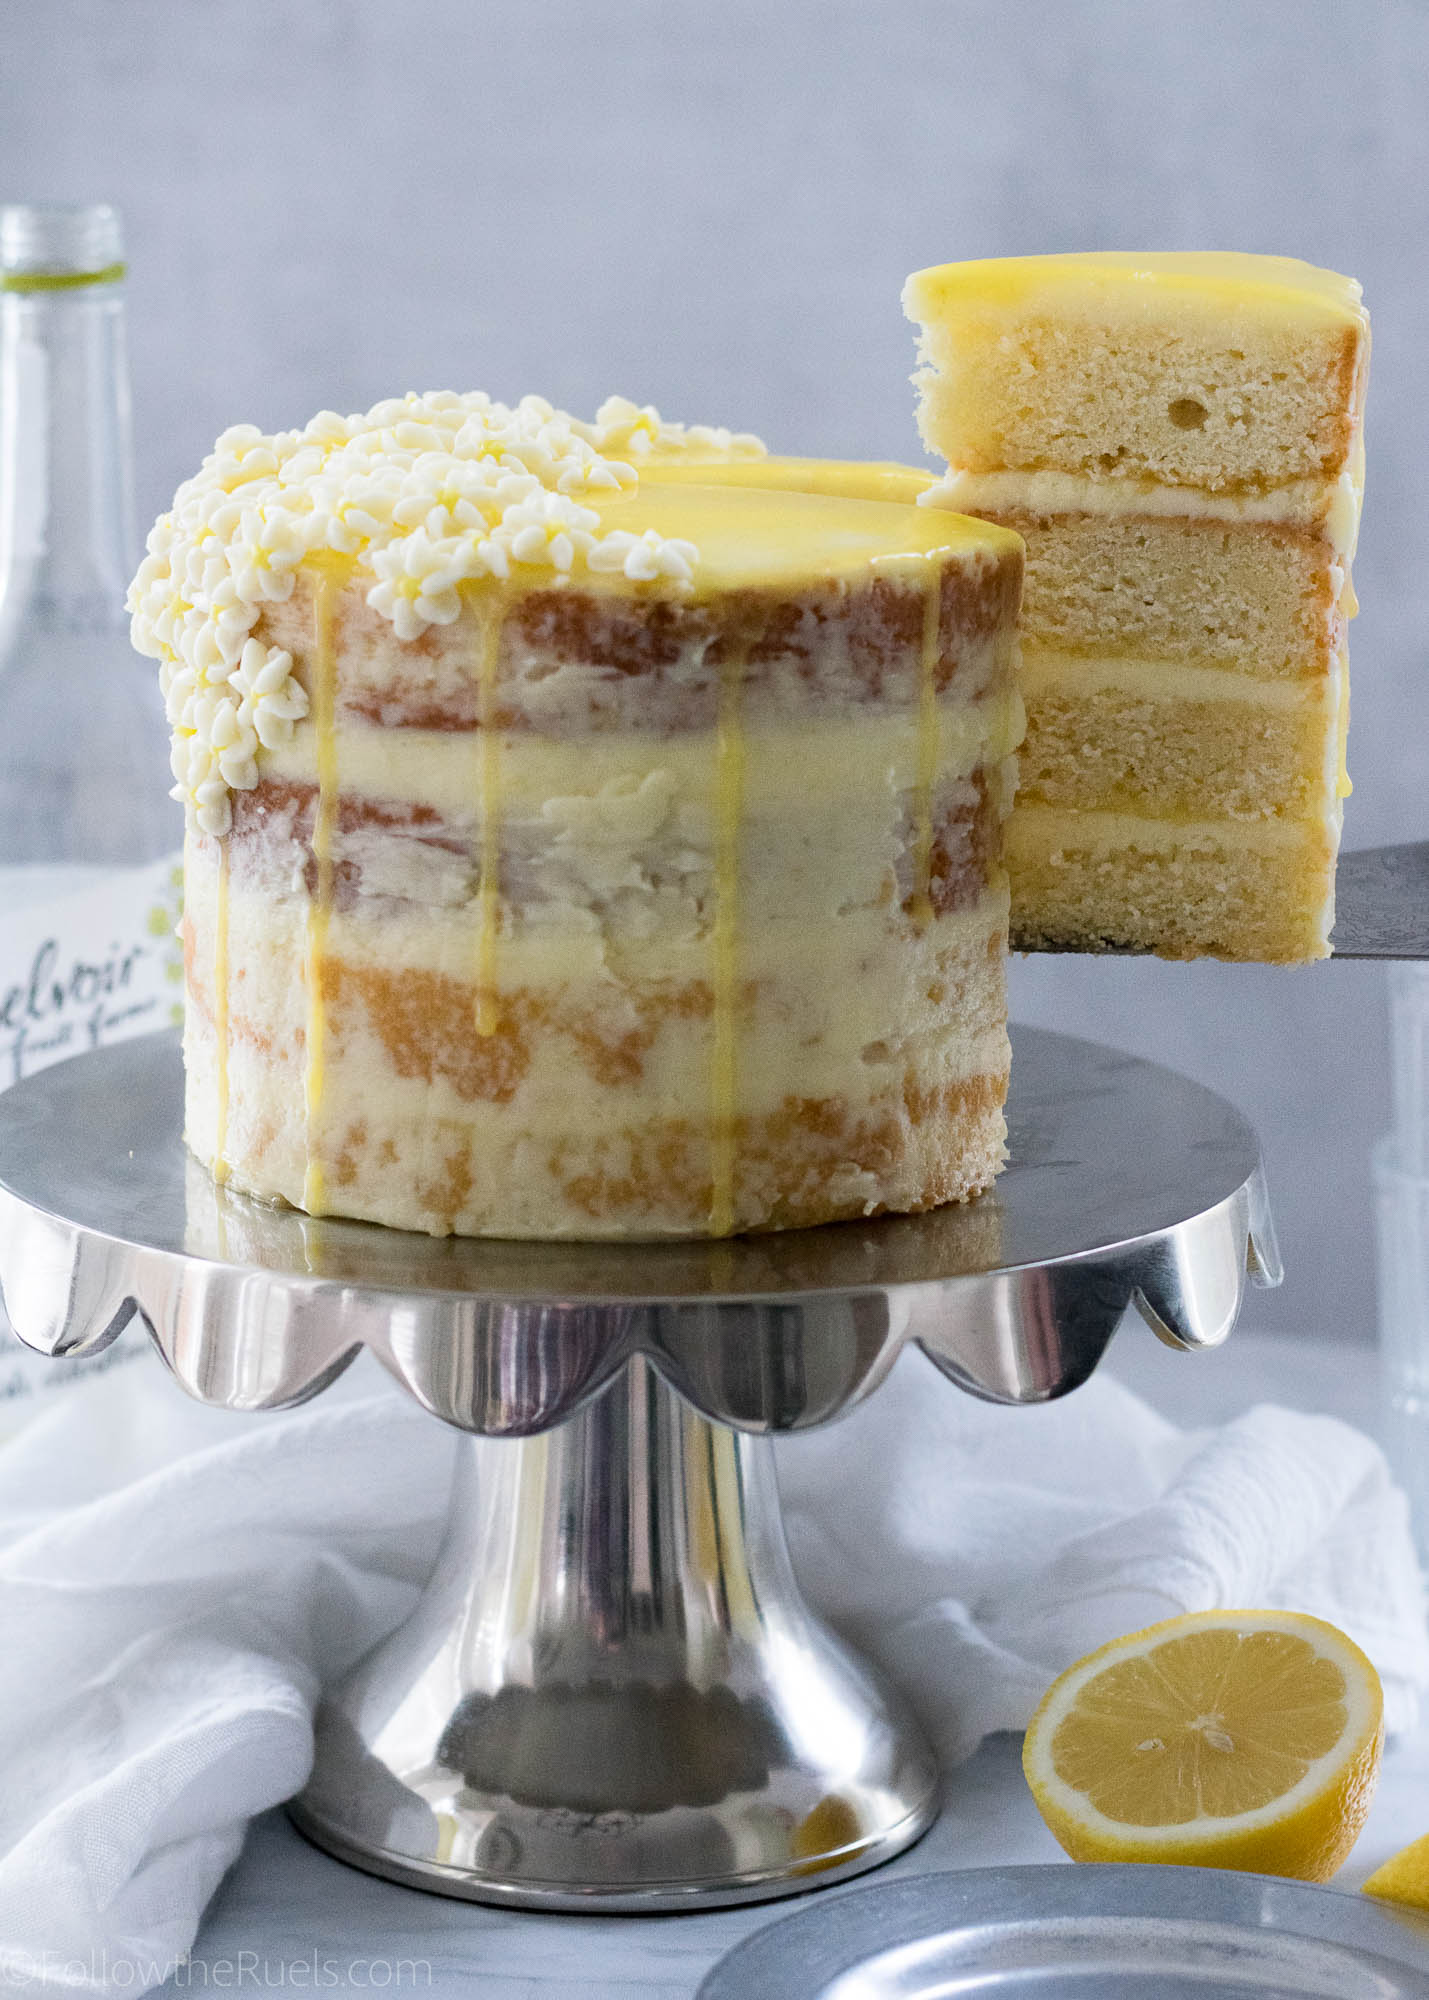
 What can I say about this lemon elderflower cake? Other than it didn’t turn out at all like I had expected. But, in the best way possible!

If you follow me on Instagram, then you already saw a sneak peek of this cake last week. In the comment, I mentioned that this is not what I had planned on the cake looking like. In my head, before I started, I had planned on this being a cake completely covered in a layer lemon buttercream frosting then topped with white and yellow buttercream flowers complete with buttercream leaves. 

Now, I am often overly ambitious when it comes to my baking projects which often leads to a last minute change of plans. In this case, it was just poor planning. I simply didn’t make enough buttercream! I couldn’t even cover the whole dang cake!

Whoops!

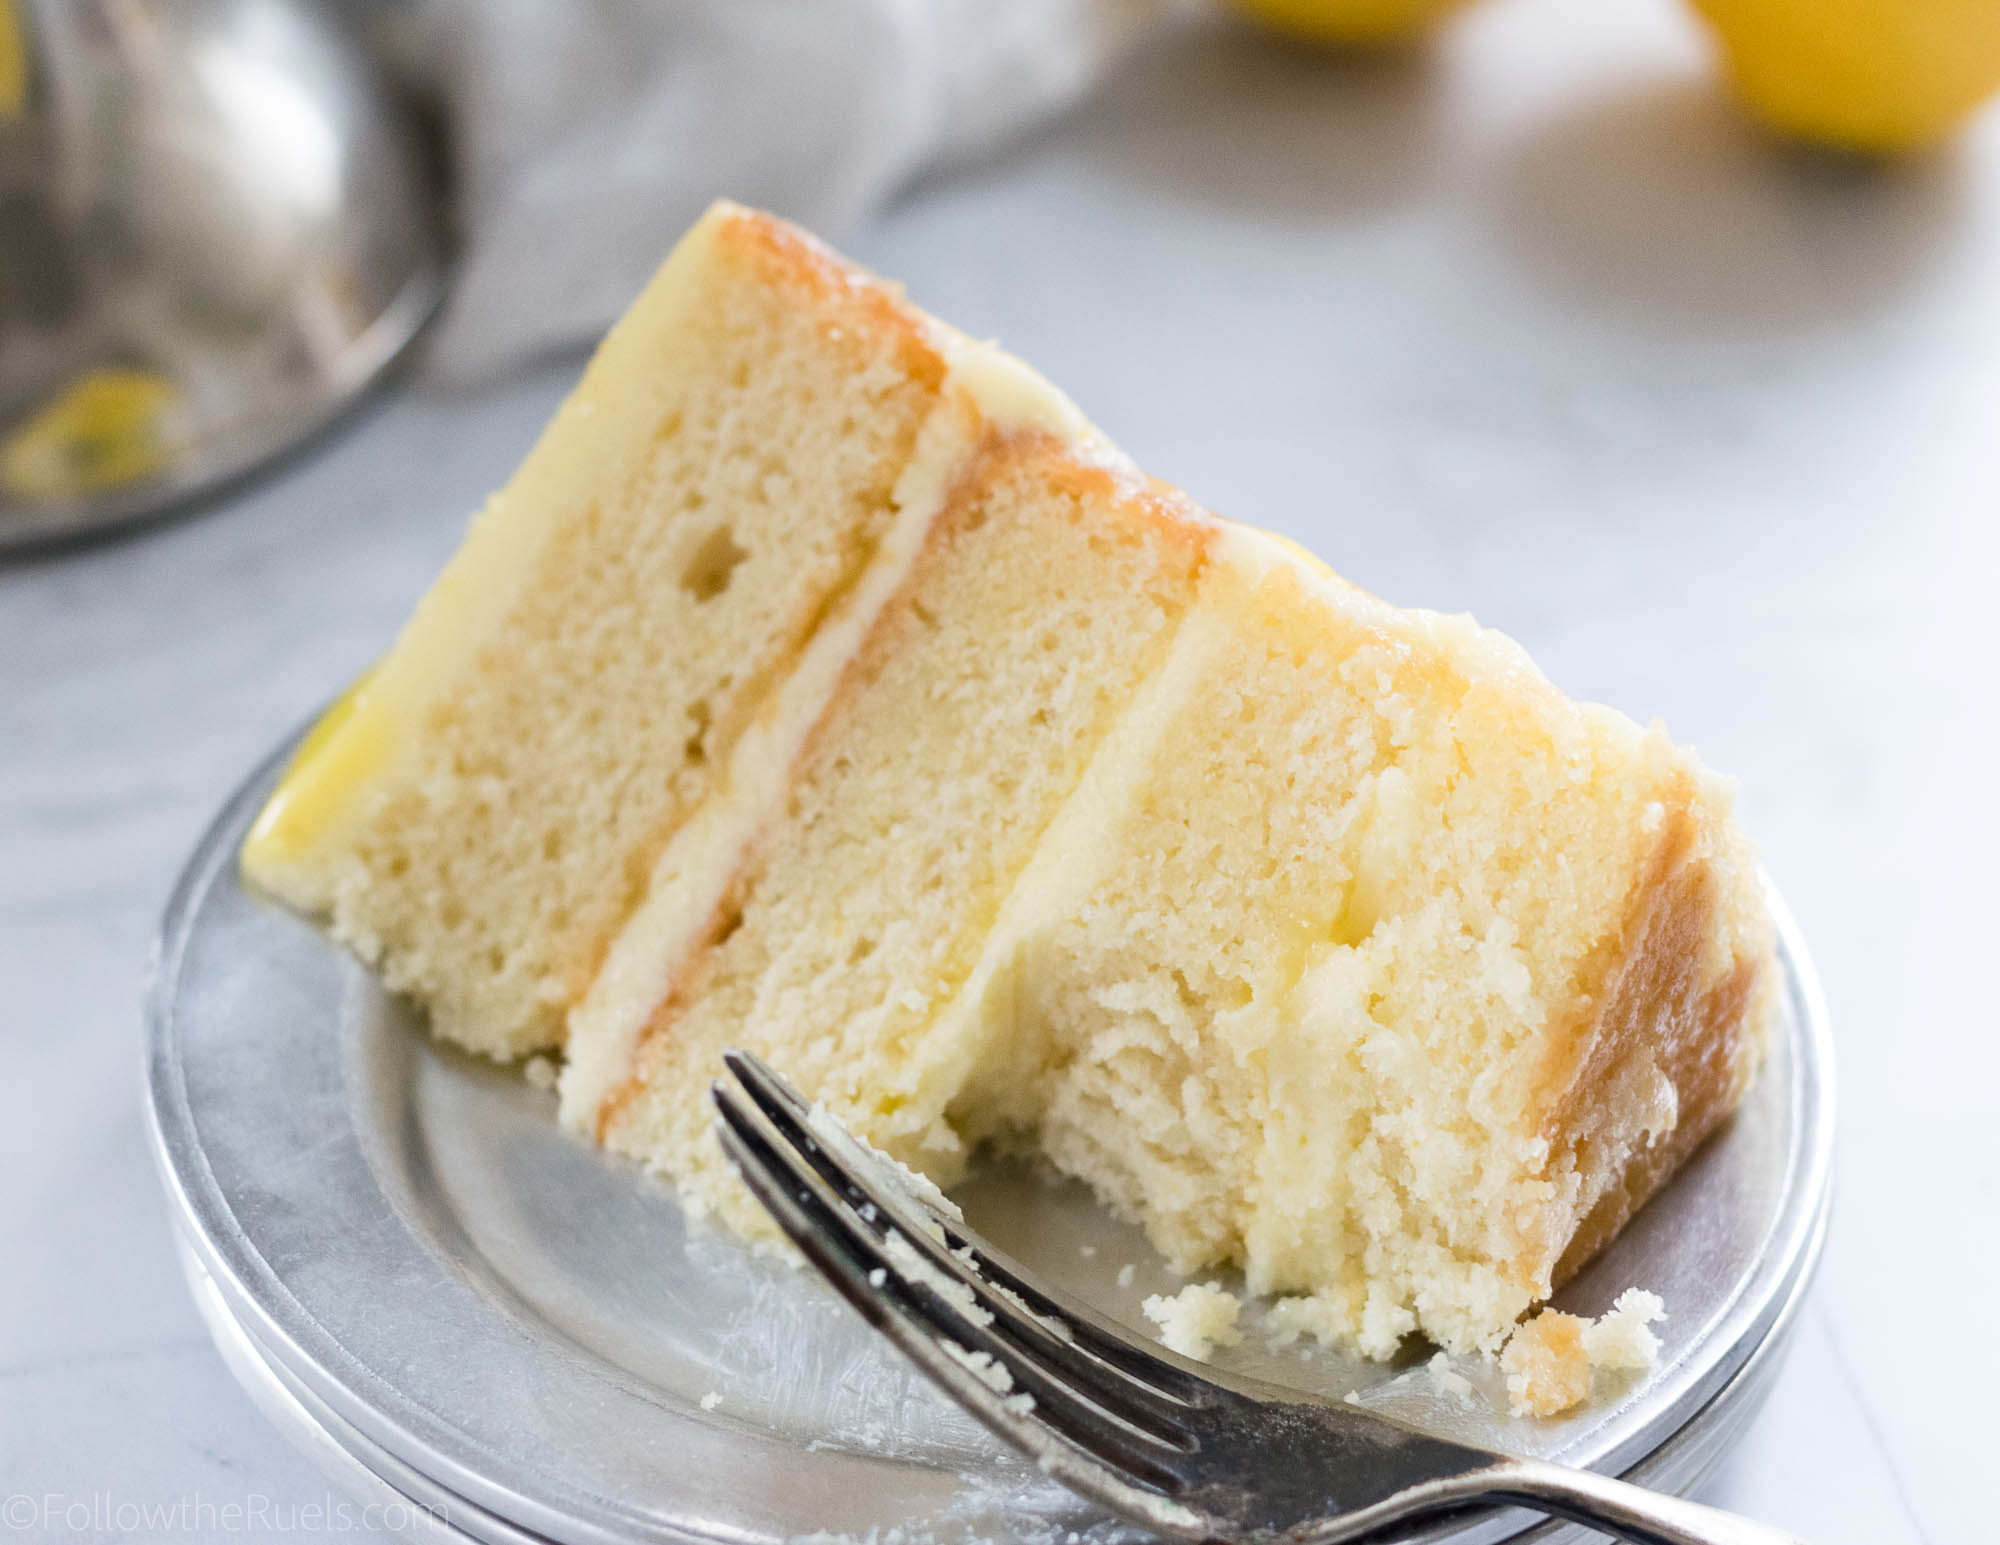
But in the end, I think the lack of buttercream led to this beautiful, simple, and rustic cake that perfectly embodies the actual cake within. The lemon elderflower cake layers are just that. Beautiful, simple, rustic, and delicious! The lemon flavor is dominant, but not overpowering and there is a hit of that sweet elderflower with each bite thanks in large part to the elderflower simple syrup that I drizzled over each layer. 

If you have never had elderflower flavored anything, then you may be a bit skeptical. Not to worry, it’s not an overly floral taste, like rose or lavender, so you won’t think you are eating soap. It really just provides an extra layer of sweetness and perfectly compliments the lemon.

However, if you are just not into elderflower at all, ditch it! Just make a lemon cake! It will still be wonderful!

How to Make It

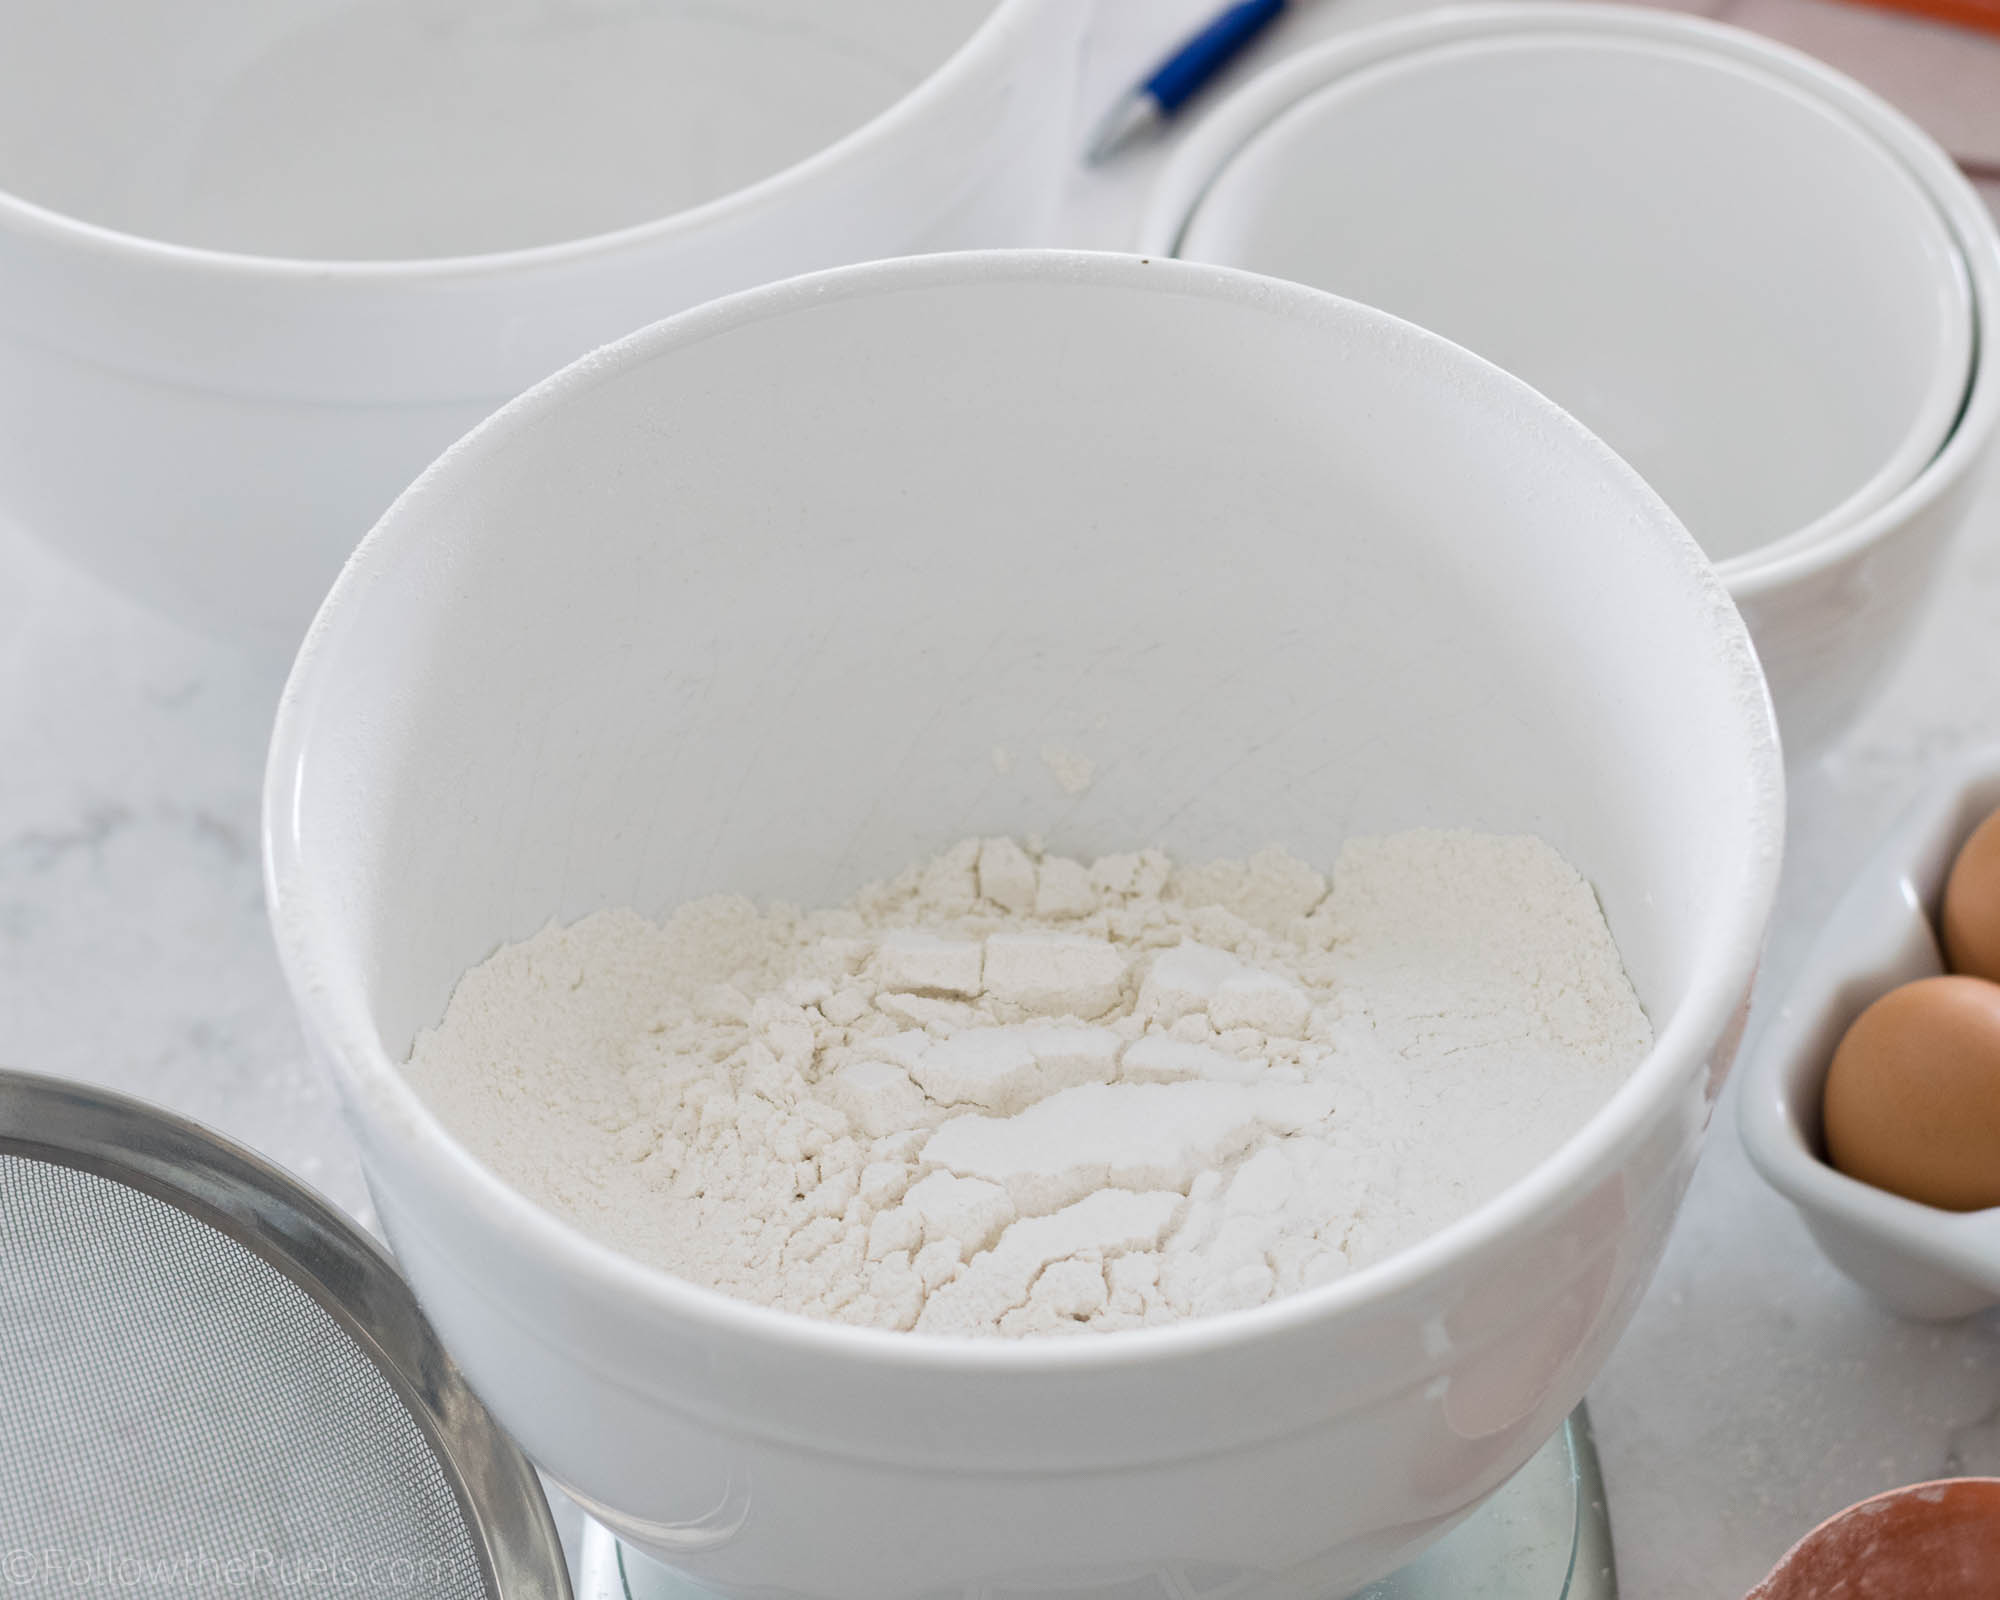
The first step to making this cake, and any cake, really, is to sift the dry ingredients together. I used to skip this step, but now I know that this simple step really changes the texture of a cake. Sifting the flour creates a much lighter, less dense cake.


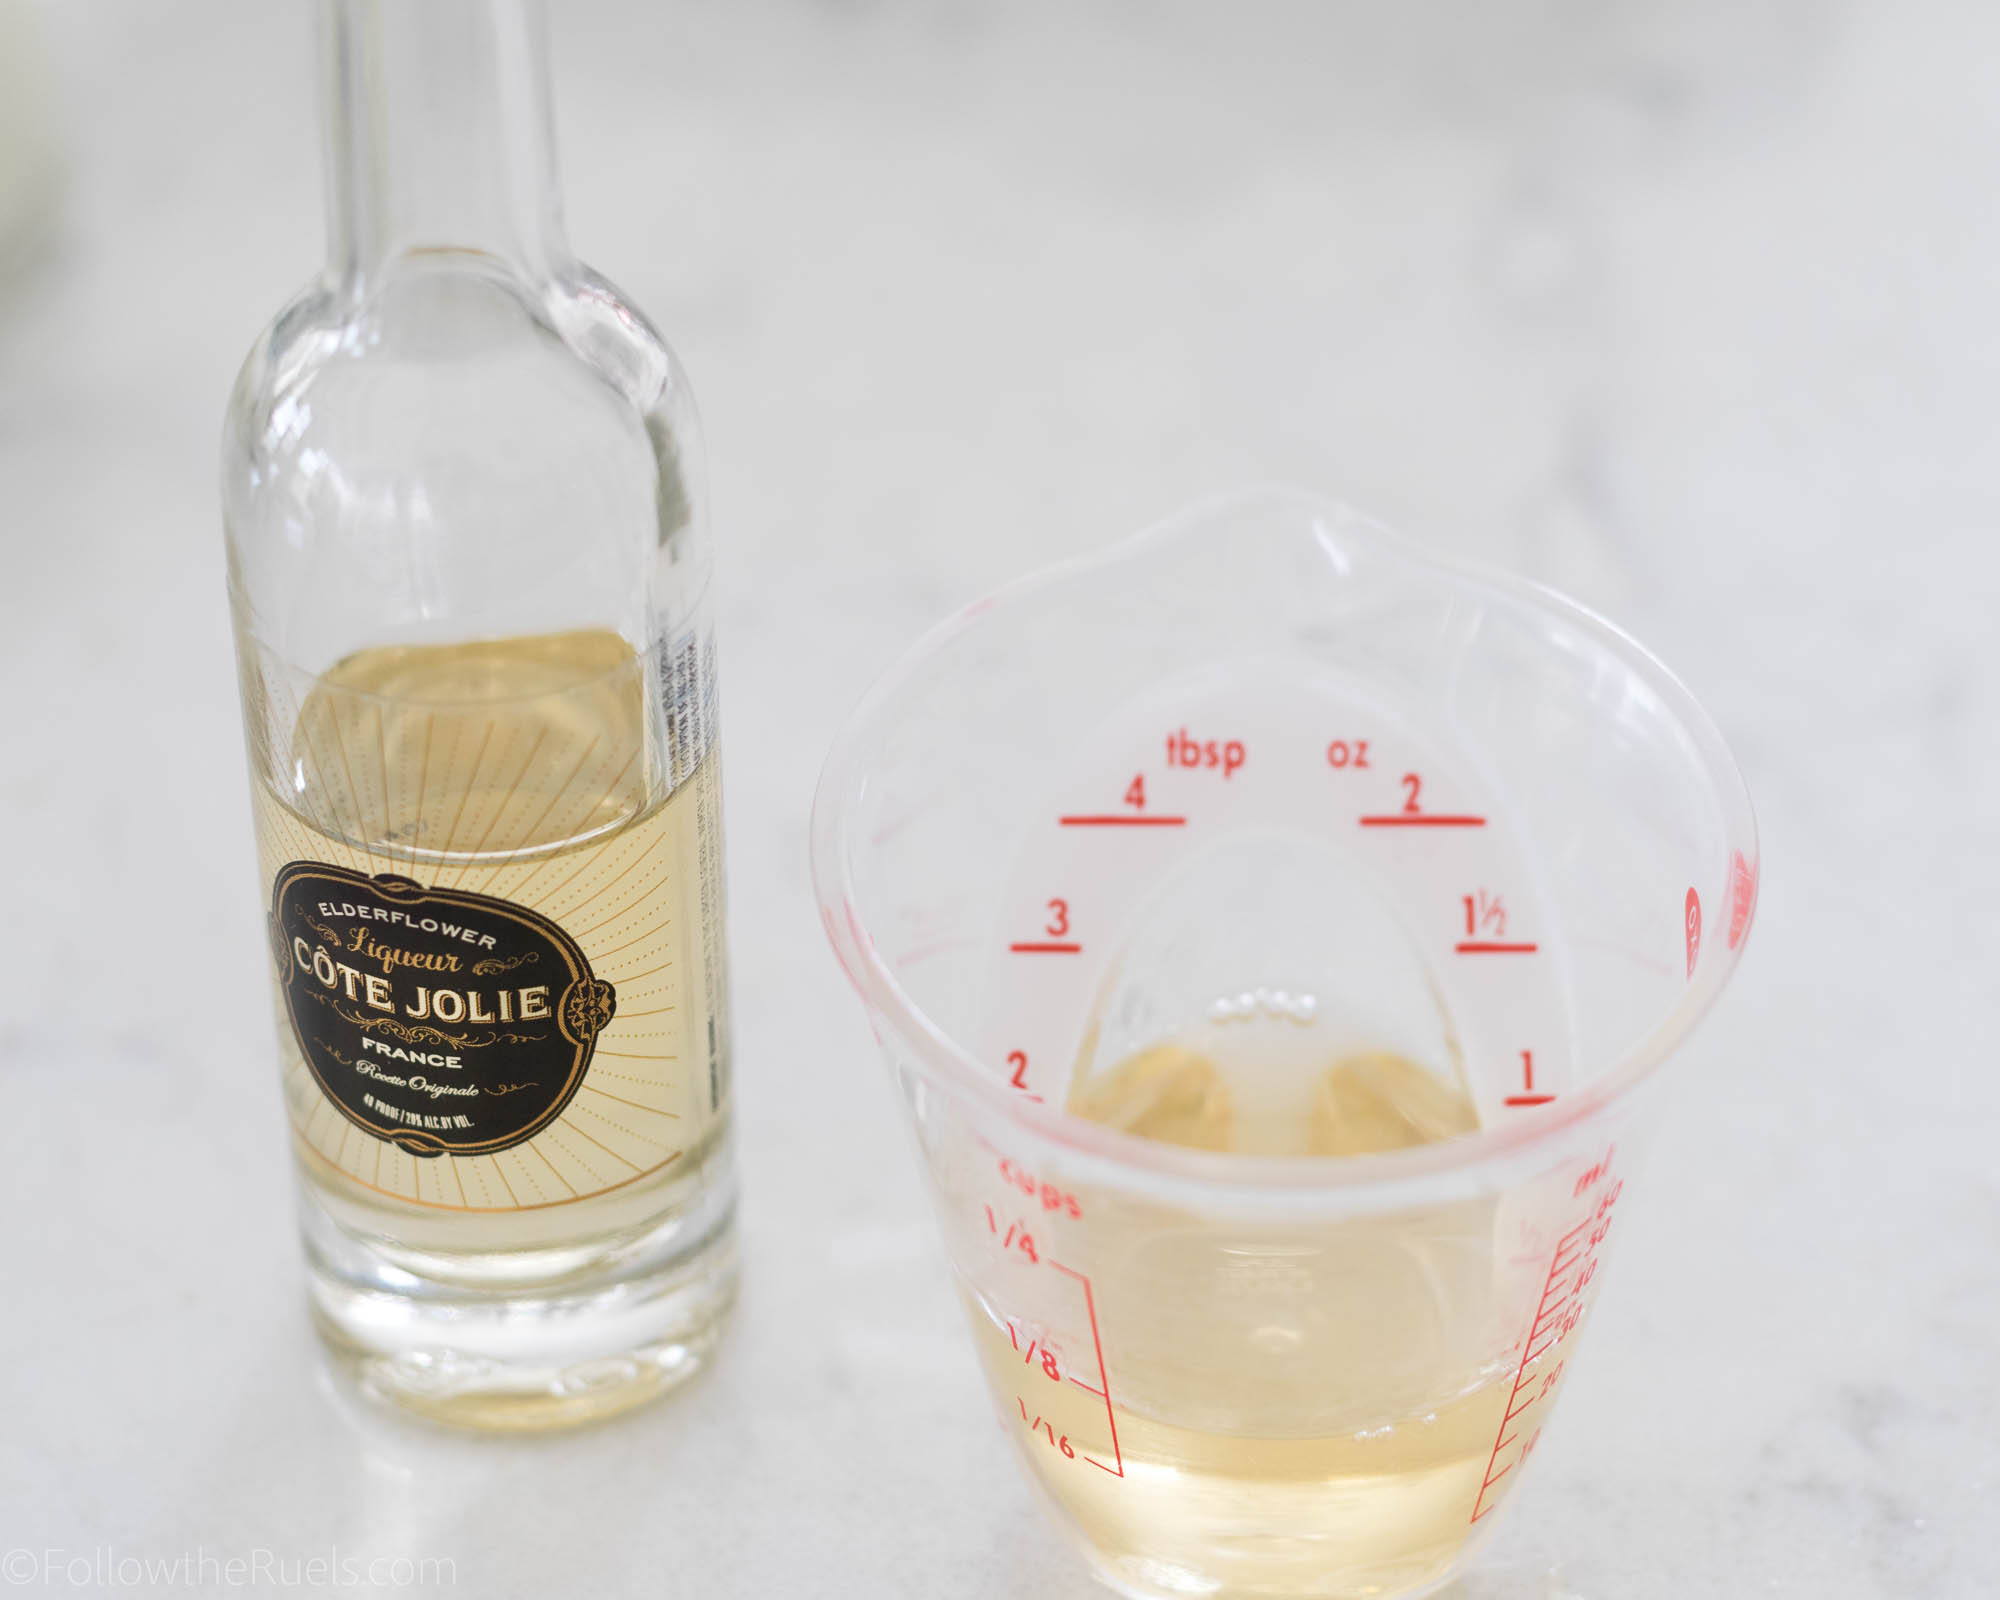
Set the flour aside and move on to the lemon. First zest one or two lemons until you have about 2 tablespoons of zest. Then squeeze the juice out of the lemon. You will be adding the lemon juice to the milk along with the elderflower liquor.

Speaking of which, if you have never had elderflower liqueur in a drink before, it is delicious! I don’t drink a lot to begin with, so I didn’t have any elderflower liqueur on hand. But I did find mini bottles at my local liquor store. I highly recommend just getting 1-2 mini bottles instead of 1 big bottle unless you plan on drinking the rest of it.

Now that we have that covered, lets move on to making the batter.

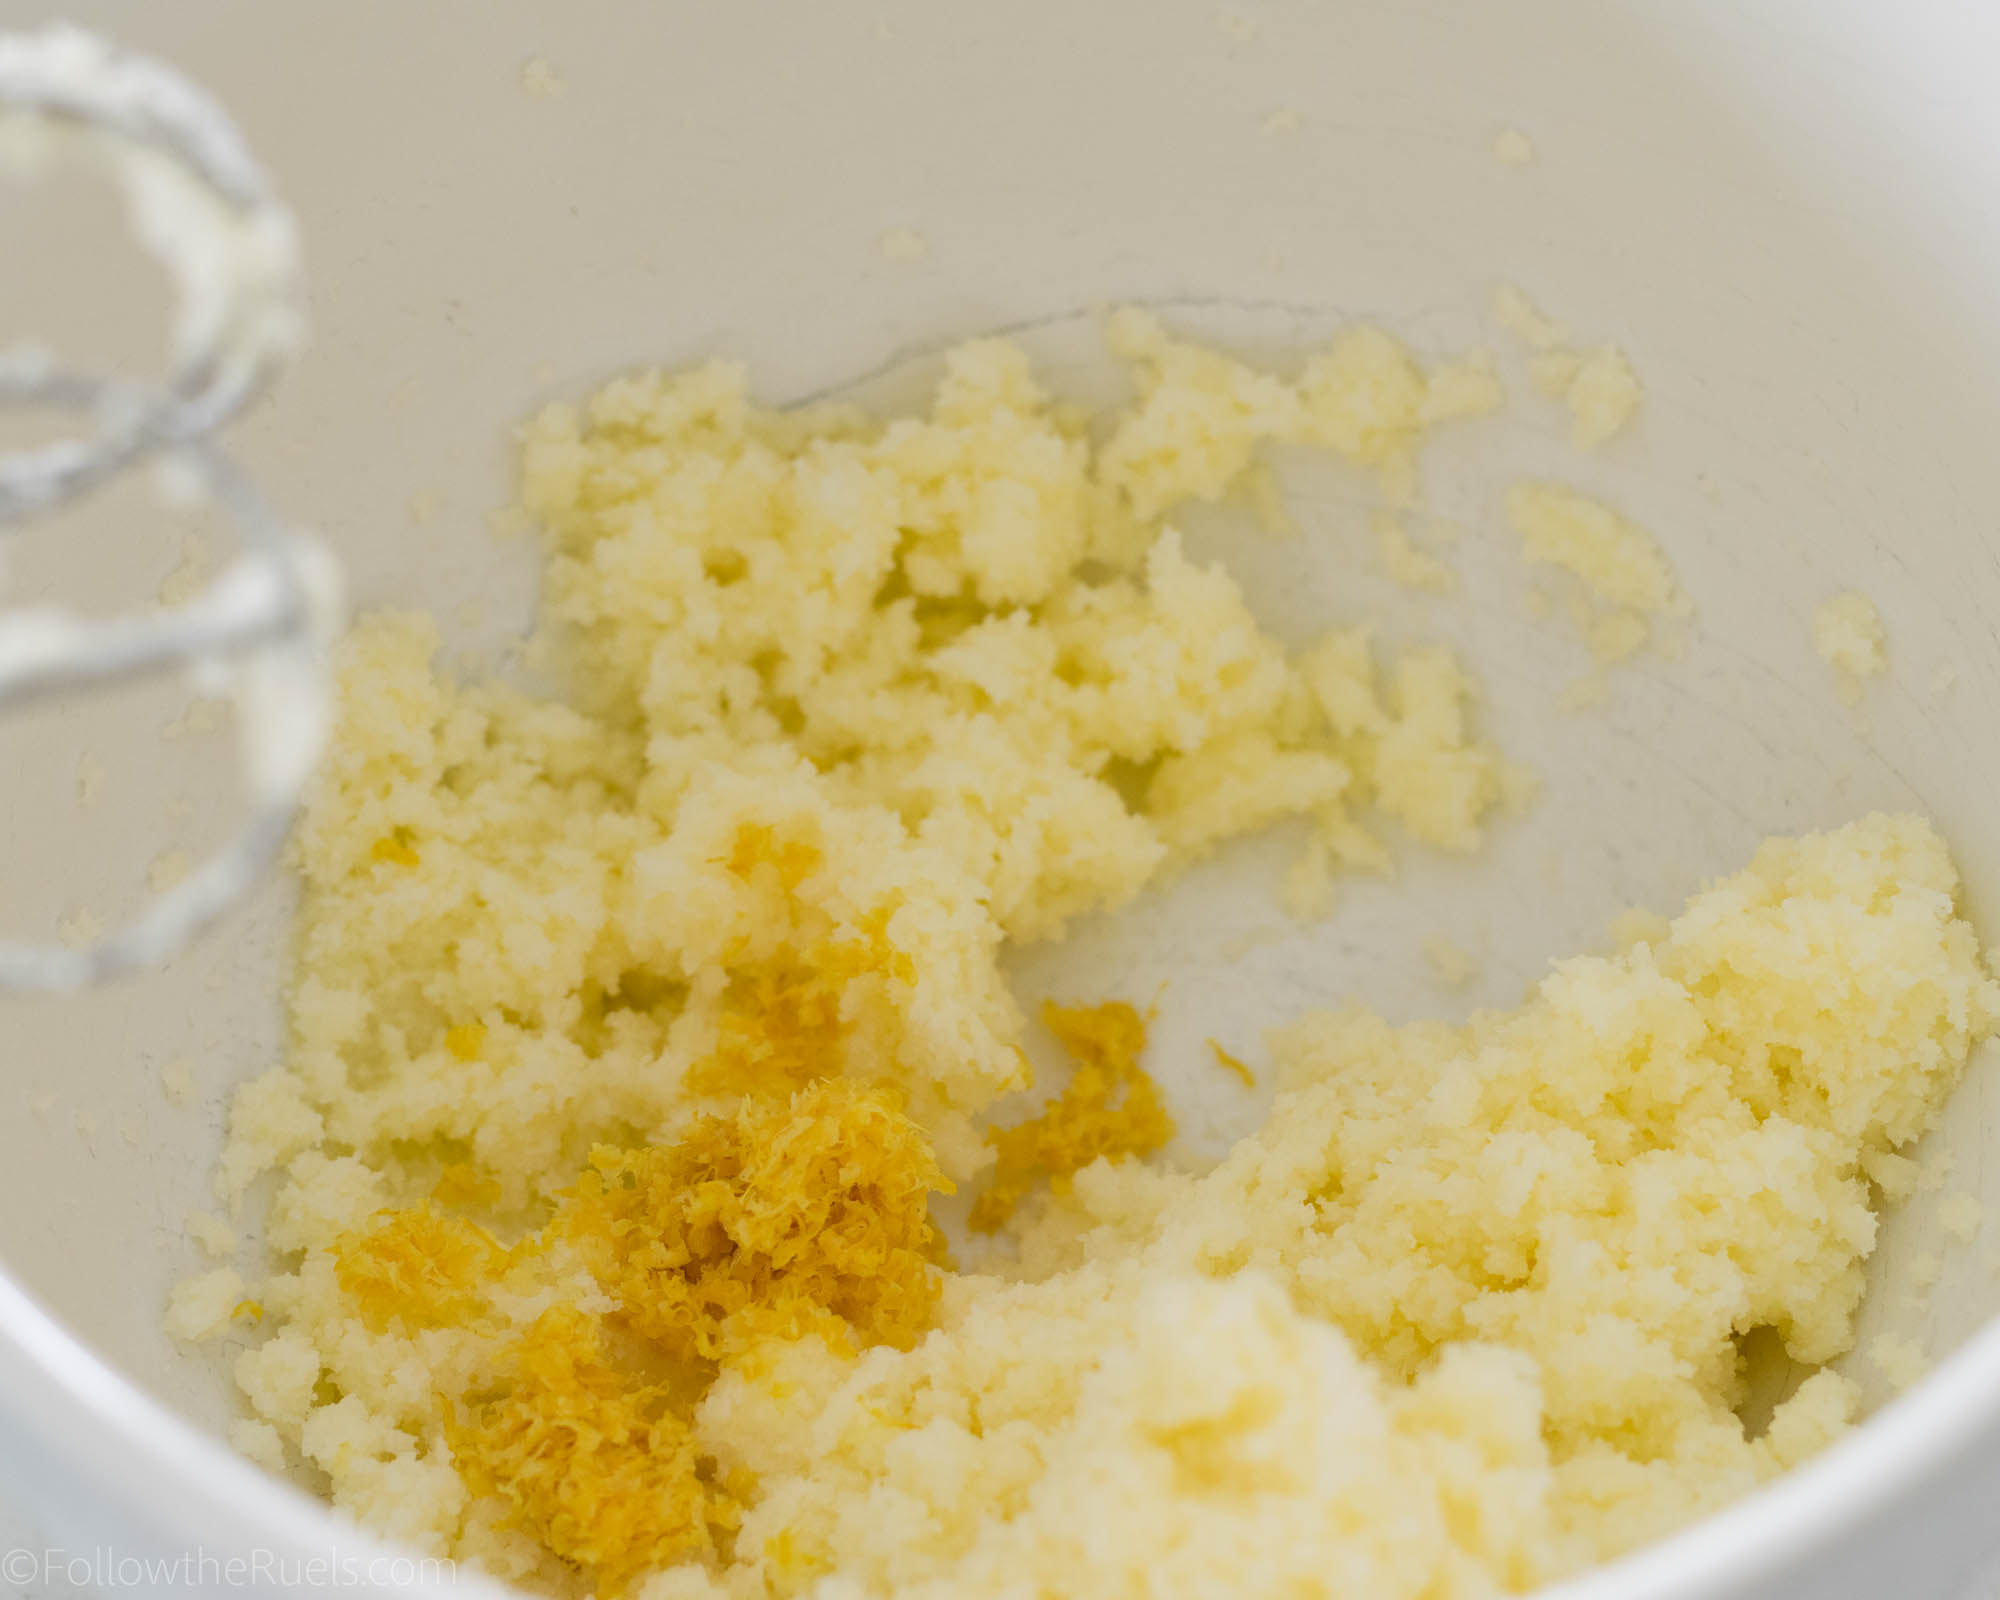
Cream together the butter and sugar then add in the lemon zest.

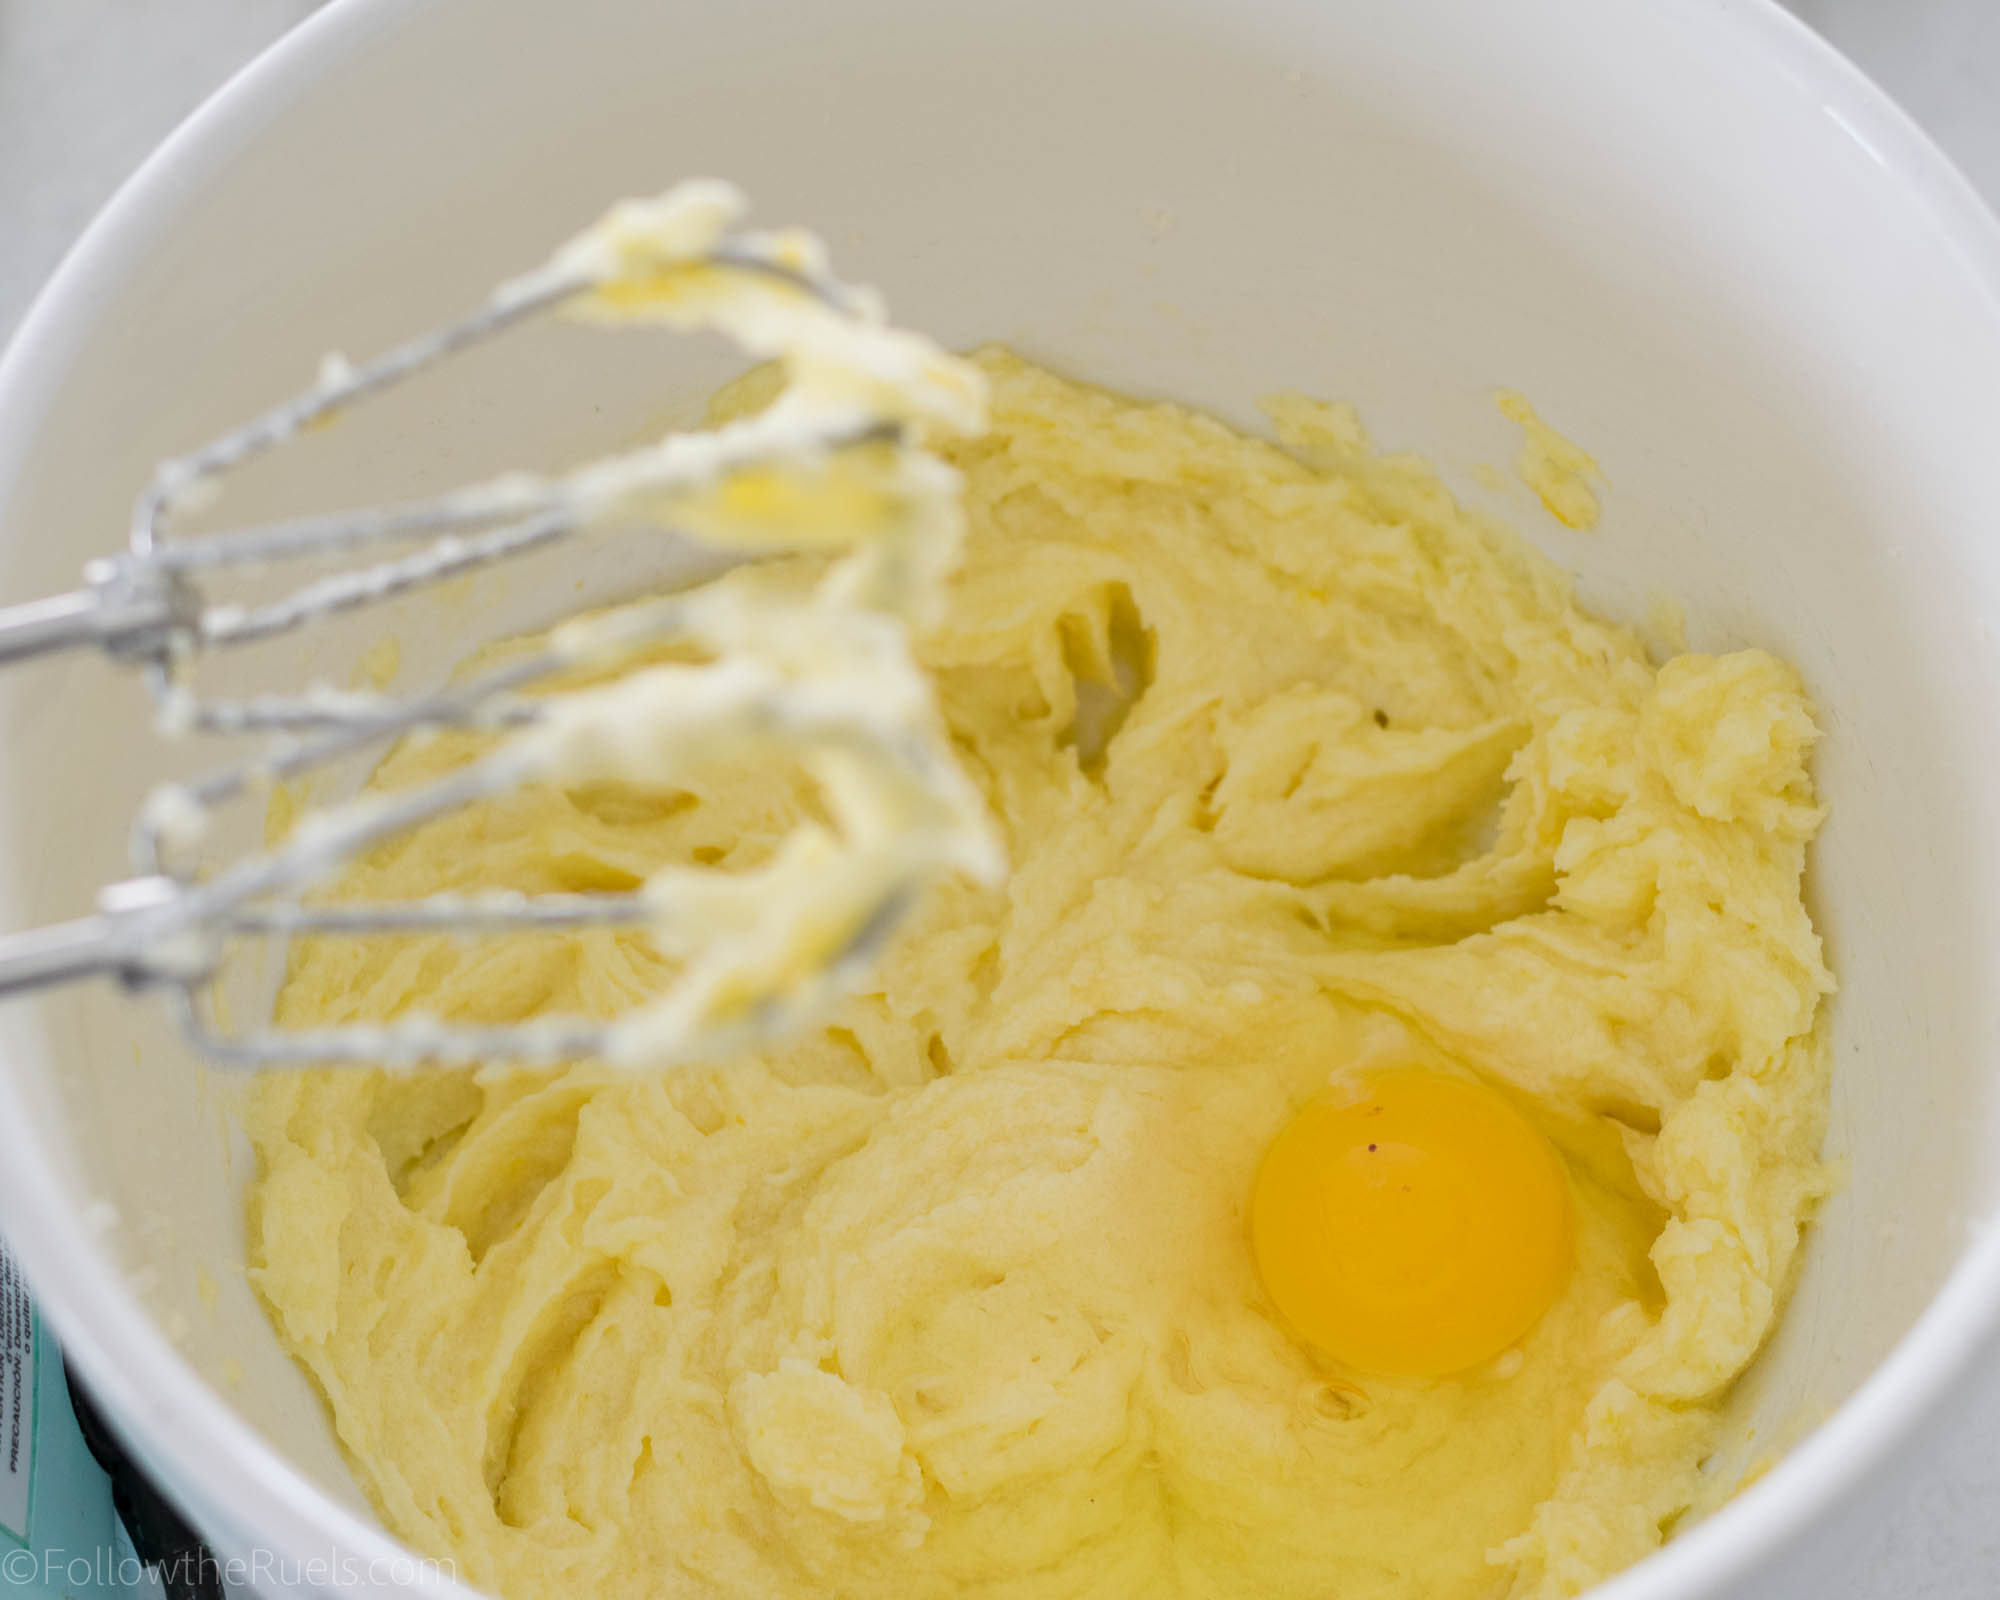
Mix in the eggs one at a time until they are completely incorporated into the butter. You don’t want the egg-butter mixture looking likes it’s separated or curdled.


Now mix in the dry and wet ingredients, alternating between the two. I like to add the dry ingredients in three parts and the wet ingredients in two. So it looks something like this: dry, wet, dry, wet, dry. Always start and end with dry.

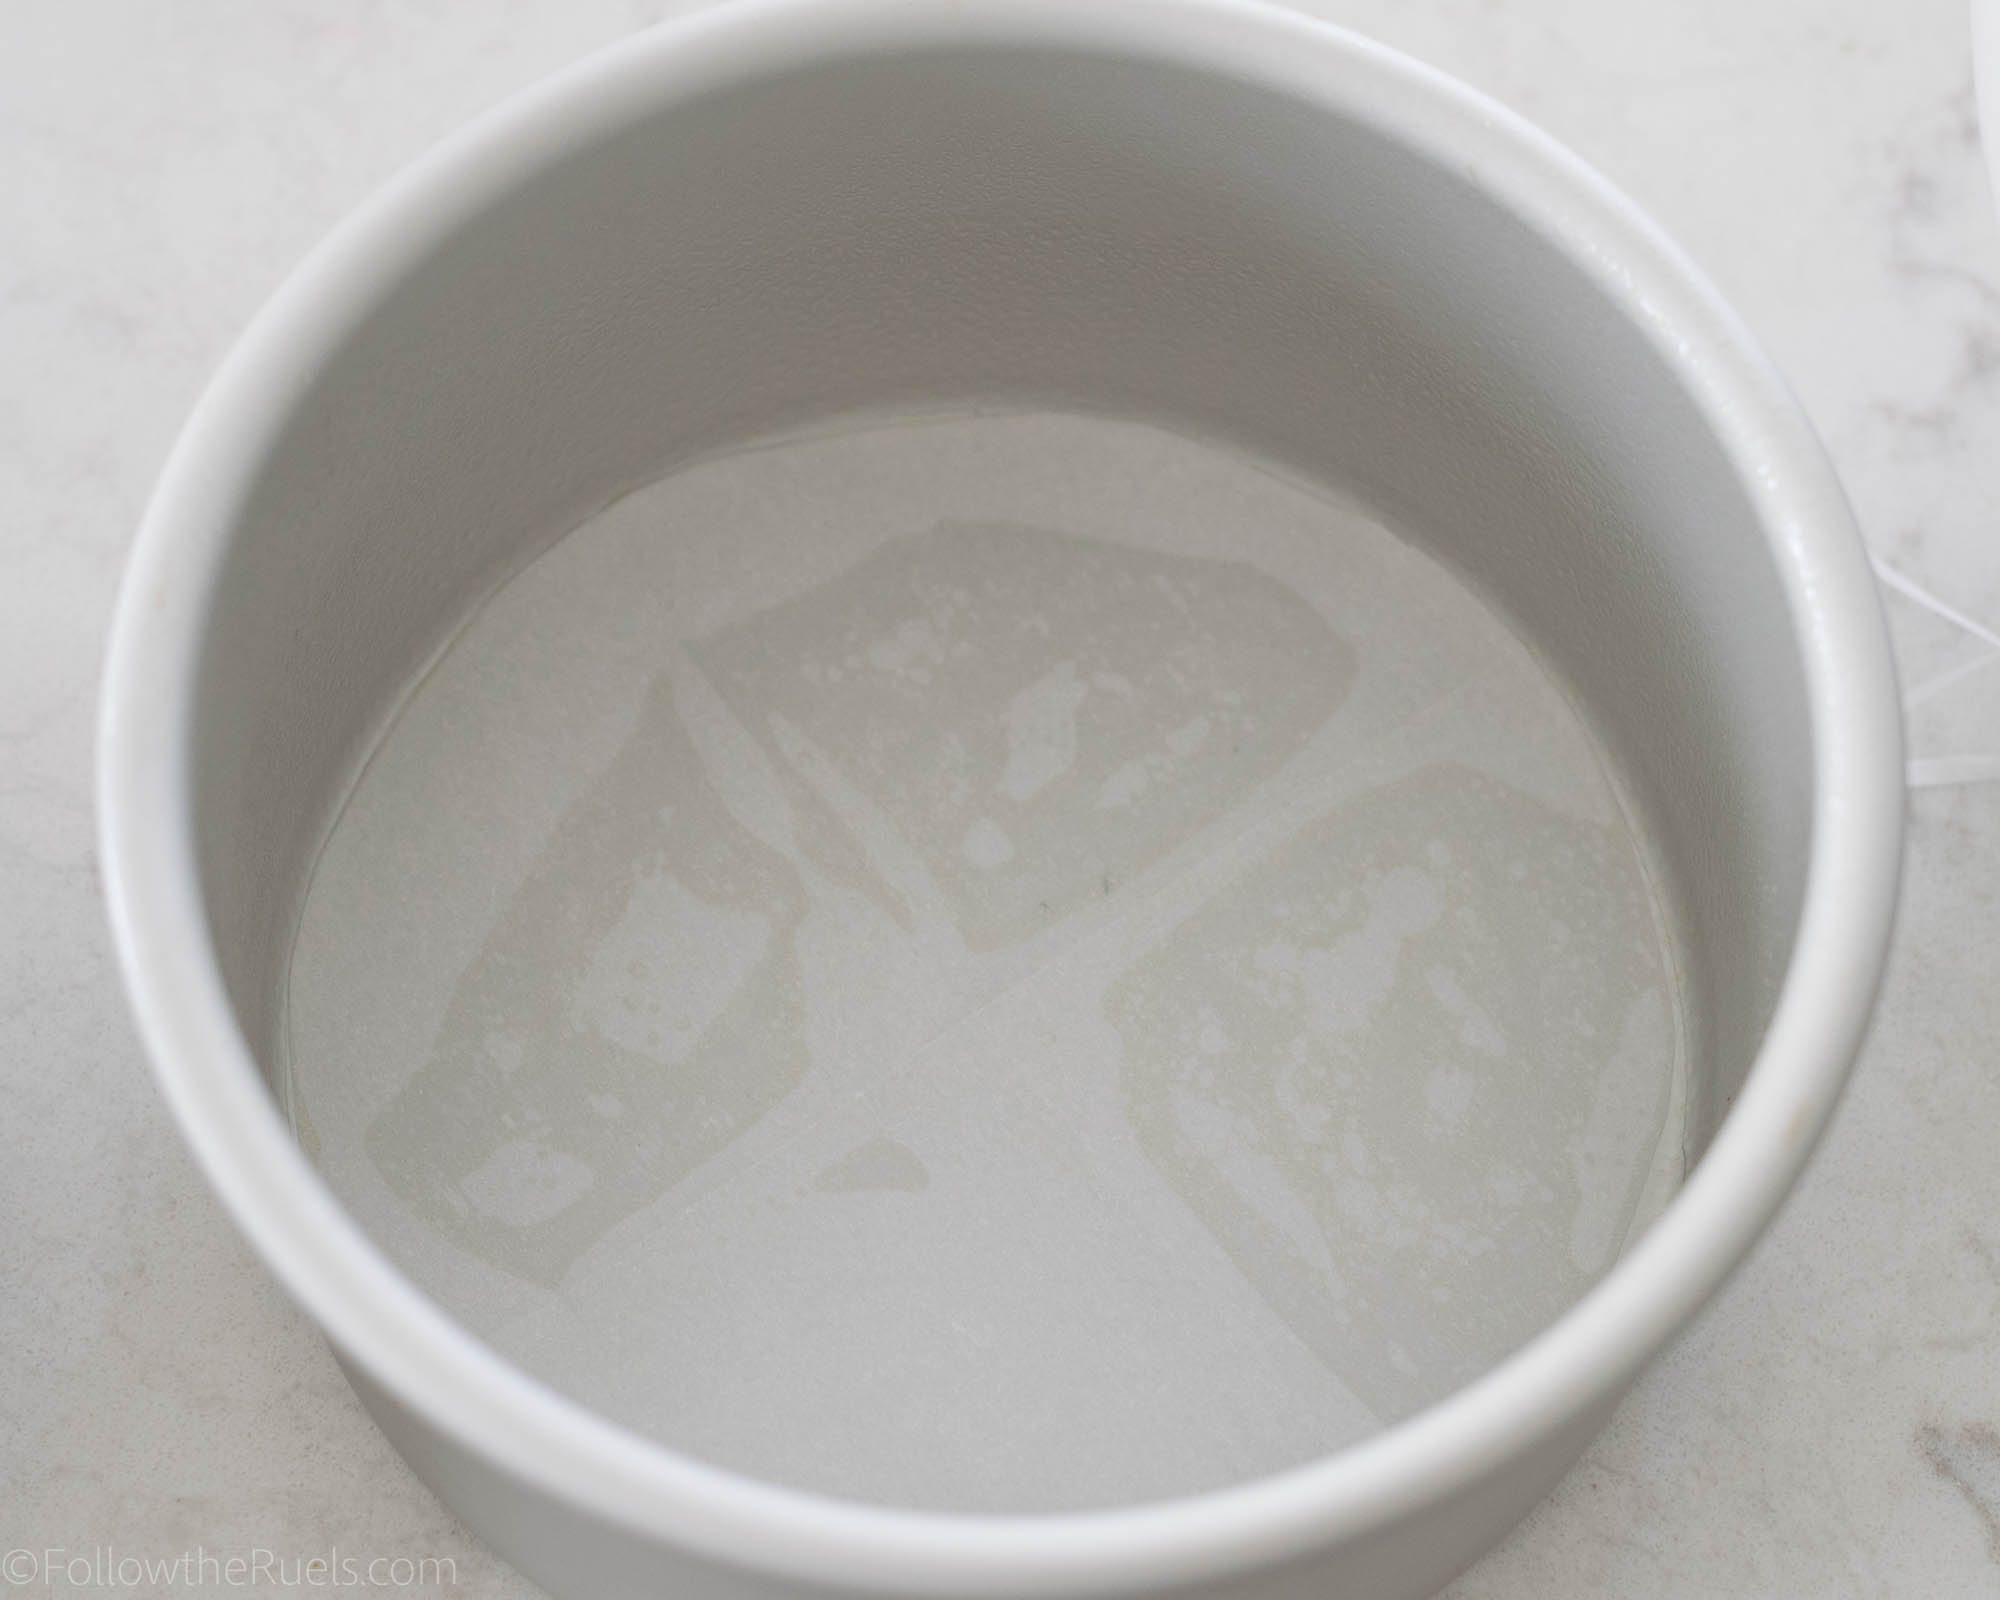
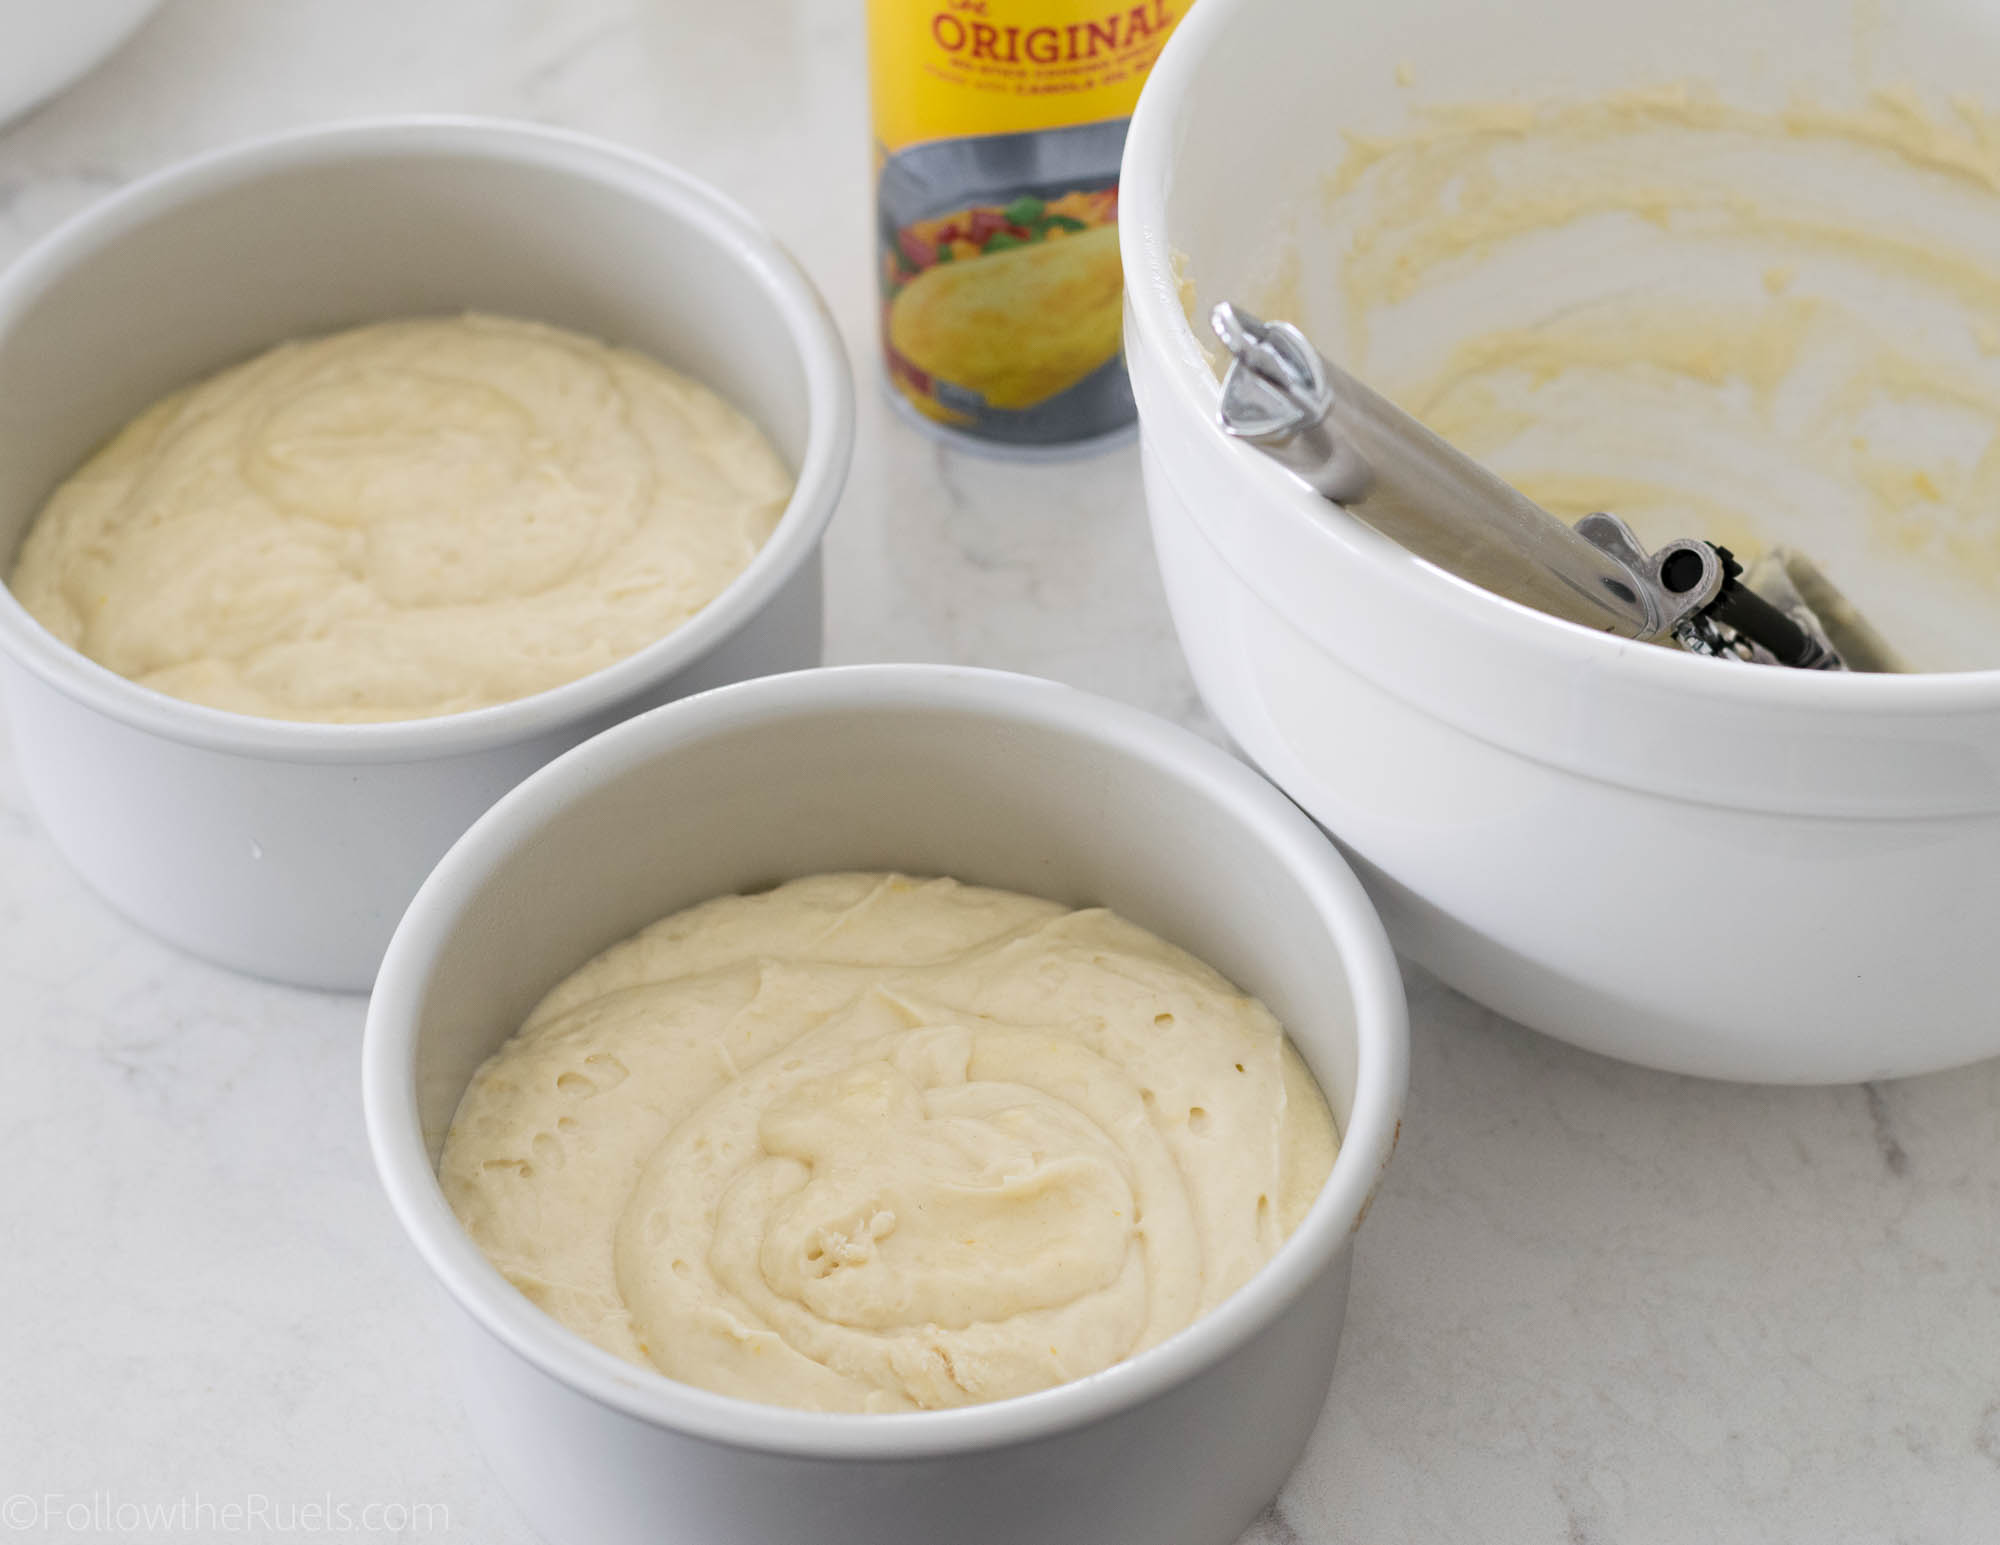
One of my biggest cake tips I have for you is to line the bottom of the cake pay with parchment paper! This will make getting the cake out super easy even if the cake is still warm. I still recommend spraying the pans with baking spray, too. But this is just added insurance. 

Then portion the batter between the cake pans. I like to use a scale to make sure that the amount of batter in each one is pretty even. But that may be overkill. You can just eyeball it.

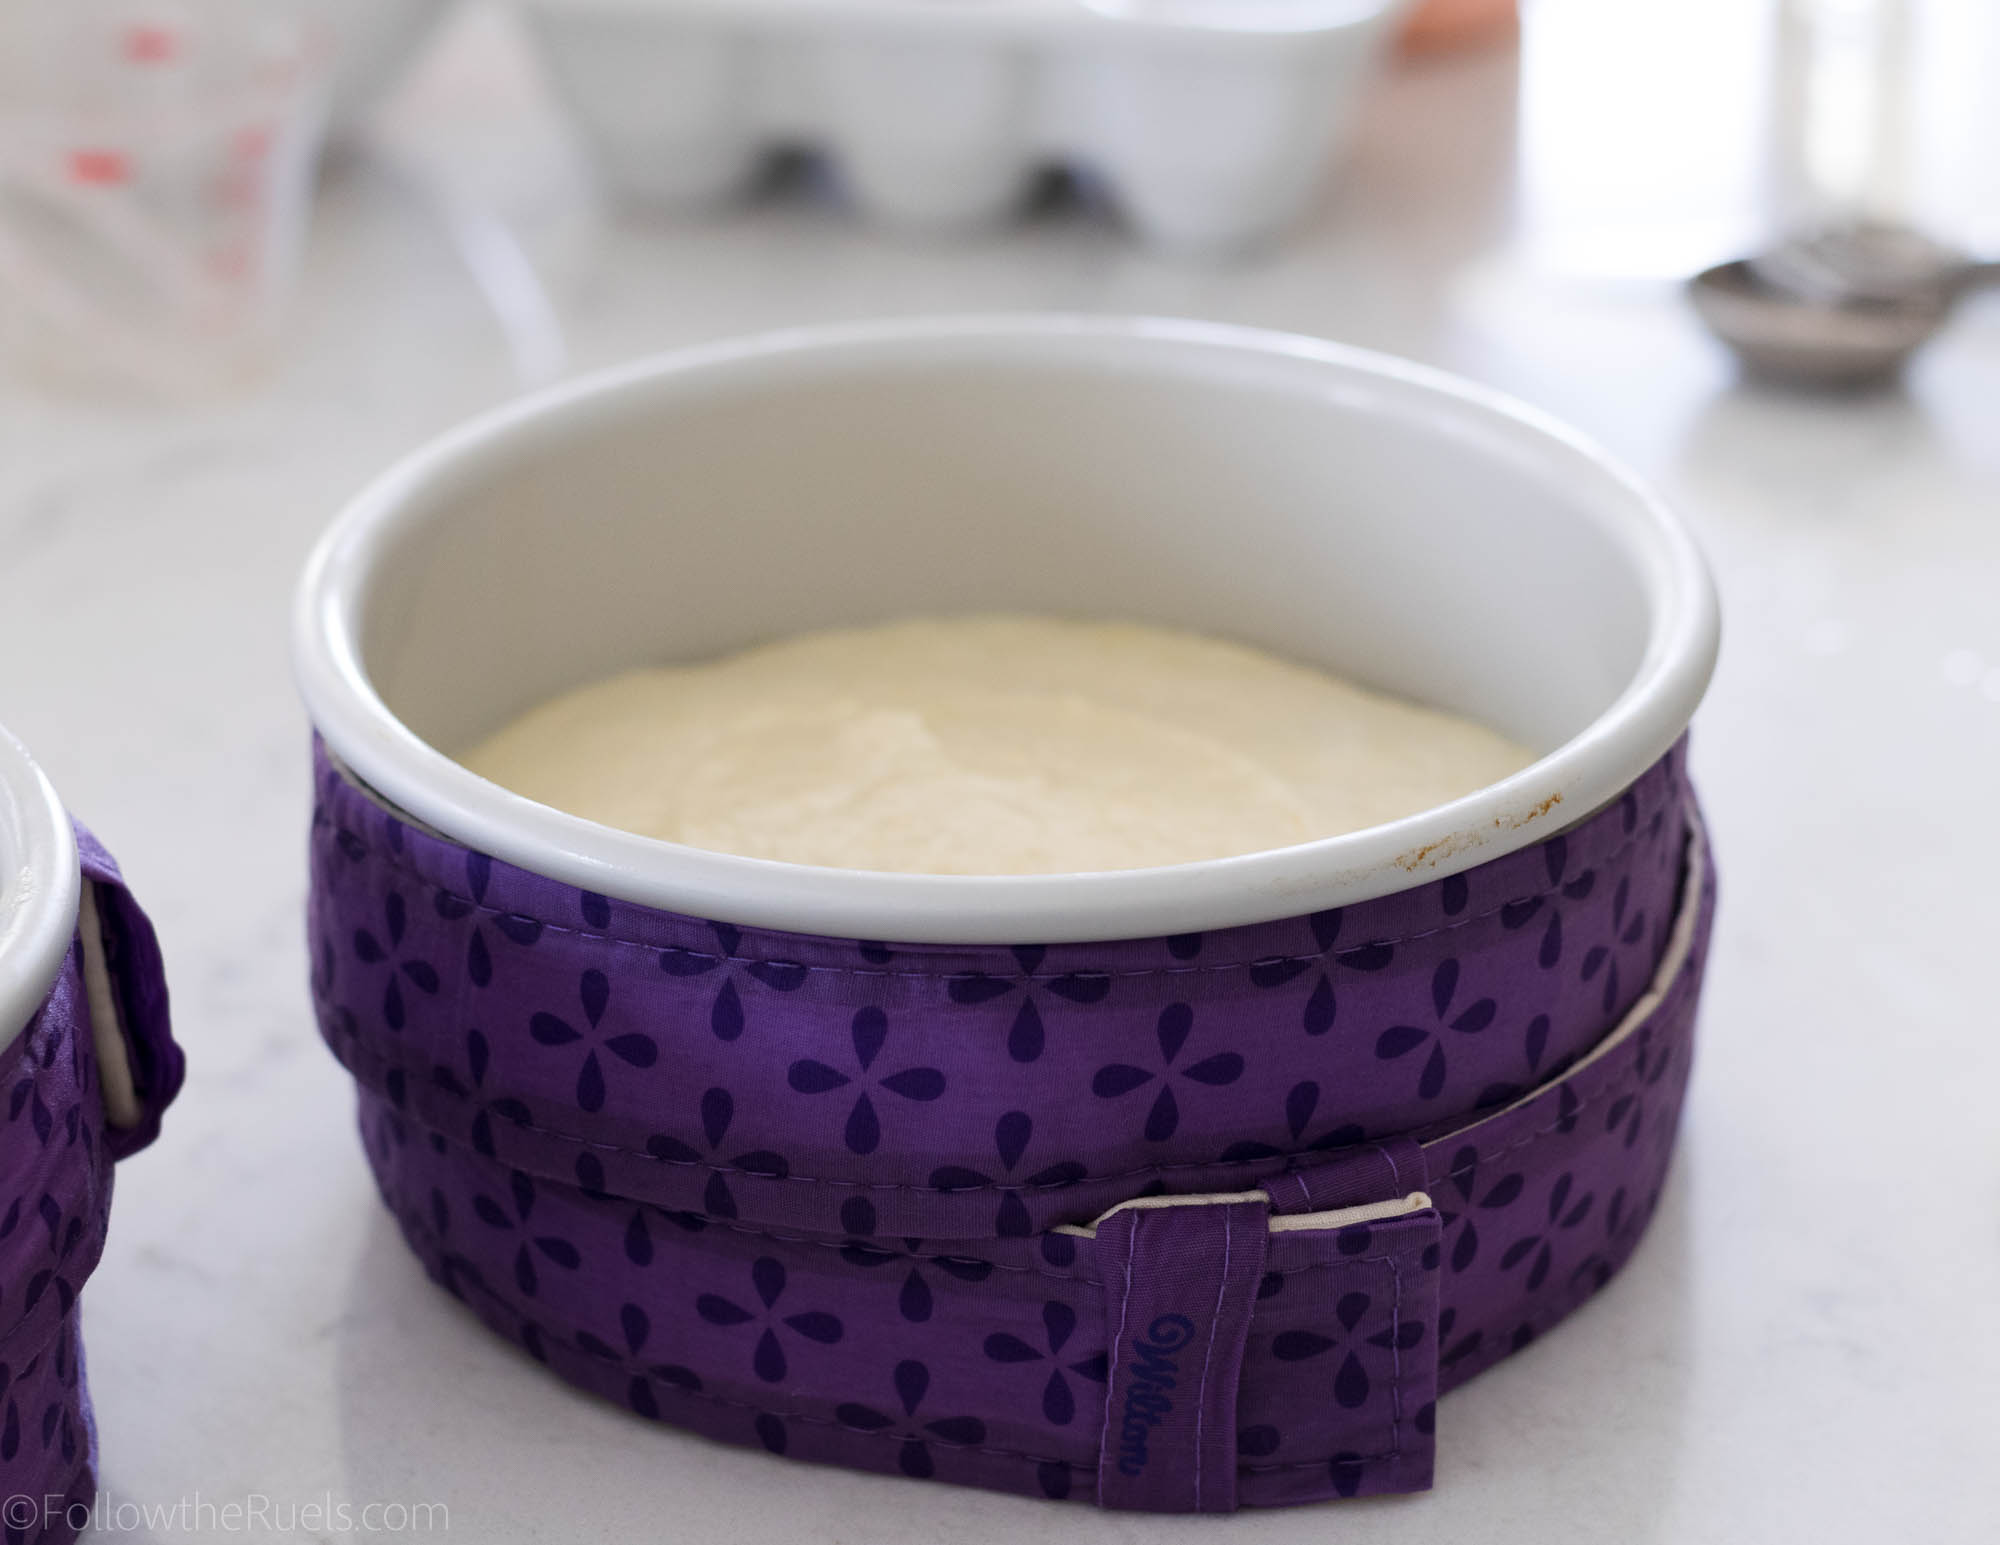
A new thing I tried with these cakes is using the Wilton Bake-even strips. Then insulate the cake pan so that ideally your cakes bake evenly on top (no weird dome that you have to slice off), and they don’t caramelize around the edges. 

Verdict: They sort of helped. One cake was very even, but slightly caramelized. One cake wasn’t as even but not at all caramelized. Overall, they turned out better than they would have without the strips, so it was well worth the money for these!

How to Assemble and Decorate the Cake

Then the cakes come out of the oven and they magically stack and decorate themselves! Isn’t that a fun trick!

Actually, this is where I really dropped the ball and stopped taking photos. I think because I was in such a tizzy over the buttercream that I didn’t get any photos of the actual decorating process. What a horrible blogger I am!

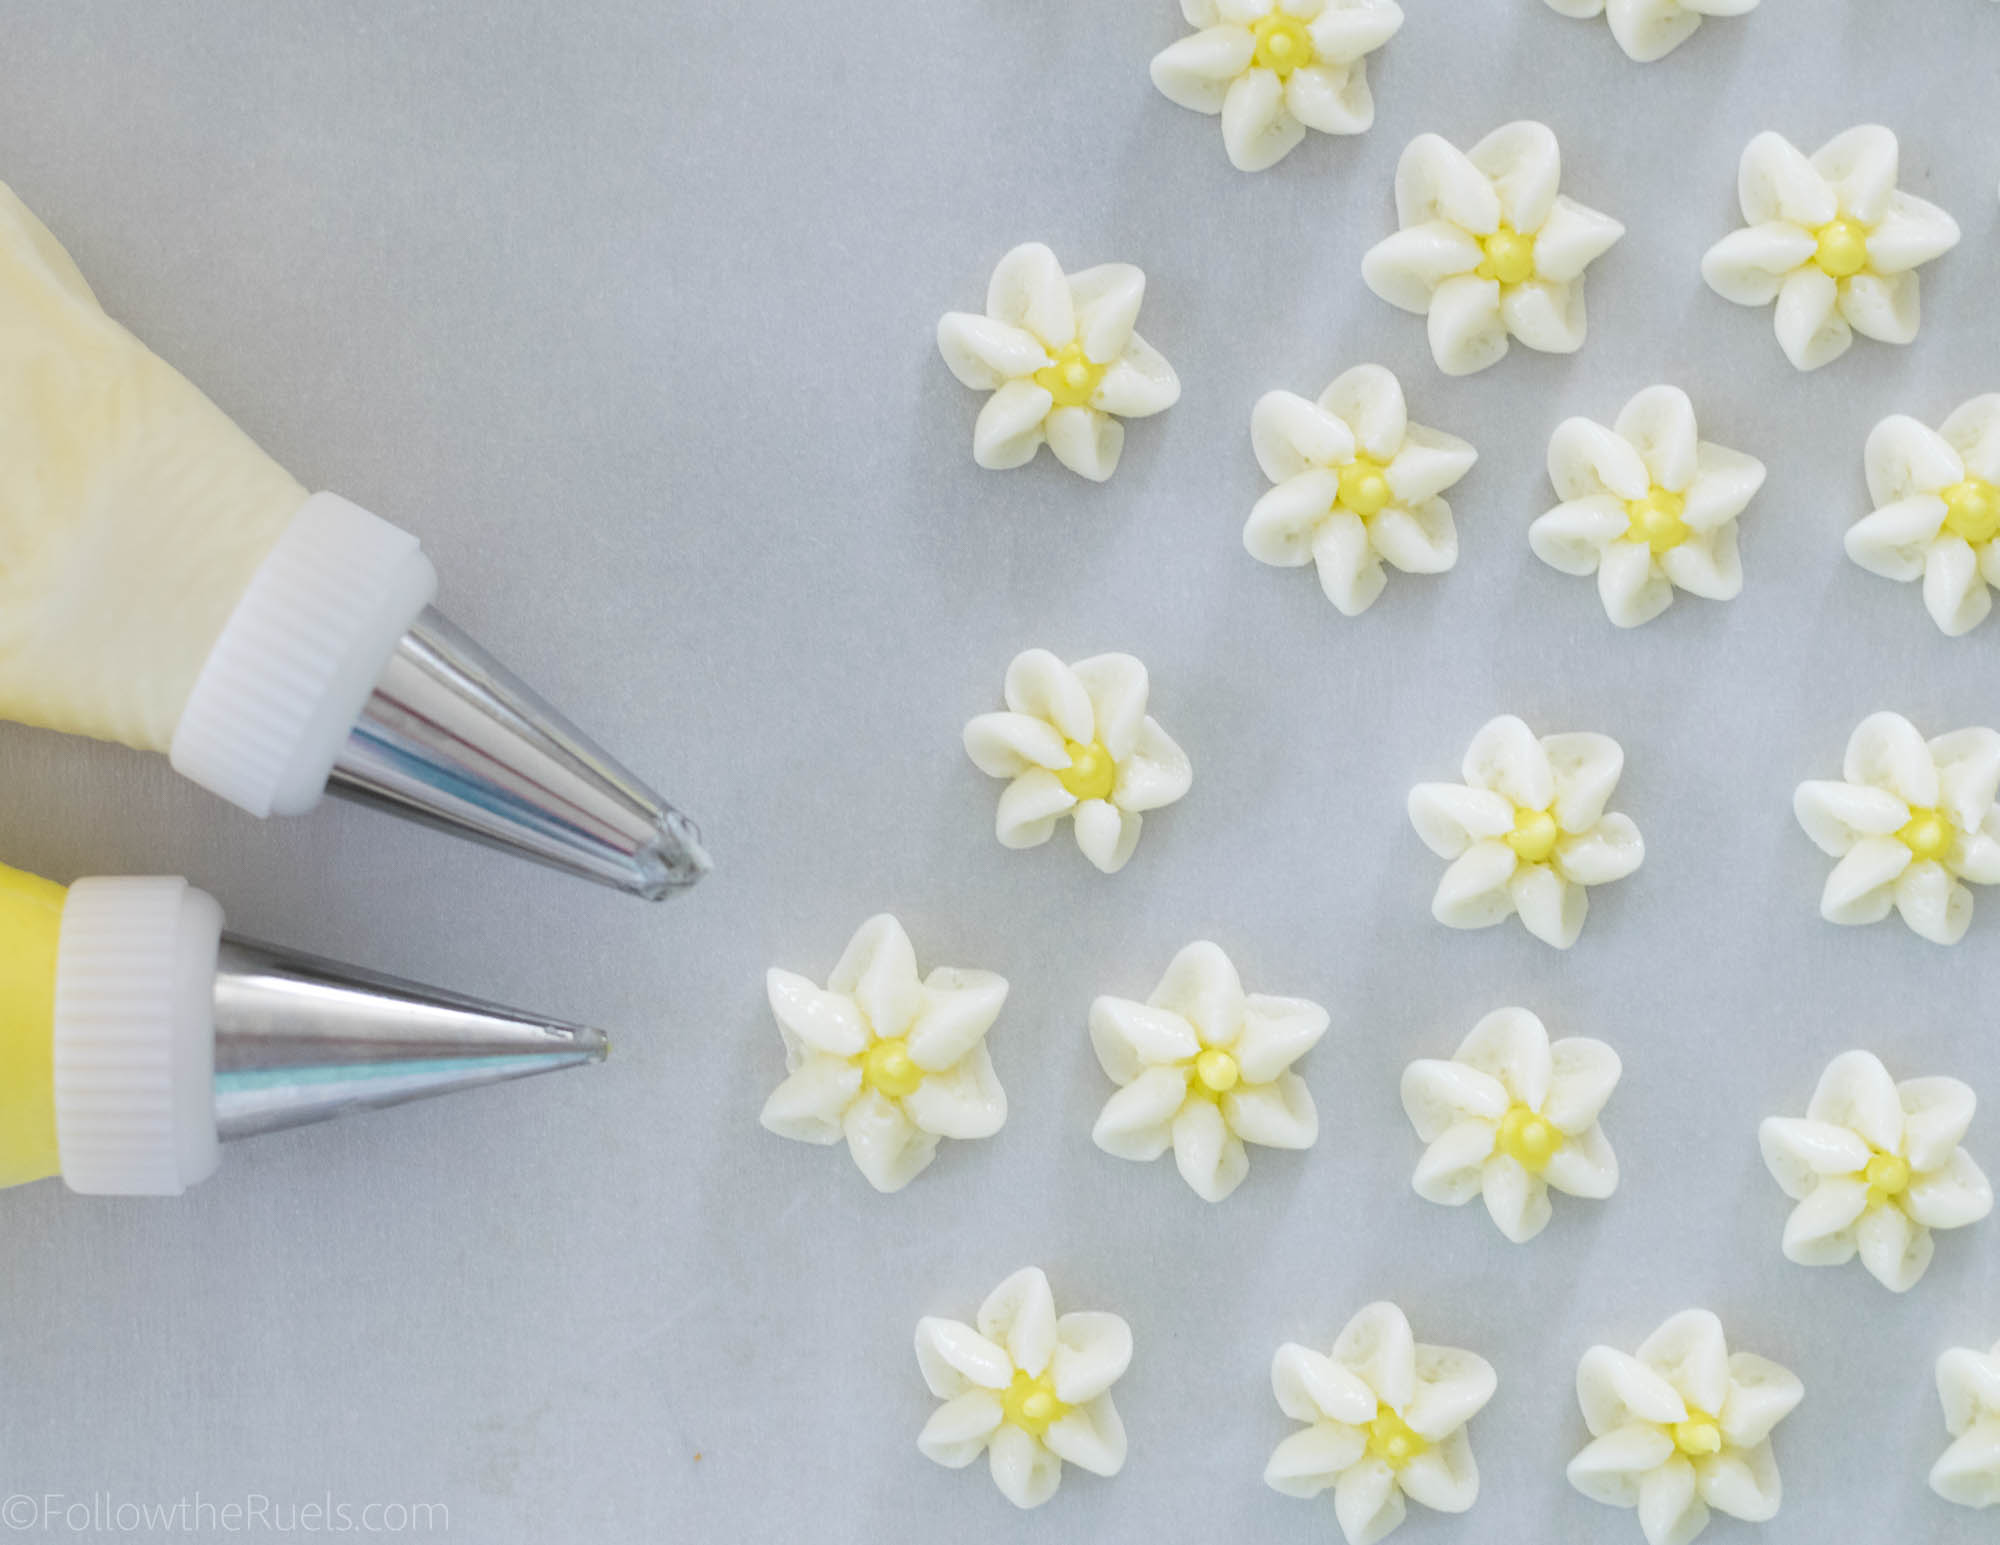
I did capture part of the decorating process, and that is the little flowers that I did manage to make!

These little guys were so easy to make with my #107 piping tip. You just press the tip to a sheet of parchment paper, squeeze, and turn your wrist slightly which produces the cute little drop flowers. Then I just dotted the center with a little yellow buttercream.

I put these in the freezer to harden while I worked on the rest of the cake. 

Actually, the rest of the cake was pretty easy to assemble.

Step 1: Cut the cake into two layers for four total layers (if you want, you can leave it as a two layer cake).

Step 2: Brush elderflower simple syrup over each of the cake layers (recipe and directions below)

Step 3: Spread a thin layer of buttercream on the first layer, top with some lemon curd (optional), then top with another cake layer. Repeat until all layers have been added.

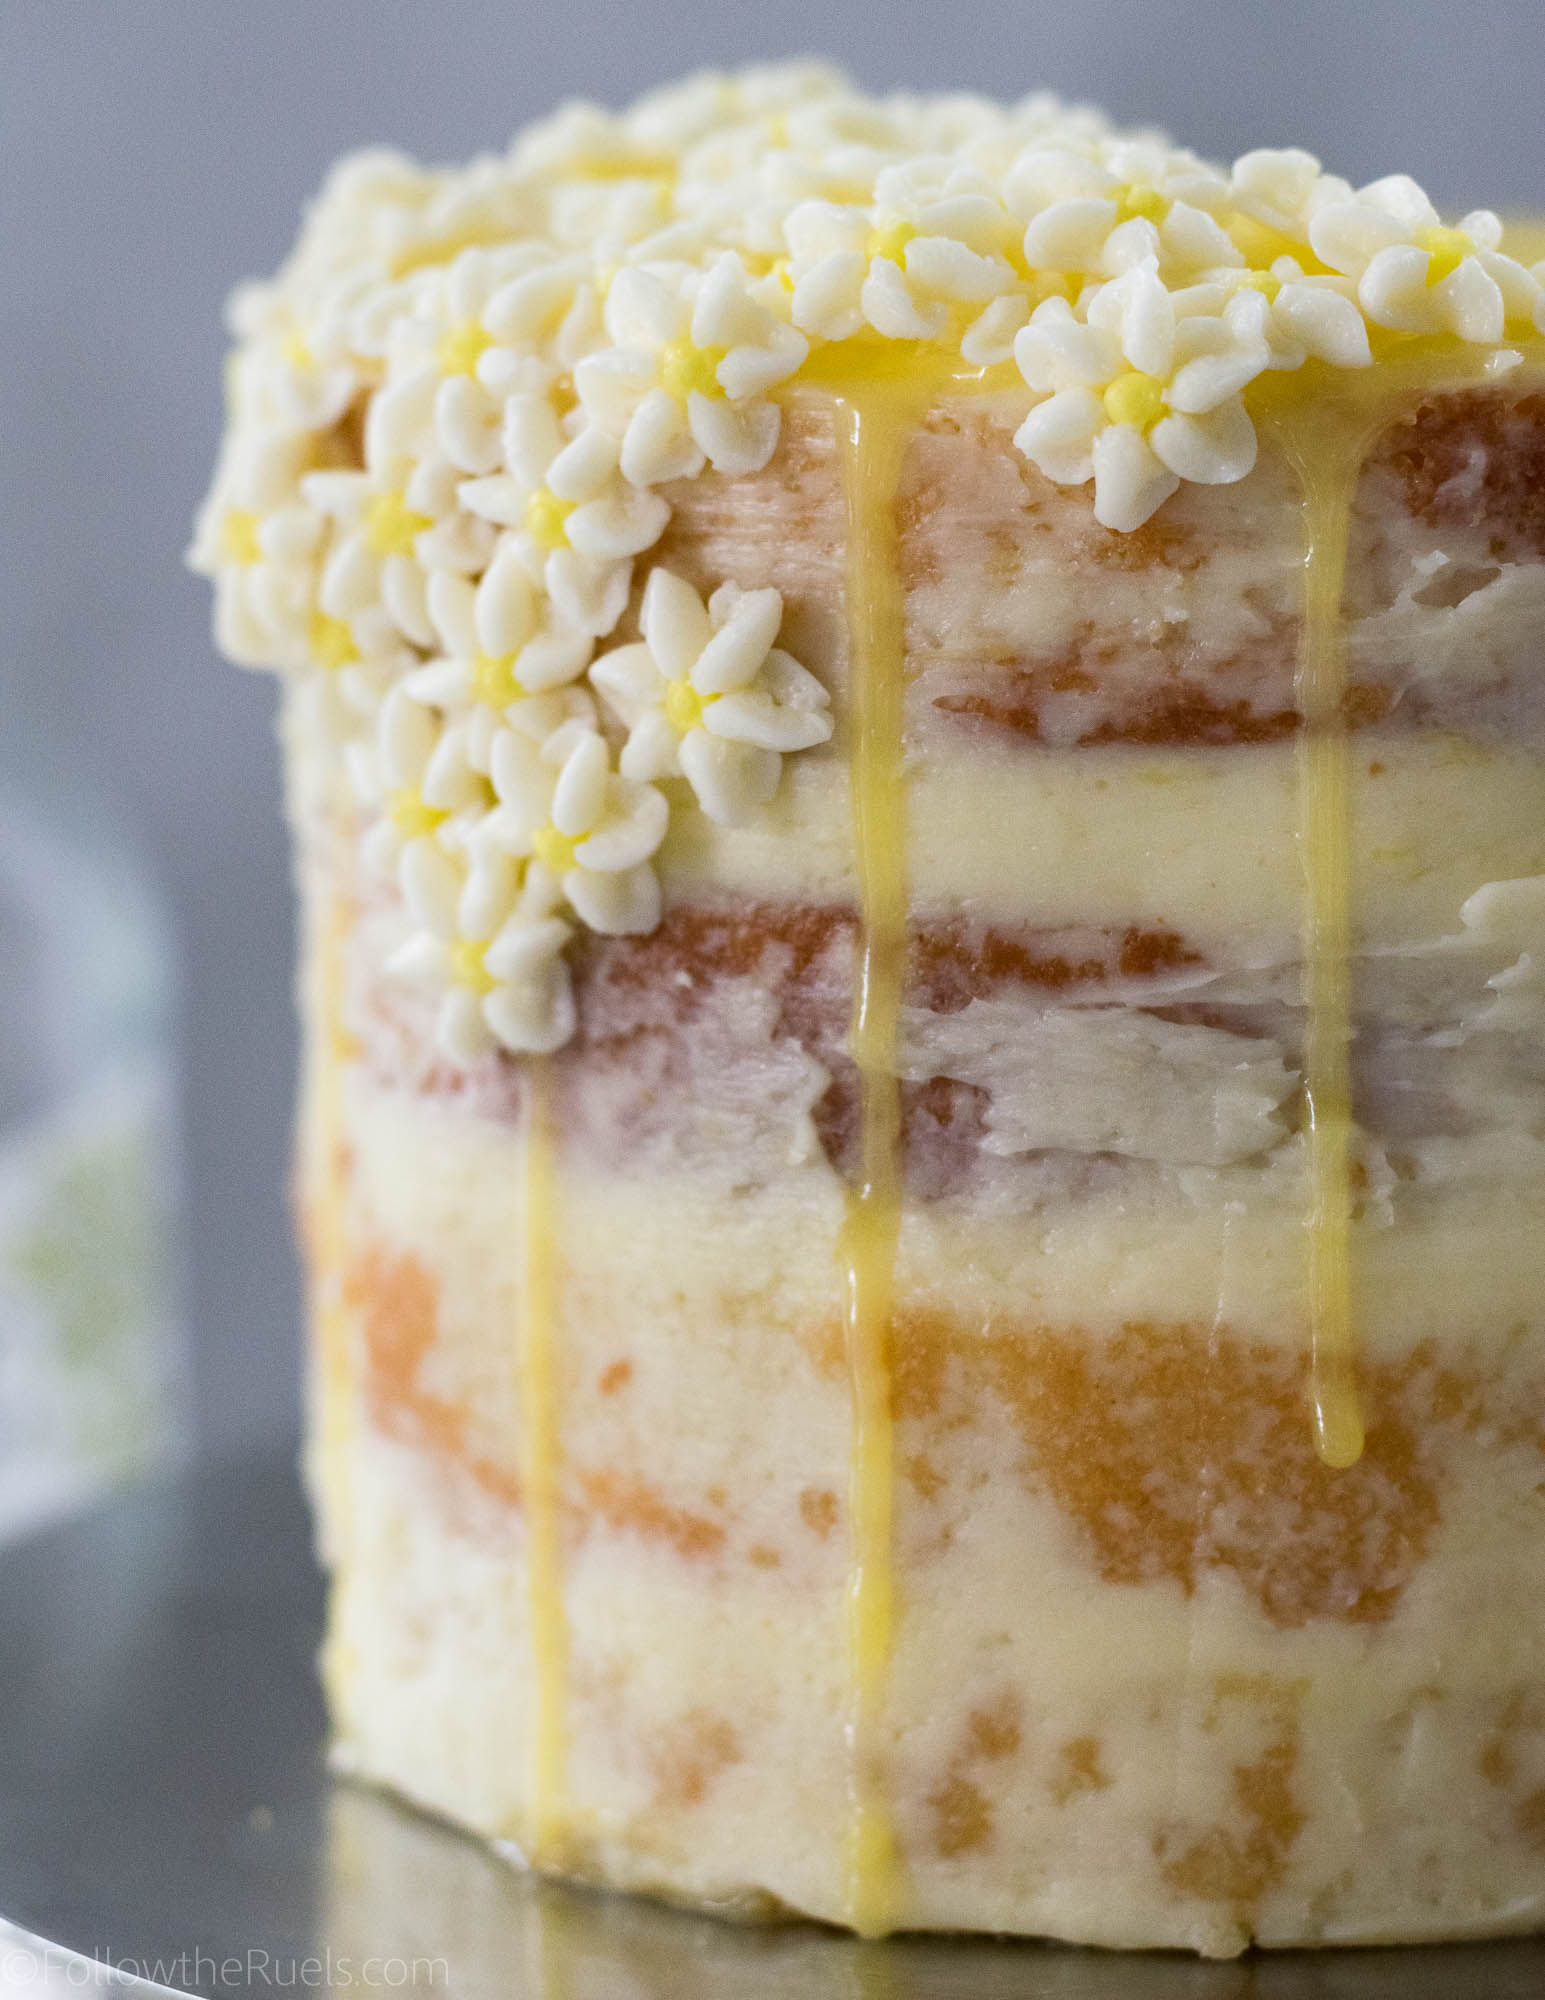
Step 4: Spread buttercream all over the top and sides of the cake, then use an offset spatula or bench scraper to scrape the sides of the cake to create a naked cake look. Leave a thin layer of buttercream on top.

Step 5: Pour some lemon curd over the top of the cake and spread out to cover the top, pushing some of the curd over the edges. You may need to heat up your lemon curd to make it more liquid if you are using a store bought version.

Step 6: Add the flowers in whatever arrangement you like. Because they are frozen, they are easy to peel off the parchment and stick onto the cake.

Step 7: Admire your handy work!

Truly, this cake wasn’t hard to decorate and assemble once I realized my mistake and that I wouldn’t have enough buttercream to achieve the look I was after.

And, making naked cakes is really easy for even those with no cake decorating experience because you don’t have to worry about your frosting being perfect! Actually, you want it to look imperfect!

I, for one, like the limited buttercream on this cake because it lets the lemon elderflower cake shine through. 

Of course, if you are a frosting lover, you may want to double up on the buttercream recipe so you can cover your whole cake like I was supposed to!

Tools and Recipe

[show_shopthepost_widget id=”3095132″] 

[yumprint-recipe id=’170′]

/ Filed In: Cakes and Cupcakes, Cakes New, Desserts, Eat
Tagged: buttercream, buttercream flowers, cake, decorated cake, elderflower, layer cake, lemon, naked cake, Spring

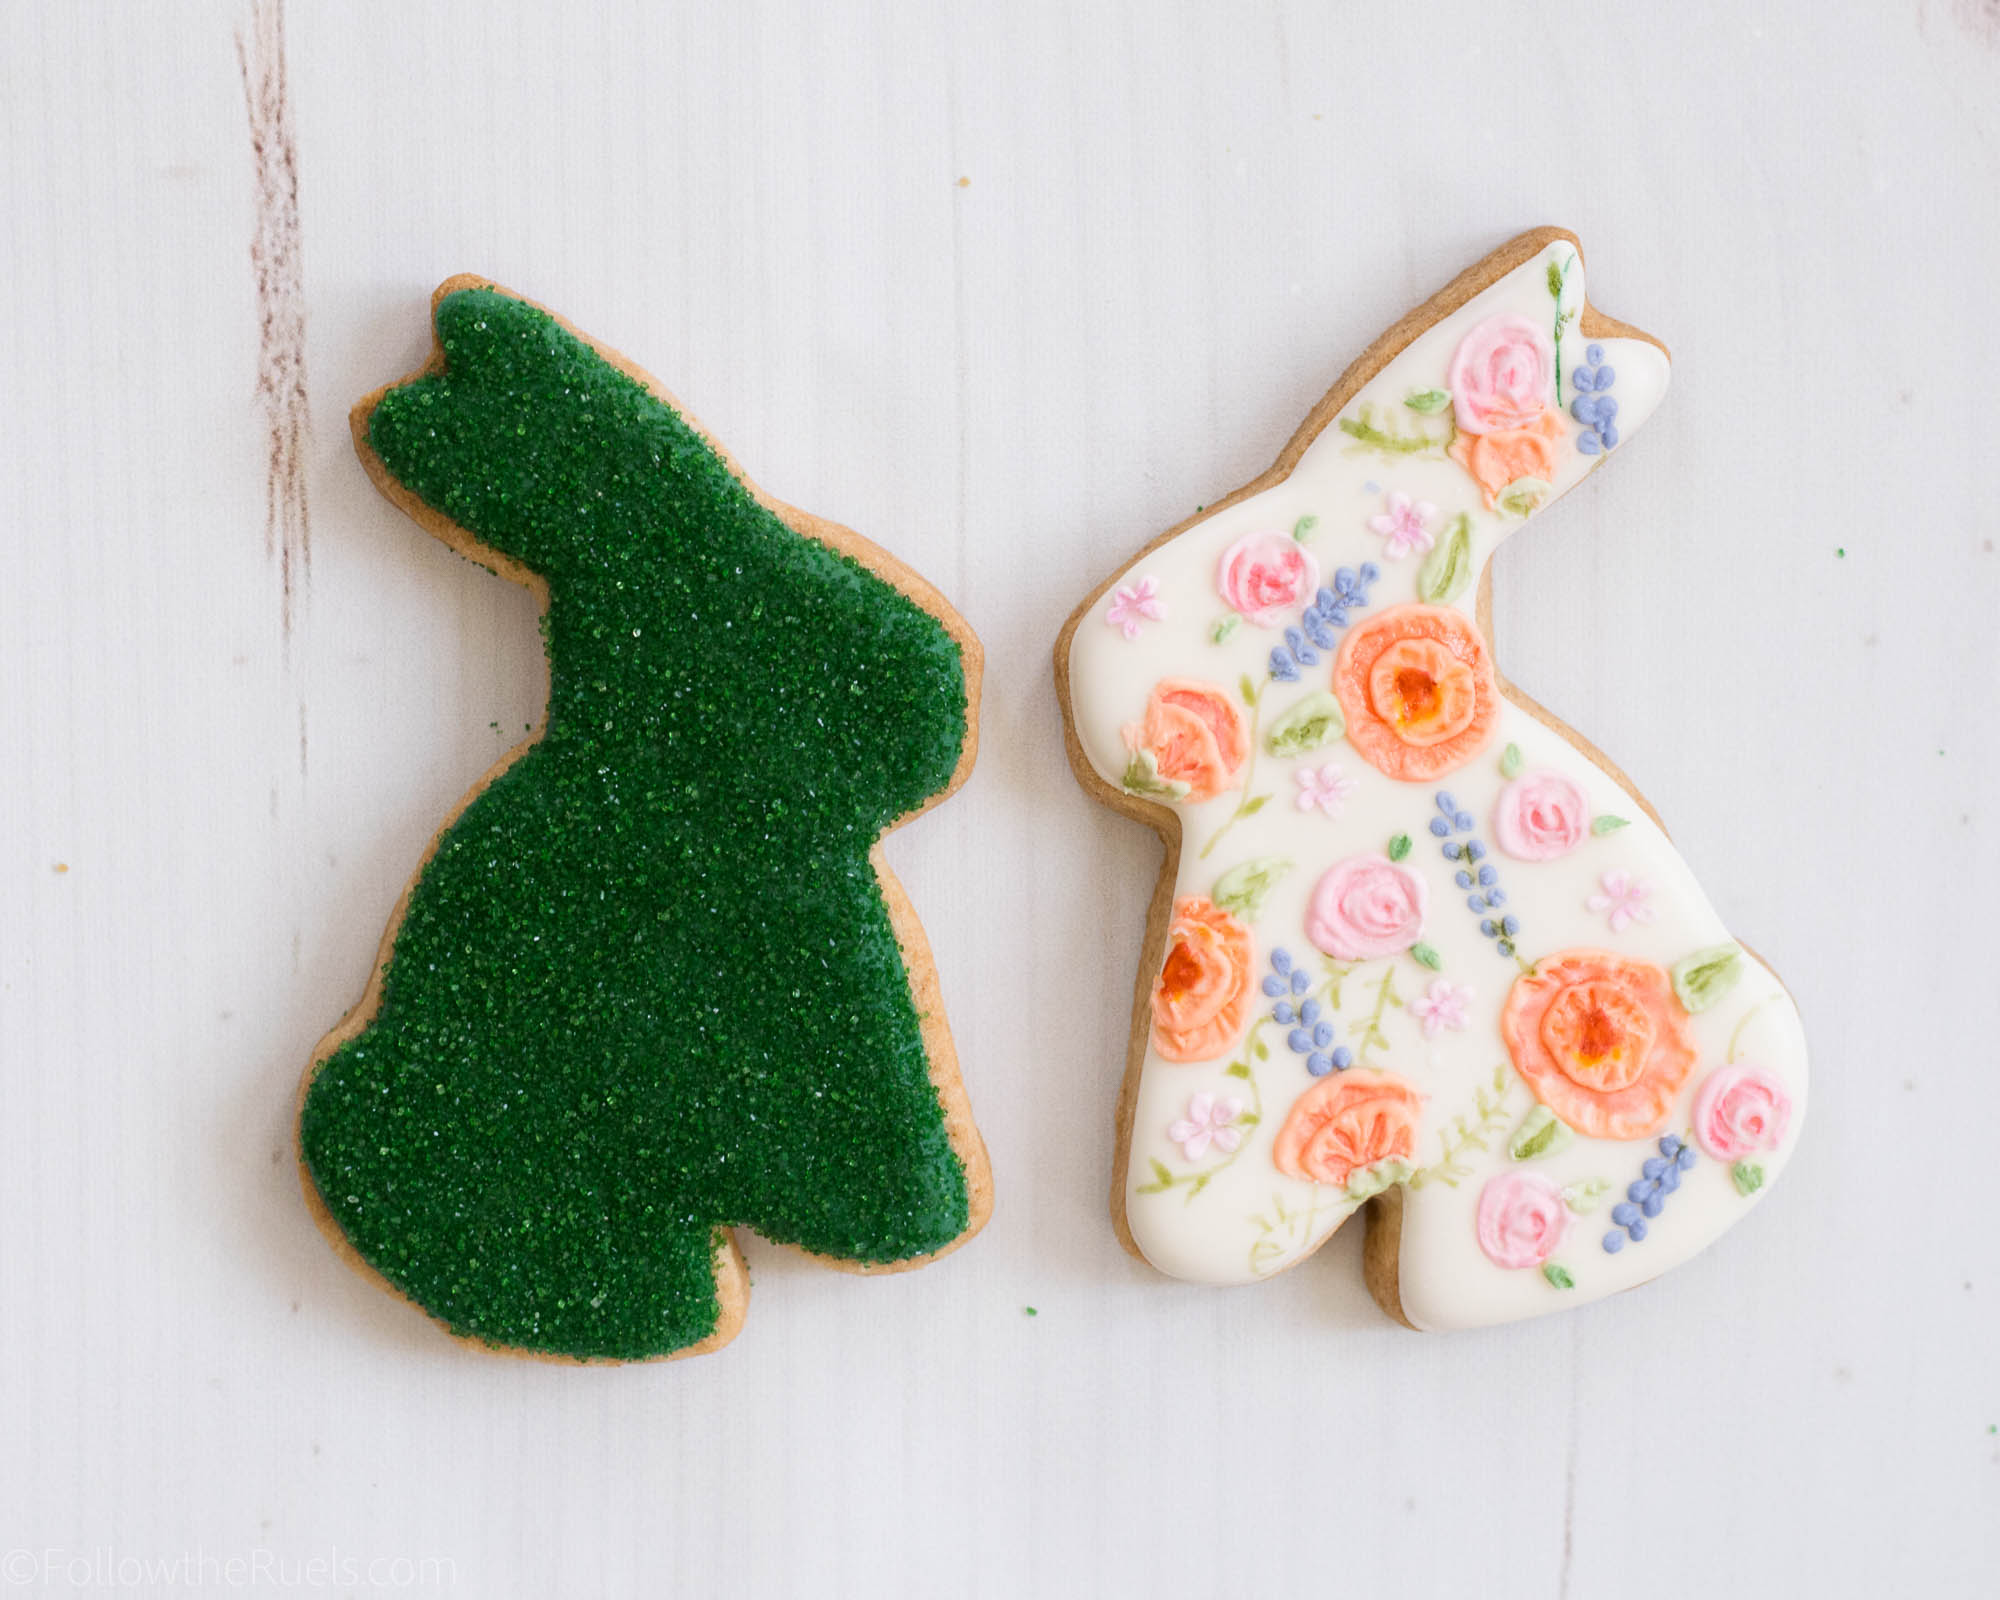
Floral and Moss Easter Bunny Cookies

March 26, 2018

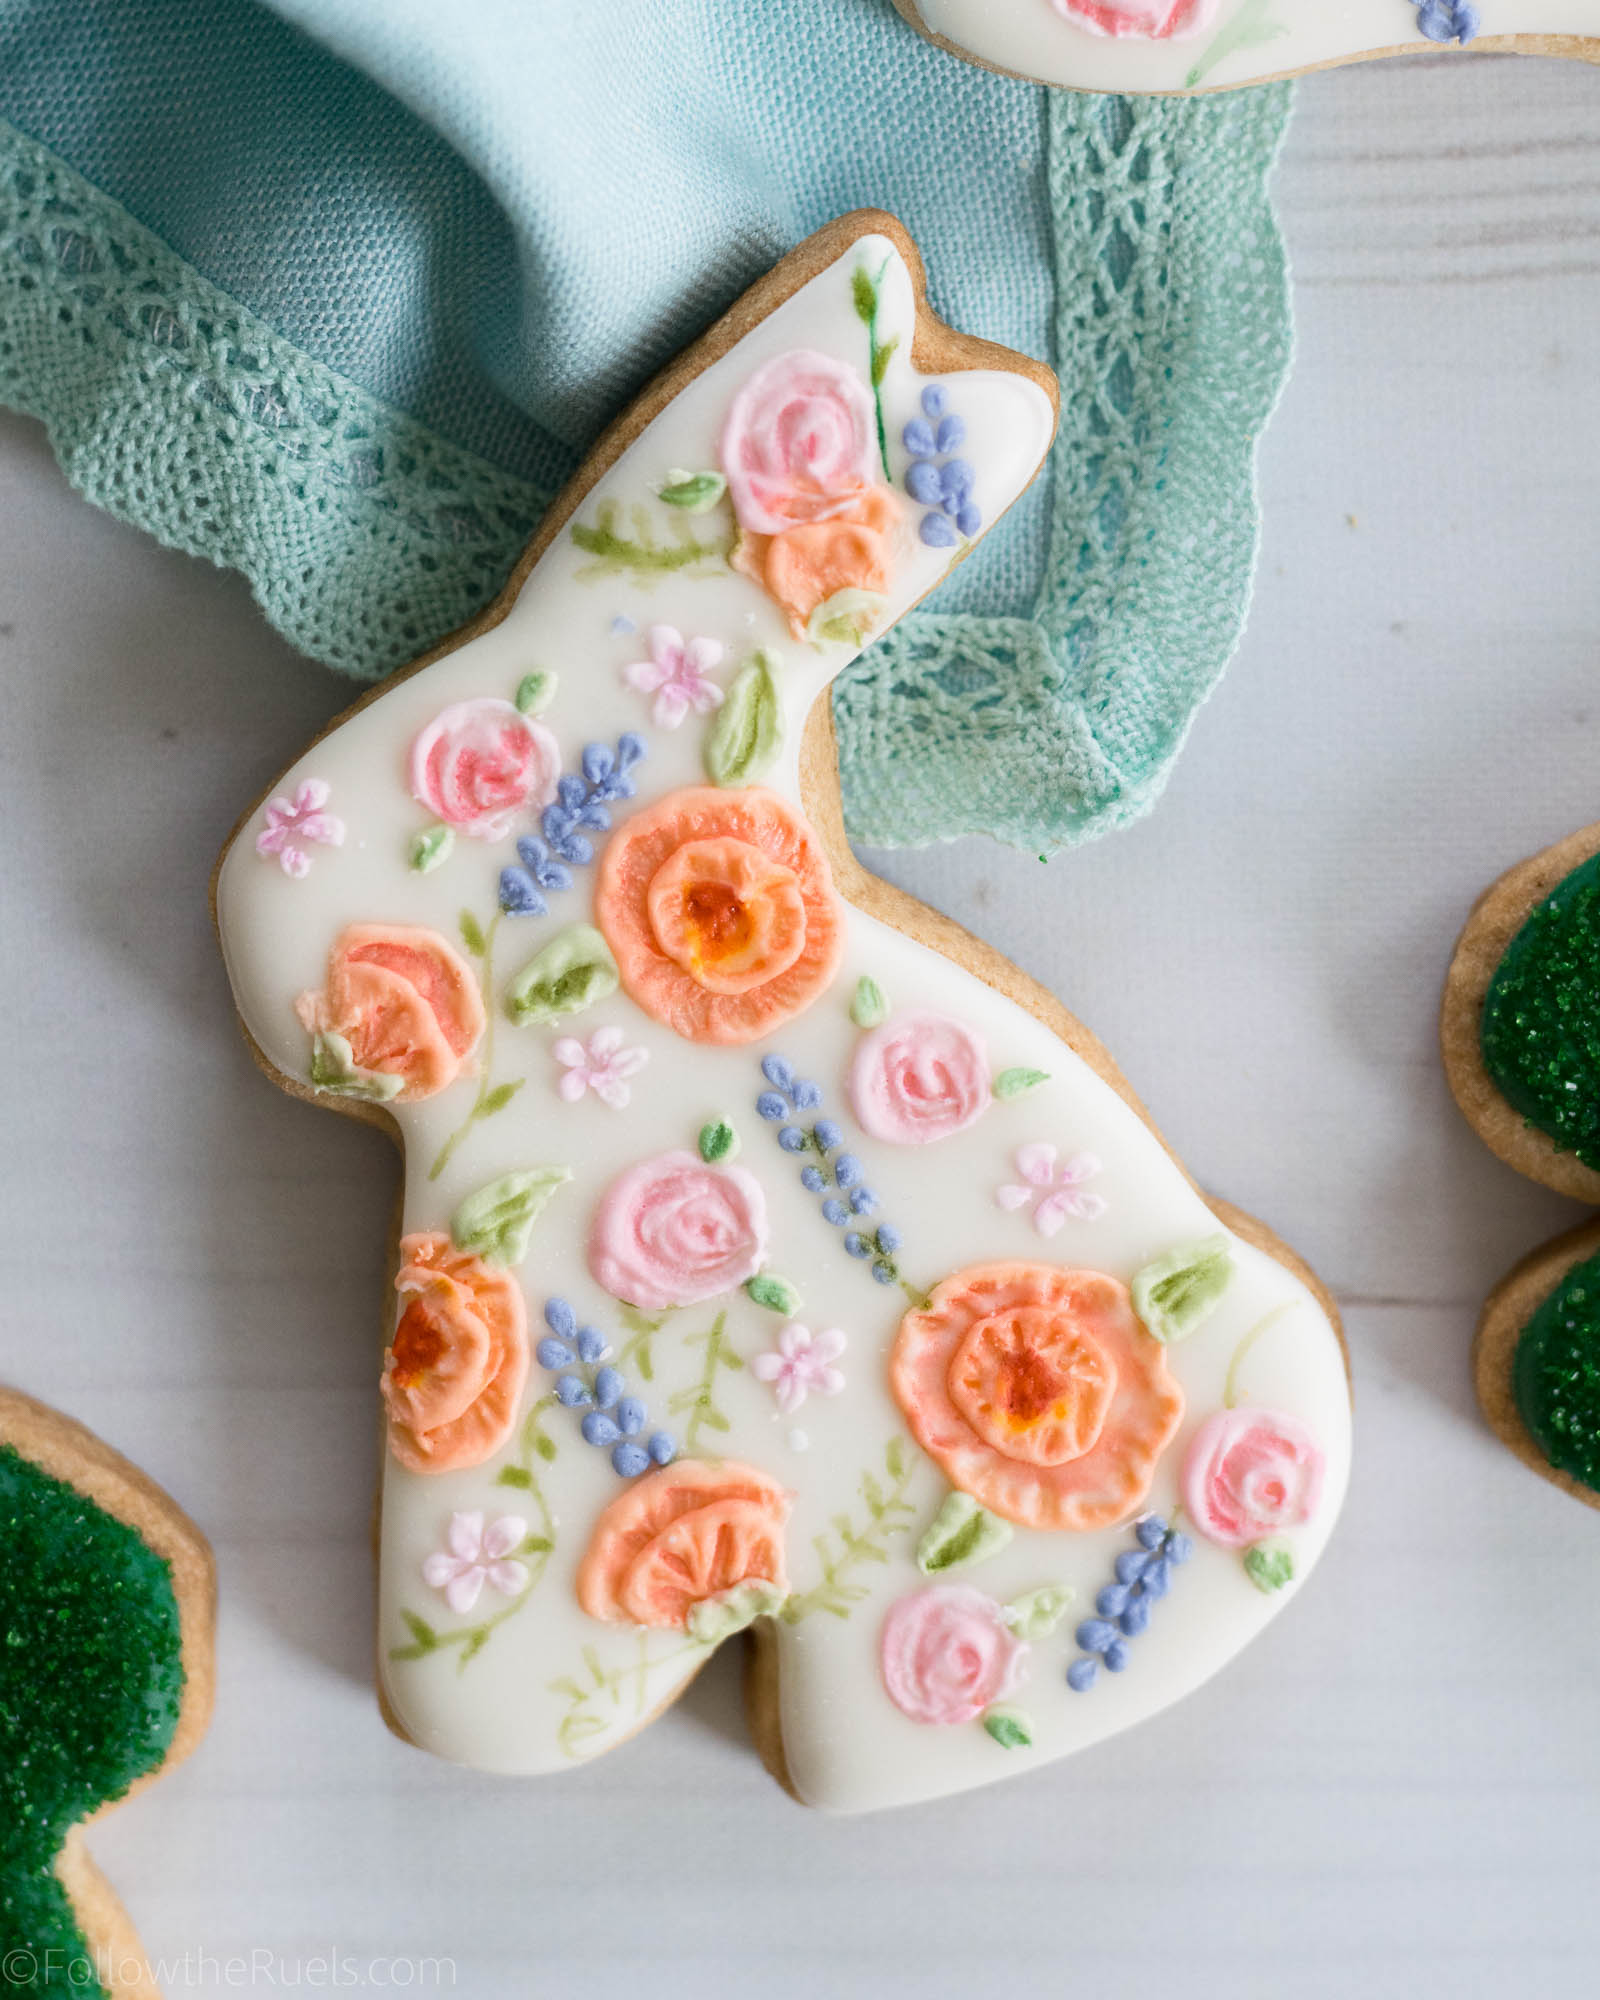
If you know anything about me, you probably know that I love a good floral cookie. It’s kind of my go-to (because it’s actually easier than it looks). Whichever way I can put a flower on a cookie, I have tried. Well, I thought I tried, until now. 

Meet the new floral decorating technique….

Actually, I have no idea what to call it, any ideas? 

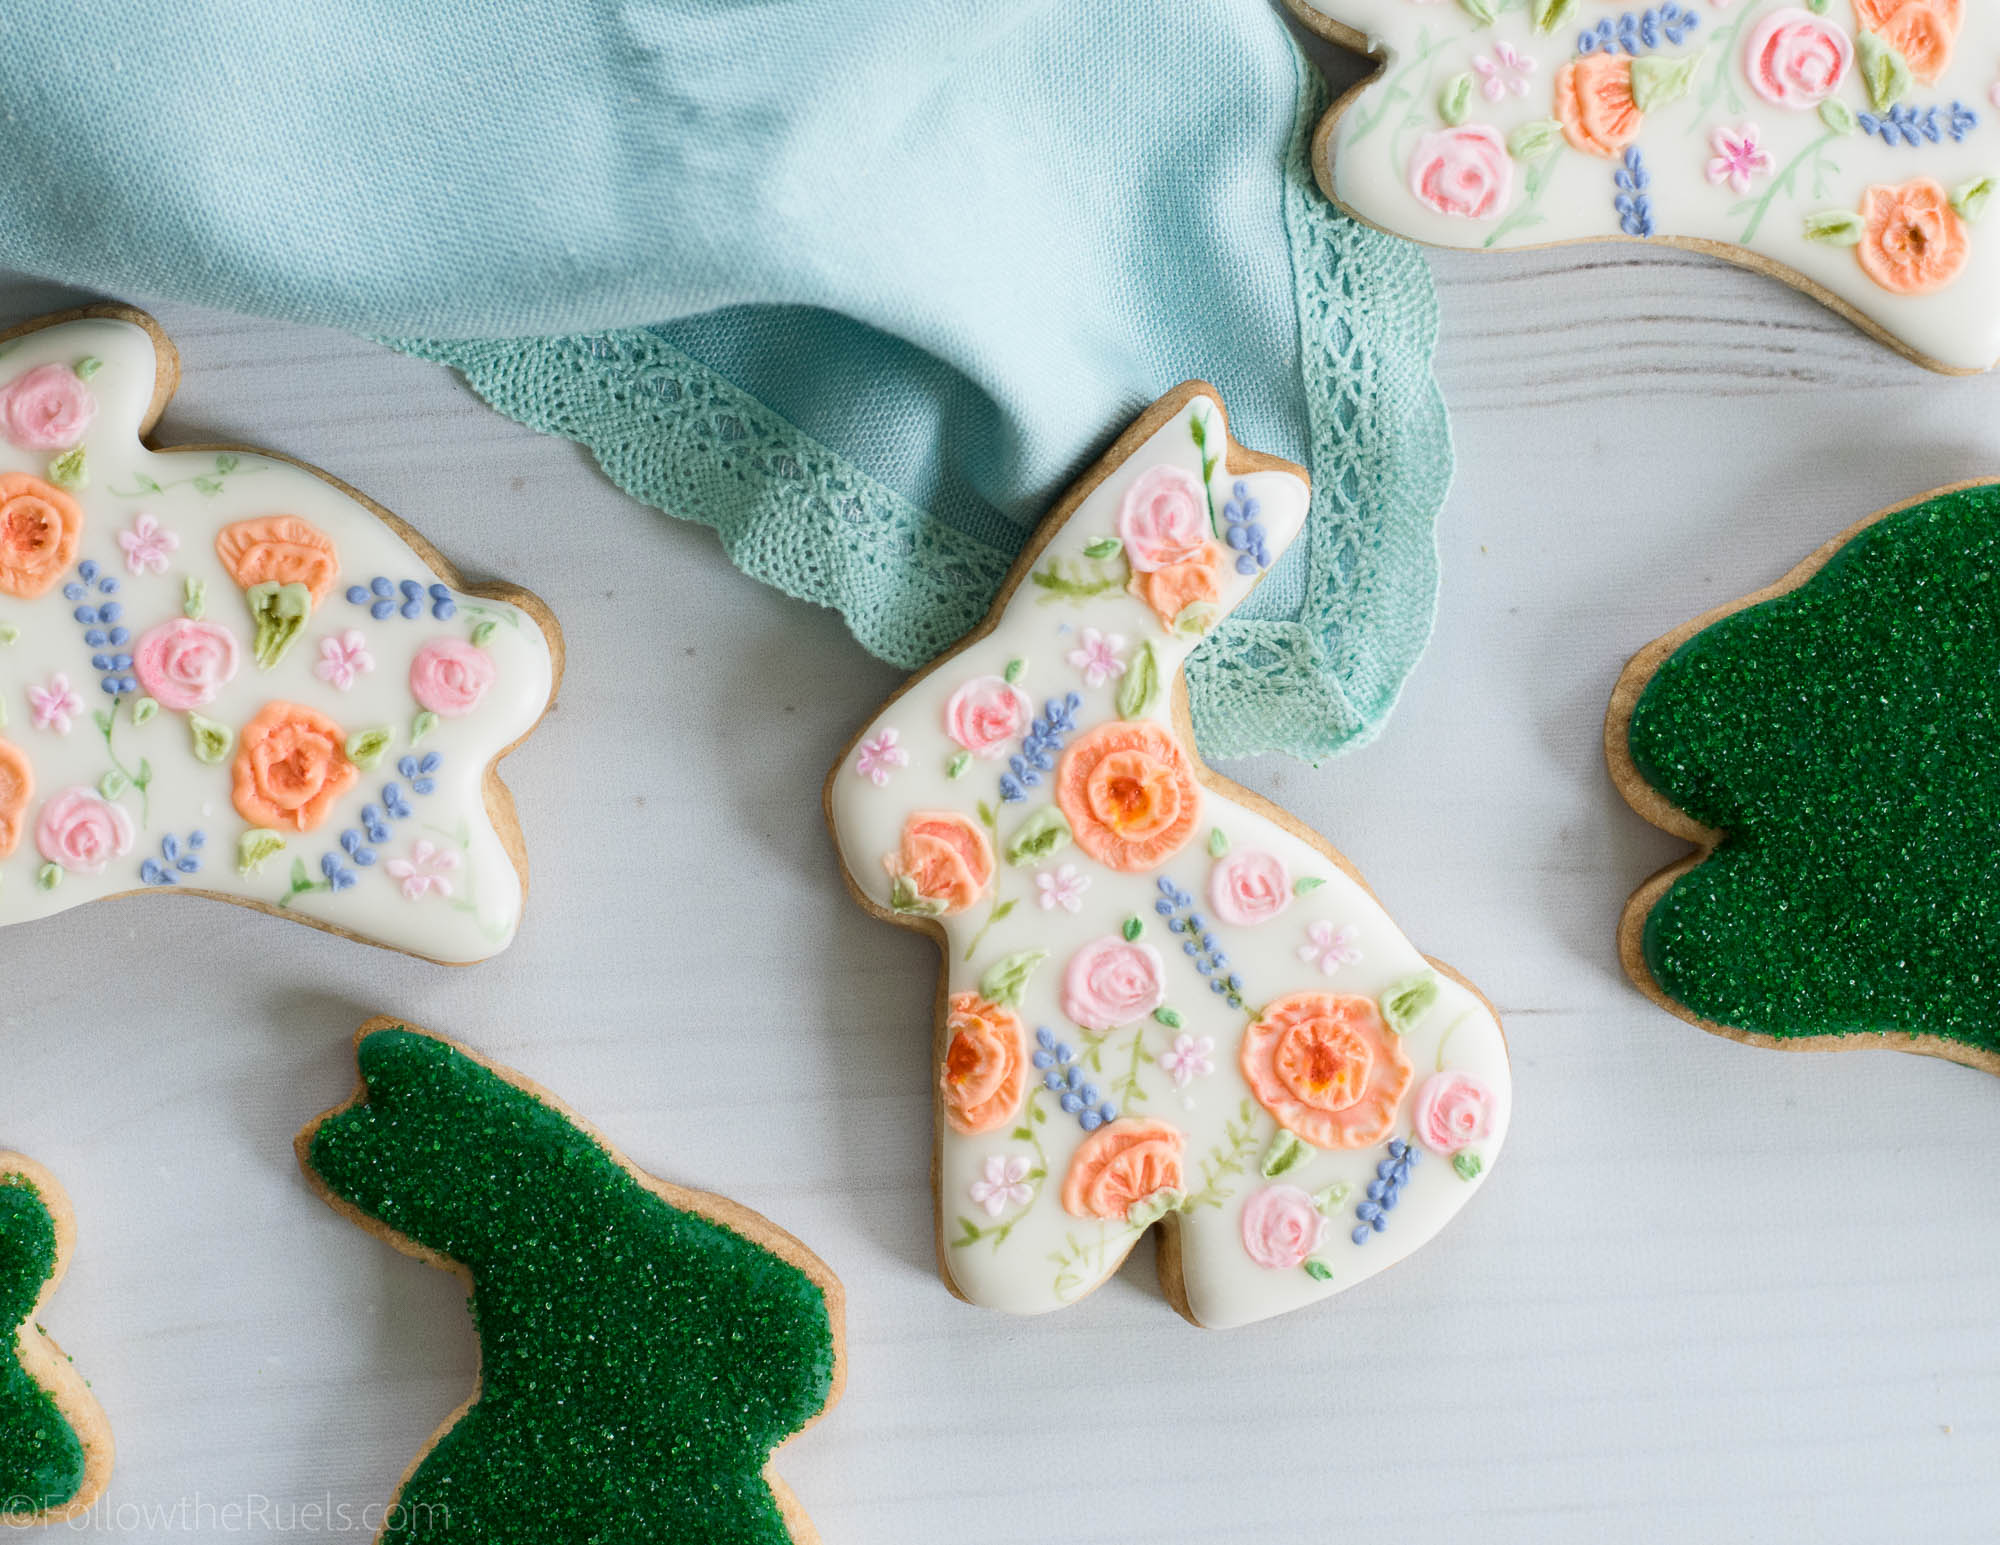
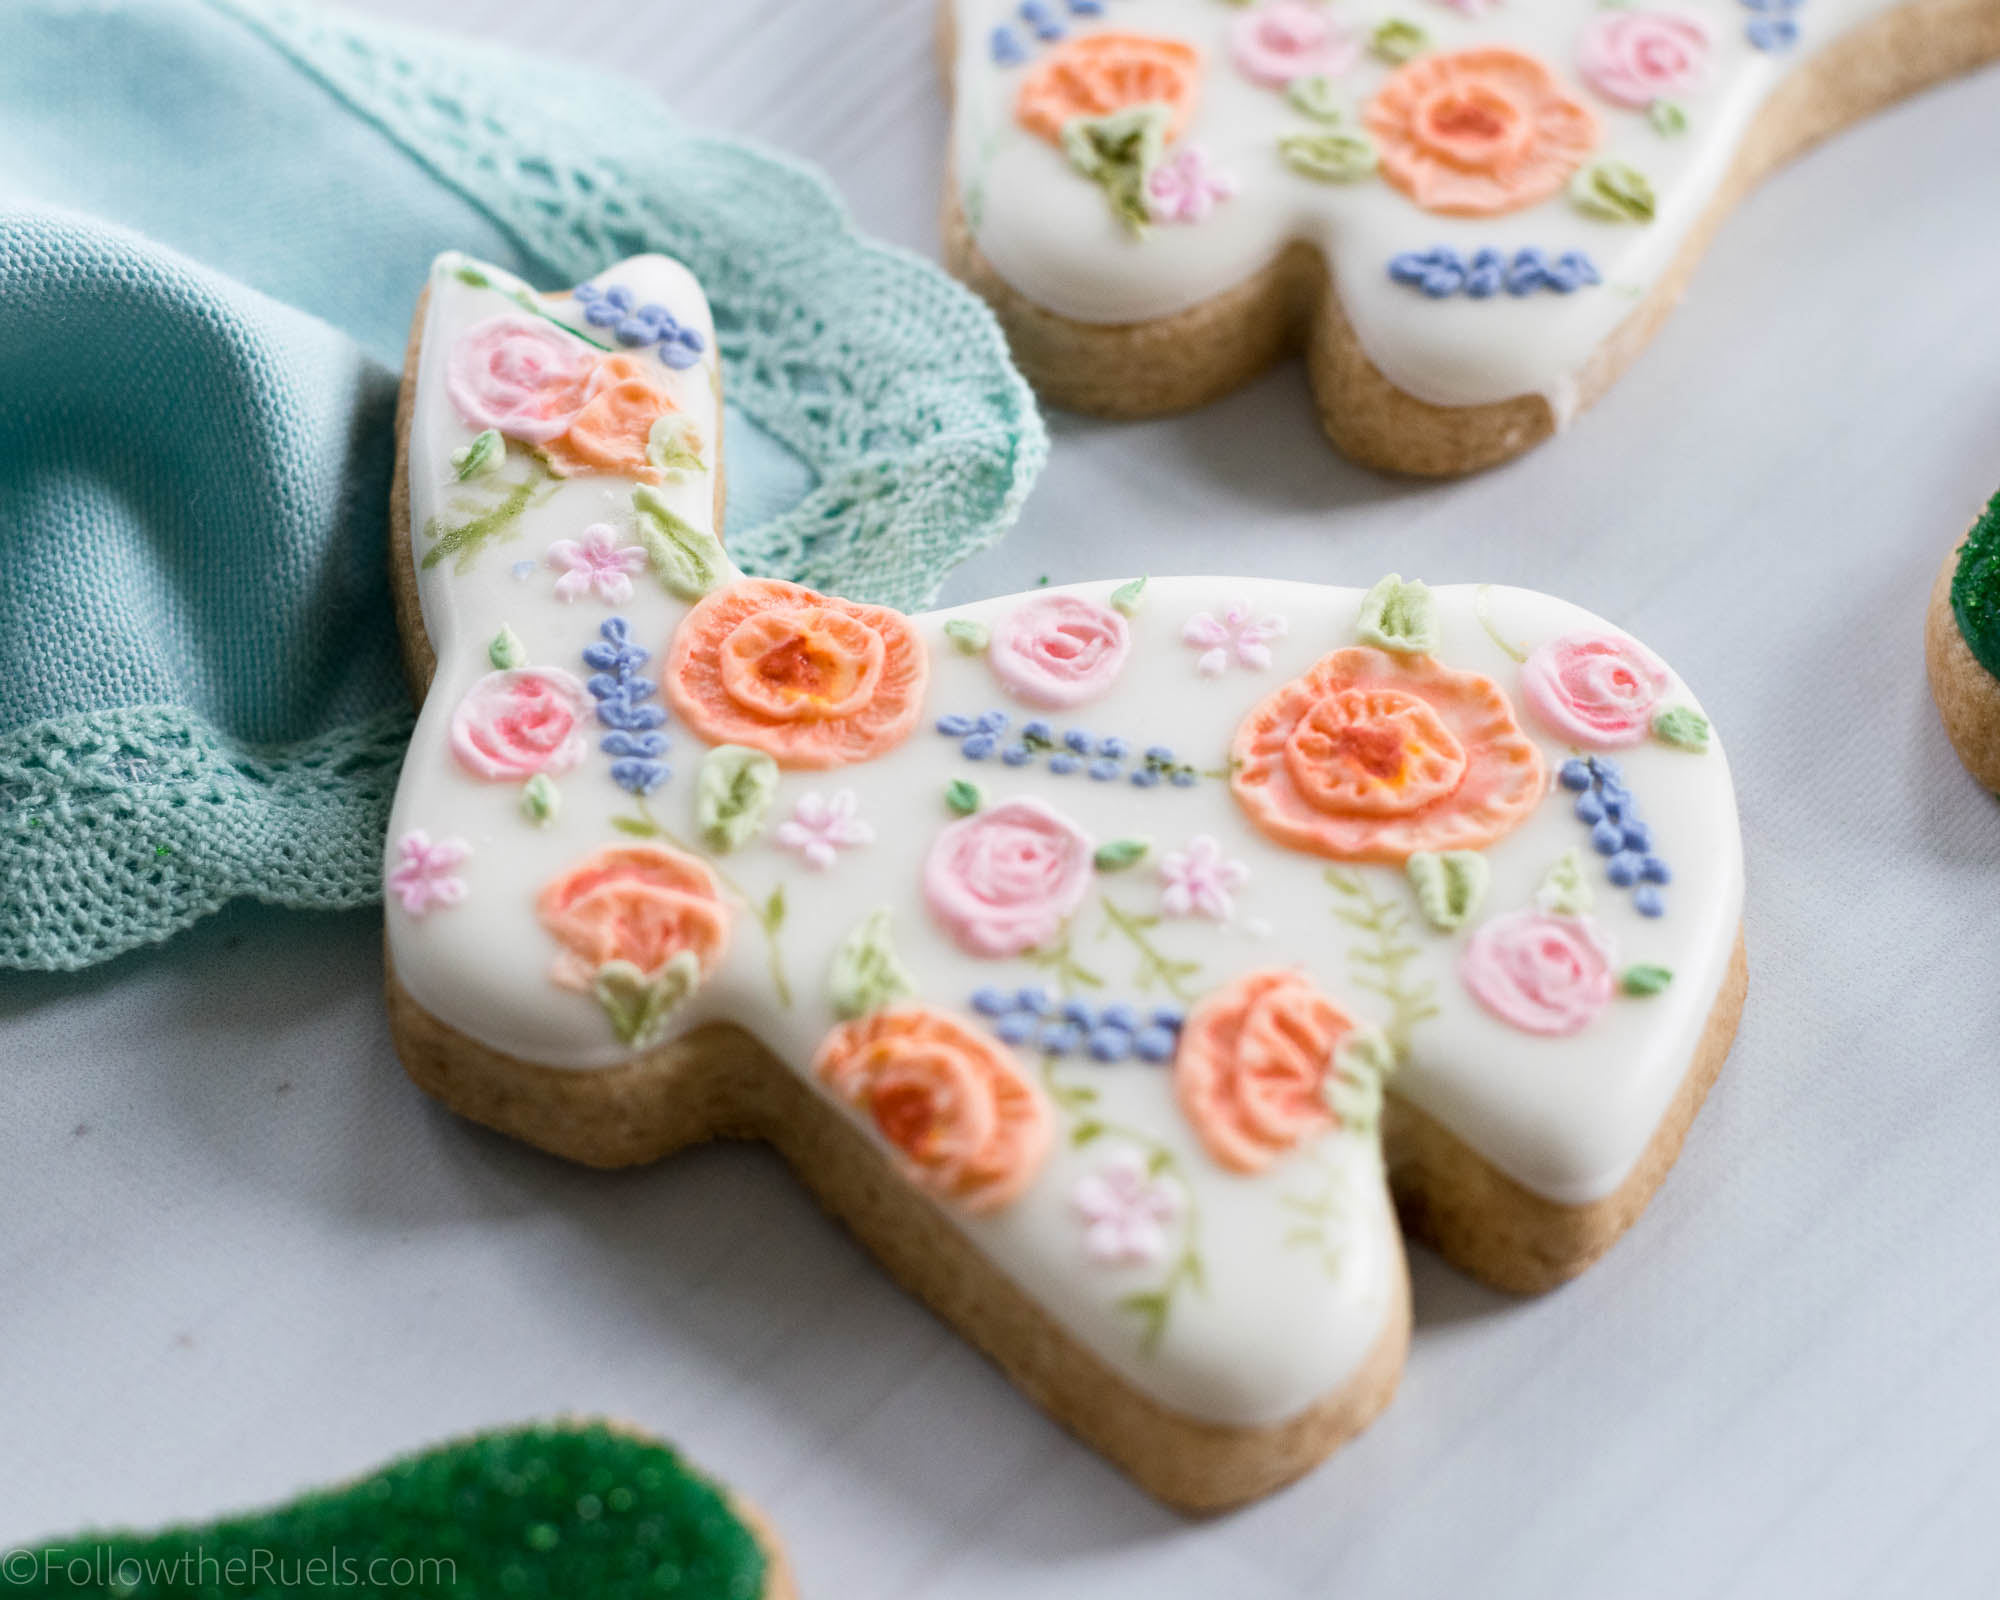
Some people will call this technique brush embroidery. And I suppose that’s probably how I should classify it. But I think of this technique more as painting with icing (as opposed to my usual watercolor mix). Whatever we call it, I certainly think they are pretty, don’t you?

Oh, and you can’t forget about the little moss covered bunnies. Now those are easy! And just as cute, don’t you think?

How to Make Them

What I love about these floral Easter bunny cookies is that they have dimension. That is something that you just can’t get with painting! 

My husband’s favorite is the moss Easter bunny cookie. Even though it’s simple, it still is adorable, and I think it goes perfectly with the floral design as sort of a little garden Easter bunny cookie set.

Why I love the moss Easter bunny so much is because it’s easy! While I love making the floral pattern, it is time-consuming, so it’s nice to have some simple cookies to balance them out. 

But this little guy still has my heart!

Recipes and Products Used

As usual, these sugar cookies are my favorite sugar cookies which means they are just flavored with vanilla and almond extract. But I think Easter is the perfect time to break out some other cookie flavors! Even just adding some different extracts like lemon, lavender, pistachio, or coconut. Or, you can flavor them with some of your favorite berries, like strawberry or raspberry. Just check out my Summer cookie collection. 

For the royal icing, I added a touch of almond extract, which is something I rarely do. But I really liked it. Another go-to in the Spring and Summer is adding some lemon juice or lemon extract. It really makes the flavors pop!

[show_shopthepost_widget id=”3077493″] 

/ Filed In: Cookies New, Decorated Cookies, Desserts, Eat
Tagged: bunny, cookies, Easter, Easter Bunnies, floral, flowers, Spring, sprinkles. sugar, sugar cookies

Flower Crown Easter Bunny Cookies

March 22, 2018

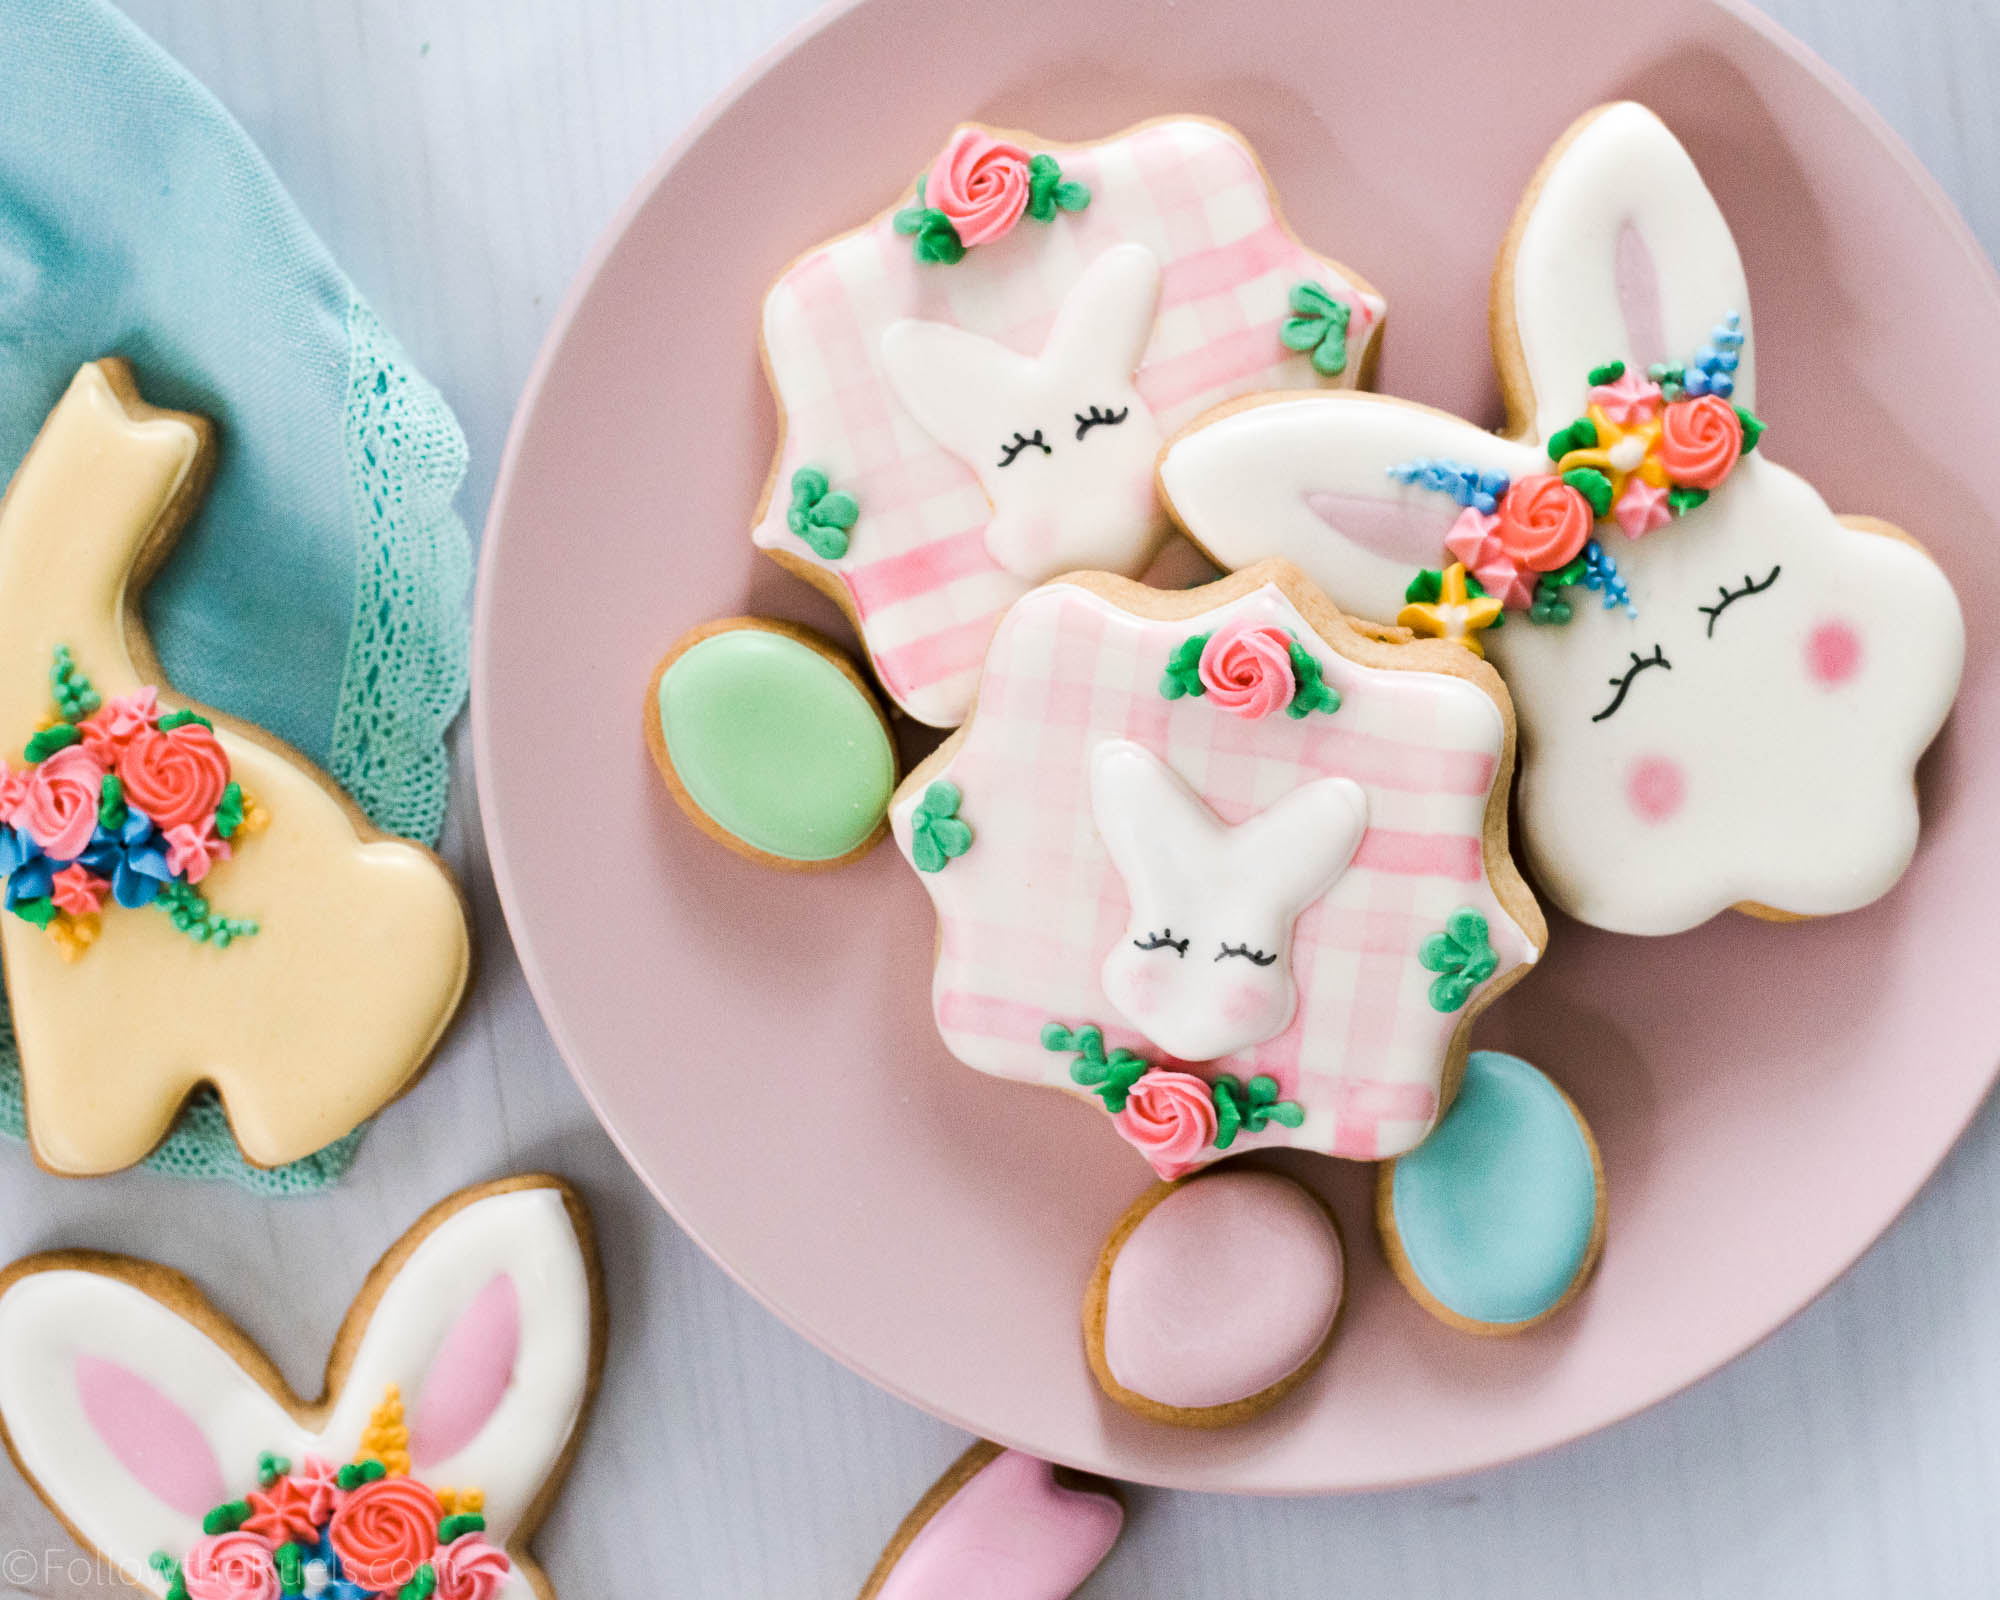
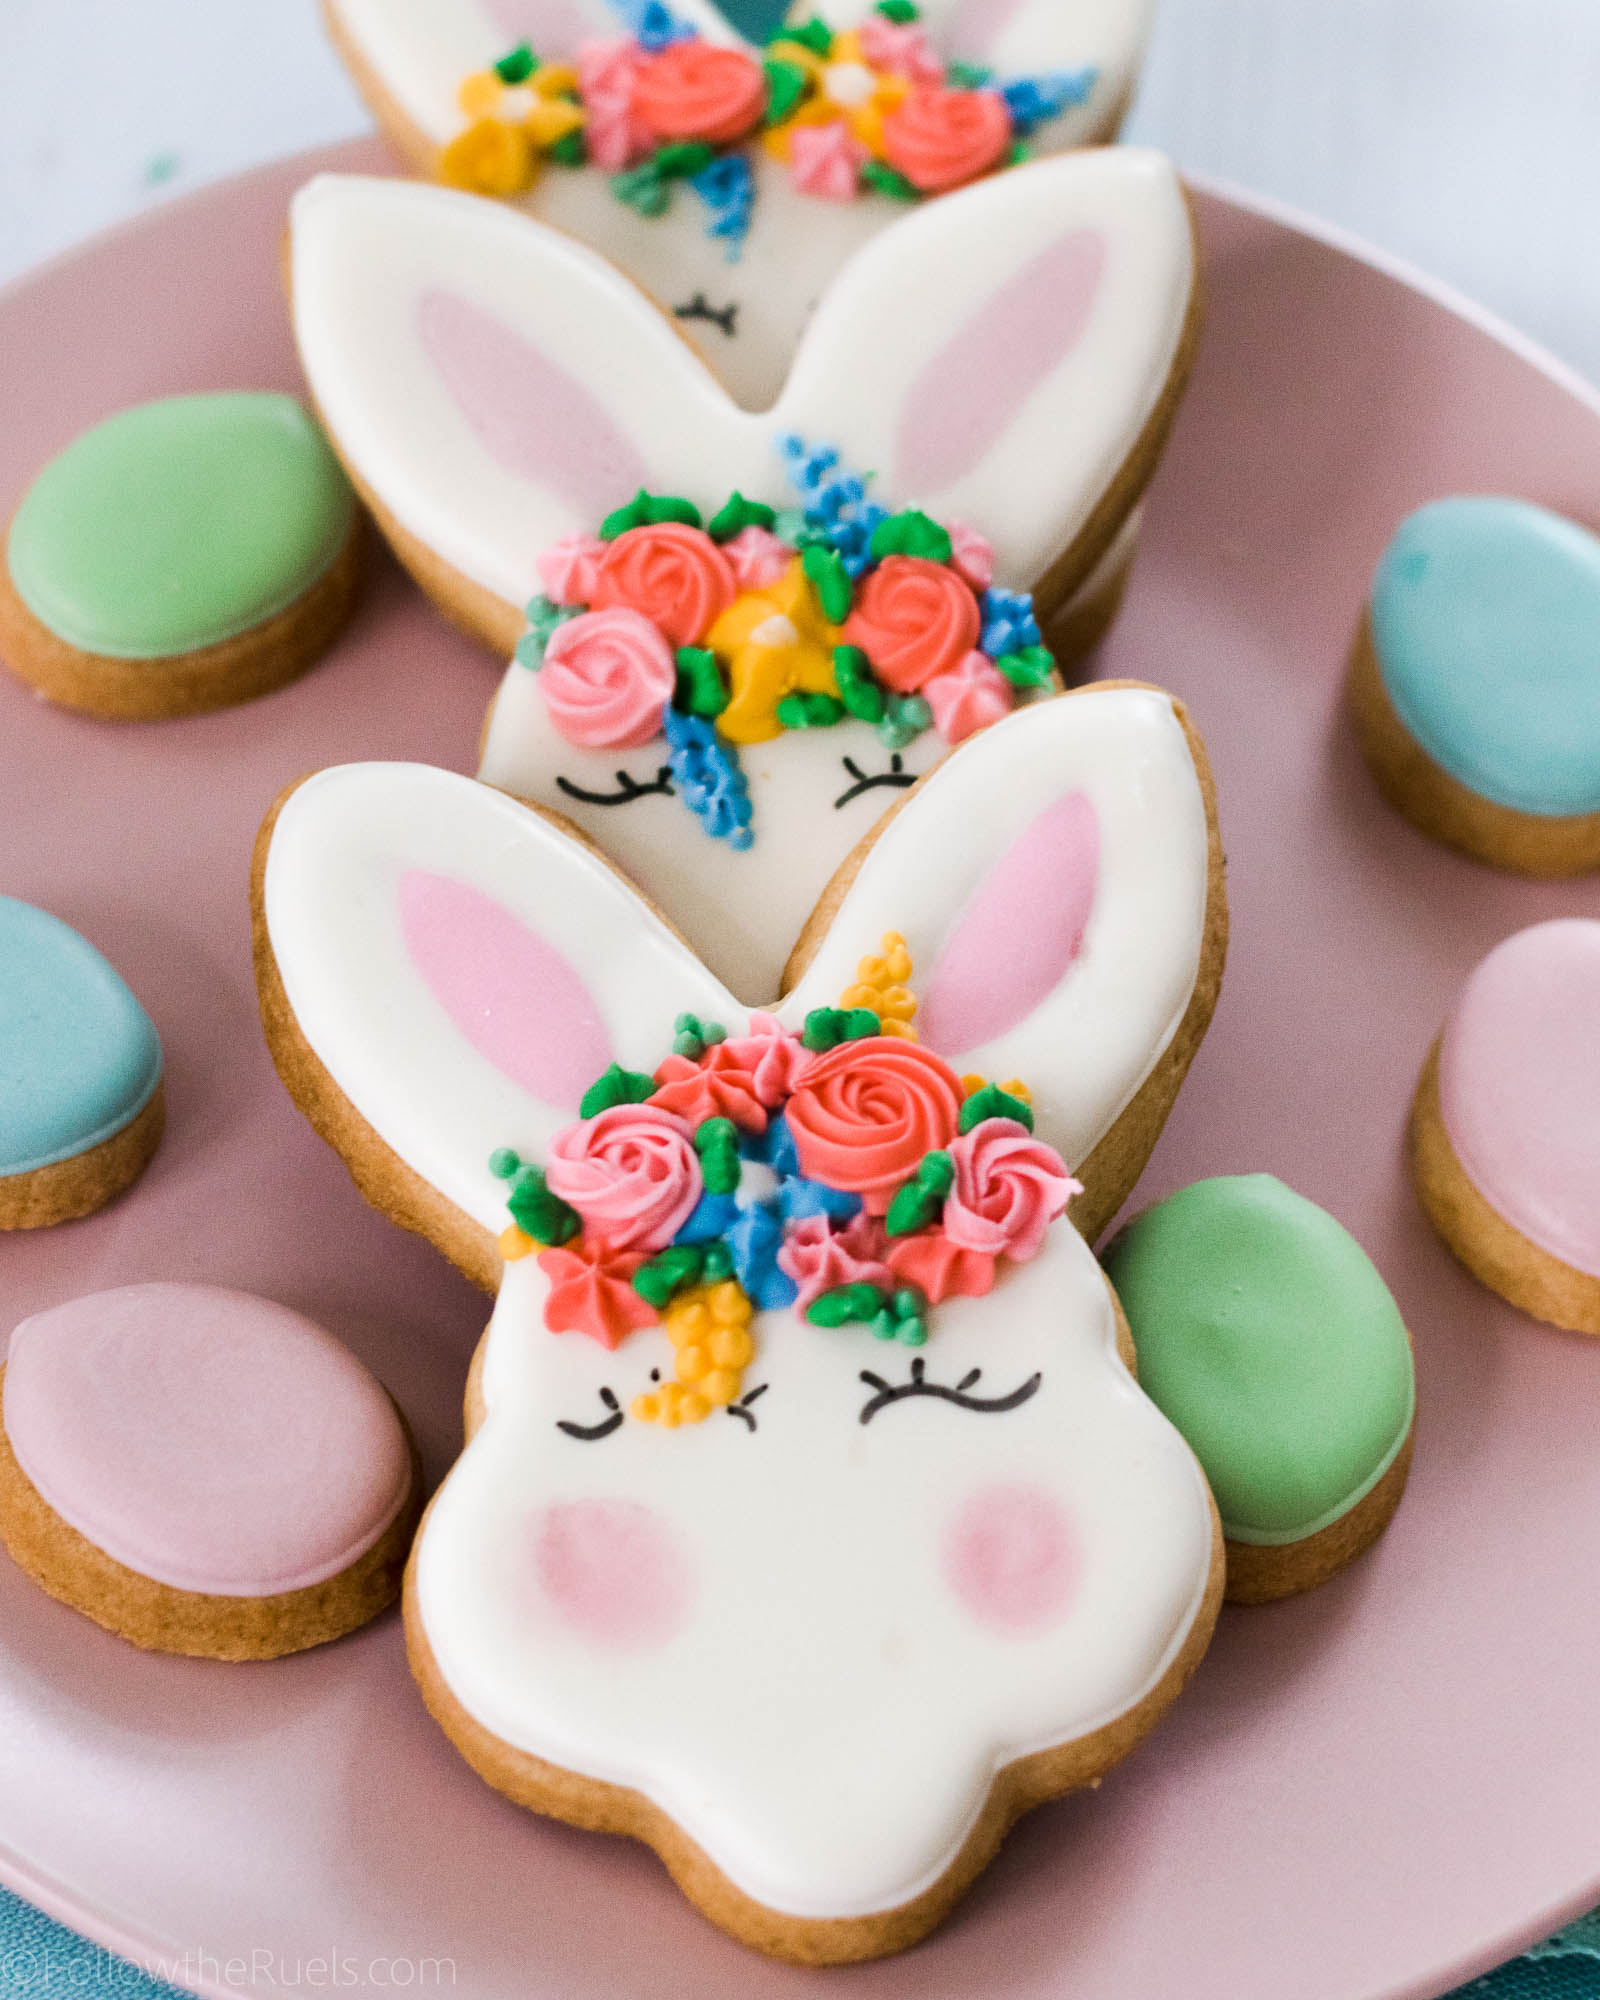
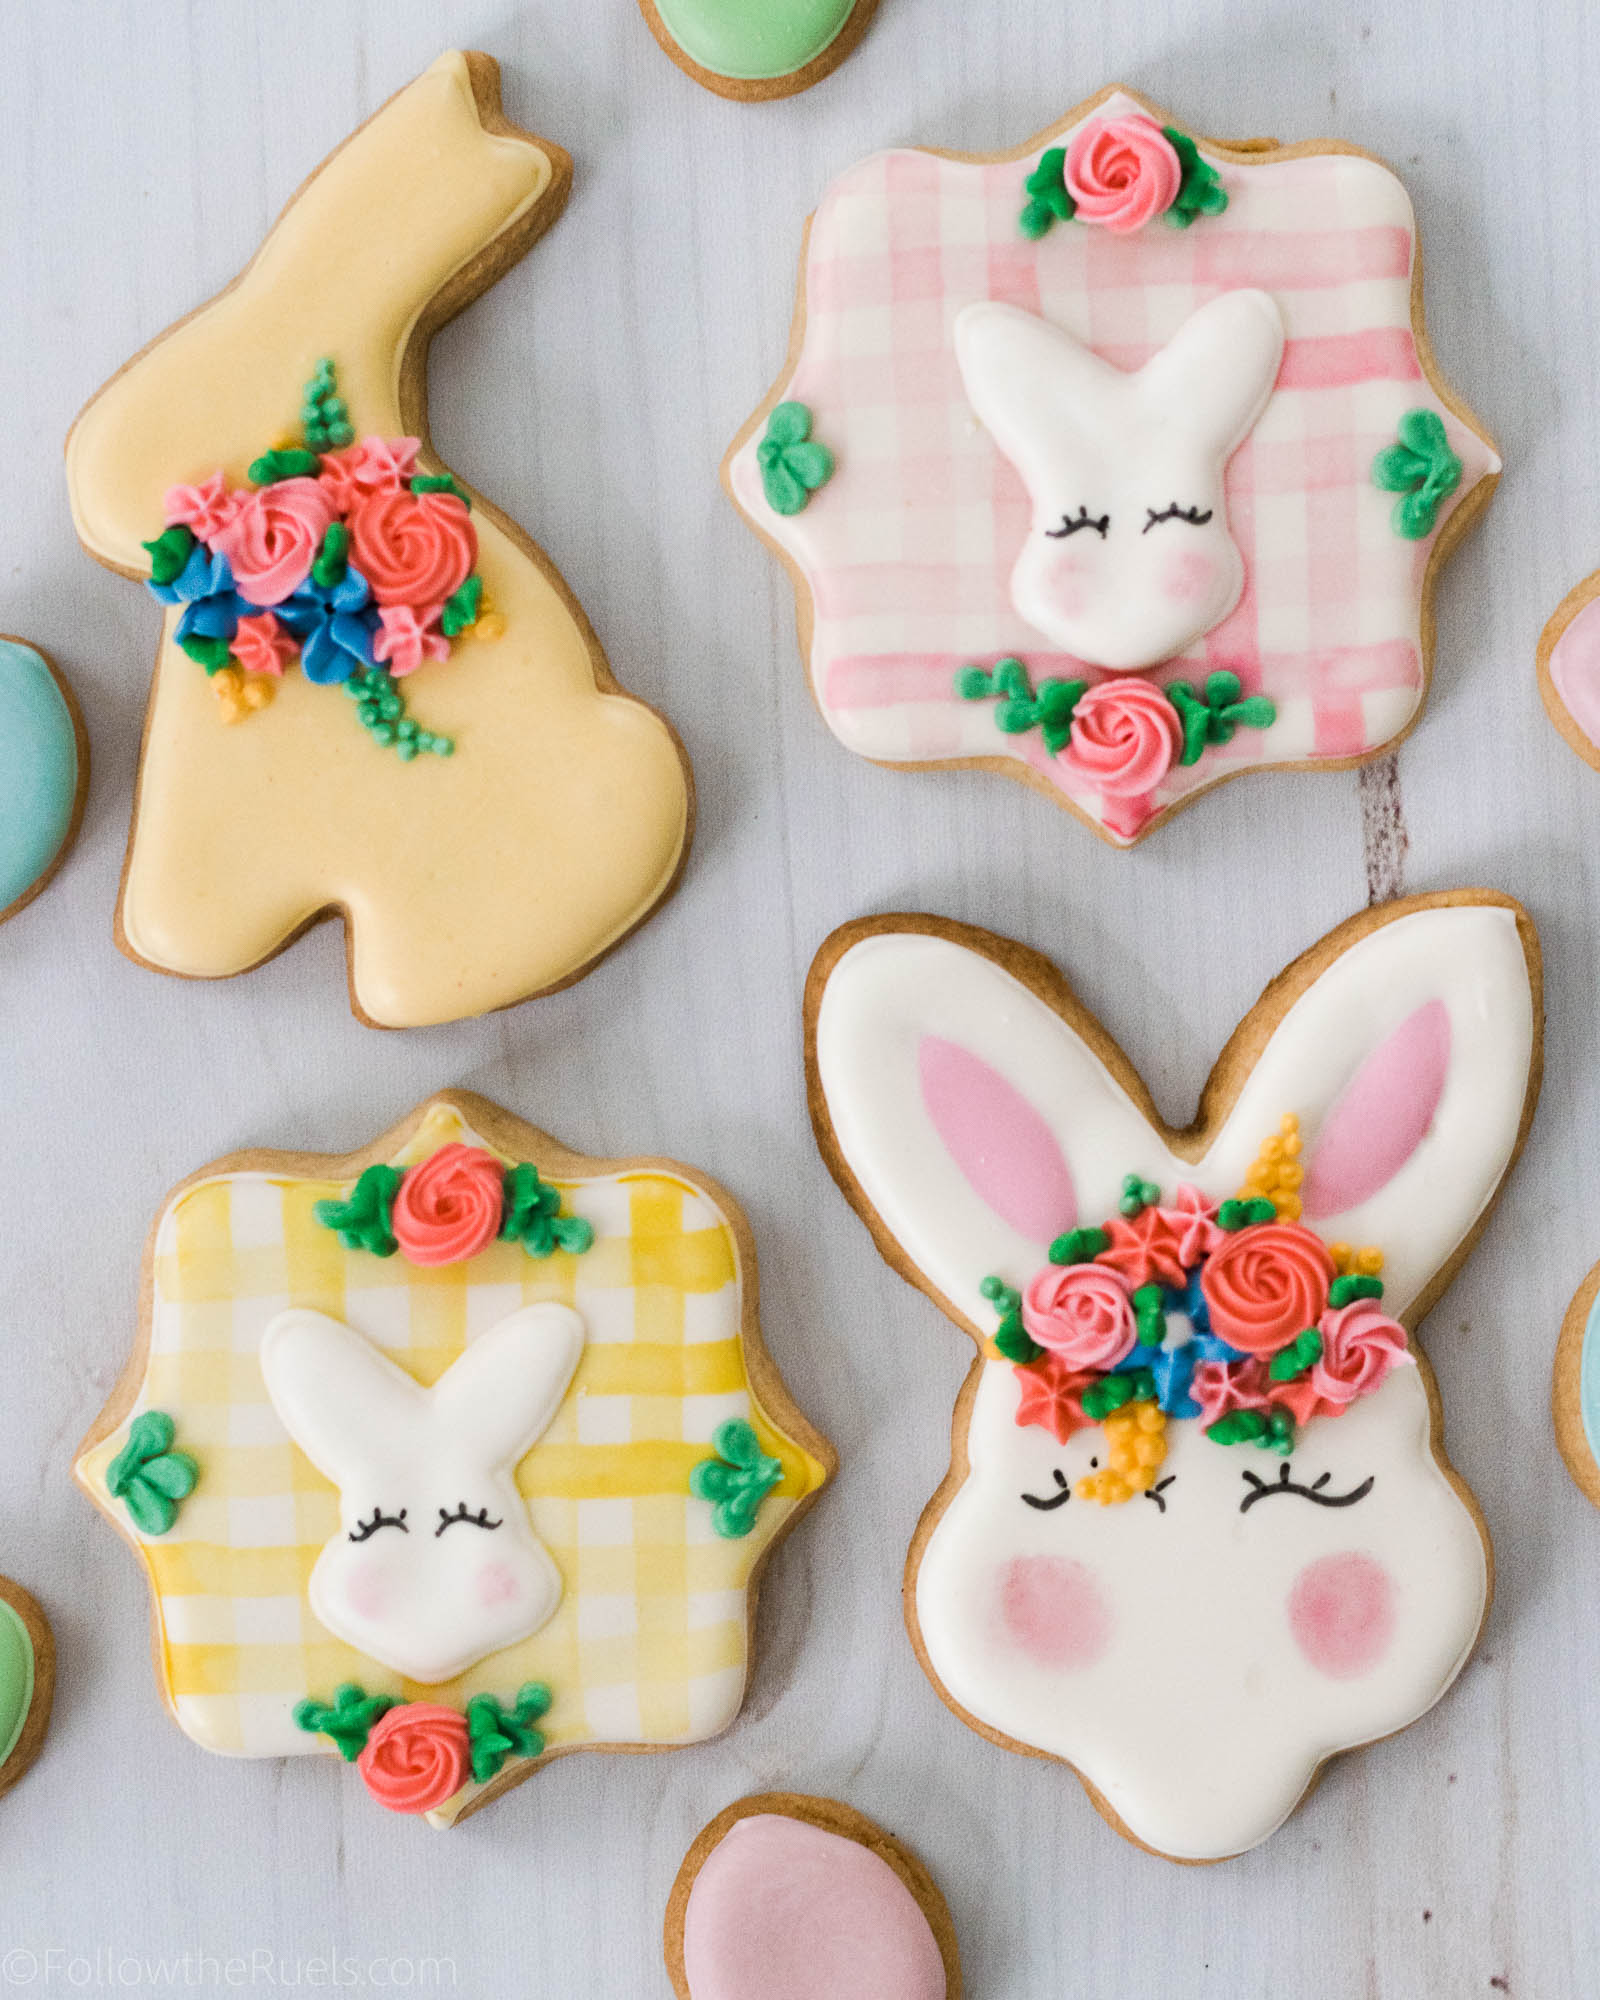
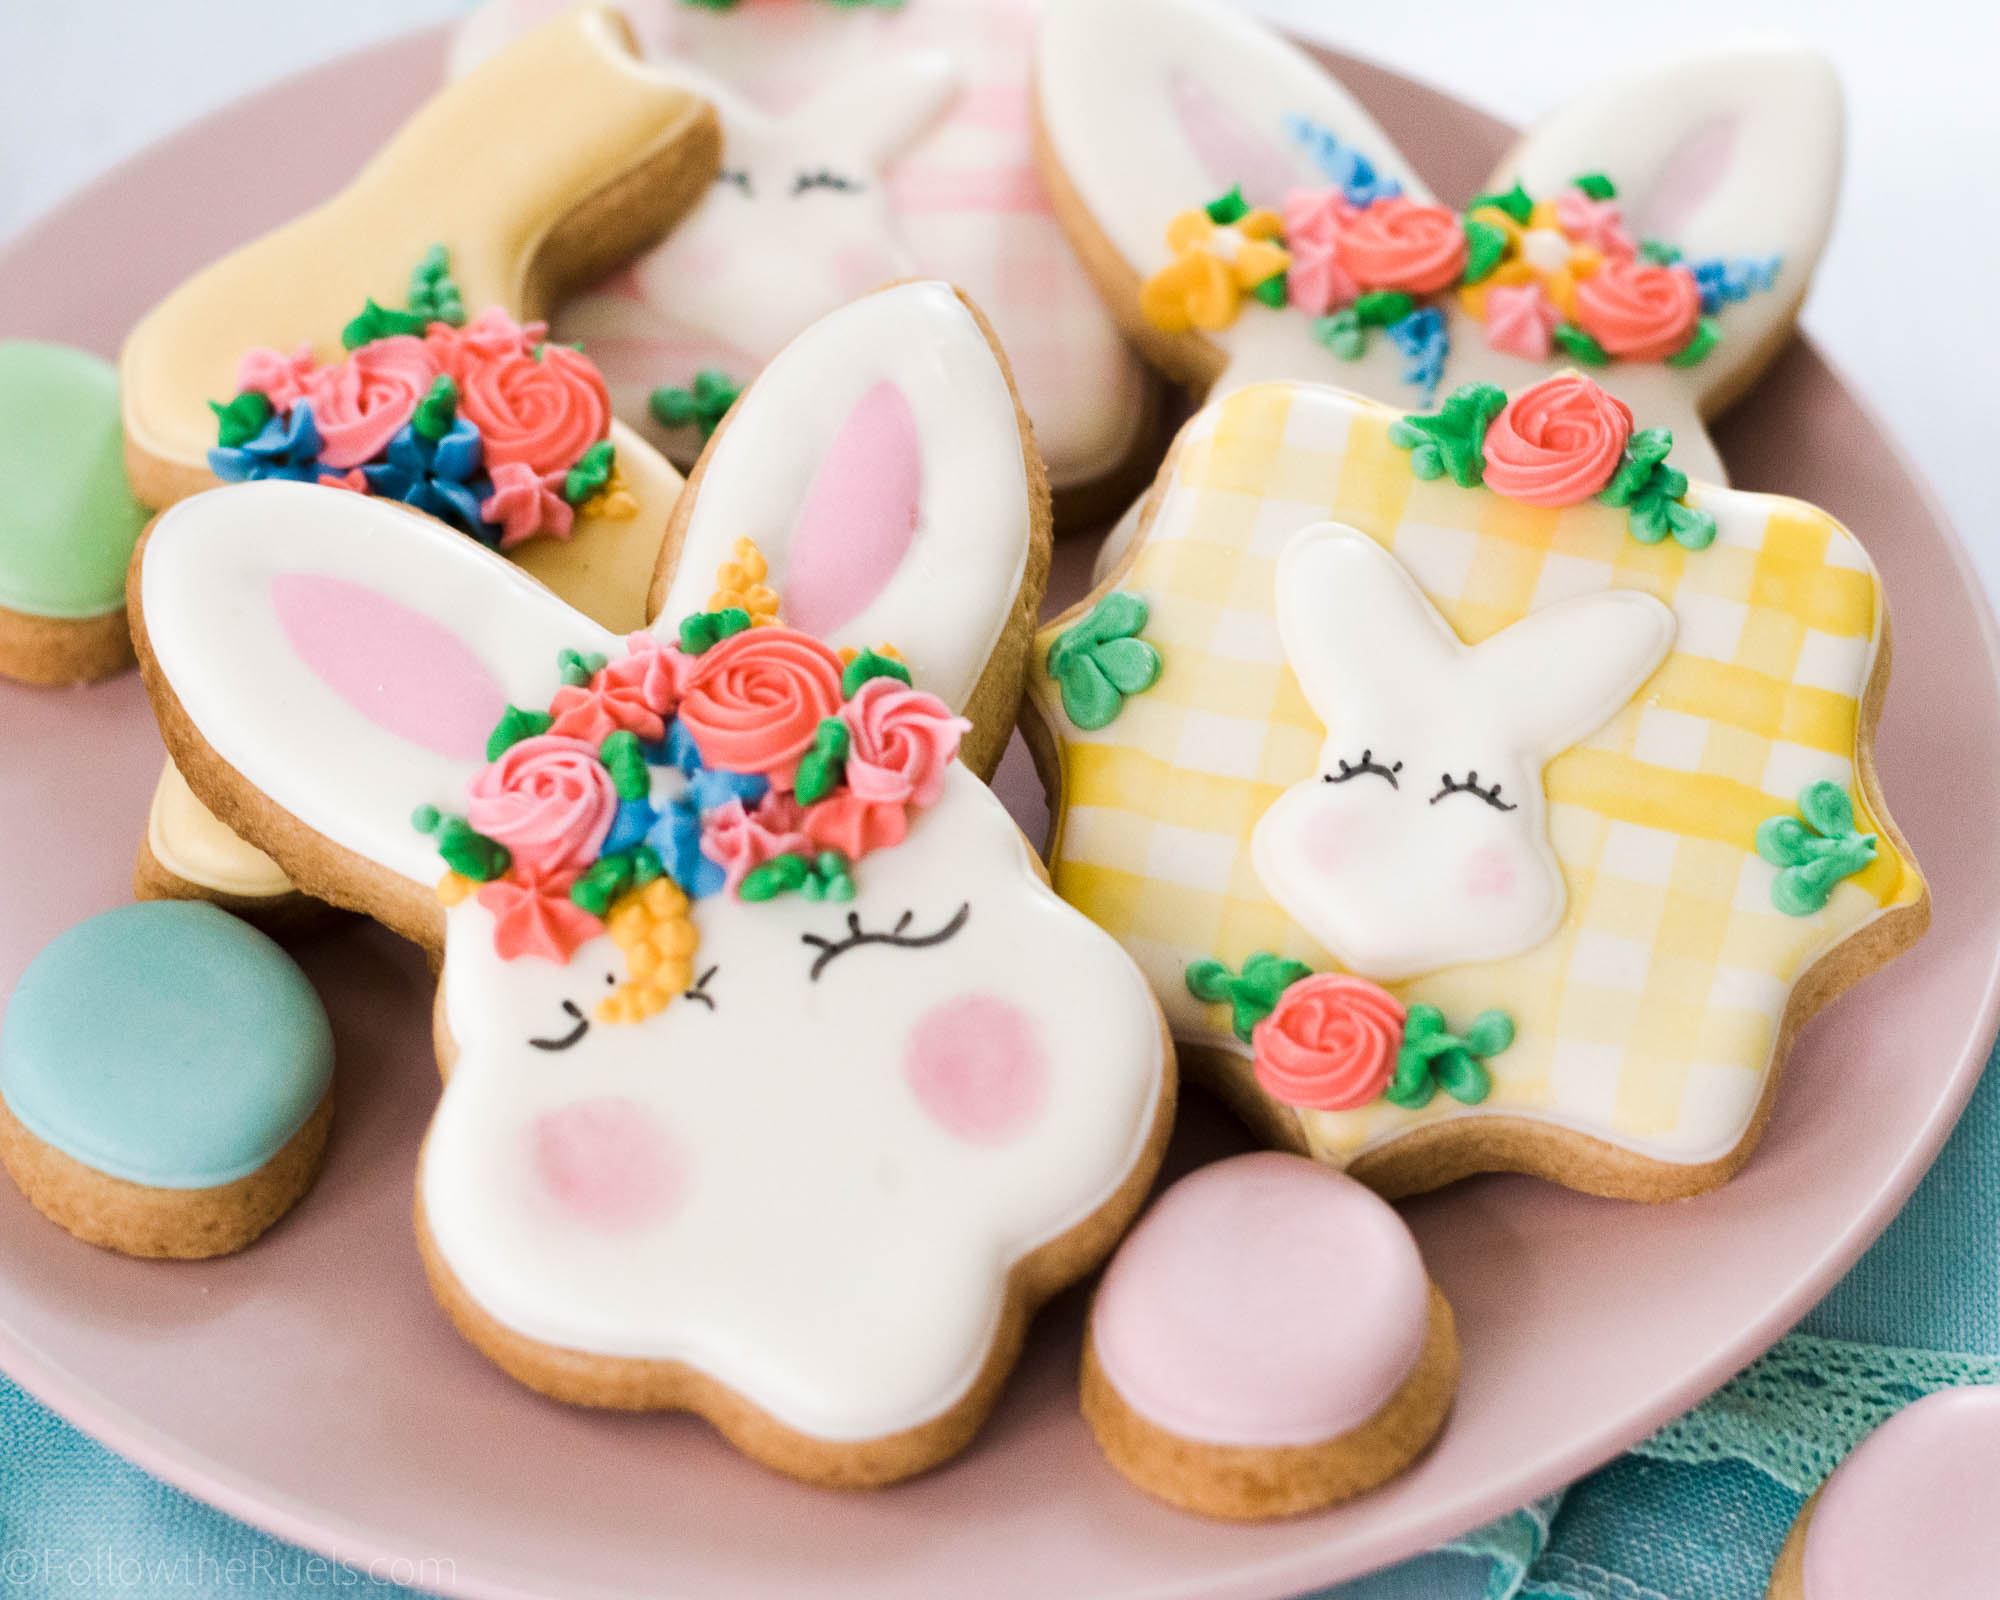
These cookies are up there with my all-time favorites! They have all of my favorite things: gingham, royal icing flowers, and cute little animals!

I actually created the flower crown Easter bunny cookies for a brand new cookie decorating class I do through Skillpop in Charlotte. People had been asking me to do a class devoted to piping tips, so I delivered! And since Easter is right around the corner, I decided to do something Easter themed! And you know I love a good flower crown!

But since most of you aren’t able to make it to my cookie decorating classes, I wanted to show you how I made them so that you can make them, too!

How to Make Them

As all the students in my piping tip class would tell you, creating the flowers was the easiest part of decorating their flower crown Easter bunny cookies! While they add a lot of detail and seem very intricate, they are actually very simple to create.

The trick is having the right consistency of icing and having the right piping tips!

If you go back to my royal icing post and watch the video you will see me add water to the icing to thin it down. Now, stiff consistency icing is the consistency of the icing before I added any of the water! It forms a peak when you lift a spoon up from the surface and it has very little movement.  That is the consistency you want when you use piping tips.

As for the piping tips themselves, I tend to stick to my tried and true favorites for creating any flower design:

  • The blue drop flower is a Wilton #224 tip
  • The dark pink flowers are made with a #14 open star tip
  • The light pink flowers are made with a #24 closed star tip
  • The leaves are made with a #349 tip
  • The dots are made with a #2 round tip

A lot of my piping tips are from this piping tip set that I bought years ago and still use to this day. But I have supplemented by buying individual piping tips from Michael’s, Amazon, or directly from Wilton. 

The gingham print is also so easy to make but makes the cookies look that much more unique!

All you do is dilute gel food coloring with a bit of clear alcohol or clear extract (like almond), and then paint lines. I find that I paint straighter lines when I move horizontally from left to right. I also recommend letting the paint dry for about a minute before painting the perpendicular lines on top. That ensures that you will actually paint on top of the first line instead of brushing the color off.

Easy peasy!

I hope you try out these cookies for Easter! I know your friends and family will love them! 

If you do make these flower crown Easter bunny cookies or the gingham print cookies, please take a photo and tag me on Instagram. I love seeing what you create!

Products and Recipes

[show_shopthepost_widget id=”3072684″] 

For these cookies, I used my favorite sugar cookie recipe, but if I make them again I will probably make my strawberry honey sugar cookies from my Summer cookie recipe collection. They are oh so good and they are pink, which just seems appropriate!

And of course, I used my royal icing recipe for both flood and stiff consistency.

/ Filed In: Cookies New, Decorated Cookies, Desserts, Eat
Tagged: cookies, Easter, Easter Bunny, flower crown, gingham, royal icing, royal icing flowers, Spring

Watercolor Spring Garden Cookies

March 20, 2018

Spring is in the air! Do you feel it?!

Today it is officially Spring.

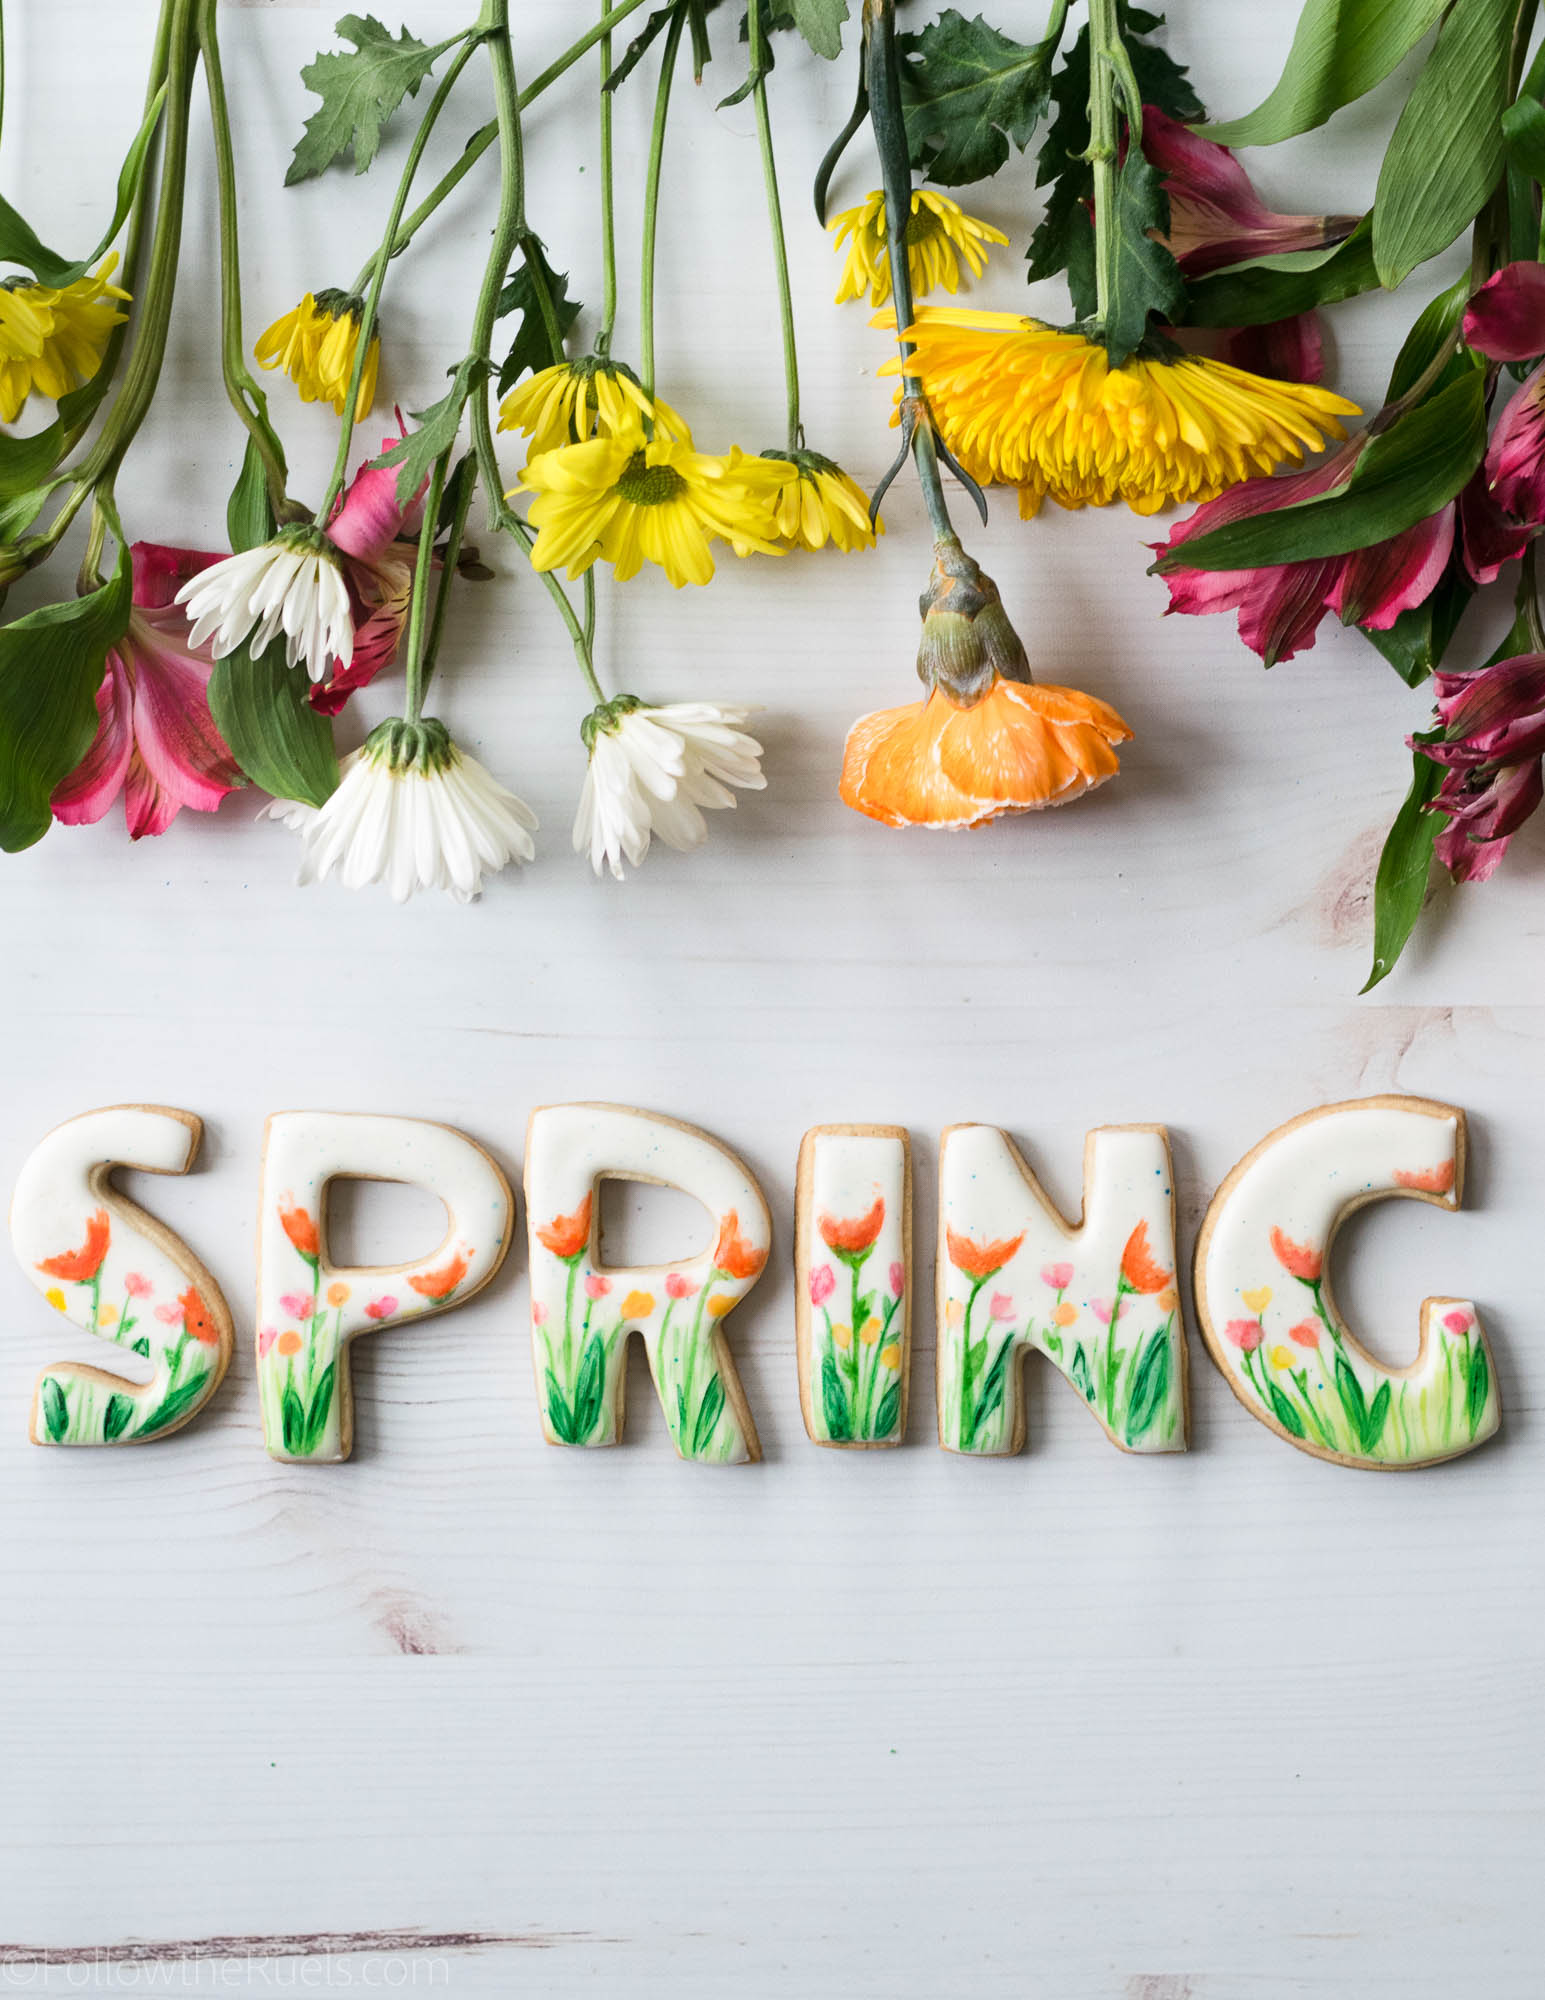
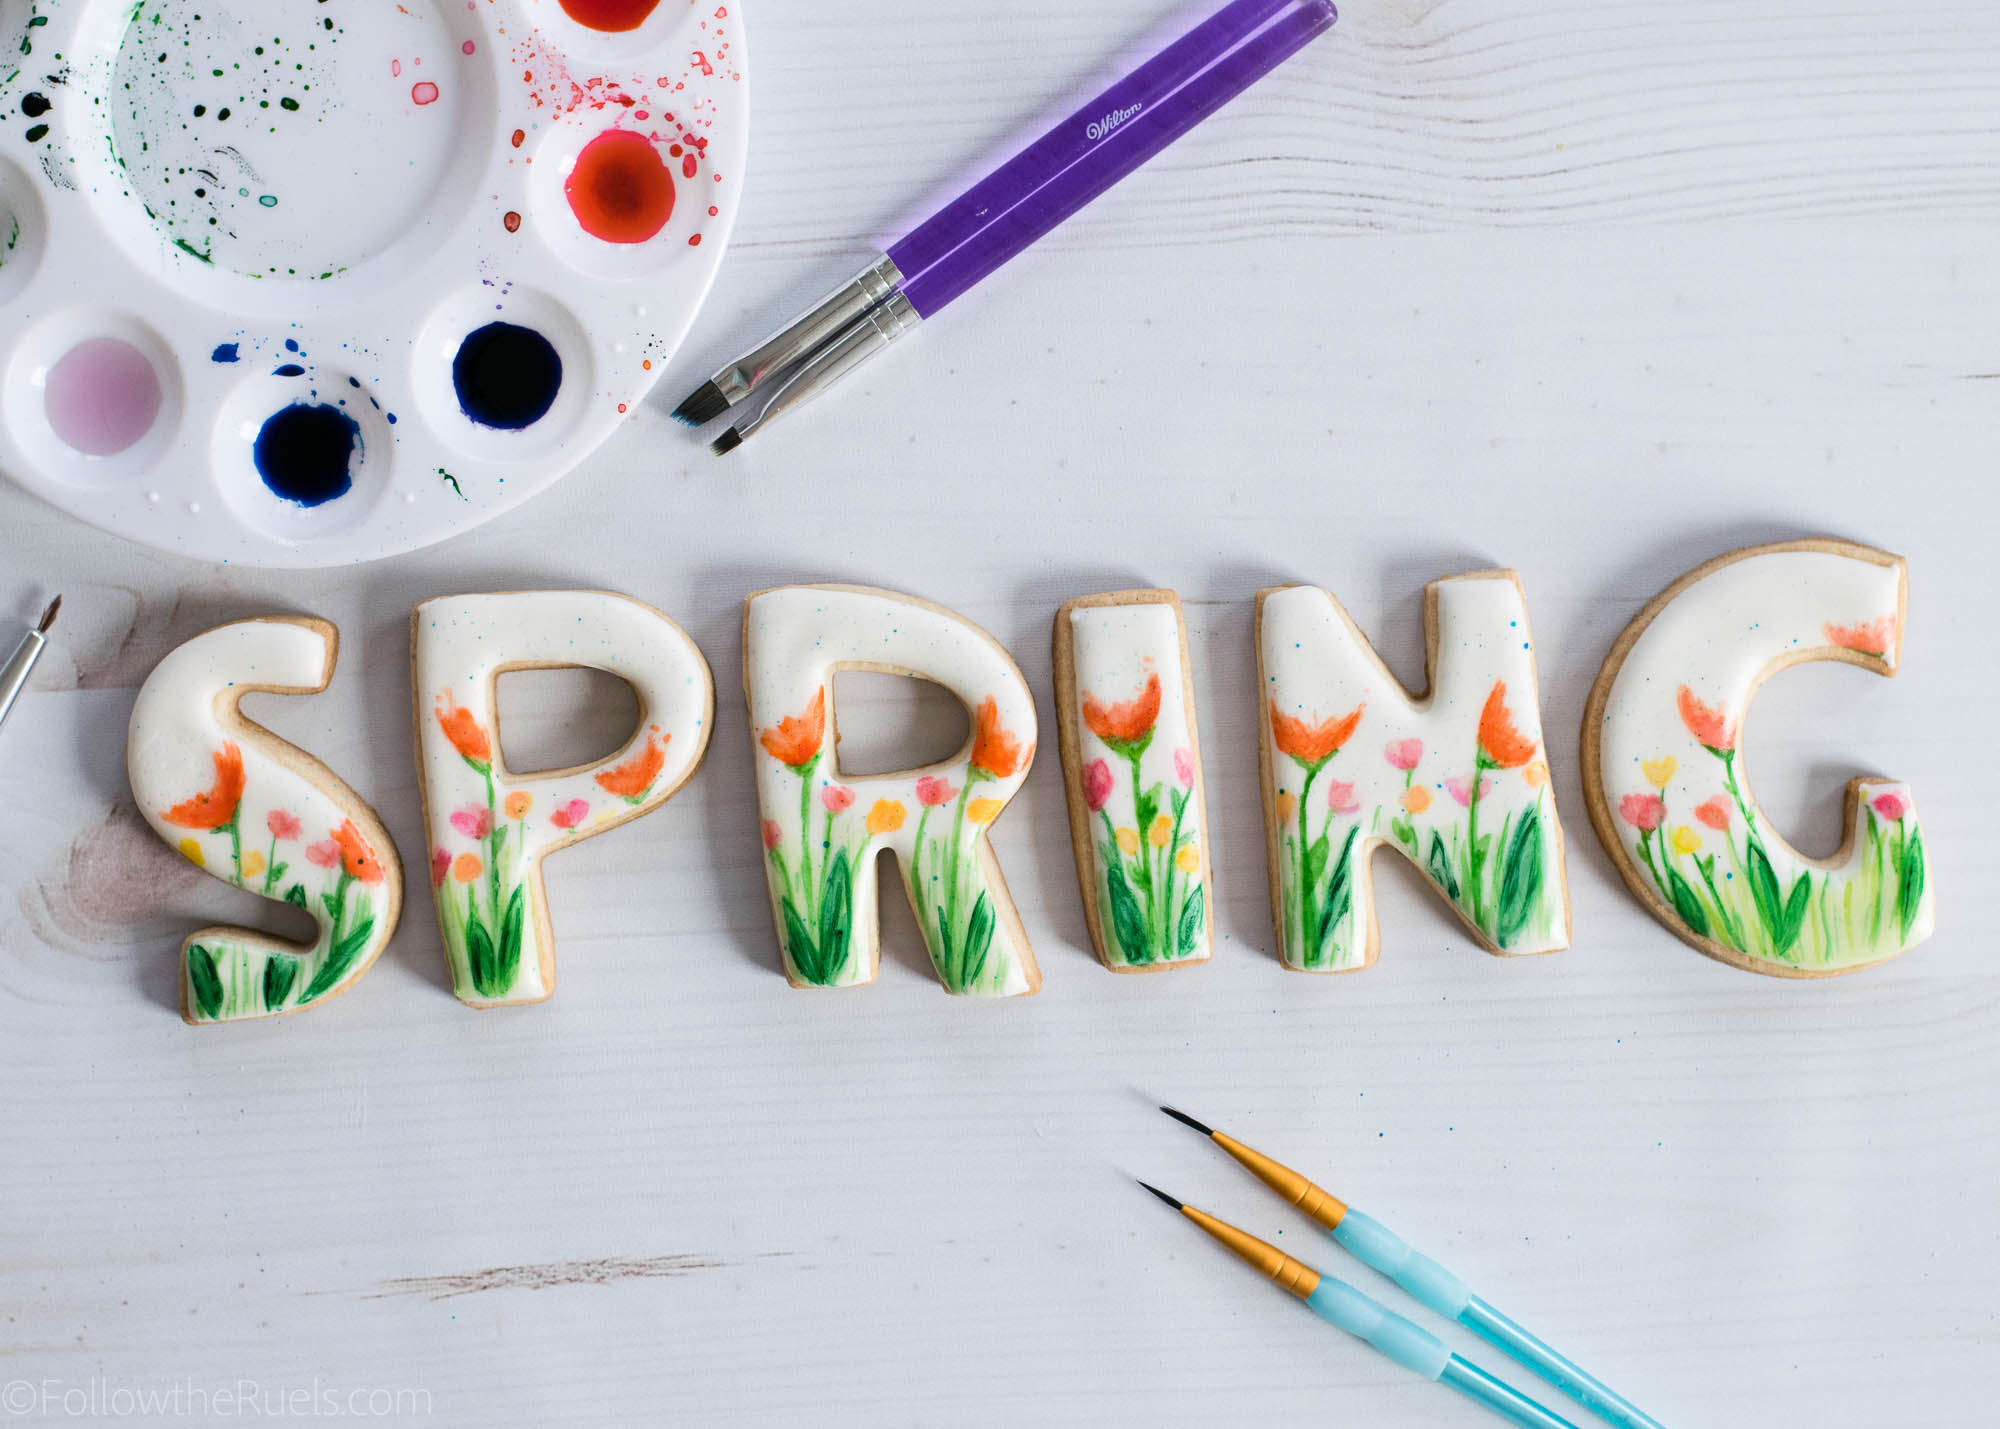
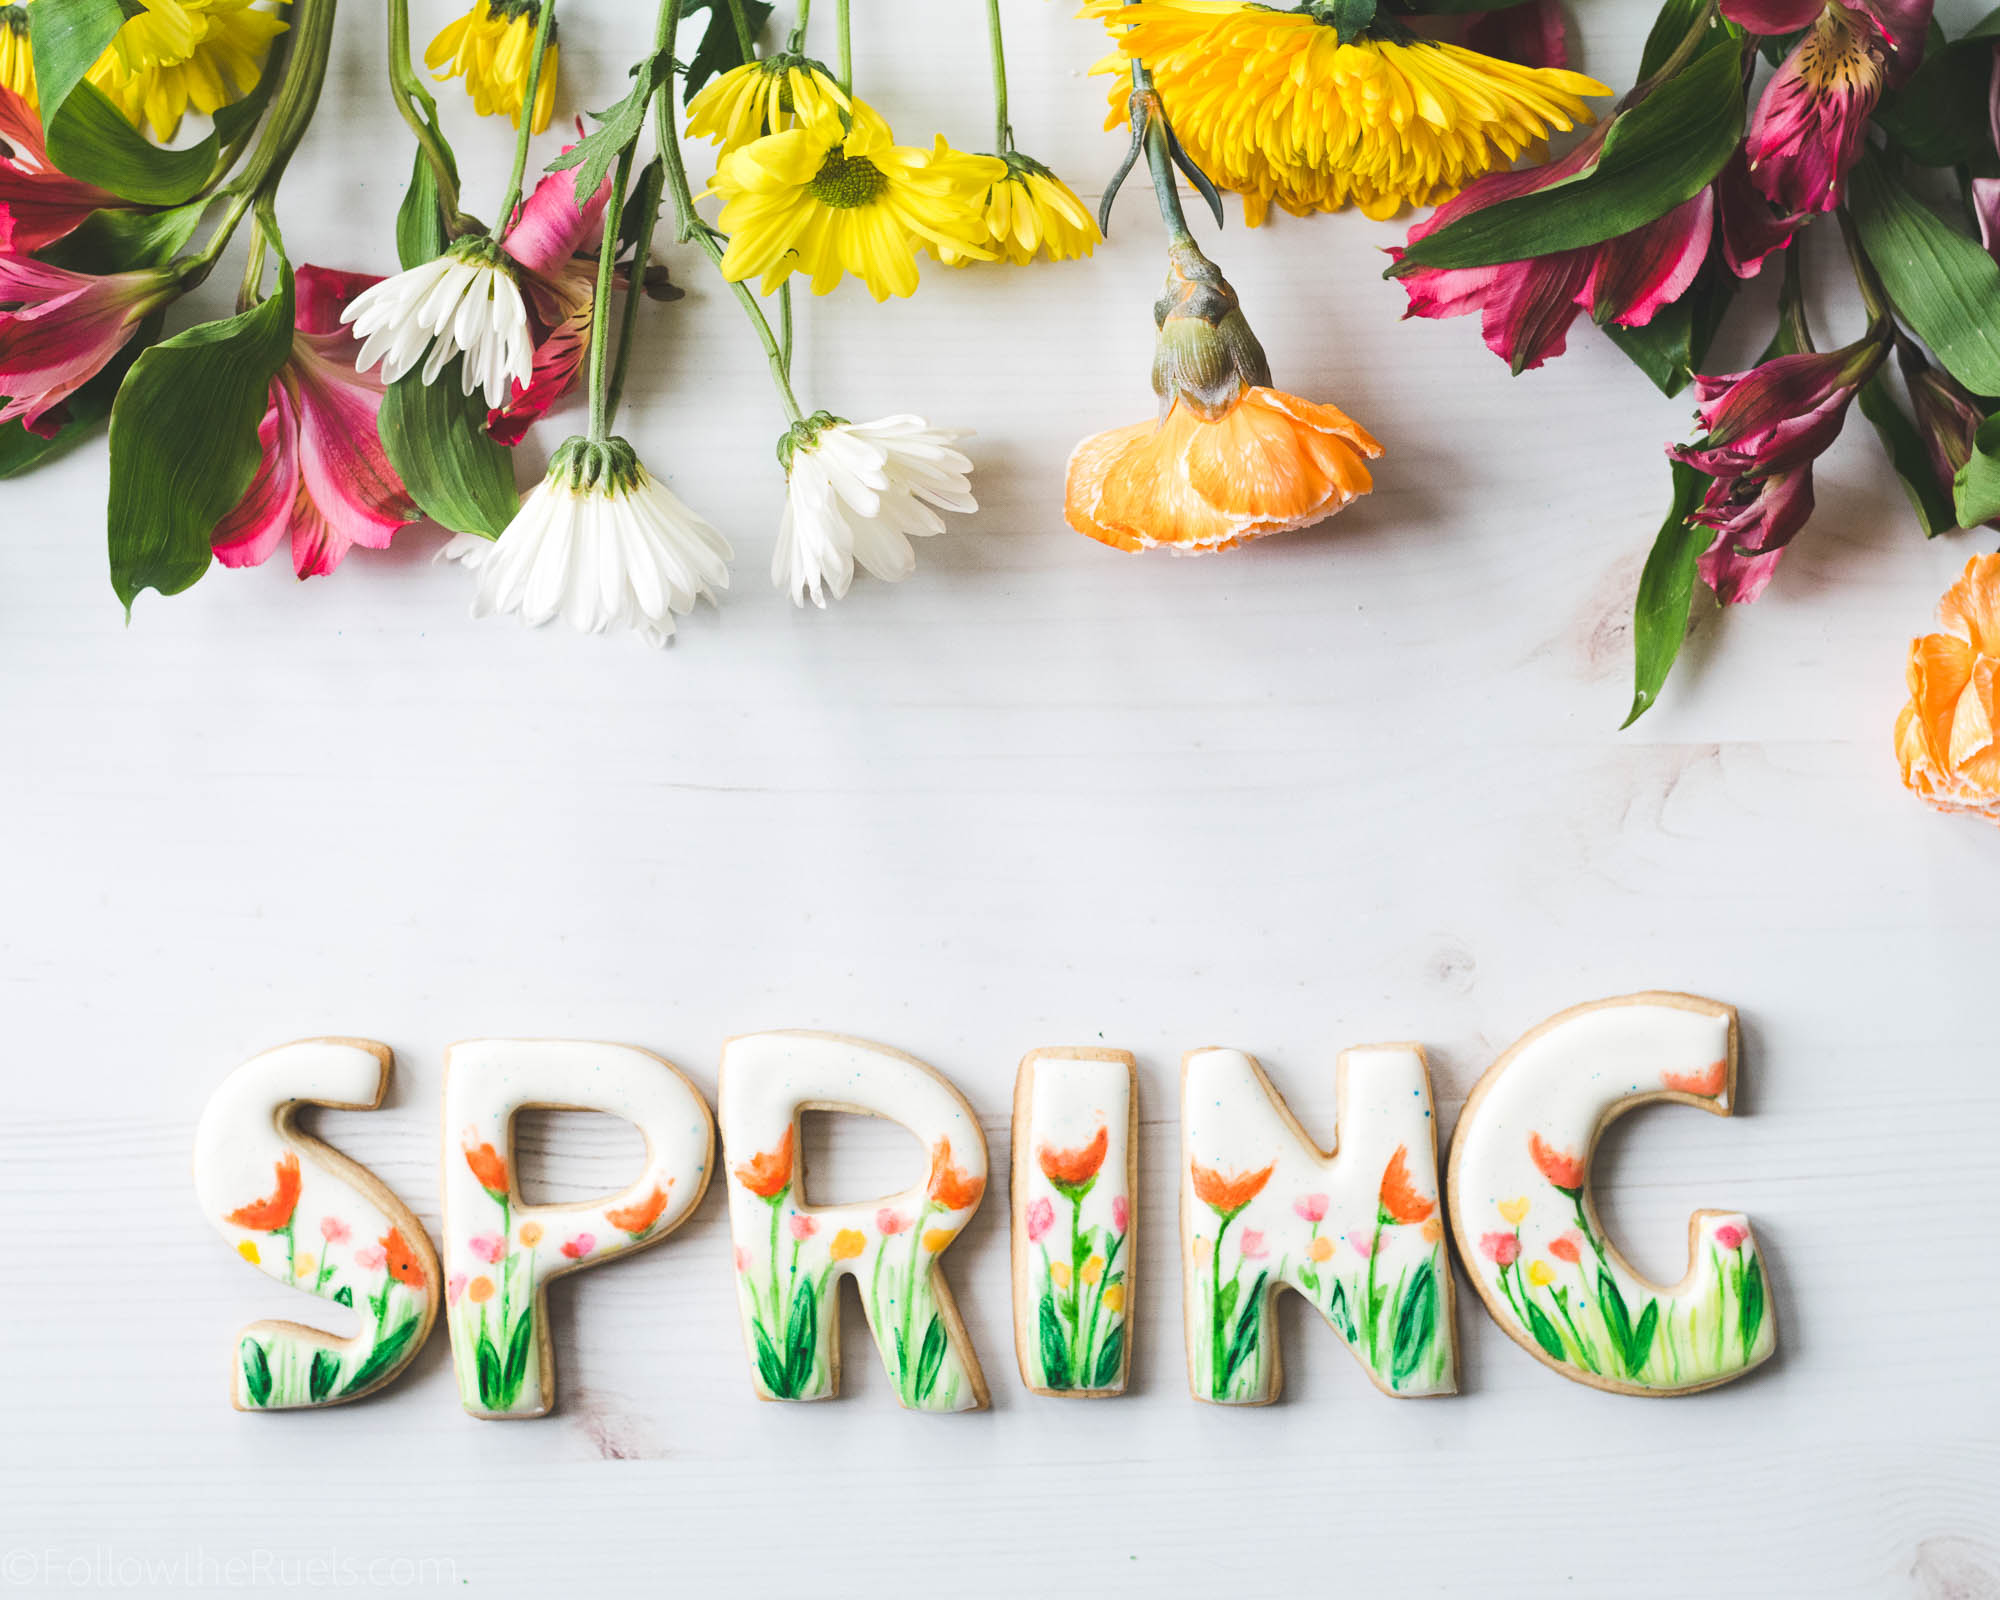
Since it’s my favorite of all the seasons (I mean the flowers, the sunshine, the trees, the baby animals, what’s not to love?) I wanted the beginning of Spring with some of my favorite cookies to make – floral letters! 

These are inspired by a Spring garden and I absolutely love them! Painting on cookies is one of my favorite techniques and it’s actually really therapeutic to just sit and paint. It’s also therapeutic to eat them when they are done.  

How to Make Them

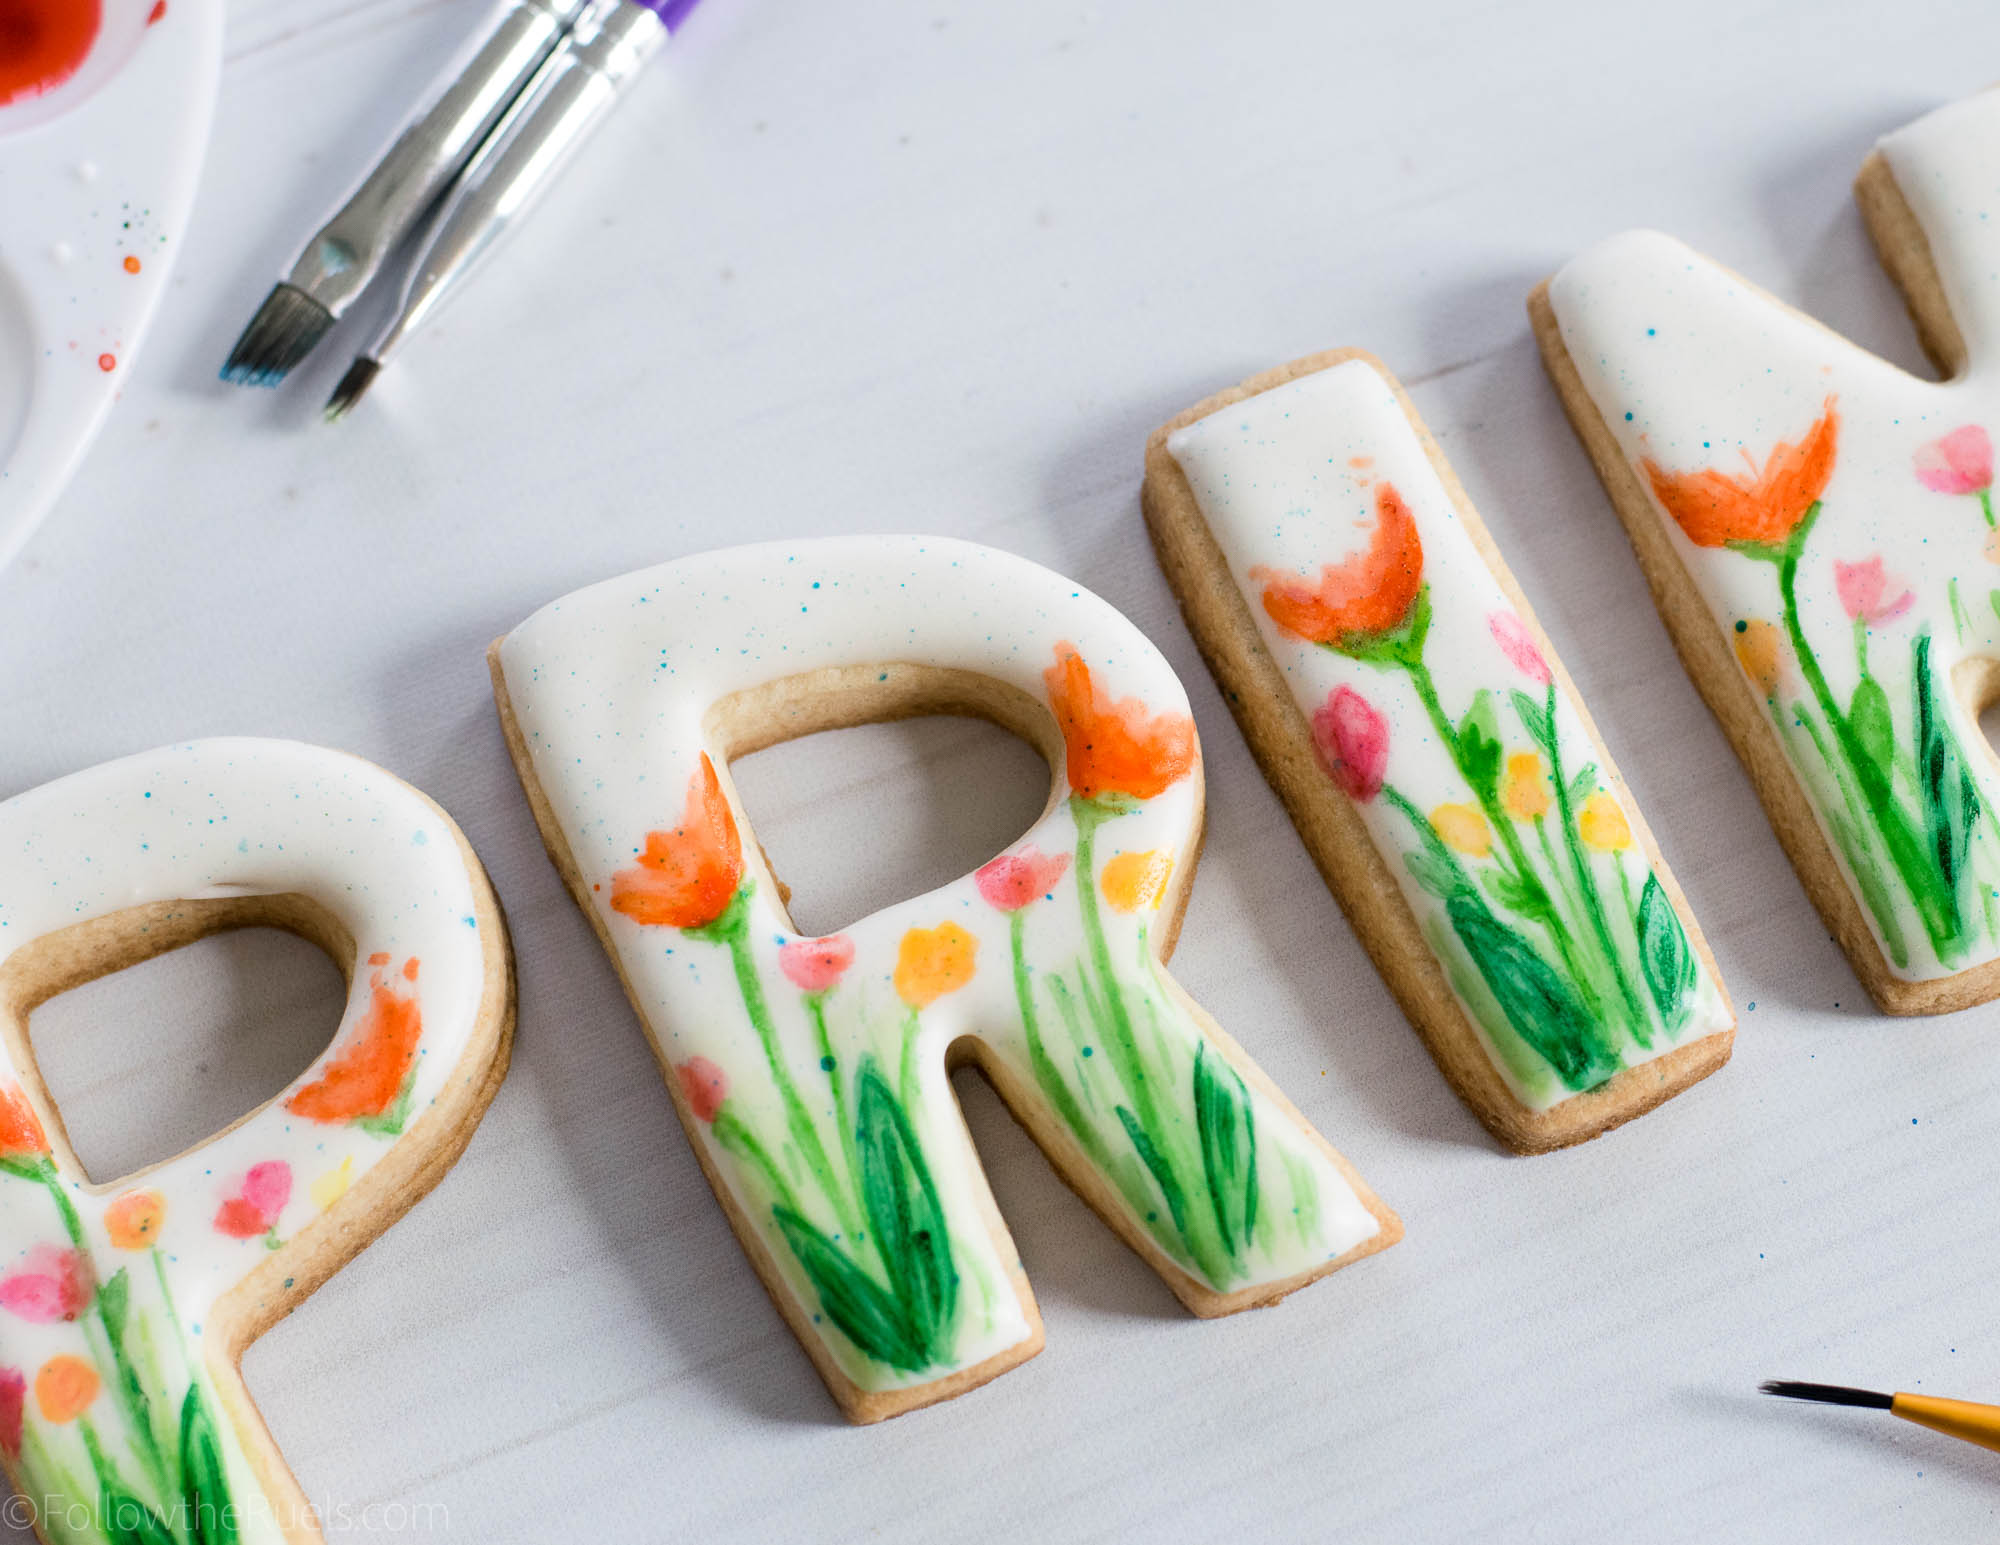
Painting on top of royal icing is not too dissimilar from painting on paper. The main difference is that the icing doesn’t absorb the watercolor. So to layer the colors, you have to let one layer dry before adding the other.

I start by painting very light shades of color where I want flowers, grass, stems, etc. Then I add a darker shade of paint on top, layering different colors and shades until I am happy with the finished product.

One thing I didn’t show in the video is the blue splatter I added at the end. I just wanted to work in some blue without painting sky, so I just sprayed some blue paint over top. 

The perfect Spring cookies!

Products and Recipes Used

[show_shopthepost_widget id=”3068523″] 

Sugar Cookie Recipe

Royal Icing Recipe

/ Filed In: Cookies New, Decorated Cookies, Desserts, Eat
Tagged: cookies, flower, garden, painted, Spring, watercolor

The Best Ever Carrot Cake

March 6, 2018

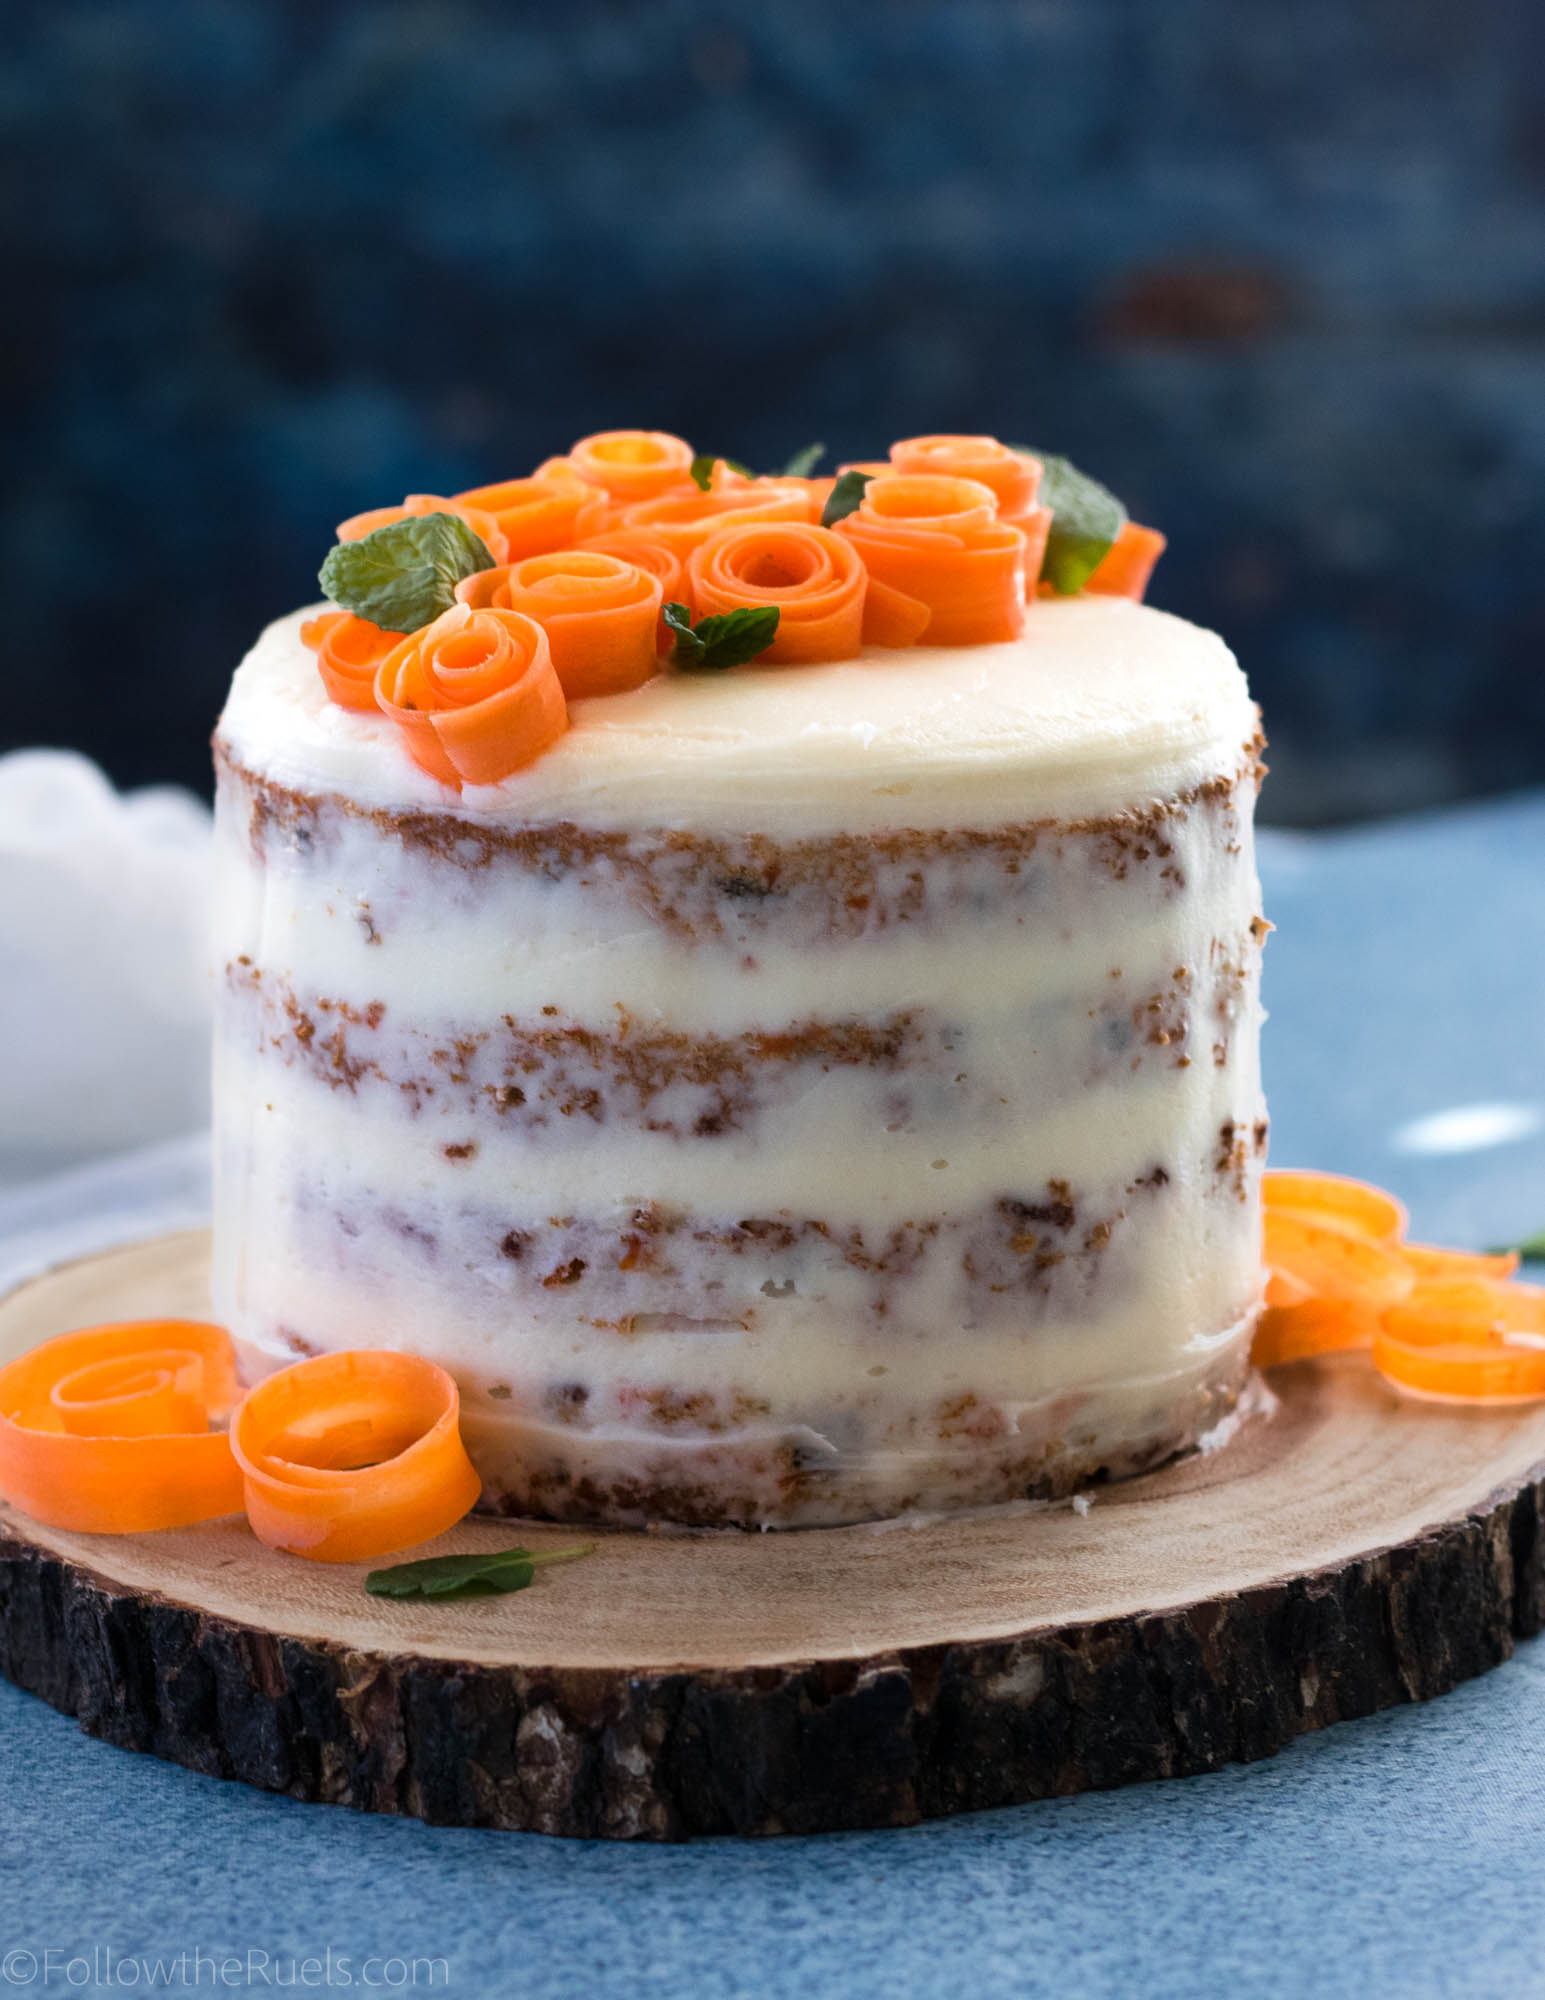
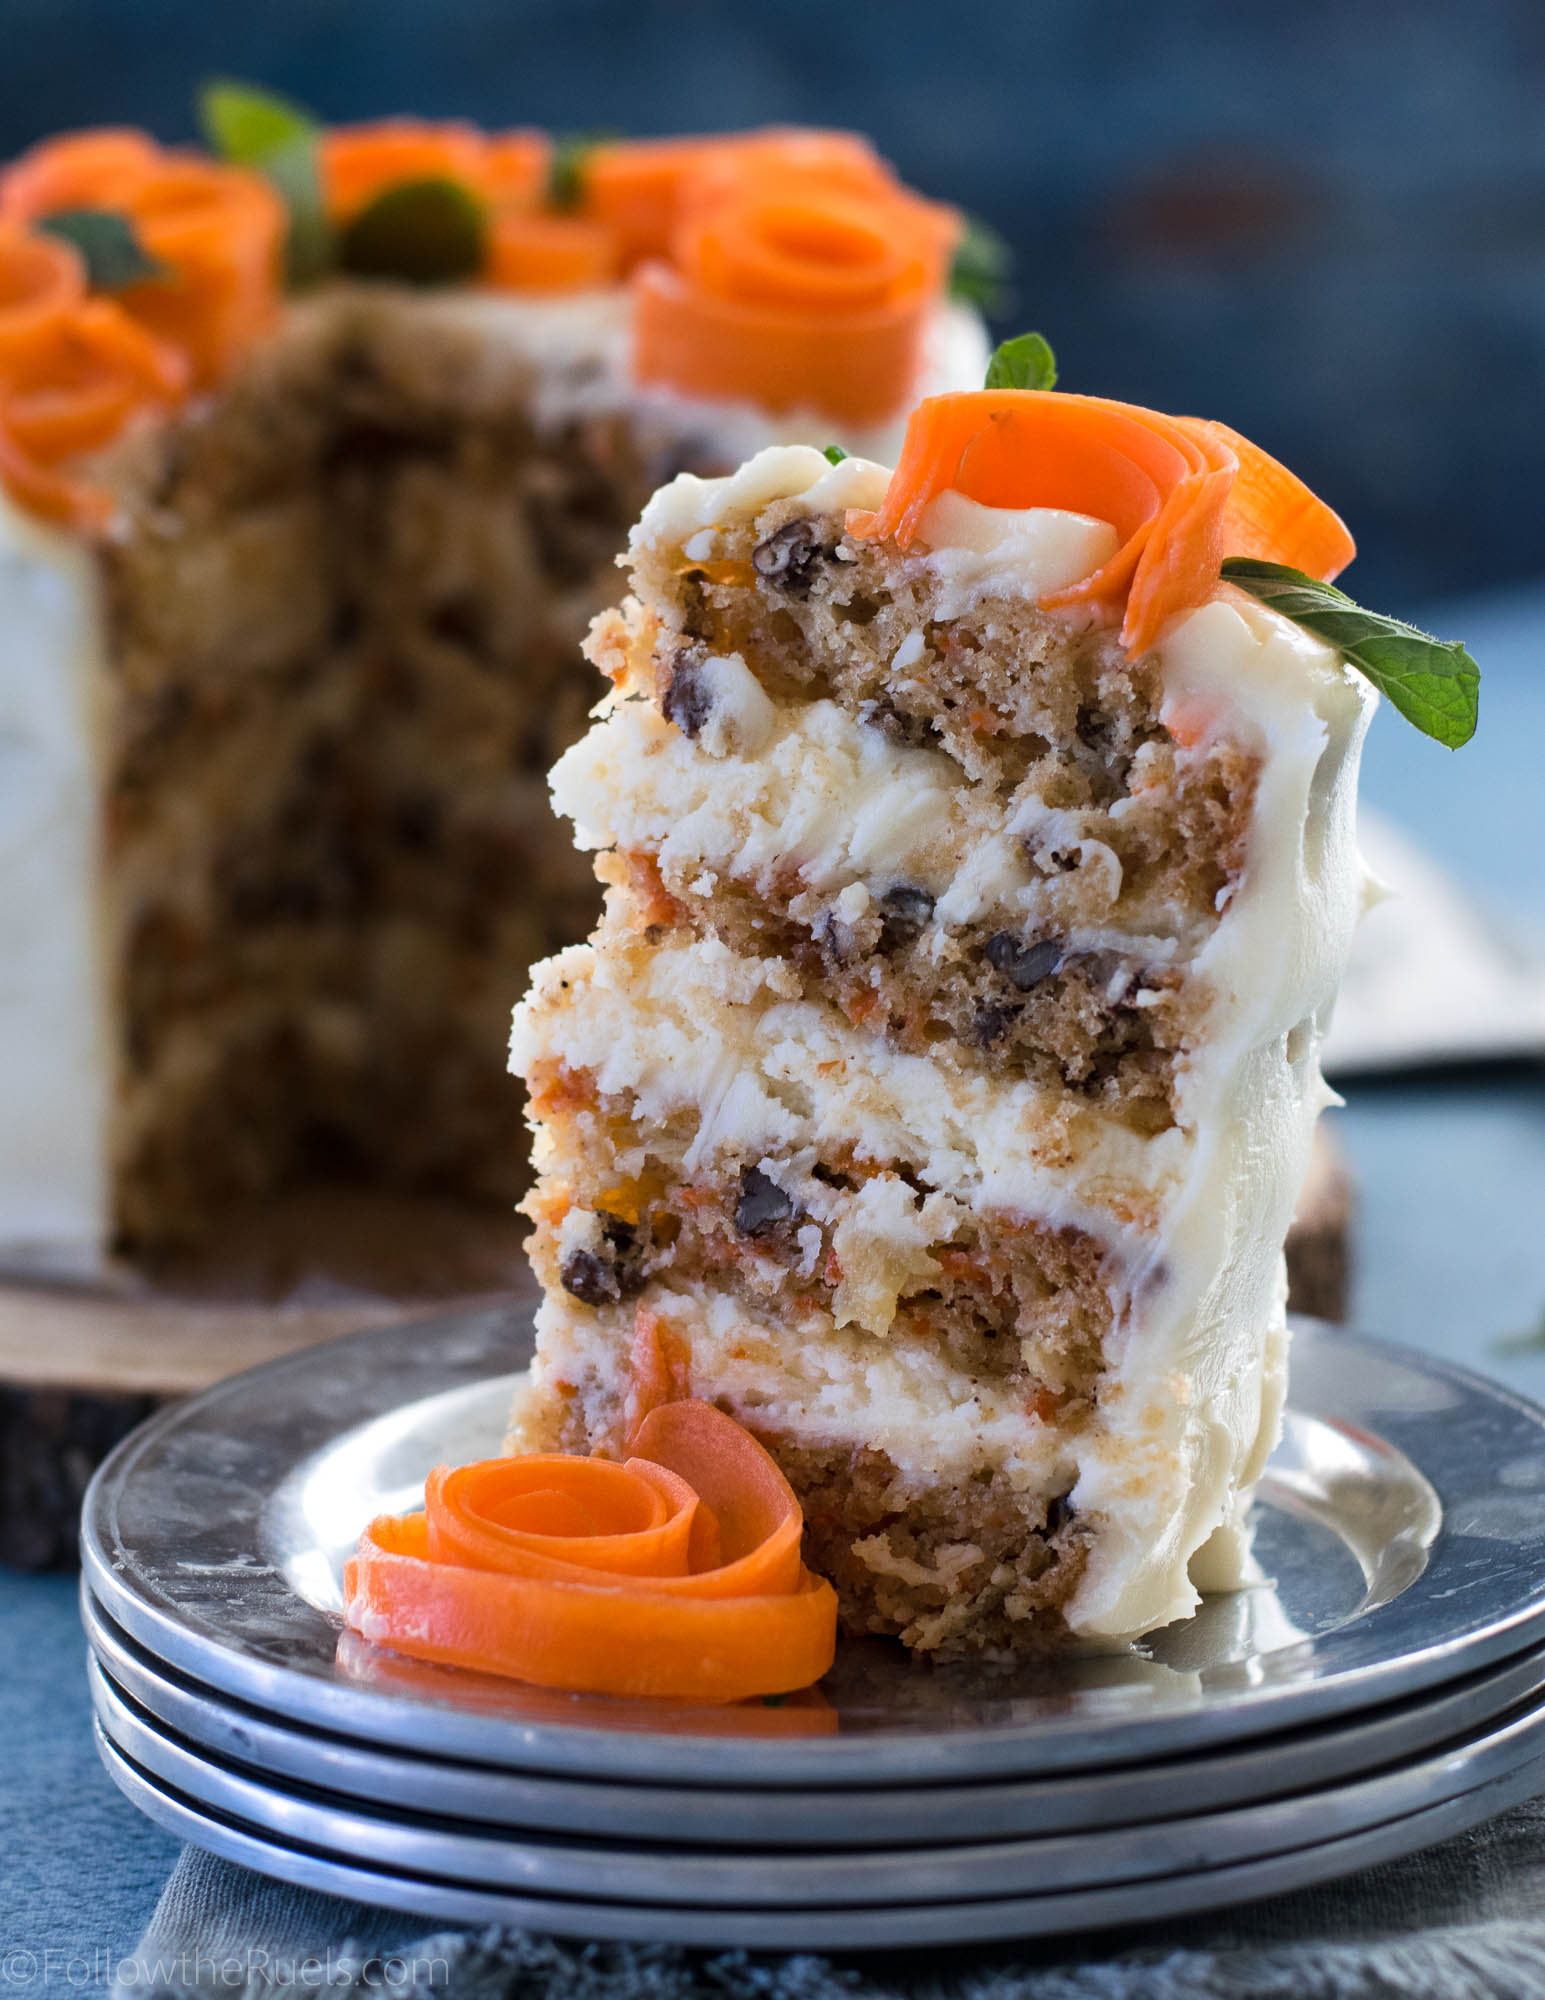
I’ll admit, that up until recently, carrot cake was my least favorite of all the cakes. It wasn’t until I made this recipe that I completely changed my mind about carrot cake. Who knew that a cake packed with fruits and vegetables could be so delicious?

Not me!

But that is exactly what this cake is. Moist and oh so delicious!

How to Make It

Well, since I have made this recipe before, I thought it was only right to make a video so you can see for yourselves! Also, wait till the end to see how I decorated the cake (three different ways, although I only showed two). 

But in case you like pictures and words, here is a brief recap of how to make it.

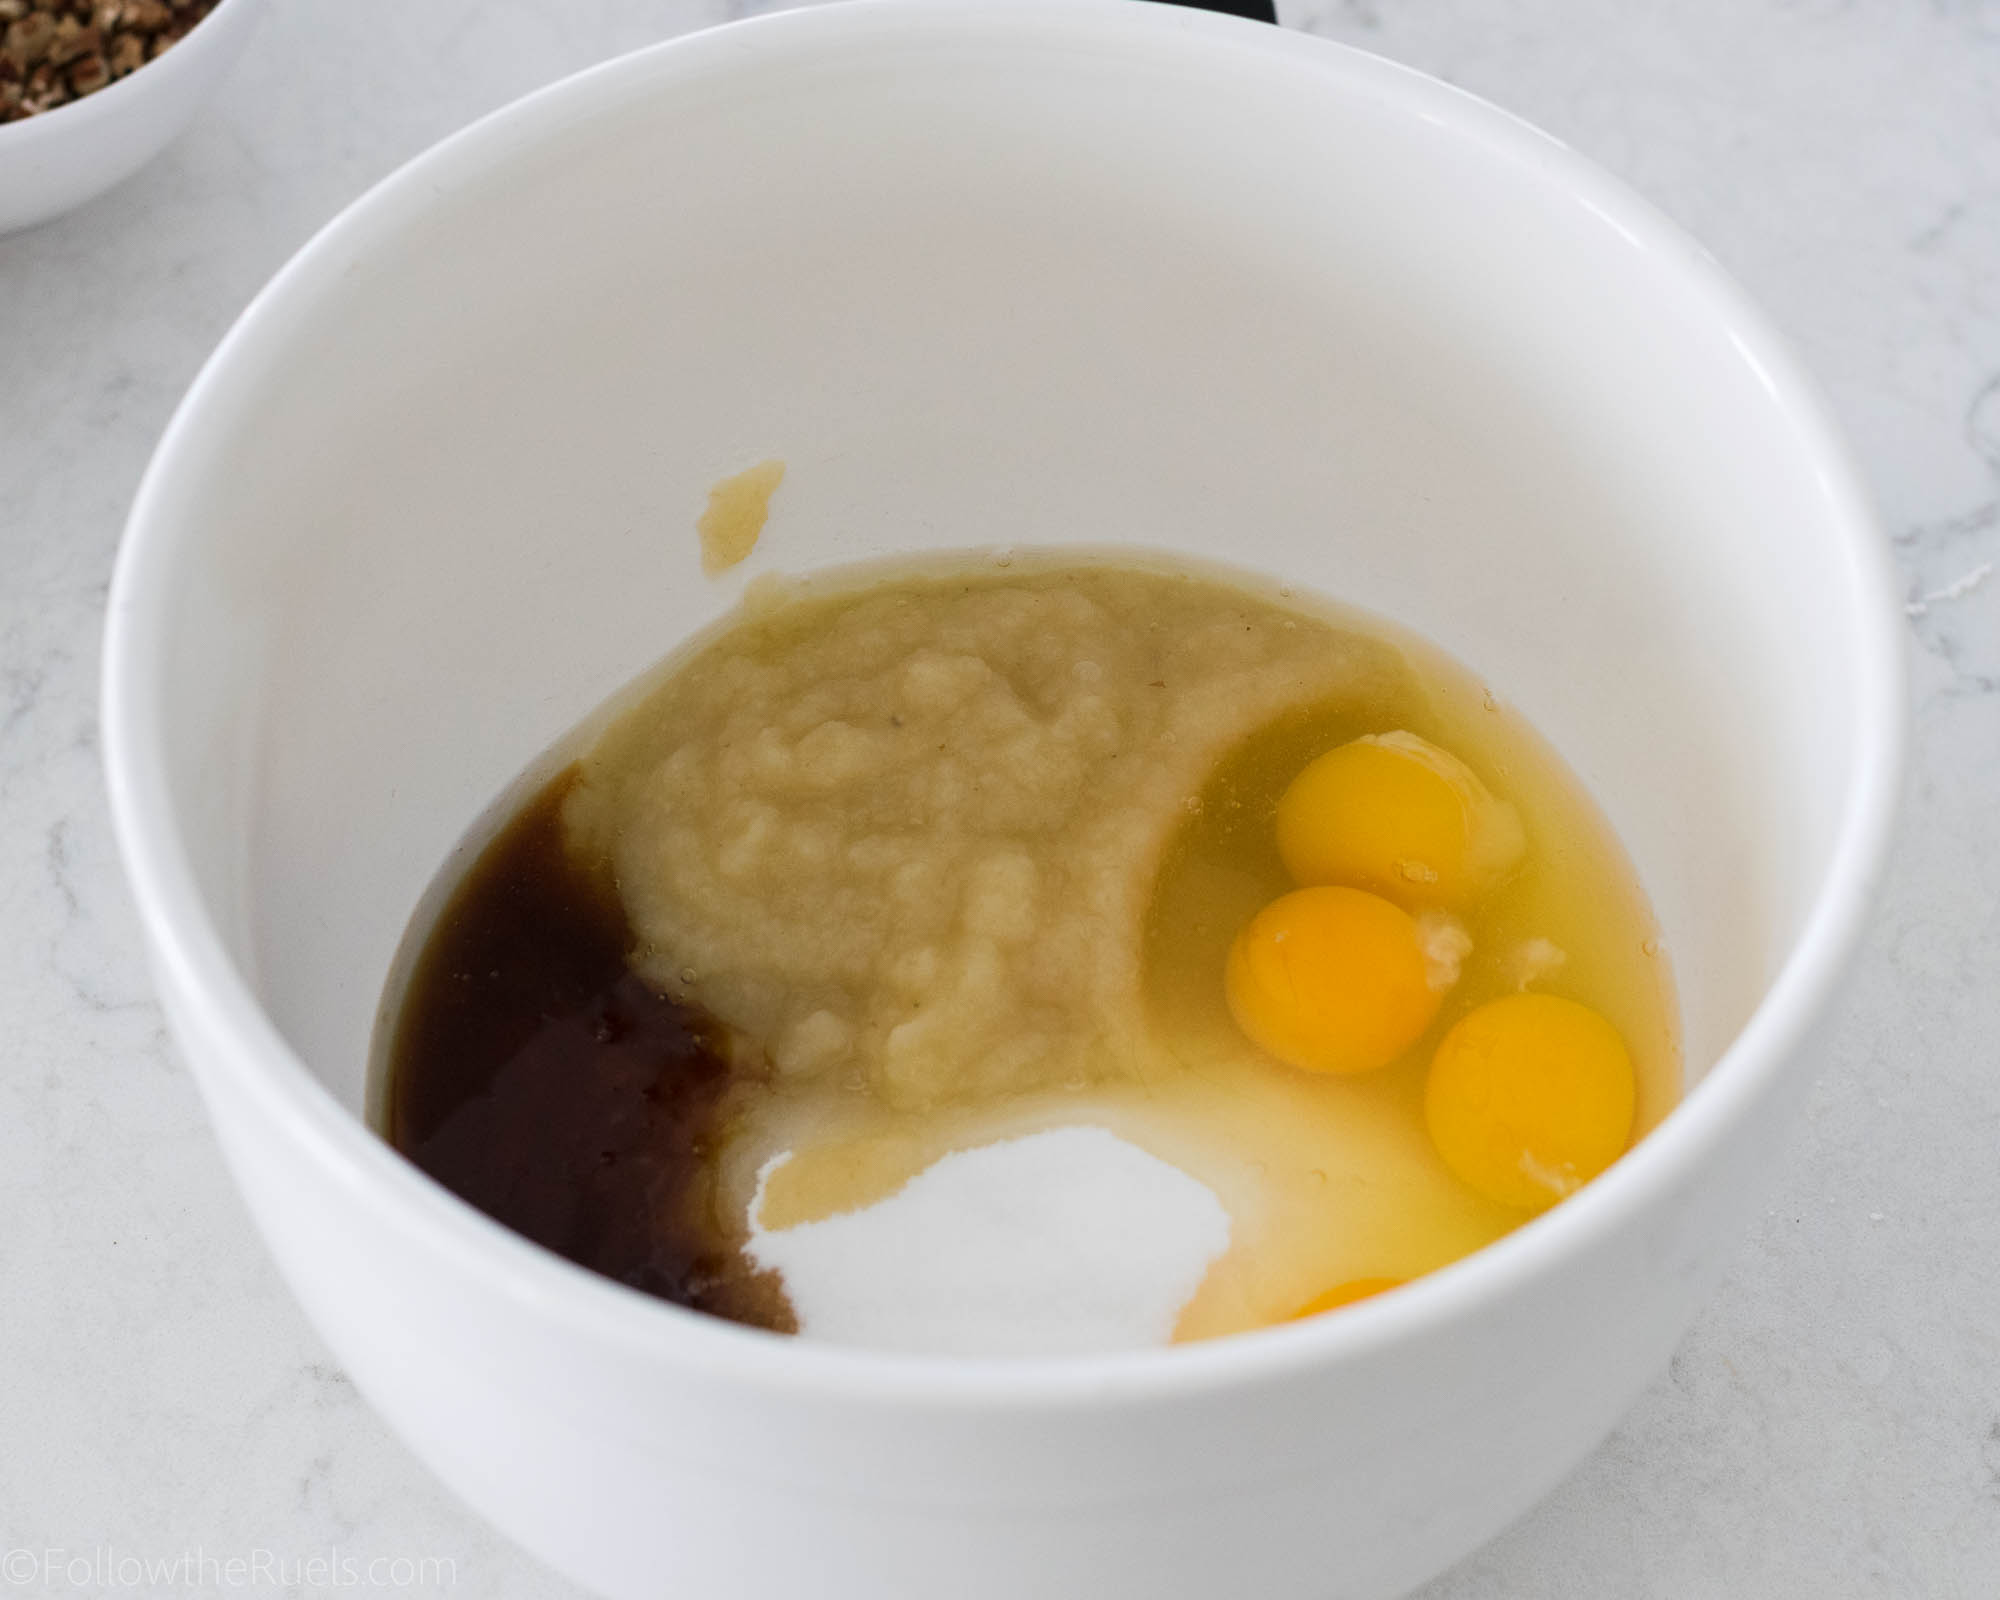
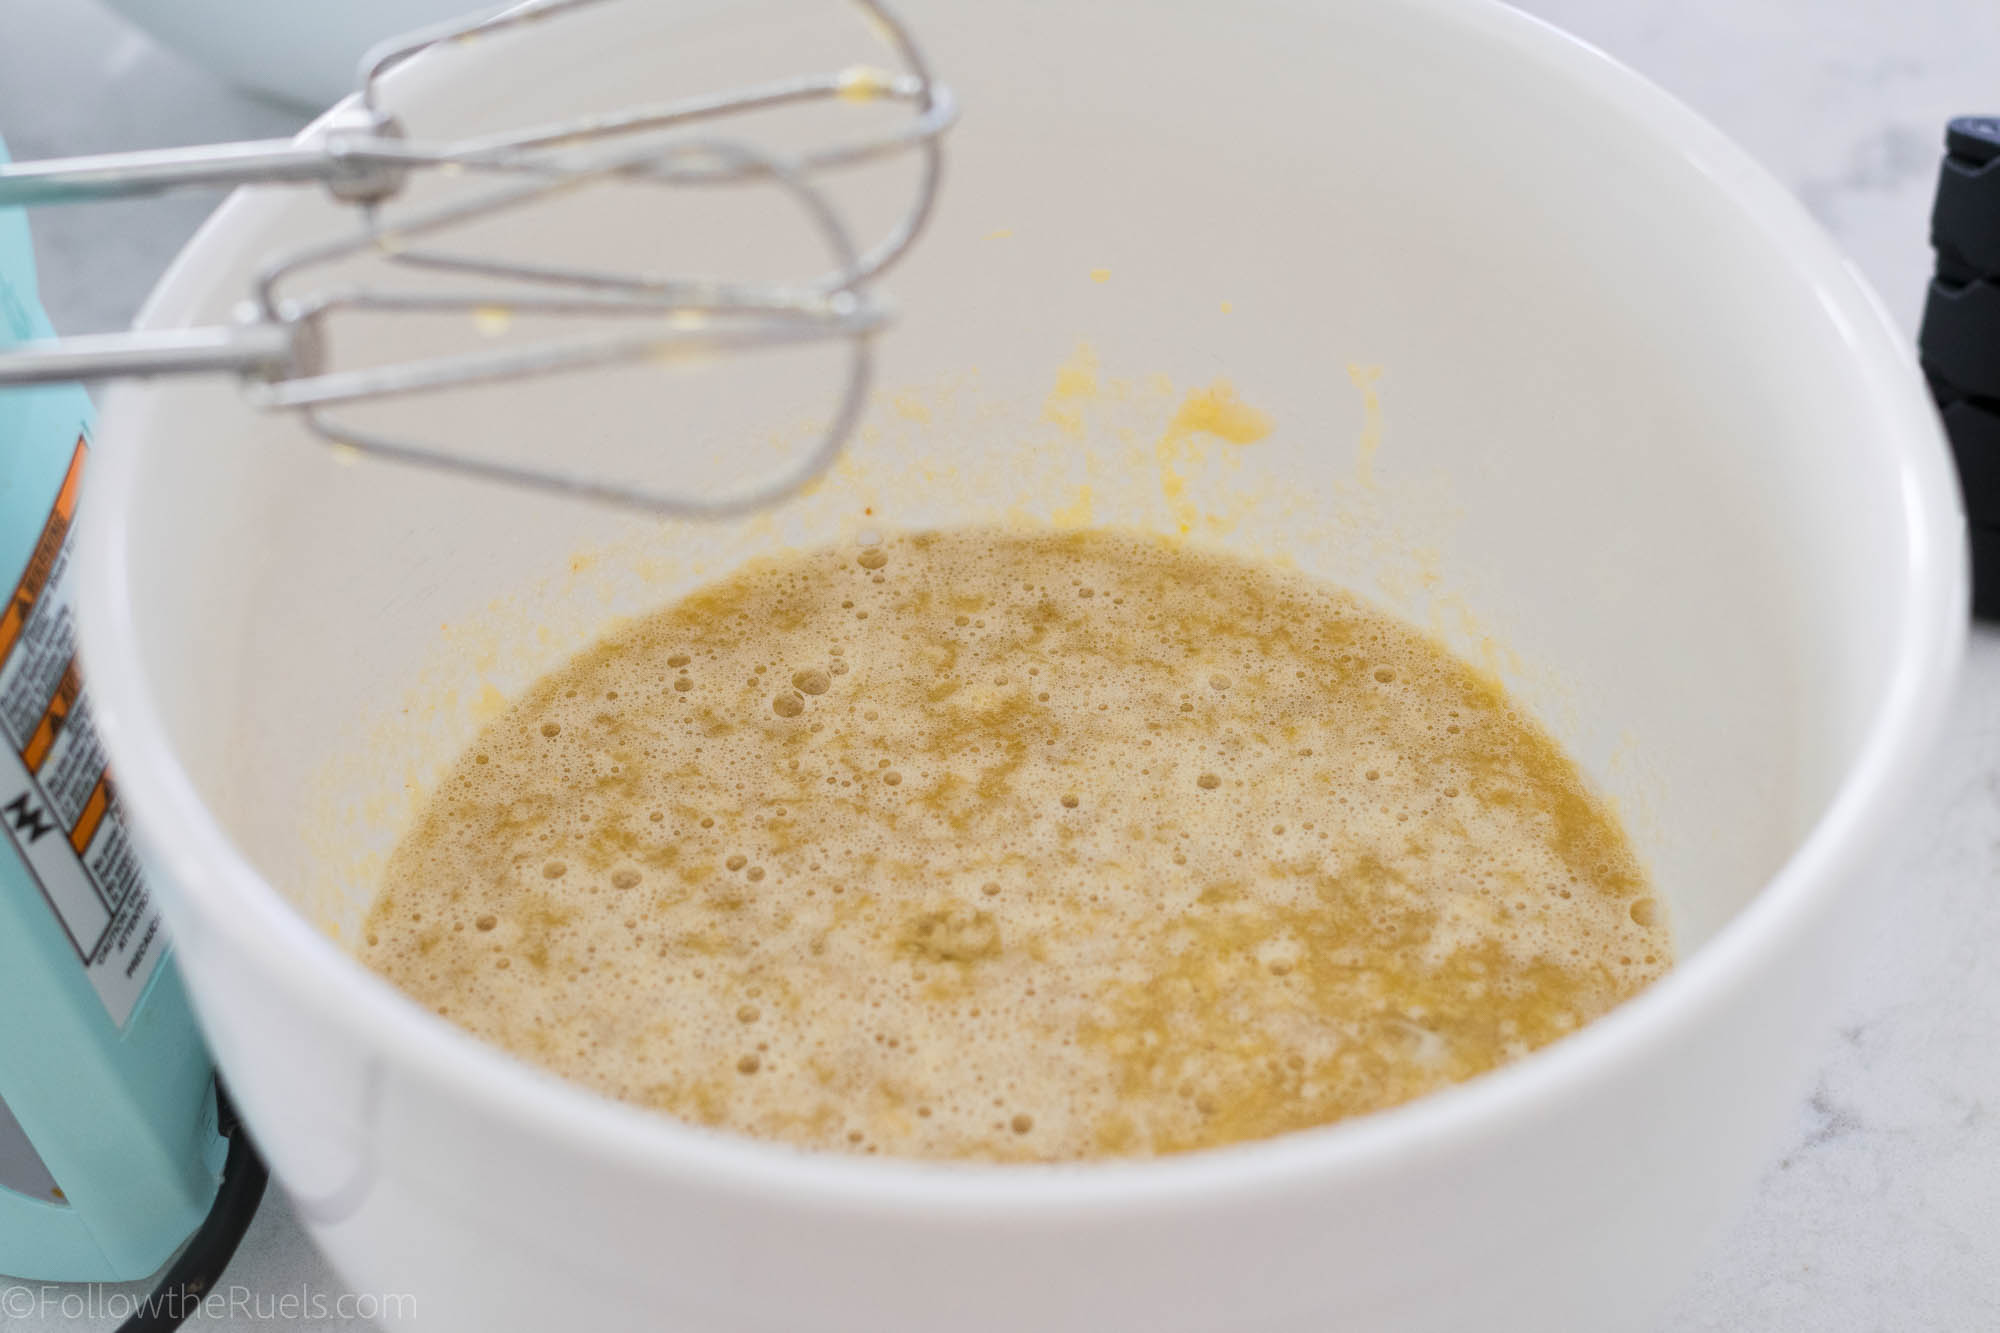
First mix together the sugar, eggs, apple sauce, maple syrup, and vanilla extract.

Until it’s nice and smooth.

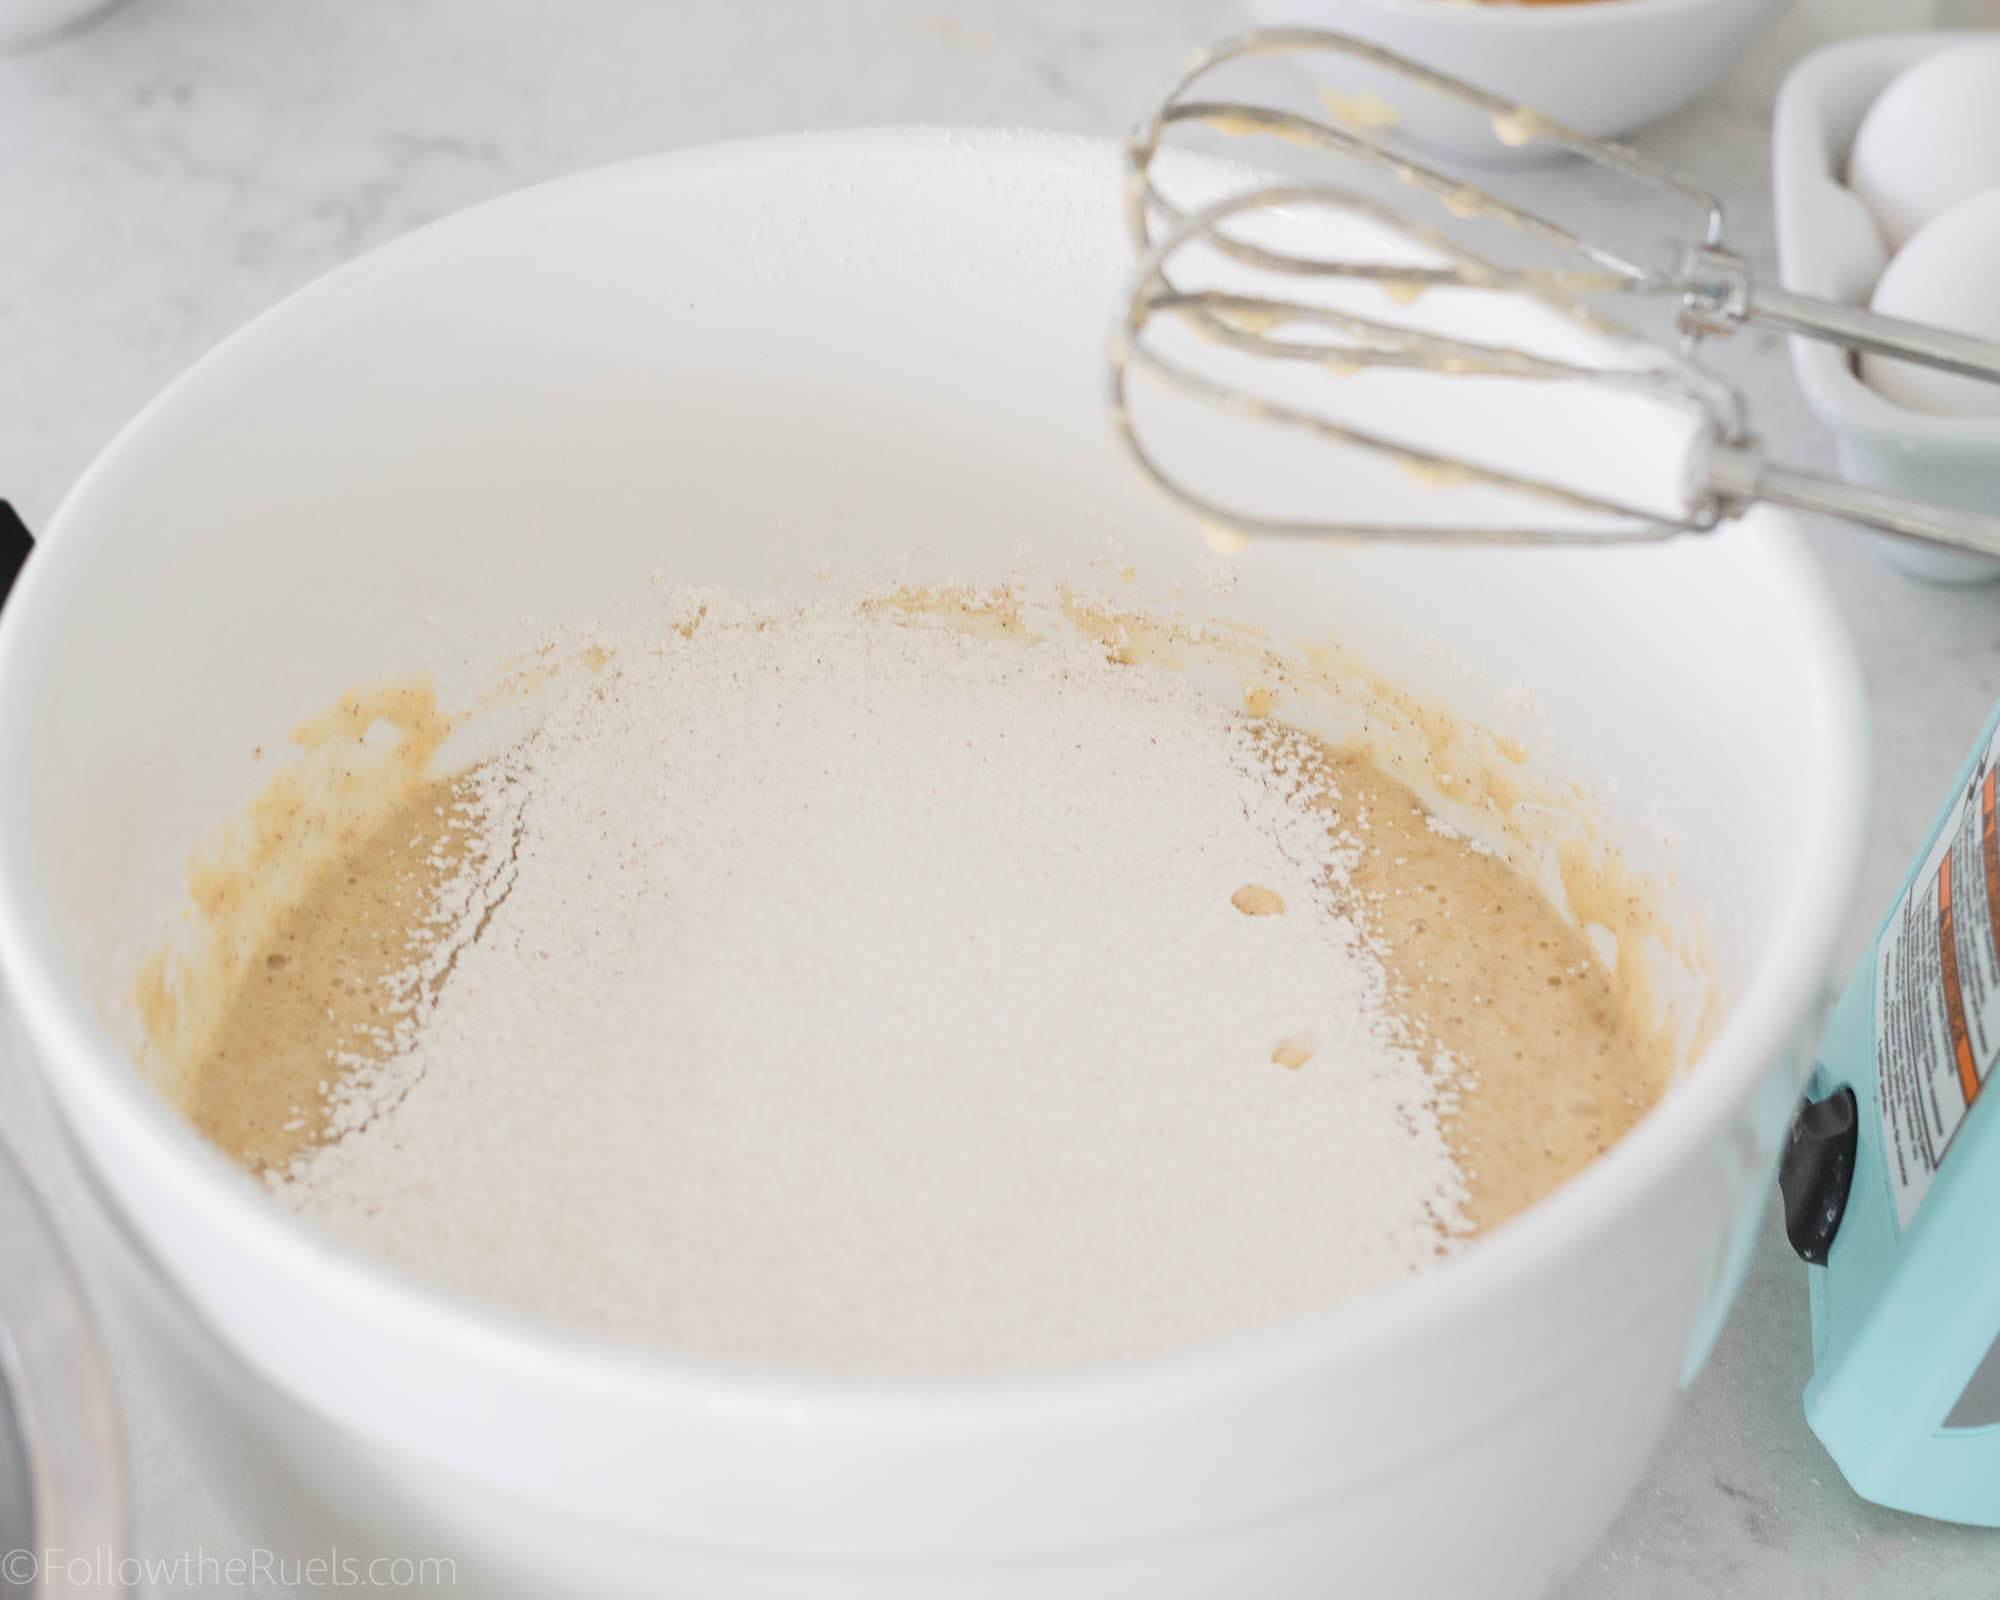
Sift in the dry ingredients: flour, baking soda, baking powder, cinnamon, nutmeg, and salt. Then mix until everything is incorporated. 

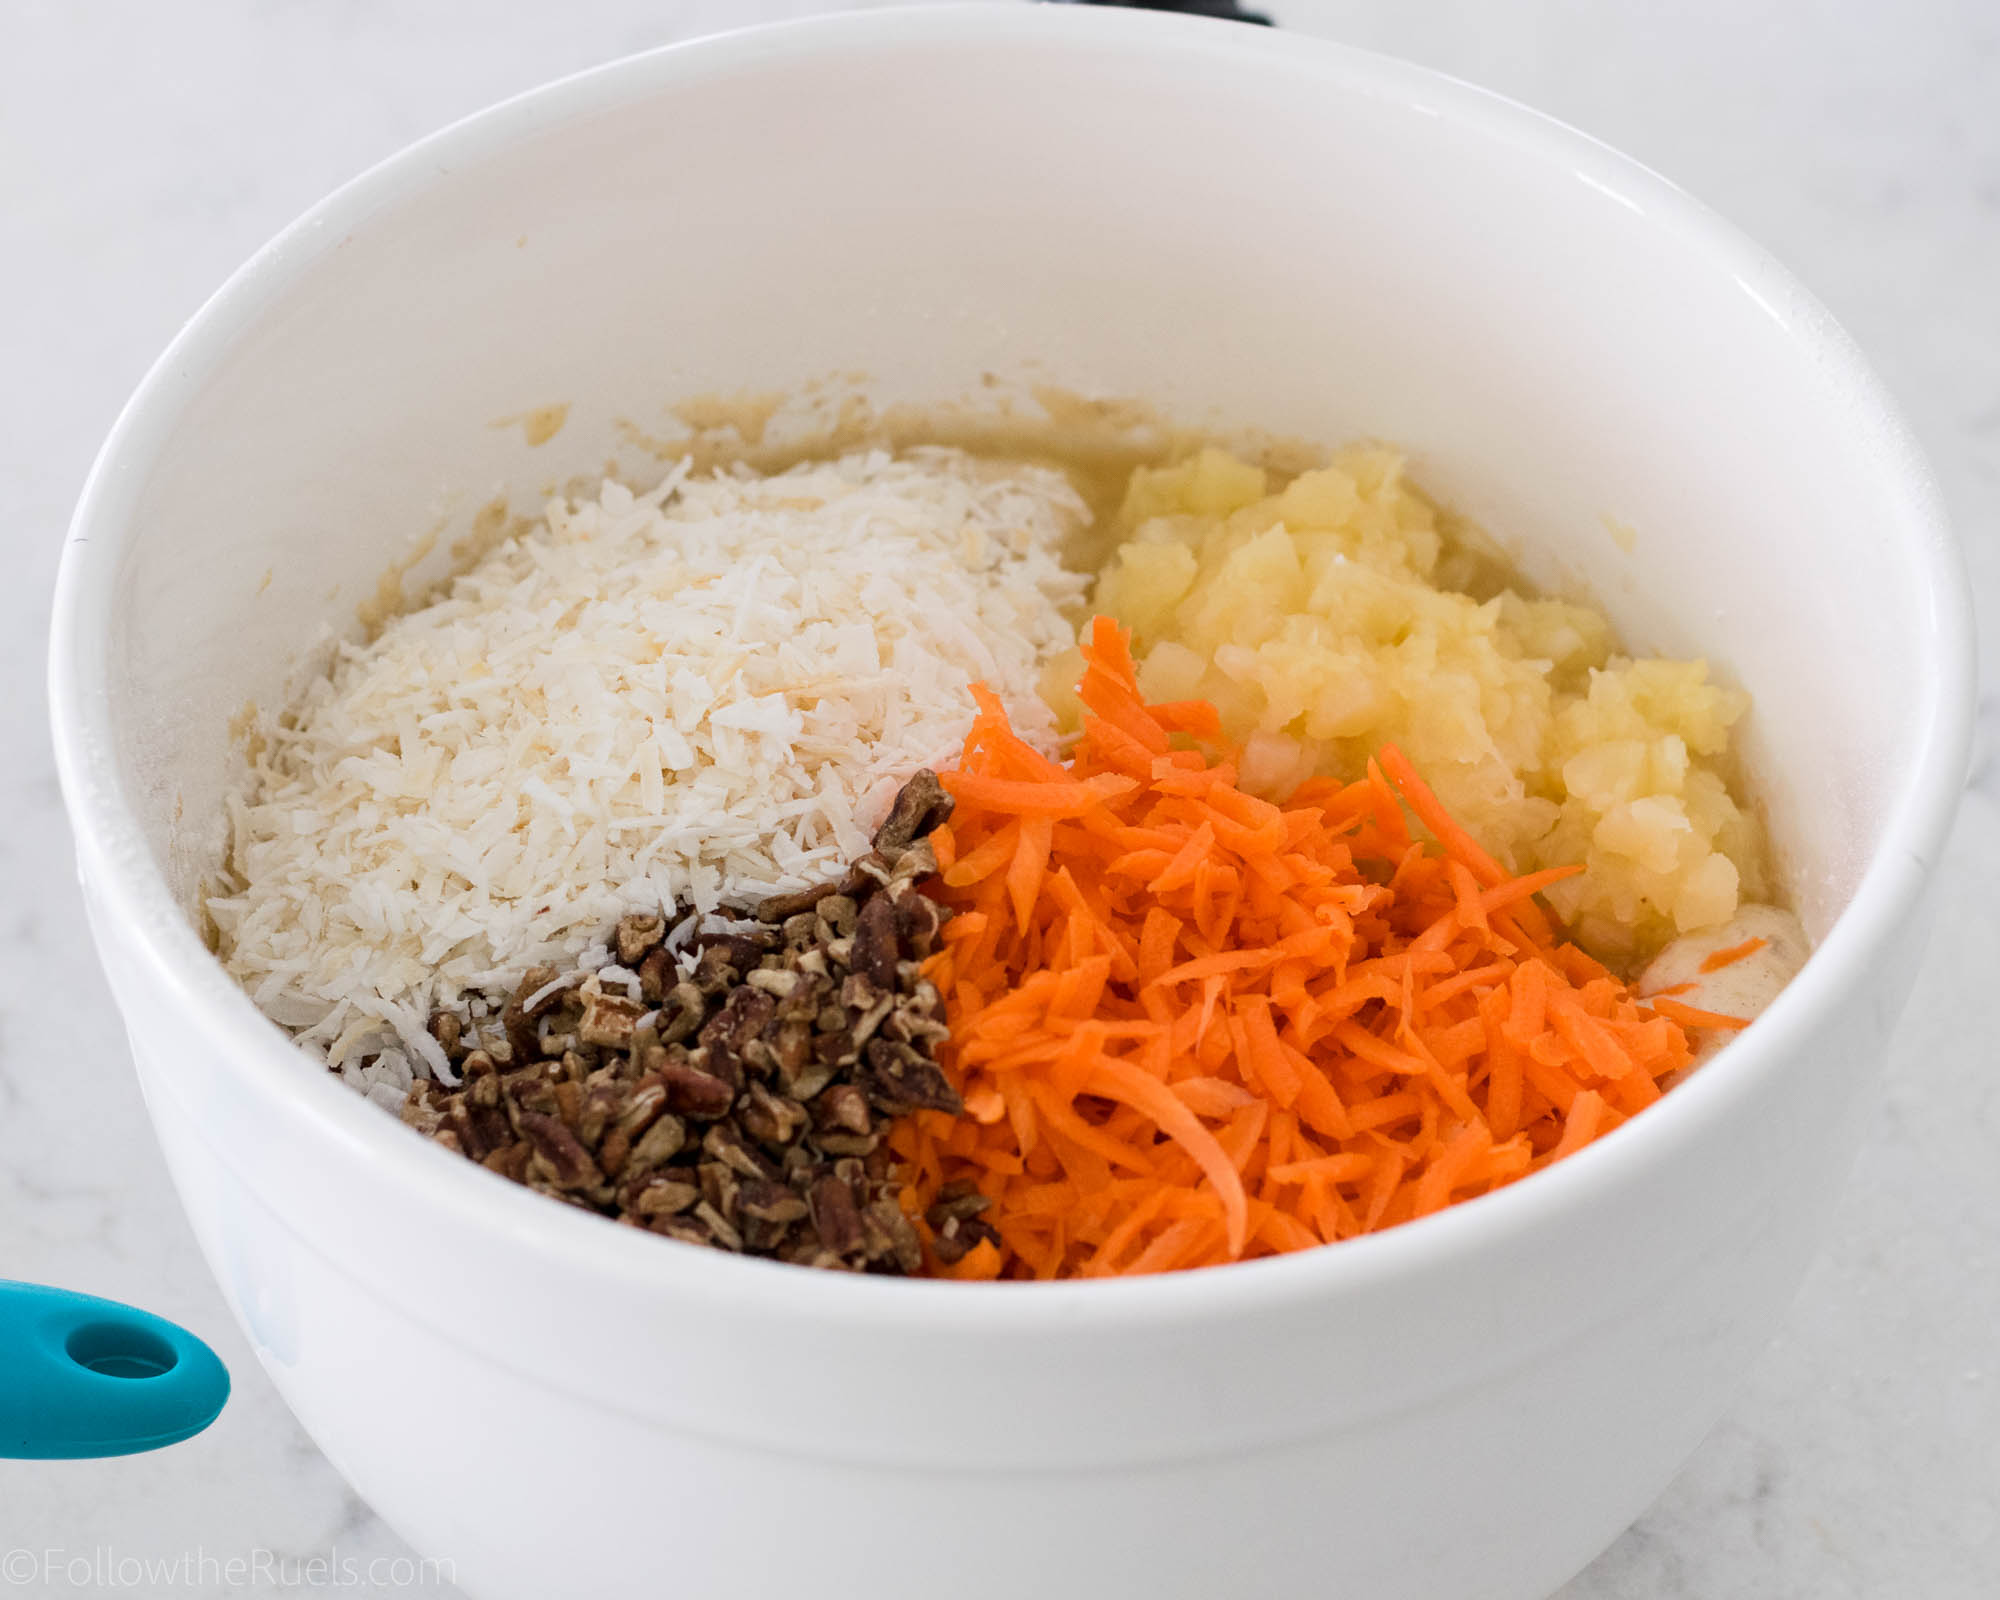
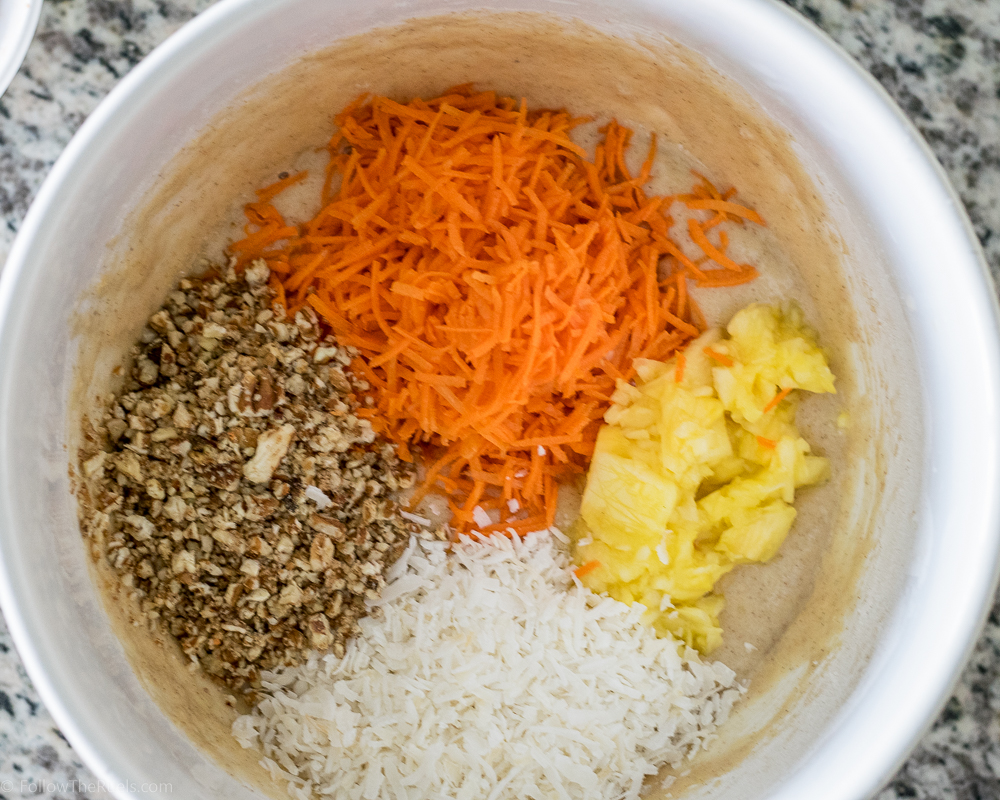
Fold in grated carrots, pineapple, coconut (preferably unsweetened), and chopped pecans. 

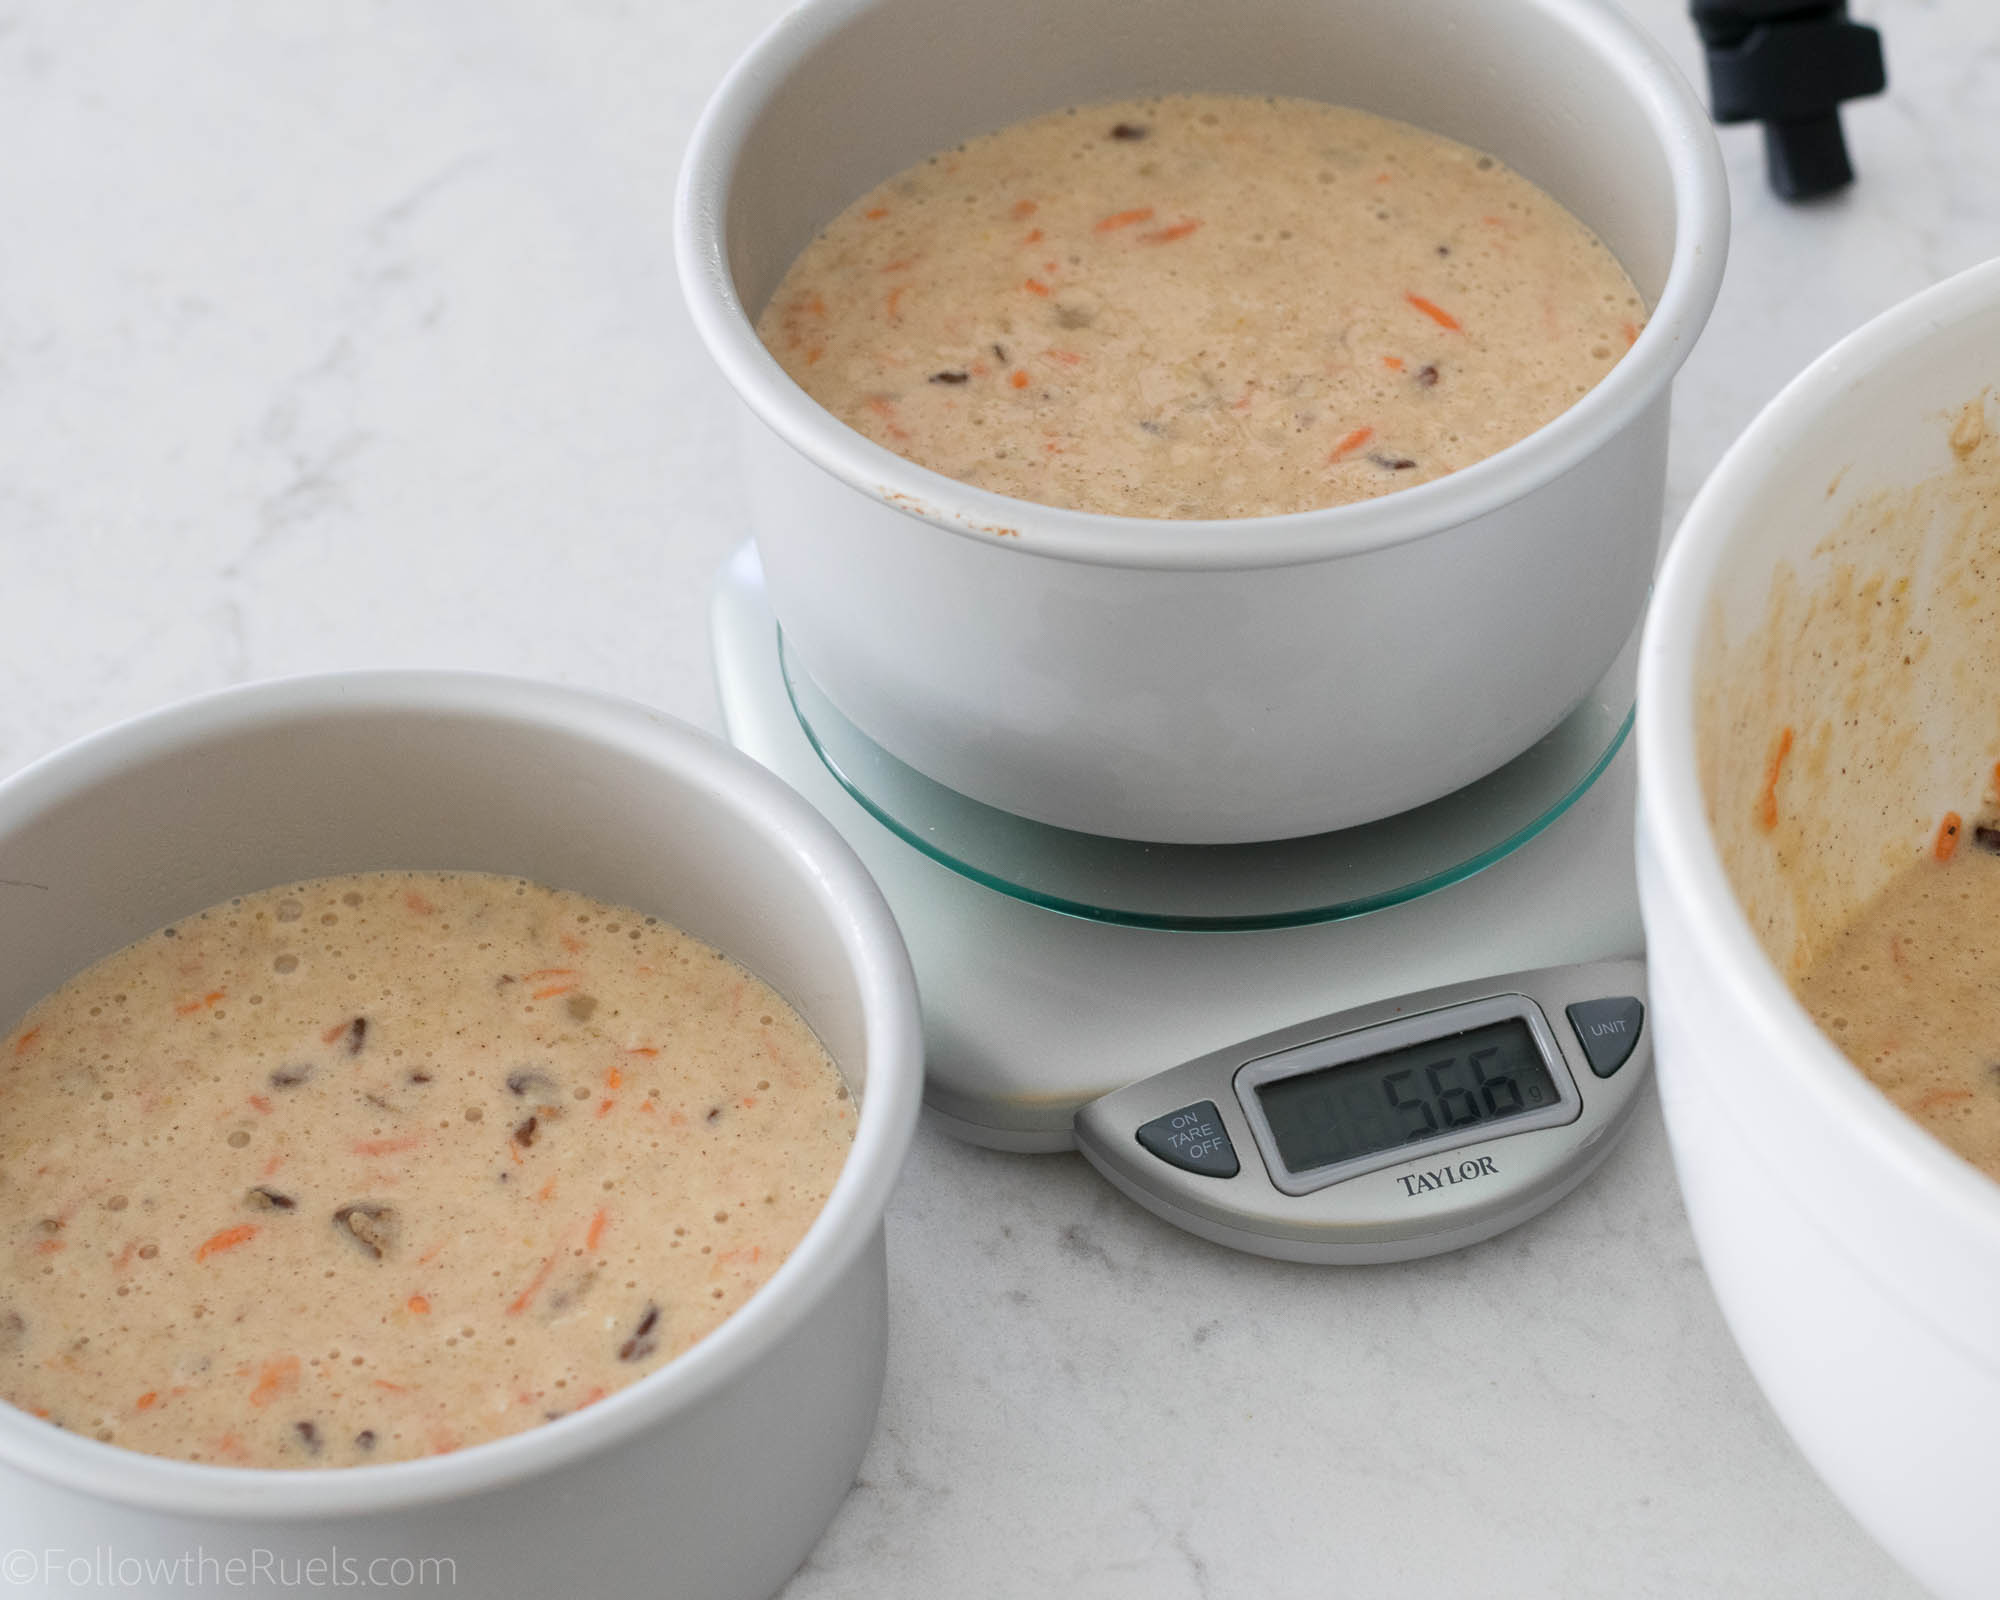
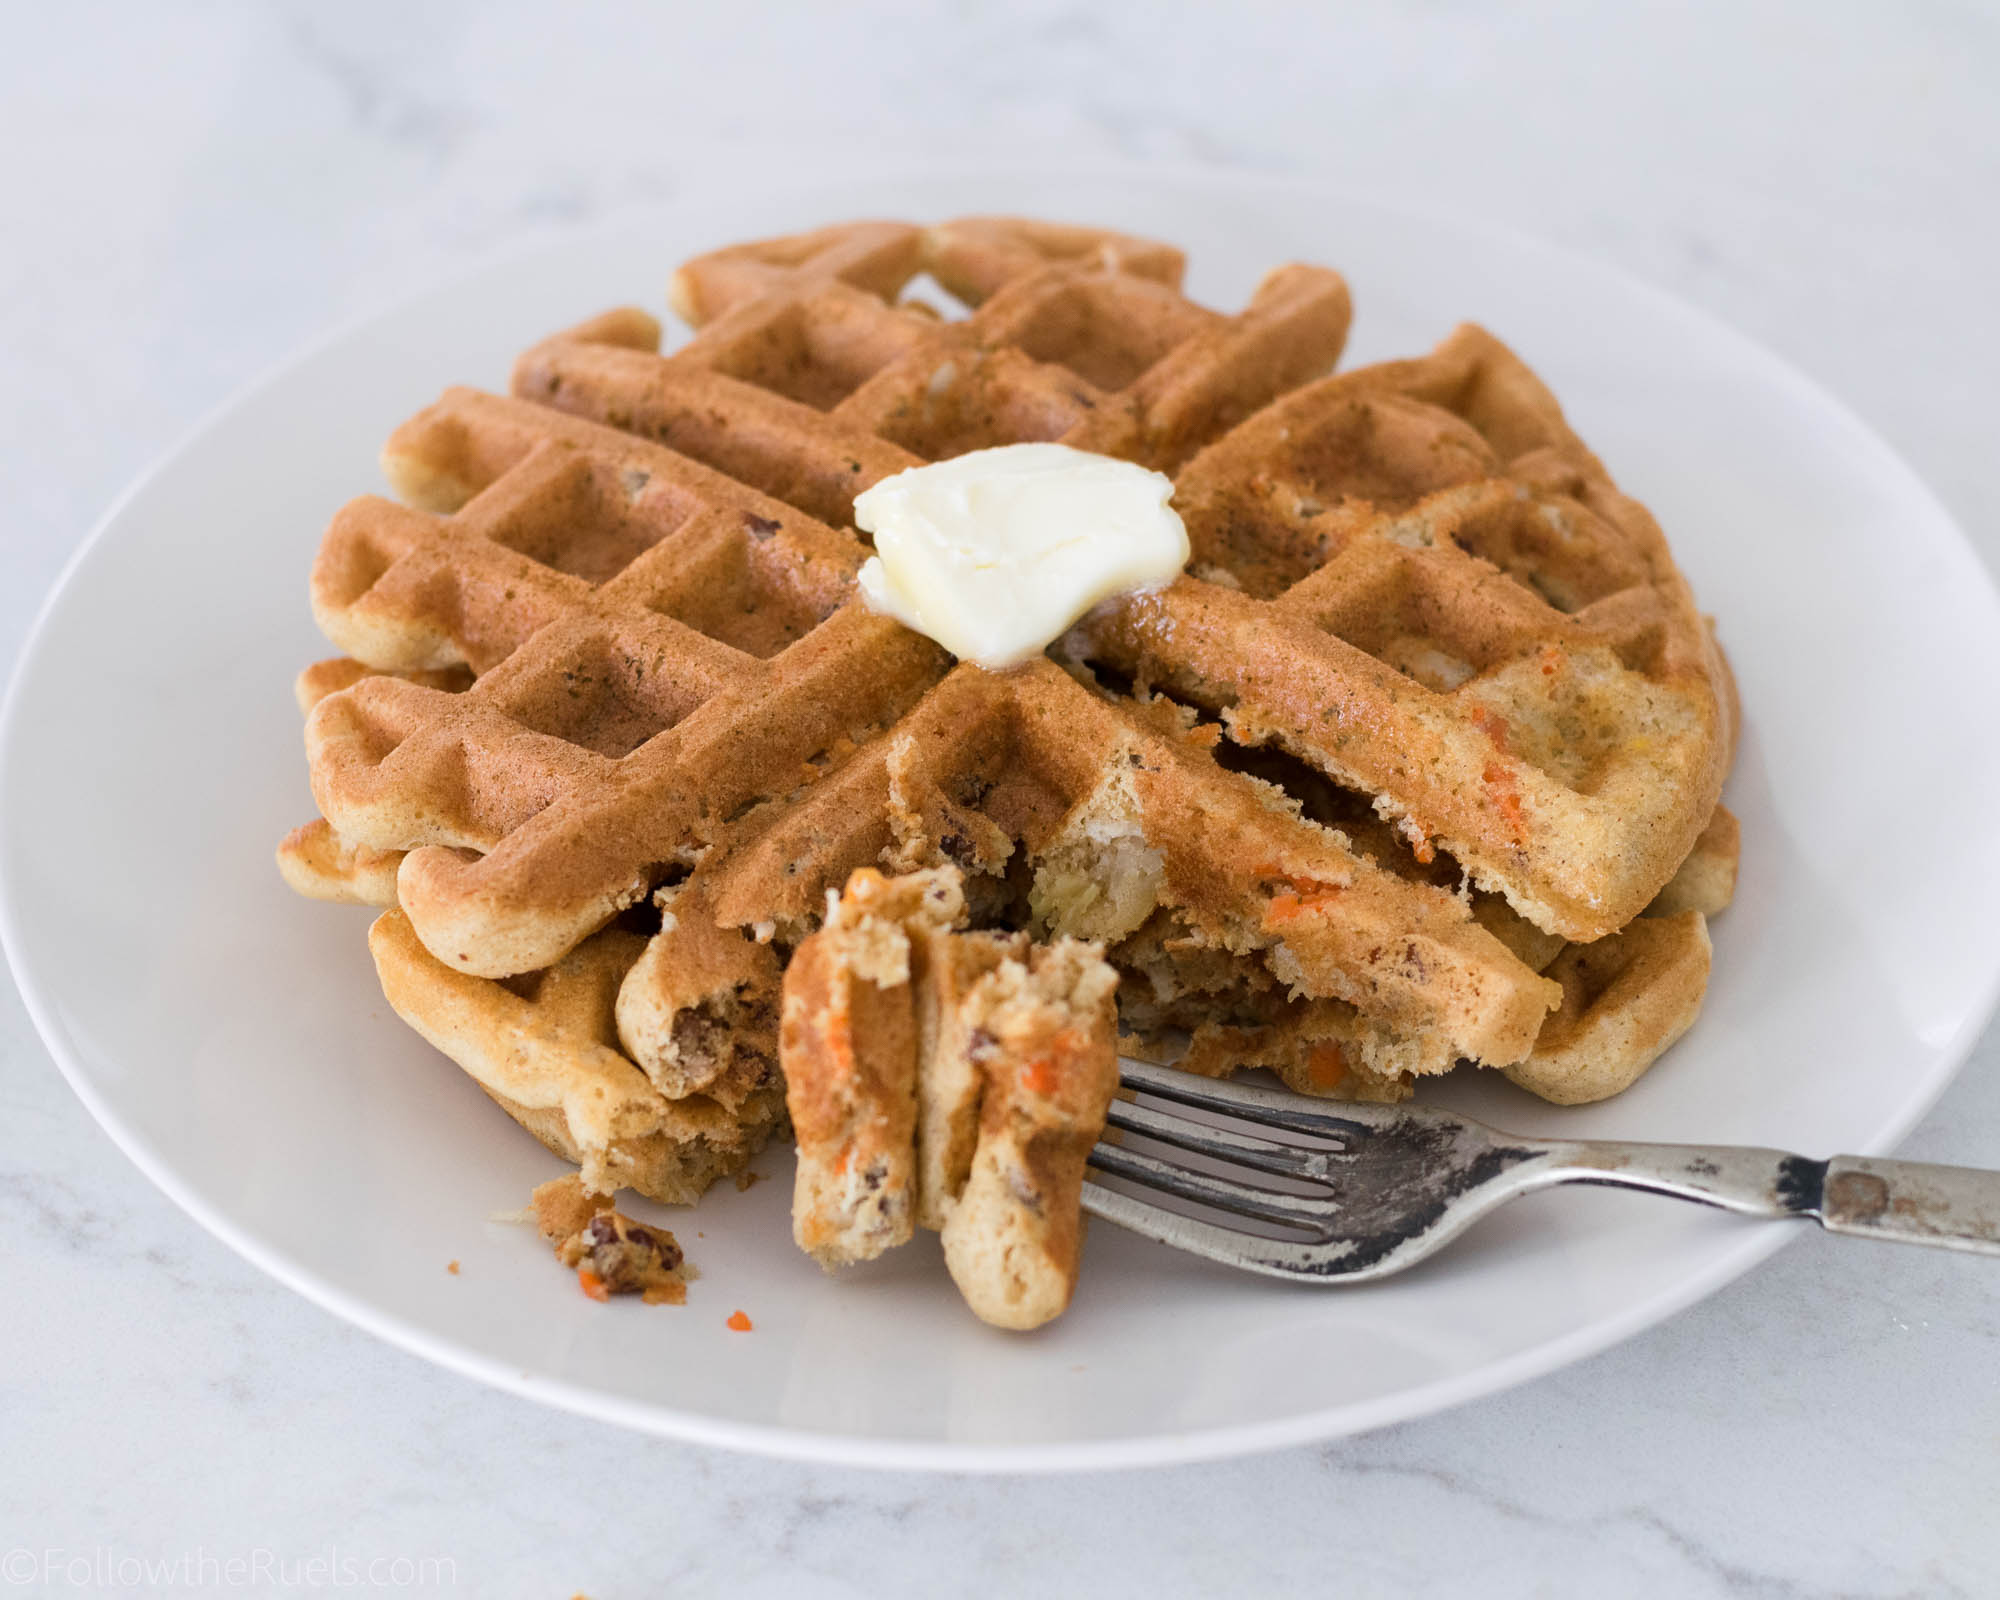
Then pour the batter into whichever vessel you would like to bake your cakes in. I have baked this in a sheet pan, a square pan, cupcake tin, even a waffle iron! But for this cake, I baked the cakes in two cake pans.

To make sure the cakes are even, I actually weigh the batter in each pan. OCD much? I am really not, but I just like knowing that my cakes will be as even as possible. 


Finally, decorate your cake however you wish! I highly recommend frosting the cake with cream cheese frosting, because that is really the best frosting for carrot cake. 

But if you prefer buttercream, I highly recommend this Swiss buttercream recipe, which is my absolute favorite. 

However you choose to frost this cake, or even if you leave it completely naked, you will love this cake. I can say that confidently as a former non-carrot cake lover. 

And, if you happen to have any leftover batter, you can make waffles with it!

[yumprint-recipe id=’164′]

/ Filed In: Cakes and Cupcakes, Cakes New, Desserts, Eat
Tagged: cake, cake decorating, carrot cake, layer cake, Spring

Pretty Bicycle Cookies

August 7, 2017

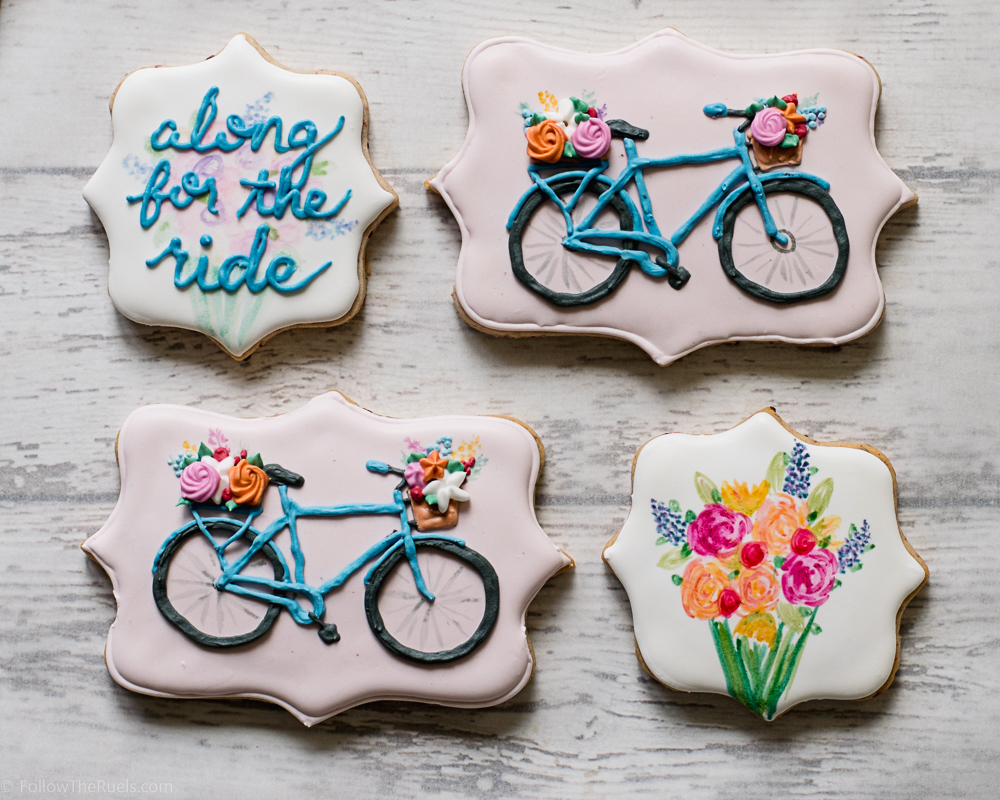
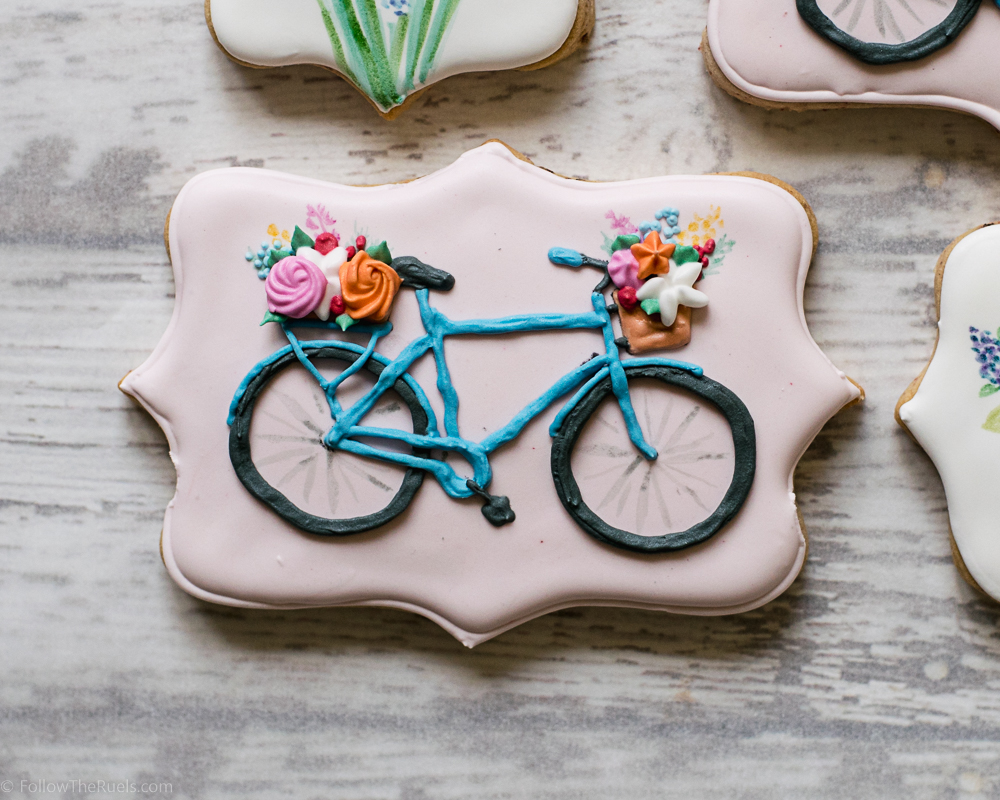
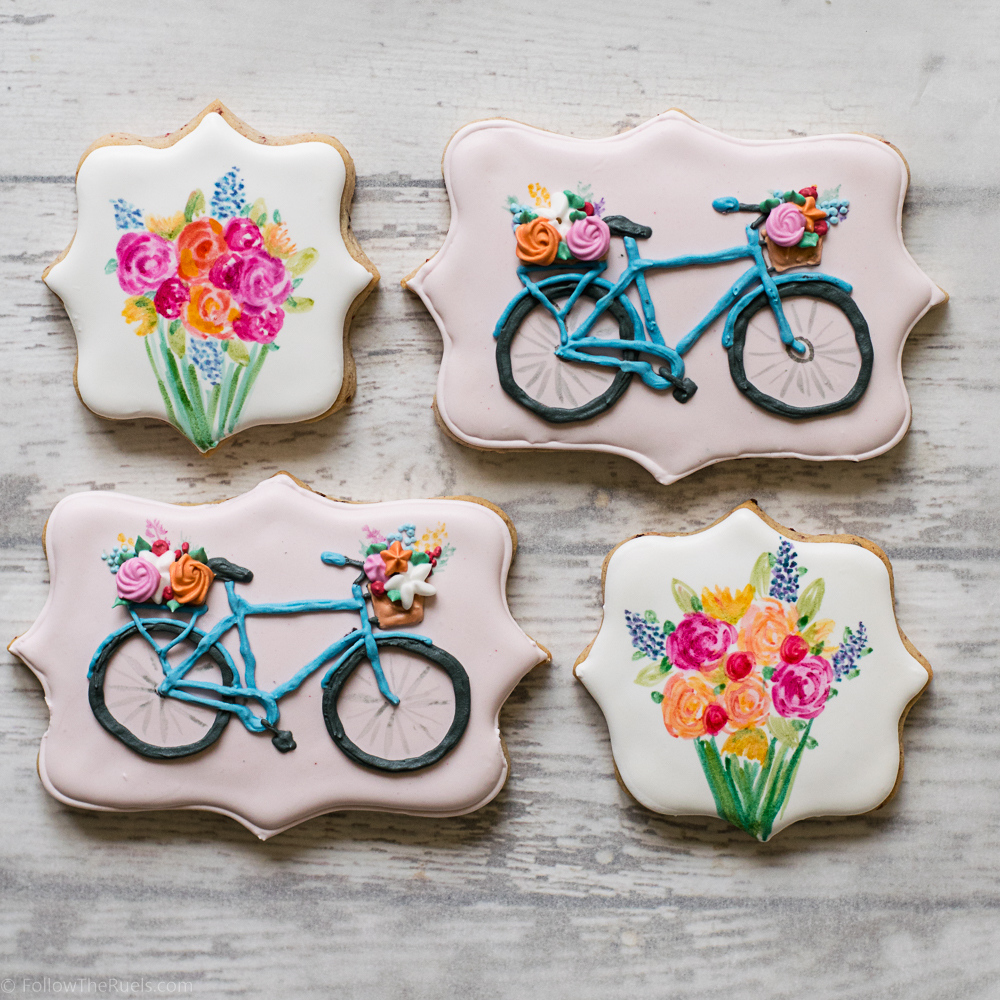
This past Sunday I spent a couple hours making cookies for a friend of ours who is moving to start her next adventure in life. I wanted to send her off with some cookies and these pretty bicycles with baskets of flowers somehow popped into my mind. Do they have anything to do with her move or where she is going? Nope. I just thought they were pretty. 

How can anyone turn down these pretty bicycles in cookie form? It makes me what to immediately go buy a blue bicycle even though the last time I rode a bike I nearly broke my leg. Clearly the person who coined the phrase “it’s just like riding a bike” had never met me. 

I digress…

You may be thinking that piping an entire bicycle with royal icing is extremely hard. While not the easiest thing to pipe, it’s actually just about as easy as tracing!

As I demonstrated in this post, you can easily trace just about any image onto dried royal icing with tissue paper and an edible ink pen. They trace over your image with royal icing. Easy peasy lemon squeezy!

For the flowers in the bike’s baskets, I painted some background leaves and flowers with gel food coloring that I diluted with some clear extract, like almond extract (sometimes I use vodka). Then I piped over them with some other flowers using my favorite piping tips. 

Here are all the recipes and supplies I used to make the cookies:

  • Royal Icing Recipe (I made 1 batch for about a dozen cookies)
  • Raspberry Lemonade Sugar Cookie recipe from my Summer Cookie Pack (or you can use my Sugar Cookie recipe)

Piping Tips:

  • #2 (small circle) tip for the wheels and body of the bike
  • #1 (small circle) for the pedal and handles of the bike
  • #14 flower tip for the pink rose
  • #24 flower tip for the peach rose
  • #225 flower tip for the white flower
  • #349 leaf tip for the leaves

Other Supplies:

  • Edible ink pen
  • Piping bags
  • Food safe brushes
  • Food coloring
  • Plaque Cookie Cutters

I hope you enjoy these cookies and maybe you will even make them for yourself or a friend! 

 
[show_shopthepost_widget id=”2775305″]

/ Filed In: Cookies New, Decorated Cookies
Tagged: bicycles, cookies, decorated cookies, flowers, royal icing, Spring, Summer

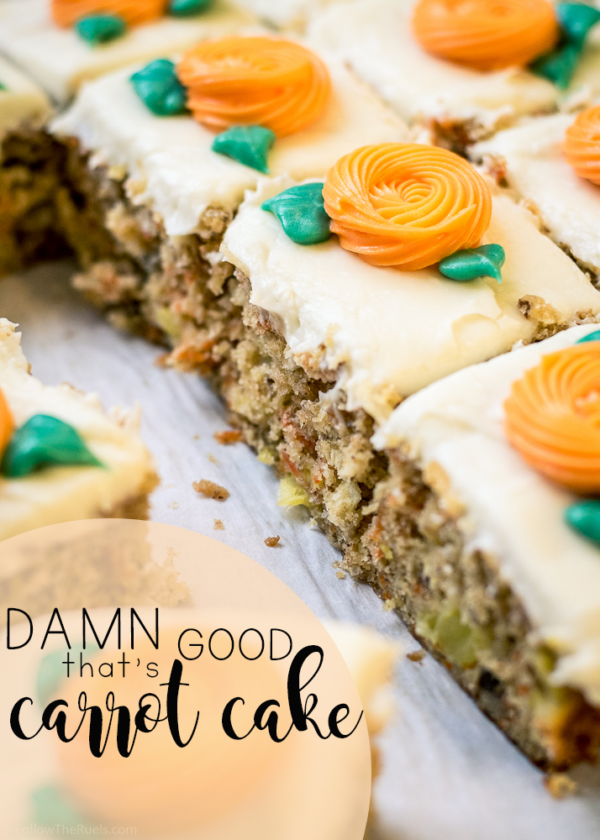
Damn That’s Good Carrot Cake

April 14, 2017

The title of this post is a direct quote from a coworker who tasted this carrot cake and uttered “Damn, that’s good carrot cake!”. This carrot cake even received a standing ovation from my boss. (Can you consider it a standing ovation if it’s just one person standing? sure, let’s go with it. It helps my story.)

Yesterday morning I dropped the cake off in our break room then ran downstairs to grab a coffee. By the time I had returned to the office, my boss had grabbed a piece of cake. As I was sitting down she yelled from her office, “Lindsey, did you make this carrot cake?” After I said yes, she proceeded to stand and slow clap. I mean, I have made some good stuff before, but nothing that has received a slow clap! (She went on use about a dozen different synonyms for moist and told me this was the best thing I had ever made.)

So between the standing ovation/slow clap and the “Damn, that’s good carrot cake” comment, I’d say this is, well, one damn good carrot cake! 

The ingredients in this aren’t a whole lot different than any other carrot cake, except for a not-so-secret ingredients: apple sauce, maple syrup, and nutmeg. All three are super subtle. You probably won’t even be able to tell that they are there, but they make a huge difference. 

The apple sauce helps make the cake super moist without adding any fat. The maple syrup adds another layer of sweetness that helps balance out all the flavors. And the nutmeg plays off the cinnamon to bring out the flavors of the pecans, coconut, and pineapple. 

While it may look like a hot mess of ingredients (this is definitely the most ingredients I have ever added to a cake), it’s really simple to make!


First mix together all the dry ingredients in a small-ish bowl. Just something big enough to hold all the flour. Then, in a larger bowl, whisk together all the wet ingredients. Dump the dry into the wet and whisk until you have a batter. 

Now it’s time for the party to start! Add the carrots, pineapple, pecans, and coconut to the batter and fold in until everything is nicely incorporated throughout the batter. 

Just a side note: I prefer to have my nuts pretty finely ground whenever I add them to baked goods. I do not like biting into a huge chunk of pecan when I eat my cake. So I recommend tossing them into your food processor and grinding them down into something that resembles a coarse meal. It’s okay if there are some bigger pieces. 

Now just add it to your pan and bake for about 35 minutes. 

I baked mine in a square pan because I wanted it to be more like a sheet cake. But you could also split this into two 8-inch round pans if you wanted to make a layer cake. 

After it has baked and cooled, you can frost this bad boy with some of my all time favorite cream cheese frosting. Cream cheese frosting it just amazing on carrot cake. Everything that was healthy about the carrot cake before, can be thrown out the window once you add the frosting. And that’s why they work so well together. 


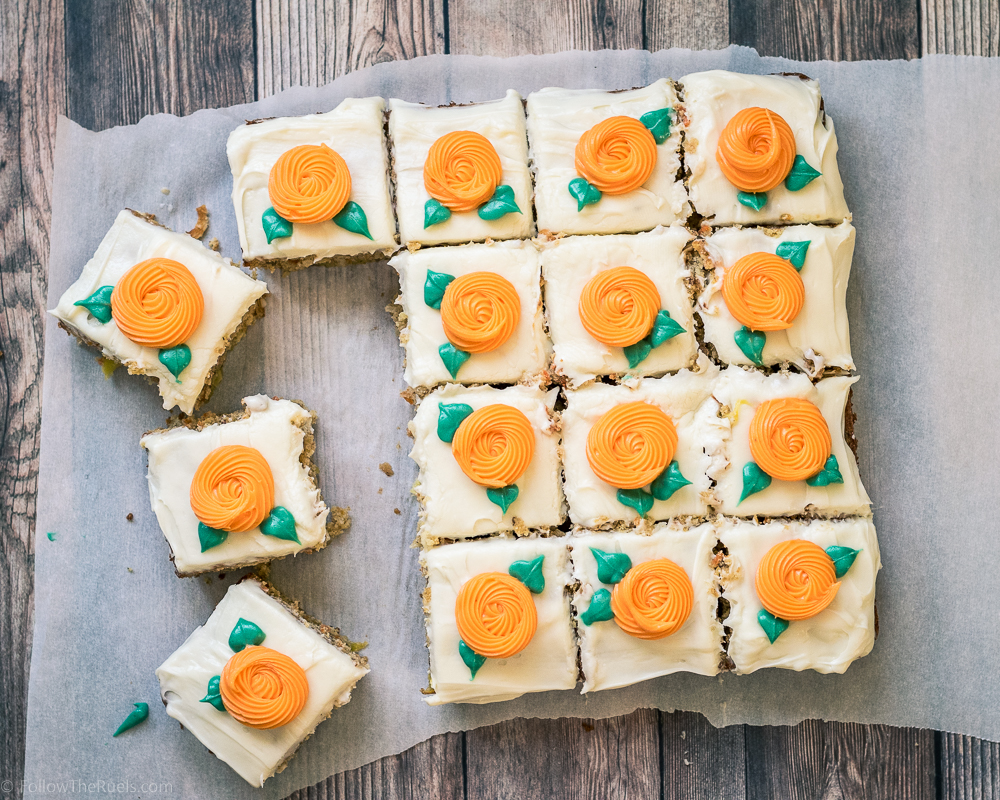
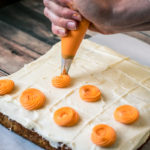
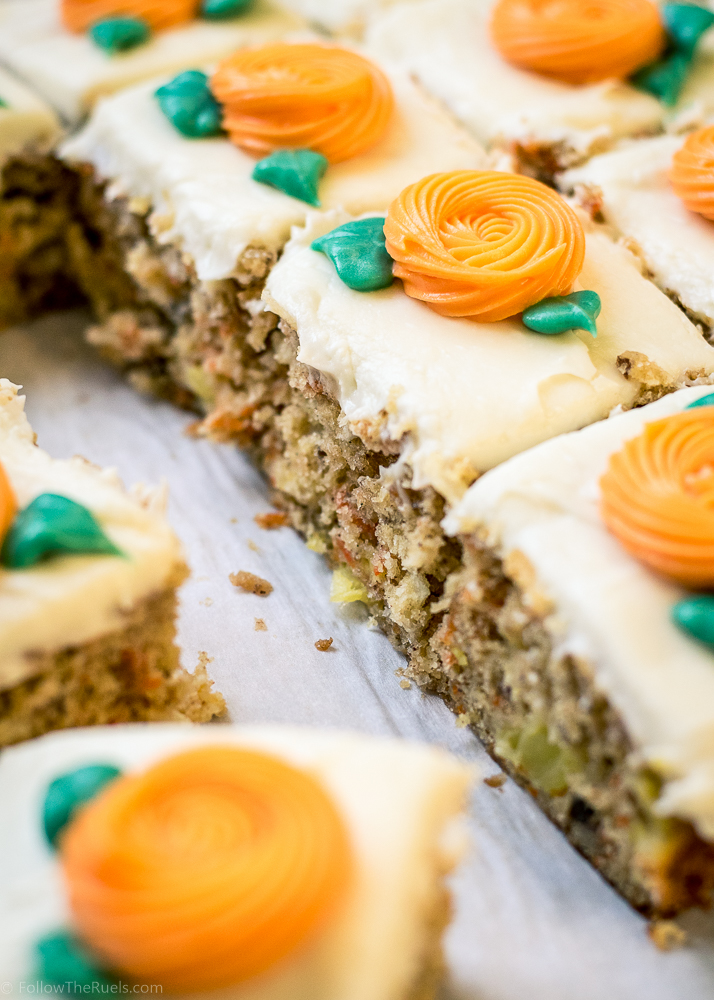
It you want to add some rosettes like I did, separate out about 1/2+ icing into two separate bowls. Color most of it (about 1/2 cup) orange, and the rest of it (about 2 tbsp) green. For the rosettes I used a #21 piping tip, but you can also use a small closed star piping tip as well. For the leaves I used a #352. 

Mark out 16 slices of cake. In the center of each piece, pipe a small rosette by making a small spiral with the #21 tip. On the side of each one, pipe two leaves. Easy peasy, right? 😉 You got this!

But with or without the decoration, this cake is sure to win you over some fans. I was definitely surprised by the reaction I received for this humble little carrot cake. According to some people, it is now the best thing that I make!

[amd-yrecipe-recipe:150]

PIN NOW, MAKE LATER

The best carrot cake you will ever make!

/ Filed In: Cakes and Cupcakes, Cakes New, Desserts, Eat
Tagged: cake, cake decorating, carrot cake, cream cheese frosting, Easter, Spring

Easter Egg Popcorn Balls

March 20, 2017

Did you make popcorn balls as a kid? Sadly my childhood was void of popcorn balls, which is a shame because they are so much fun to make! They are the perfect thing to make with kids, or for kids, because they require just a few basic ingredients  and absolutely no baking.

I didn’t even have a popcorn ball until I was an adult. I have a friend that makes them every year for the holidays to hand out for friends and family. I look forward to her popcorn ball delivery every year! But these puffy, sweet popcorn confections shouldn’t be reserved for Christmas. They seemed perfectly suited for Easter, too!


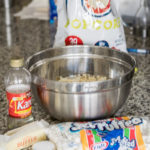
You may already have everything you need to make these popcorn balls in your pantry. All I needed to pick up from the store were the marshmallows.  We always seem to have a monster, Costco-sized bag of SkinnyPop in our pantry, so I used that instead of making popcorn from scratch. So much easier, plus I have something to snack on while I make the popcorn balls!

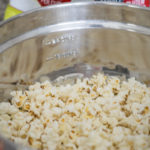
Just find the biggest bowl you have and pour in your popcorn. I like this one because it has the measurements on the side so I don’t have to individually measure out 8 cups of popcorn. 


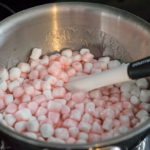
Set your popcorn aside and get to work on the sweet marshmallowy goodness to pour on top. Melt together the butter, corn syrup, and sugar. If you want to tint your marshmallow mixture, this would be the time to add your food coloring. Then add in the marshmallows and watch them dissolve into a creamy sauce. 

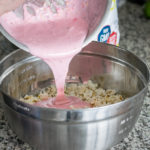
Once all the marshmallows are all melted, pour them right over the popcorn and use your biggest spatula to stir everything together until all the popcorn pieces are covered. If you feel like getting a little crazy, you can also add some sprinkles.


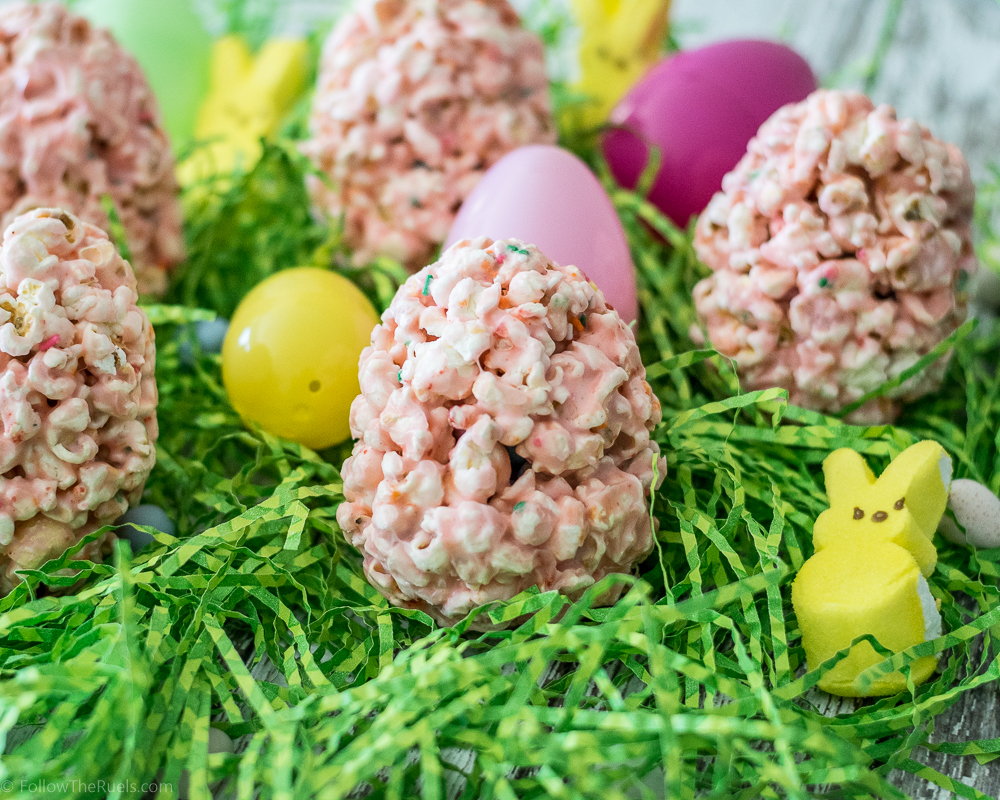
Now, to form them in to Easter eggs, you could just form them with your hands into a slightly uneven oval shape. Make sure you grease them up with a little cooking spray or else to you will have sticky popcorn all over your hands.

OR…

You could add a little something extra by stuffing some M&Ms into the center!


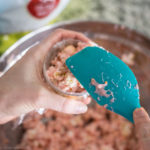
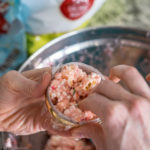
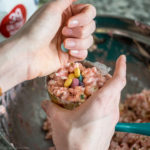
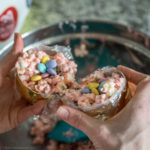
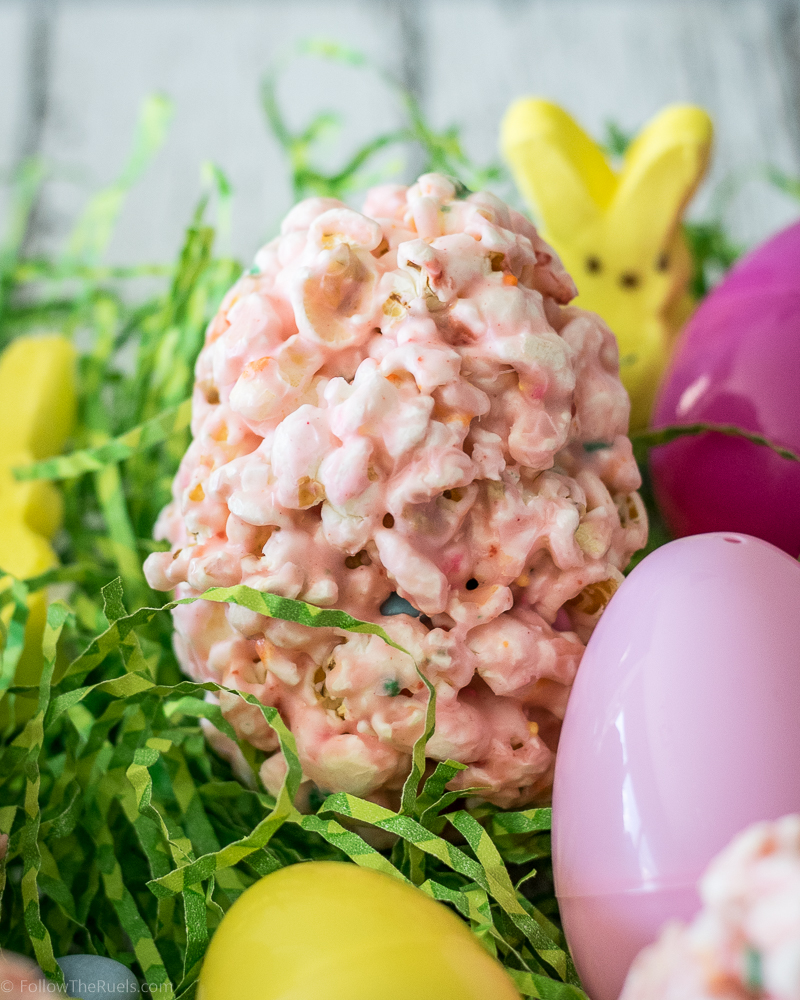
To make your surprise inside Easter Eggs, use the largest plastic egg you can find and press the popcorn mixture into one half. Then use your finger to form a little hole and fill it with the candies. Do the same thing with the other half then press the two sides of the Easter egg together. When you pull the plastic egg apart, you should have one while popcorn ball Easter egg. 

How adorable are these? Wouldn’t they be a fun addition to an Easter basket? I wrapped them up in plastic wrap once they had set a bit and you could barely tell they were wrapped. 


And of course they look like a plain Easter Egg Popcorn Ball, but you and I both know that there is a little somethin somethin inside. 

Because every Easter Egg should be filled with candy! Even the popcorn variety!


[amd-yrecipe-recipe:142]

/ Filed In: Desserts, Eat
Tagged: candy, Easter, Easter Egg, marshmallow, popcorn, Skinny Pop, Spring, Surprise Inside

Spring Fling Giveaway and Linkup

March 20, 2016

Spring-Fling-Giveaway-Header

Spring has officially sprung! The sun has come out, the birds are chirping, and the flowers are in bloom! There is so much to love about Spring. My favorite thing about the season has to be the weather and the beautiful dogwood trees that bloom here in North Carolina in the Spring. 

To usher in the new season, we wanted to giveaway some cold hard cash! You can do whatever you want with it as long as you have fun doing it! Personally, I would take myself on a little shopping spree! 

But this isn’t just about a giveaway, although who wouldn’t want $75? You can also link up any of your favorite Spring posts whether they are recipes, crafts, home decor, outfits, or anything that you love about the season! 

Now meet your beautiful hosts…

Spring-Fling-Hosts2

Lindsey of Follow the Ruels | Facebook | Twitter | Instagram | Pinterest 

Shirley of Intelligent Domestication | Facebook | Twitter | Instagram | Pinterest 

Chelc of Inside the Fox Den | Facebook | Twitter | Instagram | Pinterest

Ashley of Homegirl | Twitter | Instagram | Pinterest

Dee of Meatloaf and Melodrama | Facebook | Twitter | Instagram | Pinterest


LINK UP!

Linkup your favorite Spring posts, past or present, and then come back and visit some other bloggers and share the love. 

An InLinkz Link-up


Now lets get to the reason you are really here…

THE GIVEAWAY!

Follow us on the social media channels linked below. Each time you follow us you increase your odds of winning! The giveaway is open until Friday, March 25th and the winner will be verified and announced on Saturday, March 26th. 

a Rafflecopter giveaway

Good luck!!

/ Filed In: Blog
Tagged: giveaway, linkup, Spring

White Chocolate Brownies

April 18, 2014

BBC White Choc Brownies1


These sweet little cake-like bars posed a challenge for me. Not in making them. No, they were really easy to make. In what to name them. Can you call something a brownie if its not brown, but it is made with chocolate? Maybe calling it a white chocolate blondie would have been more appropriate. 

BBC White Choc Brownies4


Making these brownies was far less complicated. And honestly, they came to me on whim. I wanted to make something using the Easter candy I had picked up at CVS when I should have been buying allergy medicine. After scarfing down half a bag of M&Ms, I knew I had to use up the rest. 

BBC White Choc Brownies2


I adapted a brownie recipe using white chocolate chips instead of milk chocolate, which worked out surprisingly well. I used a bit less butter and sugar since white chocolate has more fat and is more sweet. But whipping them up was rather fool proof. If I were making them any other time of the year, I probably would have left them plain or added normal chocolate chips. But because Easter is around the corner, and like I said, I had the candy, I decided to throw those in for some color.

BBC White Choc Brownies6

I was pleasantly surprised how rich the white chocolate flavor actually was. I thought they may just taste like vanilla cake, but the chocolate flavor really stands out and makes these brownies fudgey-er than cake. Which is how a brownie should be, right?

BBC White Choc Brownies3

So, tell me. Should I have called these blondies instead?

[yumprint-recipe id=’12’]

/ Filed In: Eat
Tagged: bars, brownie, Easter, recipe, Spring, sweets, white chocolate

Follow

Hey There!

Hey there, I'm Lindsey. I'm a number cruncher by day and a home cook and baker by night. While I love to eat healthy and find fresh and healthy alternatives for my favorite foods, I will never turn down dessert! Life is all about moderation, right?

Recipes

  • All Recipes
  • Breakfast
  • Appetizers
  • Salads
  • Main Dishes
  • Side Dishes
  • Desserts
  • Drinks

Favorite Finds

[show_lookbook_widget id=”388783″]

Theme by 17th Avenue · Powered by WordPress & Genesis