• Home
  • Eat
    • Breakfast
    • Appetizers
    • Main Dishes
      • Chicken
      • Beef
      • Seafood
      • Healthy Dishes
      • Paleo Dishes
      • Salads
    • Desserts
      • Decorated Cookies
      • Cookies
      • Bars and Brownies
      • Cakes and Cupcakes
  • Shop
    • Cookie Decorating Supplies
    • Bakeware
    • Cookware
    • Kitchen Gadgets
    • House
  • About
    • Contact
    • Bucket List
  • Cookie Decorating 101

Follow the Ruels

White Chocolate Cheesecake

December 18, 2017

Cheesecake is a holiday favorite in my family. My mom has been making it for holiday parties longer than I can remember. 

For my office holiday party this year, I kept the family tradition alive and made my own version of mom’s cheesecake by adding a little bit of white chocolate. 

Not only is there white chocolate IN the cheesecake, but there is also white chocolate ON the cheesecake. The white chocolate in the cheesecake is very subtle so the extra chocolate on top helps boost that white chocolate flavor so people aren’t confused about what they are eating. 

How I Made It 

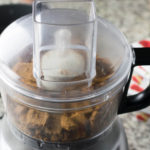
Let’s start with the crust, shall we? Because this is not your ordinary graham cracker crust. Although that would also be very nice. This is a Biscoff cookie crust. You know the cookies Cookie Butter is made out of? The cookies have a nice cinnamon spice flavor to them which is perfect with the white chocolate. 

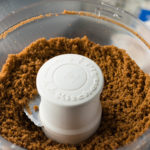
Like a graham cracker crust, I first smashed them into bits with my handy food processor until the cookies resembled something between breadcrumbs and sand. 


Then I mixed in some butter so that all the crumbs would stick together and poured them into the bottom of a springform pan. 

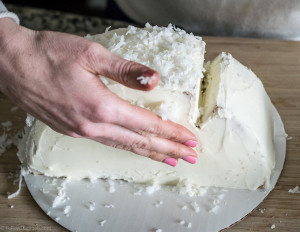
To evenly distribute the crust around the bottom of the pan, I, first, used my hand to cover the bottom. Then I used the bottom of a heavy glass to tap them down into a smooth crust. 

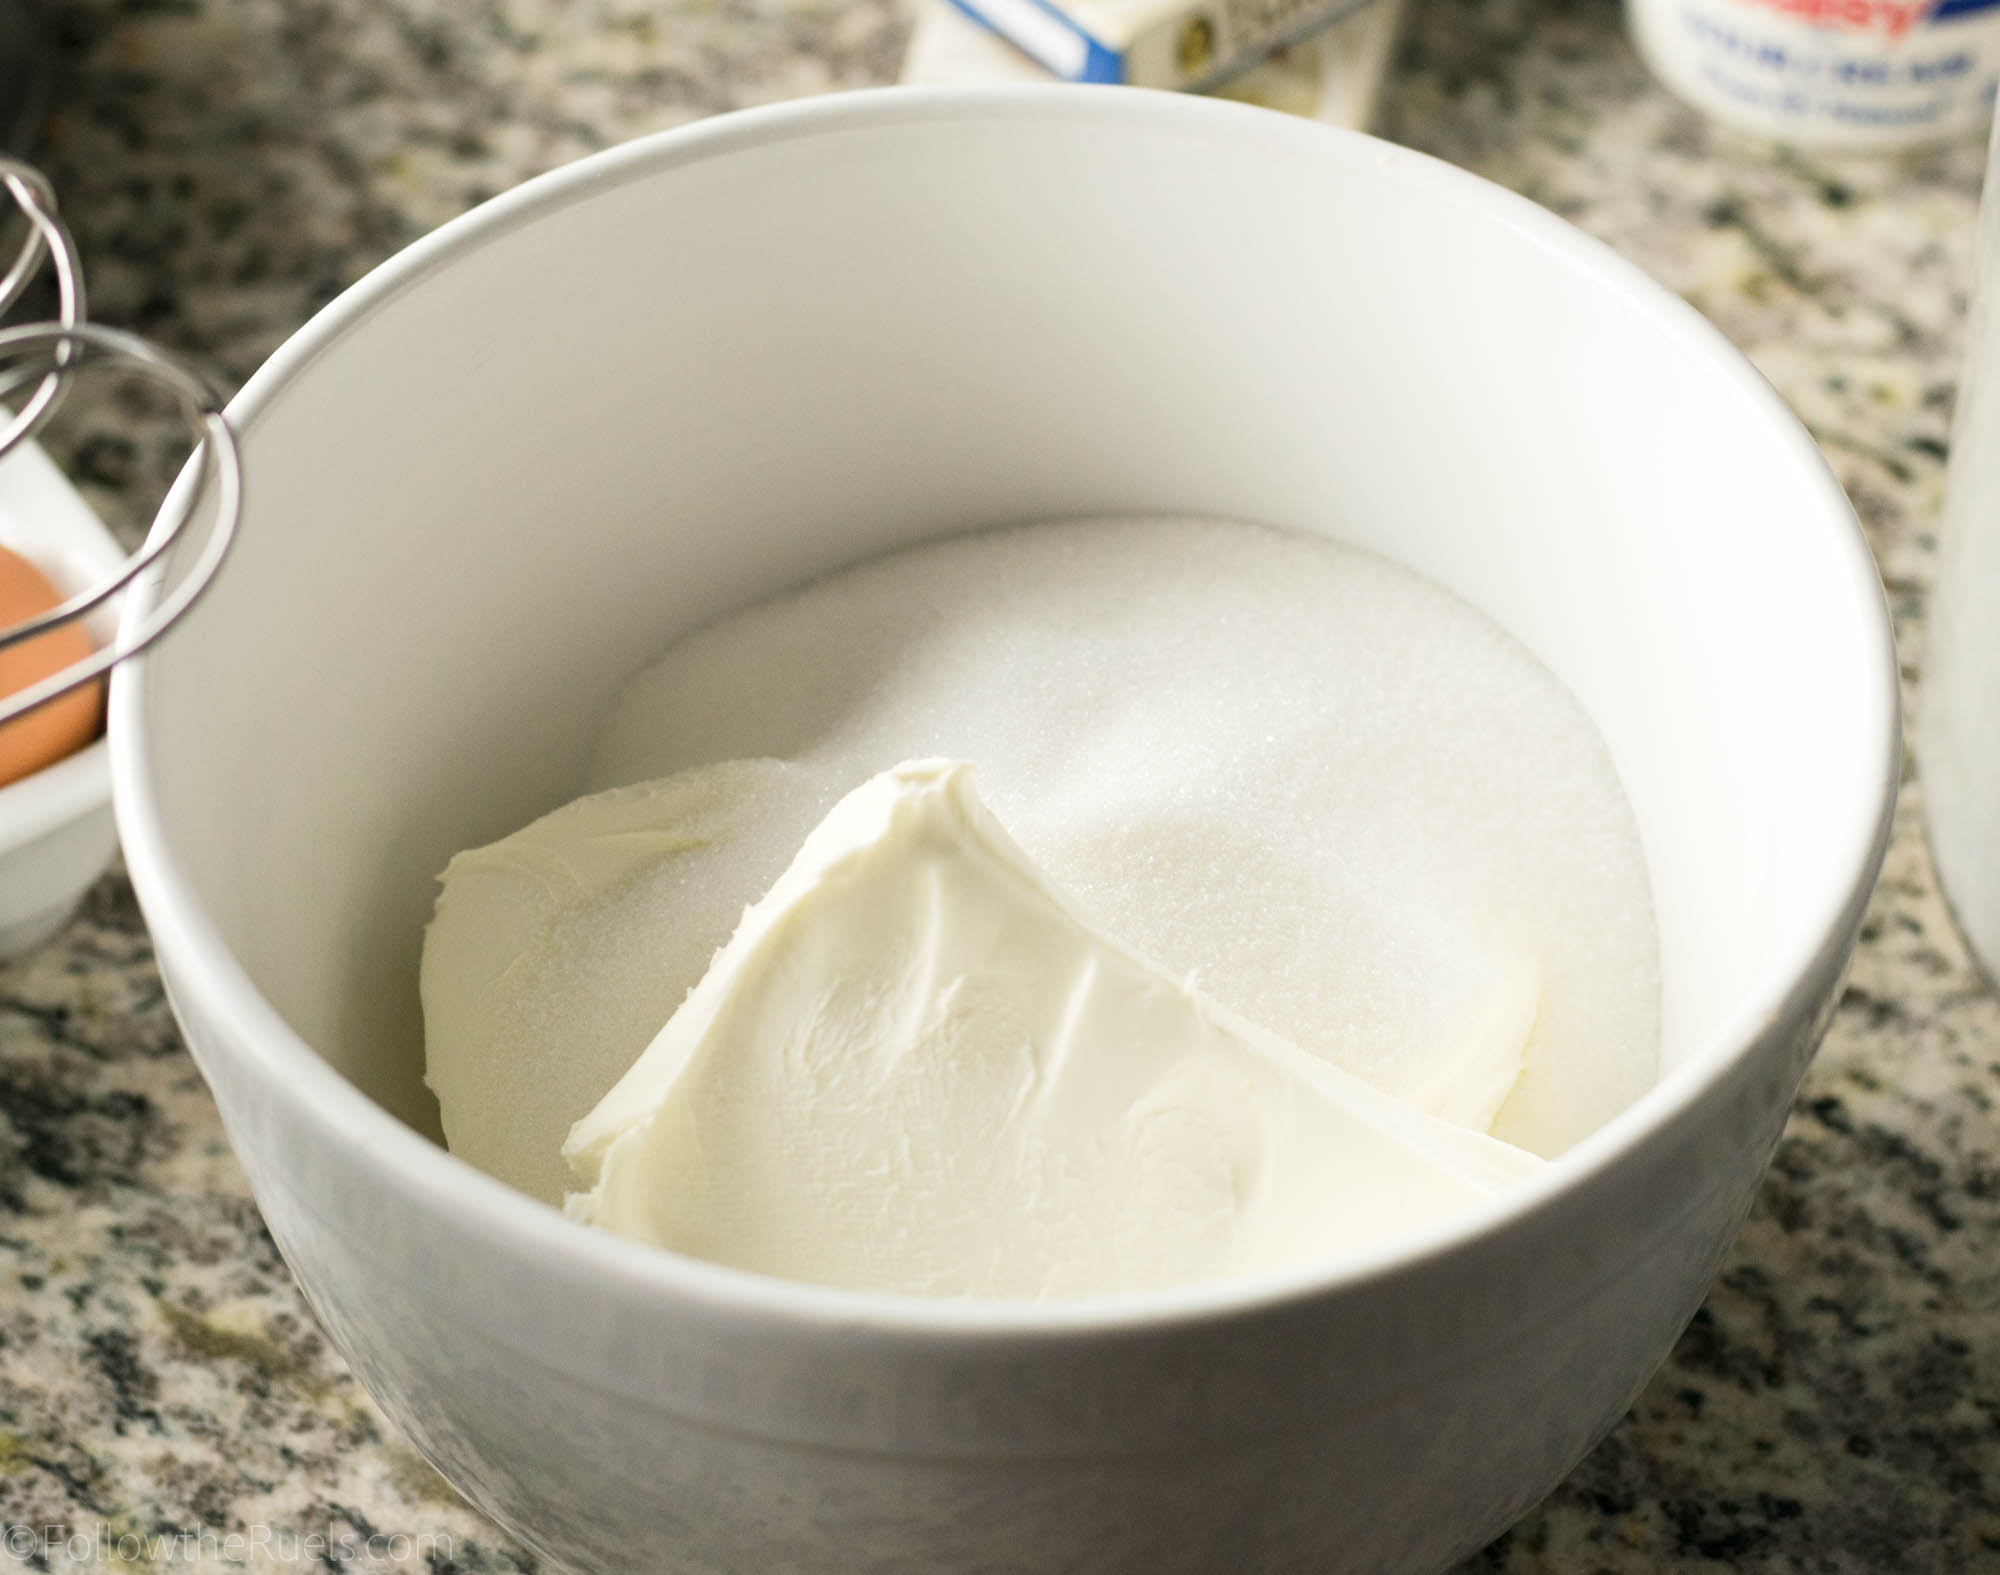
For the cheesecake itself, I first creamed together the cream cheese and the sugar until they were well combined. 

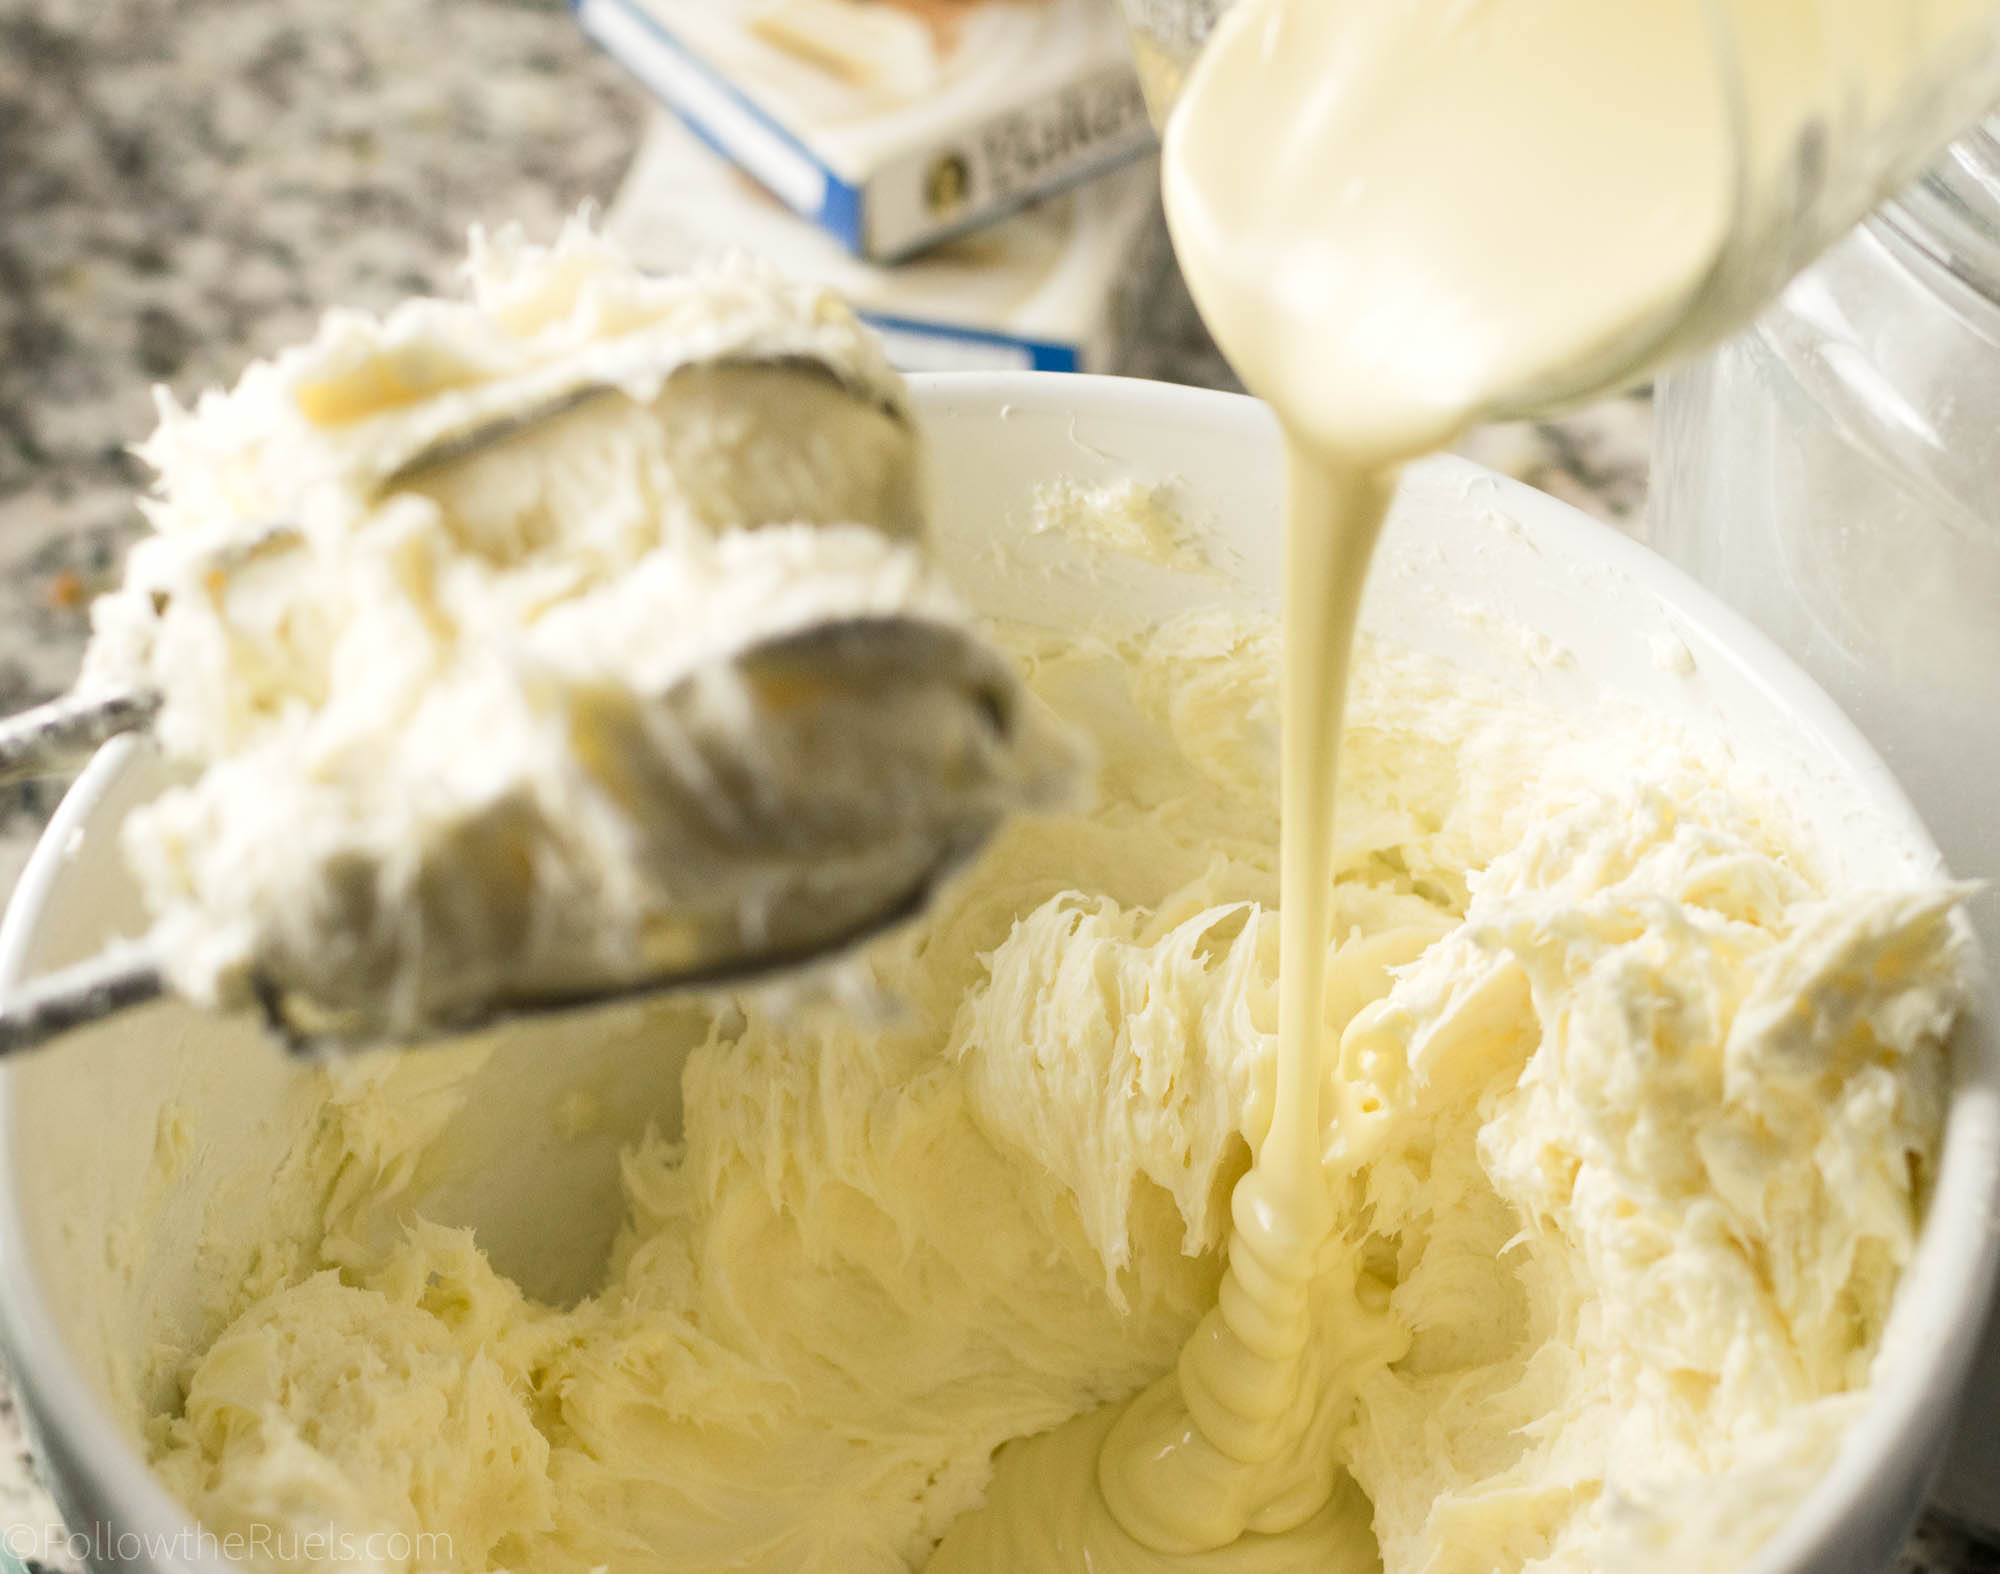
Then I mixed in the melted white chocolate

Next came the eggs. Cheesecake requires lots of eggs, but I am too impatient to mix them in one at a time. So I just do three at a time.


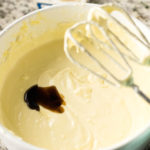
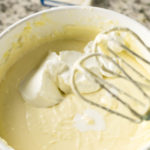
Last, I added in vanilla (in this case, vanilla bean paste) and sour cream.

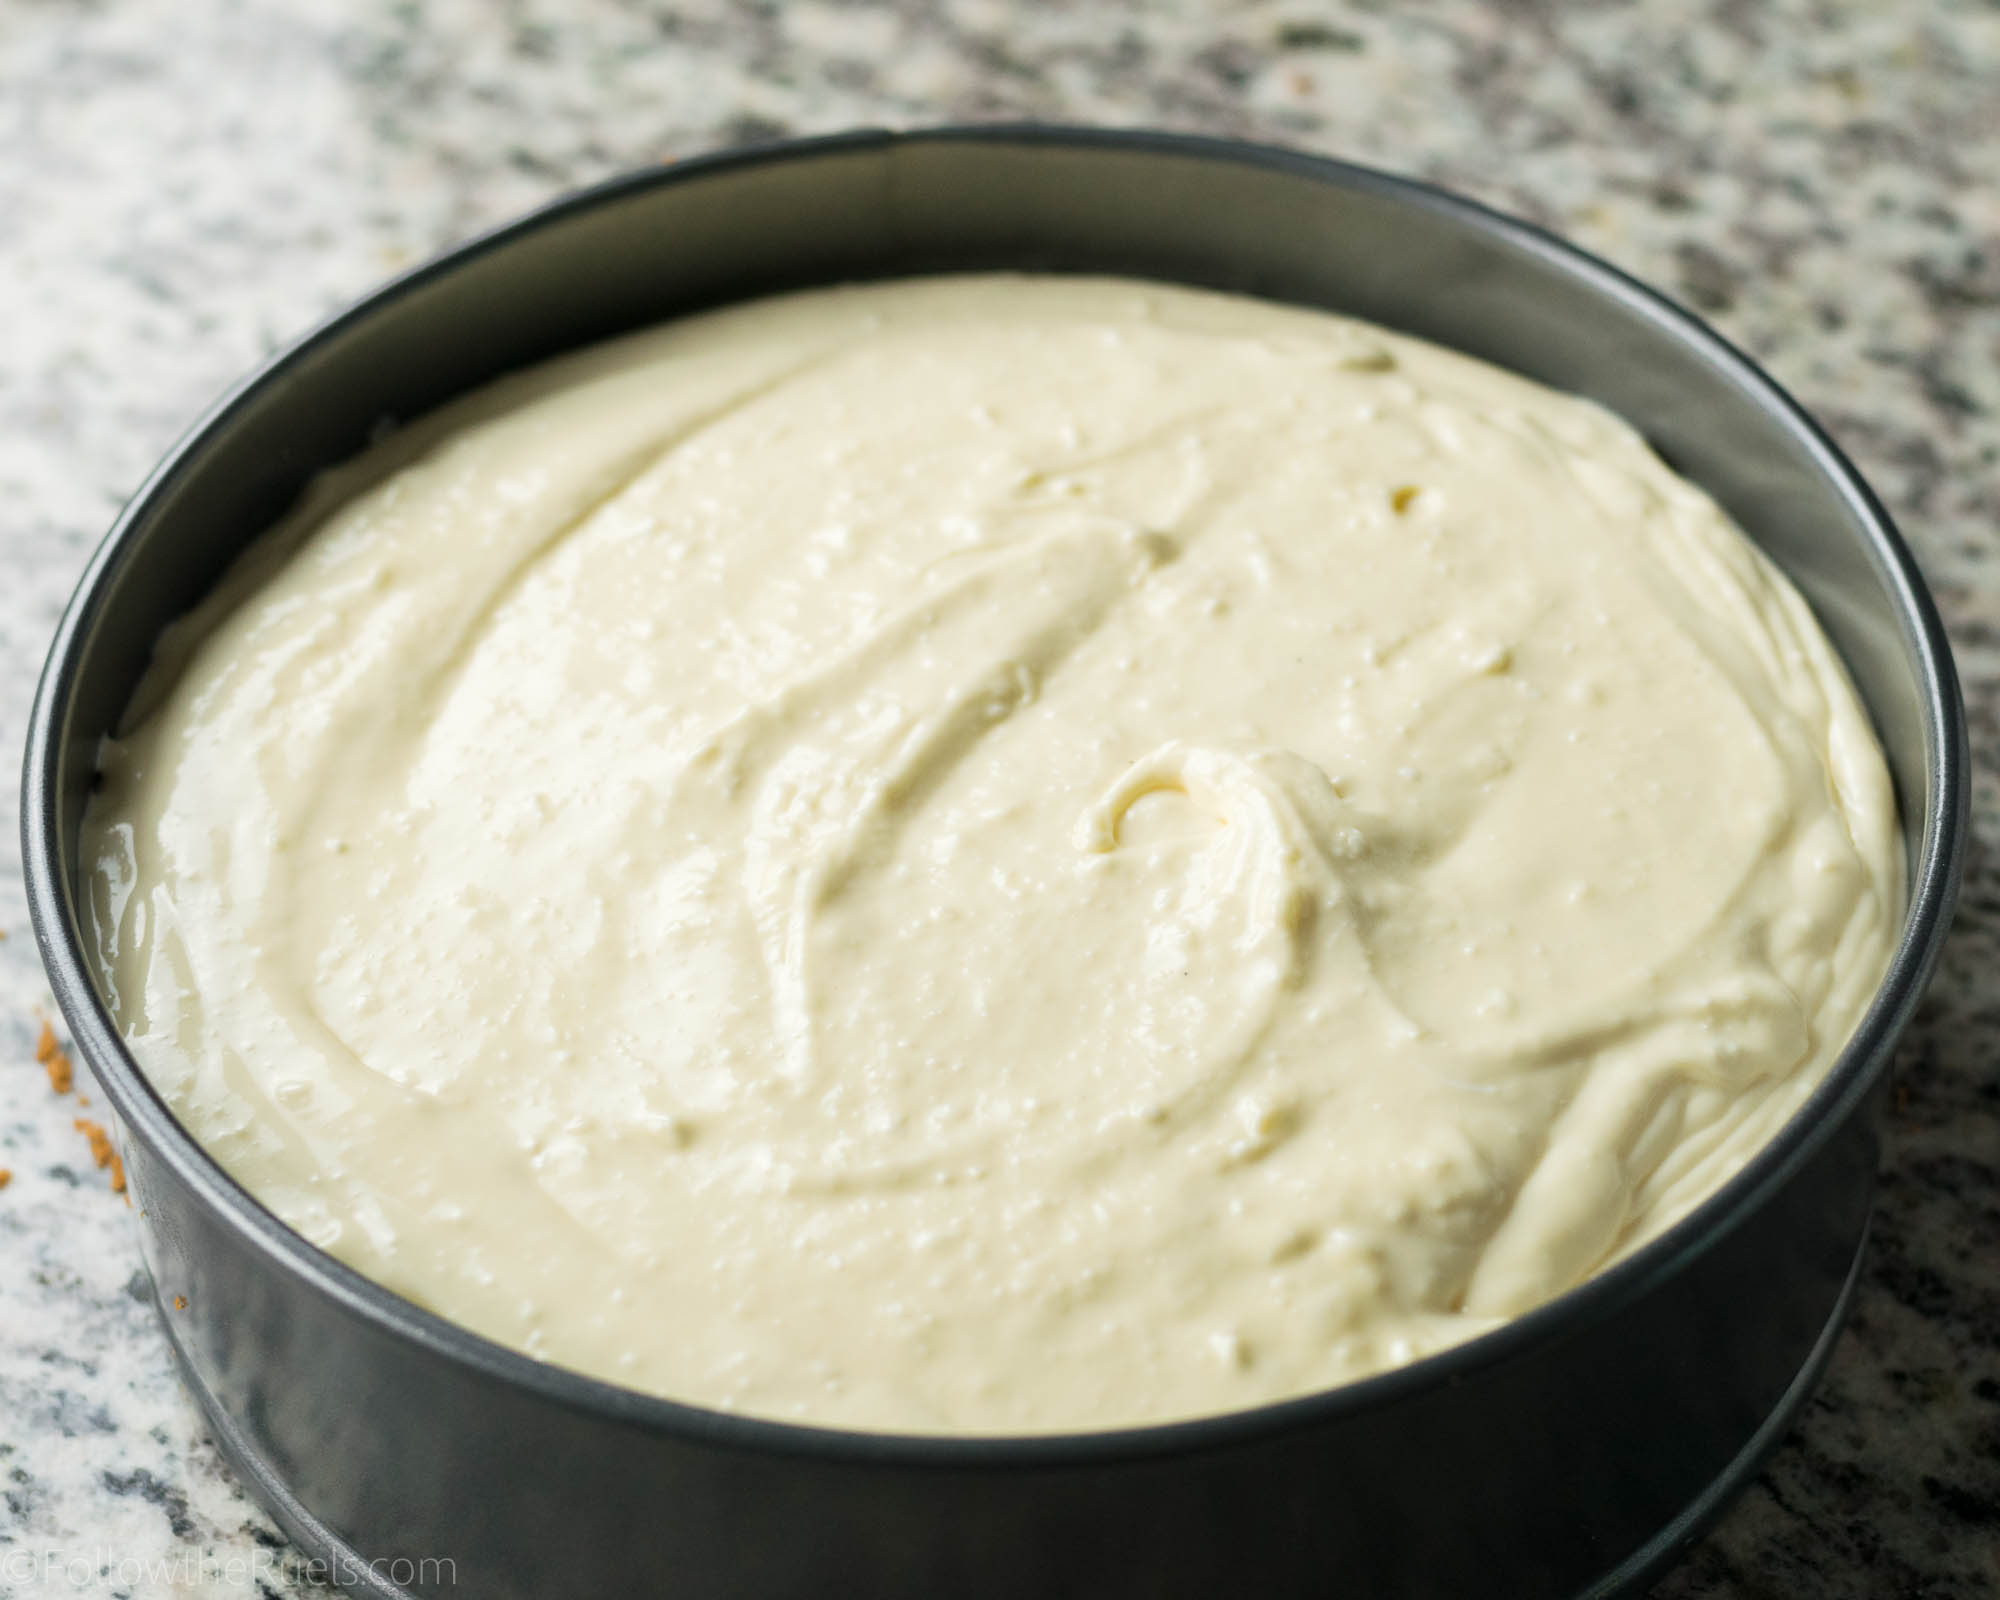
Finally, I poured the batter into the pan and evened out the top before popping it in the oven to bake. 

Now, cheesecake takes a little while to bake, so this is typically where I clean up a bit, check email, browse Instagram, etc. until it’s done. 

You will know your cheesecake is done when it is slightly brown around the edges but still has a little wobble in the middle. The center shouldn’t be “wet”, but it will still wobble.

If your cheesecake is browning too much around the edges, then cover it with foil and continue baking. 

After the cheesecake baked, and while it was cooling, I prepared the white chocolate ganache topping. 

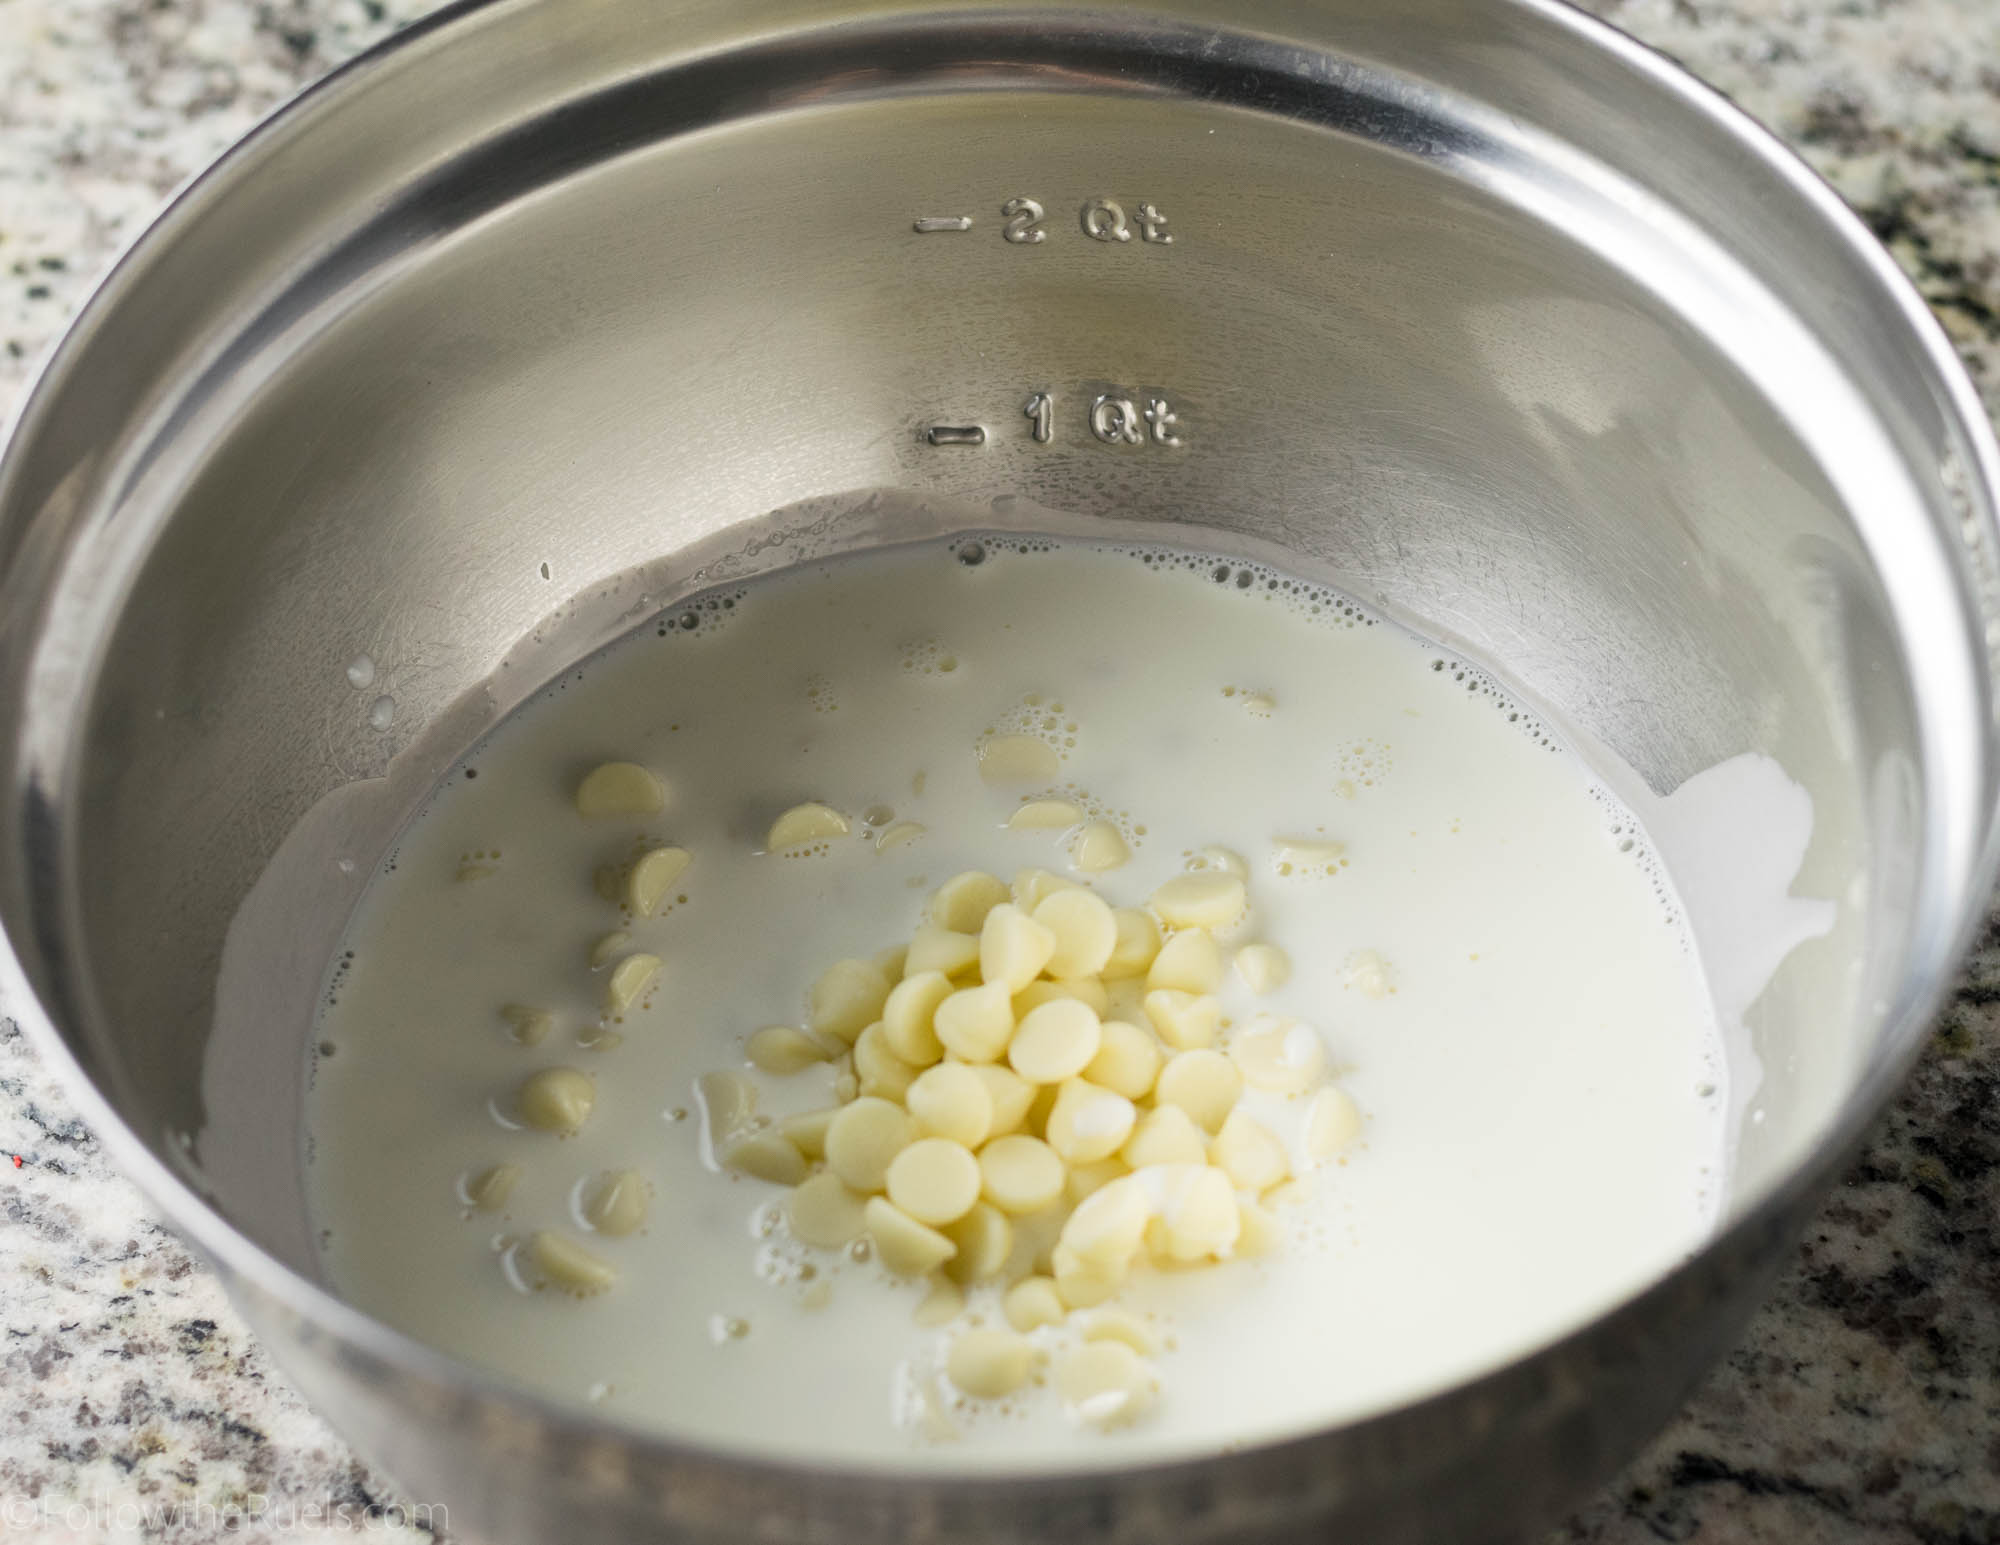
I poured hot heavy cream over the white chocolate and let that sit for a bit to begin to melt. 

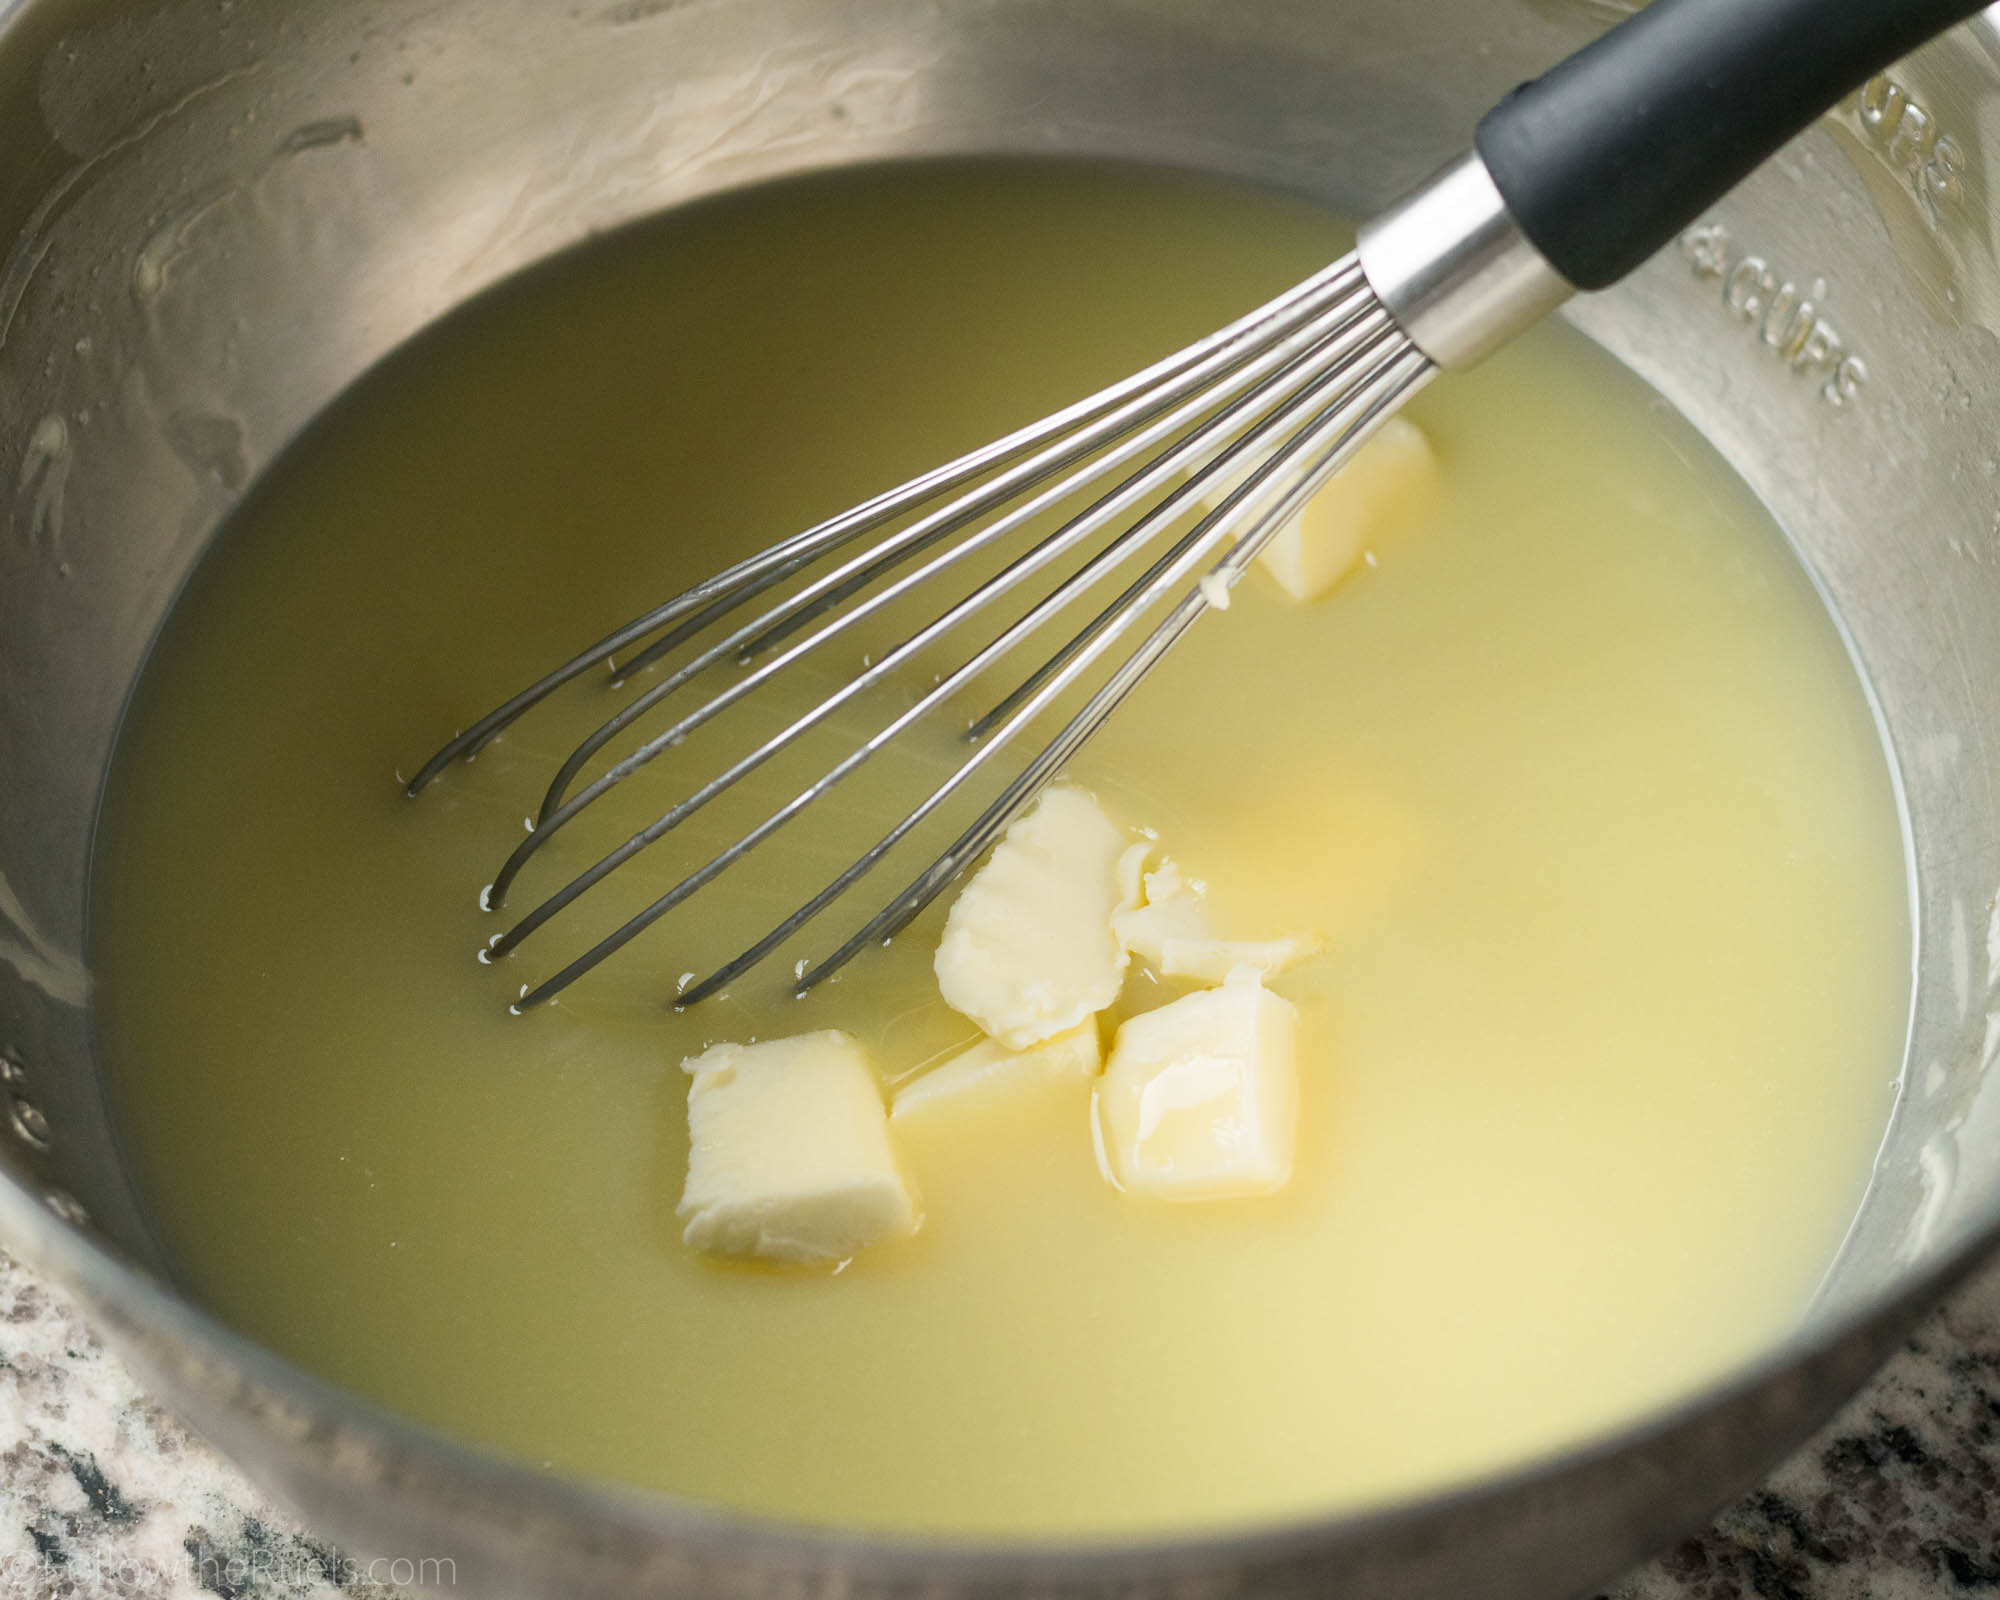
After a few minutes, I stirred the ganache to make sure all the chocolate pieces had melted. Then I stirred in some butter. 

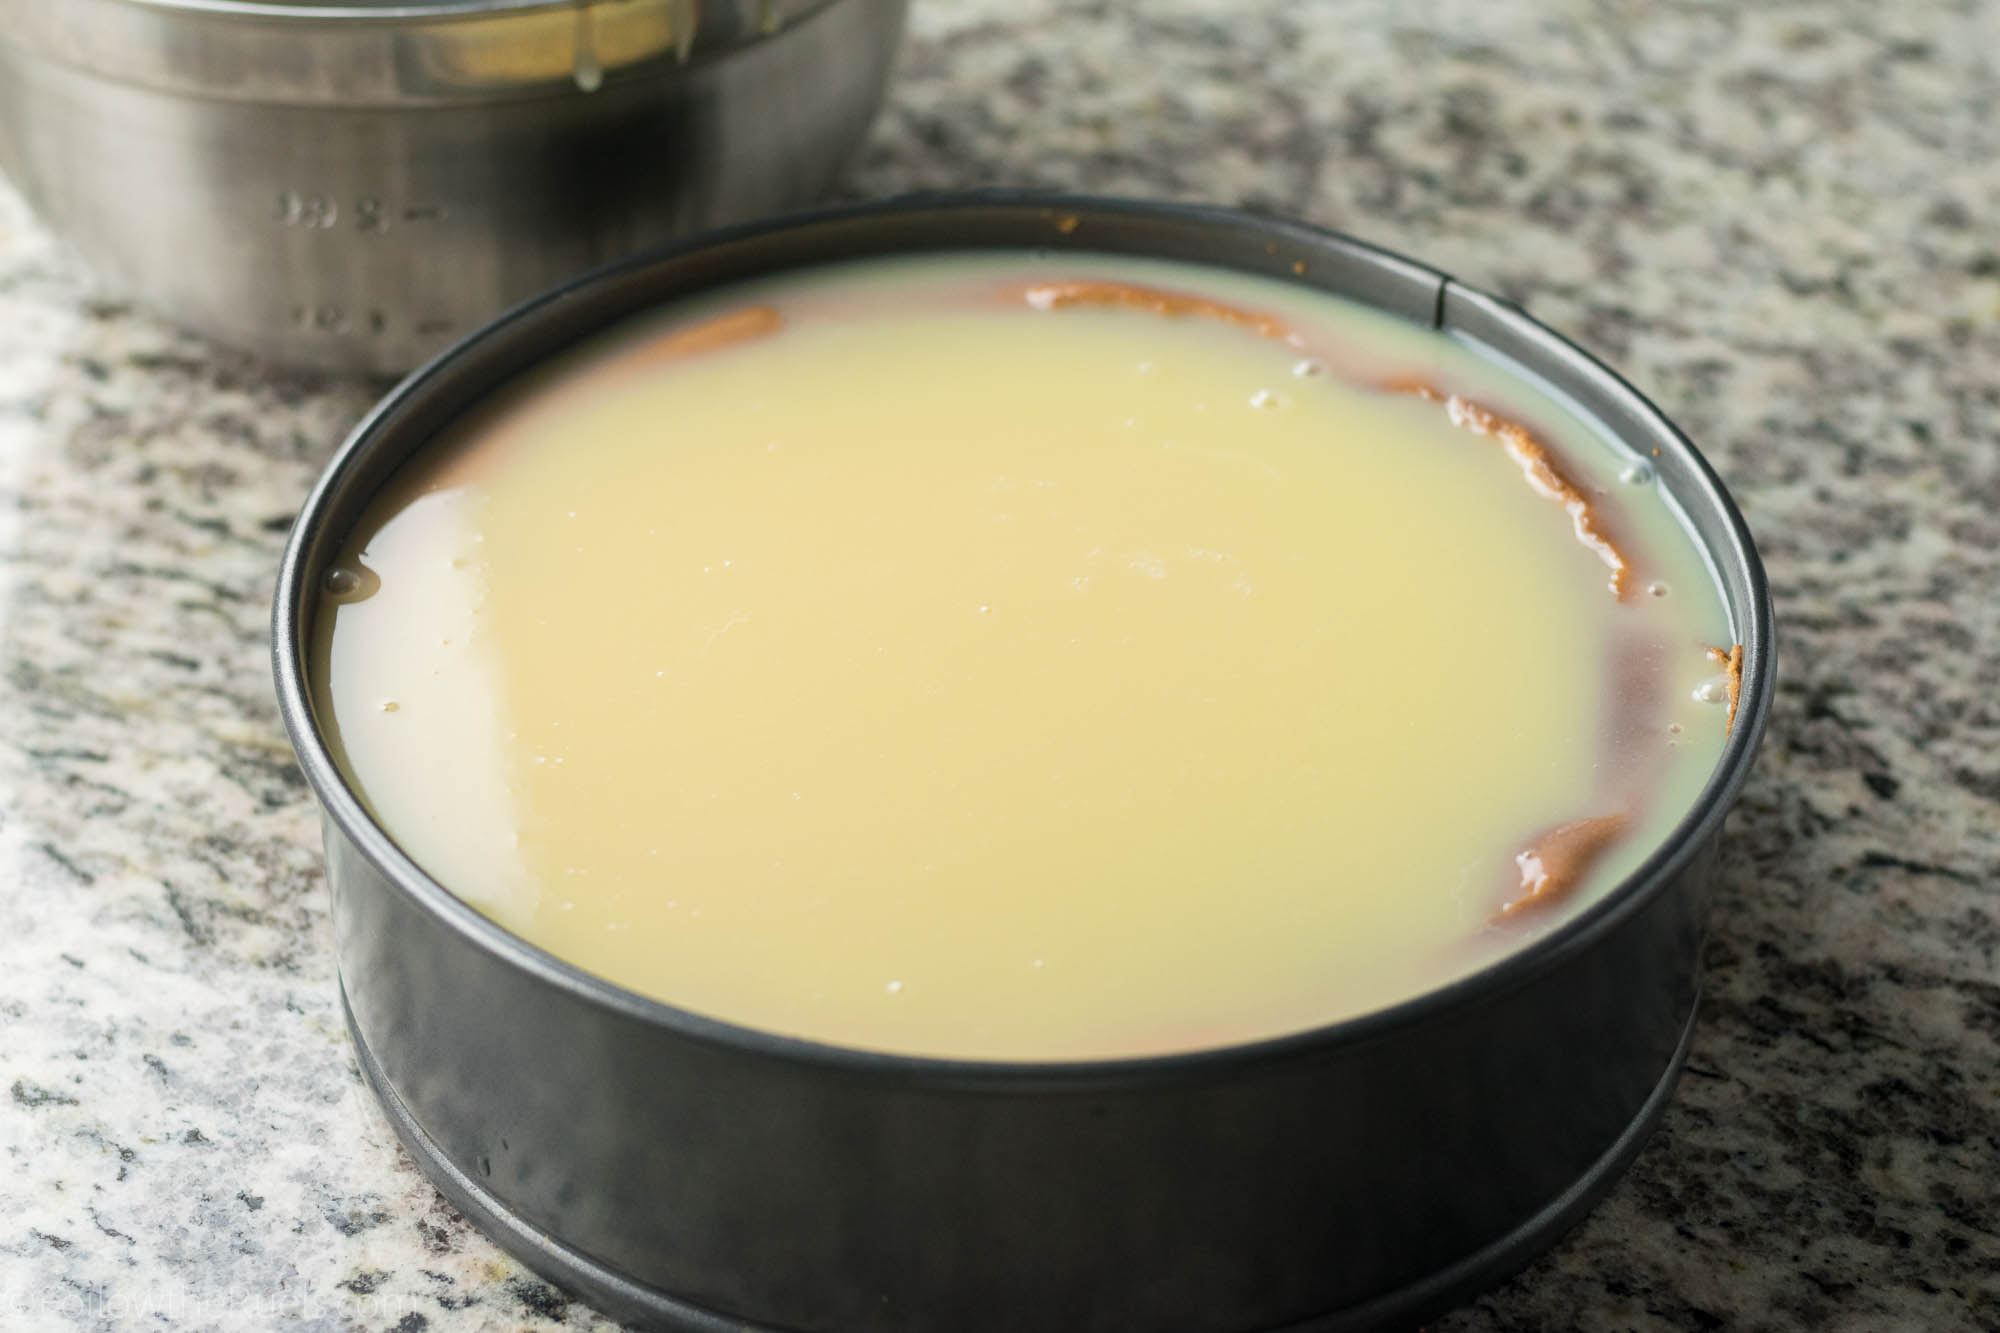
Once the ganache had cooled to room temperature but was still liquid, I poured it over the cheesecake. 

At this point, my cheesecake had already cooled to room temperature, so it was safe to cover and pop in the fridge. 

You never want to put a warm cheesecake in the fridge, otherwise, the crust and the center will get really soggy and not set properly. 

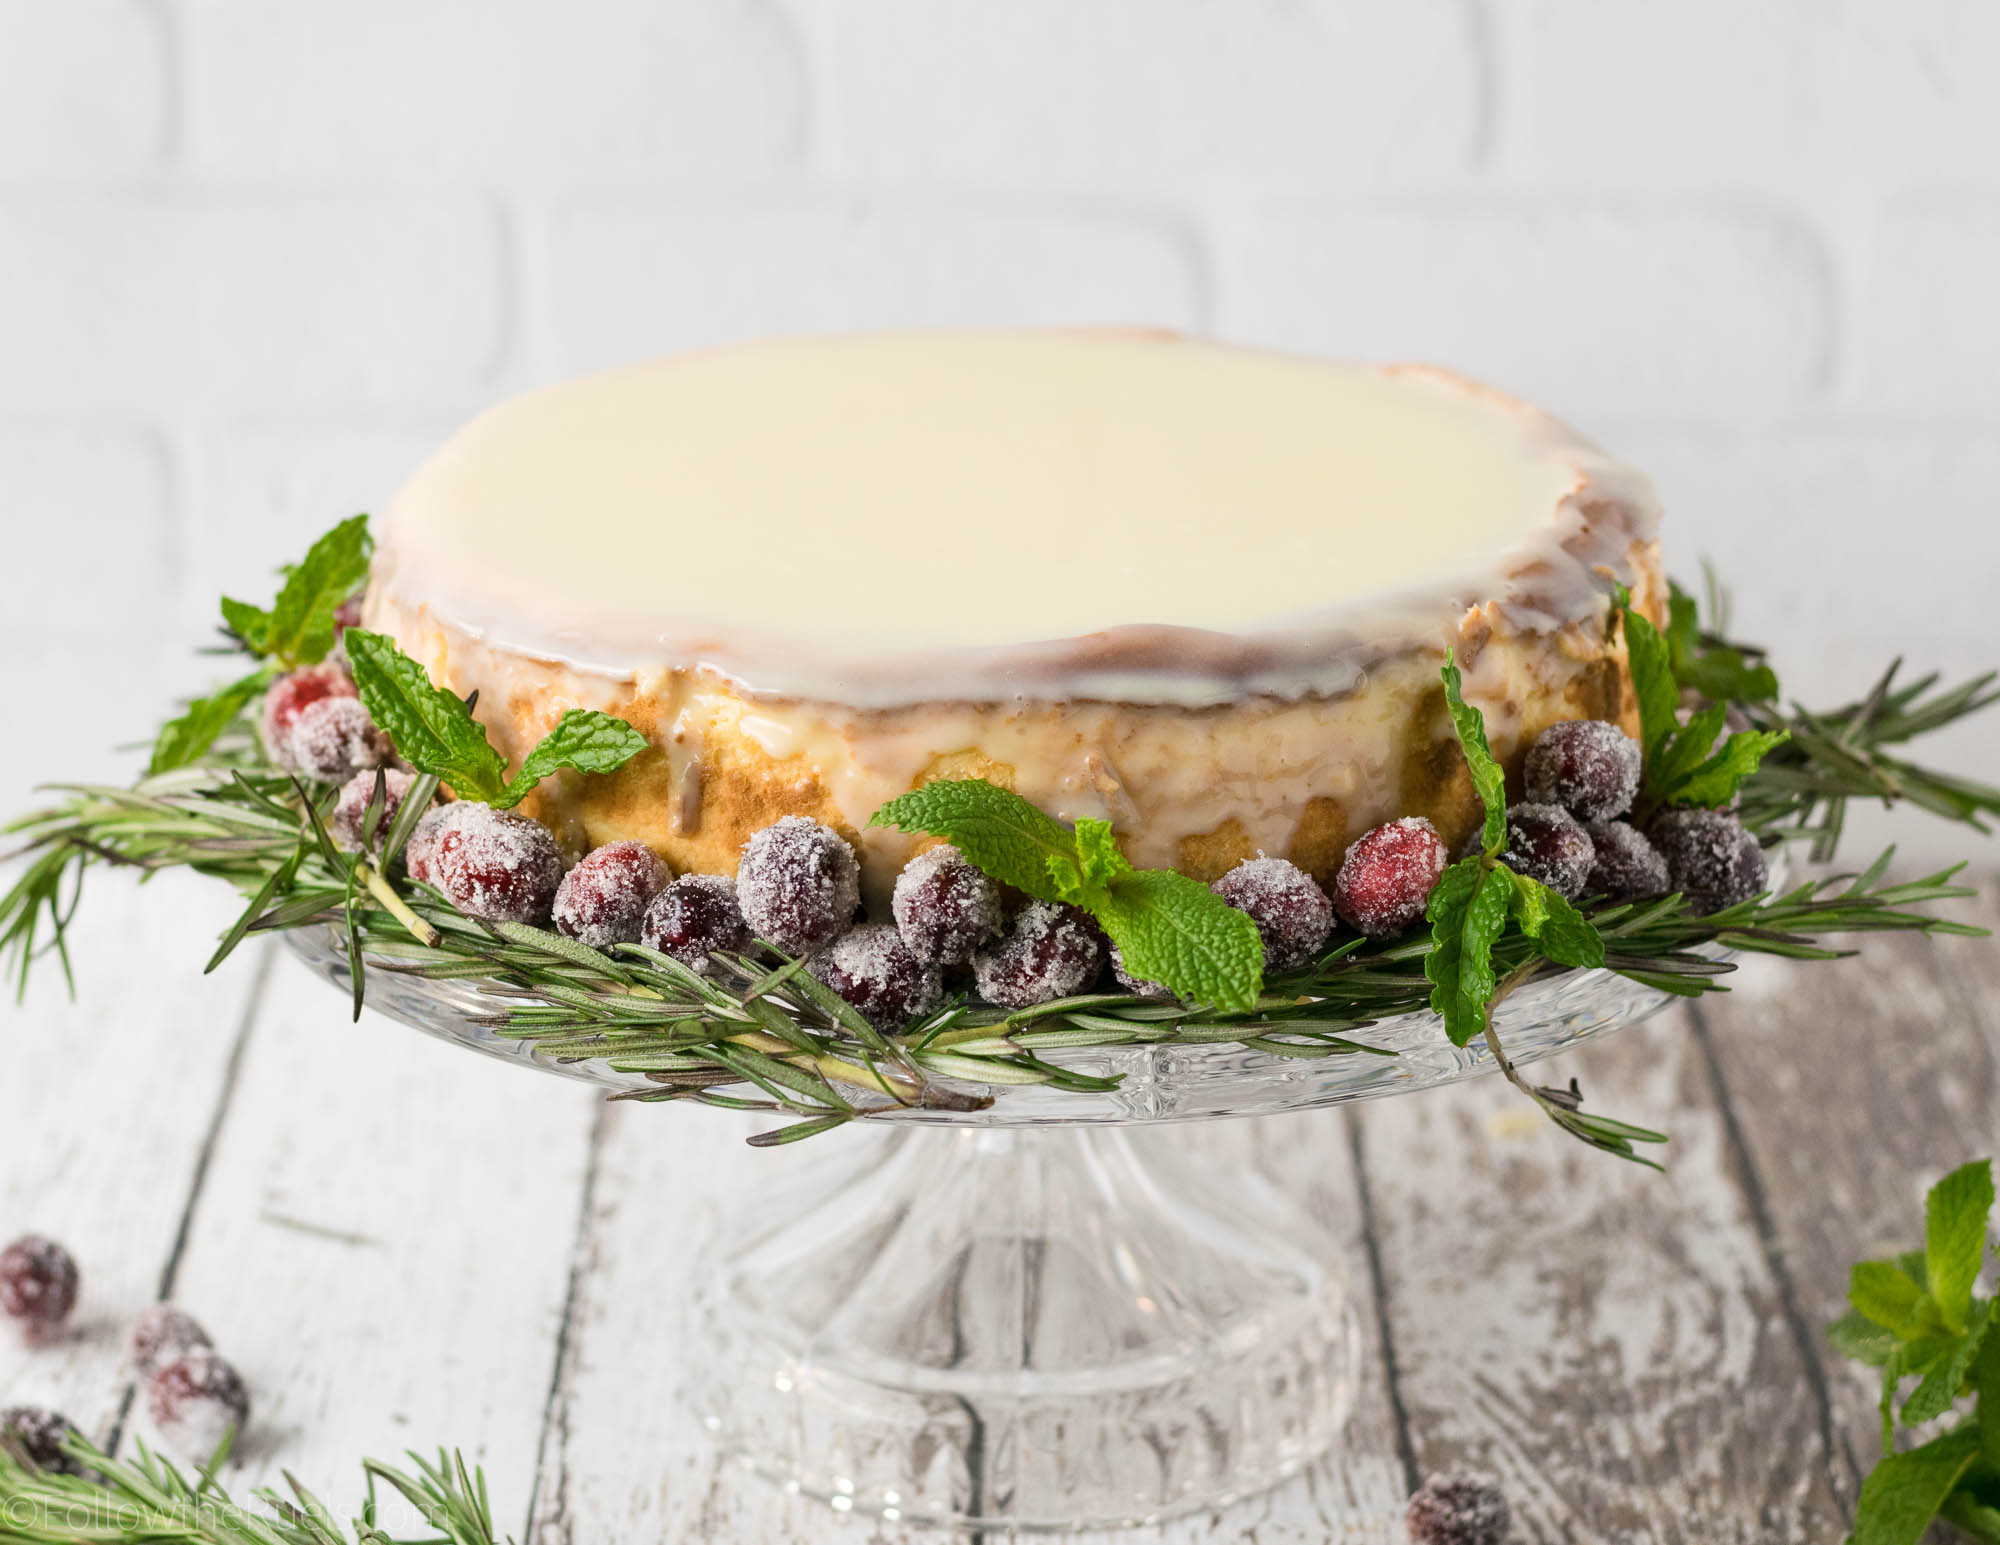
I let the cheesecake and ganache set overnight in the fridge so that it was ready the next day for the Christmas party.

To dress her up a bit, I added some rosemary, sugared cranberries, and mint around the outside for a holiday wreath look.

Actually, this look was just for photos. When I reassembled the cheesecake at work, I put the cranberries and mint right on top, like you can see here on Instagram. 

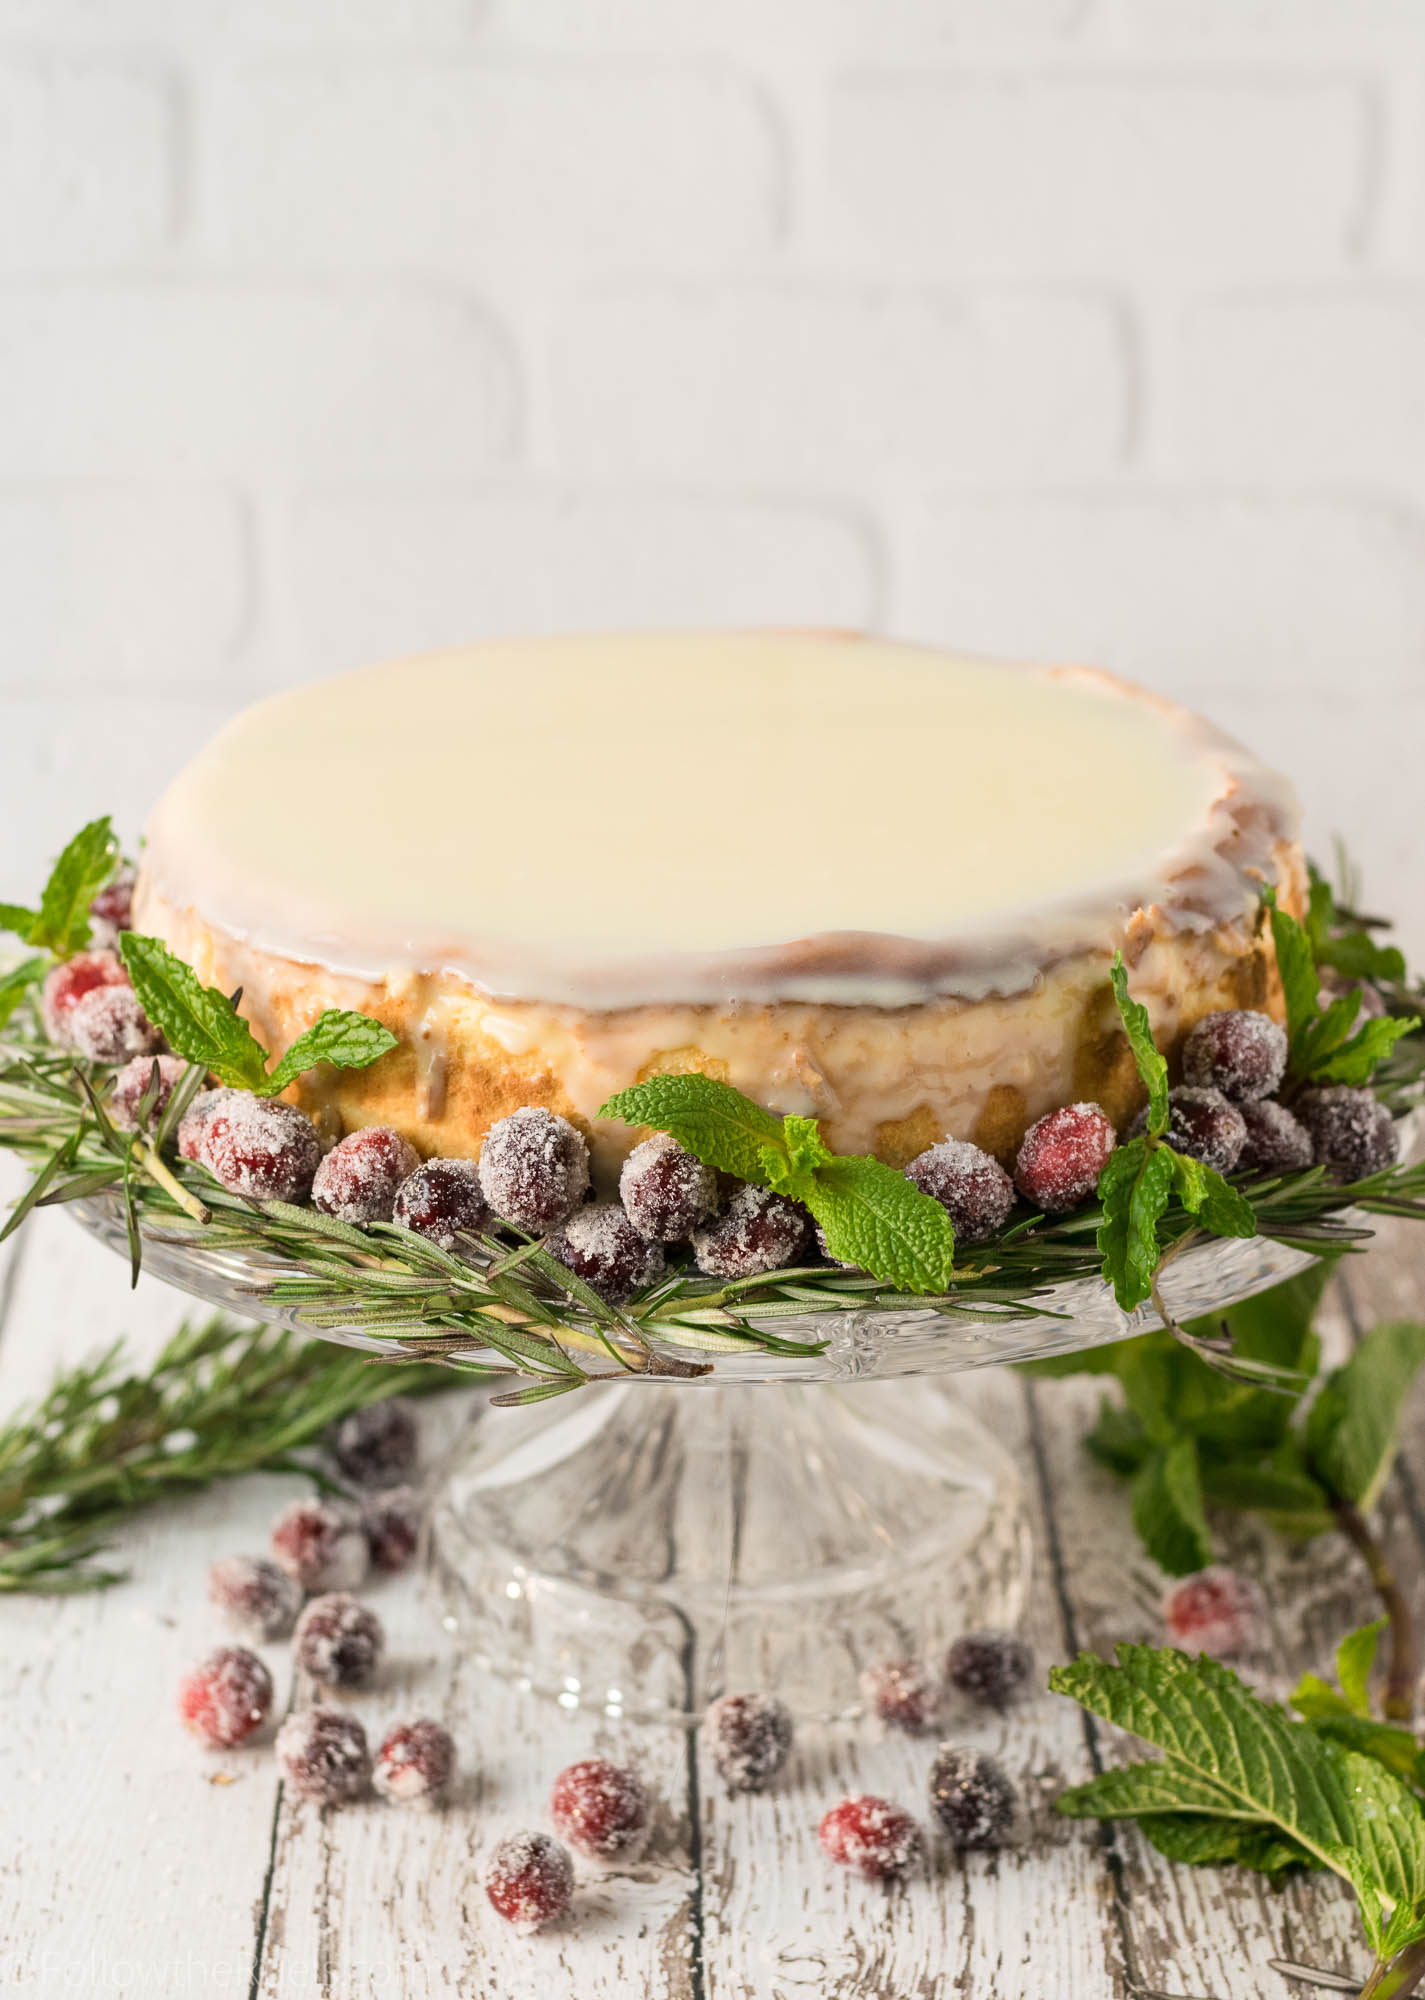
Either way, I think it’s a beautiful holiday dessert and it’s delicious, too!

[yumprint-recipe id=’150′]

/ Filed In: Cakes and Cupcakes, Cakes New, Eat
Tagged: Biscoff, cake, cheesecake, Christmas, cream cheese, holiday, white chocolate

Holiday Wreath Cookies using Piping Tips

December 12, 2017

It may not surprise you to find you that I have been doing lots of holiday baking since Black Friday. Honestly, I wish I could be doing more. I had so many fun decorated cookies in mind for the holidays, but I don’t have time to do them all. 

Despite that, I did find time to make some holiday wreath cookies using my favorite piped flower techniques. Really, they are no different than these floral letters I made for Fall or for Mother’s Day. I love making cookies like this using piping tips because they look very elegant and detailed, but you and I know that they are actually pretty easy!

I used the same techniques to add a flower garland to a Christmas tree and to add flowers around a royal icing banner. Piping tips are so versatile and make the cookies look professional.

The piping tips I used for these cookies were:

  • #14 and #24 to make roses, 
  • #74 to make the large leaves, 
  • #379 to make the small leaves, and
  • #16 to make the green star-shaped filler

For some of the cookies, I added some dots just for a bit more color and texture, but I didn’t even bother with a piping tip for those, as a zip-top bag or piping bag does the job.

There are so many fun things to do with piping tips and they are one of my favorite tools to use to decorate cookies. As you can see, they are actually pretty easy to use if you use the right consistency of icing. 

Anytime I use piping tips, I use a stiff consistency icing. That means the icing is very thick. When I mix up my icing, typically I add some water to thin it down. For stiff consistency icing, I barely add water because I want the icing to form a stiff peak when I lift the spoon up from the surface. 

That ensures that all those little details from the piping tip stay put and don’t settle into a blob of icing.

And if you are wondering why my cookies are green, it’s because I made my pistachio sugar cookie recipe from my Ultimate Christmas Cookie guide. But really, you could tint any cookie dough green or leave them plain. 

Tools used:
[show_shopthepost_widget id=”2951522″]


/ Filed In: Cookies New, Decorated Cookies, Eat
Tagged: Christmas, cookies, flowers, holiday, piping tips, royal icing, wreath

Halloween Macarons

October 17, 2016

Halloween Macarons

I was hoping to have this post up last week, but my computer decided to stick a wrench in those plans. I turned my computer on on Tuesday morning and had a very ominous warning that my computer’s fan was not working. Like any good computer owner, I decided to go to work and not worry about it, hoping that it would just heal itself. Computers can do that, right? 

Sadly, I came home and the fan was still not working. I was able to start my computer anyways, but ran the risk of my processor overheating. The last thing I did before I completely ruined my computer was to upload the video of me making the macarons to YouTube. Between that video and the photos I somehow decided not to delete off of my memory card, I actually have a post for you today!

Halloween Macarons

And this one I am really excited about! I have been wanting to do something fun with macarons for the holidays, so why not start with Halloween?! These Halloween Macarons were actually really easy to make, maybe easier than decorating cookies because they are so much smaller. 

I started by making my favorite Laduree Macaron recipe. When the batter was just about mixed together, I split it into 3 bowls, dyed one orange, one black, and one white. Yes, I actually dyed the batter white even though it’s pretty white already. The white food coloring really helped brighten and lighten up the batter, making it perfect for my mummies!

After the macarons were baked and cooled, I got to work decorating! The orange macarons turned into Jack-O-Lanterns. The black macarons turned into spider webs. And you know what happened to the white ones. 

I could explain all that in a post….but wouldn’t it be better to watch me do that? Yeah…I thought so. 

Here is the recipe for the macarons: Laduree Macaron Recipe & Video

I made the full recipe (normally I just make a third for 12 macarons), and then split the batter to make 3 different colors, or about 12 of each. 

Here is the recipe for the royal icing: The Best Royal Icing for Decorating Cookies

Because the macarons are smaller than your average cookie, I had a lot of icing left over. You could probably halve this recipe and still have enough. Here is how I divided the icing:

  • Approx. 1/3 of icing in black flood consistency icing (web background, mummies eyes, and background of jack-o-lantern)
  • Approx. 1/3 of icing in orange flood consistency icing (jack-o-lantern)
  • Approx. 1/4 of icing in white flood consistency icing (mummy, spider web)
  • Remaining in black piping consistency icing (spider)

You could fill the macarons with just about whatever you want, I chose to fill it with dark chocolate ganache. You can find the recipe I used here. But, nutella, buttercream, or a jam would also work well. 

Let me know if you try out these Halloween macarons, or even if you attempt the designs on a normal cookie! I would love to see your creations!

 PIN NOW, MAKE LATER

Halloween Macarons

/ Filed In: Cookies, Cookies New, Desserts, Eat
Tagged: cookies, Halloween, holiday, macaron

Surprise Inside Easter Bunny Cake

March 18, 2016

Bunny-Cake-20title

I mentioned on Monday how much I miss celebrating Easter like I did when I was a kid. I don’t know about you, but Easter at my house was so much fun! Easter Bunny paw prints would magically appear (our neighbor would stamp them on in flour) on my front steps. My parents would surprise me with a Easter basket filled with candy and toys. And I would wrap up my day with an Easter Egg hunt at best friend’s house. 

My other favorite part about Easter was making this Easter Bunny cake with my mom every year. We would buy a box of cake mix and a jar of frosting and make our Easter bunny cake. It was easy enough for me to help my mom with even when I was pretty young (she did all the hard work), but I felt like such an accomplished baker once our cake had morphed into a bunny!

Even though I have since outgrown the Easter basket and Easter egg hunt (I would argue that I can never outgrow those things), I still make this Easter Bunny cake as often as I can. But this year I decided to mix things up a bit and add a little surprise inside. 


It all starts with one big layer of cake. It can be any flavor you like, but I prefer simple white cake (and I add some lemon and vanilla to make it taste less “boxy”). Yes, I used box cake mix. It’s simple, easy, and cheap. And for a cake like this, I don’t think it’s worth it to make my own cake from scratch. You may feel differently, so do what you wish.  

Anyways, where was I? The box instructs to make 2 layers of cake, but instead I made one thick one. Once it was baked, cooled, and leveled, I cut it in half right down the middle. I did a little measuring to make sure I was right in the center. I then used a small knife to cut around the inside of the cake, leaving about a 1.5″ margin, only cutting a quarter of the way into the cake. I then used a spoon to scoop out the cake from the center. I did this to both halves of cake. A quick tip, it is so much easier to cut the cake when it has chilled. I keep it in the freezer until I’m ready to go. 

I should also mention at this point that even though I didn’t make the cake from scratch, I did make the frosting (I know ,I don’t make any sense. Why would I make my own frosting, but not my own cake mix? Answer: because I don’t like the taste of the store-bought kind). But again, do what you like and what makes you happy. 

So I piped a bit of the frosting on 1 of the halves around the part of cake that I didn’t cut out and filled the center with Easter egg M&Ms. I then took the other half of cake and pressed it firmly on top, sandwiching the M&Ms inside. 


Now that the cake is in a half circle, I placed it on it’s flat side and cut a wedge about a third of the way up one side, taking care not to eat the wedge because I will need that later (this requires lots of self control!). I then lightly frosted the cake with a crumb coat and poped it in the fridge to set for about 10 minutes. Then I frosted it one more time and patted shredded coconut into the freshly applied frosting to make the bunny’s fur!

Surprise Inside Easter Bunny Cake

To decorate the cake and really make it look like a bunny, I first dyed some of the shredded coconut green and placed it on a cake stand. Next, I put two chocolate chips and a pink jelly bean on the face to make eyes and a nose. Then I cut out two floppy ears in white construction paper and stick them in the front of the wedge that we cut out. To make the tail, I use the scraps from that wedge, “folding” it in half so that one layer is stacked on top, frosted it with more icing and topped with some extra coconut. For extra flair, I used some mini Cadbury eggs and M&M eggs to dress up the “grass”. 

Bunny Cake-15

And there you have it! The classic Easter Bunny cake. How cute is this? It may not be the fanciest Easter cake, but it is so much fun and perfect for kids of all ages (even those of us who are <<cough>>30<<cough>>). 

Bunny Cake-17

This is definitely one of my favorite things about Easter. It is as much fun to make as it is to eat. And speaking of fun…

Bunny Cake-19

When you cut inside, out fall even more Easter eggs!! Who wouldn’t want a slice of this Easter Bunny? Does your family make an Easter Bunny cake every year, too?

Hope you all have a wonderful Easter!

[amd-yrecipe-recipe:8]

/ Filed In: Cakes and Cupcakes, Cakes New, Desserts, Eat
Tagged: cake, chocolate, Easter, holiday

Bourbon Pecan Brittle

December 14, 2015

Pecan-Brittle-9

Do you like pecans? What about candied pecans? Pecan pie? Pralines? Bourbon? Sugar? I am just going to assume you said yes to at least one of those things. And if you did, you MUST make this pecan brittle for the holidays! 

Brittle is a pretty easy candy to make for as a holiday gift, dessert, or party favor. For the past couple years I have made a huge batch of peanut brittle and handed it out as a gift or brought it into work during the holiday season. This year I wanted to try something a little bit different. And now that I have been in the true South for a few years, pecans and Bourbon seemed totally appropriate!

Pecan-Brittle-1

If you have never made brittle before, it might seem a little daunting, but its about as easy as making caramel. You start by boiling sugar, corn syrup, and water for a few minutes until it starts to turn a light brown. Then you mix in the nuts and keep boiling until the sugar turns a deep amber color (or reaches 300 degrees). At that point you mix in the vanilla, bourbon, salt, baking soda, and butter. Then you pour it out onto a baking sheet and let harden.

Pecan-Brittle-3

Oh yeah, I also sprinkled a little sea salt on top because it just felt like it needed that extra depth of flavor. 

Once it was hard, I broke it into small pieces. This brittle is pretty thick, so it was hard to break with my hands. That’s when I broke out the hammer. I took another piece of parchment paper and laid it on top of the brittle and whacked it with they hammer. After that, it was easy to break into pieces! 

Pecan-Brittle-5

I will definitely be handing this pecan brittle out to just about everyone as a Christmas gift. I have already given it as a hostess gift to several people, and I will be bringing a huge bag in for my coworkers this week. It is just a little bit unique and not your average peanut brittle, but it combines flavors that most people already love!

Pecan-Brittle-4

[yumprint-recipe id=’88’] 

/ Filed In: Desserts, Eat
Tagged: bourbon, brittle, candy, holiday, pecan

Peppermint Chocolate Chex Mix

December 7, 2015

Peppermint-Chocolate-Chex-Mix2

So what do you do with the extra candy canes you bought after you make peppermint bark brownies? You make peppermint chocolate Chex Mix. Then you eat almost all of it before taking pictures for the blog. 

Yeah, it was that good. It almost tastes like if they made Chex Mix with Thin Mint cookies. So if you like Thin Mints, you will probably like this.

This would be the perfect party mix for any of your holiday parties. That’s actually what I intended for this Chex Mix. We have several gatherings and parties coming up so I planned on bringing this for our friends. Fortunately I have plenty cereal left over so I can make another batch. I am just worried it will have the same fate as the first batch. And let me tell you, my waist line can’t take any more. 

Here’s how it starts…

Peppermint Chocolate Check Mix-1

3 cups of Rice Chex Mix, 3 cups of Chocolate Chex Mix, and 2 cups of Cocoa Puffs

Peppermint Chocolate Check Mix-2

Then I added in about 1 1/2 cups of pretzels that I broke up into smaller pieces.

Peppermint Chocolate Check Mix-3

For the “special sauce” I mixed about 1 tablespoon of hot cocoa mix, 1 tsp vanilla, 1/4 tsp peppermint extract, and 6 tablespoons of butter. I mixed it thoroughly so that the cocoa mix dissolved as much as possible into the butter. 

Peppermint Chocolate Check Mix-4

I then tossed the butter mixture through the cereal until it was pretty well mixed and the butter coated all of the cereal. 

I made my Chex Mix the quick way and went with the microwave instead of the oven. I microwaved this for a total of 5 minutes, mixing twice after 2 minutes and 4 minutes. 

Peppermint Chocolate Check Mix-5

Then I spread it out over a baking sheet to let the mix cool. Once cool, I tossed in a few marshmallows, because, why not! Then I drizzled it with white and semi-sweet chocolate and sprinkled crushed candy canes on top. I let all of that cool for an hour or so until the chocolate was no longer wet. 

Peppermint Chocolate Check Mix-6

I would say that this is the point I served it to our friends or brought it into work to share with my coworkers and everyone loved it. But it didn’t get that far. My husband and I ate all of it ourselves. Which is either a testament to how delicious this Chex Mix was, or how big of pigs we are. Maybe both. 

Peppermint-Chocolate-Chex-Mix

[yumprint-recipe id=’87’]

/ Filed In: Eat
Tagged: Chex Mix, chocolate, holiday, Peppermint

Peppermint Bark Brownies

December 2, 2015


Peppermint Bark Brownies - Follow the Ruels

I made these peppermint bark brownies this weekend after coming home from Charleston (because if there was anything I needed after the Thanksgiving holiday, it was more baked goods). After baking them and taking pictures, I put them out on the counter and my husband commented, “these are so creative”. I thought he was just being nice, because…come on, its essentially peppermint bark. 

Then after a Costco trip on Monday, my husband came home and excitedly told me that Costco had stolen my idea. “They are selling these huge bags of chocolate covered in peppermint candy, just like your brownies.” Bless his heart. He had never heard of peppermint bark before, and he really did think I was creative. I barely had the heart to tell him that this is not a new idea, and I am not really that creative. I just swapped the milk/dark chocolate for a brownie.

Peppermint Bark Brownies-1


It all starts with a large slab of brownie. I whipped up a box of my favorite brownie mix (Ghirardelli) and poured it into a 9″x13″ pan, which is larger than the recipe called for. I used a large pan so that the brownies were thinner and a little bit crispier so that the brownies can break into pieces a little bit better. This, of course, is a personal preference. If you like gooey brownies, just cut these up with a knife instead of breaking into pieces. 

Brownie Peppermint Bark-1

While the brownies cooled, I put 3 unwrapped candy canes in a plastic zip-top bag, zipped the top, the whacked the crap out of them with a meat tenderizer until only small crumbs remained.

Peppermint Bark Brownies-2


Once the brownies were totally cooled (this took over an hour), I melted about 8 ounces of white chocolate in the microwave, then stirred in a bit of peppermint extract. Once all the clumps were stirred out of the chocolate, I haphazardly poured it over the top of the brownie then smoothed it out with the back of a spoon. 

Peppermint Bark Brownies-3

While the chocolate was still wet, I sprinkled the crushed candy canes all over the top until I was satisfied with the candy cane to brownie ratio. Or until I ran out of candy cane crumbs. 

Peppermint Bark Brownies-4


The end result is a little bit peppermint bark and a little bit brownie. Enough of each to be totally satisfying!

Peppermint Bark Brownies-7

[yumprint-recipe id=’86’]

/ Filed In: Desserts, Eat
Tagged: brownies, holiday, peppermint bark

Ultimate Cookie & Goodies Virtual Party & Giveaway

November 5, 2015

Welcome to the second year for the Ultimate Cookies & Goodies Virtual Party and Giveaway!

We can’t wait to see what cookies and goodies you are preparing for this holiday season! We know you’ve been busy cooking, decorating and snapping adorable photos of the treats you plan to serve your family and guests throughout the holiday season! Show them all off with us now! I’m sharing my Salted Caramel Thumbprints and Milk and Cookie Shots.

You can also visit the 2014 Ultimate Cookie & Goodies Party by visiting here for even more sweet goodness.

Please share the party with our hashtag! #ultimatecookieparty

What to link up ~

Link up your very best cookies, candies, cupcakes, cakes, goodies and even free printables posts. Old or new posts related to the winter holidays, especially Thanksgiving and Christmas!

Enter to win $210 in Paypal Cash! Giveaway is open worldwide. Must be 18 to enter.

2015 Ultimate Cookies & Goodies Virtual Party & Giveaway 727x1124

Follow our Ultimate Cookies & Goodies Party Board on Pinterest for hundreds of new ideas and recipes! We’ll be pinning your post throughout the party! Please stop by and repin your favorites!

Follow intelligent domestications’s board Ultimate Cookie & Goodies Party on Pinterest.

Meet all 23 of our hosts for 2015

Hosts graphic 2015 Ultimate Cookies & Goodies Virtual Party & Giveaway

Although it isn’t required, we’d love for you to follow us on social media and get an entry into our $210 Paypal Cash Giveaway!

ENTER TO WIN $210 Paypal Cash!!Paypal Cash Giveaway graphic. 2015 Ultimate Cookies & Goodies Virtual Party & Giveawaya Rafflecopter giveaway

  • Intelligent Domestications. Facebook/Pinterest/Twitter
  • My Pinterventures. Facebook/Pinterest/Twitter
  • Made in a Day. Facebook/ Pinterest/Twitter
  • Marilyn’s Treats. Facebook/Pinterest/Twitter
  • The Evolution of Mom. Facebook/Pinterest/Twitter
  • Meatloaf and Melodrama. Facebook/Pinterest/Twitter
  • Love Create Celebrate. Facebook/Pinterest/Twitter
  • Second Chances Girl. Facebook/Pinterest/Twitter
  • Kupon Girl. Facebook/Pinterest/Twitter
  • A Life in Balance. Facebook/Pinterest/Twitter
  • Life With Lorelai. Facebook/Pinterest/Twitter
  • Sizzling Toward Sixty. Facebook/Pinterest/Twitter
  • The Kolb Corner. Facebook/Pinterest/Twitter
  • Olives–n-Okra. Facebook/Pinterest/Twitter
  • Follow the Ruels.Pinterest/Twitter
  • 4 Sons ‘R’ Us. Facebook/Pinterest/Twitter
  • That Recipe. Facebook/Pinterest/Twitter
  • Recipe for a Sweet Life. Pinterest
  • A Bountiful Love. Facebook/Pinterest/Twitter
  • The Quiet Grove. Facebook/Pinterest/Twitter
  • Eclectric Red Barn. Facebook/Pinterest/Twitter
  • Inside the Fox Den. Facebook/Pinterest/Twitter
  • Jillian Does Food. Pinterest/Twitter

Party Rules

  • Link up cookies, candy, cake, sweets and Free Printables from the winter holidays especially Thanksgiving and Christmas. No crafts.
  • Share the party on social media using #ultimatecookieparty
  • Link no more than 3 posts per day over the course of the party
  • No Roundups
  • Link to your post and not your page
  • By linking to this party, you agree that we may use your post and one image in a future promotion or seasonal round-up

[tweetthis url=”http://wp.me/p4QbPx-Fn” twitter_handles=”@followtheruels”]Link up your Cookie, Candy & Sweets recipes at the #ultimatecookieparty[/tweetthis]

Let’s Party!

An InLinkz Link-up


/ Filed In: Eat
Tagged: cookies, holiday, linkup, sweets

Salted Caramel Thumbprint Cookies

November 4, 2015

Thumbprints2

Remember when I made the salted caramel sauce a few weeks ago? I wanted to find as many ways to use it as possible so I turned to one of my favorite cookies, the thumbprint cookie.

When I was a kid, I loved chocolate thumbprint cookies! My mom would put a package of them in my lunch box every day. It has been years since I had one, and I had actually never made a thumbprint cookie until now. 

Did you know they are actually really easy to make? Since I had never made them, I expected that they would be much more complicated. In reality, the dough it is just four ingredients and all you have to do is roll it into a ball and bake. Once they come out of the oven, you press your thumb (or a tablespoon – they are hot!) into the center to create a well for whatever goodness you want pour in there, whether its chocolate or salted caramel. 

Caramel Thumbprints 1

Since I had the left over salted caramel sauce, that is what I used to fill in the thumbprint. You could also melt some soft caramel candies and spoon that into the center. But I highly recommend waiting to do this step until the cookies are completely cool. The caramel will run right off the cookie if it is too warm.

Salted Caramel Thumbprints-5

The finishing touch is to add a touch more sea salt to really bring out the flavor. These cookies are very sweet, so the salty balance is a nice touch!

Salted Caramel Thumbprints-7


I highly recommend these cookies for any of your upcoming holiday parties. They are a crowd pleaser! Just ask my coworkers!

[yumprint-recipe id=’80’]

/ Filed In: Cookies, Cookies New, Desserts, Eat, Jaimie
Tagged: cookies, holiday, salted caramel

Spiced Cheesecake with Gingersnap Crust

December 11, 2013

My mom’s recipe for cheesecake has been widely request from friends and family over the years. It is her go-to dessert when she wants to impress. And it’s no surprise, because it is amazing!

This past weekend, when I volunteered to bring a dessert to our friends Christmas party, I knew this cheesecake would be perfect!

Instead of using sugar cookie dough, like my mom, I used gingersnap cookie crumbs for the crust to make it a little more “Christmas-y”. I also added some spices to the batter to compliment the crust.

One new thing I tried was baking the cheesecake in a shallow pan with a little water. This is a trick I learned from Martha Stewart to prevent the cake from cracking on the top, like it is prone to do.

The result is an extra creamy, and a tad bit spicy, cheesecake. And a little bit goes a long way! One small slice is perfectly decadent, so an 8 to 9 inch pan can serve well over 10 people.

Unless you are serving a large crowd of cheesecake lovers, in which case, you may want to make 2.

What is your go-to recipe for the holidays?

/ Filed In: Eat
Tagged: cake, cheesecake, Christmas, dessert, gingersnap, holiday, Winter

White Elephant Gifts

December 10, 2013

1. Sharknado DVD $10, 2. Moose Drink Cozie $16, 3. Toilet Bowl Coffee Mug $10, 4. Like/Dislike Facebook Stamps $10, 5. Handerpants $5, 6. Soap shaped like food $7, 7.  Thumb Wrestling Ring, $7

I love white elephant parties. And, to be clear, I mean the gift exchange parties where people bring the most asinine gifts. Definitely not those gifts that people can actually use. If you are looking for some pretty awesome and totally useless gifts, ThisIsWhyImBroke.com and Amazon are going to be your best bet. You can find just about anything your weird imagination can dream up.

What is the best White Elephant gift you have received or given?

/ Filed In: Life
Tagged: Christmas, gifts, holiday, shopping

Follow

Hey There!

Hey there, I'm Lindsey. I'm a number cruncher by day and a home cook and baker by night. While I love to eat healthy and find fresh and healthy alternatives for my favorite foods, I will never turn down dessert! Life is all about moderation, right?

Recipes

  • All Recipes
  • Breakfast
  • Appetizers
  • Salads
  • Main Dishes
  • Side Dishes
  • Desserts
  • Drinks

Favorite Finds

[show_lookbook_widget id=”388783″]

Theme by 17th Avenue · Powered by WordPress & Genesis