• Home
  • Eat
    • Breakfast
    • Appetizers
    • Main Dishes
      • Chicken
      • Beef
      • Seafood
      • Healthy Dishes
      • Paleo Dishes
      • Salads
    • Desserts
      • Decorated Cookies
      • Cookies
      • Bars and Brownies
      • Cakes and Cupcakes
  • Shop
    • Cookie Decorating Supplies
    • Bakeware
    • Cookware
    • Kitchen Gadgets
    • House
  • About
    • Contact
    • Bucket List
  • Cookie Decorating 101

Follow the Ruels

Avocado Muffins

June 7, 2018

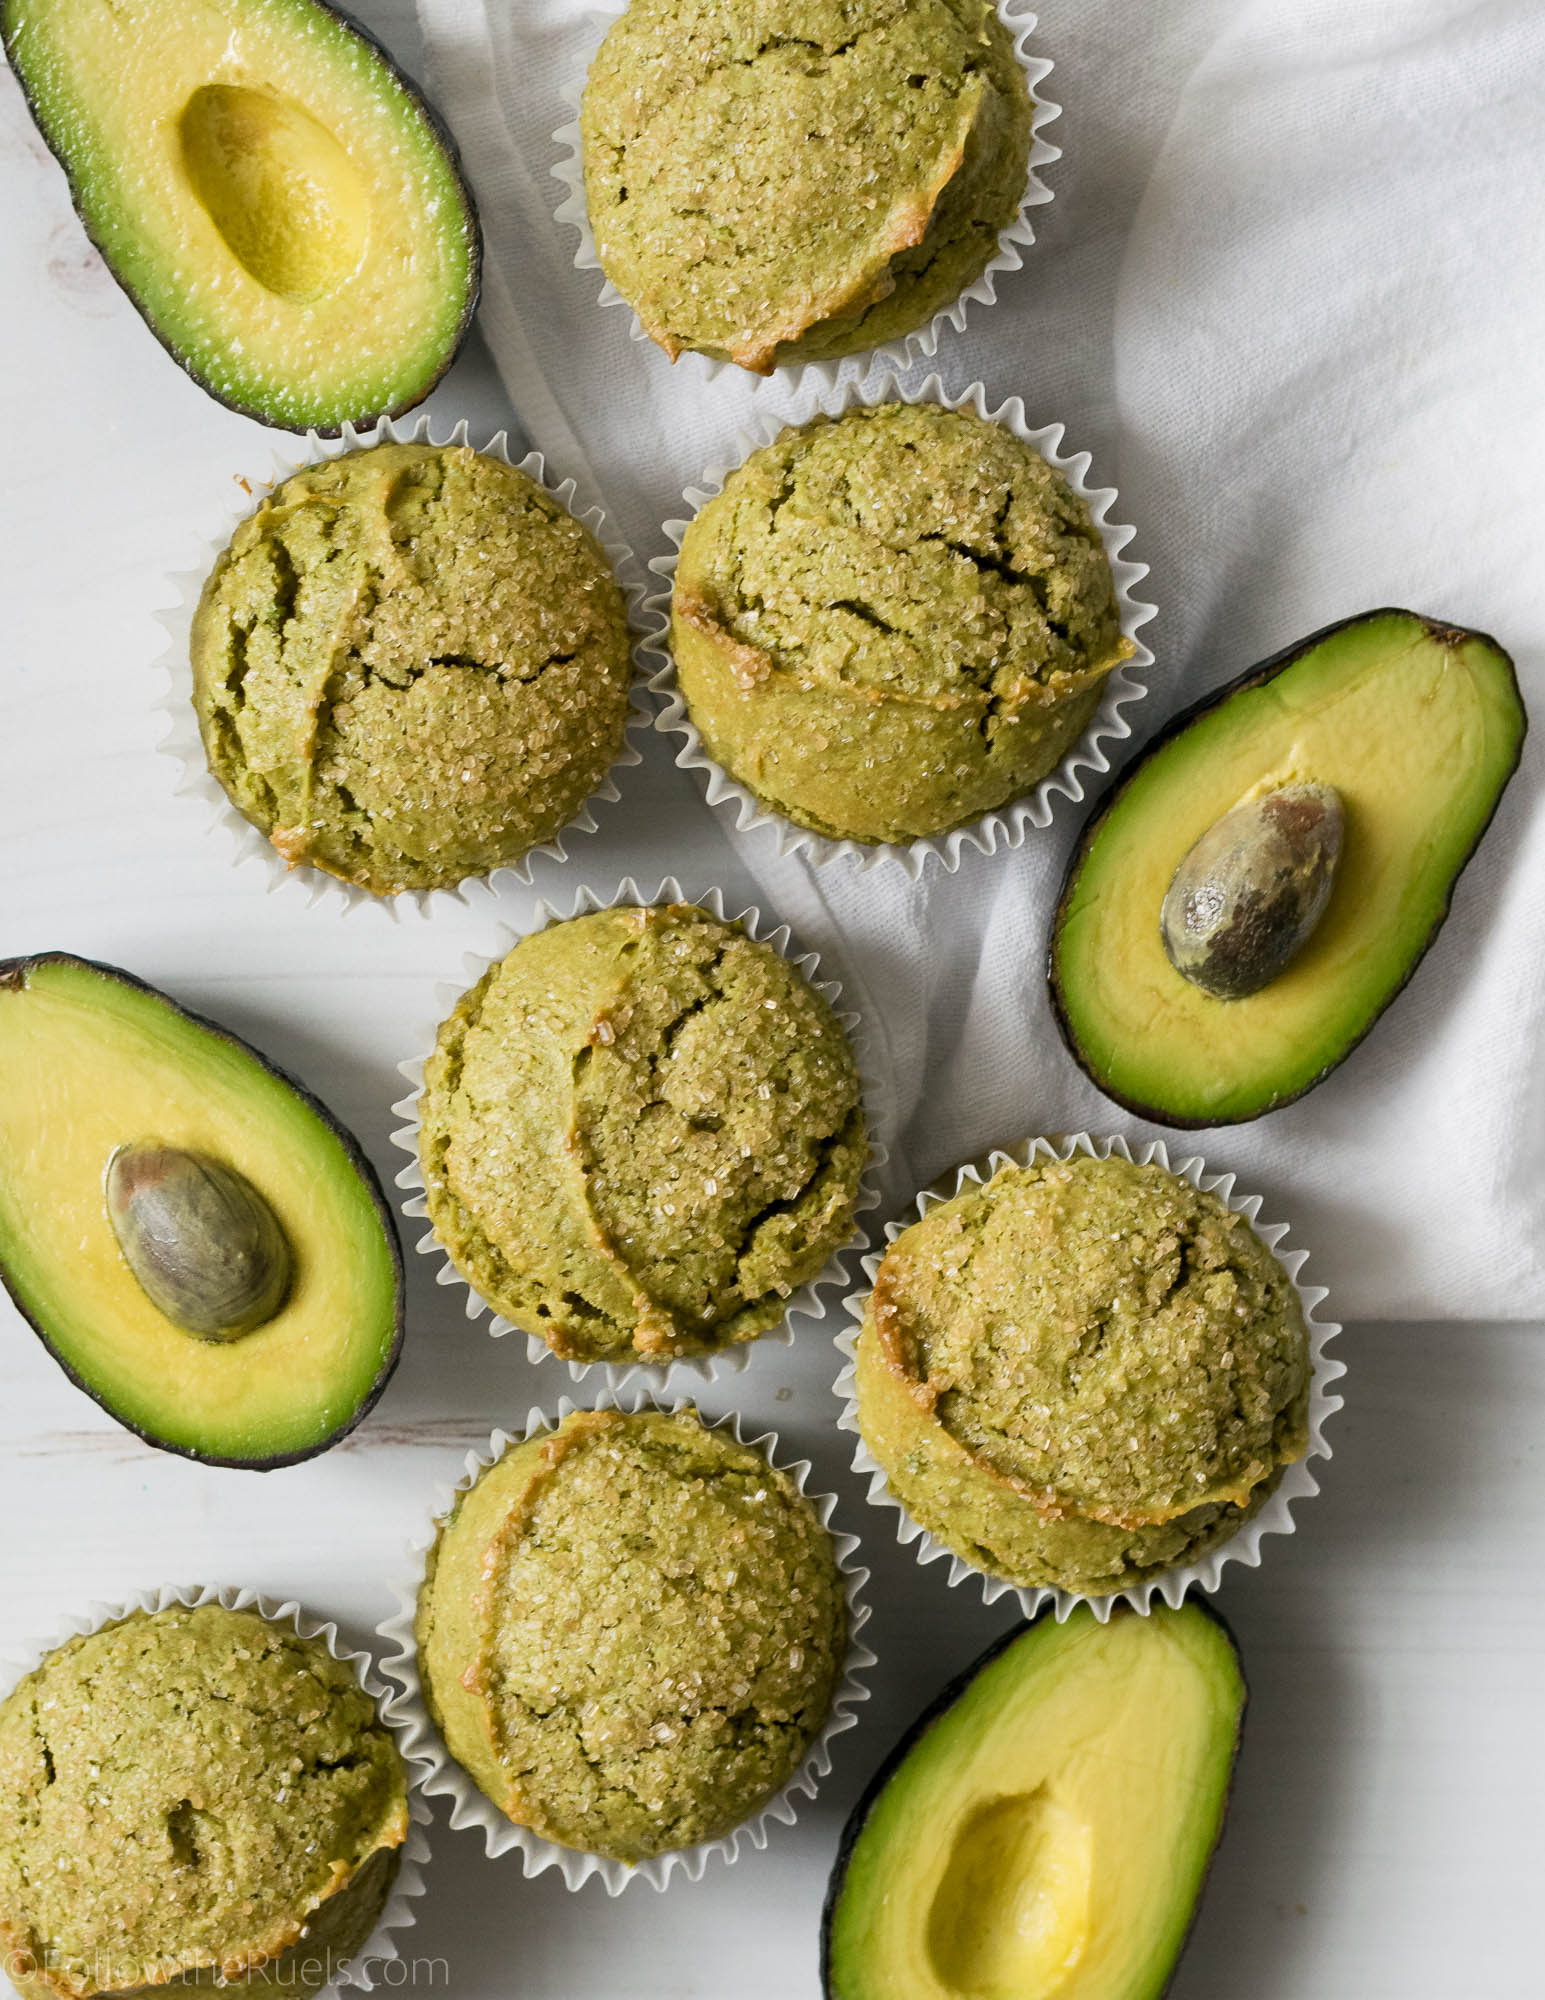
These muffins are 100% inspired by our recent trip out to California. We were lucky enough to attend Billy’s work conference at a very nice luxury resort in Huntington Beach where they really pampered us with some good food. 

Considering that it is California, they really stuck to a healthy “California” themed menu and avocados were all over the place! Even in the muffins! I had never even heard of baking bread or muffins with avocados before (as the main ingredient and not a substitute for butter), but I have to say, I was pleasantly surprised!

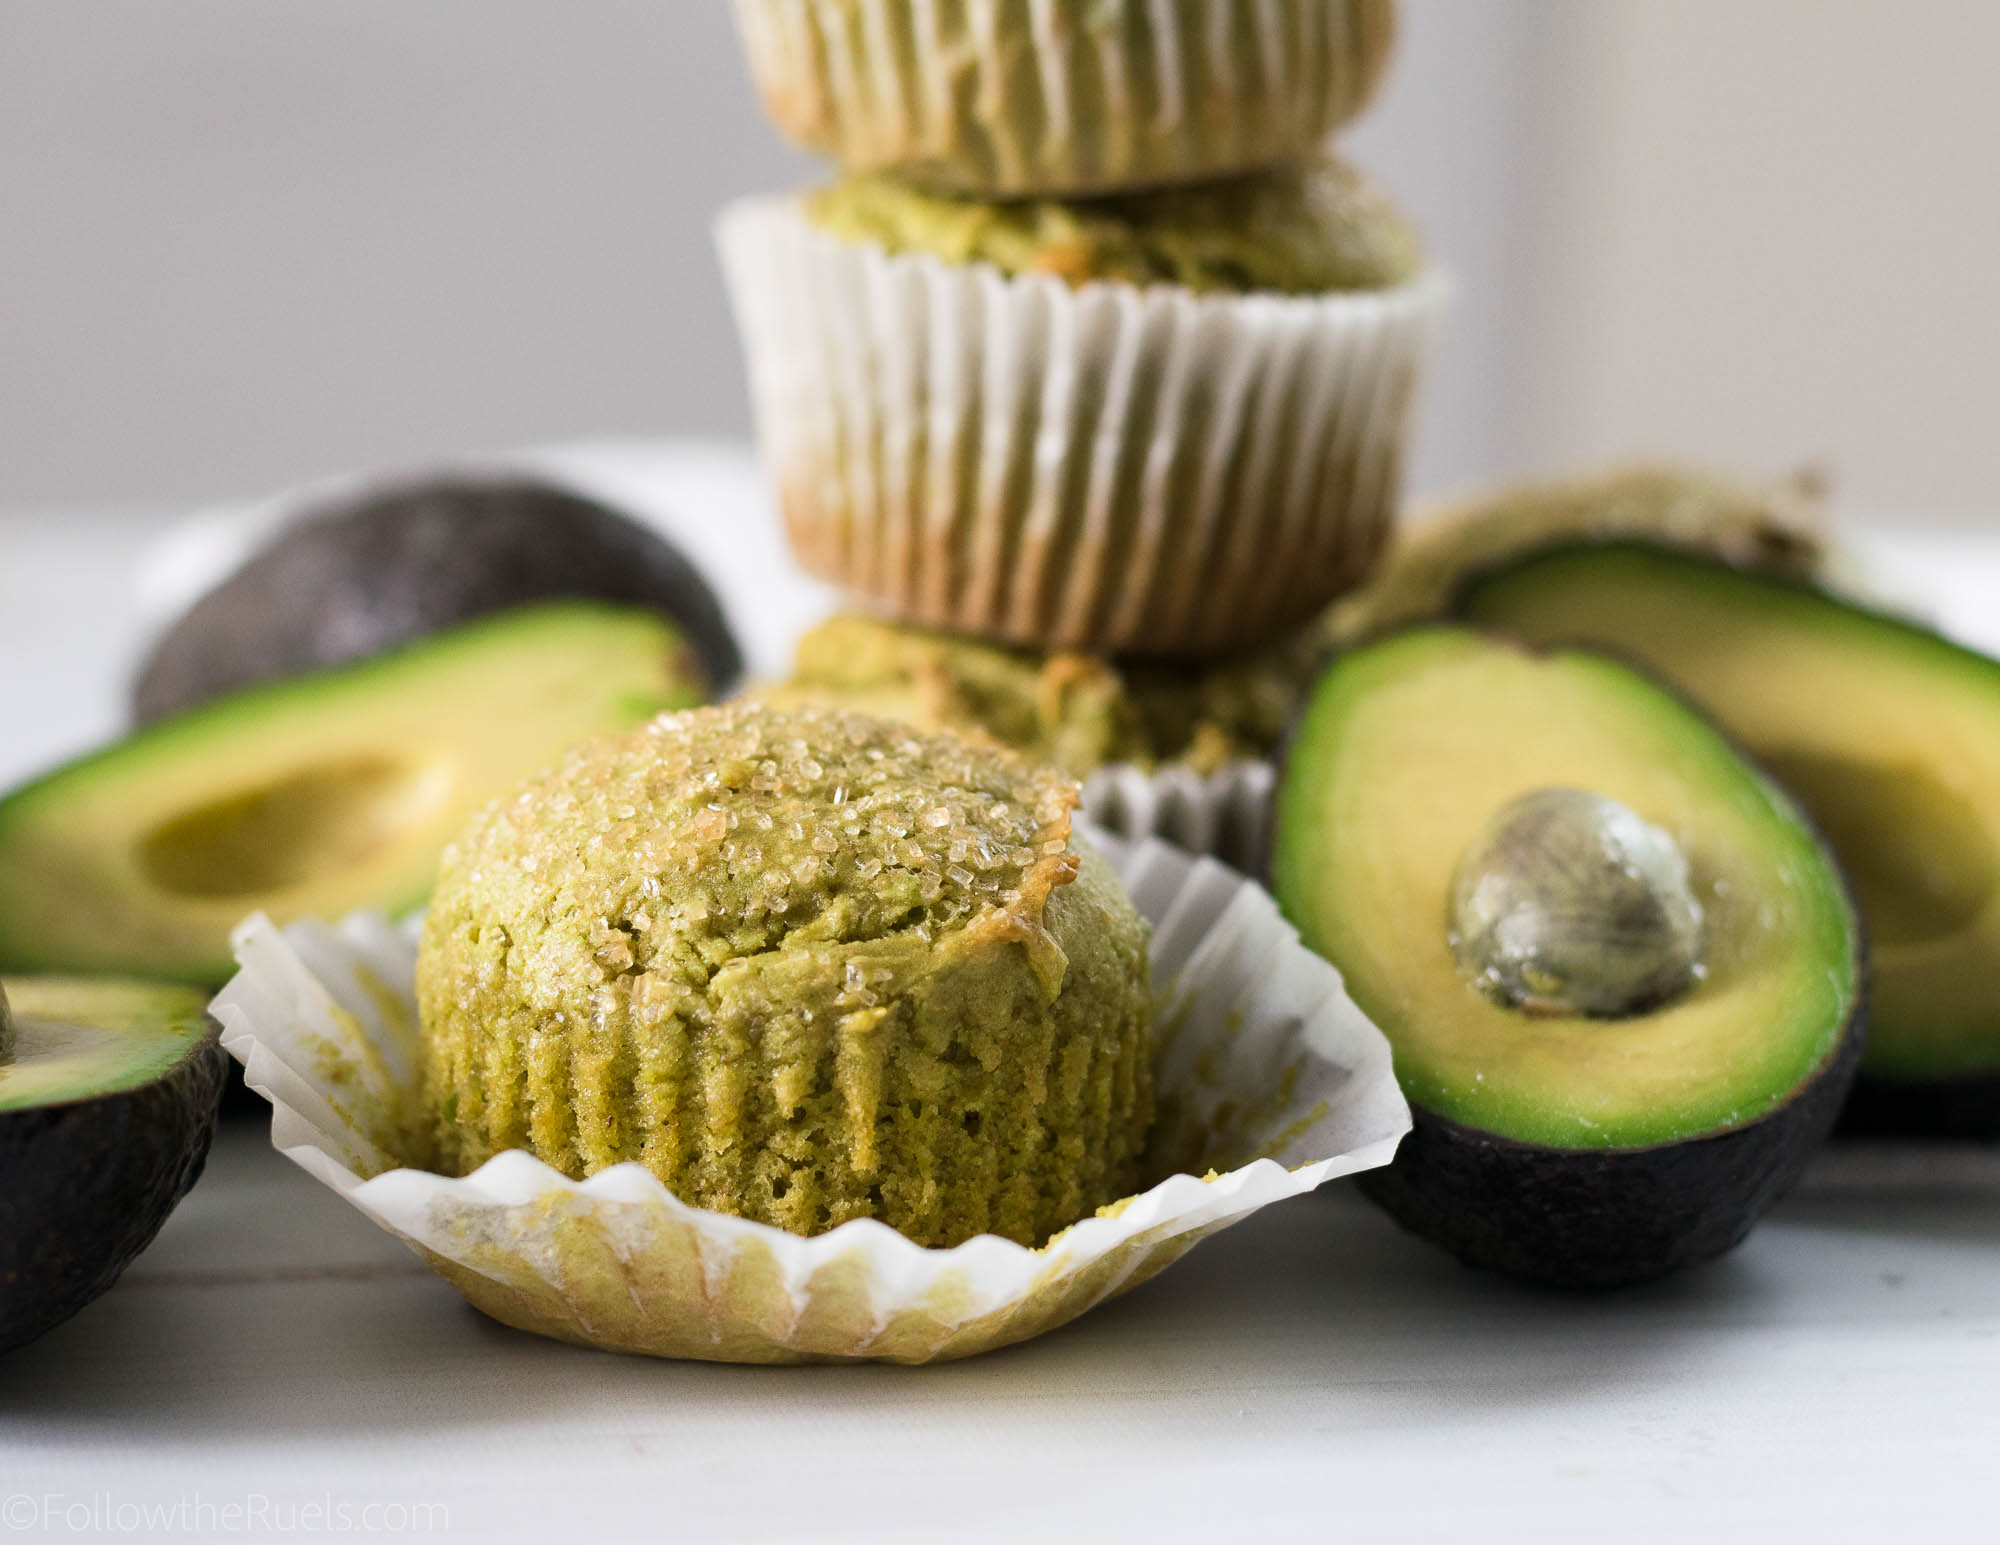
The avocado itself doesn’t actually provide a whole lot of flavor. But there is a subtle richness to the muffins that make them delicious all on their own. No fillings or mix-ins needed!

However, I can totally see myself making these muffins again and mixing in some blueberries, almonds, or any other favorite muffin mix-in! 

How to Make Them

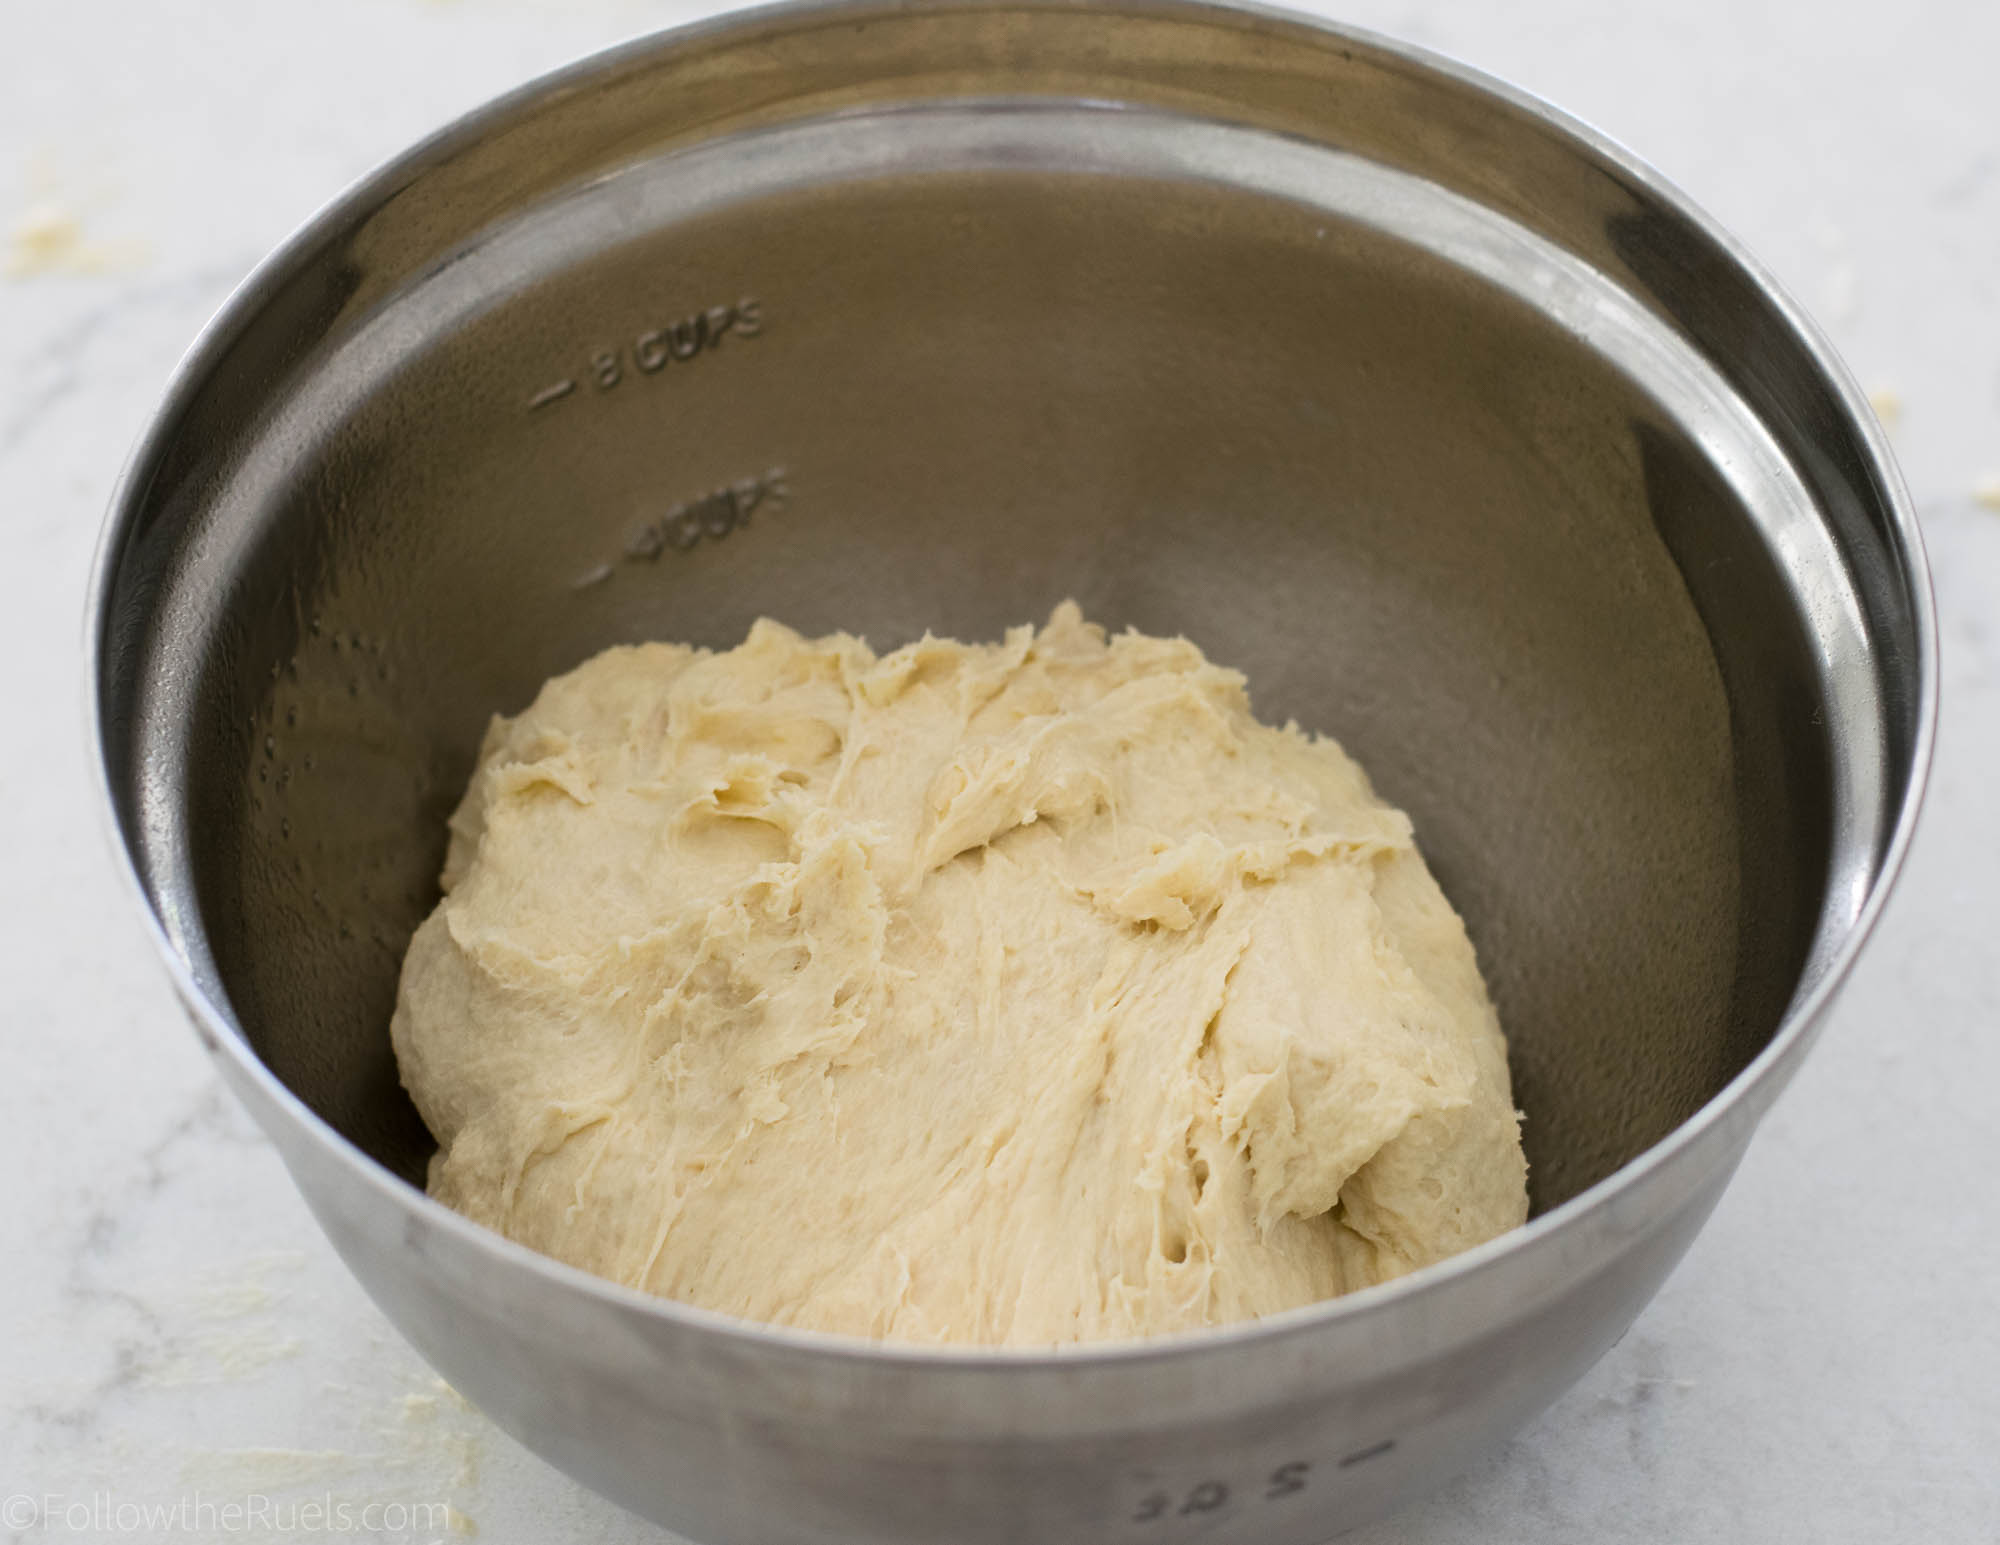
First, cream together the mashed avocado and sugar just like you would butter and sugar.

Next, mix in the eggs.

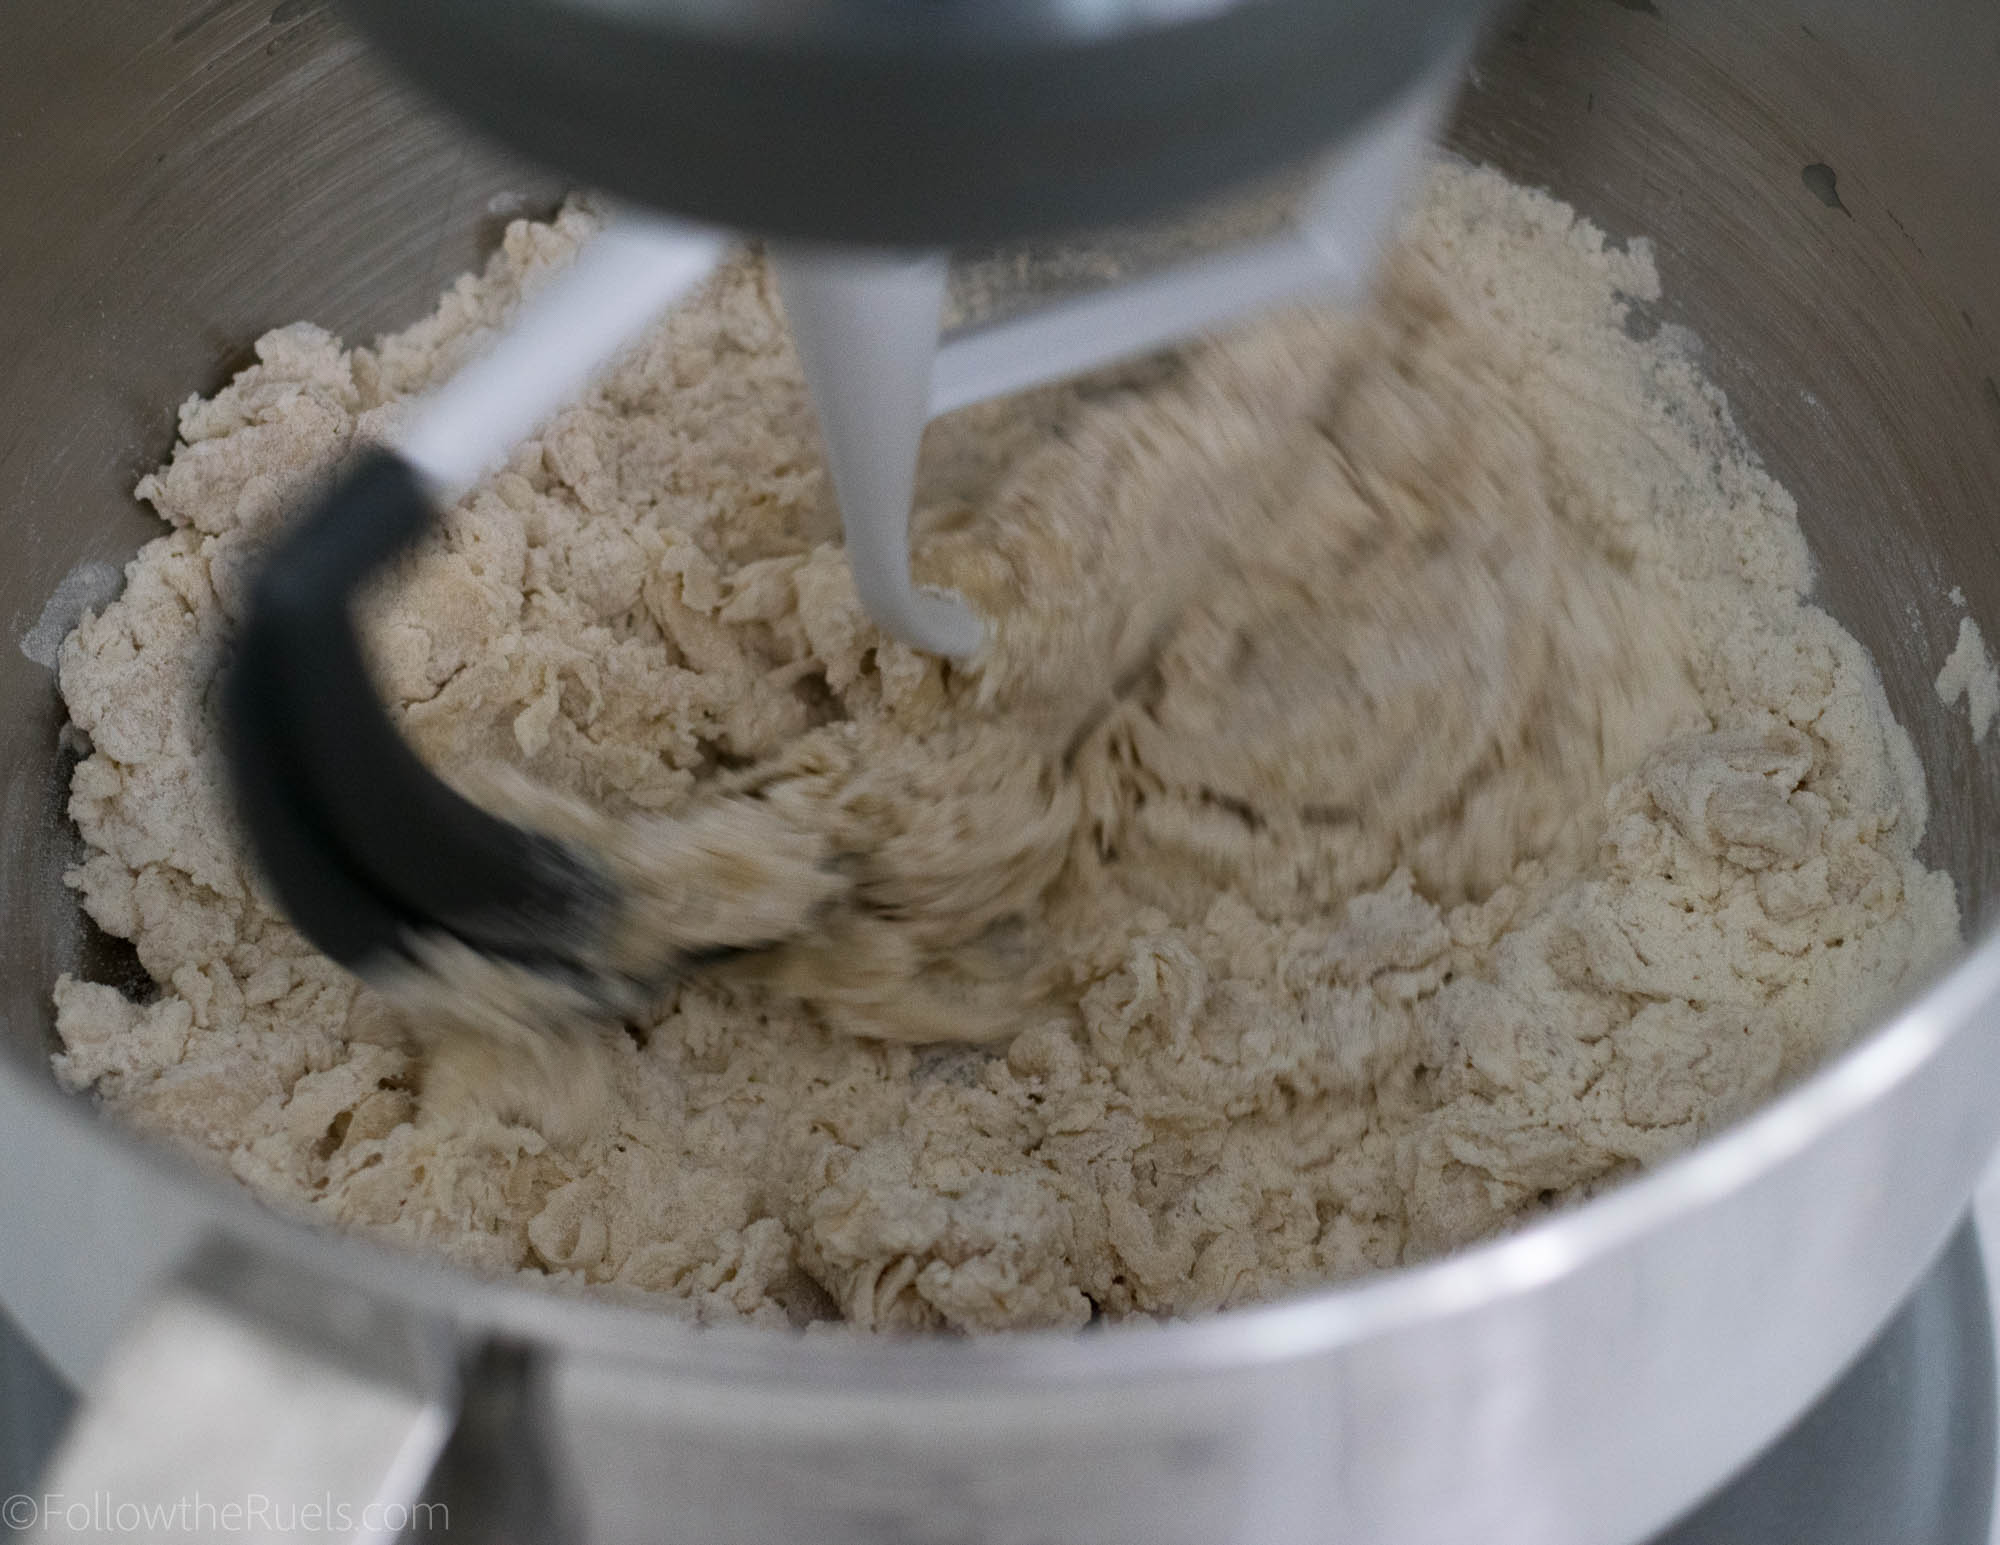
Then, mix in the flours, baking soda, baking powder, and salt. Then mix in the milk until smooth.

I used a combination of whole wheat and all-purpose flour for these muffins to make them slightly healthier and I love the nutty flavor whole wheat flour provides. 

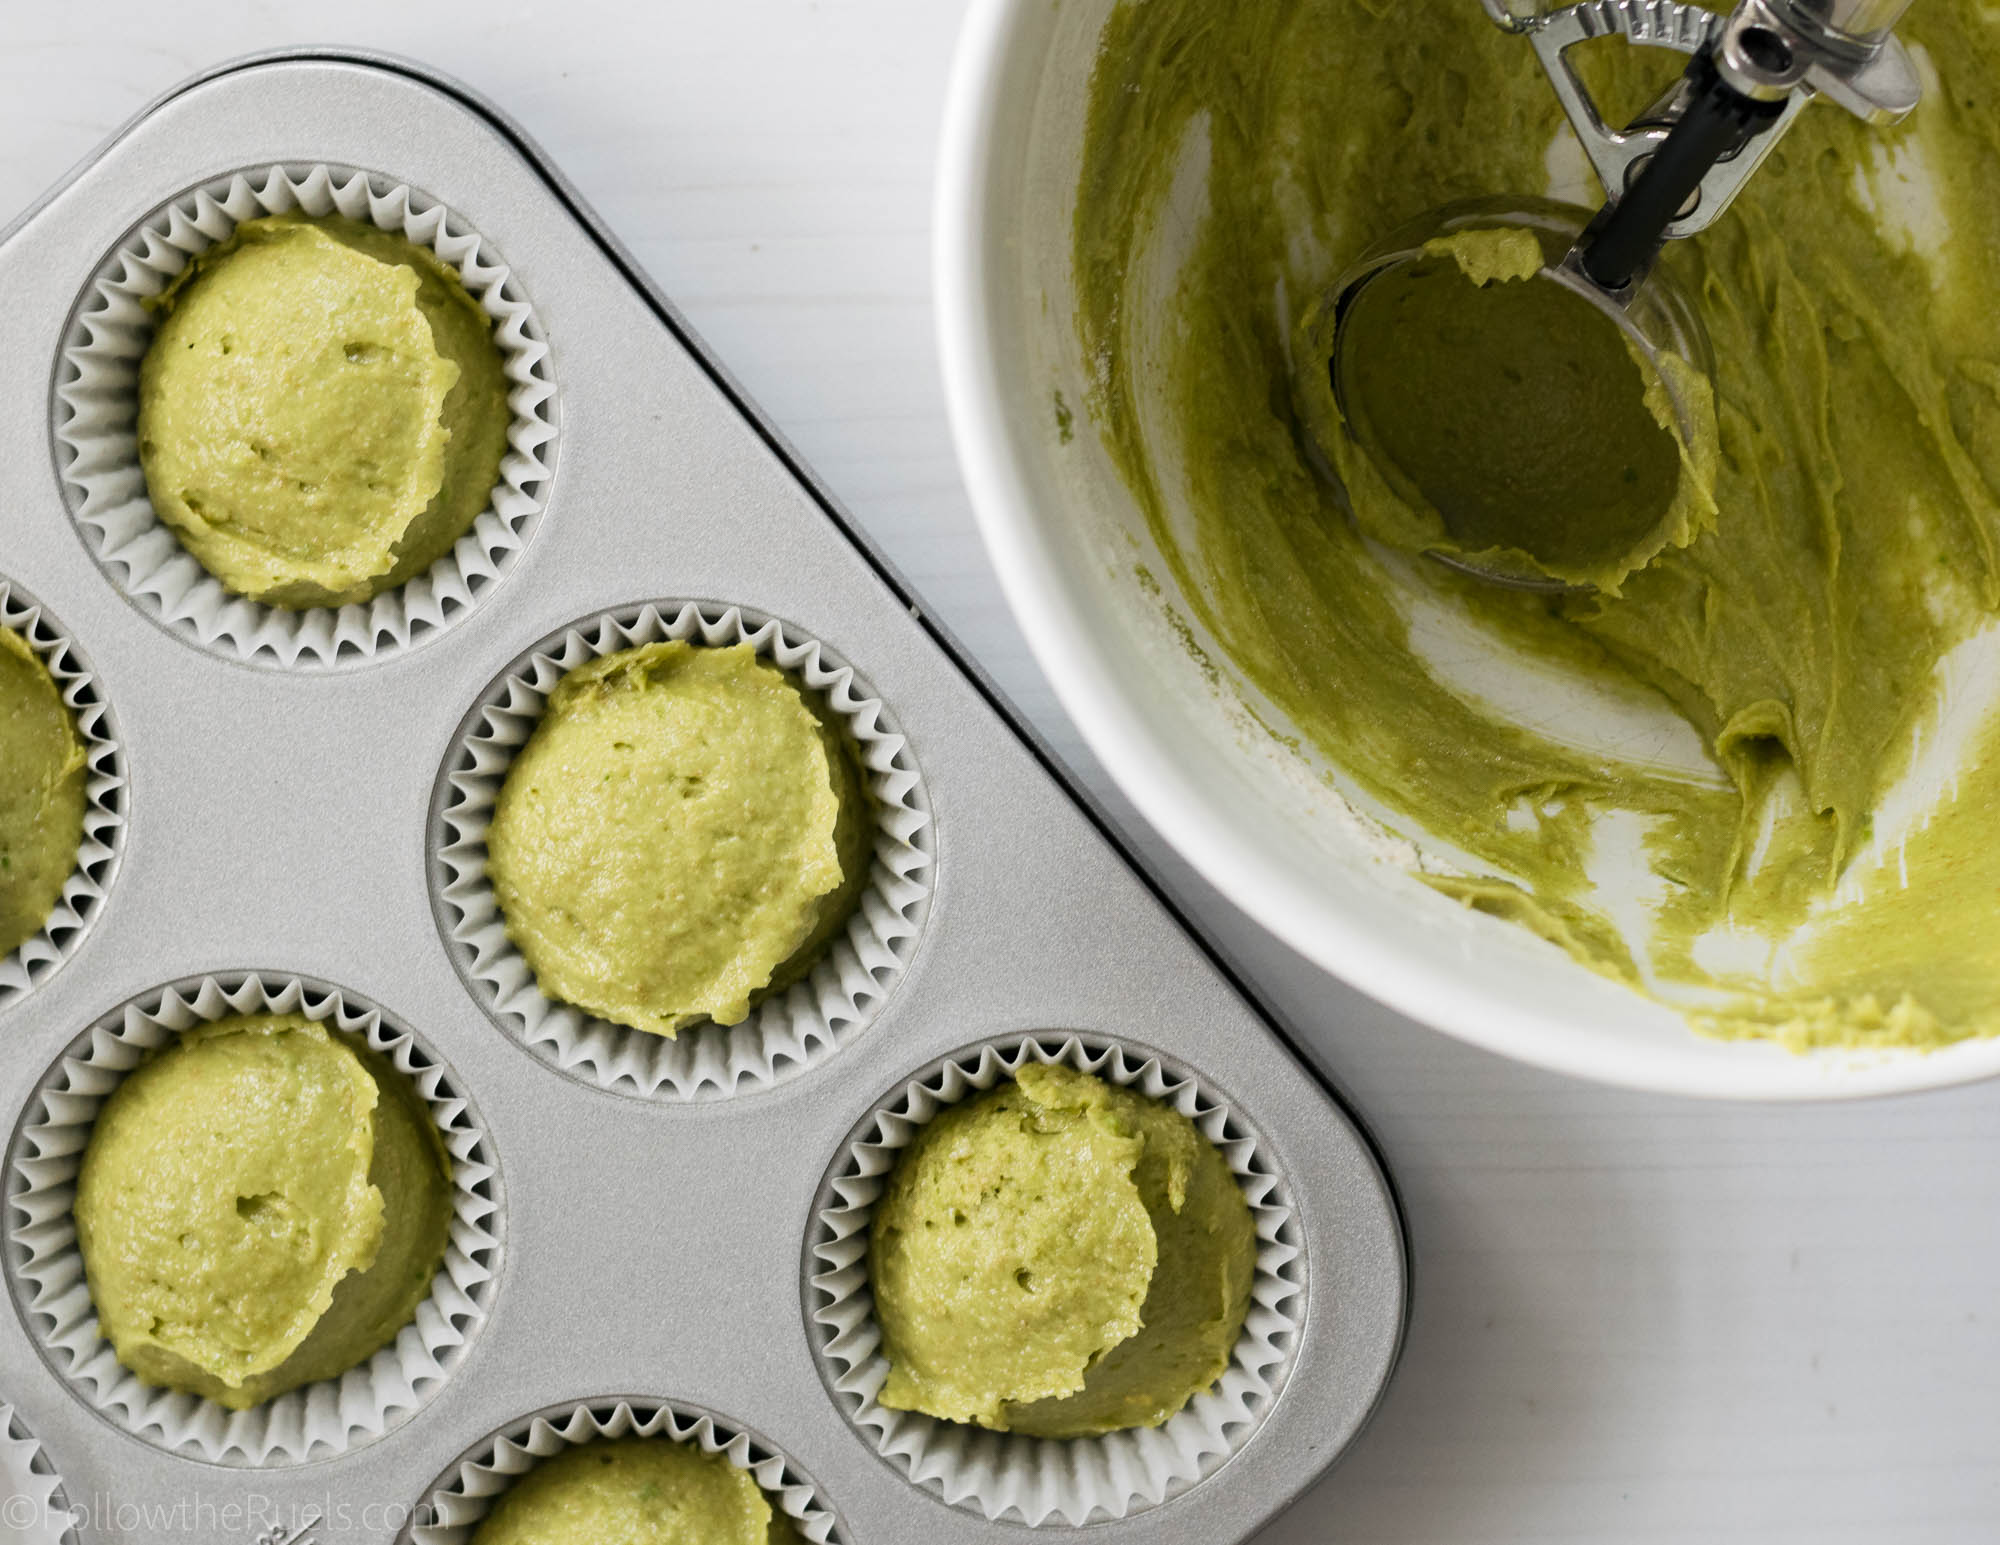
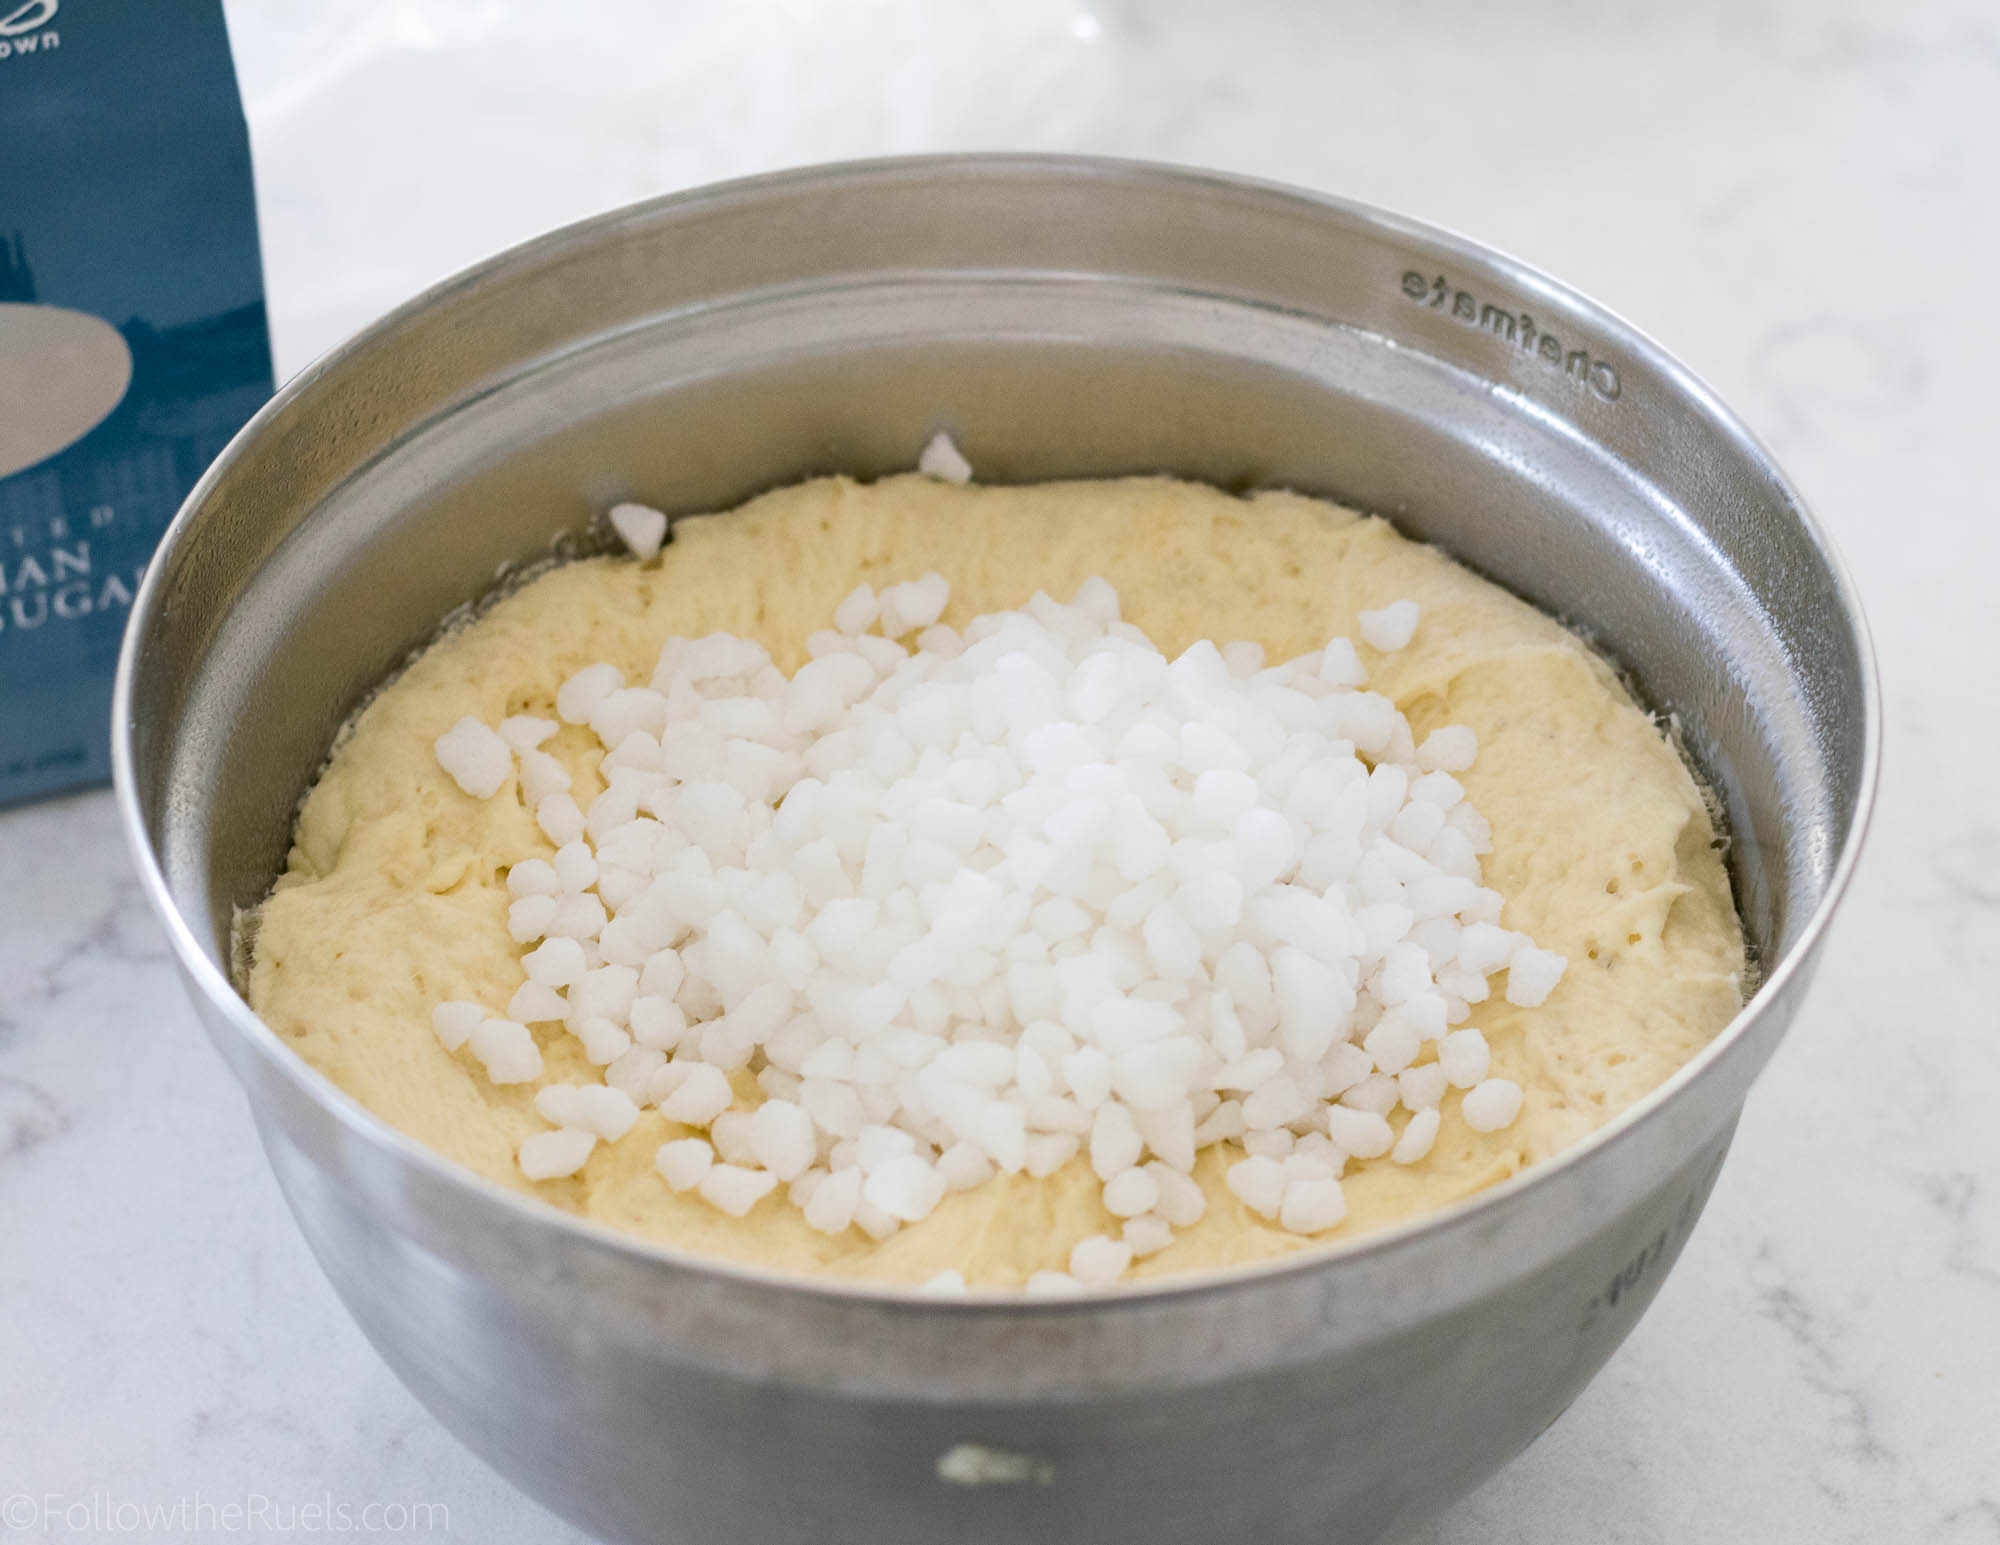
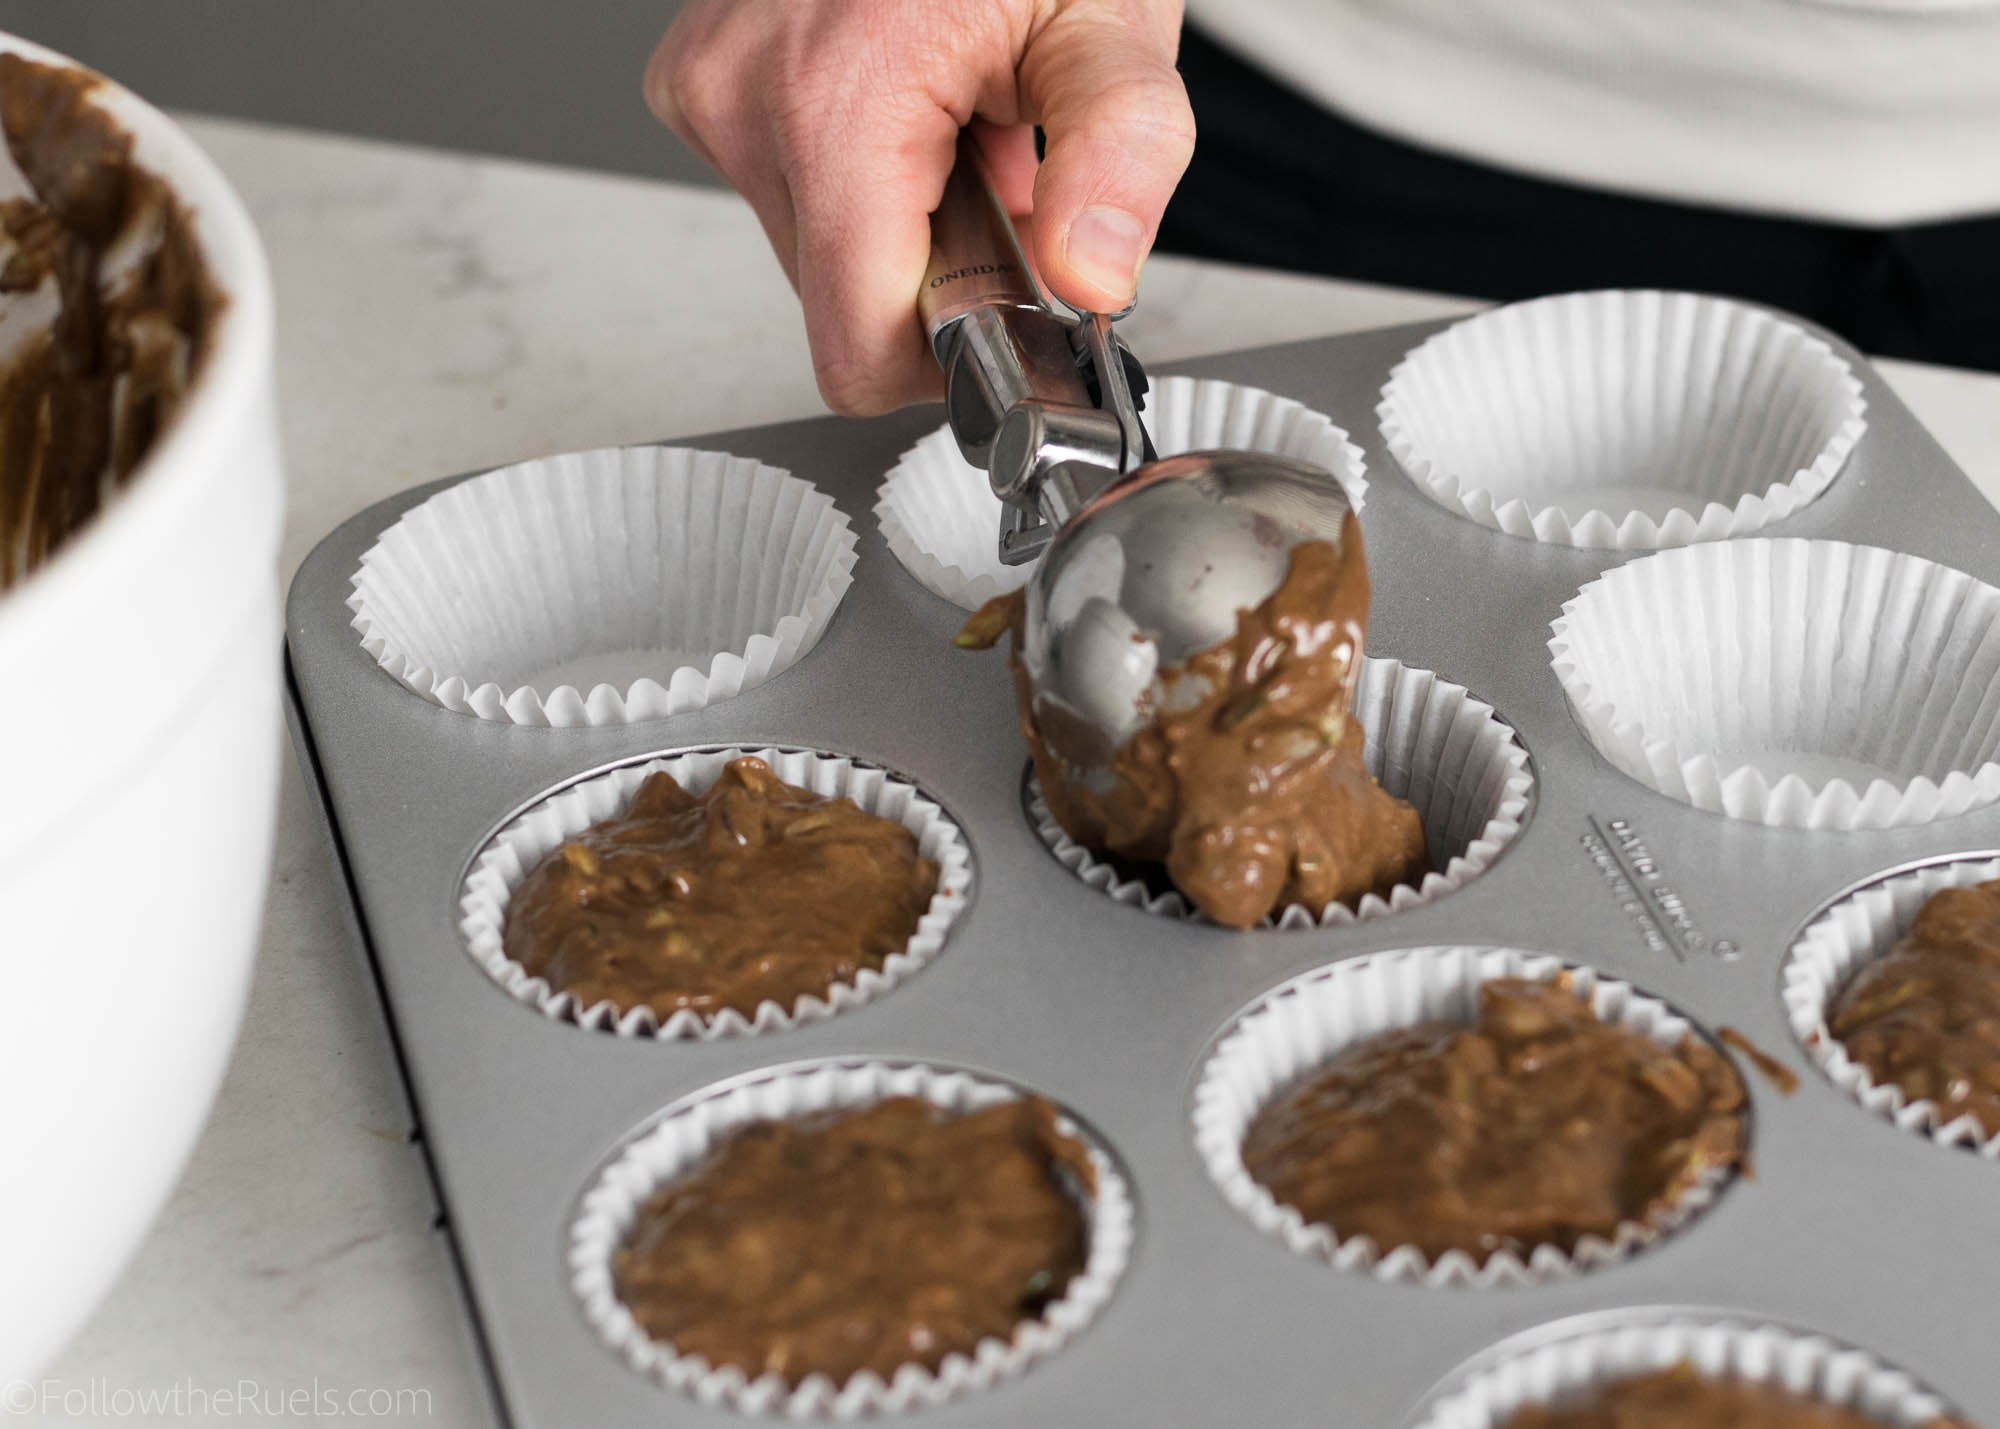
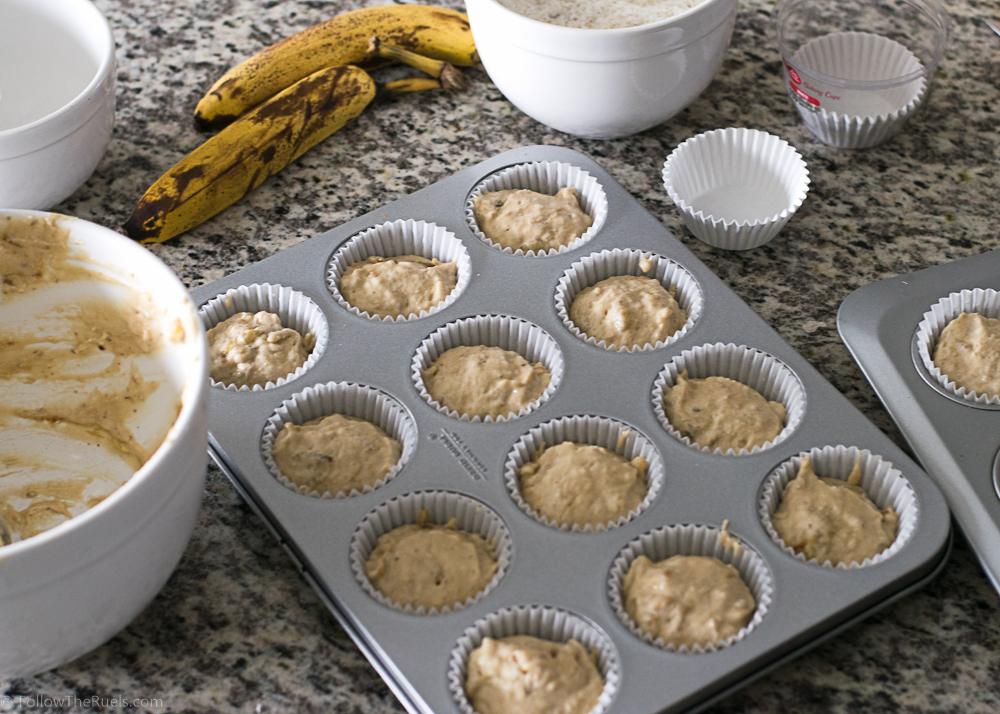
Then spoon the muffin batter into a lined muffin tin.

One thing I think these muffins need so they aren’t so plain is a little sprinkle of turbinado sugar. It creates a really crunchy sweet top that makes these muffins even better!

Finally, just bake until the tops are golden brown, about 20 minutes. 

And there you have it. Super yummy avocado muffins! Who would have thought of making a muffin with an avocado? I guess I have to thank our trip out to Huntington Beach for this one!

Supplies and Recipe

[show_shopthepost_widget id=”3154368″]

[yumprint-recipe id=’181′]

/ Filed In: Breakfast, Eat, Other Sweets New
Tagged: avocado, breakfast, California, healthy, muffins, whole wheat

Liege Waffles (the Real Belgian Waffle)

May 9, 2018

You haven’t had a true Belgian waffle until you have had a Liege waffle. You have probably had lots of waffles masquerading as “Belgian”, but they are a bunch of liars! Liege waffles are the one and only Belgian waffle and are a little different than your classic waffle. They aren’t light and fluffy like the waffles you are used to. They are crispy on the outsides and flakey on the inside.

The signature ingredient in Liege waffles is pearl sugar, which is large bits of sugar that melt into the waffle and caramelize on the outside. The melted sugar on the inside of the waffle create layers of dough and sugar which make these waffles almost pastry-like. 

Because they aren’t as soft and light as a traditional waffle, they can be made ahead of time and reheated very easily. They would make the perfect brunch food for Mother’s Day, Easter, a baby or bridal shower, you name it!

How to Make Them

One other thing that makes liege waffles a bit different than any other waffle is that they are made with yeast. Which means the first thing you have to do is bloom the yeast.


Mix yeast with warm milk and a bit of sugar until it bubbles up into a foam.

Make sure that the milk isn’t too hot. Anything over 110 degrees F will kill the yeast. 

Next, mix the yeast and milk mixture with flour to form a very dry, crumbly dough.

I recommend using bread flour if you have it available as it has more gluten and will puff up even more. 


Then add in the egg and butter.

The resulting dough will be very sticky and loose. You can keep kneading it in a stand mixer with a dough hook, or…

…turn it out onto a clean counter top and knead by hand with a little bit of extra flour. This is the messier, but much more fun version!

Once it’s been kneaded for about 5 minutes, form it into a ball and place it in a greased bowl. Cover with a dish towel or plastic wrap and let rise until doubled in size. 

Once the dough has proofed, mix in the pearl sugar until it is completely incorporated. 

Then form the dough into individual balls of dough. I think that a 2-ounce piece of dough makes the perfect sized waffle. 

Let the dough rise again for another 15 minutes while the waffle iron heats up.

Before each waffle, spray down the waffle iron with a little nonstick cooking spray to ensure the waffle doesn’t stick. 

Cook for about 5-7 minutes, or until the waffles are golden brown on each side and the sugar on the surface has melted. 

These waffles can be made ahead of time and reheated in the oven at 300 degrees. Or you can keep them warm in a 250 degree oven until they are ready to eat.

Because this recipe makes about a dozen waffles, it is the perfect dish to make for an easy brunch! Just set out the waffles with some fruit, berries, and other toppings and you have yourself your very own Belgian waffle bar!

I personally like my waffles with a bit of whipped cream and chocolate sauce. 

Or you can go with the more traditional butter and maple syrup combination!

Either way, you are in for a treat! These waffles are unlike any other waffle you have had.  

And if you don’t feel like serving them for lots of people, they save very easily in the freezer. Just pull one out and defrost it as you like! It makes for a very easy and decadent breakfast (or dessert)!

Supplies and Recipe

[show_shopthepost_widget id=”3129815″]

[yumprint-recipe id=’176′]

/ Filed In: Breakfast, Eat, Other Sweets New
Tagged: Belgian waffle, breakfast, liege waffle, pastry, pearl sugar, waffle, waffle iron

Chocolate Zucchini Muffins

February 28, 2018

If you are a parent trying to sneak in extra veggies into your child’s diet…or just an adult who needs to sneak veggies into your own diet (like me), then this is the recipe for you!

Zucchini is one of those wonderful vegetables that can be a total chameleon. It can replace noodles, added to bread, and accompany some chocolate in these delicious muffins!

For those of you worried about the presence this green-skinned squash in your chocolate zucchini muffins, trust me, these muffins are way more chocolate than zucchini. At least in taste. 

The zucchini actually has no taste or texture, really. It just makes the muffins super moist and extra delicious without a whole lot of extra fat or sugar. Okay, there’s plenty of sugar in here, but not as much as you would expect for a chocolate muffin!

How to Make It

First, break out your grater and grate 1 big zucchini. That should give you more than enough zucchini to add to the batter.

I recommend that you let your zucchini drain on some paper towels while you prepare the rest of the batter so that you don’t add too much extra moisture.

Next, assemble the dry ingredients in one large bowl. Give them a good whisking to break out any lumps and bumps in the flour and cocoa powder. 


In a liquid measuring cup, combine all of the wet ingredients (except the zucchini). Mix the wet ingredients together to break up the egg and emulsify everything into one smooth liquid. 

Pour the wet ingredients into the dry and mix until it forms a very thick batter. 

Fold in the shredded zucchini which will immediately loosen up the batter so that it feels more like a regular muffin batter. 

If you want even more chocolaty goodness, toss in some chocolate chips. 

Scoop the batter into prepared muffin tins then pop them in the oven to bake. 

Note: I prefer to use an ice cream scoop for portioning out my muffins because it’s a perfect size! And much easier to use!

Once they come out of the even they will have risen slightly over the edge of the muffin liner and the chocolate chips will be soft and melted. 

Because these muffins are so moist, thanks to that zucchini, you definitely want to let them cool a bit before sinking your teeth into them. Otherwise, they will just fall apart right in your hands. Not that that’s a bad thing. I am just warning you so you can either grab a paper towel beforehand or just eat them over the sink. 

All in all, these chocolate zucchini muffins are not a bad way to sneak in an extra serving of veggies into my diet!

[show_shopthepost_widget id=”3045572″] 

[yumprint-recipe id=’163′]

/ Filed In: Breakfast, Eat, Other Sweets New
Tagged: breakfast, chocolate, chocolate chip, muffins, squash, zucchini

Caramelized Banana Nut Muffins

September 26, 2017

Prepared to have your world rocked by these caramelized banana nut muffins. These are not your ordinary banana nut muffins. No sir-ee. These banana nut muffins blow all others out of the water! 

It has to be the caramelized bananas that add a little extra sweetness and a much deeper flavor than a normal banana muffin. It’s not a candy-sweet banana flavor. It’s more of a rich banana flavor, if that makes sense. They are perfectly complimented by the nutty, slighly bitter walnuts that add an extra crunch factor.


But of course, it all starts with caramelized bananas. To caramelize them, I just cut them in half lengthwise, sprinkled a little sugar on top, then set under the broiler for a minute or two, until they are nice and toasted. 


To make the muffin batter, I actually varied my normal go-to muffin batter recipe. Well, I should say that I varied the method. Most muffin recipes use a bread making method, where you add all the wet ingredients into the dry ingredients and then mix. For these, I used a cake batter method: cream butter and sugar, add eggs (and other fat), then flour and liquids. This helps keep the muffins nice and light.

First, I creamed together the butter and sugars. Then I added the egg, vanilla, and Greek yogurt. 


To the butter mixture, I mixed in the half of the flour and then the milk. 


As for the nuts in these banana nut muffins, I used walnuts (but pecans would also be good). I crushed them into tiny pieces by placing them in a sandwich bag and smacking them with a rolling pin. It’s a great stress reliever!

Then I dumped the walnuts into the remaining flour and mixed that in with the rest of the batter. By mixing the nuts in with the flour, I ensure that the nuts are evenly dispersed throughout the muffins and don’t sink to the bottom.

Now for the good stuff. I gently mashed up the bananas and then folded them into the batter. 

After dividing the batter into the muffin tins I decided to add a little something extra. While these muffins would have been good on their own, who would turn down an extra crumb topping? Not me, that’s who!


To make the crumb topping, I combined some of the extra walnuts, flour, sugar, salt and some cold butter. Then I generously sprinkled the crumb topping on top of the muffins and popped them into the oven to bake. 

As these muffins bake they will fill your kitchen with the most wonderful smell! And once they come out of the oven, you will have a hard time waiting for them to cool before jumping in!

I certainly didn’t! I couldn’t help but taste test one before it had a chance to cool. And then to make sure they were still good, I had another. And then the top off of another. Then I forced myself to stop because my coworkers might start to wonder why I was only bringing in 9 muffins and not 12. 

I will most certainly be making these muffins again the next time I had some leftover bananas (which is pretty much all the time). They are my new favorite banana recipe, and I am sure they will be yours, too!
[show_shopthepost_widget id=”2831261″]

[yumprint-recipe id=’134′]

/ Filed In: Breakfast, Eat, Other Sweets New
Tagged: baked, banana, banana nut, breakfast, caramelized, muffins, walnuts

Cherry Chocolate Chip Scones

September 12, 2017

I have been buying cherries non-stop this Summer. Almost every trip to the grocery store results in at least one bag of cherries. They are a perfect snack, dessert, or filling. 

Earlier this summer I added fresh cherries to my red, white, and blue pie for Memorial Day. I added them to a batch of sangria for 4th of July. So it only seemed appropriate that I toss them into the chocolate chip scones I made over Labor Day. What a fitting way to bid farewell to the Summer.

You would think that after all these cherry baking projects that I would invest in a cherry pitter. 

I still haven’t learned my lesson.


I love making scones because they sort of like a fancy biscuit, but they are just as easy as making biscuits. 

First, cut cold butter into to the flour until it’s basically the consistency of gravel. Then stir in the liquid ingredients until it forms a sticky dough. 

Fold in the cherries and chocolate chips so they are peppered throughout the dough. Then turn the dough out onto a piece of plastic wrap and wrap up into a disc. Pop in the fridge to chill for at least an hour. I promise it will be so much easier to work with if it’s chilled.  


Now, there are several ways you can form a scone. I have made them in wedges (like above) and I have also made them in rounds (like a biscuit). I have also seen them in square form. You can pick whatever shape speaks to you. 

In this case, I didn’t feel like breaking out the rolling pin (the old girl needs a break from rolling out cookie dough) or the biscuit cutter so I took the disc of dough and cut it into 8 wedges. 

I also sprinkled a little raw sugar on top to give it a little extra crunch. 

After a few minutes in the oven, the cherry chocolate chip scones should be nice and golden brown; crunchy on the outside, and super soft and steamy on the inside. The cherries will be nice and soft and the chocolate chips will be slightly melted.

I recommend eating them shortly after they come out of the oven so that you can split one in half and melt a bit of butter on the inside. It’s the way scones are meant to be eaten. I assume. 

[yumprint-recipe id=’131′]

/ Filed In: Breakfast, Eat, Other Sweets New
Tagged: breakfast, cherry, chocolate, chocolate chip, scone, Summer

Cinnamon Roll Bread (Two Ways!)

August 11, 2017

If you subscribe to my newsletter, then you heard me rave about a recipe I tried a couple weeks ago: Kindred’s Milk Bread. Kindred is a restaurant just outside of Charlotte that is amazing on its own. But what makes it even more amazing is the bread they serve when you sit down. Their milk bread is light and airy but also has this butteriness like a croissant or brioche. After making it the first time, I knew I would be making this bread a ton and in a ton of different ways. First on the list: this cinnamon roll bread.

This cinnamon roll bread almost blows the original milk bread out of the water (almost). While the bread is awesome on its own, adding a little cinnamon and sugar never hurt nothin’ (pretty sure that is what should be written on my tombstone).

Not going to lie though, this recipe is a bit of a commitment. Well, most breads are. But this one especially. I can assure you that it completely worth it. It may seem like there are a lot of steps, but it is actually pretty fool proof. 


Start by making a slurry of water and flour in a sauce pan over low heat. Stir until the slurry thickens into a paste like consistency. Pour in the cream and honey and stir until the honey has dissolved. 


Pour the mixture into the bowl of a stand mixer and let it cool for about 5 minutes. Then sprinkle yeast over the mixture and let it bloom, basically it should be really foamy and bubbly. 

Add the flour, eggs, milk powder, and salt and mix with the dough hook until it forms a solid ball of dough. 1 tbsp at a time, mix in the butter. It may stubbornly just smear around the side of the bowl, but if you are patient, it will work itself in and form layers of butter within the dough.


Form the dough into a ball and toss it (don’t actually toss) it into a greased bowl. Cover the bowl with some plastic wrap and place the bowl in a warm place to let rise. 


The recipe will make enough dough for two loaves of bread, so split the dough in half and loosely wrap one of the halves in plastic wrap and place in the fridge.


With the other half, roll out into a large rectangle. The short side of the rectangle should be as long as your loaf pan. Spread some softened butter over the dough then sprinkle a sugar-cinnamon mixture over top. Starting from one end, roll the dough into a spiral.


Place the dough into the loaf pan and let it rise again. Brush an egg wash over the top so that the crust get’s nice and golden brown. You can see that I split the top of the bread. That is totally unnecessary. I would recommend that you just leave it unsplit…it just looks better that way. 


If you don’t want to make a loaf…or if you want to bake the other half of your bread…you can instead make it into a large roll. Instead of rolling the dough from the short end, start rolling from the long end and make a really long log. Then you can roll it into a spiral and pop it into a cake pan. Then let it rise and give it a good egg wash. 

Since I made both halves of the dough (because you can never have enough bread) I decided to mix things up and glaze the round loaf with a simple icing with butter, milk, and powdered sugar. Holy cow…it was like eating an oversized cinnamon roll. By that I mean amazing! 

But really this bread is perfect all on its own or just with a tiny spread of butter. There is no wrong way to eat this bread. 

Seriously, it’s so good. I will be making this bread again and again. It seems like the perfect thing to make for Christmas breakfast, Easter brunch, baby showers, or just any Tuesday. 

[show_shopthepost_widget id=”2779161″]
[yumprint-recipe id=’123′]

/ Filed In: Breakfast, Eat, Other Sweets New
Tagged: bread, breakfast, brunch, cinnamon, cinnamon roll, loaf

Lemon Ricotta Pancakes

August 9, 2017

Remember when I made homemade ricotta cheese a couple weeks ago? Well, as soon as I made it I knew what I wanted to do with it: make lemon ricotta pancakes!

If you have never had lemon ricotta pancakes (or any ricotta-based pancake) you are missing out! It is not your average pancake. Instead of being light and fluffy, it’s a bit more dense and creamy. It’s almost like if a cheesecake and a pancake had a baby. Almost. 

Just trust me on this guys, it’s good. 

I adapted the Kitchn’s ricotta pancakes to make my lemon version, and they turned out fantastic! I am slightly ashamed to admit that I ate the entire stack of pancakes myself. But only slightly. If you had tasted them, you would understand. 


Start by mixing together your dry ingredients – flour, baking soda, salt, and sugar – and your wet ingredients – ricotta, lemon juice, lemon zest, milk, and egg yolks. Keep the egg whites separate. 


Then mix the flour into the wet ingredient, stirring only until the flour is barely incorporated. Meanwhile, whip the egg whites until they are nice and fluffy. This will help make your pancakes nice and light and fluffy to counter act the dense ricotta. Then fold the egg whites into the rest of the batter.


While you are mixing up the batter you can heat your griddle to medium heat. I love using my griddle/panini press gadget because I can set my temperature to 300-350 degrees, which is the perfect temp for perfect pancakes. 

Use any sort of spoon or cup to spoon about a quarter cup of batter onto the griddle. An ice cream scoop also works perfectly. Cook until tiny bubbles form on the top of the pancake and the sides look a bit dry. Then flip!

After another 2 or so minutes, they are ready to be stacked up!

Instead of maple syrup, I made a quick and easy lemon glaze to pour on top of these bad boys. It was just lemon juice, lemon zest, milk, and confectioners sugar. It was the perfect addition to these lemon ricotta pancakes!

Now do you blame me for eating the whole stack? 

I didn’t think so!


/ Filed In: Breakfast, Eat, Other Sweets New
Tagged: breakfast, lemon, pancakes, ricotta

How to Make the Perfect Scrambled Eggs

June 12, 2017

I know what you are thinking, scrambled eggs are scrambled eggs. It shouldn’t really make a difference how you make your scrambled eggs, they will all turn out the same. But I promise you, making a couple small changes to how you make your scrambled eggs will make a huge difference!

Before learning this method, here are the two ways I would typically make my scrambled eggs: 

  • break some eggs into a bowl, whip them up with a fork, pour them in a pan and cook them.
  • break some eggs into a bowl, pour in some milk, maybe add some cheese, pour them into a pan and cook.

Sure, they turned out fine. I mean, is there really a better way to make them? Well, Gordon Ramsay taught me that yes, there most certainly is.

HOW I MADE THEM

Instead of cracking the eggs into a bowl and whisking them up first, I cracked the eggs directly into the pan while it is still cool, then I turn on the heat. I add a bit of ghee (or clarified butter) and start whipping them up with my spatula.


I continually stir them with the spatula while moving them on and off the heat.

Once the eggs are just about cooked, I add in some sour cream and whip that in. 

At the very end I add in the salt and pepper, and maybe some cheese if I feel like getting crazy (which is 83% of the time).

The resulting eggs are super creamy and fluffy! I know it doesn’t seem like the Gordon Ramsay method is a whole lot different than how you currently make your eggs, but it really comes down to the order in which the steps are performed. Like adding the salt and pepper at the end instead of at the beginning. Or whipping the eggs in the pan over heat, versus in a bowl before adding them to the heat.

From now on, I will now make eggs any other way. Sure, it takes a few more minutes, but it’s totally worth it. 

Also, I should mention that Gordon makes his eggs in a sauce pan. And that’s fine and all, but I have come close to ruining my sauce pans making eggs that way. Eggs have a way of sticking to everything and cleaning up is a nightmare. I will only make my eggs in this pan. The eggs do not stick at all to the pan and cleaning up is a freaking breeze.

[yumprint-recipe id=’108′] 

/ Filed In: Breakfast, Eat, Other Savories New
Tagged: breakfast, eggs, how to, scrambled eggs

5 Minute Hollandaise Sauce (Made in a Blender!)

April 19, 2017

If you want to add a little decadence to your meal, add hollandaise sauce. It should be the definition of decadent. How could egg yolks blended with butter be anything but!

Making hollandaise can be a little bit of a pain in the butt, however. I’ve tried to make it on a couple of occasions and it has always been more work than it’s worth. Then I learned you could make hollandaise in a blender and my life was changed! It couldn’t have been easier. No more double boiler. No more constant whisking. I could just throw everything into the blender and let it do the work for me. 


There are only a few ingredients in hollandaise sauce: egg yolks, butter, lemon juice, cayenne, salt, pepper, and a bit of water. First add the eggs, lemon juice, and water to the blender and give that thing a good blend. You want your egg yolks to be nice and pale and frothy.

Melt the butter, and while it is still hot gradually pour it into the egg mixture with the blender running. Be prepared to get a little bit splattered. 

Keep the blender running until the sauce thickens…then blend it a little more. 

The last step is to add some seasoning. Julia Childs likes to add a bit of cayenne in addition to some salt and pepper. I am not one to argue with Julia, so I, added some cayenne, too. You could also add a dash of hot sauce or paprika. 

And that’s all you have to do to make some delicious hollandaise sauce! Easy right? I bet you thought hollandaise sauce would be a lot more complicated! I sure did. 

Hollandaise sauce can go on a lot more than just Eggs Benedict. I drizzled this on top of an asparagus tart, which was delicious paired with the lemony sauce. I hear it is also amazing with most vegetables, especially root vegetables, eggs, ham, and fish. 

Now that you know how to make a quick and easy hollandaise, you can use that as a base to make lots of other sauces (that’s why hollandaise is considered one of the French mother sauces)! Here are some ideas to get you started! 

[amd-yrecipe-recipe:151]

/ Filed In: Breakfast, Eat, Other Savories New
Tagged: asparagus, breakfast, brunch, butter, eggs, hollandaise, sauce

Fluffy Green Pancakes

March 13, 2017

With St. Patrick’s Day a couple days away, it seems appropriate to feature some green-hued foods, don’t cha think? These fluffy green pancakes were actually inspired by those pancakes the Internet gave Chelsea Clinton such a hard time about. I guess I wasn’t as disgusted as everyone else, because I thought they would be perfect for St. Patty’s Day! Also, what a good way to sneak some extra veggies into your diet?

Before you are completely turned off by spinach in your pancakes, let me assure you that they don’t taste anything like spinach. You can’t taste it at all! So you really could trick your kids into thinking you made green pancakes just for St. Patty’s Day!


These pancakes don’t just get their green color from the spinach. There is also a bit of matcha green tea powder in there to get it an extra umpf. It aslo gives these pancakes a bit of caffeine, which I am not going to turn down in the morning. 


Start by blending together the spinach, egg yolk, milk, lemon juice, and butter until it resembles that green smoothie you force down ever not and then (just kidding, I love green smoothies!). Then add the flour mixture to the blender so that the blender does all the work, not you. 

I would suggest adding just part of the flour mixture at a time, otherwise the blender will just get overwhelmed and you will end up stirring it yourself anyways. 


You should be left with a smooth, green batter. It’s okay if there are a couple lumps though. You don’t want your pancake batter over mixed. Then pour that batter into a bowl with some whipped up egg whites. 

Oh yeah, this is the key to light and fluffy pancakes. Separate your egg white from the egg yolk and whip it up until light and airy. Then fold the batter into the egg whites so you have a light and airy batter!

Spoon about 1/4 to 1/3 cup of batter on to your cooking surface of choice. I prefer our electric griddle because it holds a constant, steady temperature ensuring I don’t under or overcook my pancakes. 

Then just stack up your pretty green pancakes and top them with your favorite pancake toppings. 

I prefer butter (and lots of it) and some maple syrup. Sure that sort of negates the “healthiness” of the spinach and whole wheat flour. But the way I see it, I would be dousing my pancakes in butter and syrup no matter what. So at least this way I am getting in a serving of veggies!

If the Chelsea Clinton green pancakes turned you off from adding spinach to your pancake batter, I hope I have helped sway you the other way. Because it’s always a good idea to trick your kids (or your husband…or yourself!) into eating more veggies. 

[amd-yrecipe-recipe:140]

/ Filed In: Breakfast, Eat, Other Sweets New
Tagged: breakfast, green, healthy, pancakes, spinach, whole wheat

Blueberry Quinoa Muffins

February 8, 2017

A couple years ago I posted this recipe for blueberry quinoa muffins. Even back then when I could count my blog readers on one hand, the recipe took off on Pinterest. Even today, it’s one of my most saved Pins. Who would have thought?

I have gotten some feedback on the old recipe from a few people. But since I haven’t made the recipe in a while, I didn’t really feel I could offer much advice (or come to my own defense!). It was time to go back to the drawing boards and retry the recipe! 

A couple people mentioned that the original recipe resulted in soggy muffins. Who wants a wants a soggy muffin? Definitely not this girl, so clearly something had to change. The first thing I thing I did differently was blend half the quinoa into a flour to mix with the rest of the dry ingredients. 


I cooked the rest of the quinoa, just like in the original recipe, but this time I used milk! While this also helped reduce the sogginess, it also had another unintended consequence. A good consequence, I should add! You know that distinct nutty flavor quinoa has? Well the milk really helped tame that flavor a bit. And let’s be honest, no one is out there craving a muffin that tastes like quinoa. 


Other than these couple steps, I didn’t change a whole lot else about the recipe. I mixed the quinoa flour with whole wheat flour, all purpose flour, sugar, and baking powder. To that I mixed in all the wet ingredients – the remaining milk, apple sauce, eggs, and coconut oil – until it formed a thick batter. That’s when I folded in the cooked quinoa. 


Now these blueberry quinoa muffins wouldn’t be blueberry quinoa muffins without blueberries. Actually, they don’t have to be blueberry muffins. They can be any berry you want, or no berry at all. But I wanted to go with the classic blueberry! So I mixed the clean blueberries into the batter until they were evenly dispersed throughout. I would recommend, however, that you toss the berries in a bit of flour before mixing in (unlike me). This will help prevent the berries from sinking to the bottom of your muffins. 

After a quick bake, these muffins were ready to be scrounged up. You might think from the photo above that I artistically arranged the muffin tin so that I could highlight both the blueberries and the quinoa. Nope. I just had some muffin tins to fill after eating a couple muffins before I could remember to take pictures. 

Self control has never been my strength. 

I am definitely a fan of the quinoa muffin recipe 2.0. The texture is much more like a traditional muffin – light, airy, and slightly moist. The quinoa flavor isn’t as distinct, which I think would turn a lot of people off to this recipe. But it is still super healthy!

There is much less sugar in this recipe compared to my traditional muffin recipes. Also, the quinoa adds some extra protein, which makes it a great, well-rounded breakfast!

I would love to hear from anyone who made the original recipe and how you think this recipe compares! Let me know which one you like better! I certainly know which recipe I would vote for!

[amd-yrecipe-recipe:125]

/ Filed In: Breakfast, Eat, Other Sweets New
Tagged: blueberries, breakfast, healthy, muffins, quinoa

Stuffed French Toast Muffins with Raspberries

January 4, 2017

Every year for Christmas breakfast my mom makes the same things. We have all come to expect her delicious strata and tater tot casserole. My contribution has always been the monkey bread. Of course I am responsible for the sweets!

This year she threw a wrench into the whole plan. Three days before Christmas she said, “why don’t we make something different this year for Christmas breakfast.”

Excuse me, what now? Break tradition?? 

Part of me was a bit sad to lose some of our Christmas favorites (I mean, what is better than tater tots and cheese?!). But the other part of me (the blogger, baker, recipe experimenter part of me) was excited to try something new! And I am so glad we did because I ended up making a delicious French Toast casserole. 

We went through dozens of recipes on Pinterest to find the perfect one and settled on a blueberry french toast casserole, but swapped in raspberries. It was a good first try, but afterwards I was eager to go home and make the recipe my way. And by that, I mean stuffed with cream cheese. 


I started by cubing up a loaf of Challah bread. I hands down prefer Challah bread for French toast because its a tad sweeter and so light and fluffy. It’s delicious on it’s own and even better as French toast. 


Next I mixed up some eggs, milk, vanilla, maple syrup, and cinnamon. Then I added in all the cubes of bread and gave them a good toss until the bread had completely soaked up all the liquid. 

Because I did this the night before, I let the bread sit in the bowl overnight (in the fridge). If you did this the morning of, you could transfer this immediately to a casserole dish or a muffin tin.


Once I was ready to bake my French toast, I took about 3-4 cubes of bread and pressed them into the bottom of a muffin tin. I then topped that layer with pieces of frozen raspberries.

Side Note: When I made this on Christmas Day, I used fresh raspberries, which I nestled in between the cubes of bread. After making this recipe with frozen raspberries, I will never go back! I love that I was able to basically pound them into tiny pieces that I could just sprinkle over top. That way I had little bits of raspberry in every bite. But, if you don’t like raspberries, you can add blueberries, strawberries, chocolate, or just leave them plain! Fine by me!

On top of the raspberry layer I added more cubes of bread. Then I topped everything off with a generous amount of strussel topping. I know it looks messy, but it’s worth it!


The icing on in the cake is the cream cheese filling!

One of the things I thought was missing from the recipe I made on Christmas day was something creamy to off set the soggy bread and crunchy topping. The best approach I could come up with to stuff the stuffed French toast muffins was to just pipe the filling right in there after they had baked. 

Using a piping bag with a large round piping tip, I nestled the tip into one of the crevasses between the bread cubes then piped the filling while slowly lifting the piping bag up and out. 

If you don’t have a piping bag and tip, you can use a zip top bag and just use a paring knife to help create a seam for the tip of the bag to fit in. 

Raspberry French Toast Muffins

The best way, in my opinion to finish off these stuffed French toast muffins is with a drizzle of maple syrup and a sprinkling of powdered sugar. Because, you know, these muffins need more sugar. 

But holy moly they were incredible! Honestly, this version was so much better than the recipe I made on Christmas Day. In large part due to that creamy cream cheese center. But also I loved that the raspberries were interspersed in every bite. 

Now, this exact same recipe can be made in a casserole form. If my mom wants to make this recipe again next year, that’s probably what I will do. Instead of piping the cream cheese filling into each muffin, I would pipe it randomly into the casserole using the same method, or thin it down a bit to make a nice cream cheese icing. 

But I think the muffins are way more fun and they ensure the perfect bit of French toast every time! A little bit of that crunchy, caramelized edge with the soft and soggy center. Just like your classic French toast!

[amd-yrecipe-recipe:112]

PIN NOW, MAKE LATER

/ Filed In: Breakfast, Eat, Other Sweets New
Tagged: breakfast, casserole, cream cheese, french toast, muffins, raspberries

Cranberry Orange Muffins

December 2, 2016

Cranberry Orange Muffins

Move over pumpkin and pecans, it’s time to give cranberries their fifteen minutes of fame. You know me and how I get on kicks. Well, the next kick I’m going on is a cranberry kick. I’ve got big plans for everything from cranberry orange muffins, to sugared cranberries, to cranberry curd. 

But first things first. These cranberry orange muffins. To be honest, I didn’t quite know if I would like the dried cranberries in the muffin. While they work great in a flaky scone or a crumbly cookie, would they work in a soft muffin?

Yes. Yes they do. 

(But fresh cranberries would probably work well in this, too!)


So I have made a lot of muffins around these parts, so I won’t bore you with the basics. But I will share one quick tip I use to measure my liquid ingredients. In a lot of muffin or quick bread recipes, I am mixing together a true liquid (like milk) and a semi-solid (like sour cream or yogurt). Well,  call me lazy but I don’t want to have to clean another measure cup. What I do instead is pour liquid in to a liquid measuring up like you see above. Then I spoon in the yogurt or sour cream (or peanut butter, etc.) until the liquid is offset by the right amount. 

Make sense? 

Ok, say I want to measure 1/2 cup milk and 1/4 cup sour cream. I pour 1/2 cup milk into the measuring cup, then I spoon in sour cream until the milk level rises to 3/4 cup (1/2 + 1/4 cup). 

After that, I add in the rest of my wet ingredients that don’t require such sophisticated measuring, like the eggs and butter. 


For these particular muffins, and any muffin to which I add zest, I mixed the zest in with the dry ingredients to that it becomes evenly dispersed throughout the batter. Then I pour in the wet ingredients and give it a few (emphasis on a few) good stirs. To much mixing and the muffins will be chewy, not soft. 

cranberry-orange-muffins-5

Another fun trick I use (Man, this post is just full of them, isn’t it?), is to portion out the batter into the individual tins using a ice cream scoop. Not only is it the perfect amount for 12 muffins, but it’s just so much easier and quicker to use. 


Cranberry Orange Muffins

Once they are out of the oven, I head straight for the muffin top. I know it’s a cliche, but the muffin top is truly the best. I like to add a little bit of sugar to the tops of these muffins so that the top has a nice crust, but is still really soft inside. 

The combination of the orange and cranberry makes these muffins taste so fresh. The muffin itself is light and airy, so would make a great addition to a holiday breakfast to balance out all those other heavy foods we eat this time of the year. But, thanks to those dried cranberries, this muffin can be enjoyed year round, not just this Winter!

PIN NOW, MAKE LATER

Cranberry Orange Muffins | Follow the Ruels

[amd-yrecipe-recipe:102]

/ Filed In: Breakfast, Eat, Other Sweets New
Tagged: breakfast, cranberry, cranberry orange, muffin, orange

Glazed Gingerbread Donuts

November 28, 2016

Glazed Gingerbread Donuts

Before we left to visit family in Texas for Thanksgiving, I decided I needed to put up my Christmas tree and get our house ready for the holidays. I pulled out all of the Christmas decorations that we had acquired over the years and unpacked it all (to see what I had to work with). It was like Christmas had thrown up in our living room. Which for me, was lots of fun. Not so much for my husband.

To fuel my Christmas decorating bender, I thought it would be appropriate to have a Christmas-themed breakfast. There are lots of things that remind me of Christmas, but maybe none more than gingerbread! My first thought was gingerbread pancakes (been there, done that). Then I thought: Gingerbread Donuts!

The gingerbread baking in the oven filled our kitchen with so many wonderful holiday scents – brown sugar, cinnamon, ginger, and clove. It smelled heavenly!


To make the gingerbread batter, I mixed together flour, brown sugar, baking powder, salt, and spices. Separately, I whisked together the milk, butter, molasses, and egg. Then I mixed the two together to make a light and fluffy batter.


I use a big zip-top bag to pipe the batter into the donut tin. I tend to overfill my donut tin, forgetting that the donuts will puff up and rise in the oven. Next time I will remind myself to only fill up the tin three-quarters of the way. 


They don’t take very long to bake, but I used that down time to whip up the vanilla glaze. The glaze is pretty simple to make: whisk together milk, confectioners’ sugar, and vanilla. I added just enough milk until the glaze was the right consistency.

gingerbread-donuts-10

I kept my glaze rather thick, mainly for the photos. But when I make these again, I will make my glaze thinner. I want the gingerbread to be the star of the show. If you make these at home, you could even skip the glaze completely and dust the donuts with confectioners’ sugar.

Any way this gingerbread donut is dressed (I tried the donuts plain, with confectioners’ sugar, and glaze….it’s a tough job, folks), it’s delicious. Light, yet moist and oh so flavorful. It is the perfect compliment to a cup of holiday spice coffee. Also the perfect start to a day of holiday decorating!

Gingerbread Donut

[amd-yrecipe-recipe:100]

/ Filed In: Breakfast, Eat, Other Sweets New
Tagged: breakfast, donut, gingerbread, glaze, muffin, Winter

Glazed Pumpkin Bread

October 5, 2016

Glazed Pumpkin Bread

I started a new job on Monday. While I am still at the same company, I am in a whole new department on an entirely different floor. While I am excited about this new job, it was really hard to leave all my friends in my old department. I would like to say that my coworkers were sad to see me go, too, but I think they are really going to miss all the baked goods I bring in. Actually, I don’t have to assume…many people down right told me that they expected me to still drop off cookies and muffins. 

So on my last day in the group, I decided to wake up a bit early and make them one last treat – pumpkin bread. And if you are wondering why there are no pictures of the process, it’s because this was thrown together before the sun came up. 


Whipping up the batter for this quick bread was really easy and, well, quick. But it does take some time to bake. Which was fine for me. I put it in the oven then I went on upstairs and got ready for work. It actually worked out really well. It also helped that since it was my last day in the job, I wasn’t too worried about being late. 

But because of the time crunch, I didn’t really have a chance to test this out before I brought it into the office. Sure, I licked the bowl and the batter was delish, but of course things could have changed in the oven. Once it was dropped off in the break room, I waited for someone else to cut in so that I could finally steal a bit. Fortunately, it was good….it was really good. That pumpkin bread was gone within the hour.

Glazed Pumpkin Bread

I’m going to miss my old coworkers. They were such good recipe taste testers and barometers, and they didn’t even know it! I always knew I had a good recipe if the food was I brought was gone by lunch or someone asked for the recipe. I guess I will have to keep dropping off some baked goods for them. 

PIN NOW, MAKE LATER

Glazed Pumpkin Bread from Follow the Ruels

[amd-yrecipe-recipe:83]


/ Filed In: Desserts, Eat
Tagged: bread, breakfast, Fall, loaf, pumpkin, quick bread

Healthy Greek Yogurt Pops

August 22, 2016

Healthy Greek Yogurt Pops

I don’t know about your neck of the woods, but over here in my neck of the woods (North Carolina) it’s been HOT! This has definitely been a hot Summer. The hottest I have experienced here in Charlotte.

It’s been hard on me and our AC. 

As a way to beat the heat, I decided to turn one of my favorite breakfasts, post-workout snacks, and desserts into a popsicle. Greek yogurt is one of my favorite foods because it is packed with protein and can be mixed with just about anything for a delicious treat. For these Greek yogurt pops, I mixed non-fat Greek yogurt with a bit of whipped cream, honey, vanilla, and berries. 


I know what you are thinking….whipped cream isn’t very healthy! And you are partially correct. Normally whipped cream has tons of sugar in it, which makes it pretty unhealthy. Yes, it does has fat, but fat isn’t always bad. Trust me, I am working on the whole fat thing, too. We have been conditioned here in the US to think that fat is bad, when it’s not.

But the whipped cream is key because it helps add air to the Greek yogurt to make them more light and airy. Without it, these pops would just be a block of yogurt ice. So if you want to ditch the whipped cream because you are afraid of the fat, do so at your own risk. 

Greek Yogurt Pops-8

Making these Greek Yogurt pops was easy. Waiting for them to freeze was hard. I was so impatient, I probably ruined a couple checking on them before they were ready.  

Oh well…they still tasted great! It was just like eating a big bowl of mixed berry Greek yogurt, except frozen and on stick. Which actually made it the perfect on-the-go breakfast on my walk to the train station in the mornings. 

And really, what’s better than a yummy breakfast popsicle on a hot Summer morning? 

Greek Yogurt Pops

[amd-yrecipe-recipe:70]

/ Filed In: Desserts, Eat, Healthy Dishes
Tagged: berries, breakfast, frozen, Greek yogurt, popsicle, snack, Summer

  • 1
  • 2
  • 3
  • Previous Entries

Follow

Hey There!

Hey there, I'm Lindsey. I'm a number cruncher by day and a home cook and baker by night. While I love to eat healthy and find fresh and healthy alternatives for my favorite foods, I will never turn down dessert! Life is all about moderation, right?

Recipes

  • All Recipes
  • Breakfast
  • Appetizers
  • Salads
  • Main Dishes
  • Side Dishes
  • Desserts
  • Drinks

Favorite Finds

[show_lookbook_widget id=”388783″]

Theme by 17th Avenue · Powered by WordPress & Genesis