• Home
  • Eat
    • Breakfast
    • Appetizers
    • Main Dishes
      • Chicken
      • Beef
      • Seafood
      • Healthy Dishes
      • Paleo Dishes
      • Salads
    • Desserts
      • Decorated Cookies
      • Cookies
      • Bars and Brownies
      • Cakes and Cupcakes
  • Shop
    • Cookie Decorating Supplies
    • Bakeware
    • Cookware
    • Kitchen Gadgets
    • House
  • About
    • Contact
    • Bucket List
  • Cookie Decorating 101

Follow the Ruels

Simple and Easy Pear Sauce

September 21, 2017

Wine country is pretty much adult Disneyland, don’t you think? You are surrounded by so many great vineyards creating amazing wines, and also surrounded by lots and lots of good food. 

A few weeks ago my husband and I (and my best friend from high school and her bf) went out to Sonoma and Napa for a long weekend and it was absolutely amazing. Of course, the highlights were all the wonderful wines that we had. But when it comes to food, hands down our favorite meal was at Thomas Keller’s Ad Hoc. I had very high expectations going into the meal, and they were all met or exceeded. 

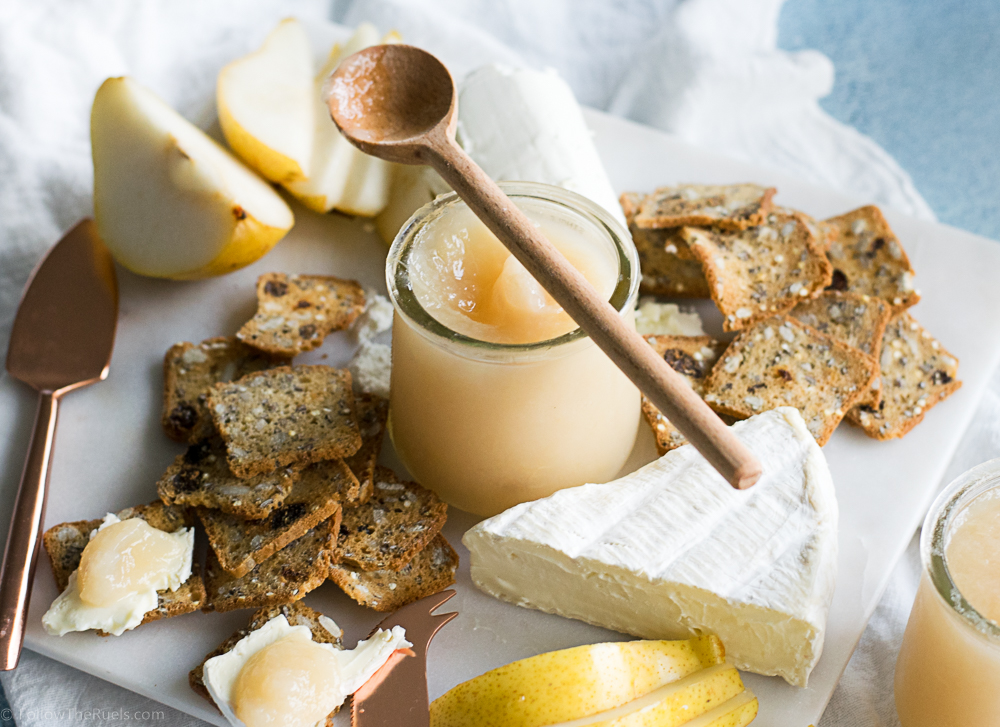
One of the more interesting dishes of the night was the cheese plate that came out right before dessert. On it were a few homemade crackers, a delicious local goat cheese, and a pear sauce. At first, we didn’t really know what to do with the pear sauce, other than putting it on the cracker, but it turned out to be amazing. The pear sauce on its own was heavenly, and it perfectly complimented the goat cheese. Of all the wonderful things we had to eat that night, it was the pear sauce that we kept talking about. My friend and I convinced ourselves that we needed to try to make it when we got home. 

Well, looks like I got to it first, Michelle. 🙂 

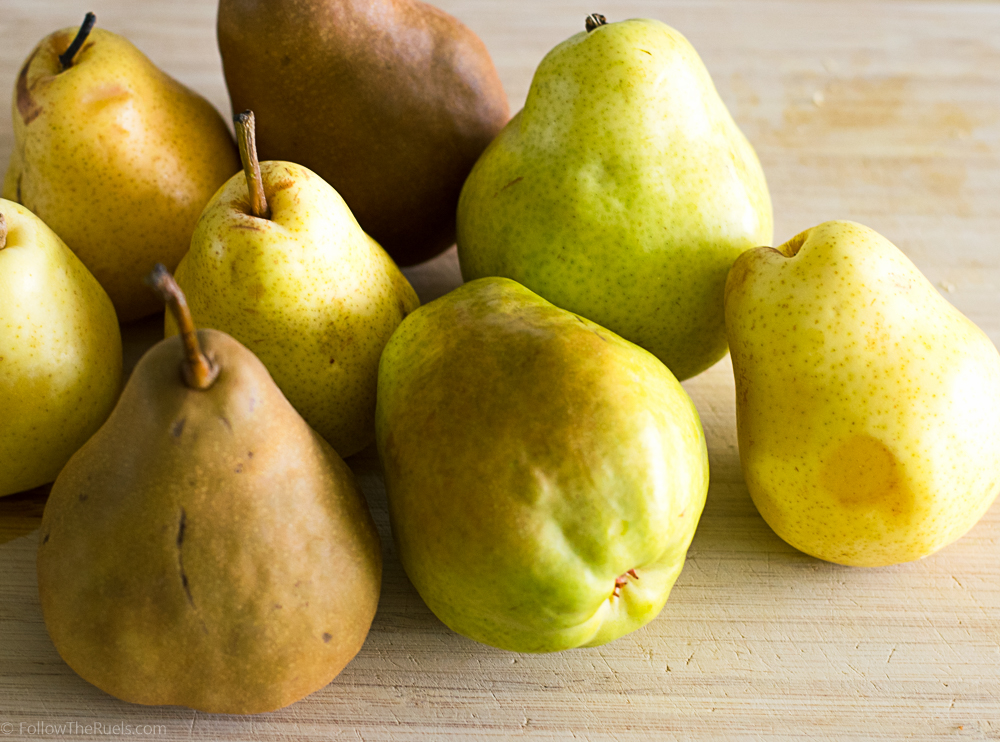
Because I was making this a little bling, and just going off of what I knew about making apple sauce, I decided to use a couple different types of pears. If you can get your hands on more than one variety of pear, use them all! However, if you just like one type of pear, by all means, just use that one. I just felt like Thomas Keller wouldn’t just use one type of pear. 


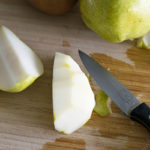
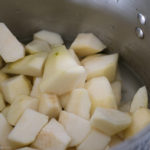
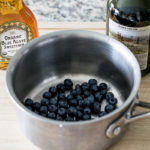
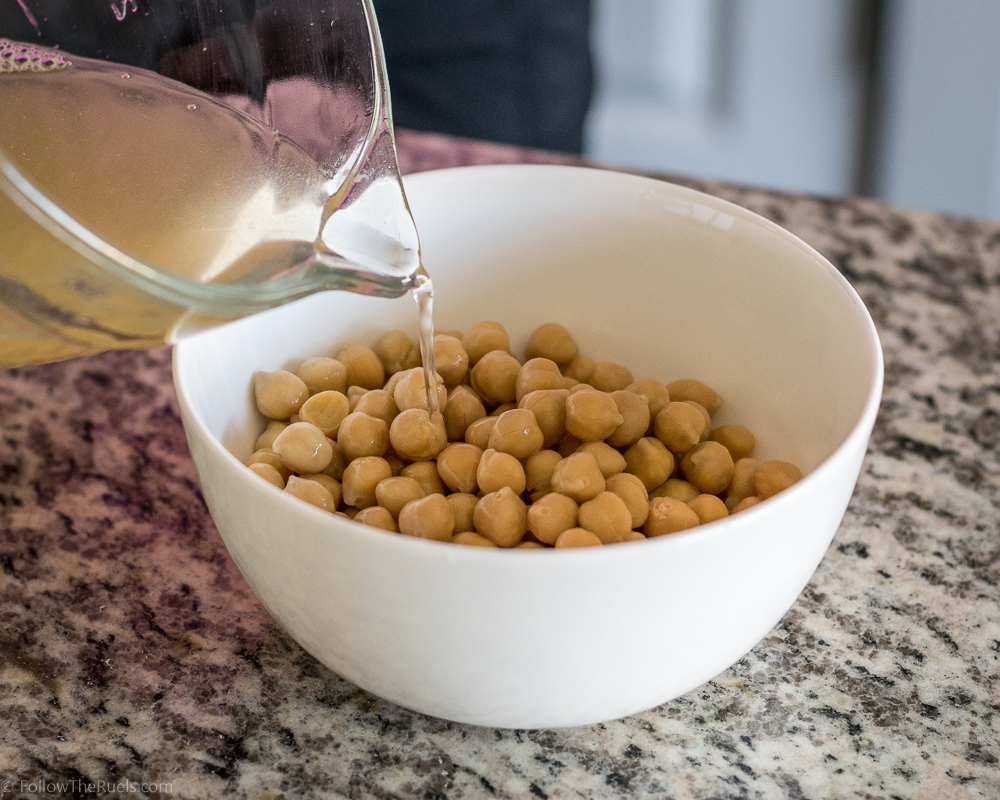
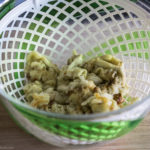
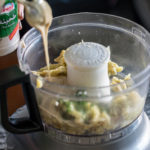
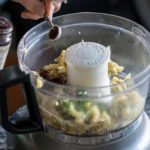
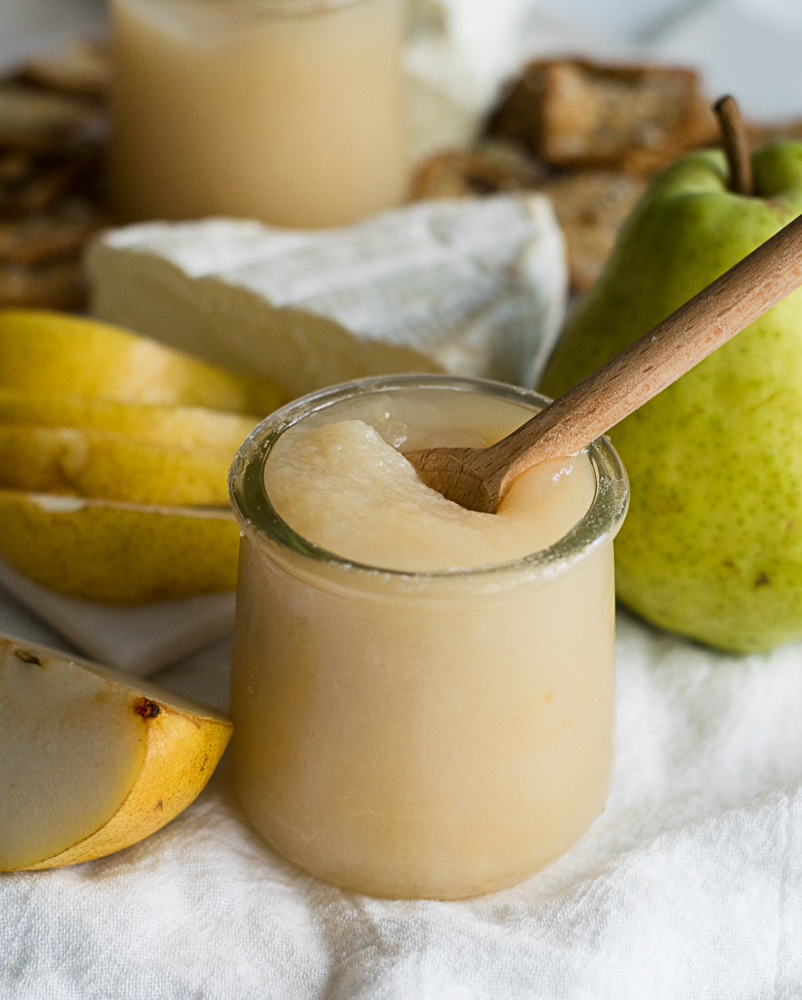
To get your pears ready to be pureed, peel and core the pears, then cut them into 1-inch chunks. Add them to a big pot with some water, lemon juice, and a few spices. 


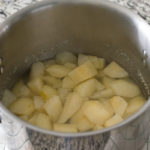
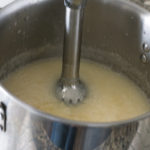
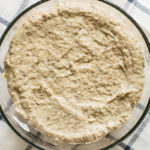
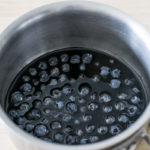
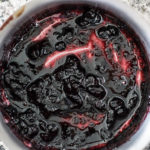
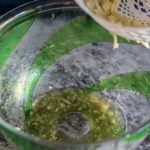
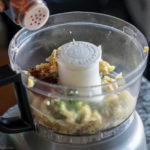
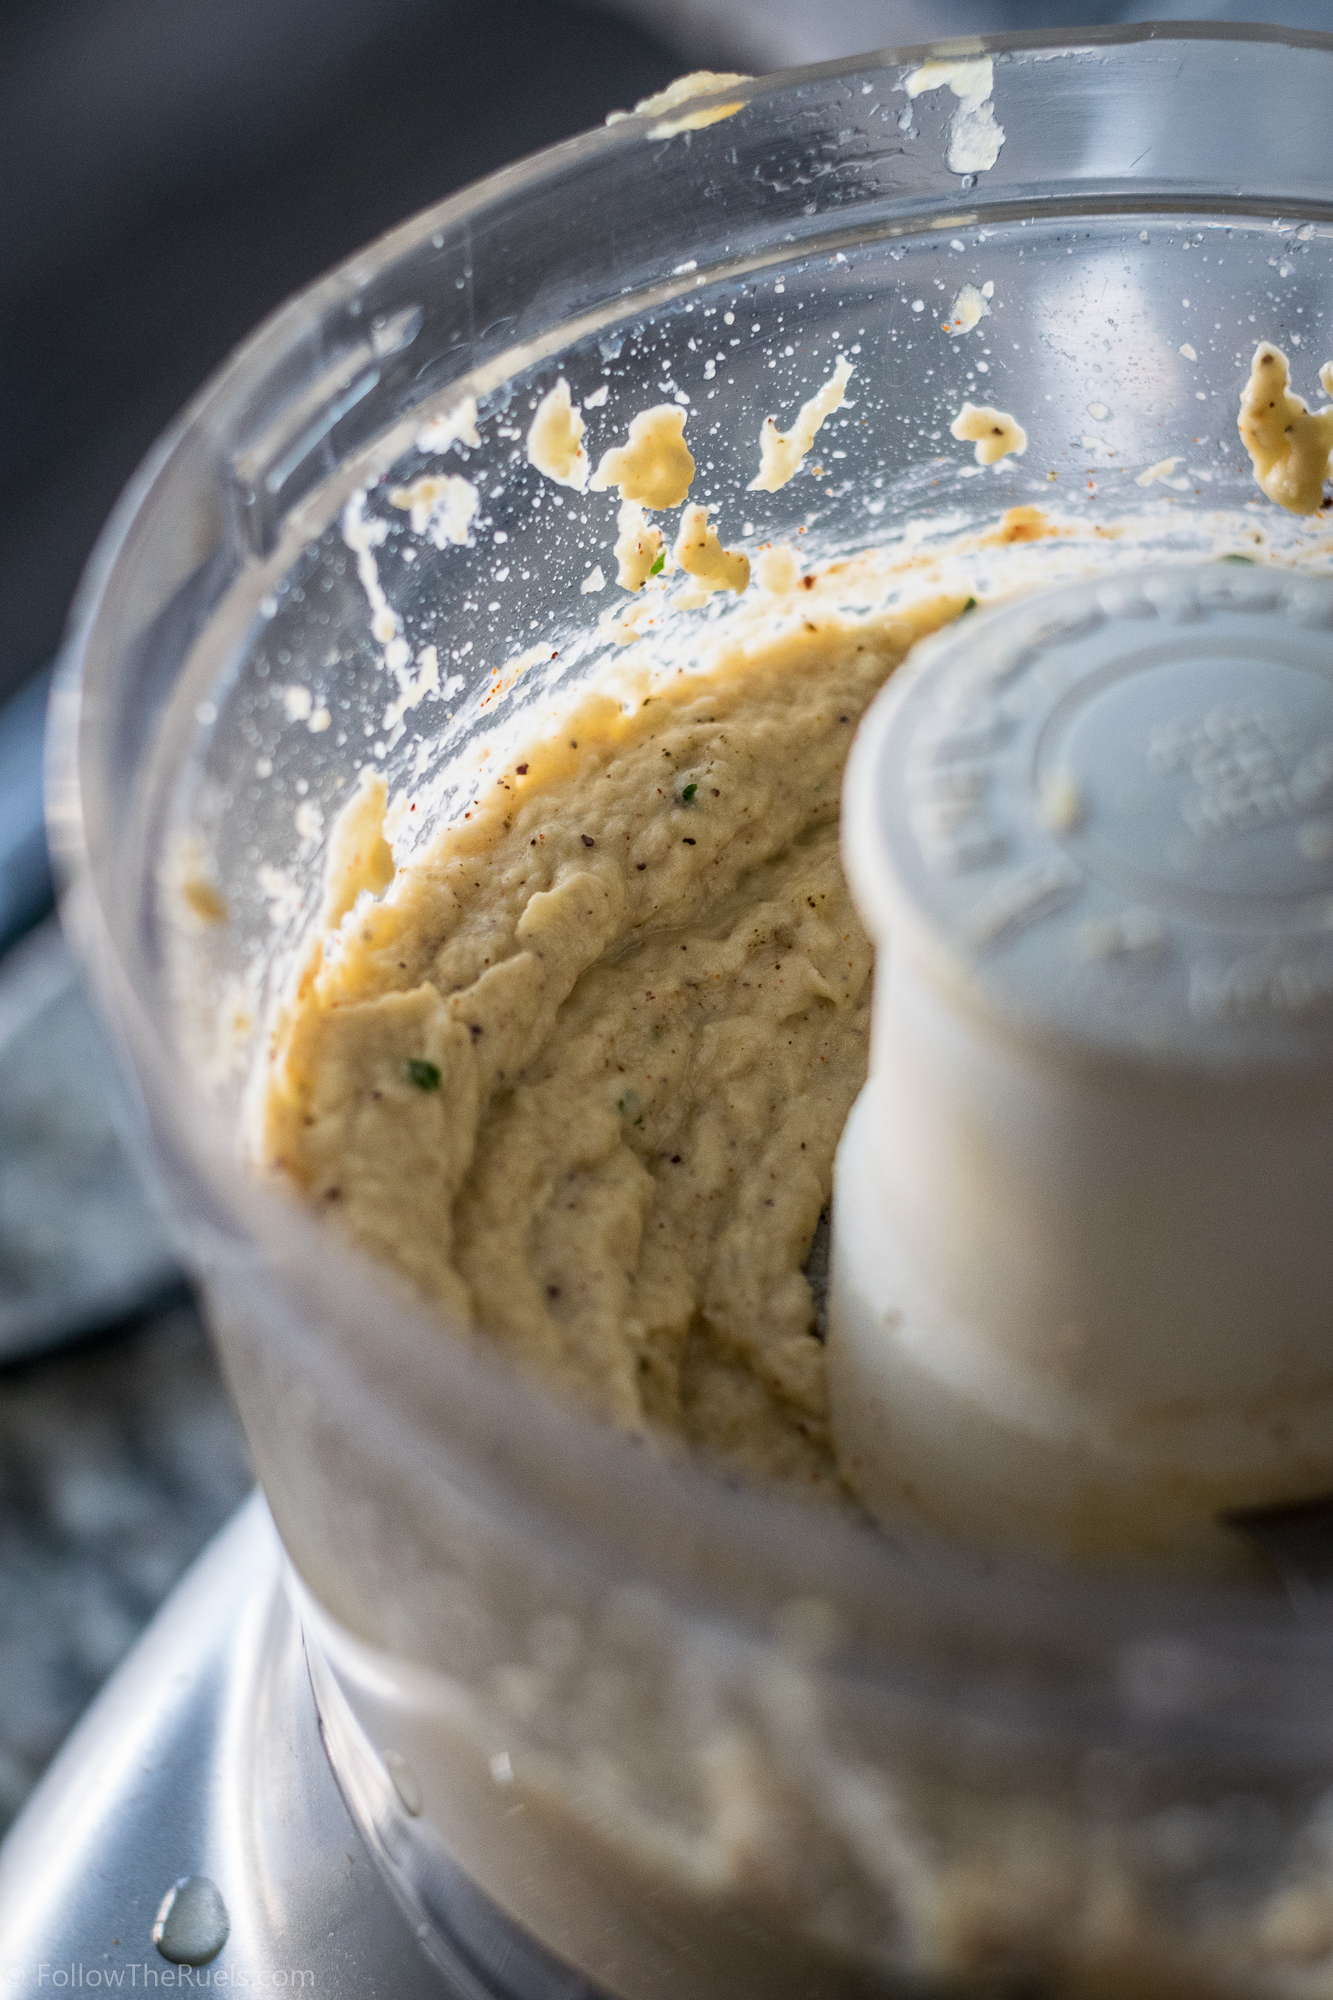
Bring the pot to a boil and let cook, covered for about 30 minutes. The pears should be nice and soft. Then use an immersion blender or a normal blender (just be careful) to blend the pears to a nice smooth puree. 


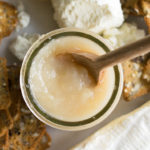
And that’s all it takes to make some fantastic pear sauce. Yes, it’s just like applesauce, but made with pears. And let me tell you, it’s delicious with cheese! Of course, you can just eat this on its own. I ate most of the pear sauce right out of the jar with a spoon for a delicious treat. 


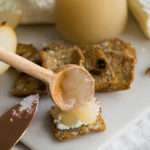
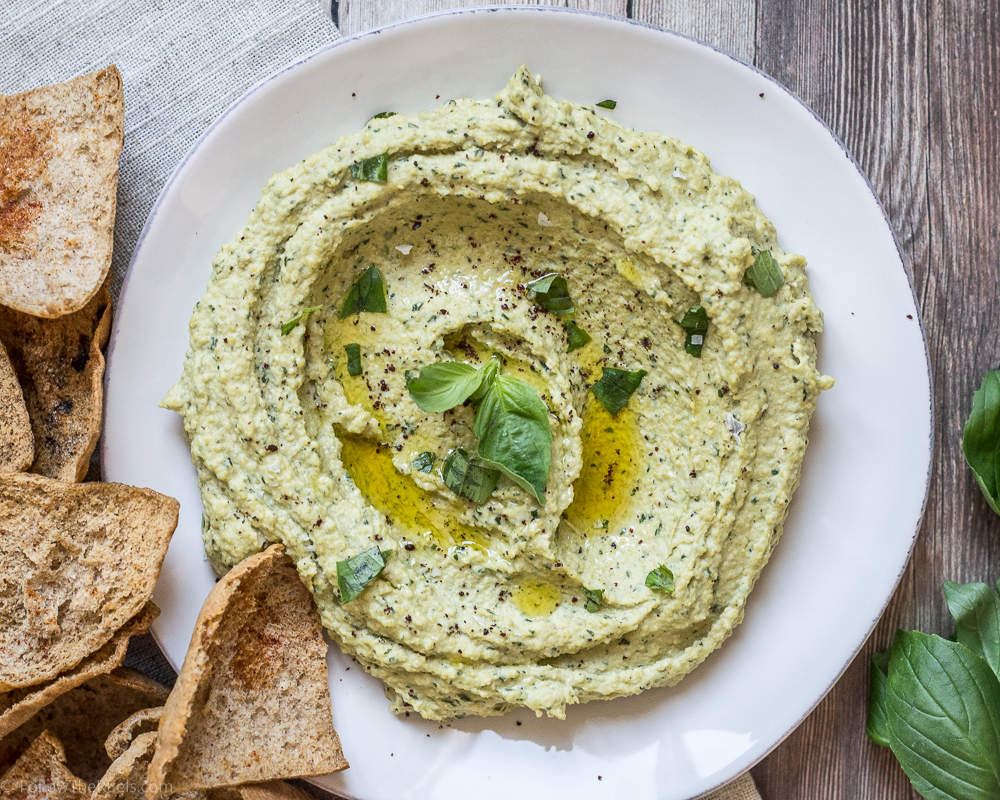
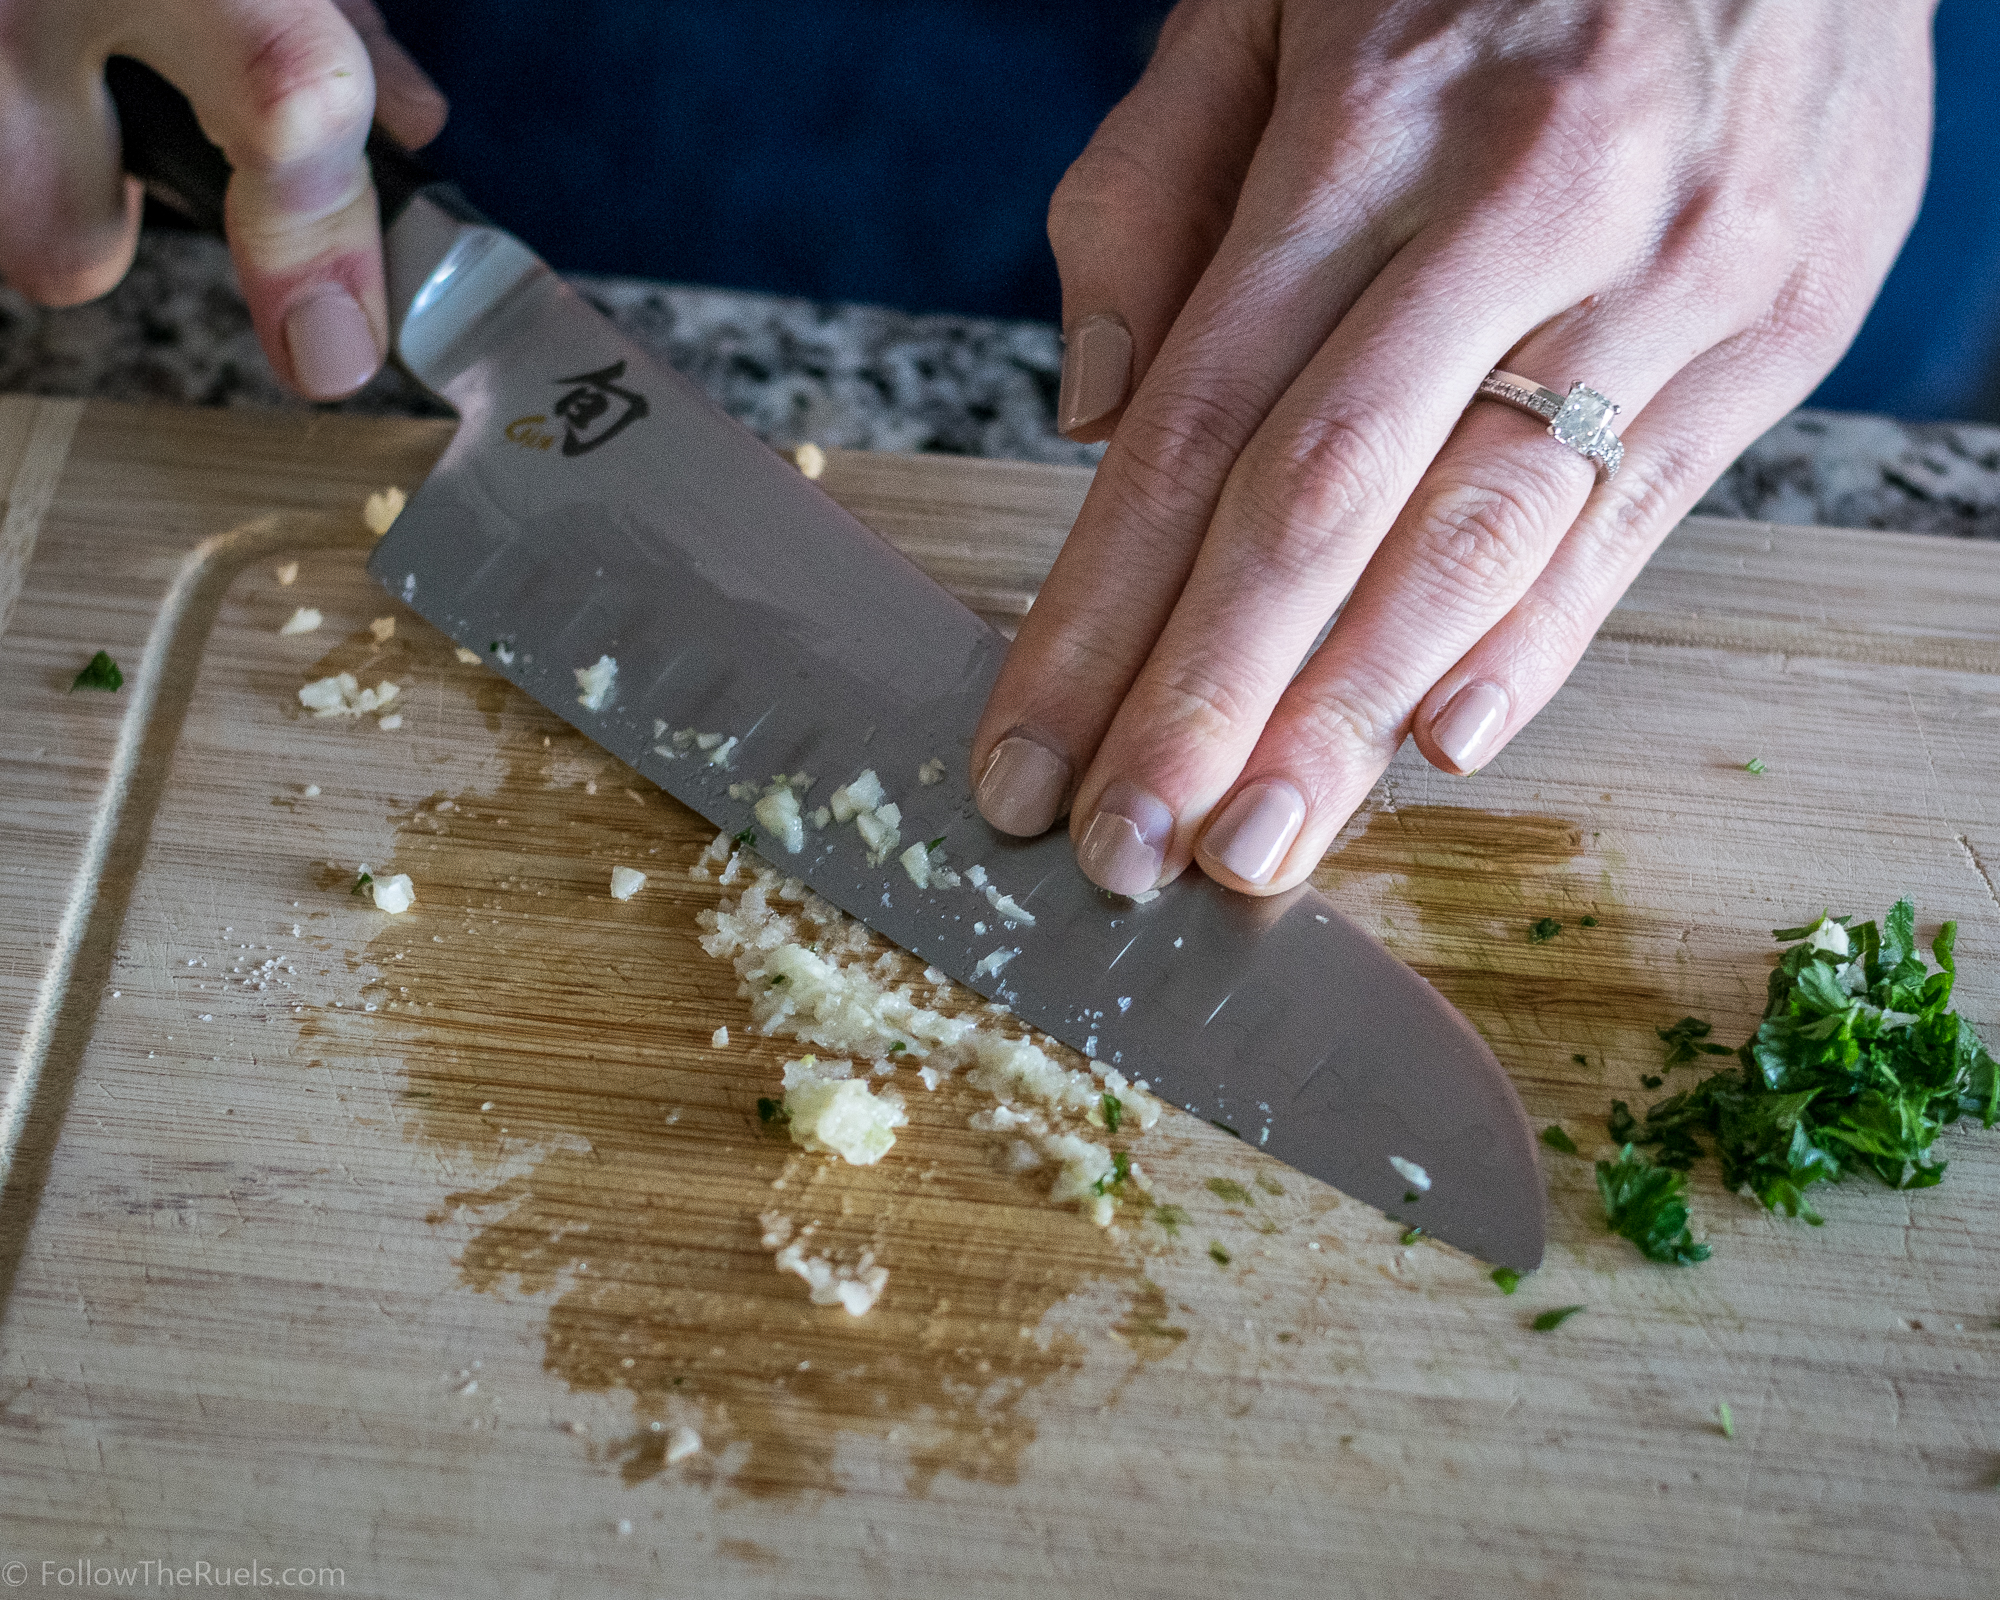
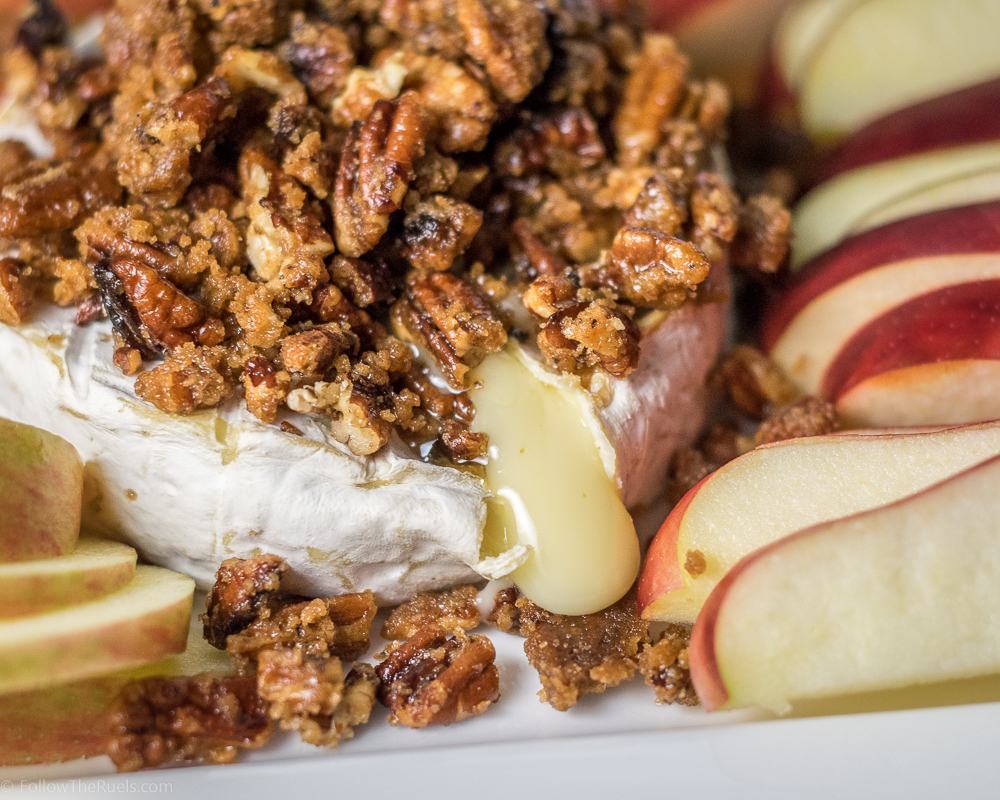
But let me tell you how to really class up this simple little sauce – throw it on top of a cracker with some cheese. Serve it to your friends and they will think you are just so sophisticated making homemade pear sauce and serving it on a cheese board. But we all know it’s actually pretty easy. And delicious. I mean, if you can’t trust Thomas Keller to tell you what’s delicious, who can you trust?

[yumprint-recipe id=’133′]

/ Filed In: Eat, Paleo Dishes, Side Dishes
Tagged: appetizer, cheese board, Fall, healthy snack, pears, puree, sauce, snack

Mediterranean Seven Layer Dip

July 17, 2017

If you came here expecting to find your classic, Mexican-inspired, Super Bowl party seven layer dip you will be sorely dissapointed. This is not that. It’s better than the calorie bomb that is seven layer dip. Okay, maybe not better (who doesn’t love refried beans topped with guac, sour cream, cheese, etc?), but it’s different. In a good way. A much healthier way.

Instead of the refried beans, guac, sour cream,  and salsa, this dip is layered with hummus, baba ghanoush, Greek yogurt,  and Israeli salad. It’s almost like each layer of the classic seven layer dip is replaced with it’s Mediterranean/Middle Eastern counterpart.


Layer 1 (or 7, depending on which direction you count them) is the hummus. I just used my favorite store-bought brand, but you can knock yourself with your homemade stuff.

Layer 2 is the sliced roasted red peppers.

Layer 3 is either Greek yogurt or tzatziki. I made mine with tzatziki, but I don’t know that it was worth the extra effort to make tzatziki. Once the dip was on the chip, it just tasted like creamy Greek yogurt.

Layer 4 is baba ghanoush, my favorite of all the layers (you can read about my love affair with baba ghanoush here). Again you can use store bought or homemade. In this case I would advocate for homemade because it is just soooo good.

Layer 5 is the Israeli salad, which is just a mixture of tomatoes, cucumbers, onion, parsley, and lemon juice. I made mine just a few minutes before assembling the whole thing.

Layer 6 is a healthy sprinkling of feta cheese.

And finally, Layer 7 is some olives, my least favorite of all the layers. Full disclosure, I only included the olives so that I could have seven layers. When I make this again, olives will be nowhere near this dip! But if you like olives…knock yourself out!

I layered everything together in the smallest clear dish I had available so that I could see all of the layers. Then I served it up with some pita chips and veggies.

One recommendation I would make is to keep it small. Even if you want to serve this to a bunch of people, just serve it in several smaller dishes. And that’s a recommendation for all layer dips. You don’t want people wondering what they are eating once all the layers and just blend into one another.

Not that there is anything wrong with that. But after all that work making each of the seven layers, I would want them tonstay that way!

[yumprint-recipe id=’118′]

/ Filed In: Appetizers, Eat, Other Savories New
Tagged: appetizer, baba ghanoush, cucumbers, dip, Greek yogurt, hummus, pita chips

Watermelon, Feta, and Blueberry Bites

June 27, 2017

Watermelon and feta are an unlikely pair, aren’t they? That juicy, sweet fruit with rich and salty feta. When you top them with a drizzle of tangy balsamic, it almost becomes the perfect bite of food!

I added a handful of blueberries to my balsamic reduction and to the top of the feta to really amp up the blue, making these little bites perfect for 4th of July!

HOW I MADE IT

I started by making the blueberry balsamic reduction. You could use a plain balsamic reduction (or buy a bottle of balsamic glaze from the grocery store) if you don’t feel like making thw blueberry variety.

But it’s actually pretty easy to make. I put some blueberries, balsamic, and agave (you could use honey, I just couldn’t find mine) in a sauce pan and then let it simmer until it had reduced by half. And viola! Blueberry balsamic reduction that you can impress your friends with. Just remember to say “blueberry balsamic reduction” in the snootiest way possible. 

For the watermelon part, of course you could just cut out cube, but where’s the fun in that? I had my star cookie cutter already out from making pie last week so I decided to make star shaped watermelon. Very patriotic!

Now comes the easy part! I stacked a cube of feta on top of the watermelon and skewered them with a toothpick and blueberry.

Then just drizzled on the balsamic reduction. 

Now these cuties are ready to be devoured! I have a feeling they will go quickly at any 4th of July party or Summer backyard barbecue! They are refreshing and satisfying all in one bite!

[yumprint-recipe id=’113′]

/ Filed In: Appetizers, Eat, Other Savories New
Tagged: 4th of July, appetizer, blueberries, feta, Summer, watermelon

Basil Pesto Hummus Recipe

March 15, 2017

Hummus is one of my favorite snacks. I pack it with my lunch along with some carrots and celery sticks for a healthy afternoon snack. Sometimes when my husband is out of town, I will just eat carrots and hummus for dinner. Don’t judge, guys. Sometimes even I don’t feel like cooking dinner! And carrots and hummus is a lot healthier than eating a carton of ice cream.

Which I have definitely never done. (She says as she looks around the room nervously.)

I buy so much hummus, sometimes I forget how easy it is to make at home. One of my favorite “flavors” to make at home is pesto hummus. I love pesto. I love hummus. Why not put the two together!?

One of the tricks I have picked up over the years of making my own hummus is microwaving the chickpeas in a little bit of the canning liquid before you blend them. It just makes the hummus so much more creamy! 

Also, can someone remind me next time I am taking picture in the kitchen to not wear a pink or red shirt. Geez! That pink glare is terrible!


Once the chickpeas are nice and toasty from the microwave, add them to a food processor then in the rest of the party- chickpeas, tahini, garlic, basil, and a bit of Parmesan. Then turn on your food processor and let that bad boy do the work for you. 

In seconds you will have delicious basil pesto hummus!

Of course this pesto hummus would make a great dip – pairing perfectly with pita chips and veggies! It would also be a great spread for sandwiches and wraps, or you can just put a big dollop on your salad. 

But I am just happy eating this delicious basil-chickpea dip with a big bad full of carrots. 

[amd-yrecipe-recipe:141]

/ Filed In: Appetizers, Eat, Other Savories New
Tagged: appetizer, basil, dip, gluten free, healthy, hummus, pesto

The Best Baba Ghanoush Recipe

March 6, 2017

Ok guys, confession time. I have this weird obsession with baba ghanoush. I love the stuff. This love affair started several years ago after trying the creamy eggplant dip at a Mediterranean restaurant in Dallas and was reignited during my experience on the Whole 30 diet last year. 

Recently it has reached a whole new level thanks to our new favorite restaurant here in Charlotte, Yafo Kitchen. They make the best baba ghanoush I have ever had. The stuff is practically addicting. I will order an extra large side of the stuff just so I can take it home and eat it throughout the week. I also try and find new and creative ways of trying to trick the staff at the restaurant what their secret ingredient is. So far, no one has given it up.

But lucky for all of us, I think I figured it out on my own. Now I can make the best GD baba ghanoush anytime I want, and so can you! 


Start with two good sized eggplant and stab them all over with a knife. Unless you want them to blow up in the oven, that’s your call. 

Broil them until they are completely charred and wrinkled, but also totally soft inside. 


Cut the eggplants open and spoon out all the delicious flesh. 

Now here’s the fun part! Put all that flesh into a salad spinner (it’s not just for salad anymore, guys!) and give it a good spin to get out all that extra moisture. Then throw all of it into the food processor. 

[Big thanks to Serious Eats for that tip!]


Too the egg plant, add some good tahini. How do I know if it’s good tahini? The less English there is on the bottle, the better! But the stuff from Trader Joe’s will also work just fine. 

Now here is where this stuff goes from good, to great. Add in some sumac (probably not something you have lying around your spice cabinet, but I highly recommend getting yourself some if you like Middle Eastern food) and smoked paprika.

The smoked paprika is the kicker. It gives the baba ghanoush this mildly sweet and smokey flavor that is just heavenly. You can skip the sumac. Do not skip the smoked paprika. 

We aren’t done yet. The last step is adding the garlic. However, I do not recommend adding a whole clove of garlic to the food processor. It will make the garlic flavor very harsh and almost spicy. 

I recommend mincing it very finely then “pureeing” it with the side of a knife. Sprinkle a bit of salt over the garlic, then run blade of the knife at about a 75 degree angle over the garlic. Then mix it into the baba ghanoush at the very end. 

Don’t you just want to stick your fave right into that work bowl? Just me? 

You may change your mind after trying this baba ghanoush. I don’t care if you don’t really like eggplant. Or even if you have tried the dip before and didn’t like it. Try this one and I will almost guarantee that you will like it. I forced my husband to try it, even though he isn’t a fan of eggplant, and he actually liked it.

Actually, what he said was “I think this is better than Yafo’s”. Sure he might be biased and only said that to get in my pants, but let’s just pretend that it’s true, okay. 

At the very least, it is so good that I licked the bowl clean, an honor I only reserve for cake batter and cookie dough. 

[amd-yrecipe-recipe:137]

/ Filed In: Eat, Jaimie, Other Savories New, Paleo Dishes, Side Dishes
Tagged: appetizer, dip, eggplant, Paleo, tahini, vegetarian, whole 30

Creamy Bacon Onion Dip

January 30, 2017

A lot of times I like to find healthy alternatives for my recipes. Such as swapping butter or sour cream for Greek yogurt. Or sugar for apple sauce. Well…this is not one of those recipes, my friends. There is literally nothing healthy about this Bacon Onion dip. Except maybe the onions…

But man is this bacon onion dip worth all those calories!

I saw this recipe for Bacon Onion dip on Food Network a while ago and I was pretty much drooling by the end or the episode. How could anything with bacon and caramelized onions be bad? I’m pretty sure it’s scientifically impossible.

I tried out the recipe for our game night last weekend. It turned out to be such a huge hit (mainly with my husband), that I made it again the next day for our Small Group. It actually gave me an opportunity to make a couple tweaks, and, in my humble opinion, make it even better!


This dip starts with a base of cream cheese and mayonnaise (told you it was unhealthy!). To that I added some smoked paprika, a smidge of Dijon mustard, and a pinch of cayenne. Then I mixed the whole thing up with my hand mixer until it was nice and fluffy.

But before I did all that, I caramelized some diced onions. Dicing the onions not only makes this process a bit quicker, but it’s much easier to eat in the dip than having strands of onion. Then I added the onions to the cream cheese mixture.


But that is not all I added. I also added some mozzarella and Paremsan cheese as well as some chopped up bacon that I just microwaved until crispy. After the whole gang was in the bowl, I gave the dip a good stir. I wanted to make sure every bite had a bit of onion, bacon, and cheese.

But to make sure that everyone got a bit of bacon, I added some more cheese and bacon on top.

Once this dip came out of the oven, we couldn’t keep our hands off of it. Or really, our crackers out of it. I would love to describe it to you, but literally the only thing I can think of is “creamy, bacony and oniony”, which is probably everything you assumed it would be from the title. Just trust me…it’s really, really good.

And you know what this dip would be perfect for? The Super Bowl! I am pretty sure that every Super Bowl party requires some sort of awesome dip. So you should make this one and thank me later.

[amd-yrecipe-recipe:123]

/ Filed In: Appetizers, Eat, Other Savories New
Tagged: appetizer, bacon cheese, crackers, dip, onion

Maple Pecan Baked Brie

November 18, 2016

Maple Pecan Baked Brie

Maybe its just me, but whenever I eat brie I feel so fancy and grown up. It’s probably because it’s French; the French are so fancy and grown up. What’s great about baked brie is that just because it’s “fancy” doesn’t mean its complicated to make. This recipe is actually quite easy.

Can you stick a baking sheet in an oven? Can you stir some nuts in a pan? Great! Then you can make this recipe!

To bake the brie, I just popped the unwrapped wheel of cheese on a baking sheet and baked it for about 10 minutes until it was soft. I basically checked the “doneness” by poking the cheese until it felt soft enough. There really isn’t any rhyme or reason to it. I just wanted it to be gooey on the inside. 

While the brie was baking, I stirred together some butter, brown sugar, maple syrup, pecans, salt, and pepper. Yes…salt and pepper. You probably weren’t expecting me to add salt and pepper to this distinctly sweet nut topping, but the salt and pepper actually makes all the other flavors in the cheese and pecans really pop. So don’t skip the salt and pepper!


Then once the brie was baked and the pecans were nice and coated in sugar and maple syrup, I poured the pecans right on top of the brie. The warmth of the nuts kept the cheese warm and soft. Even if you make this ahead of time, you can rest assured that the cheese will still be soft and gooey well afterwards. 

Maple Pecan Baked Brie

I made this particular baked brie for book club. Of course, I made it head of time so that I could take some pictures before the girls showed up. But it was still nice and warm, and the cheese just oozed out by the time they arrived. In fact, it was still warm and gooey even afterwards when I was “cleaning up” (or, cleaning the plate by eating the leftover cheese and apples). 


I served up the brie with some apple slices and crackers. I personally preferred the apple slices. Not only was it the healthier choice (an apple covered in cheese, nuts, and sugar is of course healthy), but I personally love the combination of cheese and apples. Especially those slightly tart apples with the nice salty brie!

Maple Pecan Baked Brie

Don’t you think this would be a great appetizer to bring to your Thanksgiving dinner or any of your Christmas parties? The pecans and apples are definitely seasonally appropriate. And brie is always a good decision. The combination of all the flavors makes it a definite crowd pleaser.  People will be so impressed by such a fancy appetizer, only you and I will know the truth. 😉

PIN NOW, MAKE LATER

Pecan Maple Baked Brie | Follow the Ruels

[amd-yrecipe-recipe:98]

/ Filed In: Appetizers, Eat, Other Savories New
Tagged: appetizer, apples, brie, cheese, maple syrup, pecans

The Best Glazed Cocktail Meatballs

February 29, 2016

Glazed Cocktail Meatballs | Follow the Ruels

I am sure you have those dishes that are infamous within your family. The item that is requested at every family gathering, party, and holiday. My stepmom has a lot of those, but these cocktail meatballs may be her most requested. No matter the occasion, my cousins beg her to make her meatball recipe. 

I made these cocktail meatballs for our Super Bowl party (3 weeks ago) and I am just now posting the recipe because I have been in mourning. You guys wouldn’t believe the collective depression the city of Charlotte was in the day after the Super Bowl. I work in an office that generally is buzzing by 8:00am. I arrived at 8:30 to an almost empty office. Once people did show up, they barely spoke to on another. It was just so sad. Even as a bandwagon fan I was very disappointed. Mainly because I was looking forward to watching the Super Bowl parade from my office.

Maybe next year.

Glazed Cocktail Meatballs | Follow the Ruels


Anyways, back to these meatballs…

The best thing about this recipe might be how simple it is. It requires frozen meatballs (super easy) and a bunch of ingredients that you may think don’t go together. You probably have most of them in your pantry of fridge at this very moment!

The ingredient list may sound like a hodge podge or random things that you would never mix together. But magically, the flavors just work. I can’t explain it. But trust me.

 The star of the show is the frozen Italian meatballs. Then the glaze is primarily apricot preserves that is seasoned with a variety of spices from herbs de Provence (fancy!) to dijon mustard. Kinda crazy, right? Would you ever pair Italian meatballs with apricot and dijon mustard? I wouldn’t.

Glazed Cocktail Meatballs | Follow the Ruels

But man are these good. Somehow you can’t even taste the individual parts of the recipe. Sure you get the sweetness of the preserves and of course you can taste the meat, but the rest of the seasonings just come together in prefect harmony like ginger was always supposed to go with Italian meatballs.

The worst part about these is how quickly they will go. My cousins INHALE them. They pile their plates with as many meatballs as it can fit. So make sure you make enough. The good news is that doubling the recipe requires very little extra work on your part. I recommend making one batch for 8 to 16 people, and 2 batches for any more than 16 people, especially if they have hearty appetites. 

I hope you enjoy these as much as my family does!

[amd-yrecipe-recipe:1]

/ Filed In: Appetizers, Eat, Other Savories New
Tagged: appetizer, meatballs, party

Cheese Stuffed Pretzel Bites

February 1, 2016

Pretzel-Bites-12hp

As a kid, my dad and I would often go to baseball and football games together. It was one of our favorite things to do together and it’s what instilled in me my love of sports. My favorite thing about these outings was the food. At home, my mom made me eat pretty healthy, but at the ball game, with dad, there were no rules!

The best were those giant pretzels with the “cheez” sauce. You know what I am talking about! Those pretzels, to me, are the epitome of game-day food. 

For the Conference Championship game last week, some friends of ours had a watch party and asked us all to bring football themed appetizers. I had made these pretzel bites before and was looking for a reason to make them again, so this seemed like the perfect one. To push them over the top and really pack the extra football-food punch, I threw in some cheese!

But serving some sort of fake “cheese” like substance on the side didn’t sounds as appetizing now as it did when I was a kid. So instead of making a cheese dip on the side, I put the cheese right in the middle of the pretzel!

Pretzel Bites-7

I even did some testing to figure out the best way to put the cheese in the middle and keep the cheese in the middle. Turns out, it’s best if the cheese is frozen before you wrap it in dough, instead of cool or at room temperature. Go figure. 

Now if you have never made pretzels before, this might seem a little daunting. I would love to tell you how easy it is (I feel like I say everything is easy), but this can get somewhat complicated and there are a few steps involved. But they are sooooo worth it! There is nothing like a fresh, homemade pretzel. Those ball park pretzels have nothing on these bad boys!

Sprinkle yeast on sugar water
Yeast is ready when it starts to foam
Mix all ingredients with dough hook

Mix/knead until dough ball has formed
Let dough proof in a warm space.
Dough is ready when it has doubled in size.

As you might have guessed, it all starts with the dough. If you have made bread or pizza crust before, pretzel dough is very similar. Mix together yeast, sugar, water, flour, salt and you’ve got yourself some pretzel dough!

The tricky part comes after you get the dough mixed and proofed. What worked for me, is sectioning the risen dough off into 1 ounce pieces (I use a kitchen scale to get them all around 1 ounce). I then flattened the dough into a disk and placed a small piece of frozen cheese in the middle and then sealed the dough around the cheese. (Side Note: I used cheese curds because my grocery store had them, but you could use just plain cheddar cheese cubes, or your favorite hard cheese)

Pretzel Bites-8 Pretzel Bites-9

After each dough ball was stuffed with cheese, I place it on a baking sheet to wait for it’s boil. Yes, you read me right! You have to boil these little suckers in some baking soda water before you bake them. It’s very similar to what you would do with bagels to get that brown crust that pretzels are known for. (Unfortunately there is no picture of this step since it was hectic enough trying to babysit pretzel balls in some boiling water).

Pretzel Bitesb-1

After their boil, I put them back on the baking sheet, then brushed them with some egg wash and sprinkled on that characteristic salt. Now it’s time for the oven!

Pretzel Bites-11

You know they are ready when they are nice and golden brown. Some of mine split a bit to expose their white inner pretzel layer. Some even split open a bit too much and oozed out their cheese. Oops!

Regardless, they were equally delicious!! I recommend serving them either right out of the oven, or at least warmed up to 300 degrees so that the cheese in the middle is a bit melty. Although my husband has some cold and said they were still good.

Pretzel Bites-10

Gahhhh…look at that cheese!!! Of course I couldn’t eat these since I was on the silly Whole 30 diet, but I did watch my husband while he ate it and had him explain to me everything that he was tasting (the Whole 30 makes you do weird things). You should have seen the smile on his face when he told me how good they were. I could tell immediately without even tasting them that they were pure pretzel perfection!

Pretzel-Bites-13hp

You better believe that I will be making these again for the Super Bowl. Everyone at our previous watch party loved and devoured them, so I know they will enjoy some more. I would highly recommend these for your Super Bowl party, too! I would encourage you to plan this out in advance, and maybe make your dough a day ahead so that you have less to do the day of. Just a suggestion! 

Hope you all have great Super Bowl parties and GO PANTHERS!!

[yumprint-recipe id=’97’]

/ Filed In: Appetizers, Eat, Other Savories New
Tagged: appetizer, cheese, football, pretzel, Super Bowl

Follow

Hey There!

Hey there, I'm Lindsey. I'm a number cruncher by day and a home cook and baker by night. While I love to eat healthy and find fresh and healthy alternatives for my favorite foods, I will never turn down dessert! Life is all about moderation, right?

Recipes

  • All Recipes
  • Breakfast
  • Appetizers
  • Salads
  • Main Dishes
  • Side Dishes
  • Desserts
  • Drinks

Favorite Finds

[show_lookbook_widget id=”388783″]

Theme by 17th Avenue · Powered by WordPress & Genesis