• Home
  • Eat
    • Breakfast
    • Appetizers
    • Main Dishes
      • Chicken
      • Beef
      • Seafood
      • Healthy Dishes
      • Paleo Dishes
      • Salads
    • Desserts
      • Decorated Cookies
      • Cookies
      • Bars and Brownies
      • Cakes and Cupcakes
  • Shop
    • Cookie Decorating Supplies
    • Bakeware
    • Cookware
    • Kitchen Gadgets
    • House
  • About
    • Contact
    • Bucket List
  • Cookie Decorating 101

Follow the Ruels

Tres Leches Cupcakes with Salted Dolce de Leche Topping

May 17, 2017

Do you love dry, crumbly cakes? Well then, this cake is not for you. Tres leches cake is one of the most moist and spongy cakes I have ever had. 

Tres leches is a classic Southern American cake made by soaking the cake in a mixture of three different milks: evaporated milk, condensed milk, and heavy cream. 

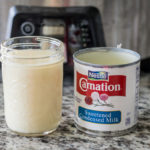
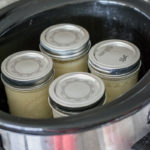
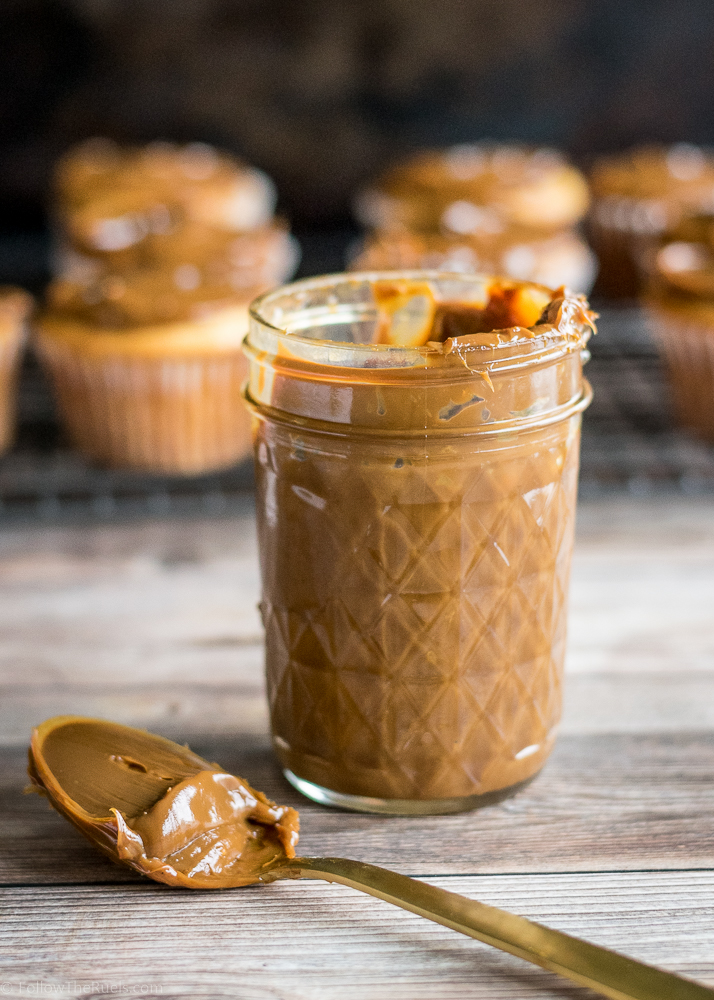
But there is actually a forth milk in these cupcakes in the form of the dolce de leche topping, which is essentially a caramel made from sweetened milk. There are lots of ways to make dolce de leche, but my favorite (because it requires little to no babysitting) is the slow-cooker method. You place jars of sweetened condensed milk in a water bath in a slow cooker and let them cook on low for 8 hours. When they come out you have a delicious, caramel sauce.


When I made these tres leches cupcakes, I started with the topping since that would take literally all day. But I went on with my day (in this case, work), and came home to find all the hard work done for me. 

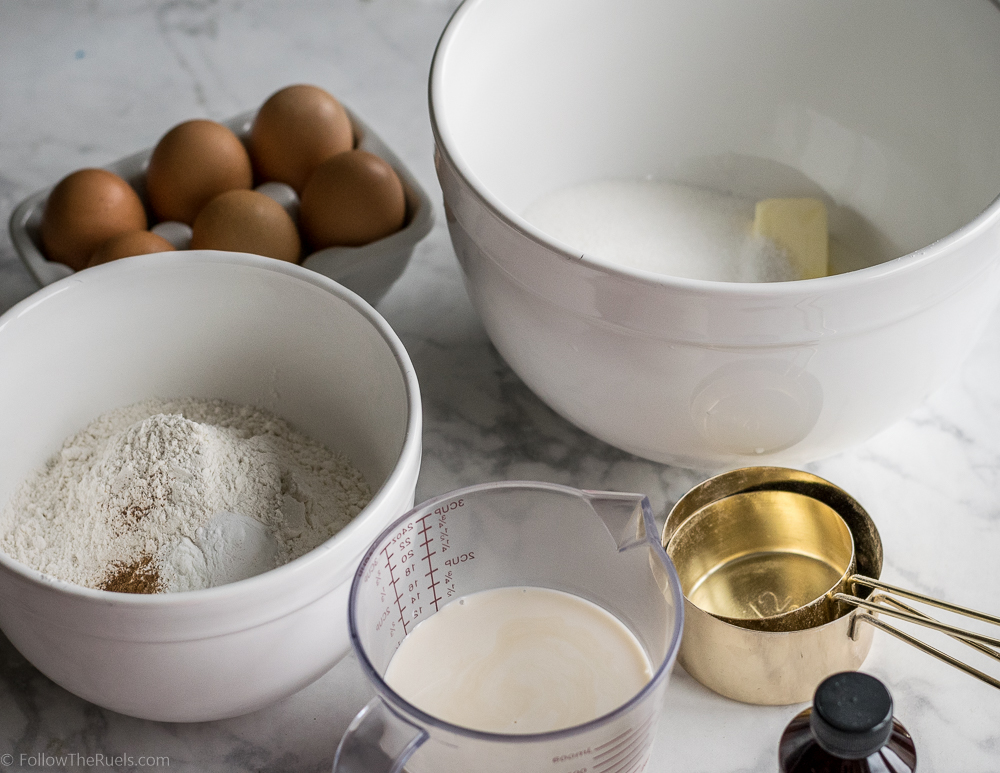
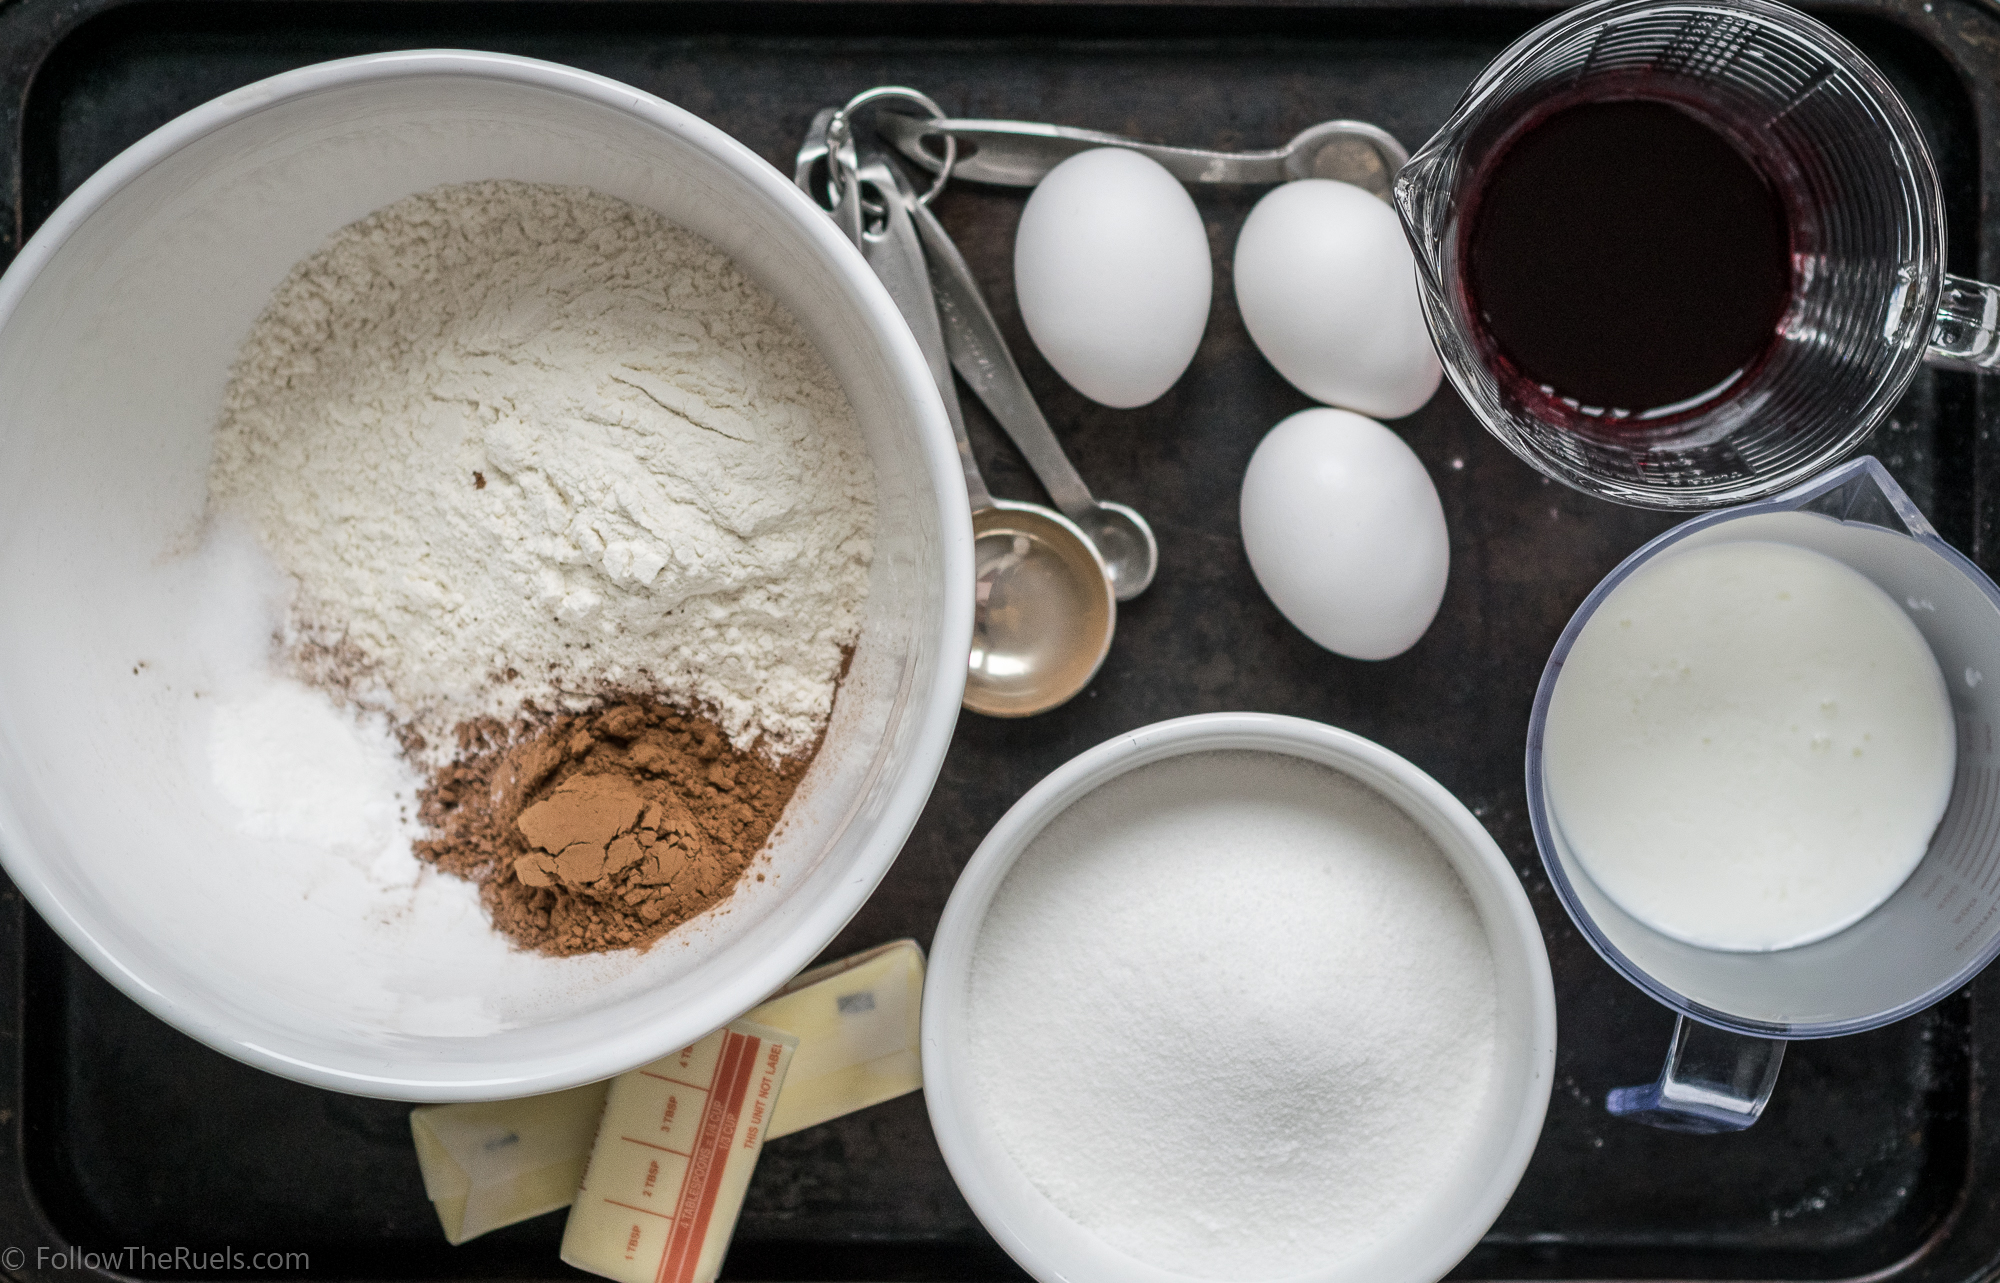
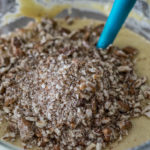
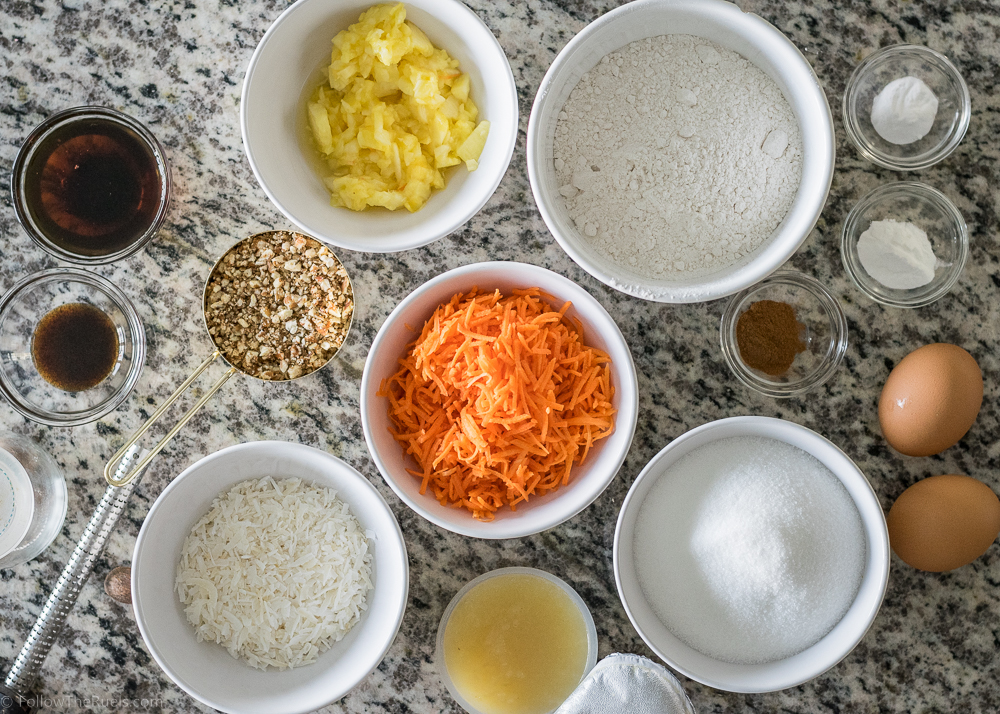
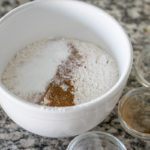
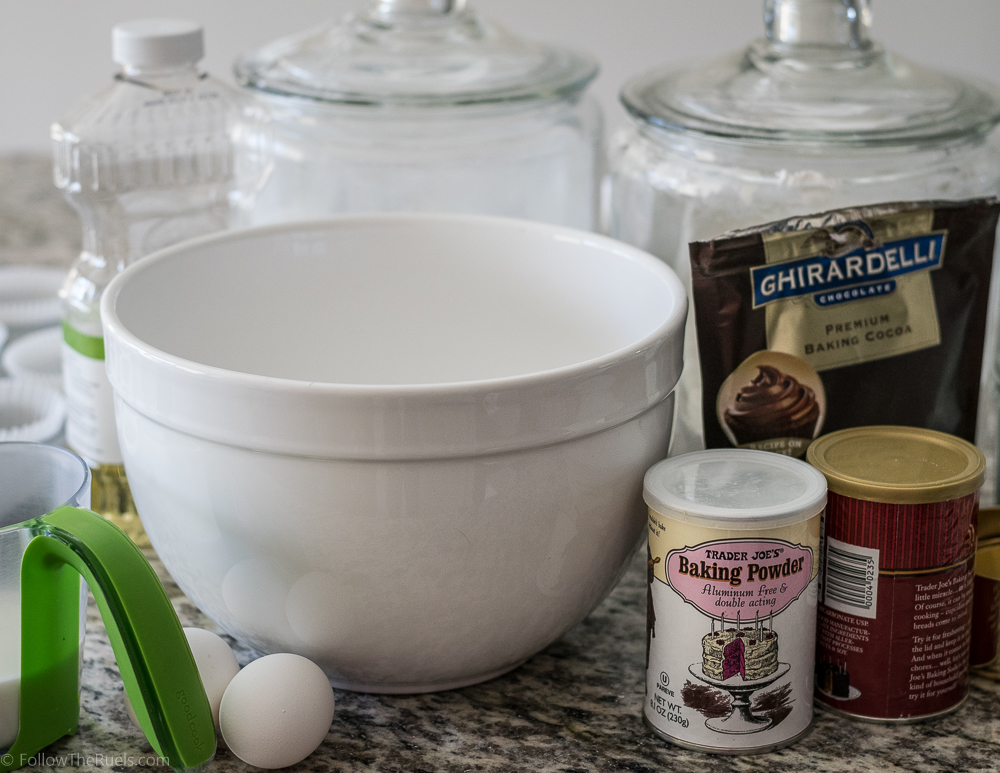
The cupcakes aren’t quite so easy, in that you actually have to lift a finger. The recipe is very similar to a yellow cake, but I added a touch of cinnamon and nutmeg for some extra flavor.


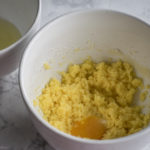
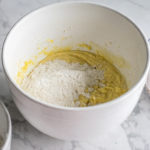
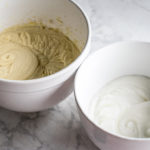
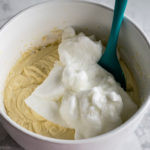
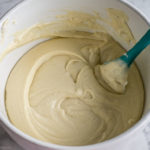
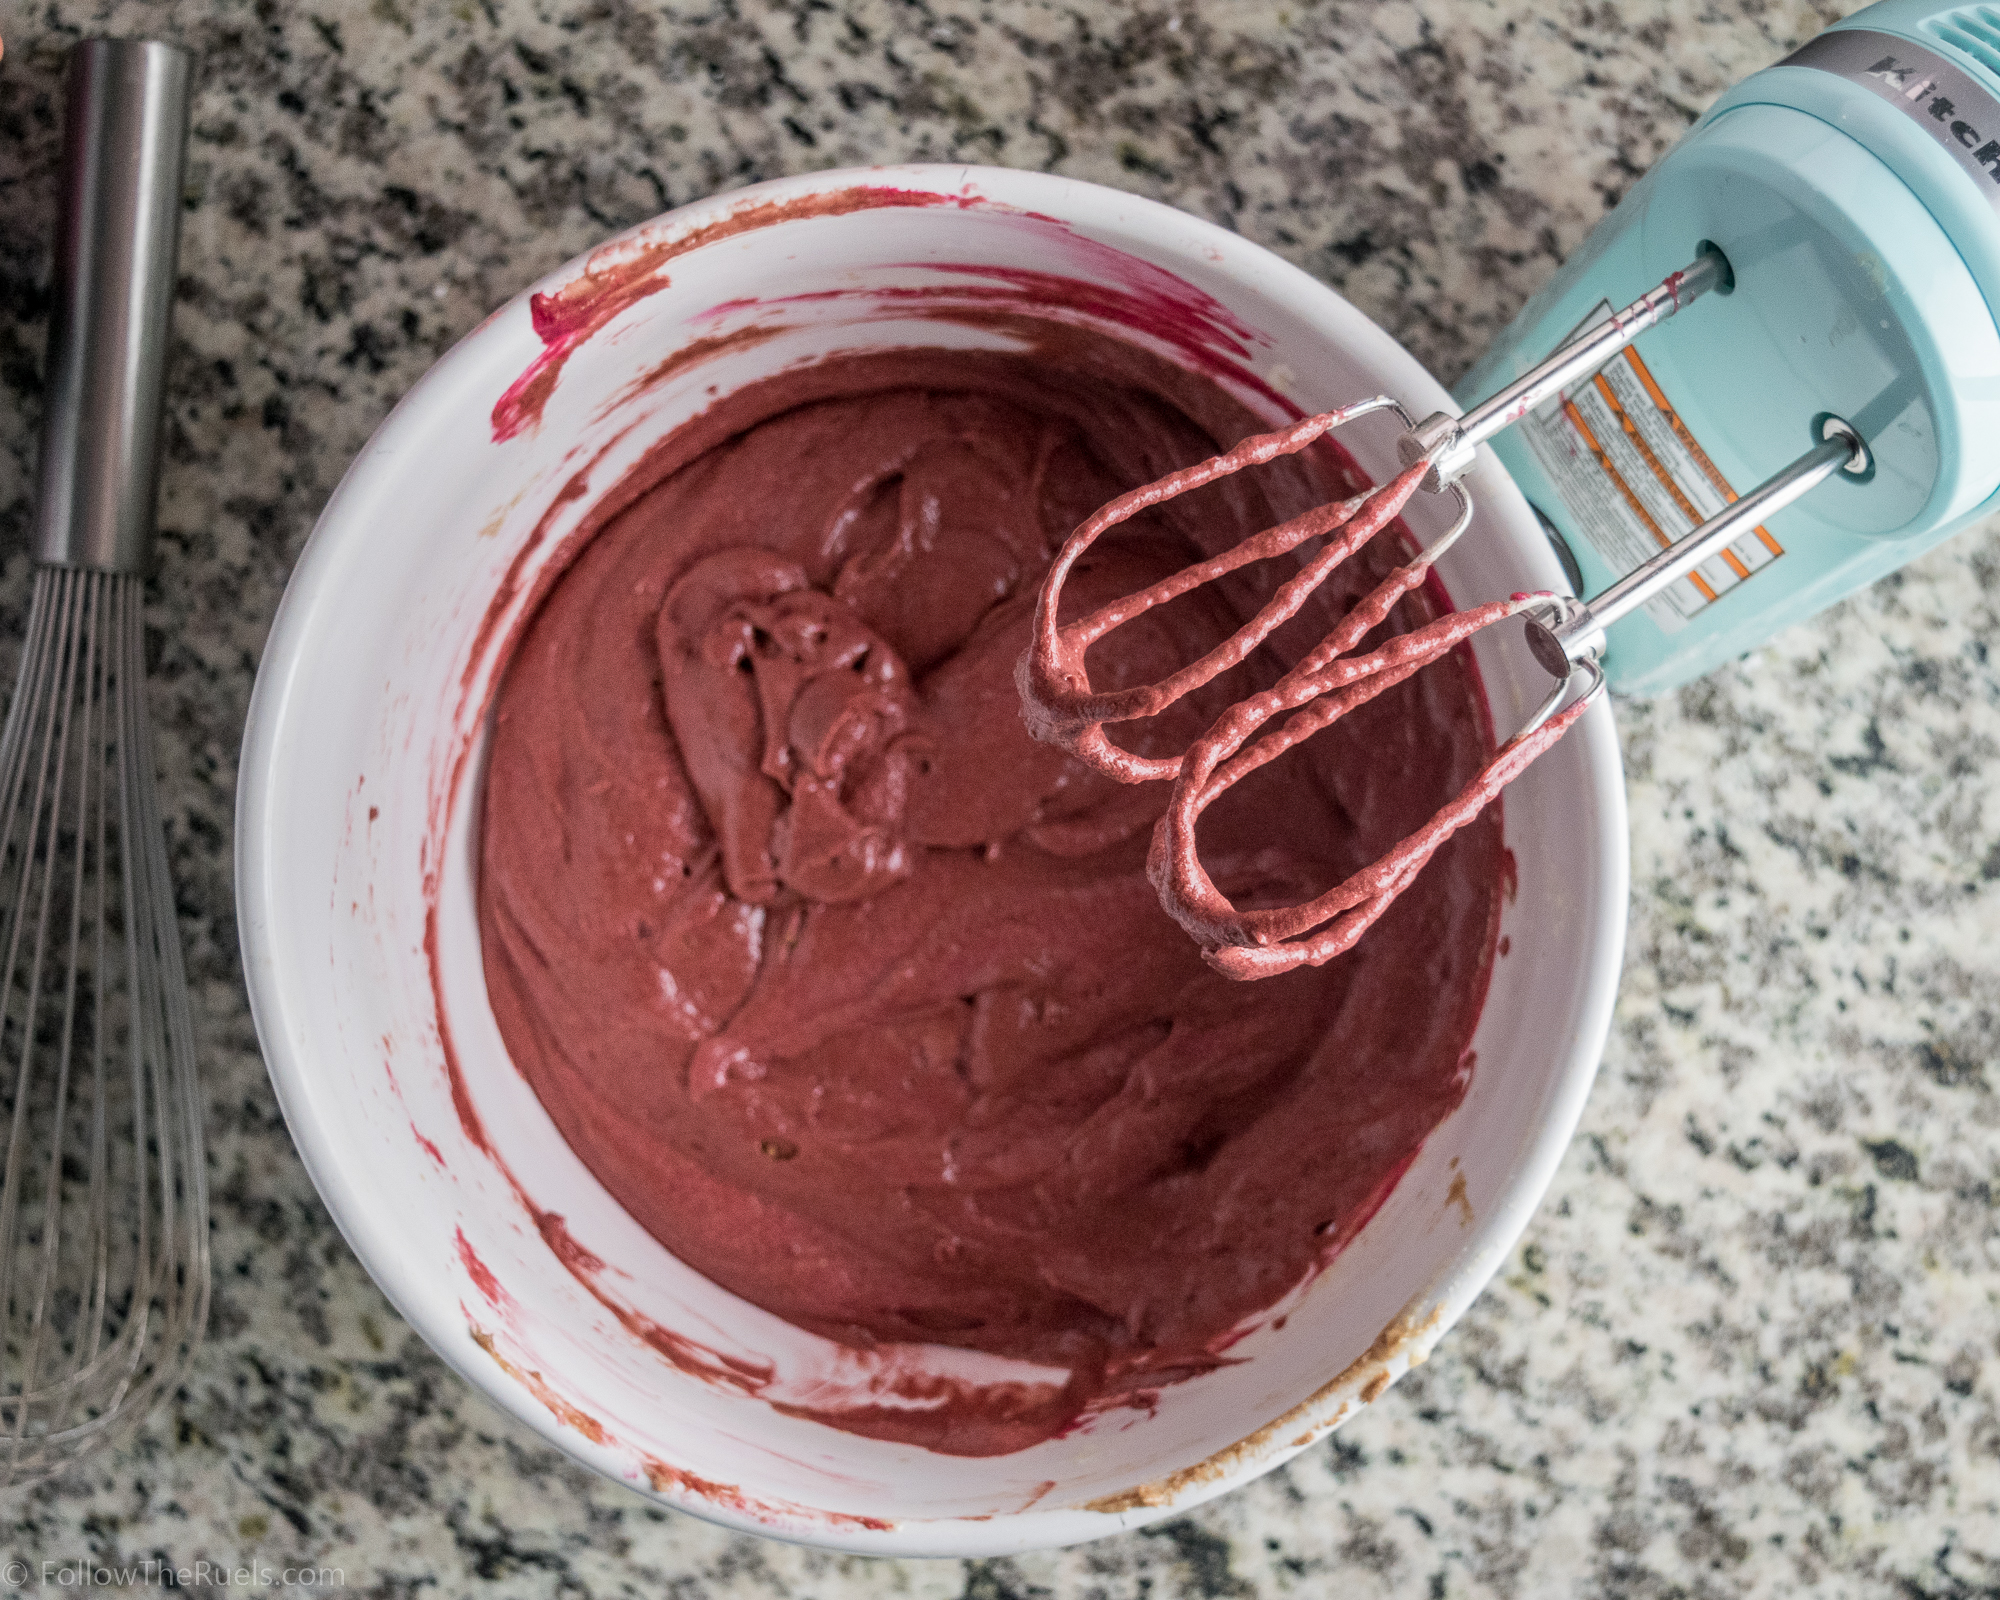
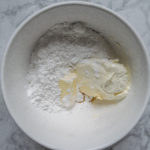
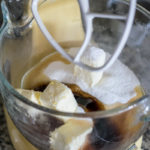
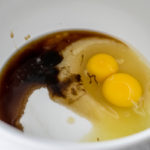
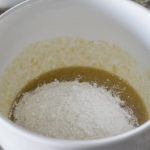
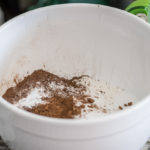
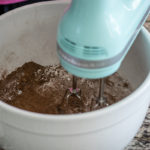
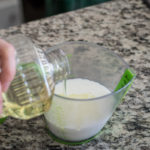
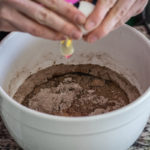
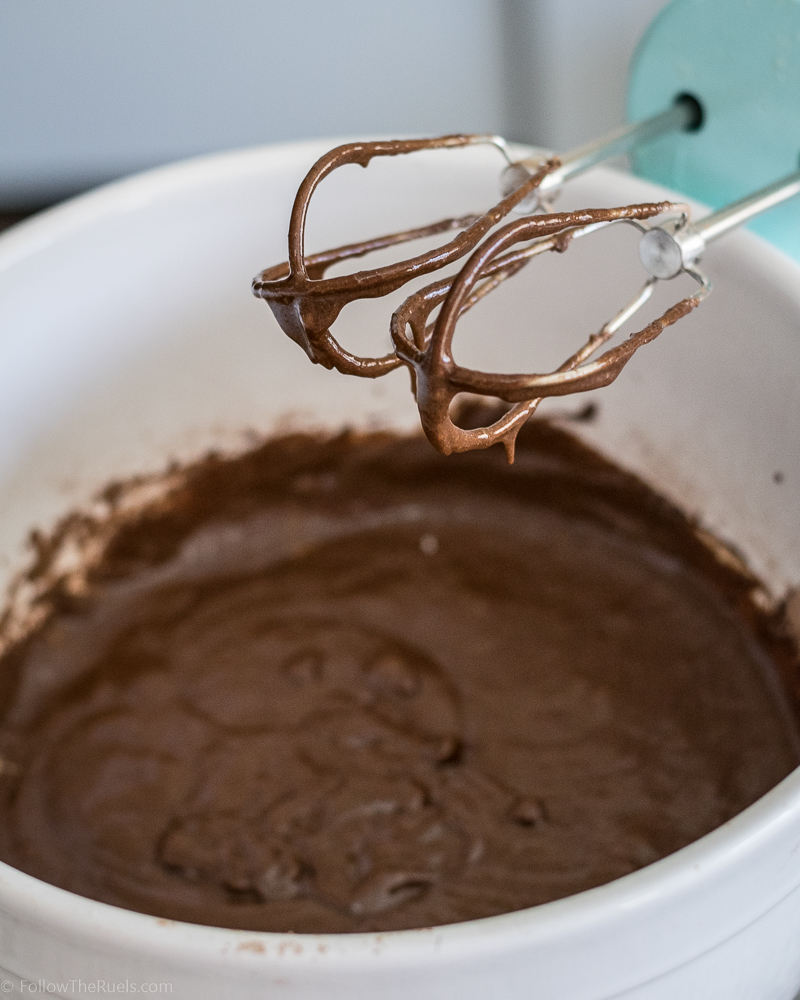
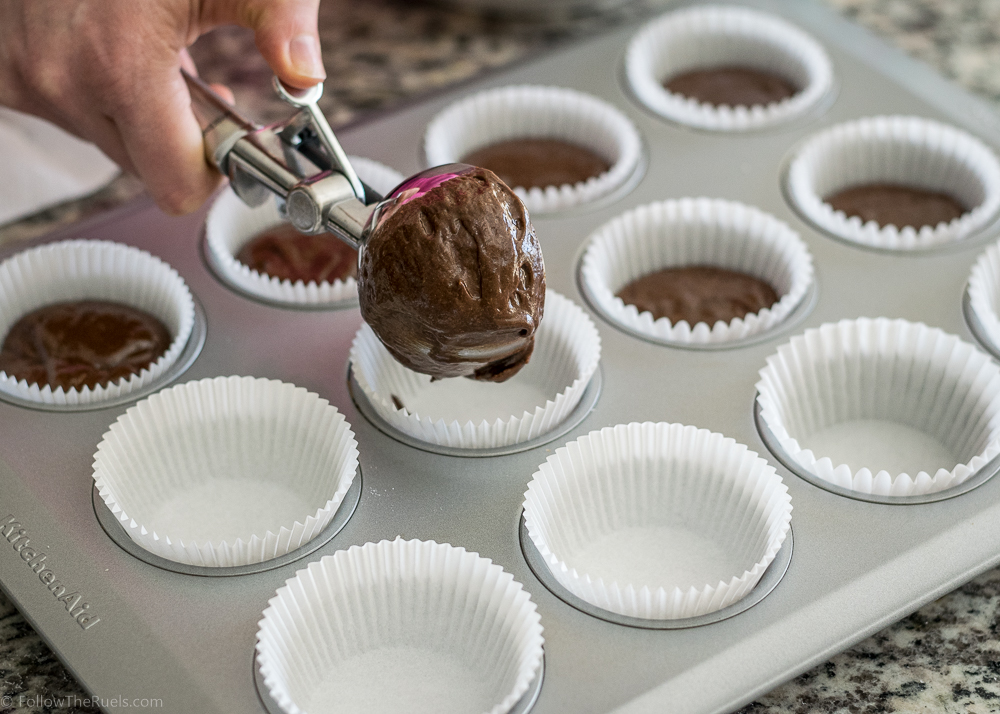
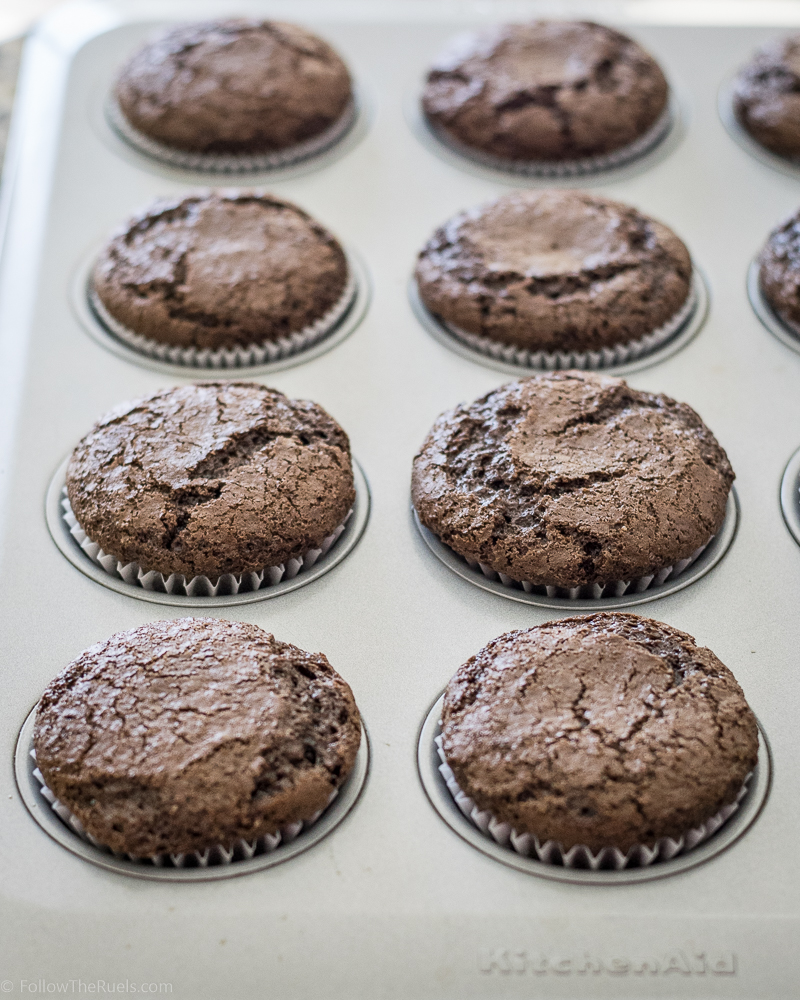
Start by creaming together the butter and sugar. Then add the egg yolks in one at a time. Whisk the egg whites up separately until they are nice and fluffy. Alternate mixing in the dry ingredients with the wet ingredients until you have a nice smooth batter. Then fold in the egg whites. This will make sure your cupcakes are nice and airy.


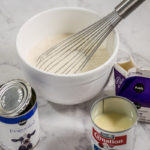
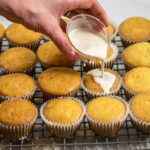
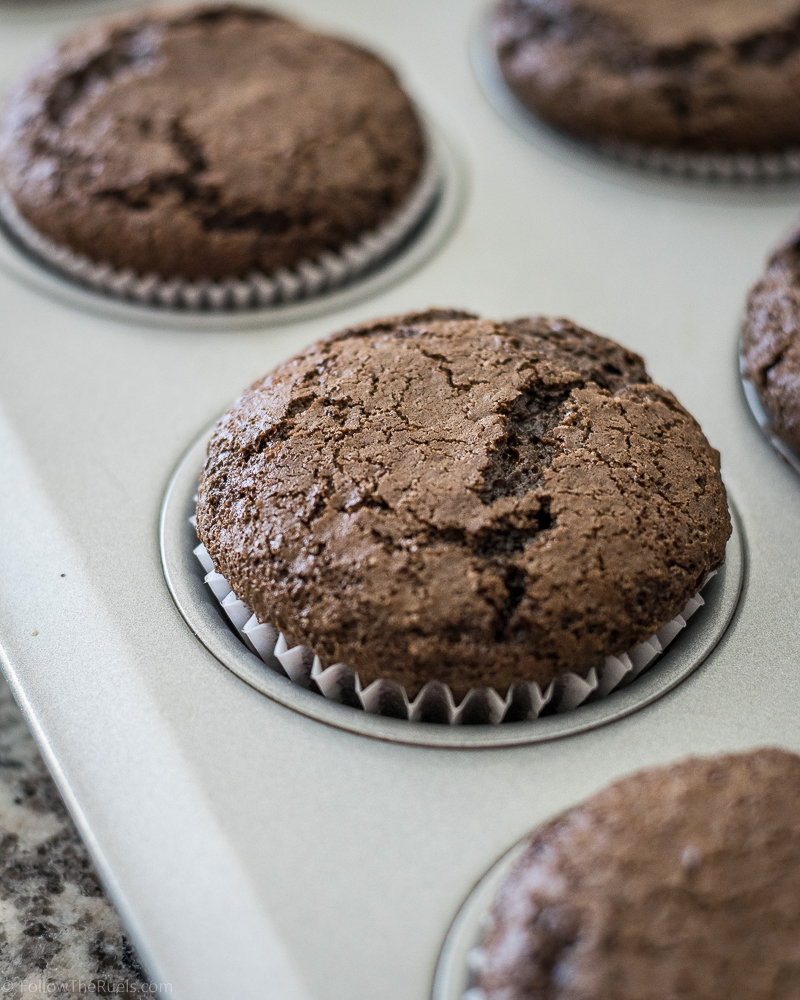
Once the cupcakes have cooked and cooled, whisk together your milks: evaporated milk, condensed milk, and heavy cream. Pour that (carefully) over the tops of your cupcakes. 

Once your cupcakes have soaked in all that milk you can determine if they need a little more. It may feel like you are adding a lot of the milk, but I promise they will soak it right up.

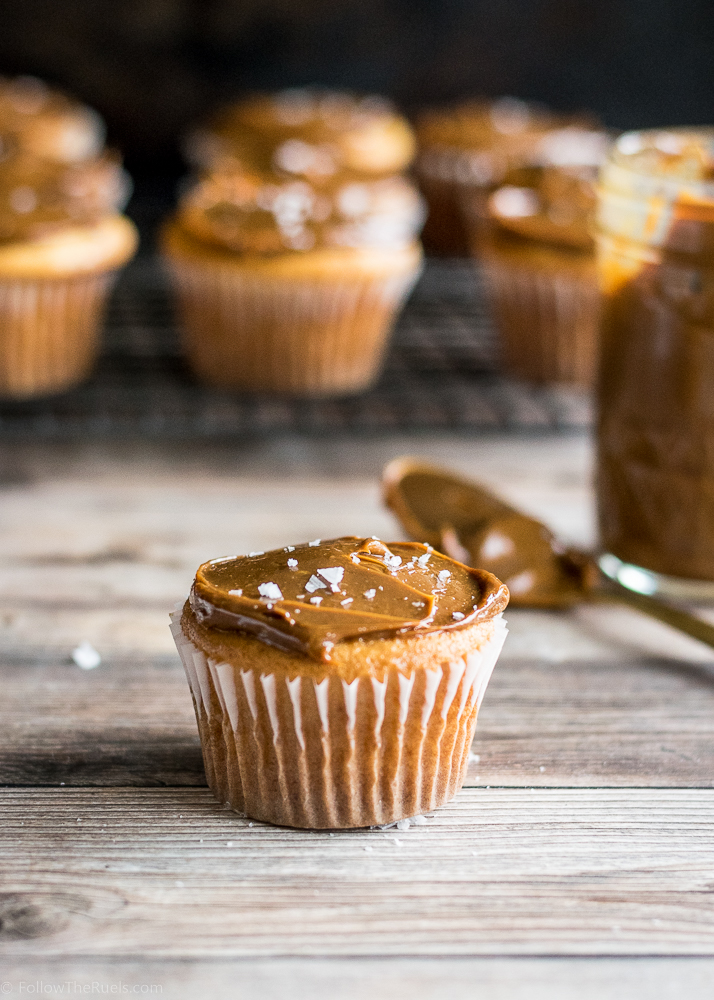
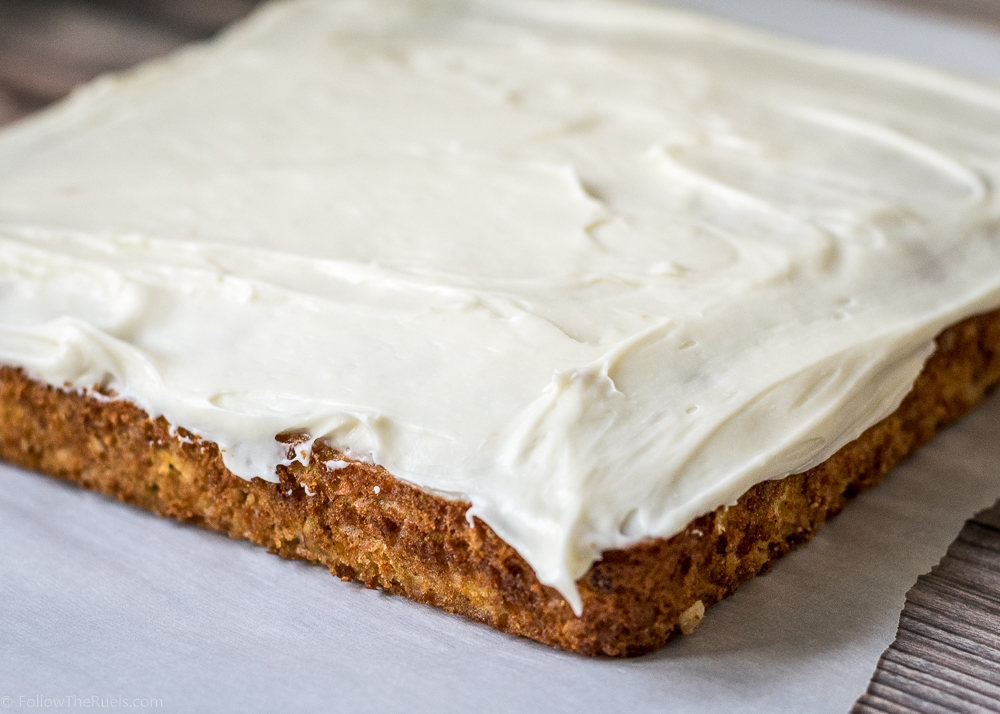
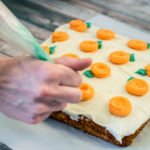
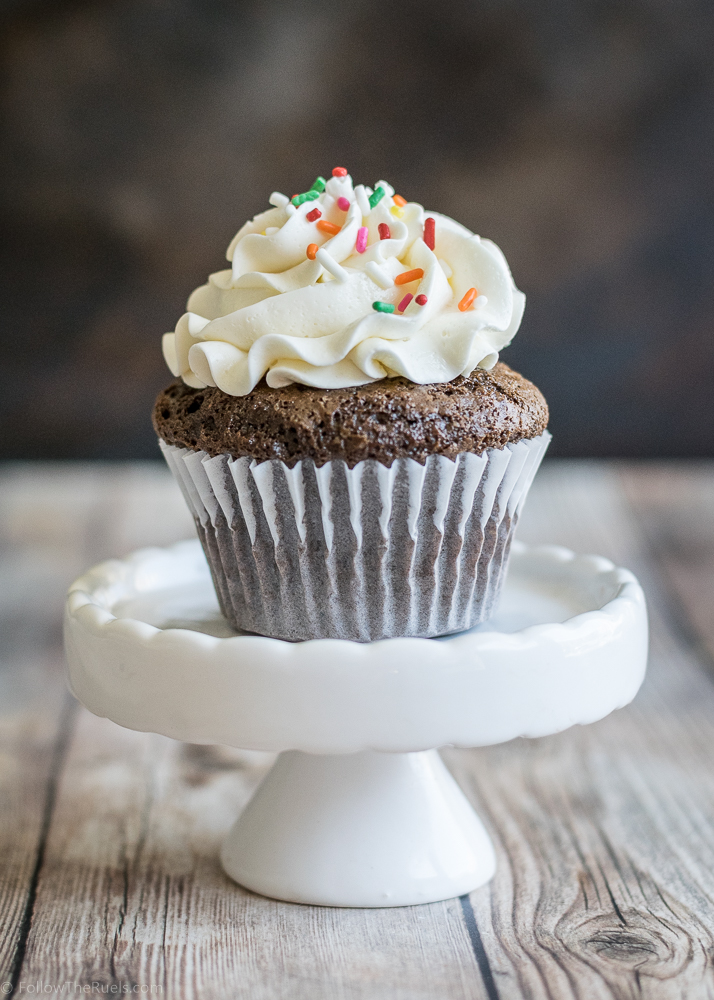
When they are all milked out, you can top them with the dolce de leche topping. Just slather that stuff on the top. You really can’t go overboard with it. 

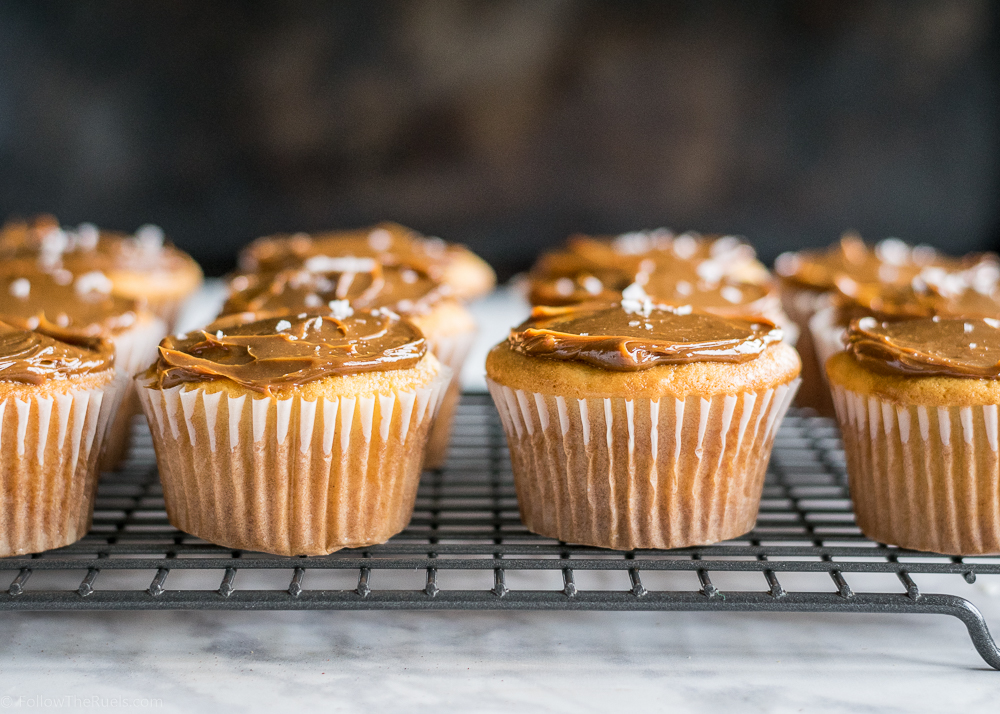
And because caramel needs a little something extra, sprinkle some sea salt on top and thank me later. All that sweetness needs something to balance it out.

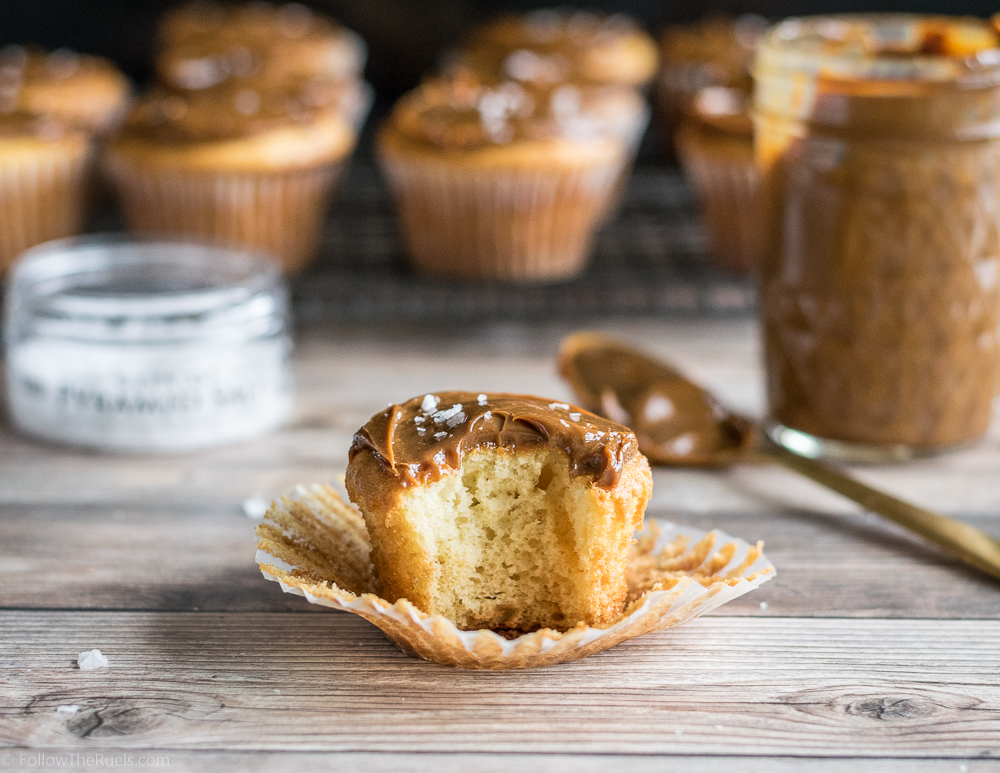
These cupcakes were to. die. for. The cake is super moist but not soggy. It’s also nice and light and airy. The dolce de leche is the perfect topping because the cake isn’t overly flavorful on it’s own. The kiss of sea salt at the very end just puts it over the top. You should probably charge your friends and family $4 a pop for these cupcakes, because the only other place you will find a cupcake this good is in a fancy bakery.

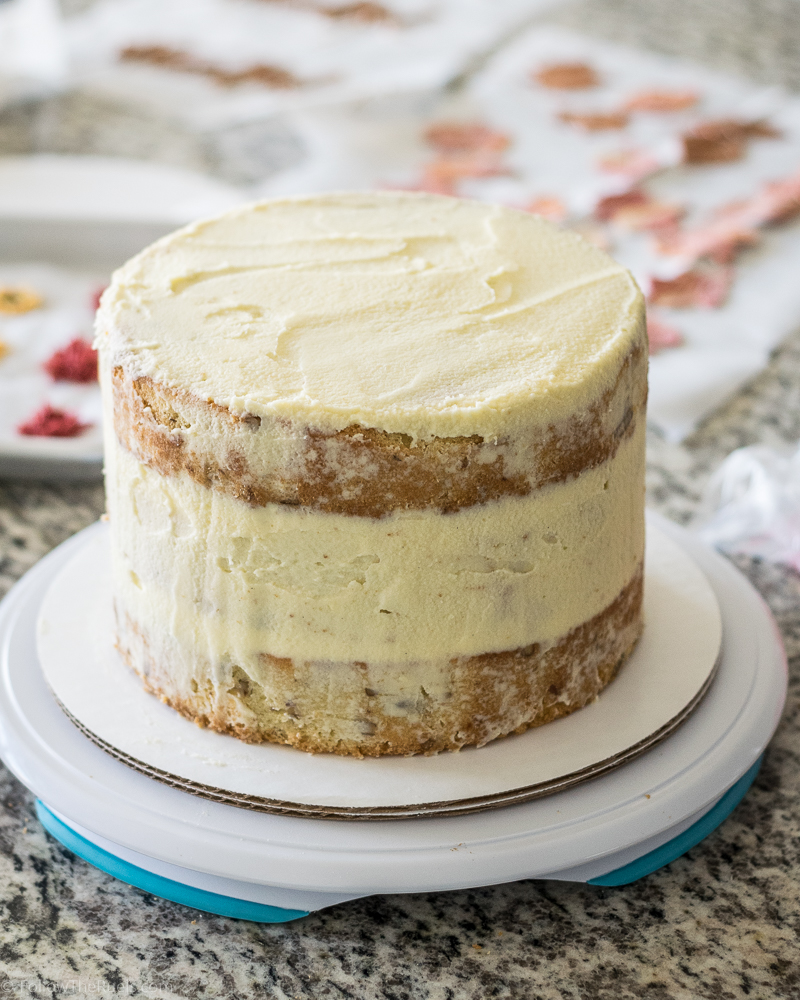
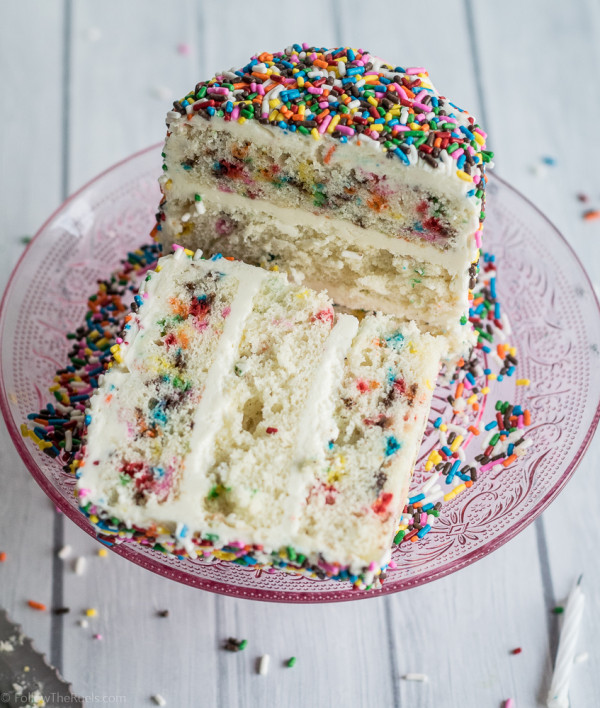
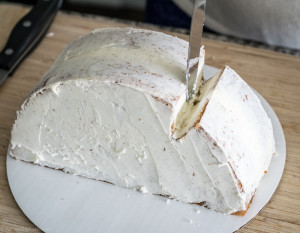
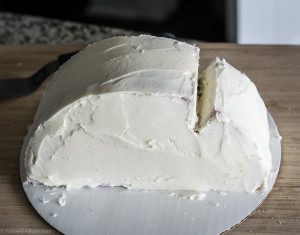
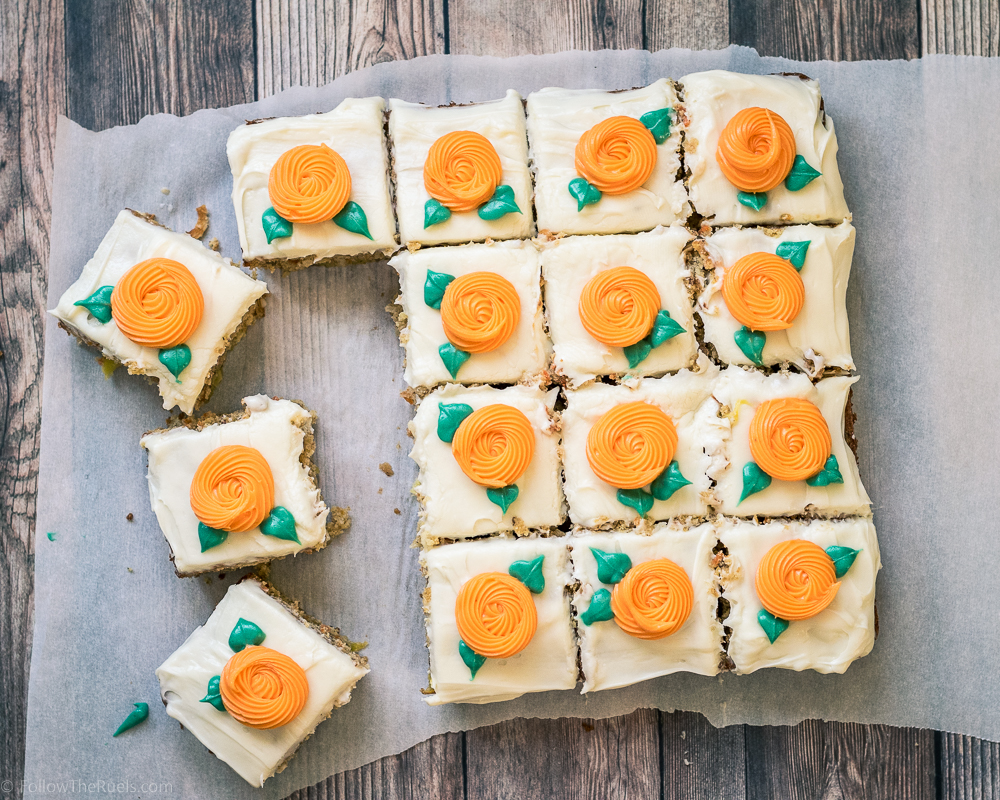
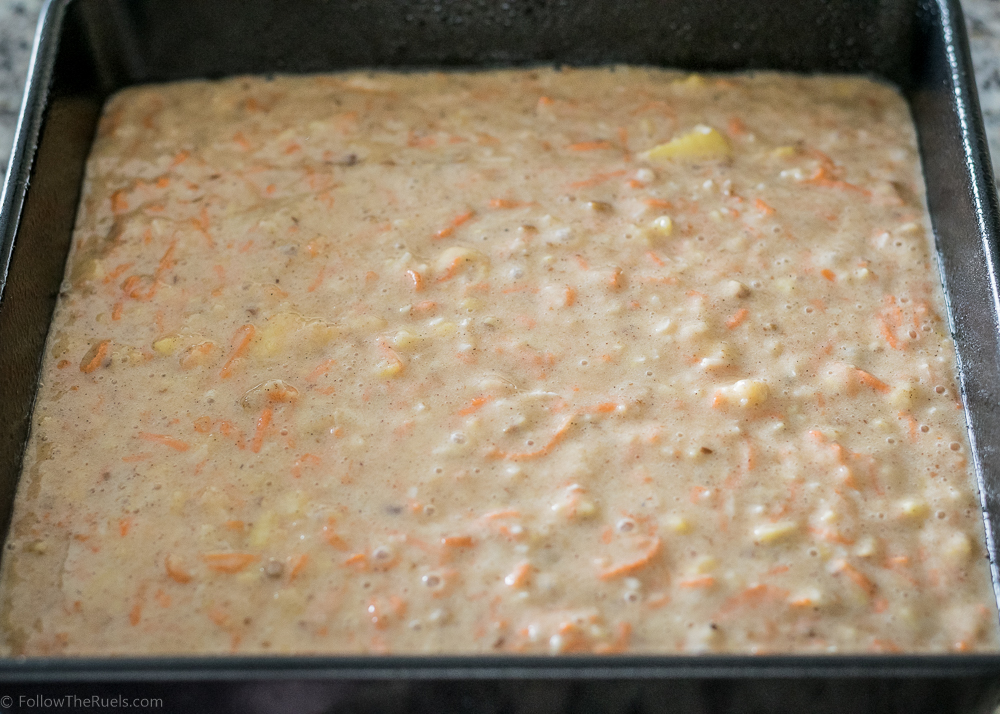
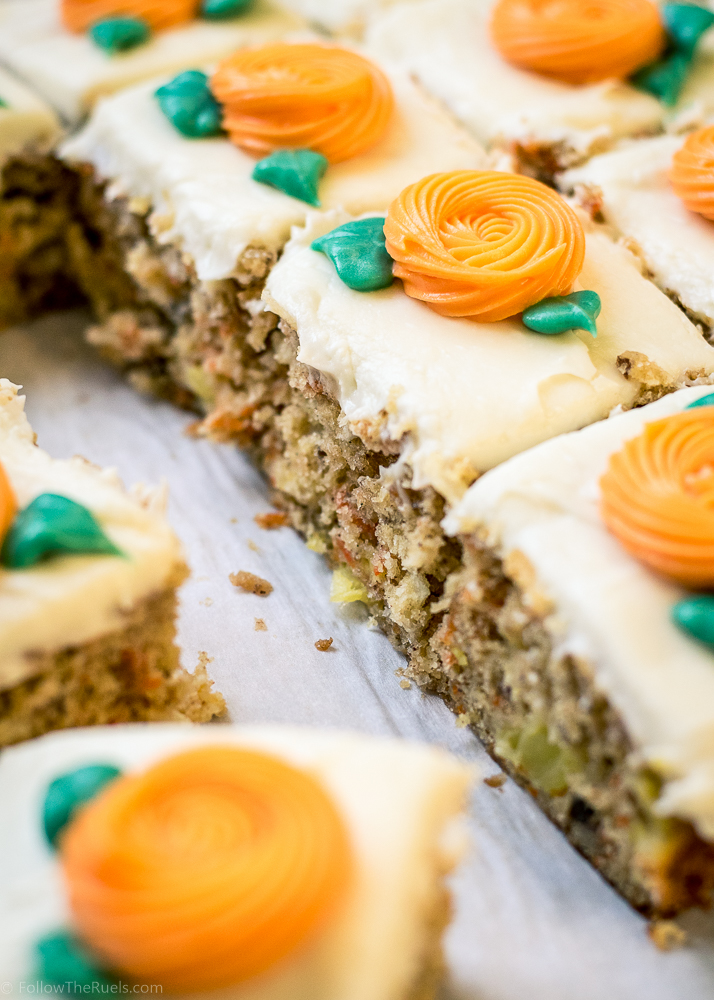
But if cupcakes aren’t your thing, you can make this same recipe in square pan and cut out slices. There is truly no wrong way to eat tres leches cake.

[amd-yrecipe-recipe:161]

/ Filed In: Cakes and Cupcakes, Cakes New, Eat
Tagged: cake, caramel, cream, cupcakes, dolce de leche, milk, salted caramel, tres leches

How to Make Floral Inspired Cupcakes

April 21, 2017

Decorating cakes and cupcakes has been my latest obsession. I have been jumping on every opportunity to make cupcakes for friends just to practice and hone my skills. 

I’ve actually found that for the most part, decorating cupcakes (I won’t speak to cakes since I haven’t had as much experience with them) is MUCH easier than decorating cookies. It requires a lot less time. And you have license to be a little more abstract with your decoration, particularly flowers. 

Of course, you could make some super realistic looking flowers or decorations that I am sure would challenge my previous theory, but for now, this girl is perfectly happy sticking to some fun and easy ways to decorate cupcakes! 

Which is why I thought I should show you my 5 favorite cupcake decorations! They are all “floral inspired”. I don’t want to call them flowers, because like I said below, you may have to really use your imagination to consider them flowers. But when paired all together, they look like a beautiful bouquet!

This is kind of a tiered flower with two layers of petals and dot in the middle. For this flower I used a big round tip, like a 2A. For bigger petals use a 1A, smaller use a 12. 

These hydrangea inspired cupcakes are my favorite because they are just so easy! Using a 2D tip, you just dot the top of the cupcake in these pretty little flowers. They piping tip does all the work for you!

And because hydrangeas are typically multicolored, I like to add multiple colors of icing into one piping bag so that every flower has a little of each color. I recommend sticking with 2 colors, and not doing any more than three unless you are going for a specific look. 

This rose decoration is one that I make a lot, even when I am not going for a floral inspired cupcake. It’s just such a beautiful cupcake decoration. But when you add a couple leaves, boom! it’s a rose!

For these cupcakes, use a 1B or 2B (any closed star tip) and make spiral on top of the cupcake. The 1B will give you a more open rose, like the one on the left. The 2B or smaller tip will give you a tighter rose, like the one on the right. 

For the leaves, use a 366 or any large leaf tip. Leaves are really easy to make. You just press the tip into the side of the flower, squeeze a blob of icing out of the tip while gradually moving the tip away from the cupcake. Then stop squeezing and swiftly pull the tip away creating a little tip.

This daisy looking cupcake is very similar to the cupcake at the very top except there is only one layer of petals. I also used a bigger round tip, a 1A, to create the fatter petals and a 12 tip to make the yellow center. But again, any big round tip will work!

To create the multicolored petals, I wiped a little bit of pink icing on one side of a piping bag, then filled the bag with the white icing. That way, just a bit of pink would streak the petals as the were piped out of the bag. 

Now this is my favorite cupcake. It combined the flowers that are on each of the cupcakes into one bouquet! I like to start with the rose, since it’s the biggest, then surround with hydrangeas, dots, and leaves. With these, you can really do anything you want! Be creative! 

See, you can totally make these. Just use your favorite cupcake recipe (here’s one!) and your favorite buttercream recipe (I’ll be sharing mine soon!) and get to decorating! 

To see a list of all the tools and ingredients I used for these cupcakes, see below (Note: this post contains affiliate links, which means every time you follow the link and purchase something, I get a small commission which I’ll probably use to buy more butter, sugar, and piping bags)


[show_shopthepost_widget id=”2636651″]

/ Filed In: Cakes and Cupcakes, Cakes New, Eat
Tagged: buttercream, cake, cake decorating, cupcake decorating, cupcakes, decorating, frosting

Damn That’s Good Carrot Cake

April 14, 2017

The title of this post is a direct quote from a coworker who tasted this carrot cake and uttered “Damn, that’s good carrot cake!”. This carrot cake even received a standing ovation from my boss. (Can you consider it a standing ovation if it’s just one person standing? sure, let’s go with it. It helps my story.)

Yesterday morning I dropped the cake off in our break room then ran downstairs to grab a coffee. By the time I had returned to the office, my boss had grabbed a piece of cake. As I was sitting down she yelled from her office, “Lindsey, did you make this carrot cake?” After I said yes, she proceeded to stand and slow clap. I mean, I have made some good stuff before, but nothing that has received a slow clap! (She went on use about a dozen different synonyms for moist and told me this was the best thing I had ever made.)

So between the standing ovation/slow clap and the “Damn, that’s good carrot cake” comment, I’d say this is, well, one damn good carrot cake! 

The ingredients in this aren’t a whole lot different than any other carrot cake, except for a not-so-secret ingredients: apple sauce, maple syrup, and nutmeg. All three are super subtle. You probably won’t even be able to tell that they are there, but they make a huge difference. 

The apple sauce helps make the cake super moist without adding any fat. The maple syrup adds another layer of sweetness that helps balance out all the flavors. And the nutmeg plays off the cinnamon to bring out the flavors of the pecans, coconut, and pineapple. 

While it may look like a hot mess of ingredients (this is definitely the most ingredients I have ever added to a cake), it’s really simple to make!


First mix together all the dry ingredients in a small-ish bowl. Just something big enough to hold all the flour. Then, in a larger bowl, whisk together all the wet ingredients. Dump the dry into the wet and whisk until you have a batter. 

Now it’s time for the party to start! Add the carrots, pineapple, pecans, and coconut to the batter and fold in until everything is nicely incorporated throughout the batter. 

Just a side note: I prefer to have my nuts pretty finely ground whenever I add them to baked goods. I do not like biting into a huge chunk of pecan when I eat my cake. So I recommend tossing them into your food processor and grinding them down into something that resembles a coarse meal. It’s okay if there are some bigger pieces. 

Now just add it to your pan and bake for about 35 minutes. 

I baked mine in a square pan because I wanted it to be more like a sheet cake. But you could also split this into two 8-inch round pans if you wanted to make a layer cake. 

After it has baked and cooled, you can frost this bad boy with some of my all time favorite cream cheese frosting. Cream cheese frosting it just amazing on carrot cake. Everything that was healthy about the carrot cake before, can be thrown out the window once you add the frosting. And that’s why they work so well together. 


It you want to add some rosettes like I did, separate out about 1/2+ icing into two separate bowls. Color most of it (about 1/2 cup) orange, and the rest of it (about 2 tbsp) green. For the rosettes I used a #21 piping tip, but you can also use a small closed star piping tip as well. For the leaves I used a #352. 

Mark out 16 slices of cake. In the center of each piece, pipe a small rosette by making a small spiral with the #21 tip. On the side of each one, pipe two leaves. Easy peasy, right? 😉 You got this!

But with or without the decoration, this cake is sure to win you over some fans. I was definitely surprised by the reaction I received for this humble little carrot cake. According to some people, it is now the best thing that I make!

[amd-yrecipe-recipe:150]

PIN NOW, MAKE LATER

The best carrot cake you will ever make!

/ Filed In: Cakes and Cupcakes, Cakes New, Desserts, Eat
Tagged: cake, cake decorating, carrot cake, cream cheese frosting, Easter, Spring

15 Amazing Easter Desserts

April 7, 2017

Hi, my name is Lindsey and I’m addicted to baking. How do I know? (Have you read the blog? That should be all the proof you need.) Well, I promised myself I wouldn’t do any baking this coming weekend after a tornado of flour and sugar went through my kitchen last weekend. But here I am, a week away from Easter wanting to make all of these fun desserts! As I sit here I’m strategizing how I can fit in a carrot cake, macarons, cookies, and petit fours all before Easter. I clearly have issues, folks.

(Although I would also argue that I’m just looking out for my emotional wellbeing per this article)

Since I will hopefully no baking (…well, maybe a little baking?….like one cookie?…I cant just make one cookie….how about 12 cookies….) I thought I would share with you all the things I wish I was making this weekend. Maybe both of us will be inspired by the 15 amazing Easter desserts!

No Bake Chocolate Oreo Bunny Garden Dessert from Oh Sweet Basil

Easy Easter Oreo Bark by Suburban Simplicity

Mini Easter Egg Cakes by the Cake Blog

Italian Easter Bread by Bake with Christina

Easy Easter Bunny Cookies by yours truly

Carrot Patch Cupcakes by Life Made Simple

Cheesecake Filled Chocolate Easter Eggs by Raspberri Cupcakes

Eyelet Lace Easter Cookies by this girl

Pineapple Carrots Cakes by Just a Taste

Healthy No-Bake Chocolate Peanut Butter Nests by Joy Food Sunshine

Surprise Inside Easter Bunny Cake by me

Homemade Reese’s Eggs by OMG Chocolate Desserts

Bunny Pay Thumbprint Cookies by the Bearfoot Baker

Bunny Booty Pretzels by A Soccer Mom Blog

Easter Egg Hunt Cookies by Moms and Munchinks

That solves it. I will definitely be making one of these Easter desserts this weekend. Like those adorable little bunny butt pretzels that require no actual baking. I found a loop hole! 

So, who else want to join bakers anonymous with me? I’ll bring some (homemade) donuts to the next meeting. 😉

/ Filed In: Desserts, Eat
Tagged: bunnies, cake, chocolate, cookies, dessert, Easter, marshmallow

One Bowl Chocolate Cupcake Recipe

April 3, 2017

This past weekend was a bit of a baking marathon. My kitchen now permanently smells like butter and sugar. Not that I am complaining. 

One of the many baking projects I took on this weekend was making cupcakes for a bridal shower. I tend to have these grandiose ideas when anyone asks me to make something for them. I try to come up with some unique and delicious flavors. But when push comes to shove, I always seem to fall back on some old classics. There is nothing wrong with a classic chocolate cupcake. In fact, sometimes a classic chocolate cupcake is the best cupcake. 

This particular chocolate cupcake recipe is one of my favorites because, well, it’s just dang delicious! But maybe more importantly it only dirties up one bowl! After baking dozens of cookies and cupcakes all weekend, trust me, that really is the most important thing about this recipe. 

The ingredients are pretty standard, but I always recommend to use the best possible cocoa powder whenever possible, because that is what will effect the flavor the most. I have made this exact same recipe with cheaper cocoa powder, and the cupcakes don’t have the same richness and flavor. My favorite cocoa powders are Ghirardelli, which you can get in most super markets, or Valrhona, which may be a bit harder to find in stores but can easily be found online. 


Since this is one bowl recipe, start by dumping all the dry ingredients into a big bowl – flour, cocoa powder, sugar, baking powder, baking soda, and salt. Then give it a good stir to get everything mixed together. 


Then mix in the wet ingredients. I like to measure my milk, then pour the oil right into the same measuring cup, only dirtying one measuring cup. Since this recipe calls for 3/4 cup milk and 1/4 cup oil, you should have 1 cup in the end. 

Also, this is a tip I picked up from a baking class and many Food Network shows, it’s best to mix the batter as little as possible. It should just be mixed until the flour is just barely incorporated. Too much mixing and the cake will be dense and tough.

All that to say, it’s okay if your batter has a couple lumps. It doesn’t need to be perfectly smooth. 

Next, fill the muffin tin up with batter. I try to fill mine up about 2/3rds of the way, but I haven’t quite mastered that yet. Some of my cupcakes come out too small, while others have these little muffin tops. Again, I am not complaining. Muffin tops are my favorite (except on me), but would be nice to have more uniform cupcakes. 

After a few minutes in the oven, they are good to go! They will make your kitchen smell amazing. You may even risk burning your tongue just to bite into one right away. Something I know nothing about…[as she looks around nervously].

But really, they are best once they have had a chance to cool a bit. Especially if you plan on frosting them. It is not wise to put cold, buttery frosting right on top of a warm cupcake. (Learned that the hard way.)

 The only thing easier that these cupcakes is a cupcake mix out of a box, and trust me, these taste ten times better!

[amd-yrecipe-recipe:147]

/ Filed In: Cakes and Cupcakes, Cakes New, Desserts, Eat
Tagged: cake, chocolate, cupcakes, one bowl

Classic Red Velvet Cupcakes (made without Food Coloring)

February 13, 2017

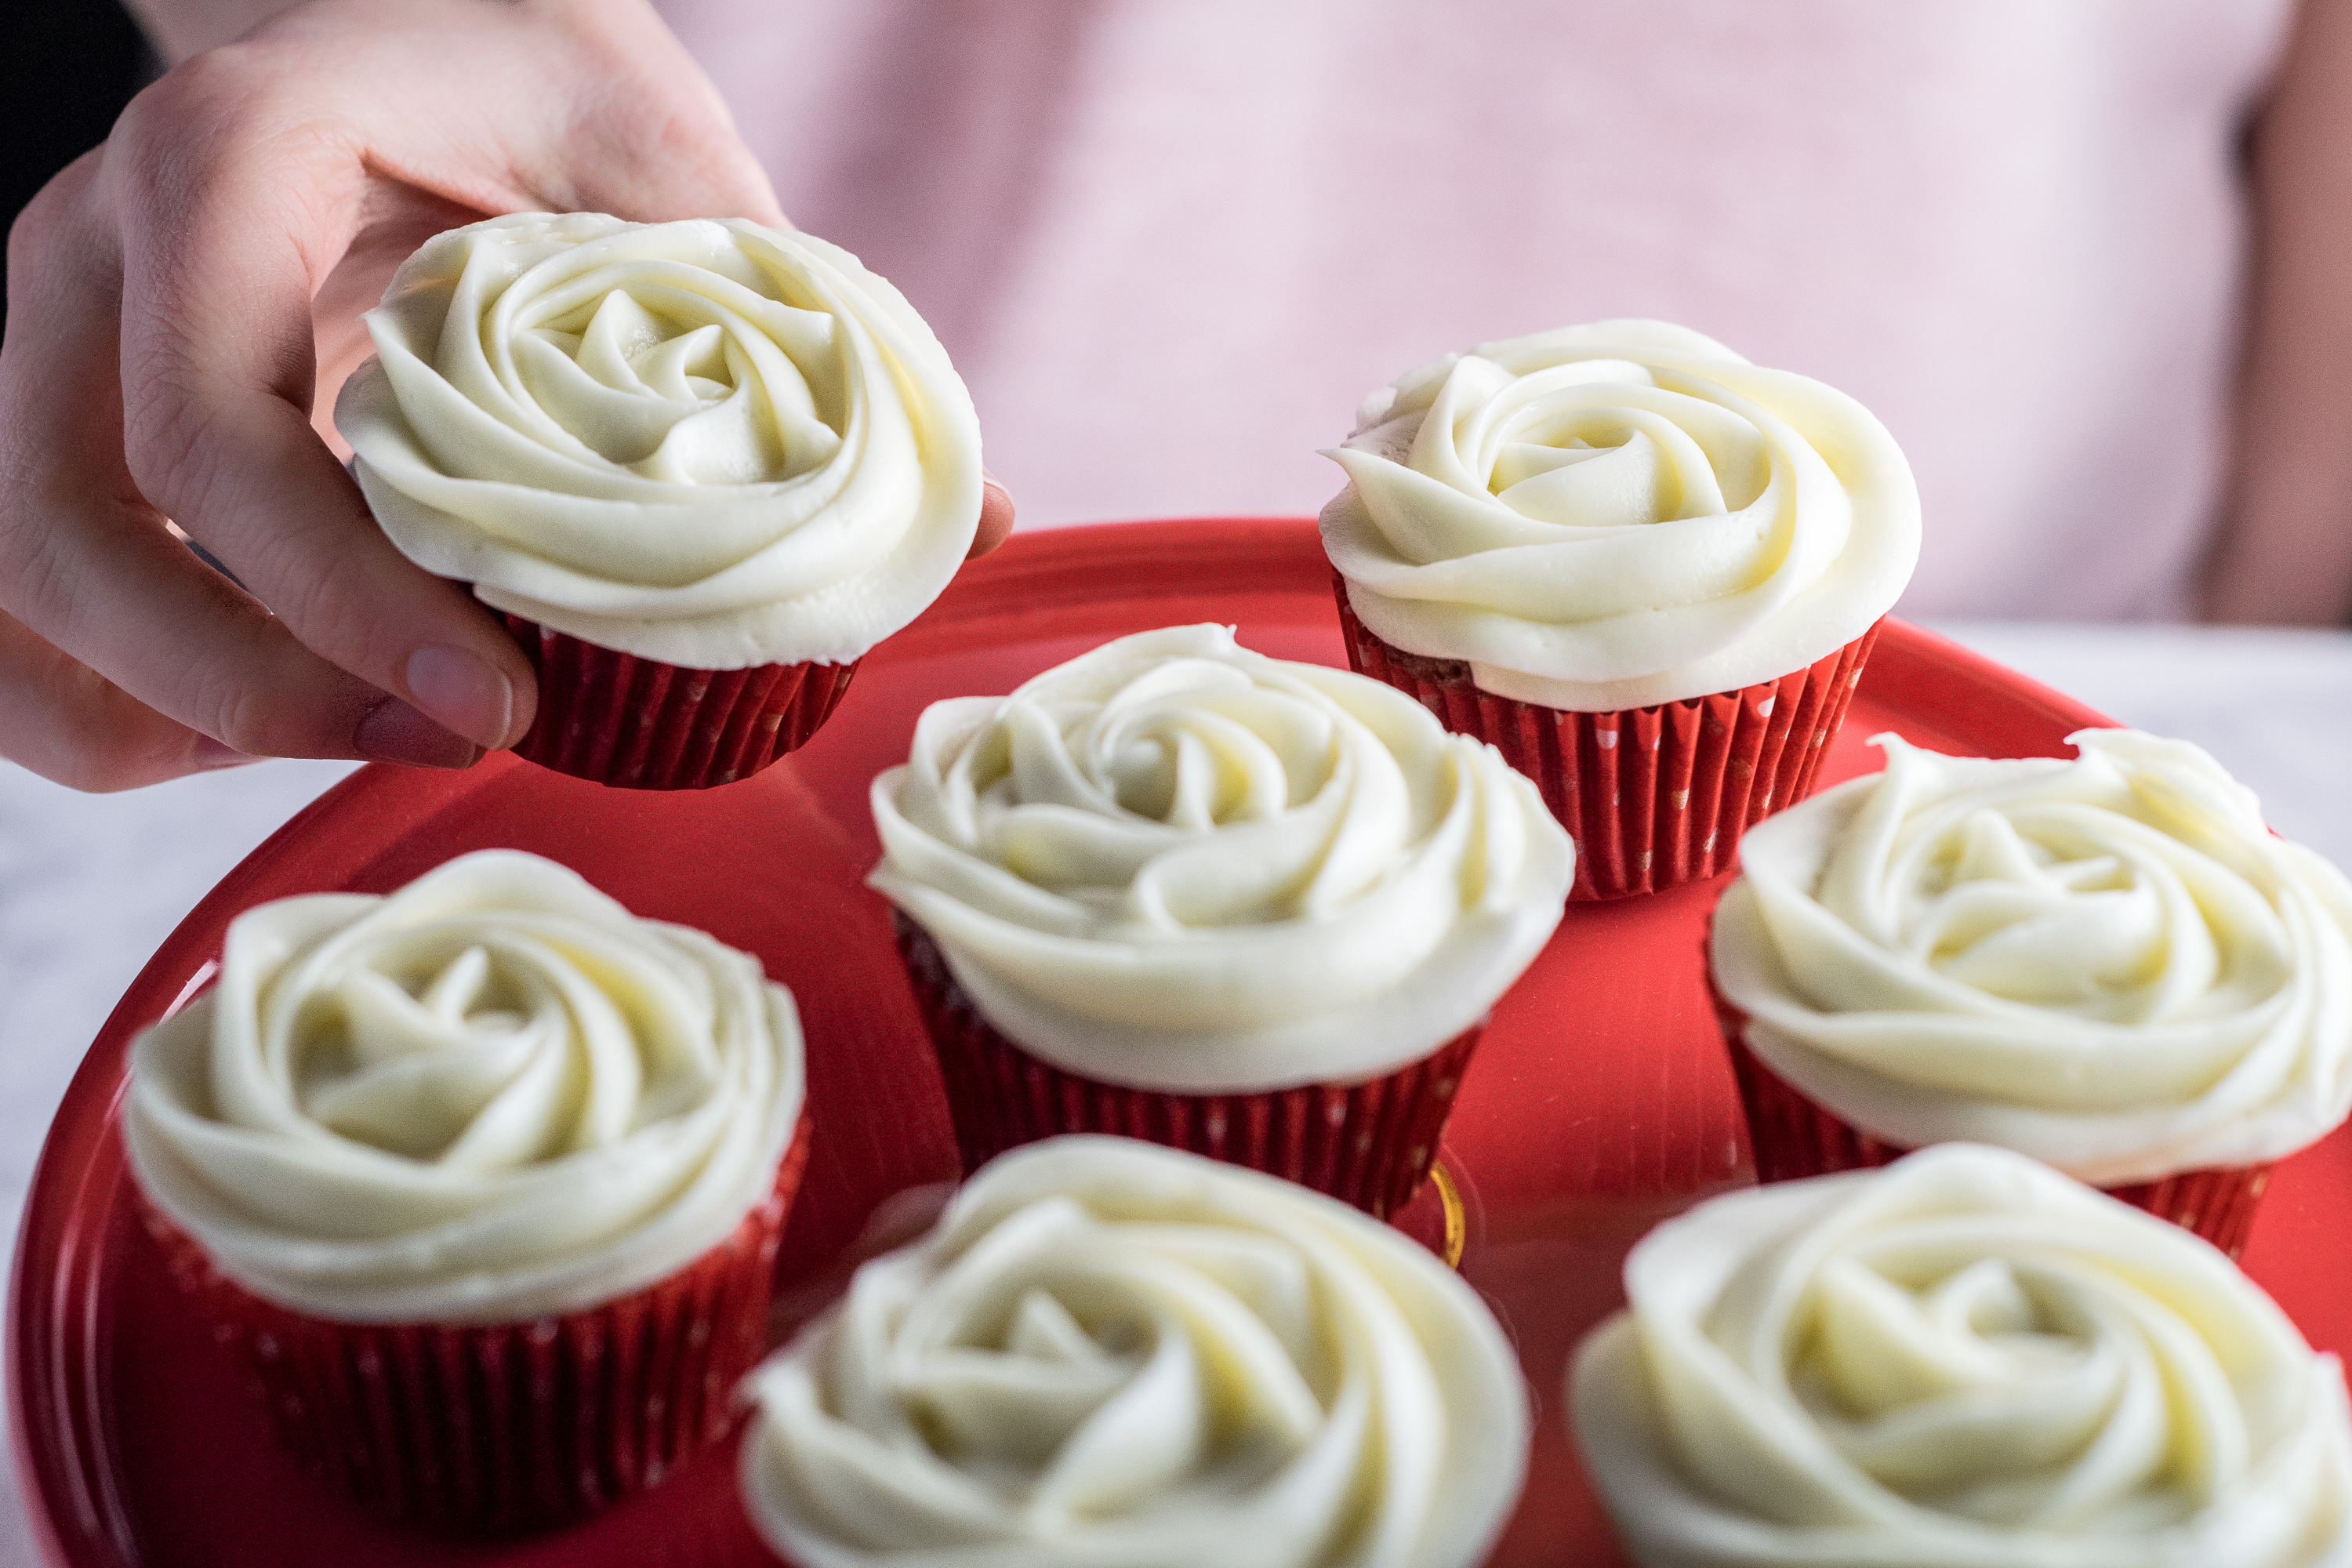
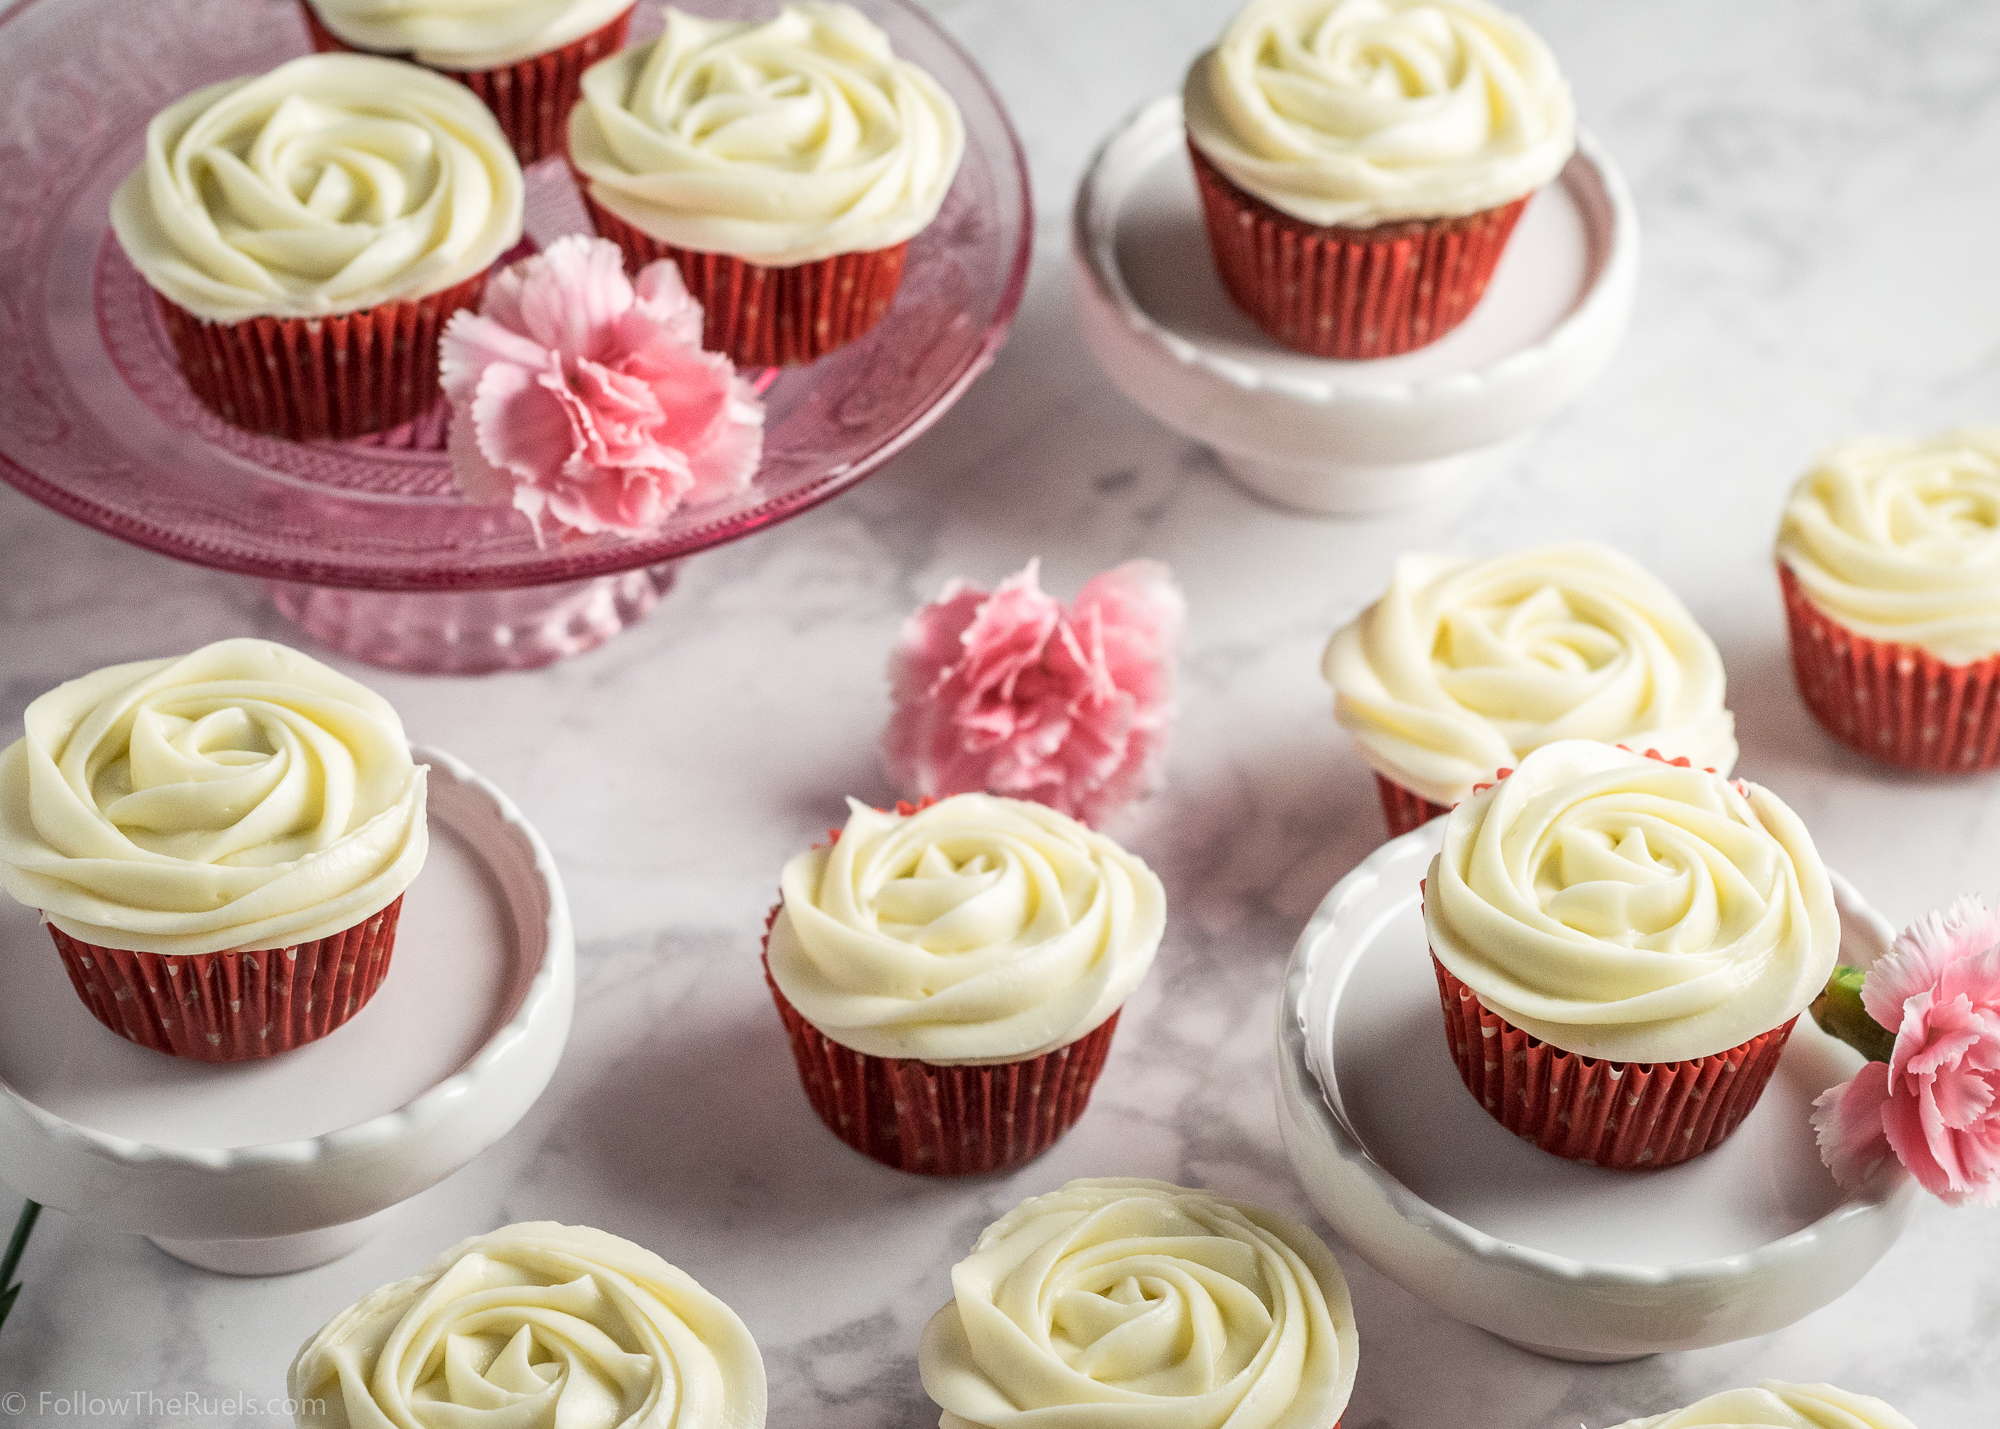
My very first experience with Red Velvet cake was watching Steel Magnolias as a kid. Not sure why, but that experience didn’t really inspire me to try red velvet cake for myself (maybe something to do with the Armadillo shape to the cake). It would take another 10+ years and a move to the South for me to have my first bite of red velvet. 

And I have been hooked ever since. I have experimented with several recipes over the years trying to find the ultimate recipe for red velvet cupcakes. 

But there is something a little bit different about my red velvet cupcakes. Beet juice. Yes friends, my secret ingredient is beet juice. Well, it’s not that big of a secret. A couple of decades ago, just about every red velvet recipe called for beets to give the cake that redish hue. Nowadays, we just dump a whole bottle of red food coloring into the batter and call it day.  

But aren’t you kind of sick of using excessive amounts of food coloring? I think it says a lot that the girl that owns no less than 75 bottles of food coloring is telling you not to use food coloring. But I promise, you will feel so much better about eating these cupcakes knowing that they are pretty much au naturale. 

Just like any other red velvet recipe, this one combines flour with a touch of cocoa powder and buttermilk to get it that moist velvety texture. 

Then to put the red in red velvet I used Mother Nature’s very own food coloring. I actually found some beet juice in the juice aisle of my local grocery store. But I wanted to have a much more concentrated color pay-off without adding too much moisture. So I decided to reduce it on the stove. I poured half a cup of the juice into a sauce pan and let it simmer on the stove for a few minutes until it had reduced by half, resulting in 1/4 cup of some thick beet juice. 

I know that seems like a little bit more work than your typical cupcake recipe. But look at how great that batter looks? It’s nice and red, but not artificially so. You know, it’s not that bright stop-sign red. 


Once they are baked, they are wonderfully moist and delicious! There is absolutely no sign of beets anywhere in these cupcakes except in color. There is a subtle chocolate flavor, but it’s not too heavy or rich. 

And of course I topped off my red velvet cupcakes with my favorite cream cheese frosting. Because in my opinion it’s the cream cheese frosting that really makes a red velvet cupcake so good. 

While red velvet is definitely appropriate for Valentine’s Day, I think of red velvet being in season year round. It’s a perfect cake for Summer, since it’s not as rich and heavy as chocolate cake can be. It also seems like a perfect choice for Christmas paired with some green sprinkles or something festive. But please, whatever you do, don’t turn it into an armadillo cake like they did in Steel Magnolias. Nobody wants that. 

[amd-yrecipe-recipe:128]

/ Filed In: Cakes and Cupcakes, Cakes New, Desserts, Eat
Tagged: cake, chocolate, cupcakes, dessert, red velvet, Valentine's day, video

The Best Cream Cheese Frosting

January 23, 2017

You may be surprised to know that I am not a huge fan of frosting. Whenever I get a slice of cake, I will typically avoid the frosting completely, or only eat a bit of it. It’s probably why I prefer naked cakes over any other kind of cake. That and they are so much easier to frost!

There is one exception to the rule, however, and that is cream cheese frosting. I love cream cheese frosting! It’s most likely because it’s not super butter or overly sweets. It’s just the right amount of creaminess, tartness, and sweetness. 

I made this particular batch of cream cheese frosting to go along with some red velvet cupcakes, which I will share with you soon! But since I use my favorite cream cheese frosting recipe in a couple other recipes I will be sharing soon, I thought I would kick things off with this one!


If you have never made cream cheese frosting before, it is super simple. All I do is beat together the cream cheese, butter, sugar, and vanilla until light and fluffy. That’s it! Unlike Swiss- or Italian-meringue buttercream, there is no labor intensive step of whipping up a finicky meringue or boiling sugar. Just dump it all into a bowl and mix!

Because I was just making cupcakes, I halved my normal recipe to have just enough frosting for 12 cupcakes (and a little extra for tasting). If I were making a 2 layer cake, I would make a full recipe. And for a 3-4 layer cake, I would have done one and 1/2 to two times the full recipe. Fortunately, this is a very easy recipe to halve or double!

This frosting is not only perfect for red velvet cupcakes, it would also be great on your classic chocolate cupcake for an unexpected twist. It’s also great on carrot cake, hummingbird cake, strawberry cake…really just about anything! Or if you are like me, you can just eat it straight out of the bowl. No cake needed!

[amd-yrecipe-recipe:120]

PIN NOW, MAKE LATER

/ Filed In: Cakes and Cupcakes, Cakes New, Desserts, Eat
Tagged: cake, cream cheese, cupcakes, frosting, icing

Autumn Wreath Maple Pecan Cake

November 11, 2016

Autumn Wreath Maple Pecan Cake

I feel bad for Thanksgiving. As soon as the page has been turned on October and Halloween is over, everyone sets their sights on Christmas. Starbucks already has their red cups out, Christmas decorations are front and center at just about every store, and I have already seen a few people put up their lights and trees. 

And even though I love Christmas as much as the next person, lets pump the breaks here folks and give Thanksgiving it’s fair share! And even though Thanksgiving is really all about the food (nothing wrong with that), it should also be a time to reflect on everything that we are thankful for. 

Autumn Wreath Cake

One thing I am definitely thankful for is this cake! I know I say everything I make is good (well, not everything, but anything that ends up on the blog), but this cake is AMAZING. And I don’t throw that term around all willy nilly. I mean it!


I started with a basic vanilla cake, but I swapped out some of the sugar for maple syrup and then folded in some toasted pecans. When I tasted the batter, I was actually a little disappointed in the maple flavor. It just wasn’t popping like I thought it would. Then, when I stated a bite after it had baked, that maple flavor really exploded! 

The cake by itself tastes like a stack of pancakes that has been drenched in butter and maple syrup. I mean….come on! How could you refuse a slice of that? The pecans not only add a nice crunch, but that deliciously nutty, buttery flavor. 

Maple Pecan Cake

But it’s not just about the cake flavor, its also about the decoration. This is the first time I had really attempted to decorate a cake this elaborately. Just like with cookie decorating, I picked up most of my tricks from watching lots and lots of You Tube videos (you can learn anything on YouTube). One of my favorite channels is How To Cake It! You must watch her videos, she is amazing!

Maple Pecan Cake

Anyways, I started by leveling all my cakes and removing the caramelized edges. Because I wanted this to be a “naked” cake, I wanted all the edges to look perfect and to be able to see the little pecan pieces through the buttercream. 

maple-pecan-cake-14

In between each layer, I spread on a generous portion of Italian meringue buttercream and the scattered on some toasted pecan pieces. Once all the layers had been stacked up, I topped it off with the rest of the buttercream and spread the excess down the sides of the cake. I made sure to fill in any gaps between the layers. Then, with a bench scraper, I scraped off all the excess. 

While the cake chilled in the fridge, I made the wreath decorations. The leaves are made out of various colors of fondant rolled together and cut out with some leaf shaped pie crust cutters. The branches are made out of melted chocolate, piped out to fit on top of the cake. And the flowers are piped out with buttercream using some really awesome techniques that were also learned from YouTube. 

maple-pecan-cake-15

Once the branches had hardened and the flowers were hard from the freezer, I assembled everything into a wreath! Doesn’t it look pretty!

I think it would be perfect as the center piece for a Thanksgiving or Friendsgiving dinner! Or just make the cake (sans decor) and eat it anytime. Trust me…you won’t regret it. 

Maple Pecan Cake

You can watch how I made the cake in the short video below. I apologize in advance for the poor quality, I am still learning how to work my new camera and the editing software. But I am hoping to do a lot more videos, since that is practically how I learned everything I know. 😉


PIN NOW, MAKE LATER

Autumn Wreath Maple Pecan Cake

[amd-yrecipe-recipe:96]


/ Filed In: Cakes and Cupcakes, Cakes New, Desserts, Eat
Tagged: buttercream, cake, cake decorating, Fall, maple, pecan

Salted Caramel Pumpkin Apple Bunt Cake

October 19, 2016

Salted Caramel Pumpkin-Apple Cake

If there is one thing you can’t say “no” to, it’s a hungry pregnant woman. At least, I can’t. If you are creating a human life, I will make you any food you want. That’s why when my 6-month pregnant friend  and co-worker asked me to recreate a muffin she loved, I had to give it a shot. 

One morning she called me over to her desk and told me to try the muffin she picked up for breakfast. It was a pumpkin muffin, but it was stuffed with apples, and had some sort of caramel glaze. Sounds delicious, right? It was! So I took a couple notes and told her I would come up a recipe for her to try.


I started with a pumpkin base, which I adapted from my pumpkin bar and pumpkin bread recipe. To that, I added some apples that I sauteed in butter, sugar, and cinnamon until then were soft. I folded the apples into the cake batter and then poured it into a bunt cake pan. I could have made these muffins or cupcakes, but I thought a bunt cake would be more fun. Plus, I had just bought this bunt cake pan so I wanted to take it for a spin. 

Salted Caramel Pumpkin-Apple Cake

Once it had come out of the oven and was cooled, I poured over some caramel sauce. I actually used those caramel candies you would buy for dipping apples into, but if I had the time (and the cream), I would have made my own caramel sauce to pour on top. 

Salted Caramel Pumpkin-Apple Cake

While the sauce was still a bit sticky, I sprinkled on some sea salt and pepitas for an extra crunch. 

Then I took the cake to my friend for a taste test. The verdict? It was good! I would have never paired pumpkin and apples, but it really worked! It was like apple pie filling meets a pumpkin cake. It was the perfect Fall flavor combination. And the salted caramel just sent it over the top. Literally the icing on the cake. 

Salted Caramel Pumpkin-Apple Cake

[amd-yrecipe-recipe:86]

/ Filed In: Desserts, Eat
Tagged: apple, bunt cake, cake, Fall, pumpkin, salted caramel

Miniature Funfetti Cake

March 21, 2016

Funfetti-Cake-6title

So, today is my birthday. No need to make a big fuss about it, I sure haven’t. Something about turning another year older that isn’t as appealing as it was at 25. All anyone needs to know is that I am 29. They don’t need to know how many times I have turned 29. 

To mark the occasion, I thought I would make a little something for myself. In college, whenever one of our roommates had a birthday we would make them a funfetti cake. Even though it’s been a while since college, I thought I would attempt to make a funfetti cake from scratch. I definitely don’t have anything against the boxed cake mix (see Friday’s post)- we went through plenty of those in college – but I wanted to try something a little different this time around. Mainly so I could control exactly how much “fun” was going in the funfetti. 

Funfetti Cake-1

I started with a simple white cake batter, then folded in a ton (about a cup) of rainbow sprinkles. I wanted this cake to be loaded with sprinkles. It’s not every day you turn 29 (for the third time).

Since I was making this cake for myself (which my husband thought was a bit pathetic until he remembered that I love to bake, so baking a cake for myself it the ultimate treat), and I certainly don’t need a WHOLE cake I decided to make a little mini cake, instead. To do this, I baked the cake batter in a rectangular pan, then cut out 4″ circles with my biggest round cookie cutter.  

Funfetti Cake-2

After leveling the little round pieces of cake so that they were all 1″ high, I stacked them just like any other layer cake, with a generous layer of buttercream in between. I gave the little cake a good crumb coat, let it chill, then slathered on another layer of buttercream. Fortunately, this buttercream did not need to be perfect because my plan was to cover then entire thing with even more rainbow sprinkles.  

Funfetti Cake-4

I very carefully and expertly placed each rainbow sprinkle on the buttercream so that it was evenly coated. Psych! I basically dumped my entire container of sprinkles over the cake and hoped that some would stick. Whatever didn’t stick, I just pressed into the cake, haphazardly, with my hand.

And now I have my very own personal funfetti cake! Just the right amount of cake for me. This could feed 2 to 4 people, but of course I ate the whole thing myself (over the course of a couple days – for breakfast, lunch, and dinner). Hell, it’s my birthday! If I want to eat a whole cake, I will! At least it’s just a miniature cake, right?

Funfetti Cake-8 

[amd-yrecipe-recipe:9]


/ Filed In: Cakes and Cupcakes, Cakes New, Eat
Tagged: birthday, cake, funfetti

Surprise Inside Easter Bunny Cake

March 18, 2016

Bunny-Cake-20title

I mentioned on Monday how much I miss celebrating Easter like I did when I was a kid. I don’t know about you, but Easter at my house was so much fun! Easter Bunny paw prints would magically appear (our neighbor would stamp them on in flour) on my front steps. My parents would surprise me with a Easter basket filled with candy and toys. And I would wrap up my day with an Easter Egg hunt at best friend’s house. 

My other favorite part about Easter was making this Easter Bunny cake with my mom every year. We would buy a box of cake mix and a jar of frosting and make our Easter bunny cake. It was easy enough for me to help my mom with even when I was pretty young (she did all the hard work), but I felt like such an accomplished baker once our cake had morphed into a bunny!

Even though I have since outgrown the Easter basket and Easter egg hunt (I would argue that I can never outgrow those things), I still make this Easter Bunny cake as often as I can. But this year I decided to mix things up a bit and add a little surprise inside. 


It all starts with one big layer of cake. It can be any flavor you like, but I prefer simple white cake (and I add some lemon and vanilla to make it taste less “boxy”). Yes, I used box cake mix. It’s simple, easy, and cheap. And for a cake like this, I don’t think it’s worth it to make my own cake from scratch. You may feel differently, so do what you wish.  

Anyways, where was I? The box instructs to make 2 layers of cake, but instead I made one thick one. Once it was baked, cooled, and leveled, I cut it in half right down the middle. I did a little measuring to make sure I was right in the center. I then used a small knife to cut around the inside of the cake, leaving about a 1.5″ margin, only cutting a quarter of the way into the cake. I then used a spoon to scoop out the cake from the center. I did this to both halves of cake. A quick tip, it is so much easier to cut the cake when it has chilled. I keep it in the freezer until I’m ready to go. 

I should also mention at this point that even though I didn’t make the cake from scratch, I did make the frosting (I know ,I don’t make any sense. Why would I make my own frosting, but not my own cake mix? Answer: because I don’t like the taste of the store-bought kind). But again, do what you like and what makes you happy. 

So I piped a bit of the frosting on 1 of the halves around the part of cake that I didn’t cut out and filled the center with Easter egg M&Ms. I then took the other half of cake and pressed it firmly on top, sandwiching the M&Ms inside. 


Now that the cake is in a half circle, I placed it on it’s flat side and cut a wedge about a third of the way up one side, taking care not to eat the wedge because I will need that later (this requires lots of self control!). I then lightly frosted the cake with a crumb coat and poped it in the fridge to set for about 10 minutes. Then I frosted it one more time and patted shredded coconut into the freshly applied frosting to make the bunny’s fur!

Surprise Inside Easter Bunny Cake

To decorate the cake and really make it look like a bunny, I first dyed some of the shredded coconut green and placed it on a cake stand. Next, I put two chocolate chips and a pink jelly bean on the face to make eyes and a nose. Then I cut out two floppy ears in white construction paper and stick them in the front of the wedge that we cut out. To make the tail, I use the scraps from that wedge, “folding” it in half so that one layer is stacked on top, frosted it with more icing and topped with some extra coconut. For extra flair, I used some mini Cadbury eggs and M&M eggs to dress up the “grass”. 

Bunny Cake-15

And there you have it! The classic Easter Bunny cake. How cute is this? It may not be the fanciest Easter cake, but it is so much fun and perfect for kids of all ages (even those of us who are <<cough>>30<<cough>>). 

Bunny Cake-17

This is definitely one of my favorite things about Easter. It is as much fun to make as it is to eat. And speaking of fun…

Bunny Cake-19

When you cut inside, out fall even more Easter eggs!! Who wouldn’t want a slice of this Easter Bunny? Does your family make an Easter Bunny cake every year, too?

Hope you all have a wonderful Easter!

[amd-yrecipe-recipe:8]

/ Filed In: Cakes and Cupcakes, Cakes New, Desserts, Eat
Tagged: cake, chocolate, Easter, holiday

Golf Cake

September 18, 2015

Golf Cake-3

This is a follow-up to the Cookies n’ Cream Cake post from a couple days ago. The mini cake was to photograph in all it’s cookie n’ cream glory. But this is really the cake I made for my husband’s birthday. He is an avid golfer, so I thought this would be a lot of fun for him!

Plus, I can honestly say that it was much easier than I originally thought! 

Golf Cake-1

I made another half recipe of the cream cheese icing for this decorating. I split the icing batch into thirds and split it among 3 bowls. One bowl I tinted with brown gel food coloring. One bowl I tinted to a light shade of green. The last was tinted a darker shade of green and stiffened with a 1/4 cup more powdered sugar. 

I started with a cake that had already been crumb coated and chilled. I then spread the brown icing around the sides of the cake with an off-set spatula. Then I spread the light green icing across the top. I wasn’t too concerned with it looking perfect. Most of the top will get covered in darker green icing.

Golf Cake-2

The darker green icing was spooned into a piping bag fitted with a #223 piping tip to create the blades of grass. I did find that when the icing got warm, it didn’t create the sharp threads that I was after, so I stuck the piping bag in the freezer for a few minutes to stiffen up.

Golf Cake-4

I then just piped little strands of green icing all around the edges of the cake, leaving a opening in the middle in the shape of a putting green (which can be whatever shape you like). With the extra brown icing, I tinted it black and then piped a small circle on one side of the green. I made a little flag using a wooden stick (normally used for kabobs) and stuck it in the center of the ‘hole’.

Fortunately we have golf balls all around our house, so I found the cleanest one. Cleaned it some more. And stuck it on the cake as well.

My husband was so impressed with his cake. He immediately put it on the ground and tried to tee off from it. 

It doesn’t matter how old they turn, boys will be boys….

Check out the recipe for the cake and icing here!

/ Filed In: Cakes and Cupcakes, Desserts, Eat
Tagged: birthday, cake, golf

Cookies n’ Cream Cake

September 16, 2015

Cookies and Cream Cakei-6

What do you make the man that doesn’t really like sweets or desserts of any kind? That is the problem I face every year for my husband’s birthday. I would LOVE to bake him something, but he could really care less about baked goods of any kind His one (or two) exceptions are Oreos and Cookies n’ Cream ice cream. 

A couple years ago I made him Cookies n’ Cream ice cream cupcakes to bring his love of cookies n’ cream ice cream to a cake (with a lot less hassle). And since I didn’t want to have to fuss with trying to make a whole ice cream cake, I decided to work the cookies n’ cream flavor into the icing.

Cookies and Cream Cakei-1

This icing is freaking amazing. It is a cross between a cream cheese and a butter cream. So it is a little bit more rich and tangy than a normal buttercream, but didn’t have an overwhelming cream cheese flavor. It was the perfect vehicle for the cookie crumbs. And the creaminess of the icing pairs perfectly with the chocolate cake. 

Cookies and Cream Cakei-2

{FYI – the pictures are of the little mini cake I made for the blog. His full cake was decorated like a putting green, which will be on a later post. The recipe posted below is for a full cake.)

Cookies and Cream Cakei-3

I topped each cake layer with a generous amount of the cookies n’ cream icing. Once the top layer was placed on top, I lightly iced the whole cake in plain icing, then popped it back in the fridge to chill. After 30 minutes or so, I covered the rest of the cake in the cookies n’ cream icing. 

Cookies and Cream Cakei-4

For a little added crunch and texture, I patted even more crushed cookies around the base of the cake. 

Cookies and Cream Cakei-5

And a few more to the top. 

Cookies and Cream Cakei-8

Cookies and Cream Cakei-9

This was a wonderfully decadent cake that was equally rich and creamy. The cookies n’ cream icing substituted perfectly for the ice cream so much that my husband didn’t even miss his ice cream cake. 

Chocolate cake recipe is adapted from How to Cake It, which is an amazing blog and YouTube channel you have to check out if you like cake decorating!

[yumprint-recipe id=’60’] 

/ Filed In: Cakes and Cupcakes, Desserts, Eat
Tagged: birthday, cake, chocolate, cookies n' cream

Cookie Dough Cake

September 12, 2014

Cookie-Dough-CakeMy husband turned the big 3-0 this past week. And we couldn’t let the occasion pass without a little celebration and a cake! Since my husband isn’t a huge fan of cake, but does love a good bowl of ice cream, I decided to merge once of his favorite ice cream flavors with a cake, resulting in cookie dough cake!

Cake filled with bits of cookie doughNow, I do not make cake often, so I relied heavily on some experts for the cake and icing recipe. The cake is a vanilla pound cake, a recipe that I got when I took a cake decorating class last year at Johnson Wales. The icing recipe was adapted from a Martha Stewart butter cream recipe. I pared down the recipe by about a third, then replaced some of the granulated sugar with brown sugar so that it had more of a cookie dough flavor.

But the real icing on the cake, so to speak was the bits of cookie dough. I took my favorite chocolate chip cookie recipe, left out the egg, and added a touch of milk instead. I then piped little dollops of cookie dough between each layer, pressing down the top layer to flatten them out a bit.

Crumb coat of brown sugar icingOnce all the layers were stacked, I lightly frosted the top and sides of the cake to make a crumb coat, sealing in all the crumbs.

Chocolate chip covered cakeClearly my frosting skills need some work. Fortunately, there was an easy solution to the problem: covering the cake in chocolate chips! I started by sprinkling them on the top then pressed them into the sides.

Vanilla cake filled with cookie dough covered in chocolate chipsBecause I had some of that cookie dough left over, I just pipped a bit more dots of dough around the edge. I might have also just eaten it straight from the bowl.

Slice of cookie dough cakeMy husband and I both shared a slice right away, eager to dig in. While definitely on the super sweet side, the little bites of cookie dough were a delightful surprise!

Cookie-Dough-Cake7It was a great way to usher my husband into the next generation. Unfortunately for him, he will be there alone. What he doesn’t quite understand is that once I turned 29, I just stopped aging. Sure, I may celebrate the anniversary of my birthday, but I will be 29 at least until I have a child that turns 29. I’m pretty sure that’s a law of physics…or something….

Cookie Dough Birthday Cake

[yumprint-recipe id=’49’]

/ Filed In: Cakes and Cupcakes, Eat
Tagged: birthday, cake, cookie dough, dessert, sweets

Citrus Angel Food Cake

July 6, 2014

Orange-Angel-Food8Whenever my husband and I attend a gathering or event where we need to sign up to bring a food item, 95% of the time I will sign up for dessert. I’m sure that won’t surprise anyone who has read this blog before. But even though I like making sweets, I still feel a lot of pressure to make something that all or most people will enjoy. So my rule of thumb is to stick with a classic but with a twist. Take for instance those Mexican Brownies from a couple months ago and this Citrus Angel Food Cake. It is just a plain old Angel Food Cake with a twist. I added some orange and lemon zest. The flavor is evident, but not overwhelming. And the perfect flavor combination for Summer.

Orange-Angel-Food1If you have never made Angel Food Cake from scratch before, it is actually much easier than you might think. Sure, it does require lots of egg whites. Like a whole freaking dozen of them, but everything else is probably stuff you already have in your pantry.

Orange-Angel-Food2What sets Angel Food Cake apart, is how light and airy it is. That is achieved through the “meringue” made by whipping up all dozen egg whites with a bit of cream of tartar, water, and sugar. At this point, you could also whip in whatever flavors you like. For instance, you could add vanilla to get a classic Angel Food. Or other extracts to take on any other flavor, like coconut, orange, raspberry, almond, etc.

Orange-Angel-Food3Once the egg whites form soft peaks (the picture above is probably closer to stiff peaks), I fold in the flour mixture. Because the flavor for this cake comes from the orange and lemon zest and not an extract, I whisked the zest into the flour mixture instead of into the egg whites.

Orange-Angel-Food4Typically, you will find Angel Food in a tube pan like the one above, but it can be made in any kind of pan you have.

Orange-Angel-Food9Like any other cake, you will know it is done with the top is brown and you can stick a knife or toothpick in and it comes out cleanly. The difference with Angel Food is that it has to cool completely…upside down. I like to find a bottle with either a tapered neck or a top that is just as big as the hole in my tube pan and flip it over to rest perfectly on the bottle. It may take a bit of coordination, but should balance just fine as long as you leave it alone (lesson learned the hard way for me). Don’t worry the cake won’t slip out!

Orange-Angel-Food5Once you are ready to serve, take a knife all the way around the edge of the cake, between the cake and the pan. Afterwards, and maybe with a bit of coaxing, the cake should slide right out. Cut into slices and serve with some whipped cream and fruit, or eat all on its own!


[yumprint-recipe id=’5′]

/ Filed In: Eat
Tagged: angel food, cake, citrus, lemon, orange

Spiced Cheesecake with Gingersnap Crust

December 11, 2013

My mom’s recipe for cheesecake has been widely request from friends and family over the years. It is her go-to dessert when she wants to impress. And it’s no surprise, because it is amazing!

This past weekend, when I volunteered to bring a dessert to our friends Christmas party, I knew this cheesecake would be perfect!

Instead of using sugar cookie dough, like my mom, I used gingersnap cookie crumbs for the crust to make it a little more “Christmas-y”. I also added some spices to the batter to compliment the crust.

One new thing I tried was baking the cheesecake in a shallow pan with a little water. This is a trick I learned from Martha Stewart to prevent the cake from cracking on the top, like it is prone to do.

The result is an extra creamy, and a tad bit spicy, cheesecake. And a little bit goes a long way! One small slice is perfectly decadent, so an 8 to 9 inch pan can serve well over 10 people.

Unless you are serving a large crowd of cheesecake lovers, in which case, you may want to make 2.

What is your go-to recipe for the holidays?

/ Filed In: Eat
Tagged: cake, cheesecake, Christmas, dessert, gingersnap, holiday, Winter

  • Newer Entries
  • 1
  • 2

Follow

Hey There!

Hey there, I'm Lindsey. I'm a number cruncher by day and a home cook and baker by night. While I love to eat healthy and find fresh and healthy alternatives for my favorite foods, I will never turn down dessert! Life is all about moderation, right?

Recipes

  • All Recipes
  • Breakfast
  • Appetizers
  • Salads
  • Main Dishes
  • Side Dishes
  • Desserts
  • Drinks

Favorite Finds

[show_lookbook_widget id=”388783″]

Theme by 17th Avenue · Powered by WordPress & Genesis