• Home
  • Eat
    • Breakfast
    • Appetizers
    • Main Dishes
      • Chicken
      • Beef
      • Seafood
      • Healthy Dishes
      • Paleo Dishes
      • Salads
    • Desserts
      • Decorated Cookies
      • Cookies
      • Bars and Brownies
      • Cakes and Cupcakes
  • Shop
    • Cookie Decorating Supplies
    • Bakeware
    • Cookware
    • Kitchen Gadgets
    • House
  • About
    • Contact
    • Bucket List
  • Cookie Decorating 101

Follow the Ruels

Preppy Onesie Baby Shower Cookies

August 3, 2018

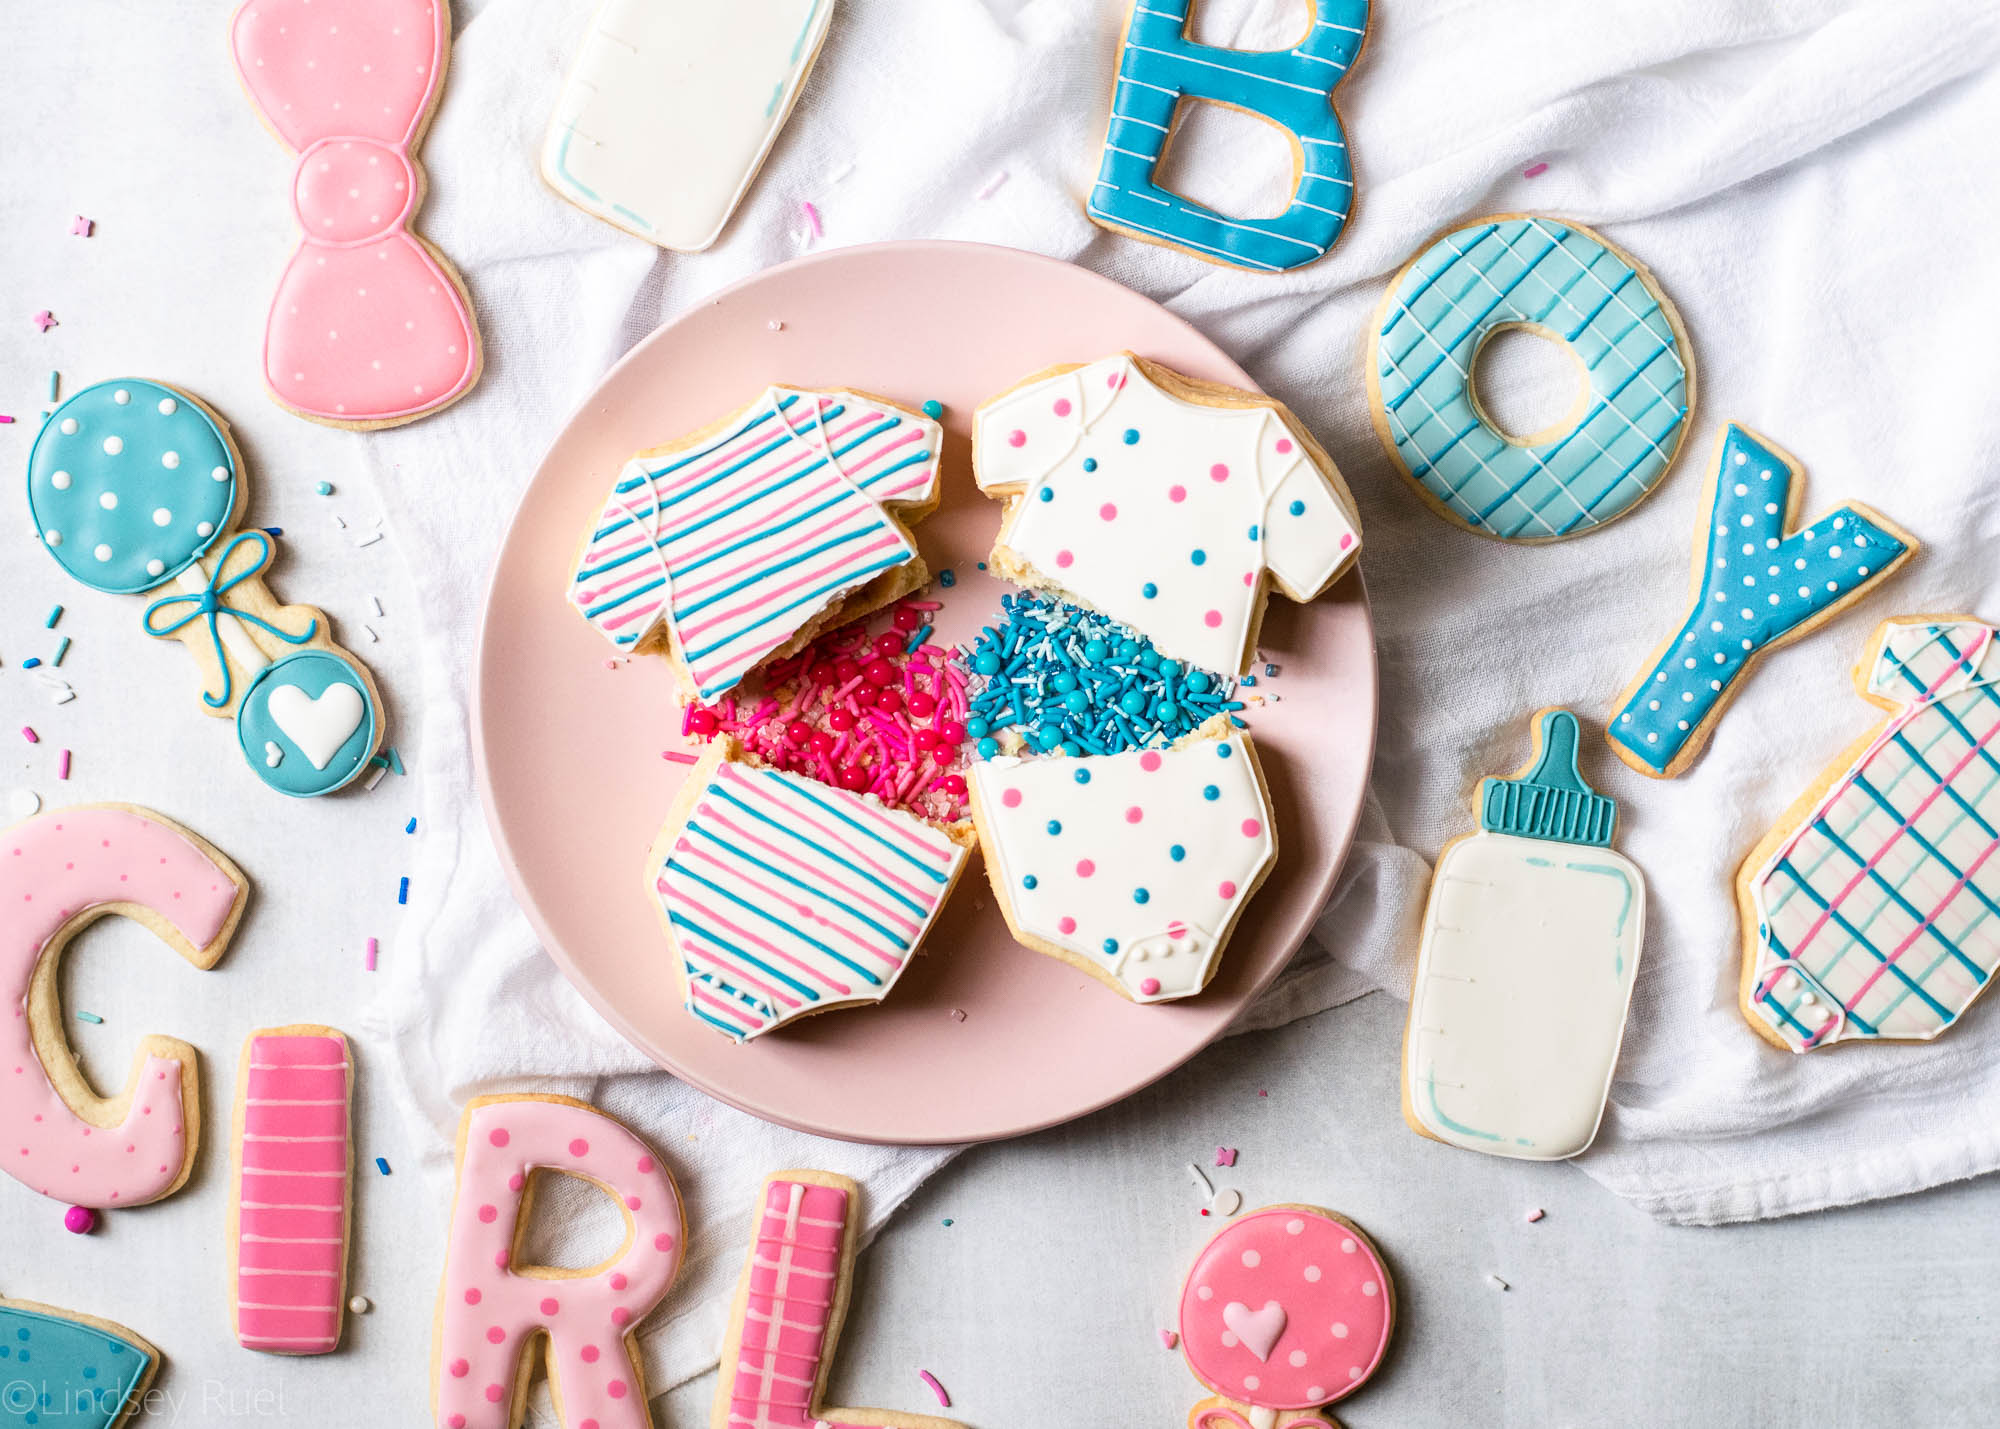
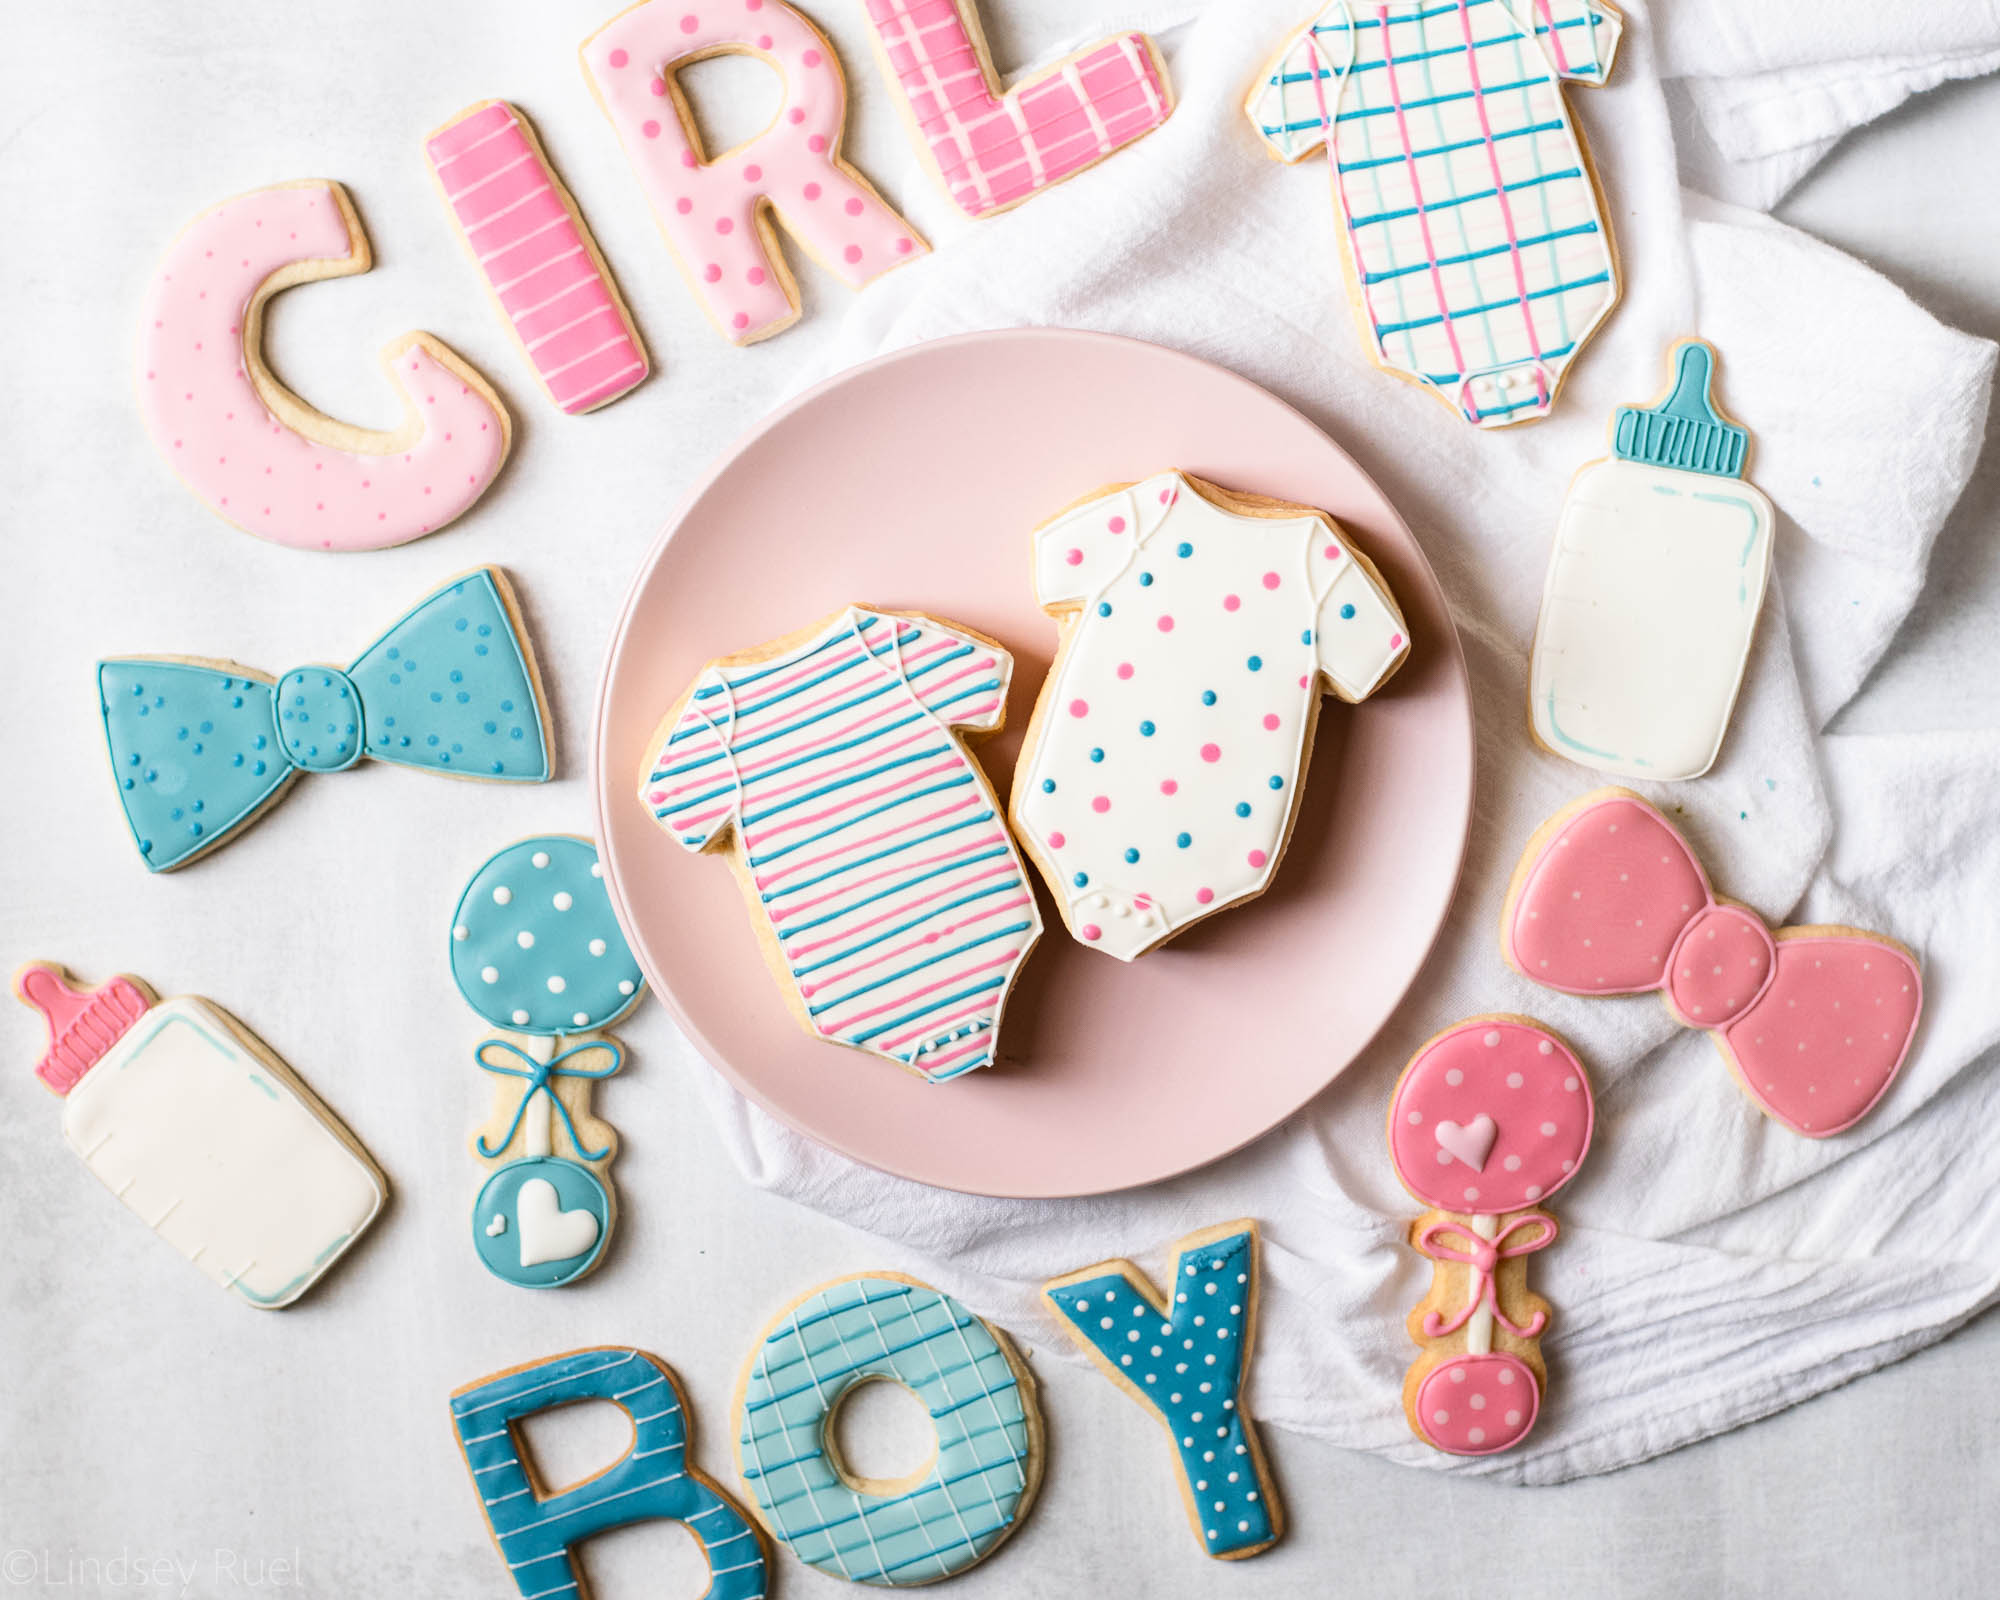
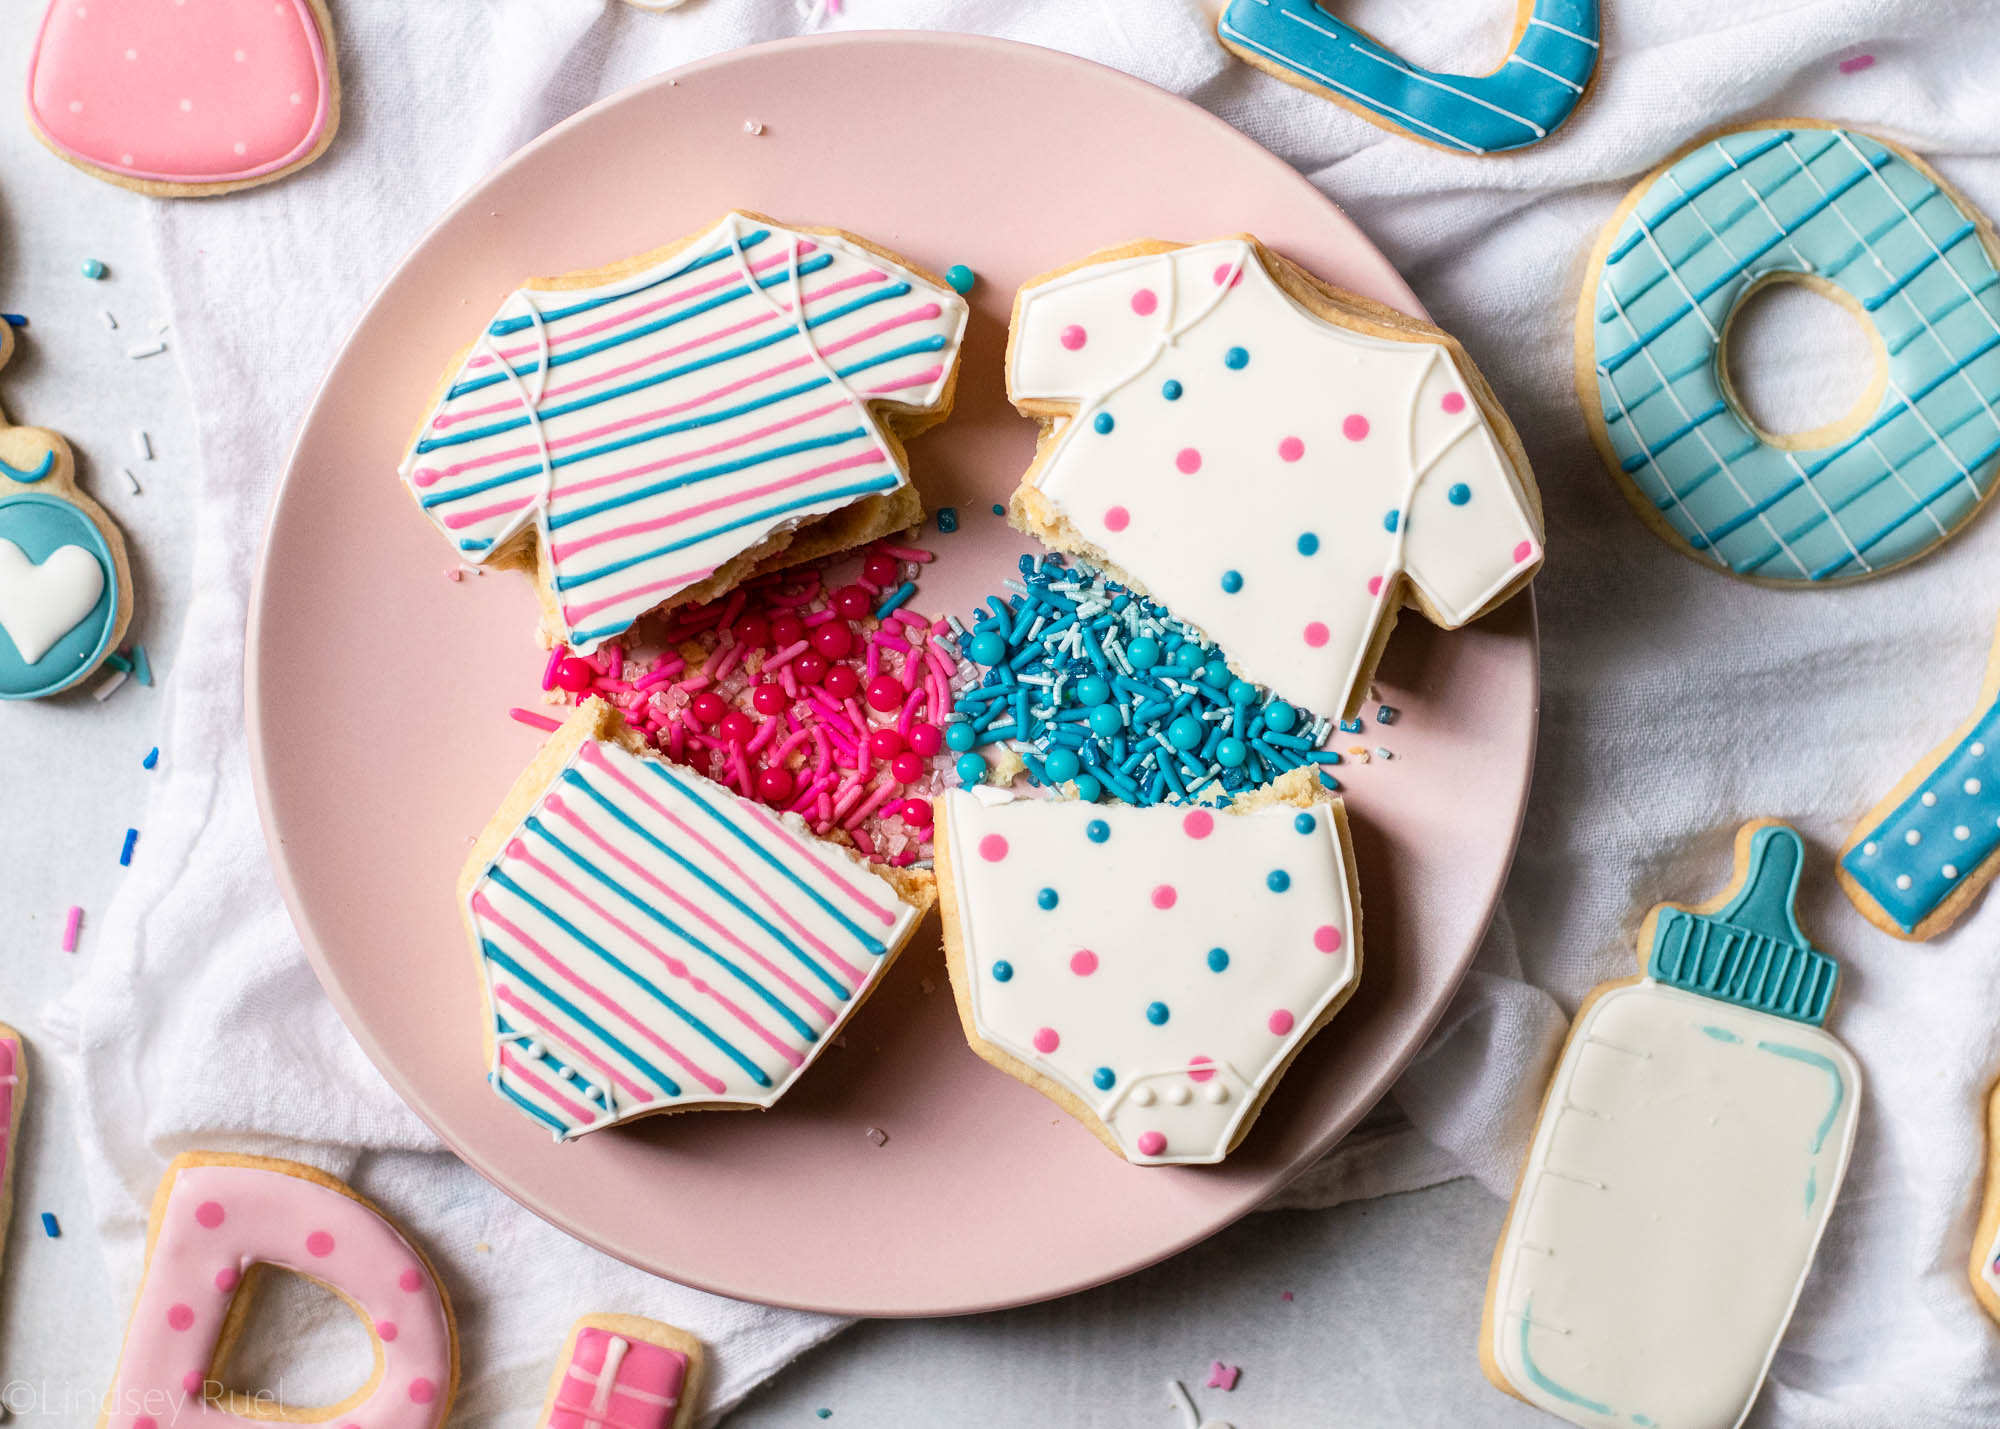
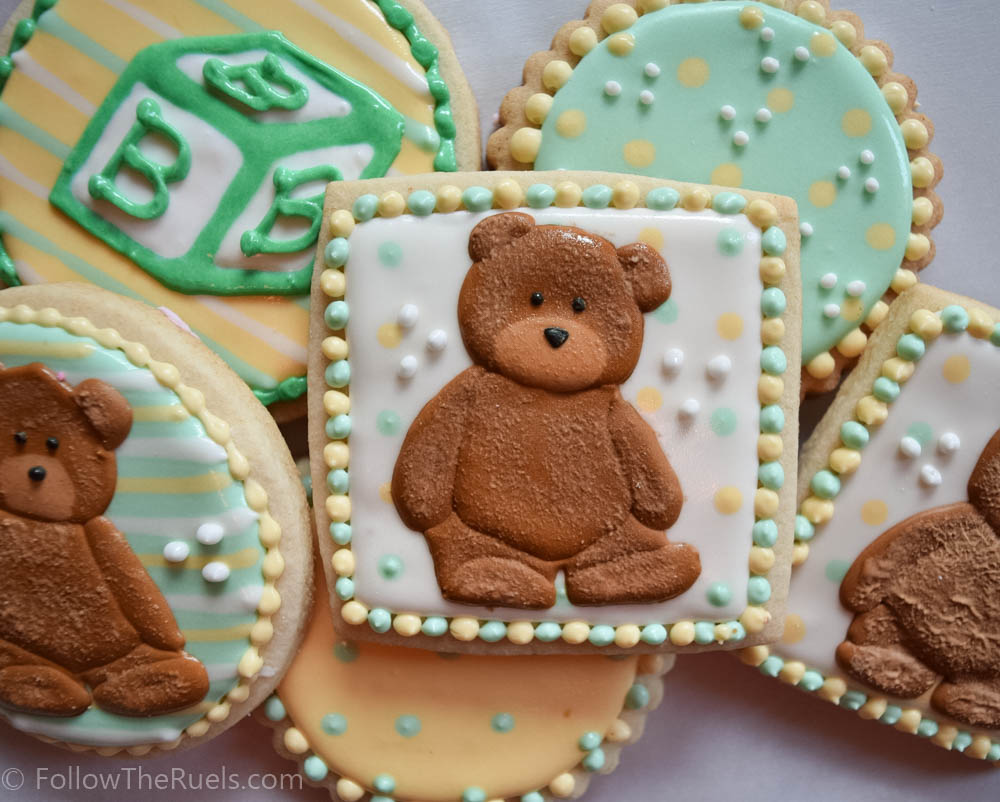
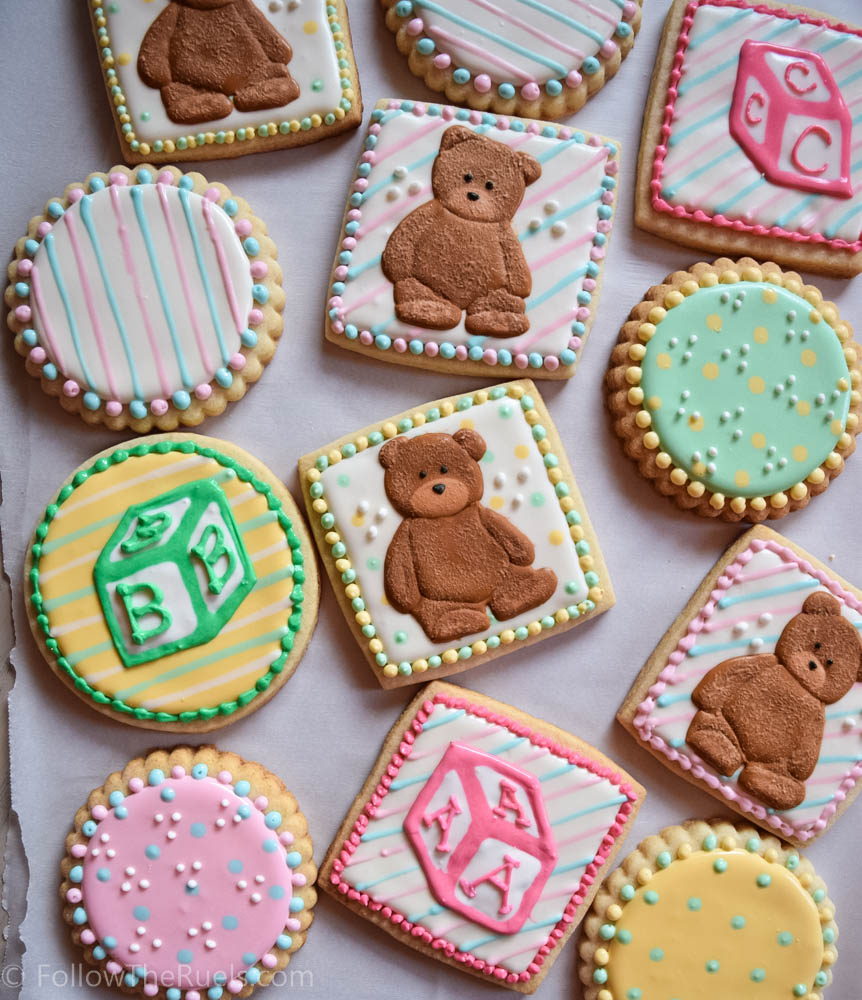
This past weekend I was back in my hometown of San Diego for not one but two baby showers! One was for my oldest friend and the other was for ME! 

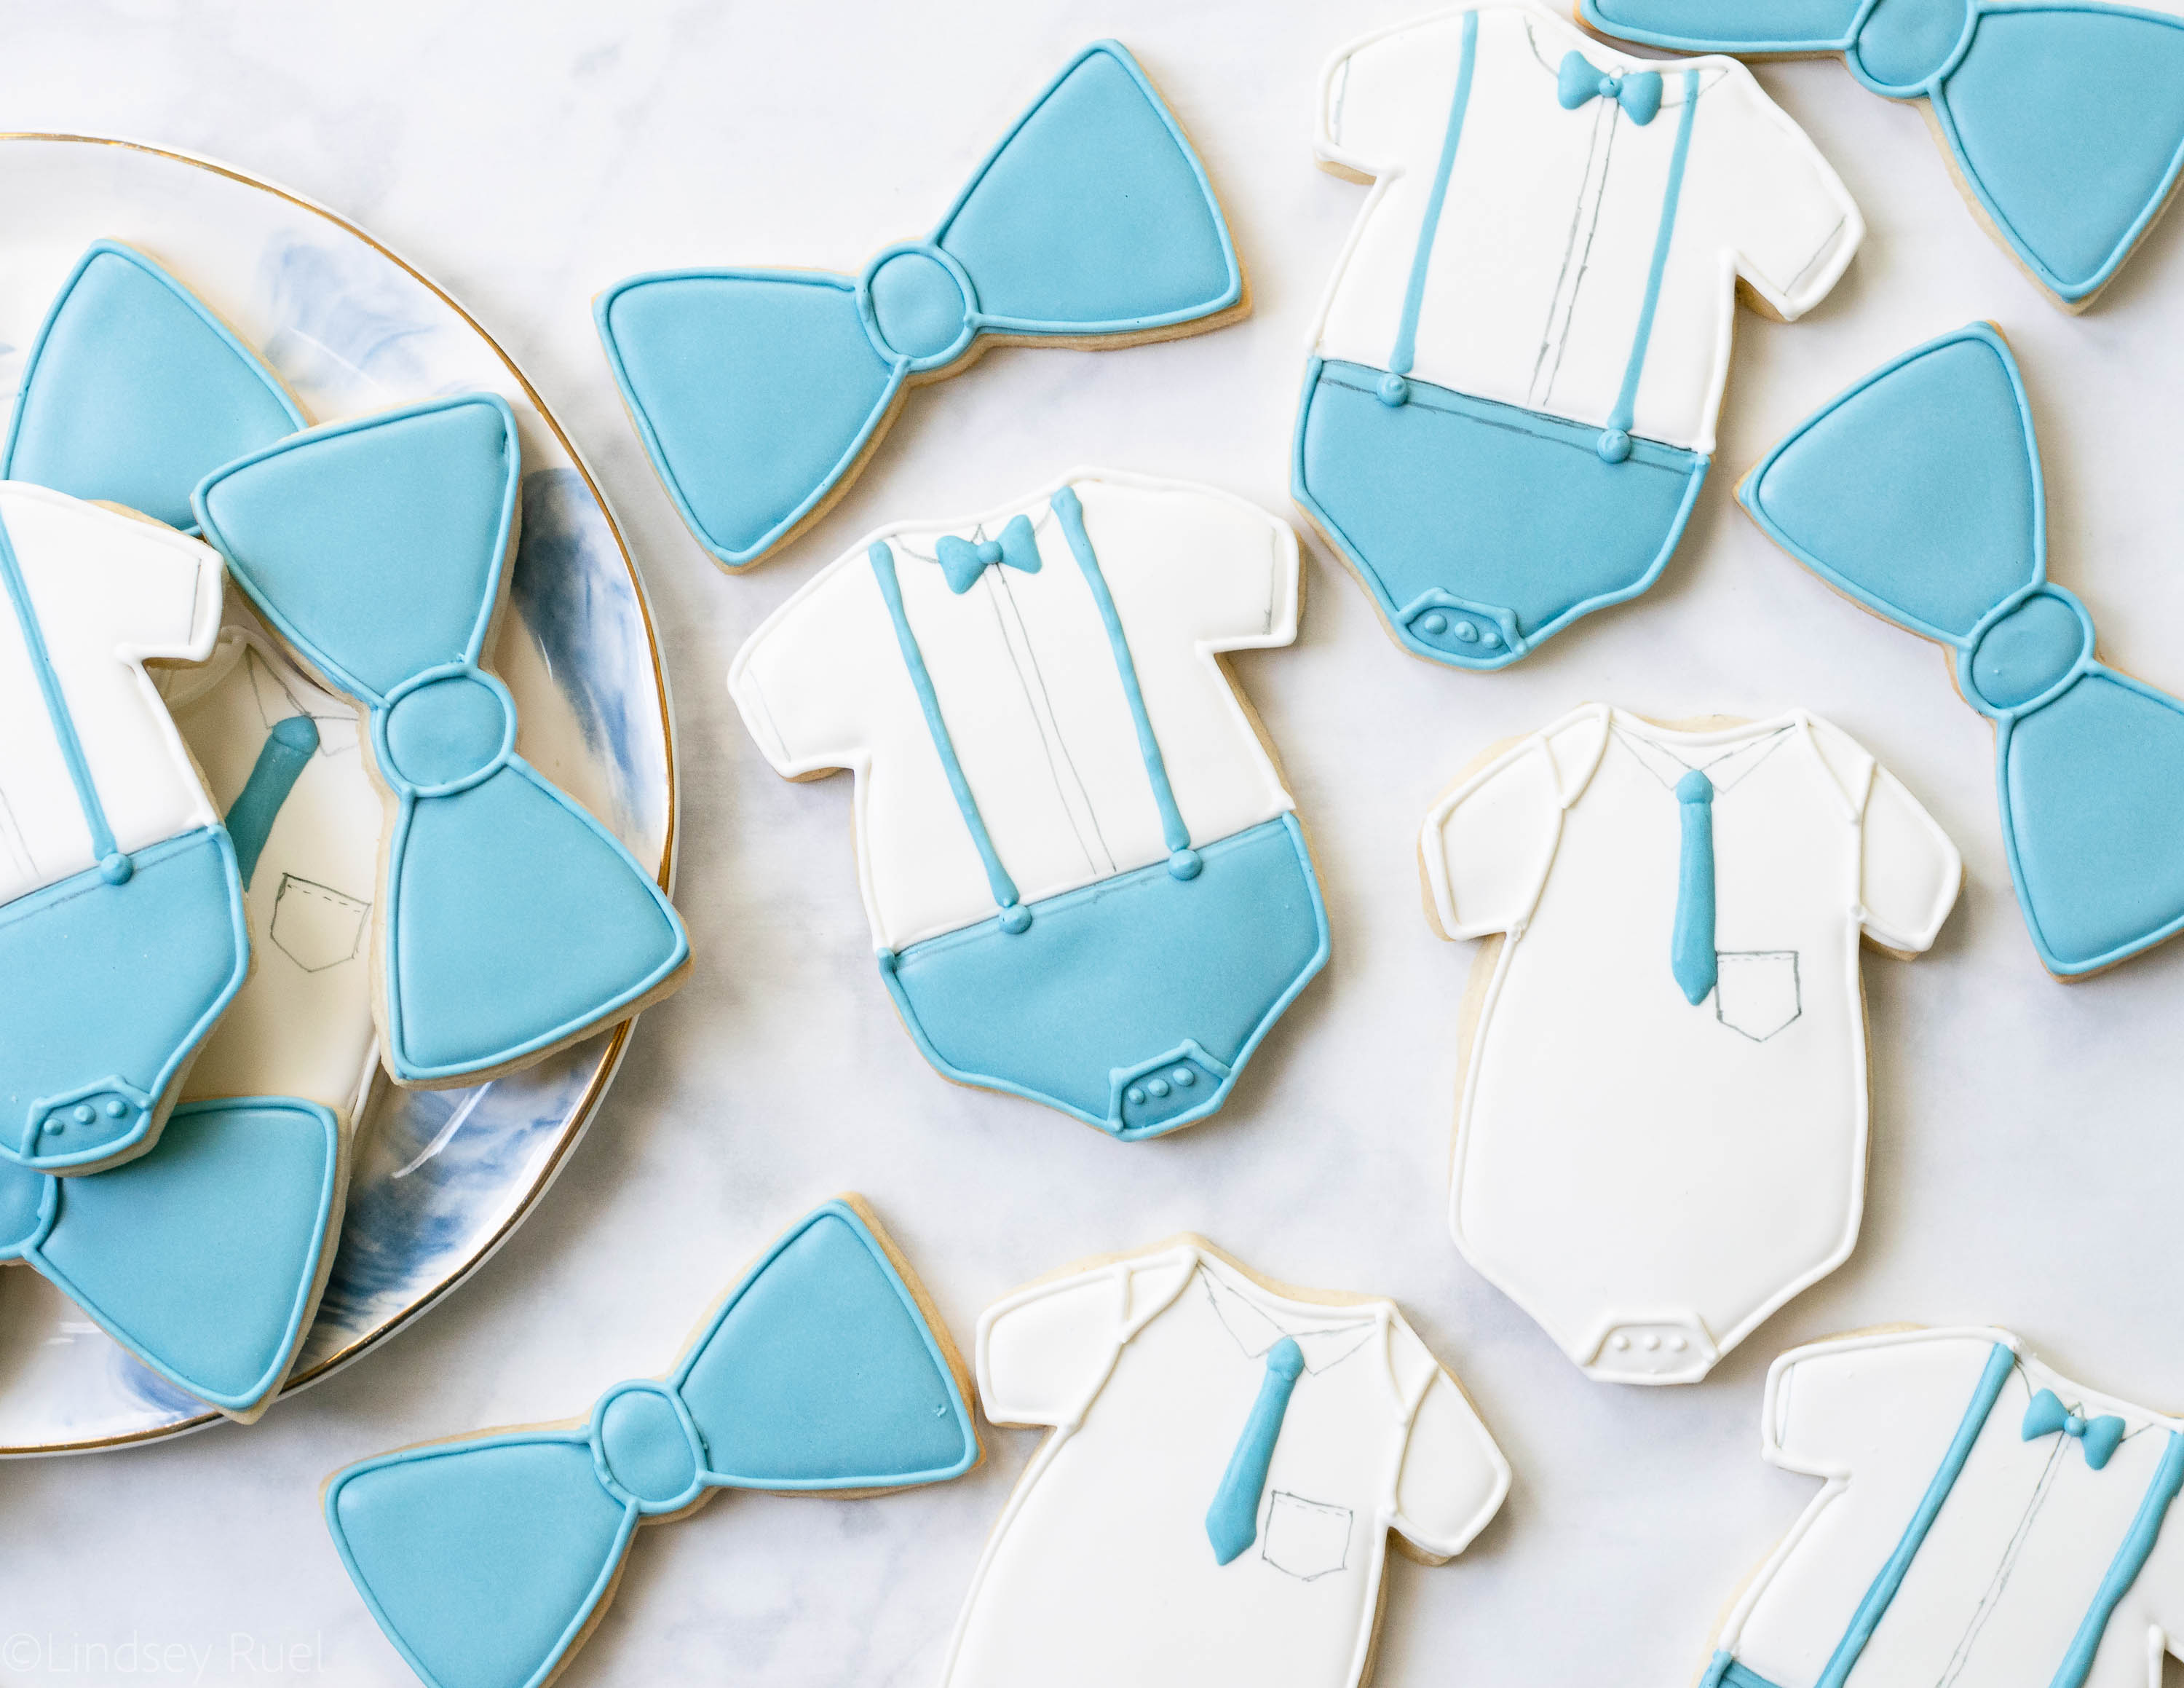
For my first baby shower, I couldn’t help but make cookies to take with me all the way to California. It definitely helped that the baby shower invitations were just so dang cute, it gave me lots of inspiration.

Recipes and Supplies

To make these cookies yourself, you will need:

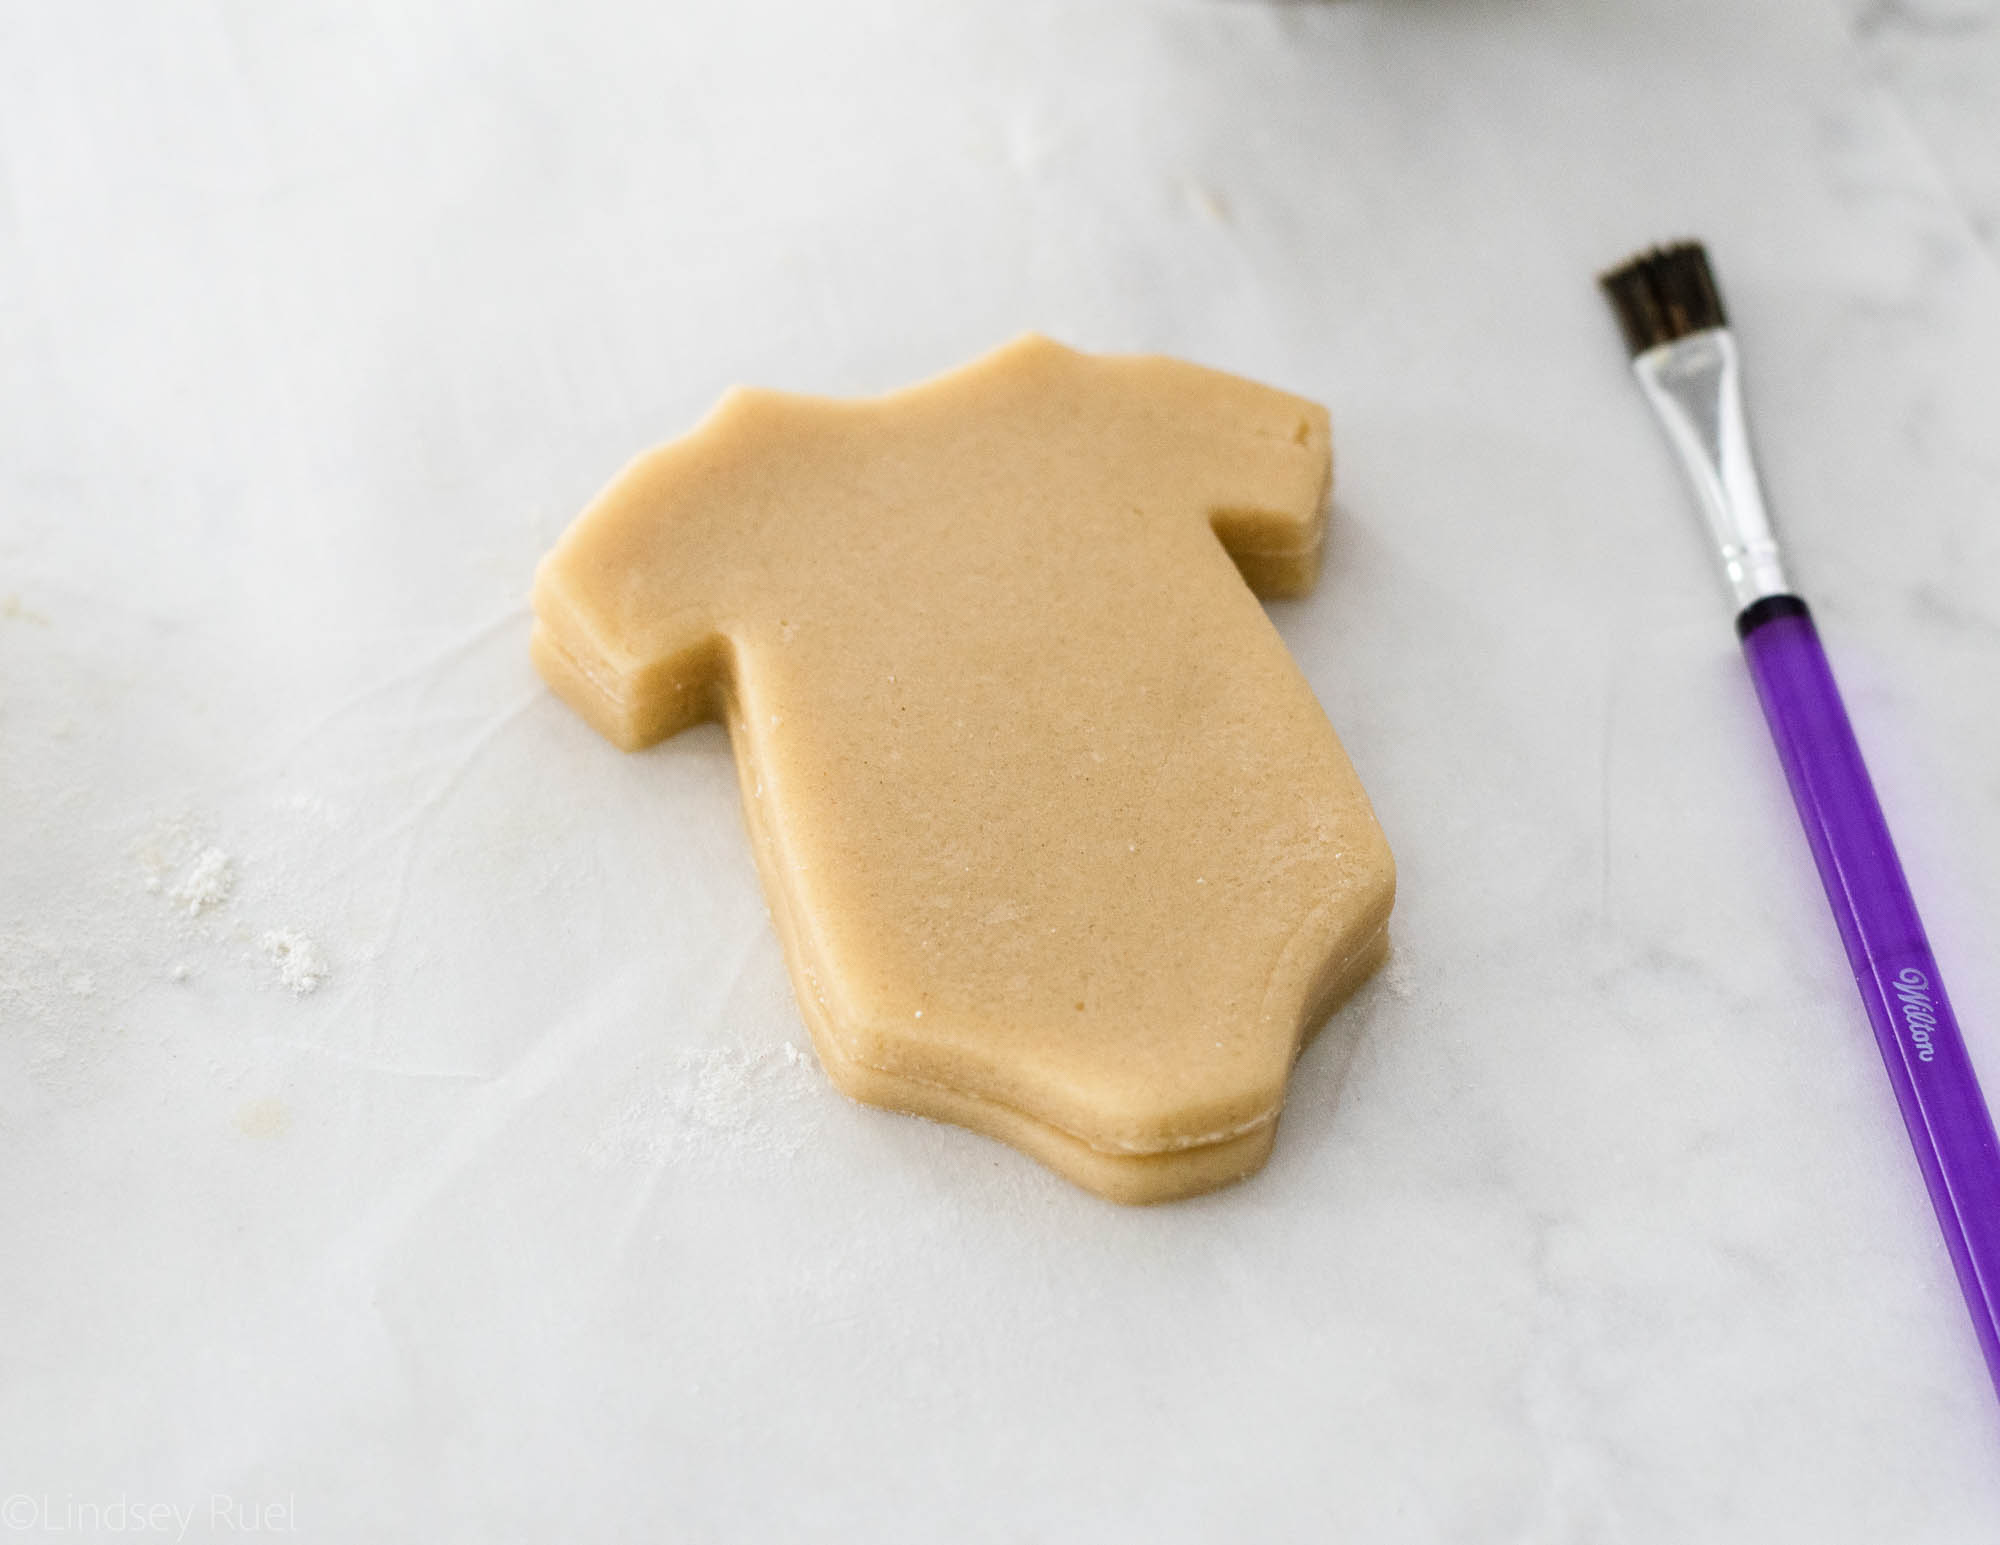
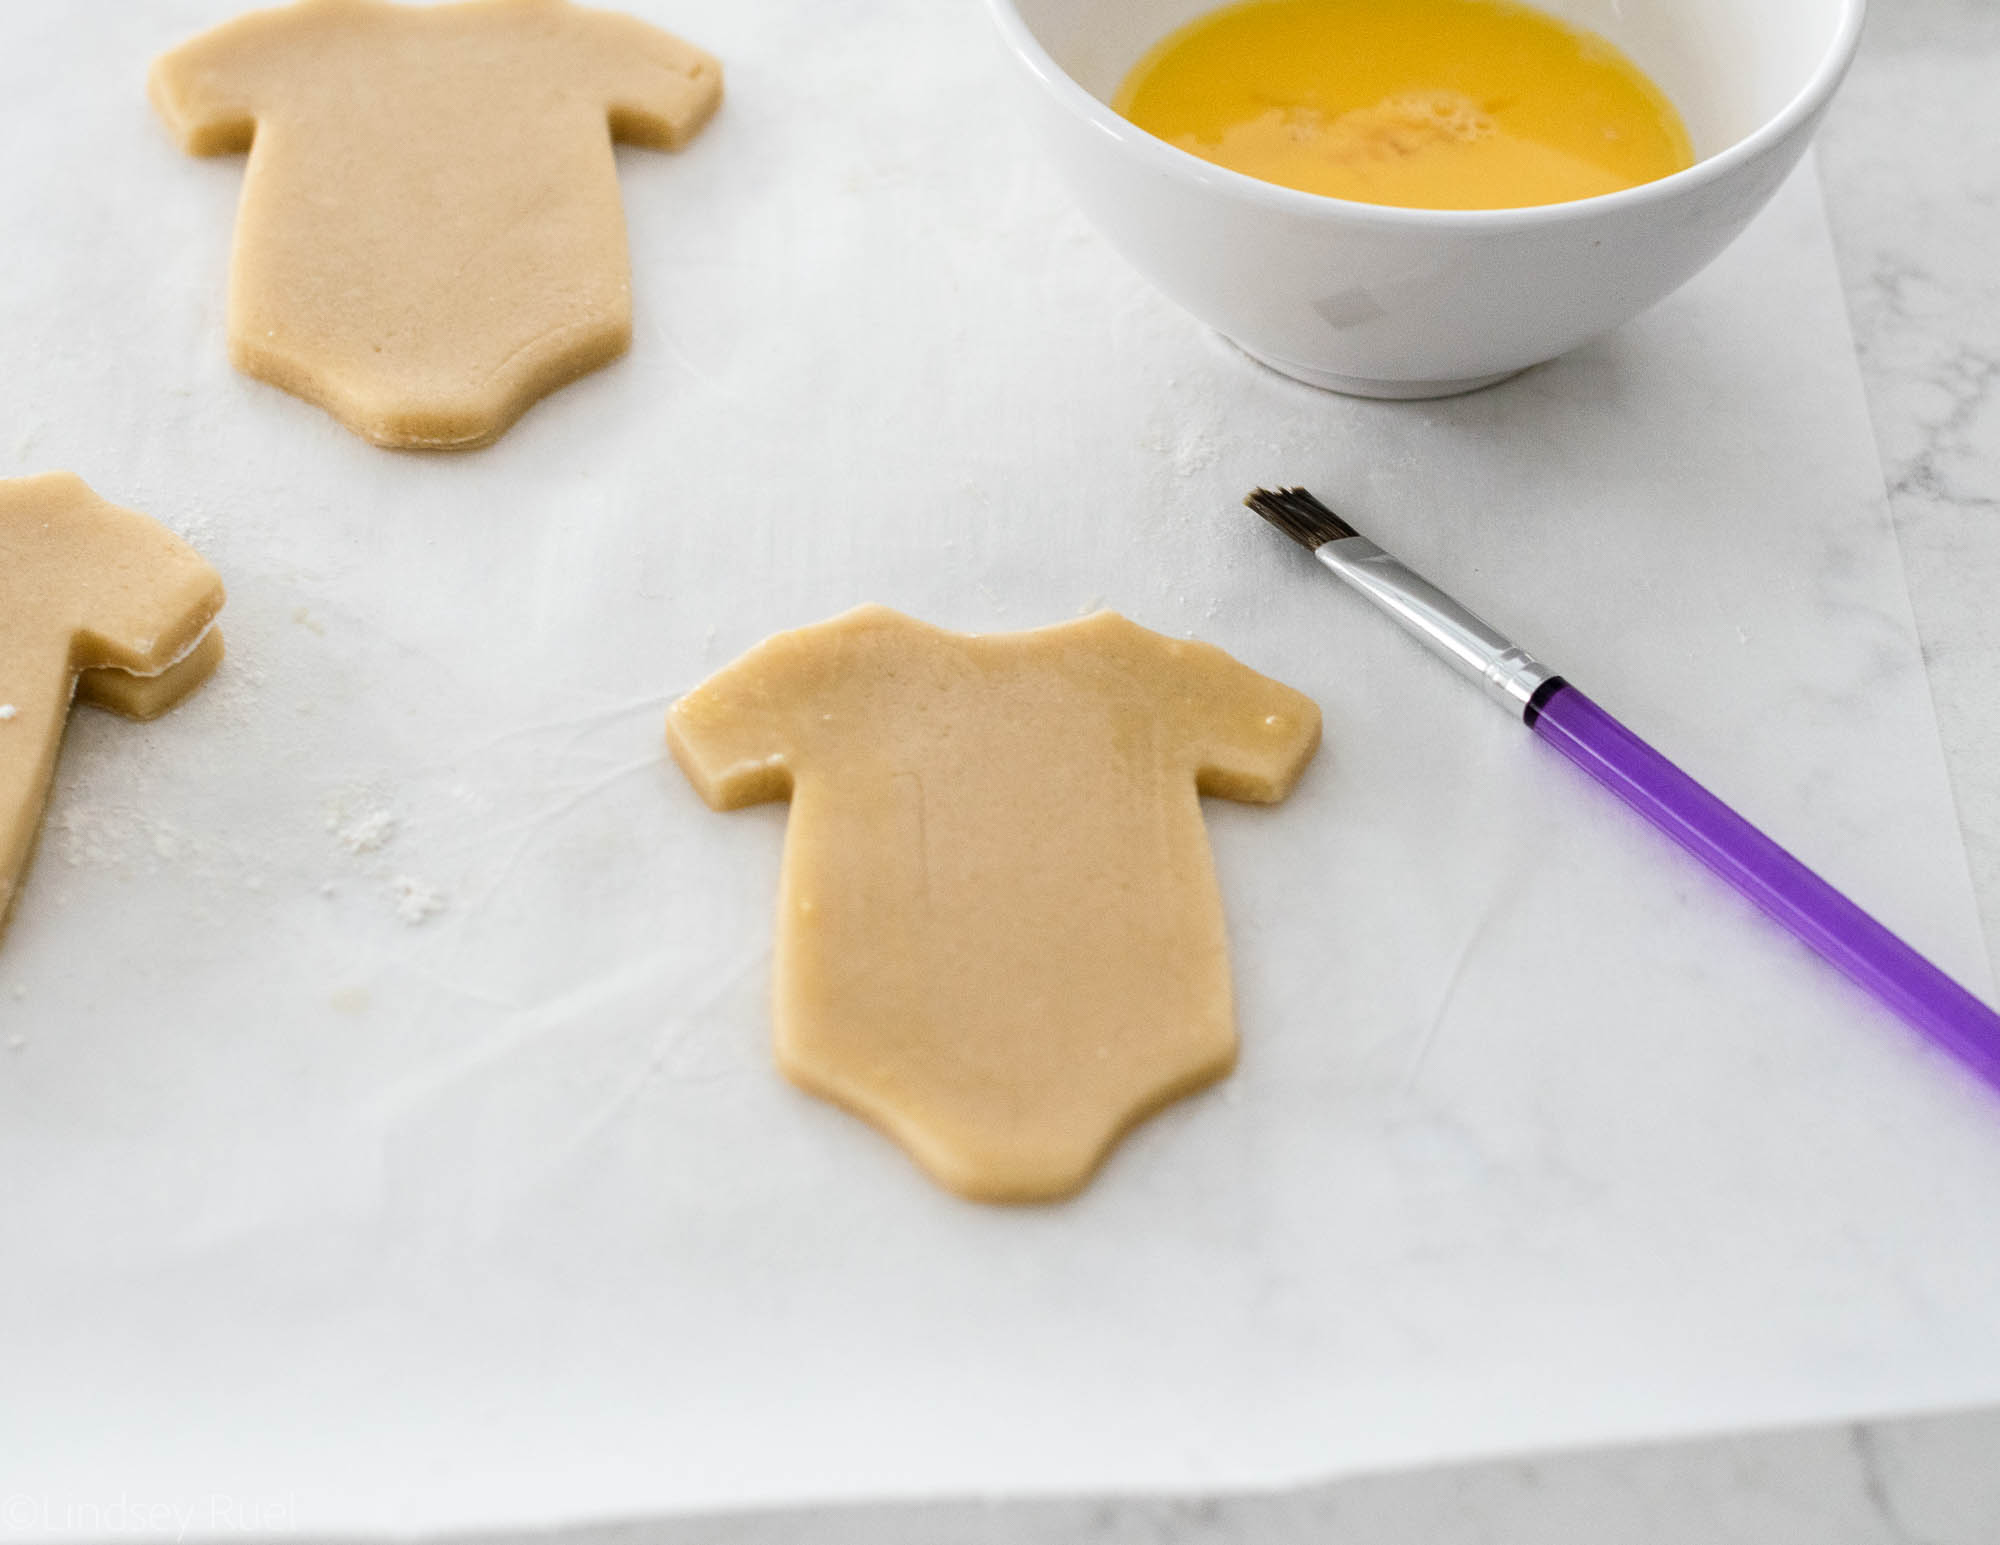
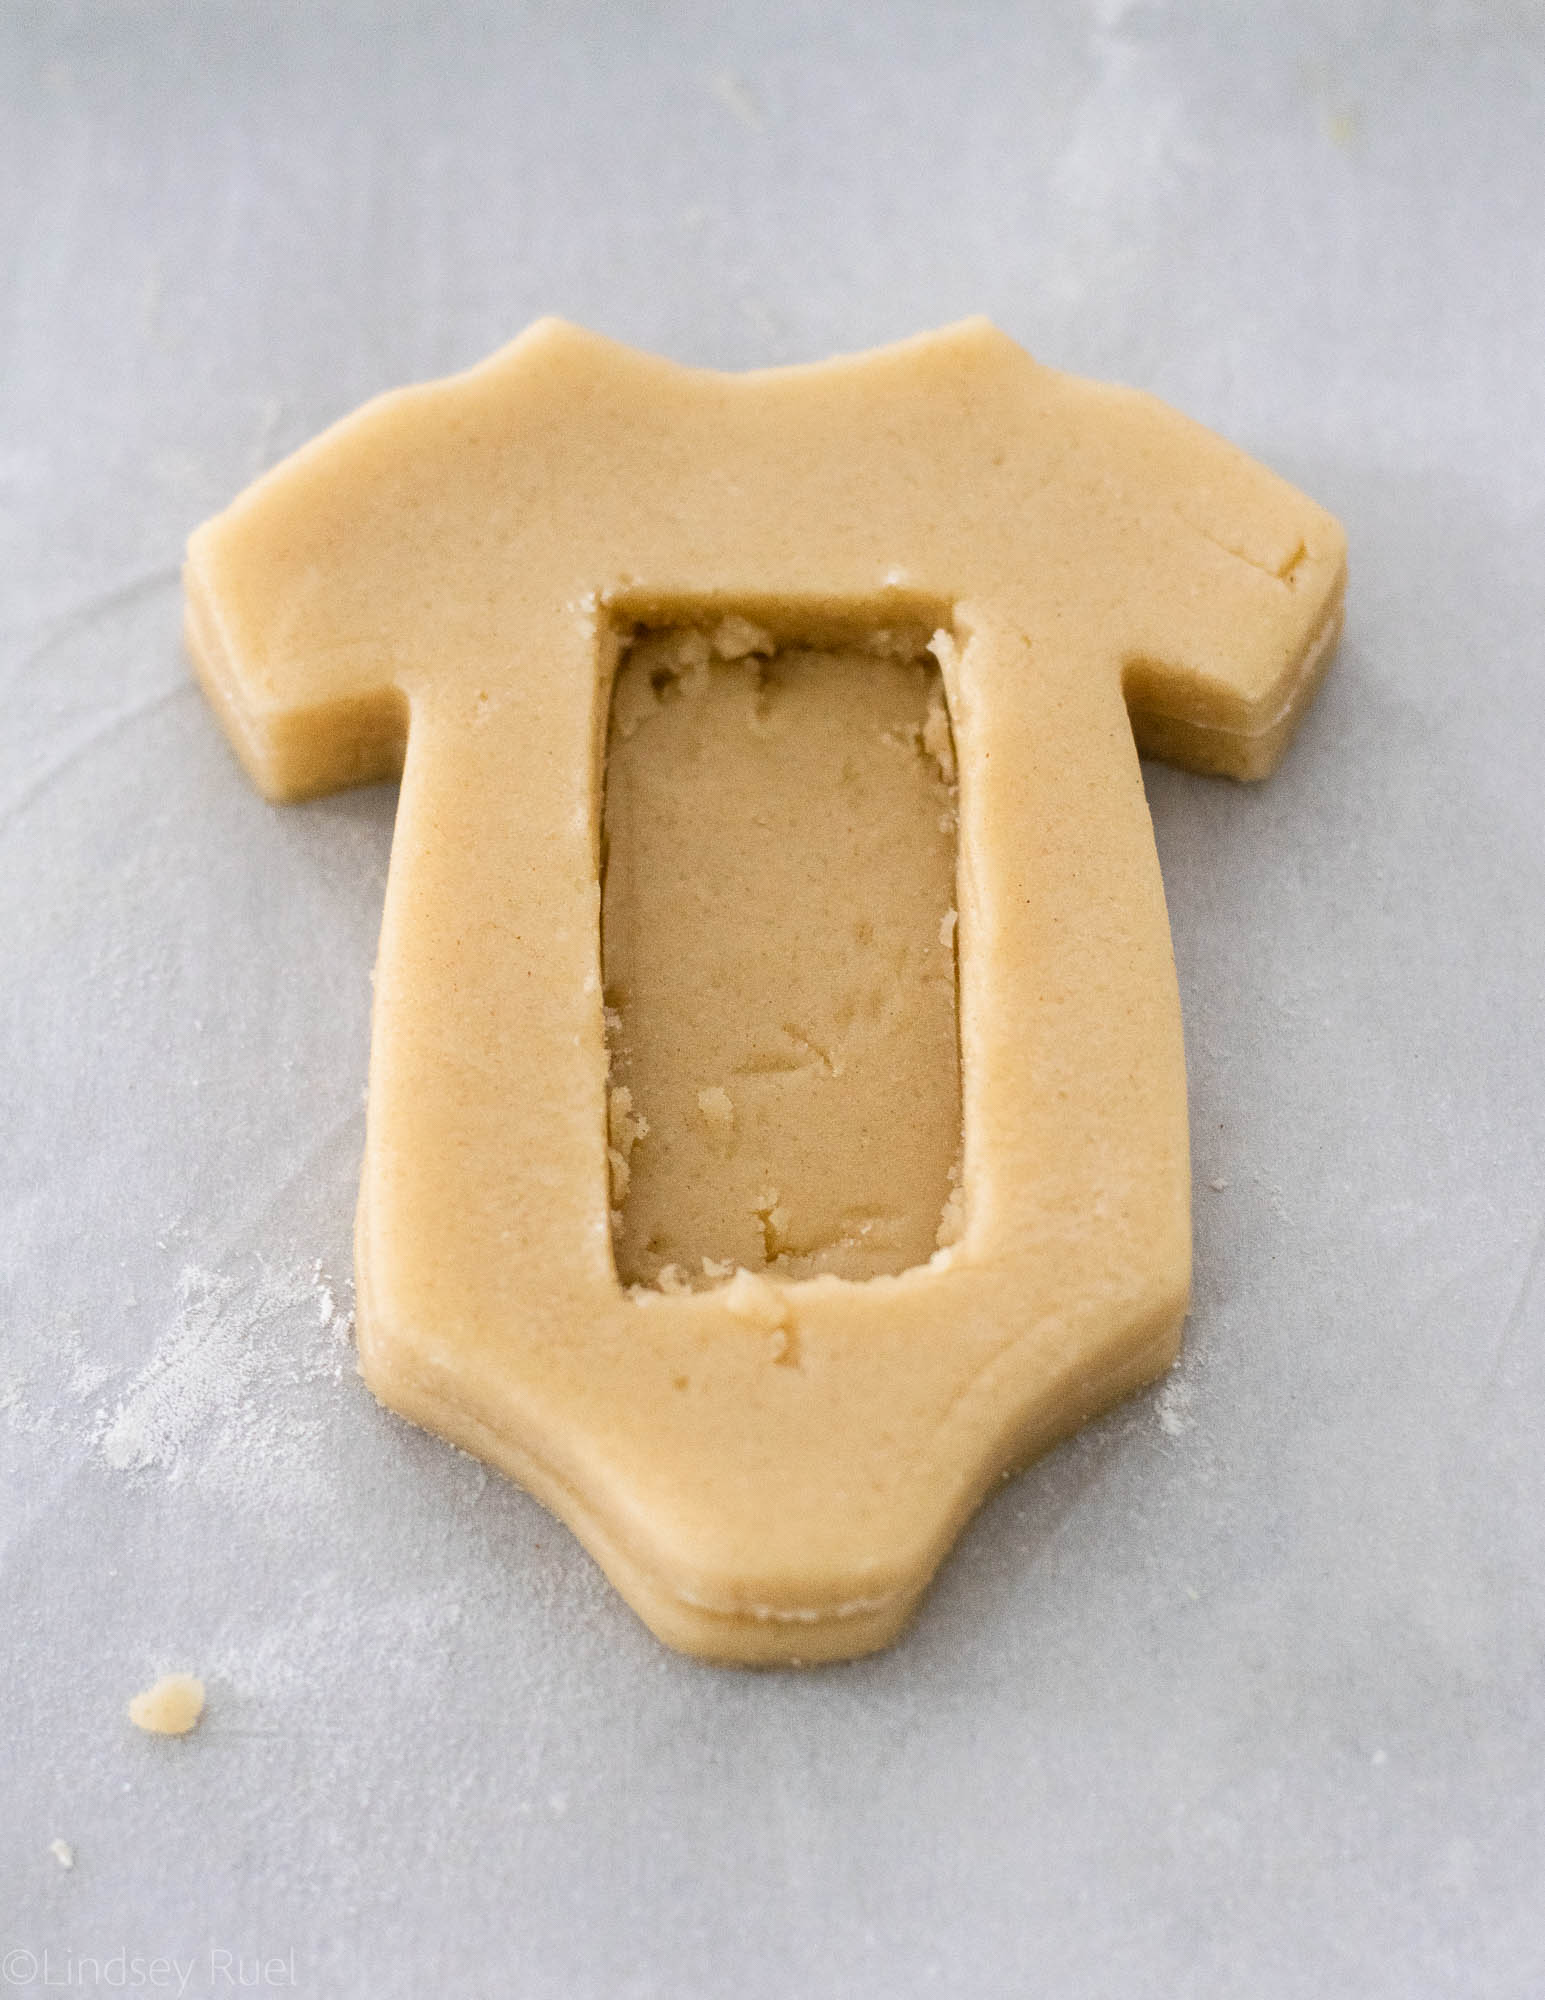
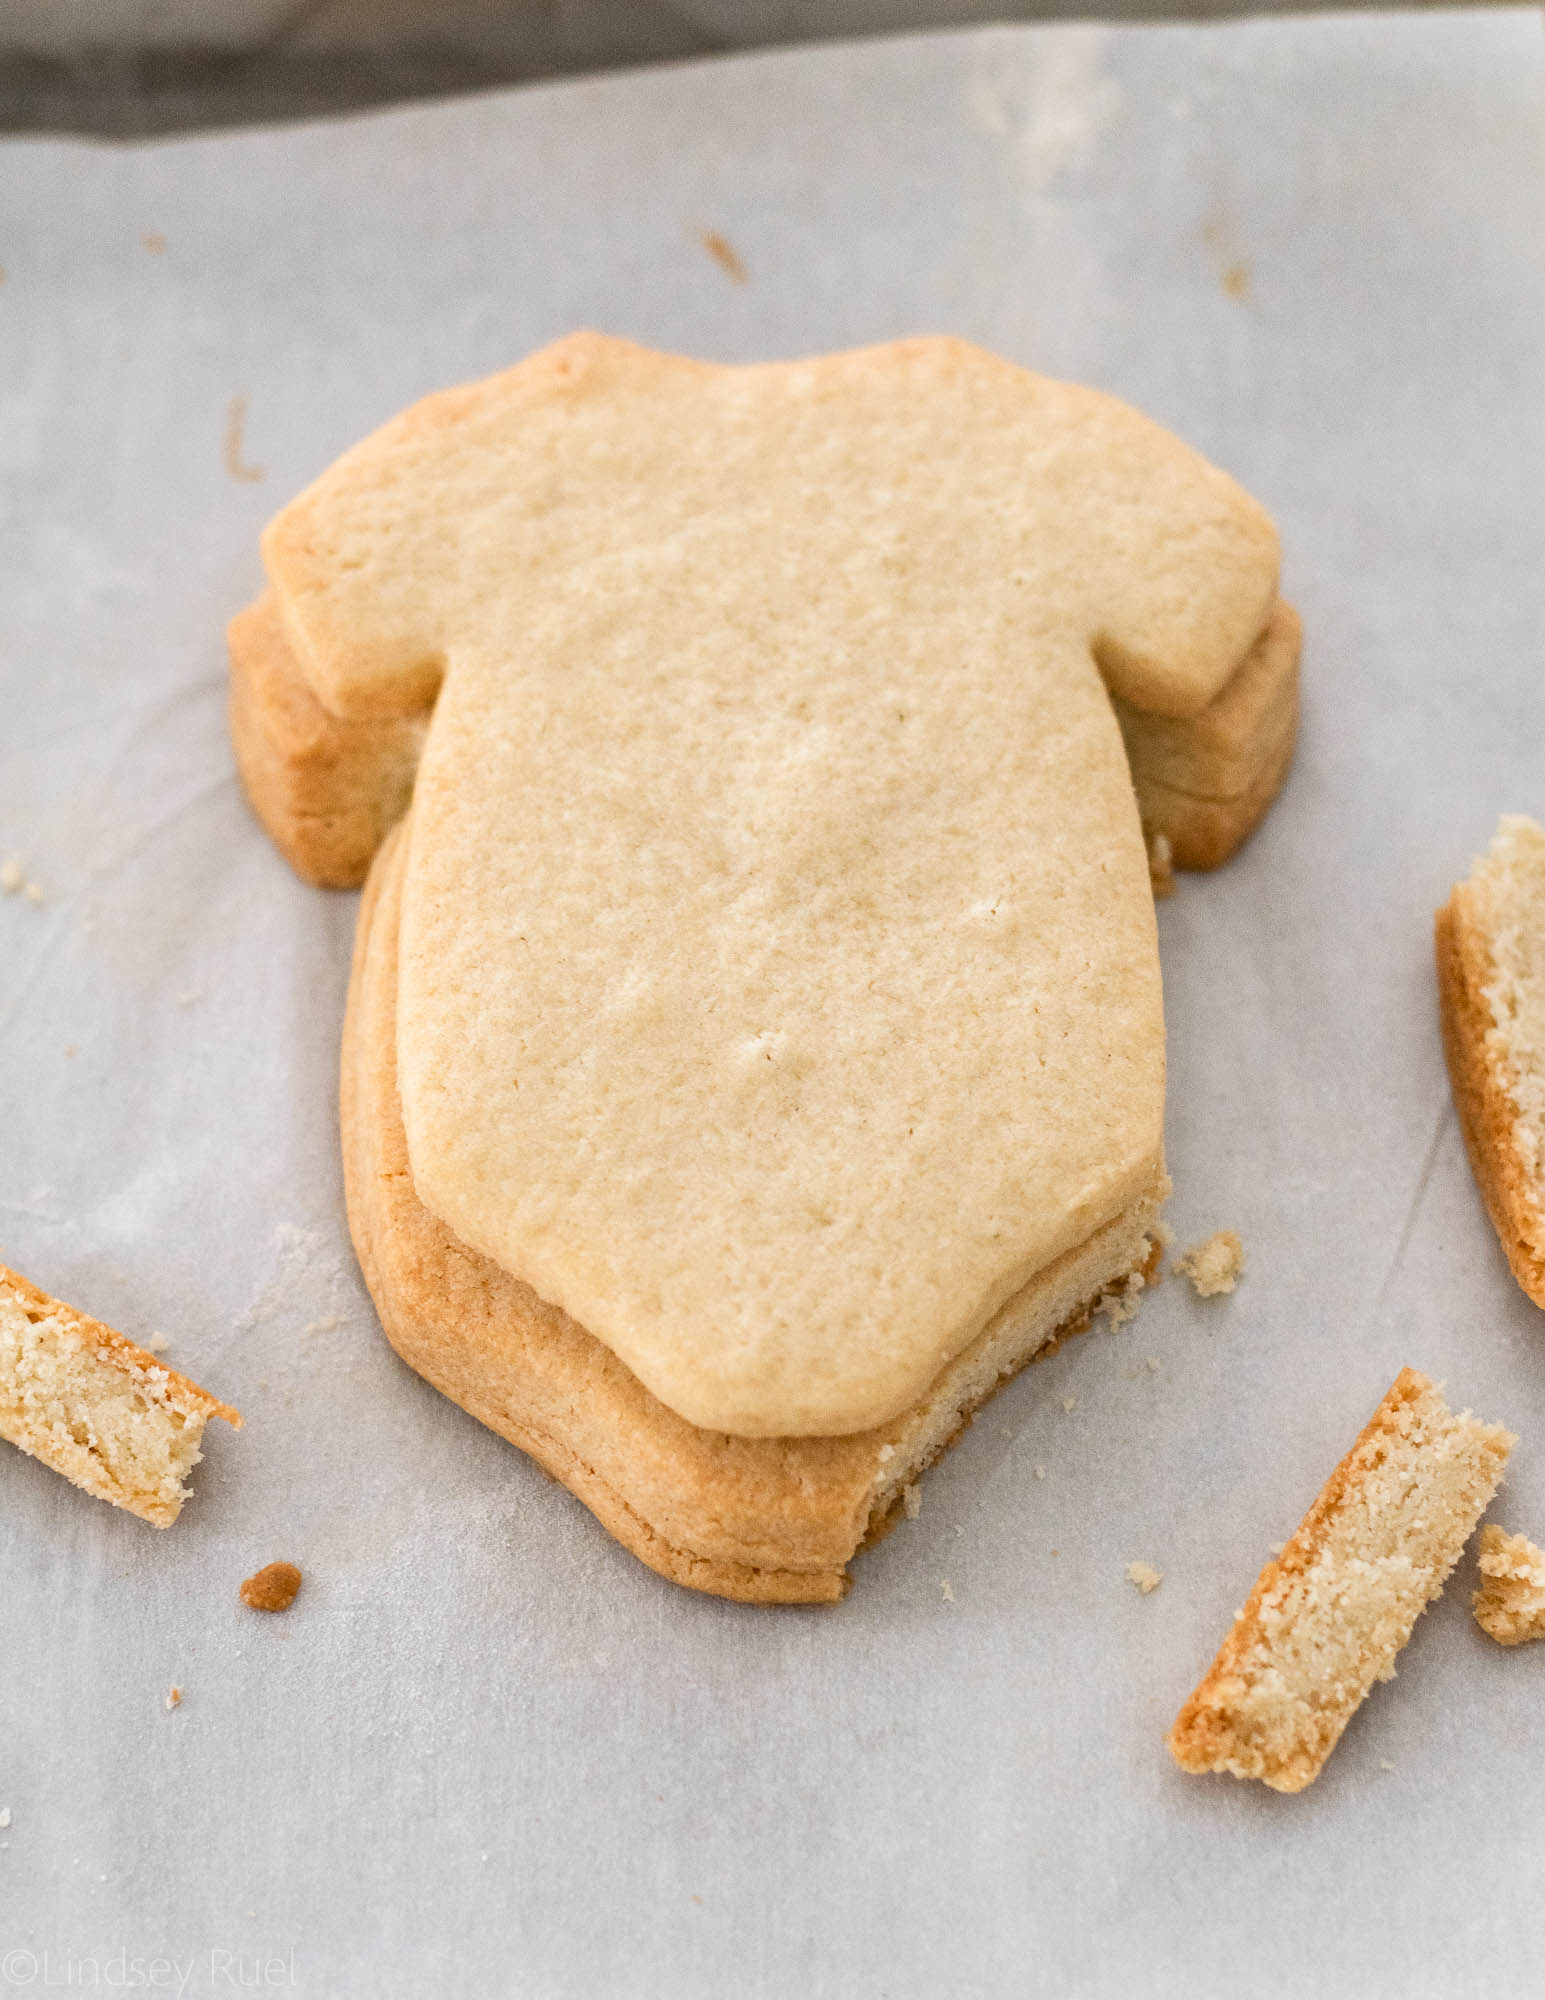
  • One batch of my tried and true sugar cookie recipe
  • One batch of royal icing 

Both will be enough to make about 18 cookies (depending on size). If you plan on making any more, I would multiply the recipe accordingly. 

You will also need:

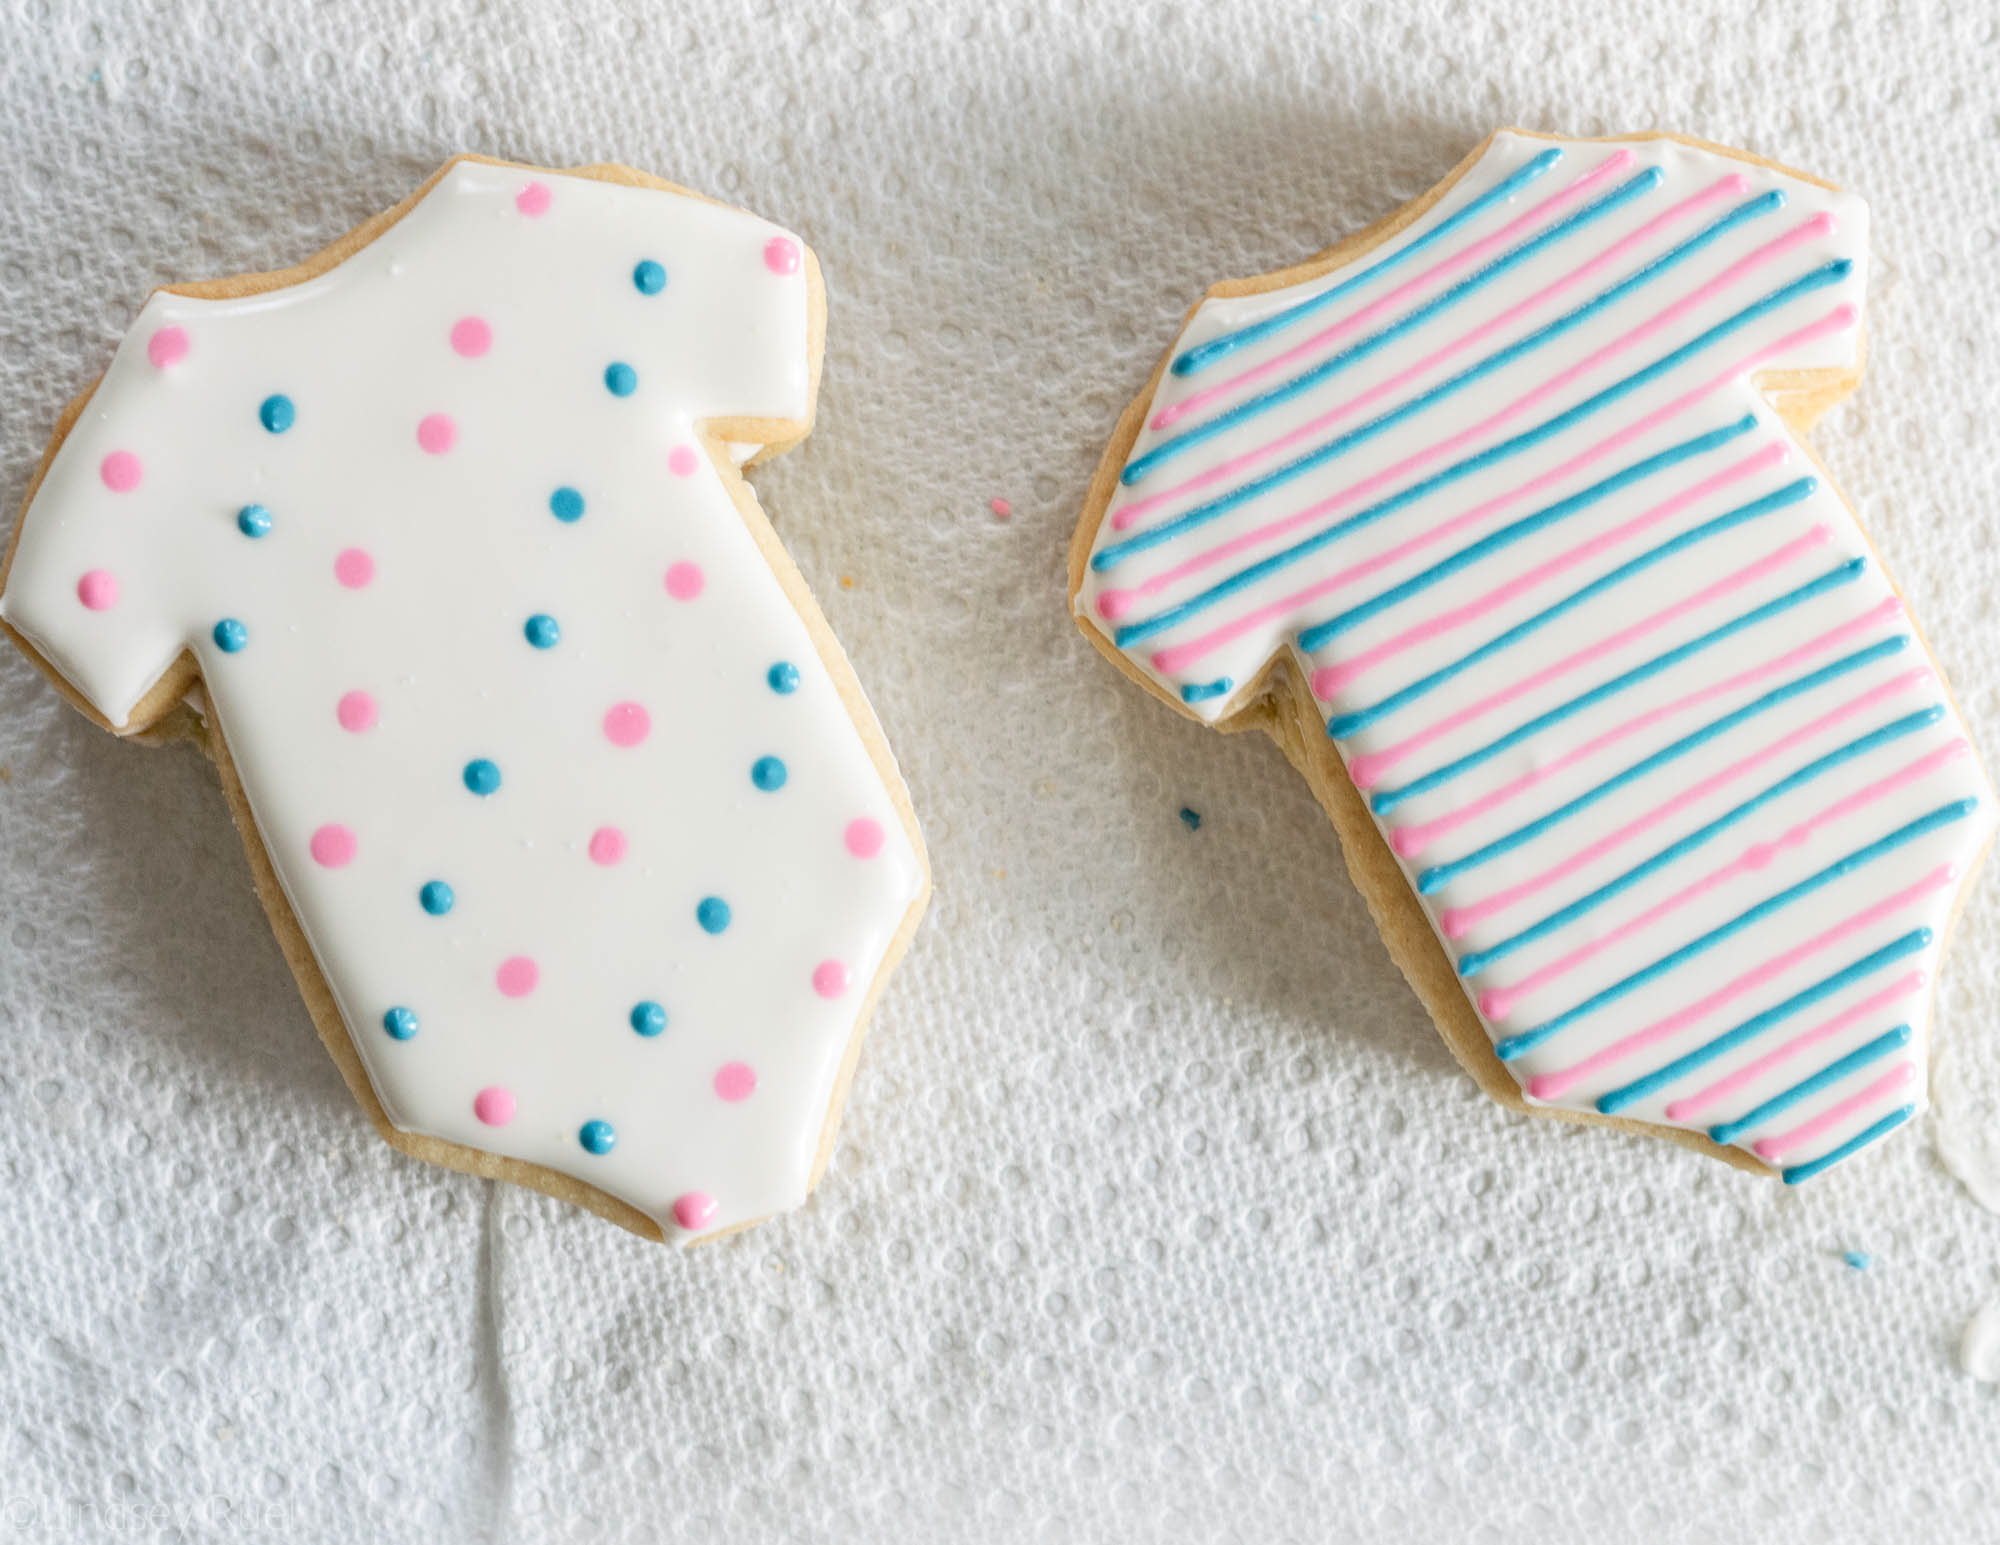
  • A baby onesie cookie cutter and a bow tie cookie cutter
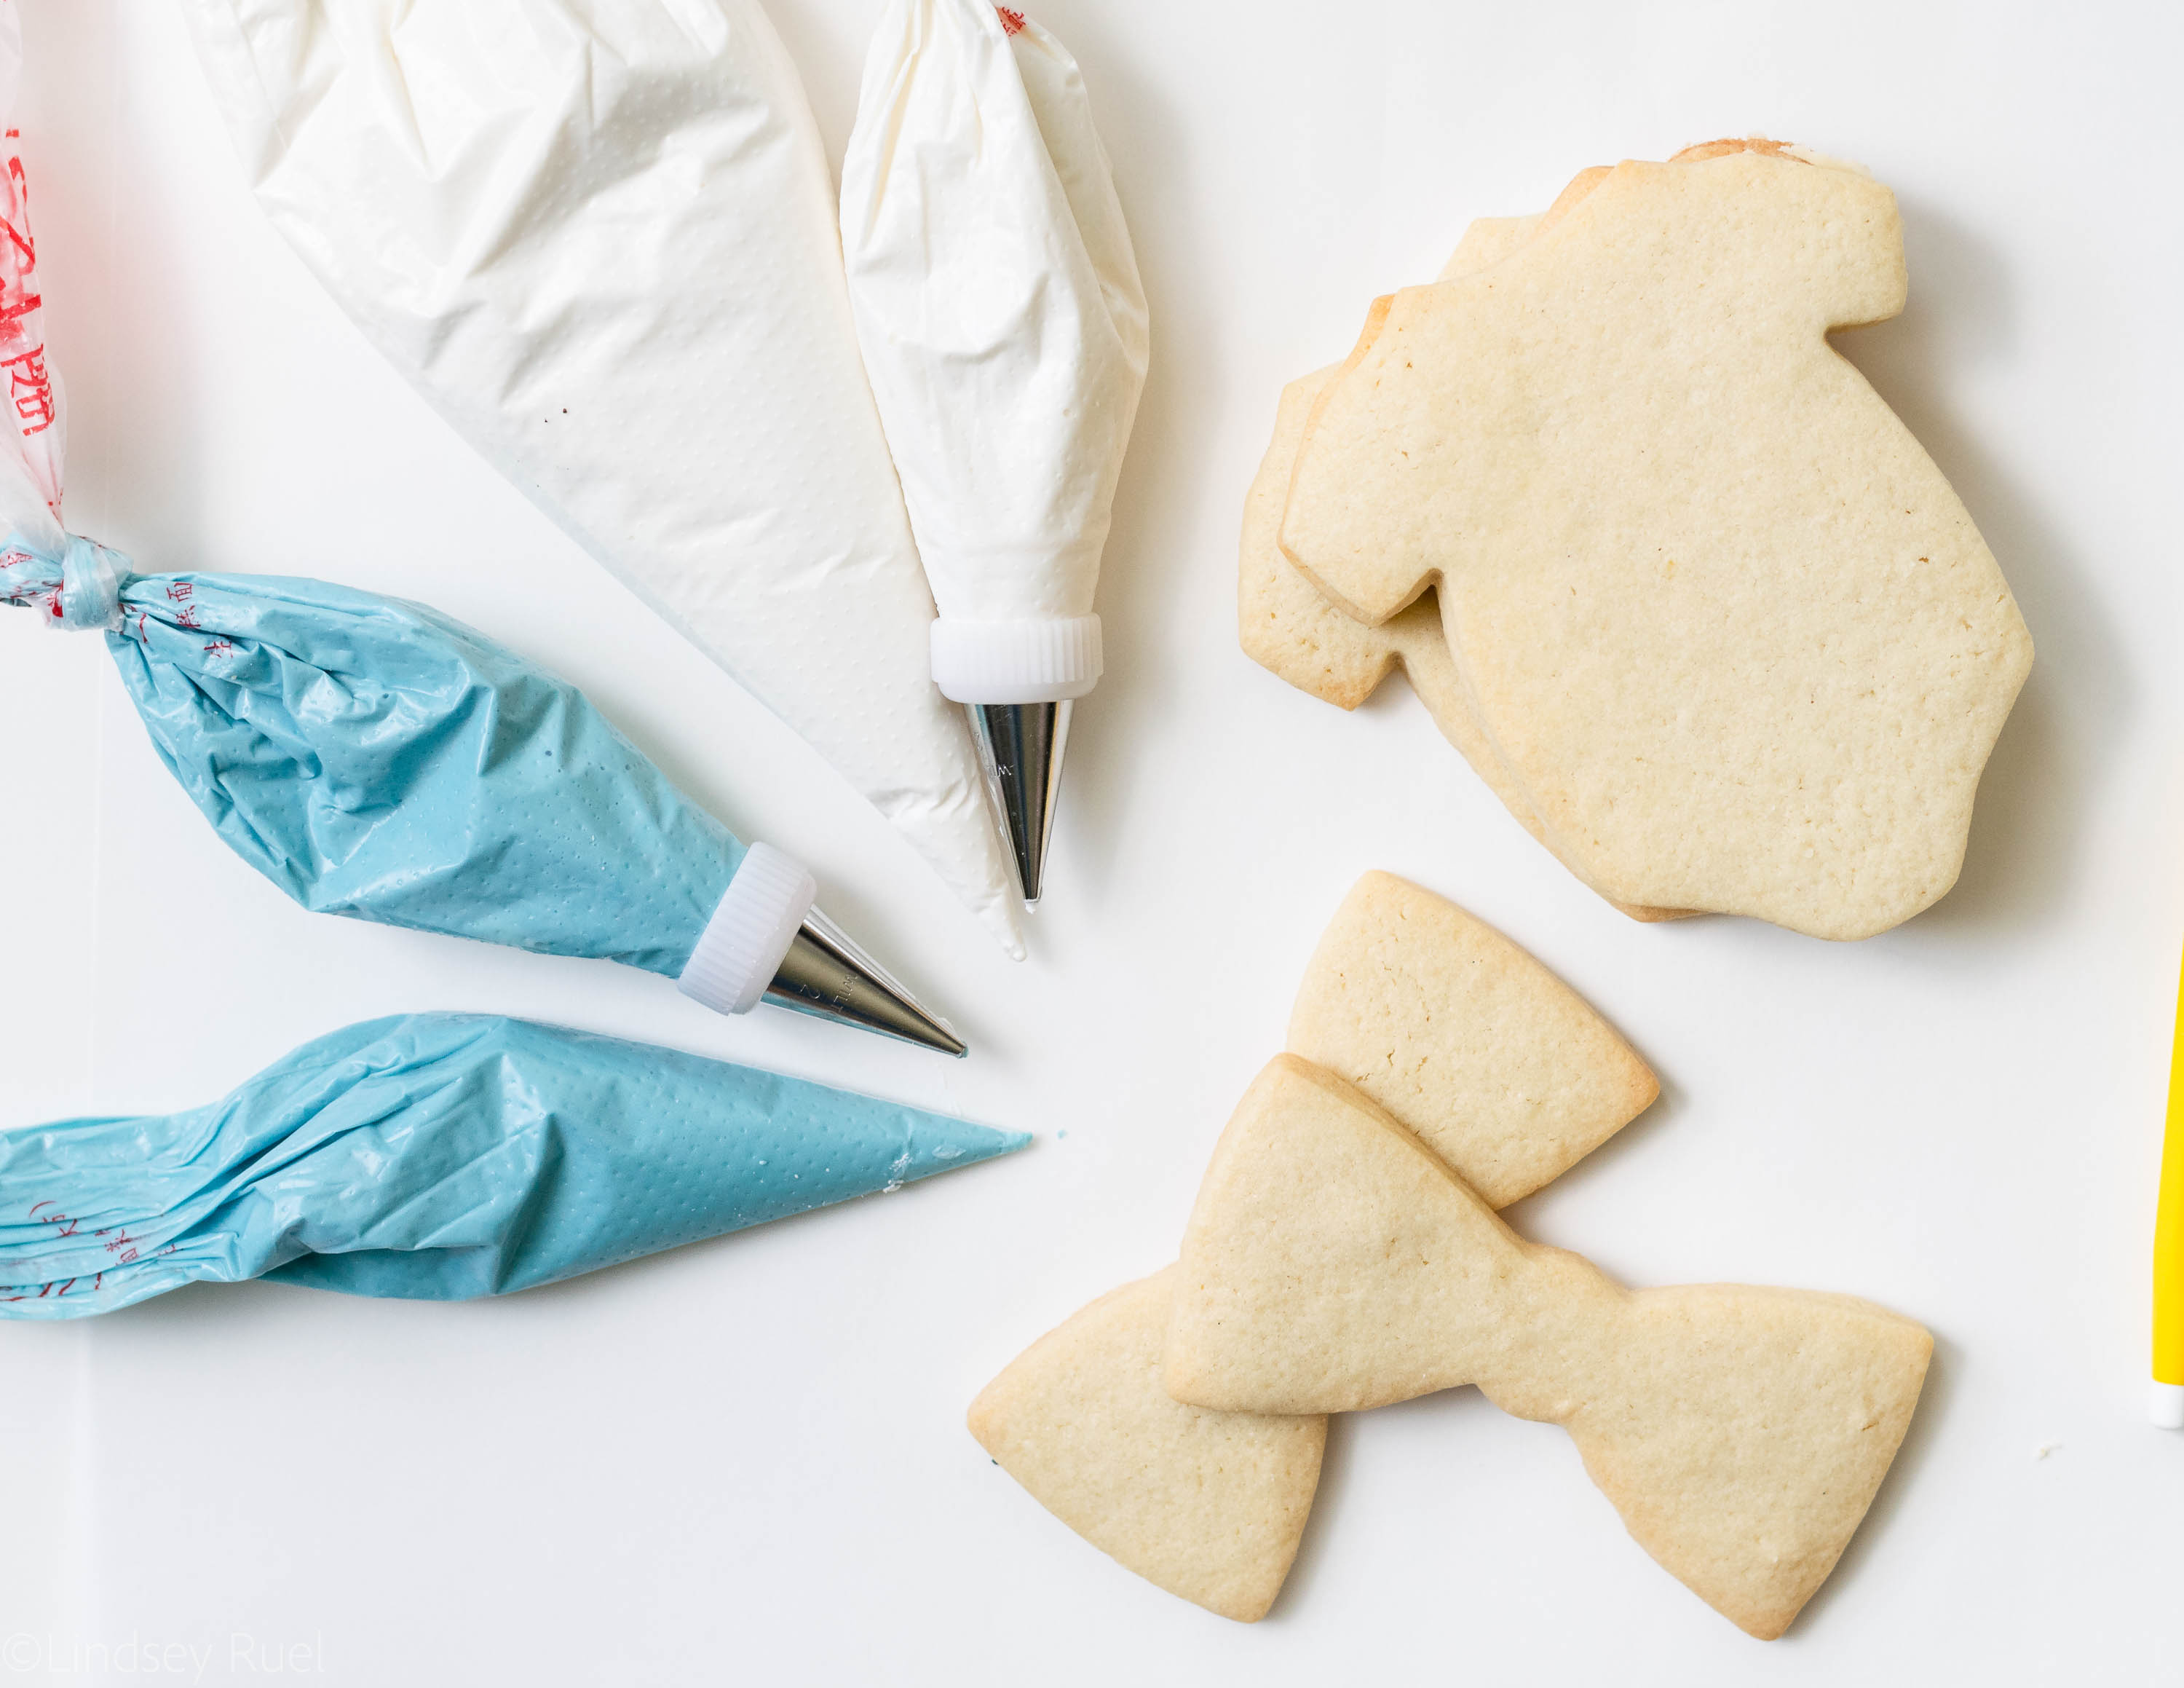
  • Gel food coloring in blue, white, and black
  • A scribe tool or toothpick
  • A very fine paint brush (used only for food)
  • Piping bags or zip top bags
  • Piping tips (totally optional) in size #1 or #2.

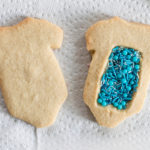
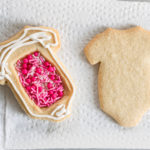
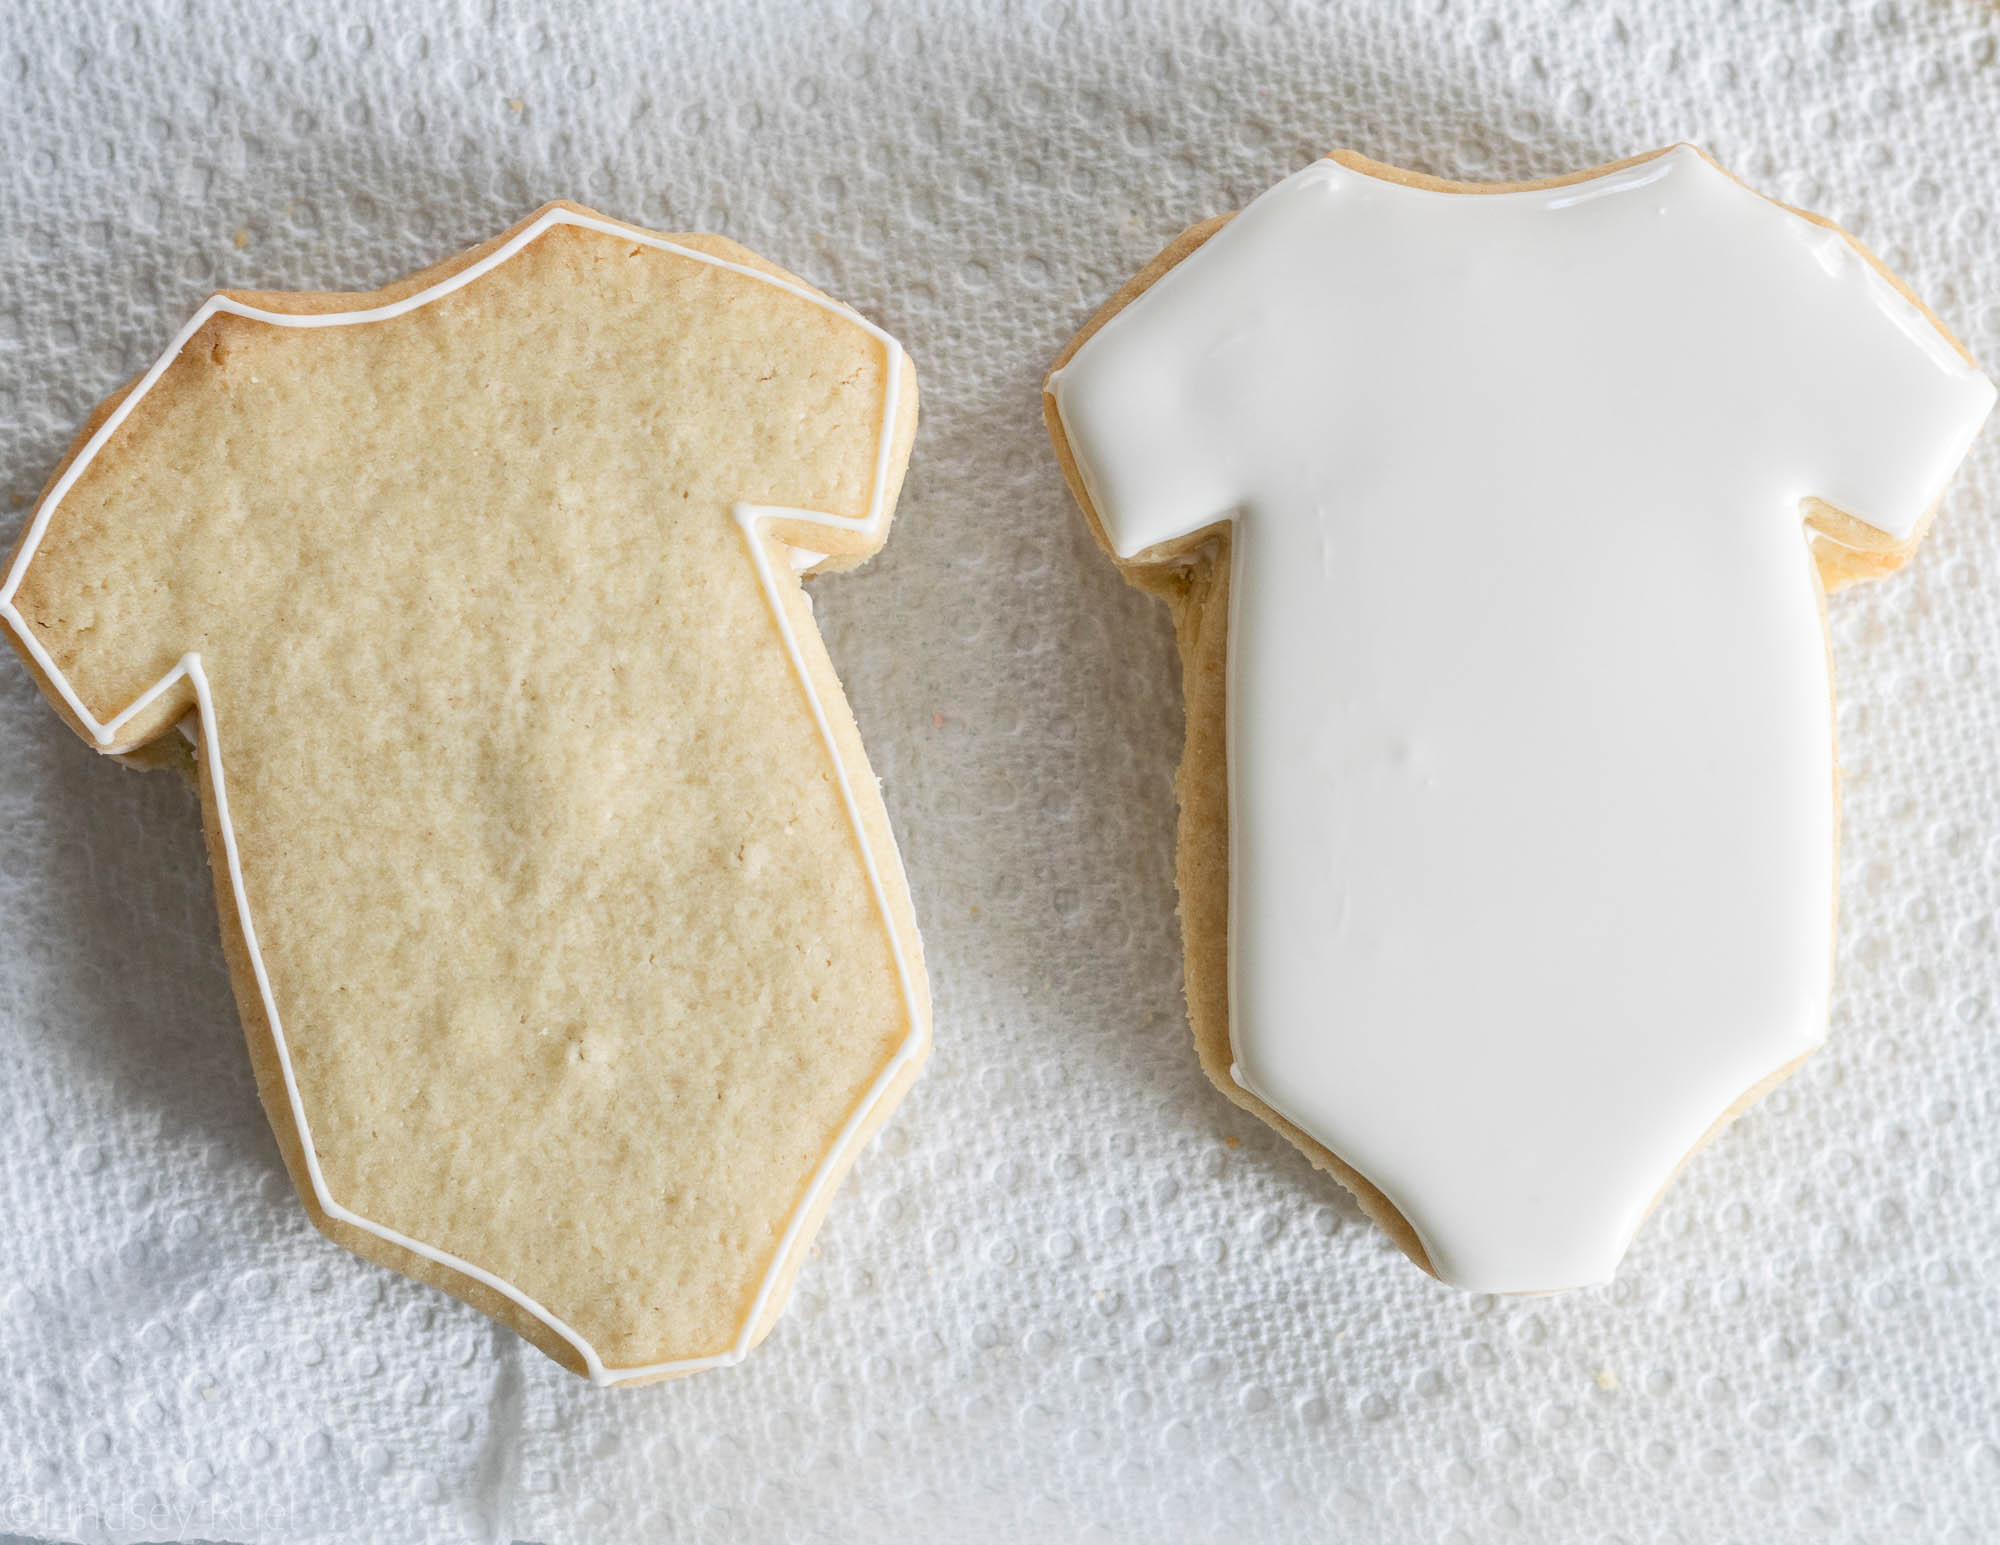
For the icing, I recommend splitting the blue and the white icings into piping consistency and flood consistency. To ensure they are the same color, tint a large bowl of icing before thinning it down. Then thin it down to your desired piping consistency (it should fall off a spoon, but still hold a little bit of a peak) and portion part of the icing into a piping bag. Then thin the rest of the icing down to flood consistency (it falls off the spoon and settles back into the icing within 10-15 seconds) and spoon into a separate bag. 

I use the piping consistency to outline all the cookies and to add details. The flood consistency is used to fill the entire cookie.

[show_shopthepost_widget id=”3232596″]

How to Make Them

I just thought they were so adorable! Perfect for a little baby boy, don’t you think!?


/ Filed In: Cookies New, Decorated Cookies, Desserts
Tagged: baby boy, baby onesie, baby shower, cookie decorating, cookies, sugar cookies

Surprise Inside Gender Reveal Cake

July 20, 2018

Since gender reveal week is coming to a close, I guess it’s about time I reveal the gender. 

Some of you already know or have guessed. If you follow me on Instagram, then you may have seen my latest (and only) bump pic asking you whether you thought I was carrying high or low. A few were pretty certain you knew after I posted that picture. I guess my bump gives it away.

I also mentioned in the last post that I knew the gender of this baby before it was even born thanks to an old “wives tale” that my former boss used to preach to us anytime anyone we knew ended up pregnant. 

Here’s how it goes:

Because the gender of the baby is determined by the father (sperm), look at his family line. Is he the youngest of all girls? Is his dad one of four boys? If the male side of the family is dominated by girls, then there is a good chance you are having a girl. If it’s dominated by boys, well then you are having a boy.

I think this wives tale only really works well if there are lots of kids in the family and it heavily swings one way or the other. Otherwise, if the grandfather had an older sister, but dad has a younger sister, it may be a total crapshoot.

Luckily for me, Billy’s side of the family swings very heavily in one direction. 

It’s a boy!! 

Because Billy’s family is pretty much all boys (I don’t think he has a single girl cousin on his dad’s side of the family), we were pretty sure we were having a boy. So when the nurse called us after my 12-week blood test with the news, we were not surprised in the least to hear the results!

Of course, we would have been happy with either, but we are thrilled for a boy. If we were having a girl, I just know she would have her dad wrapped around her finger the instant she was born. At least now this child stands a slight chance of not being completely spoiled by dad. 

We’ll leave the spoiling for the grandparents. 

Okay, enough about this baby boy. Let’s get to the cake!

Recipes and Supplies

The beauty of this cake is that you can make any flavor you like! The only thing that really matters is the color of the candies in the center. 

However, I will caution you against strawberry cake if you are having a boy. That may be a little confusing. 

For my cake, I made a simple vanilla cake recipe, adapted from my favorite cupcake recipe. You can find the recipe at the end of the post. 

You could also make a boxed cake because there is no shame in that. Here are my tips for making a boxed mix taste like a homemade cake. 

You just need enough cake to make at least 3 layers of cake, so that one layer can hold the candy center. A typical cake recipe can make a 3 tiered 6″ cake, but I would double most recipes if you want to make a bigger cake, such as a 8″ or 9″ cake. 

For reference, I made a 4 tiered 6″ cake. I doubled my cake recipe and had enough batter left over to make a few cupcakes. It would have been the perfect amount of batter to make a 4 tiered 8″ or 9″ cake. 

Aside from the actual cake, you will need the following:

  • 1-2 batches of buttercream (1 batch for a 2 tiered cake 6-9″ in diameter, 2 batches for a 3-4 tiered cake 6-9 inches in diameter)
  • Food coloring
  • Fondant
  • Lollipop sticks
  • Sprinkles
  • Assorted candies in pink or blue

I would also recommend the following to make your cake assembly and decorating much easier:

  • Cake turntable
  • Cake leveler
  • Piping bags
  • Offset spatula
  • Bench scraper

[show_shopthepost_widget id=”3217770″]

How to Make It

Start with your already baked cake. Level and divide the cake into however many layers you like. 

Tip: Chill your cake before you start cutting into it. It will cut much easier and will not produce as many crumbs.

Identify your center layer or layers. Use a round cookie cutter to cut a circle in the center of the layer(s). 


To build the cake, start by placing the bottom layer on a cake board or cake stand. Afix it to the board or stand with a little buttercream. 

Then pipe a ring of buttercream around the edge of the cake as wide as the second layer. 

Place the second layer on repeat with the third layer.

Fill the center hole with blue or pink candies. 

Tip: Hit up your local candy store that sells candy by color. Many sell M&Ms, Jelly Beans, and other goodies separated by color. That way you don’t have to go digging through a bag of M&Ms for just the blue or pink ones. 

Top with the final layer of cake and press down to make sure all layers are secure and level.

Cover the entire cake with a very thin layer of frosting to trap in all the crumbs then place back in the fridge to set for about 20 minutes. 

Once the cake is out of the fridge, cover the entire thing with a generous amount of frosting. The frosting doesn’t have to be perfect but make sure the entire cake is covered and it’s generally pretty square and level. 

Using a large spatula will make your life a lot easier in this endeavor!


To get the pink and blue streaks, just tint a small amount of frosting pink and blue. Then add dots of frosting haphazardly around the cake. Use a spatula or bench scraper to then drag the icing around the cake in one big motion. 

If you want to add more color, add more dots of icing and repeat the process. 

There is very little technique involved with this! Just keep spreading the frosting until you are happy with the results. 


If you want to add a little something extra to the top of the cake, might I suggest these little fondant question marks!

I colored several small balls of white fondant with gel food coloring. Rolled them out and cut them with a question mark cookie cutter, then attached them to a lollipop stick. 

Place one cut out question mark backwards on your work surface, spread a bit of water on the back, place the stick in the center, then add the other question mark on top. Be sure to press down the edges and wrap the top question mark around the stick.

Let these sit out flat for at least an hour so they can dry and harden.

All that’s left to do is to add some sprinkles on top and stick the question marks in!

Oh…and cut into it!

That’s the best part.

Which just slightly edges out eating it!

Vanilla Cake Recipe

[amd-yrecipe-recipe:167]

/ Filed In: Cakes and Cupcakes, Cakes New, Desserts, Eat
Tagged: baby, baby shower, cake, candy, decorated cake, gender reveal, Surprise Inside

Gender Reveal Cookies

July 16, 2018

Gender reveals are all the rage these days. From balloons to confetti to fireworks, everyone seems to have a different take on this gender reveal trend. 

Obviously, my favorite gender reveal ideas are those involving food! So even though we aren’t having a formal gender reveal I thought it would be fun to create some sweet treats to spread the fun news!

And, if I am being honest, I have been thinking up fun baking-related gender reveal ideas long before I was ever pregnant!

So first on the schedule are these gender reveal cookies! They can be as simple or as elaborate as you’d like because it’s what’s on the inside that counts!

Recipes and Supplies

To make these cookies you will need:

  • At least 1 batch of my favorite sugar cookie recipe (will make 2 gender reveal cookies and 10-12 additional cookies depending on size and thickness)
  • 1 batch of royal icing to cover all the cookies
  • A egg wash (1 egg + 1 tsp water)

You will also need:

  • Cookie cutters shaped like baby onsie
  • A pastry brush
  • Sprinkles in blue or pink
  • Piping bags or small zip top bags
  • Food coloring
  • Scribe tool or toothpicks
How to Make Them

Start by making the sugar cookie dough. Chill the dough so that it’s a bit firm, then roll out as usual. Cut the dough to the desired shape and immediately transfer to a baking sheet or plate and place back in the fridge to chill.

Each of the gender reveal cookies will actually be comprised of three layers of dough. Two will be baked together, the other will be baked separately and “glued” on top with icing. 

It is important that these pieces stay chilled so that their shape isn’t distorted. Because the pieces all need to match together in the end, you want them all to be the same shape and size. 

“Glue” one piece of rolled out cookie dough onto the other by brushing a bit of egg wash around the edges. 

Place another piece of dough on top of the other, then cut out a hole to fill with sprinkles later. 

Alternately, you can cut out a hole in the top layer of dough before placing it on top of the bottom layer. Just be careful not to distort the top layer when moving it. 

Bake the double layer cookies separately than the single layer because they will take a bit longer to bake. 

Also, because its a thicker cookie, it may expand more than your single top layer. 

Don’t fret!!

Use your top layer as a guide and cut around the thick bottom layer while the cookie is still hot from the oven. Polish any rough spots with a zester to get them to look like a perfect match.


Now it’s time to fill the cookies with sprinkles!! Obviously, you will need to know what color to fill first, then pour in enough sprinkles to fill the cavity. 

Add some stiff or piping consistency royal icing around the edges and then place your top cookie right on top. Press the cookie down firmly to make sure it’s nice and secure!

You can immediately start to decorate the cookies once the top layer is in place. 

For these cookies, I kept it pretty simple. I outlined the onsie with white icing, then flooded it with flood consistency icing. 

I immediately went in with blue and pink flood consistency icing to add some dots and stripes. 

And there you have it! Super fun and cute gender reveal cookies!

I recommend making at least 2 so that both parents can open them at the same time. 

You can even make these for twins!

I had so much fun making these, but of course, I’m not giving our gender away just yet! I have a couple more fun reveals planned this week so you will have to wait and see!


/ Filed In: Cookies New, Decorated Cookies, Desserts, Eat
Tagged: baby, baby shower, cookies, decorated cookies, gender reveal, sprinkles

Teddy Bear Cookies

September 9, 2015

Teddy Bear Cookies-8

I’m at that stage in life where it seems like all my friends, co-workers, and Facebook acquaintances are having babies. Which also means I am at that stage in life where those aforementioned people are asking ME when I plan on having one of my own. So to distract them from their question (hey, look over here!), I just make them really cute cookies for their baby shower. 

These teddy bear cookies were made for the most friend to have a baby shower. My friend doesn’t know the gender of the baby and since she also went to Baylor, like me, I thought green and yellow cookies with teddy bears would be perfect! But I also through in some pink and blue cookies to break up the Baylor theme. 

Teddy Bear Cookies-10

Before I get too much further, I want to apologize. I only filmed the bear portion of the cookie design, since it was the most complicated (and I didn’t think about filming until I had done the first layer of icing). But for all the cookies, either did stripes or dots, which are both really easy. 

First I iced the whole cookie with flood/15 second consistency icing in a solid color, like white. Then while the cookie was still wet, I either piped little dots or stripes (see my post here for some tips on piping). I let them dry completely overnight before putting the bear on top.

Teddy Bear Cookies-5

For the bears, I actually found a picture of a teddy bear I liked on Google and traced it onto parchment paper (I had the picture pulled up on my clean iPad and placed the parchment on top of my iPad to trace). I cut out the design and then traced the template onto the cookie with a food coloring pen. I then filled in the different parts of the bear in brown flood consistency icing. 

The other part of the bear design that I didn’t capture in the video was the “fur”. Once the bears were done, they just looked too flat to me. So I stippled thickened brown icing onto the bears with a little craft brush. Once it dried, it looked like the bear had a fuzzy layer of fur.

I finished the cookies by piping dots in stiff consistency icing around the outside to create a border and let them dry over night. You could definitely leave the borders off, but I find them helpful to hide my mistakes. The circular cookies are especially hard to form an even and perfect circle, so the dots help cover that up.

I used my Basic Sugar Cookie recipe with almond extract and this royal icing recipe. 


I have a while until my next baby shower…so what cookies should I make next?

/ Filed In: Decorated Cookies, Desserts, Eat
Tagged: baby shower, cookies, dessert, teddy bear

Follow

Hey There!

Hey there, I'm Lindsey. I'm a number cruncher by day and a home cook and baker by night. While I love to eat healthy and find fresh and healthy alternatives for my favorite foods, I will never turn down dessert! Life is all about moderation, right?

Recipes

  • All Recipes
  • Breakfast
  • Appetizers
  • Salads
  • Main Dishes
  • Side Dishes
  • Desserts
  • Drinks

Favorite Finds

[show_lookbook_widget id=”388783″]

Theme by 17th Avenue · Powered by WordPress & Genesis