• Home
  • Eat
    • Breakfast
    • Appetizers
    • Main Dishes
      • Chicken
      • Beef
      • Seafood
      • Healthy Dishes
      • Paleo Dishes
      • Salads
    • Desserts
      • Decorated Cookies
      • Cookies
      • Bars and Brownies
      • Cakes and Cupcakes
  • Shop
    • Cookie Decorating Supplies
    • Bakeware
    • Cookware
    • Kitchen Gadgets
    • House
  • About
    • Contact
    • Bucket List
  • Cookie Decorating 101

Follow the Ruels

S’more Rice Krispie Treats

July 5, 2018

There are so many recipes that I make at home that never make it to the blog. Some I photograph, but the finished product just doesn’t look or taste right. 

Others I make, but never photograph, only having to make them again. 

This was almost one of those recipes. 

After the weather threatened our chances at making actual s’mores for our 4th of July cookout, I thought I would try something a little different. A total experiment. S’more Rice Krispie Treats!

However, after I made these and served them to my husband and neighbors, it was determined that they HAD TO GO ON THE BLOG.

My very picky husband literally called these S’more Rice Krispie Treats “amazing”. 

So here they are, on the blog….with almost no photos. Don’t worry, though. They are very easy to make and require very little visual guidance.

How to Make Them.

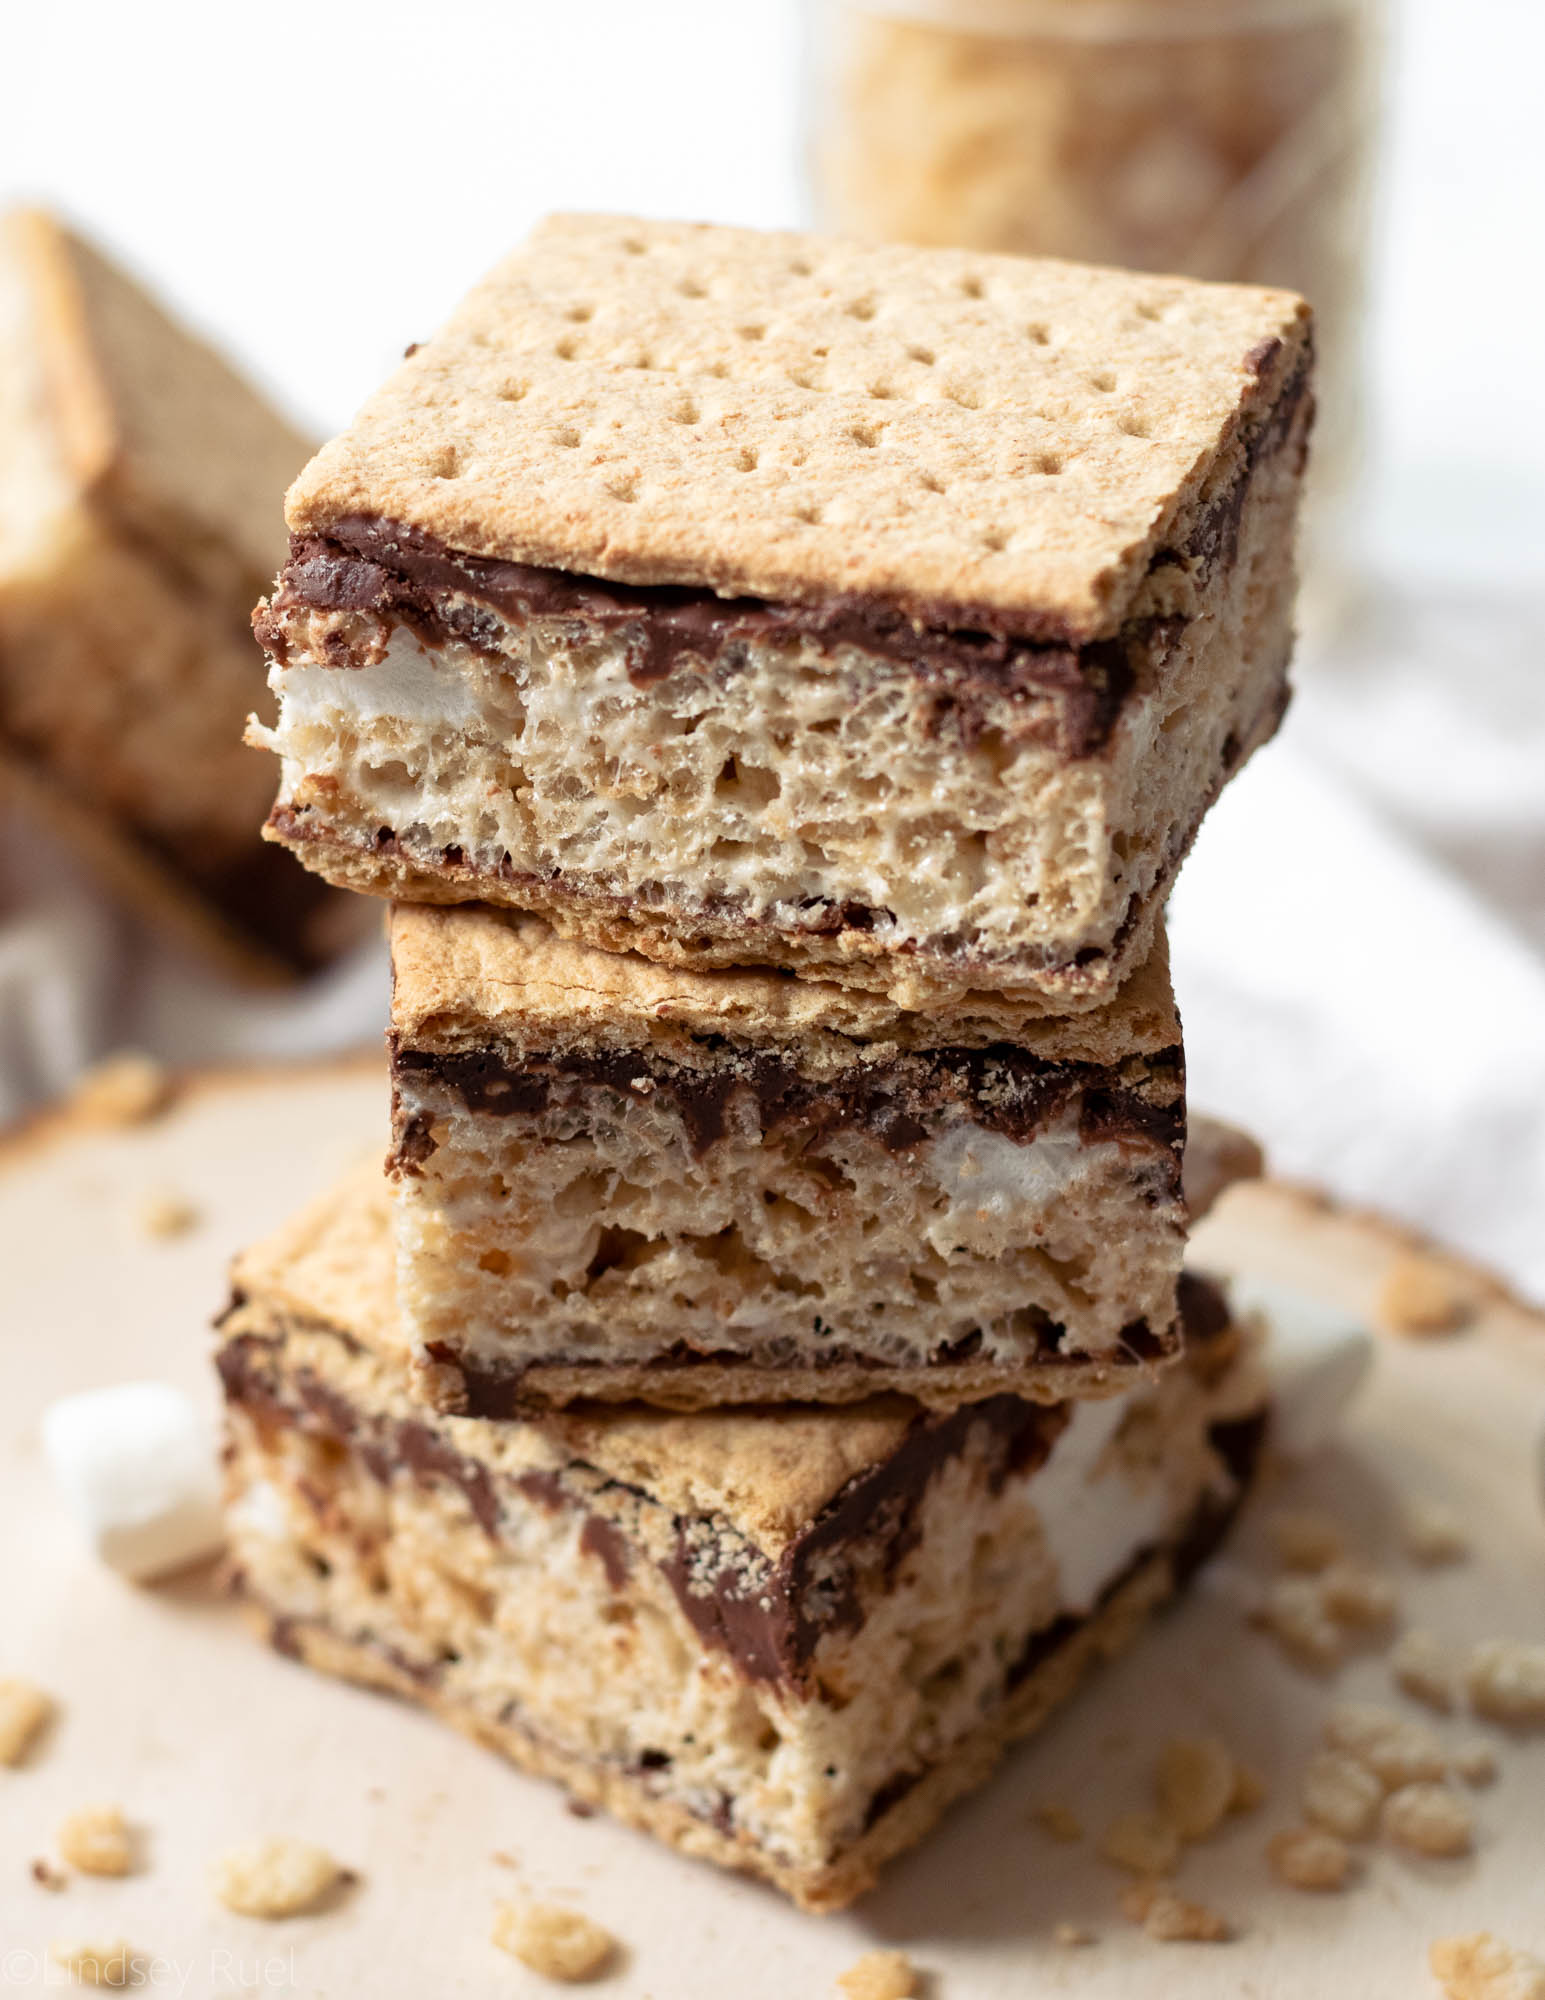
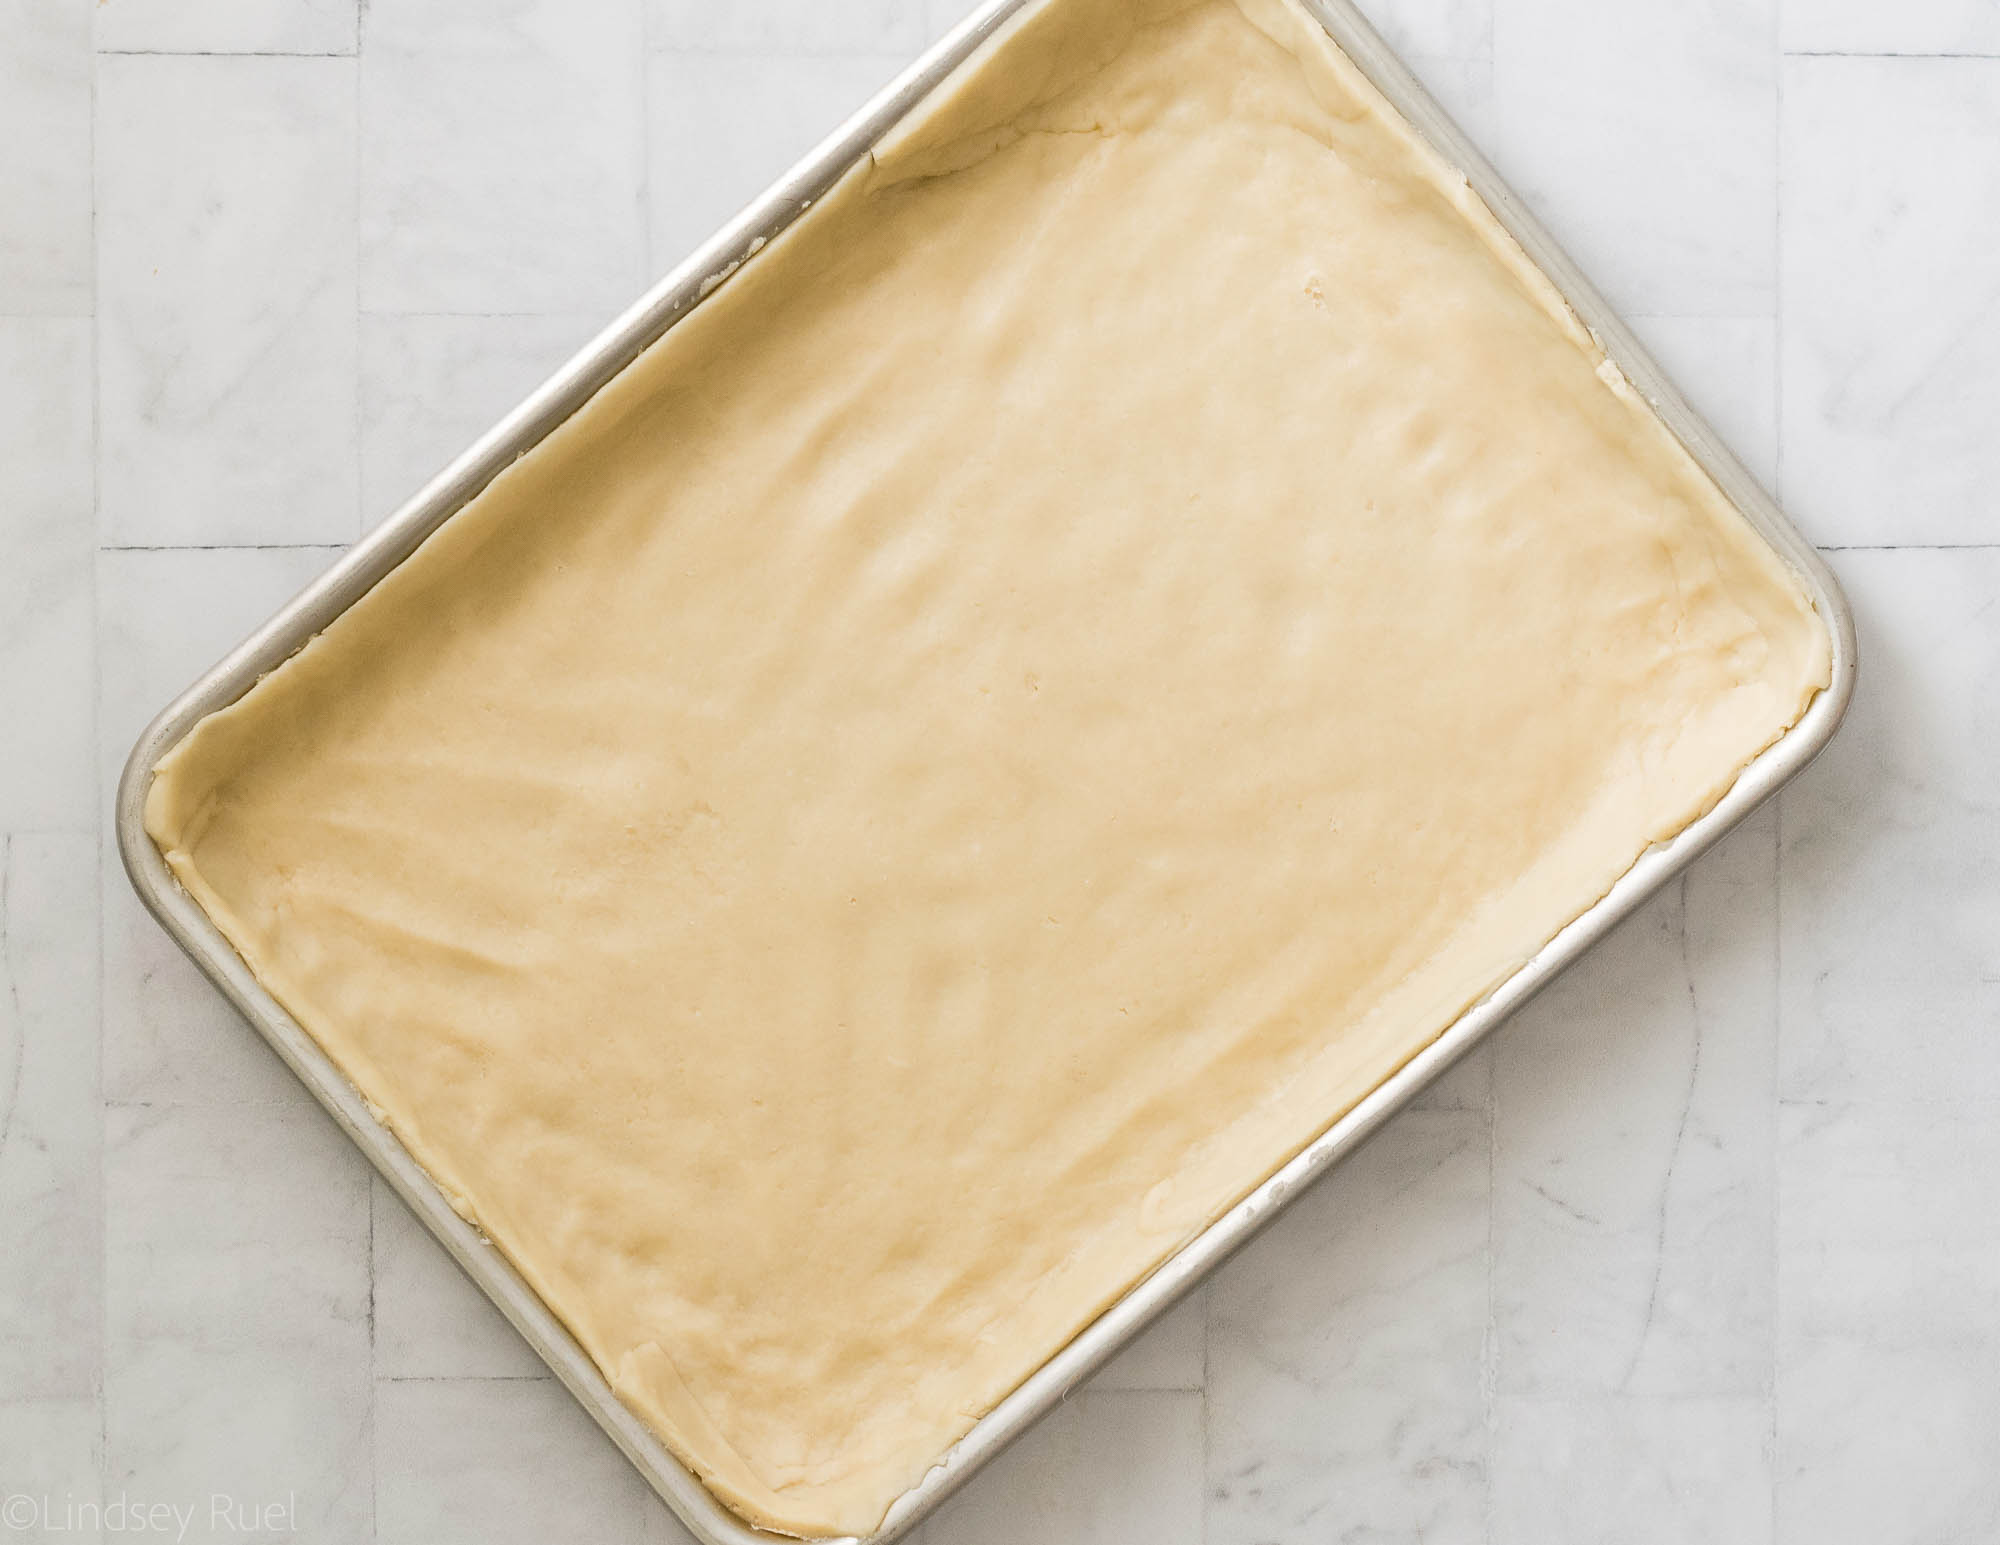
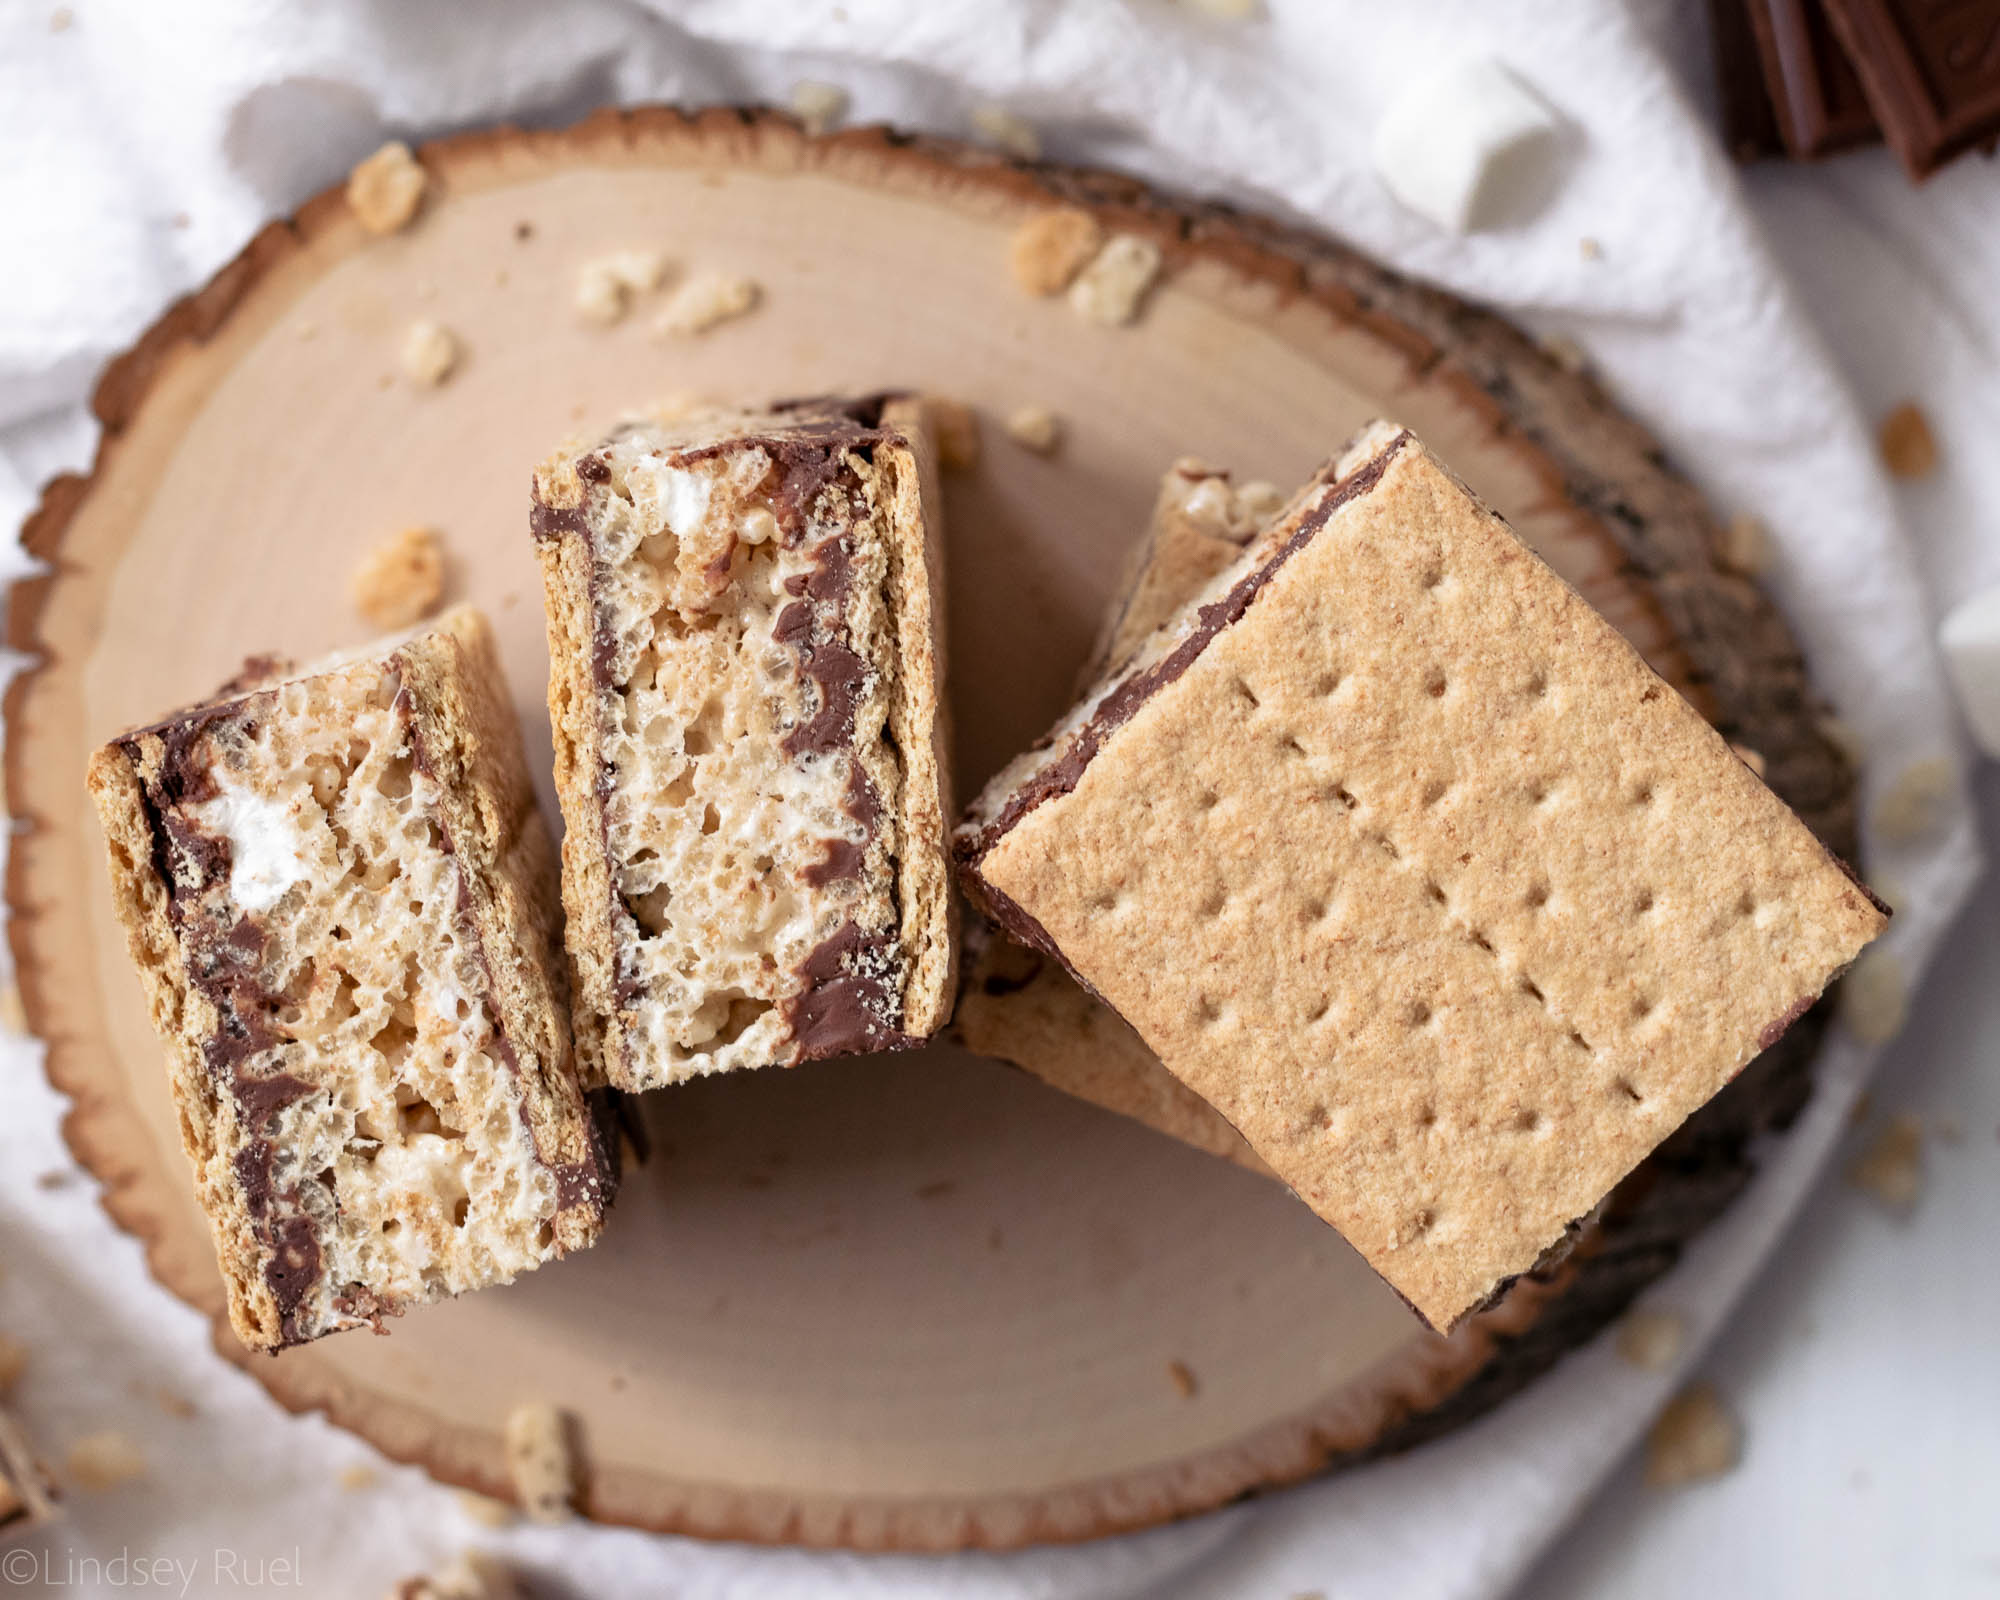
First, lay down a layer of graham crackers. My square baking dish didn’t fit them perfectly, so I had to break a few in half to get the entire bottom of the pan covered in graham crackers. 

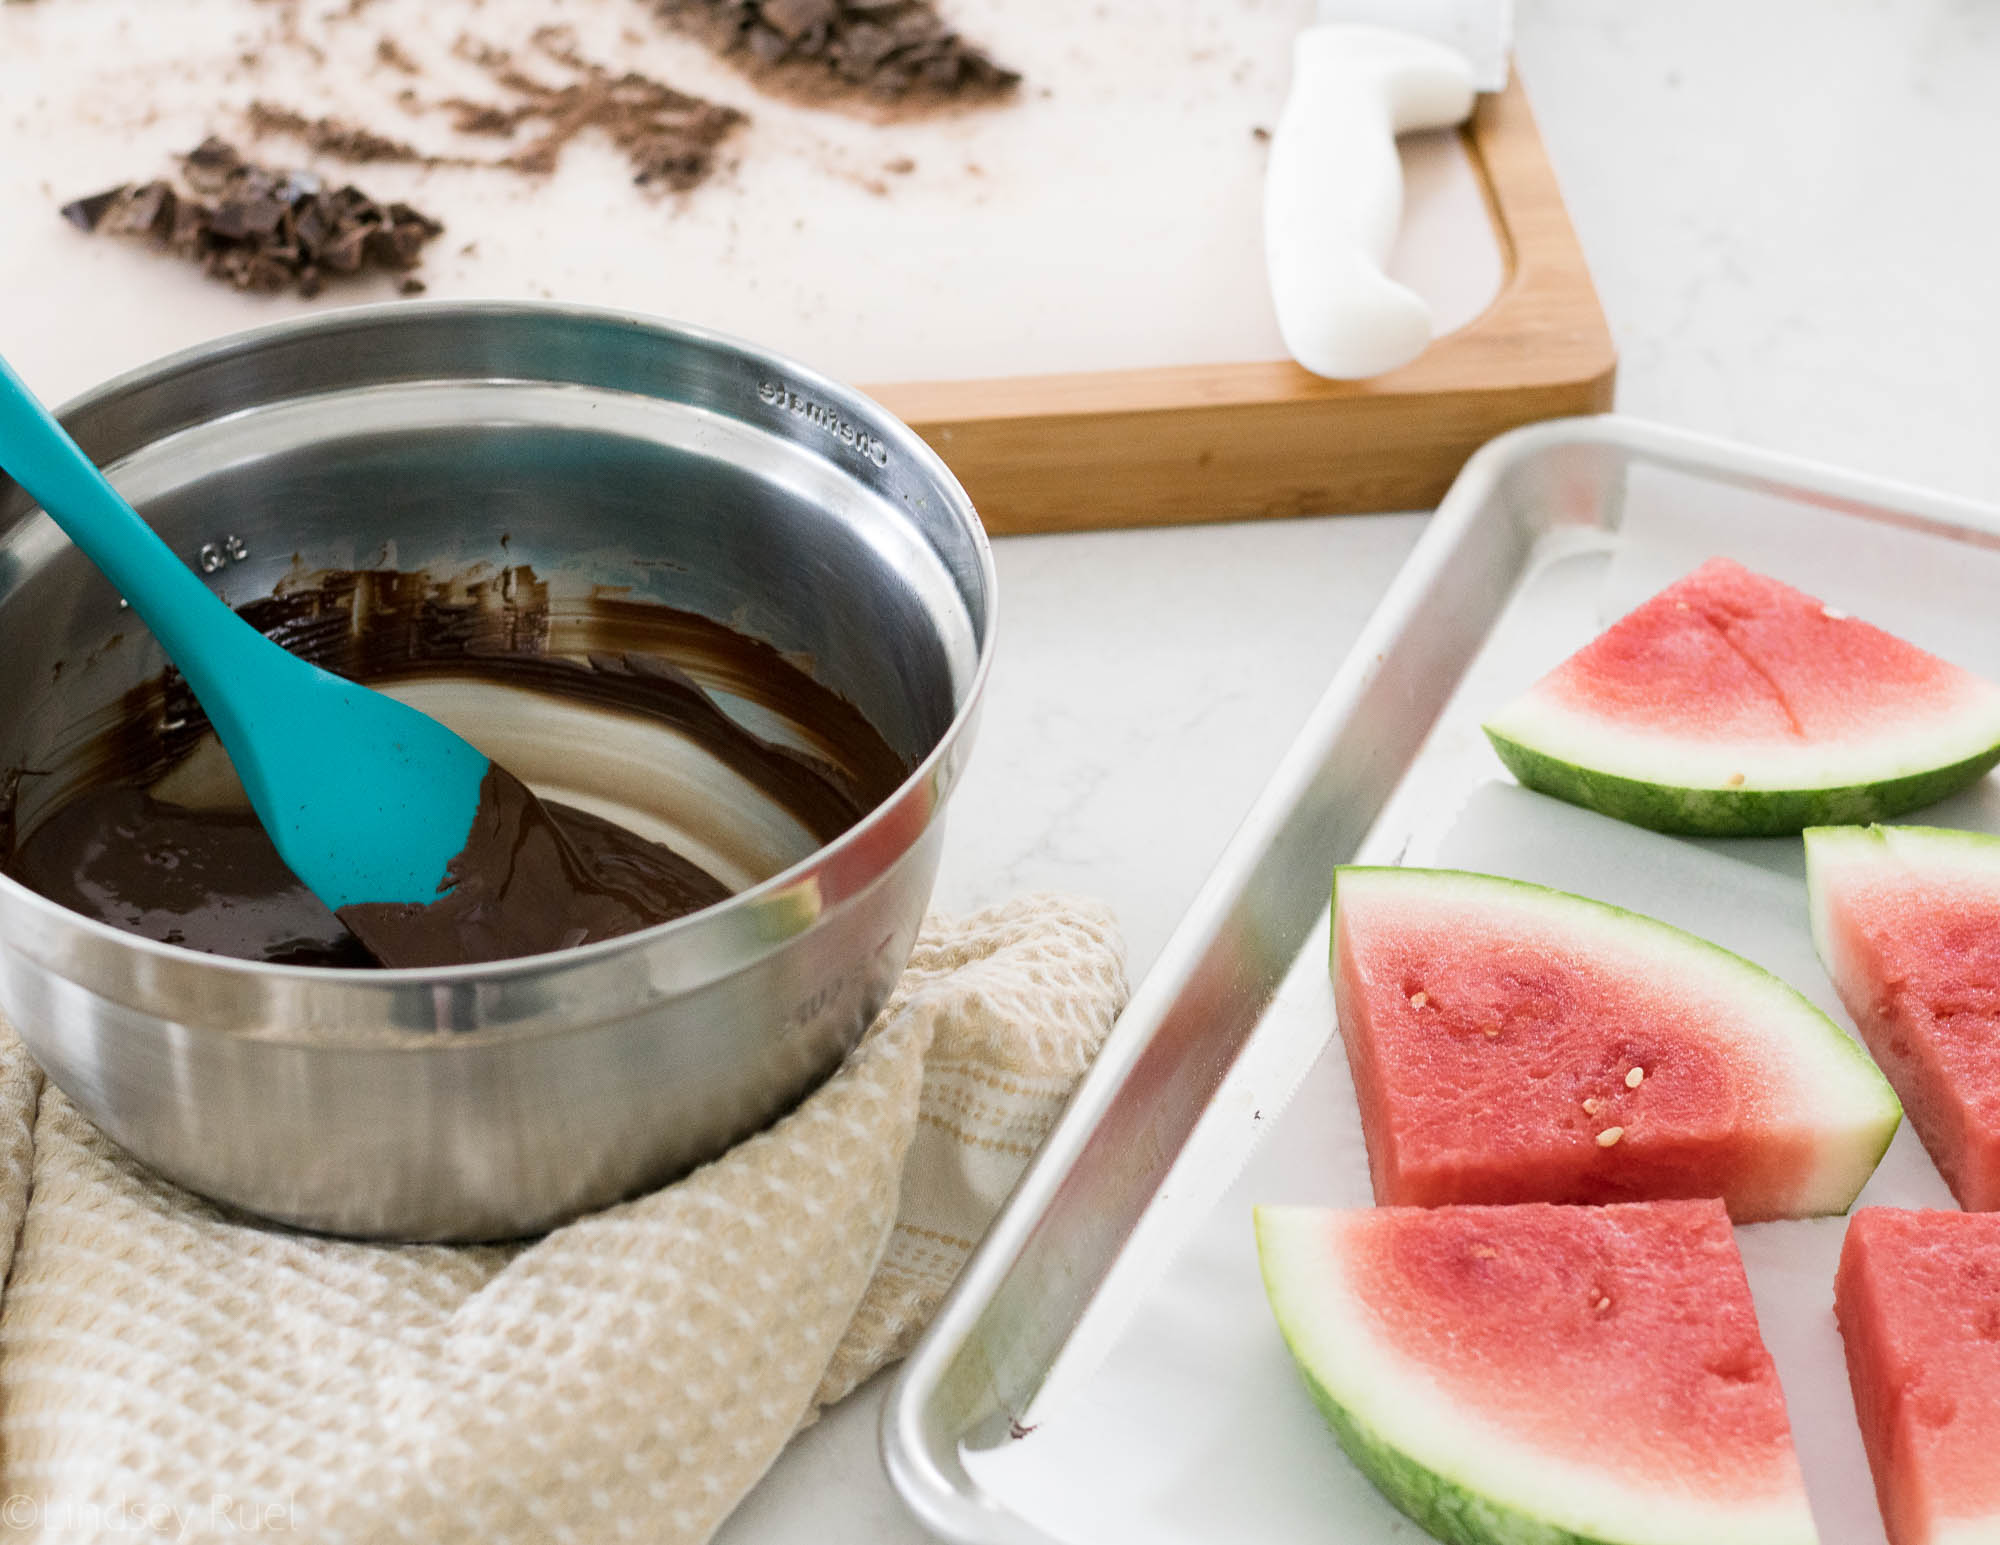
Then, pour melted chocolate over the graham crackers and carefully spread it out so that there is a nice thin layer of chocolate over the crackers. 

Now it’s time to make the Rice Krispie treats! Follow the directions on the box or make your very own version of the classic and then dump the Rice Krispie mix on top of the chocolate covered crackers. Use a spatula to press the Rice Krispies down into the chocolate so that the entire pan is full. 

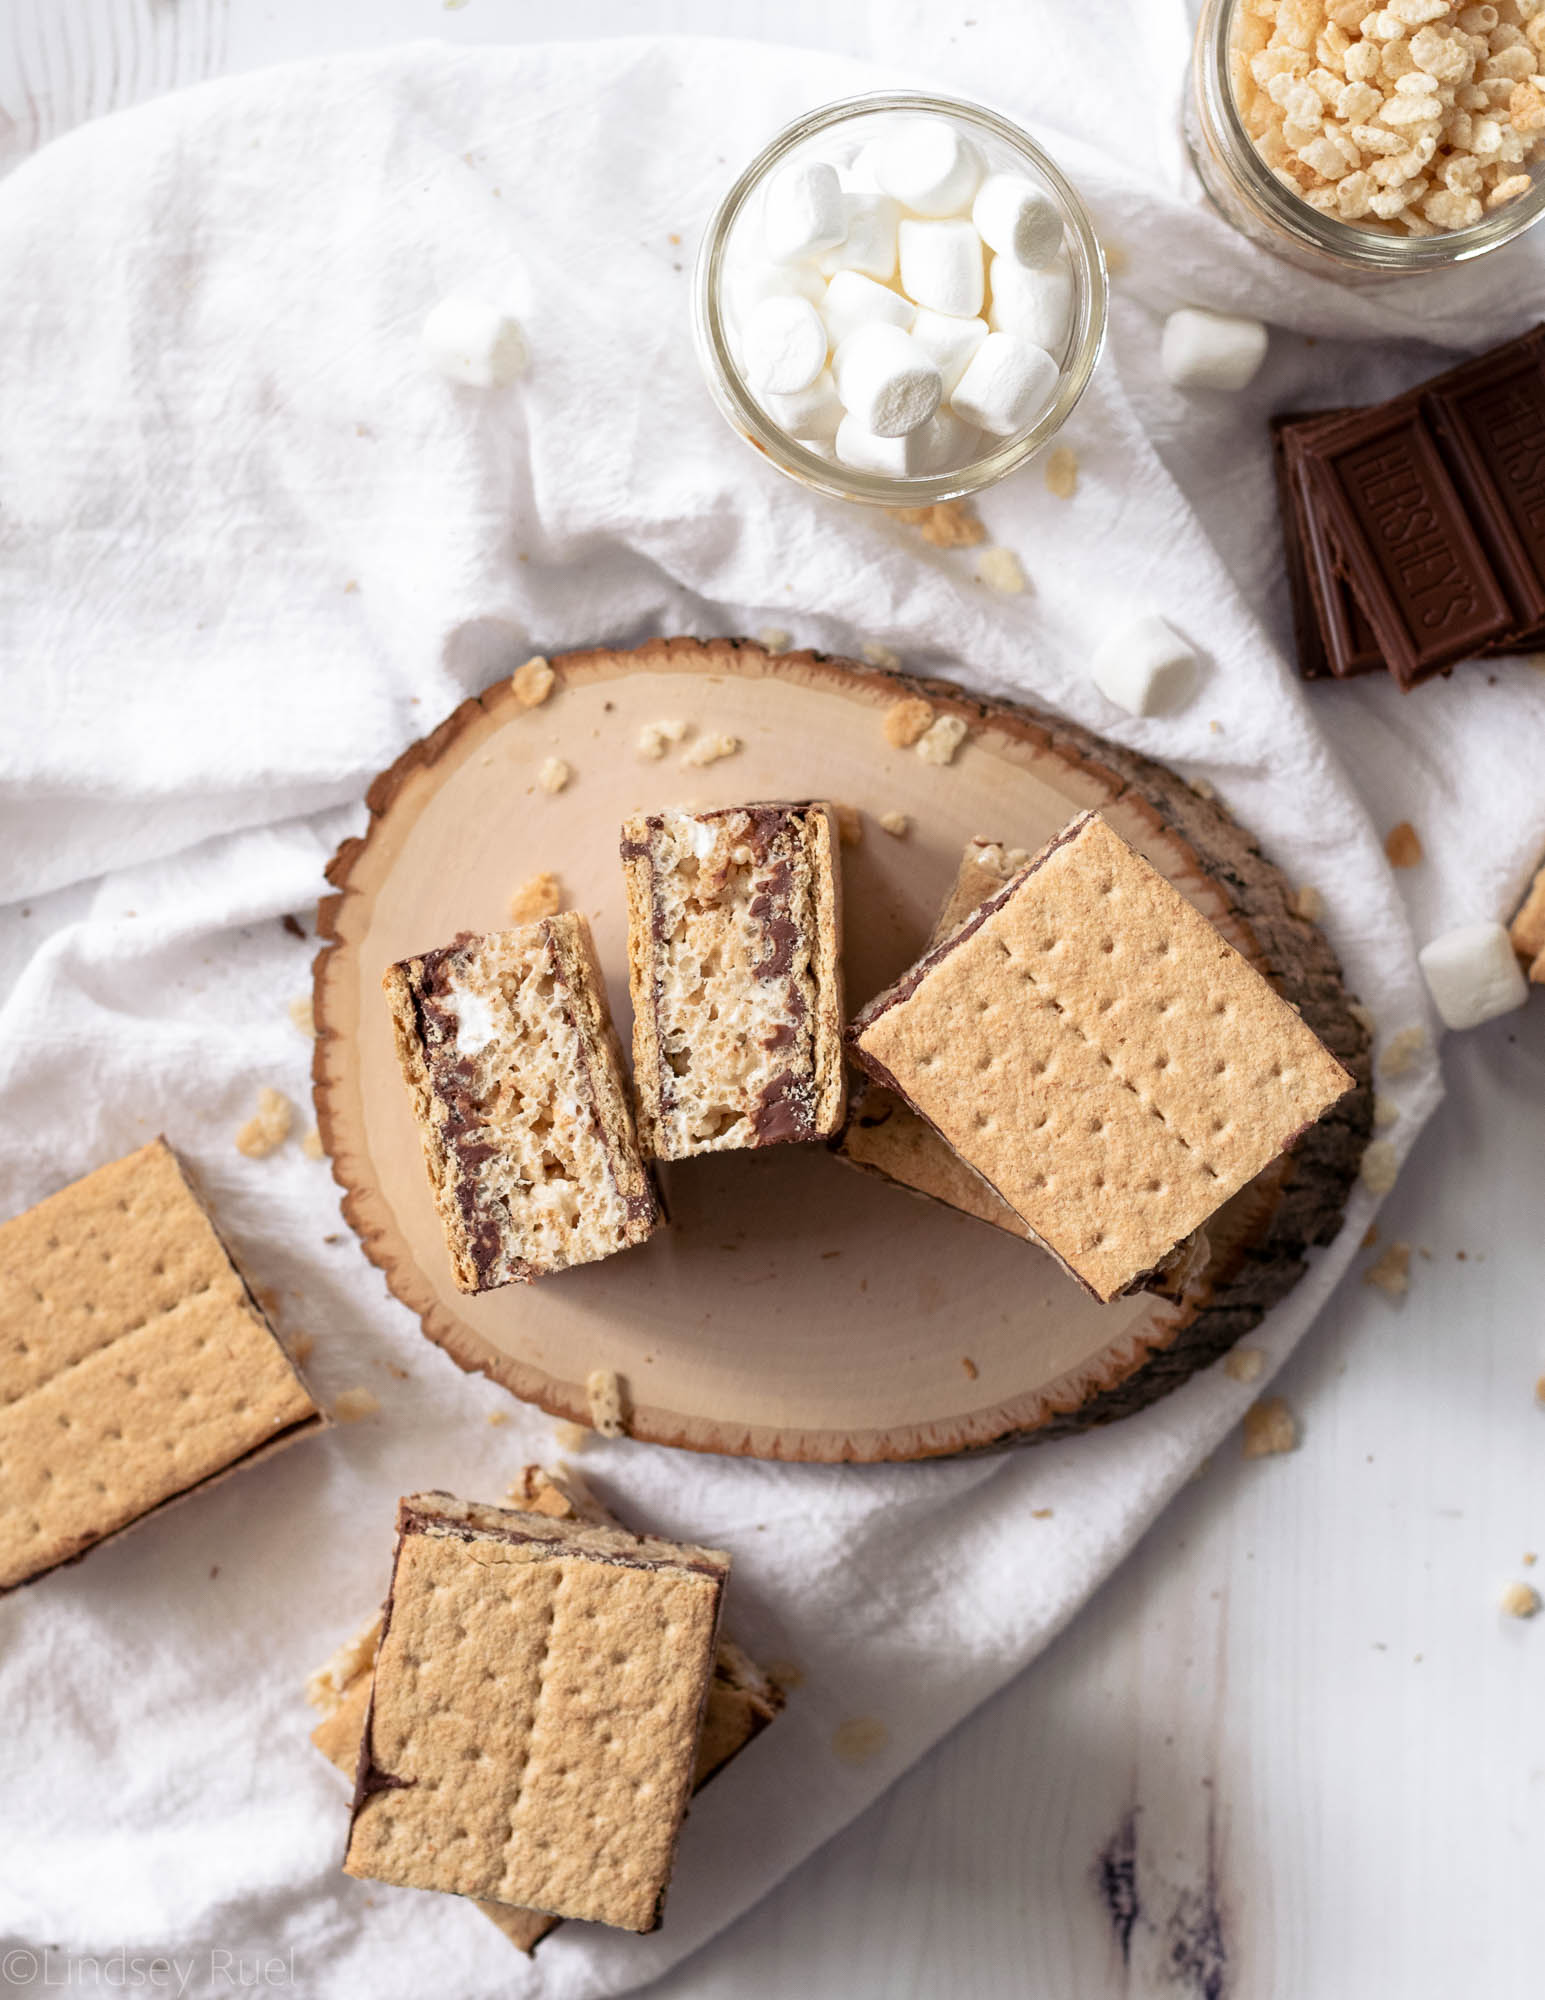
Then do everything in reverse! Melt some more chocolate, pour and spread it on top of the Rice Krispie treats, then top with more graham crackers. 

Let the entire thing sit and harden for about 30 minutes or until the chocolate has hardened. 

Finally, cut them into squares. You can use the top graham crackers as a guide, but they may not line up perfectly with the bottom grahams. 

See, so easy right? 

Recipe

[yumprint-recipe id=’188′]

/ Filed In: Bars and Brownies, Desserts, Eat, Other Sweets New
Tagged: 4th of July, chocolate, dessert, graham crackers, kid friendly, marshmallows, no-bake dessert, Rice Krispie treats, s'mores, Summer

Berry Patriotic Pie (2 Ways!)

July 2, 2018

Here’s a last minute, super easy, and very patriotic dessert for you to bring to your 4th of July shindig (or shindigs if you are just that popular!).

A berry patriotic pie!

See what I did there? 

I actually loved this so much, I made it twice. Once as a slab pie and once as individual mini pies. Both were extremely easy since I cut a lot of corners and used both premade pie dough and frozen berries. 

Work smarter, not harder, people. 

Some of you may scoff at my use of premade pie crust and frozen berries, but let me tell you, it in no way affected the taste of this pie. It was delish! But if you are one of those people who really loves to make things from scratch (trust me, I get it), by all means, make your own pie crust. I have an excellent recipe here. 

So this post will be a little different. I am going to walk you through how I assembled the slab pie and the little mini pies (or tarts), but they are both the exact same recipe, which you will find at the end. 

How to Make a Berry Patriotic Slab Pie

If you are making your own pie dough, do that first, then let the pie dough chill before rolling it out. 

If you are using store-bought pie dough, combine both sheets of pie dough together, and roll it out so that it fits a rectangular baking sheet. I am using a small quarter sheet pan for this. You can also use a casserole dish or normal round pie dish.

For the slab pie, I went with an ombre effect. To do that, I first separated out each type of berry and arranged them from darkest to lightest. This is completely unnecessary, and you can instead mix all the berries together to make one delicious berry pie. 

Mix all the berries with the sugar mixture, which consists of granulated sugar, corn start, and lemon zest.

If keeping the berries separate, mix a portion of the sugar mixture into each bowl of berries. I mixed in 3-4 tbsp for every cup of berries. 

Then spoon the berries into the pie crust. 

Use the extra dough to create a desired pattern on top. I went with stars and stripes which I created using a star-shaped cookie cutter and a pizza cutter. 

The “rope” around the outside was created by taking long and skinny pieces of dough, pinching them together on both ends, then twisting until they looked like a rope. I made several of these to put around the edge.

Bake the pie at 400 degrees for 15 minutes, then reduce and bake at 350 for another 30 – 40 minutes, or until the berries are bubbling and the pie crust is golden. 

To ensure your pie crust doesn’t break off mid-bake, adhere the pieces to the bottom pie crust with a bit of an egg wash. 

How to Make Berry Patriotic Mini Pies

Again, start with either homemade or store-bought pie dough. Roll out the pie dough into one big sheet and cut out circles about 1/2″ wider than the opening of the tart pan. 

Press the dough into the bottom and along the sides of the tin. 

Mix together the berries and sugar mixture.

For these mini pies, I combined the red berries together, and the “blue” berries together. 

Spoon the berries into the pie shells and then top with the extra pie dough. 

Similar to the slab pie, I cut out stars and stripes and placed stars on the “blue” pie and stripes on the “red” pie.

Brush the tops of the pie crust with an egg wash so they turn a nice golden brown color. 

And, just like the slab pie, bake at 400 for 15 minutes, then reduce the temperature, and bake at 350 for another 20 minutes. The mini pies bake much quicker.

So there you have it! Two ways to make a super cute and berry patriotic pie (or pies)! Who knew making a pie could be so easy?

Now, tell me the truth, which version is your favorite? I think I like the mini ones, personally…but maybe it’s because my slab pie just didn’t want to behave!

Supplies and Recipe

[show_shopthepost_widget id=”3190306″]

[yumprint-recipe id=’186′]

/ Filed In: Desserts, Eat, Other Sweets New, Pies and Tarts
Tagged: 4th of July, berry, berry pie, mini pie, patriotic, pie crust, pies, semi-homemade, Summer, tart

Chocolate Dipped Watermelon

June 21, 2018

If you are looking for a super easy, somewhat healthy, all around people-pleasing dessert for any Summer party or picnic, then you have to make yourself some chocolate dipped watermelon!

How to Make It

The first thing to do is to cut the watermelon into slices. These can be as big or small as you like. They don’t even have to be slices! They can be chunks or sticks or however you like to cut your watermelon. 

Lay the slices of watermelon on a tray and let them chill in the fridge while you move onto the chocolate. 

The trick to getting a nice chocolate coating that sticks to the watermelon is to temper the chocolate. 

Tempering chocolate used to intimidate me, but it’s actually pretty easy and makes a world of difference! Instead of chalky, grainy chocolate, you will have a nice smooth, glossy chocolate coating.

To temper the chocolate you first melt about 2/3rds of the chocolate over a double boiler. Not all the pieces will be melted, but most should be starting to melt. Then stir the chocolate off the heat until all the pieces are melted. At this point, the chocolate should be pretty hot. 

Then add in the rest of the chocolate pieces and mix until they have melted into the rest of the chocolate. This may take a while because the chocolate is cooling down as more chocolate is added. By the end, all of the chocolate pieces should be melted and the chocolate should actually feel cool to the touch. I highly recommend checking out this very in-depth post about how to temper chocolate. 

Next, just dip the watermelon into the chocolate. If the watermelon has developed a lot of moisture on the surface, blot that away with a paper towel before dipping. It will ensure that the chocolate sticks. 

If you want the chocolate to cover even more of the watermelon, use a spoon or spatula to spread it up the sides. 

Because the watermelon is cold from the fridge, the chocolate will start to harden pretty quickly (which I actually prefer). So if you want to add any toppings, act fast! 

You can add sprinkles to make these chocolate dipped watermelon slices super festive. You can even sprinkle on some sea salt or chopped nuts. Go crazy!

Whichever way you dress up your watermelon, I guarantee it will be delicious and refreshing! A perfect combination for a hot Summer day!

Tools and Recipe

[show_shopthepost_widget id=”3178073″]

[yumprint-recipe id=’185′]

/ Filed In: Desserts, Eat, Other Sweets New
Tagged: 4th of July, chocolate, picnic, Summer, tempering chocolate, watermelon

4th of July Firework Cake

June 13, 2018

A lot of times, my motto is less is more. 

But not with this cake. The motto for this cake is MORE is MORE!

Which is perfect for 4th of July, and hence why I am calling it the 4th of July firework cake, because it reminds me of a firework. Just all the red, white, and blue, all over the place. 

Wilton Cakes was kind enough to send me one of their new cake decorating kits and I had so much fun coming up with this cake which was inspired by a few of the various cake designs they had in their book.

I decided to cover the entire sides of the cake in red, white, and blue sprinkles and then cover the top of the cake in red, white, and blue buttercream stars and rosettes. 

Other than the sprinkles, frosting, and food coloring, which I already had on hand, everything I used to decorate the cake came with the How to Decorate Cakes and Desserts Kit which made it incredibly easy to make!

How to Make It

As I mentioned above, I used the How to Decorate Cakes and Desserts kit, which comes with an awesome instruction and inspiration book (below) and all the supplies you will need to decorate your cake.

The kit also comes with 10 piping tips, 3 couplers, a spatula, decorating brush, and 24 piping bags in two different sizes. 

I also used their tiltable turntable, gel food coloring, and white buttercream icing. 


The instruction book shows you everything from how to bake your cake, cut your cake, layer your cake, and frost your cake. Since I am still learning how to decorate cakes, a lot of their instruction was very helpful.

Since the theme for this cake is “more is more” I added these red, white, and blue non-pareliels to give it a marbled funfetti look. If you want a true funfetti look, I recommend using jimmies instead of nonpareils. 


I used a box cake mix for this cake to make things easy on myself. You can see my tips for making a boxed cake mix taste homemade here. 

The cake is made up of two layers baked in a 6″ cake pan. For a larger cake, double the amount of batter and bake it in an 8″ or 9″ cake pan. 

Once the cake is baked, cooled, and leveled, spread the buttercream icing over the first layer. Top with the second layer of cake and another layer of icing, this time spreading it around the entire cake to seal in the crumbs. 

Chill the cake for about 30 minutes. 

After the crumb coat has chilled, spoon the buttercream into a large piping bag fitted with the specialty tip 789. Pipe the buttercream around the sides of the cake so that there is a nice thick layer of icing. 

Use the off-set spatula to spread the icing around the cake. It doesn’t have to be pretty, because the sides will be covered with sprinkles. 

How to Decorate It

Speaking of sprinkles, mix together all the red, white, and blue sprinkles you can get your hands on. I like mixing together jimmies with some larger round sprinkles and sanding sugars. I also through in a few novelty sprinkles. 

To cover the sides of the cake, place the cake in the center of a baking sheet covered with parchment. Pat the sprinkles all around the sides of the cake. Reuse any extra sprinkles that have fallen away.

Finally, prepare the piping bags to decorate the top of the cake. 

For the larger piping tips (2D and 1M) mix together red, white, and blue icing by spreading lines of icing on a sheet of plastic wrap. Roll the plastic wrap into a tube, then feed the tube into the piping bag with the piping tip inside. You made need to cut off any excess plastic wrap so the icing flows through.

Then prepare three other piping bags, all fitted with a coupler and a smaller piping tip. Fill each one with a different color. 


Start by piping the larger stars and rosettes first. Then fill in with the smaller decorations. Don’t be afraid to layer them on top of one another. Also feel free to change out the piping tips using the couplers to get lots of various shapes. 

Once you are done, sprinkle a few sprinkles right on top. 

And viola! Your very own super patriotic cake! Perfect for 4th of July!

Supplies and Recipe

Follow my How to Make Boxed Cake Mix Taste Homemade tutorial for an easy semi-homemade cake. Or I highly recommend my vanilla cupcake recipe, which will make 1 6″ round two layer cake. Double to make a larger cake. 

  • How to Decorate Cakes and Desserts Kit: http://bit.ly/2xChT1U
  • Icing Gel Set: http://bit.ly/2xMNBd8
  • Turntable: http://bit.ly/2Hi9yjH
  • White Buttercream Icing: http://bit.ly/2kQK9F3
  • Red, white, and blue sprinkles: https://www.wilton.com/shop-sprinkles/


/ Filed In: Cakes and Cupcakes, Cakes New, Desserts, Eat
Tagged: 4th of July, cake, cake decorating, layer cake, patriotic, Summer

Watermelon, Feta, and Blueberry Bites

June 27, 2017

Watermelon and feta are an unlikely pair, aren’t they? That juicy, sweet fruit with rich and salty feta. When you top them with a drizzle of tangy balsamic, it almost becomes the perfect bite of food!

I added a handful of blueberries to my balsamic reduction and to the top of the feta to really amp up the blue, making these little bites perfect for 4th of July!

HOW I MADE IT

I started by making the blueberry balsamic reduction. You could use a plain balsamic reduction (or buy a bottle of balsamic glaze from the grocery store) if you don’t feel like making thw blueberry variety.

But it’s actually pretty easy to make. I put some blueberries, balsamic, and agave (you could use honey, I just couldn’t find mine) in a sauce pan and then let it simmer until it had reduced by half. And viola! Blueberry balsamic reduction that you can impress your friends with. Just remember to say “blueberry balsamic reduction” in the snootiest way possible. 

For the watermelon part, of course you could just cut out cube, but where’s the fun in that? I had my star cookie cutter already out from making pie last week so I decided to make star shaped watermelon. Very patriotic!

Now comes the easy part! I stacked a cube of feta on top of the watermelon and skewered them with a toothpick and blueberry.

Then just drizzled on the balsamic reduction. 

Now these cuties are ready to be devoured! I have a feeling they will go quickly at any 4th of July party or Summer backyard barbecue! They are refreshing and satisfying all in one bite!

[yumprint-recipe id=’113′]

/ Filed In: Appetizers, Eat, Other Savories New
Tagged: 4th of July, appetizer, blueberries, feta, Summer, watermelon

Red White and Blue Fringe Cookies

June 16, 2017

These cookies are a little bit different than what I normally make. For starters, there are no royal icing flowers anywhere! Actually, there was little to no piping done on these cookies at all (who am I?). What makes these cookies so different is the fondant! Those fringes you see are actually made with colored strips of fondant that have been expertly and delicately haphazardly cut into a fringe. 

I forget how much I like working with fondant! It’s a lot like working with that molding clay or play-doh as a kid. If you mess up, you can just roll it back into a ball and start over again!

I do have a couple tips for working with fondant, however. 

  1. Keep unused fondant wrapped in plastic wrap and in a zip top bag. It will dry out quickly. As you will see in the video below, I also kept the balls of fondant that were waiting to be rolled out under a damp cloth.
  2. Buy white fondant and color it whatever color you want. Sure they sell lots of colors of fondant, but sometimes you want a particular shade of blue or pink. Which leads me to…
  3. When coloring fondant, it’s best to use food-safe gloves. Something I clearly didn’t take to heart as evidenced by the food coloring stains on my hands. 

See how easy fondant is? When I just don’t feel like making royal icing or piping tons of cookies, I turn to fondant. I didn’t even pipe the bottom layer of white royal icing you see on the cookie. Nope! I dipped the cookie into the icing. All of those cookies you see in the pictures above were dipped. Yeah, I was feeling extra lazy that day! But they still turned out really cute!

Recipes and items used:

  • Royal Icing Recipe
  • Sugar Cookie Recipe
  • Fondant dyed with red and blue food coloring
  • Fondant roller
  • Brushes
  • Cookie cutters

 
[show_shopthepost_widget id=”2709655″]
 

/ Filed In: Cookies New, Decorated Cookies, Eat
Tagged: 4th of July, cookie decorating, cookies, fondant

Red White and Blue Water Color Gingham Cookies

June 9, 2017

If you have stopped by my Instagram feed (@followtheruels) lately and seen any of the cookies that I have posted in the past couple months, you know that there are two things I am obsessed with: water color and royal icing flowers. Adding a little floral touch to cookies is such an easy way to make a plain ol’ cookie look super fancy.

It’s the same for the water color effect. Painting cookies is also a very easy thing you can do to decorate cookies, especially if you don’t like piping. 

So that’s what I did, I combined my love of gingham (I wear a lot of gingham) with my two current favorite cookie decorating techniques to make these water color gingham cookies that are PERFECT for 4th of July!


Here are all the recipes and tools that I used:

  • Royal Icing Recipe
  • Sugar Cookie Recipe (I actually used a special flavor of sugar cookie that I will be sharing very soon!)
  • Food Coloring 
  • Almond Extract
  • Paint Brushes
  • Paint Tray
  • White Drop Flowers – #107 tip
  • Red Rosettes – #18 tip
  • Blue Drop Flowers – #225 tip
  • Light Blue Rosettes – #16 tip
  • Pink Dots – #5 tip

So festive and patriotic, aren’t they? I love them even with all of their flaws and wonky lines. It makes them look a bit more homemade and rustic. 

You could of course use some guides to make sure your lines are straight. But sometimes the character is in the imperfection, am I right?

 
[show_shopthepost_widget id=”2702796″]

/ Filed In: Cookies New, Decorated Cookies, Eat
Tagged: 4th of July, cookies, decorated cookies, flowers, gingham, royal icing, Summer, watercolor

4th of July Cookies

June 27, 2016

America Cookies-12

By now you guys probably know that decorating cookies is one of my favorite hobbies. It was just last 4th of July that I shared one of my first decorated cookies here on the blog. While the stars and stripes cookies were very festive, I knew I could step my game up this year to make some even better 4th of July cookies. 

America Cookies-1

To make these cookies, I used a United States shaped cookie cutter that I picked up from Sur La Table. At the time I figured I would only use it for 4th of July, but now I have come up with lots of other ideas for USA shaped cookies.  Like for the Olympics or to celebrate moving across the country (which I may be making soon for a friend who is moving to North Carolina from Kansas). 


To create the flag design on the cookie, I marked out 13 evenly spaced lines from top to bottom. I then marked off where I wanted the blue square to start and stop. Of course, if you don’t want to pipe so many stripes (it was a pain in the butt), you could do fewer. Once I was happy with the lines, I piped out the field of blue with flood consistency royal icing. I then dotted several lines of 5 or 6 dots across for the stars.


Next, I piped the stripes, starting with red, then white, then red, and so on with flood consistency icing. I used a scribe tool (you can use a toothpick), to move the icing as close to the stripe above so that there were no gaps between the red and white. If you just can’t picture how that works, I would recommend watching the video I made for the stars and stripes cookie to see it in action. If that seems too difficult, you can also fill the whole striped portion of the flag with white icing, and then pipe, paint, or draw on the red strips. If you look at the “Freedom” flag in the picture at the top, that’s what I did. I piped the whole thing in white, then piped over it with red stripes. I just couldn’t fit as many stripes in that way.


I let the cookies dry overnight so that the icing was completely hardened. The next day, I used piping consistency icing to pipe on some fun patriotic words and phrases like, “born in the USA” or “‘Merica”. The latter was my husband’s suggestion. Actually, he wanted me to spell it “Murica”. We compromised. Once that icing had dried, I brushed over it with some edible gold paint. 

4th of July Cookies


I will definitely be saving these in the freezer and bringing them to our 4th of July festivities. One of my husbands friends just moved to town, so we are excited to show him and his fiance how Charlotte celebrates the 4th! I hope you all have a wonderful holiday weekend and let me know if you attempt these cookies! I would love to see how they turn out!

I used this sugar cookie recipe and this royal icing recipe. 

/ Filed In: Cookies New, Decorated Cookies, Eat
Tagged: 4th of July, cookies, decorated cookies, Summer

Stars and Stripes Cookies

June 30, 2015

Star Cookies-16

For those who know me personally or follow me on Instagram know that I have been really getting into cookie decorating lately. It’s taken a lot of practice, but I feel like I have finally got a hang of the art form. 

With 4th of July coming up, I wanted to make some patriotic cookies for a bake sale we were having at work. I whipped up a batch of my go-to sugar cookies, cut them into 3 different sized stars, and flooded them with red, white, and blue flood consistency royal icing.

Star Cookies-1

I started with the smallest stars and filled them with white icing. I outlined the edge first, filled in the center with icing, used a toothpick to spread the icing evenly over the surface, then tapped the cookie on the counter a couple times to shake out excess air bubbles.

Outline the edge of the cookie.
Fill the center with icing.
Use a toothpick to cover the surface.

Tap or shake a few times to get rid of bubbles.

Then I repeated the process with the medium-sized cookies and blue icing.


I made the largest cookies red and white striped. To create the stripes, I iced evenly spaced lines across the cookie. I then outlined every other section using the red icing, filling in the space, and spreading out the icing with the toothpick. For the sections in between, I outlined the edge in white, then created a white line right next to the edge of the red section. Then filled in the space with the white, repeating the same process with the red.


I packaged them with one of each cookie, stacked on top of each other. But they could also be arranged with the blue cookies in the top, left corner of a large platter, the red and white cookies filling the remaining surface area, and the little white cookies scattered over the blue ones to make a little flag.

Star Cookies-15

For those of you who are more visual learners, here is a little video of the creation of these cookies.

Happy Independence Day!

/ Filed In: Decorated Cookies, Eat
Tagged: 4th of July, cookie decorating, cookies, Summer

Follow

Hey There!

Hey there, I'm Lindsey. I'm a number cruncher by day and a home cook and baker by night. While I love to eat healthy and find fresh and healthy alternatives for my favorite foods, I will never turn down dessert! Life is all about moderation, right?

Recipes

  • All Recipes
  • Breakfast
  • Appetizers
  • Salads
  • Main Dishes
  • Side Dishes
  • Desserts
  • Drinks

Favorite Finds

[show_lookbook_widget id=”388783″]

Theme by 17th Avenue · Powered by WordPress & Genesis