• Home
  • Eat
    • Breakfast
    • Appetizers
    • Main Dishes
      • Chicken
      • Beef
      • Seafood
      • Healthy Dishes
      • Paleo Dishes
      • Salads
    • Desserts
      • Decorated Cookies
      • Cookies
      • Bars and Brownies
      • Cakes and Cupcakes
  • Shop
    • Cookie Decorating Supplies
    • Bakeware
    • Cookware
    • Kitchen Gadgets
    • House
  • About
    • Contact
    • Bucket List
  • Cookie Decorating 101

Follow the Ruels

Blood Orange Lemon Bars

March 7, 2018

And my obsession with blood oranges continues (example here and here)….

When I first picked up a bag of blood oranges at the grocery store the first thing I wanted to make with them was actually these blood orange lemon bars. I love a good lemon bar, so it seemed like a no-brainer.

Where I went wrong, and why it took me so long to post this recipe, was that I decided to try out a new recipe. Instead of sticking to my tried and true lemon bar recipe, I tested out a couple on the Internet. Even following them to a tee, they turned out horribly. Sure, they tasted fine, but the look and texture were just off.

So I went back to my favorite recipe. Why I ever decided to stray is beyond me. This recipe is delicious, easy, and totally customizable, as evidenced by the two ways I have made it (I even have a Paleo version).

For instance, maybe you want to make this recipe after blood orange season, then make it with normal oranges. Or maybe you like some strawberries with your lemons, make strawberry lemon bars (using this recipe as your guide). 

The options are endless. 

How to Make It

The foundation of these lemon bars is the crust. What is great about this crust is that it’s a mix between a pie crust and a shortbread. Oh, and you can make it in a food processor! 
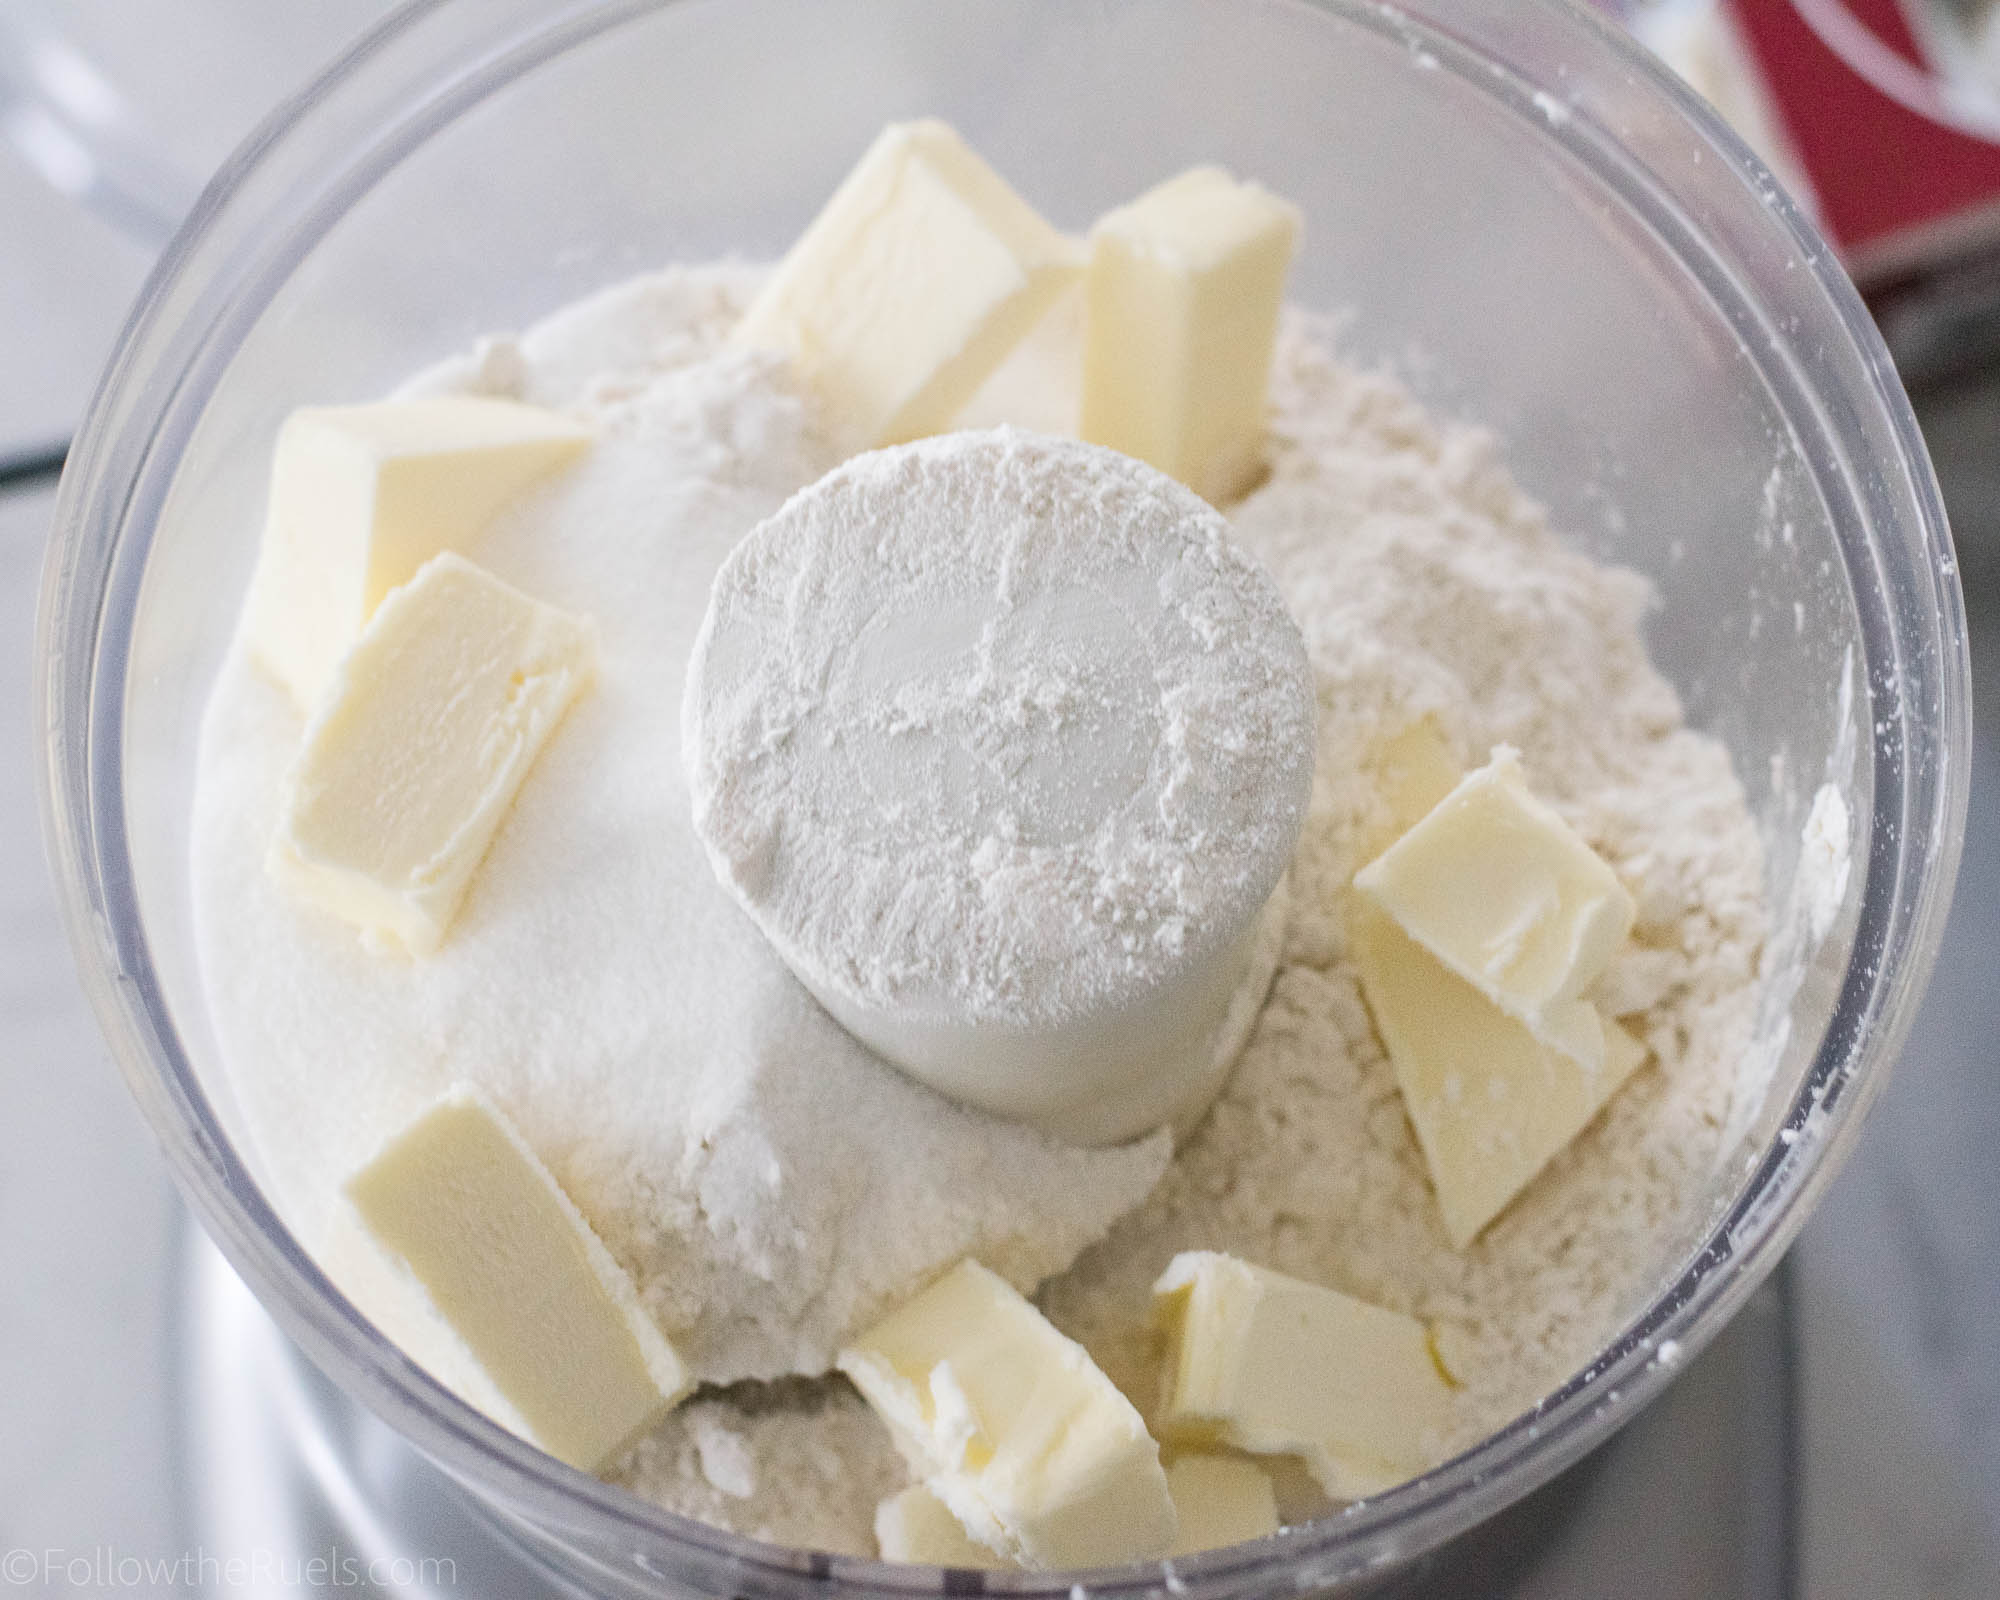
Pulse together the flour, sugar, and butter in a food processor until it forms a crumbly ball. If it is too dry, add a itty bit of water until it starts to come together.
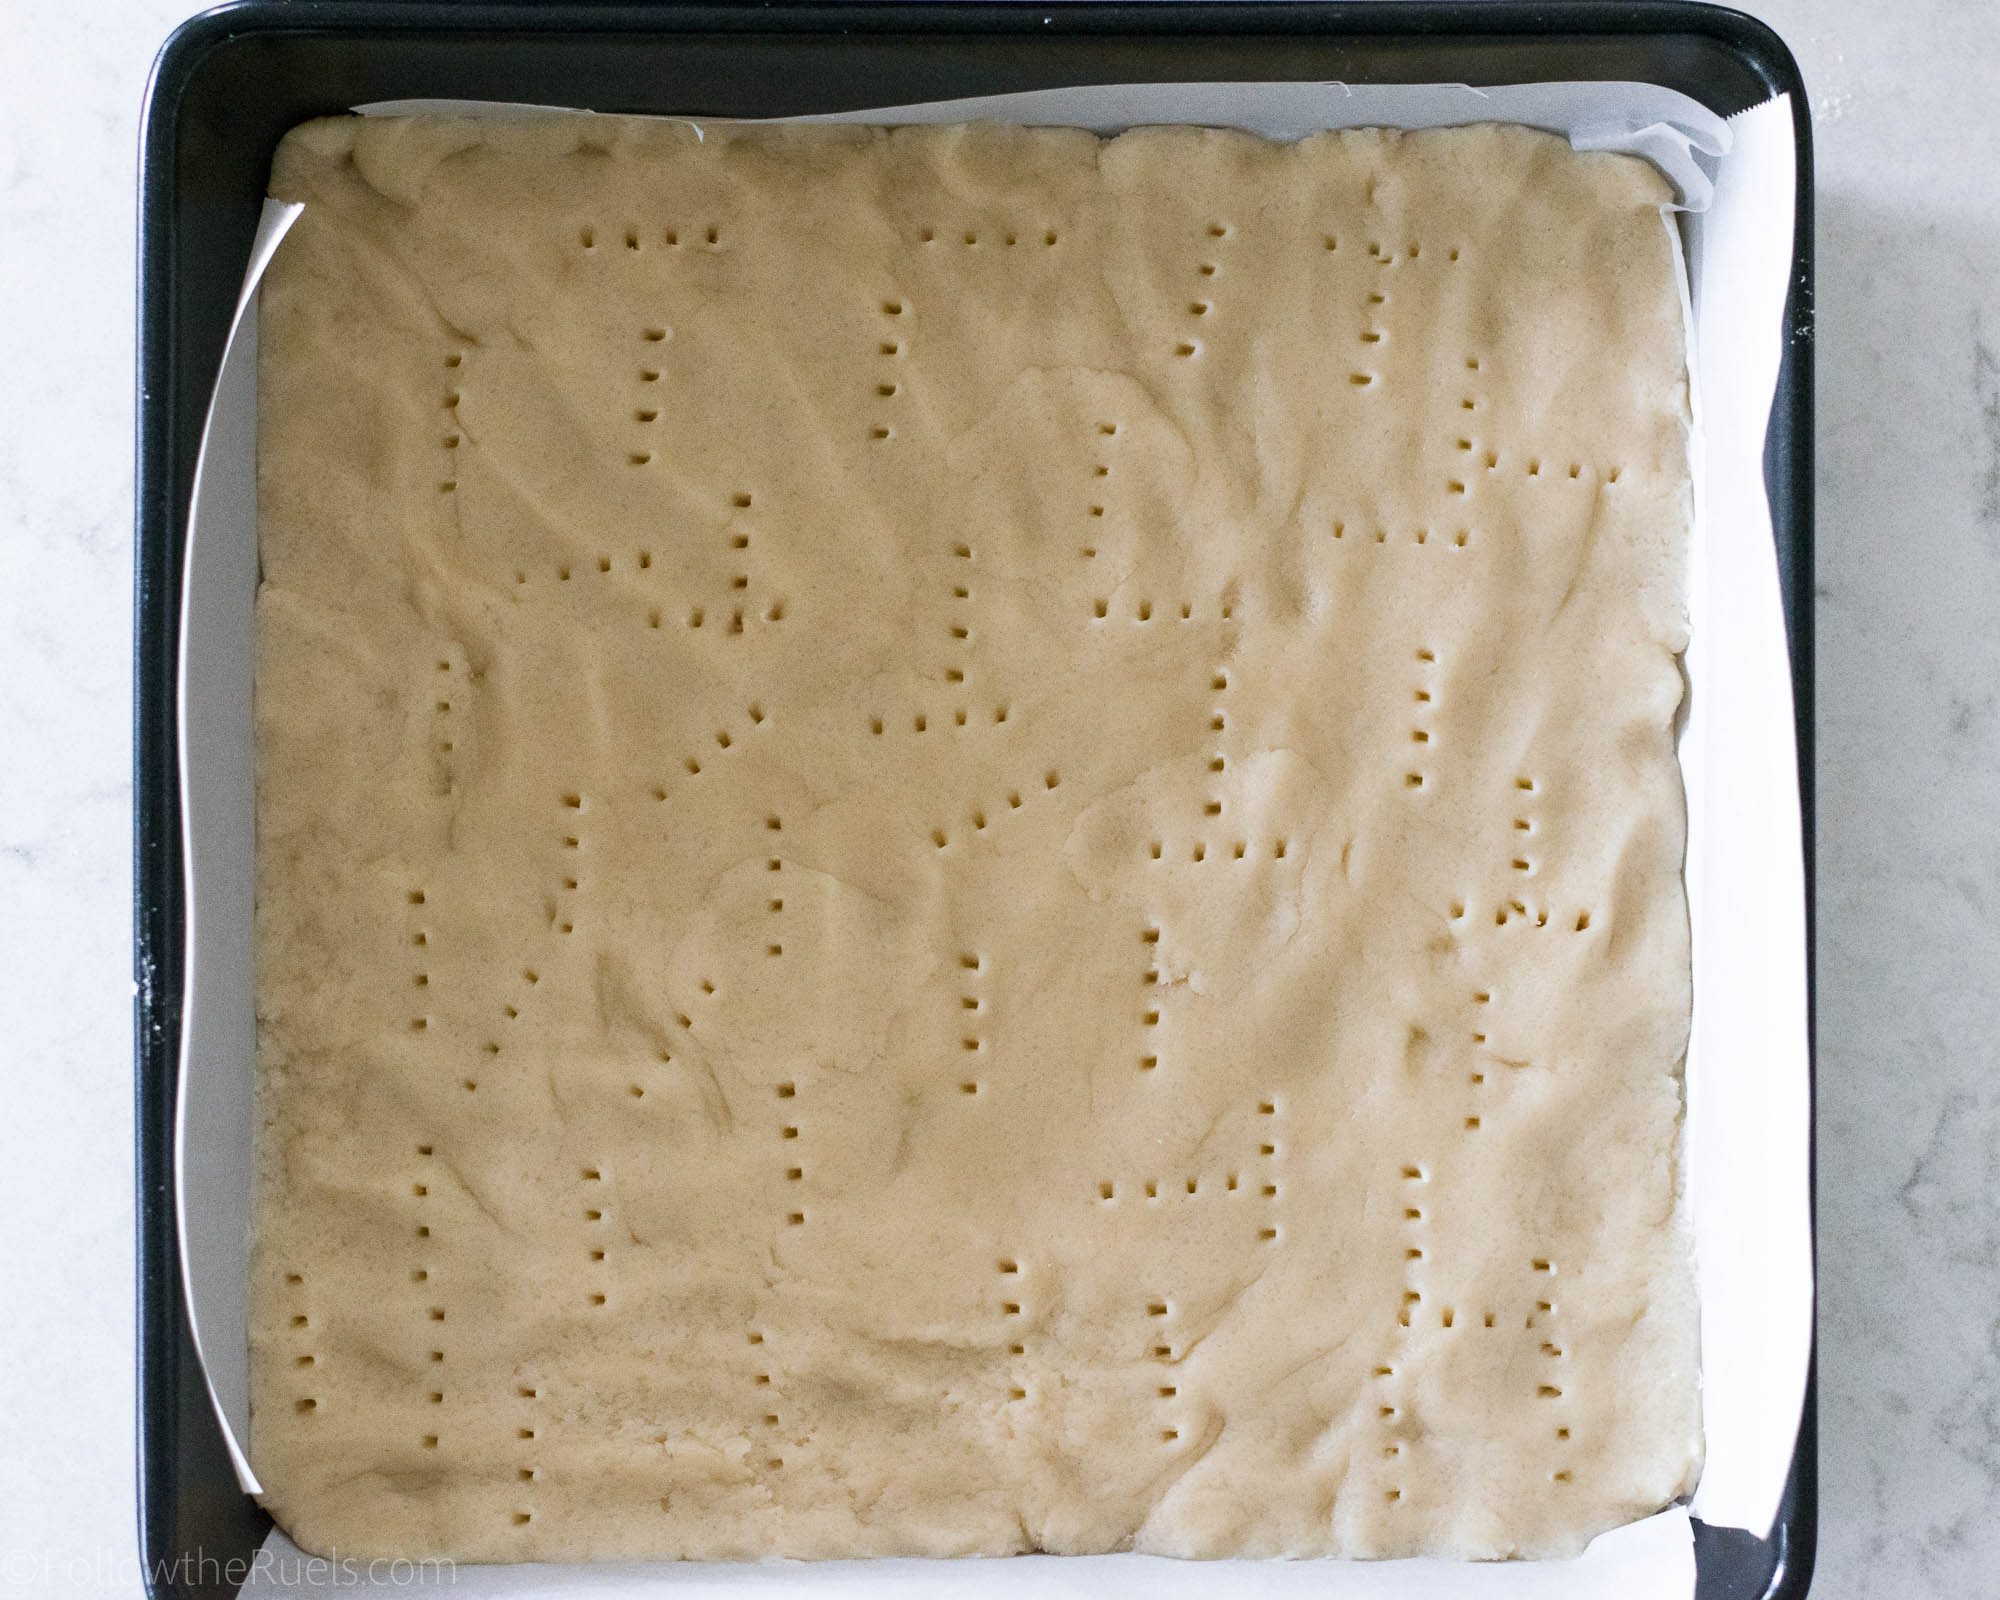
Press the dough into the bottom of a pan (lined with parchment for easy removal), and poke a few holes in the top so that it doesn’t puff up too much. Pop the crust in the oven to bake while you work on the filling of the lemon bars.
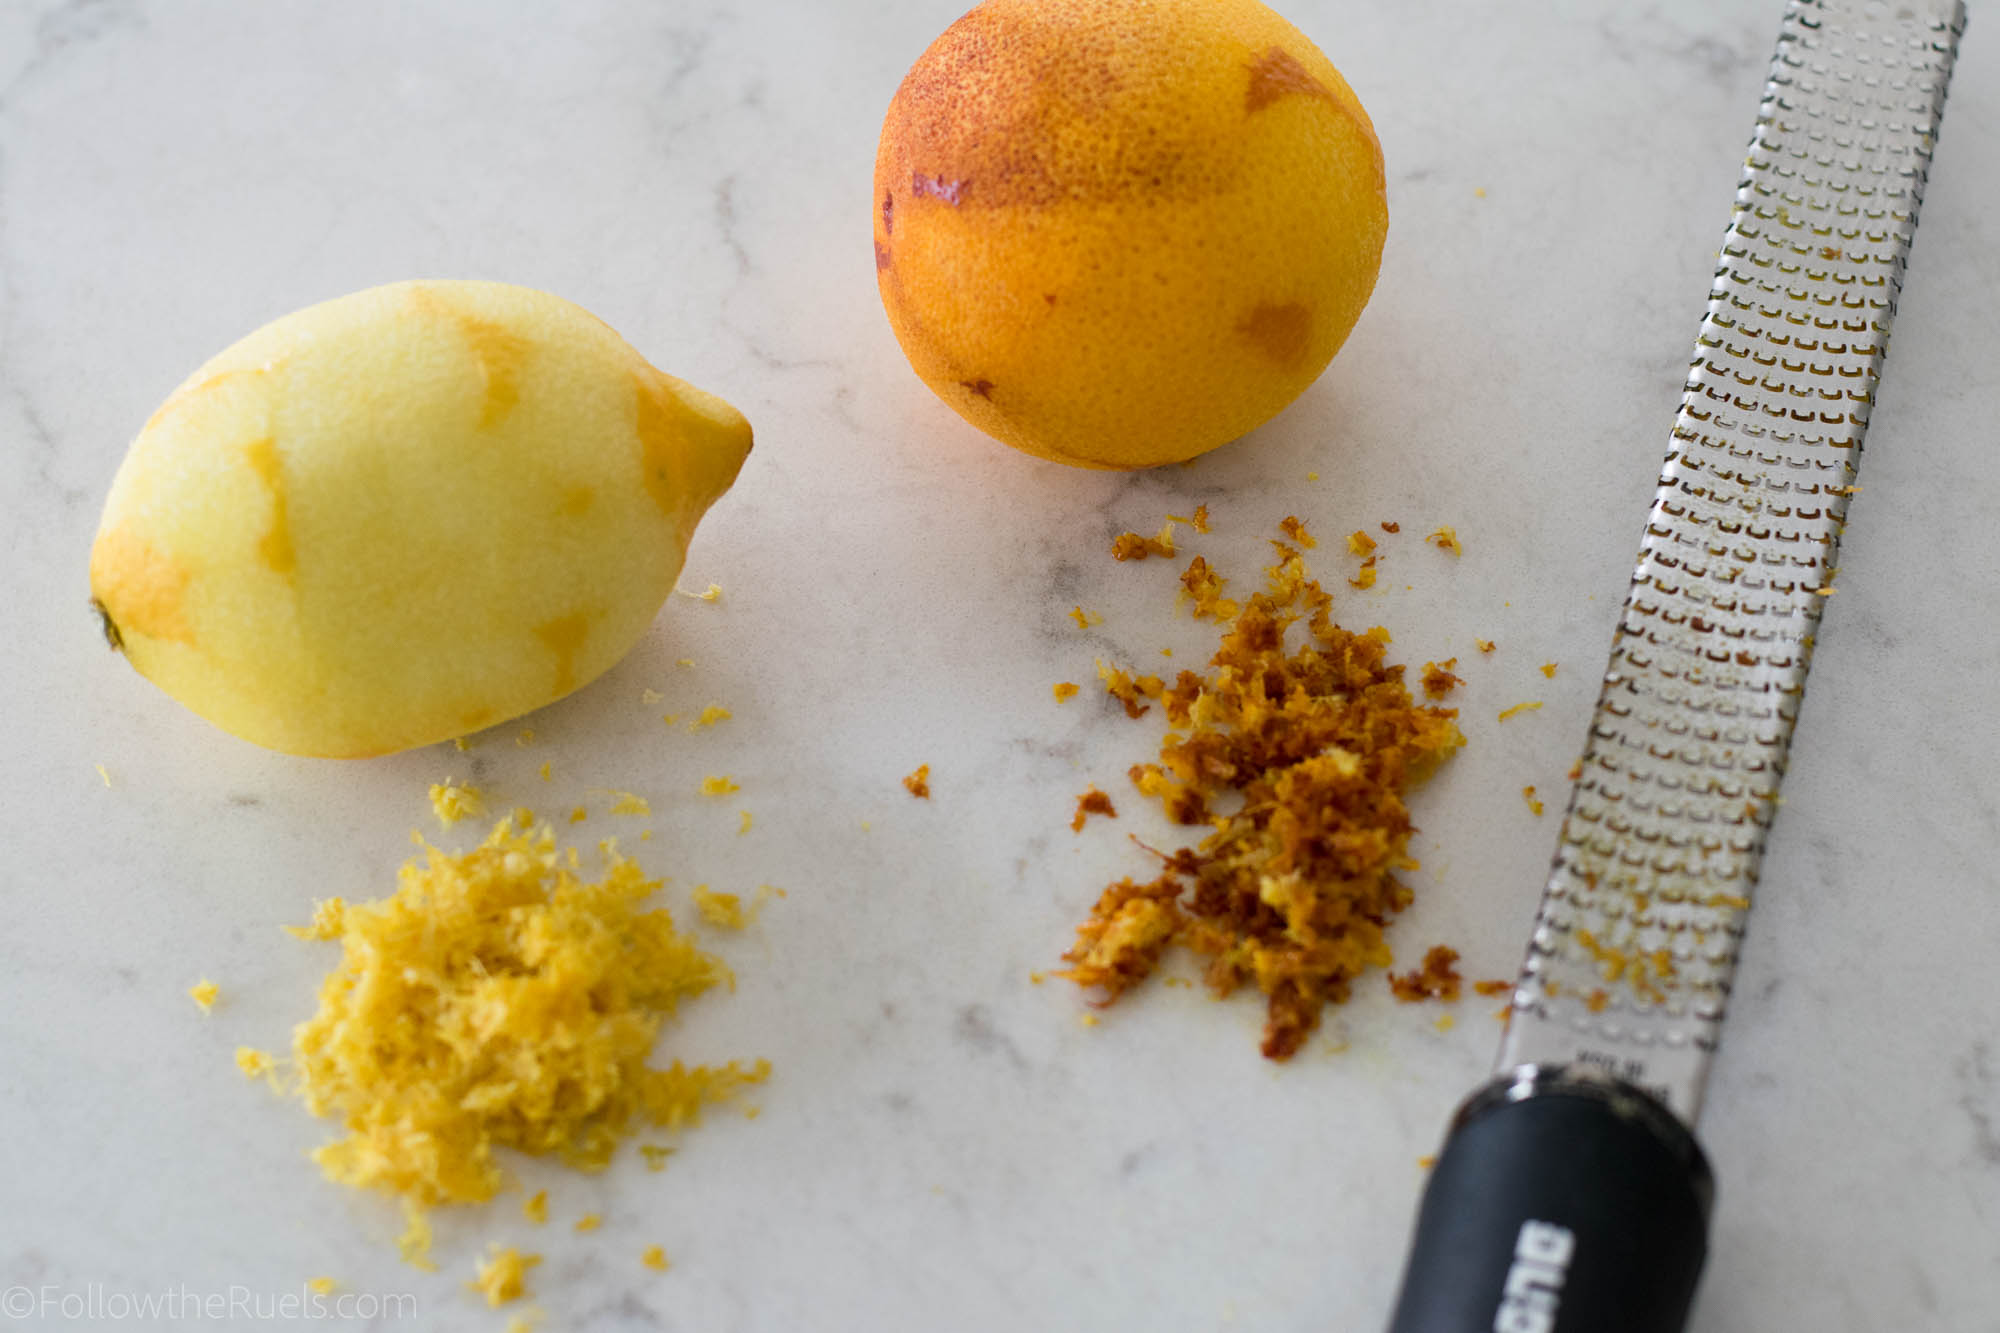
Before juicing your fruit, take all of the zest off of the orange and lemon. You will end up with about 1 tbsp of zest, but I basically just zest the whole fruit without worrying too much about the amount. 
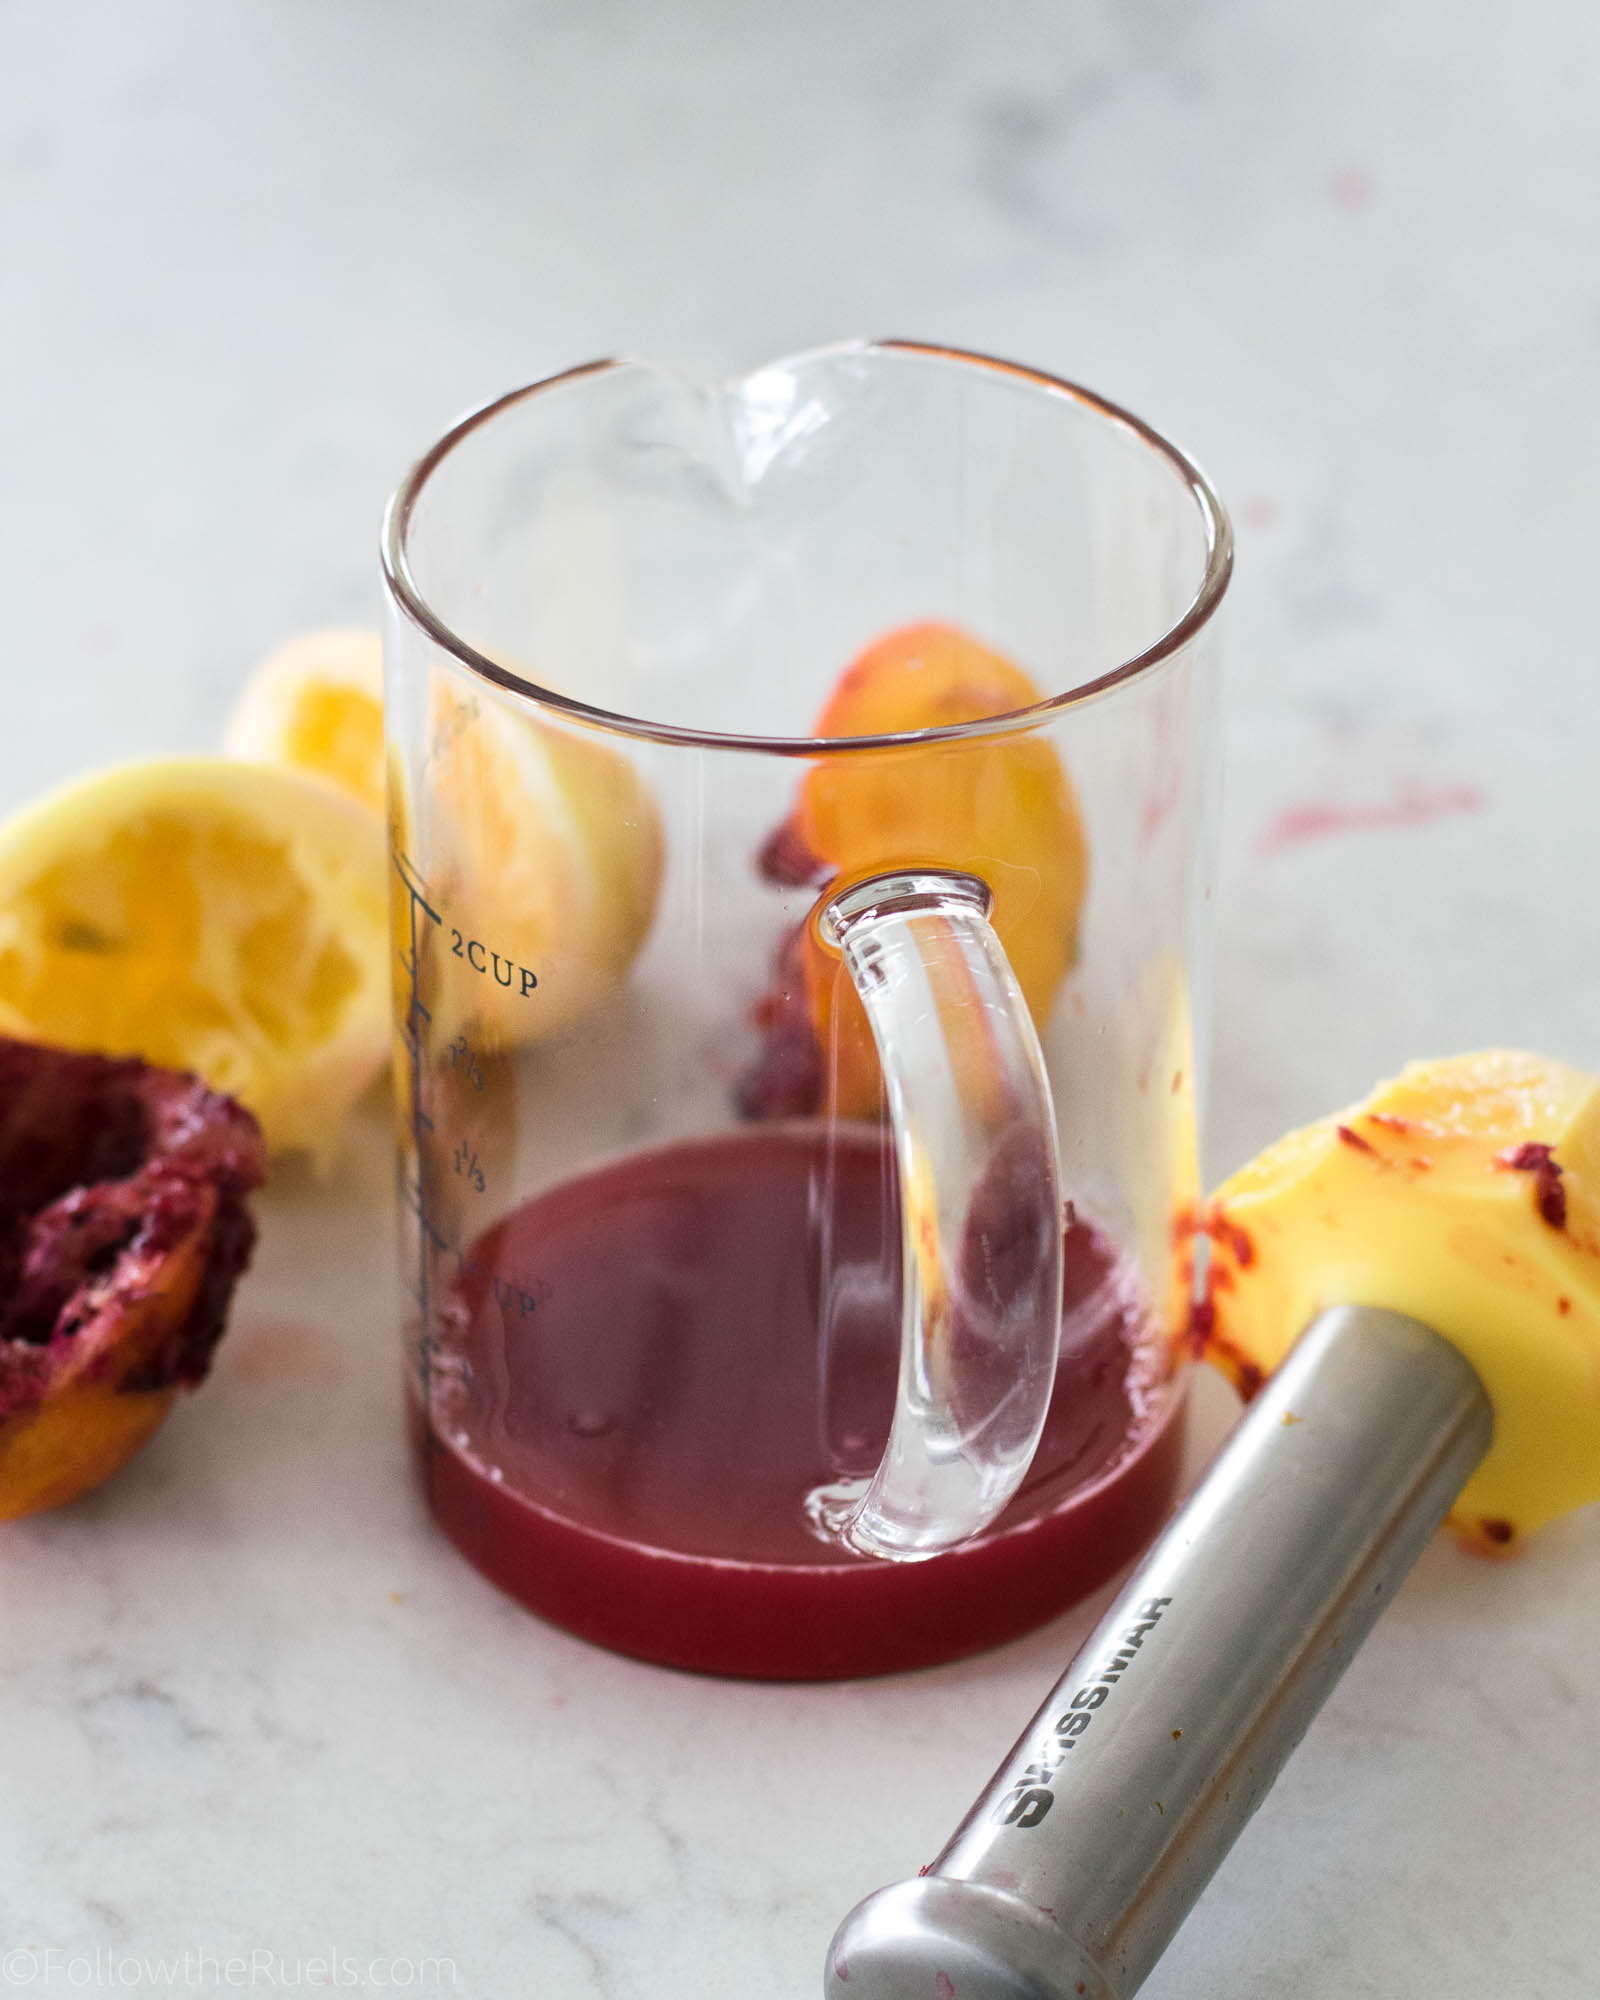
With the zest off of the fruit, cut them in half and squeeze the living juice out of them. Hopefully, you will end up with around 1/2 cup. If not, squeeze in another lemon or orange until you get to 1/2 cup.
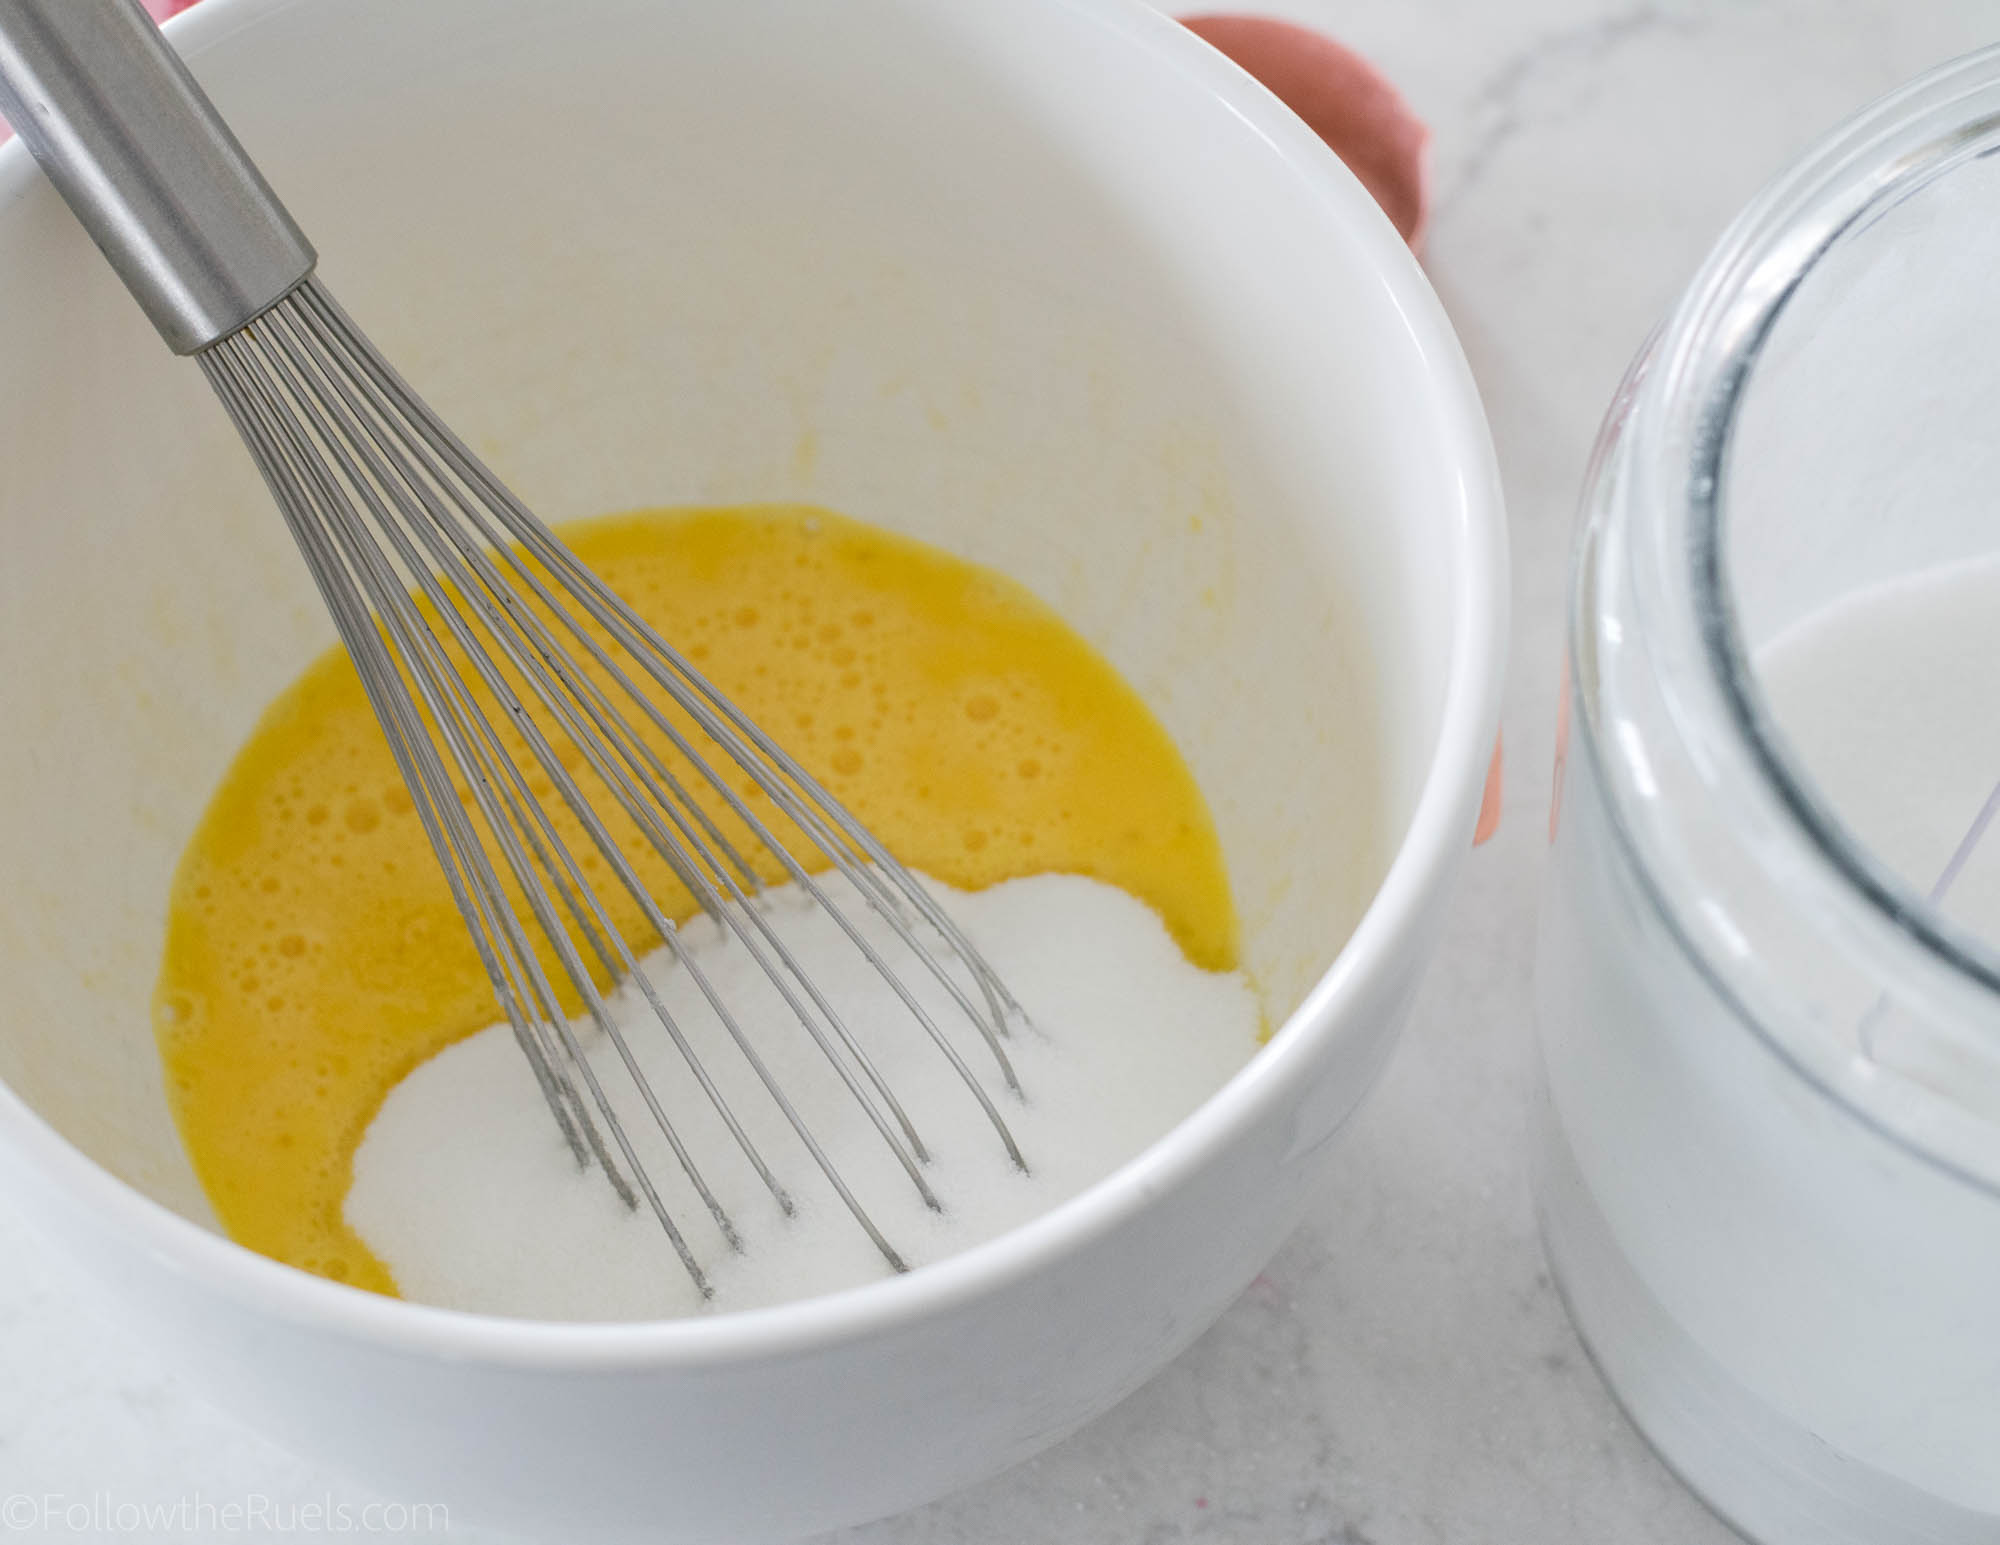
Next, whisk together the sugar and eggs and give them a good whisking.
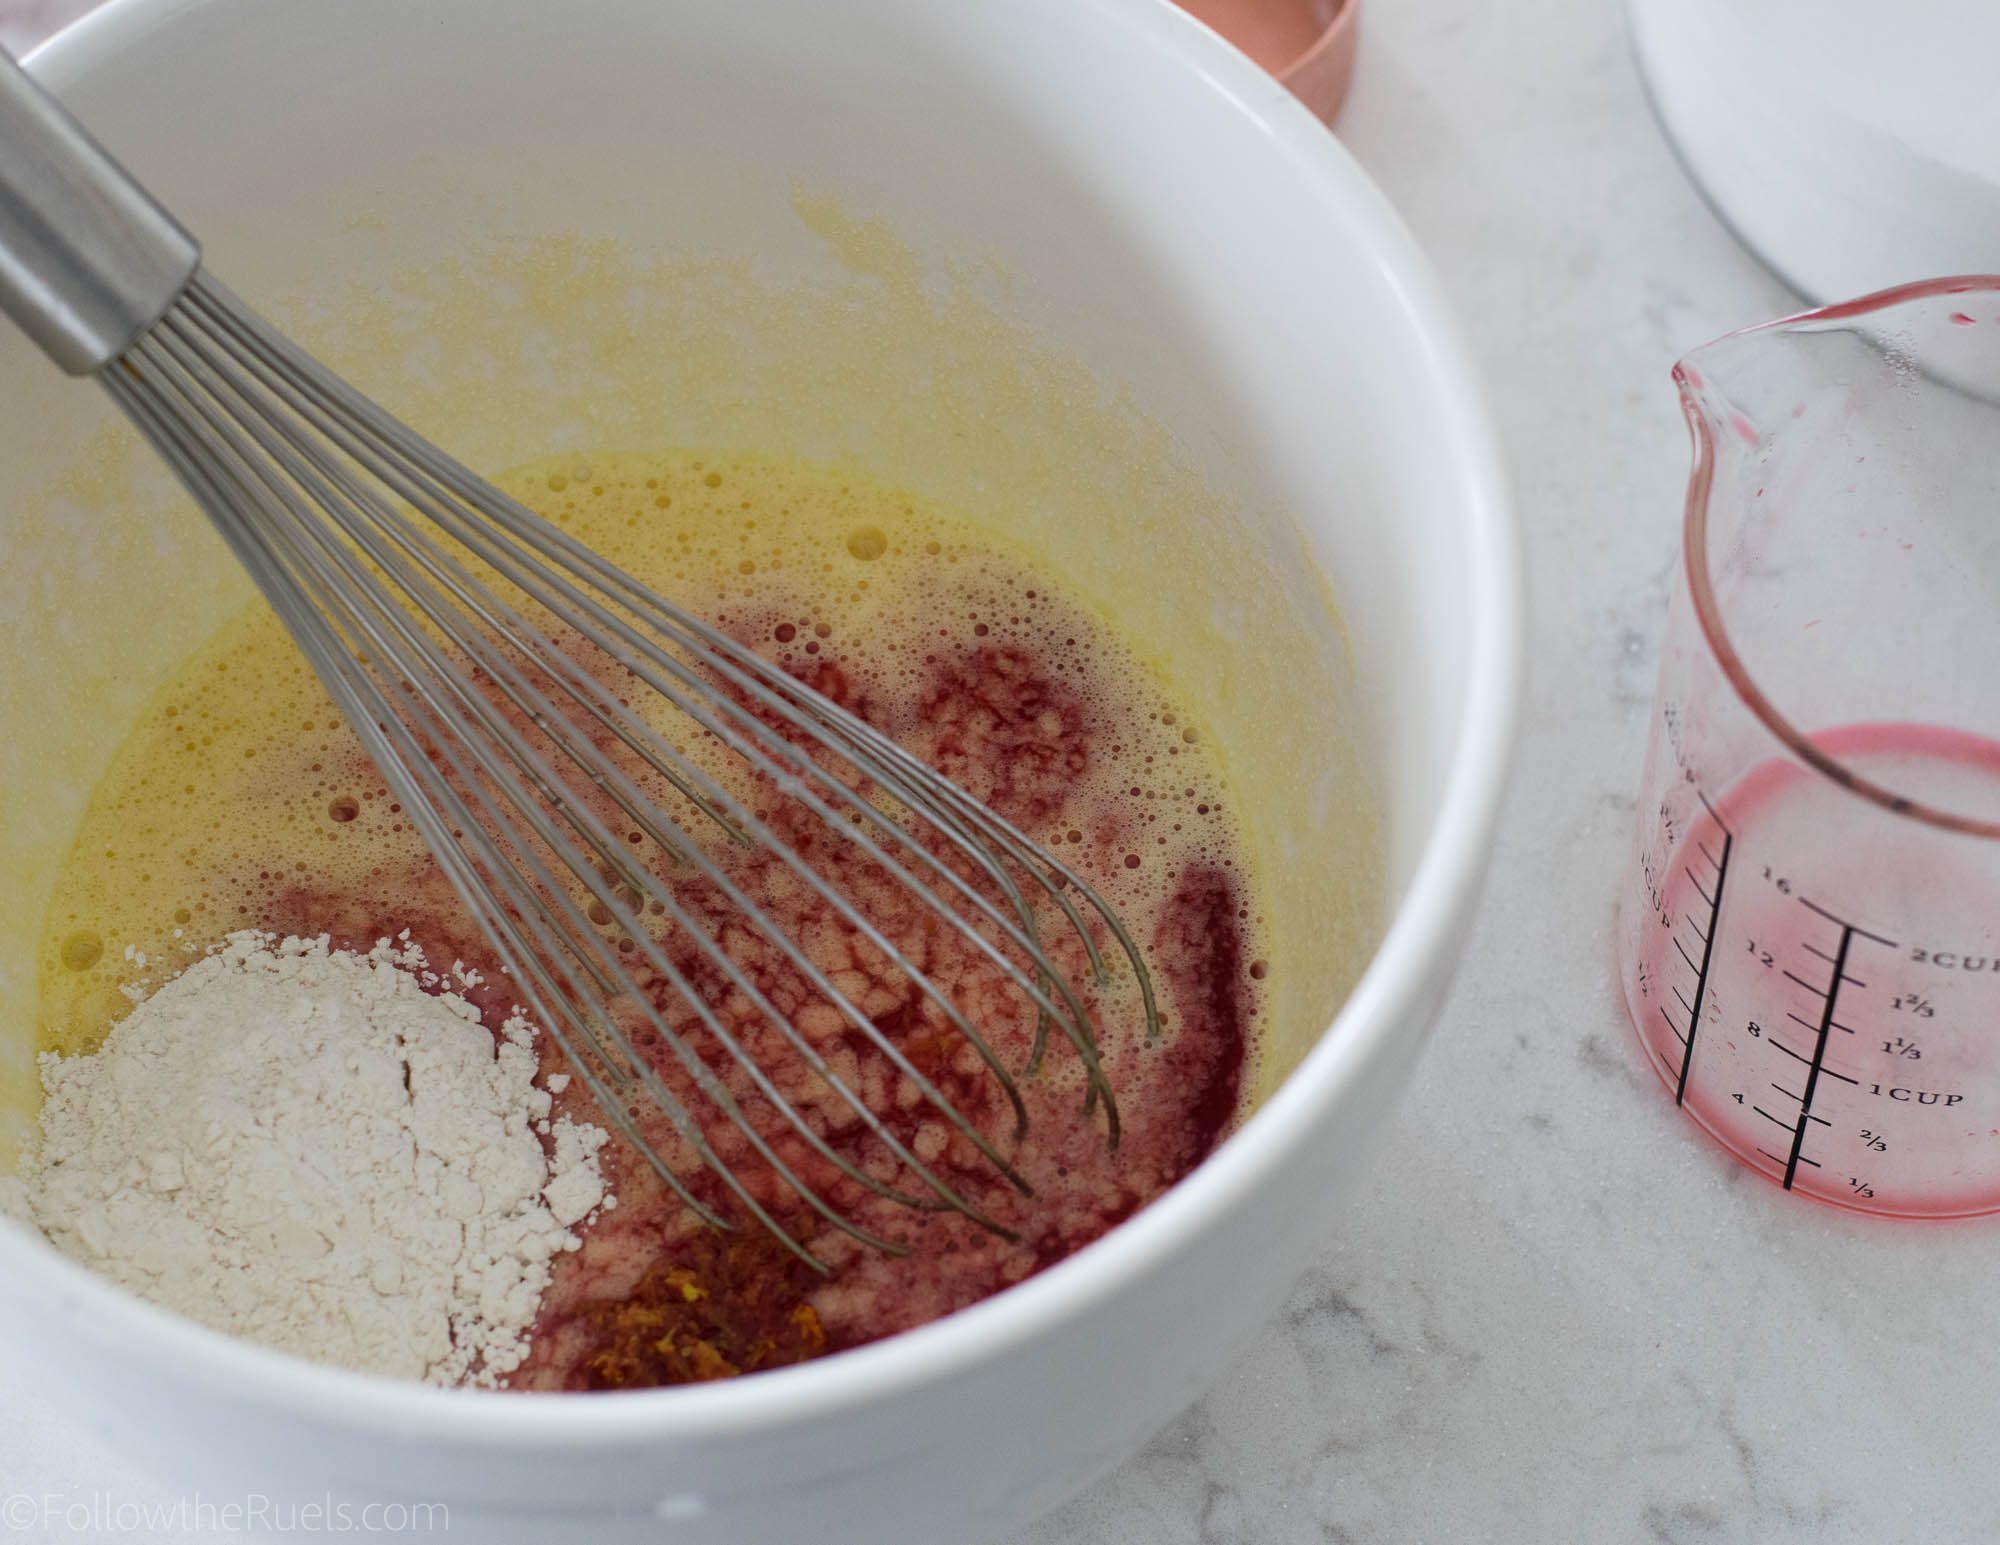
Then add the juice, zest, and flour and mix until smooth. 

Pour the batter over the baked and cooled crust, then pop back into the oven to bake for a few more minutes. 
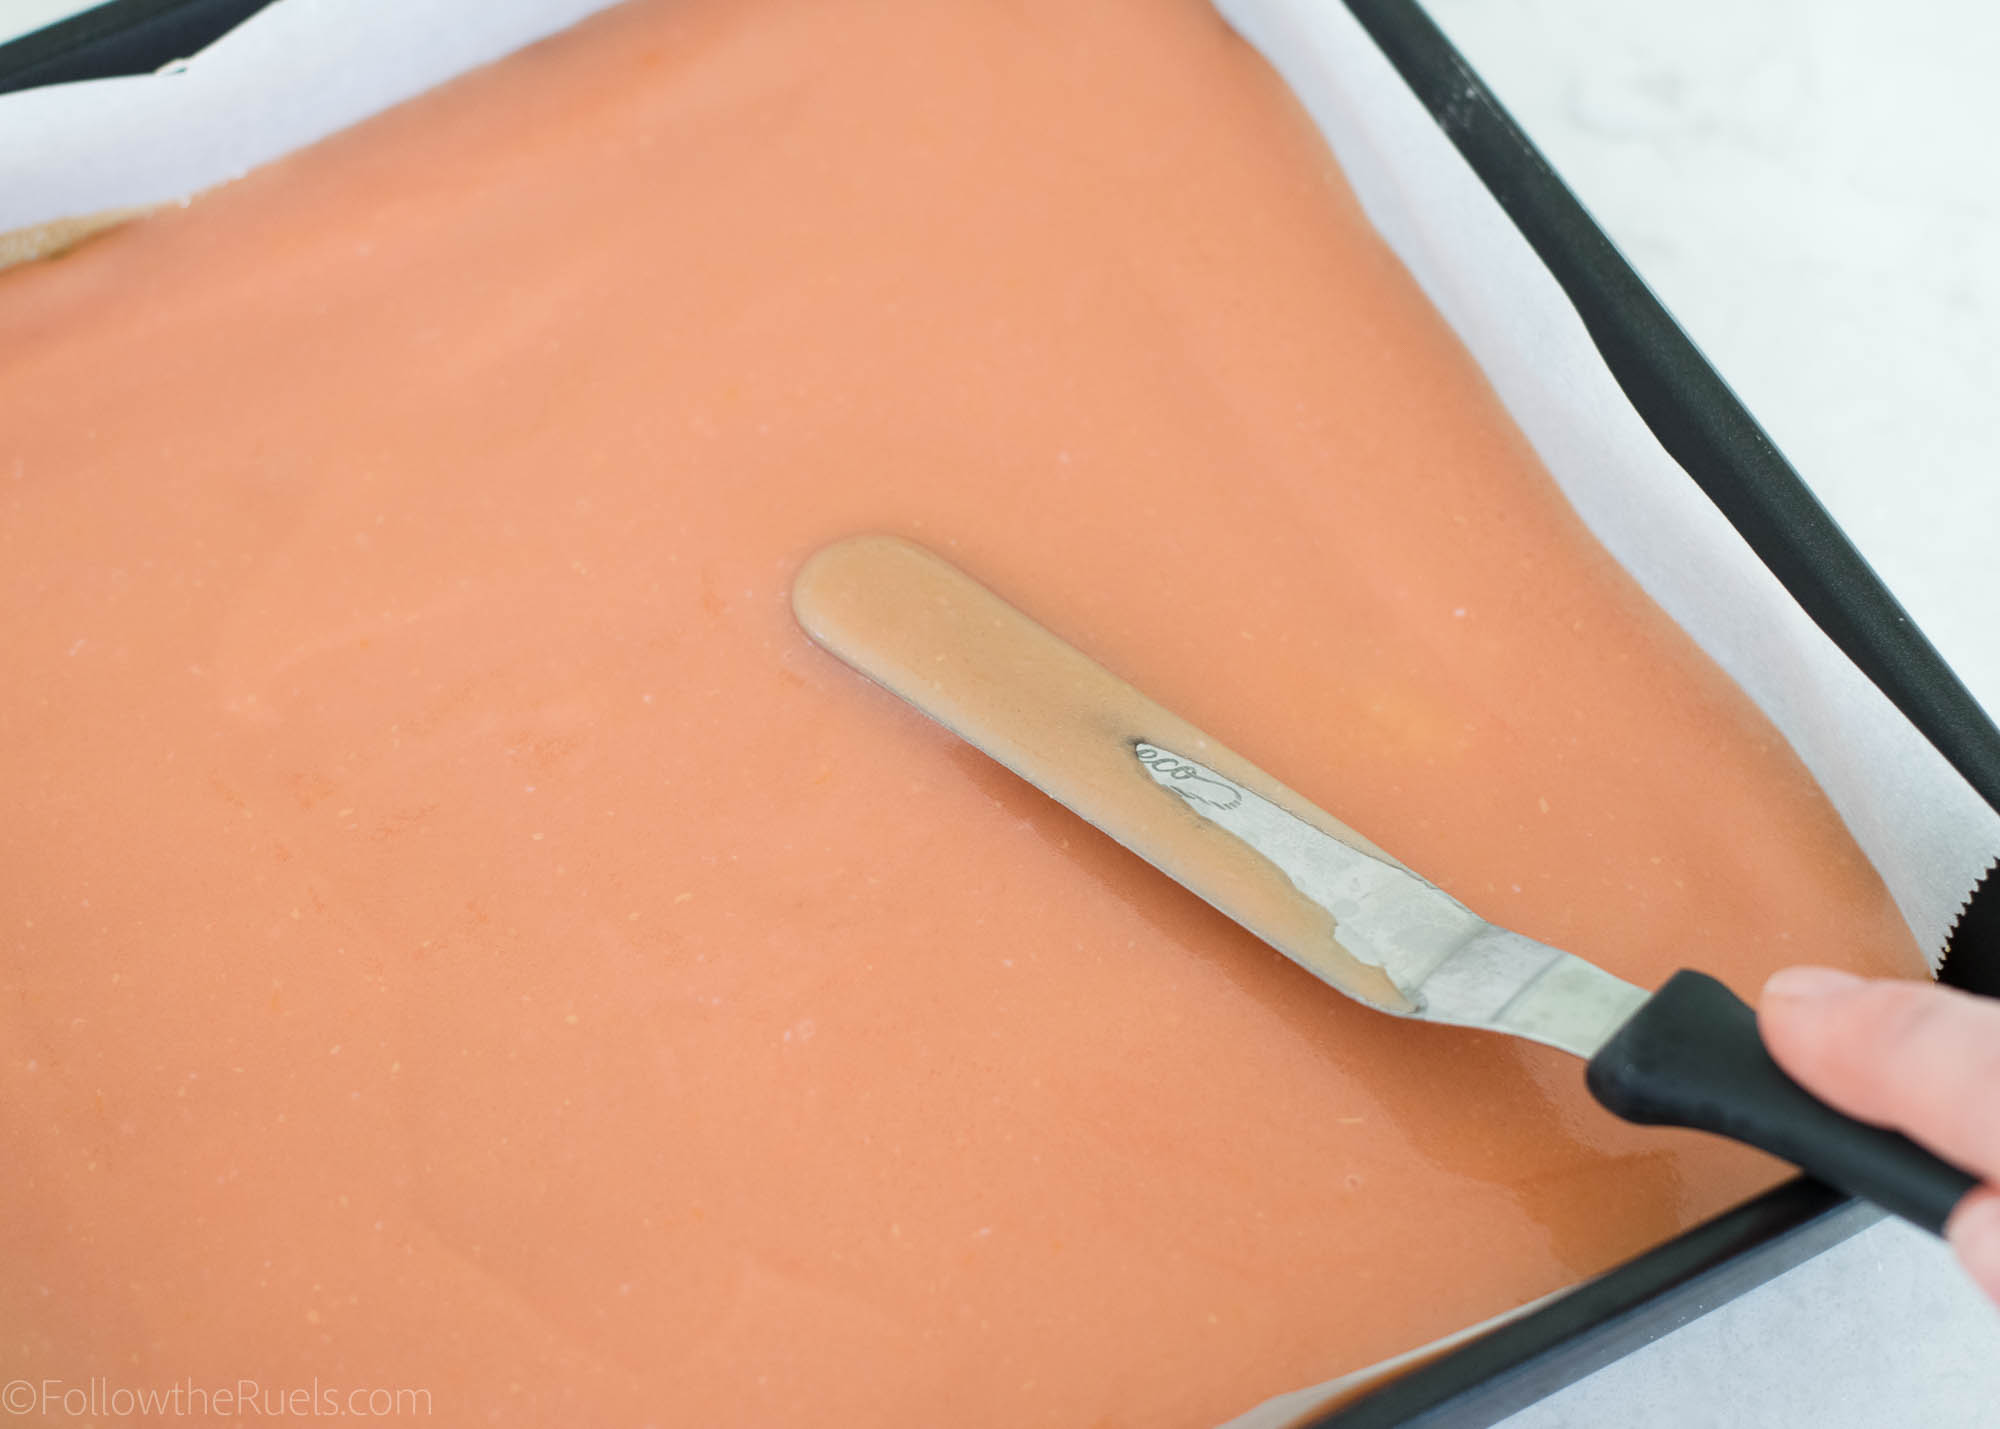
Once it’s done baking you have a couple options. You can leave it as is and just top with a bit of powdered sugar, slice, and eat. 

Or you can top with some blood orange curd for extra blood orange flavor! 

I clearly prefer the latter because it not only amplifies the flavor, but it also makes the bars look so polished and professional, with only a little bit more effort. 


Now, this last step is definitely optional. I really only did it for the photos because these blood oranges are just so pretty! 

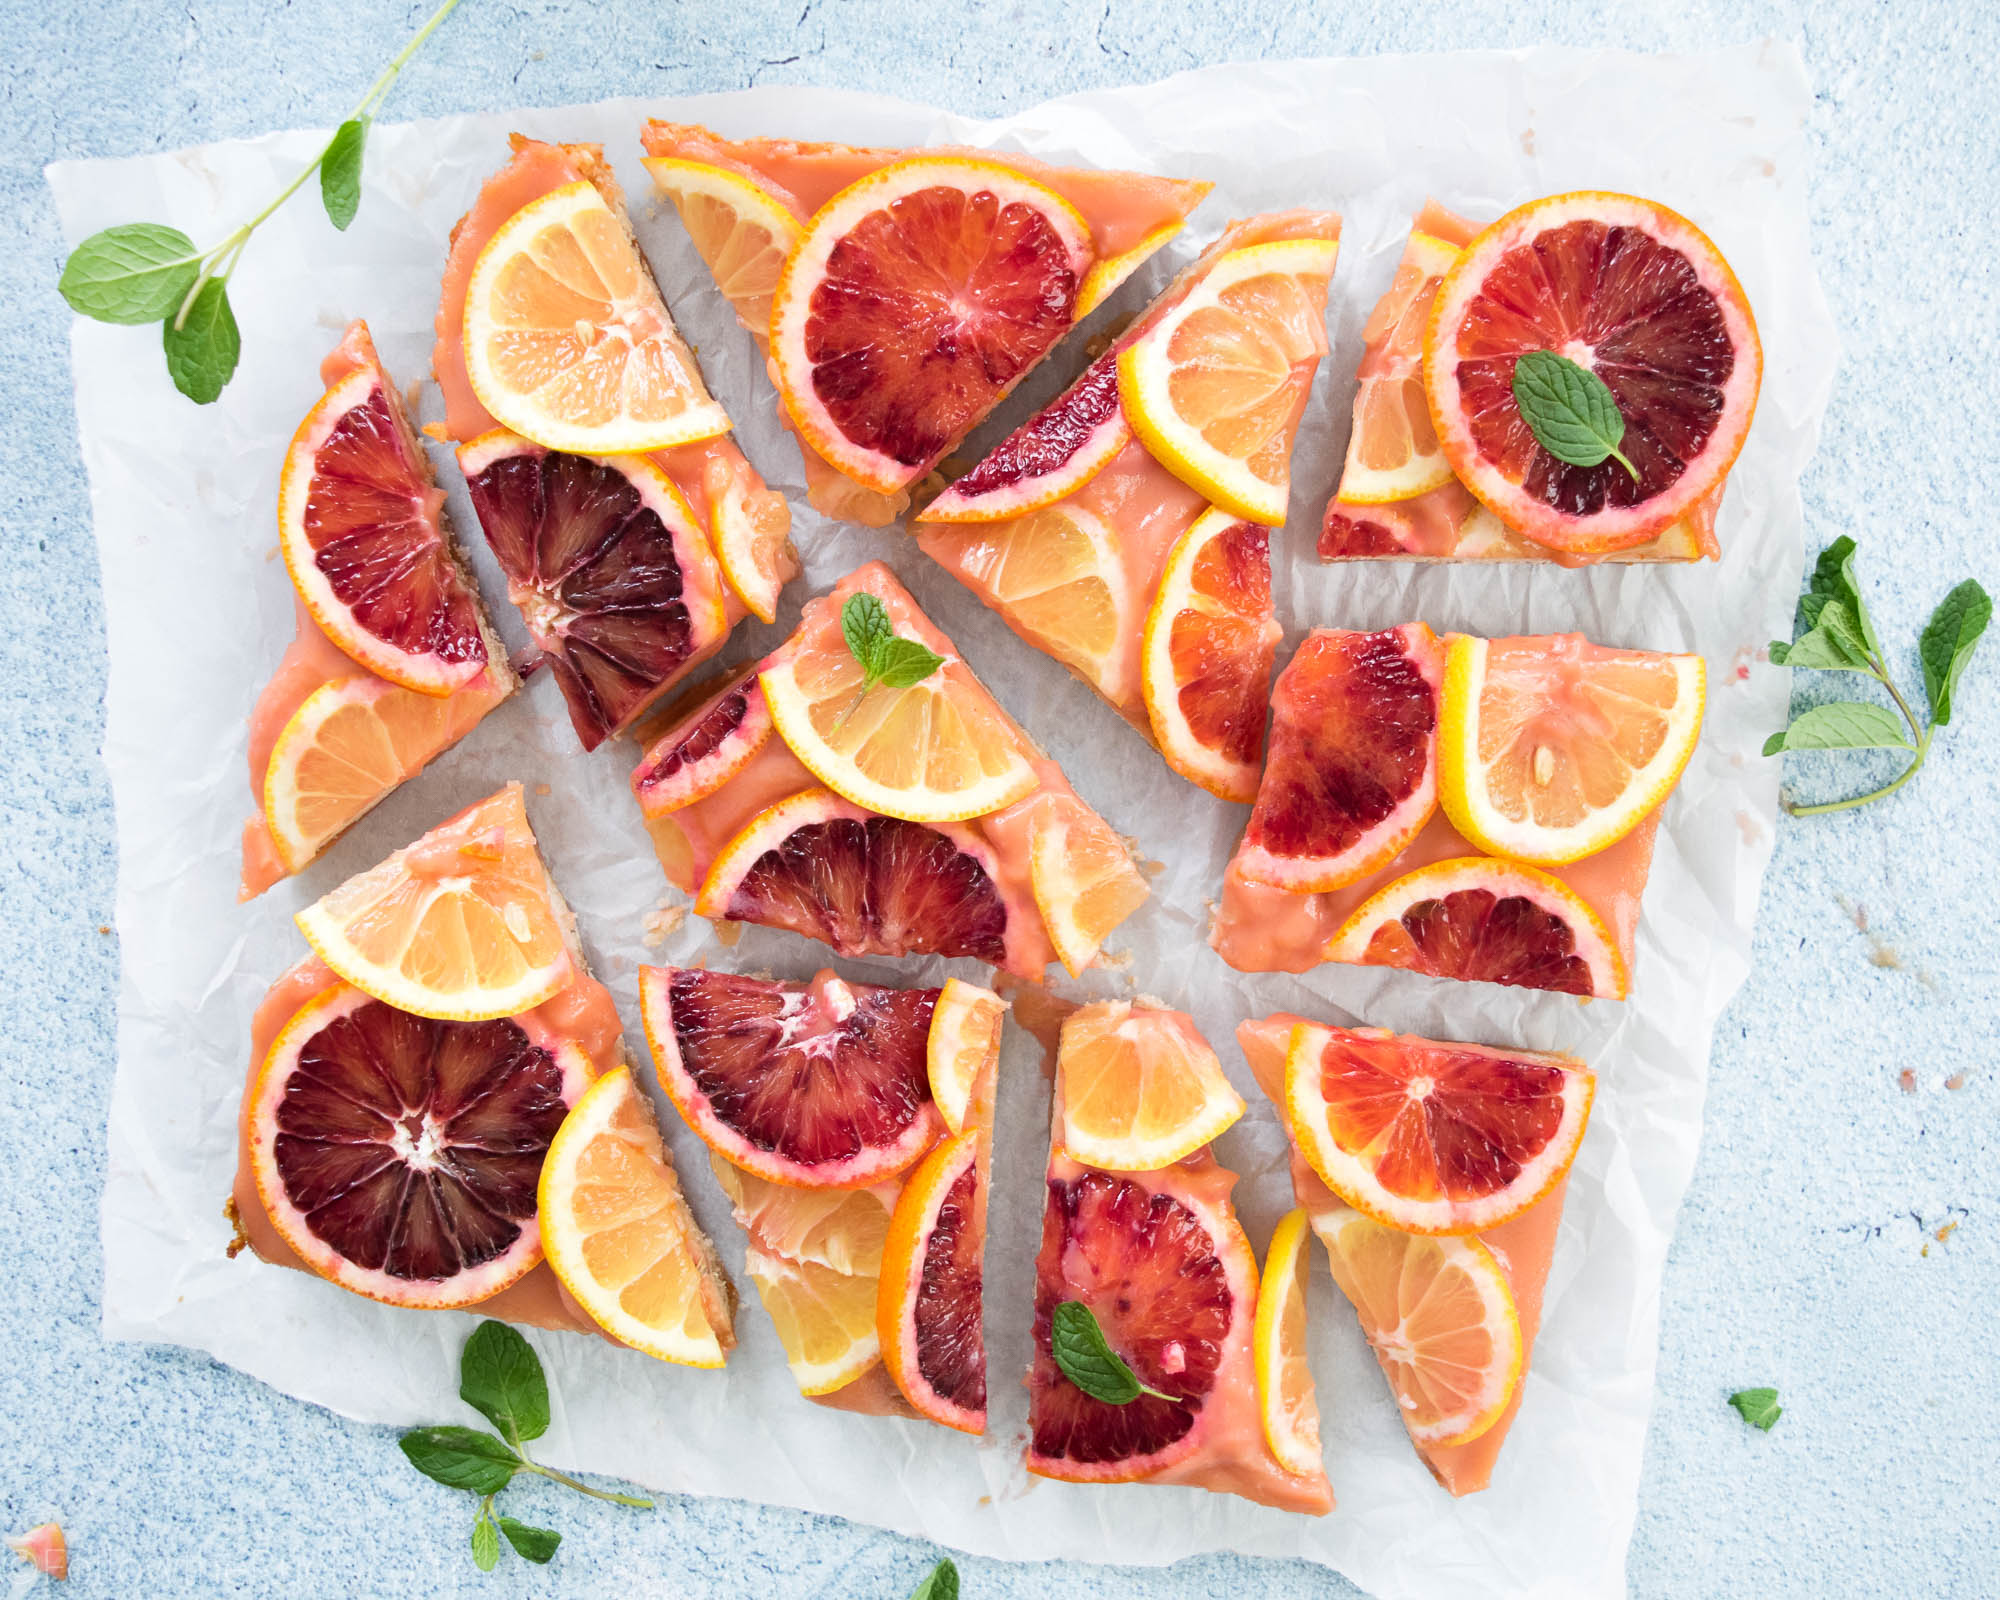
I sliced up an orange and a lemon as thinly as possible and then layered them on top of the bars. If I were to make these again, I would actually candy the lemon and orange slices first because they were a bit too juicy. 

But it looks so pretty!
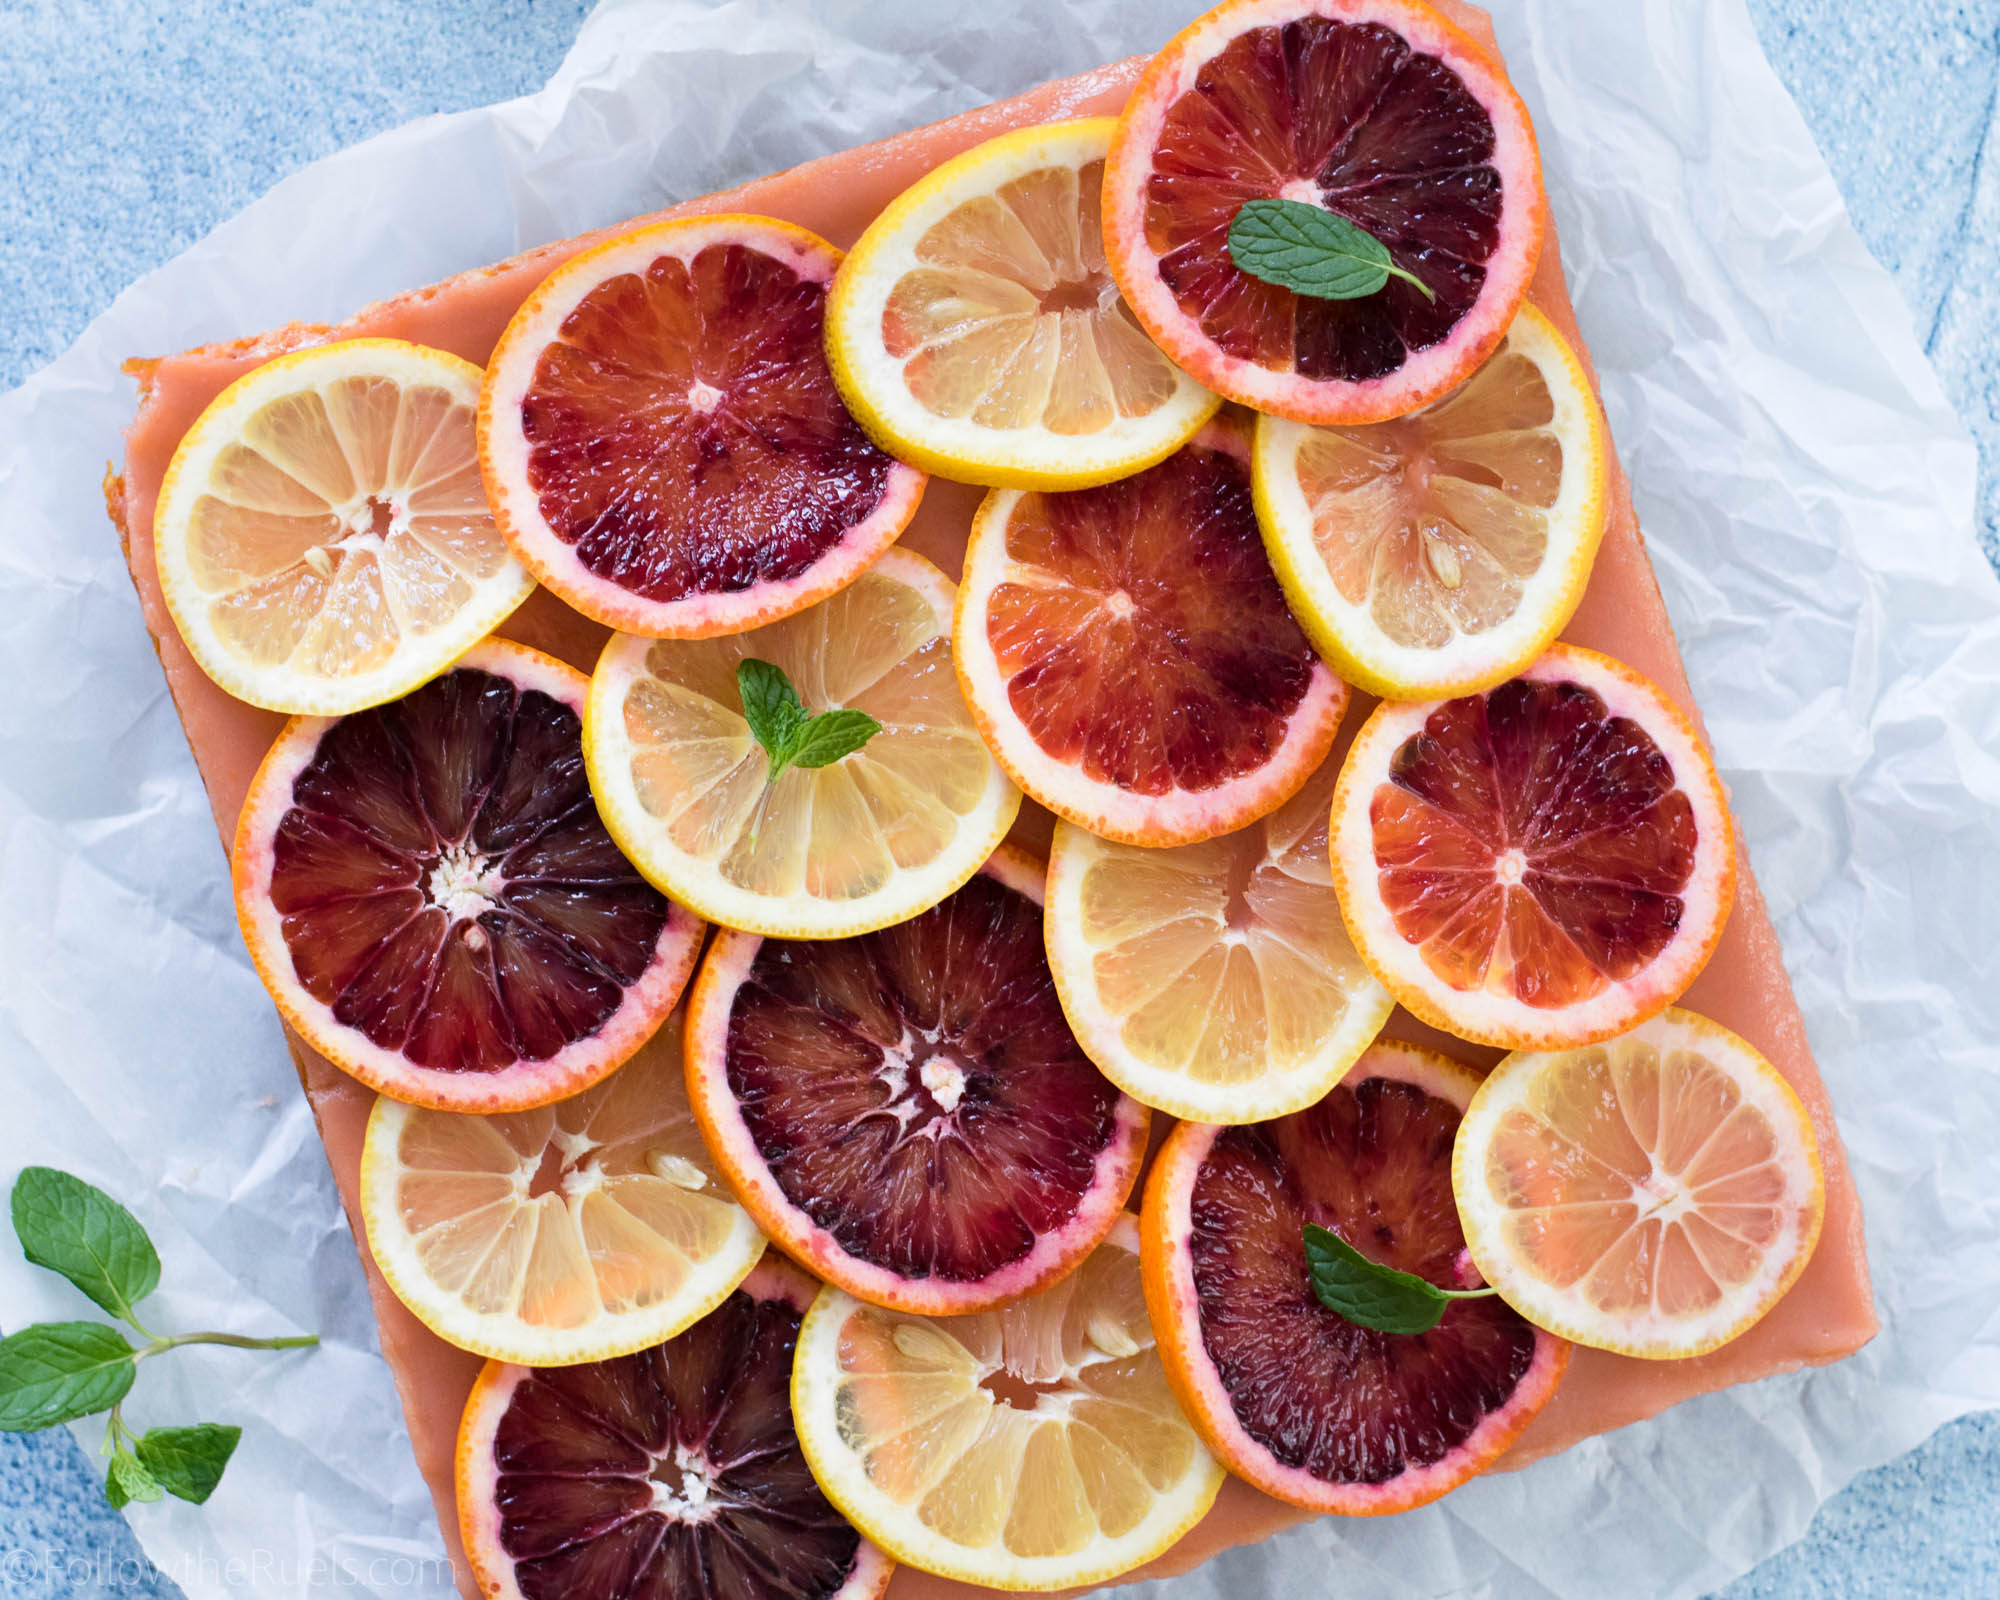
Insert heart eyes emoji here. I am so in love with how these look, I almost forgot to mention how amazing they taste.

Insert another heart eyes emoji. I mean, I already have a place in my heart for regular ol’ lemon bars. But these just push it to another level. They have a bit of an orange flavor, but the lemon still comes through. Mostly, I just love the color and the extra layer of citrus flavor. 
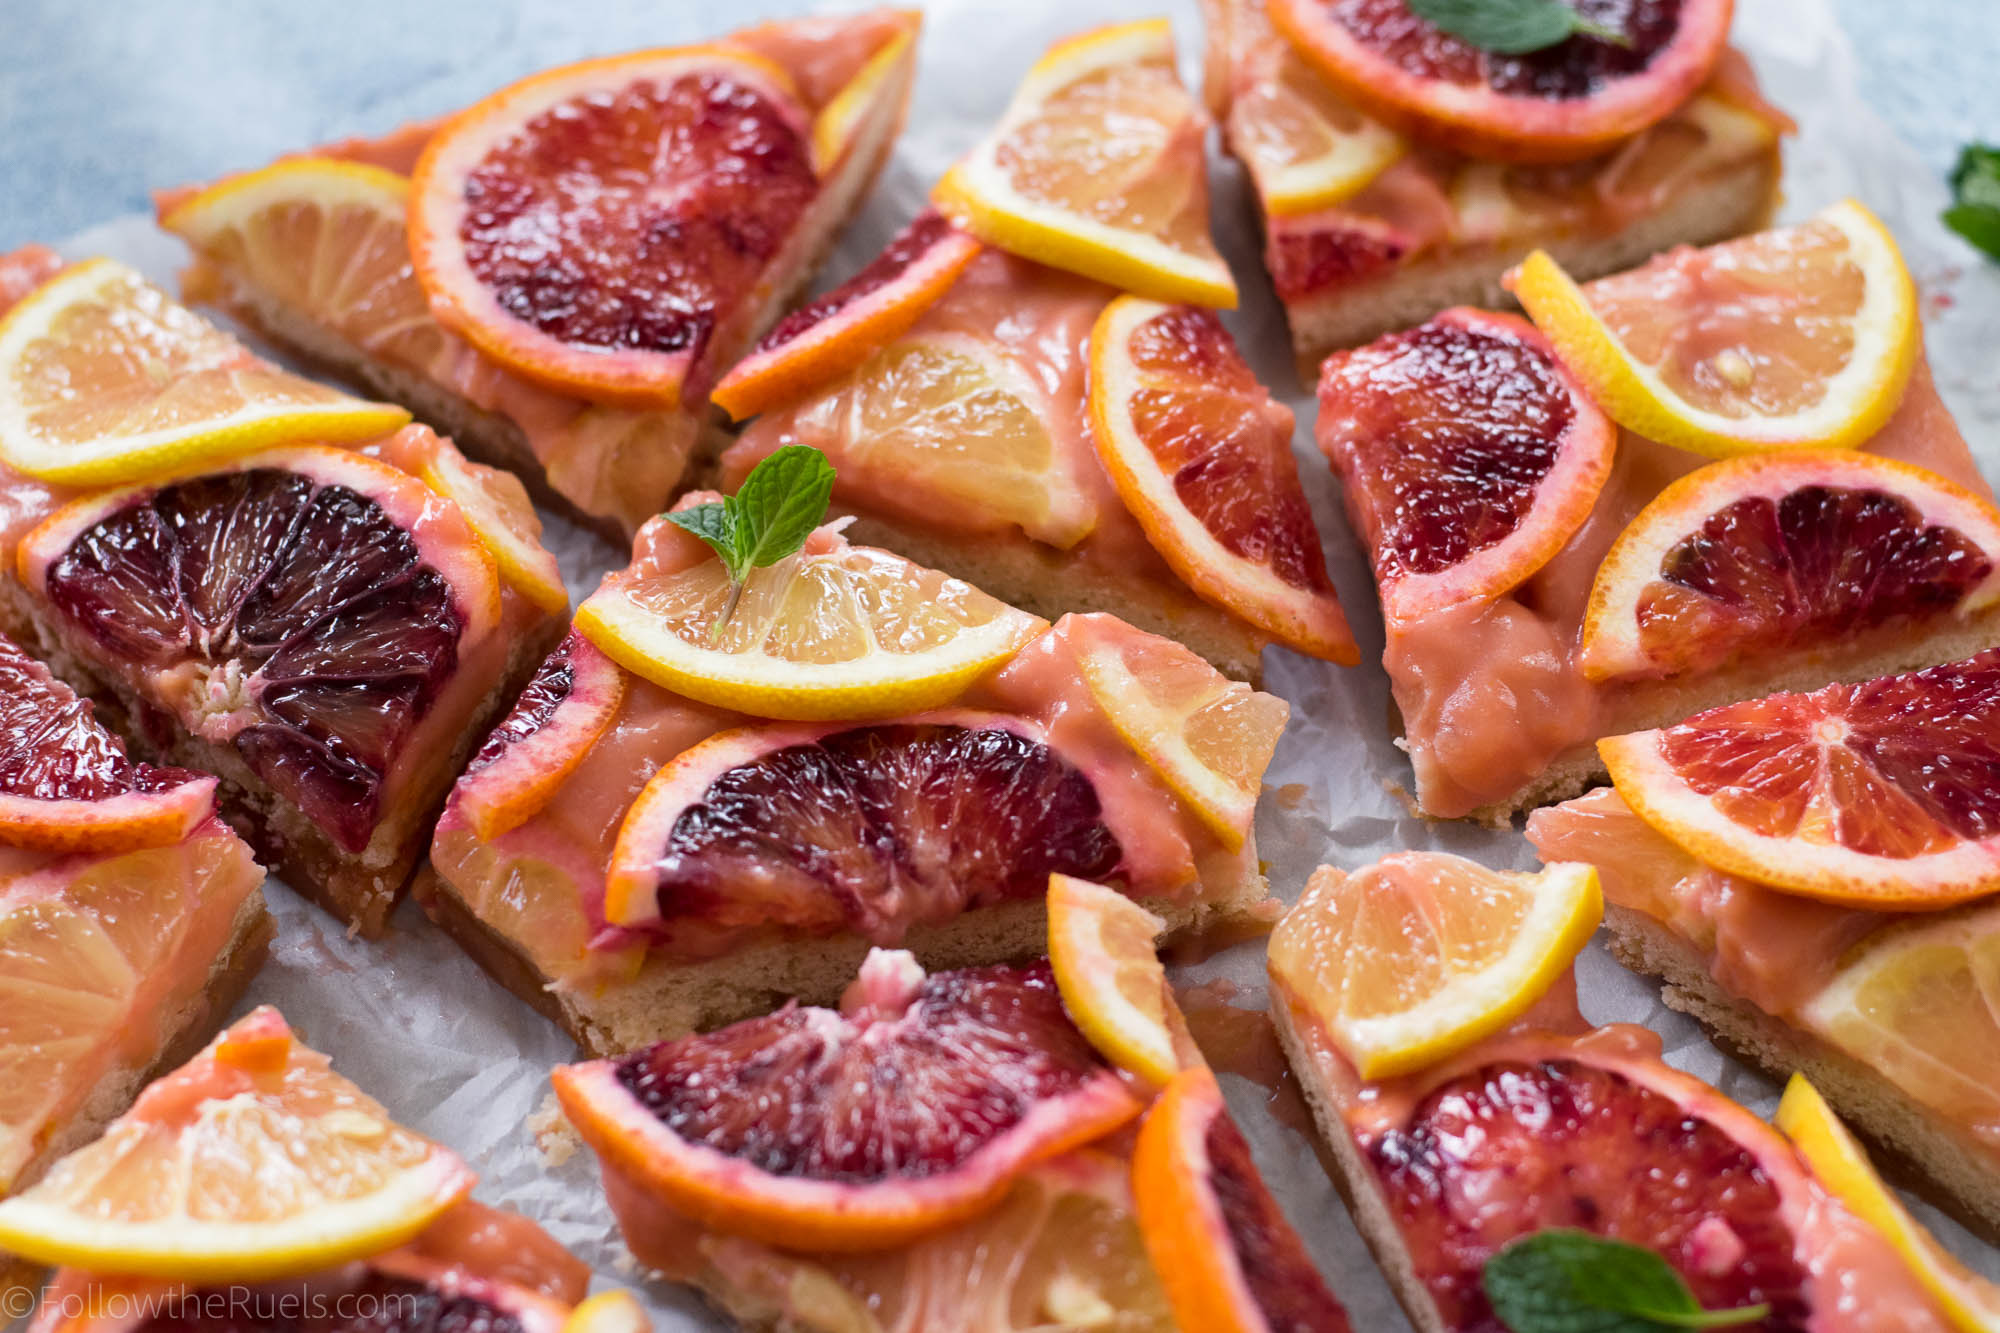
Once these blood orange lemon bars were sliced into (irregularly shaped) pieces, I wasted very little time gobbling a few down. 

They pair very well with a blood orange margarita…I assume…I am definitely not speaking from experience. 😉

[yumprint-recipe id=’165′]

/ Filed In: Bars and Brownies, Desserts, Eat, Other Sweets New
Tagged: blood orange, citrus, crust, dessert, lemon, lemon bars, orange, shortbread

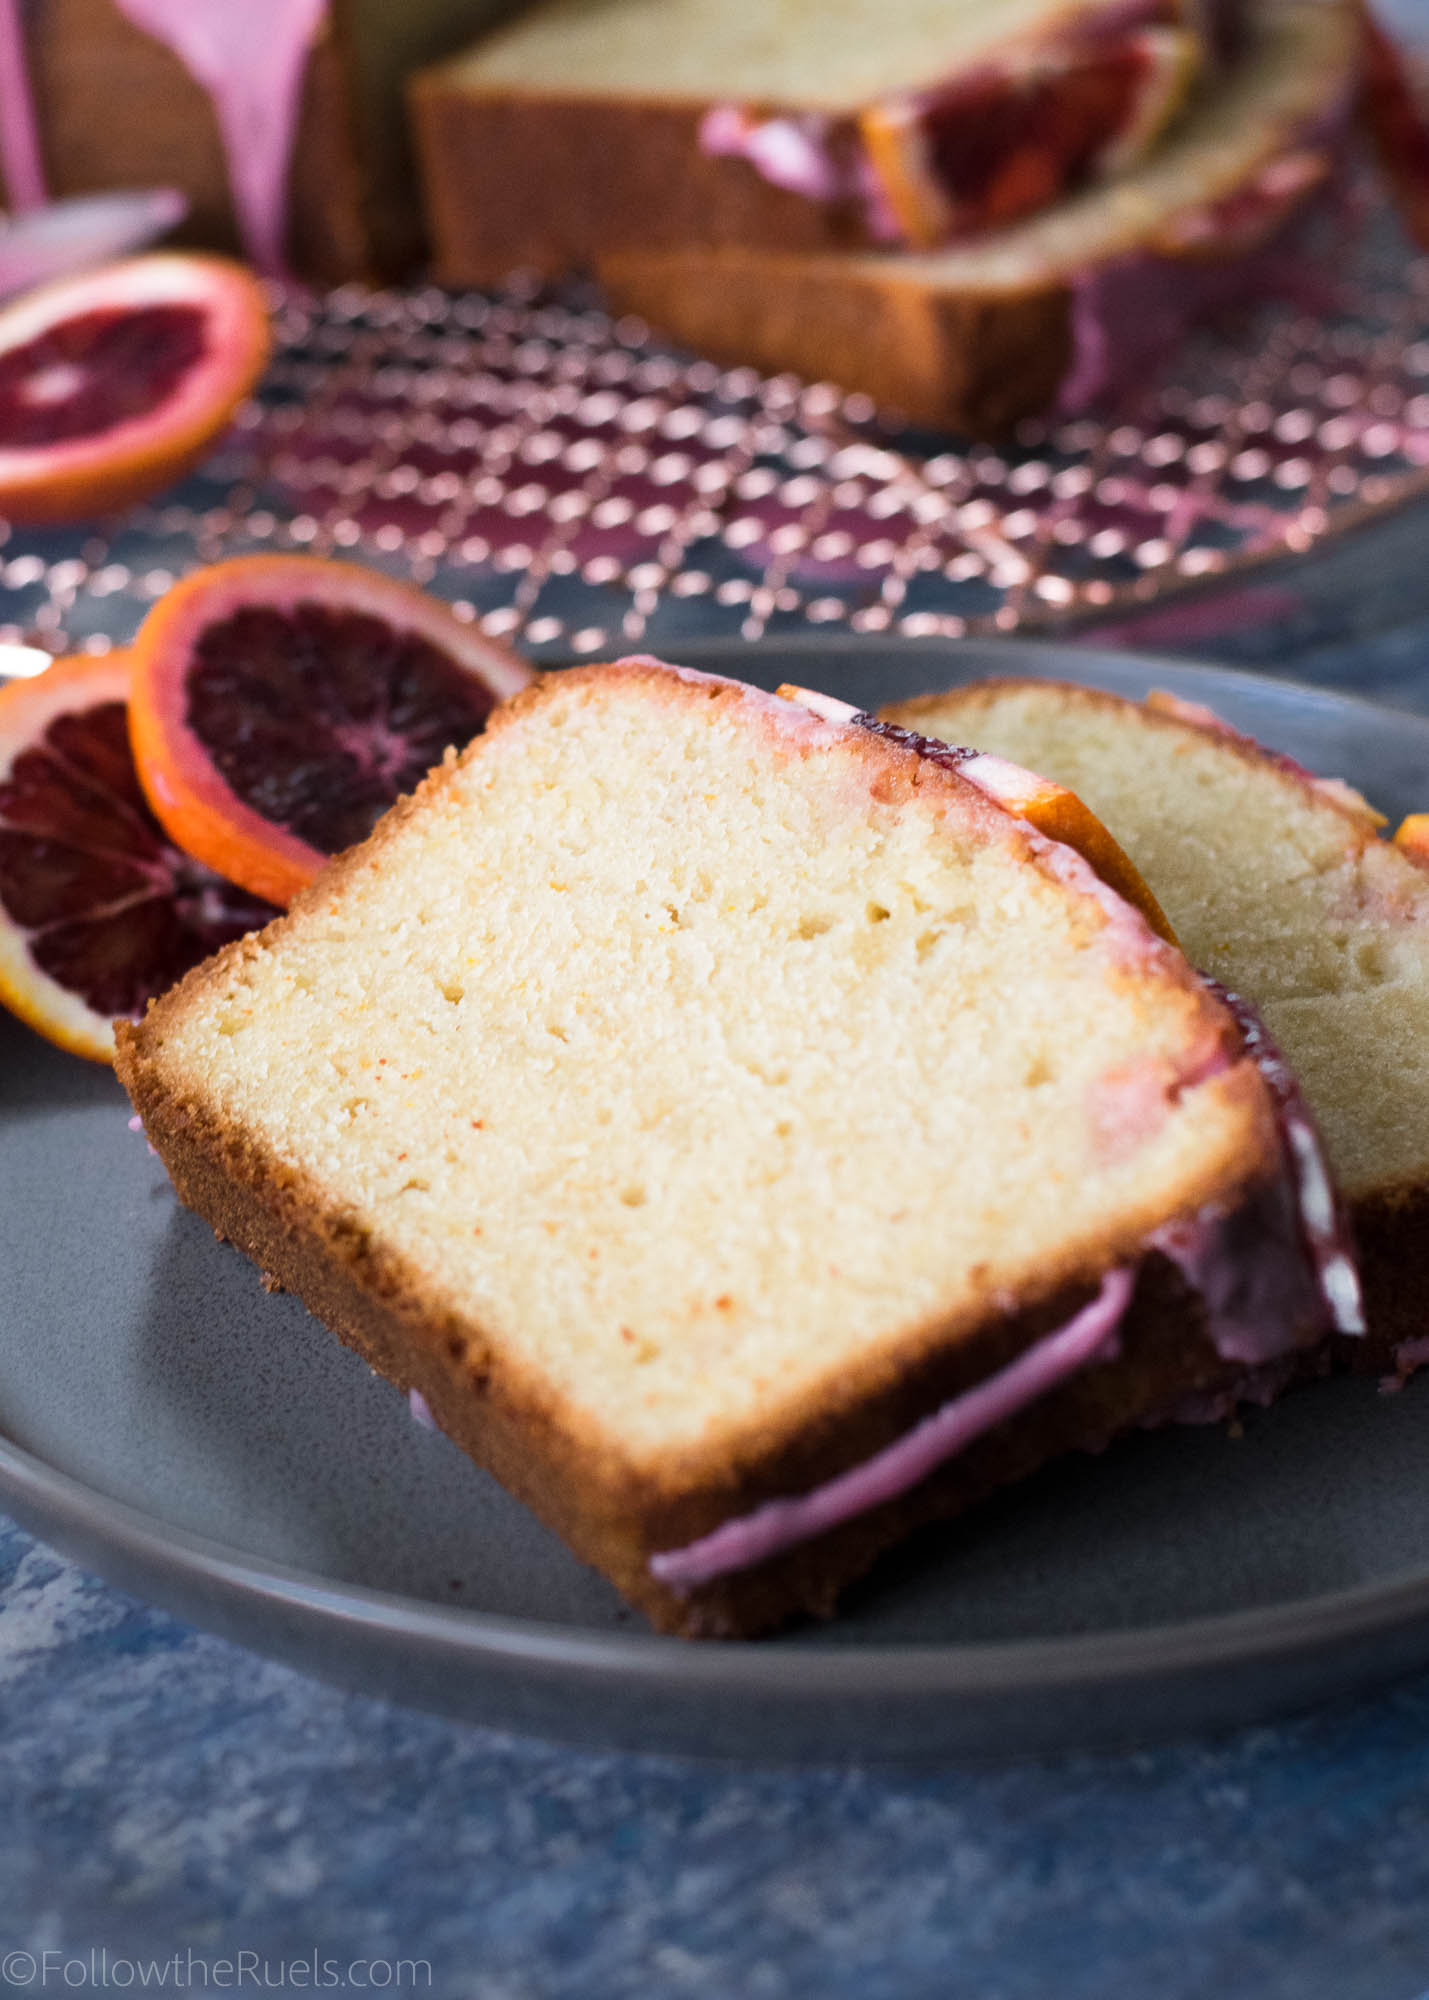
Blood Orange Pound Cake

February 20, 2018

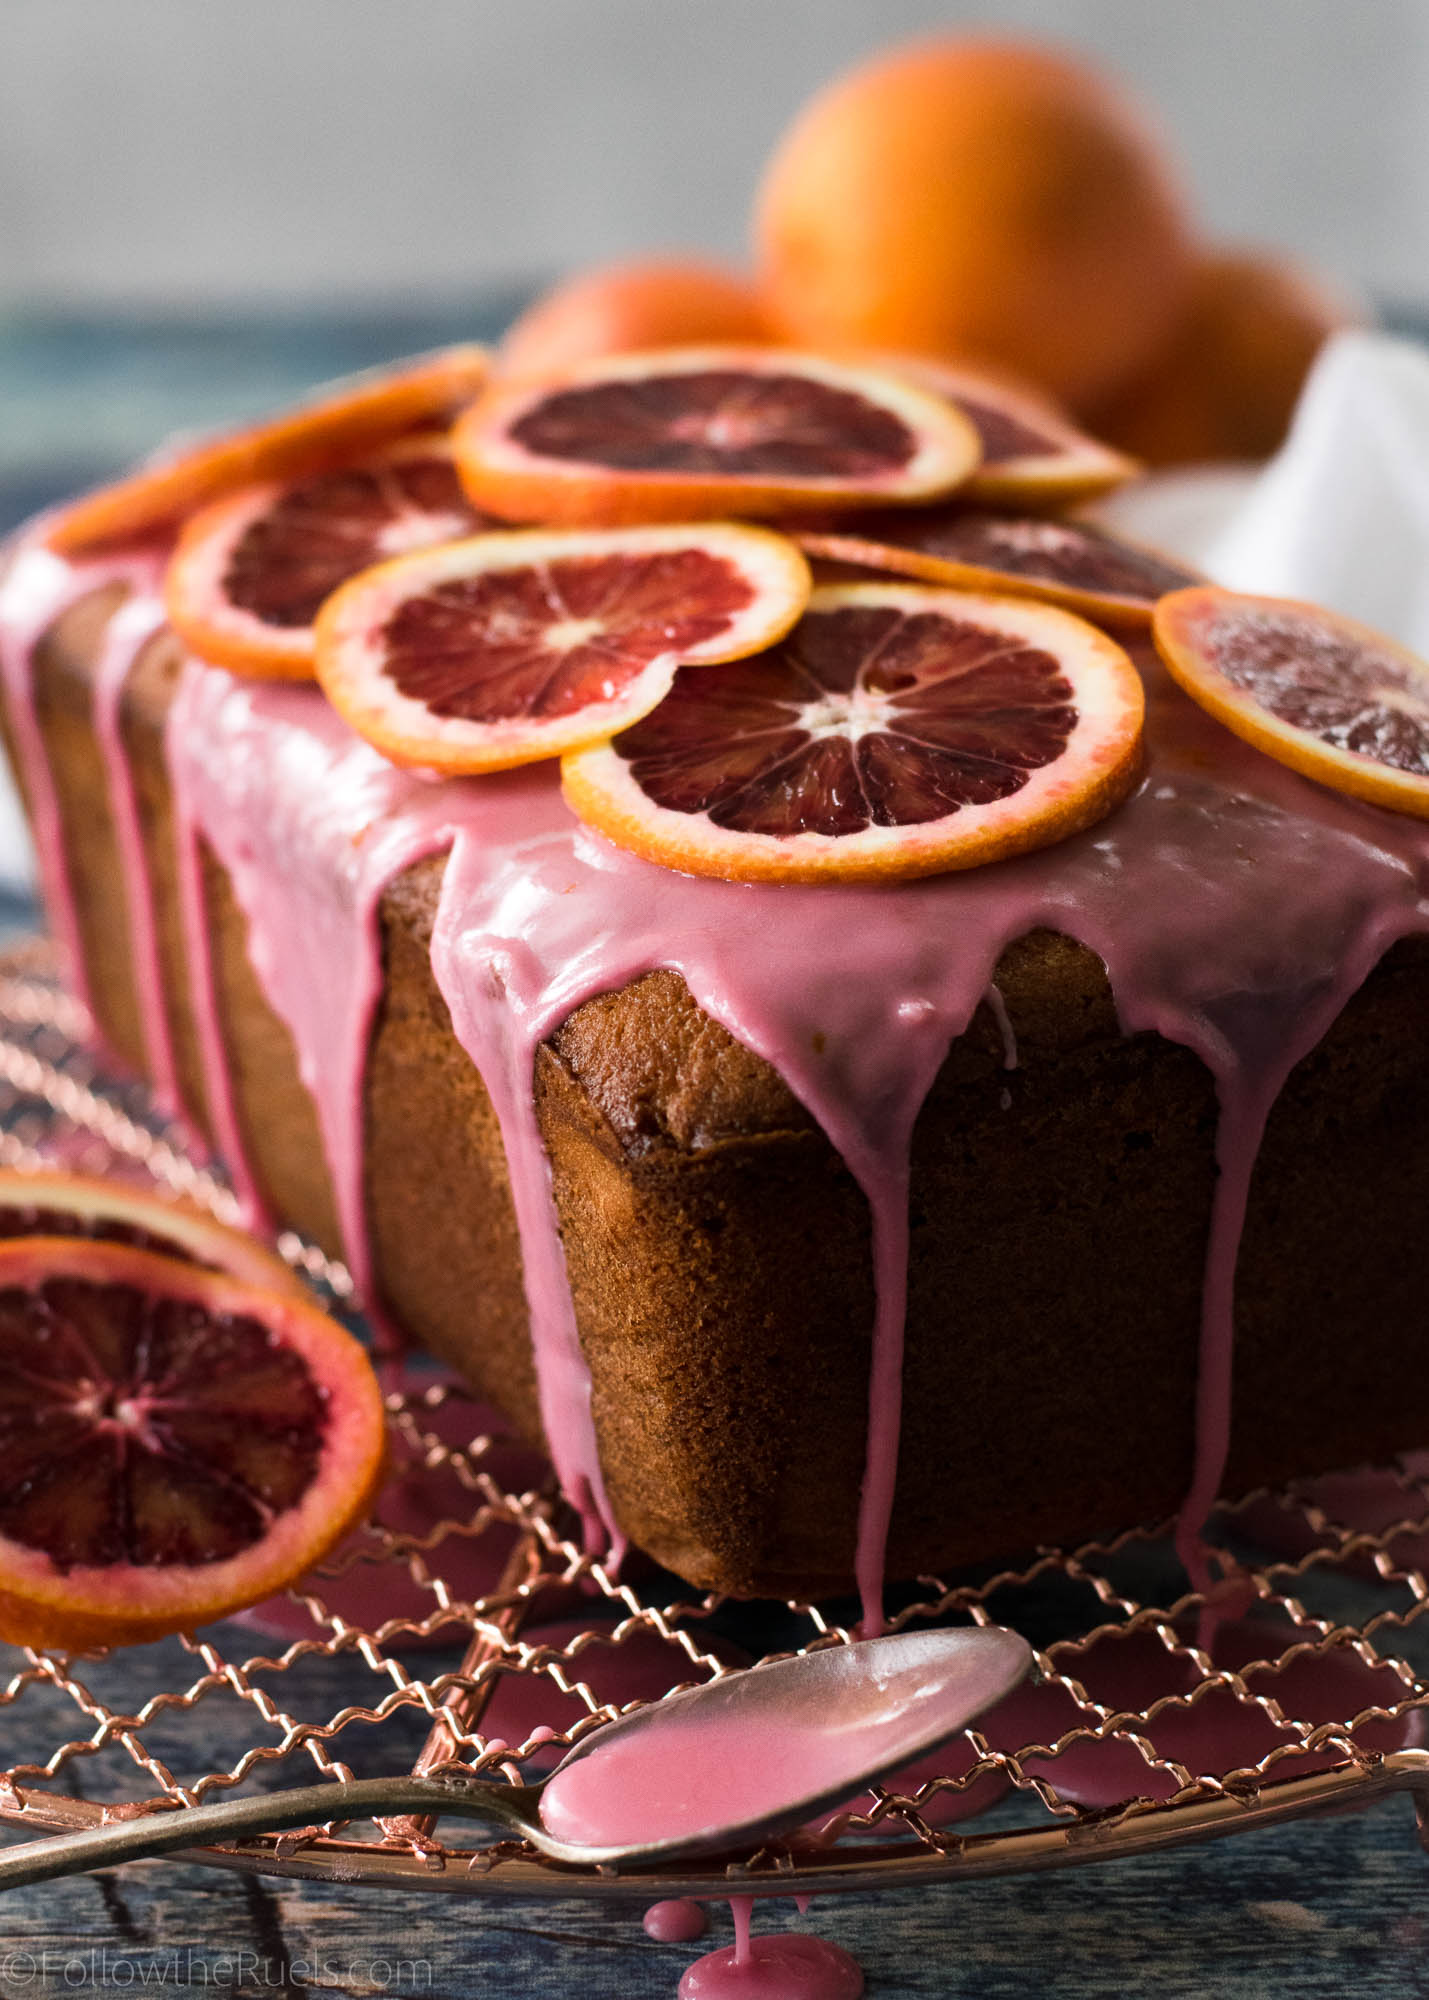
We are right smack in the middle of blood orange season and I couldn’t be happier about it! If you have been to a grocery store lately, then you have probably the slightly discolored oranges that are sitting next to the normal oranges. You may even think that the grocery store is trying to sell you some bad oranges. But’s it what’s on the inside that counts, guys! 

And that beautiful blood orange pulp and juice is what’s on the inside. 

While blood oranges definitely look a little bit different than normal oranges when you slice them open, they taste very similar. Blood oranges, to me, are a bit more tart (which I love) which makes them great for baking! You can replace blood oranges in any recipe you would normally find a citrus fruit, like lemon or orange (duh!).

Which is why I decided to use this batch of blood oranges to dress up one of my favorite desserts: the pound cake!

This blood orange pound cake may look a bit fancy, but it’s really just your typical pound cake with a few extra accessories. Of course, there is blood orange juice and zest in the batter itself, but it is also topped with a blood orange glaze. Since I love almonds and citrus fruit together, this pound cake is also made with almond meal and almond extract. The almond meal does make the cake a bit denser, but it also makes it super moist!

How to Make It. 

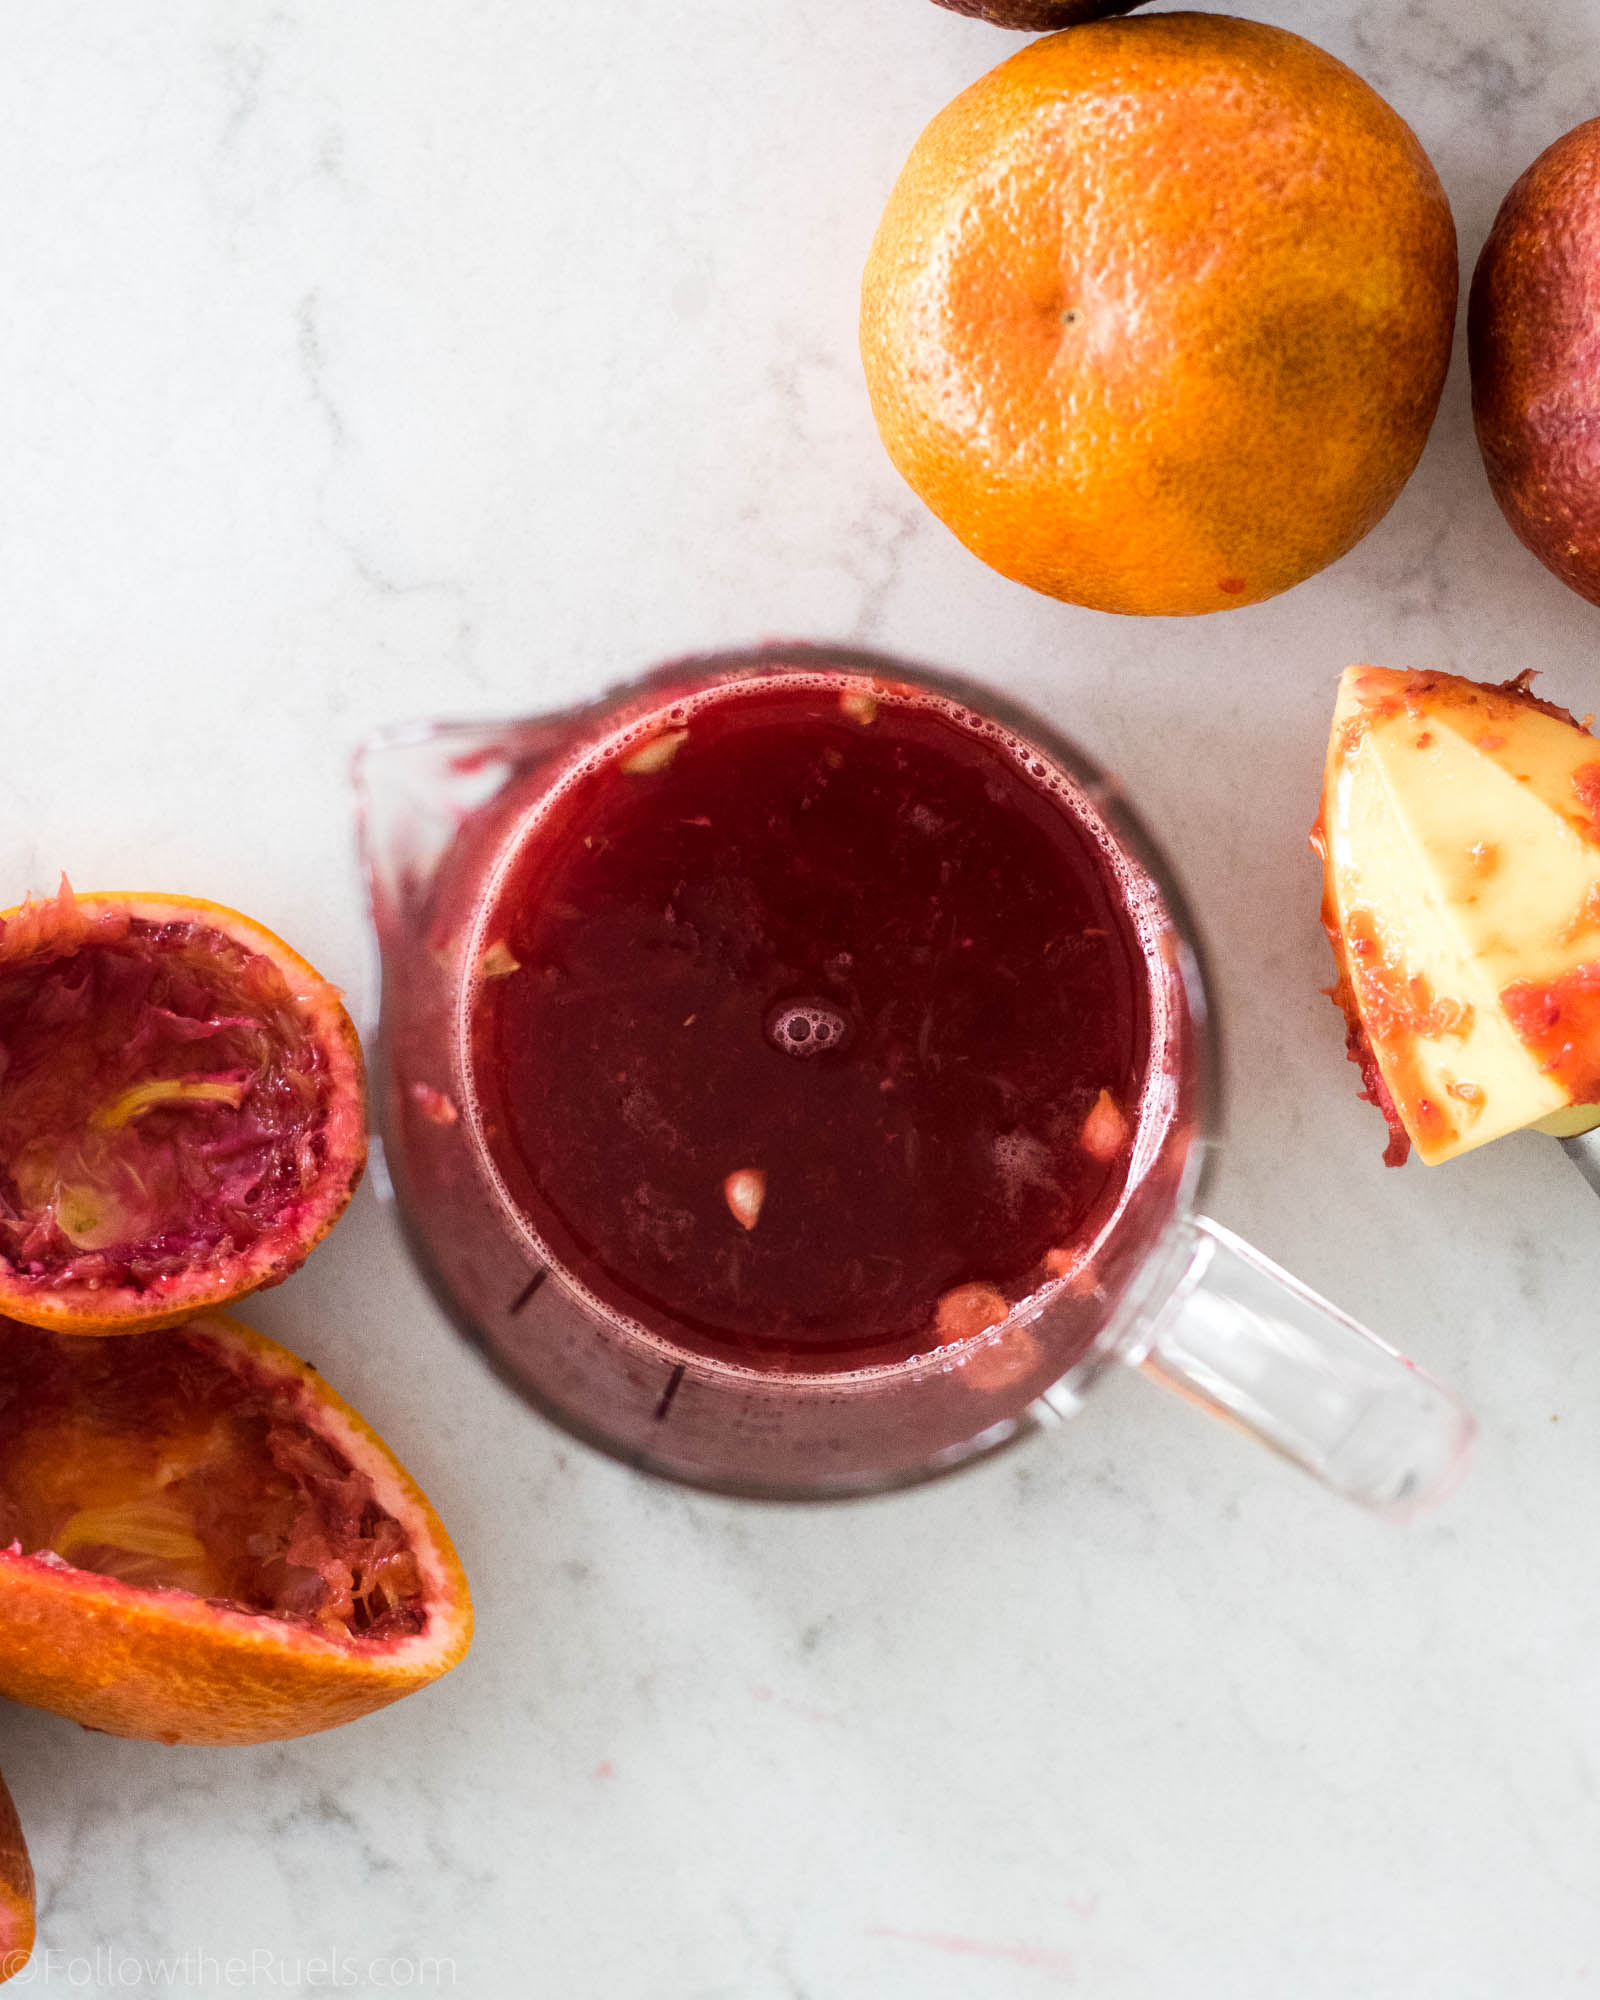
The first thing to do is juice and zest a couple blood oranges. If you have a juicer, please use that otherwise you will end up with blood (orange juice) all over your hands. It’s not attractive. But it is delicious!

Mix the blood orange juice with some milk which will be added to the batter towards the end. 

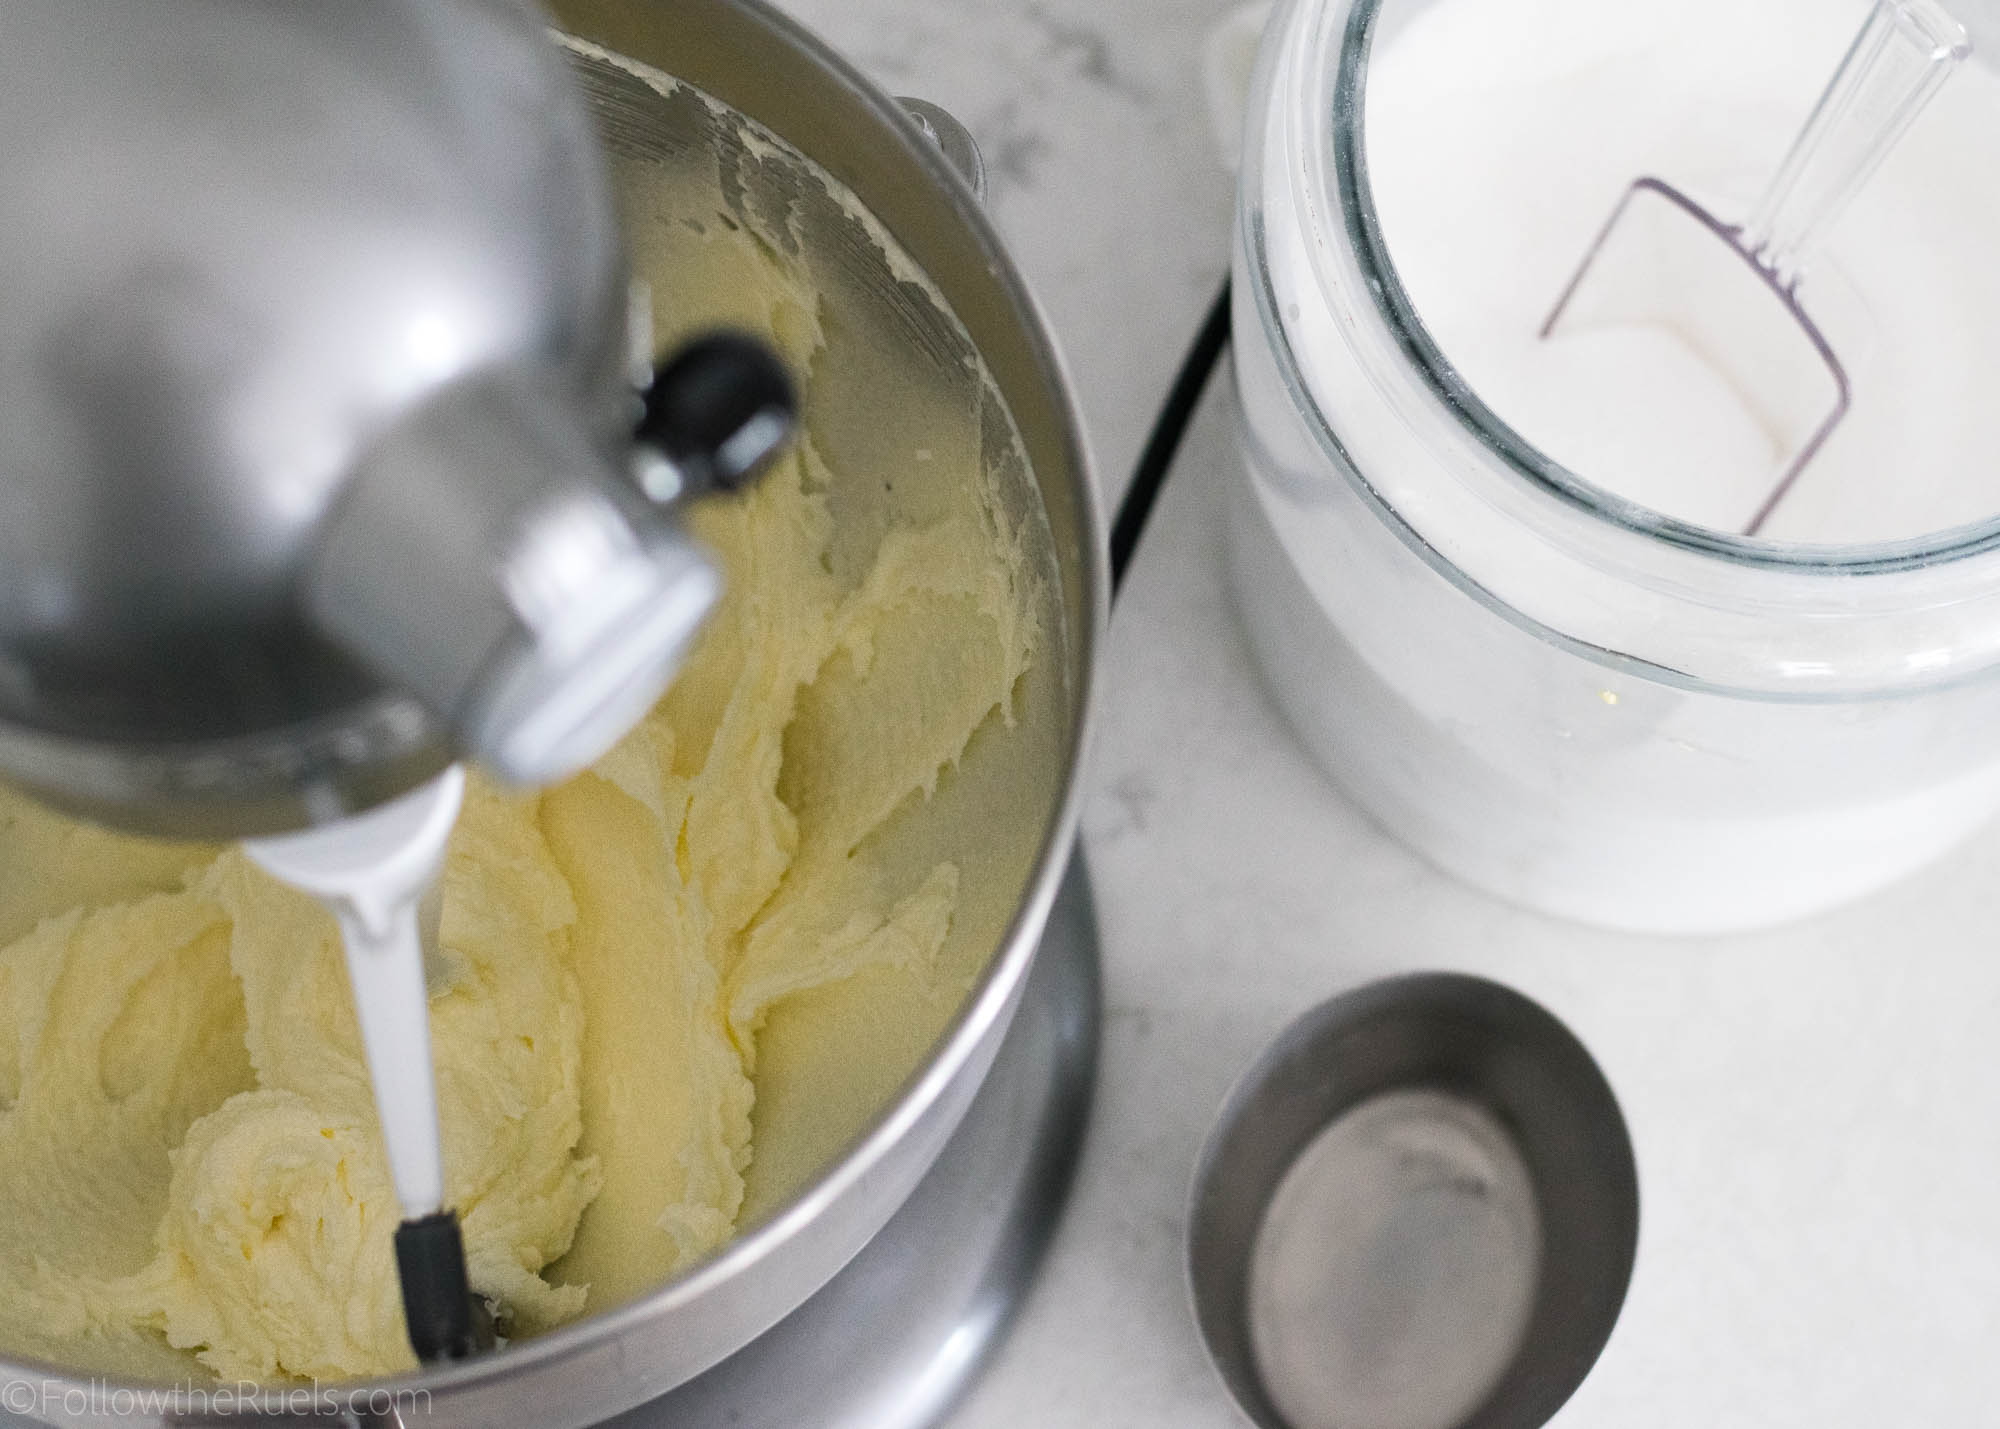
Next, cream together the butter and the sugar. Since this is pound cake and not half-pound cake or quarter-pound cake that means you are creaming a POUND of butter. I don’t trust any other pound cake recipe that doesn’t use a pound of butter because then it just isn’t pound cake!

One thing to note is that there isn’t any leavening agent (baking soda, baking powder) in this batter so the main source of leavening is the butter. More specifically, the air that is beaten into the butter. 

Really whip up this butter so it’s nice and fluffy in order to have a little bit lighter of a cake. 

I mean, it’s not going to be THAT light…it is a pound cake, after all. 

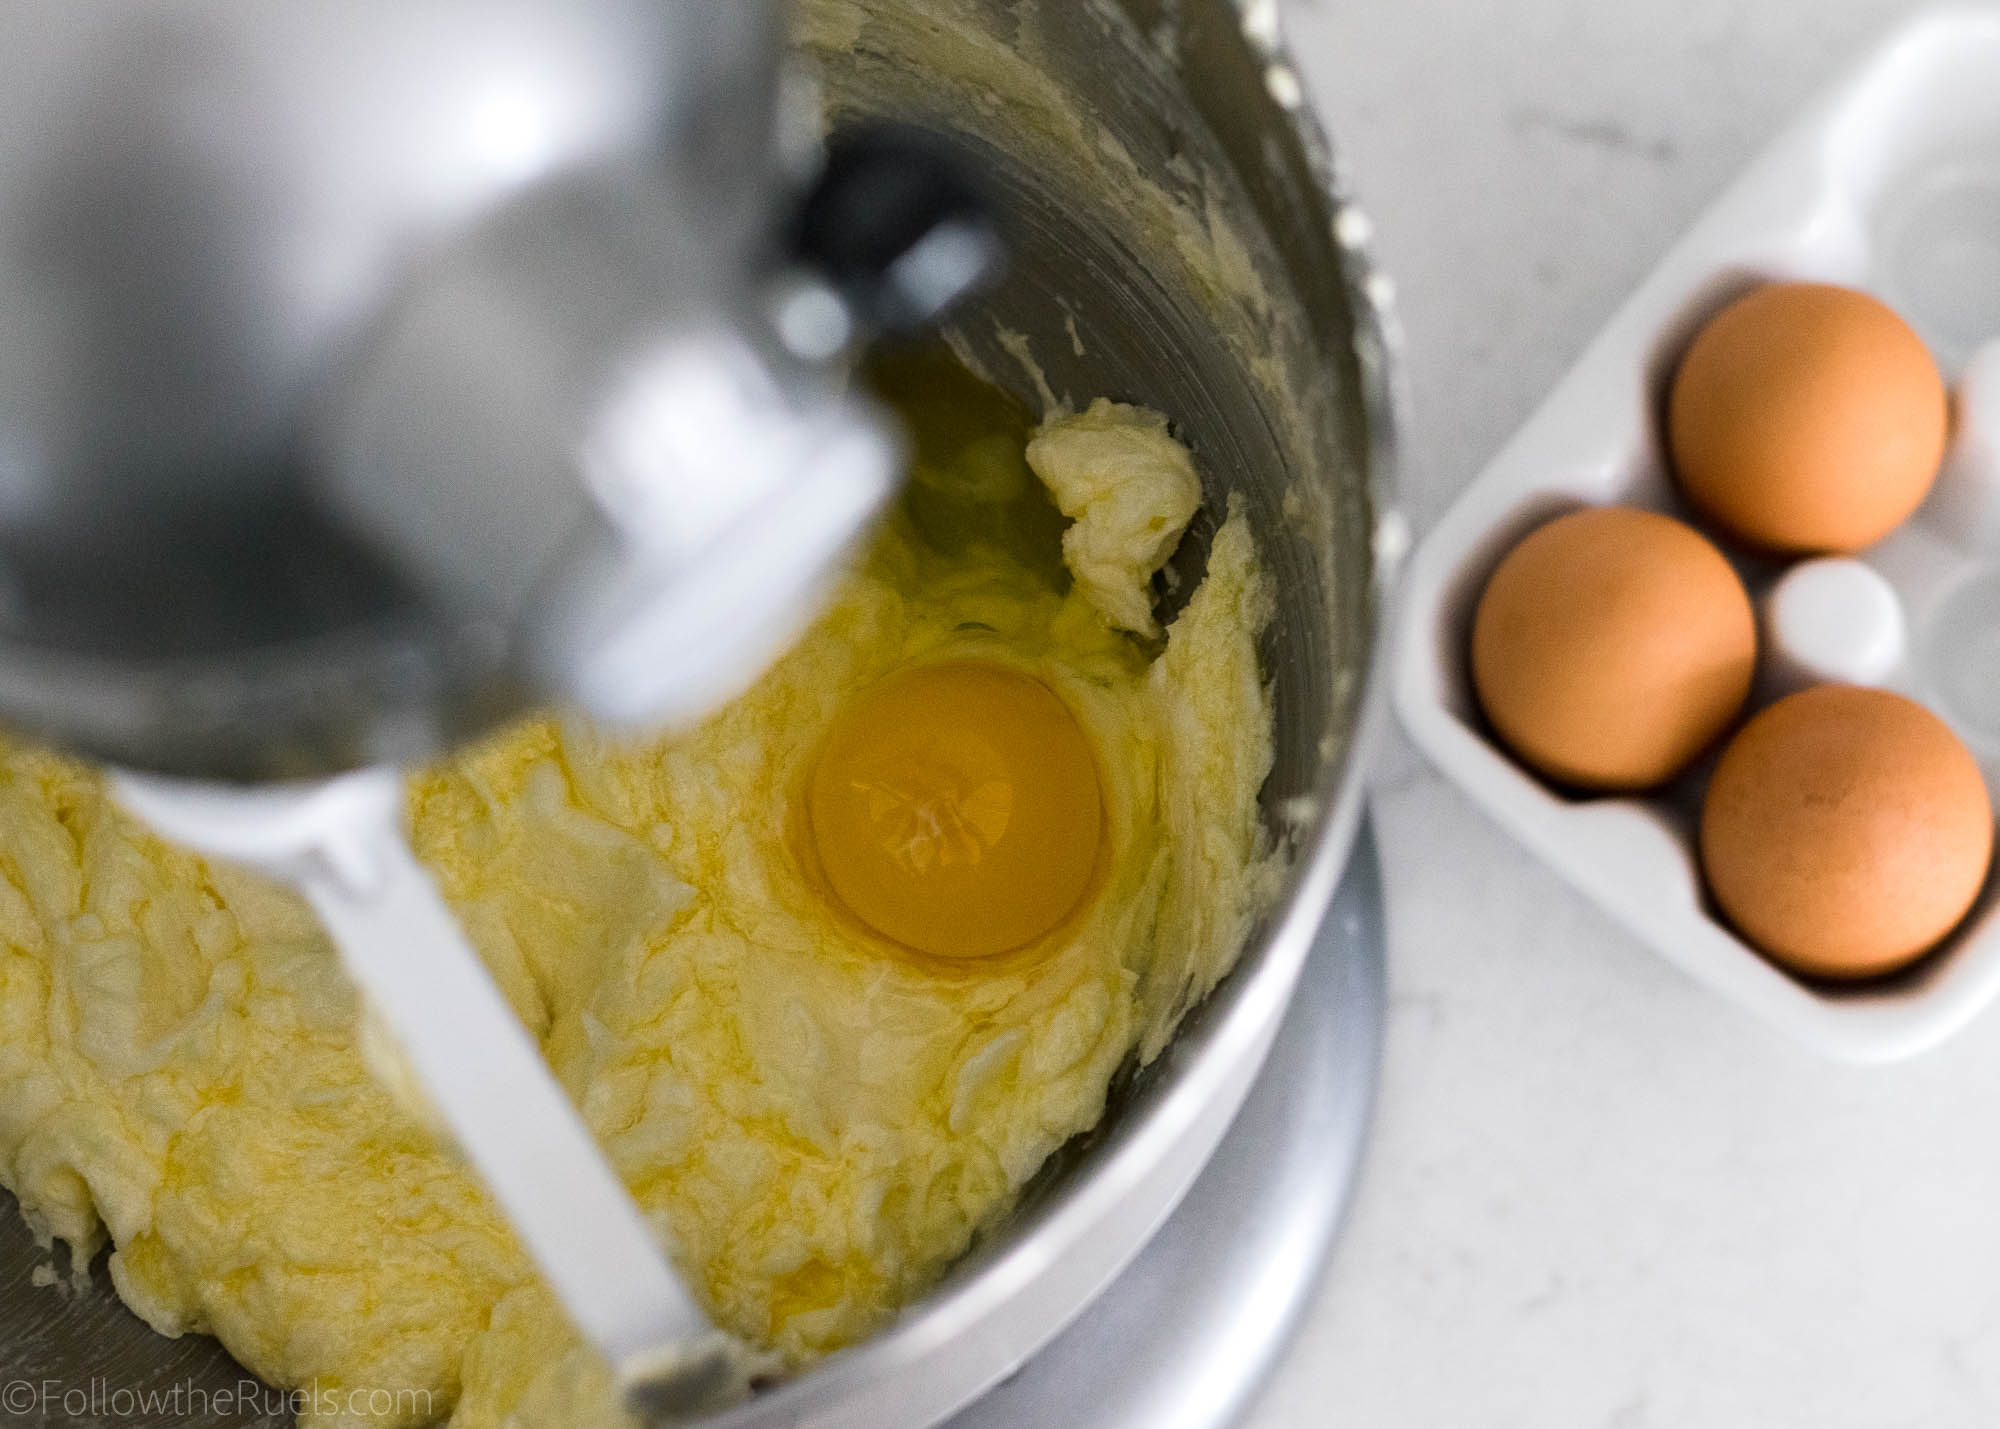
Then add your eggs, one at a time. 

Or two, if you are impatient like me. 


Then, like any other cake, you are going to alternating mixing in the dry ingredients with the wet ingredients, starting and ending with the dry.

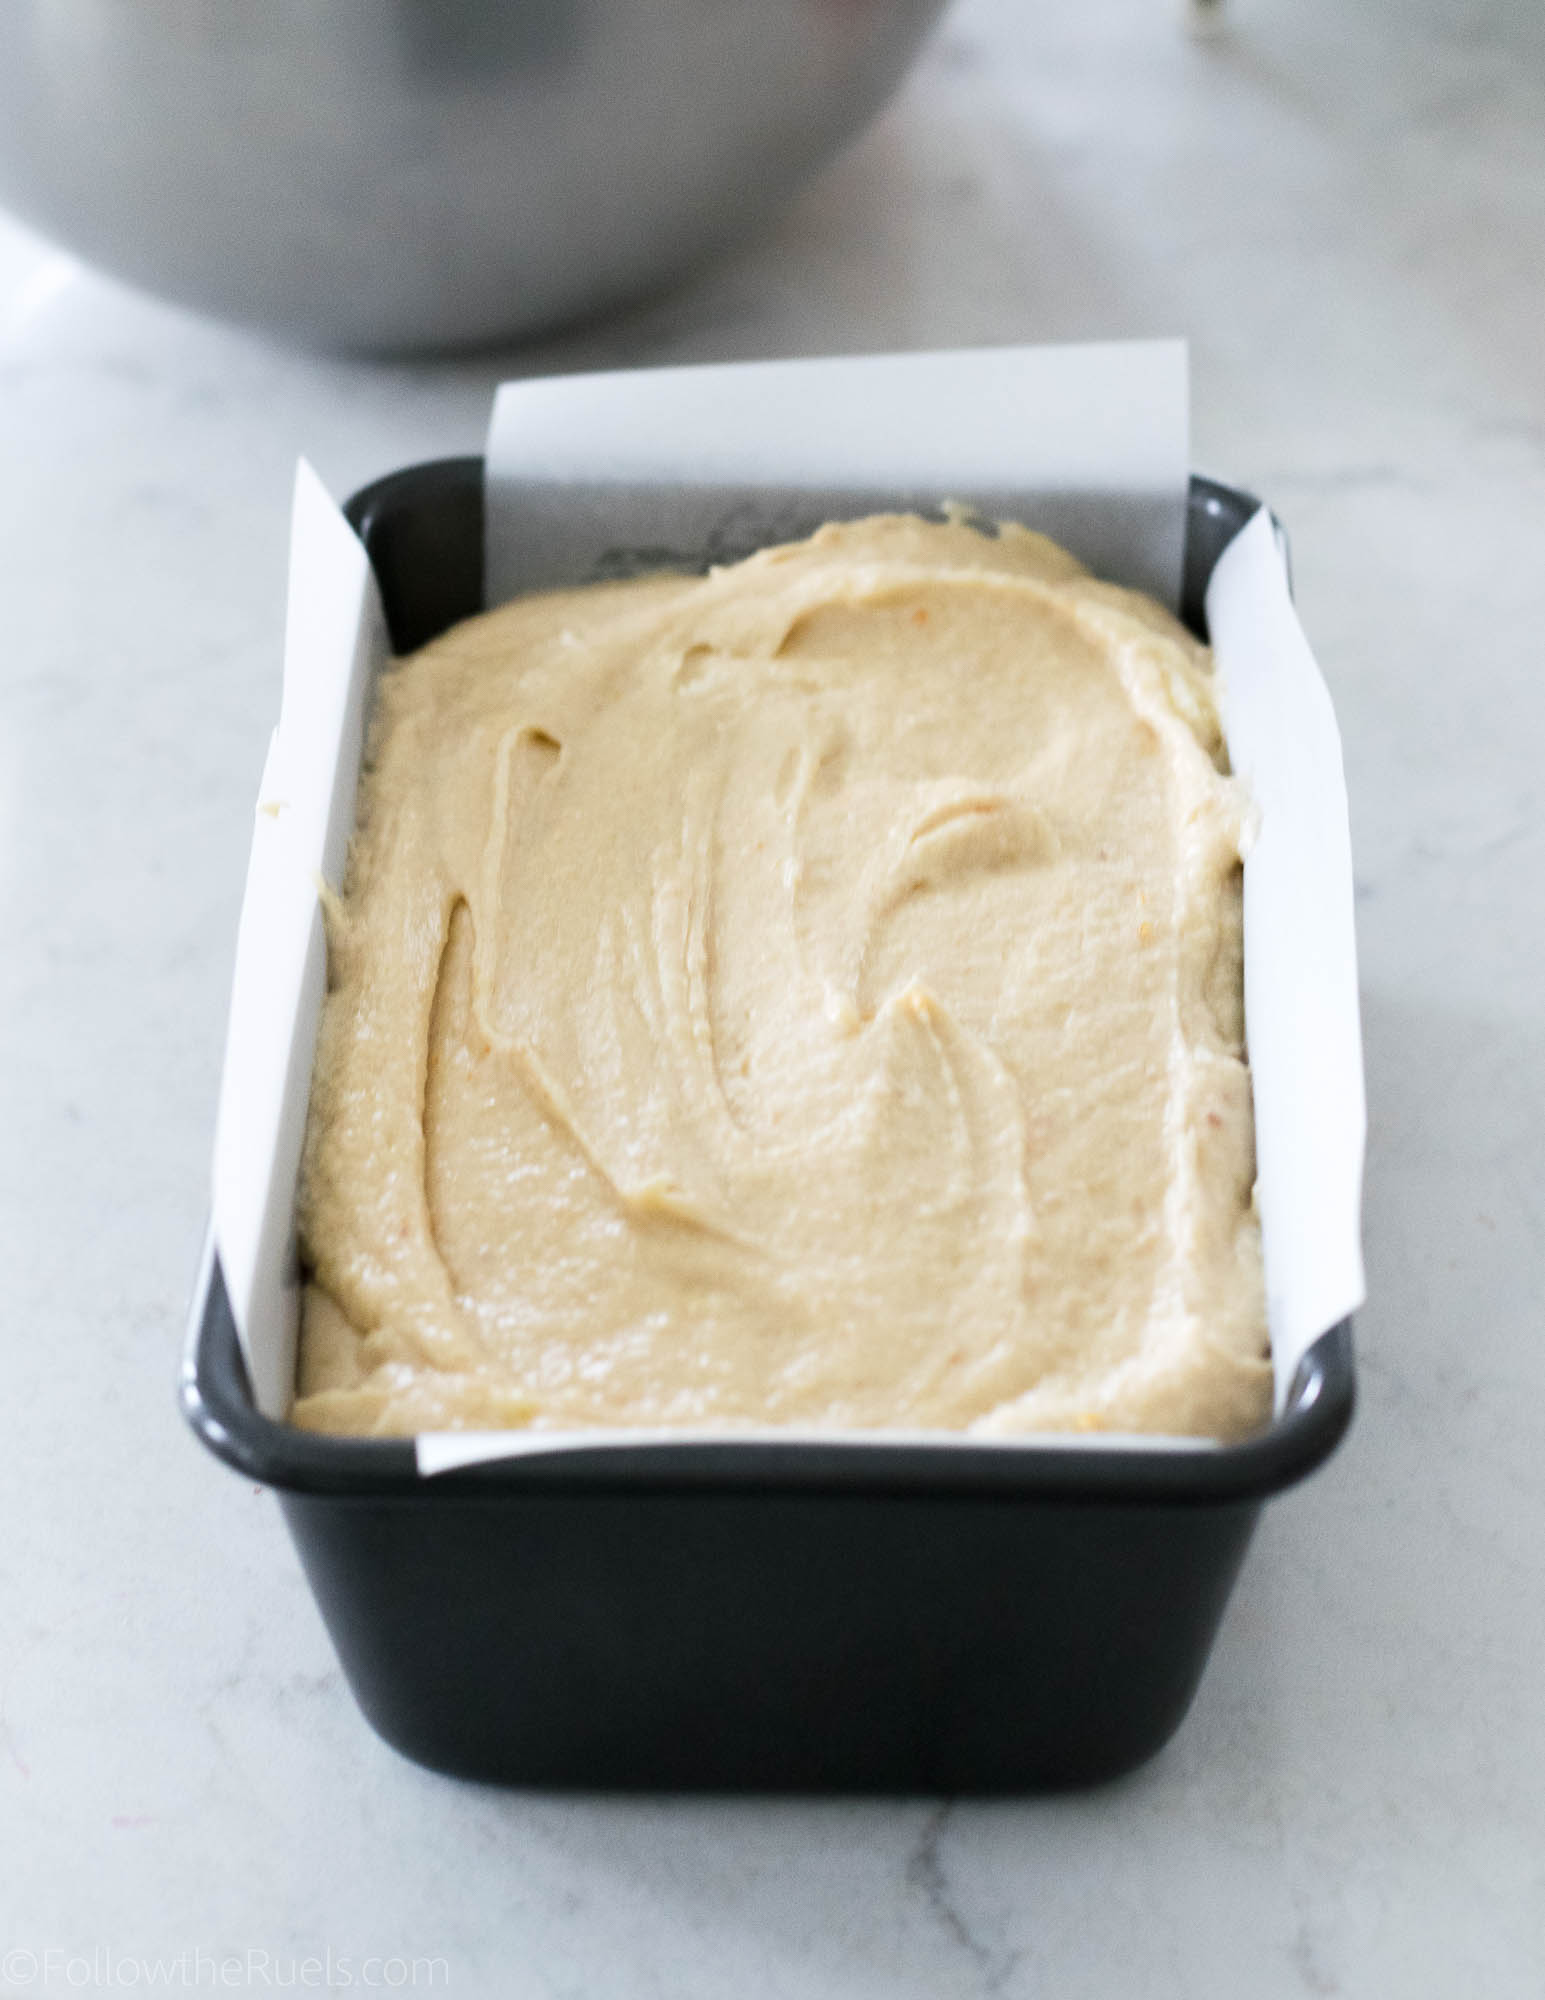
Lastly, pour the batter into a prepared loaf pan or bunt pan.

I prepare my loaf pans by spraying them with a little baking spray then lining them with parchment paper, as you see above.

For bunt pans, spray the inside with baking spray, then sprinkle flour all along the inside making sure to get all the nooks and crannies. Then just tap out any excess flour. 

Pound cakes do take quite a while to bake. So once you pop it in the oven you have a little over an hour to do whatever you want: clean the kitchen, read a book, mindlessly watching Insta Stories…whatever!

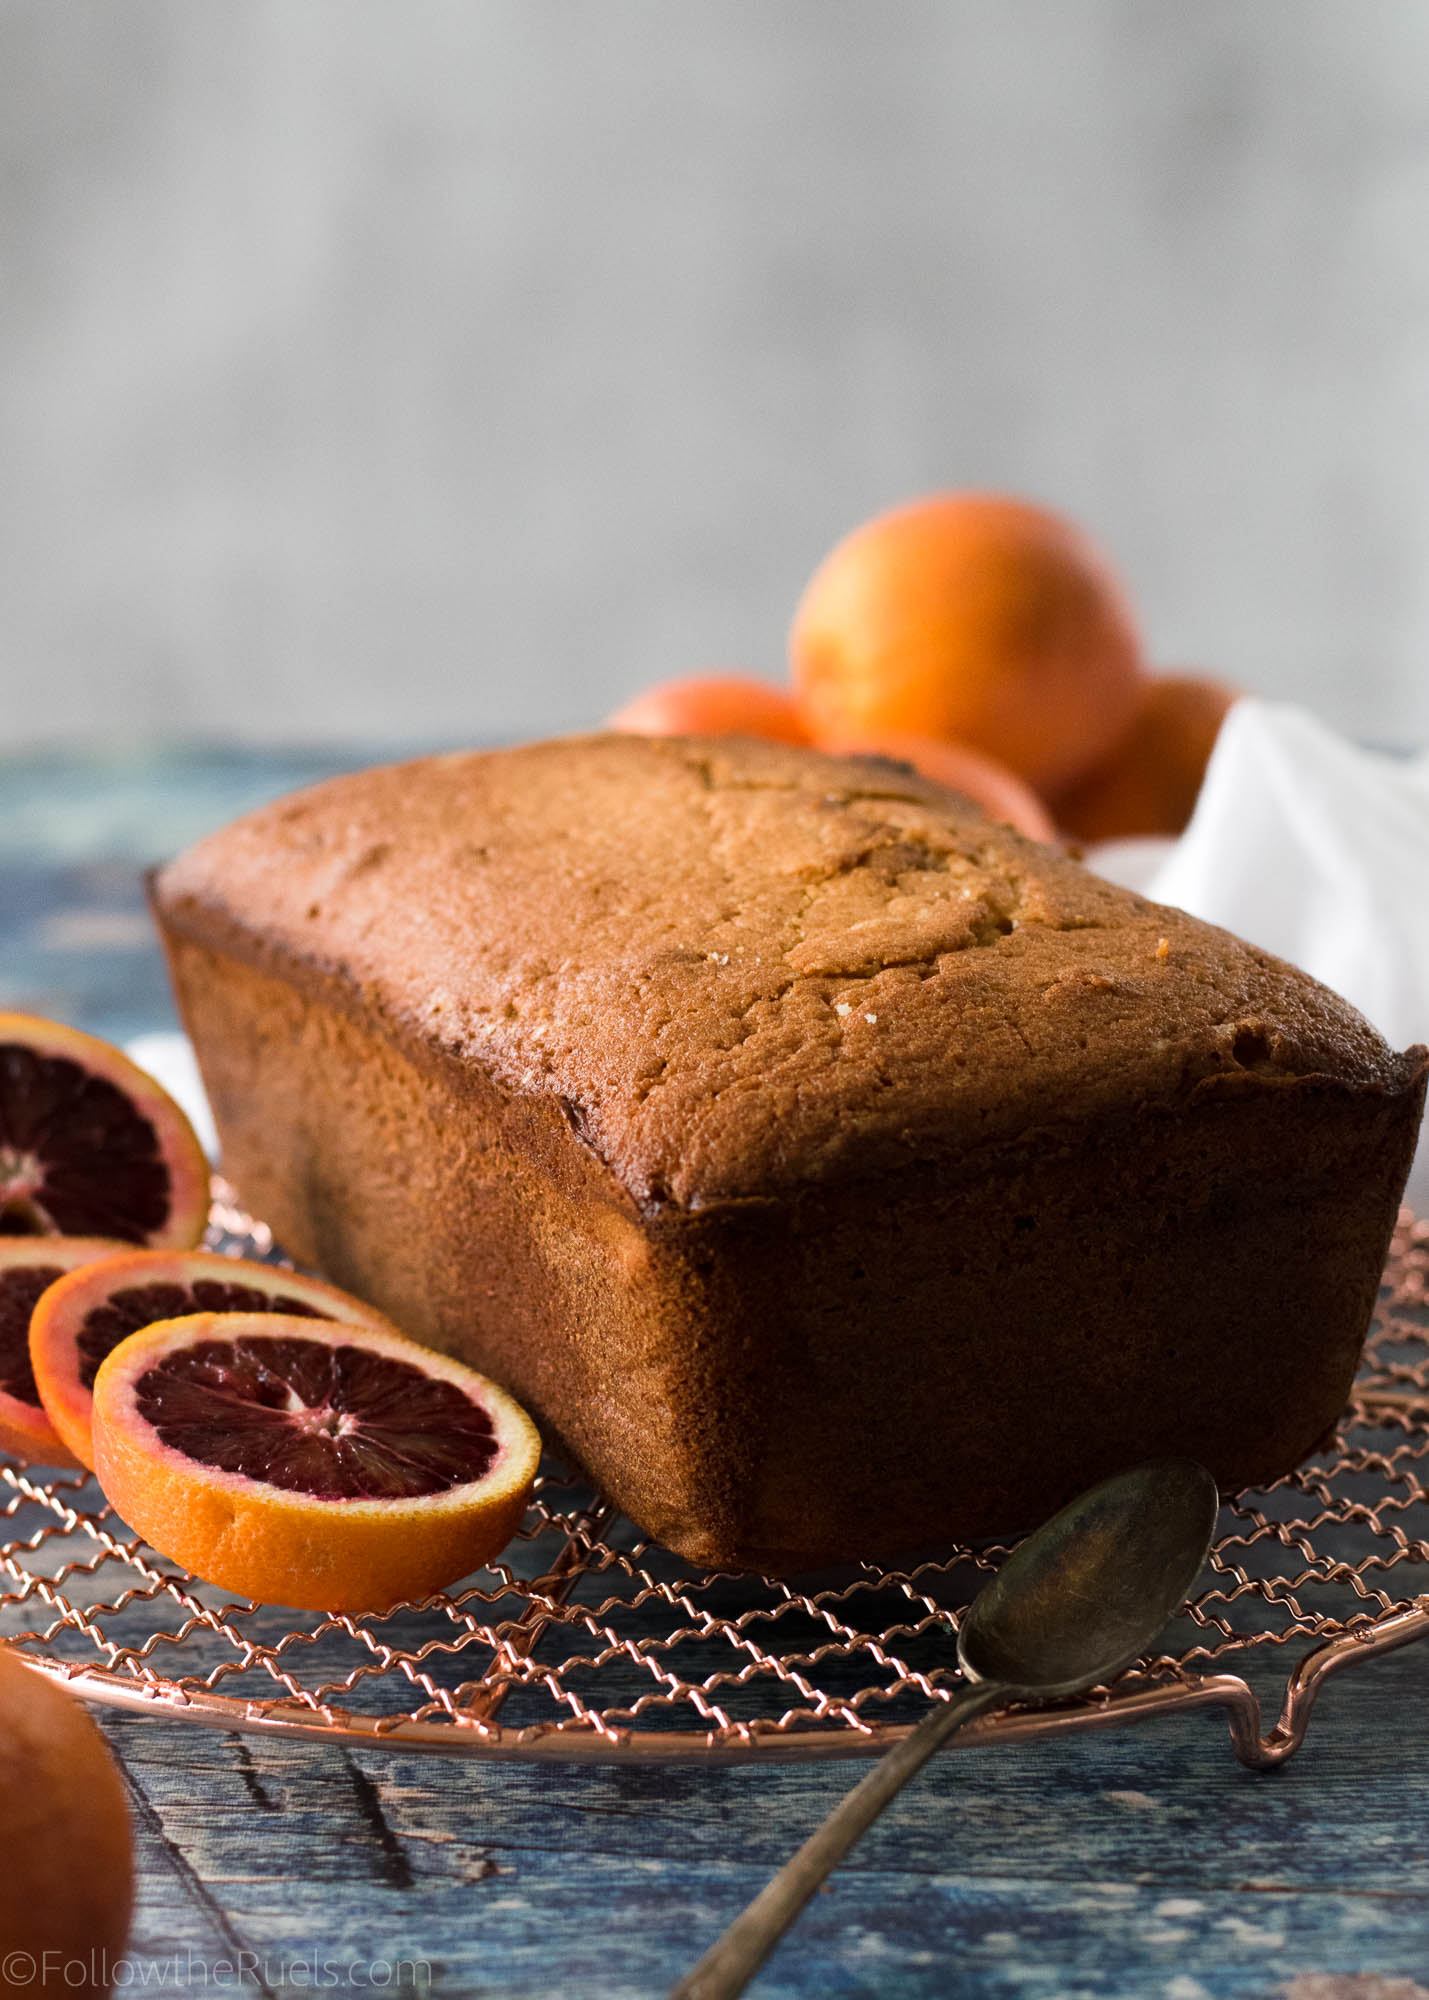
Once out of the oven the pound cake will smell like heaven! Is there anything better then the smell of something sweet baking? Now combine that with the delicious smell of oranges. And that is the smell that will be filling your kitchen!


But wait! There’s more!

You can’t just leave this almond blood orange pound cake all nekkid. It needs a little something extra so people know that this isn’t just your average pound cake. It’s a blood orange pound cake!

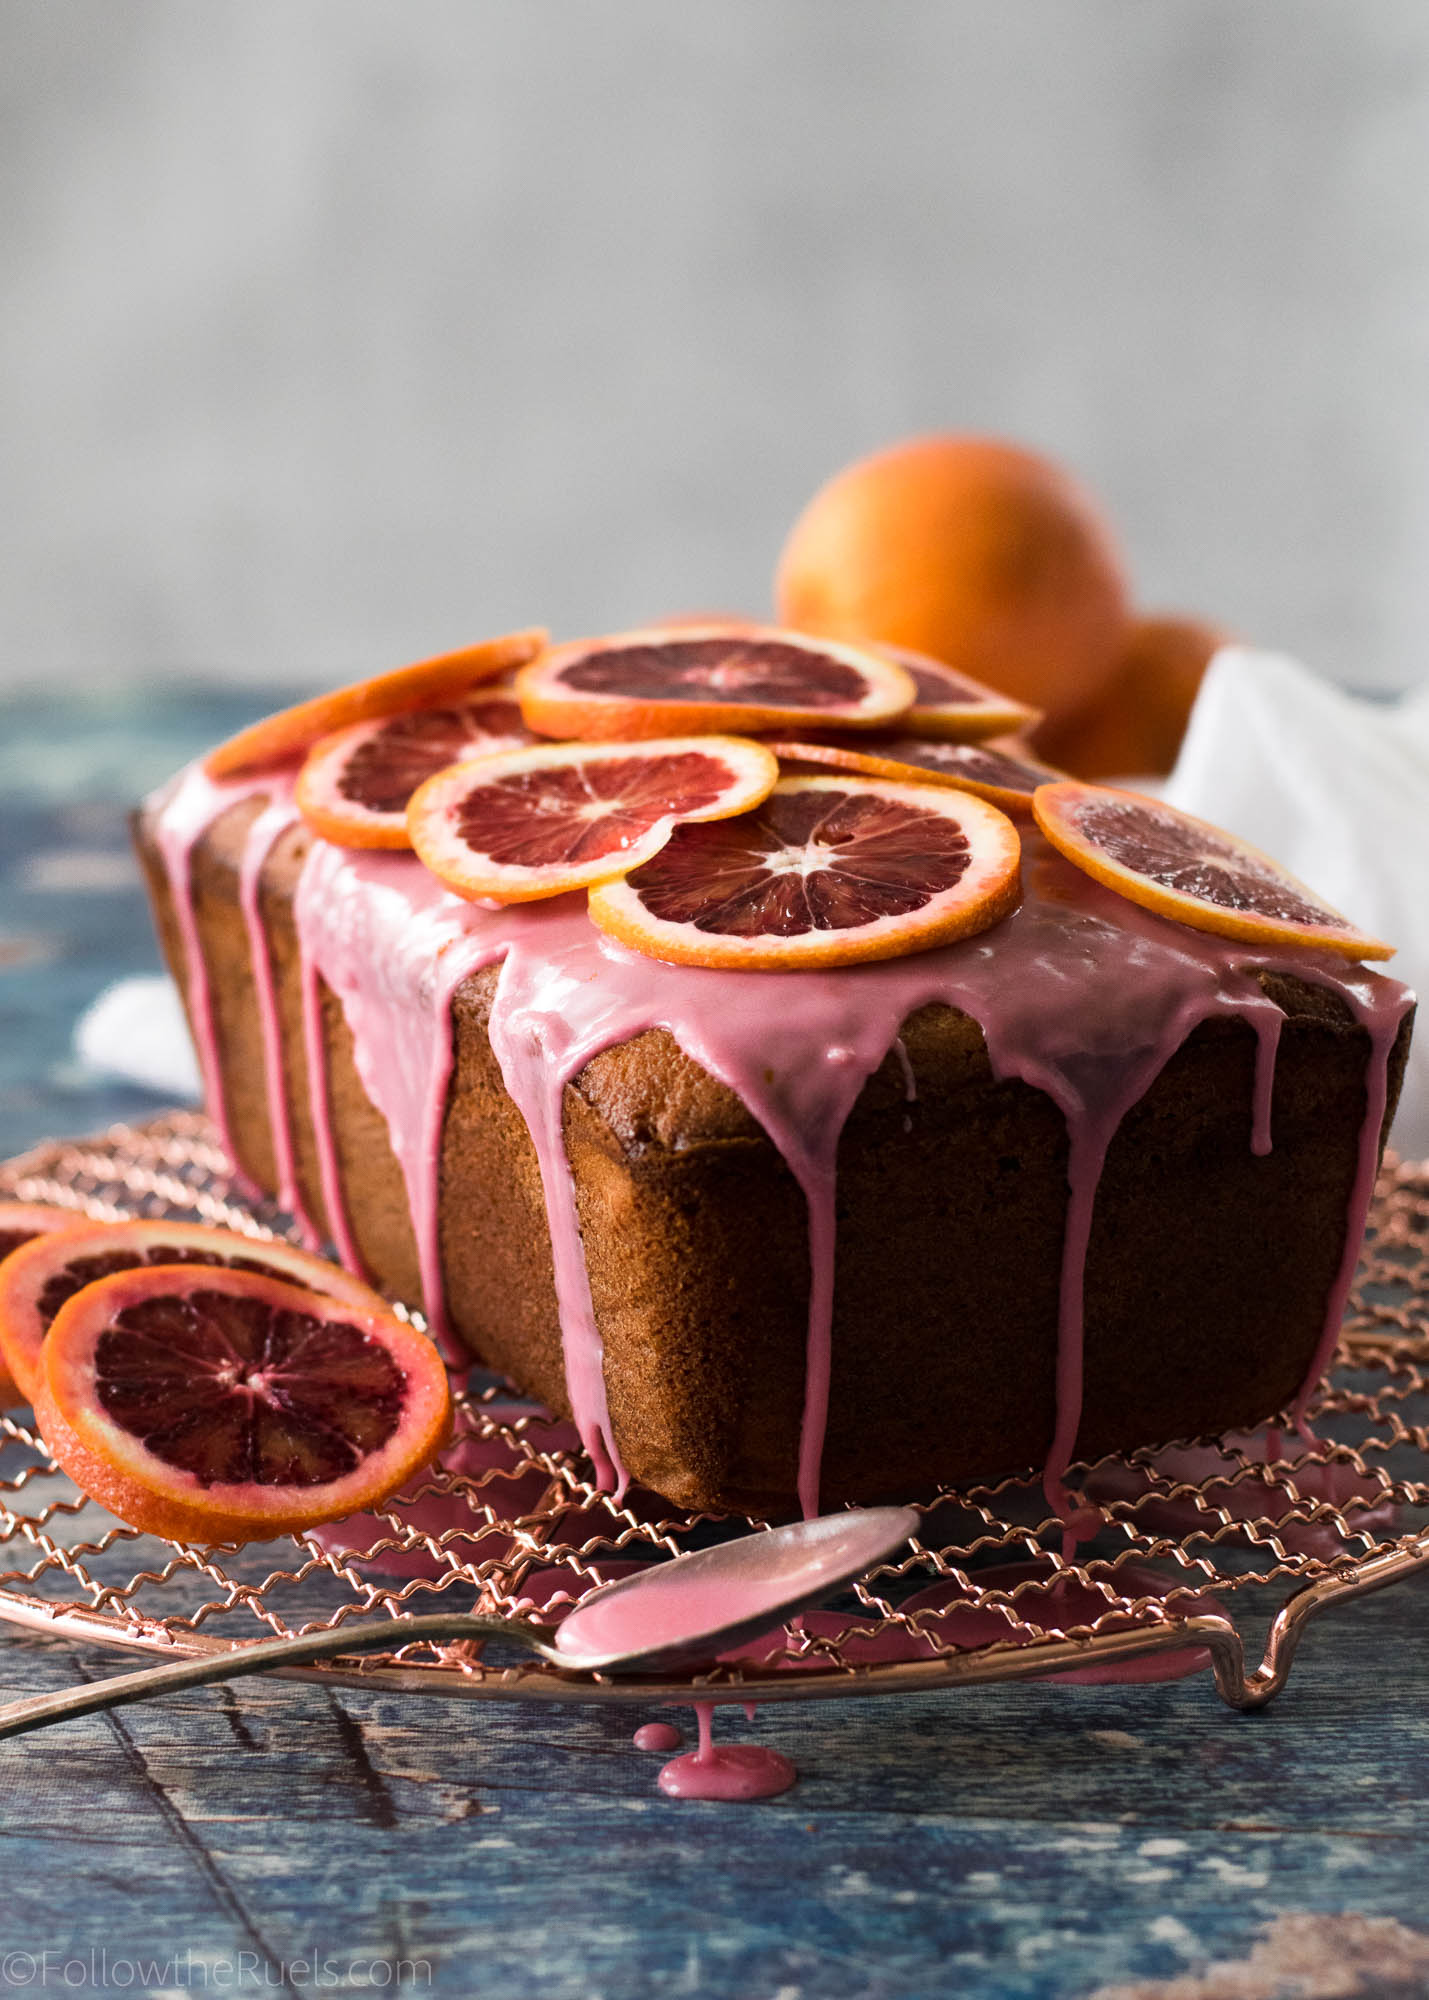
The glaze on top is very simple to make: mix the juice of one blood orange with 1 1/2 cup of powdered sugar. If it’s too thick, add a couple drops of water at a time until its thin enough to run off the back of a spoon. 

Then pour that glaze all over the top of your blood orange pound cake. 

If you really want to get fancy, then you can add some sliced blood oranges on top. 

But I really only did that for the pictures. 

Or just immediately slice right into that cake and take a bite!

[show_shopthepost_widget id=”3035531″] 
[yumprint-recipe id=’160′] 

/ Filed In: Cakes and Cupcakes, Cakes New, Desserts, Eat
Tagged: blood orange, cake, citrus, orange, pound cake

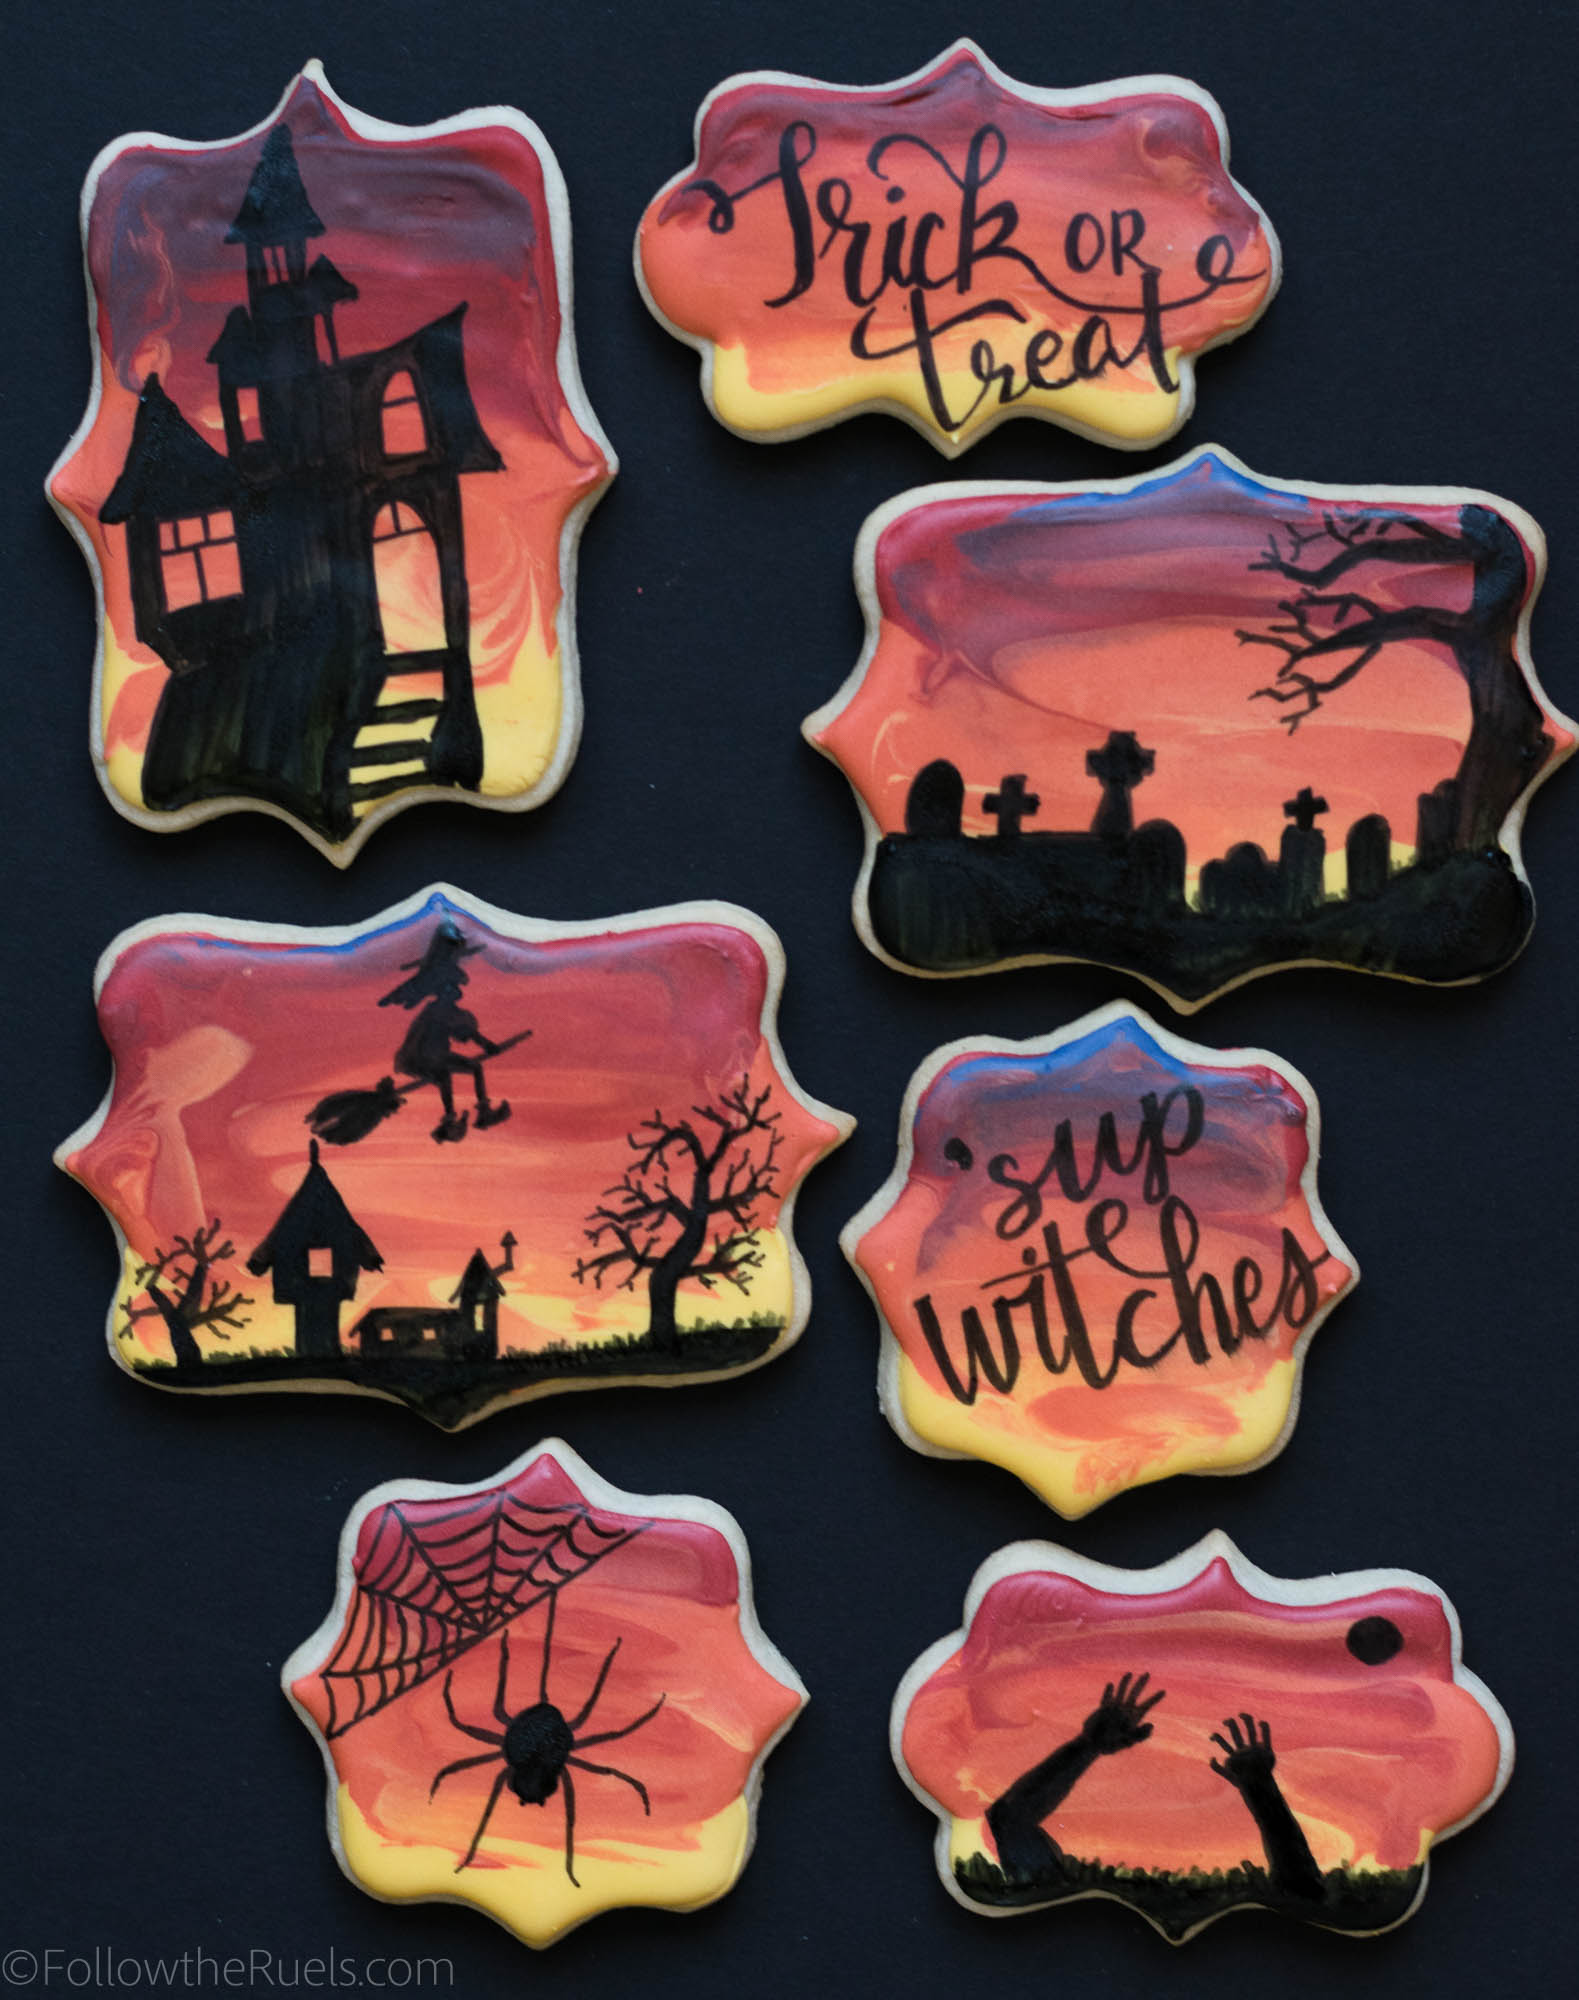
Halloween Silhouette Cookies

October 31, 2017

Happy Halloween everyone! As an adult, I don’t get to really enjoy Halloween as much. There is really no dressing up (for me anyway). Eating lots of Halloween candy also comes with lots of Halloween guilt. And for us, we live in an area that doesn’t get any trick-or-treaters, so I can’t even live vicariously through the kids. 

But that doesn’t stop me from making lots of Halloween treats! In the past, I have made these Halloween macarons. This year I made these Halloween skulls and now these Halloween Silhouette cookies which were actually inspired by painted rocks. 

I really loved making these cookies because they were surprisingly easy! It also helped that I was already making red, orange, and yellow icing for my Houston Astros cookies. But if you have kids, these would be a great baking project to do with them. Once the icing is dry, you can give them a black edible food marker and let them draw whatever they want on top. 

Here’s what I did:


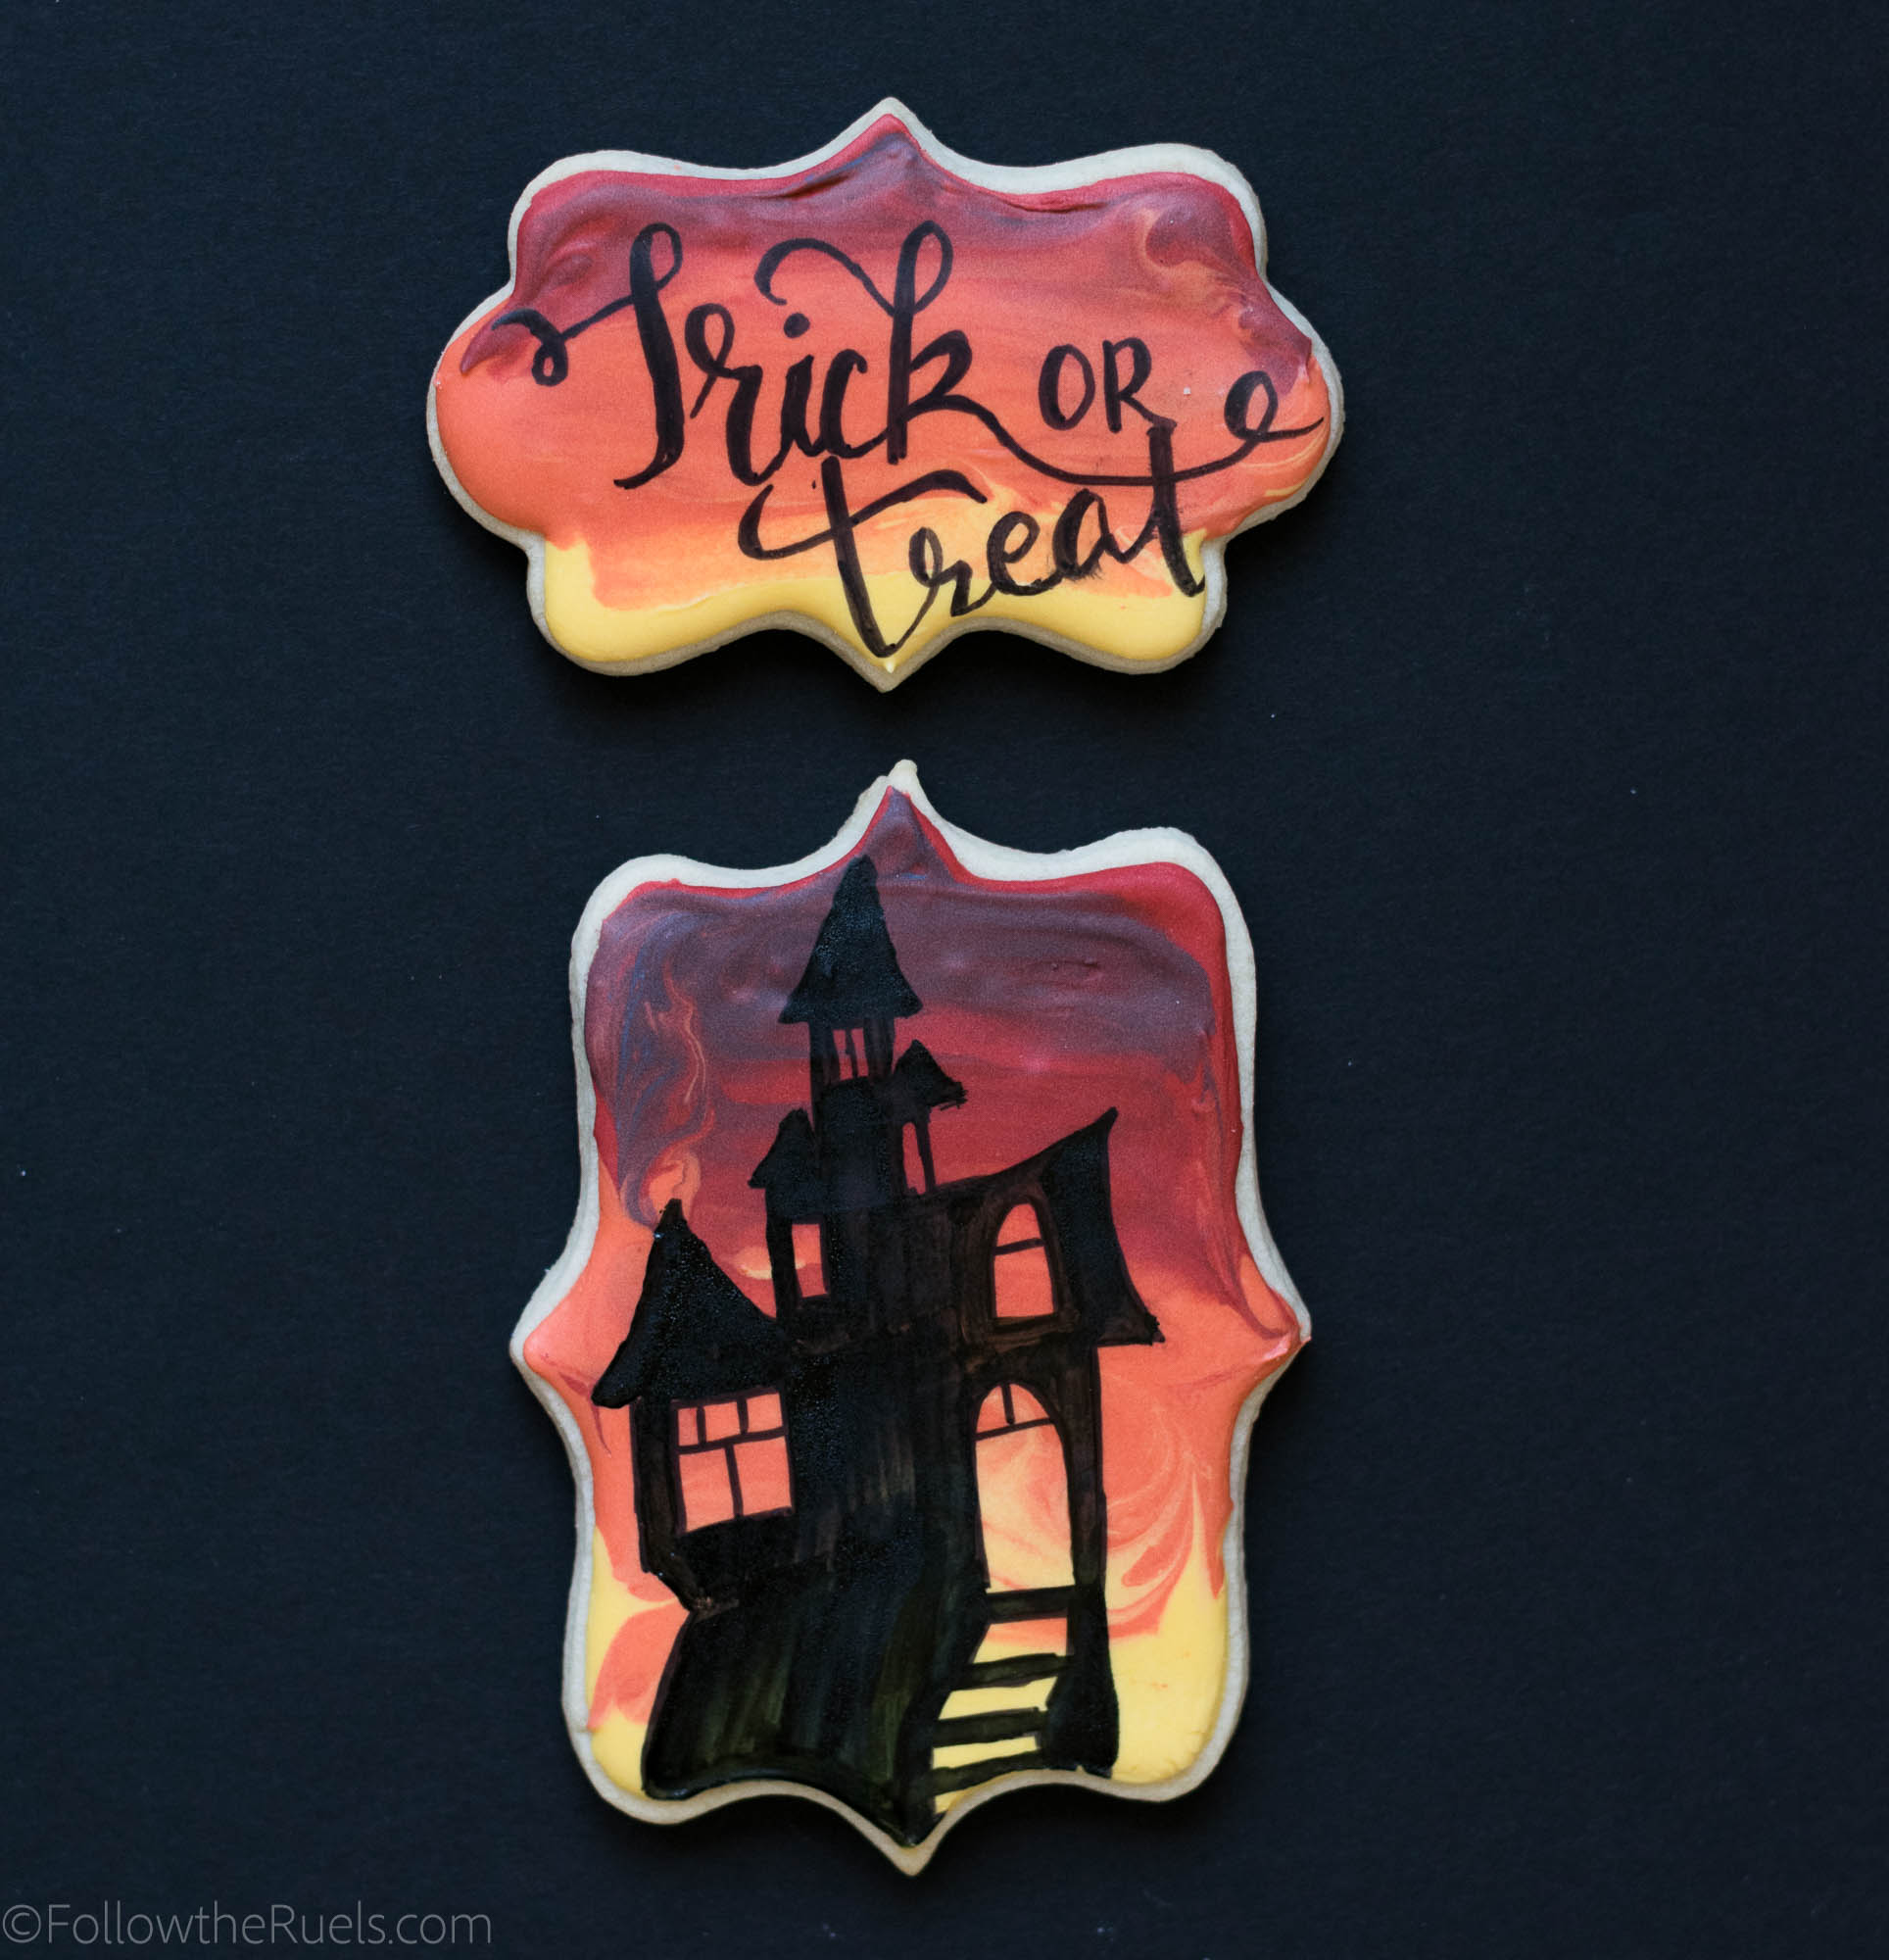
First I piped three sections of red, orange, and yellow icing from top to bottom. Then I used my scribe tool (or toothpick) to just fill in some of the empty space. After that, I took a pallet knife (a butter knife will also work) so spread the layers of icing together. This will form a semi ombre effect and also look like a bright sky at sunset. 


For some of the other cookies, I added a little dark blue at the top to really make it look like a night sky.

After the cookies dry for a couple hours, you can draw and paint right on top.

I took my inspiration from a quick Pinterest search of Halloween silhouettes to find this spooky house and the rest of the images that I used. 

For the larger images, like this house, I used black gel food coloring, slightly diluted with almond extract, to paint the house. For smaller images, like the spider web, I just used my marker.

I absolutely love these and will be making them again next Halloween for sure! There are so many fun images that you can draw on top, the options are endless. I found myself thinking of more ideas after I had run out of cookies. 

As usual, I used my favorite sugar cookie recipe and royal icing recipe. You could also make chocolate cookies, which would really amp up the colors of the sky. Or you could do pumpkin spice! 

Below are the tools that I used for these cookies.

 
[show_shopthepost_widget id=”2875246″]
 

/ Filed In: Decorated Cookies, Eat
Tagged: Halloween, October, orange, painted cookies, Red, sugar cookies, Yellow

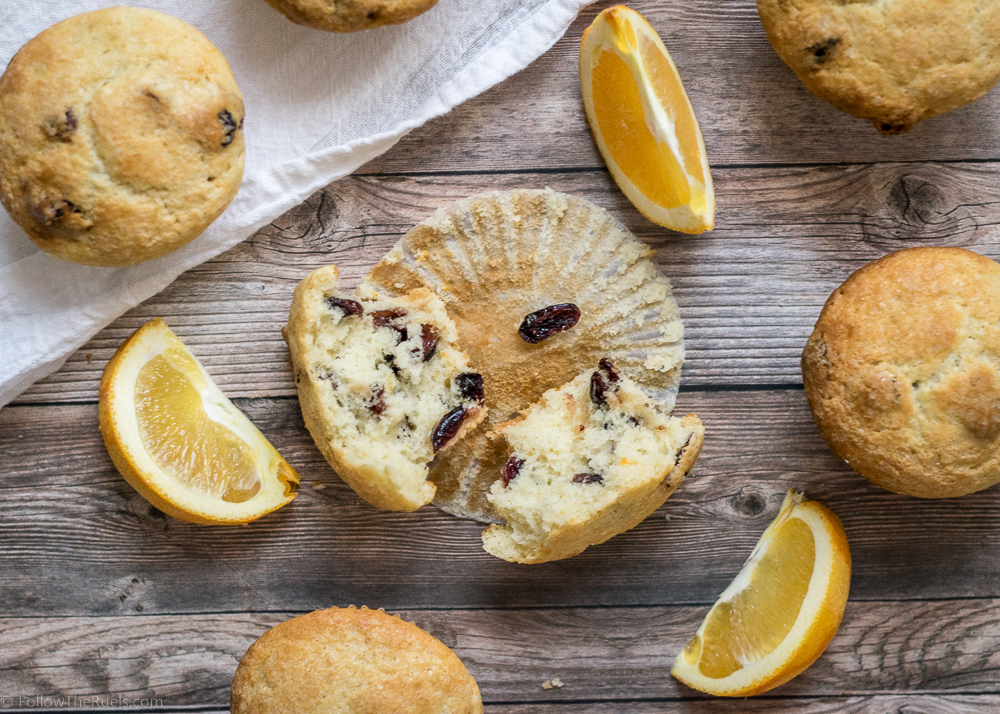
Cranberry Orange Muffins

December 2, 2016

Cranberry Orange Muffins

Move over pumpkin and pecans, it’s time to give cranberries their fifteen minutes of fame. You know me and how I get on kicks. Well, the next kick I’m going on is a cranberry kick. I’ve got big plans for everything from cranberry orange muffins, to sugared cranberries, to cranberry curd. 

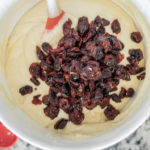
But first things first. These cranberry orange muffins. To be honest, I didn’t quite know if I would like the dried cranberries in the muffin. While they work great in a flaky scone or a crumbly cookie, would they work in a soft muffin?

Yes. Yes they do. 

(But fresh cranberries would probably work well in this, too!)


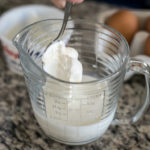
So I have made a lot of muffins around these parts, so I won’t bore you with the basics. But I will share one quick tip I use to measure my liquid ingredients. In a lot of muffin or quick bread recipes, I am mixing together a true liquid (like milk) and a semi-solid (like sour cream or yogurt). Well,  call me lazy but I don’t want to have to clean another measure cup. What I do instead is pour liquid in to a liquid measuring up like you see above. Then I spoon in the yogurt or sour cream (or peanut butter, etc.) until the liquid is offset by the right amount. 

Make sense? 

Ok, say I want to measure 1/2 cup milk and 1/4 cup sour cream. I pour 1/2 cup milk into the measuring cup, then I spoon in sour cream until the milk level rises to 3/4 cup (1/2 + 1/4 cup). 

After that, I add in the rest of my wet ingredients that don’t require such sophisticated measuring, like the eggs and butter. 


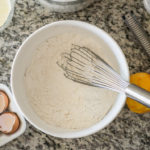
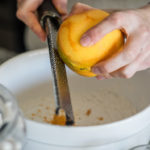
For these particular muffins, and any muffin to which I add zest, I mixed the zest in with the dry ingredients to that it becomes evenly dispersed throughout the batter. Then I pour in the wet ingredients and give it a few (emphasis on a few) good stirs. To much mixing and the muffins will be chewy, not soft. 

cranberry-orange-muffins-5

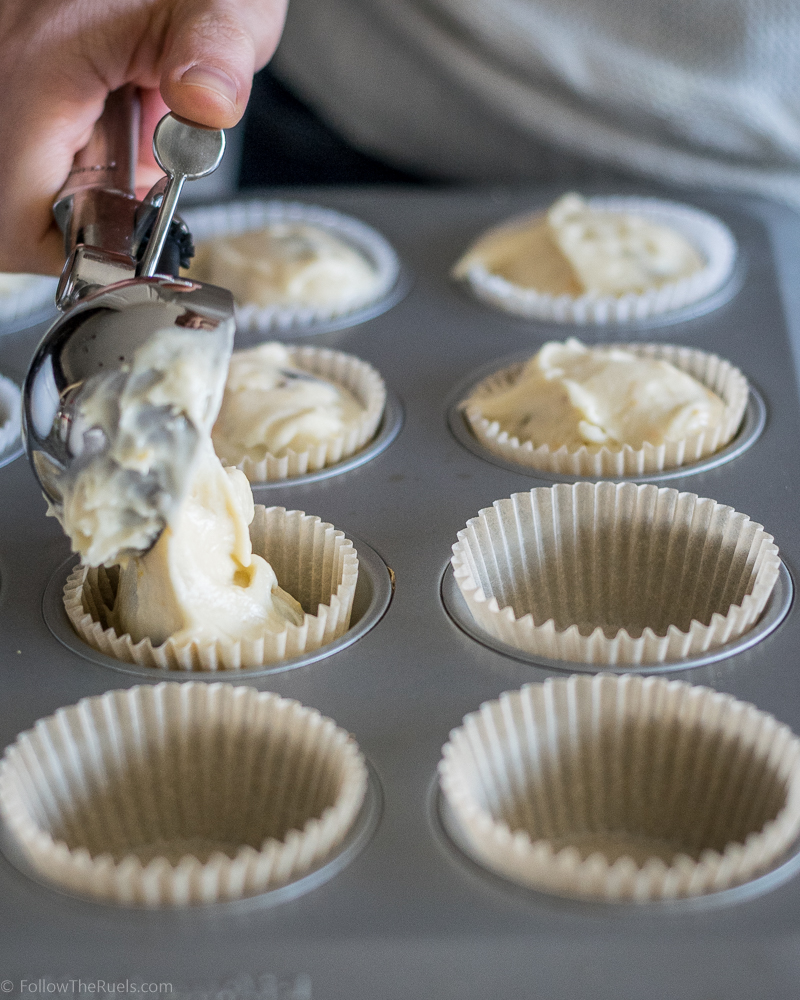
Another fun trick I use (Man, this post is just full of them, isn’t it?), is to portion out the batter into the individual tins using a ice cream scoop. Not only is it the perfect amount for 12 muffins, but it’s just so much easier and quicker to use. 


Cranberry Orange Muffins

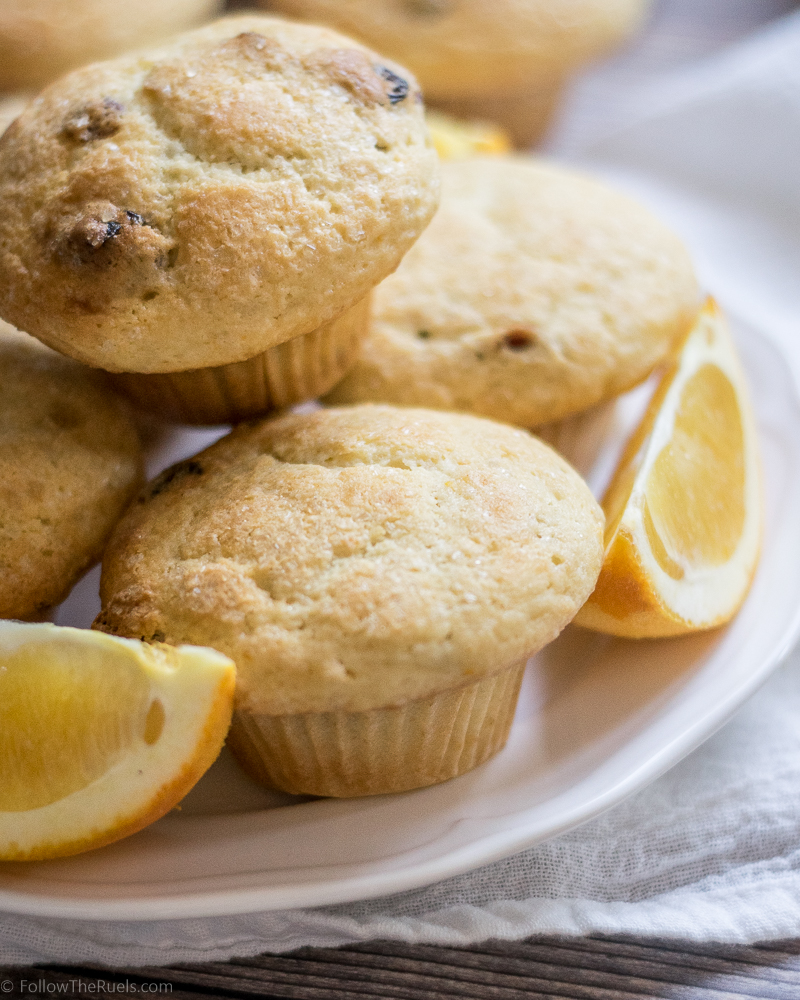
Once they are out of the oven, I head straight for the muffin top. I know it’s a cliche, but the muffin top is truly the best. I like to add a little bit of sugar to the tops of these muffins so that the top has a nice crust, but is still really soft inside. 

The combination of the orange and cranberry makes these muffins taste so fresh. The muffin itself is light and airy, so would make a great addition to a holiday breakfast to balance out all those other heavy foods we eat this time of the year. But, thanks to those dried cranberries, this muffin can be enjoyed year round, not just this Winter!

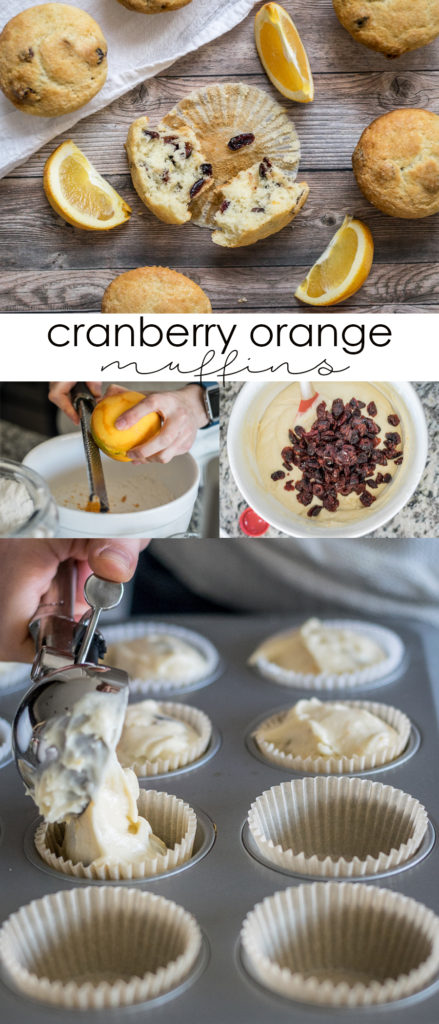
PIN NOW, MAKE LATER

Cranberry Orange Muffins | Follow the Ruels

[amd-yrecipe-recipe:102]

/ Filed In: Breakfast, Eat, Other Sweets New
Tagged: breakfast, cranberry, cranberry orange, muffin, orange

Citrus Angel Food Cake

July 6, 2014

Orange-Angel-Food8Whenever my husband and I attend a gathering or event where we need to sign up to bring a food item, 95% of the time I will sign up for dessert. I’m sure that won’t surprise anyone who has read this blog before. But even though I like making sweets, I still feel a lot of pressure to make something that all or most people will enjoy. So my rule of thumb is to stick with a classic but with a twist. Take for instance those Mexican Brownies from a couple months ago and this Citrus Angel Food Cake. It is just a plain old Angel Food Cake with a twist. I added some orange and lemon zest. The flavor is evident, but not overwhelming. And the perfect flavor combination for Summer.

Orange-Angel-Food1If you have never made Angel Food Cake from scratch before, it is actually much easier than you might think. Sure, it does require lots of egg whites. Like a whole freaking dozen of them, but everything else is probably stuff you already have in your pantry.

Orange-Angel-Food2What sets Angel Food Cake apart, is how light and airy it is. That is achieved through the “meringue” made by whipping up all dozen egg whites with a bit of cream of tartar, water, and sugar. At this point, you could also whip in whatever flavors you like. For instance, you could add vanilla to get a classic Angel Food. Or other extracts to take on any other flavor, like coconut, orange, raspberry, almond, etc.

Orange-Angel-Food3Once the egg whites form soft peaks (the picture above is probably closer to stiff peaks), I fold in the flour mixture. Because the flavor for this cake comes from the orange and lemon zest and not an extract, I whisked the zest into the flour mixture instead of into the egg whites.

Orange-Angel-Food4Typically, you will find Angel Food in a tube pan like the one above, but it can be made in any kind of pan you have.

Orange-Angel-Food9Like any other cake, you will know it is done with the top is brown and you can stick a knife or toothpick in and it comes out cleanly. The difference with Angel Food is that it has to cool completely…upside down. I like to find a bottle with either a tapered neck or a top that is just as big as the hole in my tube pan and flip it over to rest perfectly on the bottle. It may take a bit of coordination, but should balance just fine as long as you leave it alone (lesson learned the hard way for me). Don’t worry the cake won’t slip out!

Orange-Angel-Food5Once you are ready to serve, take a knife all the way around the edge of the cake, between the cake and the pan. Afterwards, and maybe with a bit of coaxing, the cake should slide right out. Cut into slices and serve with some whipped cream and fruit, or eat all on its own!


[yumprint-recipe id=’5′]

/ Filed In: Eat
Tagged: angel food, cake, citrus, lemon, orange

Follow

Hey There!

Hey there, I'm Lindsey. I'm a number cruncher by day and a home cook and baker by night. While I love to eat healthy and find fresh and healthy alternatives for my favorite foods, I will never turn down dessert! Life is all about moderation, right?

Recipes

  • All Recipes
  • Breakfast
  • Appetizers
  • Salads
  • Main Dishes
  • Side Dishes
  • Desserts
  • Drinks

Favorite Finds

[show_lookbook_widget id=”388783″]

Theme by 17th Avenue · Powered by WordPress & Genesis