• Home
  • Eat
    • Breakfast
    • Appetizers
    • Main Dishes
      • Chicken
      • Beef
      • Seafood
      • Healthy Dishes
      • Paleo Dishes
      • Salads
    • Desserts
      • Decorated Cookies
      • Cookies
      • Bars and Brownies
      • Cakes and Cupcakes
  • Shop
    • Cookie Decorating Supplies
    • Bakeware
    • Cookware
    • Kitchen Gadgets
    • House
  • About
    • Contact
    • Bucket List
  • Cookie Decorating 101

Follow the Ruels

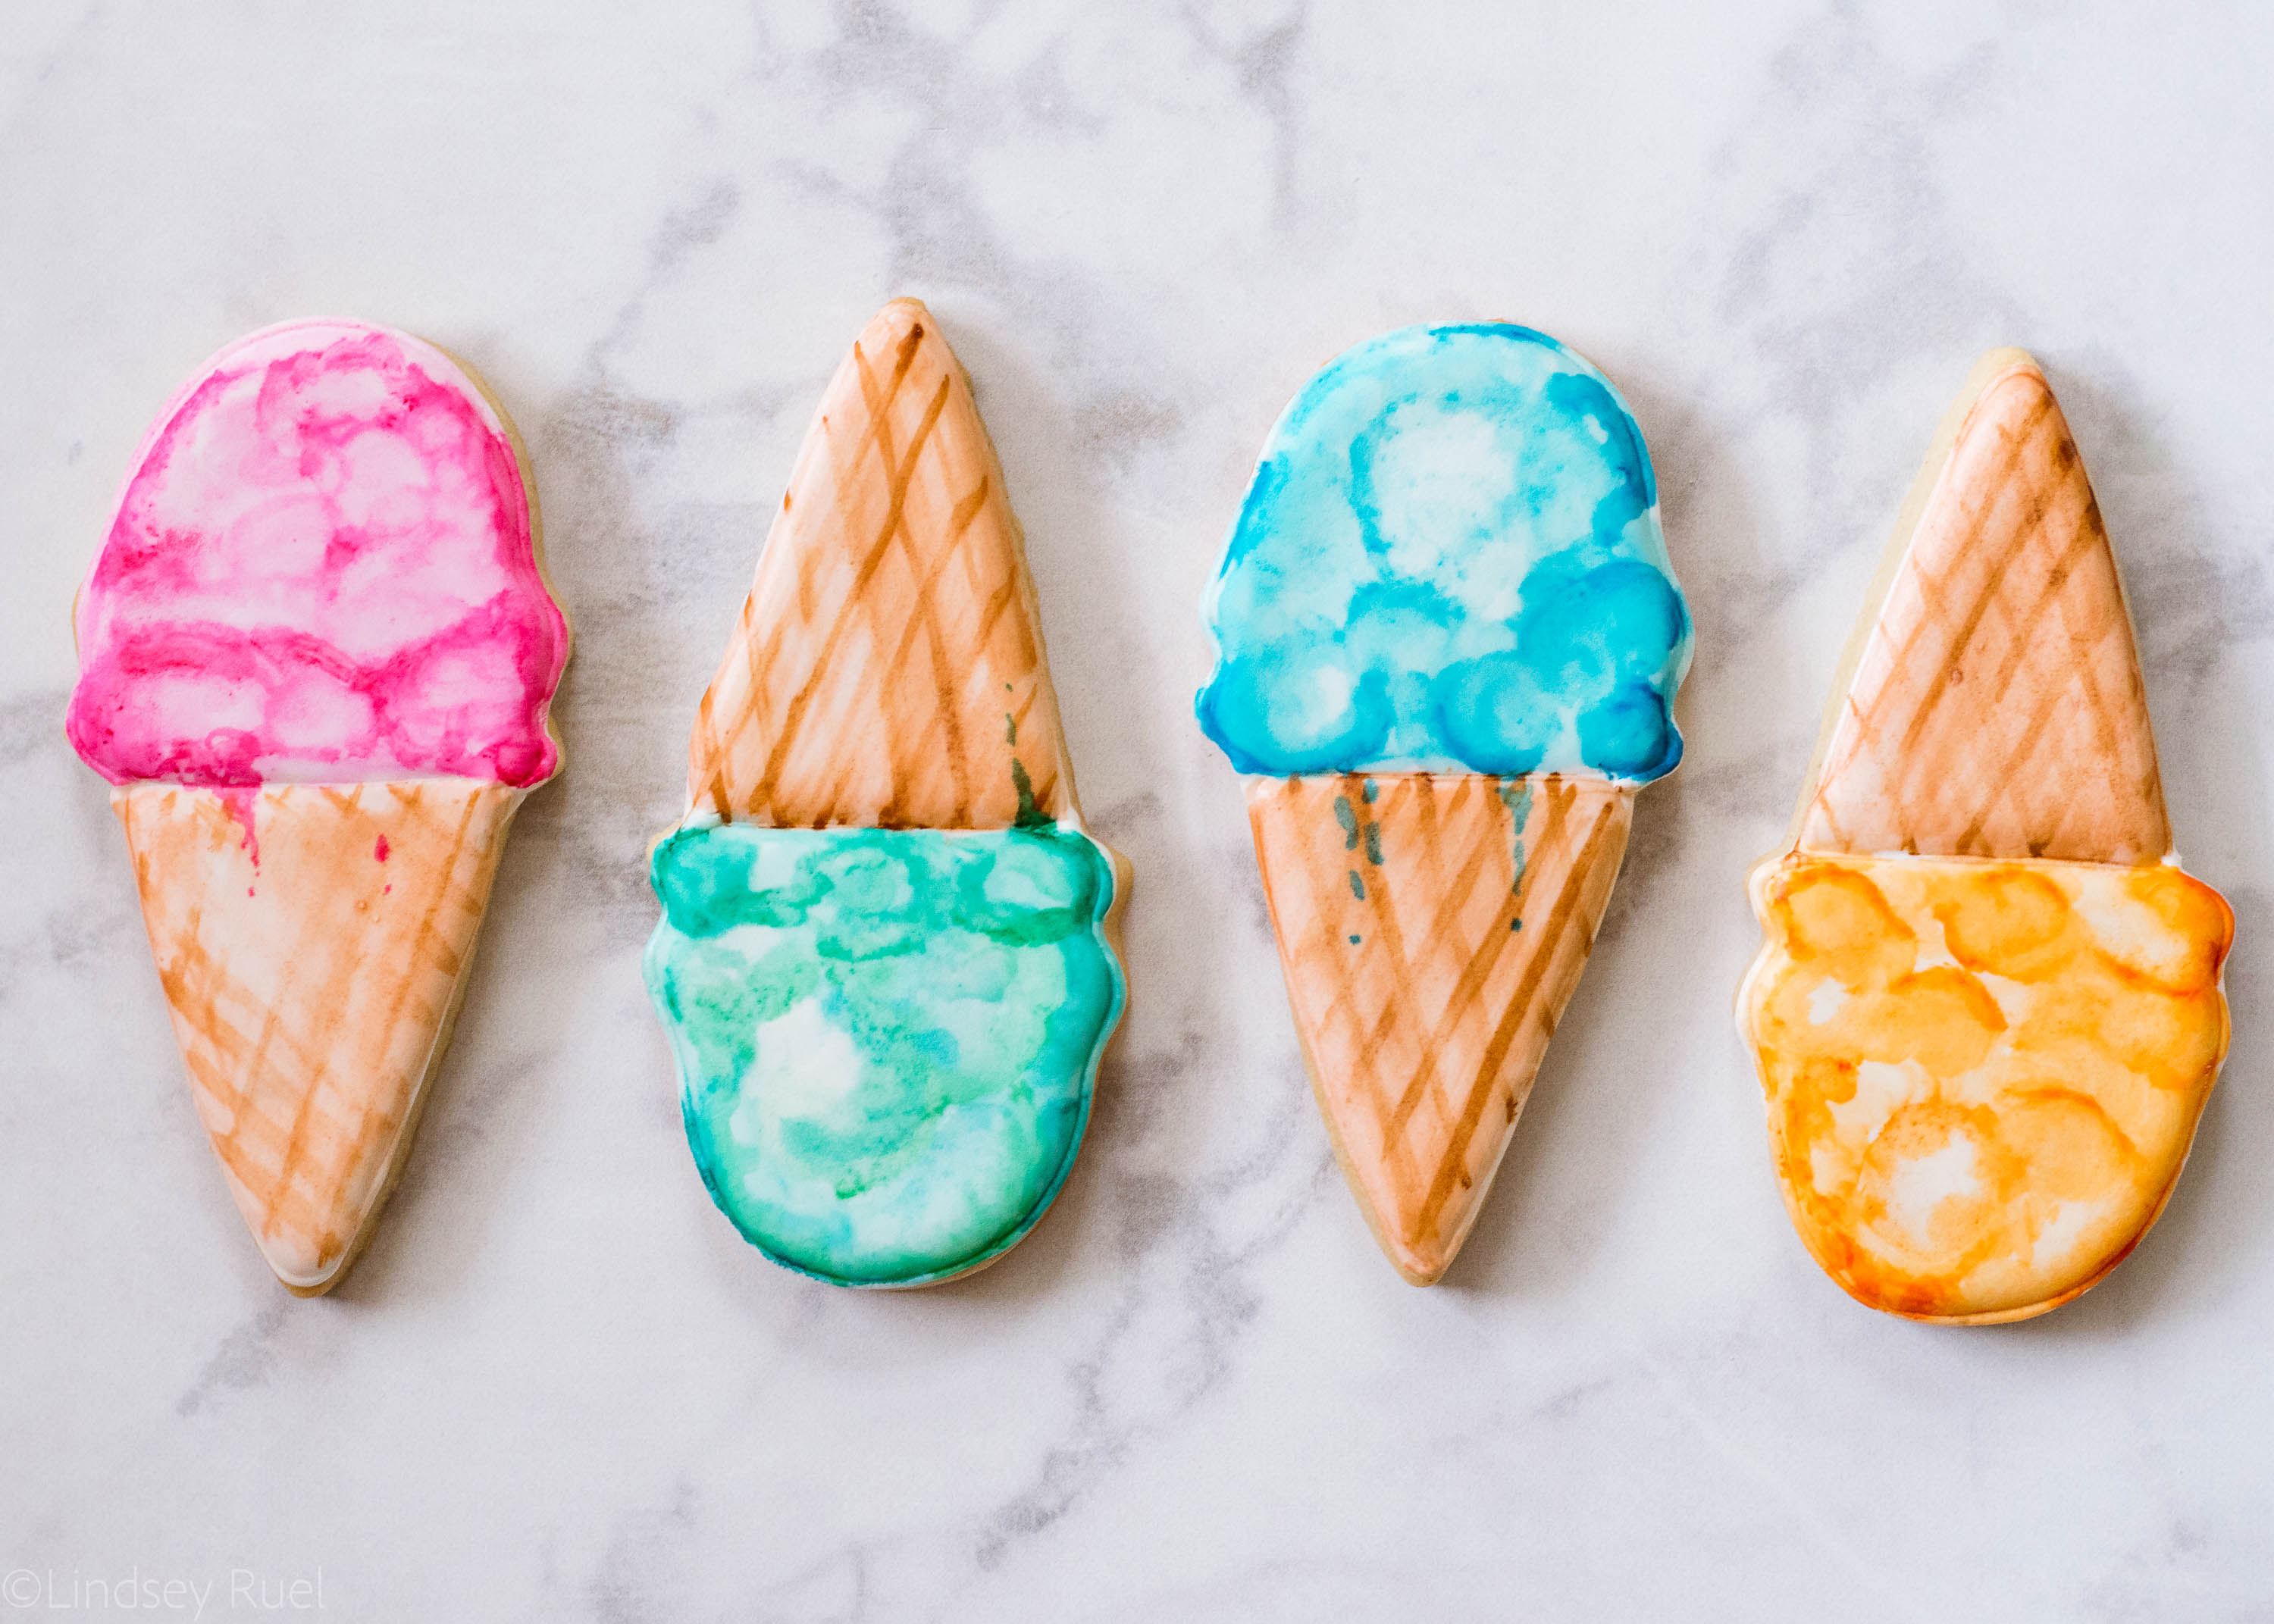
Watercolor Ice Cream Cookies

July 30, 2018

Even though it seems like Summer is winding down, it is certainly heating up around these parts (literally). We are pushing triple digits here in Georgia, which I know most of the rest of the country is all too familiar with. 

I’m looking at you, Texas. 

While actual ice cream would be just as good (if not better for these scorching Summer temps), I thought it would be fun to make some ice cream inspired cookies to get us through these dog-days of Summer. 

Recipes and Supplies

Of course, you will need some sugar cookies cut out into your favorite ice cream shapes. You could use my basic sugar cookie recipe, but I think one of my Summer sugar cookie recipes would be even better (shameless plug). 

You will also want to make a batch of royal icing thinned down to flood consistency icing. 

Since these are painted cookies, you will also need some gel food coloring in your favorite ice cream colors, paint brushes, and a little clear alcohol.

To make the edible watercolors, add one or two drops of food coloring to a plate or paint pallet, then add in a couple drops of alcohol. Stir the two together with your paintbrush until you have a nice watercolor paint. 

[show_shopthepost_widget id=”3224606″]

How to Make Them

Start by outlining and filling each cookie with white icing, letting the icing dry completely before painting. 

Then start painting!

These turned out so much cuter than I could have hoped! I think I found a new favorite cookie to paint!

What do you think?
/ Filed In: Cookies New, Decorated Cookies, Desserts, Eat
Tagged: cookies, ice cream, painted cookies, sugar cookies, Summer, watercolor

Strawberry Shortcake Ice Cream Sandwiches

June 20, 2018

I feel like it went from Spring to Summer in the blink of an eye. 

Okay, maybe it’s because we have been traveling for the better part of a month, but all of a sudden it just got hot!

Which means it’s ice cream season! Not that I need any special season to help myself to some ice cream, but it certainly helps with the thermometer is pushing 90 or 100 degrees. 

I also can’t get enough fruit during the Summer, especially strawberries, which is why I thought I would combine one of my favorite strawberry desserts with a bit of ice cream for the ultimate Summer treat. 

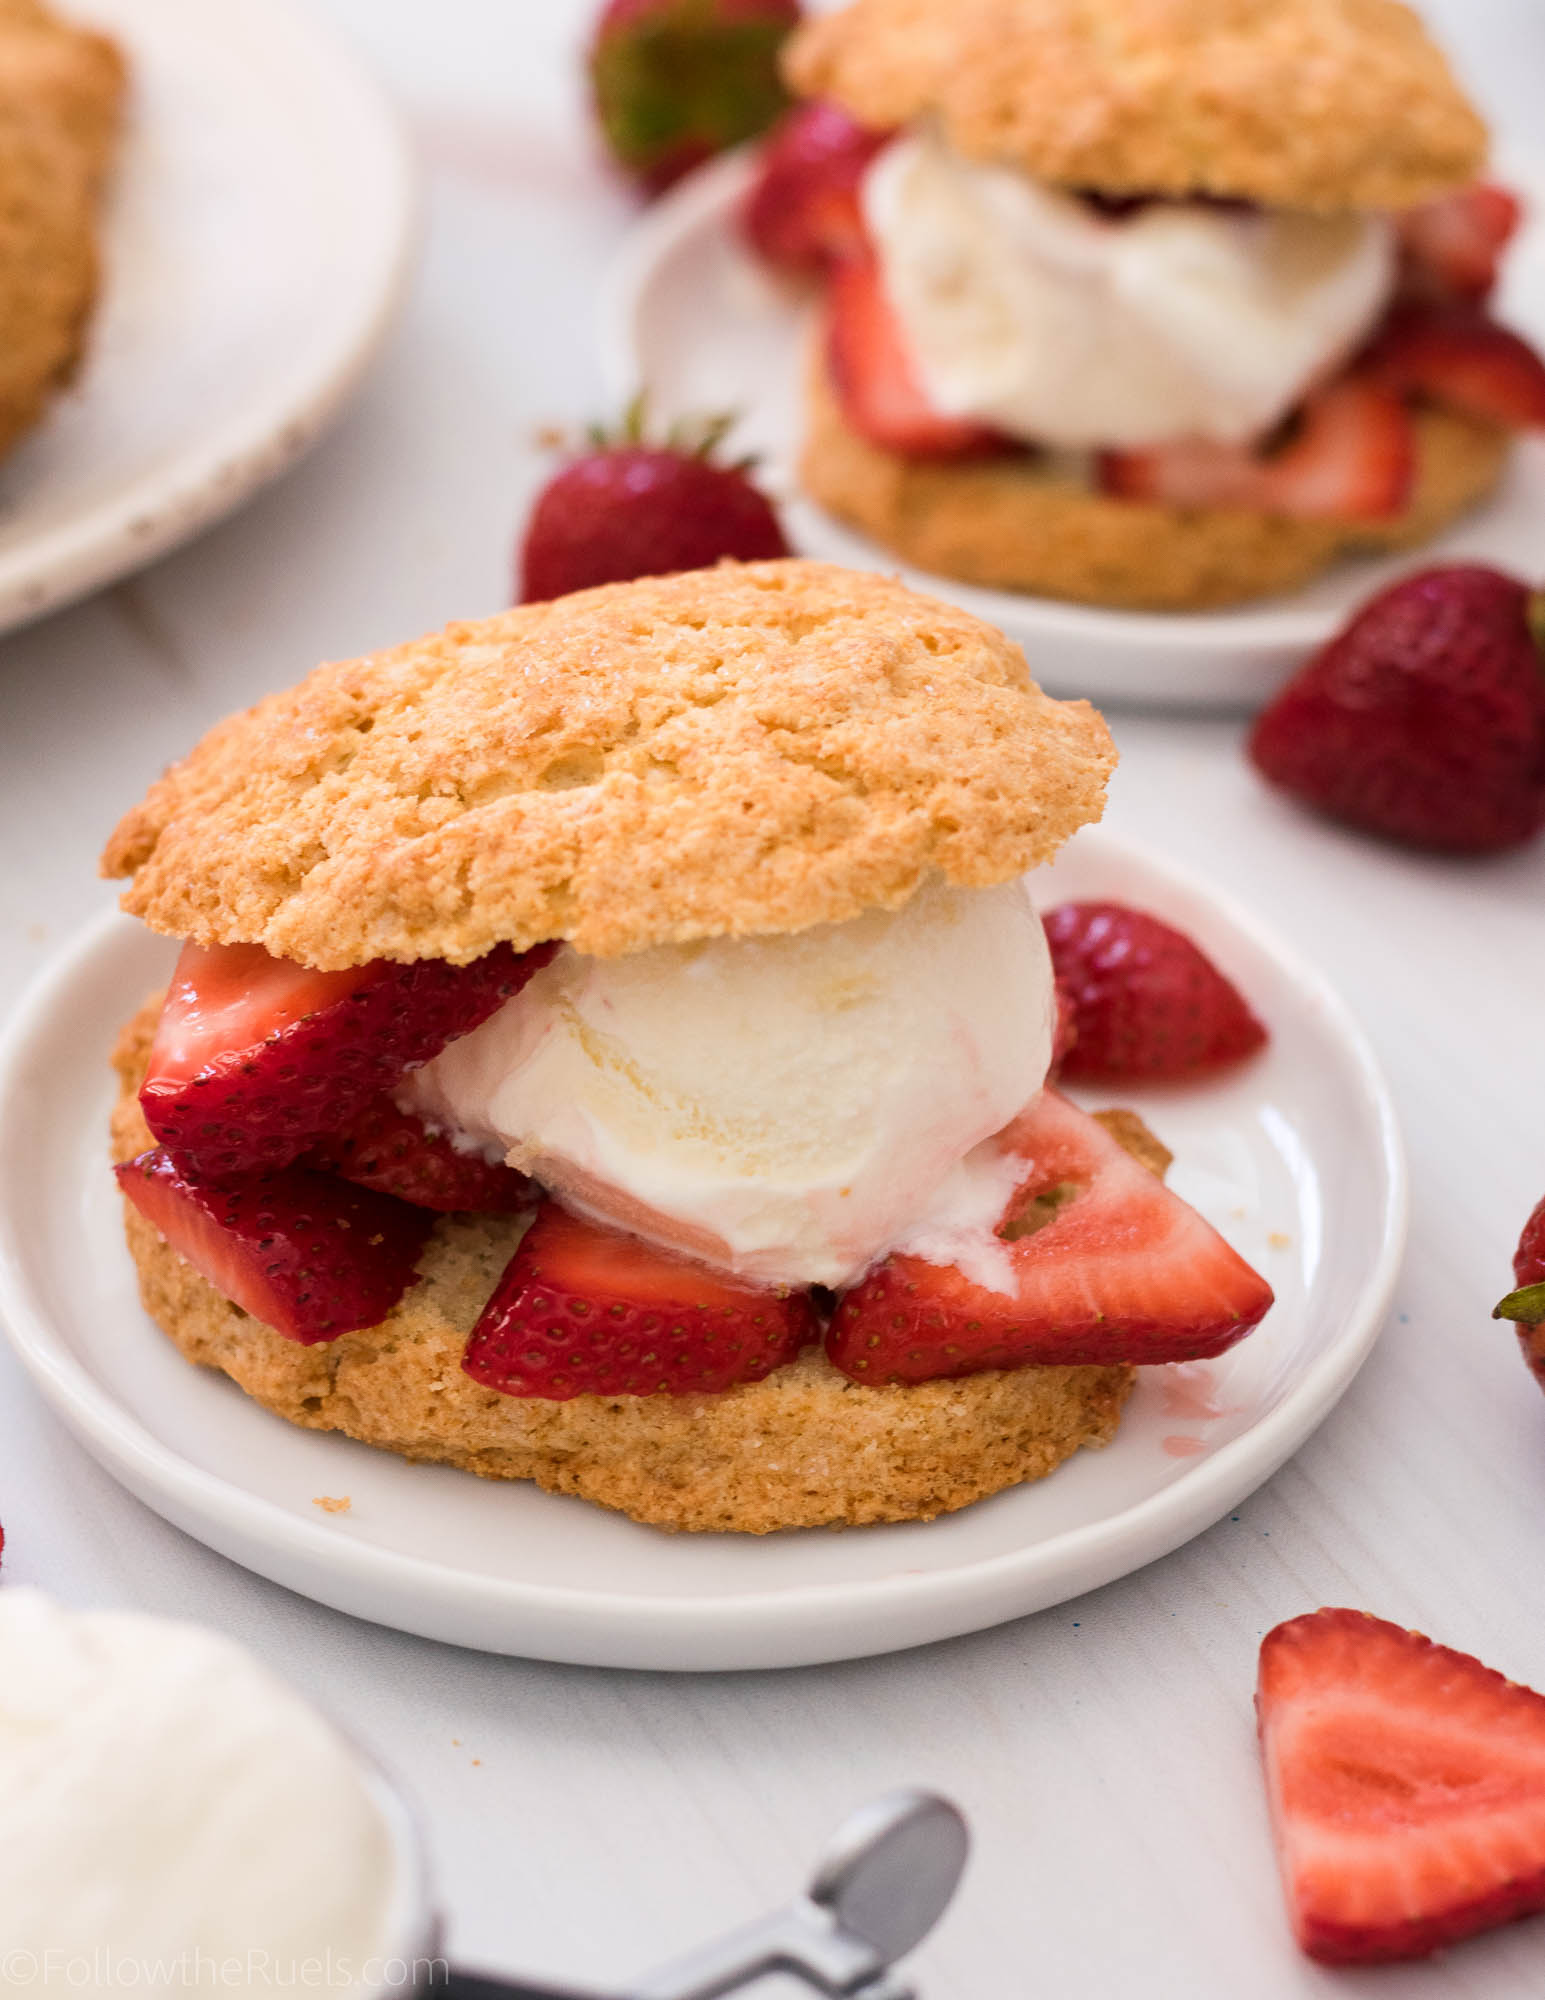
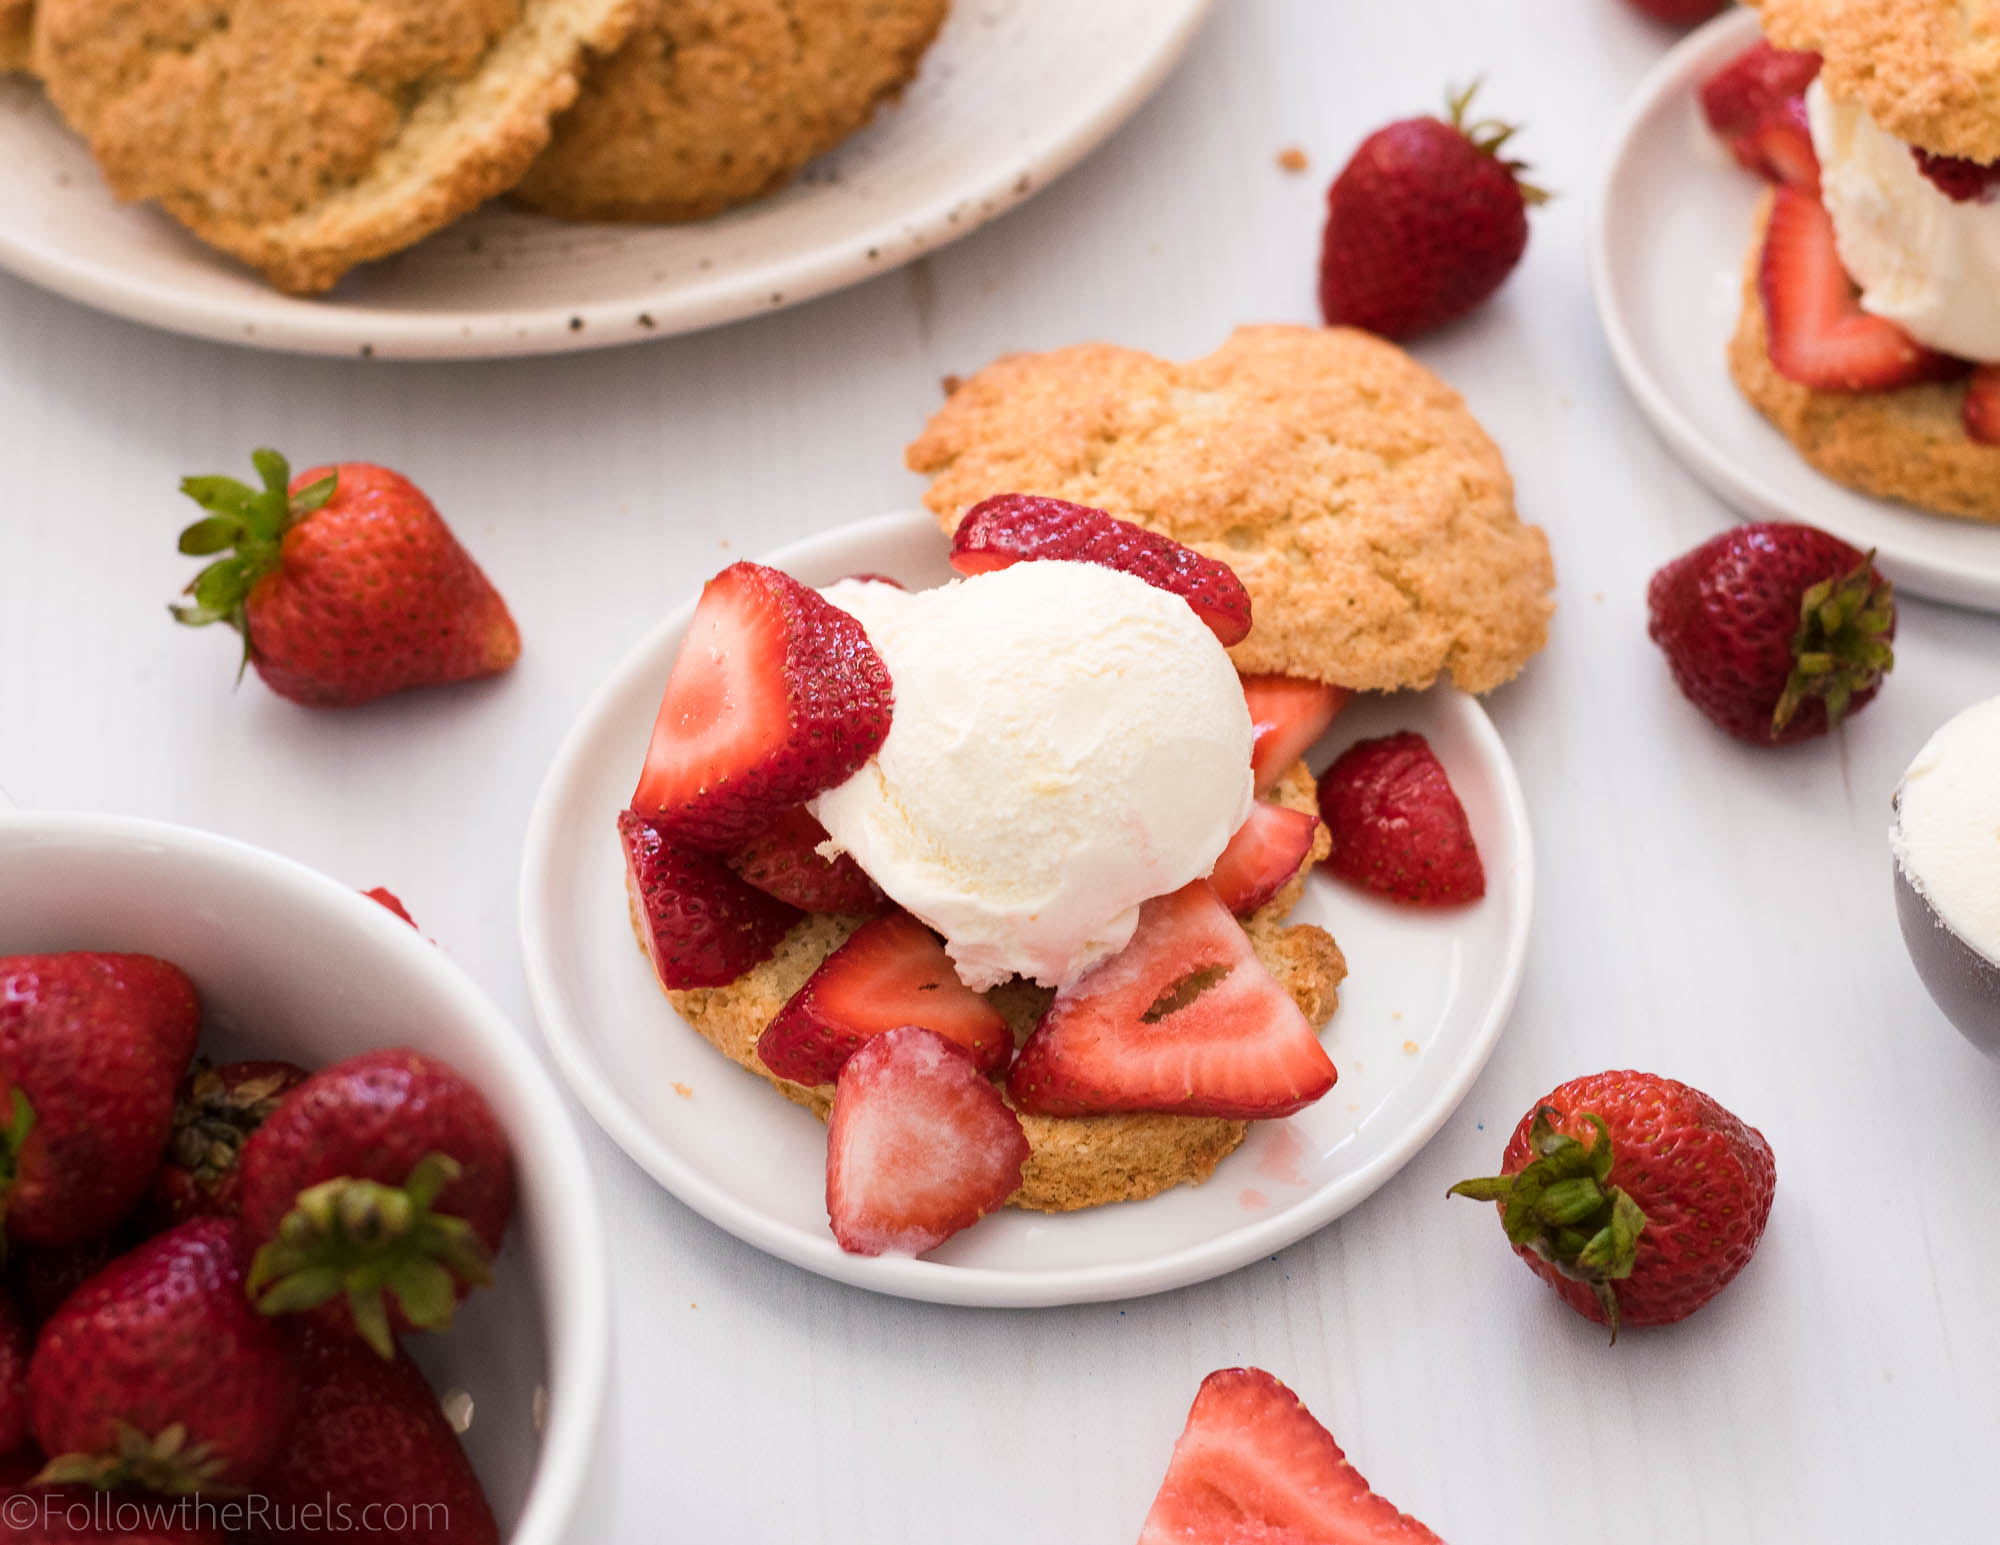
Everyone makes their strawberry shortcake with whipped cream, but why not throw a little ice cream in there instead and call it a strawberry shortcake ice cream sandwich!?

How to Make It
The Shortcake

The shortcake in these strawberry shortcake ice cream sandwiches is the most intensive step in the process. But if you can make a biscuit, you can make shortcake! Trust me, homemade shortcake is well worth the moderate effort it takes to make them!

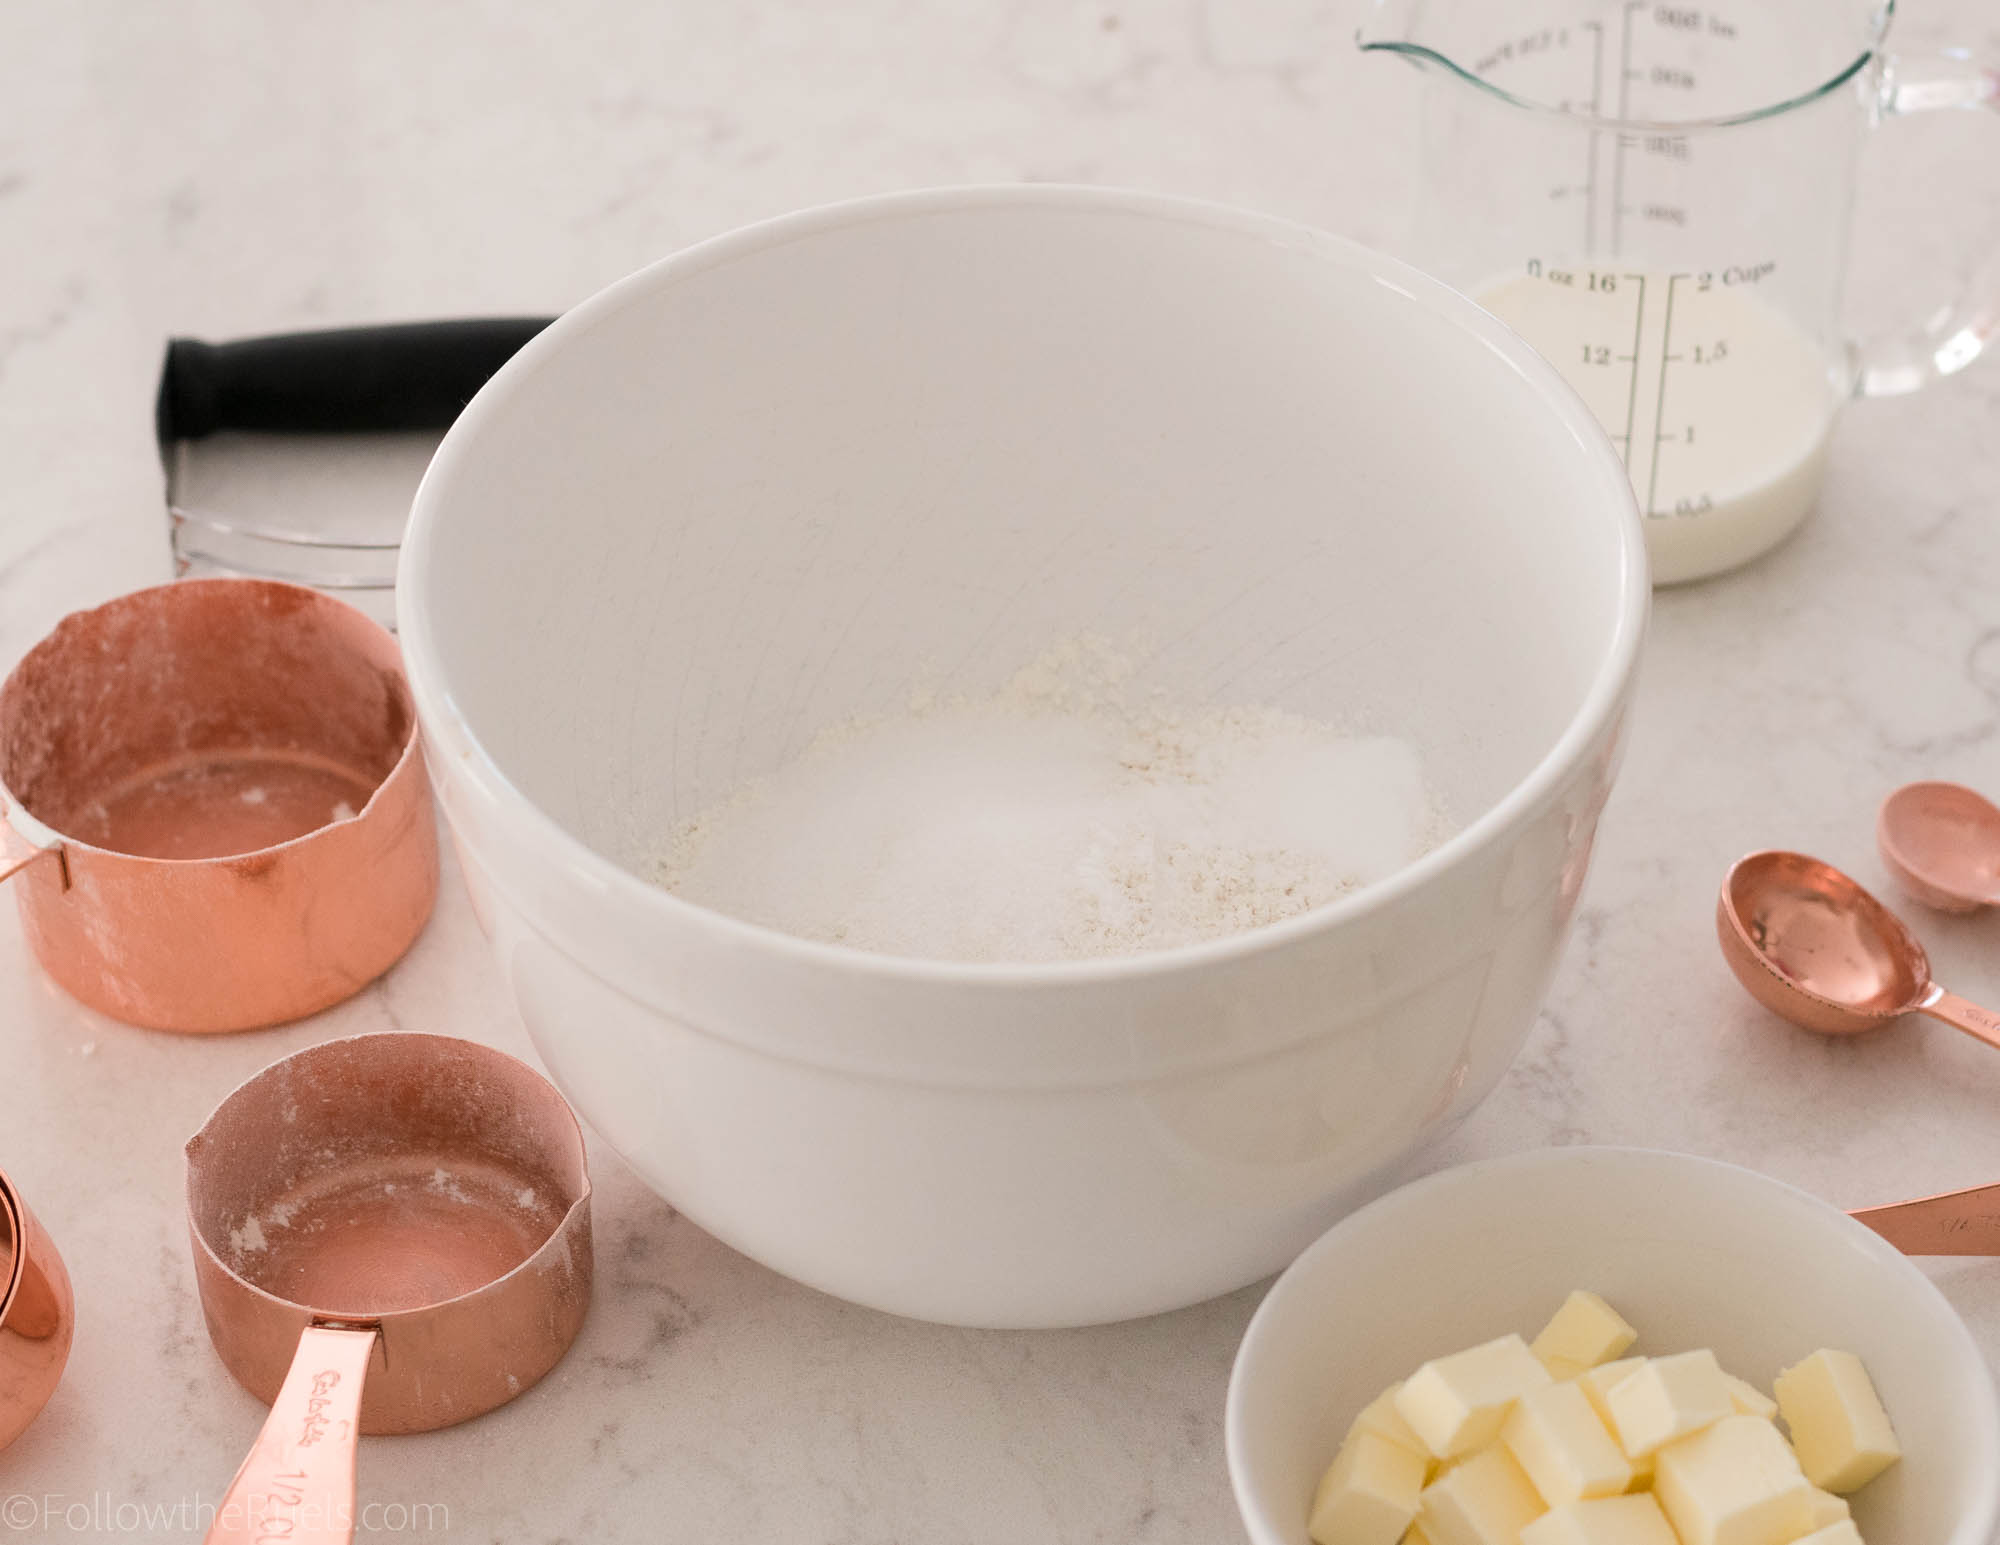
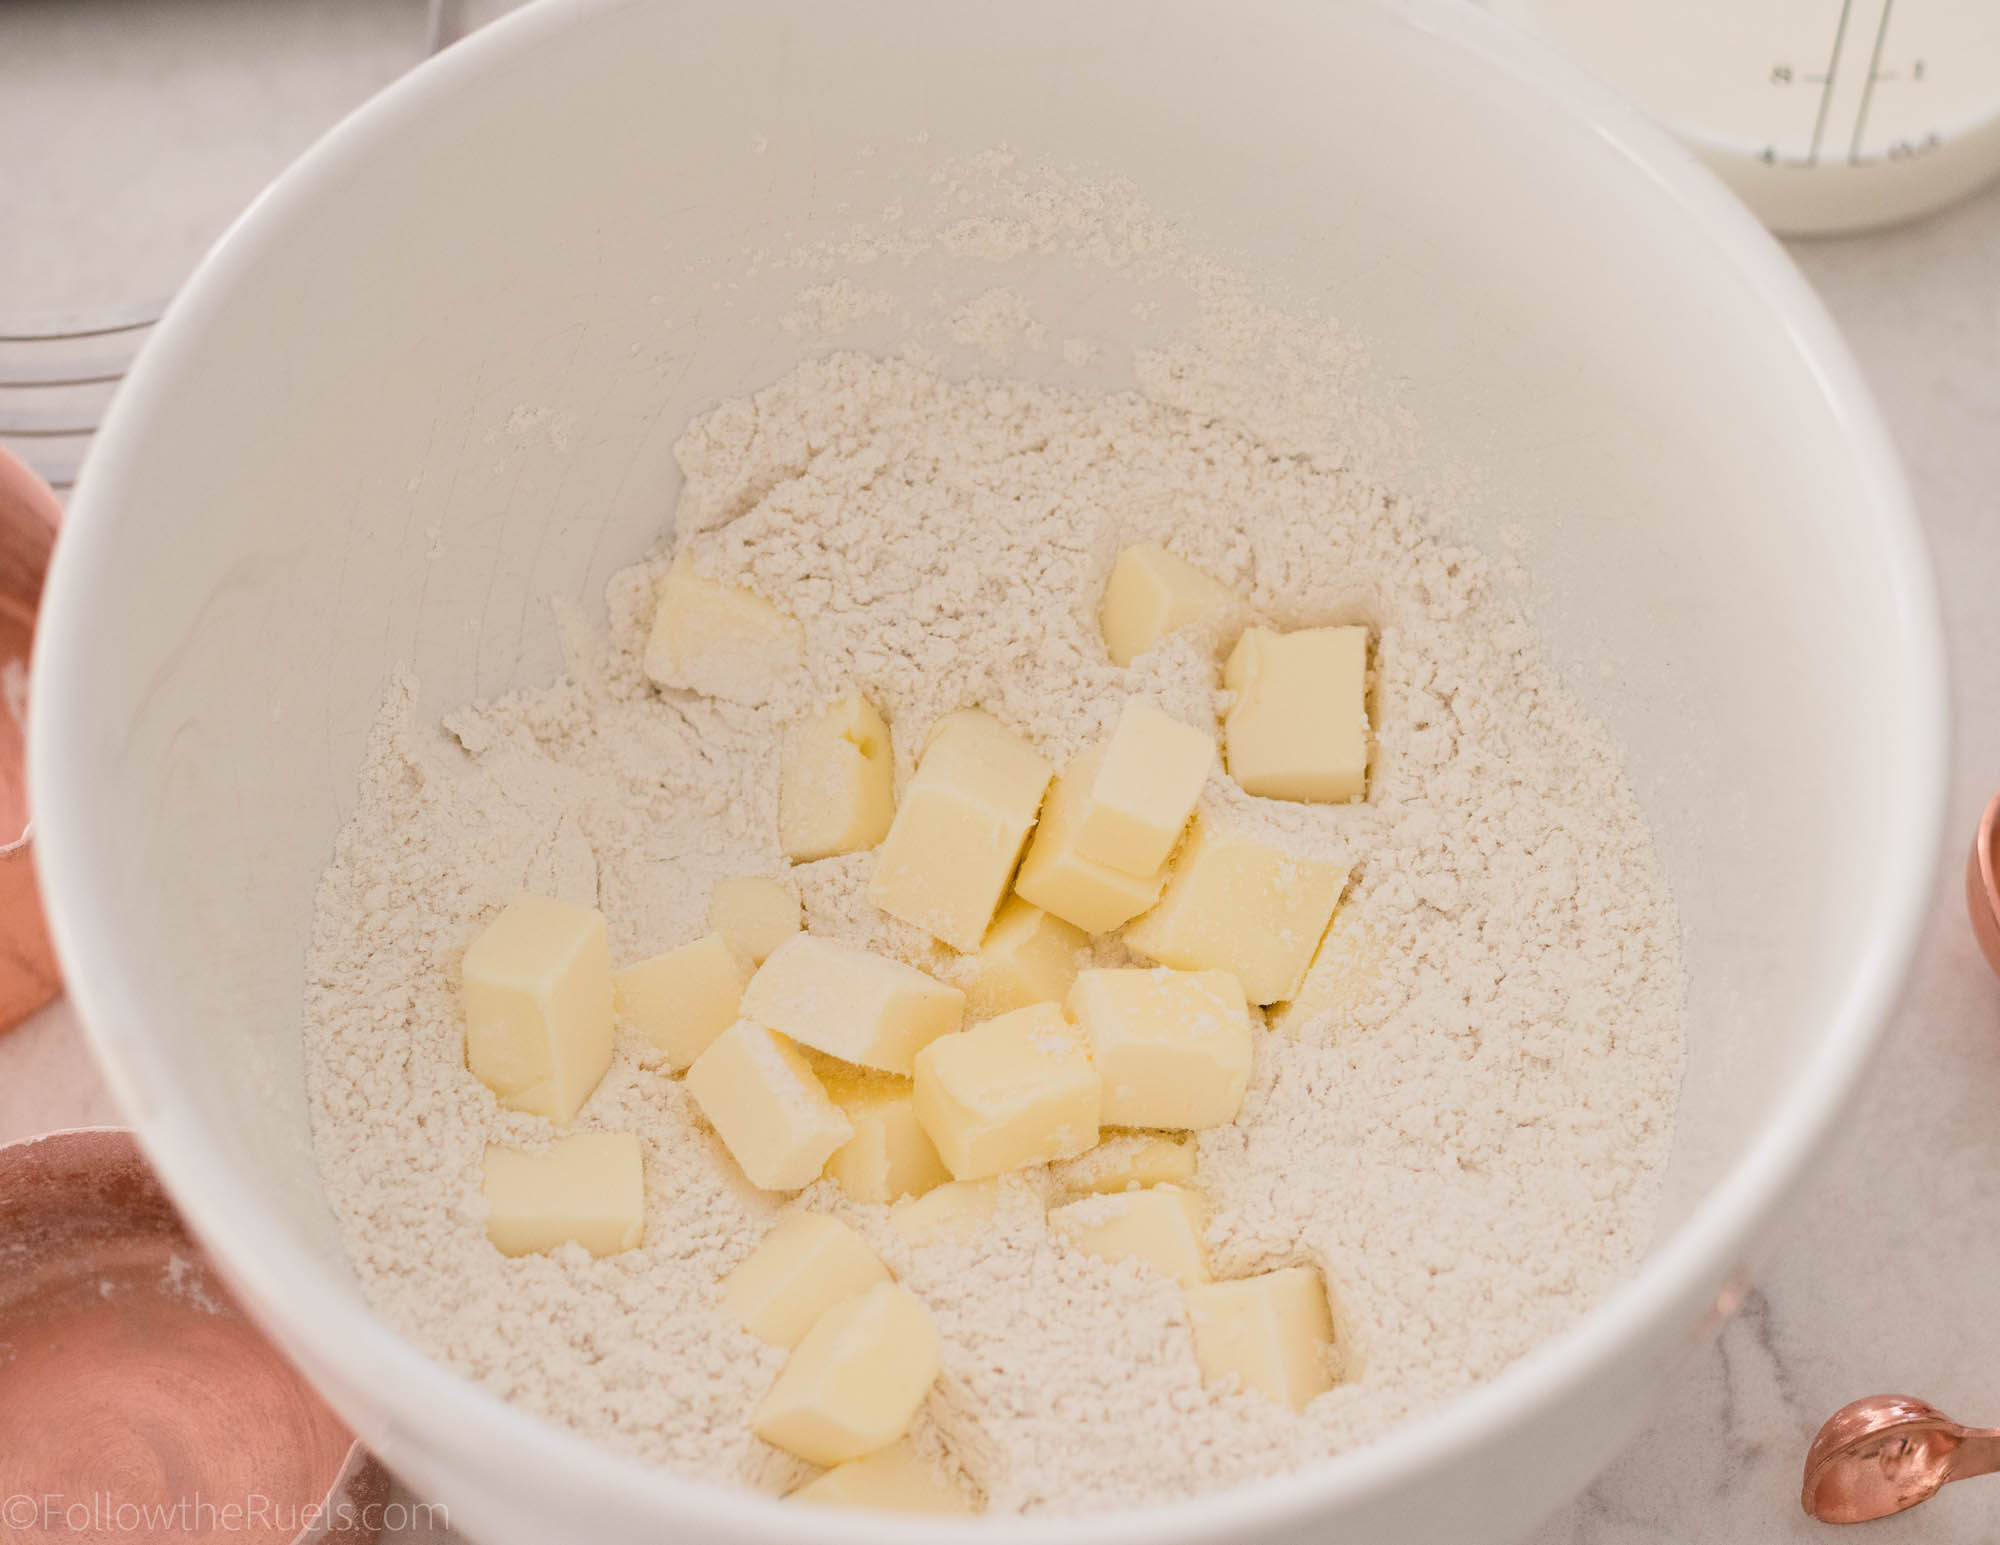
Start by mixing together flour, sugar, baking powder, baking soda, and salt. Then add in the chilled and cubed butter.

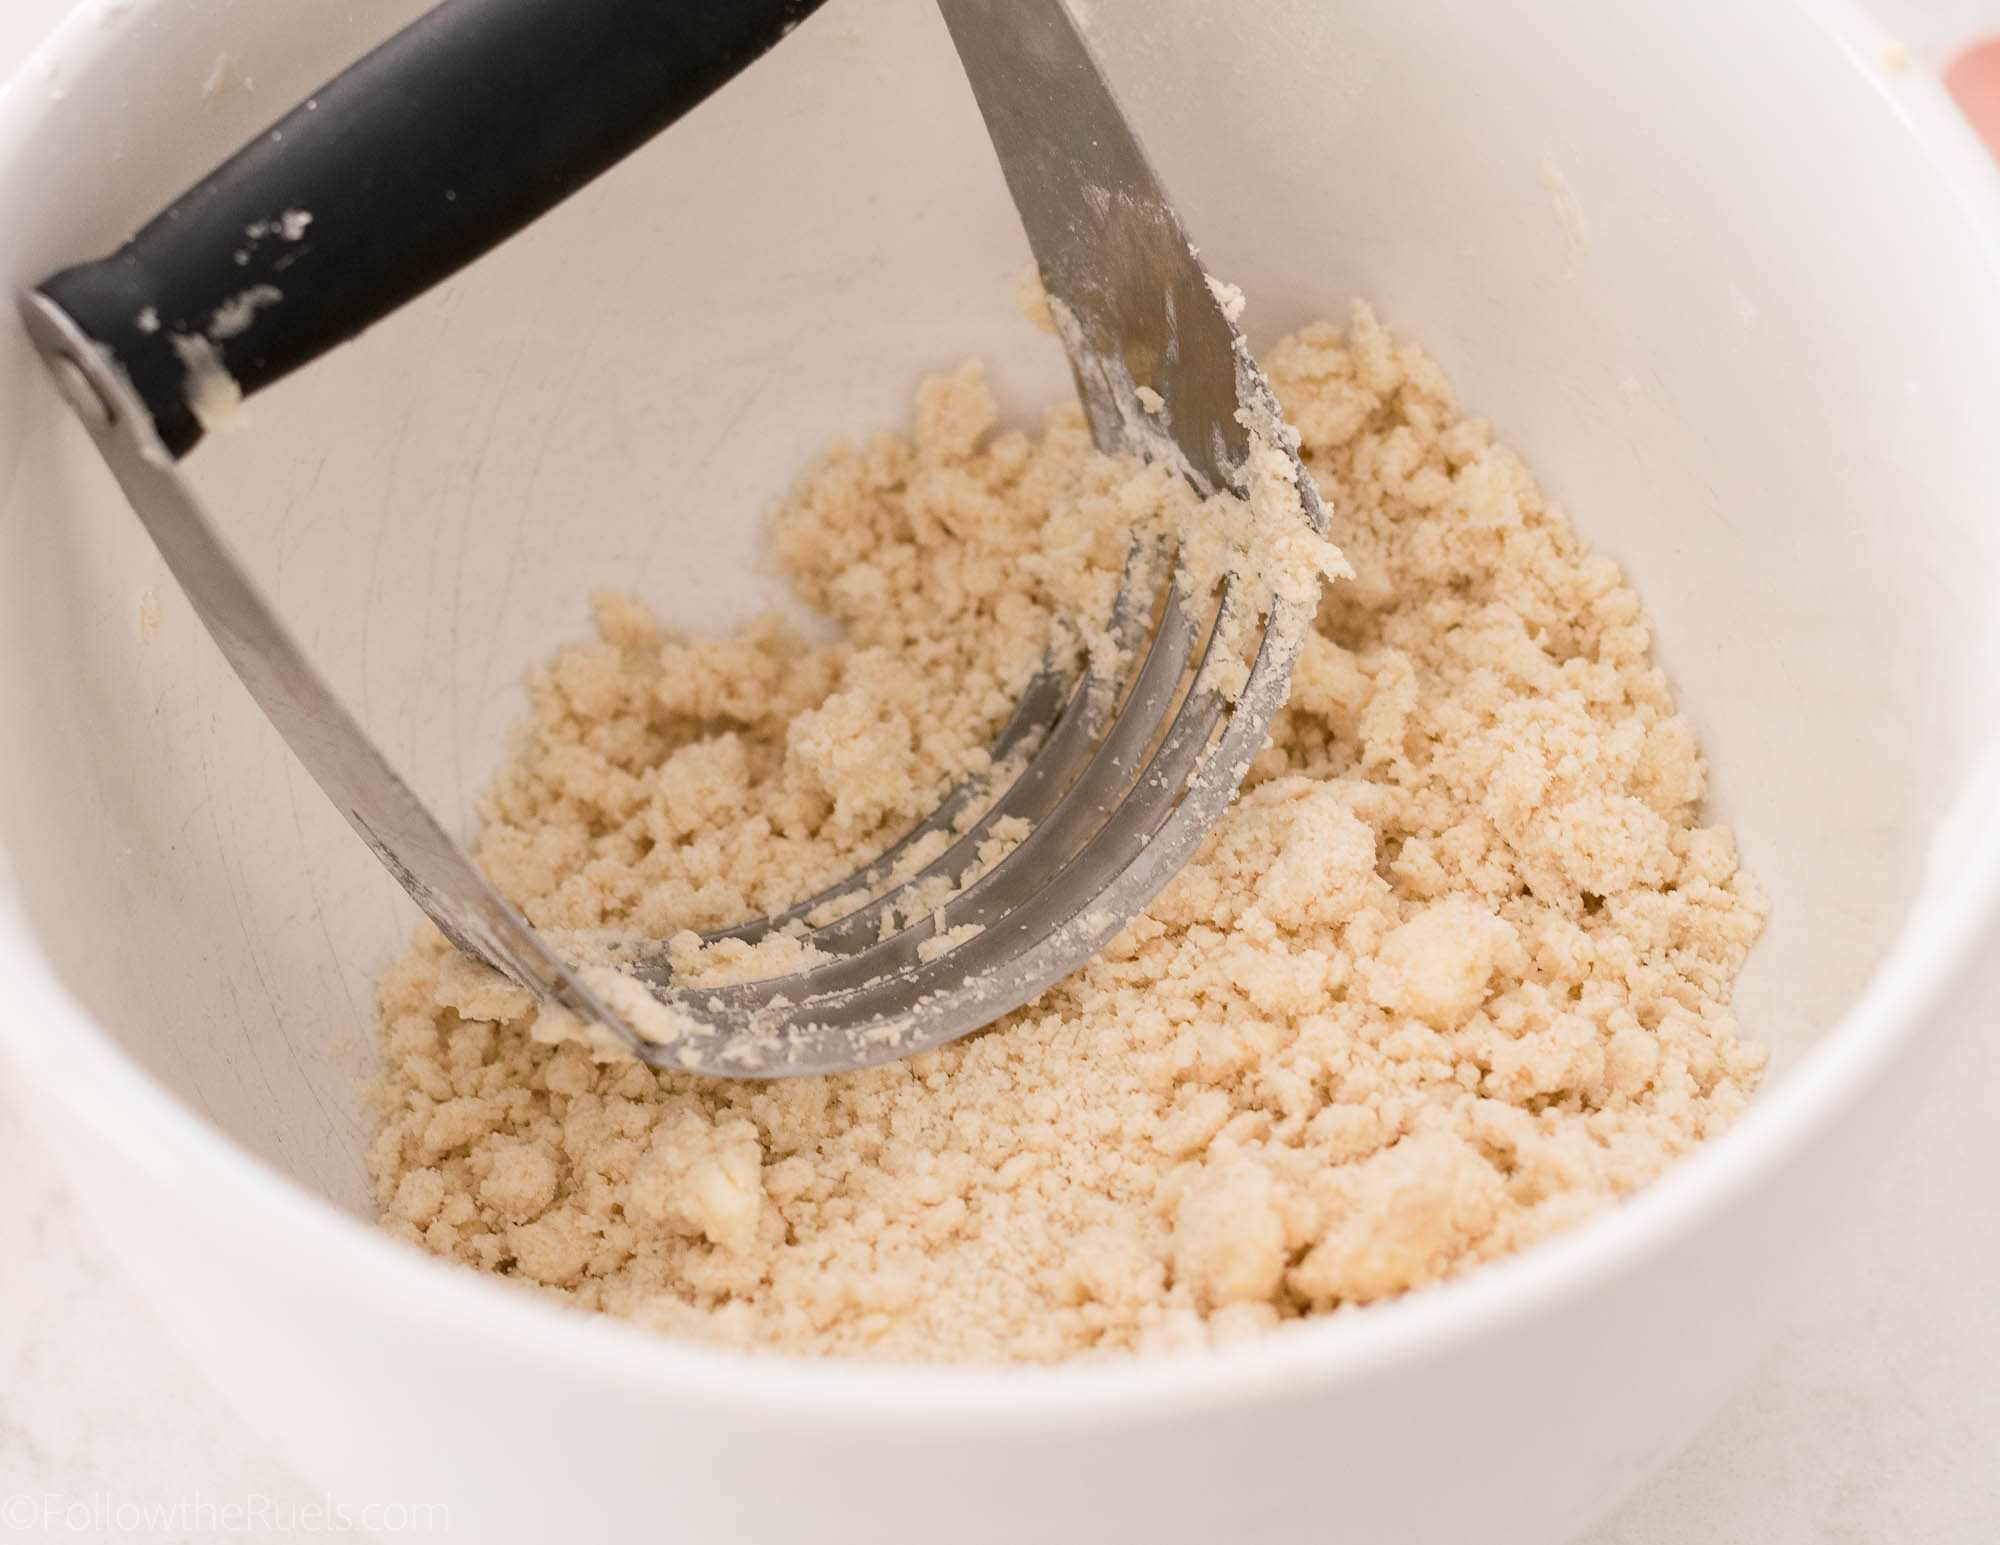
Cut the butter into the dry ingredients until it resembles cake crumbs. You can use two knives, a pastry cutter, or your hands. I used a combination of a pastry cutter and my hands. 

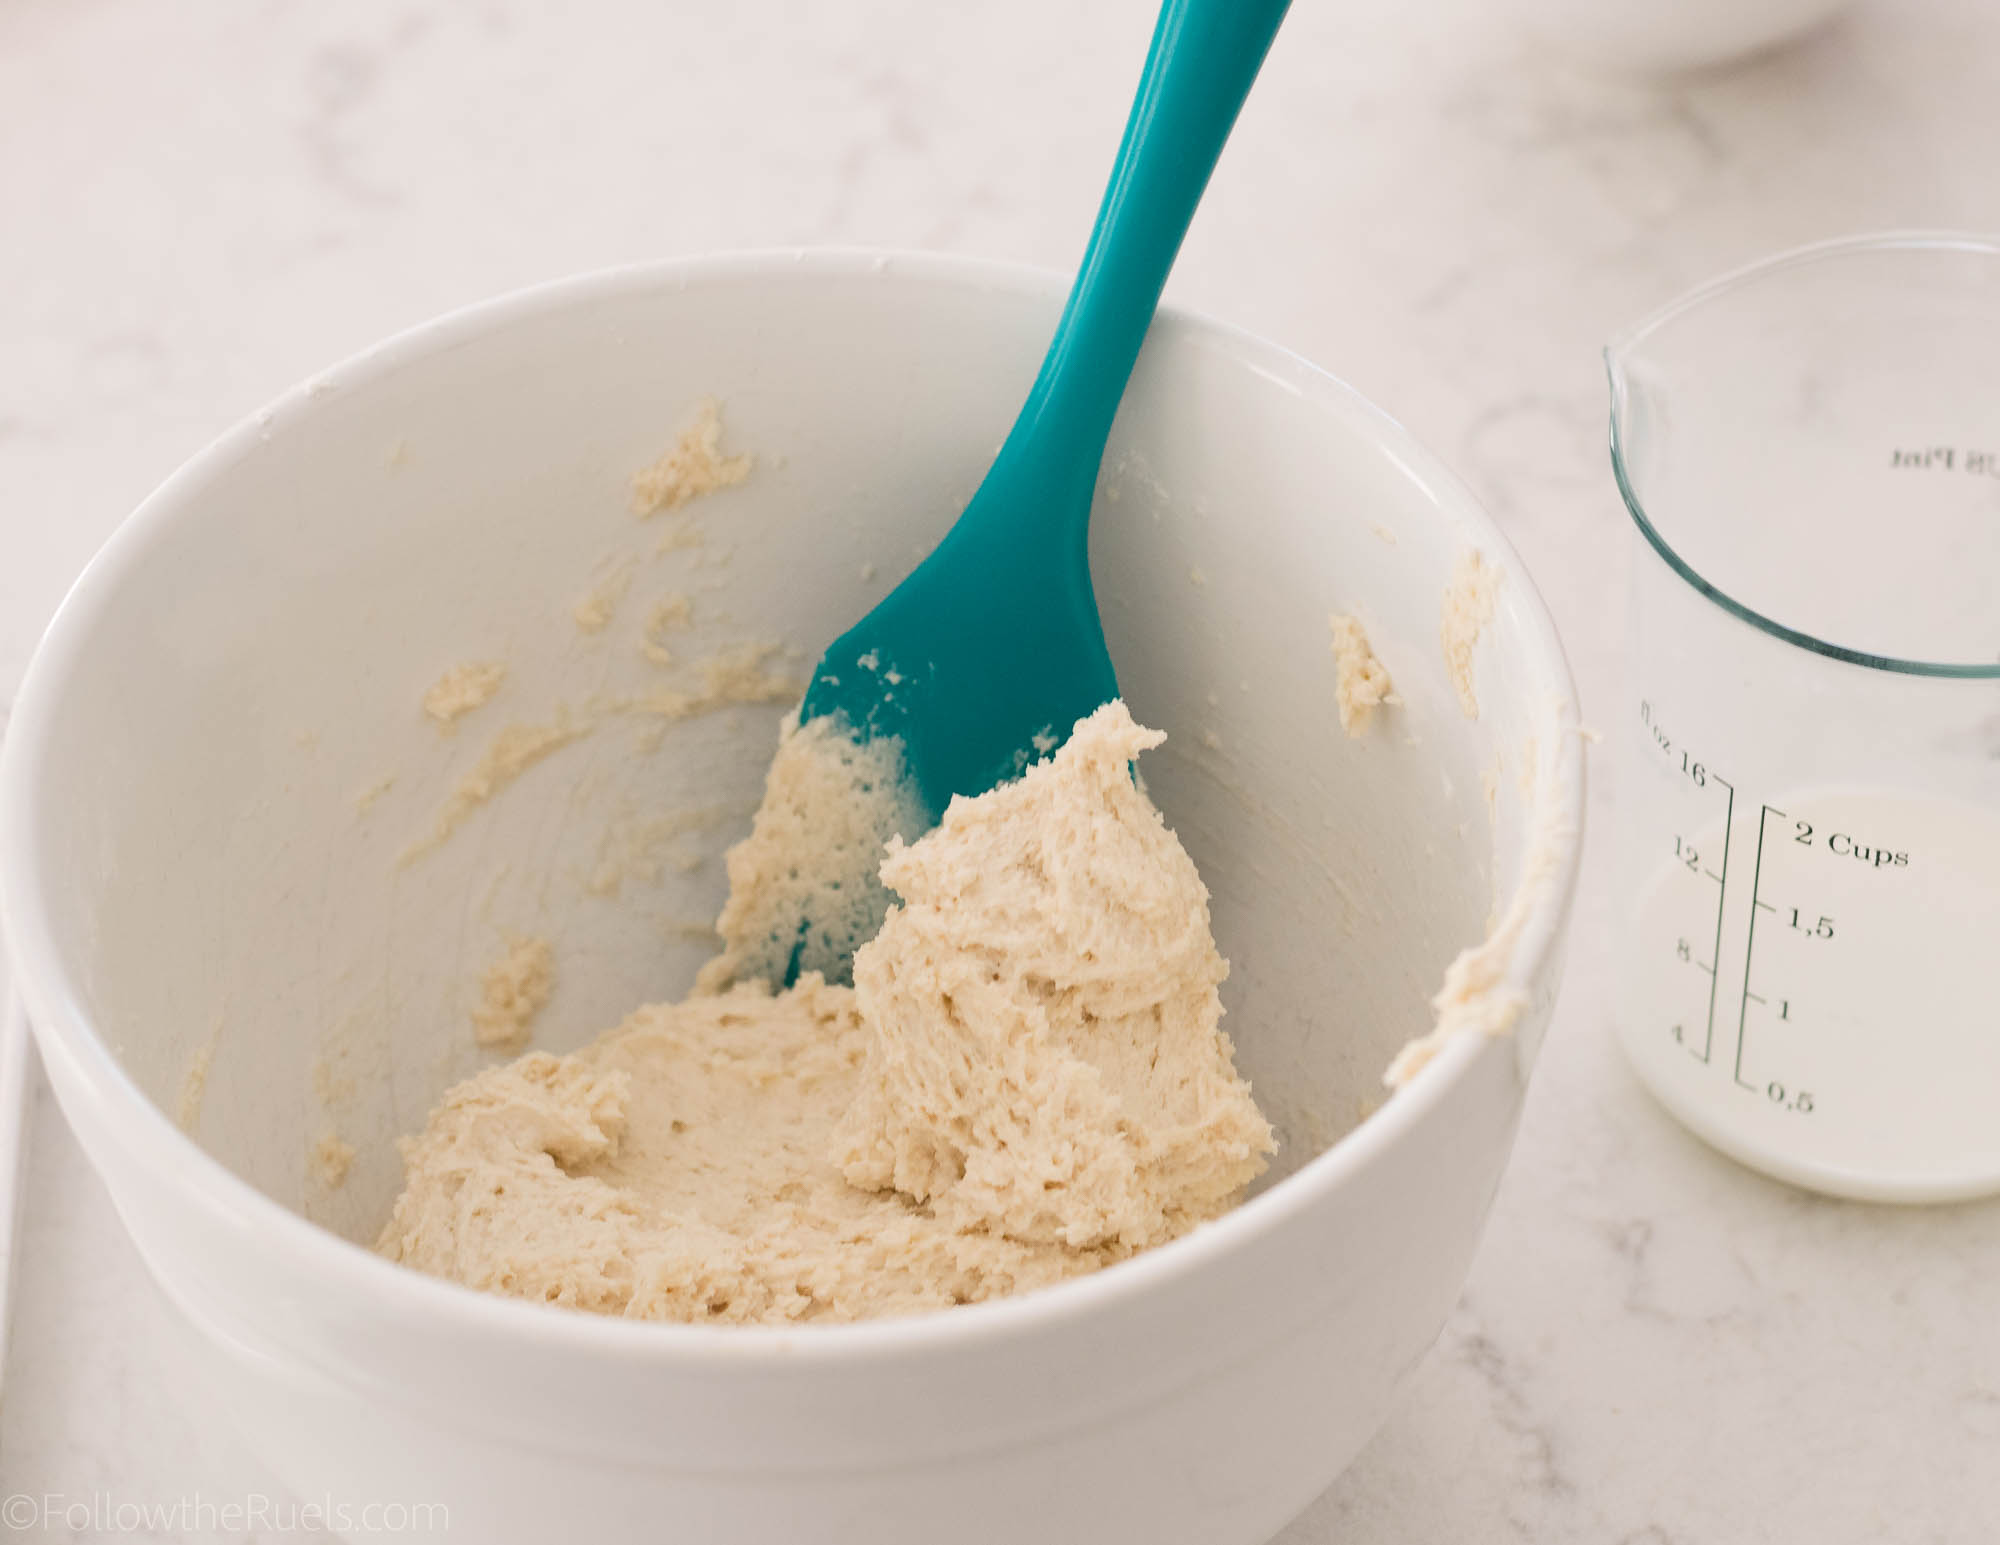
Pour in the milk, just a little bit at a time. Mix until a sticky yet firm dough forms. It’s okay if you don’t use all of the milk. 

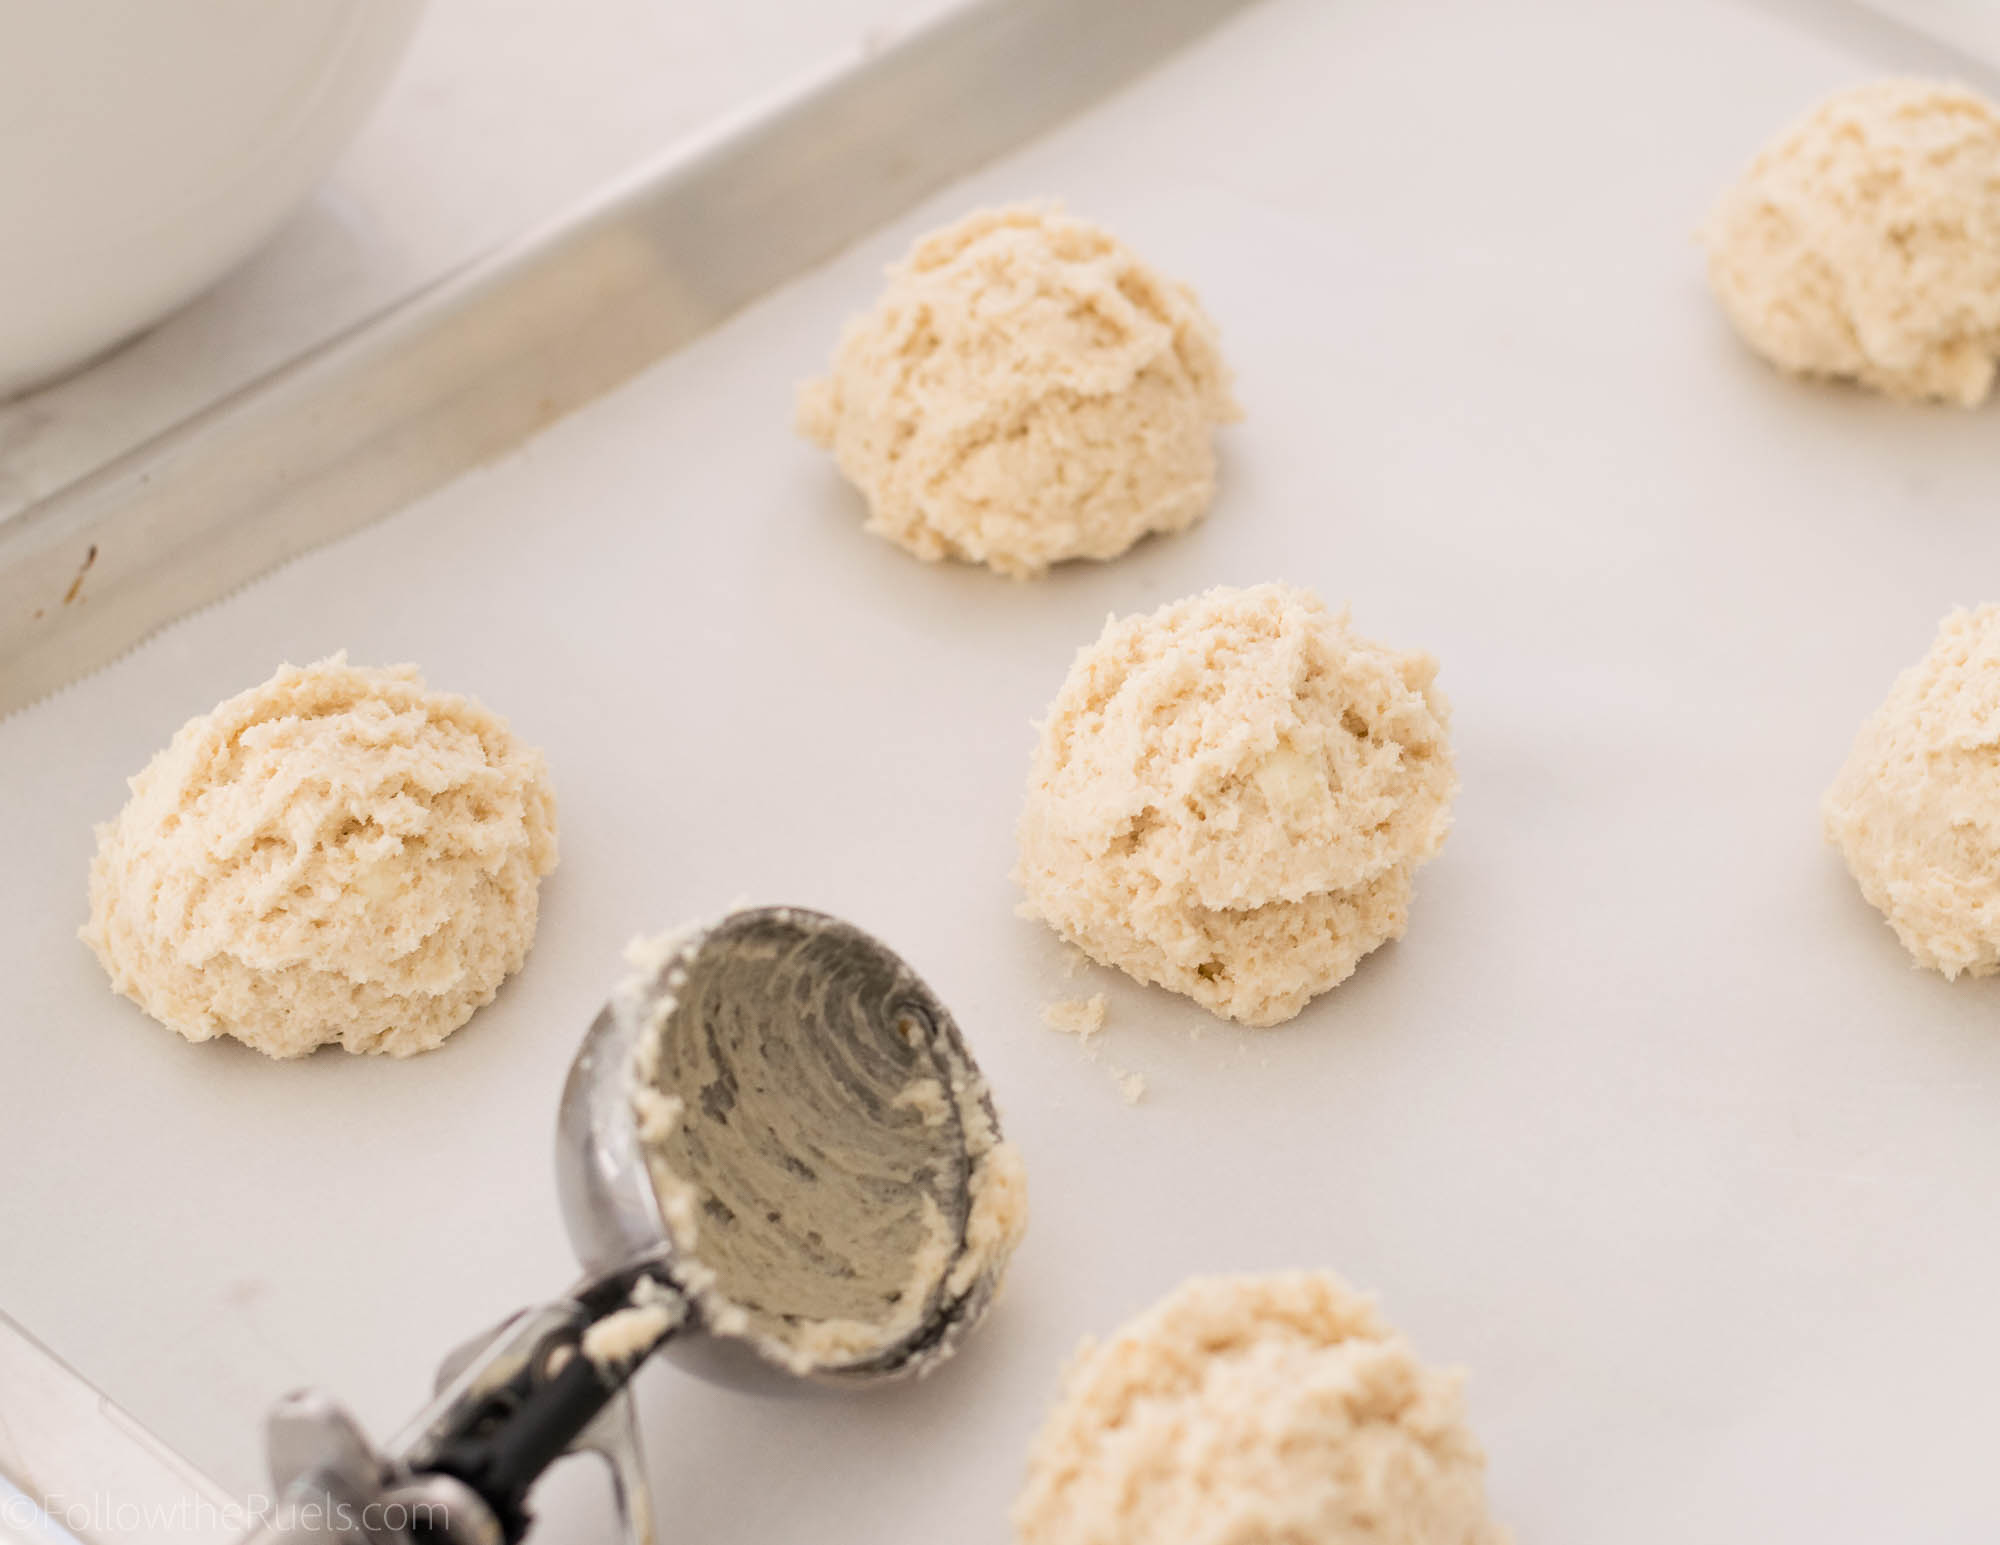
Since these are drop biscuits, drop the dough using a spoon or ice cream scoop onto a lined baking sheet about 2-3 inches apart. 

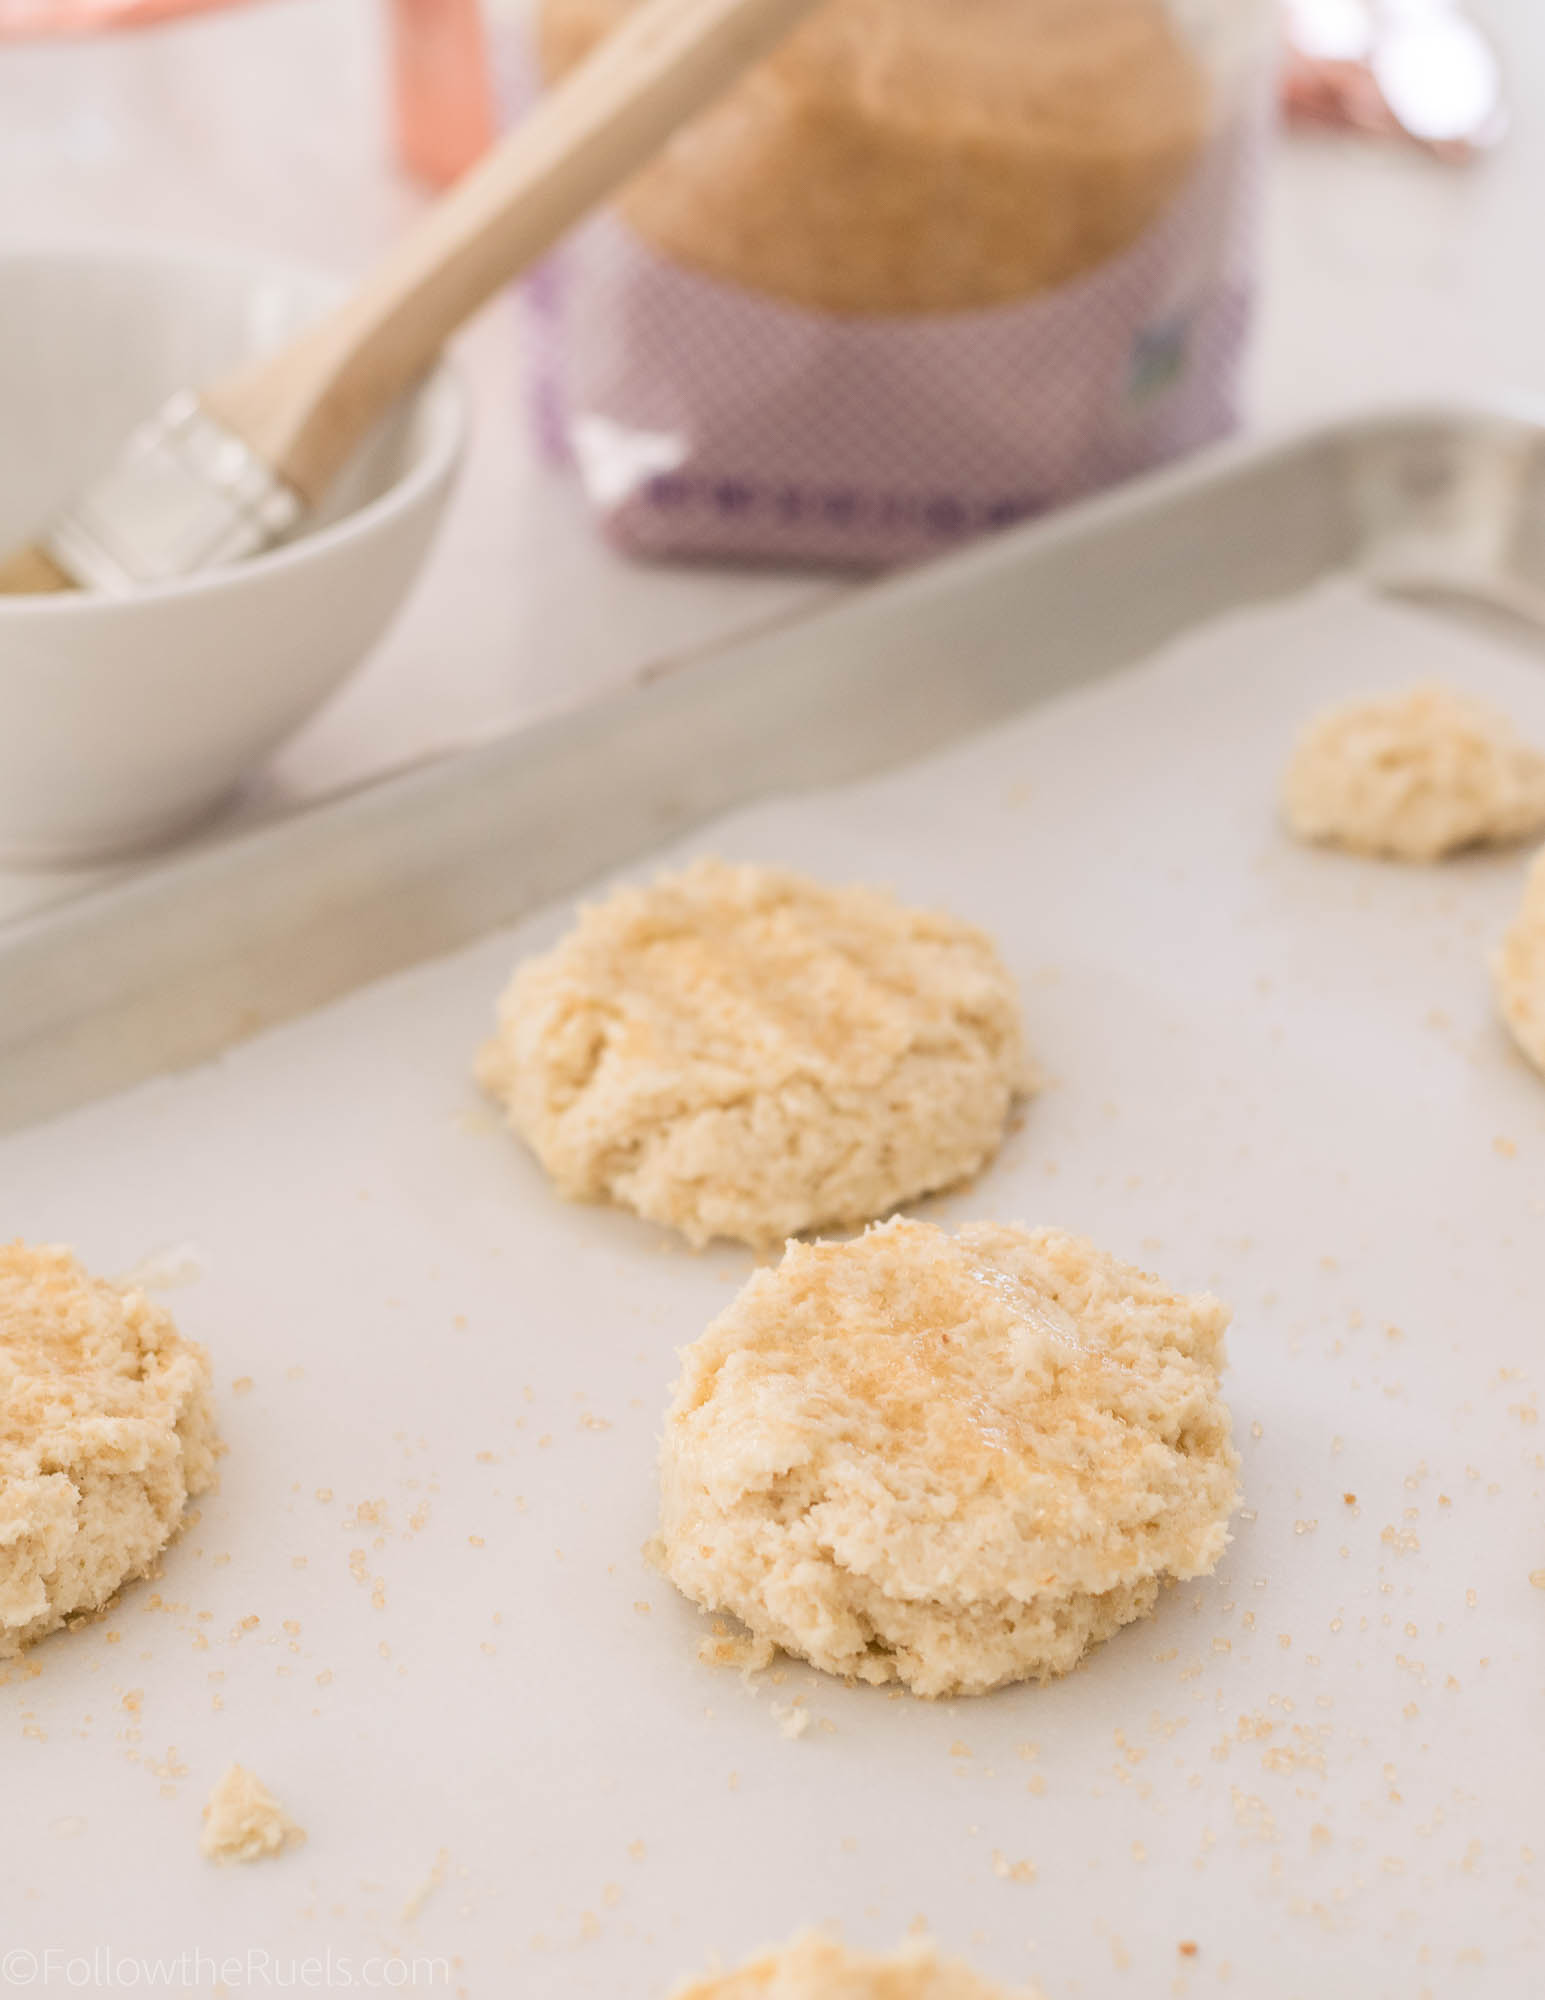
If you want a flatter shortcake (easier to actually eat as an ice cream sandwich), press the biscuit down with your hand. Then brush the top with a bit of melted butter and sprinkle with some coarse sugar. Then pop in the oven and bake until golden.

The Strawberries

Fresh strawberries are best for strawberry shortcake, but if you also want your strawberries to be extra juicy and create a strawberry syrup to drizzle down the ice cream, I recommend tossing them in a bit of sugar. 

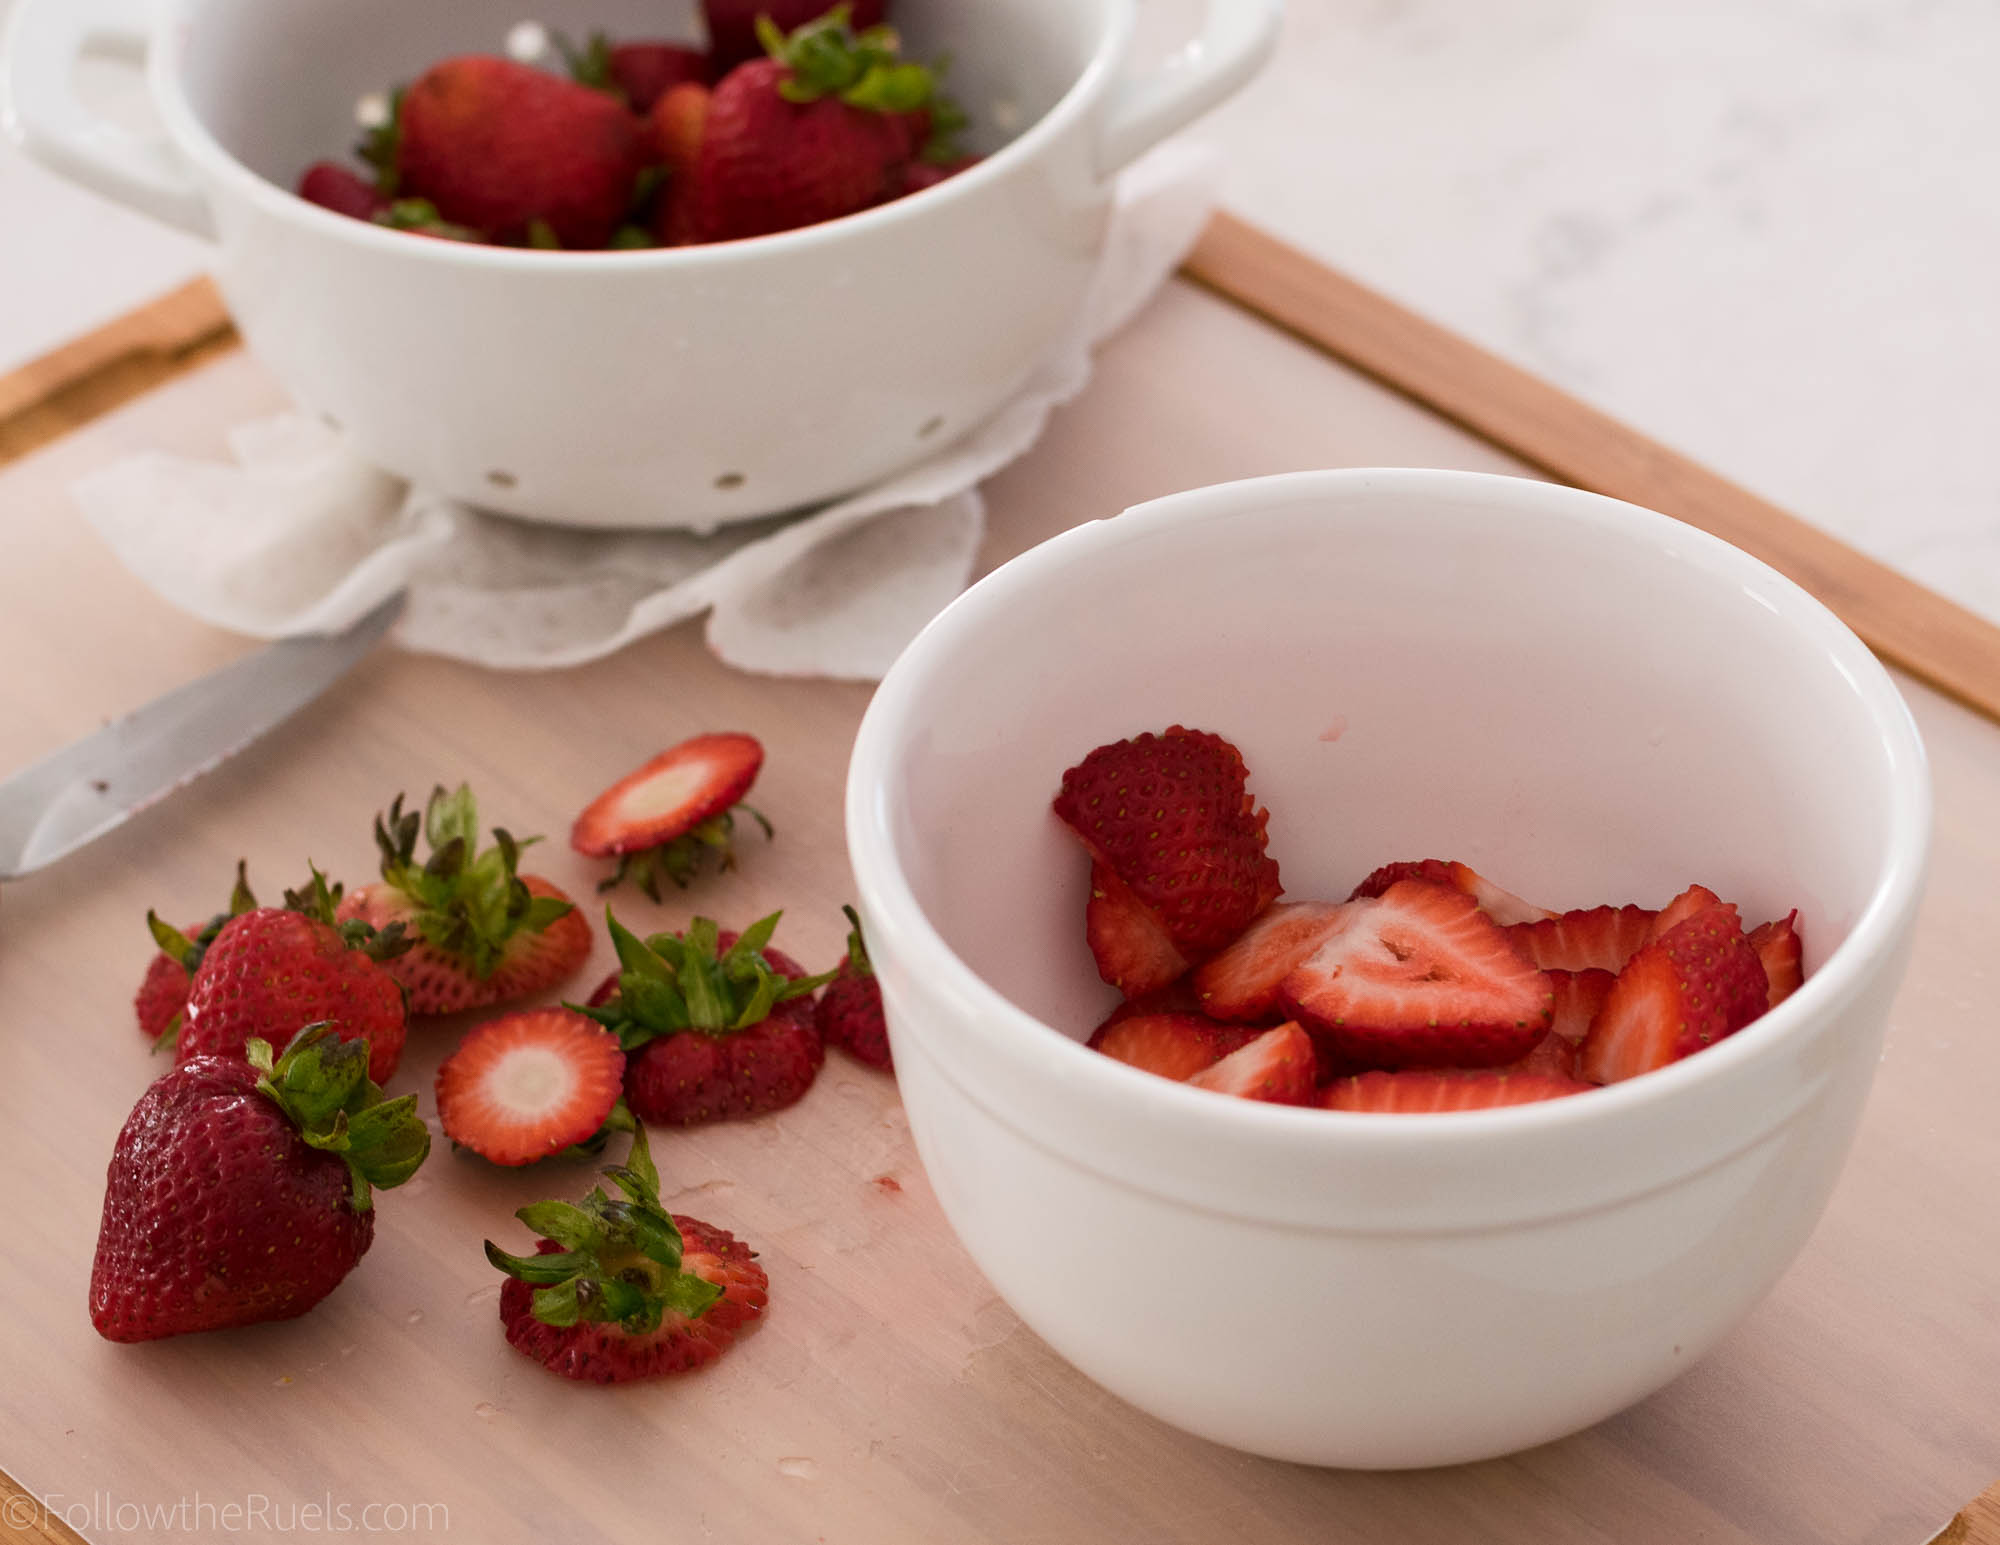
Slice your strawberries however you prefer, then sprinkle over about 1-2 teaspoons of granulates sugar. Toss the strawberries to coat, then let sit for at least 10 minutes, or while the shortbread bakes. 

Assemble

Assembling the strawberry shortcake ice cream sandies is the best part! 

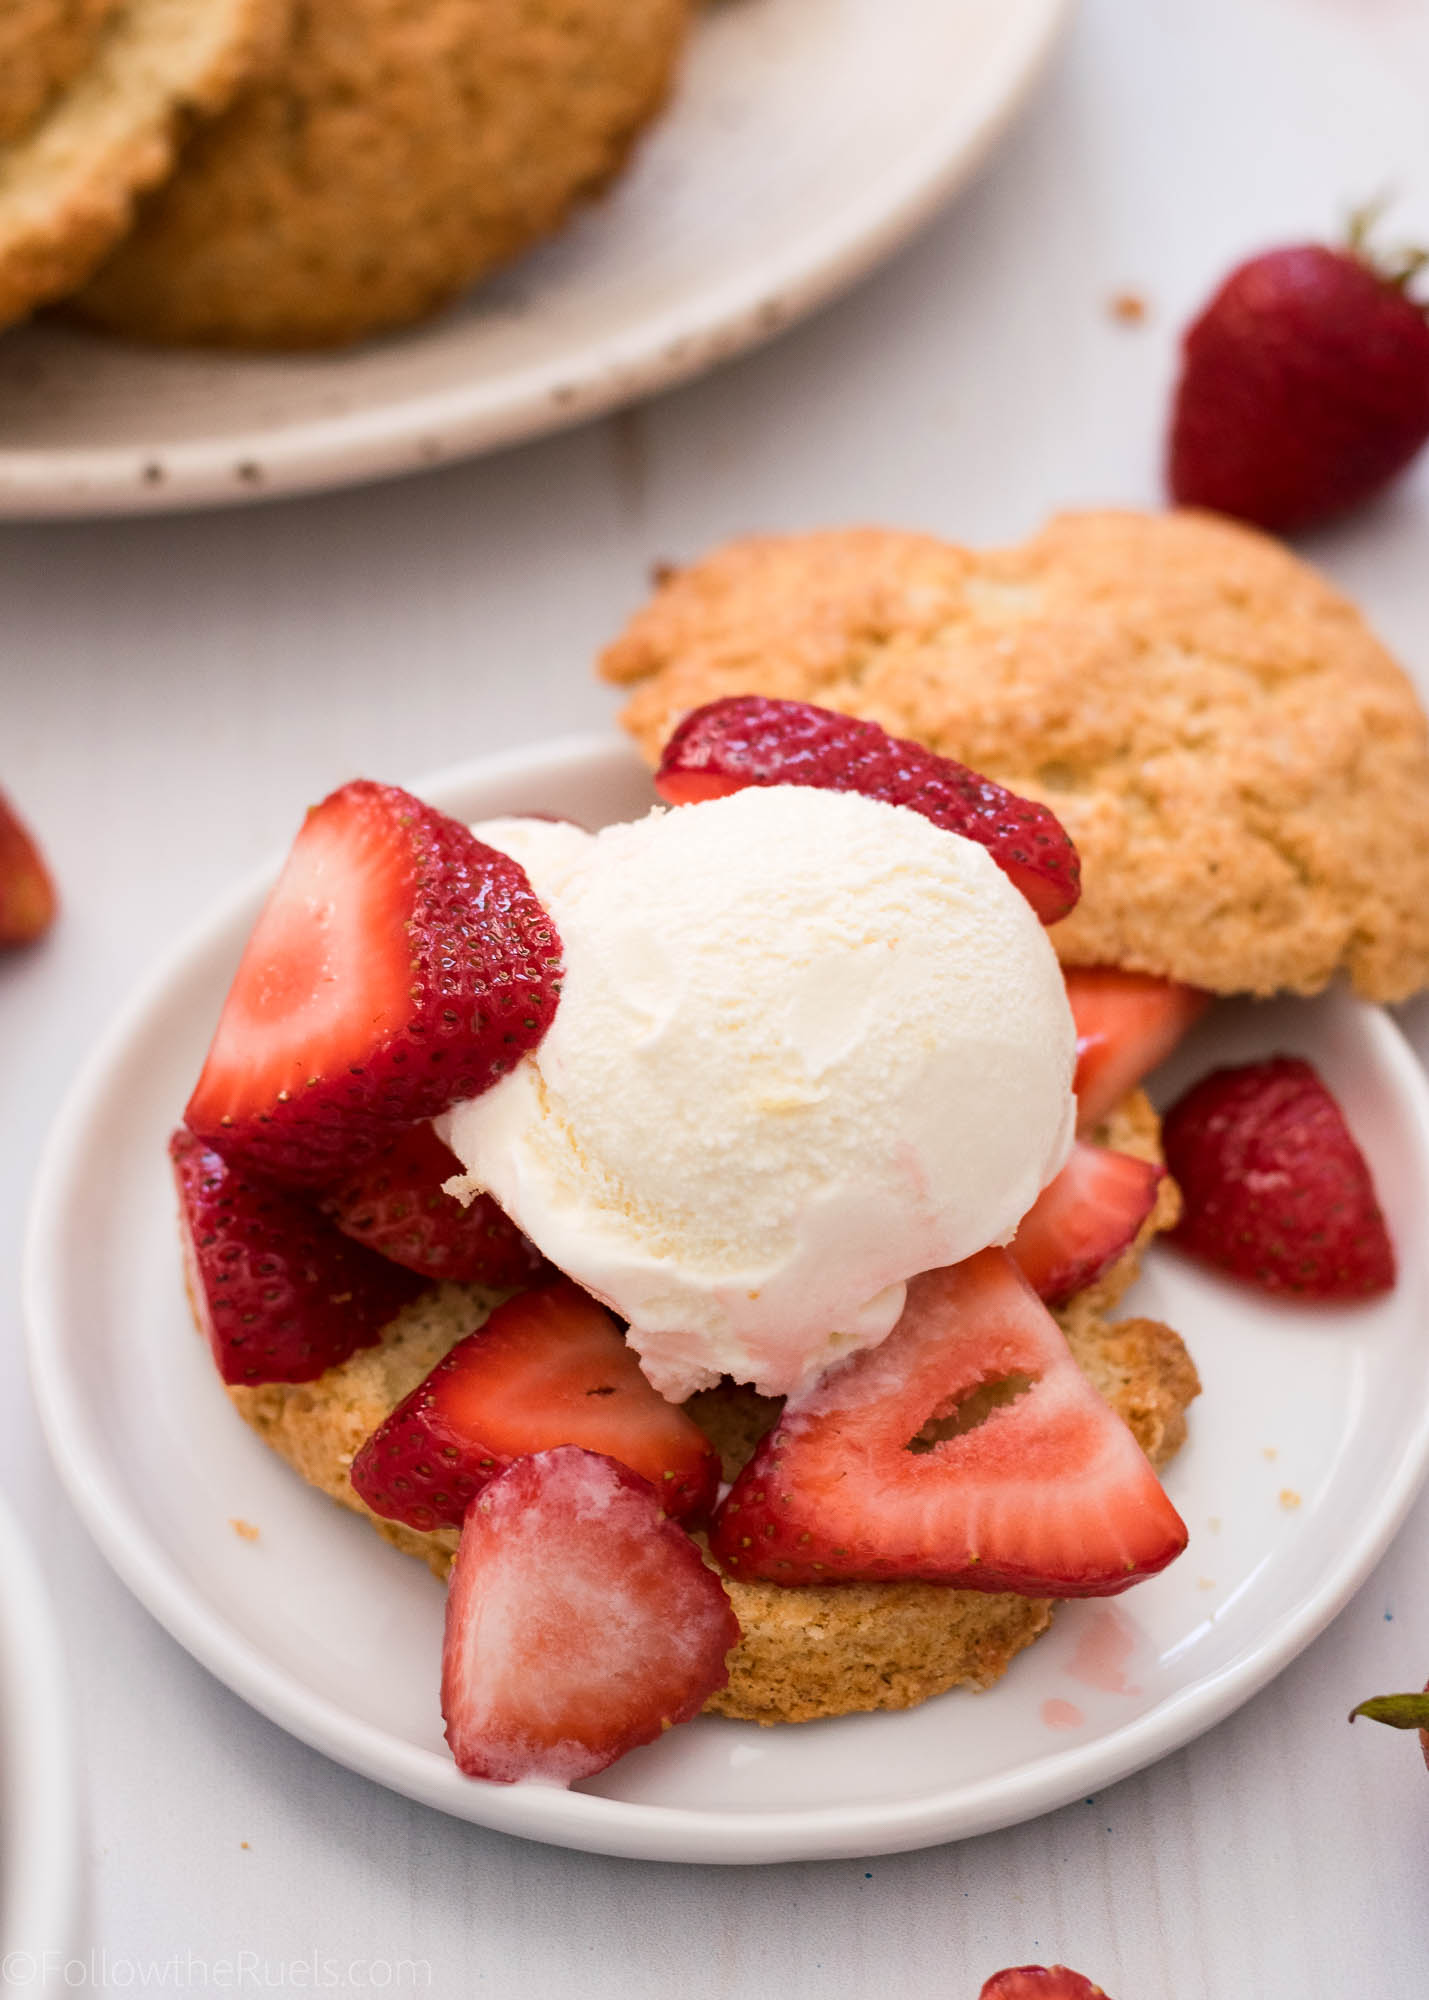
Slice the baked and cooled shortcake in half like a hamburger bun using a serrated knife. Then pile on the strawberries. Top the strawberries with a healthy scoop of your favorite vanilla ice cream and even more strawberries. 

Top it off with the other half of the shortcake and you have yourself a delicious Summer treat! 

Tools and Recipe

[show_shopthepost_widget id=”3177040″]

[yumprint-recipe id=’184′]

/ Filed In: Cakes and Cupcakes, Cakes New, Desserts, Eat, Other Sweets New, Pies and Tarts
Tagged: biscuit, ice cream, ice cream sandwich, shortcake, strawberry, strawberry shortcake, Summer

Dairy Free Coconut Ice Cream

August 1, 2016

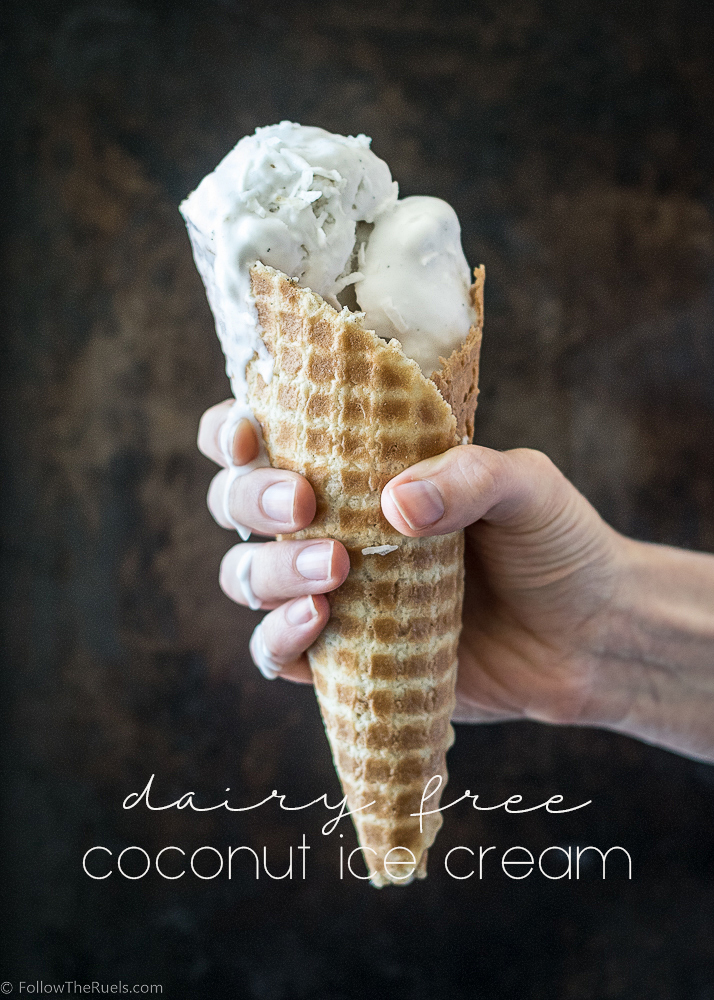
Dairy Free Coconut Ice Cream

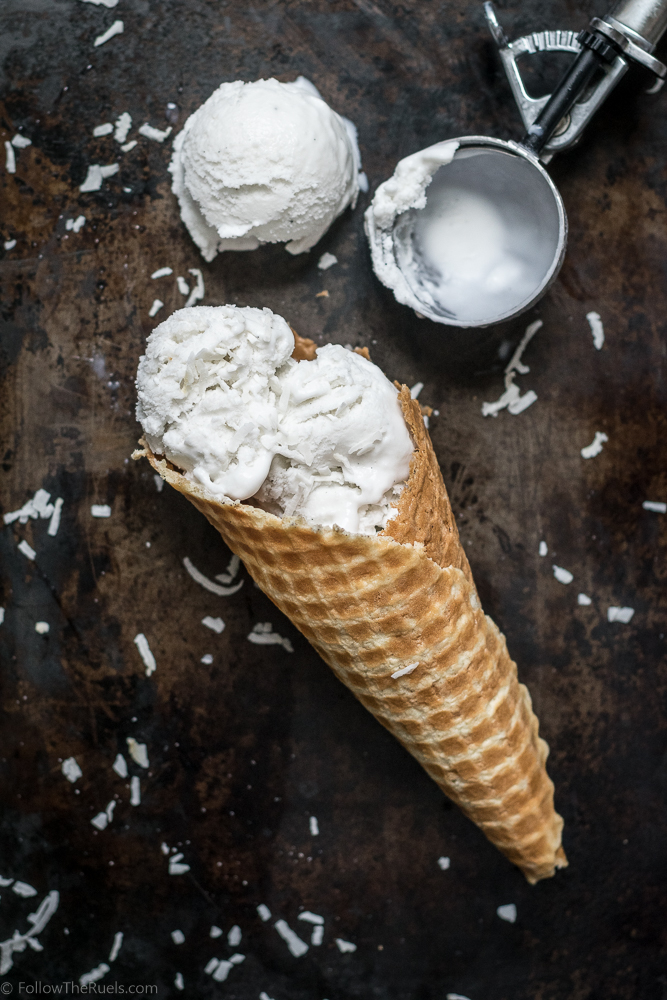
All you lactose-intolerant, Paleo, or just anti-dairy people out there, this recipe is for you! This coconut ice cream is made without a single drop of milk or cream. And even better, it has far less added sugar than a normal ice cream recipe. Bonus!

I, myself, have tried to cut out a lot of dairy from my diet after my Whole 30 experience. But that also means cutting out a lot of other wonderful foods, like cheese and ice cream (is life even worth living without cheese and ice cream?).  To supplement, I have tried quite a few dairy free ice creams and ice cream recipes, but most of them are a weird consistency and the flavor seems very artificial. 

I get it. It’s really hard to imitate that creaminess without actually using any cream. Fortunately, through some trial and error, I think I have come pretty close. The key is coconut cream!

Coconut Ice Cream-4

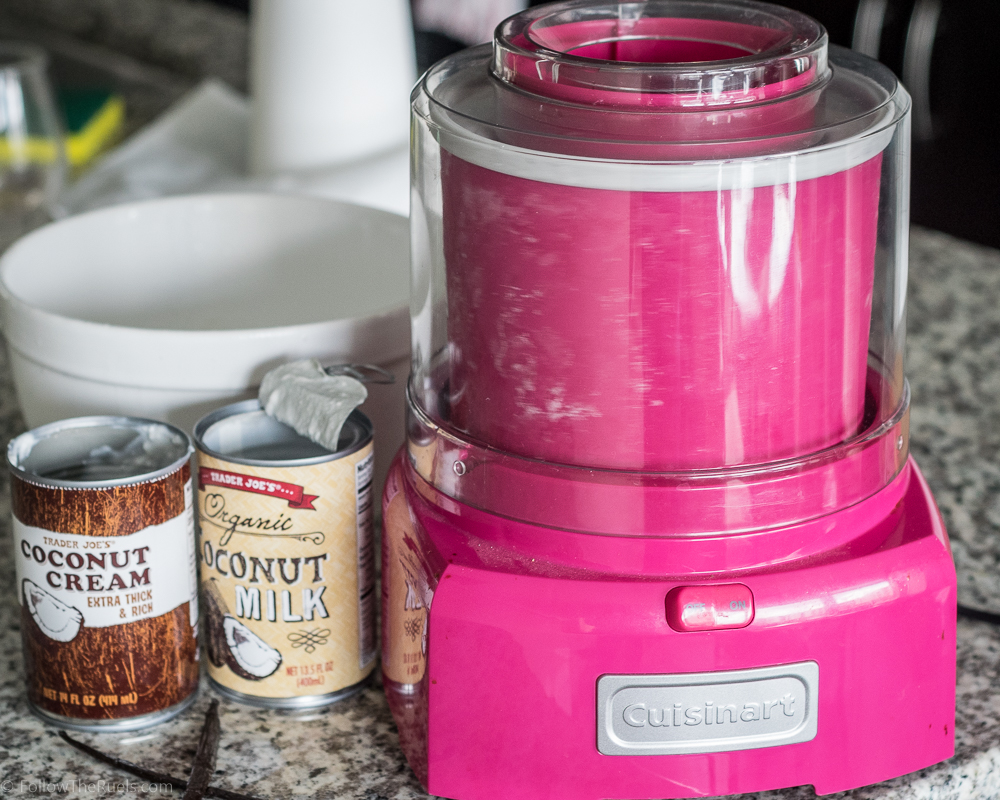
I used both coconut milk and coconut cream, along with some vanilla and sugar, to make this ice cream. The natural flavor of the coconut milk and cream give this ice cream a noticeable, but not overpowering coconut flavor. Also, because coconut is naturally sweet, this recipe doesn’t need as much sugar as your average ice cream recipe. Score! 


I started by bringing the coconut milk, coconut cream, sugar, and vanilla pod to a simmer in a medium sauce pan. I just wanted the sugar to dissolve and the vanilla flavor to permeate through the milk. I let the mixture cool completely on the counter, then put it in the fridge for a few hours to really help the flavors develop. 

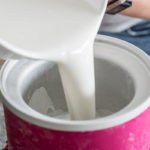
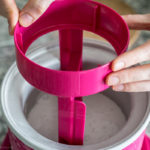
In the mean time, I chilled the work bowl of my ice cream maker. Once is was chilled, I poured the cream into the bowl and let the ice cream maker go to work. While I have never made ice cream the old fashioned way (save for that one time in Girl Scouts many moons ago), I imagine you could also use this same recipe with a manual ice cream maker. 

Once it was all churned, I put it into my ice cream container (a loaf pan would also work) to harden even more in the freezer. 

Coconut Ice Cream-6

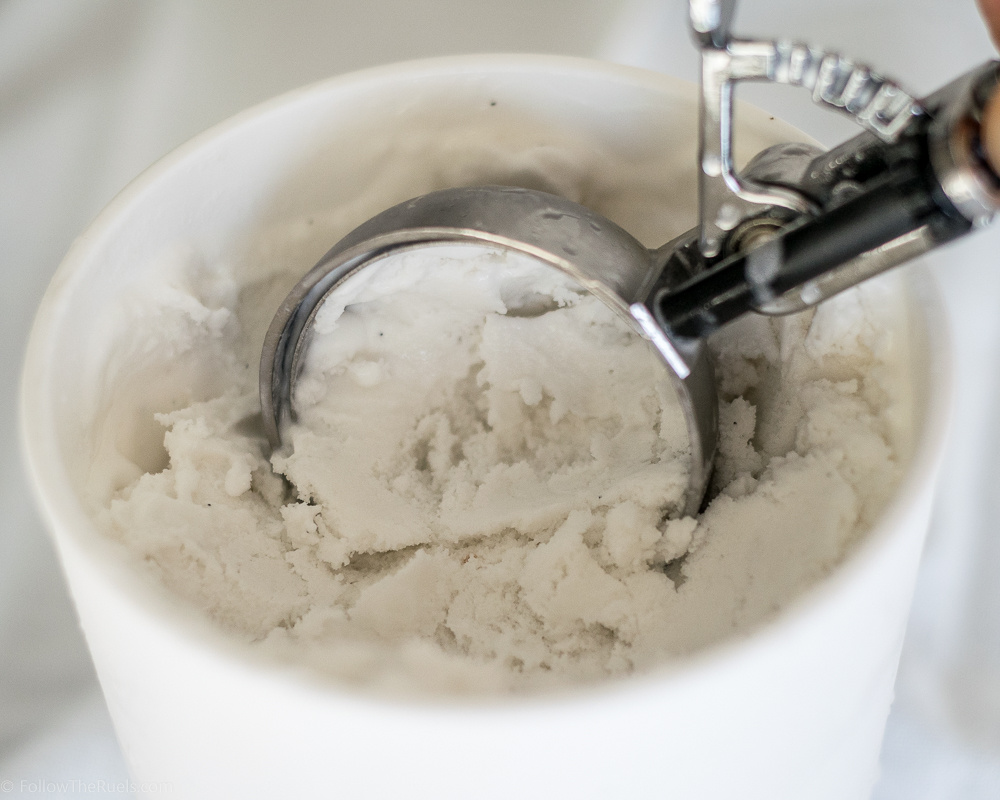
I let the ice cream sit in the freezer overnight so that it was nice and frozen the next day. Because it’s not quite as creamy as normal icing, I did have to leave it sitting on the counter for about 5 minutes to soften up before I could scoop it out. 

Coconut Ice Cream-8

After that, it is ready to eat! I enjoyed my first bowl of this coconut ice cream topped with some fresh berries and shredded coconut. It would also be good with chocolate chips, caramel sauce, or just on it’s own! Just remember, you really can taste that coconut, so choose your toppings wisely!

But most of all, enjoy it! I sure did! It was very creamy and rich, the flavor was perfect, and it really hit the spot on a hot Summer day. The best part was how I felt afterwards. My stomach wasn’t grumbling and upset at me for consuming all that dairy. It was definitely worth all the work just for that!

[amd-yrecipe-recipe:59]

/ Filed In: Desserts, Eat
Tagged: coconut, dairy-free, dessert, ice cream

Not Your Father’s Root Beer Float

May 27, 2016

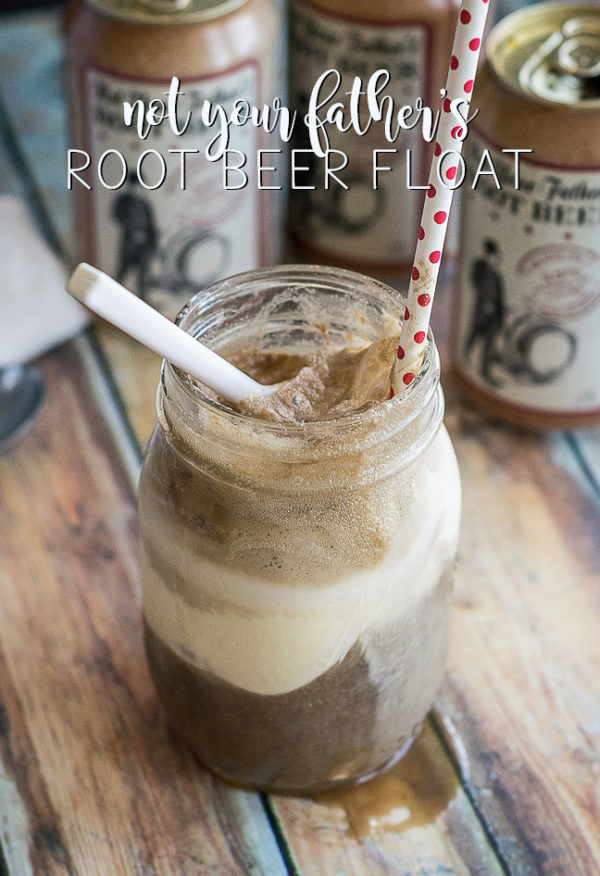
Root-Beer-Float

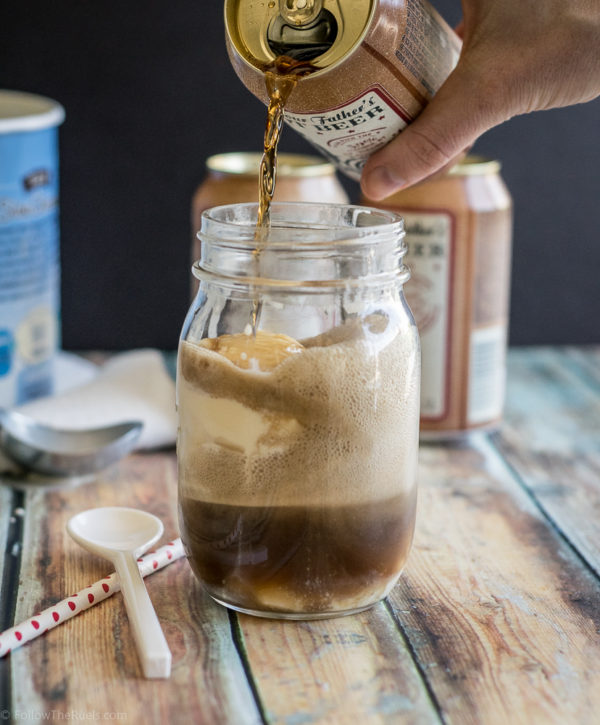
A couple weekends ago we had some out of town friends staying with us while they looked for apartments deciding whether or not to move to Charlotte. Of course my husband and I rolled out the red carpet which involved stops at some of our favorite breweries and barbecue spots. Somehow after a day of  beer drinking and meat eating we thought it would be a good idea to stop by the grocery store to buy up all the flavors of Oreos we could find and fixings for some root beer floats. The girls were in charge of the Oreos (we left with 6 of the over 10 possible flavors), the boys were responsible for the root beer floats. 

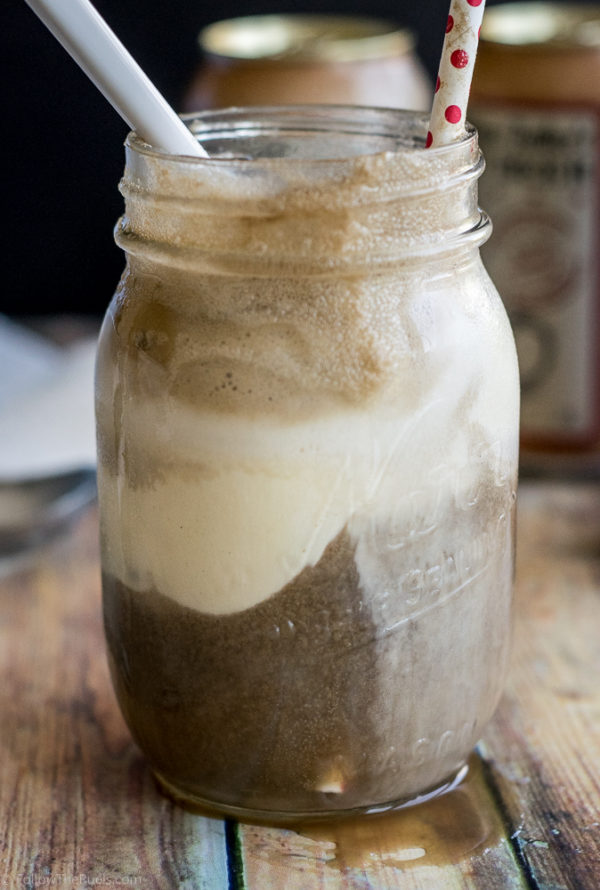
Somehow they ended up with some Not Your Father’s Root Beer. Typical boys right? If you haven’t had it before, it tastes EXACTLY like root beer, but is alcoholic. It’s very dangerous. And you know what makes it even more dangerous? Pouring it over vanilla ice cream. 


Seriously, It had been a while since I had a root beer float, but man they are good. And I am not sure it it was all the Oreos are the kick in the root beer, but this was the best root beer float I have had. Creamy, sweet, refreshing, with a bit of a kick.

Root Beer Float-4

I know there are some other brands of alcoholic root beer, but this is the only one I have had and can vouch for. If you can’t get your hands on some but still want to make your own adult root beer float, I would recommend adding a shot of vanilla vodka. I mean, if you really wanted to have a party you could add the vodka with the alcoholic root beer and I bet it would be amazing. 

Root Beer Float-6

So if you want to have some nostalgic fun this Memorial Day weekend, make yourself your own Not Your Father’s Root Beer Float (or any adult root beer float). I promise it will bring back some childhood memories with all the grown up benefits!

Have a safe and happy holiday weekend!

[amd-yrecipe-recipe:35]

/ Filed In: Desserts, Drinks, Eat
Tagged: drink, ice cream, root beer, root beer float, Summer

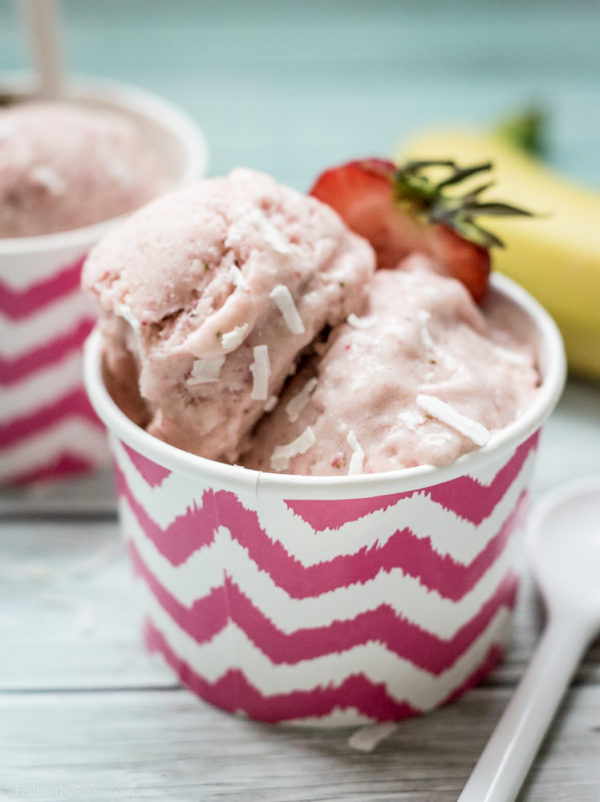
No Churn Strawberry Banana Ice Cream

May 9, 2016

No Churn Strawberry Banana Ice Cream

Boy it’s starting to feel like Summer. It got up to almost 90 degrees here this weekend. Perfect ice cream weather! Of course, since I am trying to stick to a Paleo diet right now, real ice cream is out of the question. No diary or sugar allowed for me! But that doesn’t mean my craving for ice cream is going away anytime soon. 

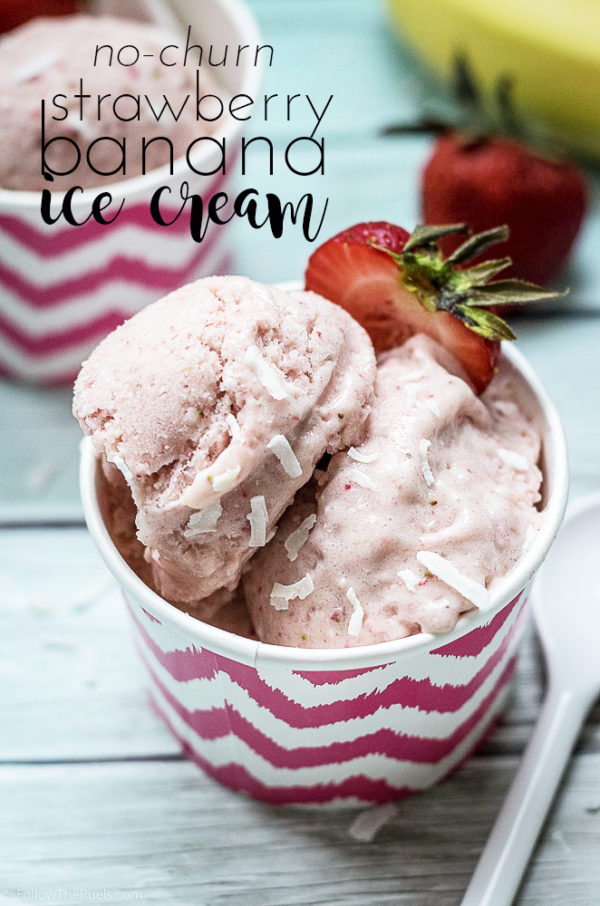
Instead of diving head first into a carton of cookie dough ice cream, I decided to McGuyver some frozen bananas into a no churn strawberry banana ice cream (maybe more or a sorbet?) that would satisfy my craving. Being on a Paleo diet means getting really creative with the foods you can eat to make them into the foods you can’t. 


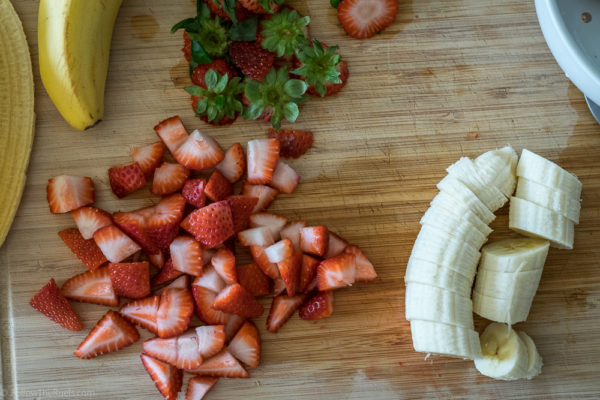
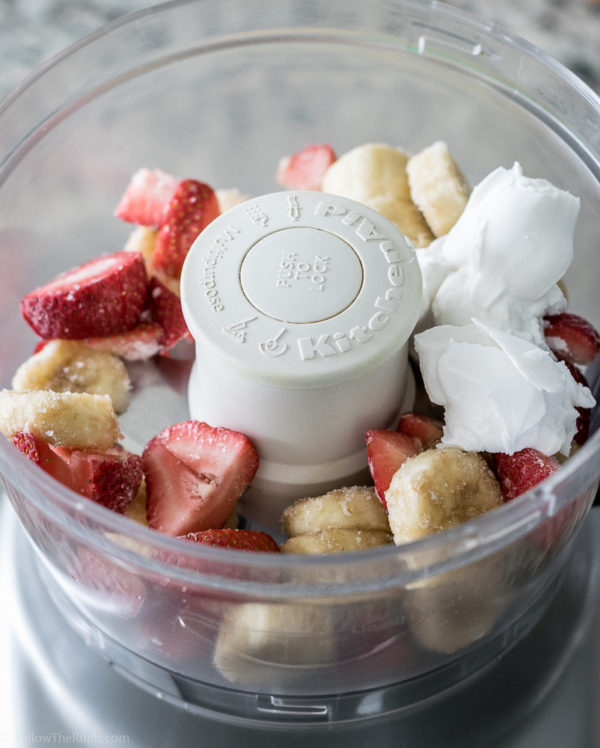
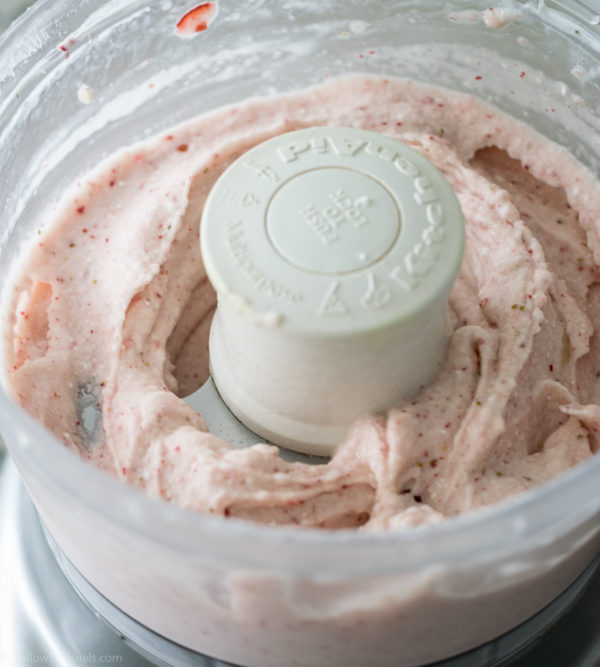
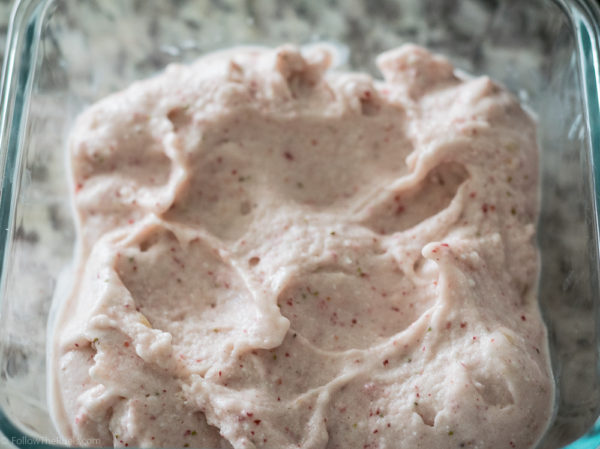
In the morning, I chopped up some strawberries and bananas and tossed them in the freezer. When I got home, the fruit was nice and frozen and all I had to do was blend them up with a bit of coconut milk. It’s essentially like making a smoothie, but much thicker and colder. The blender did warm up the mixture a bit, so I poured it into a shallow dish and popped it in the freezer for a couple hours to let it set up. 

Easy no churn strawberry ice cream!

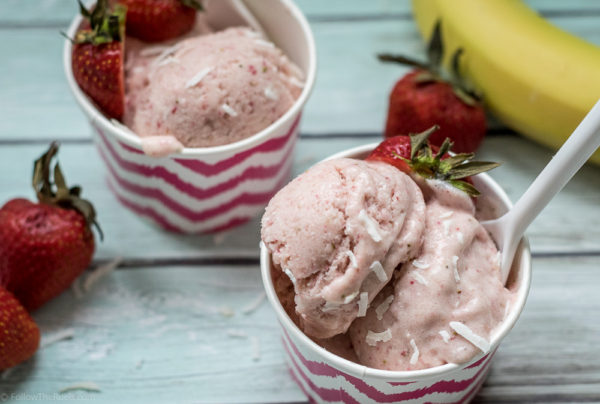
After that, it was good to go! I scooped out nice big scoops of ice cream and topped it with some shredded coconut. And boy did it hit the spot. Sure, I would have loved a few chocolate chips thrown on top, but this certainly was delicious all on it’s own.

Delicious, healthy ice cream made with just strawberries and bananas!

It’s perfect for a warm Summer day since it’s so light and refreshing! And it won’t derail anyone’s plans on getting that bikini body since it’s 95% fruit! I will definitely be making versions of the ice cream all Summer long. I am going to try chocolate next!


[amd-yrecipe-recipe:28]

/ Filed In: Desserts, Eat, Healthy Dishes
Tagged: banana, ice cream, Paleo, strawberry

Mint Cookies ‘N Cream Ice Cream

June 30, 2014

BBC-Mint-Ice-Cream6My husband and I live in a house divided. He loves cookies and cream ice cream, while I would much prefer a bowl of mint chip. Maybe it’s for that reason that we barely buy ice cream.

But it is summer after all, so our lives would be incomplete without a nice cold bowl of ice cream as an after dinner treat (well, not really…by go with it). That’s where our handy dandy ice cream maker comes in.  By making our own ice cream, we can combine any flavors we want and make everyone in the house happy.


For this recipe, I just started with a basic vanilla ice cream recipe then added in a little green food dye to slightly tint it a “mint” color along with some peppermint extract. I ended up using about 3 drops of food coloring and 1 tbsp of peppermint. After that was whisked together, I poured it into the chilled bowl of the ice cream maker. I let the ice cream churn for about 20 minutes and once the ice cream actually started to resemble ice cream and not a melted milk shake, I tossed in some crumbled Oreo cookies and let it mix for a couple more minutes.

BBC-Mint-Ice-Cream4At this point, the ice cream is still too soft to serve, so I transferred it into a container (adding in some more crushed Oreos every few spoon fulls) to chill in the freezer over night. I always perfer to let it chill overnight, but really, it just needs a couple hours to set. If you are making ice cream for a specific event or meal, give yourself maybe 4 hours prior to make the ice cream and let it set.

BBC-Mint-Ice-Cream7I just happened to find these really fun bowls at the grocery store. I really wanted to serve them in waffle cones (my husband loves waffle cones), but this was the next best thing! It was the perfect vessel to serve our creamy and slightly minty ice cream loaded with lots and lots of Oreos. I have to say, my husband was especially pleased with this flavor because it ended up tasting a lot like his favorite Girl Scout cookie (Thin Mints)!

What ice cream hybrid would you make this summer?


[yumprint-recipe id=’7′]

/ Filed In: Eat
Tagged: chocolate, cookie, ice cream, mint

S’mores Ice Cream

June 4, 2014

Smores-Ice-Cream8It seems a bit odd to put something that is naturally warm, gooey, and melty into ice cream, but it worked out splendidly. Possibly because there are few things more quintessential to American summers than ice cream and s’mores. There is nothing like a cold ice cream cone on a hot day or the perfectly camp-fire-roasted s’more on a summer’s night.

Fortunately, chocolate and marshmallows are made for ice cream (see Rocky Road). The wonderful thing about marshmallows is that they stay fairly gooey even when frozen. The graham crackers were the only thing that provided a bit of a challenge. They would get a bit soggy if left alone, but that is easily taken care of when covered in chocolate.

I broke up about 4 crackers into bite size pieces, poured a melted bar of dark chocolate over top, and tossed them until all the pieces were coated in chocolate. I laid them out on a baking sheet and popped them in the freezer to harden. I wanted the marshmallows to be a bit chared like a true s’more, so I broke out my trusty cream brule torch. You could also put them under a broiler for a few minutes to get the same effect.

Smores-Ice-Cream4Once everything was nice and cool, I mixed everything into some homemade vanilla ice cream. If you don’t have an ice cream maker or don’t feel like making ice cream, you could just add these pieces to softened store-bought vanilla ice cream.

Smores-Ice-Cream7I scooped my mixed ice cream into a loaf tin, covered it with plastic wrap, and put it back in the freeze to harden a bit more. This takes at least 2 hours, if not over night. After that its ready to serve! My husband suggested that some crushed graham crackers sprinkled on top would be an excellent addition. Some melted chocolate would also be nice, especially to add that melty element.

Smores-Ice-Cream6

What are some other of your favorite ice cream flavors and combinations?

[yumprint-recipe id=’15’]

/ Filed In: Eat
Tagged: chocolate, dessert, graham cracker, ice cream, marchmallow, s'mores, vanilla

Cookies and Cream Ice Cream Cupcakes

September 9, 2013

Friday was B’s birthday, which I missed since I was in San Diego. I felt obligated to try and make it up to him. I had big plans to take him to all his favorite places in Charlotte on Saturday when I got back. That didn’t happen either. I was exhausted from my overnight flight back that I pretty much slept all day. Which meant that Sunday I had to do something extra special. While, B doesn’t normally like sweets, he does love cookies and cream ice cream and ice cream cake. We do not need an entire ice cream cake sitting in our freezer, so I scaled it down and made little ice cream cupcakes!

I used Trader Joes vanilla cake mix that my cousin raved about this past week. And she was not kidding! It is the best cake mix I have ever tried. For this recipe, I added some crushed up Oreos, so that the batter was also “cookies and cream”.

Since I wanted to leave plenty of room for ice cream, I only filled the muffin tin about half way up. I only made half of the cake mix, and ended up with 12 cupcakes. If I had made the entire box, I probably would have had 24. 

Once the cupcakes were baked and cooled, I froze them and then let the ice cream sit out to soften. It is a lot easier to top the cupcakes with soft ice cream than hard. But it also means I had to work quickly so that the ice cream didn’t melt everywhere. I put the cupcakes back in the freezer for about an hour so that the ice cream could harden back up.

While a little messy if left out too long, these were the perfect portion of ice cream cake and would be a great dessert to make for a kids birthday party or any old get together. Plus, you could mix up the ice cream and cake flavors and really get crazy with it!

Linking up with Weekend Shenanigans, This Weekend I, The GFC Collective, Less Laundry More Linking, Share It Link Party, Taste of Tuesday, Google Friend Conect, The Pin It Party, Pinterest Power Party, Style Sessions, Trend Spin Linkup, I Feel Pretty, What I Wore Wednesday, Random Wednesday, Wildcard Wednesday, Three-fer Thursday, Tucker Up, GYB Networking Party H54F, That Friday Blog Hop, #backthatazzup

/ Filed In: Eat
Tagged: birthday, cookies and cream, cupcakes, ice cream

Cake Batter Frozen Greek Yogurt

July 9, 2013

I have a thing for cake batter. It may be one of my favorite things on this earth. I will risk the threat of salmonella to lick a bowl clean. It would be totally worth it. If I see anything that is flavored like cake batter, I will probably eat it. Oreos? Yep. Rice Krispie Treats? Yep. Ice Cream? Definitely.

So when I had a box of Funfetti cake mix that went unused after the 4th, I decided to experiment making my own cake batter frozen yogurt, not once but twice. 
Yes, I made two different recipes of cake batter frozen yogurt. The first one, well, I’m not going to lie to you,  it is literally frozen cake batter. Not that there is anything wrong with that. The second is frozen yogurt flavored like cake batter. And is probably a crap ton healthier because it’s not actually cake batter.

For my first recipe, I just mixed some milk, vanilla extract, and sugar in a sauce pan over the stove until the sugar dissoved. Then poured that into my Greek yogurt, and then whisked in the cake mix. At this point, I am pretty certain you could throw it in the oven and it would turn into something like a cake. But I stuck it in the fridge to cool.
For my second recipe, I used different flavorings to try to achieve the cake batter flavor. In a sauce pan, I mixed milk, sugar, vanilla extract, pistachio extract (can be subbed for almond extract), and butter (can be subbed for butter extract) over medium heat until the sugar dissolved. Then I mixed into the Greek yogurt and put it in the fridge to cool.
At this point, both recipes undergo the same process.
Once the mixture was nice and cool, I poured it into my ice cream maker and let it churn for about 20 minutes. I let it harden in the freezer for a couple hours before serving, but that step isn’t entirely necessary if you want dig in right away.
Now, I probably would have never of bought us an ice cream maker. The only reason we have one is because B’s parents gifted it to us for Christmas. At first I thought it was really cool, but didn’t really know when I get to use it. But now that I have made a few successful batches of ice cream, I am hooked. I love knowing exactly what is going into the ice cream and using lower fat products like Greek yogurt. And it is really easy! It does require some forethought because you will probably need to let things chill, but other than that, it doesn’t take that much time. I highly recommend adding this machine to your kitchen if you are an ice cream lover like me. You will get so much use out of it!

Linking up for Taste of Tuesday, Google Friend Conect, Bloglovin Linkup, The Pin It Party, Pinterest Power Party

/ Filed In: Eat
Tagged: cake batter, frozen yogurt, Greek yogurt, ice cream

Follow

Hey There!

Hey there, I'm Lindsey. I'm a number cruncher by day and a home cook and baker by night. While I love to eat healthy and find fresh and healthy alternatives for my favorite foods, I will never turn down dessert! Life is all about moderation, right?

Recipes

  • All Recipes
  • Breakfast
  • Appetizers
  • Salads
  • Main Dishes
  • Side Dishes
  • Desserts
  • Drinks

Favorite Finds

[show_lookbook_widget id=”388783″]

Theme by 17th Avenue · Powered by WordPress & Genesis