• Home
  • Eat
    • Breakfast
    • Appetizers
    • Main Dishes
      • Chicken
      • Beef
      • Seafood
      • Healthy Dishes
      • Paleo Dishes
      • Salads
    • Desserts
      • Decorated Cookies
      • Cookies
      • Bars and Brownies
      • Cakes and Cupcakes
  • Shop
    • Cookie Decorating Supplies
    • Bakeware
    • Cookware
    • Kitchen Gadgets
    • House
  • About
    • Contact
    • Bucket List
  • Cookie Decorating 101

Follow the Ruels

Gluten Free Sugar Cookie Recipe

March 3, 2017

There are a lot of cookie recipes on this little blog of mine. Lots. I have at least 4 different versions of my favorite sugar cookie recipe. But what I haven’t had until now is a gluten free sugar cookie recipe!

This recipe actually came about through my cookie decorating classes! I had a couple girls in my Halloween class ask if I could make them gluten free cookies instead of my normal sugar cookies. Never one to turn down a challenge, I obliged. While that first batch of gluten free sugar cookies were okay, I knew they could be better!

The perfectionist in me kicked in (it lays pretty dormant throughout most of the year, and really only makes an appearance when cookies are involved) and I knew I had to find the perfect gluten free sugar cookie recipe

I essentially put aside a weekend, canceled all my plans (I had none) to devote myself to this baking challenge. Fortunately, it only took a couple hours on a Saturday (which means I had the recipe of the day to catch up on my DVR…adulting, am I right?). The 4th recipe turned out to be so good I didn’t feel like I need to experiment any further. 

But before I get ahead of myself, let’s discuss these four cookies, shall we?
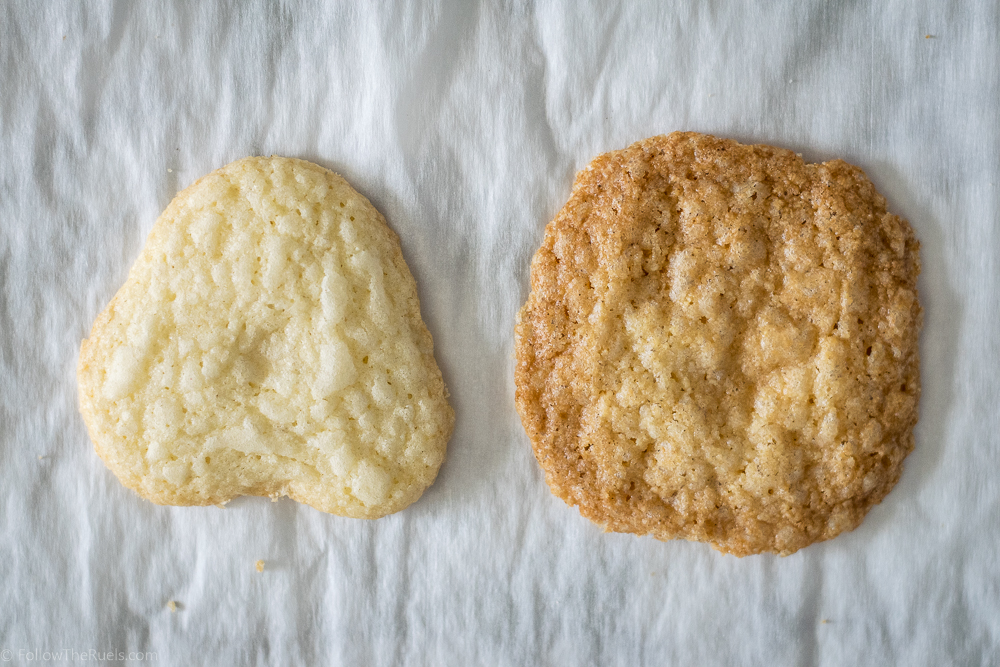
Trial A:

Recipe: 4 parts GF flour to 1 part almond meal, plus a bit of baking powder. 

Results: A crumbly cookie that completely lost it’s shape when baking. 

Trial B:

Recipe: Half GF flour and half almond meal, plus baking powder. Also, baked 5 minutes longer than A.

Results: A big ol’ disaster! 
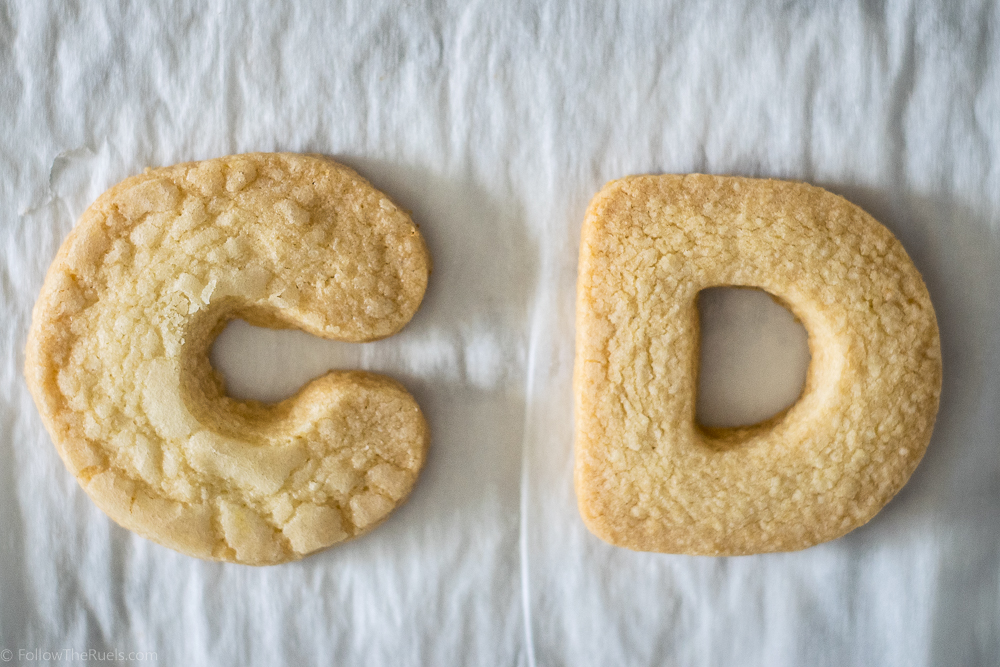
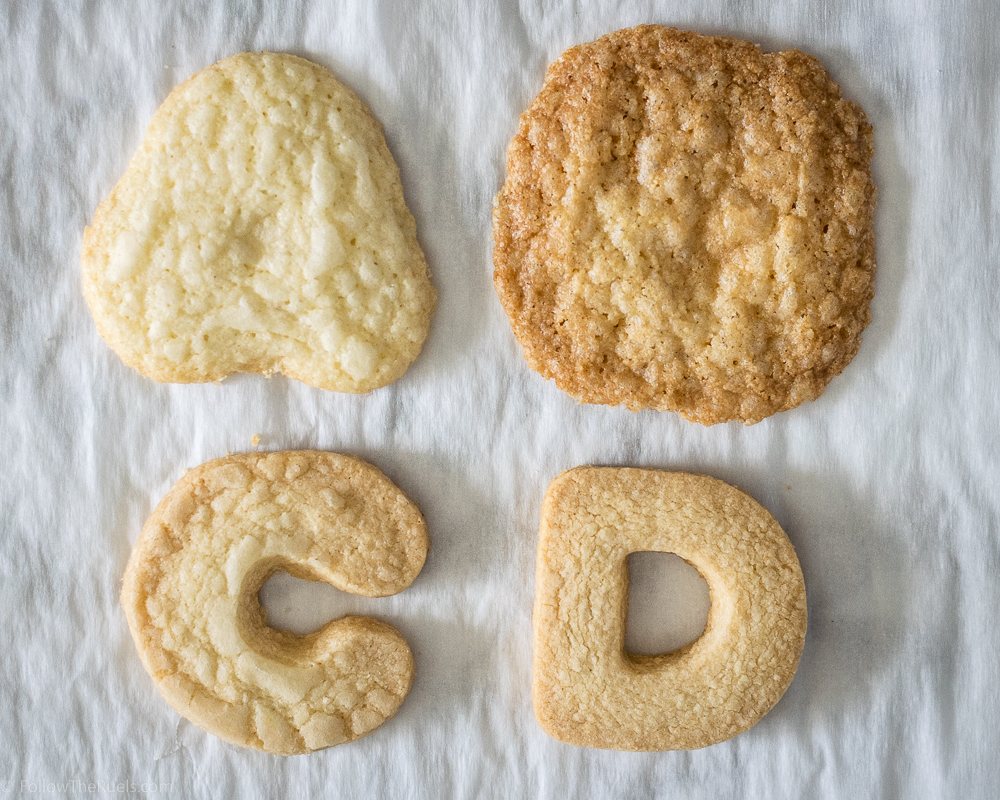
Trial C:

Recipe: Doubled the GF flour from recipe A and eliminated the baking powder. 

Results: The shape is a lot better, but the taste and texture are still a bit off. 

Trial D:

Recipe: Increased the amounts of both GF flour and almond meal from recipe B, keeping the ratio roughly 50/50, and eliminated the baking powder. 

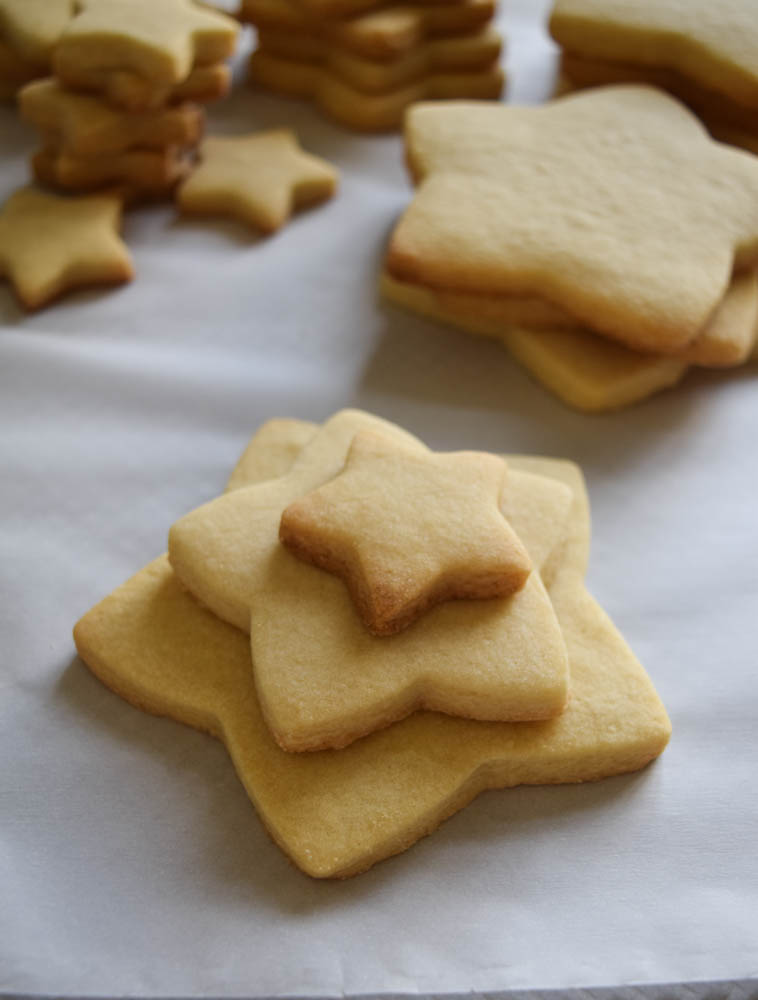
Results: A delicious cookie with perfect edges and a great texture (although slightly over-baked)

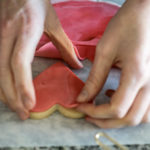
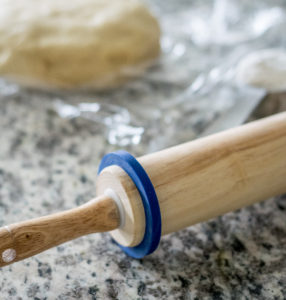
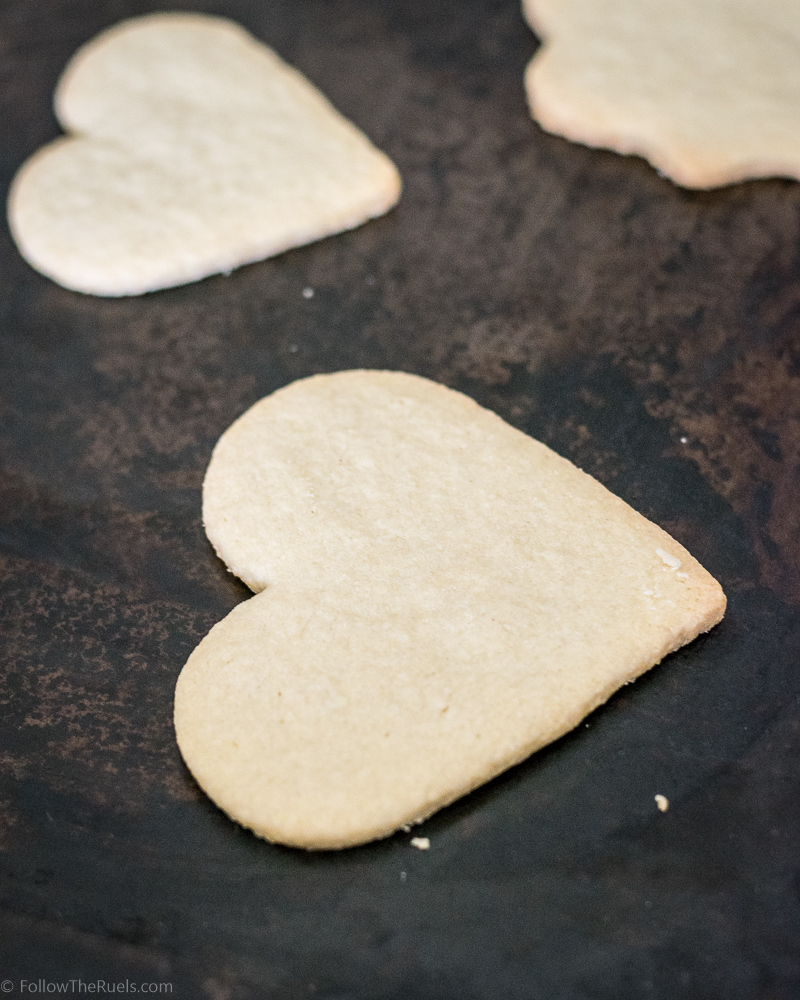
Clearly recipe D was the winner! And really, it all came down to the texture. I could tell the minute I started rolling out the dough for Trial D. The dough felt like my normal sugar cookie dough. It wasn’t too soft or delicate. It rolled out really well and clearly made the best cookie. 


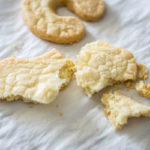
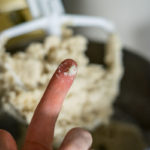
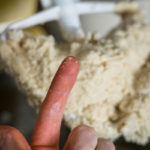
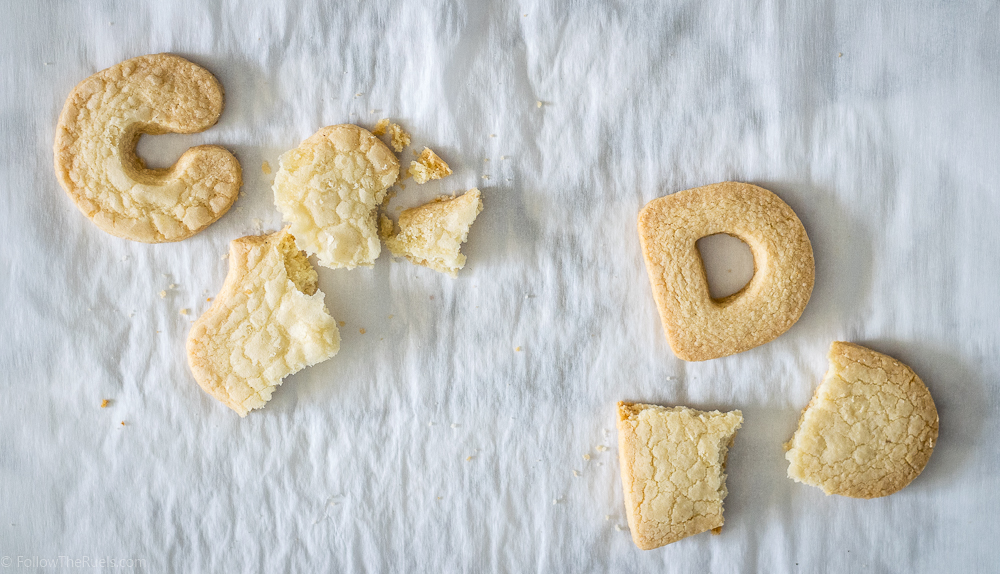
You can see the difference in texture in the pictures above. When I tried to break C in half, the cookie just kinda fell apart. When I broke D in half, it did just that! I don’t know about you but I don’t like my cookies to crumble into a pile of sand after every bite. Gross!

Okay, enough of the nerdy recipe experimenting stuff. Let’s get to the actual recipe!


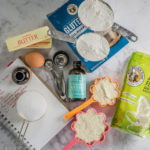
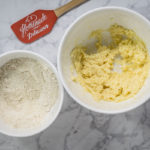
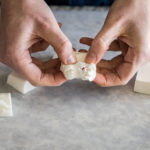
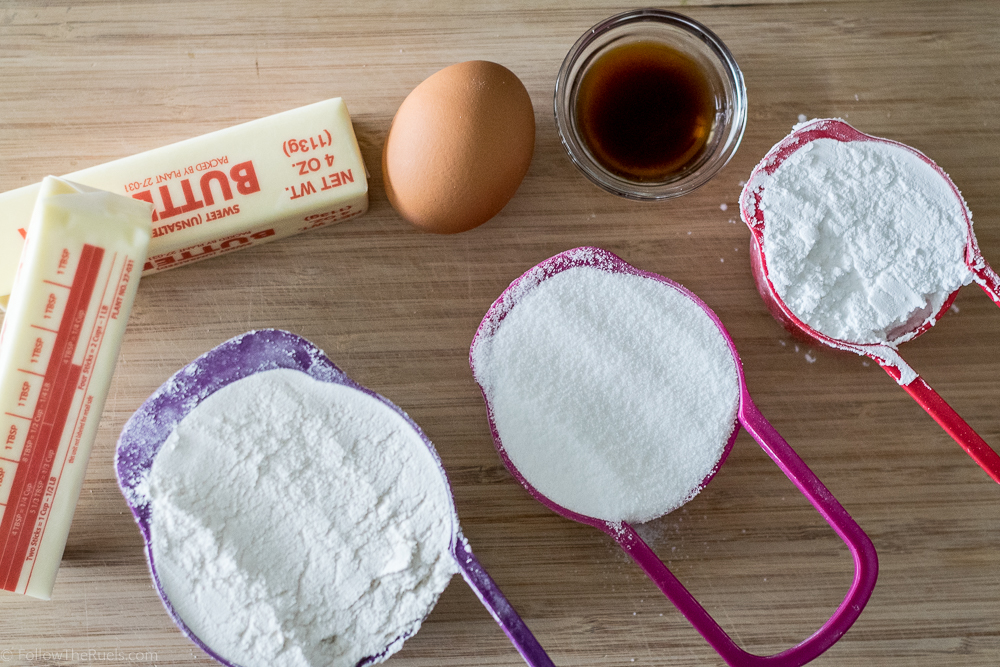
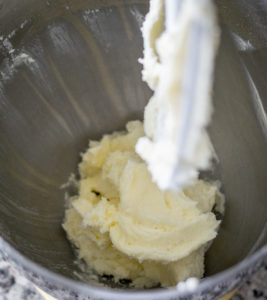
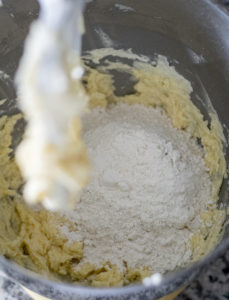
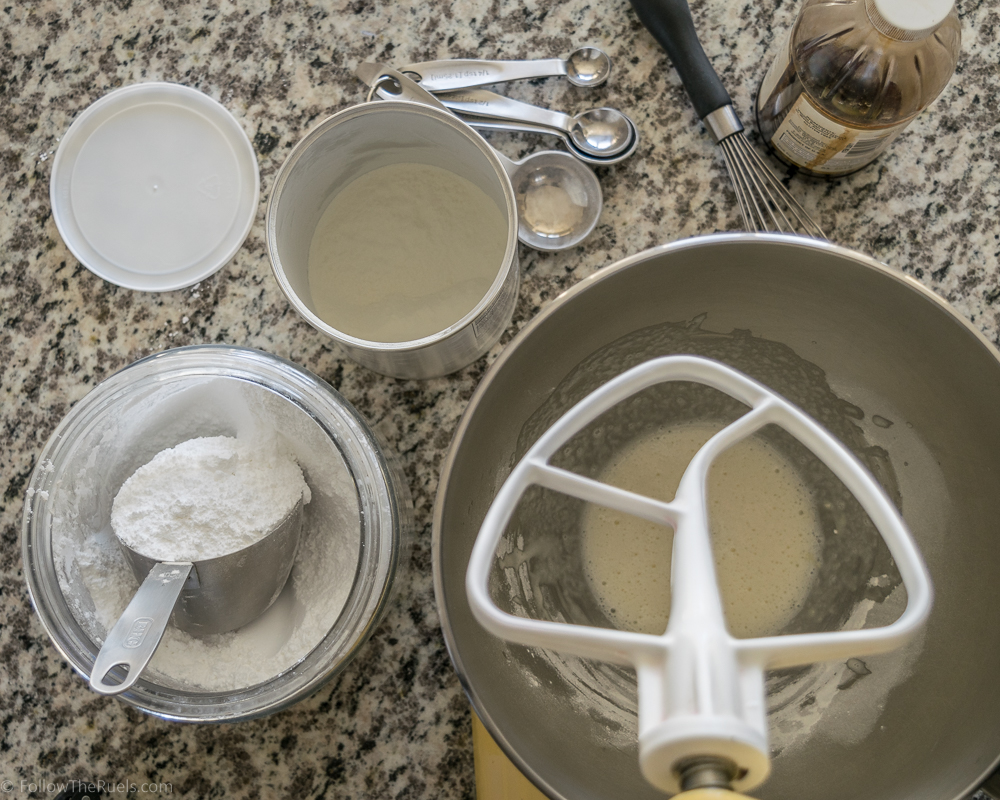
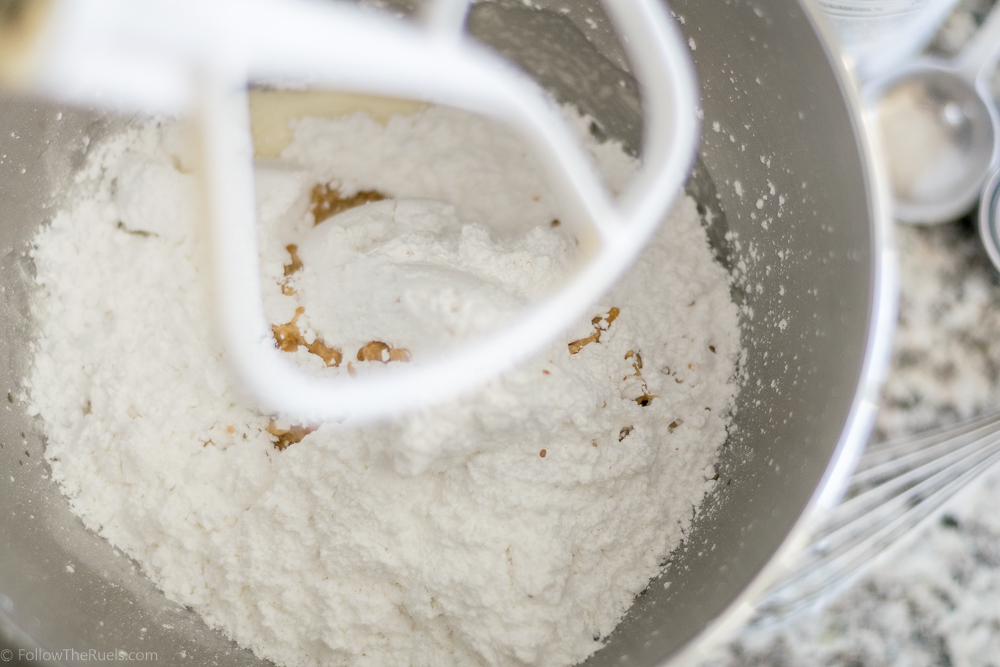
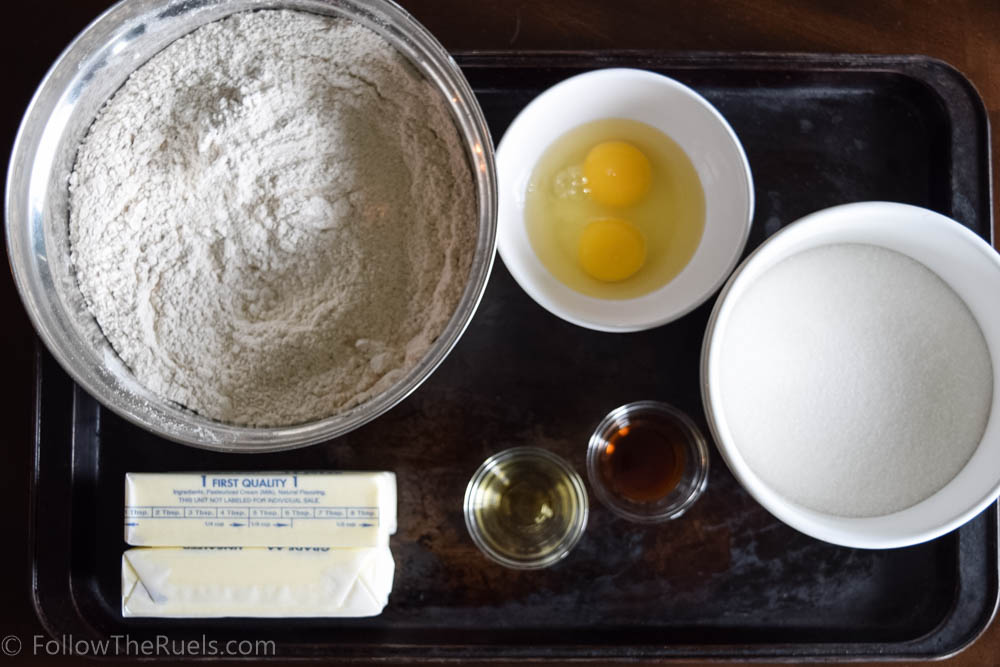
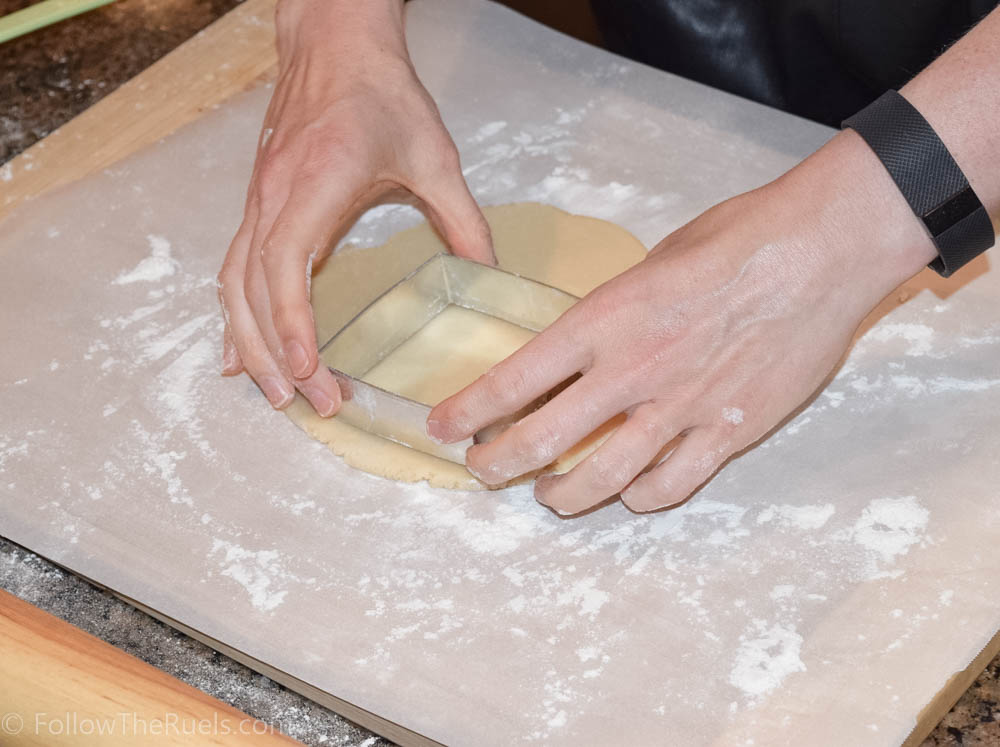
This recipe starts like my favorite sugar cookie recipe, with butter and sugar, eggs and vanilla. I also added almond extract (my favorite of all the extracts) because it’s delicious and it compliments the almond flavor that will already be in the cookie. Then, like I said above, I mix in an even ratio of gluten free flour and almond meal until I had a pretty solid ball of dough. Something that would feel tacky to the touch but not so soft that your finger sinks right into it. If you think your dough is too soft, add more almond meal.

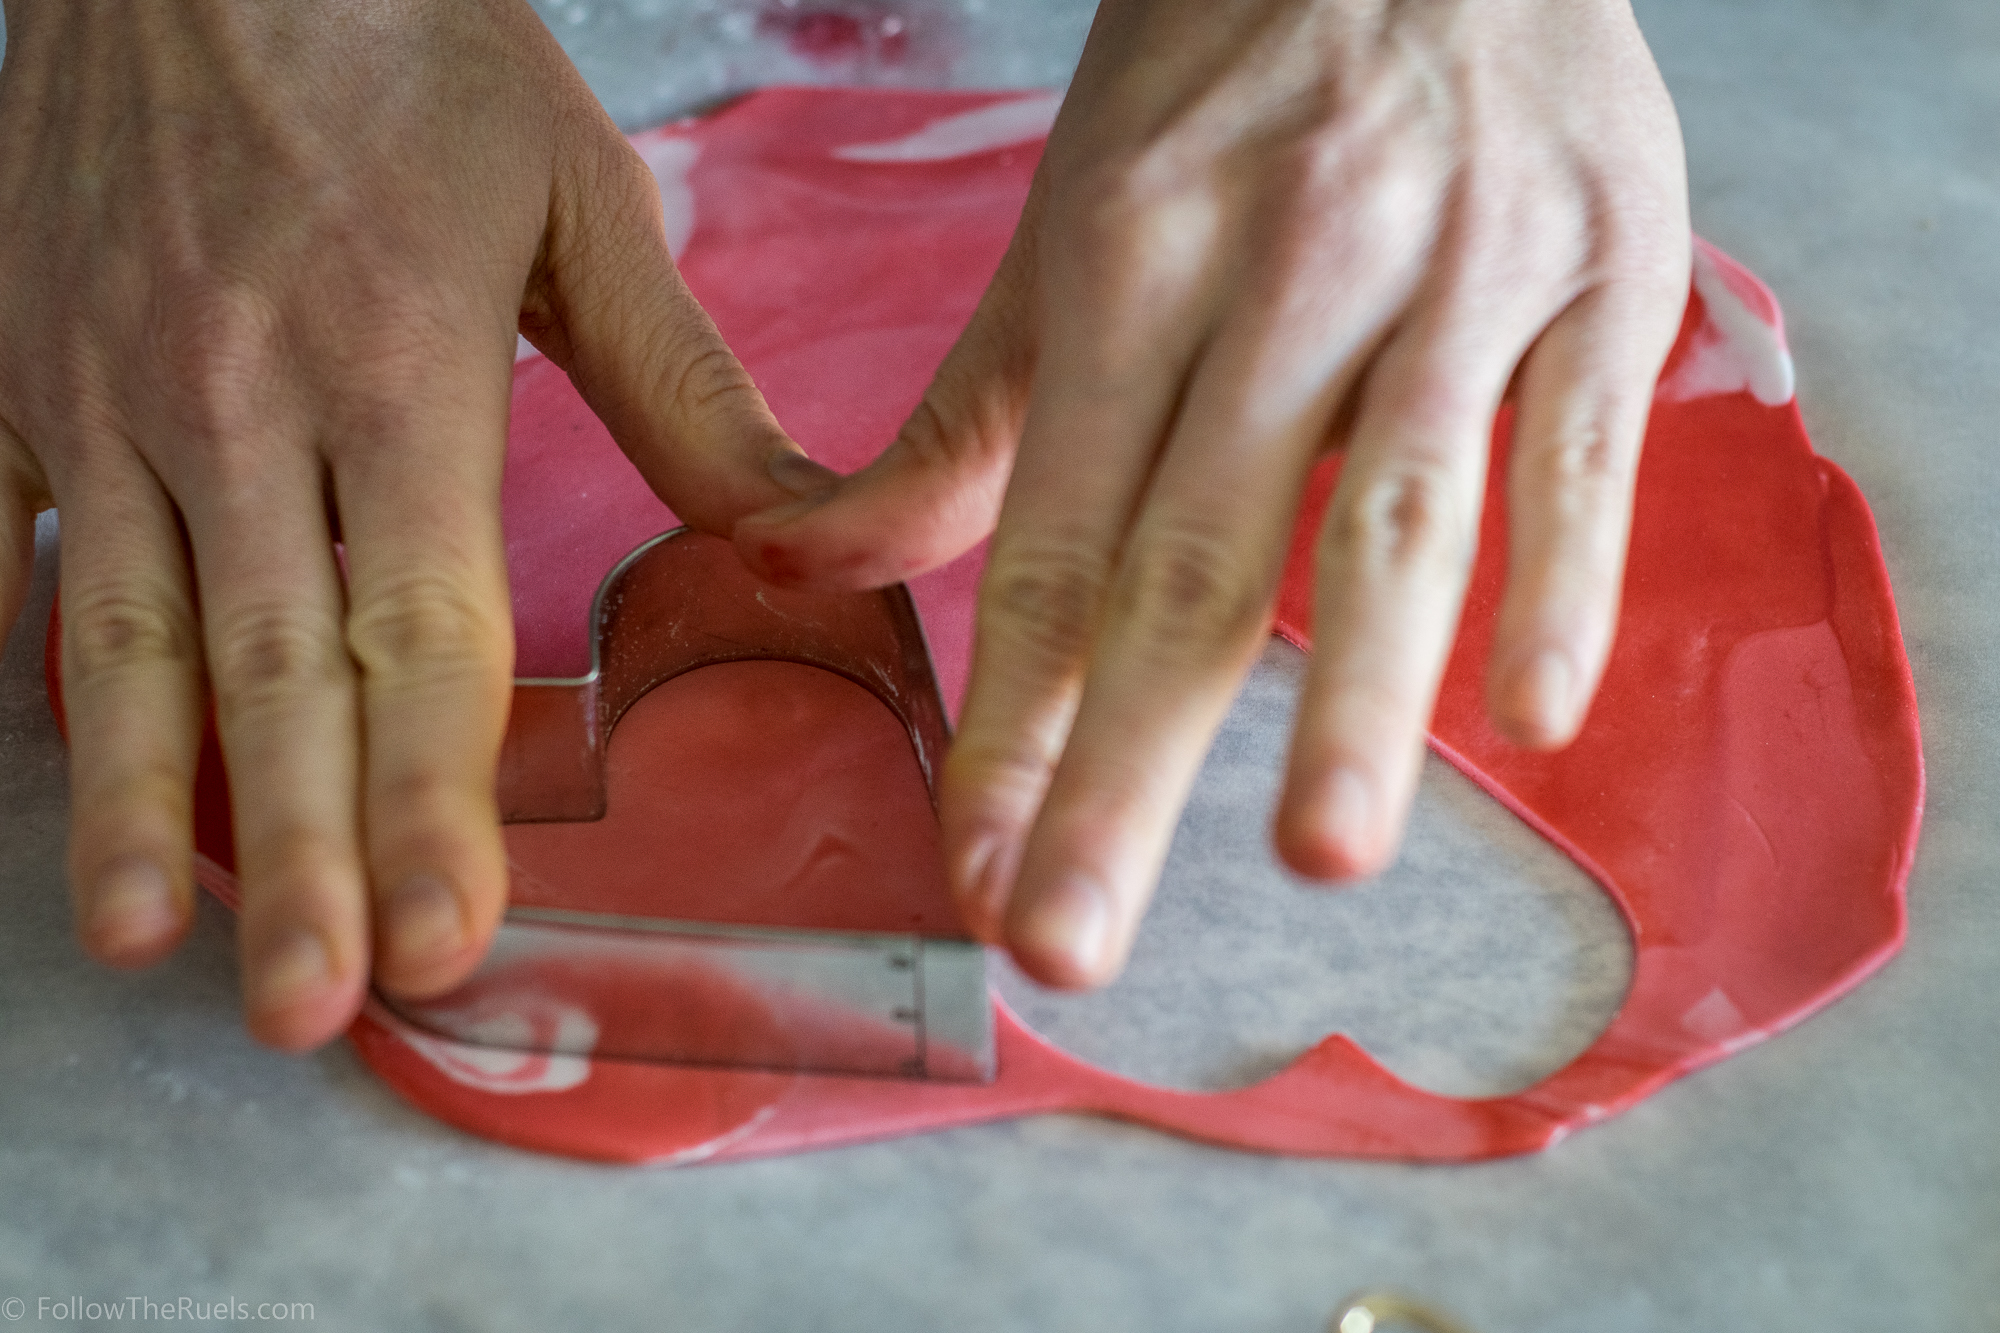
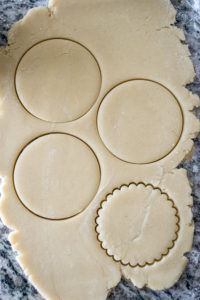
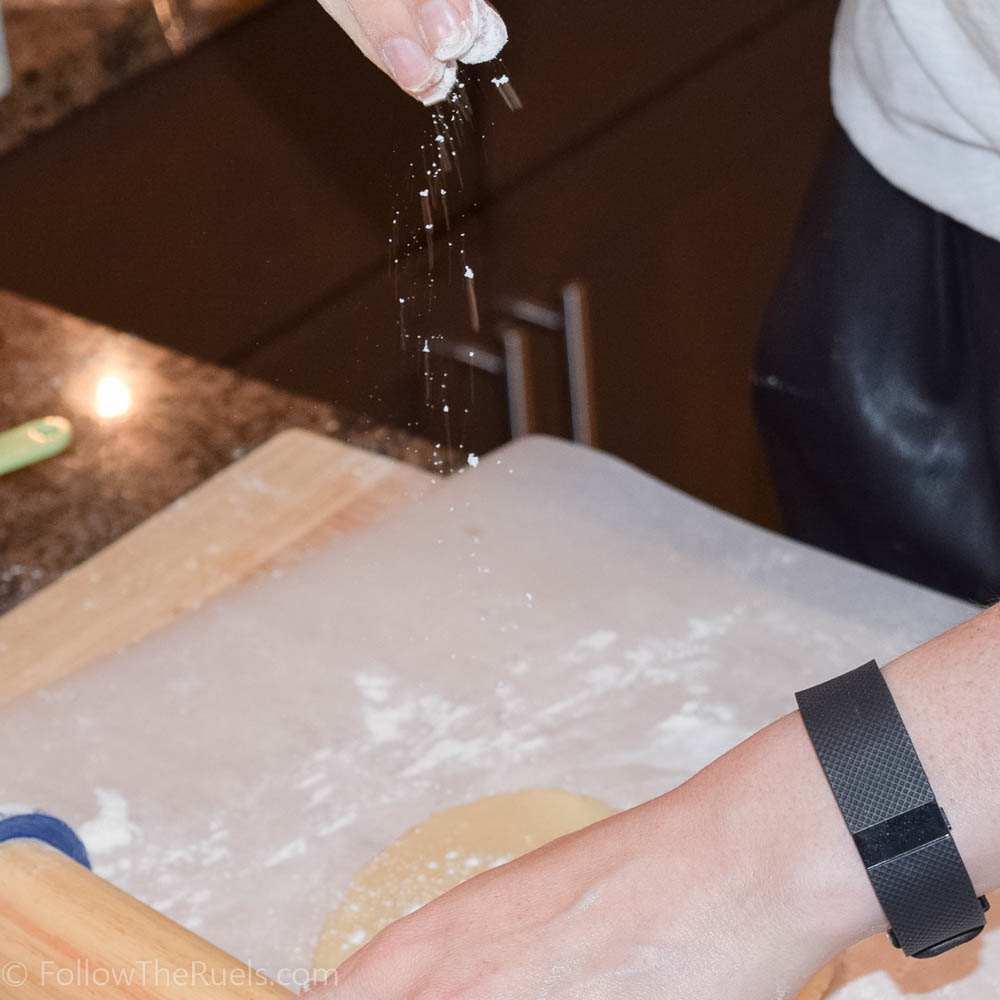
Baking these cookies is really no different that any other sugar cookie. I did chill the dough for at least 30 minutes before I rolled it out. This dough will inherently be a little bit softer than normal dough, so you may want to work in small batches, keeping the unused dough in the fridge.

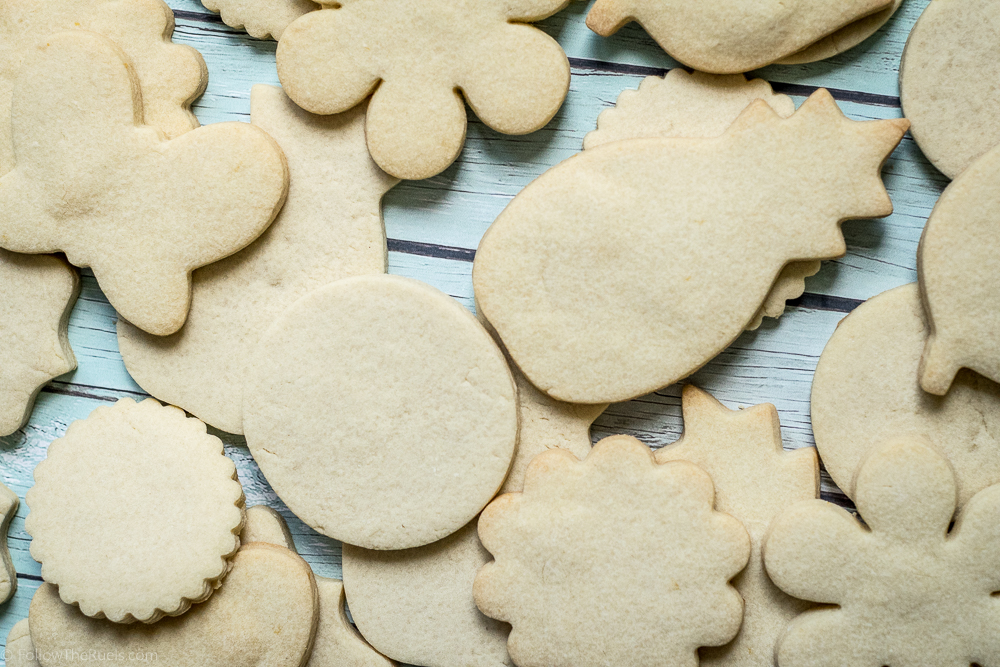
I baked the cookies at 350 degrees for 10-12 minutes. I watched them closely after the 10 minute mark because I really didn’t want them to over bake. If they over bake the dry out even more and they get kind of scaly on top (you can see what I am talking about in the picture of the broken D cookie above). Just as soon as they barely start to brown on the edges, it’s time to take them out!

The resulting cookies are delicious and slightly nutty thanks to all that almond meal. I think they would make a great substitute for any sugar cookie for those of you who have cut out gluten from your diet for one reason or another. Even as someone who does not have a gluten intolerance, I gladly taste tested these cookie over and over again.

It was all in the name of science. 🙂

[amd-yrecipe-recipe:136]

PRODUCTS USED:

 [show_shopthepost_widget id=”2479028″]

/ Filed In: Cookies, Cookies New, Eat
Tagged: almond meal, cookie decorating, cookies, gluten free, King Arthur, sugar cookies, vanilla

Easy Marbled Fondant Valentine’s Day Cookies

February 10, 2017

We are only a few short days away from Valentine’s Day my friends. Which means I am trying my hardest to get in all my Valentine’s Day posts! One post that I have been meaning to share for a while, but kept getting pushed to the back burner, is these SUPER EASY Fondant Valentine’s Day cookies. 

I stress the SUPER EASY because they are just that. If you have ever played with Play-Doh as a kid, then you know everything you need to know to recreate this marbled effect. 

The reason I love working with fondant so much is that it doesn’t require any icing. Don’t get me wrong. I love working with royal icing. But making up all the icing and decorating each cookie is time consuming. Sometimes you just want to do something simple and easy. You know what I mean?

Also fondant doesn’t require any special skills or equipment. All you need is fondant, a rolling pin, and cookie cutters. The last two I assume you already have if you are making cookies. But if not, you could sub the rolling pin for a wine bottle (I know you have one of those lying around!) and a drinking glass for a cookie cutter.


So to get the marbled affect I first divided my fondant into different pieces and colored them all with various shades of red. To dye the fondant, I added a drop or two to the fondant, then stretched and folded the fondant on top of itself. I would highly recommend wearing food safe gloves for this, if you have them, so your hands don’t turn bright red.

After all my pieces of fondant were various shades of red, I rolled them into ropes and stacked all them together to form one multicolored piece of fondant. From this point on I just kind of haphazardly folded and stretched the fondant (just like I did when I was coloring it), in different directions, until I was happy with the effect. 


Note: the more folding you do, the more the colors will blend together. Eventually, it will just turn into one color, so stop before you over do it.

Once I liked how my fondant was looking, I rolled it out into a really thin sheet. If you have a fondant roller and/or rolling pin bands I would recommend rolling it as thin they will allow. Most people aren’t huge fans of fondant because it can be a little gummy. But if its rolled really thinly, hardly anyone will notice!


After it’s all rolled out I cut it with the same cookie cutter that I used to cut out my cookies. Then I brush one side of the fondant with water and stick that to the cookie. I use my fingers to rub out any lumps or bumps. I also like to run my fingers around the cut edge to make sure that it’s nice and smooth. 

And….that’s it! Now tell me that’s not easy. I dare you!

If you make these for Valentine’s Day I can almost guarantee that people will be impressed with your cookie decorating skills. You don’t need to tell them that a 5 year old could make them. That little secret can stay between us. 

Happy Valentine’s Day!

[amd-yrecipe-recipe:127]

ITEMS USED IN THIS POST

[show_shopthepost_widget id=”2413095″]

/ Filed In: Cookies New, Decorated Cookies, Eat
Tagged: cookie decorating, cookies, fondnt, Valentine's day

Rustic Floral Valentine’s Day Cookies

February 6, 2017

It’s been a while since I have decorated a cookies. Actually, it’s only been about an hour. But at the time of making these rustic Valentine’s Day cookies, it had been a while. After the cookie-decorating marathon that is Christmas, I had to take a break. But what better occassion than Valentine’s Day to get back into the cookie decorating game. 

I also used the opportunity to teach myself how to create the wood effect. I have seen a bunch of amazing cookies on Pinterest and I knew it would be a fun thing to try for Valentine’s Day! The best part was that it was a lot easier than I expected. 

But since a cookie that looks like tree bark isn’t very romantic, I added some flowers. And to put it over the top, I carved my husband’s and my initials into it! So cute, right?

Wanna see how I did it?!

I loved the mixture of the wood and the flowers. I actually loved the carved initials cookie so much that I still have it! I put it in bag and it’s sitting on my desk. 

I also loved these cookie so much, I taught this technique in my last cookie decorating class. I think people really liked them, especially the flowers! It’s amazing what a difference piping tips can make.

If you want to make these at home, here are some things you will need:

  • 1 stiff bristled brush
  • toothpick or scribe tool
  • piping tips #18, #20, #224
  • 2 colors of brown piping consistency icing (you don’t want it to thick, or else you won’t be able to spread it very well, but also not to thin that it won’t hold texture)
  • 2-3 colors of pink stiff consistency icing 
  • 1-2 colors of green stiff consistency icing

If you try these cookies, I would love to see what you create! 

As always, I used my favorite sugar cookie recipe (although these would be great with my chocolate sugar cookie, too!) and royal icing recipe. 

PIN NOW, MAKE LATER

PRODUCTS USED:
[show_shopthepost_widget id=”2436432″]


/ Filed In: Cookies New, Decorated Cookies, Eat
Tagged: cookie decorating, cookies, floral, royal icing, sugar cookies, Valentine's day, video

The Best Sugar Cookie Recipe

May 2, 2016

[UPDATED ON NOVEMBER 24, 2016]

I have been fiddling with my sugar cookie dough recipe for the past couple months trying to find the best dough for decorating cookies. Trust me, there was nothing wrong with my old recipe. It is still a great sugar cookie dough, but I wanted to make a dough that kept its shape when baked but wasn’t as hard as a rock (you know what I’m talking about!). All it took was a couple tweaks to my basic sugar cookie recipe to make an even better cookie dough!

The best sugar cookie dough

So what’s different? Well, there is no baking powder. I hate it when my sugar cookies grow in the oven, completely losing their shape. Even though the old recipe had very little of the leavening agent, they puffed up too much for me. So out it went!

The other change is the addition of powdered sugar. The powdered sugar makes the cookies lighter and smoother. Since I eliminated the leavening agent, I didn’t want the cookies to be so dense. While testing of the recipe, I tried making this dough with ALL powdered sugar, but I missed the texture from the granulated sugar. It was almost too smooth and way too sweet. The resulting recipe is a combination of both granulated and powdered sugars that still has a nice texture and is still relatively soft. 


Now that I have all the changes out of the way we can get to making some cookies! I like to mix my butter and sugar together until it’s nice and fluffy. This takes about a minute on a medium high speed in my Kitchen Aid. Then I gently mix in the egg and extracts (my favorite combination is vanilla and almond).  Next is the flour, which I mix in one cup at a time, again until it’s barely combined. The less mixing the better. 

The tricky part about this recipe is that sometimes I add more or less flour. While 2 1/2 cups is what I used most often, there are times when I only add 2 1/4, or sometimes 2 3/4. Bakers will understand that sometimes you just know how a dough or batter should look or feel. I know what this dough should feel like when it’s perfect. For some of you, that is the worst thing you could hear! But don’t worry, I have an easy way to check the dough! I poke it! 


In the first photo, I have only mixed in 1 1/2 cups of flour. See how the dough just sticks right to my finger? Not ready! So I add 1/2 cup more, still sticking to my finger when I gently press it into the dough. I add my last 1/2 cup and try again. It’s perfect! Hardly anything sticks to my finger, but the dough still feels a bit tacky. THAT is what I am going for. If anything were to stick to my finger, I would only add 1/4 cup at a time until I got it right!

Once the dough is formed, I turn it out onto some plastic wrap to wrap it up and put it in the fridge. Its good to let the dough rest and all the flavors to meld, but sometimes I don’t have that kind of time. Because this dough is pretty stiff, it can be rolled out immediately and does not need to be chilled first. 


Speaking of rolling out the dough, I like to use rolling pin bands (or I found this cool rolling pin that does the same thing!) to make sure that my cookies are all evenly thick. I like my cookies to be as thick as possible, so I use the thickest band, about 1/4 inch. 


One other thing that I didn’t actually demonstrate in the picture above, but I would highly recommend is to roll out your dough on some parchment paper using as little flour as possible. Because the dough is already pretty dry, adding more flour will make the cookies crack in the oven. I just sprinkle down enough flour to keep the rolling pin from sticking. This will ensure that your cookies are perfectly smooth and ready to ice!


After a quick bake, these cookies are ready to be enjoyed or to be decorated with royal icing. Not only are they the perfect canvas for some sugar art, they taste delicious. I personally love the taste of the almond extract, but of course, you can add whatever flavorings you like and make these cookies your own!

[amd-yrecipe-recipe:26]

PRODUCTS USED IN THIS POST:

 
[show_shopthepost_widget id=”2423763″]

/ Filed In: Cookie Decorating 101, Cookies, Cookies New, Desserts, Eat
Tagged: cookie decorating, cookies, icing, sugar cookie

The Best Royal Icing for Decorating Cookies

February 12, 2016

The Best Royal Icing for Decorating Cookies

I’ve shared my favorite sugar cookie and now have some great new sugar cookie recipes for Summer. I have also shared a few fun ways to decorate the sugar cookies. What I haven’t yet shared is my favorite recipe for royal icing! 

Well friends, today is the day! I am finally sharing my favorite royal icing recipe that I use for all my decorated cookies. After trying a few recipes over the past year, this one is my hands down favorite. It is easy to pipe and creates the perfect crust on the cookies for that perfect finish.


The recipe is pretty much like any icing you would have made when decorating cookies – water, powdered sugar, vanilla – but the key ingredient, and what makes it crust up so perfectly is meringue powder. 

The Best Royal Icing Recipe

Meringue powder, as you may have guessed, is processed egg whites (so they are safe to consume without heating up) that help give the icing it’s consistency and also it’s signature “crust”. With the help of meringue powder, this icing will dry perfectly so that you can stack and package these cookies without fear of ruining all your hard work!

To start off, I whisk the meringue powder and water until it forms a foam. I like to whisk this up with a plain old while, not the whisk attachment of my stand mixer. I find that the whisk attachment doesn’t really do much.

The Best Royal Icing Recipe

Then I dump in the powdered sugar and vanilla into the mixer and let the thing go to work. This is when a stand mixer really comes in handy because you need to let this mix for about 2 minutes. If you find that the icing is too thick and isn’t mixing very well, add a bit more water – about 1 tbsp at a time. 


Update: Because I now make such large batches of icing for my cookie decorating classes, I have started using a hand mixer. I actually like using the hand mixer a lot, even though it is a little bit more work. But hey! I’m also getting an arm workout in, too! I just mention this because I know not everyone has a stand mixer, so I want you to know that a hand mixer will work just fine!

The Best Royal Icing Recipe

I just whip it up until the icing becomes light and airy. You will know it’s ready because the color will change from a cream color to almost white. Don’t get me wrong, though, at this point it is VERY thick. This is the kind of icing that you would use to construct a gingerbread house. I’ve learned that you always want to start with thick icing, then thin it down because 1) it keeps longer in the fridge or freezer if you want to make it ahead of time and 2) it’s easier to thin down than to thicken. 

The Best Royal Icing Recipe

Speaking of thinning down, the photo above is the end result of thinning the icing down to flood consistency. I know it’s flood consistency because when I run a spoon or knife over the surface, the icing goes back to how it was in about 10-15 seconds. 

My trick to thinning my icing is to separate out the icing into separate bowls for each color I will need. I mix in the color, then slowly add in water using a spray bottle. That way, if I want to have piping AND flood consistency icing that’s the same color, I can just spoon some out once it gets to piping consistency. 

So how do I know when it gets to piping consistency? I know the icing is good for piping when I can lift up a spoon or knife from the surface and the icing drops down in a relatively steady stream and then forms a soft peak. 

Speaking of coloring my icing, I prefer to use gel food coloring versus the liquid stuff you buy at the grocery store. My favorite brand is AmeriColor, which you can find in singles or packs on Amazon. But I also like Wilton brand, which you can find at Michael’s or your local craft store. 

So now that you know how to whip up a batch of royal icing, here’s an easy Valentine’s Day cookie you can make this weekend. 

Royal Icing

Start with heart-shaped sugar cookies. Then outline the heart in flood consistency royal icing. While the outline is still wet, fill it in with a generous amount of flood consistency icing (NOTE: you can always add more icing if it’s not enough, but you can’t take it away), then spread out the icing with a toothpick or scribe tool (the yellow thing in the bottom right corner). 

You can see the I am using a generic zip-top bag for my piping, which I totally prefer because not only are they cheap and readily available, they do the job just as well. If I am doing something a bit more details or precise, then I would use a piping bag (like these) and some of my piping tips (I highly recommend this kit, but I use this one and this one most often)

If your edges aren’t perfect, that’s okay! Use the toothpick to even out the outline by swirling in small circles in the icing. Once you are happy with it, tap the cookie on the table to get rid of any air bubbles. 

Conversation Heart Cookies-11

Then to finish them off, use a red food coloring marker (found at any craft store) to write your favorite love word or phrase. 

Conversation Heart Cookies-10

Happy Valentine’s Day everyone! And have fun decorating your cookies!


[yumprint-recipe id=’102′]

TOOLS USED IN THIS POST:

 
[show_shopthepost_widget id=”2423708″]


/ Filed In: Blog, Cookie Decorating 101, Cookies New, Decorated Cookies, Desserts, Eat
Tagged: cookie decorating, cookies, royal icing

Stars and Stripes Cookies

June 30, 2015

Star Cookies-16

For those who know me personally or follow me on Instagram know that I have been really getting into cookie decorating lately. It’s taken a lot of practice, but I feel like I have finally got a hang of the art form. 

With 4th of July coming up, I wanted to make some patriotic cookies for a bake sale we were having at work. I whipped up a batch of my go-to sugar cookies, cut them into 3 different sized stars, and flooded them with red, white, and blue flood consistency royal icing.

Star Cookies-1

I started with the smallest stars and filled them with white icing. I outlined the edge first, filled in the center with icing, used a toothpick to spread the icing evenly over the surface, then tapped the cookie on the counter a couple times to shake out excess air bubbles.

Outline the edge of the cookie.
Fill the center with icing.
Use a toothpick to cover the surface.

Tap or shake a few times to get rid of bubbles.

Then I repeated the process with the medium-sized cookies and blue icing.


I made the largest cookies red and white striped. To create the stripes, I iced evenly spaced lines across the cookie. I then outlined every other section using the red icing, filling in the space, and spreading out the icing with the toothpick. For the sections in between, I outlined the edge in white, then created a white line right next to the edge of the red section. Then filled in the space with the white, repeating the same process with the red.


I packaged them with one of each cookie, stacked on top of each other. But they could also be arranged with the blue cookies in the top, left corner of a large platter, the red and white cookies filling the remaining surface area, and the little white cookies scattered over the blue ones to make a little flag.

Star Cookies-15

For those of you who are more visual learners, here is a little video of the creation of these cookies.

Happy Independence Day!

/ Filed In: Decorated Cookies, Eat
Tagged: 4th of July, cookie decorating, cookies, Summer

Basic Sugar Cookie Recipe

June 28, 2015

Star Cookies-1

My favorite recipes are those that I can recall off the top of my head. If I can avoid pulling up a recipe, I do. Which is why I love this sugar cookie recipe so much. It’s so easy to remember. 

I prefer this recipe over some other common recipes you may find in a cook book because the cookies don’t loose their shape too much or expand after cooking. Also, the dough doesn’t need to be chilled. I still like to pop the dough in the fridge for a few minutes, but it isn’t necessary if I’m in a crunch for time.

Teddy Bear Cookies-1

It’s also a recipe that I can change up to suit my tastes however I please. Sometimes I just use plain old vanilla extract. Sometimes I really mix things up and add in some lemon zest or almond extract…or both! In the winter I will probably add a hint of cinnamon and cardamom. 

Teddy Bear Cookies-4

Teddy Bear Cookies-3

Teddy Bear Cookies-2

To make sure I have consistently sized cookies, I use these little bands that fit over your rolling pin so you can make all your sugar cookies the exact same thickness. I use the thickest band I have, which I believe is 1/3 to 1/2 inch. I want those cookies to be thick. Not only does it help the cookie to icing ratio (I prefer more cookie to icing), but it helps the structural integrity of the cookie, especially if you have to ship or travel with them (does it sound like I know what I’m doing? good.)

I hope you give this recipe a try for your next sugar cookie decorating project. And I would encourage you to play with extracts and spices to make the flavor totally your own!

[yumprint-recipe id=’55’]

/ Filed In: Eat
Tagged: cookie, cookie decorating, recipe

  • Newer Entries
  • 1
  • 2

Follow

Hey There!

Hey there, I'm Lindsey. I'm a number cruncher by day and a home cook and baker by night. While I love to eat healthy and find fresh and healthy alternatives for my favorite foods, I will never turn down dessert! Life is all about moderation, right?

Recipes

  • All Recipes
  • Breakfast
  • Appetizers
  • Salads
  • Main Dishes
  • Side Dishes
  • Desserts
  • Drinks

Favorite Finds

[show_lookbook_widget id=”388783″]

Theme by 17th Avenue · Powered by WordPress & Genesis