• Home
  • Eat
    • Breakfast
    • Appetizers
    • Main Dishes
      • Chicken
      • Beef
      • Seafood
      • Healthy Dishes
      • Paleo Dishes
      • Salads
    • Desserts
      • Decorated Cookies
      • Cookies
      • Bars and Brownies
      • Cakes and Cupcakes
  • Shop
    • Cookie Decorating Supplies
    • Bakeware
    • Cookware
    • Kitchen Gadgets
    • House
  • About
    • Contact
    • Bucket List
  • Cookie Decorating 101

Follow the Ruels

Watercolor Seaside Cookies

August 10, 2018

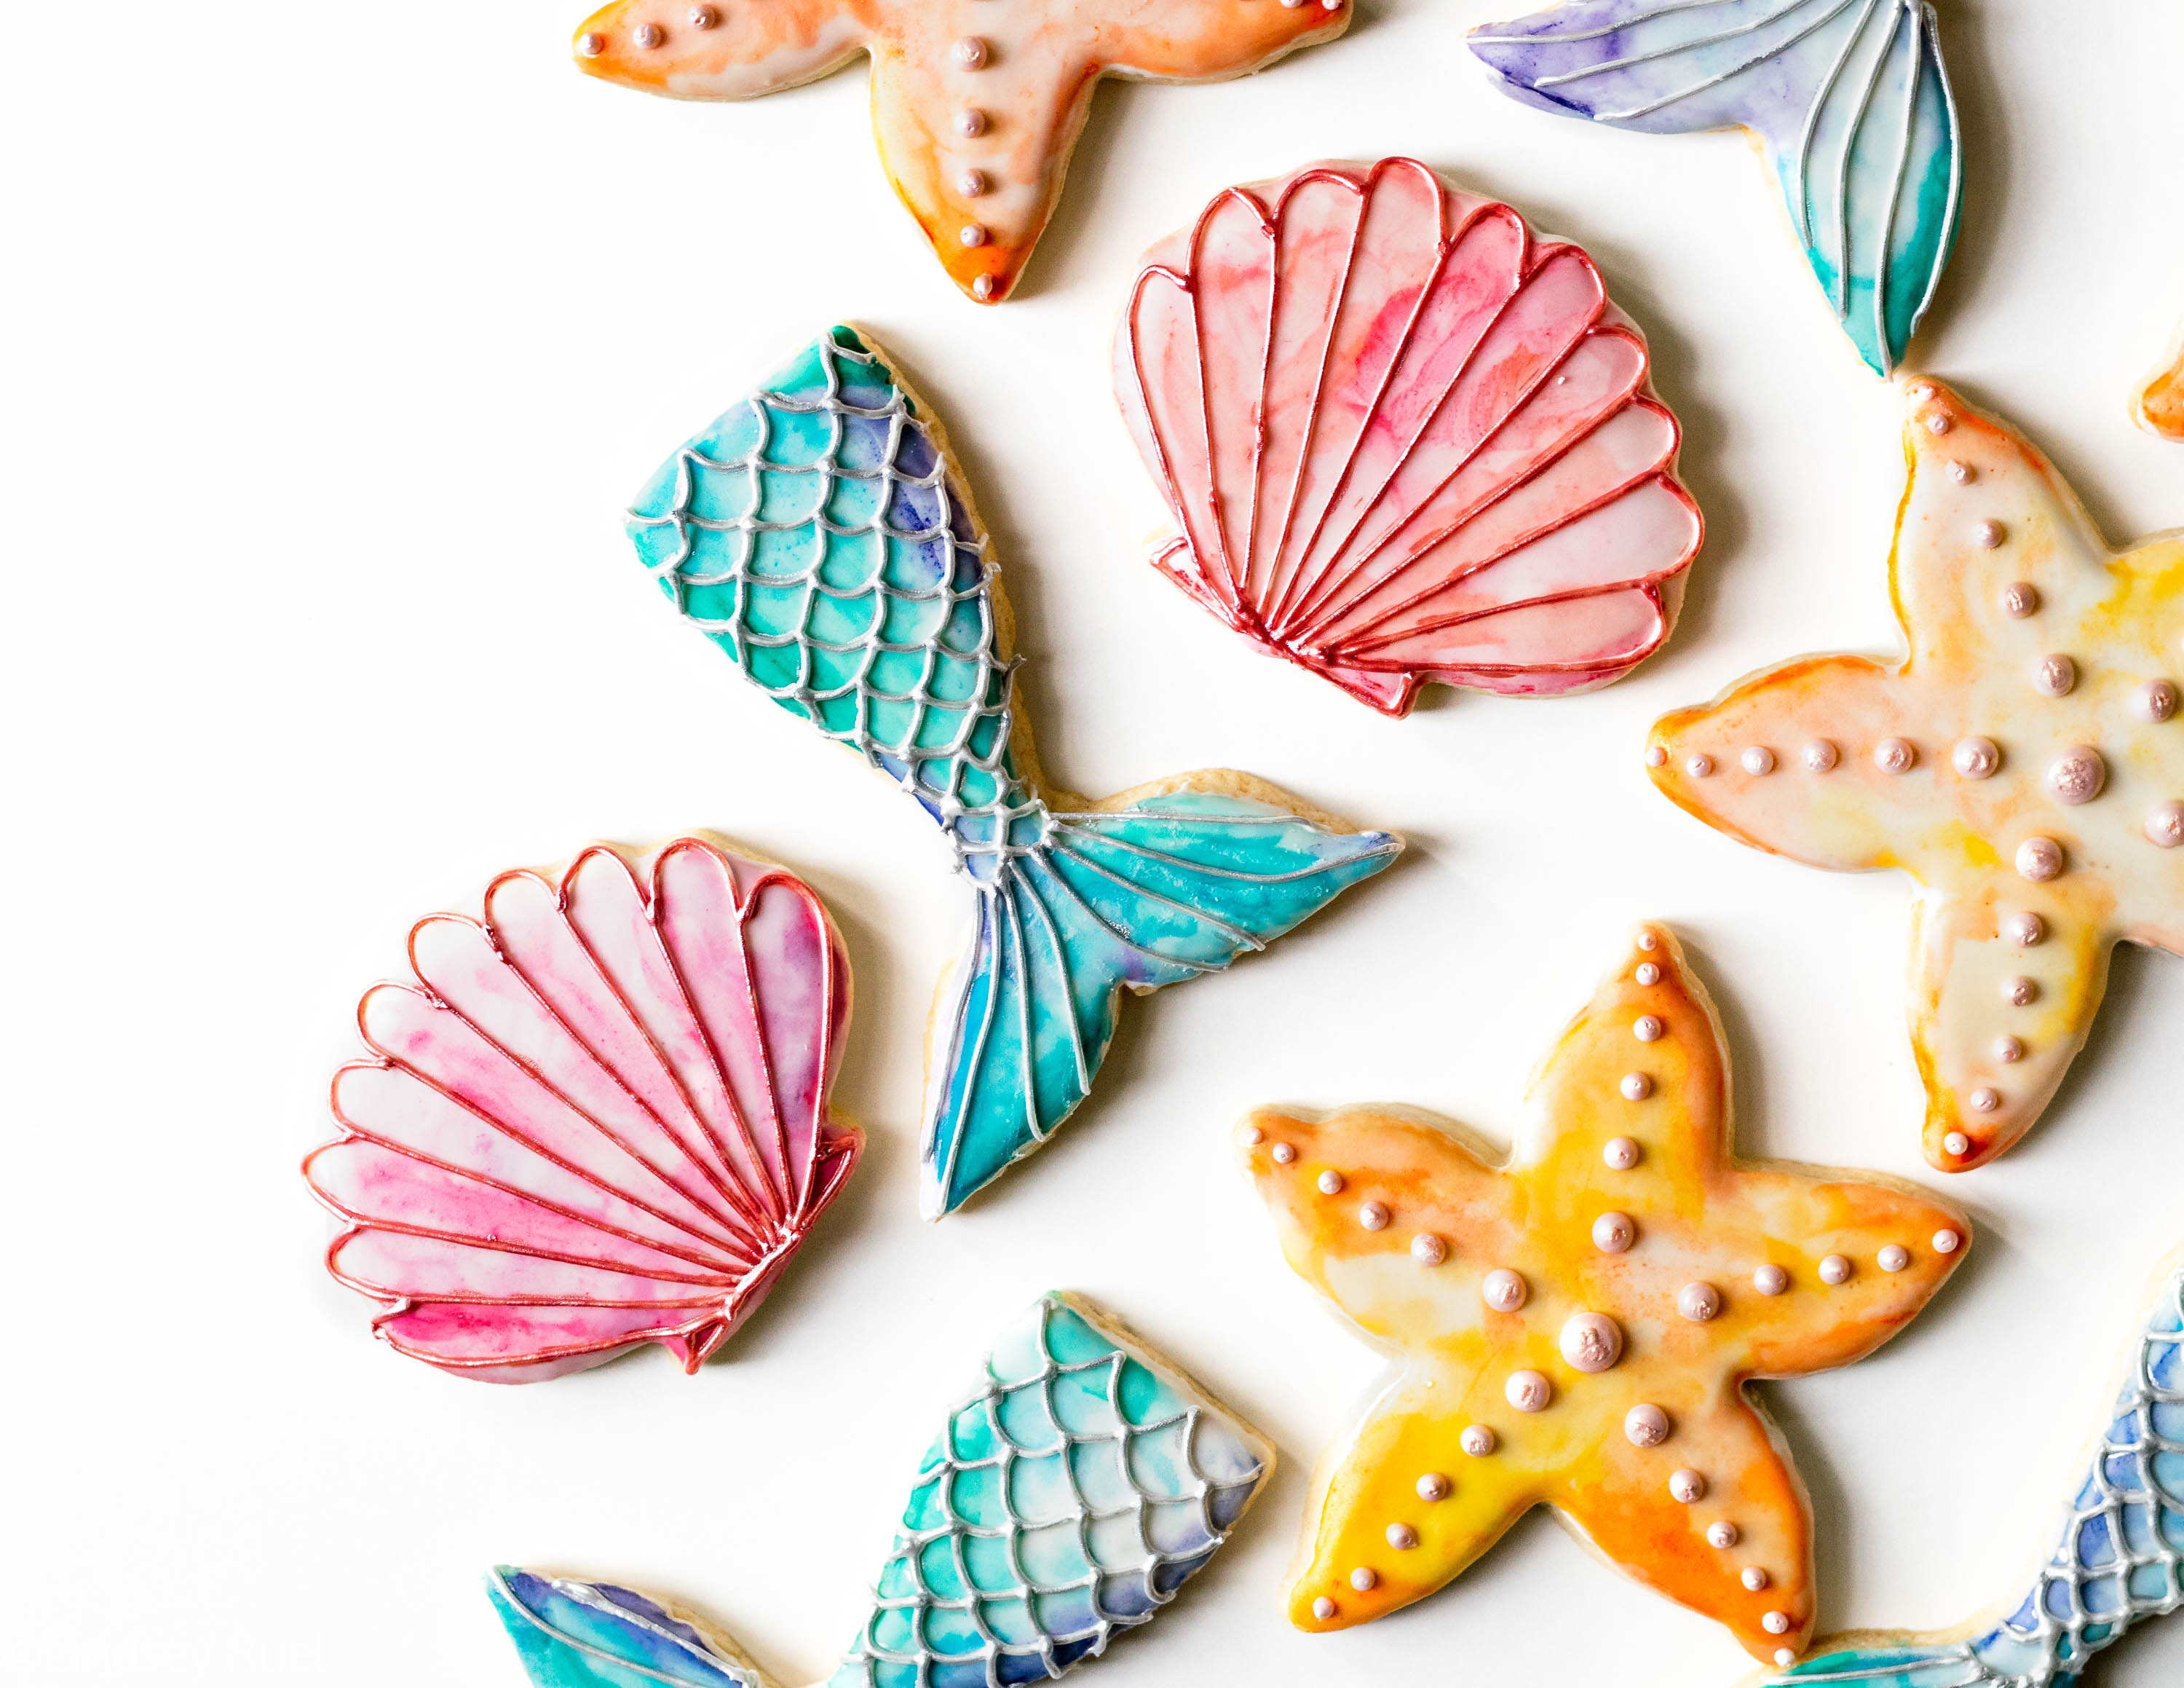
I have been dying to make some cookies that combined both watercolor and metallic details. Various ideas floated around in my head. It wasn’t until I was organizing my cookie cutters and came across these long-lost seashell and starfish cookie cutters that I had never used that it hit me! All at once I had the idea to make these beautiful watercolor seaside cookies. 

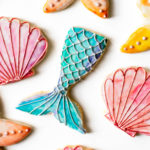
But the set didn’t seem complete without a mermaid tail. Sadly, I didn’t have my own mermaid tail cookie cutter and was too impatient to order one. So I improvised! I printed out a mermaid tail shape and cut the dough around it.

With my three seaside shapes cut and baked, I was all set to make these watercolor cookies. I couldn’t be happier with how they turned out!

While painting on metallic details is not the most efficient process, the combination of the watercolor and metallic may be my new favorite cookie decoration. What do you think?

Tool and Recipes
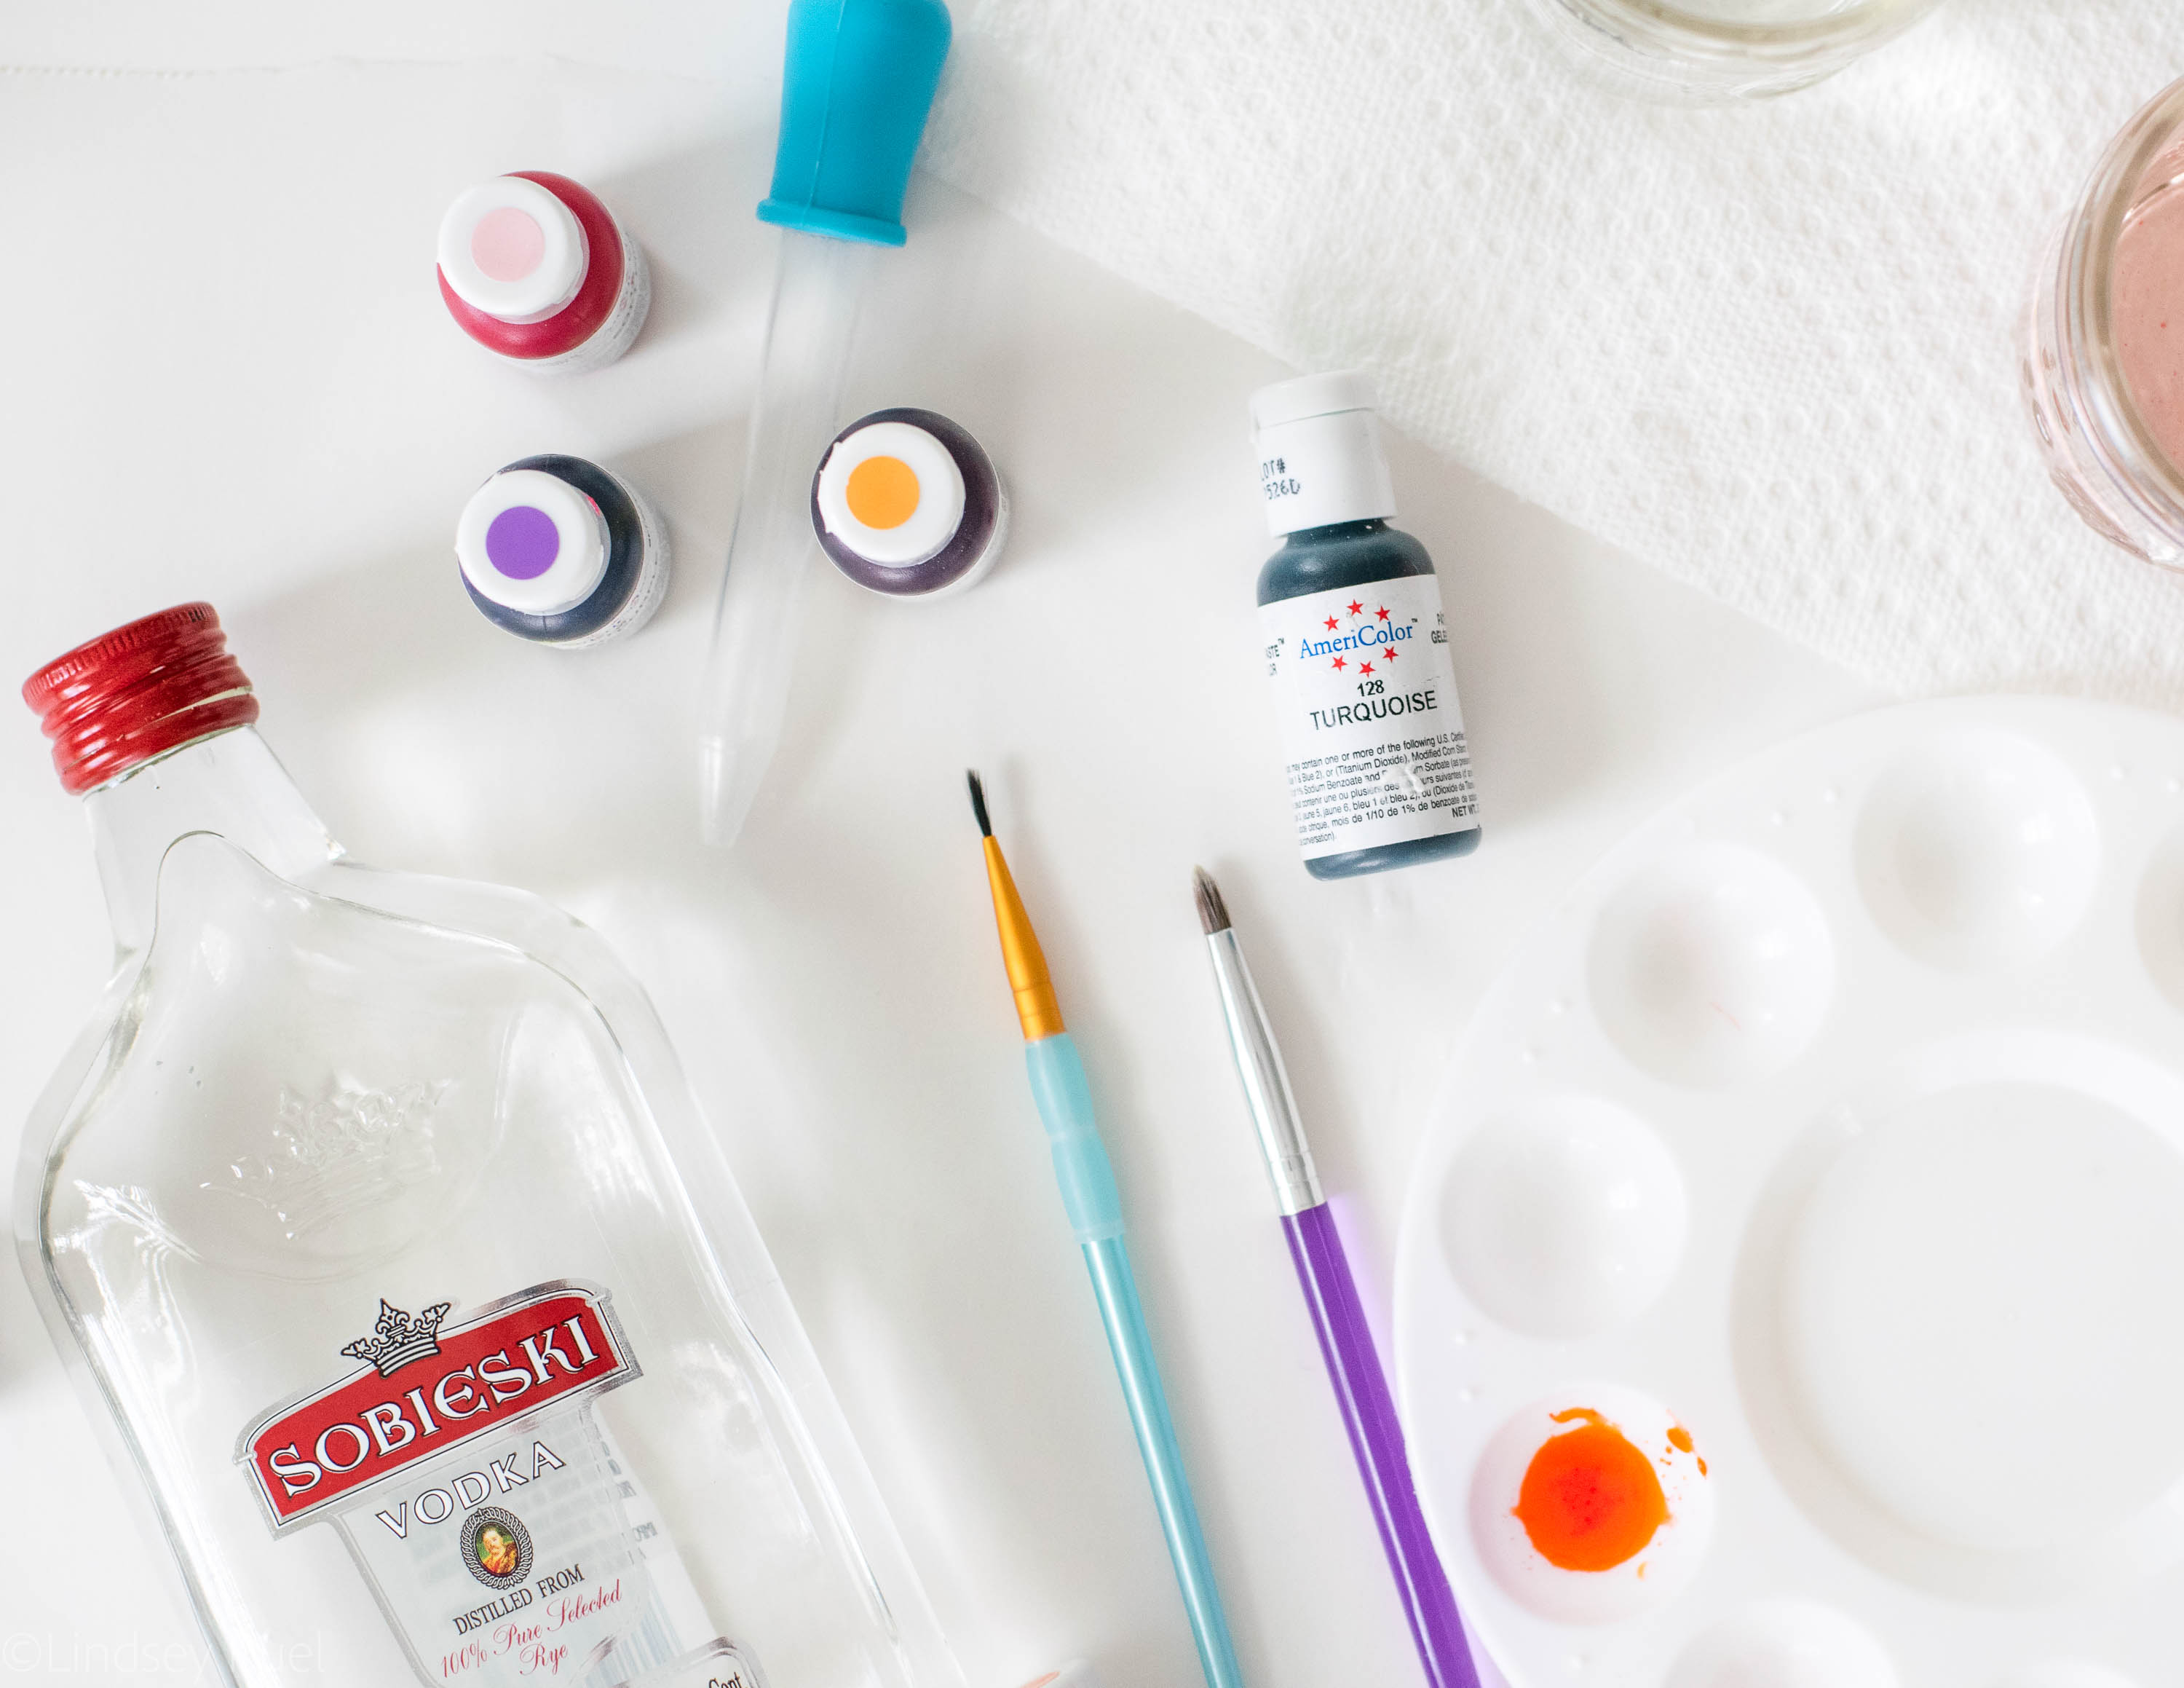
Recipes:

  • Sugar Cookie Recipe
  • Royal Icing Recipe

Tools: 

  • Gel food coloring
  • Clear alcohol (Vodka or Everclear work great)
  • Paint brushes (for food only, please and thank you)
  • Metallic food paint
  • Scribe tool
  • Piping bags
  • Piping tips (#1 and #2)
  • Coupler
  • Cookie cutters

[show_shopthepost_widget id=”3238963″]

How to Make Them

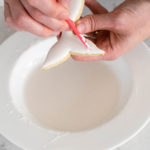
What makes these cookies a little bit different than my usual cookies is that I dip them into the icing instead of piping them. I find that it’s a little bit easier to dip the cookies. And since you just need a plain, flat surface to paint on, it doesn’t matter how the icing gets there!


Use thin down icing until its slightly thinner than flood consistency. It should return to a flat surface within 10 seconds after “scraping” the surface. I find that this consistency of icing creates a nice even surface that covers the entire cookie. 

Let the icing dry completely (about 4 hours) before beginning to paint. 

Painting these cookies is the most fun and relaxing part. I could just do that for hours!

I can’t say the same for the piping. While I love the metallic accents, painting on the metallic paint can be a bit tiresome after a while. So maybe enlist a friend or break it up into batches if you are making lots of cookies!


All in all, I am totally enamored with these cookies. I can’t wait to put the watercolor-metallic combination to work again in another fun cookie set!
 

/ Filed In: Cookies New, Decorated Cookies, Desserts, Eat
Tagged: beach, cookie decorating, cookies, mermaid, metallic, painted cookies, seashell, seaside, starfish, watercolor

Watercolor Ice Cream Cookies

July 30, 2018

Even though it seems like Summer is winding down, it is certainly heating up around these parts (literally). We are pushing triple digits here in Georgia, which I know most of the rest of the country is all too familiar with. 

I’m looking at you, Texas. 

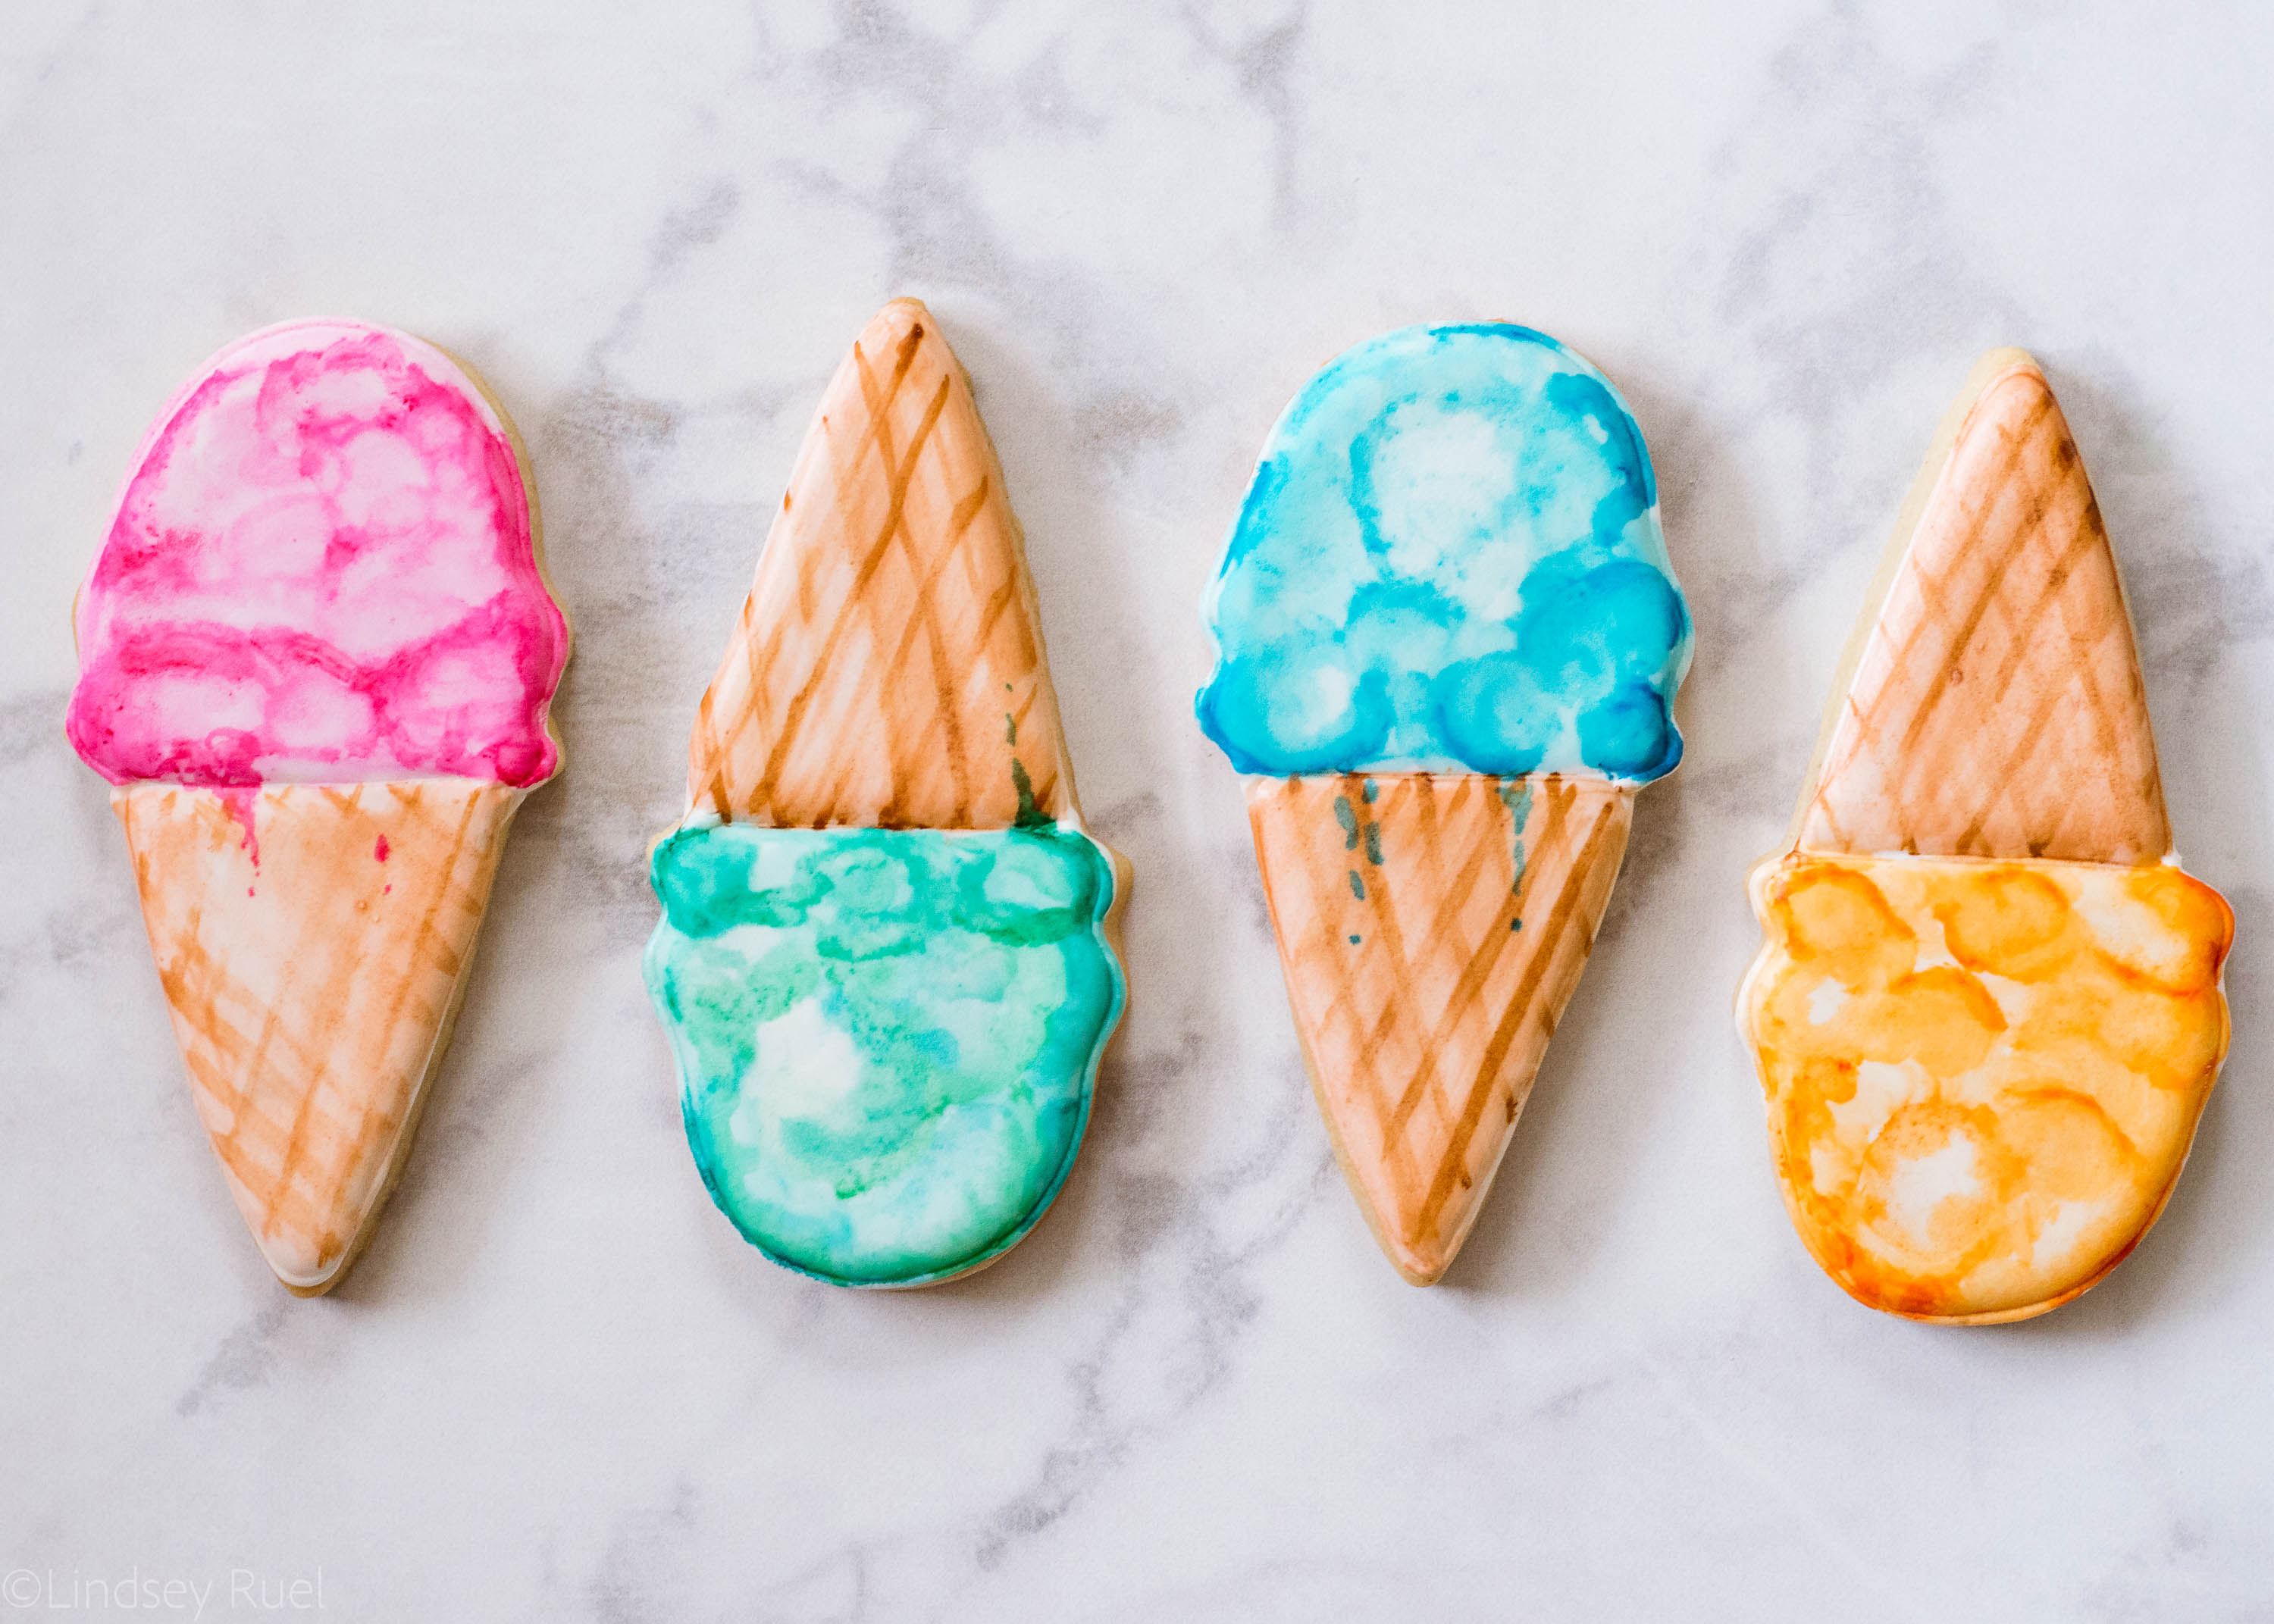
While actual ice cream would be just as good (if not better for these scorching Summer temps), I thought it would be fun to make some ice cream inspired cookies to get us through these dog-days of Summer. 

Recipes and Supplies

Of course, you will need some sugar cookies cut out into your favorite ice cream shapes. You could use my basic sugar cookie recipe, but I think one of my Summer sugar cookie recipes would be even better (shameless plug). 

You will also want to make a batch of royal icing thinned down to flood consistency icing. 

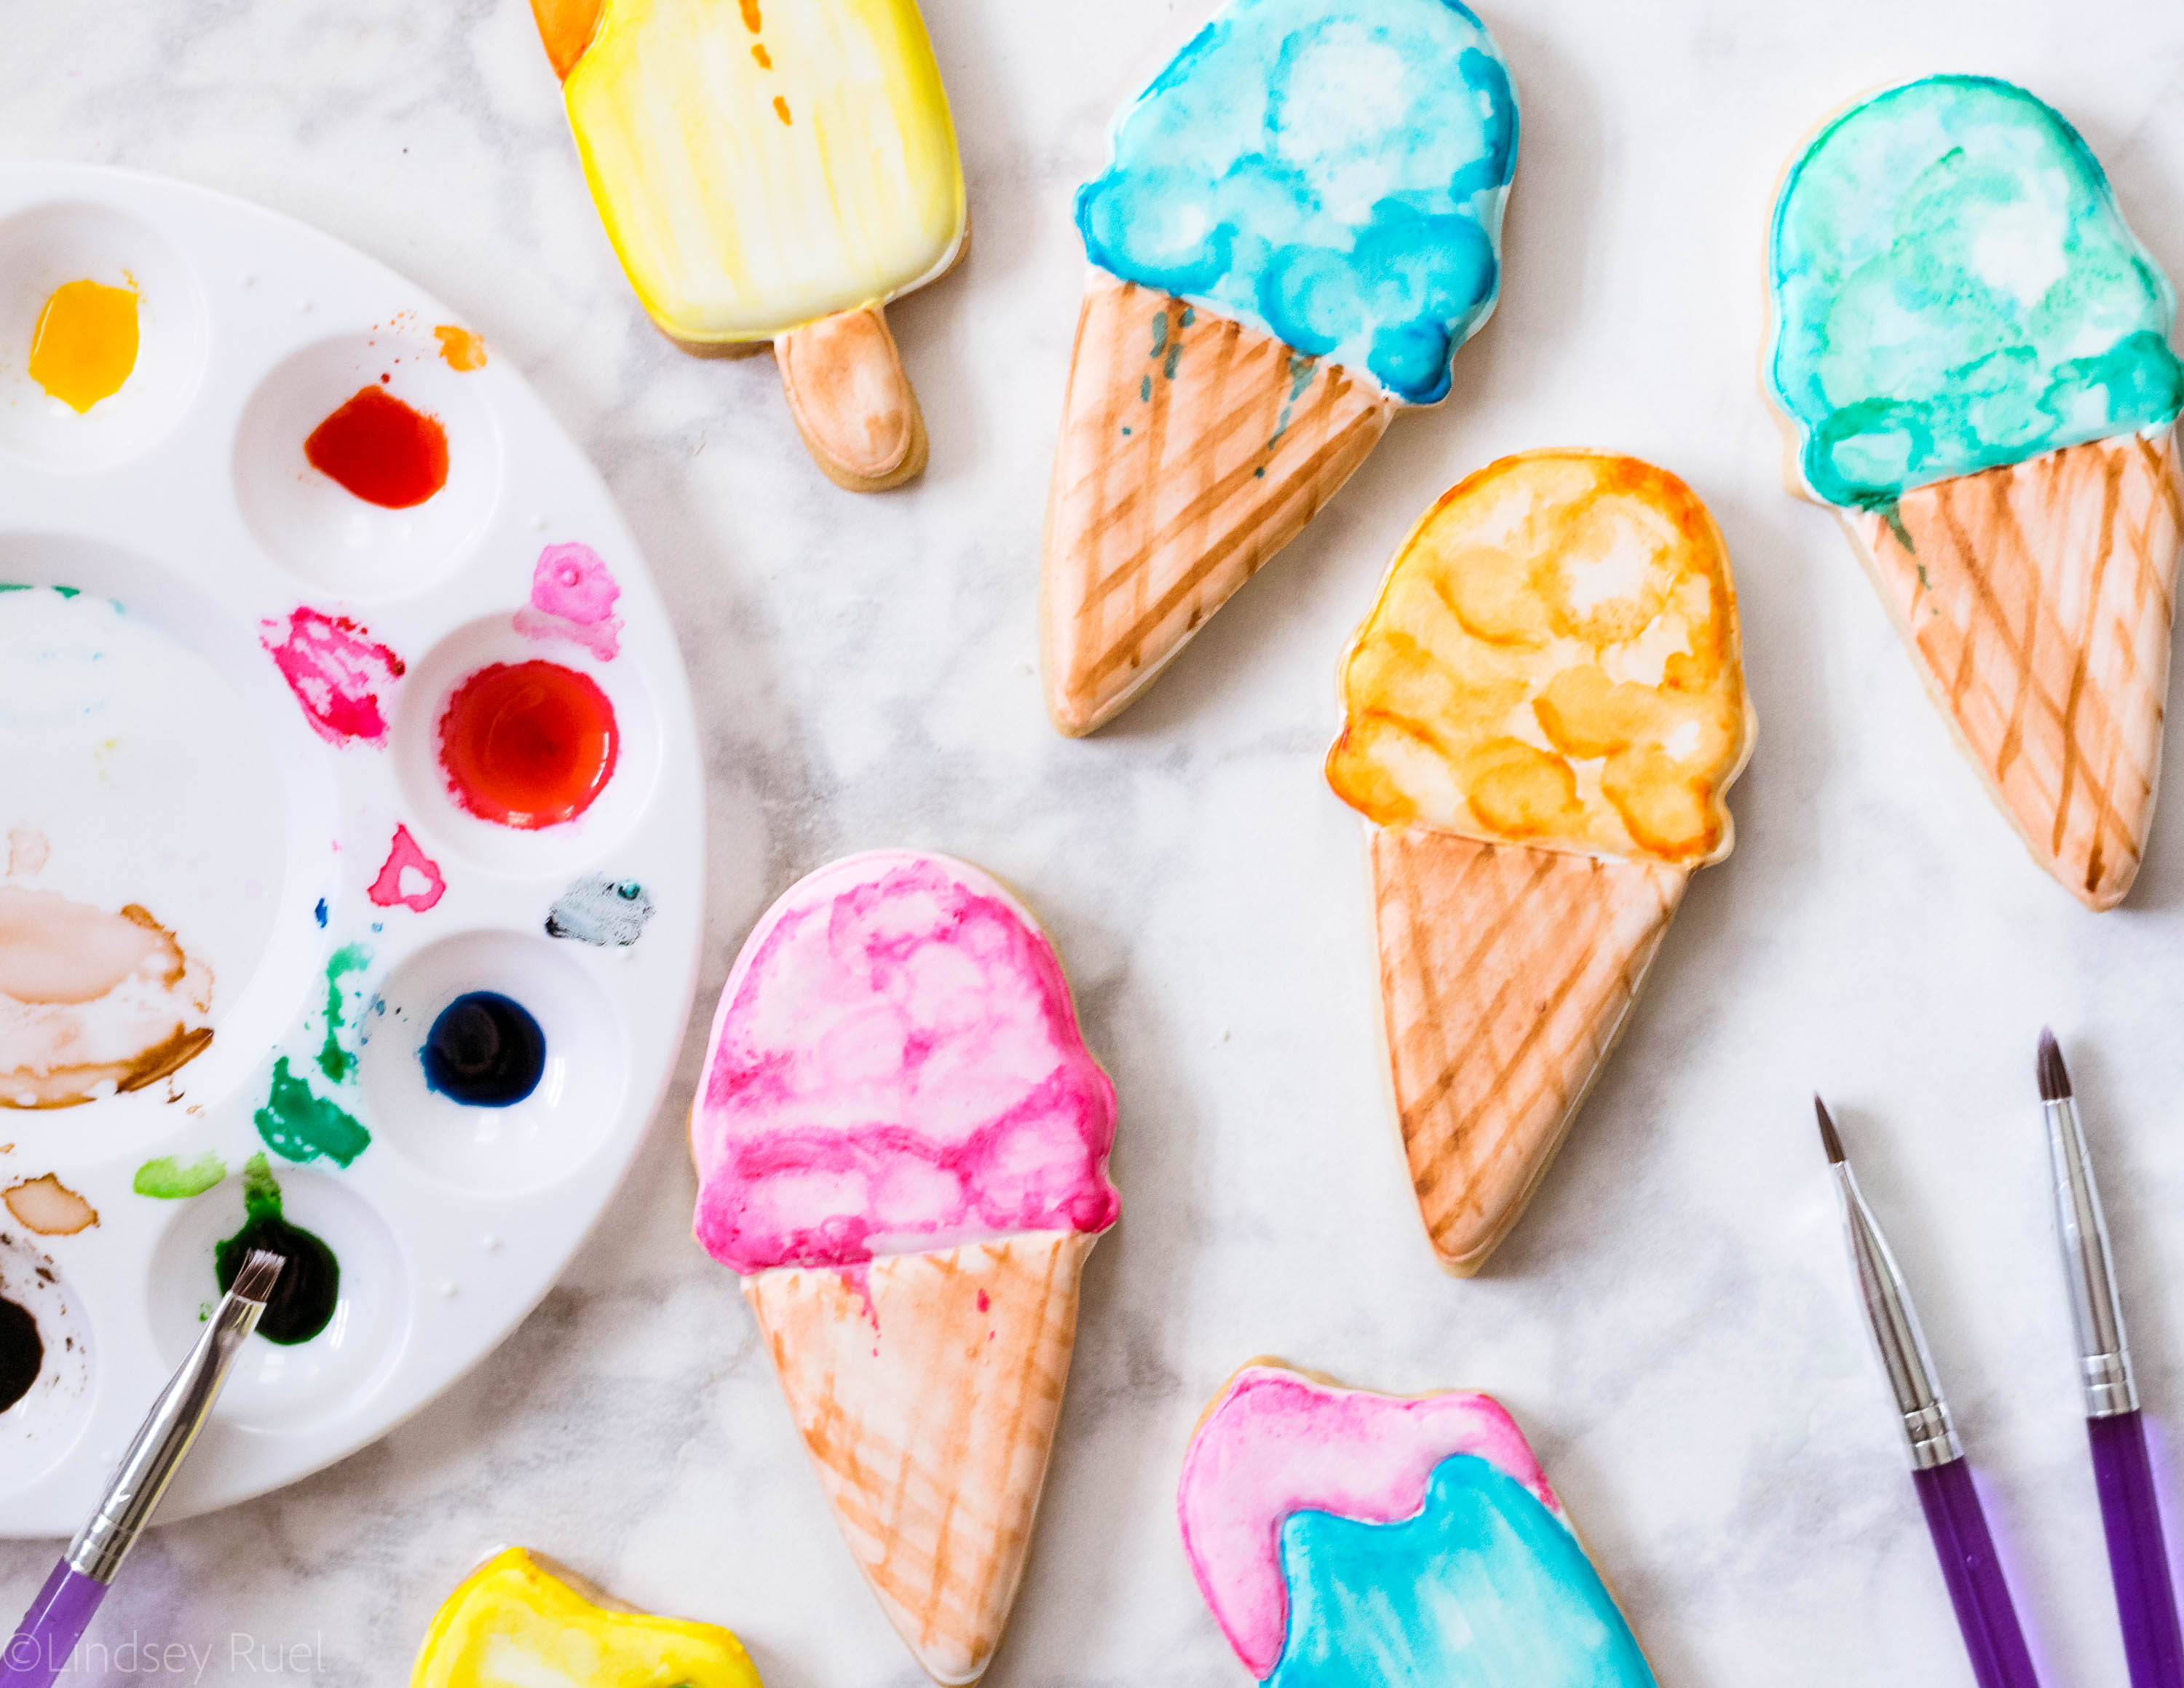
Since these are painted cookies, you will also need some gel food coloring in your favorite ice cream colors, paint brushes, and a little clear alcohol.

To make the edible watercolors, add one or two drops of food coloring to a plate or paint pallet, then add in a couple drops of alcohol. Stir the two together with your paintbrush until you have a nice watercolor paint. 

[show_shopthepost_widget id=”3224606″]

How to Make Them

Start by outlining and filling each cookie with white icing, letting the icing dry completely before painting. 

Then start painting!

These turned out so much cuter than I could have hoped! I think I found a new favorite cookie to paint!

What do you think?

/ Filed In: Cookies New, Decorated Cookies, Desserts, Eat
Tagged: cookies, ice cream, painted cookies, sugar cookies, Summer, watercolor

Watercolor Butterfly Cookies

May 15, 2018

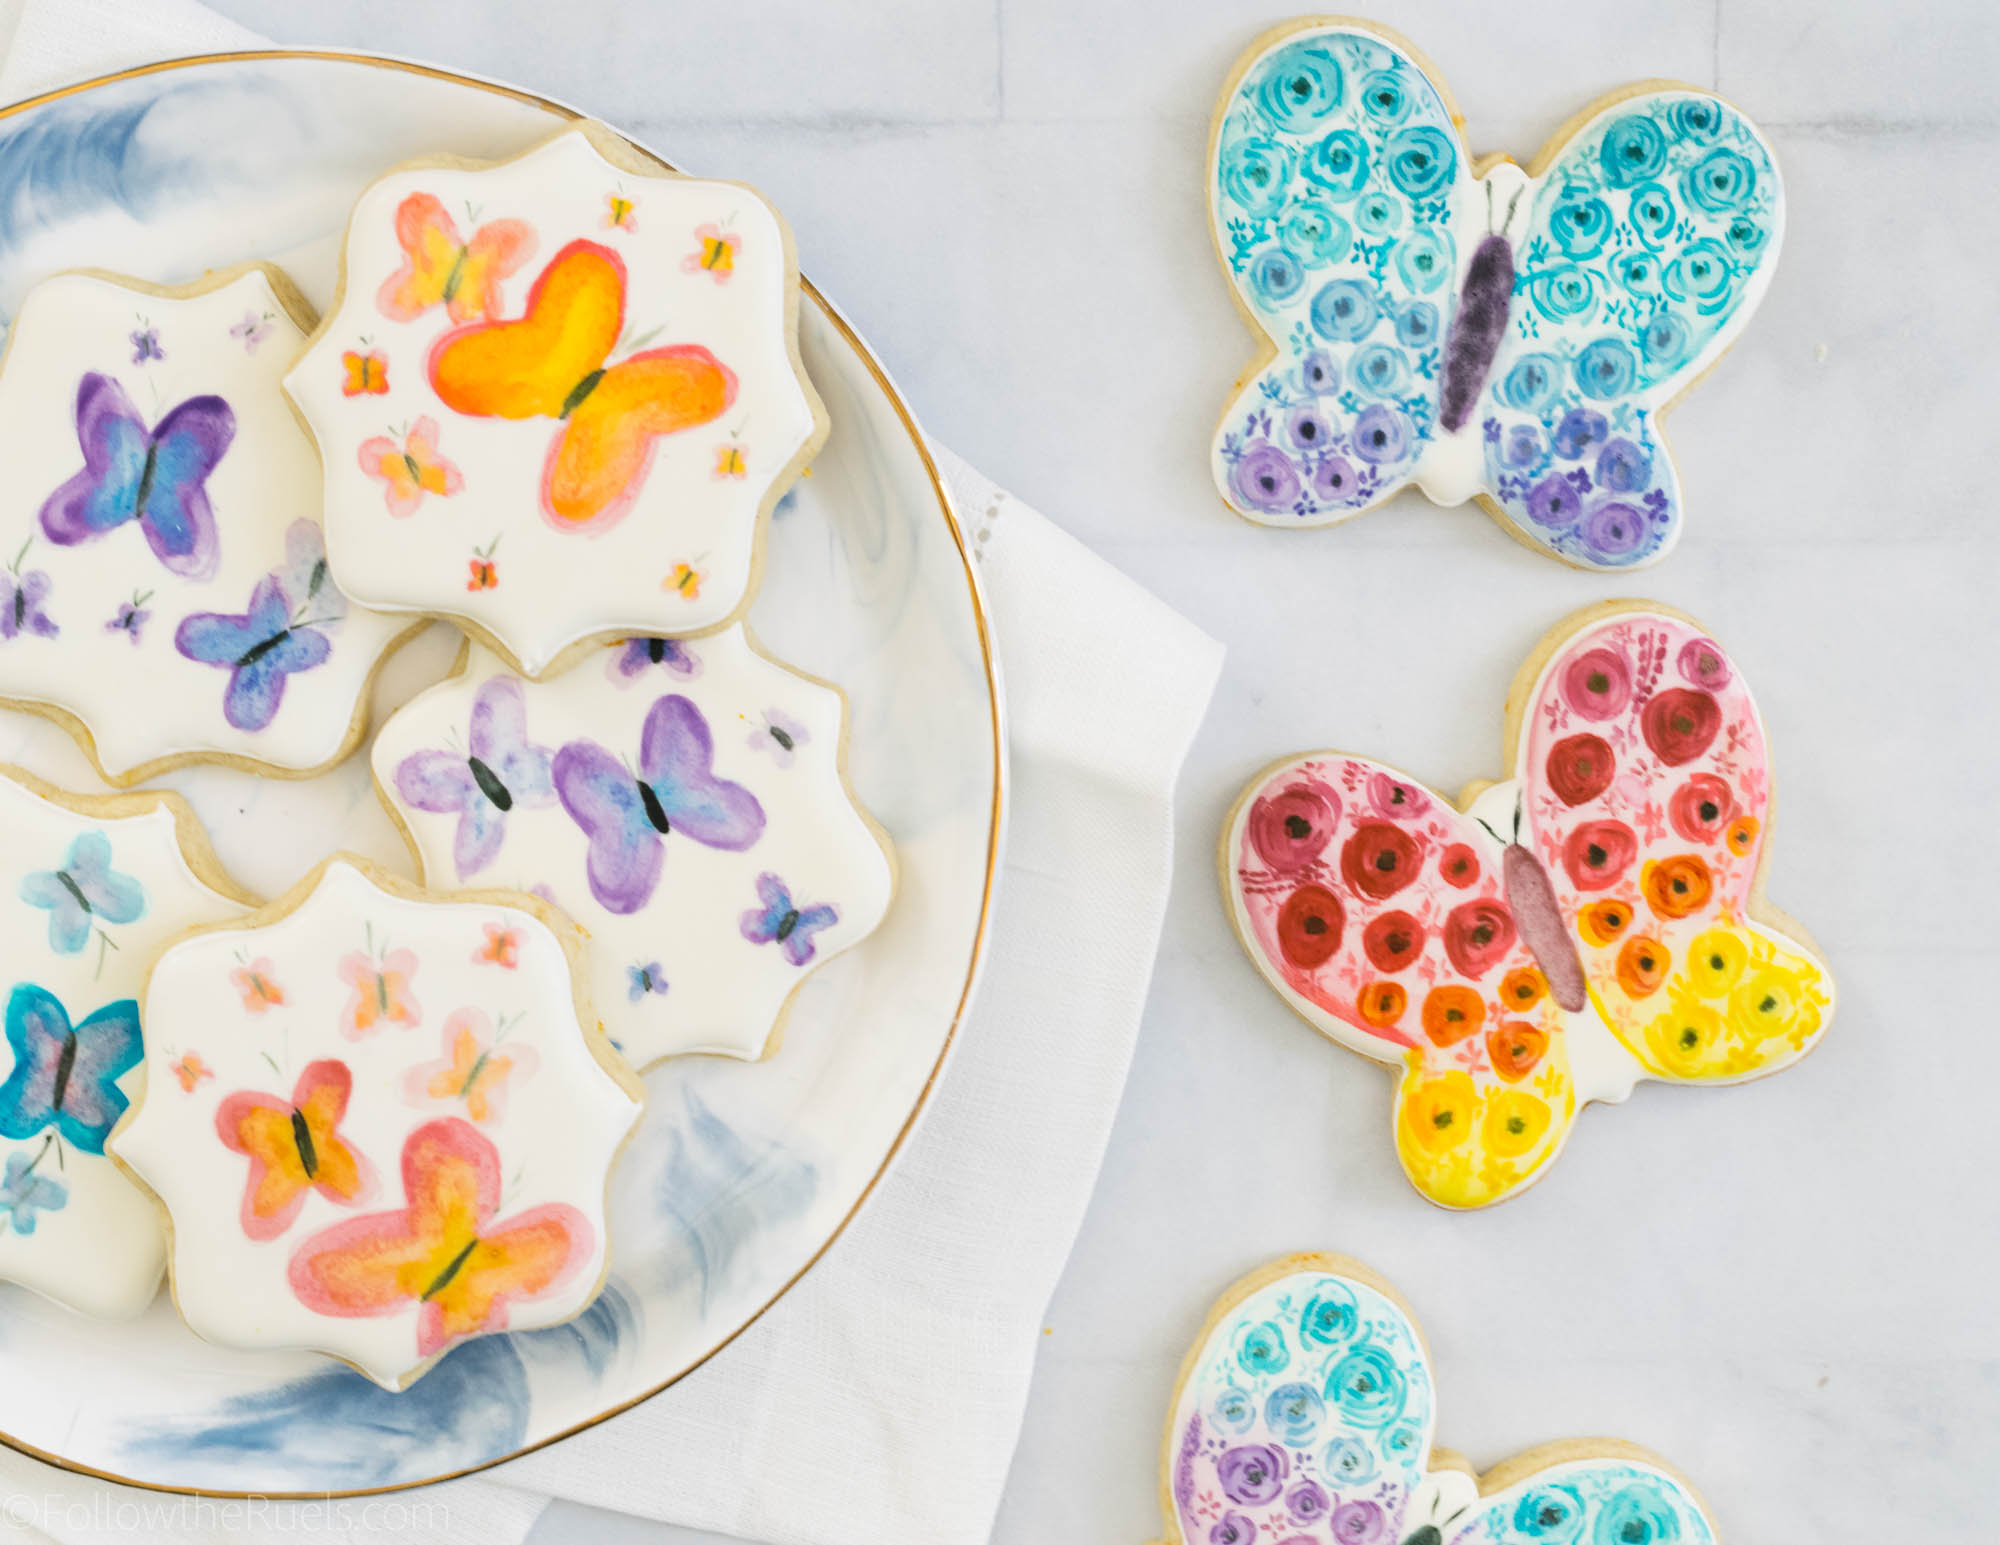
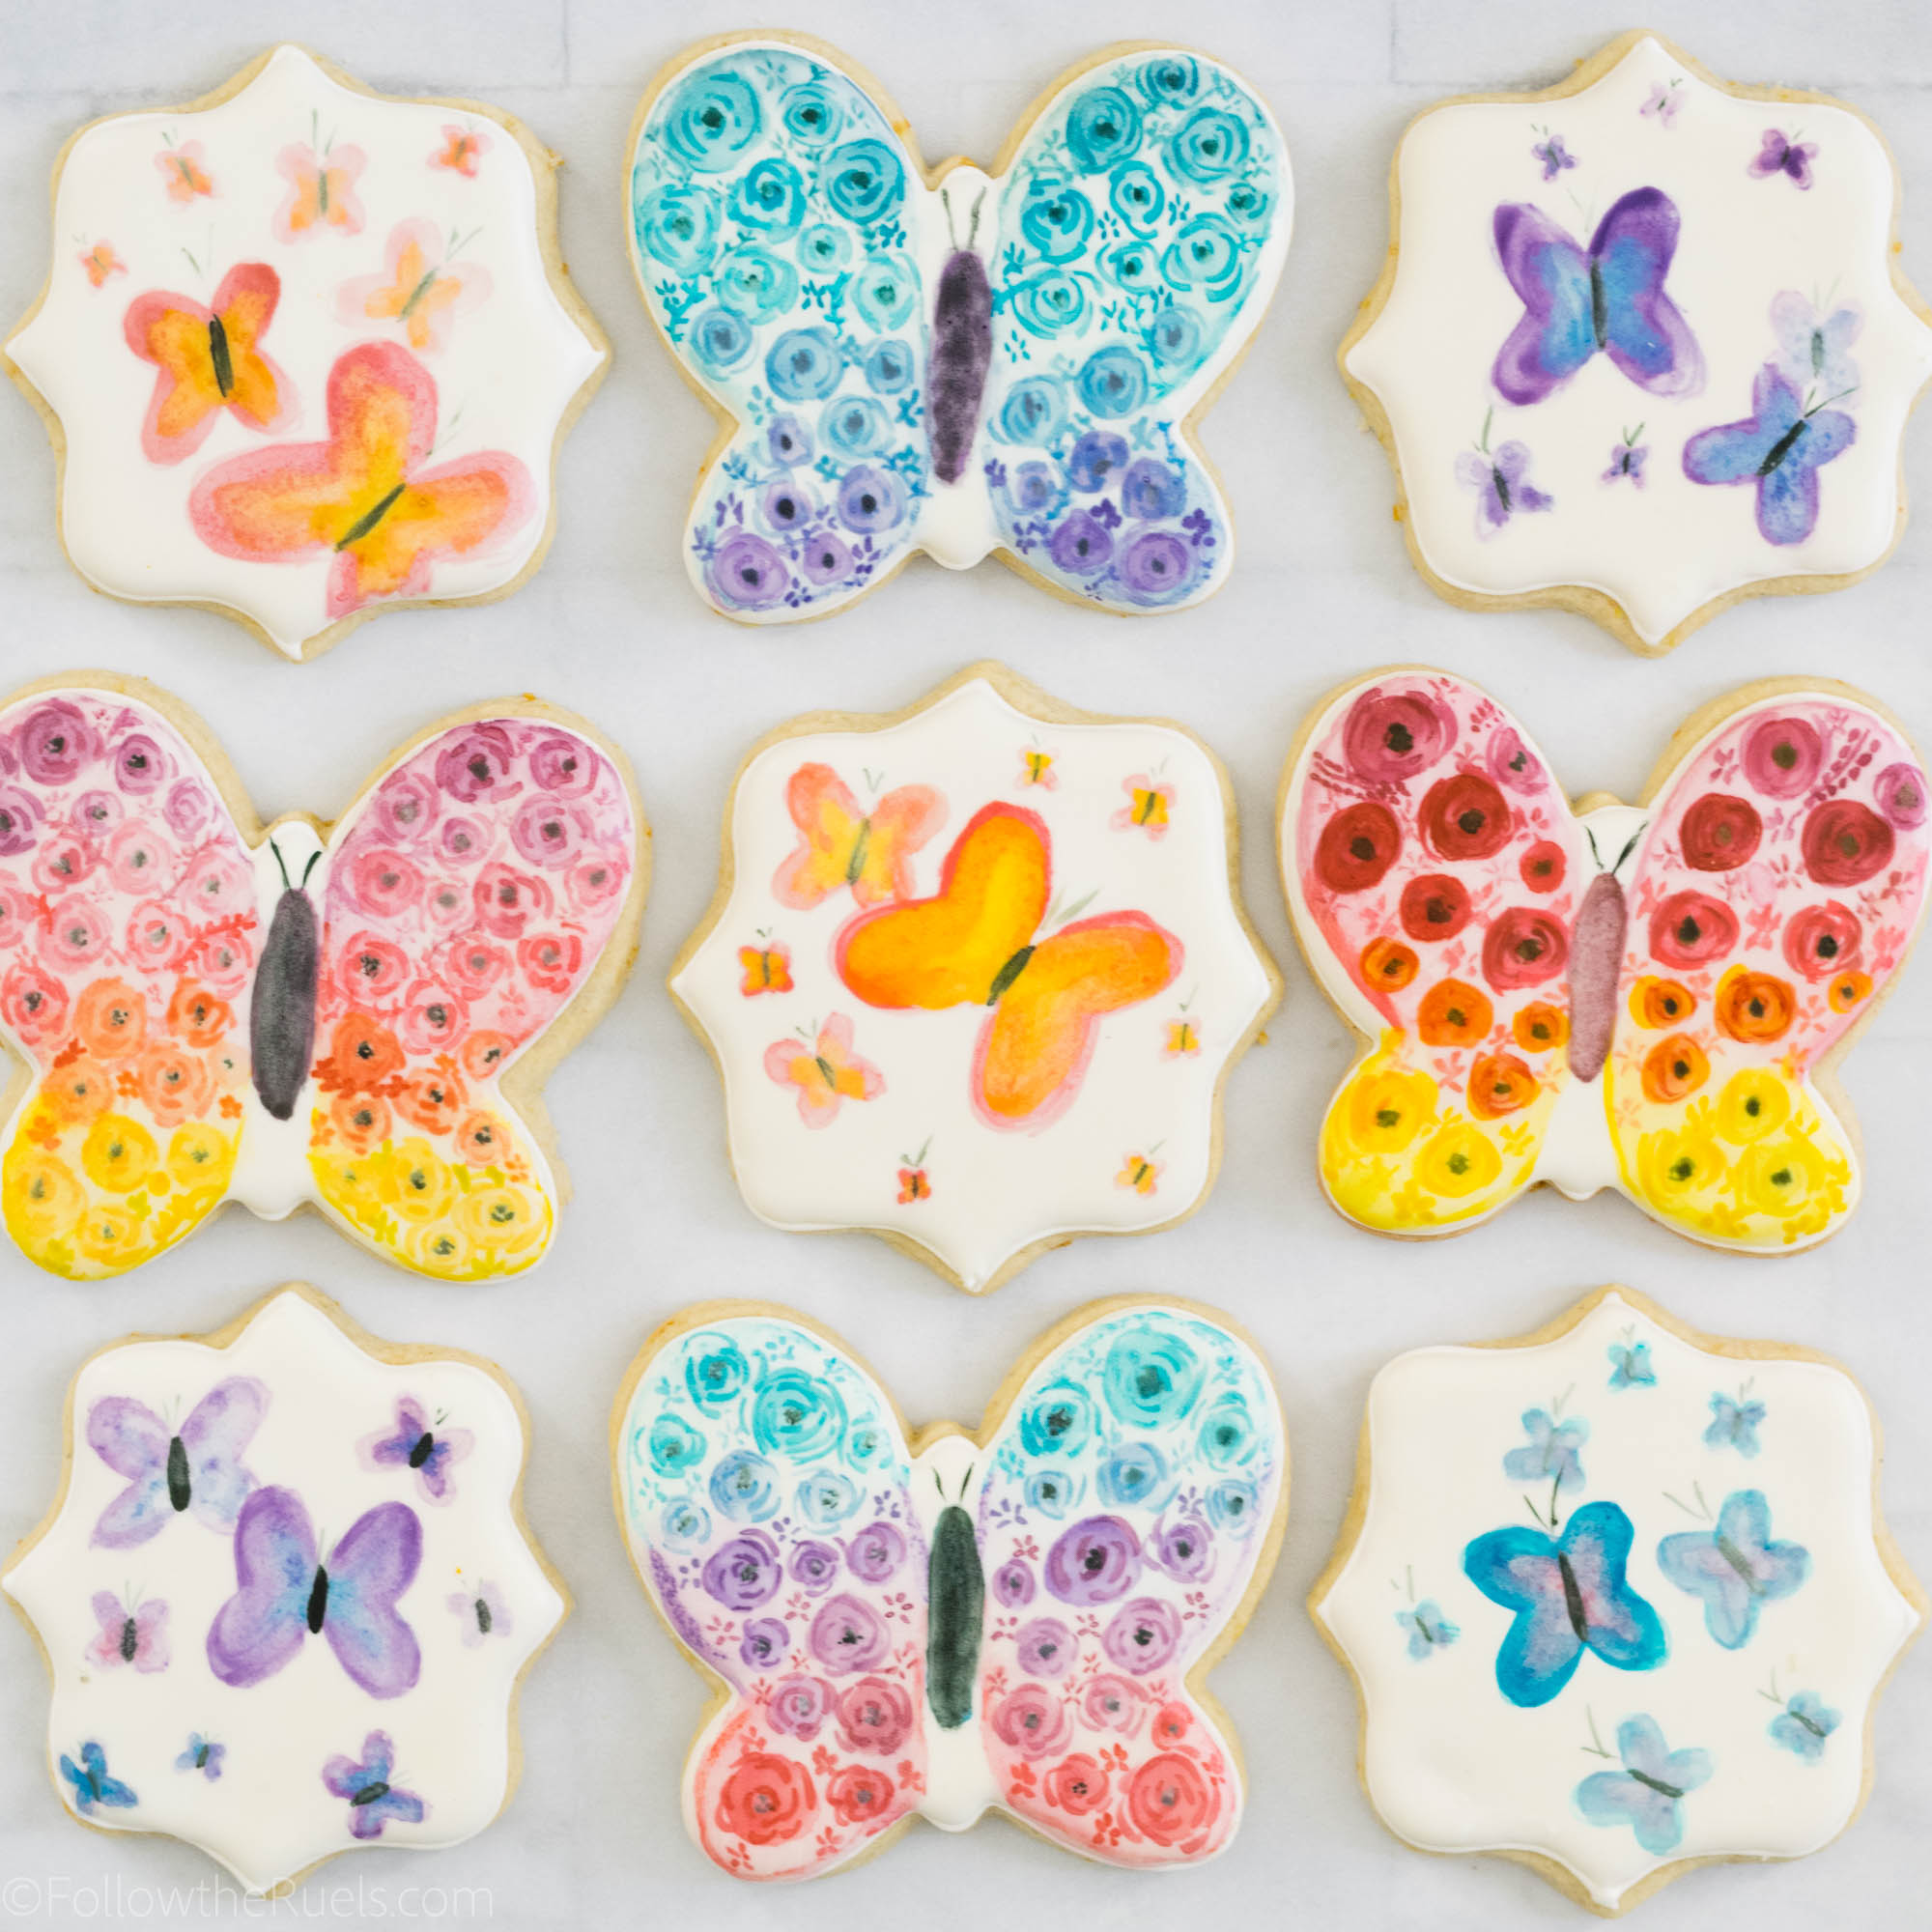
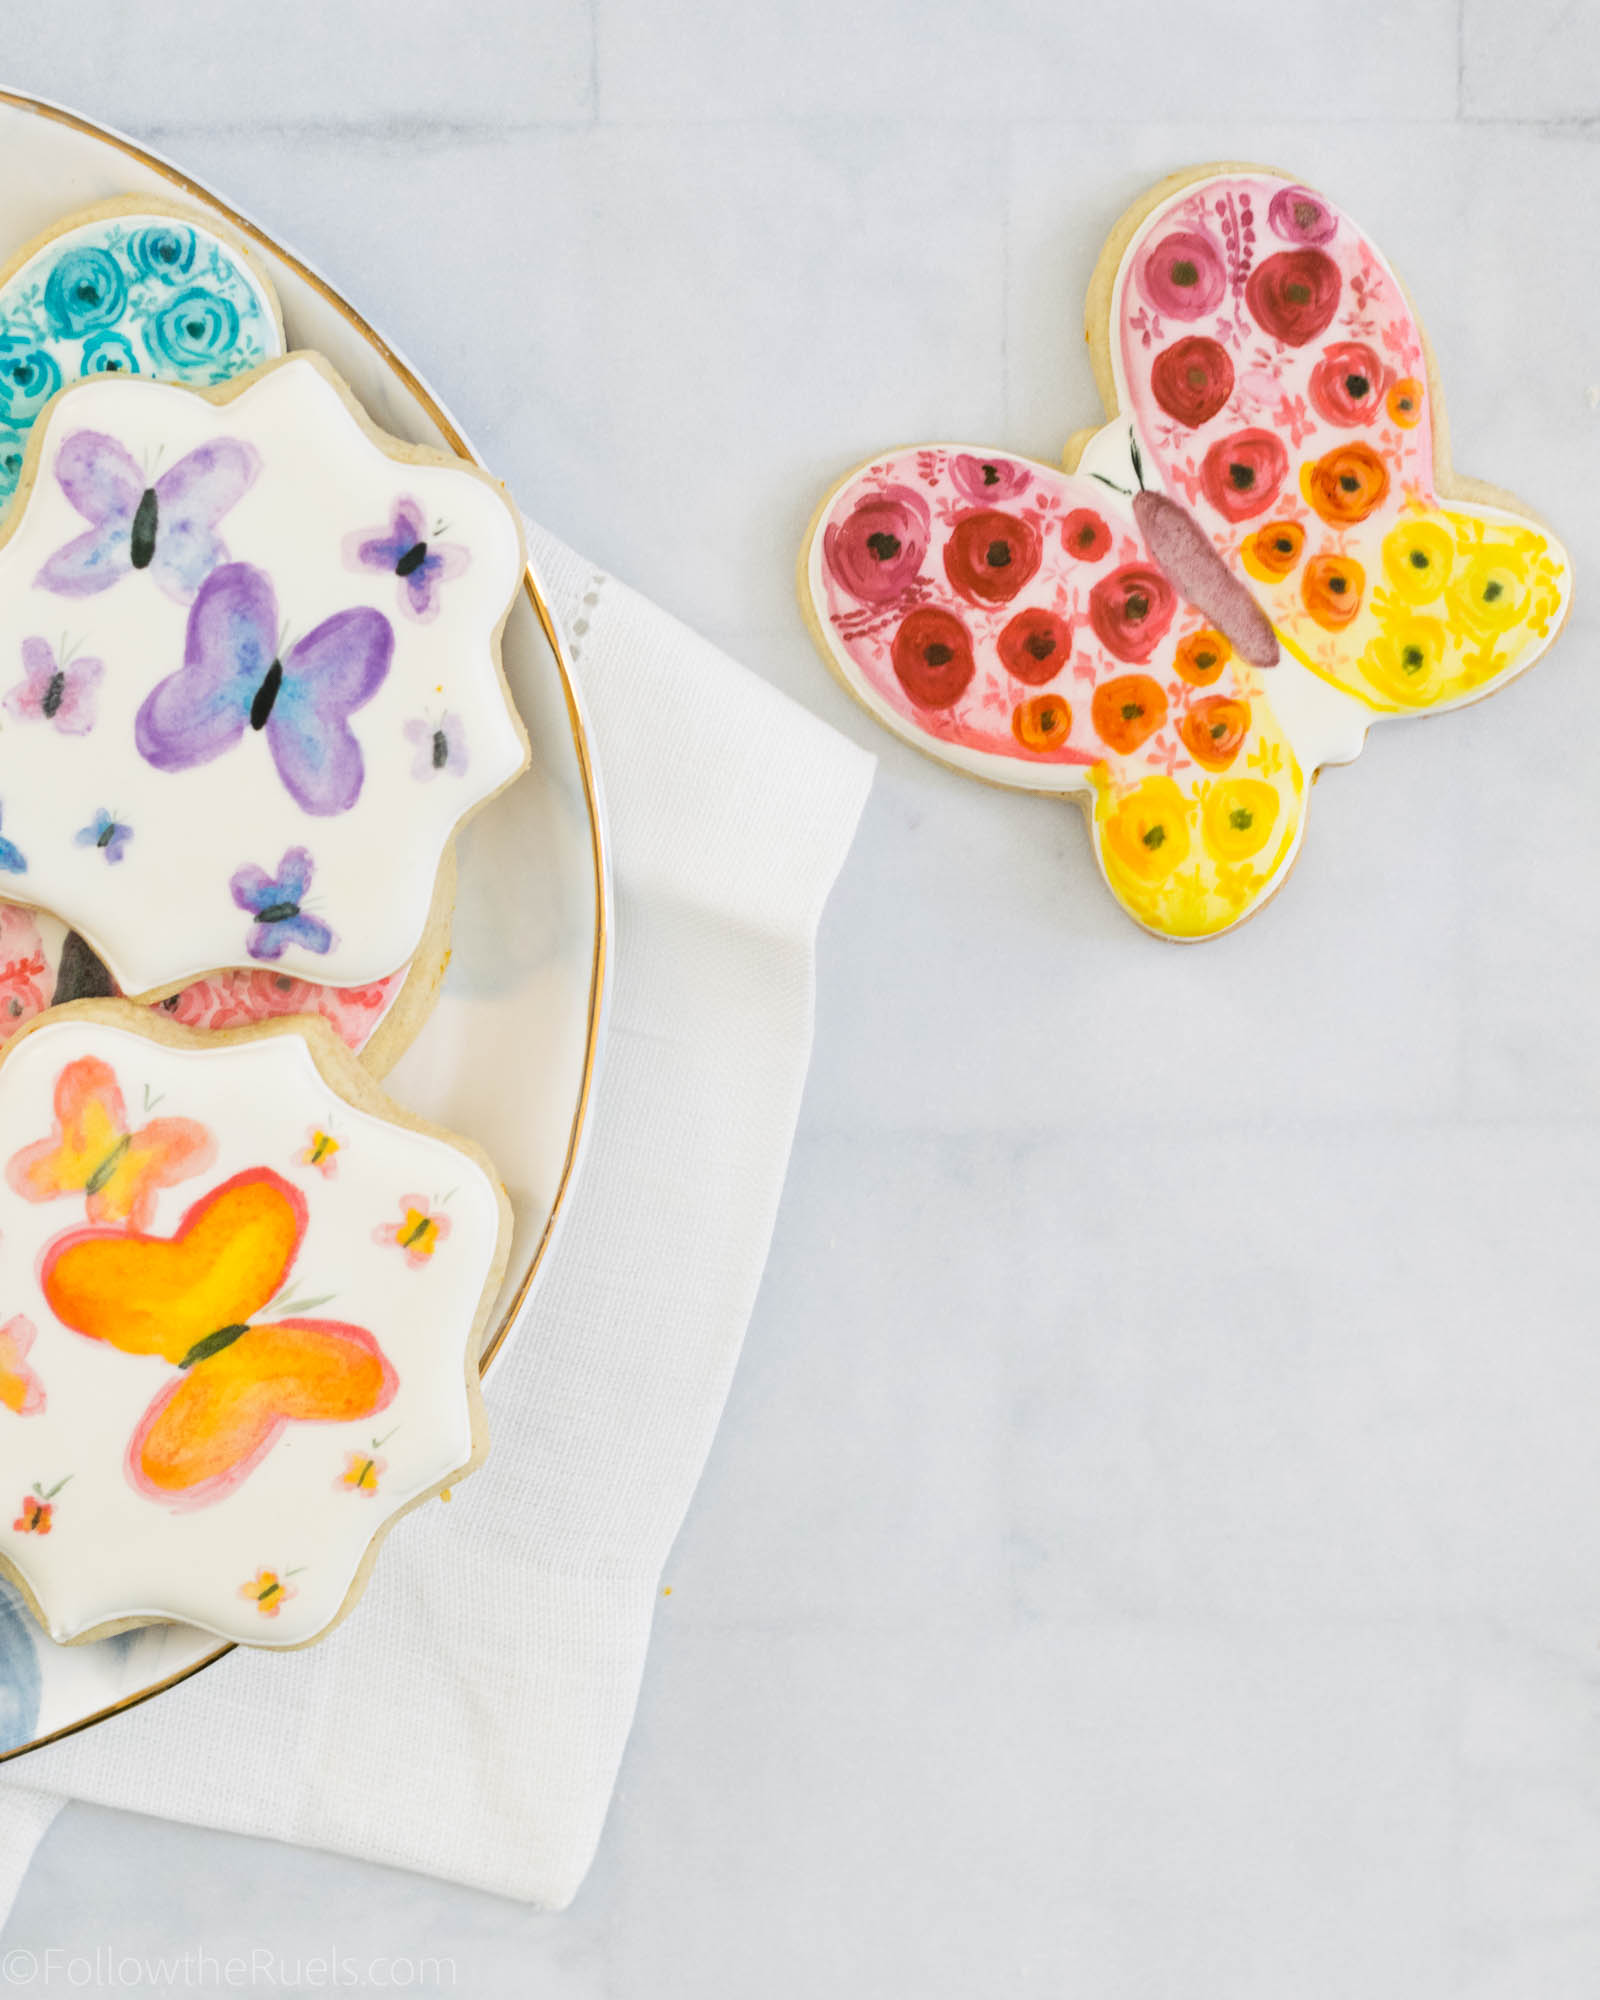
Who doesn’t love a pretty little butterfly? Or better yet, butterfly cookie! 

I made these watercolor butterfly cookies for a couple of my best friends for Mother’s Day. I love any excuse to send them, their husbands, and their kiddos cookies. And what better way to say “you’re a totally awesome mom!” than with cookies!

Of course, I didn’t share these before Mother’s Day because I wanted my friends to see them first. But since there isn’t an overly “Mother’s Day” theme to these cookies, they would be perfect almost any time of year! Like a baby shower, bridal shower, birthday, graduation, or just to celebrate Spring!

How to Make Them

Of course, start by making your cookie dough. For these cookies, I actually flavored the dough with some orange zest and cardamom. Oh my were they heavenly. I actually share the exact recipe in my Christmas Cookie guide, even though this flavor is good year-round. 

Cut out the cookies into your desired shape, in this case a butterfly, plaque, or any other standard shape (circles always work!), then bake them until they are barely golden brown around the edges. 

Once the cookies have cooled, you can start to decorate!

First, outline and fill the entire cookie with flood consistency icing and leave it uncolored. Let the icing dry completely (overnight is preferred) so that they will be at their best for painting. 

To prepare for the painting, dilute 1-2 drops of gel food coloring with a clear alcohol, like vodka, then paint on top of the cookie. The more vodka added the more diluted the color will be. I like to leave one well very pigmented, then add another little well of plain alcohol which I can use to create a more diluted shade of the color. 

Finally, you are ready to paint away! There isn’t a lot of rhyme or reason for painting, other than make sure you aren’t painting with a water-soaked brush. Between colors, clean your brush off in a glass of water, but then brush off all excess water before dipping back into the paint. The water will degrade the icing leaving little craters all across your cookie. Not cute!

The paint only takes a few minutes to dry, so once you are done you can pack the cookies into bags or set out to eat! 

Supplies

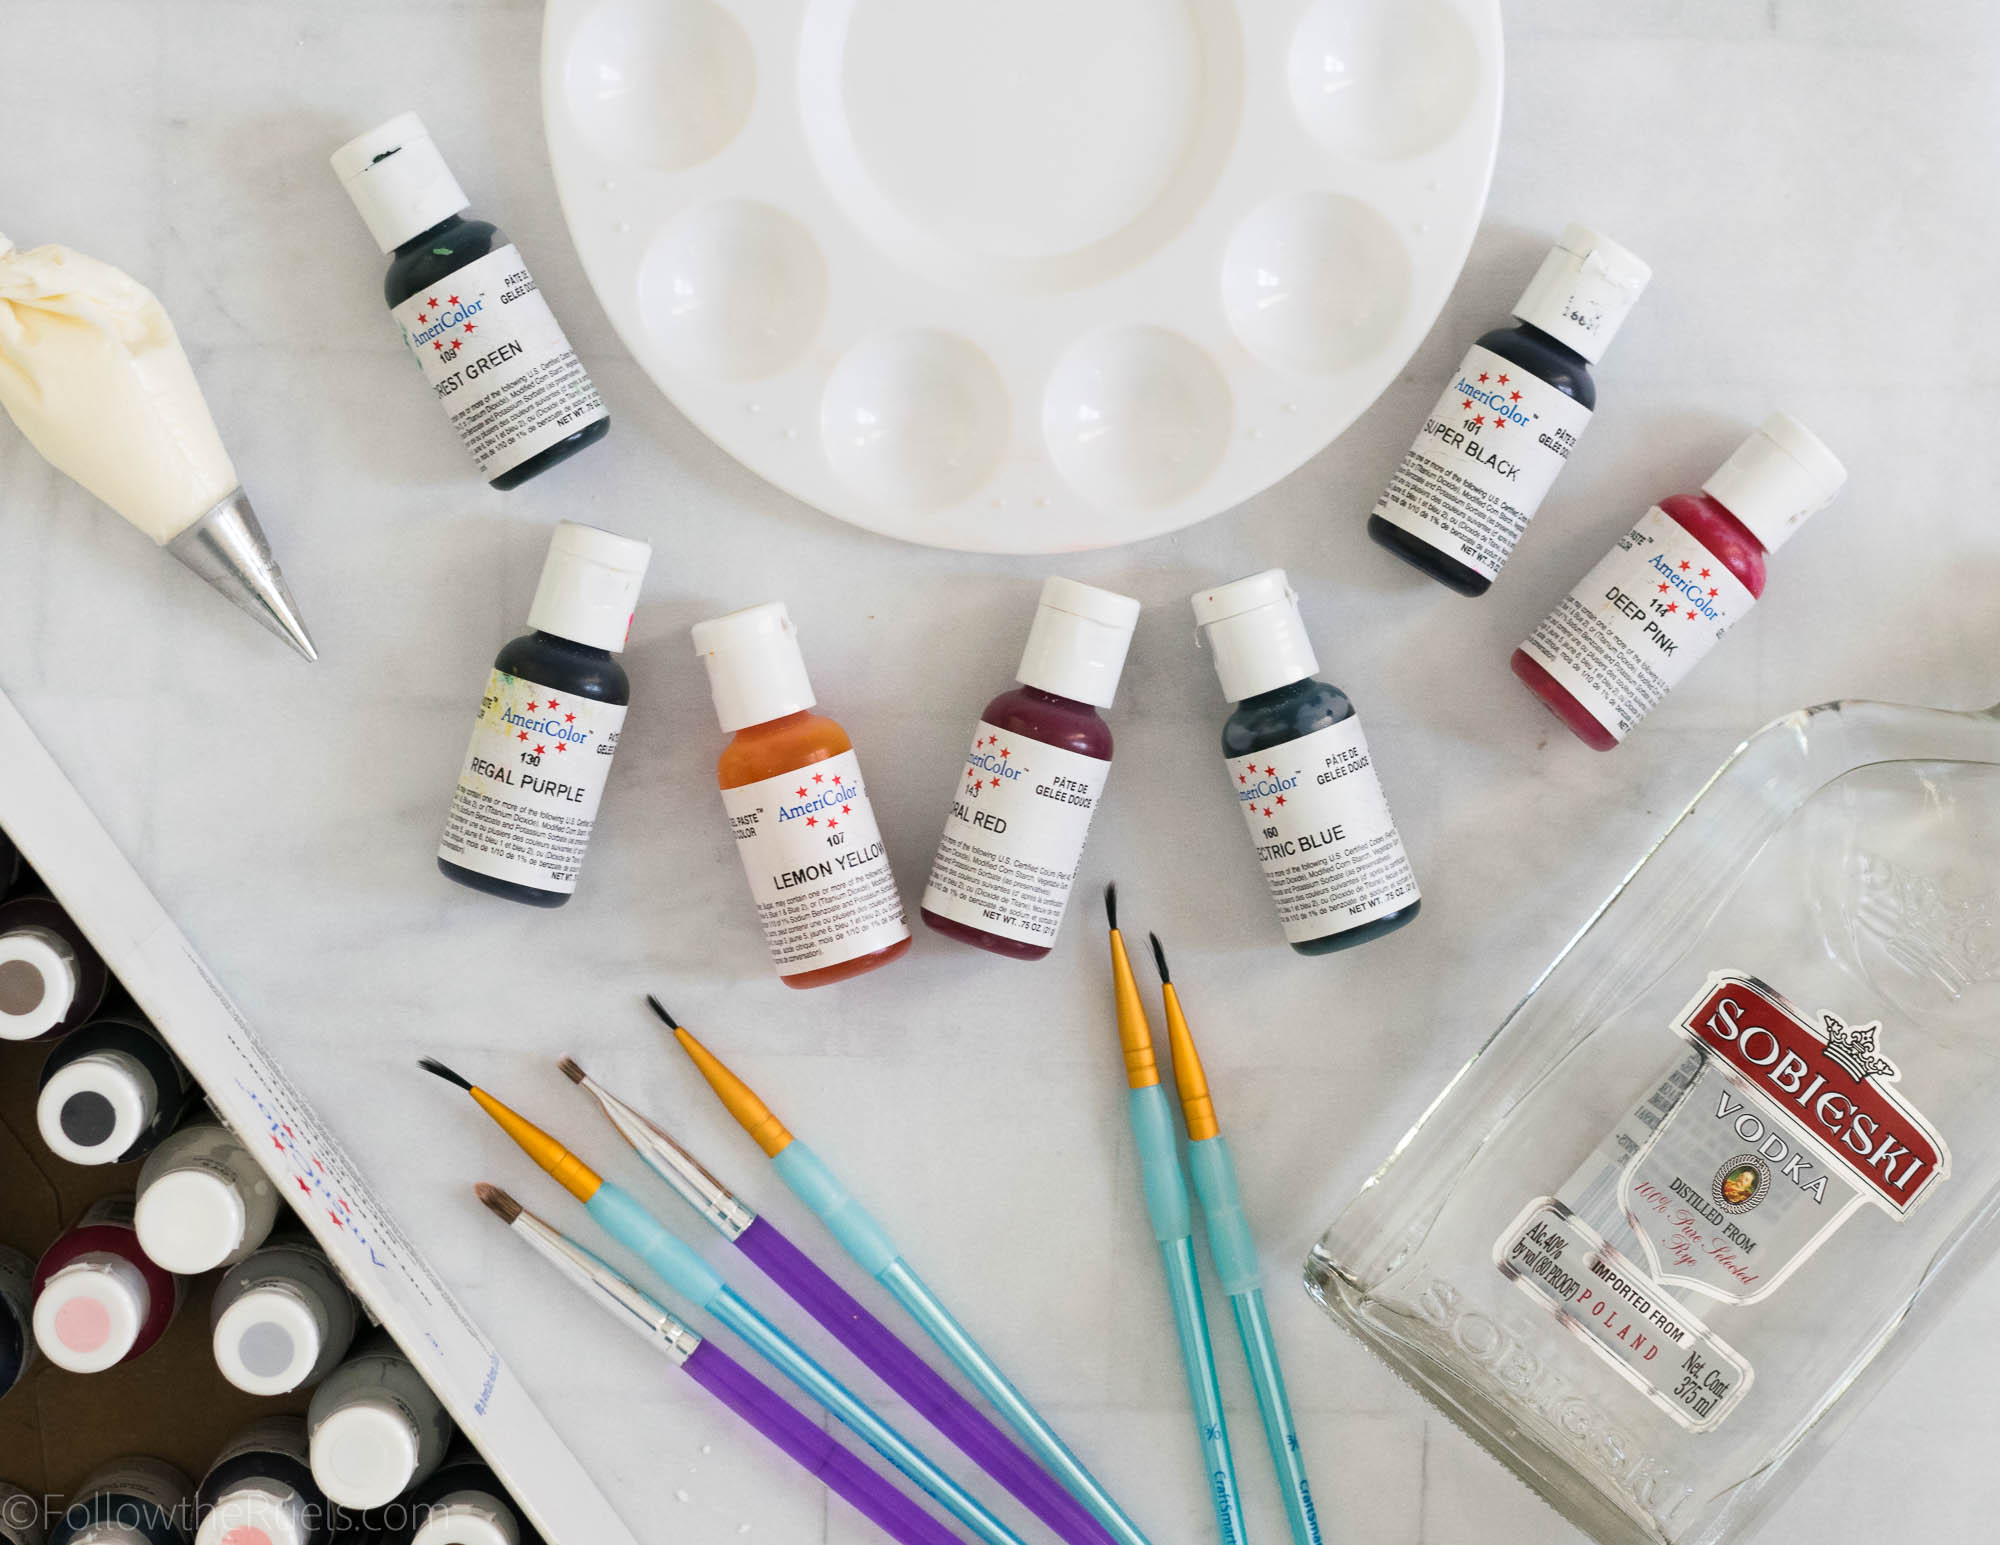
Like all my watercolor and painted cookies, the supplies for these cookies are pretty standard: food coloring, alcohol, and paint brushes. 

For the gel food coloring, I used all the bright colors in my collection: purple, pink, orange, yellow, and blue. I diluted the food coloring with some cheap vodka that I picked up at the liquor store. If you don’t keep vodka in your house or don’t have access to it, you can also use a clear extract, like almond extract.

Now for the paint brushes. I stress this in every post, but it is important to use clean (i.e. never used with paint) brushes. Wilton makes paint brushes specifically for baking, but I use normal craft brushes that I clean with dish soap before using. 

[show_shopthepost_widget id=”3136059″]

/ Filed In: Cookies New, Decorated Cookies, Desserts, Eat
Tagged: butterfly, cookie decorating, cookies, Mother's Day, painted cookies, Spring, watercolor

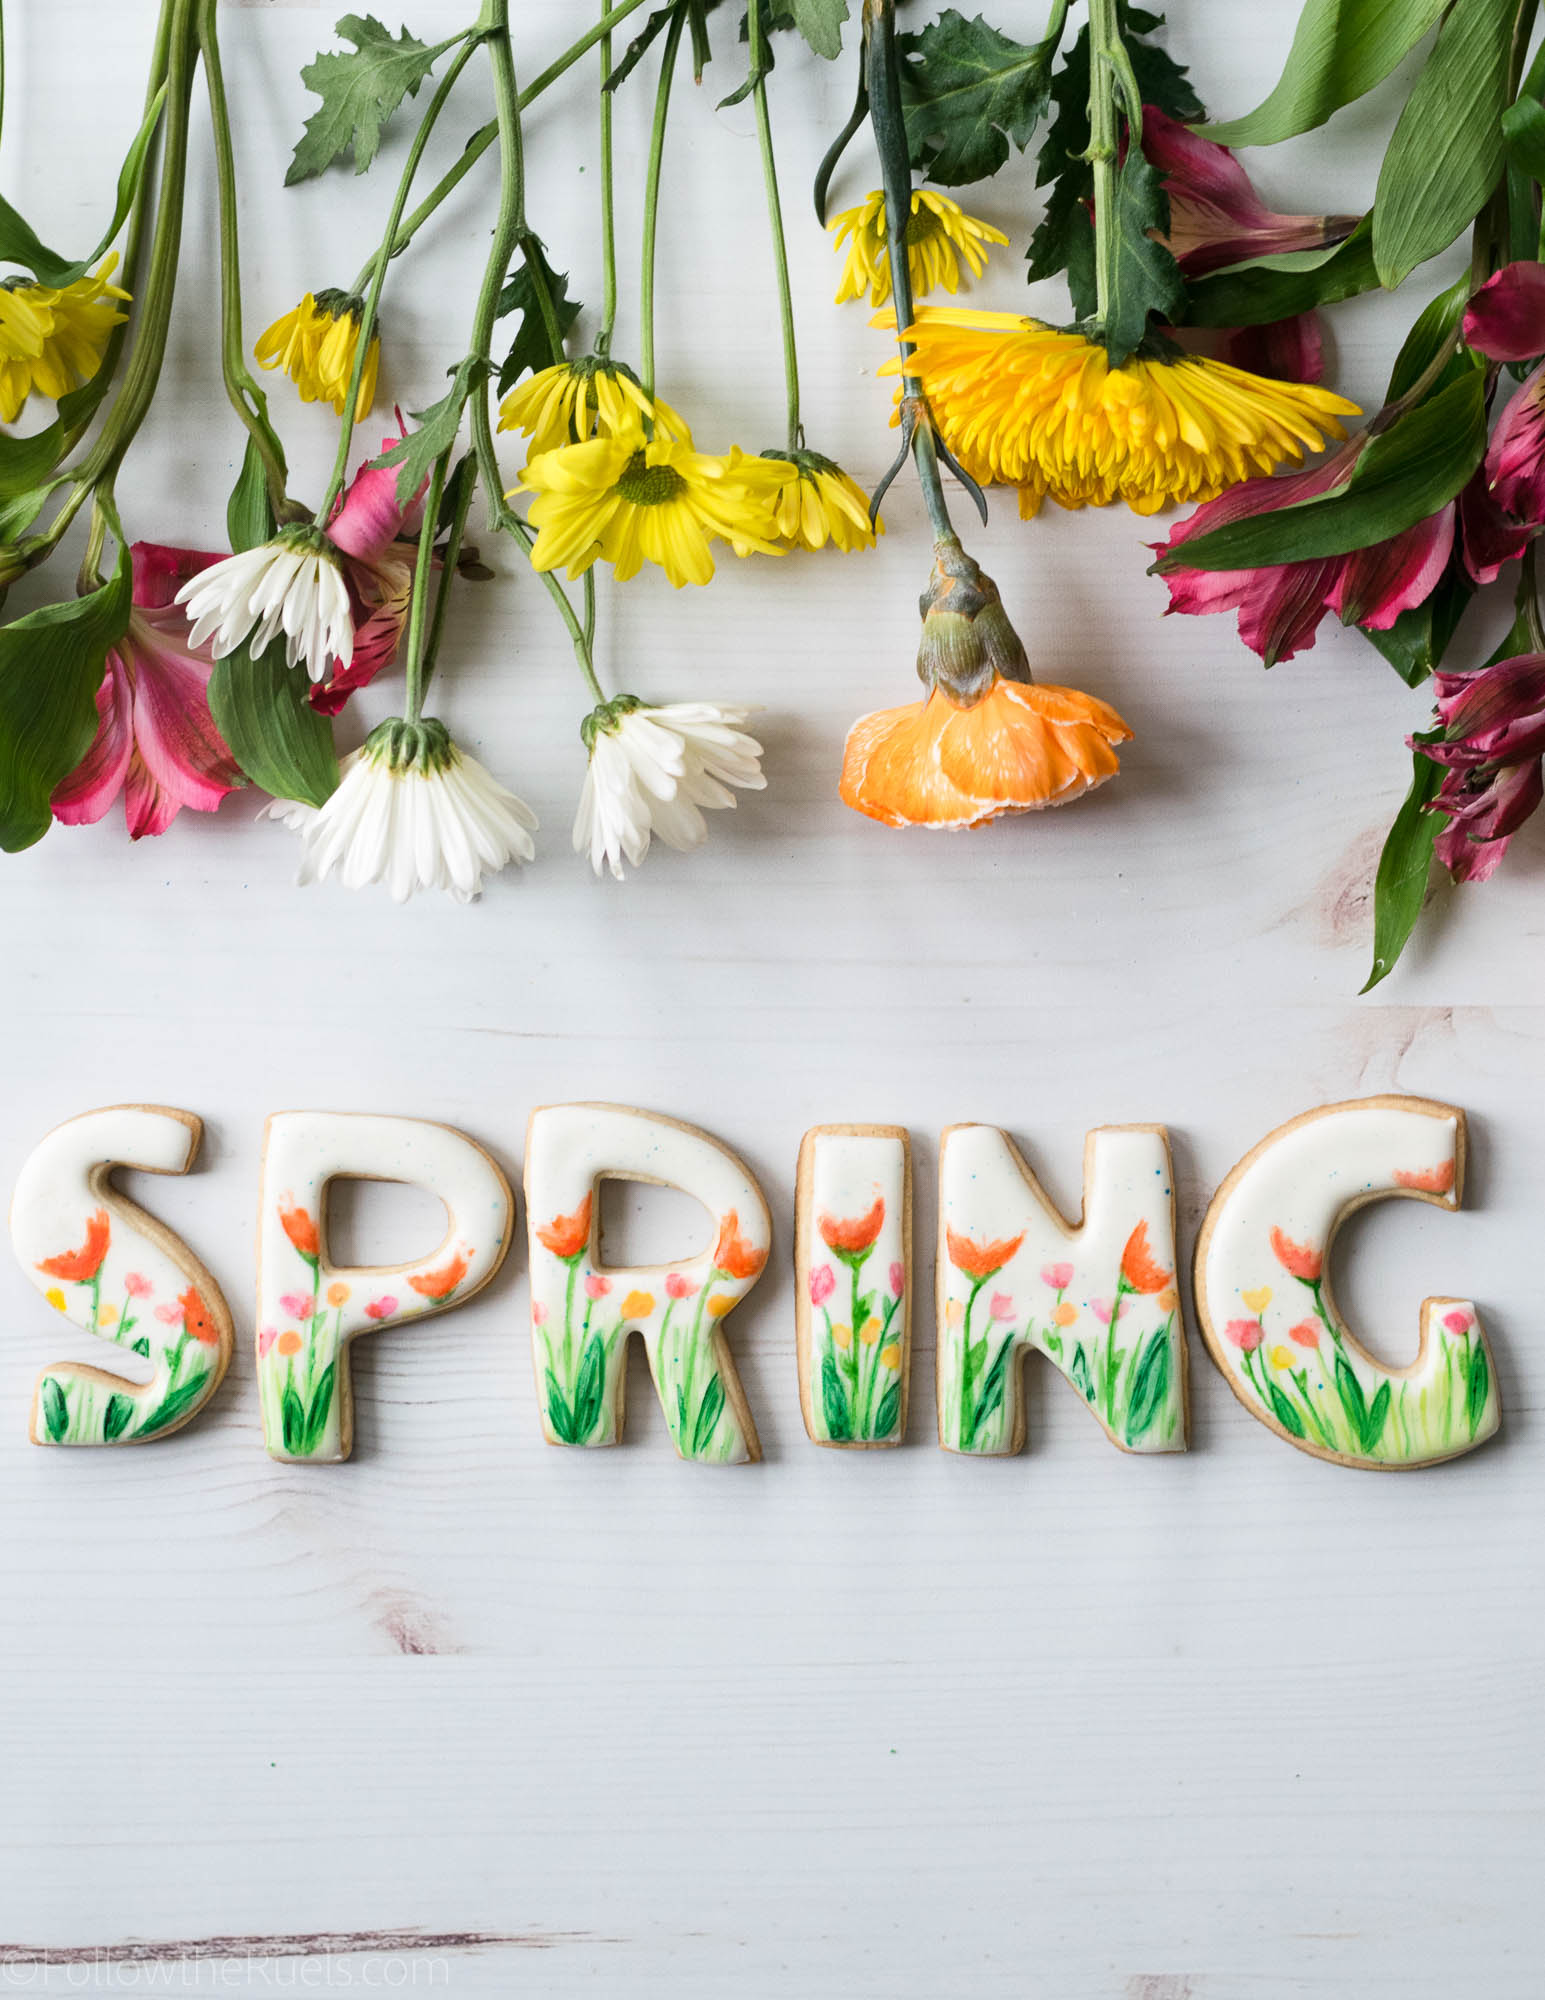
Watercolor Spring Garden Cookies

March 20, 2018

Spring is in the air! Do you feel it?!

Today it is officially Spring.

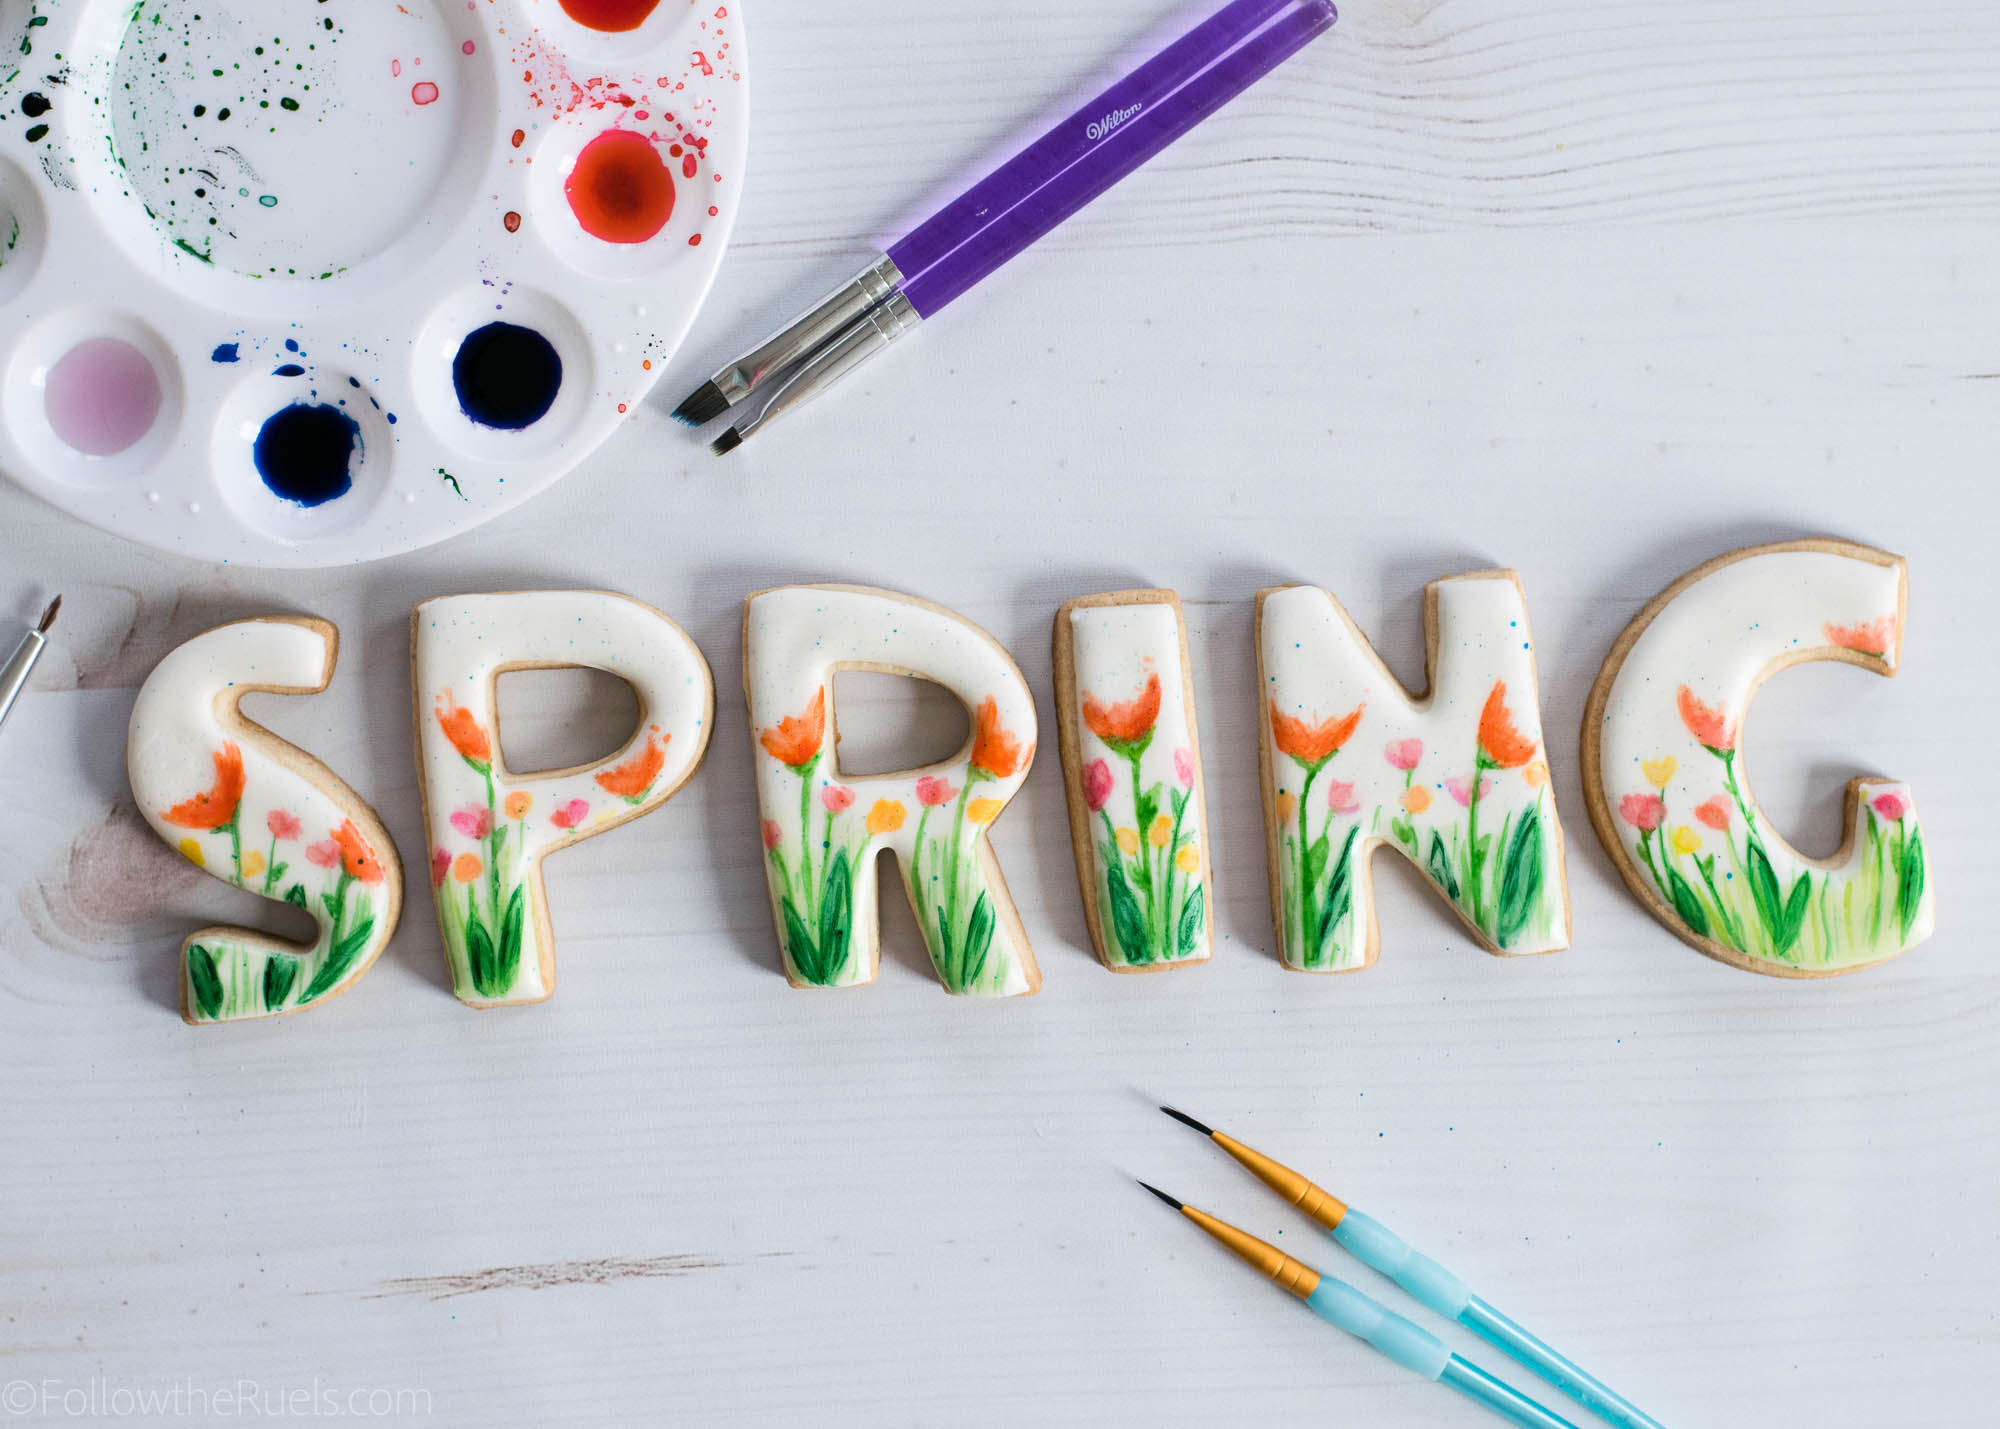
Since it’s my favorite of all the seasons (I mean the flowers, the sunshine, the trees, the baby animals, what’s not to love?) I wanted the beginning of Spring with some of my favorite cookies to make – floral letters! 

These are inspired by a Spring garden and I absolutely love them! Painting on cookies is one of my favorite techniques and it’s actually really therapeutic to just sit and paint. It’s also therapeutic to eat them when they are done.  

How to Make Them

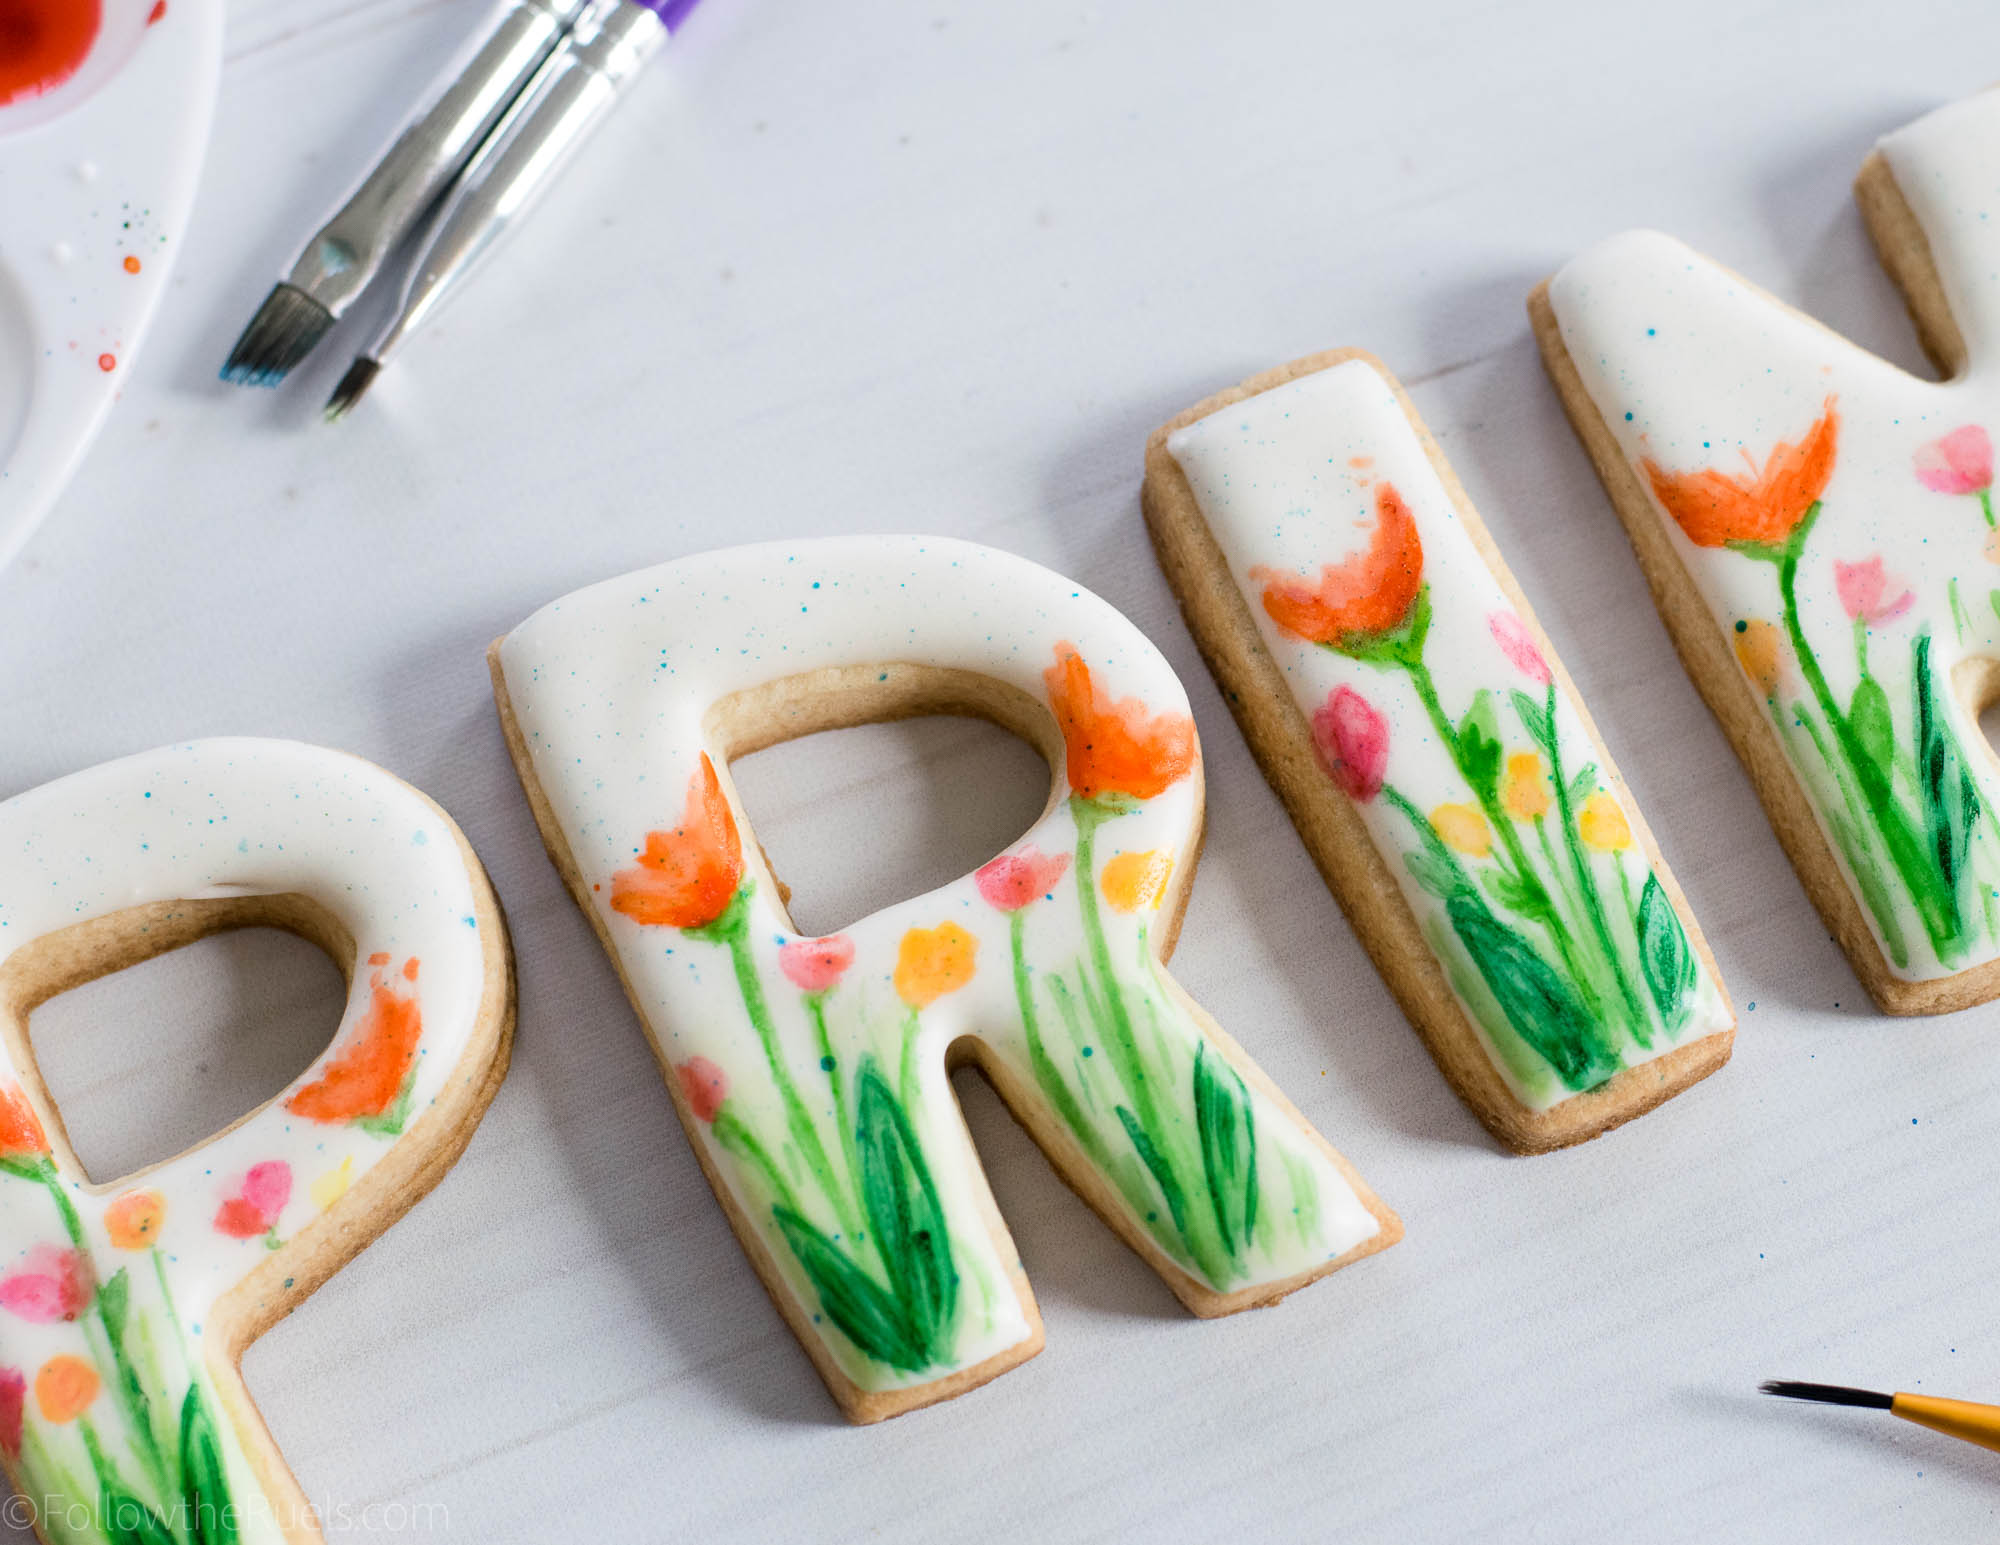
Painting on top of royal icing is not too dissimilar from painting on paper. The main difference is that the icing doesn’t absorb the watercolor. So to layer the colors, you have to let one layer dry before adding the other.

I start by painting very light shades of color where I want flowers, grass, stems, etc. Then I add a darker shade of paint on top, layering different colors and shades until I am happy with the finished product.

One thing I didn’t show in the video is the blue splatter I added at the end. I just wanted to work in some blue without painting sky, so I just sprayed some blue paint over top. 

The perfect Spring cookies!

Products and Recipes Used

[show_shopthepost_widget id=”3068523″] 

Sugar Cookie Recipe

Royal Icing Recipe

/ Filed In: Cookies New, Decorated Cookies, Desserts, Eat
Tagged: cookies, flower, garden, painted, Spring, watercolor

Baylor Homecoming Cookies

October 19, 2017

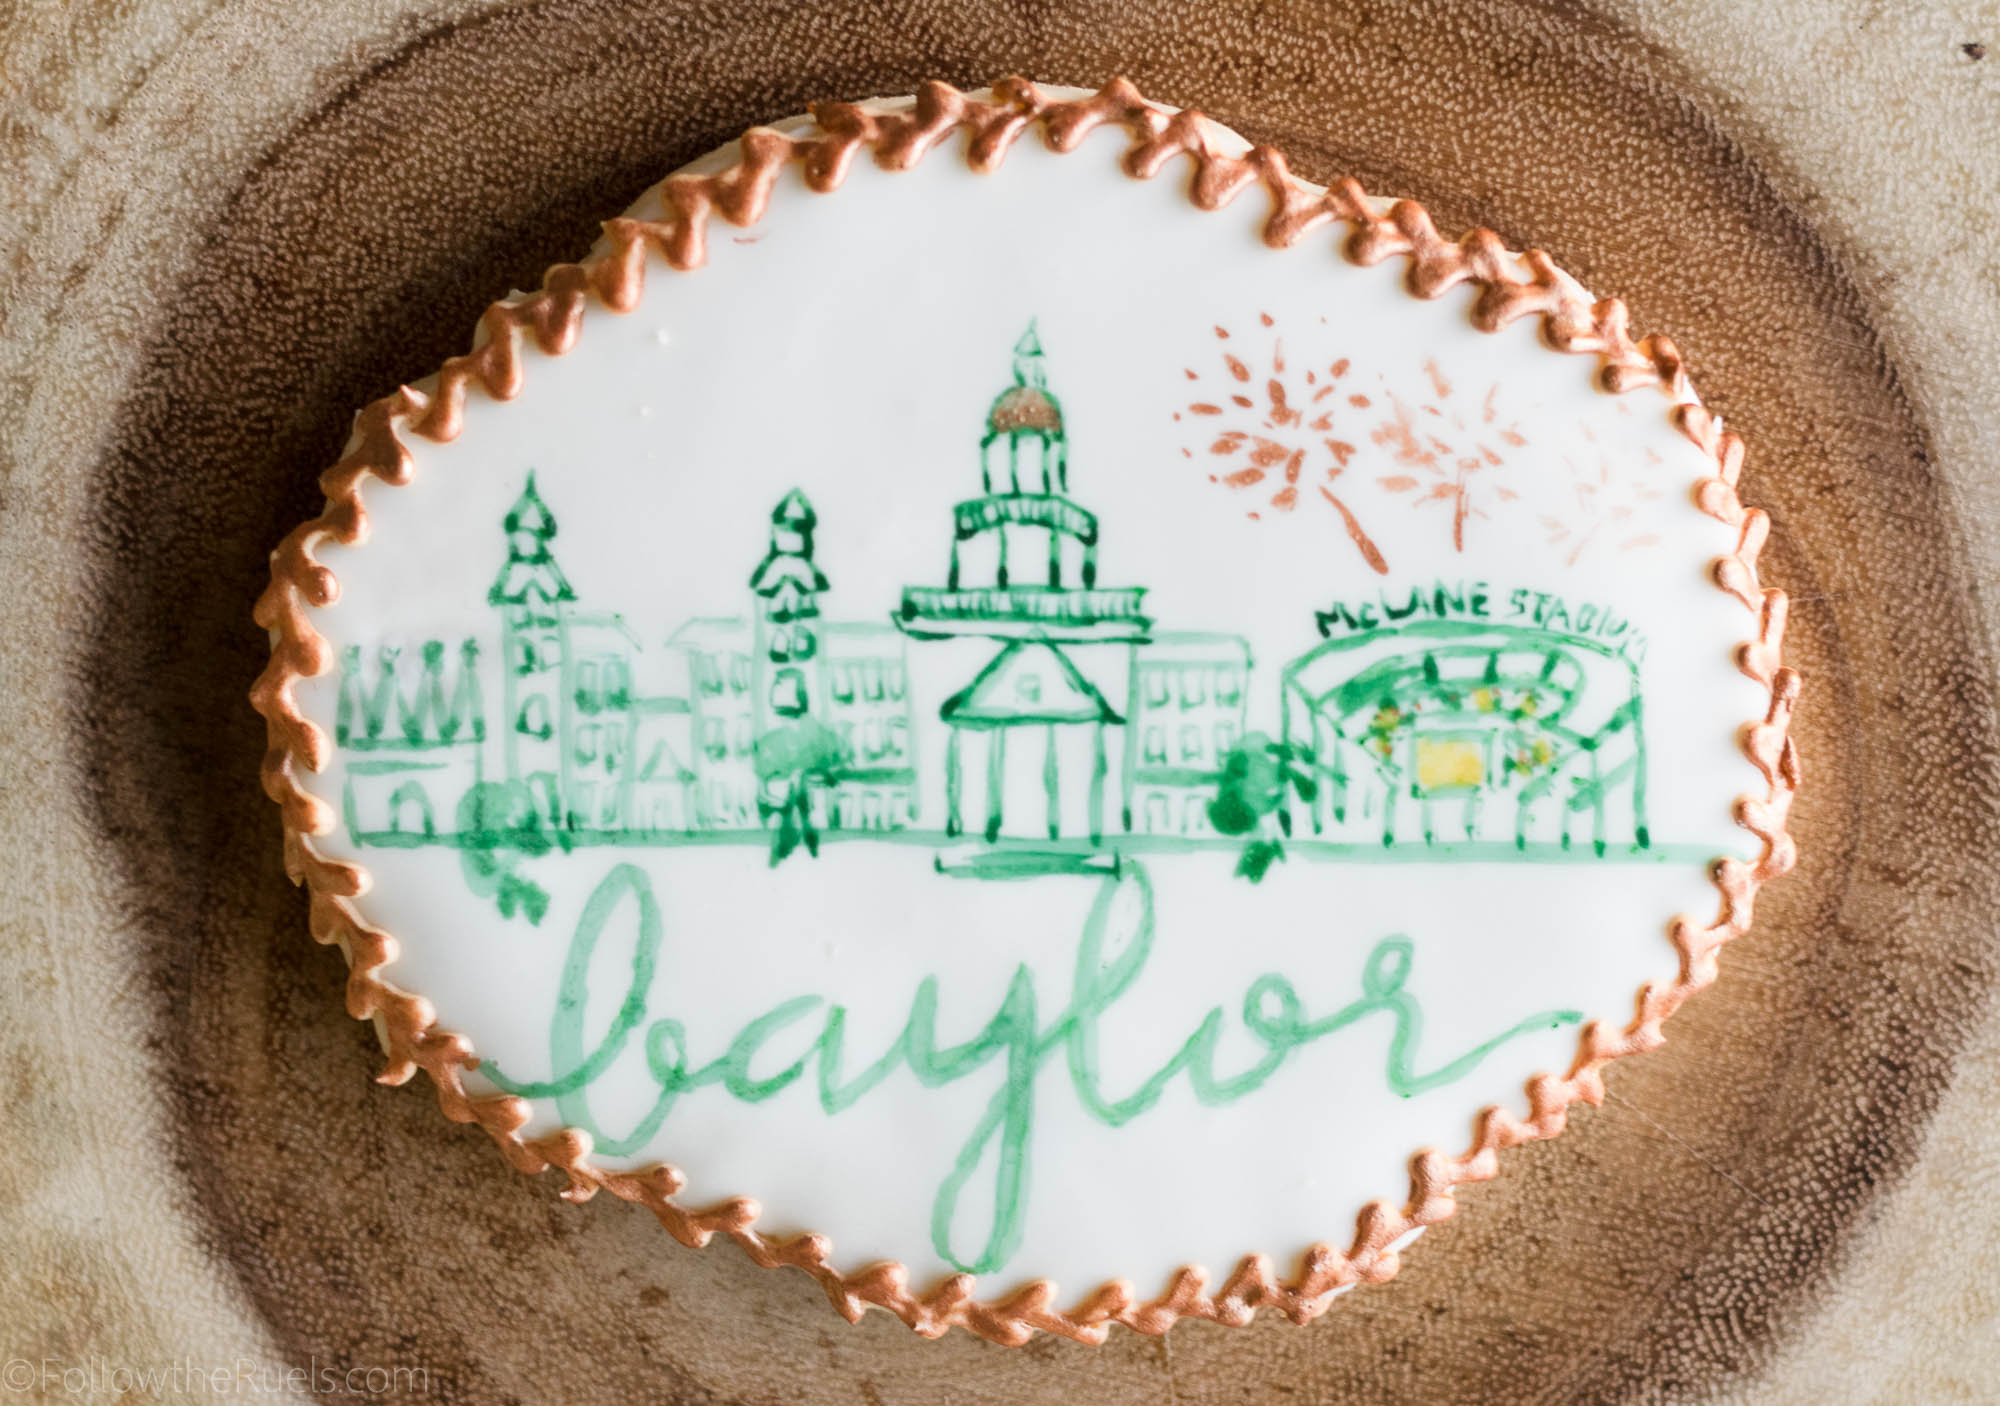
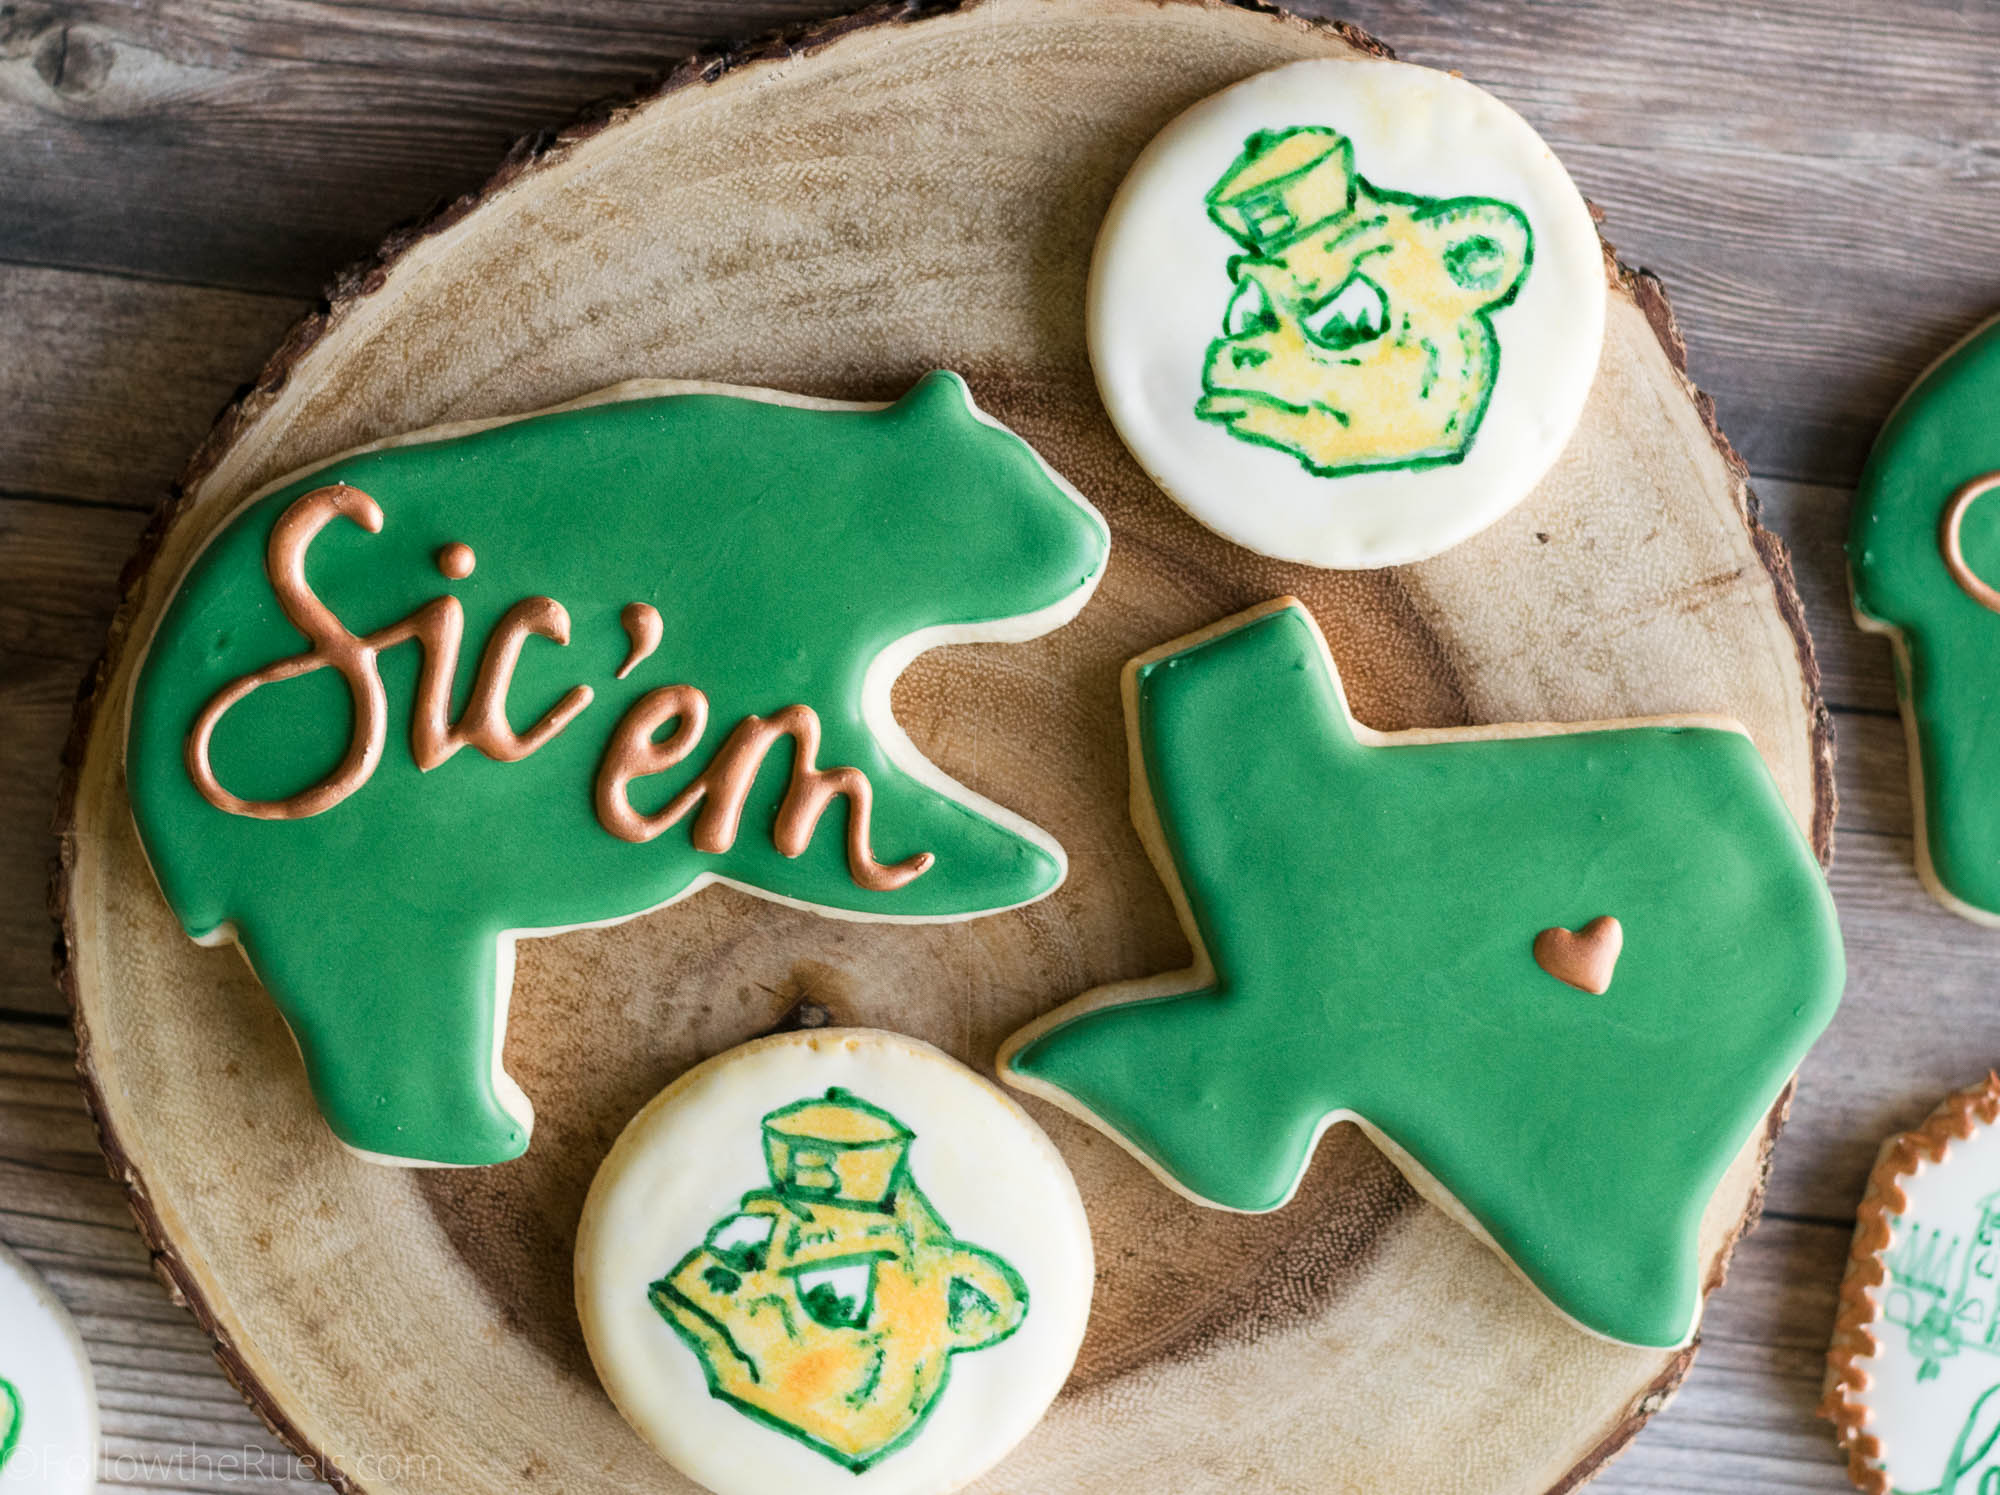
This weekend, Billy and I are off to Waco for Baylor University’s Homecoming, where Billy and I both went to school. While I have been back to Waco quite a bit over the years, even since moving to Charlotte, this is the first Homecoming we have been back to in years. So it will be a lot of fun to see old friends and sorority sisters who I may not have seen in the last 10 years. 

But it wouldn’t be an event if there I didn’t make cookies, right? Billy jokes that it didn’t happen if I didn’t put it on Instagram. Well, I think it doesn’t happen if I don’t make cookies!

The cookies were inspired by this print that I found on Etsy. I loved it so much I wanted to make it into a cookie! Since I am not artistic enough to hand draw it onto the cookie, I used the tracing method that I demonstrated here. 

I used the same method to make the Sailor Bear cookies to keep with the watercolor theme. But I do think I like these royal icing Sailor Bears I made for the Cotton Bowl better. I made those using the royal icing transfer method, where I just trace over the image with royal icing. 

To see how I made the Sailor Bear cookies, skip to minute 4:00 in the video. To see how I made the skyline cookies, skip to minute 5:27.

I’m giving away all my tricks, here. Now you know that I am actually not all that talented, I am just really good at tracing things with royal icing or a paint brush. 

My favorite cookies of the entire collection are the B-A-Y-L-O-R letter cookies. Of course, I didn’t film these cookies because they were the last ones I made. After spending a few hours making the other cookies I was at a loss of what to do for the letter cookies. Should I just ice them in green and gold icing? Should I paint them? Should I try some fun new design? No, I decided to rely on an old favorite and paint a floral pattern very similar to what I did with these Pineapple cookies. Instead of using several various colors, I just used a couple shades of green and gold. 

Now I just have to pray that they make it to Texas in one piece! 

Recipes used:

  • Sugar cookie
  • Royal icing 

Cookie cutters used:

  • Texas
  • Grizzly Bear
  • Plaque
  • Letters

Supplies used:

  • Piping bags 
  • Meringue powder 
  • Gold edible paint 
  • Gel Food Coloring 
  • Clear extract or alcohol 
  • Paint brushes 
  • Pallet Tray 

 
[show_shopthepost_widget id=”2862351″]

/ Filed In: Cookies New, Decorated Cookies, Eat, Uncategorized
Tagged: Baylor, cookies, decorated cookies, floral, gold, green, royal icing, sugar cookies, watercolor

Agate Slice Cookies

September 14, 2017

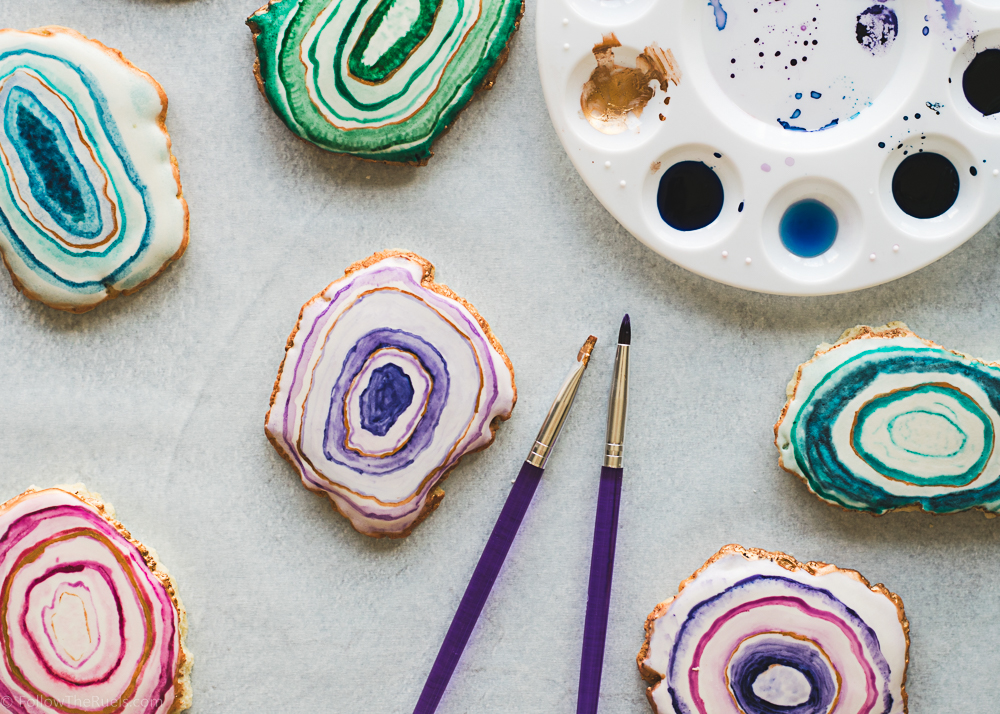
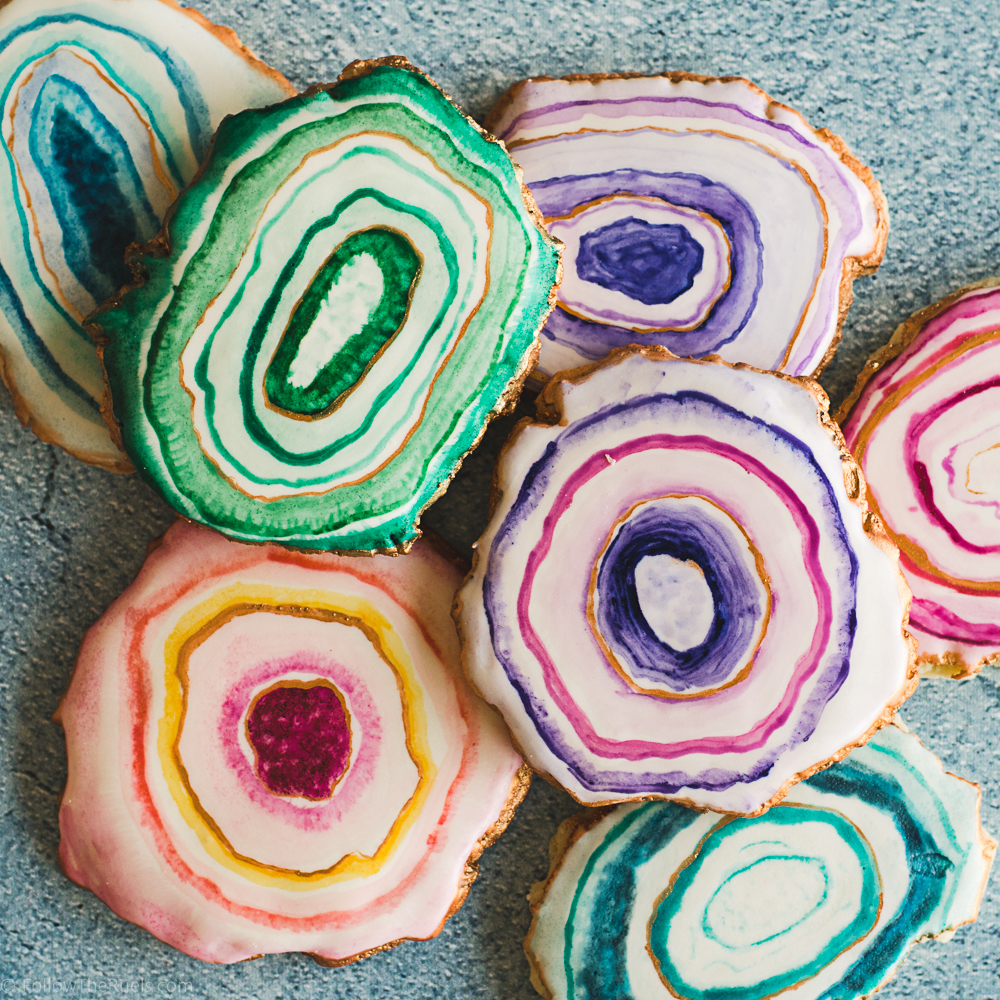
Agates and geodes are just about everywhere these days. I see them as bookends, coasters (these particular cookies were inspired by agate coasters at West Elm), jewelry, and cakes. They are all so distinct and beautiful I knew I wanted to make them into cookies. 

The good news is that these agate slice cookies are actually pretty easy to make! The cookie shape doesn’t have to be perfect (actually, the less perfect the better), no piping is necessary, and your lines don’t have to be straight! 

Of course, I used my favorite sugar cookie recipe to make these cookies. I started with a circle cookie then tore off the edges to make that rough jagged edge.

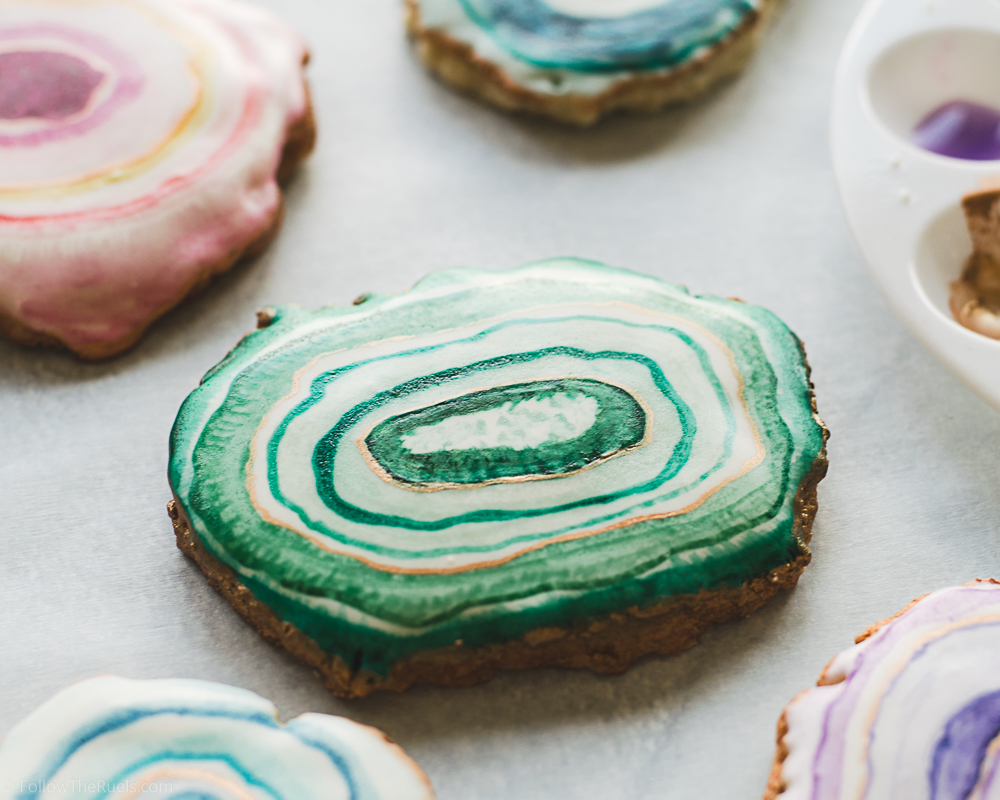
Then instead of piping the royal icing on top, I actually dipped the cookies into the icing. Not only is it easier and quicker, I actually prefer it for this these cookies because the icing goes all the way to the edge and gets into all the little nooks and crannies along the edge. 

Once the icing dried, I painted the cookies with food coloring gel diluted with a bit of alcohol (I used vodka, but you can also use almond extract) in various shades of the same color. So you can see I have a purple agate slice cookie with different shades of purple and pink, a blue in various shades of blue and turquoise, green in various shades of green and teal….you get the gist. 

I finished off the cookies with a gold edge and a little bit of gold painted around the layers of the cookie. I think the gold really helps make the cookies look even more like an actual agate slice. What do you think!?

They are almost as pretty as those coasters, but better because you can eat it!

 
[show_shopthepost_widget id=”2816954″]

/ Filed In: Cookies New, Decorated Cookies, Desserts, Eat
Tagged: agate slice, cookies, decorated cookies, painted cookies, watercolor

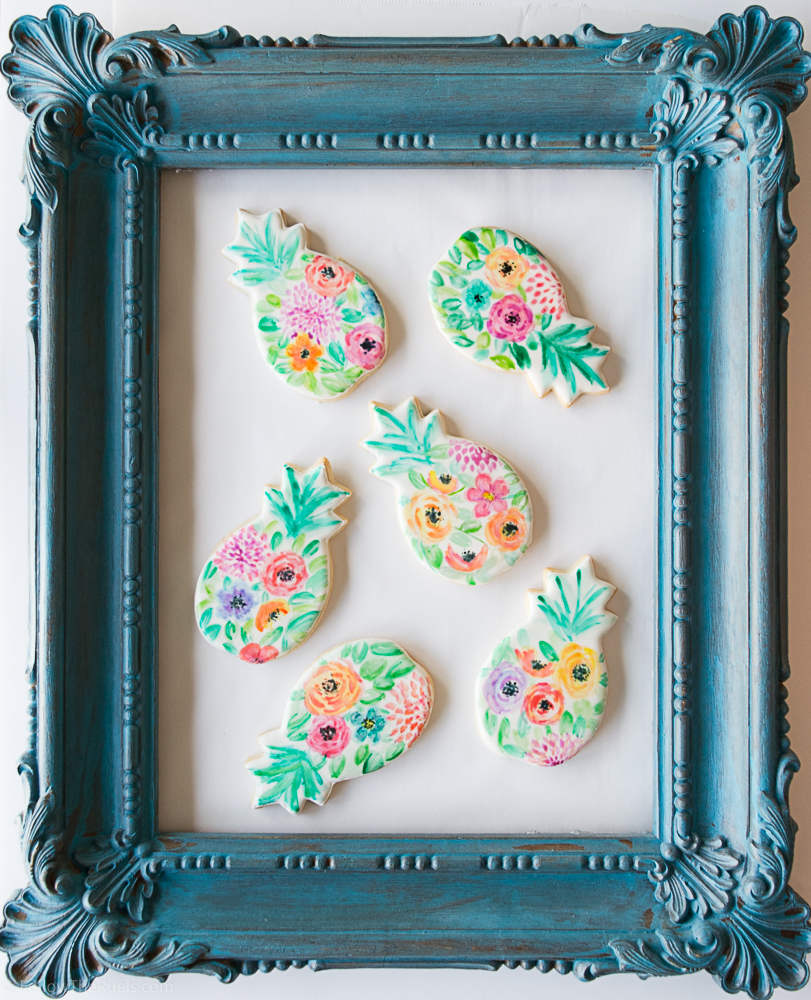
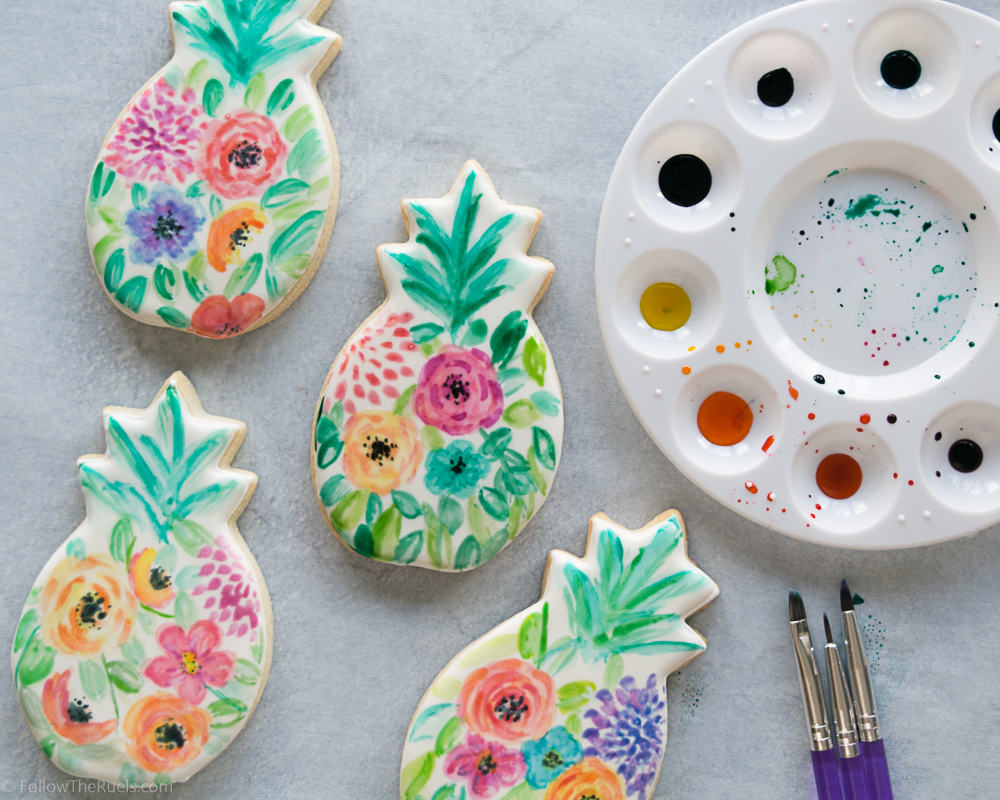
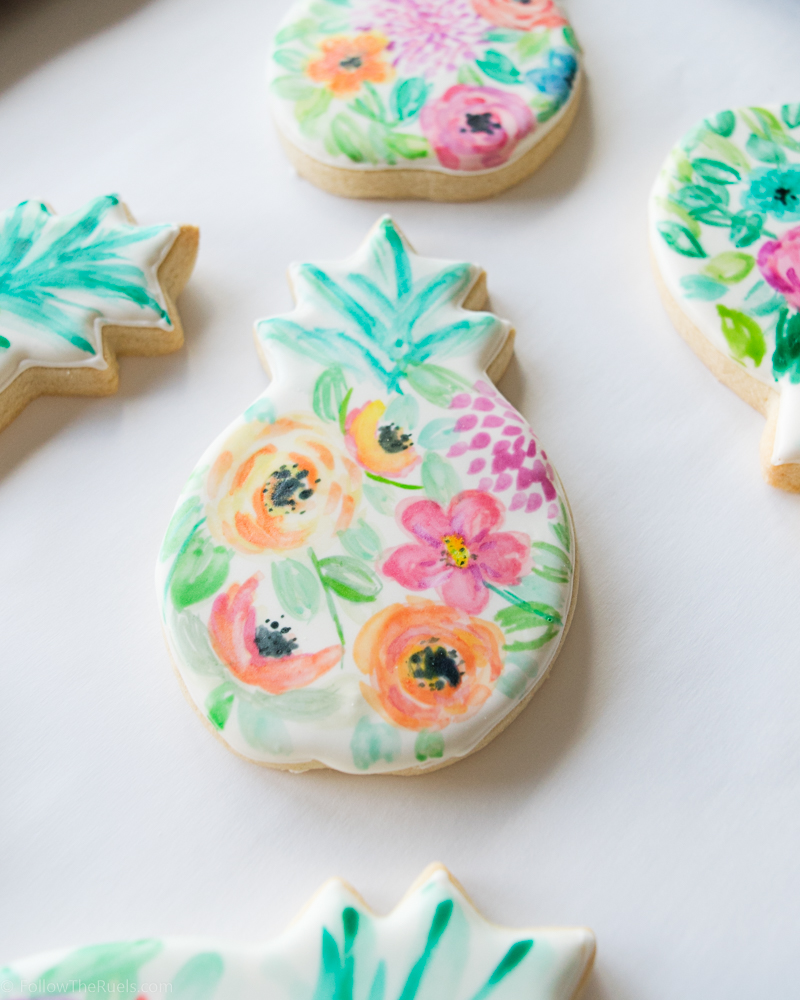
Watercolor Flower Pineapple Cookies

August 31, 2017

One of my favorite cookie decorating techniques lately has been watercolor on cookies. I really love the look of them, but I mostly rlove not having to make so much royal icing!

So with a good friends birthday around the corner, I knew I wanted to make some watercolor cookies for her. In looking for creative inspiration for her cookies, I came across a couple images that I absolutely adored! This sweet pineapple card and this beautiful pineapple print.

From there I was inspired to make these watercolor flower pineapple cookies!

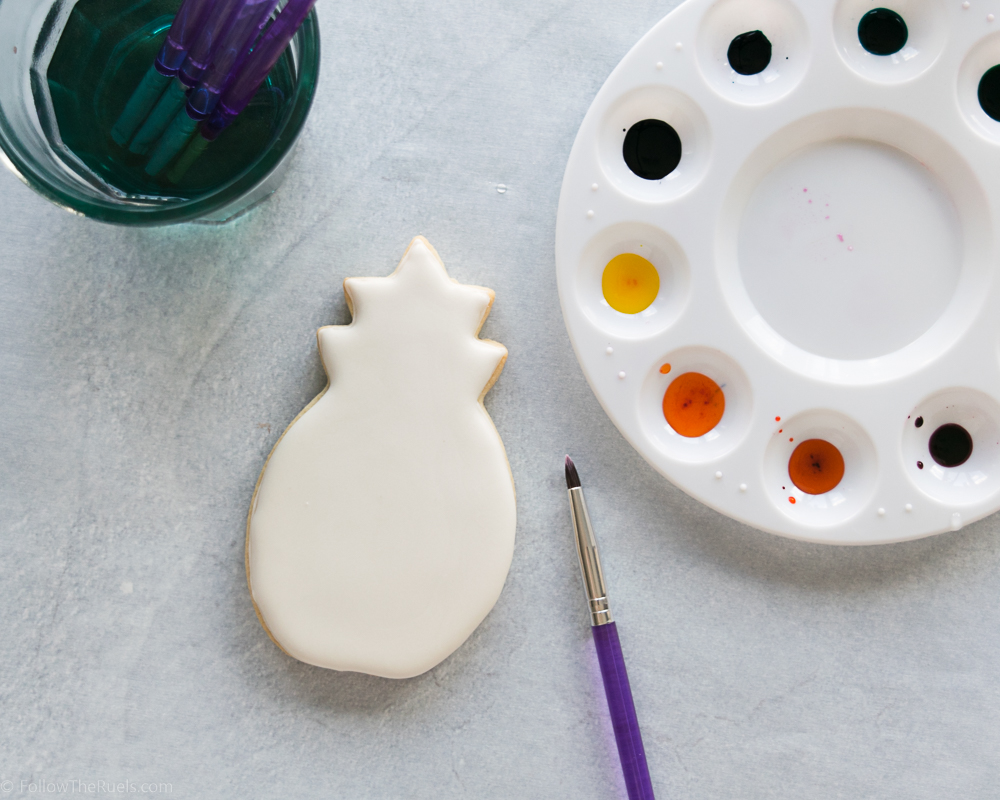
To paint on cookies, you do need a few supplies you may not normally use during cookie decorating…mainly a big bottle of vodka (really any clear extract or alcohol will work, but I prefer vodka). It’s always amusing to my husband to see me painting cookies with a bottle of vodka next to me on the counter. 

Supplies you will need:

  • Sugar Cookies in pineapple form
  • Plain white royal icing
  • Gel food coloring
  • Clear extract or alcohol
  • Food safe paint brushes
  • Pallet tray

I absolutely love how these cookies turned out. I probably say this about every cookie, but these may be my favorite yet. 

I guess it’s like children, you can’t really pick your favorite. But in this case (at least for now) these are definitely my favorite!

And, you don’t have to be an artist to make these. I am by no means an artist (as you may or may not be able to tell). So painting cookies can really be fun for anyone, even the kids!

/ Filed In: Cookies New, Decorated Cookies, Eat
Tagged: cookie decorating, cookies, decorated cookies, painting, pineapple, royal icing, watercolor

Red White and Blue Water Color Gingham Cookies

June 9, 2017

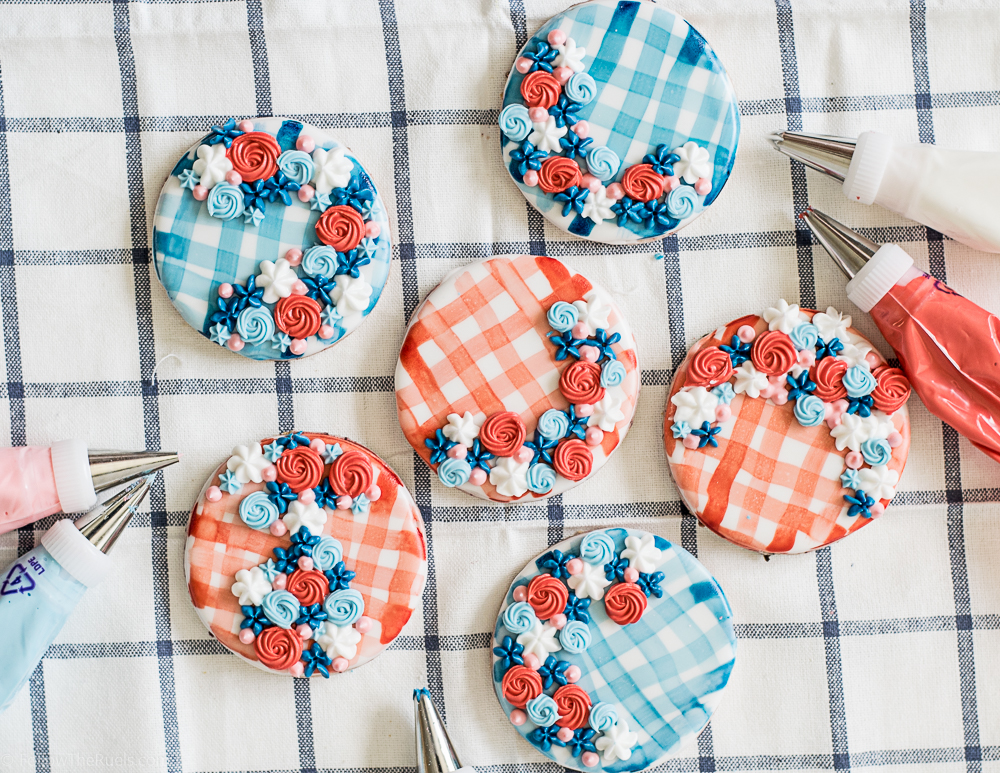
If you have stopped by my Instagram feed (@followtheruels) lately and seen any of the cookies that I have posted in the past couple months, you know that there are two things I am obsessed with: water color and royal icing flowers. Adding a little floral touch to cookies is such an easy way to make a plain ol’ cookie look super fancy.

It’s the same for the water color effect. Painting cookies is also a very easy thing you can do to decorate cookies, especially if you don’t like piping. 

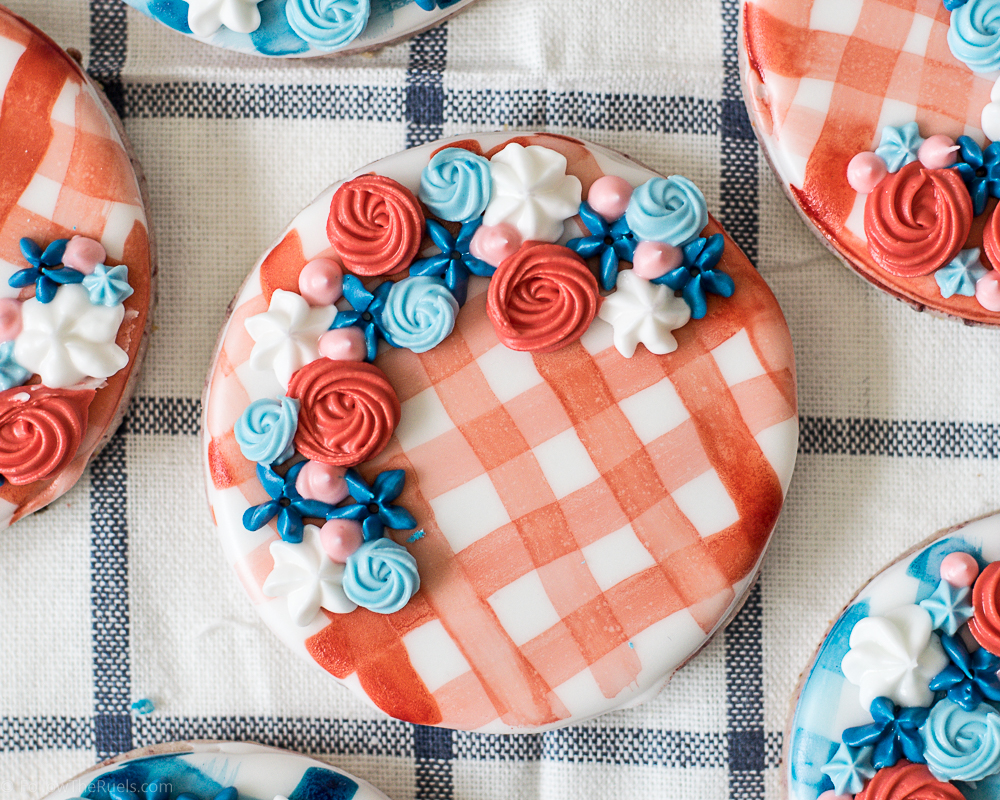
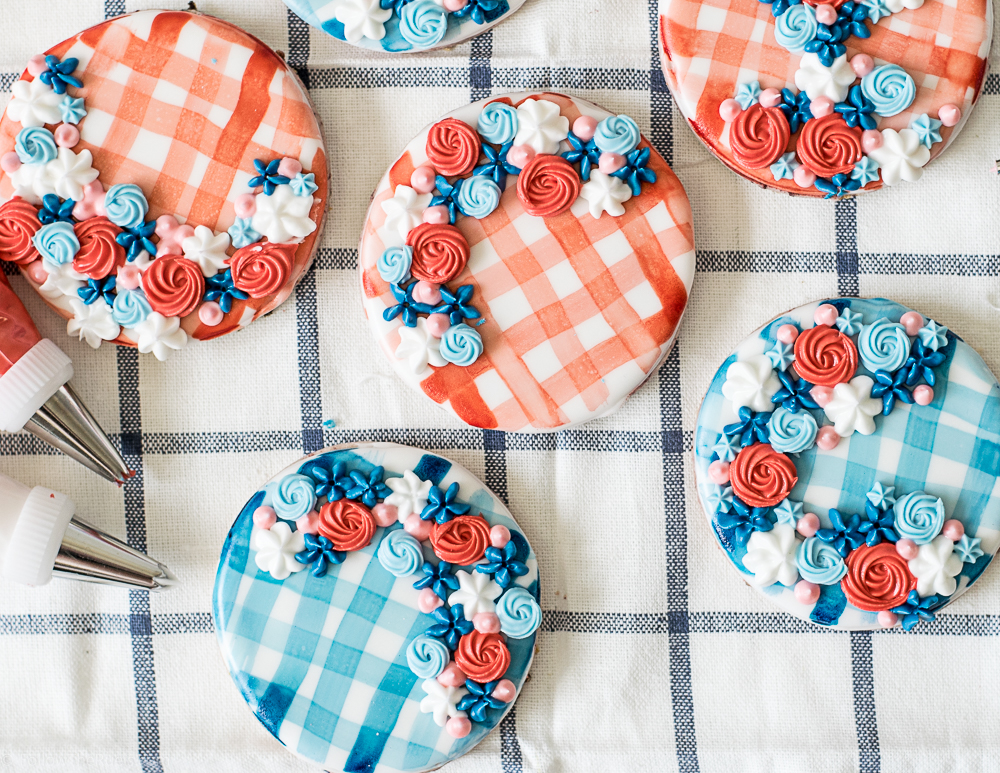
So that’s what I did, I combined my love of gingham (I wear a lot of gingham) with my two current favorite cookie decorating techniques to make these water color gingham cookies that are PERFECT for 4th of July!


Here are all the recipes and tools that I used:

  • Royal Icing Recipe
  • Sugar Cookie Recipe (I actually used a special flavor of sugar cookie that I will be sharing very soon!)
  • Food Coloring 
  • Almond Extract
  • Paint Brushes
  • Paint Tray
  • White Drop Flowers – #107 tip
  • Red Rosettes – #18 tip
  • Blue Drop Flowers – #225 tip
  • Light Blue Rosettes – #16 tip
  • Pink Dots – #5 tip

So festive and patriotic, aren’t they? I love them even with all of their flaws and wonky lines. It makes them look a bit more homemade and rustic. 

You could of course use some guides to make sure your lines are straight. But sometimes the character is in the imperfection, am I right?

 
[show_shopthepost_widget id=”2702796″]

/ Filed In: Cookies New, Decorated Cookies, Eat
Tagged: 4th of July, cookies, decorated cookies, flowers, gingham, royal icing, Summer, watercolor

Follow

Hey There!

Hey there, I'm Lindsey. I'm a number cruncher by day and a home cook and baker by night. While I love to eat healthy and find fresh and healthy alternatives for my favorite foods, I will never turn down dessert! Life is all about moderation, right?

Recipes

  • All Recipes
  • Breakfast
  • Appetizers
  • Salads
  • Main Dishes
  • Side Dishes
  • Desserts
  • Drinks

Favorite Finds

[show_lookbook_widget id=”388783″]

Theme by 17th Avenue · Powered by WordPress & Genesis