• Home
  • Eat
    • Breakfast
    • Appetizers
    • Main Dishes
      • Chicken
      • Beef
      • Seafood
      • Healthy Dishes
      • Paleo Dishes
      • Salads
    • Desserts
      • Decorated Cookies
      • Cookies
      • Bars and Brownies
      • Cakes and Cupcakes
  • Shop
    • Cookie Decorating Supplies
    • Bakeware
    • Cookware
    • Kitchen Gadgets
    • House
  • About
    • Contact
    • Bucket List
  • Cookie Decorating 101

Follow the Ruels

Embossed Fondant Cookies for Easter

March 21, 2018

I can’t tell you how much I love these cookies! Don’t they look so pretty and perfect, almost like they were stamped?

Oh yeah, it’s because they were! 

These embossed fondant cookies are actually just cookies covered in a layer of fondant that has been stamped or rolled with an embossed/engraved rolling pin. Embossing fondant is just about as easy as rolling out cookie dough. Anyone can do it!

The gold bows on the other hand, well those were a bit trickier…I’ll get to that later. 

How to Make Them


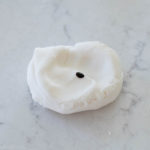
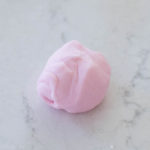
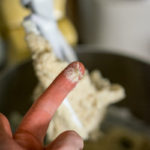
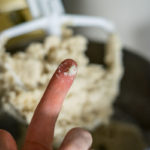
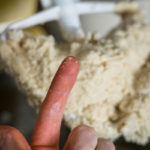
Start by coloring your fondant whatever color you would like. Just add a dot of food coloring and need the fondant until it’s evenly colored.


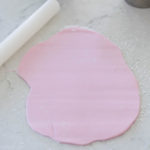
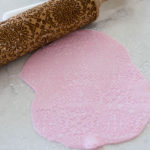
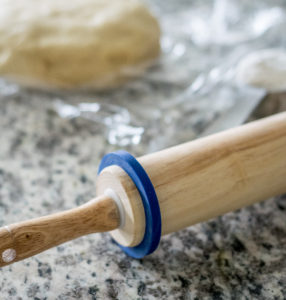
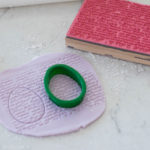
Roll the fondant out into a flat sheet that’s about 1/8th of an inch thick. Then roll over it with either an embossed or engraved rolling pin, 


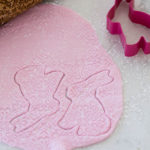
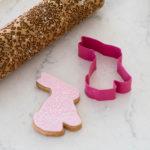
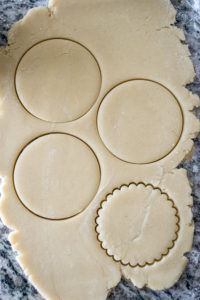
Then cut out the fondant using the same cookie cutter that you used to cut out your cookie and affix it to the cookie by brushing some water onto the back of the fondant. 


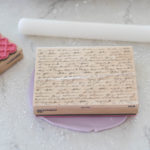
You can also use a regular old stamp! However, I recommend only using stamps that have never been inked and have been thoroughly cleaned. 

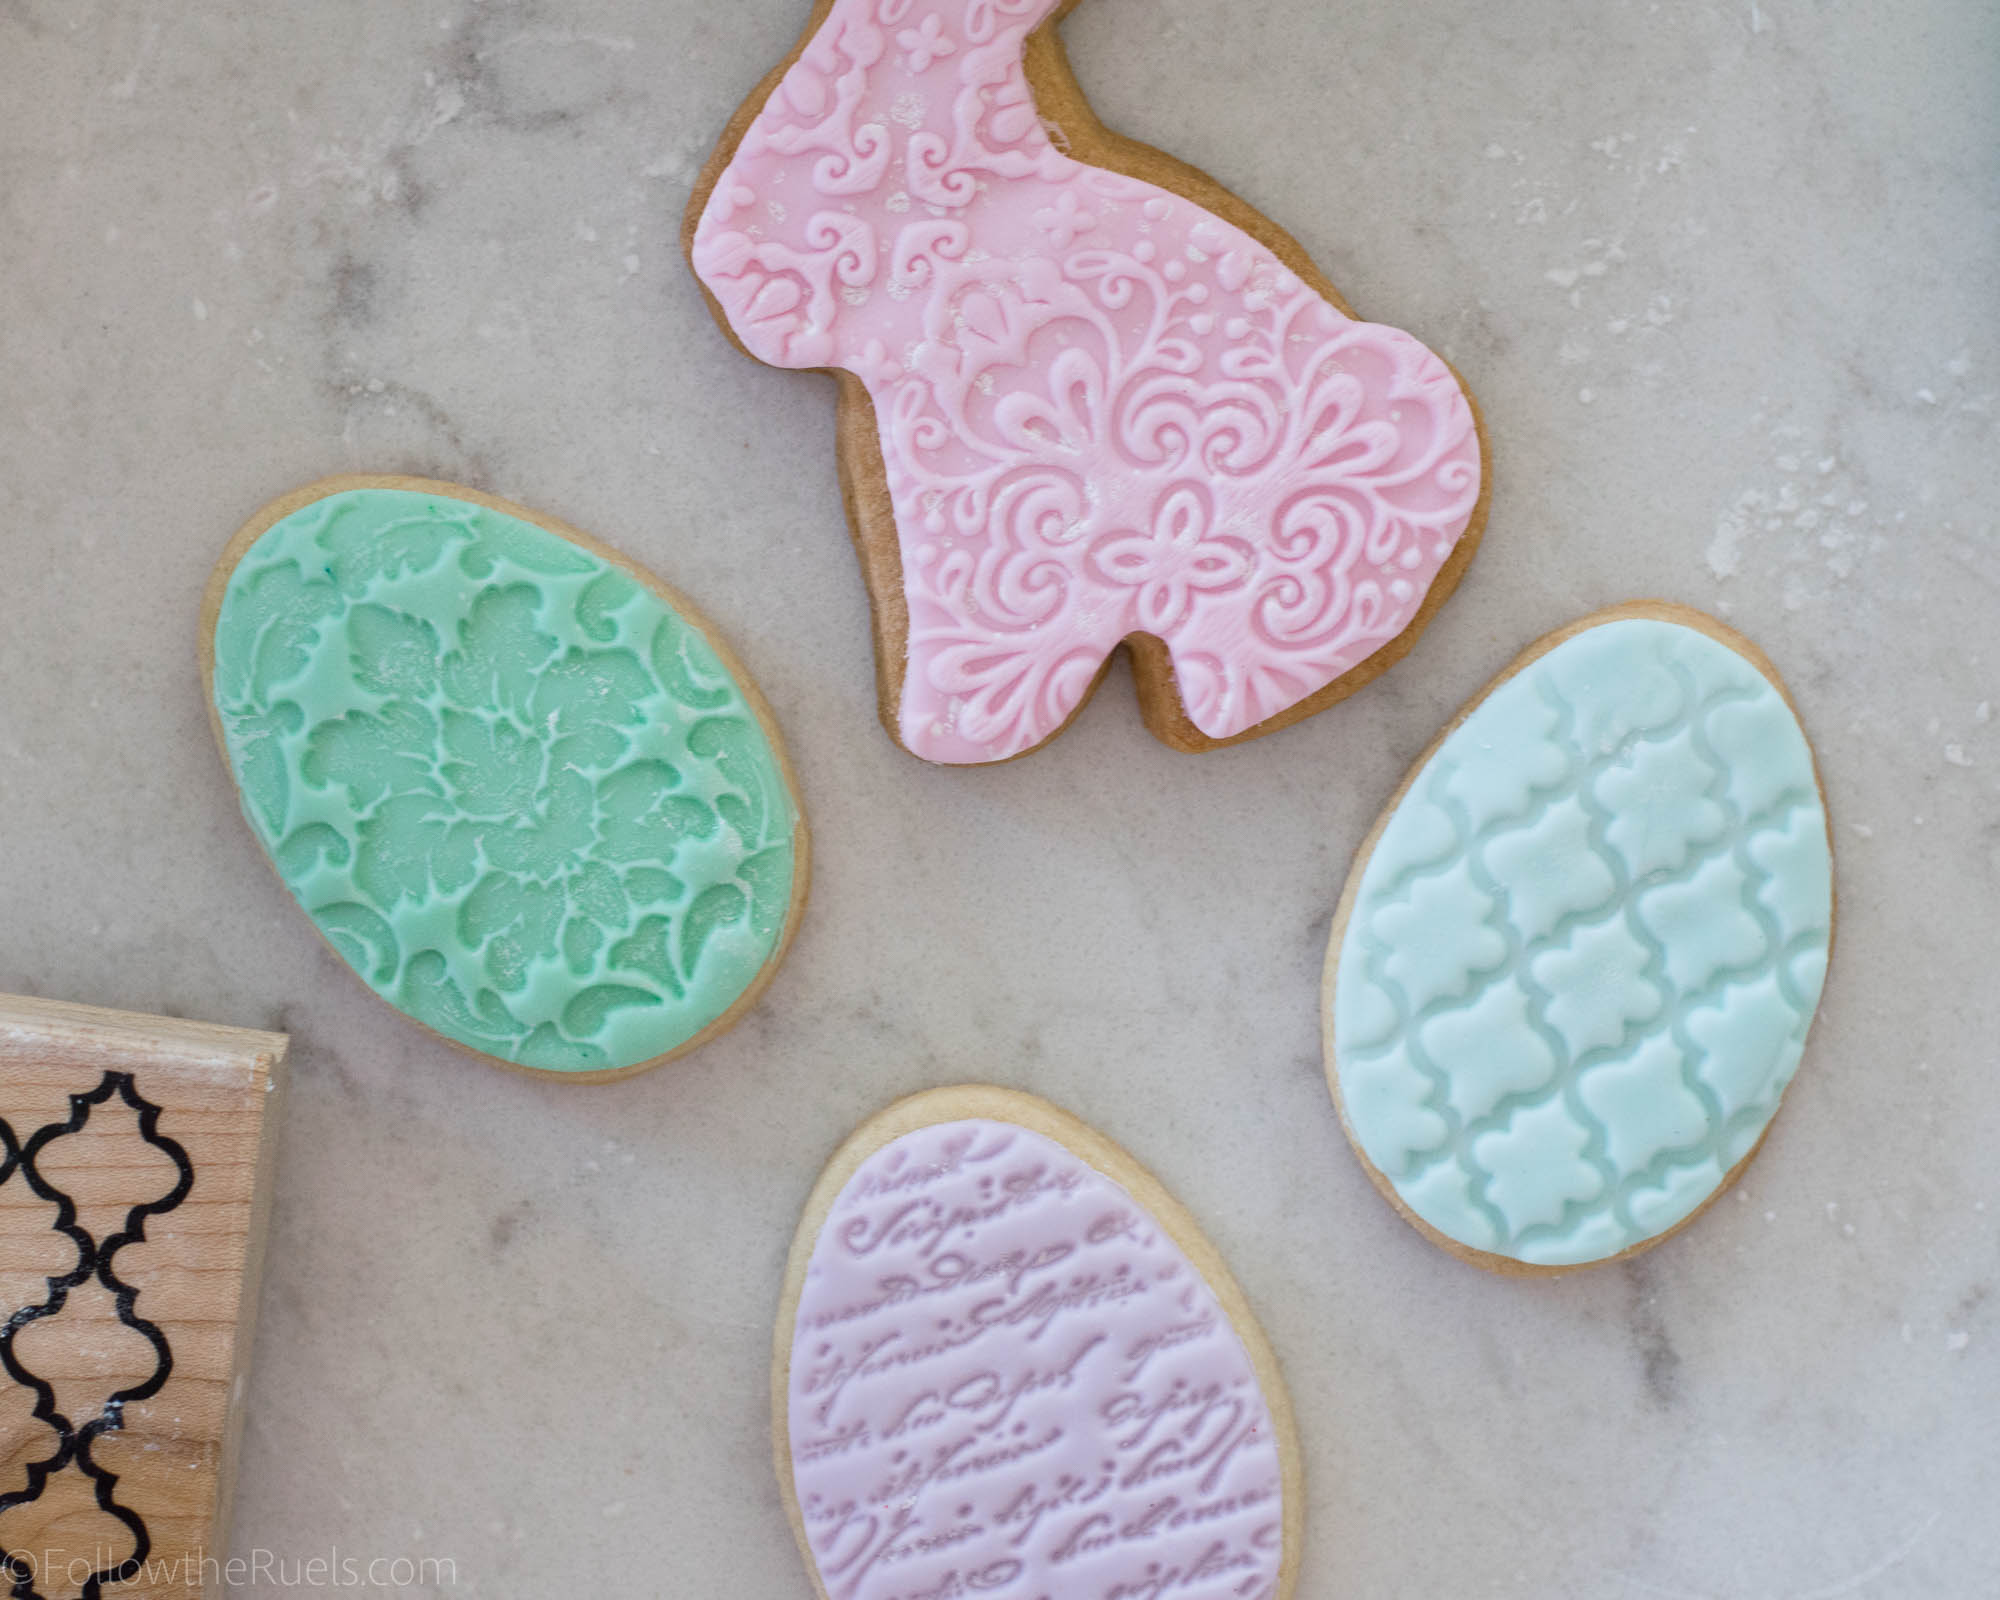
And that’s all it takes to make these really cute embossed fondant cookies!

Now if you want to add a little extra flair to your fondant covered cookies you can add these adorable little fondant bows that, while not as easy as tying a regular bow, are actually pretty simple to make!

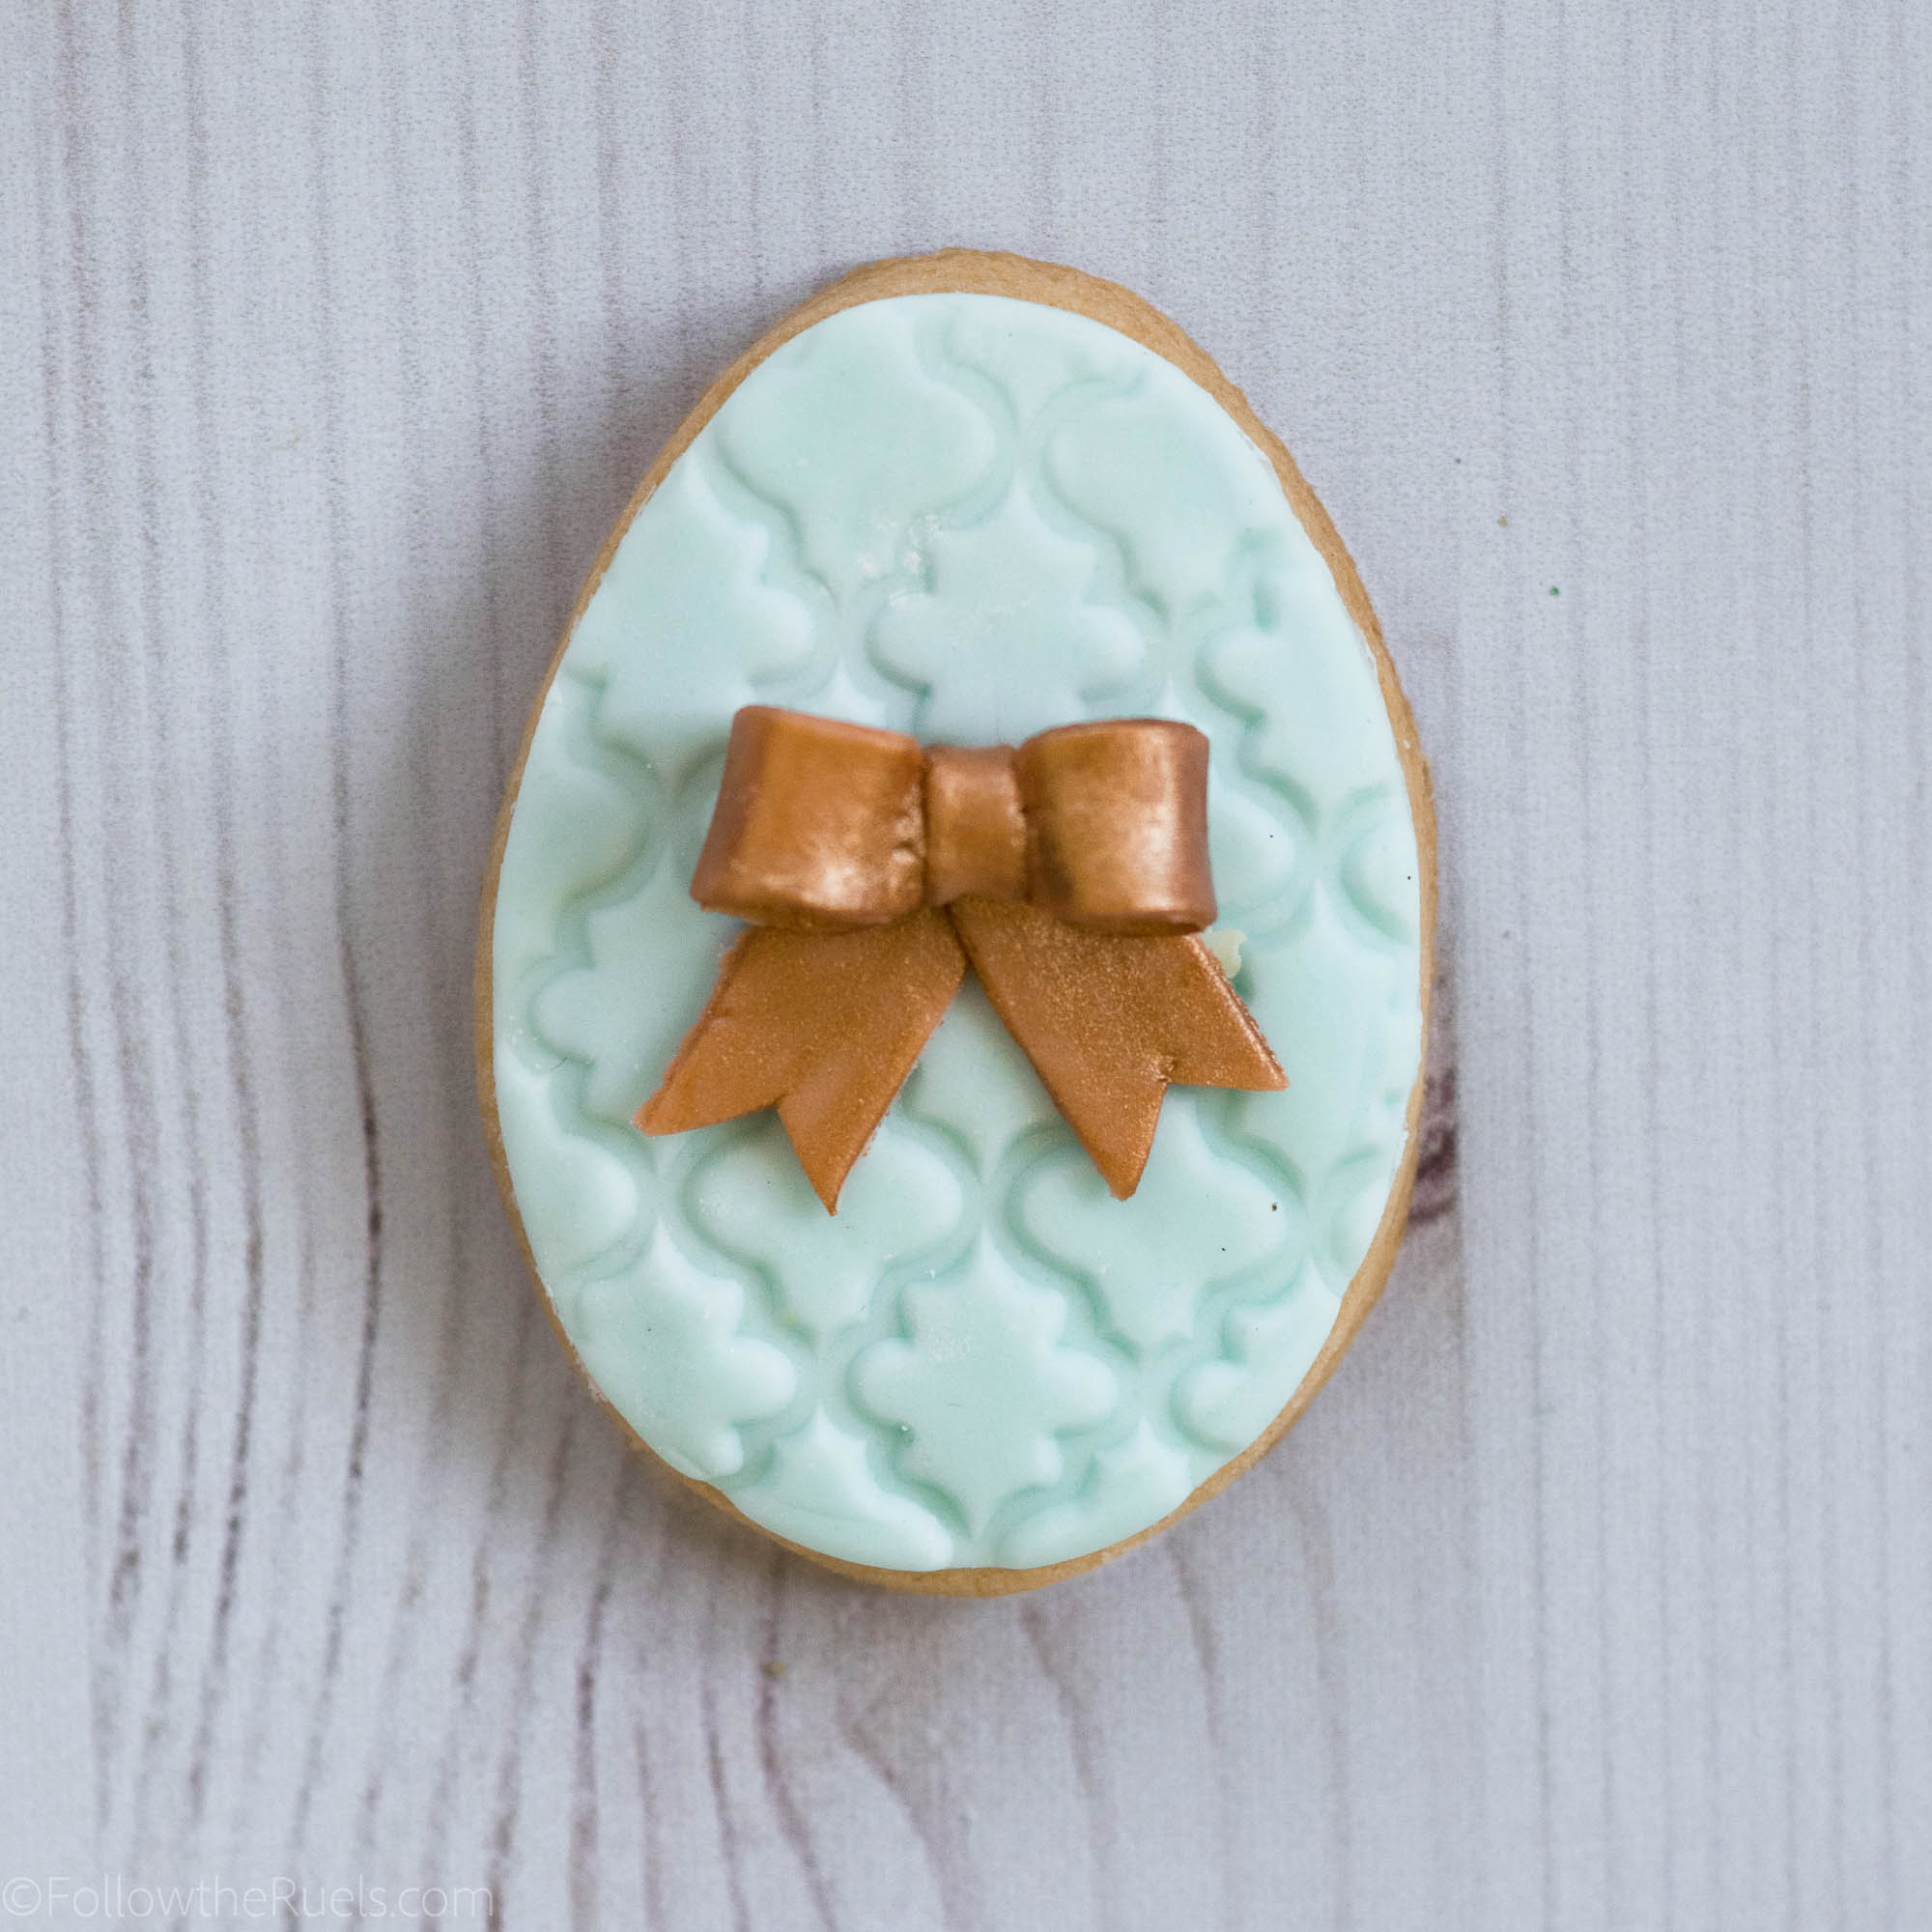
I think they add a nice little touch to the embossed fondant and makes these cookies stand out even more!

What do you think? Ready to wow your family and friends with these adorable Easter cookies? 

Products and Recipes

[show_shopthepost_widget id=”3067918″] 

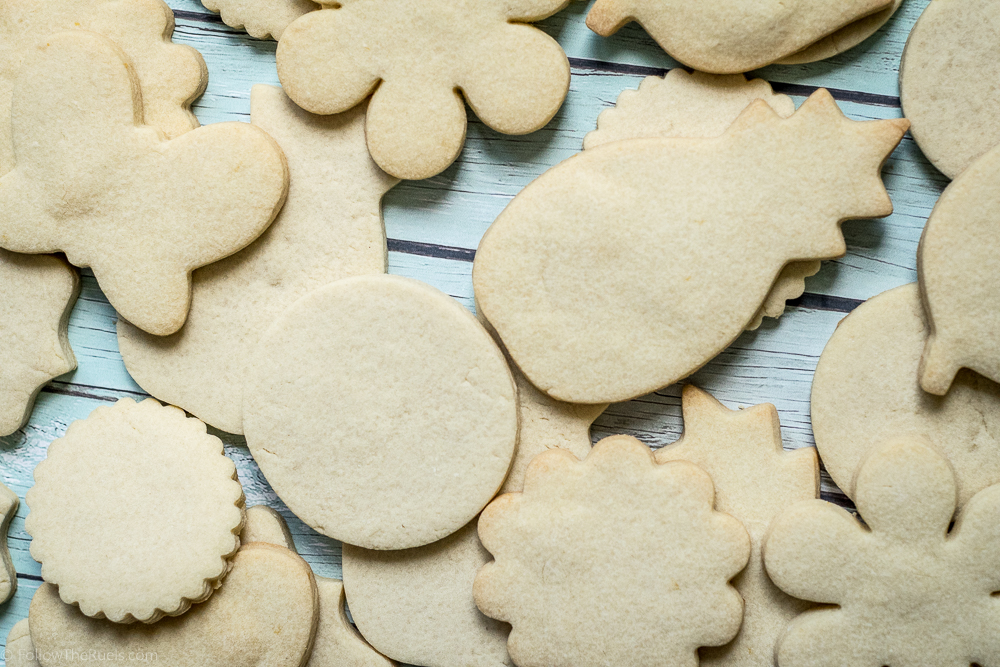
Of course, I always recommend my favorite Sugar Cookie Recipe, but I would say this time it is especially important to use a cookie dough that doesn’t lose it’s shape when baked. When you cut out your fondant you want it to pretty much cover the cookie completely, and the easiest way to do that is to have a cookie that is pretty much the same size and shape as the cookie cutter.

/ Filed In: Cookie Decorating 101, Cookies New, Decorated Cookies, Desserts, Eat
Tagged: cookies, Easter, embossed fondant, fondant, sugar cookie

Four-Leaf Clover Cookie Cake

March 13, 2018

This may be called a cookie cake, but it is not the same giant chocolate chip cookie cake you buy at the mall. This cookie cake is a cross between a sugar cookie and a cake.  They are all the rage on Instagram right now! And they are basically like my new favorite thing! I am slightly obsessed. 

If you aren’t as obsessed as I am, this version of a cookie cake is two giant sugar cookies layered together with buttercream and topped with even more buttercream. The original version, also includes some flowers, macarons, and other adornments. They are super cute. 

But for this four-leaf clover version, I stayed with my favorite style of decorating cakes, cupcakes, and cookies. Which is just using a bunch of different piping tips to cover the surface. 

How to Make It

If you can make a cake or decorate a cookie, you can make this cookie cake! 

Start by cutting out two really large cookies in the shape of a four-leaf clover. Don’t have a giant four-leaf cookie cutter? No worries! 

I print out a large four-leaf clover then cut it out to use as a template for cutting out my cookie dough. I found it easier to roll out the dough, then transfer it to the baking sheet before cutting the dough. It ensures that the dough doesn’t lose its shape. 

On top of the first layer pipe dots of buttercream around the edge, then top with the second cookie layer. 

Use various large piping tips to create different shapes. 

Piping tips used:

  • Round Dots – Wilton #1A
  • Roses & Drop Flower – Wilton #2D
  • Spikey Dots – Wilton #8B
  • Drop Flower – Wilton #1M

I also like using different shades of the same color, which isn’t really very well represented here. 

For an extra little flair, top with sprinkles or glitter. 

I used this gold dust I found at Michaels, and while it’s not super visable in photos, it adds a really pretty shine to the buttercream in person. 

All that’s left is to dig right in. You can cut this anyone way you like! Or just break off a piece here and there. Make your own rules for this unconventional cake!!

Recipes Used:

Sugar Cookies

Swiss Meringue Buttercream

[show_shopthepost_widget id=”3061418″] 

/ Filed In: Cakes and Cupcakes, Cakes New, Cookies, Cookies New, Eat
Tagged: buttercream, cookie cake, St. Patrick's Day, sugar cookie

The Best Sugar Cookie Recipe

May 2, 2016

[UPDATED ON NOVEMBER 24, 2016]

I have been fiddling with my sugar cookie dough recipe for the past couple months trying to find the best dough for decorating cookies. Trust me, there was nothing wrong with my old recipe. It is still a great sugar cookie dough, but I wanted to make a dough that kept its shape when baked but wasn’t as hard as a rock (you know what I’m talking about!). All it took was a couple tweaks to my basic sugar cookie recipe to make an even better cookie dough!

The best sugar cookie dough

So what’s different? Well, there is no baking powder. I hate it when my sugar cookies grow in the oven, completely losing their shape. Even though the old recipe had very little of the leavening agent, they puffed up too much for me. So out it went!

The other change is the addition of powdered sugar. The powdered sugar makes the cookies lighter and smoother. Since I eliminated the leavening agent, I didn’t want the cookies to be so dense. While testing of the recipe, I tried making this dough with ALL powdered sugar, but I missed the texture from the granulated sugar. It was almost too smooth and way too sweet. The resulting recipe is a combination of both granulated and powdered sugars that still has a nice texture and is still relatively soft. 


Now that I have all the changes out of the way we can get to making some cookies! I like to mix my butter and sugar together until it’s nice and fluffy. This takes about a minute on a medium high speed in my Kitchen Aid. Then I gently mix in the egg and extracts (my favorite combination is vanilla and almond).  Next is the flour, which I mix in one cup at a time, again until it’s barely combined. The less mixing the better. 

The tricky part about this recipe is that sometimes I add more or less flour. While 2 1/2 cups is what I used most often, there are times when I only add 2 1/4, or sometimes 2 3/4. Bakers will understand that sometimes you just know how a dough or batter should look or feel. I know what this dough should feel like when it’s perfect. For some of you, that is the worst thing you could hear! But don’t worry, I have an easy way to check the dough! I poke it! 


In the first photo, I have only mixed in 1 1/2 cups of flour. See how the dough just sticks right to my finger? Not ready! So I add 1/2 cup more, still sticking to my finger when I gently press it into the dough. I add my last 1/2 cup and try again. It’s perfect! Hardly anything sticks to my finger, but the dough still feels a bit tacky. THAT is what I am going for. If anything were to stick to my finger, I would only add 1/4 cup at a time until I got it right!

Once the dough is formed, I turn it out onto some plastic wrap to wrap it up and put it in the fridge. Its good to let the dough rest and all the flavors to meld, but sometimes I don’t have that kind of time. Because this dough is pretty stiff, it can be rolled out immediately and does not need to be chilled first. 


Speaking of rolling out the dough, I like to use rolling pin bands (or I found this cool rolling pin that does the same thing!) to make sure that my cookies are all evenly thick. I like my cookies to be as thick as possible, so I use the thickest band, about 1/4 inch. 


One other thing that I didn’t actually demonstrate in the picture above, but I would highly recommend is to roll out your dough on some parchment paper using as little flour as possible. Because the dough is already pretty dry, adding more flour will make the cookies crack in the oven. I just sprinkle down enough flour to keep the rolling pin from sticking. This will ensure that your cookies are perfectly smooth and ready to ice!


After a quick bake, these cookies are ready to be enjoyed or to be decorated with royal icing. Not only are they the perfect canvas for some sugar art, they taste delicious. I personally love the taste of the almond extract, but of course, you can add whatever flavorings you like and make these cookies your own!

[amd-yrecipe-recipe:26]

PRODUCTS USED IN THIS POST:

 
[show_shopthepost_widget id=”2423763″]

/ Filed In: Cookie Decorating 101, Cookies, Cookies New, Desserts, Eat
Tagged: cookie decorating, cookies, icing, sugar cookie

Valentine’s Day Heart Cookies

February 8, 2016

Hearts-Cookies-3title

Valentine’s Day was one of my favorite holidays as a kid! In elementary school we would all design a box or bag to attach to our desk, then we would all pass around those store-bought Valentine’s Day cards and candies. Sometimes, those kids with the super creative parents would even bring in homemade cards, which were the best!

I wish we could still do that as adults. I would love to walk around my office and hand out cards and cookies to all of my coworkers. Then I could spend the afternoon reading the corny cards, eating candy, and not working. 

Hearts Cookies-5


Even though I won’t be handing out Valentine’s Day cards, I will still be bringing in some Valentine’s Day treats for all my coworkers. Like these cute heart cookies, which were 100% inspired by this Pin. The original picture looks like they were made with chocolate and sugar cookie dough, but I wanted them to be more festive, so I made mine with pink and purple dough instead. 

Heart Cookies-1

To get the little hearts within the big hearts, I first cut out small hearts in the pink dough. I then stuck the hearts on a small plate and put them in the freezer. Trust me, this makes the next step a lot easier. 

Heart Cookies-2

I then cut out the same size heart in the purple dough and stuck the pink hearts in the void. 

Heart Cookies-3

Once all the hearts are filled in, I cut out larger hearts, making sure to get some whole hearts inside. Naturally, you will have some dough left over after you cut out the hearts. Make sure to separate the pink dough from the purple dough so that you can reuse it. 

Heart Cookies-4

Then just bake as normal! So easy, right? Sometimes decorating cookies can be very time consuming – making the icing, coloring the icing, decorating, then waiting for the icing to dry – it’s a lot. These are a great alternative to decorated cookies but look just as nice, don’t you think?

Hearts Cookies-1

[yumprint-recipe id=’101′]

/ Filed In: Cookies New, Decorated Cookies, Desserts, Eat
Tagged: hearts, sugar cookie, Valentine's day

Follow

Hey There!

Hey there, I'm Lindsey. I'm a number cruncher by day and a home cook and baker by night. While I love to eat healthy and find fresh and healthy alternatives for my favorite foods, I will never turn down dessert! Life is all about moderation, right?

Recipes

  • All Recipes
  • Breakfast
  • Appetizers
  • Salads
  • Main Dishes
  • Side Dishes
  • Desserts
  • Drinks

Favorite Finds

[show_lookbook_widget id=”388783″]

Theme by 17th Avenue · Powered by WordPress & Genesis