• Home
  • Eat
    • Breakfast
    • Appetizers
    • Main Dishes
      • Chicken
      • Beef
      • Seafood
      • Healthy Dishes
      • Paleo Dishes
      • Salads
    • Desserts
      • Decorated Cookies
      • Cookies
      • Bars and Brownies
      • Cakes and Cupcakes
  • Shop
    • Cookie Decorating Supplies
    • Bakeware
    • Cookware
    • Kitchen Gadgets
    • House
  • About
    • Contact
    • Bucket List
  • Cookie Decorating 101

Follow the Ruels

Limoncello Cupcakes with Fondant Topper

June 5, 2018

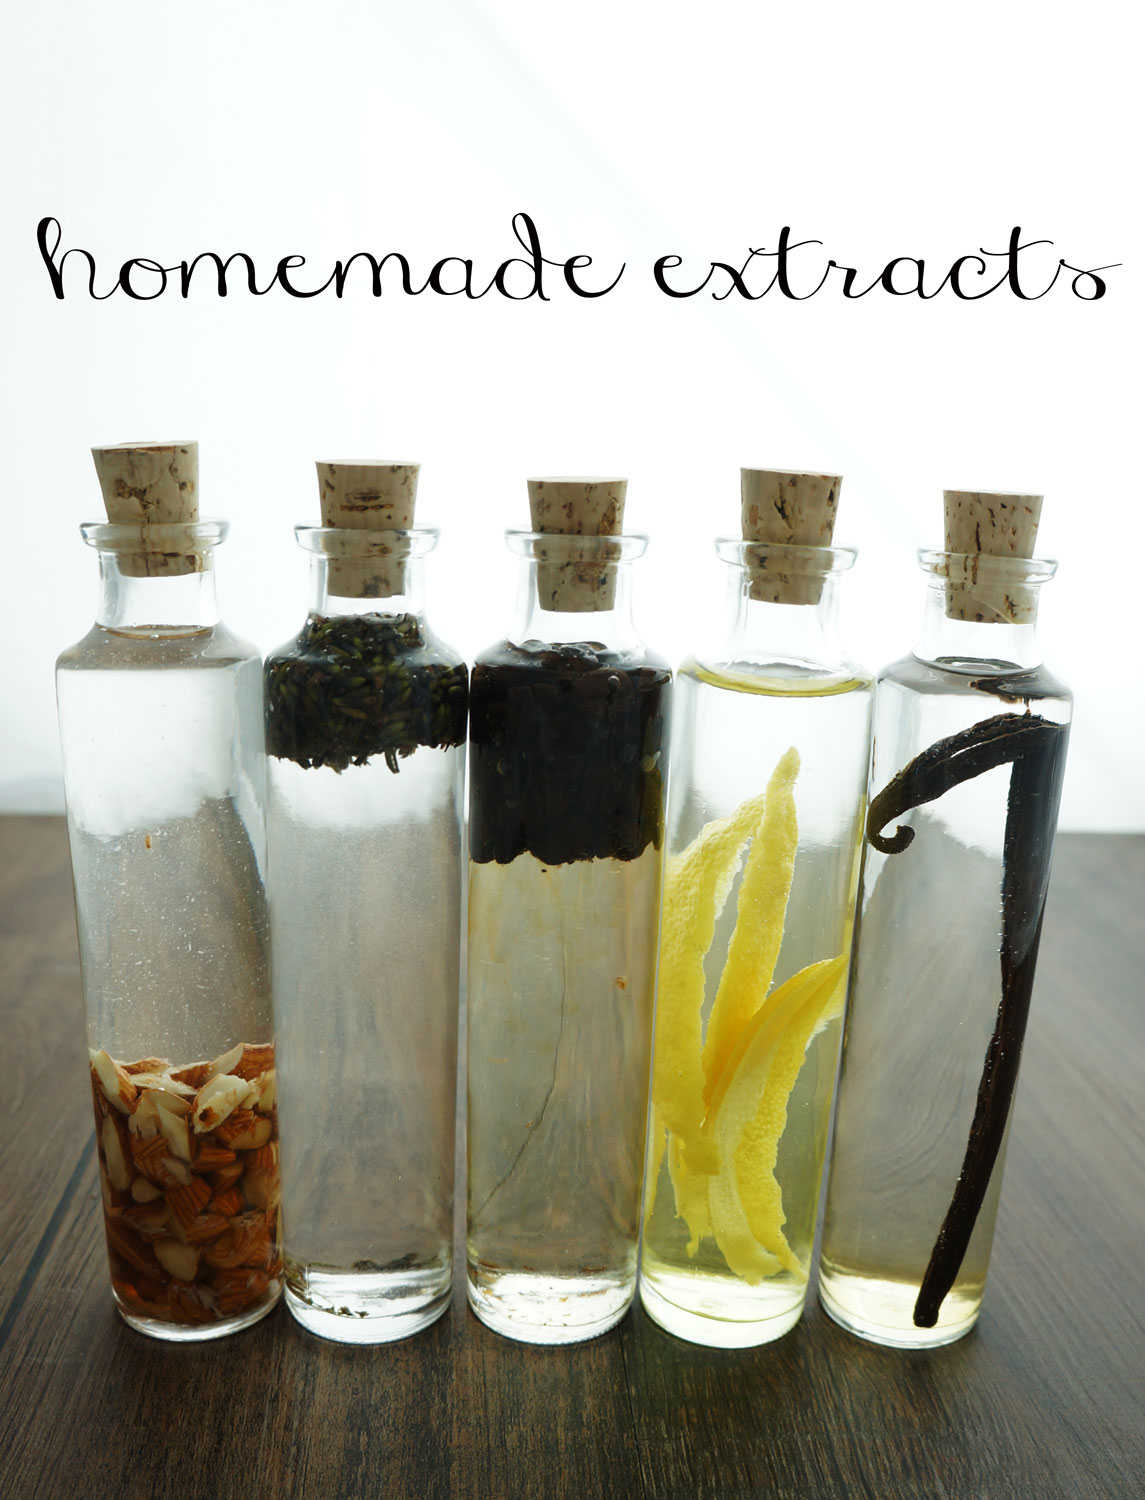
Since we are headed off to Italy, I have been getting into the spirit with all things Italian. I have been taking Italian lessons with Duolingo, doing some very in-depth research (eating) of the various types of pasta and pizza, and have been finding ways to incorporate my favorite Italian liquor into anything I can think of.

Hense these limoncello cupcakes that just as delicious as they are nice to look at!

How to Make Them

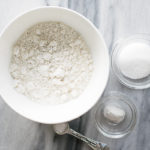
To make the cupcakes, start by getting all your ducks in a row. It will make the cake making process so much easier. 

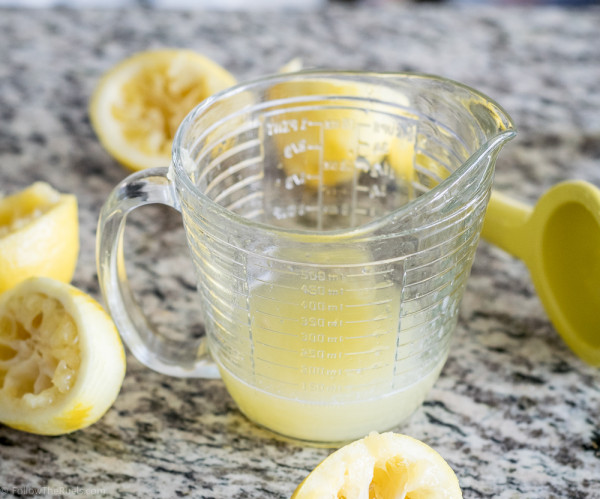
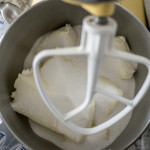
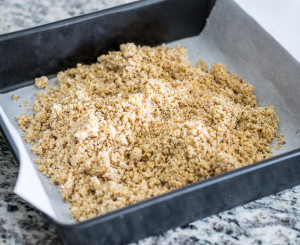
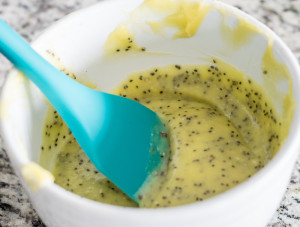
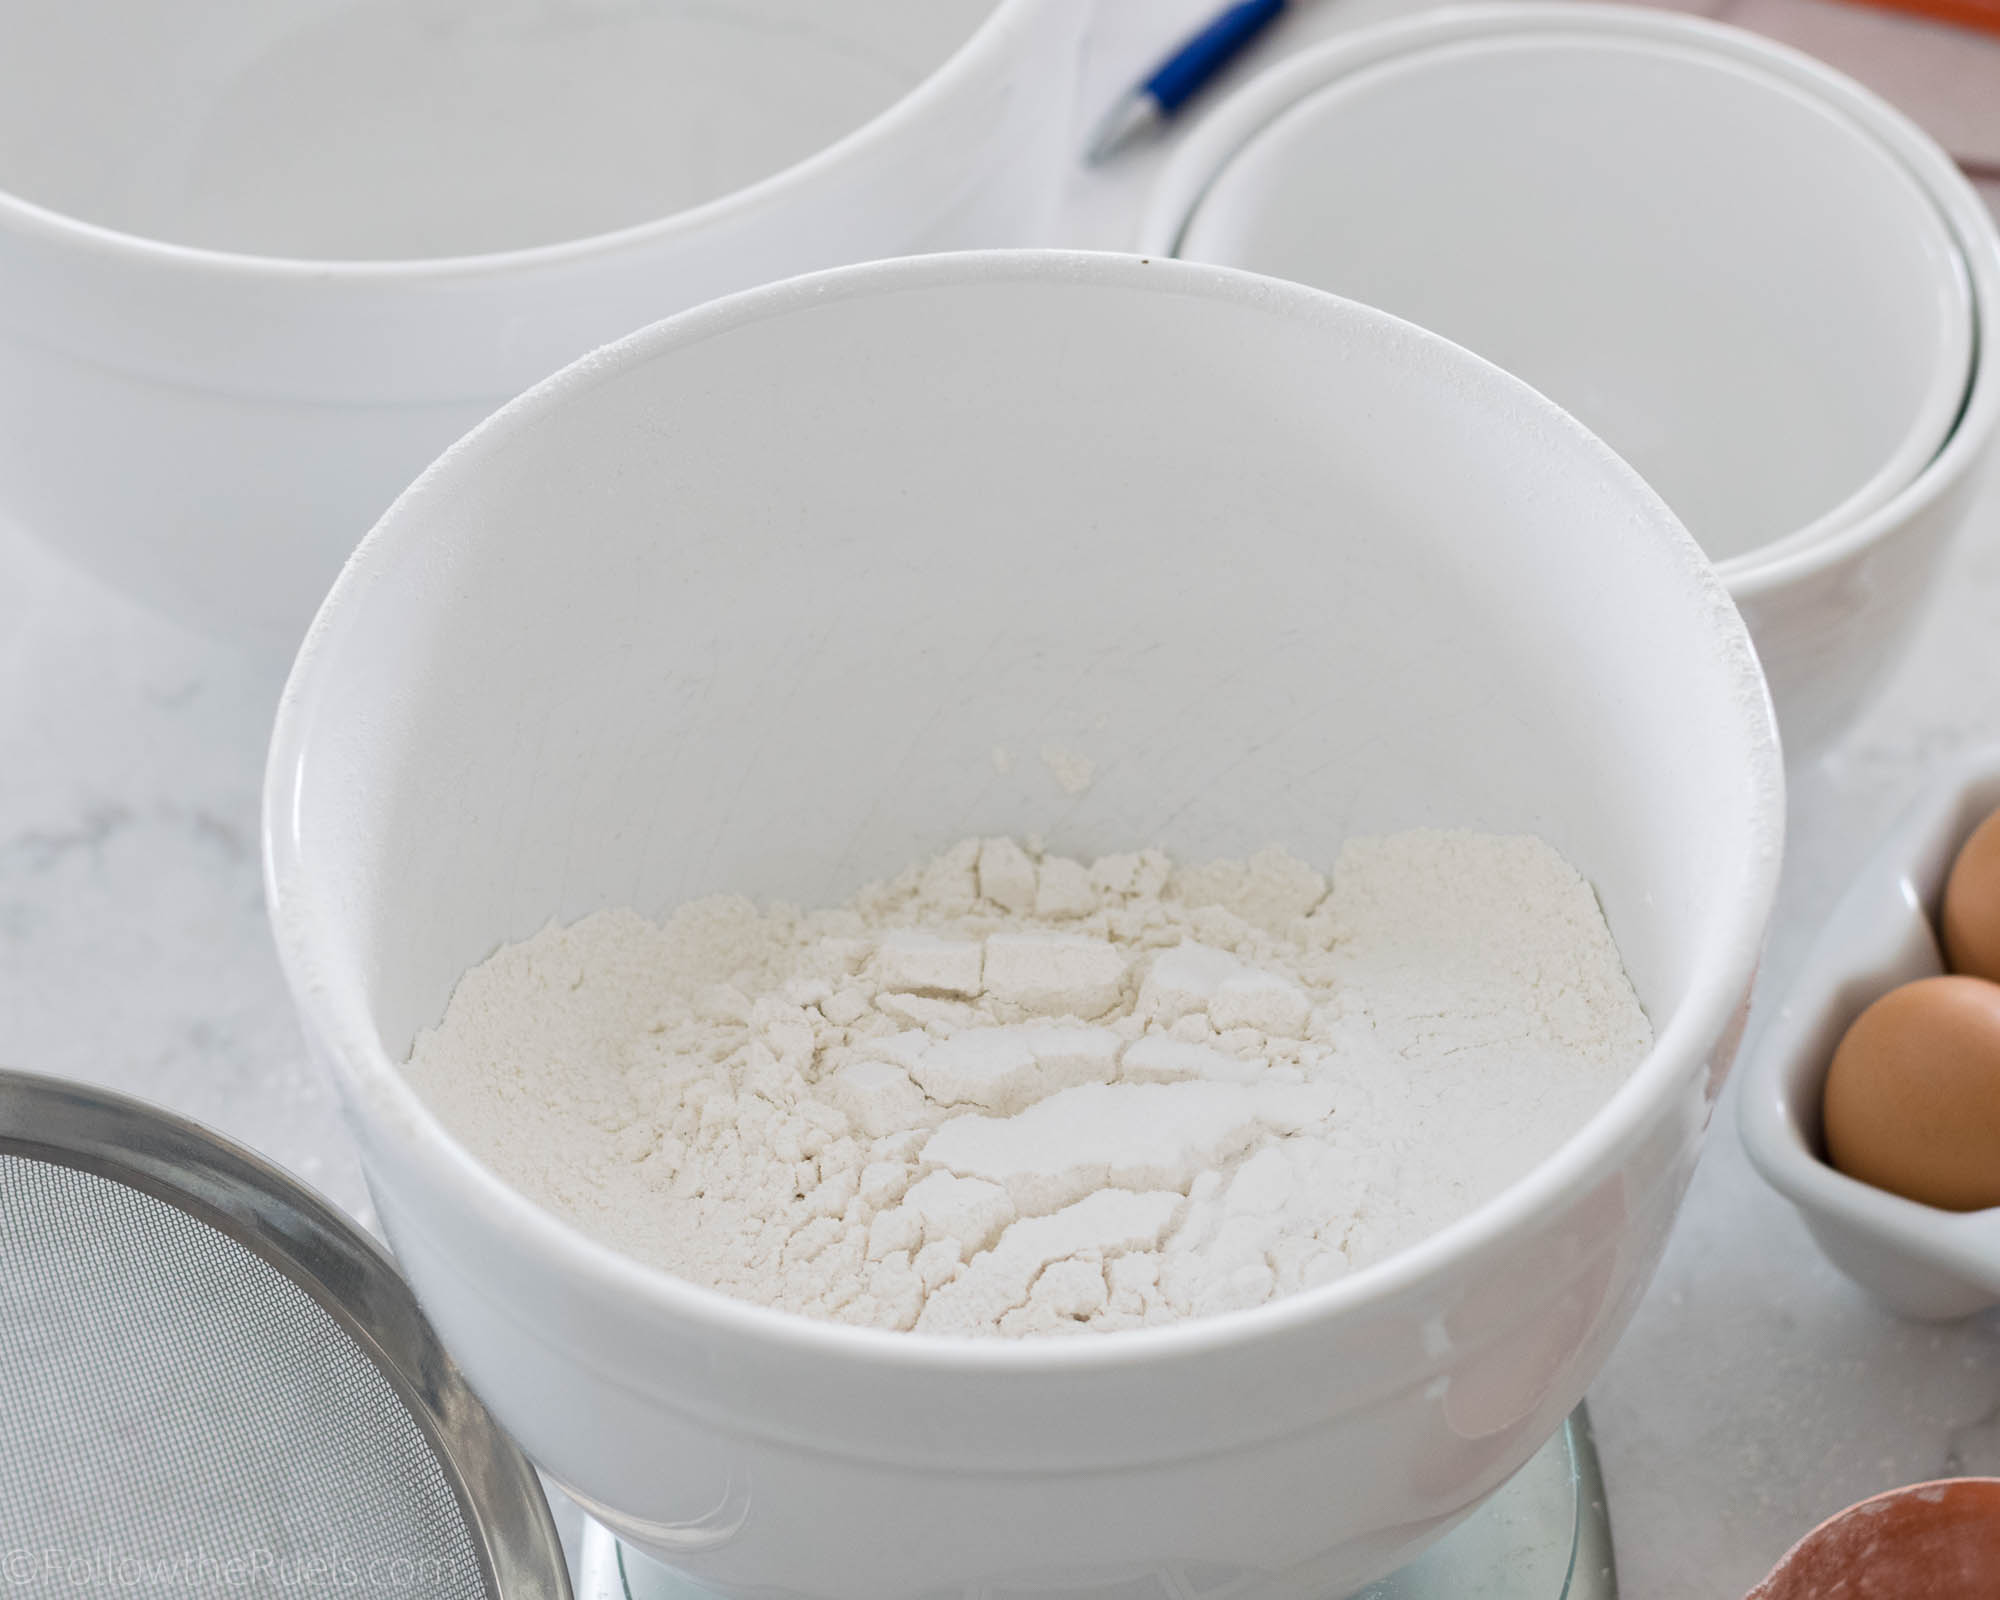
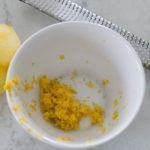
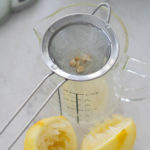
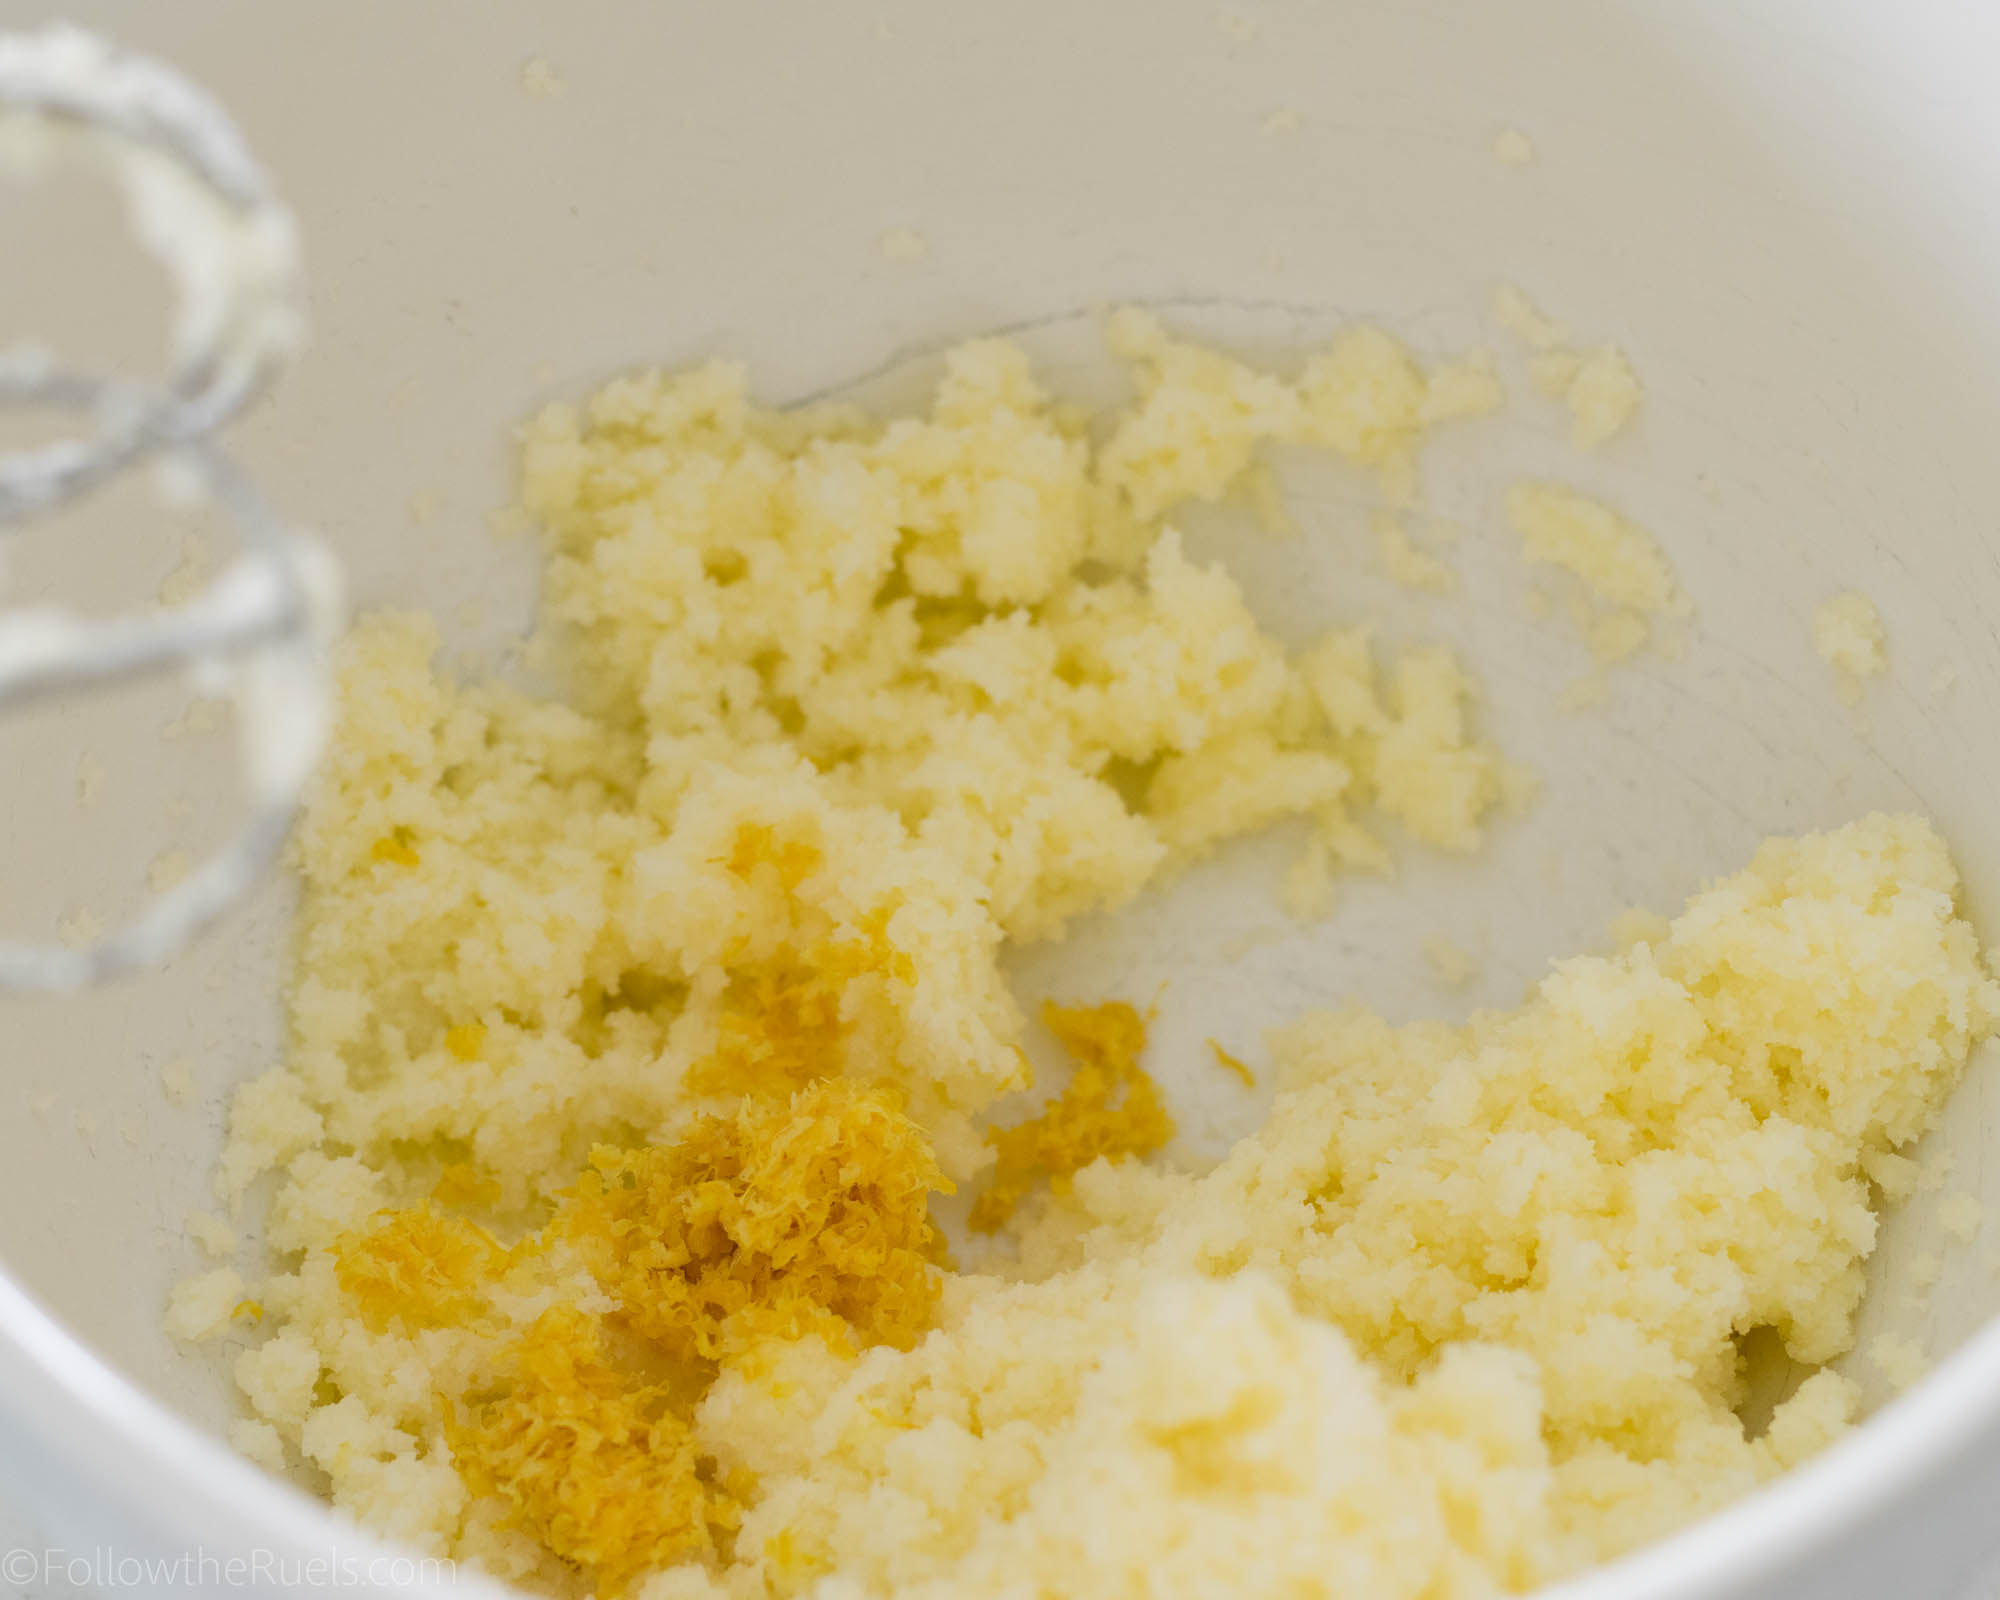
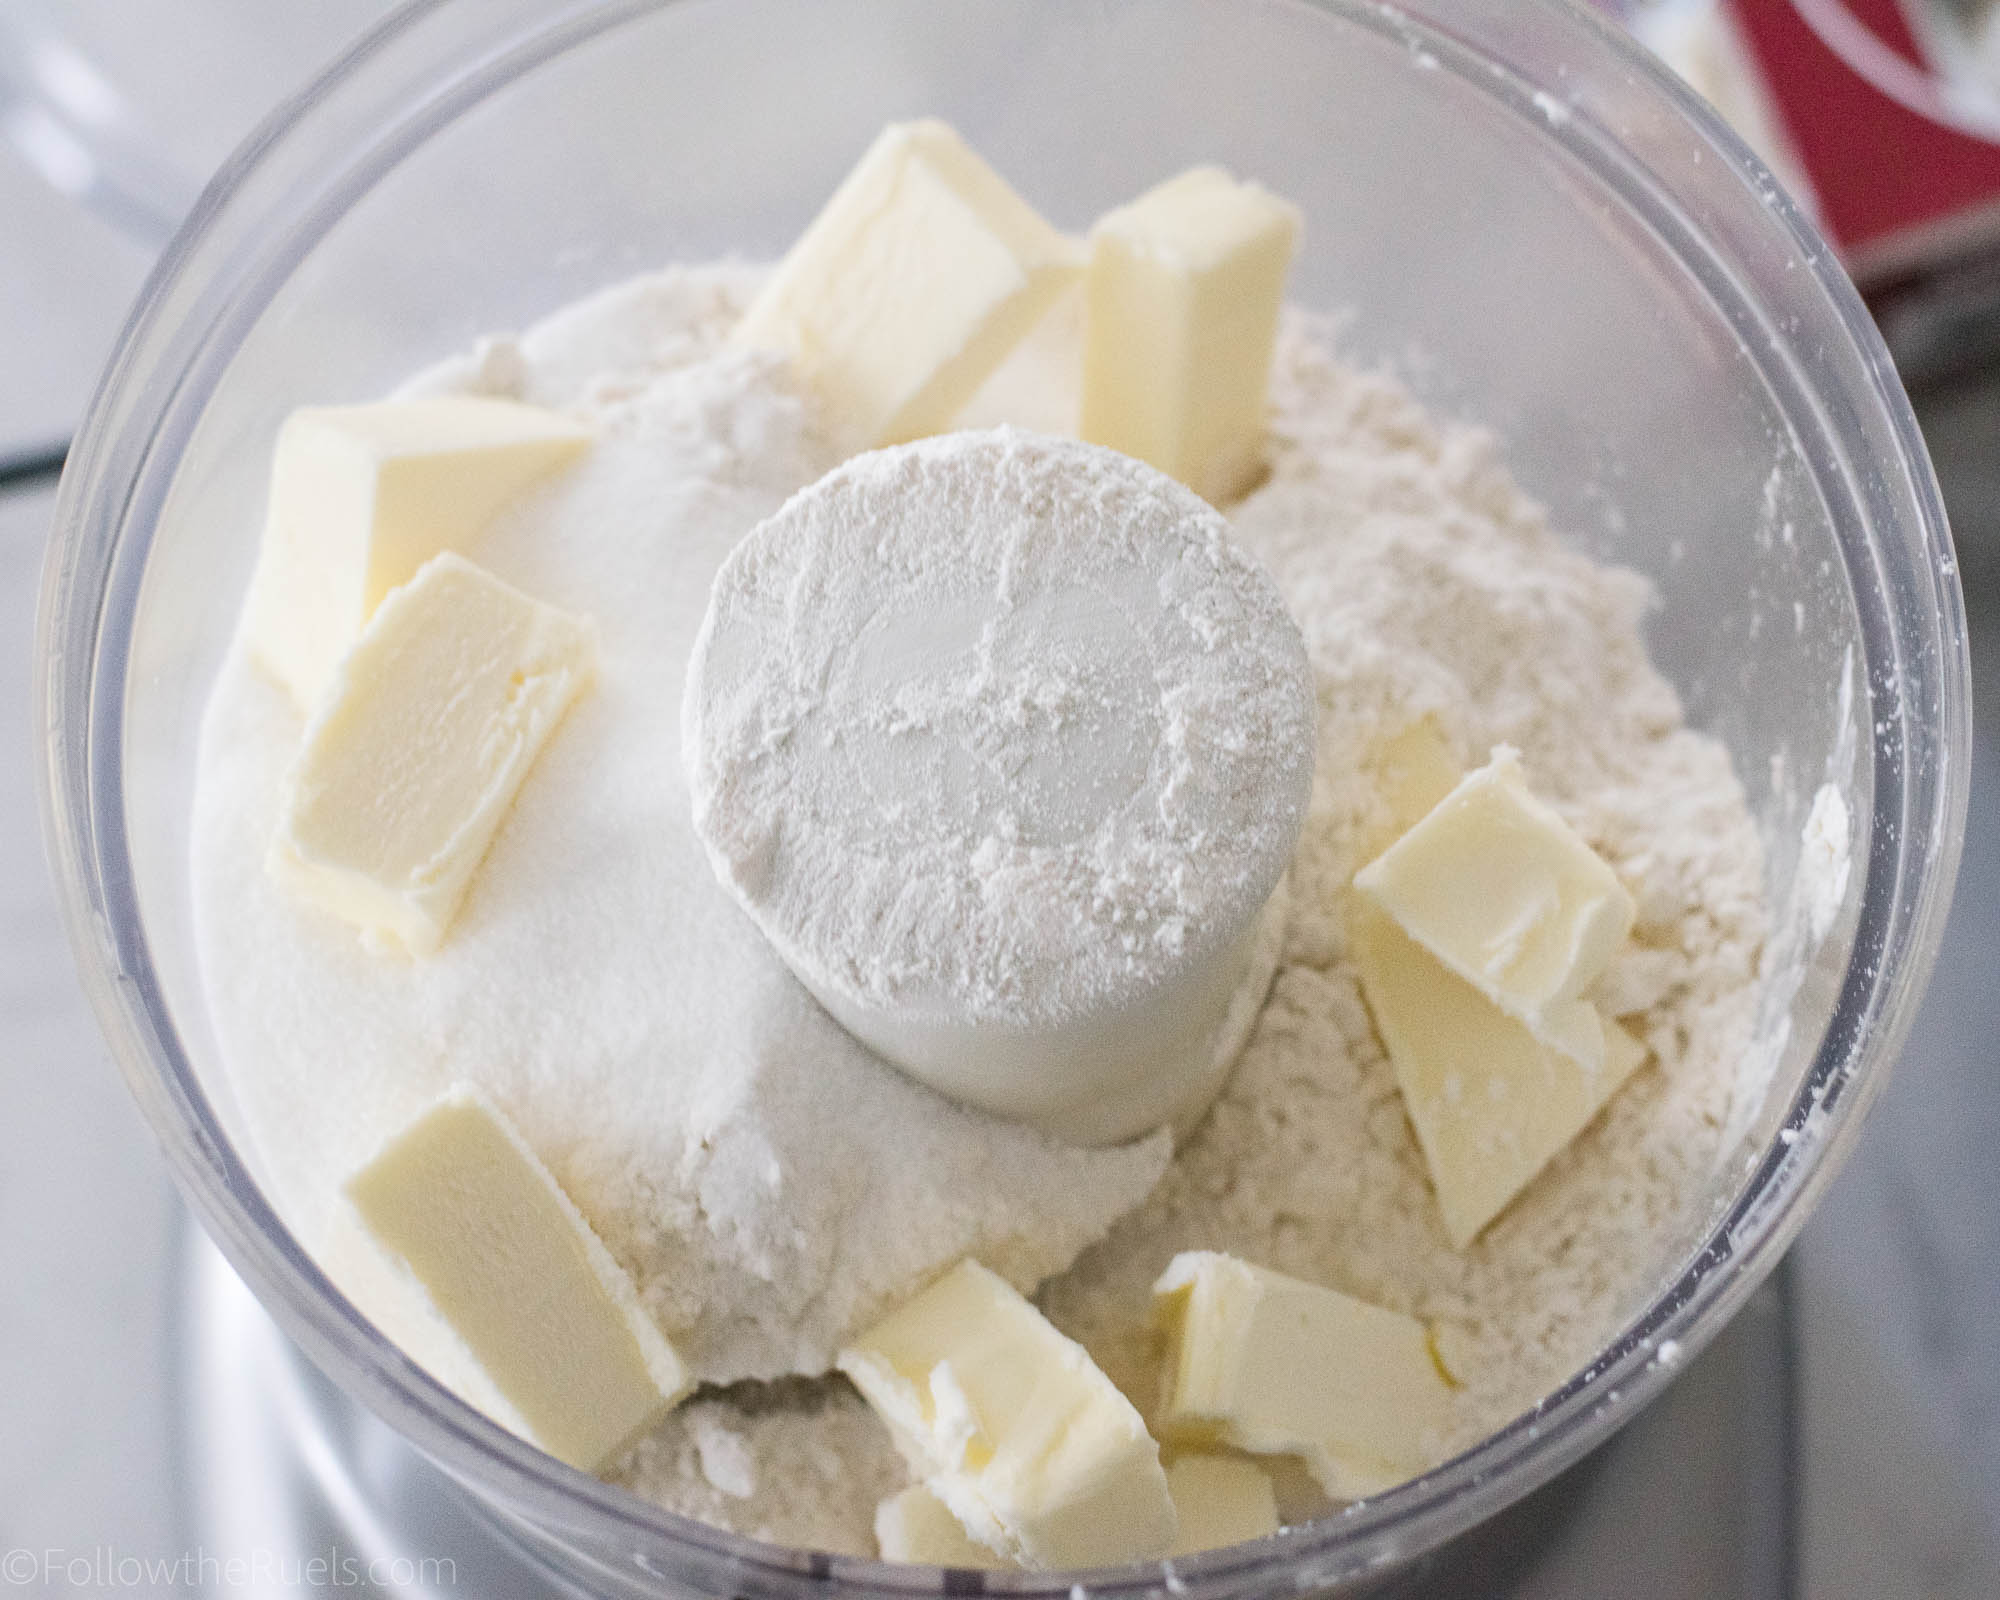
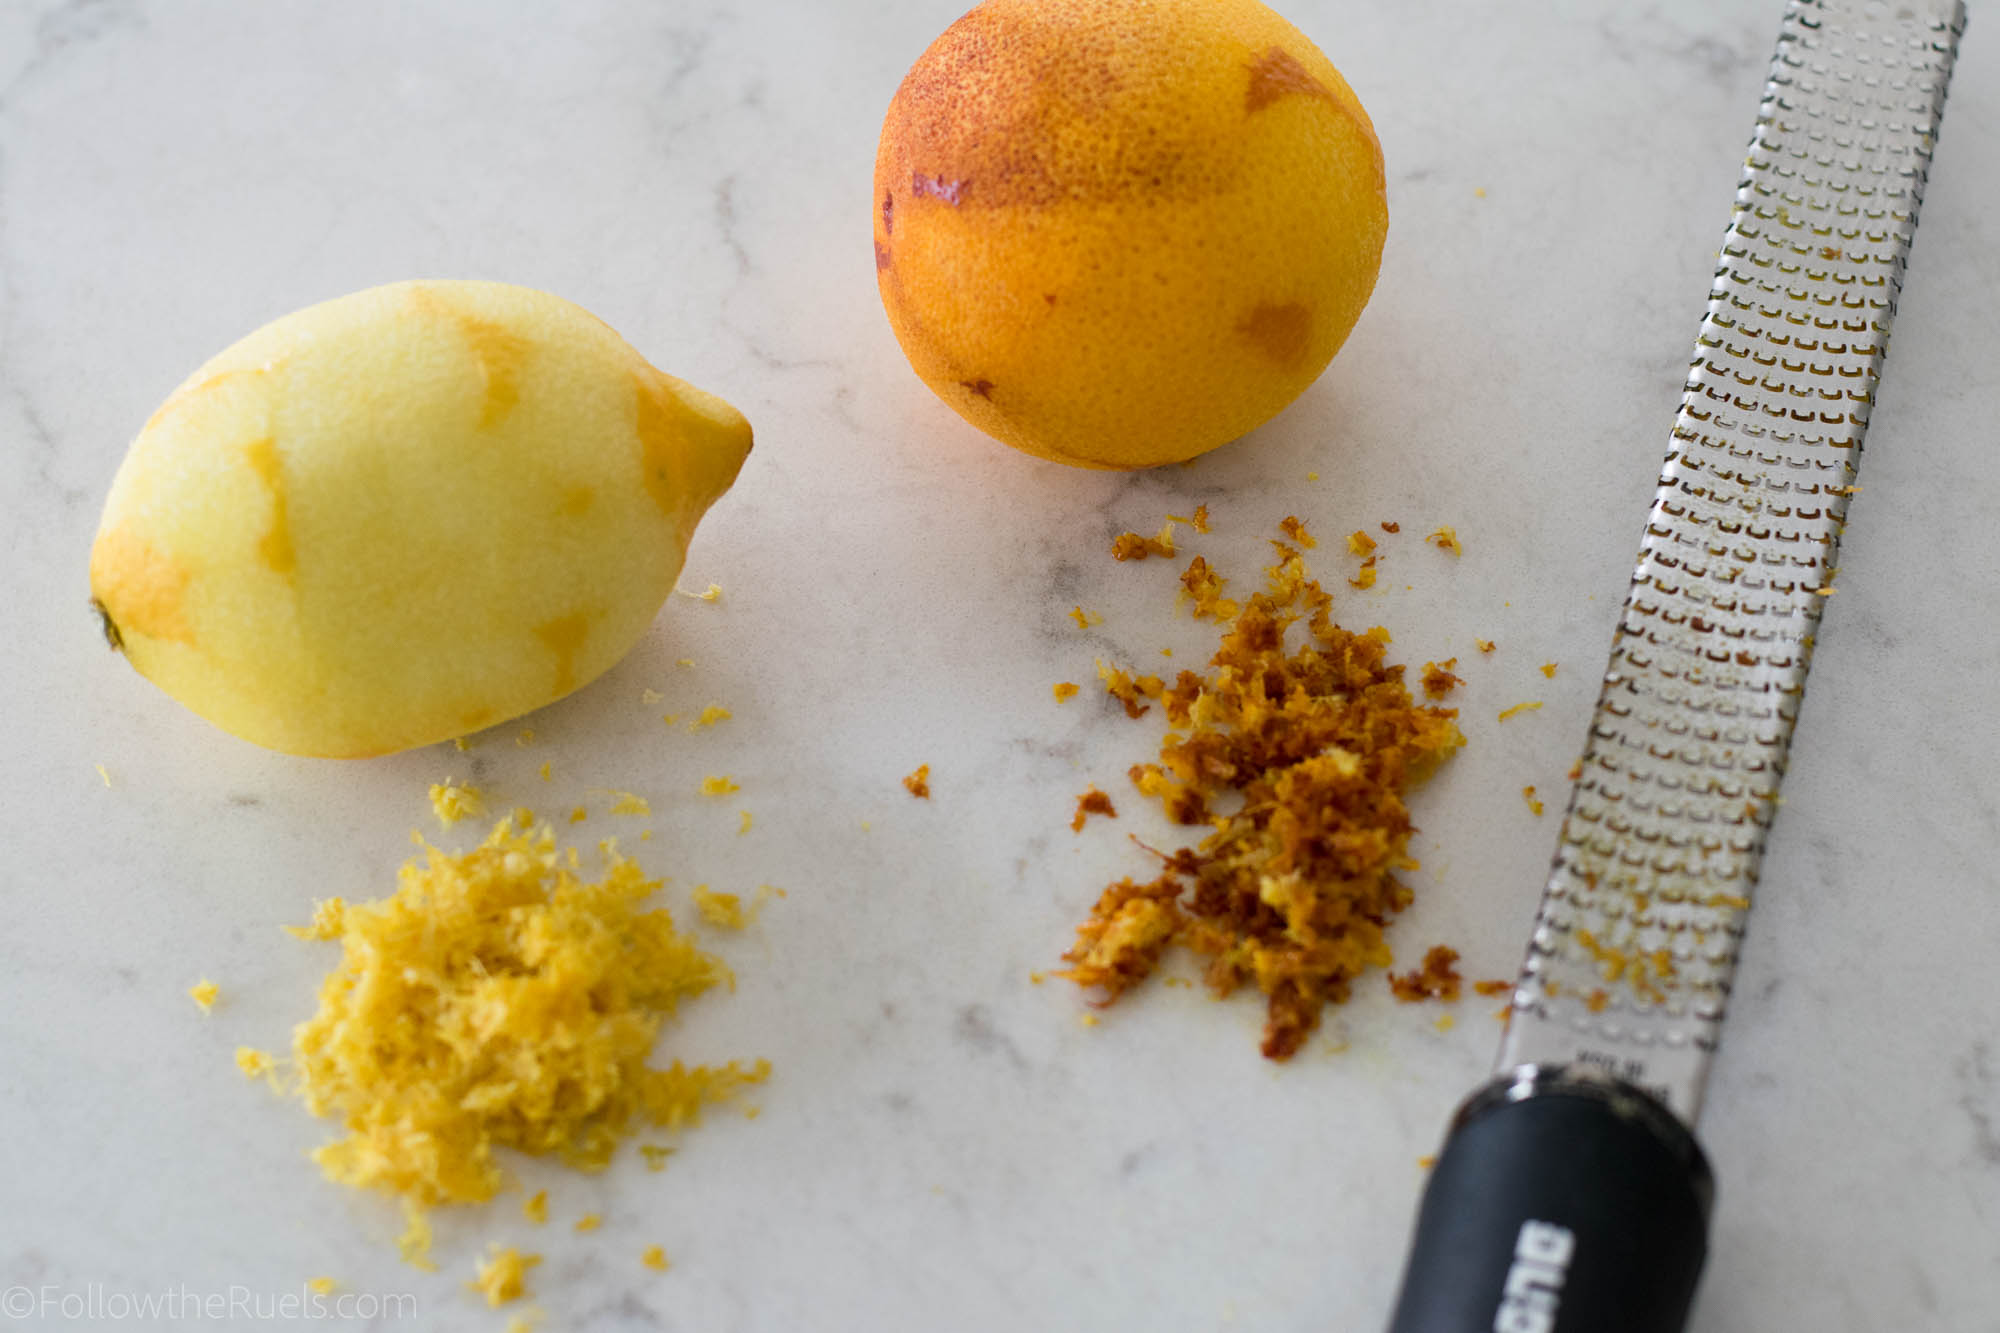
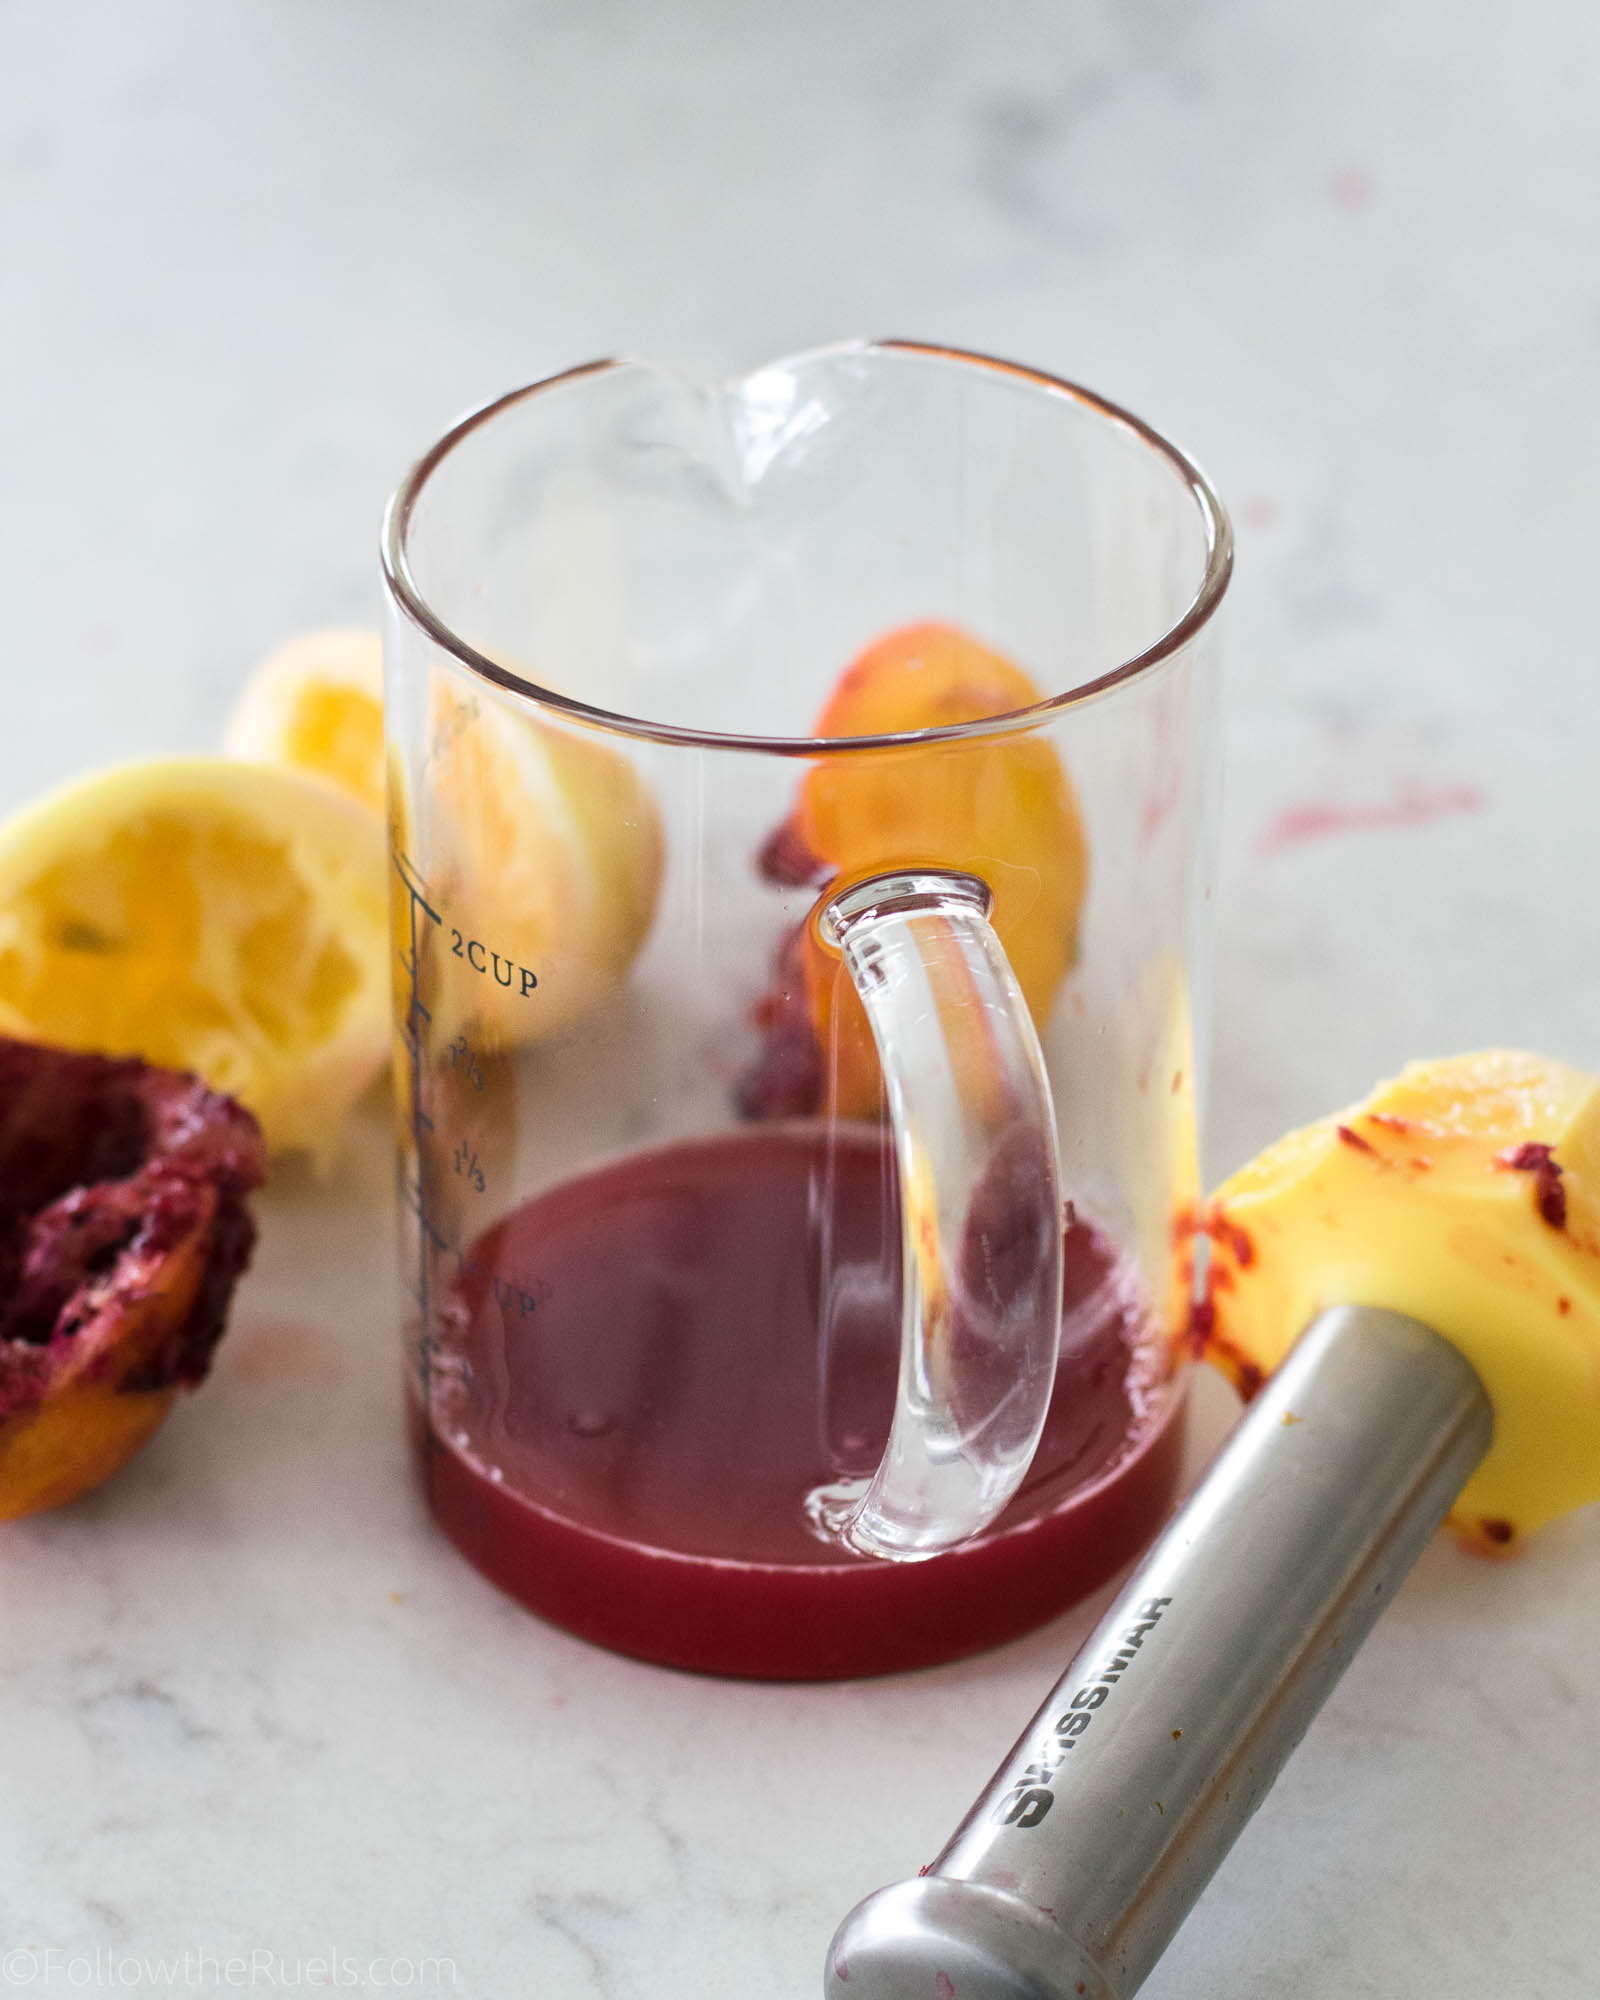
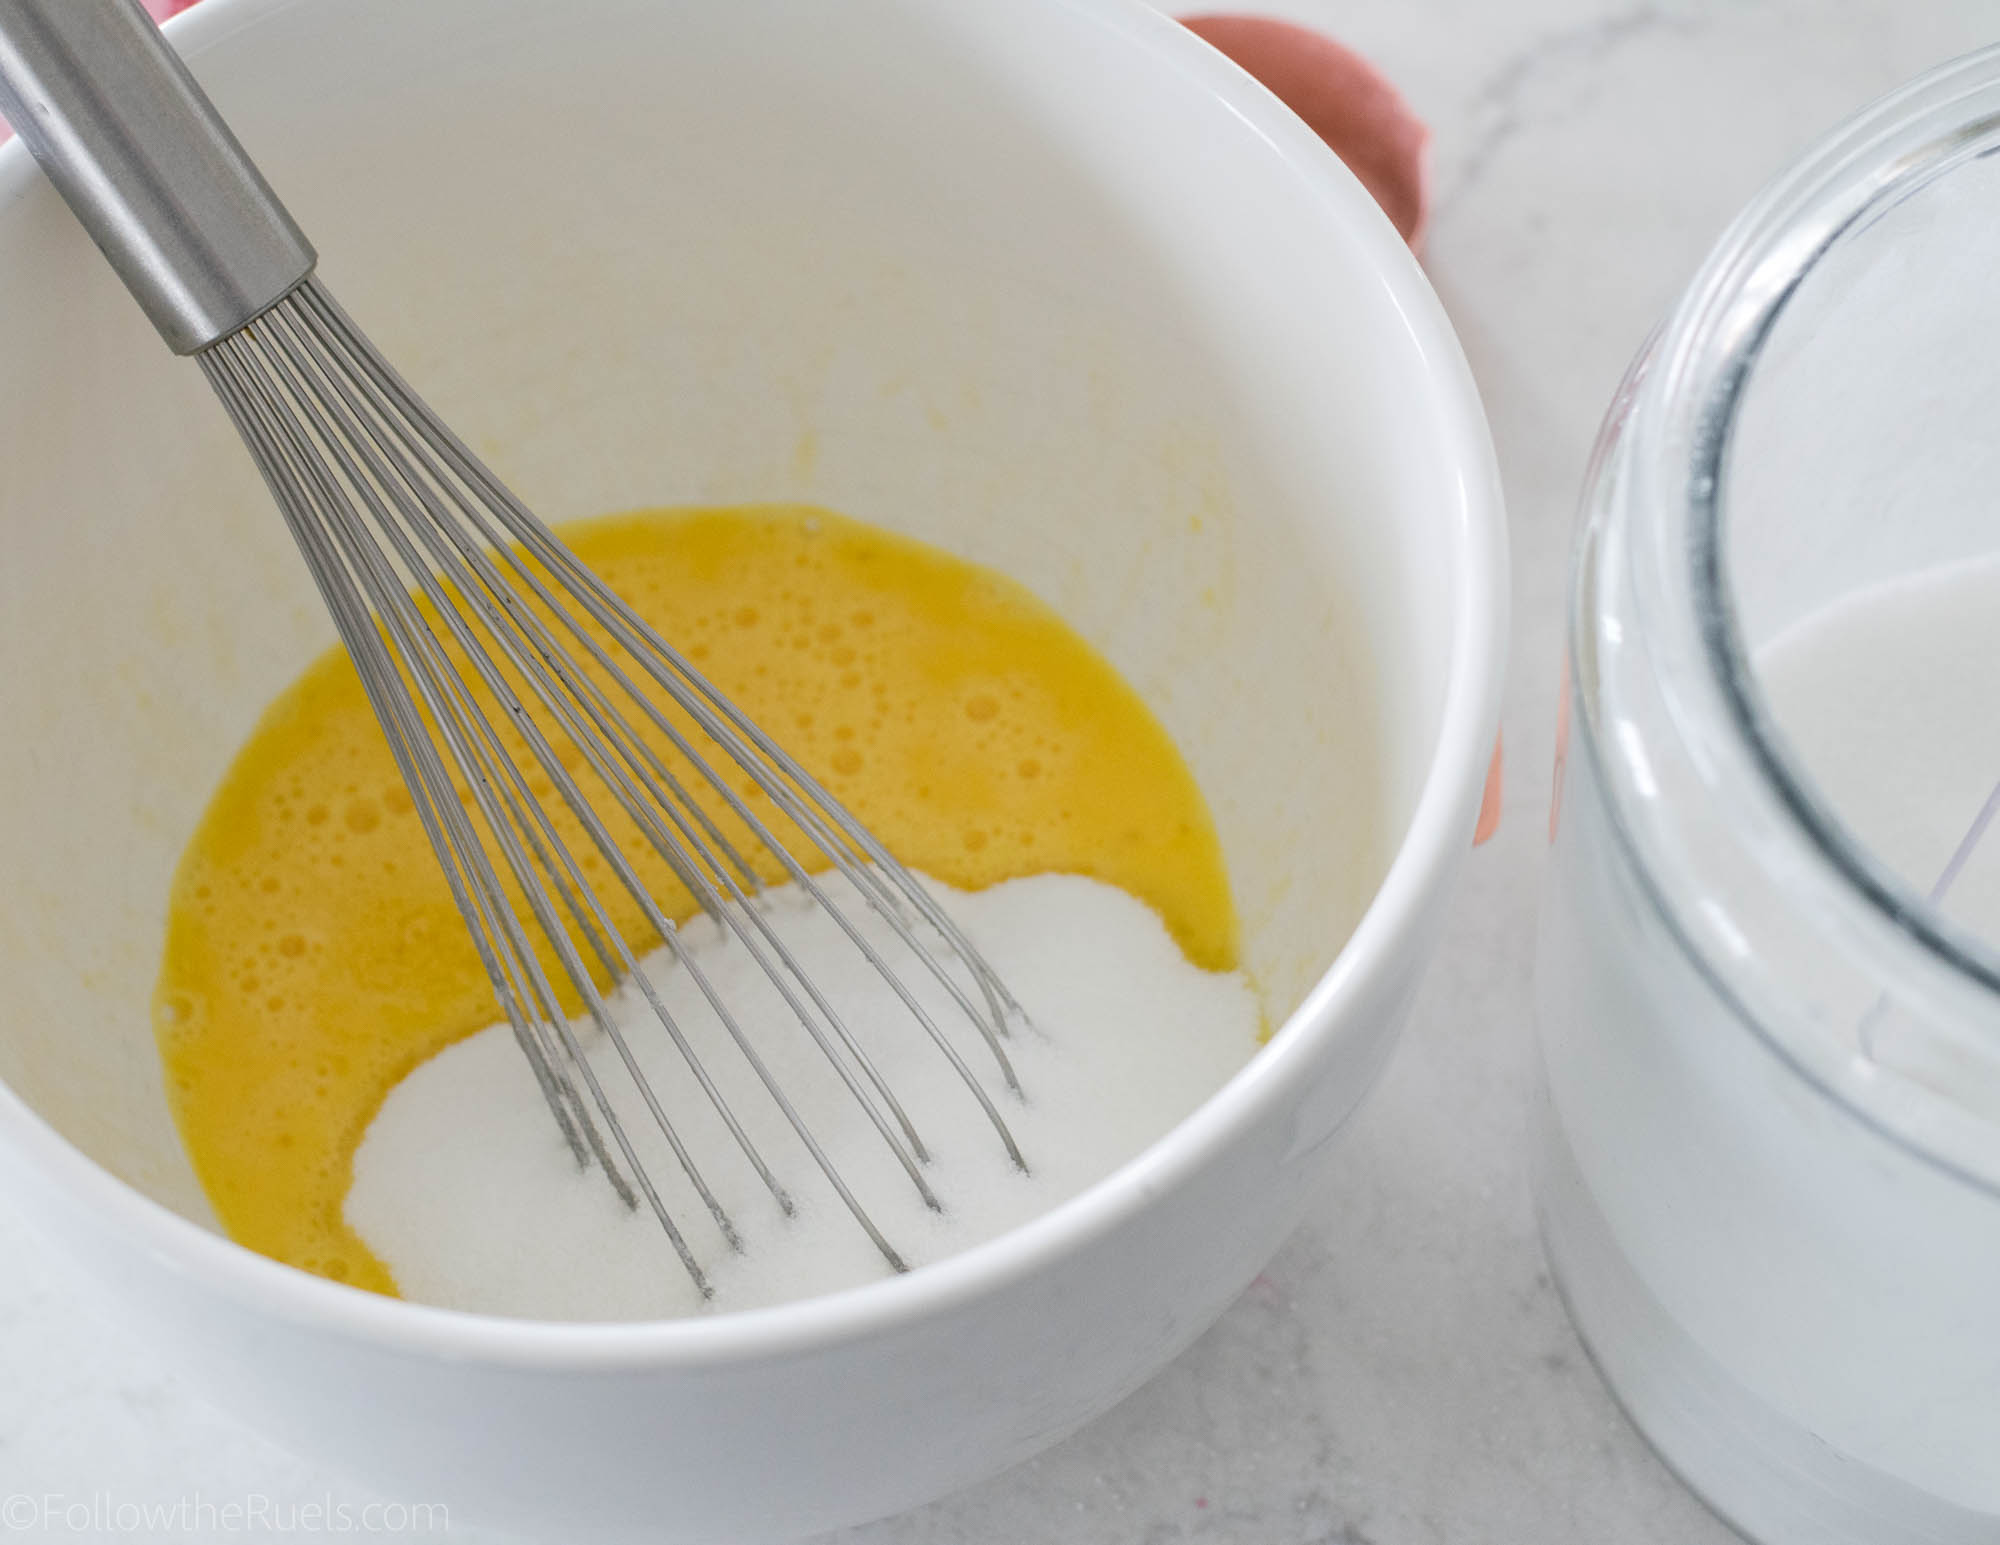
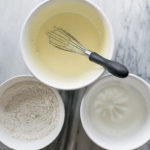
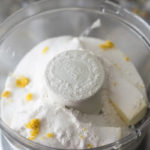
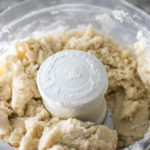
First combine the butter, sugar, and lemon zest. In a separate bowl mix together the dry ingredients. Then in another bowl or measuring cup combine the wet ingredients. 

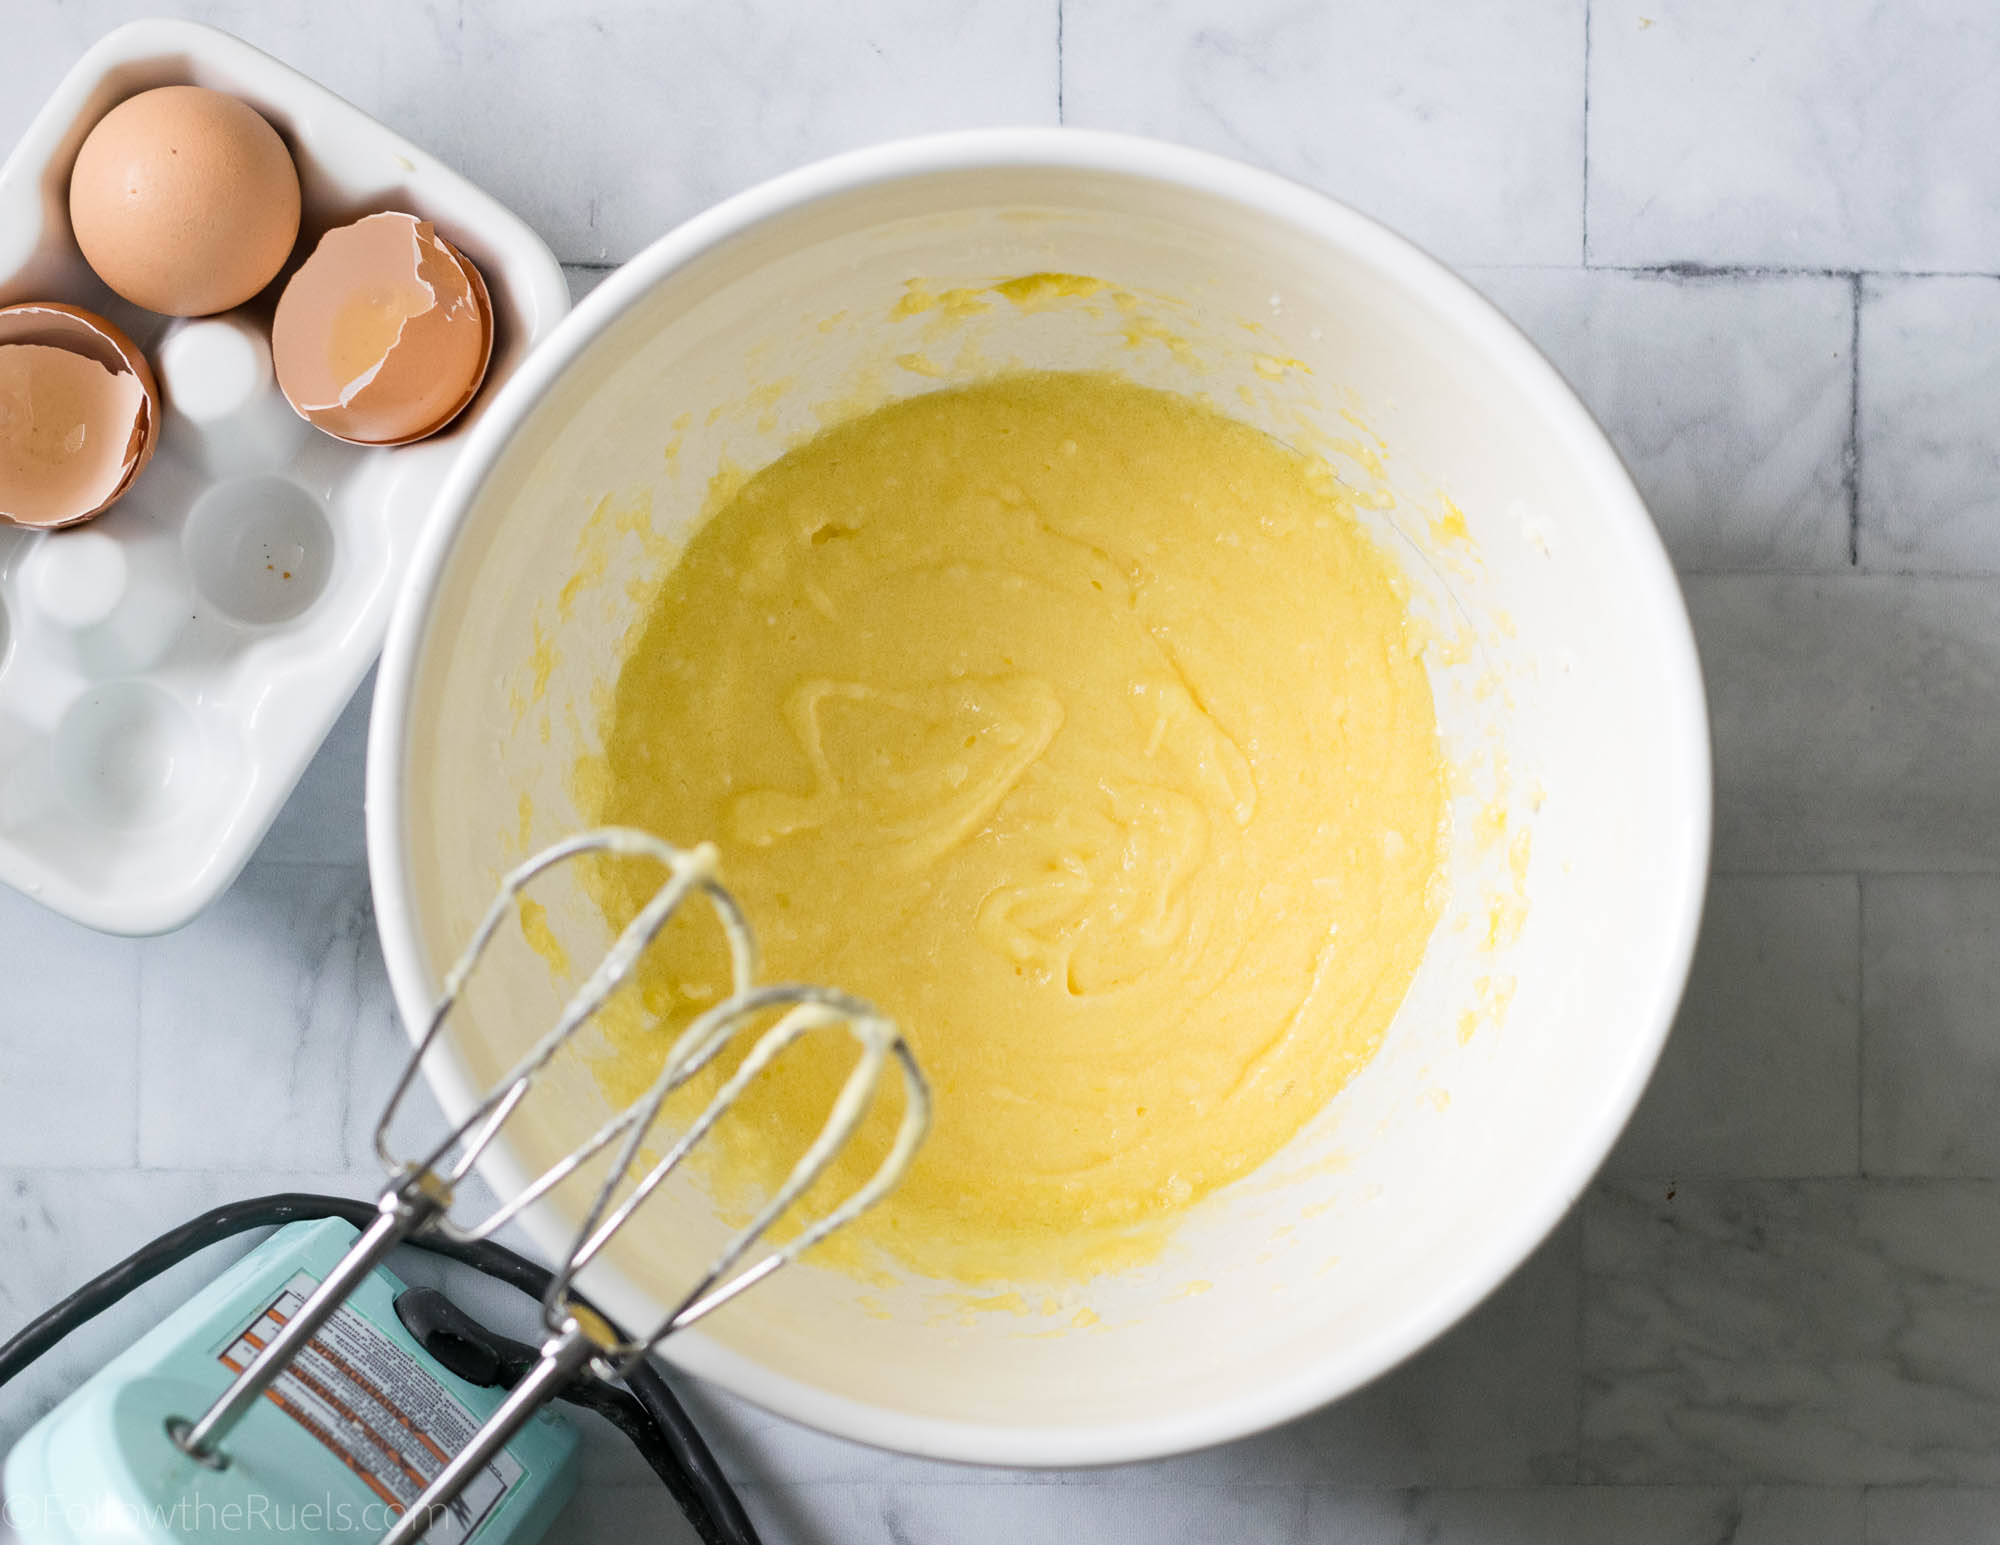
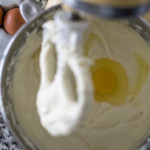
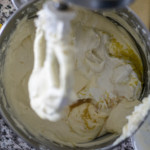
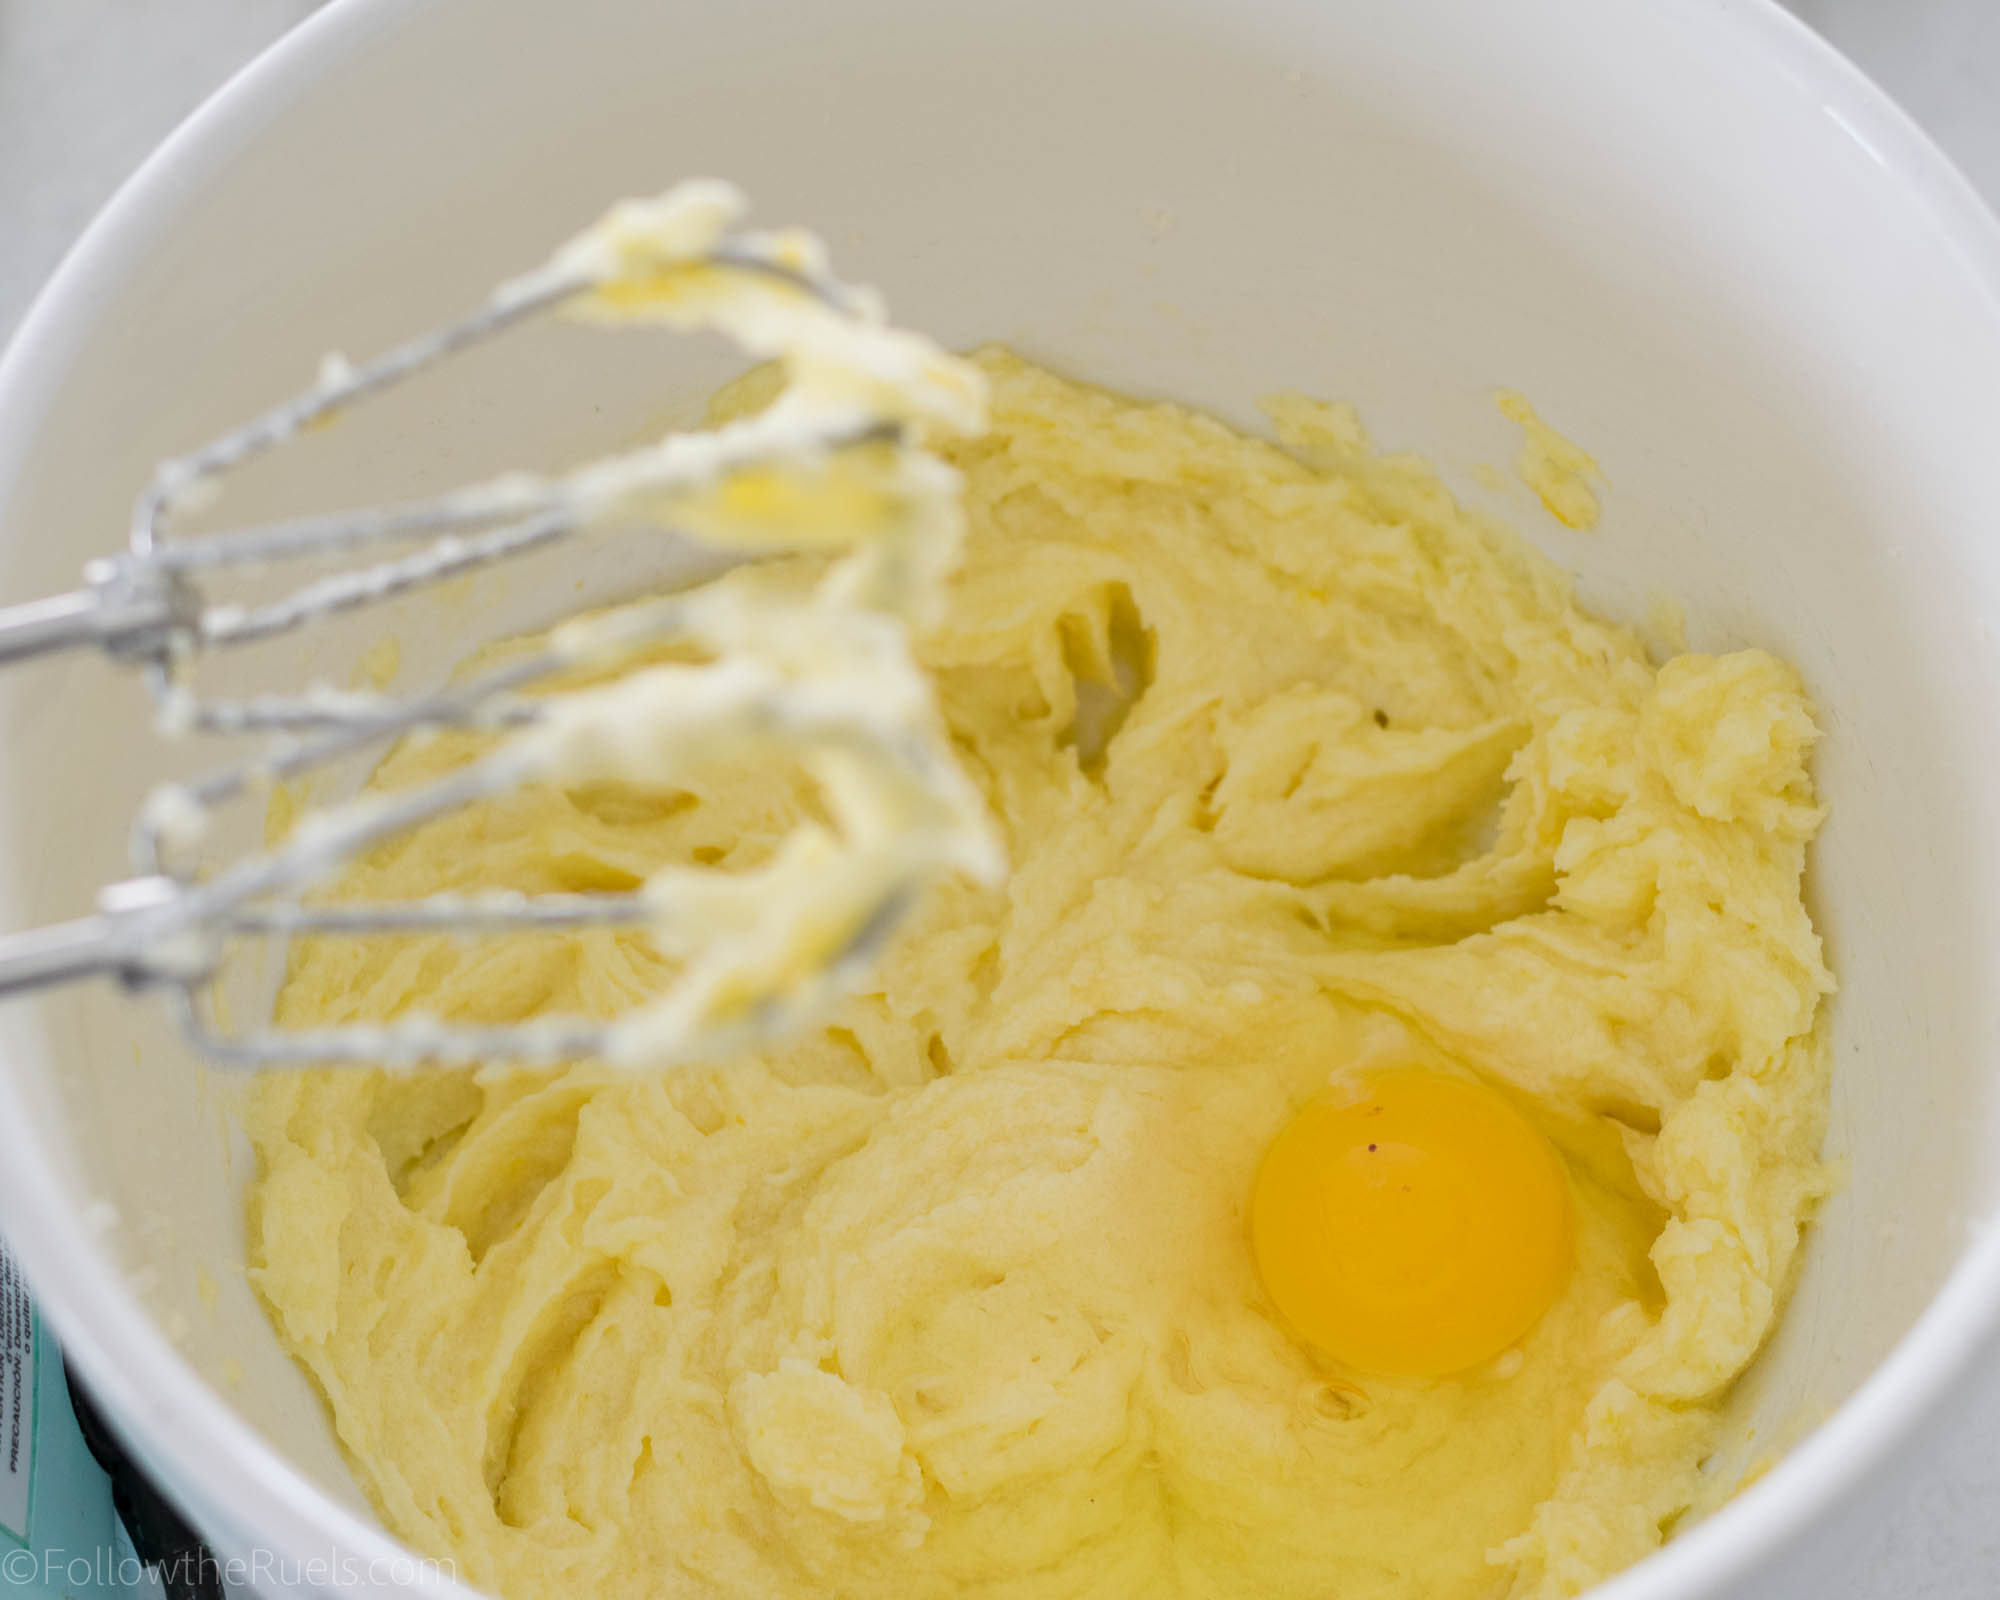
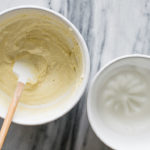
Cream together the butter and sugar until light and fluffy. Then mix in the eggs one at a time. 

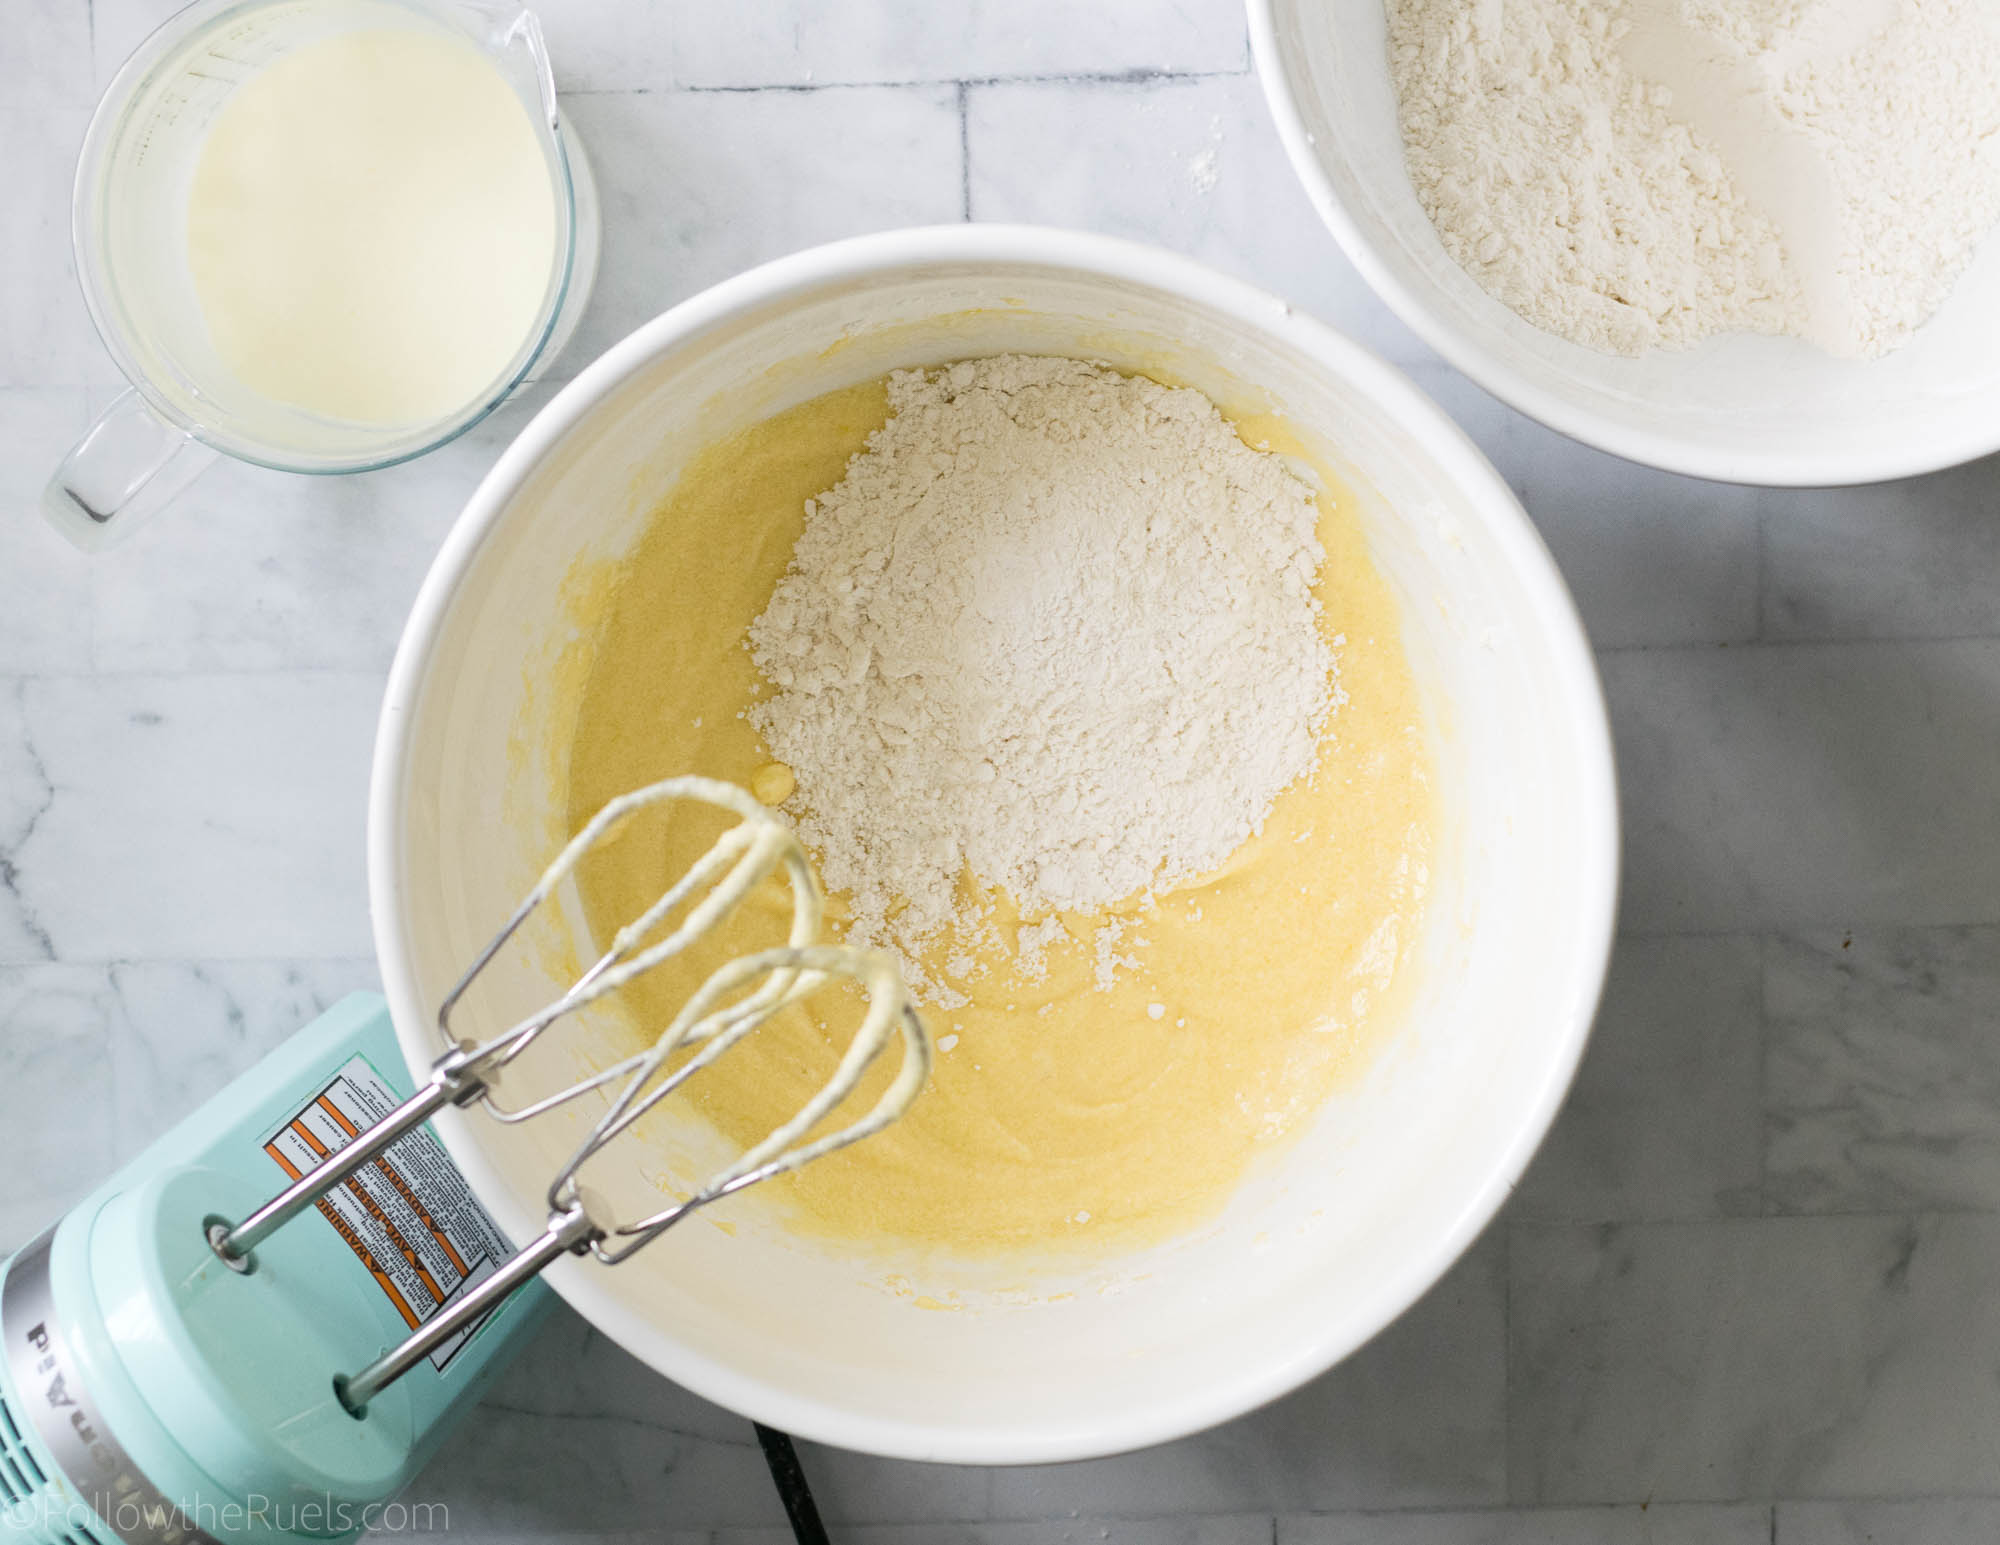
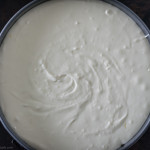
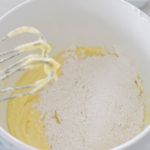
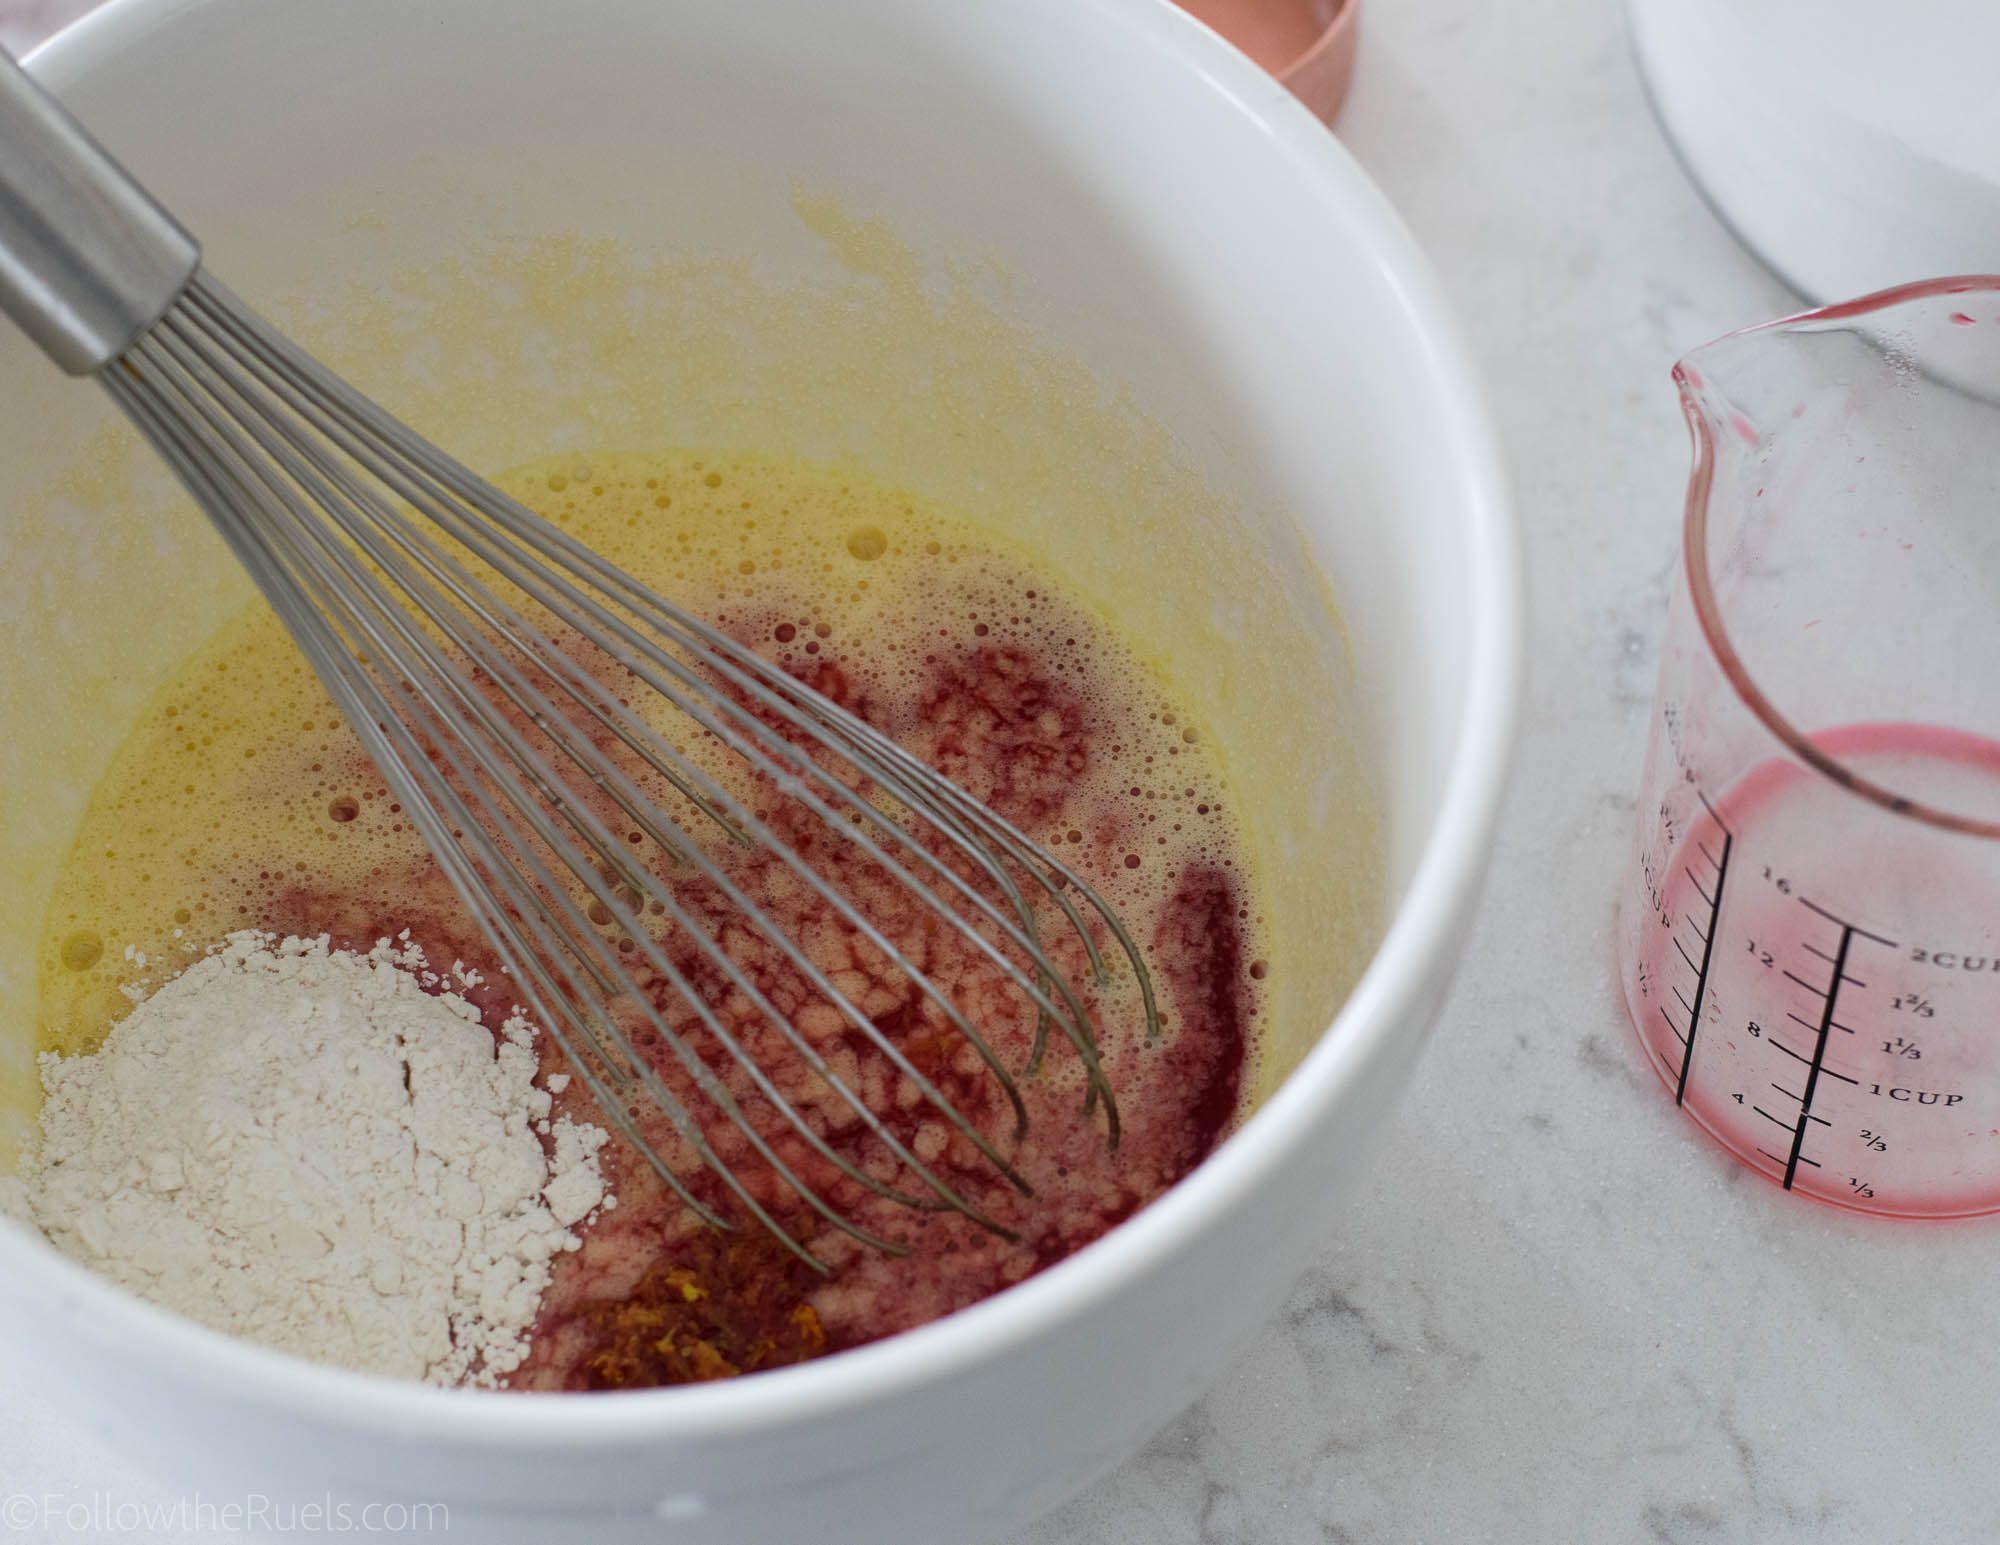
Alternate mixing in the dry and wet ingredients, starting and ending with the dry. For me, I like to do this in five parts: dry, wet, dry, wet, dry. 

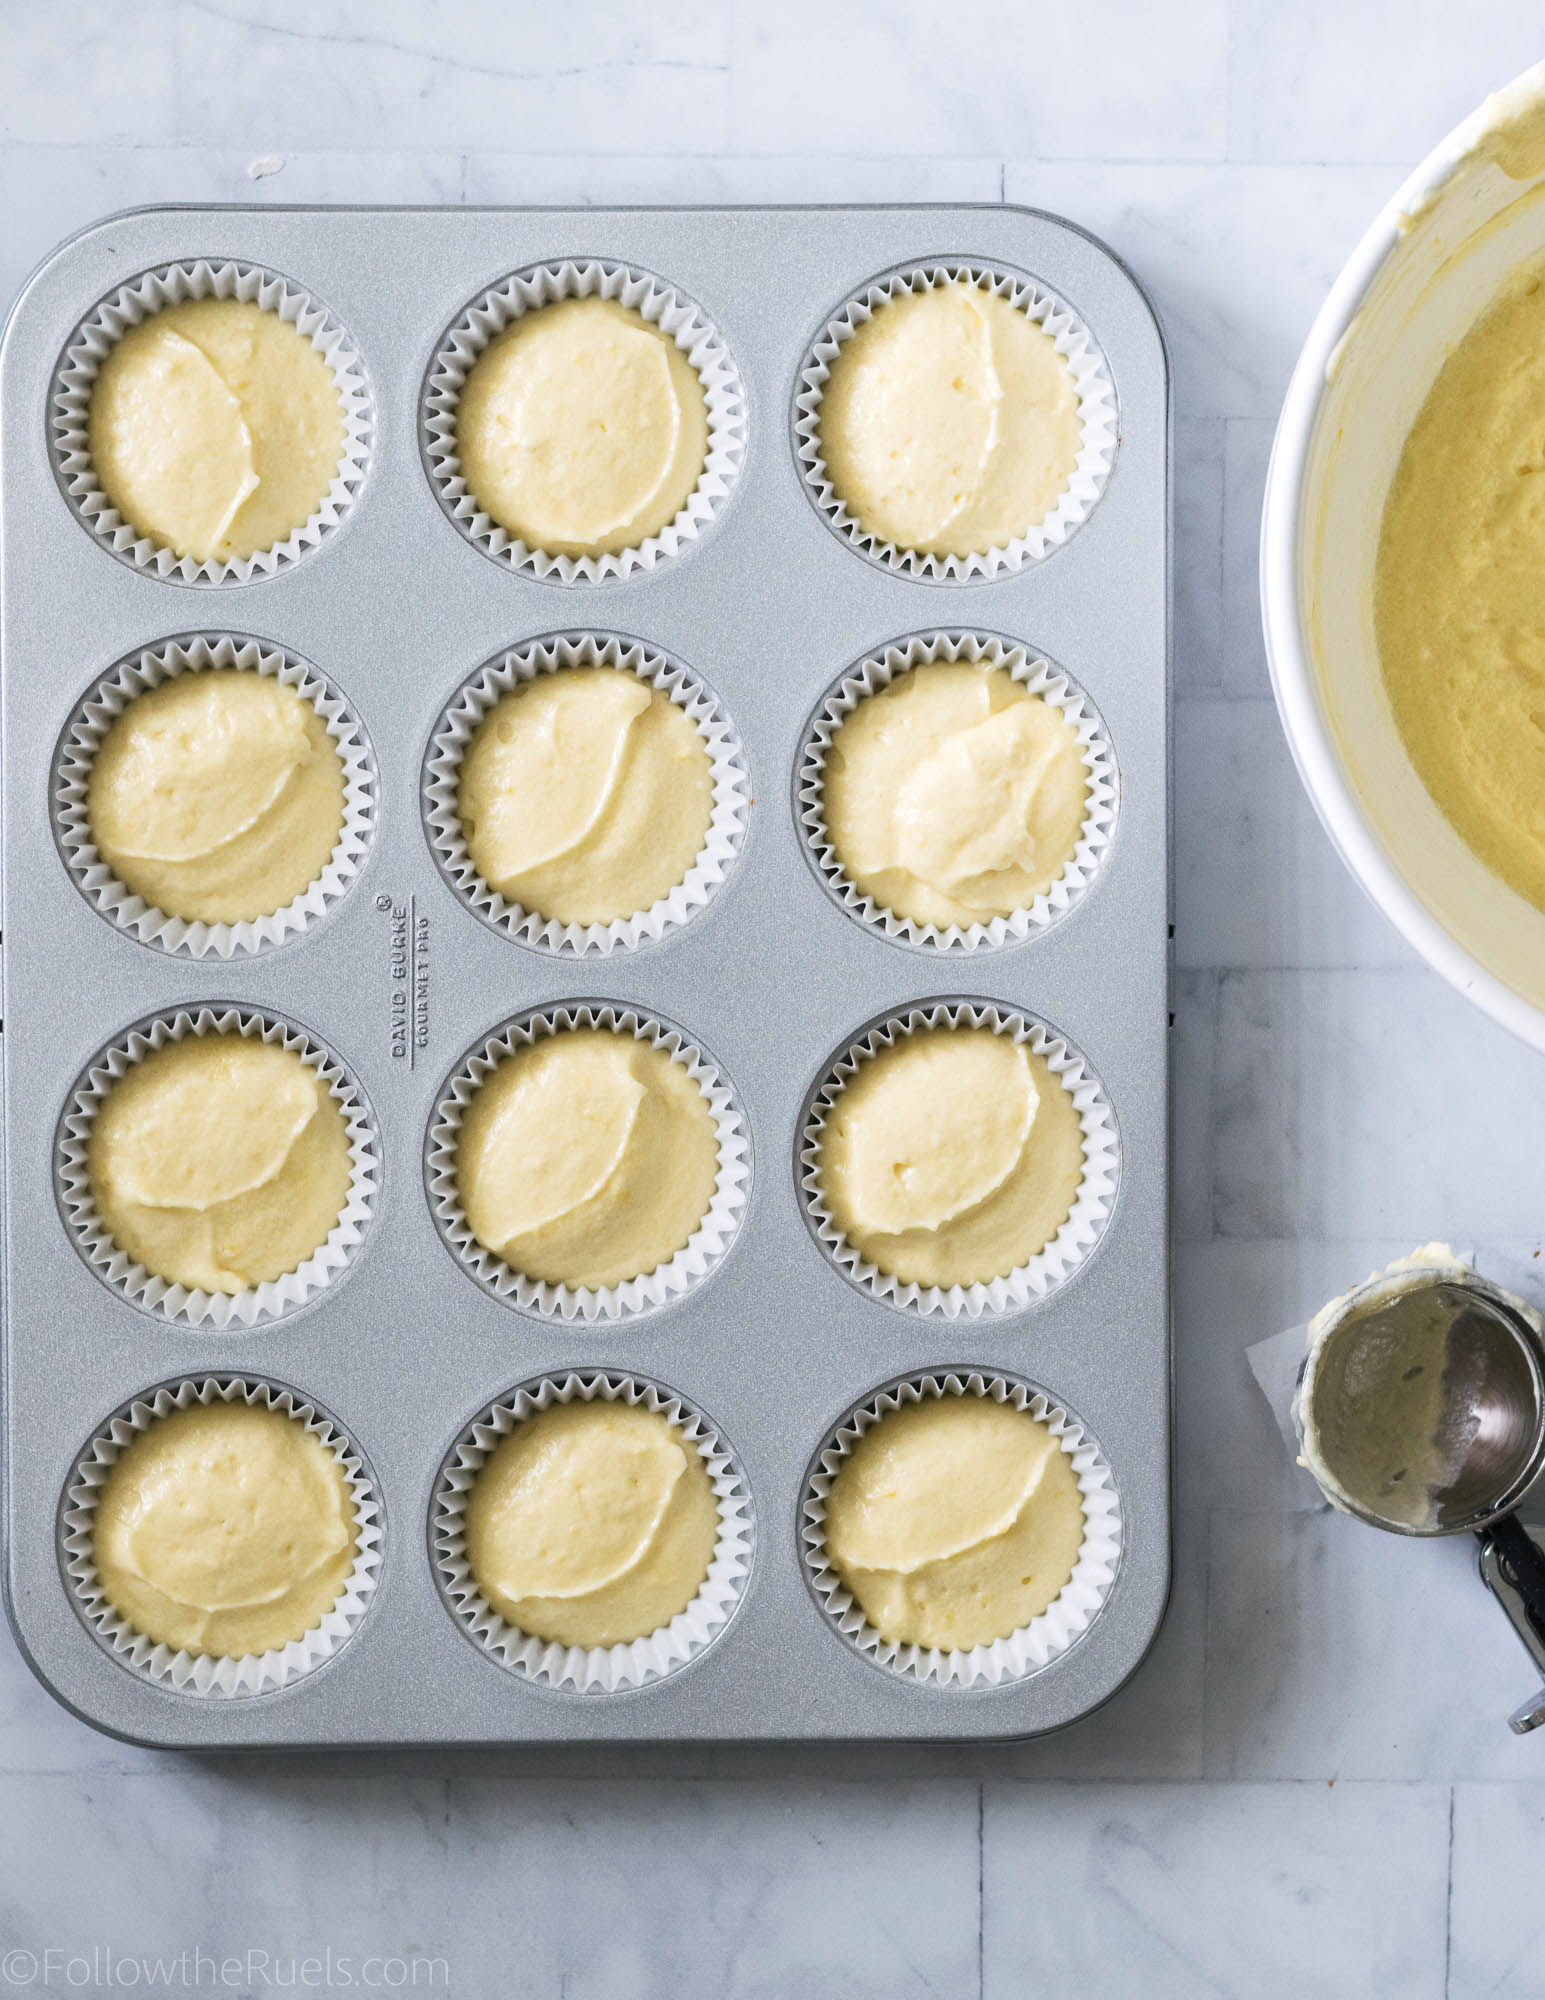
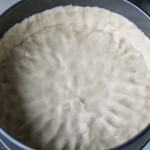
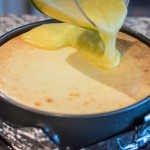
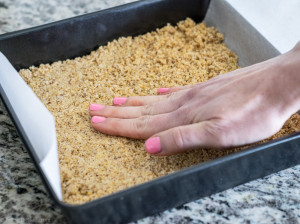
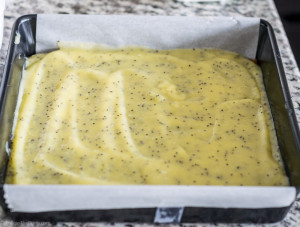
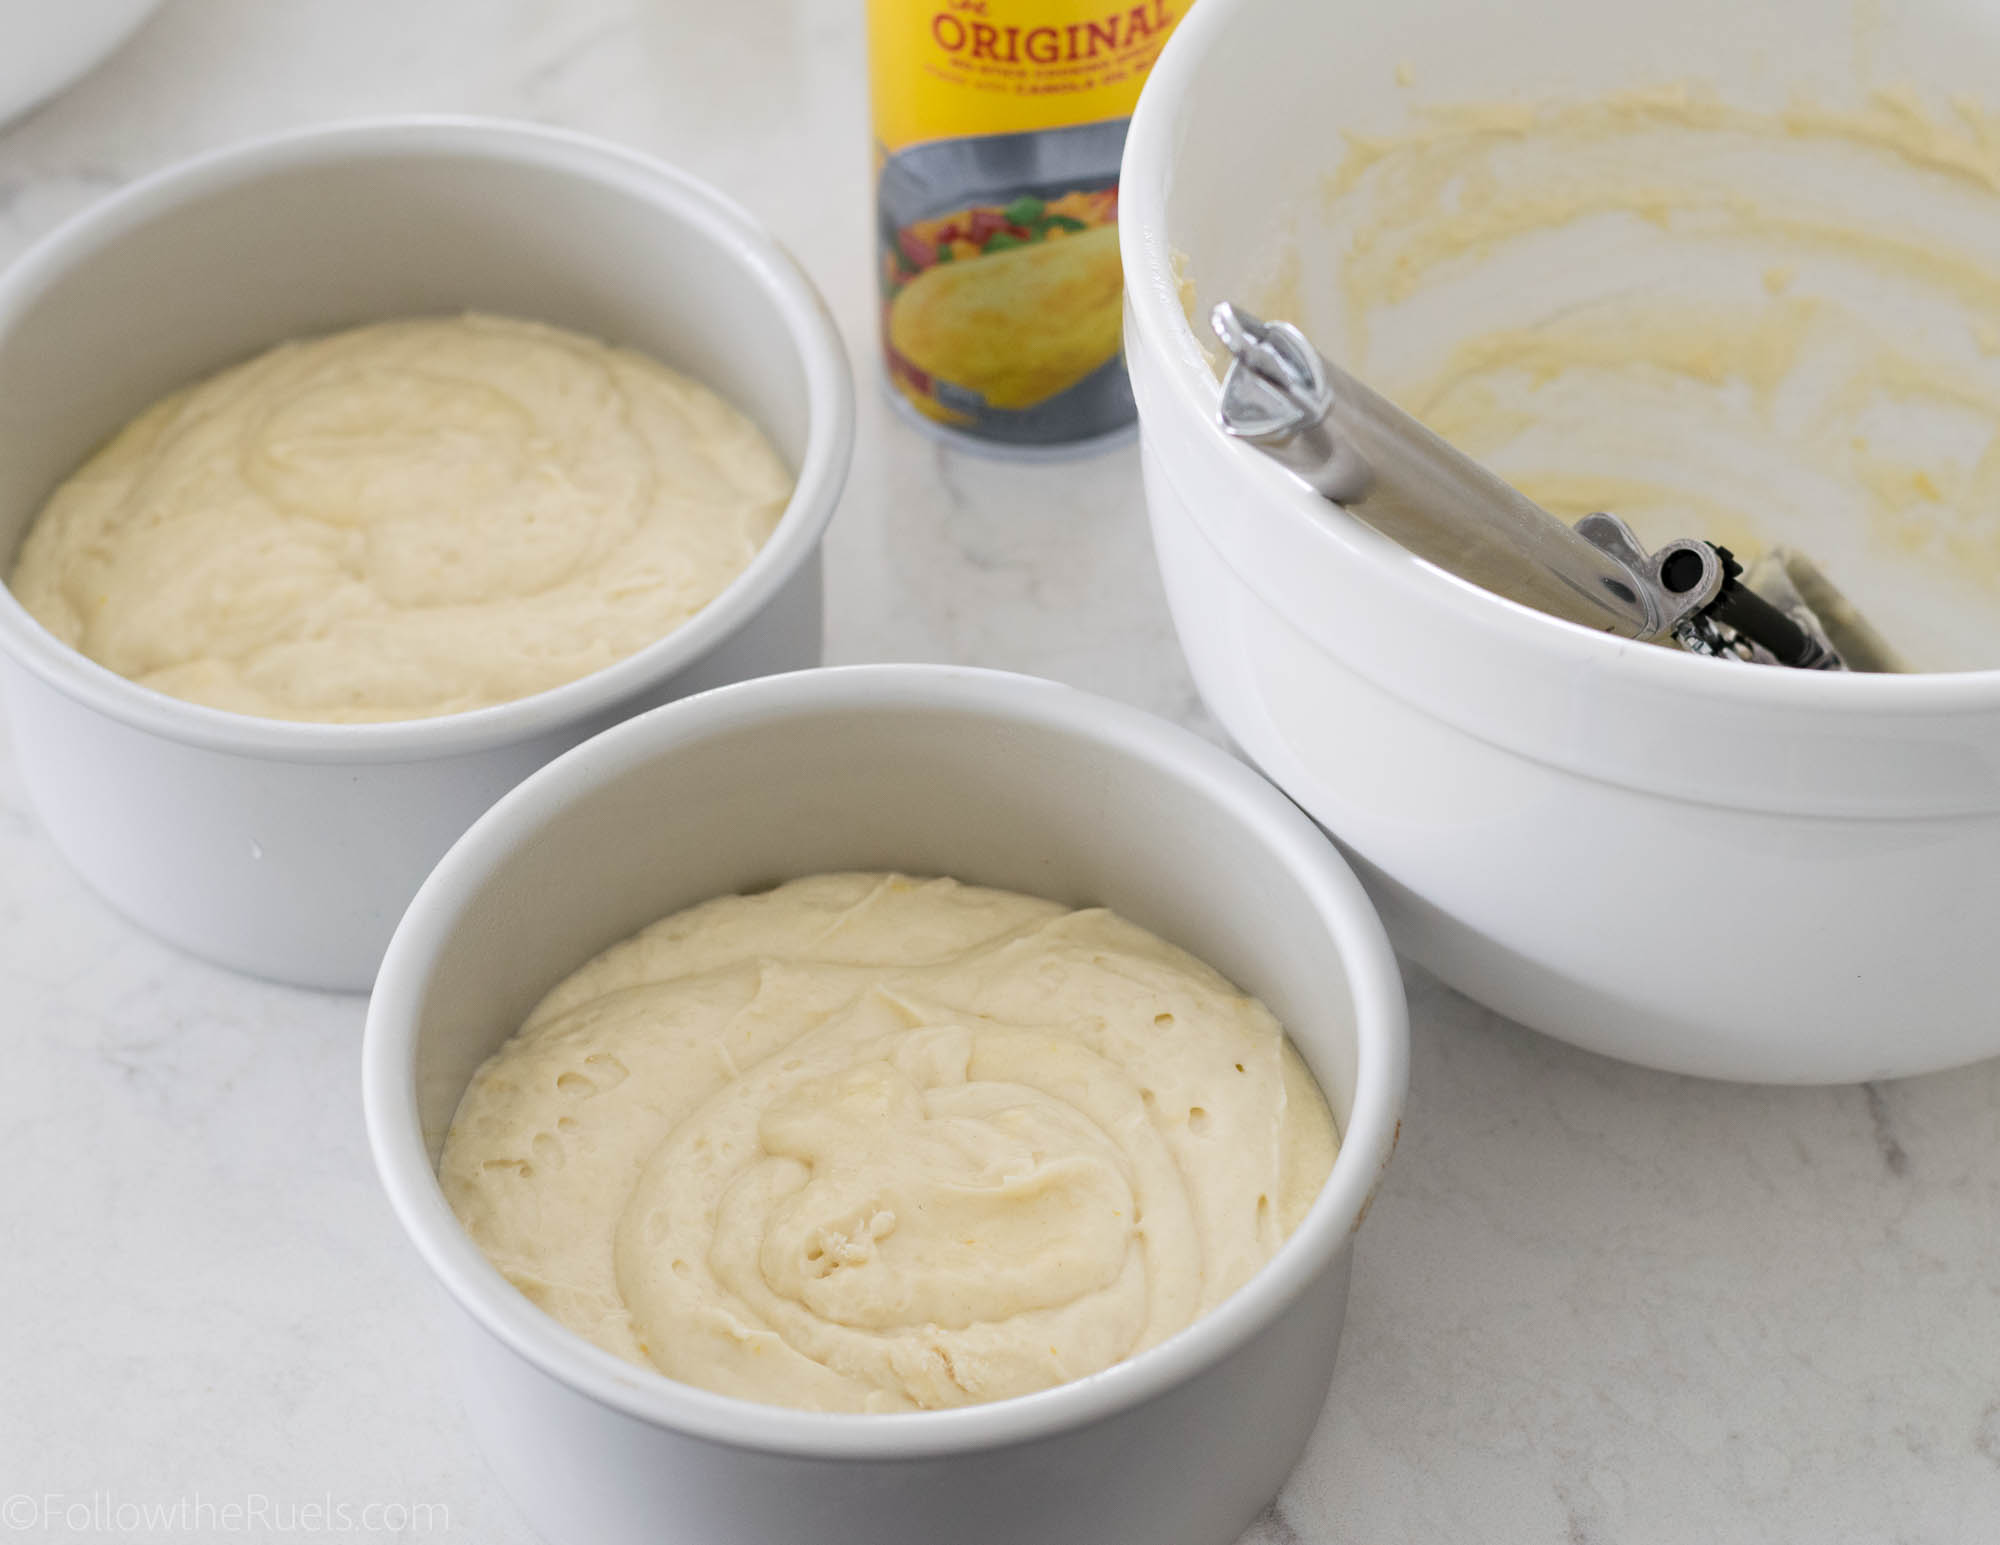
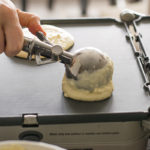
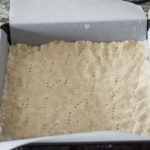
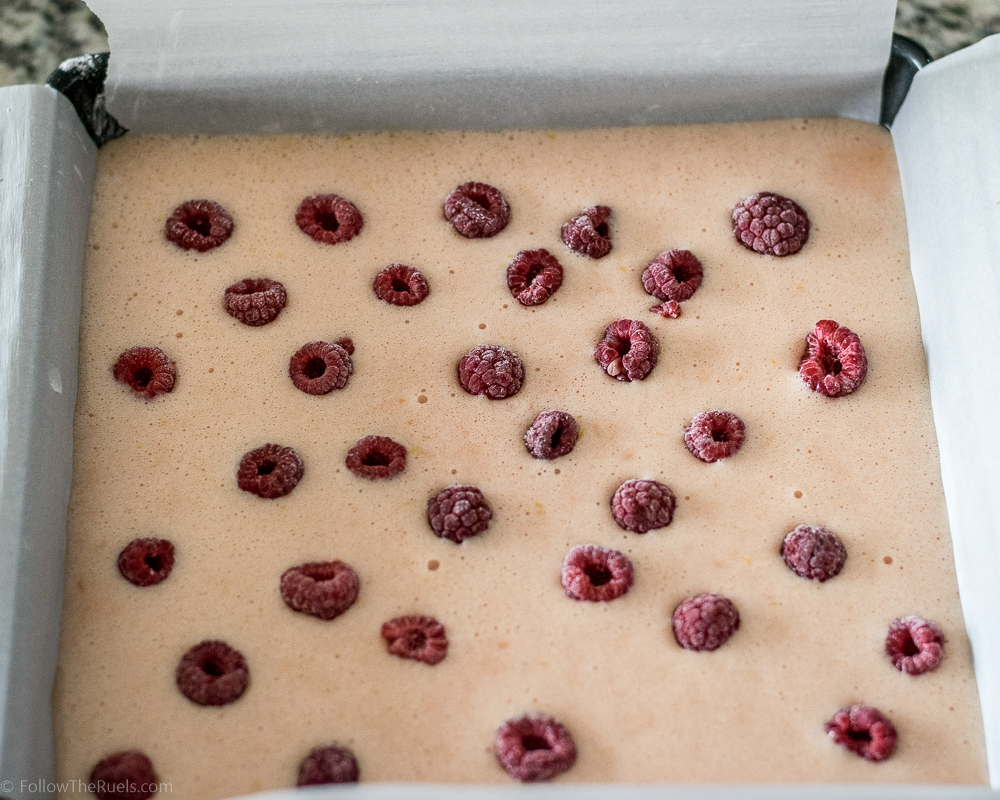
Portion the batter into the muffin tin so that each cup is about 2/3rds full. I like using an ice cream scoop because it makes this step so much easier. 

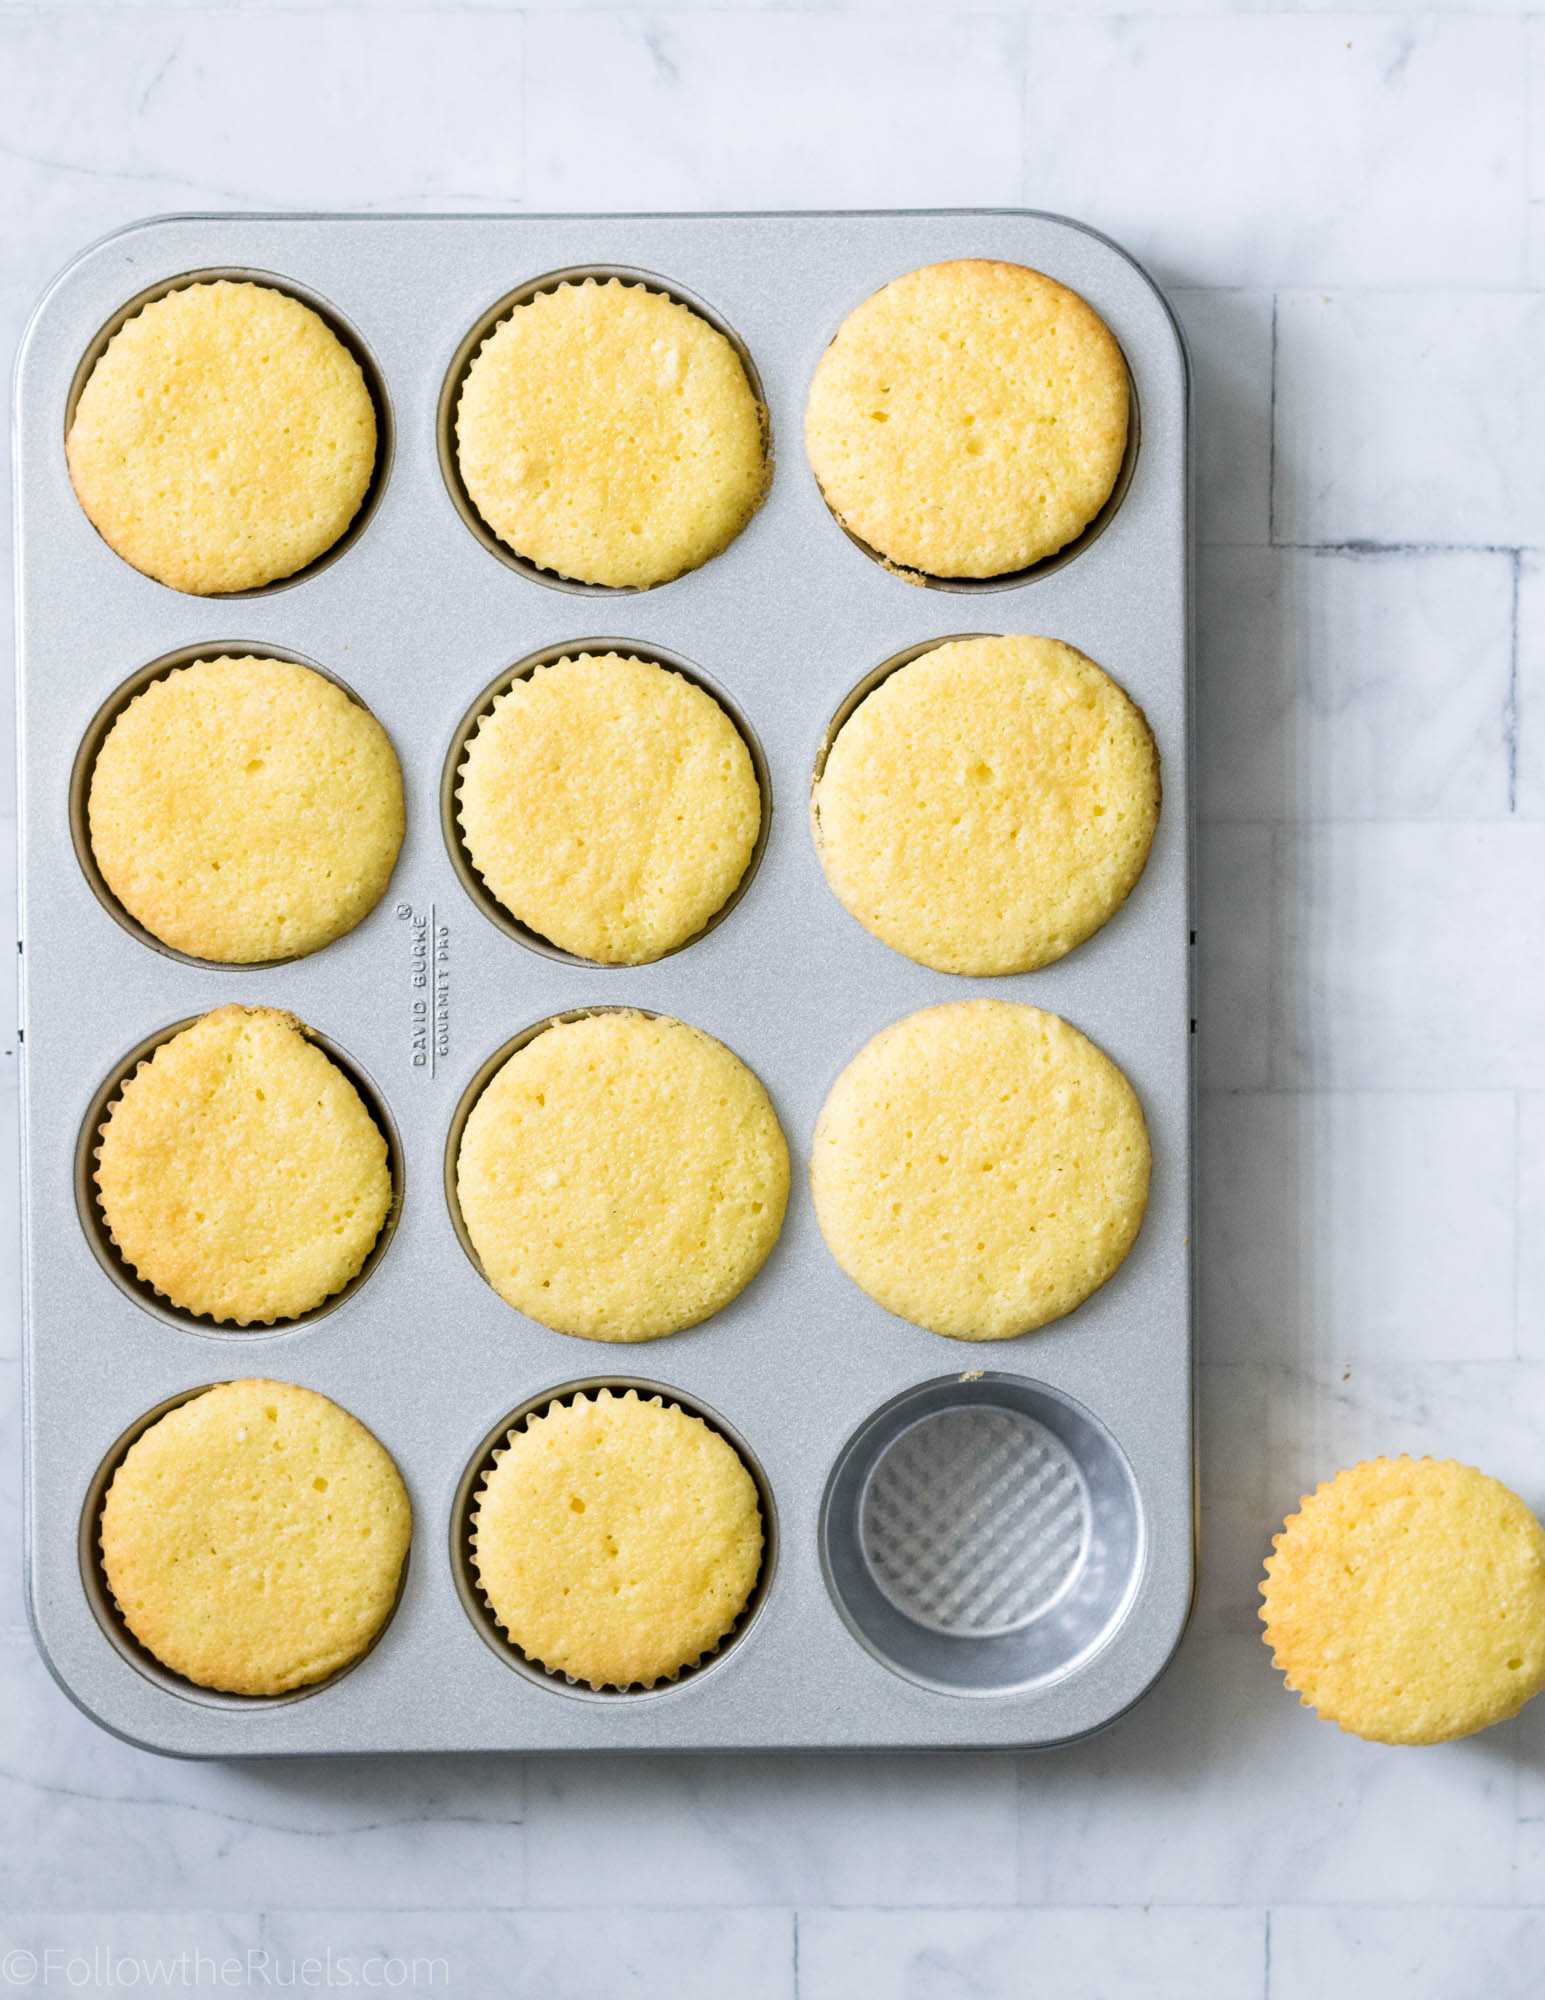
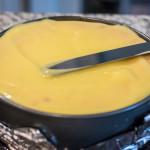
Bake until they are just a little bit golden around the edges or until a toothpick stuck into the center of the cupcake comes out clean. 

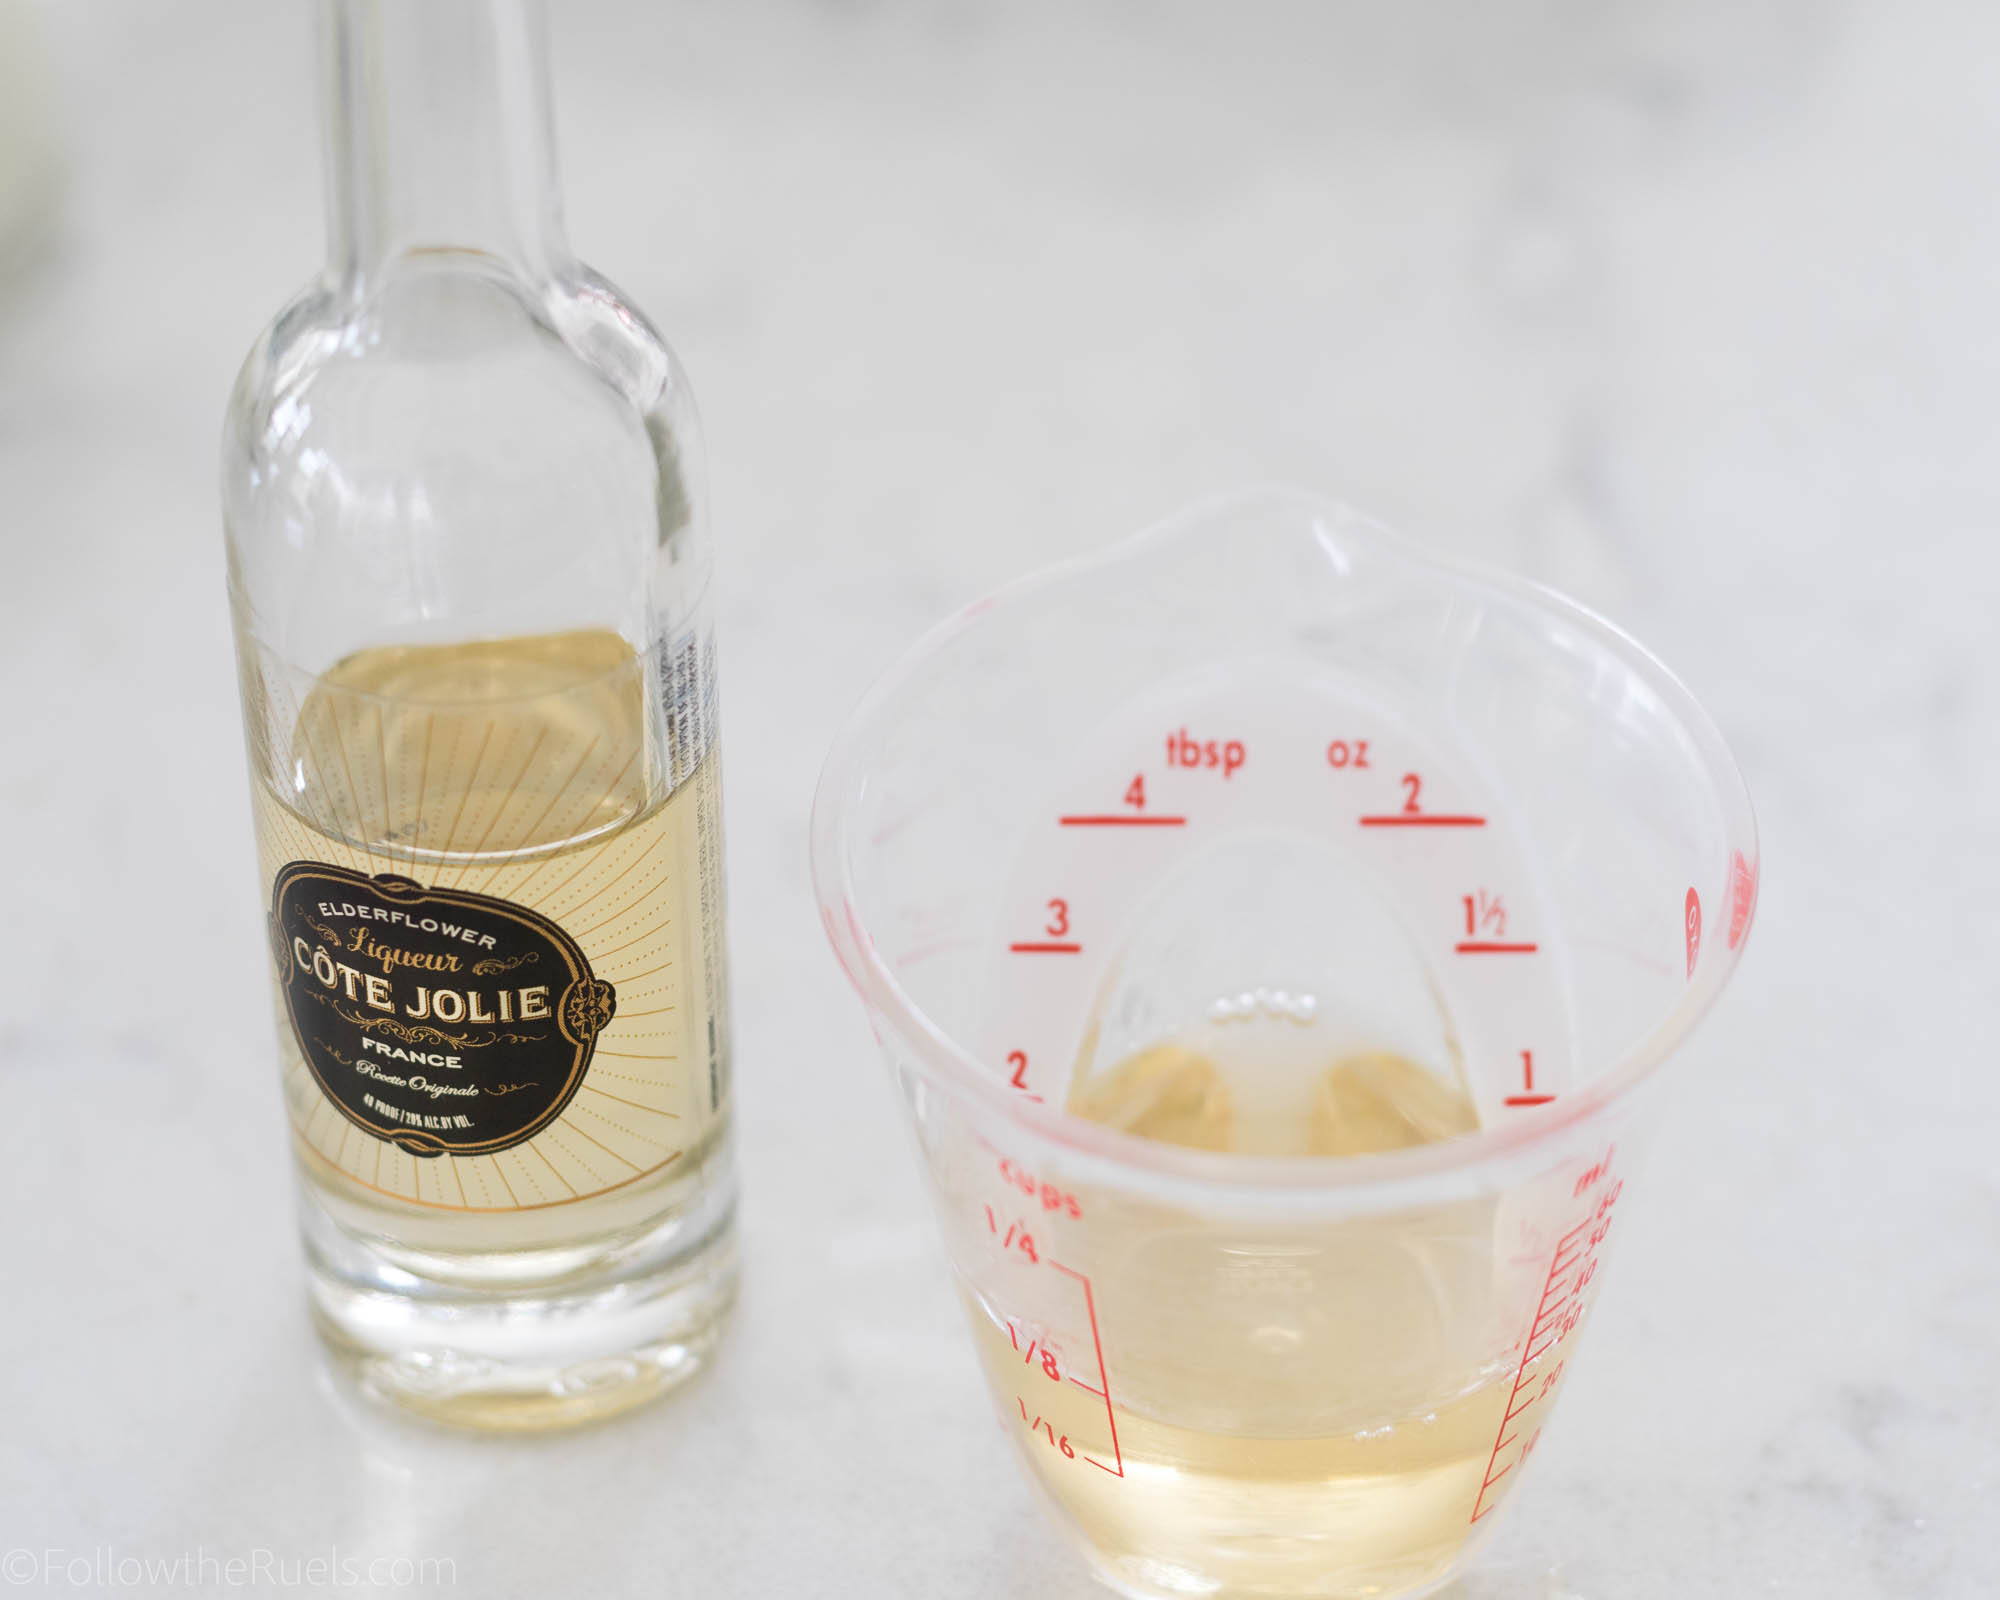
As an optional step to really impart more limoncello flavor into the cupcakes, you can brush the tops of the cupcakes with a little bit of limoncello. Not only will you get a tad more flavor (and a little kick!), but it will ensure that the cupcakes stay nice and moist.

How to Decorate Them

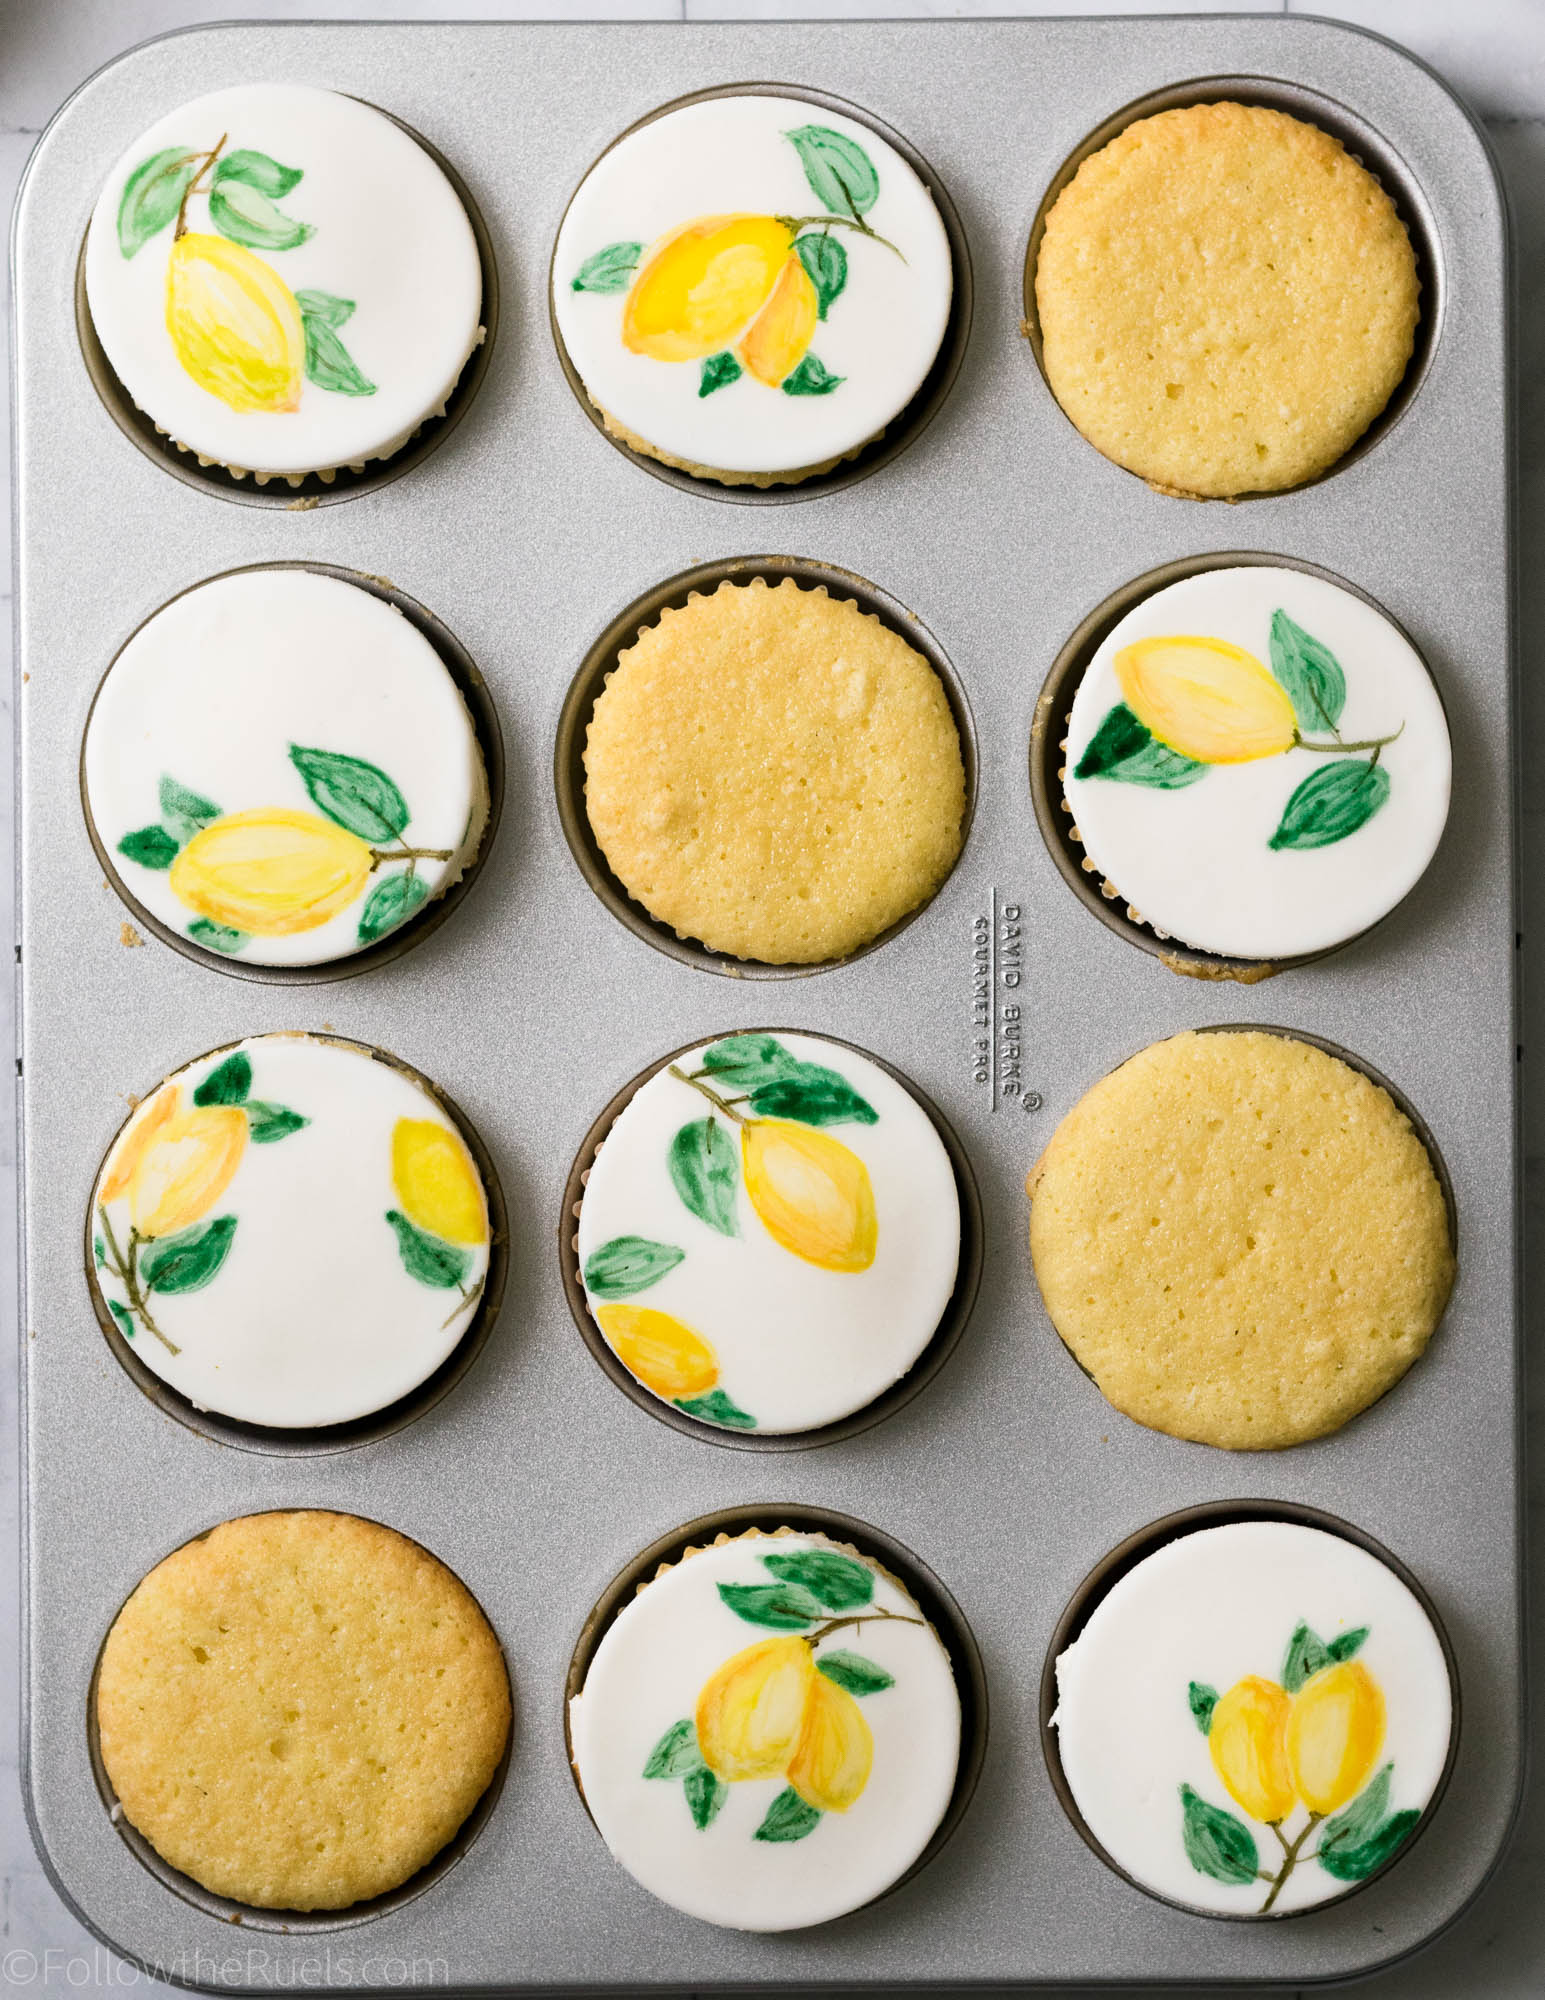
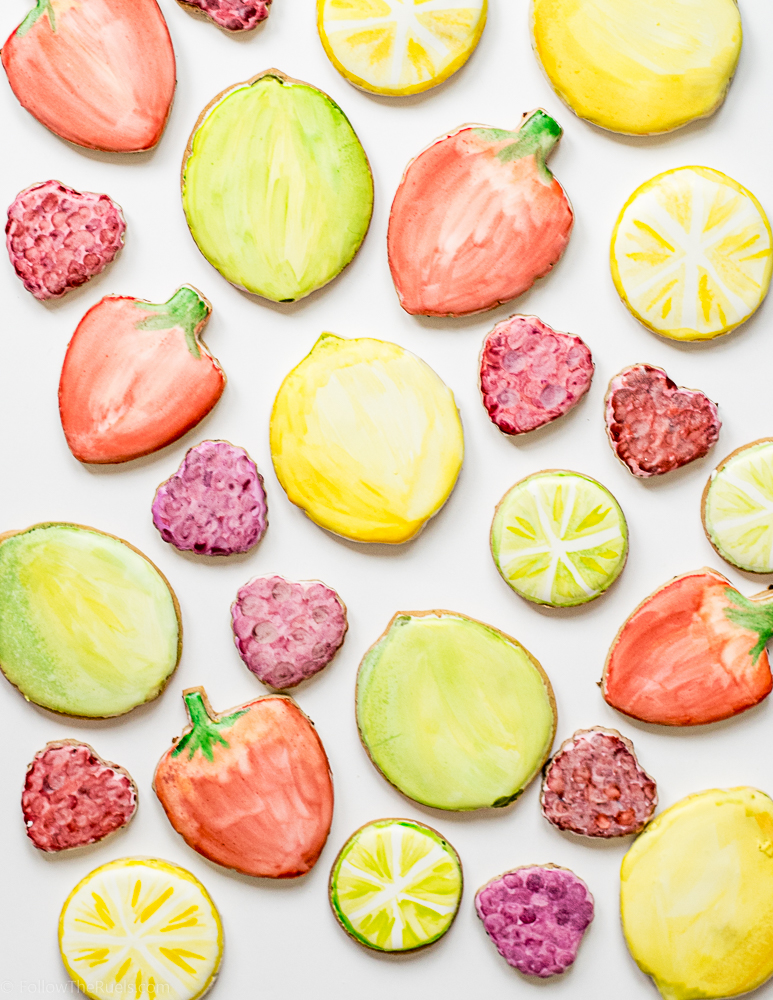
Decorating, for me, is the best part. And these limoncello cupcakes are actually really simple to decorate thanks to the fondant topper.

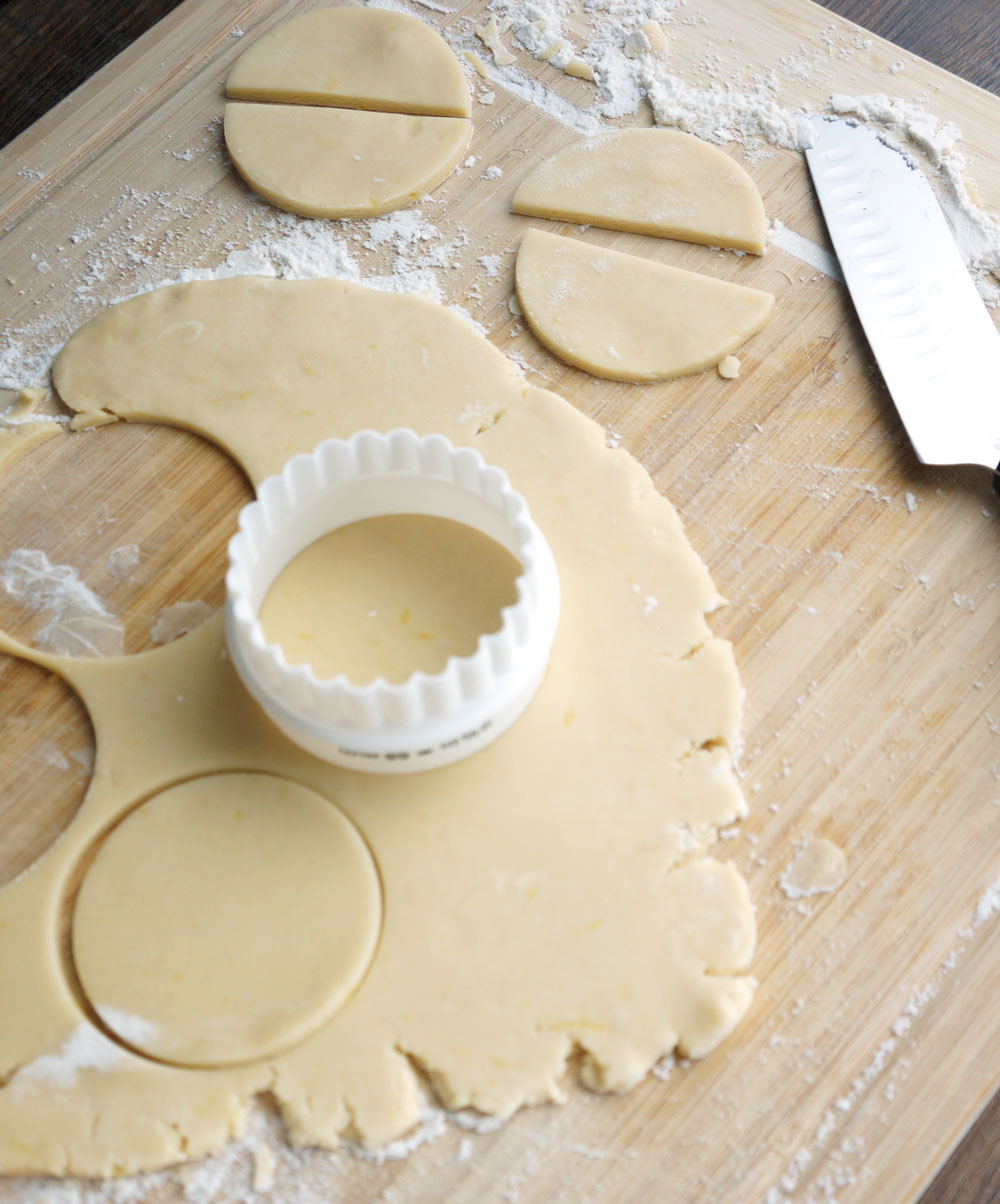
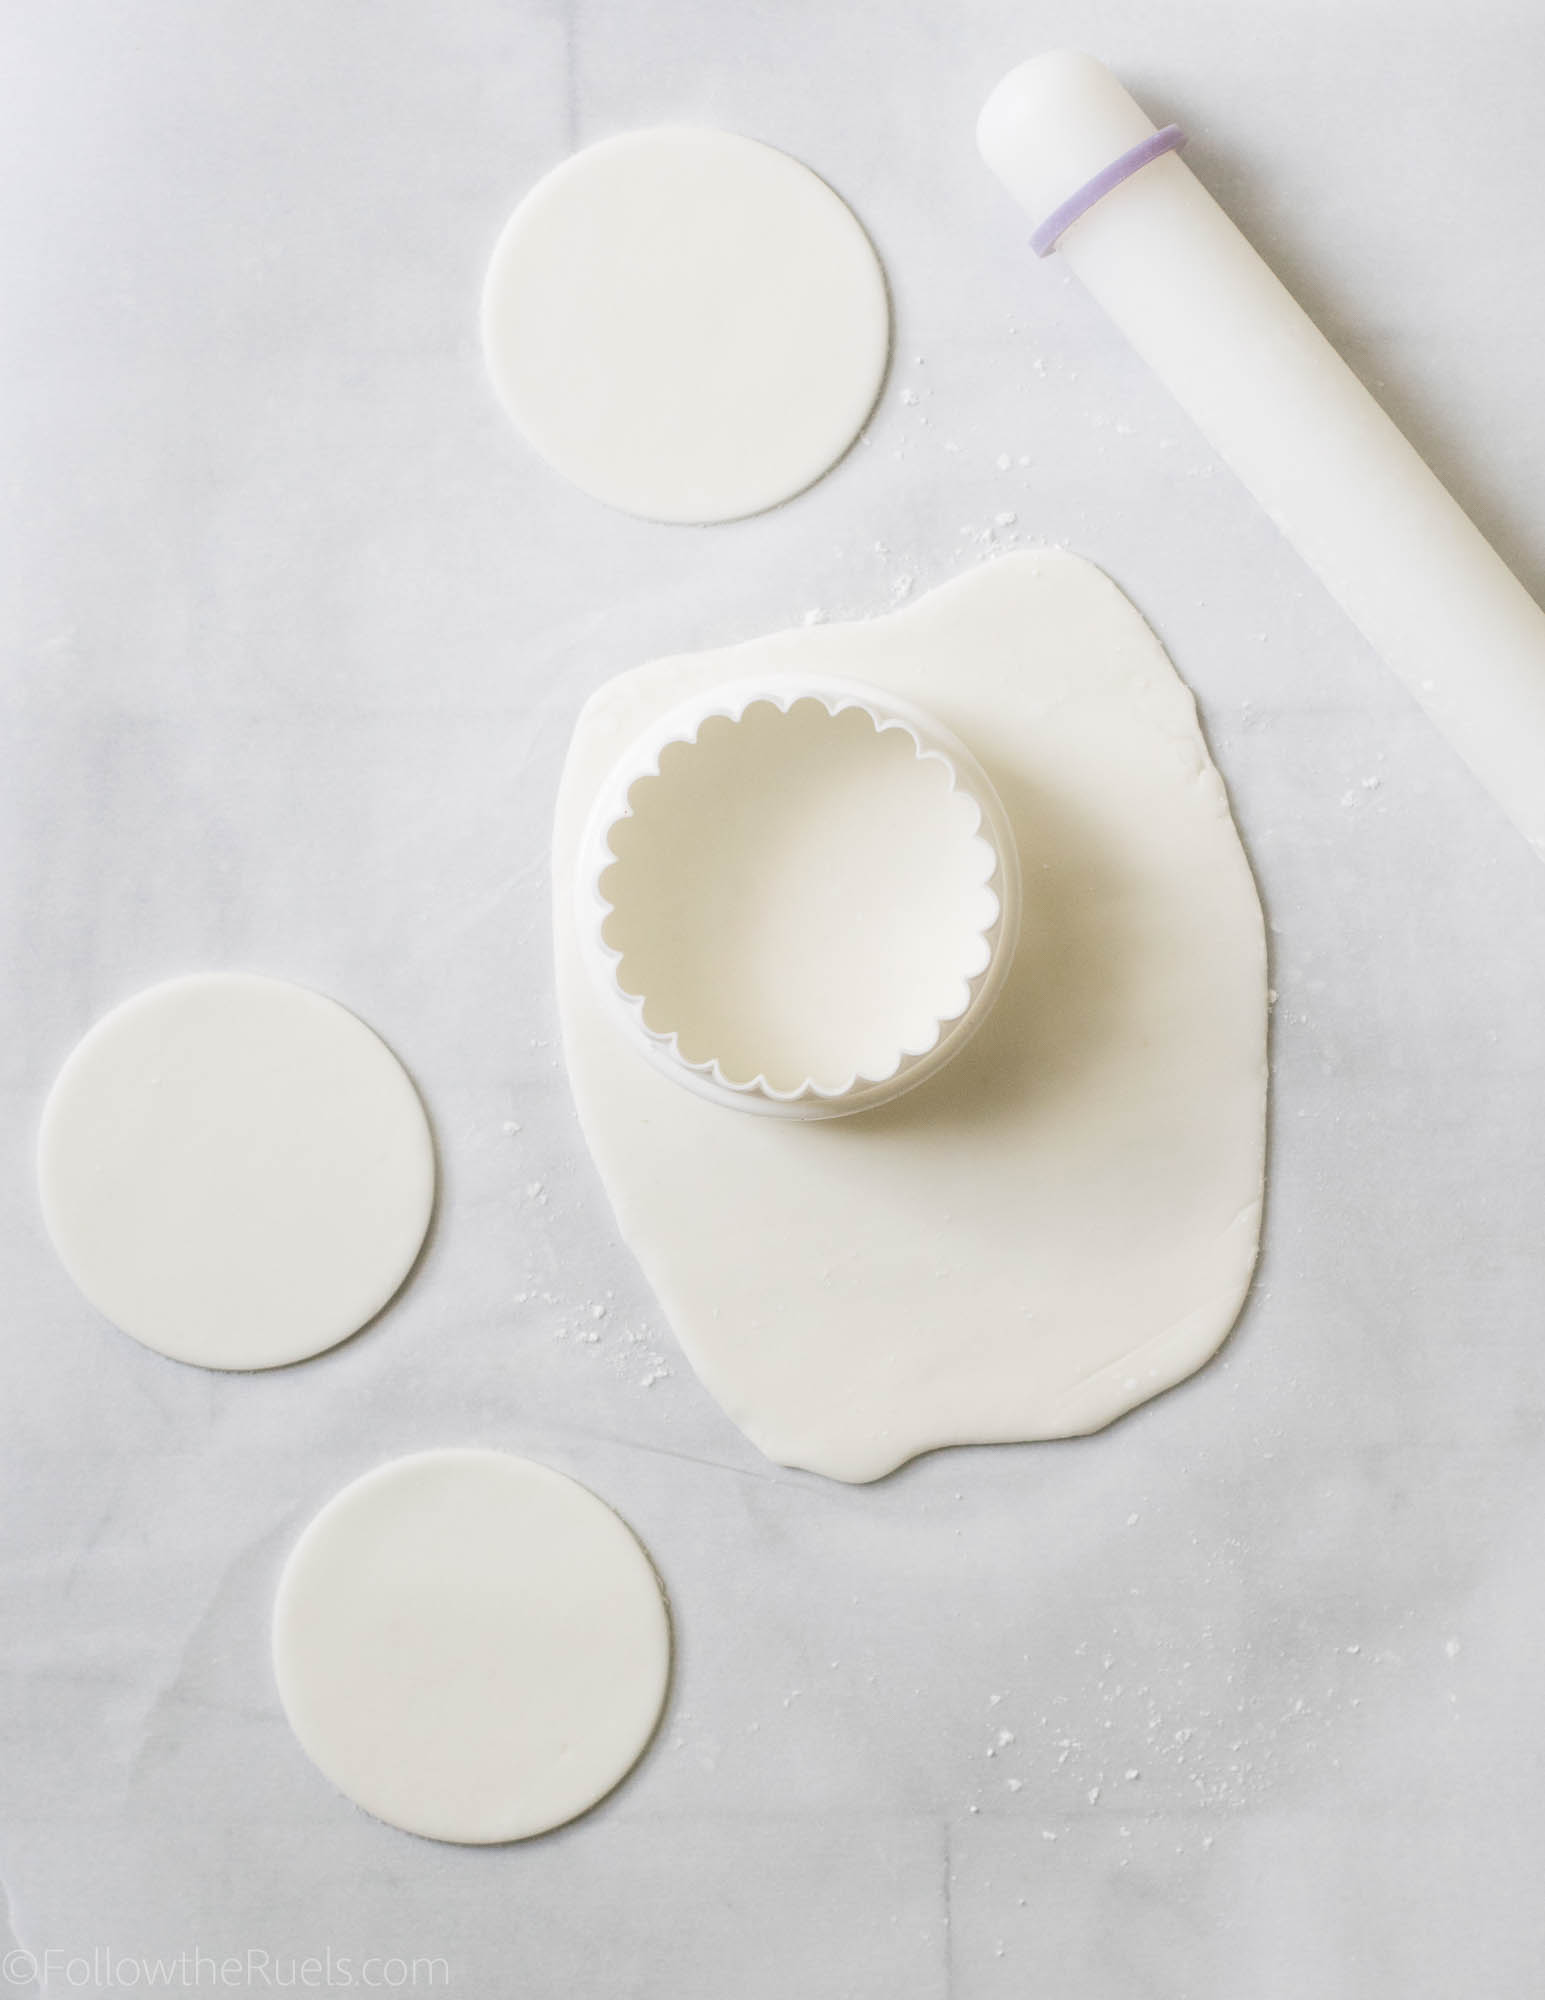
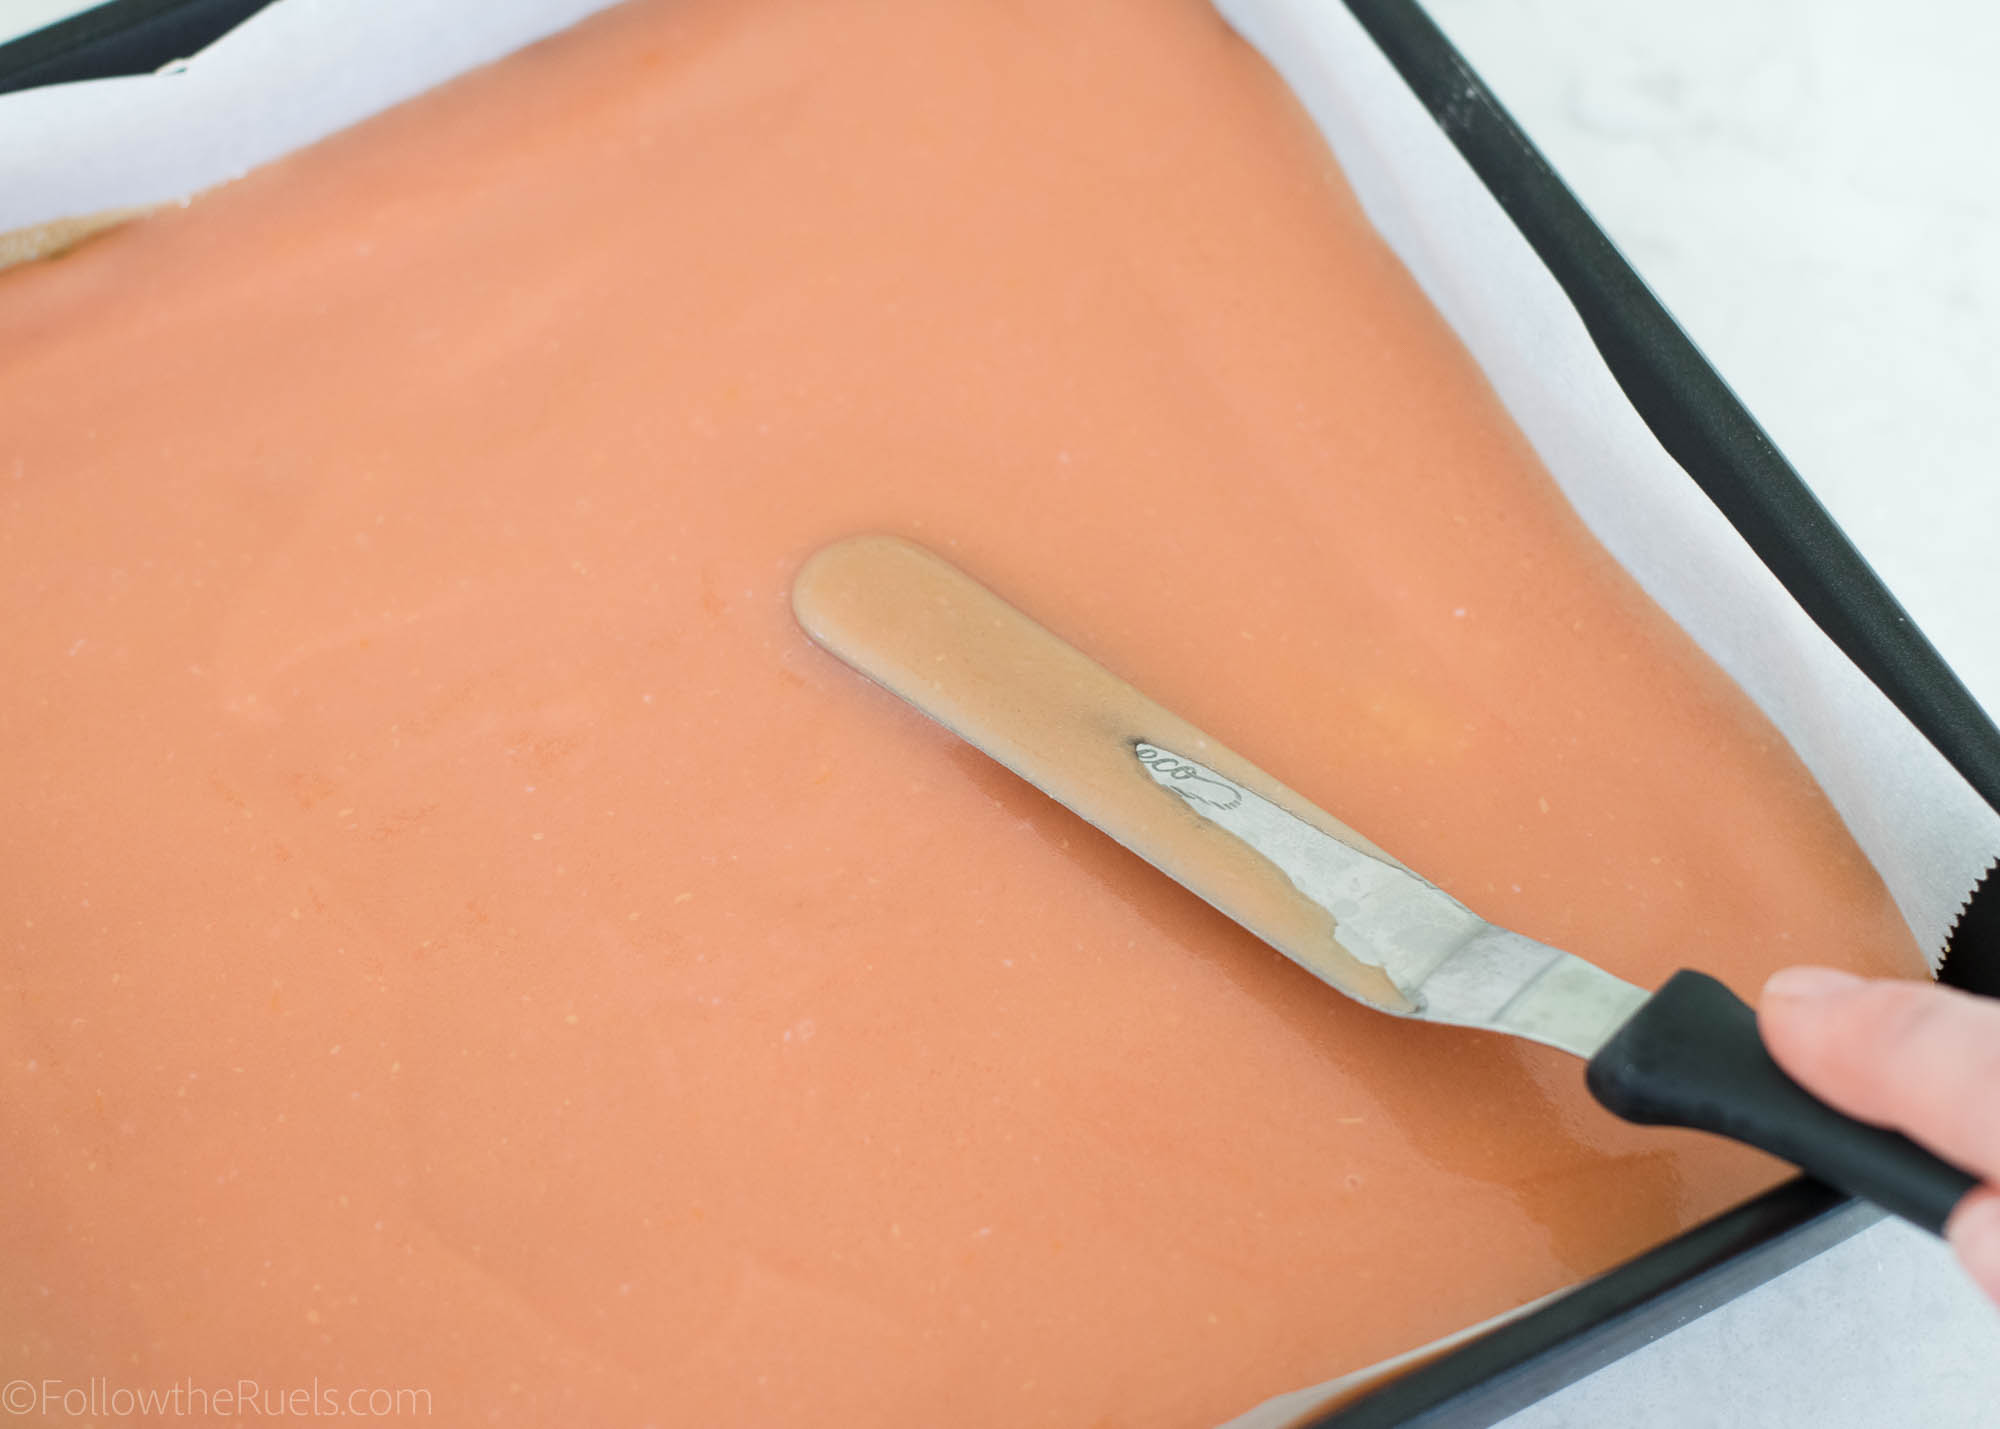
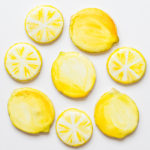
Start by rolling out some fondant so that it’s about 1/8th to 1/4th inch thick. Then cut out with a round cutter about the diameter of the top of the cupcake.

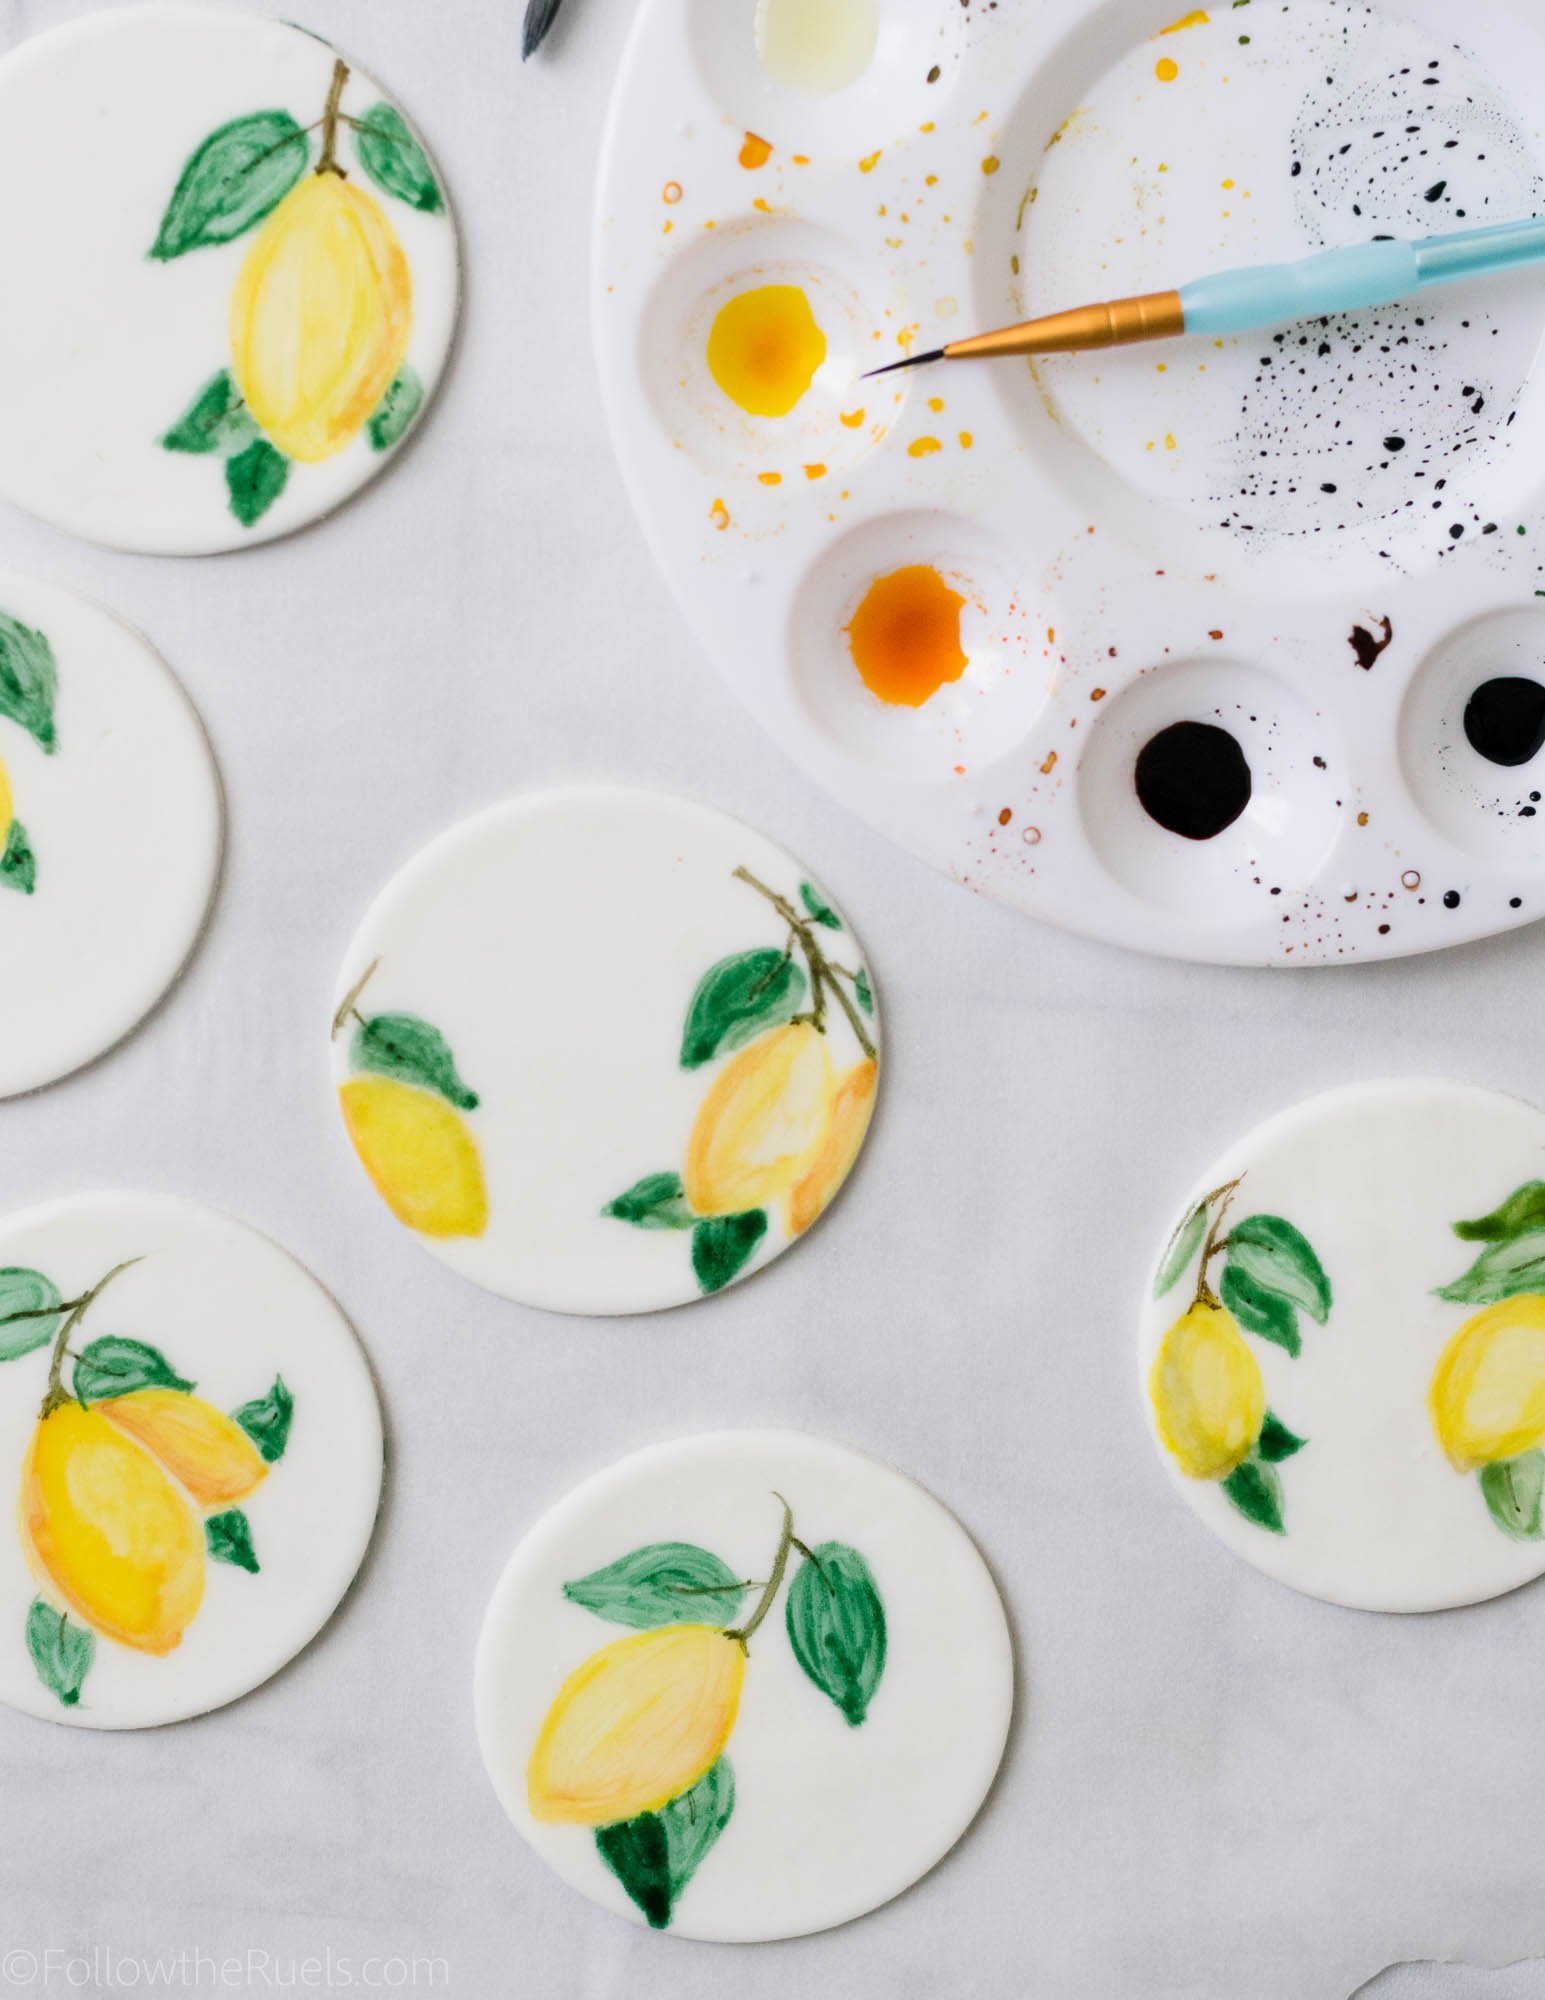
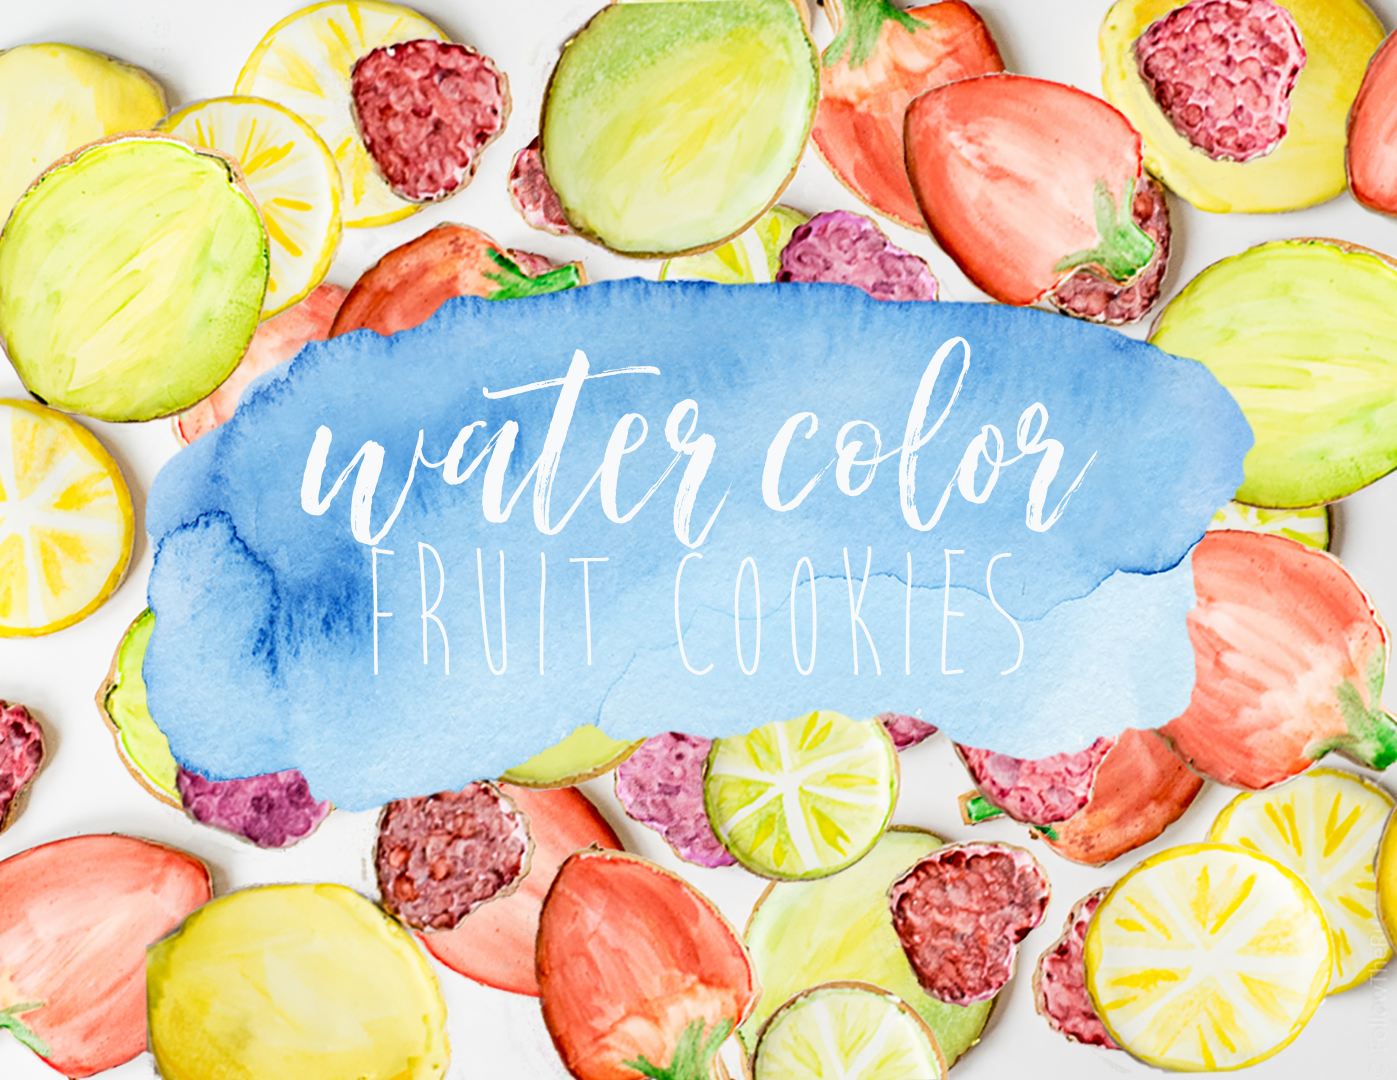
Paint the fondant using a combination of food coloring and clear alcohol (I use vodka) to create a paint similar to watercolor. 

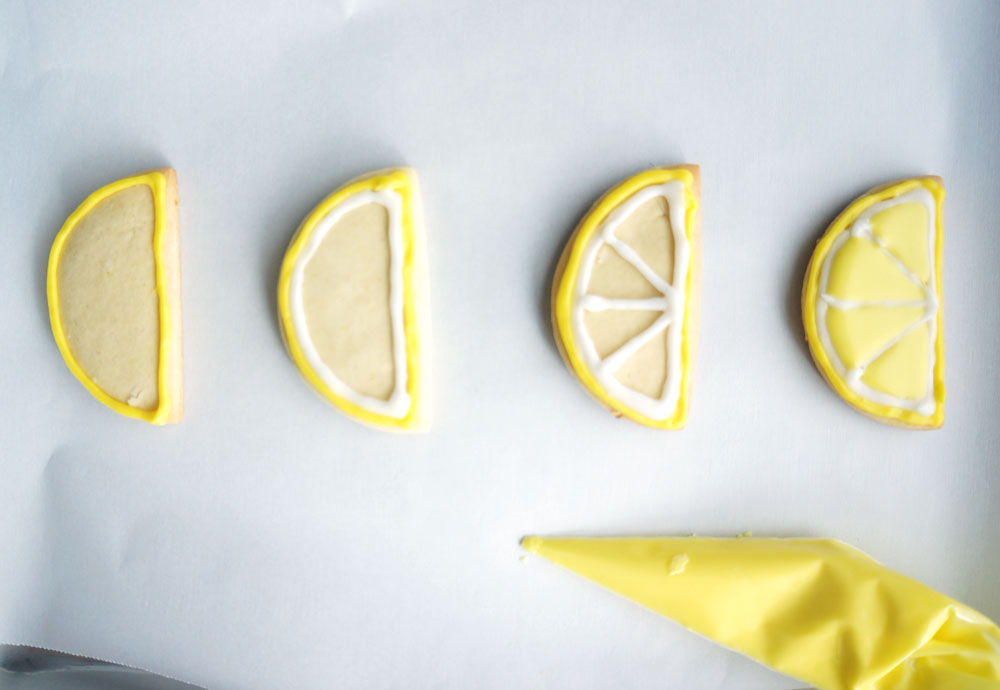
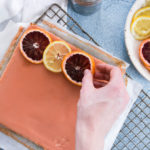
From here, let your creativity shine and paint whatever you like. I personally like to paint the basic shapes first, let that layer of paint dry a bit, then paint in additional details on top. One thing to know about painting on fondant is that it can get gummy if you use too much liquid. Just keep that in mind as you are painting or painting over another color.

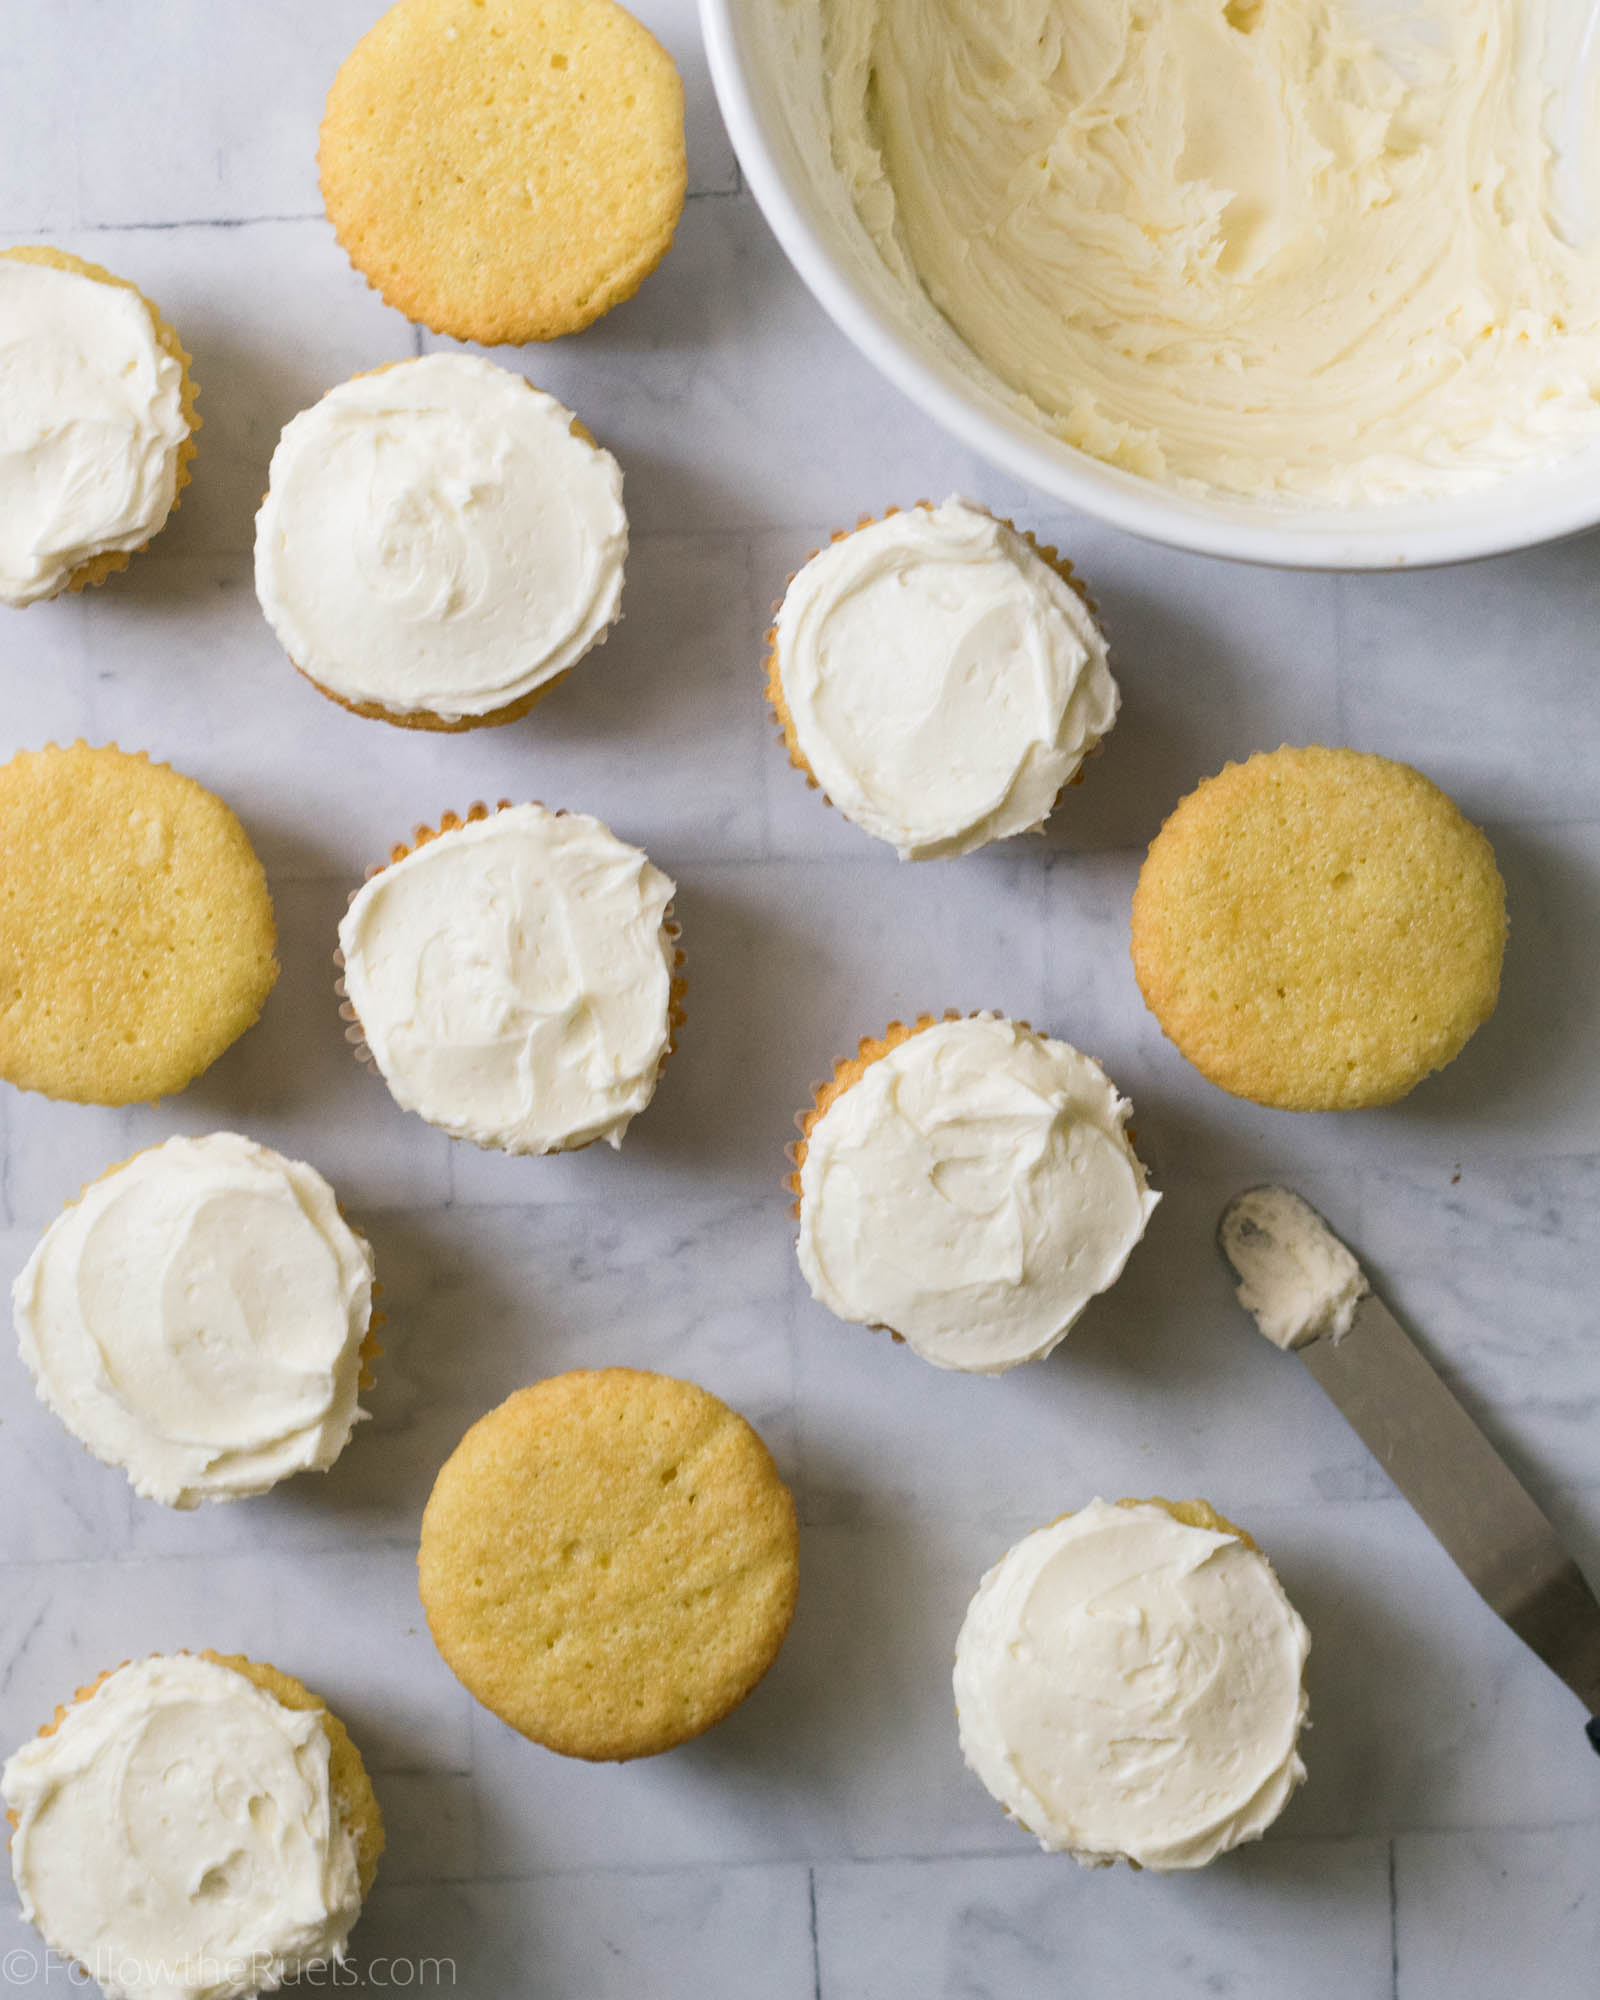
Once the paint has dried (which will only take a few minutes), you can add the fondant toppers to the cupcakes. First spread on a bit of buttercream over the top of the cupcake. It doesn’t have to be pretty, but I recommend trying to get the top as even as possible.

Then lay the fondant circle right on top.

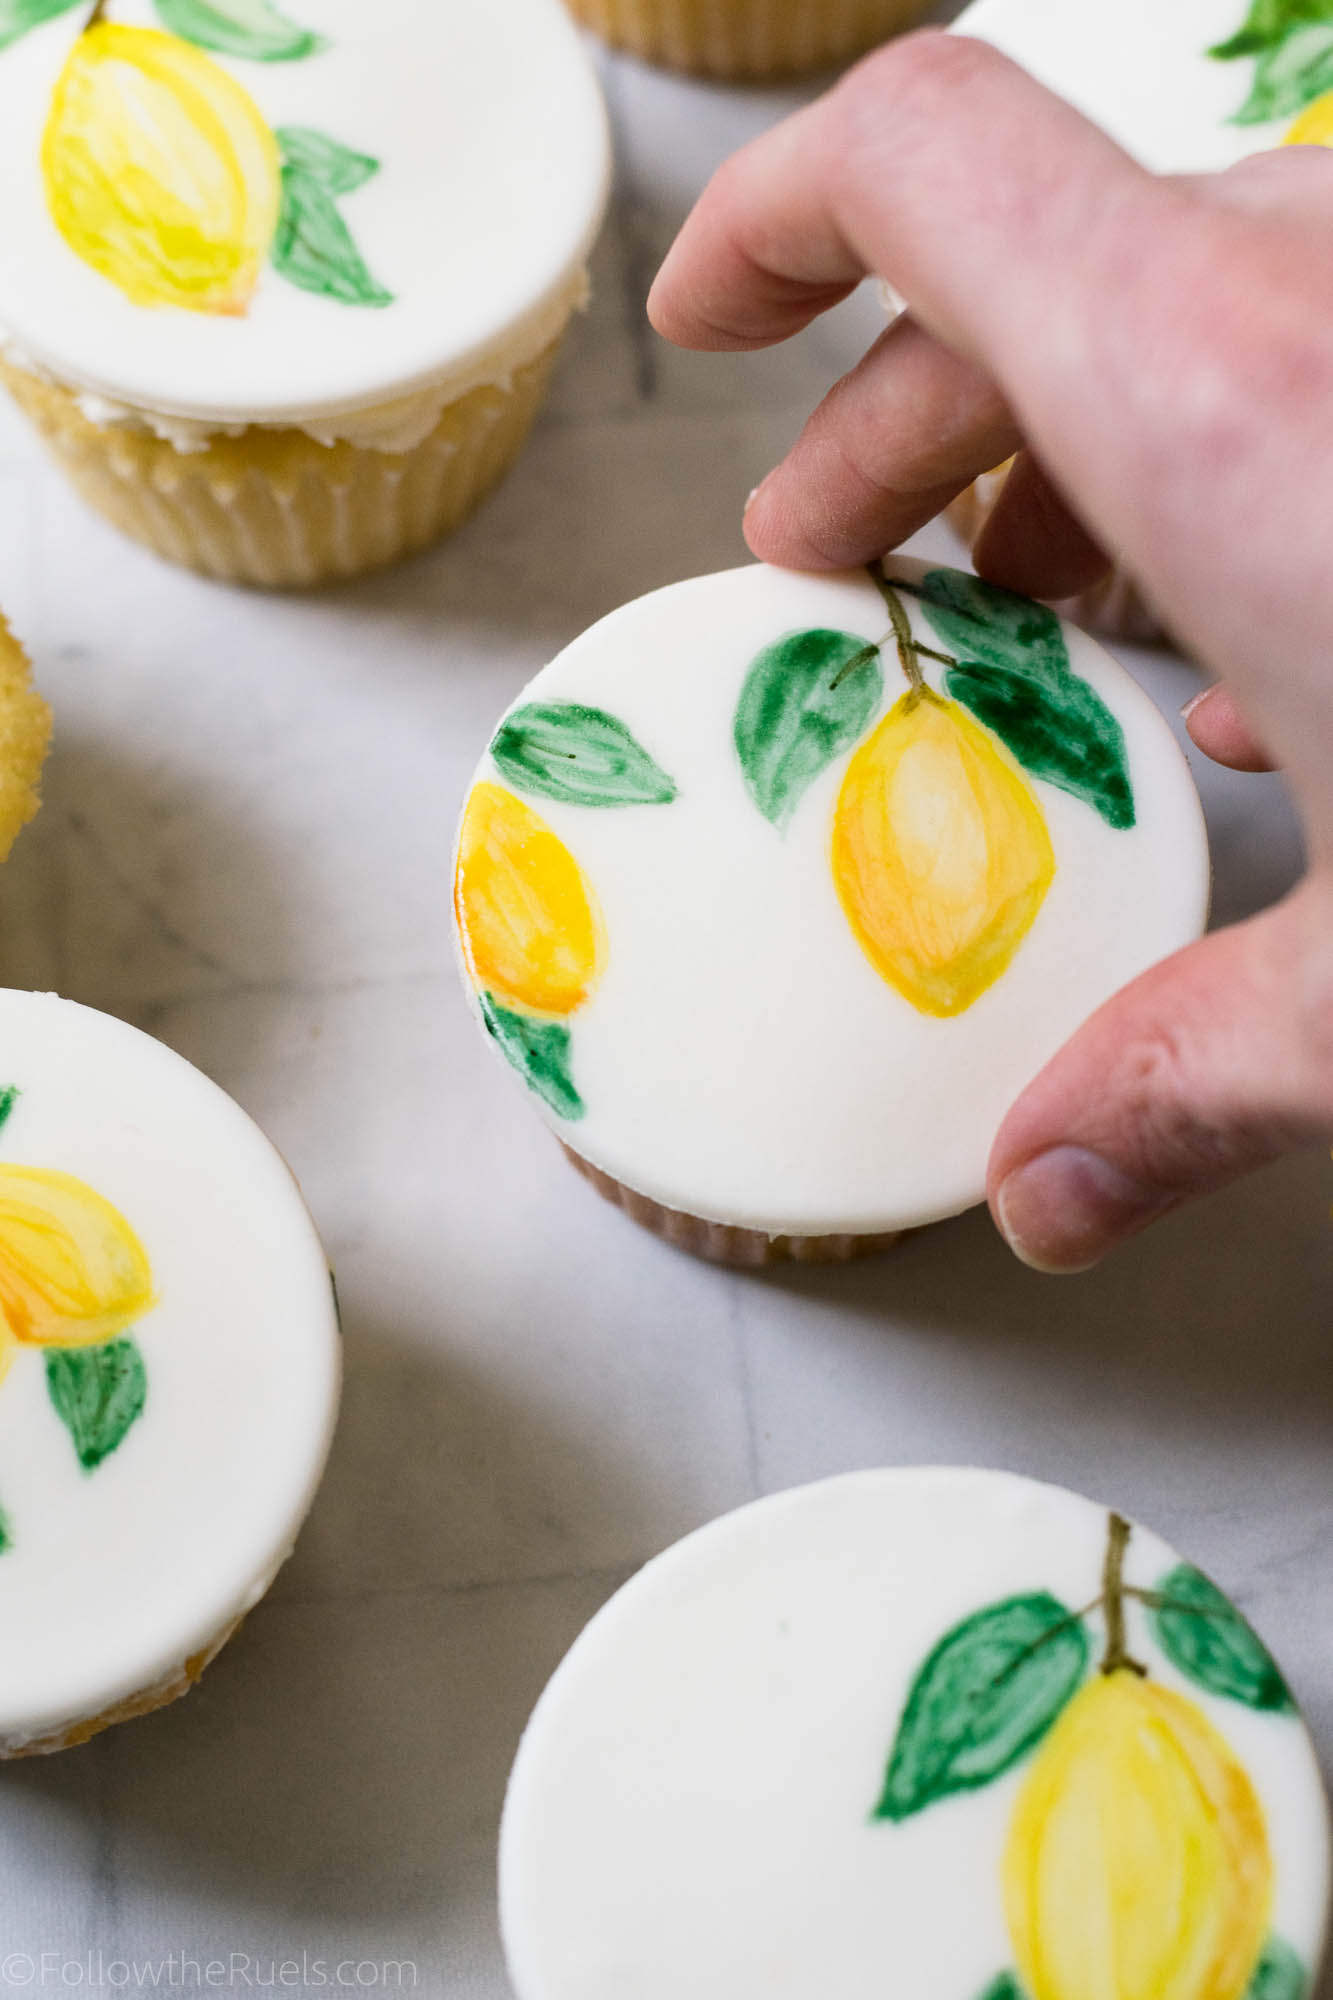
Gently press down the fondant so that it is firmly attached to the buttercream and is laying flat. 

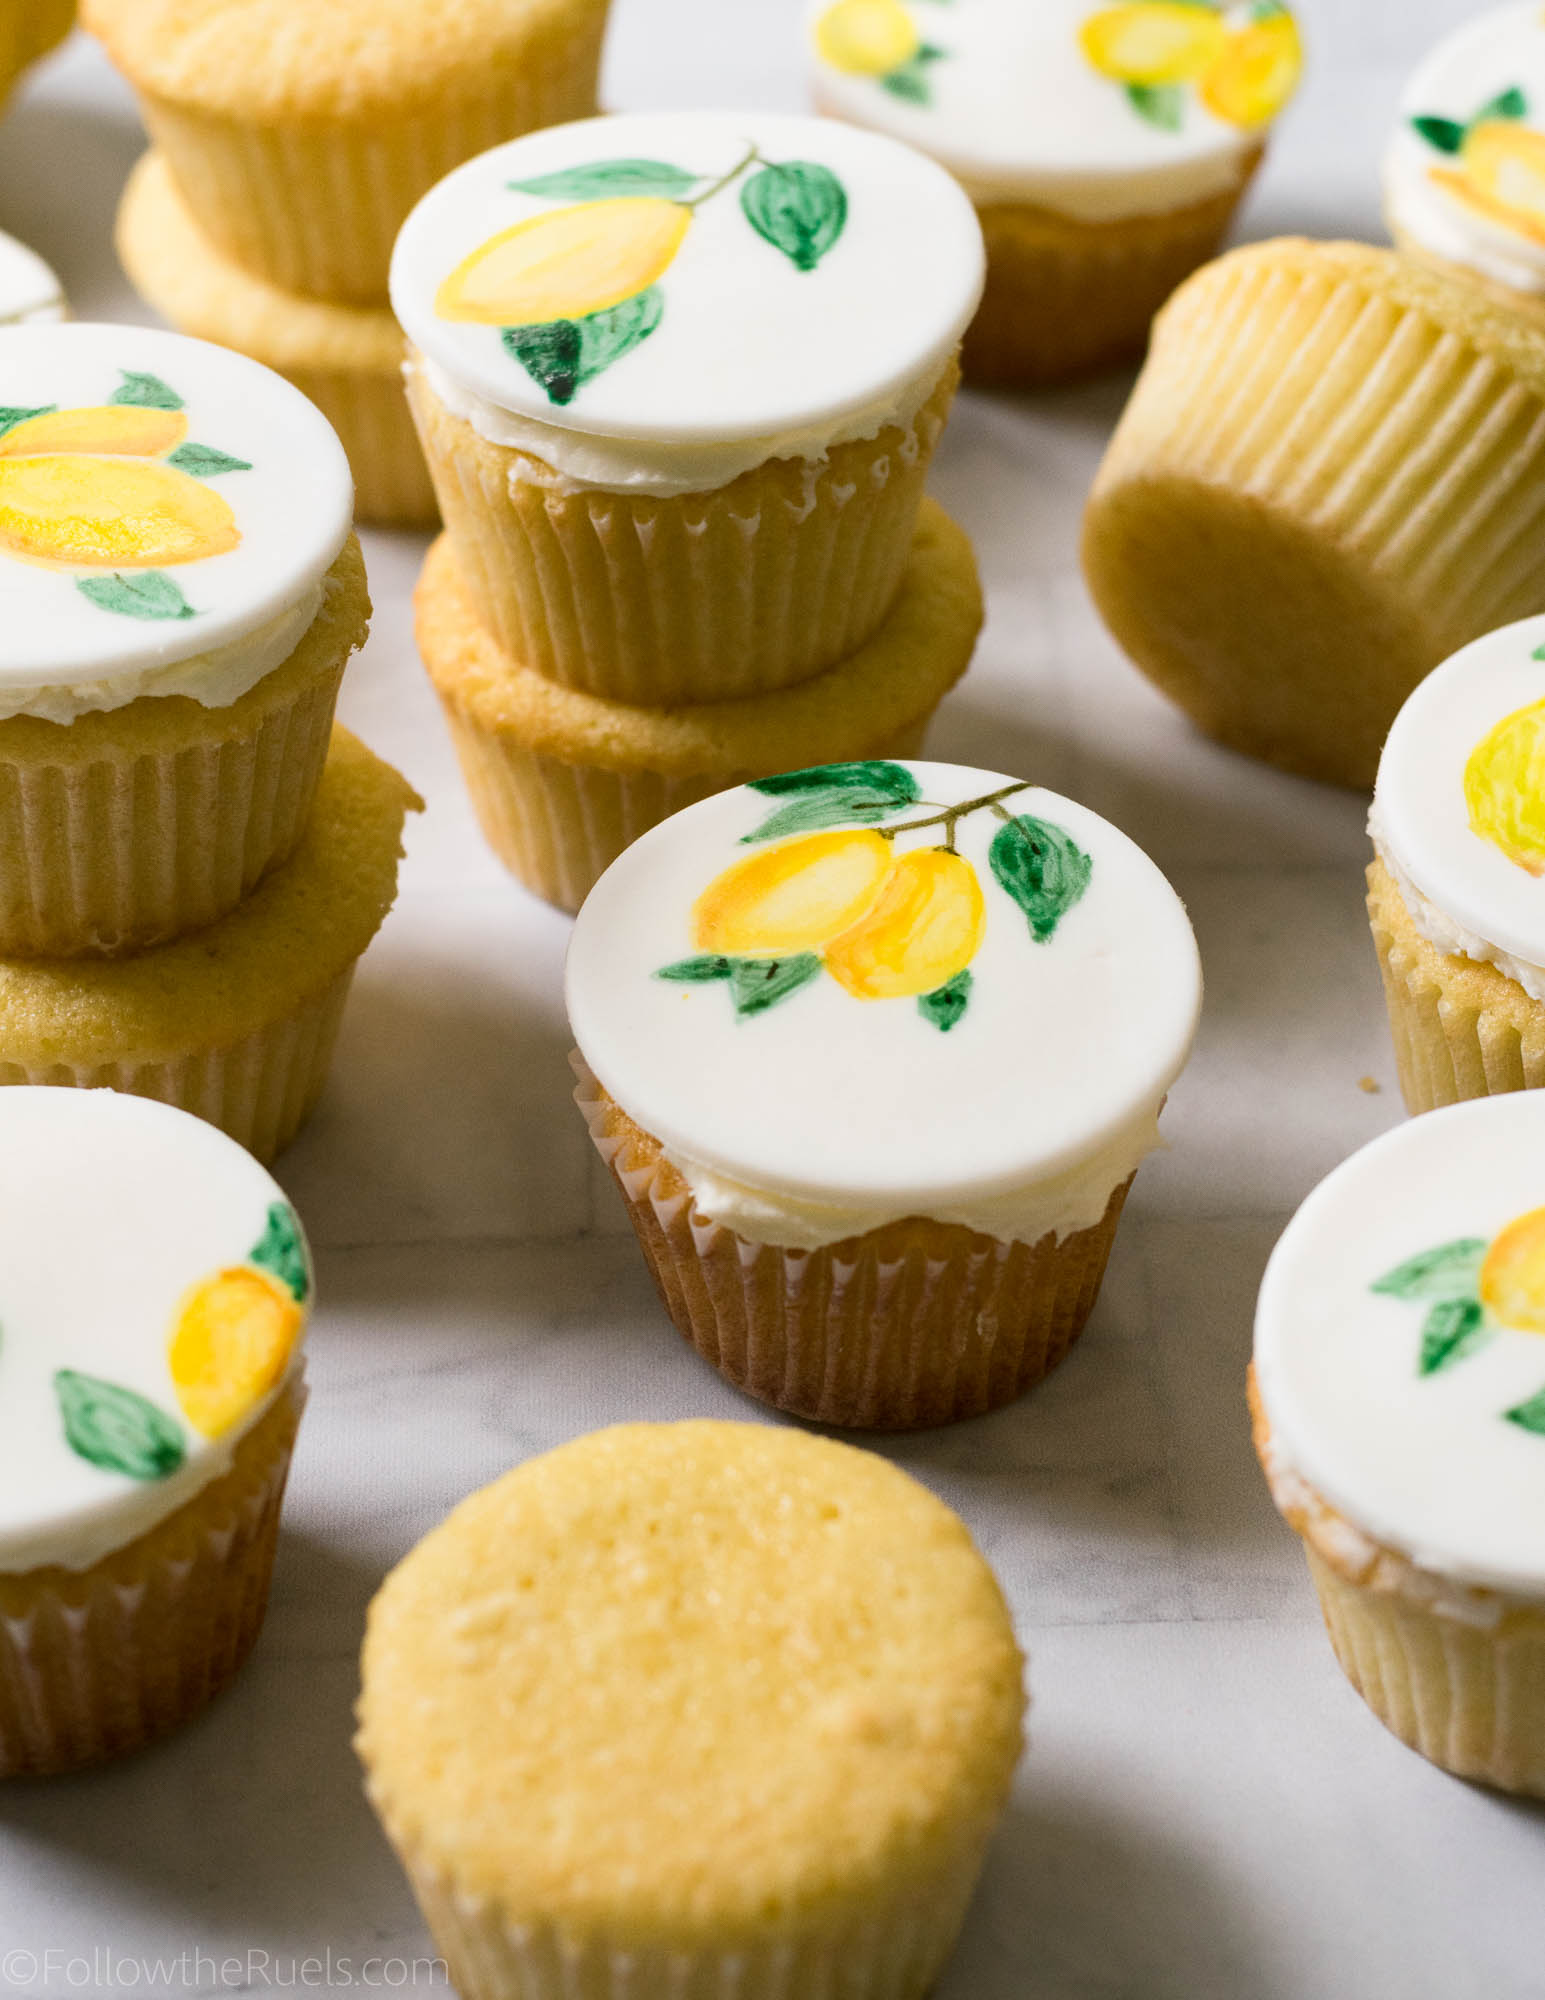
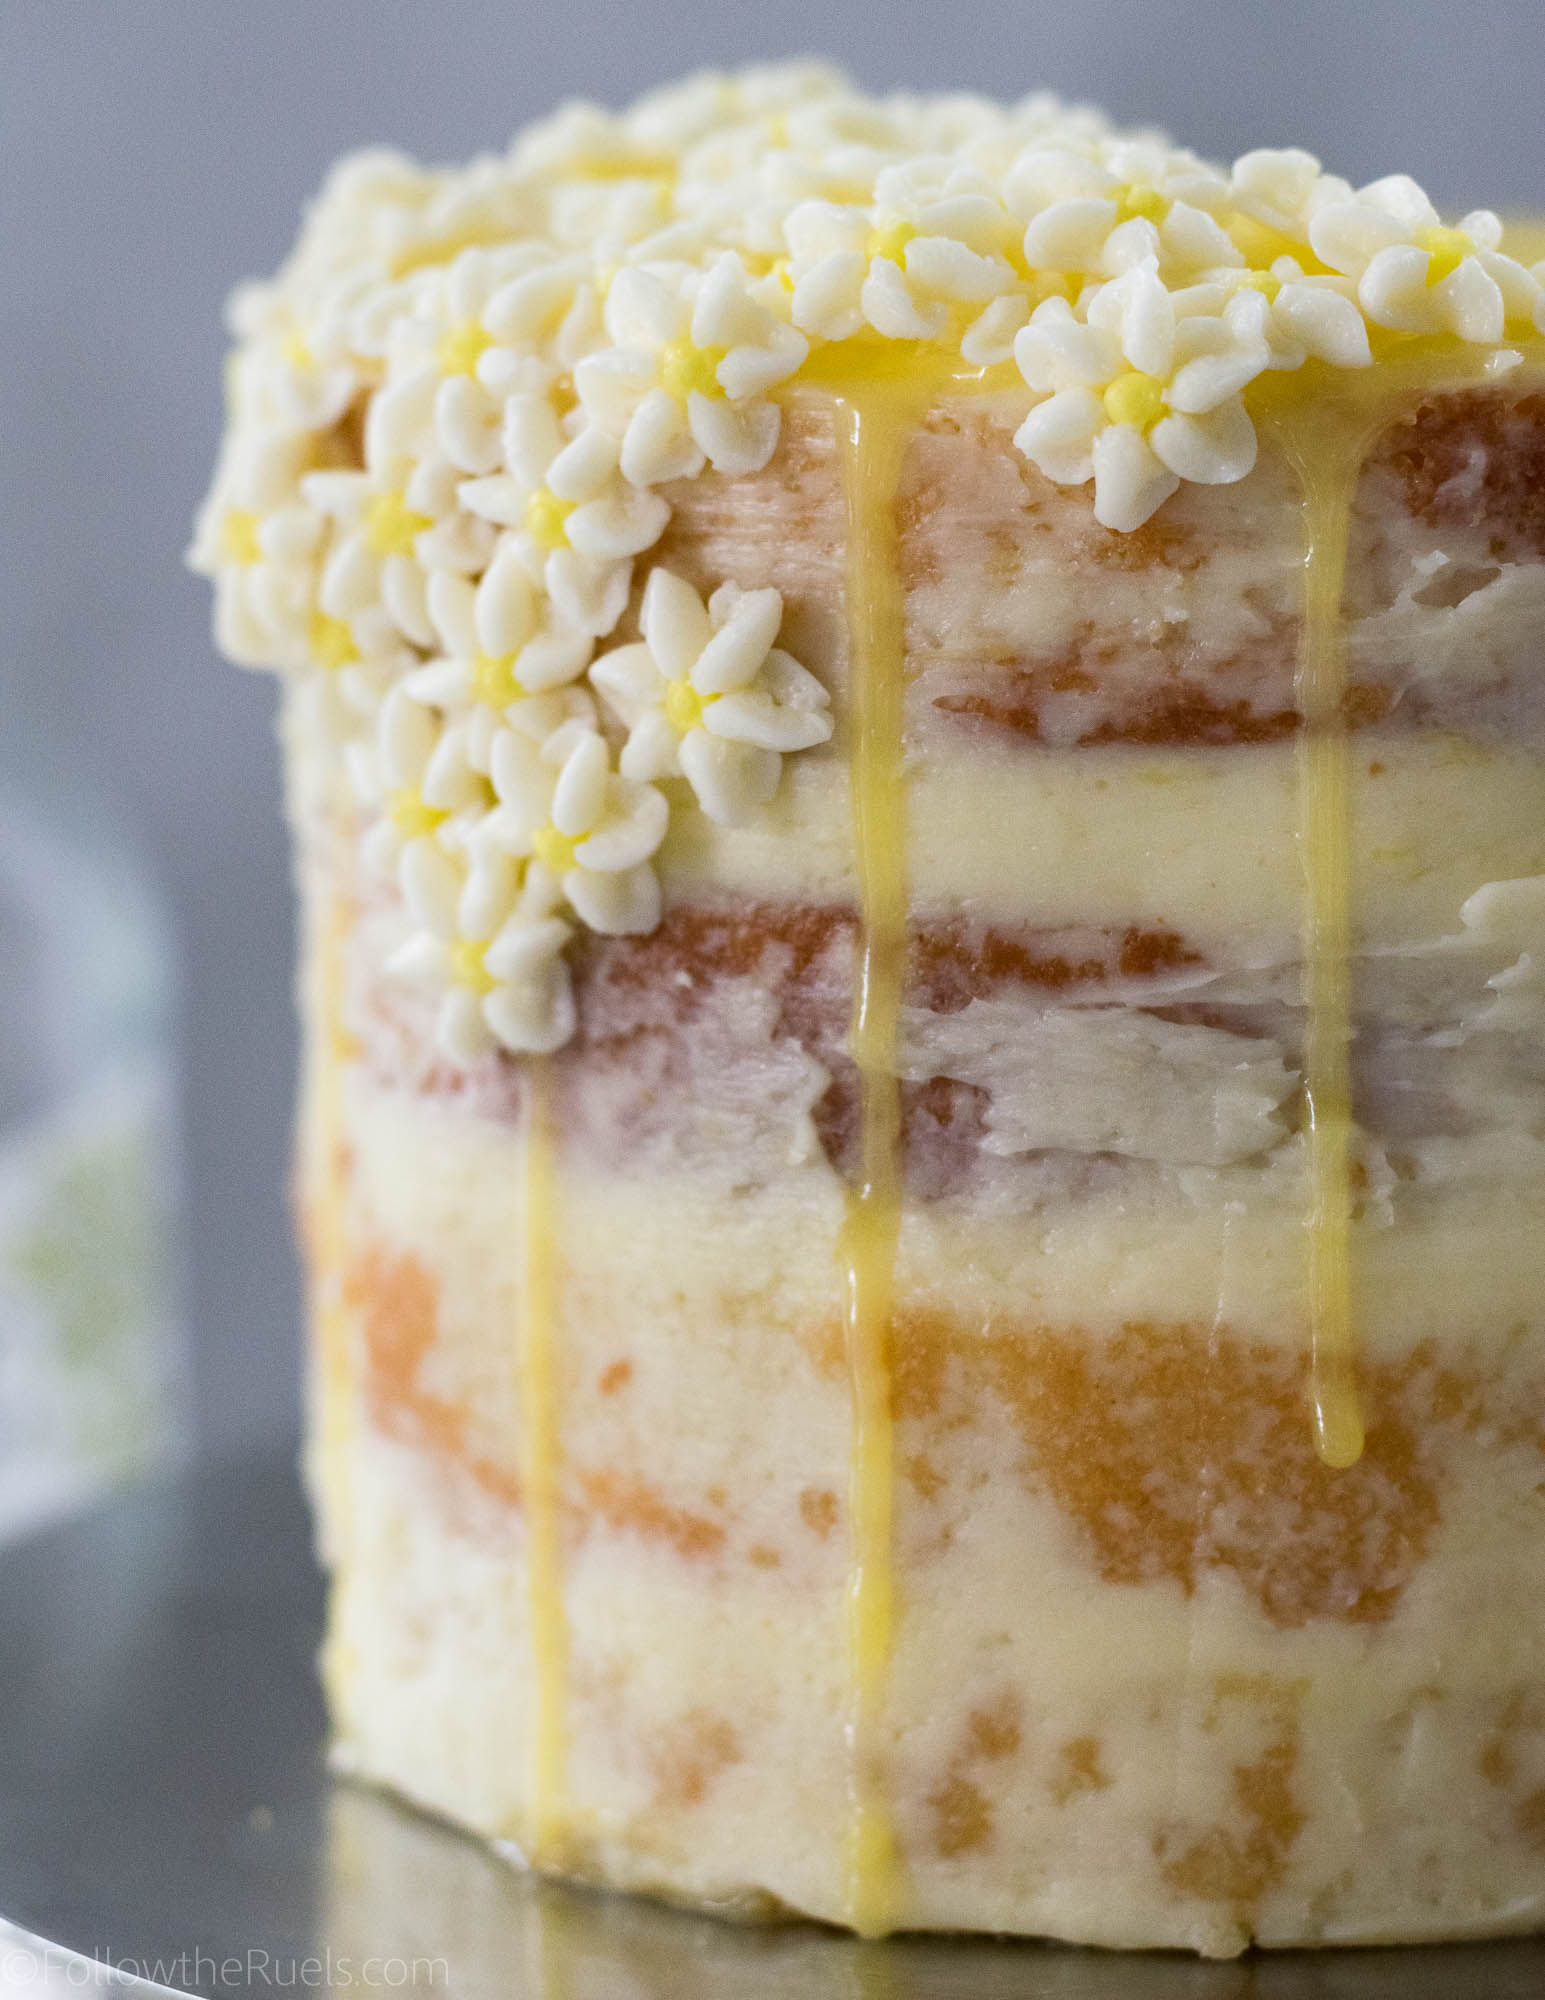
And there you have it. Super delicious, beautiful, but easy to make limoncello cupcakes! In my mind, it’s the perfect way to get excited for our Italian adventure!

Supplies and Recipe

[show_shopthepost_widget id=”3139899″]

[yumprint-recipe id=’179′]

/ Filed In: Cakes and Cupcakes, Cakes New, Eat
Tagged: cake, cupcake decorating, cupcakes, fondant, fondant topper, lemon, limoncello

Lemon Elderflower Cake

April 10, 2018

 What can I say about this lemon elderflower cake? Other than it didn’t turn out at all like I had expected. But, in the best way possible!

If you follow me on Instagram, then you already saw a sneak peek of this cake last week. In the comment, I mentioned that this is not what I had planned on the cake looking like. In my head, before I started, I had planned on this being a cake completely covered in a layer lemon buttercream frosting then topped with white and yellow buttercream flowers complete with buttercream leaves. 

Now, I am often overly ambitious when it comes to my baking projects which often leads to a last minute change of plans. In this case, it was just poor planning. I simply didn’t make enough buttercream! I couldn’t even cover the whole dang cake!

Whoops!

But in the end, I think the lack of buttercream led to this beautiful, simple, and rustic cake that perfectly embodies the actual cake within. The lemon elderflower cake layers are just that. Beautiful, simple, rustic, and delicious! The lemon flavor is dominant, but not overpowering and there is a hit of that sweet elderflower with each bite thanks in large part to the elderflower simple syrup that I drizzled over each layer. 

If you have never had elderflower flavored anything, then you may be a bit skeptical. Not to worry, it’s not an overly floral taste, like rose or lavender, so you won’t think you are eating soap. It really just provides an extra layer of sweetness and perfectly compliments the lemon.

However, if you are just not into elderflower at all, ditch it! Just make a lemon cake! It will still be wonderful!

How to Make It

The first step to making this cake, and any cake, really, is to sift the dry ingredients together. I used to skip this step, but now I know that this simple step really changes the texture of a cake. Sifting the flour creates a much lighter, less dense cake.


Set the flour aside and move on to the lemon. First zest one or two lemons until you have about 2 tablespoons of zest. Then squeeze the juice out of the lemon. You will be adding the lemon juice to the milk along with the elderflower liquor.

Speaking of which, if you have never had elderflower liqueur in a drink before, it is delicious! I don’t drink a lot to begin with, so I didn’t have any elderflower liqueur on hand. But I did find mini bottles at my local liquor store. I highly recommend just getting 1-2 mini bottles instead of 1 big bottle unless you plan on drinking the rest of it.

Now that we have that covered, lets move on to making the batter.

Cream together the butter and sugar then add in the lemon zest.

Mix in the eggs one at a time until they are completely incorporated into the butter. You don’t want the egg-butter mixture looking likes it’s separated or curdled.


Now mix in the dry and wet ingredients, alternating between the two. I like to add the dry ingredients in three parts and the wet ingredients in two. So it looks something like this: dry, wet, dry, wet, dry. Always start and end with dry.

One of my biggest cake tips I have for you is to line the bottom of the cake pay with parchment paper! This will make getting the cake out super easy even if the cake is still warm. I still recommend spraying the pans with baking spray, too. But this is just added insurance. 

Then portion the batter between the cake pans. I like to use a scale to make sure that the amount of batter in each one is pretty even. But that may be overkill. You can just eyeball it.

A new thing I tried with these cakes is using the Wilton Bake-even strips. Then insulate the cake pan so that ideally your cakes bake evenly on top (no weird dome that you have to slice off), and they don’t caramelize around the edges. 

Verdict: They sort of helped. One cake was very even, but slightly caramelized. One cake wasn’t as even but not at all caramelized. Overall, they turned out better than they would have without the strips, so it was well worth the money for these!

How to Assemble and Decorate the Cake

Then the cakes come out of the oven and they magically stack and decorate themselves! Isn’t that a fun trick!

Actually, this is where I really dropped the ball and stopped taking photos. I think because I was in such a tizzy over the buttercream that I didn’t get any photos of the actual decorating process. What a horrible blogger I am!

I did capture part of the decorating process, and that is the little flowers that I did manage to make!

These little guys were so easy to make with my #107 piping tip. You just press the tip to a sheet of parchment paper, squeeze, and turn your wrist slightly which produces the cute little drop flowers. Then I just dotted the center with a little yellow buttercream.

I put these in the freezer to harden while I worked on the rest of the cake. 

Actually, the rest of the cake was pretty easy to assemble.

Step 1: Cut the cake into two layers for four total layers (if you want, you can leave it as a two layer cake).

Step 2: Brush elderflower simple syrup over each of the cake layers (recipe and directions below)

Step 3: Spread a thin layer of buttercream on the first layer, top with some lemon curd (optional), then top with another cake layer. Repeat until all layers have been added.

Step 4: Spread buttercream all over the top and sides of the cake, then use an offset spatula or bench scraper to scrape the sides of the cake to create a naked cake look. Leave a thin layer of buttercream on top.

Step 5: Pour some lemon curd over the top of the cake and spread out to cover the top, pushing some of the curd over the edges. You may need to heat up your lemon curd to make it more liquid if you are using a store bought version.

Step 6: Add the flowers in whatever arrangement you like. Because they are frozen, they are easy to peel off the parchment and stick onto the cake.

Step 7: Admire your handy work!

Truly, this cake wasn’t hard to decorate and assemble once I realized my mistake and that I wouldn’t have enough buttercream to achieve the look I was after.

And, making naked cakes is really easy for even those with no cake decorating experience because you don’t have to worry about your frosting being perfect! Actually, you want it to look imperfect!

I, for one, like the limited buttercream on this cake because it lets the lemon elderflower cake shine through. 

Of course, if you are a frosting lover, you may want to double up on the buttercream recipe so you can cover your whole cake like I was supposed to!

Tools and Recipe

[show_shopthepost_widget id=”3095132″] 

[yumprint-recipe id=’170′]

/ Filed In: Cakes and Cupcakes, Cakes New, Desserts, Eat
Tagged: buttercream, buttercream flowers, cake, decorated cake, elderflower, layer cake, lemon, naked cake, Spring

Blood Orange Lemon Bars

March 7, 2018

And my obsession with blood oranges continues (example here and here)….

When I first picked up a bag of blood oranges at the grocery store the first thing I wanted to make with them was actually these blood orange lemon bars. I love a good lemon bar, so it seemed like a no-brainer.

Where I went wrong, and why it took me so long to post this recipe, was that I decided to try out a new recipe. Instead of sticking to my tried and true lemon bar recipe, I tested out a couple on the Internet. Even following them to a tee, they turned out horribly. Sure, they tasted fine, but the look and texture were just off.

So I went back to my favorite recipe. Why I ever decided to stray is beyond me. This recipe is delicious, easy, and totally customizable, as evidenced by the two ways I have made it (I even have a Paleo version).

For instance, maybe you want to make this recipe after blood orange season, then make it with normal oranges. Or maybe you like some strawberries with your lemons, make strawberry lemon bars (using this recipe as your guide). 

The options are endless. 

How to Make It

The foundation of these lemon bars is the crust. What is great about this crust is that it’s a mix between a pie crust and a shortbread. Oh, and you can make it in a food processor! 

Pulse together the flour, sugar, and butter in a food processor until it forms a crumbly ball. If it is too dry, add a itty bit of water until it starts to come together.

Press the dough into the bottom of a pan (lined with parchment for easy removal), and poke a few holes in the top so that it doesn’t puff up too much. Pop the crust in the oven to bake while you work on the filling of the lemon bars.

Before juicing your fruit, take all of the zest off of the orange and lemon. You will end up with about 1 tbsp of zest, but I basically just zest the whole fruit without worrying too much about the amount. 

With the zest off of the fruit, cut them in half and squeeze the living juice out of them. Hopefully, you will end up with around 1/2 cup. If not, squeeze in another lemon or orange until you get to 1/2 cup.

Next, whisk together the sugar and eggs and give them a good whisking.

Then add the juice, zest, and flour and mix until smooth. 

Pour the batter over the baked and cooled crust, then pop back into the oven to bake for a few more minutes. 

Once it’s done baking you have a couple options. You can leave it as is and just top with a bit of powdered sugar, slice, and eat. 

Or you can top with some blood orange curd for extra blood orange flavor! 

I clearly prefer the latter because it not only amplifies the flavor, but it also makes the bars look so polished and professional, with only a little bit more effort. 


Now, this last step is definitely optional. I really only did it for the photos because these blood oranges are just so pretty! 

I sliced up an orange and a lemon as thinly as possible and then layered them on top of the bars. If I were to make these again, I would actually candy the lemon and orange slices first because they were a bit too juicy. 

But it looks so pretty!

Insert heart eyes emoji here. I am so in love with how these look, I almost forgot to mention how amazing they taste.

Insert another heart eyes emoji. I mean, I already have a place in my heart for regular ol’ lemon bars. But these just push it to another level. They have a bit of an orange flavor, but the lemon still comes through. Mostly, I just love the color and the extra layer of citrus flavor. 

Once these blood orange lemon bars were sliced into (irregularly shaped) pieces, I wasted very little time gobbling a few down. 

They pair very well with a blood orange margarita…I assume…I am definitely not speaking from experience. 😉

[yumprint-recipe id=’165′]

/ Filed In: Bars and Brownies, Desserts, Eat, Other Sweets New
Tagged: blood orange, citrus, crust, dessert, lemon, lemon bars, orange, shortbread

Lemon Ricotta Pancakes

August 9, 2017

Remember when I made homemade ricotta cheese a couple weeks ago? Well, as soon as I made it I knew what I wanted to do with it: make lemon ricotta pancakes!

If you have never had lemon ricotta pancakes (or any ricotta-based pancake) you are missing out! It is not your average pancake. Instead of being light and fluffy, it’s a bit more dense and creamy. It’s almost like if a cheesecake and a pancake had a baby. Almost. 

Just trust me on this guys, it’s good. 

I adapted the Kitchn’s ricotta pancakes to make my lemon version, and they turned out fantastic! I am slightly ashamed to admit that I ate the entire stack of pancakes myself. But only slightly. If you had tasted them, you would understand. 


Start by mixing together your dry ingredients – flour, baking soda, salt, and sugar – and your wet ingredients – ricotta, lemon juice, lemon zest, milk, and egg yolks. Keep the egg whites separate. 


Then mix the flour into the wet ingredient, stirring only until the flour is barely incorporated. Meanwhile, whip the egg whites until they are nice and fluffy. This will help make your pancakes nice and light and fluffy to counter act the dense ricotta. Then fold the egg whites into the rest of the batter.


While you are mixing up the batter you can heat your griddle to medium heat. I love using my griddle/panini press gadget because I can set my temperature to 300-350 degrees, which is the perfect temp for perfect pancakes. 

Use any sort of spoon or cup to spoon about a quarter cup of batter onto the griddle. An ice cream scoop also works perfectly. Cook until tiny bubbles form on the top of the pancake and the sides look a bit dry. Then flip!

After another 2 or so minutes, they are ready to be stacked up!

Instead of maple syrup, I made a quick and easy lemon glaze to pour on top of these bad boys. It was just lemon juice, lemon zest, milk, and confectioners sugar. It was the perfect addition to these lemon ricotta pancakes!

Now do you blame me for eating the whole stack? 

I didn’t think so!


/ Filed In: Breakfast, Eat, Other Sweets New
Tagged: breakfast, lemon, pancakes, ricotta

Water Color Fruit Cookies (+ NEW Sugar Cookie Recipes!)

June 23, 2017

I am really excited about this post for a couple of reasons. First of all, I love these cookies. They are some of my favorites to date! I have been loving this painting on cookies technique that I picked up over the past couple of months. It’s actually somewhat therapeutic to sit and paint. Plus, with watercolor, you don’t have to be so precise and exact, which I certainly appreciate! 


The second reason I love this post is that each one of the watercolor fruit cookies represents the flavor of the cookie! I have been playing around with different flavors for a couple months and settled on four that will be my (actually, you have already seen them in the rotation) my go-to cookie flavors for Summer (and probably beyond). 

But I will get to the flavors in a second. First let me show you how I painted the cookies! (P.S. It’s super easy!)

So the trick is to “water down” your food coloring with a bit of a clear alcohol or extract, like almond extract. You don’t want the color to be TOO pigmented, or else it won’t look like water color. Then I just mixed my colors until I found a shade I liked and painted directly on the dried icing. There is no science to it at all! I did have pictures of water color fruit up in front of me while I did this so I had something to work off of. But after a while, I just did what I thought looked good. 

Now back to these cookie flavors. 

I know I share a lot of sugar cookie recipes. So instead of posting all the recipes here, or sharing them one by one over the course of the Summer, I decided to put together a little mini recipe e-book with all four recipes which you can get here. Each recipe is not only delicious, but I spent a lot of time in Photoshop making them pretty, too! That way you can print them out and save them for the next time you want to make some wonderful cookies. 

The lemon cookie is lemon-mint flavored and is absolutely refreshing and delicious! The raspberry cookie is a raspberry lemonade flavor, which reminds me of my all time favorite summer drink. The strawberry is strawberry and honey flavor which is subtle and sweet. And finally the lime cookie is lime and sea salt flavored which almost tastes like a margarita! (As I was decorating, I couldn’t help but think of the Willy Wonka line “the snozeberries tastes like snozeberries!”)

Also, I should mention that these recipes are not my normal sugar cookie recipe with a couple extracts thrown in. I re-developed my sugar cookie recipe just for Summer! It’s lighter and softer than normal. Plus the flavors are all natural! They are not engineered for a flavor extract, which makes the cookies that much more wonderful and delicious! 

If you do end up downloading the e-book and trying out the recipes, I would love to know what you think. Also, if you like this idea, I already have some thoughts on another e-book for the Holidays!

 
[show_shopthepost_widget id=”2717110″]

/ Filed In: Cookie Decorating 101, Cookies New, Decorated Cookies, Eat
Tagged: cookie decorating, cookies, lemon, lime, raspberry, strawberry, sugar cookies, Summer, water color

Delicious Raspberry Lemon Bars

April 12, 2017

Two of my favorite things in life: raspberries and lemons. Love them together, love them separately. But boy are they good together. 

As a lemon lover, you better believe I can throw down some lemon bars. They are one of my absolute favorite desserts (Exhibit A: It is my one and only Paleo dessert recipe)! You know what makes them even better? You guessed it! Raspberries! Every bite of these raspberry lemon bars is like drinking raspberry lemonade while eating your favorite lemon bar. Which I could totally go for right about now. 


These little lemon bars are made up of three layers. Only two are necessary, but I recommend all three. The first is the crumbly crust.

To make the crust mix together butter, sugar, flour, and lemon zest. To make this easier on yourself, you use food processor to form it into a crumbly dough. If you like to work for your food, then you can use a pastry cutter, a couple knives or forks, or just your hands. They all work great!

Once the dough has sort of formed into a ball, dump it into a square pan and press it down into the bottom and a little bit up the sides. Take a fork and stab it a couple times to make sure that no big air bubbles form. Then pop it in the oven to par bake for a couple minutes while you get the filling ready. 


The filling is lemon juice, lemon zest, sugar, eggs, a bit of flour, and some raspberry juice. 

To get the raspberry juice, blend the raspberries with a bit of the lemon juice and then strain it back into the measuring cup before adding it to the filling. Once it’s mixed all together, you just pour the filling right into the crust and then bake for another few minutes. 

To add even more raspberry to these raspberry lemon bars, you can sprinkle some raspberries into the filling so that there is a little bit of raspberry in each bite. 

At the last minute, I decided that there just wasn’t enough raspberry for me, so I decided to make a raspberry curd to go on top. 

Raspberry curd is exactly like lemon curd, except you substitute some raspberries for lemon juice. It sounds fancy, but it takes less than 10 minutes to make! Once the lemon curd has cooled a bit, you can spread it over the baked lemon bars, then pop then in the fridge to chill. 

I like to let my raspberry lemon bars chill at least a couple hours so that all the layers set and they are a whole lot easier to cut. Just look at those layers! Crunchy, crumbly crust, topped with a sweet raspberry-lemon filling, topped with a raspberry curd. I could just dive right through this computer screen and take a bite. 

And don’t forget those little pieces of raspberries! Since the raspberry flavor isn’t overwhelming, it’s nice to get that little pop of berry to balance out the sour lemon.

Now go run off and make these and let me know what you think! If you are a lemon bar lover like me, I would love to know if you like this raspberry version even better!


[amd-yrecipe-recipe:144]

/ Filed In: Bars and Brownies, Desserts, Eat, Other Sweets New
Tagged: crust, dessert, lemon, lemon bars, lemon curd, raspberry, raspberry curd

Paleo Lemon Curd

April 15, 2016

Lemon-Bars-A-5title

And the lemon obsession continues. How many lemon recipes do you think I can post before Labor Day? The count is already up to three. I bet I can get to six. 

The funny thing about a Paleo lemon curd is that everything I would want to pair it with wouldn’t be Paleo. Like scones, muffins, biscuits, pie crust, etc. I guess I am going to have to learn how to make a Paleo scone or biscuit. Sounds like I have some work to do. 
Lemon Bars A-4

I wish I had taken more pictures of the process of making the lemon curd, but honestly it all went so quickly I didn’t think about it until it was all done. So instead here is a picture of lemon juice to remind you that there is lemon juice in the lemon curd. How on earth could you guys do this without me? 

Other than the lemon juice, there is a bit of lemon zest, a couple eggs and egg yolks, honey, and some ghee and coconut oil. I combine all of those things in a sauce pan over low heat and stir until bubbles form. This whole thing only takes about 5 minutes. I’m telling you, it’s quick! No time for pictures!

The final step is the most critical – straining the curd. YOU MUST STRAIN THE CURD. No matter how hard you whisk, you won’t be able to completely mix up the eggs and inevitably there will be chunks of egg left over. Gross. 

Lemon Bars A-6

Trust me, you will want smooth and silky lemon curd for your muffin (Paleo or not). 

This would be a great filling for a Paleo lemon meringue pie, tart, or other delicious treat. If you aren’t so into the whole Paleo thing, the good news is that you can just sub in sugar for honey and butter for the ghee and coconut oil. 

What other types of curd should I try? 

[amd-yrecipe-recipe:18]

/ Filed In: Desserts, Eat
Tagged: lemon, lemon curd, topping

Lemon Cheesecake

April 1, 2016

Lemon-Cheesecake-12b

This cheesecake, along with all that Easter candy, is the reason I am back to dieting this week. I know a lot of times I try to make my favorite treats a little healthier but cutting out the fat, sugar, and guilt. But this lemon cheesecake is not one of those times. This is full fat, full sugar, and oh so worth it! Sometimes you have to treat yourself with a decadent dessert, like on holidays… when calories don’t count. What? You haven’t heard that? 😉

I guess I should have anticipated this when I combined two of my favorite desserts in the world: my mom’s classic cheesecake and lemon meringue pie. My self control never stood a chance.


The foundation of my mom’s cheesecake is the sugar cookie crust. Many people have been skeptical of the sugar cookie crust, but once they try it they are converted. Not only is the sugar cookie so much better suited for all the lemon flavor going on in in this cheesecake, it is SO much easier than a graham cracker crust. We (my mom and I) just use the slice and bake sugar cookie dough you can find in your grocery store’s refrigerated section. To make the crust, I sliced the log of dough into discs then pressed them around the bottom and sides of a spring form pan. 

After the crust was ready, I put it aside and got started on the cheesecake. It’s actually pretty simple and comes together very quickly. I creamed together the cream cheese and sugar, then I added in the eggs, Greek yogurt (my mom uses sour cream), and vanilla. Since I was making this a lemon cheesecake, I added the zest of of one lemon. When the batter was well mixed and smooth, I poured it into the crust. 

Now my trick for baking the cheesecake is something I learned from Martha Stewart. She bakes her cheesecakes in a shallow pan of water so that the steam helps prevent the cheesecake from cracking. To keep the water from seeping into the cheesecake, I wrapped the pan in tin foil. I baked the cheesecake for 10 minutes at 450 degrees, then lowered the temperature to 325 and cooked for another 60 minutes, or until the cheesecake no longer jiggled in the center. It’s okay if it has a little wobble, but you don’t want it to look liquidy in the center.


While the cheesecake was baking, I went about making the lemon curd. I followed the same technique I used to make these lemon bars. While I find making lemon curd pretty easy, when I was telling my mom about this recipe she scoffed at the idea of making homemade lemon curd. She didn’t like the idea of separating the eggs. A woman who was a home economics major and working mother thinks separating eggs is too much trouble. Where did I go wrong with her? Anyways, if making your own lemon curd isn’t up your alley either (I actually do get it, I just like to give my mom a hard time), you can certainly buy a jar of it at the store. I would just recommend that you warm it up first to make it a little more spreadable. 

So at this point I have made my lemon curd and let it cool just a bit. My cheesecake is fully cooked and also slightly cooled. I poured the warm curd over the cheesecake and used an offset spatula to evenly cover the cheesecake. I then let everything cool to room temperature, then put it in the fridge overnight to really set up. 

Lemon Cheesecake-8

When I was ready to serve, I removed the outer ring of the spring form pan and dressed it up with some slices of meyer lemons since I used some meyer lemon juice in my lemon curd (not necessary, but it’s meyer lemon season). 

This was the perfect dessert for Easter brunch. Rich and decadent, but still fresh and crisp! And it was a total hit with the group. I sent slices home and whatever was left over was quickly demolished at work the next day. This would be perfect to make for Mother’s Day, Father’s Day, or any Spring or Summer outing. 

Lemon-Cheesecake-10b


[amd-yrecipe-recipe:14]

/ Filed In: Desserts, Eat
Tagged: cheesecake, dessert, lemon

Paleo Lemon Bars

March 9, 2016

Paleo Lemon Bars with Chia Seeds

Friends, let me tell you, whether you are on a Paleo diet or not, you must make these lemon bars! They are so freaking good. They were a pain in my butt to get right. But once I figured out the magic recipe, they turned perfectly!

Also, on a quick side note – while I was spending my afternoon baking these bad boys, I binged watch Fuller House. It is so bad it is good. It is just like the Full House of old, but even cheesier! Maybe it’s because I am older so it seems cheesier, but that is what makes it so great. So you need to go out and watch this immediately! Also, Jodie Sweetin needs her own show. The end. 

Okay, back to the lemon bars.

I did a lot of research for this recipe;  looking up other Paleo lemon bar recipes, as well as your typical (sugar-, gluten-, dairy-filled) lemon bar recipe to find the perfect combination of lemon topping to crispy crust. 


The crust was actually the easiest part for me to master. I knew I wanted it to be light and flaky, so I made something that was a mix between a shortbread and a pie crust. I mixed together almond and coconut flours with some coconut sugar, egg, and fat. The mixture of the two flours made a big difference. I tried it the second time with only almond flour and it turned out terribly. 

The lemon topping is what gave me so much trouble. In your typical lemon bar recipe, the lemon topping is baked on the crust. I tried that method twice with very bad results (as you may or may not have seen on Snapchat). I finally found a recipe that used a different technique: making a lemon curd and pouring it on top. No baking needed! Which is exactly the solution I was looking for. 


So I went about making a Paleo lemon curd, which was a lot easier than I anticipated. I replaced the sugar with honey and the butter with ghee/coconut oil. Literally a 1 to 1 substitution. Soooo easy. But I knew that the lemon curd wasn’t going to set up like I wanted since it would be a bit too runny. To solve that problem, I turned to my old friend the chia seeds!

Chia seeds to the rescue!

I only used a tablespoon of them, but it was just enough to soak up some of the moisture and help the lemon curd firm up a bit. 

So I poured the crazy looking lemon curd over the baked crust and set it in the refrigerator to let the chia seeds work their magic.

Sugar-free and grain-free lemon bars

I found that the lemon topping was firm enough to cut through after about 2 hours, but I left it in a bit longer just to make sure. I actually didn’t take these out of the fridge until the next day. 

Healthy, Paleo lemon bars


All I can tell you is that they were totally worth the wait. They were so good you would never know that they didn’t have any sugar, flour, or butter in them at all. I took them to my Small Group on Sunday night and all the girls asked for the recipe. None of them realized these were Paleo until I told them so. 

If that isn’t the mark of a successful Paleo baked good, I don’t know what is!

Enjoy!

[amd-yrecipe-recipe:4]

/ Filed In: Bars and Brownies, Desserts, Eat, Other Sweets New, Paleo Dishes
Tagged: dessert, lemon, Paleo

Homemade Extracts

September 1, 2014

Extracts2If you are an avid baker, you may already be familiar with how easy it is to make vanilla extract. But that is not the only extract that can be easily (and cheaply) made at home! A few weeks ago, I tried my hand at making several different types of homemade extracts, which I am happy to report, pretty much all turned out well.

Extracts5I started by washing and drying 5 glass bottles I purchased at the container store. I just washed them out with soap and water, then I dried them in a warm oven. This not only makes sure they are bone dry, but they also get sterilized in the process.

Extracts4Once the glasses were nice and dry, I filled them up with a pretty arbitrary amount of chopped almonds, lavender, coffee beans, lemon peel, and vanilla beans. Making extract isn’t really an exact science. The more of ingredients you put in the bottle, the more intense the flavor will be. But you can also get an intense flavor by letting those ingredients sit in the vodka for a longer period of time.

Extracts3Then I just topped off each bottle with vodka. It doesn’t have to be the best vodka around, but don’t go too cheap. You want to make sure that the extract tastes like coffee or vanilla, not flavored vodka.

Extracts6Unfortunately, unlike other recipes, you won’t be able to enjoy this one for at least 4-6 weeks. To get a rich and flavorful extract, the vanilla beans, coffee beans, almonds, lemon peel, lavender buds, etc. need to sit and release their flavor for quite a while. But if you are patient, you will have yourself some great, homemade extracts that can be used for any of your baking purposes.


For some of the extracts, you may want to strain out beans/buds/nuts. For instance, I strained out the coffee beans, almonds, and lavender buds. But I kept the vanilla bean and lemon peel. Both are big enough that they won’t be poured out when I use the extract. Plus, I can keep topping off the bottle after use.

Extracts10Homemade extracts make an awesome holiday gift! If you get started now, you can have them ready in time for Christmas (or well before)!

Just a side note, the coffee extract is very strong so use sparingly. And the almond extract is not as strong as the store bough variety. Honestly, I will probably stick with my store-bought almond extract.

Have you made any other type of extract?

[yumprint-recipe id=’44’] 

/ Filed In: Eat, Make
Tagged: almond, coffee, DIY, extracts, gift, lanvender, lemon, vanilla

Lemon Slice Cookies

August 18, 2014

Lemon-Slice-CookiesSometimes I get inspiration from the strangest places. The inspiration for this recipe was a random Instagram picture that someone took of those lemon slice candies. “Wouldn’t those make cute cookies”, I thought to myself. So I set out to spend my husband-free weekend baking and decorating these lemon slice cookies.

Lemon-Slice-Cookies3I started with a basic sugar cookie dough and added lots of lemon zest so that the cookies would be full of flavor. I rolled out the dough to about 1/4″ thickness and cut out circles with a biscuit cutter. Then cut those circles in half to get “slices”.

Lemon-Slice-Cookies4After baking, I let the cookies cool completely before icing so that the icing won’t totally melt off the cookie. That might seem totally obvious to you, but I have made that mistake before.

Now I am no icing expert. I am far from it. I have studied Glory’s blog, Glorious Treats, and her techniques to try to get a hand on how to effectively decorate cookies. Her cookies are just the cutest – you need to check her blog for even more cookie inspiration!

Lemon-Slice-Cookies5I started by outlining the “rind” in a dark yellow, then outlining the “pith” in white just inside the yellow. I also made the little lines for the sections of the lemon with the white icing (Glory has a different technique with the “pith” lines, which I think look better). Both the dark yellow and white are fairly thick so that they don’t run off the edge of the cookie. For the inner, lighter yellow, fill icing, I thinned it out with a bit more water so that it easily flooded the little sections I created with the white icing.

Lemon-Slice-Cookies7This kind of cookie decorating is very time consuming, which makes me even more impressed with people like Glory and Sweet Sugar Belle, who make it look so easy.

I made the dough and baked the cookies on Friday. Outlined in the yellow and white on Saturday to let that icing harden. Then iced the yellow sections the on Sunday. I just tell you this so that if you plan on making these, or any other iced cookie with multiple colors, you will need to carve out some time over a couple days.

Lemon-Slice-Cookies2All and all I am pretty pleased with how they turned out. They are not perfect, but they sure are cute! And tasty! But this does inspire me to work on my icing skills.

What do you think about these lemon slice cookies? What other candy would translate to a good cookie?

[yumprint-recipe id=’36’]

/ Filed In: Eat
Tagged: cookies, decorated, lemon, Summer

Citrus Angel Food Cake

July 6, 2014

Orange-Angel-Food8Whenever my husband and I attend a gathering or event where we need to sign up to bring a food item, 95% of the time I will sign up for dessert. I’m sure that won’t surprise anyone who has read this blog before. But even though I like making sweets, I still feel a lot of pressure to make something that all or most people will enjoy. So my rule of thumb is to stick with a classic but with a twist. Take for instance those Mexican Brownies from a couple months ago and this Citrus Angel Food Cake. It is just a plain old Angel Food Cake with a twist. I added some orange and lemon zest. The flavor is evident, but not overwhelming. And the perfect flavor combination for Summer.

Orange-Angel-Food1If you have never made Angel Food Cake from scratch before, it is actually much easier than you might think. Sure, it does require lots of egg whites. Like a whole freaking dozen of them, but everything else is probably stuff you already have in your pantry.

Orange-Angel-Food2What sets Angel Food Cake apart, is how light and airy it is. That is achieved through the “meringue” made by whipping up all dozen egg whites with a bit of cream of tartar, water, and sugar. At this point, you could also whip in whatever flavors you like. For instance, you could add vanilla to get a classic Angel Food. Or other extracts to take on any other flavor, like coconut, orange, raspberry, almond, etc.

Orange-Angel-Food3Once the egg whites form soft peaks (the picture above is probably closer to stiff peaks), I fold in the flour mixture. Because the flavor for this cake comes from the orange and lemon zest and not an extract, I whisked the zest into the flour mixture instead of into the egg whites.

Orange-Angel-Food4Typically, you will find Angel Food in a tube pan like the one above, but it can be made in any kind of pan you have.

Orange-Angel-Food9Like any other cake, you will know it is done with the top is brown and you can stick a knife or toothpick in and it comes out cleanly. The difference with Angel Food is that it has to cool completely…upside down. I like to find a bottle with either a tapered neck or a top that is just as big as the hole in my tube pan and flip it over to rest perfectly on the bottle. It may take a bit of coordination, but should balance just fine as long as you leave it alone (lesson learned the hard way for me). Don’t worry the cake won’t slip out!

Orange-Angel-Food5Once you are ready to serve, take a knife all the way around the edge of the cake, between the cake and the pan. Afterwards, and maybe with a bit of coaxing, the cake should slide right out. Cut into slices and serve with some whipped cream and fruit, or eat all on its own!


[yumprint-recipe id=’5′]

/ Filed In: Eat
Tagged: angel food, cake, citrus, lemon, orange

Lemon Squash Muffins

September 5, 2013


These muffins were inspired by a recipe I saw in a recent Women’s Health magazine for lemon zucchini bars. I had obviously heard of zucchini used in baked goods before – in breads, muffins, even brownies. But it was always green zucchini, and it was always paired with chocolate.

A light bulb went off in my head and I immediately felt the need to translate the lemon bar recipe into a muffin recipe.

The grated squash not only replaces the need for some of the flour and sugar, but it keeps the muffins very moist. It does not add much flavor or texture, which is great if you are weirded out by having a vegetable in your muffin.

Other than the squash, the recipe I used was fairly close to my standard muffin recipe. I used egg whites instead of a whole egg to cut down on the fat. Because of the added moisture from the squash, the extra fat isn’t needed. I also cut back on some of the sugar even though I was using a pretty tart fruit like lemon. If you prefer your lemon baked goods on the tarter or sweeter side, you can adjust your recipe accordingly.

As usual, feel free to use whole wheat flour, almond milk, or sugar substitute in your recipe. Just bare in mind, it may change the flavor or consistency of your muffins slightly.

What other ways would you use a vegetable in a baked good?

Linking up with Weekend Shenanigans, This Weekend I, The GFC Collective, Less Laundry More Linking, Share It Link Party, Taste of Tuesday, Google Friend Conect, The Pin It Party, Pinterest Power Party, Style Sessions, Trend Spin Linkup, I Feel Pretty, What I Wore Wednesday, Random Wednesday, Wildcard Wednesday, Three-fer Thursday, Tucker Up, GYB Networking Party H54F, That Friday Blog Hop, #backthatazzup 

/ Filed In: Eat
Tagged: healthy, lemon, muffins, squash, zucchini

Follow

Hey There!

Hey there, I'm Lindsey. I'm a number cruncher by day and a home cook and baker by night. While I love to eat healthy and find fresh and healthy alternatives for my favorite foods, I will never turn down dessert! Life is all about moderation, right?

Recipes

  • All Recipes
  • Breakfast
  • Appetizers
  • Salads
  • Main Dishes
  • Side Dishes
  • Desserts
  • Drinks

Favorite Finds

[show_lookbook_widget id=”388783″]

Theme by 17th Avenue · Powered by WordPress & Genesis