• Home
  • Eat
    • Breakfast
    • Appetizers
    • Main Dishes
      • Chicken
      • Beef
      • Seafood
      • Healthy Dishes
      • Paleo Dishes
      • Salads
    • Desserts
      • Decorated Cookies
      • Cookies
      • Bars and Brownies
      • Cakes and Cupcakes
  • Shop
    • Cookie Decorating Supplies
    • Bakeware
    • Cookware
    • Kitchen Gadgets
    • House
  • About
    • Contact
    • Bucket List
  • Cookie Decorating 101

Follow the Ruels

Fondant Flower Sugar Cookies

June 29, 2018

Disclaimer: Wilton provided me with their new decorating kits and other supplies in exchange for a blog post about their new products. However, all thoughts and opinions in this post are my own.

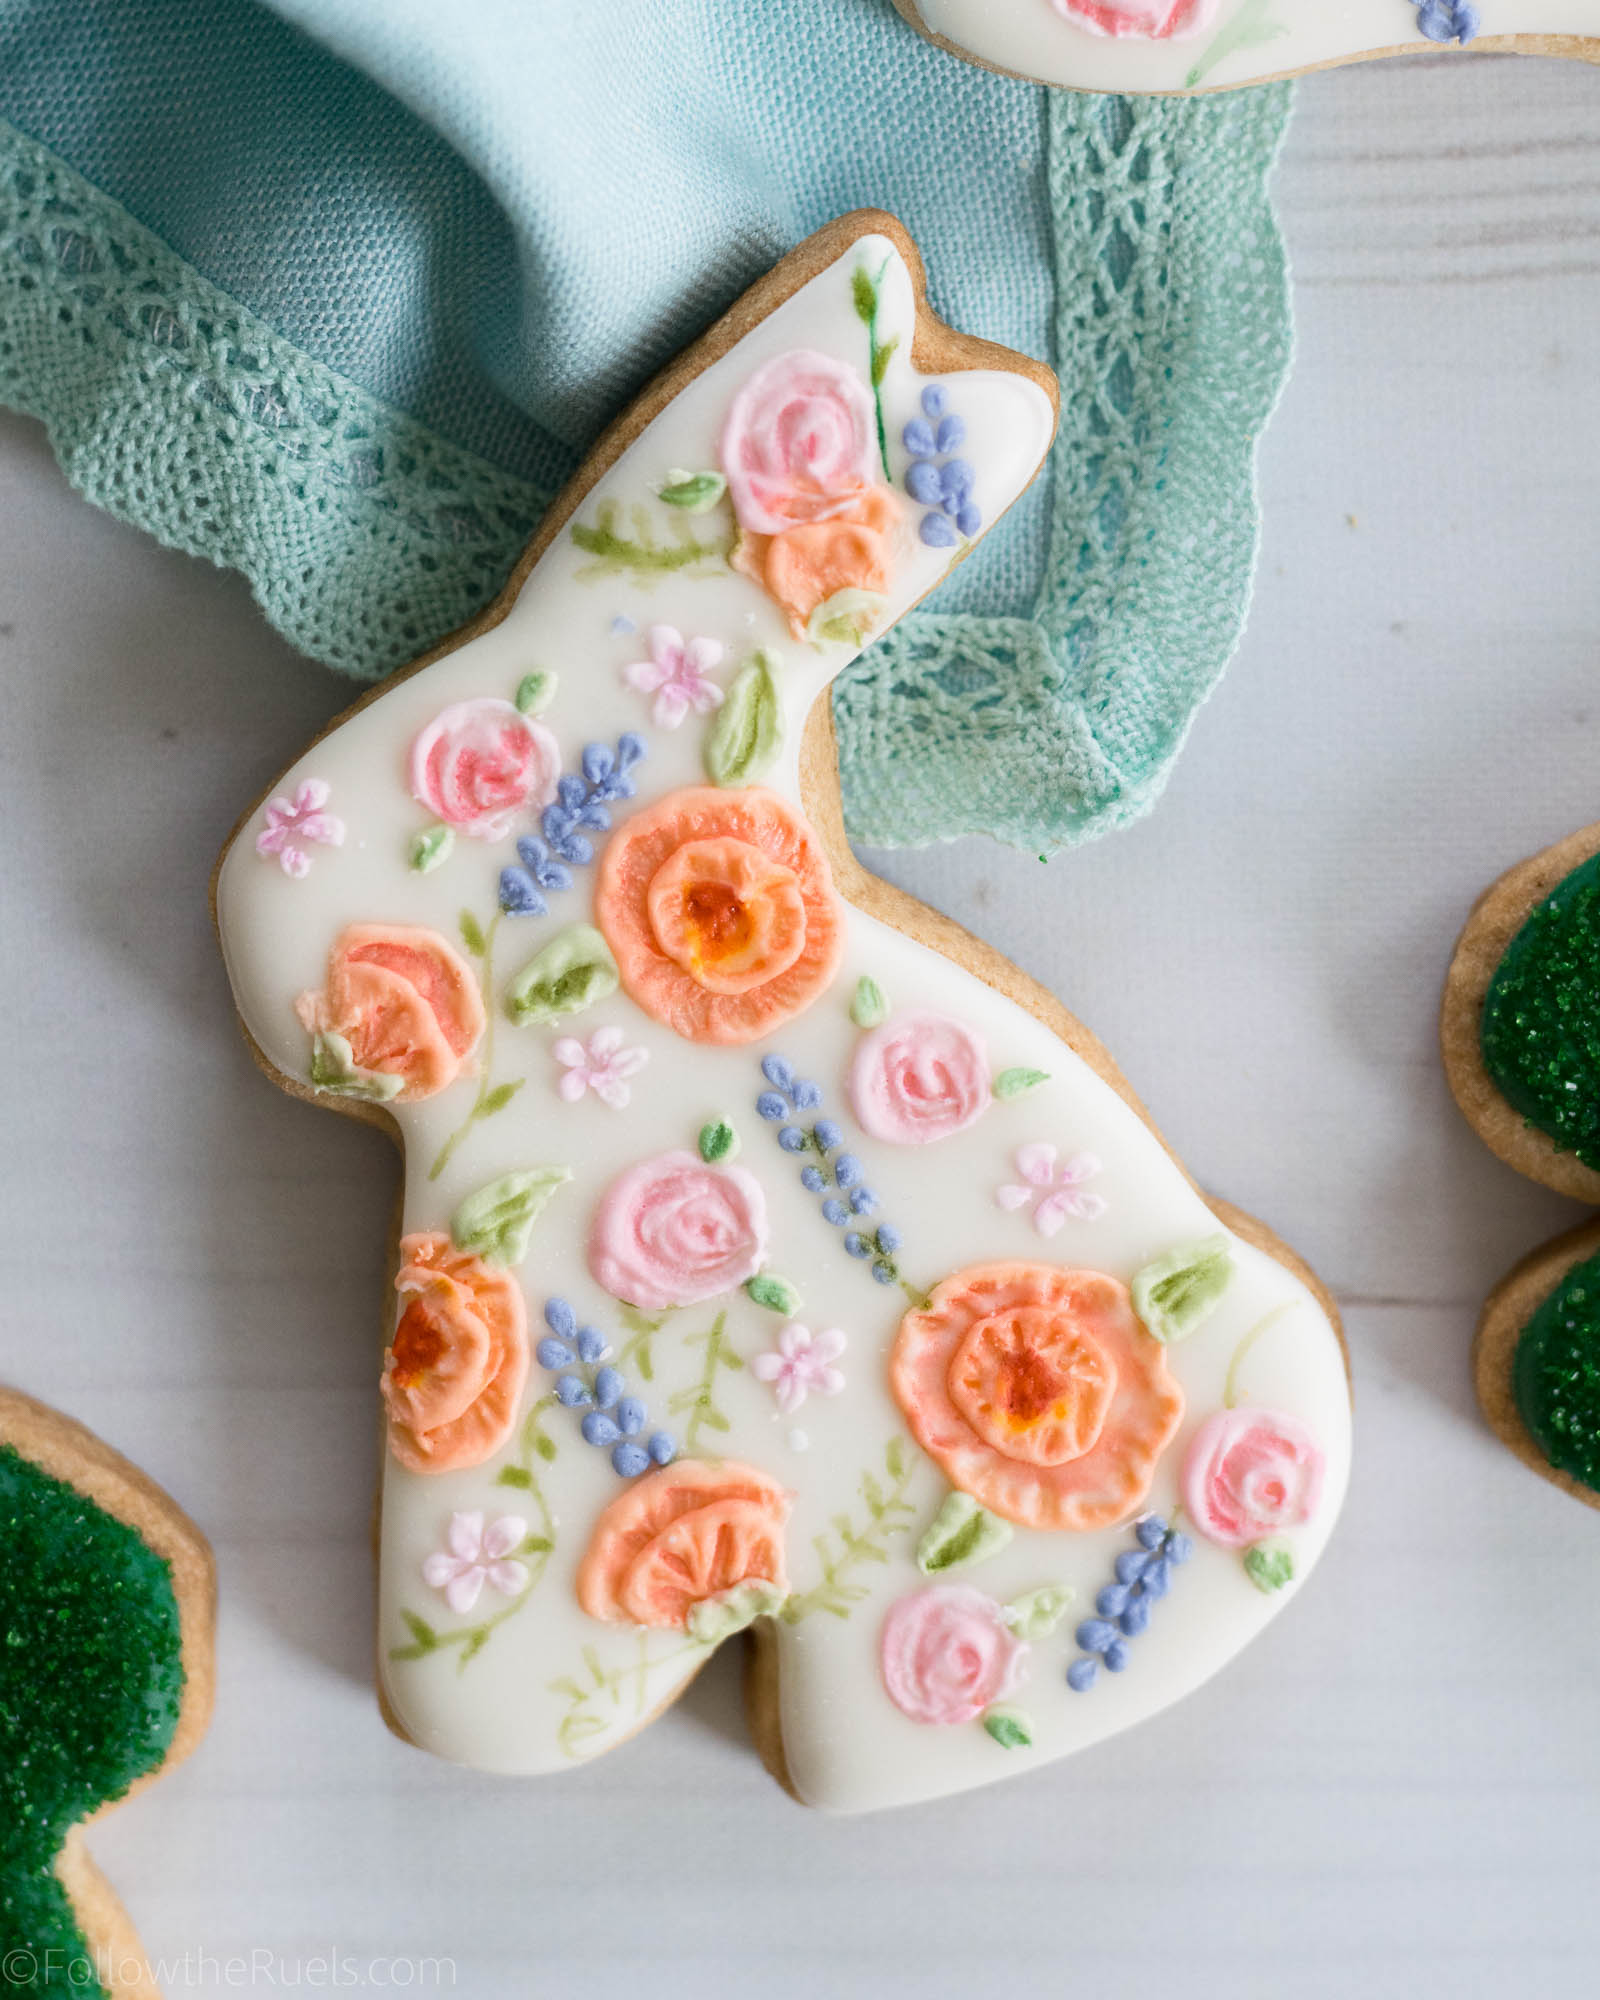
Fondant isn’t just for wedding cakes anymore!

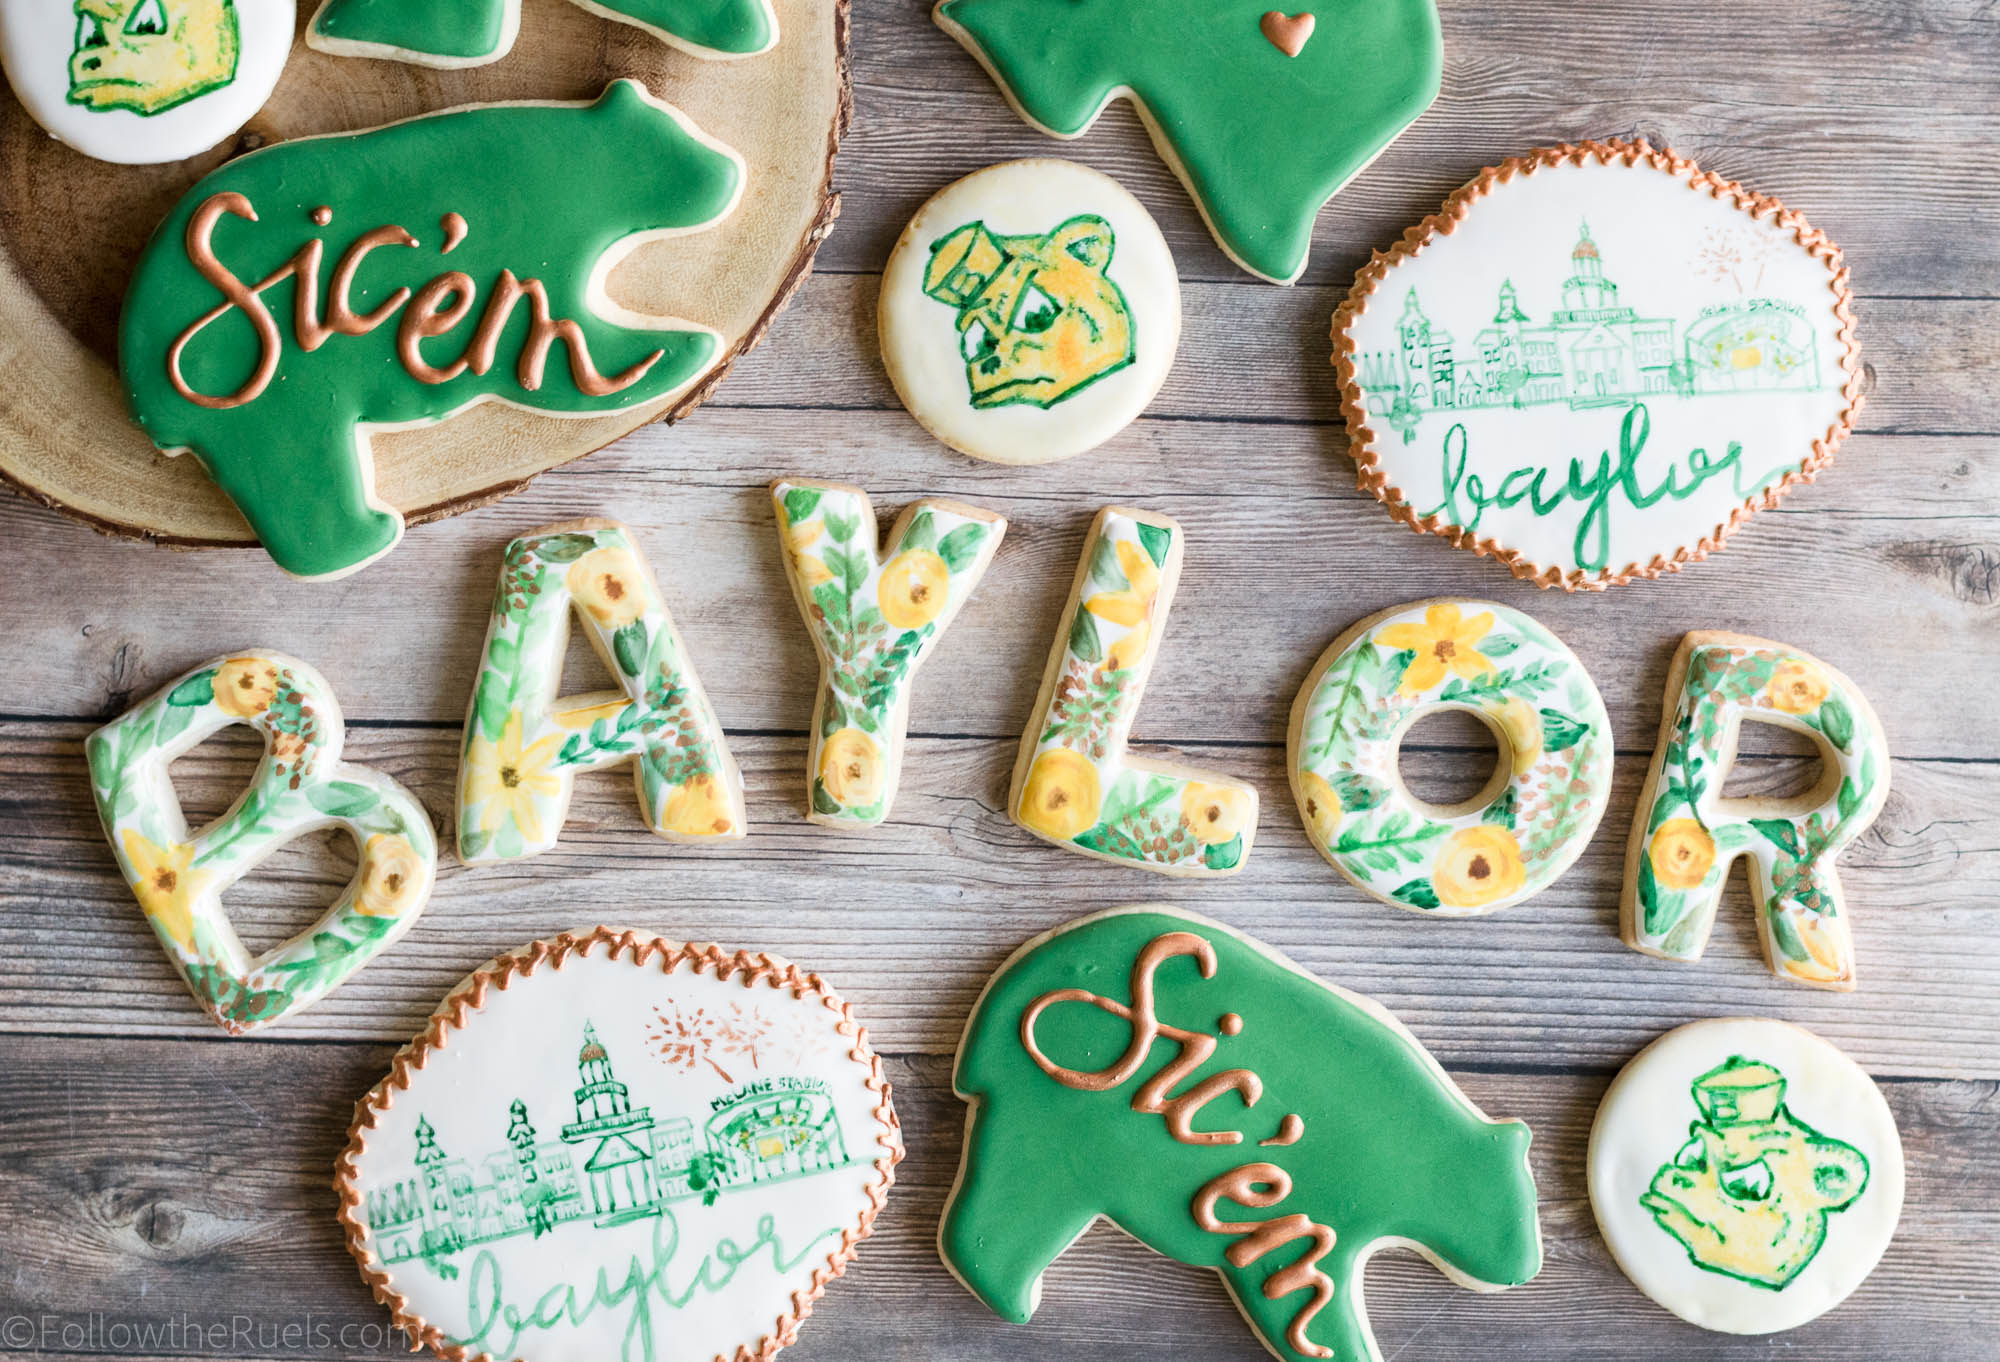
Well, you guys know that already. I have been using fondant on cookies for a while now (exhibit 1, 2, 3). But these cookies take fondant to a whole new level, IMO, thanks to the Wilton Fondant Shapes and Cutout Kit. 

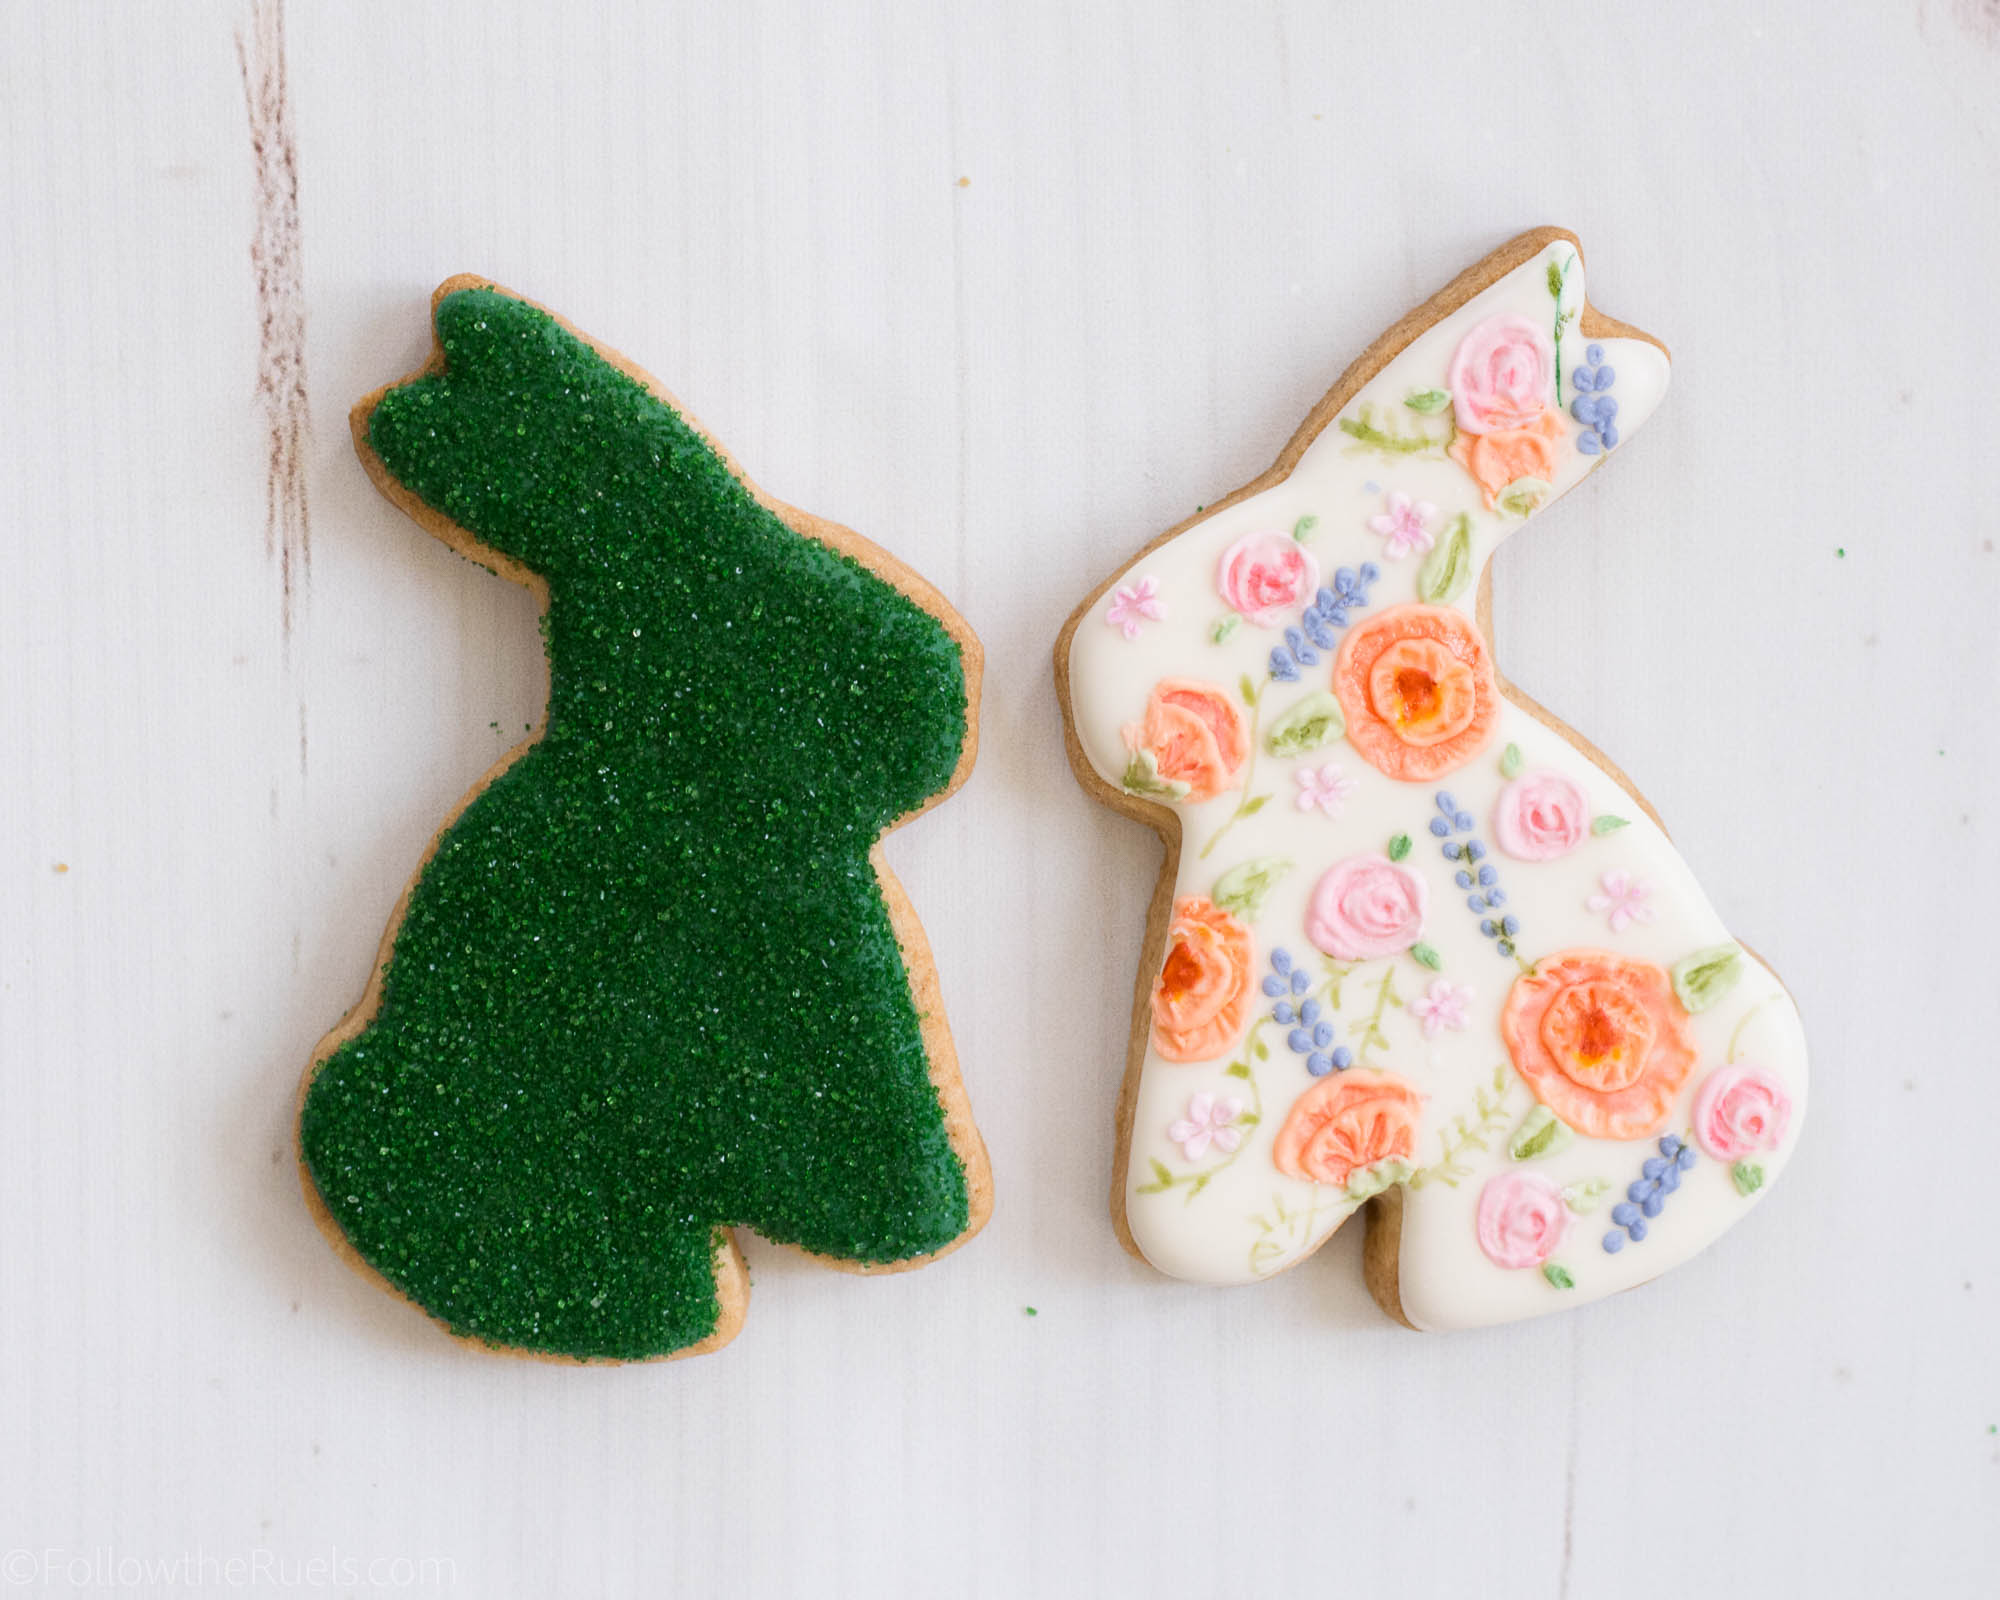
I was so inspired by the photo on the front of the box that I was dying to make a similar cake. But, sometimes I need to know my strengths (and weaknesses), and I knew I could execute a similar look on a cookie. 

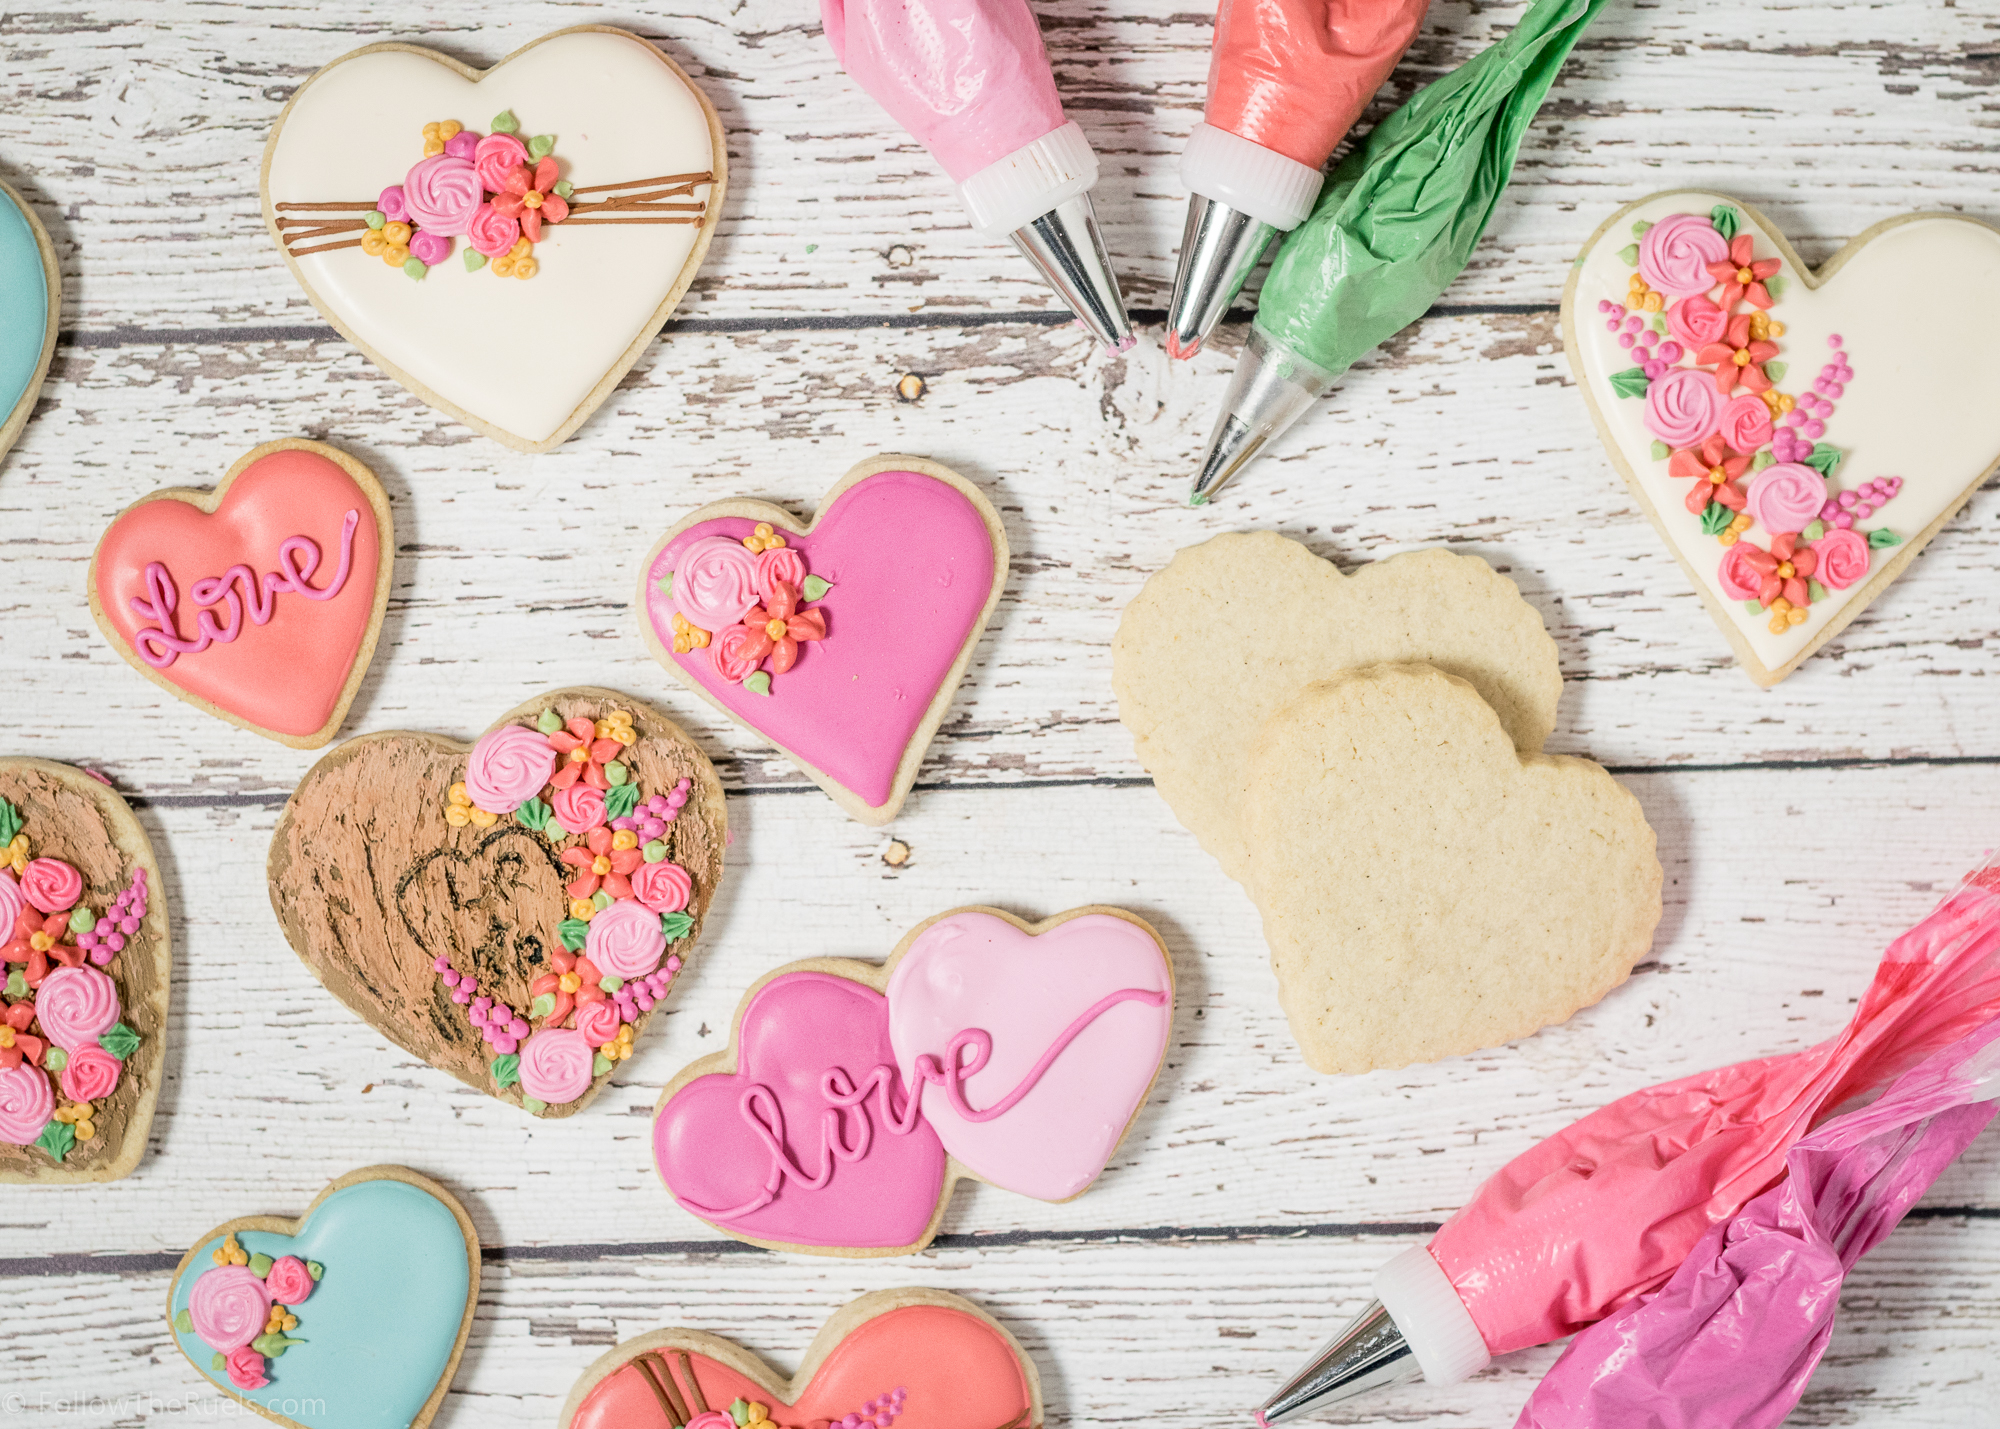
The cookies were a lot of fun to create, and actually kind of therapeutic. Working with fondant is a lot like working with modeling clay. It can be very forgiving and if you mess up, you can just roll it up and try again. These cookies are definitely something that just about anyone can recreate with the right tools!

How to Make Them

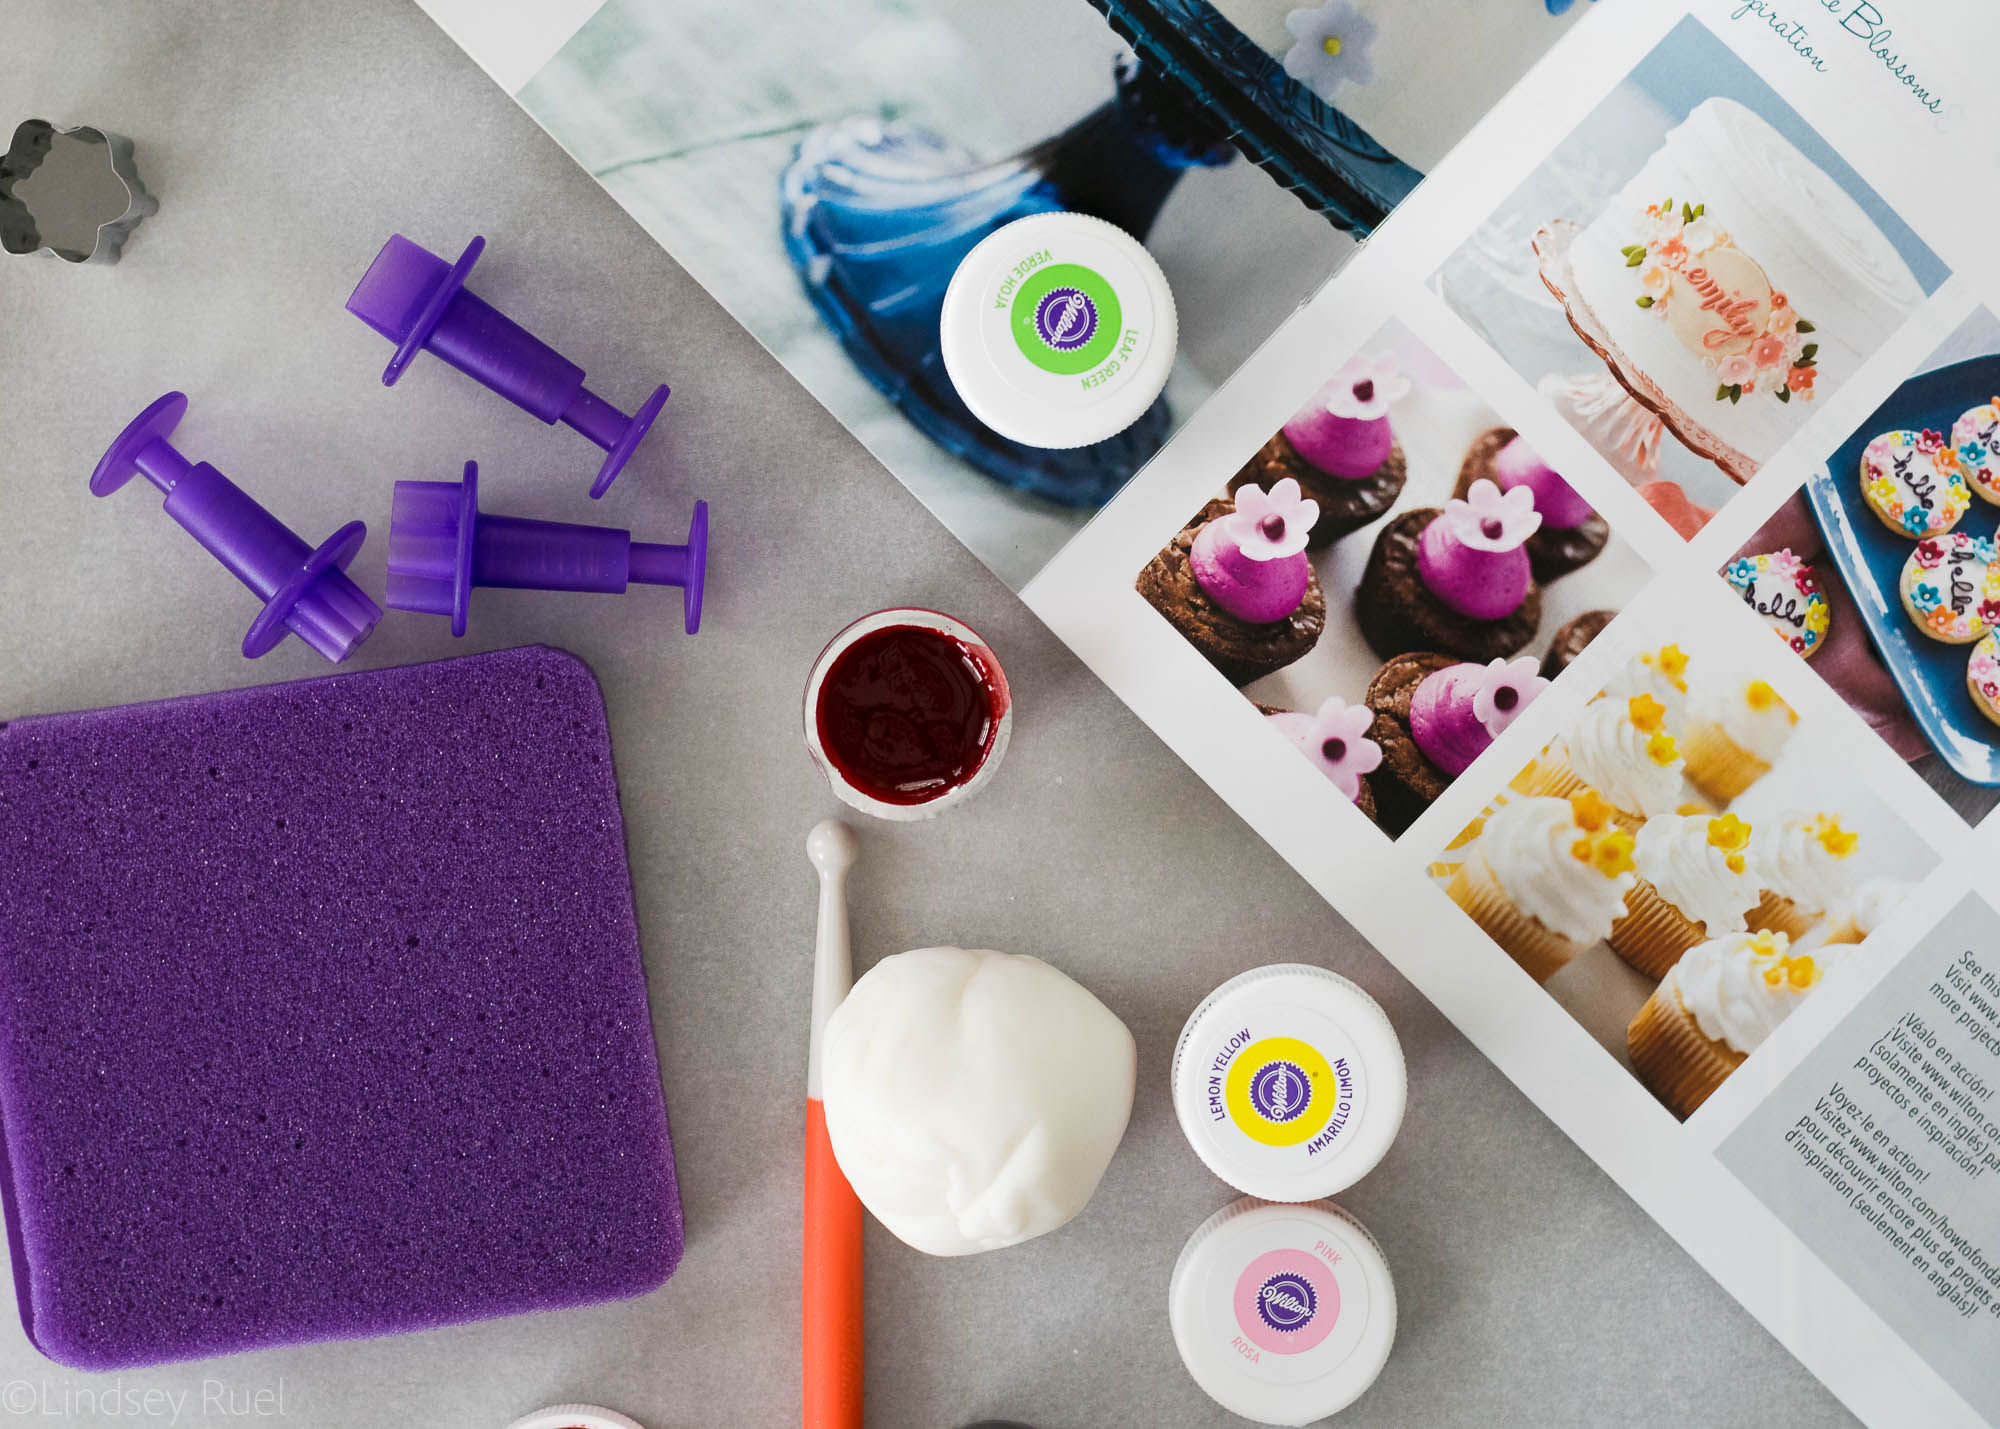
Start by dying fondant in the desired shades of colors. A little fondant goes a long way, so you may only need a gumball (or smaller) -sized ball of fondant per color. 

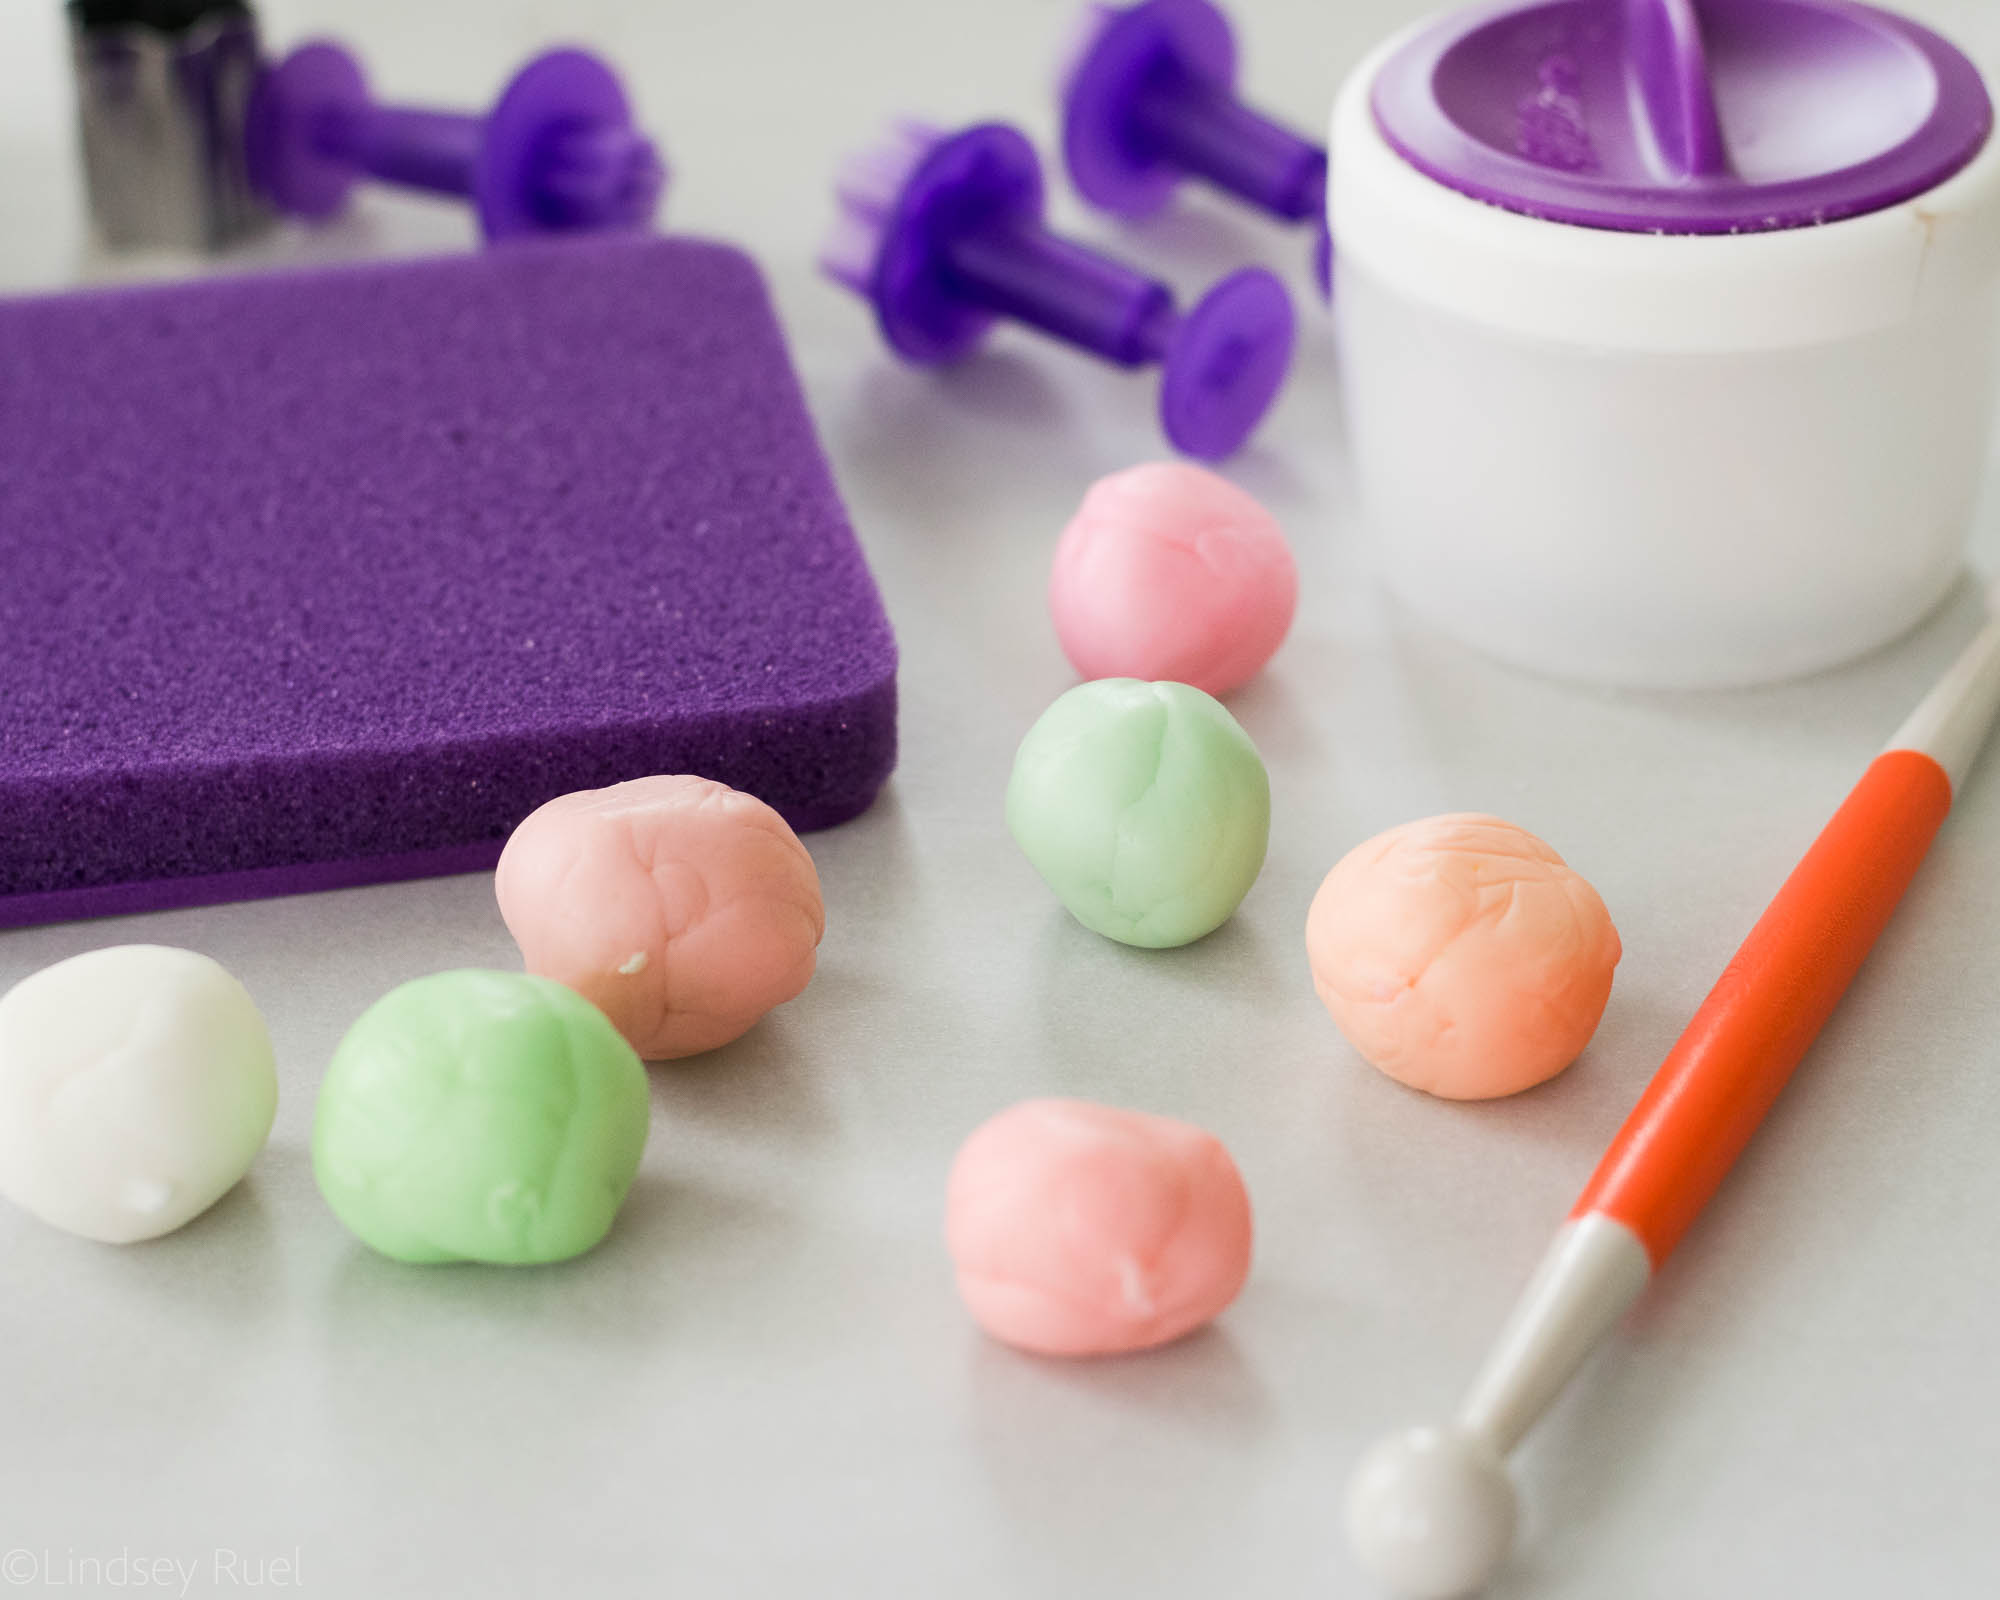
To dye the fondant, dab a tiny amount of gel food coloring onto the fondant. Then using your hands, stretch and knead the fondant until the color is evenly incorporated. If the color is too light, add additional food coloring.

Tip: Use food-safe gloves to prevent getting food coloring all over your skin. 

Roll out the fondant with the fondant roller and the thinnest of the roller bands. Punch out various sized flowers and leaves. 


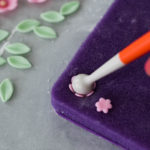
Place the cut-out flowers onto the foam and press down using the ball tool to create a more dimensional flower. 

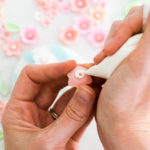
To add some more dimension and color, brush some pink luster dust in the center of the flower. Add a little ball of the same or different color fondant to the center of the flower. Attach with a dab of water. 


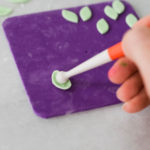
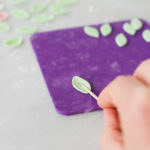
To add a little more detail to the leaves, use the smaller end of the ball tool to roll around the edges. Use a toothpick to add a little line down the center. 

Allow to dry and harden while you work on the next step.


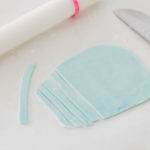
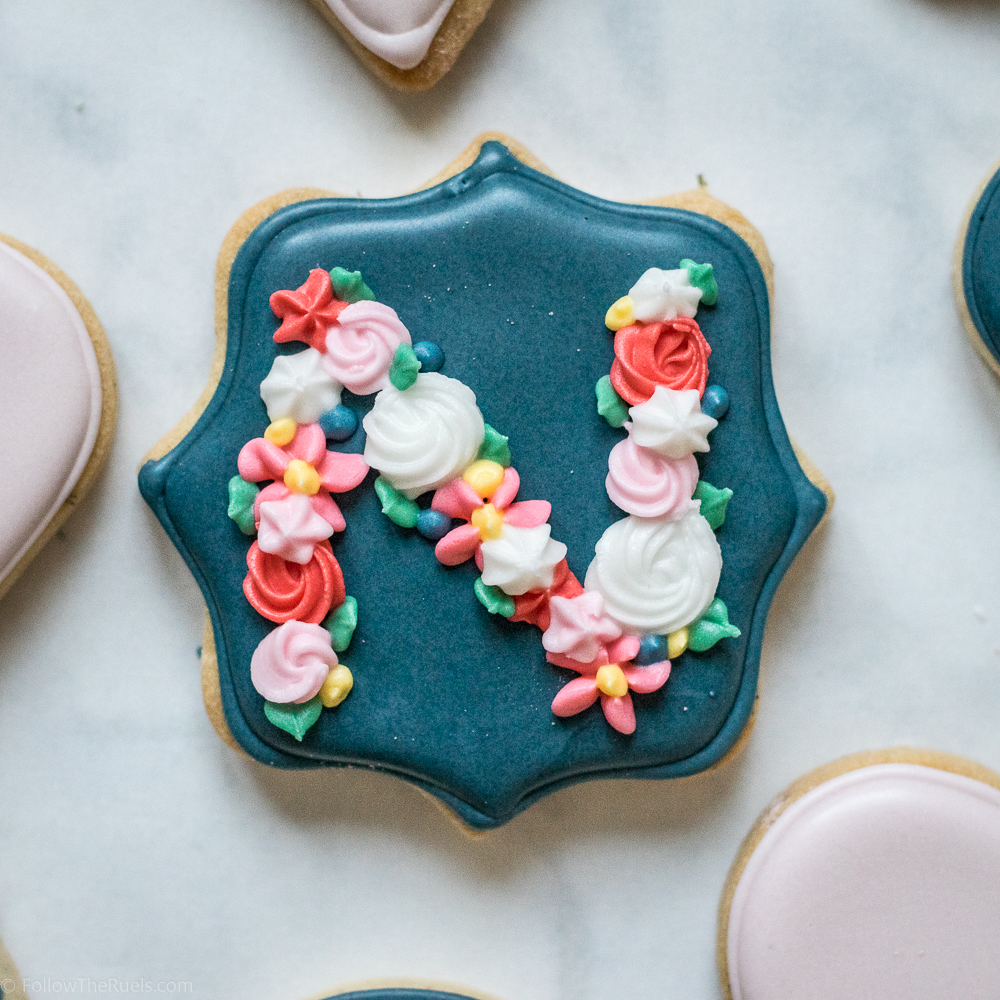
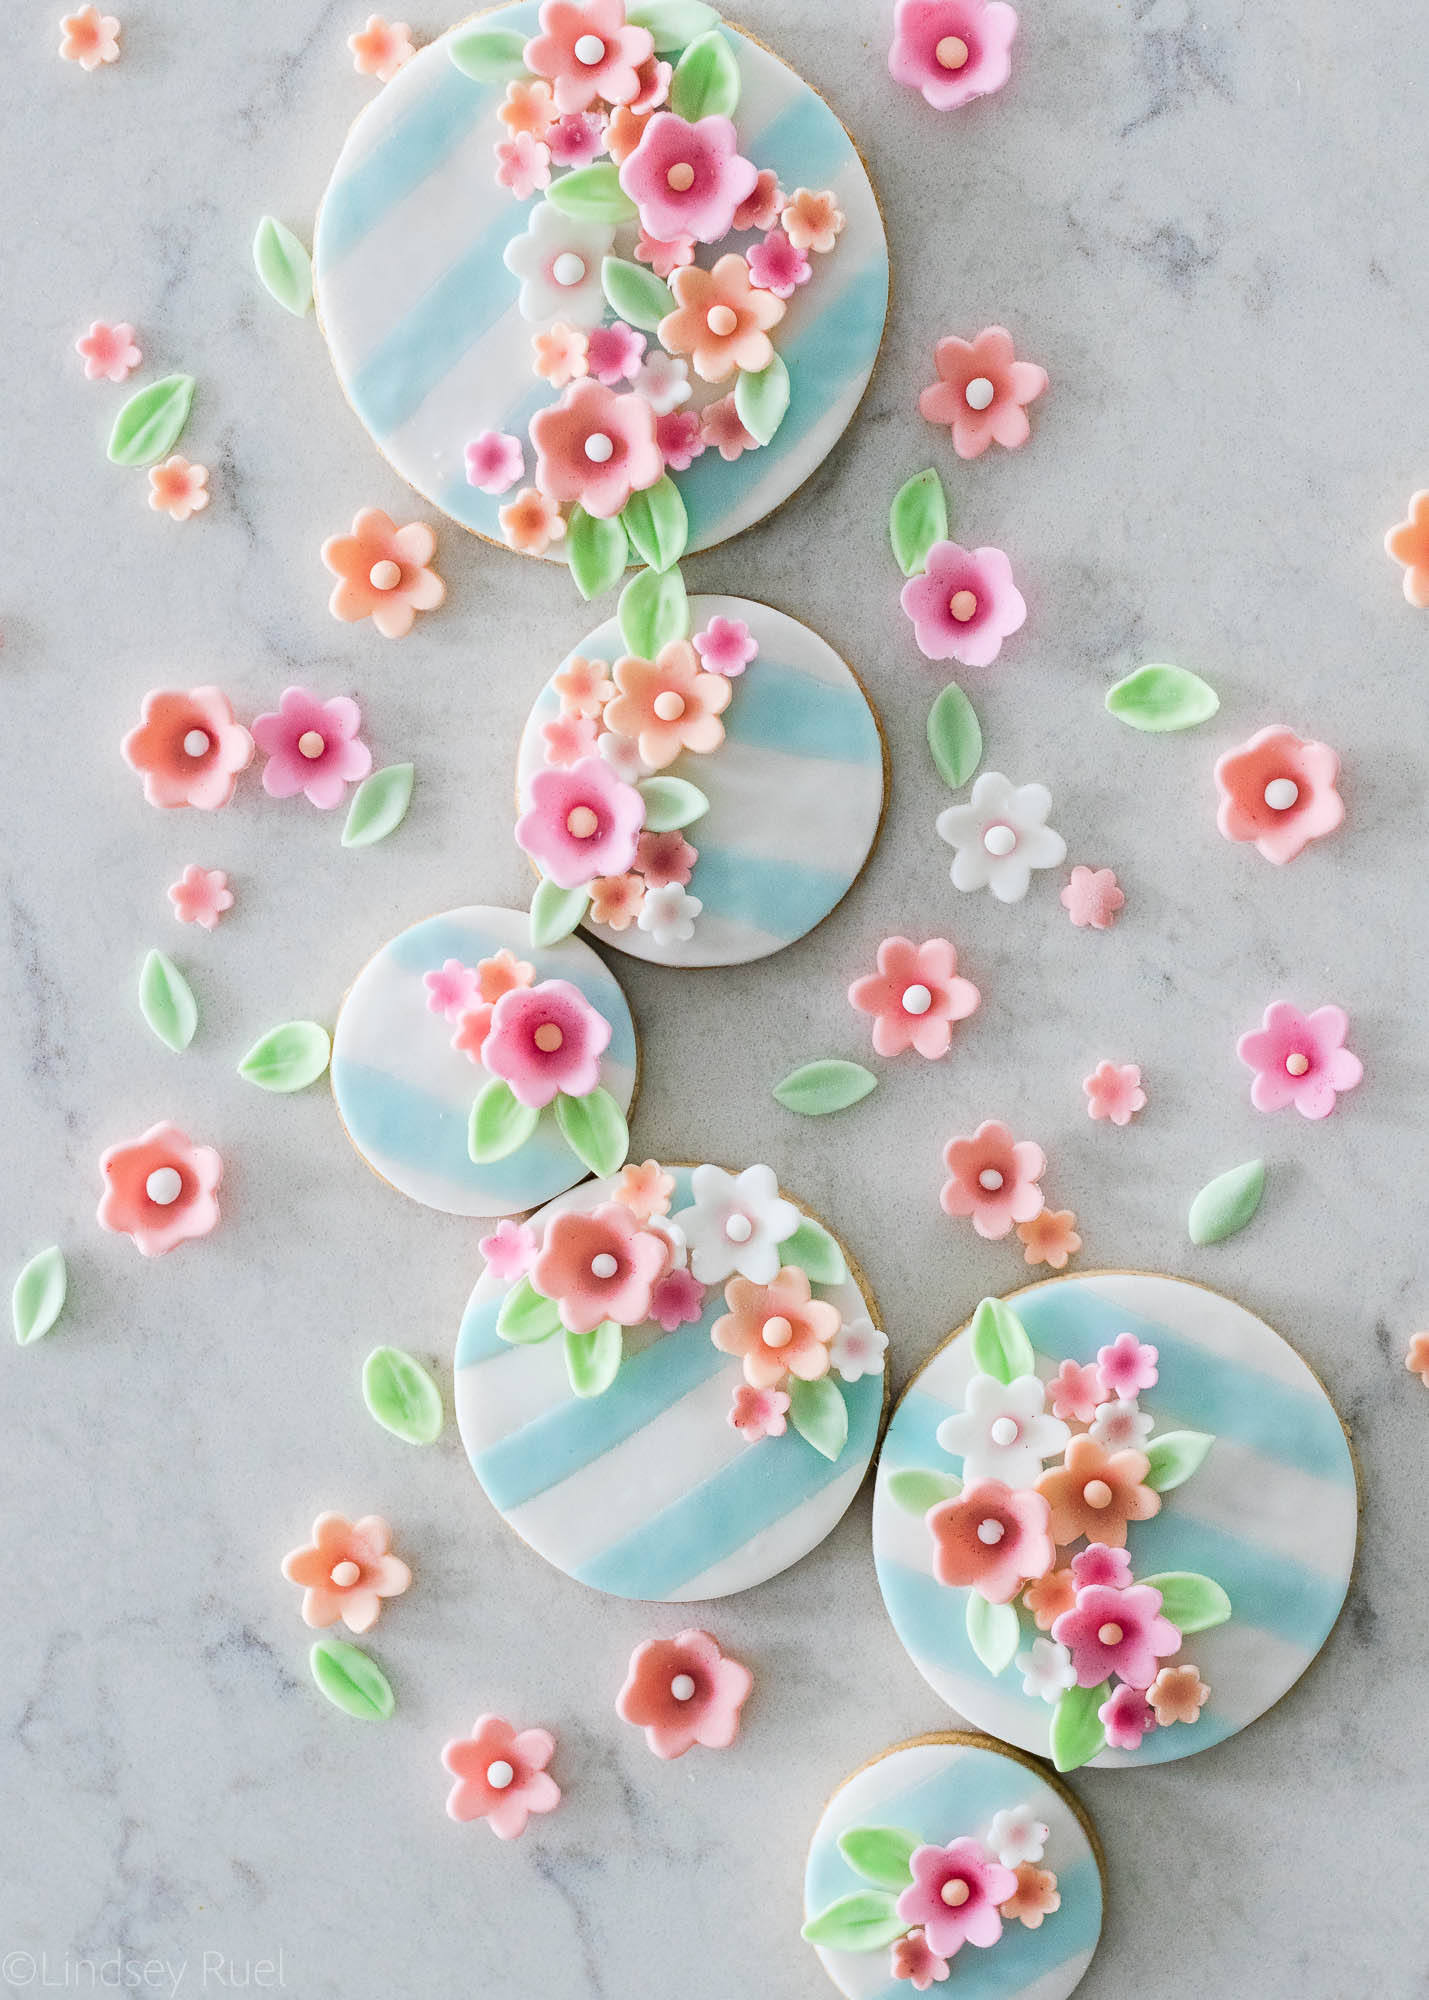
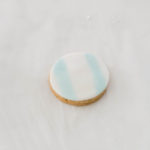
To create the striped fondant, dye a small ball of fondant a light blue (or your color of choice). Roll out the blue fondant using the fondant roller, then cut into equal sized strips. 

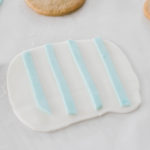
Roll out the plain white fondant and attach the strips of colored fondant with a little bit of water. 

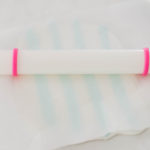
Place a piece of parchment on top of the fondant and roll out the fondant with the fondant roller and widest fondant roller guide. 

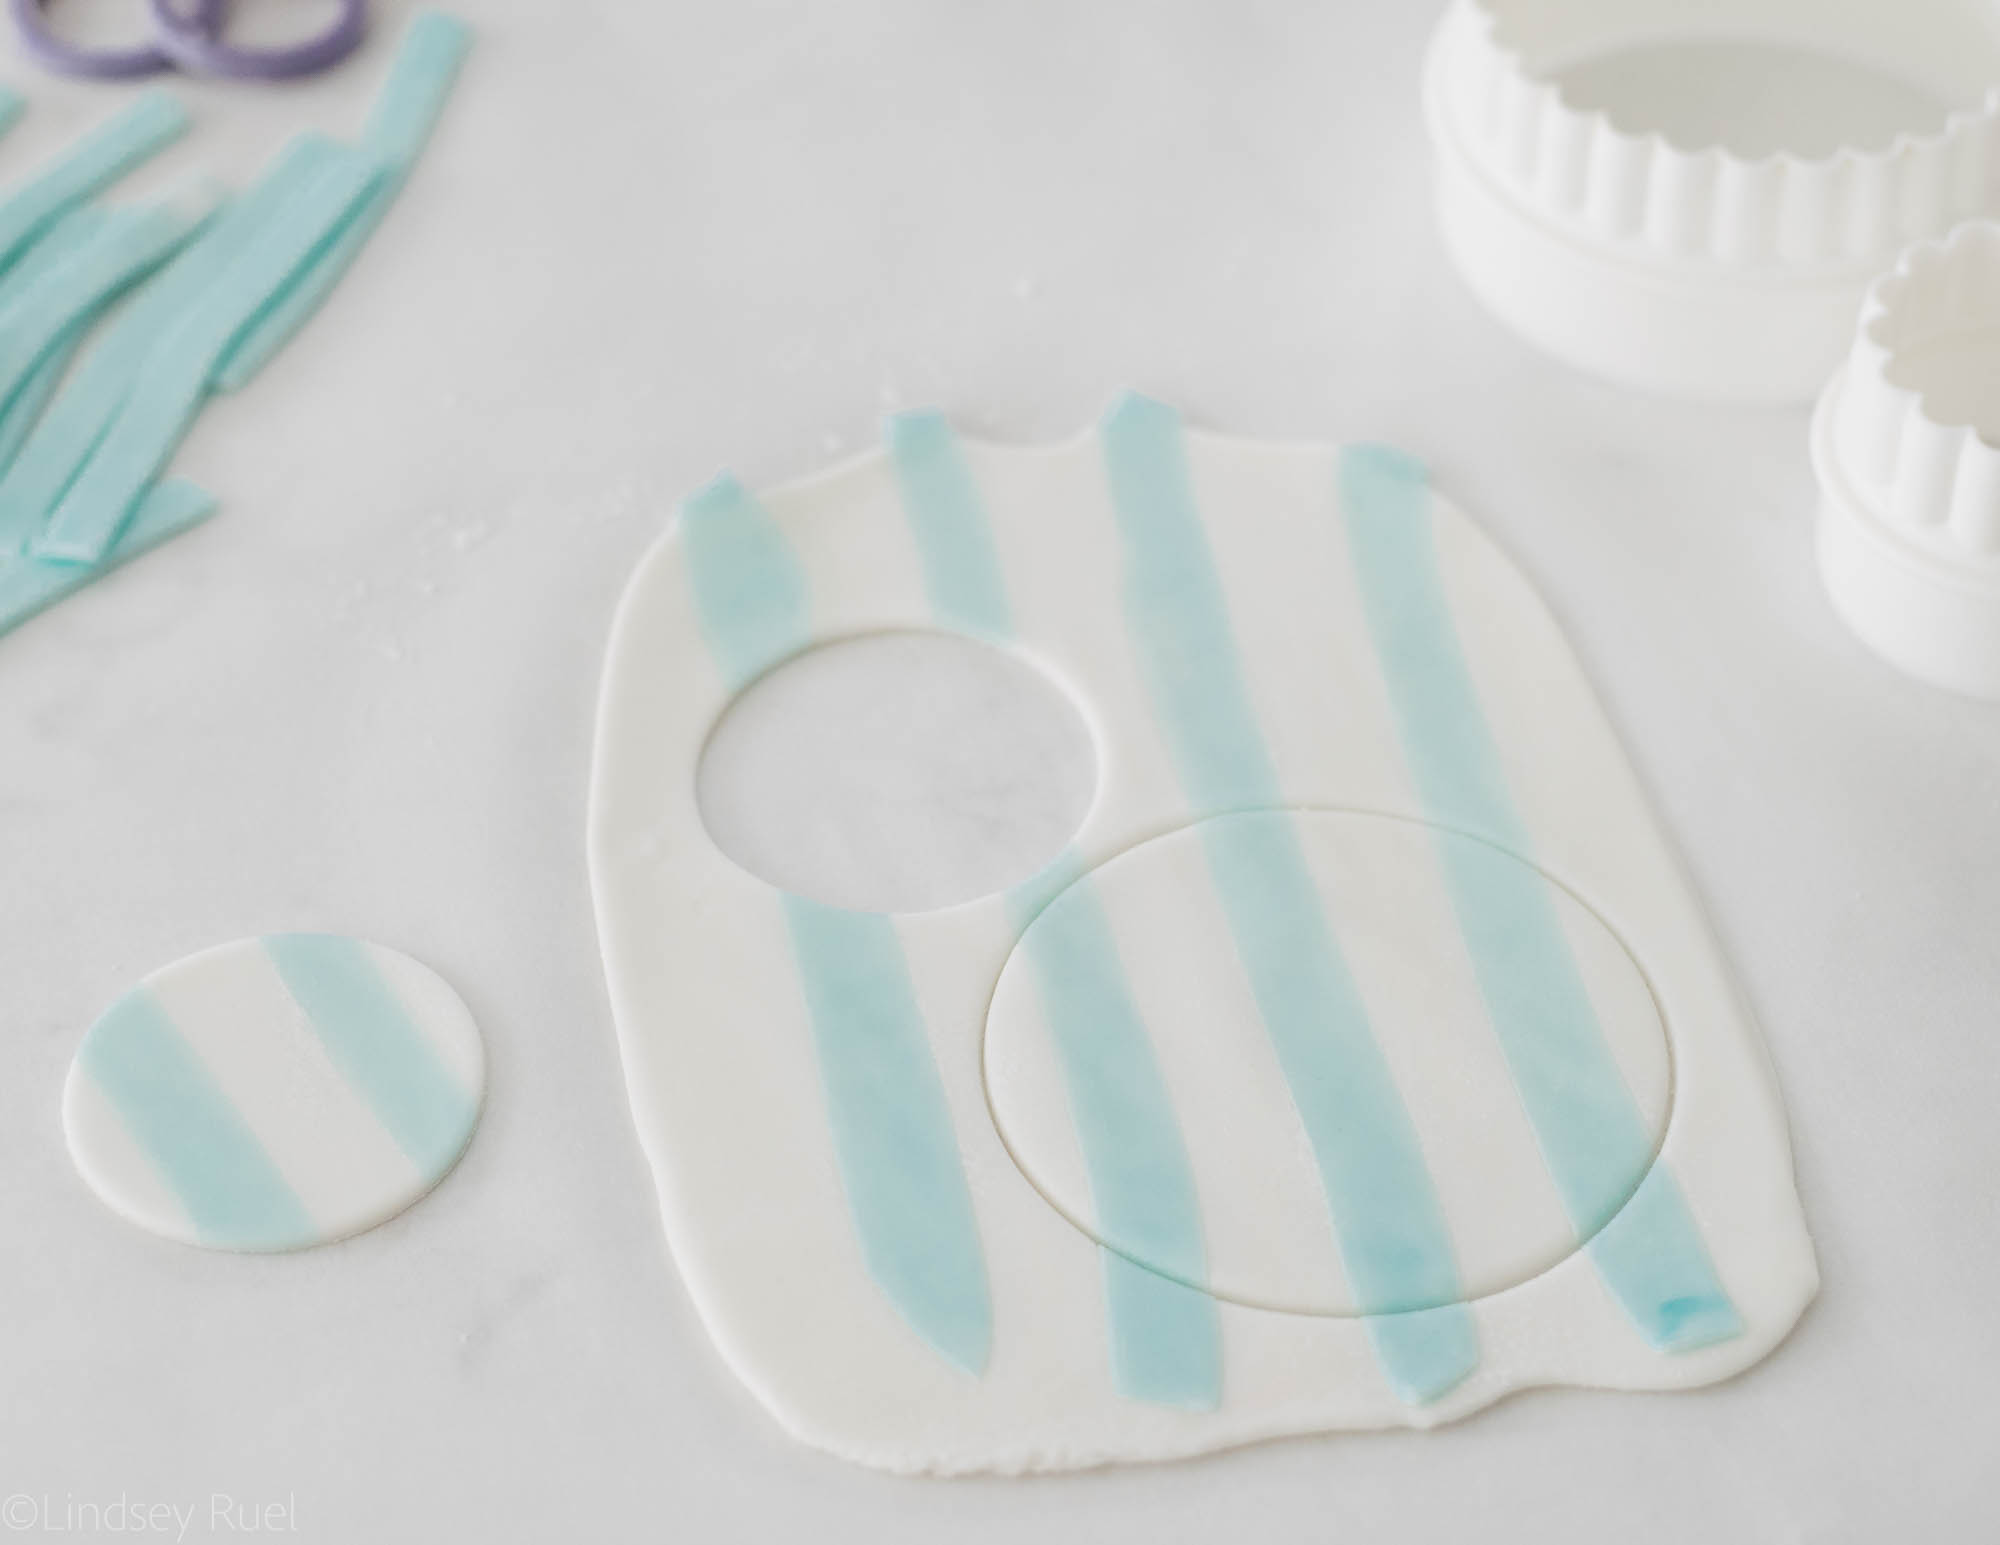
Cut out the fondant using the same sized cookie cutter as the cookies the fondant will be placed on. 

Tip: Work in small batches because once your roll out the striped fondant, you will not be able to re-roll it and maintain the stripes. 


Attach the fondant to the cookie by brushing a little bit of water onto the back of the fondant then sticking it to the cookie. Use your finger to smooth out the top and edges of the fondant. 

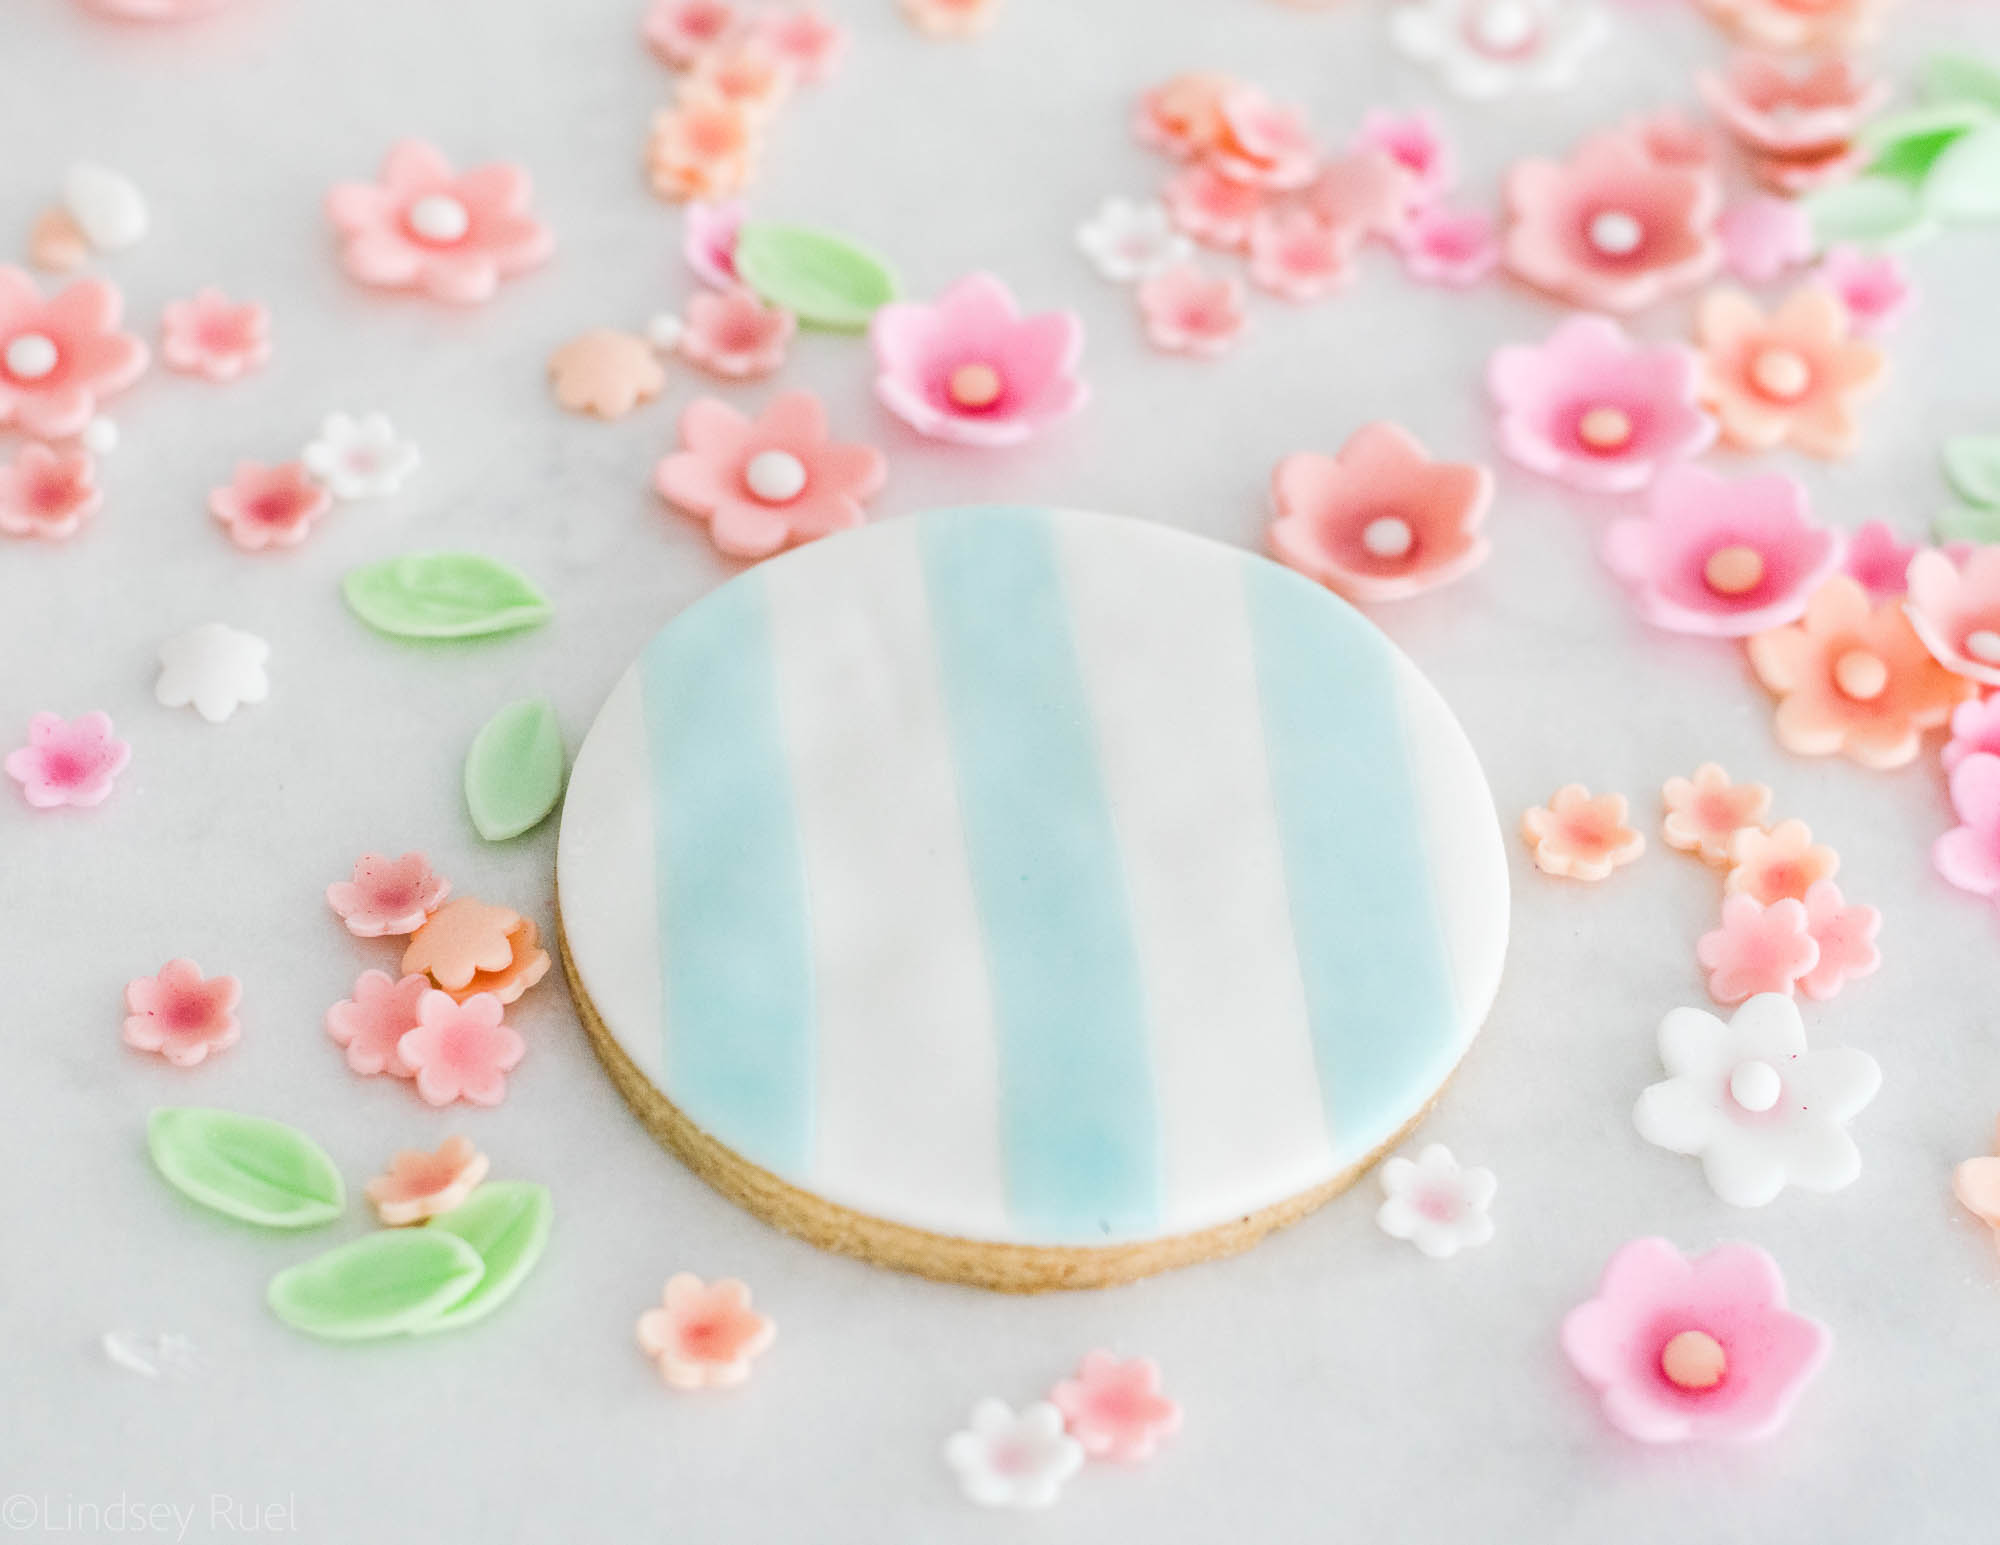
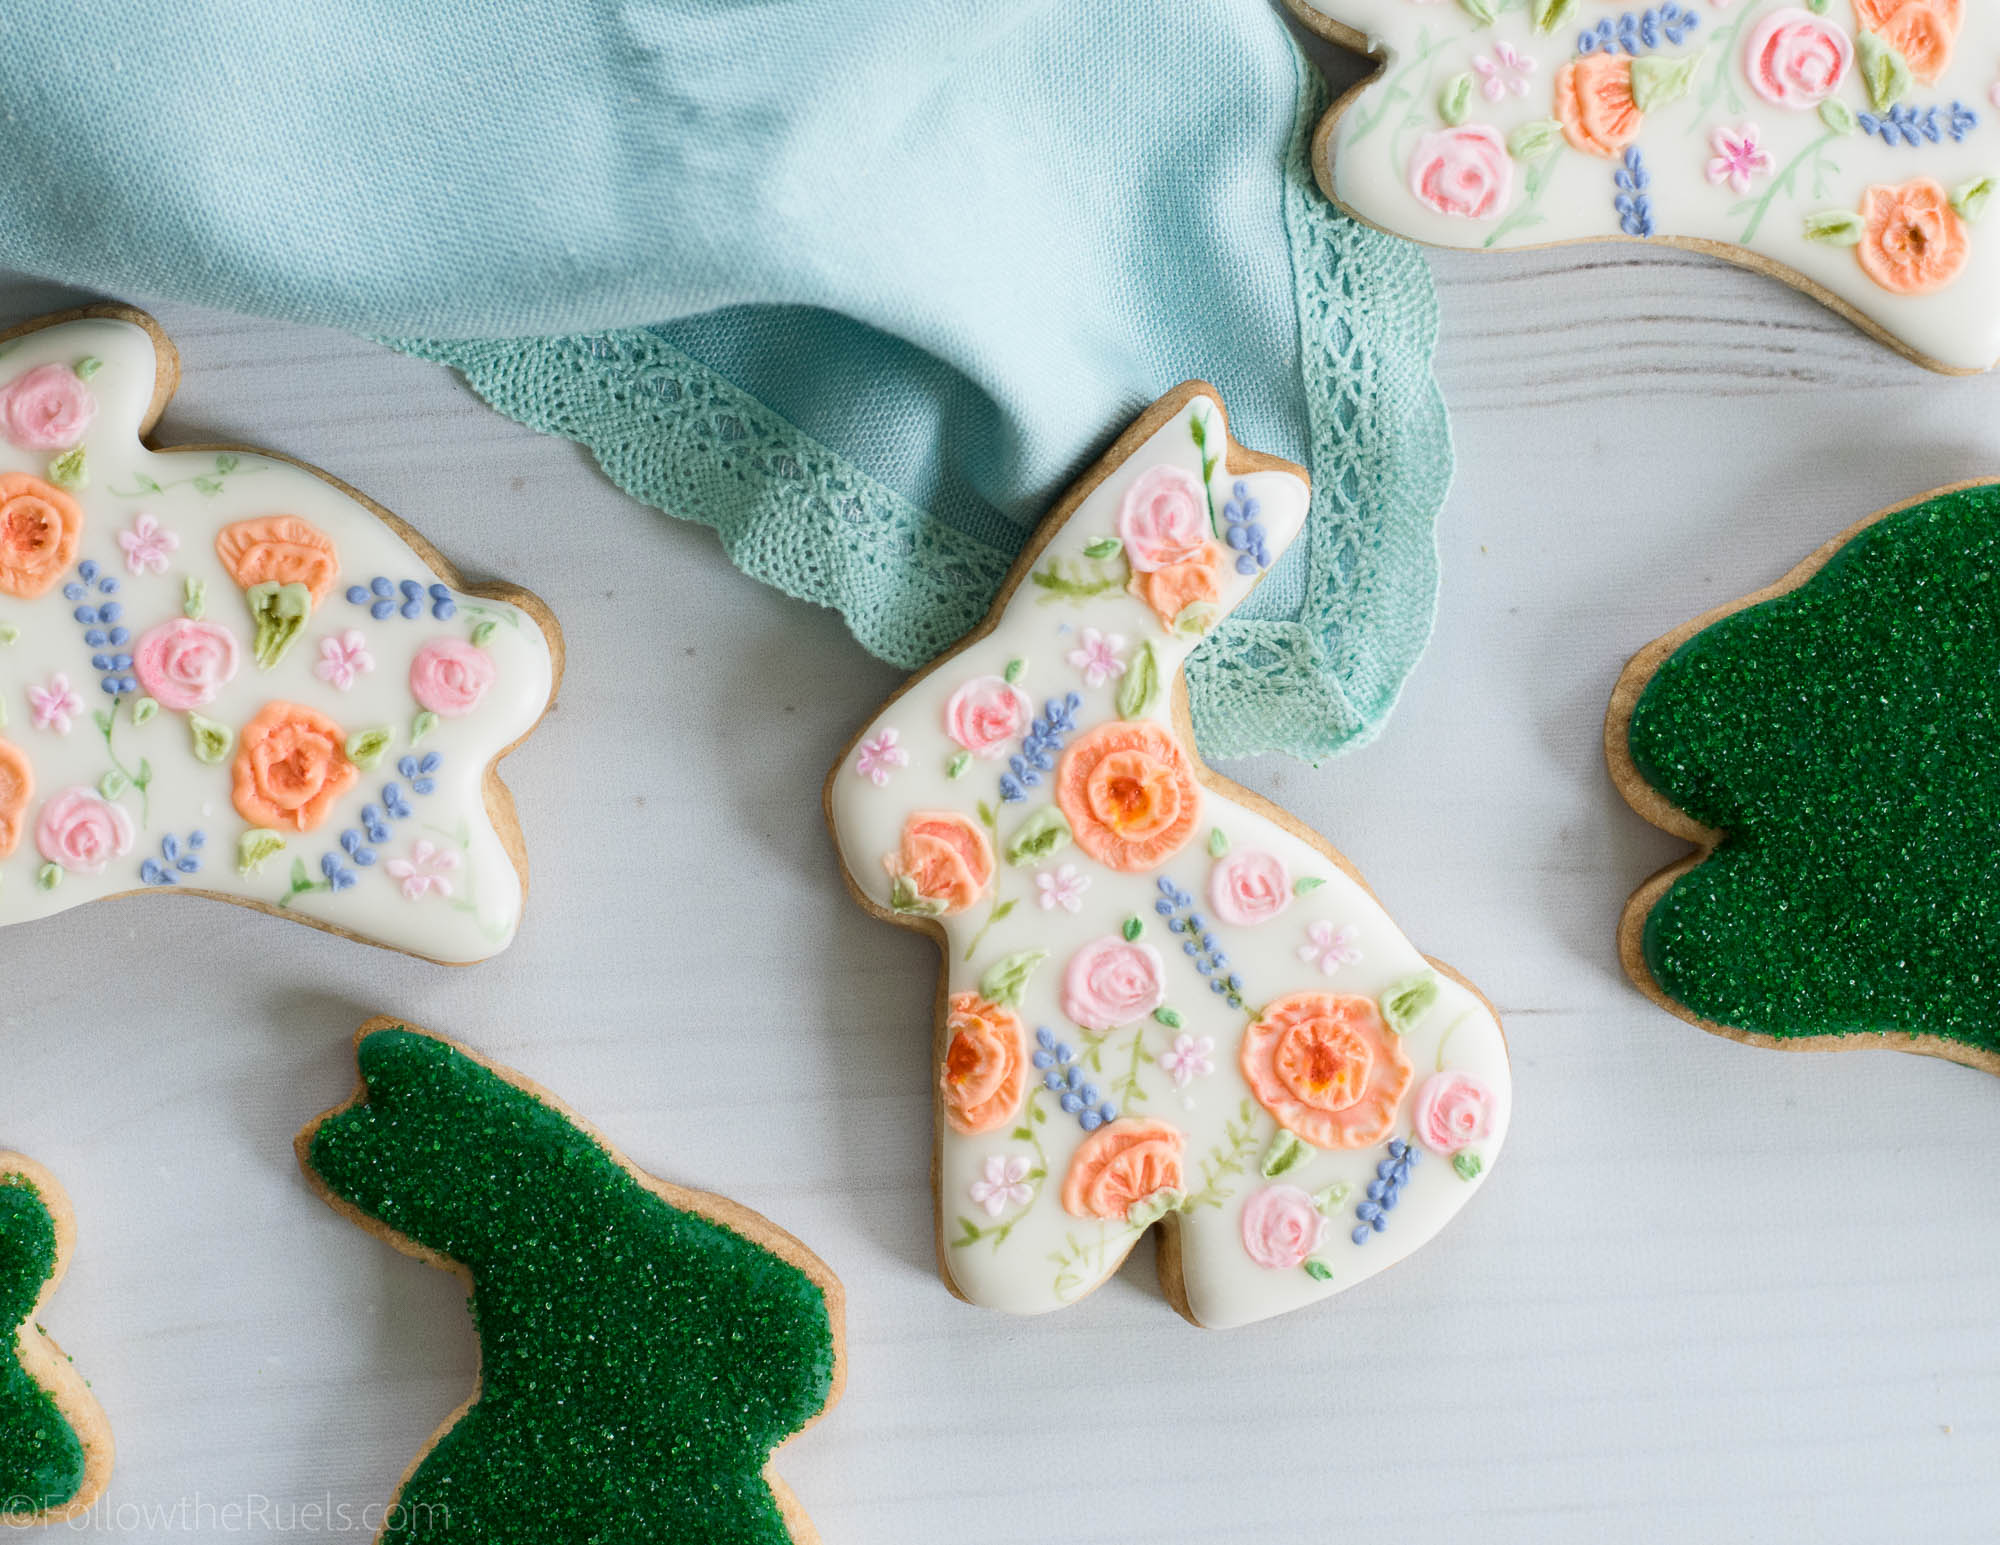
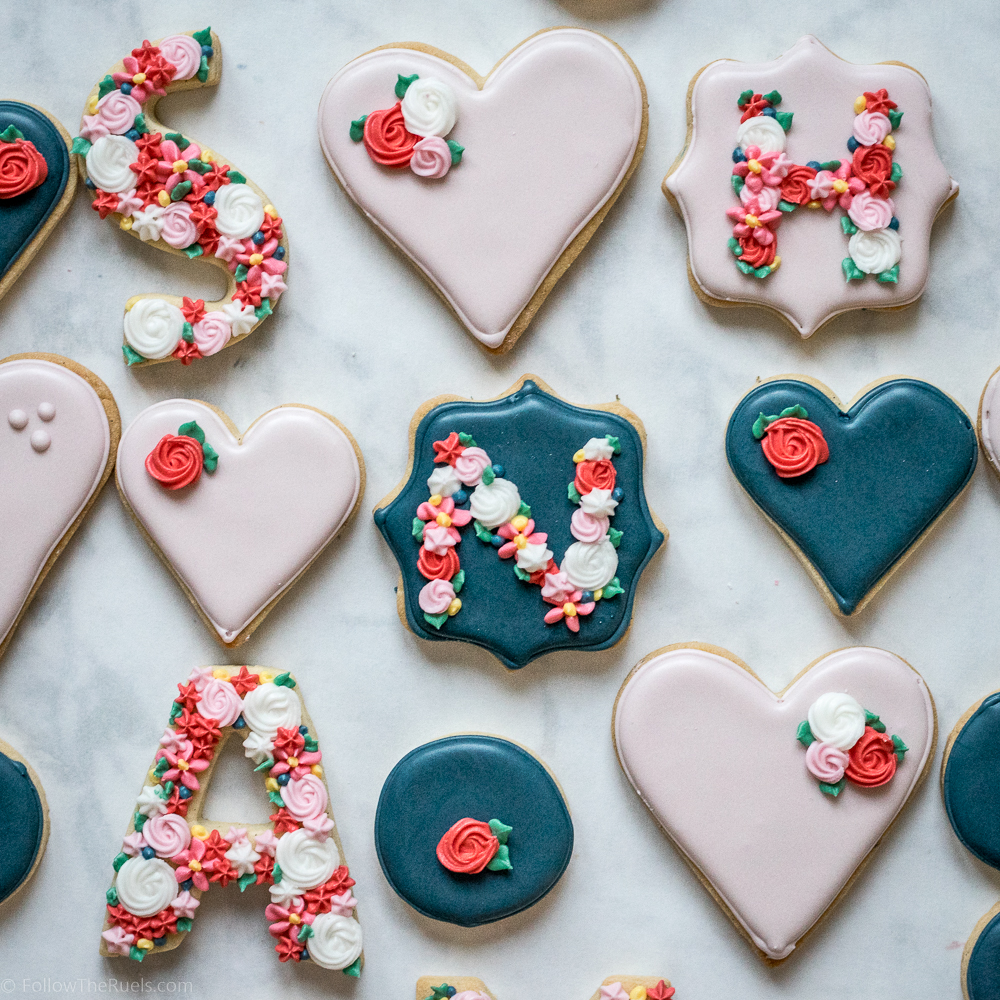
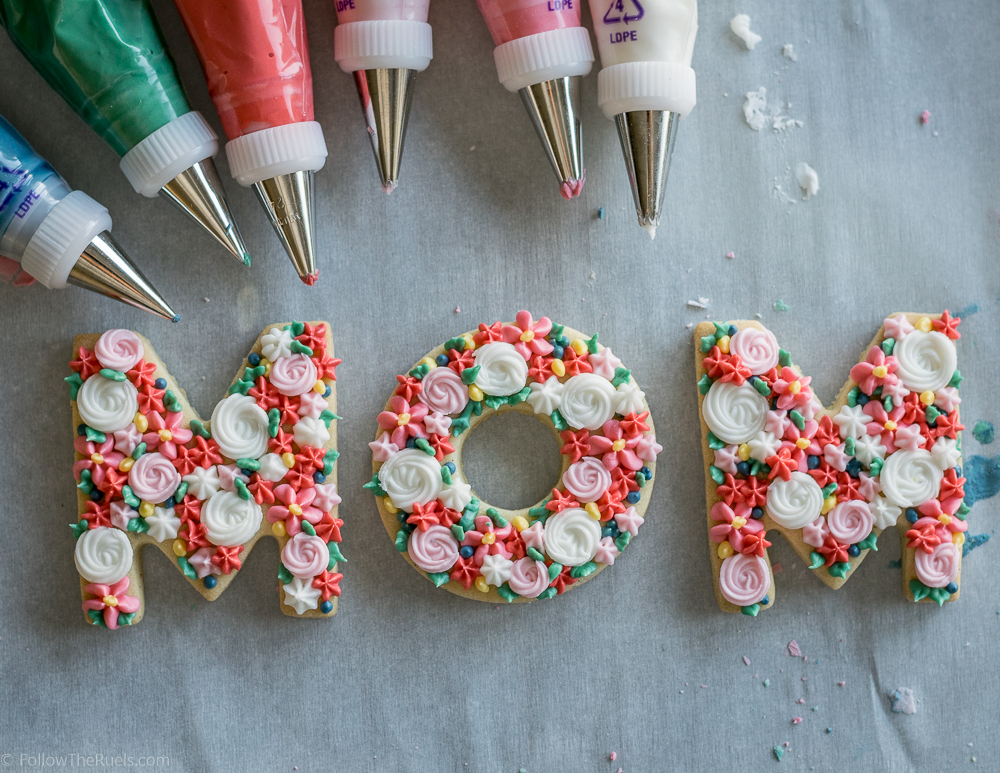
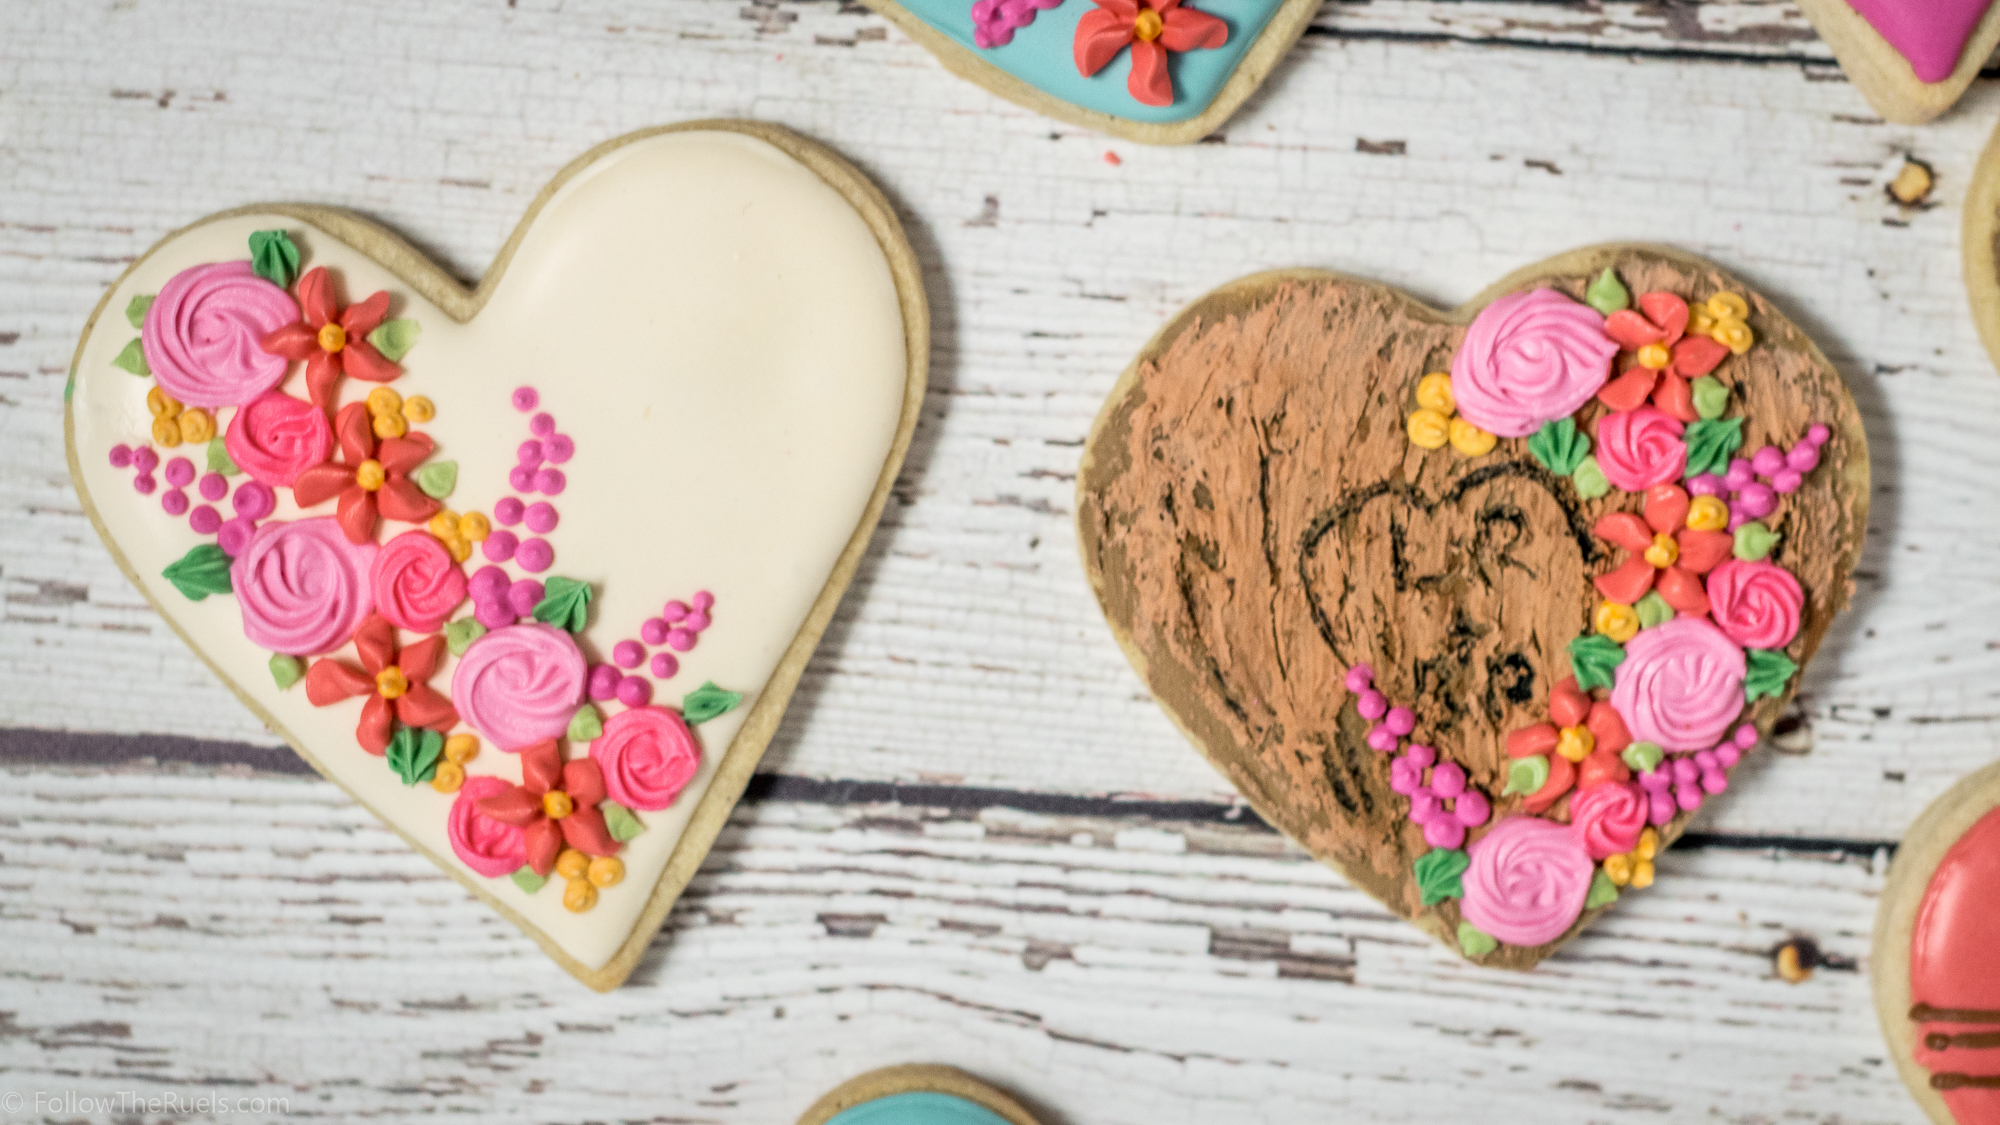
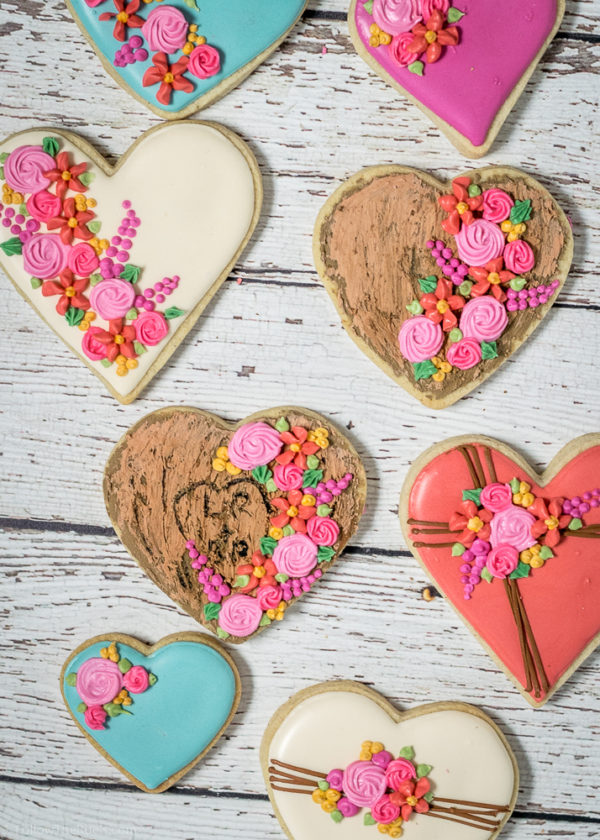
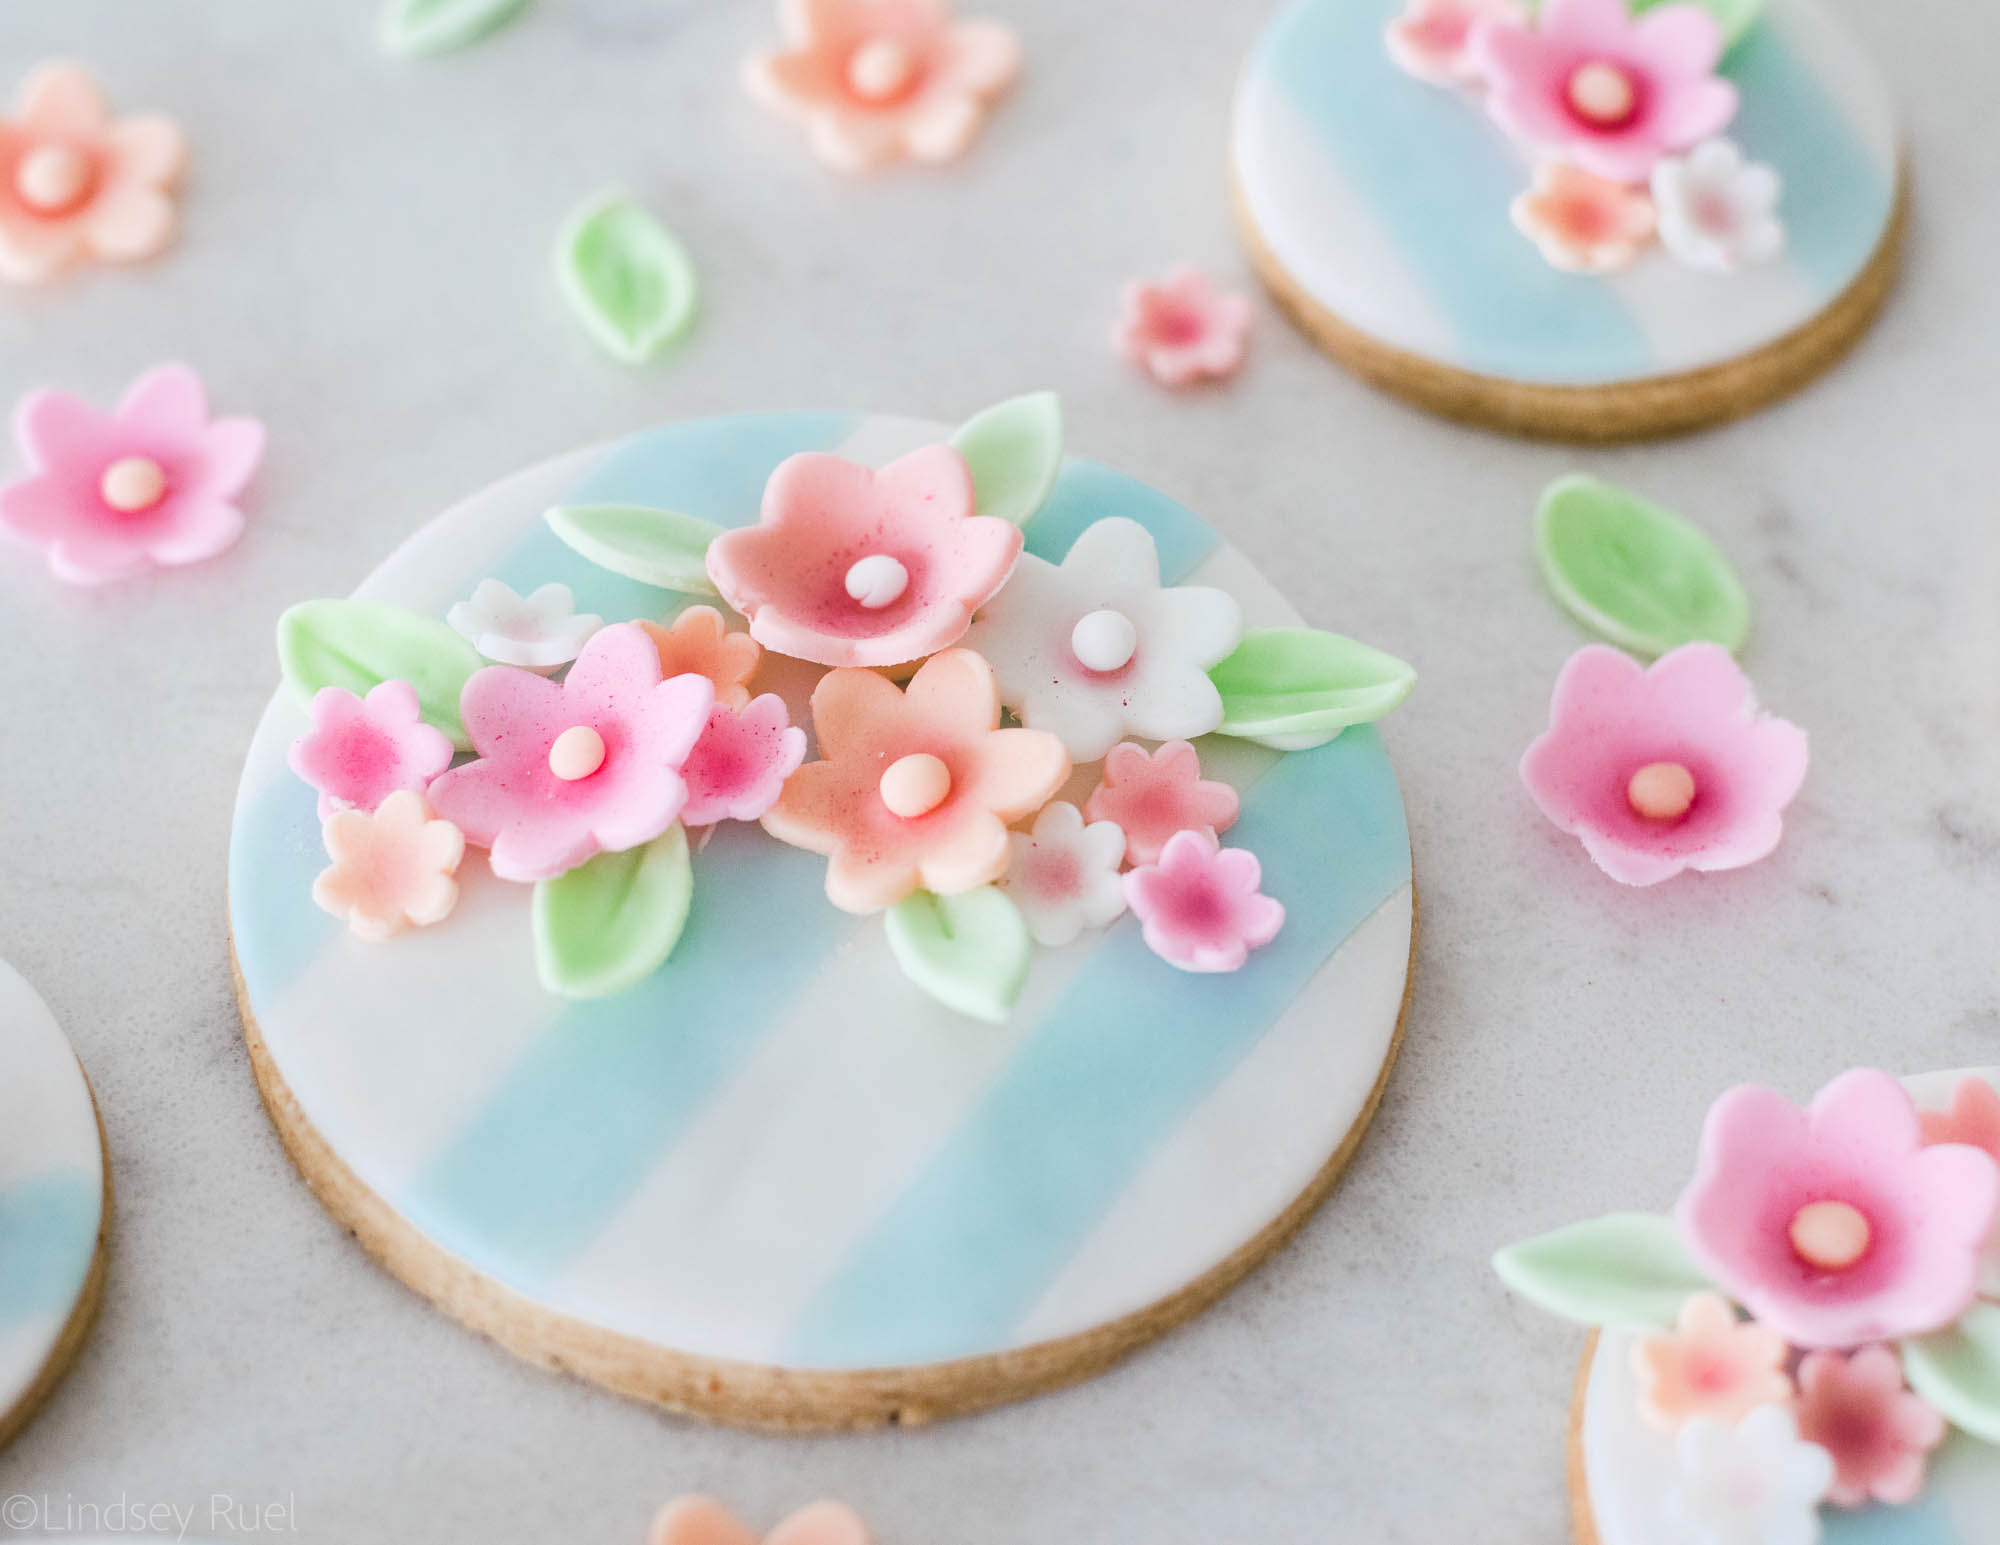
There is not a lot of rhyme or reason for placing the flowers on the cookie. I like to start by adding the biggest flowers first, then adding smaller flowers around it. 

I also like to make sure that the arrangement is asymmetrical. So if there is one large center flower with two small flowers on one side, I won’t add two flowers to the other. I will make sure the two sides are not balanced which will make it look a bit more natural. 


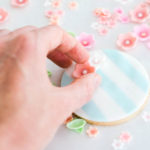
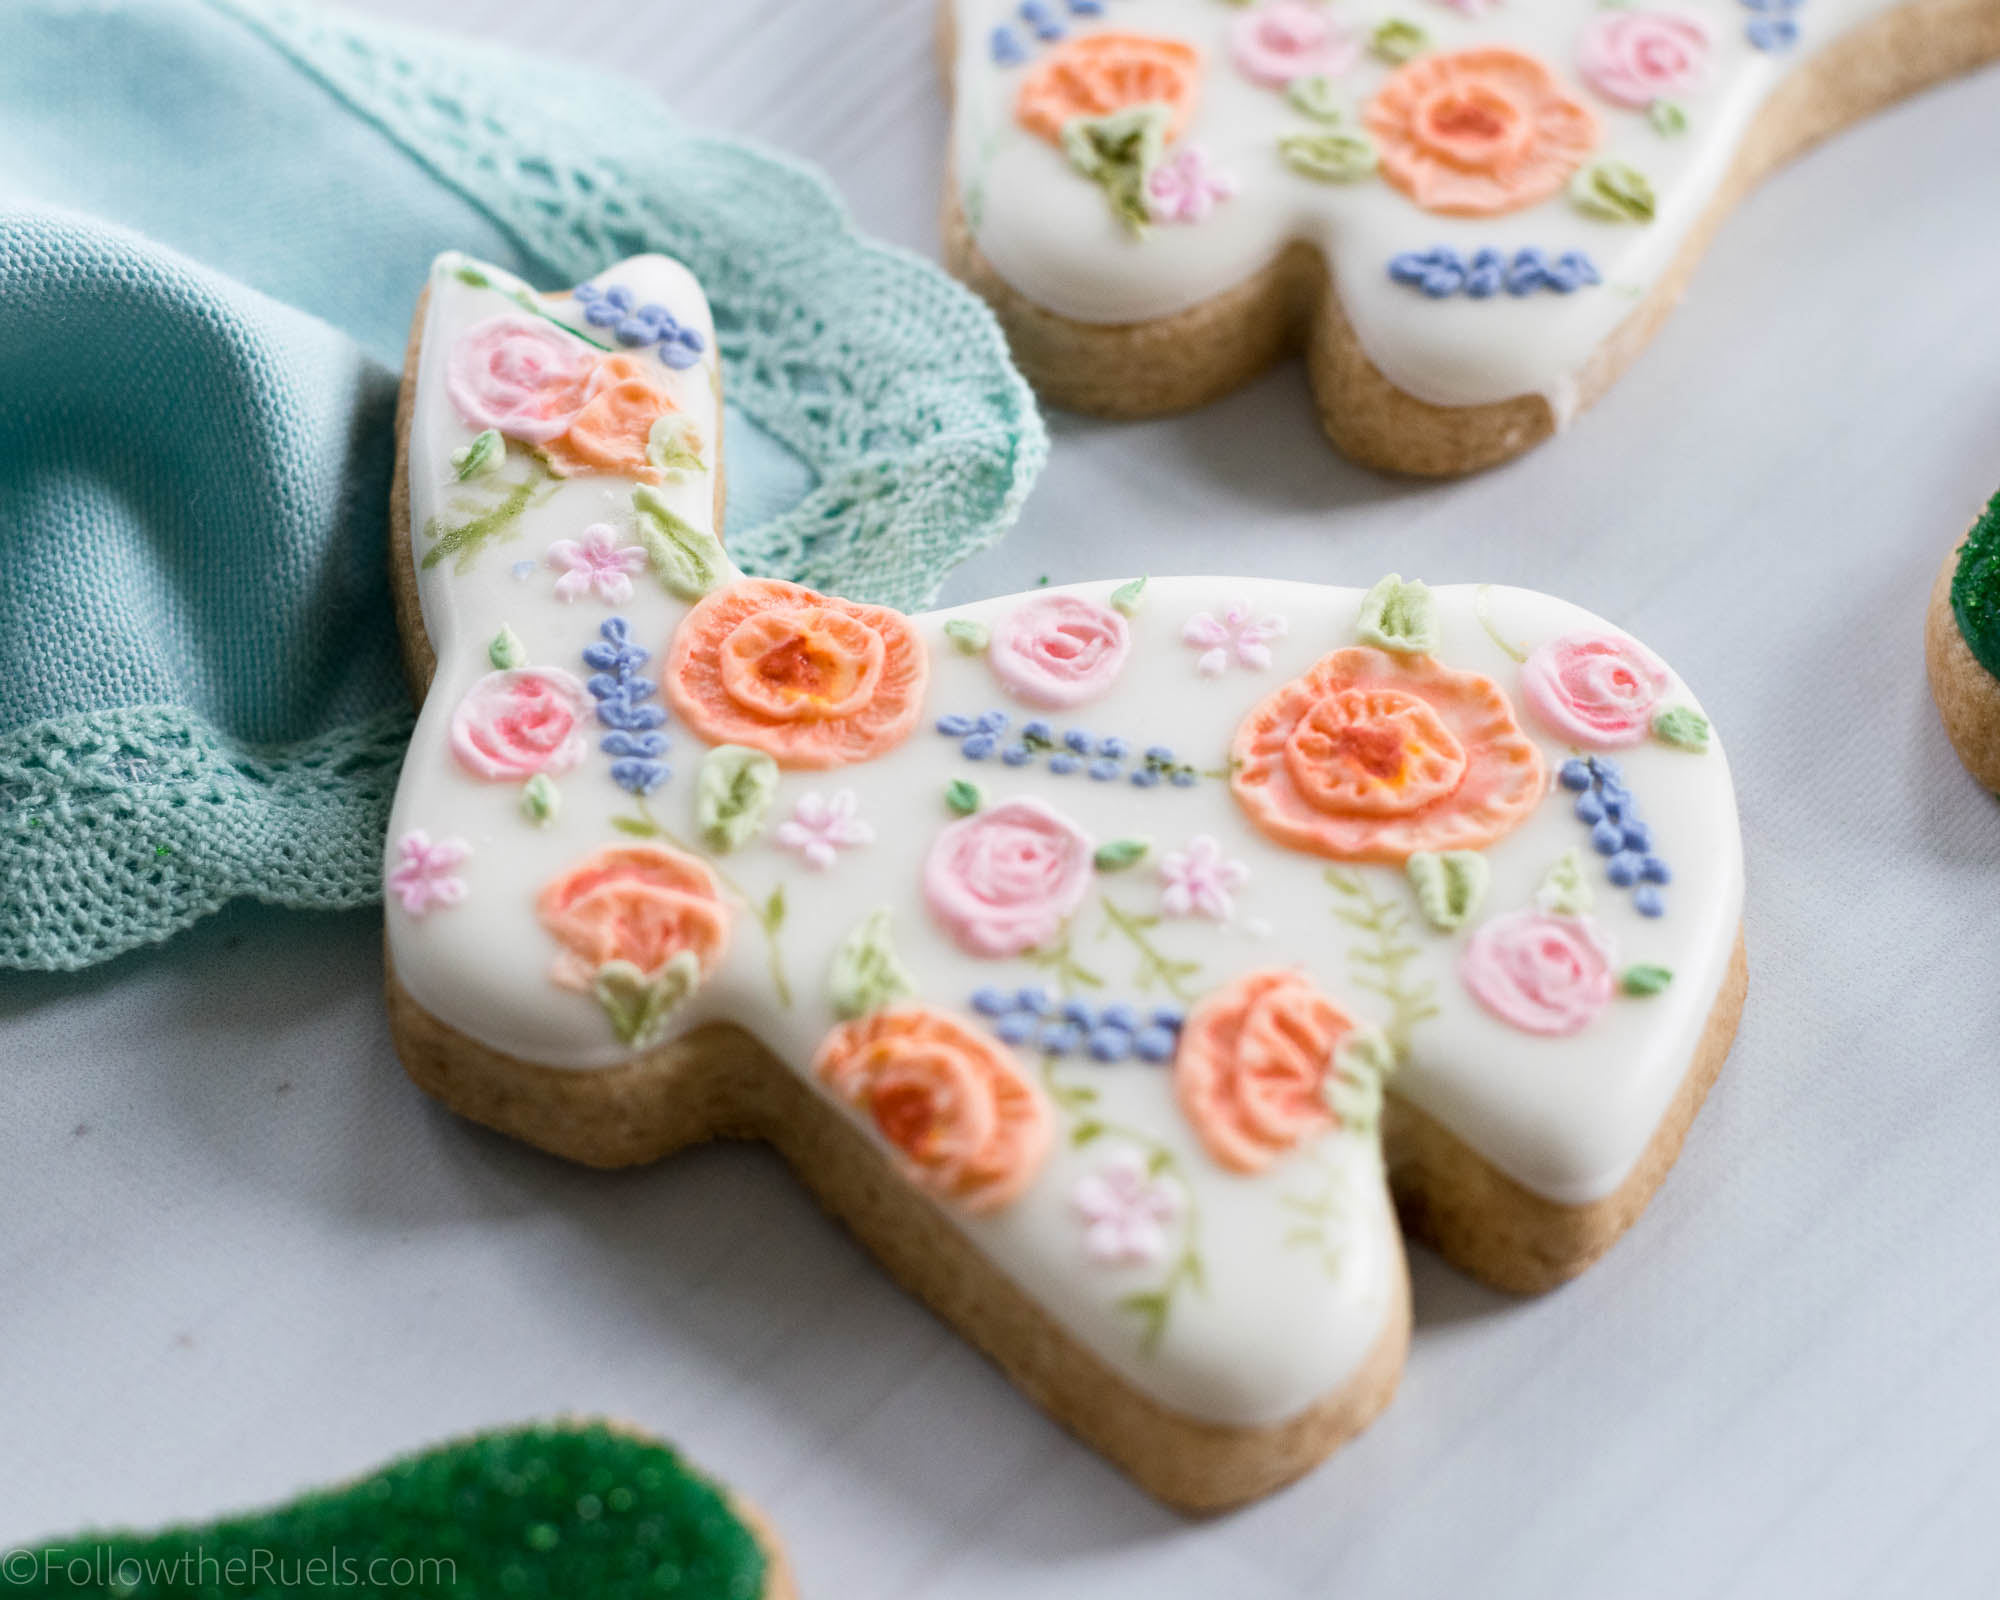
“Glue” the flowers onto the cookies with a bit of stiff consistency royal icing. 

Layer the flowers and leaves until you are happy with the arrangement. Allow the royal icing to dry for about 15-20 minutes before stacking or packaging. 

Tools and Recipes

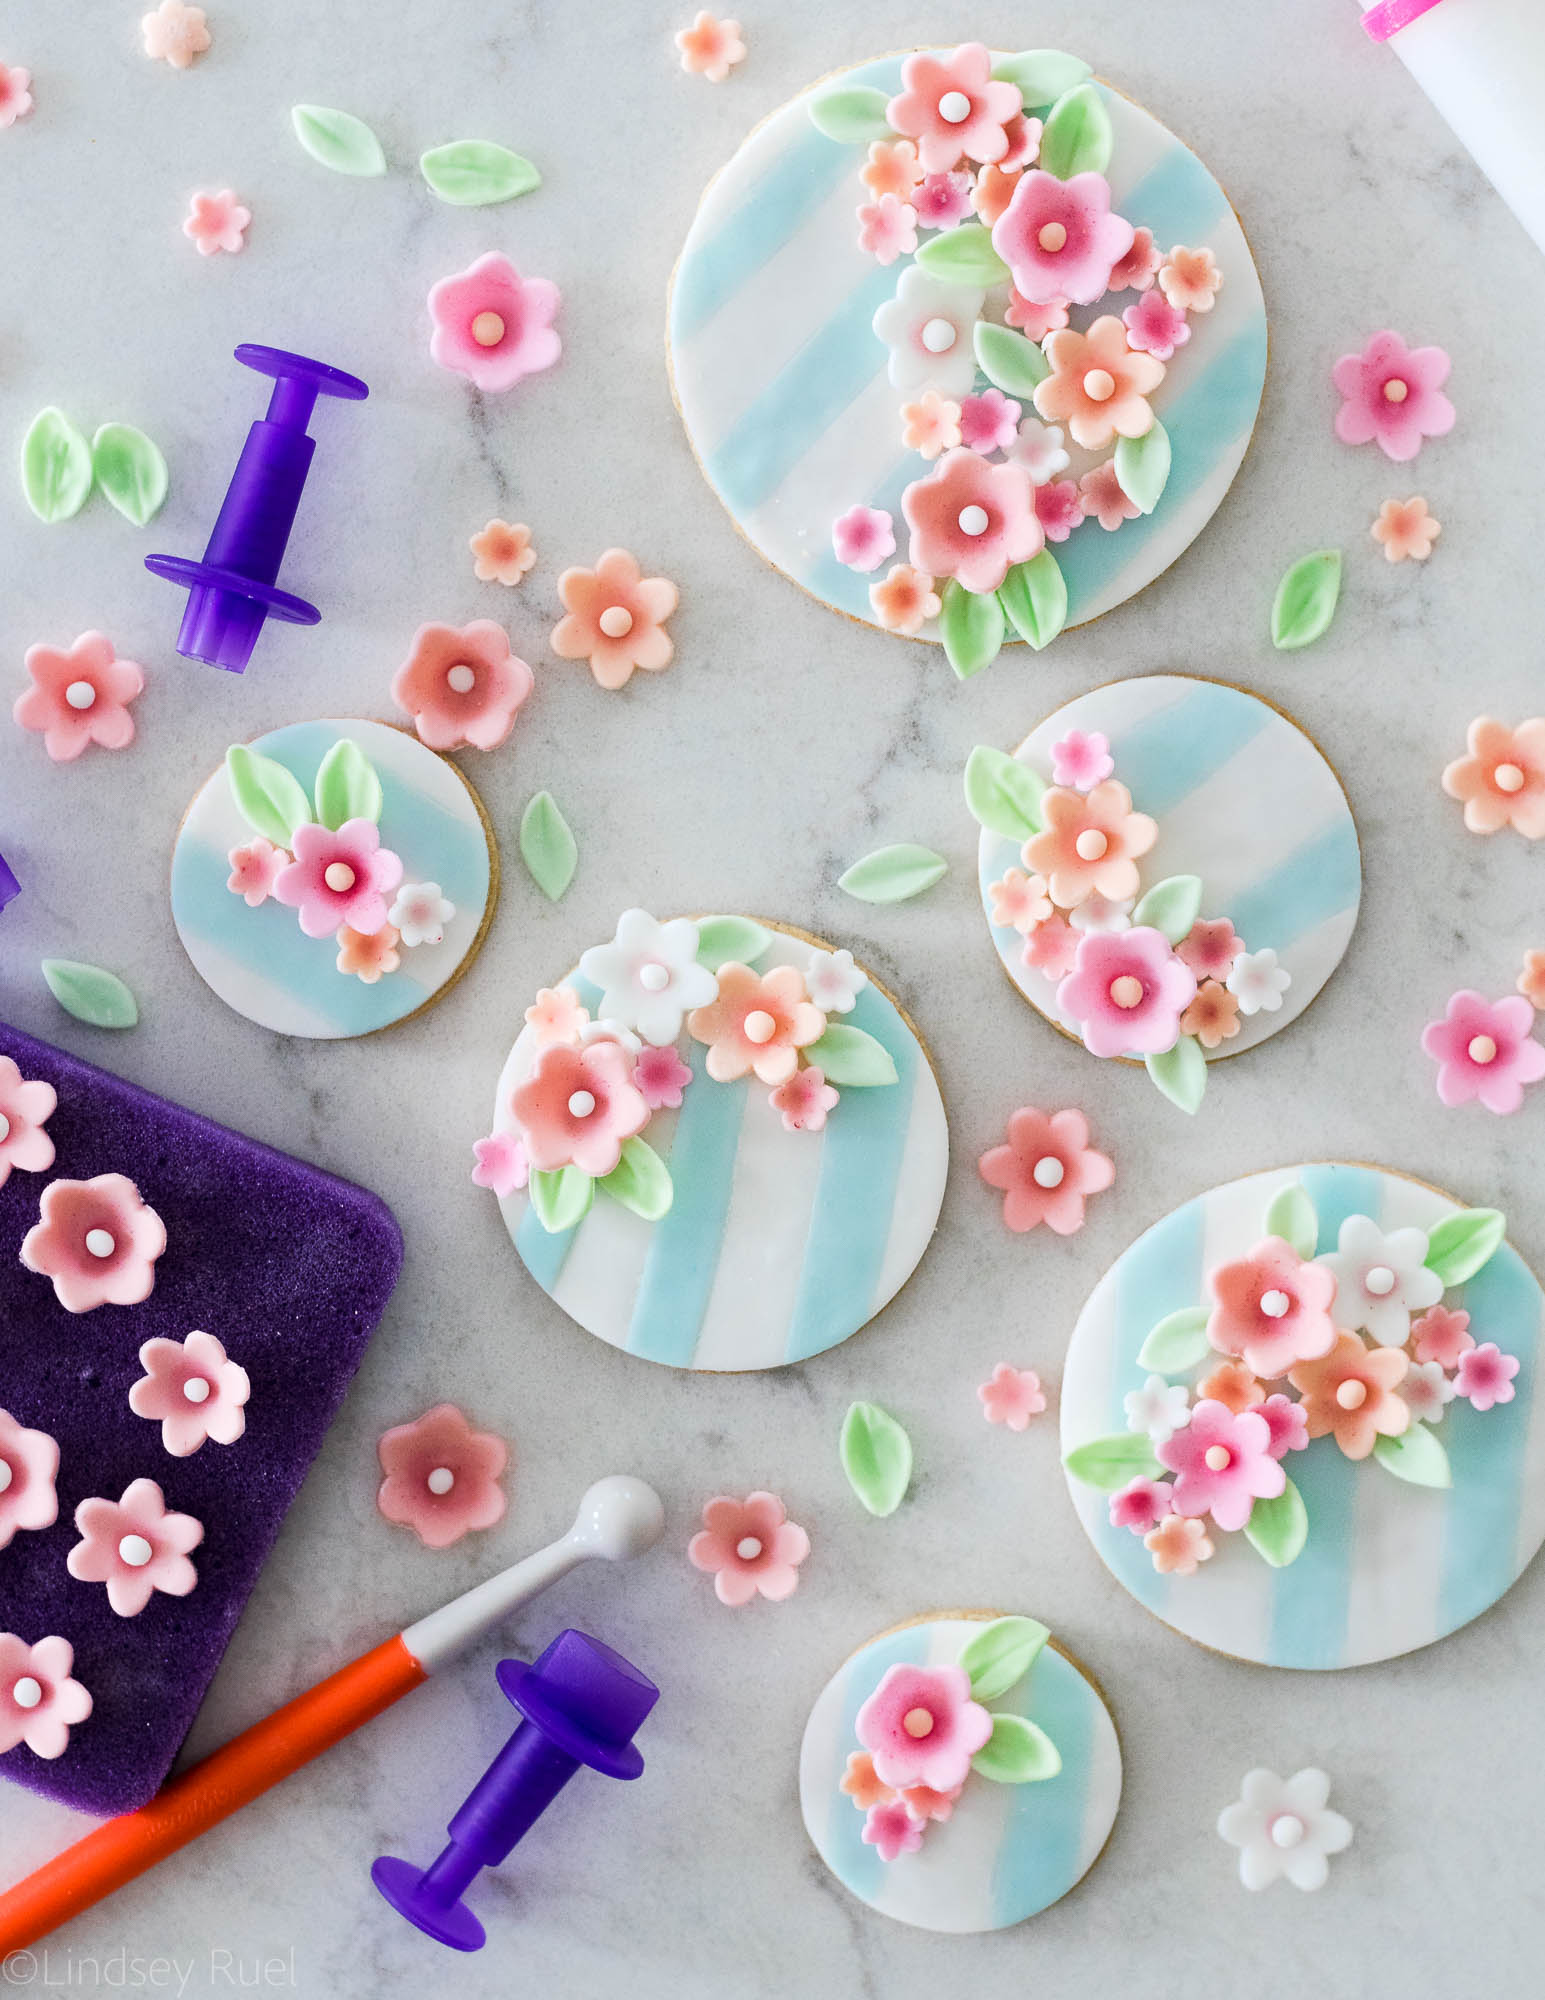
As I mentioned above, almost all of the tools I used came from the How to Decorate with Fondant Shapes and Cut-Outs including the fondant cutters, the fondant roller, the ball tool, and the foam.

I also used Wilton fondant in white and their gel food coloring, both of which I already had on hand but they had provided me with extras. 

For the exact colors of the flowers and leaves, I used very small amounts of the following colors:

  • Pink + Red
  • Pink + Brown
  • Pink + Orange + Brown
  • Orange + Pink
  • Leaf Green + Blue
  • Leaf Green + Brown

Then, of course, I left one ball of fondant just plain white. In all of the cases, the first color listed was the main color, then I added a tiny amount of the second color just to add a different tint. It’s a little bit of trial and error. 

The cookies themselves were made with a version of my favorite sugar cookie recipe. I am still working on perfecting the flavor, but my basic cookie is always a winner. Or you could try the lavender-vanilla recipe (scroll to the bottom of the post for the recipe) for a nice floral twist. 


/ Filed In: Cookie Decorating 101, Cookies New, Decorated Cookies, Desserts, Eat
Tagged: decorated cookies, floral, flowers, fondant, patel, Spring, stripes, sugar cookies, Summer, Wilton

Floral and Moss Easter Bunny Cookies

March 26, 2018

If you know anything about me, you probably know that I love a good floral cookie. It’s kind of my go-to (because it’s actually easier than it looks). Whichever way I can put a flower on a cookie, I have tried. Well, I thought I tried, until now. 

Meet the new floral decorating technique….

Actually, I have no idea what to call it, any ideas? 

Some people will call this technique brush embroidery. And I suppose that’s probably how I should classify it. But I think of this technique more as painting with icing (as opposed to my usual watercolor mix). Whatever we call it, I certainly think they are pretty, don’t you?

Oh, and you can’t forget about the little moss covered bunnies. Now those are easy! And just as cute, don’t you think?

How to Make Them

What I love about these floral Easter bunny cookies is that they have dimension. That is something that you just can’t get with painting! 

My husband’s favorite is the moss Easter bunny cookie. Even though it’s simple, it still is adorable, and I think it goes perfectly with the floral design as sort of a little garden Easter bunny cookie set.

Why I love the moss Easter bunny so much is because it’s easy! While I love making the floral pattern, it is time-consuming, so it’s nice to have some simple cookies to balance them out. 

But this little guy still has my heart!

Recipes and Products Used

As usual, these sugar cookies are my favorite sugar cookies which means they are just flavored with vanilla and almond extract. But I think Easter is the perfect time to break out some other cookie flavors! Even just adding some different extracts like lemon, lavender, pistachio, or coconut. Or, you can flavor them with some of your favorite berries, like strawberry or raspberry. Just check out my Summer cookie collection. 

For the royal icing, I added a touch of almond extract, which is something I rarely do. But I really liked it. Another go-to in the Spring and Summer is adding some lemon juice or lemon extract. It really makes the flavors pop!

[show_shopthepost_widget id=”3077493″] 

/ Filed In: Cookies New, Decorated Cookies, Desserts, Eat
Tagged: bunny, cookies, Easter, Easter Bunnies, floral, flowers, Spring, sprinkles. sugar, sugar cookies

Baylor Homecoming Cookies

October 19, 2017

This weekend, Billy and I are off to Waco for Baylor University’s Homecoming, where Billy and I both went to school. While I have been back to Waco quite a bit over the years, even since moving to Charlotte, this is the first Homecoming we have been back to in years. So it will be a lot of fun to see old friends and sorority sisters who I may not have seen in the last 10 years. 

But it wouldn’t be an event if there I didn’t make cookies, right? Billy jokes that it didn’t happen if I didn’t put it on Instagram. Well, I think it doesn’t happen if I don’t make cookies!

The cookies were inspired by this print that I found on Etsy. I loved it so much I wanted to make it into a cookie! Since I am not artistic enough to hand draw it onto the cookie, I used the tracing method that I demonstrated here. 

I used the same method to make the Sailor Bear cookies to keep with the watercolor theme. But I do think I like these royal icing Sailor Bears I made for the Cotton Bowl better. I made those using the royal icing transfer method, where I just trace over the image with royal icing. 

To see how I made the Sailor Bear cookies, skip to minute 4:00 in the video. To see how I made the skyline cookies, skip to minute 5:27.

I’m giving away all my tricks, here. Now you know that I am actually not all that talented, I am just really good at tracing things with royal icing or a paint brush. 

My favorite cookies of the entire collection are the B-A-Y-L-O-R letter cookies. Of course, I didn’t film these cookies because they were the last ones I made. After spending a few hours making the other cookies I was at a loss of what to do for the letter cookies. Should I just ice them in green and gold icing? Should I paint them? Should I try some fun new design? No, I decided to rely on an old favorite and paint a floral pattern very similar to what I did with these Pineapple cookies. Instead of using several various colors, I just used a couple shades of green and gold. 

Now I just have to pray that they make it to Texas in one piece! 

Recipes used:

  • Sugar cookie
  • Royal icing 

Cookie cutters used:

  • Texas
  • Grizzly Bear
  • Plaque
  • Letters

Supplies used:

  • Piping bags 
  • Meringue powder 
  • Gold edible paint 
  • Gel Food Coloring 
  • Clear extract or alcohol 
  • Paint brushes 
  • Pallet Tray 

 
[show_shopthepost_widget id=”2862351″]

/ Filed In: Cookies New, Decorated Cookies, Eat, Uncategorized
Tagged: Baylor, cookies, decorated cookies, floral, gold, green, royal icing, sugar cookies, watercolor

Floral Monogram Mother’s Day Cookies

May 10, 2017

If you know me, then you know that I can’t let a holiday, no matter how big or small, pass without making some cookies (all my friends are probably nodding their head in agreement right about now). I definitely take advantage of all my friends’ sweet tooths (Sweet teeth? What is the plural of sweet tooth?) by making cookies and forcing them upon them every chance I get. 

These cookies are no exception. After making these cookies for a friends bridal shower, I couldn’t wait to try this floral monogram design again. I knew it would be perfect for Mother’s Day. And even better, I know lots of deserving mom’s out there who definitely a couple cookies to help them celebrate. 


For my mom, I made individual letters that spelled out mom and covered them in flowers. But for my friends who are not my mom I made them each individual initial cookies. 

How cute are they? And not just good for Mother’s Day, but they would be great cookies for a bridal shower, baby shower, birthday, wedding….you name it! I am obsessed. 

[Friends, expect to get cookies like these for every birthday from now until the end of time. Thanks.]

The best part is that these cookies are actually quite easy if you have the right piping tips! Just layer on flowers until you have a full letter. 


I like to start with my bigger flowers, like rosettes. I place the rosettes randomly around the cookie leaving space for other flowers. 


Then I go in with my smaller flowers, like drop flowers, and fill in some more space. 

There is obviously some space left, so I go back in and fill them in with some more dots of icing and then fill it in with the leaves. 

Really, there is no technique…just fill up the space!

To go with the monograms, I made some simple little hearts and circle cookies with a single flower and a couple leaves. (Oh, and see those mint “Happy Mother’s Day” plaque cookies? I will show you how I made those on Friday!!)

I am clearly obsessed with these cookies, as you can tell. I think I just like doing the floral designs because they are really impressive without actually being that hard to achieve. 

But that’s just a secret between you and me. If my mom asks, I slaved over these cookies for days just for her. K, thanks! 😉

Recipes Used:

  • 2 batches of my Royal Icing for 40 cookies in flood consistency (the base layer) and stiff consistency (the flowers).
  • 2 1/2 batched of my Sugar Cookie recipe 

Items Used:

  • White Rose – #18 piping tip
  • Light Pink Rose – #16 piping tip
  • Redish Pink Drop Flower/Rose – #225 piping tip
  • Medium Pink Drop flower – #14 piping tip
  • Leaves – #349 piping tip
  • Dots – #2 piping tip
  • Piping Bags
  • Scribe Tool
  • Gel Food Coloring in light pink, watermelon, and forest green

 
[show_shopthepost_widget id=”2668939″]


/ Filed In: Cookies New, Decorated Cookies, Eat
Tagged: cookie decorating, floral, flowers, Mother's Day, piping tips, royal icing, sugar cookies

Rustic Floral Valentine’s Day Cookies

February 6, 2017

It’s been a while since I have decorated a cookies. Actually, it’s only been about an hour. But at the time of making these rustic Valentine’s Day cookies, it had been a while. After the cookie-decorating marathon that is Christmas, I had to take a break. But what better occassion than Valentine’s Day to get back into the cookie decorating game. 

I also used the opportunity to teach myself how to create the wood effect. I have seen a bunch of amazing cookies on Pinterest and I knew it would be a fun thing to try for Valentine’s Day! The best part was that it was a lot easier than I expected. 

But since a cookie that looks like tree bark isn’t very romantic, I added some flowers. And to put it over the top, I carved my husband’s and my initials into it! So cute, right?

Wanna see how I did it?!

I loved the mixture of the wood and the flowers. I actually loved the carved initials cookie so much that I still have it! I put it in bag and it’s sitting on my desk. 

I also loved these cookie so much, I taught this technique in my last cookie decorating class. I think people really liked them, especially the flowers! It’s amazing what a difference piping tips can make.

If you want to make these at home, here are some things you will need:

  • 1 stiff bristled brush
  • toothpick or scribe tool
  • piping tips #18, #20, #224
  • 2 colors of brown piping consistency icing (you don’t want it to thick, or else you won’t be able to spread it very well, but also not to thin that it won’t hold texture)
  • 2-3 colors of pink stiff consistency icing 
  • 1-2 colors of green stiff consistency icing

If you try these cookies, I would love to see what you create! 

As always, I used my favorite sugar cookie recipe (although these would be great with my chocolate sugar cookie, too!) and royal icing recipe. 

PIN NOW, MAKE LATER

PRODUCTS USED:
[show_shopthepost_widget id=”2436432″]


/ Filed In: Cookies New, Decorated Cookies, Eat
Tagged: cookie decorating, cookies, floral, royal icing, sugar cookies, Valentine's day, video

Follow

Hey There!

Hey there, I'm Lindsey. I'm a number cruncher by day and a home cook and baker by night. While I love to eat healthy and find fresh and healthy alternatives for my favorite foods, I will never turn down dessert! Life is all about moderation, right?

Recipes

  • All Recipes
  • Breakfast
  • Appetizers
  • Salads
  • Main Dishes
  • Side Dishes
  • Desserts
  • Drinks

Favorite Finds

[show_lookbook_widget id=”388783″]

Theme by 17th Avenue · Powered by WordPress & Genesis