• Home
  • Eat
    • Breakfast
    • Appetizers
    • Main Dishes
      • Chicken
      • Beef
      • Seafood
      • Healthy Dishes
      • Paleo Dishes
      • Salads
    • Desserts
      • Decorated Cookies
      • Cookies
      • Bars and Brownies
      • Cakes and Cupcakes
  • Shop
    • Cookie Decorating Supplies
    • Bakeware
    • Cookware
    • Kitchen Gadgets
    • House
  • About
    • Contact
    • Bucket List
  • Cookie Decorating 101

Follow the Ruels

Gingerbread Village Cake

December 8, 2017

 Every year around Christmas time I convince myself that I should make a gingerbread house. From scratch. But I never actually go through with it. I think I have been burned by gingerbread houses in the past. The pieces never fit together well, so they end up just awkwardly stuck together. Or the house ends up collapsing under the weight of all the candy and decorations (maybe I am a little heavy handed with the candy and decorations). 

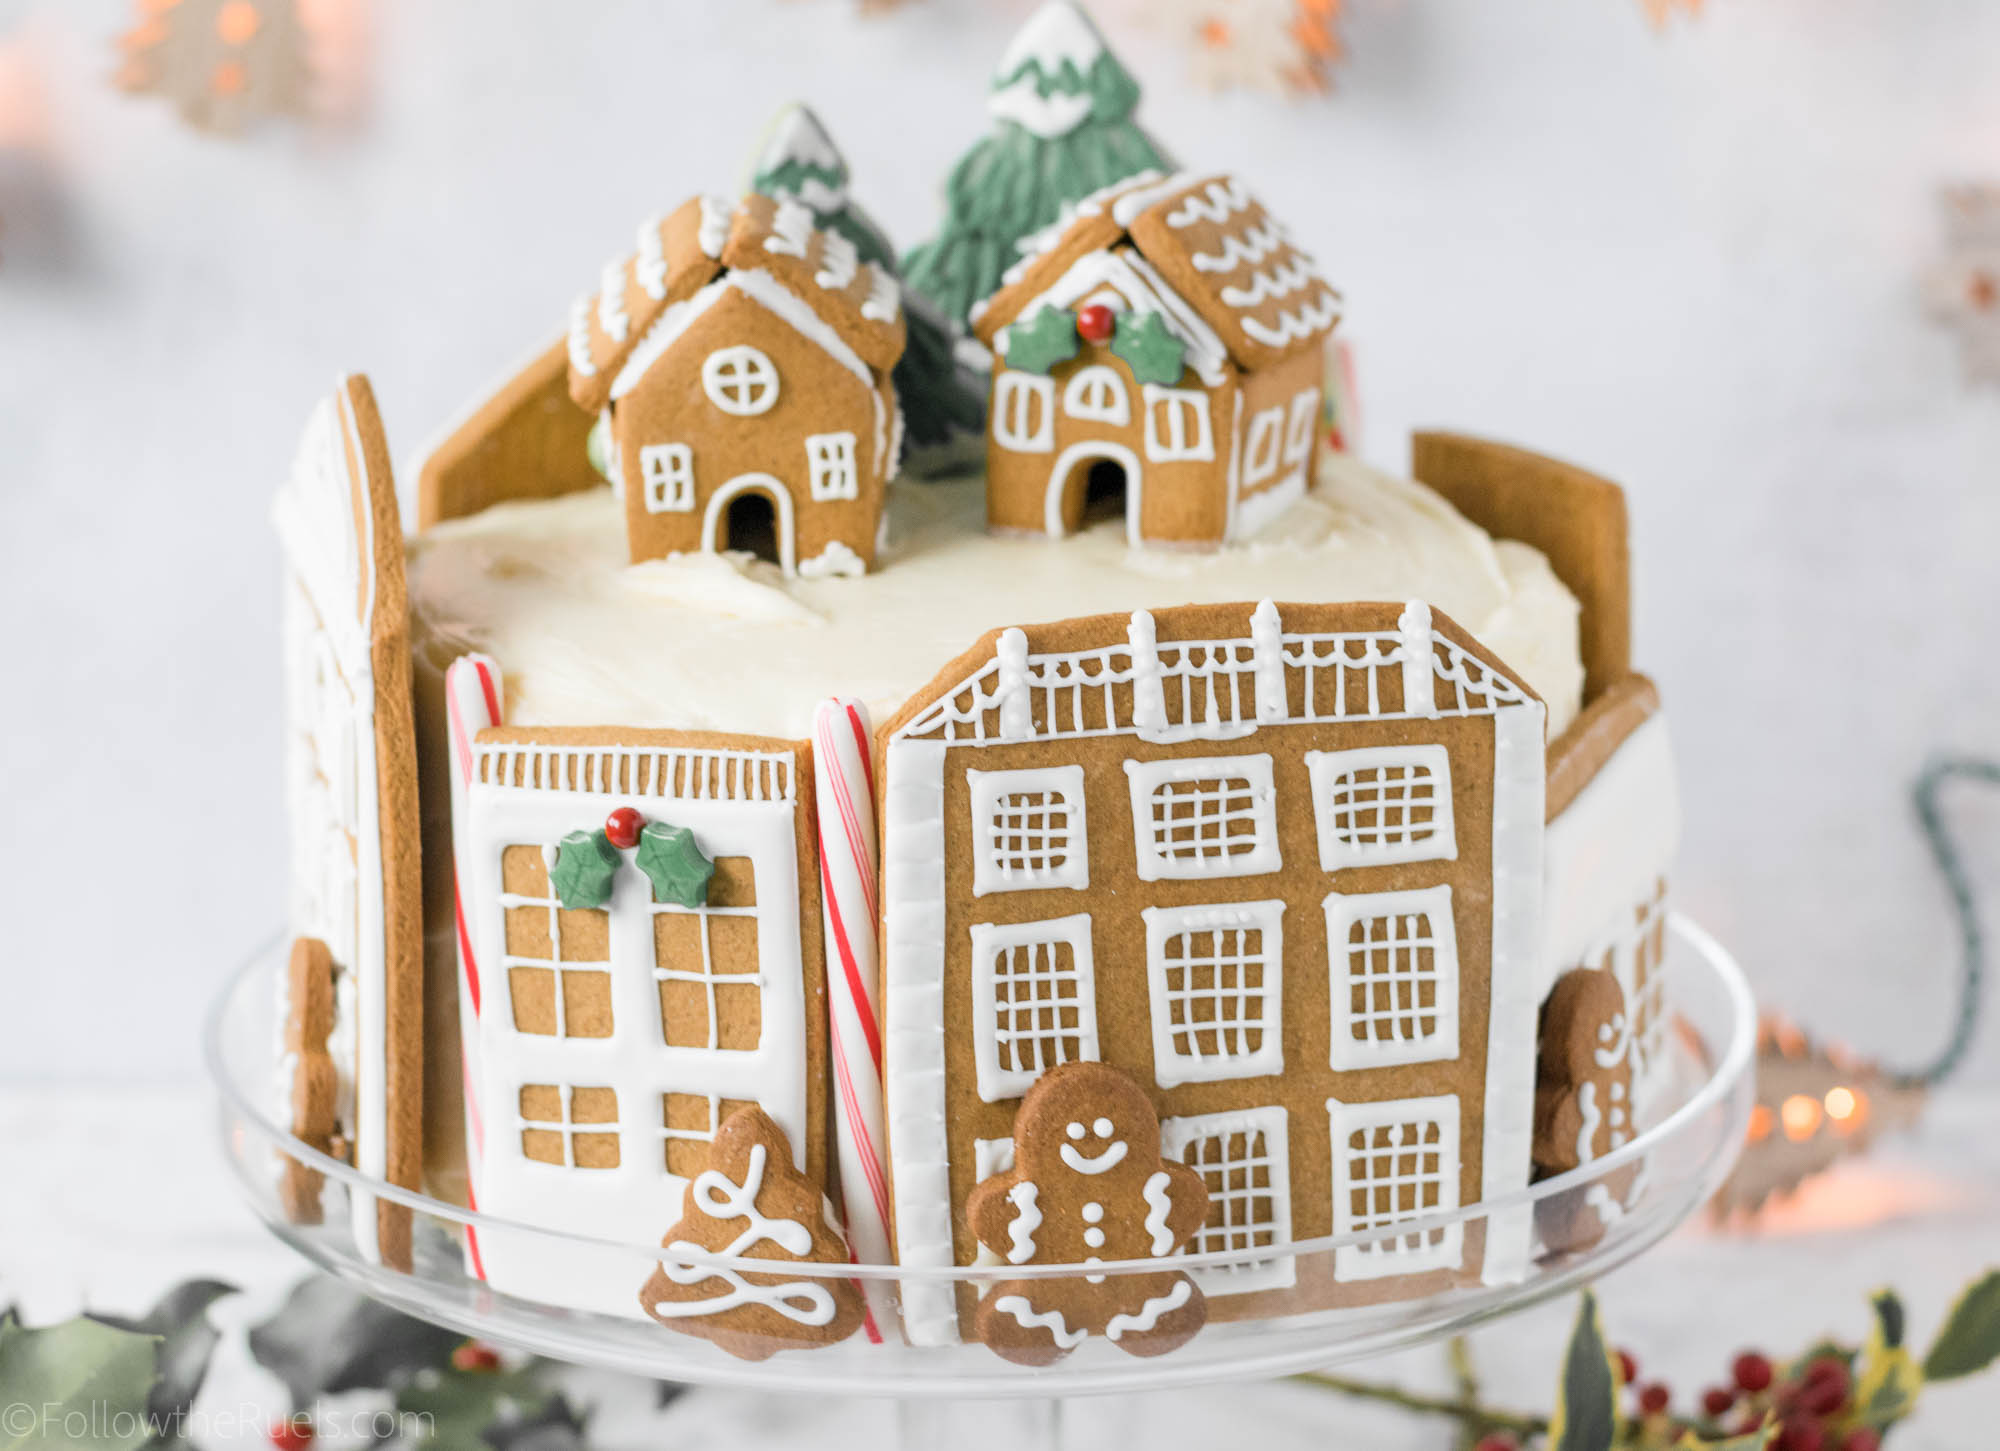
So this year, instead of kidding myself I decided to make a gingerbread village cake! It was the best of all worlds because I could still bake the gingerbread from scratch and decorate them to my heart’s content, but I didn’t actually have to build a whole house! Except for the two little ones on top. But those were so cute, I couldn’t resist (I used this cookie cutter)

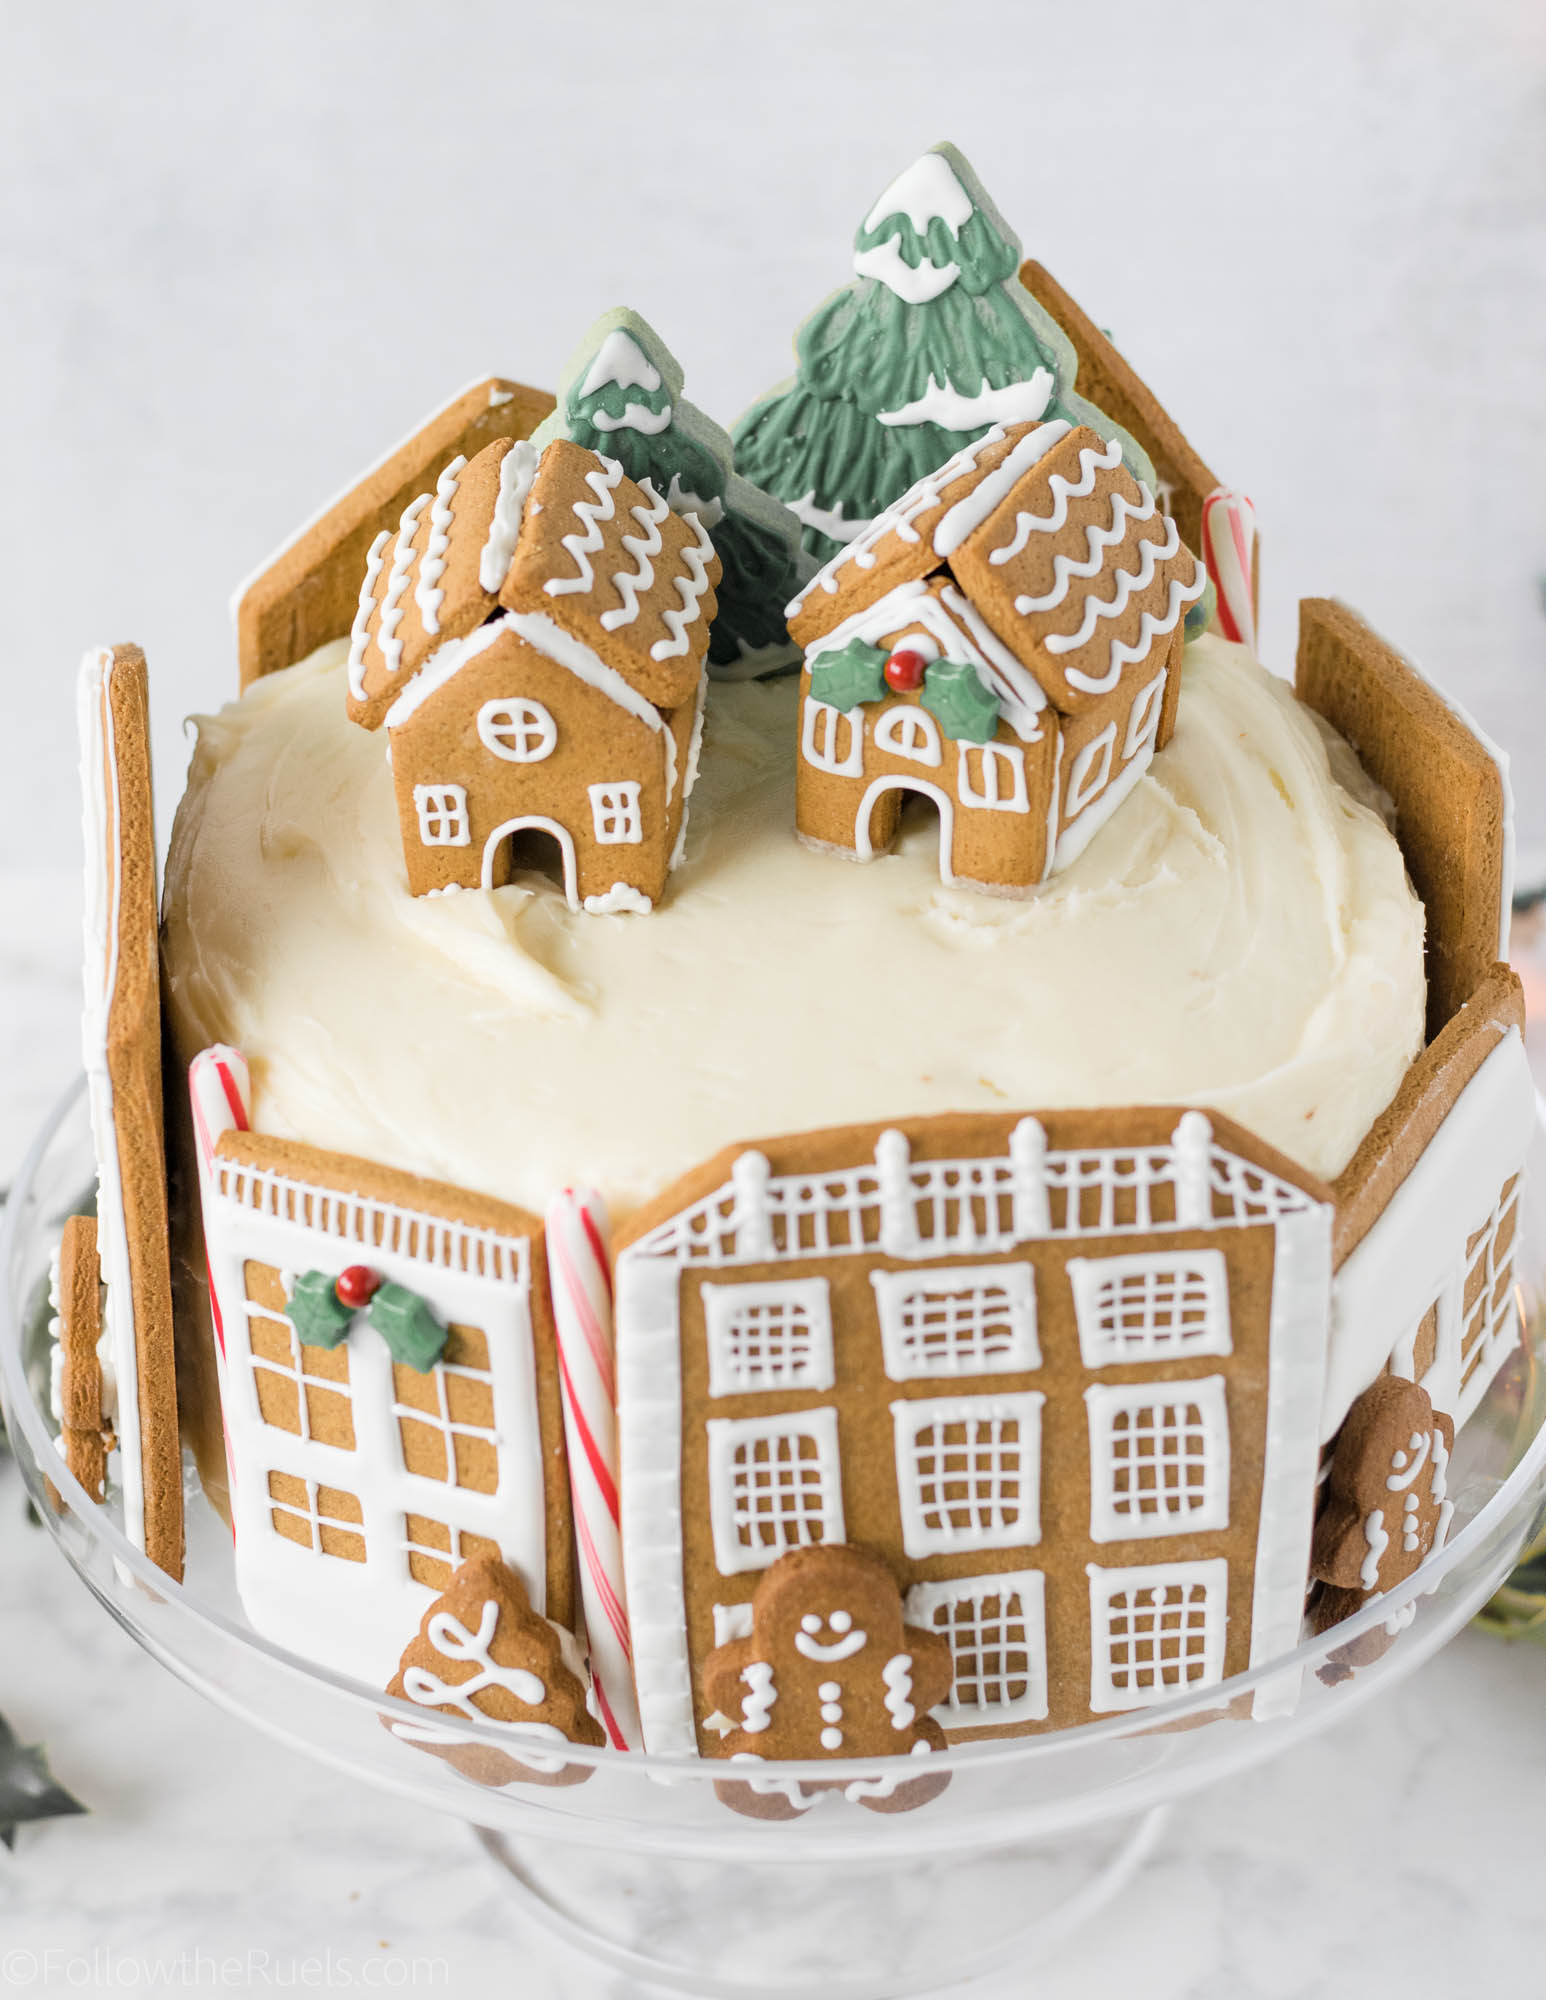
I took inspiration for my little gingerbread village cake from the canal houses in Amsterdam. I am not sure why. I certainly have never been to Amsterdam or seen a canal house in person, but that is that came to mind. 

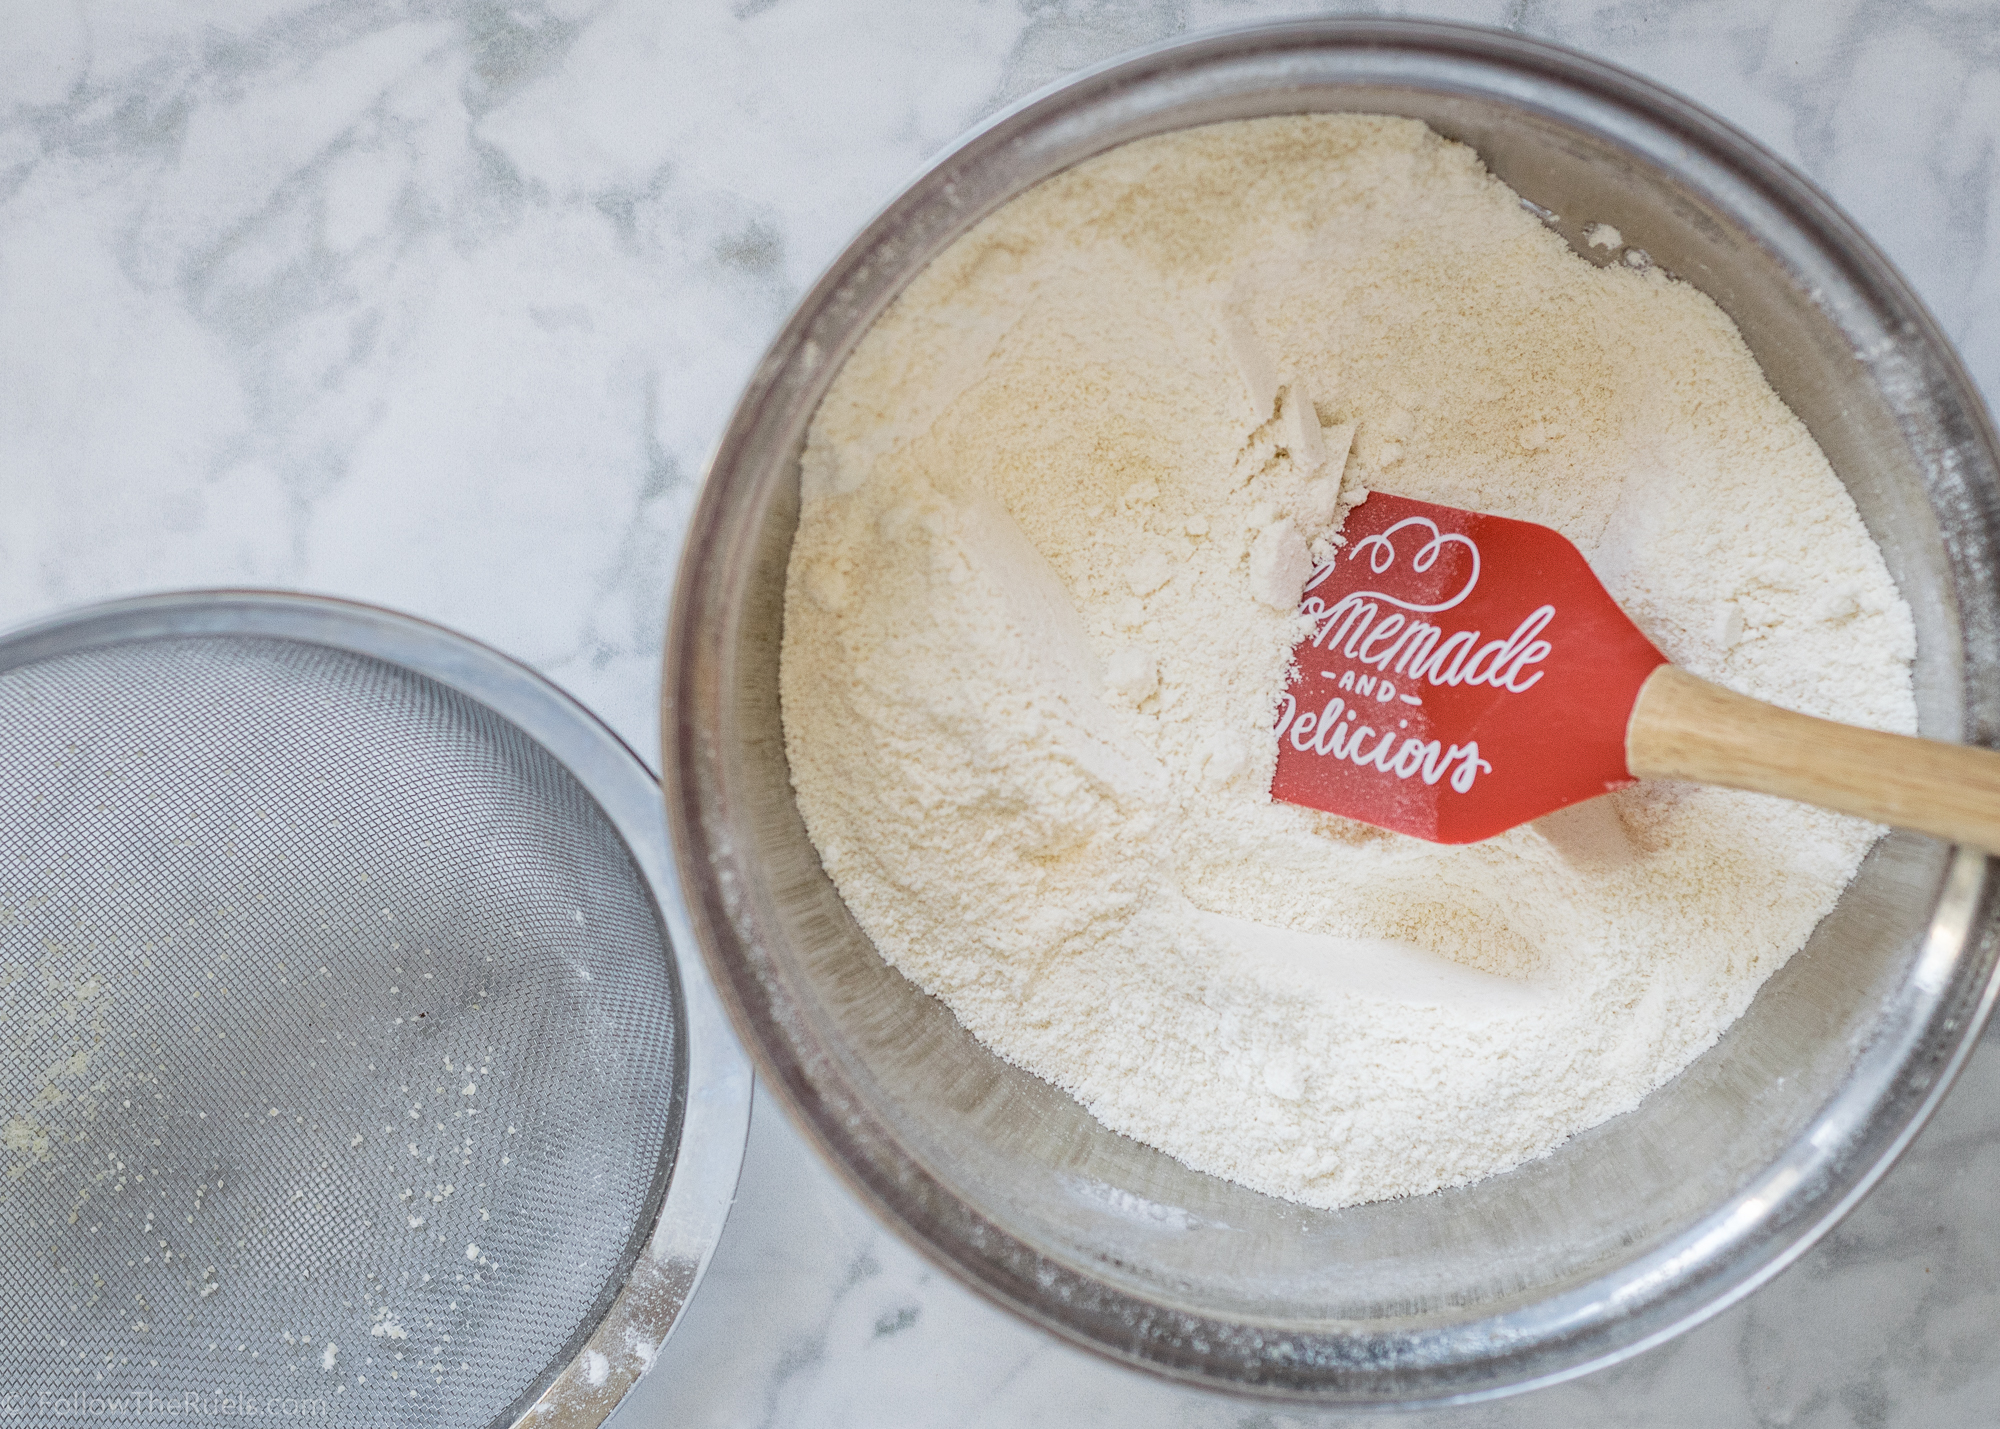
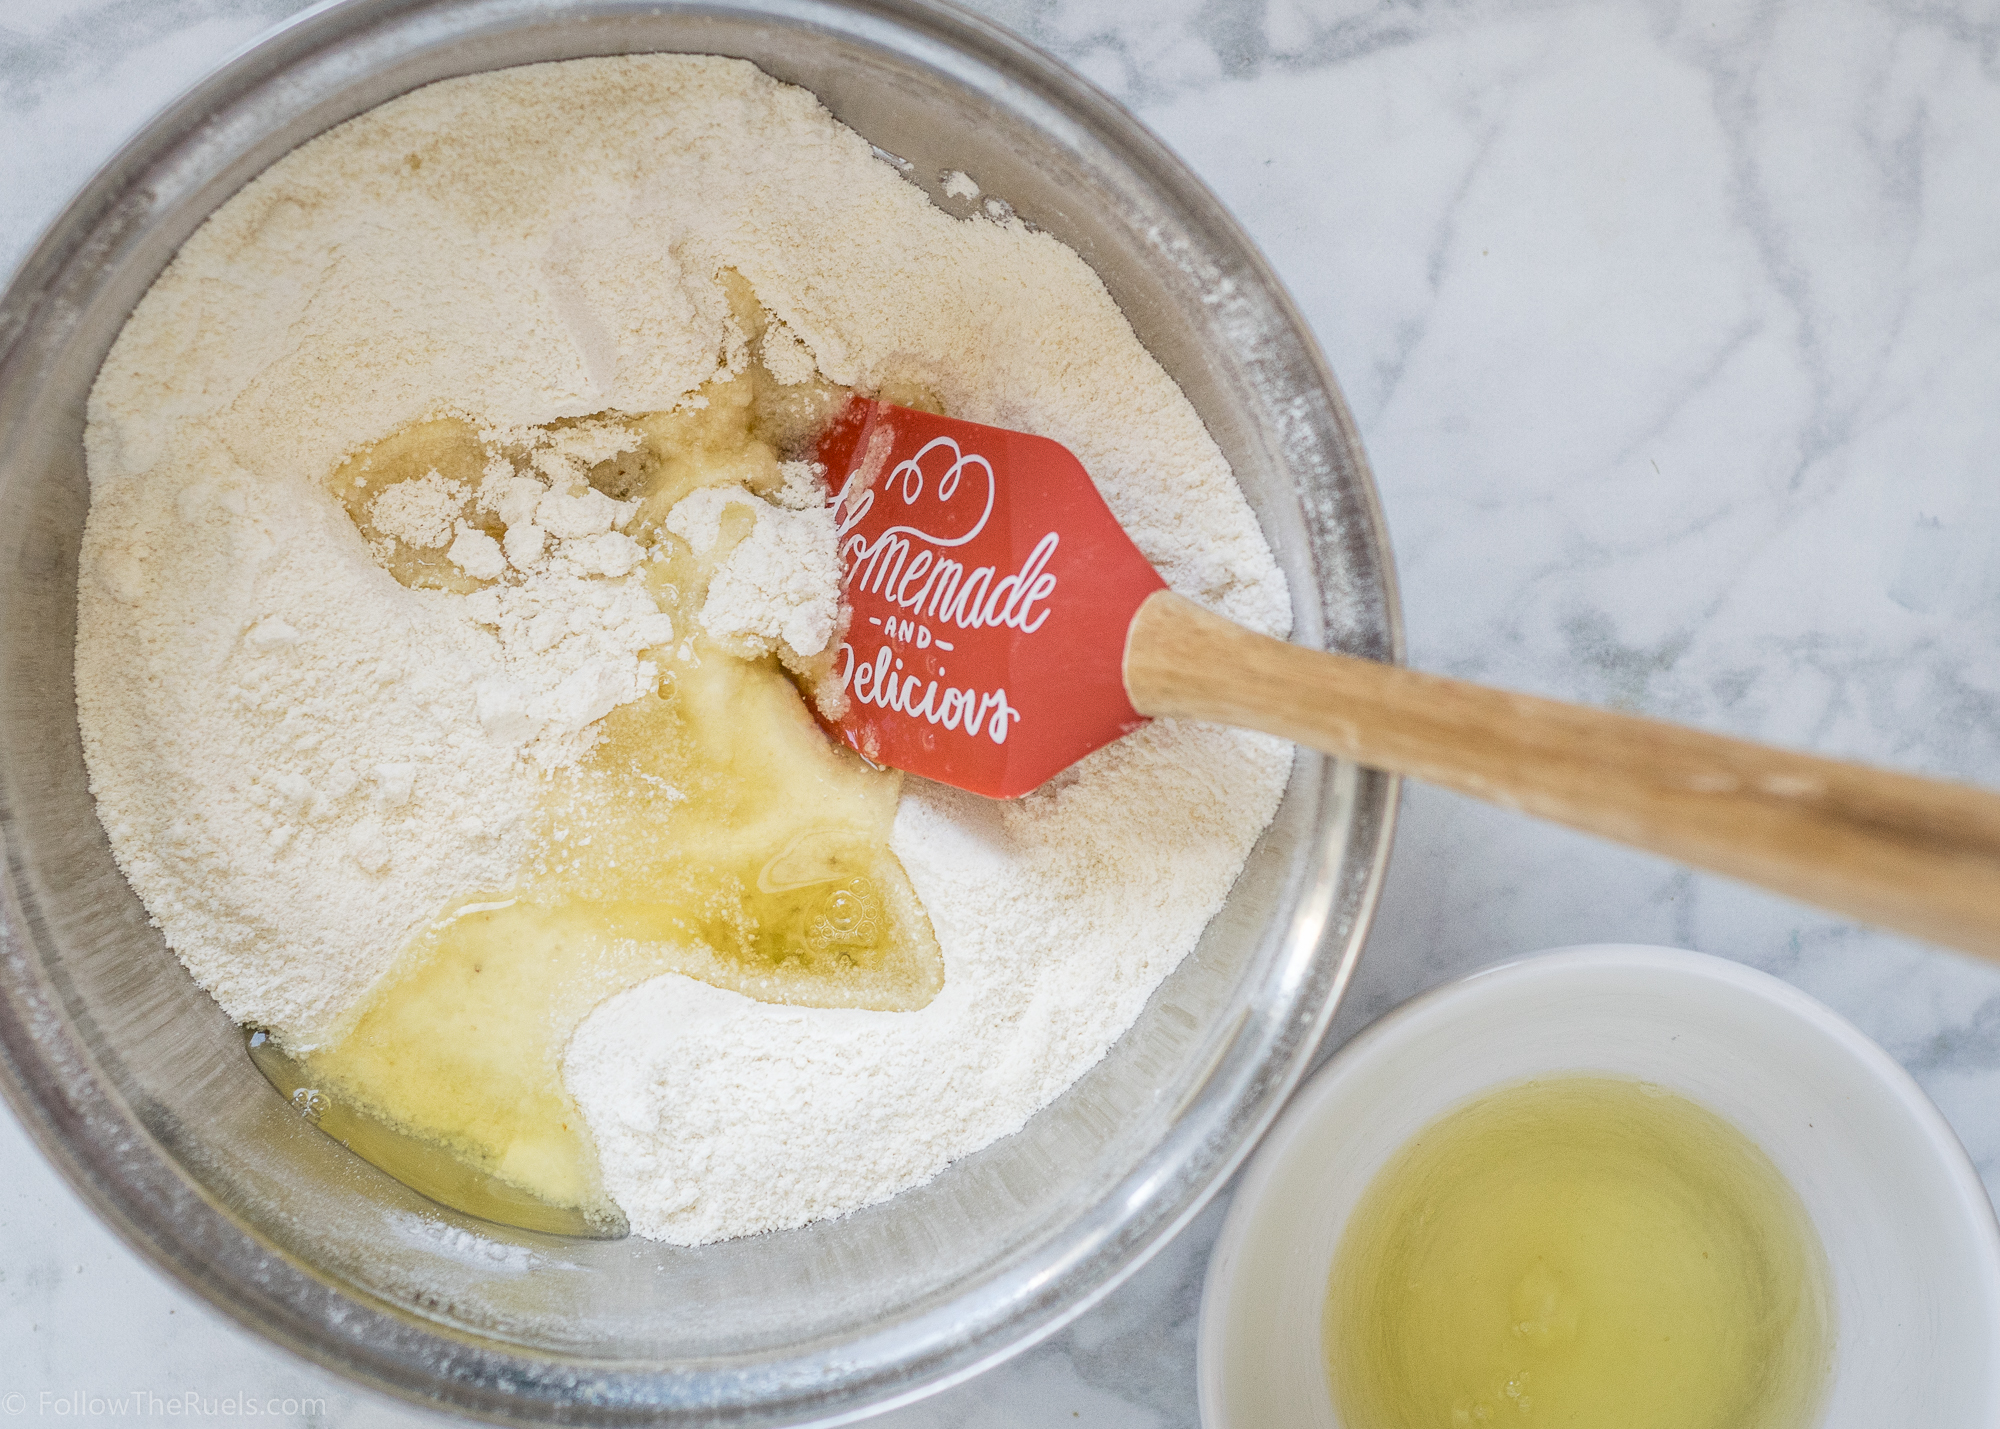
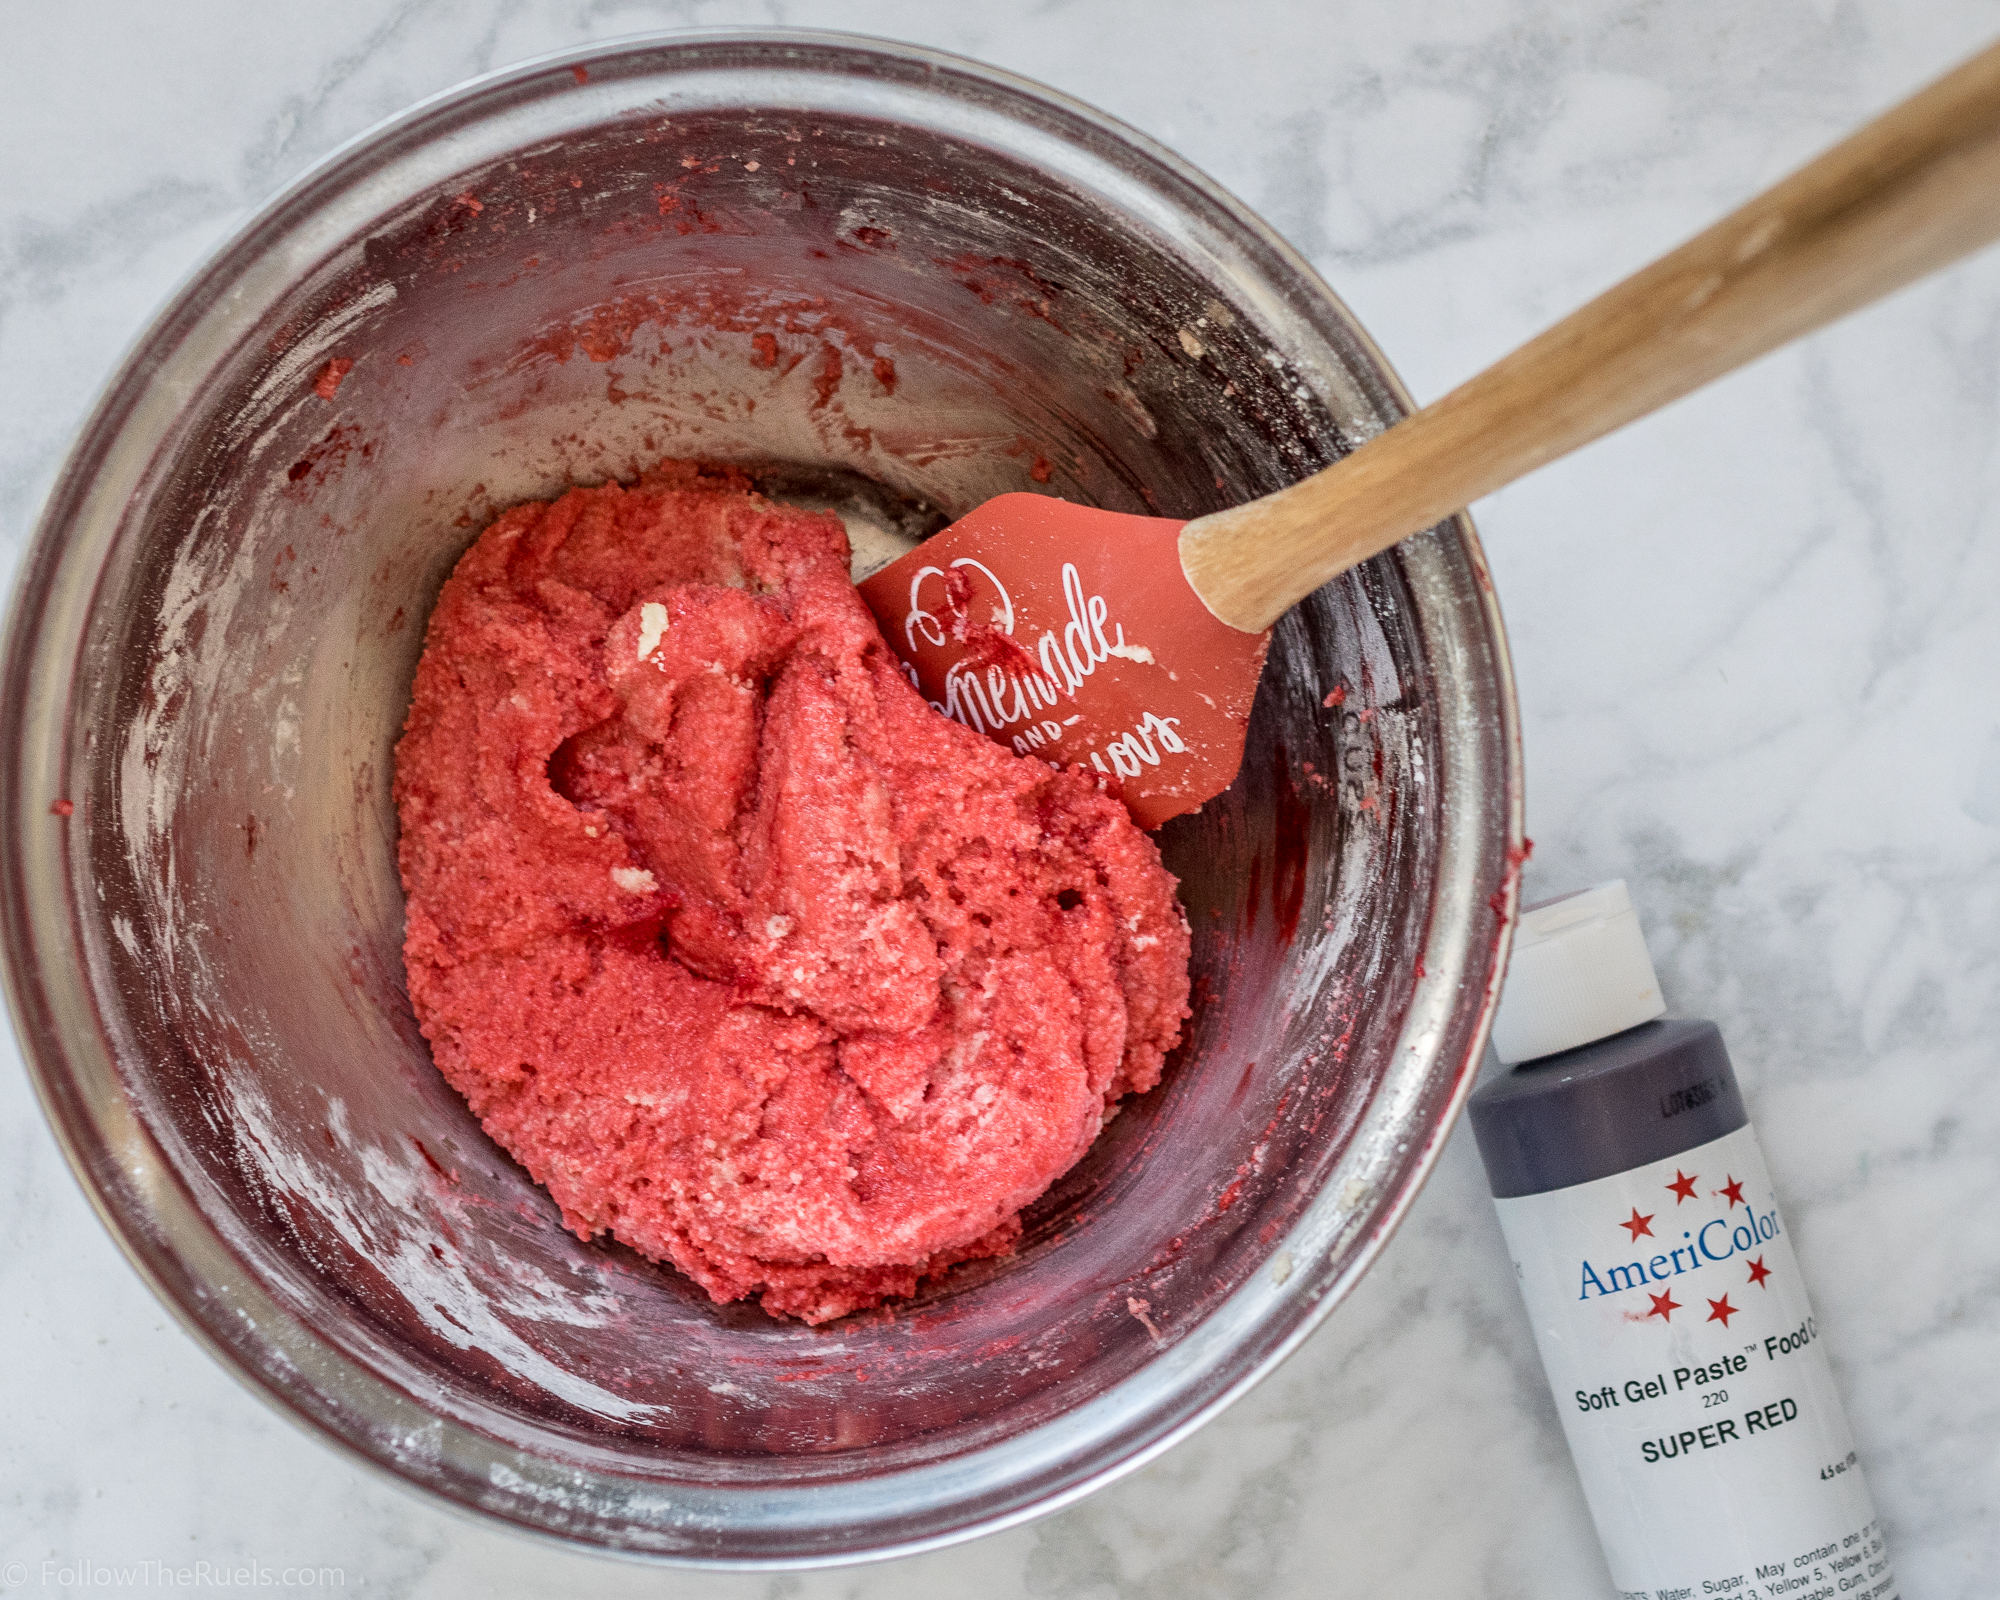
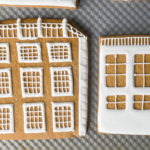
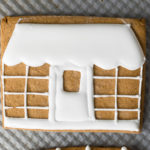
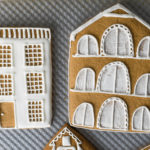
I made the houses from my gingerbread cookie recipe and iced them with royal icing. I just cut them by hand into various shapes and sizes. Some tall and skinny, some short and fat. Some with flat tops, other with pointed tops. There wasn’t really any rhyme or reason to it, other than I wanted some variety.

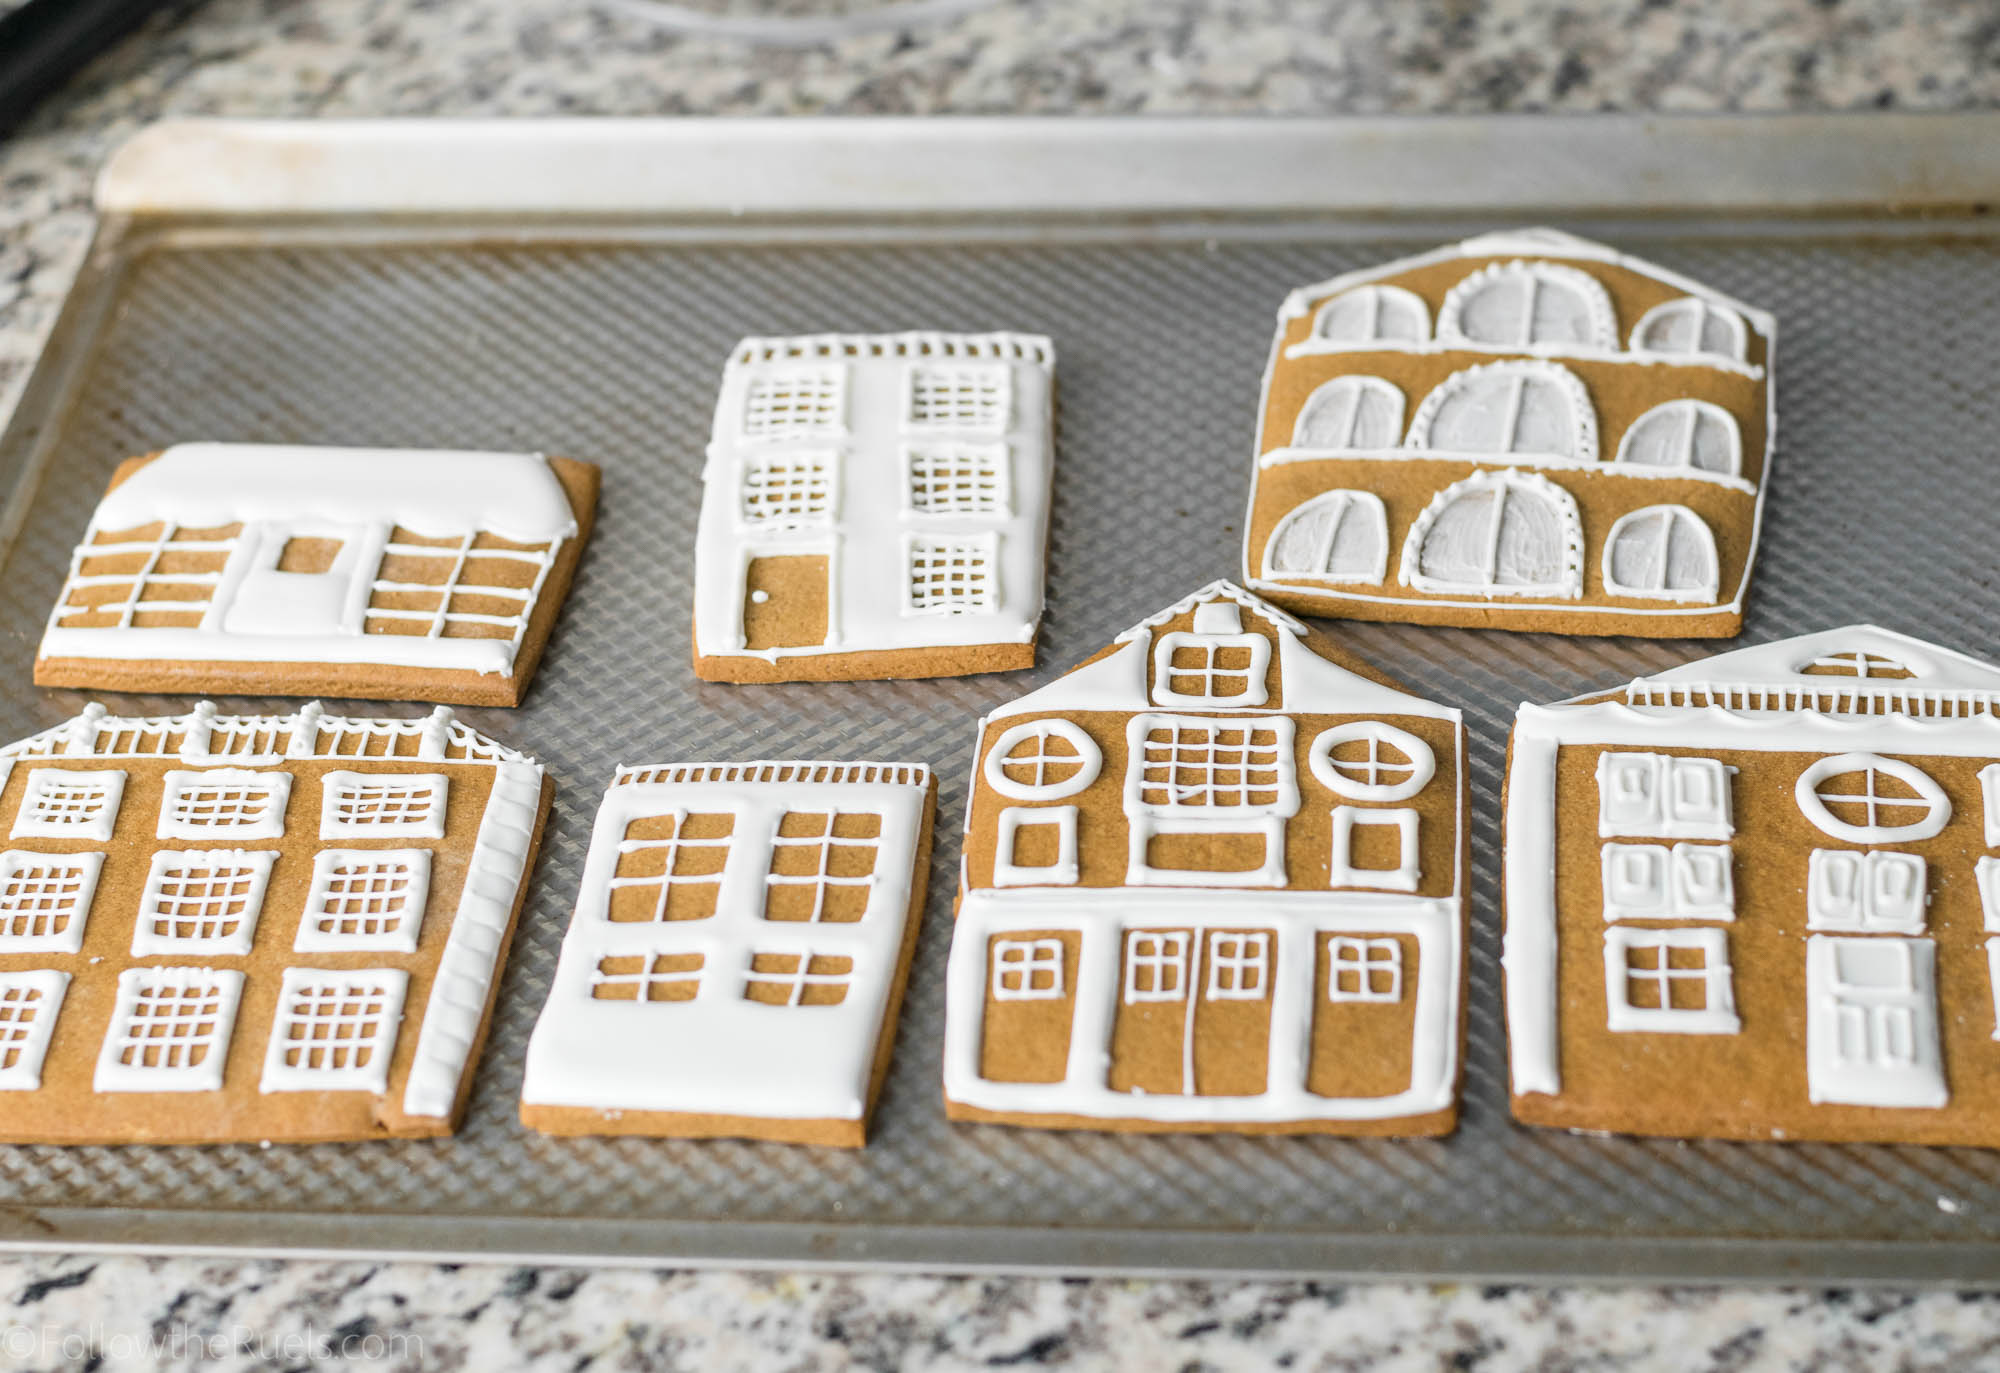
Then I went to decorating. I used images from Google to help me figure out the windows, roof, doors, etc. 


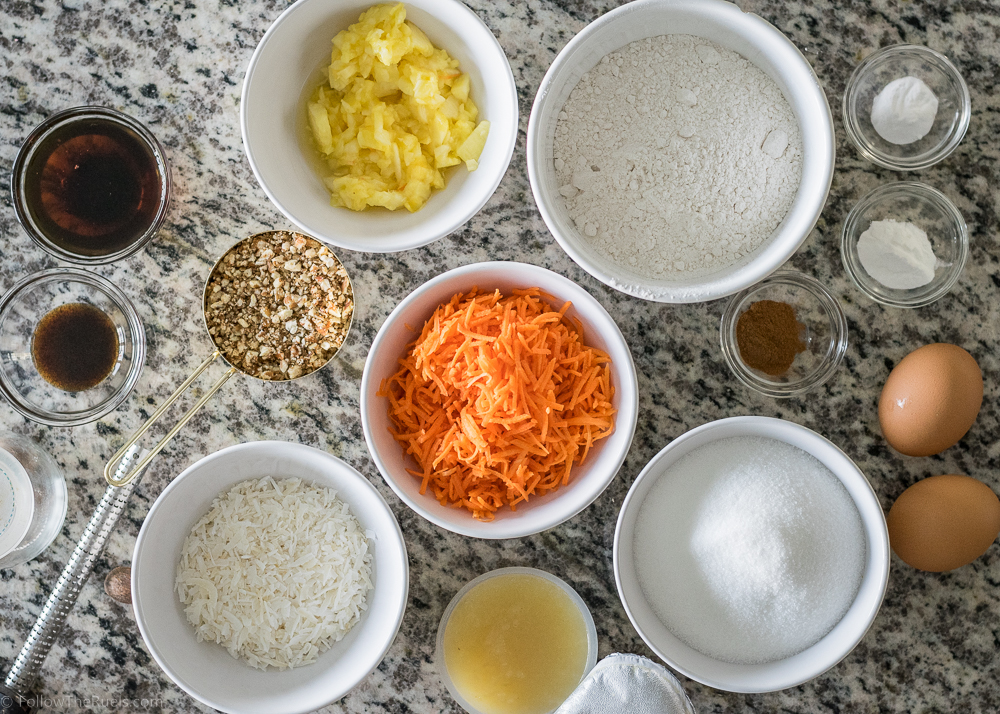
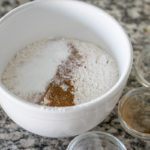
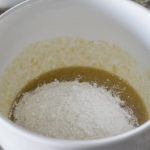
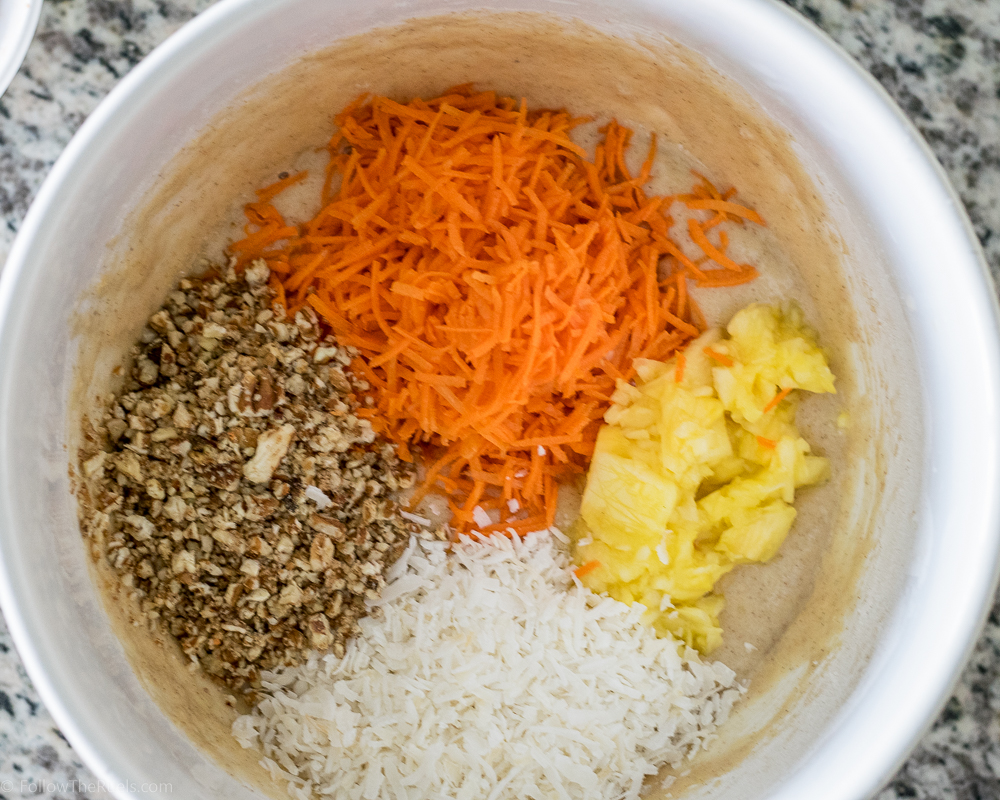
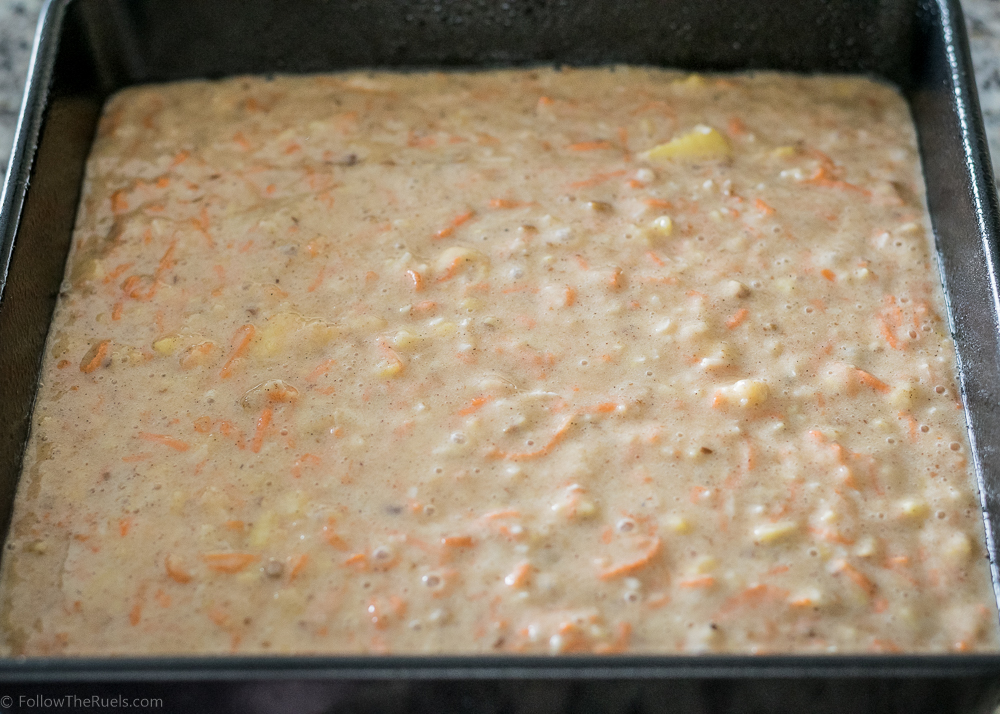
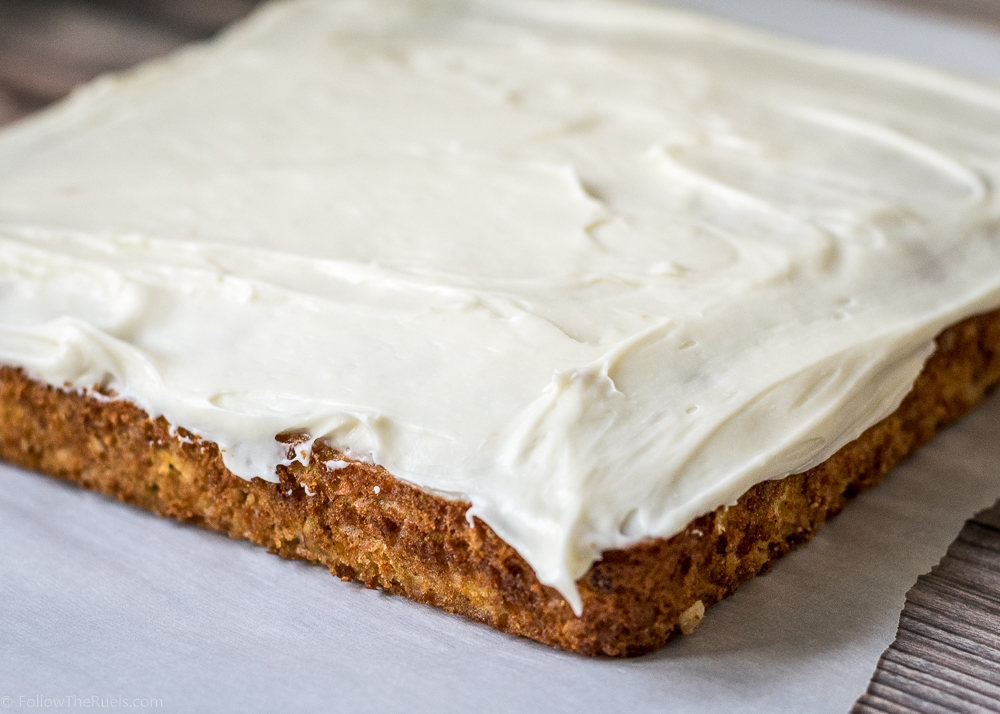
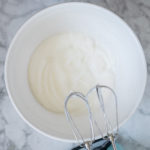
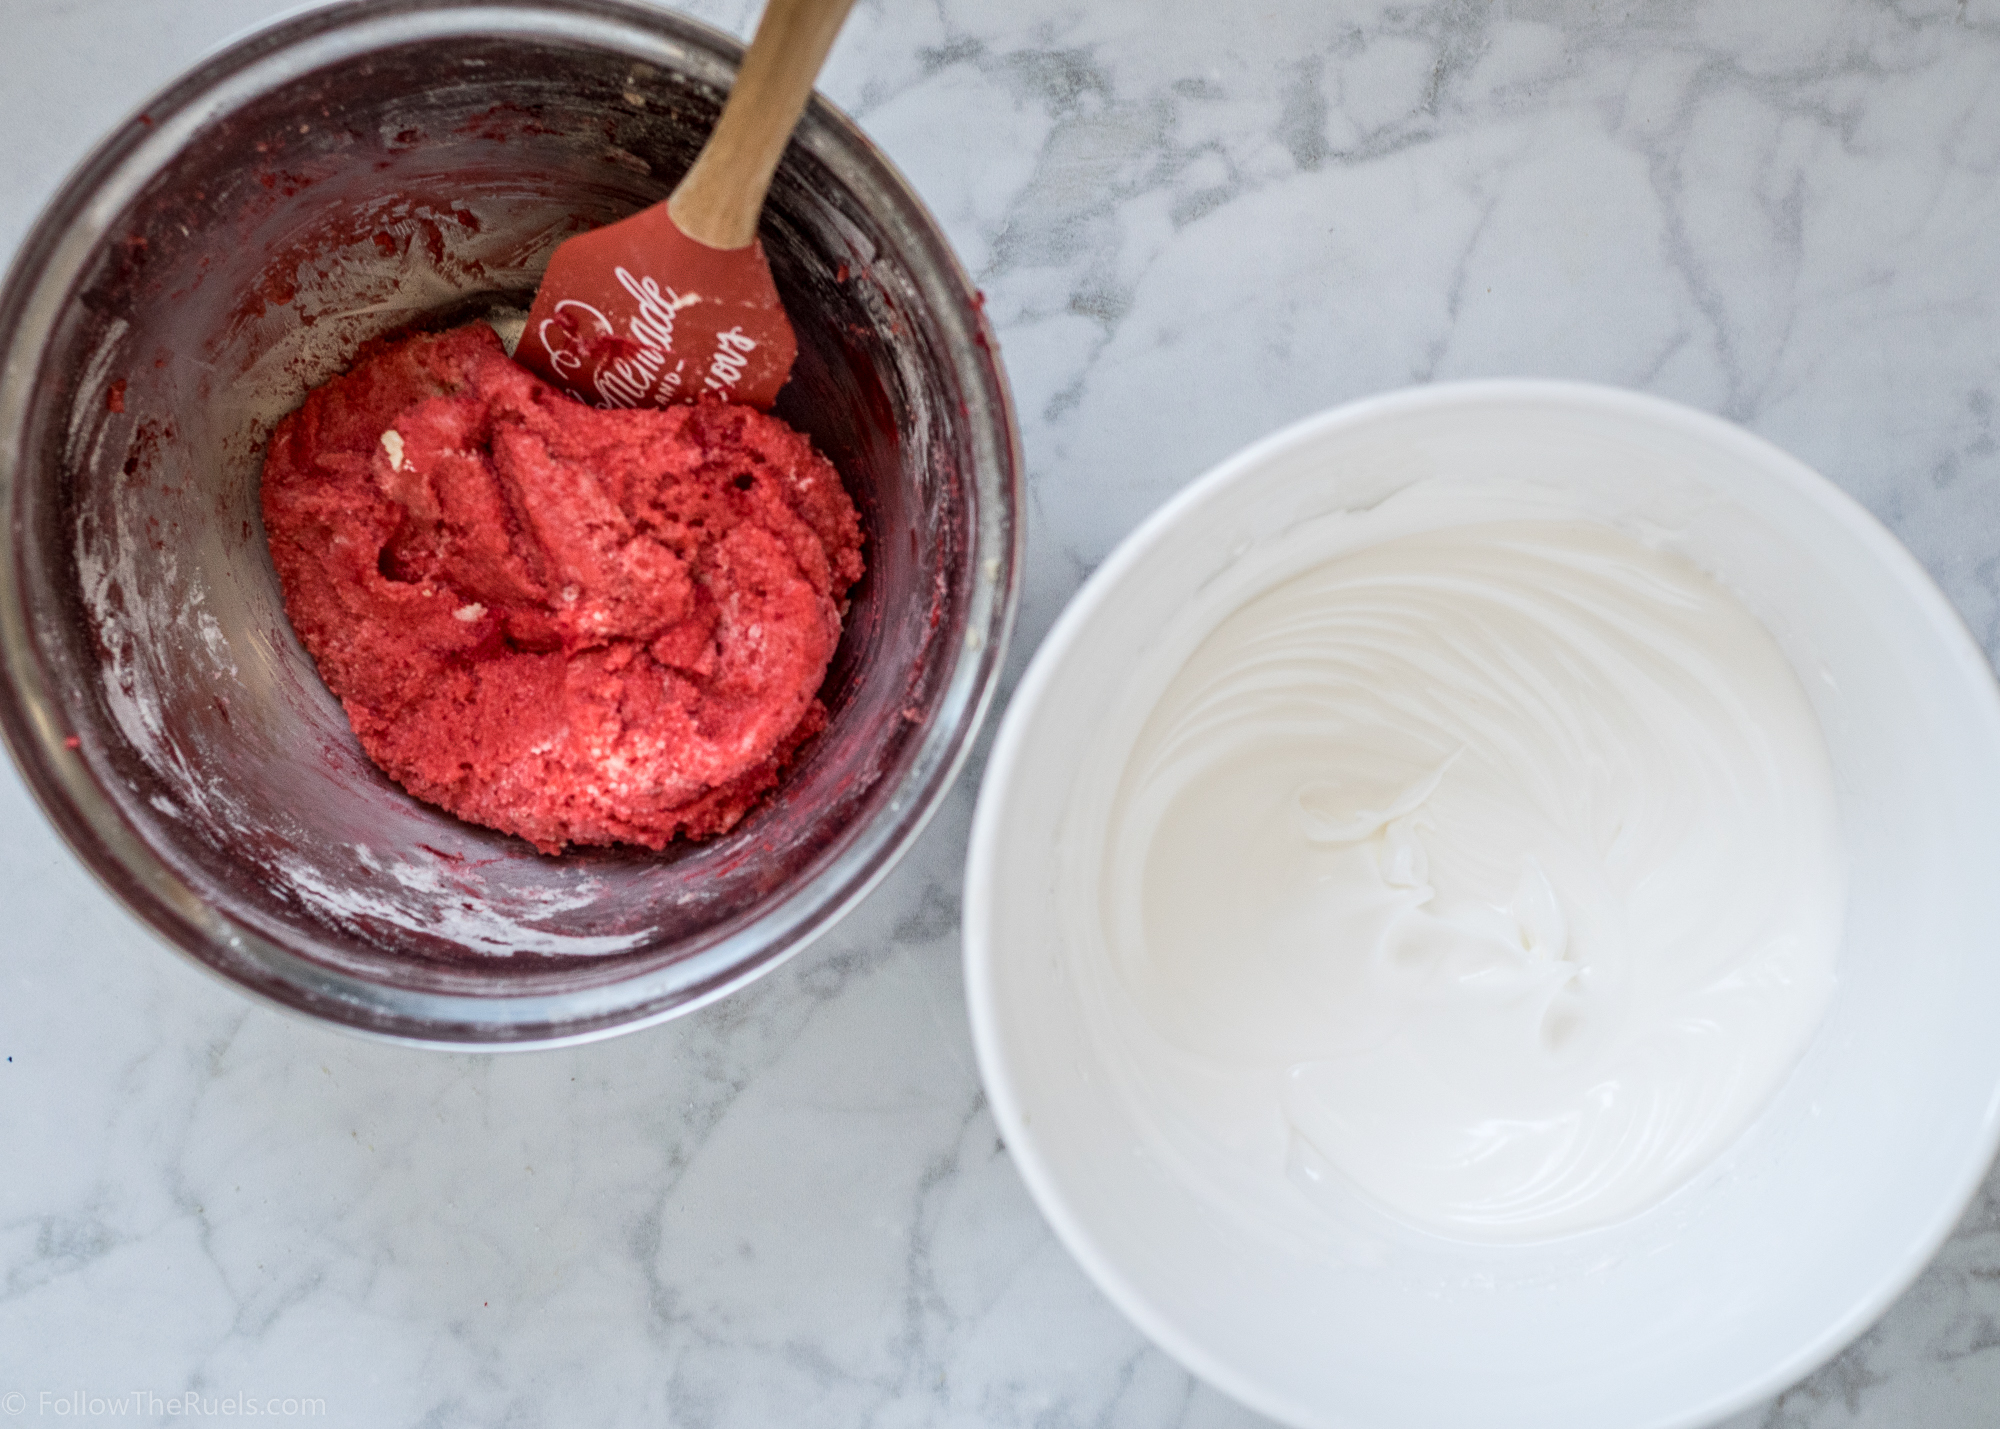
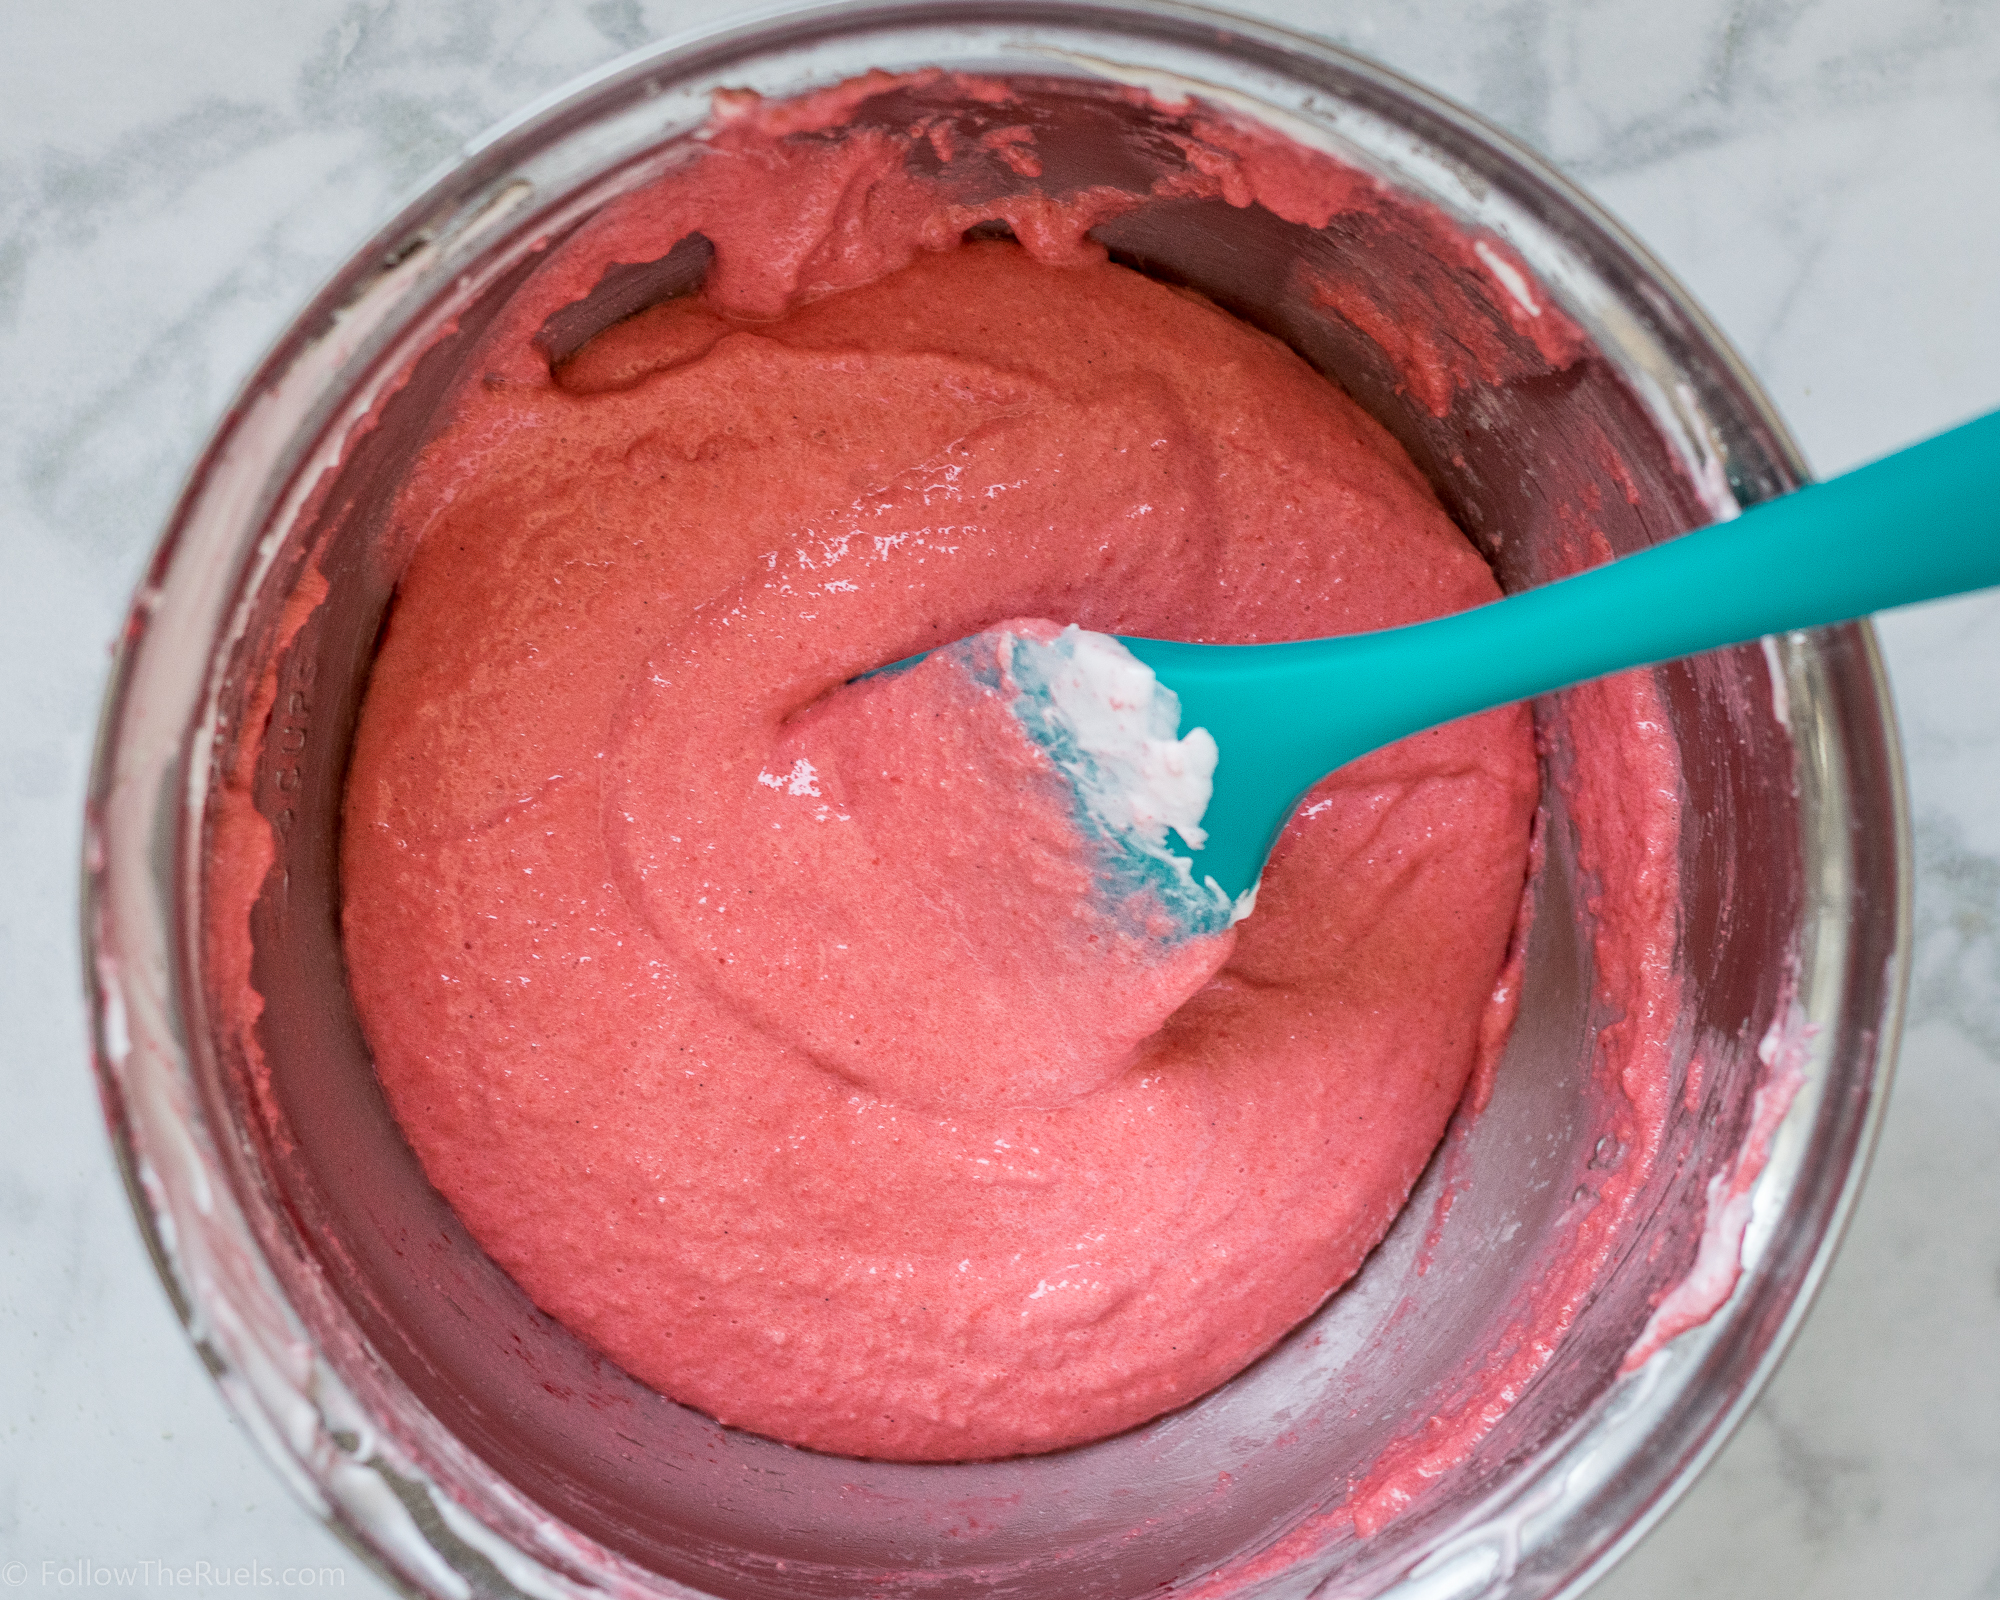
For the cake itself, I adapted this recipe for a gingerbread latte cake. Talk about scrumptious! Oh my word, this cake was good! The best part, though, was the cream cheese frosting on top.


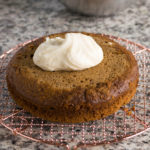
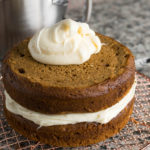
After the layers of cake were baked then chilled, I leveled them with a serrated knife. I topped the first layer with a huge dollop of cream cheese frosting and spread it evenly around the surface with an offset spatula. Then set the next layer on top of that and repeated with another huge dollop of icing.

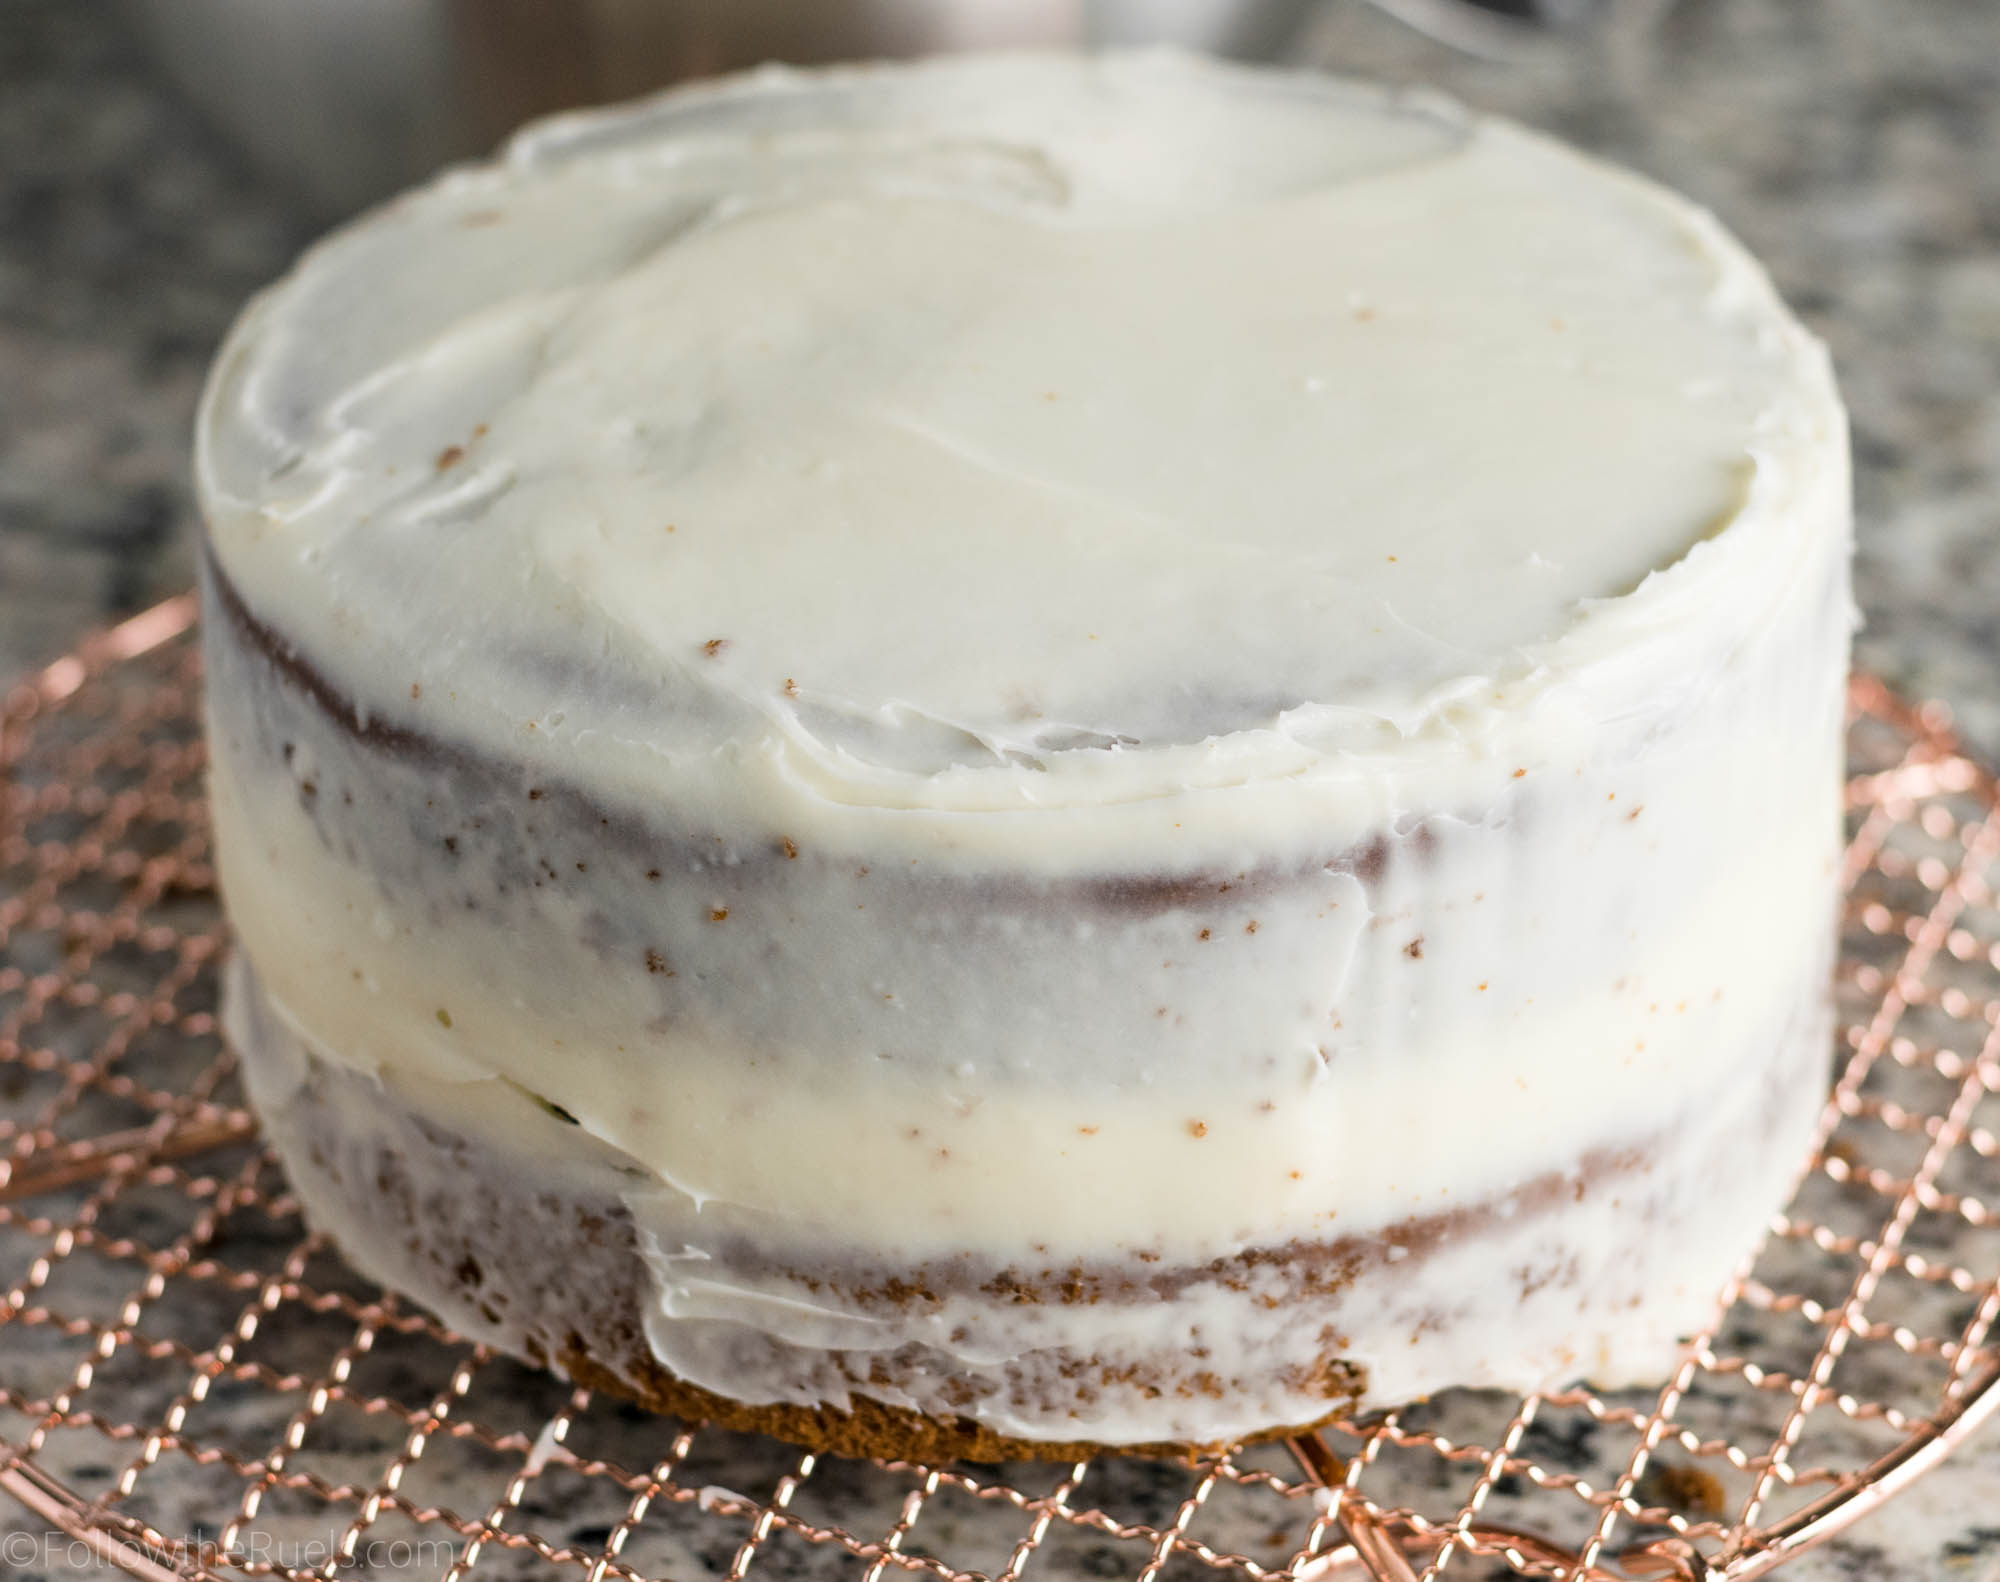
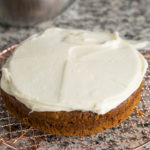
This time, I spread the icing all the way down the sides to cover most of the cake. I didn’t do a huge layer of icing, I just wanted to catch all the crumbs first so they didn’t end up in the outer layer of icing.


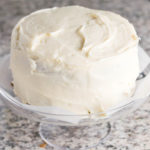
After a quick chill in the fridge, just long enough for the icing to set up, I finished icing the whole cake and set it on my cake stand. The beauty of this cake is that you don’t have to be an expert icer because you are just going to cover it with the gingerbread houses.

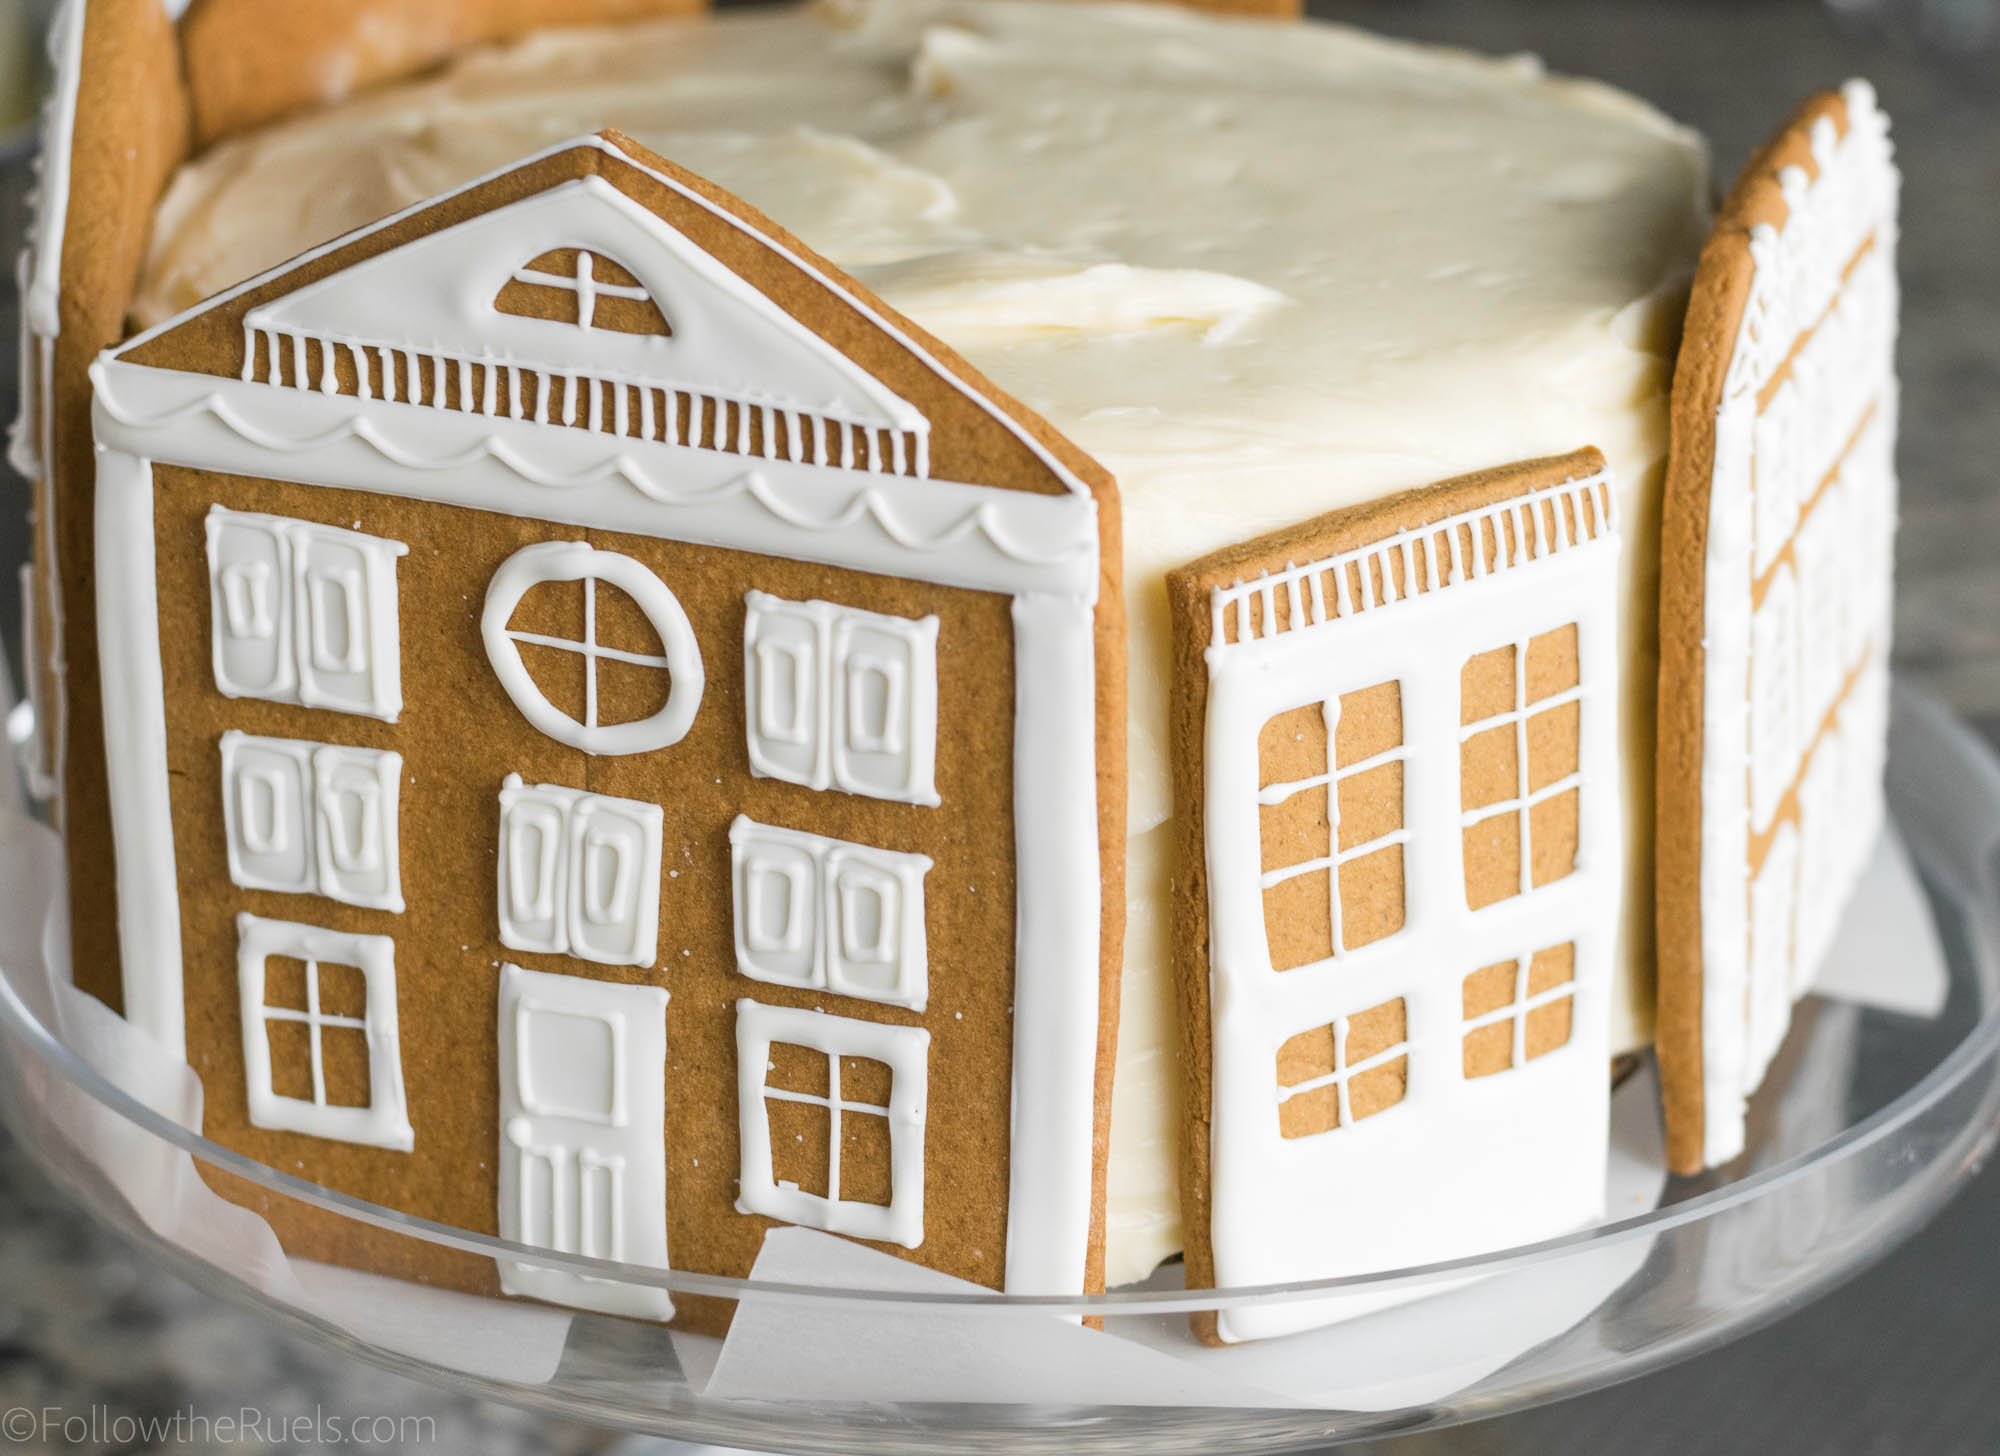
The little houses just stick right onto the cream cheese frosting. Almost a little too well. I wanted to move one of the houses and it just lifted the icing right along with it. 


To attach the little gingerbread men, I put a dot of the frosting on the back an stuck them right on top of the house.

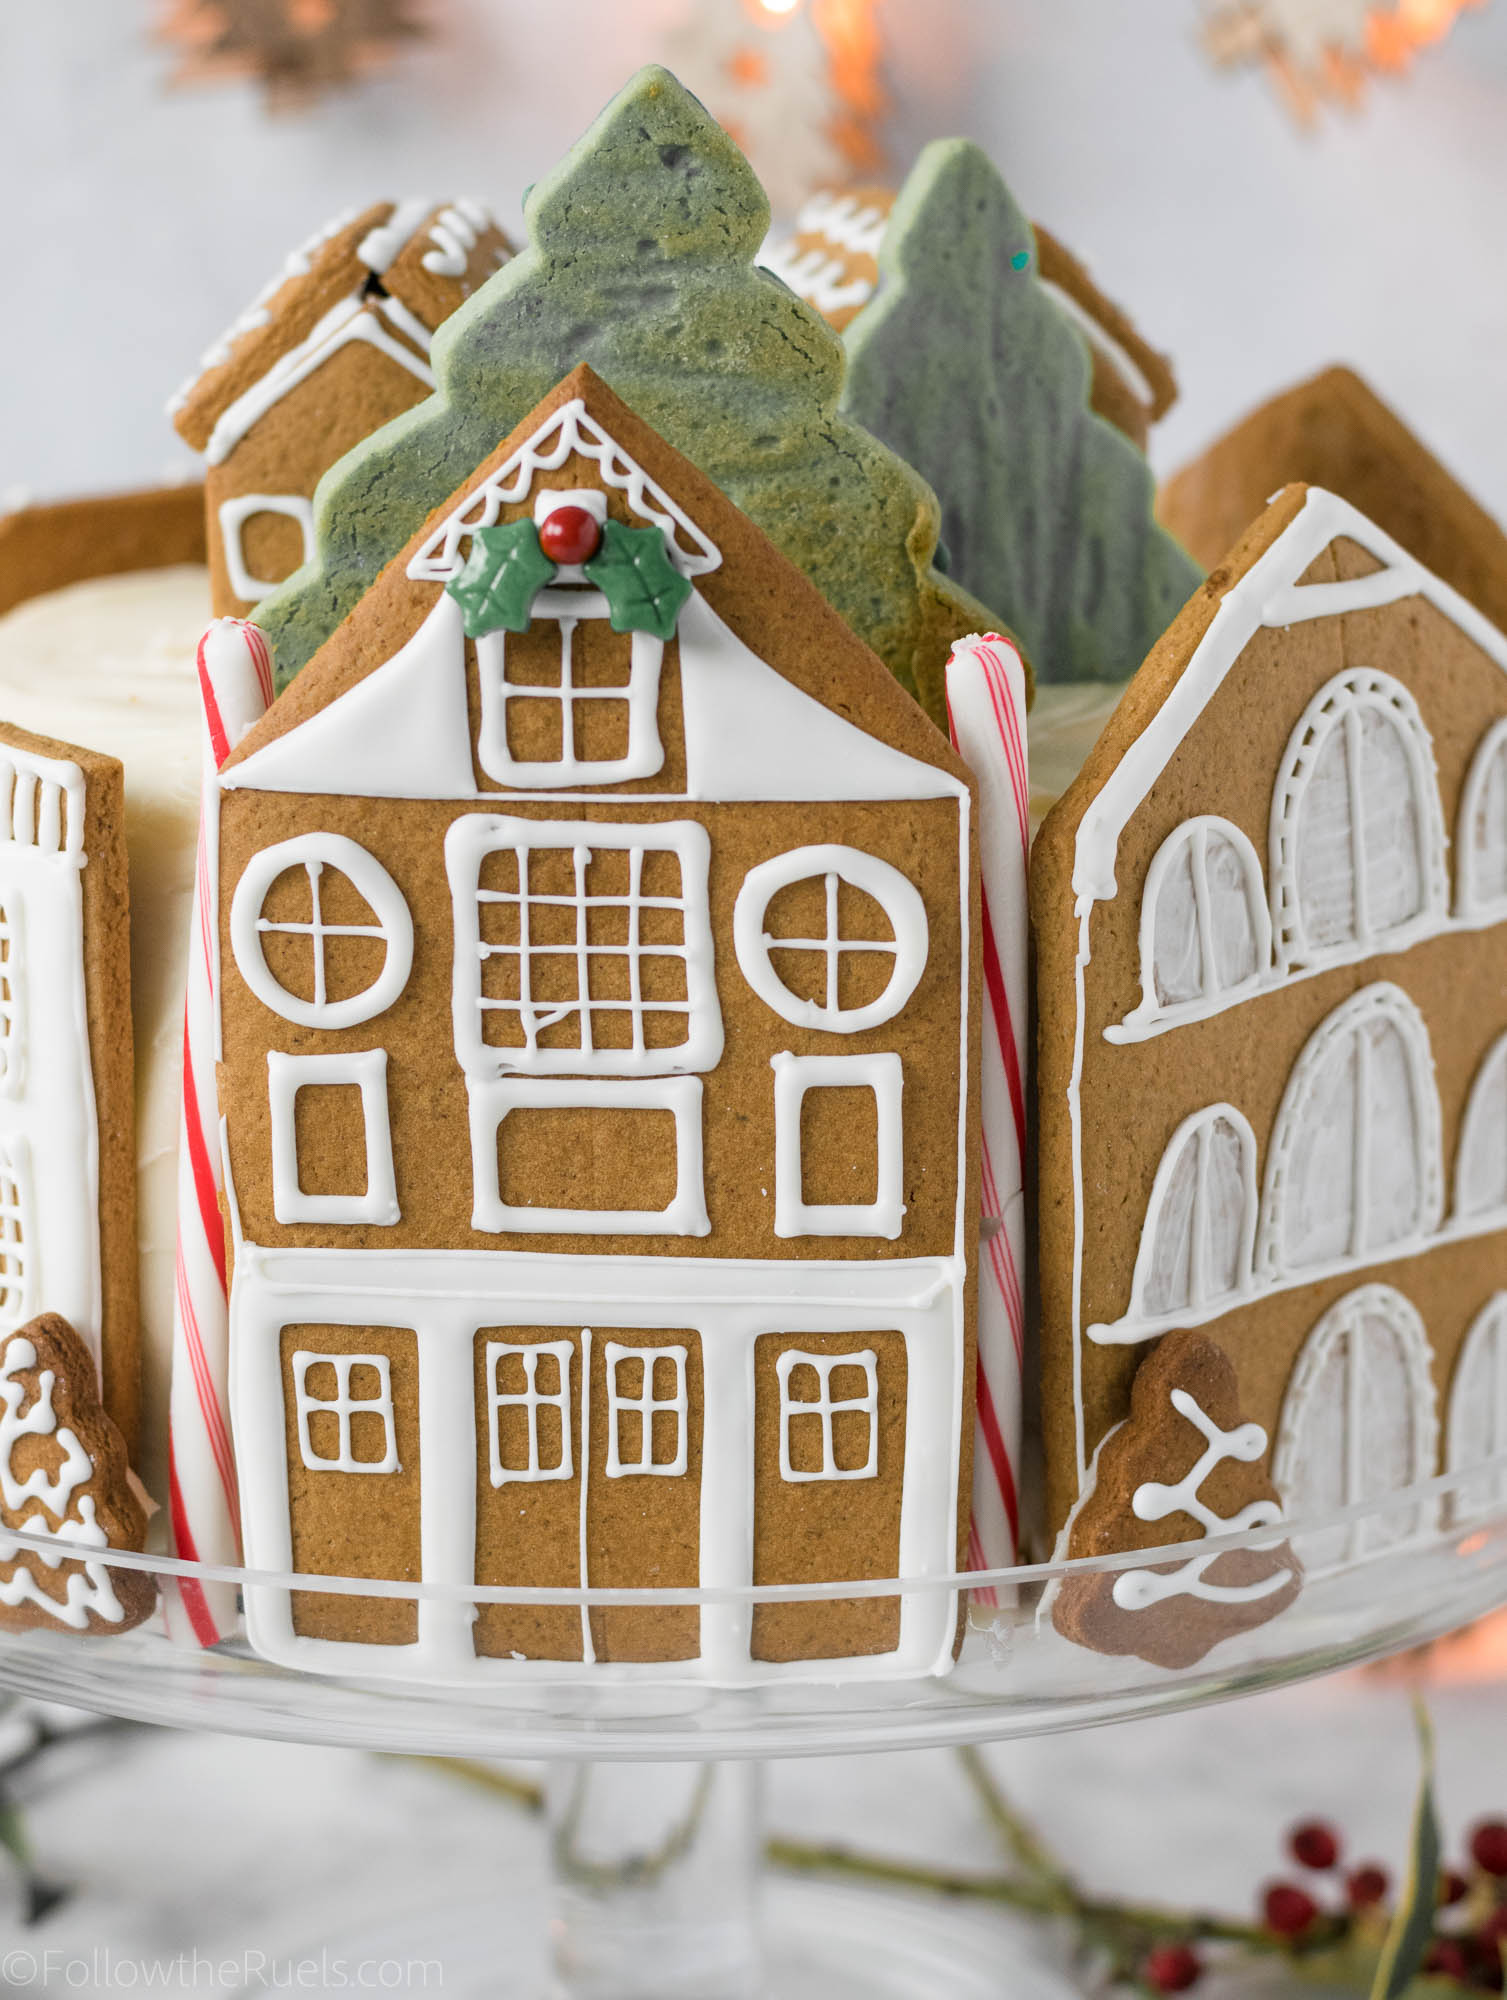
I did finish off a couple of the houses with a few other decorations. I had these cute holly sprinkles that I stuck right on using a bit of left over royal icing. And I added some candy canes and left over Christmas tree cookies. 

While this cake may have been a bit more work than a gingerbread house, I think I like it even more. For one, when you are done you can eat the cake along with the gingerbread cookies. It’s the best of all worlds! If you also want some candy in there, throw a few more candy decorations on top. That way there is a little something for everyone!

[yumprint-recipe id=’148′] 


/ Filed In: Cakes and Cupcakes, Cakes New, Eat
Tagged: cake, Christmas, cream cheese frosting, gingerbead house, gingerbread, gingerbread latte, holidays

Damn That’s Good Carrot Cake

April 14, 2017

The title of this post is a direct quote from a coworker who tasted this carrot cake and uttered “Damn, that’s good carrot cake!”. This carrot cake even received a standing ovation from my boss. (Can you consider it a standing ovation if it’s just one person standing? sure, let’s go with it. It helps my story.)

Yesterday morning I dropped the cake off in our break room then ran downstairs to grab a coffee. By the time I had returned to the office, my boss had grabbed a piece of cake. As I was sitting down she yelled from her office, “Lindsey, did you make this carrot cake?” After I said yes, she proceeded to stand and slow clap. I mean, I have made some good stuff before, but nothing that has received a slow clap! (She went on use about a dozen different synonyms for moist and told me this was the best thing I had ever made.)

So between the standing ovation/slow clap and the “Damn, that’s good carrot cake” comment, I’d say this is, well, one damn good carrot cake! 

The ingredients in this aren’t a whole lot different than any other carrot cake, except for a not-so-secret ingredients: apple sauce, maple syrup, and nutmeg. All three are super subtle. You probably won’t even be able to tell that they are there, but they make a huge difference. 

The apple sauce helps make the cake super moist without adding any fat. The maple syrup adds another layer of sweetness that helps balance out all the flavors. And the nutmeg plays off the cinnamon to bring out the flavors of the pecans, coconut, and pineapple. 

While it may look like a hot mess of ingredients (this is definitely the most ingredients I have ever added to a cake), it’s really simple to make!


First mix together all the dry ingredients in a small-ish bowl. Just something big enough to hold all the flour. Then, in a larger bowl, whisk together all the wet ingredients. Dump the dry into the wet and whisk until you have a batter. 

Now it’s time for the party to start! Add the carrots, pineapple, pecans, and coconut to the batter and fold in until everything is nicely incorporated throughout the batter. 

Just a side note: I prefer to have my nuts pretty finely ground whenever I add them to baked goods. I do not like biting into a huge chunk of pecan when I eat my cake. So I recommend tossing them into your food processor and grinding them down into something that resembles a coarse meal. It’s okay if there are some bigger pieces. 

Now just add it to your pan and bake for about 35 minutes. 

I baked mine in a square pan because I wanted it to be more like a sheet cake. But you could also split this into two 8-inch round pans if you wanted to make a layer cake. 

After it has baked and cooled, you can frost this bad boy with some of my all time favorite cream cheese frosting. Cream cheese frosting it just amazing on carrot cake. Everything that was healthy about the carrot cake before, can be thrown out the window once you add the frosting. And that’s why they work so well together. 


It you want to add some rosettes like I did, separate out about 1/2+ icing into two separate bowls. Color most of it (about 1/2 cup) orange, and the rest of it (about 2 tbsp) green. For the rosettes I used a #21 piping tip, but you can also use a small closed star piping tip as well. For the leaves I used a #352. 

Mark out 16 slices of cake. In the center of each piece, pipe a small rosette by making a small spiral with the #21 tip. On the side of each one, pipe two leaves. Easy peasy, right? 😉 You got this!

But with or without the decoration, this cake is sure to win you over some fans. I was definitely surprised by the reaction I received for this humble little carrot cake. According to some people, it is now the best thing that I make!

[amd-yrecipe-recipe:150]

PIN NOW, MAKE LATER

The best carrot cake you will ever make!

/ Filed In: Cakes and Cupcakes, Cakes New, Desserts, Eat
Tagged: cake, cake decorating, carrot cake, cream cheese frosting, Easter, Spring

Heart Shaped Macarons (Italian Meringue Method)

February 3, 2017

Did you know there is more than one method for making macarons!? Up until very recently, I had no idea! Apparently there are several methods. The one that I have posted about before, the French method, is the traditional method. But there is also an Italian meringue method and a small batch method (more on this later). 

Even though I have had more success with the Laduree macaron recipe, they can still be hit or miss. Which is why I have been eager to try the Italian method for my Valentine’s Day-themed heart shaped macarons!

The ingredients for the Italian method are largely the same as the French: almond flour, confectioner’s sugar, egg whites, and granulated sugar. This method requires making a sugar syrup with the granulated sugar and a bit of water. 

First, I sifted together the almond meal and the confectioners sugar. 

Then, instead of whisking all of the egg whites into a meringue, I mixed half of the egg whites into the almond/sugar mixture to create an almond paste. 

Which also seemed like a good time to add in some food coloring. 


The next big difference to this recipe is meringue. With the French method, you just whip up the meringue with a bit of granulated sugar. The problem is that this meringue is very fragile and if you over or under mix the batter, you can completely ruin the cookie.

For the Italian method, you an Italian meringue by drizzling a hot sugar syrup into egg whites that were already been whisked into soft peeks. 

Once my meringue was back to room temperature, I mixed it into the almond paste. I was very skeptical that my macarons would turn out okay considering how much I had to mix the batter. It will feel like you killing the meringue, but since it’s an Italian meringue, it was much sturdier and held up to the mixing.

I knew the batter was completely mixed when I had no more lumps of the almond paste and the batter just fell off the back of my spatula in a steady ribbon. 


And since these macarons are for Valentine’s Day, of course I had to make them into hearts! I outlined a heart shape onto the back of the parchment paper, then used that as a guide to pipe my macarons. I basically pipped a ‘V’ shape, putting more pressure on the piping at the top of the ‘V’, and less at the point. I also used a toothpick to help fill in the shape and make the point even pointier. 

I also wanted to add a little something extra to these macarons, so I spattered them with some edible gold paint. It’s one of my favorite decorating techniques because all I do is dip the brush in the paint and shake it over the cookies. No skill required!

When it comes to filling, macarons can be filled with really anything. I love filling them with Nutella or chocolate ganache. But since this if Valentine’s Day, I decided to go with a raspberry cheesecake filling! Which is essentially my cream cheese frosting and a dollop of raspberry preserves. 

I will say, I am a big fan of this method. It worked out wonderfully and every macaron came out perfectly! That may seem like I have low expectations, and that’s because I do.

If you have ever tried making macarons at home, you know that sometimes they work, sometimes, they don’t. And sometimes the first macarons piped out turn out fine, while the ones at the end do not. So yes, I value consistency when it comes to my macaron recipes!

My only gripe is that it takes significantly more time and is a bit more cumbersome than the already cumbersome French method. If you plan on making lots of macarons, this is the method for you! 

And at the very least, you will have some very delicious macaons to reward you for all your extra effort!

[amd-yrecipe-recipe:124]


/ Filed In: Cookies, Cookies New, Desserts, Eat
Tagged: cream cheese frosting, macarons, meringue, pink, raspberry, Valentine's day

Follow

Hey There!

Hey there, I'm Lindsey. I'm a number cruncher by day and a home cook and baker by night. While I love to eat healthy and find fresh and healthy alternatives for my favorite foods, I will never turn down dessert! Life is all about moderation, right?

Recipes

  • All Recipes
  • Breakfast
  • Appetizers
  • Salads
  • Main Dishes
  • Side Dishes
  • Desserts
  • Drinks

Favorite Finds

[show_lookbook_widget id=”388783″]

Theme by 17th Avenue · Powered by WordPress & Genesis