• Home
  • Eat
    • Breakfast
    • Appetizers
    • Main Dishes
      • Chicken
      • Beef
      • Seafood
      • Healthy Dishes
      • Paleo Dishes
      • Salads
    • Desserts
      • Decorated Cookies
      • Cookies
      • Bars and Brownies
      • Cakes and Cupcakes
  • Shop
    • Cookie Decorating Supplies
    • Bakeware
    • Cookware
    • Kitchen Gadgets
    • House
  • About
    • Contact
    • Bucket List
  • Cookie Decorating 101

Follow the Ruels

Honey Butter Cornbread

May 16, 2018

I don’t know about you, but as a kid I loved cornbread! My mom and I would make cornbread maybe once a week (okay, maybe not that often) from the Marie Calendar cornbread mix. It was our go-to!

Lately, I haven’t been eating as much cornbread, but sometimes the meal (and mood) just calls for it! Particularly when I make our favorite turkey chili. How can you have chili without cornbread!? You really can’t.

So I went about trying to replicate my old favorite, with a few tweaks. For instance, I swapped the sugar for honey because honey and cornbread are a match made in heaven. The honey gives the cornbread so much more flavor and depth. Not to mention, it cuts out the processed sugar. Win-win. 

I also added in some frozen corn kernels (specifically, roasted corn kernels from Trader Joes, just because that’s what I had on hand). This ingredient is totally optional, but I love the little bits of corn in the cornbread which add a little bit of extra moisture to an otherwise dry bread. 

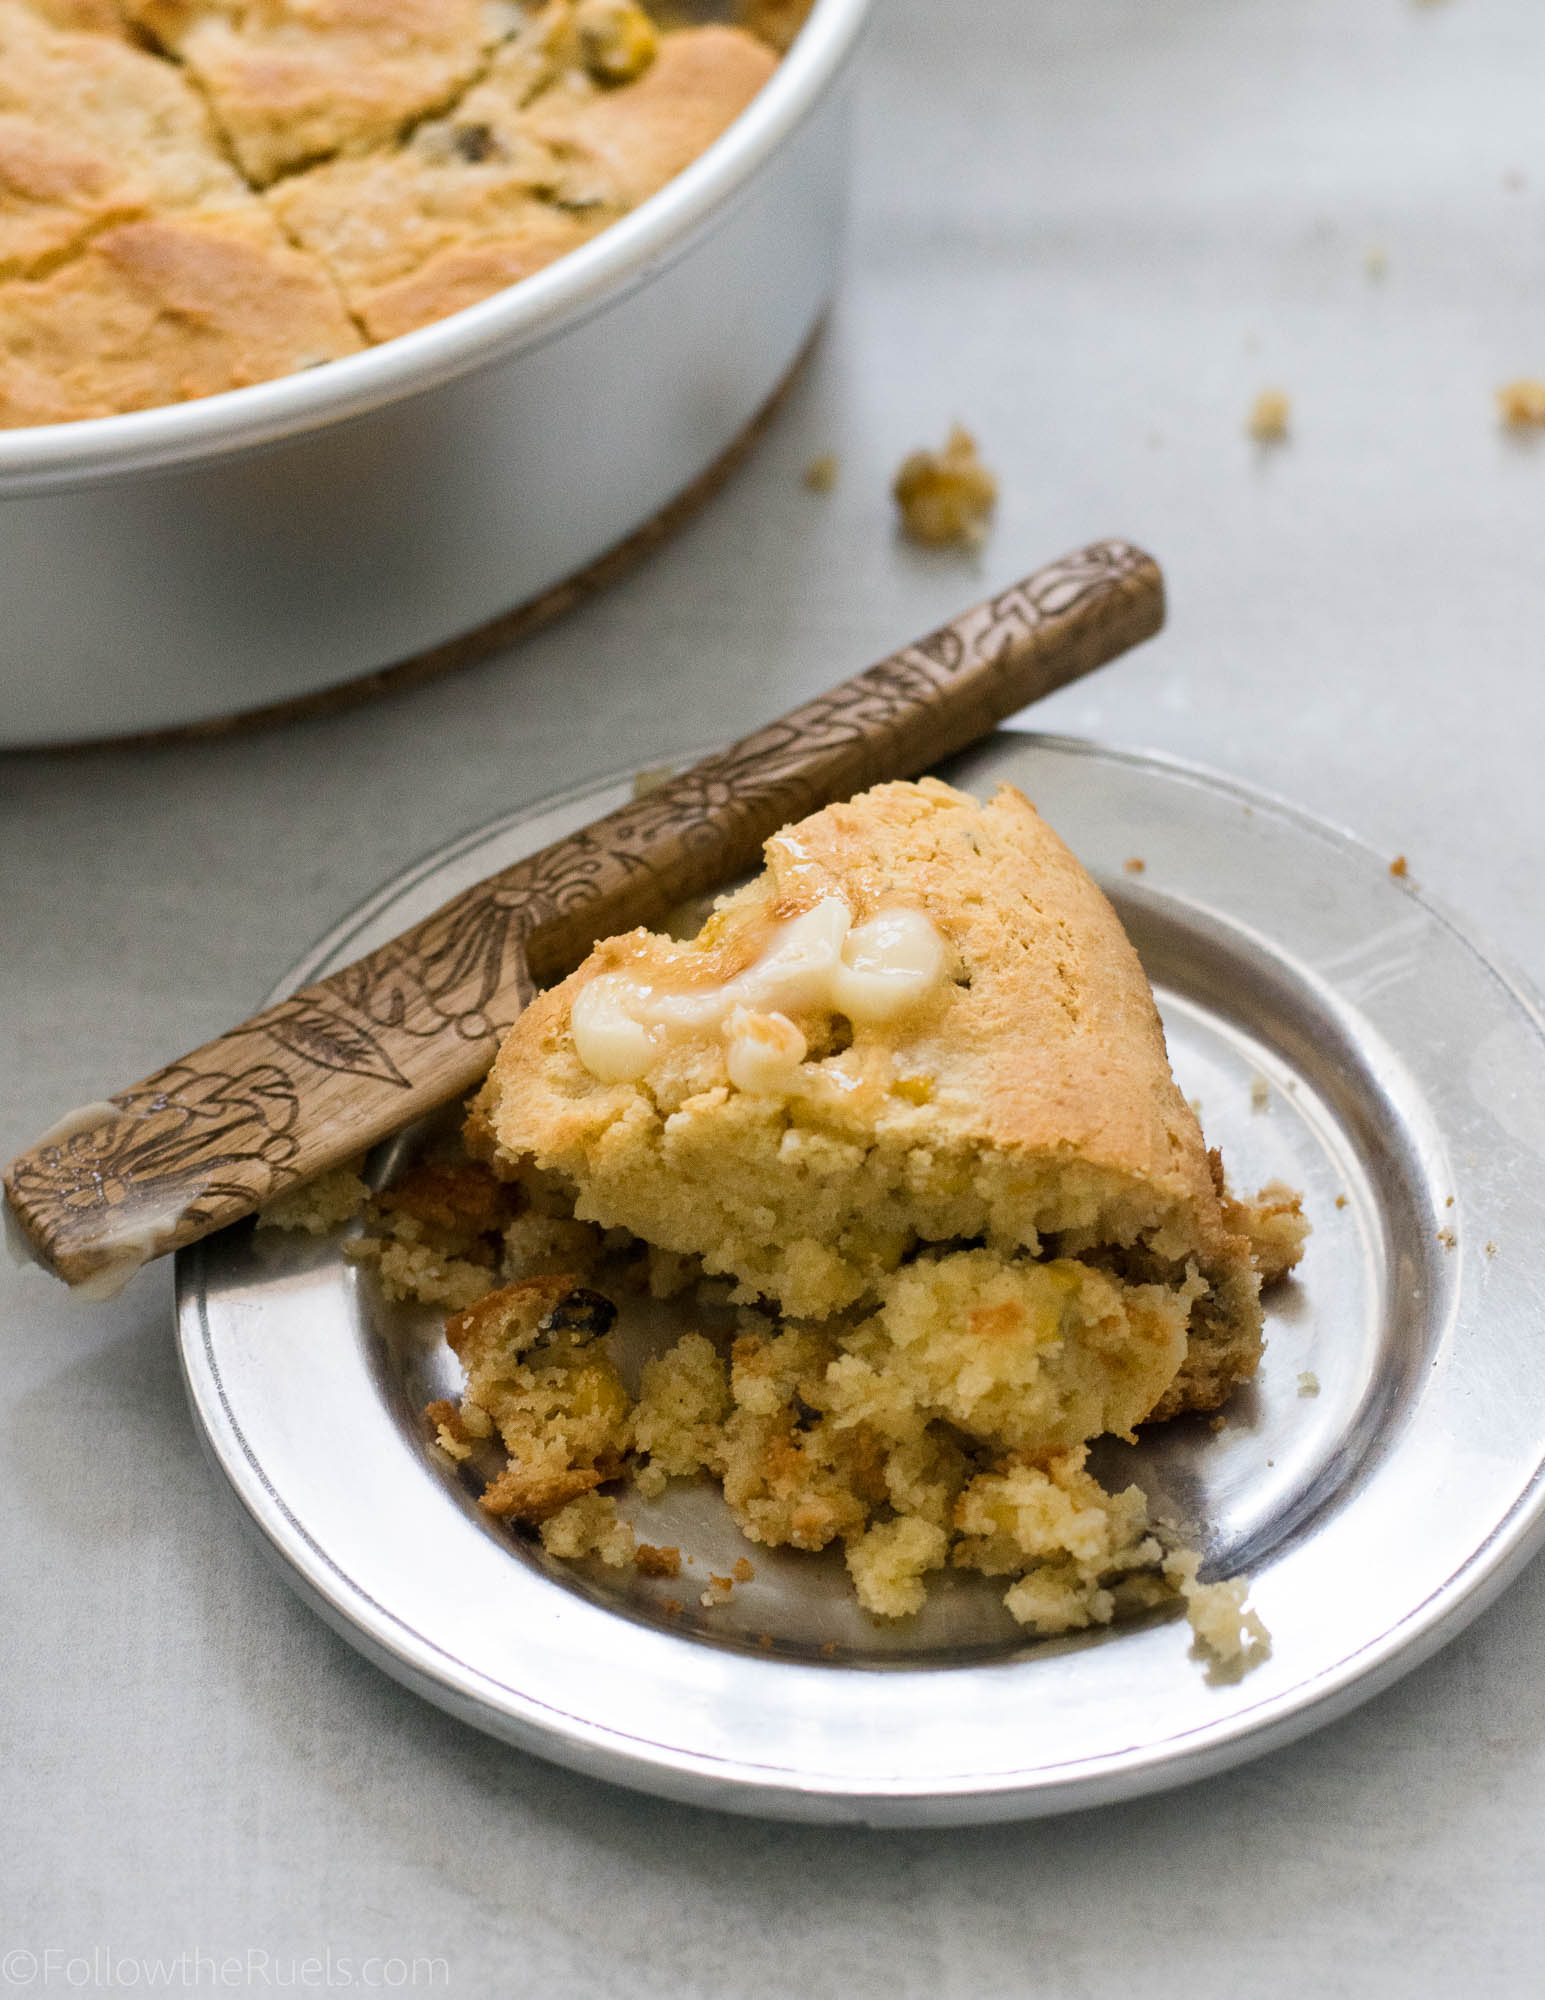
The coup de gras is the little bits of butter that baked right on top of the cornbread to give it this extra crunchy and delicious crust on top. Hense why I call this honey butter cornbread. 

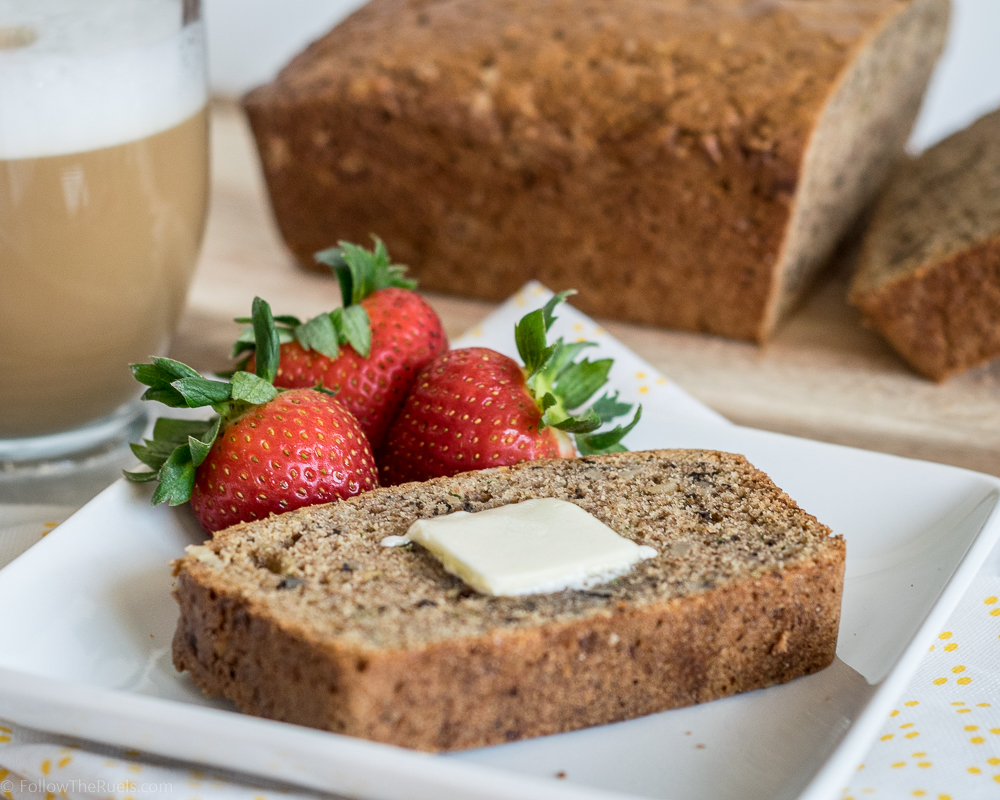
This honey butter cornbread was so good I was eating leftovers for breakfast, lunch, and dinner. Top it with a little more butter (or better yet, honey butter), and you won’t even need the chili!

How to Make It

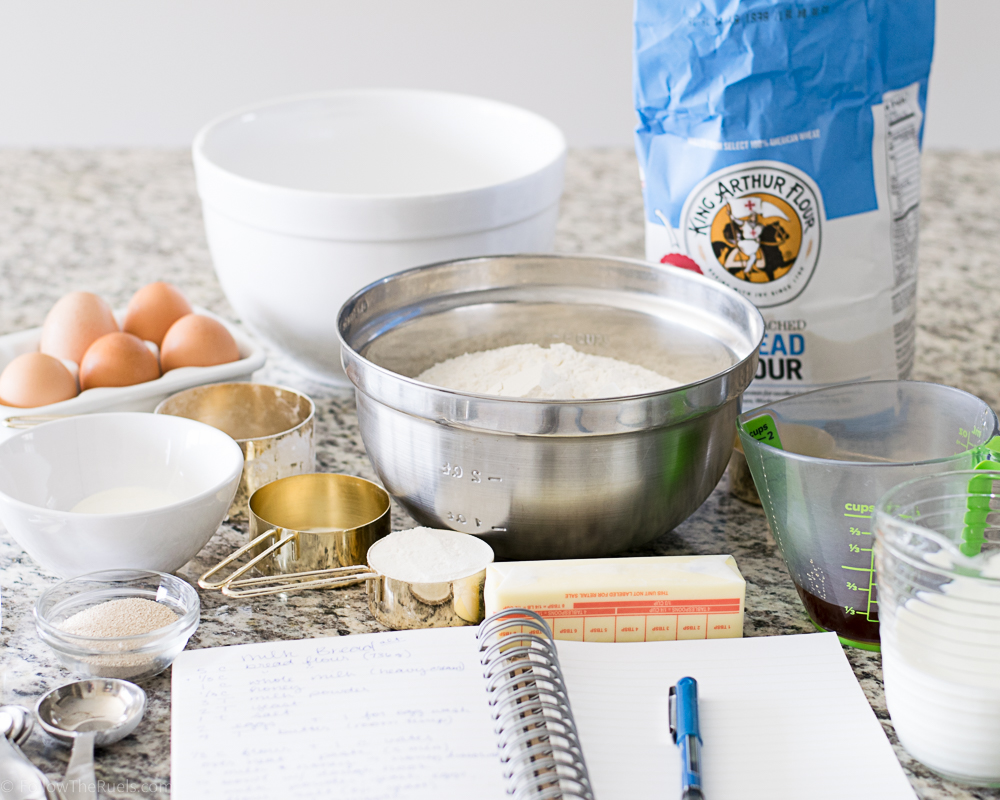
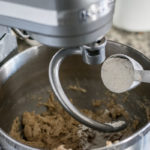
Cornbread is actually a pretty simple recipe and easy to make from scratch, provided you have everything on hand. Like other quick breads, it’s as simple as mixing together the dry ingredients, then pouring in the wet ingredients. 

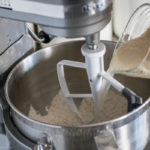
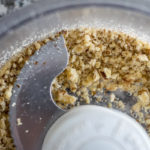
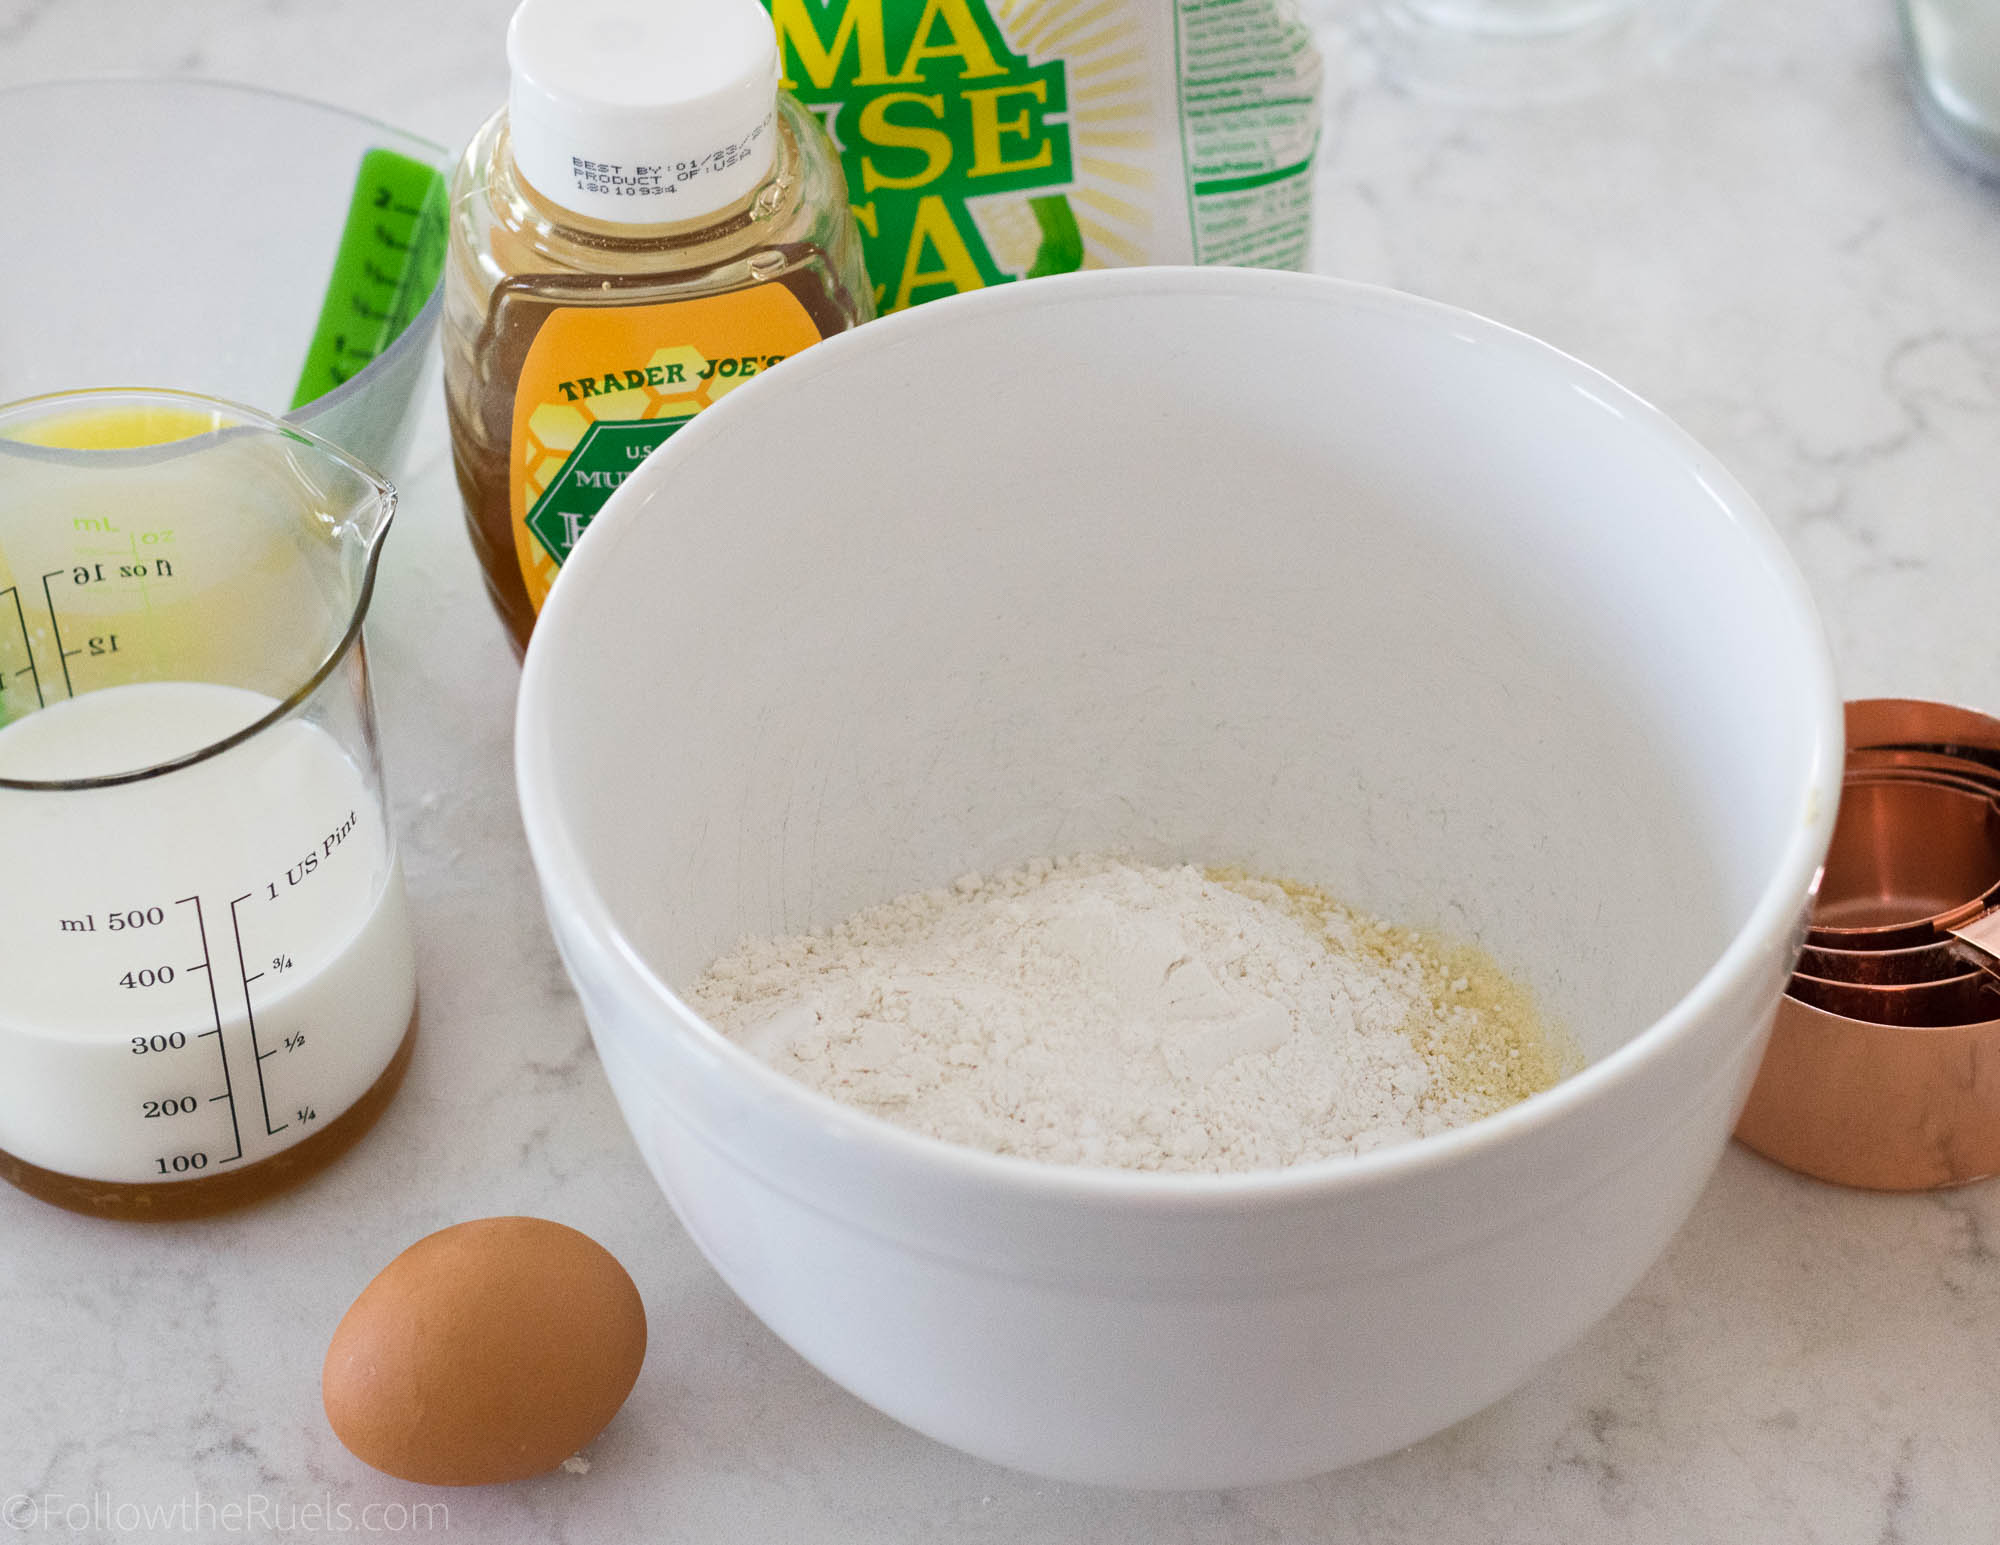
In this case, first mix together the cornmeal, flour, salt, and baking powder. 

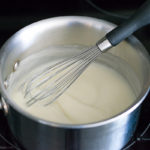
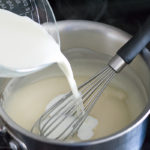
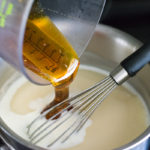
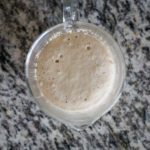
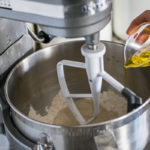
In a separate bowl or cup, mix together the wet ingredients: milk, honey, melted butter, and egg. 

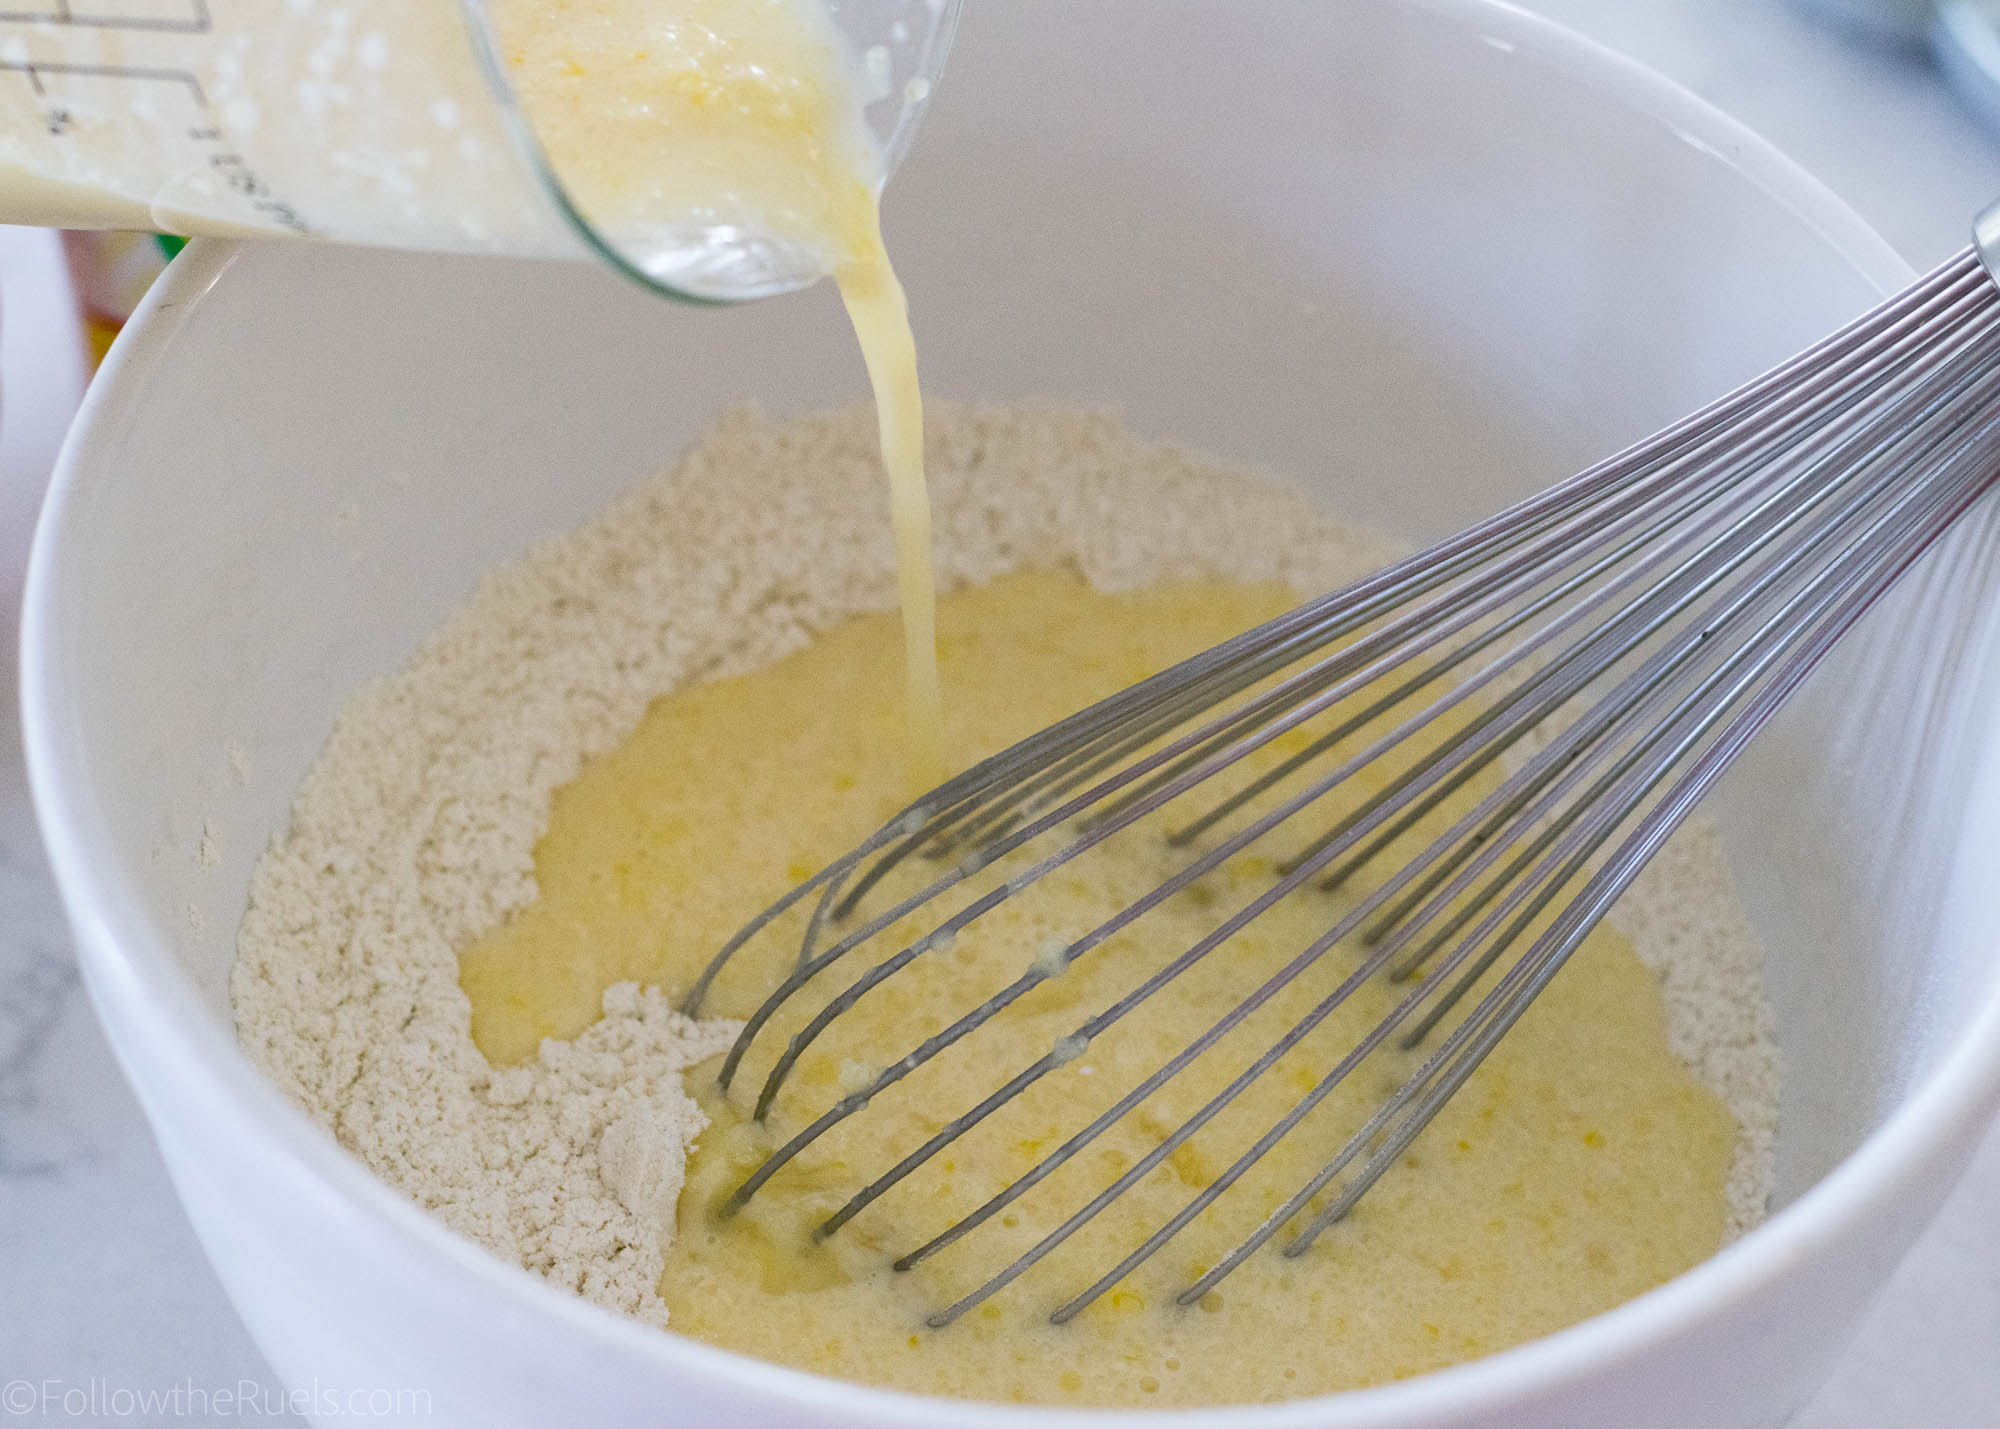
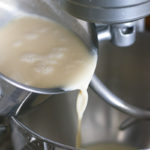
Then mix the wet ingredients into the dry ingredients. 

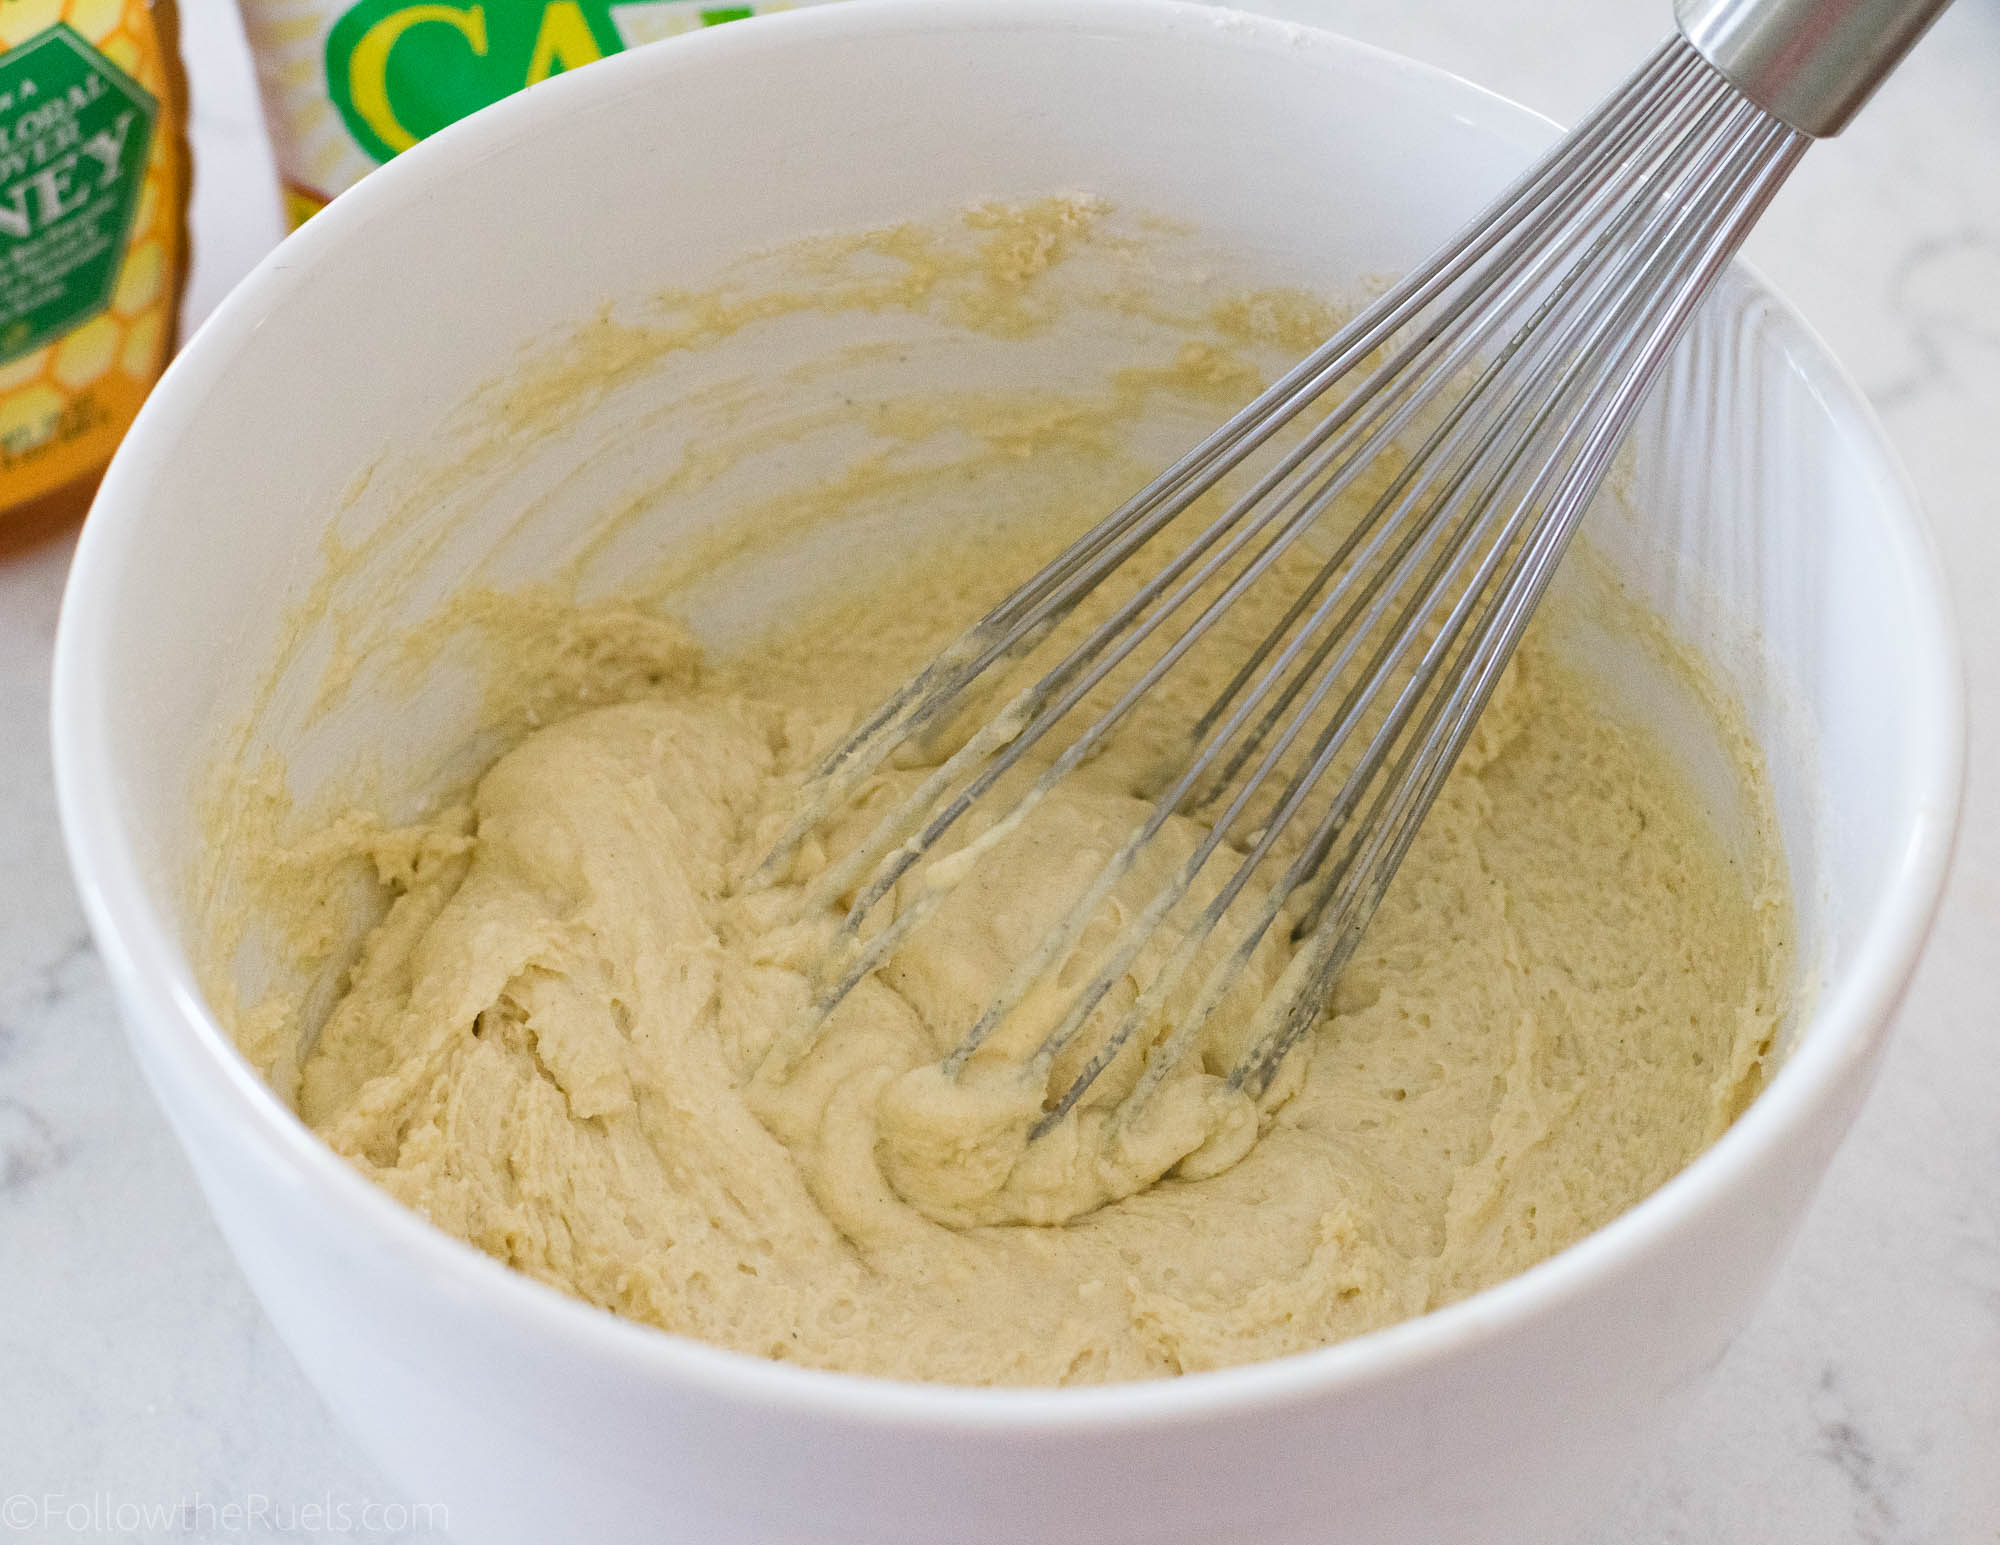
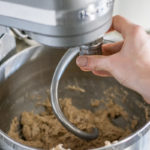
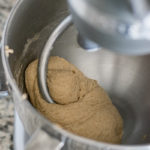
Mix until all the ingredients are just combined. 

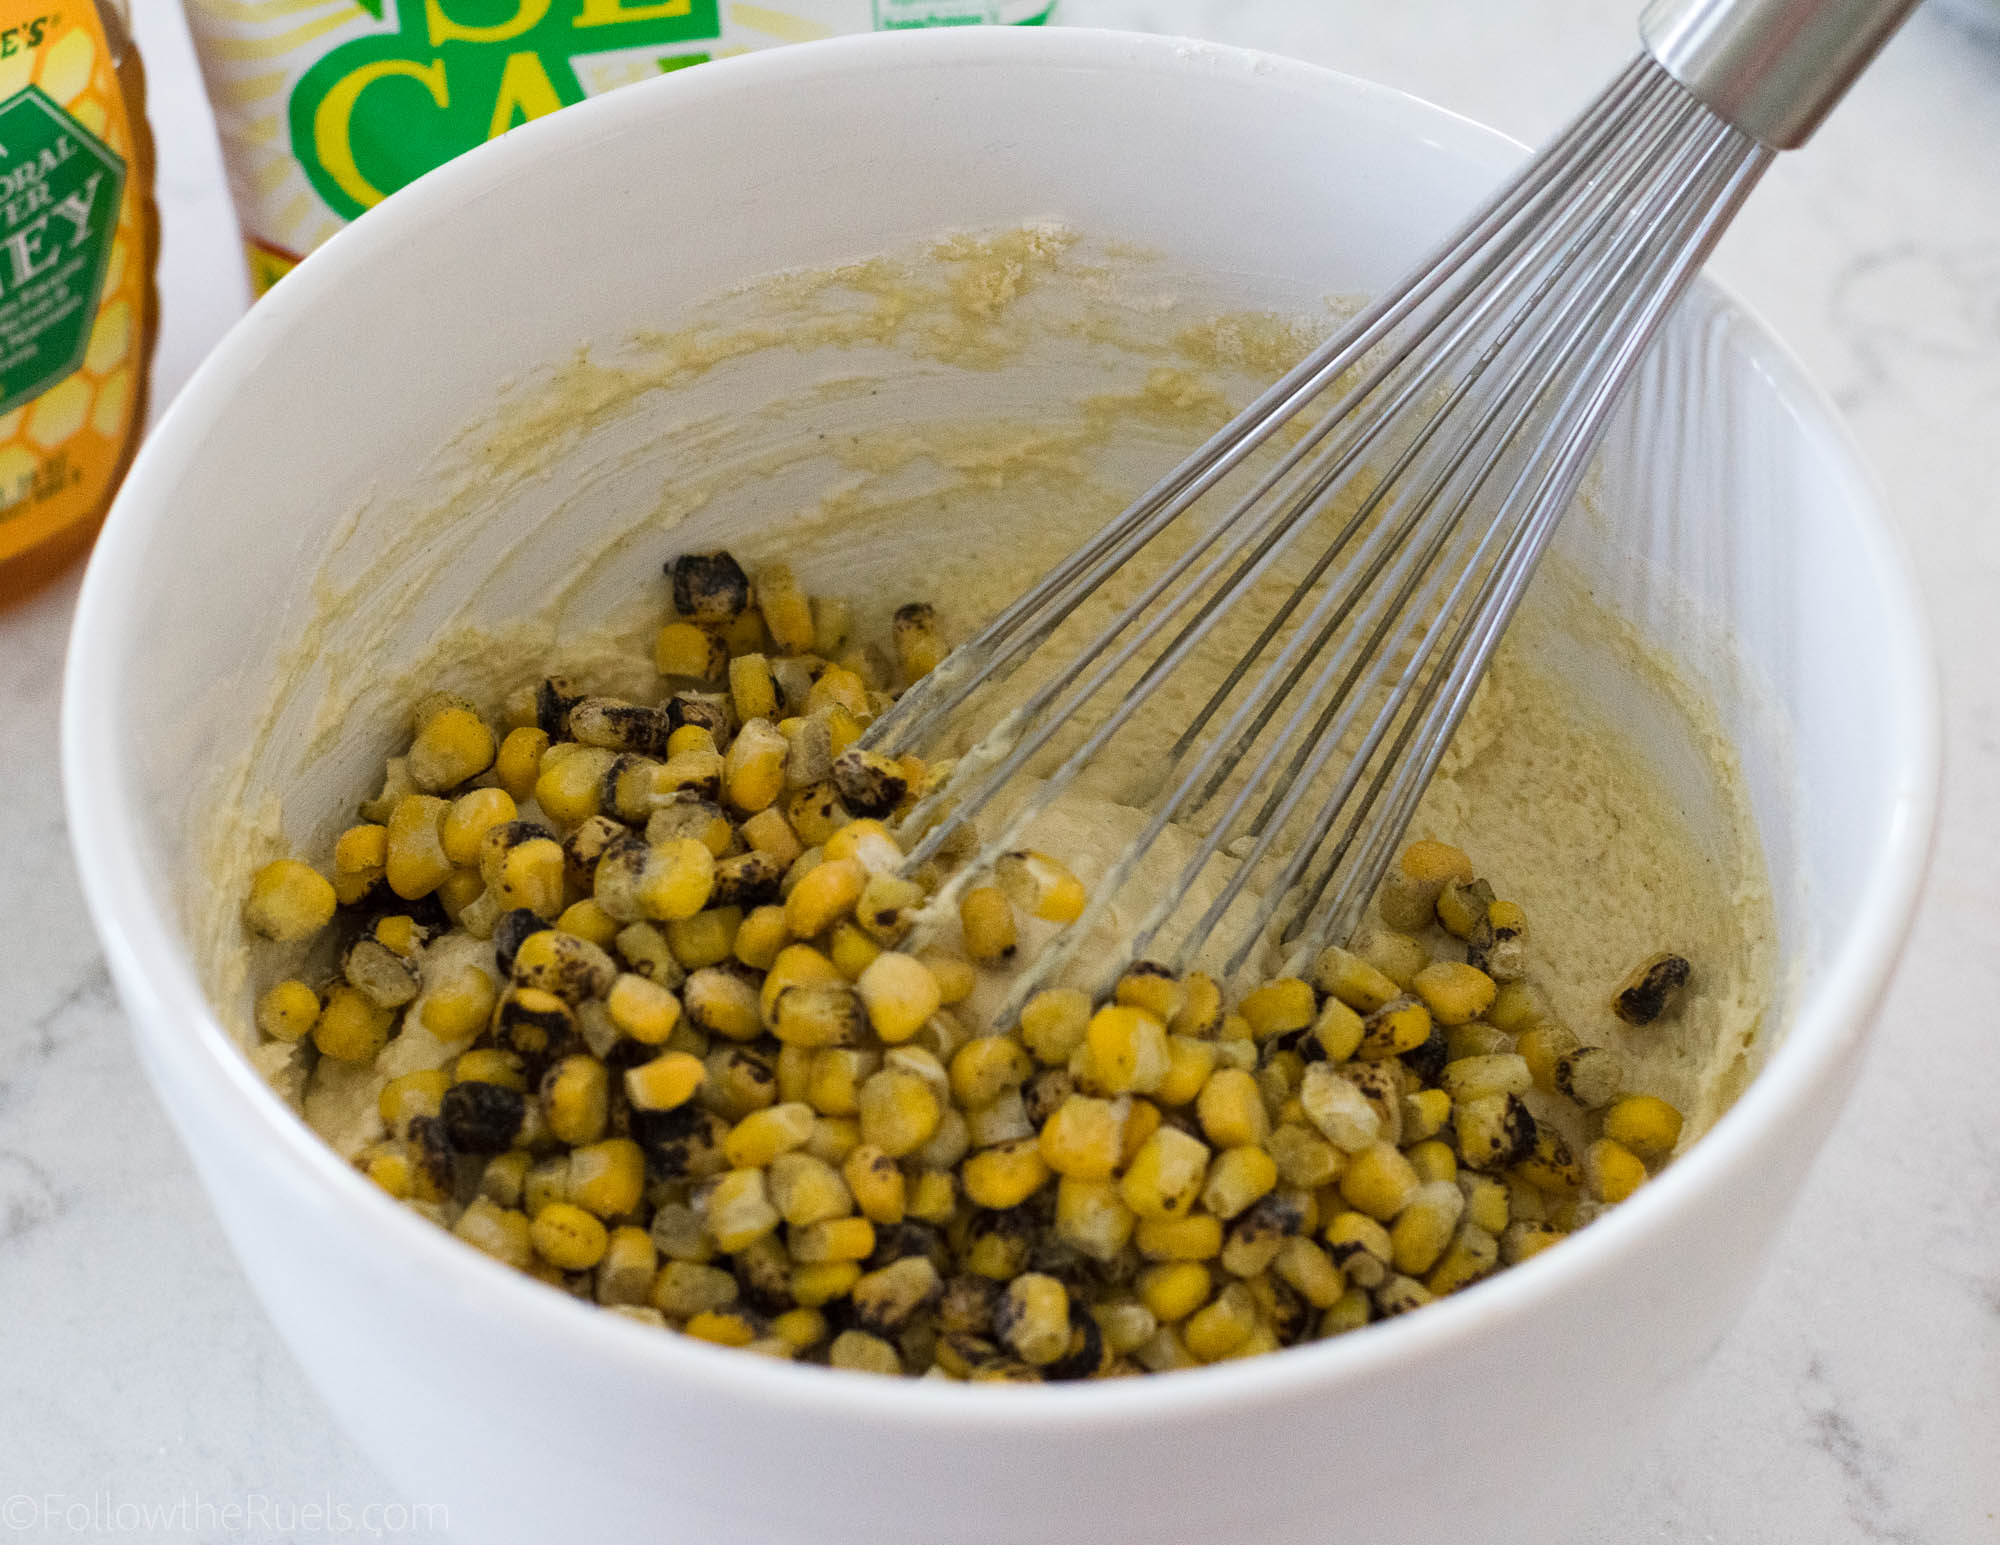
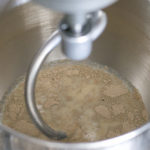
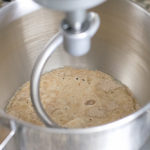
Then, if you so choose, mix in the frozen corn kernels. I used roasted corn kernels because that’s what I had available, but roasted corn is not necessary.

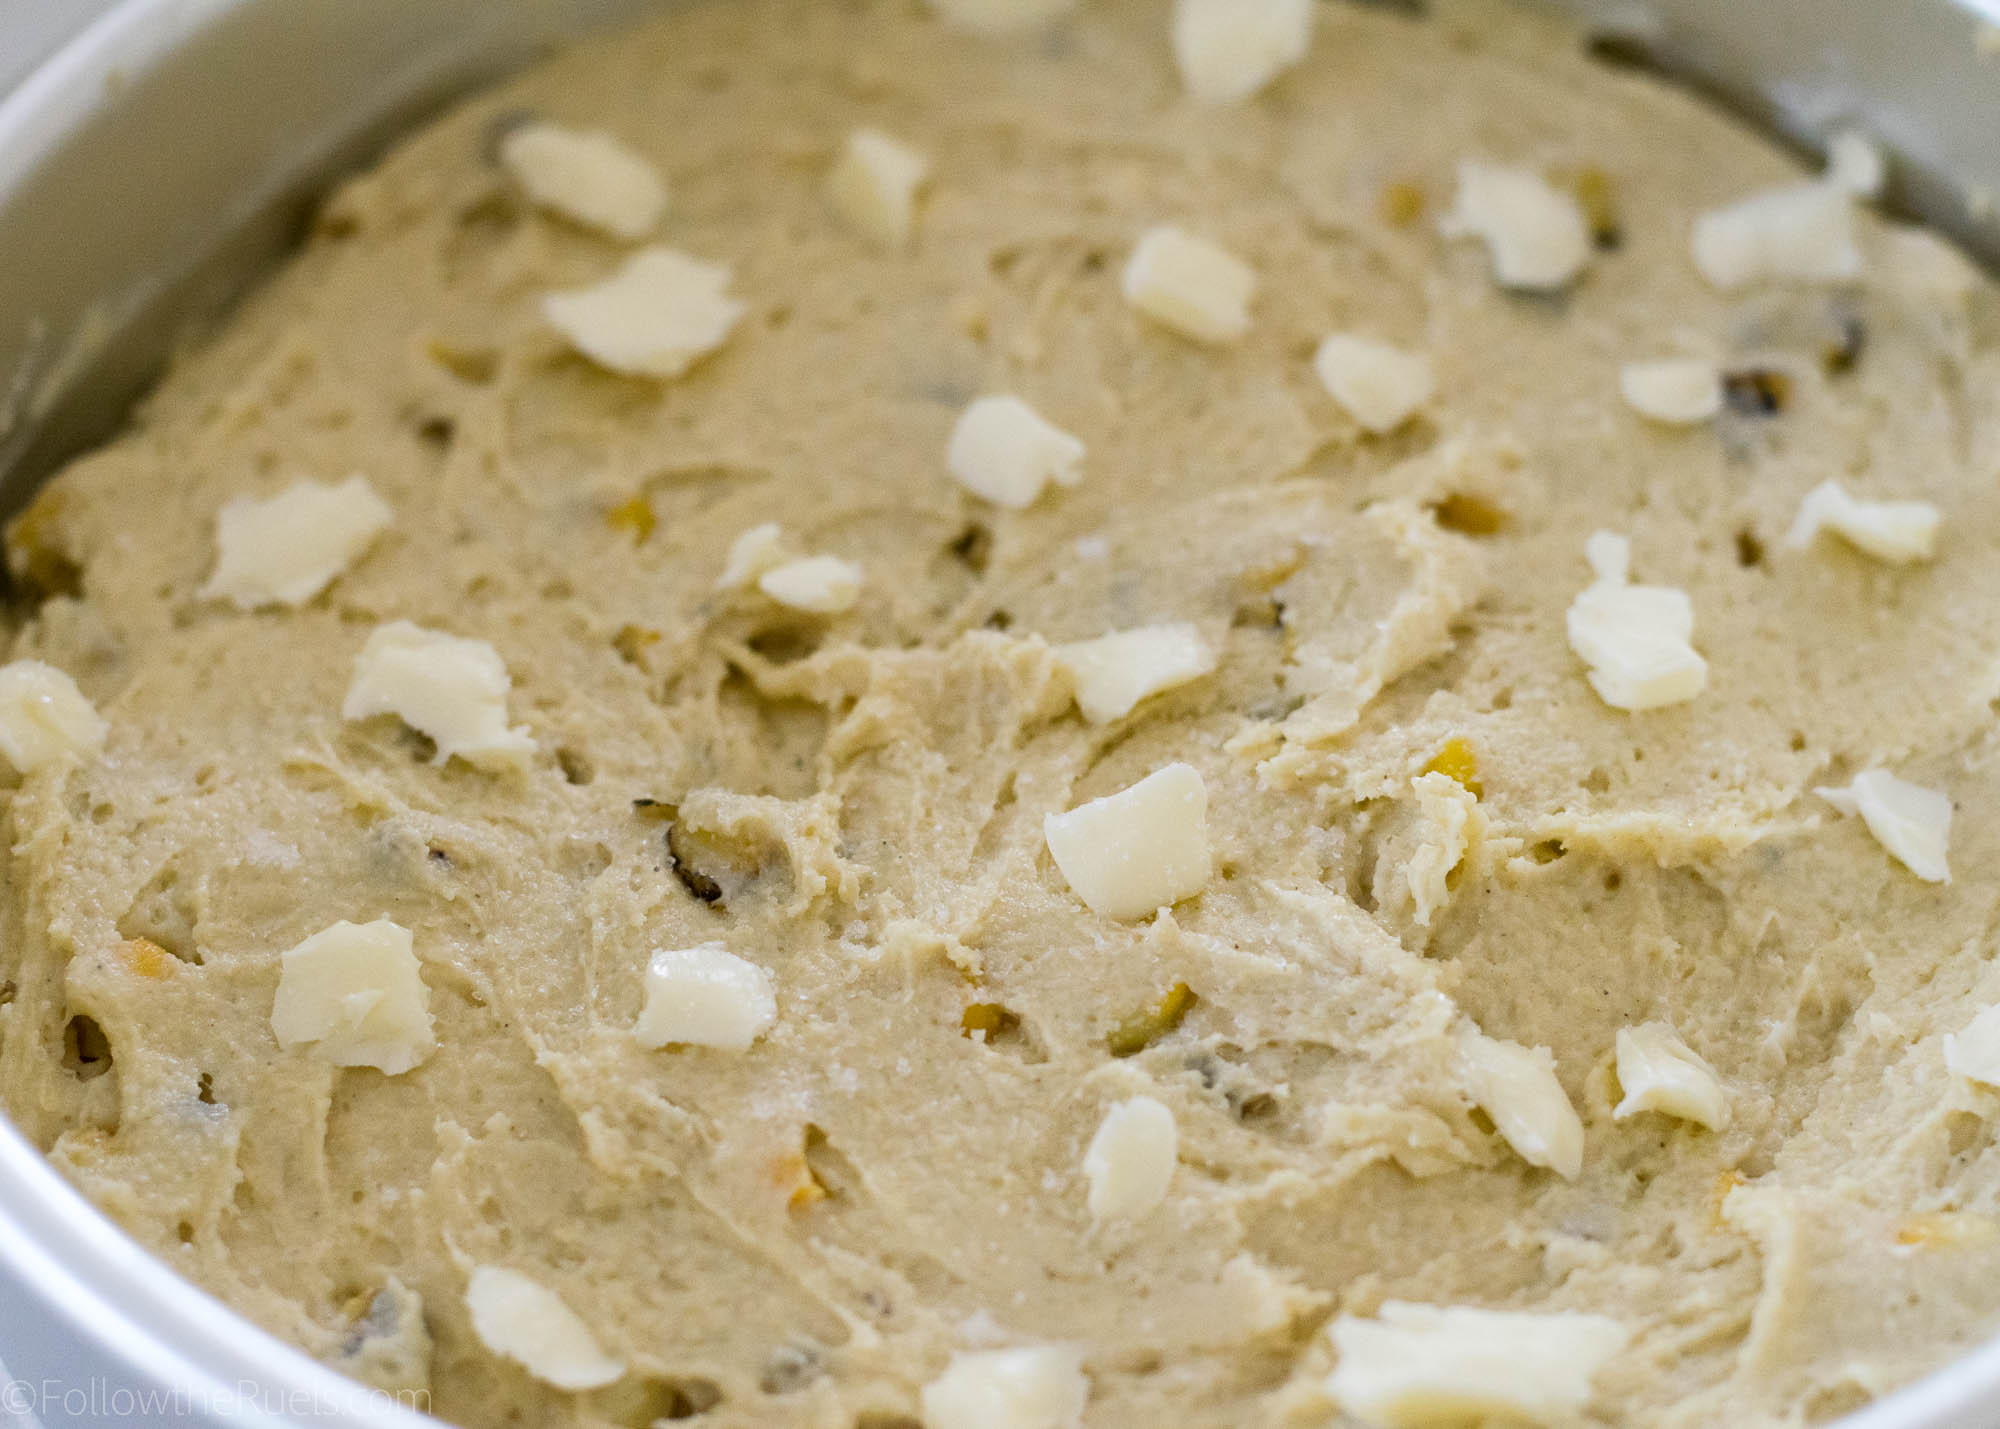
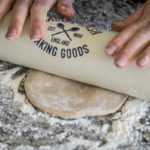
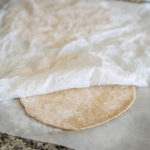
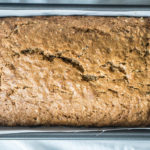
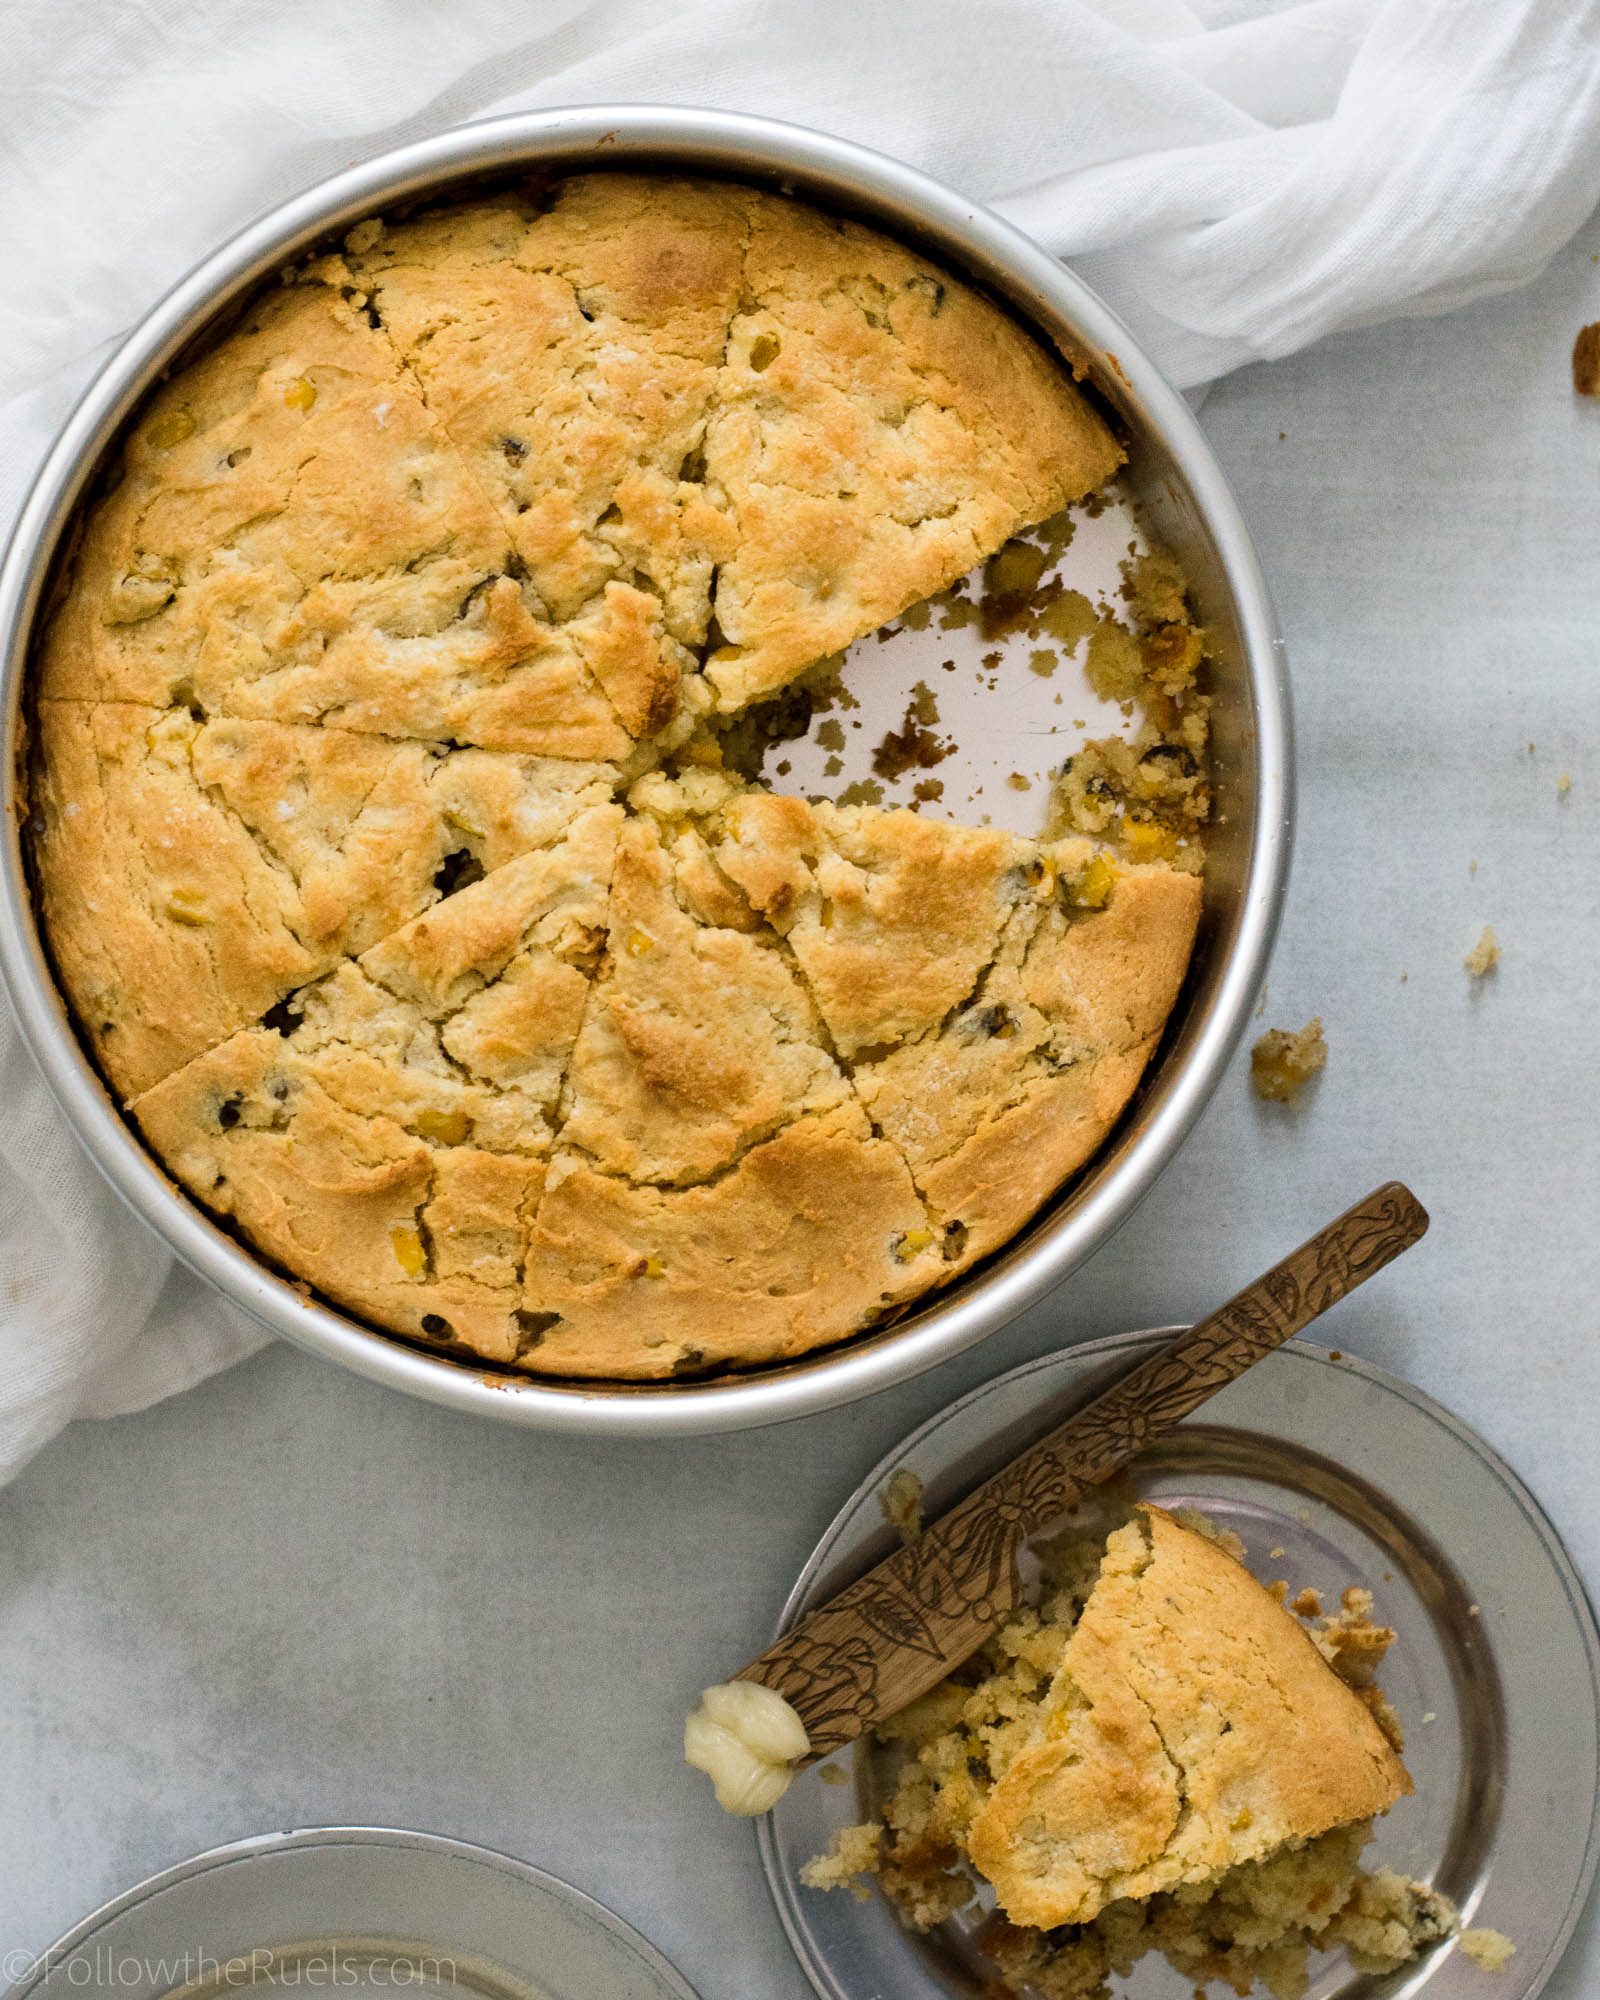
Finally, pour the batter into an 8″-9″ square or round pan, pressing the thick batter all the way to the edges to ensure an even bake. 

And for the butter piece of the honey butter cornbread, top the entire pan with little pieces of butter. As the bread bakes, the butter melts right into the top forming a crunchy, buttery top which is oh so good!

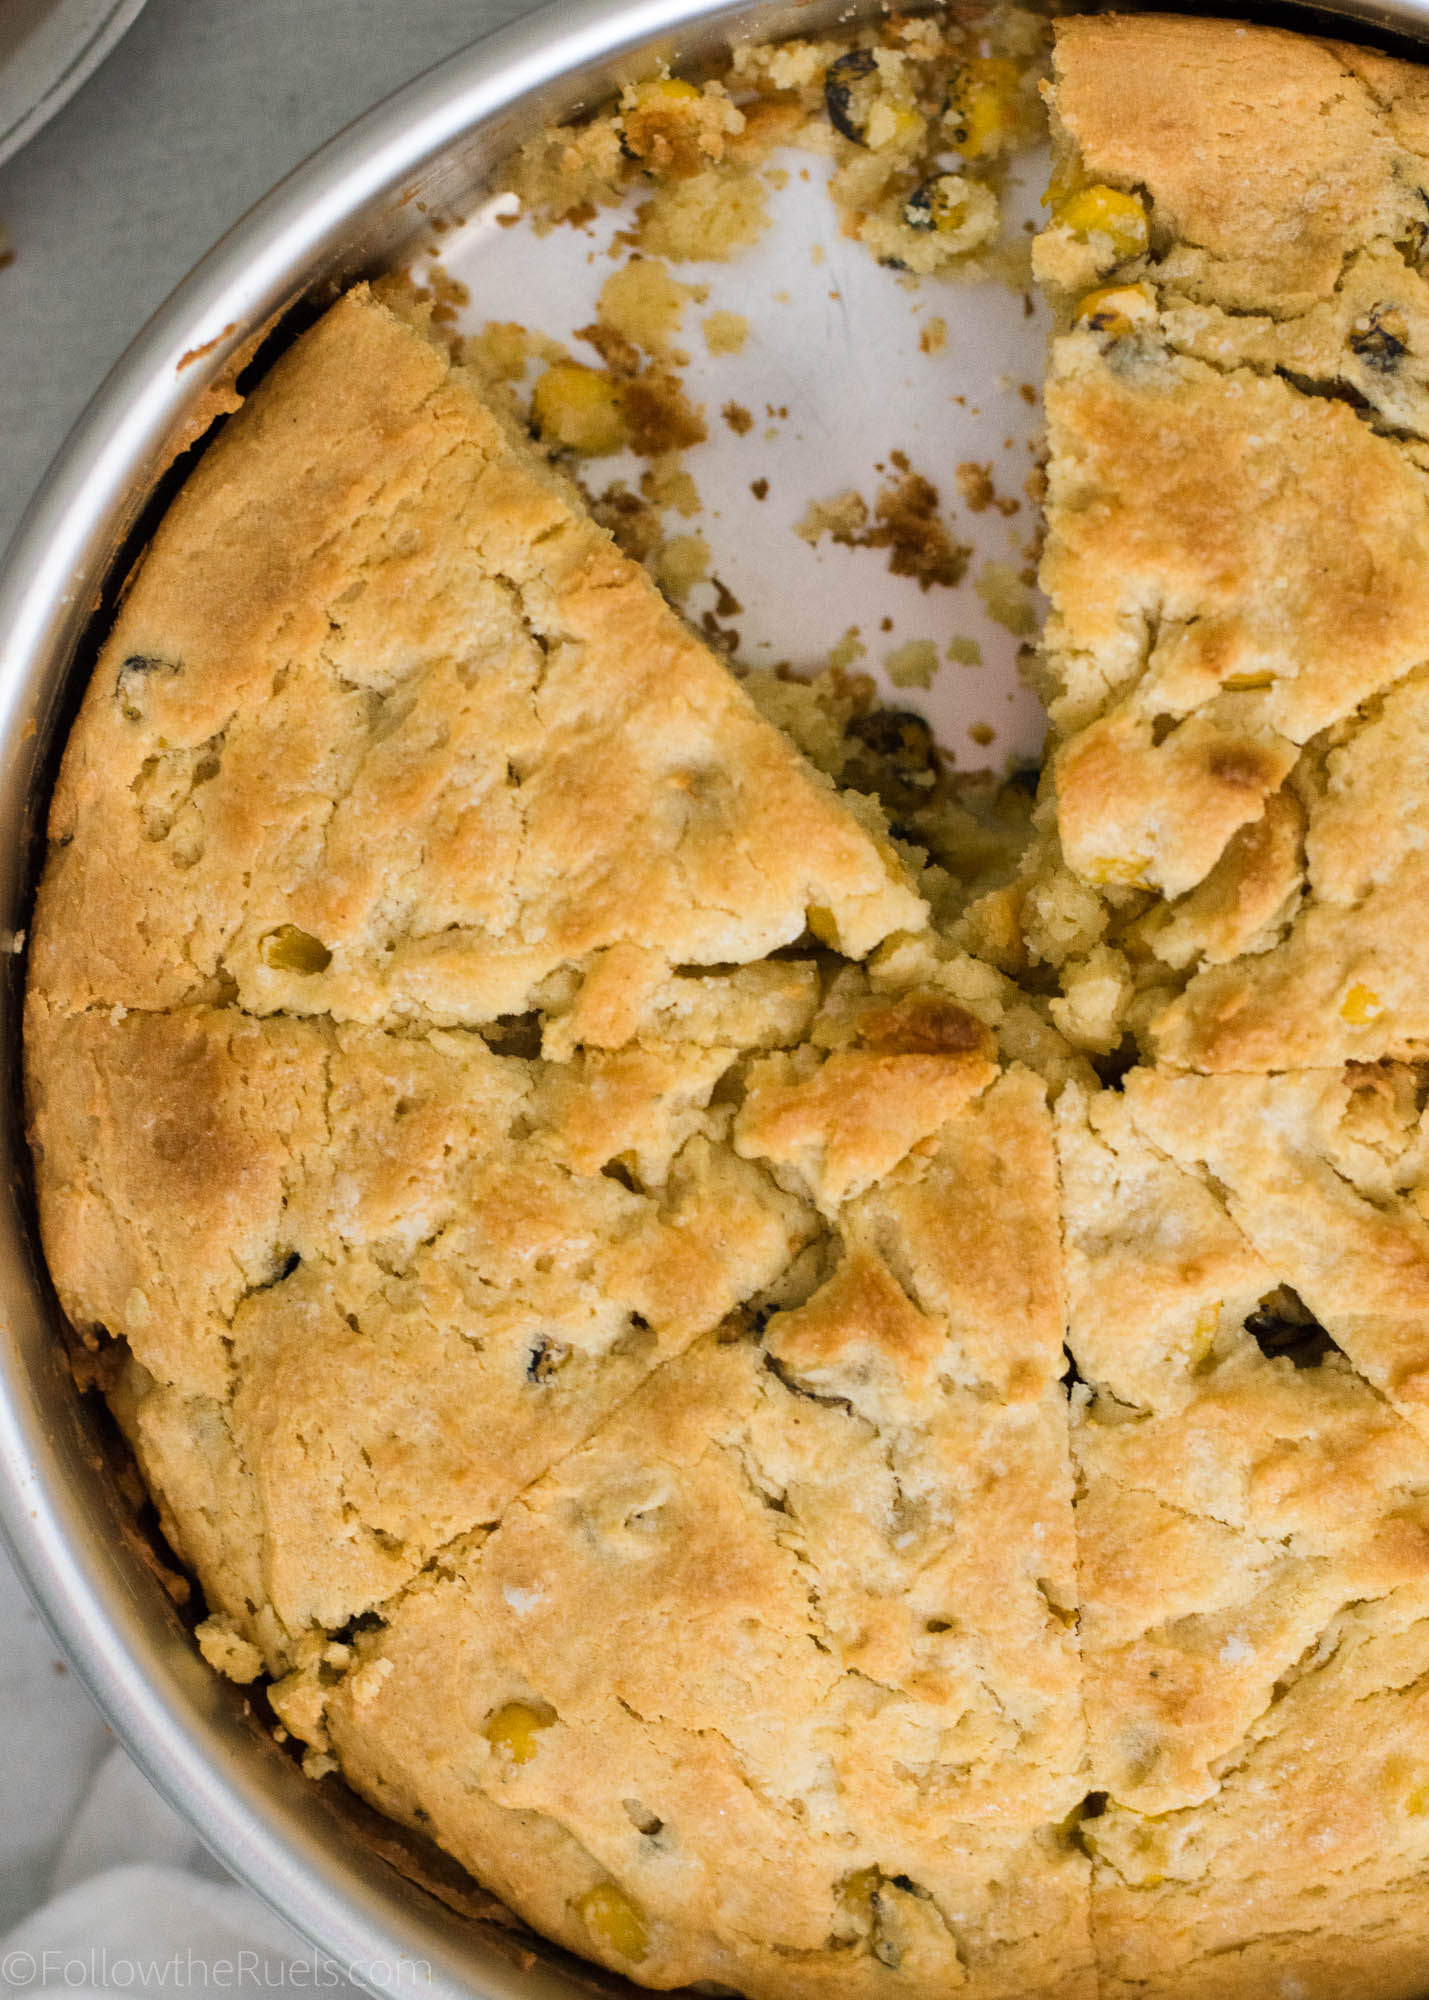
Once out of the oven, you will have to restrain yourself from digging right in! But I insist on letting it cool down a little otherwise the bread will just crumble to pieces. 

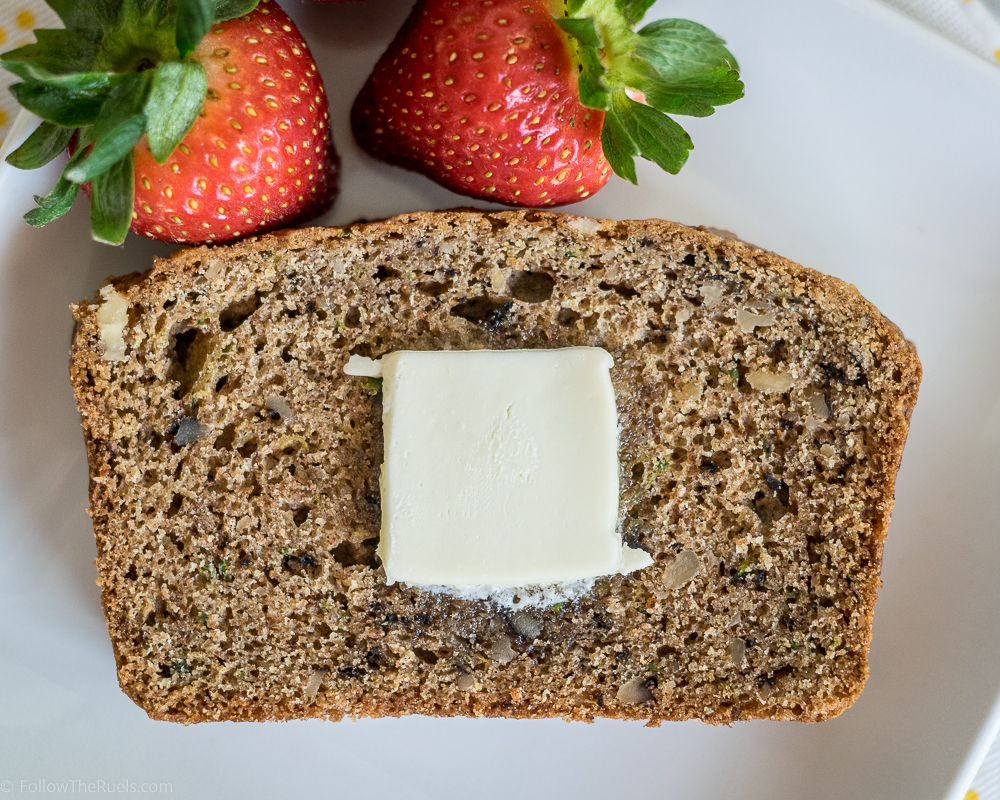
Like this. Because I couldn’t help myself and just cut right into a slice. 

It was still delicious though!

Supplies and Recipe

[show_shopthepost_widget id=”3136956″]

[yumprint-recipe id=’177′]

/ Filed In: Eat, Other Savories New, Side Dishes
Tagged: bread, butter, corn, cornbread, honey, honey butter, quick bread

Cinnamon Roll Bread (Two Ways!)

August 11, 2017

If you subscribe to my newsletter, then you heard me rave about a recipe I tried a couple weeks ago: Kindred’s Milk Bread. Kindred is a restaurant just outside of Charlotte that is amazing on its own. But what makes it even more amazing is the bread they serve when you sit down. Their milk bread is light and airy but also has this butteriness like a croissant or brioche. After making it the first time, I knew I would be making this bread a ton and in a ton of different ways. First on the list: this cinnamon roll bread.

This cinnamon roll bread almost blows the original milk bread out of the water (almost). While the bread is awesome on its own, adding a little cinnamon and sugar never hurt nothin’ (pretty sure that is what should be written on my tombstone).

Not going to lie though, this recipe is a bit of a commitment. Well, most breads are. But this one especially. I can assure you that it completely worth it. It may seem like there are a lot of steps, but it is actually pretty fool proof. 


Start by making a slurry of water and flour in a sauce pan over low heat. Stir until the slurry thickens into a paste like consistency. Pour in the cream and honey and stir until the honey has dissolved. 


Pour the mixture into the bowl of a stand mixer and let it cool for about 5 minutes. Then sprinkle yeast over the mixture and let it bloom, basically it should be really foamy and bubbly. 

Add the flour, eggs, milk powder, and salt and mix with the dough hook until it forms a solid ball of dough. 1 tbsp at a time, mix in the butter. It may stubbornly just smear around the side of the bowl, but if you are patient, it will work itself in and form layers of butter within the dough.


Form the dough into a ball and toss it (don’t actually toss) it into a greased bowl. Cover the bowl with some plastic wrap and place the bowl in a warm place to let rise. 


The recipe will make enough dough for two loaves of bread, so split the dough in half and loosely wrap one of the halves in plastic wrap and place in the fridge.


With the other half, roll out into a large rectangle. The short side of the rectangle should be as long as your loaf pan. Spread some softened butter over the dough then sprinkle a sugar-cinnamon mixture over top. Starting from one end, roll the dough into a spiral.


Place the dough into the loaf pan and let it rise again. Brush an egg wash over the top so that the crust get’s nice and golden brown. You can see that I split the top of the bread. That is totally unnecessary. I would recommend that you just leave it unsplit…it just looks better that way. 


If you don’t want to make a loaf…or if you want to bake the other half of your bread…you can instead make it into a large roll. Instead of rolling the dough from the short end, start rolling from the long end and make a really long log. Then you can roll it into a spiral and pop it into a cake pan. Then let it rise and give it a good egg wash. 

Since I made both halves of the dough (because you can never have enough bread) I decided to mix things up and glaze the round loaf with a simple icing with butter, milk, and powdered sugar. Holy cow…it was like eating an oversized cinnamon roll. By that I mean amazing! 

But really this bread is perfect all on its own or just with a tiny spread of butter. There is no wrong way to eat this bread. 

Seriously, it’s so good. I will be making this bread again and again. It seems like the perfect thing to make for Christmas breakfast, Easter brunch, baby showers, or just any Tuesday. 

[show_shopthepost_widget id=”2779161″]
[yumprint-recipe id=’123′]

/ Filed In: Breakfast, Eat, Other Sweets New
Tagged: bread, breakfast, brunch, cinnamon, cinnamon roll, loaf

Homemade Whole Wheat Pita Bread

March 24, 2017

Guys, do you know how easy it is to make pita bread at home? Okay, so maybe “easy” isn’t the right word. It’s totally doable, though. If you can make pizza dough, you can definitely make pita bread.

When you really think about it, they are almost exactly the same thing. Pita bread is just a smaller version of pizza dough and the recipes are practically identical. 

I tell you all this so that you are not intimidated by the pita bread. Of course if pizza dough intimidates you, then this isn’t helping. Don’t you worry though; I have a whole blog post that will get you over that real quick.


Like most bread, it all starts with the yeast. If you haven’t worked with yeast much, it may seem a bit scary. But don’t worry, I got you. I will teach you everything you need to know right now. 

Yeast thrives in a warm, sweet environment. So as long as you give the yeast a little bit of sugar (honey counts) and heat it up a bit, your yeast will do whatever you want (not unlike myself). 

I stir my yeast into water that is about 100 degrees (it feels just warm to the touch, not hot!) with a bit of sugar dissolved in. After about 10 minutes, it should be foamy, like you see in the picture above. 


The yeast mixture is poured into a mixture of flour, baking soda, and salt along with a bit of olive oil. 


After a it gets all mixed together, it will be a bit of a shaggy mess. Now it’s time to get kneading. You can have your stand mixer do the work for your, or you can roll up your sleeves and do the dirty work yourself. Knead the dough until the shaggy dough becomes a smooth, elastic ball of dough. 

At this point you would transfer the dough to a greased bowl so that it can proof until it’s doubled in size. This is the part I always forget to take pictures of, so you are just going to have to trust me on this. 


After the dough has proofed, divide the dough into 6-8 smaller balls of dough and roll out into discs. Lay the discs out under a damp cloth and let proof for another 10 minutes or so.

Now is the fun part! Baking them! It is so fun to watch them puff up into these huge bread balloons. 

If you want a little extra color and char on the pita, throw them on a hot skillet and cook for another minute or so on each side. 

Now you have prefect little pita pockets. Because they puffed right up in the oven, they will turn right into pockets once you cut open one end or cut them in half. 

Also, like most things, I prefer these homemade pitas much more than the store bought ones. Especially right out of the oven! Delish! 

[amd-yrecipe-recipe:143]

/ Filed In: Eat
Tagged: bread, dough, pita, pita bread, whole wheat, yeast

Glazed Pumpkin Bread

October 5, 2016

Glazed Pumpkin Bread

I started a new job on Monday. While I am still at the same company, I am in a whole new department on an entirely different floor. While I am excited about this new job, it was really hard to leave all my friends in my old department. I would like to say that my coworkers were sad to see me go, too, but I think they are really going to miss all the baked goods I bring in. Actually, I don’t have to assume…many people down right told me that they expected me to still drop off cookies and muffins. 

So on my last day in the group, I decided to wake up a bit early and make them one last treat – pumpkin bread. And if you are wondering why there are no pictures of the process, it’s because this was thrown together before the sun came up. 


Whipping up the batter for this quick bread was really easy and, well, quick. But it does take some time to bake. Which was fine for me. I put it in the oven then I went on upstairs and got ready for work. It actually worked out really well. It also helped that since it was my last day in the job, I wasn’t too worried about being late. 

But because of the time crunch, I didn’t really have a chance to test this out before I brought it into the office. Sure, I licked the bowl and the batter was delish, but of course things could have changed in the oven. Once it was dropped off in the break room, I waited for someone else to cut in so that I could finally steal a bit. Fortunately, it was good….it was really good. That pumpkin bread was gone within the hour.

Glazed Pumpkin Bread

I’m going to miss my old coworkers. They were such good recipe taste testers and barometers, and they didn’t even know it! I always knew I had a good recipe if the food was I brought was gone by lunch or someone asked for the recipe. I guess I will have to keep dropping off some baked goods for them. 

PIN NOW, MAKE LATER

Glazed Pumpkin Bread from Follow the Ruels

[amd-yrecipe-recipe:83]


/ Filed In: Desserts, Eat
Tagged: bread, breakfast, Fall, loaf, pumpkin, quick bread

Homemade Whole Wheat Burger Buns

August 31, 2016

Homemade Whole Wheat Burger Buns

I can’t believe this is my first time attempting to make burger buns. Gosh, they couldn’t have been easier! Like pizza dough or tortillas, it is now one of those things I will think twice about before buying from the grocery store. Sure it takes a bit more time to make from scratch, but the investment pays significant dividends in taste (and quality).

What used to intimidate me about making breads at home was the yeast. Sometimes the yeast was good, sometimes it wasn’t and I wouldn’t really know until after I had put in all the work. Well let me share with you my tips for using yeast: 1) freeze your yeast so it keeps longer, 2) sugar your water so that the yeast has something to feed on, and 3) create more acidity which the yeast likes. 

Sometimes it’s not always possible to do #3, like in pizza dough, for instance. But it’s really easy to do with burger buns. I actually mixed the yeast in a mixture of water, buttermilk, and sugar that I had warmed up in the microwave. Boy, let me tell you that yeast went crazy! It loved that sugary, acidic mixture! And it created some nice springy dough that formed the perfect buns and proofed pretty quickly.

Homemade Burger Buns

This is helpful because that means I can make these burger buns in under an hour. Once I had mixed and kneaded the dough, I formed them into even balls. I then left the dough balls out on the counter to rise a bit while I went back to work in the kitchen getting the rest of dinner prepared.  


I let these bad boys rise until they expanded to about the size of a standard burger bun, which took me about 20 minutes. They will puff up quite a bit in the oven, but they won’t get much wider (if that make sense) so make sure you like the size of them before baking. 

Homemade Burger Buns

And let me tell you, your kitchen will smell amazing while these bake. They should make a candle that smells like fresh baked bread. I would love for my house to smell like that every day. 

Anyways….

Because of the egg wash on top, I knew they were ready when they turned nice and golden brown on top. I was totally tempted to cut right into one while it was warm, but I restrained myself. If I had done that, they might have still been a little moist in the center instead of nice and light and spongy. So it’s really important to let them cool completely.

Burger Buns-10

But once they are cool, I cut them in half then toasted them a bit in the oven so they got even more crispy. I used these particular buns for some smokey sloppy joes, which I will be sharing soon. Of course they would be good with burgers of all kinds, chicken breast, and anything else you want to turn into a sandwich!

[amd-yrecipe-recipe:73]

/ Filed In: Eat, Main Dishes, Other Savories New
Tagged: bread, buns, burger, dough, whole wheat

Homemade Zucchini Bread

July 27, 2016

Moist and delicious zucchini bread

I had my very first piece of zucchini bread at a place called Bread Winners in Dallas. As one can assume by their name, they have pretty great bread. If you are ever in Dallas, I would highly recommend going for brunch. Not only is their menu amazing, but they serve you a nice warm basket of bread (that includes their delicious zucchini bread) when you sit down. 

But up until then I had absolutely no interest in making or tasting zucchini bread. No offense to all the zucchini out there, but putting it in bread didn’t sound all that appealing. If you haven’t had zucchini bread before, you may feel the same way I did. And like Bread Winners did for me, I hope I can change your mind! 

So what makes zucchini bread so good?

Cinnamon.

Nutmeg.

Zucchini.

Oh yeah, the zucchini actually serves a purpose (other than making you feel like you’re eating something healthy…serving of vegetables – check!)! It makes the bread super moist and soaks up all the wonderful flavors from the cinnamon and nutmeg. 

Zucchini Bread

Because I had never made zucchini bread before, I did a lot of research of various recipes around the internet. What I didn’t like about most of them was that they included raisins or cranberries and large pieces of nuts. Hard pass on both of those.

In the end, I pretty much adapted my banana bread recipe, swapping out the banana for shredded zucchini and adding in coarsely ground walnuts instead of whole ones. 


Once I had shredded the zucchini and ground down the walnuts, the rest of the batter came together in no time. But I can’t say the same thing for the baking. “Quick” breads like this may save you time because you don’t have to let them proof, but they still take a long time to bake. One loaf took a little over an hour in my oven (which is notoriously inconsistent). It may not take as long for you, but I would recommend setting your timer to 50 minutes, and checking it every 5-10 minutes after that if it’s not done.


But it was well worth the wait! I couldn’t help but cutting right into this loaf and having a warm slice with my coffee on Sunday morning. It was delicious! There is absolutely no zucchini flavor (does zucchini have flavor?), but instead tastes so warm and rich thanks to the cinnamon, nutmeg, and walnuts.

Actually, this would be a great recipe to make in the Fall and Winter now that I think about it.

Fresh Zucchini Bread

If you make this bread, tell me how you like it or if there is anything you would change. Also, if you live in Dallas and are familiar with Bread Winner’s Zucchini Bread, you will have to let me know how this stacks up! It’s been a while since I have been there. 

Zucchini Bread-7

[amd-yrecipe-recipe:58]

/ Filed In: Breakfast, Eat, Other Sweets New
Tagged: bread, breakfast, cinnamon, walnuts, zucchini

Brown Butter Blueberry Banana Bread

June 22, 2016

Brown Butter Blueberry Banana Bread

This Brown Butter Blueberry Banana Bread post is brought to you by the letter B. Actually, it’s brought to you by gigantic container of blueberries on sale at Trader Joe’s. Last weekend when I was out grocery shopping I picked up 2 lbs of blueberries because they were “a good deal”. Once I got home I realized I had no idea how I was going to use all of them! I could have made blueberry muffins, but I looked around my kitchen and saw 3 brown bananas on my counter, so blueberry banana bread it was. 

To make this banana bread even better, I decided to brown some butter to add to this batter. Not only because I love alliteration, but also because brown butter is delicious. It’s even more delicious than regular butter. When butter browns, it gets this toasty, nutty flavor that really adds so much flavor to whatever you put it in or on. 


It also helps that browning butter is very easy! All I do to brown butter is melt the butter in a sauce pan on medium heat and then let it simmer until it turns a nice amber color, like you see above. It only takes about 5 minutes to get the it perfectly brown. 

So I added the brown butter to the batter and once it was all mixed I folded in the blueberries. To prevent the blueberries from sinking to the bottom, I tossed them in some flour first before mixing them in. Then I poured the batter to a loaf pan lined with parchment so that I could easily remove the loaf from the pan when it was cool. 

Blueberry Banana Bread Loaf

The bread took about an hour to bake, then I left it out on the counter for another hour to cool before I sliced into it. 

Blueberry Banana Bread-6

I have to admit that I am not really a banana bread person, so maybe I am not the best person to judge this bread. But I did eat the small end slice and was pleasantly surprised! The crust on top was a tad crunchy, and the bread in the center was pillowy soft. The banana flavor was subtle (because I only used partially browned bananas, not completely browned bananas) and was perfectly complimented by the nutty brown butter flavor and the tart blueberries. 

Blueberry Banana Bread-9

The true test for this banana bread was taking it in to work. Between the co-worker whose wife is in culinary school and the other at-home bakers like me, we seem to always have some home-baked goodies in the kitchen. Which means that I have some very spoiled and picky co-workers when it comes to baked goods. I knew that if someone tried this and didn’t like it, word would spread and I would be left throwing half a loaf away at the end of the day. 

Blueberry Banana Bread-8

The good news was the bread was gone by 10 am. Which means I can safely assume that it was a hit. Actually, I don’t have to assume…people came by my desk to tell me they had a piece and loved it. 

So if you love banana bread you will love this recipe! If you kinda like banana bread, even you will probably really like this recipe. If it can win over someone like me who it not generally a banana bread fan, it must be pretty stinkin’ good. 

[amd-yrecipe-recipe:48]

/ Filed In: Breakfast, Eat, Other Sweets New
Tagged: banana, banana bread, blueberry, bread, breakfast

Garlic Rosemary Popovers

June 17, 2014

BBC-Garlic-Rosemary-Popovers1There are many things that I have inherited or picked up from my dad. One of those things is our mutual love of popovers. When I was a kid, I remember having them whenever we made a nice family meal. Now my stepmom will make them every time I come home.

BBC-Garlic-Rosemary-Popovers2If you have never had a popover, it is a light, fluffy, hollow roll made from a eggy and very wet batter. The batter itself if really simple, but because of that, it can be a wonderful canvas for lots of different flavors. Don’t get me wrong. I love a plain popover. But sometimes it’s nice to jazz them up a bit.

BBC-Garlic-Rosemary-Popovers3So what better way to jazz them up than with my favorite spice combination: garlic and rosemary. To the batter, I mixed in very, very finely minced garlic and chopped up dried rosemary. Because the batter is so wet, you want the garlic and rosemary to be pretty fine so it doesn’t sink to the bottom of the tin.

BBC-Garlic-Rosemary-Popovers5I can eat popovers breakfast, lunch, and dinner. These garlic and rosemary ones were perfect with a summer salad, but would also be wonderful with a nice steak dinner. The plain variety is wonderful in the morning with a little jam or honey.


[yumprint-recipe id=’11’]

/ Filed In: Eat
Tagged: bread, garlic, popover, rosemary

Honey Wheat Bread

May 2, 2014

BBC Honey Wheat Bread7I have heard it said before that there is truly no economic incentive for baking bread at home (I’m sure you can say that about a lot of things). It’s just as cheap to purchase a pre-sliced loaf at the store and a hell of a lot easier. While that might be true, I can think of one thing that makes baking bread at home worth it. 

The smell. 

Oh my heavens does the aroma of bread baking in the oven is just divine. Seriously. Someone bottle that up and sell it. I’ll be your first customer. 

I actually don’t think making bread is all that difficult. It takes time, yes, but it’s just to let the yeast proof and dough rise. Twice. The good folks at The Kitchn really break out the steps pretty nicely. 

From start to finish, the whole bread making process took about 4 hours. But only about 30 minutes of that was actual work. I mixed the dough then let is rise in the bowl for about 2 hours. Once it had risen, I punched it down and formed it into log and transferred it to the loaf pan and let it rise again. 

BBC Honey Wheat Bread1BBC Honey Wheat Bread2


Once it had filled up the loaf pan and formed a dome over the top, I scored it down the middle to give it that signature bread shape (and to let the steam out so that the crust wouldn’t crack all haphazardly).


BBC Honey Wheat Bread3

 Baking only took about 30 minutes. But man, that was the best smelling 30 minutes of my life. 

I let the bread cool for about an hour and I didn’t slice it until the next day. But I am sure you can dig in after about 30 minutes if you what a fresh and warm slice of bread. 

BBC Honey Wheat Bread6

 Actually, I can think of a second benefit for making bread at home: it taste’s amazing. Sure, that stuff from the store is easy to get and you don’t have to spend 4 hours making it, but homemade bread has so much more flavor too it. Plus you can be assured that it’s fresh and has zero preservatives. 

[yumprint-recipe id=’30’]

/ Filed In: Eat
Tagged: bread, healthy, homemade, honey, wheat

Follow

Hey There!

Hey there, I'm Lindsey. I'm a number cruncher by day and a home cook and baker by night. While I love to eat healthy and find fresh and healthy alternatives for my favorite foods, I will never turn down dessert! Life is all about moderation, right?

Recipes

  • All Recipes
  • Breakfast
  • Appetizers
  • Salads
  • Main Dishes
  • Side Dishes
  • Desserts
  • Drinks

Favorite Finds

[show_lookbook_widget id=”388783″]

Theme by 17th Avenue · Powered by WordPress & Genesis