• Home
  • Eat
    • Breakfast
    • Appetizers
    • Main Dishes
      • Chicken
      • Beef
      • Seafood
      • Healthy Dishes
      • Paleo Dishes
      • Salads
    • Desserts
      • Decorated Cookies
      • Cookies
      • Bars and Brownies
      • Cakes and Cupcakes
  • Shop
    • Cookie Decorating Supplies
    • Bakeware
    • Cookware
    • Kitchen Gadgets
    • House
  • About
    • Contact
    • Bucket List
  • Cookie Decorating 101

Follow the Ruels

Golden Champagne Gummy Bears

December 26, 2017


If there is one thing you need for your upcoming New Years Eve party it is some champagne gummy bears! Yes, you can actually make gummy bear candies with champagne! Isn’t that awesome? 

You may have seen rose, champagne, or other wine-flavored gummy candies by Sugarfina in your local gift stores or fine food stores, but they are awfully expensive. A small box of gummy bears will run you about $10. Yikes!

Why not instead make your own? They are surprisingly easy to make!

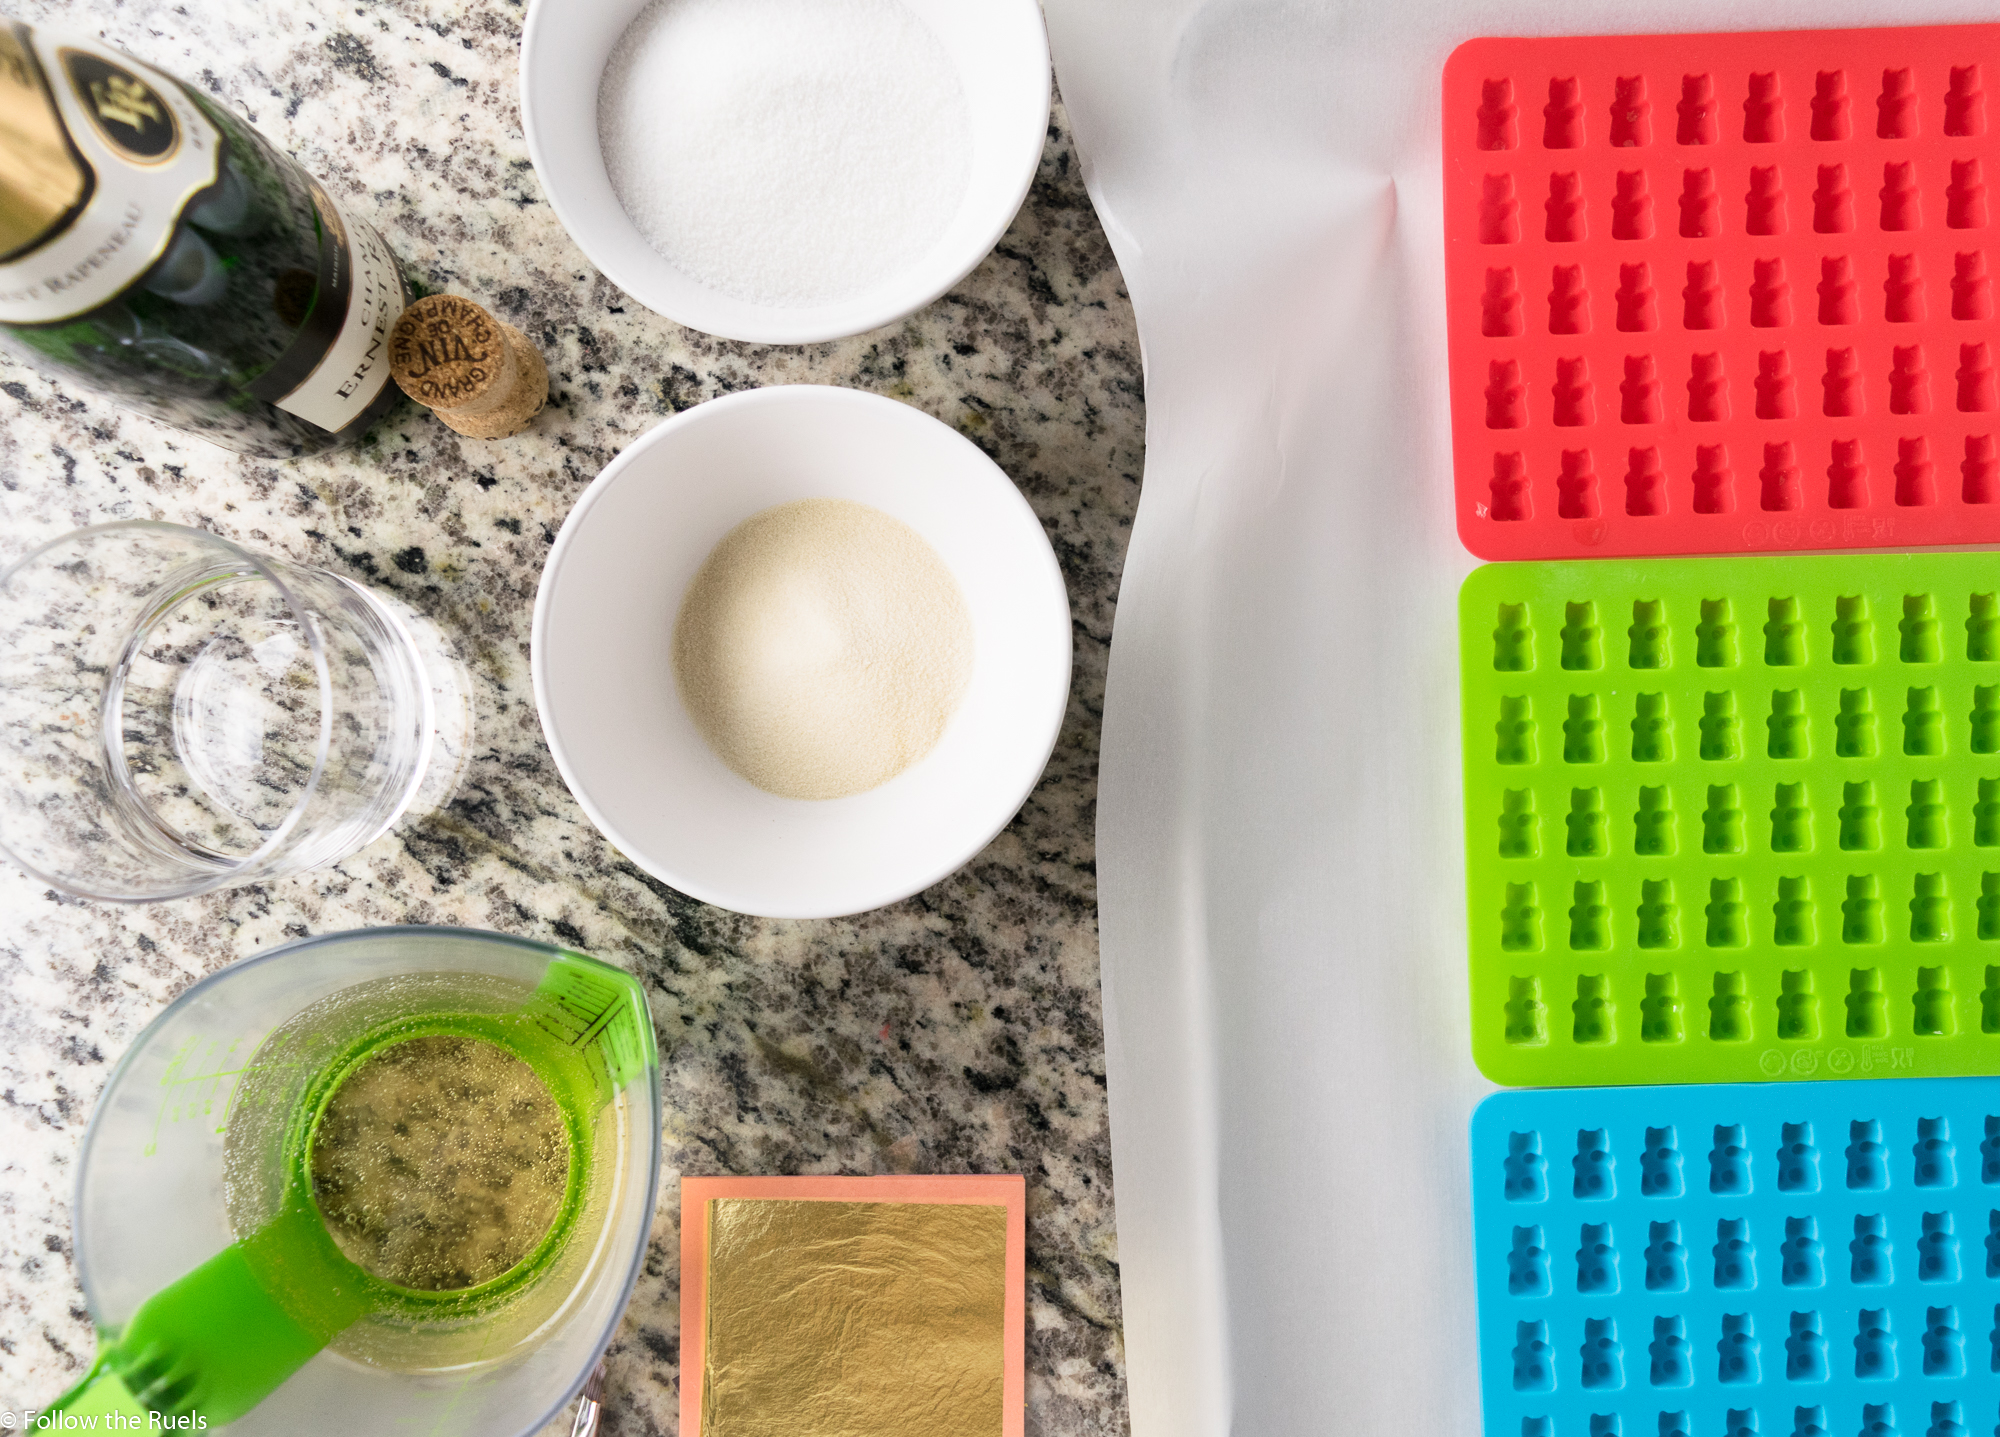
To make the gummy bears you will need a few silicone candy molds. You can find gummy bear candy molds for less than $10 on Amazon (I have linked a few below that can be shipped to your house in 2 days). But if you already have a silicone candy mold at home in another shape, that would work just fine. They don’t have to be gummy bears. 

You will also need unflavored gelatin, champagne, sugar, and water. All things you can get at your local grocery store or you already have at home. 

I also used a bit of edible gold leaf to make these champagne gummy bears extra festive, but that is totally optional. 

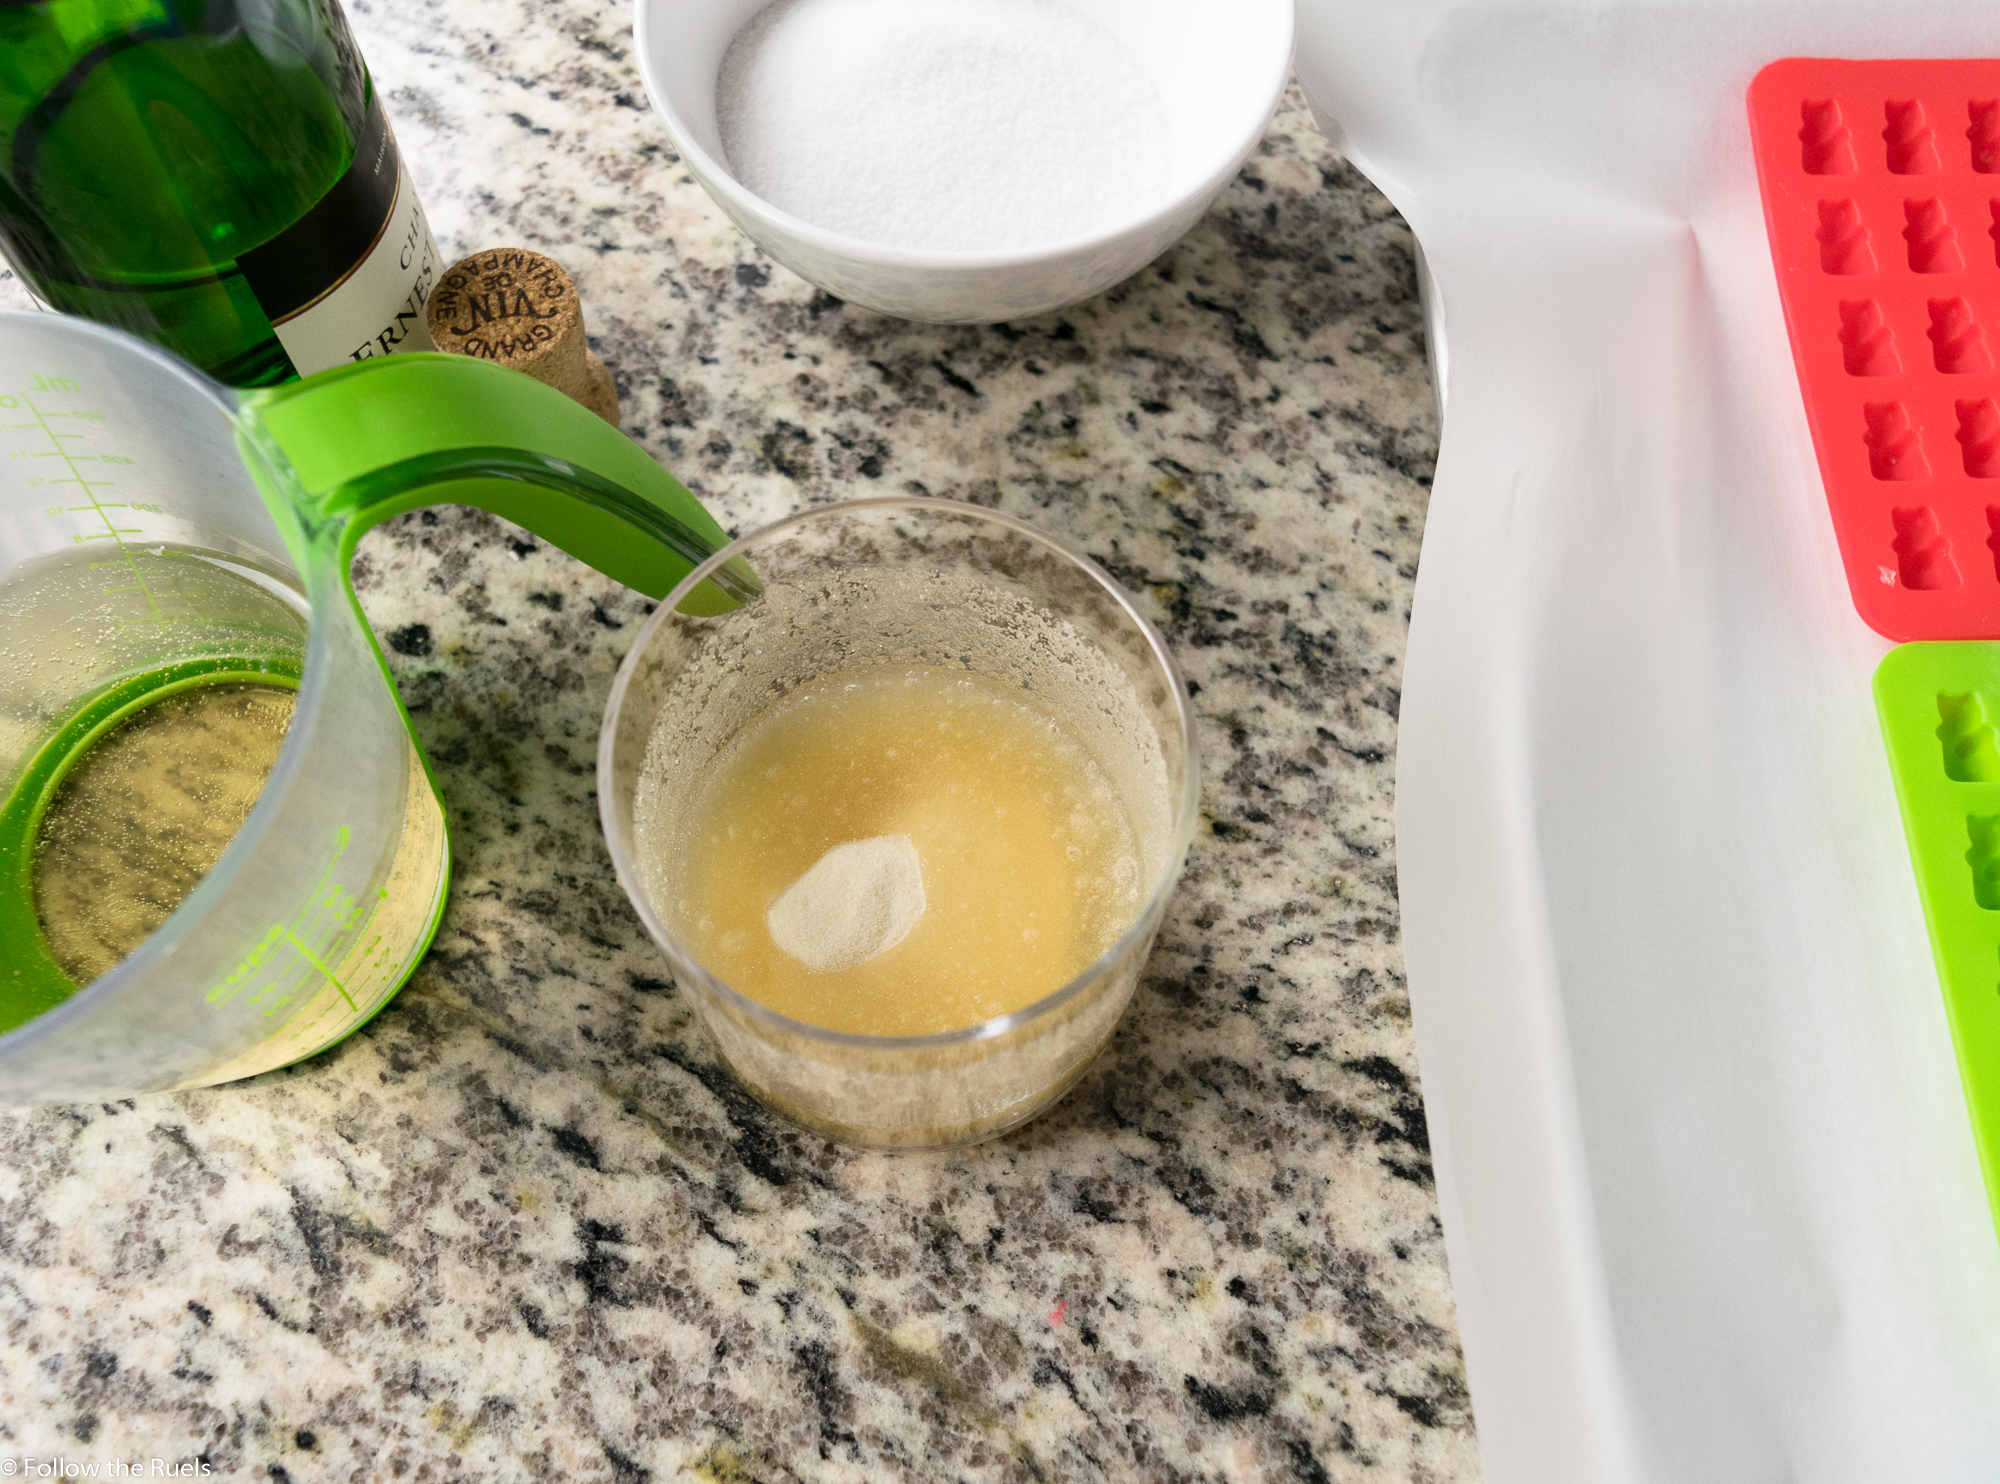
First, mix the gelatin into the water to coagulate. The gelatin will immediately soak up the water and form a big gelatinous ball. 

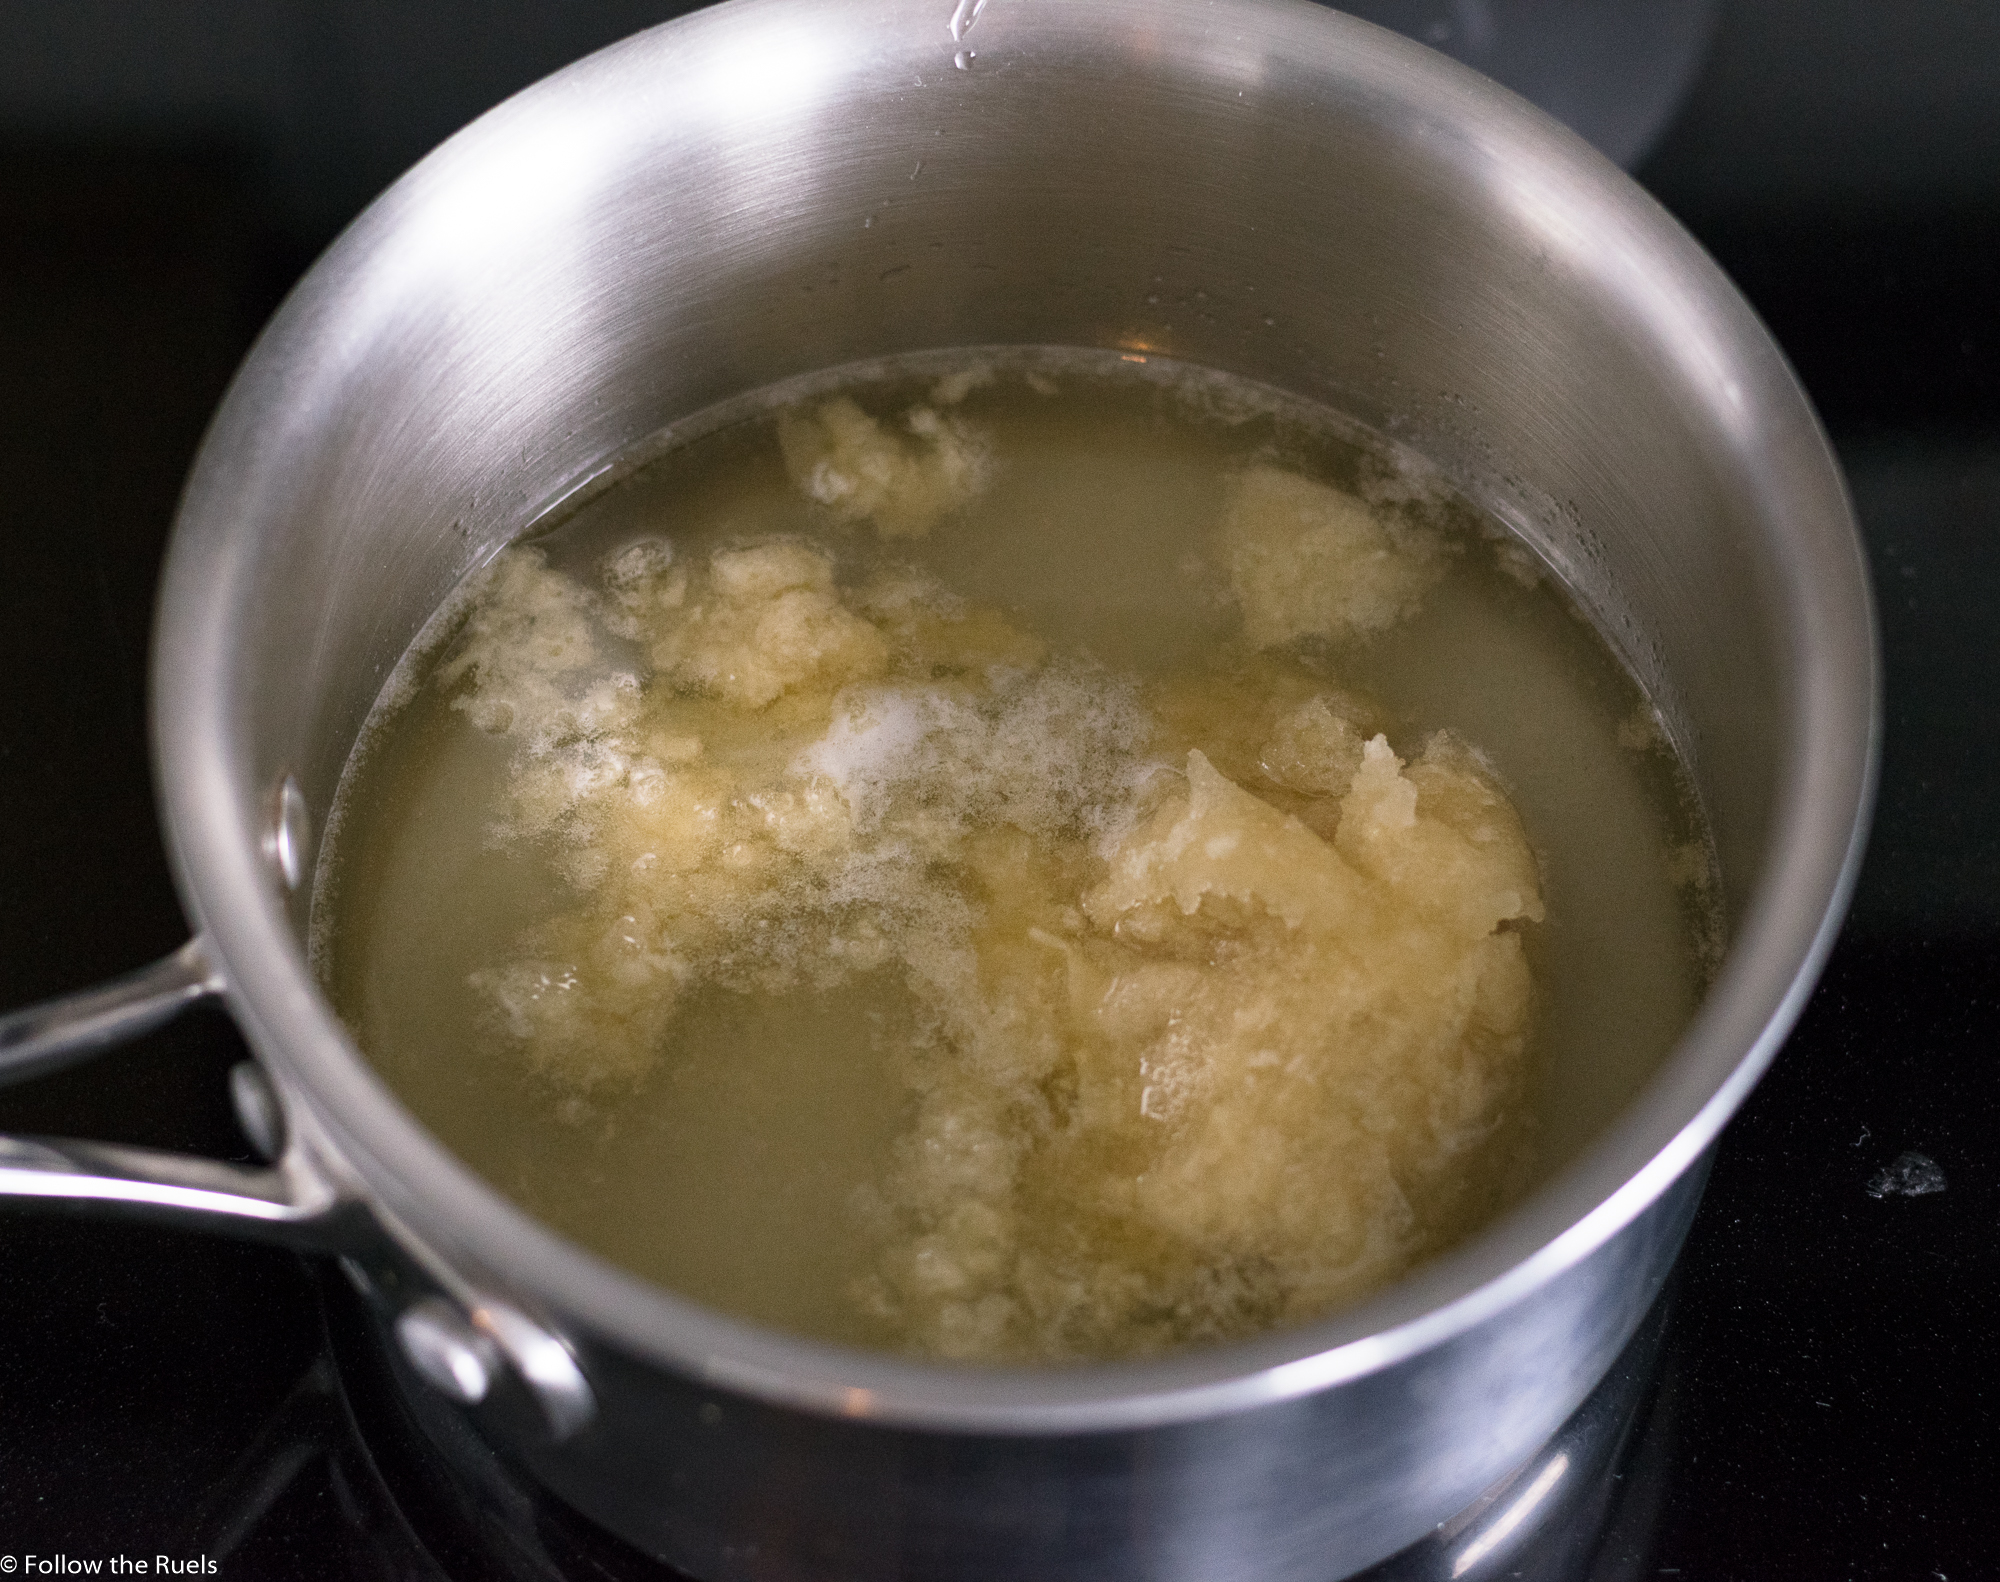
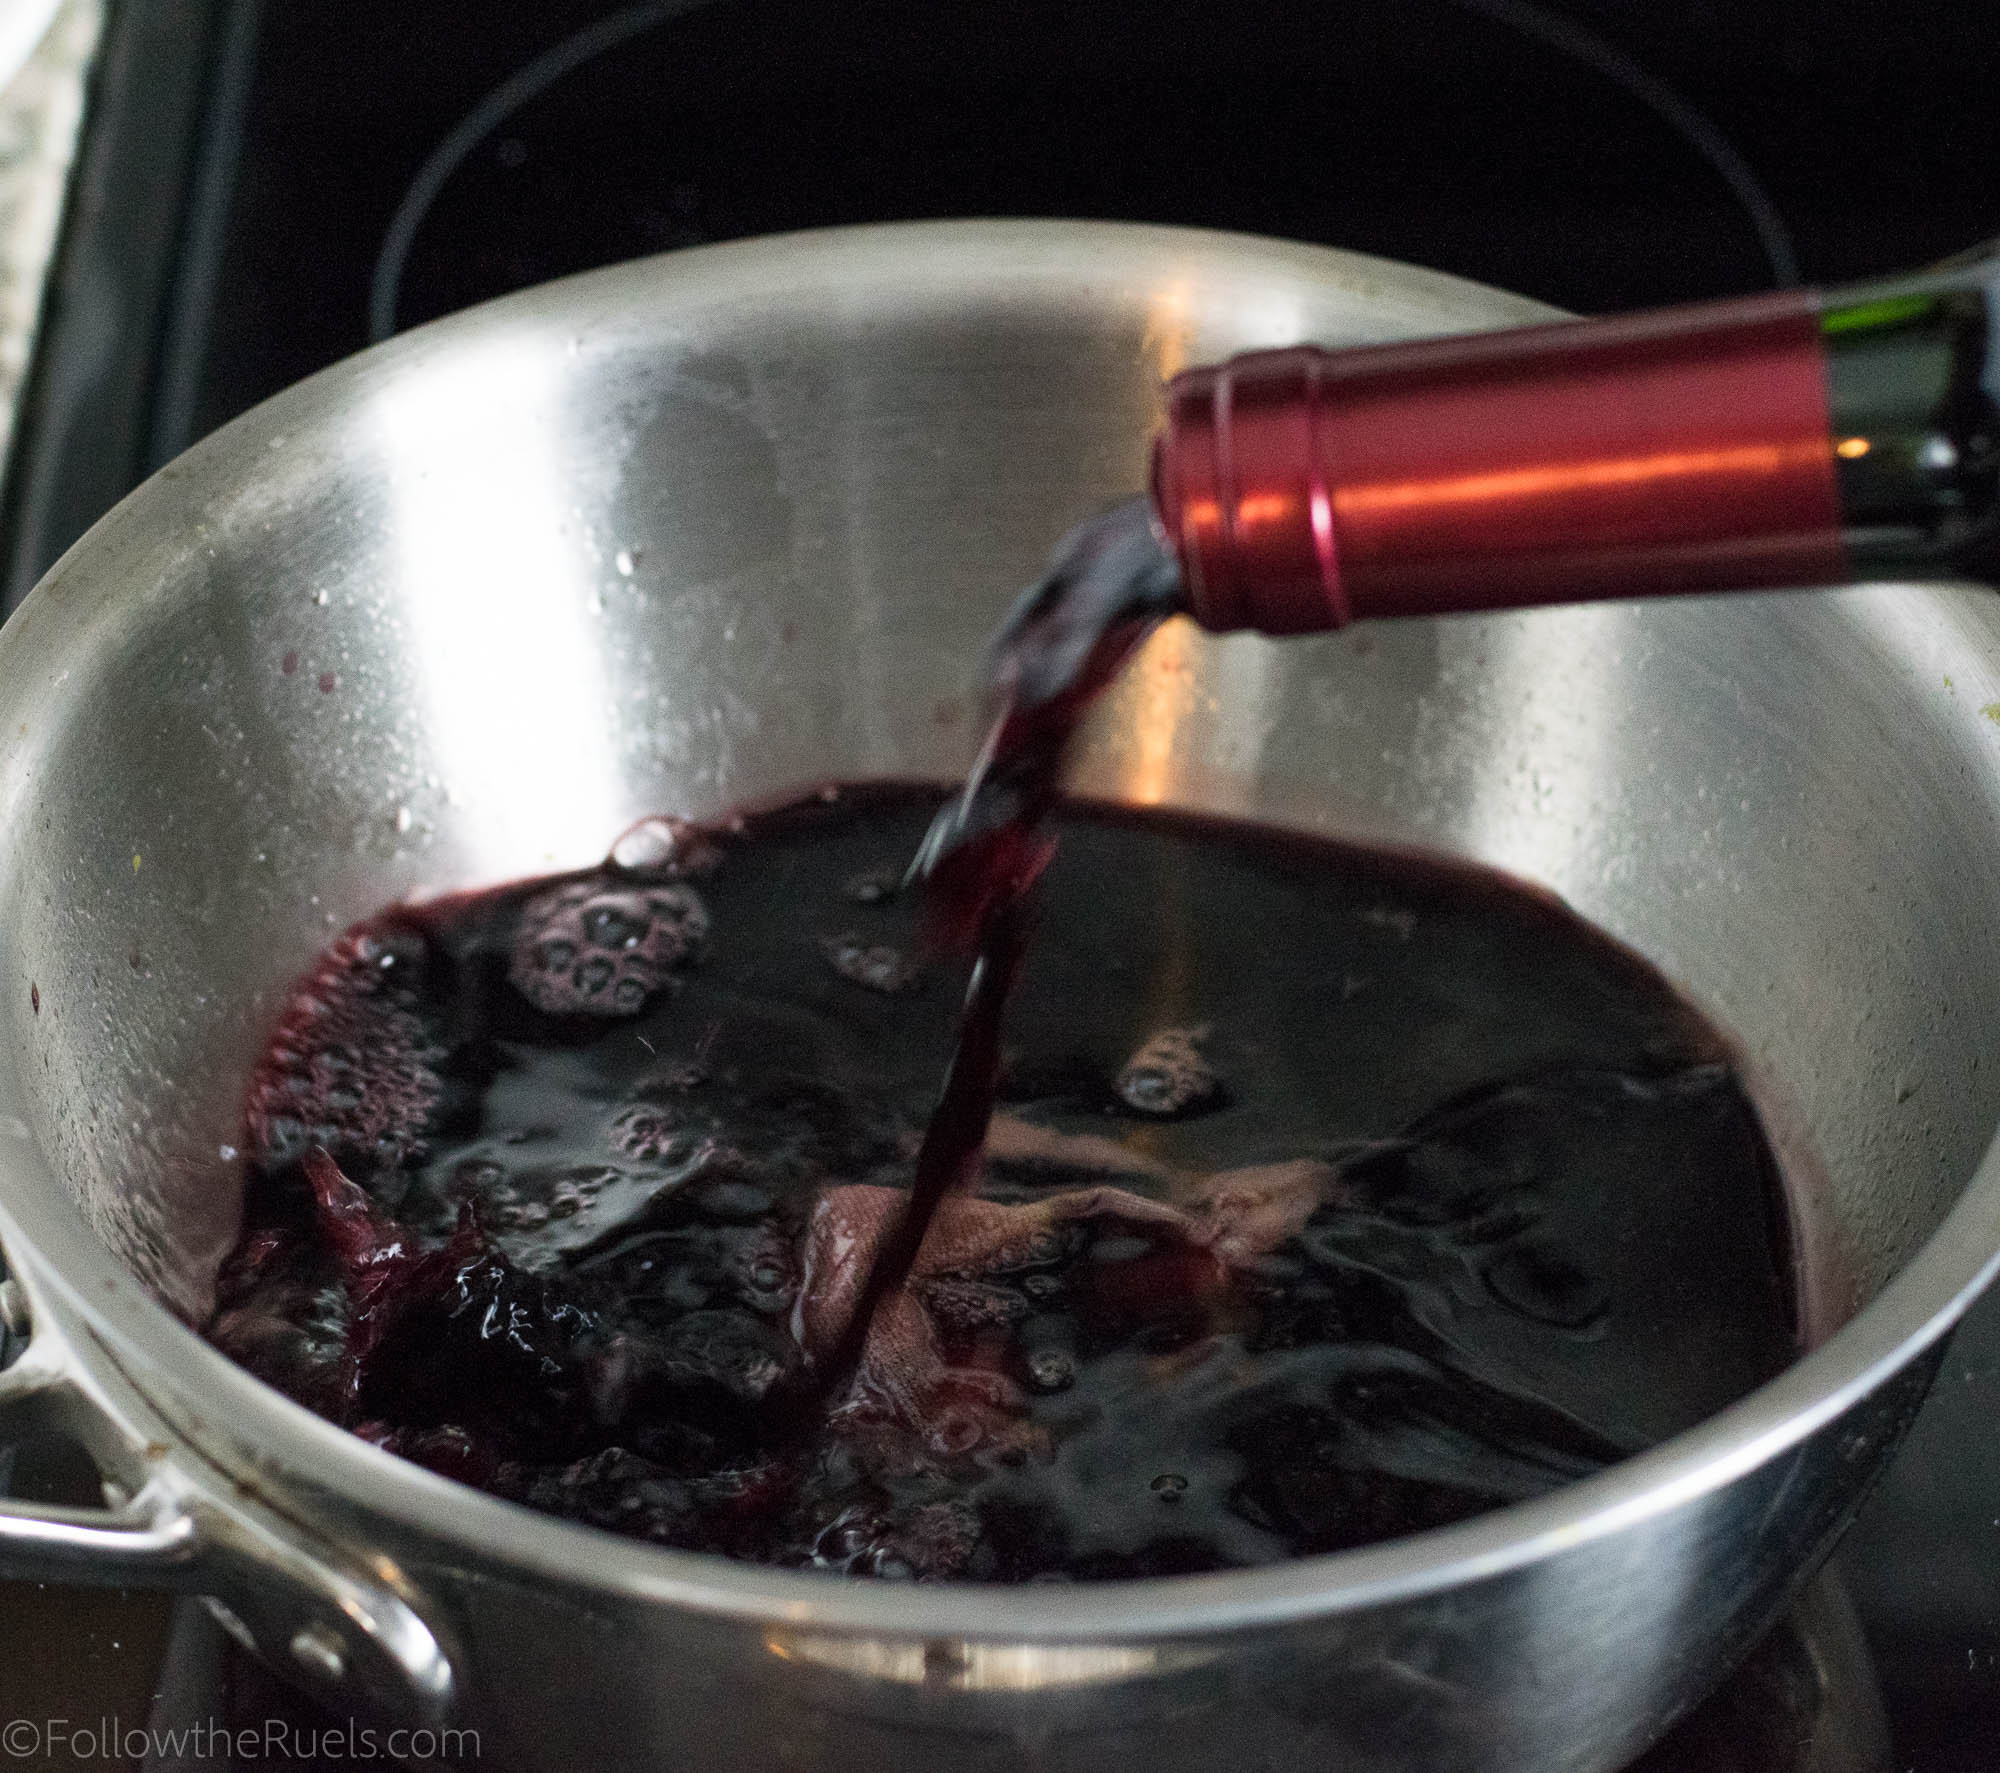
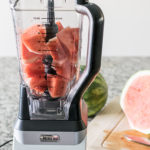
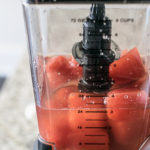
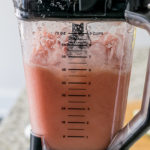
Add the gelatin, champagne, and sugar to a saucepan and turn the heat on to low. You do not want to boil this mixture, you just want to slowly dissolve the sugar and melt the gelatin. Continue stirring until the gelatin is completely melted. 
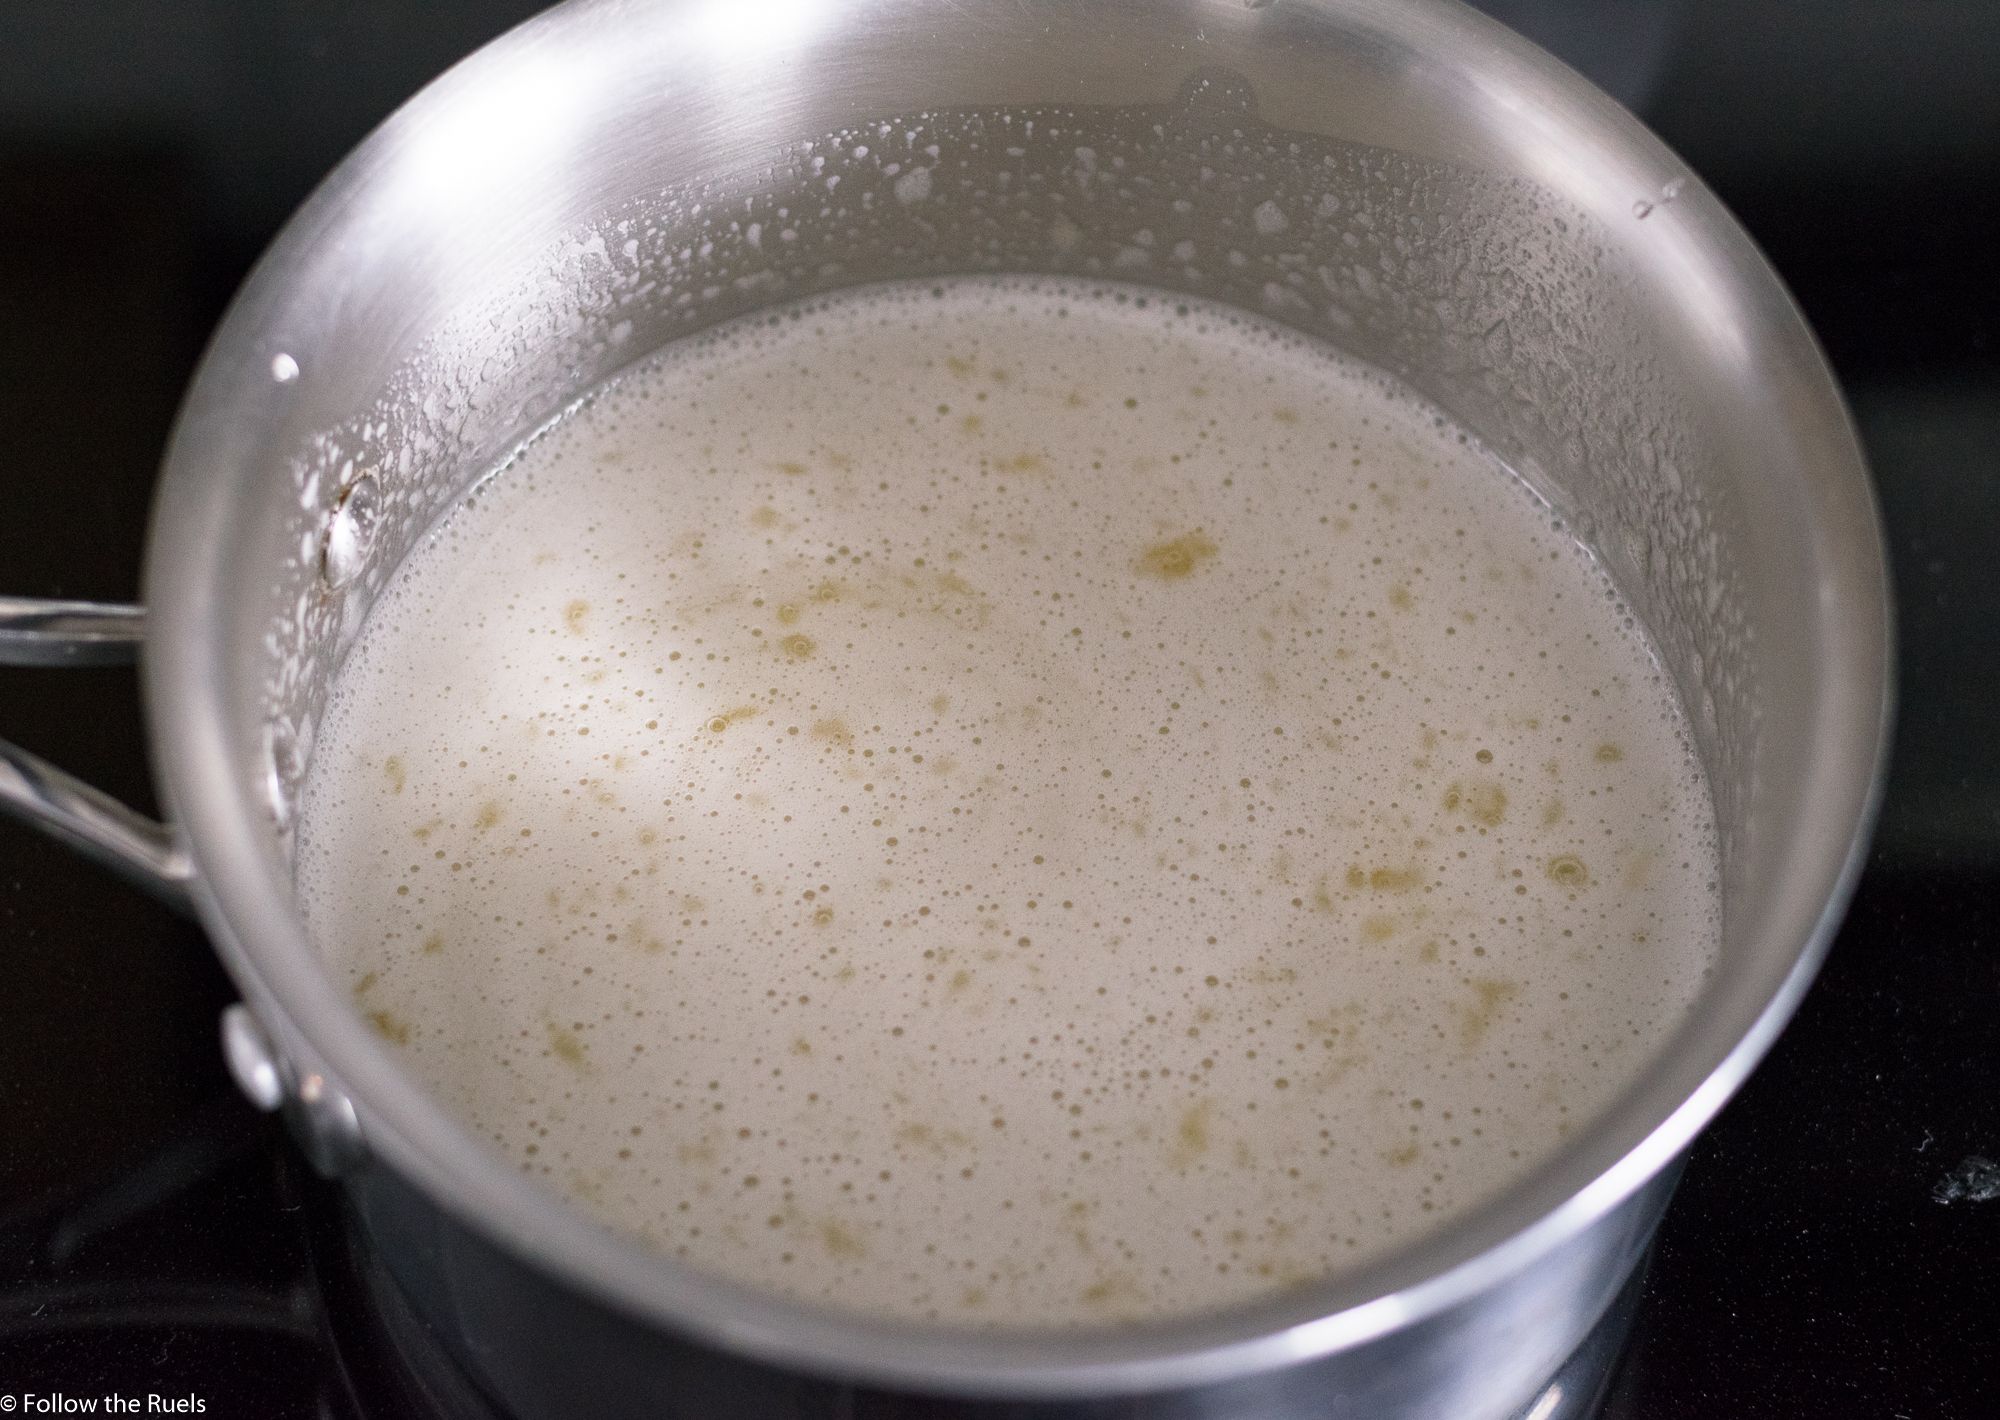
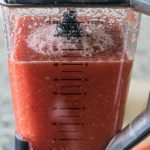
Like this!

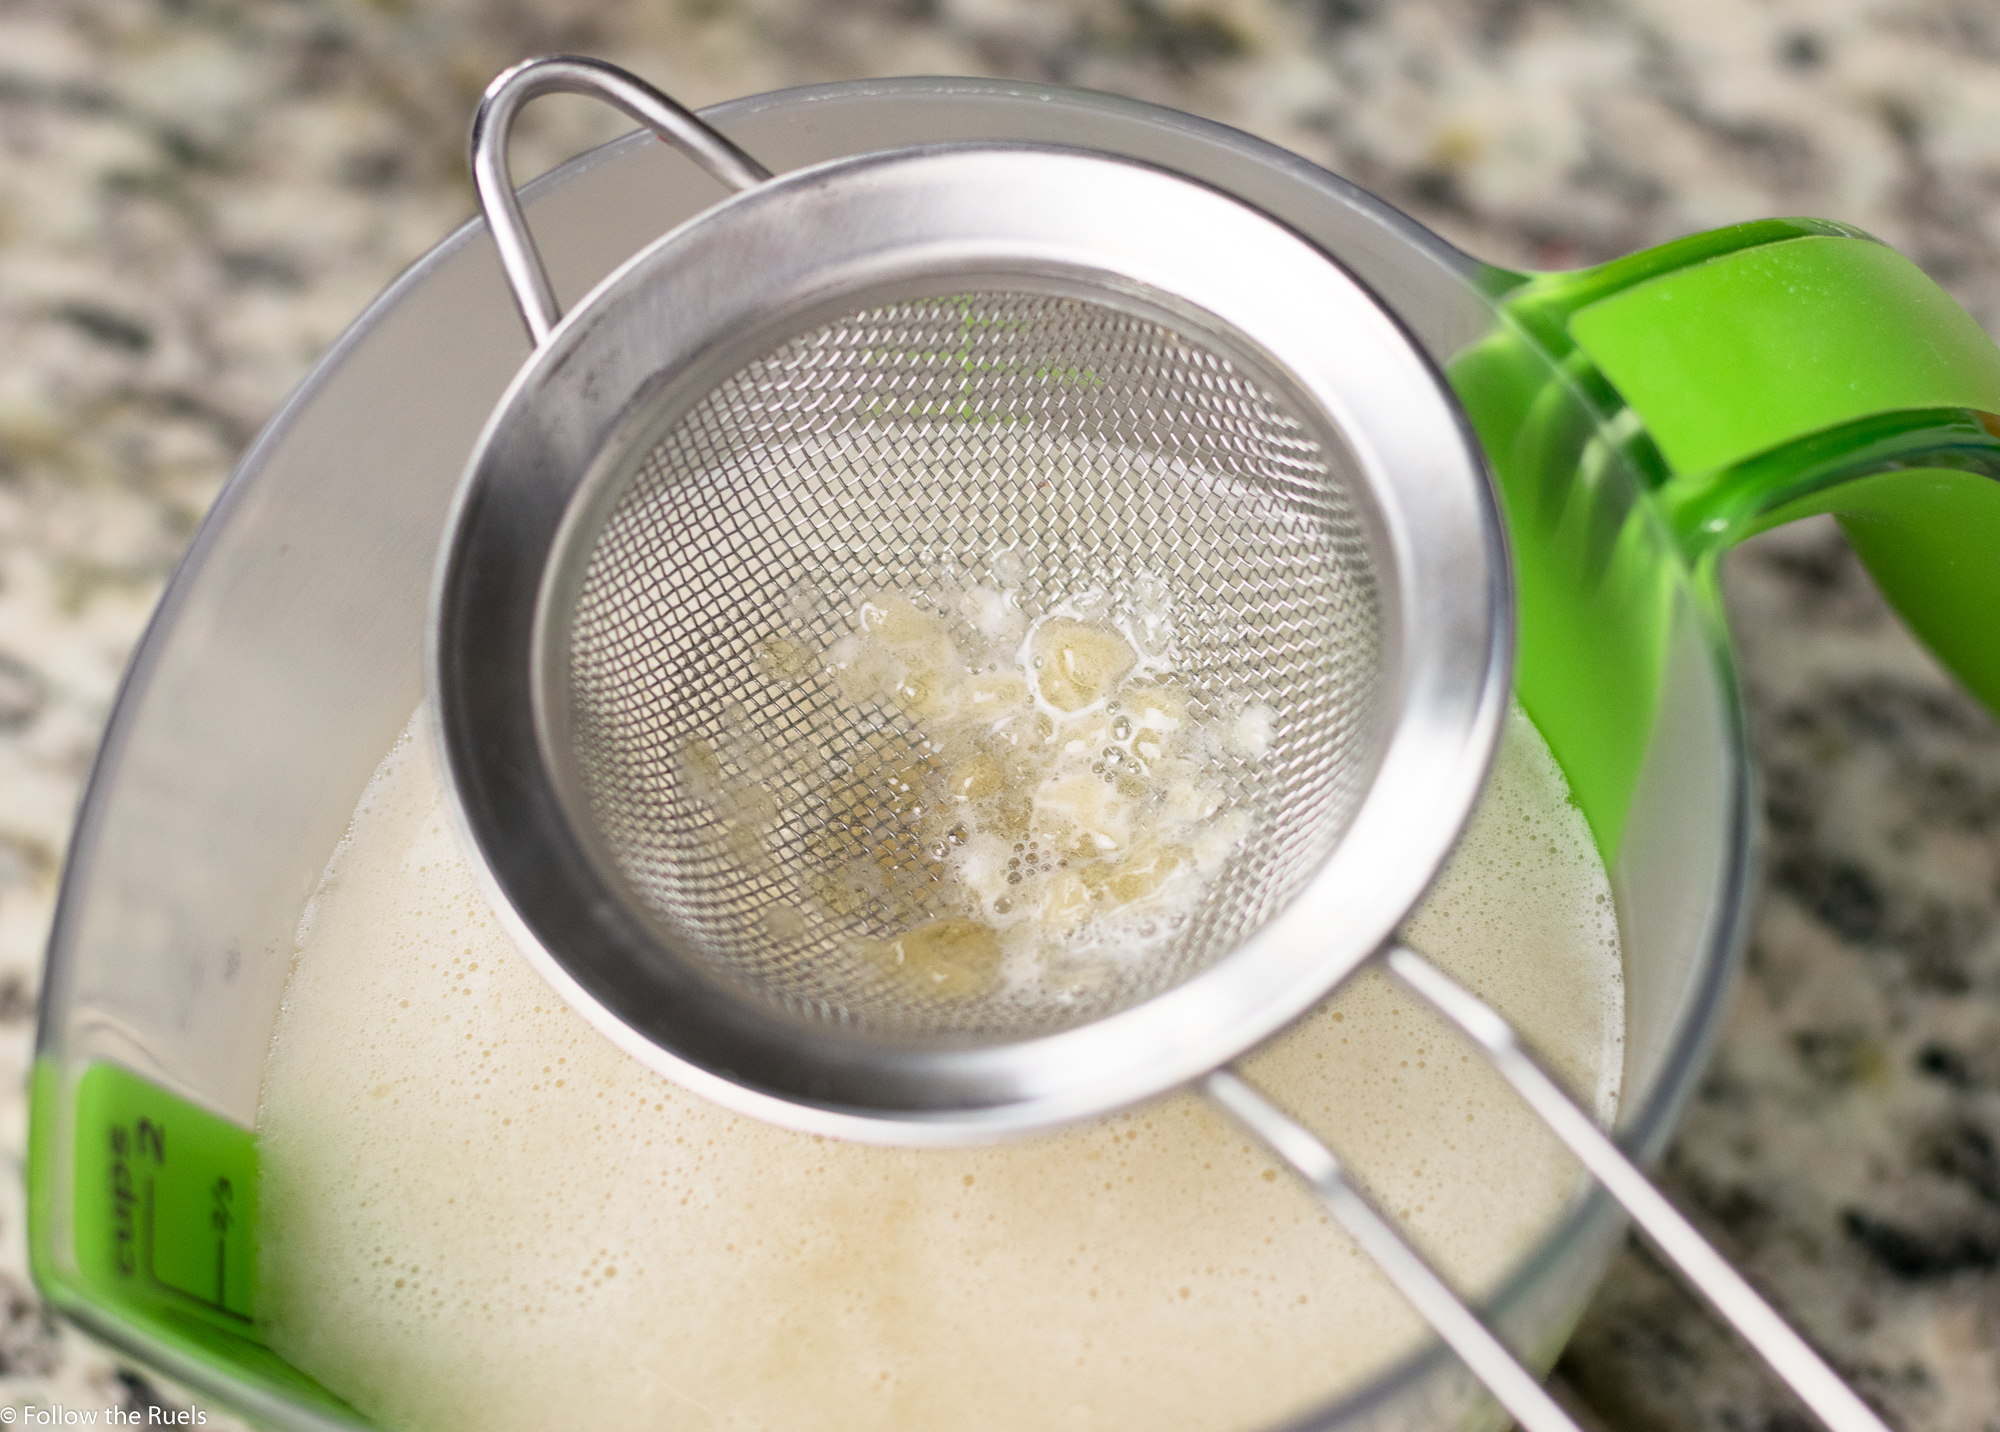
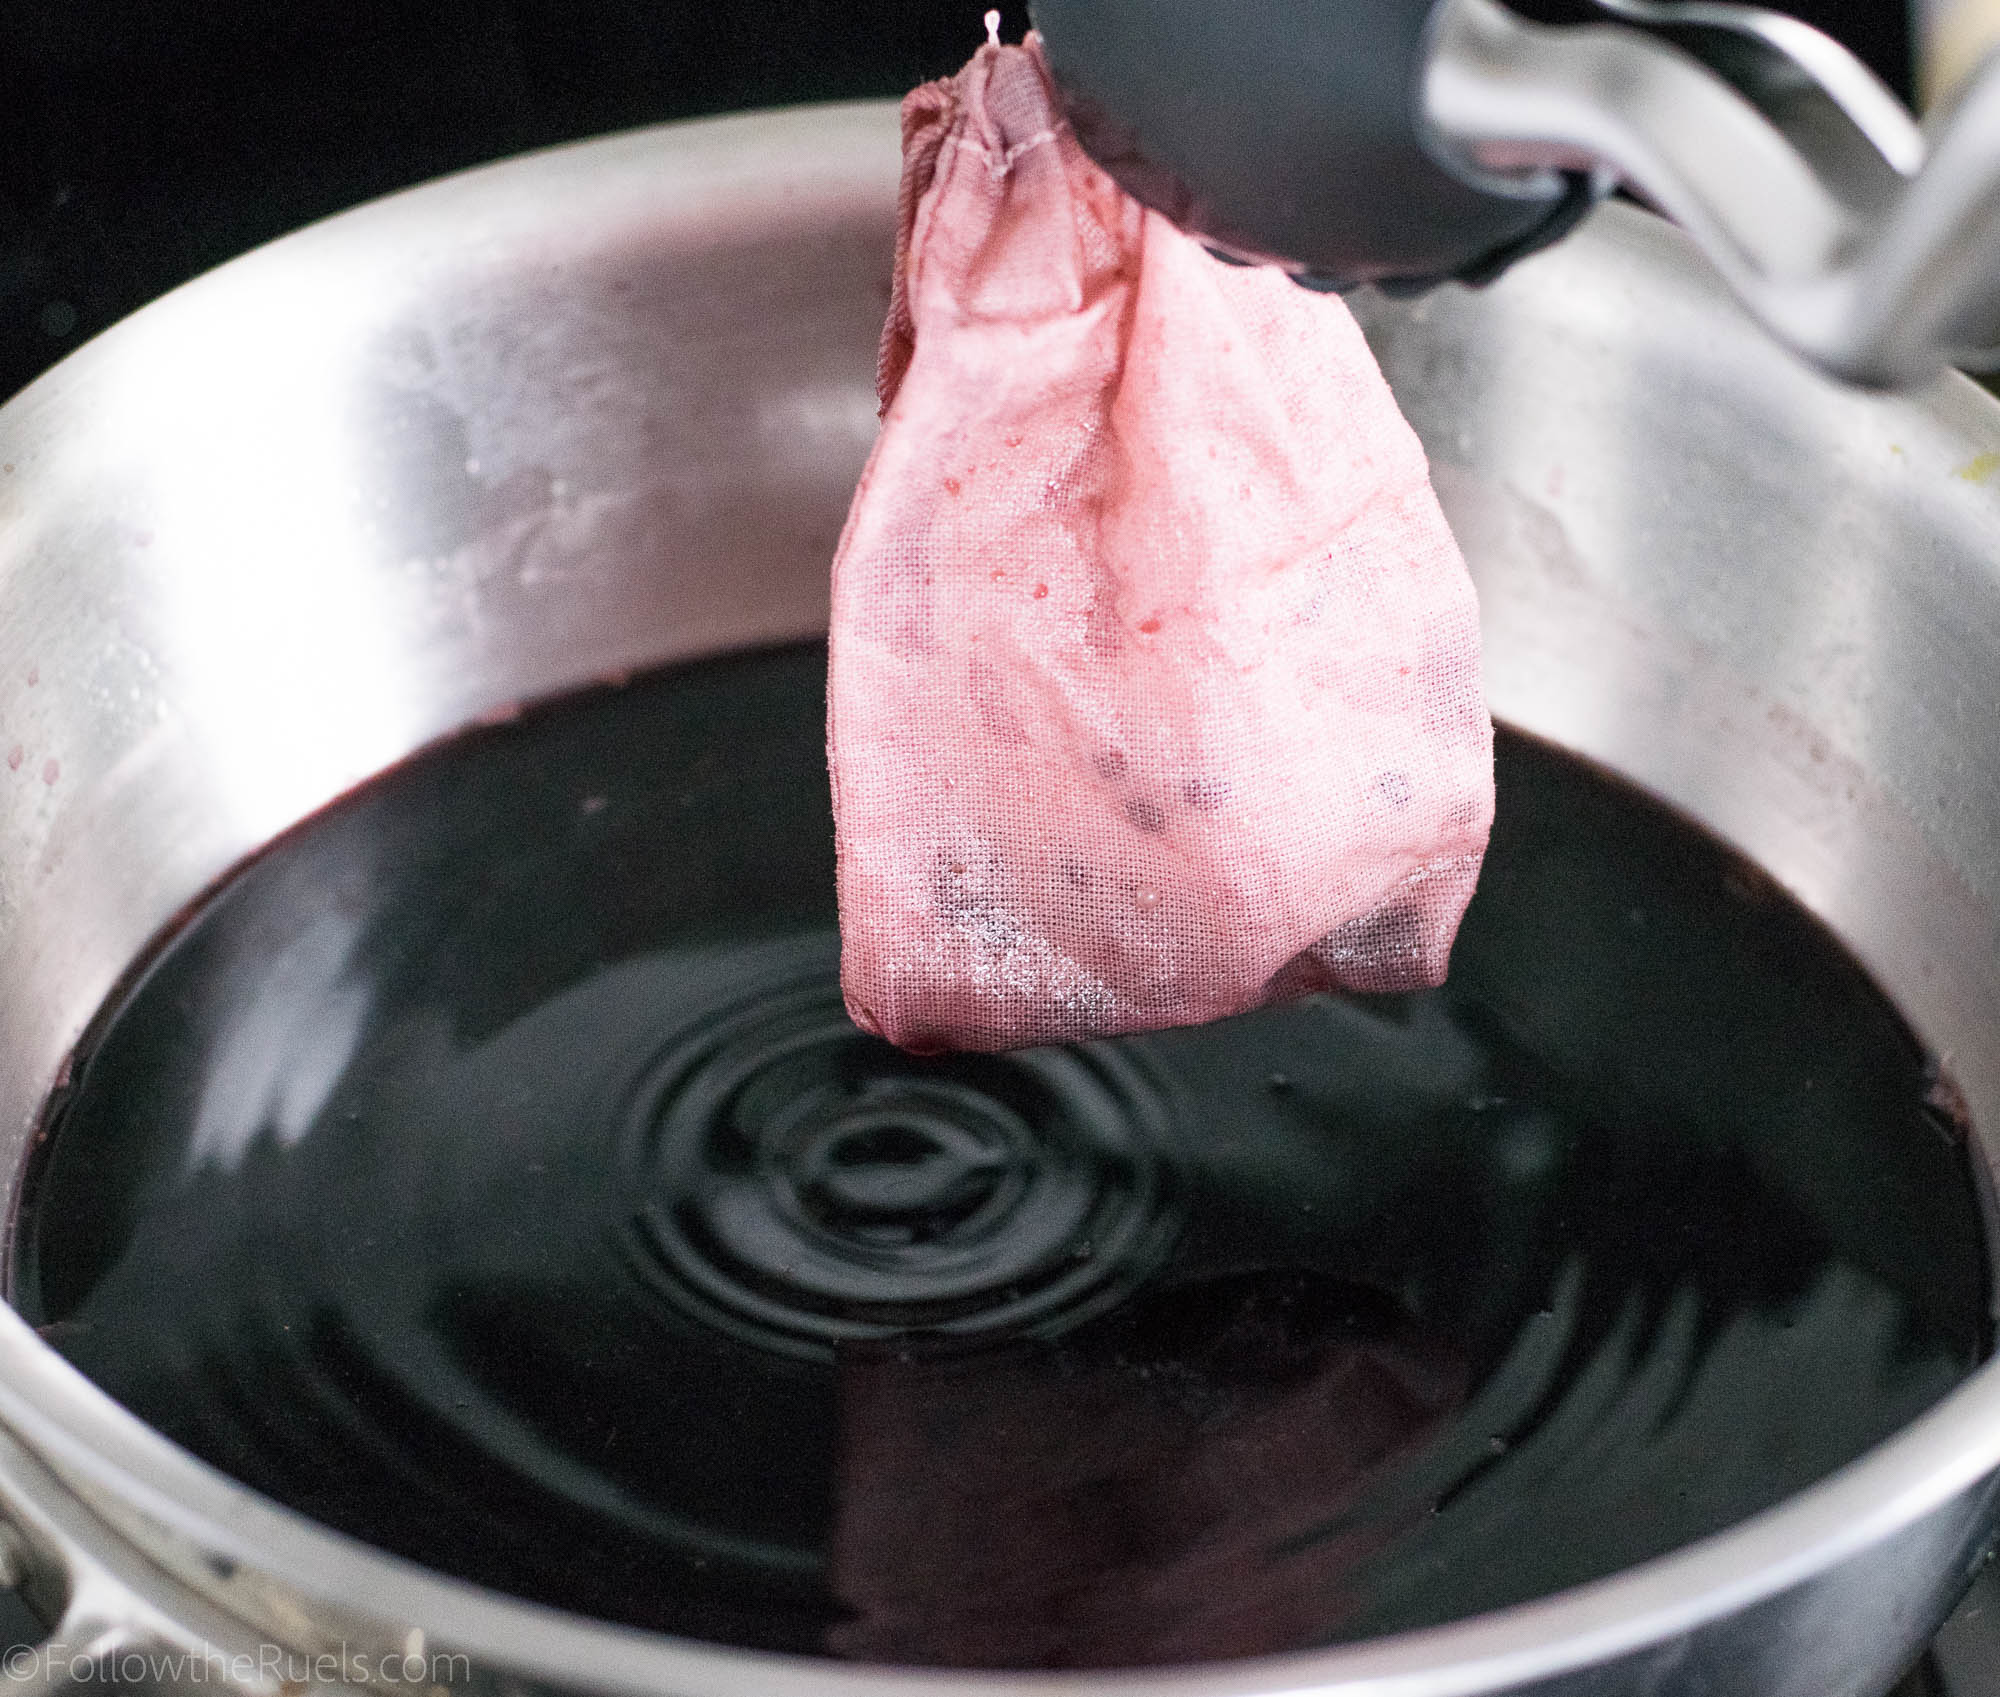
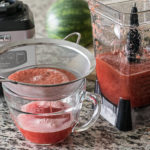
Since not all the gelatin may have melted, it’s a good idea to run the mixture through a strainer to catch any remaining lumps of gelatin. 

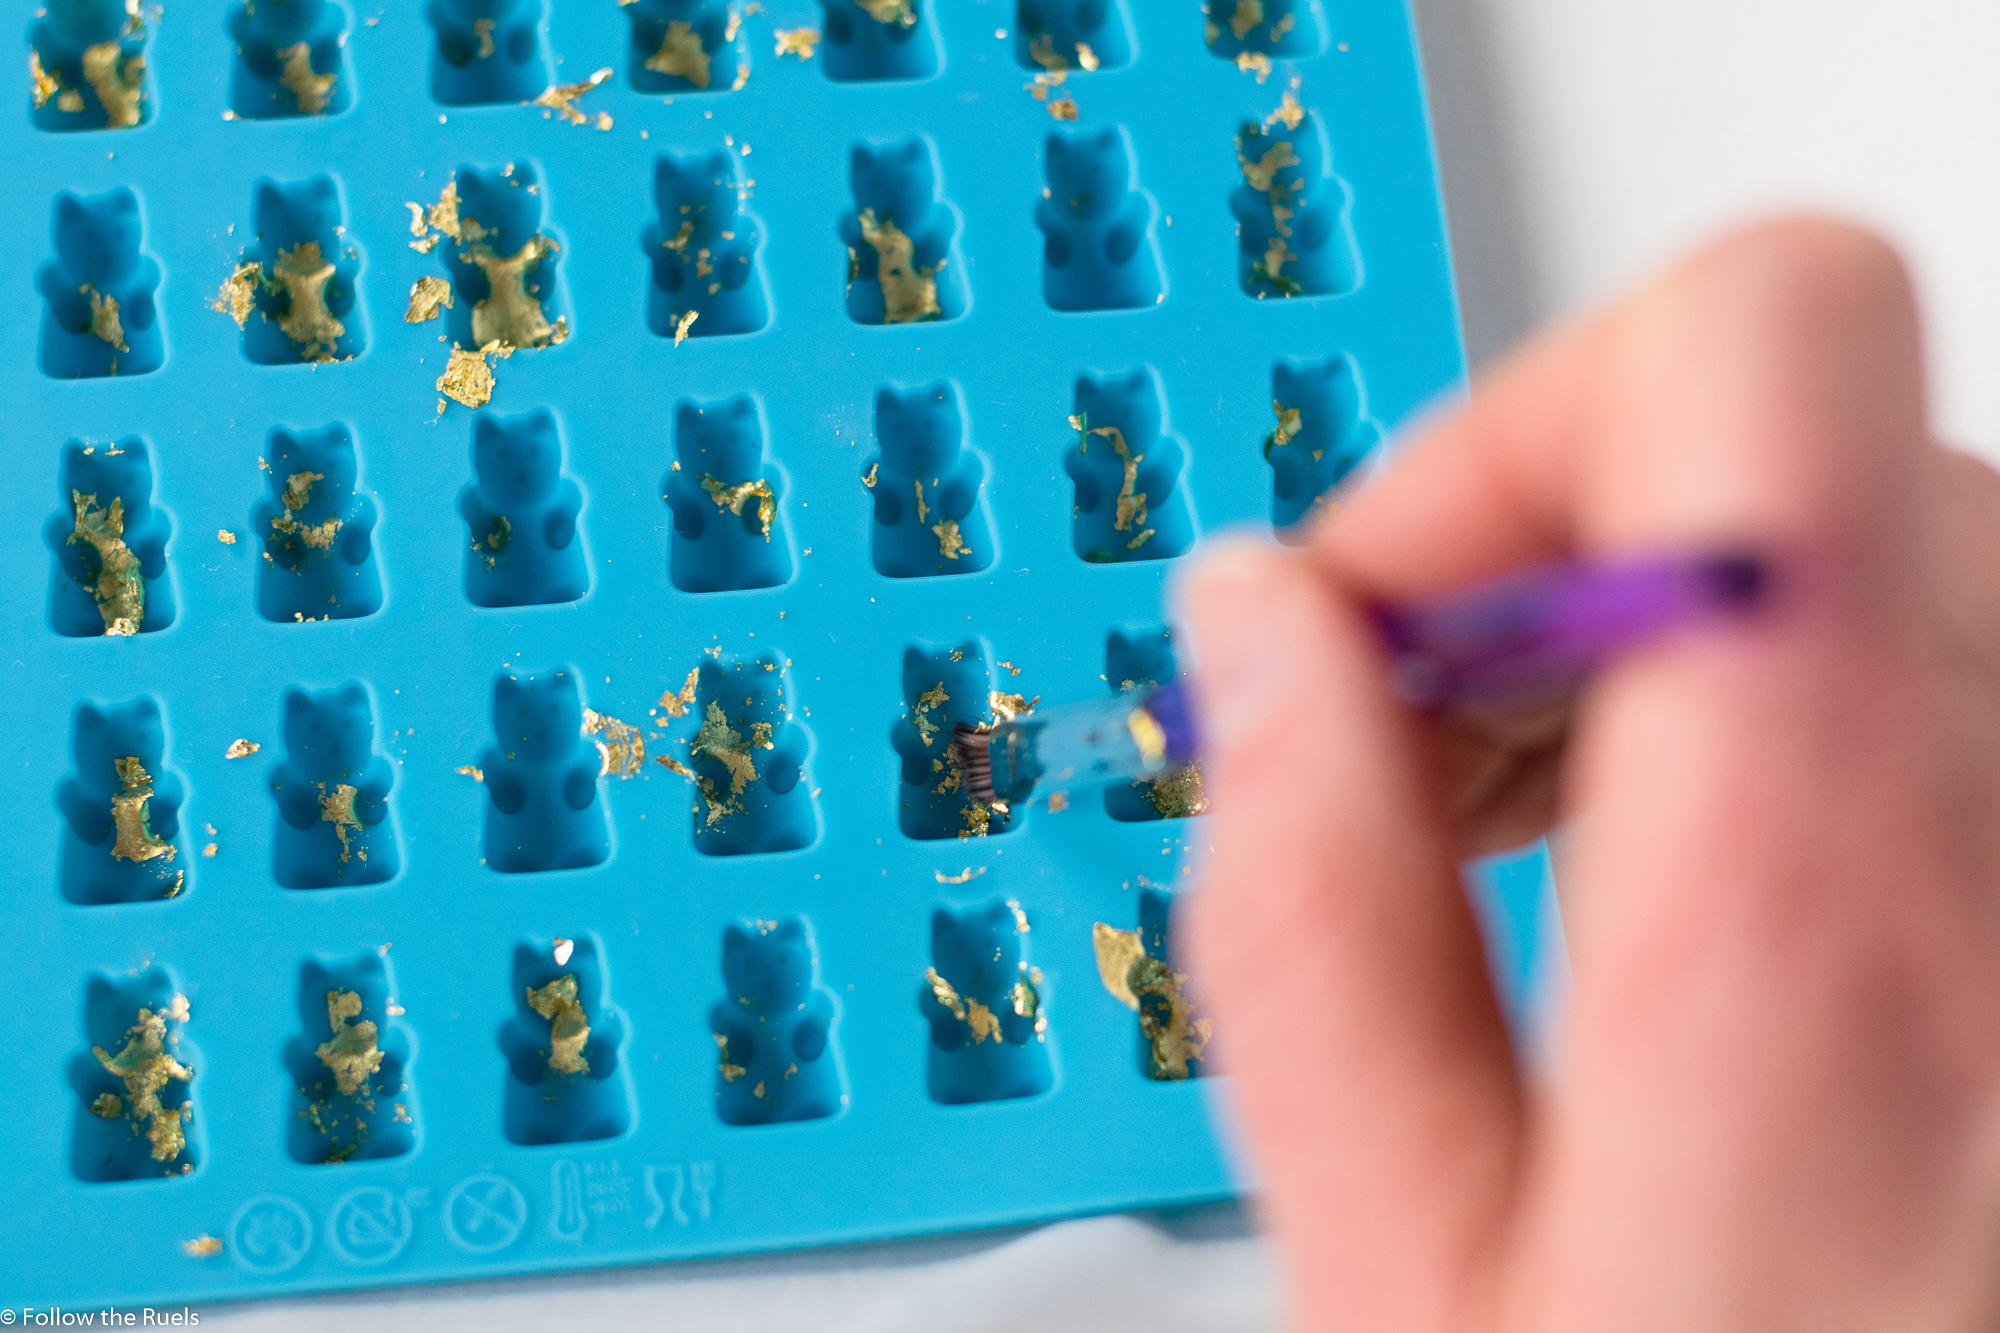
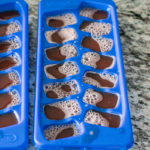
If you want to add gold leaf to your gummy bears, now is the time to do it. Use a small brush, toothpick, or another small tool to push the gold leaf into the bottom of the silicone mold. Golf leaf likes to stick to things and will stick to your hands and fingers very easily, so try to keep it on whatever tool you decide to use. 

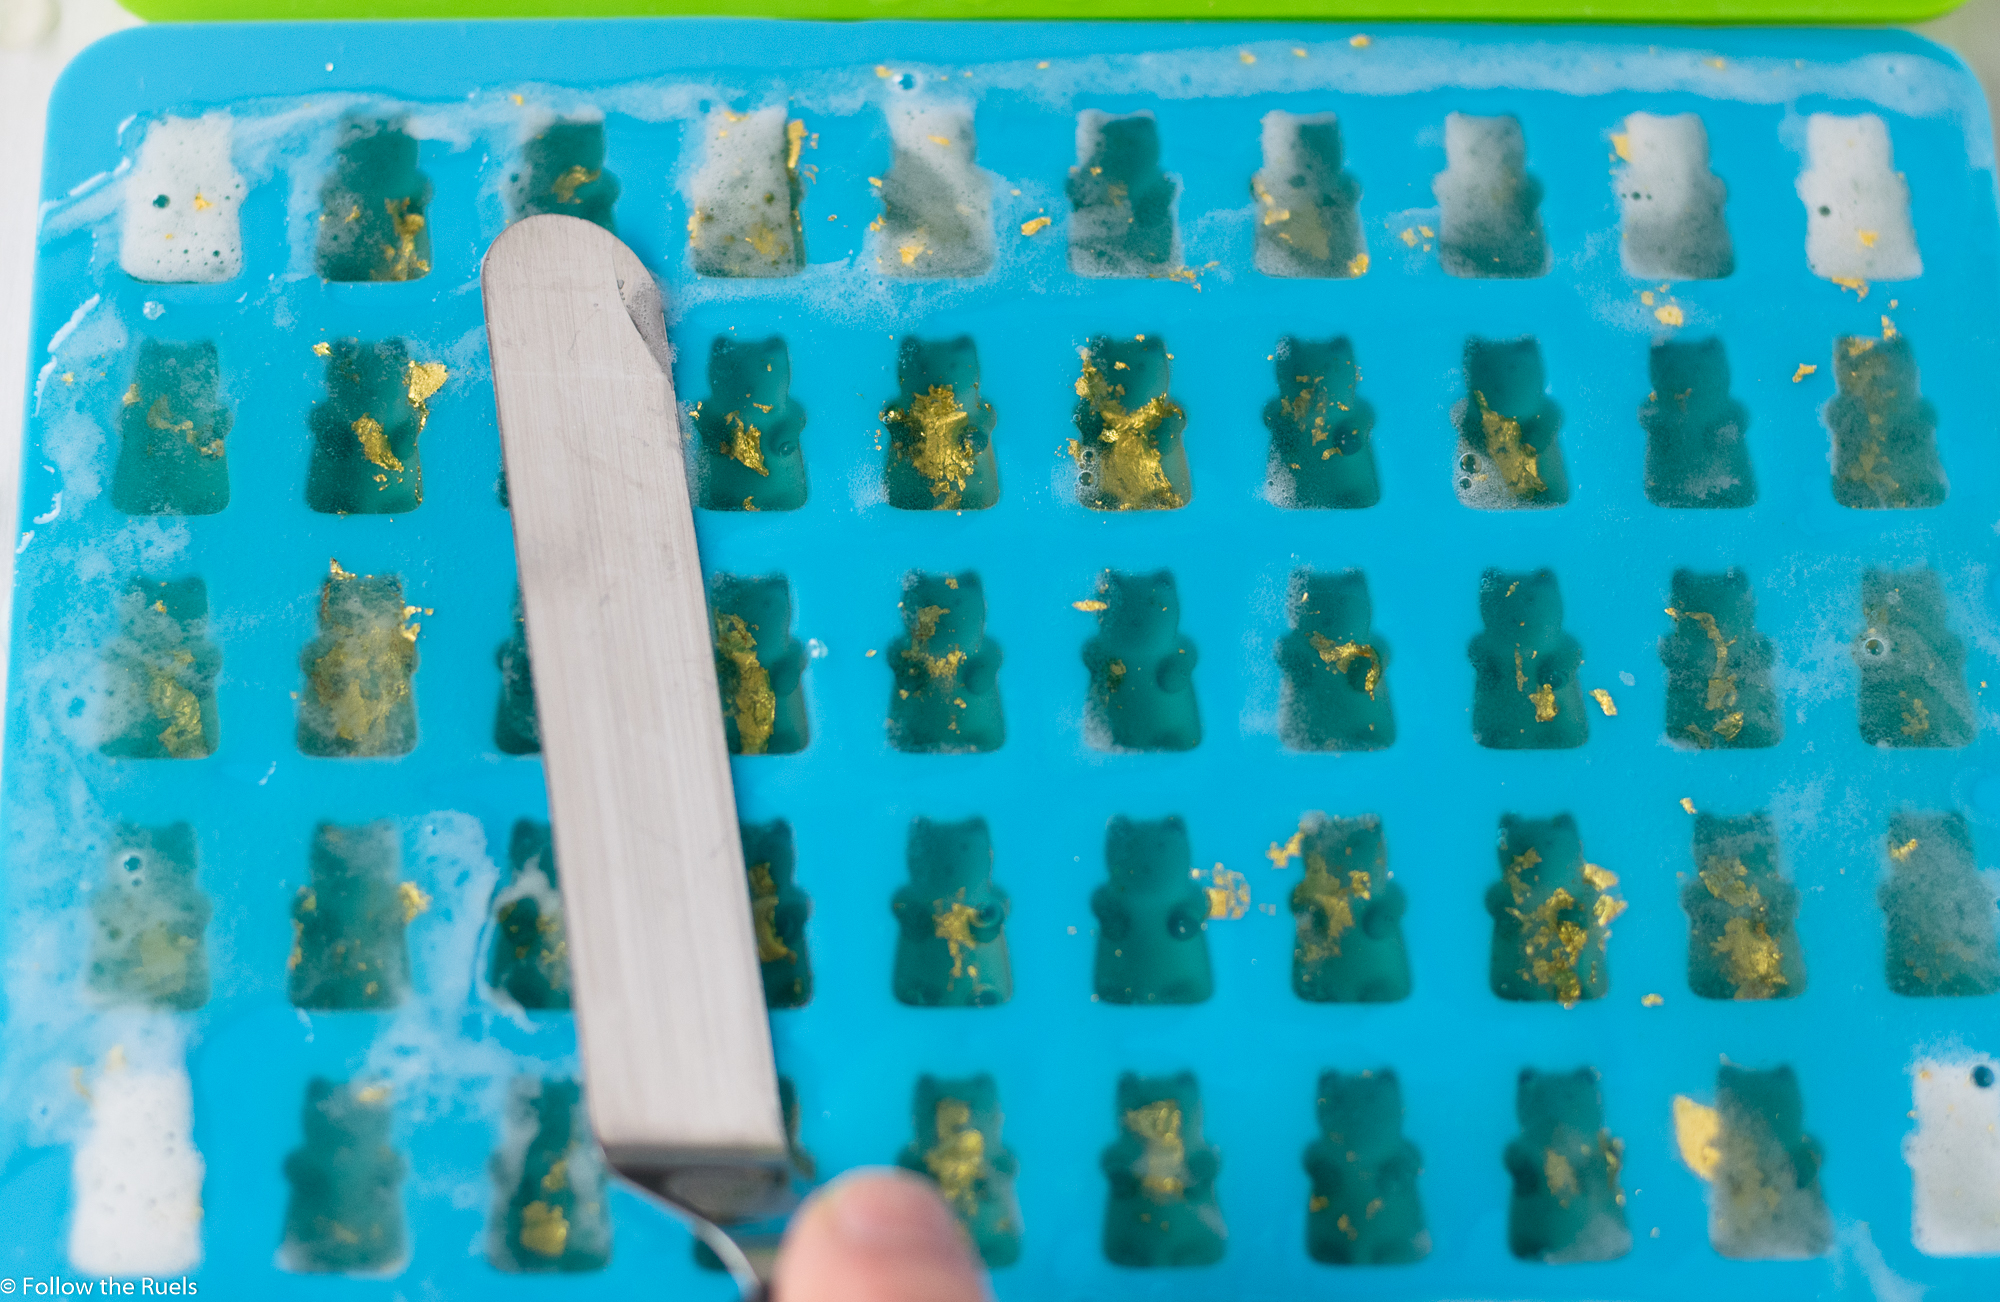
Now it’s time to pour the gelatin into the molds. You probably received a little dropper to carefully drop the liquid into the molds, but we don’t have time for that. Just pour a little bit into the center and use a spatula to spread it around to fill all the molds. 

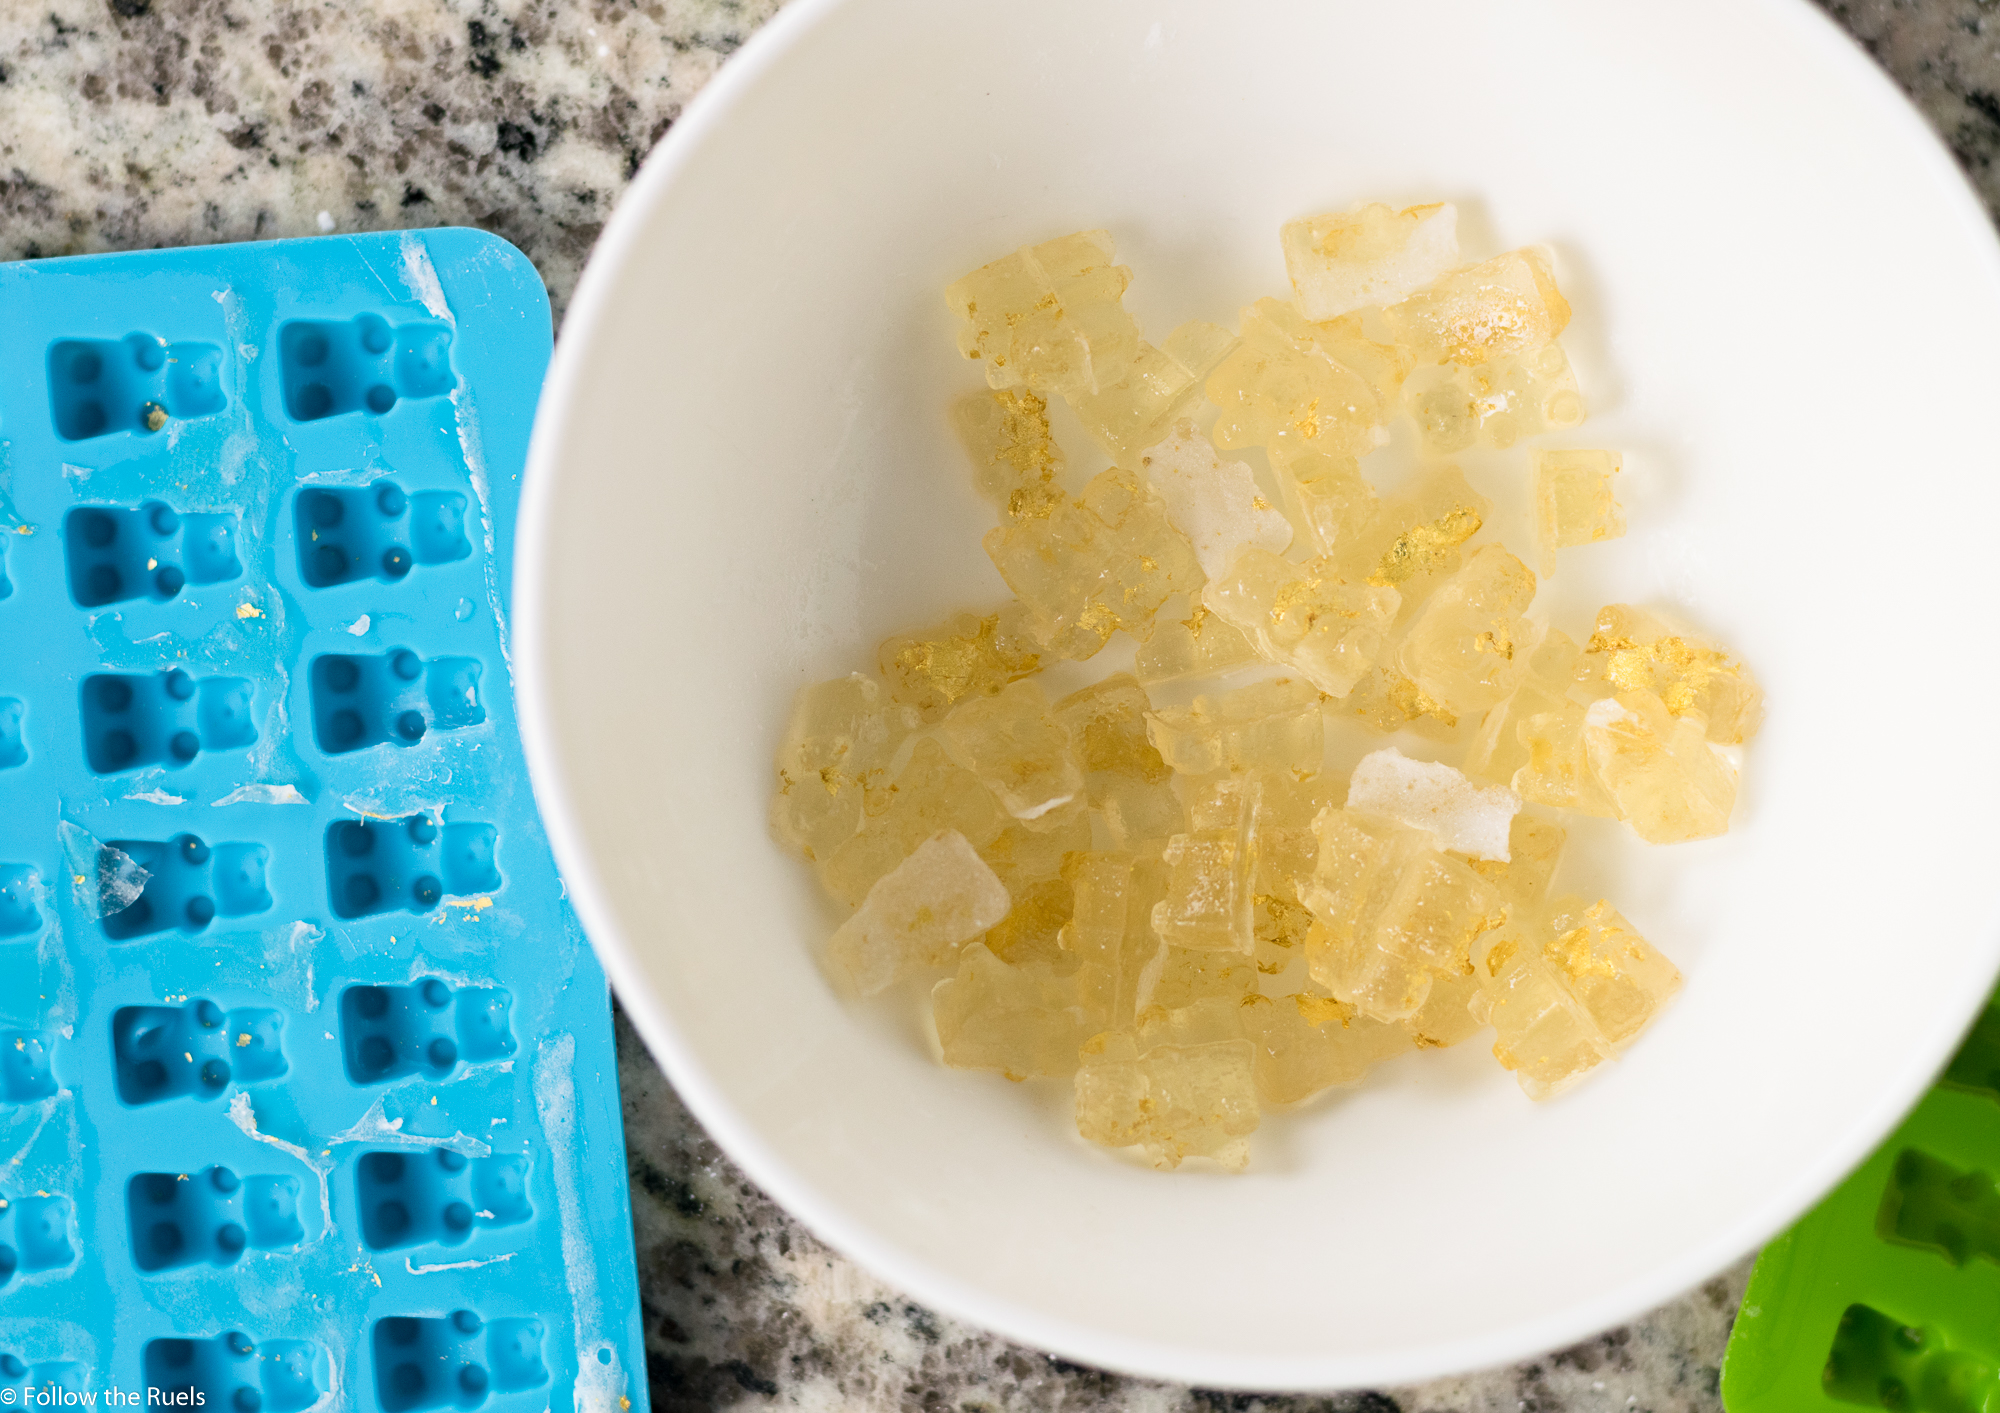
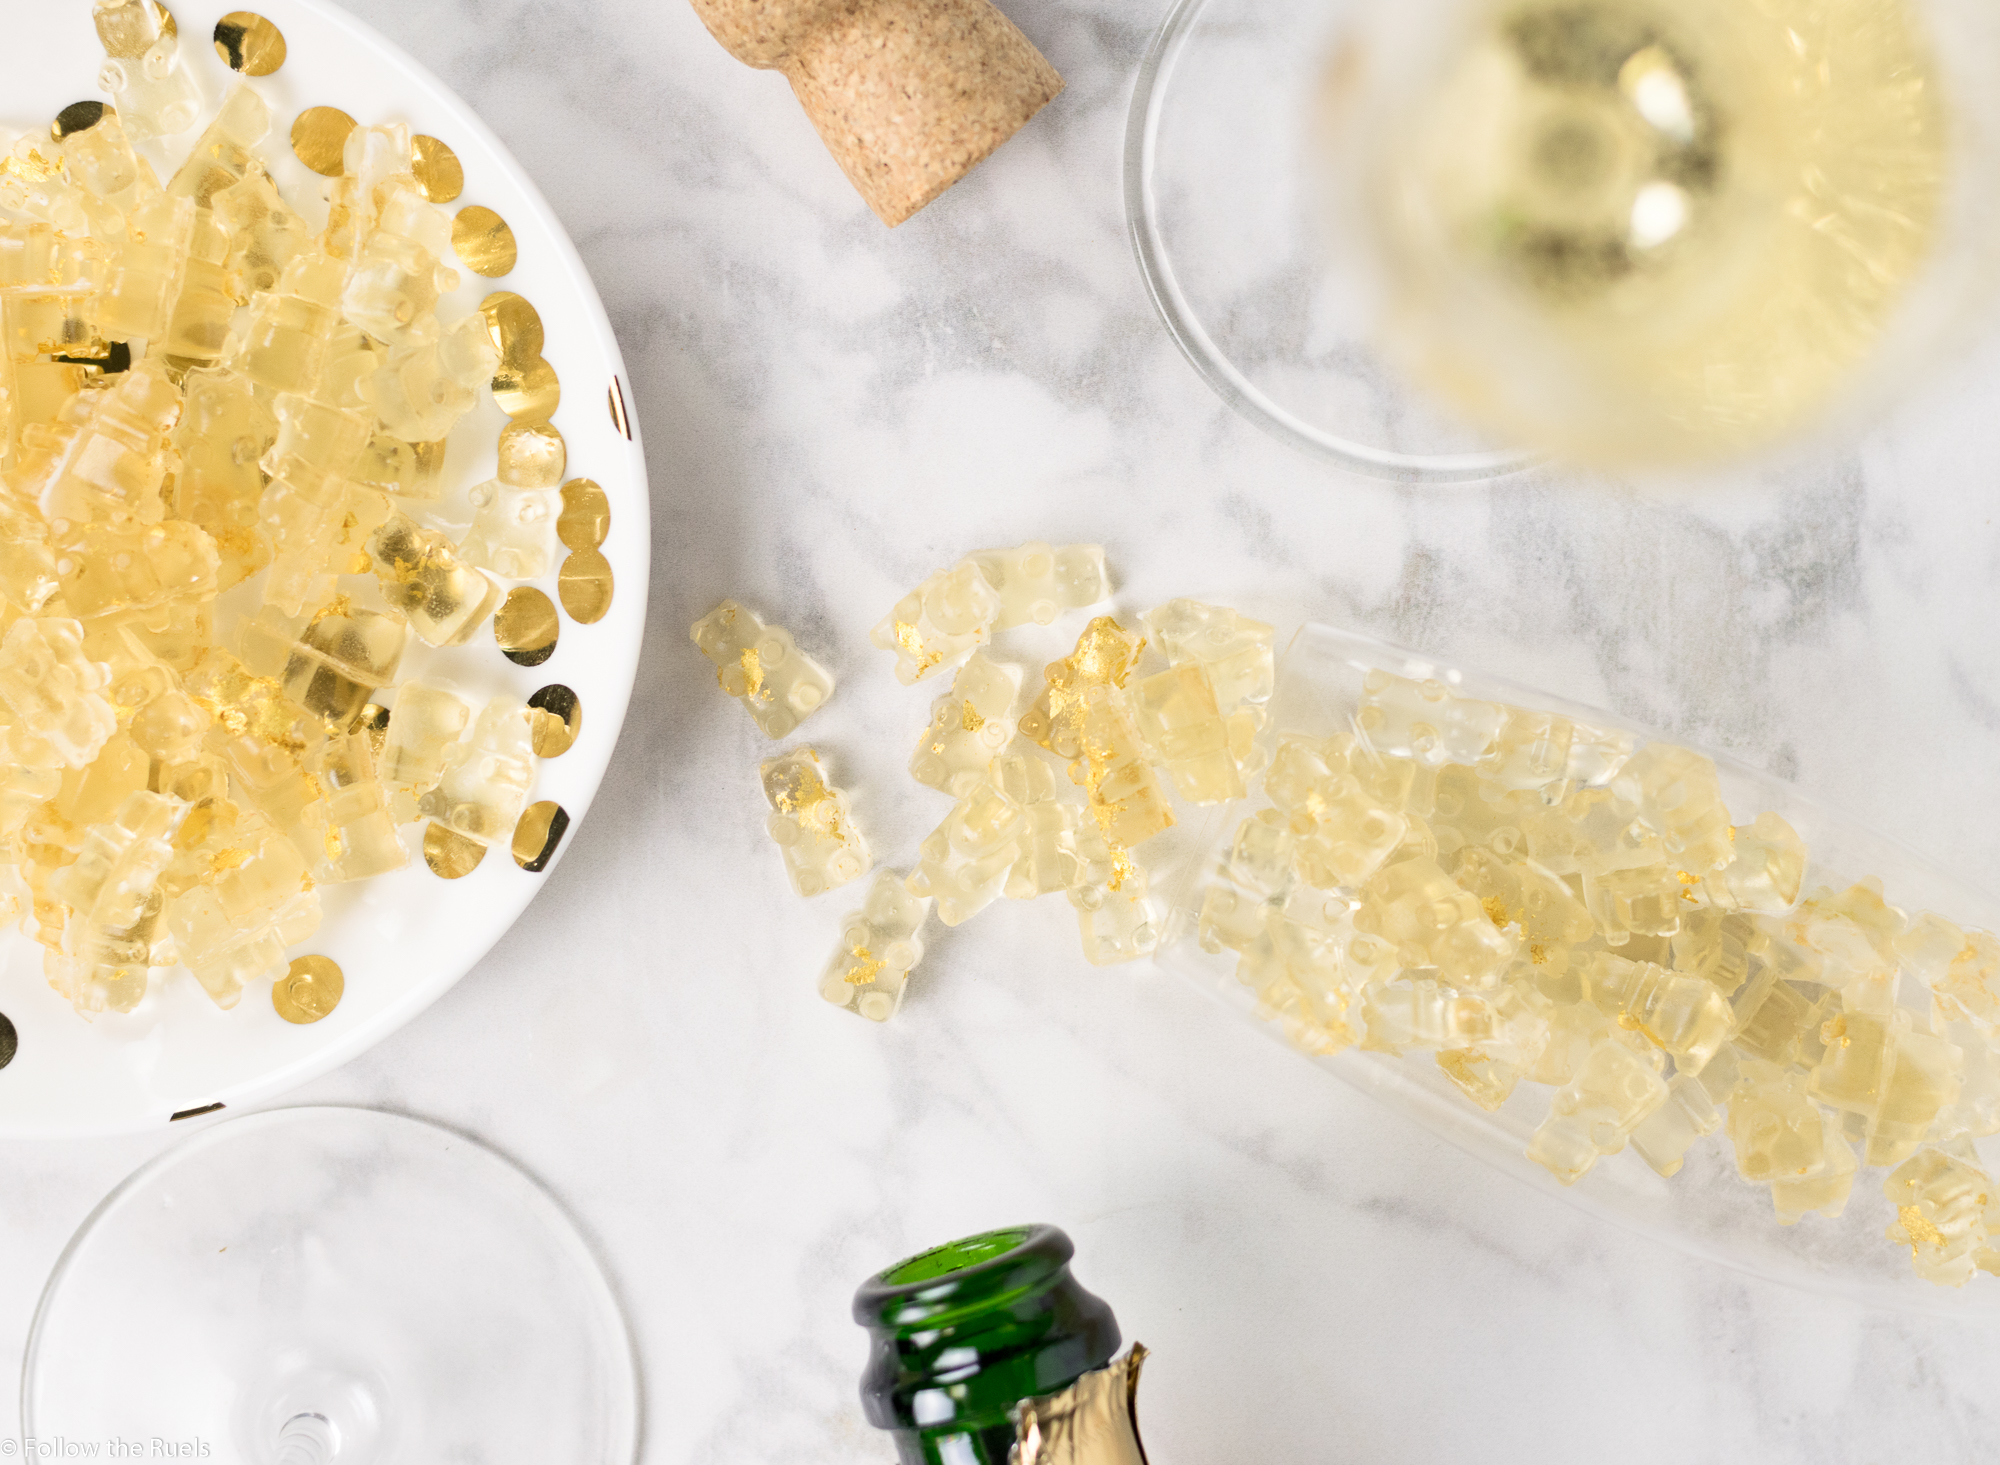
The gummy bears will start to set up after about 60 minutes at room temperature or 30 minutes in the fridge. Once they are set, they should pop right out of their molds.

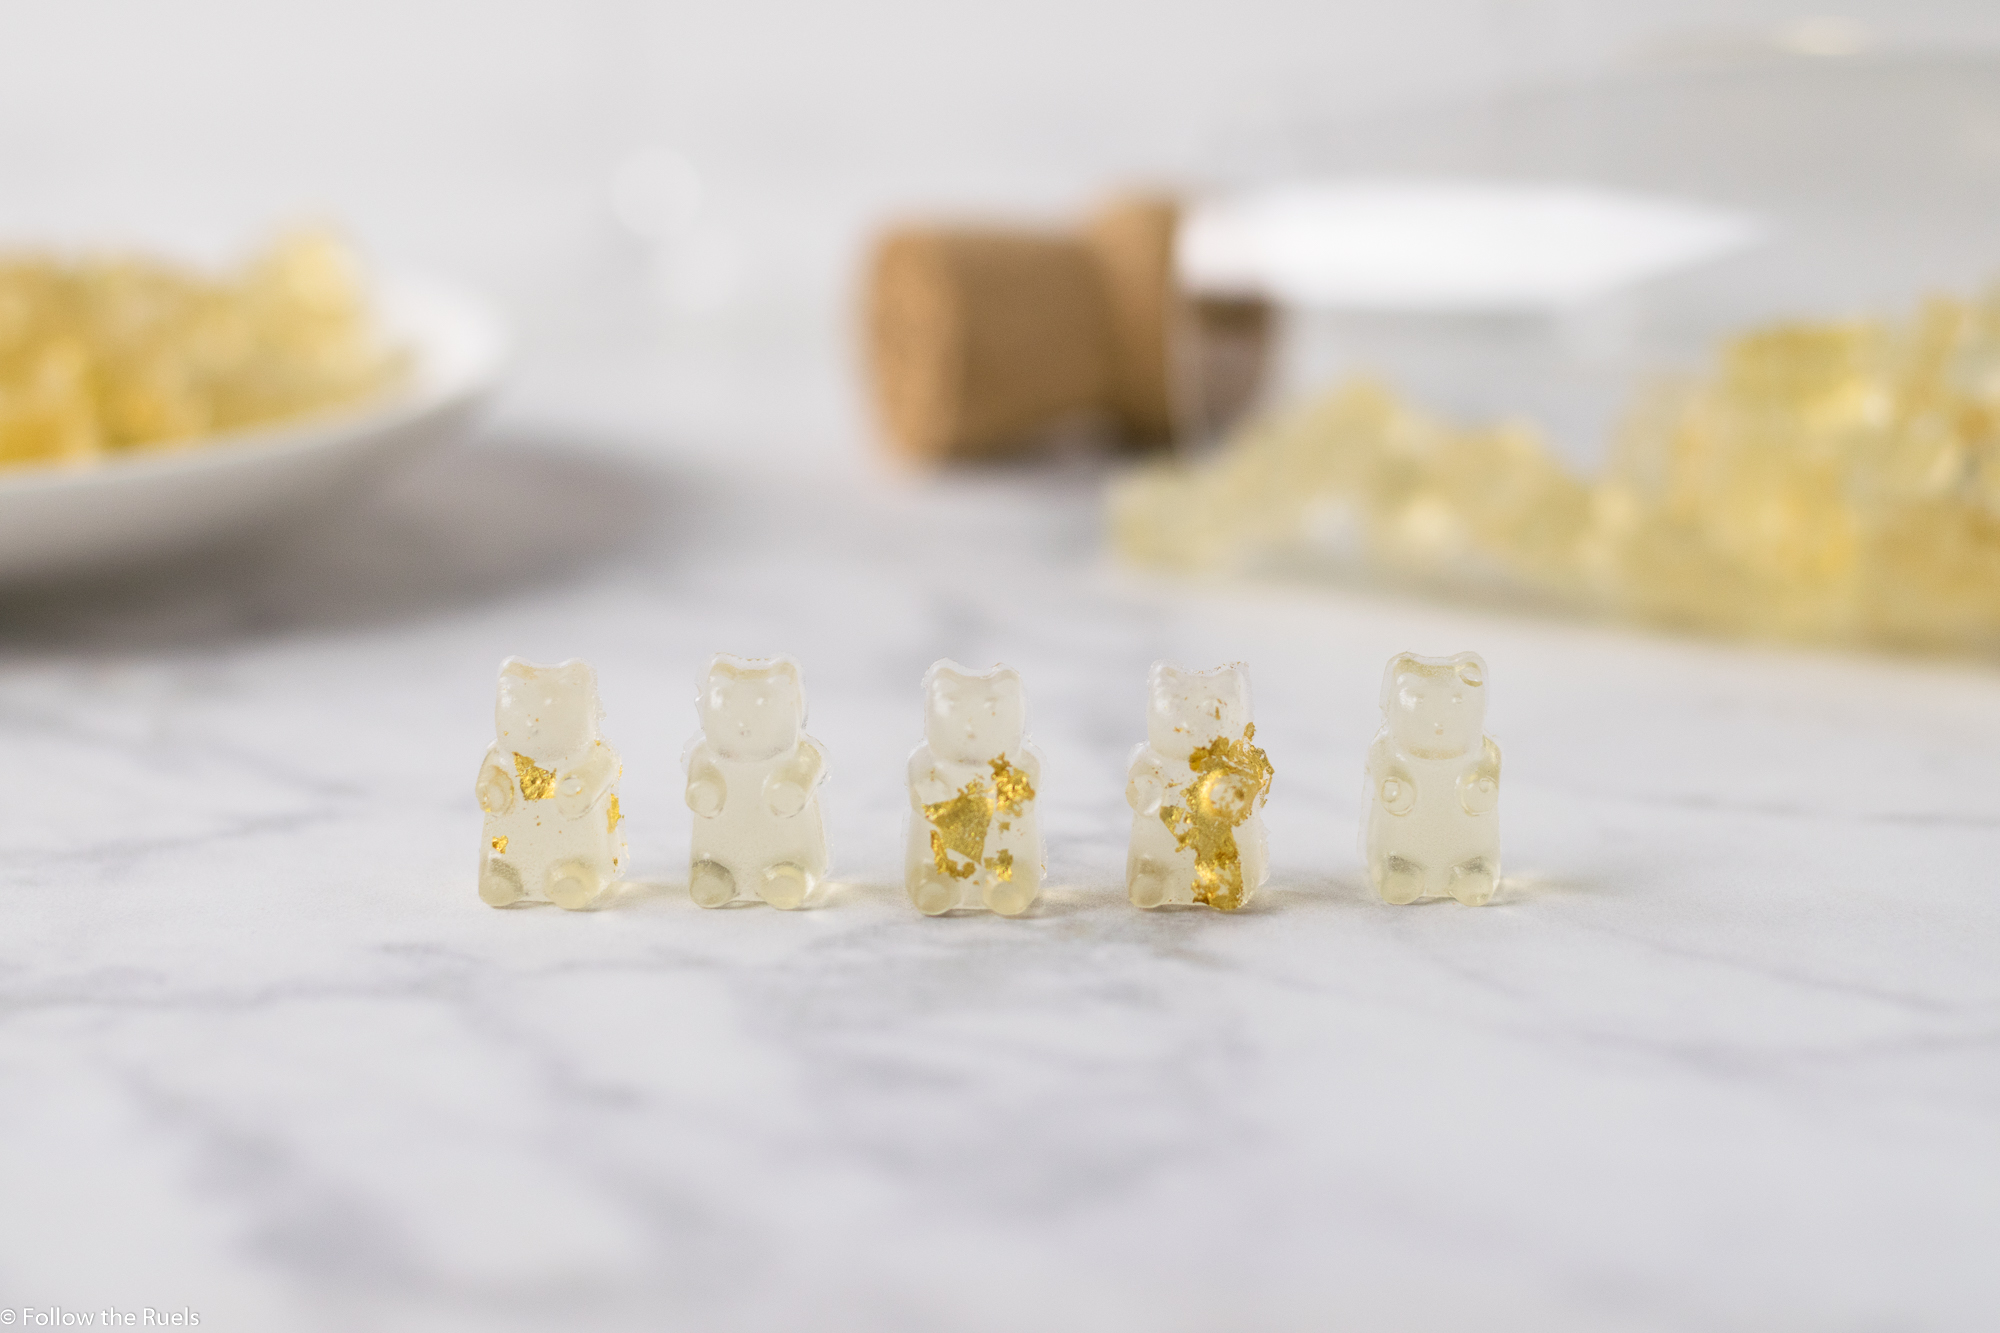
And now you have your very own homemade champagne gummy bears! Aren’t they cute!

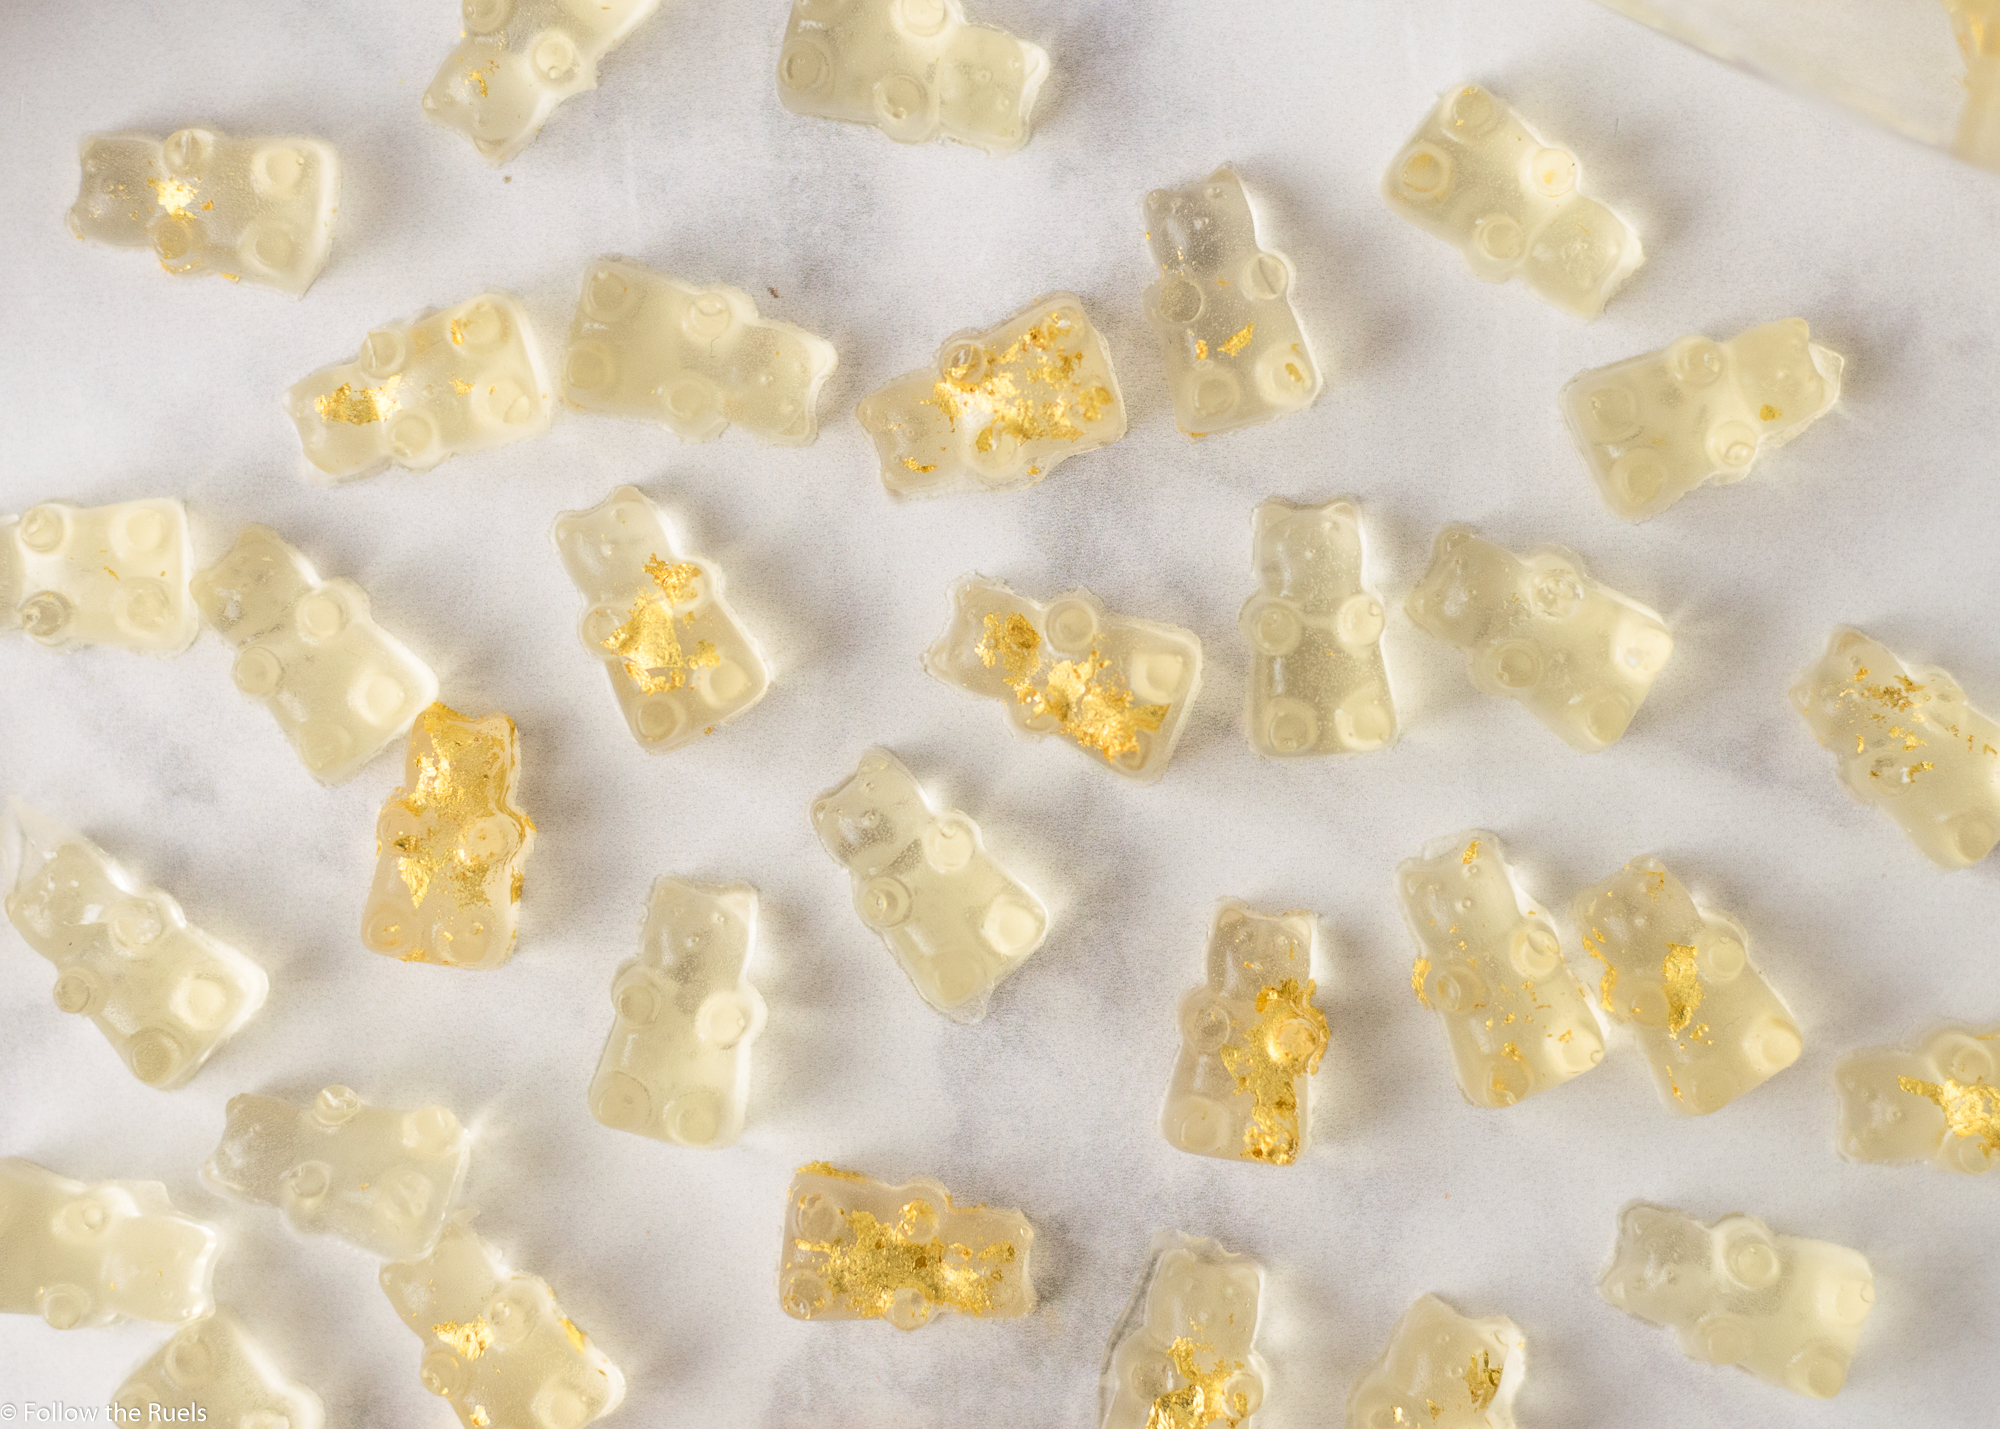
Not a bad way to kick off the new year!

[show_shopthepost_widget id=”2966479″] 

[yumprint-recipe id=’154′] 


/ Filed In: Desserts, Eat, Other Sweets New
Tagged: candy, champagne, golf leaf, gummies, gummy bears, wine

Easy Mulled Wine Recipe

December 24, 2017

Christmas is just a few short hours away, which means that hopefully, you have done all of your holiday shopping, you have your holiday outfit picked out, and you are already enjoying time with your family.

If you answered no to the first two, I am not sure how much I can help with that. But if its spending time with your family you are worried about, I have just the trick: mulled wine!

Mulled wine is the perfect holiday drink for those who are not into eggnog. First of all, it’s wine. Who doesn’t need a little wine when hanging out with the fam? Also, it’s a warm drink which is great for these cold winter days. Lastly, it’s actually really easy to make! Of course, that is key when you are running around the day before Christmas trying to tie up any loose ends. 


Mulled wine gets its flavor from oranges and some classic Christmas spices. Mainly, clove, cinnamon, and cardamom. 

First, bring water, sugar, and the orange peel to a boil to get all those flavors out of the orange zest. Then add the spices. Hopefully, you already have some whole spices on hand (if not, you may need to make a quick trip to the store). Let the spices get all cozy with the orange zest, then turn down the heat before adding in the wine. 

It is very important that you don’t boil the wine.

I repeat, DON’T BOIL THE WINE!

If you boil the wine, all of the alcohol will cook out of the wine, which is the opposite of what you want to happen. 

After about 15 minutes, remove the spices from the wine. Now it’s ready to serve.

I like to add some orange slices to the wine to add a little more orange flavor. 

For those who haven’t had mulled wine before, it reminds me a lot of sangria with a little extra spice. It delicious, trust me. 

And it’s perfect for holiday parties, family gatherings, or when you can’t decide between a warm drink and wine. With mulled wine, you can have both!

[yumprint-recipe id=’153′] 

/ Filed In: Drinks
Tagged: Christmas, cinnamon, clove, drinks, holidays, mulled wine, wine

Watermelon Rose Slushie

June 30, 2017

I should really give my husband more credit. For instance, this watermelon rose slushee was all his idea. You see, he likes to browse Reddit, where he finds all sorts of crazy things, one of which was a watermelon keg. In the video (or maybe just a post) they cut open the top of the watermelon, used an immersion blender to blend the inside, then poured in some rose. Add a tap, and you have yourself a watermelon keg!

Now, I’m pretty sure we didn’t need a whole watermelon keg. But a watermelon and rose cocktail sounded delicious!

HOW I MADE IT


I started by cubing then blending the melon until smooth. 


Then I poured it through a sieve to get rid of all the pulp.
I poured the juice into an ice cube tray to let freeze overnight.


The next day, I blended the watermelon ice cubes with rose and a toich of lemon juice until I had something that resembled the Slurpee I used to get at 7-11.

It is basically a grown up Slurpee. Just not as sickenly sweet and, you know, boozy.

But its not too boozy. I only used 3/4 cup of wine for what was essentially 4 large cups. You could definitely add more if you want more of the rose flavor. But I loved how refreshing it tasted thanks to all that sweet waltermelon juice.

It’s the perfect Summer cocktail!

[yumprint-recipe id=’114′]

/ Filed In: Drinks, Eat
Tagged: cocktail, drink, rosé, Summer, watermelon, wine

Sangria Granita

August 29, 2016

Sangria Granita

I know it feels like Summer is almost over because the kids are going back to school and all, but we still have a whole month left! Come on guys, don’t give up on Summer yet. 

Actually, I am ready for Summer to be over, who am I kidding….

I digress. One of my favorite things I made all Summer was this Rose sangria. It was scrum-didily-umptious! Unfortunately (or maybe fortunately) I couldn’t polish off a whole batch myself, so I had a ton left over. The great thing about sangria is that it keeps pretty well. For the sangria that was left, I strained out the fruit and put it back in a clean wine bottle (this is where twist tops come in handy). I could have just had a glass of sangria every night for the rest of the week, but I decided to do something a bit more fun with it. 

Make granita!


I used to make granitas all the time back in the day. Not only are they easy, but they can be pretty healthy. Take whatever liquid you like, freeze it, fork it, BOOM you have yourself some granita. 

And that is exactly what I did with the leftover sangria. I poured it in a shallow dish, then placed it in the freezer. Every couple hours, I scraped a fork over the surface to create tiny little sangria ice crystals. I repeated that step a couple times until the whole thing was frozen. By the end, what I had was akin to a wine shaved-ice. Yum, right?

Sangria Granita

This sangria granita made such a great little dessert at night. It was almost like having a glass of wine after dinner, but better!

Sangria Granita

So don’t give up on Summer just yet. Try making this sangria granita while it’s still hot outside. I promise, it’s probably the next best way to enjoy wine on these hot Summer days after an actual glass of fresh sangria, of course. 

[amd-yrecipe-recipe:71]

/ Filed In: Desserts, Eat
Tagged: fruit, granita, ice, sangria, Summer, wine

Rosé Sangria

June 29, 2016

Rose Sangria

I actually hadn’t tried my first sip of RosĂ© until very recently. Like last week. My Bourbon-drinking, Crossfit- doing male coworker is actually the one who recommended that I give it a try. After I got over making fun of him for his taste in wine, he educated me on the leaps and bounds of progress RosĂ© has made over the past few years. It’s not longer just the sickeningly sweet White Zinfandel that my grandparents used to drink. Now it’s complex and refined, and – dare I say it? – good! After my first sip, I knew it would be perfect for Sangria!

I was lucky enough to spend two weeks in Spain when I was in grad school and all I can remember is that I drank a lot of sangria. And it didn’t stop when I got home. My husband I tried various sangria recipes, mixing it up with red wine and white wine, stone fruit and citrus. Honestly, none of those combinations were bad. How could wine and fruit be bad? But the one combination we never tried was RosĂ© and anything.

Summer Rose Sangria

Because RosĂ© is a popular Summer wine, I decided to make this sangria with lots of Summer fruit. Let me clarify – pink Summer fruit, like strawberries, raspberries, peaches, plums, and cherries.


Making Sangria is remarkably easy. I like to chop up the fruit into equally sized pieces then toss them in the bottom of a pitcher. I then pour in the wine, some orange juice, and some simple syrup. Next comes the hardest part of the whole recipe – waiting.

Rose Sangria

Sangria is best when it sits and “marinates” overnight. All those flavors from the fruit come out to flavor the wine, and the fruit does it’s part to soak up some of that wine, too.


To serve, I like to pour it into a class with some frozen grapes, which act as little ice cubes. Then I add in spoon in some of the fruit from the pitcher and top it off with some sparkling water (I prefer LaCroix) for some effervescence.

Rose Sangria

This RosĂ© sangria is so refreshing and light, it is perfect for a warm Summer day. I can’t imagine anyone not loving this sangria! But if for some strange reason you don’t finish your whole batch, you can actually save sangria and refrigerate it for up to a week! Can’t let good Sangria go to waste!

Rose Sangria

Here’s what I do:

  • Strain out the fruit
  • Pour sangria back into the wine bottle (this is where screw top bottles come in handy)
  • Refrigerate

Then when I’m ready to serve up my leftover sangria, I pour it over some fresh fruit. Easy peasy!

So if you were looking for a fun cocktail to make for your 4th of July bash, I hope I have inspired you to whip up a batch of sangria!

[amd-yrecipe-recipe:50]


/ Filed In: Drinks
Tagged: drinks, rosé, sangria, wine

Summer Sangria

August 7, 2014

Summer-SangriaSangria is one of my husband’s and my favorite drinks to make during the Summer months when we are either hosting or attending a party. It can be as simple or as complicated as we’d like and very easily scalable to however many people we are making it for.

Summer-Sangria1For this batch of sangria, we chose to use lots of fresh Summer stone fruit, like peaches, plums, and cherries. Peaches are wonderful in sangria because the really give off a lot of flavor, making the finished product sweet, yet still a bit tart from the wine.

To make this drink even more Summery, we added watermelon ice cubes. We stole this idea from a bar in Raleigh we visited a couple weekends ago, but I will probably be adding watermelon ice cubes to all my drinks for the rest of the Summer. It’s genius! And they are super easy to make: 1) cut up some watermelon into cubes; 2) freeze.

Summer-Sangria2There is no real rhyme or reason to chopping up fruit for sangria. I like to leave the pieces relatively large so they don’t get too mushy sitting in wine for a couple days, but not so large that you can’t fish a piece of fruit out of your glass and eat it, in all its drunken glory.


And for the wine…well, again, there are no standards (at least none that I am aware of). I prefer to use wines that are a little bit sweet and fruity already. But not too sweet. I stay away from Chardonnays and Rieslings. Somewhere in the middle, like a Savignon Blanc or Pinot Grigio. For this batch, we used a Spanish wine (I can’t think of the grape variety for the life of me), which seemed pretty appropriate.

We also like to throw in a splash of whiskey, like Crown Royal (or the Kirkland equivalent, as in our case). Partly because we like the added flavor, and partly because my husband will only drink a fruity drink if there is whiskey in it.

Summer-Sangria5We let our sangria sit for at least two days. My husband wanted me to emphasize TWO days (he literally walked in as I was typing and said, “please put on your recipe that we let ours sit for at least two days”). You definitely could make this the night before and serve it the next day. However, you won’t be doing your sangria any favors. All the flavors from the fruit will not be as fragrant. After two days, the fruit has gotten a chance to break down and release its juices and the bite from the wine is a bit less noticeable.

Summer-Sangria6I think sangria is just the perfect drink for the Summer. The Spanish really knew what they were doing when they came up with this idea. It is just so refreshing and flavorful. However, I can sometimes forget that I am drinking wine…which can be a problem. So pace yourself! One batch can last you a while. If you don’t think you can finish it off after about four days, strain out the fruit and store the rest in the fridge. You can add back in fresh fruit when you are ready to serve again.

What is your favorite Summer drink?

[yumprint-recipe id=’32’]

/ Filed In: Eat
Tagged: cherry, drink, fruit, peach, plum, watermelon, whiskey, wine

Wine Glass Cookies

June 19, 2014

BBC-Wine-Cookies-4This past weekend one of my best friends from college was in town. This meant we spent a lot of time drinking wine, reading magazines, eating junk food, and Facebook stalking old college crushes….pretty much what we did in college. It’s funny how easily I revert back into my 21 year old self. Now somebody please tell that to my wrinkles and metabolism!!

BBC-Wine-Cookies-3These cookies are perfect for a girls weekend or a dinner party. Why? Because there is wine IN the icing (!!!). To make the icing, I just mixed together confectioners sugar and reduced red wine. By reducing the red wine, you do get rid of the alcohol, but you really boost up the concentration of the flavor, so the cookies really do taste like wine. I only spiked the purple icing that made up the wine in the wine glass, but if I had wanted all of the icing (even the blue making up the glass) to be spiked, I would have used white wine instead of milk.

BBC-Wine-Cookies-2This recipe was actually inspired by the wine glass shaped cookie cutter I found at Sur La Table. I couldn’t help but pick up the wine glass and wine bottle cookie cutters knowing that I would find a good use for them. They also have champagne bottle and glass cookie cutters which would be delicious with champagne frosting…maybe that will be my next project! Wouldn’t little champagne cookies be wonderful for a bridal shower or New Years Eve!?


[yumprint-recipe id=’10’] 

/ Filed In: Eat
Tagged: cookie, icing, wine

Follow

Hey There!

Hey there, I'm Lindsey. I'm a number cruncher by day and a home cook and baker by night. While I love to eat healthy and find fresh and healthy alternatives for my favorite foods, I will never turn down dessert! Life is all about moderation, right?

Recipes

  • All Recipes
  • Breakfast
  • Appetizers
  • Salads
  • Main Dishes
  • Side Dishes
  • Desserts
  • Drinks

Favorite Finds

[show_lookbook_widget id=”388783″]

Theme by 17th Avenue · Powered by WordPress & Genesis