• Home
  • Eat
    • Breakfast
    • Appetizers
    • Main Dishes
      • Chicken
      • Beef
      • Seafood
      • Healthy Dishes
      • Paleo Dishes
      • Salads
    • Desserts
      • Decorated Cookies
      • Cookies
      • Bars and Brownies
      • Cakes and Cupcakes
  • Shop
    • Cookie Decorating Supplies
    • Bakeware
    • Cookware
    • Kitchen Gadgets
    • House
  • About
    • Contact
    • Bucket List
  • Cookie Decorating 101

Follow the Ruels

Raspberry Oatmeal Bars

May 1, 2018

I have been looking for a little sweet treat that was both delicious and moderately healthy. I emphasize moderately. Basically, something that I could eat for breakfast and not feel totally guilty. 

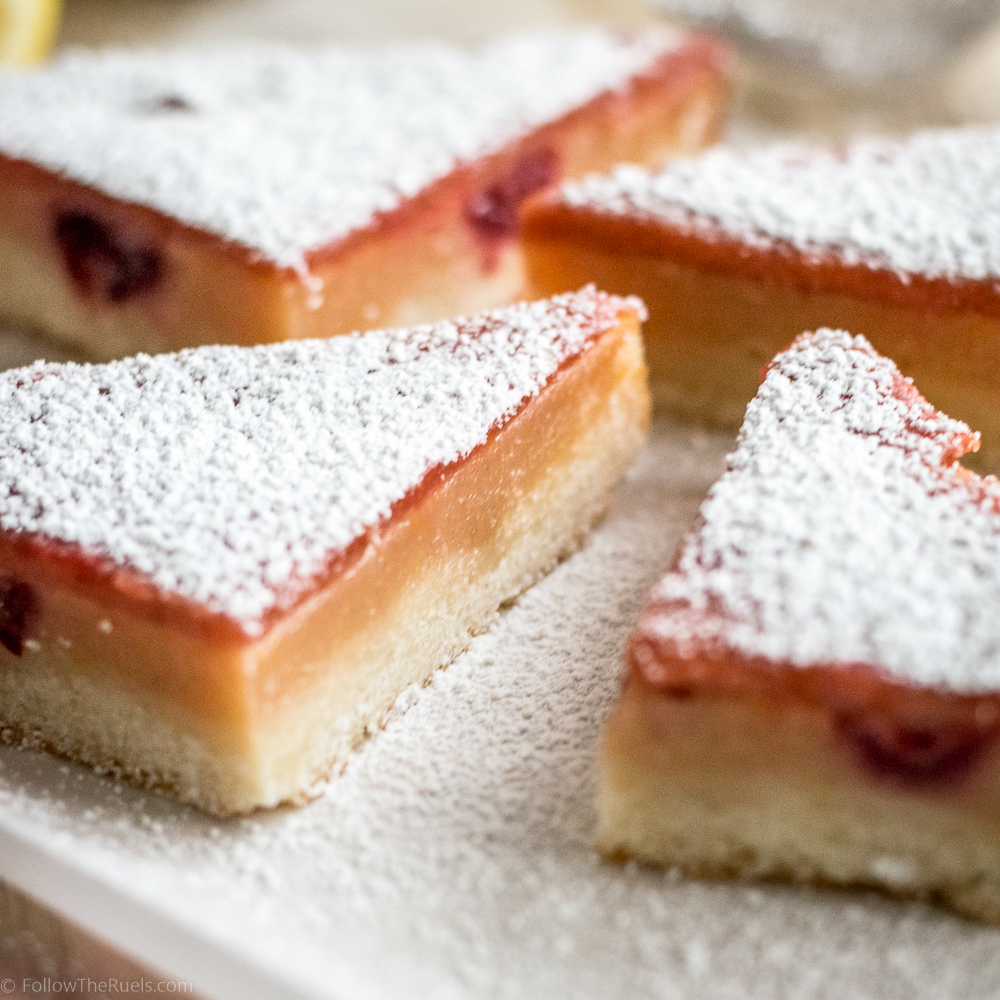
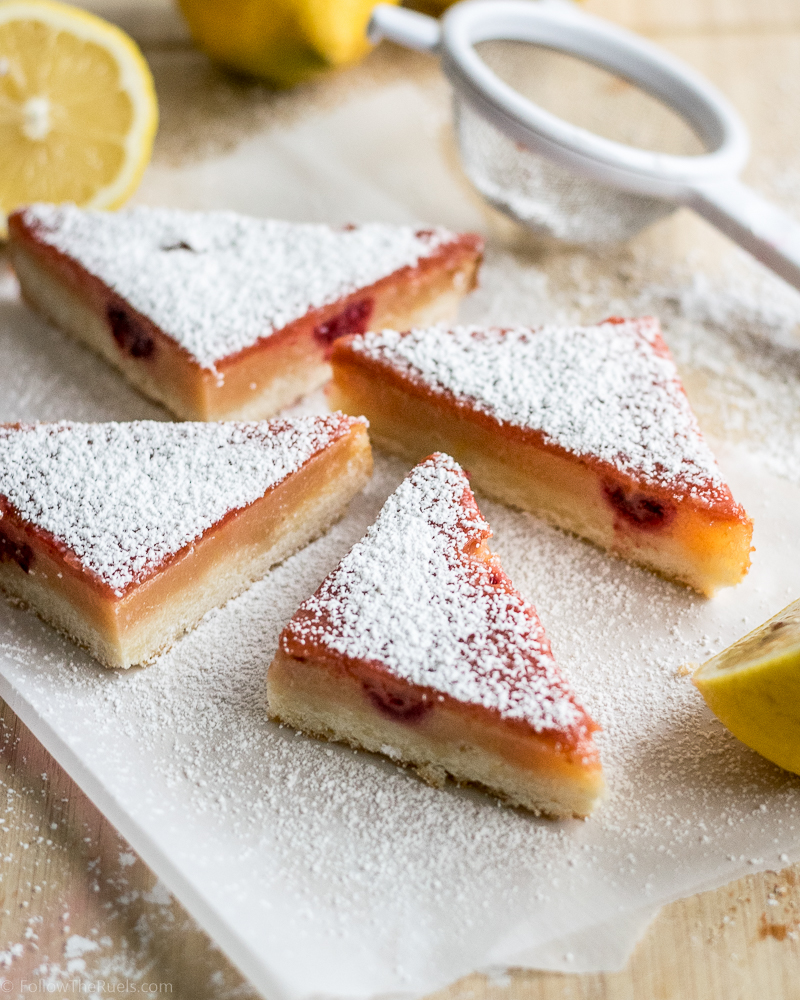
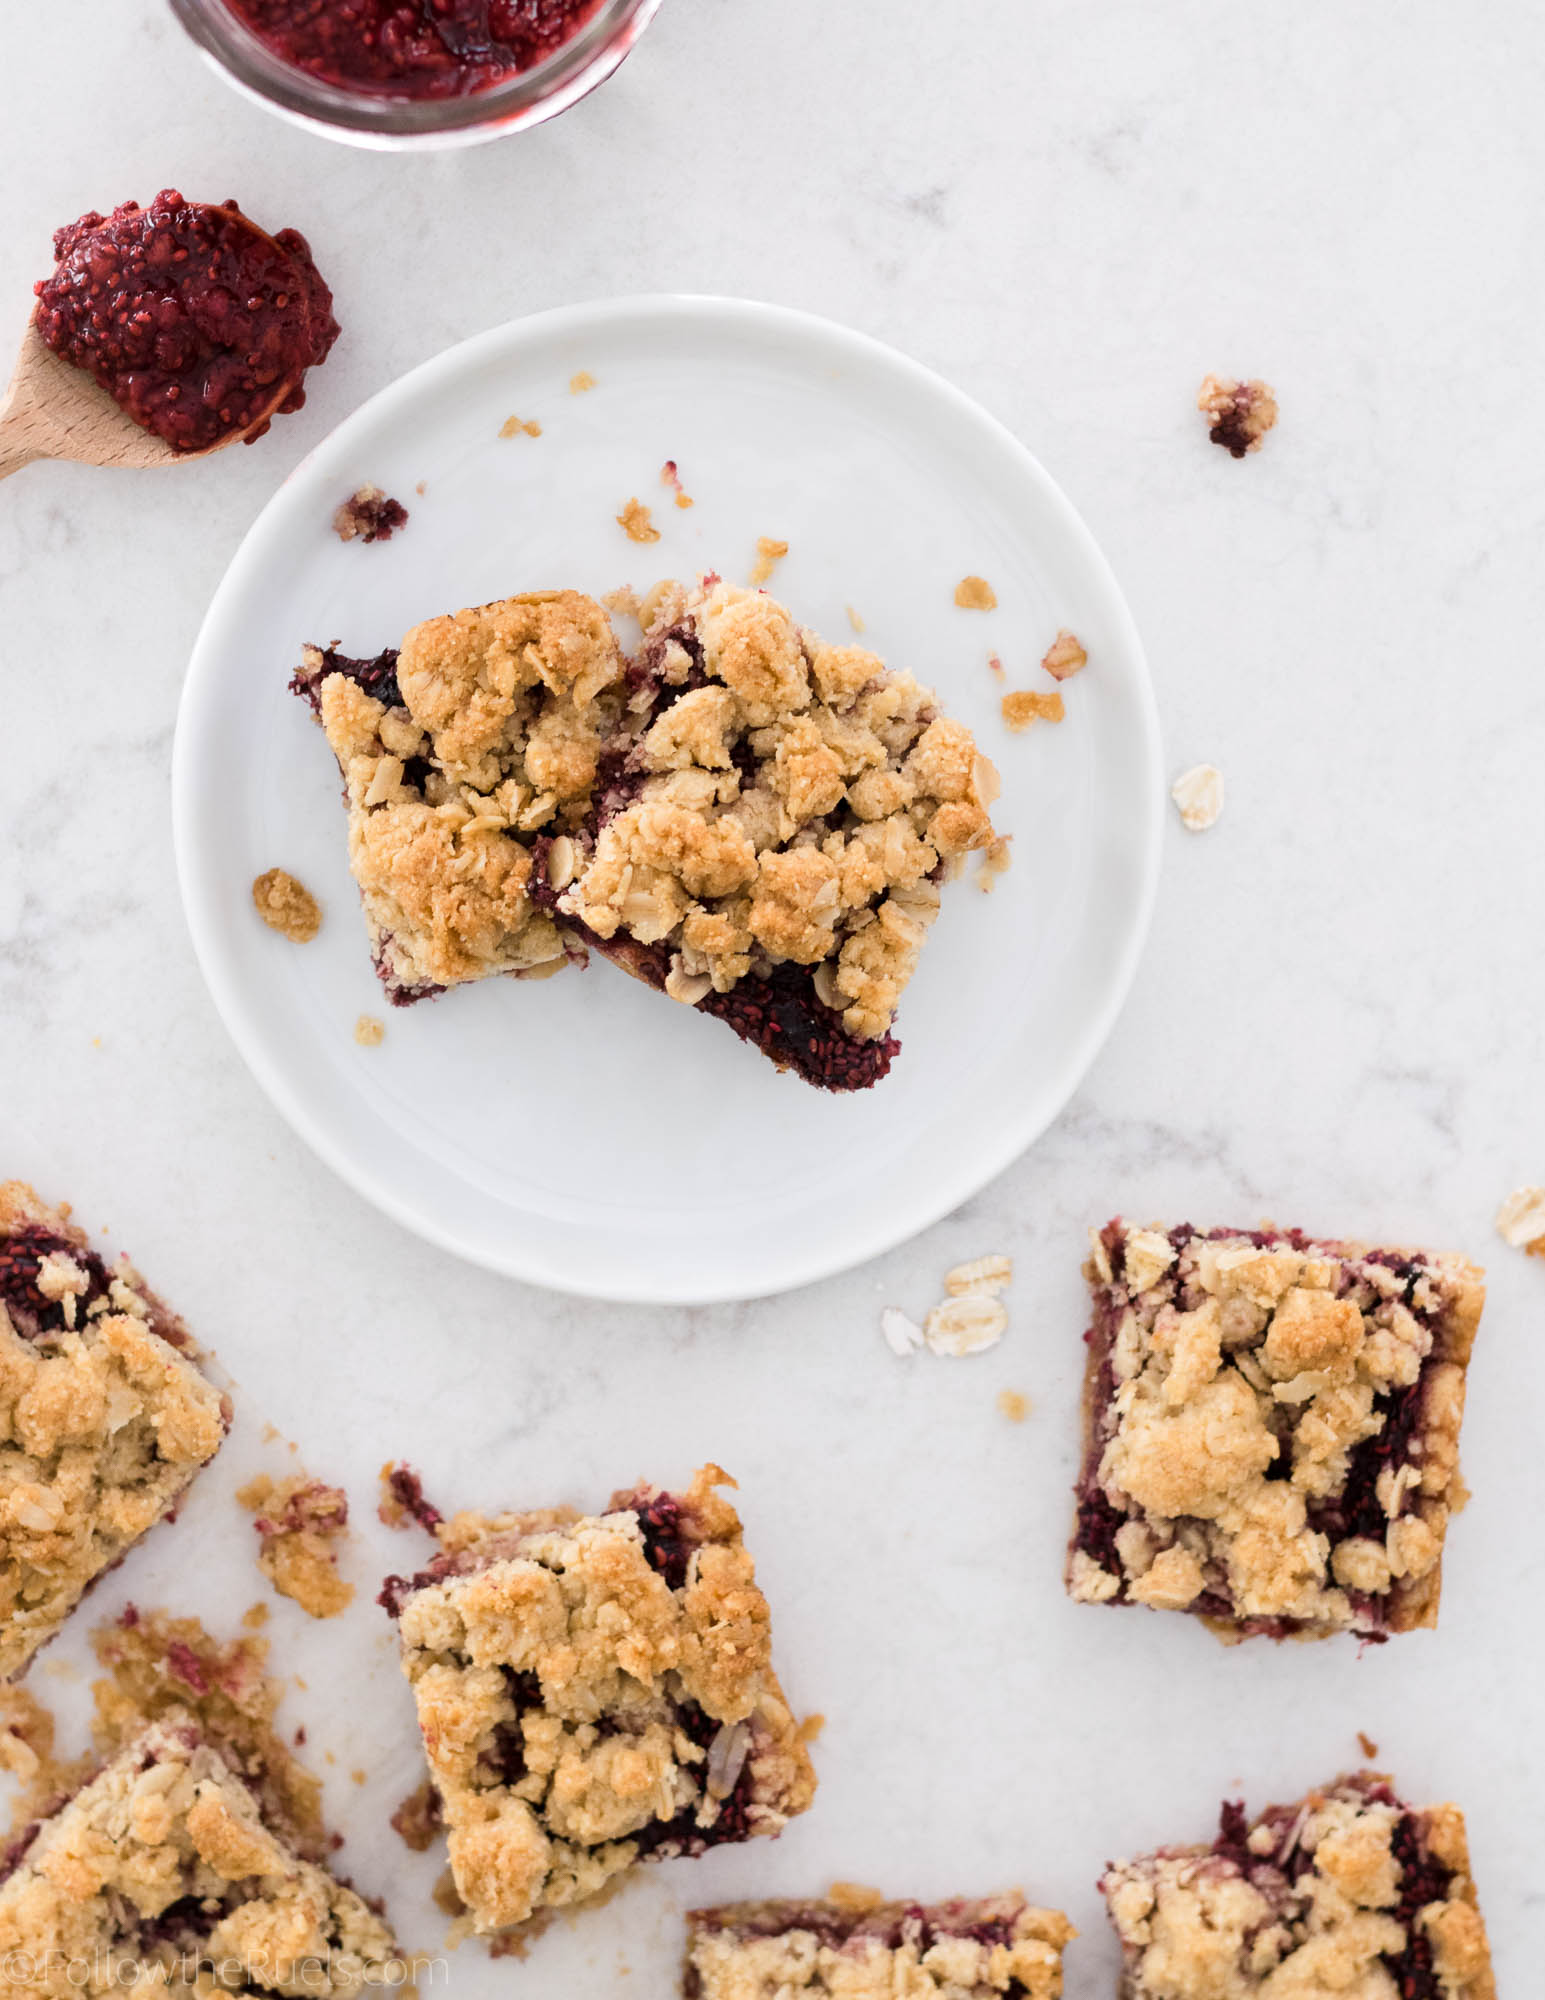
Well, I think I found just what I was looking for in these raspberry oatmeal bars!

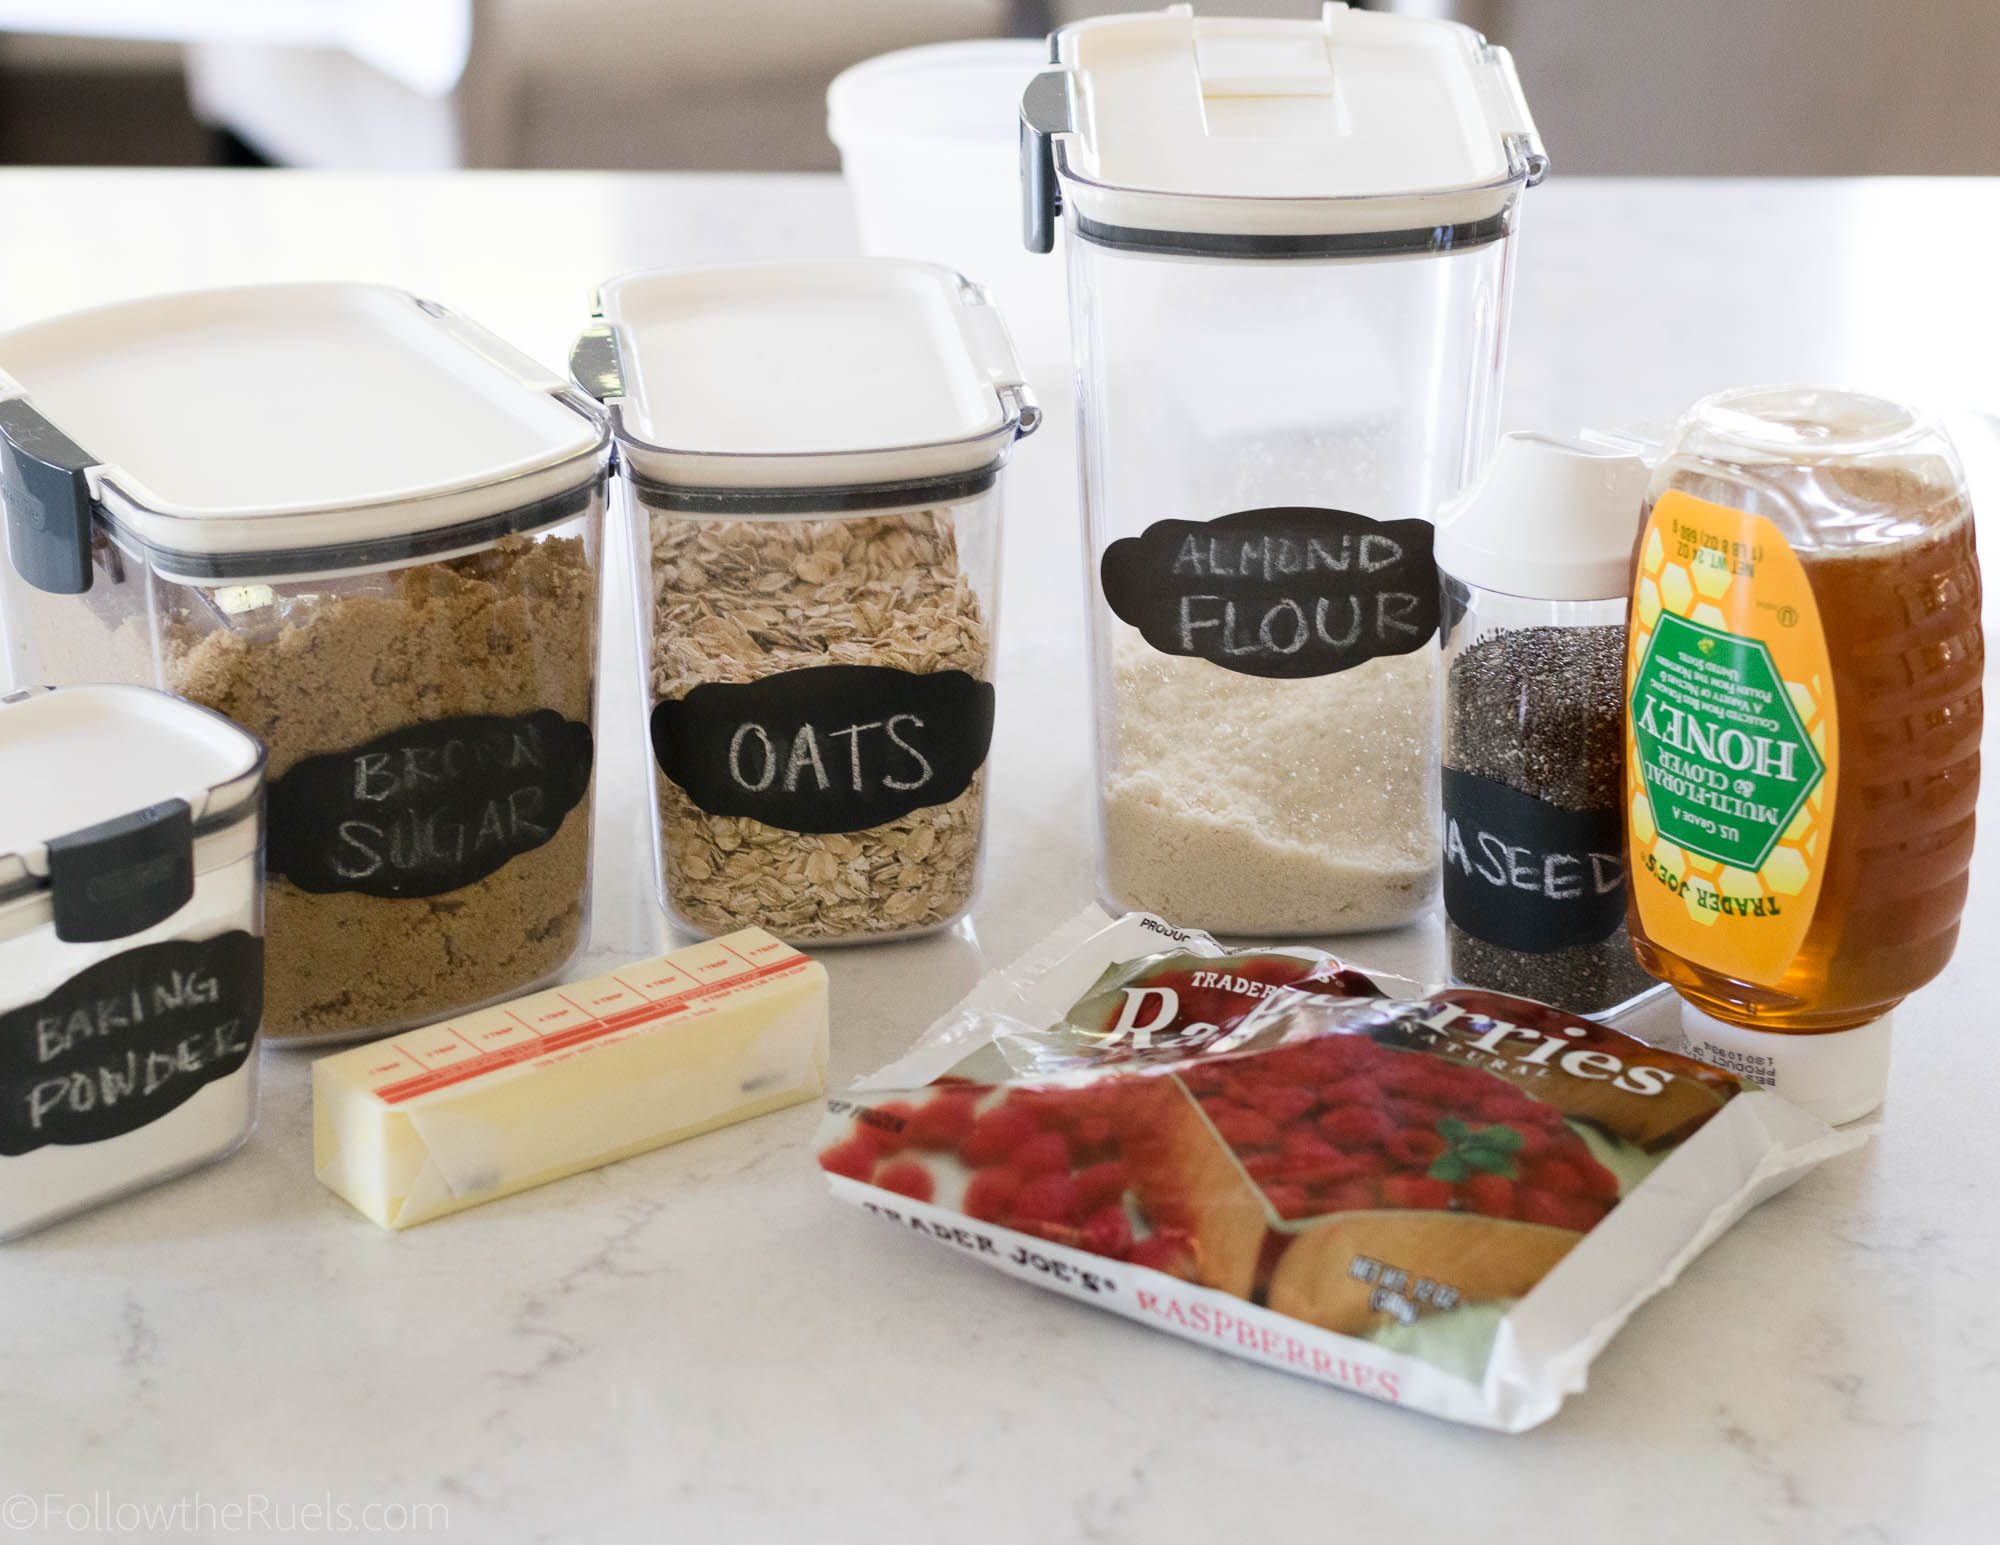
What makes them a tad healthier than your garden variety oatmeal bars is that they are made with almond meal instead of flour and I made my own raspberry jam with chia seeds, so it has absolutely no sugar! I’d say that almost qualifies as a breakfast food. 

How to Make Them

These oatmeal bars are very easy to make, even considering you have to make your own jam. Technically, you don’t have to. You can just use a regular raspberry jam. But I like the idea of making my own because I can control the sweetness of it. And it’s much easier to make than you’d think. 


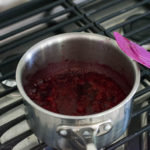
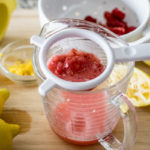
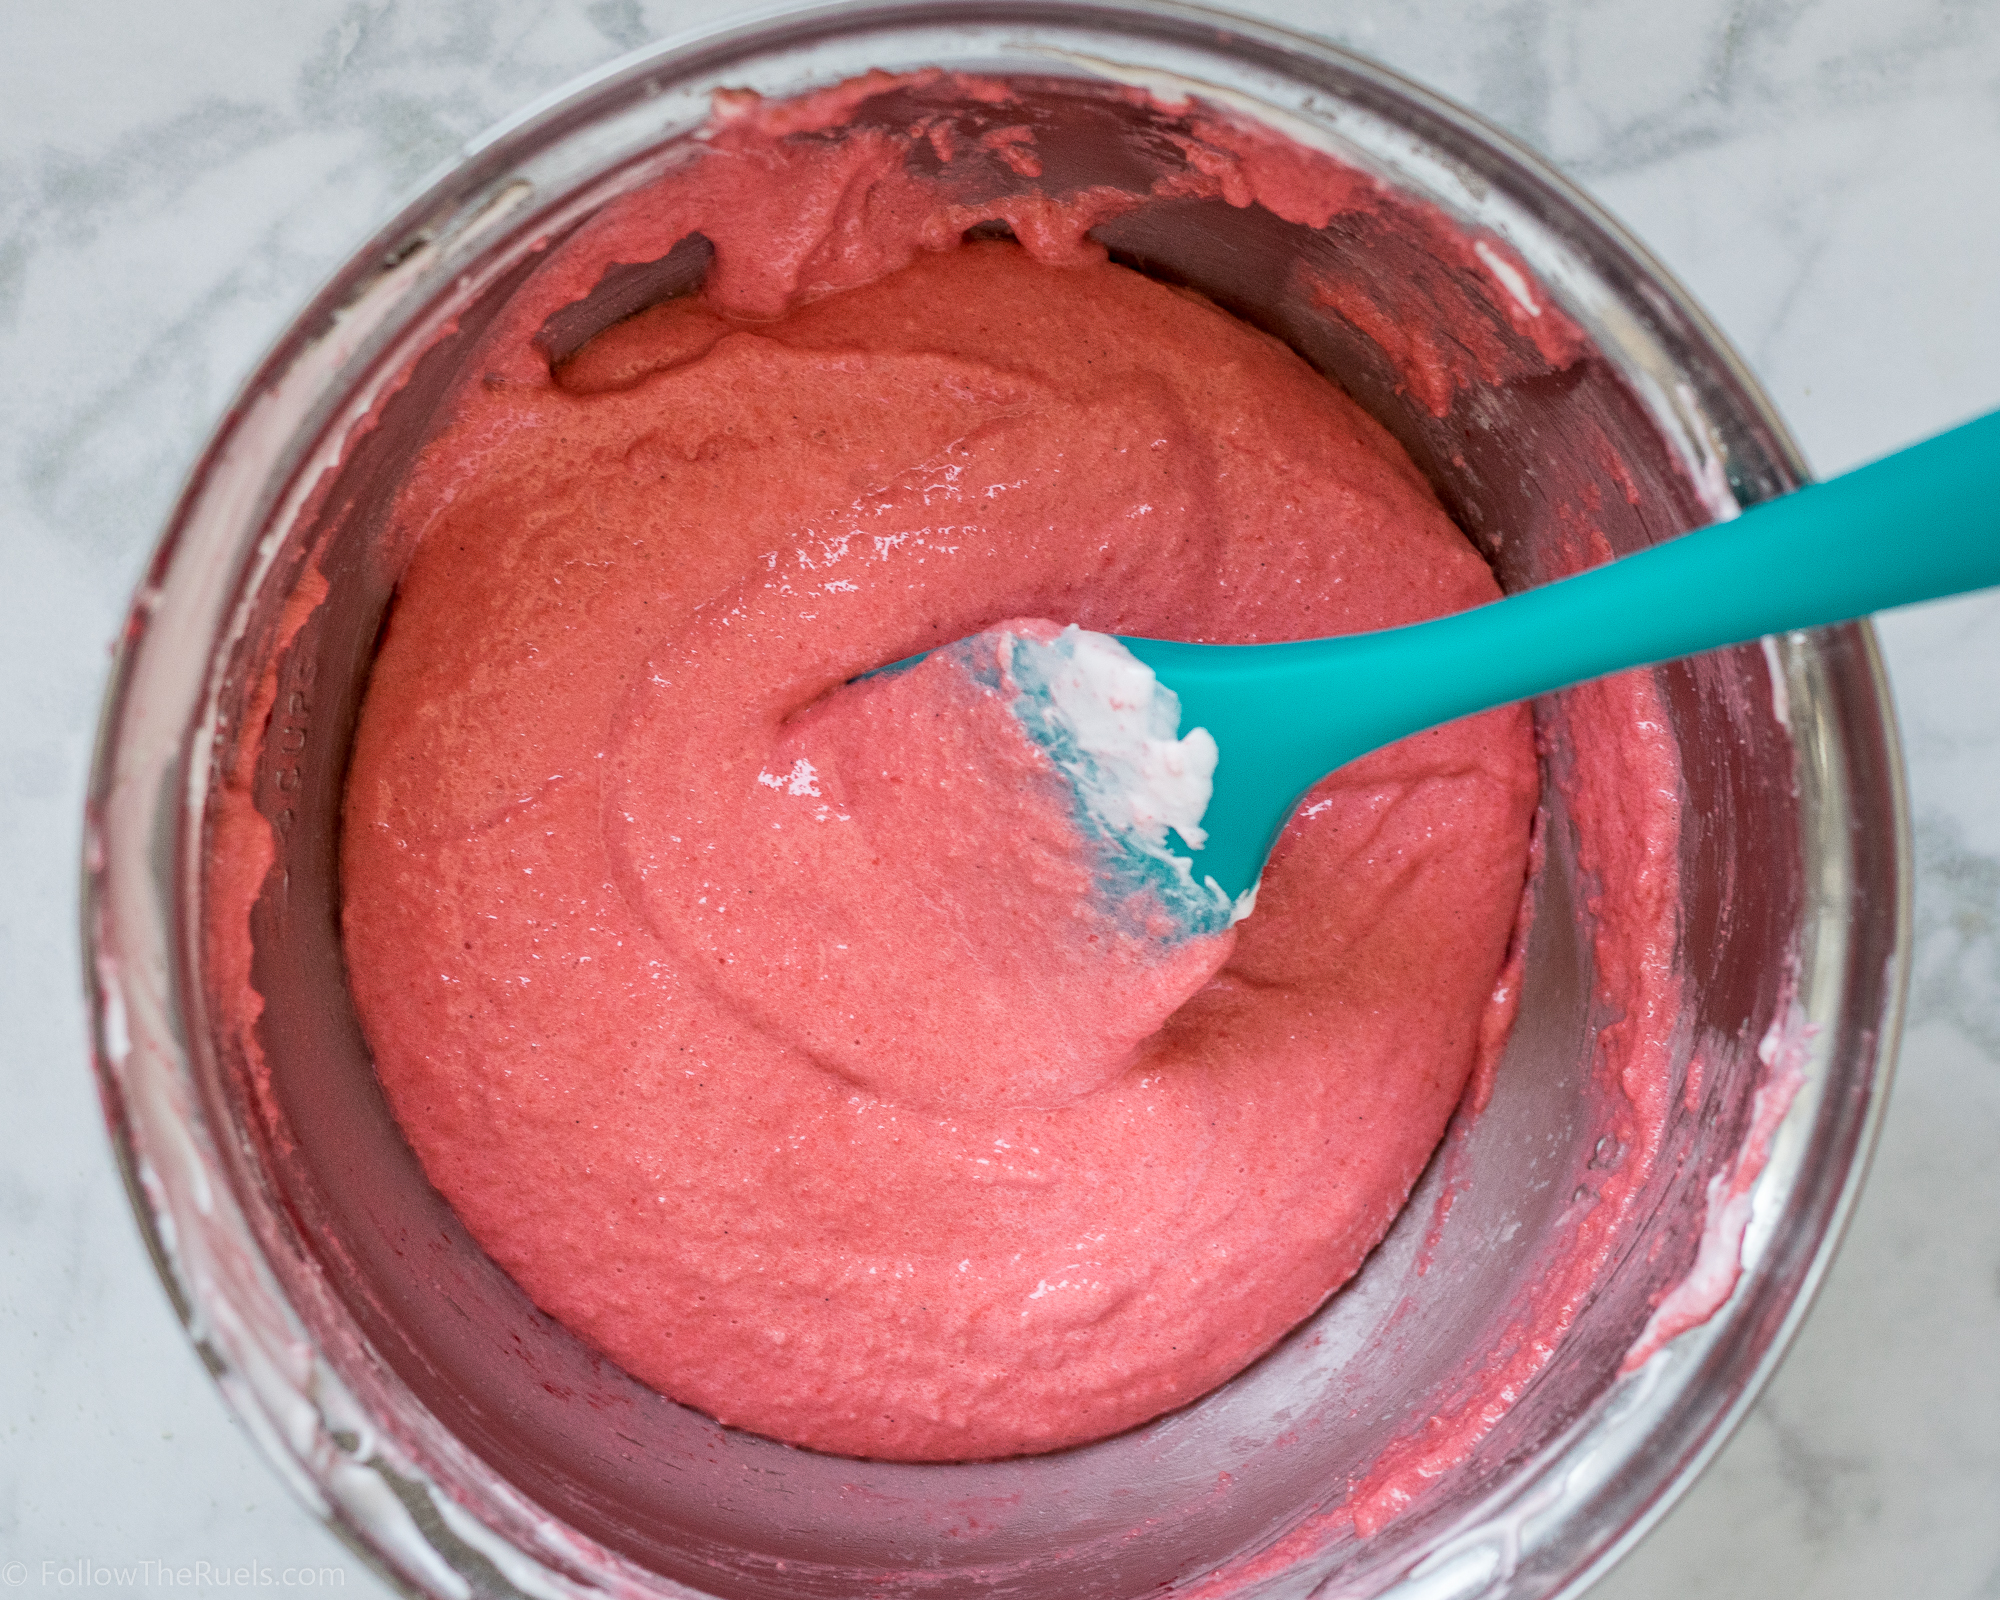
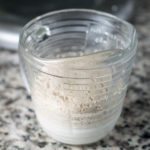
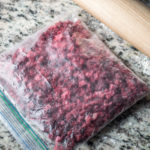
In a small sauce pan, bring frozen raspberries, lemon juice, and honey to a simmer. Let simmer for 5-10 minutes until it has thickened slightly. Then remove from the heat and stir in the chia seeds. After about 20 minutes, the mixture will thicken even more, but won’t be quite the consistency of a normal jam.

While the jam thickens, move on to the oatmeal part of the bars.

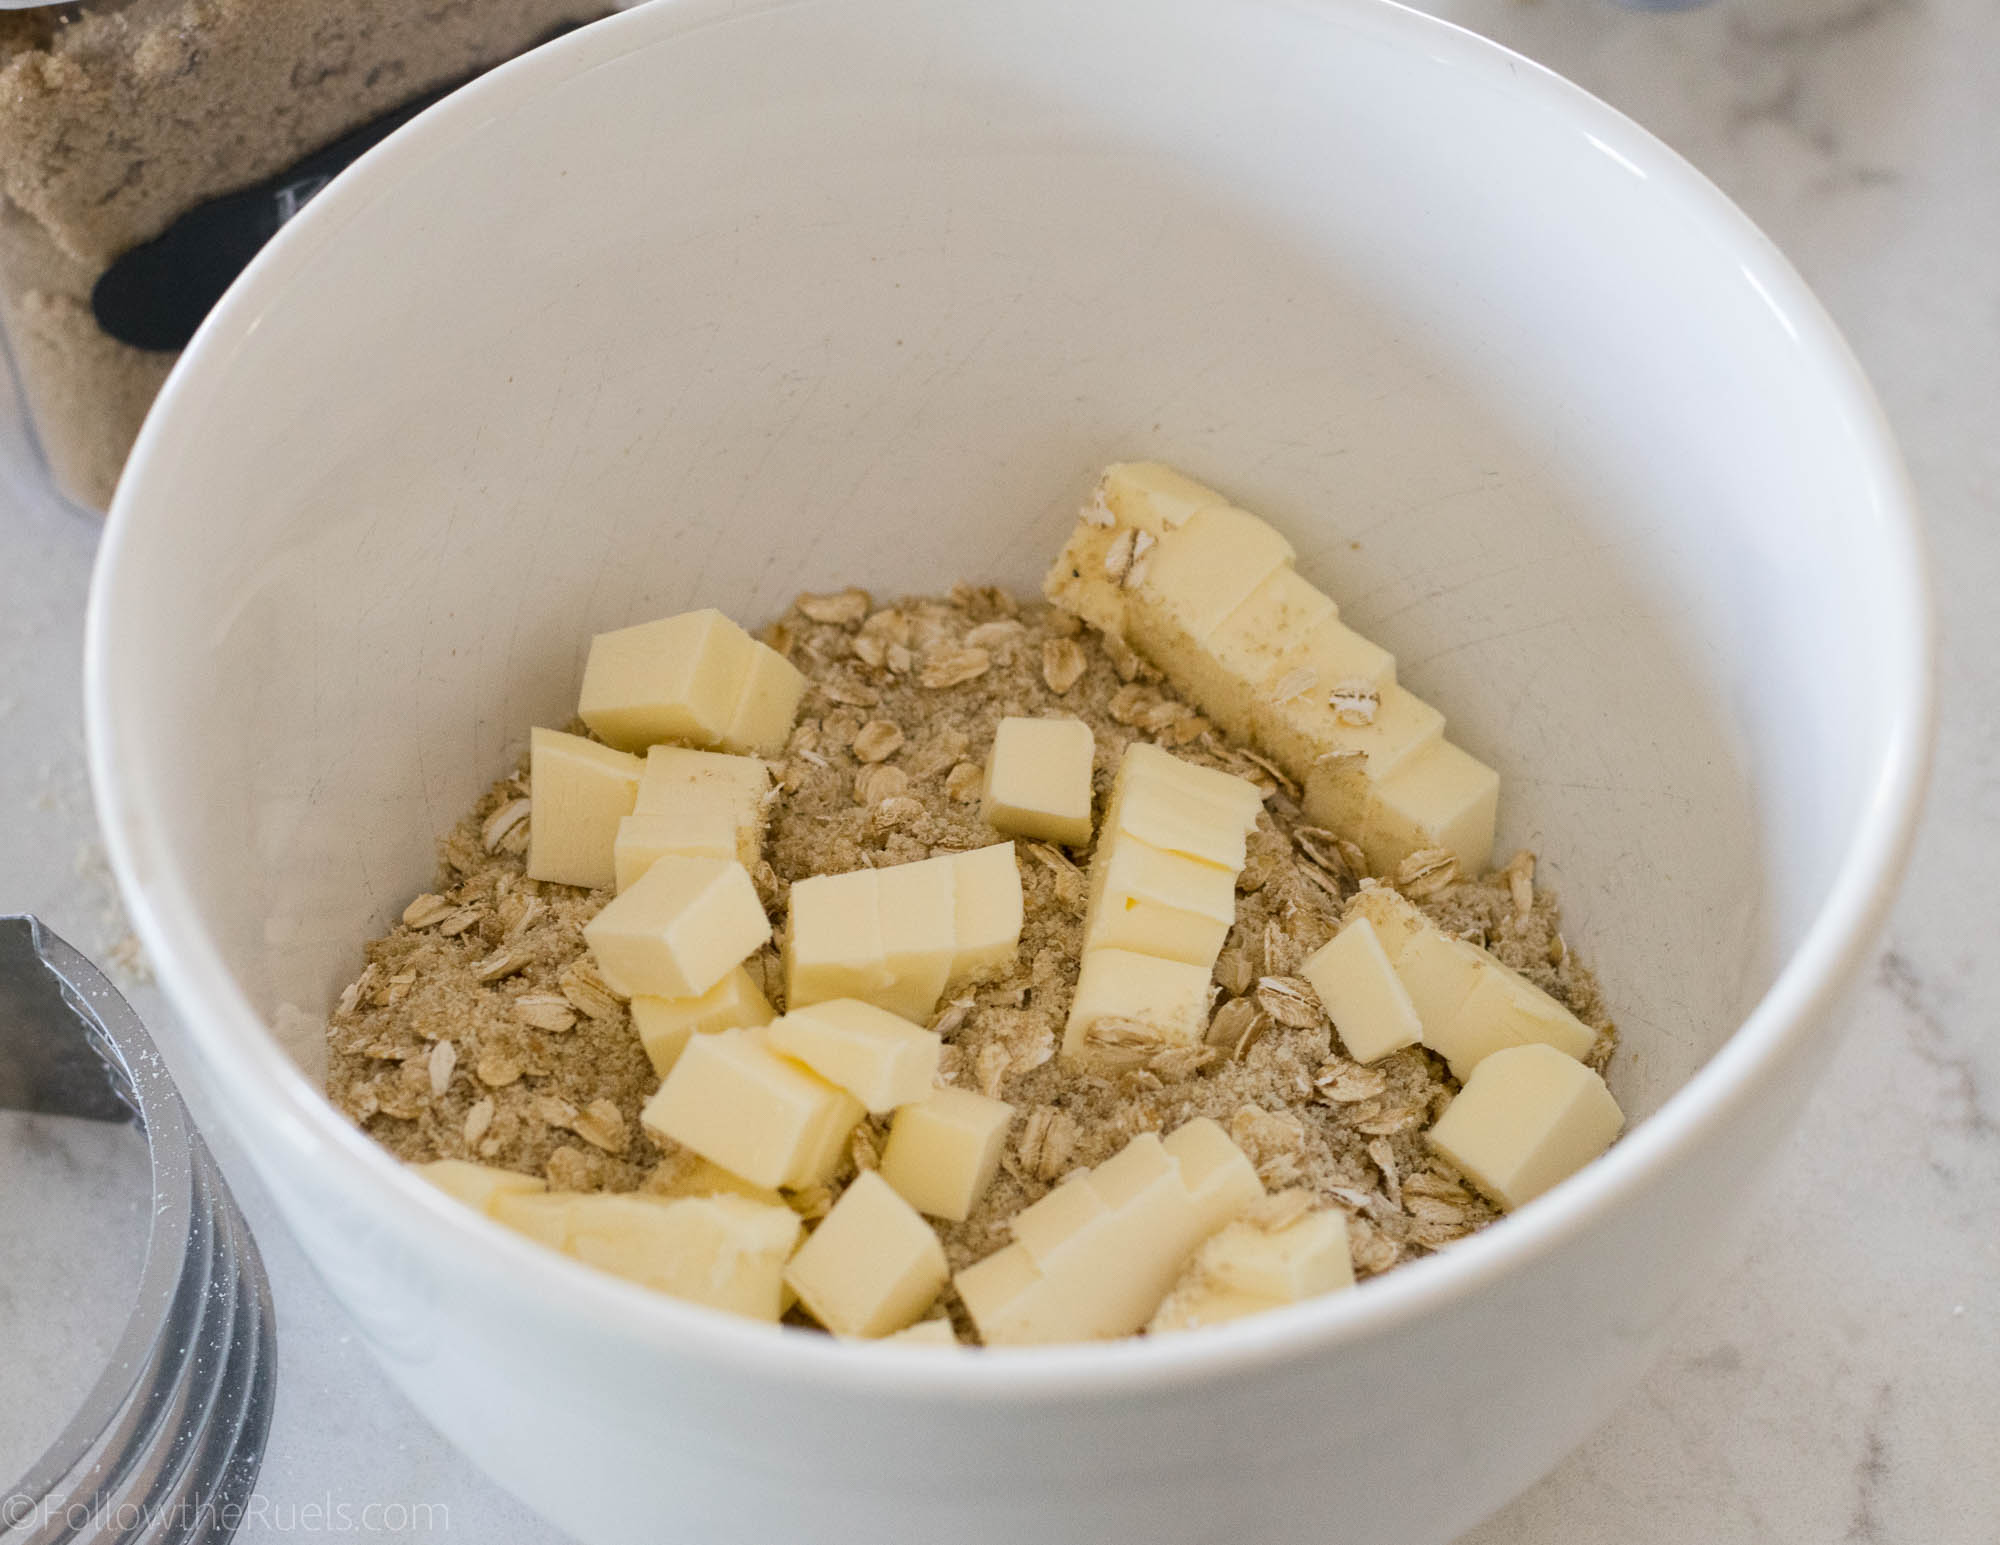
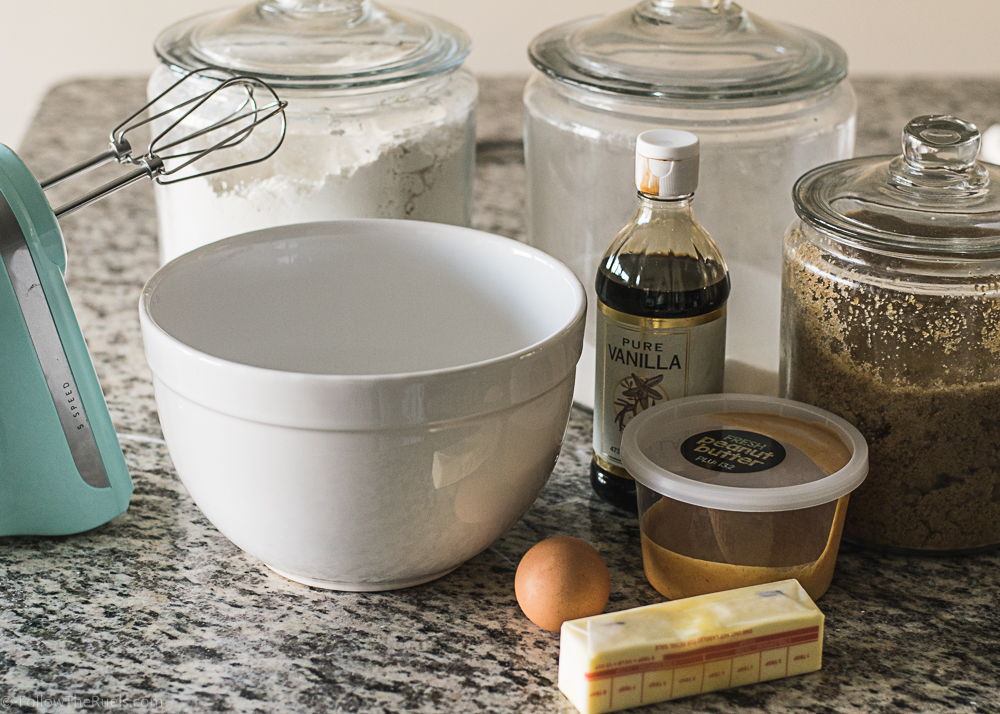
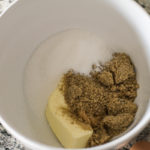
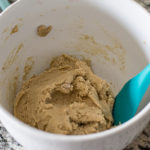
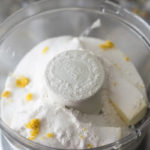
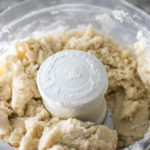
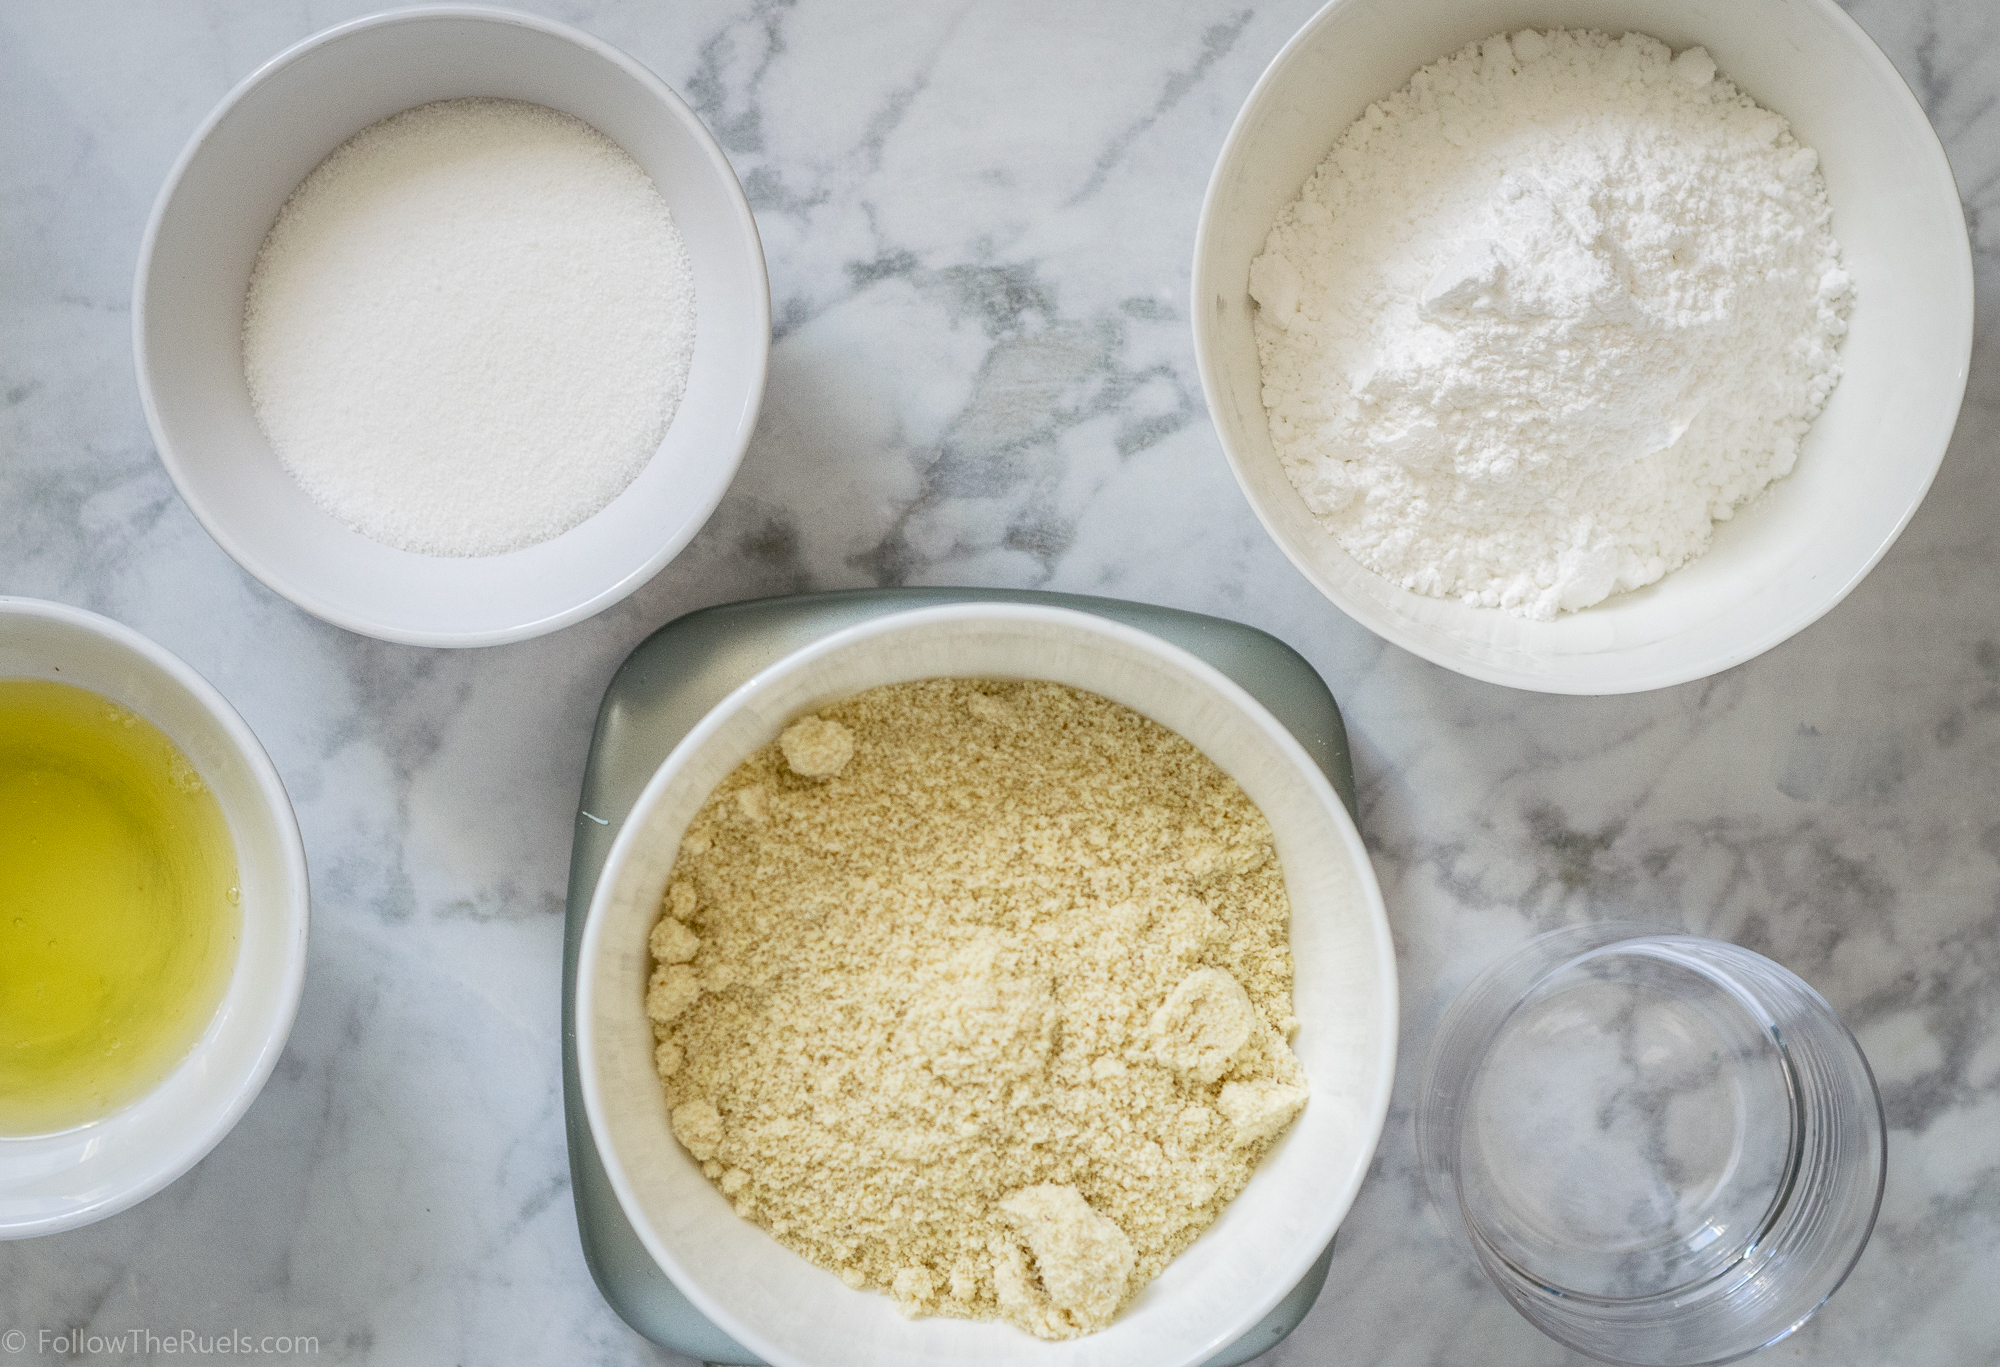
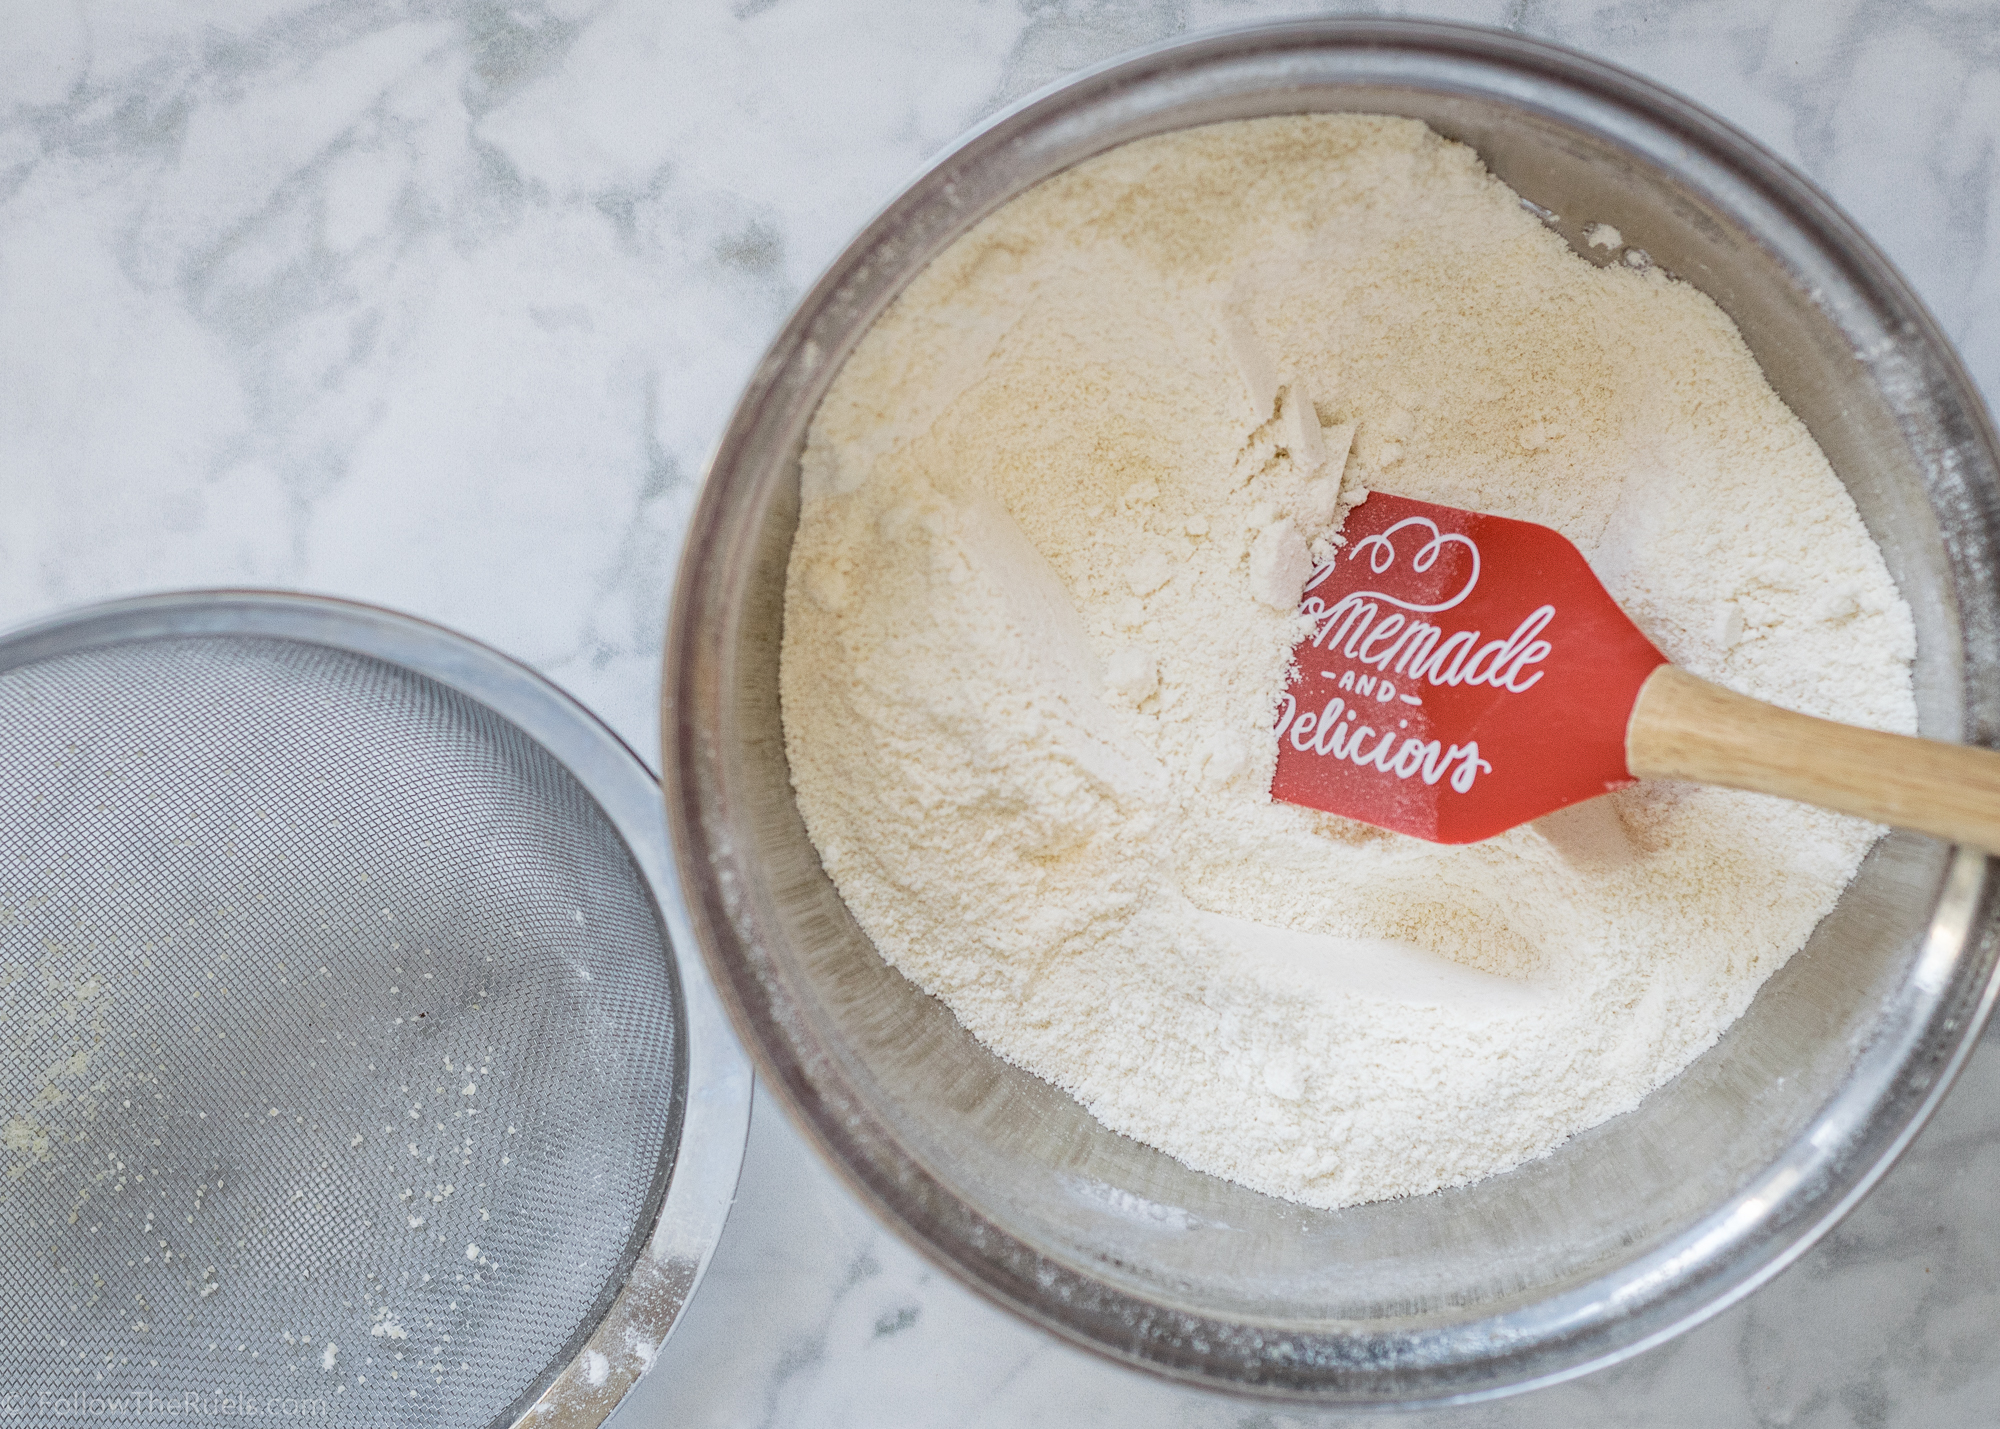
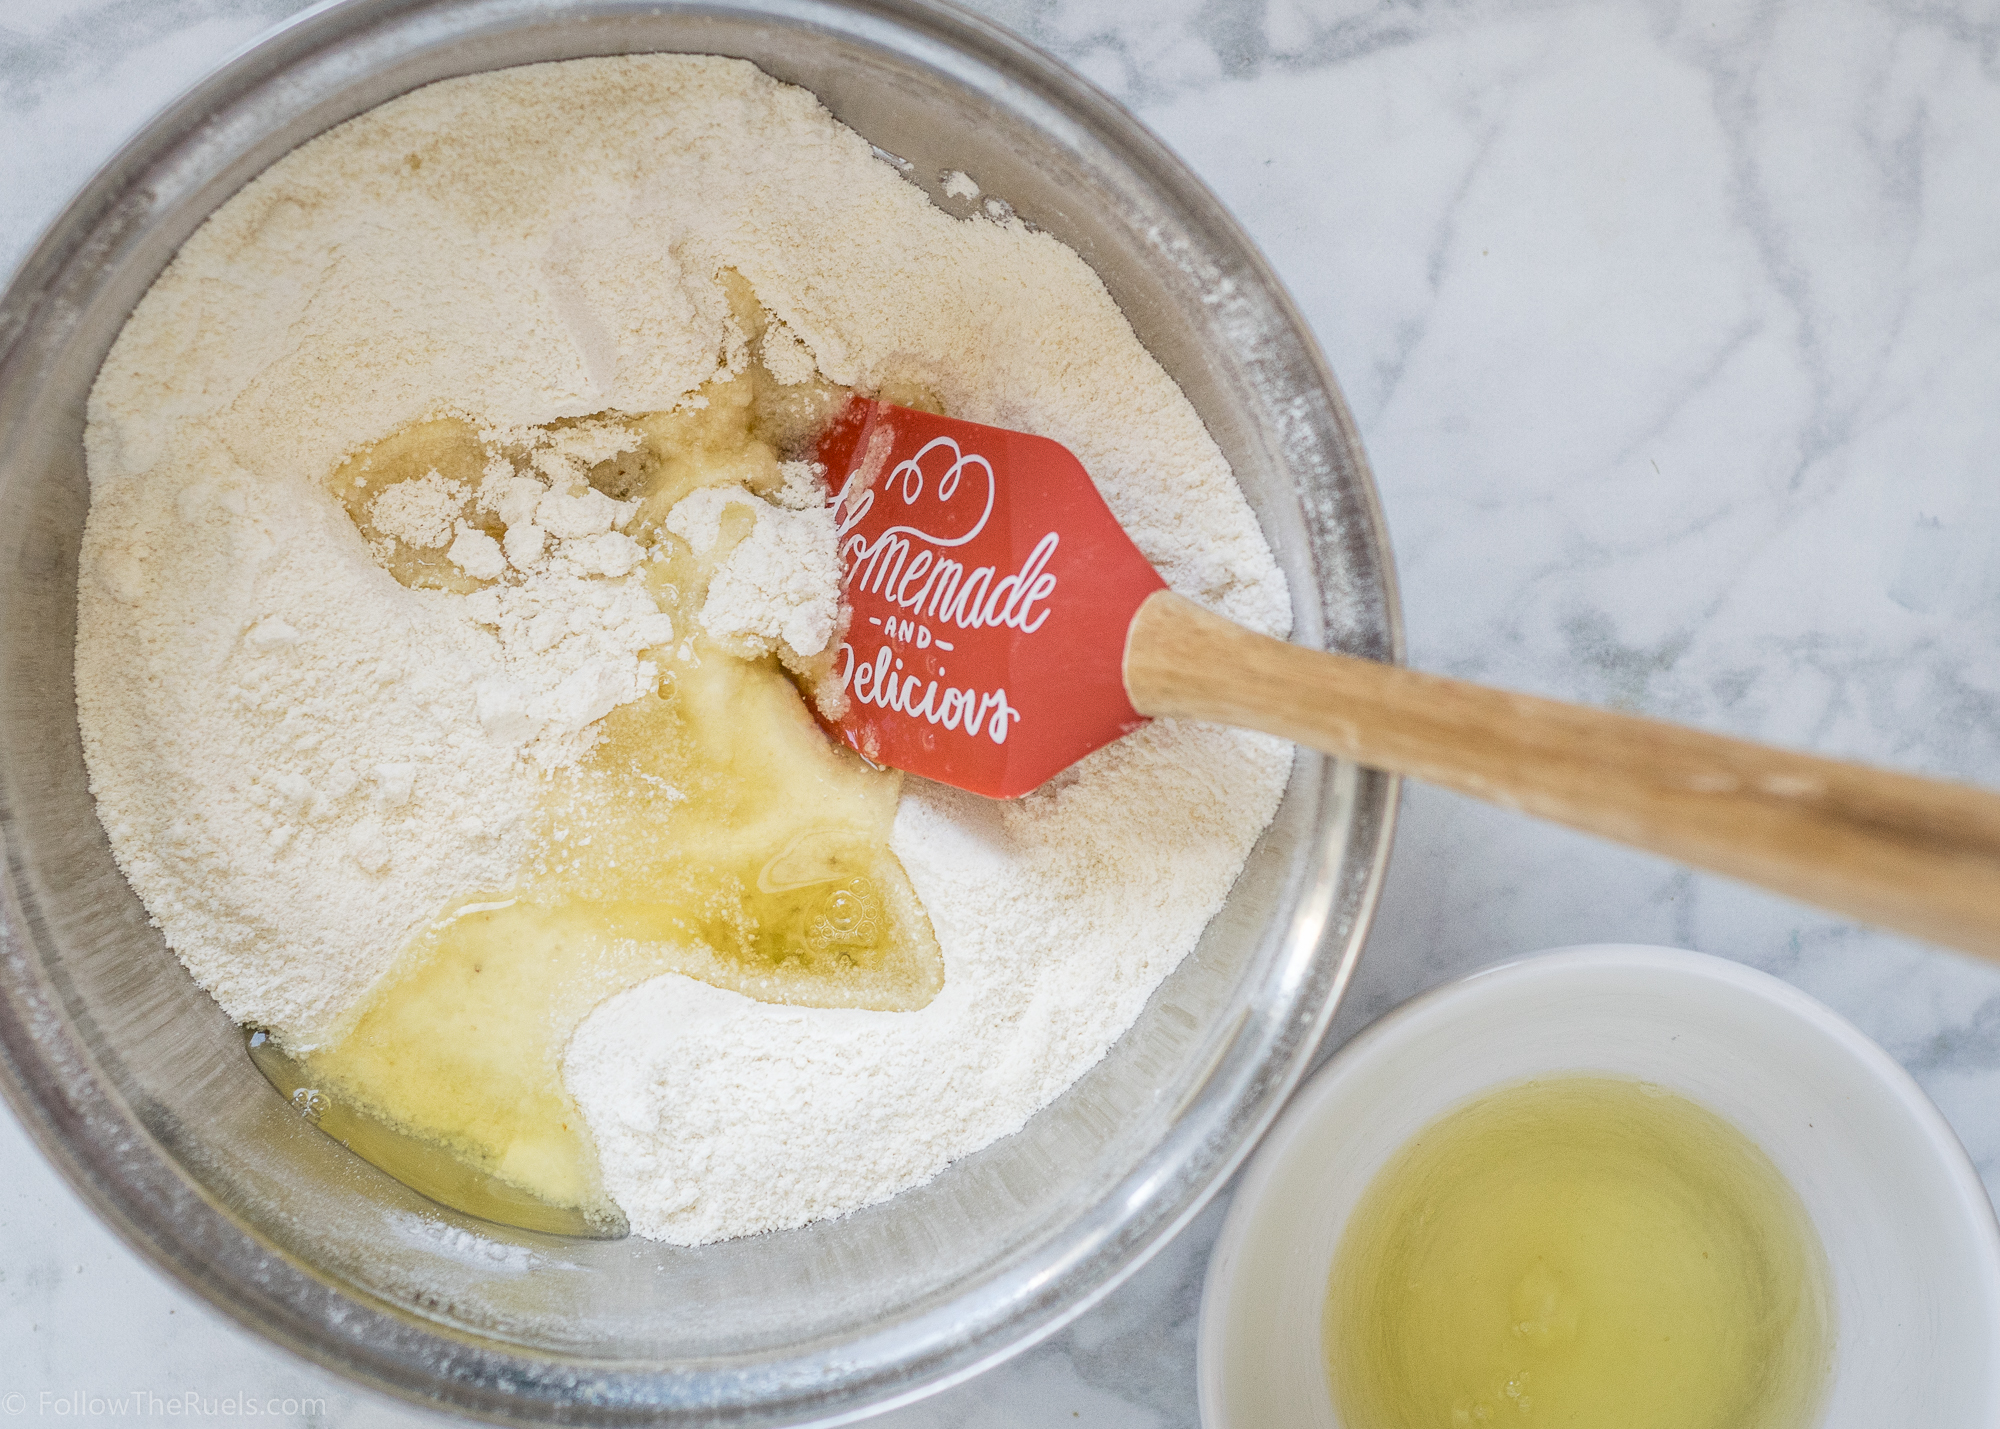
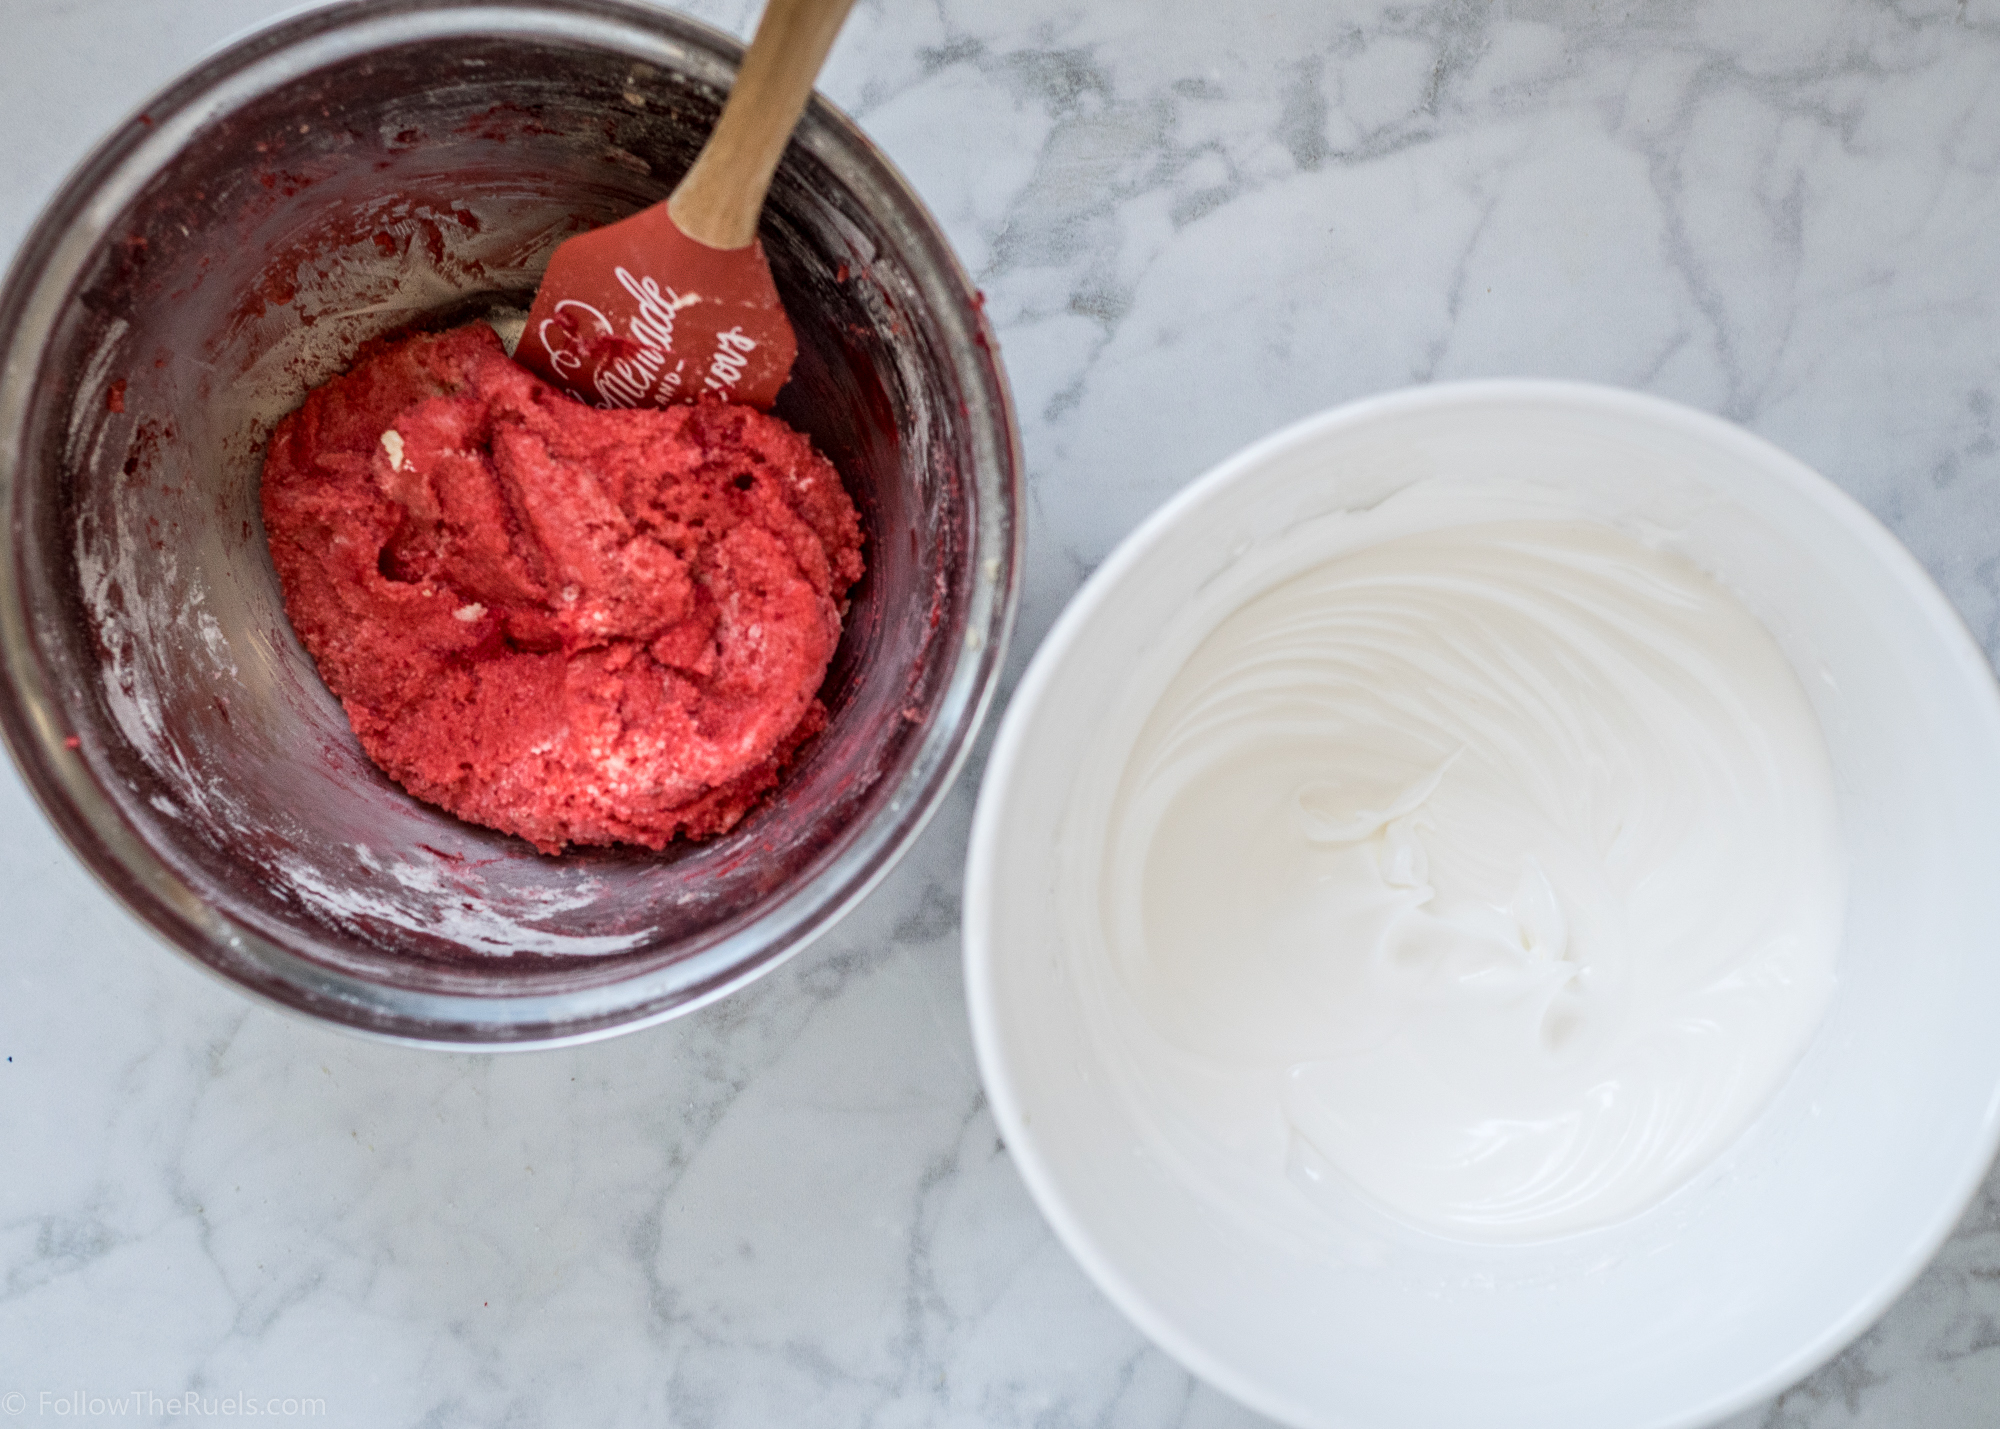
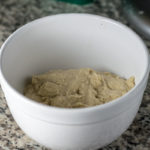
Combine almond meal, oats, brown sugar, and salt in a large bowl, then add cubes of cold butter. 

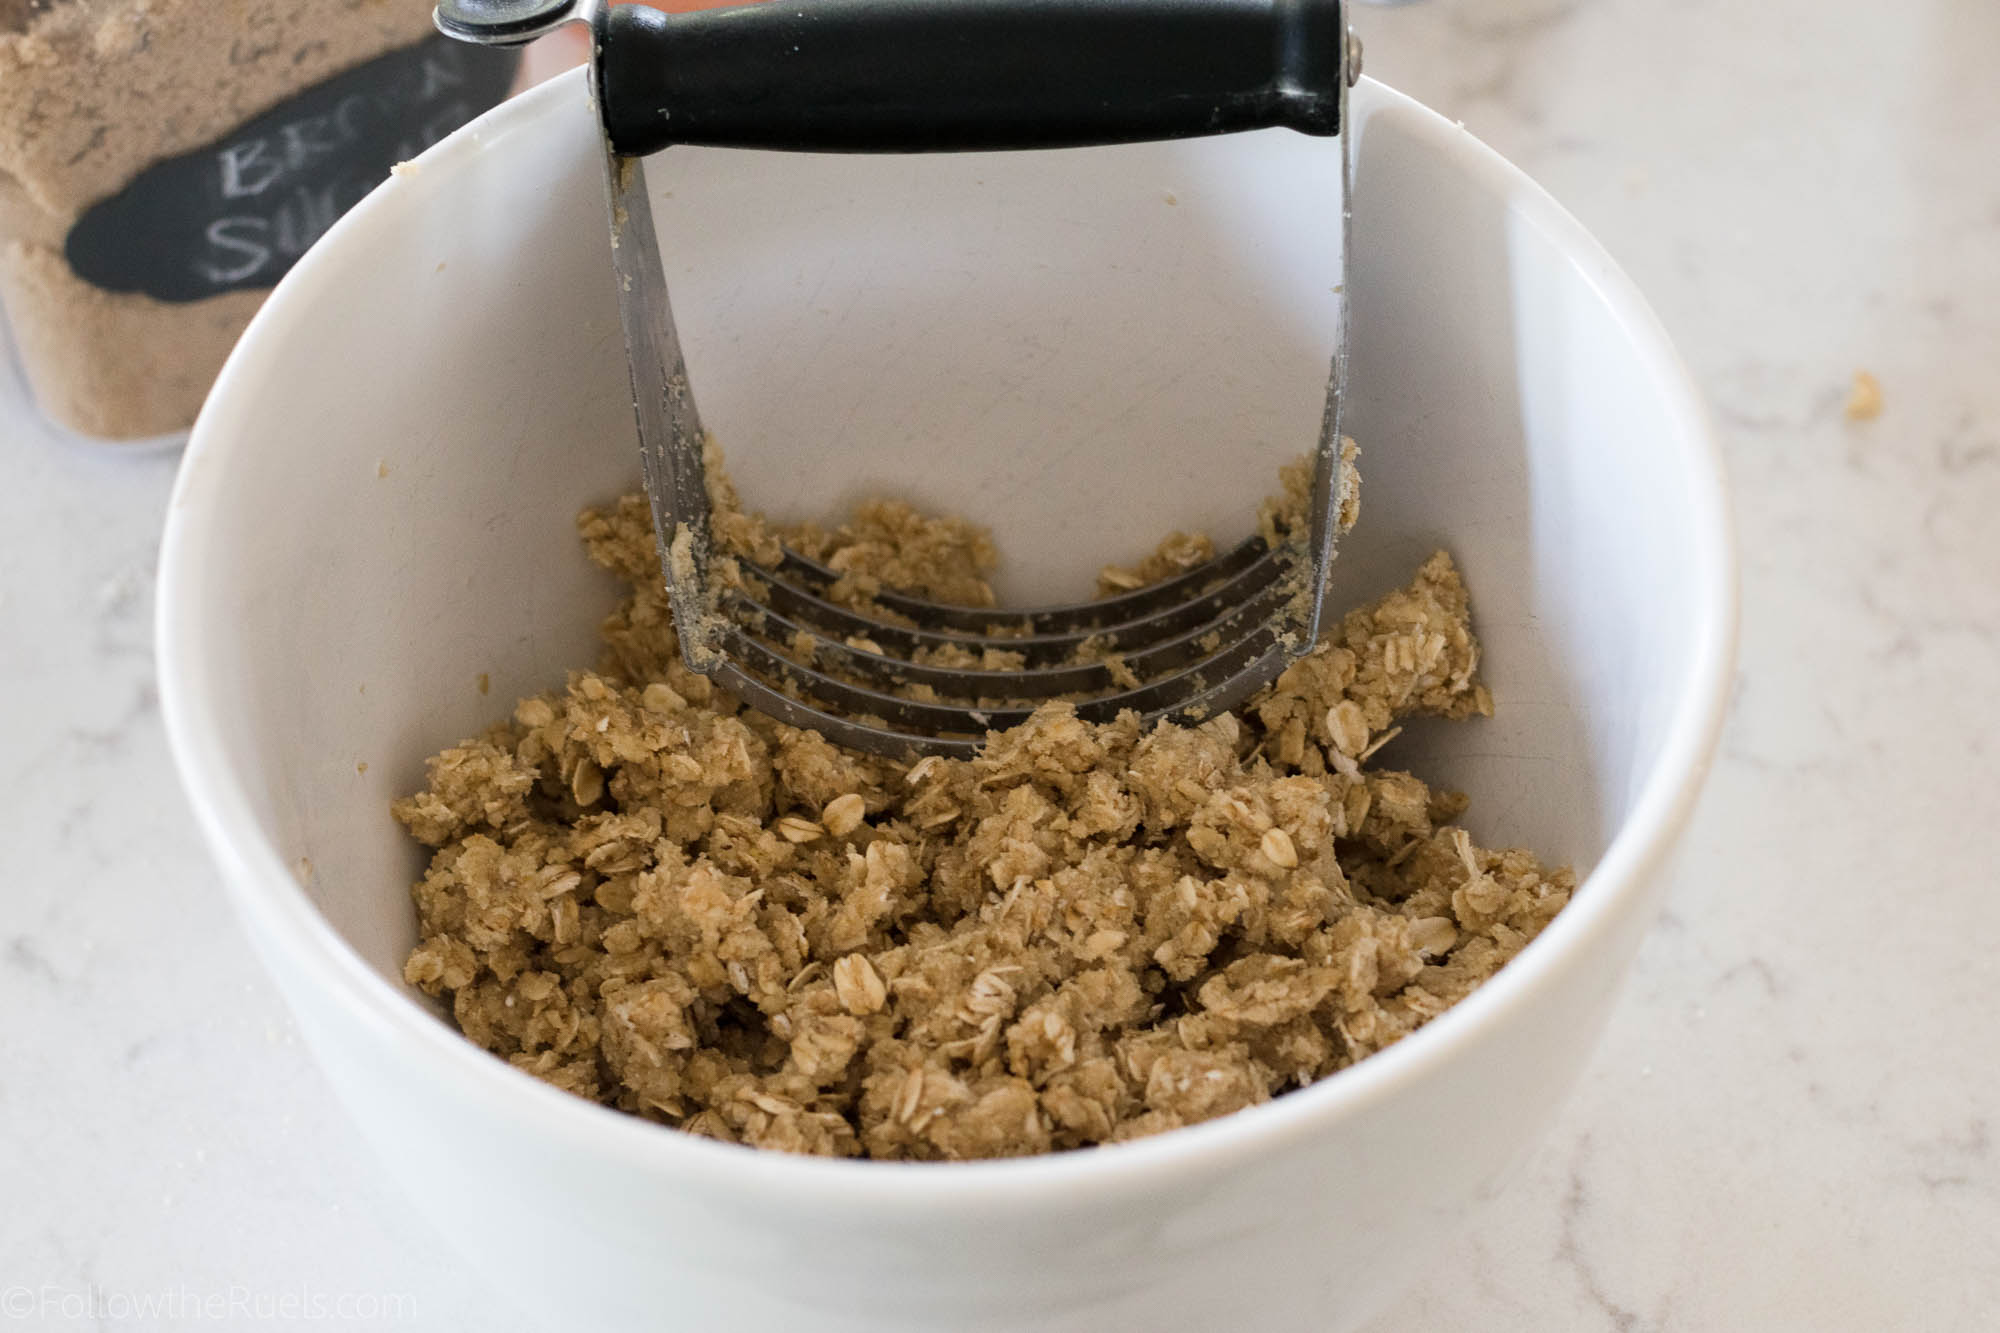
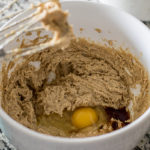
Use a pastry cutter or your hands to cut the butter into the dry ingredients until it forms a coarse crumble.


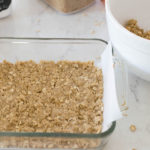
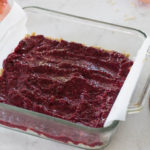
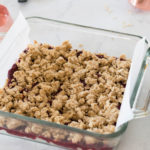
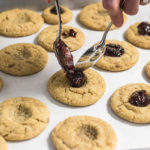
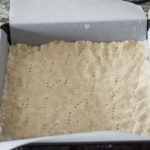
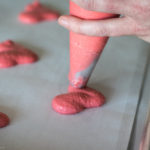
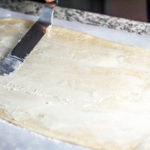
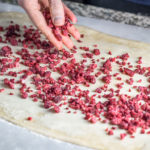
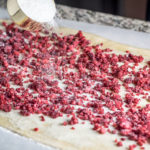
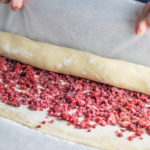
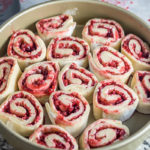
To assemble the oatmeal bars, first pat half (or more than half) of the oatmeal mixture into the bottom of a square pan. Then pour some or all of the jam on top. Lastly crumble the rest of the oatmeal mixture on top. You don’t need to form a solid layer, just sprinkle the rest overtop and pat down gently.

Pop the pan in a 350 degree oven for 30 to 40 minutes, or until the oatmeal crumble on top has turned a lovely shade of golden brown.

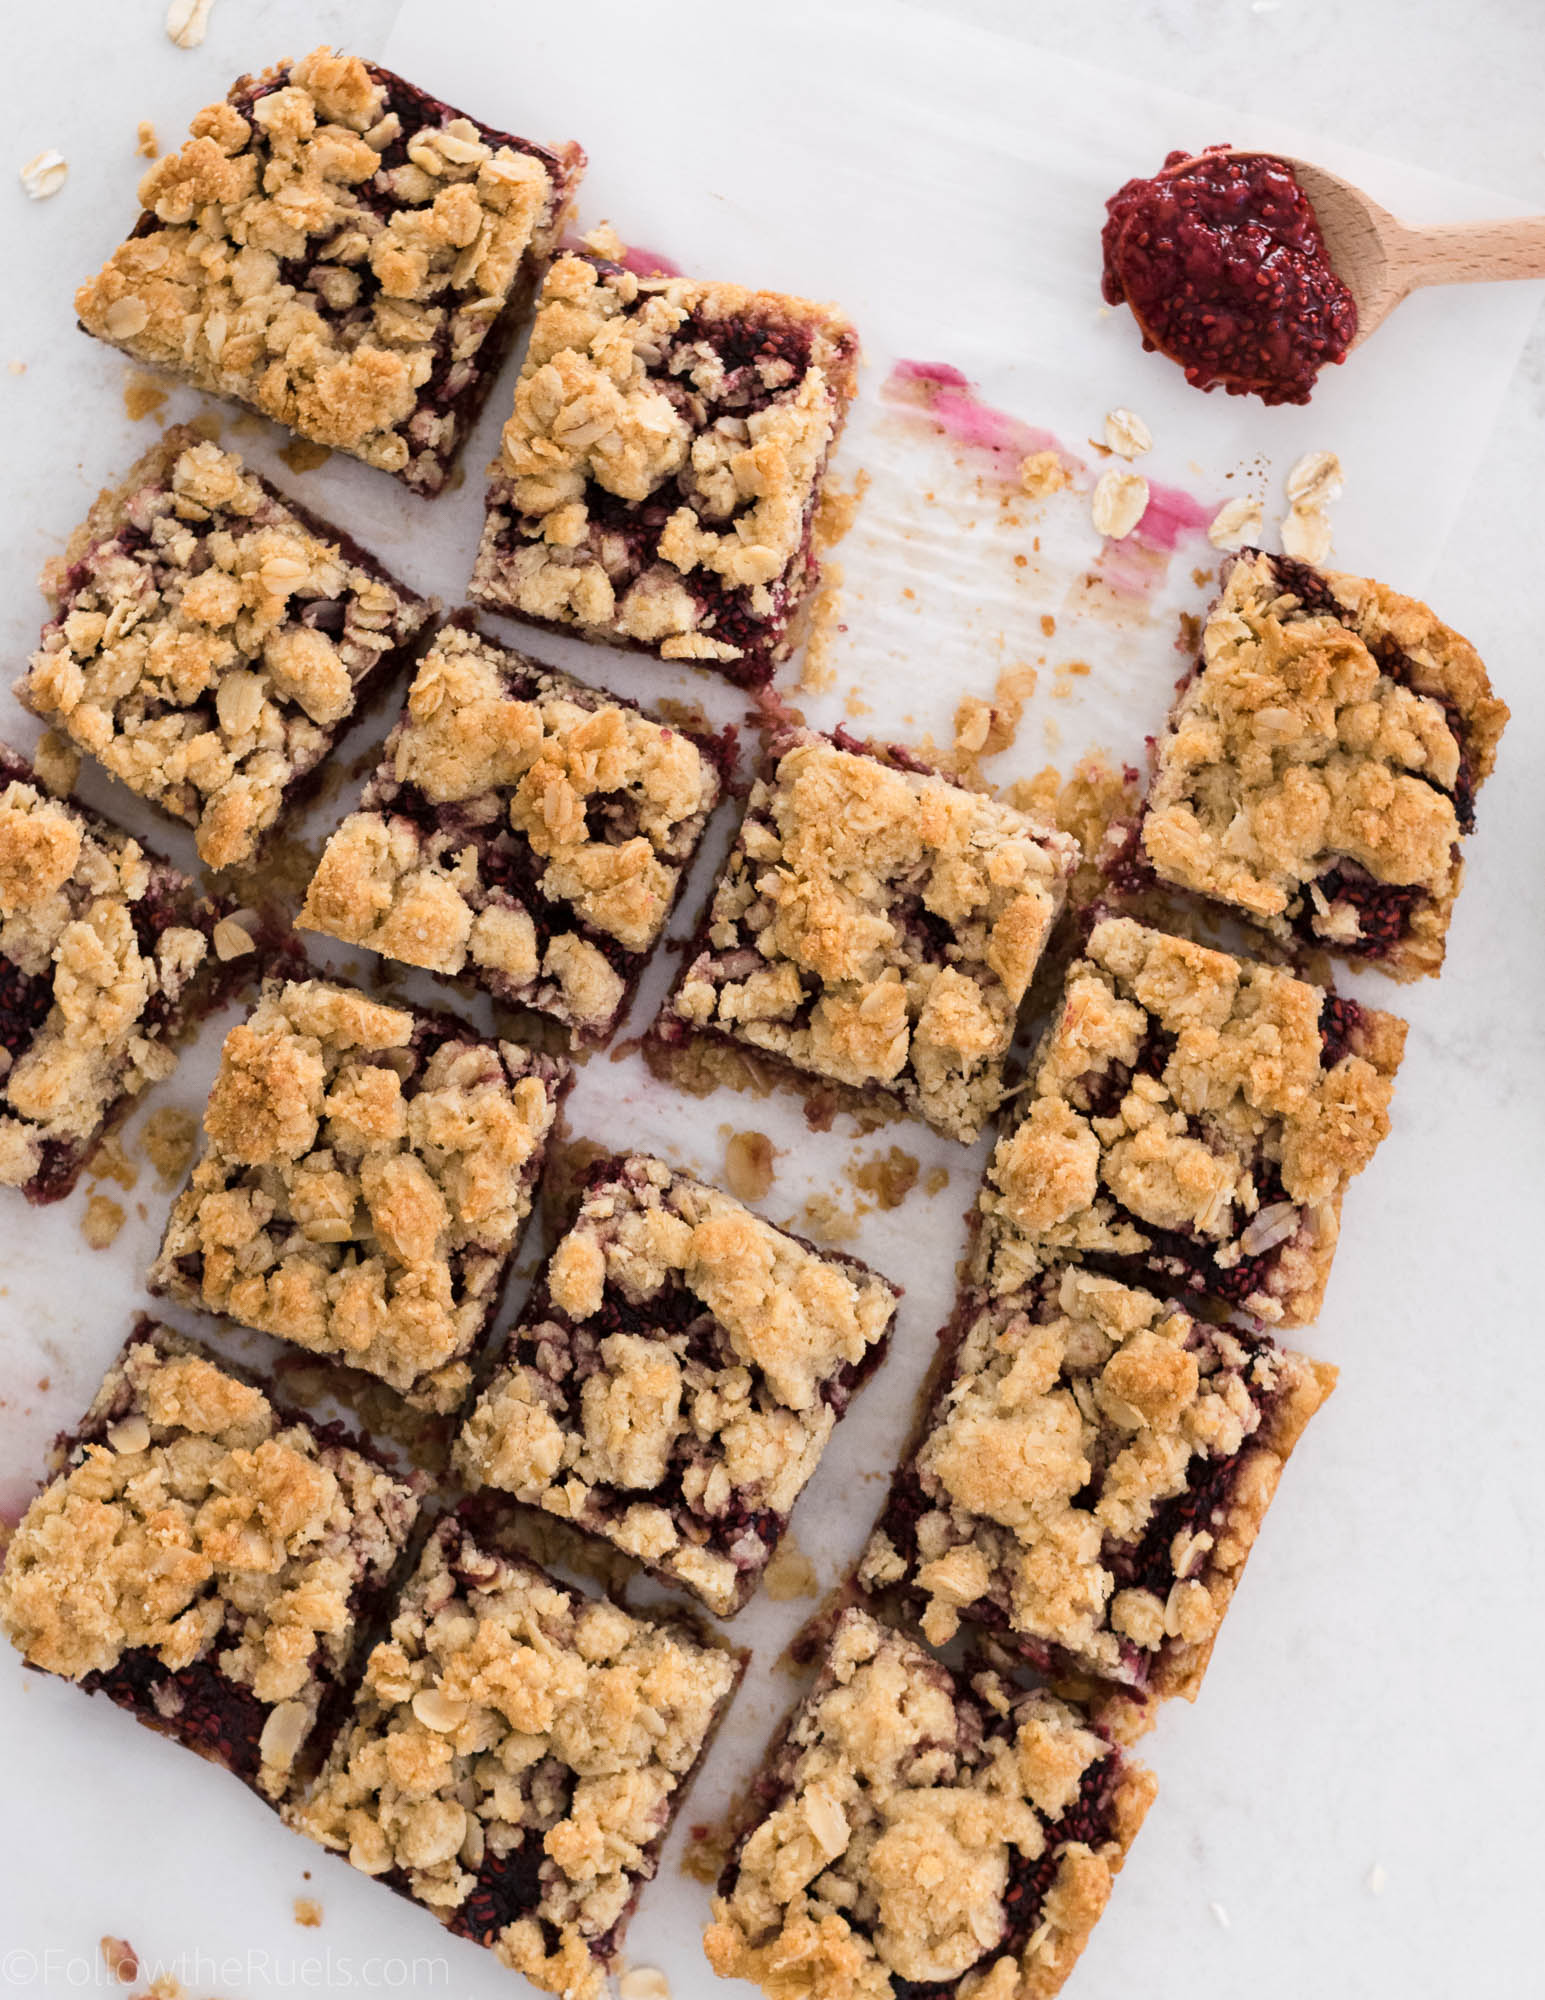
After they come out of the oven, let them cool on the counter for at least an hour. I would recommend making them at night then leaving them out until the morning. It will ensure that the jam has settled making them easier to cut. 

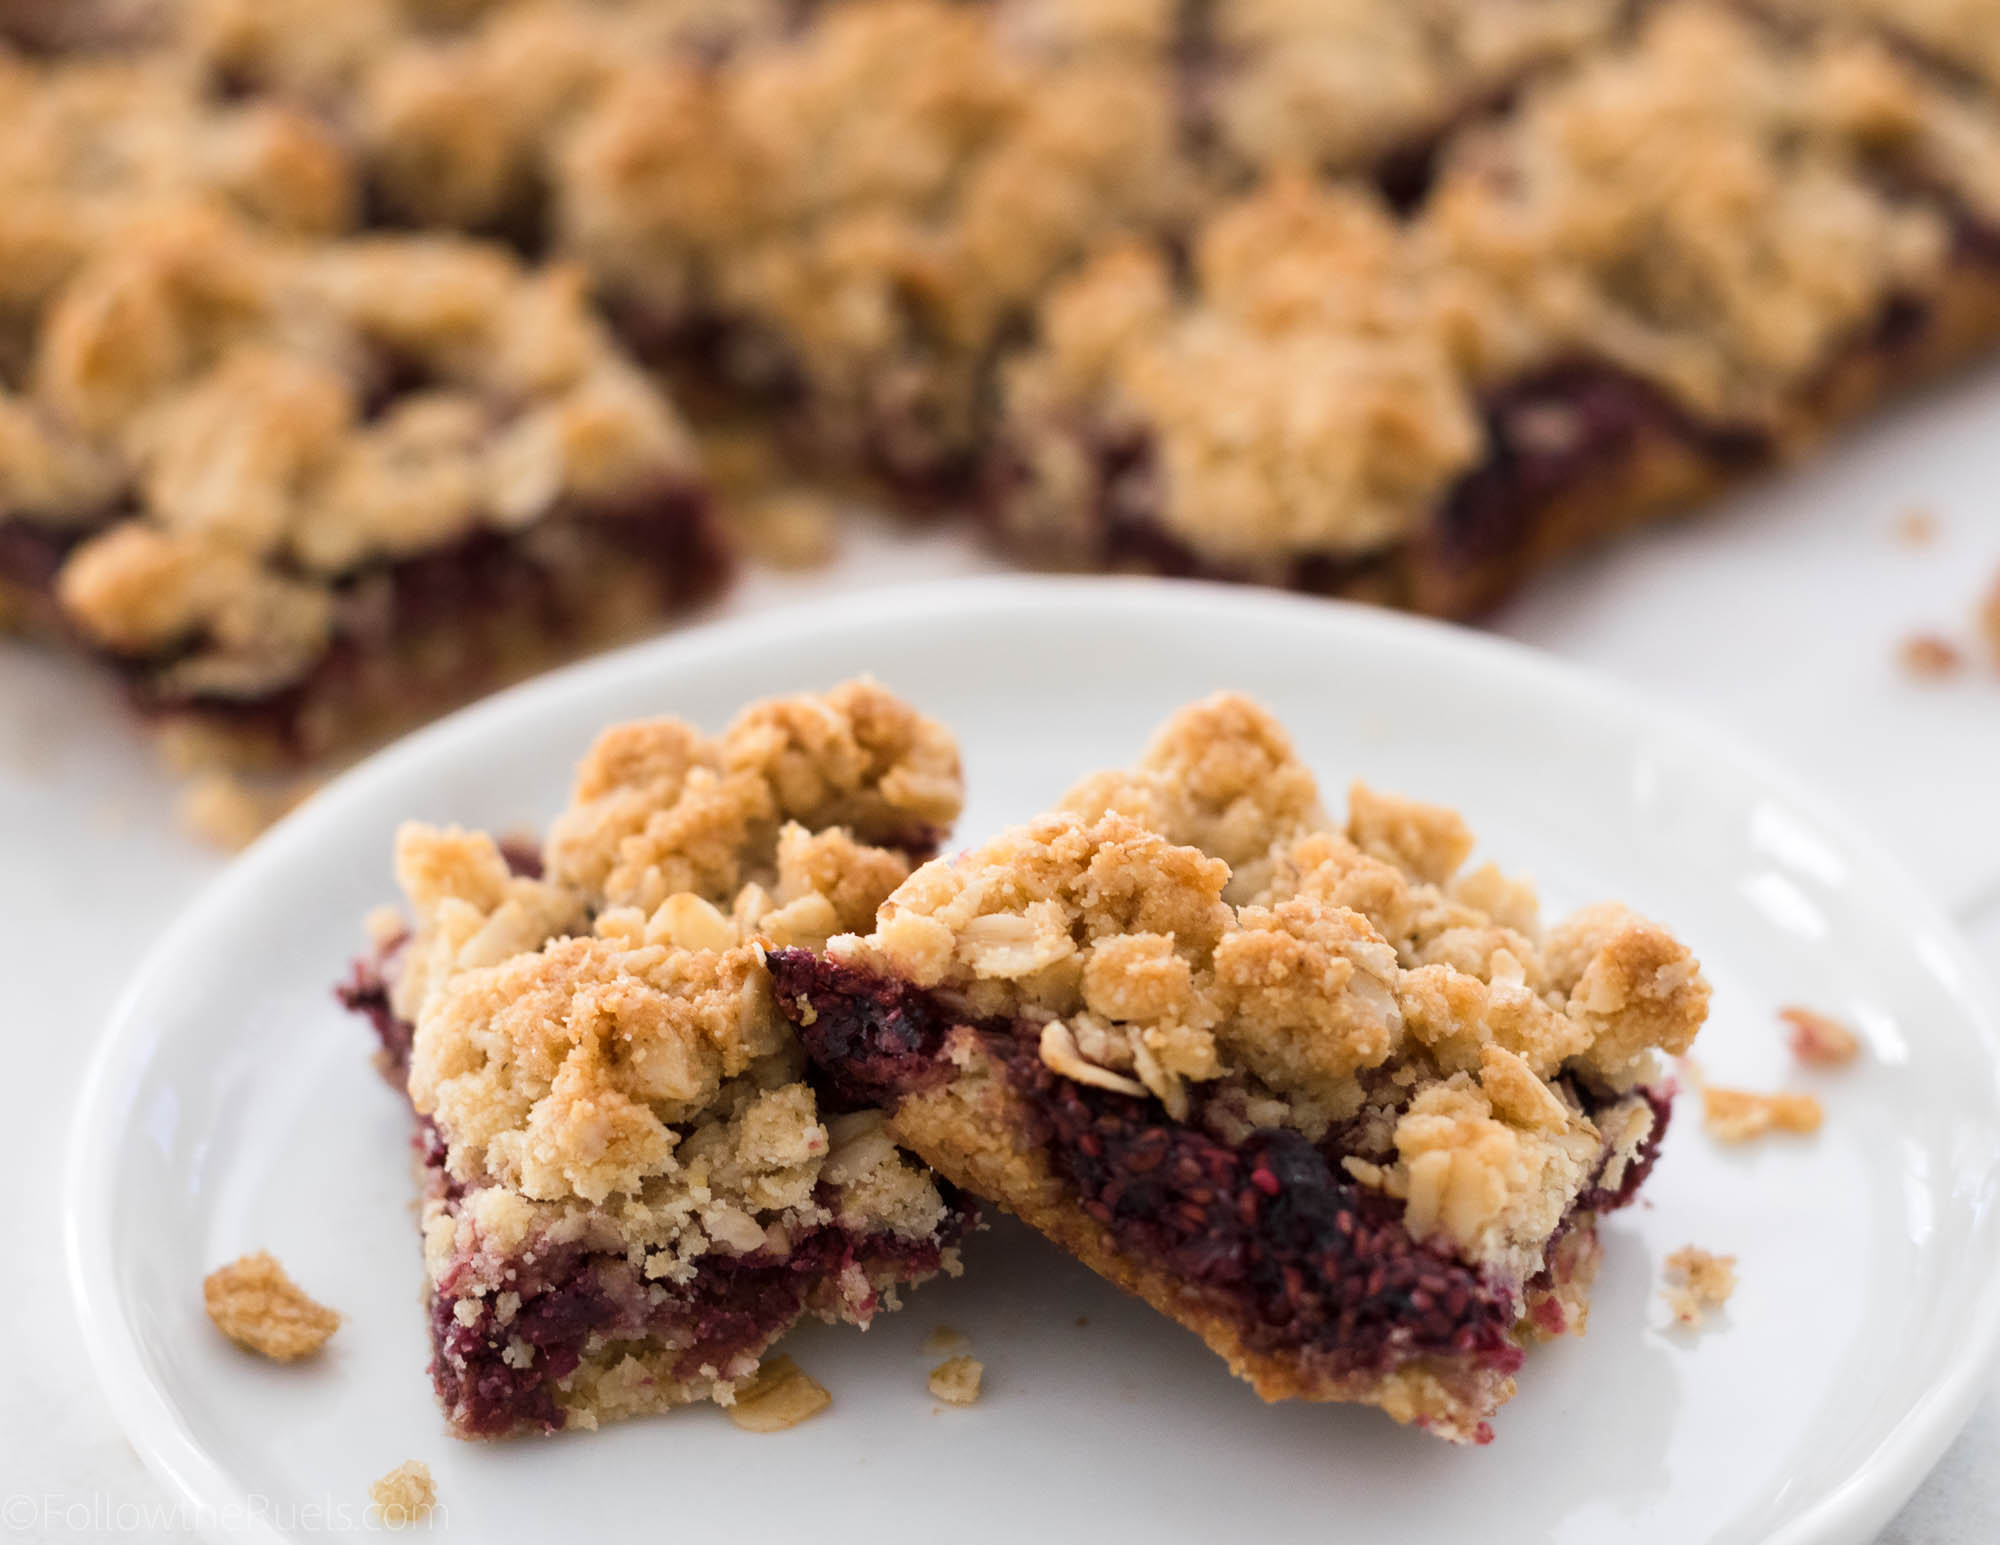
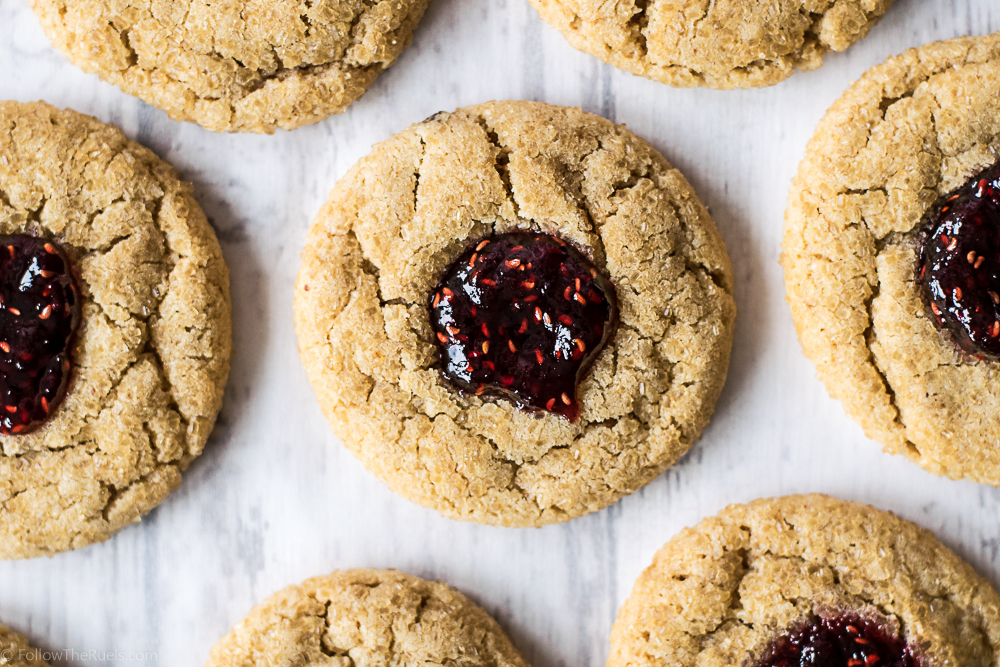
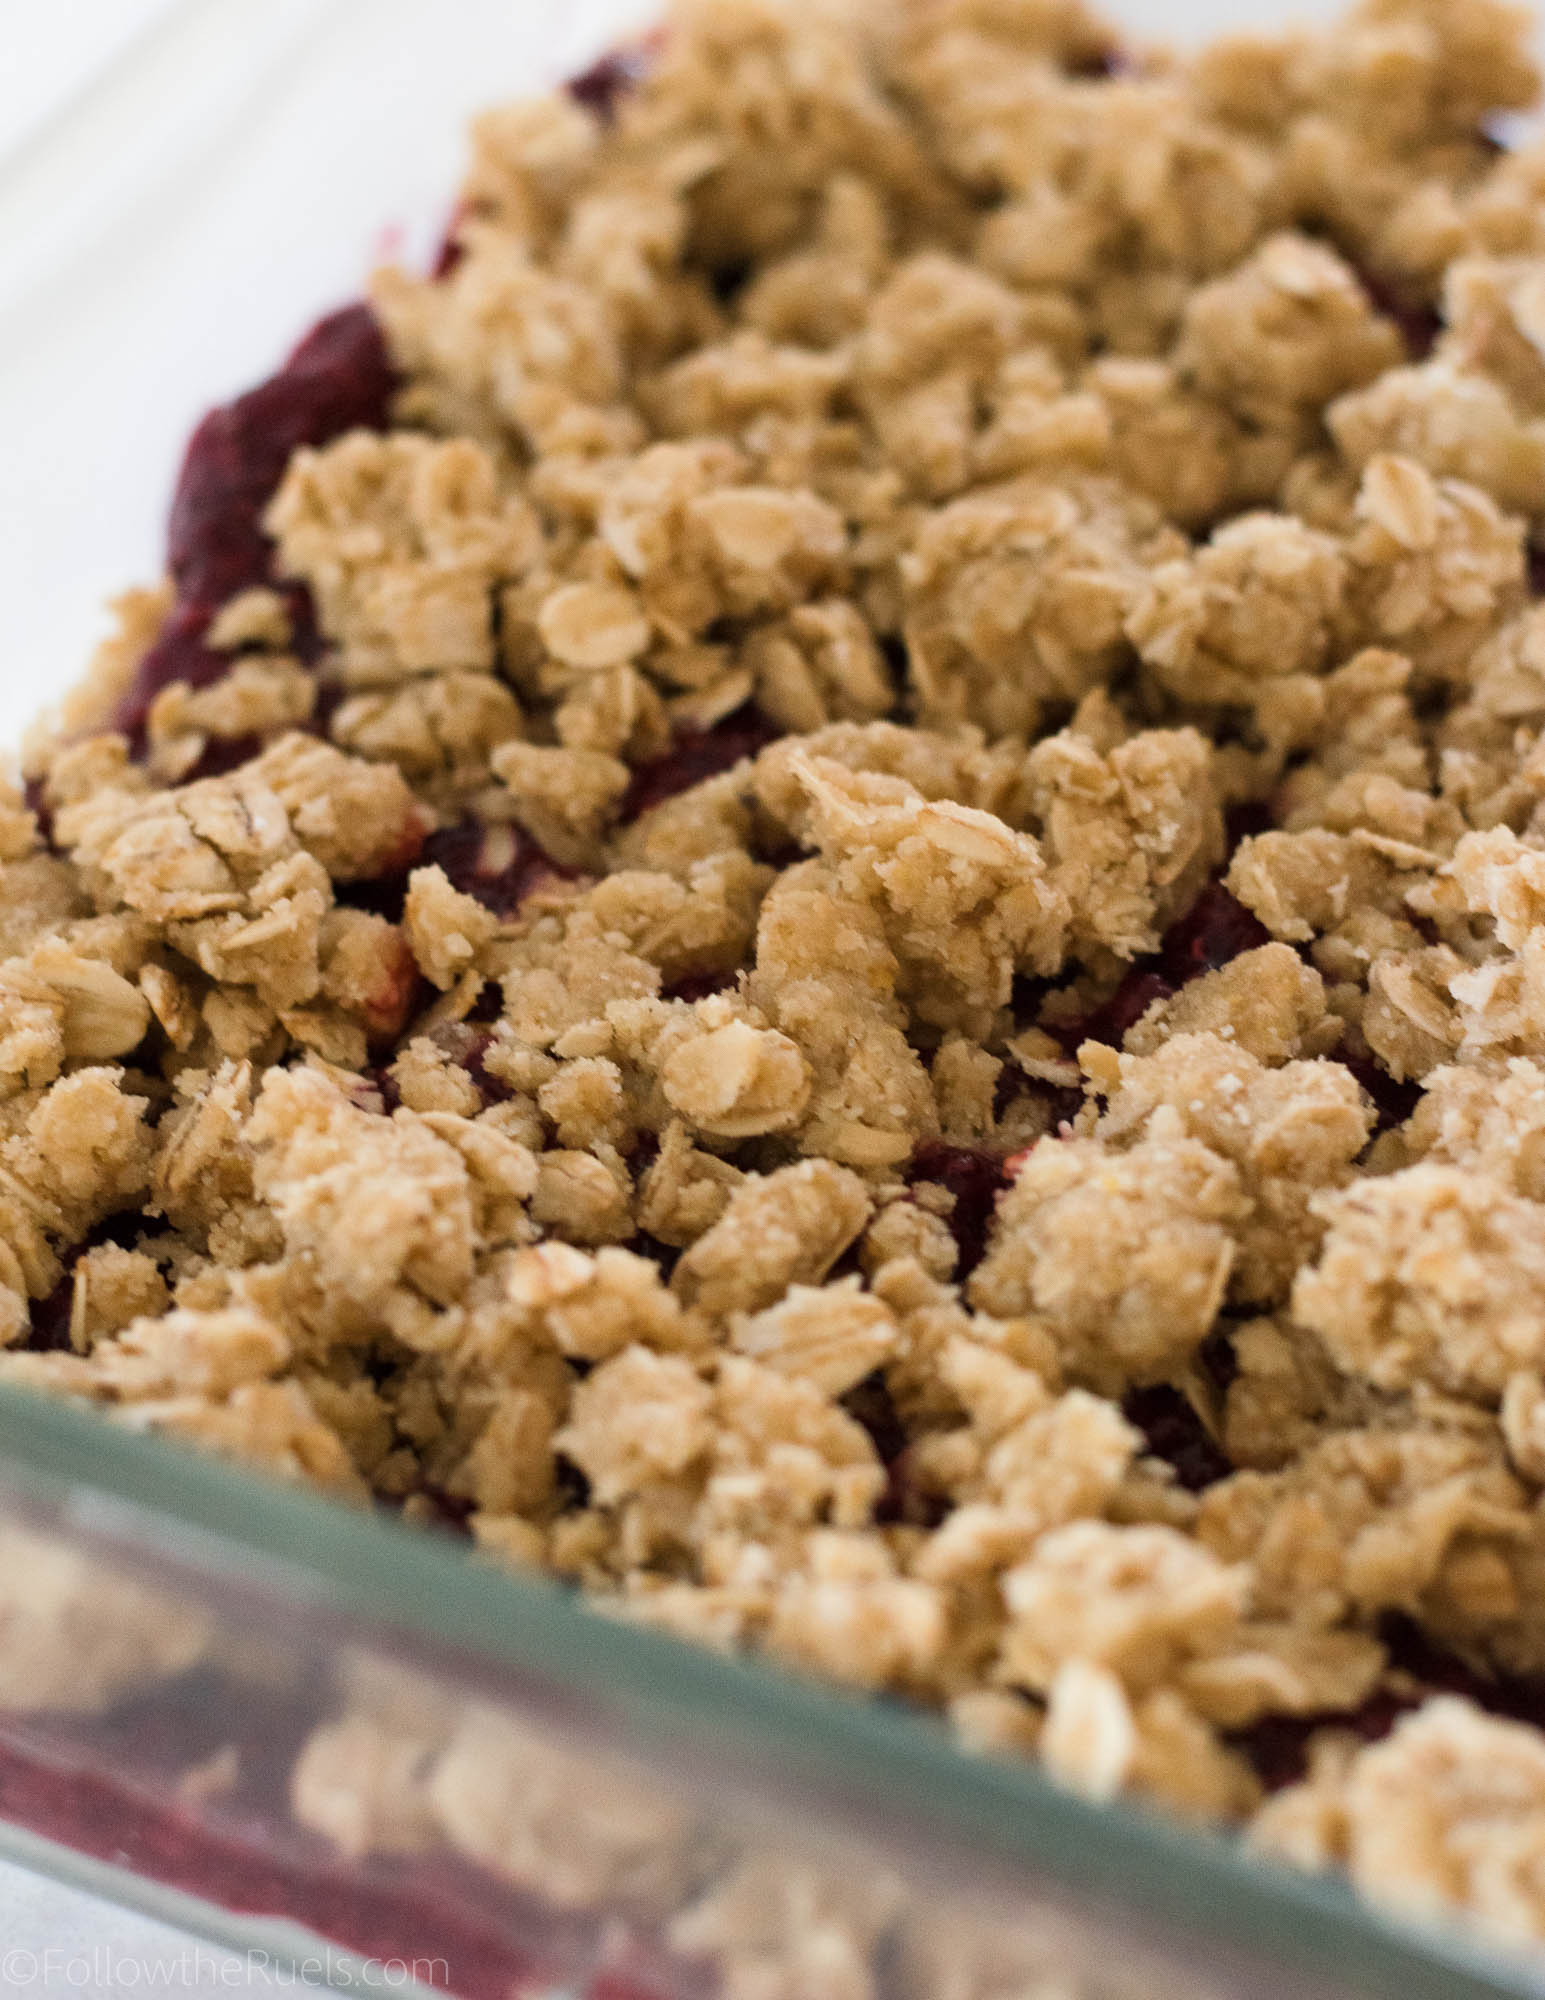
I know it will be hard to leave them be, but it will be worth it, I promise. The jam layer will be slightly more solid and not drip out everywhere, and the crumbs on top will be nice and crunchy. 

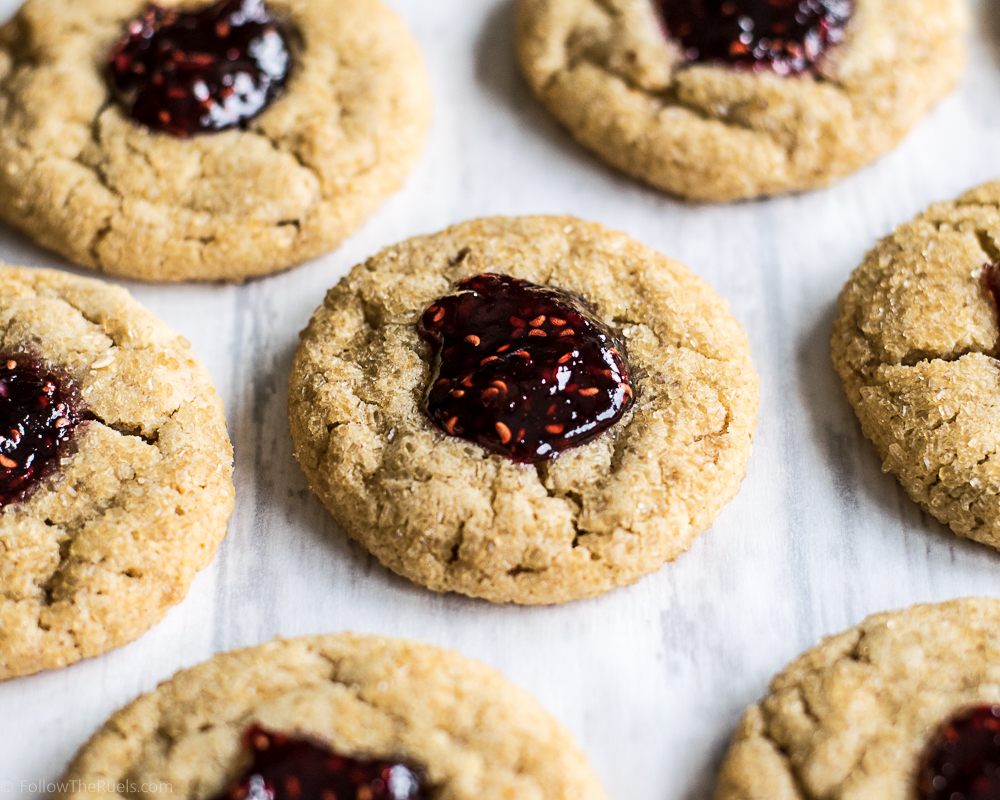
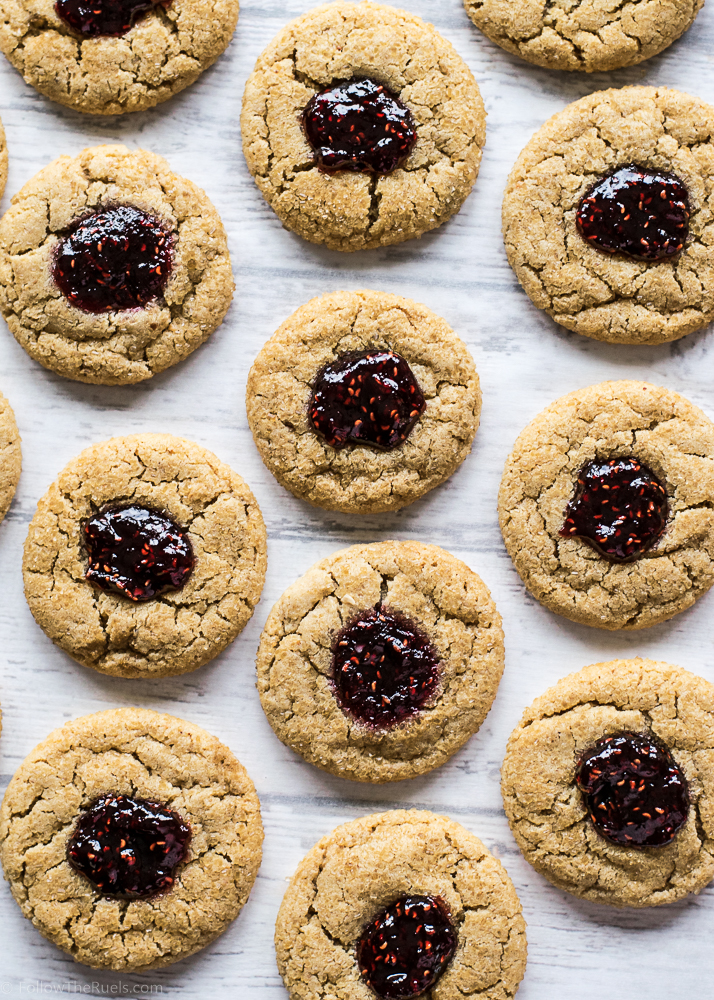
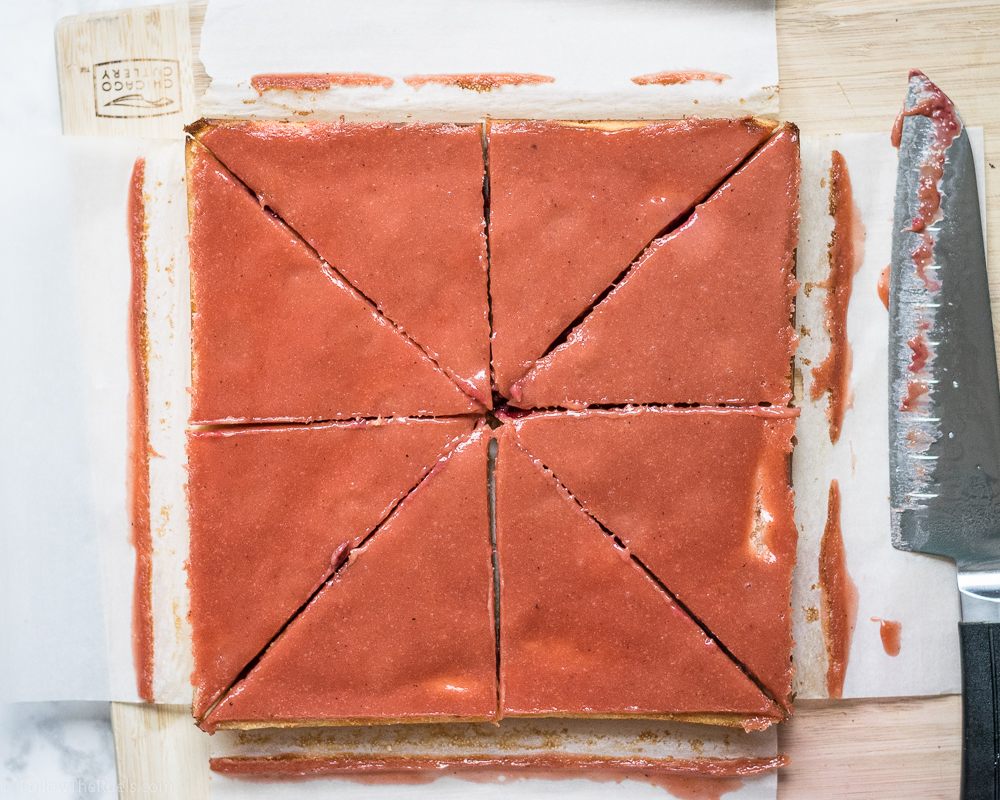
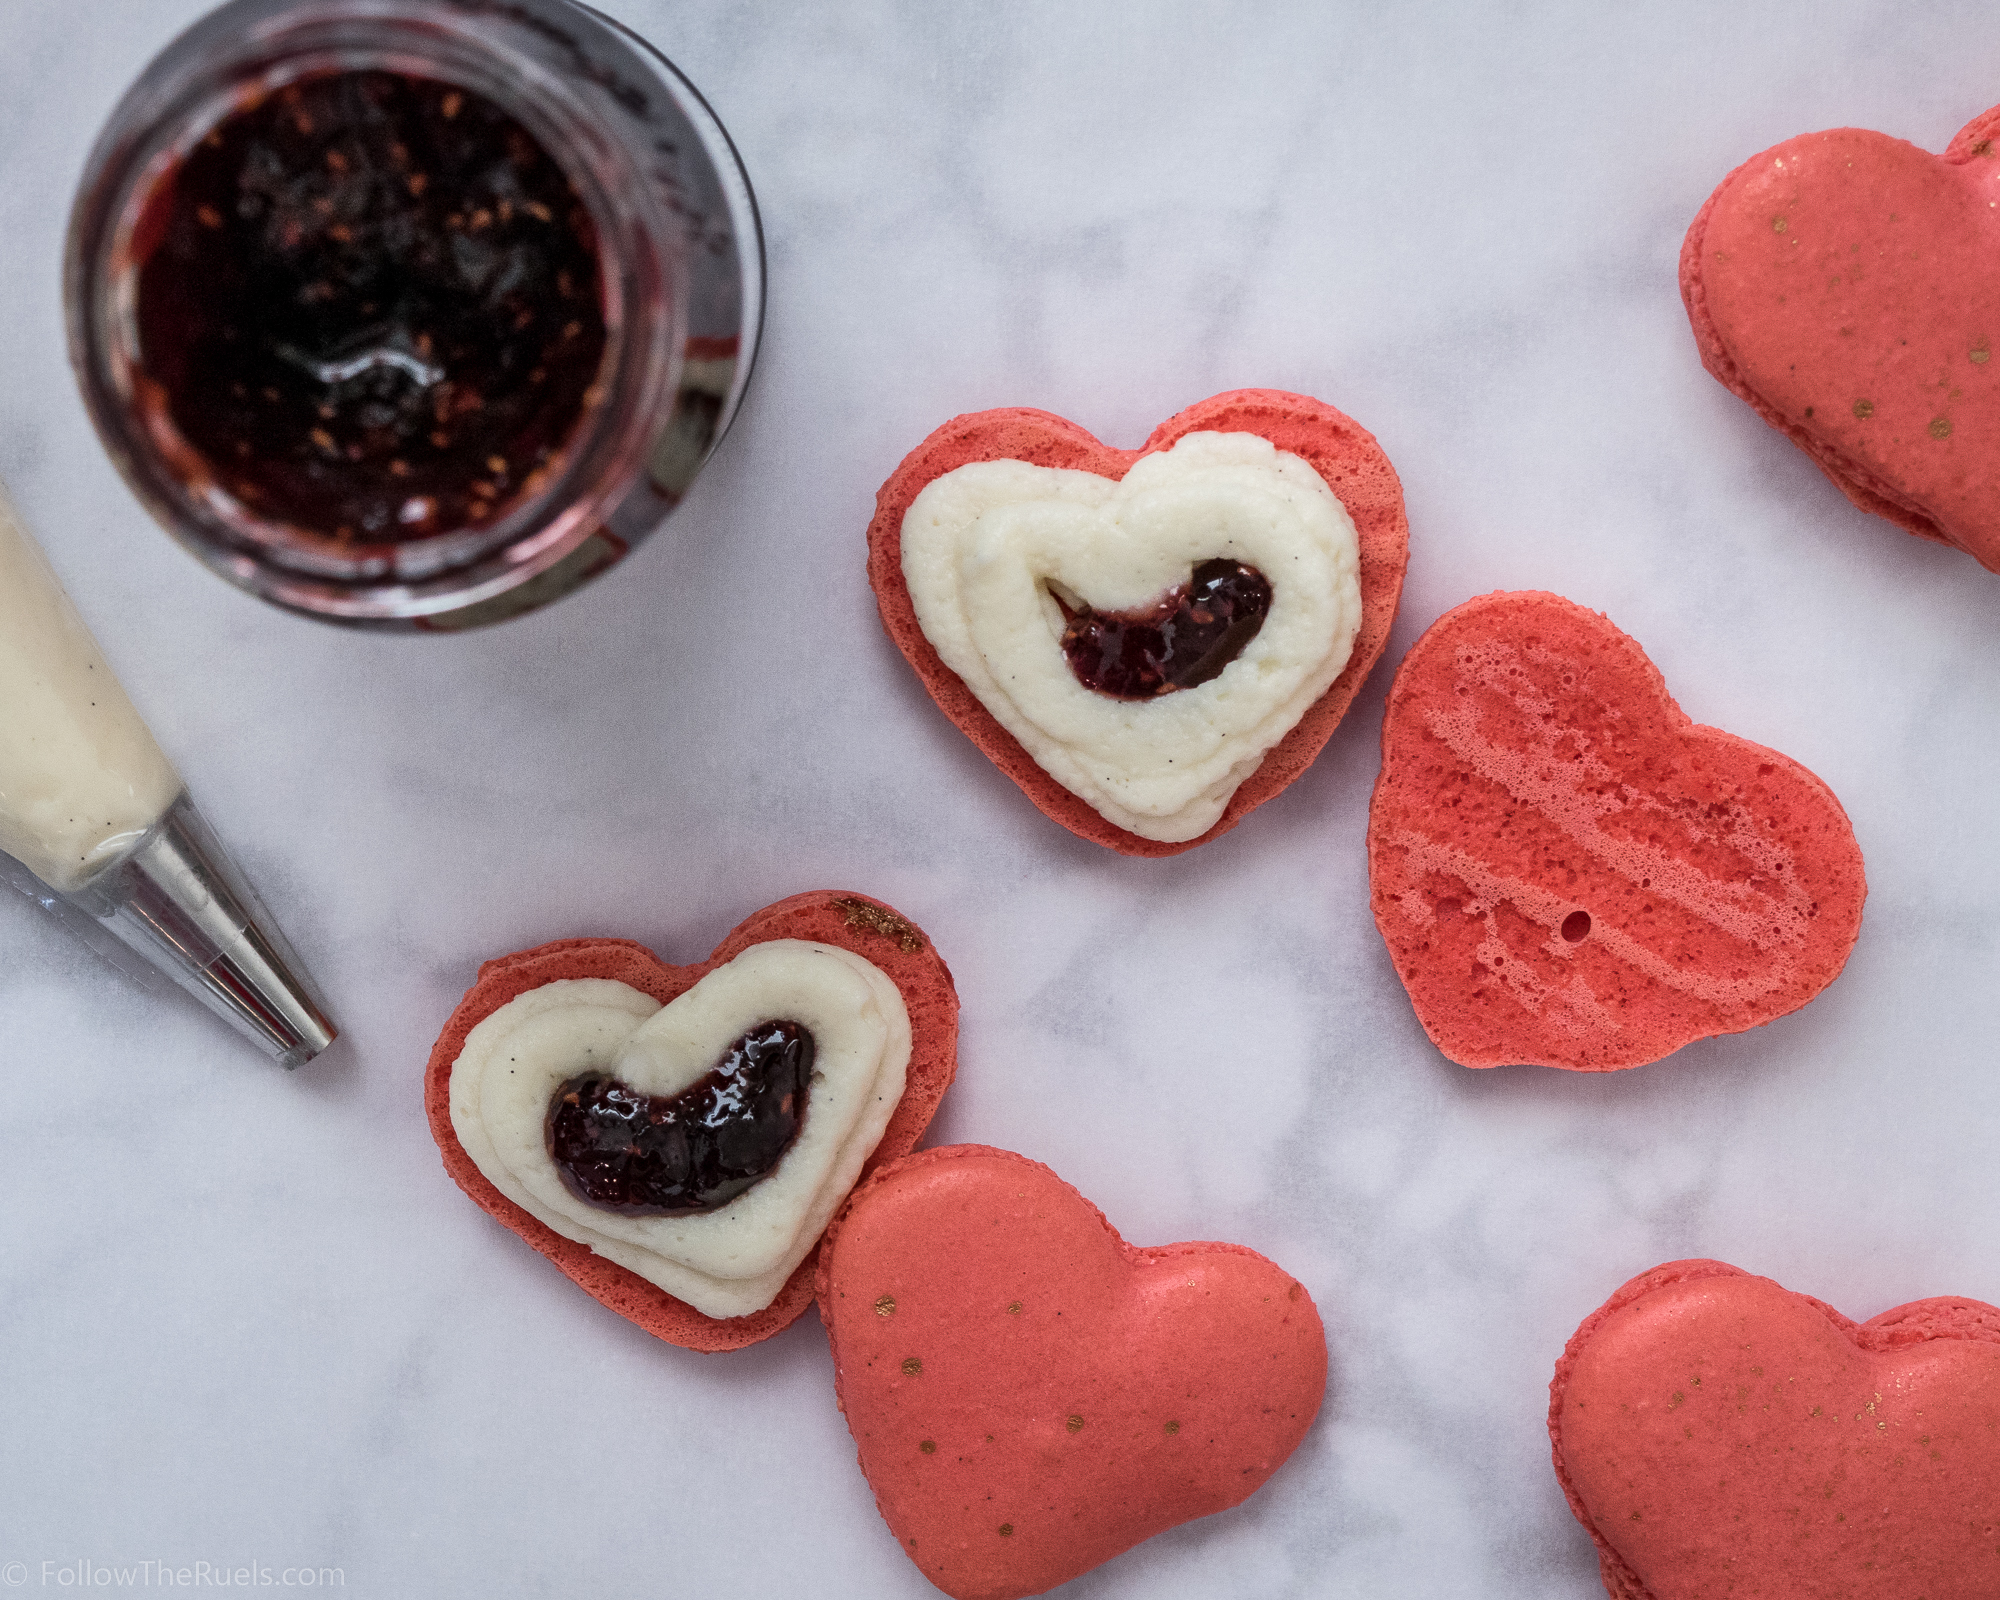
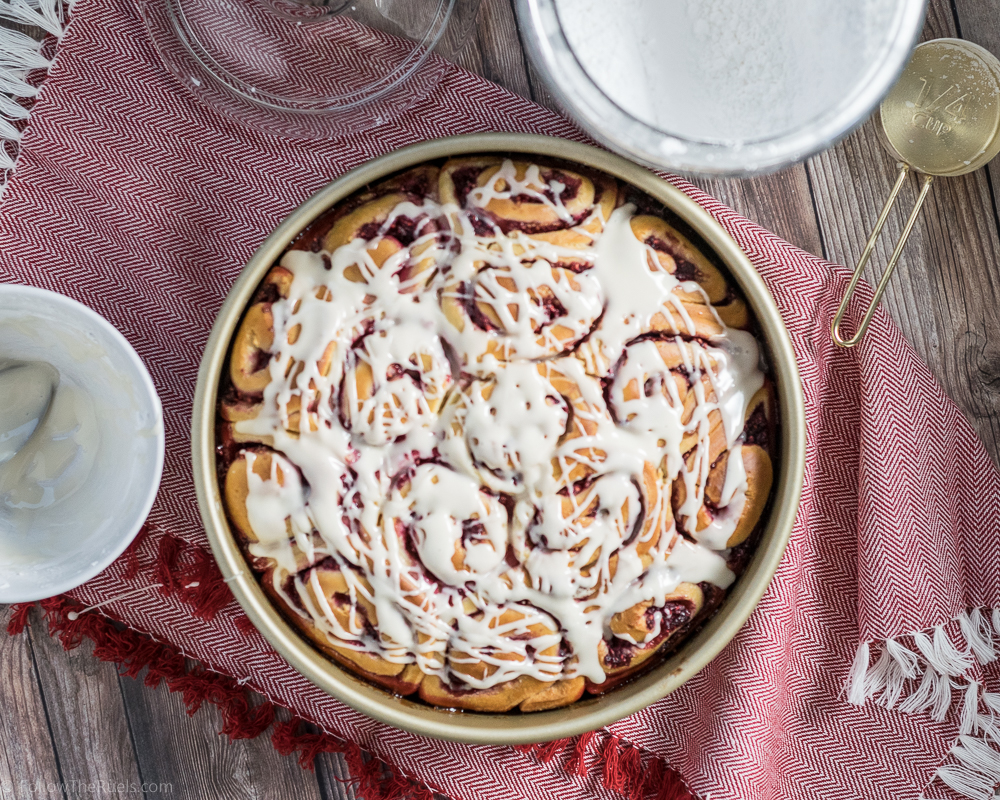
Your reward will be these perfectly crumbly and sweet raspberry oatmeal bars. I happen to love that the raspberry layer isn’t overly sweet, so it perfectly balances the sweeter and nuttier oatmeal crust. Of course, feel free to substitute your favorite store-bought jam or swap out the raspberries for another favorite berry!

Supplies and Recipe

[show_shopthepost_widget id=”3120801″]

[yumprint-recipe id=’172′]

/ Filed In: Bars and Brownies, Desserts, Eat, Other Sweets New
Tagged: almond meal, bars, chia seeds, healthy, low-sugar, oatmeal, raspberry

Peanut Butter and Jelly Thumbprint Cookies

August 4, 2017

Apparently, I blinked and July passed by in a flash and now it is August. How did that happen? Summer is almost over and there are back-to-school supplies everywhere. I am not a child under 18, nor do I have any children under 18, but somehow I still get caught up in the back-to-school “season”. I take full advantage and stock up on pens, highlighters, notebooks. (binders, pencil pouches…don’t judge.) It’s also a great time to get nostalgic about my favorite school lunch: the peanut butter and jelly sandwich.

I love peanut butter and jelly. Love. There are very few foods I truly love (who am I kidding, there are lots), but this one is at the top of the list. Last year around this time I made peanut butter and jelly cupcakes, and oh my were they delicious! So when all those school supplies popped up in Target a few weeks ago, I got a hankering to make another pb&j treat, this time in the form of these peanut butter and jelly thumbprint cookies. 

Like any good pb&j, it starts with the peanut butter. In this case, a peanut butter cookie. If you have a favorite recipe, you could probably sub that in, instead. But this recipe is perfect for making thumbprint cookies since they spread out just enough and are soft, not crumbly.


Start by mixing the butter, sugar, and peanut butter together until they are light and fluffy. Then mix in the egg and vanilla. Lastly, incorporate the flour, baking soda, and salt.

When I mix up cookie dough, I tend to do a lot of mixing up until the point I add the flour. Once the flour is added, you run the risk of developing a really tough cookie (something about the gluten in the flour). But before the flour is added, mix away to your heart’s content! 


After a quick rest in the fridge, form the dough into small ping-pong ball or smaller sized balls (I like to use my handy dandy cookie dough scoop for that). Then roll them around in sugar. I used turbinado sugar, which is more coarse, but regular granulated sugar would work just fine.


Bake these cookies for about 15 minutes. Then as soon as you take the out of the oven use the back of a teaspoon to form the little indentation for the jam. You can also use the end of a wooden spoon, handle of a rolling pin, or your thumb. But I find the teaspoon works perfectly.

A good pb&j is only as good as the j. In my opinion, raspberry jelly is the only jam/jelly/preserve that should be in a peanut butter and jelly sandwich. Strawberry is too sweet, and grape is too artificial. Raspberry is the perfect amount of sweet and tart to balance out the creamy peanut butter. But you can pick whatever jam/jelly/preserve you like to spoon into the centers of these cookies (just know that if you pick anything other than raspberry, you chose poorly…just kidding…sort of…not really).

Can you tell I feel strongly about my jelly?

I am just passionate about my pb&j. And equally as passionate about these cookies, because they combine two of my favorite things: peanut butter and jelly and cookies!

[yumprint-recipe id=’122′]

/ Filed In: Cookies, Cookies New, Eat
Tagged: cookies, jelly, pb&j, peanut butter, raspberry, thumbprint cookies

Water Color Fruit Cookies (+ NEW Sugar Cookie Recipes!)

June 23, 2017

I am really excited about this post for a couple of reasons. First of all, I love these cookies. They are some of my favorites to date! I have been loving this painting on cookies technique that I picked up over the past couple of months. It’s actually somewhat therapeutic to sit and paint. Plus, with watercolor, you don’t have to be so precise and exact, which I certainly appreciate! 


The second reason I love this post is that each one of the watercolor fruit cookies represents the flavor of the cookie! I have been playing around with different flavors for a couple months and settled on four that will be my (actually, you have already seen them in the rotation) my go-to cookie flavors for Summer (and probably beyond). 

But I will get to the flavors in a second. First let me show you how I painted the cookies! (P.S. It’s super easy!)

So the trick is to “water down” your food coloring with a bit of a clear alcohol or extract, like almond extract. You don’t want the color to be TOO pigmented, or else it won’t look like water color. Then I just mixed my colors until I found a shade I liked and painted directly on the dried icing. There is no science to it at all! I did have pictures of water color fruit up in front of me while I did this so I had something to work off of. But after a while, I just did what I thought looked good. 

Now back to these cookie flavors. 

I know I share a lot of sugar cookie recipes. So instead of posting all the recipes here, or sharing them one by one over the course of the Summer, I decided to put together a little mini recipe e-book with all four recipes which you can get here. Each recipe is not only delicious, but I spent a lot of time in Photoshop making them pretty, too! That way you can print them out and save them for the next time you want to make some wonderful cookies. 

The lemon cookie is lemon-mint flavored and is absolutely refreshing and delicious! The raspberry cookie is a raspberry lemonade flavor, which reminds me of my all time favorite summer drink. The strawberry is strawberry and honey flavor which is subtle and sweet. And finally the lime cookie is lime and sea salt flavored which almost tastes like a margarita! (As I was decorating, I couldn’t help but think of the Willy Wonka line “the snozeberries tastes like snozeberries!”)

Also, I should mention that these recipes are not my normal sugar cookie recipe with a couple extracts thrown in. I re-developed my sugar cookie recipe just for Summer! It’s lighter and softer than normal. Plus the flavors are all natural! They are not engineered for a flavor extract, which makes the cookies that much more wonderful and delicious! 

If you do end up downloading the e-book and trying out the recipes, I would love to know what you think. Also, if you like this idea, I already have some thoughts on another e-book for the Holidays!

 
[show_shopthepost_widget id=”2717110″]

/ Filed In: Cookie Decorating 101, Cookies New, Decorated Cookies, Eat
Tagged: cookie decorating, cookies, lemon, lime, raspberry, strawberry, sugar cookies, Summer, water color

Delicious Raspberry Lemon Bars

April 12, 2017

Two of my favorite things in life: raspberries and lemons. Love them together, love them separately. But boy are they good together. 

As a lemon lover, you better believe I can throw down some lemon bars. They are one of my absolute favorite desserts (Exhibit A: It is my one and only Paleo dessert recipe)! You know what makes them even better? You guessed it! Raspberries! Every bite of these raspberry lemon bars is like drinking raspberry lemonade while eating your favorite lemon bar. Which I could totally go for right about now. 


These little lemon bars are made up of three layers. Only two are necessary, but I recommend all three. The first is the crumbly crust.

To make the crust mix together butter, sugar, flour, and lemon zest. To make this easier on yourself, you use food processor to form it into a crumbly dough. If you like to work for your food, then you can use a pastry cutter, a couple knives or forks, or just your hands. They all work great!

Once the dough has sort of formed into a ball, dump it into a square pan and press it down into the bottom and a little bit up the sides. Take a fork and stab it a couple times to make sure that no big air bubbles form. Then pop it in the oven to par bake for a couple minutes while you get the filling ready. 


The filling is lemon juice, lemon zest, sugar, eggs, a bit of flour, and some raspberry juice. 

To get the raspberry juice, blend the raspberries with a bit of the lemon juice and then strain it back into the measuring cup before adding it to the filling. Once it’s mixed all together, you just pour the filling right into the crust and then bake for another few minutes. 

To add even more raspberry to these raspberry lemon bars, you can sprinkle some raspberries into the filling so that there is a little bit of raspberry in each bite. 

At the last minute, I decided that there just wasn’t enough raspberry for me, so I decided to make a raspberry curd to go on top. 

Raspberry curd is exactly like lemon curd, except you substitute some raspberries for lemon juice. It sounds fancy, but it takes less than 10 minutes to make! Once the lemon curd has cooled a bit, you can spread it over the baked lemon bars, then pop then in the fridge to chill. 

I like to let my raspberry lemon bars chill at least a couple hours so that all the layers set and they are a whole lot easier to cut. Just look at those layers! Crunchy, crumbly crust, topped with a sweet raspberry-lemon filling, topped with a raspberry curd. I could just dive right through this computer screen and take a bite. 

And don’t forget those little pieces of raspberries! Since the raspberry flavor isn’t overwhelming, it’s nice to get that little pop of berry to balance out the sour lemon.

Now go run off and make these and let me know what you think! If you are a lemon bar lover like me, I would love to know if you like this raspberry version even better!


[amd-yrecipe-recipe:144]

/ Filed In: Bars and Brownies, Desserts, Eat, Other Sweets New
Tagged: crust, dessert, lemon, lemon bars, lemon curd, raspberry, raspberry curd

Heart Shaped Macarons (Italian Meringue Method)

February 3, 2017

Did you know there is more than one method for making macarons!? Up until very recently, I had no idea! Apparently there are several methods. The one that I have posted about before, the French method, is the traditional method. But there is also an Italian meringue method and a small batch method (more on this later). 

Even though I have had more success with the Laduree macaron recipe, they can still be hit or miss. Which is why I have been eager to try the Italian method for my Valentine’s Day-themed heart shaped macarons!

The ingredients for the Italian method are largely the same as the French: almond flour, confectioner’s sugar, egg whites, and granulated sugar. This method requires making a sugar syrup with the granulated sugar and a bit of water. 

First, I sifted together the almond meal and the confectioners sugar. 

Then, instead of whisking all of the egg whites into a meringue, I mixed half of the egg whites into the almond/sugar mixture to create an almond paste. 

Which also seemed like a good time to add in some food coloring. 


The next big difference to this recipe is meringue. With the French method, you just whip up the meringue with a bit of granulated sugar. The problem is that this meringue is very fragile and if you over or under mix the batter, you can completely ruin the cookie.

For the Italian method, you an Italian meringue by drizzling a hot sugar syrup into egg whites that were already been whisked into soft peeks. 

Once my meringue was back to room temperature, I mixed it into the almond paste. I was very skeptical that my macarons would turn out okay considering how much I had to mix the batter. It will feel like you killing the meringue, but since it’s an Italian meringue, it was much sturdier and held up to the mixing.

I knew the batter was completely mixed when I had no more lumps of the almond paste and the batter just fell off the back of my spatula in a steady ribbon. 


And since these macarons are for Valentine’s Day, of course I had to make them into hearts! I outlined a heart shape onto the back of the parchment paper, then used that as a guide to pipe my macarons. I basically pipped a ‘V’ shape, putting more pressure on the piping at the top of the ‘V’, and less at the point. I also used a toothpick to help fill in the shape and make the point even pointier. 

I also wanted to add a little something extra to these macarons, so I spattered them with some edible gold paint. It’s one of my favorite decorating techniques because all I do is dip the brush in the paint and shake it over the cookies. No skill required!

When it comes to filling, macarons can be filled with really anything. I love filling them with Nutella or chocolate ganache. But since this if Valentine’s Day, I decided to go with a raspberry cheesecake filling! Which is essentially my cream cheese frosting and a dollop of raspberry preserves. 

I will say, I am a big fan of this method. It worked out wonderfully and every macaron came out perfectly! That may seem like I have low expectations, and that’s because I do.

If you have ever tried making macarons at home, you know that sometimes they work, sometimes, they don’t. And sometimes the first macarons piped out turn out fine, while the ones at the end do not. So yes, I value consistency when it comes to my macaron recipes!

My only gripe is that it takes significantly more time and is a bit more cumbersome than the already cumbersome French method. If you plan on making lots of macarons, this is the method for you! 

And at the very least, you will have some very delicious macaons to reward you for all your extra effort!

[amd-yrecipe-recipe:124]


/ Filed In: Cookies, Cookies New, Desserts, Eat
Tagged: cream cheese frosting, macarons, meringue, pink, raspberry, Valentine's day

Raspberry Sweet Rolls

January 20, 2017

If there is one thing that I don’t have to worry about when I go home and visit my parents it’s going hungry. We are always well fed no matter where we go; especially at my dad and stepmom’s house. My stepmom is a serious cook! And she spoils us rotten with her amazing baked goods. 

While we were home for the holidays she whipped up a batch of raspberry sweet rolls. I don’t think I had ever had raspberry sweet rolls before, but I was an instant believer. With every bite I was picking her brain on how she made them. “Did you use jam for the filling?” “Did you add any butter?” 

I knew I had to try these once I got home!


The dough is pretty much what you would use to make cinnamon rolls. This is basically a cinnamon roll after all…just without the cinnamon.

I activated the yeast in some warm milk, then mixed that in with some butter, sugar, eggs, and flour. After kneading the dough for about 5 minutes, I placed it in a separate bowl to double in size. 


Once the dough was proofed, I dumped it out onto the counter that I had lined with parchment and flour to prevent the dough from sticking. I then rolled it out into a large rectangle and spread some softened butter over top.


To get the tiny pieces of raspberries, I used my stepmom’s trick and put the frozen berries in a bag, then whacked the crap out of them with a rolling pin. It’s great for stress relief! The raspberries just break apart into tiny little raspberry pellets. Which makes them perfect for sprinkling on top of the dough.


On top of the raspberries, I sprinkled on some of the sugar and a pinch of cinnamon. Then I rolled the dough into a tight spiral from one end to another. 


I cut the spiral into 2″ discs and placed them in a baking dish, or in my case a cake pan, to bake. In retrospect, I wish I would have used a square or rectangular pan so that they had more room to spread out while they baked. 

Once out of the oven, I drizzled a simple glaze over the tops and let the drip down into all the nooks and crannies. What is great about these rolls is that they aren’t too sweet, so the glaze perfectly compliments the tart raspberries. 


These raspberry sweet rolls actually reminded me of the Entemann’s Coffee cake my mom used to buy at the store when I was little. And I mean that in the best way possible. I loved that stuff! 

I really just loved the bright raspberry filling that just tasted so fresh since it is pretty much just raspberries and a bit of sugar. I also loved the sweet and soft rolls. Everything about these was really just delicious. And dare I say, almost as good as my stepmoms?!? 

Okay, I probably shouldn’t get ahead of myself. But they were close!

[amd-yrecipe-recipe:119]

/ Filed In: Breakfast, Eat, Other Sweets New
Tagged: breakfast rolls, dough, glaze, raspberry, yeast

Follow

Hey There!

Hey there, I'm Lindsey. I'm a number cruncher by day and a home cook and baker by night. While I love to eat healthy and find fresh and healthy alternatives for my favorite foods, I will never turn down dessert! Life is all about moderation, right?

Recipes

  • All Recipes
  • Breakfast
  • Appetizers
  • Salads
  • Main Dishes
  • Side Dishes
  • Desserts
  • Drinks

Favorite Finds

[show_lookbook_widget id=”388783″]

Theme by 17th Avenue · Powered by WordPress & Genesis