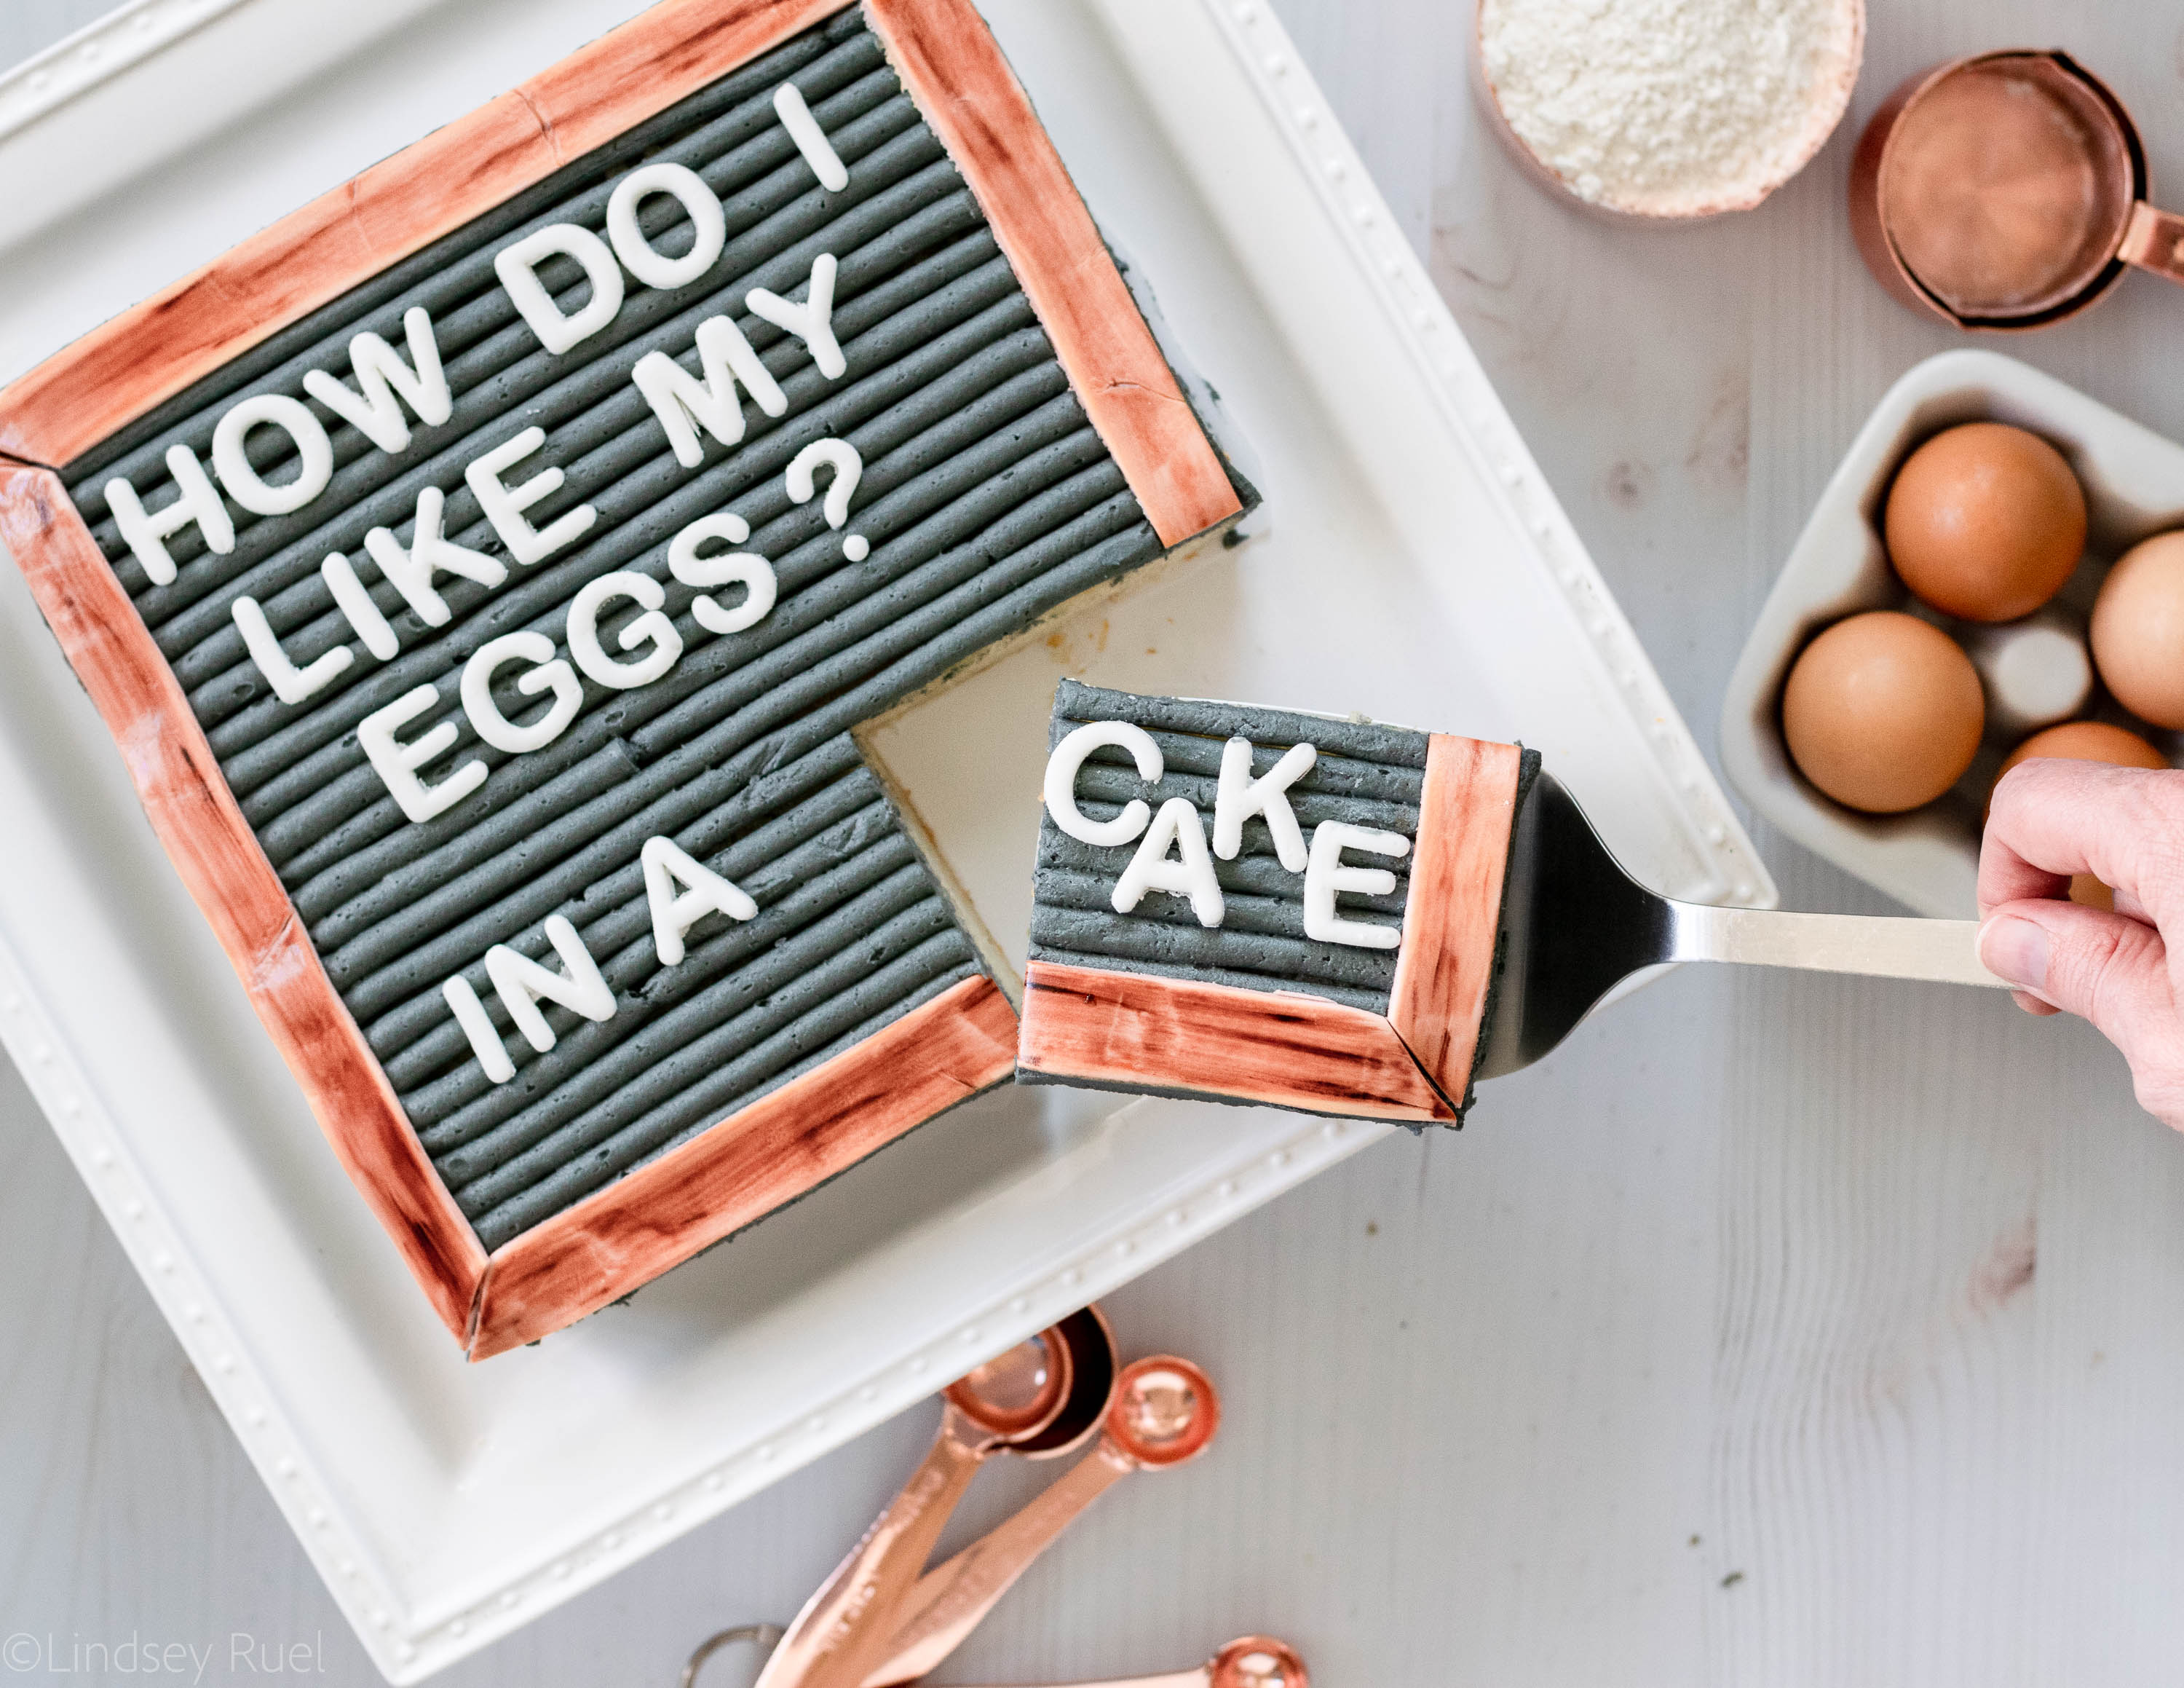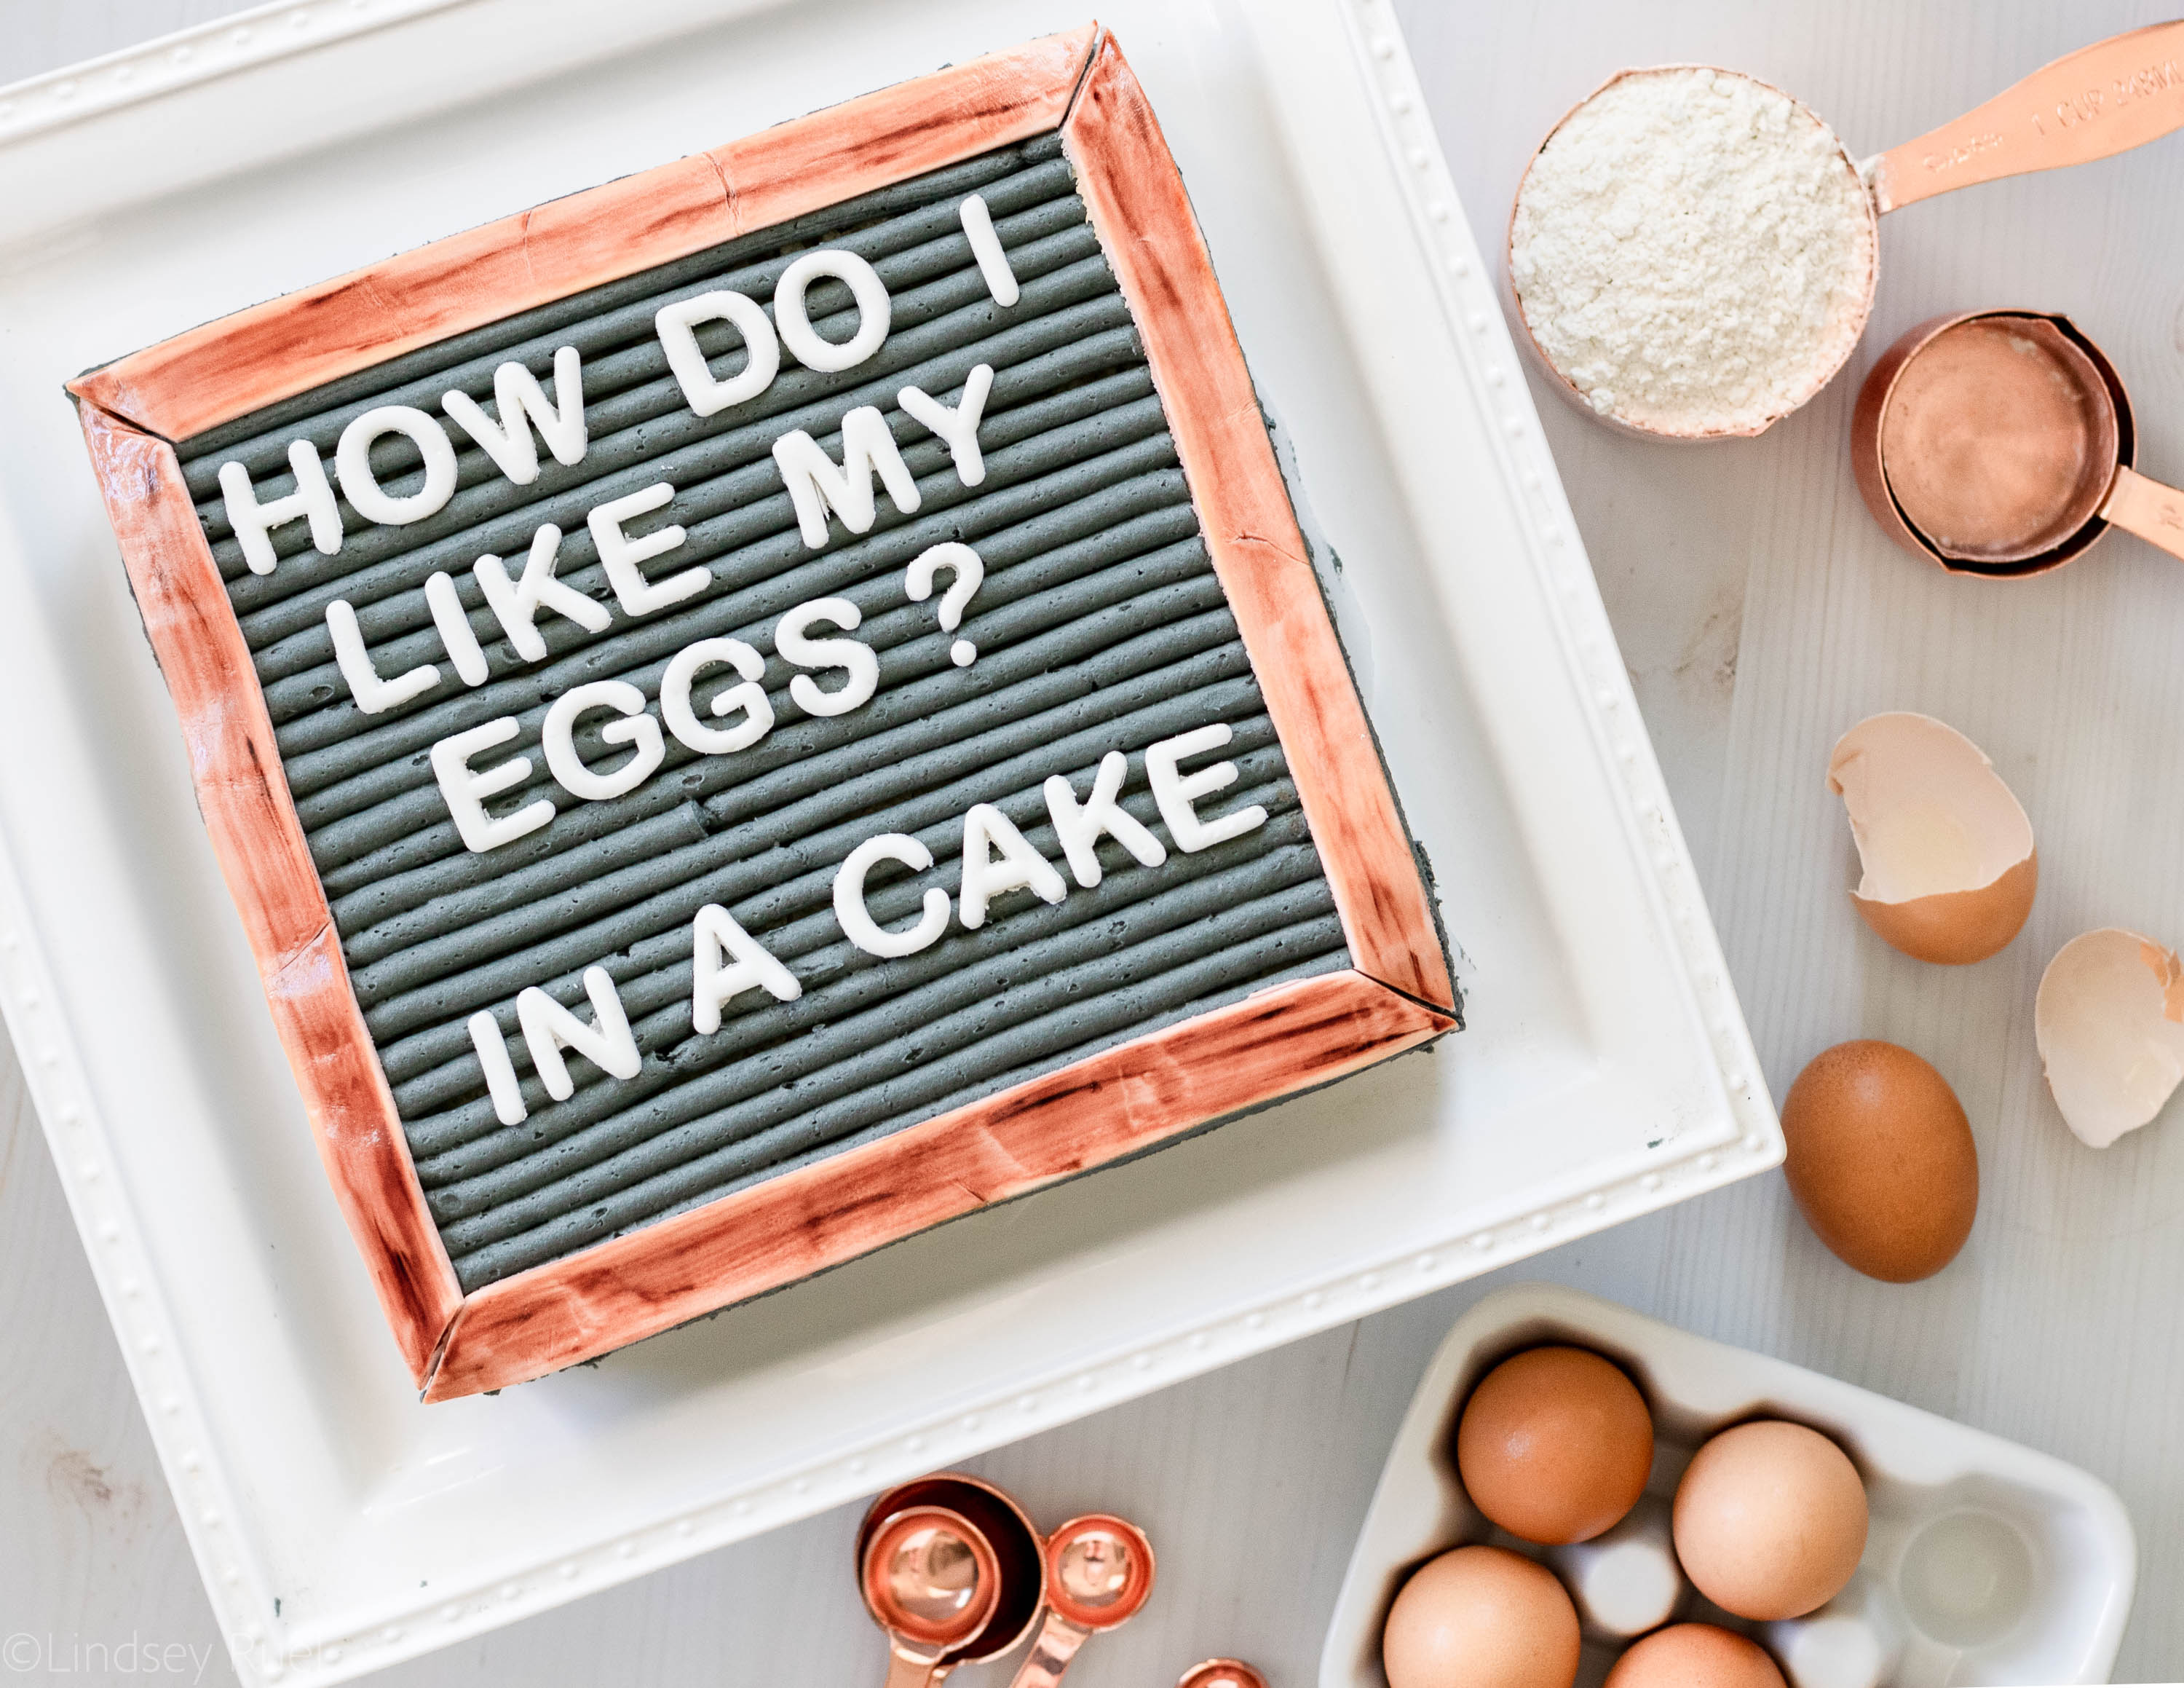
I have to give the credit for this cake to one of my Instagram followers. While I am not sure it was her intention was to make her own letterboard cake, a string of messages sparked this cute idea!
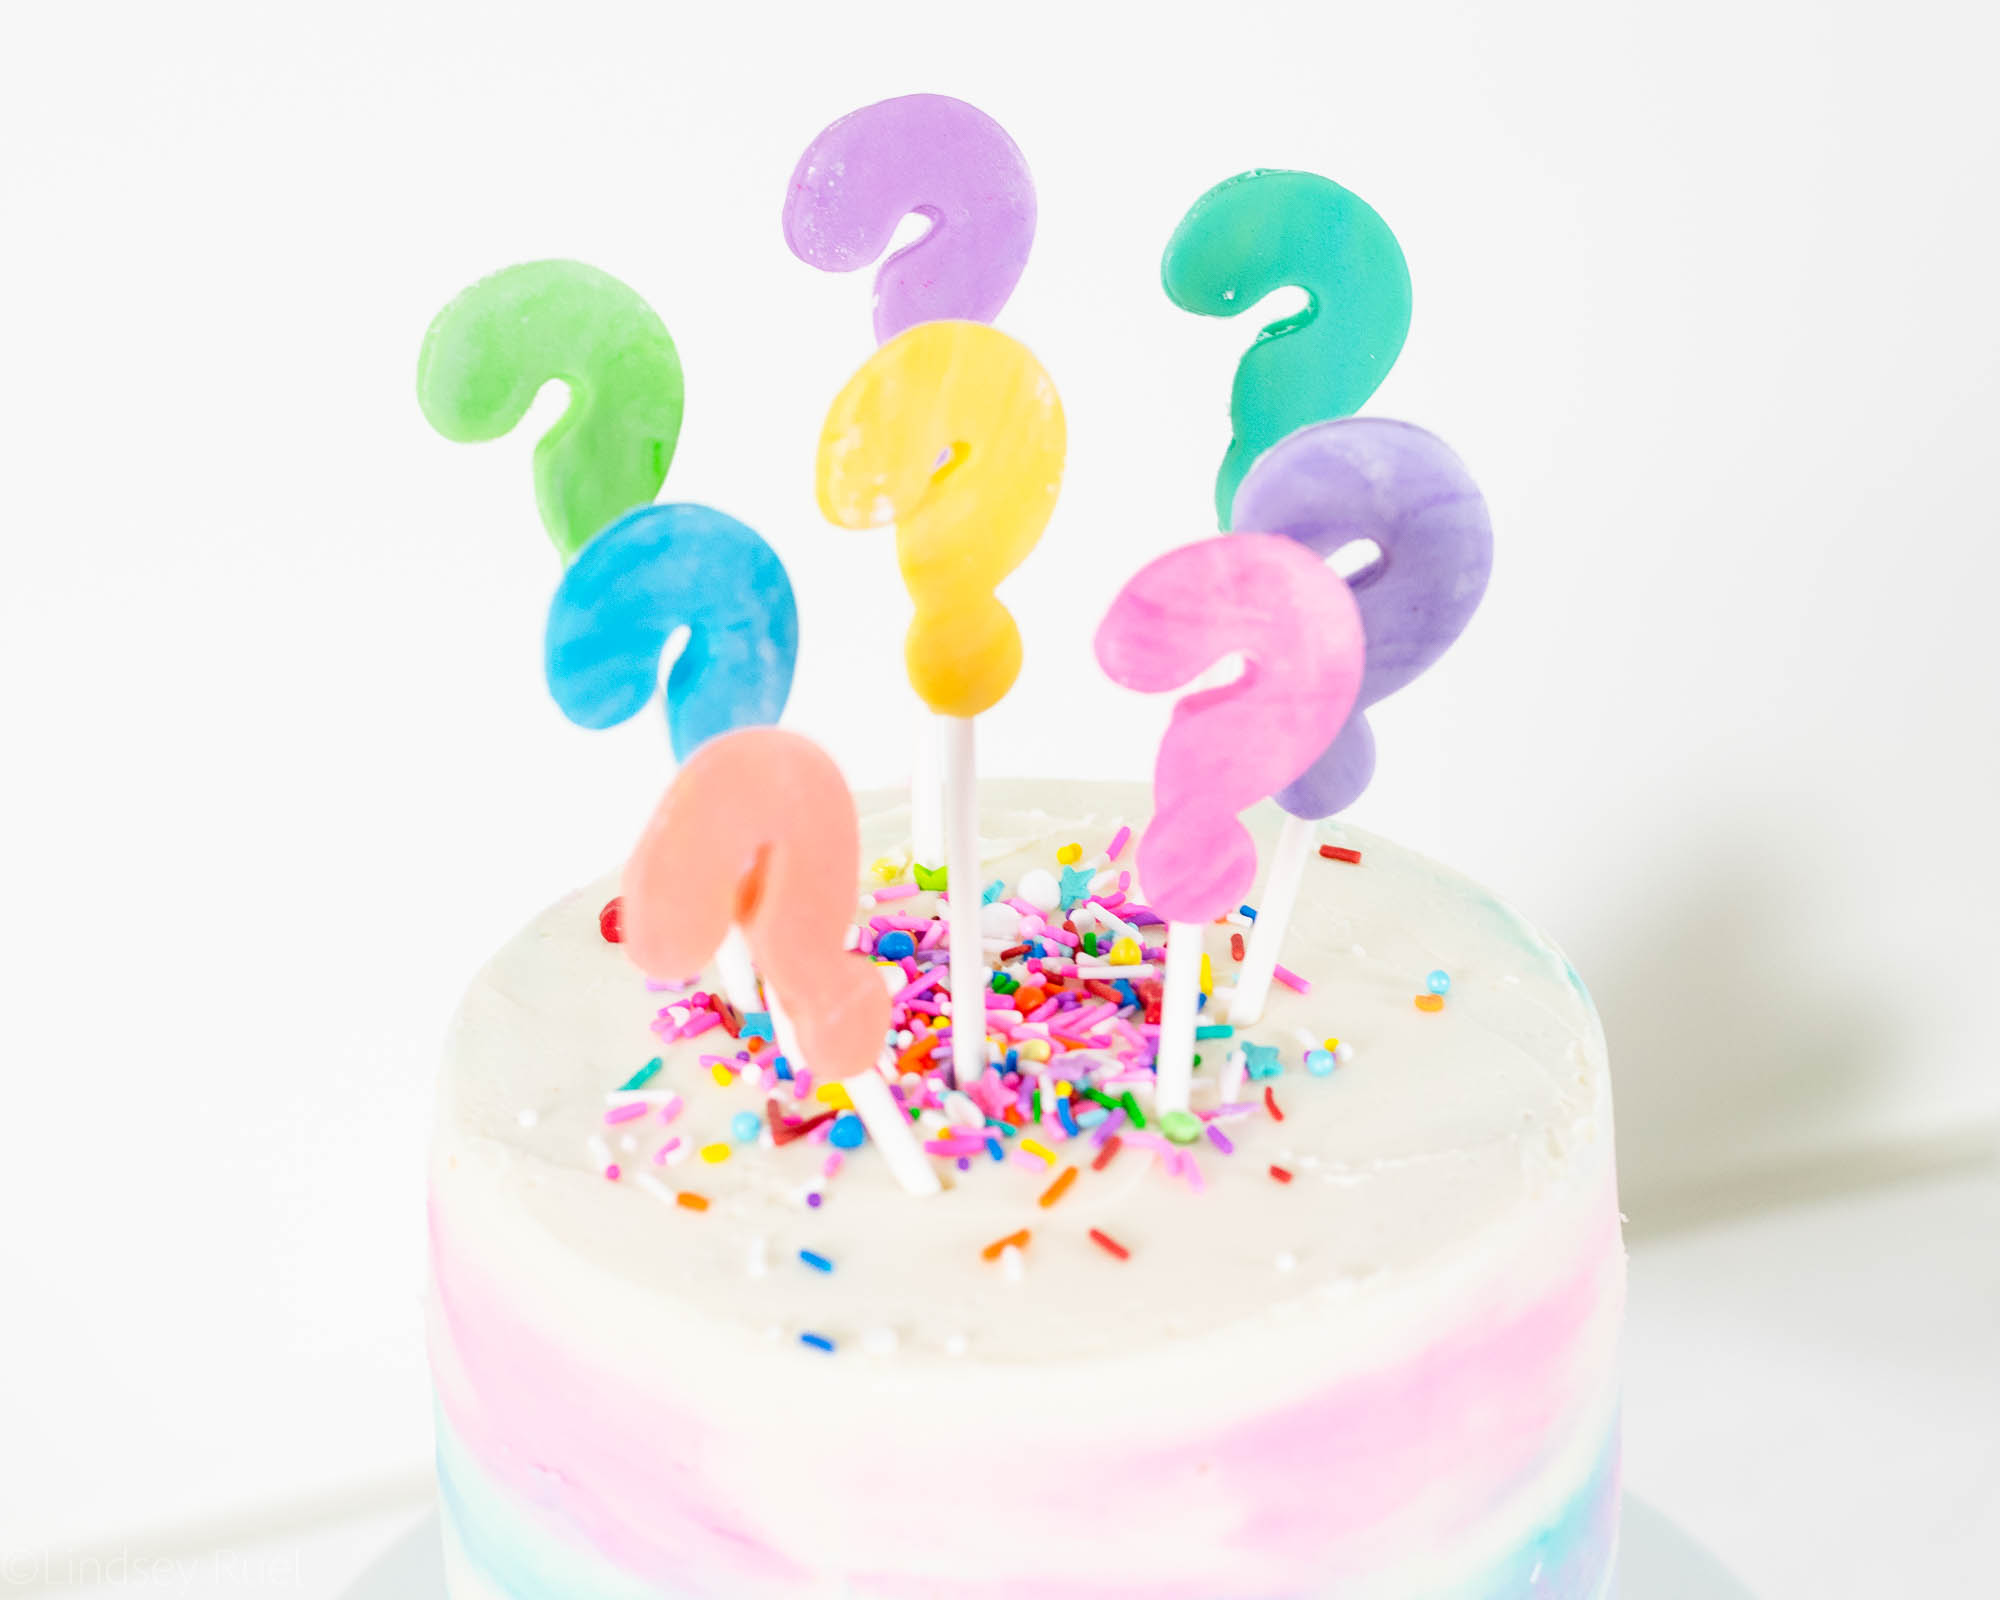
This letterboard cake would be perfect for an announcement, birthday, or any other special event. Since I am sort of out of announcements, I just made it for the heck of it!
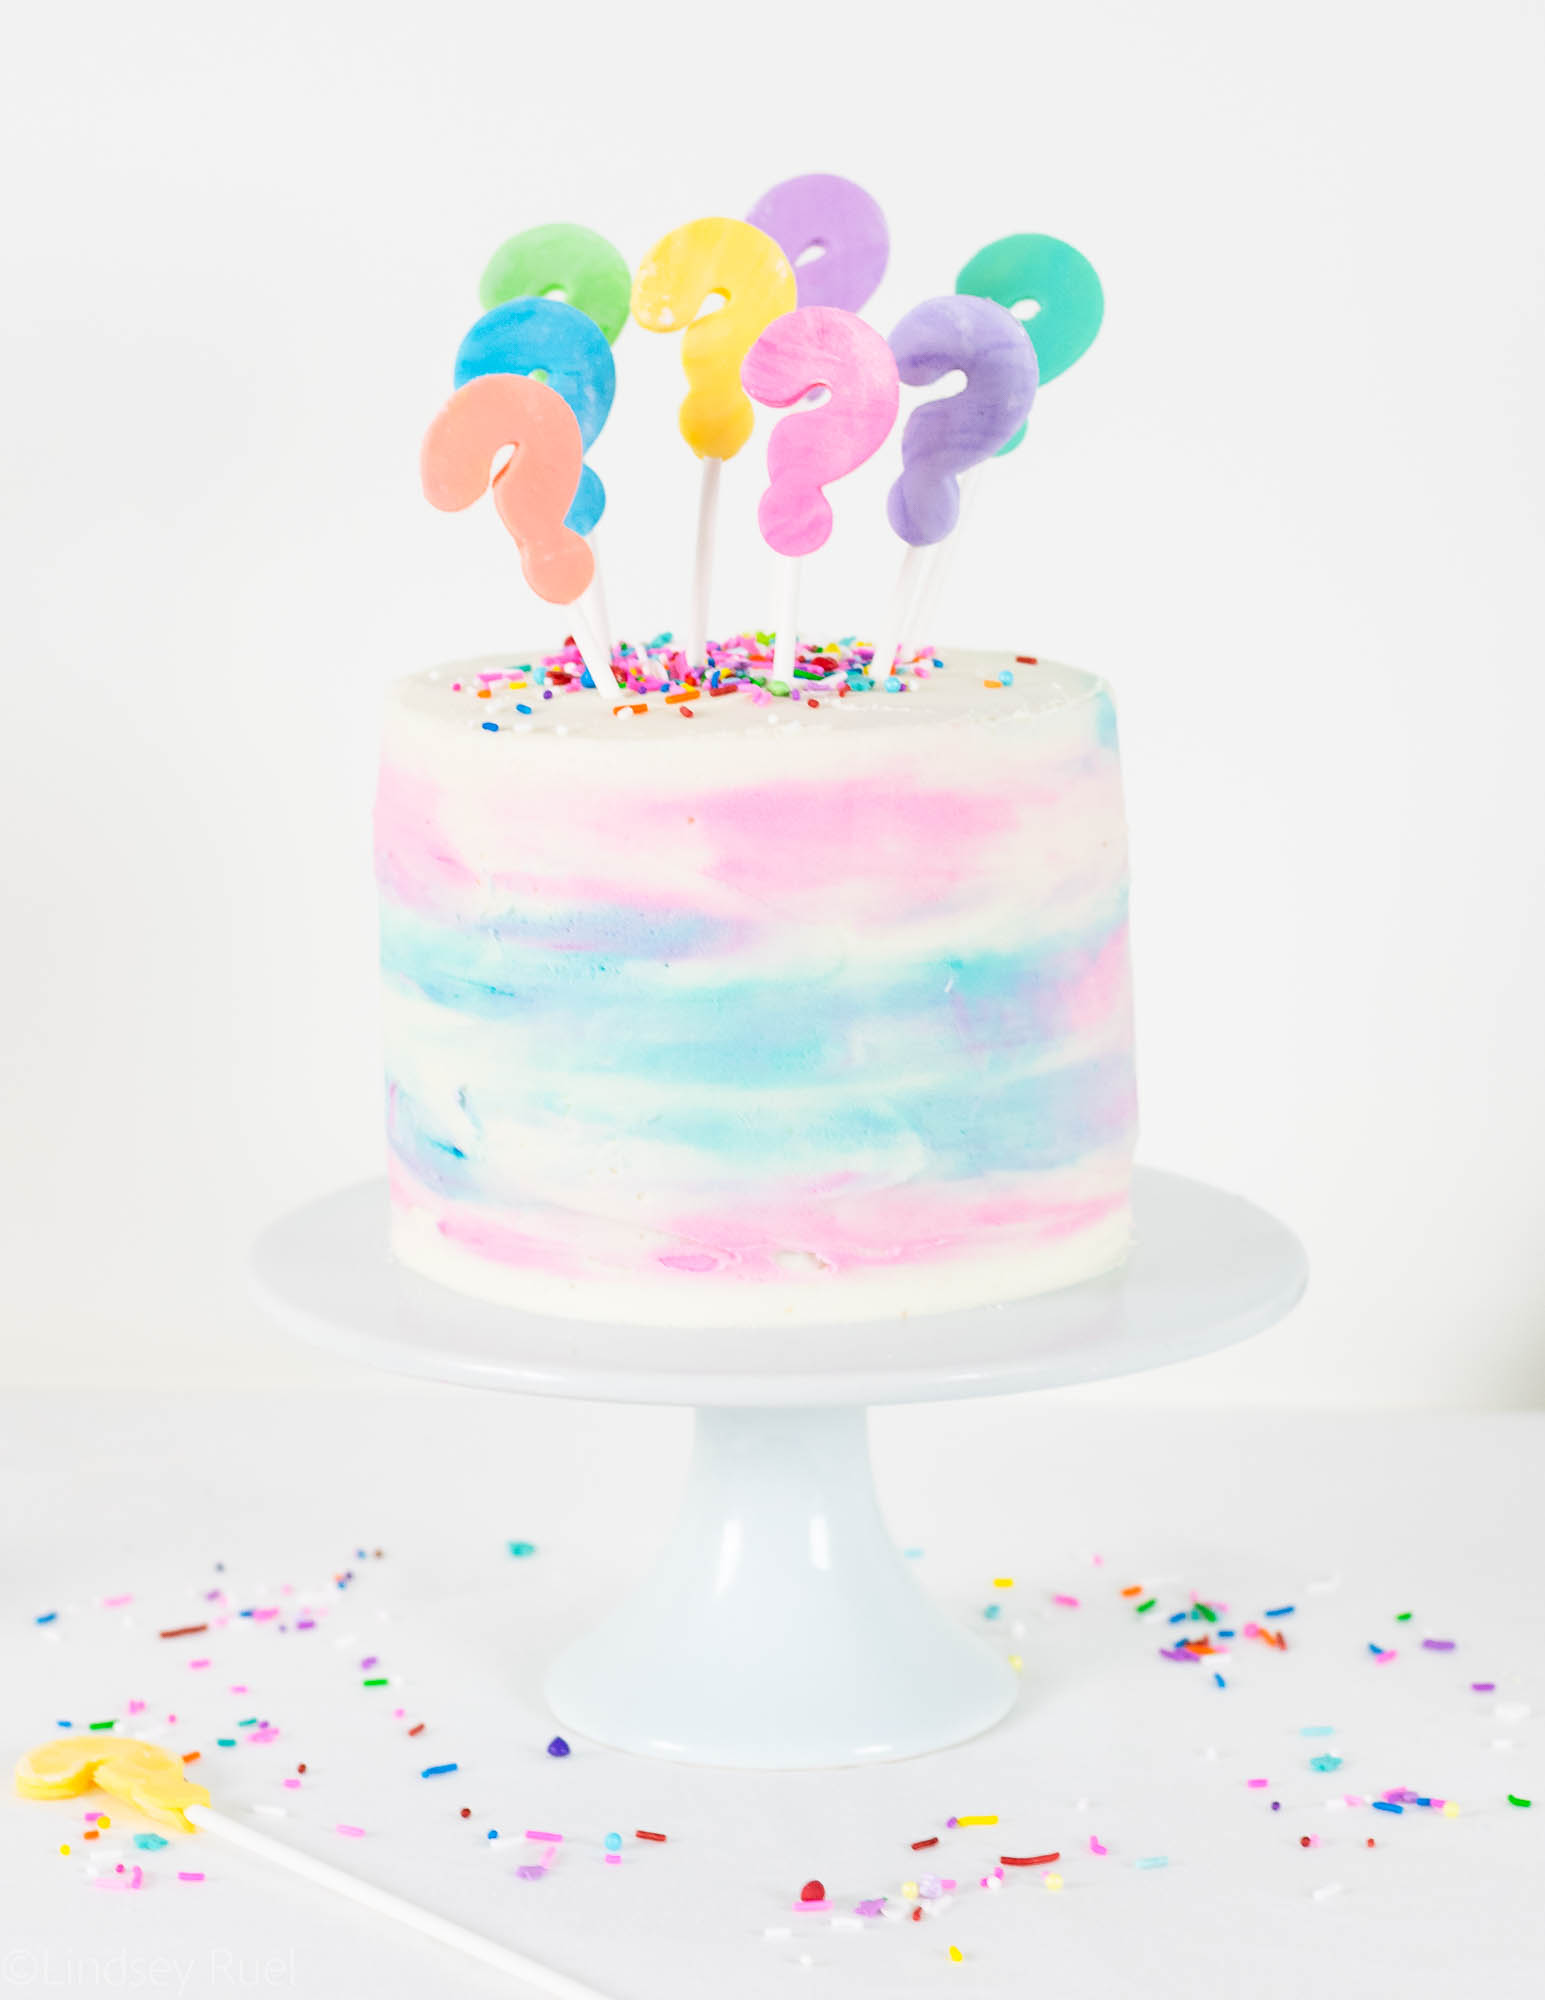
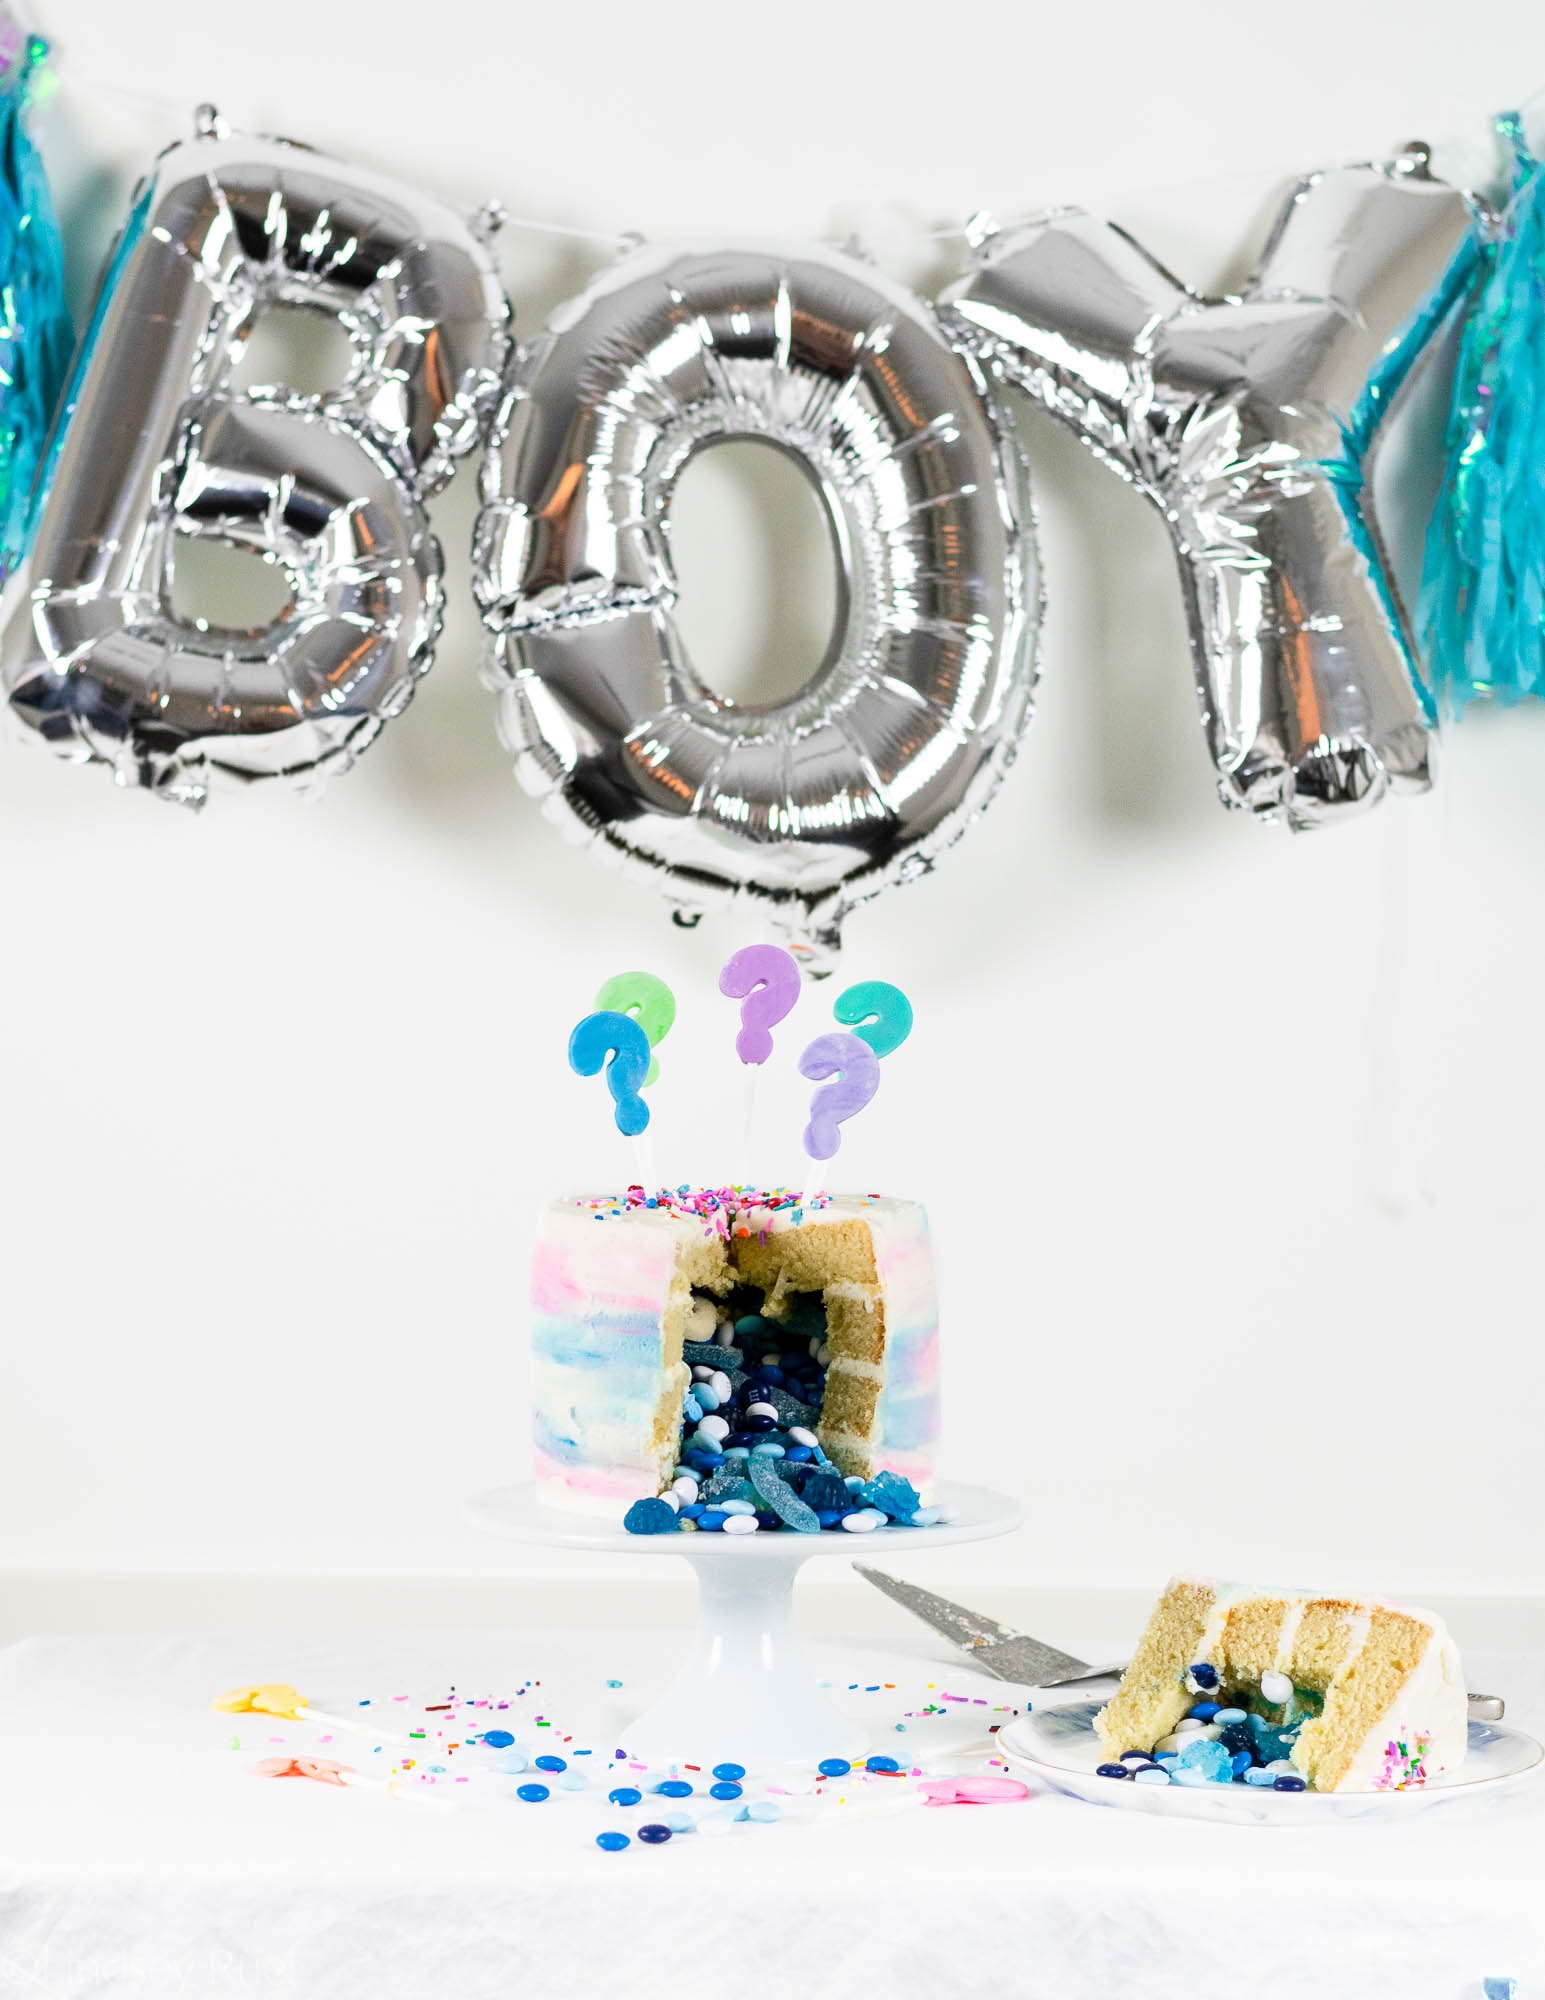
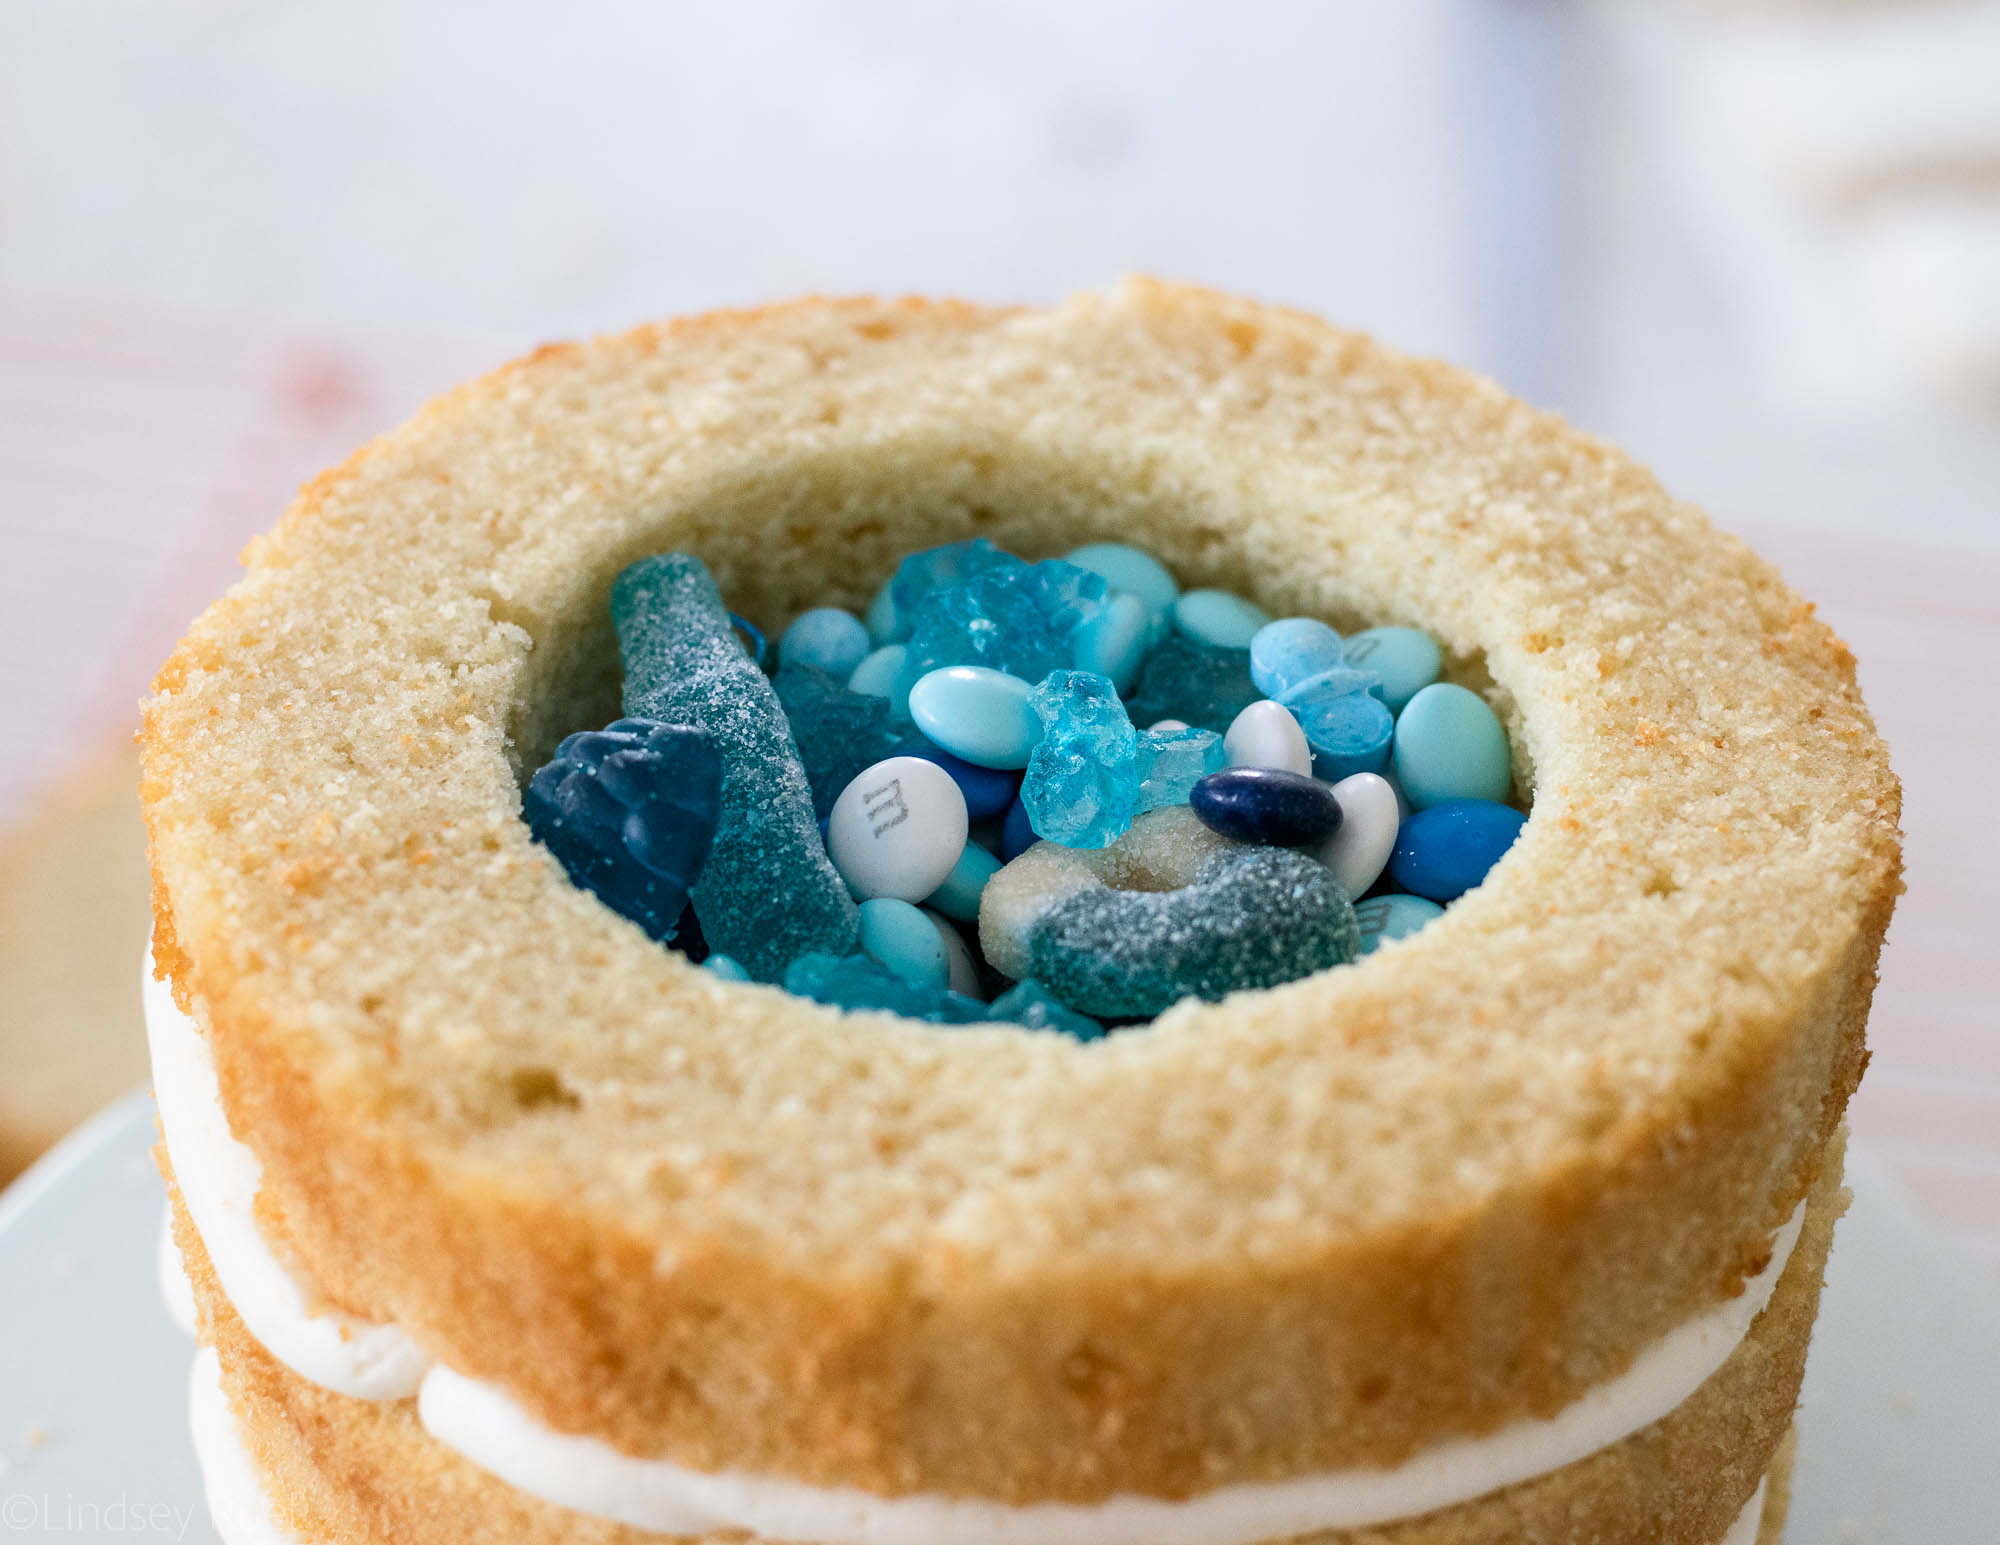
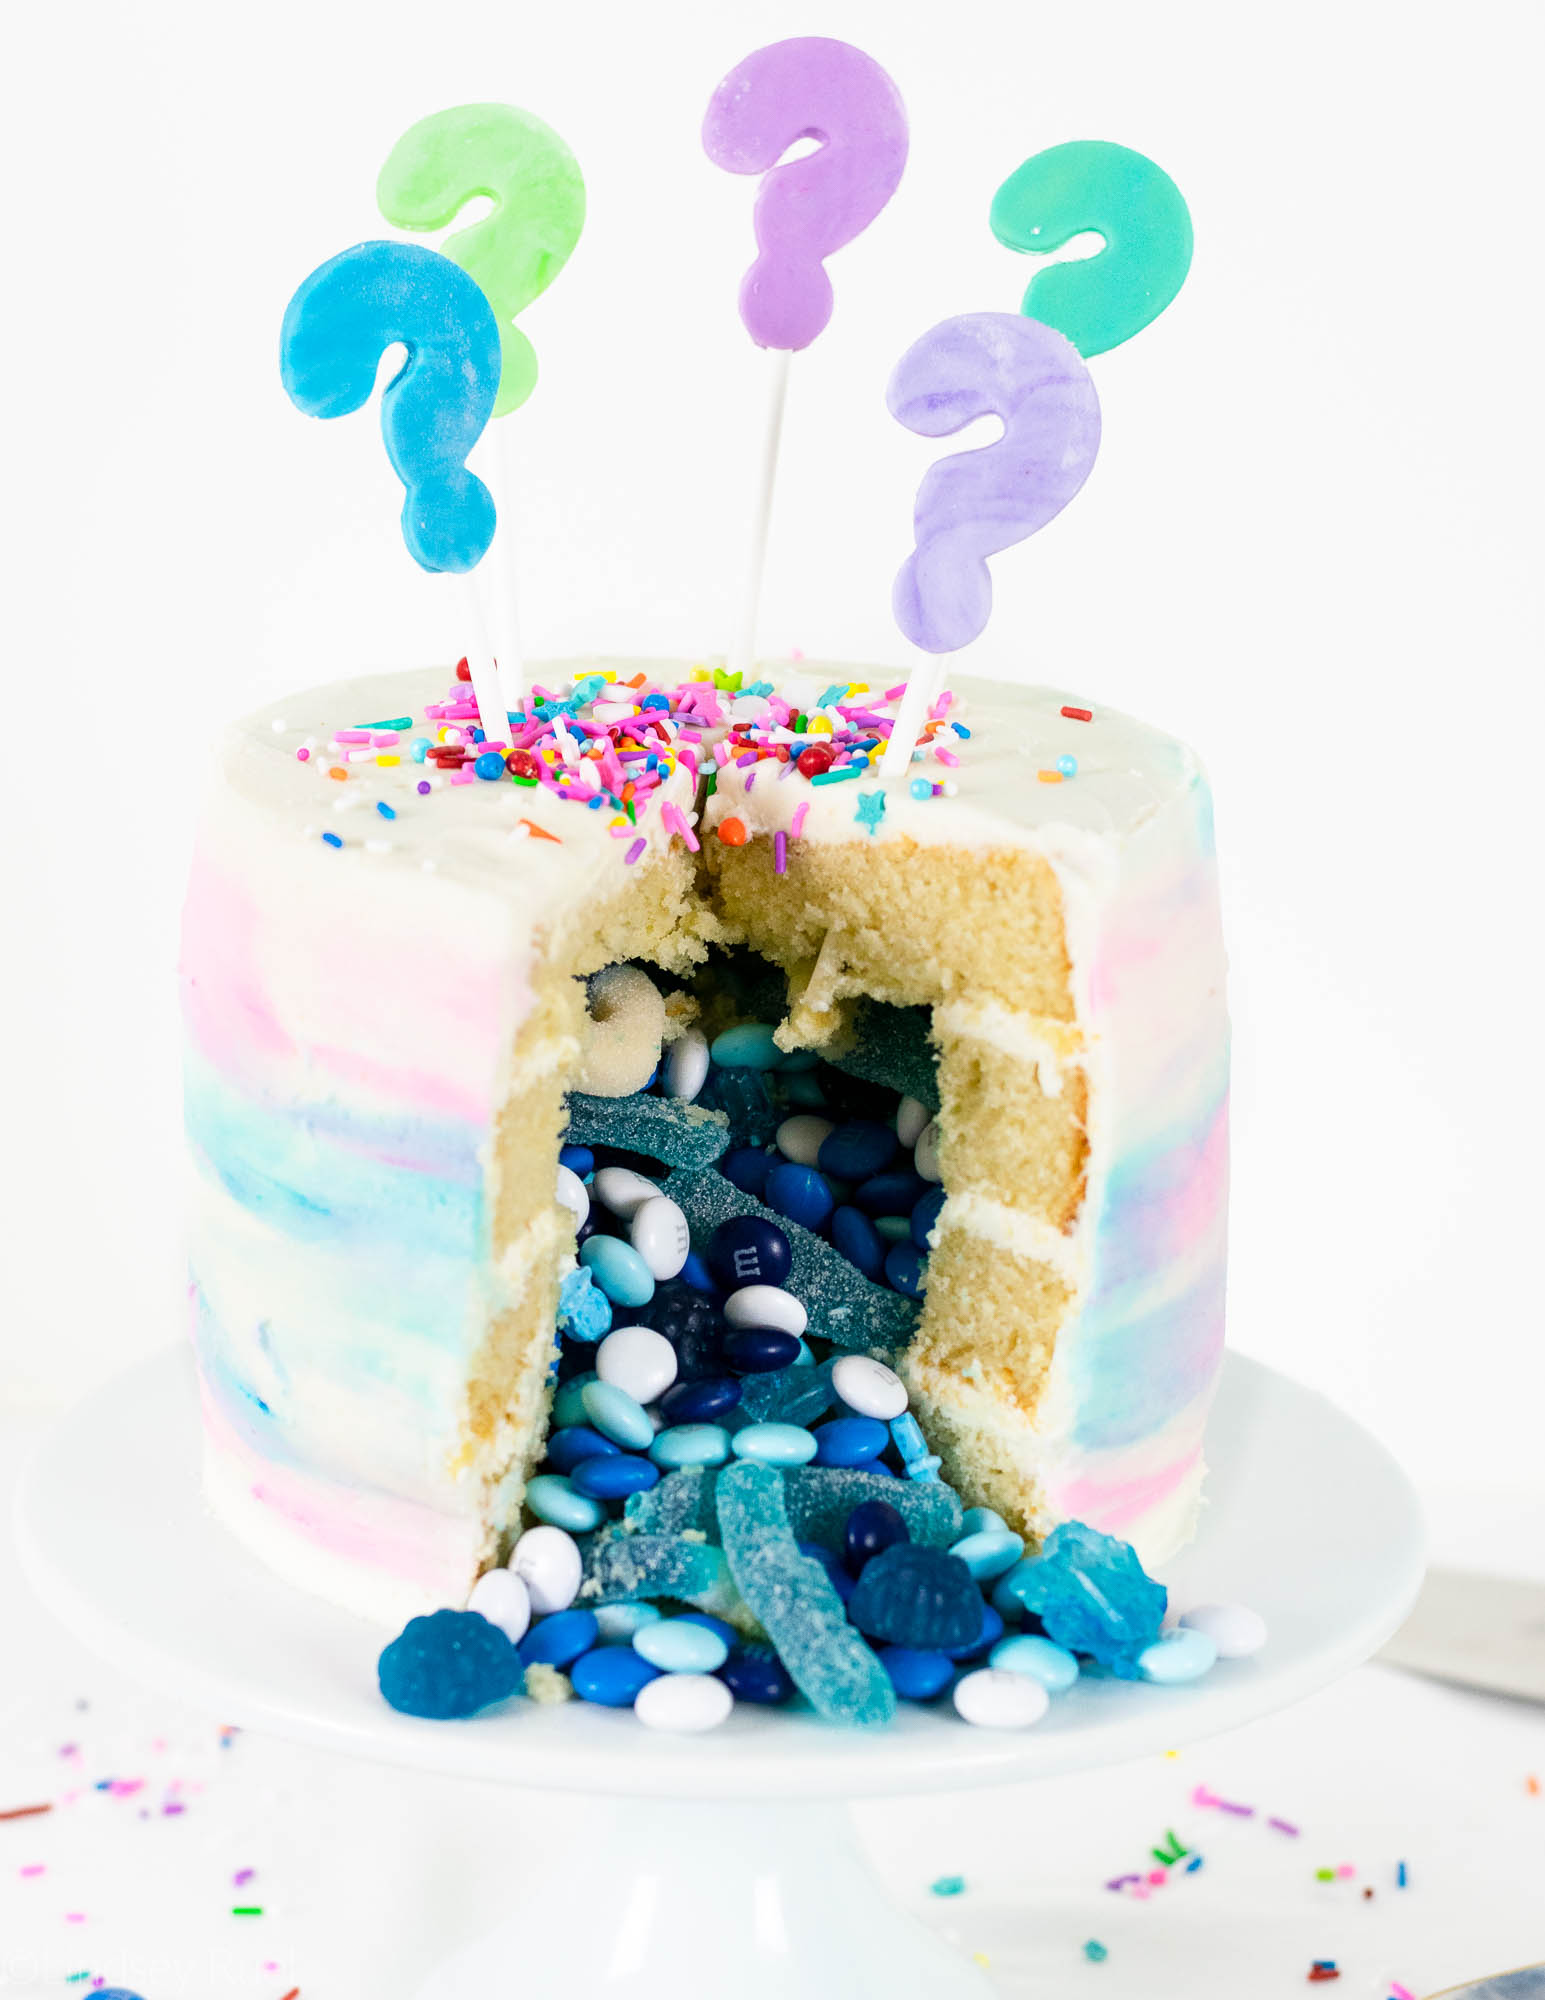
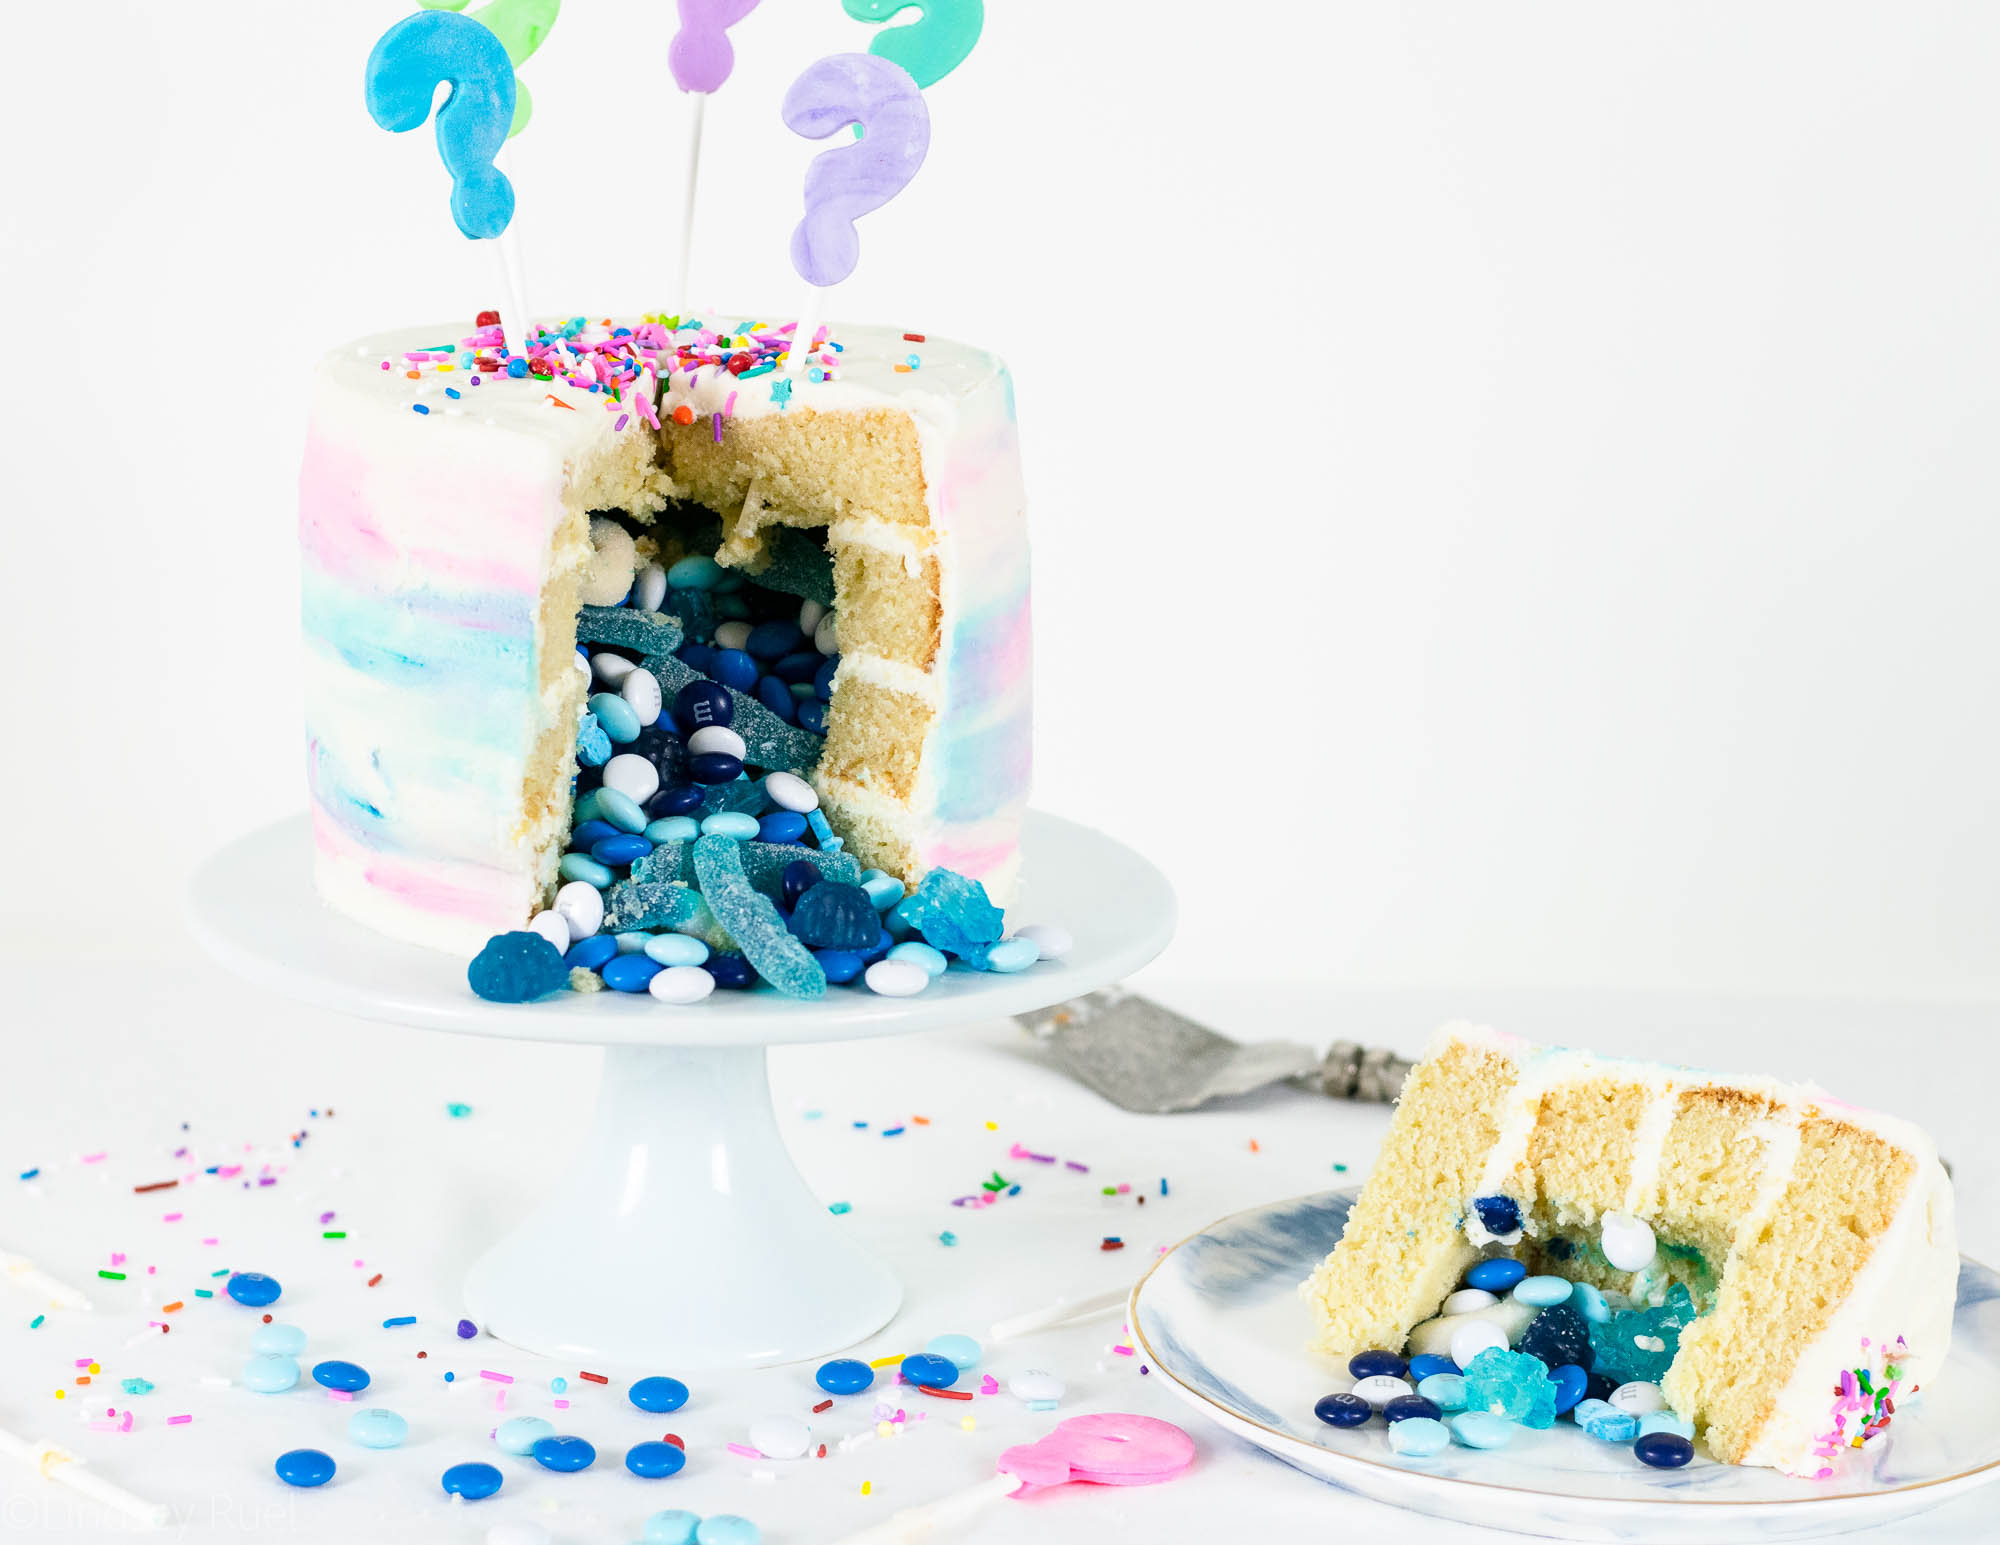
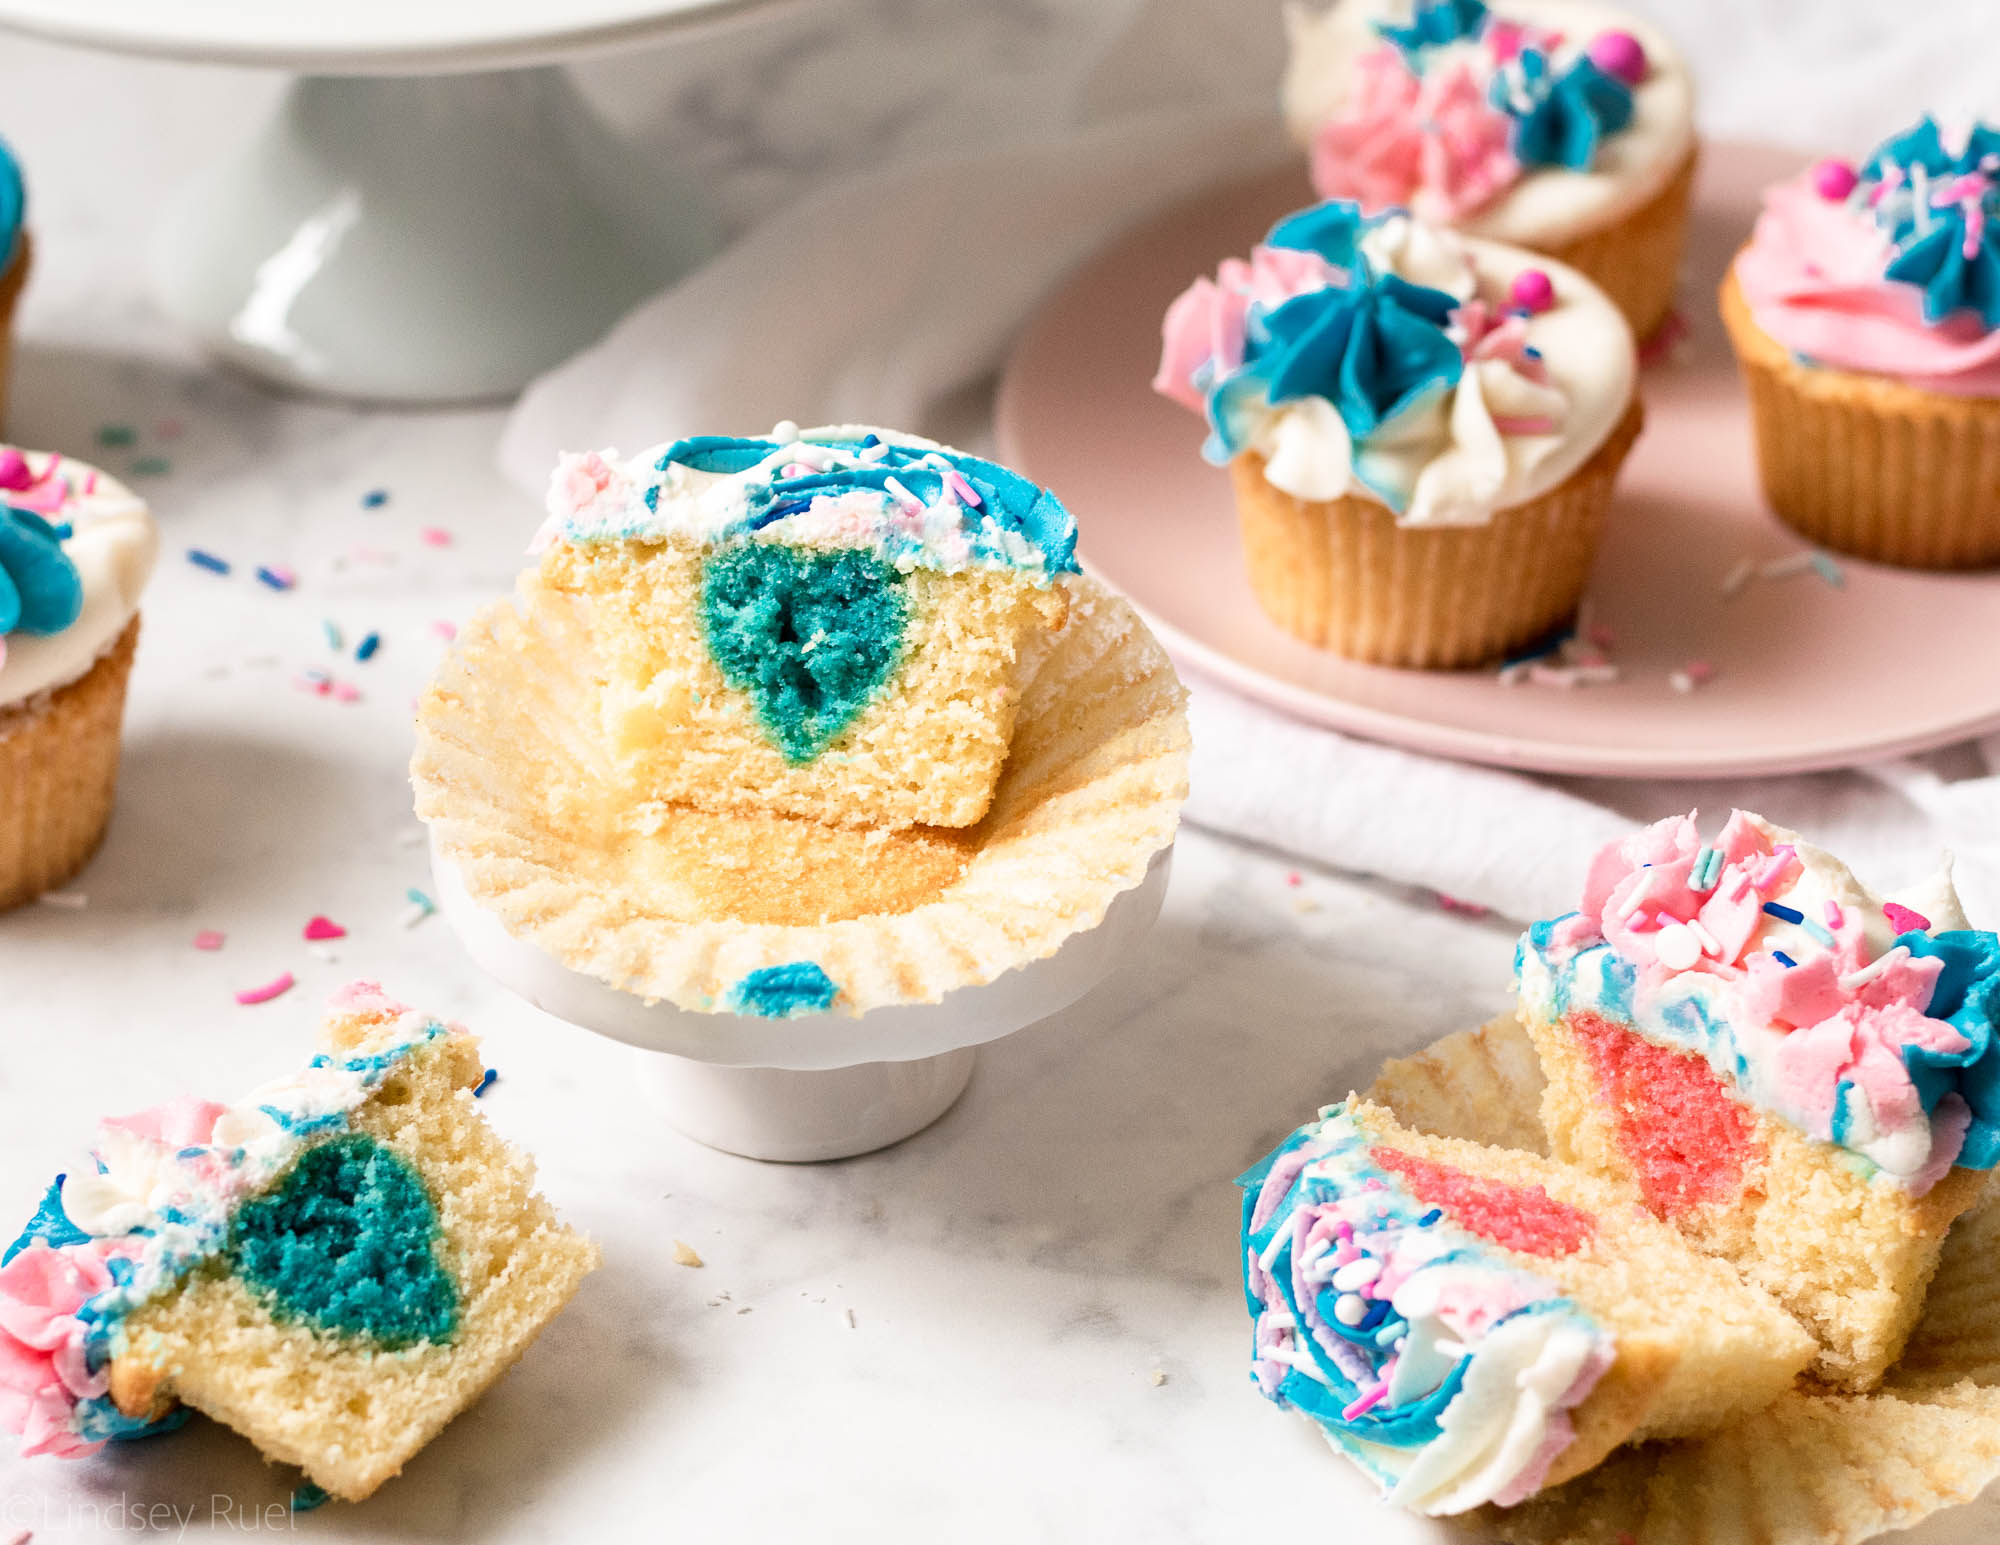
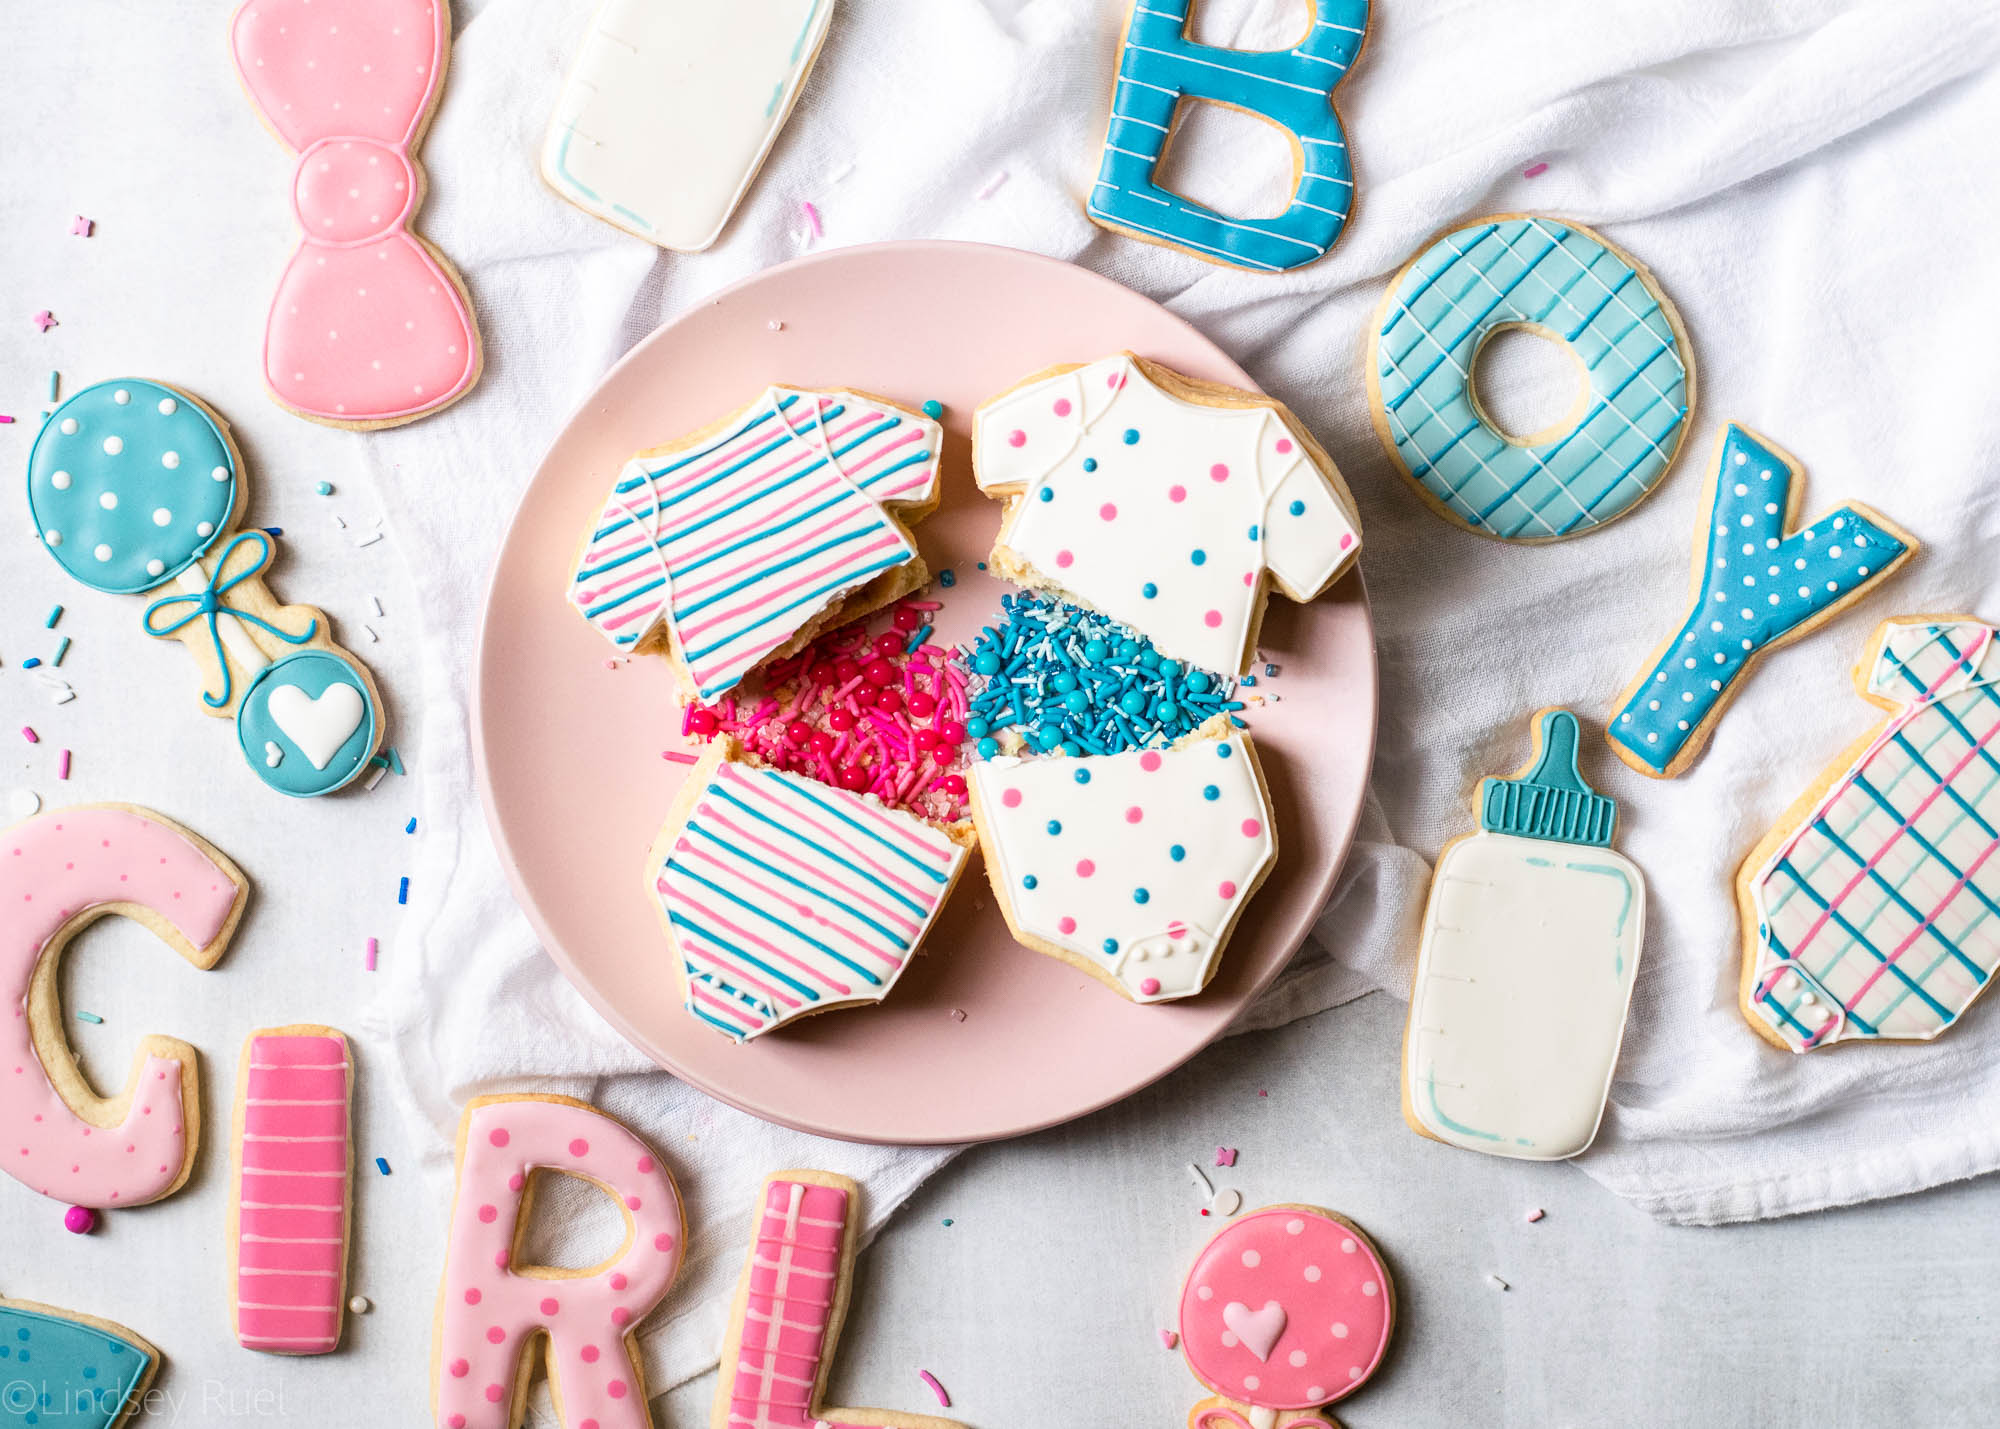
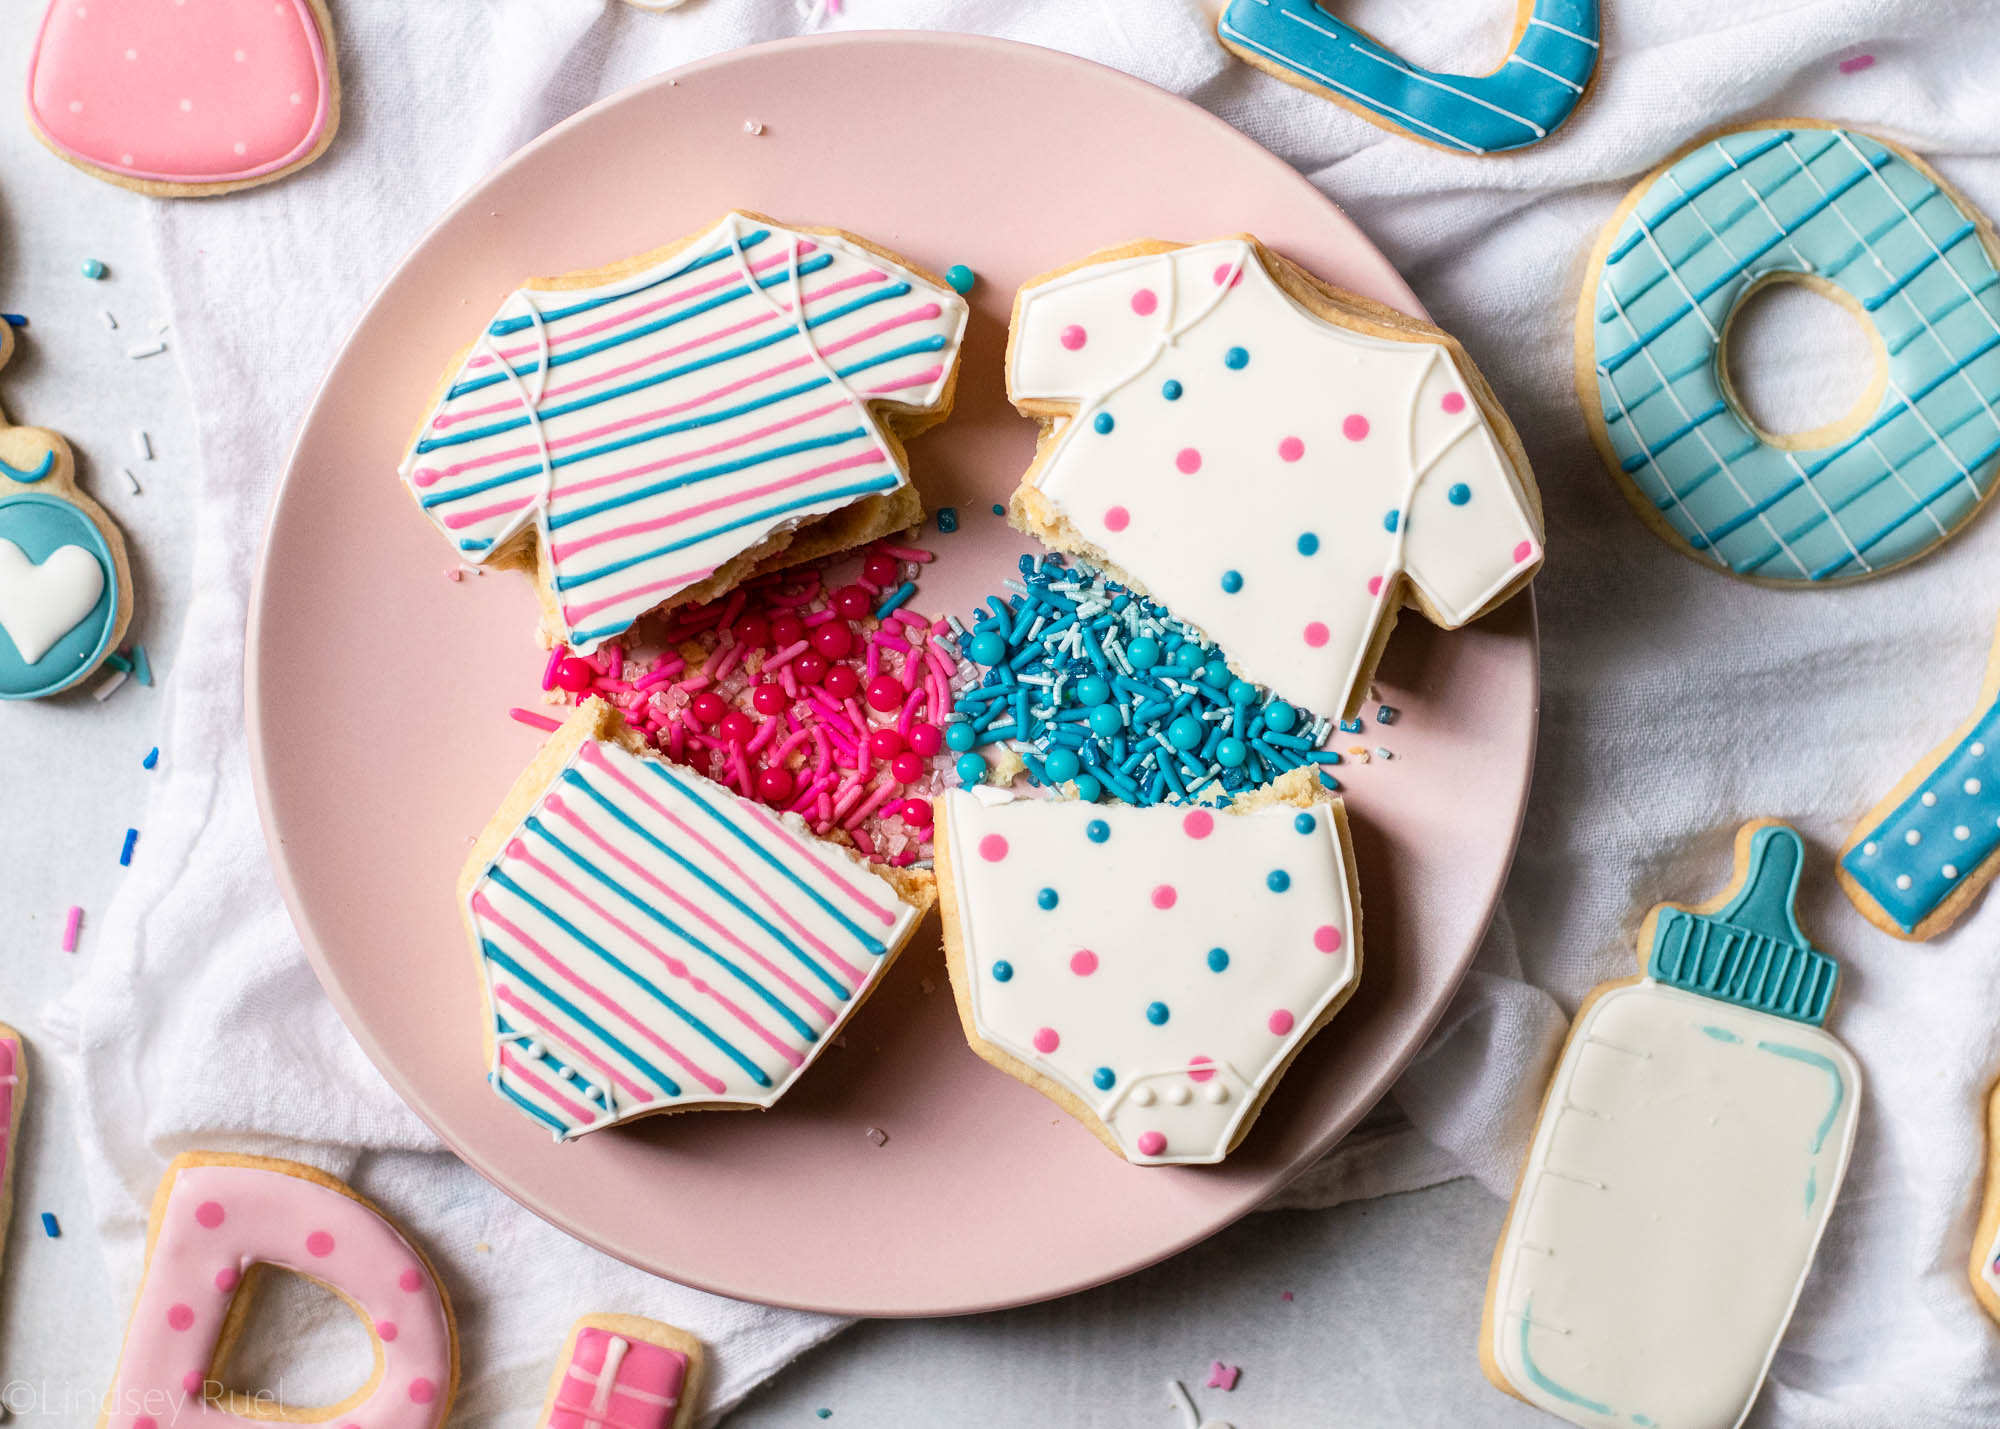
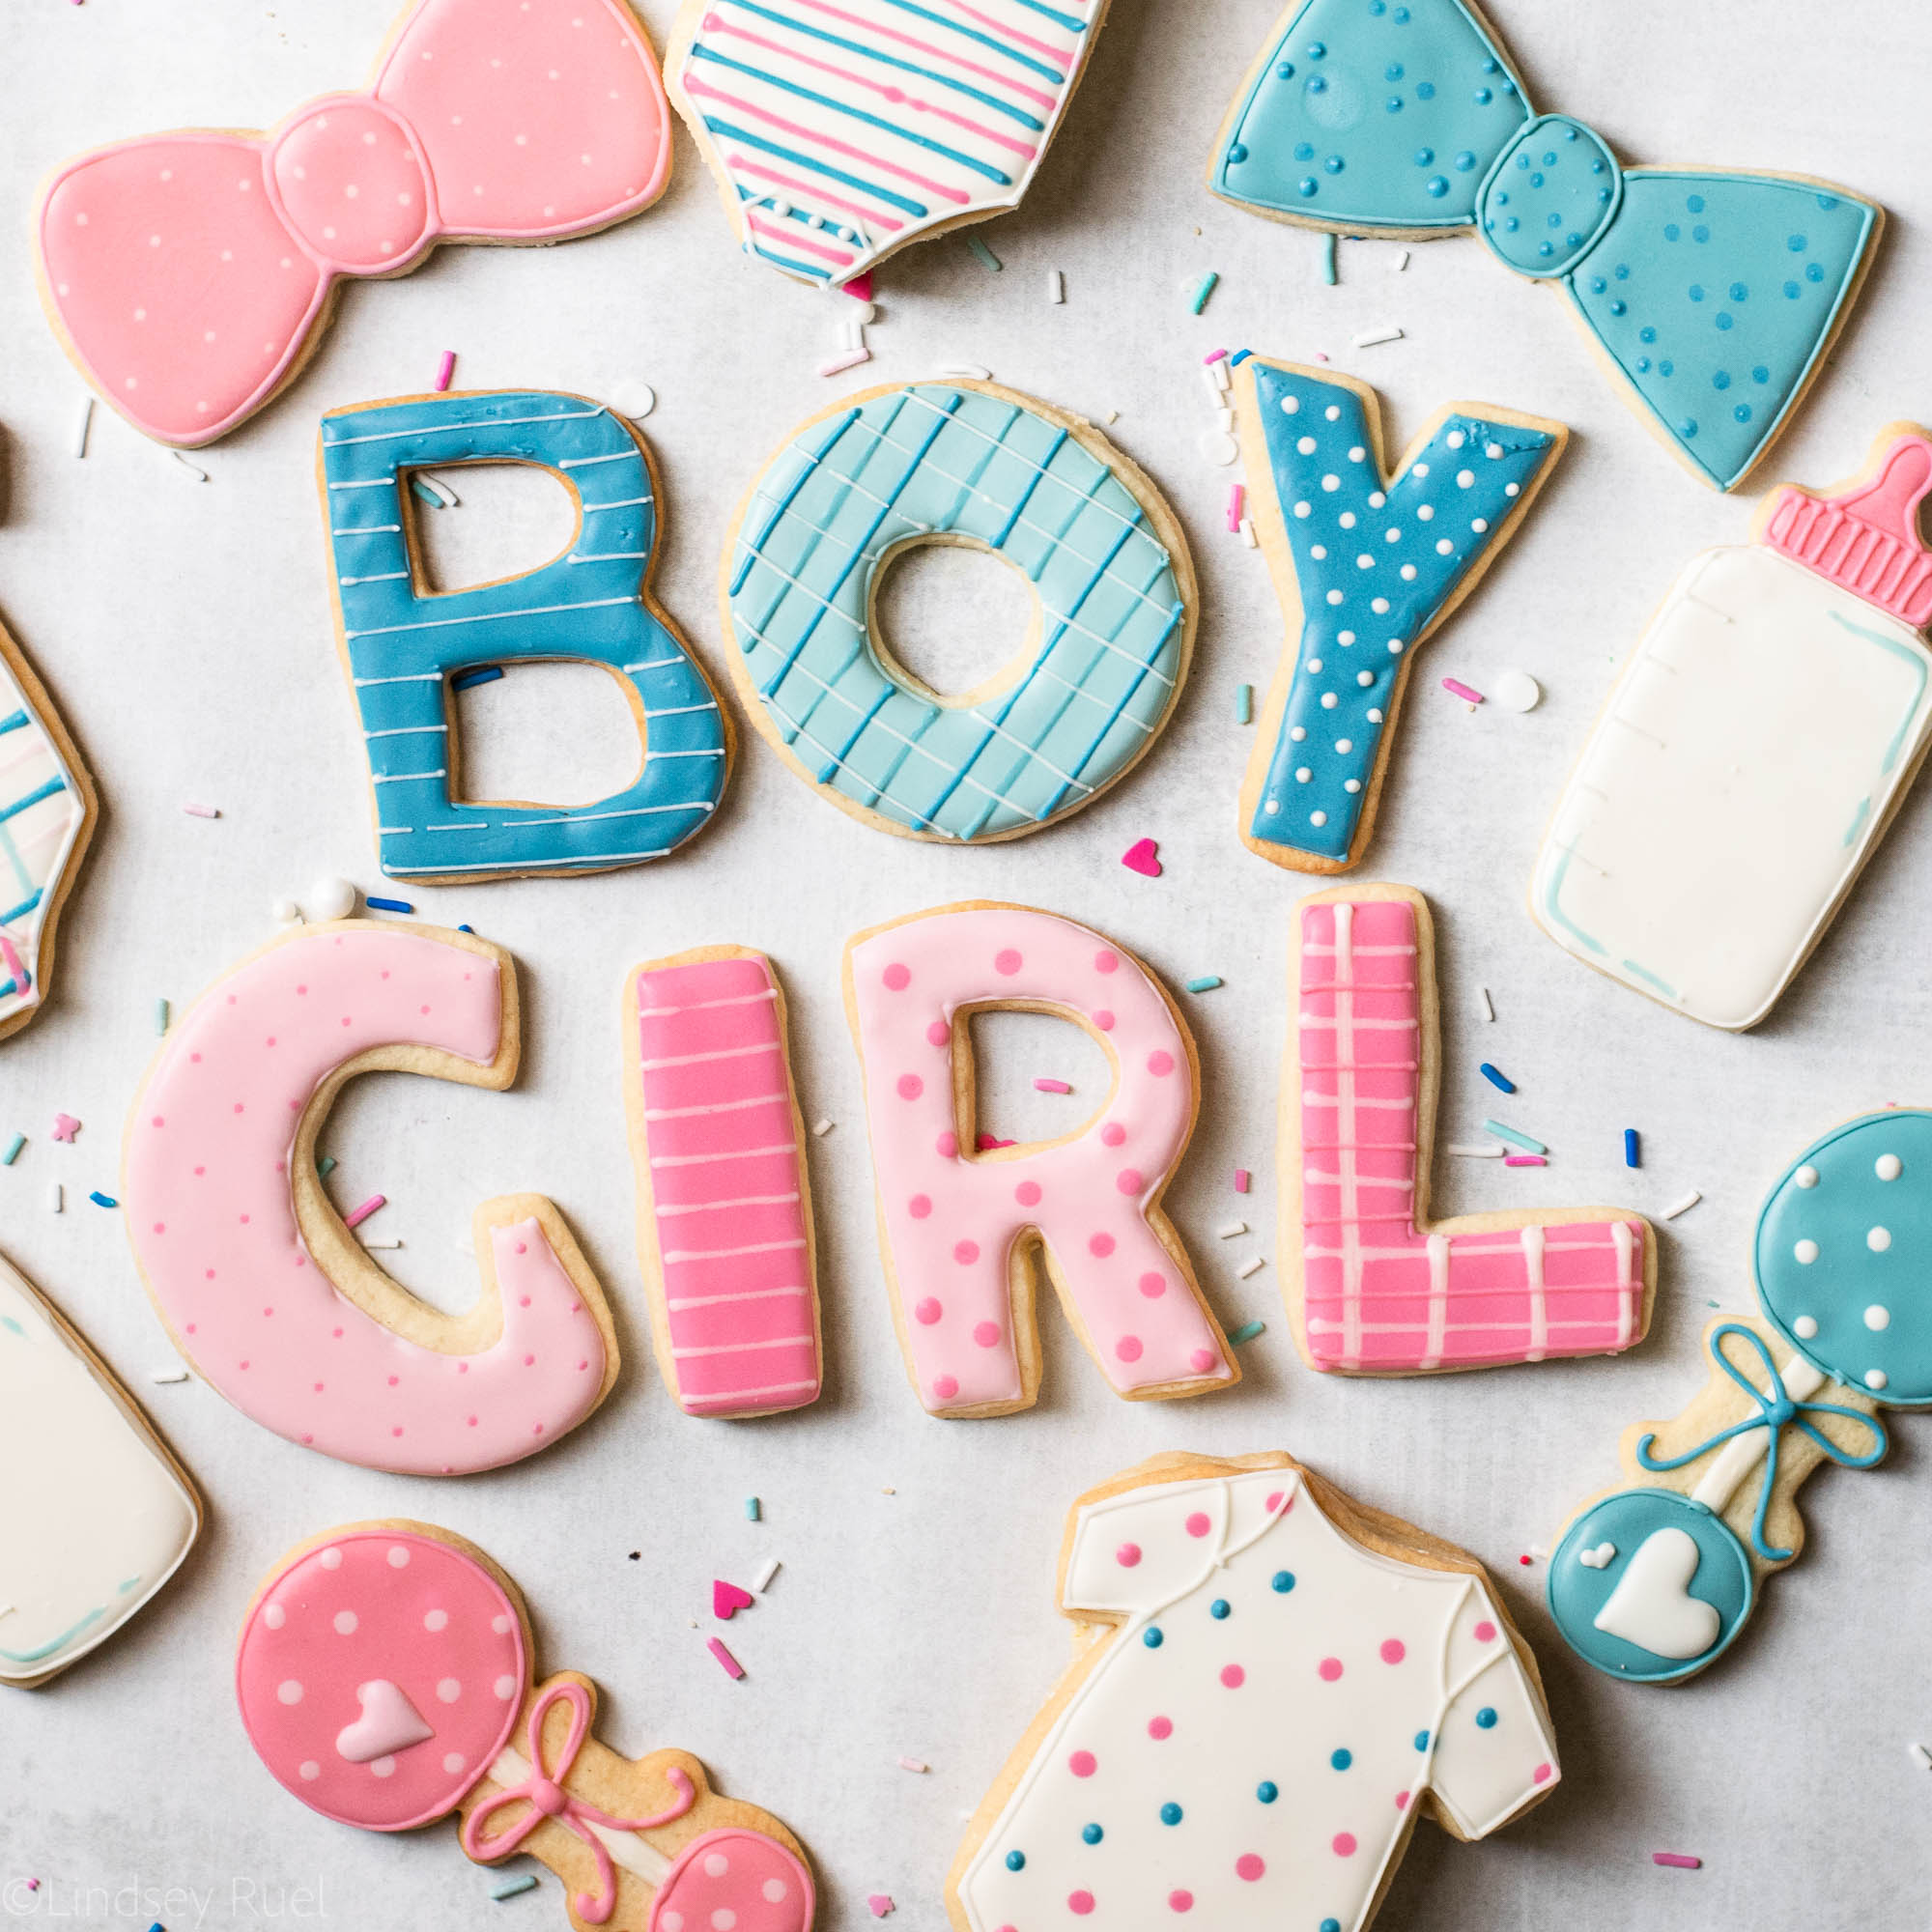
But seriously, how cute would this be for a gender reveal!? Why didn’t I think of this sooner?
Tools and Recipes
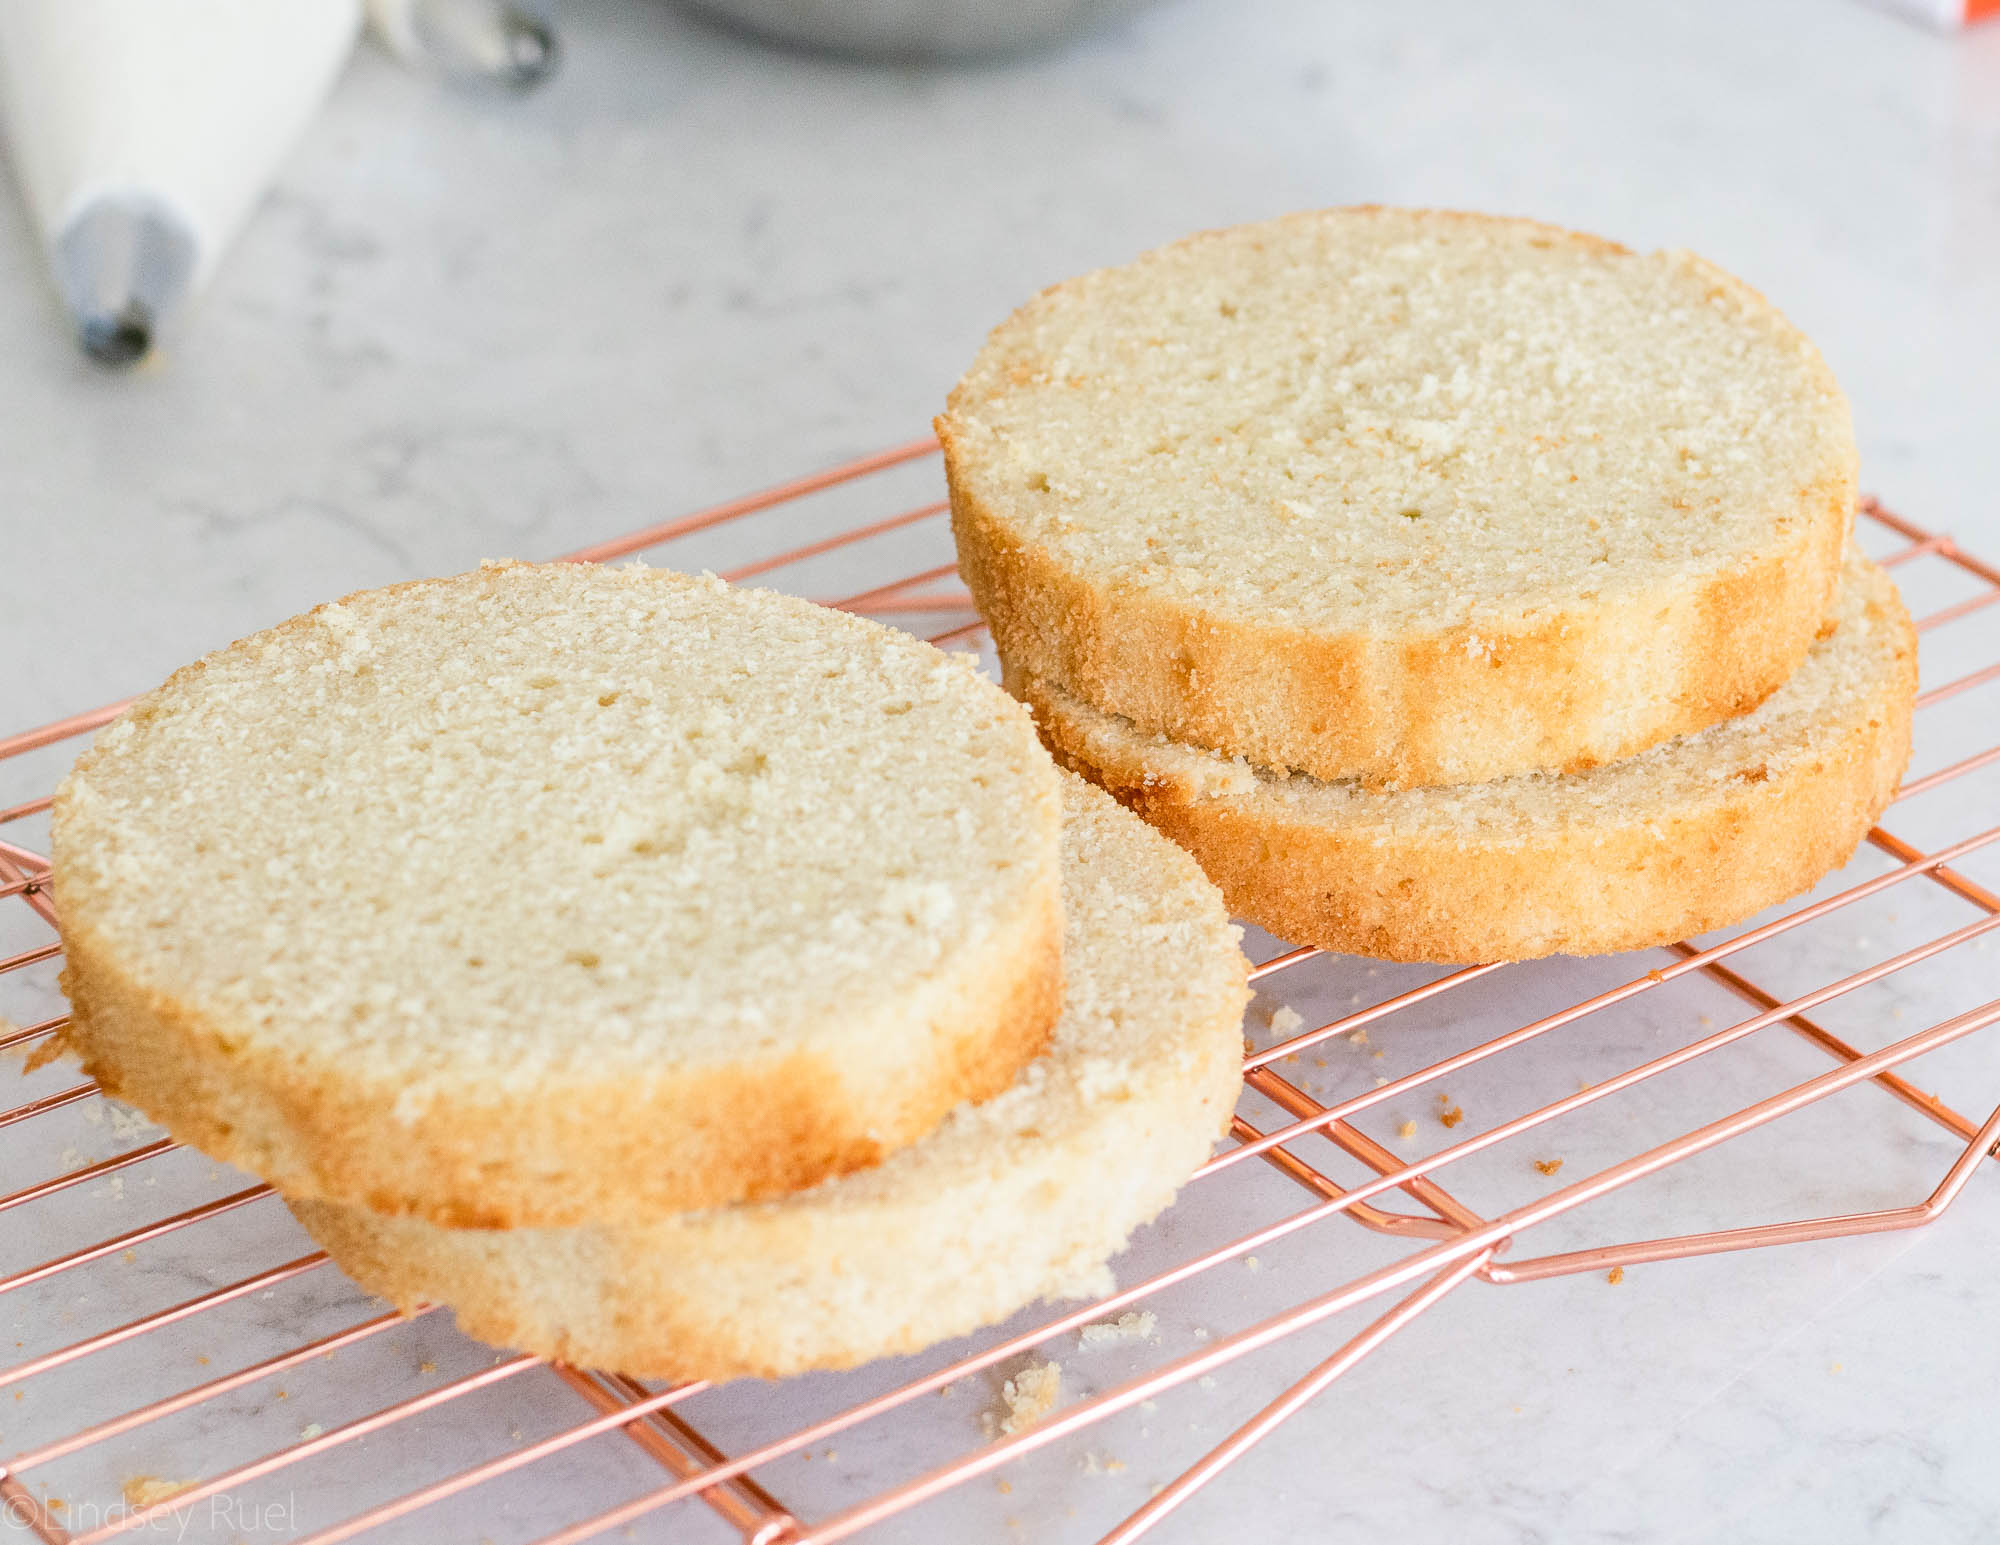
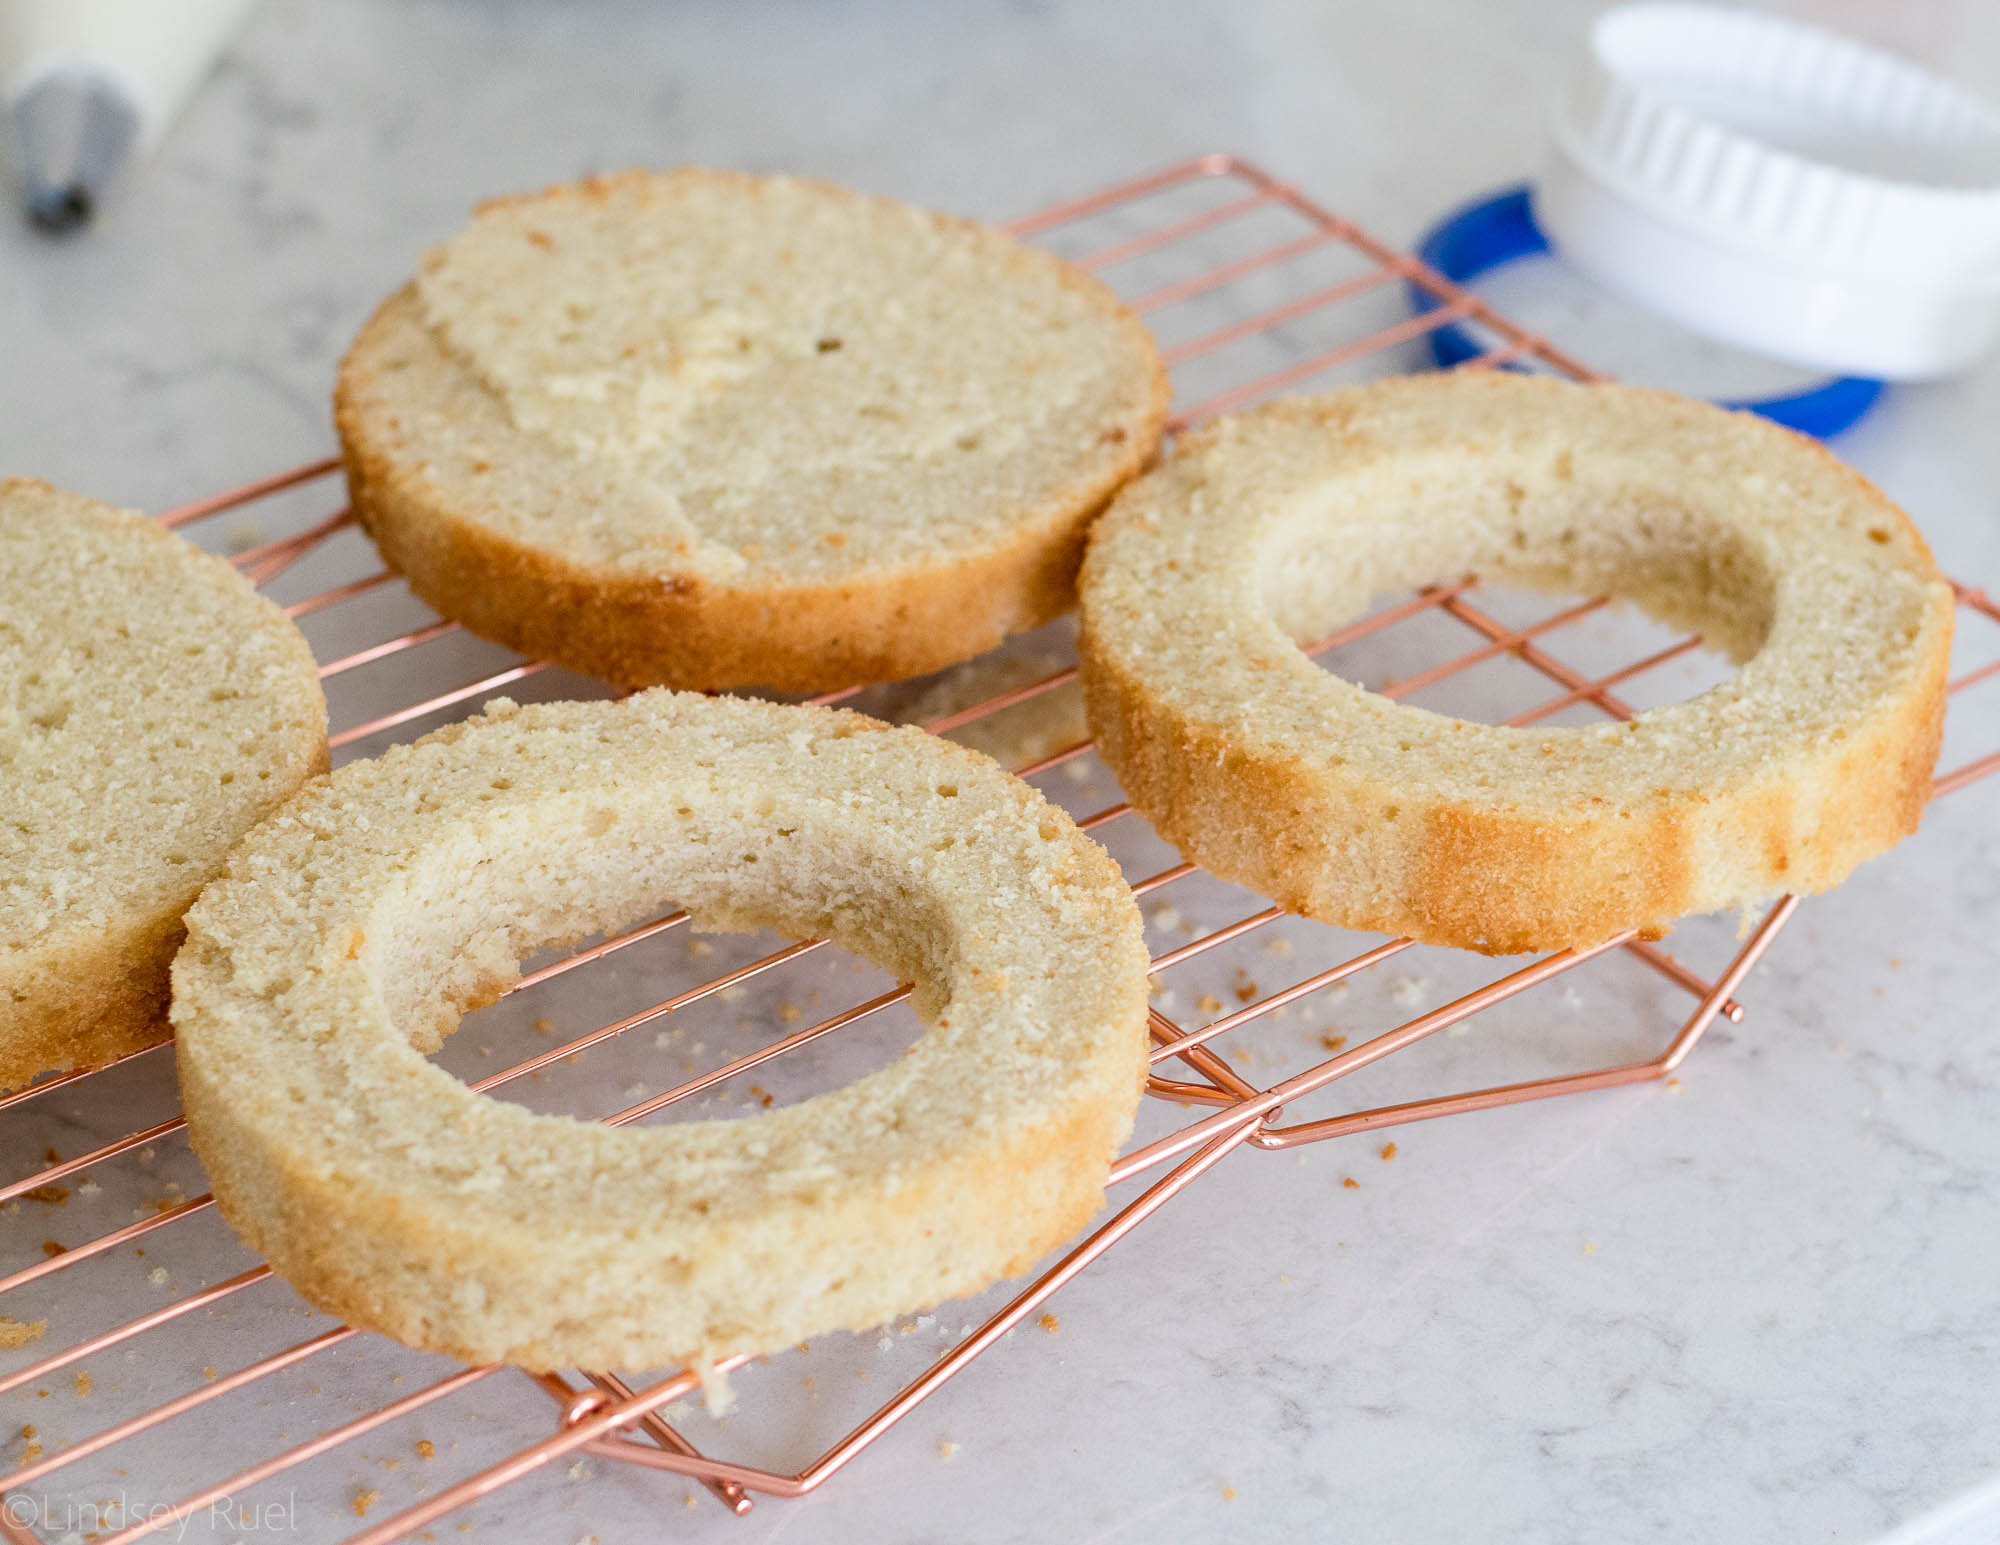
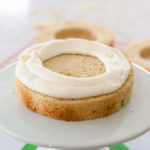
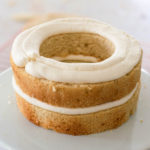
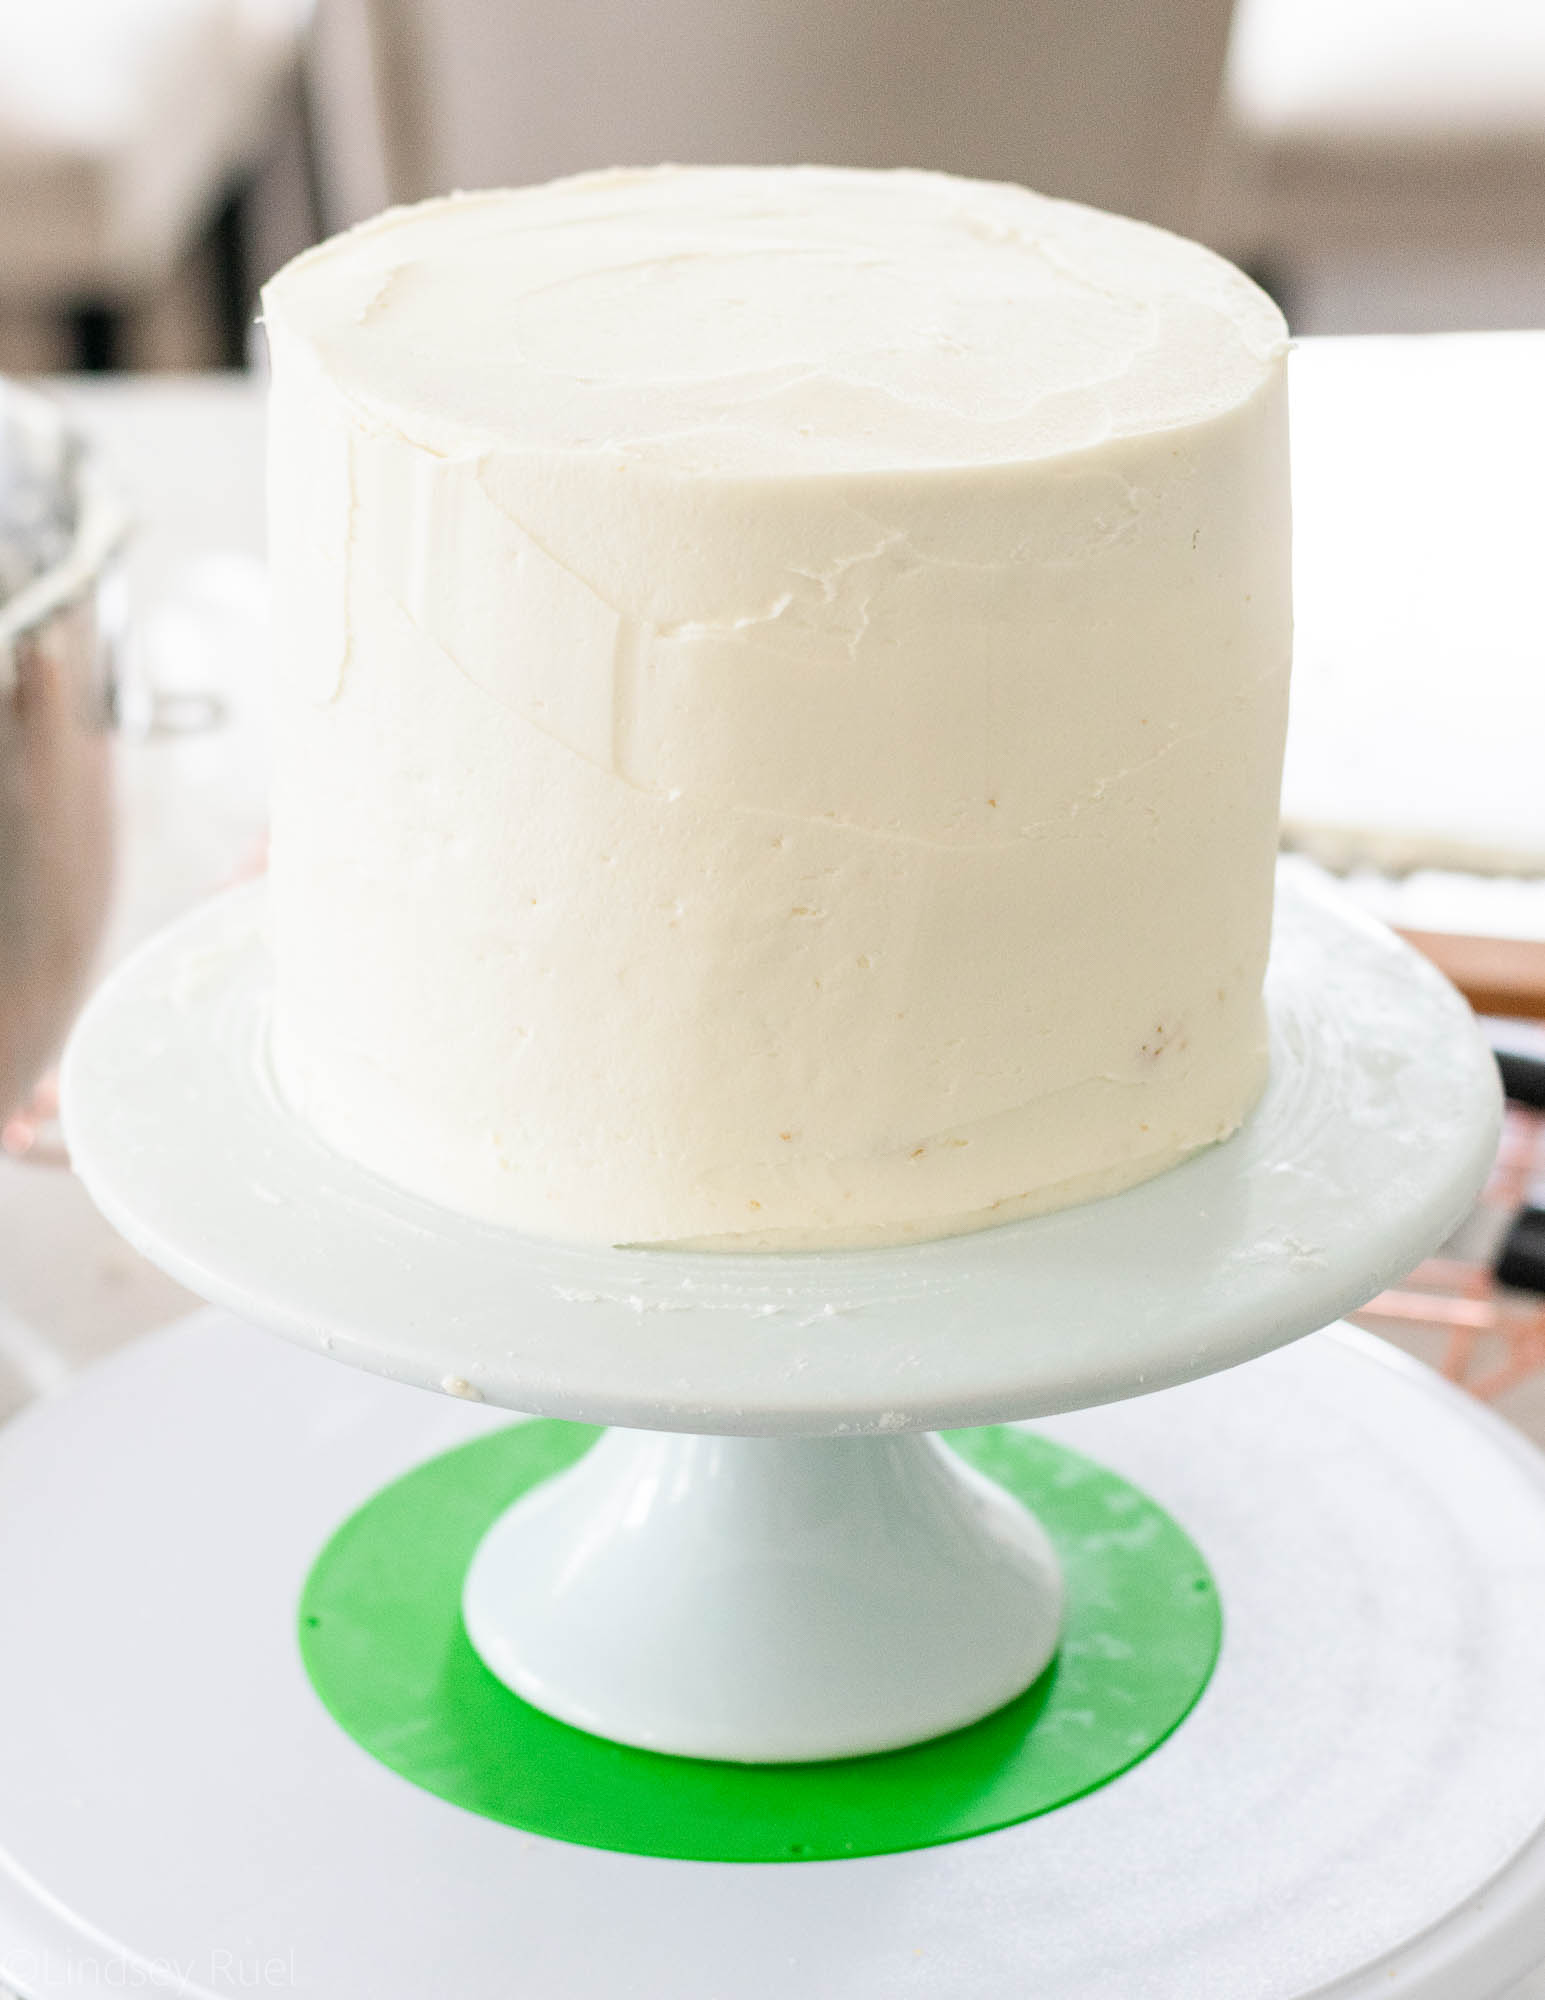
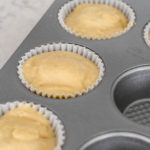
All you need for the cake is one batch of your favorite cake recipe or cake mix baked in a square baking dish. If you want to make this a two-tier cake, double up your cake and use some of your extra buttercream to fill the center.
Here are some cake recipes you may like:
- My favorite vanilla cupcake recipe
- An easy one bowl chocolate cupcake recipe
- Red velvet cupcake recipe that doesn’t contain any unnatural food coloring
- Or, if you want to go the boxed cake mix route, here are some tips to make it taste amazing!
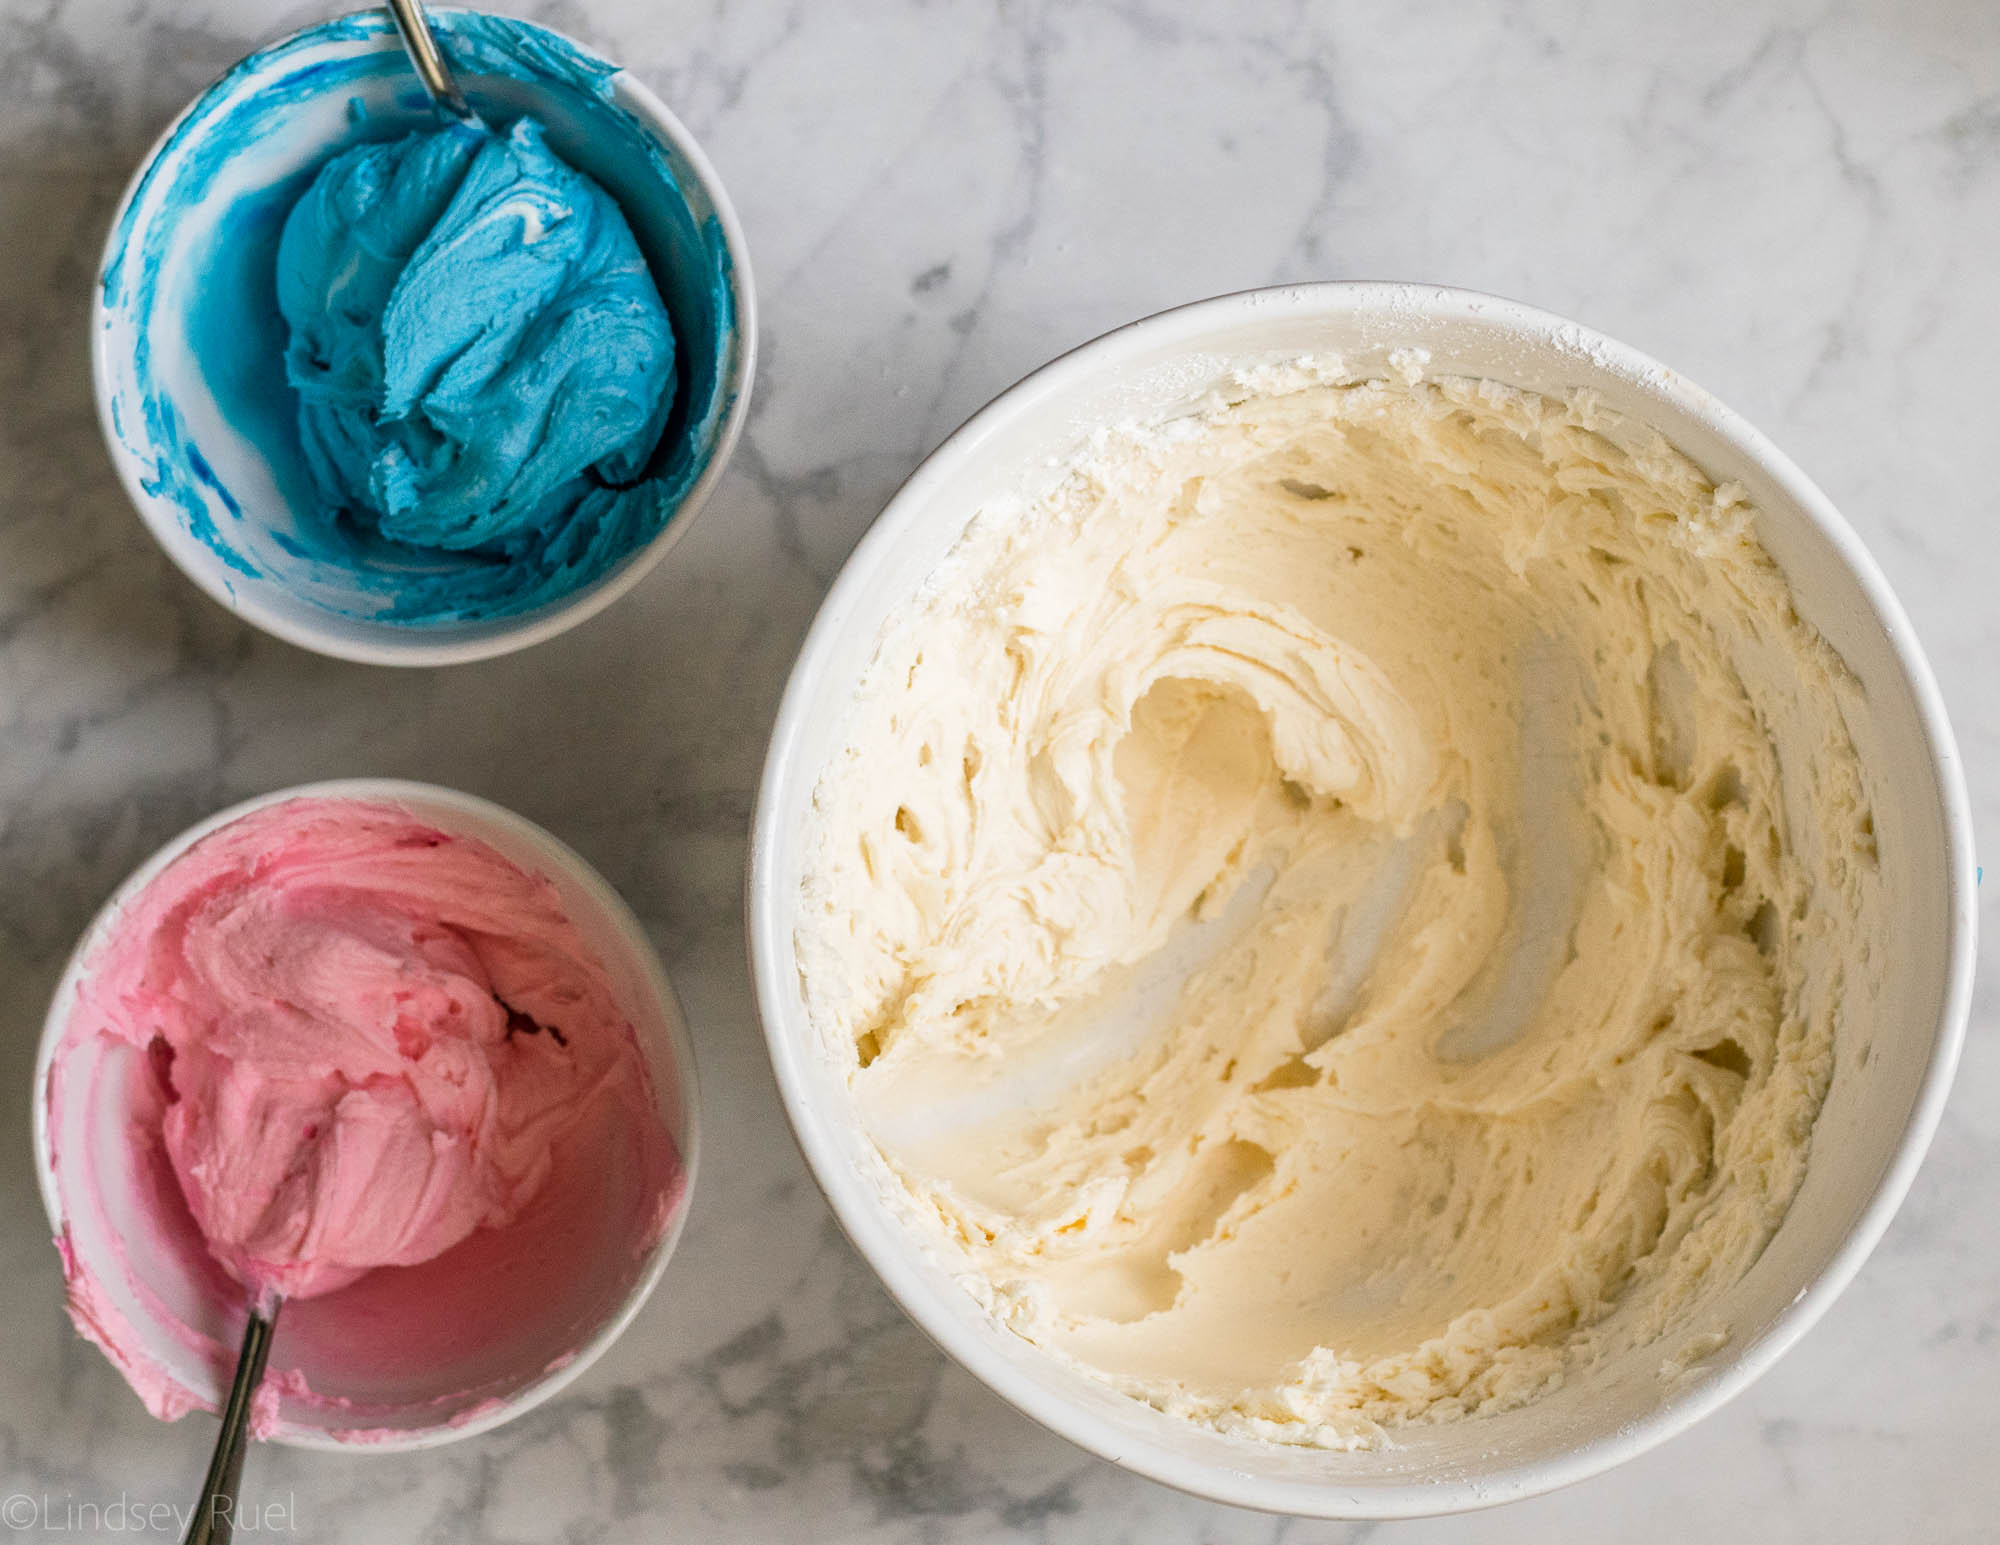
You will also need one batch of buttercream, although I had enough buttercream left over to frost a few cupcakes.
Aside from the cake, you will also need the following:
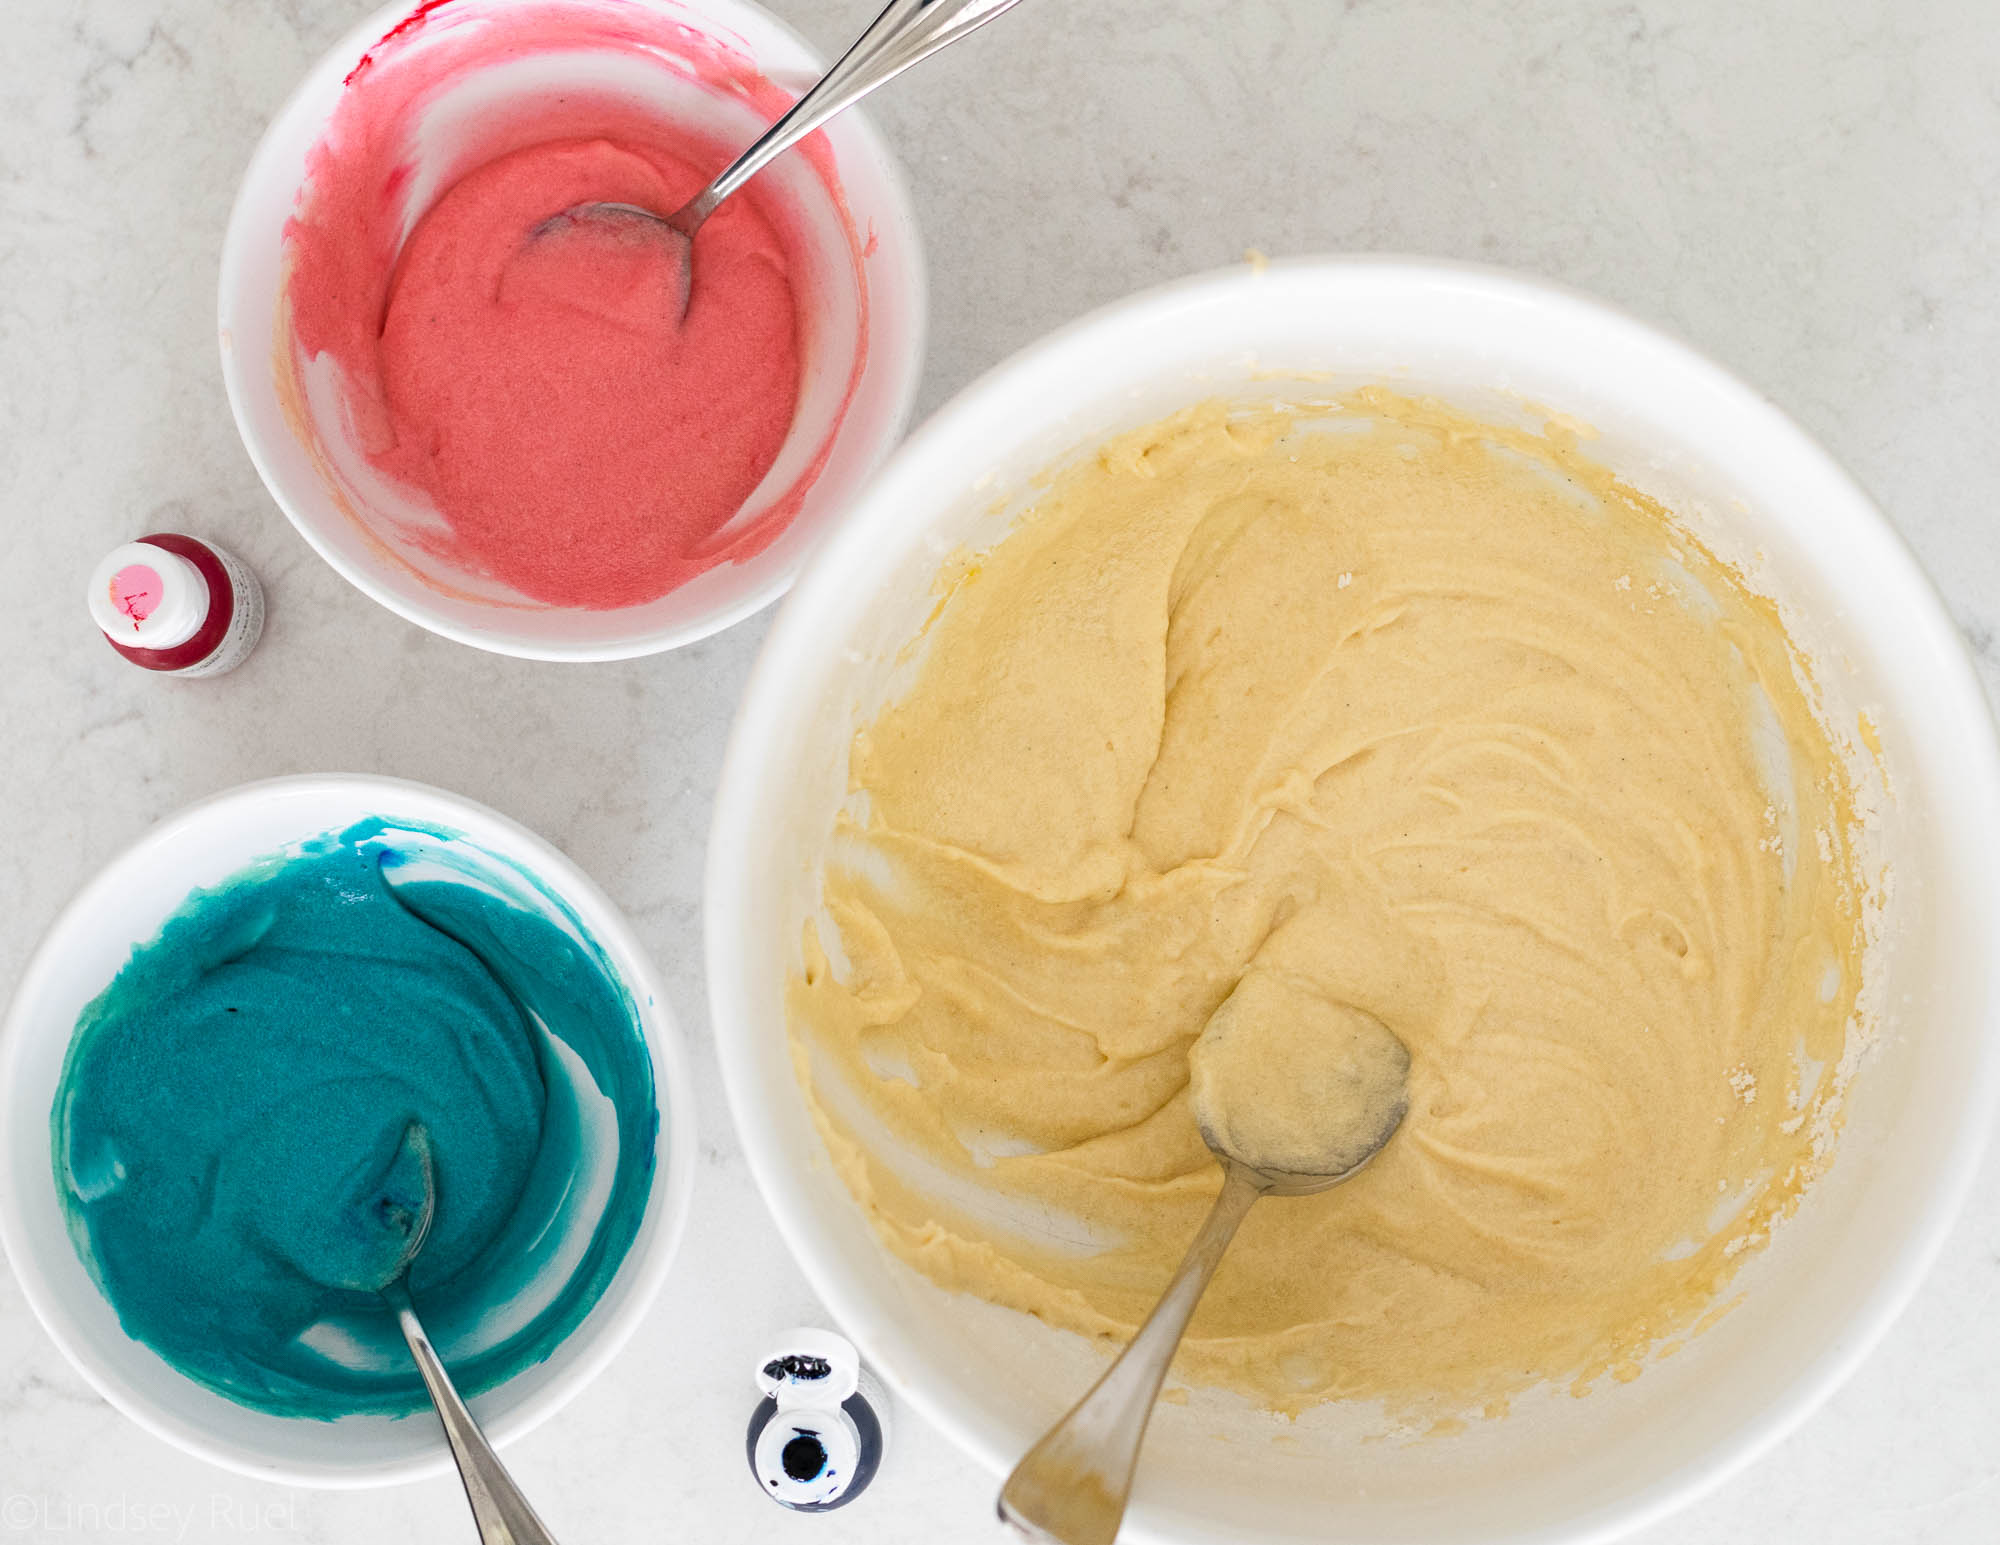
- Food coloring in brown and black (or whatever color you want your letterboard to be)
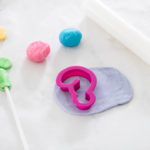
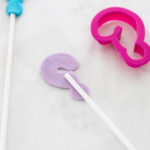
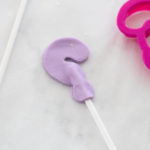
- Fondant
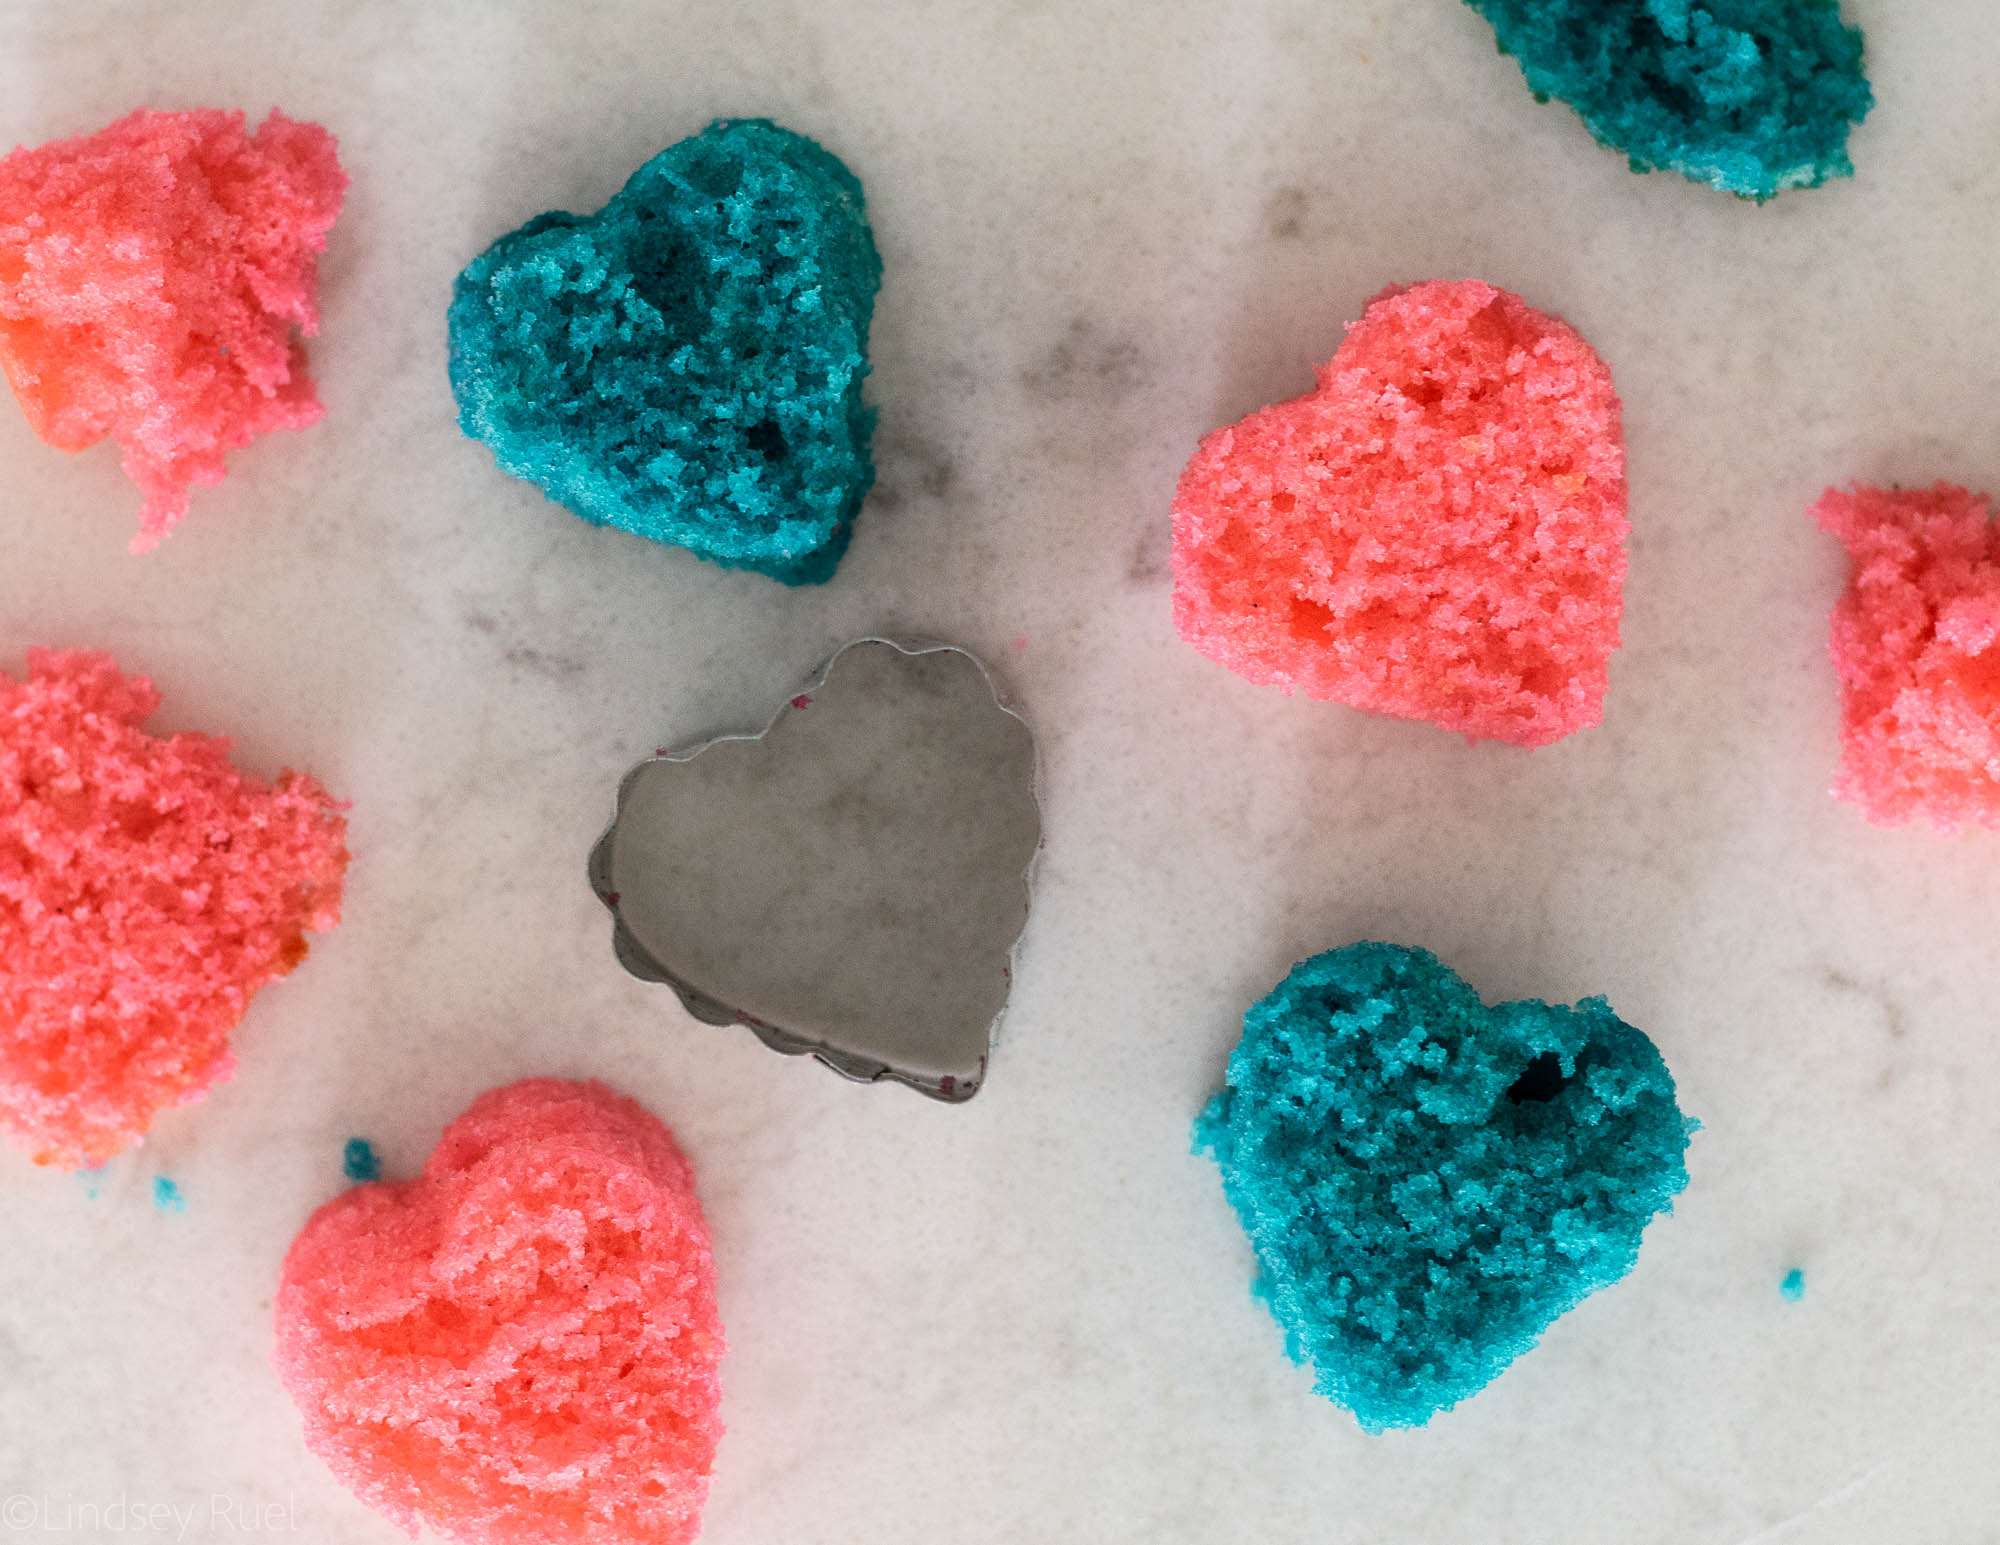
- Letter fondant cutters
- Cake leveler
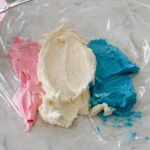
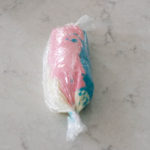
- Piping bag
- #10 round piping tip
- Offset spatula
[show_shopthepost_widget id=”3237411″]
How to Make It
I will say, this was one of the easier cakes I have made. The most time-consuming part was cutting out the individual letters, but that wasn’t very difficult.
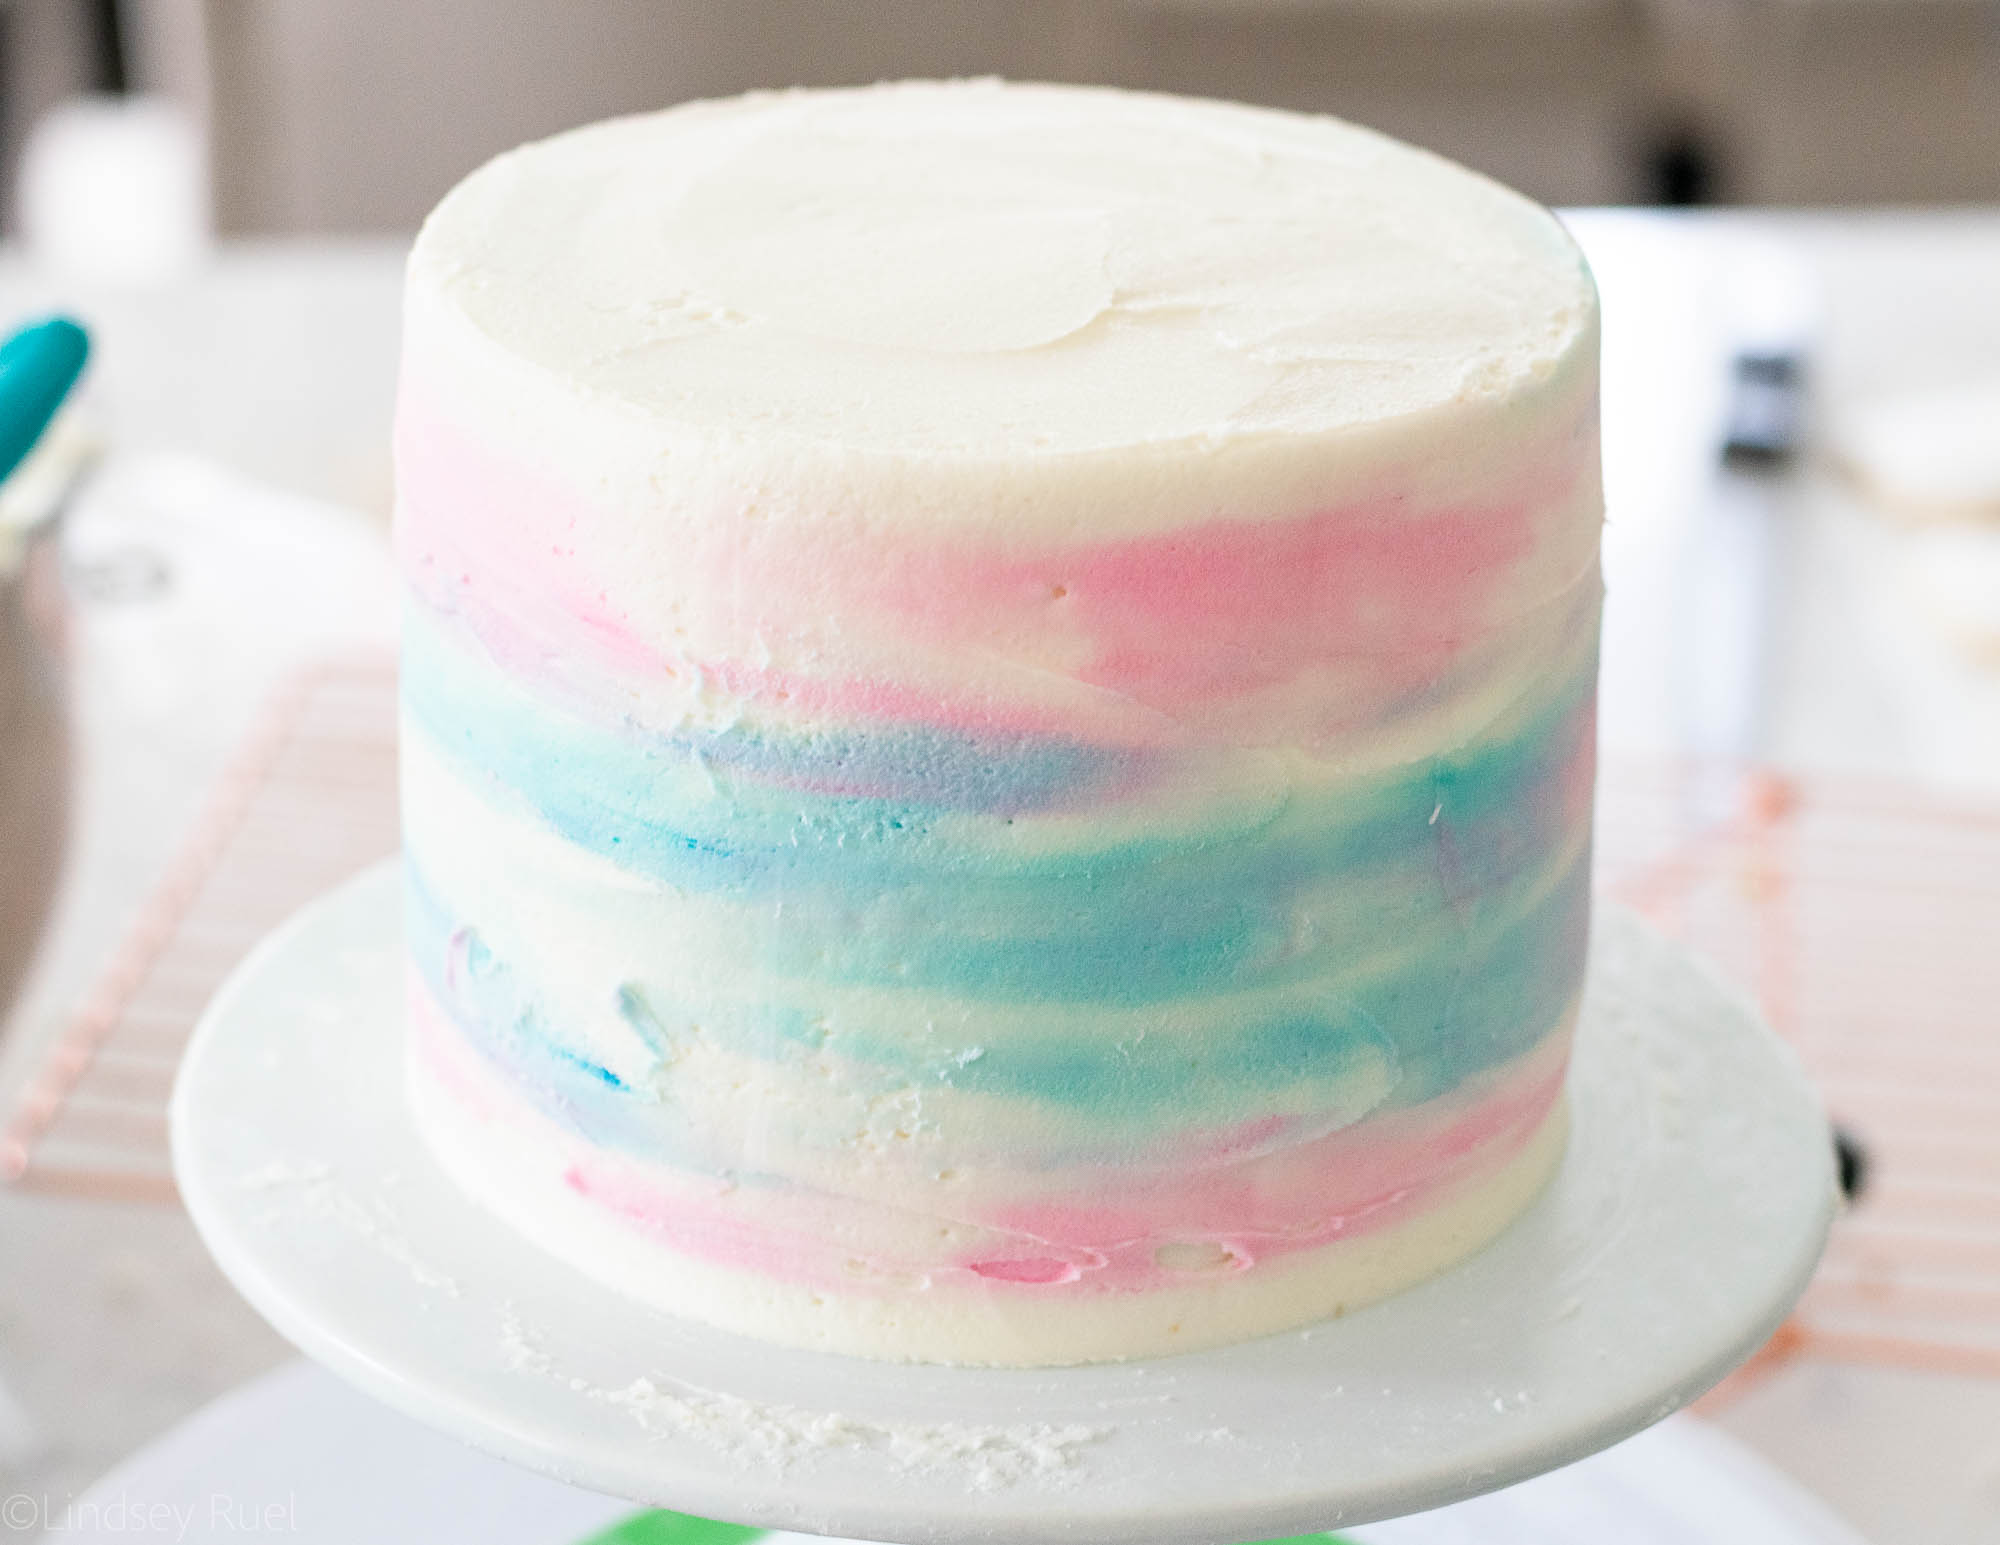
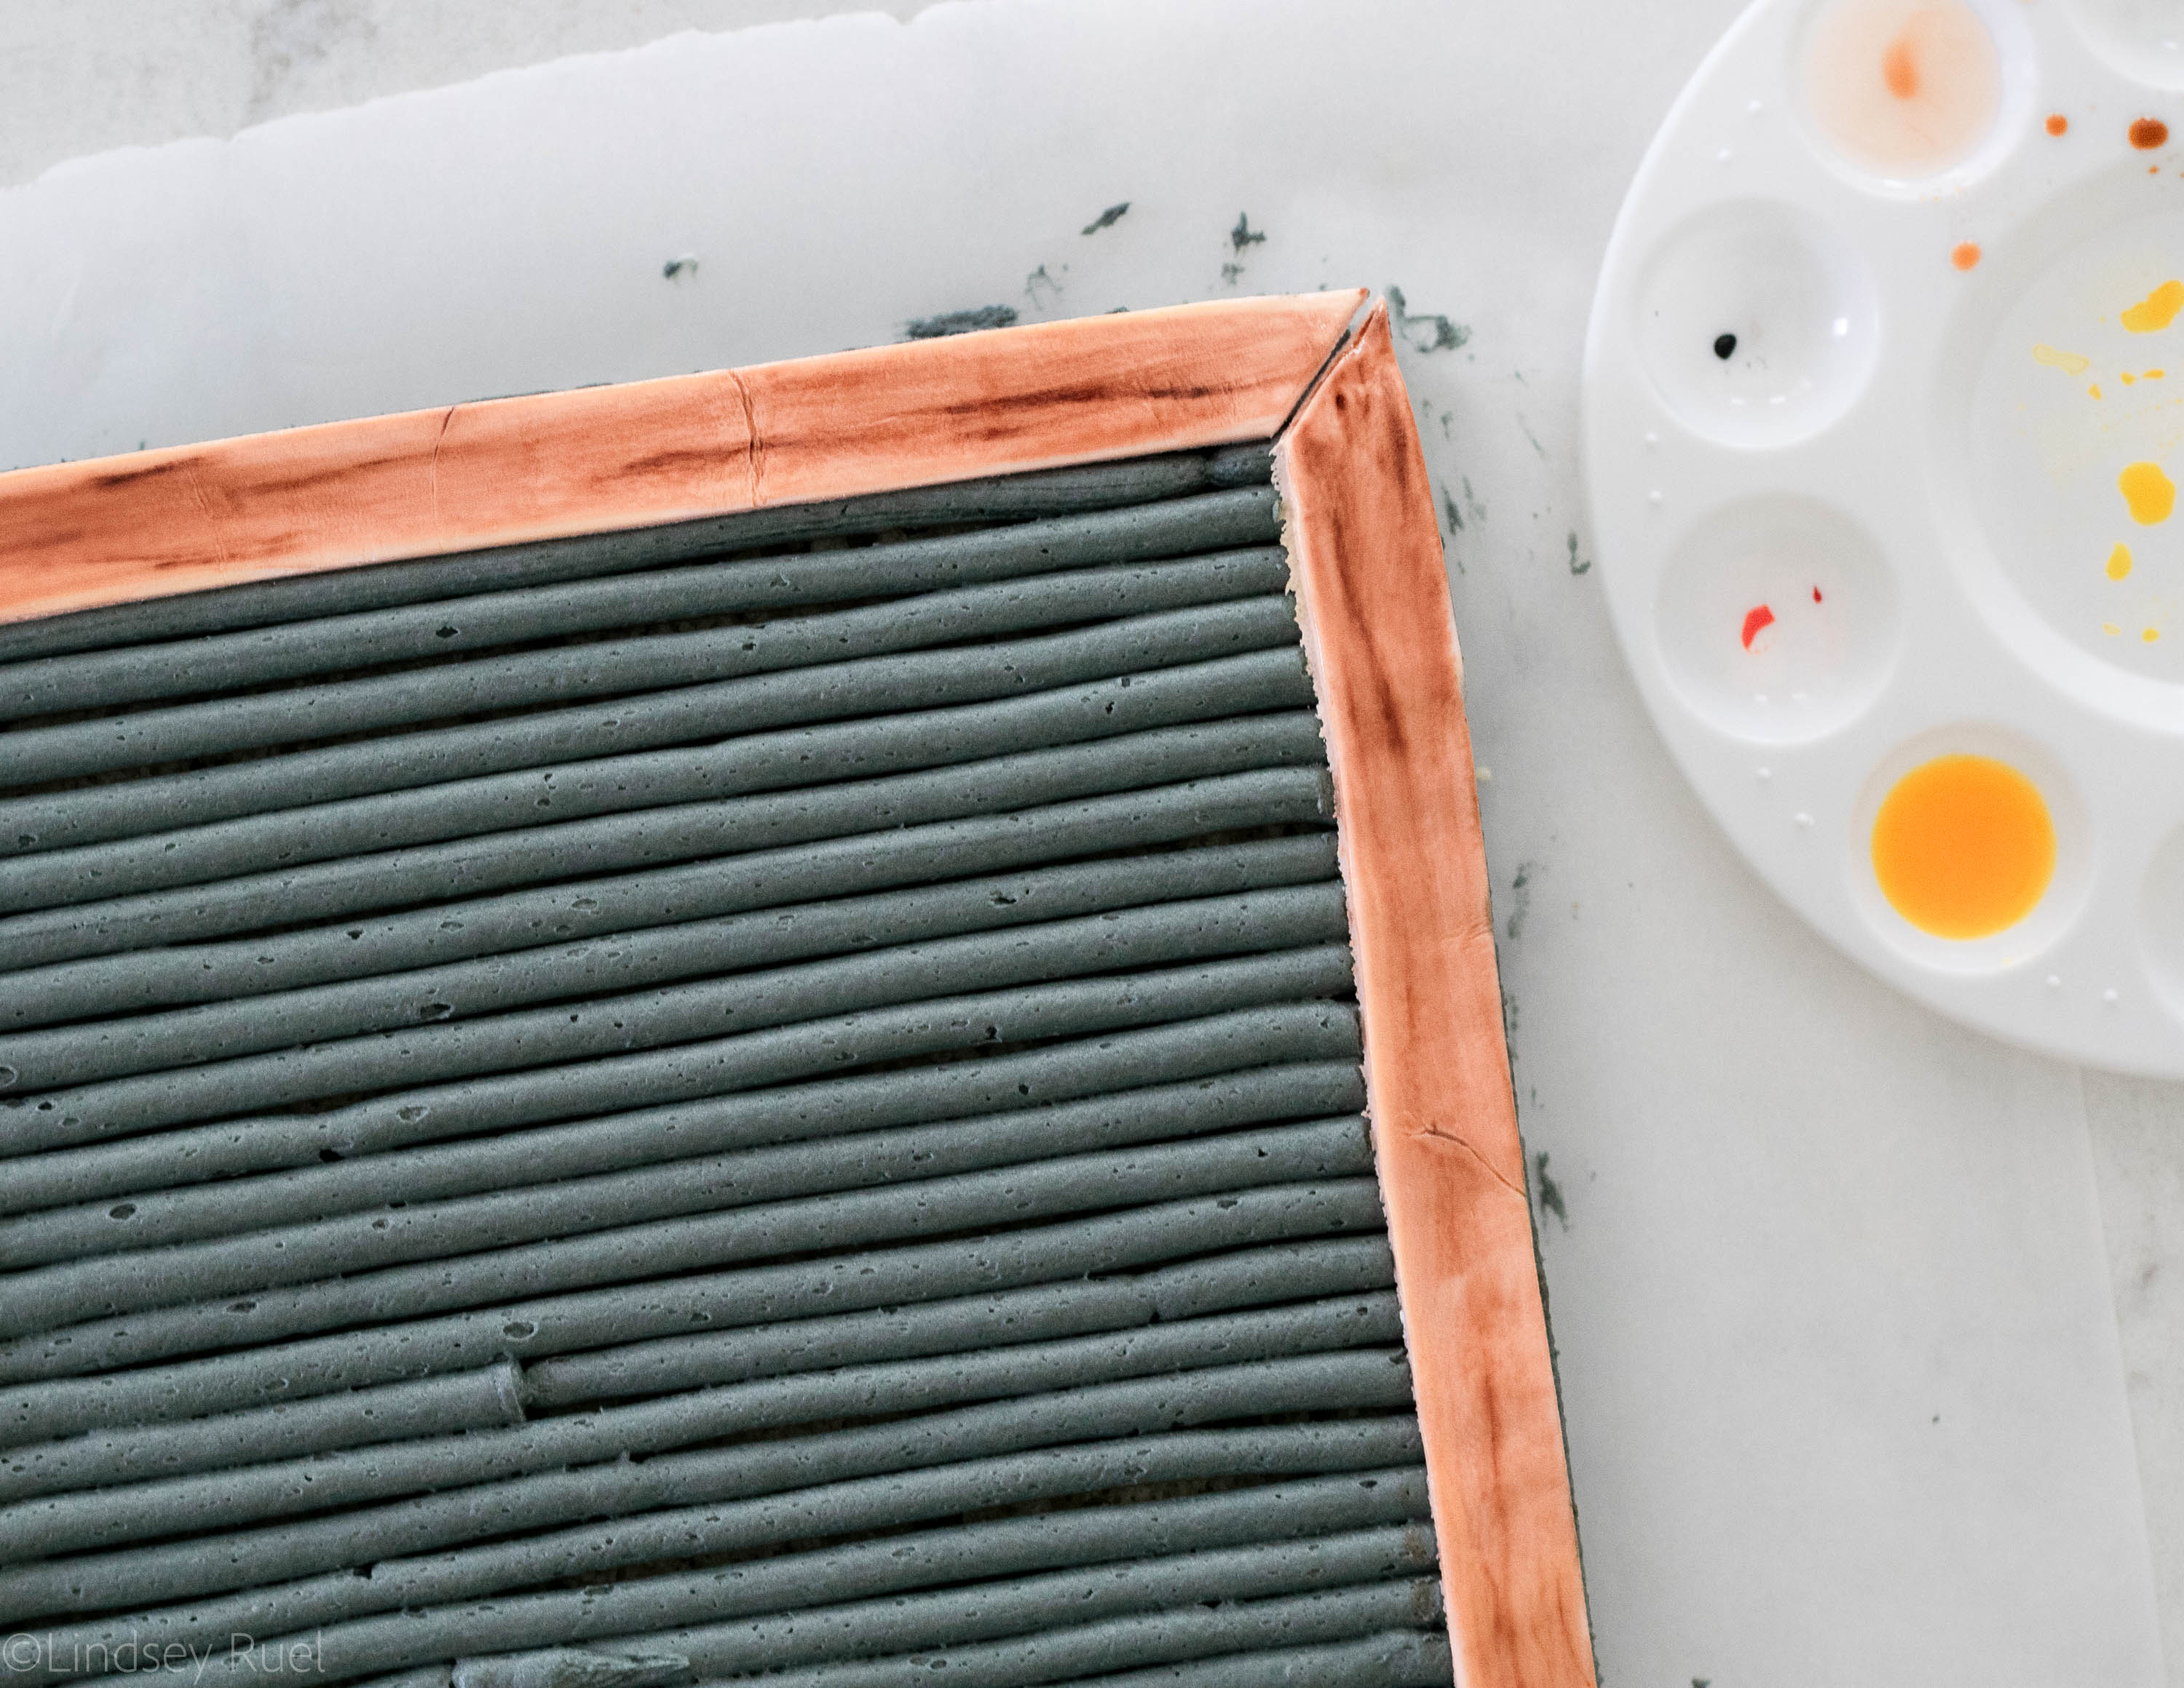
The trick to this cake is just to pipe straight lines. Which is why you see me change directions of piping a few rows in. I noticed that the lines got thinner towards the end of the line. After a while it seemed like they sloped up. Going back and forth seemed to straighten out the lines.
Other than that little tip, there is really nothing else you need to know to make this cake!