 My very first experience with Red Velvet cake was watching Steel Magnolias as a kid. Not sure why, but that experience didn’t really inspire me to try red velvet cake for myself (maybe something to do with the Armadillo shape to the cake). It would take another 10+ years and a move to the South for me to have my first bite of red velvet.
And I have been hooked ever since. I have experimented with several recipes over the years trying to find the ultimate recipe for red velvet cupcakes.
But there is something a little bit different about my red velvet cupcakes. Beet juice. Yes friends, my secret ingredient is beet juice. Well, it’s not that big of a secret. A couple of decades ago, just about every red velvet recipe called for beets to give the cake that redish hue. Nowadays, we just dump a whole bottle of red food coloring into the batter and call it day.
But aren’t you kind of sick of using excessive amounts of food coloring? I think it says a lot that the girl that owns no less than 75 bottles of food coloring is telling you not to use food coloring. But I promise, you will feel so much better about eating these cupcakes knowing that they are pretty much au naturale.
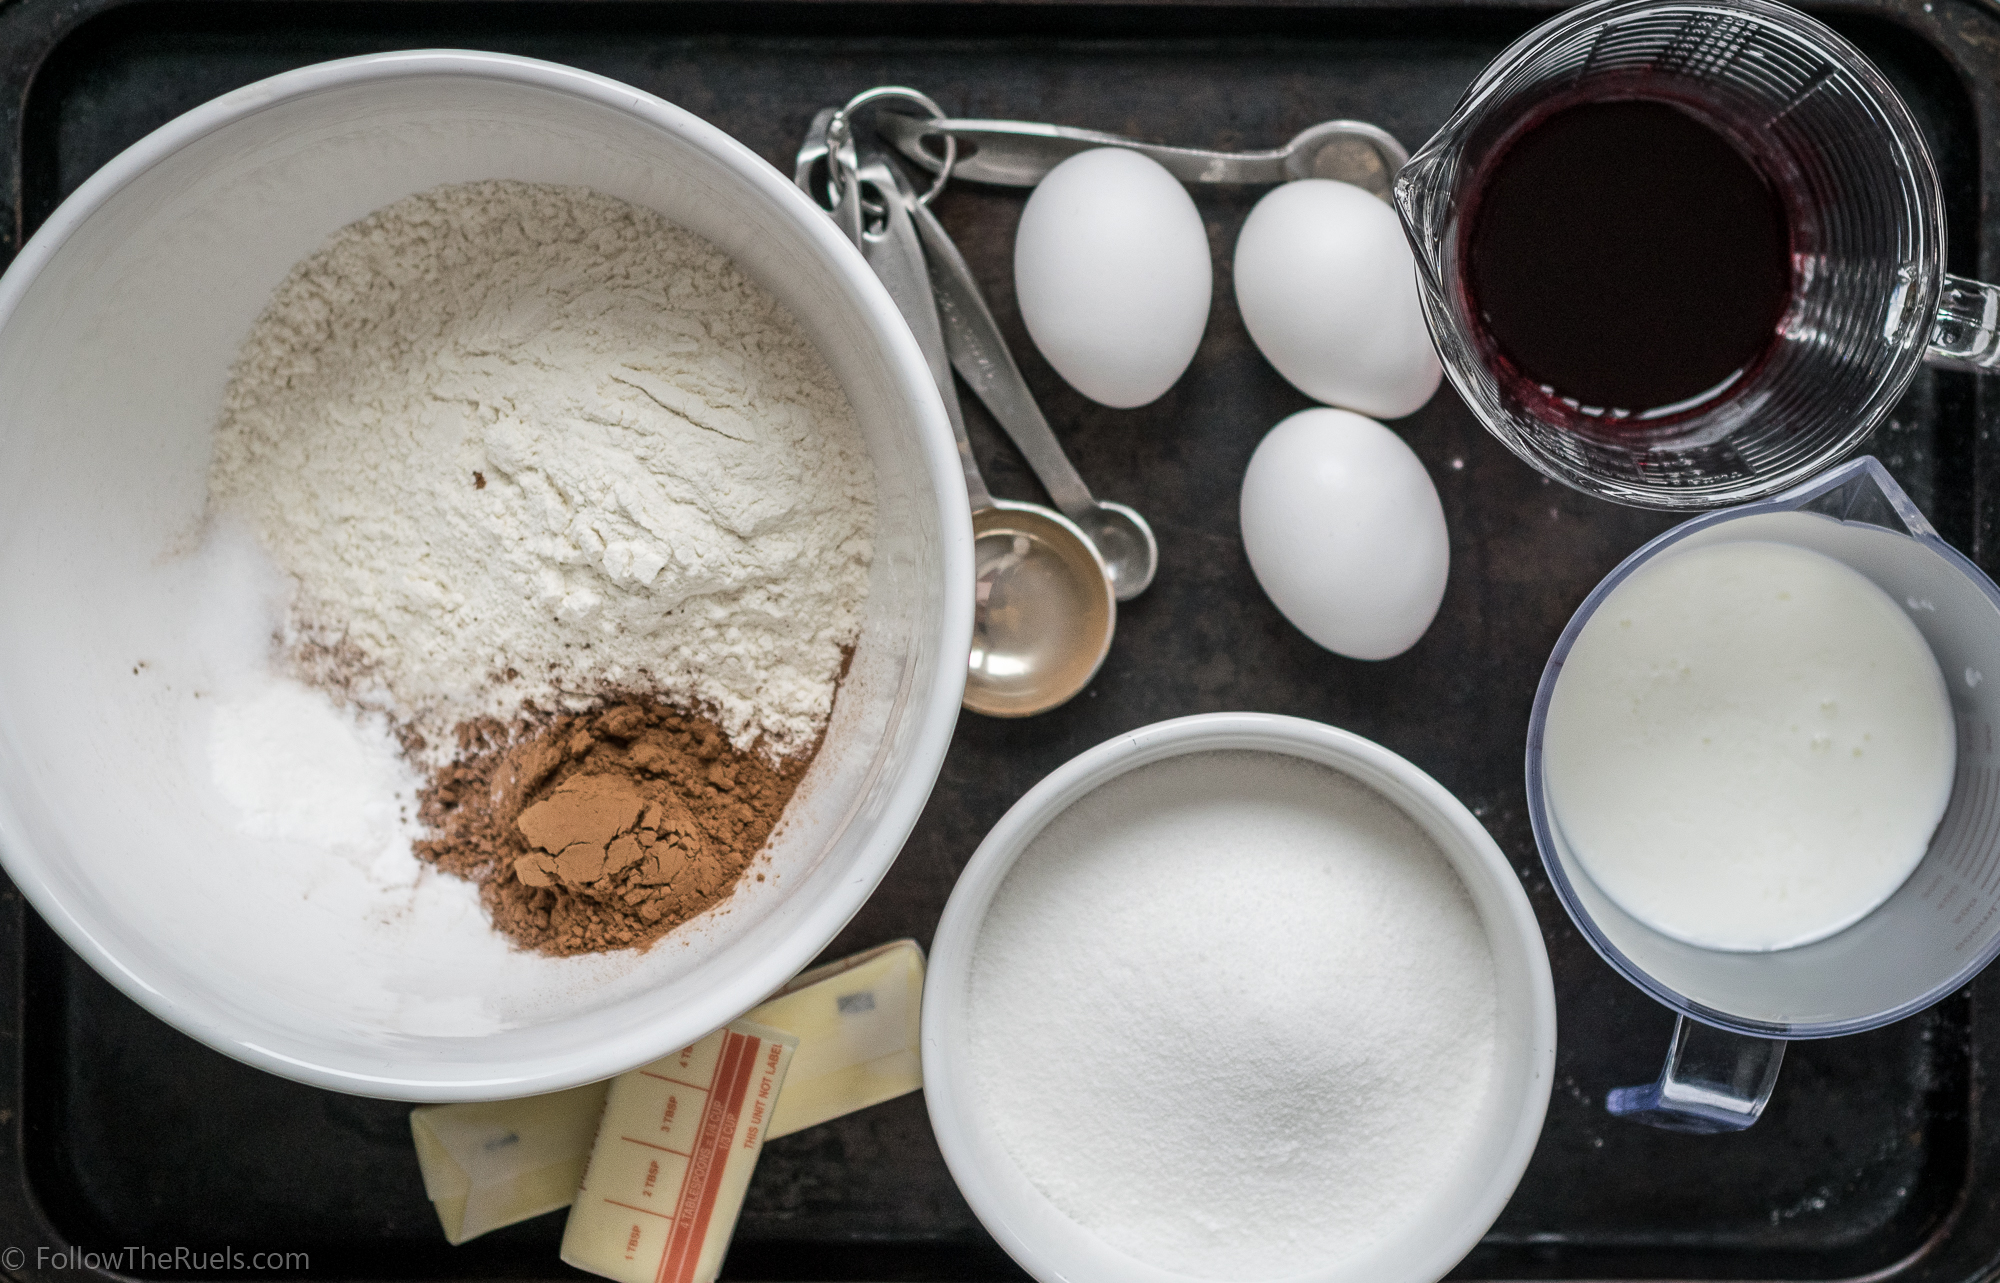
Just like any other red velvet recipe, this one combines flour with a touch of cocoa powder and buttermilk to get it that moist velvety texture.
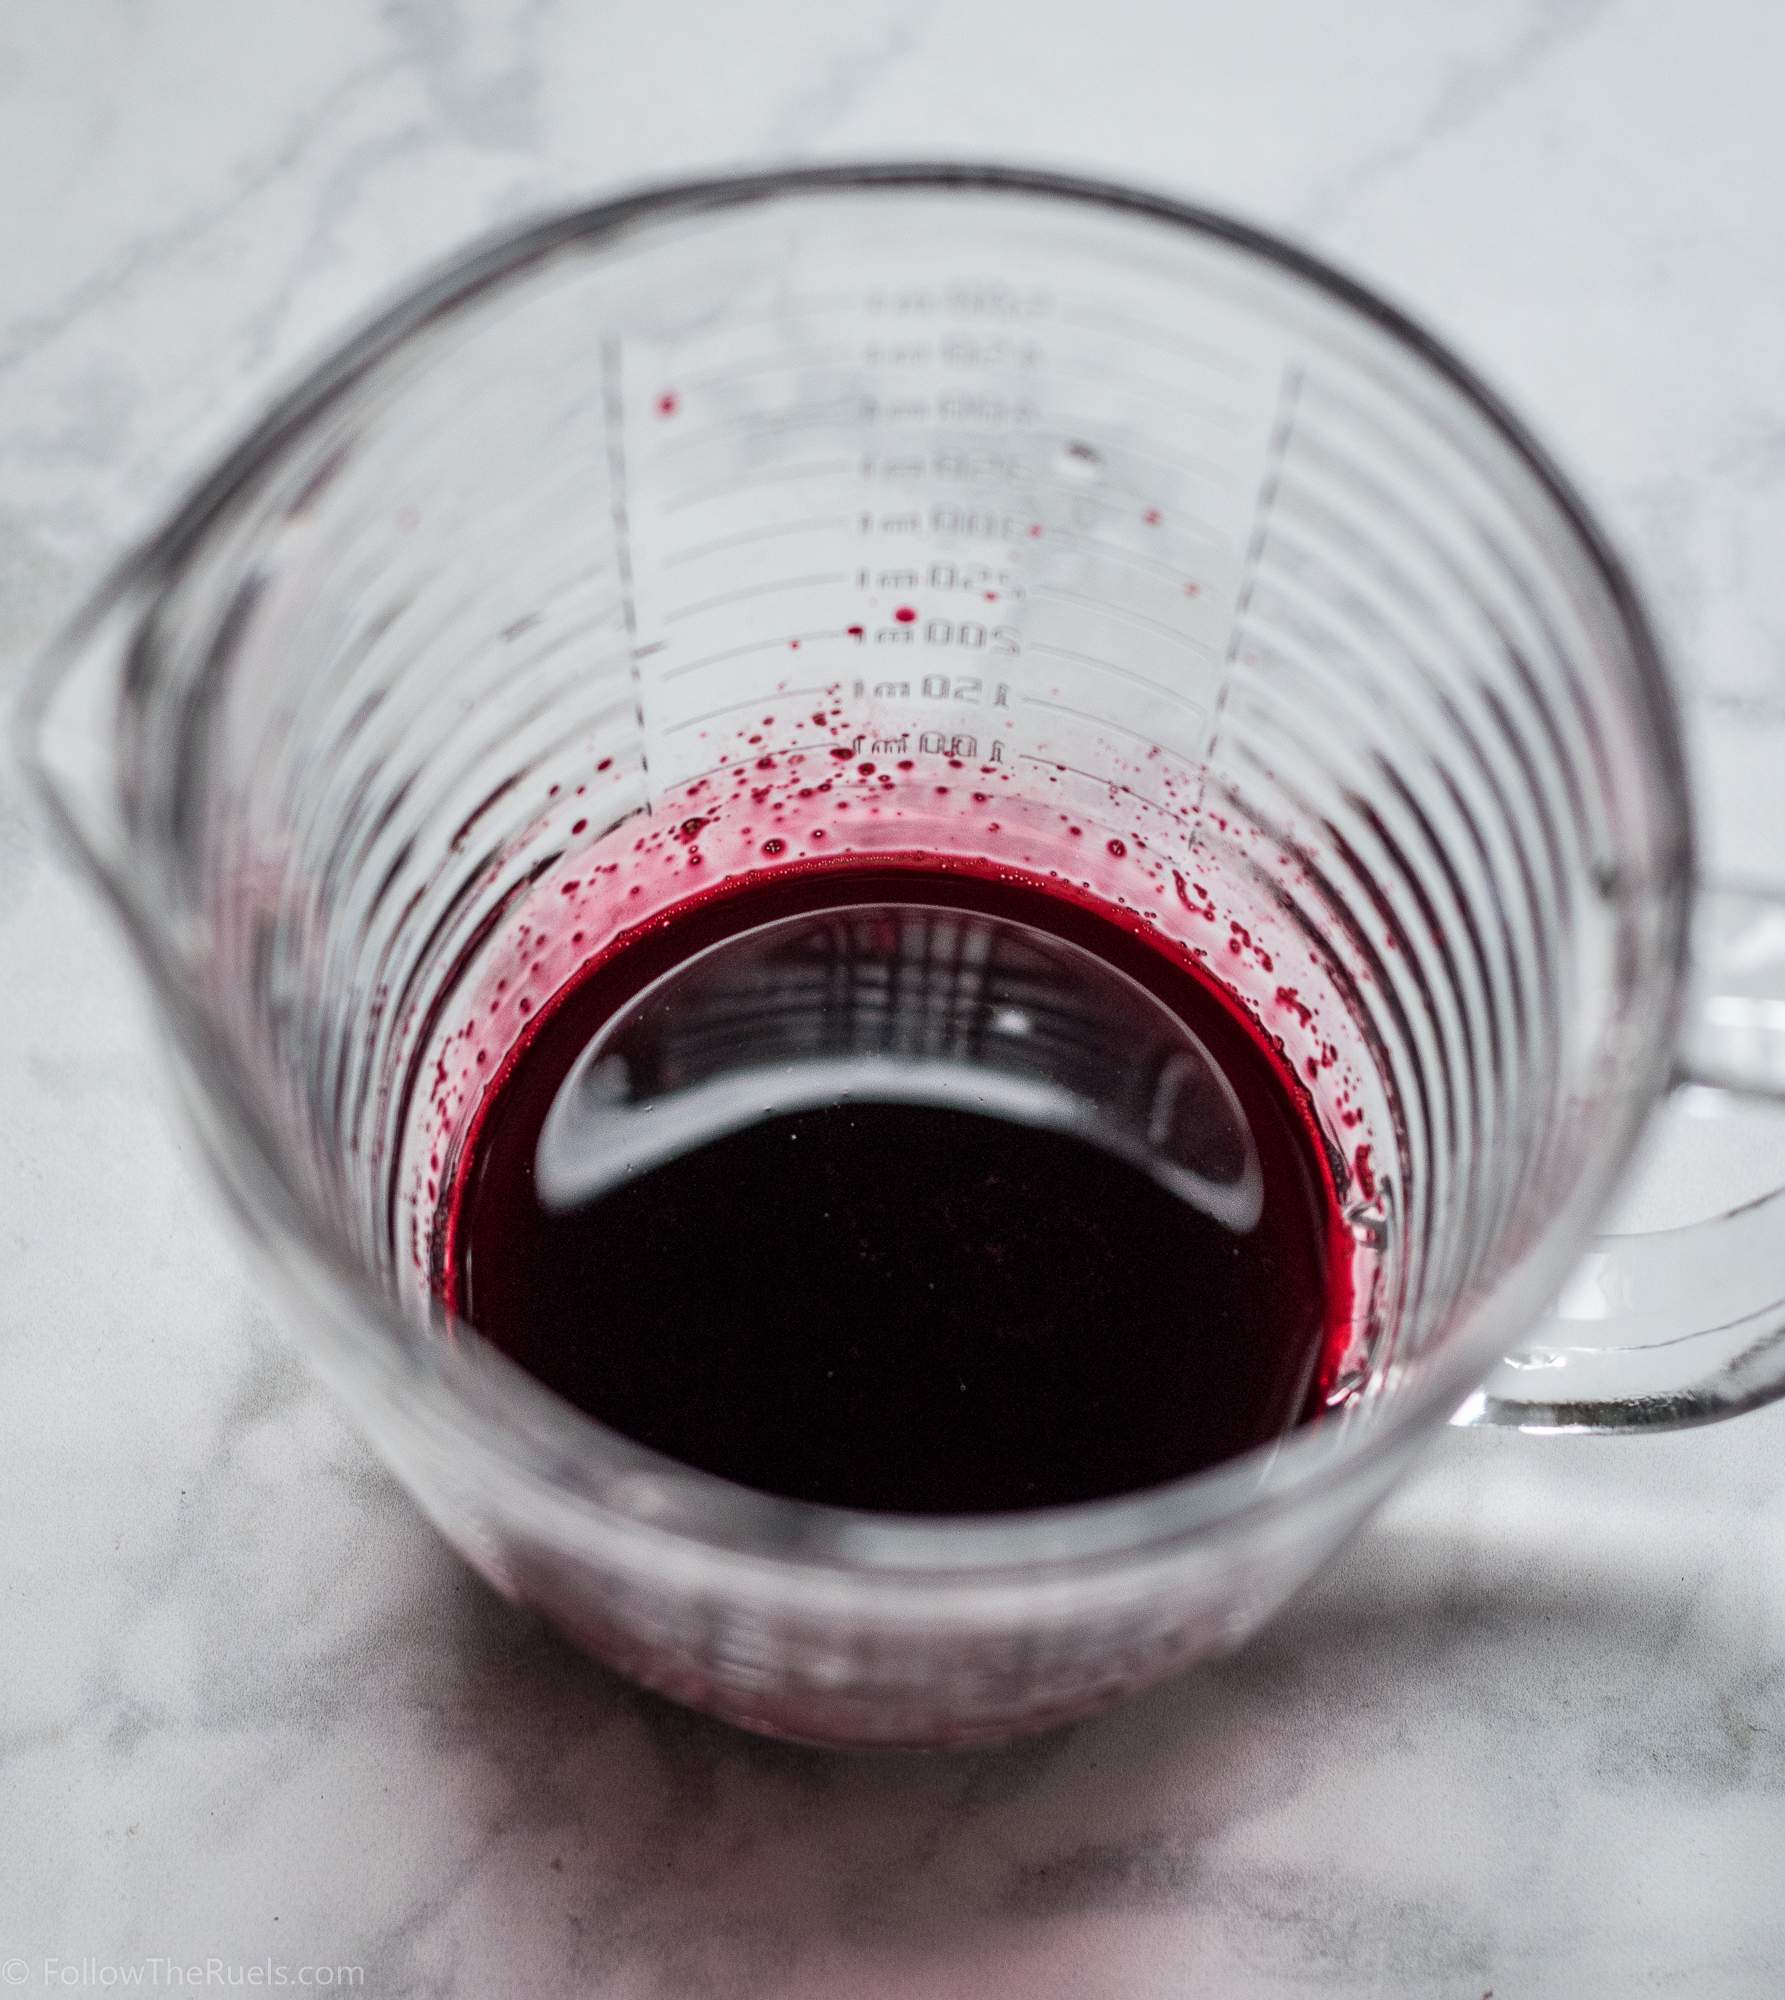
Then to put the red in red velvet I used Mother Nature’s very own food coloring. I actually found some beet juice in the juice aisle of my local grocery store. But I wanted to have a much more concentrated color pay-off without adding too much moisture. So I decided to reduce it on the stove. I poured half a cup of the juice into a sauce pan and let it simmer on the stove for a few minutes until it had reduced by half, resulting in 1/4 cup of some thick beet juice.
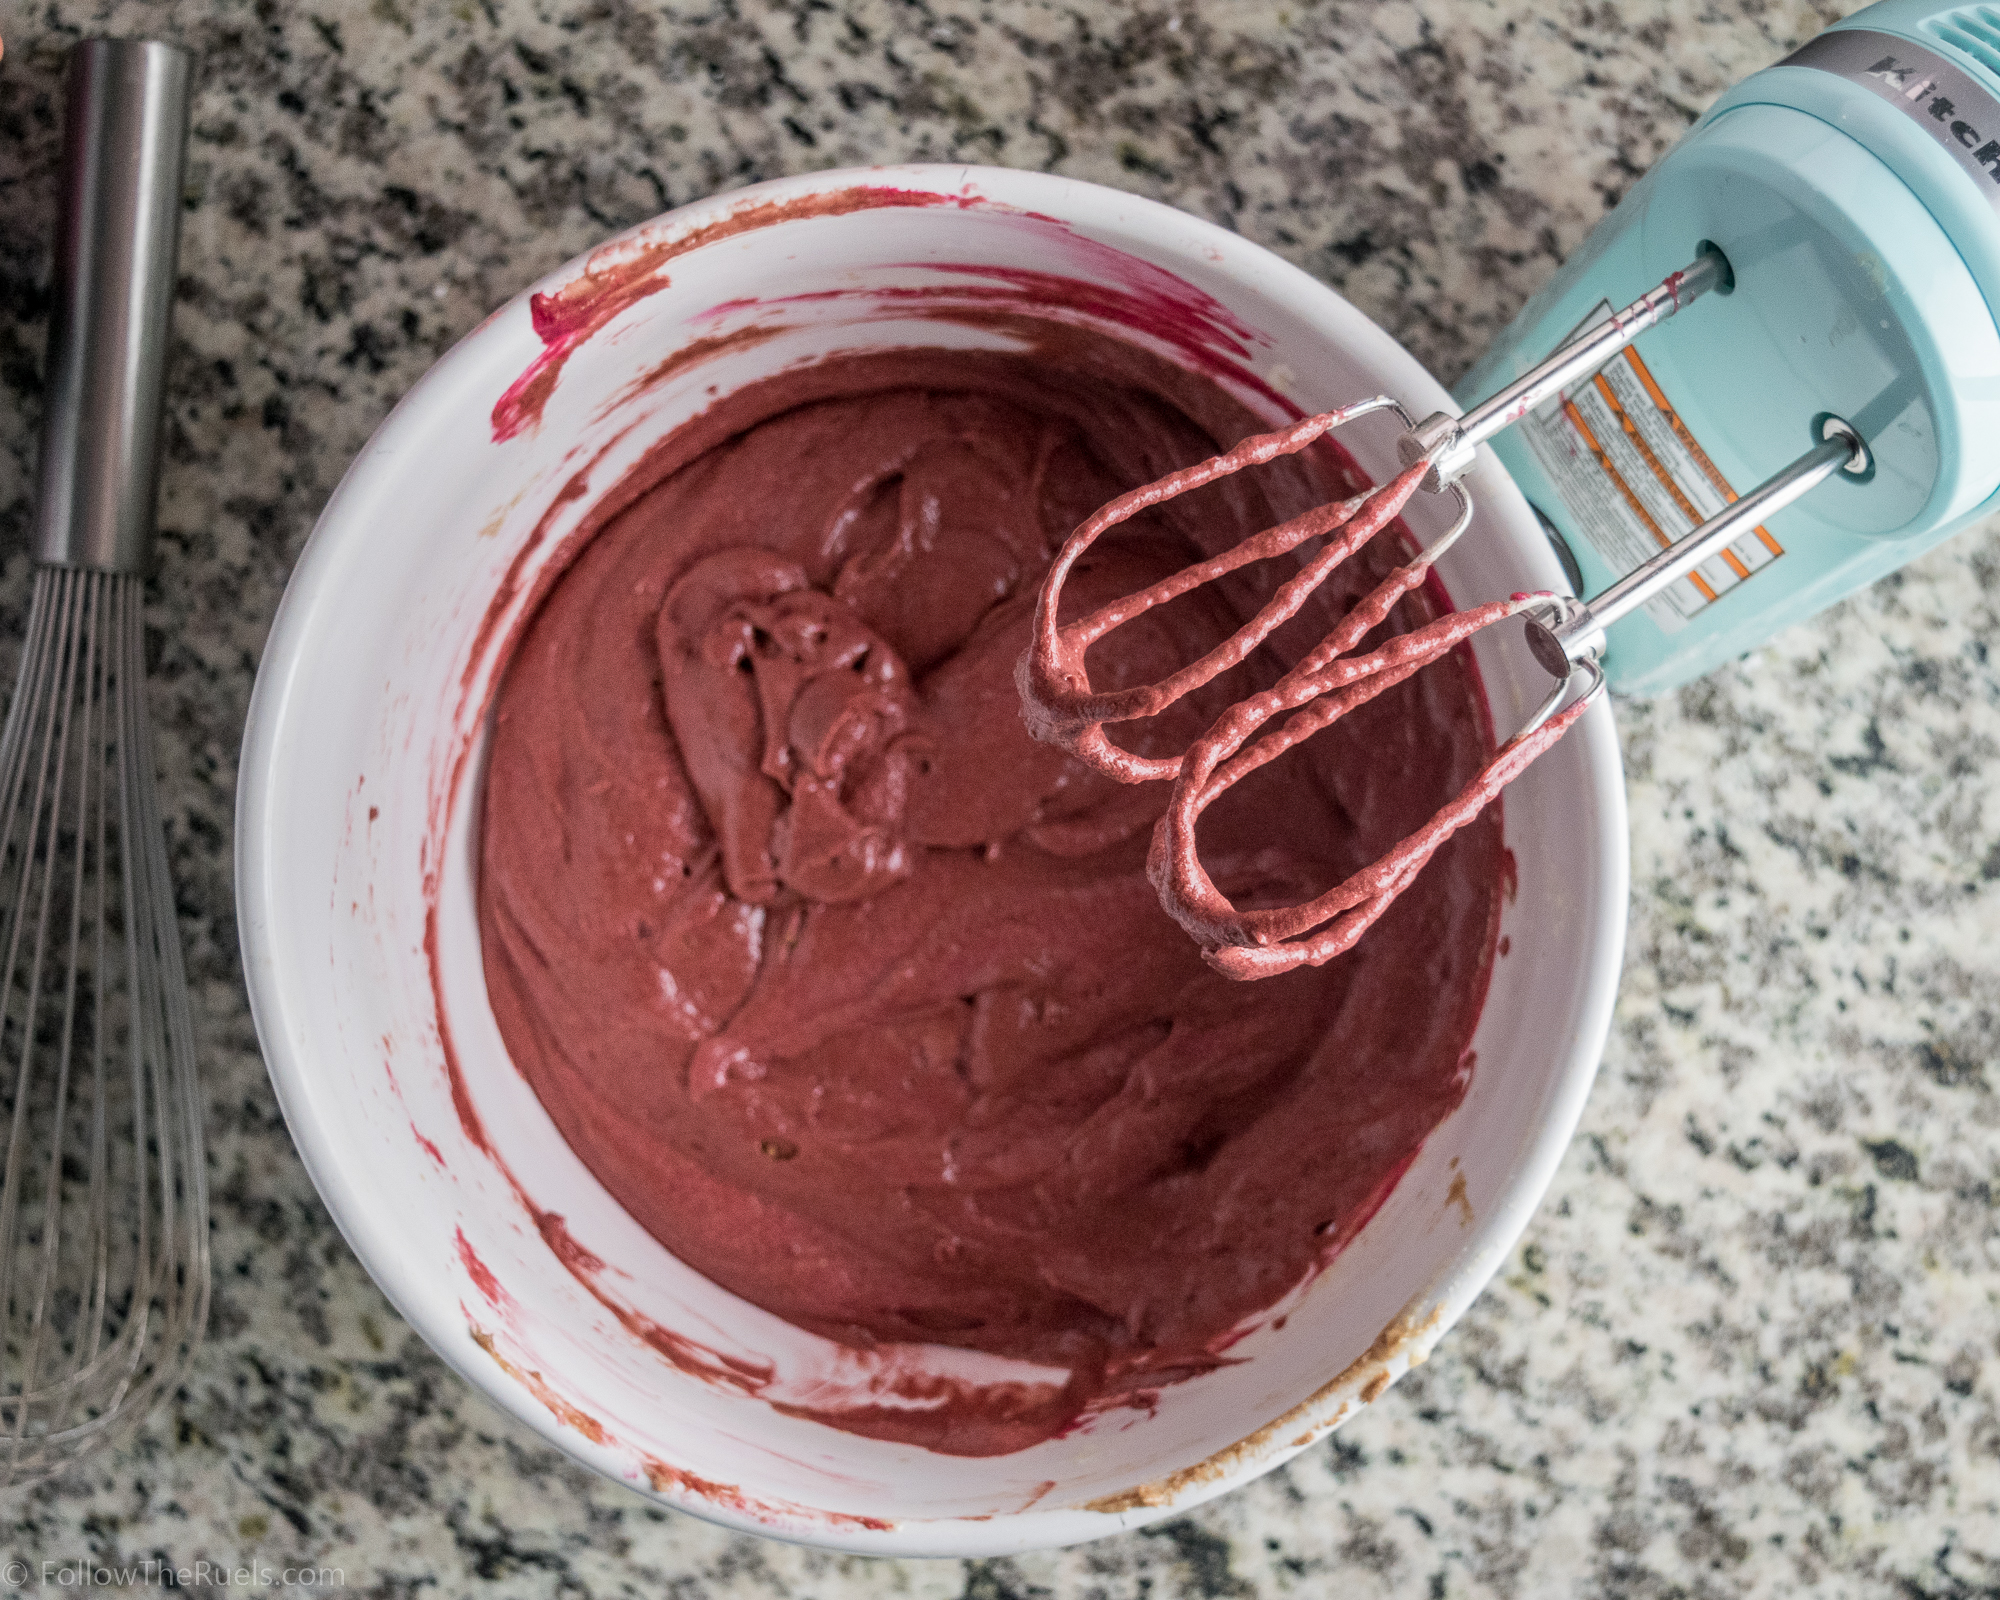
I know that seems like a little bit more work than your typical cupcake recipe. But look at how great that batter looks? It’s nice and red, but not artificially so. You know, it’s not that bright stop-sign red.
Once they are baked, they are wonderfully moist and delicious! There is absolutely no sign of beets anywhere in these cupcakes except in color. There is a subtle chocolate flavor, but it’s not too heavy or rich.
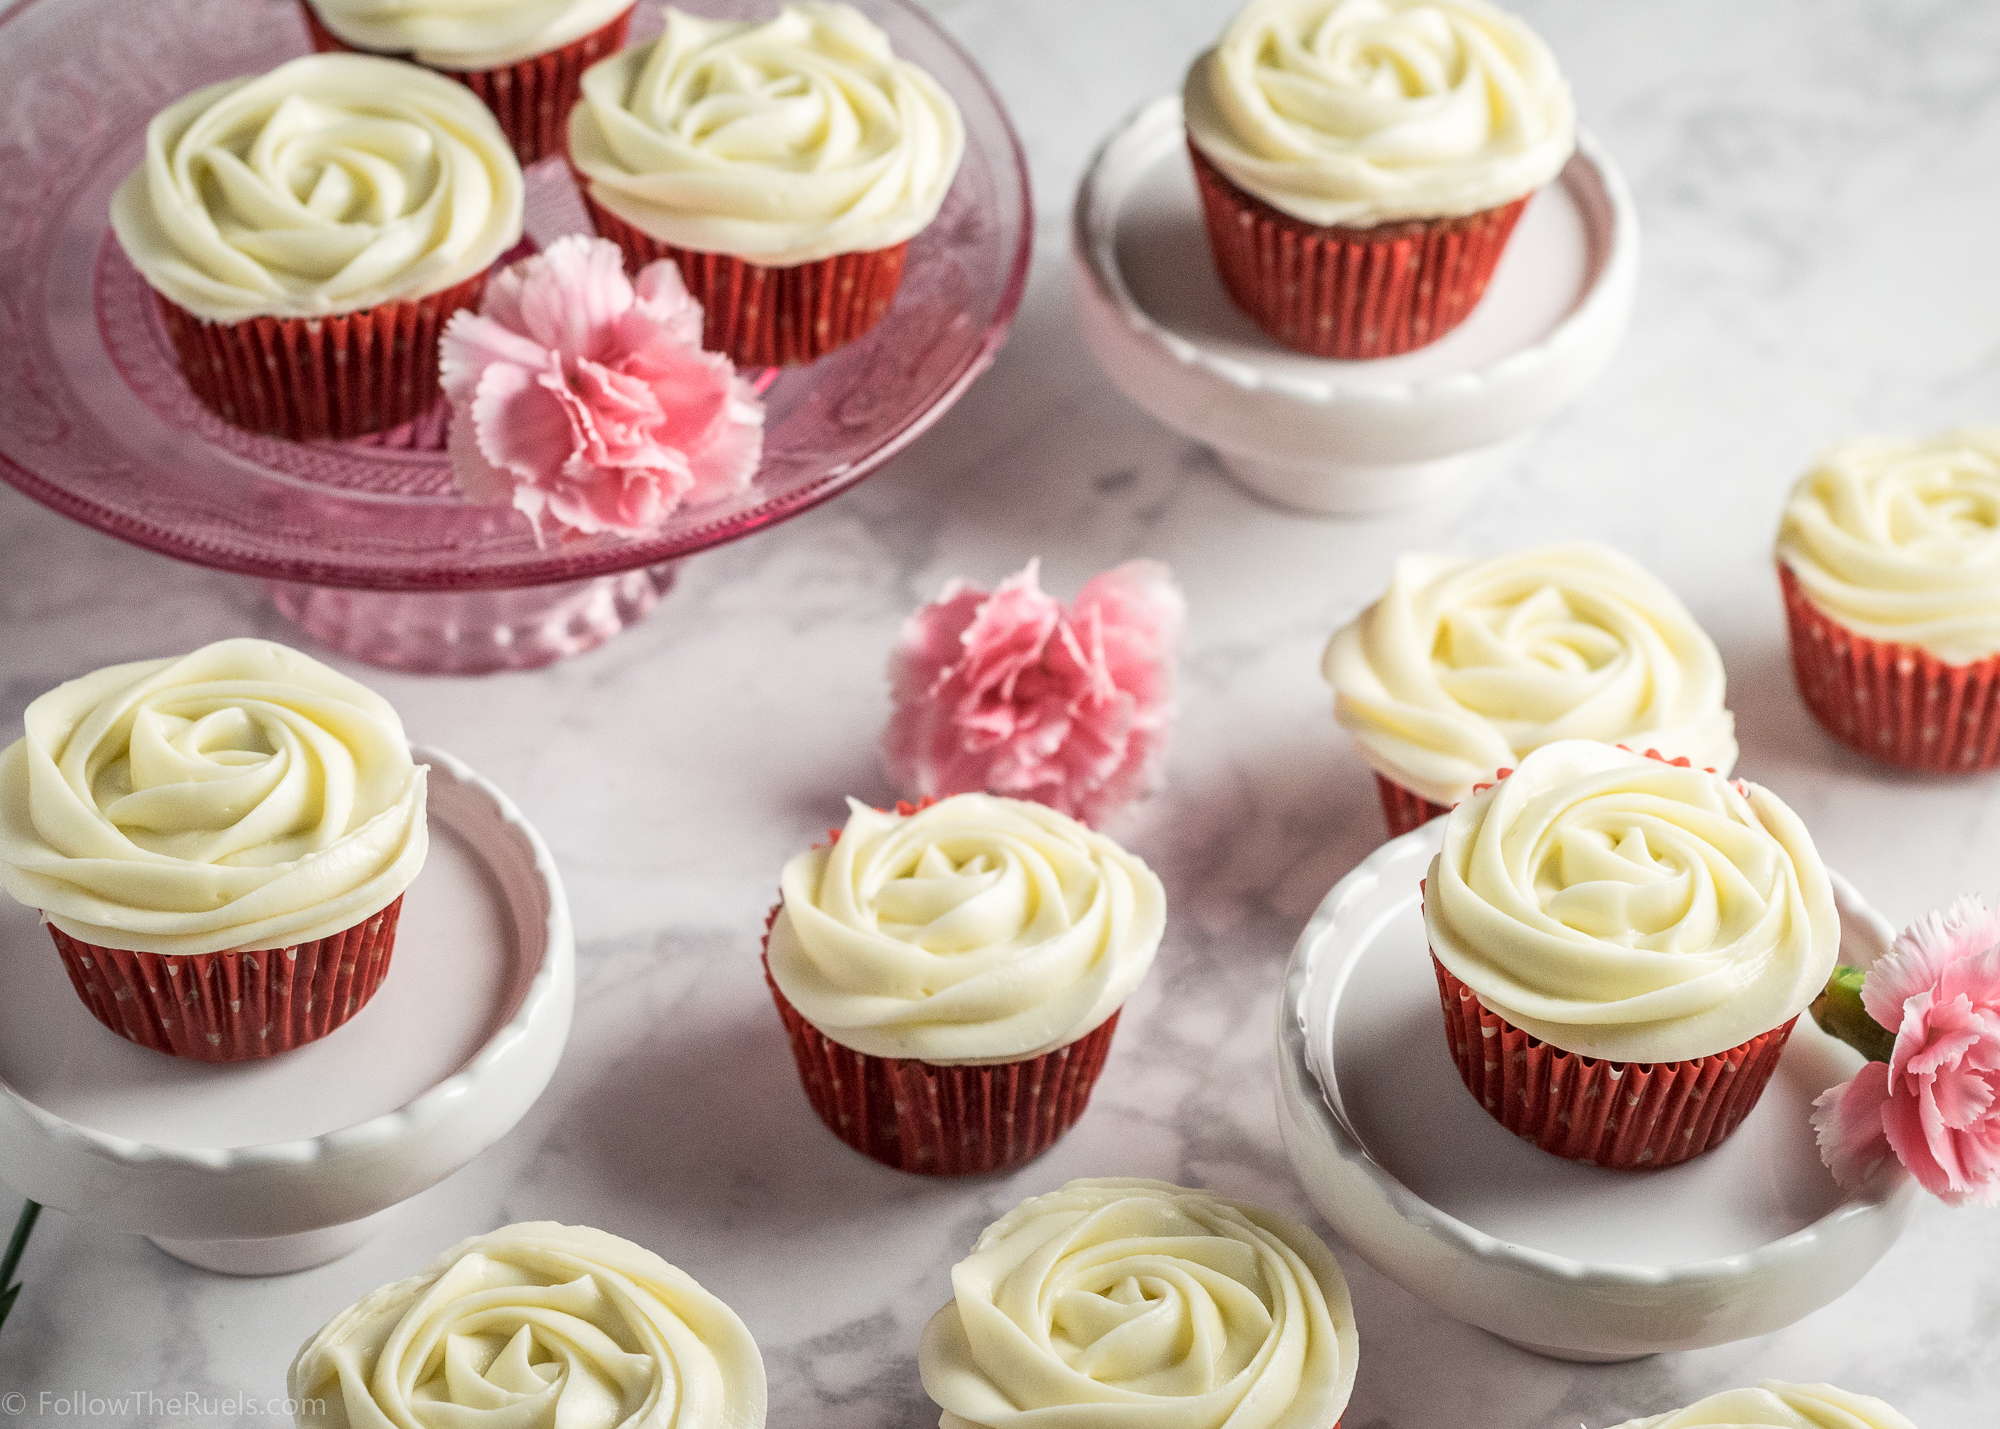
And of course I topped off my red velvet cupcakes with my favorite cream cheese frosting. Because in my opinion it’s the cream cheese frosting that really makes a red velvet cupcake so good.
While red velvet is definitely appropriate for Valentine’s Day, I think of red velvet being in season year round. It’s a perfect cake for Summer, since it’s not as rich and heavy as chocolate cake can be. It also seems like a perfect choice for Christmas paired with some green sprinkles or something festive. But please, whatever you do, don’t turn it into an armadillo cake like they did in Steel Magnolias. Nobody wants that.
[amd-yrecipe-recipe:128]