• Home
  • Eat
    • Breakfast
    • Appetizers
    • Main Dishes
      • Chicken
      • Beef
      • Seafood
      • Healthy Dishes
      • Paleo Dishes
      • Salads
    • Desserts
      • Decorated Cookies
      • Cookies
      • Bars and Brownies
      • Cakes and Cupcakes
  • Shop
    • Cookie Decorating Supplies
    • Bakeware
    • Cookware
    • Kitchen Gadgets
    • House
  • About
    • Contact
    • Bucket List
  • Cookie Decorating 101

Follow the Ruels

Classic Vanilla Cupcakes

September 19, 2017

Vanilla gets a bad rap, doesn’t it? It’s equated with being plain and boring. Sure, when vanilla, particularly vanilla cake or cupcakes, is done poorly it’s pretty “meh”. But when vanilla cake or cupcakes are done well they are delicious. 

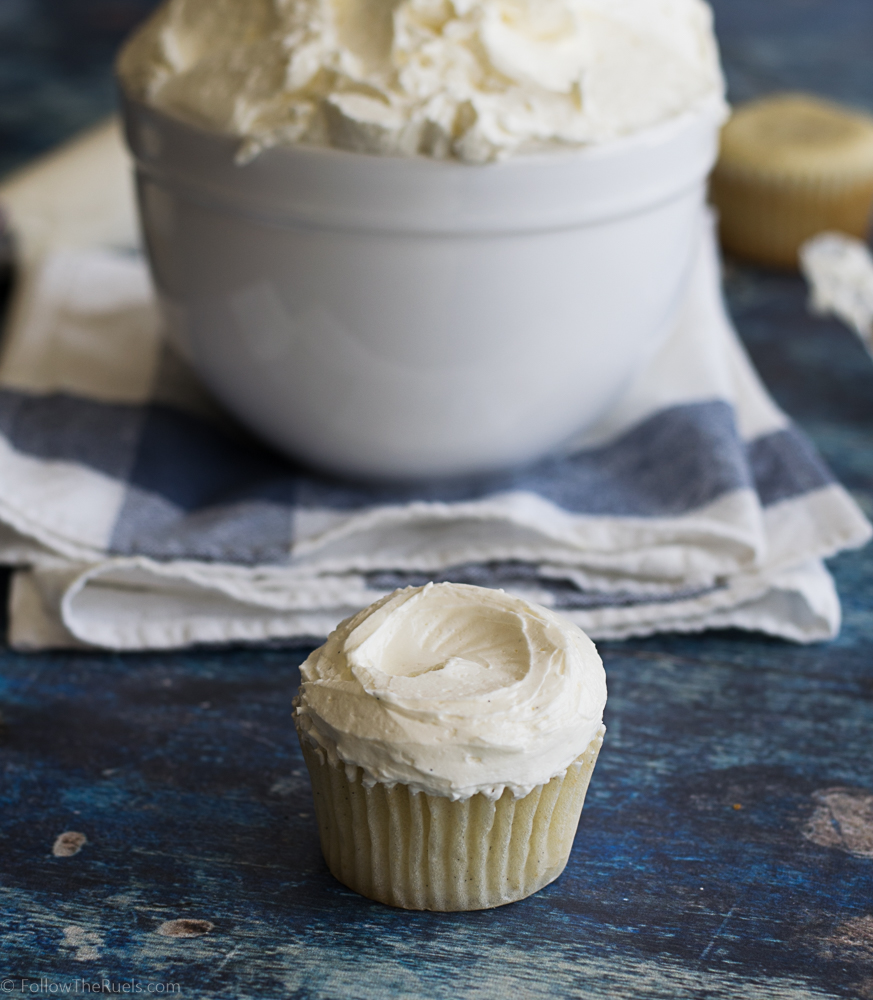
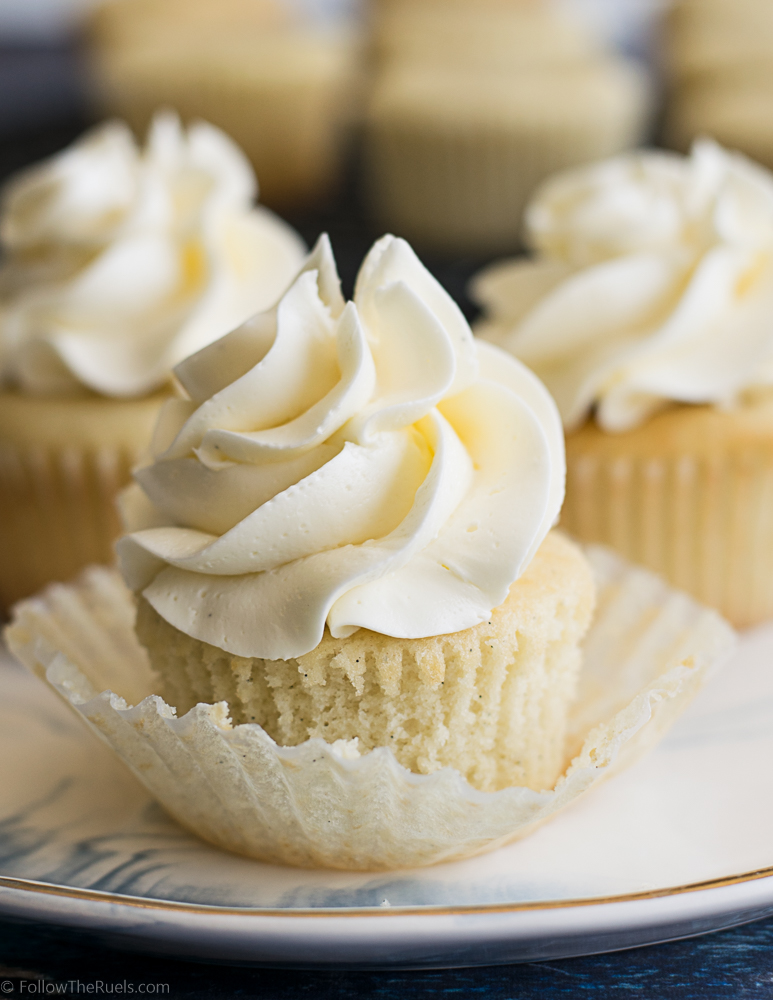
And let me tell you, these vanilla cupcakes are delicious! They make the perfect foundation for any other flavor, filling, frosting, or just all on their own. 

I have been testing out vanilla cupcake recipes for a while. Everything  from Martha Stewart to How to Cake It. While everything I tried was good and definitely tasty, nothing really knocked my socks off until this recipe. These cupcakes are light and airy, yet moist and rich. They pack a serious vanilla punch that is anything but plain and boring. 

There are a couple things I have learned after making more than a few vanilla cupcake recipes:

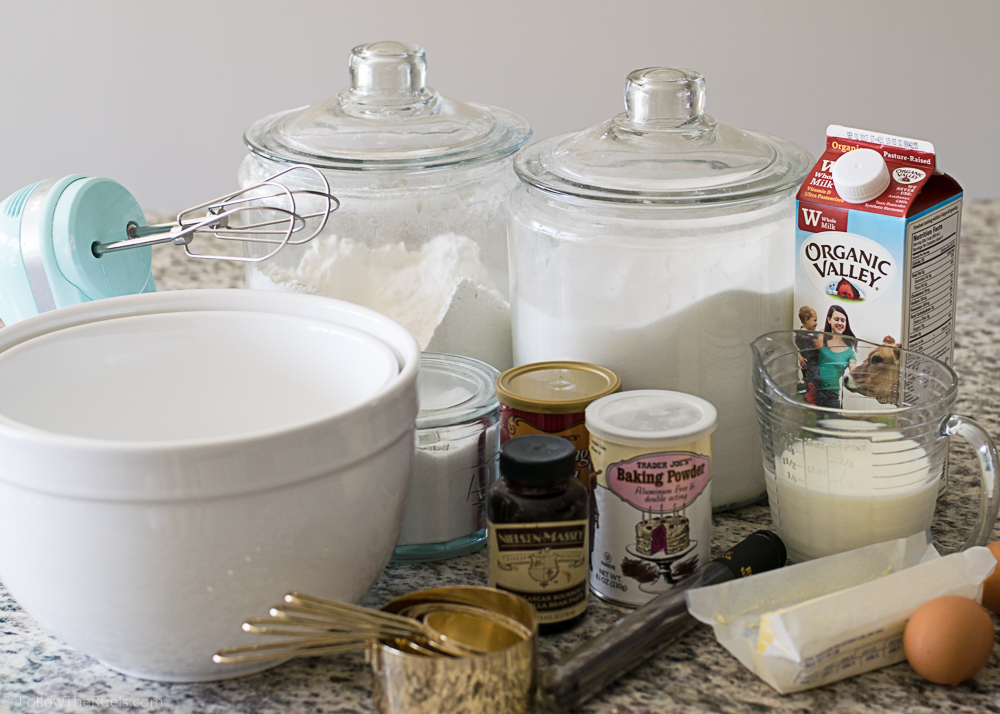
  • Cake flour is nice and all, and will definitely make the texture of the cupcakes a bit lighter and softer, but it is not necessary. You can still make a darn good cupcake with all purpose flour.
  • Always use whole milk. I have learned over the years that when it comes to baking (and lots of other things, actually), whole milk is king. Please do not use 2% or (dare I even say it) skim. And if you do, don’t tell me about it, k?
  • Measure your flour by spooning your flour into the measuring cup, then level. While some other recipes are a little bit more forgiving with the amount of flour, you don’t want to weigh down your cake or cupcakes with any more flour than the recipe calls for. 

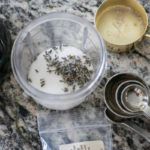
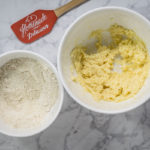
To make these cupcakes start by whisking together all your dry ingredients. If you want to ensure that there are no lumps, you can run everything through a sifter. I find that giving it a good whisk pretty much does the job.

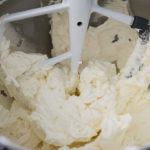
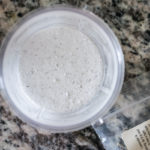
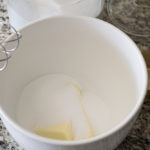
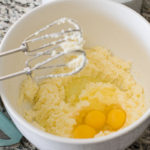
Set the dry mixture aside and cream together the butter and sugar, then mix in the eggs (preferable 1 at a time, but I am a little impatient when it comes to cake).

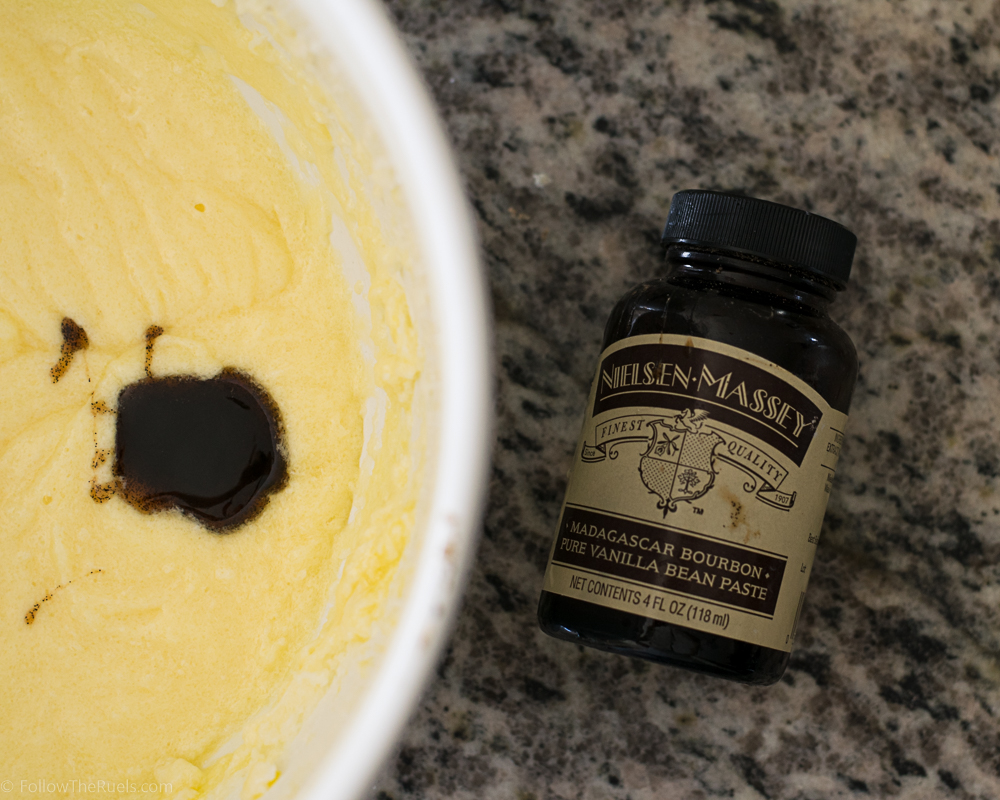
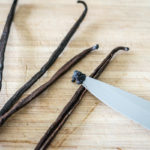
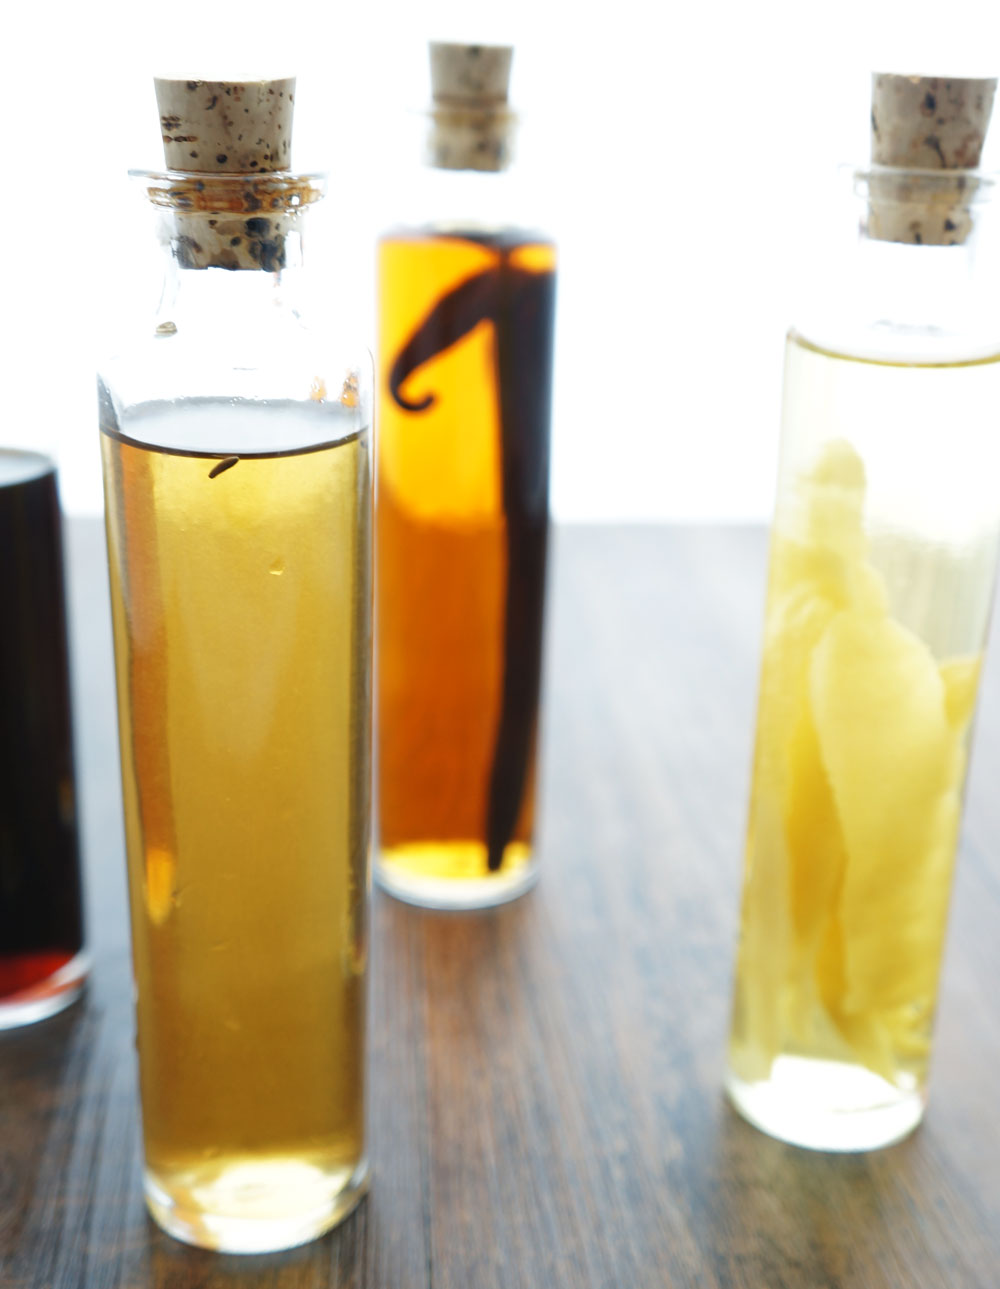
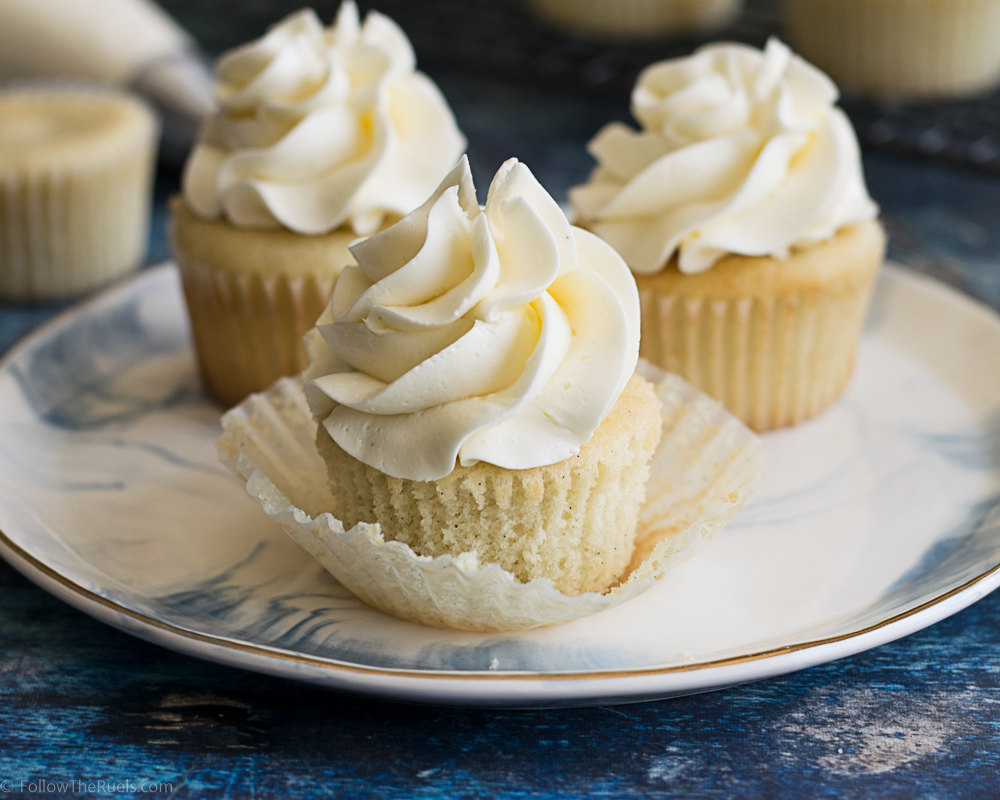
Now for the good stuff. I like using vanilla bean paste in these cupcakes because the flavor is so concentrated and rich. It really makes the flavor of these cupcakes stand out. Plus, I like the little vanilla beans speckled throughout the cake. 

If you don’t have vanilla bean paste, don’t fret! You can substitute with the seeds of one vanilla bean (split in half, and scrape a knife over the inside, scraping out all the seeds) and a bit of vanilla extract. If you only have vanilla extract, just add a bit more.


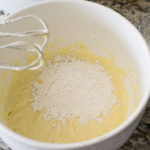
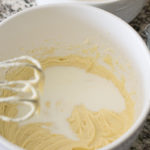
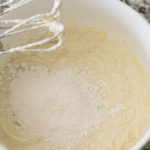
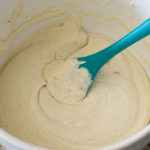
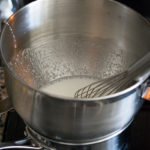
With the butter, sugar, eggs, and vanilla all mixed together, its time to mix in the flour and the milk alternating between the two. I like to mix the flour in 3 parts and the milk in 2 parts. So I mix flour-milk-flour-milk-flour. Always start and end with dry ingredients. 

I am not sure the exact reason for this mixing method, but I have found that alternating between wet and dry, you get a smoother batter and a lighter cake.

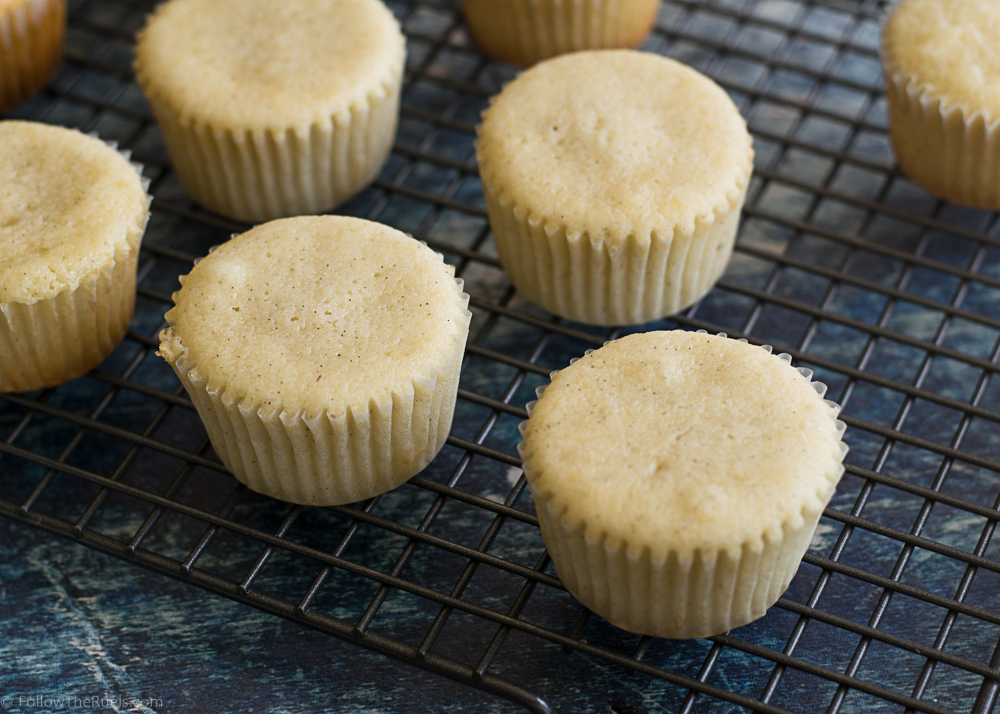
Bake the cupcakes until they are just cooked all the way and a toothpick comes out mostly clean. I take my cupcakes out before they brown too much and when there are still some crumbs that stick to the toothpick. That way they are nice and moist and not dried out at all!

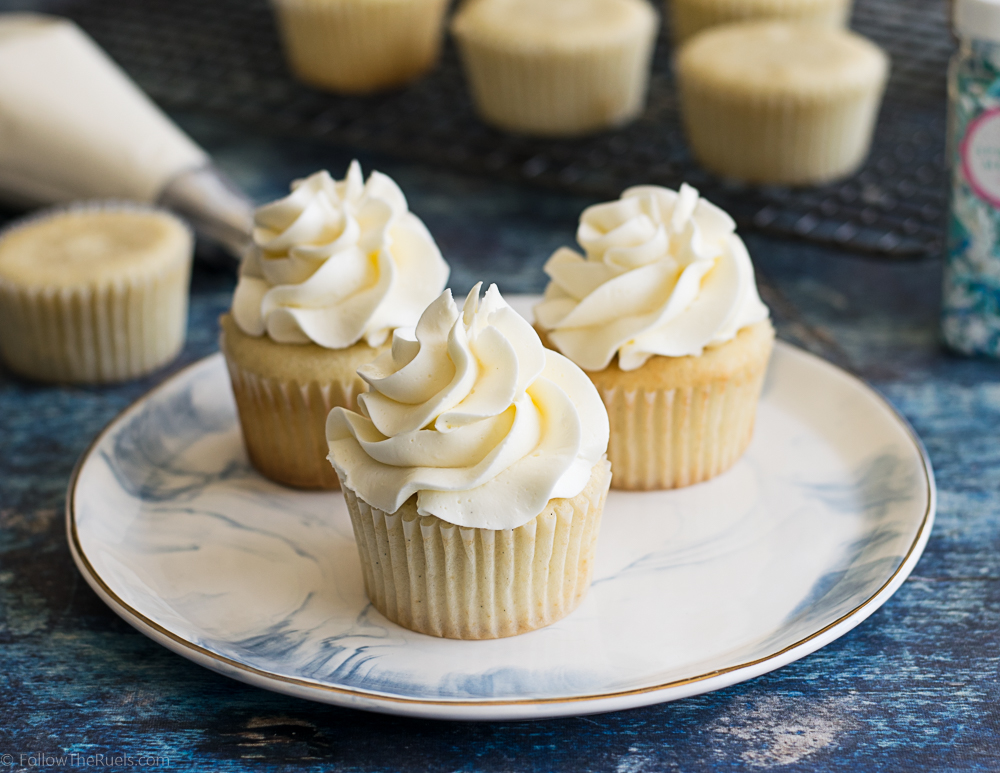
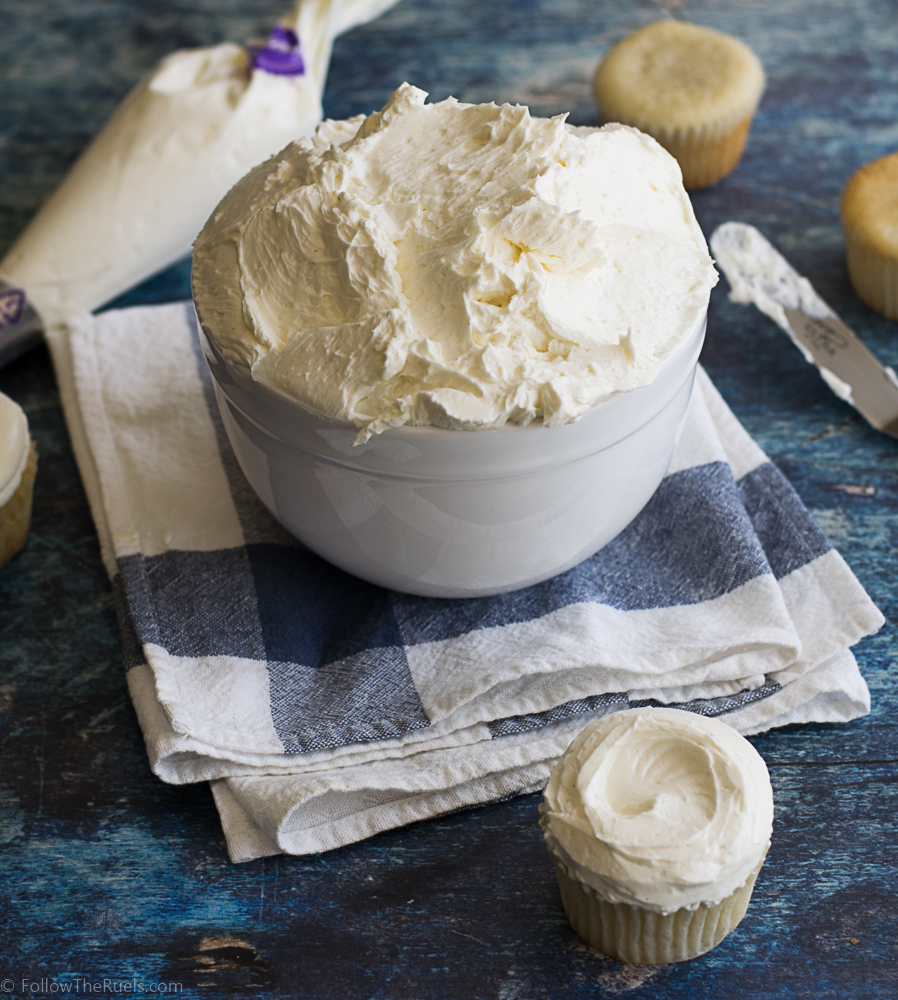
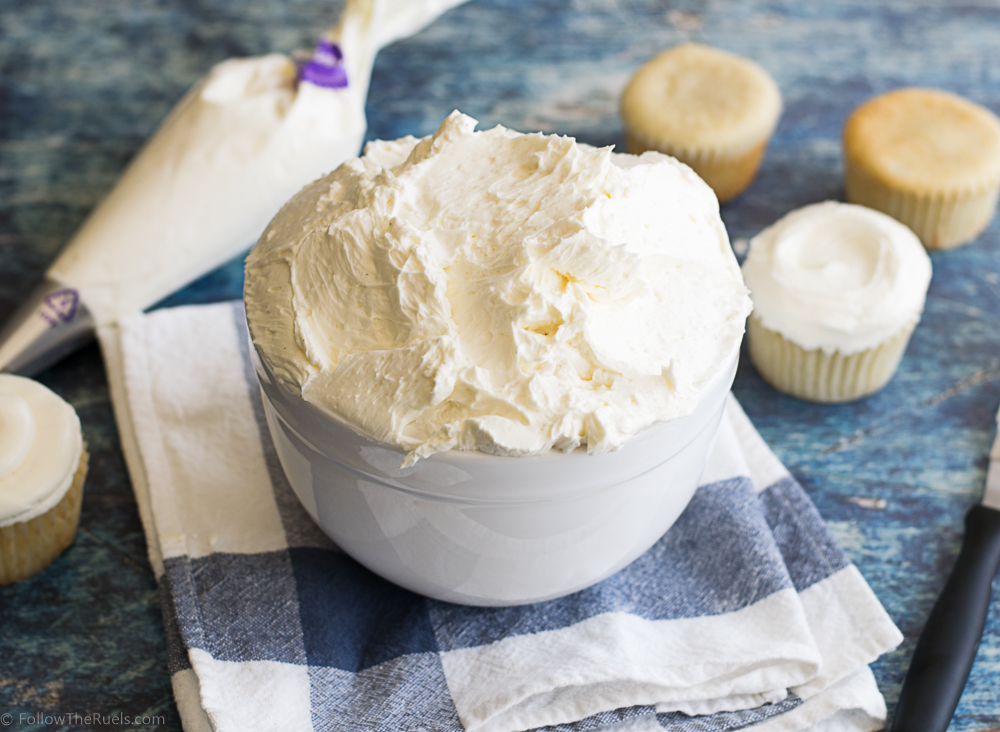
The beauty of these vanilla cupcakes is that they can be paired with anything. Here I just paired them with my favorite buttercream frosting, which was still delicious. But they can be paired with chocolate frosting, caramel frosting, strawberry frosting. Maybe even filled with lemon curd, chocolate sauce, or raspberry jam. They are the most delicious canvas for any of your cupcake creations!
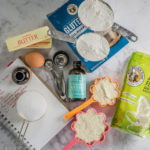
Supplies:
[show_shopthepost_widget id=”2822336″]
 

[yumprint-recipe id=’132′]

/ Filed In: Cakes and Cupcakes, Cakes New, Eat
Tagged: cake, cupcakes, vanilla, vanilla bean

The Best Buttercream Frosting Recipe

September 8, 2017

It may surprise you to hear that I am not much of a frosting person. Whenever I eat cake, I typically eat around the frosting, leaving a huge heap of it on my plate. 

But of course, there are always exceptions. The exception is this buttercream. Every time I make it I get so many compliments on how light, airy, and not-too-sweet it is. People are used to that dense, buttery, sickeningly sweet buttercream so this one is basically like a breath of fresh air. 


There are actually three main types of buttercream frosting (that I am aware of): American, Italian, and Swiss. The American version is what we are used to. It is basically just butter and sugar mix together. American buttercream is totally fine in moderation and is really good if you need to make some intricate designs on your cake or cupcake. But when it piled on top of said cake or cupcake, it’s just too much. 

Italian meringue buttercream incorporates meringue (fluffy egg whites), which makes it super light and airy. To make Italian meringue, you heat up sugar and water until it boils, then pour it into to a stand mixer bowl that is whipping up the egg whites. The only reason I don’t like this version is that making Italian meringue dirties up one extra pan and you have to make sure the sugar get’s to the perfect temperature or you risk ruining your meringue.

I prefer the Swiss meringue buttercream because it has all the benefits of the Italian version but with a lot less hassle. Instead of heating up water and sugar, you actually heat up the egg whites with the sugar and whisk them over a double boiler until the sugar has dissolved. Then you whip up the egg whites until you have stiff peaks. I do this all in the bowl of my stand mixer so that I only have one bowl to clean up in the end. 


Once the meringue has cooled, you add in your butter. Now this is where I have gotten a little thrown off in the past, and I know other people struggle with this too. So many times I think I have ruined my buttercream because it looks super lumpy and gross, like the picture on the left. But, that’s just a step in the process to getting it nice and smooth. 

When you slowly add the butter  to the egg whites, it’s almost like trying to mix together oil and water. They just don’t want to go together without a little coaxing. So after just a little mixing it will appear that the frosting has separated. Just keep mixing and you will get a creamy, smooth buttercream frosting!

The best part about this frosting is that it goes with anything! You can add other flavors to it, but the plain vanilla can top off any cake flavor. 

It’s also sturdy enough to pipe any details, like flowers, leaves, ruffles, etc. If you have seen any of my cakes or cupcakes that have some design on them, this is the frosting I use. 

Its also the only buttercream frosting that I don’t scrape off my cake because it’s just too good to let go to waste!

[yumprint-recipe id=’129′] 

/ Filed In: Cakes and Cupcakes, Cakes New, Desserts, Eat
Tagged: butter, buttercream, cake, cupcakes, egg whites, frosting, Swiss meringue, vanilla

How to Trace onto Cookies (Mother’s Day Cookies)

May 12, 2017

This is part two of my Mother’s Day cookie post. There was just too much to fit all in one post! Floral monogram cookies AND lean how to trace on to a cookie?! I think we would have all been overwhelmed. Plus, I think this technique deserves it’s very own post since it can be used for so many different things: fonts, images, designs, patterns, etc. Anything you don’t feel comfortable drawing freehand with icing, you can do using this technique to trace onto cookies!

But before you can decorate, you need some cookies! For these Mother’s Day cookies I flavored my favorite sugar cookie recipe with a touch of lavender and a whole lot of vanilla bean.


The resulting cookie was this subtly floral vanilla cookie that was so good. I was so afraid of going overboard with the lavender, that I just added a touch to the sugar before I mixed the sugar into the butter. I blended the sugar and lavender together so that each bite would have a very subtle hint of it. 

I didn’t feel the need to hold back on the vanilla, however. I went all out! You can see all the lovely vanilla beans sprinkled throughout the dough. If you look closely, you can sort of make out pieces of lavender, too!

Okay, so now let’s get to the reason you are here: learning to trace onto cookies!

It’s simple and requires only a couple special tools that you may already have around your house or kitchen: tissue paper and a edible food marker. 

First find an image or text that you like and print it out onto normal paper. (I found this one on Google Images and thought it would fit perfectly on my plaque cookies.) 

Top your printed image with a sheet of clean tissue paper. Then trace the image with an edible food marker.

Take the sheet of tissue paper with your image or font traced on it and place it onto of the cookie, making sure that it’s perfectly situated. 

Trace over it again with the edible food marker. Don’t press too hard because you will risk tearing the tissue paper. You should be able to trace two to three times with the same tissue paper. 

Viola! The text or image has now transferred onto the cookie! From here you can just trace over the ink with your icing. 

I say that like it’s no big deal. Tracing the image with the icing is probably the hardest part. I still have yet to master writing cursive letters with icing. 


Since the original image had some flowers on the bottom, I added some flowers to my cookies. 


Now they go perfectly with the other floral monogram cookies I shared on Wednesday. 

Wouldn’t you mom love these cookies? Well, even if you are reading this far from Mother’s Day I hope you have learned how to trace text or an image onto your cookies. I promise, this trick will come in really handy!

[amd-yrecipe-recipe:160]

/ Filed In: Cookie Decorating 101, Cookies, Cookies New, Decorated Cookies
Tagged: cookie decorating, cookies, lavender, Mother's Day, royal icing, tracing, vanilla

Gluten Free Sugar Cookie Recipe

March 3, 2017

There are a lot of cookie recipes on this little blog of mine. Lots. I have at least 4 different versions of my favorite sugar cookie recipe. But what I haven’t had until now is a gluten free sugar cookie recipe!

This recipe actually came about through my cookie decorating classes! I had a couple girls in my Halloween class ask if I could make them gluten free cookies instead of my normal sugar cookies. Never one to turn down a challenge, I obliged. While that first batch of gluten free sugar cookies were okay, I knew they could be better!

The perfectionist in me kicked in (it lays pretty dormant throughout most of the year, and really only makes an appearance when cookies are involved) and I knew I had to find the perfect gluten free sugar cookie recipe

I essentially put aside a weekend, canceled all my plans (I had none) to devote myself to this baking challenge. Fortunately, it only took a couple hours on a Saturday (which means I had the recipe of the day to catch up on my DVR…adulting, am I right?). The 4th recipe turned out to be so good I didn’t feel like I need to experiment any further. 

But before I get ahead of myself, let’s discuss these four cookies, shall we?

Trial A:

Recipe: 4 parts GF flour to 1 part almond meal, plus a bit of baking powder. 

Results: A crumbly cookie that completely lost it’s shape when baking. 

Trial B:

Recipe: Half GF flour and half almond meal, plus baking powder. Also, baked 5 minutes longer than A.

Results: A big ol’ disaster! 

Trial C:

Recipe: Doubled the GF flour from recipe A and eliminated the baking powder. 

Results: The shape is a lot better, but the taste and texture are still a bit off. 

Trial D:

Recipe: Increased the amounts of both GF flour and almond meal from recipe B, keeping the ratio roughly 50/50, and eliminated the baking powder. 

Results: A delicious cookie with perfect edges and a great texture (although slightly over-baked)

Clearly recipe D was the winner! And really, it all came down to the texture. I could tell the minute I started rolling out the dough for Trial D. The dough felt like my normal sugar cookie dough. It wasn’t too soft or delicate. It rolled out really well and clearly made the best cookie. 


You can see the difference in texture in the pictures above. When I tried to break C in half, the cookie just kinda fell apart. When I broke D in half, it did just that! I don’t know about you but I don’t like my cookies to crumble into a pile of sand after every bite. Gross!

Okay, enough of the nerdy recipe experimenting stuff. Let’s get to the actual recipe!


This recipe starts like my favorite sugar cookie recipe, with butter and sugar, eggs and vanilla. I also added almond extract (my favorite of all the extracts) because it’s delicious and it compliments the almond flavor that will already be in the cookie. Then, like I said above, I mix in an even ratio of gluten free flour and almond meal until I had a pretty solid ball of dough. Something that would feel tacky to the touch but not so soft that your finger sinks right into it. If you think your dough is too soft, add more almond meal.

Baking these cookies is really no different that any other sugar cookie. I did chill the dough for at least 30 minutes before I rolled it out. This dough will inherently be a little bit softer than normal dough, so you may want to work in small batches, keeping the unused dough in the fridge.

I baked the cookies at 350 degrees for 10-12 minutes. I watched them closely after the 10 minute mark because I really didn’t want them to over bake. If they over bake the dry out even more and they get kind of scaly on top (you can see what I am talking about in the picture of the broken D cookie above). Just as soon as they barely start to brown on the edges, it’s time to take them out!

The resulting cookies are delicious and slightly nutty thanks to all that almond meal. I think they would make a great substitute for any sugar cookie for those of you who have cut out gluten from your diet for one reason or another. Even as someone who does not have a gluten intolerance, I gladly taste tested these cookie over and over again.

It was all in the name of science. 🙂

[amd-yrecipe-recipe:136]

PRODUCTS USED:

 [show_shopthepost_widget id=”2479028″]

/ Filed In: Cookies, Cookies New, Eat
Tagged: almond meal, cookie decorating, cookies, gluten free, King Arthur, sugar cookies, vanilla

Homemade Extracts

September 1, 2014

Extracts2If you are an avid baker, you may already be familiar with how easy it is to make vanilla extract. But that is not the only extract that can be easily (and cheaply) made at home! A few weeks ago, I tried my hand at making several different types of homemade extracts, which I am happy to report, pretty much all turned out well.

Extracts5I started by washing and drying 5 glass bottles I purchased at the container store. I just washed them out with soap and water, then I dried them in a warm oven. This not only makes sure they are bone dry, but they also get sterilized in the process.

Extracts4Once the glasses were nice and dry, I filled them up with a pretty arbitrary amount of chopped almonds, lavender, coffee beans, lemon peel, and vanilla beans. Making extract isn’t really an exact science. The more of ingredients you put in the bottle, the more intense the flavor will be. But you can also get an intense flavor by letting those ingredients sit in the vodka for a longer period of time.

Extracts3Then I just topped off each bottle with vodka. It doesn’t have to be the best vodka around, but don’t go too cheap. You want to make sure that the extract tastes like coffee or vanilla, not flavored vodka.

Extracts6Unfortunately, unlike other recipes, you won’t be able to enjoy this one for at least 4-6 weeks. To get a rich and flavorful extract, the vanilla beans, coffee beans, almonds, lemon peel, lavender buds, etc. need to sit and release their flavor for quite a while. But if you are patient, you will have yourself some great, homemade extracts that can be used for any of your baking purposes.


For some of the extracts, you may want to strain out beans/buds/nuts. For instance, I strained out the coffee beans, almonds, and lavender buds. But I kept the vanilla bean and lemon peel. Both are big enough that they won’t be poured out when I use the extract. Plus, I can keep topping off the bottle after use.

Extracts10Homemade extracts make an awesome holiday gift! If you get started now, you can have them ready in time for Christmas (or well before)!

Just a side note, the coffee extract is very strong so use sparingly. And the almond extract is not as strong as the store bough variety. Honestly, I will probably stick with my store-bought almond extract.

Have you made any other type of extract?

[yumprint-recipe id=’44’] 

/ Filed In: Eat, Make
Tagged: almond, coffee, DIY, extracts, gift, lanvender, lemon, vanilla

S’mores Ice Cream

June 4, 2014

Smores-Ice-Cream8It seems a bit odd to put something that is naturally warm, gooey, and melty into ice cream, but it worked out splendidly. Possibly because there are few things more quintessential to American summers than ice cream and s’mores. There is nothing like a cold ice cream cone on a hot day or the perfectly camp-fire-roasted s’more on a summer’s night.

Fortunately, chocolate and marshmallows are made for ice cream (see Rocky Road). The wonderful thing about marshmallows is that they stay fairly gooey even when frozen. The graham crackers were the only thing that provided a bit of a challenge. They would get a bit soggy if left alone, but that is easily taken care of when covered in chocolate.

I broke up about 4 crackers into bite size pieces, poured a melted bar of dark chocolate over top, and tossed them until all the pieces were coated in chocolate. I laid them out on a baking sheet and popped them in the freezer to harden. I wanted the marshmallows to be a bit chared like a true s’more, so I broke out my trusty cream brule torch. You could also put them under a broiler for a few minutes to get the same effect.

Smores-Ice-Cream4Once everything was nice and cool, I mixed everything into some homemade vanilla ice cream. If you don’t have an ice cream maker or don’t feel like making ice cream, you could just add these pieces to softened store-bought vanilla ice cream.

Smores-Ice-Cream7I scooped my mixed ice cream into a loaf tin, covered it with plastic wrap, and put it back in the freeze to harden a bit more. This takes at least 2 hours, if not over night. After that its ready to serve! My husband suggested that some crushed graham crackers sprinkled on top would be an excellent addition. Some melted chocolate would also be nice, especially to add that melty element.

Smores-Ice-Cream6

What are some other of your favorite ice cream flavors and combinations?

[yumprint-recipe id=’15’]

/ Filed In: Eat
Tagged: chocolate, dessert, graham cracker, ice cream, marchmallow, s'mores, vanilla

Follow

Hey There!

Hey there, I'm Lindsey. I'm a number cruncher by day and a home cook and baker by night. While I love to eat healthy and find fresh and healthy alternatives for my favorite foods, I will never turn down dessert! Life is all about moderation, right?

Recipes

  • All Recipes
  • Breakfast
  • Appetizers
  • Salads
  • Main Dishes
  • Side Dishes
  • Desserts
  • Drinks

Favorite Finds

[show_lookbook_widget id=”388783″]

Theme by 17th Avenue · Powered by WordPress & Genesis