• Home
  • Eat
    • Breakfast
    • Appetizers
    • Main Dishes
      • Chicken
      • Beef
      • Seafood
      • Healthy Dishes
      • Paleo Dishes
      • Salads
    • Desserts
      • Decorated Cookies
      • Cookies
      • Bars and Brownies
      • Cakes and Cupcakes
  • Shop
    • Cookie Decorating Supplies
    • Bakeware
    • Cookware
    • Kitchen Gadgets
    • House
  • About
    • Contact
    • Bucket List
  • Cookie Decorating 101

Follow the Ruels

Berry Patriotic Pie (2 Ways!)

July 2, 2018

Here’s a last minute, super easy, and very patriotic dessert for you to bring to your 4th of July shindig (or shindigs if you are just that popular!).

A berry patriotic pie!

See what I did there? 

I actually loved this so much, I made it twice. Once as a slab pie and once as individual mini pies. Both were extremely easy since I cut a lot of corners and used both premade pie dough and frozen berries. 

Work smarter, not harder, people. 

Some of you may scoff at my use of premade pie crust and frozen berries, but let me tell you, it in no way affected the taste of this pie. It was delish! But if you are one of those people who really loves to make things from scratch (trust me, I get it), by all means, make your own pie crust. I have an excellent recipe here. 

So this post will be a little different. I am going to walk you through how I assembled the slab pie and the little mini pies (or tarts), but they are both the exact same recipe, which you will find at the end. 

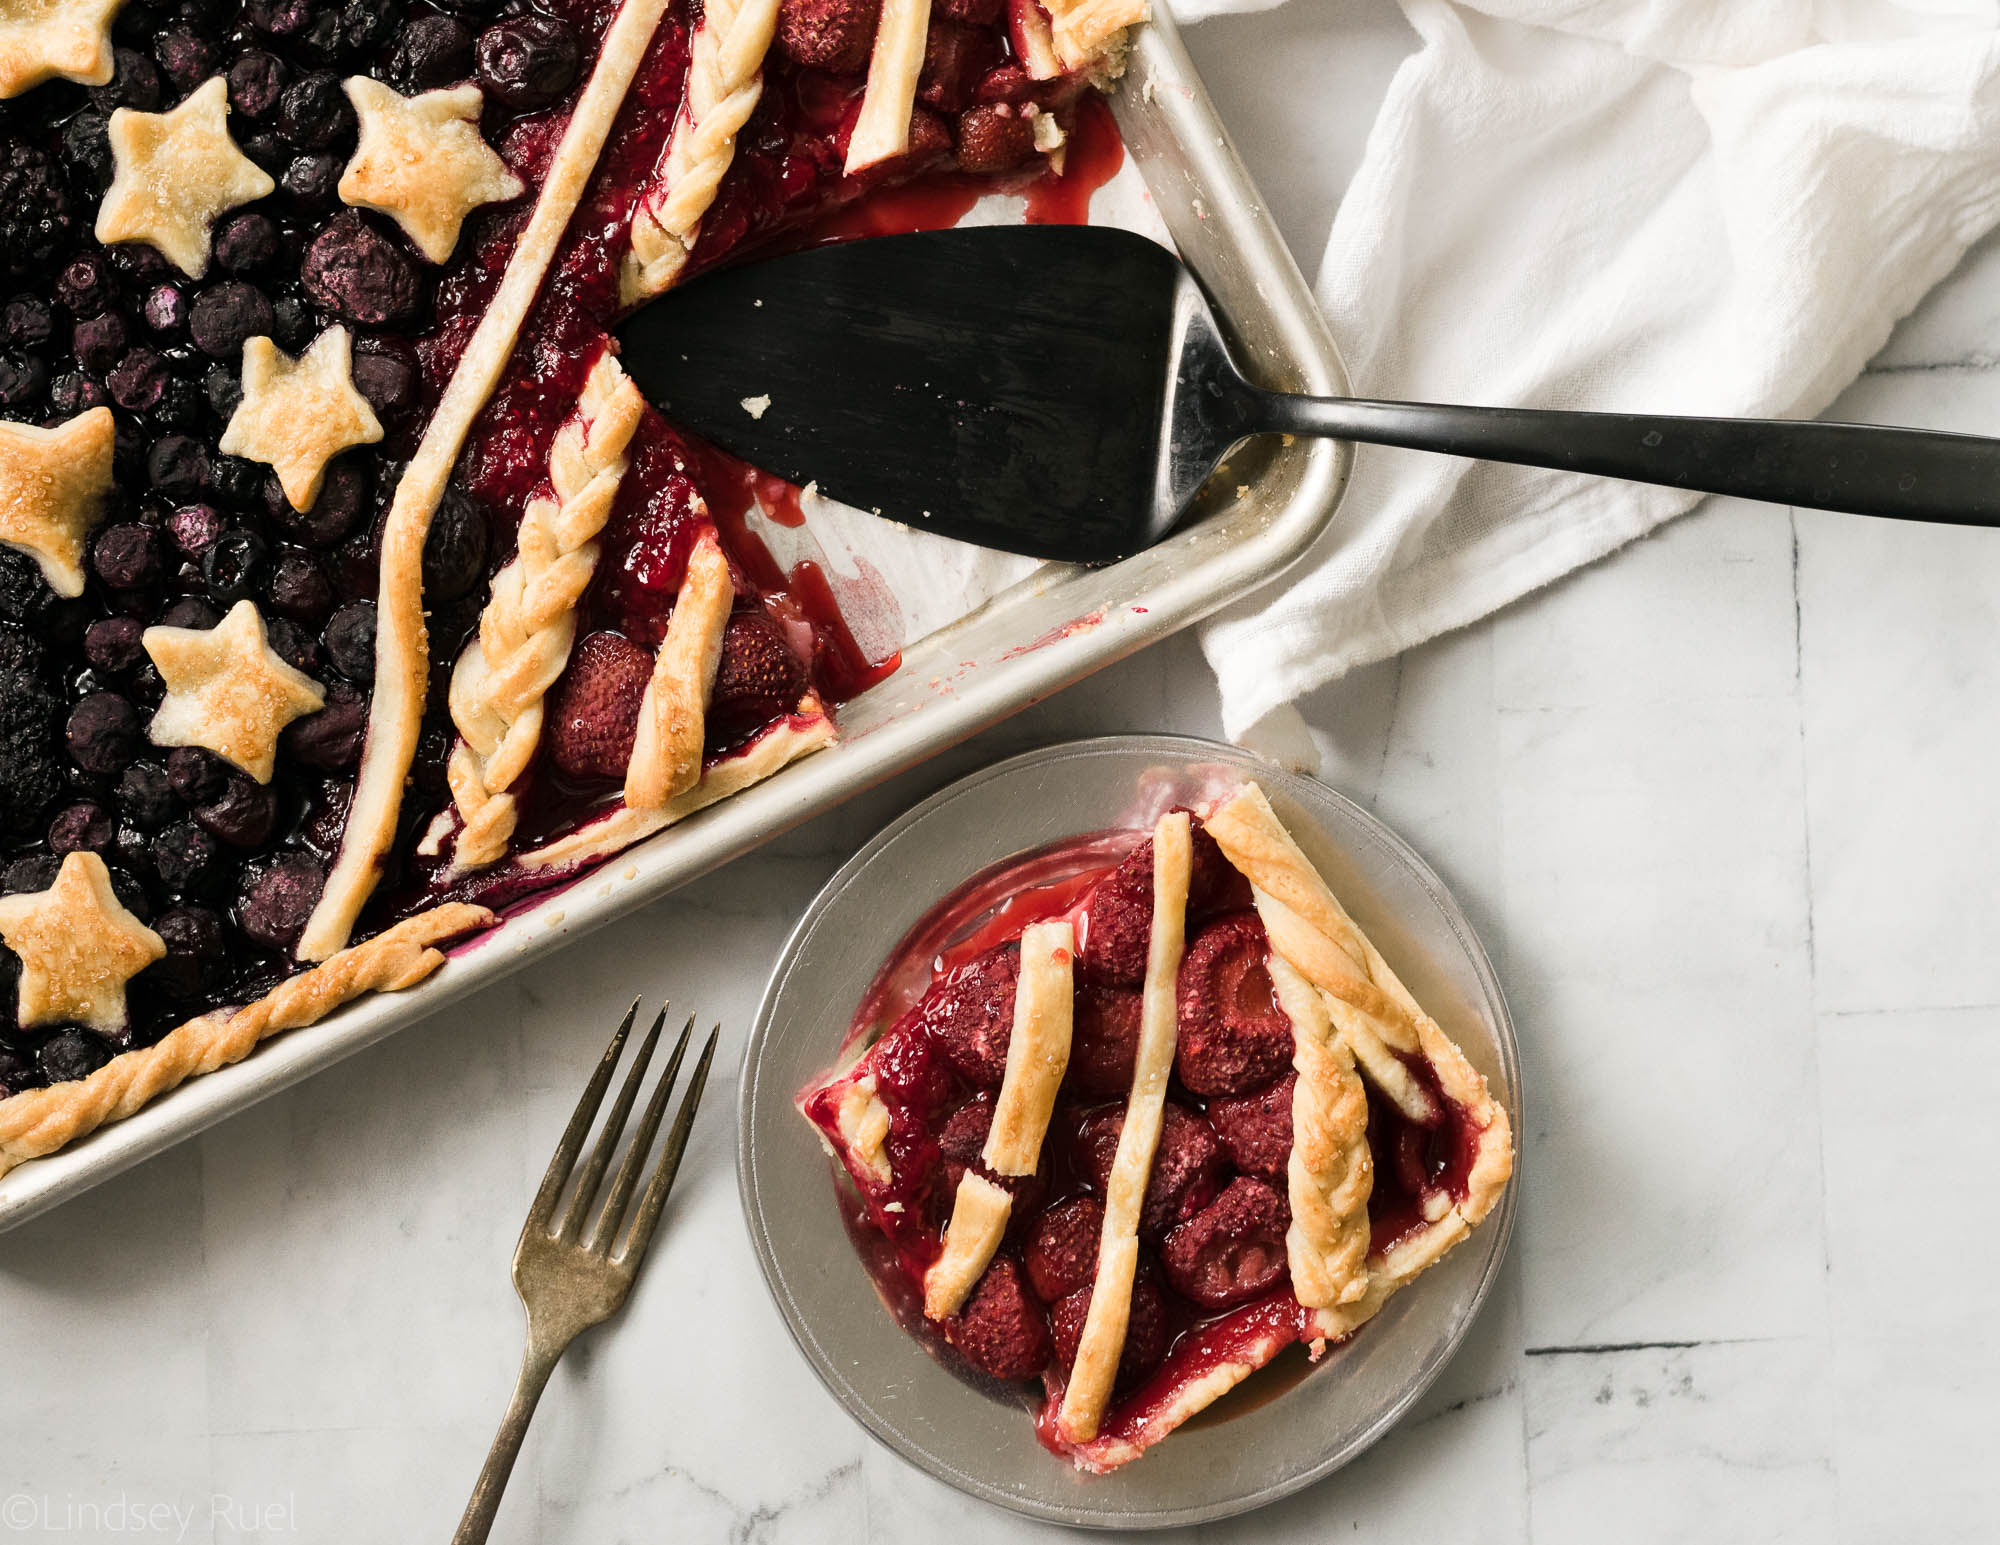
How to Make a Berry Patriotic Slab Pie

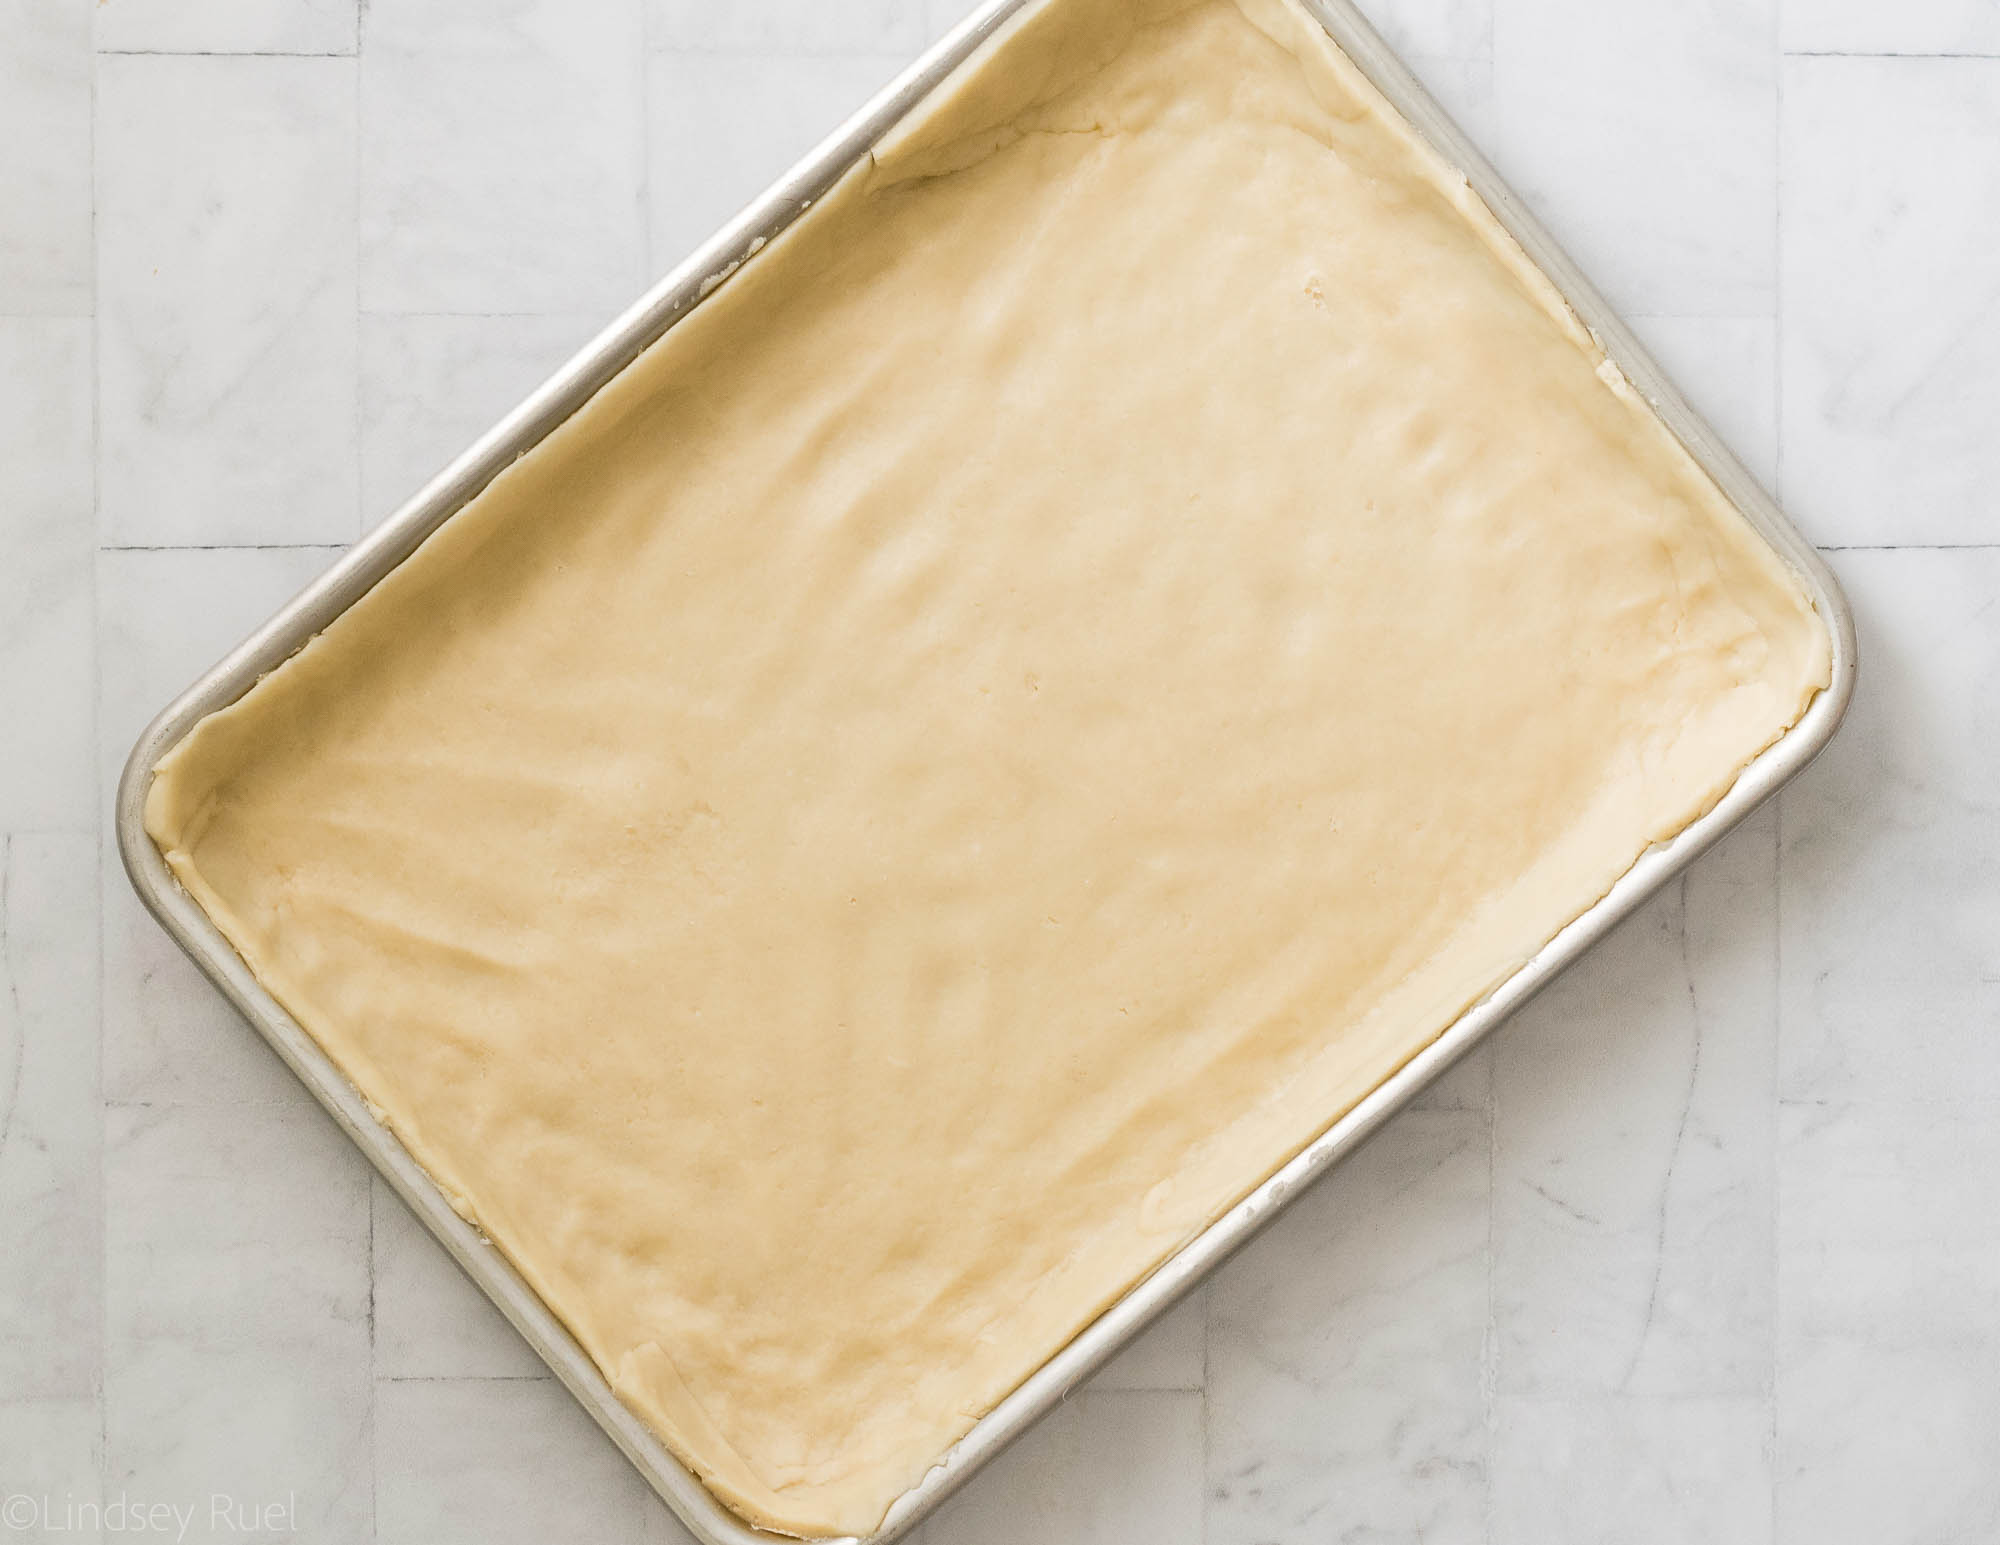
If you are making your own pie dough, do that first, then let the pie dough chill before rolling it out. 

If you are using store-bought pie dough, combine both sheets of pie dough together, and roll it out so that it fits a rectangular baking sheet. I am using a small quarter sheet pan for this. You can also use a casserole dish or normal round pie dish.

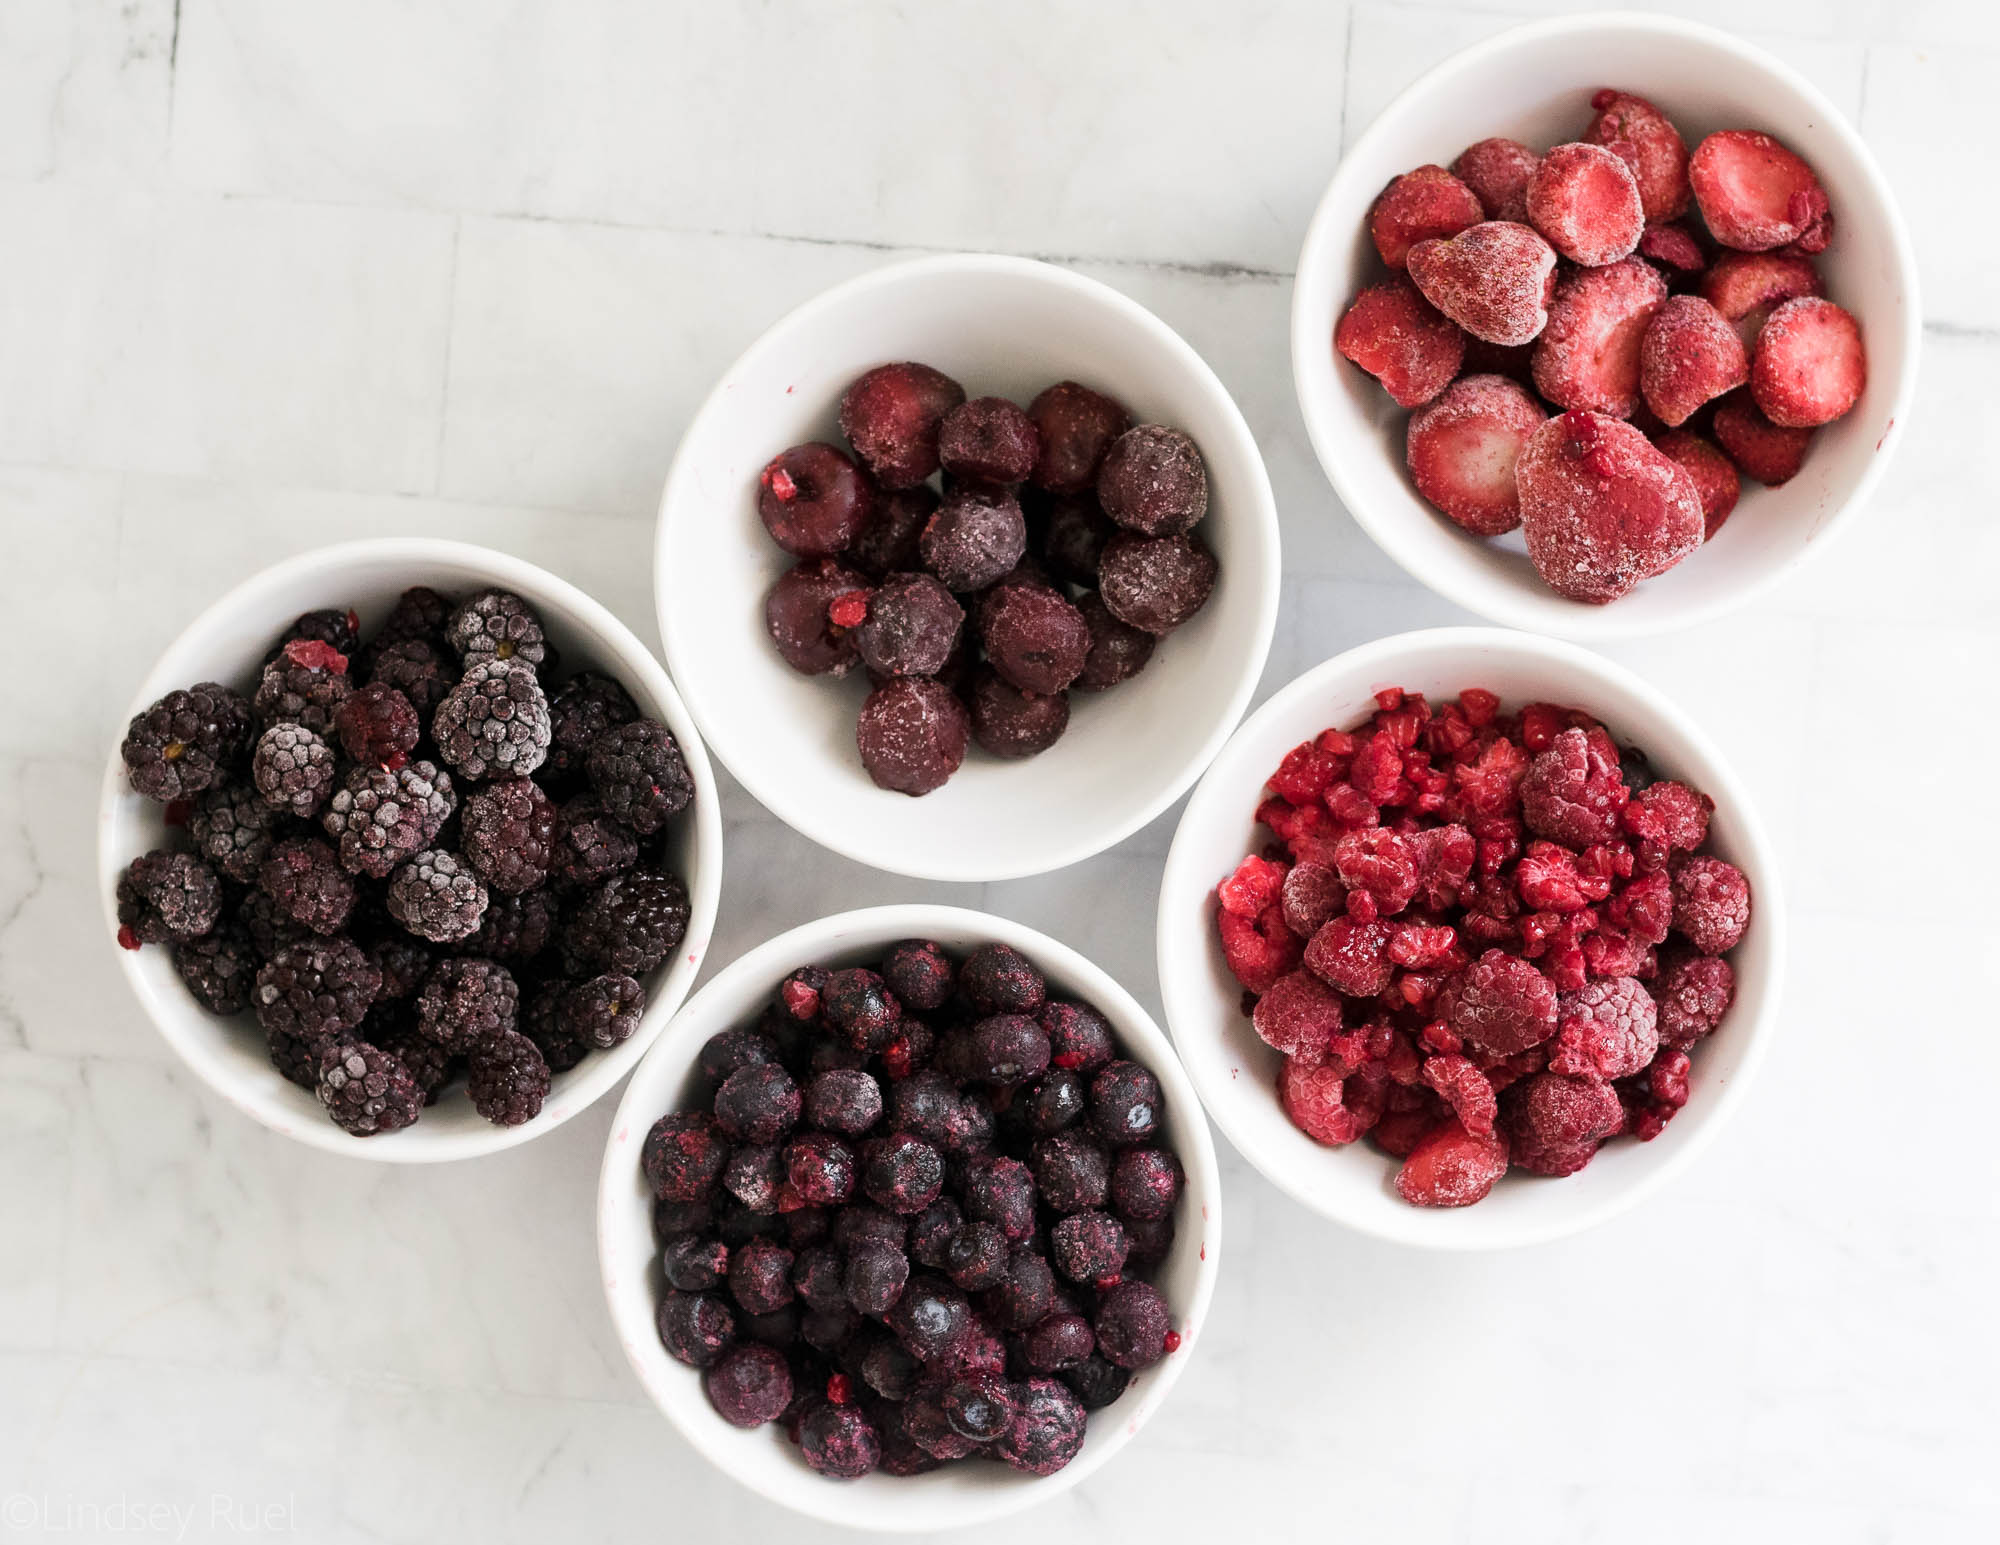
For the slab pie, I went with an ombre effect. To do that, I first separated out each type of berry and arranged them from darkest to lightest. This is completely unnecessary, and you can instead mix all the berries together to make one delicious berry pie. 

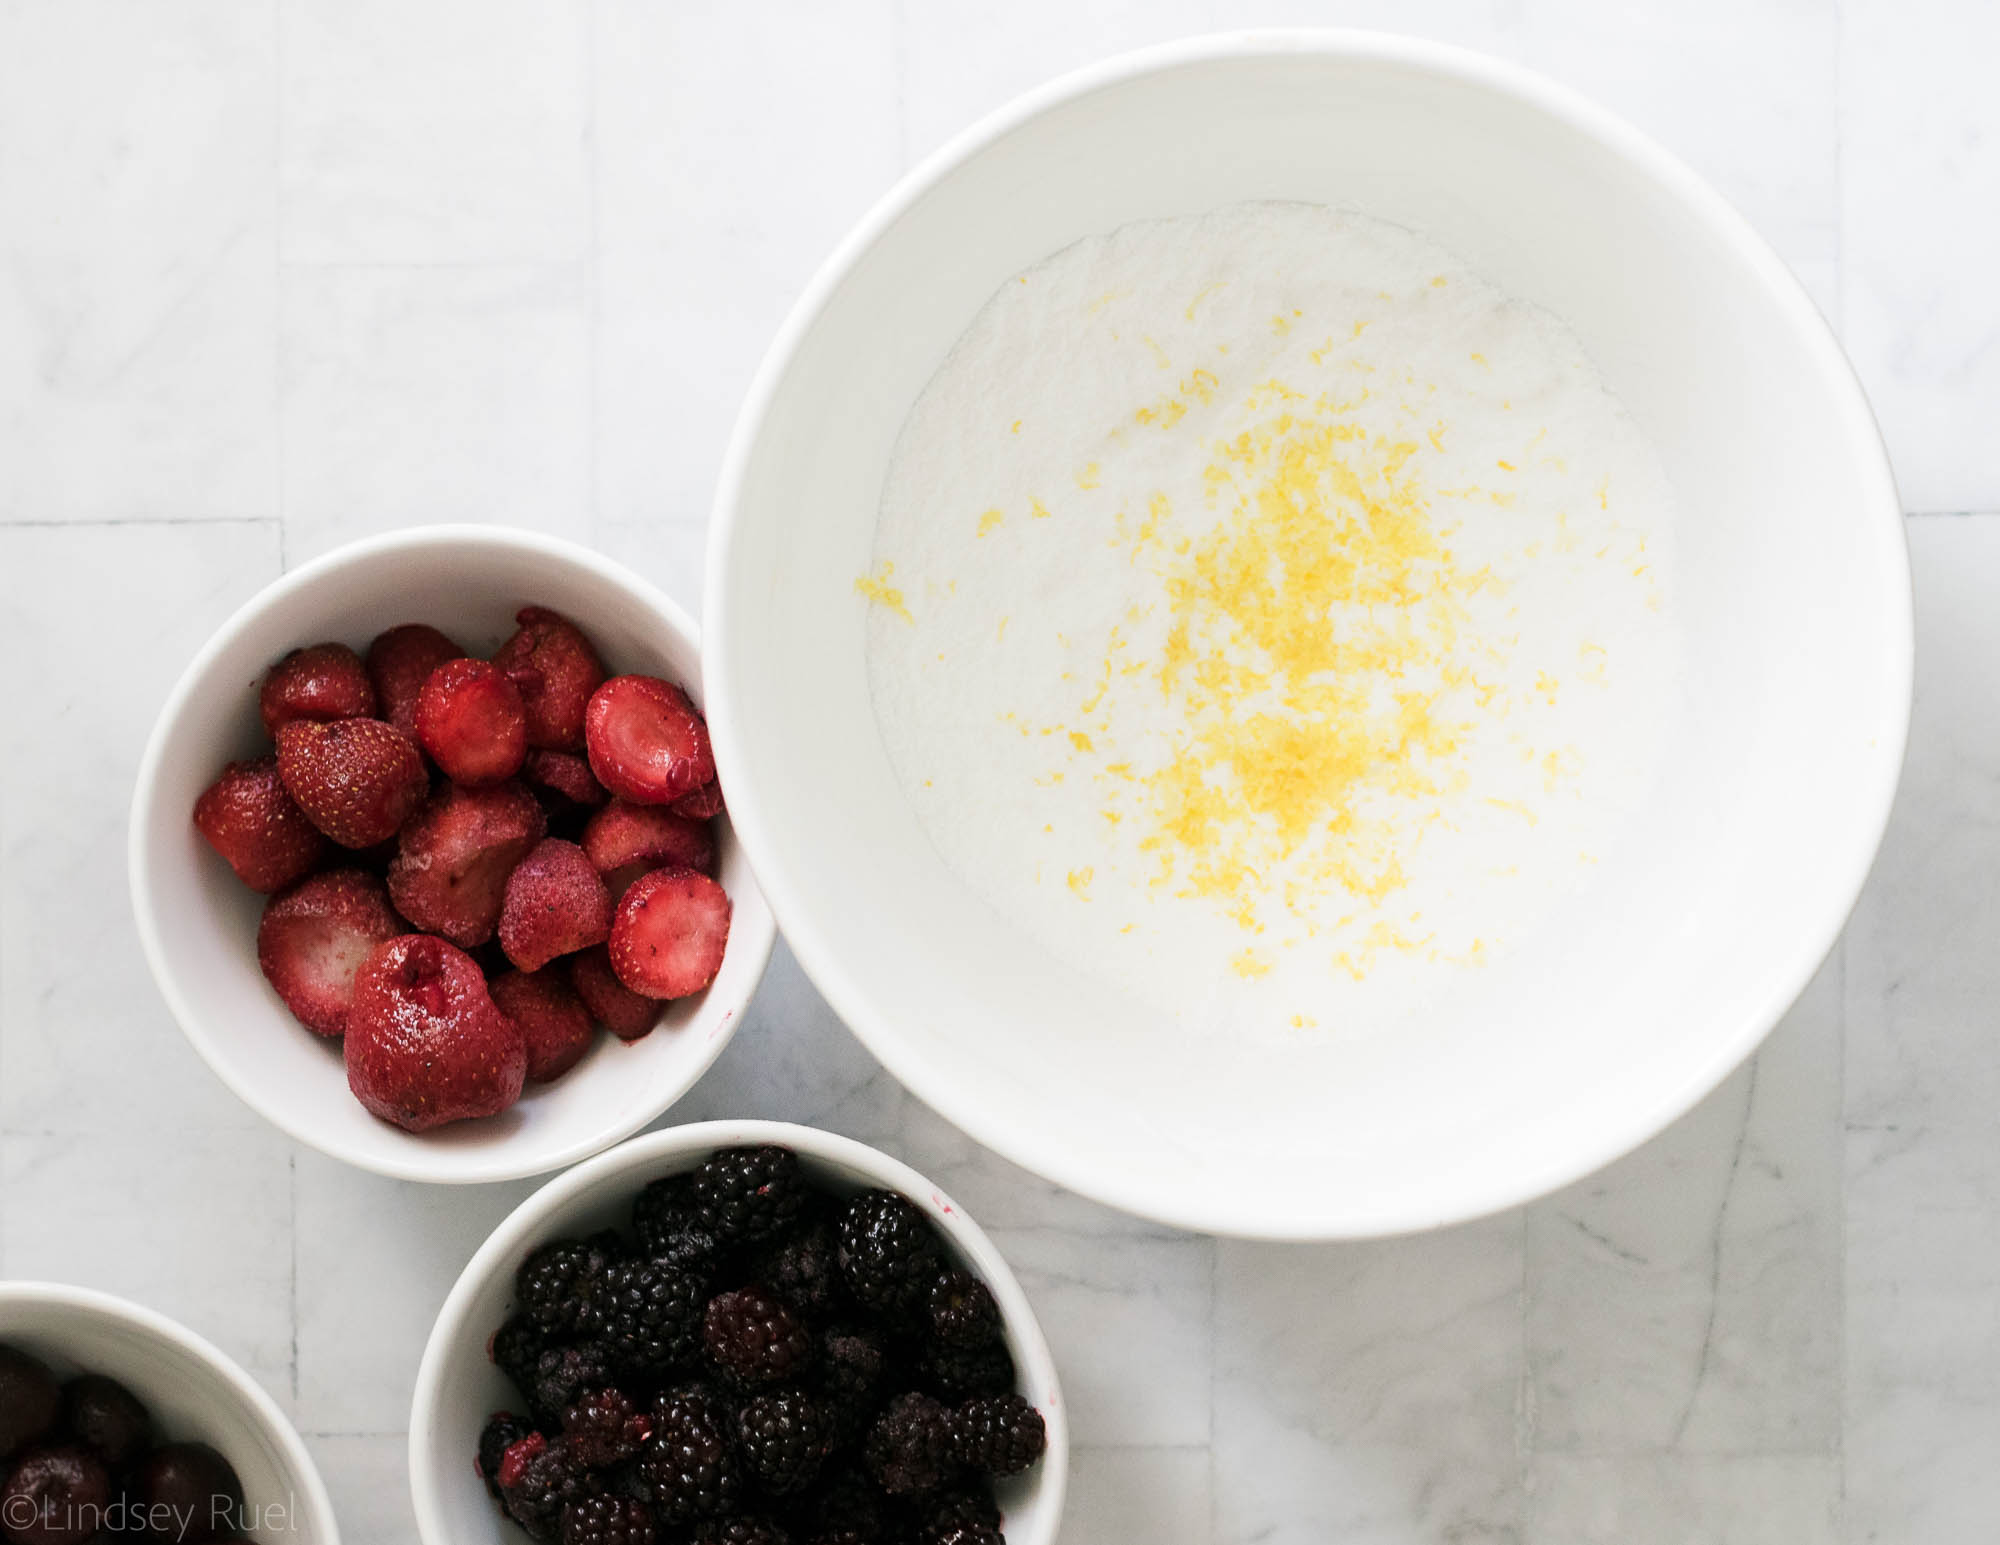
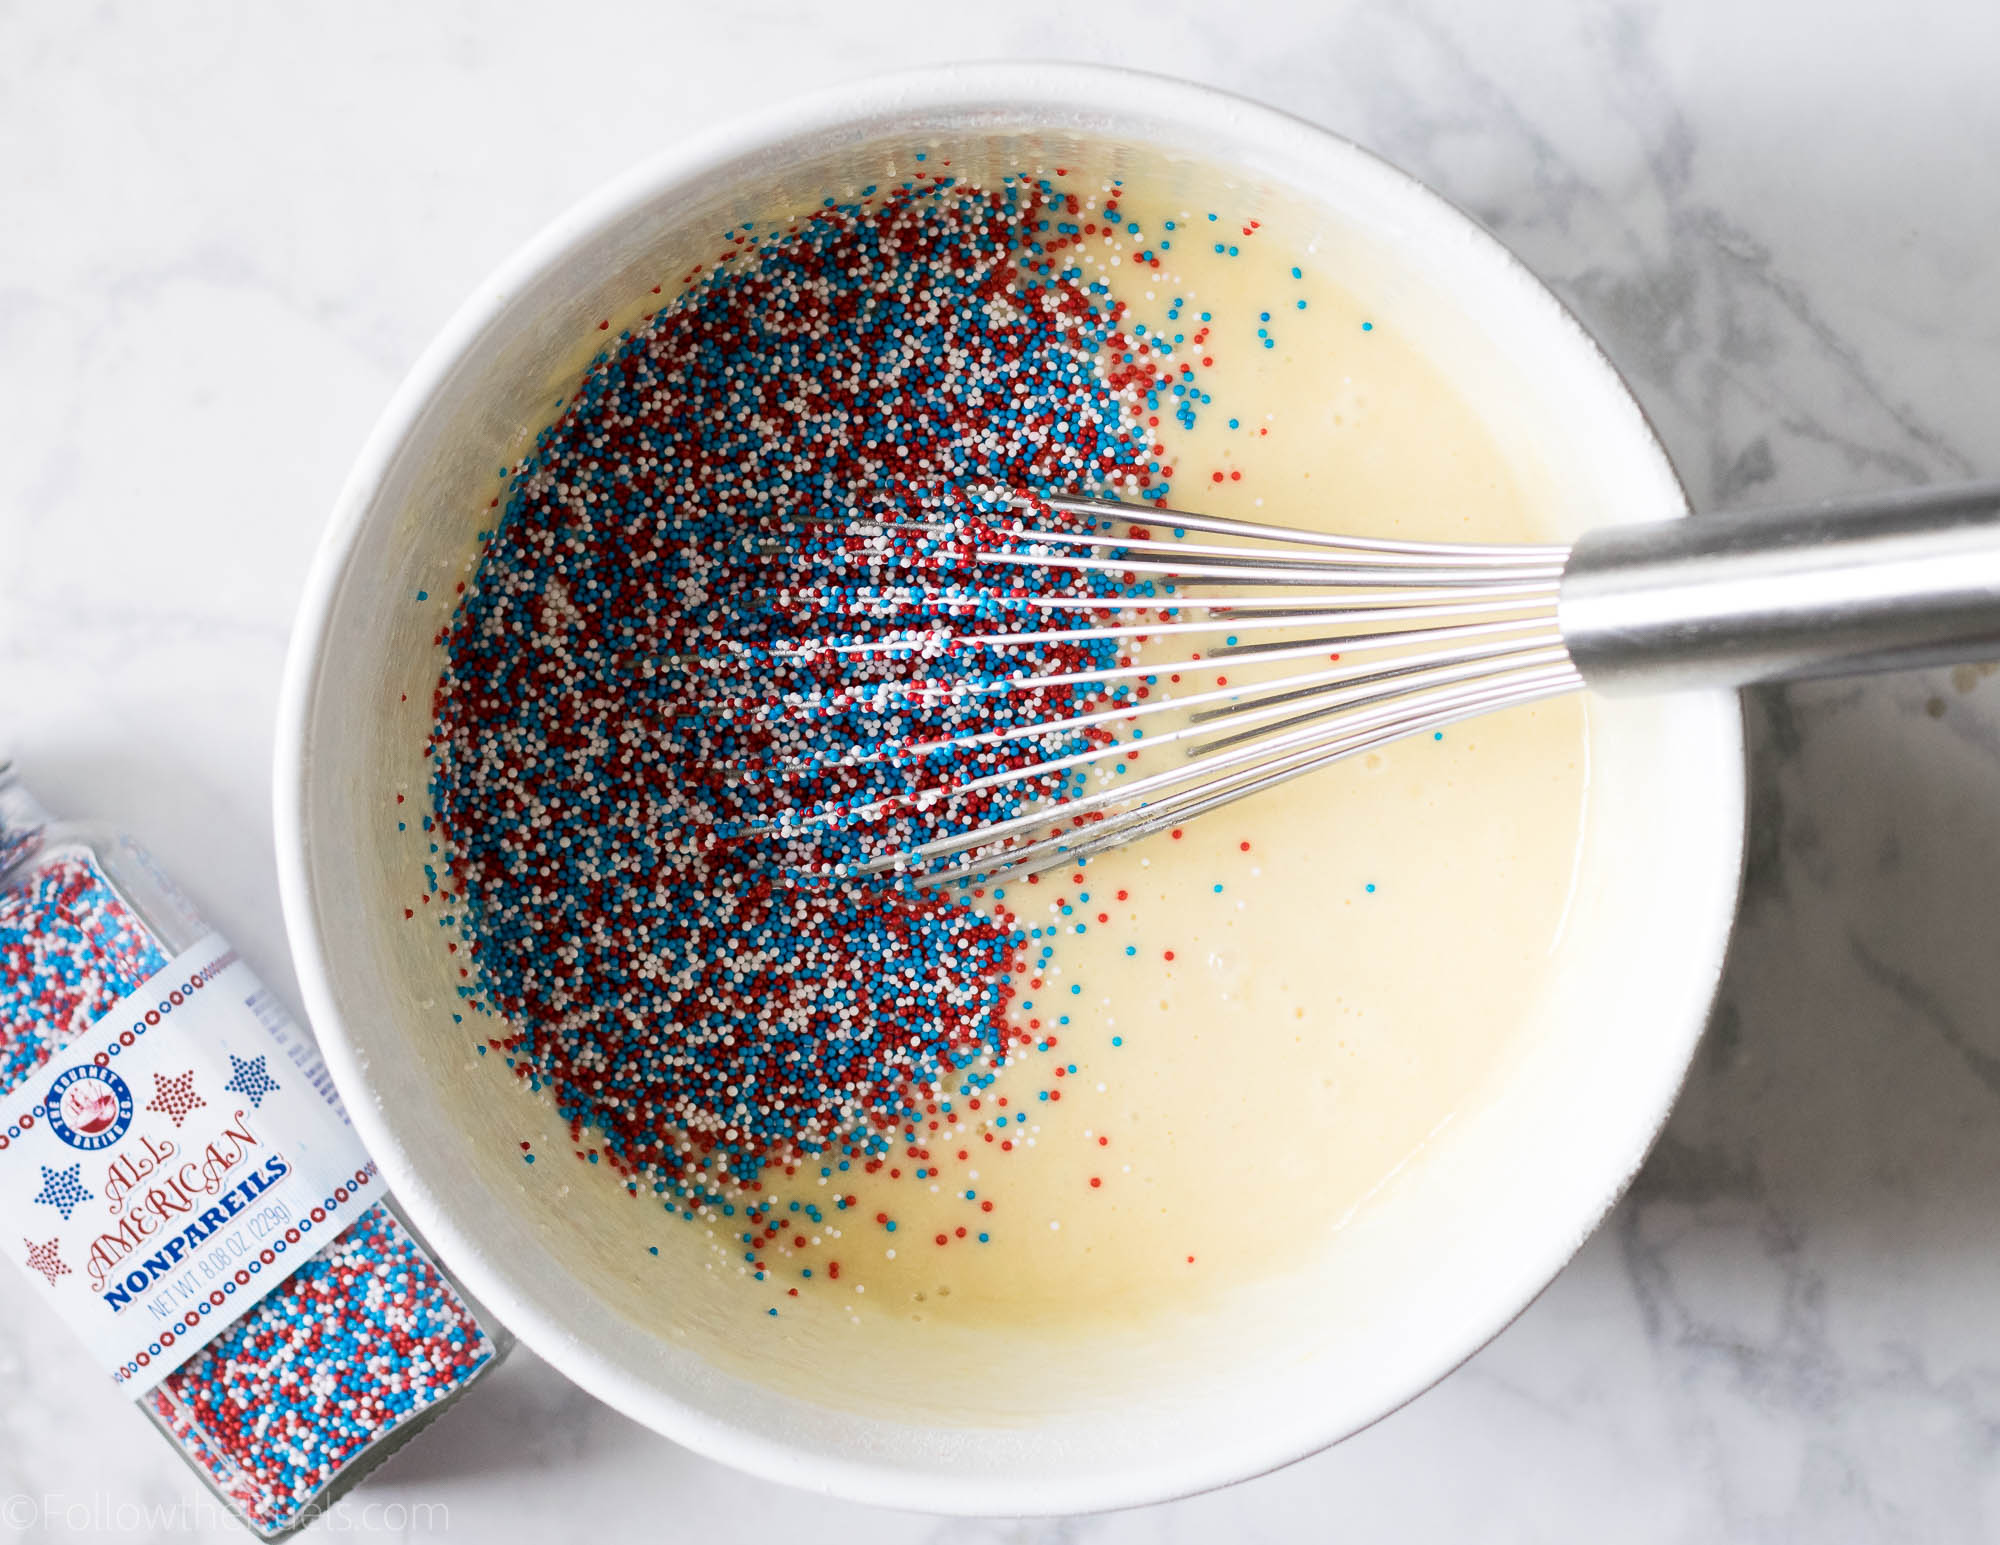
Mix all the berries with the sugar mixture, which consists of granulated sugar, corn start, and lemon zest.

If keeping the berries separate, mix a portion of the sugar mixture into each bowl of berries. I mixed in 3-4 tbsp for every cup of berries. 

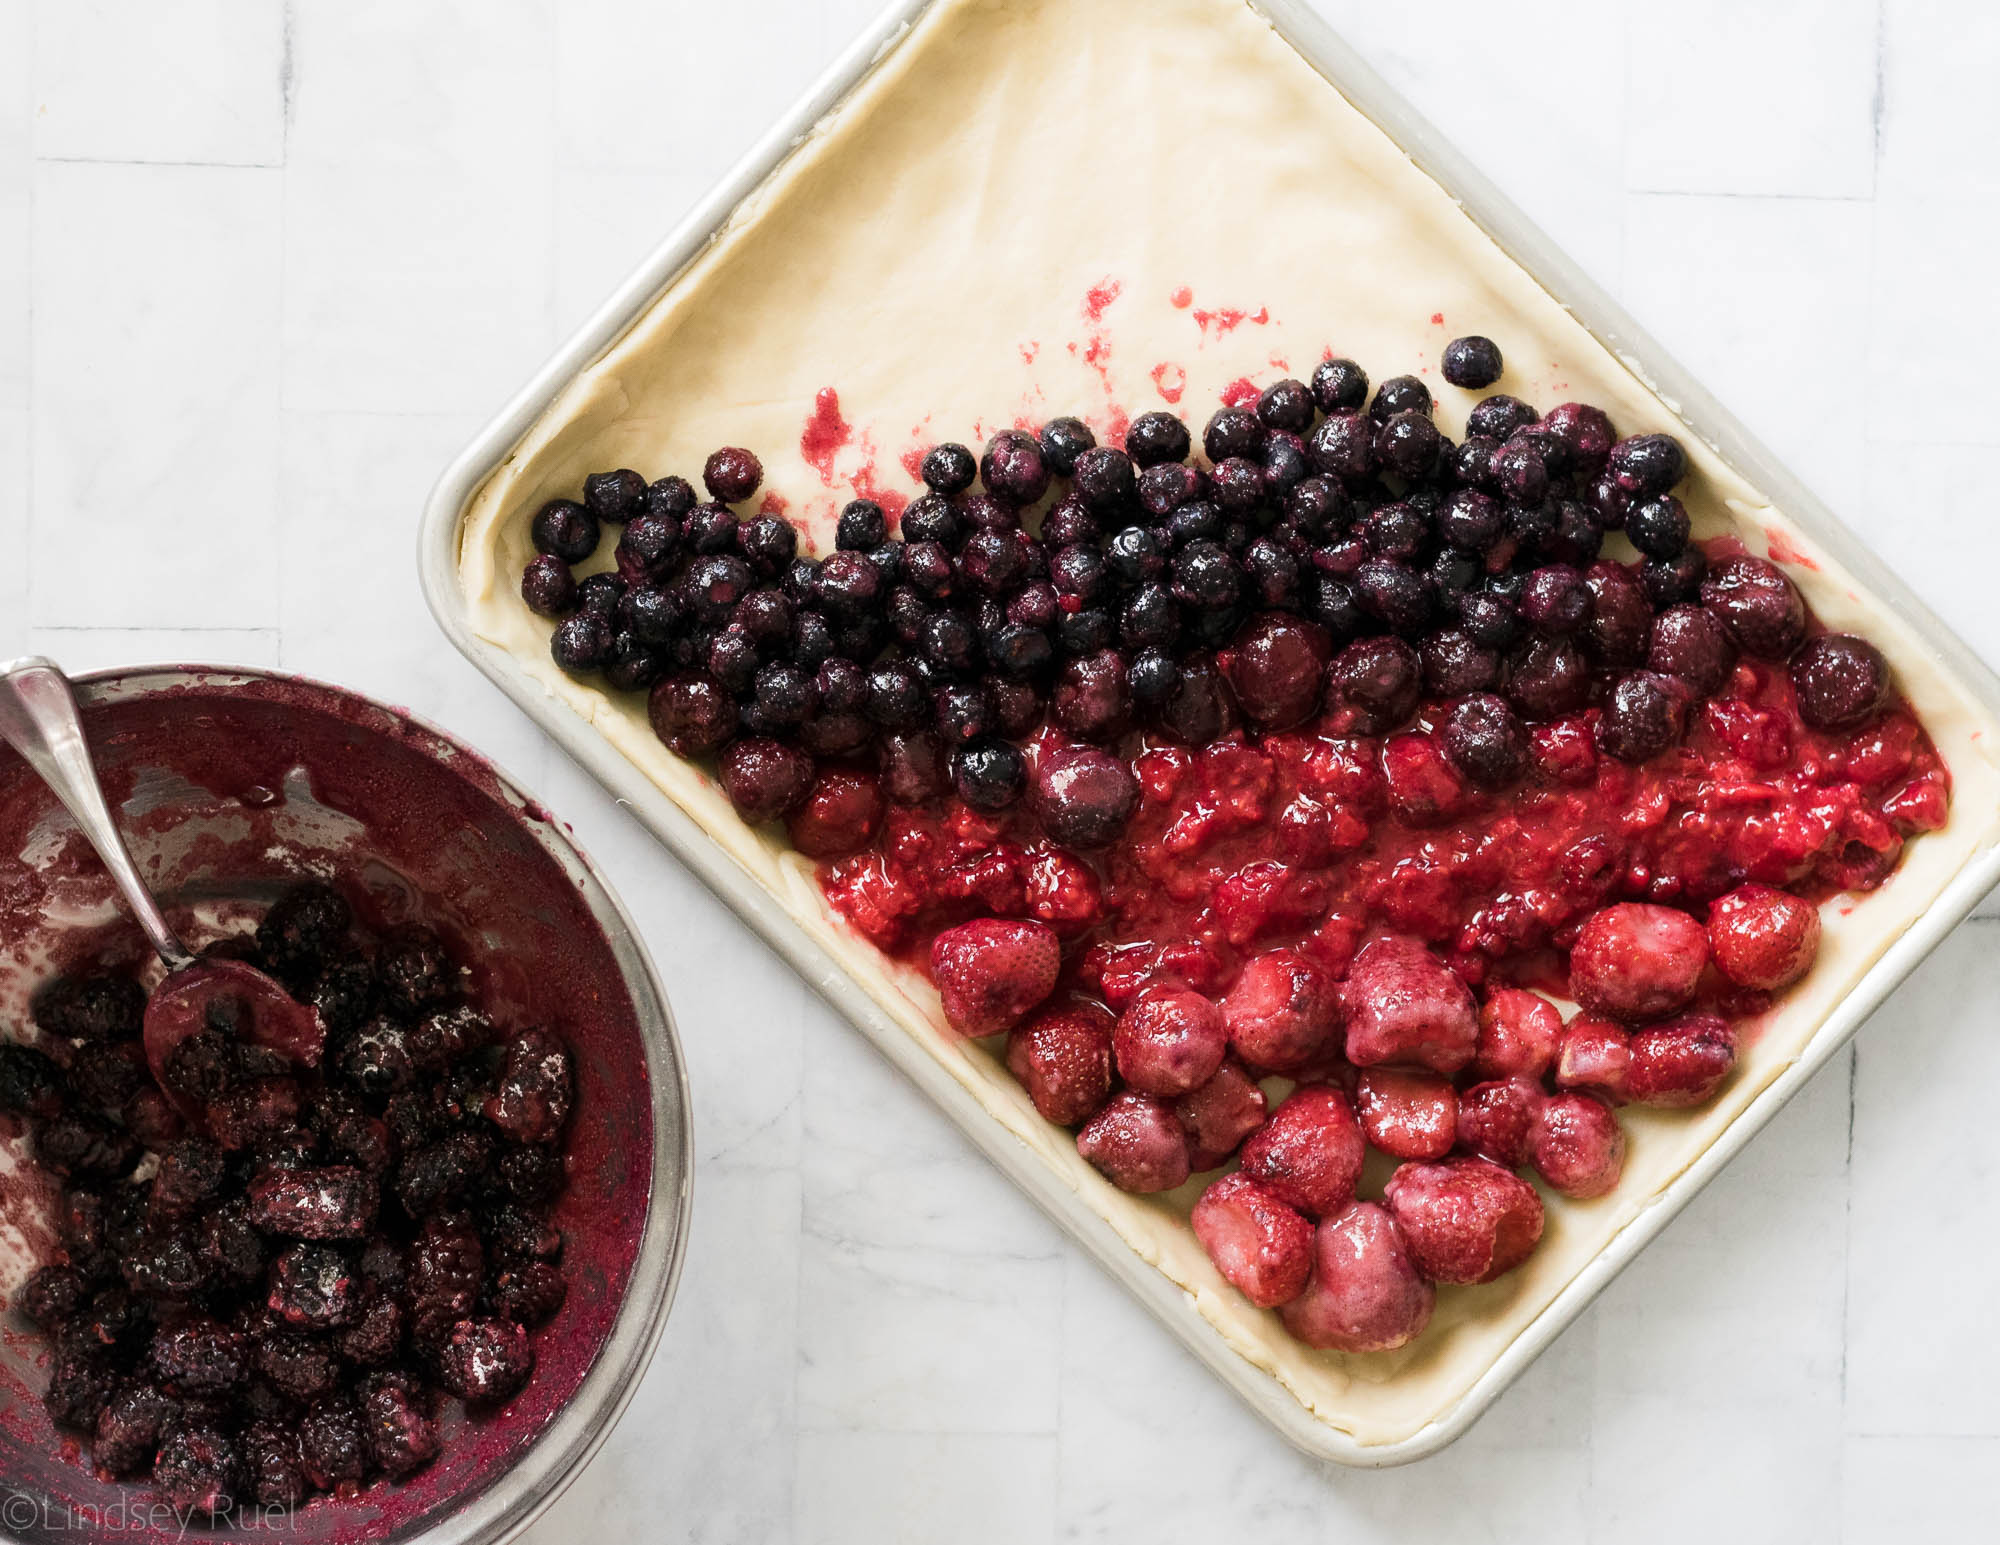
Then spoon the berries into the pie crust. 

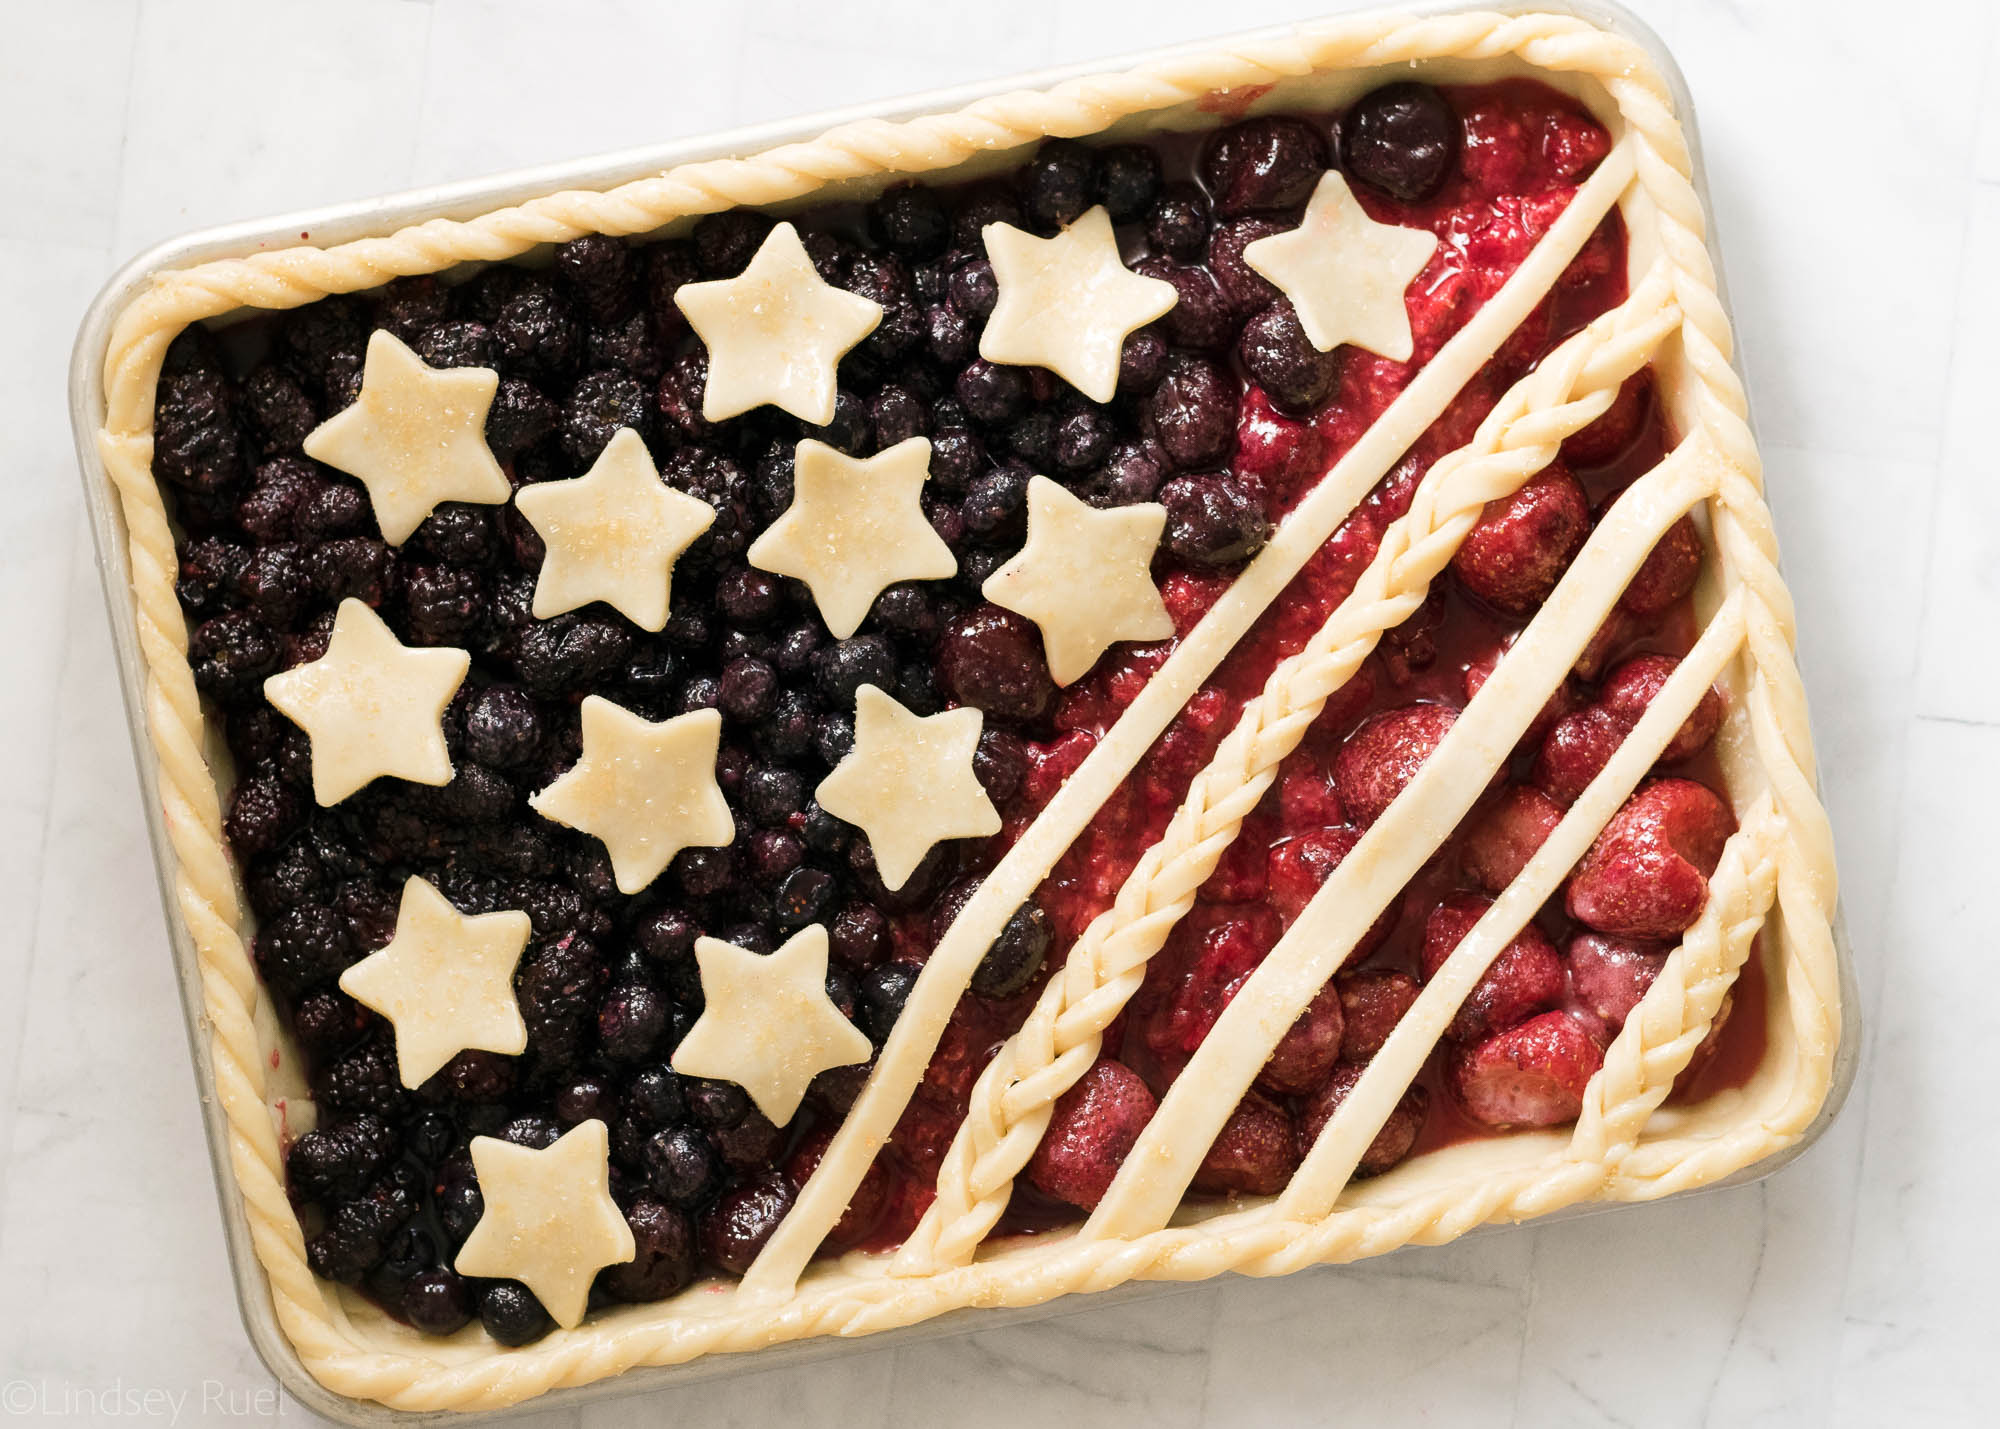
Use the extra dough to create a desired pattern on top. I went with stars and stripes which I created using a star-shaped cookie cutter and a pizza cutter. 

The “rope” around the outside was created by taking long and skinny pieces of dough, pinching them together on both ends, then twisting until they looked like a rope. I made several of these to put around the edge.

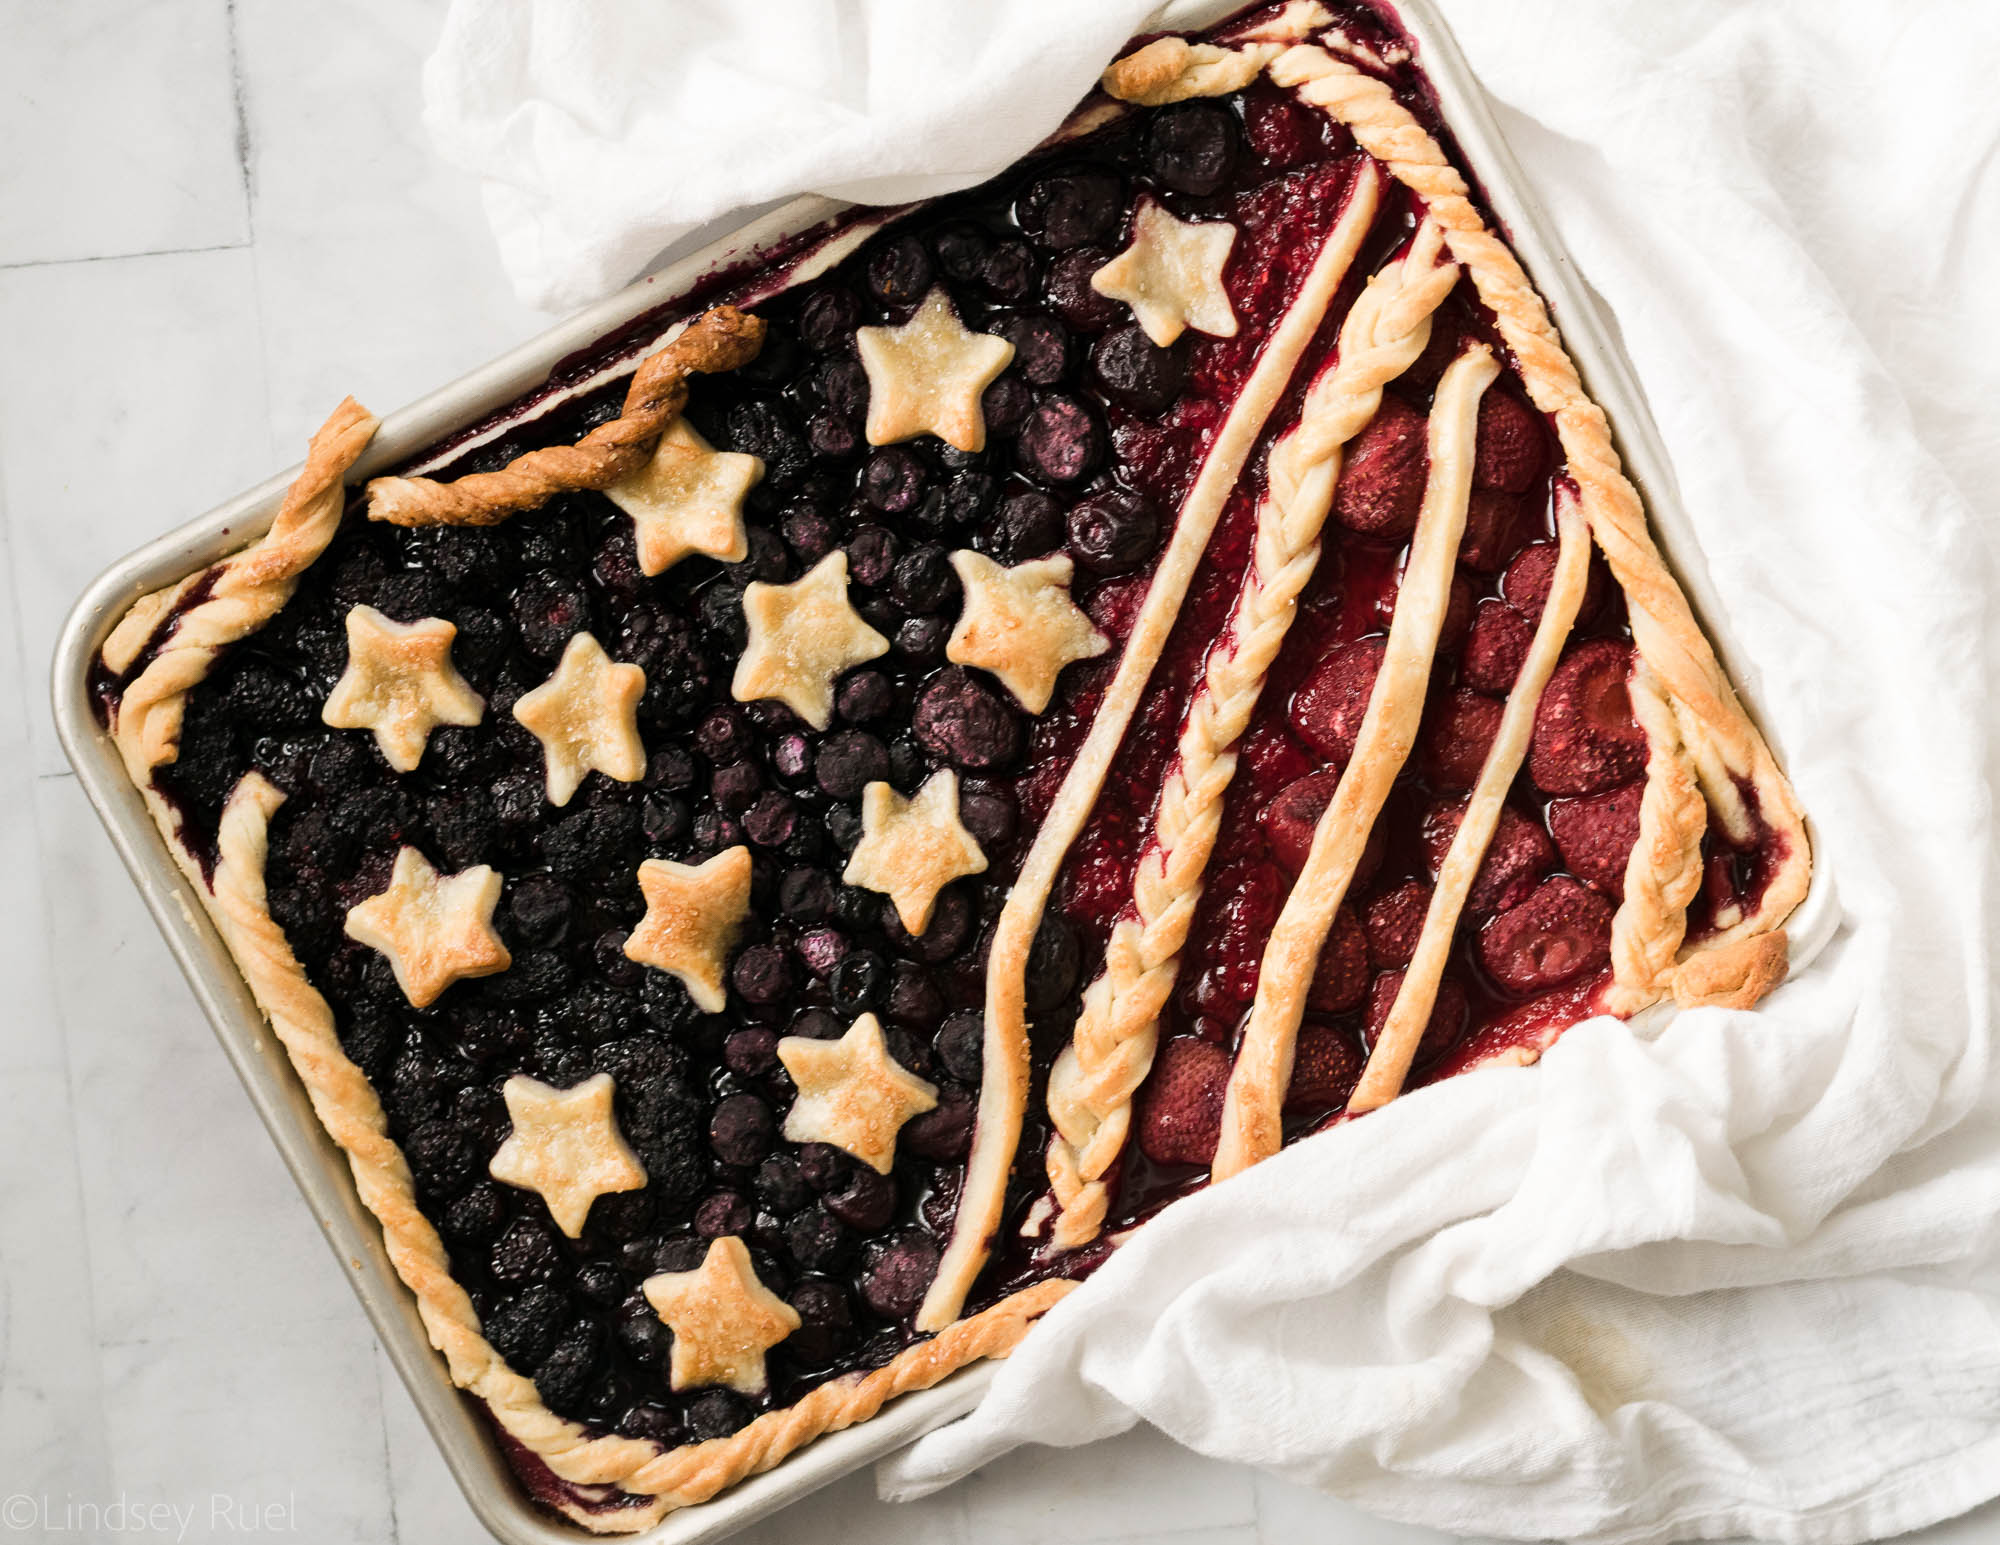
Bake the pie at 400 degrees for 15 minutes, then reduce and bake at 350 for another 30 – 40 minutes, or until the berries are bubbling and the pie crust is golden. 

To ensure your pie crust doesn’t break off mid-bake, adhere the pieces to the bottom pie crust with a bit of an egg wash. 

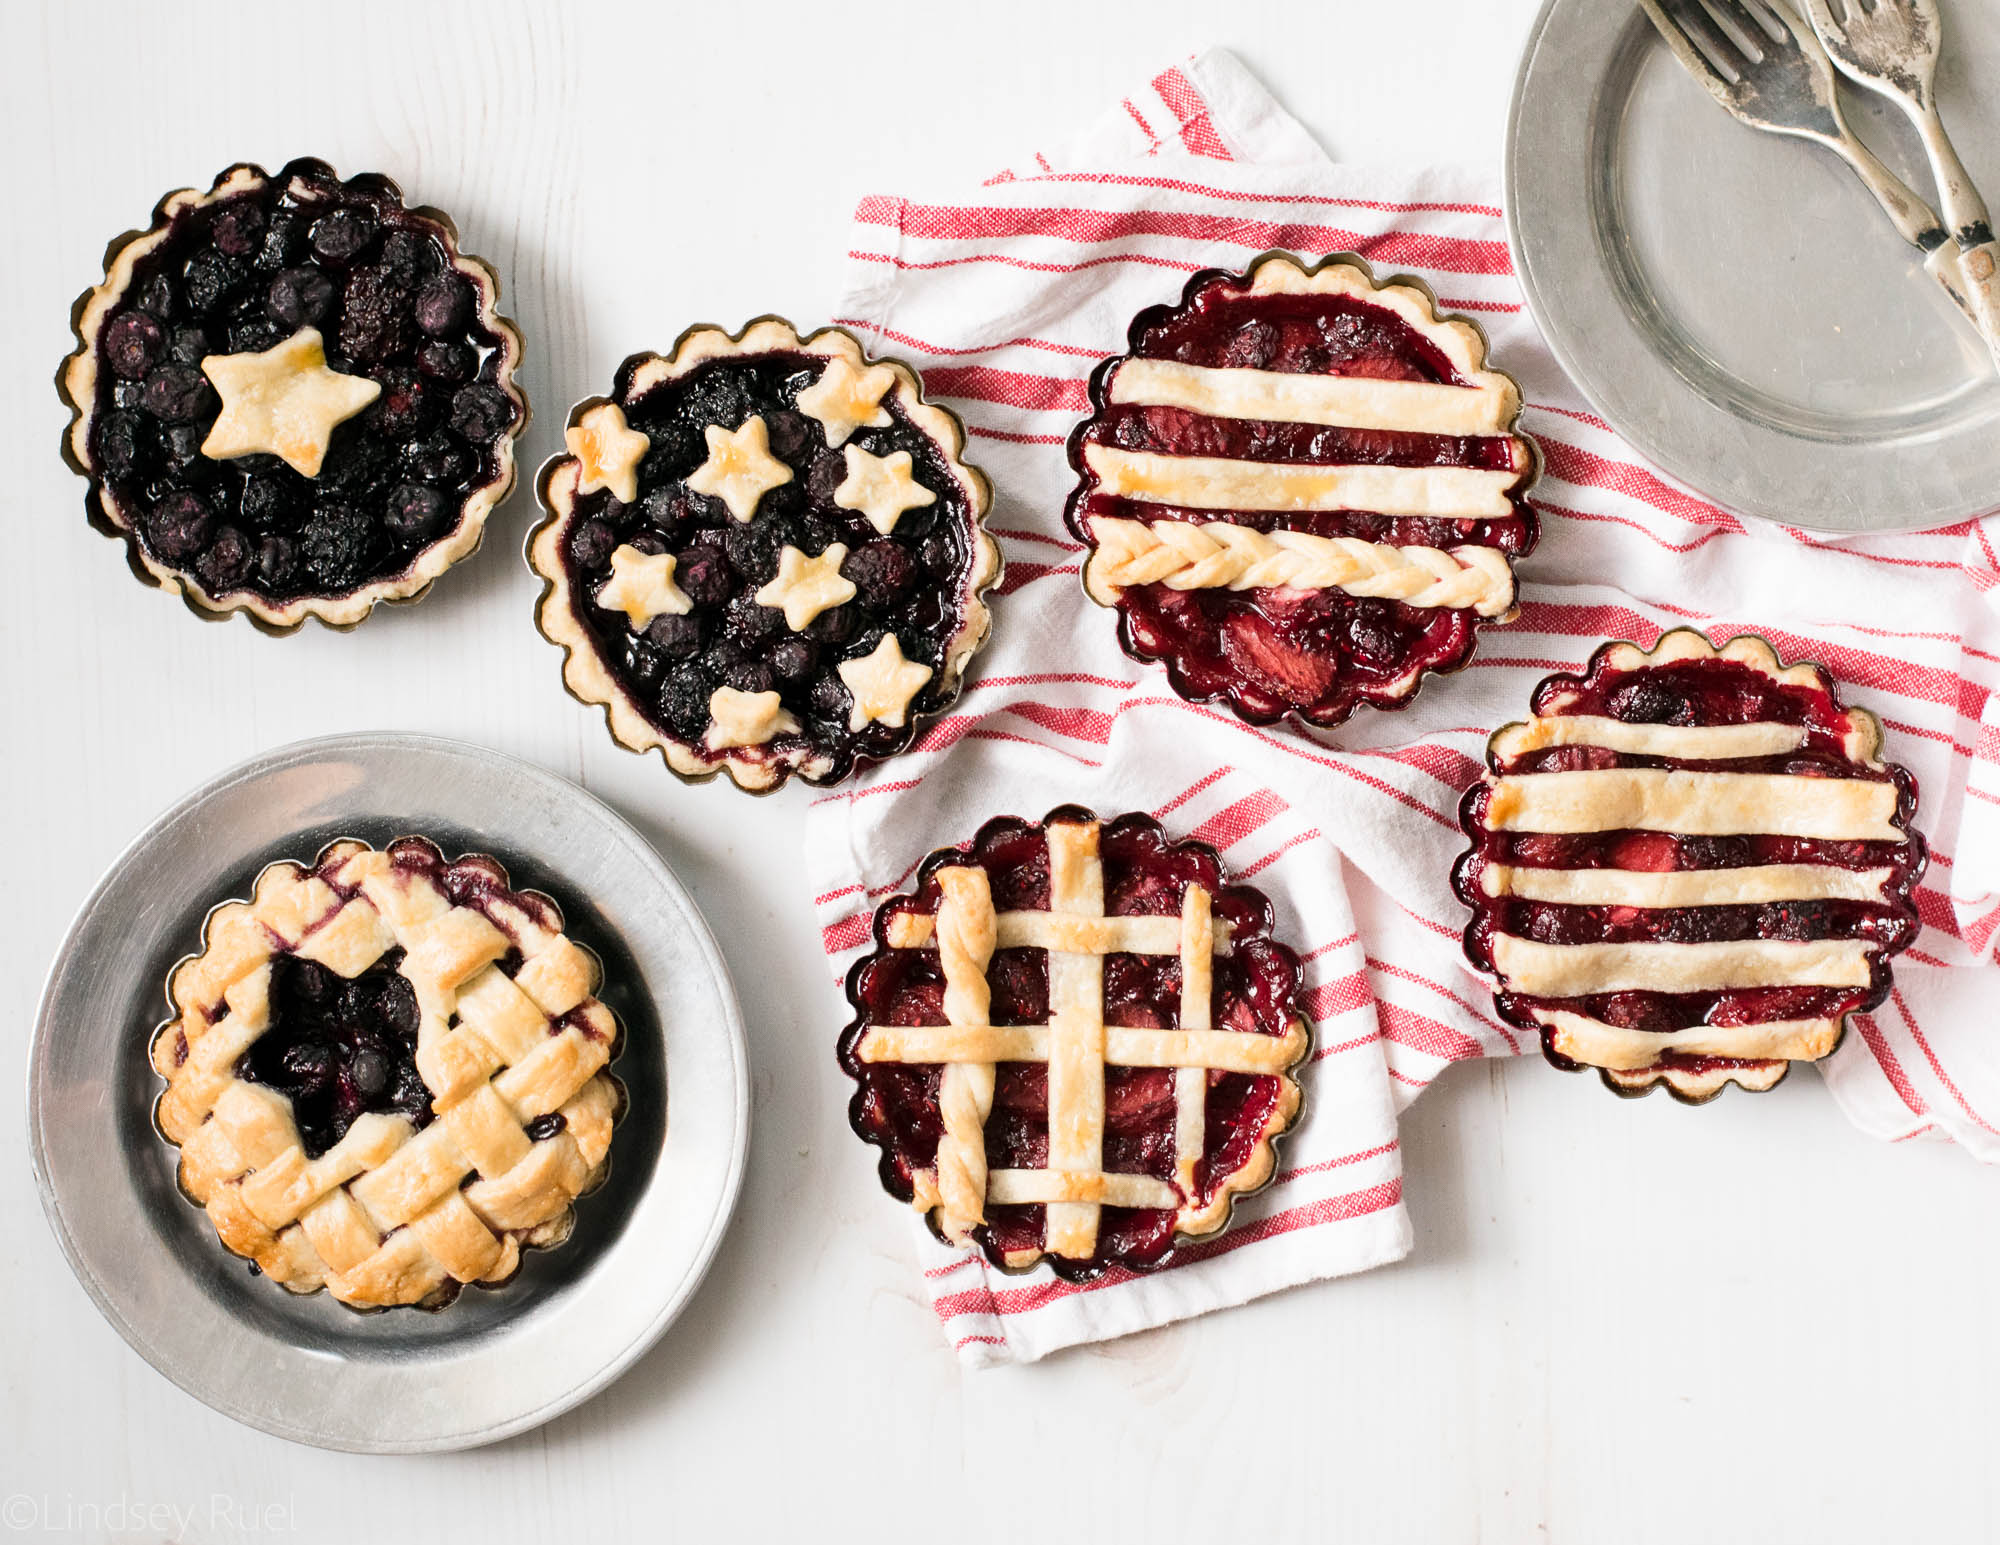
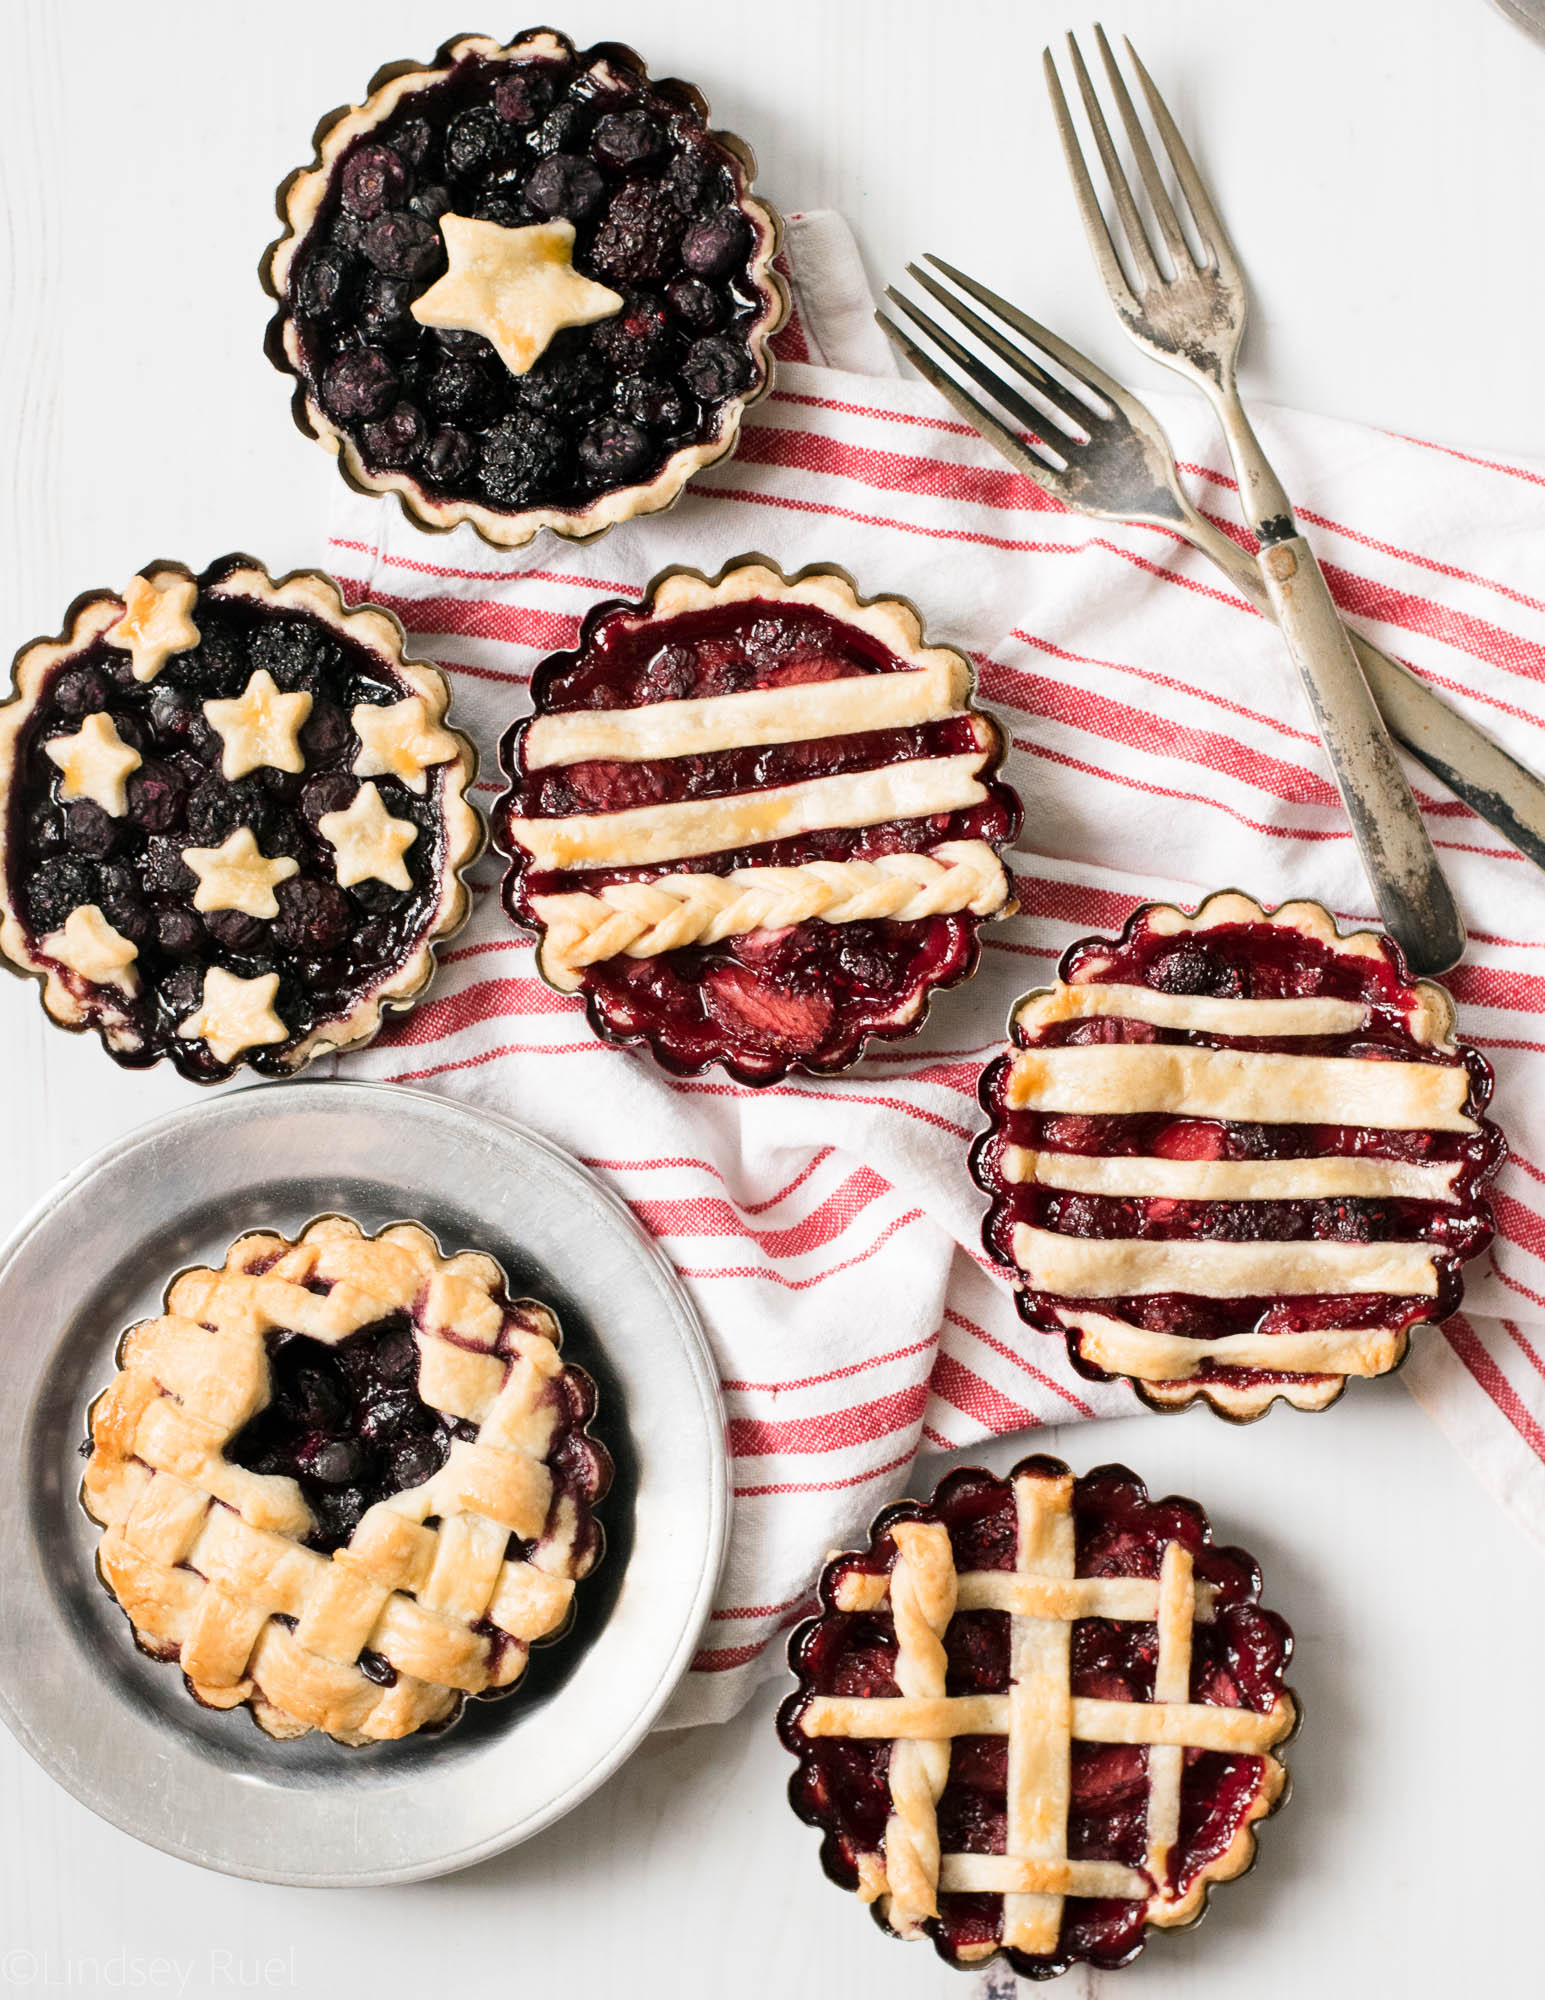
How to Make Berry Patriotic Mini Pies

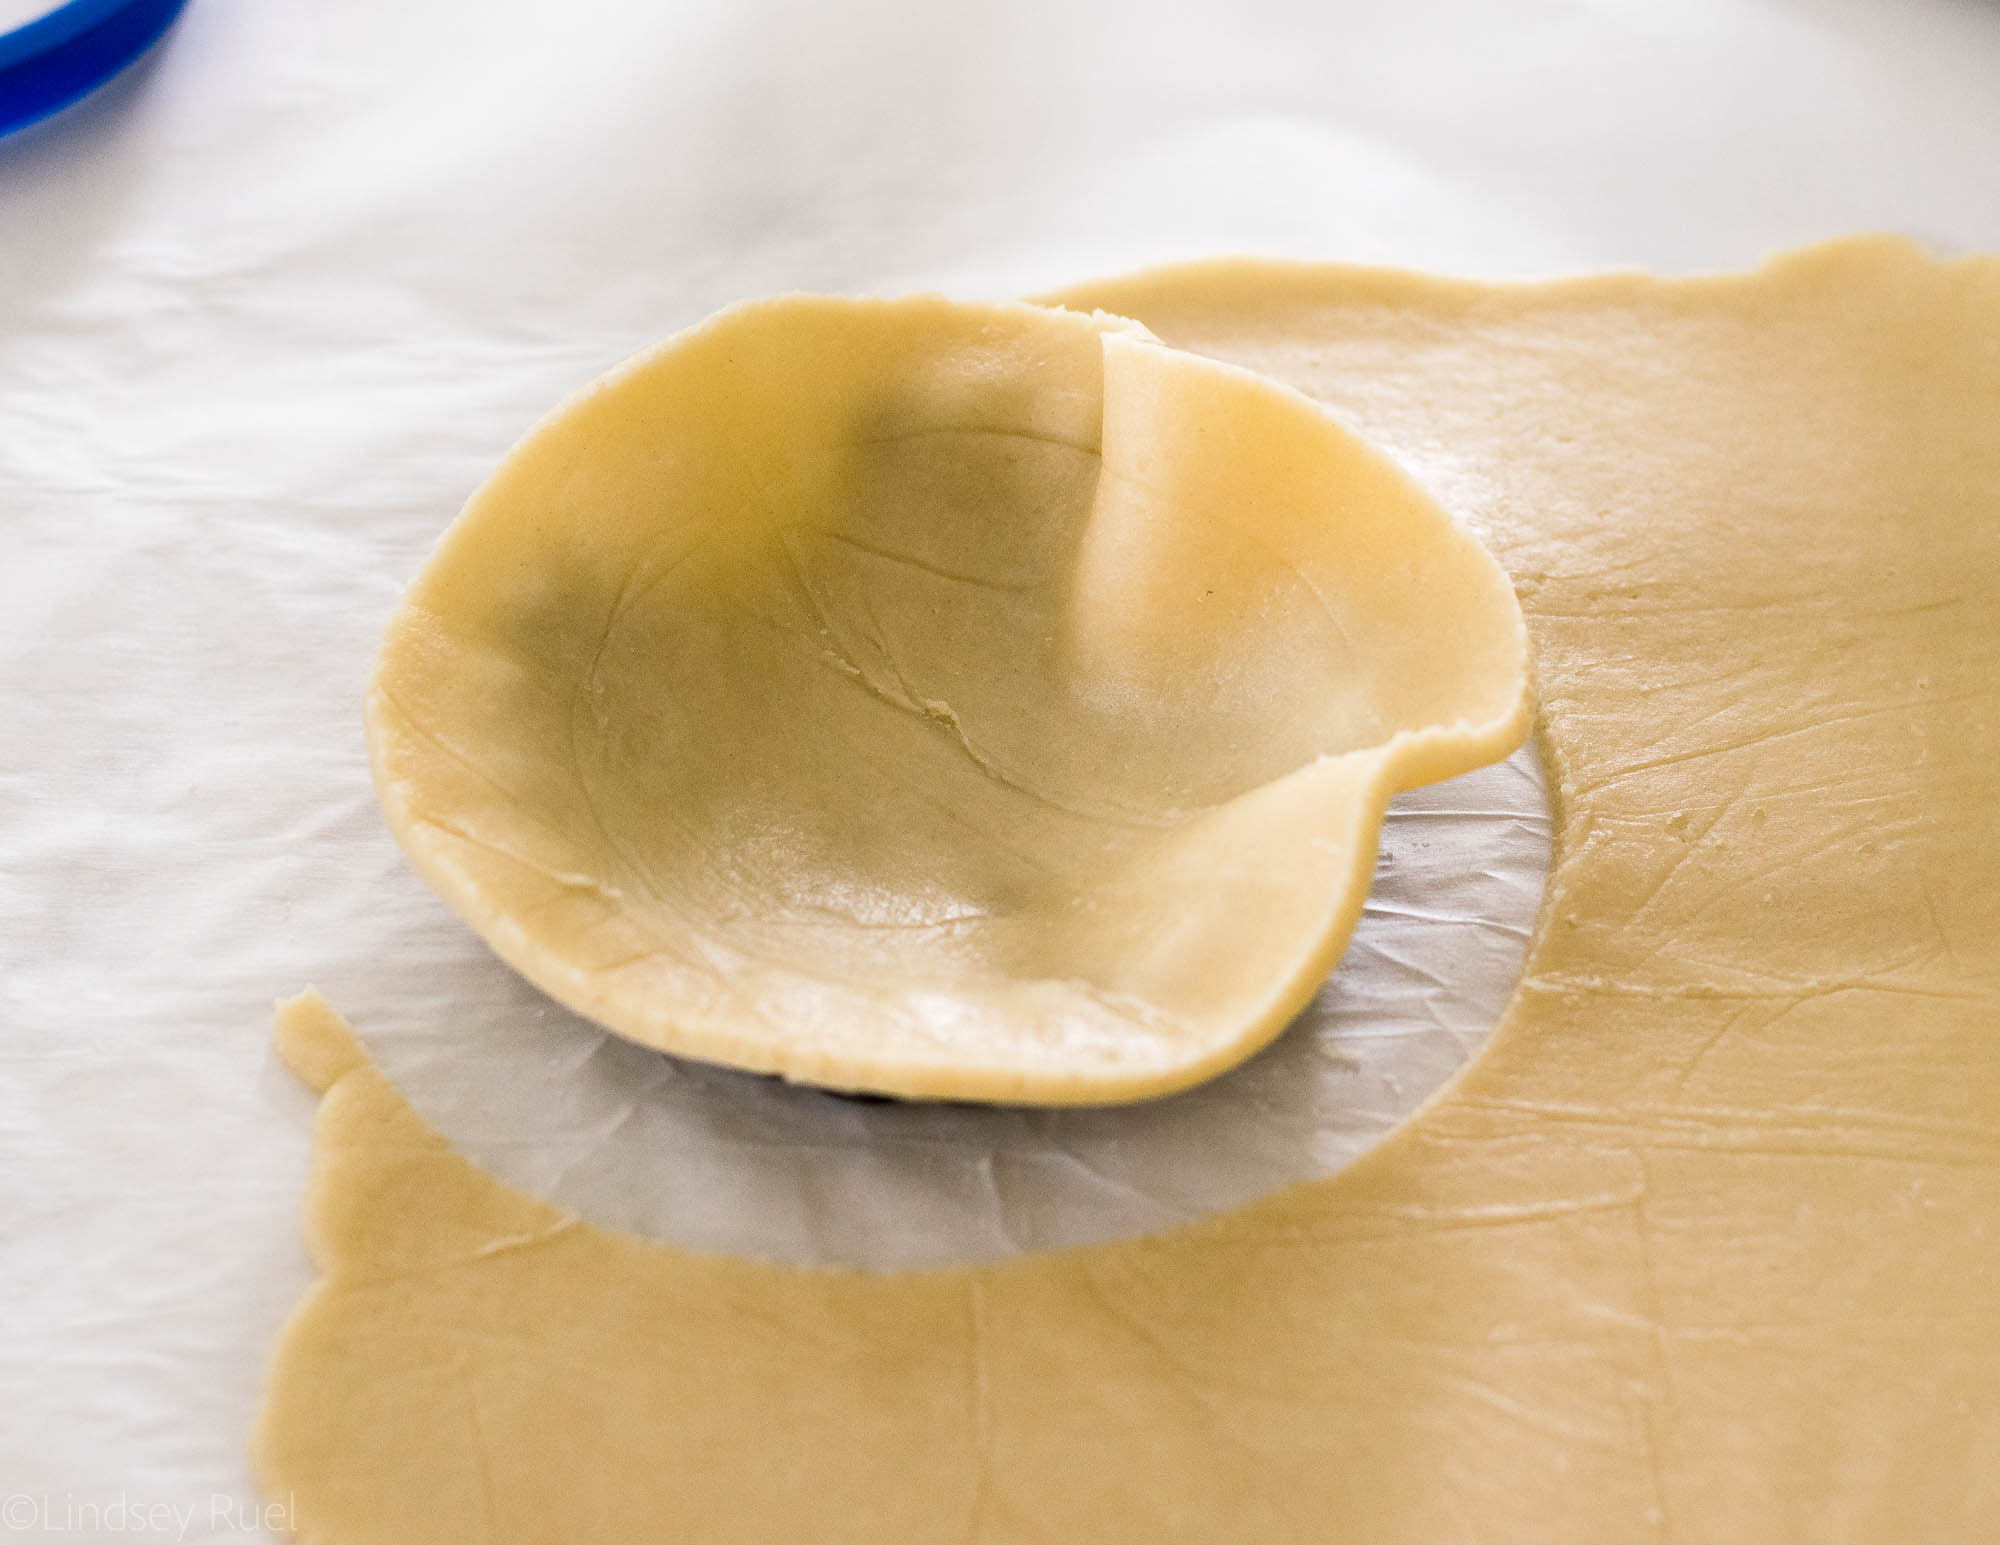
Again, start with either homemade or store-bought pie dough. Roll out the pie dough into one big sheet and cut out circles about 1/2″ wider than the opening of the tart pan. 

Press the dough into the bottom and along the sides of the tin. 

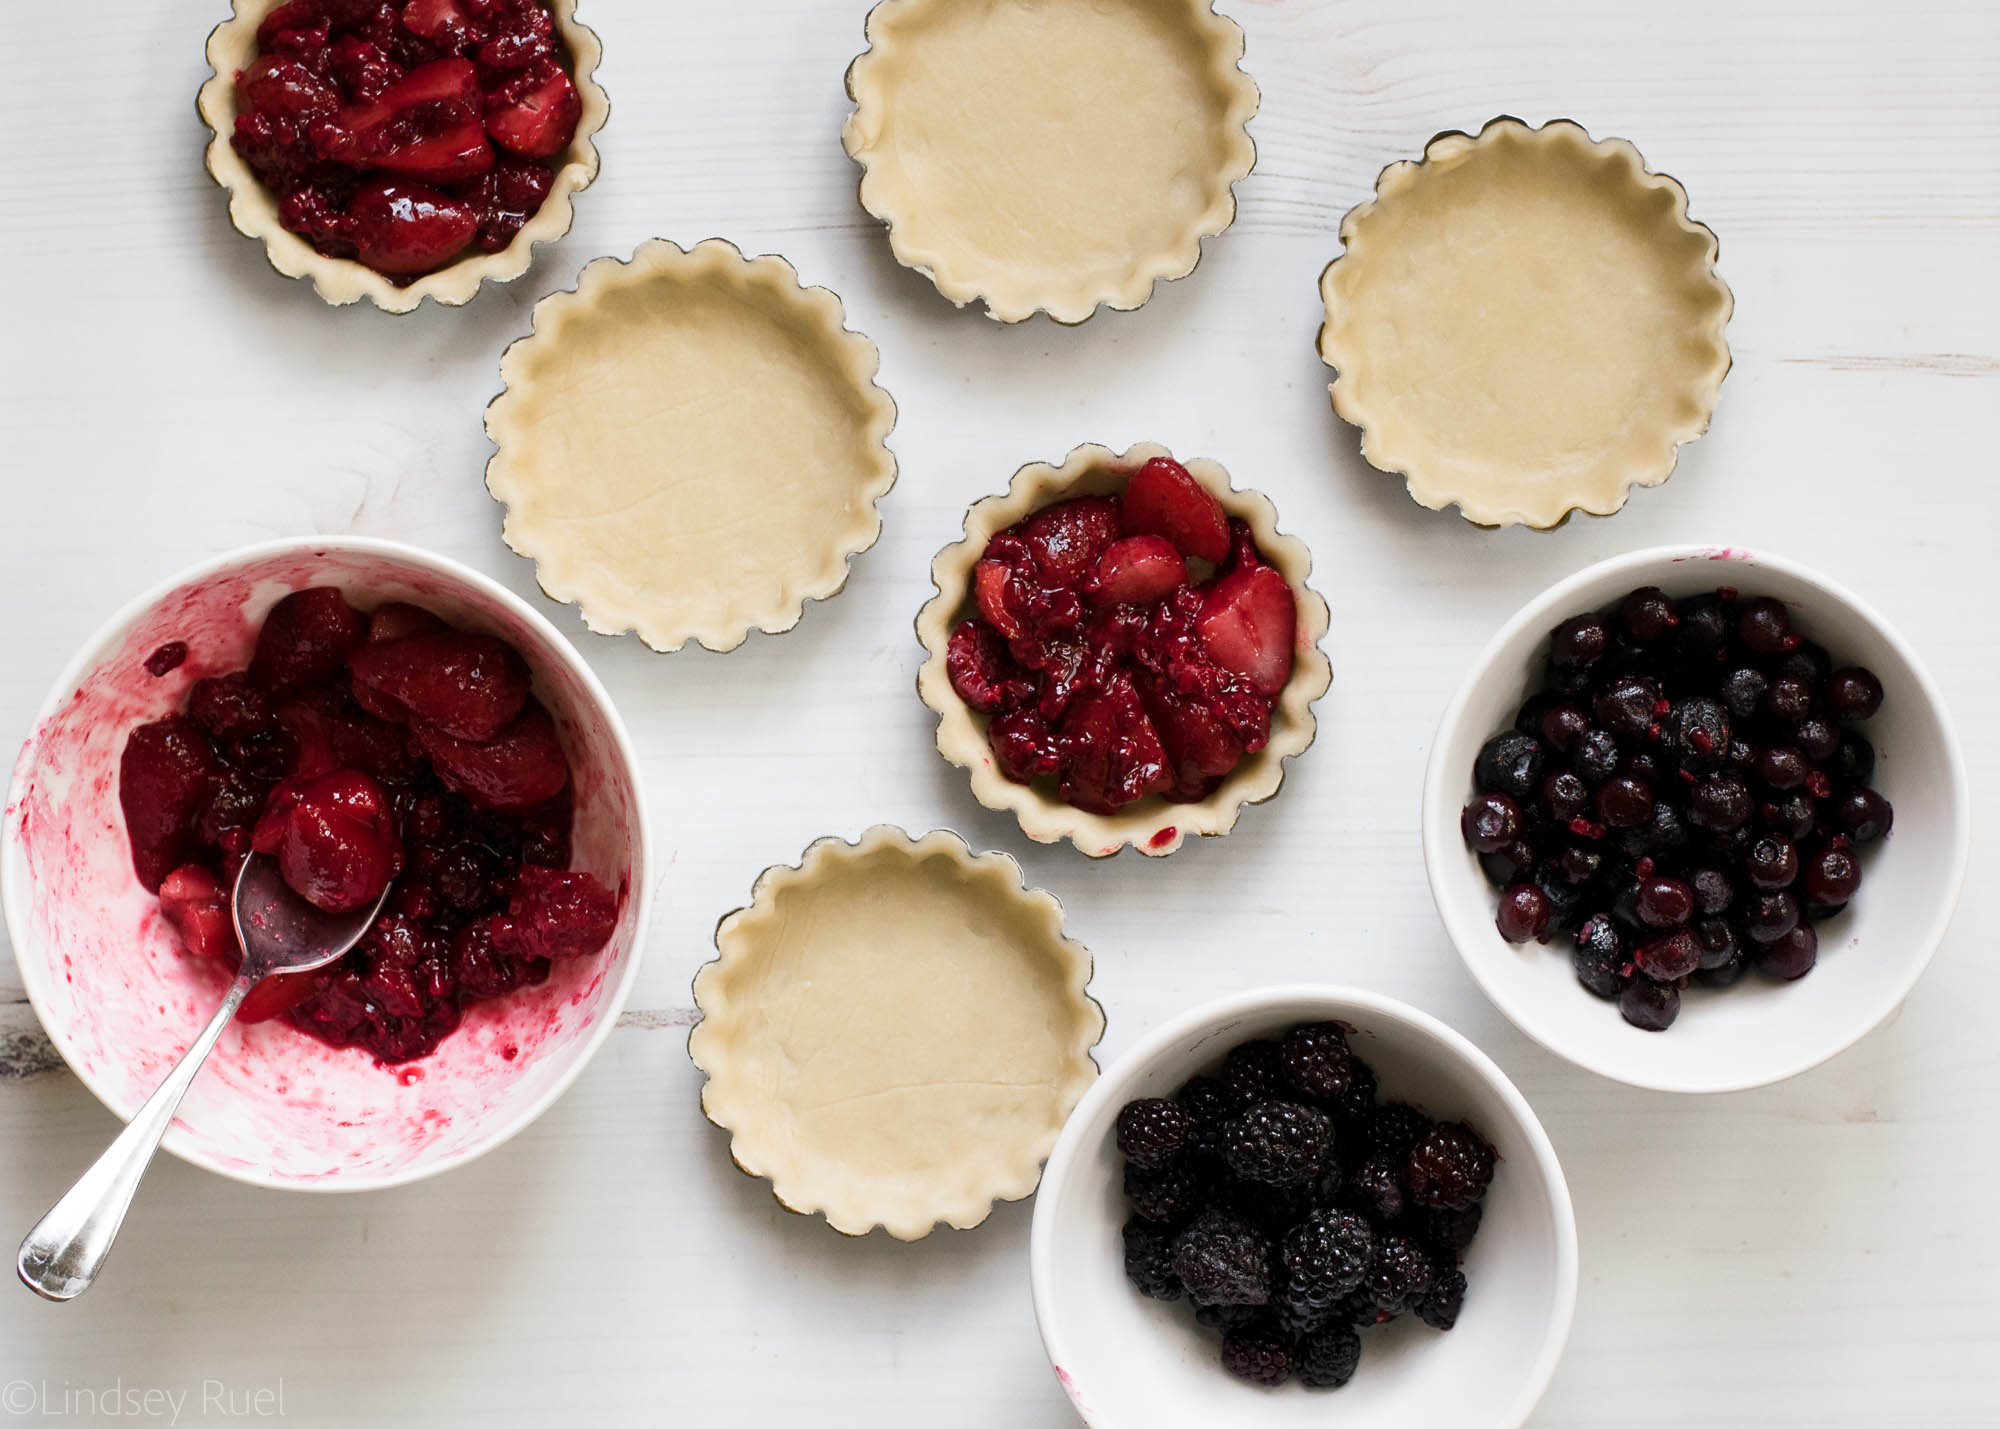
Mix together the berries and sugar mixture.

For these mini pies, I combined the red berries together, and the “blue” berries together. 

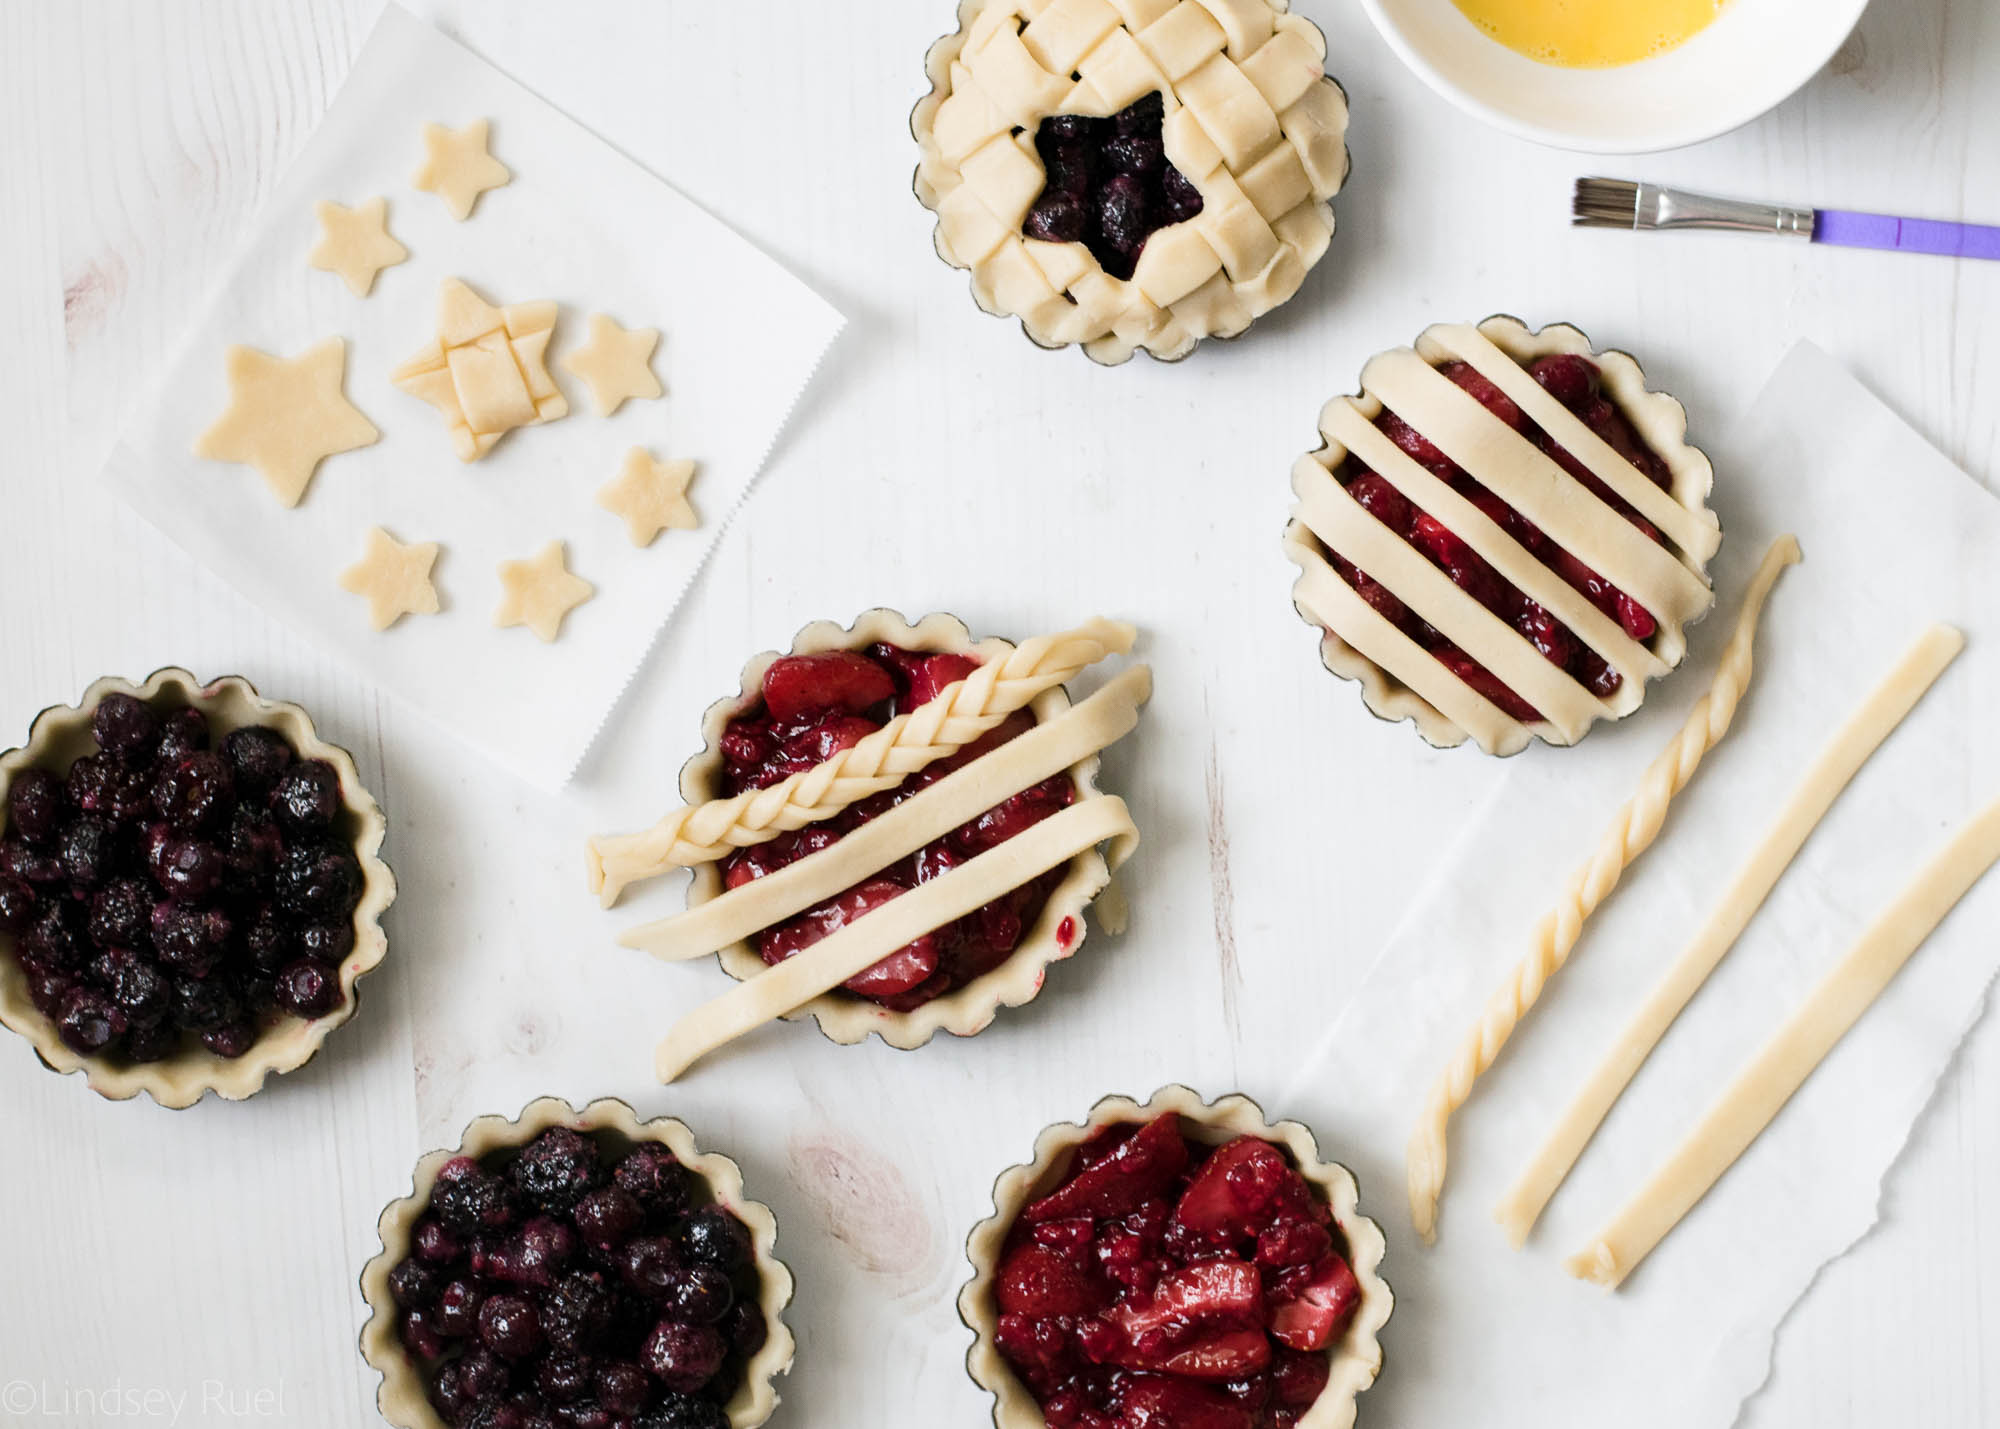
Spoon the berries into the pie shells and then top with the extra pie dough. 

Similar to the slab pie, I cut out stars and stripes and placed stars on the “blue” pie and stripes on the “red” pie.

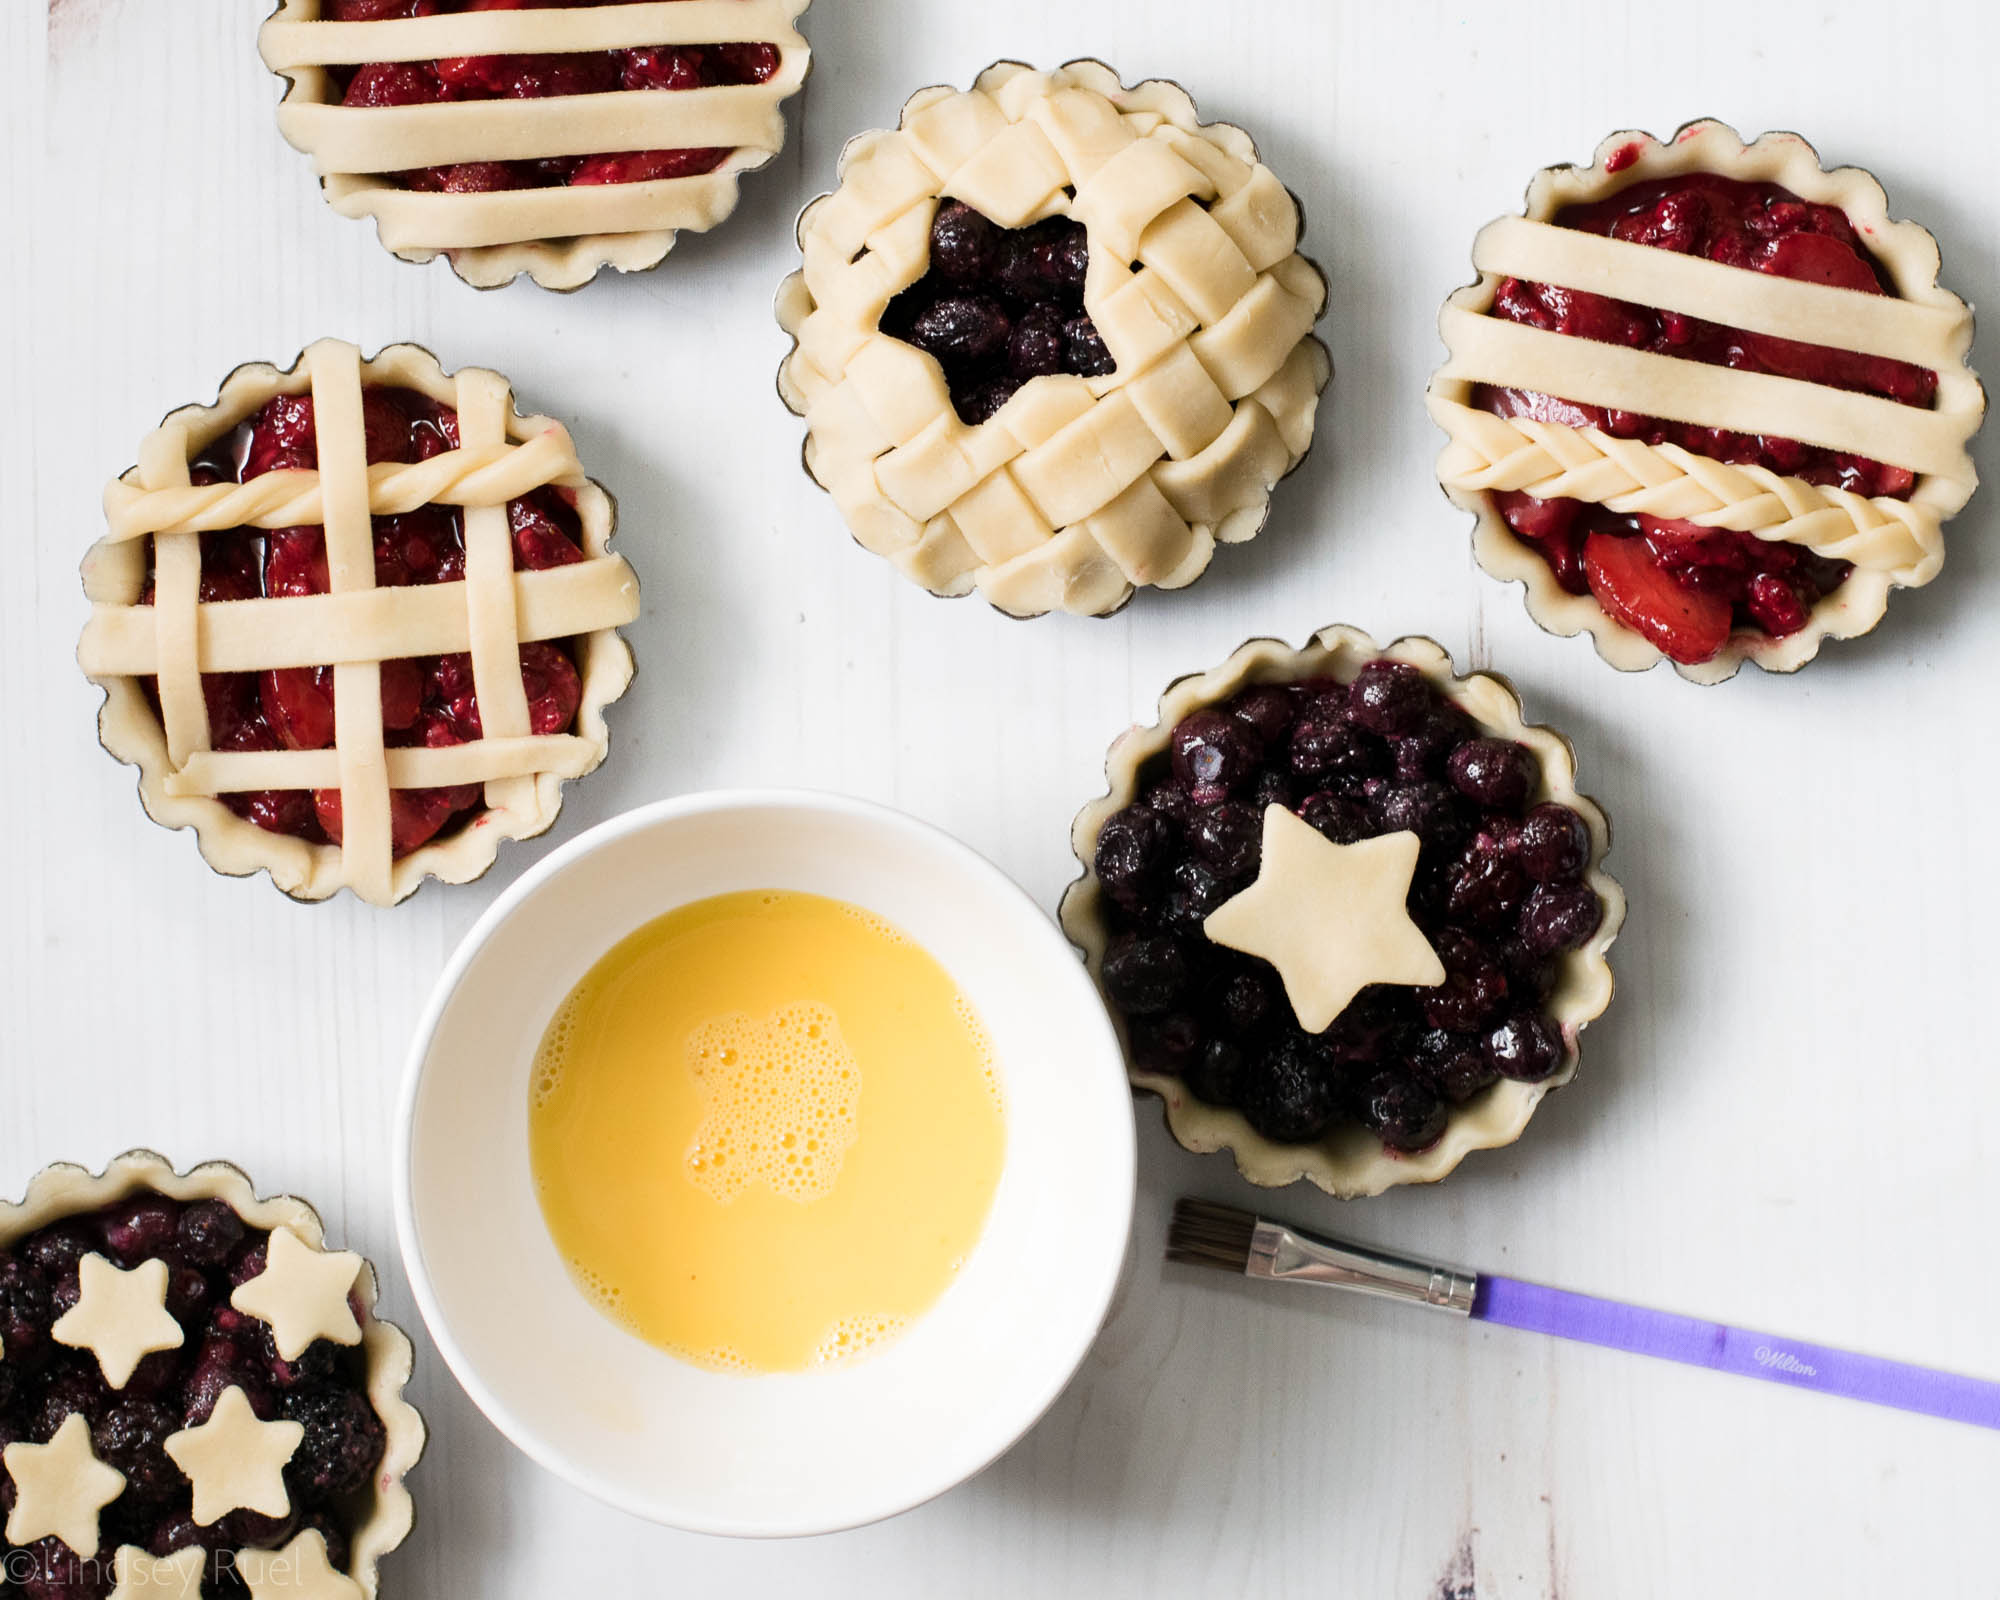
Brush the tops of the pie crust with an egg wash so they turn a nice golden brown color. 

And, just like the slab pie, bake at 400 for 15 minutes, then reduce the temperature, and bake at 350 for another 20 minutes. The mini pies bake much quicker.

So there you have it! Two ways to make a super cute and berry patriotic pie (or pies)! Who knew making a pie could be so easy?

Now, tell me the truth, which version is your favorite? I think I like the mini ones, personally…but maybe it’s because my slab pie just didn’t want to behave!

Supplies and Recipe

[show_shopthepost_widget id=”3190306″]

[yumprint-recipe id=’186′]

/ Filed In: Desserts, Eat, Other Sweets New, Pies and Tarts
Tagged: 4th of July, berry, berry pie, mini pie, patriotic, pie crust, pies, semi-homemade, Summer, tart

4th of July Firework Cake

June 13, 2018

A lot of times, my motto is less is more. 

But not with this cake. The motto for this cake is MORE is MORE!

Which is perfect for 4th of July, and hence why I am calling it the 4th of July firework cake, because it reminds me of a firework. Just all the red, white, and blue, all over the place. 

Wilton Cakes was kind enough to send me one of their new cake decorating kits and I had so much fun coming up with this cake which was inspired by a few of the various cake designs they had in their book.

I decided to cover the entire sides of the cake in red, white, and blue sprinkles and then cover the top of the cake in red, white, and blue buttercream stars and rosettes. 

Other than the sprinkles, frosting, and food coloring, which I already had on hand, everything I used to decorate the cake came with the How to Decorate Cakes and Desserts Kit which made it incredibly easy to make!

How to Make It

As I mentioned above, I used the How to Decorate Cakes and Desserts kit, which comes with an awesome instruction and inspiration book (below) and all the supplies you will need to decorate your cake.

The kit also comes with 10 piping tips, 3 couplers, a spatula, decorating brush, and 24 piping bags in two different sizes. 

I also used their tiltable turntable, gel food coloring, and white buttercream icing. 


The instruction book shows you everything from how to bake your cake, cut your cake, layer your cake, and frost your cake. Since I am still learning how to decorate cakes, a lot of their instruction was very helpful.

Since the theme for this cake is “more is more” I added these red, white, and blue non-pareliels to give it a marbled funfetti look. If you want a true funfetti look, I recommend using jimmies instead of nonpareils. 


I used a box cake mix for this cake to make things easy on myself. You can see my tips for making a boxed cake mix taste homemade here. 

The cake is made up of two layers baked in a 6″ cake pan. For a larger cake, double the amount of batter and bake it in an 8″ or 9″ cake pan. 

Once the cake is baked, cooled, and leveled, spread the buttercream icing over the first layer. Top with the second layer of cake and another layer of icing, this time spreading it around the entire cake to seal in the crumbs. 

Chill the cake for about 30 minutes. 

After the crumb coat has chilled, spoon the buttercream into a large piping bag fitted with the specialty tip 789. Pipe the buttercream around the sides of the cake so that there is a nice thick layer of icing. 

Use the off-set spatula to spread the icing around the cake. It doesn’t have to be pretty, because the sides will be covered with sprinkles. 

How to Decorate It

Speaking of sprinkles, mix together all the red, white, and blue sprinkles you can get your hands on. I like mixing together jimmies with some larger round sprinkles and sanding sugars. I also through in a few novelty sprinkles. 

To cover the sides of the cake, place the cake in the center of a baking sheet covered with parchment. Pat the sprinkles all around the sides of the cake. Reuse any extra sprinkles that have fallen away.

Finally, prepare the piping bags to decorate the top of the cake. 

For the larger piping tips (2D and 1M) mix together red, white, and blue icing by spreading lines of icing on a sheet of plastic wrap. Roll the plastic wrap into a tube, then feed the tube into the piping bag with the piping tip inside. You made need to cut off any excess plastic wrap so the icing flows through.

Then prepare three other piping bags, all fitted with a coupler and a smaller piping tip. Fill each one with a different color. 


Start by piping the larger stars and rosettes first. Then fill in with the smaller decorations. Don’t be afraid to layer them on top of one another. Also feel free to change out the piping tips using the couplers to get lots of various shapes. 

Once you are done, sprinkle a few sprinkles right on top. 

And viola! Your very own super patriotic cake! Perfect for 4th of July!

Supplies and Recipe

Follow my How to Make Boxed Cake Mix Taste Homemade tutorial for an easy semi-homemade cake. Or I highly recommend my vanilla cupcake recipe, which will make 1 6″ round two layer cake. Double to make a larger cake. 

  • How to Decorate Cakes and Desserts Kit: http://bit.ly/2xChT1U
  • Icing Gel Set: http://bit.ly/2xMNBd8
  • Turntable: http://bit.ly/2Hi9yjH
  • White Buttercream Icing: http://bit.ly/2kQK9F3
  • Red, white, and blue sprinkles: https://www.wilton.com/shop-sprinkles/


/ Filed In: Cakes and Cupcakes, Cakes New, Desserts, Eat
Tagged: 4th of July, cake, cake decorating, layer cake, patriotic, Summer

Follow

Hey There!

Hey there, I'm Lindsey. I'm a number cruncher by day and a home cook and baker by night. While I love to eat healthy and find fresh and healthy alternatives for my favorite foods, I will never turn down dessert! Life is all about moderation, right?

Recipes

  • All Recipes
  • Breakfast
  • Appetizers
  • Salads
  • Main Dishes
  • Side Dishes
  • Desserts
  • Drinks

Favorite Finds

[show_lookbook_widget id=”388783″]

Theme by 17th Avenue · Powered by WordPress & Genesis