• Home
  • Eat
    • Breakfast
    • Appetizers
    • Main Dishes
      • Chicken
      • Beef
      • Seafood
      • Healthy Dishes
      • Paleo Dishes
      • Salads
    • Desserts
      • Decorated Cookies
      • Cookies
      • Bars and Brownies
      • Cakes and Cupcakes
  • Shop
    • Cookie Decorating Supplies
    • Bakeware
    • Cookware
    • Kitchen Gadgets
    • House
  • About
    • Contact
    • Bucket List
  • Cookie Decorating 101

Follow the Ruels

Blood Orange Lemon Bars

March 7, 2018

And my obsession with blood oranges continues (example here and here)….

When I first picked up a bag of blood oranges at the grocery store the first thing I wanted to make with them was actually these blood orange lemon bars. I love a good lemon bar, so it seemed like a no-brainer.

Where I went wrong, and why it took me so long to post this recipe, was that I decided to try out a new recipe. Instead of sticking to my tried and true lemon bar recipe, I tested out a couple on the Internet. Even following them to a tee, they turned out horribly. Sure, they tasted fine, but the look and texture were just off.

So I went back to my favorite recipe. Why I ever decided to stray is beyond me. This recipe is delicious, easy, and totally customizable, as evidenced by the two ways I have made it (I even have a Paleo version).

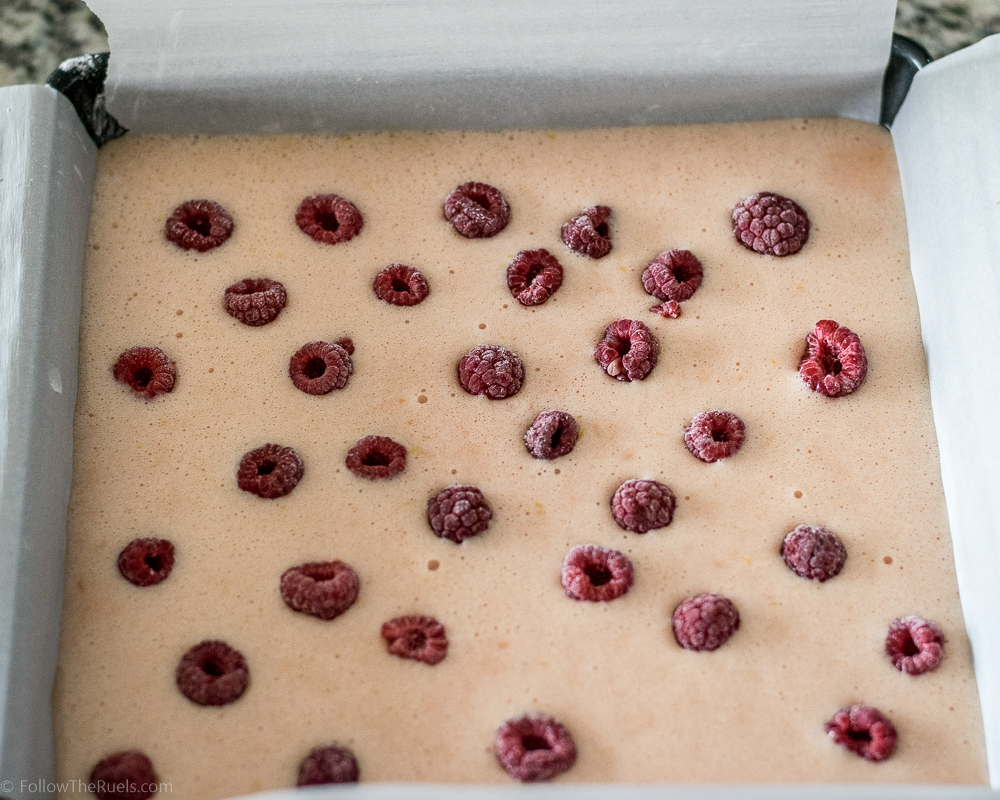
For instance, maybe you want to make this recipe after blood orange season, then make it with normal oranges. Or maybe you like some strawberries with your lemons, make strawberry lemon bars (using this recipe as your guide). 

The options are endless. 

How to Make It

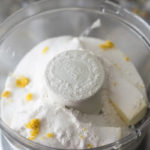
The foundation of these lemon bars is the crust. What is great about this crust is that it’s a mix between a pie crust and a shortbread. Oh, and you can make it in a food processor! 

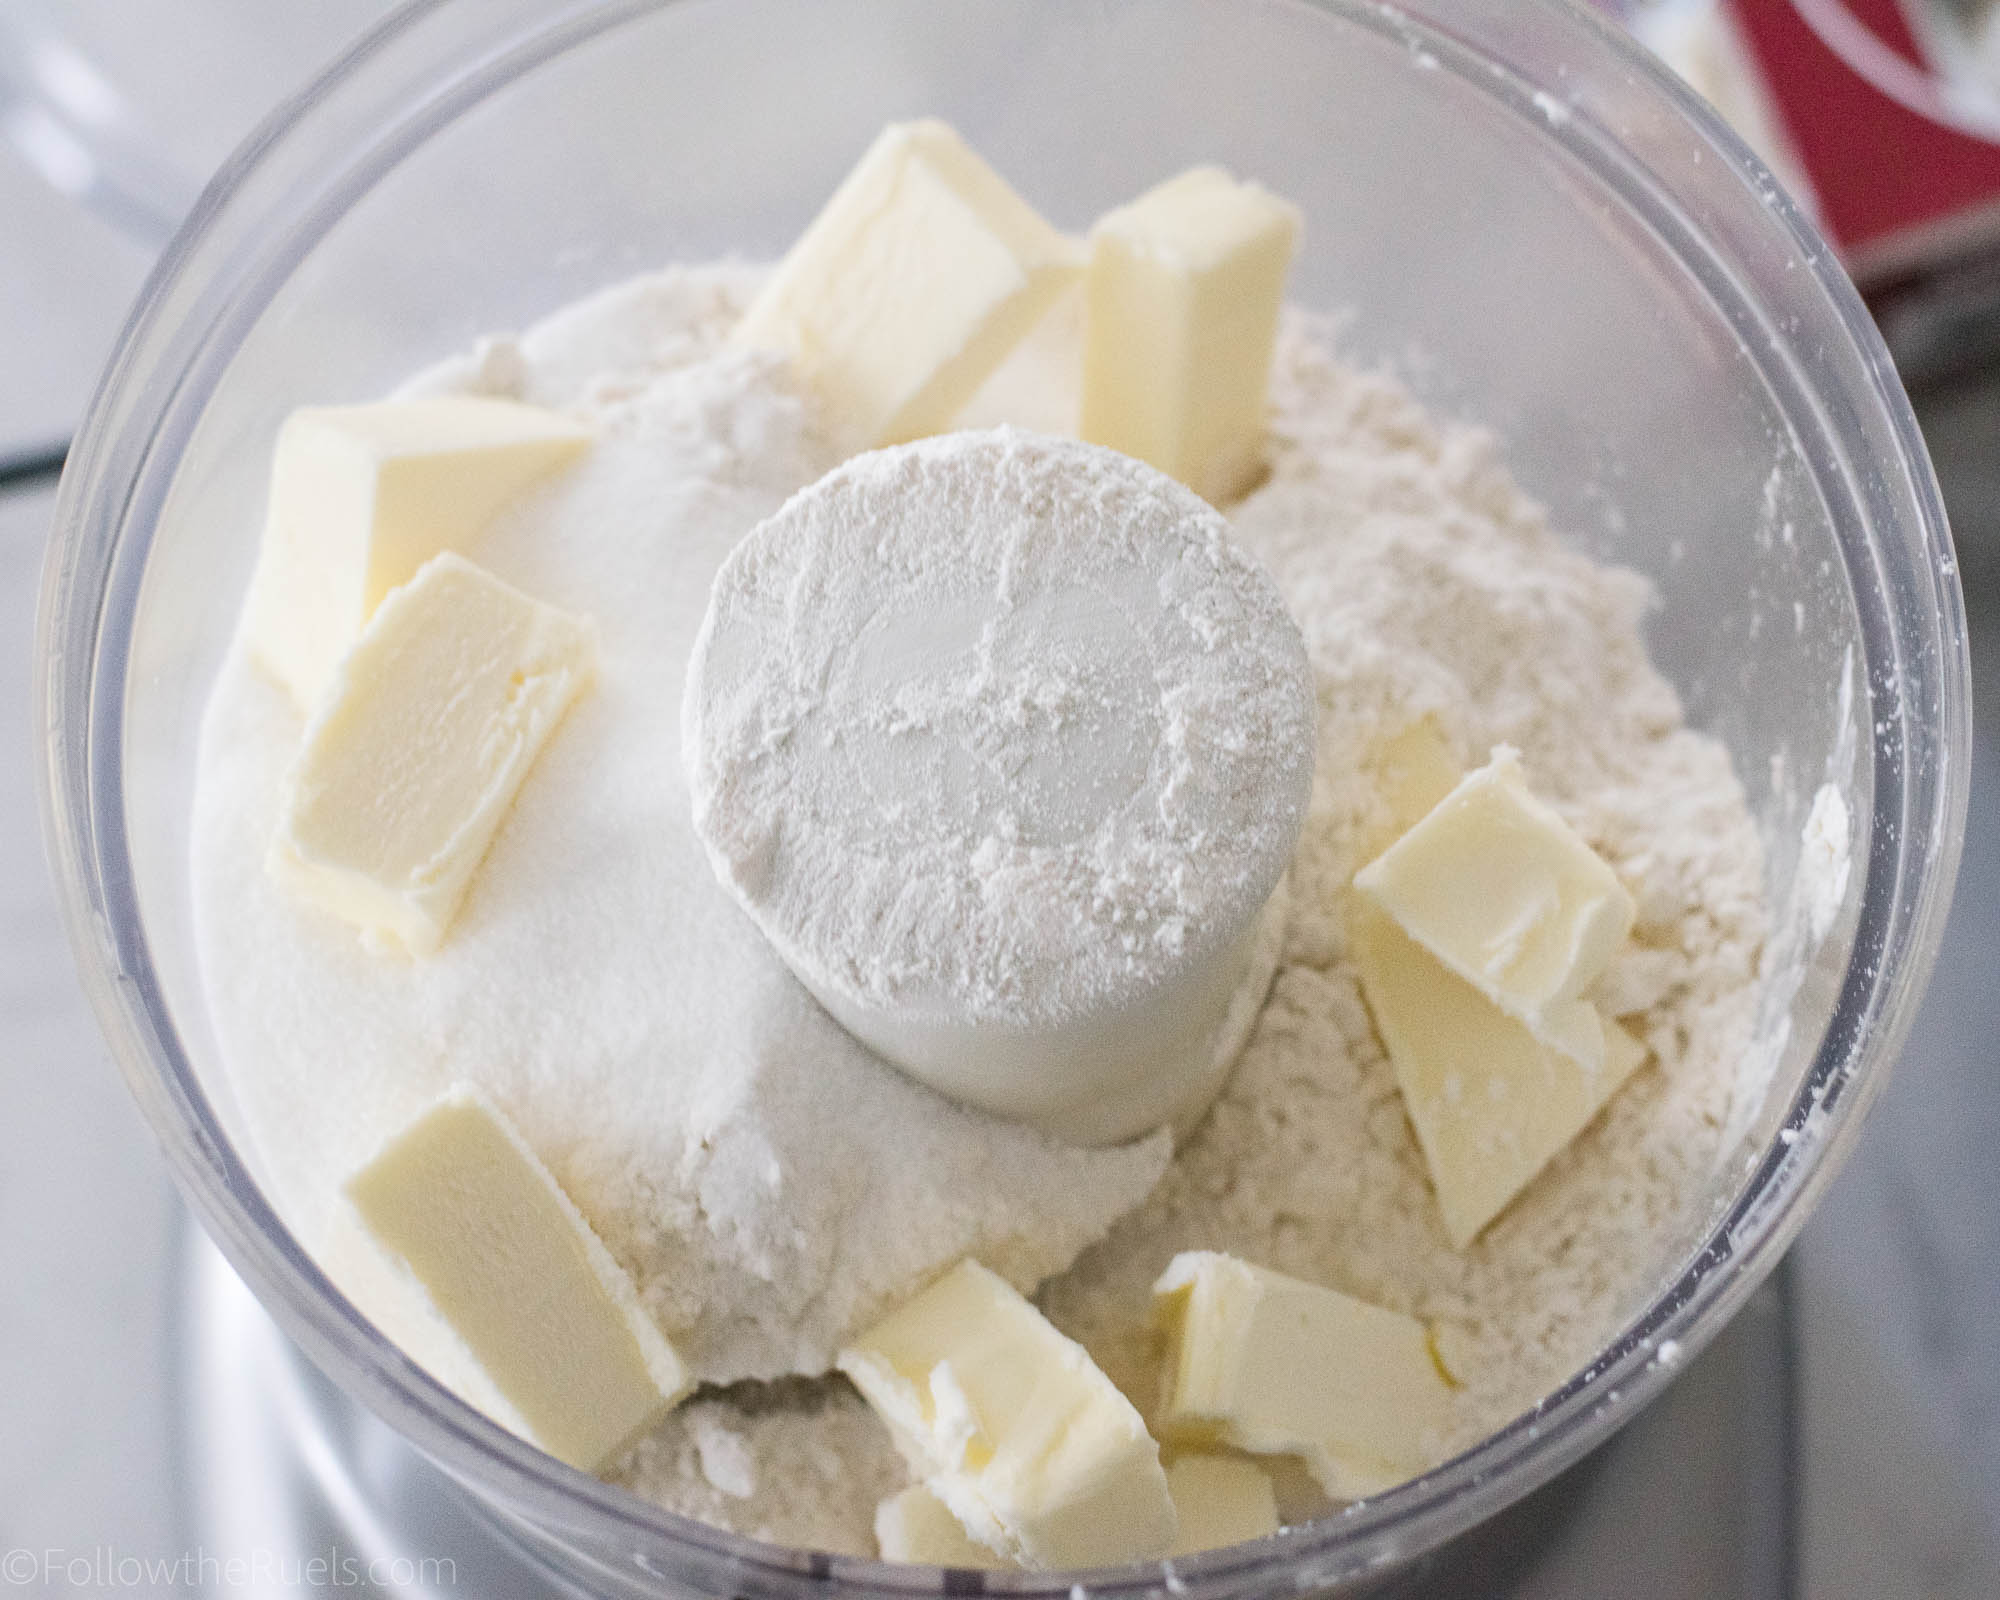
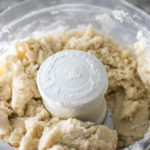
Pulse together the flour, sugar, and butter in a food processor until it forms a crumbly ball. If it is too dry, add a itty bit of water until it starts to come together.

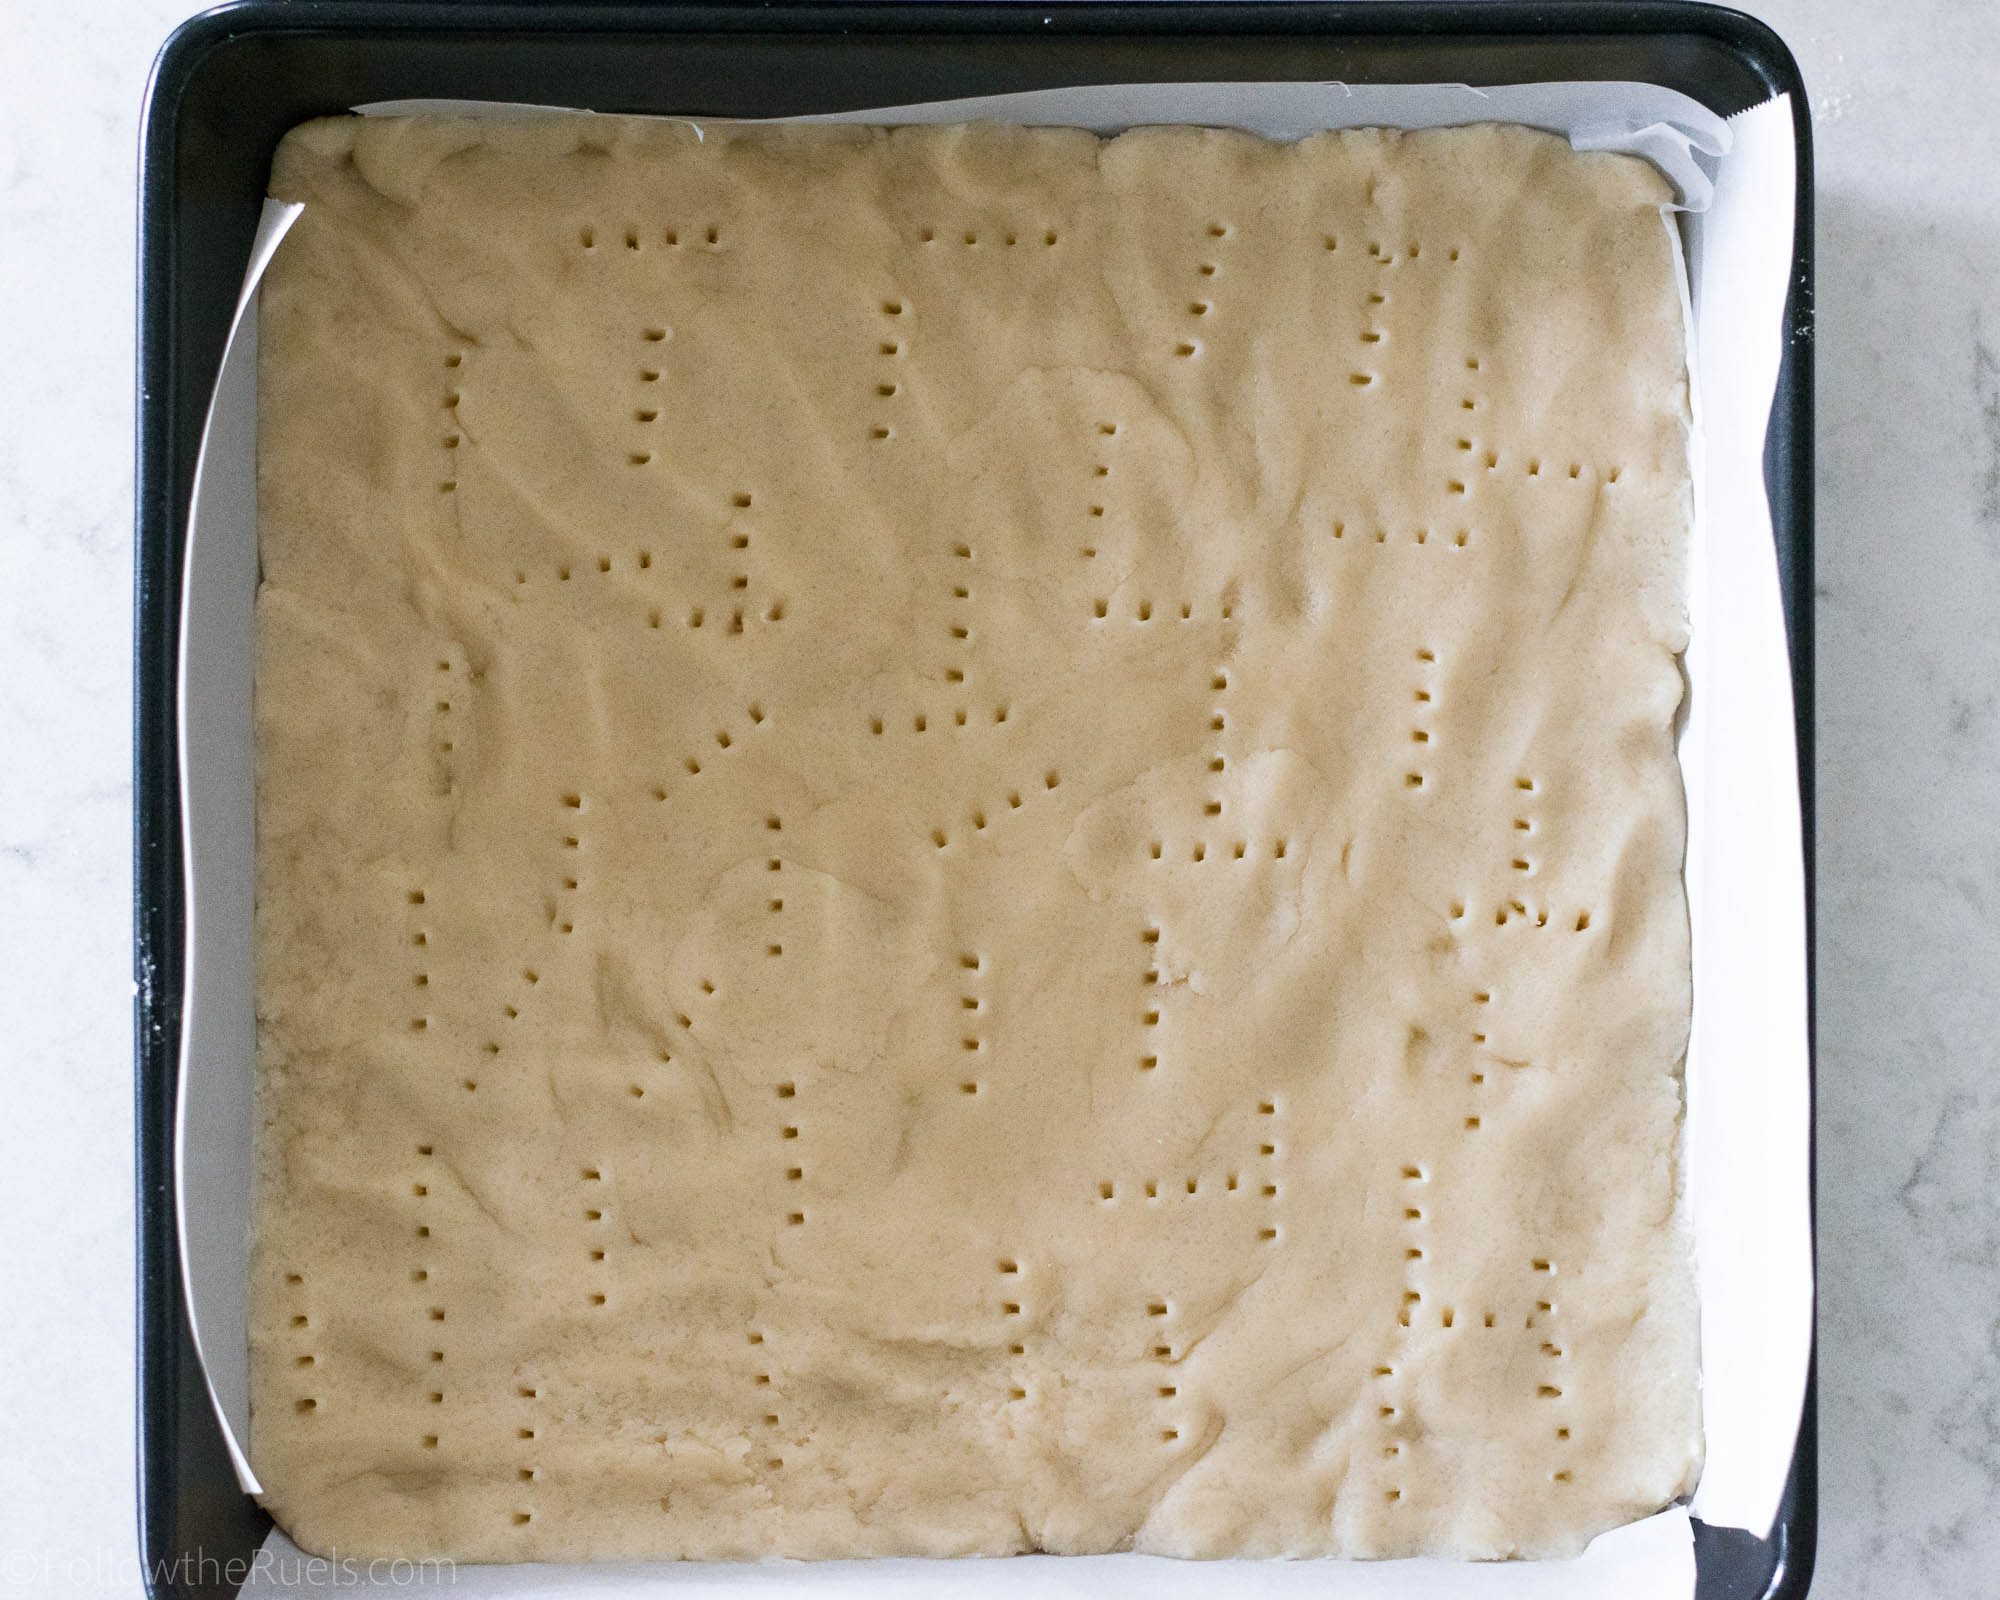
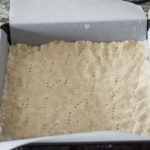
Press the dough into the bottom of a pan (lined with parchment for easy removal), and poke a few holes in the top so that it doesn’t puff up too much. Pop the crust in the oven to bake while you work on the filling of the lemon bars.

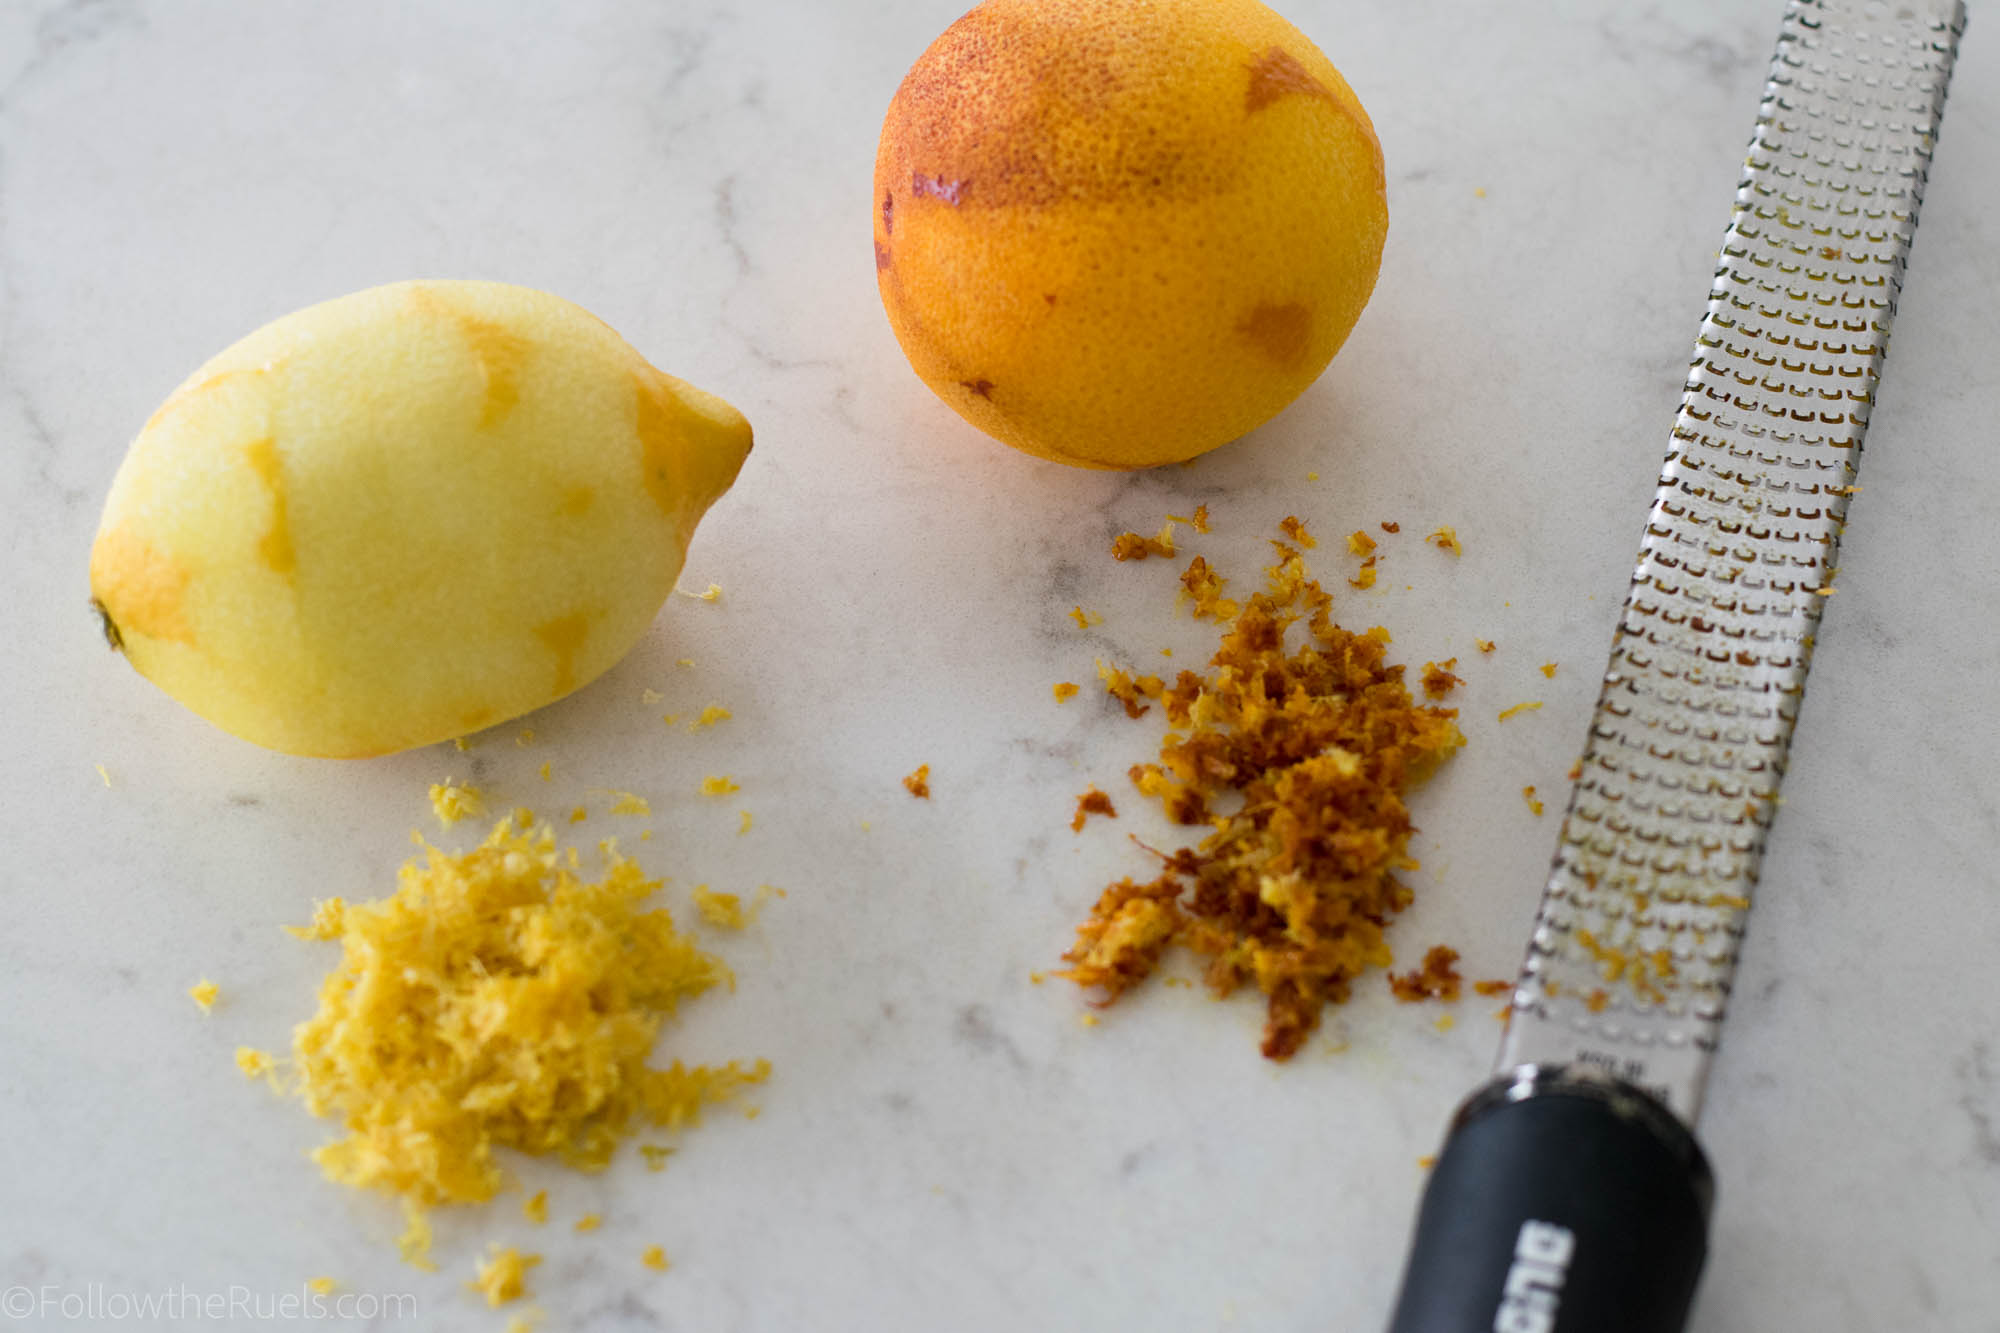
Before juicing your fruit, take all of the zest off of the orange and lemon. You will end up with about 1 tbsp of zest, but I basically just zest the whole fruit without worrying too much about the amount. 

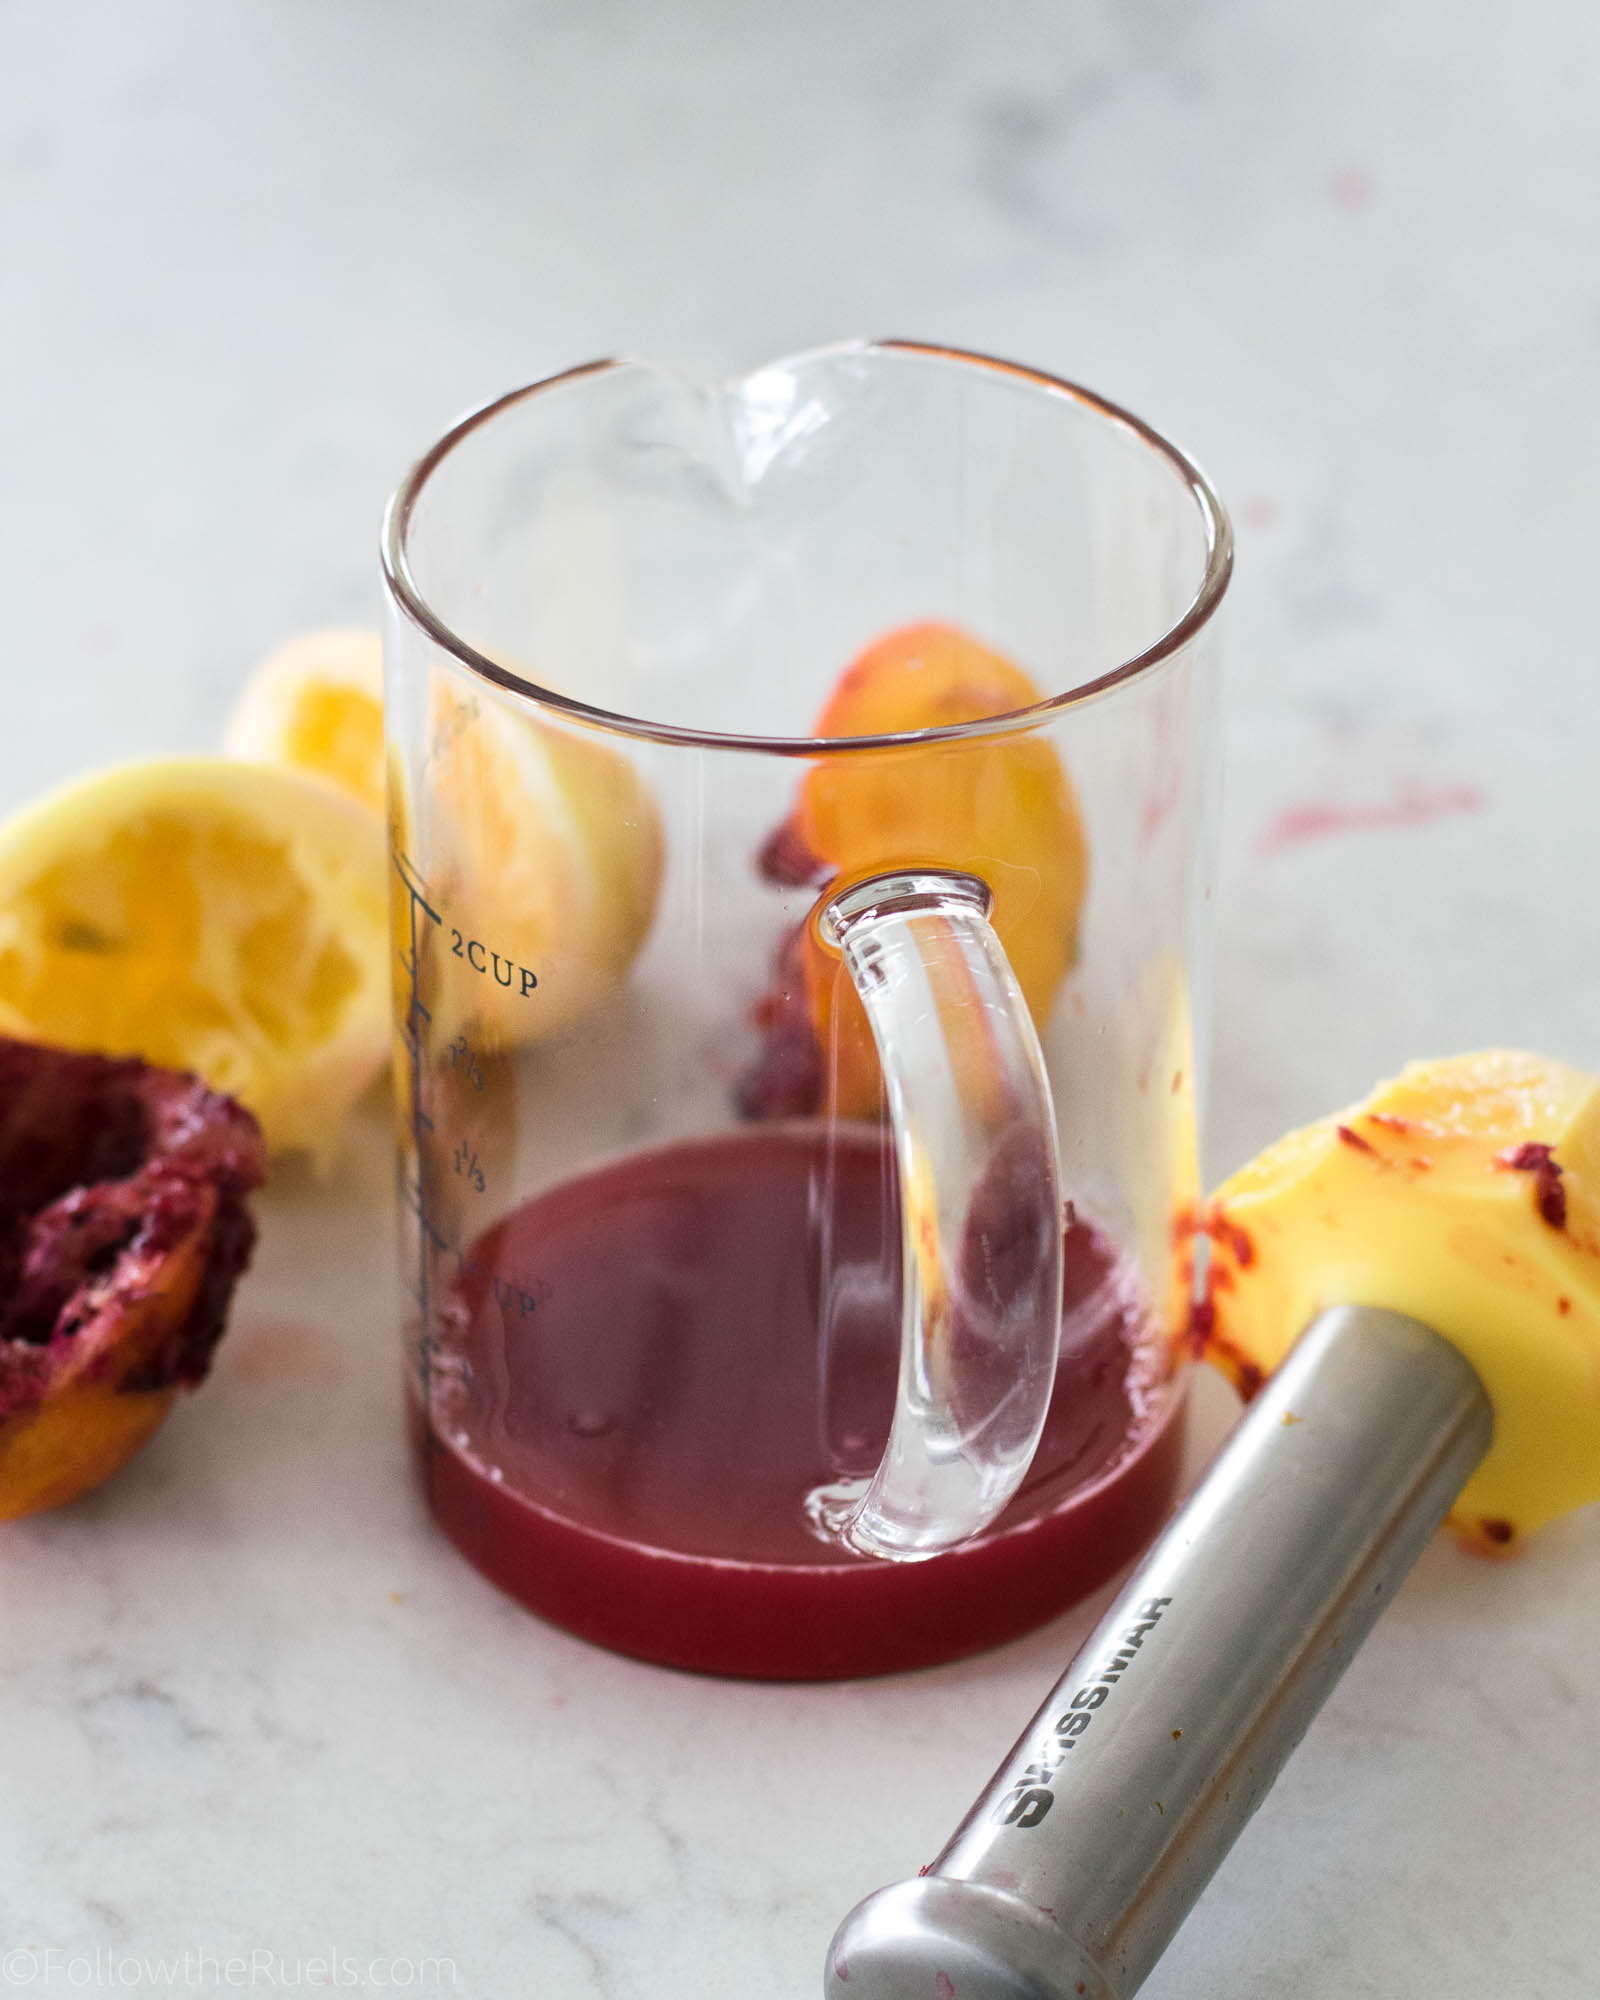
With the zest off of the fruit, cut them in half and squeeze the living juice out of them. Hopefully, you will end up with around 1/2 cup. If not, squeeze in another lemon or orange until you get to 1/2 cup.

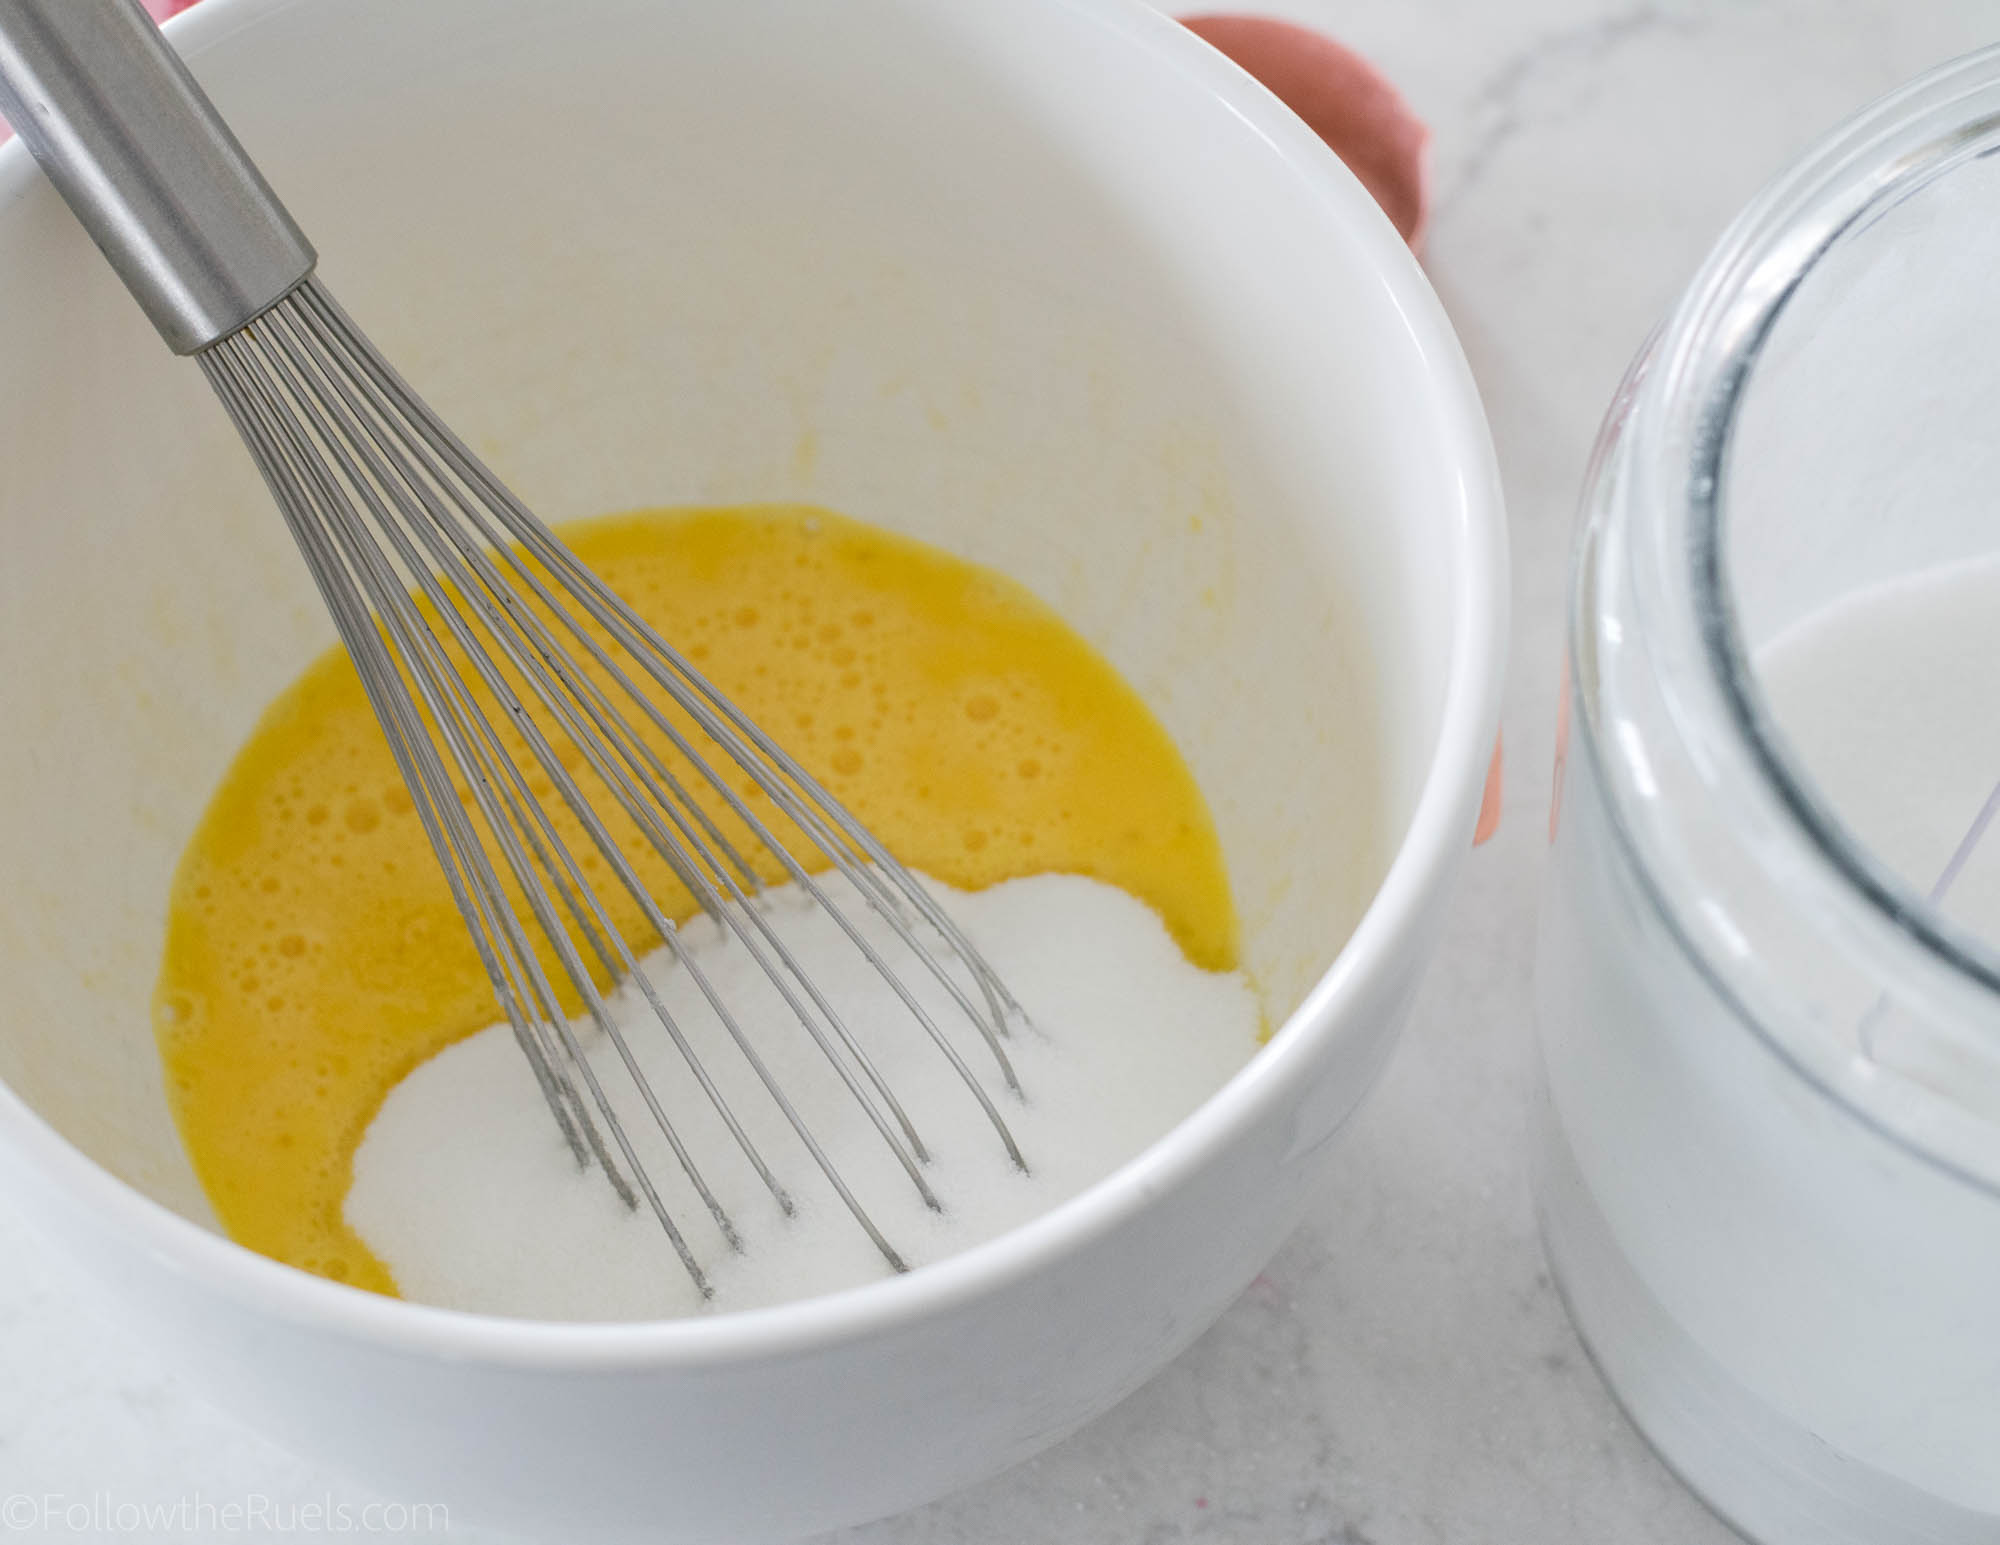
Next, whisk together the sugar and eggs and give them a good whisking.

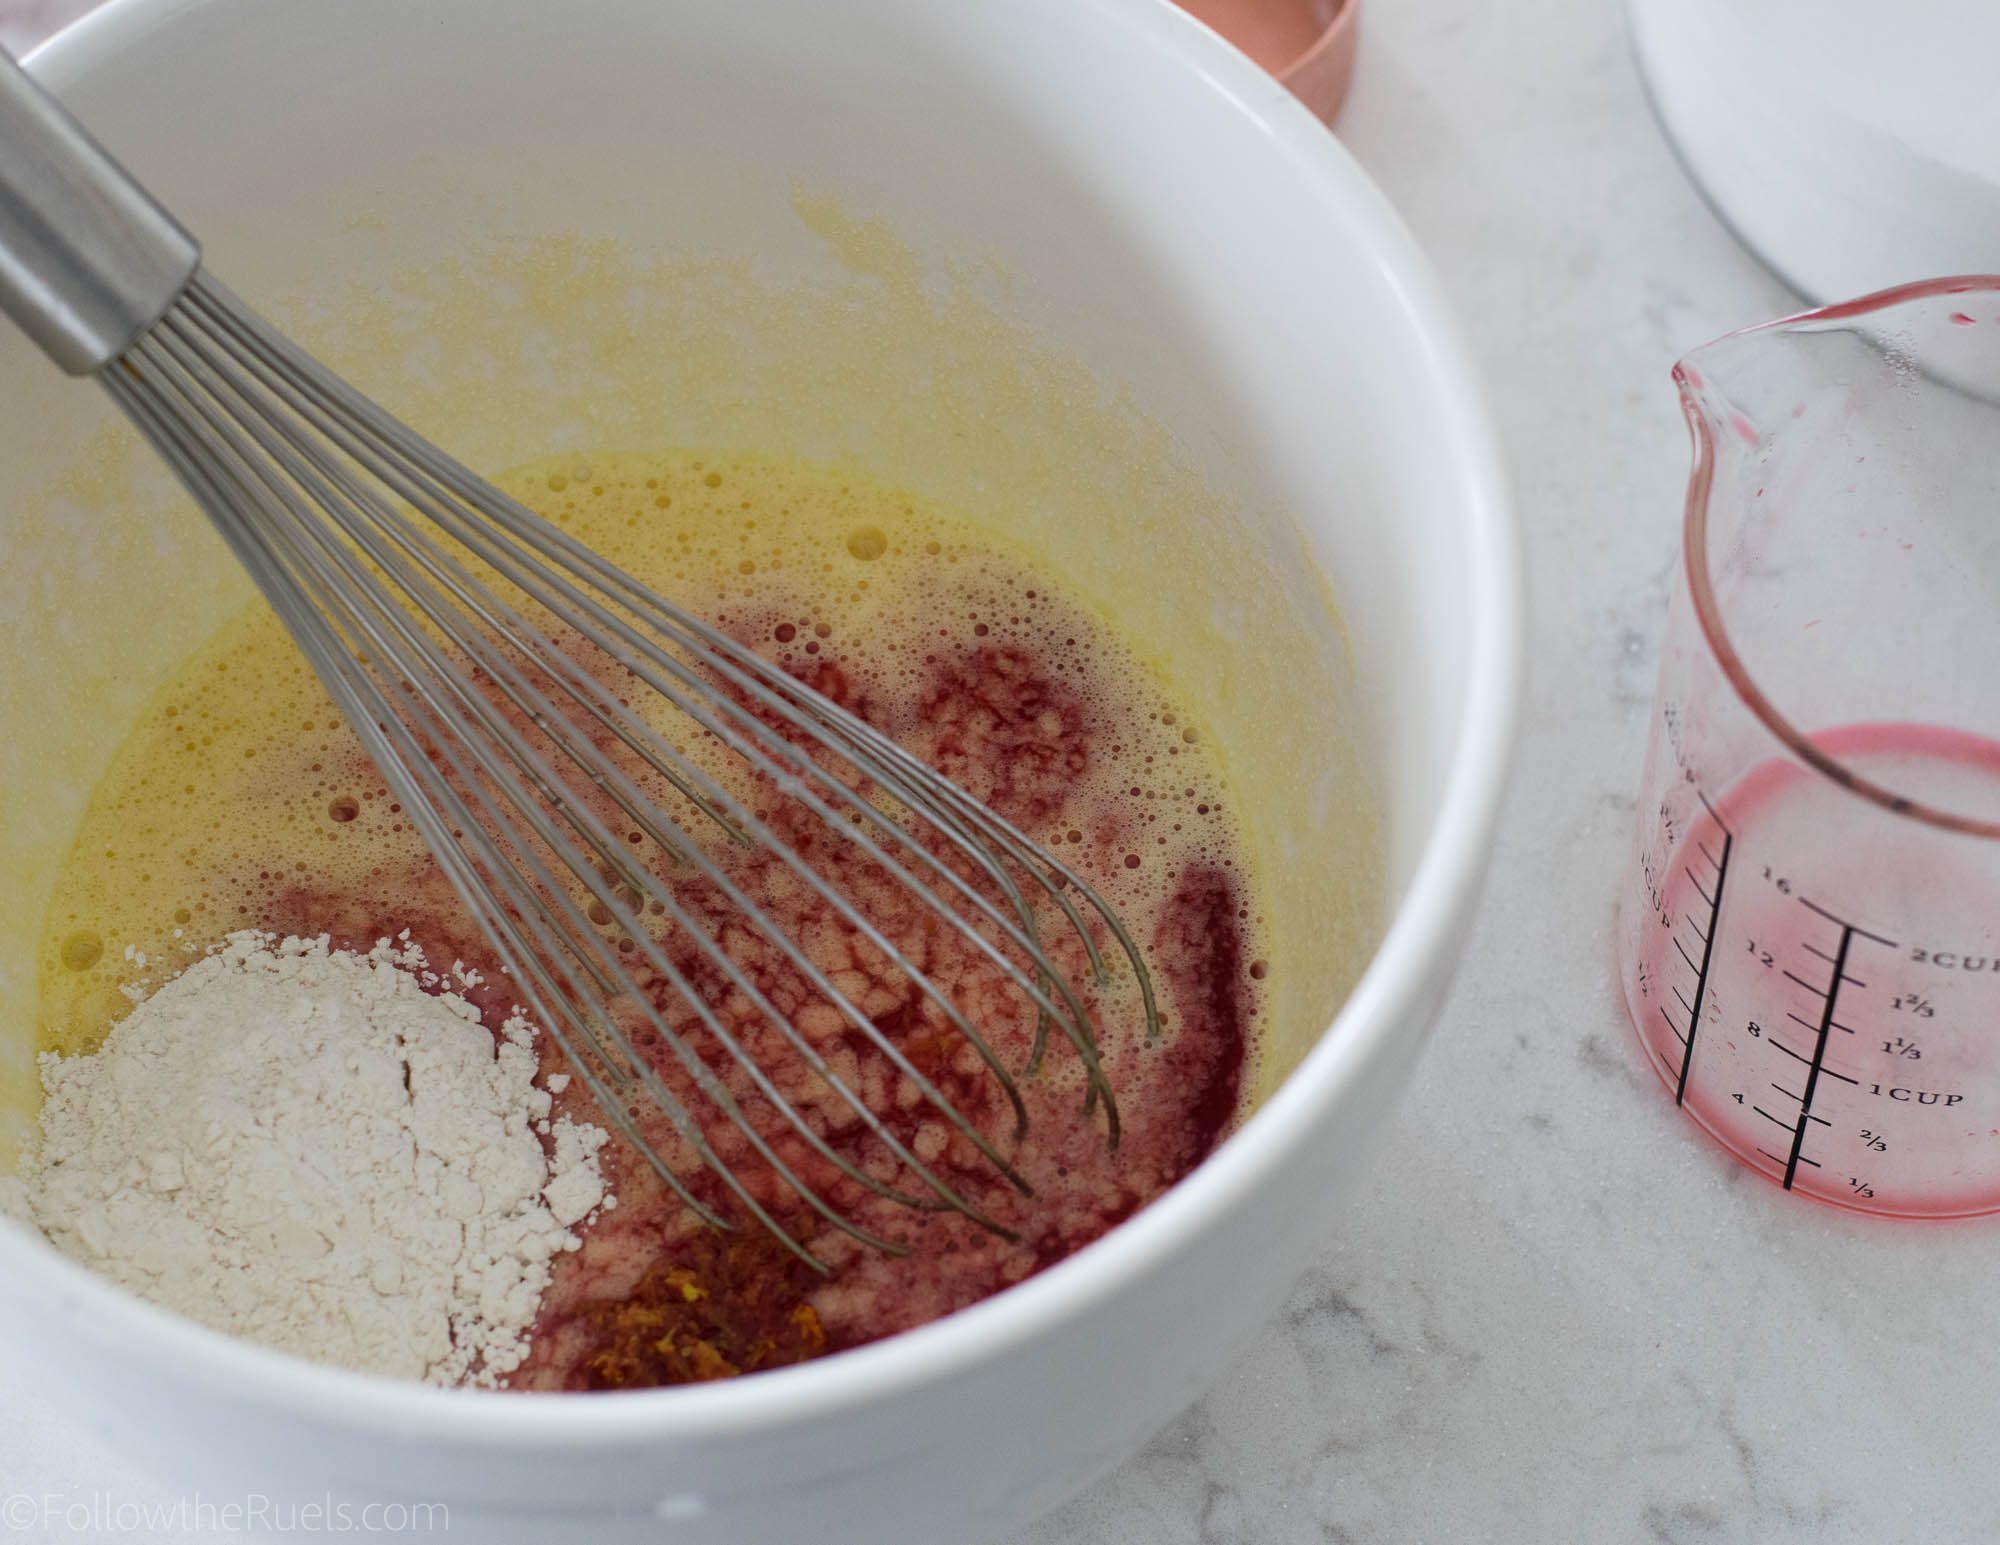
Then add the juice, zest, and flour and mix until smooth. 

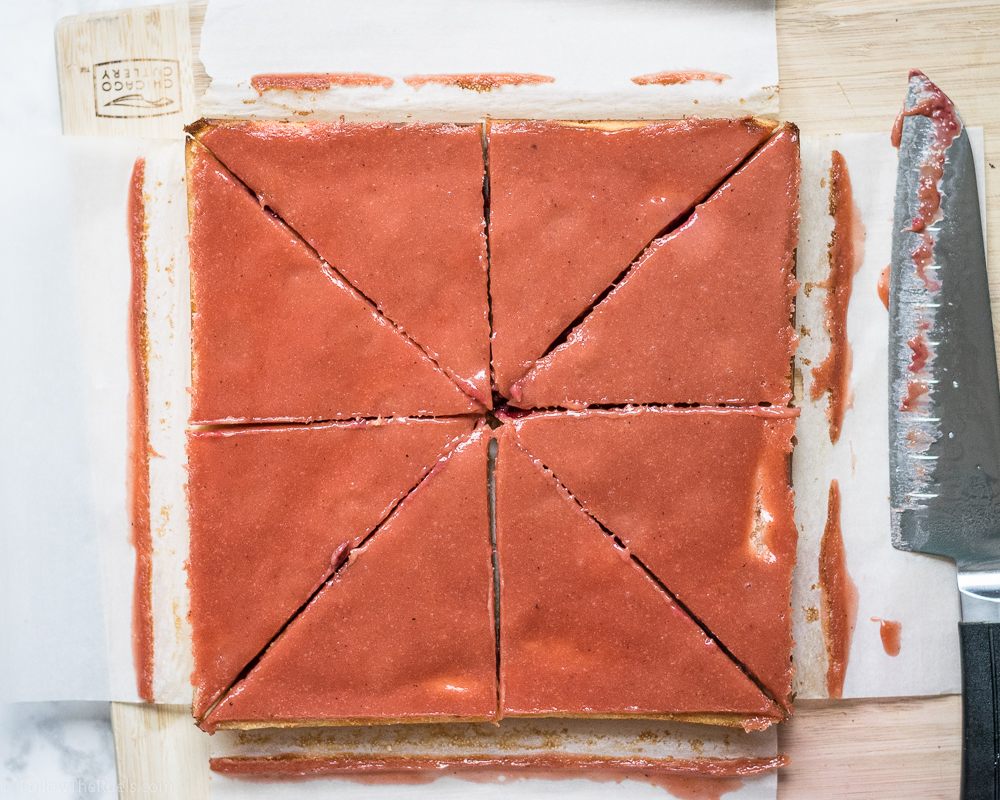
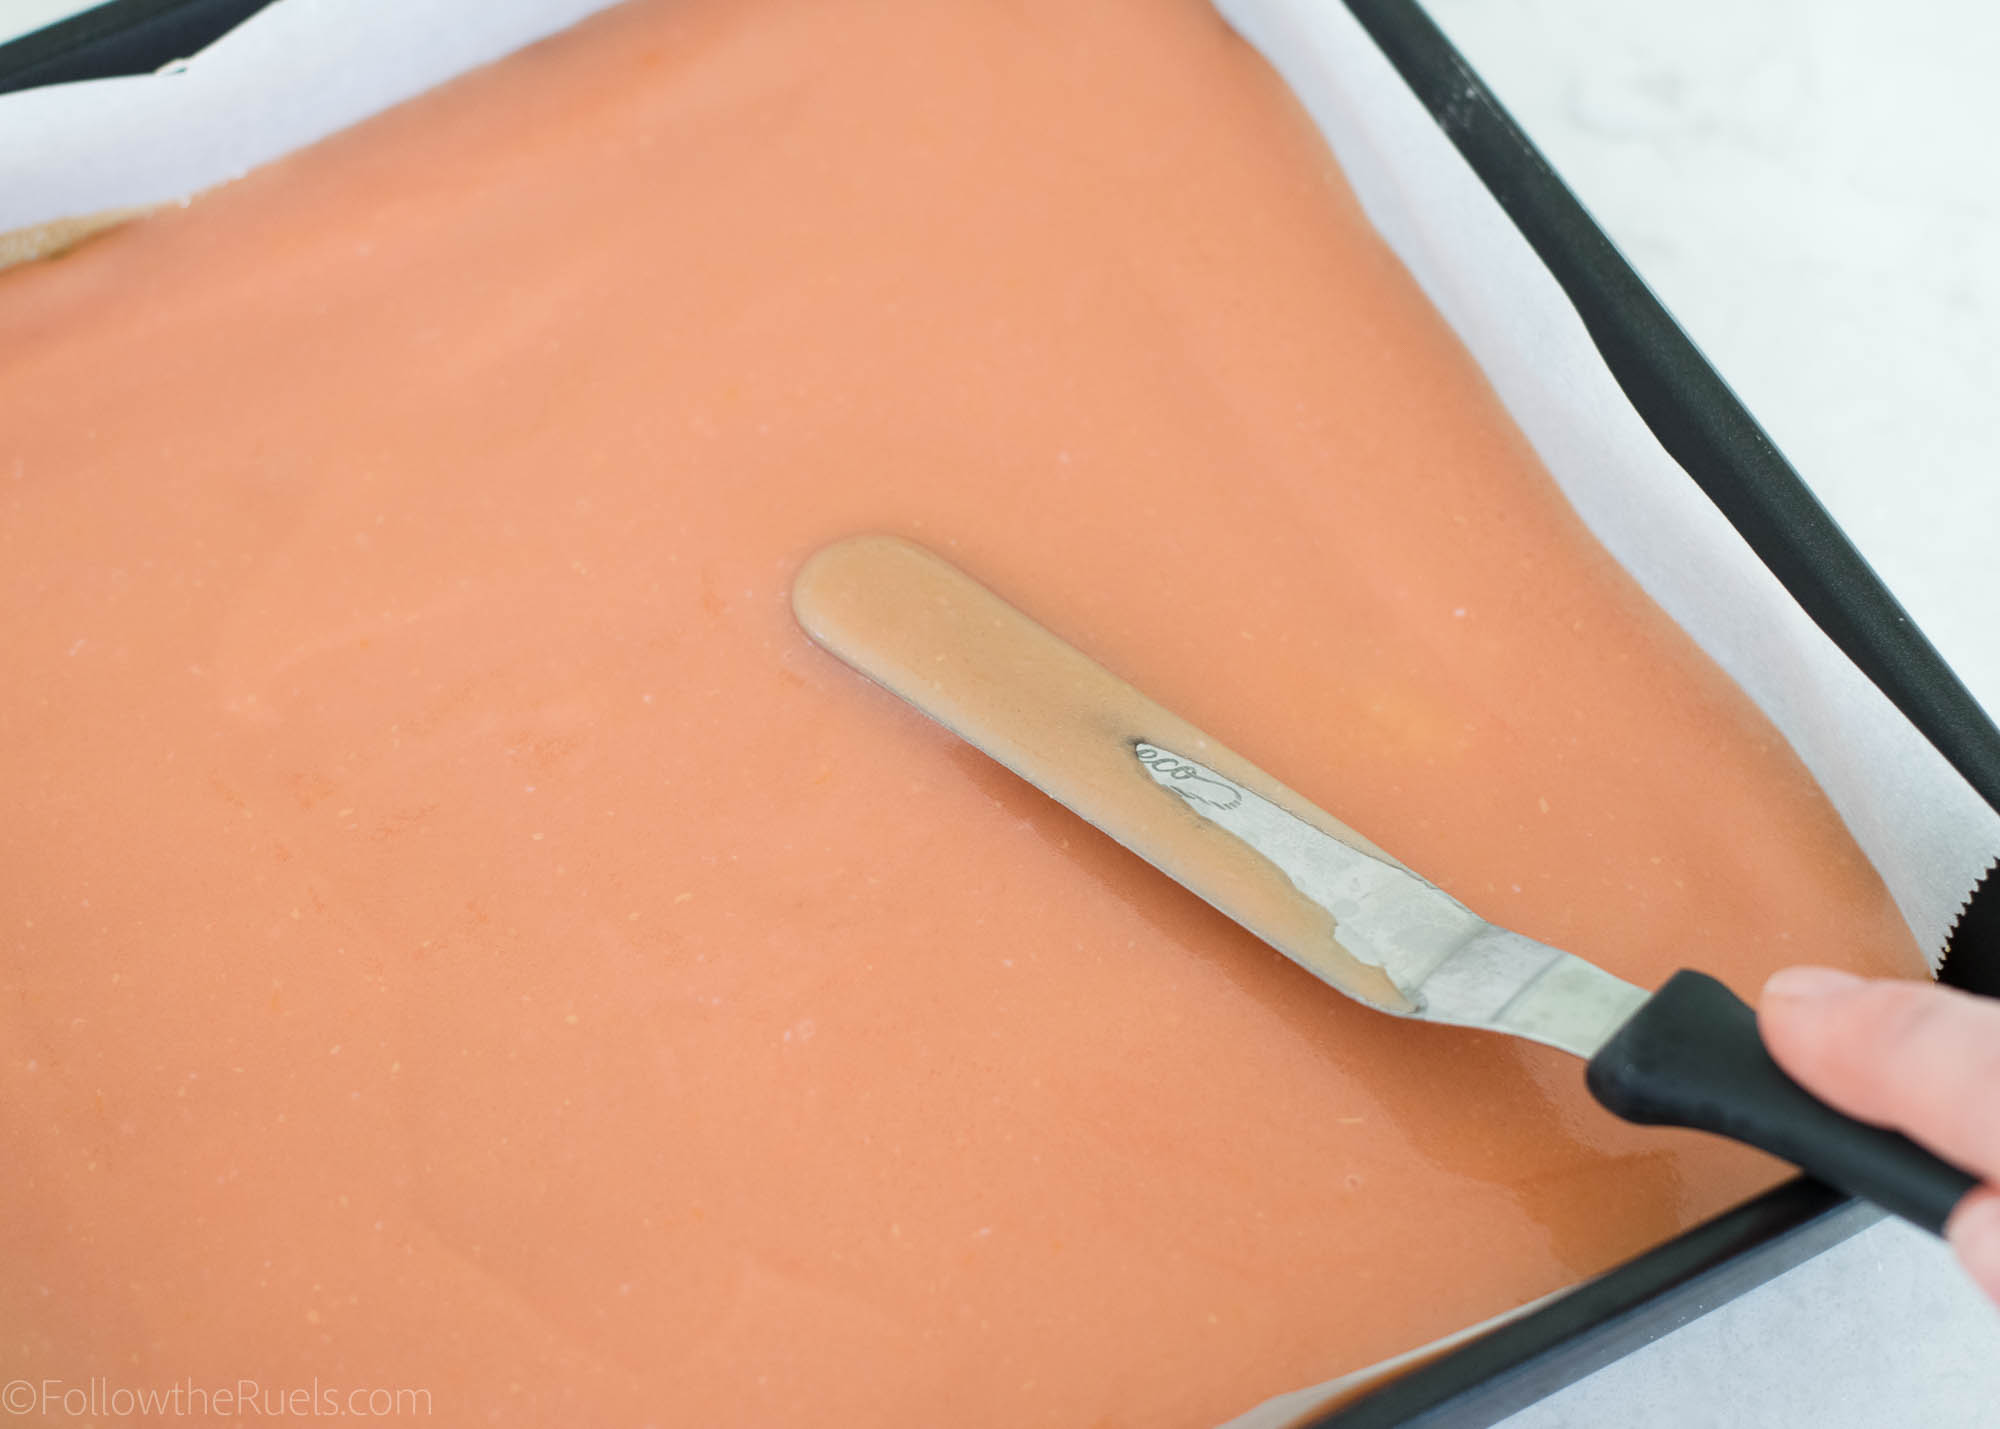
Pour the batter over the baked and cooled crust, then pop back into the oven to bake for a few more minutes. 

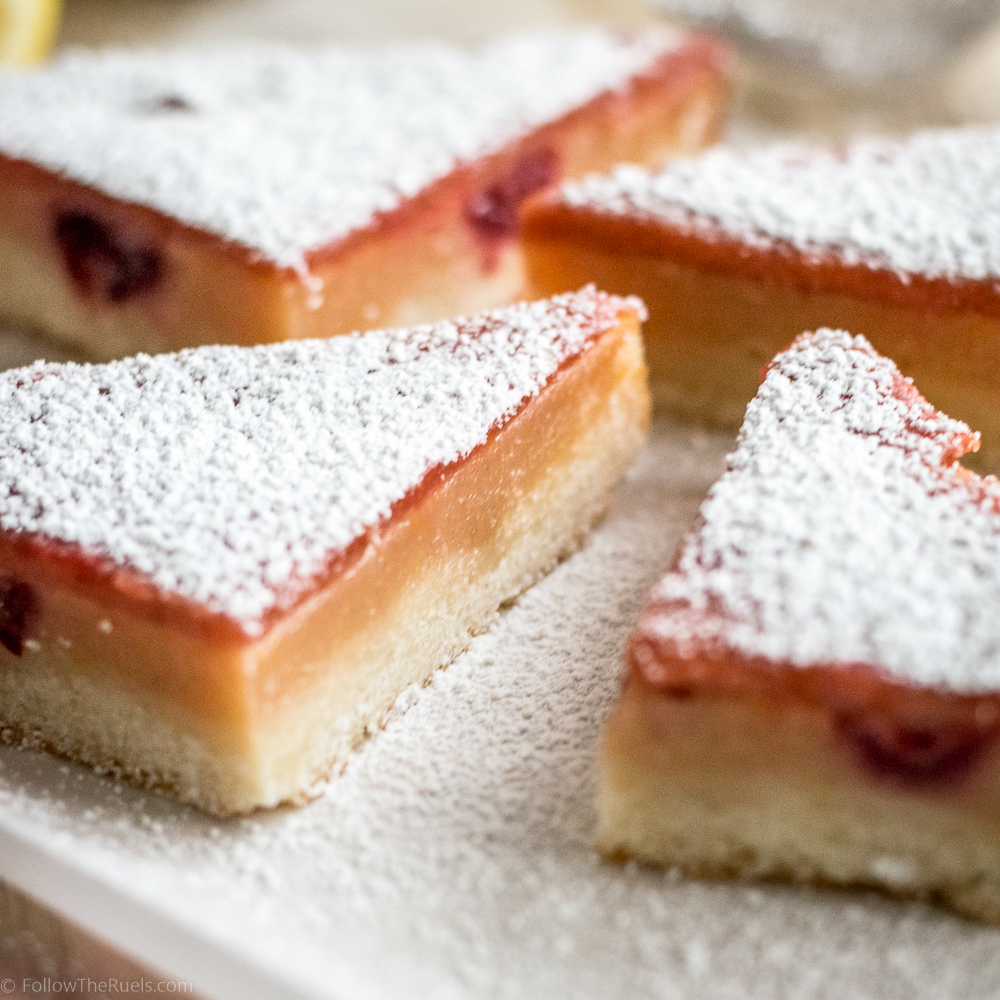
Once it’s done baking you have a couple options. You can leave it as is and just top with a bit of powdered sugar, slice, and eat. 

Or you can top with some blood orange curd for extra blood orange flavor! 

I clearly prefer the latter because it not only amplifies the flavor, but it also makes the bars look so polished and professional, with only a little bit more effort. 


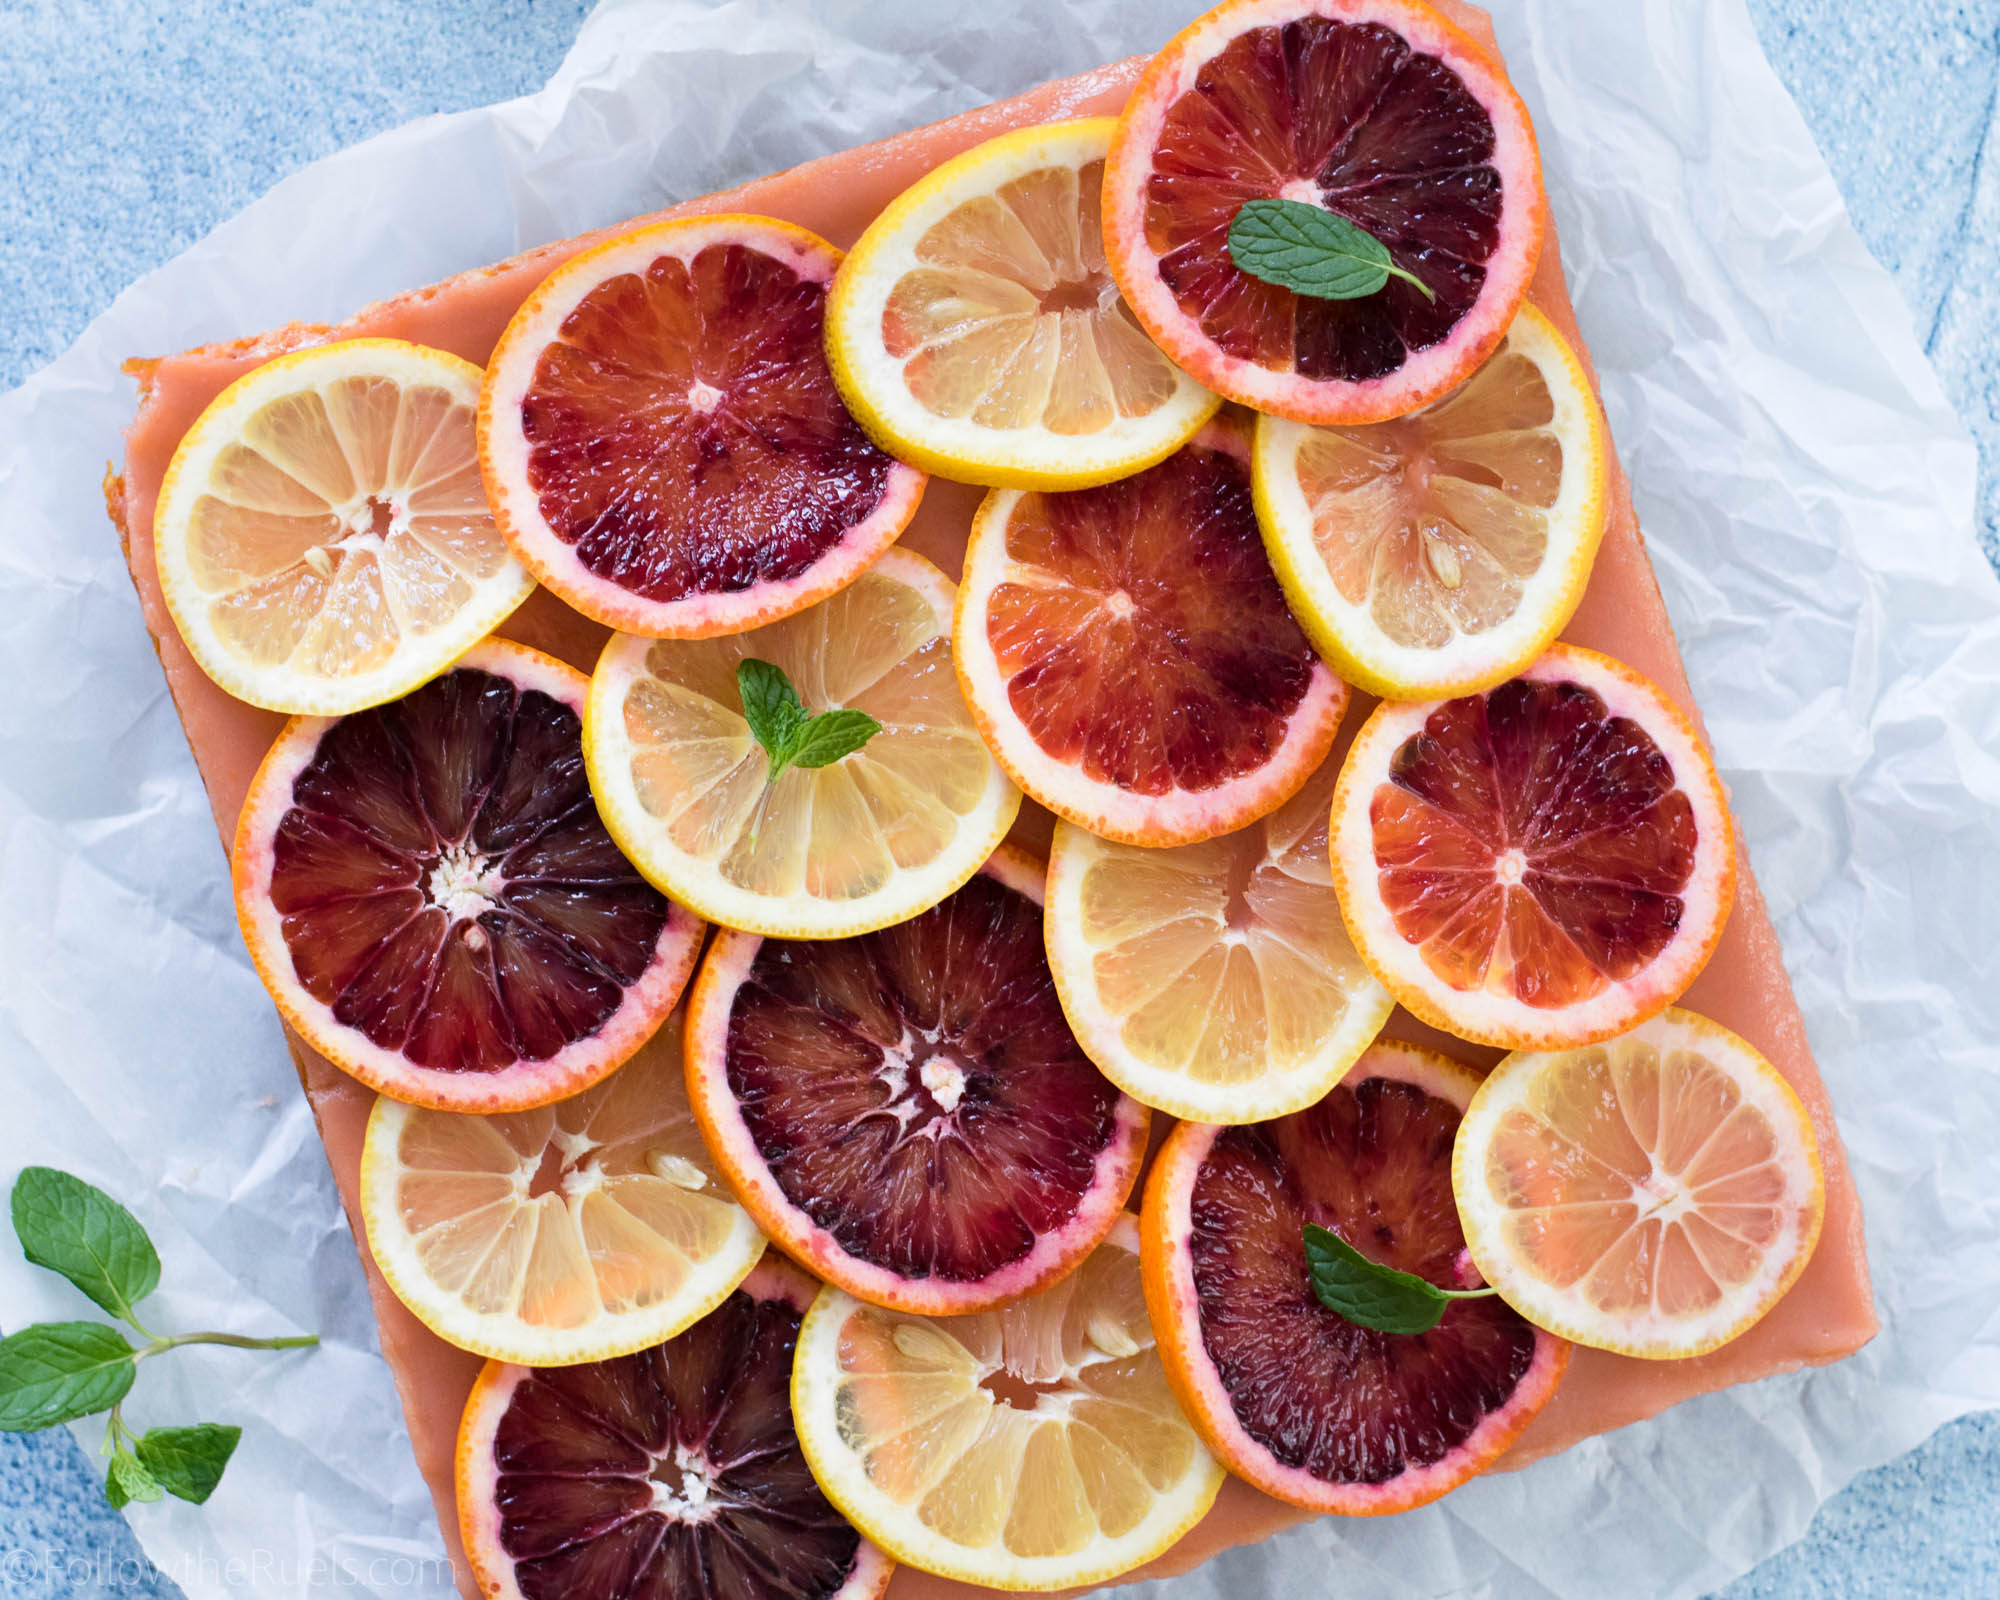
Now, this last step is definitely optional. I really only did it for the photos because these blood oranges are just so pretty! 

I sliced up an orange and a lemon as thinly as possible and then layered them on top of the bars. If I were to make these again, I would actually candy the lemon and orange slices first because they were a bit too juicy. 

But it looks so pretty!

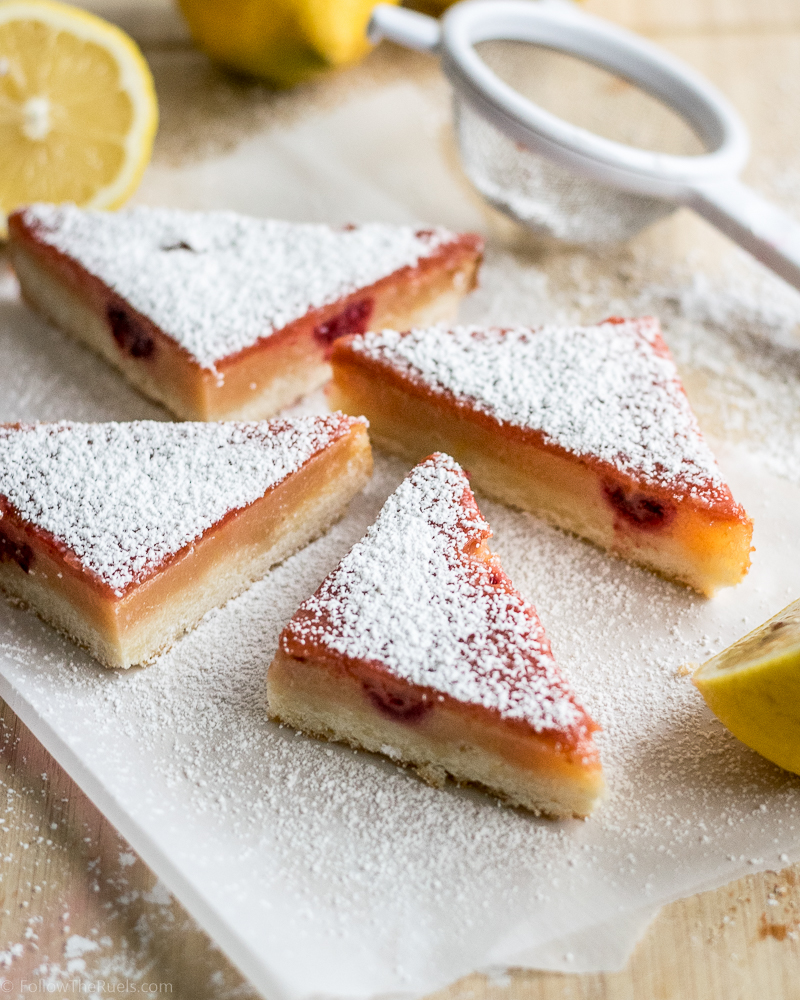
Insert heart eyes emoji here. I am so in love with how these look, I almost forgot to mention how amazing they taste.

Insert another heart eyes emoji. I mean, I already have a place in my heart for regular ol’ lemon bars. But these just push it to another level. They have a bit of an orange flavor, but the lemon still comes through. Mostly, I just love the color and the extra layer of citrus flavor. 

Once these blood orange lemon bars were sliced into (irregularly shaped) pieces, I wasted very little time gobbling a few down. 

They pair very well with a blood orange margarita…I assume…I am definitely not speaking from experience. 😉

[yumprint-recipe id=’165′]

/ Filed In: Bars and Brownies, Desserts, Eat, Other Sweets New
Tagged: blood orange, citrus, crust, dessert, lemon, lemon bars, orange, shortbread

Delicious Raspberry Lemon Bars

April 12, 2017

Two of my favorite things in life: raspberries and lemons. Love them together, love them separately. But boy are they good together. 

As a lemon lover, you better believe I can throw down some lemon bars. They are one of my absolute favorite desserts (Exhibit A: It is my one and only Paleo dessert recipe)! You know what makes them even better? You guessed it! Raspberries! Every bite of these raspberry lemon bars is like drinking raspberry lemonade while eating your favorite lemon bar. Which I could totally go for right about now. 


These little lemon bars are made up of three layers. Only two are necessary, but I recommend all three. The first is the crumbly crust.

To make the crust mix together butter, sugar, flour, and lemon zest. To make this easier on yourself, you use food processor to form it into a crumbly dough. If you like to work for your food, then you can use a pastry cutter, a couple knives or forks, or just your hands. They all work great!

Once the dough has sort of formed into a ball, dump it into a square pan and press it down into the bottom and a little bit up the sides. Take a fork and stab it a couple times to make sure that no big air bubbles form. Then pop it in the oven to par bake for a couple minutes while you get the filling ready. 


The filling is lemon juice, lemon zest, sugar, eggs, a bit of flour, and some raspberry juice. 

To get the raspberry juice, blend the raspberries with a bit of the lemon juice and then strain it back into the measuring cup before adding it to the filling. Once it’s mixed all together, you just pour the filling right into the crust and then bake for another few minutes. 

To add even more raspberry to these raspberry lemon bars, you can sprinkle some raspberries into the filling so that there is a little bit of raspberry in each bite. 

At the last minute, I decided that there just wasn’t enough raspberry for me, so I decided to make a raspberry curd to go on top. 

Raspberry curd is exactly like lemon curd, except you substitute some raspberries for lemon juice. It sounds fancy, but it takes less than 10 minutes to make! Once the lemon curd has cooled a bit, you can spread it over the baked lemon bars, then pop then in the fridge to chill. 

I like to let my raspberry lemon bars chill at least a couple hours so that all the layers set and they are a whole lot easier to cut. Just look at those layers! Crunchy, crumbly crust, topped with a sweet raspberry-lemon filling, topped with a raspberry curd. I could just dive right through this computer screen and take a bite. 

And don’t forget those little pieces of raspberries! Since the raspberry flavor isn’t overwhelming, it’s nice to get that little pop of berry to balance out the sour lemon.

Now go run off and make these and let me know what you think! If you are a lemon bar lover like me, I would love to know if you like this raspberry version even better!


[amd-yrecipe-recipe:144]

/ Filed In: Bars and Brownies, Desserts, Eat, Other Sweets New
Tagged: crust, dessert, lemon, lemon bars, lemon curd, raspberry, raspberry curd

Follow

Hey There!

Hey there, I'm Lindsey. I'm a number cruncher by day and a home cook and baker by night. While I love to eat healthy and find fresh and healthy alternatives for my favorite foods, I will never turn down dessert! Life is all about moderation, right?

Recipes

  • All Recipes
  • Breakfast
  • Appetizers
  • Salads
  • Main Dishes
  • Side Dishes
  • Desserts
  • Drinks

Favorite Finds

[show_lookbook_widget id=”388783″]

Theme by 17th Avenue · Powered by WordPress & Genesis