• Home
  • Eat
    • Breakfast
    • Appetizers
    • Main Dishes
      • Chicken
      • Beef
      • Seafood
      • Healthy Dishes
      • Paleo Dishes
      • Salads
    • Desserts
      • Decorated Cookies
      • Cookies
      • Bars and Brownies
      • Cakes and Cupcakes
  • Shop
    • Cookie Decorating Supplies
    • Bakeware
    • Cookware
    • Kitchen Gadgets
    • House
  • About
    • Contact
    • Bucket List
  • Cookie Decorating 101

Follow the Ruels

S’more Rice Krispie Treats

July 5, 2018

There are so many recipes that I make at home that never make it to the blog. Some I photograph, but the finished product just doesn’t look or taste right. 

Others I make, but never photograph, only having to make them again. 

This was almost one of those recipes. 

After the weather threatened our chances at making actual s’mores for our 4th of July cookout, I thought I would try something a little different. A total experiment. S’more Rice Krispie Treats!

However, after I made these and served them to my husband and neighbors, it was determined that they HAD TO GO ON THE BLOG.

My very picky husband literally called these S’more Rice Krispie Treats “amazing”. 

So here they are, on the blog….with almost no photos. Don’t worry, though. They are very easy to make and require very little visual guidance.

How to Make Them.
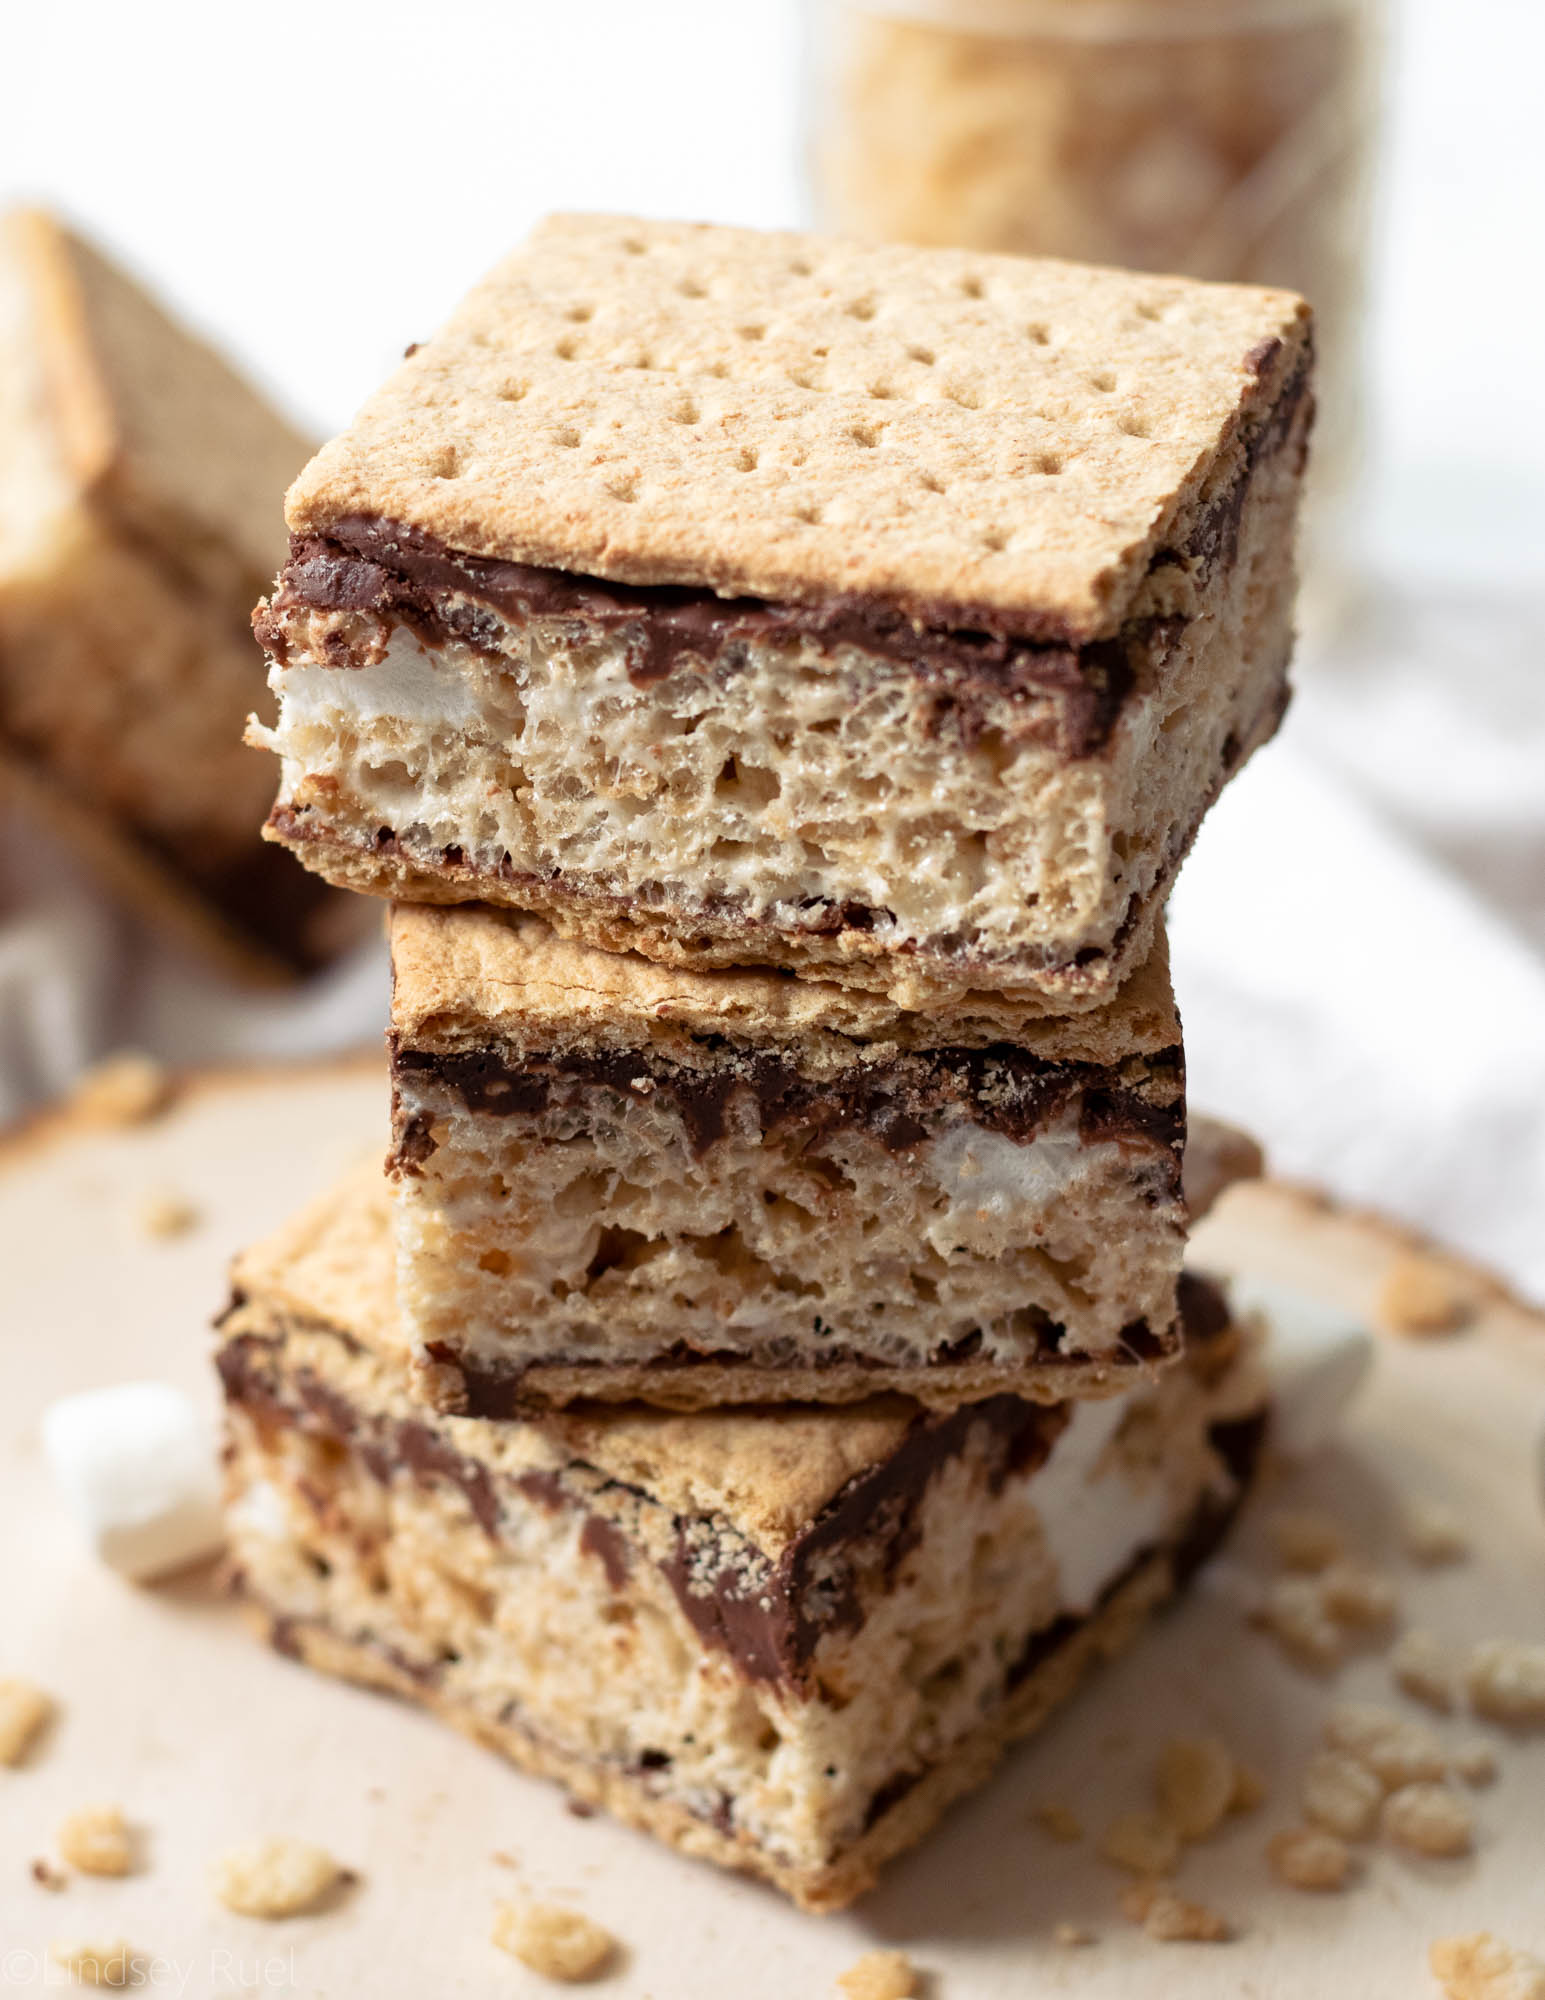
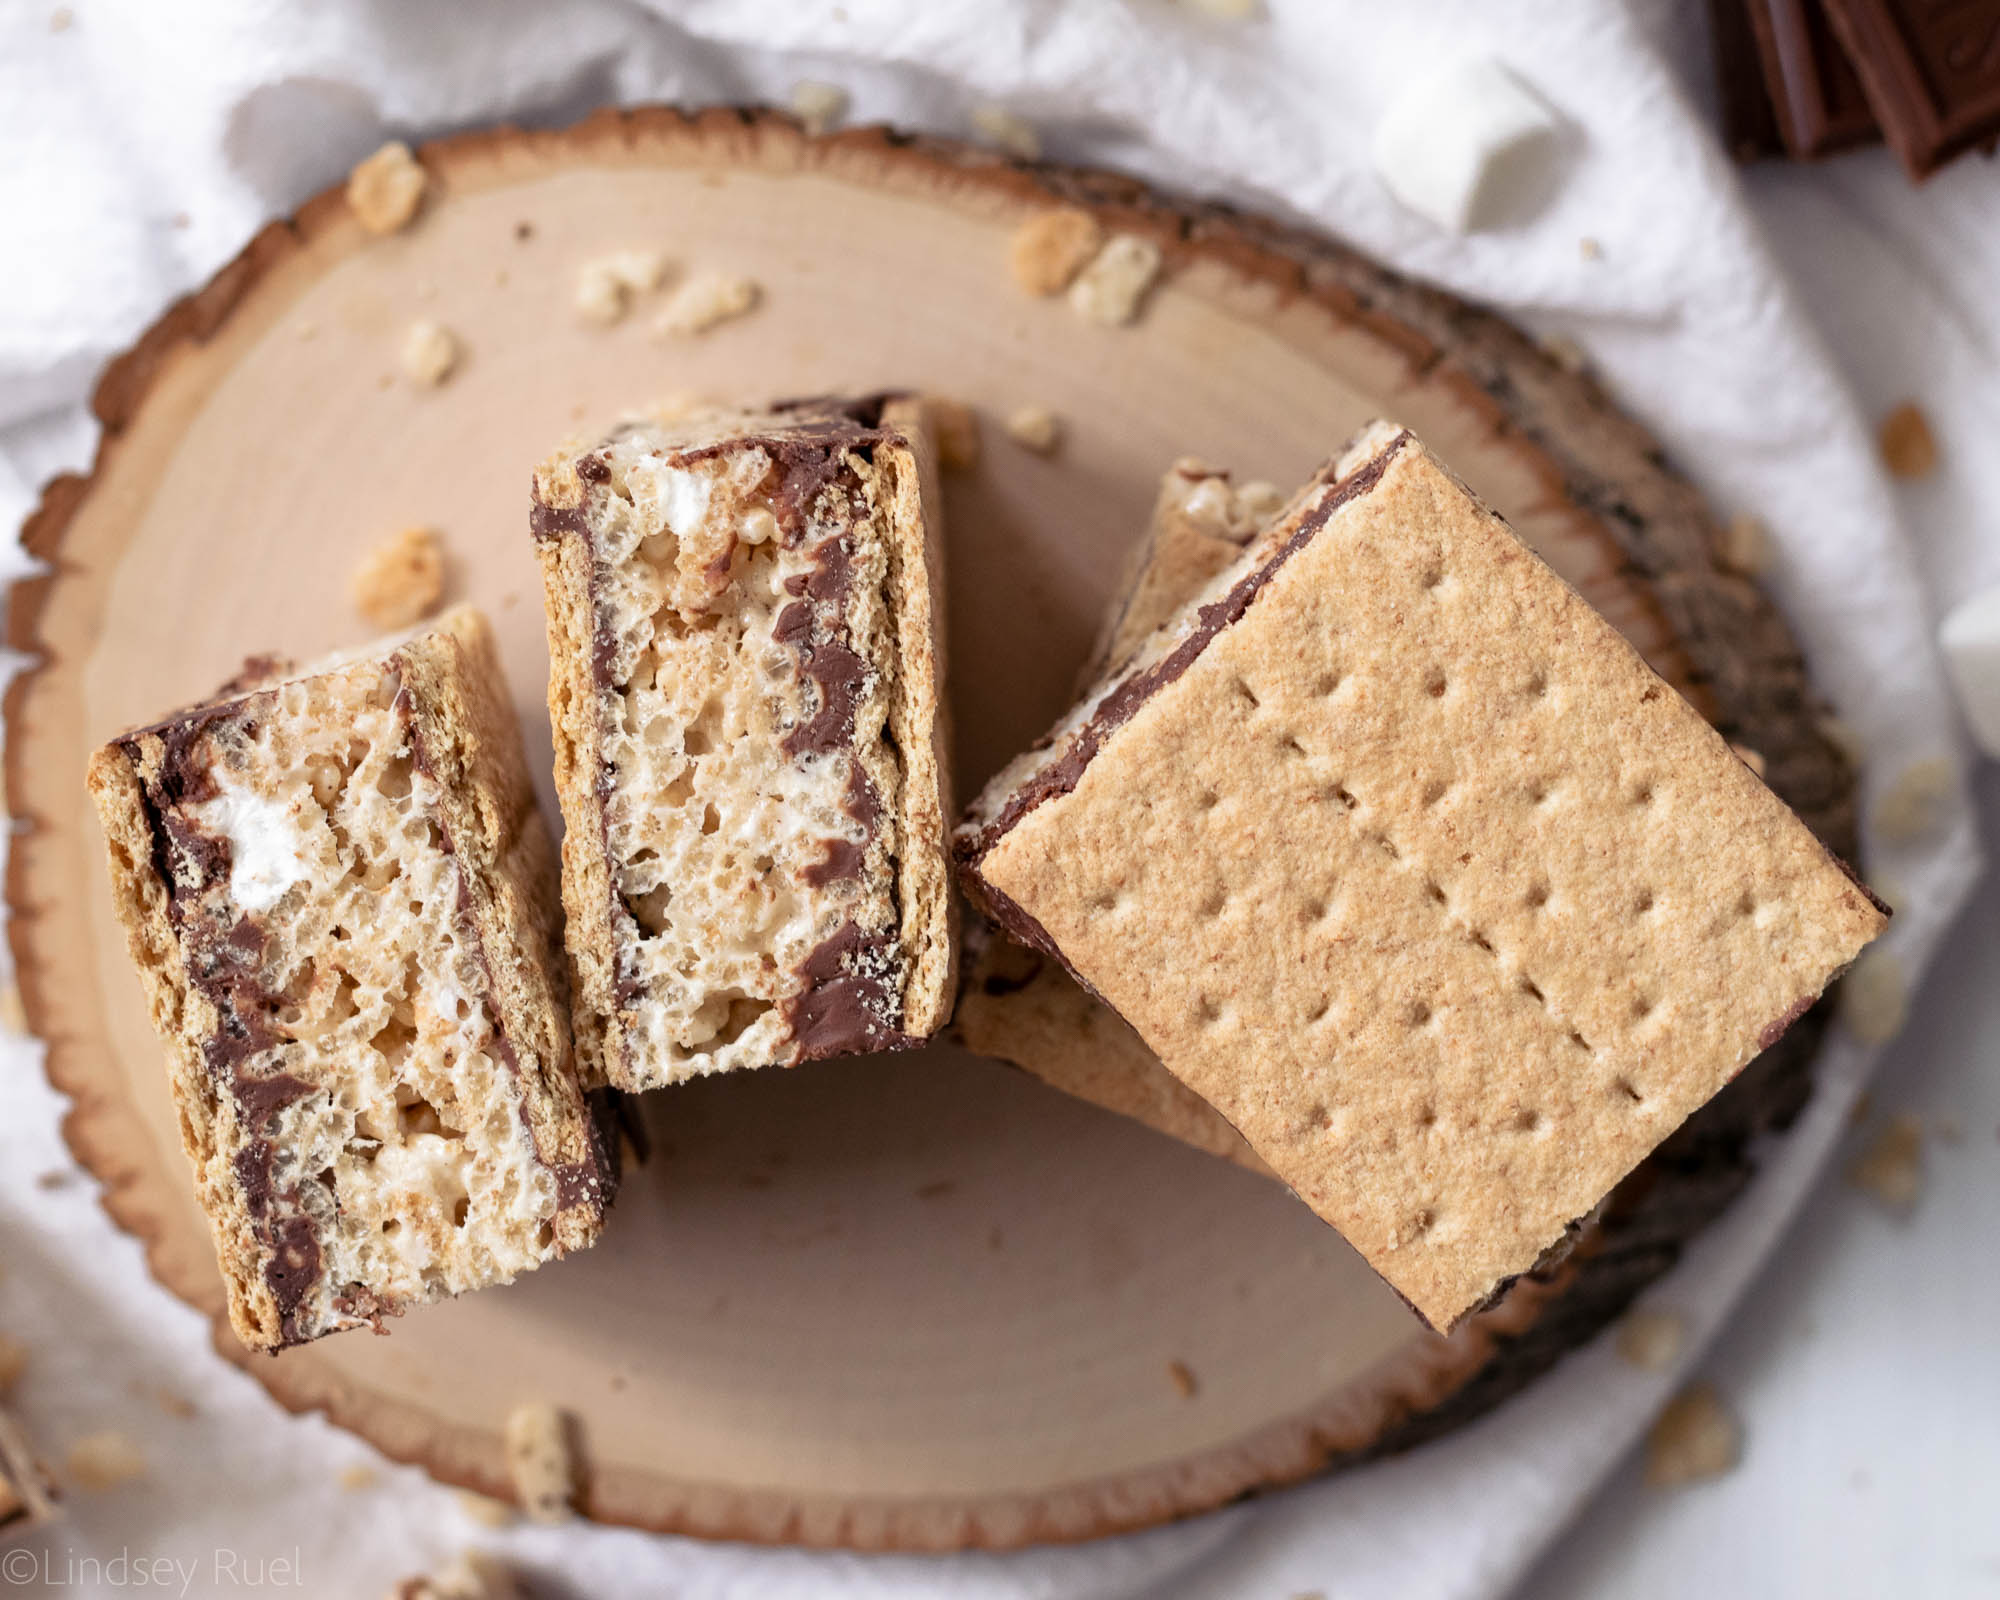
First, lay down a layer of graham crackers. My square baking dish didn’t fit them perfectly, so I had to break a few in half to get the entire bottom of the pan covered in graham crackers. 

Then, pour melted chocolate over the graham crackers and carefully spread it out so that there is a nice thin layer of chocolate over the crackers. 

Now it’s time to make the Rice Krispie treats! Follow the directions on the box or make your very own version of the classic and then dump the Rice Krispie mix on top of the chocolate covered crackers. Use a spatula to press the Rice Krispies down into the chocolate so that the entire pan is full. 
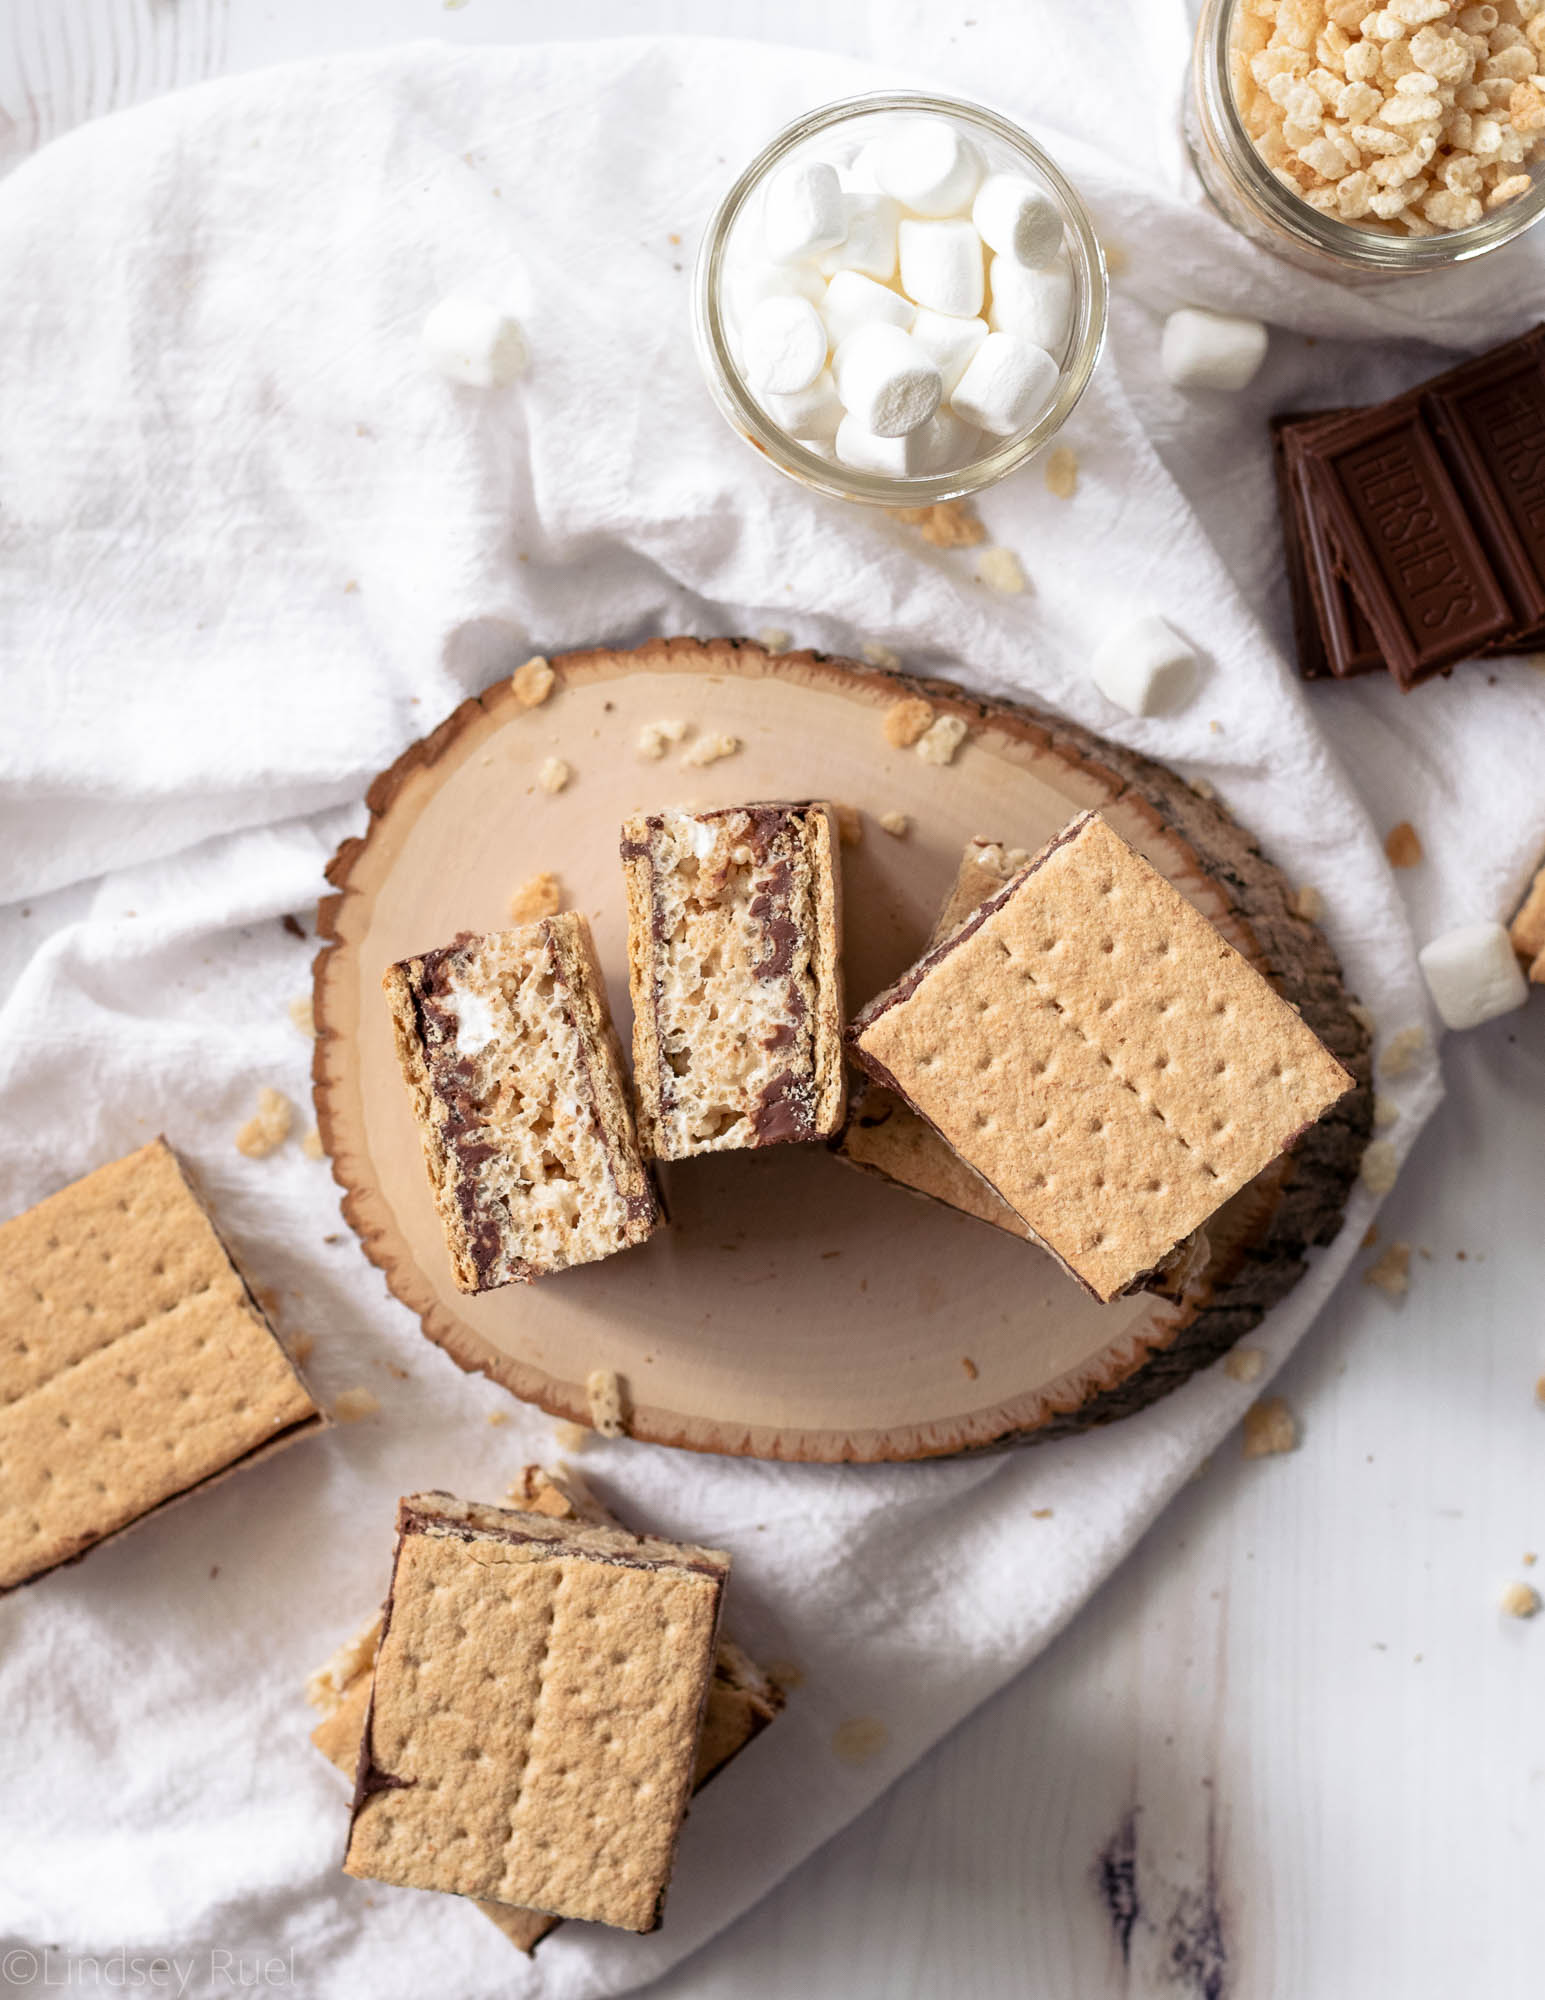
Then do everything in reverse! Melt some more chocolate, pour and spread it on top of the Rice Krispie treats, then top with more graham crackers. 

Let the entire thing sit and harden for about 30 minutes or until the chocolate has hardened. 

Finally, cut them into squares. You can use the top graham crackers as a guide, but they may not line up perfectly with the bottom grahams. 

See, so easy right? 

Recipe

[yumprint-recipe id=’188′]
/ Filed In: Bars and Brownies, Desserts, Eat, Other Sweets New
Tagged: 4th of July, chocolate, dessert, graham crackers, kid friendly, marshmallows, no-bake dessert, Rice Krispie treats, s'mores, Summer

Easy Coloring Book Cookies for Easter

March 30, 2018

If you are looking for a fun activity to make with the kiddos over the Easter weekend, I’ve got you covered! Check out these super easy and oh-so-cute coloring book cookies in some favorite Easter shapes. These cookies were both a lot of fun for me to make and to color. 

Why yes, I did color these in myself. I didn’t have any kids to test these out on, and I don’t think it would have gone over well if I had asked strangers to borrow theirs. Don’t worry, these particular cookies are off to Texas and will hopefully make it in time for Easter. 

How to Make Them

The first thing to making these cookies is to cover them with white icing or fondant. I used fondant because fondant is a little bit more forgiving when it comes to painting on cookies. For instance, if you add too much watercolor to dried royal icing, the icing will degrade and make a crater in the cookie. With the fondant, it will just get a little gummy, but will eventually dry as normal.

To cover the cookie with fondant, all you do is roll out the fondant with a fondant roller or rolling pin, cut out the cookie with the same cookie cutter used to cut out the cookie, brush some water on the back, and stick it to the cookie. Viola! 

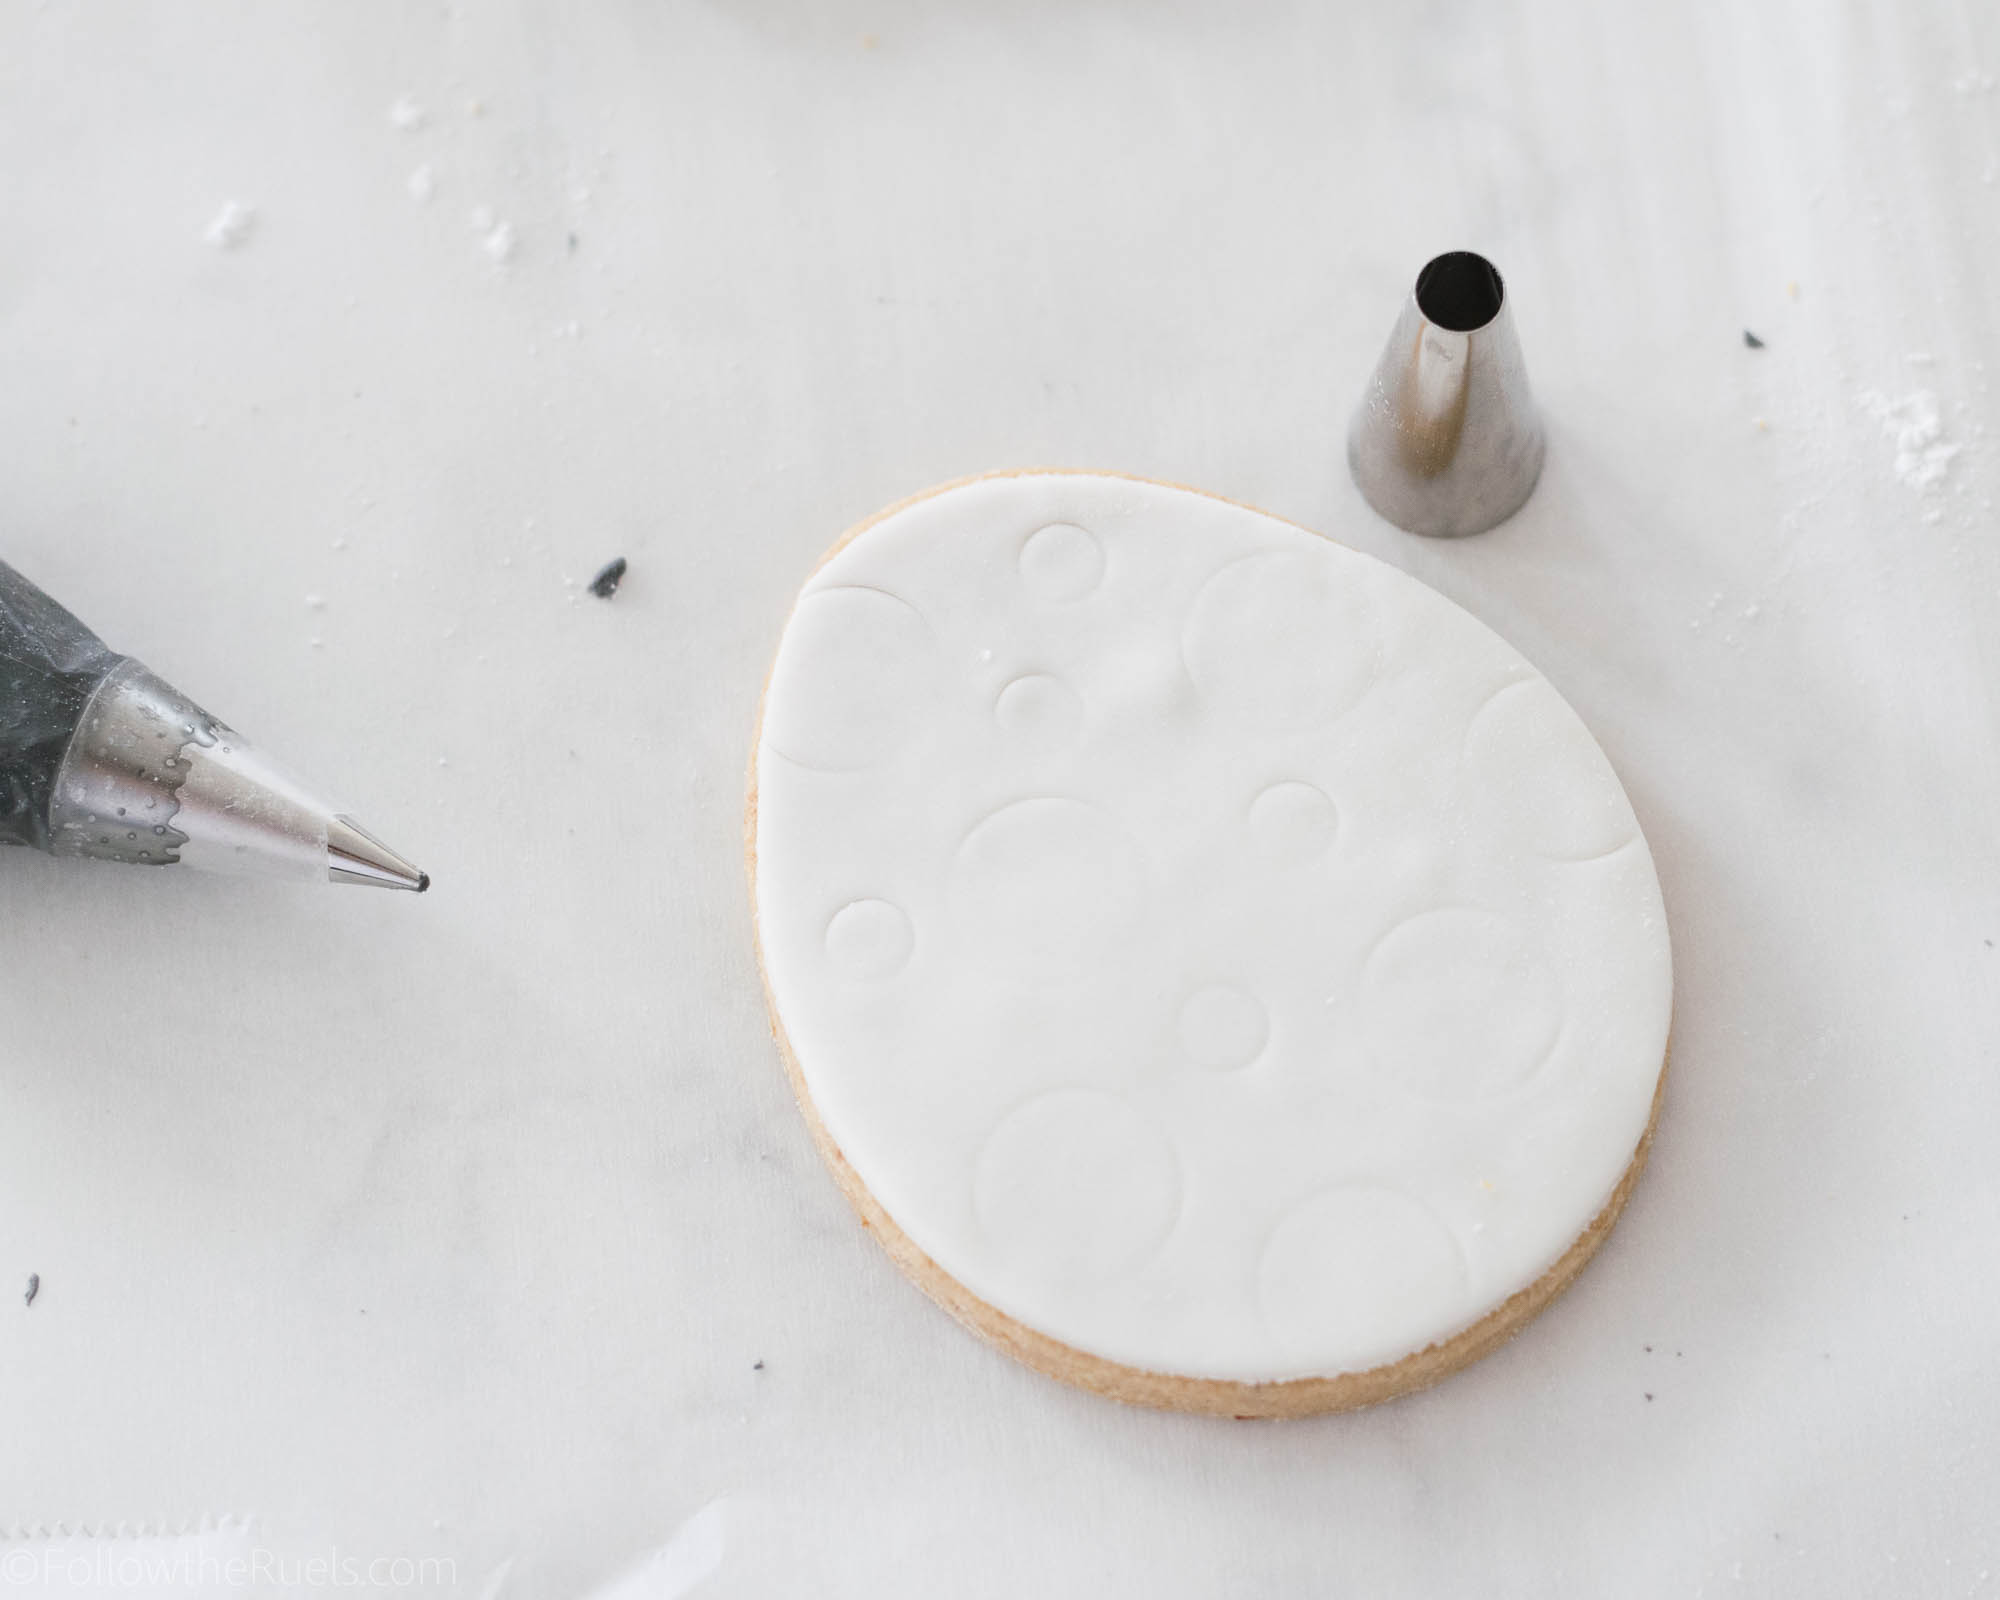
The best part, you don’t have to wait for the cookie to dry. Also, the fondant is still a bit malleable for several minutes, so you can imprint shapes or images onto it to trace later! 

Okay, I know not everyone is a fondant fan, so if I still haven’t convinced you and you would prefer to ice the cookies, I recommend this post that details how to achieve the perfect iced cookies. 

If you are team fondant, this post gives much better instruction on how to attach the fondant to the cookie.

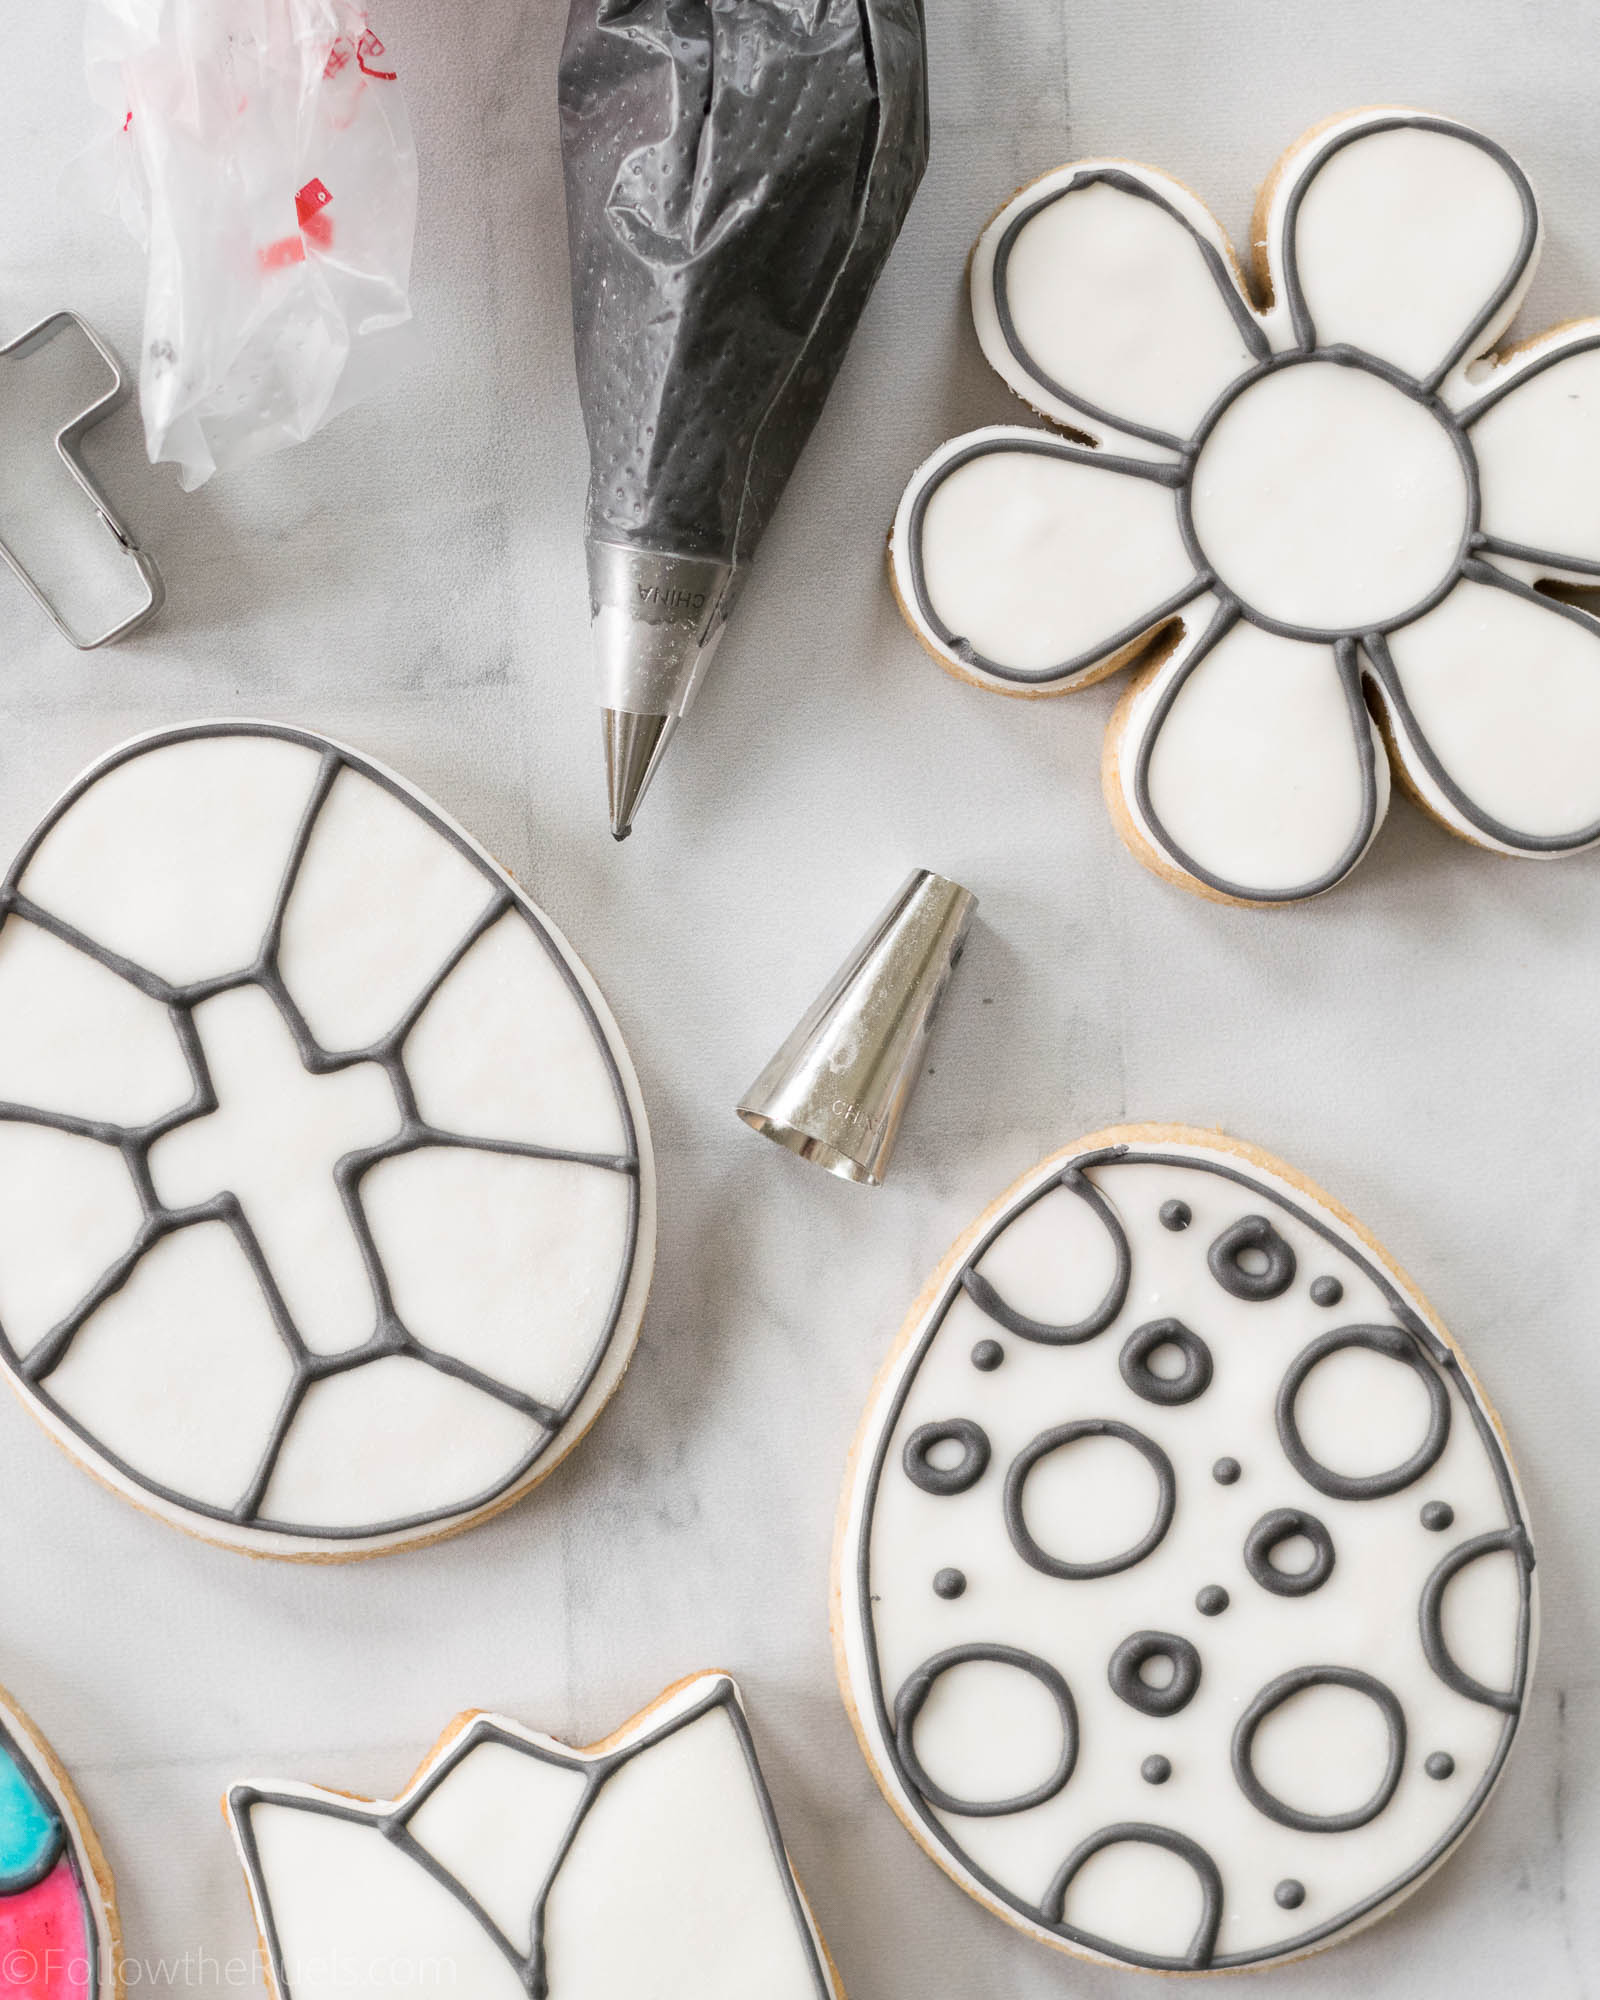
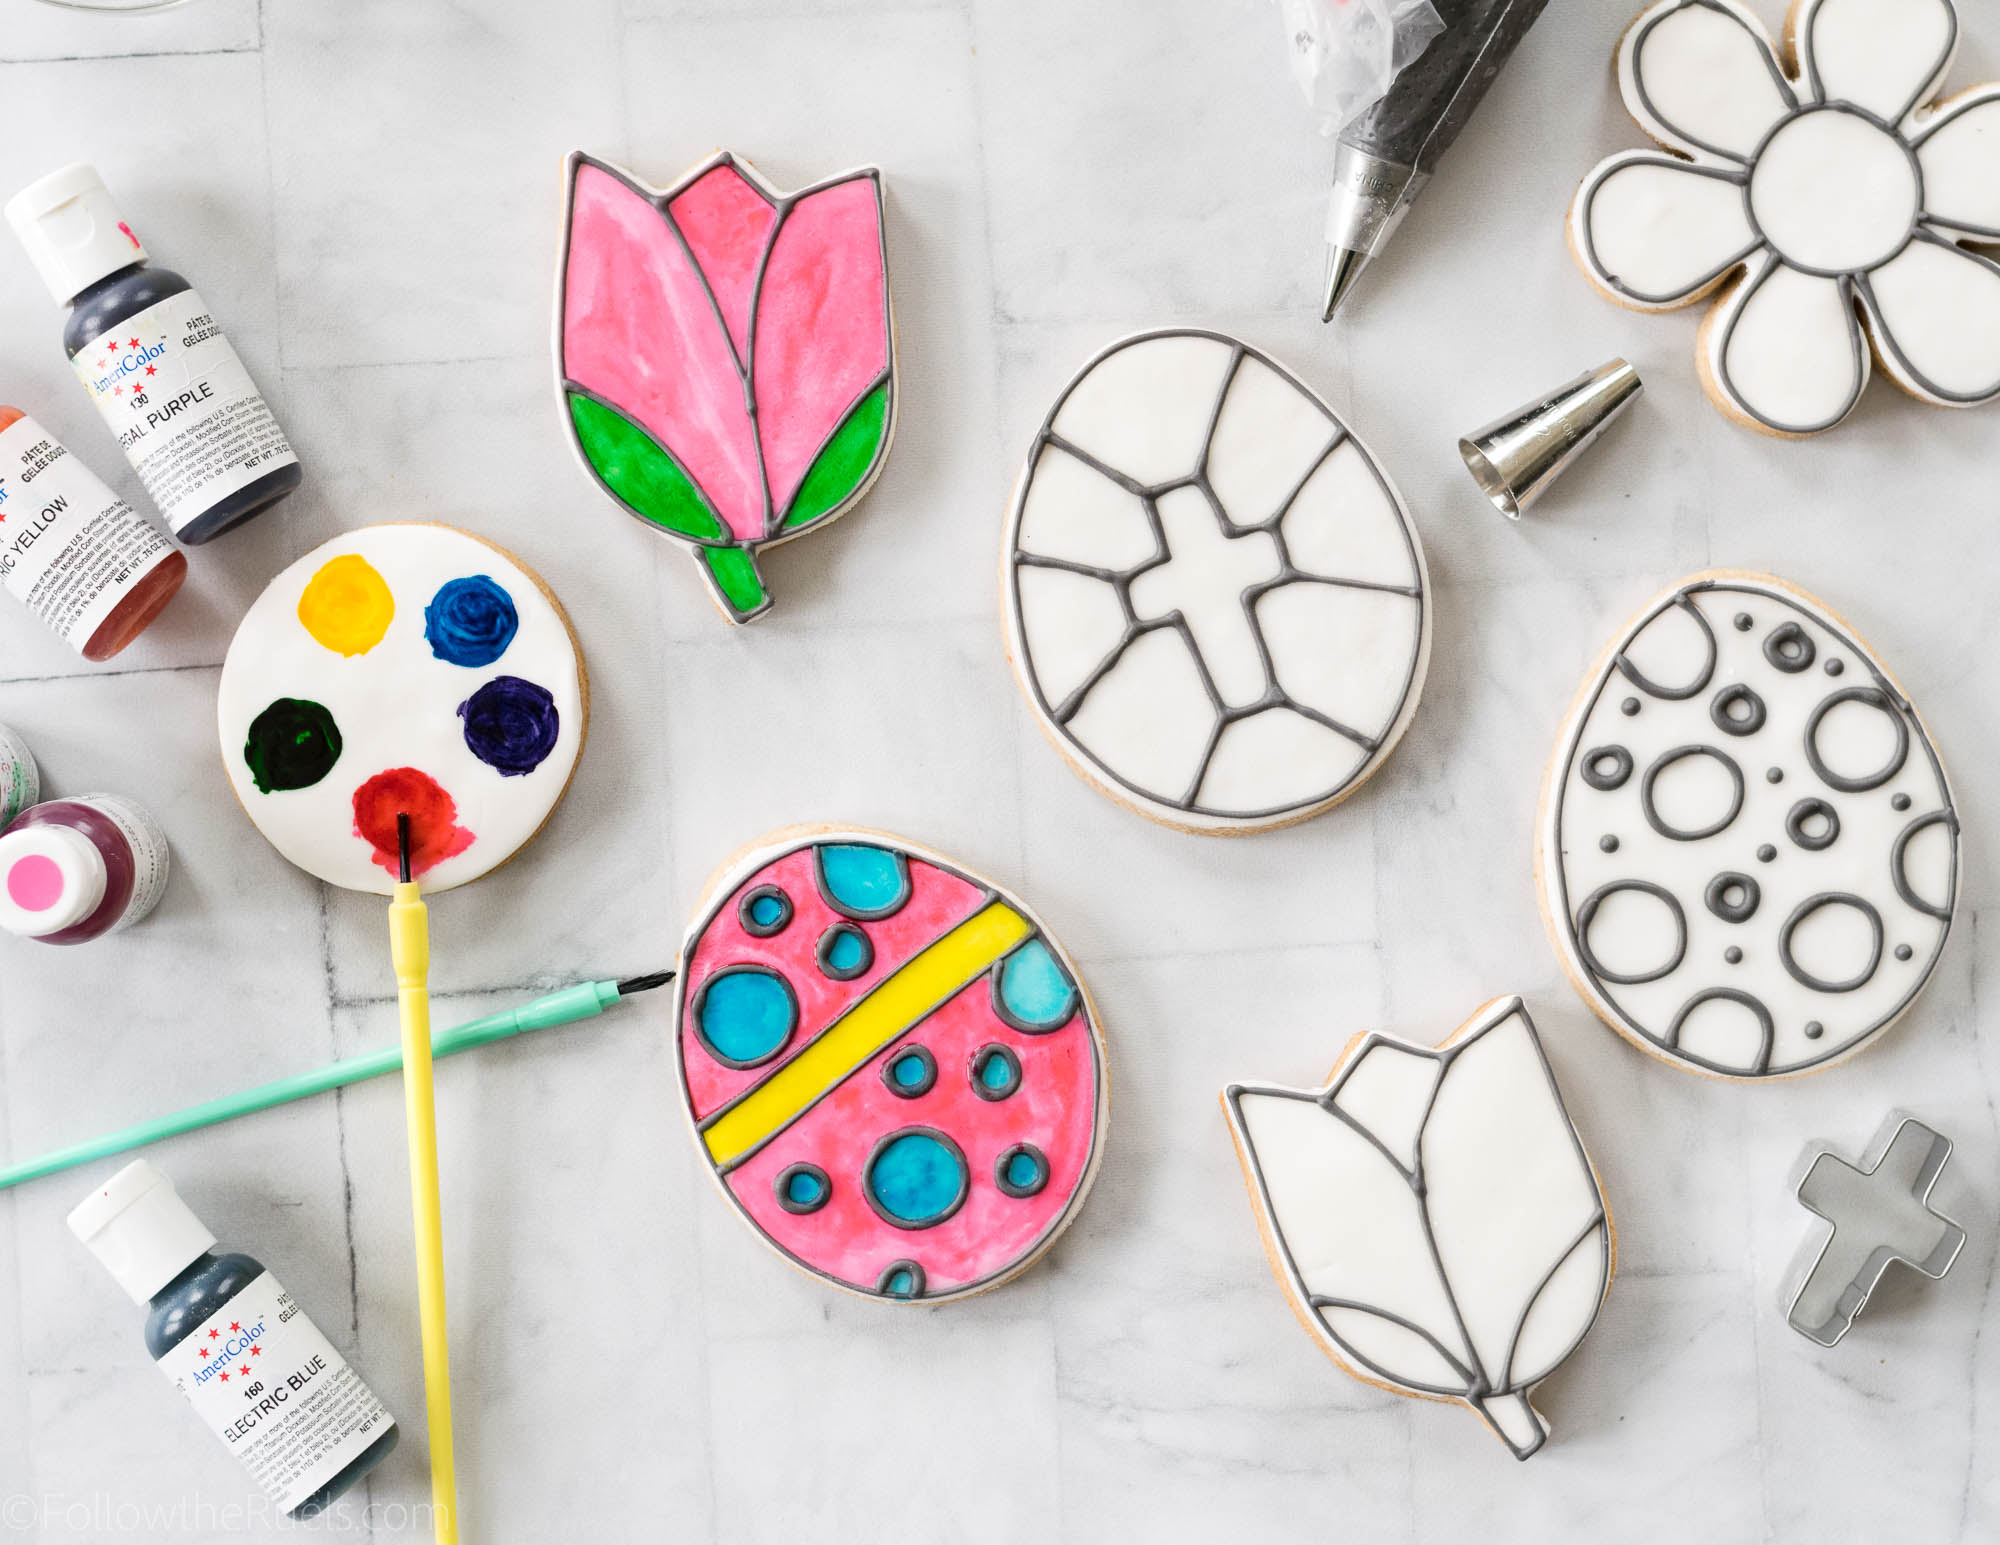
Once the cookies are iced or covered in fondant, outline the cookie with black piping consistency icing and create the image or shapes you desire. Depending on the age of the kids you are making these for, you may want to tailor your images to be more or less detailed. 

The great thing about using icing for this part, as opposed to drawing it with a black food marker, is that you have created barriers so that the kiddos are forced to stay within the lines. 

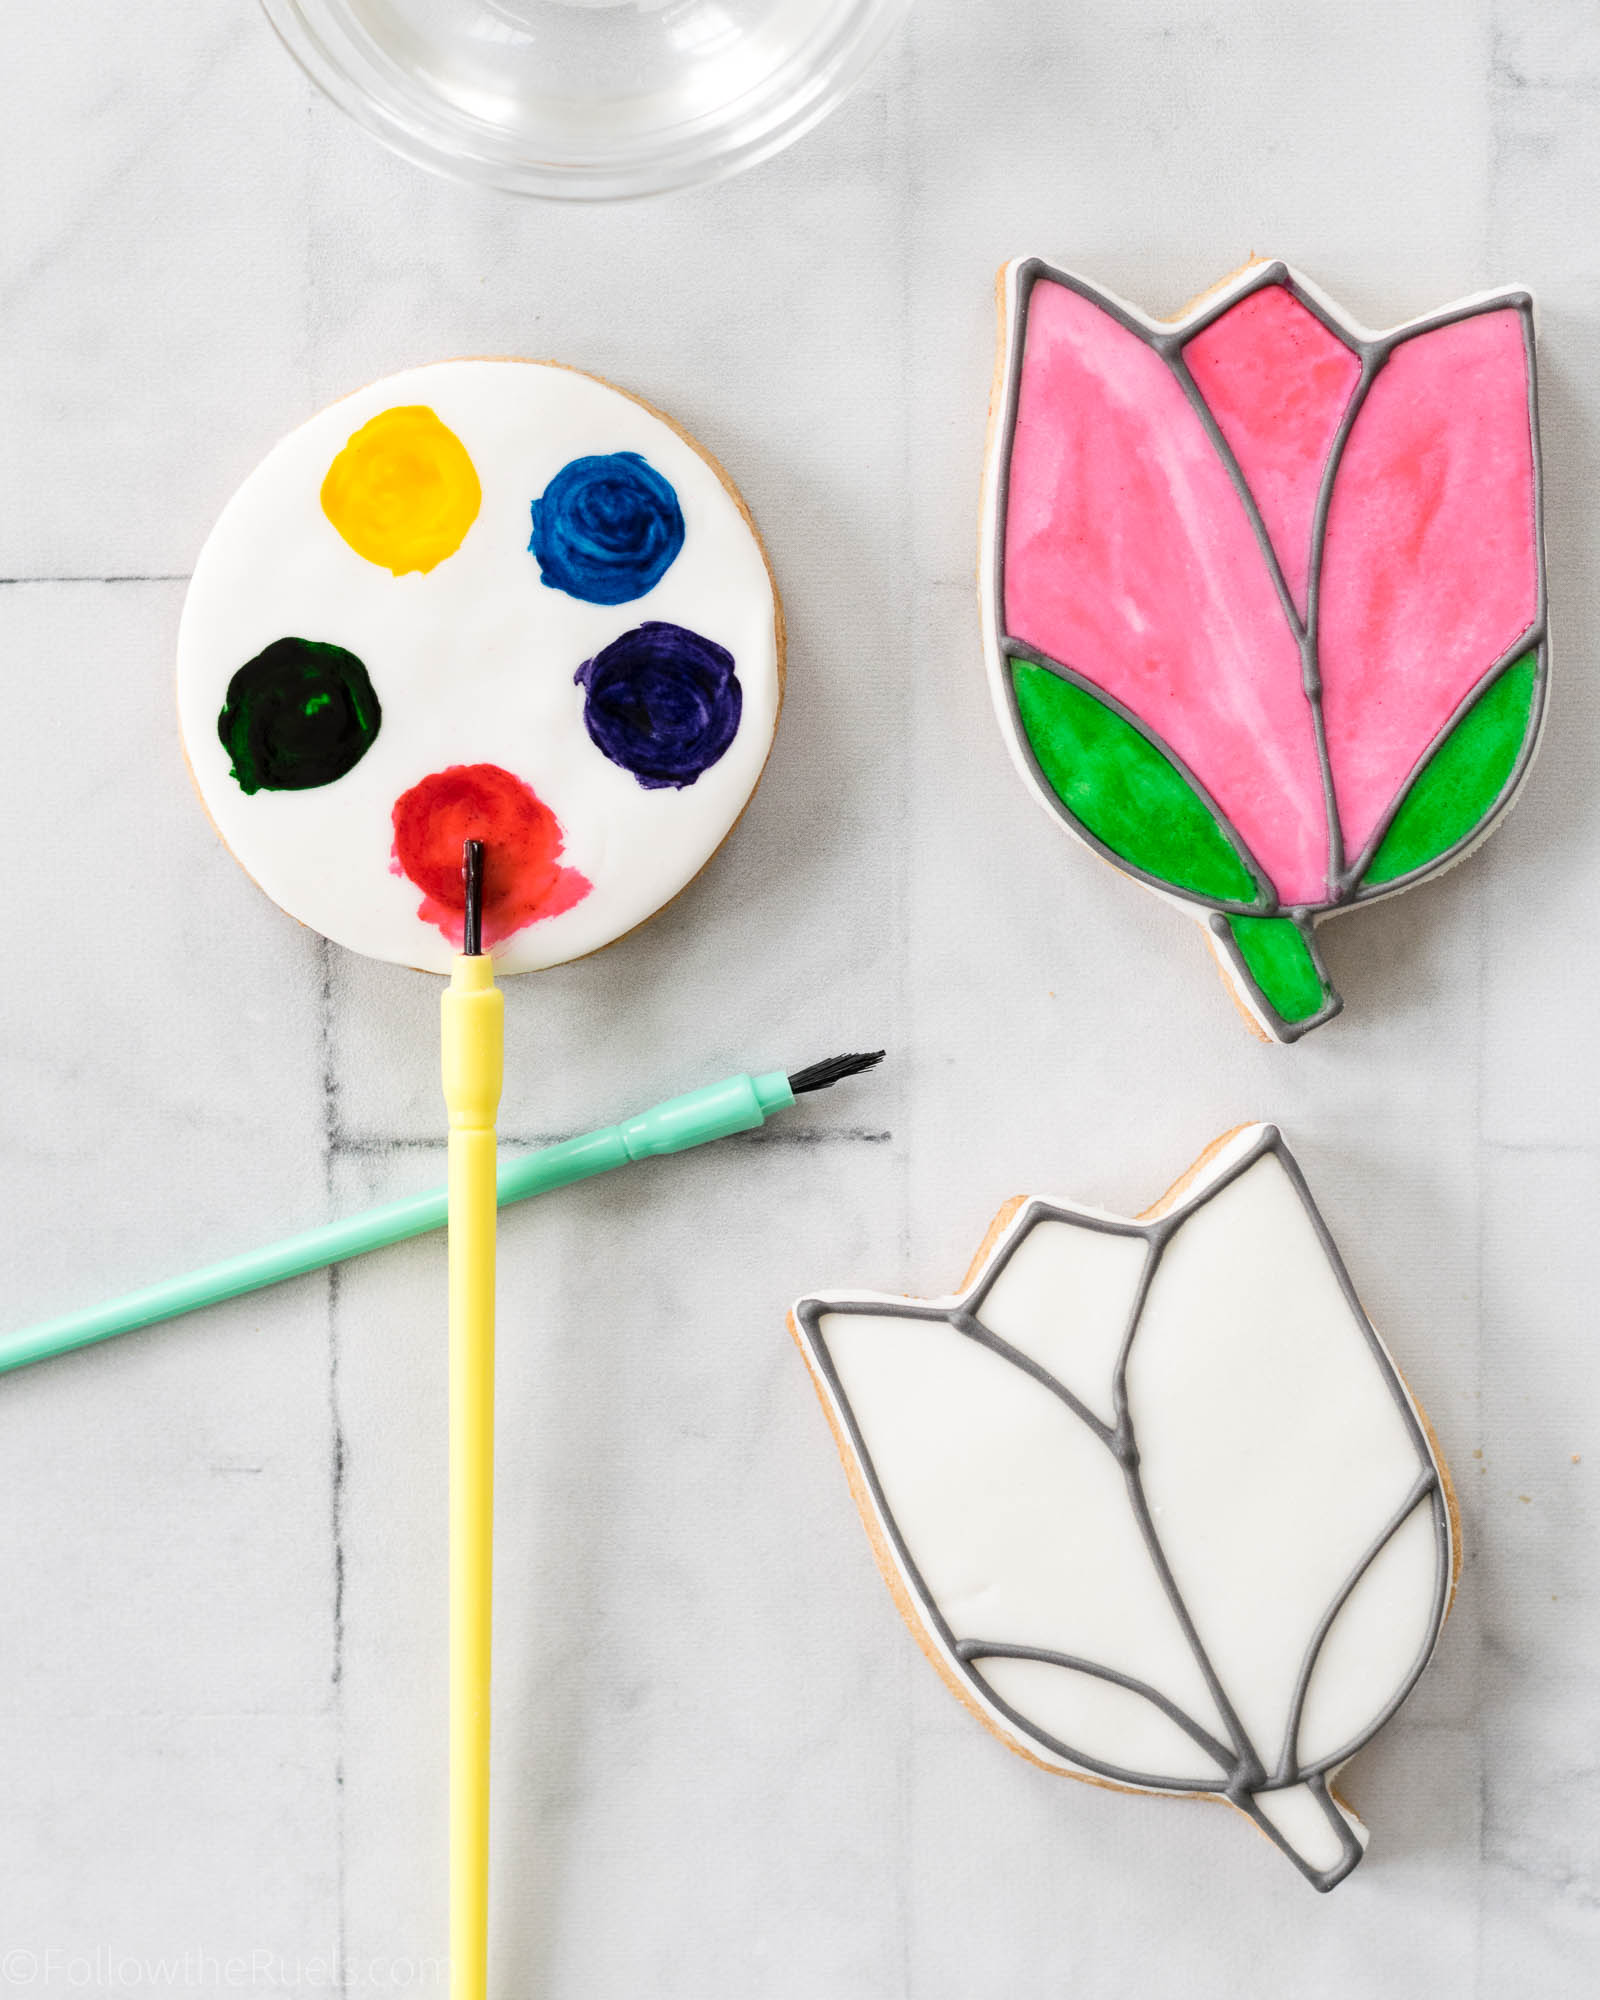
Finally, you will also want to create a little paint pallet for the kids to use. To make the pallet, I brushed drops of gel food coloring on a round cookie, then spread them out with a paint brush*. If you are transporting these cookies in any way, you will want to wait for the food coloring to dry before moving. They will still be a little tacky, but they should be dry in about 20 minutes. 

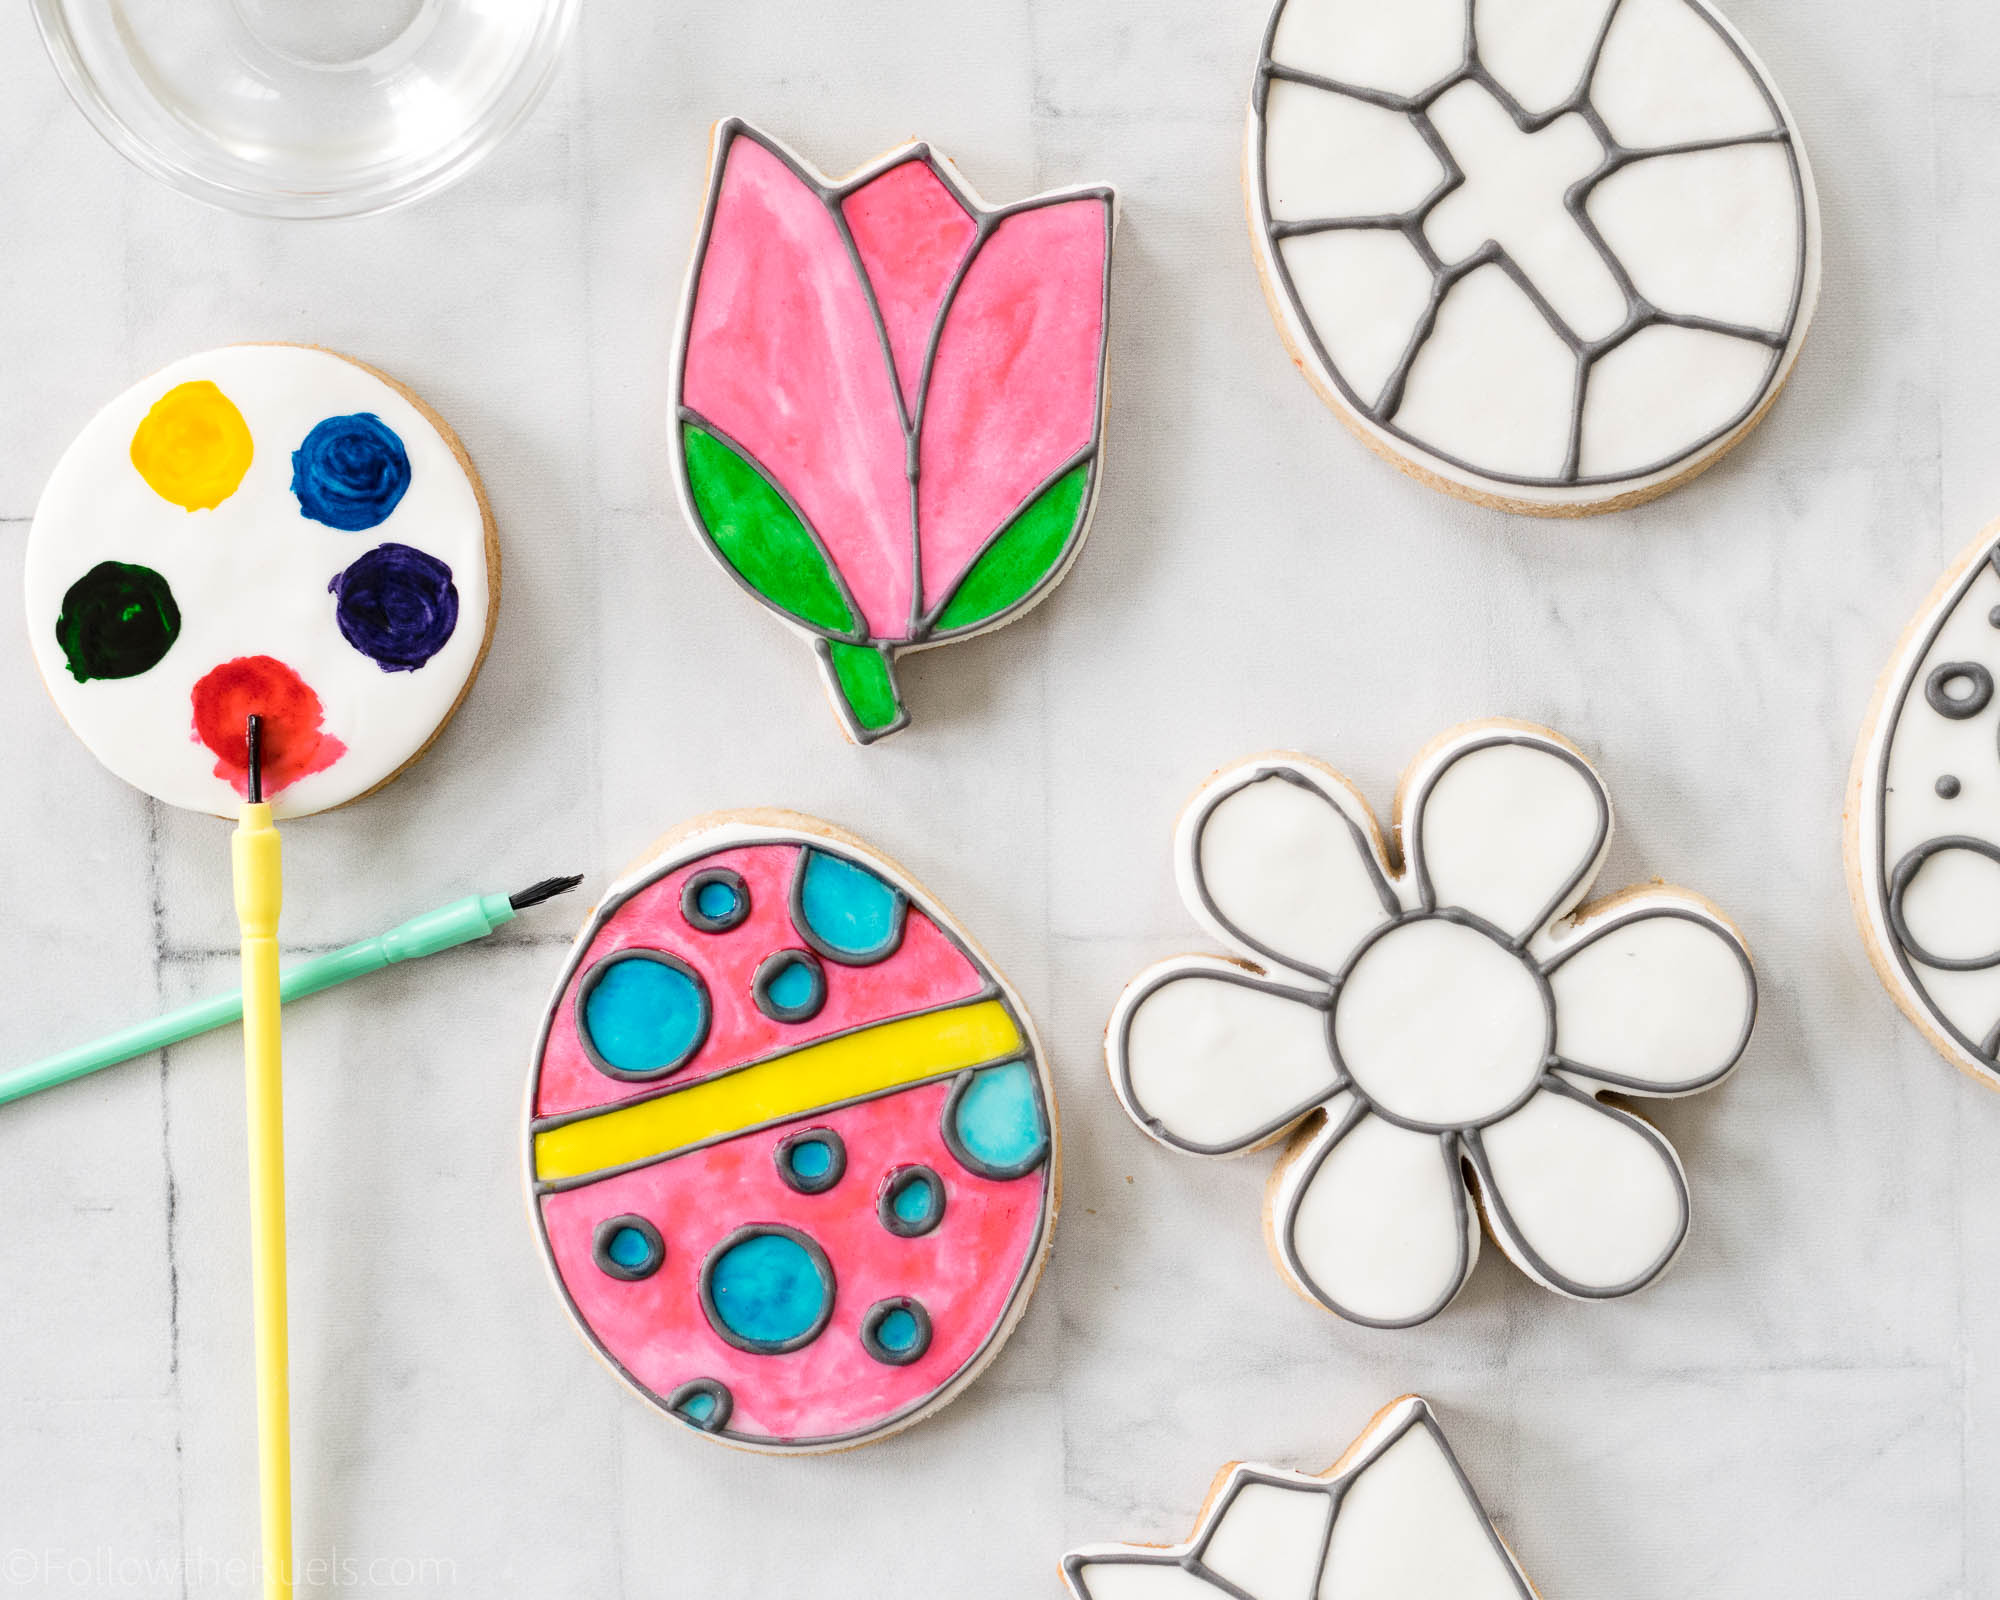
Finally, to paint these cookies, pour a small amount of clear extract (like almond) or clear alcohol (like vodka) (don’t worry, the alcohol evaporates after it is painted so the kids will not actually be ingesting it!) into a bowl and let the kids dip the paint brush into the extract, then brush into the color of their choosing. Then they can paint away!

If I were a kid, I would have lots of fun with the activity. Heck, I’m an adult and I had fun making these cookies!

Instructions

If you would like to print out instructions for your kids or other parents, feel free to copy the text below. 

  • Pour a small amount of clear extract or clear alcohol (don’t worry, the alcohol will evaporate before the kids eat it!) into a small bowl.
  • Wet the brush in the extract then brush over the color on the color pallet.
  • Paint over the cookie as desired.
  • If you run out of color, mix a little food coloring with the clear extract to make more.
  • Have fun!
Recipes and Tools 

I switched it up a bit with these cookies and decided to make a cross between my sugar-free whole wheat sugar cookies and my strawberry honey sugar cookies from my Summer collection. Essentially, I made the strawberry honey cookies, substituted agave for half of the sugar, and added in whole wheat flour. They were delish! And I think kids and parents alike will like these because they are tasty and they have less sugar than your average sugar cookie. 

But if you don’t want to buy my Summer cookie collection recipes (I get it), the basic sugar-free cookie is still amazing! Or you can keep it old school and make my favorite sugar cookies. Don’t be afraid to mix it up a bit and add any flavors you like. I think lemon zest or lemon extract would be great for Spring!

You will also want to make a batch of royal icing for the black outlines. You only need a small amount, so I would recommend only making about half a batch (and you will still have some left over).

*Only use paint brushes that have been used on food. Never use paint brushes that have actually come into contact with paint. Its okay to use normal craft brushes, but Wilton makes a set especially for food. I have included them below!

[show_shopthepost_widget id=”3081503″] 

/ Filed In: Cookies New, Decorated Cookies, Desserts, Eat
Tagged: Coloring, cookies, DIY, Easter, kid friendly, painting

Embossed Marbled Sugar Cookies

March 28, 2018

There comes a time when even I get a little tired of decorating cookies. And that time comes after decorating (1,2,3,4,5,6) six different sets of Easter-ish cookies. I just needed a little break from all that icing. 

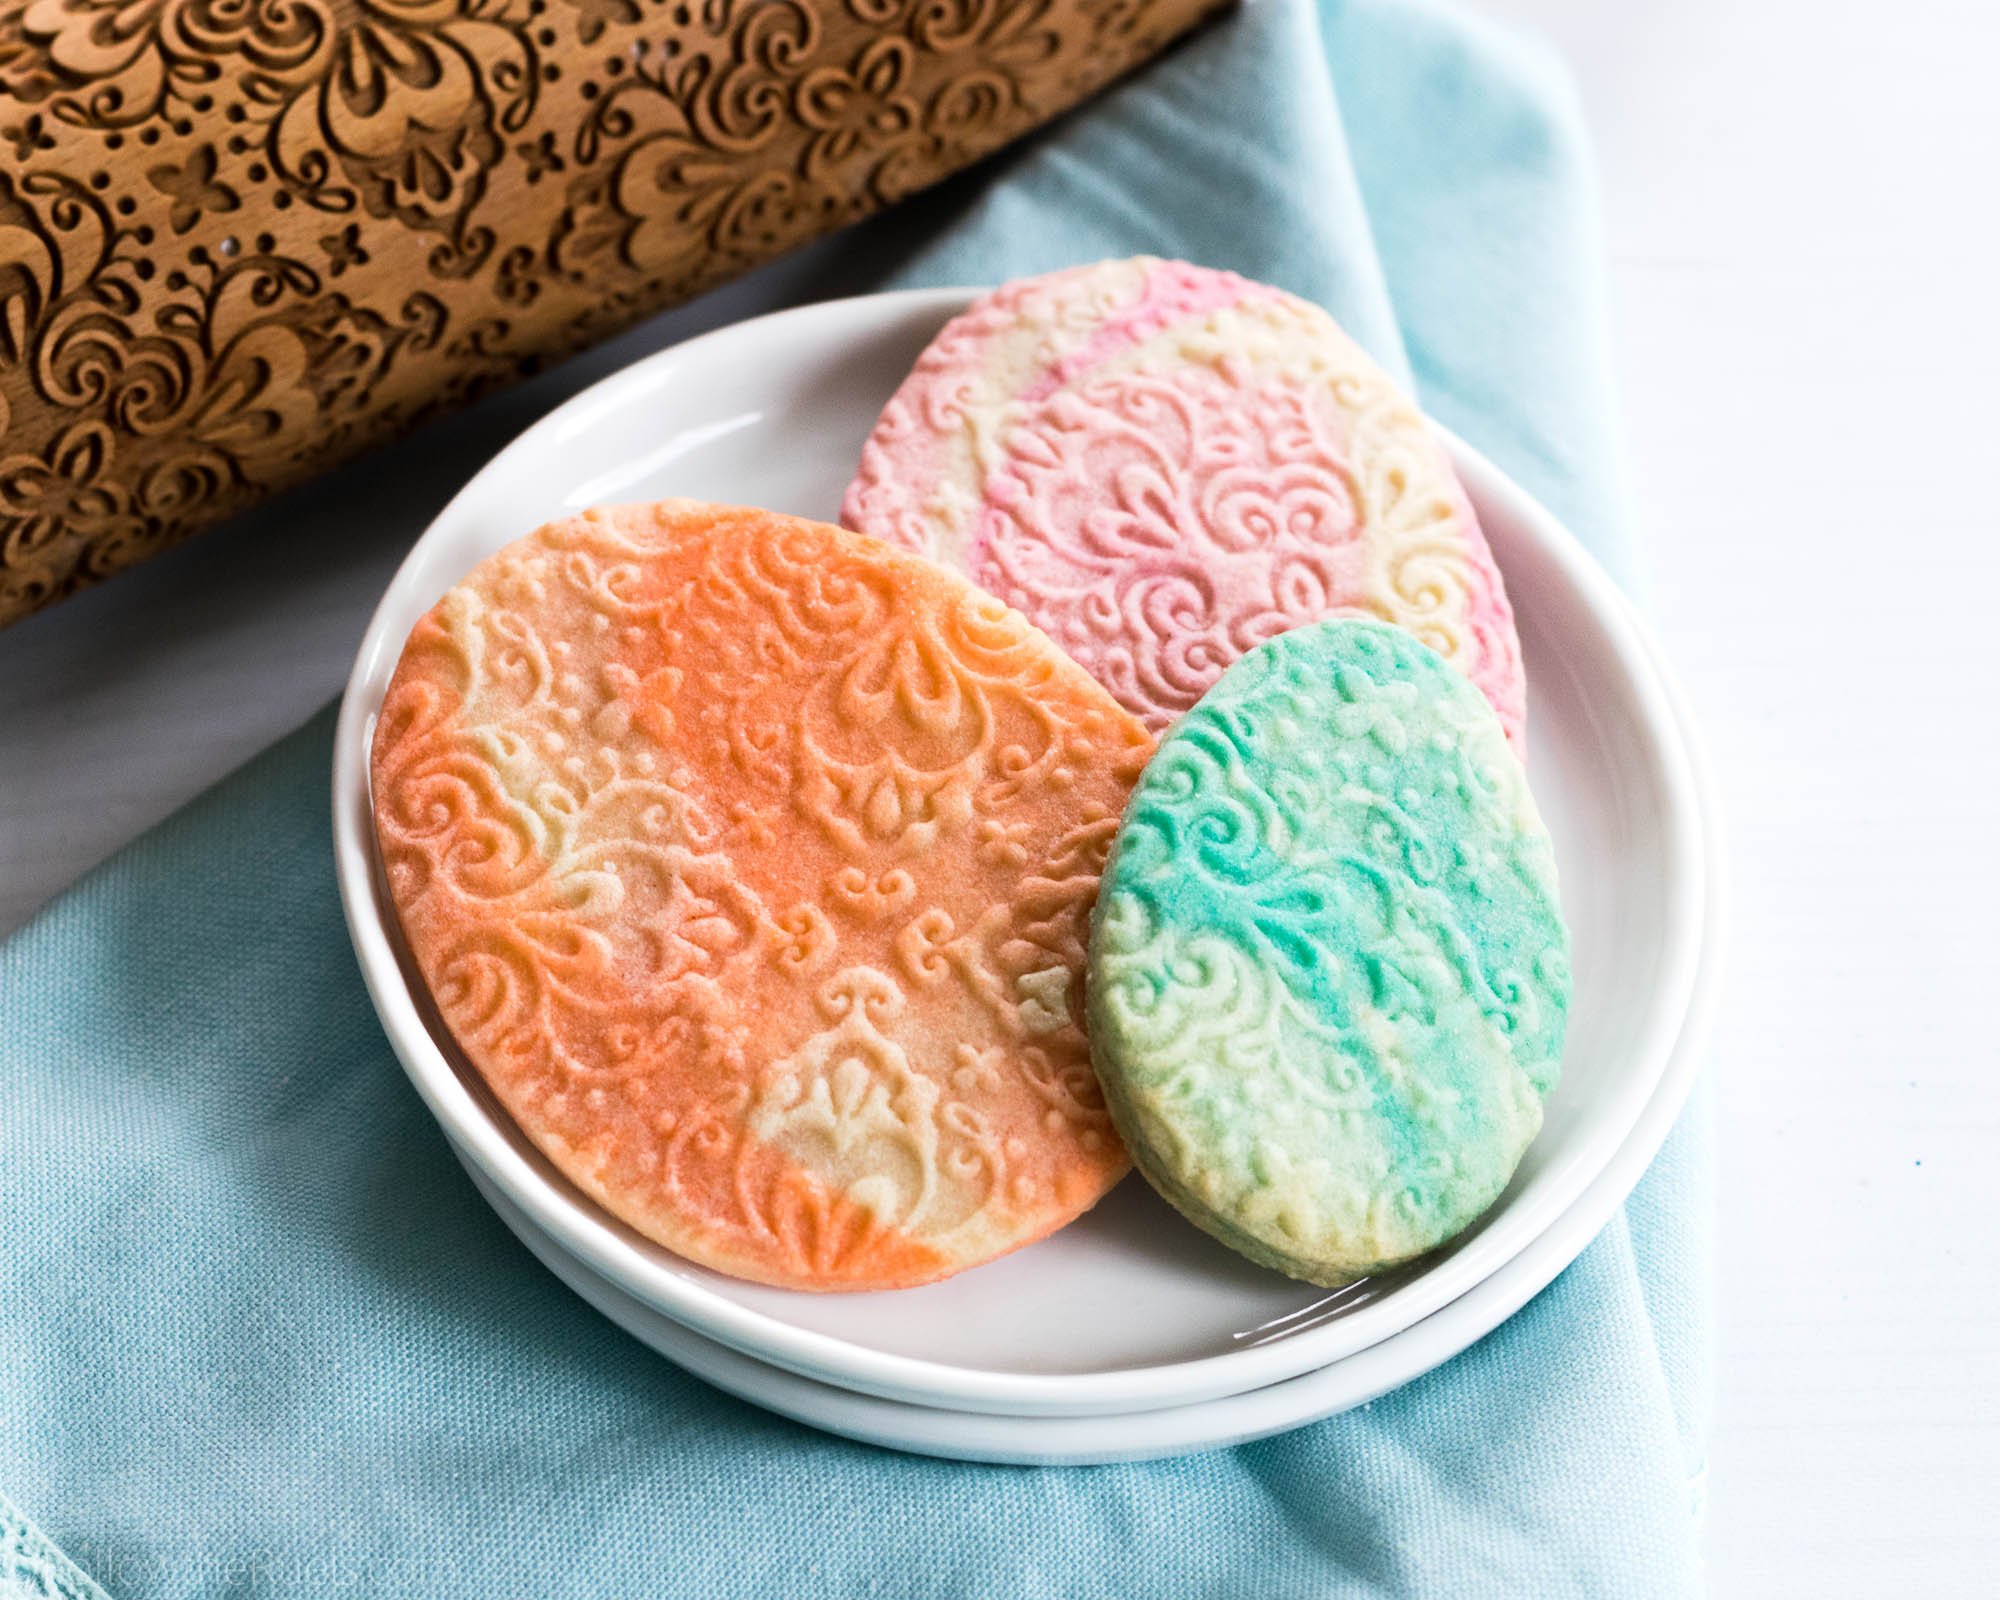
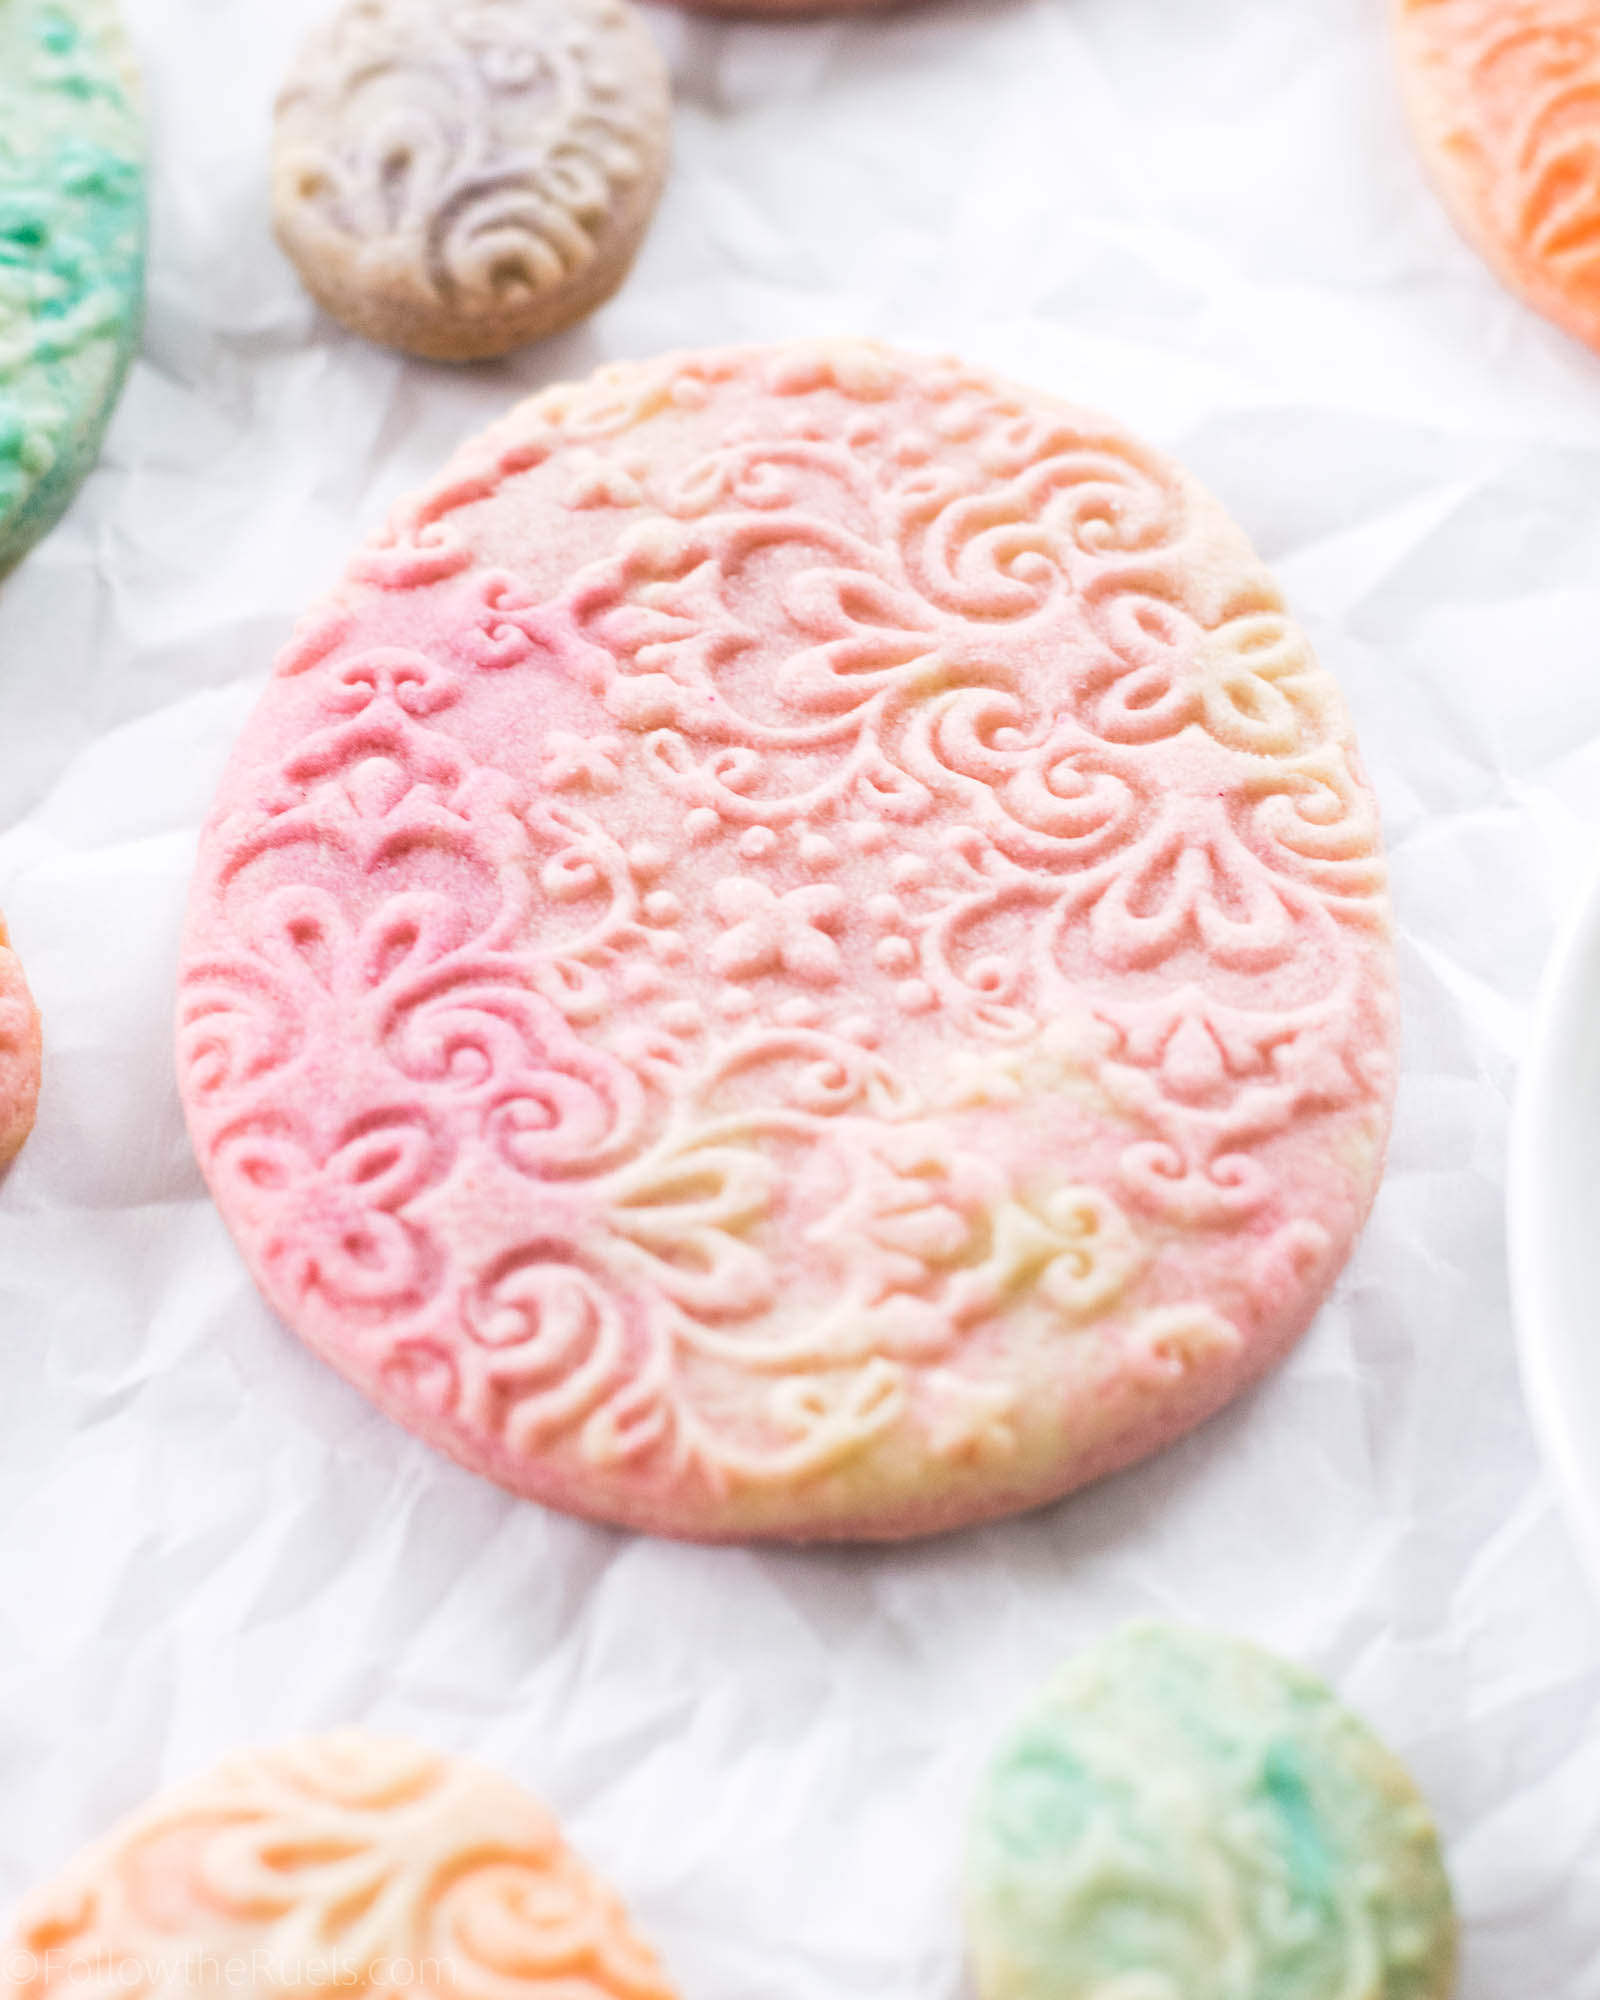
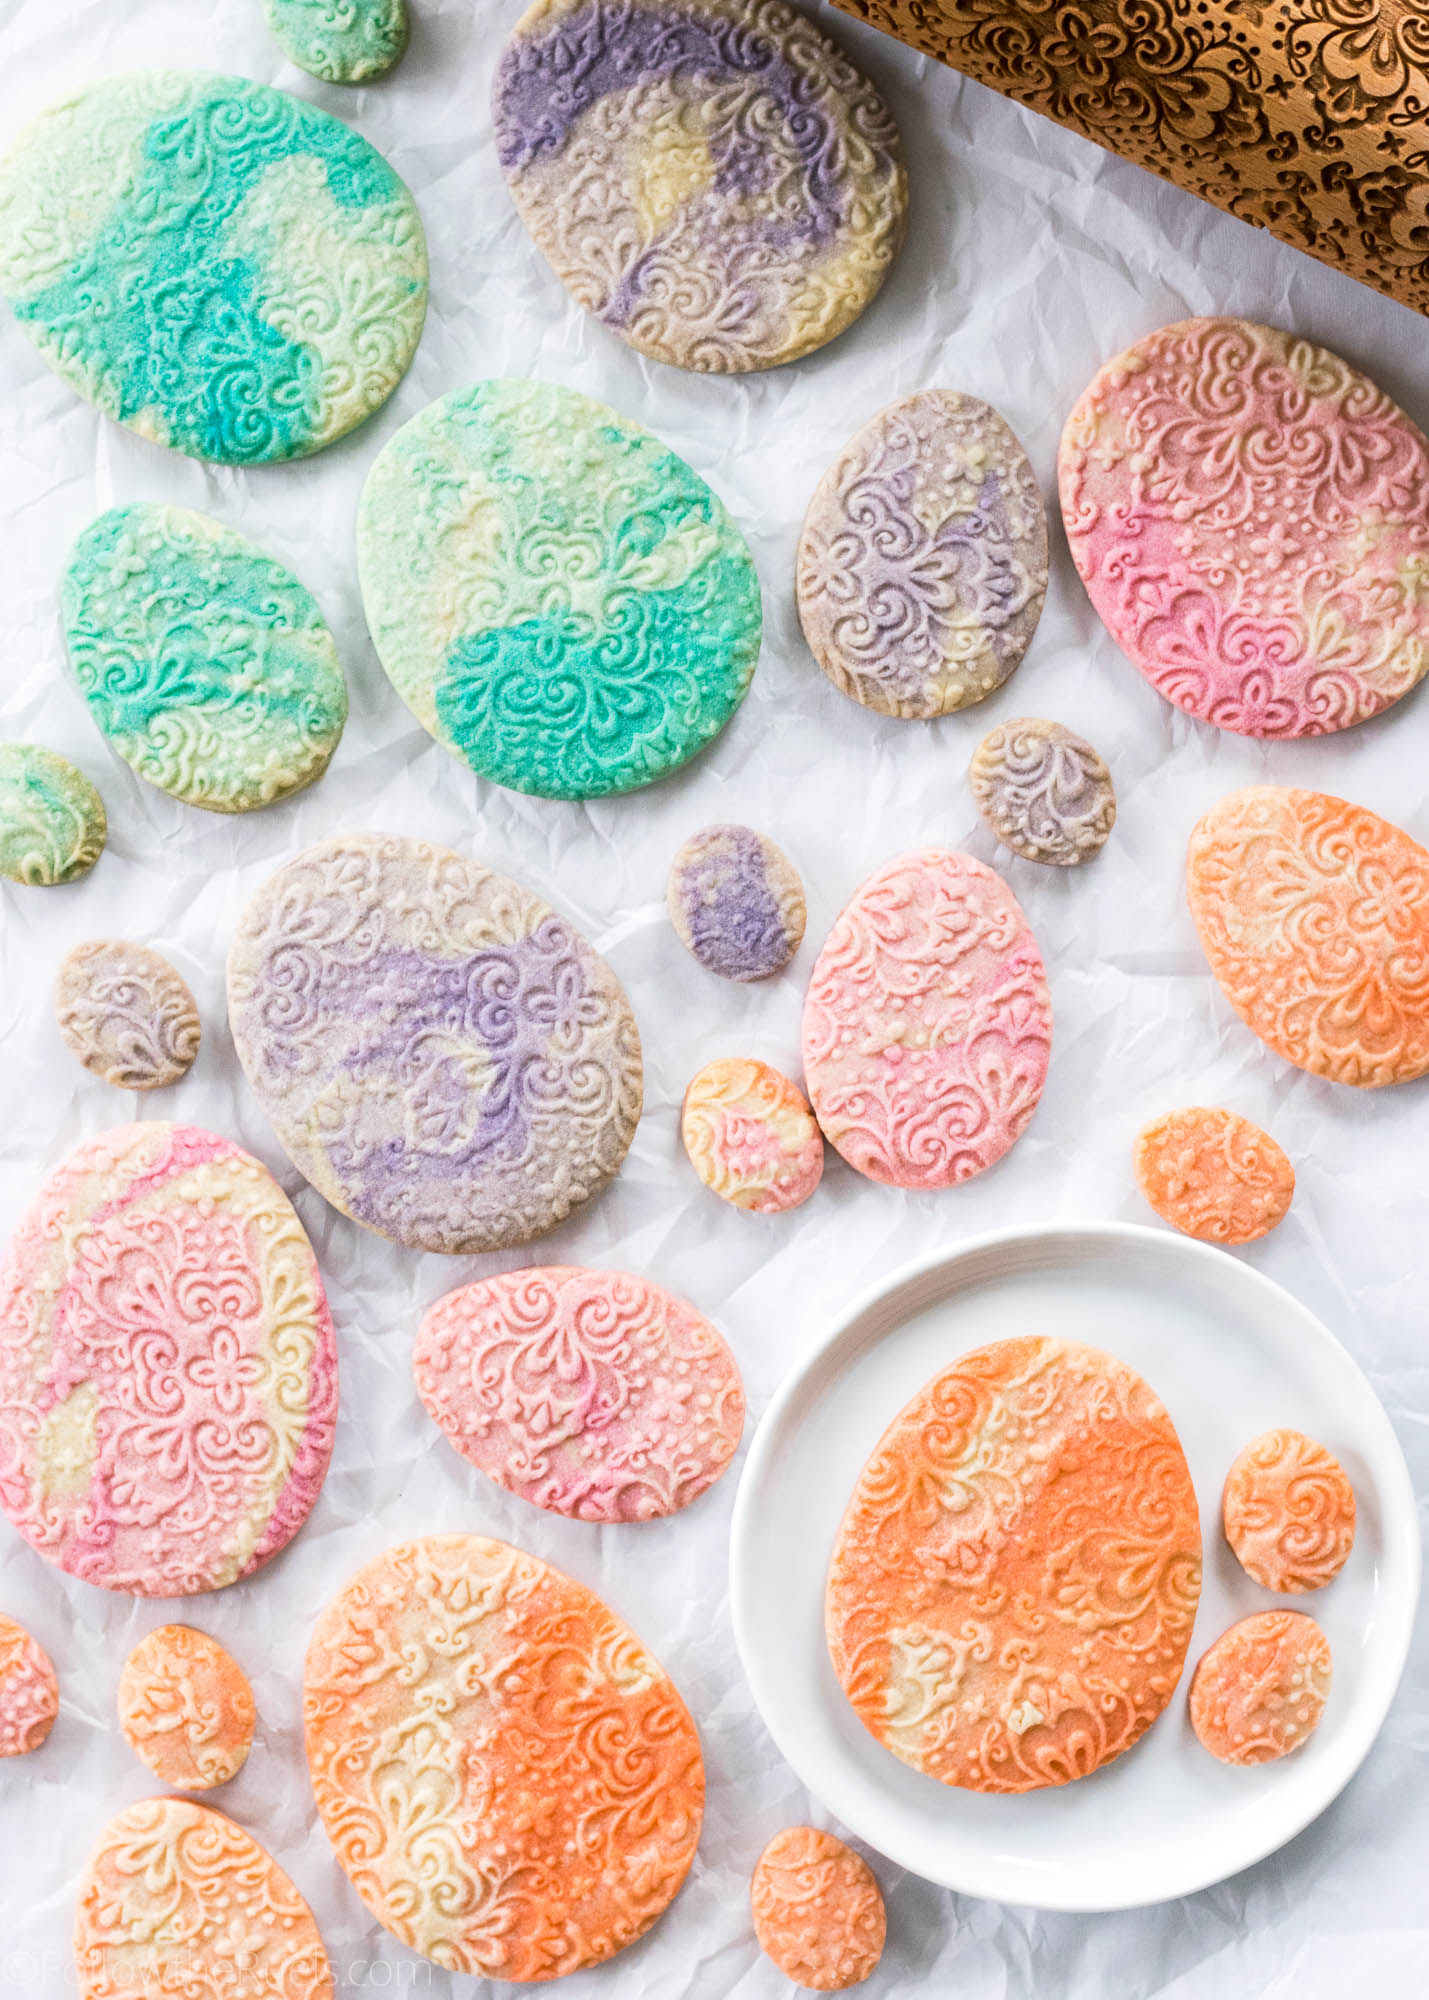
Thankfully, you don’t need icing to make a pretty cookie. In the case of the embossed marbled sugar cookies you just need an engraved rolling pin and some food coloring!

How to Make Them

These are so easy, guys, and a great baking project for the kiddos! 

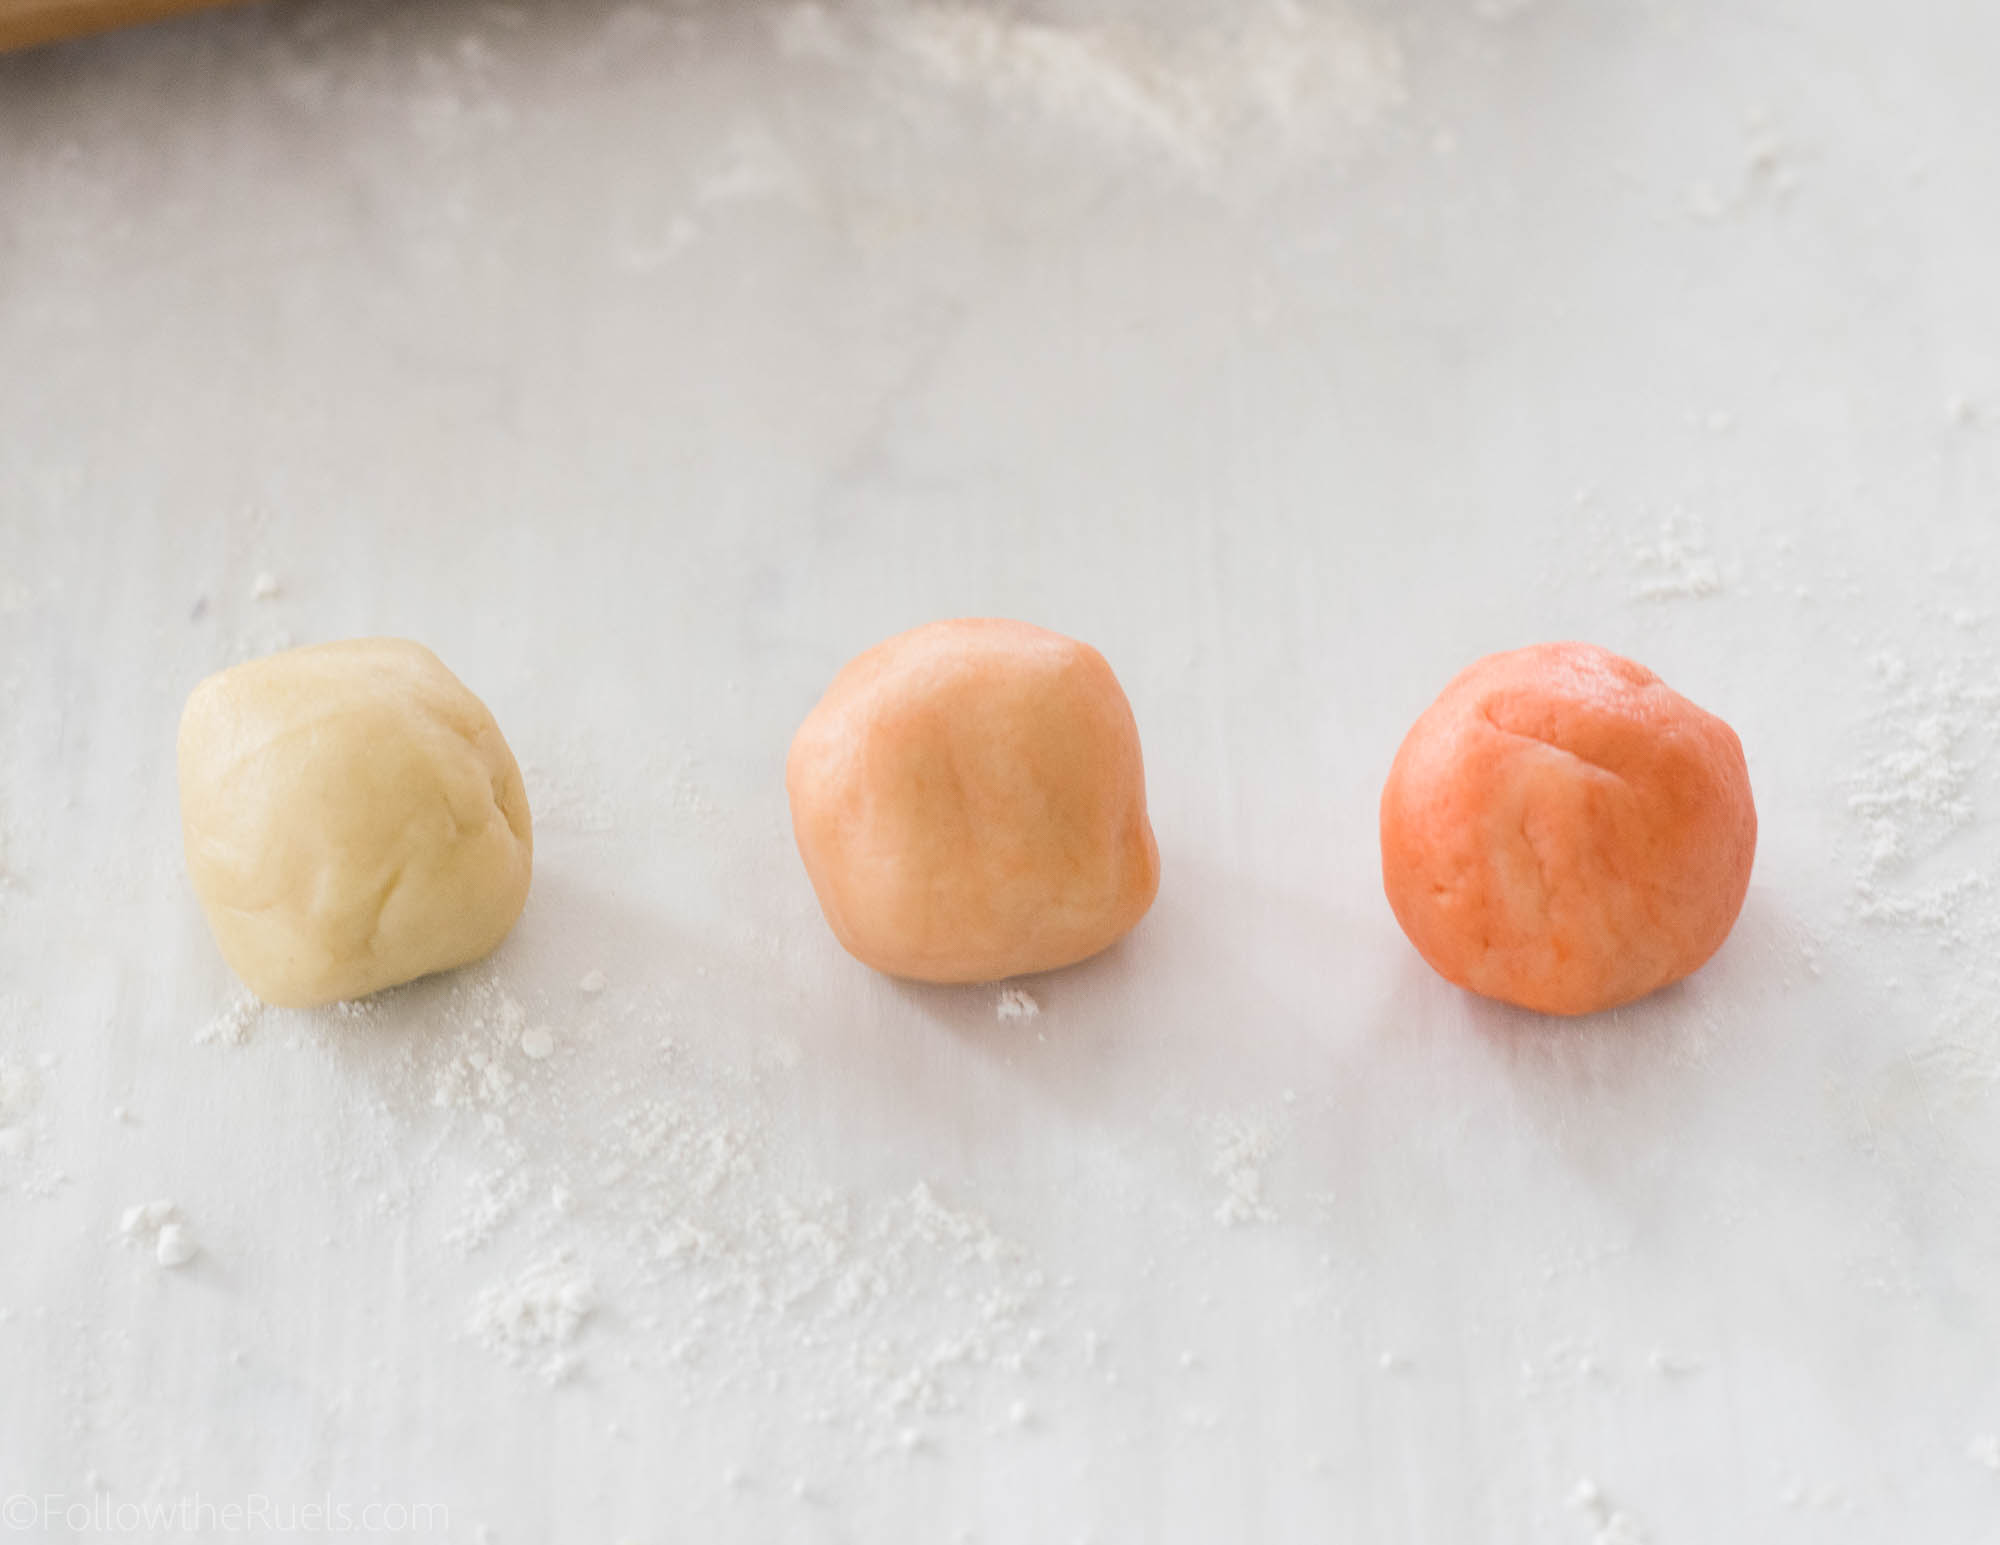
Start by separating your dough out into thirds. Dye one of the thirds a dark shade of your favorite color, dye one a light shade, and leave one totally plain. 

In my case, I added about 2 drops of gel food coloring to my darker ball, and a tiny drop to the light ball. I worked the dough between my fingers until the food coloring was completely mixed in.

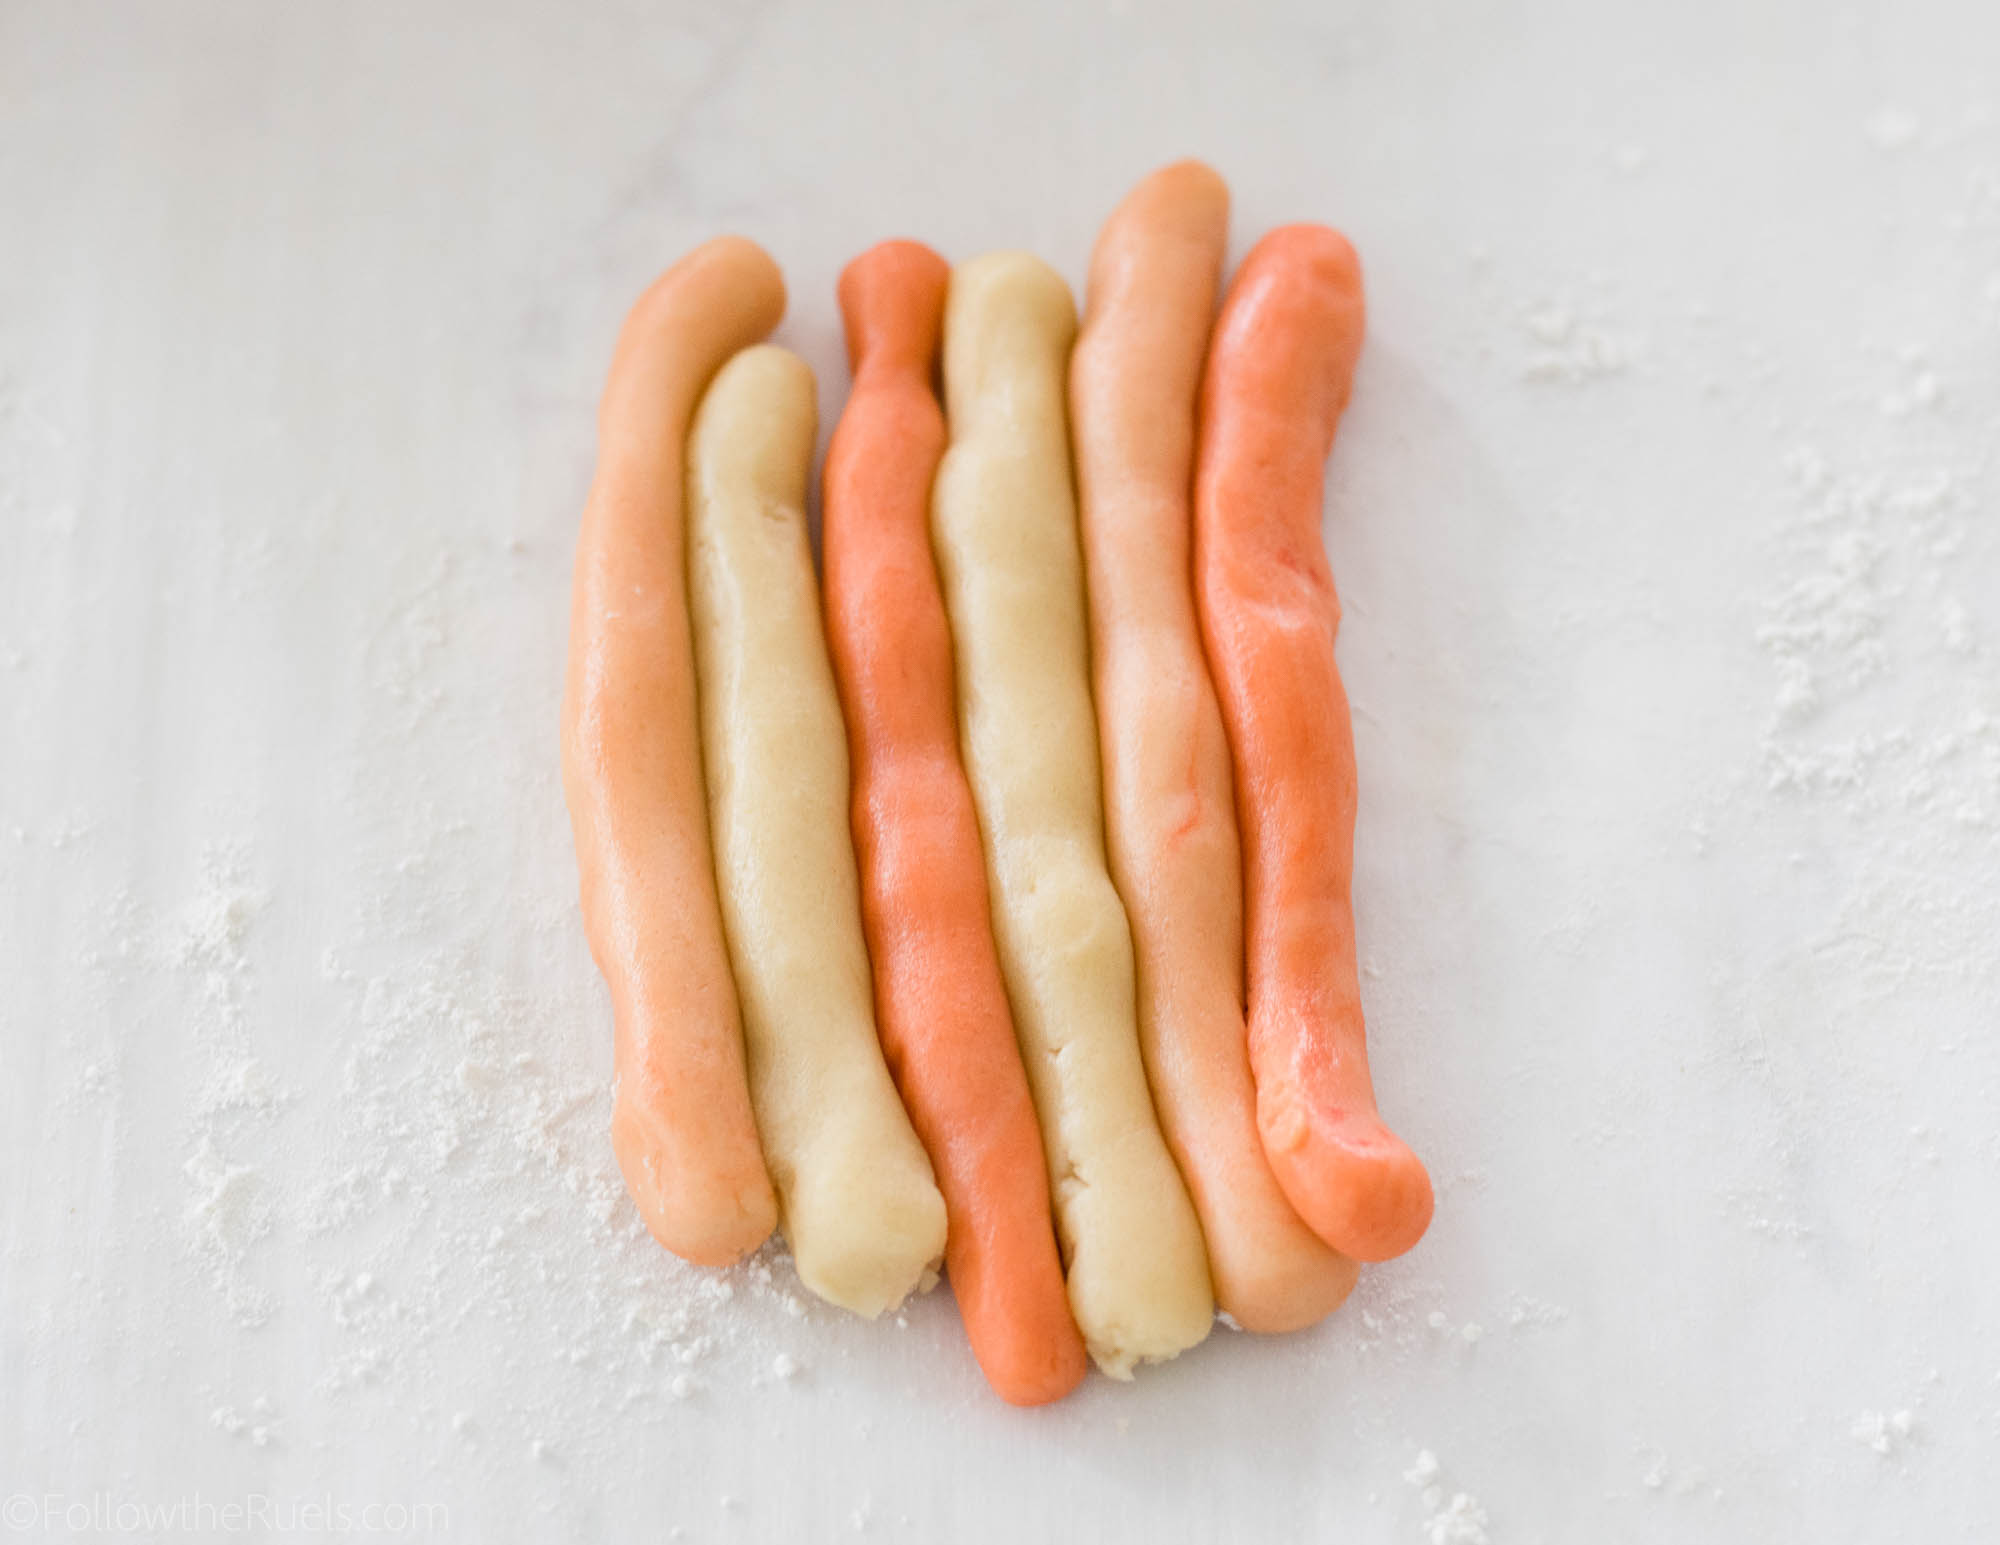
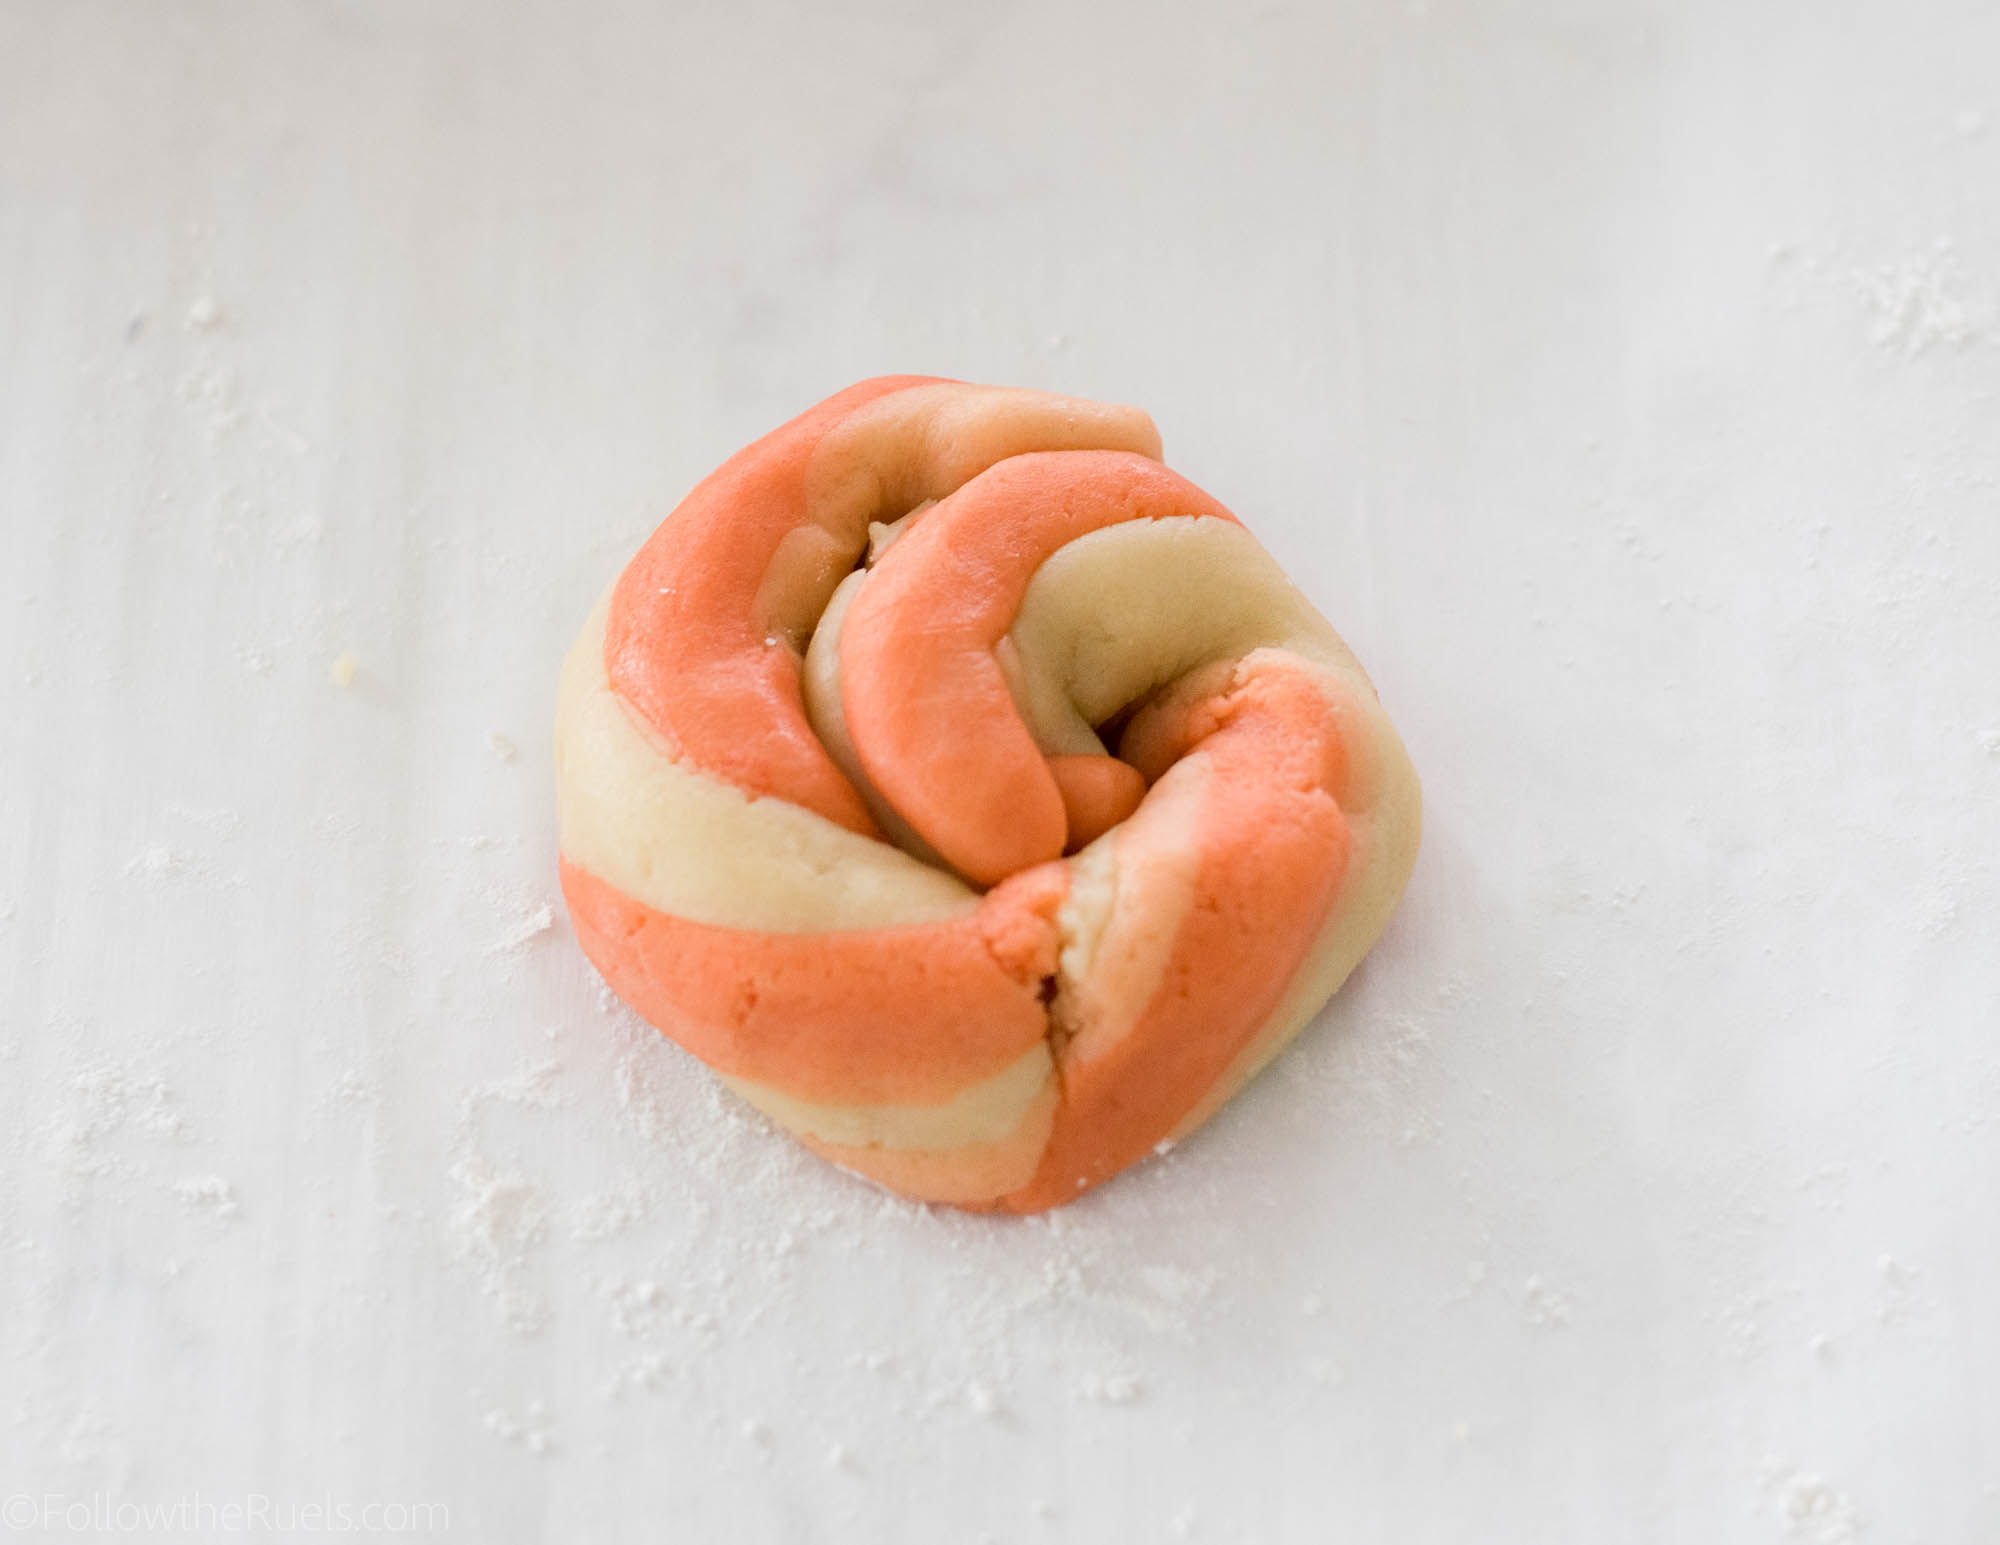
Roll the balls into strips and lay all the strips next to each other. Then fold the strips in to form one big cookie dough sausage. I am pretty sure that’s a technical term. Don’t look it up.

Give the cookie dough a twist and a turn to marble all the colors together. 


Then roll the dough out with a normal rolling pin before rolling over it with the engraved rolling pin.

Now, I have come up with a super awesome trick that will ensure that you get a good roll every time!

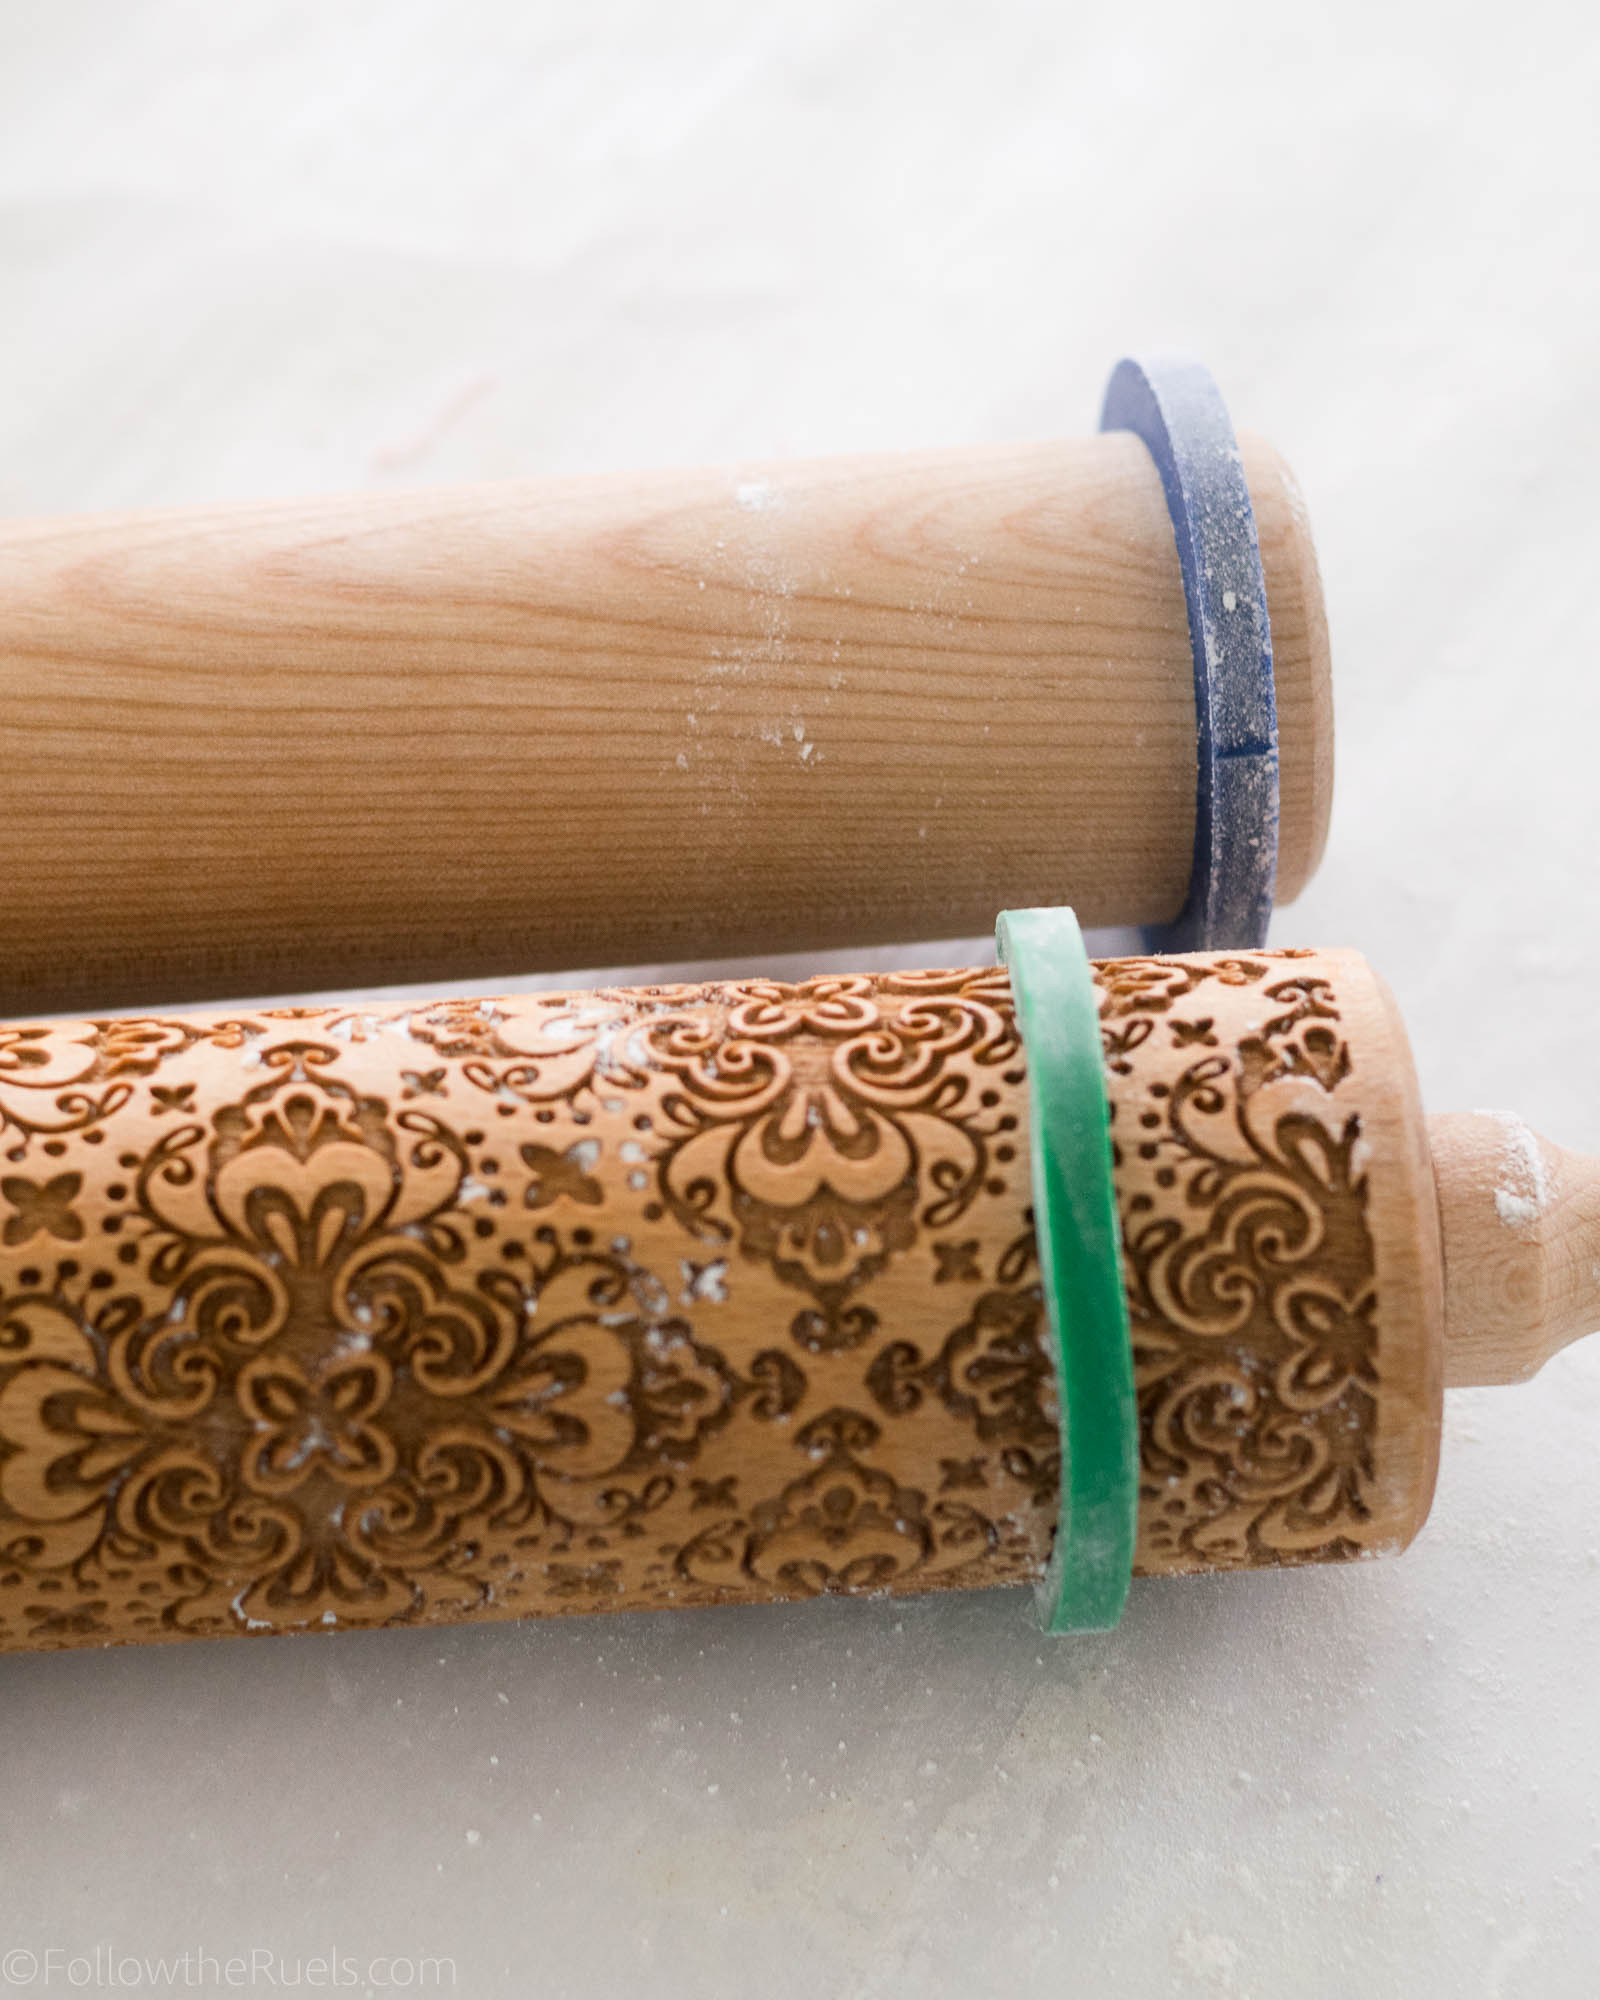
Add rolling pin bands (if you have them) to both your normal rolling pin and your engraved rolling pin. Add the thickest band you have to the normal pin, and the next thickest to the engraved pin.

This will ensure that you put just the right amount of pressure on the cookie dough to get a perfectly embossed cookie.

Before I figured out this trick my cookies were coming out very unevenly and I wasn’t putting enough pressure on the cookie dough with the engraved rolling pin so the pattern wasn’t coming out well.

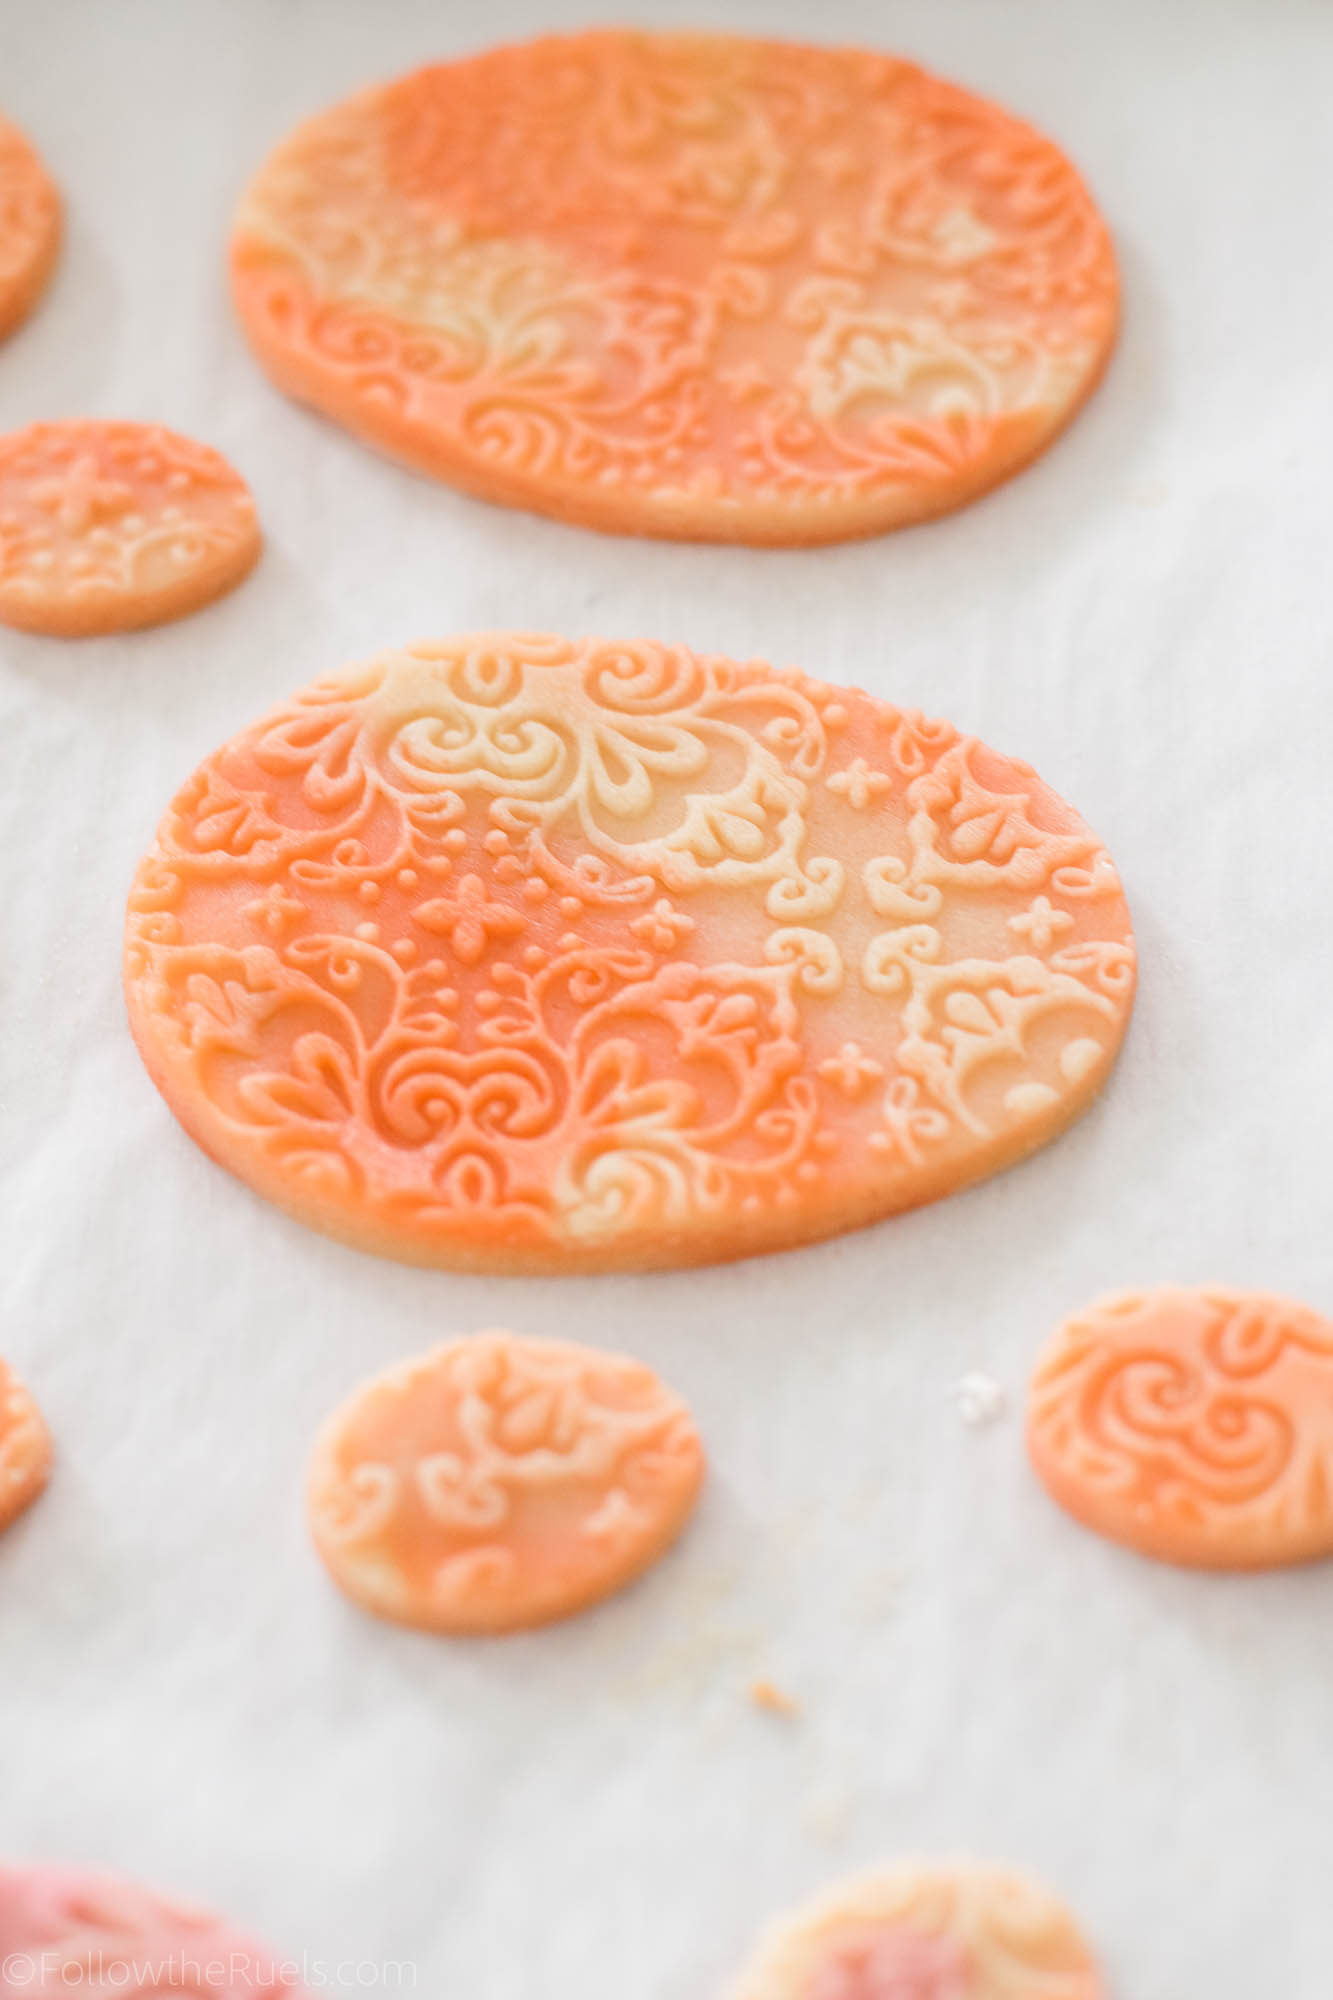
You definitely want to be able to see all the details of the rolling pin because the cookie will flatten a bit in the oven.

But if you roll it well, you will have beautiful embossed marbled sugar cookies that are perfect for Easter or any time of year. Just change the shape of your cookie cutter and you have yourself a pretty birthday cookie, 4th of July cookie, Christmas cookie….the possibilities are endless.

I just really like these for Easter. The marbled effect of the dough makes them sort of look like eggs that have been dyed the old-fashioned way. And the embossing makes them look very elegant and refined. 

Recommended Tools

[show_shopthepost_widget id=”3079756″]
 

Recipe

[yumprint-recipe id=’168′]

/ Filed In: Cookies New, Decorated Cookies, Desserts, Eat
Tagged: Easter, embossed, kid friendly, marble, pastels, sugar cookies

Follow

Hey There!

Hey there, I'm Lindsey. I'm a number cruncher by day and a home cook and baker by night. While I love to eat healthy and find fresh and healthy alternatives for my favorite foods, I will never turn down dessert! Life is all about moderation, right?

Recipes

  • All Recipes
  • Breakfast
  • Appetizers
  • Salads
  • Main Dishes
  • Side Dishes
  • Desserts
  • Drinks

Favorite Finds

[show_lookbook_widget id=”388783″]

Theme by 17th Avenue · Powered by WordPress & Genesis