• Home
  • Eat
    • Breakfast
    • Appetizers
    • Main Dishes
      • Chicken
      • Beef
      • Seafood
      • Healthy Dishes
      • Paleo Dishes
      • Salads
    • Desserts
      • Decorated Cookies
      • Cookies
      • Bars and Brownies
      • Cakes and Cupcakes
  • Shop
    • Cookie Decorating Supplies
    • Bakeware
    • Cookware
    • Kitchen Gadgets
    • House
  • About
    • Contact
    • Bucket List
  • Cookie Decorating 101

Follow the Ruels

How to Make Boxed Cake Mix Taste Homemade

June 12, 2018

Even though I love making things from scratch, even I have my days where I don’t want to mess with measuring, leveling, etc. That’s why I turn to box mixes, particularly boxed cake mix, more often than I would like to admit.

However…

I rarely ever follow the exact recipe on the back of the box. 

Over the years, I have tinkered with that recipe so that I can have the best version of boxed cake mix that I can possibly have. It doesn’t require any more work, just a few different ingredients. Trust me, these ingredients make a world of difference. 

Instead of having a semi-dry, crumbly cake that you typically get from a boxed mix. The cake is super moist and has a lot more flavor. Sure it still has that distinct boxed cake mix taste, but there is something so nostalgic about it that I don’t really care. 

How to Make It

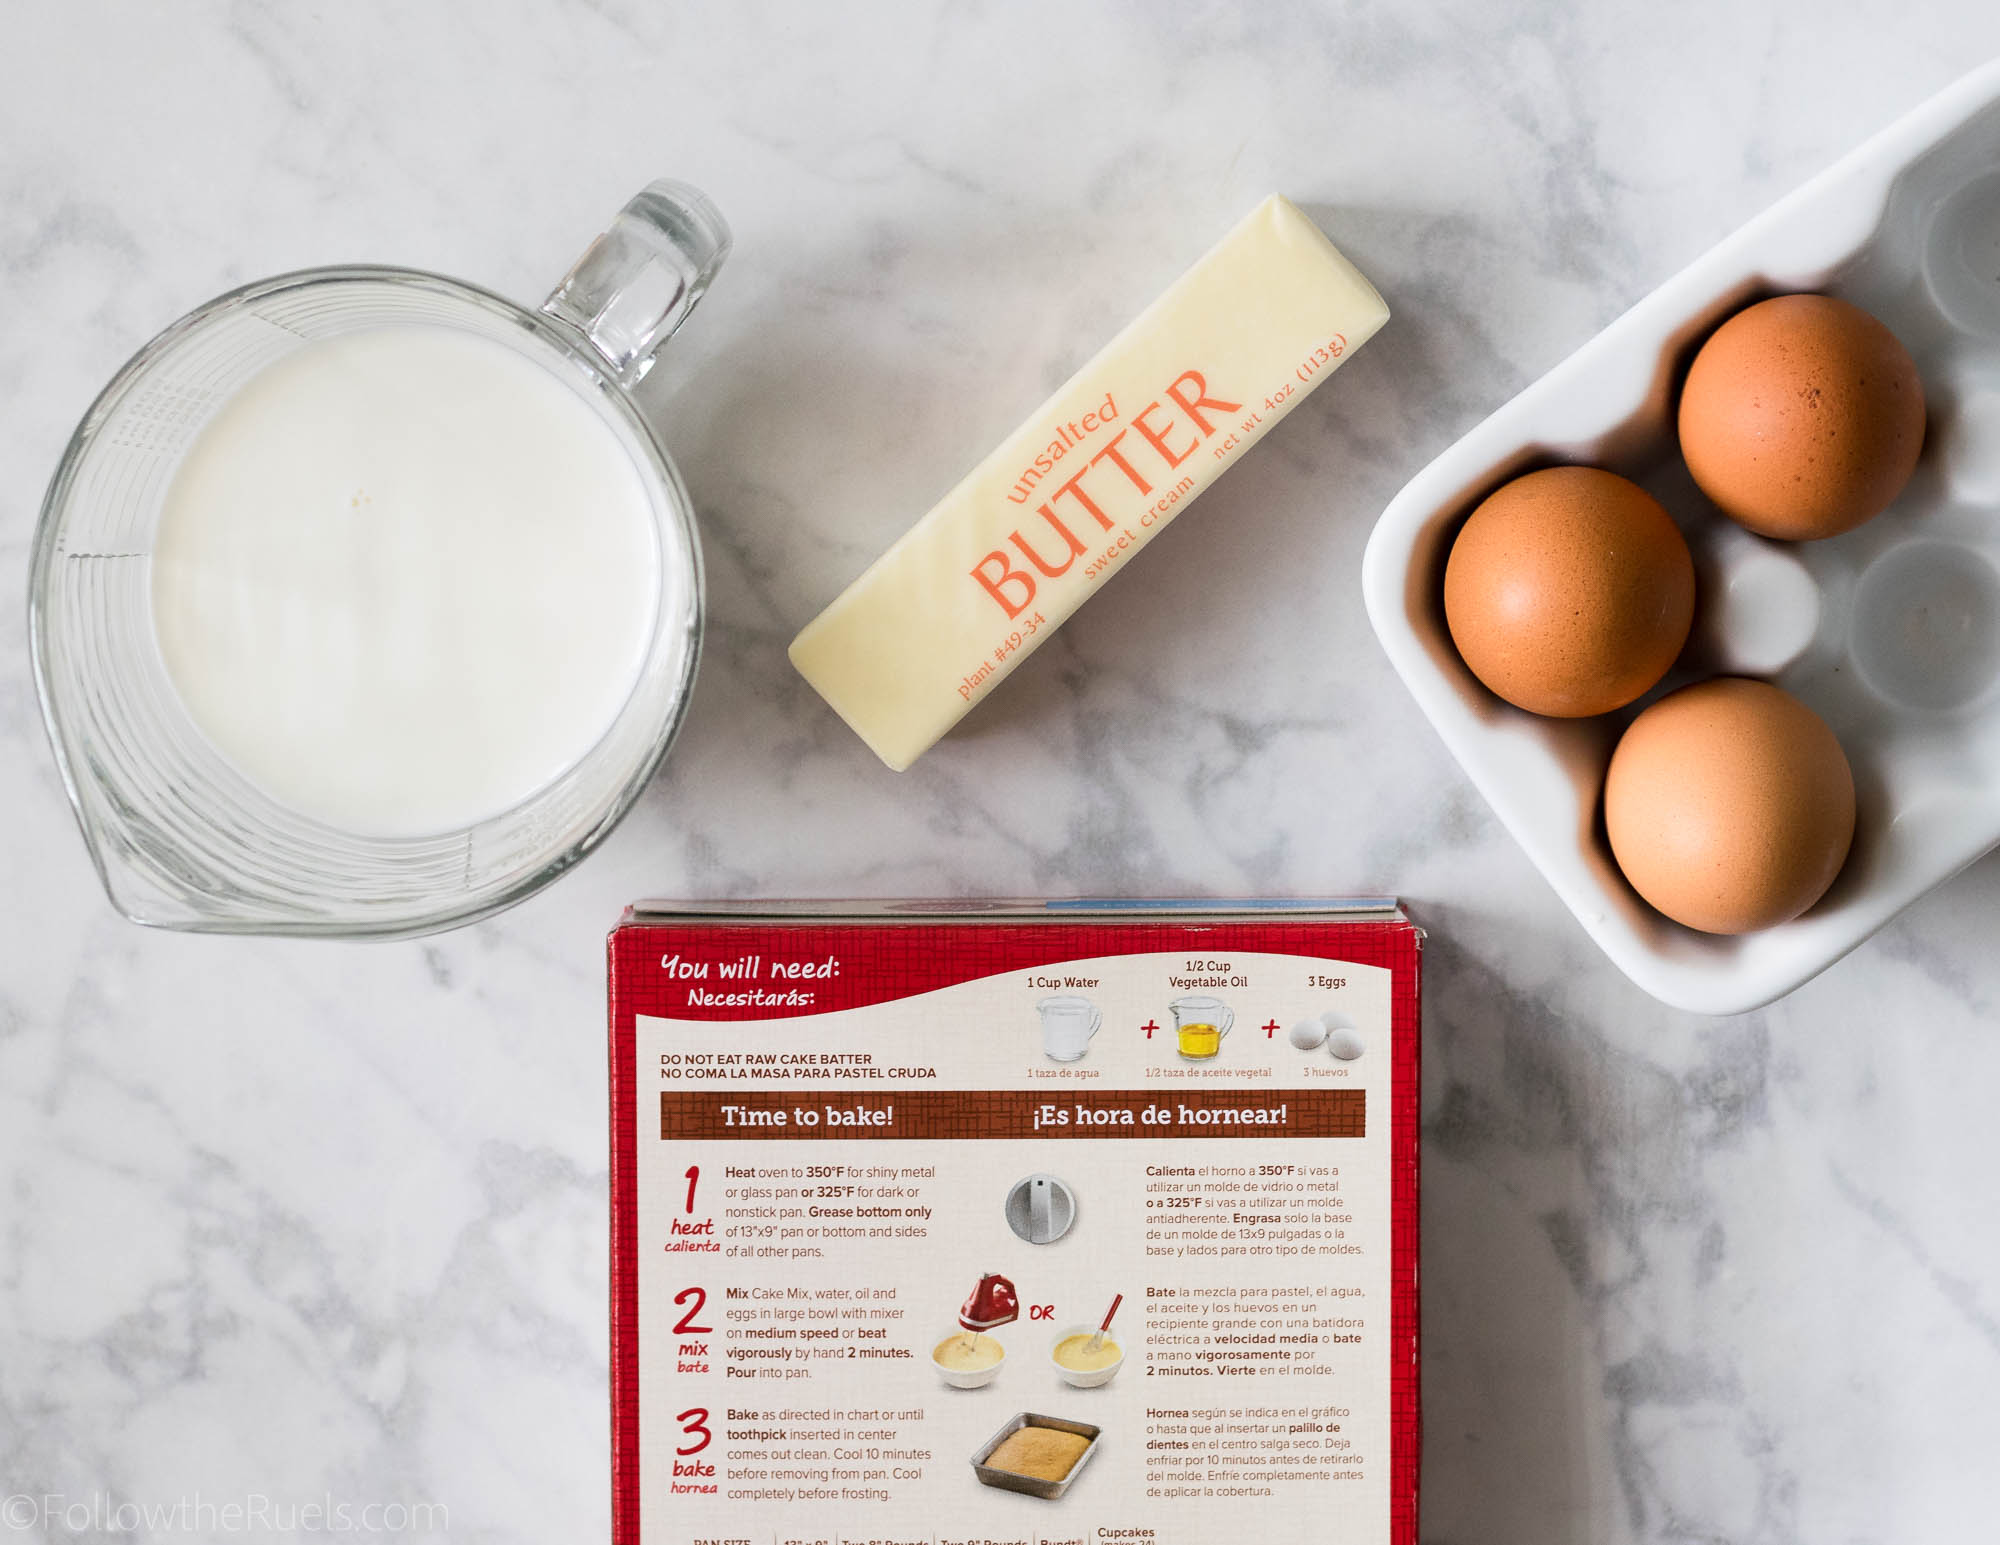
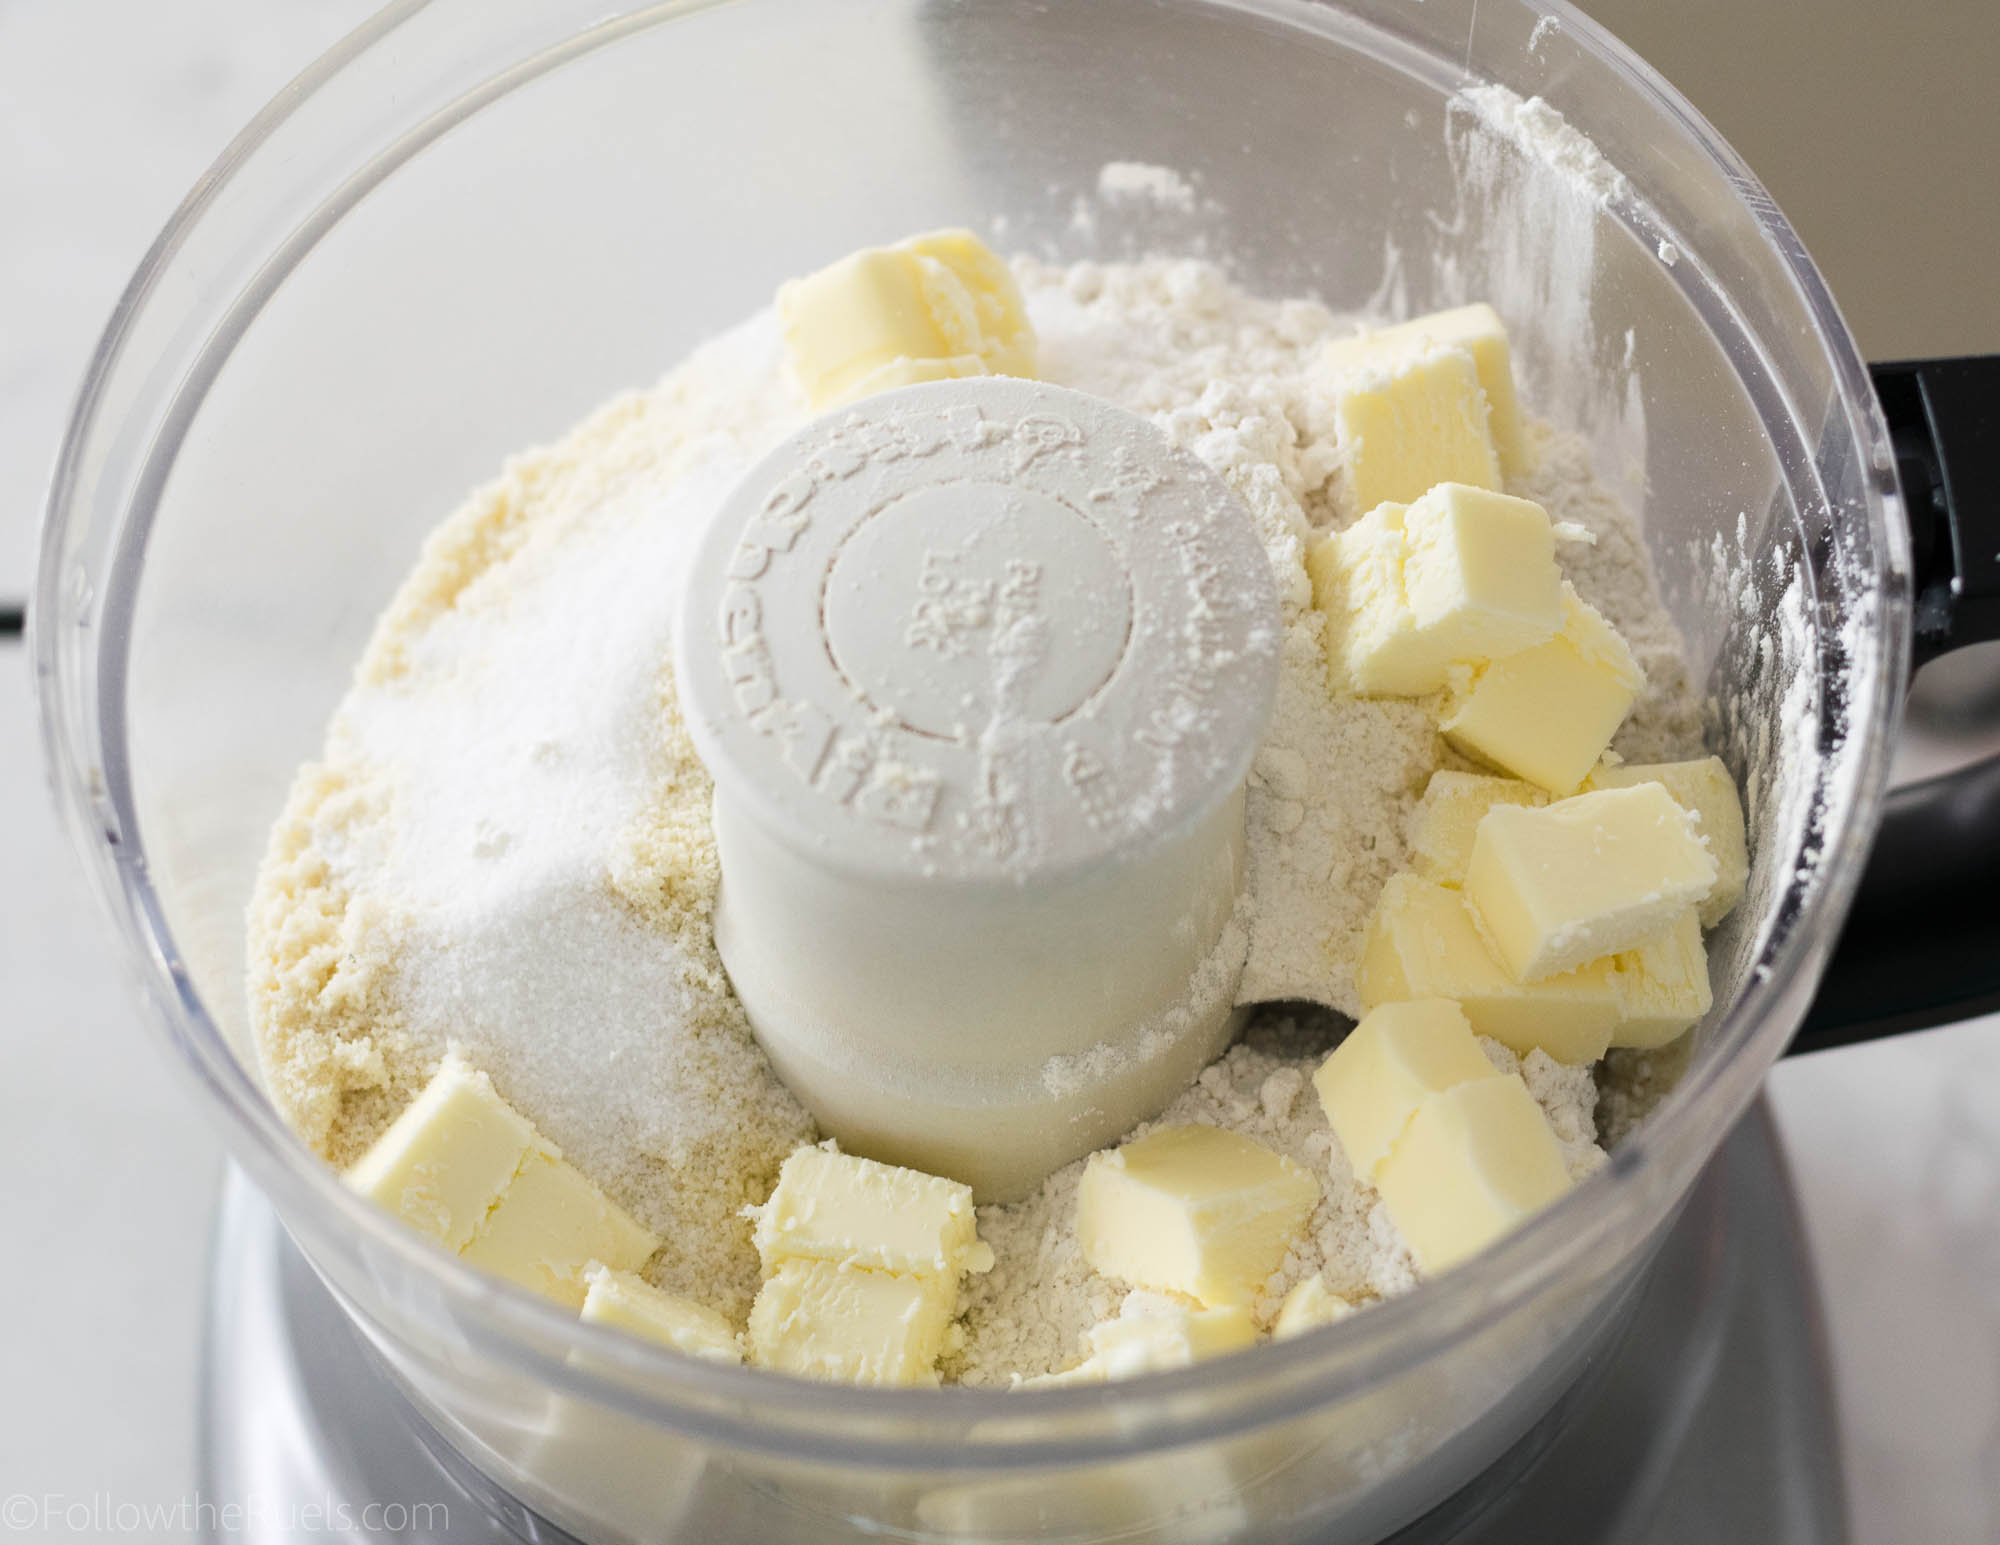
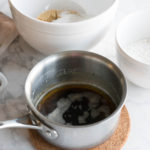
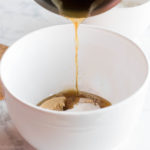
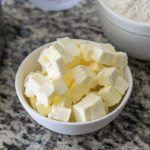
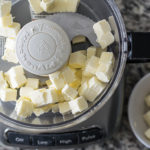
The first tip to making a boxed cake mix taste homemade is to swap out the oil and water. 

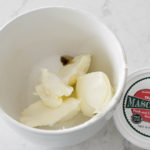
Tip #1: Use whole milk and melted butter in place of water and oil for a richer and moister cake. 

It doesn’t end there. 

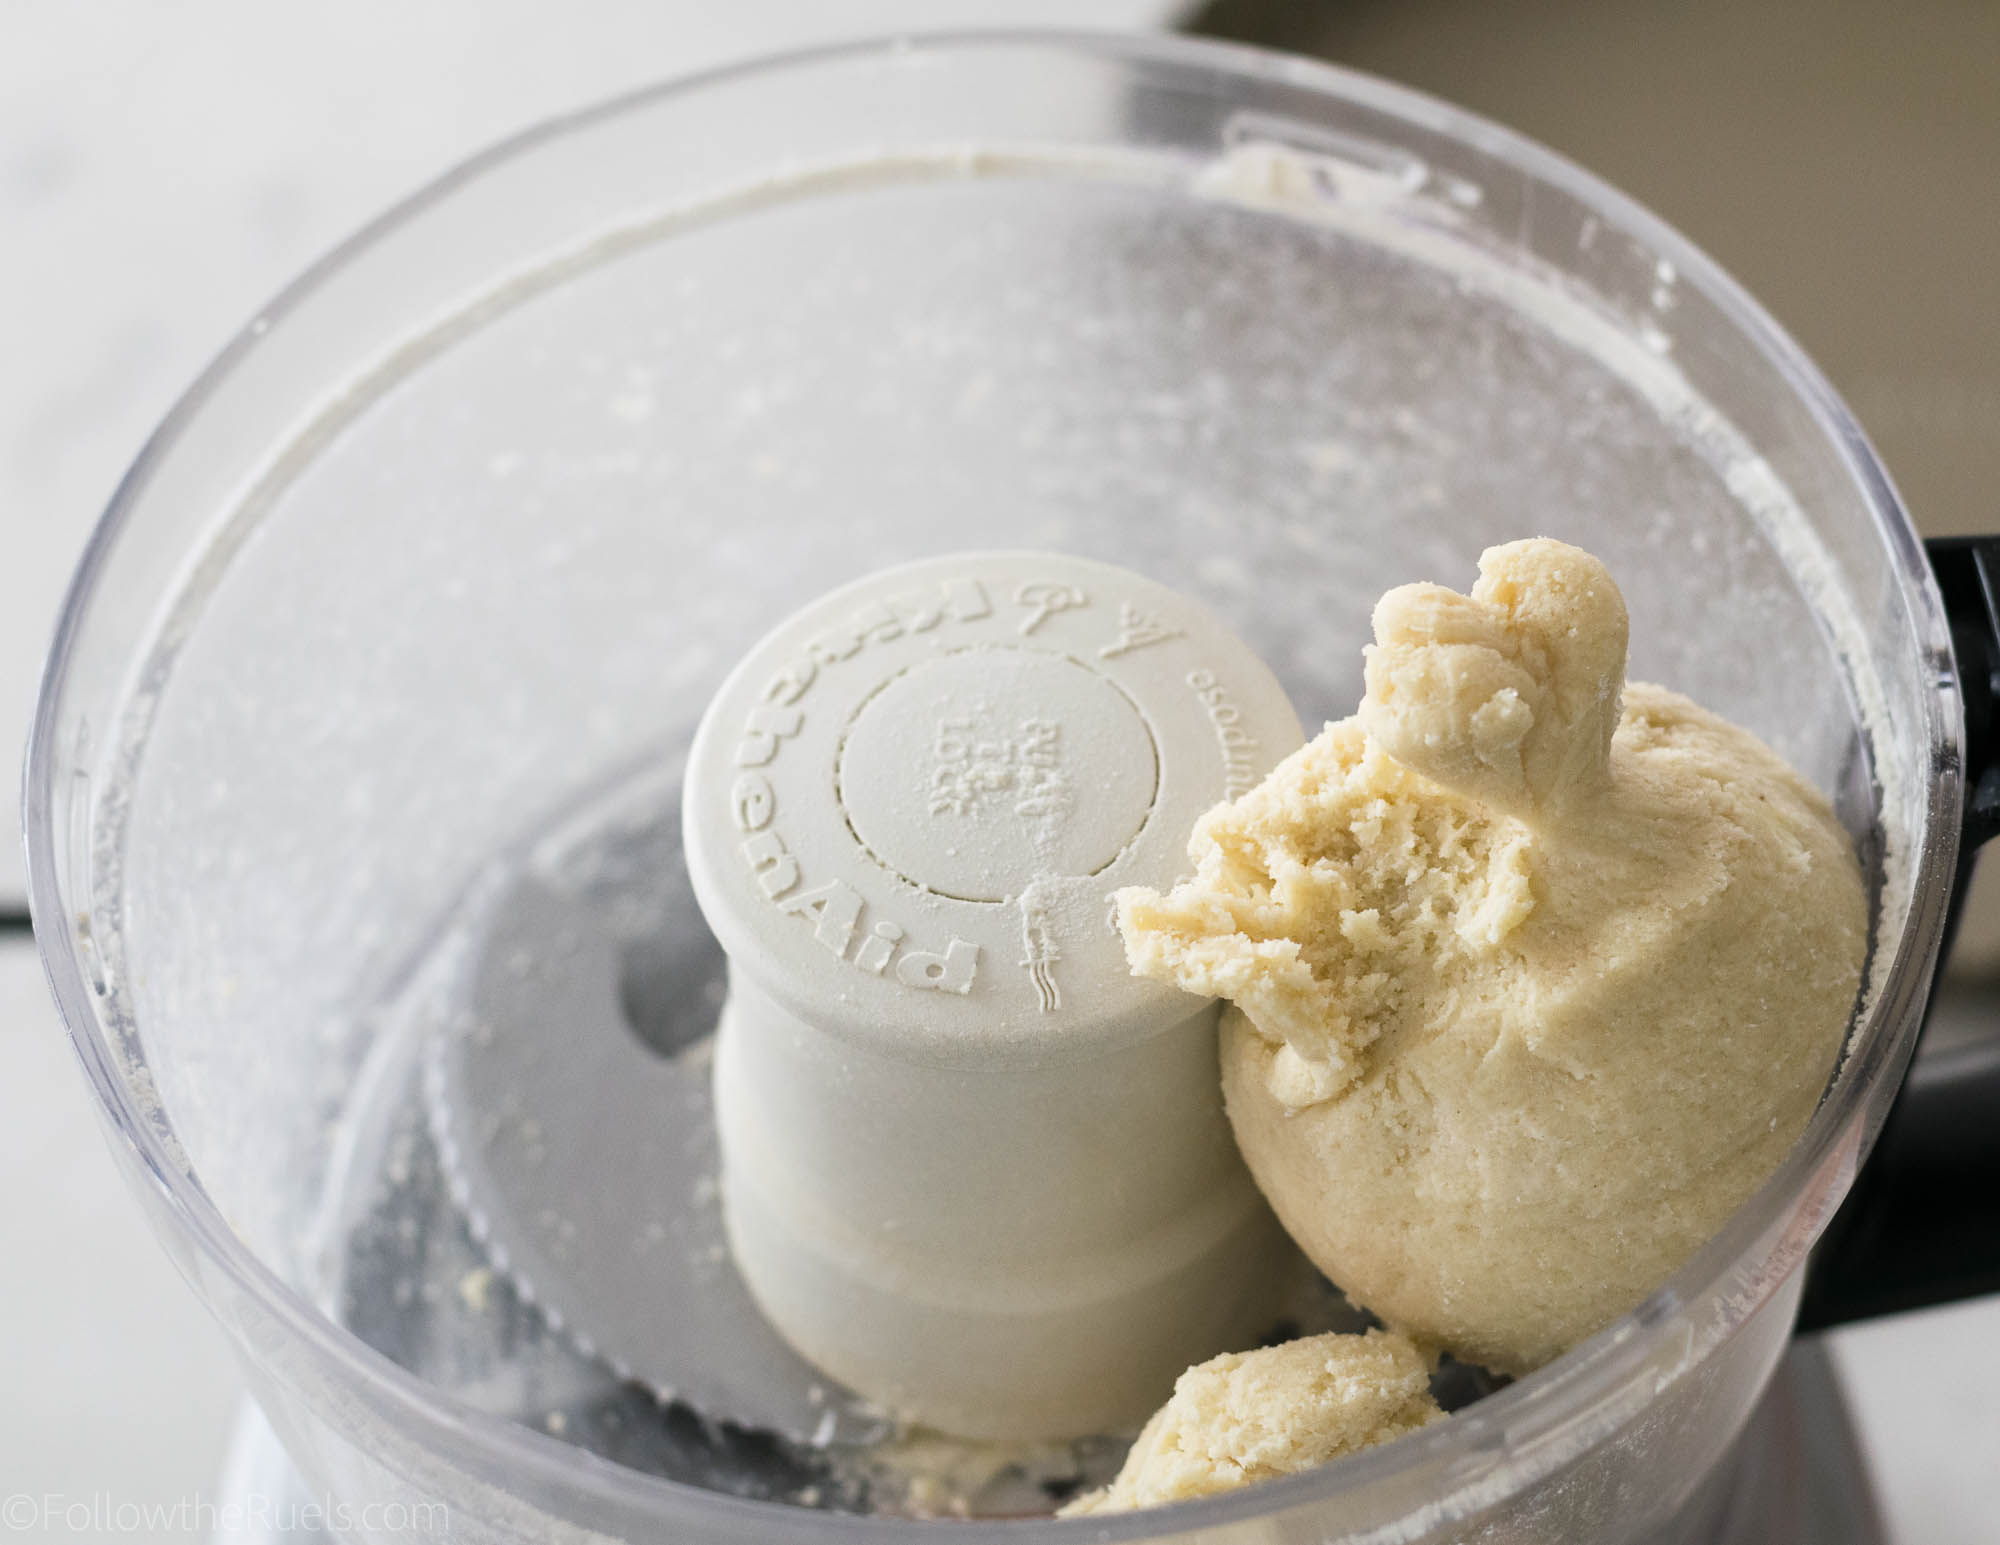
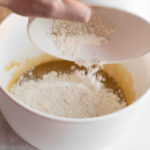
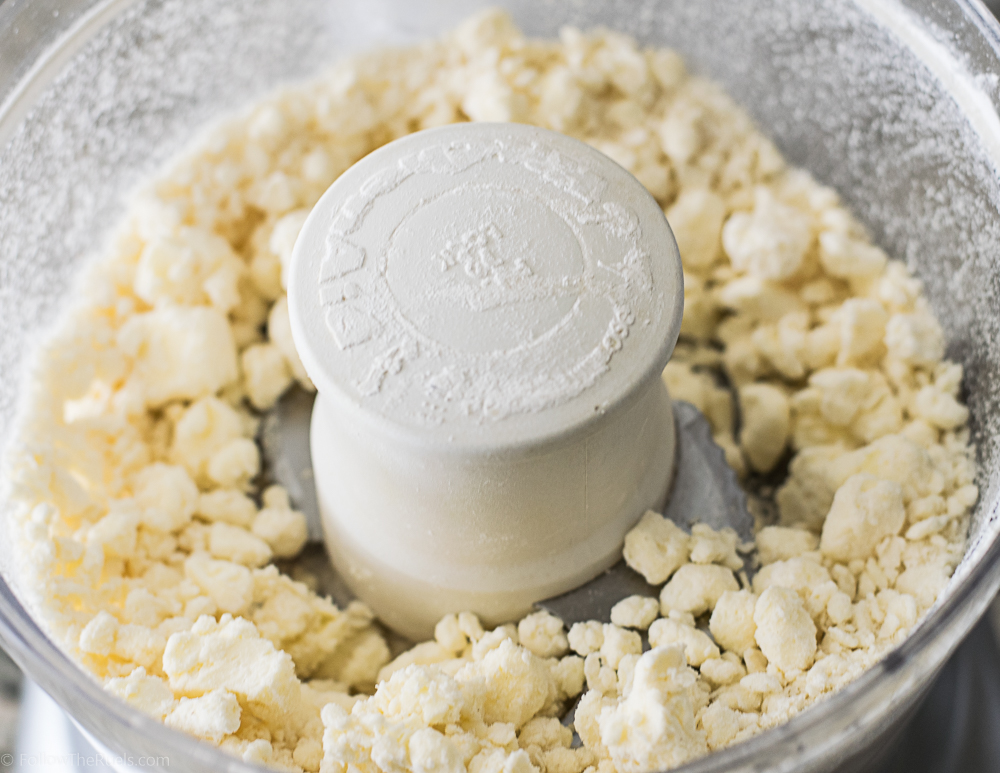
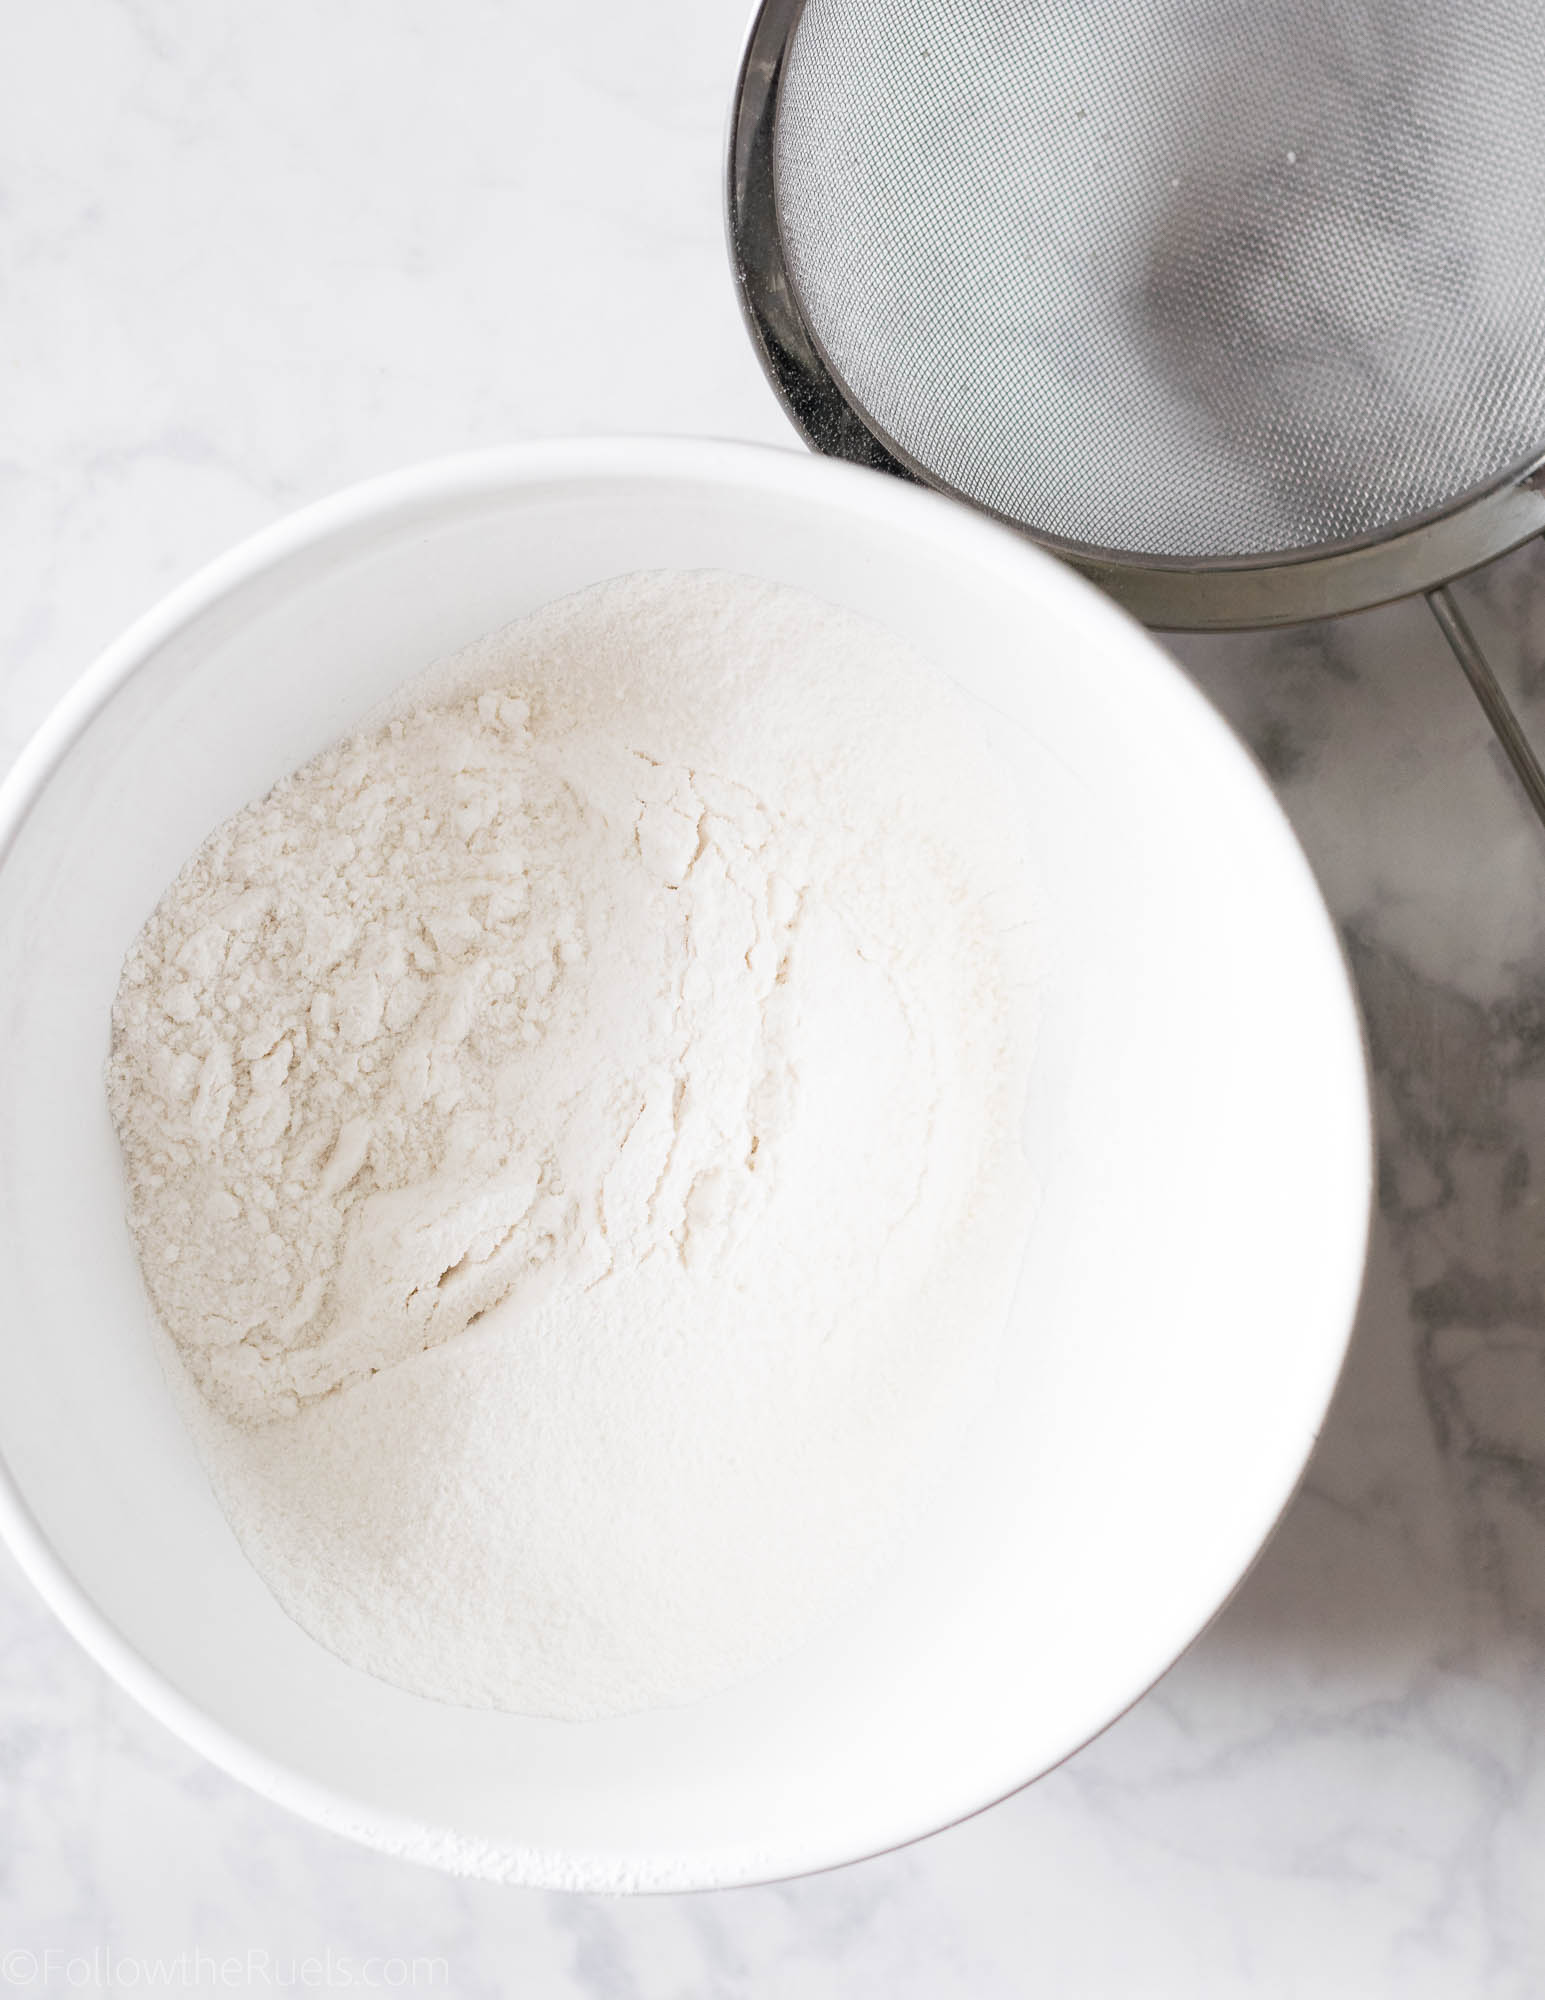
Tip #2: Sift the cake mix before mixing in the wet ingredients. 

Have you ever noticed how lumpy cake mix is? Then you mix everything together and you still have dry clumps of the dry mix? That stuff doesn’t bake away, they are left in the cake so that you have these little pockets of powdery cake mix. 

Sifting the cake mix beforehand will quickly get rid of those lumps so that you have a nice smooth batter.

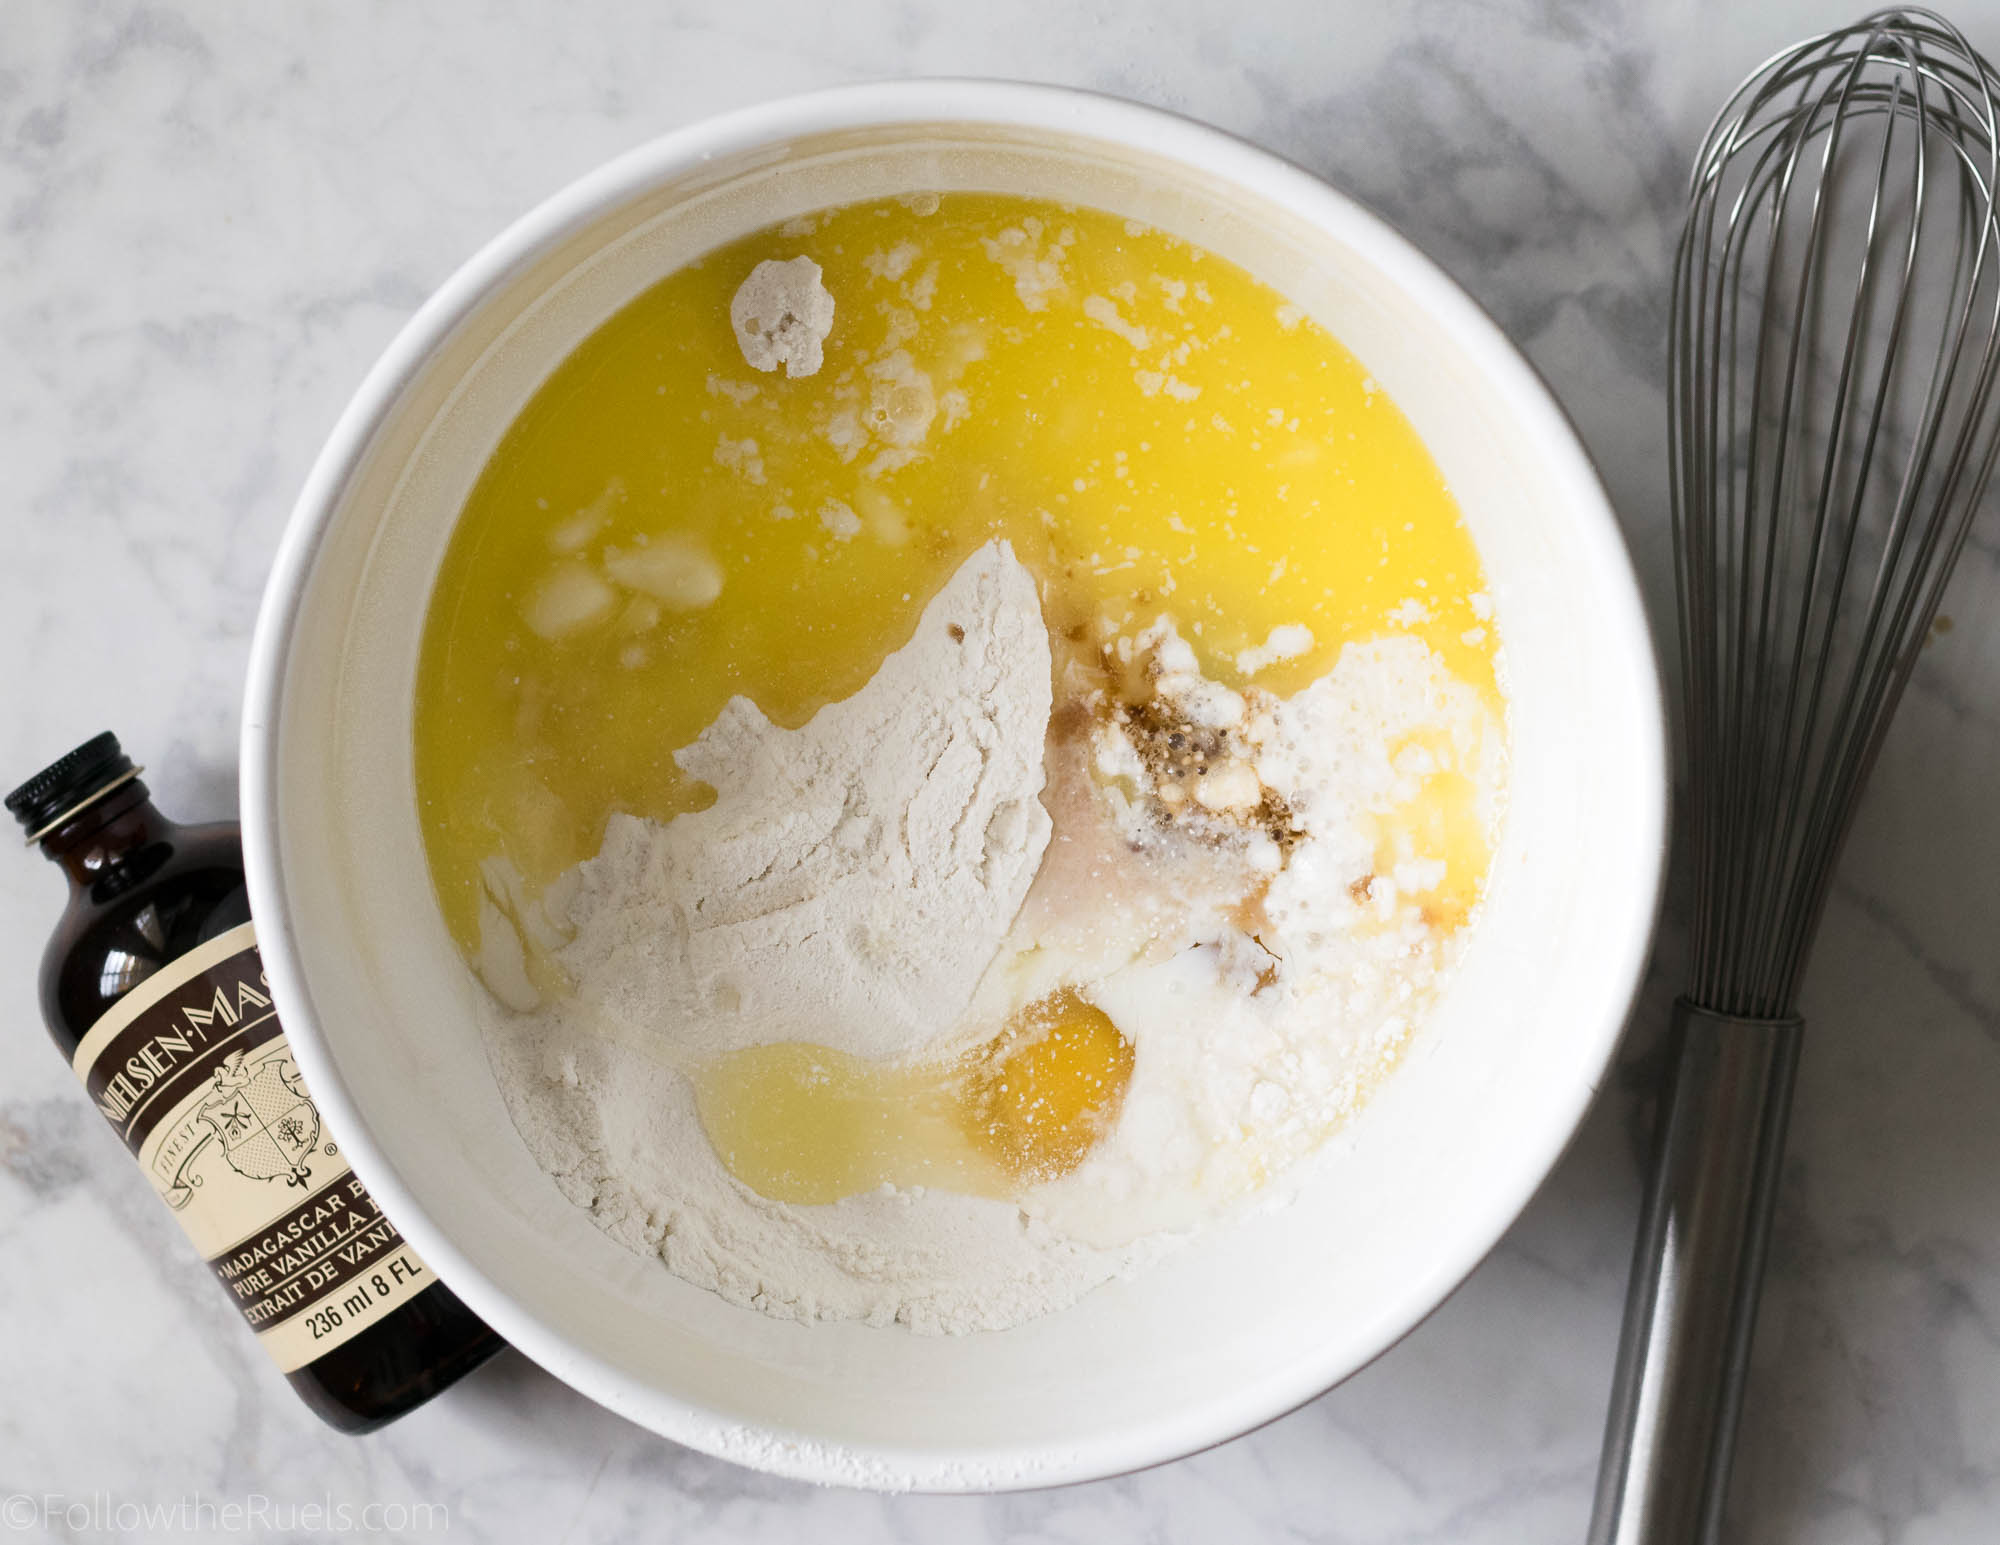
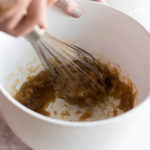
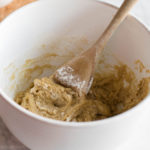
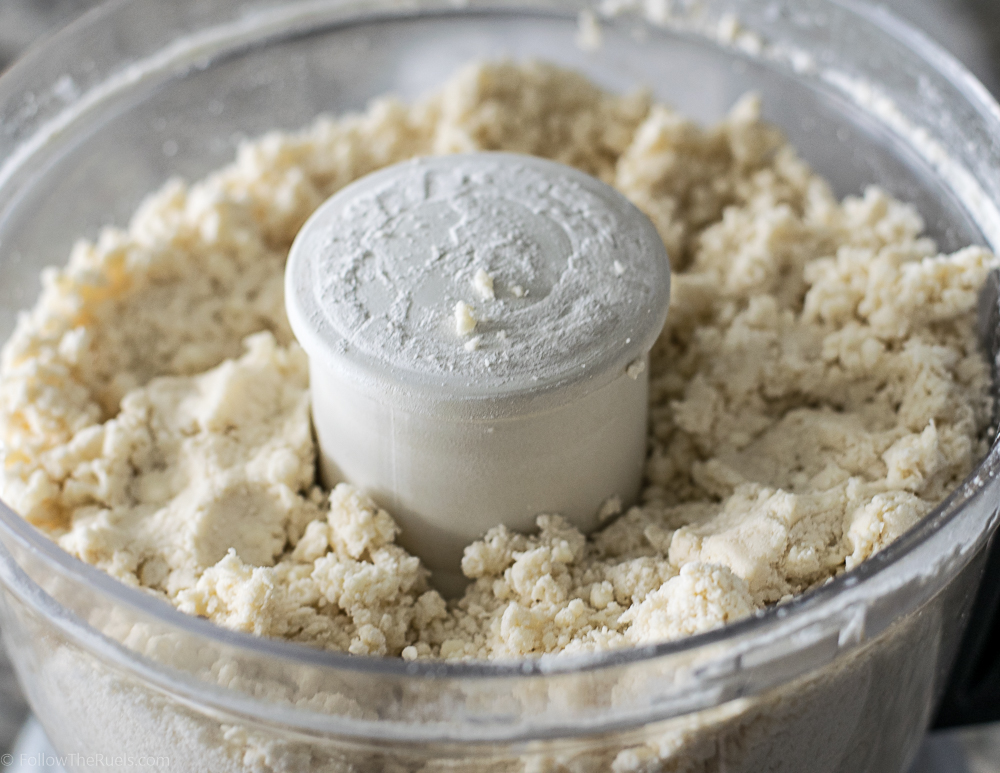
Once you add the wet ingredients into the dry ingredients, there is one last tip to making sure you have a delicious cake. 

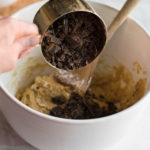
Tip #3: Add in extra flavoring (i.e. vanilla, almond, lemon, etc.).

Using a high-quality extract or a natural juice/zest will help the cake taste more homemade.

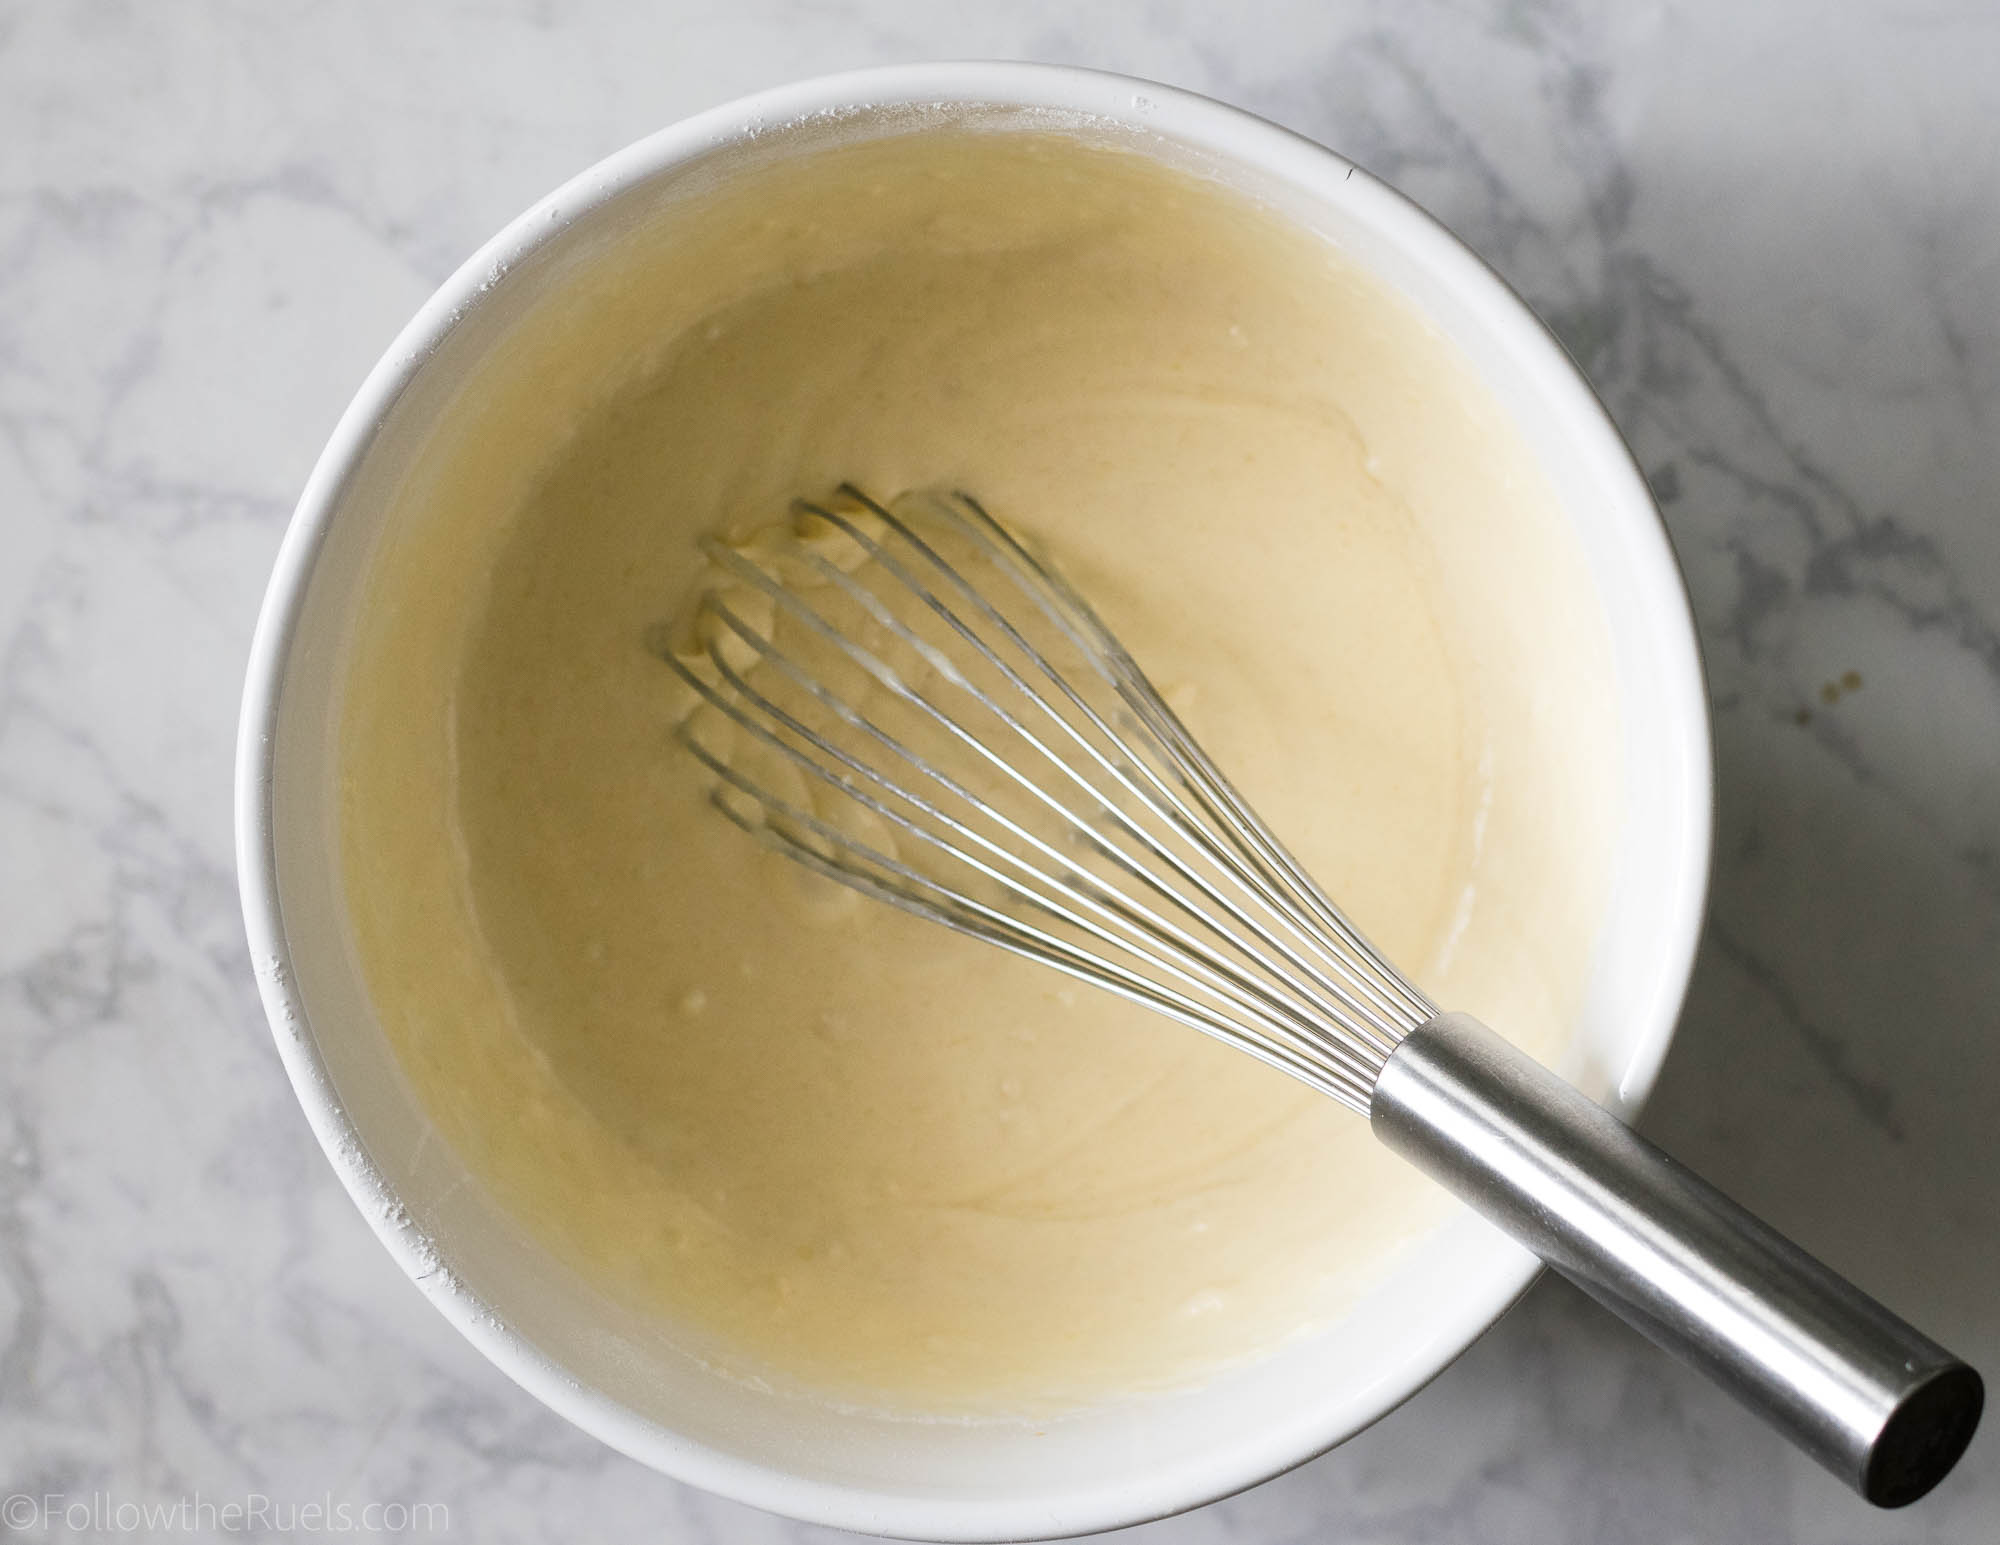
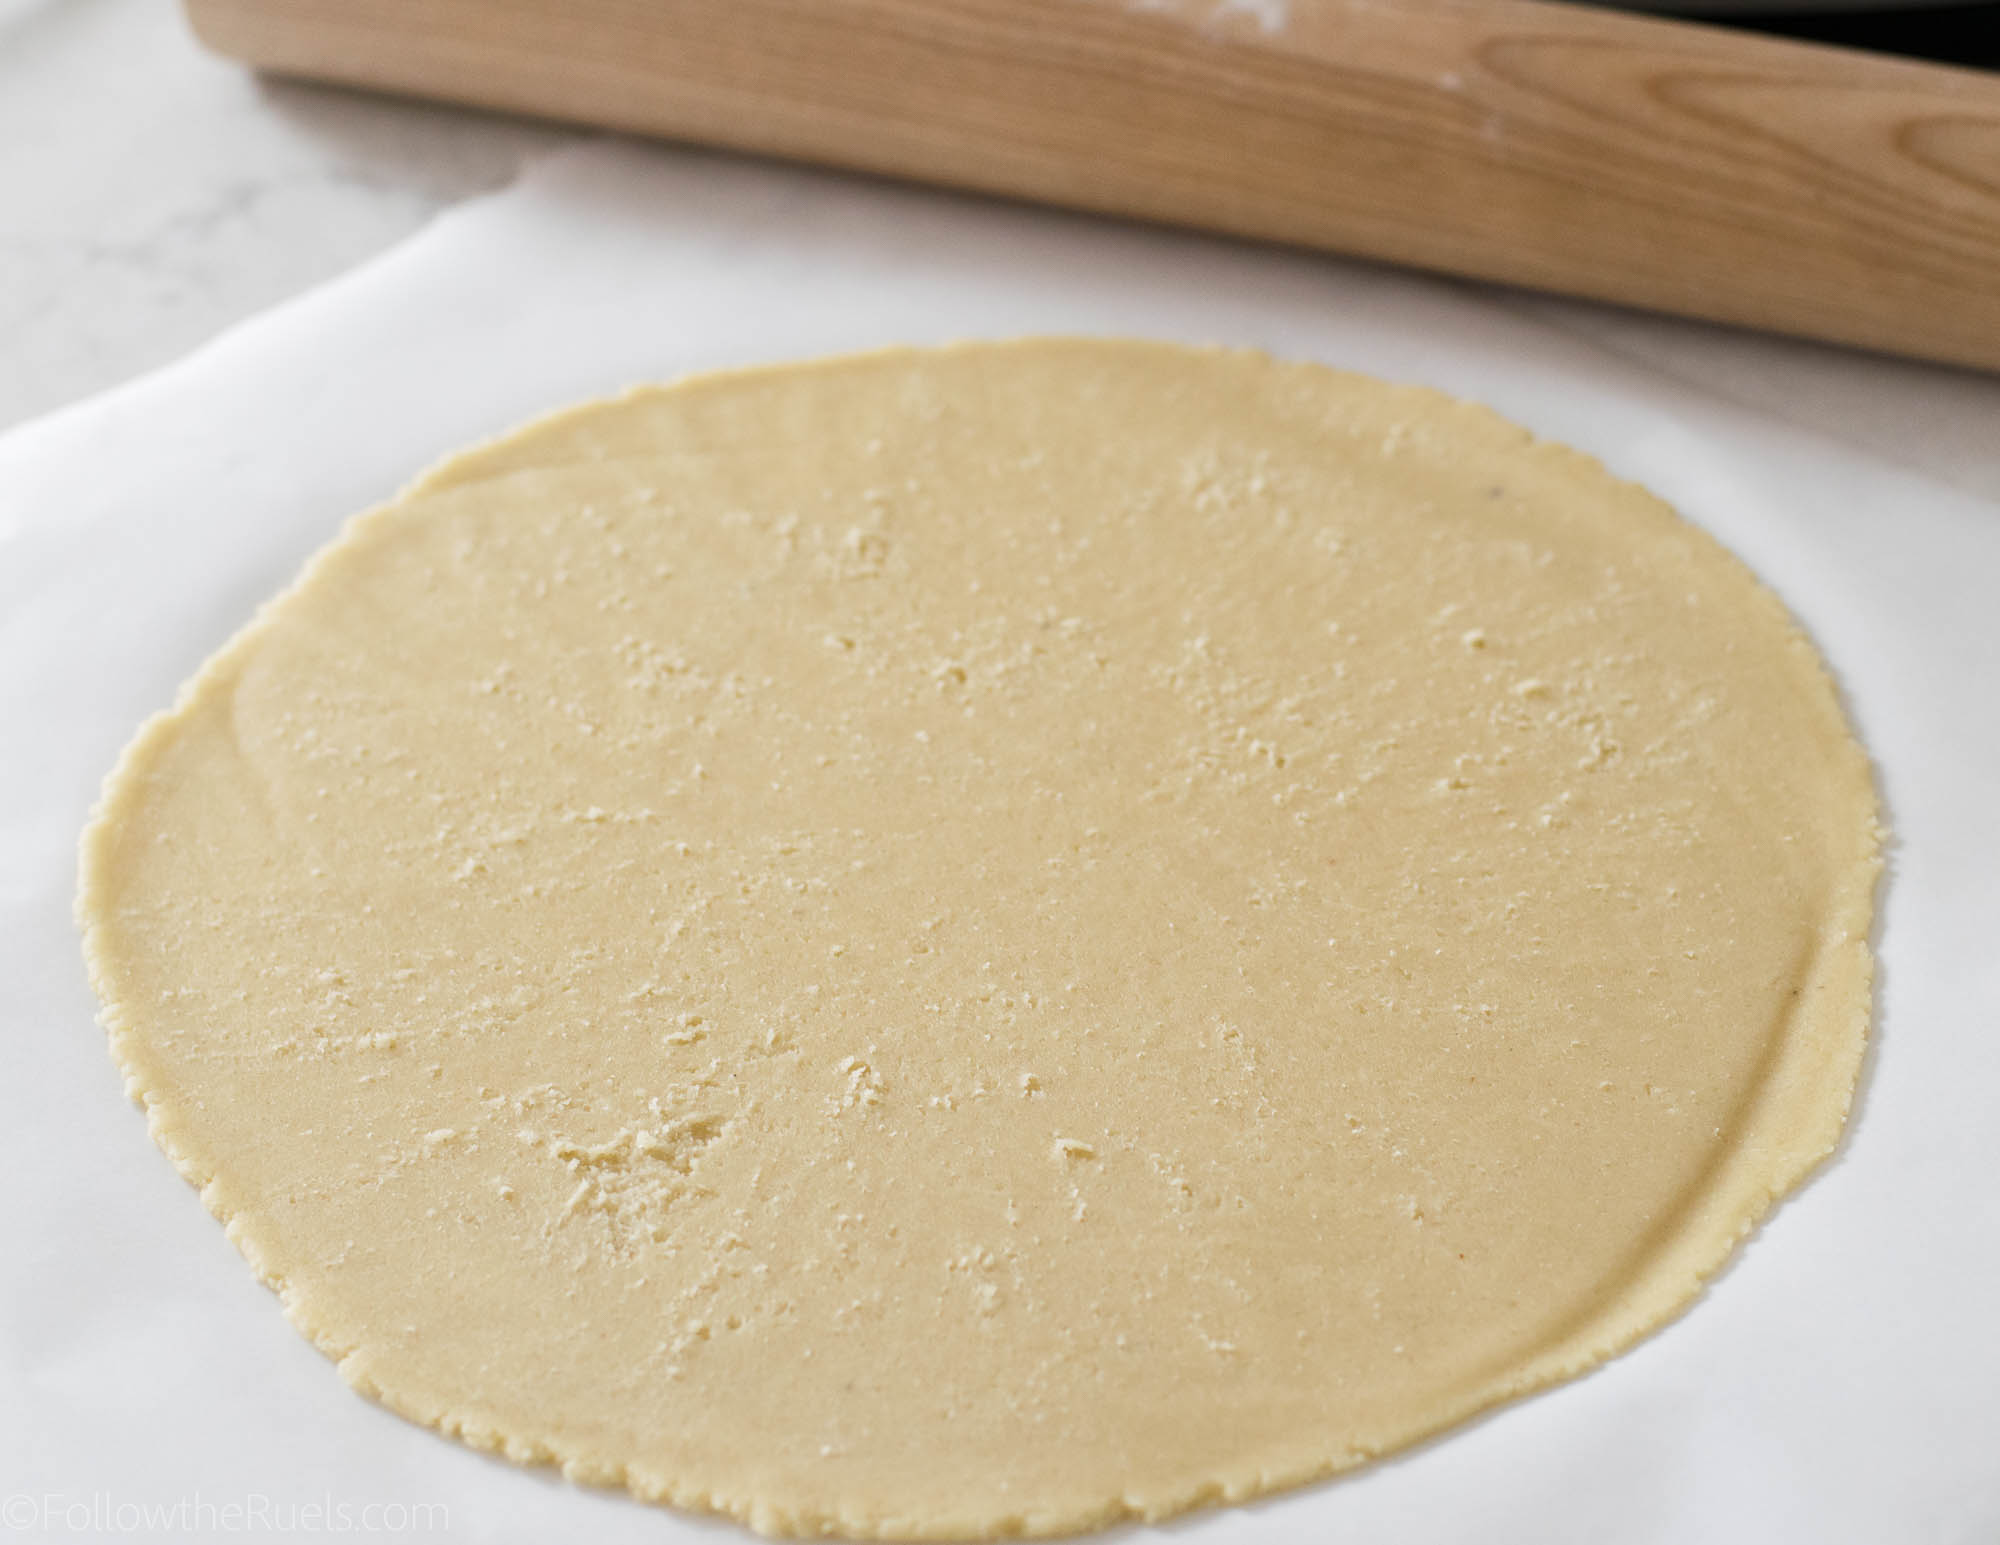
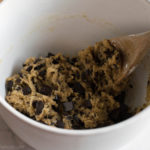
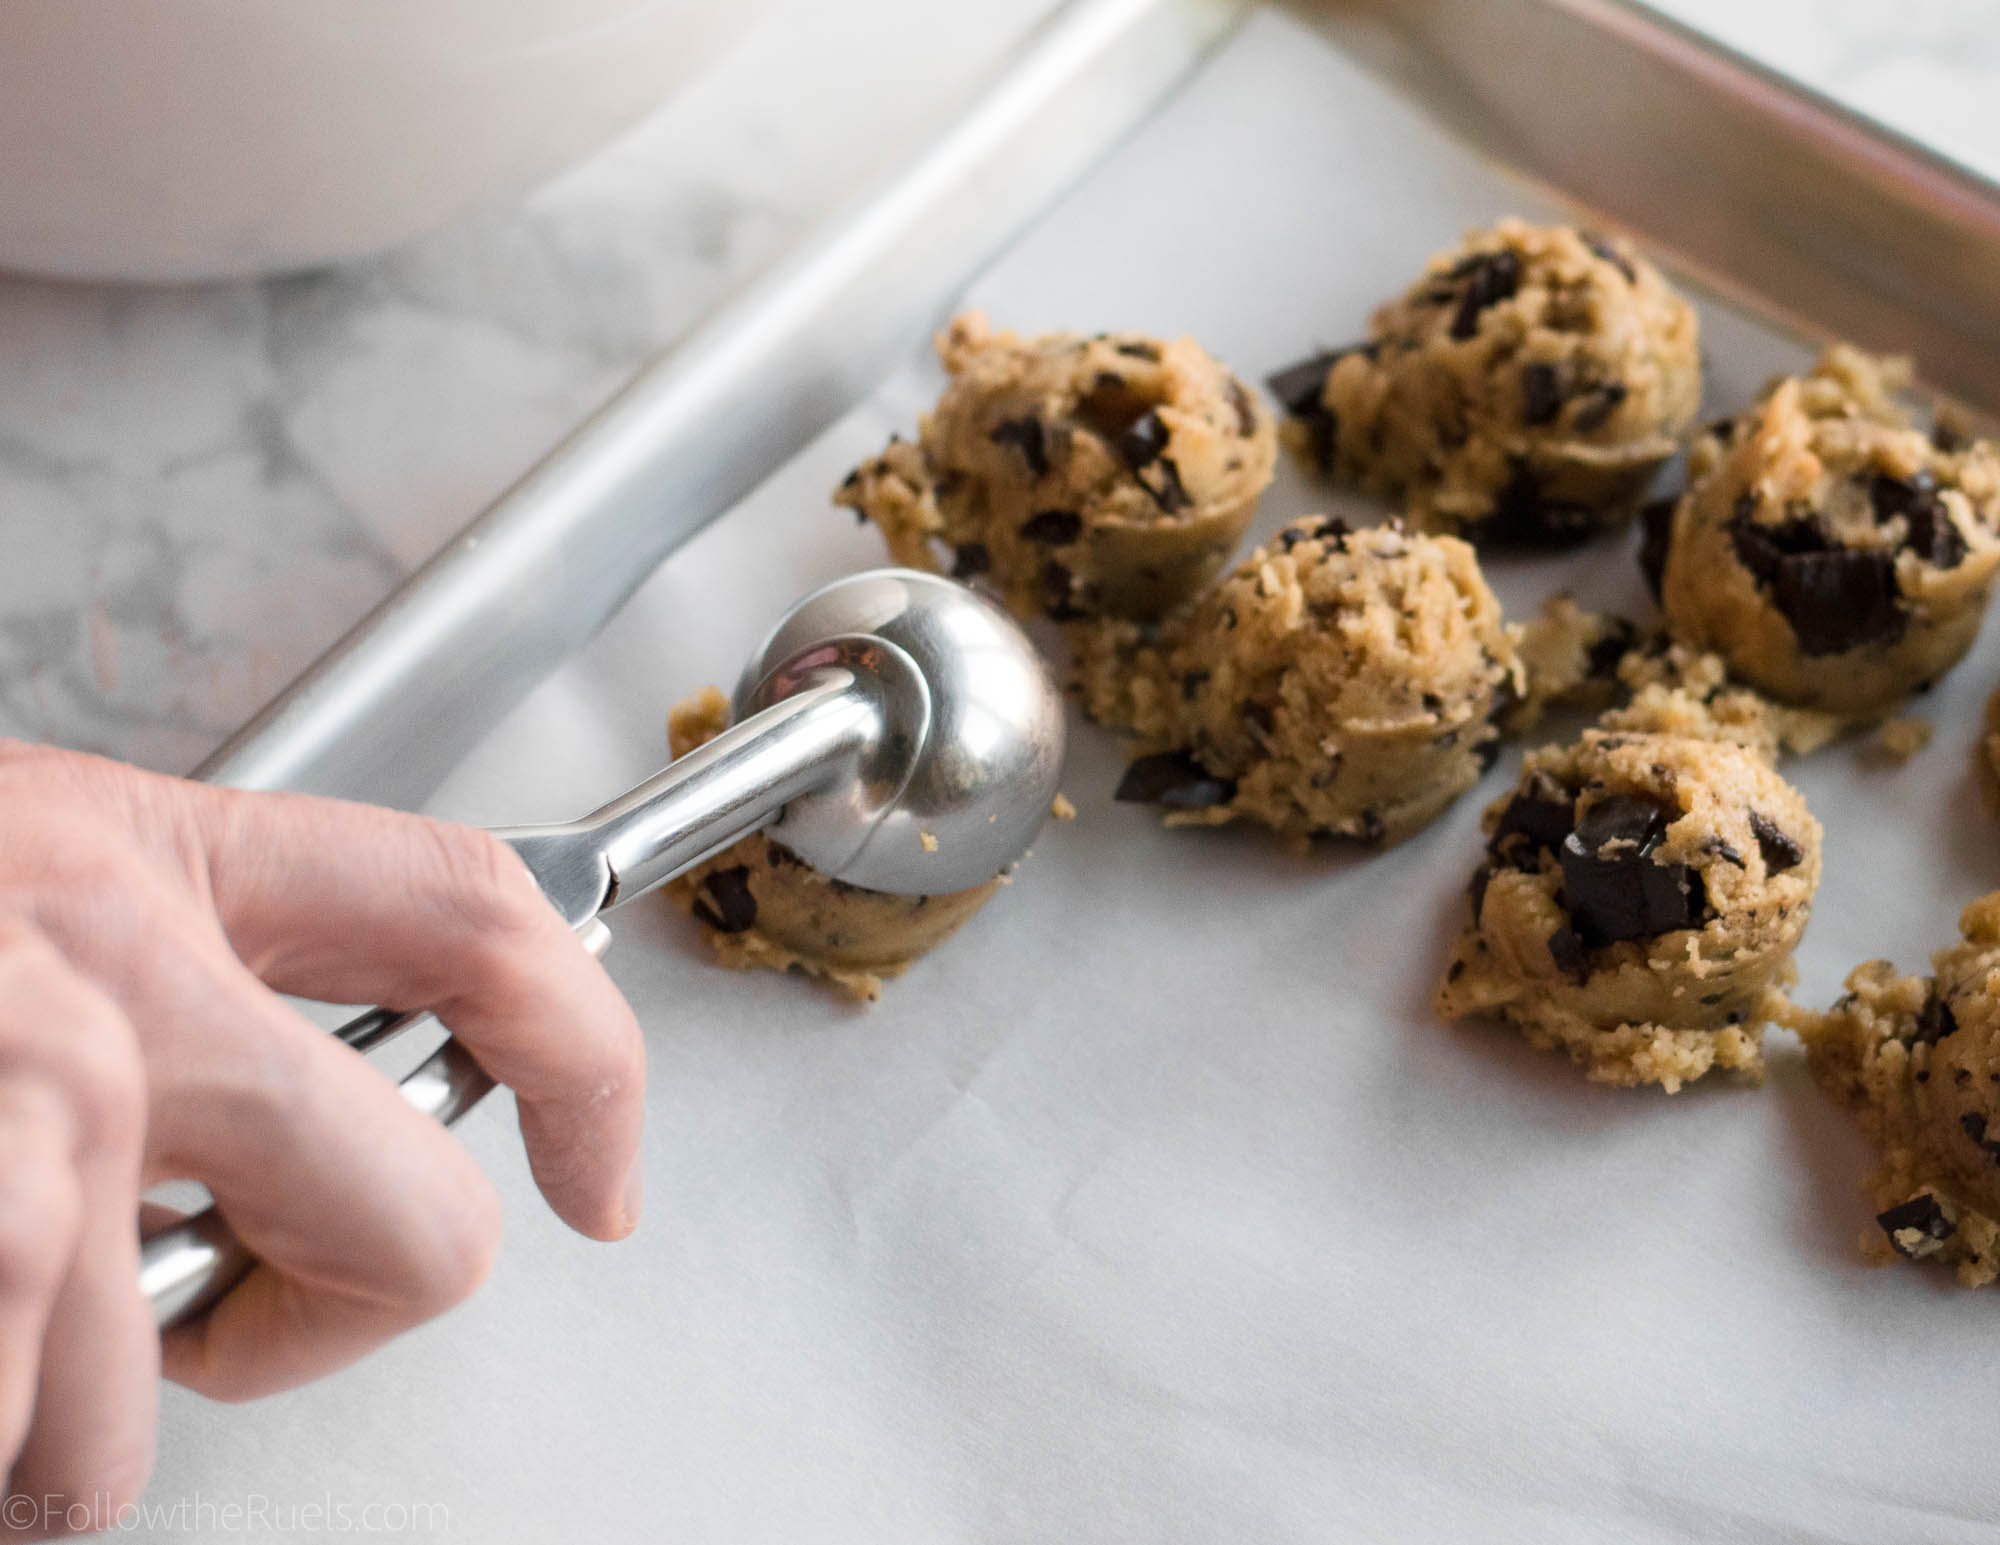
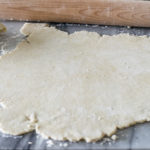
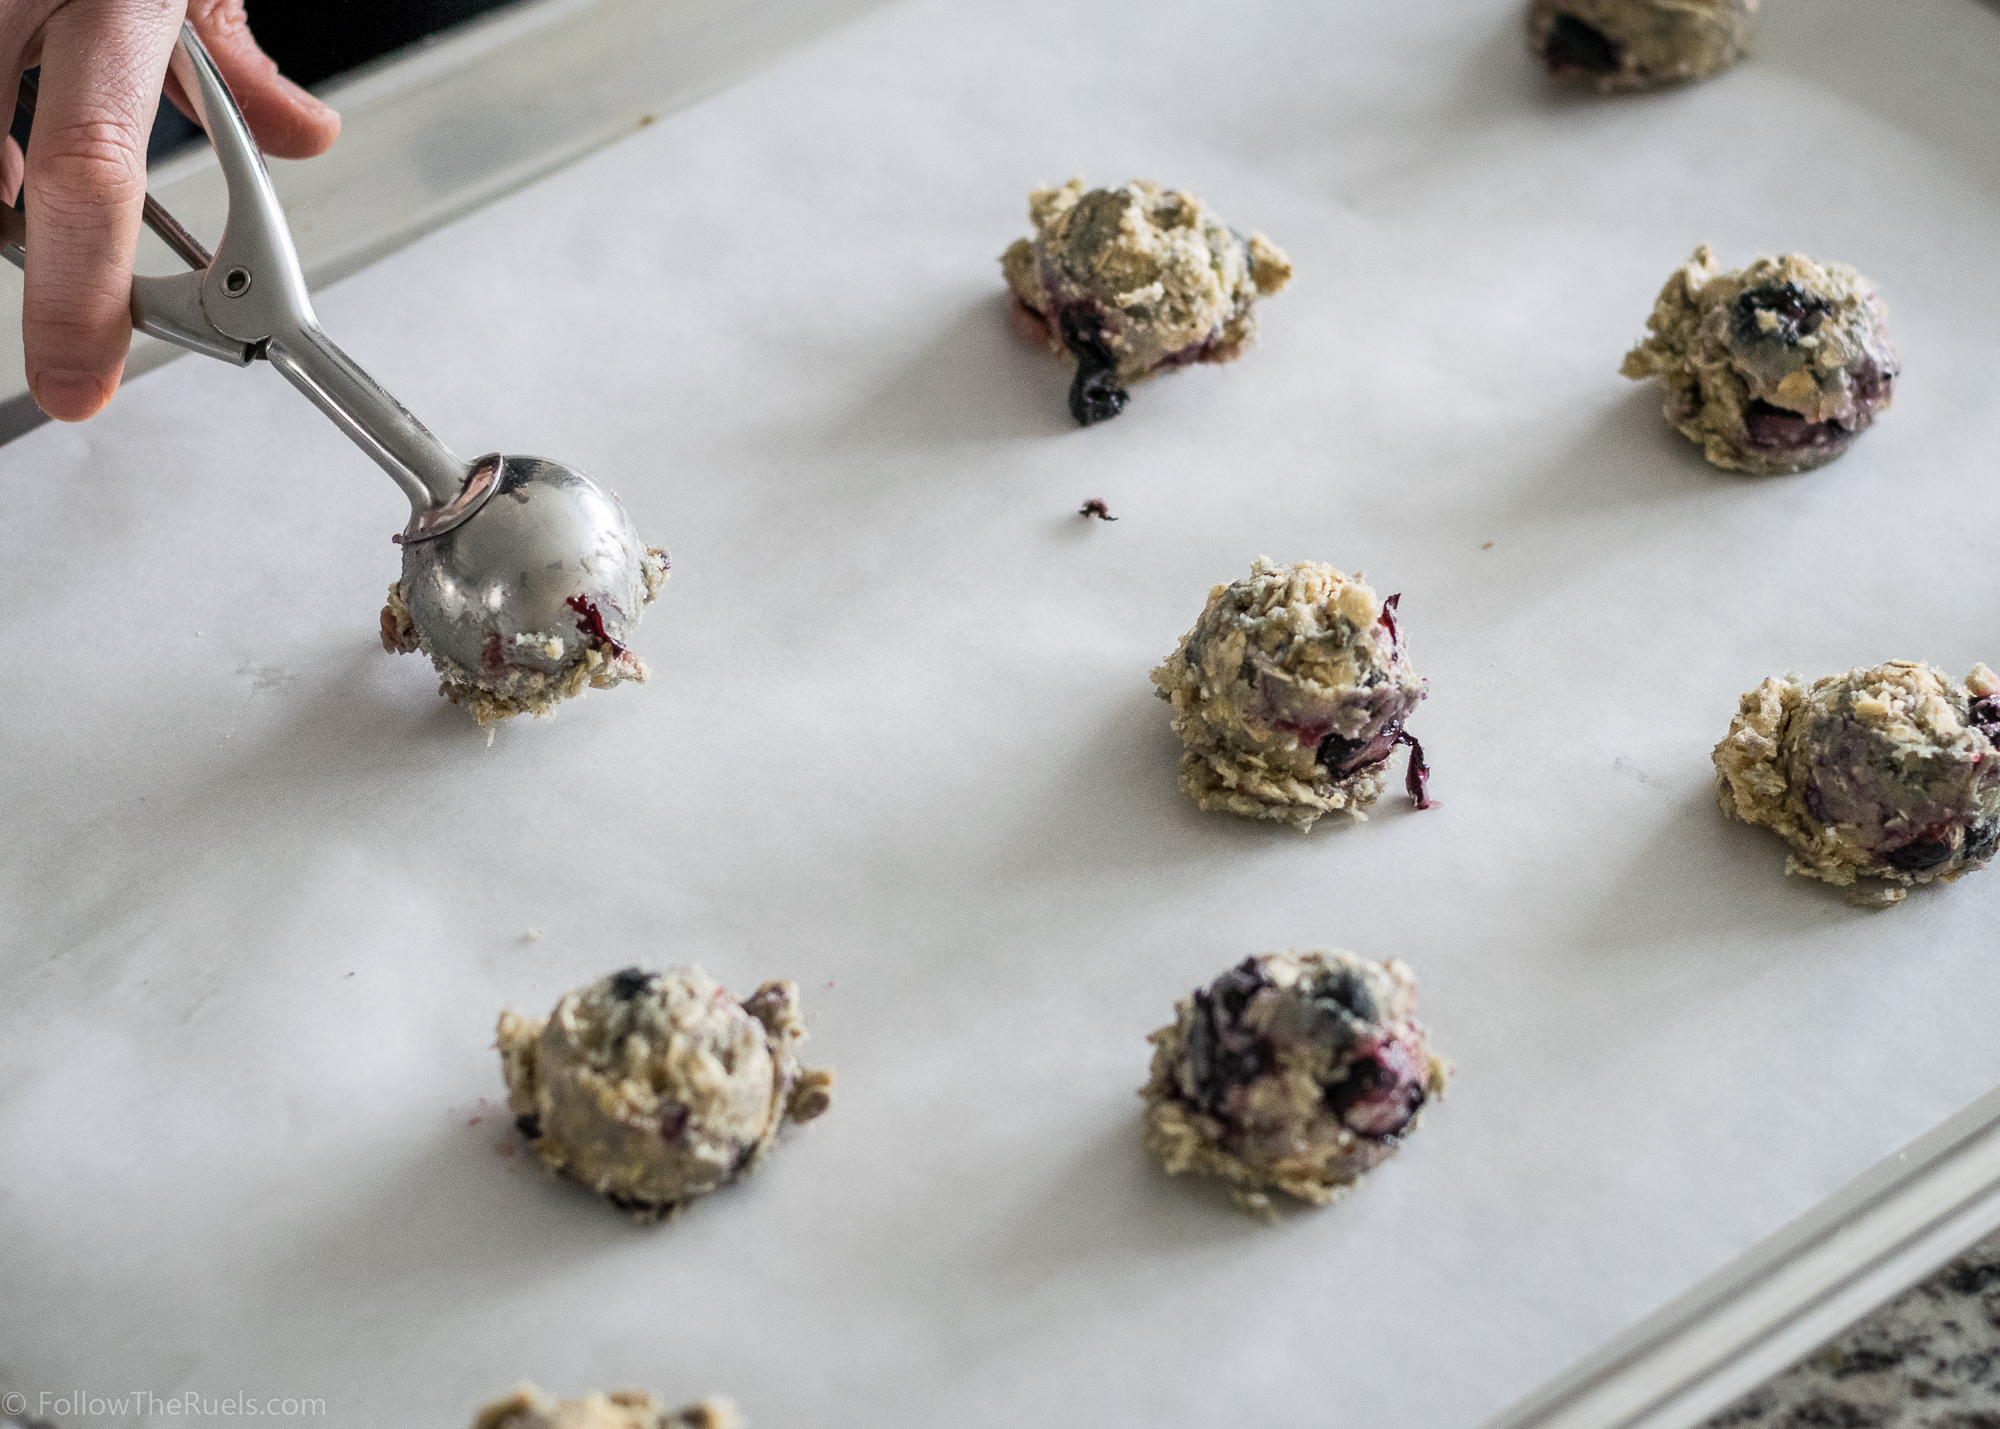
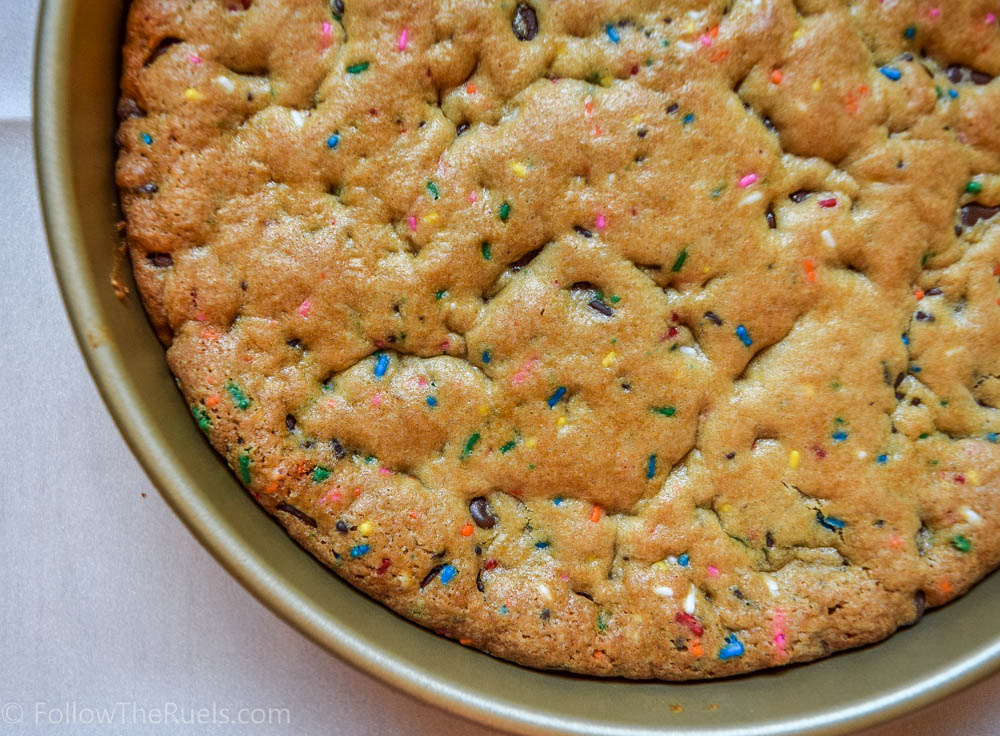
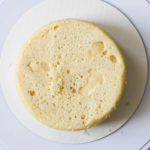
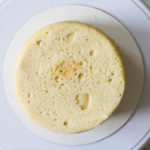
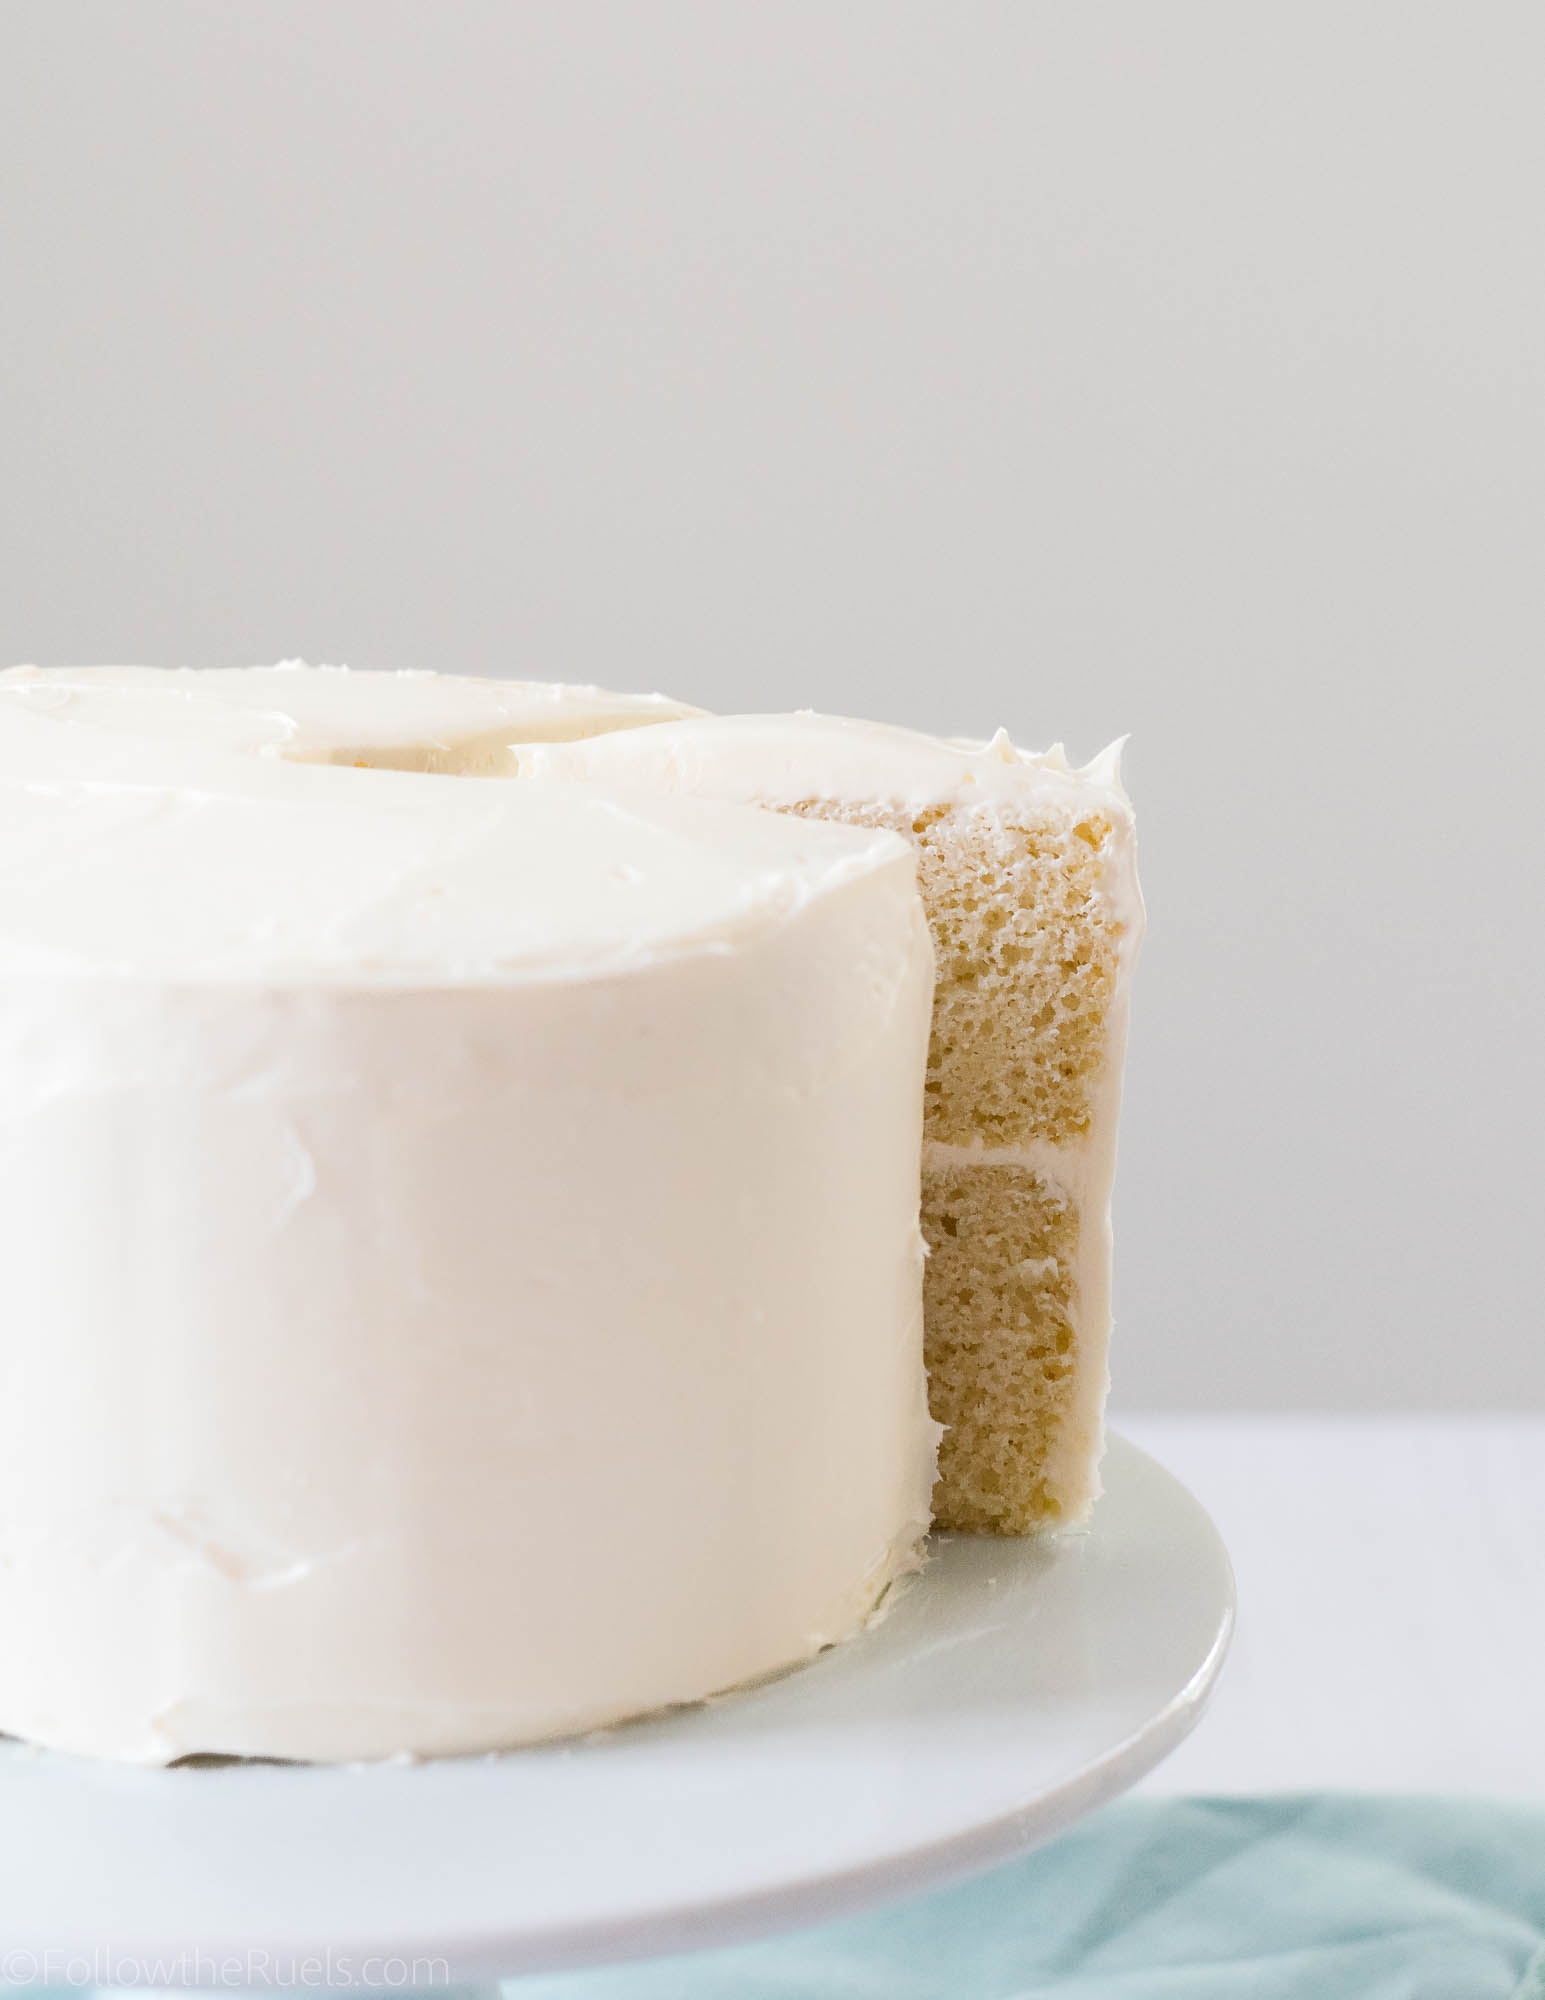
Once you have everything mixed together into a batter, you can make this mix into anything from cupcakes, to a cake, to cake balls. 

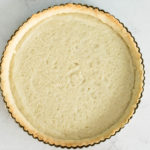
In this instance, I baked this batter into a two-layer cake. 

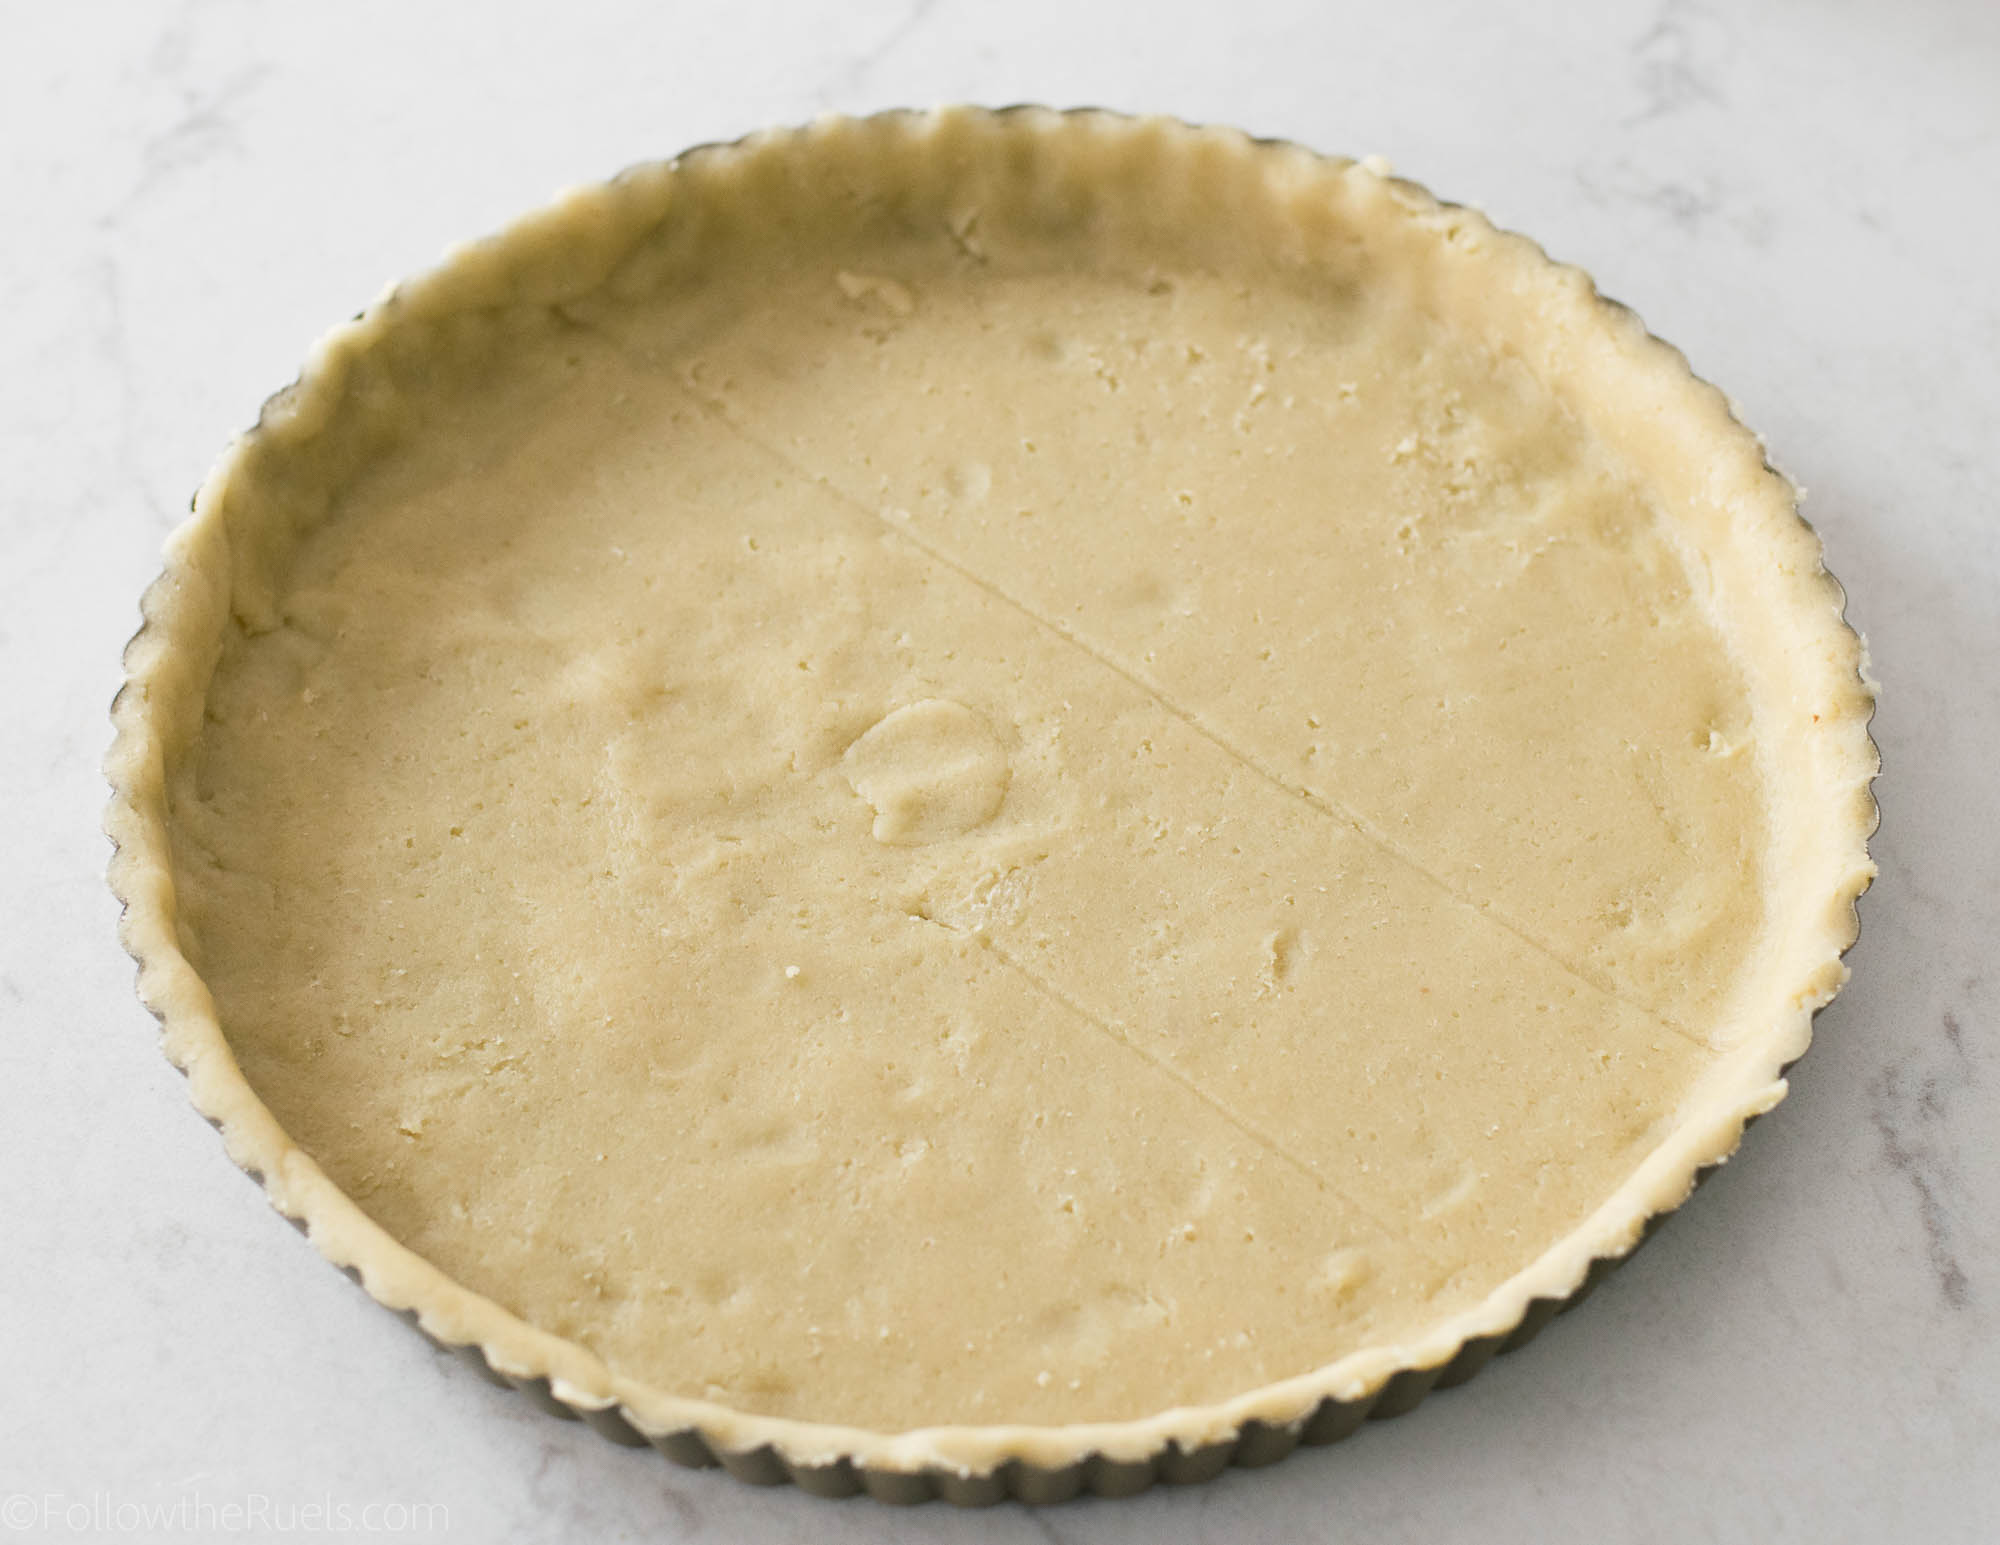
Whenever I bake a cake in cake pans I always line the bottom of the pan in a sheet of parchment so that the cake releases from the pan with very little hassle. 


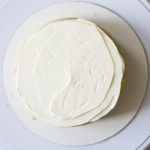
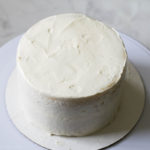
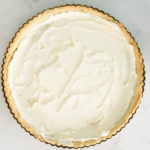
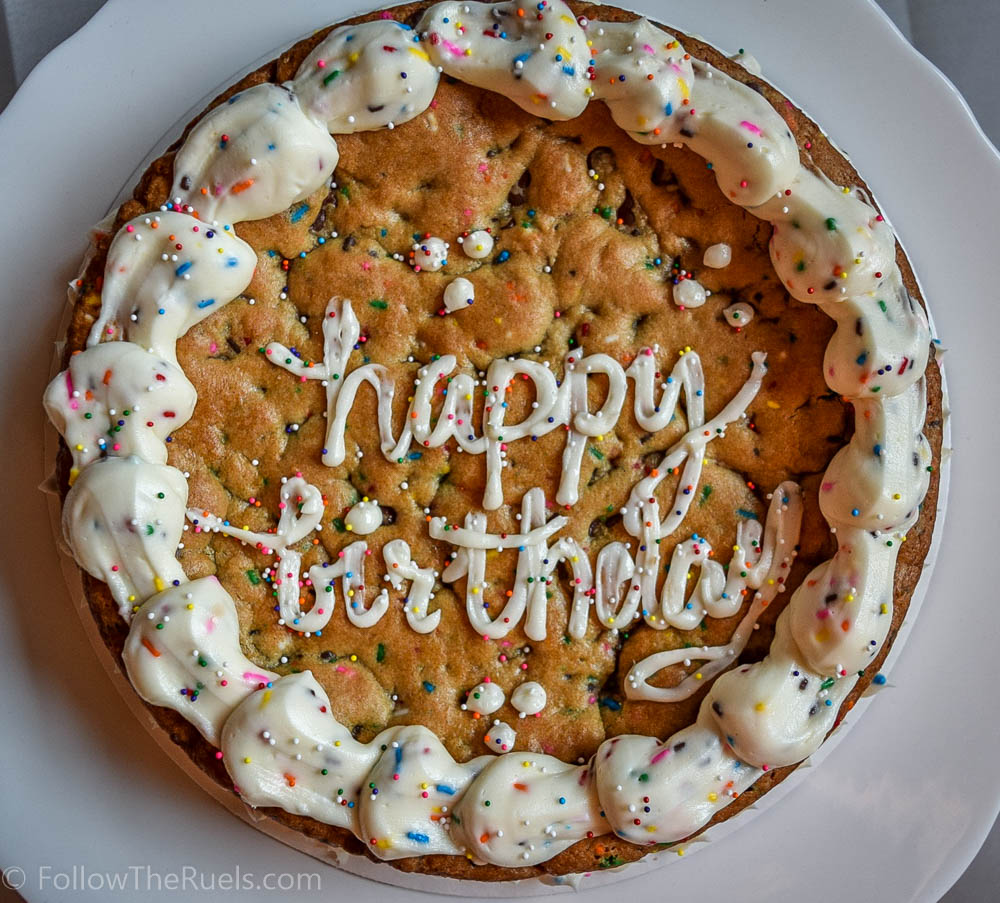
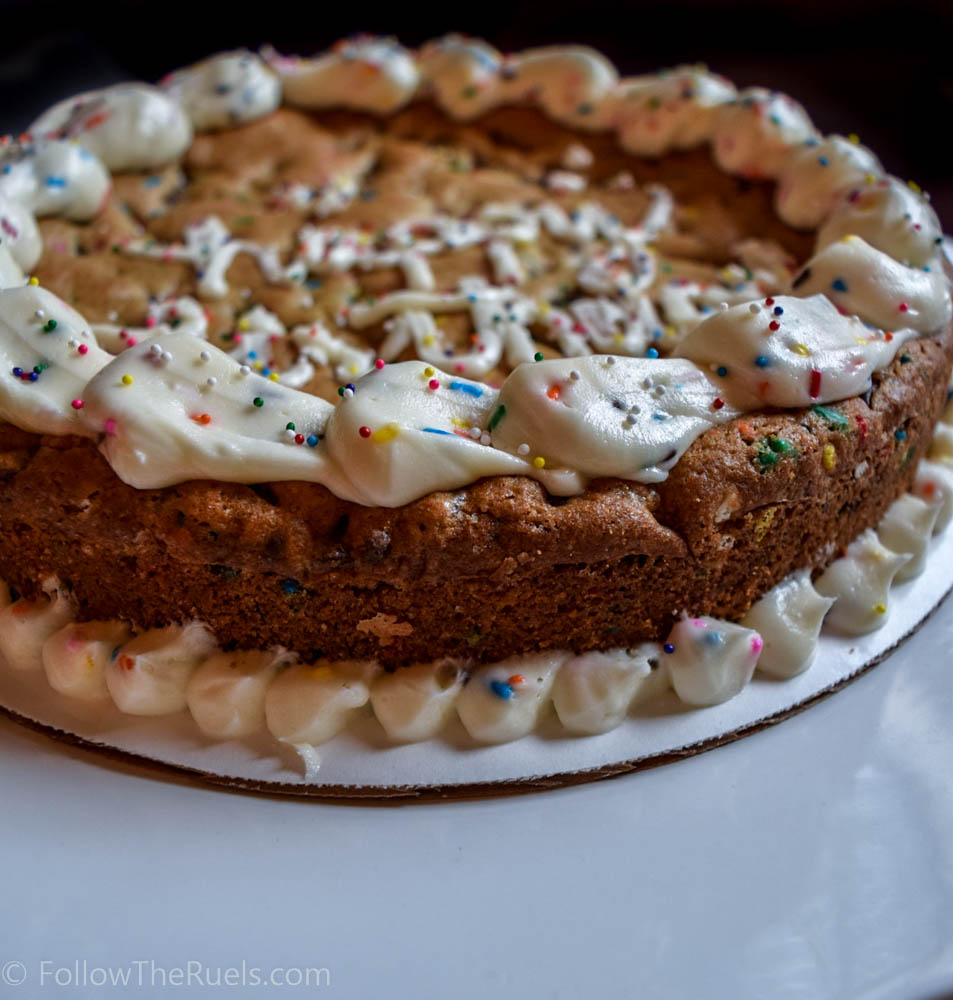
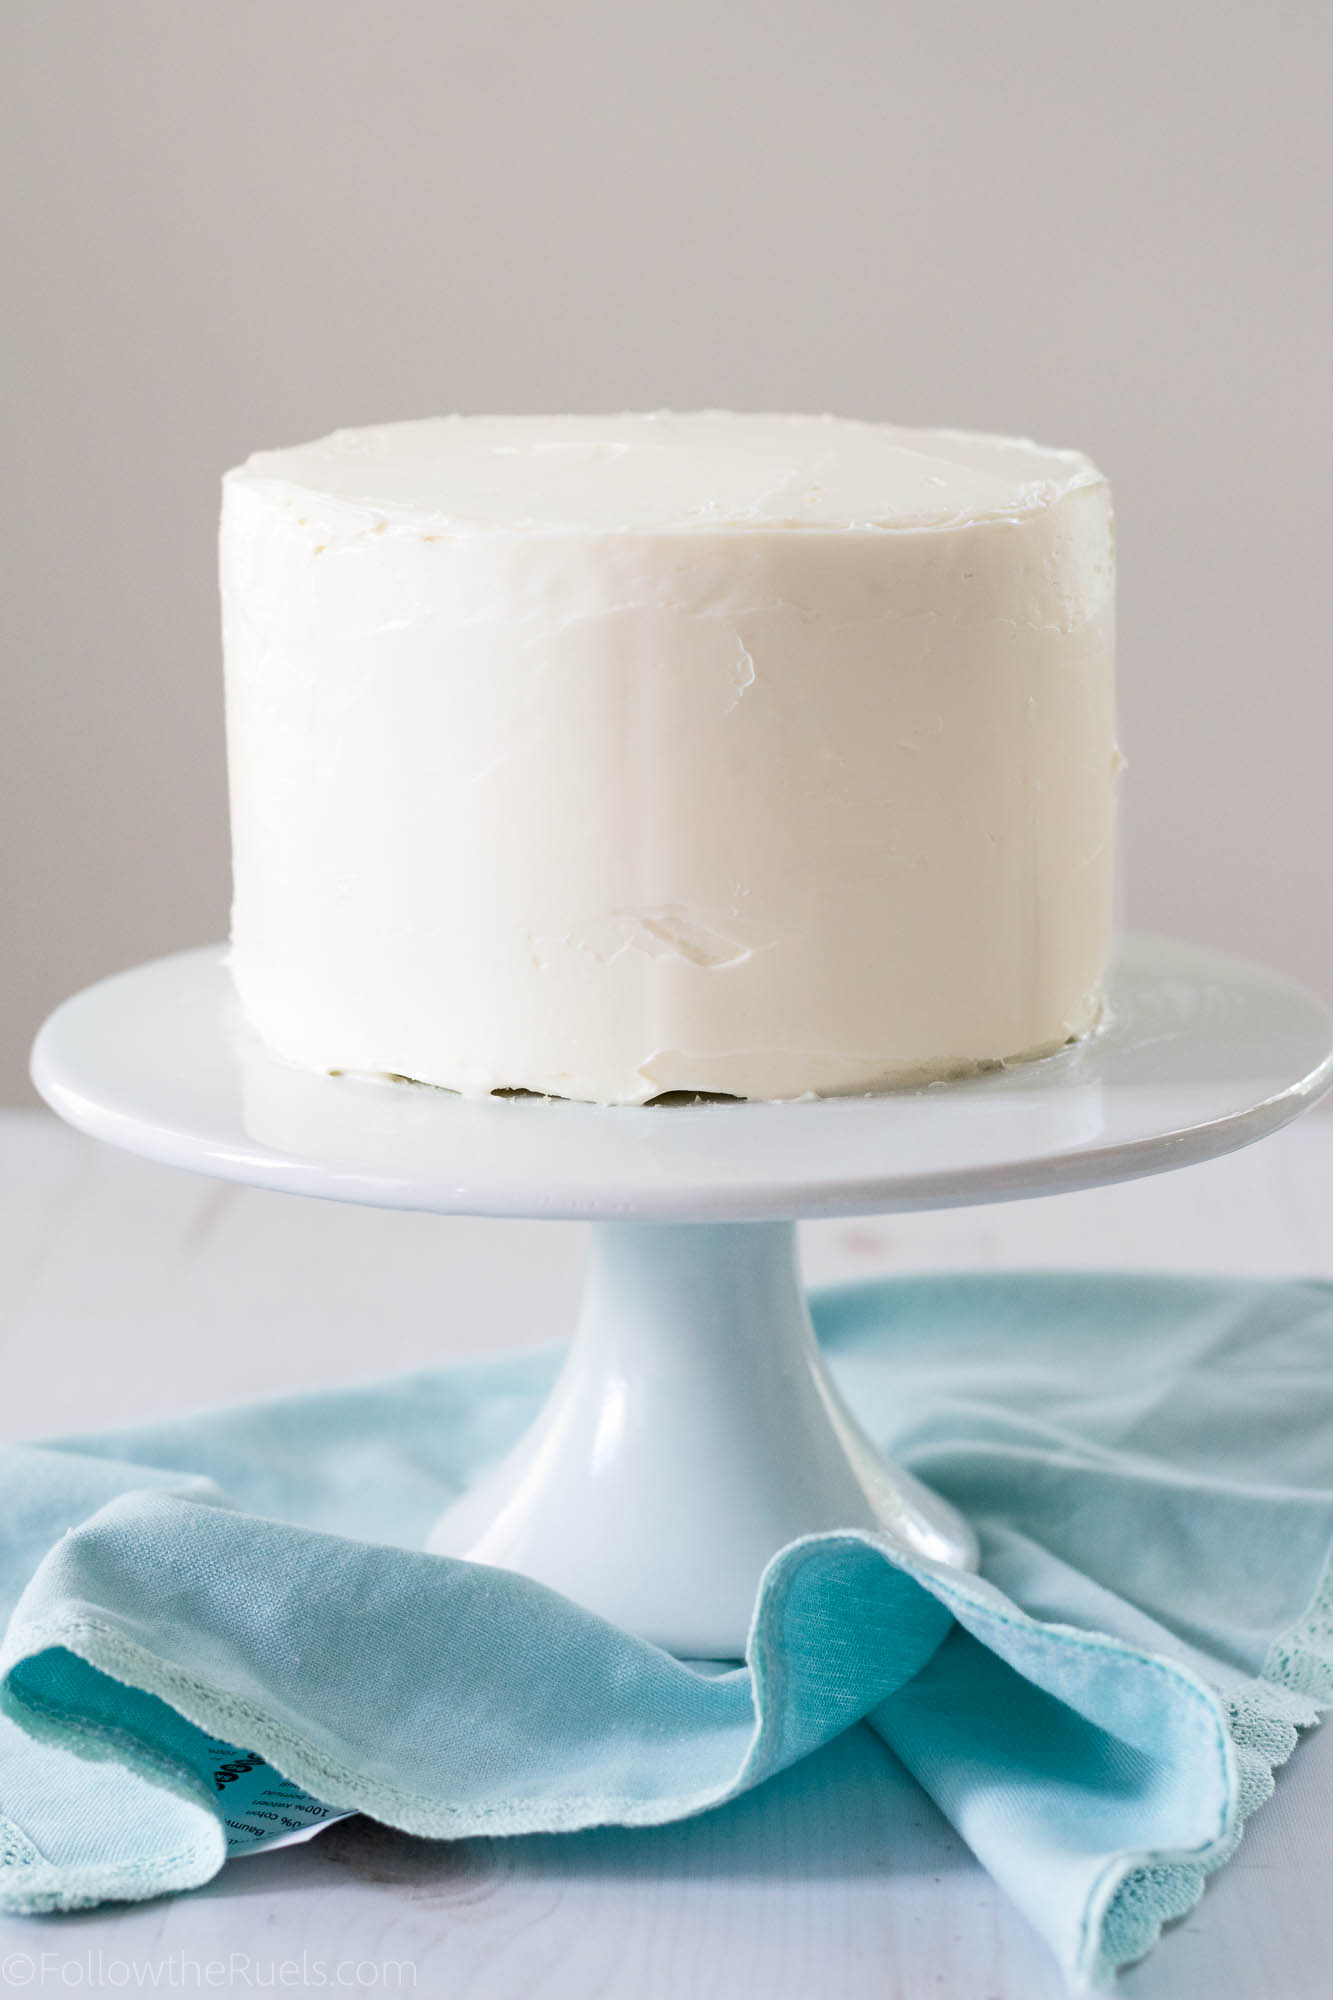
All that is left is to ice the cake. 

Now my last tip to making a boxed cake mix taste homemade is to avoid using the store-bought frosting. 

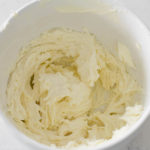
Tip#4: Frost the cake with homemade frosting.

You don’t have to make a fancy Swiss meringue buttercream. Even a basic American buttercream or cream cheese frosting will work. But please avoid using that store-bought stuff, which has a distinct flavor that makes that whole cake taste like it’s not homemade. 

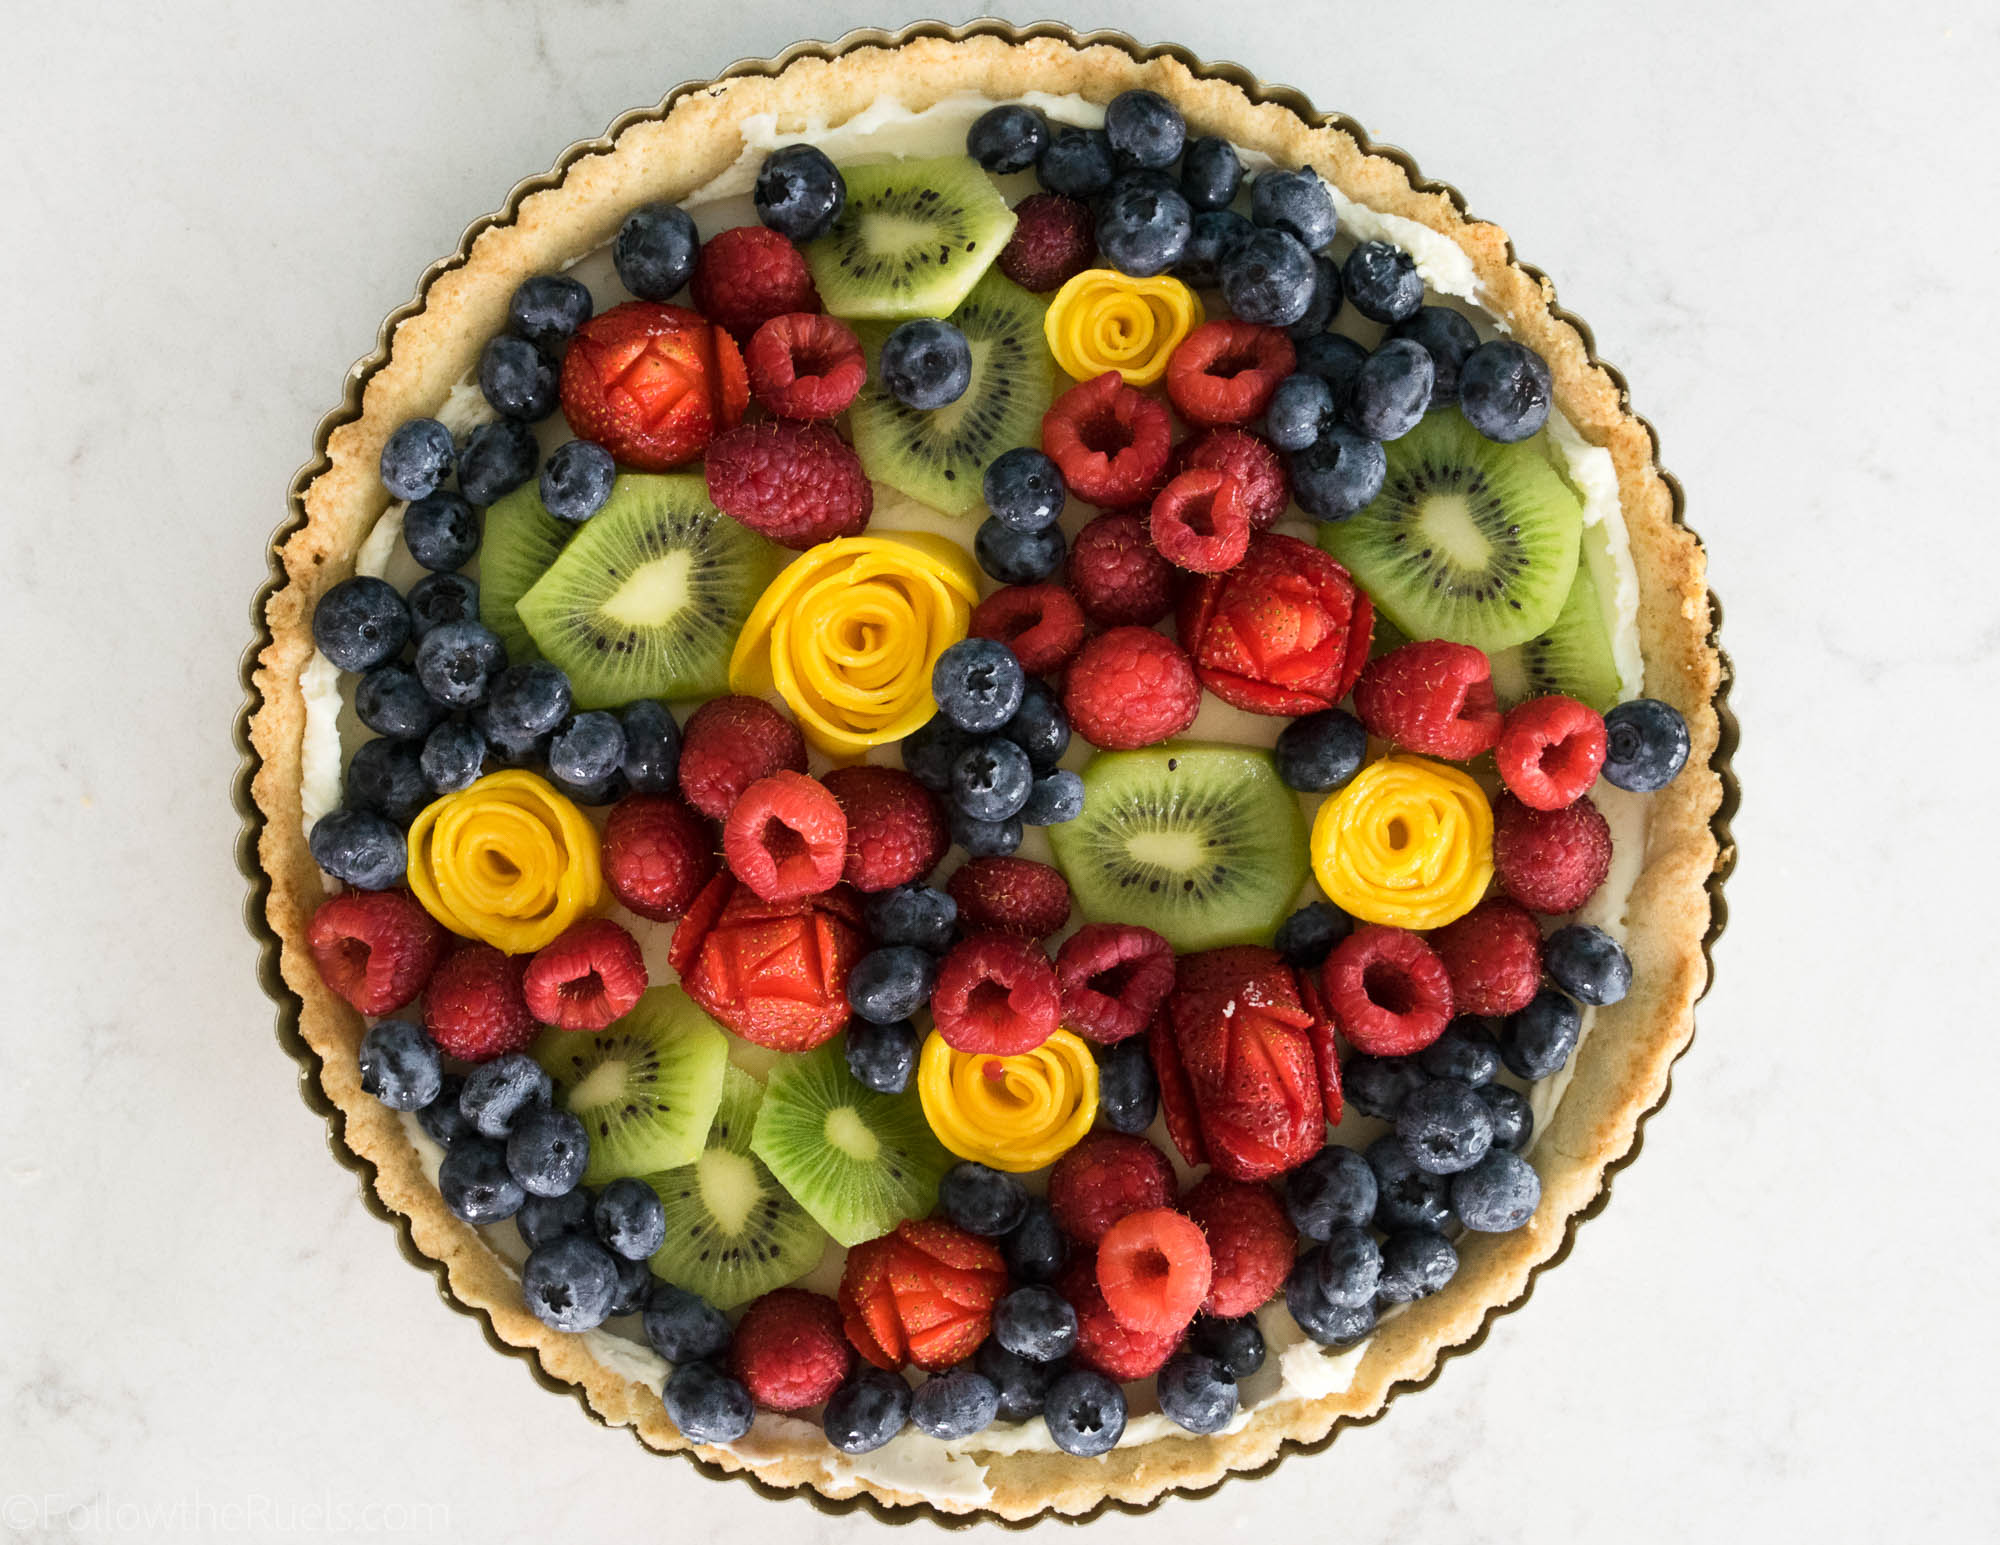
And that’s all you need to know to make a boxed cake mix taste like a homemade cake! 

So for those who hate baking from scratch, you can still make a fabulous cake without all the extra work!

Recipe

[yumprint-recipe id=’183′]

/ Filed In: Cakes and Cupcakes, Cakes New, Desserts, Eat
Tagged: baking, cake, cake mix, homemade, layer cake, semi-homemade

Beautiful Fruit Tart with Almond Crust

April 11, 2018

I have now made this tart three times, and in my opinion, it keeps getting better. After each fruit tart, I learn something new to make it a little better. For instance, for the first fruit tart, I made a shortbread crust. Something super simple and super delicious. 

For the second version of this tart, I decided to make a Thomas Keller tart crust recipe. My neighbors, who have had this tart each time it was made, told me they liked the first crust better! So for the third (and final) tart, I made the original shortbread-like crust but kept the delicious mascarpone filling that everyone loved in the second. 

However, we all know what makes this beautiful fruit tart so eye-catching! The fruit! I really stepped up my game when I made this for Easter and decided to make some pretty fruit flowers instead of just piling on the fruit. It was a hit! Adding the extra details to this tart makes it look very professional and sophisticated when (just between you and me), it’s SUPER easy to make!

I will even allow shortcuts to the recipe. For instance, don’t want to make your own tart shell? Buy one premade, use a frozen pie crust, use store bought cookie dough, or make a quick graham cracker crust! Sure, it won’t taste quite the same as the one I made, but I guarantee it will still be delicious. 

There aren’t really any shortcuts for the filling since it’s just mascarpone and sugar mixed together. But, if you wanted to make it a tad healthier, you could use vanilla Greek yogurt instead.

All I am saying is that this post is more about how to assemble a beautiful fruit tart than it is about making one from scratch. However, if you are interested in the later, I’ve got you covered with the recipe down below!

How to Make It

For those who are interested in how to make the tart shell and the filling, read on. If you just want to see how I created the flowers, skip to the next section!

The tart shell is a cross between a shortbread cookie, pie dough, and the super fancy tart shell that Thomas Keller makes. 

Combine almond flour, all-purpose flour, sugar, butter, salt, and a teeny bit of water in a food processor and pulse until the dough forms a loose ball.

Like this!

Roll out the dough between two sheets of parchment until it’s big enough to cover the bottom and sides of your tart pan.

Press the dough into the bottom and along the sides of the pan, then cut off any excess.

Add a sheet of parchment and then pour on pie weights, dry beans, or rice. Bake in the oven for about 15 minutes, then remove the pie weights and bake for an additional 10.


While the tart shell bakes, make the filling. 

Mix together mascarpone, sugar, and vanilla until it’s light and fluffy.


Once the tart shell has baked and cooled, spread the filling into the bottom of the tart shell. 

Now it’s time to assemble!

How to Assemble a Beautiful Fruit Tart

The hard part is creating the fruit flowers. It did take me a few tries to get the strawberries down, but they are pretty easy once you get the hang of it. 

The mango flowers are even easier, provided the mangos aren’t too slippery. My mango was very juicy which made the slices a bit harder to roll. But they still aren’t very hard to make. 

Like with any flower arrangement, whether on a cookie or on a wreath, I recommend using an odd number of the same type of anything. So I have 5 strawberry flowers and 5 mango flowers. I also have 5 clusters of kiwi. That wasn’t an accident. That was very much on purpose. Odd numbers are more pleasing to the eye so they make this fruit tart look very organic and natural, rather than staged.

However, the best thing about this fruit tart is EATING IT!

It is so delicious! It’s simple, not overpowering, but still incredibly flavorful because of all of the fruit flavors on the top of the tart. I absolutely love this combination of fruit because you have a mix of tart fruits, like kiwi and raspberry, with sweeter fruits like the blueberry, strawberry, and mango. There are also so many different textures, it all comes together to create the perfect dessert!

I guess I shouldn’t be surprised when my neighbors keep requesting this tart for any of our get-togethers!

Tools and Recipe

[show_shopthepost_widget id=”3096992″]

[yumprint-recipe id=’171′]

/ Filed In: Desserts, Eat, Other Sweets New, Pies and Tarts
Tagged: almond meal, baking, dessert, fruit, fruit flowers, fruit tart, kiwi, mango, strawberry

Brown Butter Dark Chocolate Chunk Cookies

October 27, 2017

I look for any excuse to bake. I’ll sign up for any bake sale or office party potluck if it means I can bake something. I often use my Small Group and Book Club as unsuspecting guinea pigs for my new recipes. For instance, my Book Club was the taste testers for these brown butter chocolate chunk cookies. I knew they were a hit when i walked in with 18 cookies and left with none. There were only 6 of us. We each had 3 cookies. 

Yes, they were that good! I couldn’t wait to share the recipe on the blog.


Brown butter is a beautiful thing! It’s just melted butter that has slightly….well….browned, which creates this amazingly rich flavor. The butter no longer tastes like butter. It takes on a nutty, toffee-like flavor that perfectly compliments…well…everything. 


Brown butter can be used in place of normal butter in lots of different recipes. For these cookies, I mixed in the liquefied butter just like I would a stick of softened butter. My only tip is to wait until it cools just a bit. You don’t want to mix the eggs into hot butter. 

Once the eggs vanilla, flour, and other dry ingredients are mixed in, it’s just like your average cookie dough.


95% of the time I would use chocolate chips in my cookies. 5% of the time I don’t have chocolate chips on hand. But it reminds me how great chocolate chunks are in cookies! There are small pieces that just mix right into the dough and the larger pieces that create melted pockets of chocolate all through the cookie. 

There are two tips I have learned over the years to make excellent chocolate chip (or chocolate chunk) cookies. The first is to freeze the balls of dough before baking. 

To accomplish this, I scoop out my dough on to a small baking sheet and then pop it in the freezer for 10-15 minutes.

Once they are frozen, I move them to a bigger sheet and give them a bit more space. Then pop them in the oven.

The second tip is to sprinkle the unbaked cookie dough balls with flakey sea salt. Seriously, if there is one thing you take away from this post its this! Sea salt and any chocolate chip cookie takes it to the next level.

Out of the oven they look fairly unassuming, like ordinary CCCs. But these brown butter chocolate chunk cookies are not ordinary. They are extraordinary! Rhe best part is, people won’t really know why they are different, but they will definitely taste the difference.

The brown butter clearly sets these cookies apart, adding a subtle nutty flavor. Then the large chunks melted chocolate lightly dusted with sea salt just push these cookies over the edge. 

Promise me, just make them, give them to your friends, and then sit back and bask in the glory that will inevitably be rained down upon you.

[yumprint-recipe id=’141′]

/ Filed In: Cookies, Cookies New, Eat
Tagged: baking, brown butter, chocolate chip cookies, cookies, dark chocolate, sea salt

Easy Pie Crust Recipe

June 18, 2017

A pie can only be as good as it’s filling, right? I’d argue that it’s only as good as it’s crust. Okay, maybe the combination of the two. 

As a pie crust lover (as a kid I would ONLY eat the crust, not the filling), I’m not above turning my nose up at a pie that has a soggy, rubbery crust (call me a pie snob). A great pie not only has a delicious filling, but MUST be surrounded by a flakey, buttery crust.

Trouble is that getting that perfect pie crust at home isn’t always so easy. It can be a pain in the butt to cut the butter into the flour and make sure you get the right consistency. That’s why frozen pie crust exists! 

But frozen pie crust is not the answer. I have found the secret to delicious, flakey, buttery pie crust that you can make at home while barely lifting a finger: the food processor!

You may be thinking that a food processor is just a cop out or its cheating, or that it just can’t produce a good pie crust. I’m hear to tell you that you are wrong and that it can make an excellent pie crust, with one simple tip.


The key to any pie crust is cold butter. I cubed mine up and set it in the freezer for about 10 minutes. Once it was hardendd I added about 3/4 of the butter to the food processor. I kept the rest off to the side to add in later. 

Then I processed the butter with just a bit of flour to chop it into smaller pieces.

Finally, I added the rest of the flour and pulsed it in the food processor until it resembled a coarse sand. At this point I added in the reserved butter (so I could have some bigger chunks of butter in there), and turned the processor to low speed while I drizzled in the water.

I knew the dough was ready when it started coming together but still looked a bit dry. 


After letting the dough chill for a while,  I rolled it out into a relatively thin sheet. I kept a portion of the dough off to the side to decorate with later.


To transfer the dough to the pie dish, I likr to fold the dough in half twice then place the center corner in the center of the pie dish. Then all I do is unfold it, form it to the pan, and trim the edges.

From here, you can fill it with any filling you like. I filled mine with a berry filling that I was testing out (verdict: tastes delish, but method needs some tweaking). You can see that the filling is pretty wet and you may be worried I’ll end up with a soggy bottom (any British Baking Show fans out there?). Well, never fear! This pie crust can stand up to some pretty soggy filings!


I also tried out some fun decorative lattice work. I braided a couple strips and layered then with some plain strips of dough. The I cut out tye extra dough with a small star cutter and placed then aroubd the outside. After a generous egg wash, the pie is ready for the oven!

I couldn’t wait to dig into this pie!! I did my best to let it cool so the filling wouldn’t topple out every where. And iy was worth it! A delicious  filling surrounded by a crispy, buttery, and flakey crust. 

The pie crust lover in me loved this pie, especially the crust. The best bites were the ones right at the end when it’s 97% crust and 3% pie filling. 

I encourage you to try your hand at making your own pie dough at home! I promise, if you let your food procesor do the work for you, its almost as easy as buying the stuff from the store!

[yumprint-recipe id=’110′]

/ Filed In: Desserts, Eat, Jaimie, Other Sweets New
Tagged: baking, dessert, easy recipe, food processor, pie crust, pies, Summer

Blueberry Oatmeal Cookies

February 24, 2017

What is it about baked blueberries. I mean, they are great all on their own. But baked into a muffin, cupcake, or pie and they are fantastic! You think it has something to do with the flour, sugar, and butter it’s baked in? 

Yeah, me neither. 

Well, these blueberry oatmeal cookies are no exception. In fact, they may be my new favorite blueberry baked good. Ever. Move over blueberry muffin, there’s a new star around here!

Despite what you may be thinking, there isn’t anything all that special about these cookies except the blueberries. I started off with my favorite oatmeal cookie recipe, and instead of adding cinnamon, raisins, nuts, chocolate chips, or anything else you might add to oatmeal cookies, I added some fresh lemon zest and fresh blueberries. 

After the blueberries were folded into the dough, I scooped them out using my favorite cookie scoop onto a parchment lined baking sheet. 

[PSA: If you aren’t covering your baking sheets with parchment when you bake you are doing yourself a HUGE disservice. Not only to they ensure that your cookies will lift right off, but you don’t have to clean your baking sheet afterwards (unless you really want to)! I just just crumple up my parchment and throw it away!] 

Then I baked these cookies just like normal and 15 minutes later they came out of the oven looking and tasting delicious!

They kind of reminded me of a blueberry muffin top, which as you know is the best part of any muffin. They are crunchy around the edges and soft in the middle. The blueberries burst with flavor every time you bite into them. And the lemon zest just makes everything taste super fresh. 

I think I ate half a dozen of these blueberry oatmeal cookies before I stop myself from eating any more. I hadn’t actually baked these for me, I baked the cookies for a friend of mine who recently had her first baby! These blueberry oatmeal cookies are especially great for new, breastfeeding, moms because there is no chocolate (and, thus, caffeine), and the oatmeal is really good for breast milk production (so I am told by Google). 

But don’t wait until your friends have babies to make these cookies. You should make them immediately and thank me later. 

[amd-yrecipe-recipe:133]

PIN NOW, MAKE LATER

PRODUCTS USED 

[show_shopthepost_widget id=”2455223″]

/ Filed In: Cookies, Cookies New, Eat
Tagged: baking, blueberry, cookies, oatmeal, oatmeal cookies

Funfetti Cookie Cake

September 3, 2015

Cookie Cake -4

It’s my husband’s birthday this weekend! I love it when other people have birthdays so I can bake something for them! This cookie cake actually isn’t for him. I have something extra special in mind for him (he love ice cream cake). But for a coworkers birthday I tried making my very first cookie cake. 

Honestly, I was a little intimidated. I have never made a cookie cake before and my expectation was that it would bake unevenly. The edges would be burned and the middle would be soft. But I did some research and found some great tips for making the perfect cookie cake. 

I consulted several recipes. This recipe from Sally’s Baking Addiction looks awesome. So does this one from Divas Can Cook. What I learned from both of these recipes is that the secret to the prefect cookie cake is moisture. You want to create a soft, chewy cookie. Not a crispy cookie.

So I ended up taking my favorite chocolate chip cookie recipe and tweaked it a tad based on what I learned.

Cookie Cake -1

Oh….and I added lots of sprinkles!

Cookie Cake -3

Cookie Cake -5

Then I added some super simple butter cream icing (with extra sprinkles) for good measure. I used this recipe. 

Cookie Cake -8

Ta-da!

Cookie cakes no longer intimidate me. Actually, cookie cake my be my go to birthday baked-good. So much simpler than a cake or cupcakes!

[yumprint-recipe id=’58’] 


/ Filed In: Cakes and Cupcakes, Cookies, Desserts, Eat
Tagged: baking, birthday, cookie cake, dessert

Follow

Hey There!

Hey there, I'm Lindsey. I'm a number cruncher by day and a home cook and baker by night. While I love to eat healthy and find fresh and healthy alternatives for my favorite foods, I will never turn down dessert! Life is all about moderation, right?

Recipes

  • All Recipes
  • Breakfast
  • Appetizers
  • Salads
  • Main Dishes
  • Side Dishes
  • Desserts
  • Drinks

Favorite Finds

[show_lookbook_widget id=”388783″]

Theme by 17th Avenue · Powered by WordPress & Genesis