• Home
  • Eat
    • Breakfast
    • Appetizers
    • Main Dishes
      • Chicken
      • Beef
      • Seafood
      • Healthy Dishes
      • Paleo Dishes
      • Salads
    • Desserts
      • Decorated Cookies
      • Cookies
      • Bars and Brownies
      • Cakes and Cupcakes
  • Shop
    • Cookie Decorating Supplies
    • Bakeware
    • Cookware
    • Kitchen Gadgets
    • House
  • About
    • Contact
    • Bucket List
  • Cookie Decorating 101

Follow the Ruels

Watercolor Butterfly Cookies

May 15, 2018

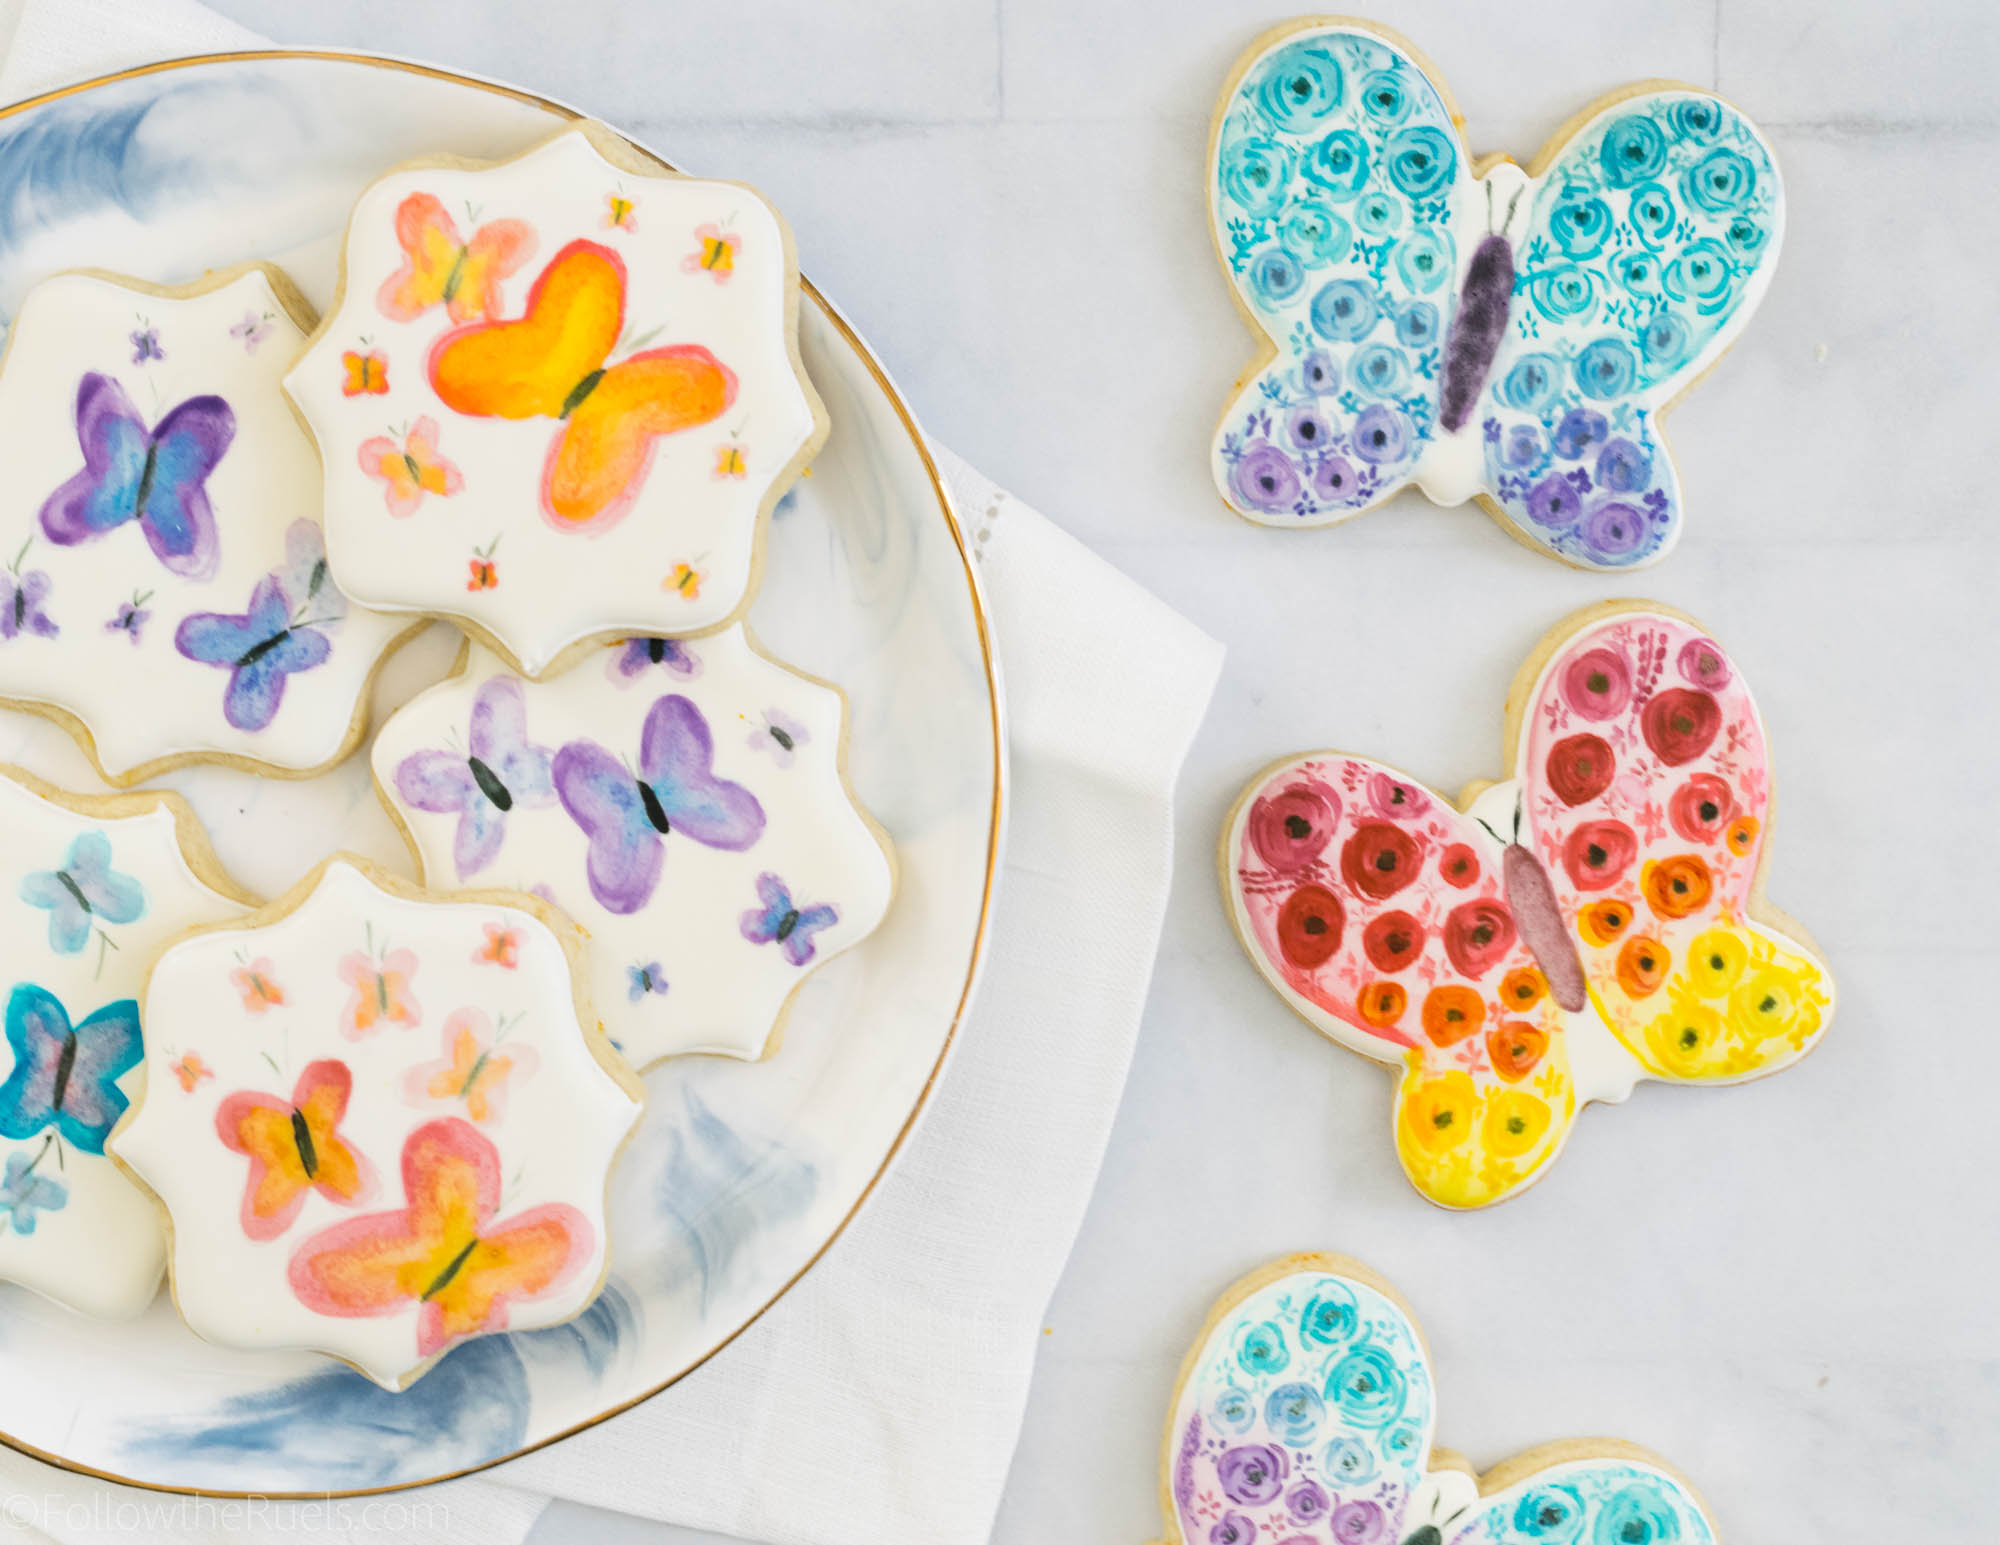
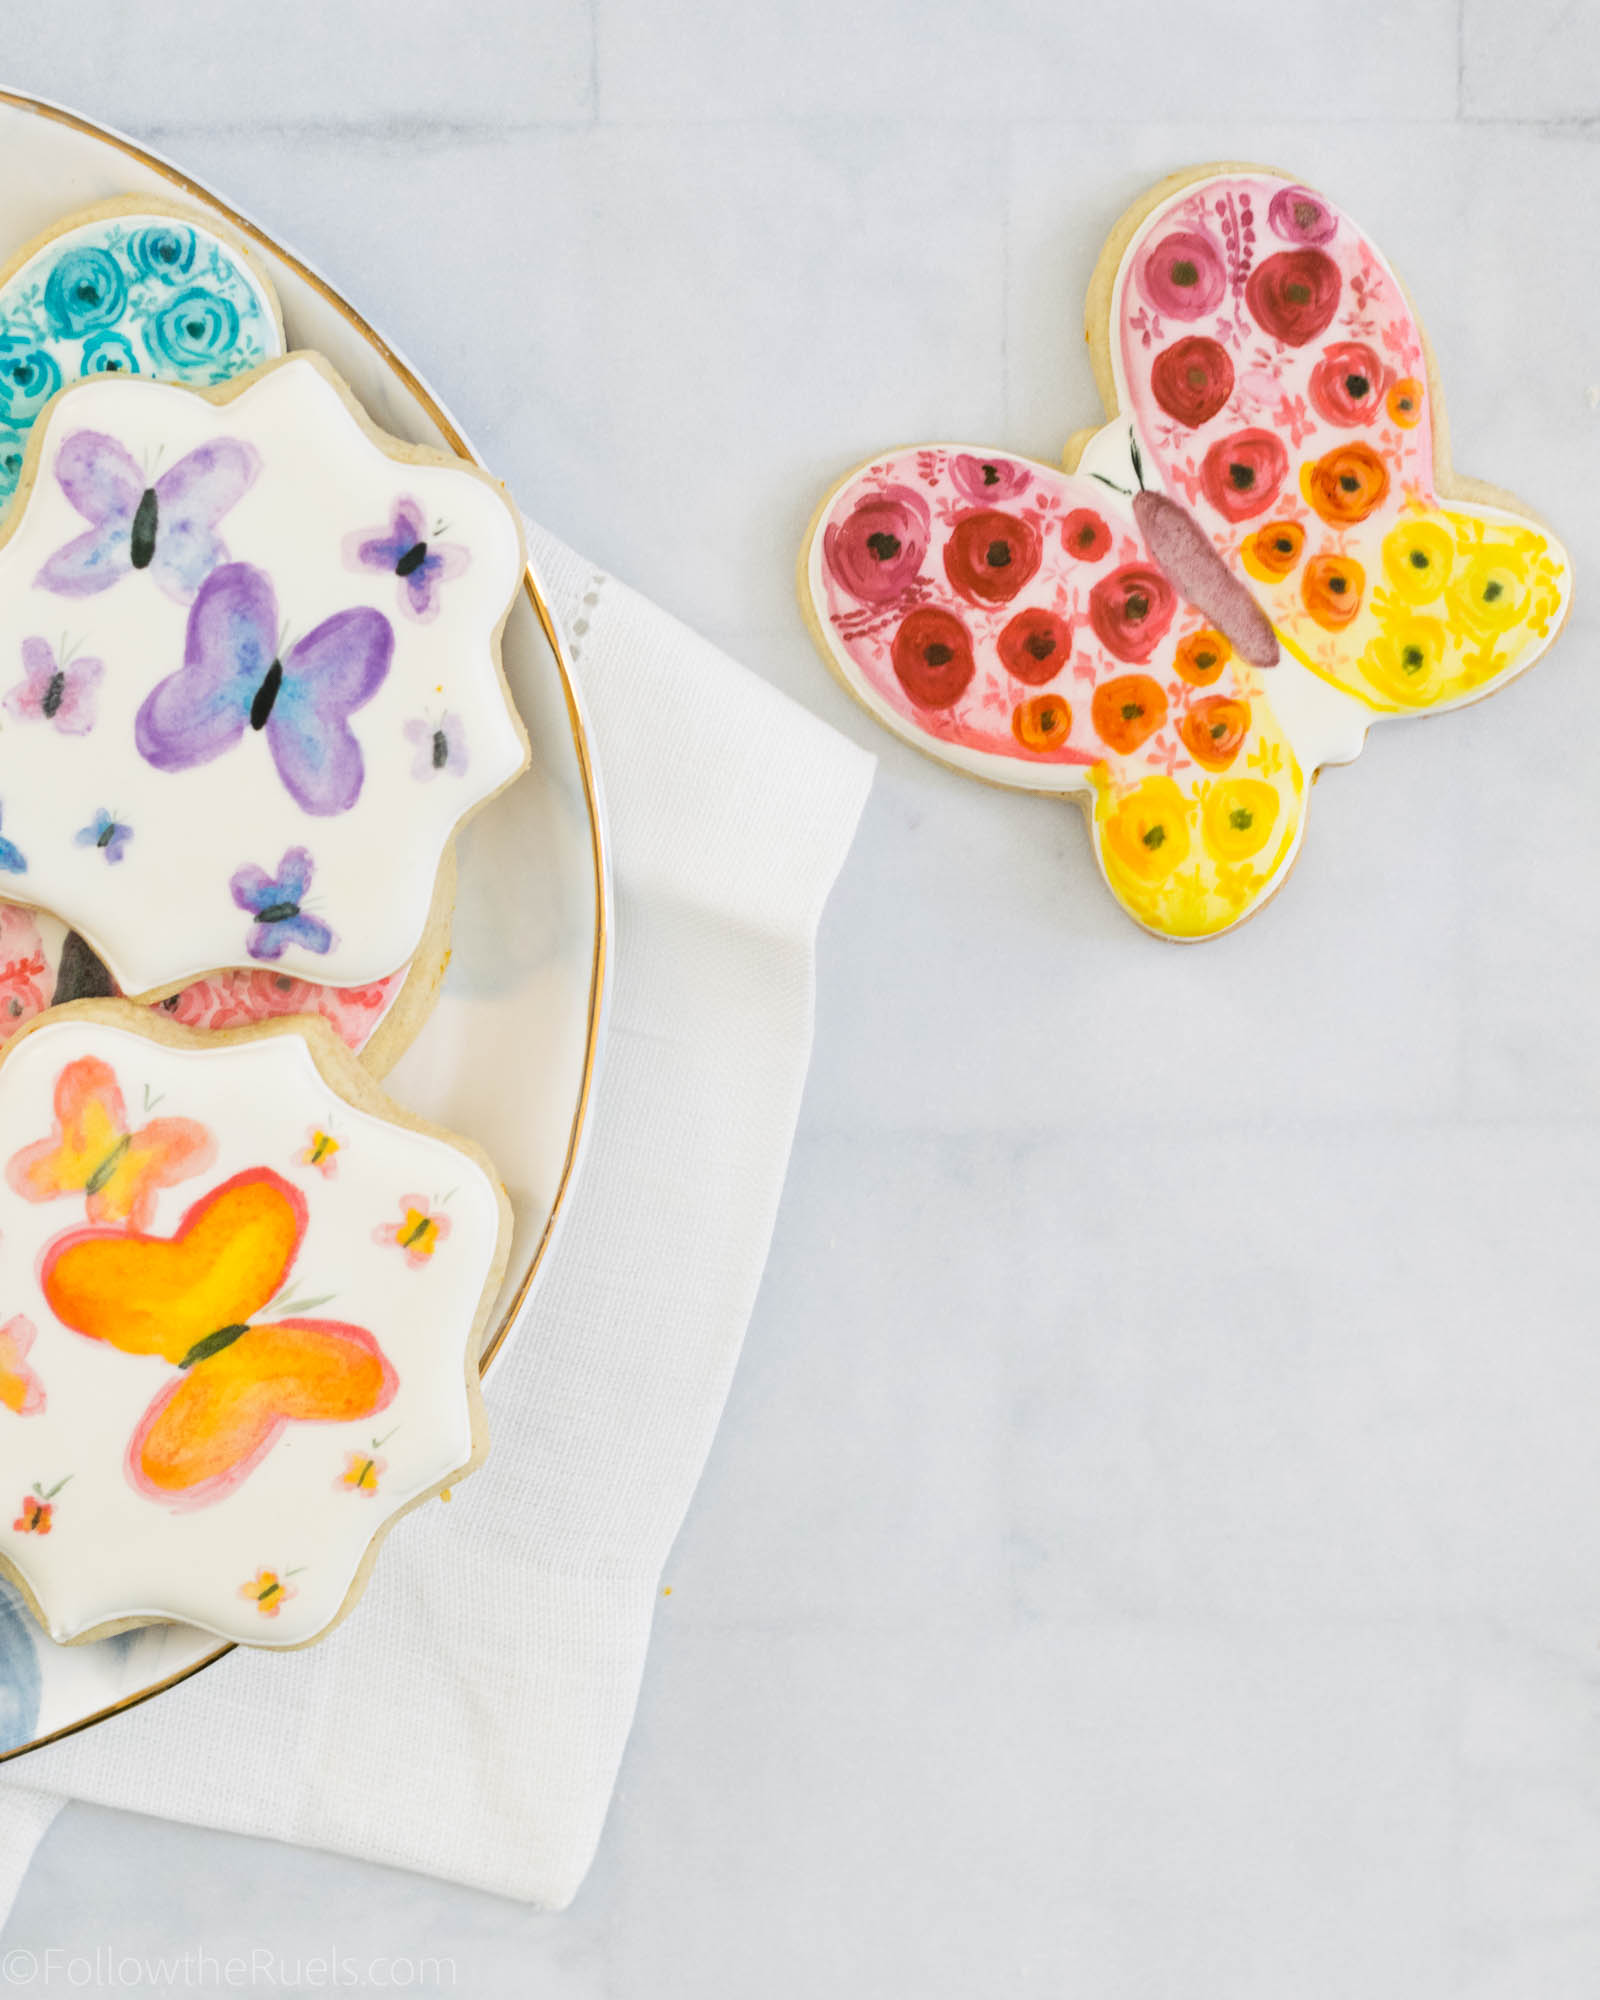
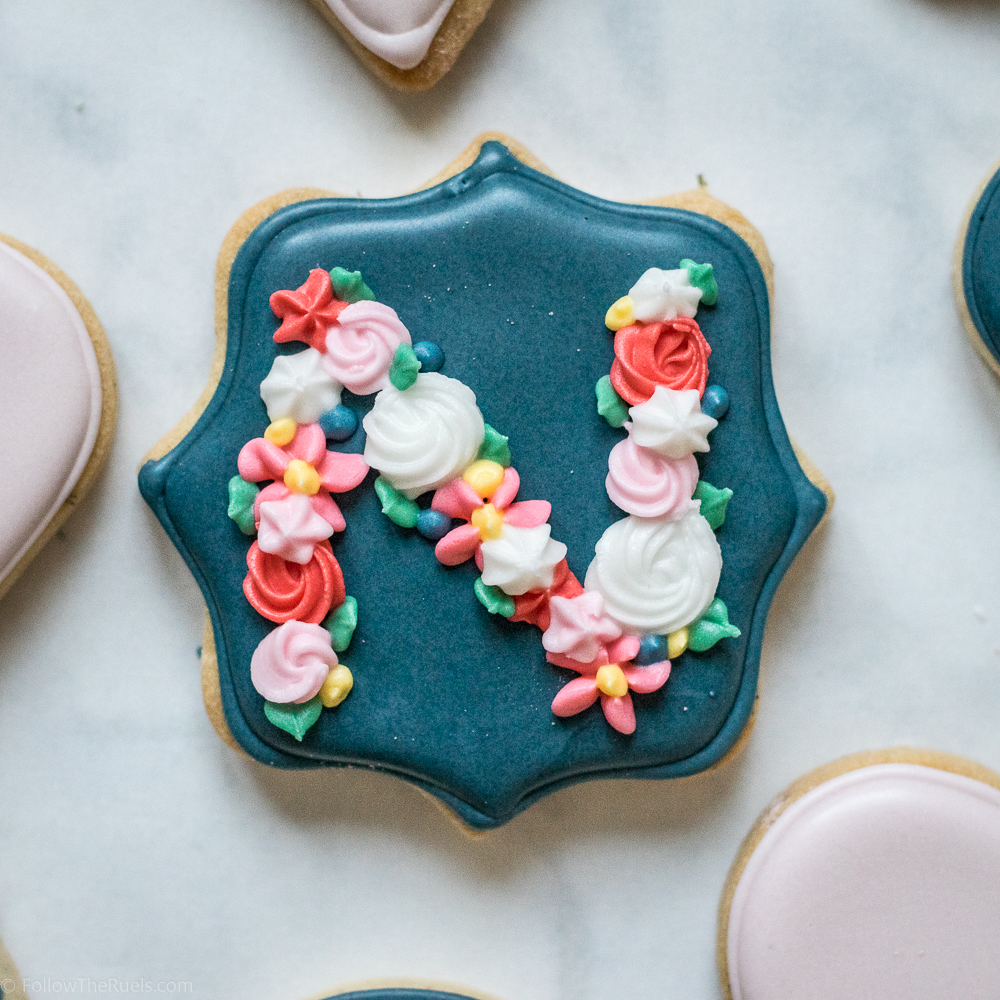
Who doesn’t love a pretty little butterfly? Or better yet, butterfly cookie! 

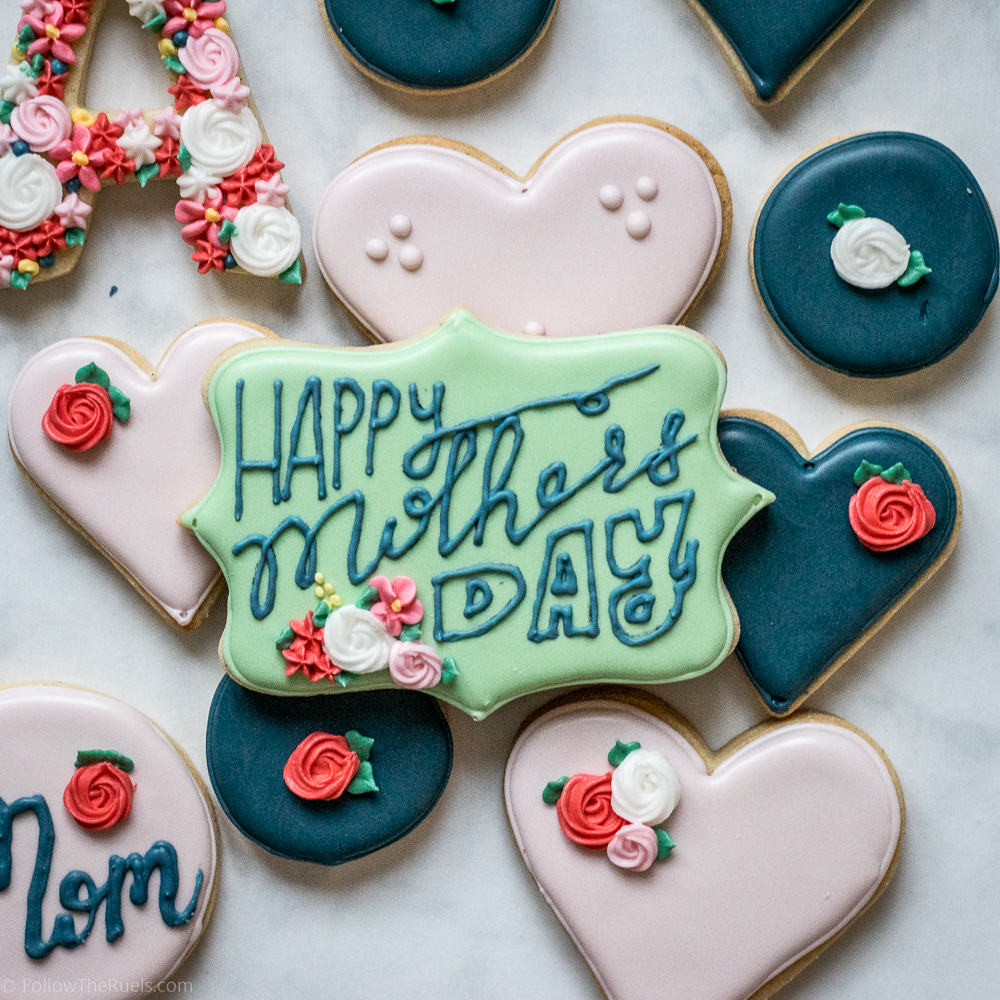
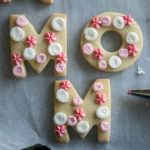
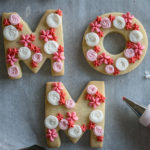
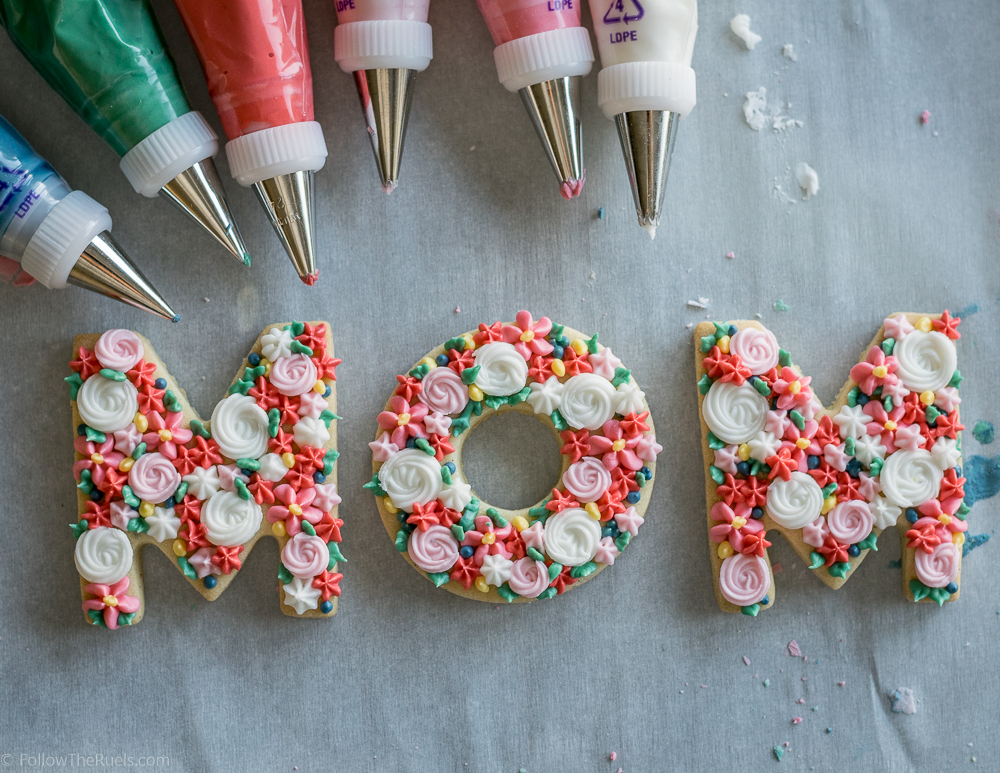
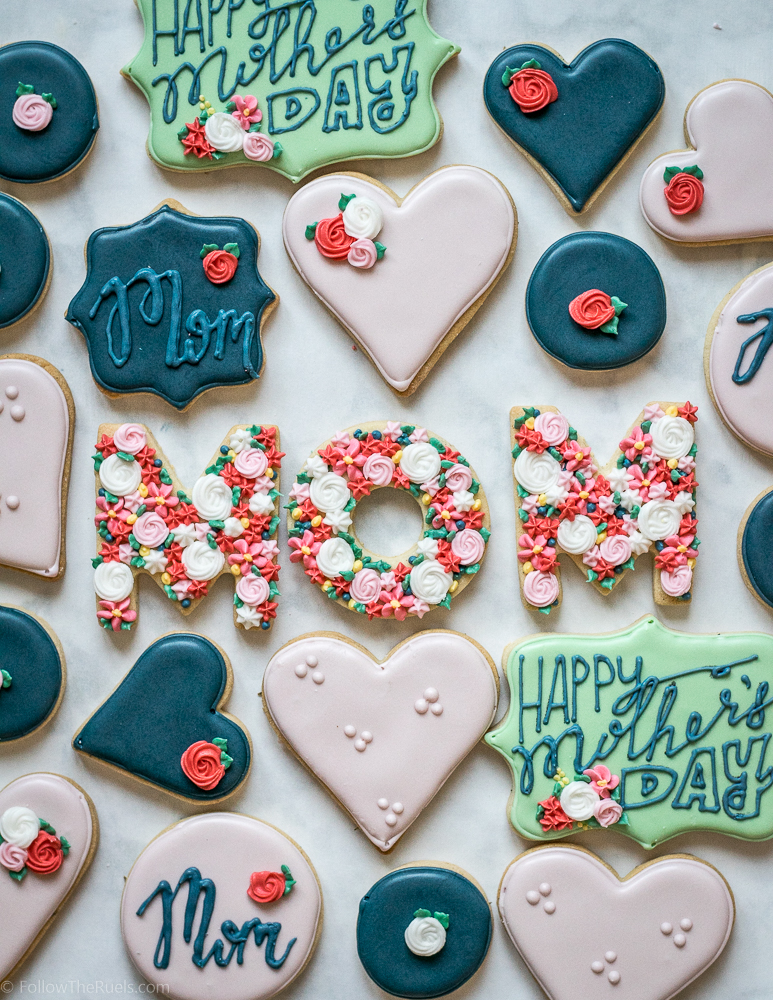
I made these watercolor butterfly cookies for a couple of my best friends for Mother’s Day. I love any excuse to send them, their husbands, and their kiddos cookies. And what better way to say “you’re a totally awesome mom!” than with cookies!

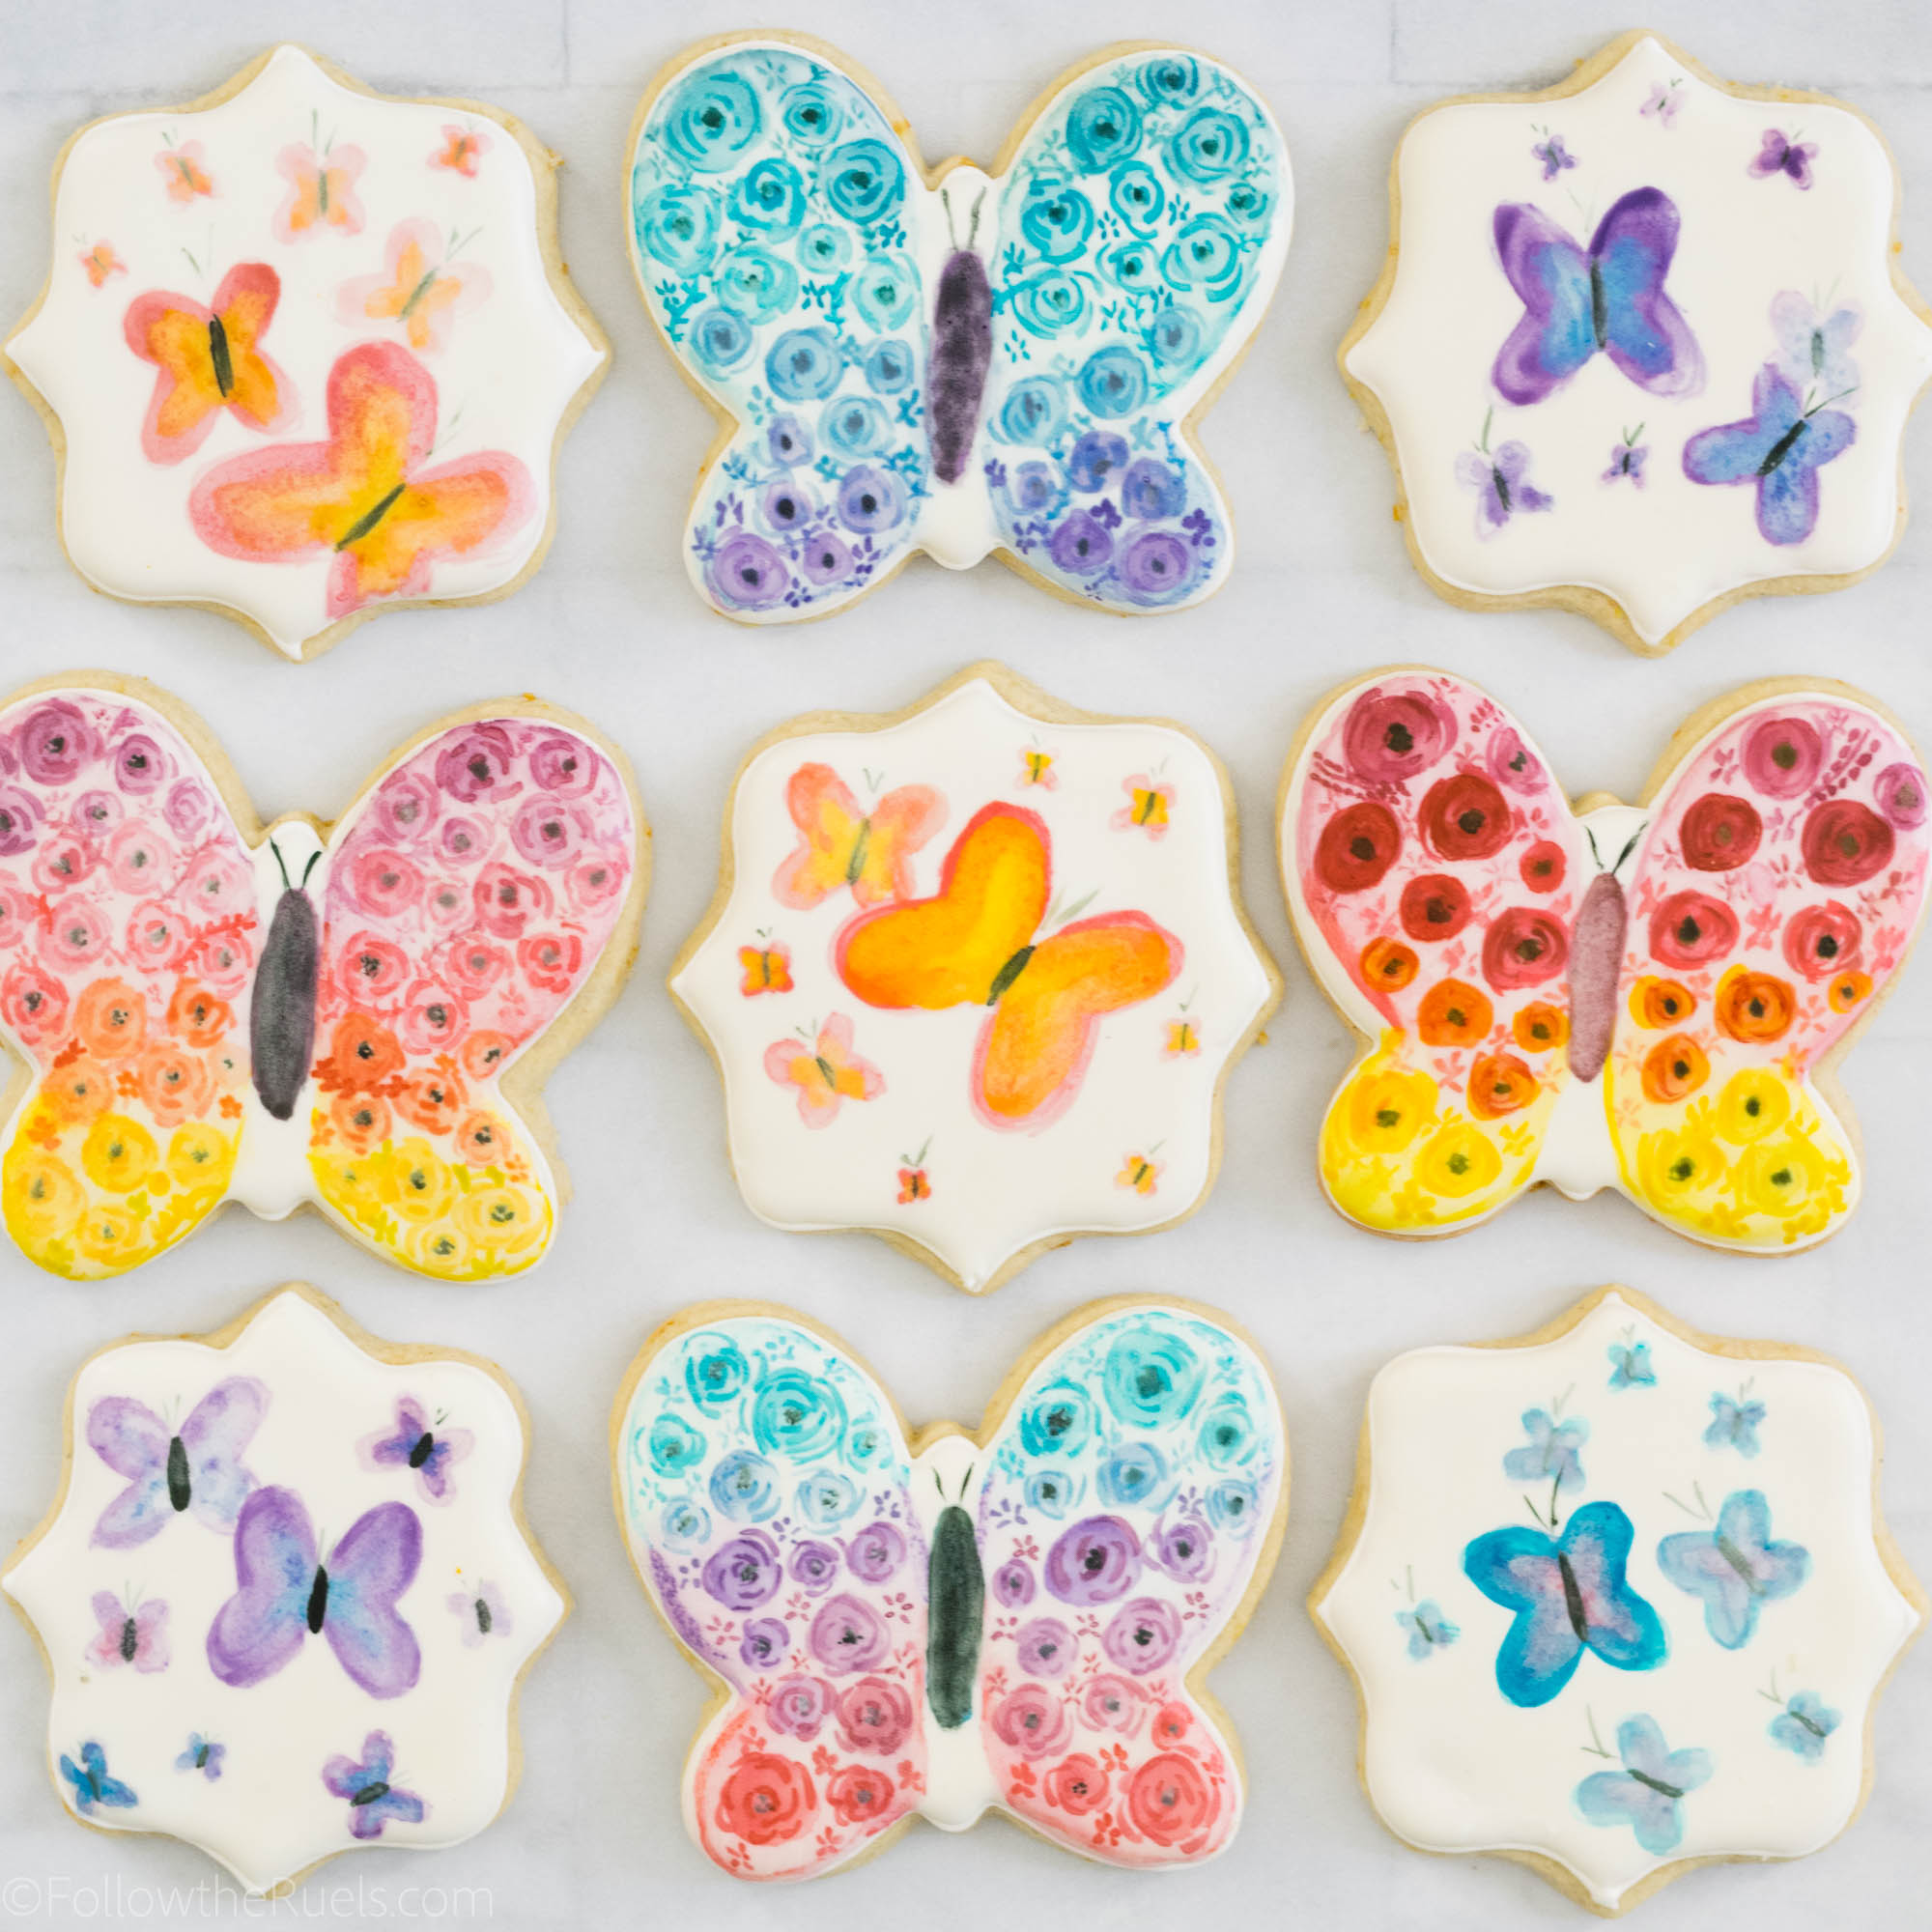
Of course, I didn’t share these before Mother’s Day because I wanted my friends to see them first. But since there isn’t an overly “Mother’s Day” theme to these cookies, they would be perfect almost any time of year! Like a baby shower, bridal shower, birthday, graduation, or just to celebrate Spring!

How to Make Them

Of course, start by making your cookie dough. For these cookies, I actually flavored the dough with some orange zest and cardamom. Oh my were they heavenly. I actually share the exact recipe in my Christmas Cookie guide, even though this flavor is good year-round. 

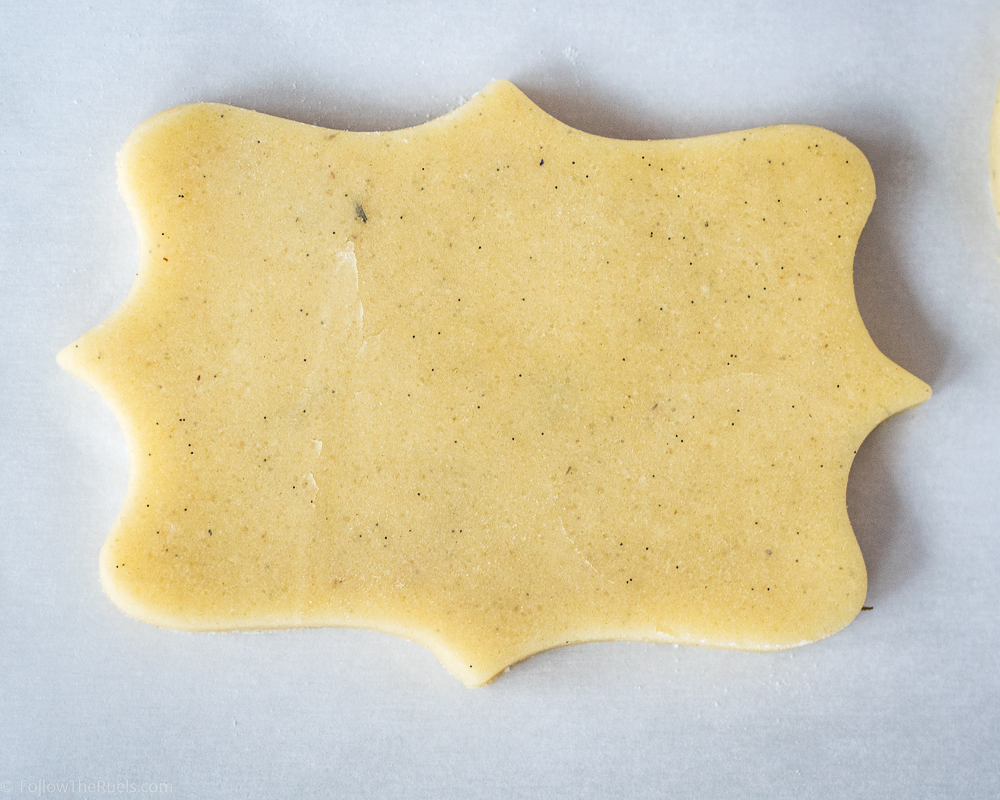
Cut out the cookies into your desired shape, in this case a butterfly, plaque, or any other standard shape (circles always work!), then bake them until they are barely golden brown around the edges. 

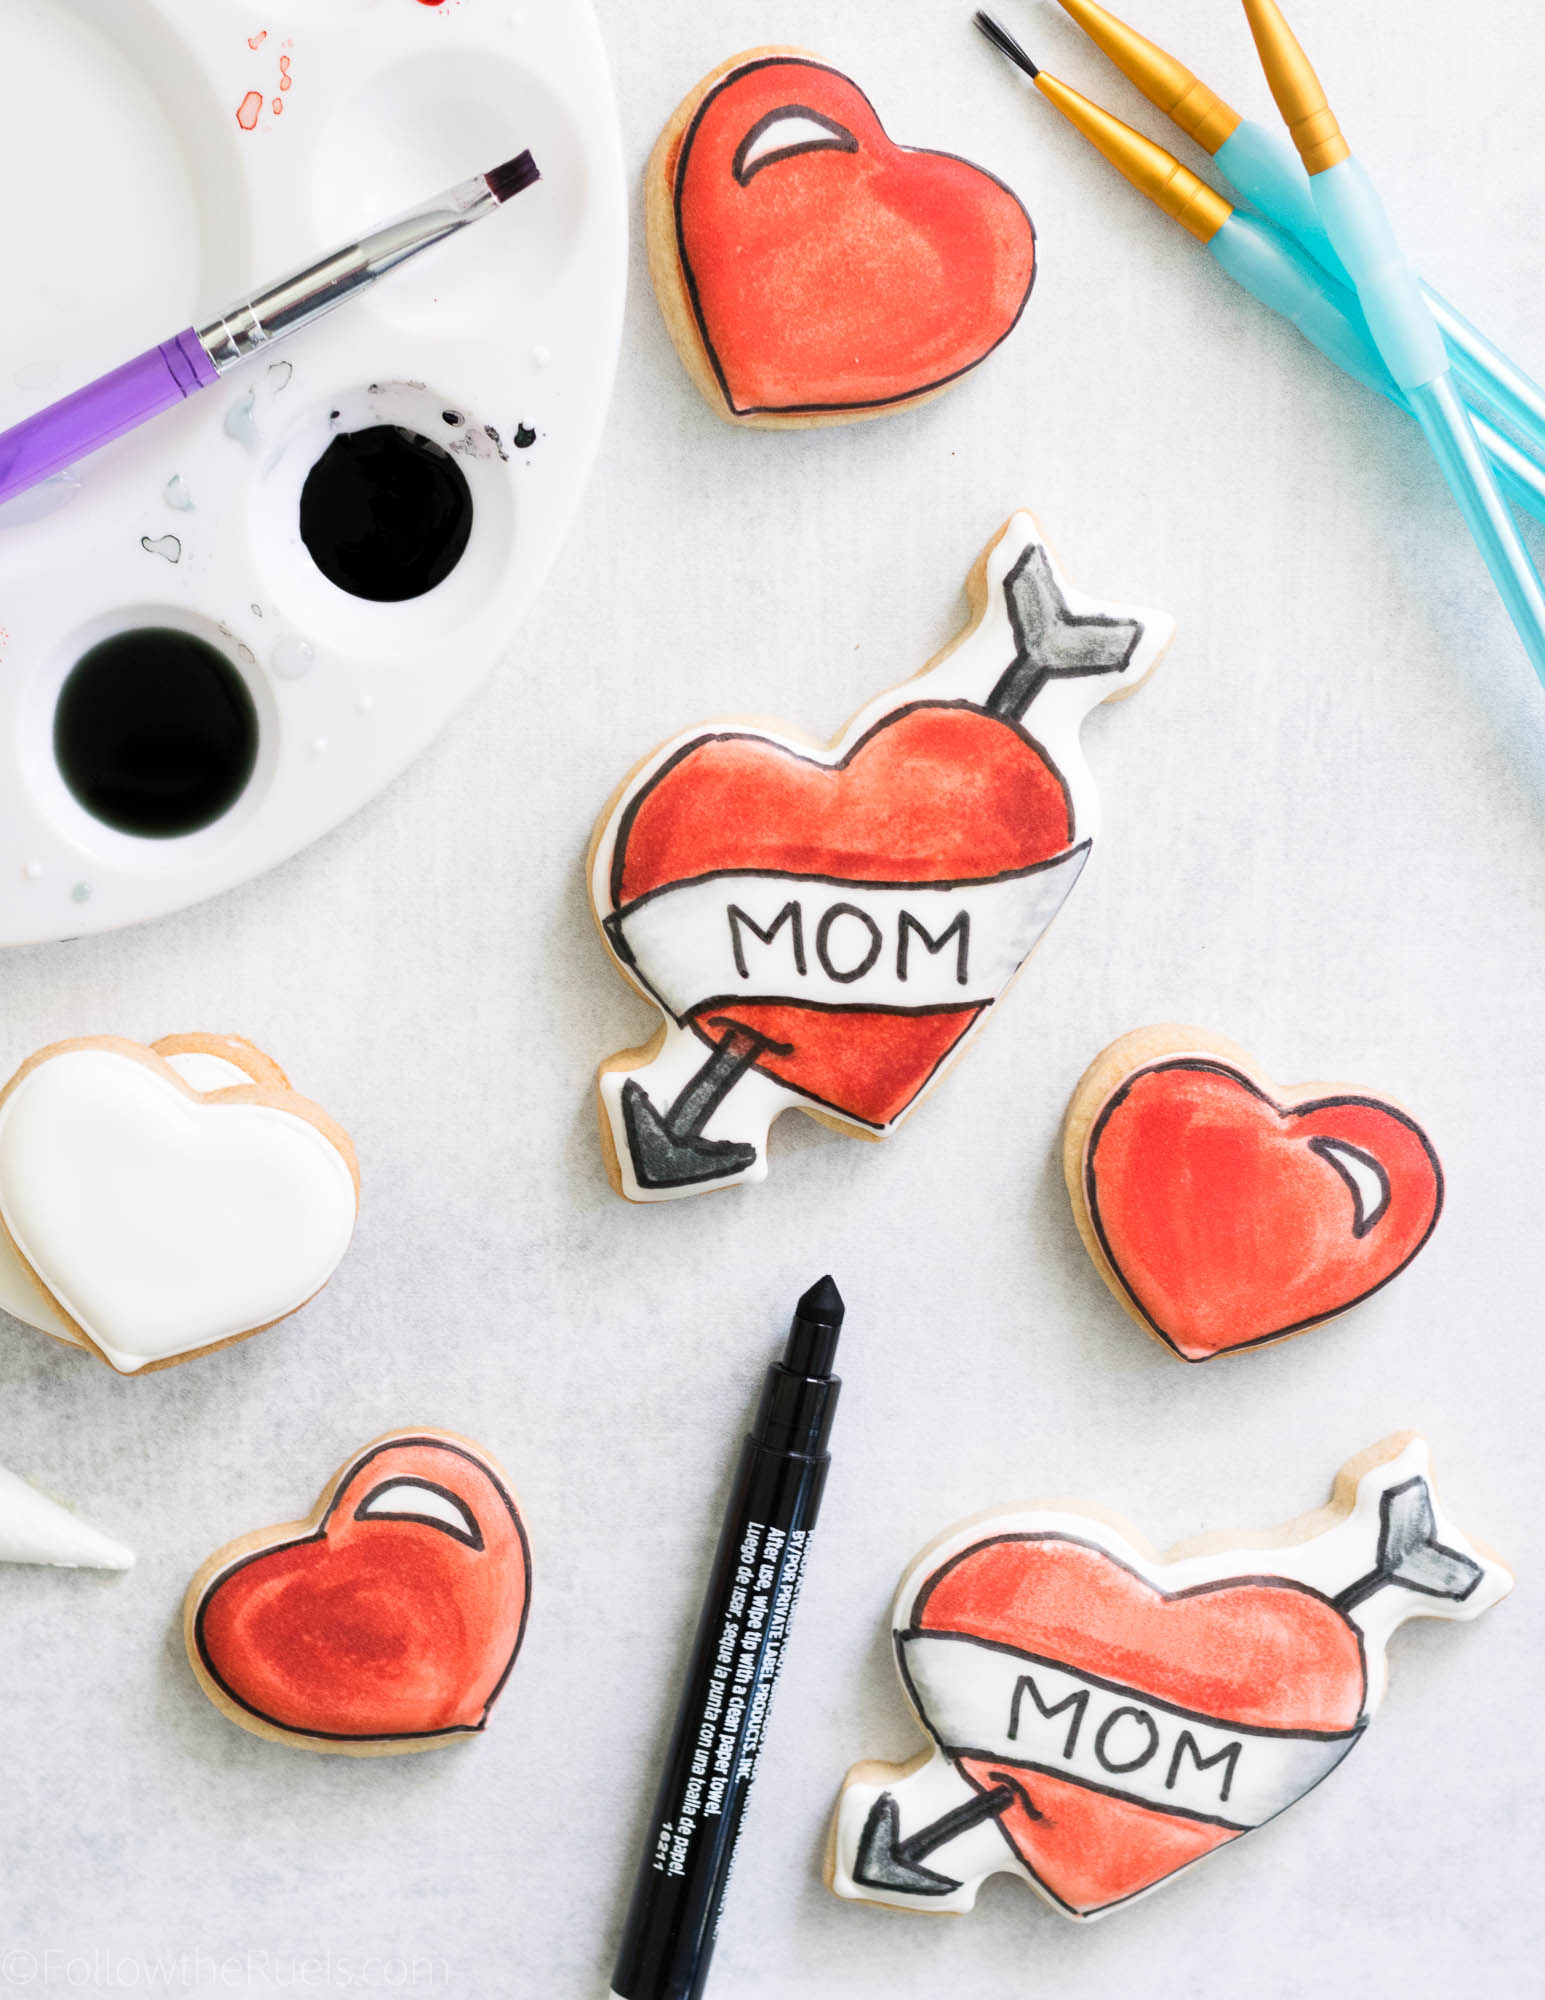
Once the cookies have cooled, you can start to decorate!

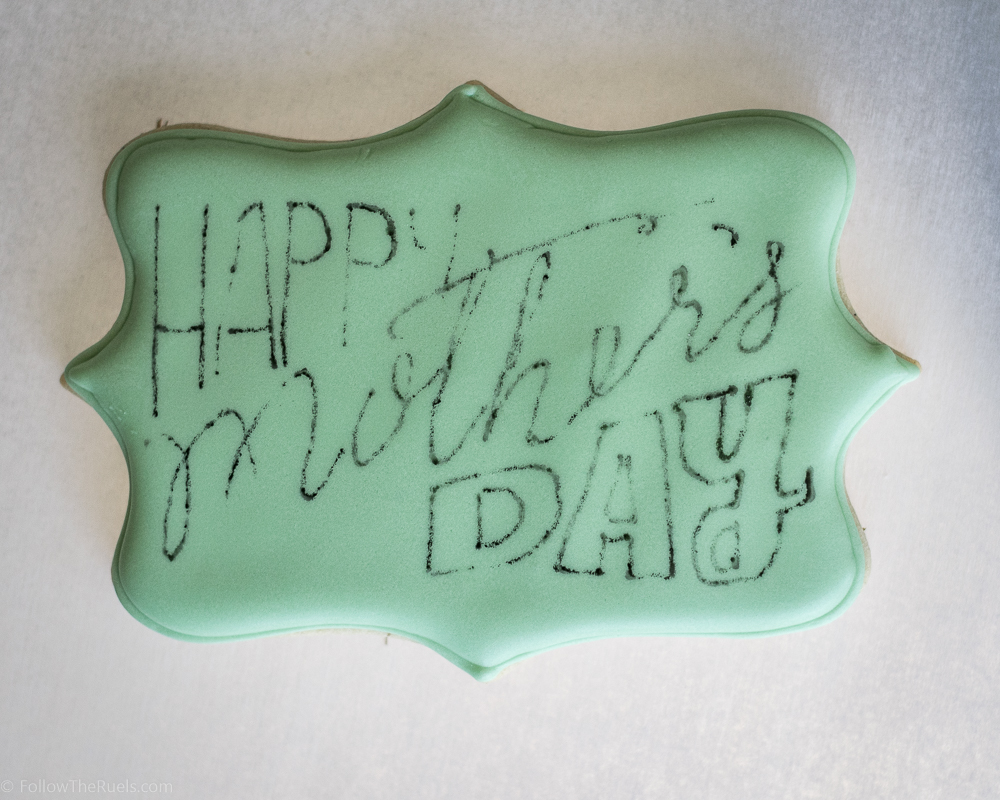
First, outline and fill the entire cookie with flood consistency icing and leave it uncolored. Let the icing dry completely (overnight is preferred) so that they will be at their best for painting. 

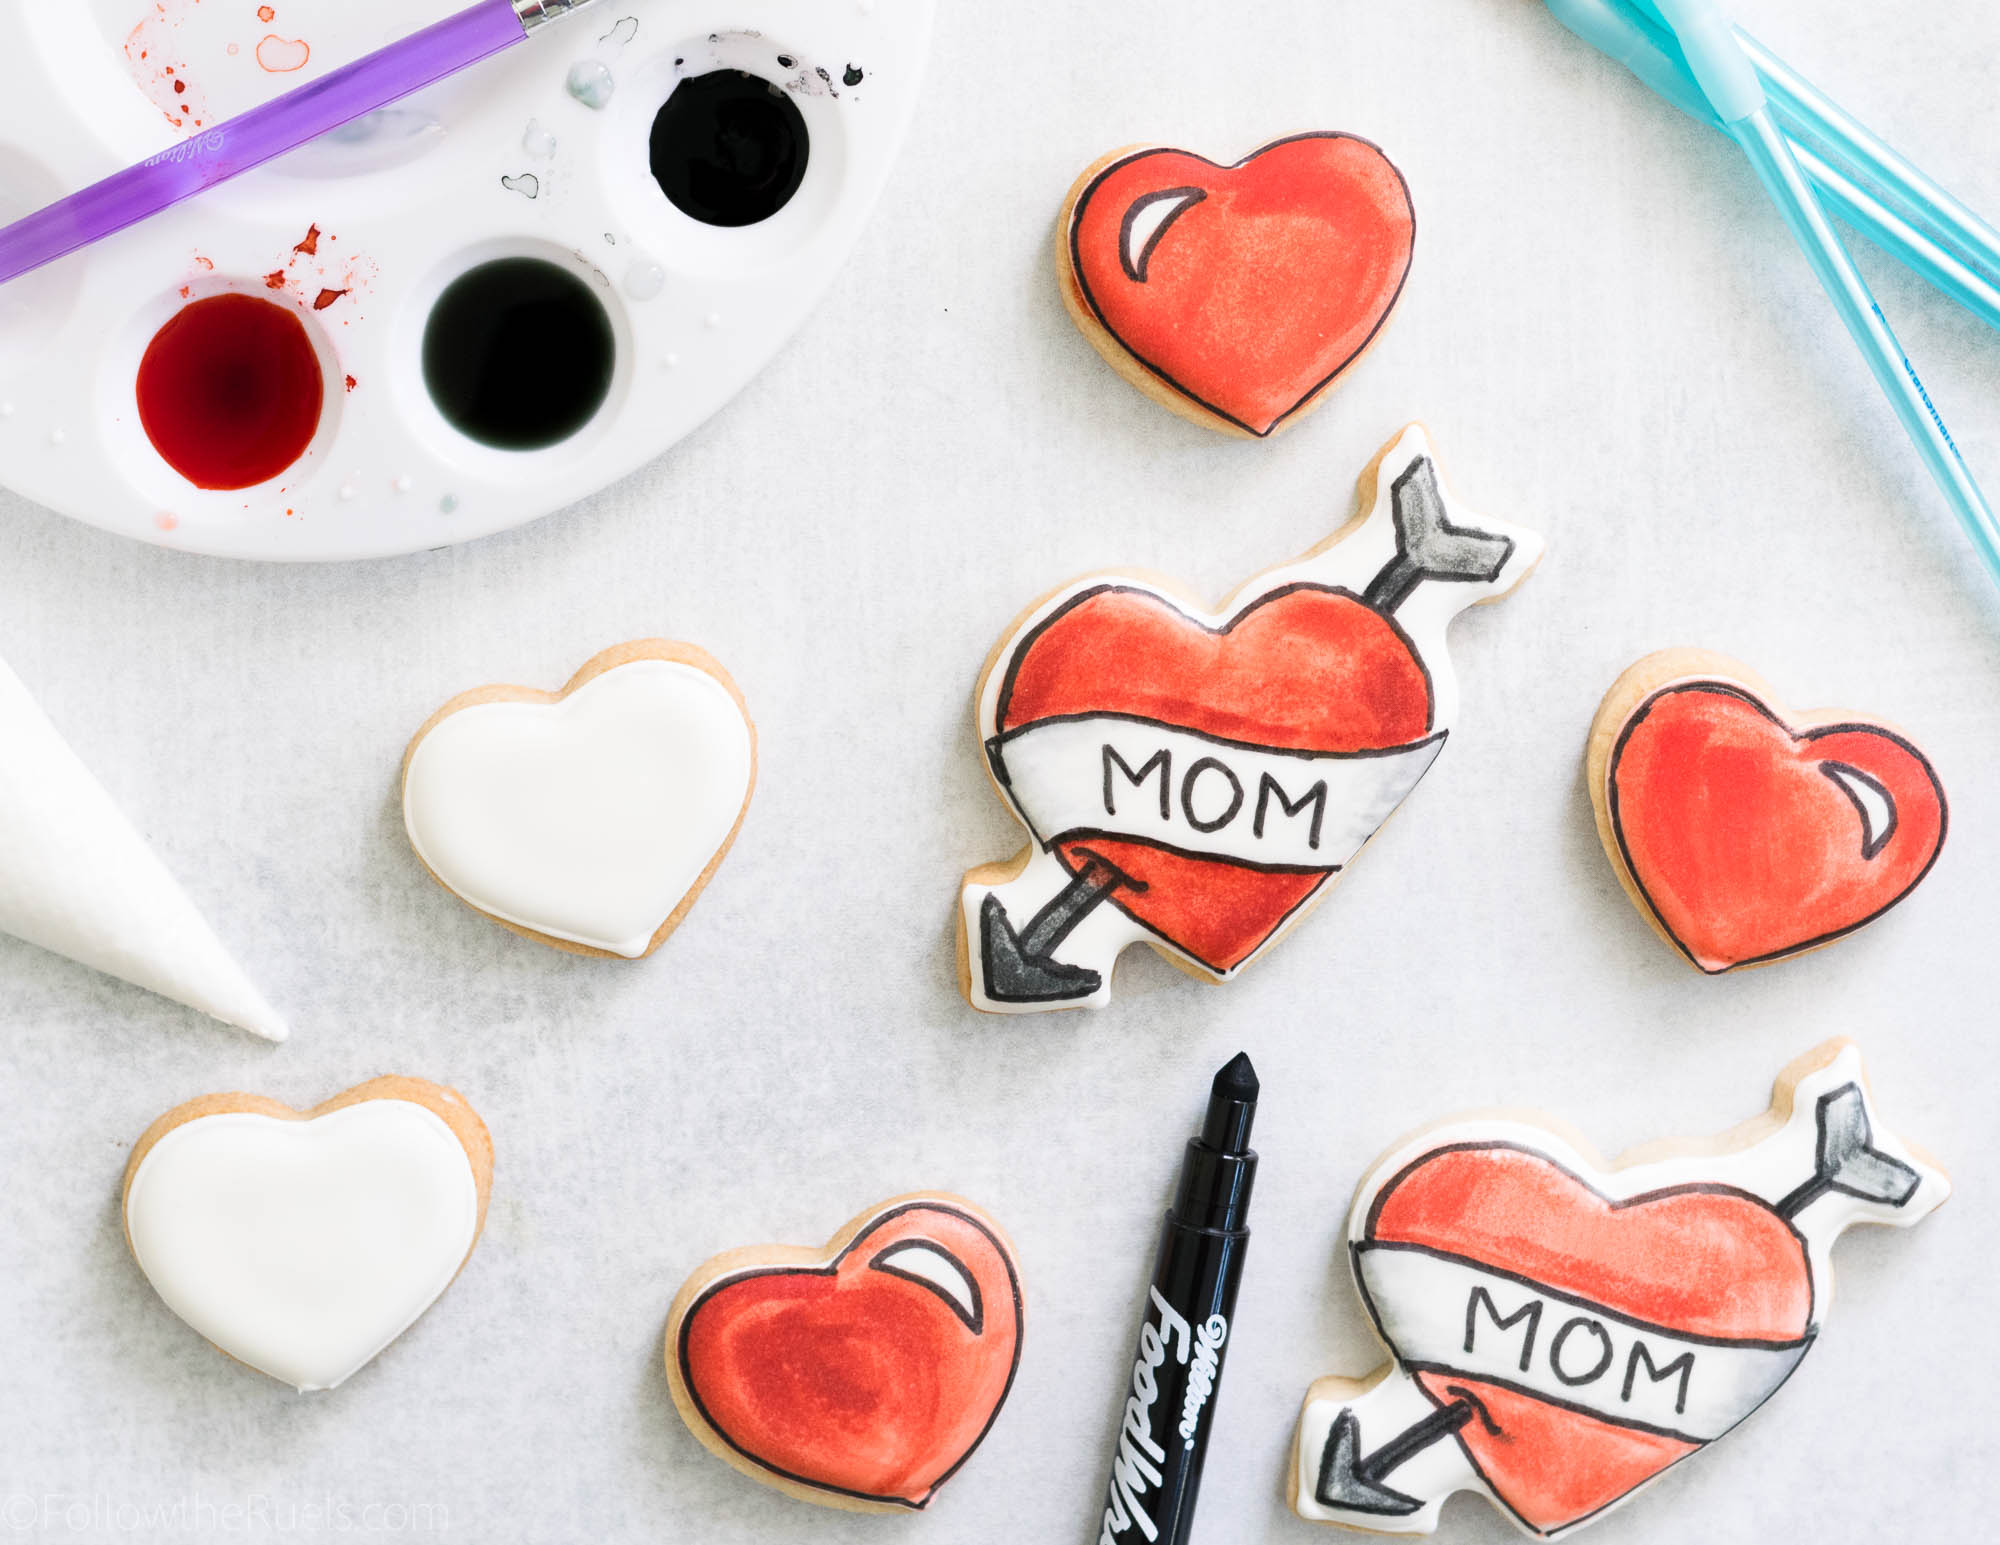
To prepare for the painting, dilute 1-2 drops of gel food coloring with a clear alcohol, like vodka, then paint on top of the cookie. The more vodka added the more diluted the color will be. I like to leave one well very pigmented, then add another little well of plain alcohol which I can use to create a more diluted shade of the color. 

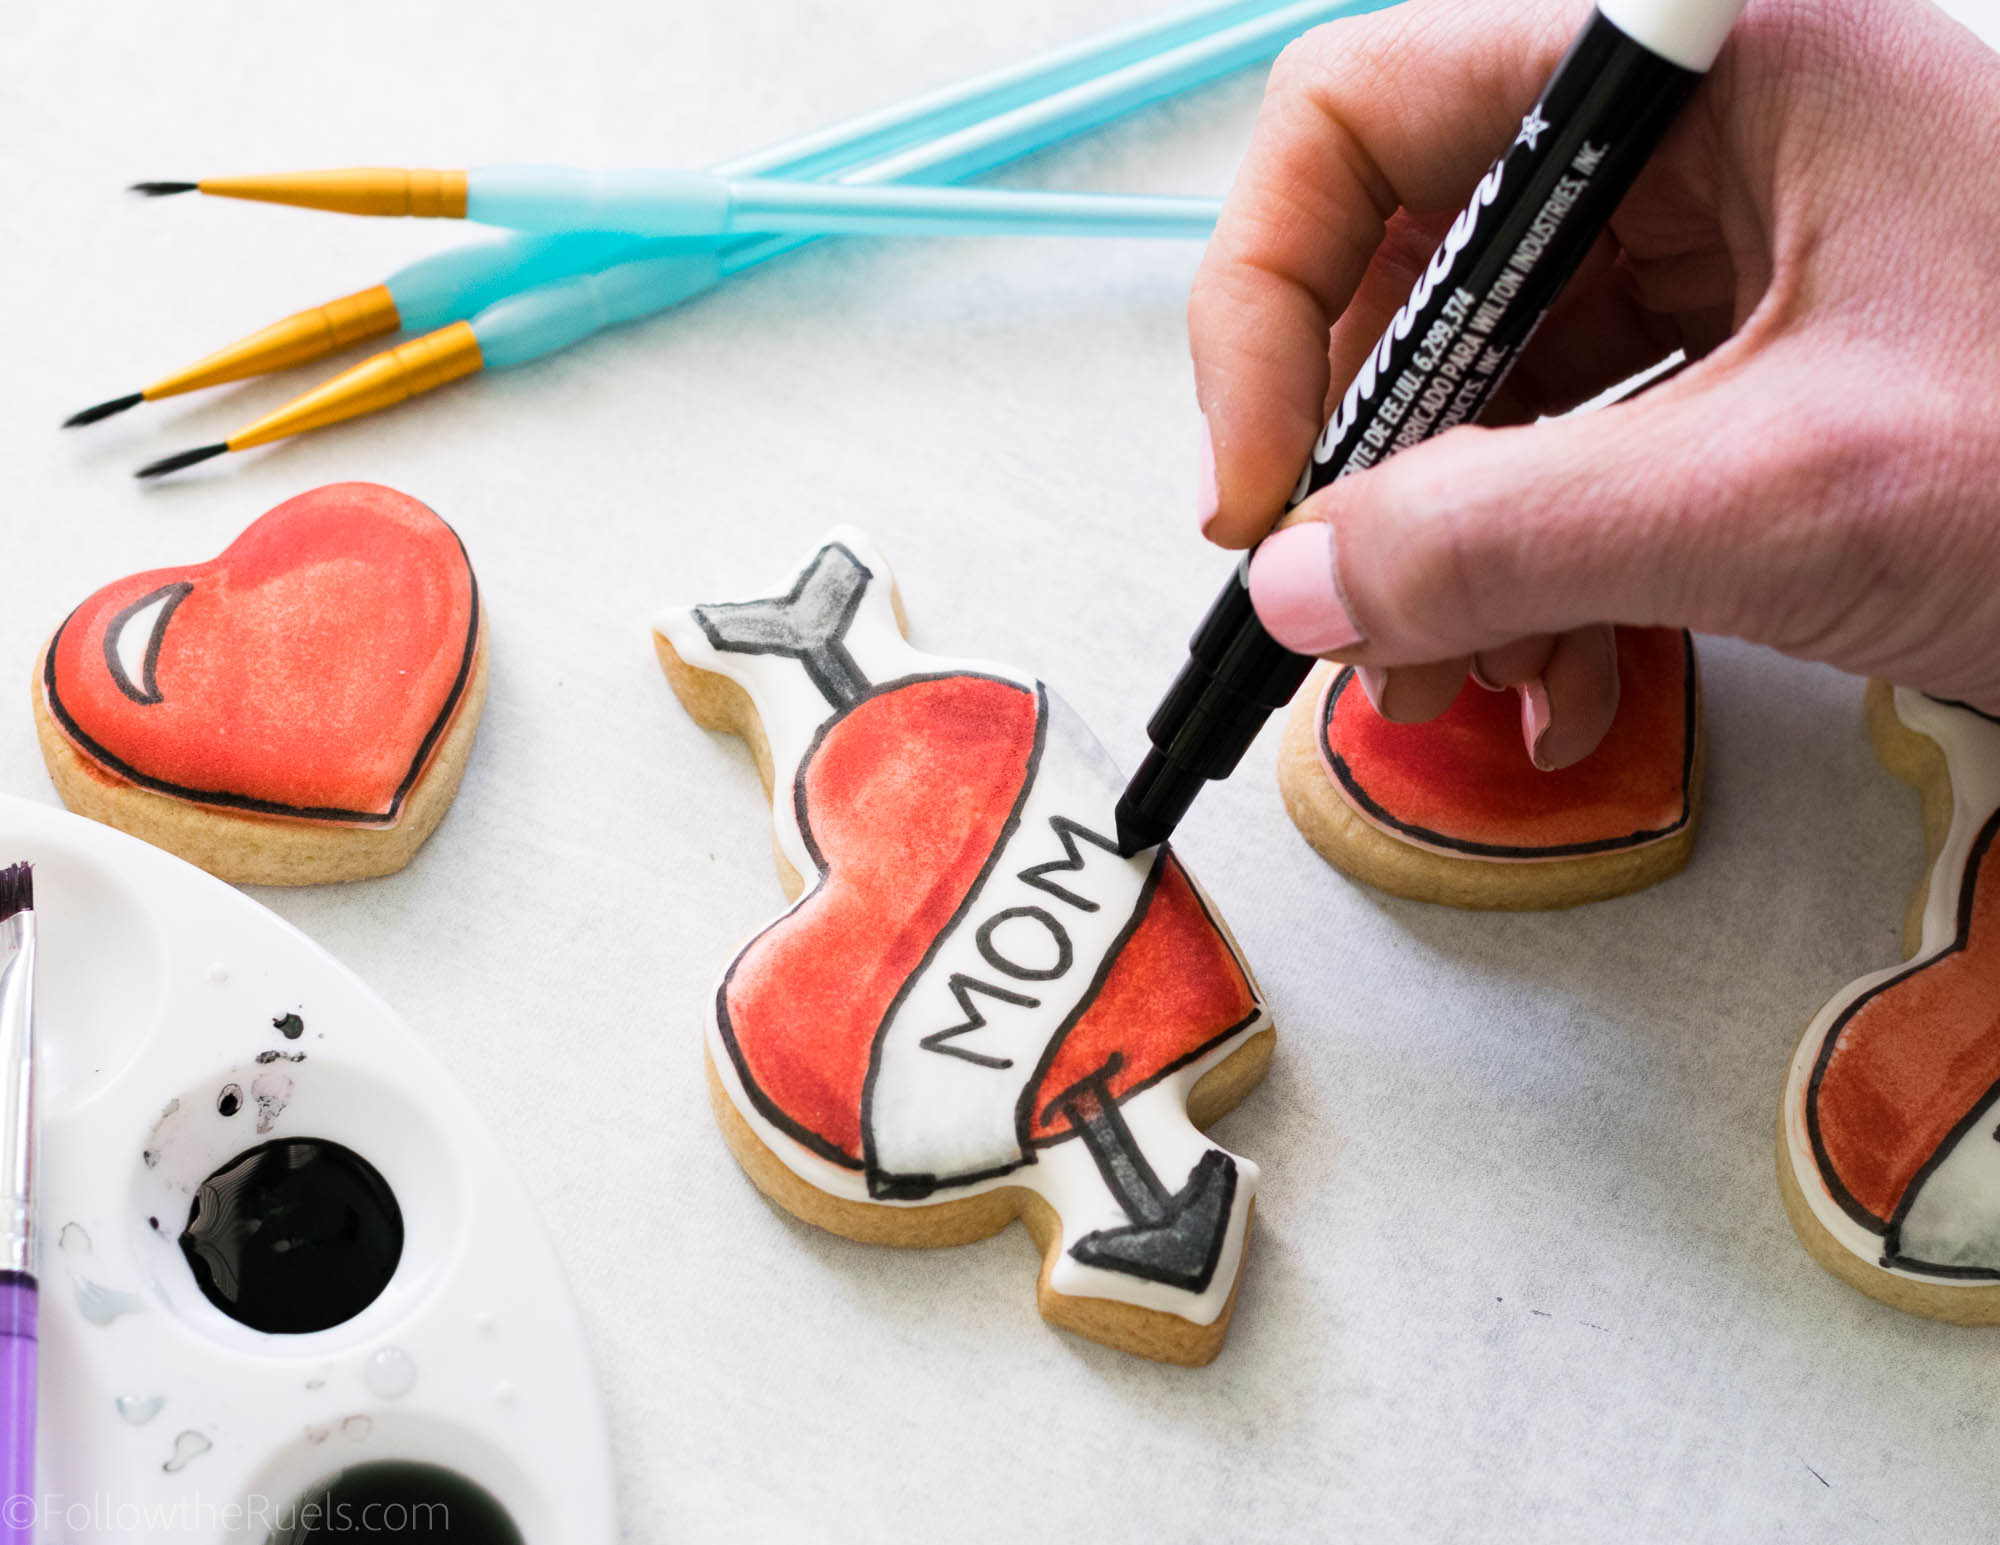
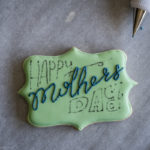
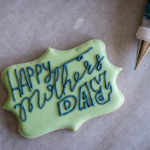
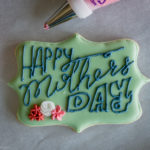
Finally, you are ready to paint away! There isn’t a lot of rhyme or reason for painting, other than make sure you aren’t painting with a water-soaked brush. Between colors, clean your brush off in a glass of water, but then brush off all excess water before dipping back into the paint. The water will degrade the icing leaving little craters all across your cookie. Not cute!

The paint only takes a few minutes to dry, so once you are done you can pack the cookies into bags or set out to eat! 

Supplies

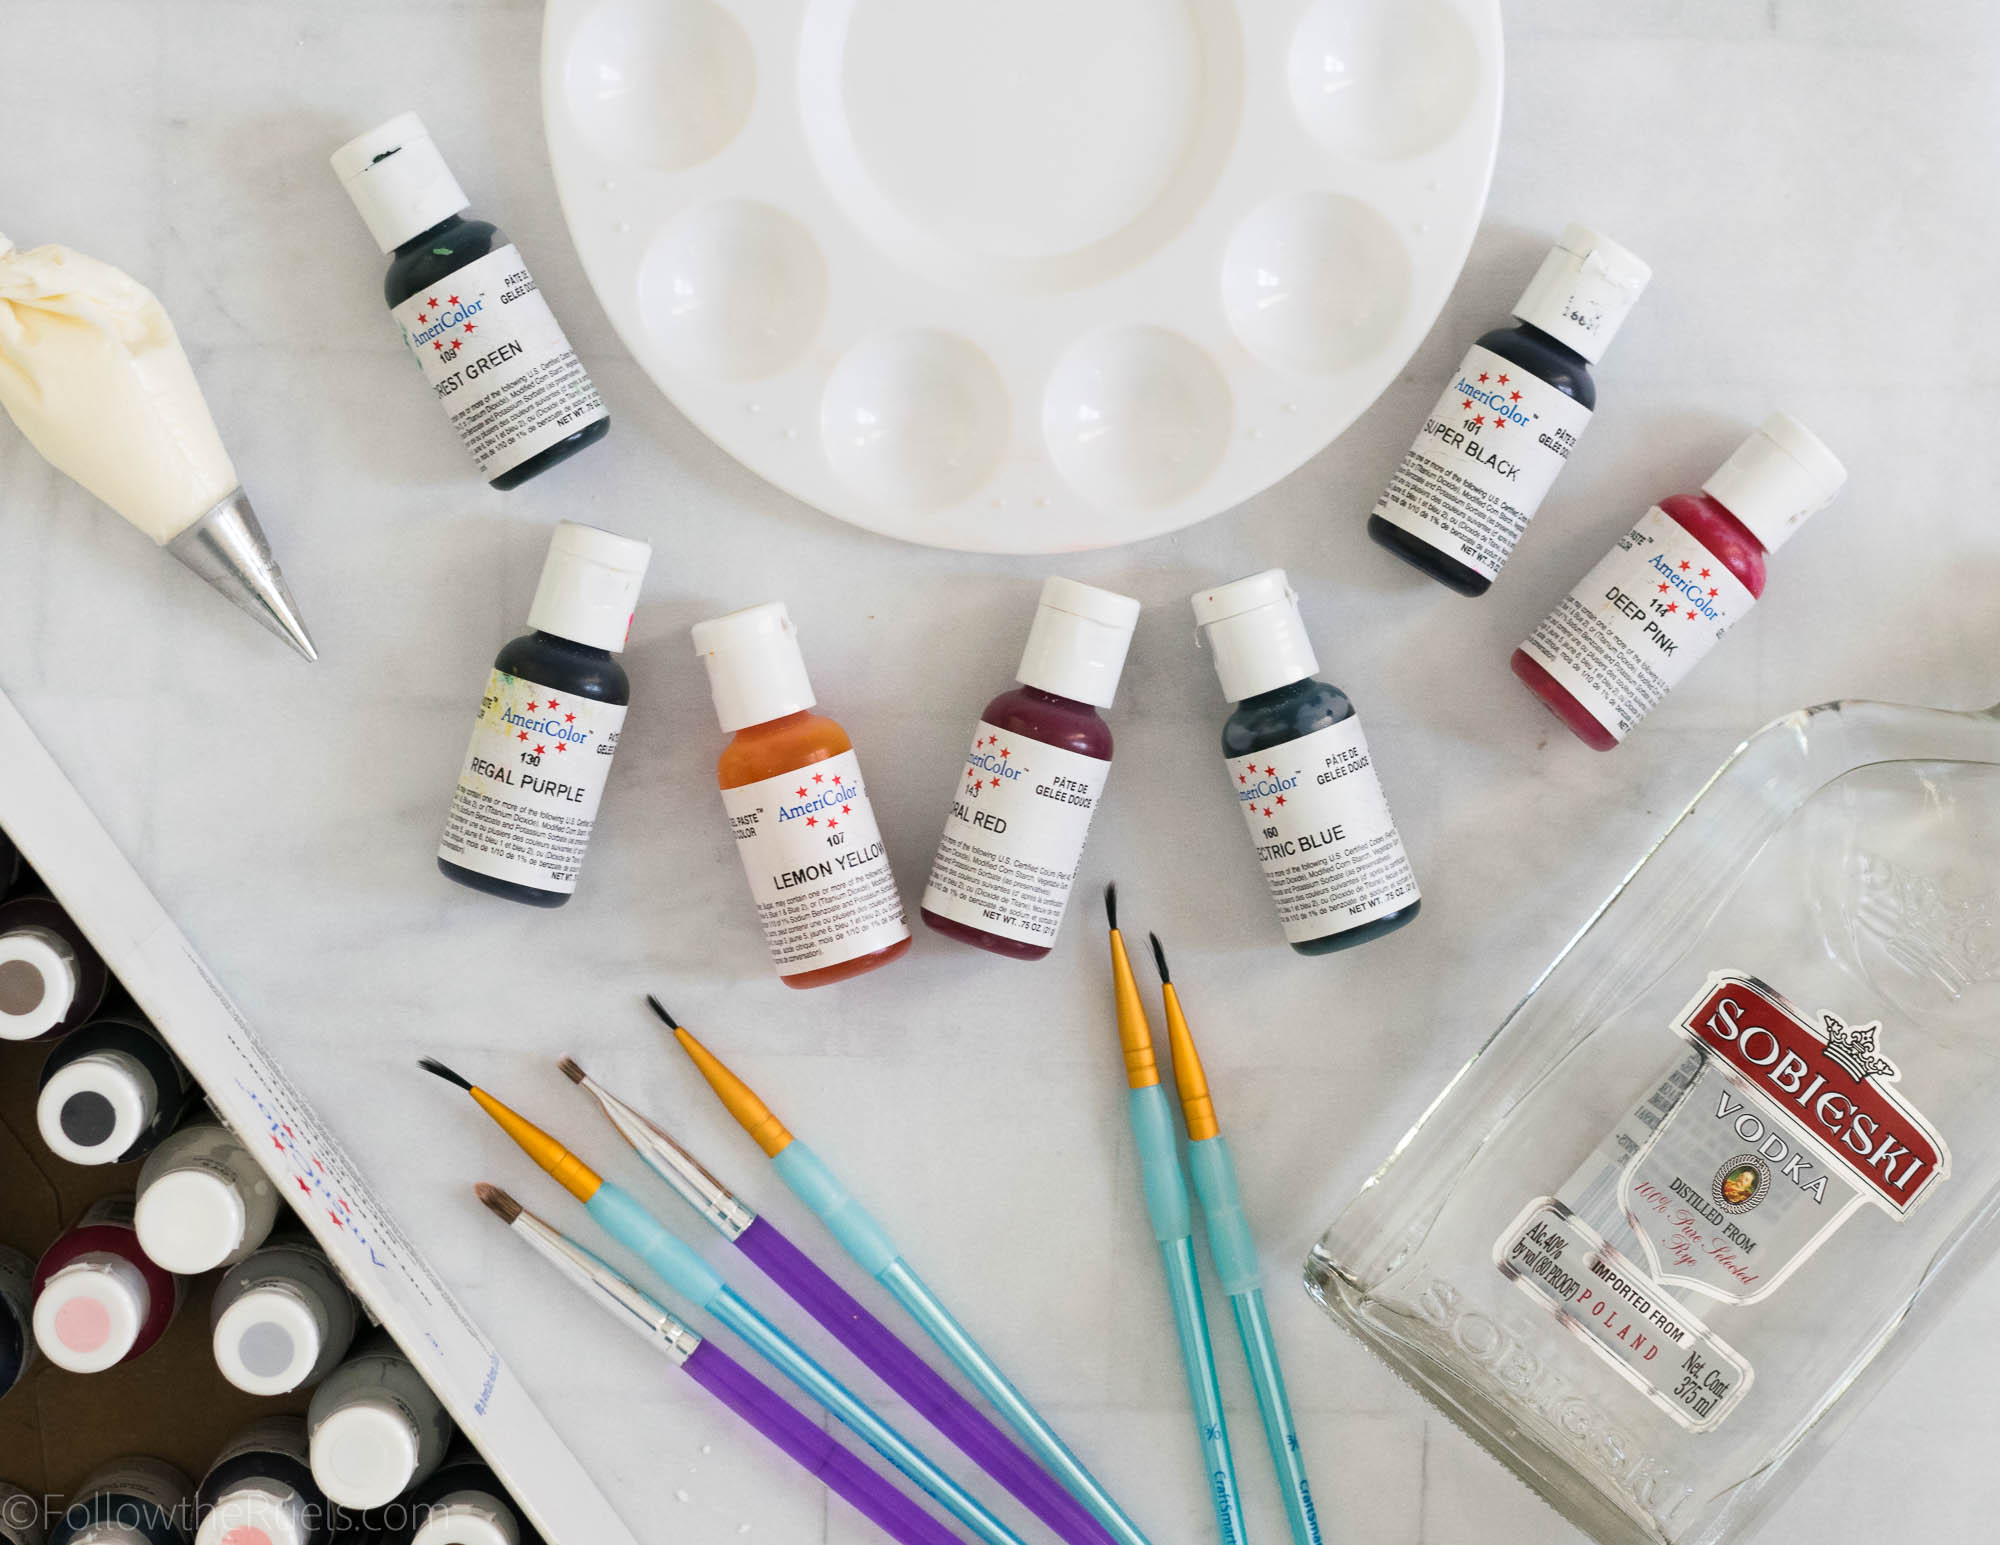
Like all my watercolor and painted cookies, the supplies for these cookies are pretty standard: food coloring, alcohol, and paint brushes. 

For the gel food coloring, I used all the bright colors in my collection: purple, pink, orange, yellow, and blue. I diluted the food coloring with some cheap vodka that I picked up at the liquor store. If you don’t keep vodka in your house or don’t have access to it, you can also use a clear extract, like almond extract.

Now for the paint brushes. I stress this in every post, but it is important to use clean (i.e. never used with paint) brushes. Wilton makes paint brushes specifically for baking, but I use normal craft brushes that I clean with dish soap before using. 

[show_shopthepost_widget id=”3136059″]

/ Filed In: Cookies New, Decorated Cookies, Desserts, Eat
Tagged: butterfly, cookie decorating, cookies, Mother's Day, painted cookies, Spring, watercolor

Mom Tattoo Cookies

May 8, 2018

Now if there is anything I know about my mom, it’s that she hates tattoos. I am pretty sure she would disown me if I ever got one. However, I think there is something sweet about a tough guy with a mom tattoo. Everyone has a soft spot for their mom. 

Which is what inspired these Mom Tattoo Cookies. 

So while my mom may not appreciate a Mom Tattoo Cookies, maybe your mom will! Especially if she has some ink of her own! They are incredibly fun and easy to make if you need a last minute treat for Mother’s Day.

How to Make Them

Start by making your sugar cookie dough and cutting it out into shapes. I used old Valentine’s Day cookie cutters that were perfect for this tattoo-inspired cookie. 

Then outline and fill the entire cookie with plain flood consistency royal icing. Let the icing dry completely (overnight is preferred), then start painting!

I recommend outlining the shapes with a very faint line of paint first. You can go back and make corrections like you can see me do in the video. Then, when you are happy with your design, fill it in. 

Supplies

There are only a few supplies you will need for these cookies, and you may already have most of these on hand. 

You only need two colors of food coloring: red and black. For both colors, I diluted them with a bit of clear alcohol (vodka) to get different shades, like a light red and dark red, and a black and a light grey. 

If you have painted on cookies before, then you probably already have some paint brushes laying around. If not, please only use brand new brushes that have never been used with paint. Just head out to your local craft store and pick up some cheap brushes. Or, if they have a baking section, then you can use brushes specifically for food, like these. 

Lastly, you will need an edible ink marker. I think it’s what makes these cookies really stand out and look like an actual tattoo. 

[show_shopthepost_widget id=”3128296″]

/ Filed In: Cookies New, Decorated Cookies, Desserts, Eat
Tagged: cookies, food marker, mom, Mother's Day, painted cookies, tattoo

How to Trace onto Cookies (Mother’s Day Cookies)

May 12, 2017

This is part two of my Mother’s Day cookie post. There was just too much to fit all in one post! Floral monogram cookies AND lean how to trace on to a cookie?! I think we would have all been overwhelmed. Plus, I think this technique deserves it’s very own post since it can be used for so many different things: fonts, images, designs, patterns, etc. Anything you don’t feel comfortable drawing freehand with icing, you can do using this technique to trace onto cookies!

But before you can decorate, you need some cookies! For these Mother’s Day cookies I flavored my favorite sugar cookie recipe with a touch of lavender and a whole lot of vanilla bean.


The resulting cookie was this subtly floral vanilla cookie that was so good. I was so afraid of going overboard with the lavender, that I just added a touch to the sugar before I mixed the sugar into the butter. I blended the sugar and lavender together so that each bite would have a very subtle hint of it. 

I didn’t feel the need to hold back on the vanilla, however. I went all out! You can see all the lovely vanilla beans sprinkled throughout the dough. If you look closely, you can sort of make out pieces of lavender, too!

Okay, so now let’s get to the reason you are here: learning to trace onto cookies!

It’s simple and requires only a couple special tools that you may already have around your house or kitchen: tissue paper and a edible food marker. 

First find an image or text that you like and print it out onto normal paper. (I found this one on Google Images and thought it would fit perfectly on my plaque cookies.) 

Top your printed image with a sheet of clean tissue paper. Then trace the image with an edible food marker.

Take the sheet of tissue paper with your image or font traced on it and place it onto of the cookie, making sure that it’s perfectly situated. 

Trace over it again with the edible food marker. Don’t press too hard because you will risk tearing the tissue paper. You should be able to trace two to three times with the same tissue paper. 

Viola! The text or image has now transferred onto the cookie! From here you can just trace over the ink with your icing. 

I say that like it’s no big deal. Tracing the image with the icing is probably the hardest part. I still have yet to master writing cursive letters with icing. 


Since the original image had some flowers on the bottom, I added some flowers to my cookies. 


Now they go perfectly with the other floral monogram cookies I shared on Wednesday. 

Wouldn’t you mom love these cookies? Well, even if you are reading this far from Mother’s Day I hope you have learned how to trace text or an image onto your cookies. I promise, this trick will come in really handy!

[amd-yrecipe-recipe:160]

/ Filed In: Cookie Decorating 101, Cookies, Cookies New, Decorated Cookies
Tagged: cookie decorating, cookies, lavender, Mother's Day, royal icing, tracing, vanilla

Floral Monogram Mother’s Day Cookies

May 10, 2017

If you know me, then you know that I can’t let a holiday, no matter how big or small, pass without making some cookies (all my friends are probably nodding their head in agreement right about now). I definitely take advantage of all my friends’ sweet tooths (Sweet teeth? What is the plural of sweet tooth?) by making cookies and forcing them upon them every chance I get. 

These cookies are no exception. After making these cookies for a friends bridal shower, I couldn’t wait to try this floral monogram design again. I knew it would be perfect for Mother’s Day. And even better, I know lots of deserving mom’s out there who definitely a couple cookies to help them celebrate. 


For my mom, I made individual letters that spelled out mom and covered them in flowers. But for my friends who are not my mom I made them each individual initial cookies. 

How cute are they? And not just good for Mother’s Day, but they would be great cookies for a bridal shower, baby shower, birthday, wedding….you name it! I am obsessed. 

[Friends, expect to get cookies like these for every birthday from now until the end of time. Thanks.]

The best part is that these cookies are actually quite easy if you have the right piping tips! Just layer on flowers until you have a full letter. 


I like to start with my bigger flowers, like rosettes. I place the rosettes randomly around the cookie leaving space for other flowers. 


Then I go in with my smaller flowers, like drop flowers, and fill in some more space. 

There is obviously some space left, so I go back in and fill them in with some more dots of icing and then fill it in with the leaves. 

Really, there is no technique…just fill up the space!

To go with the monograms, I made some simple little hearts and circle cookies with a single flower and a couple leaves. (Oh, and see those mint “Happy Mother’s Day” plaque cookies? I will show you how I made those on Friday!!)

I am clearly obsessed with these cookies, as you can tell. I think I just like doing the floral designs because they are really impressive without actually being that hard to achieve. 

But that’s just a secret between you and me. If my mom asks, I slaved over these cookies for days just for her. K, thanks! 😉

Recipes Used:

  • 2 batches of my Royal Icing for 40 cookies in flood consistency (the base layer) and stiff consistency (the flowers).
  • 2 1/2 batched of my Sugar Cookie recipe 

Items Used:

  • White Rose – #18 piping tip
  • Light Pink Rose – #16 piping tip
  • Redish Pink Drop Flower/Rose – #225 piping tip
  • Medium Pink Drop flower – #14 piping tip
  • Leaves – #349 piping tip
  • Dots – #2 piping tip
  • Piping Bags
  • Scribe Tool
  • Gel Food Coloring in light pink, watermelon, and forest green

 
[show_shopthepost_widget id=”2668939″]


/ Filed In: Cookies New, Decorated Cookies, Eat
Tagged: cookie decorating, floral, flowers, Mother's Day, piping tips, royal icing, sugar cookies

Asparagus Prosciutto Tart

April 24, 2017

When asparagus is on sale at Trader Joe’s right before Easter you stock up and figure out what to do with it later. Oh, that’s not what you do? I guess it’s just me. I figured I could do a lot with asparagus, from adding it to an omelet or frittata to roasting it and serving along side some chicken or beef. I knew I would use it, I just didn’t quite now how. 

After a quick inventory check of fridge and freezer, I realized I had everything I needed to make a savory asparagus prosciutto tart. The perfect Spring brunch dish!


Start by blanching the asparagus by dumping the trimmed asparagus in boiling water for a few minutes then transferring to an ice bath. The asparagus will turn bright green and be slightly tender. 

Prepare the puff pastry by creating a 1/2 inch border and poking holes with the tines of a fork in the center then bake until it’s slightly golden.


While the puff pastry is puffing up in the oven, make the filling. Mix together marscarpone cheese, sour cream, and egg, shallot, lemon zest, parsley, and Parmesan cheese. 

Take the puff pastry out of the oven and if you see that your puff pastry has been stubborn and puffed up even where you poked holes, press it down with the back of a spoon. Spread the marscarpone mixture into the cavity that you created, leaving the border untouched. 

On top, add a thin layer of prosciutto. If you really like prosciutto, knock yourself out and add more than one thin layer. Top that with the asparagus and even more Parmesan, because this thing needs more cheese. 

Once the puff pastry is nice and golden brown and the asparagus is tender and slightly roasted, it is done! 

I topped mine with a little bit more lemon zest and parsley. And if you read last weeks post, you know I also topped this with some creamy hollandaise sauce! The perfect condiment to go with asparagus!

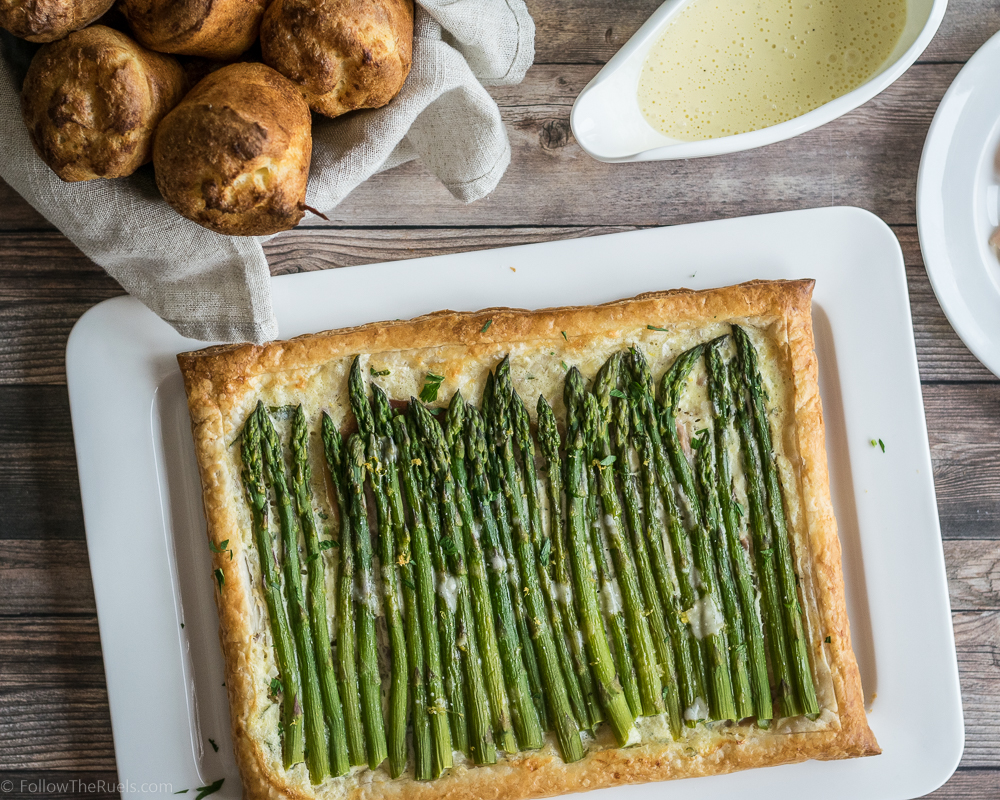
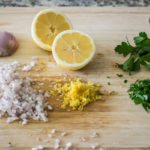
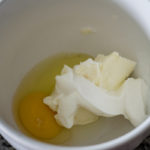
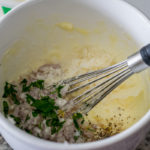
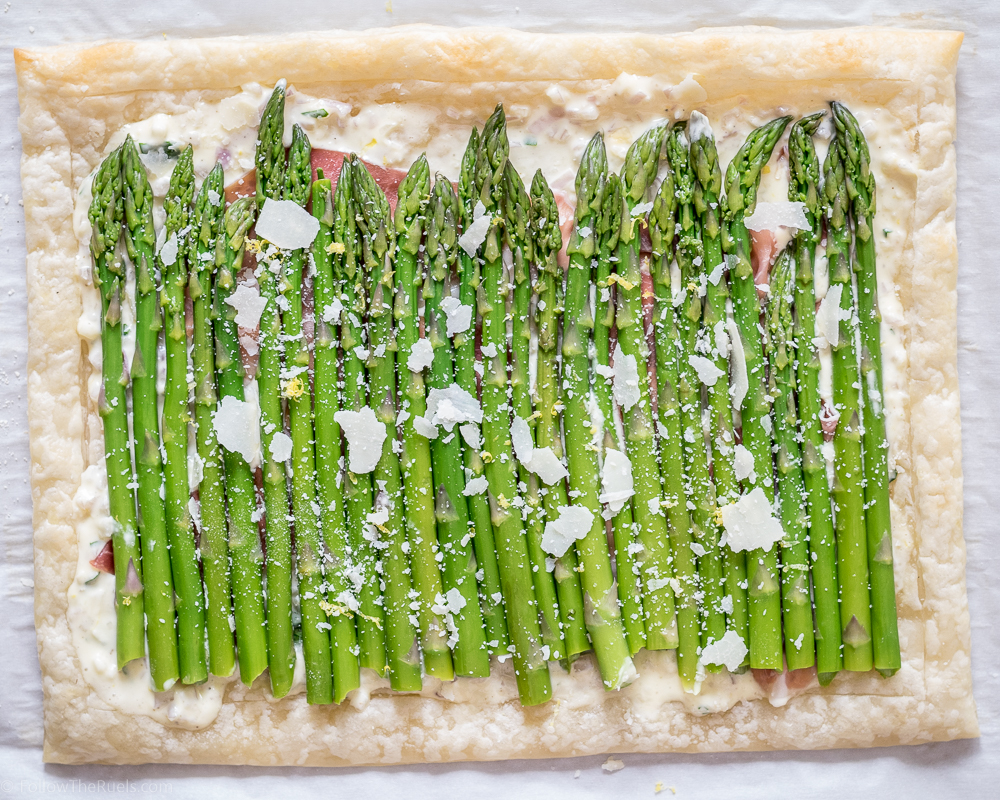
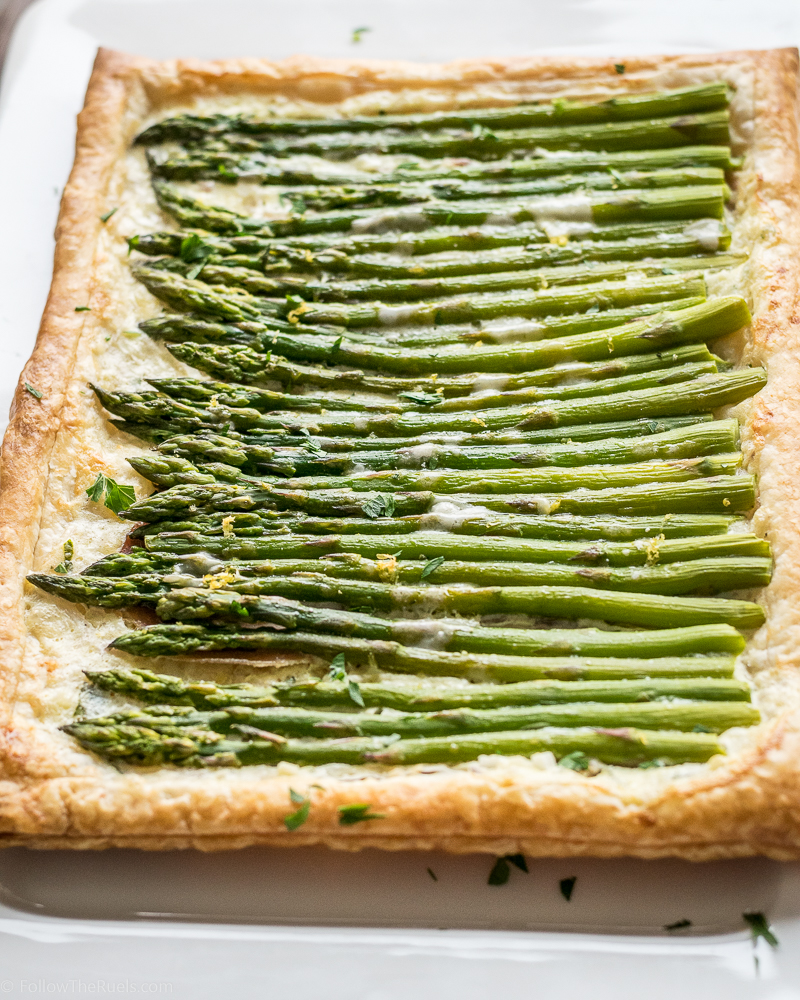
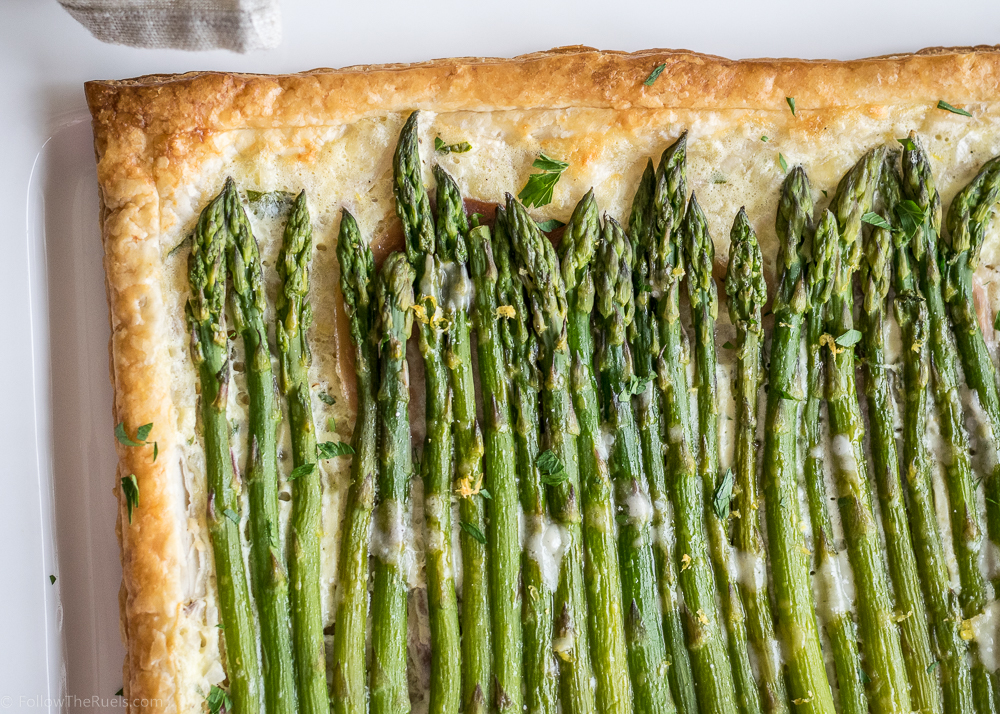
If you are an asparagus lover like me, then you will find absolutely no fault with this asparagus prosciutto tart. It was absolutely delicious and the perfect brunch for Easter! It would also be great for Mother’s Day! 

[amd-yrecipe-recipe:152]

/ Filed In: Breakfast, Eat, Other Savories New
Tagged: asparagus, brunch, Easter, marscarpone, Mother's Day, prosciutto, puff pastry, tart

Personal Gift Ideas for Everyone

February 10, 2016

Dipped Lace Heart Necklace

Dipped Lace Heart Necklace

If you thought January first marked the end of the gift giving season, think again. We have Valentines Day right around the corner. Then Mother’s Day and Father’s Day right after that. And what about all those friends getting married, buying a new home, having babies? There’s a lot of gift giving left, my friends. 

My favorite kinds of gifts to give, especially as wedding gifts or to celebrate a new baby, are those that are personal and show the person how much they mean to me. Something that they couldn’t get just anywhere. 

Lately, I’ve had a lot of friends have babies and my favorite thing to give the new mom is a beautiful necklace that holds some meaning. Uncommon Goods has a lot of unique, hand made jewelry pieces that would be great for anyone. They also have a lot of other unique gifts to give for any occasion. Here are some of my favorites:

Personalized Gift Ideas

  1. I am sort of obsessed with lockets. If I had a child, or even a dog, I would definitely be wearing their picture in this locket. I think they are so sweet and would make a wonderful gift for a new mom, grandmother, or yourself!
  2. Another one of my favorite gifts to give my new-mom friends is something that has their baby’s name on it. This necklace is so subtle that only the wearer knows the true meaning. The necklace has beads on it in a Morse code to represent the name of your choice. Here are other delicate necklace options. 
  3. For the person or couple that loves to travel, why not get them this personalized map. The best part about this map is that it is mounted on cork board so that they can use push pins to mark all the places they have been! This seriously may be my new go-to wedding gift for my friends!
  4. I love the idea of getting something for new parents to hang in their nursery like this birth announcement. I know I had a birth announcement as a baby, but it’s probably tucked away in some box. Why not display it proudly so that the parents always remember that special day. 
  5. Now this necklace is a gift for any mom! What a beautiful way to show off the whole family, with all the kids birthstones. Birthstone necklaces are some of my favorite, but if you aren’t a fan of your birthstone, there are some other beautiful necklace options. 
  6. These cuff links have to be my favorite gift idea (maybe ever)! It would be prefect for either a wedding or anniversary gift for your husband or husband-to-be (or even father of the bride!). Most of us get our wedding dresses altered so there will be some extra dress fabric to spare. Use that extra fabric to put into cuff links for your man to wear on the wedding day, or just for all those special occasions after. 
  7. These mugs are the cutest gift for just about any occasion – Valentine’s, Mothers, Fathers, Labor Day…whatever! Every family member gets their own mug with a cute caricature of themselves on it. No more fighting over the mugs. 
  8. If you and your significant other have a special place, memorialize the cross streets with this print! The would be a great Valentine’s Day gift or 1st Anniversary gift (the traditional gift is paper). 

There are so many other amazing personal gifts that would be perfect for your significant other, newlyweds, new parents, or family members at Uncommon Goods. This cutting board would be a great wedding shower gift. This necklace looks like initials carved into a tree and would be perfect for your girlfriend or wife. Here is another great birthstone necklace for a mom or grandma. We also have a few friends who have either gotten these custom whiskey barrels to use for their wedding ceremony or to give for the wooden anniversary. 

Thanks to Uncommon Goods for sponsoring this post. Words and opinions are my own. 

/ Filed In: Life, Wear
Tagged: gifts, Mother's Day, personal, Valentine's day

Follow

Hey There!

Hey there, I'm Lindsey. I'm a number cruncher by day and a home cook and baker by night. While I love to eat healthy and find fresh and healthy alternatives for my favorite foods, I will never turn down dessert! Life is all about moderation, right?

Recipes

  • All Recipes
  • Breakfast
  • Appetizers
  • Salads
  • Main Dishes
  • Side Dishes
  • Desserts
  • Drinks

Favorite Finds

[show_lookbook_widget id=”388783″]

Theme by 17th Avenue · Powered by WordPress & Genesis