• Home
  • Eat
    • Breakfast
    • Appetizers
    • Main Dishes
      • Chicken
      • Beef
      • Seafood
      • Healthy Dishes
      • Paleo Dishes
      • Salads
    • Desserts
      • Decorated Cookies
      • Cookies
      • Bars and Brownies
      • Cakes and Cupcakes
  • Shop
    • Cookie Decorating Supplies
    • Bakeware
    • Cookware
    • Kitchen Gadgets
    • House
  • About
    • Contact
    • Bucket List
  • Cookie Decorating 101

Follow the Ruels

S’more Rice Krispie Treats

July 5, 2018

There are so many recipes that I make at home that never make it to the blog. Some I photograph, but the finished product just doesn’t look or taste right. 

Others I make, but never photograph, only having to make them again. 

This was almost one of those recipes. 

After the weather threatened our chances at making actual s’mores for our 4th of July cookout, I thought I would try something a little different. A total experiment. S’more Rice Krispie Treats!

However, after I made these and served them to my husband and neighbors, it was determined that they HAD TO GO ON THE BLOG.

My very picky husband literally called these S’more Rice Krispie Treats “amazing”. 

So here they are, on the blog….with almost no photos. Don’t worry, though. They are very easy to make and require very little visual guidance.

How to Make Them.
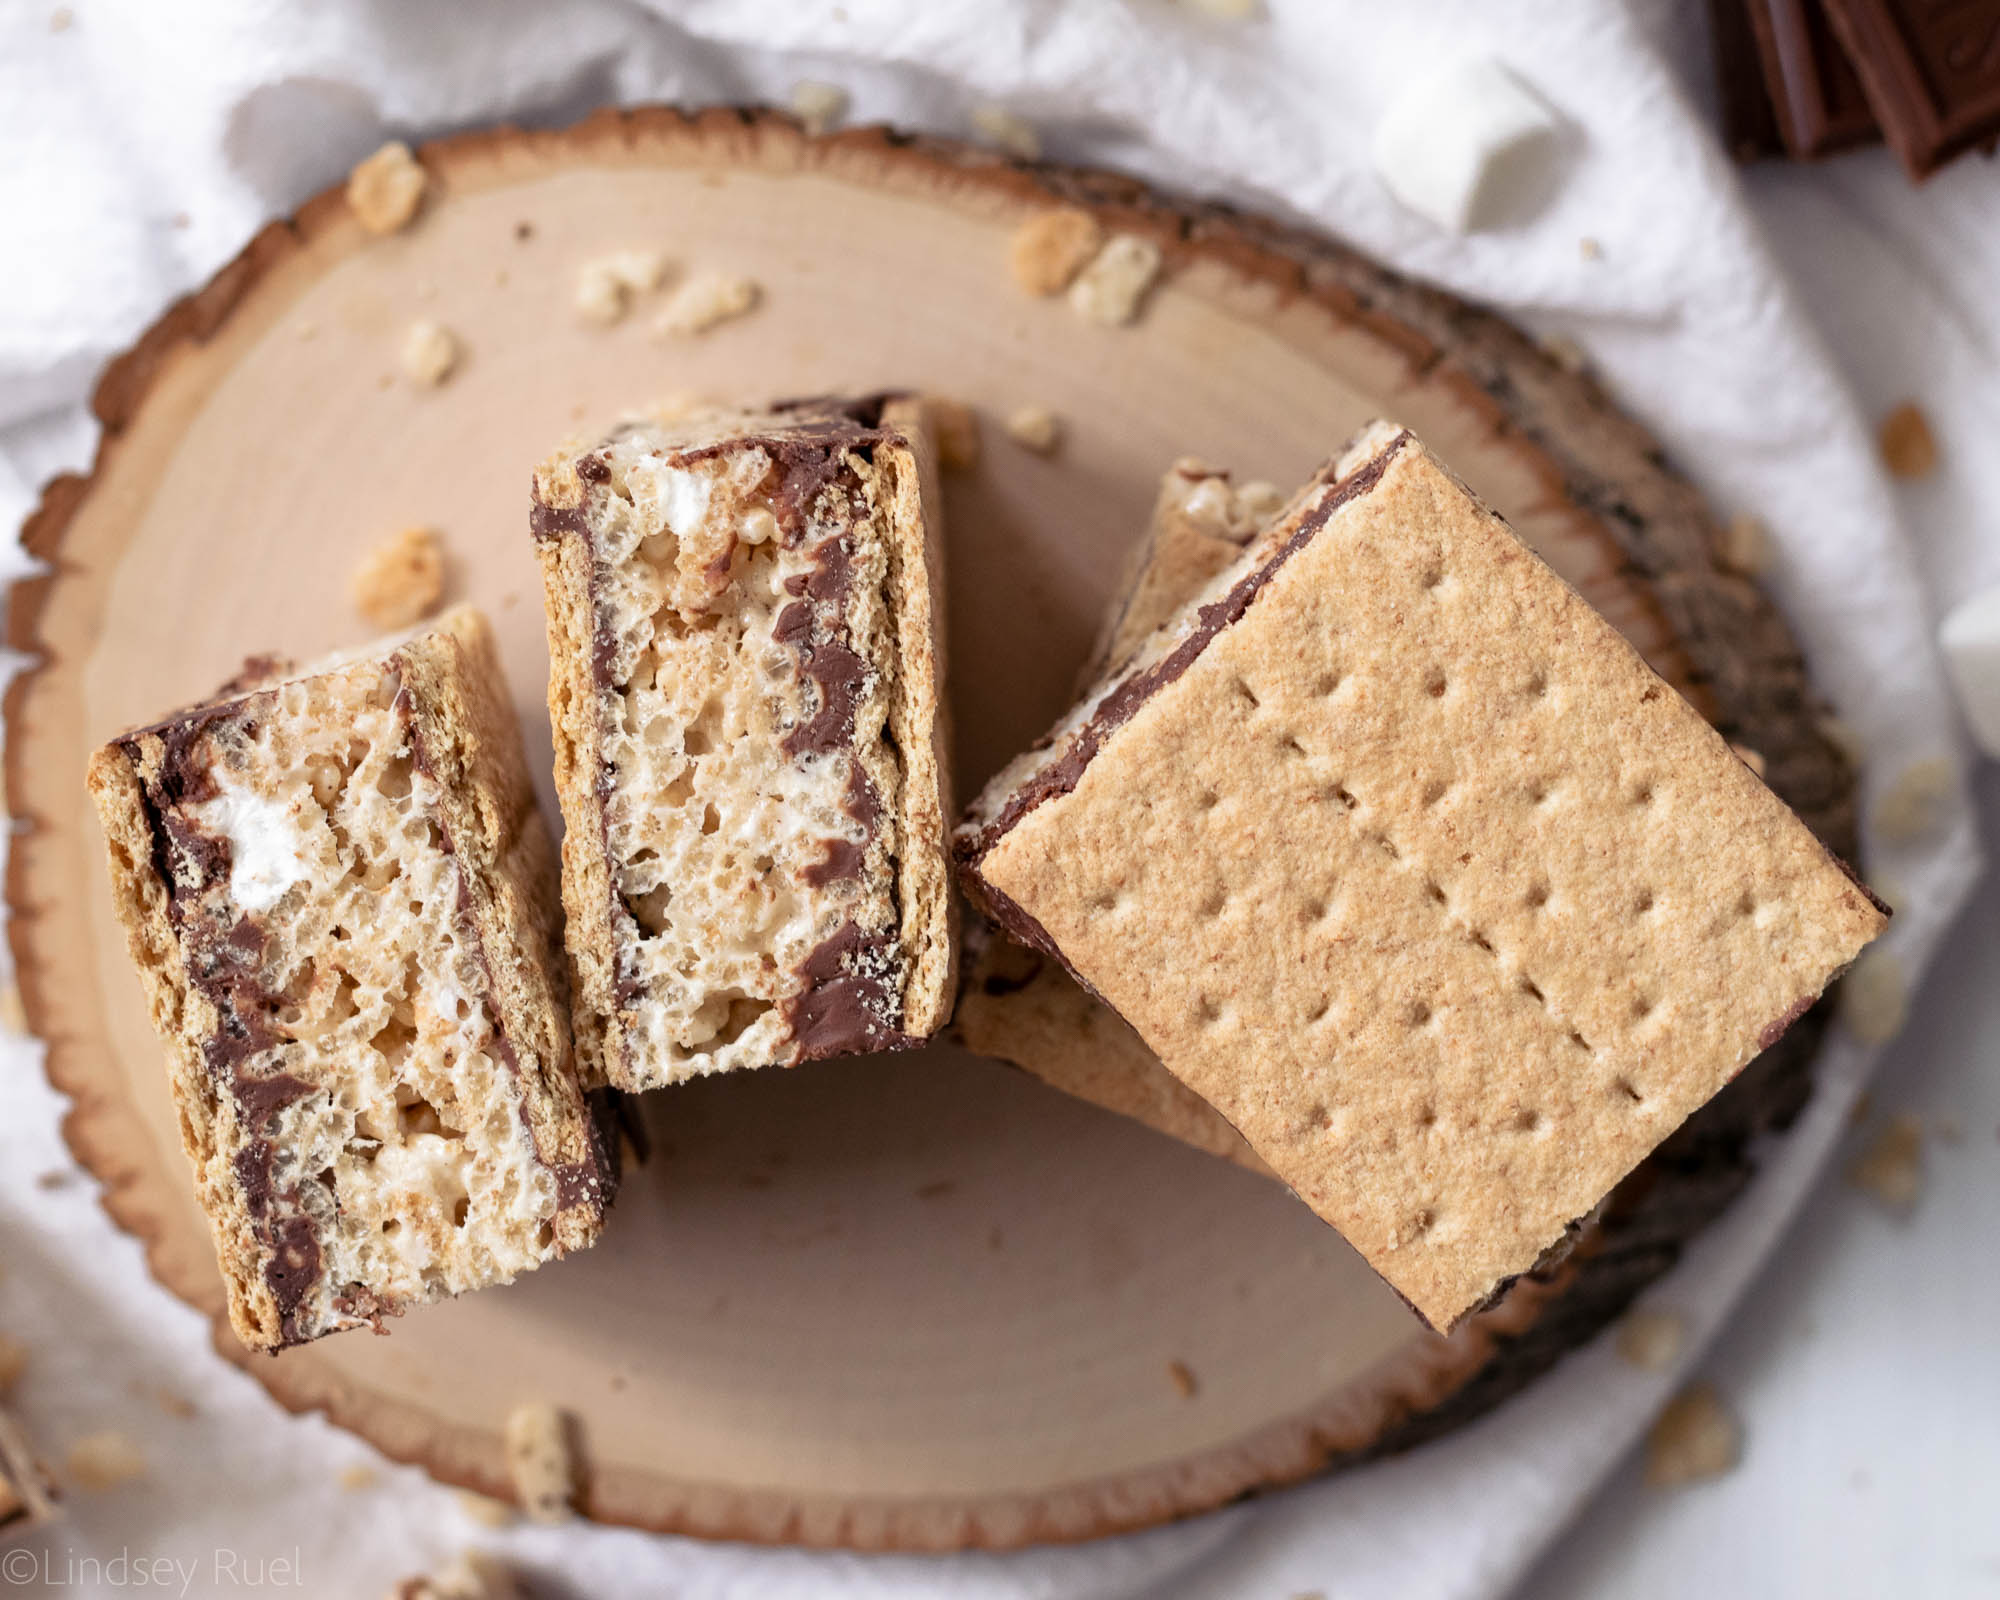
First, lay down a layer of graham crackers. My square baking dish didn’t fit them perfectly, so I had to break a few in half to get the entire bottom of the pan covered in graham crackers. 

Then, pour melted chocolate over the graham crackers and carefully spread it out so that there is a nice thin layer of chocolate over the crackers. 

Now it’s time to make the Rice Krispie treats! Follow the directions on the box or make your very own version of the classic and then dump the Rice Krispie mix on top of the chocolate covered crackers. Use a spatula to press the Rice Krispies down into the chocolate so that the entire pan is full. 
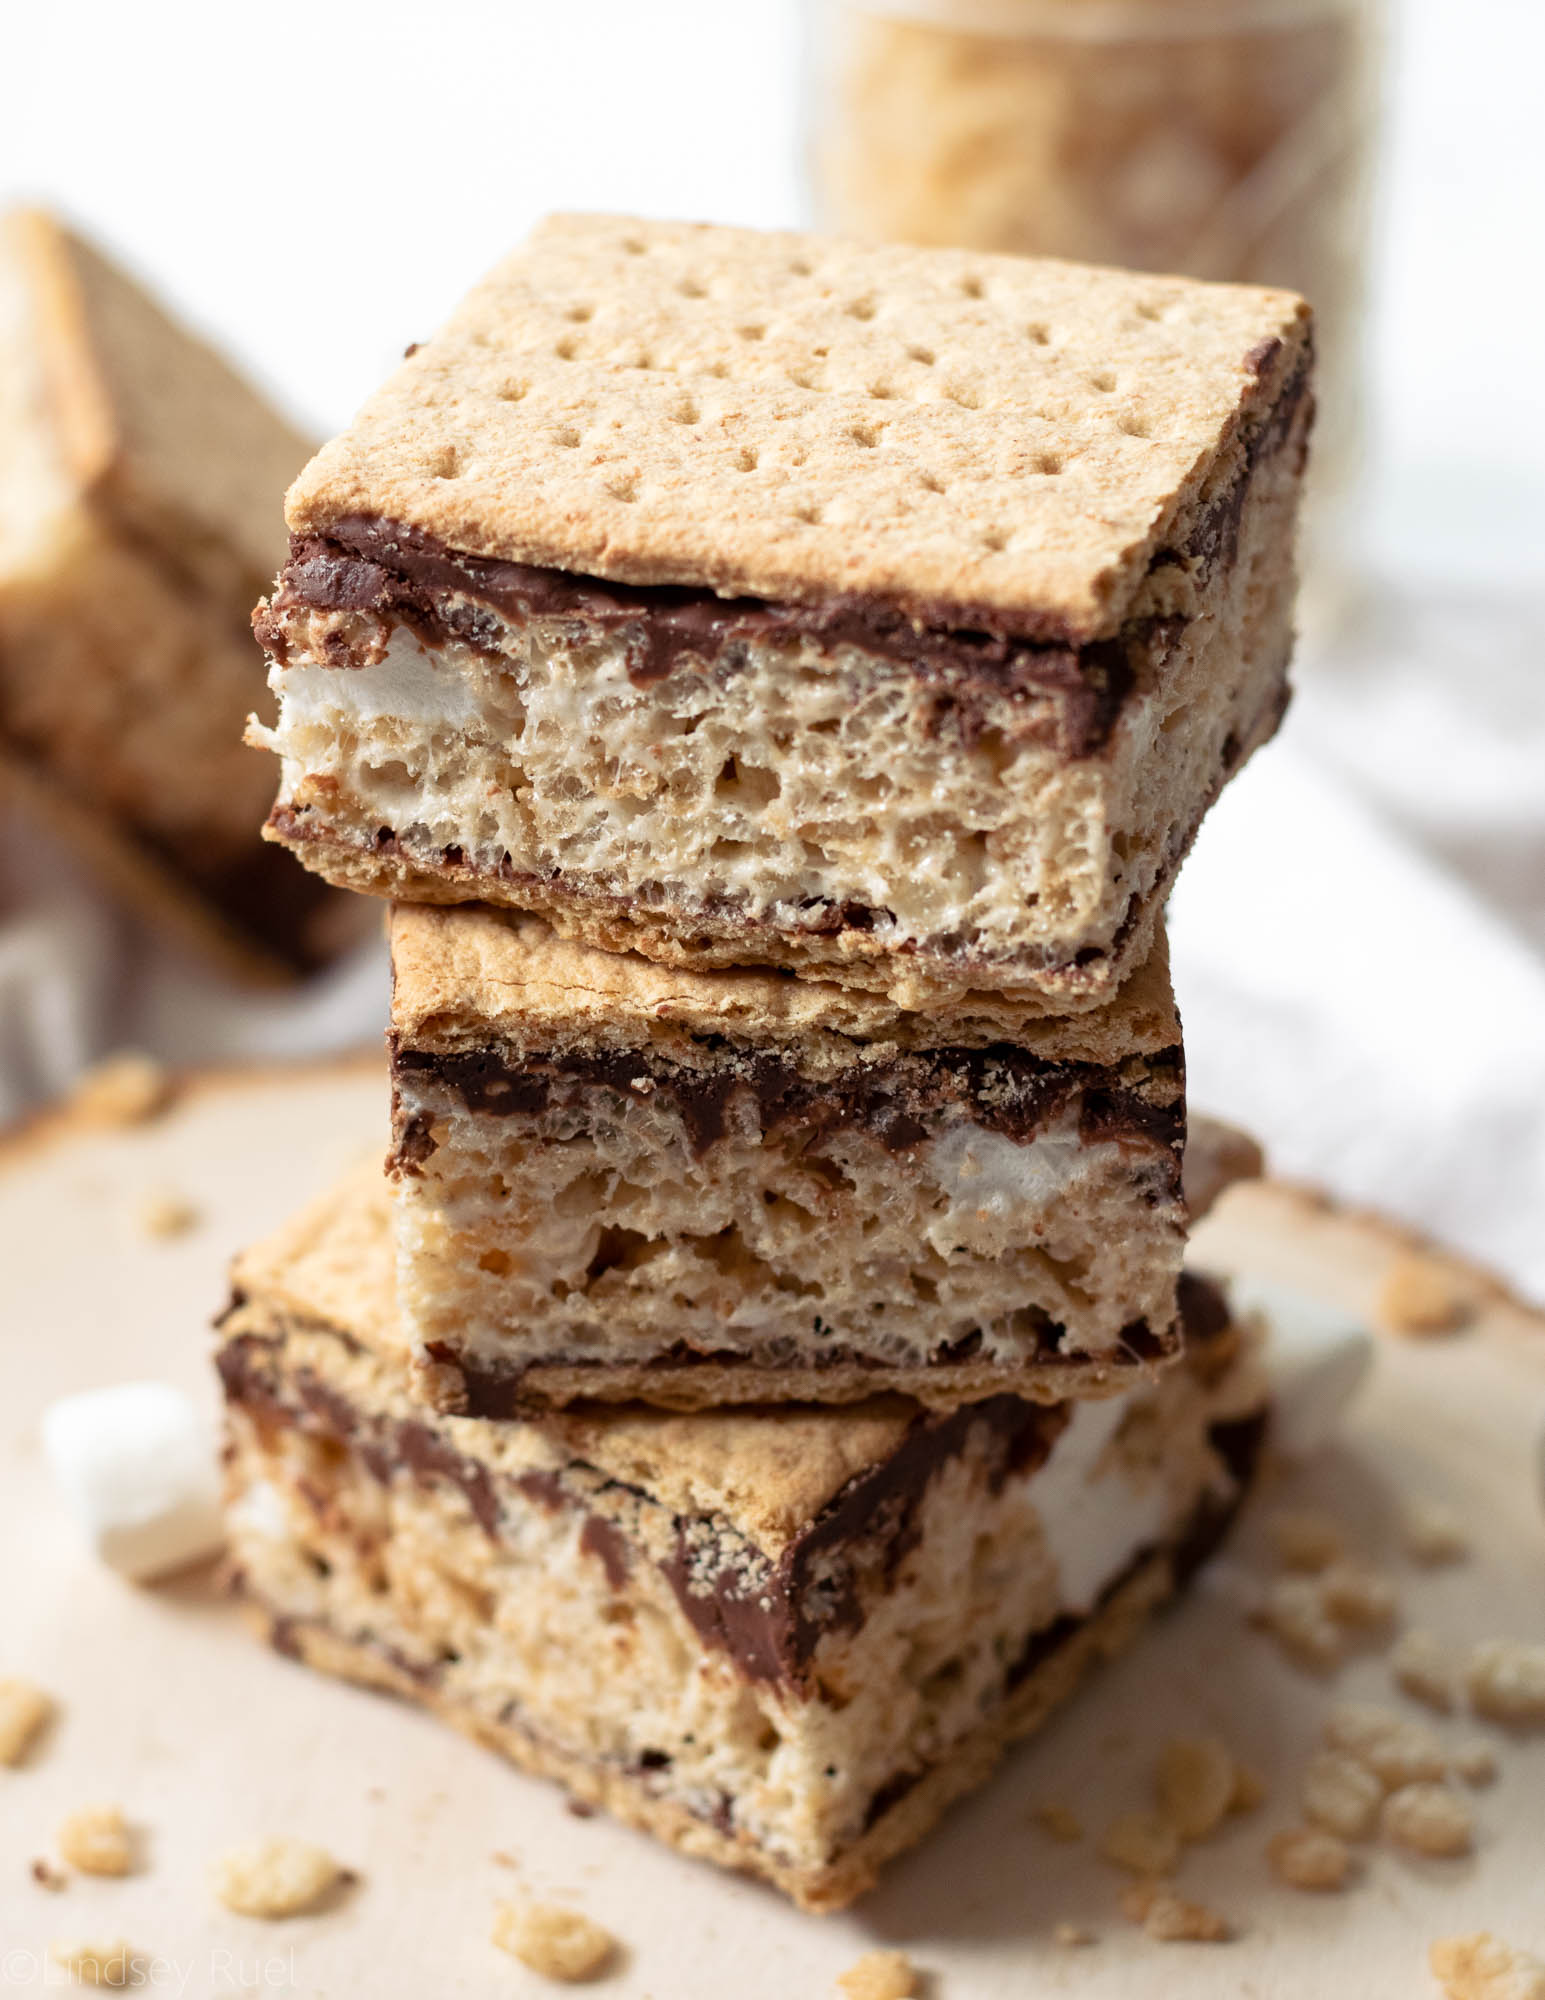
Then do everything in reverse! Melt some more chocolate, pour and spread it on top of the Rice Krispie treats, then top with more graham crackers. 

Let the entire thing sit and harden for about 30 minutes or until the chocolate has hardened. 

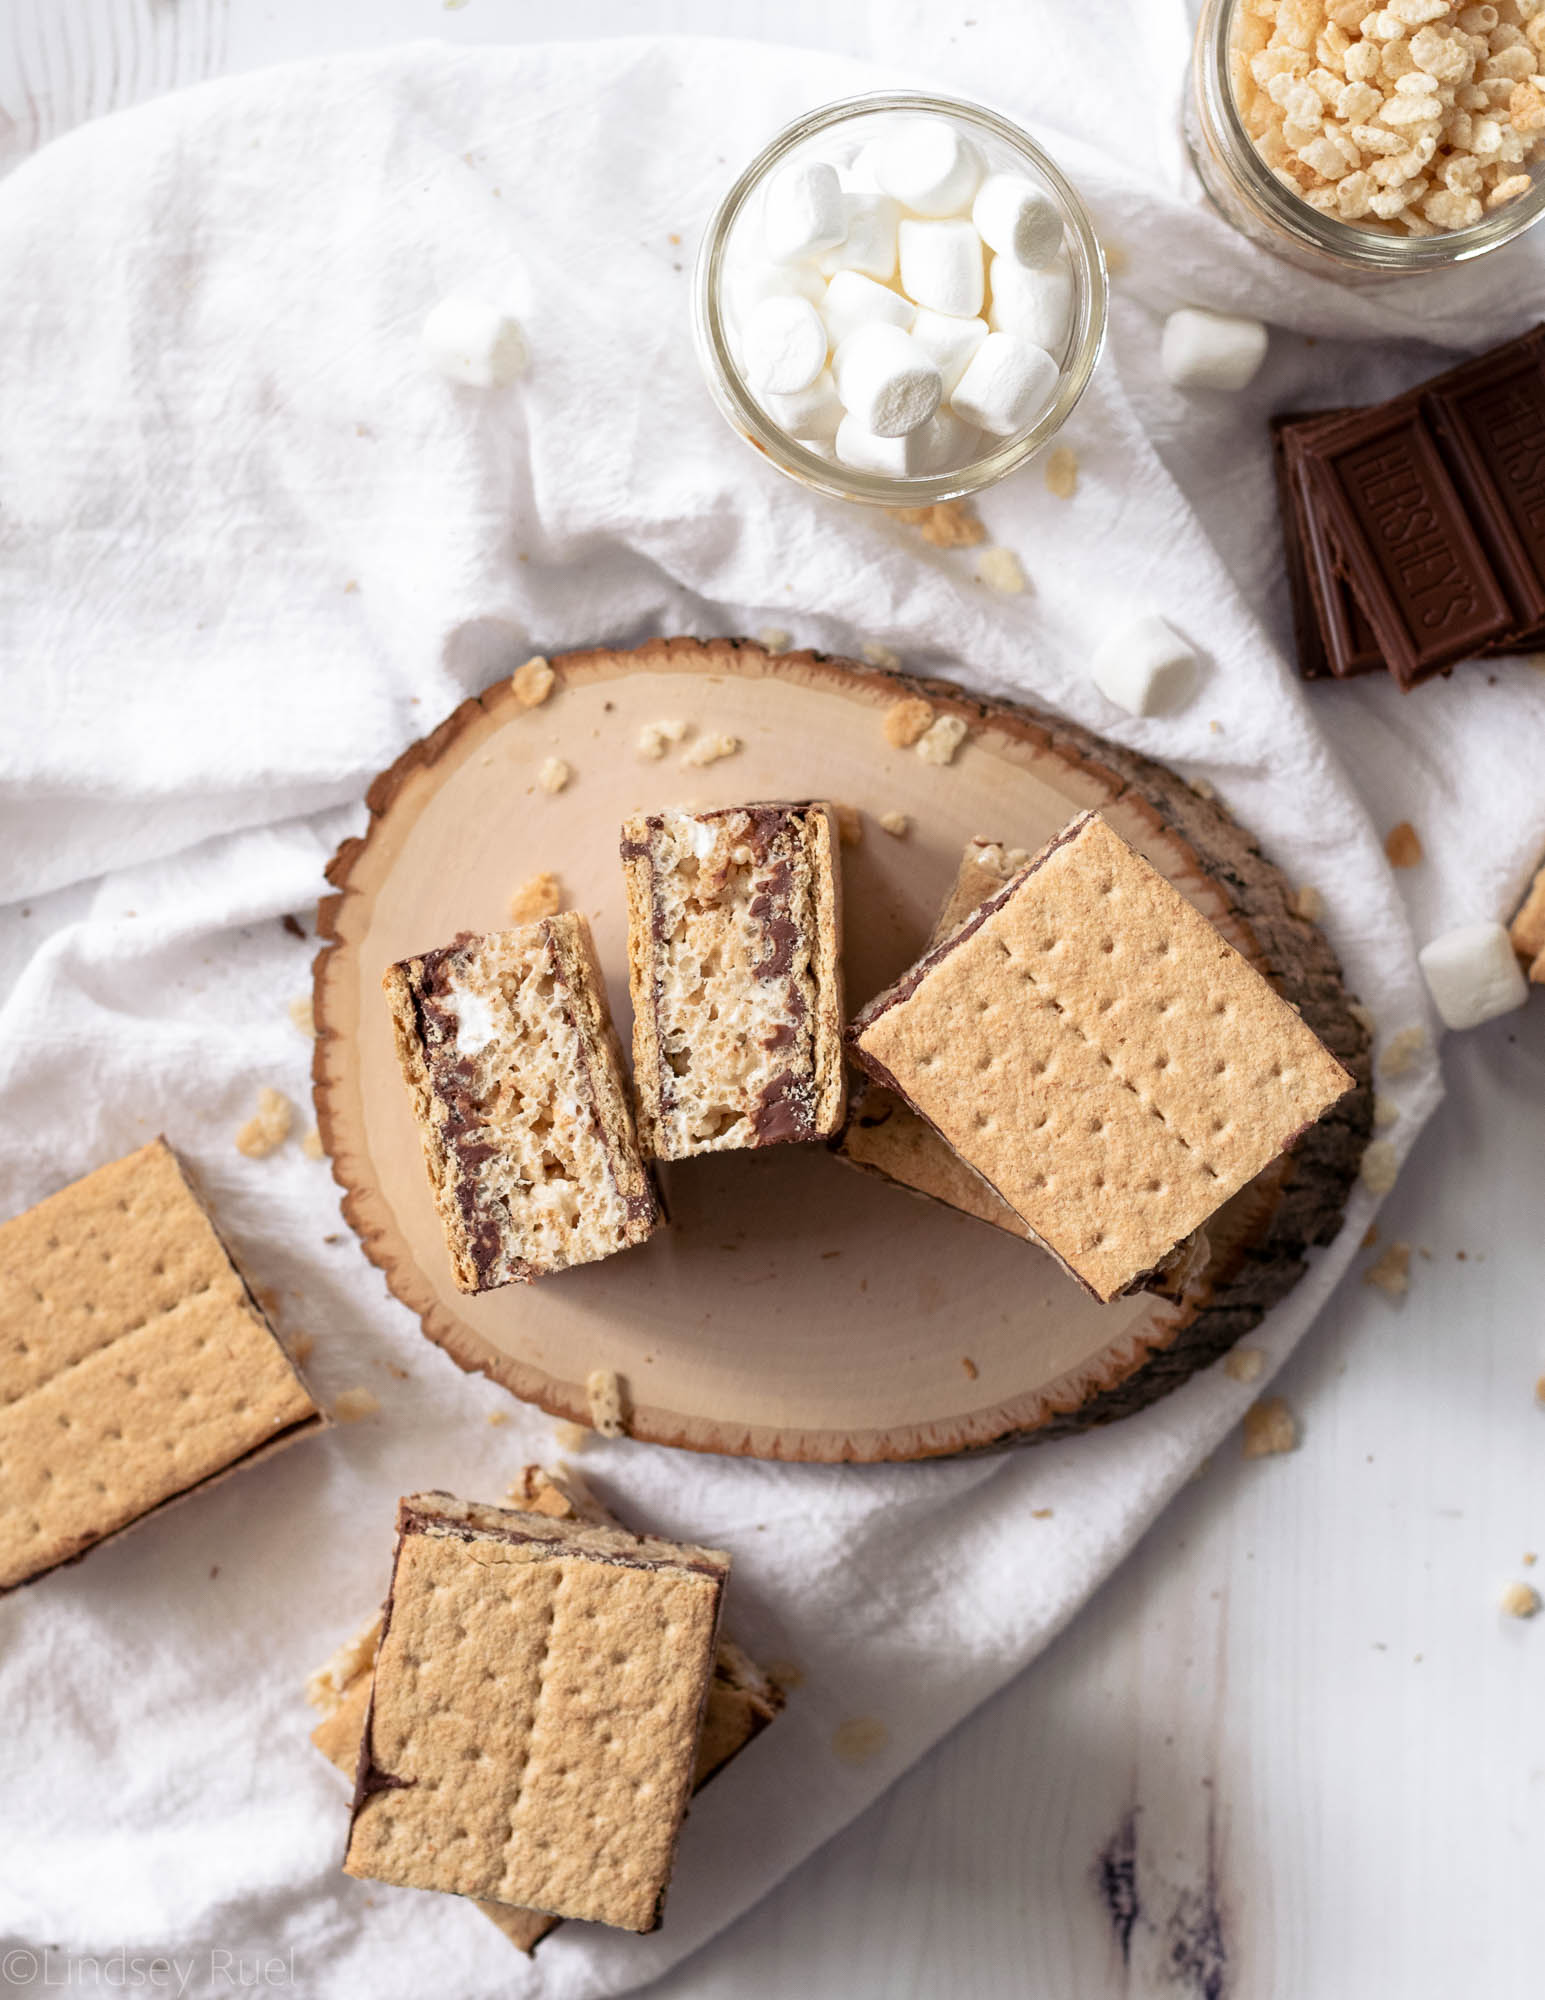
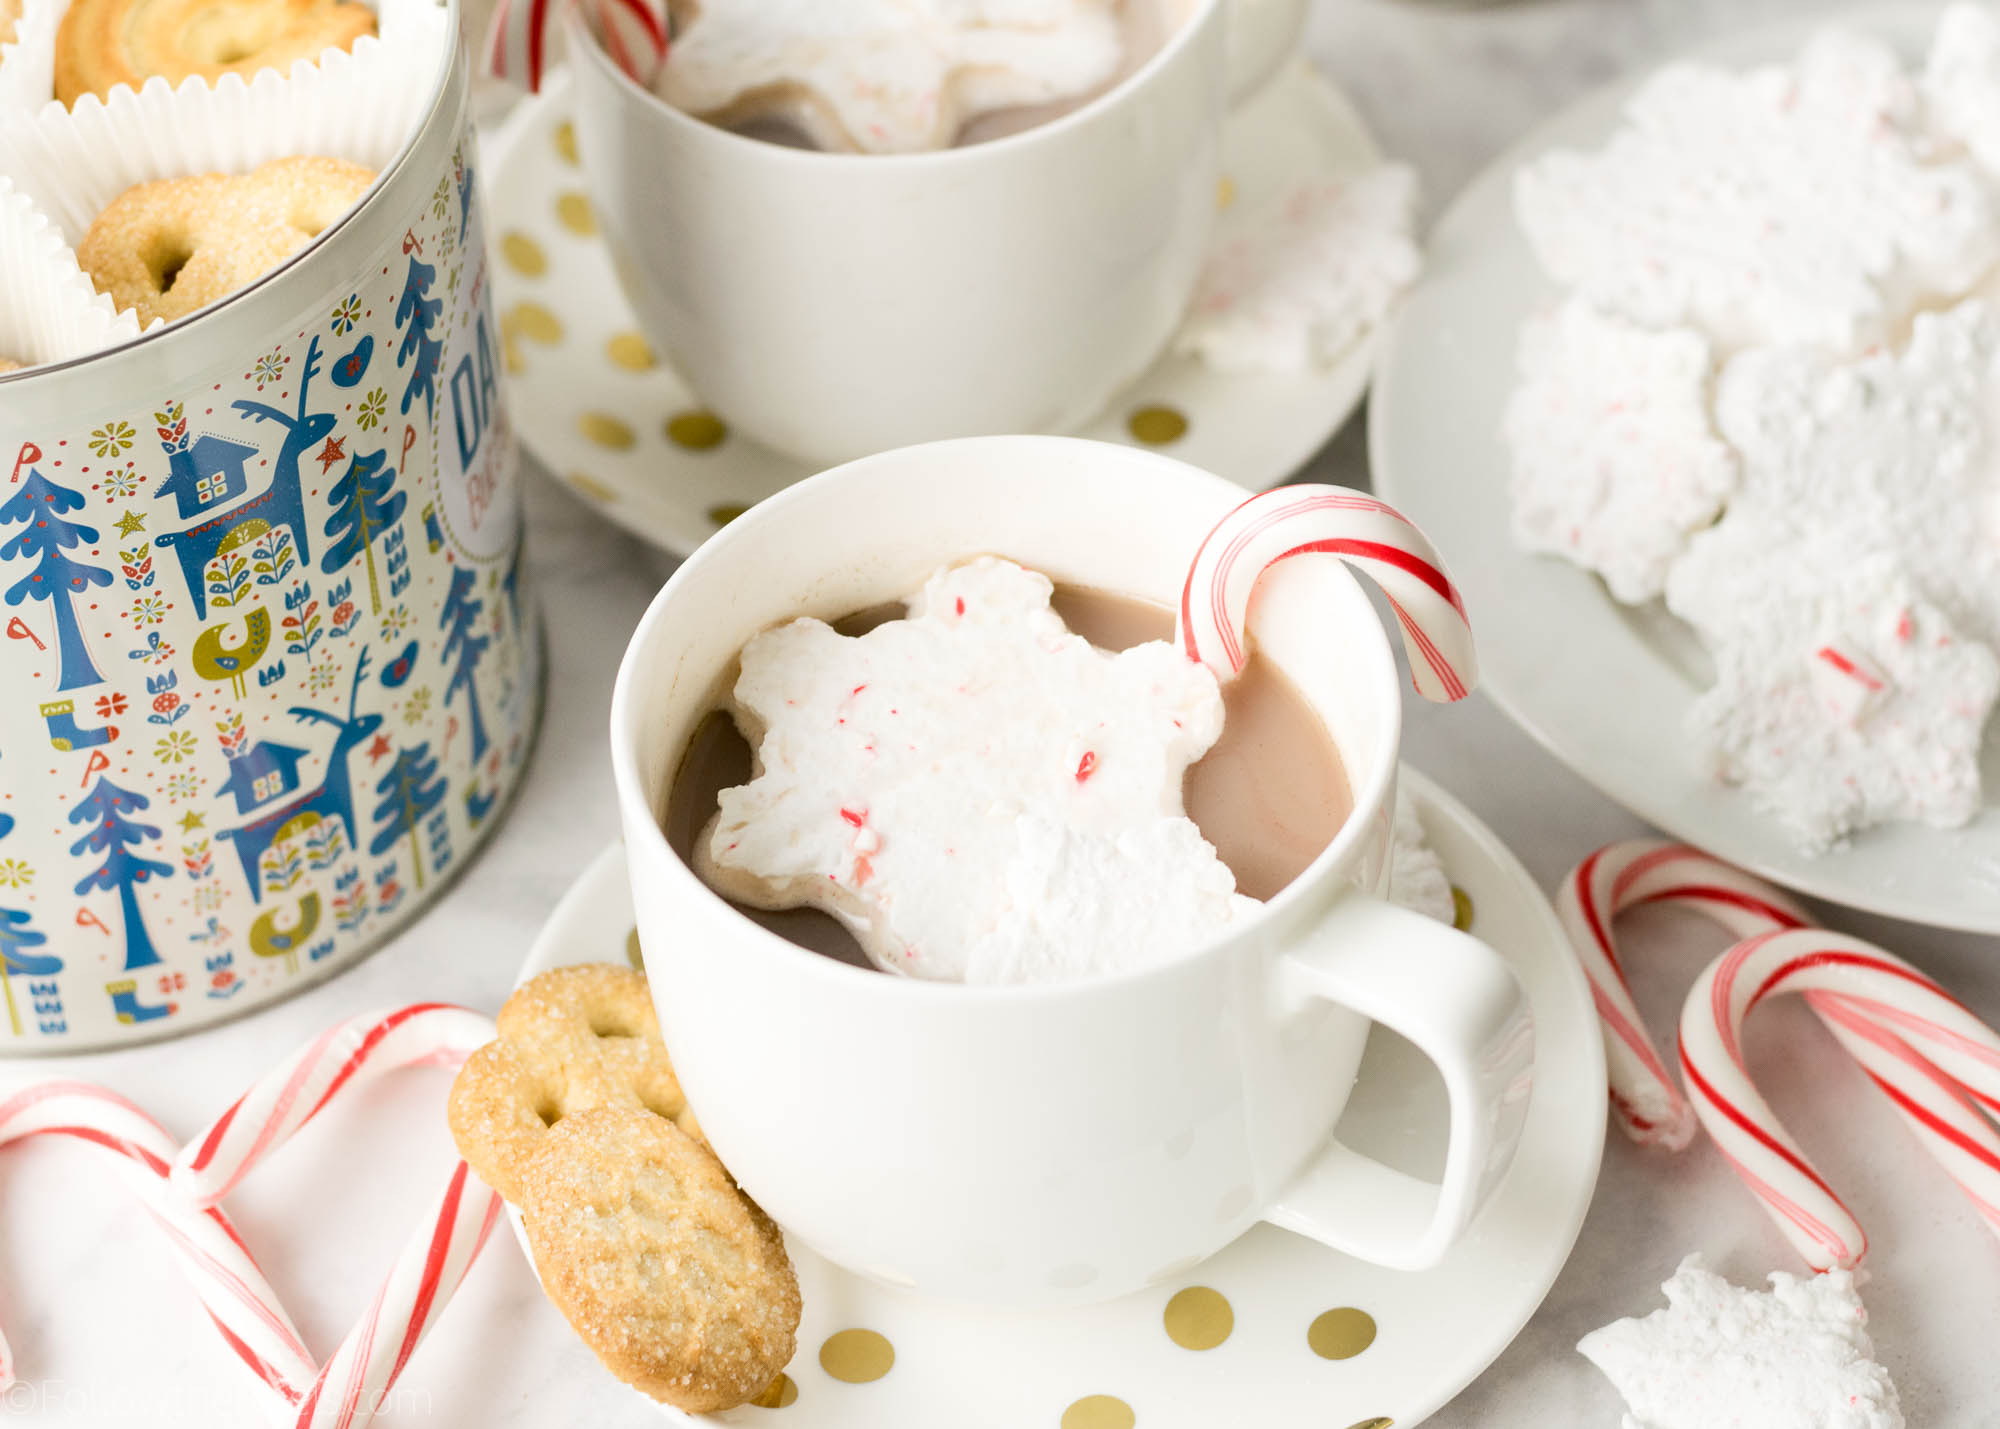
Finally, cut them into squares. You can use the top graham crackers as a guide, but they may not line up perfectly with the bottom grahams. 

See, so easy right? 

Recipe

[yumprint-recipe id=’188′]
/ Filed In: Bars and Brownies, Desserts, Eat, Other Sweets New
Tagged: 4th of July, chocolate, dessert, graham crackers, kid friendly, marshmallows, no-bake dessert, Rice Krispie treats, s'mores, Summer

Snowflake Peppermint Marshmallows

December 17, 2017

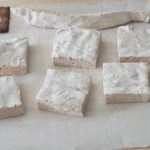
What is better than peppermint and chocolate? I’ll tell you: nothing! Okay, maybe not nothing, but peppermint marshmallows and hot chocolate are pretty high up on my list of favorites after making these snowflake-shaped marshmallows. 

It’s the perfect treat on these cold winter days with Christmas music playing in the background. It just gets you right into the holiday spirit!

As I mentioned in this post, marshmallows are super fun to make but oh-so messy! You really have to be prepared for powdered sugar and stickiness to be all over your kitchen. But I promise it’s worth it. 


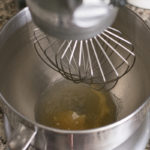
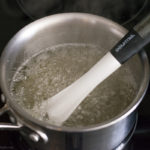
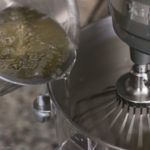
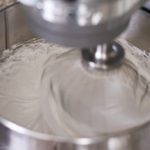
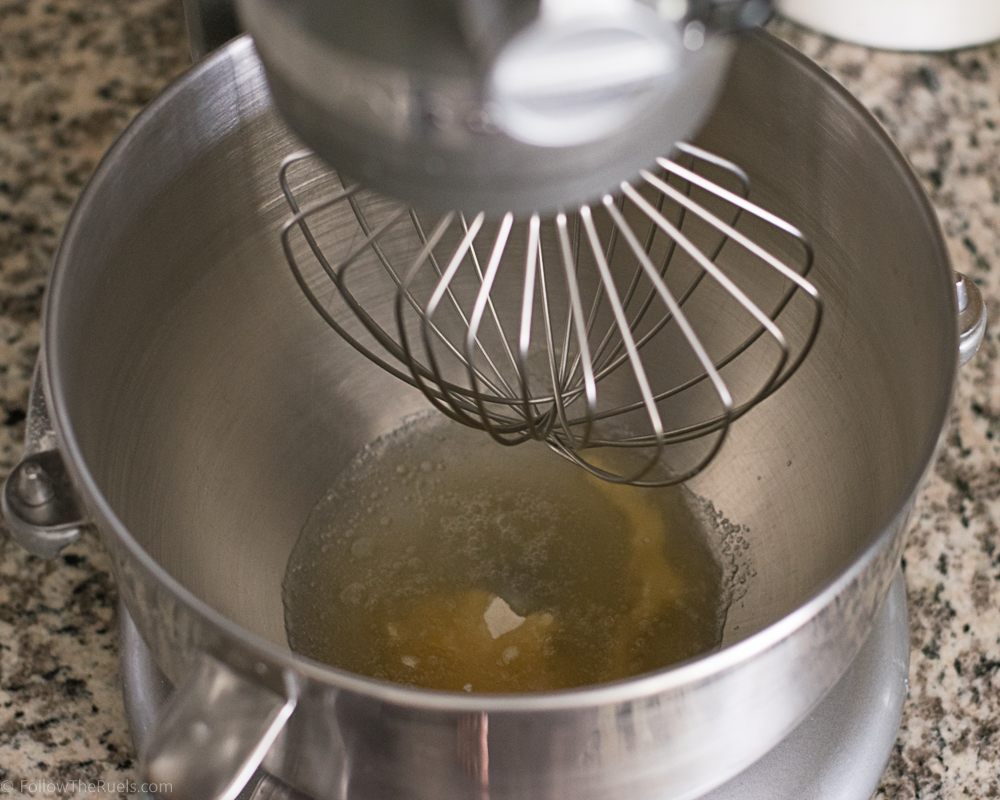
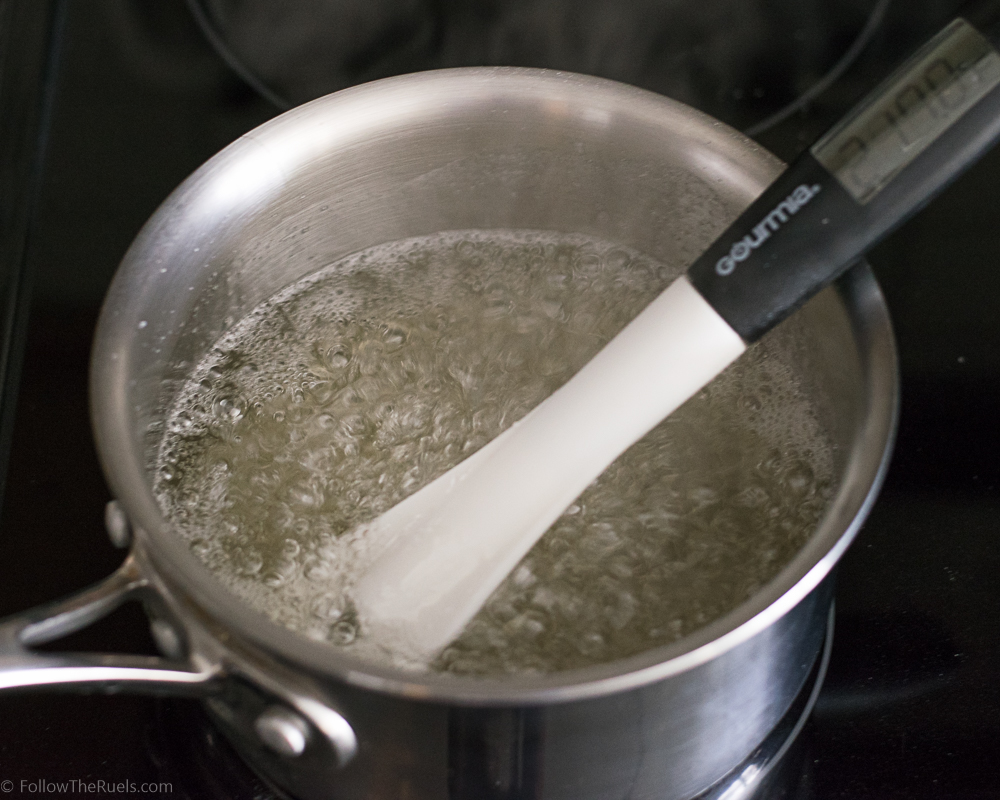
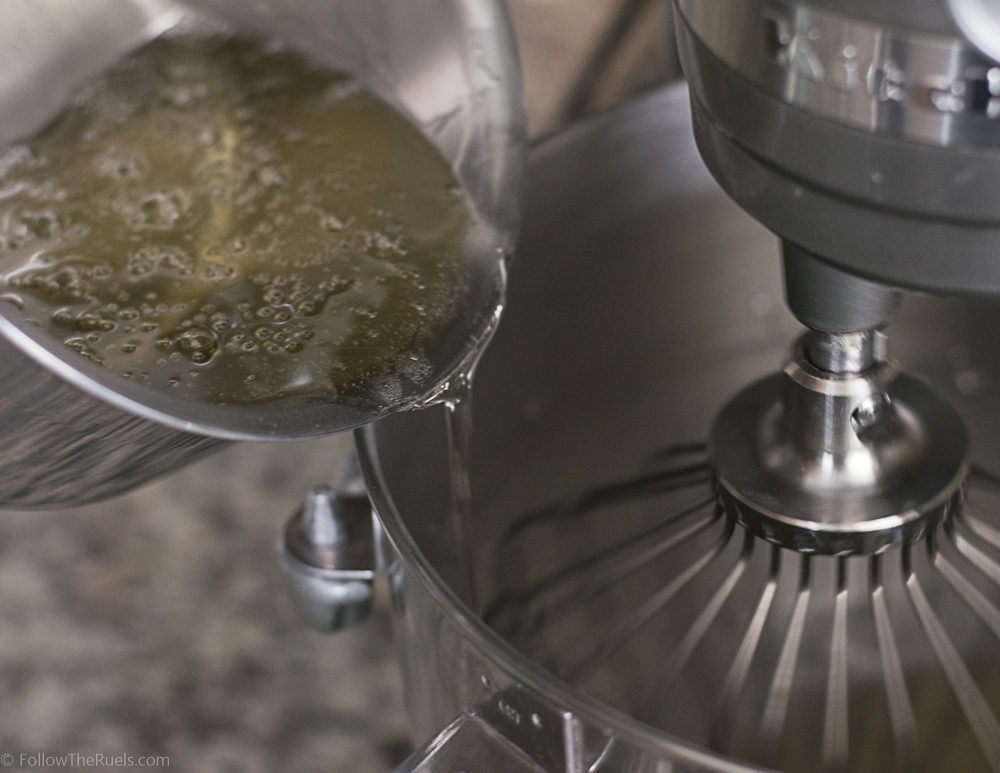
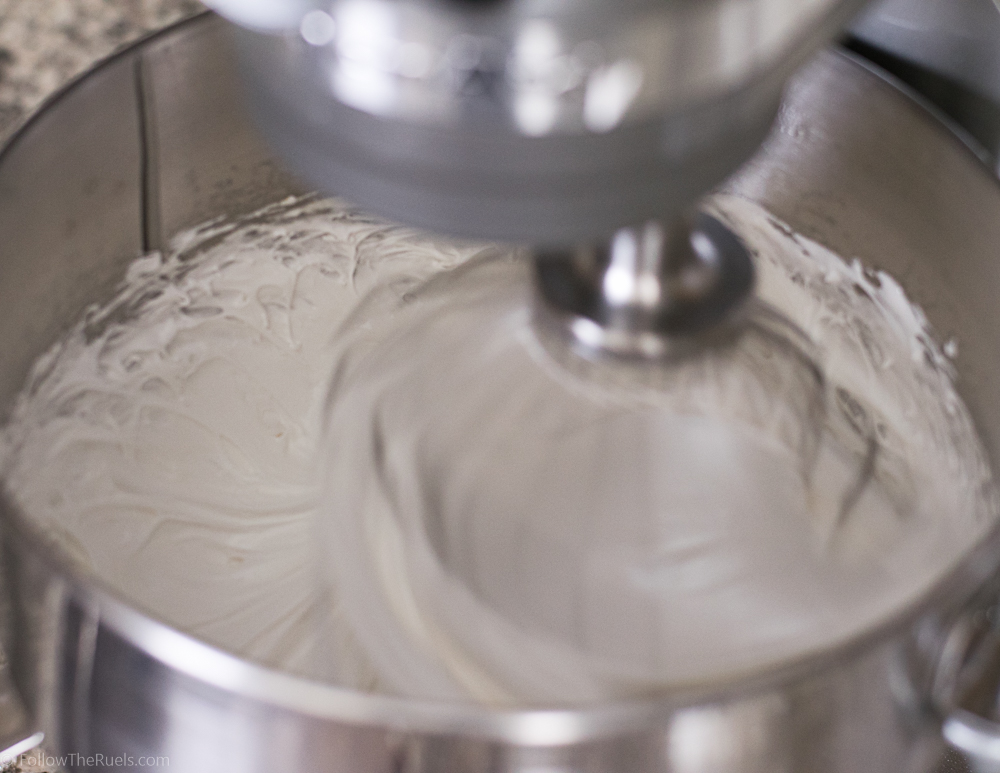
Making marshmallows starts with the gelatin. First, you first bloom the gelatin with water until it forms a thick jiggly blob, like really thick Jello. Next, pour boiling (240 degrees to be exact) sugar and corn syrup into the gelatin while you whisk it on low speed. Then, turn the speed up high and watch the liquified sugar and jiggly Jello blob magically turn into this light, fluffy, marshmallowy substance.

Once the mixture becomes pretty thick (about 10 minutes of whisking), it’s ready!

Before this whole baking experiment starts, you will want to prepare a baking sheet with parchment paper and powdered sugar. In this case, I also crushed up some candy canes and sprinkled them on the baking sheet so that they sticky marshmallow would have bits of candy cane all over. Yum!

Spread the soft marshmallow on the baking sheet and then sprinkle with more powdered sugar and candy cane dust on top. 

After a few hours, the marshmallow will set and become, well, a marshmallow!

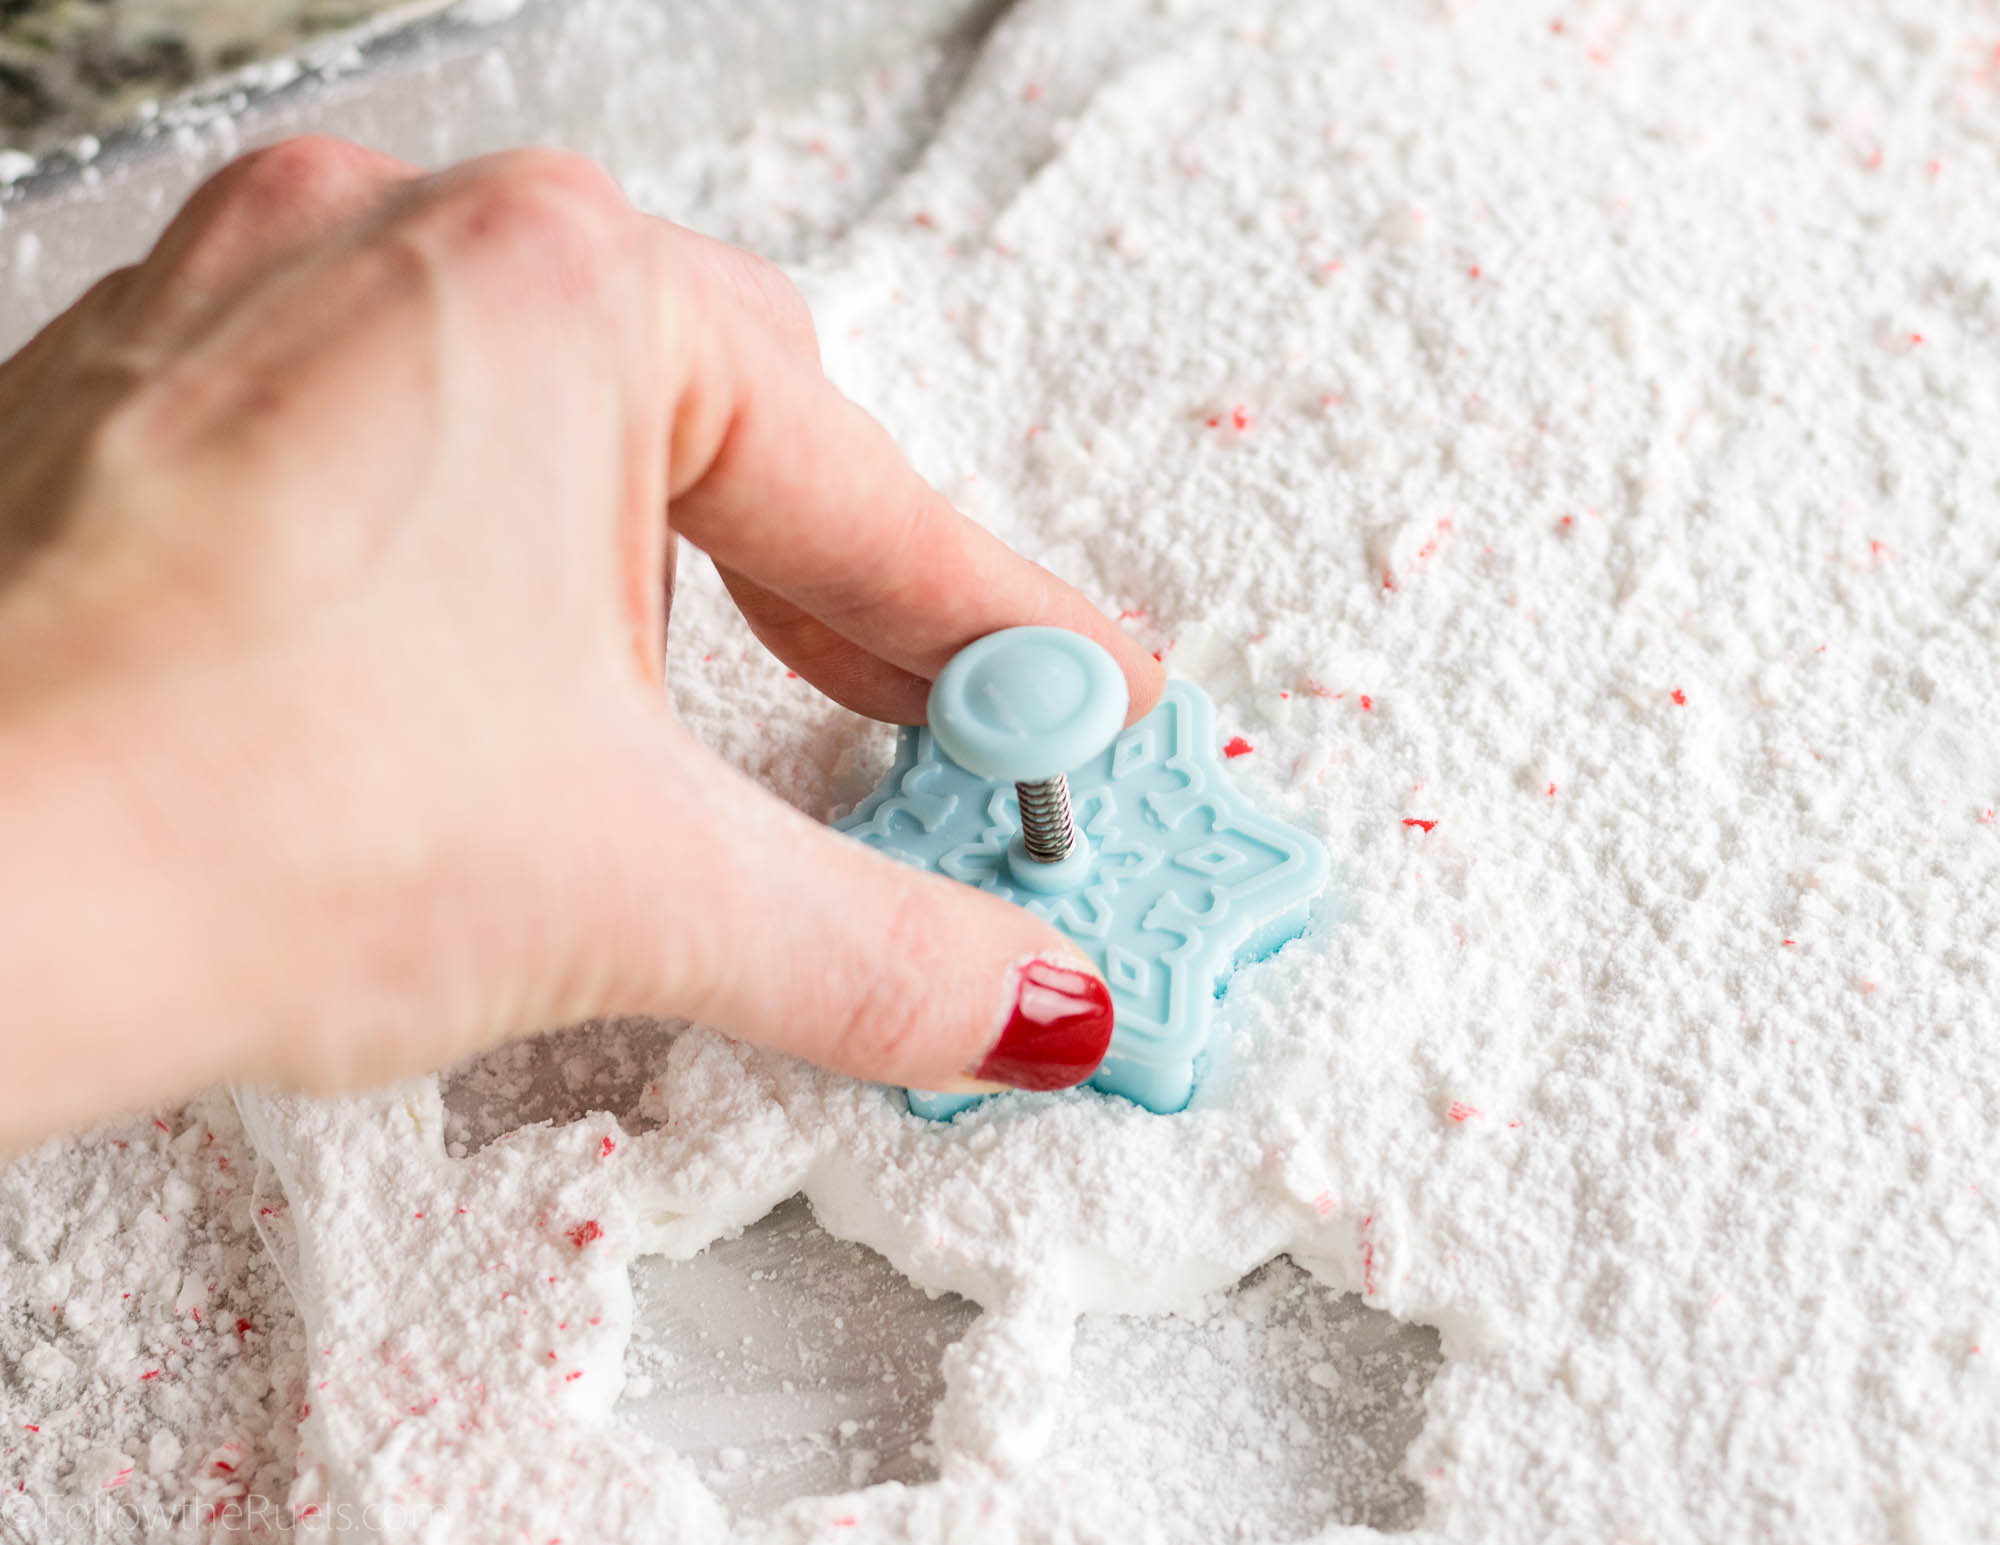
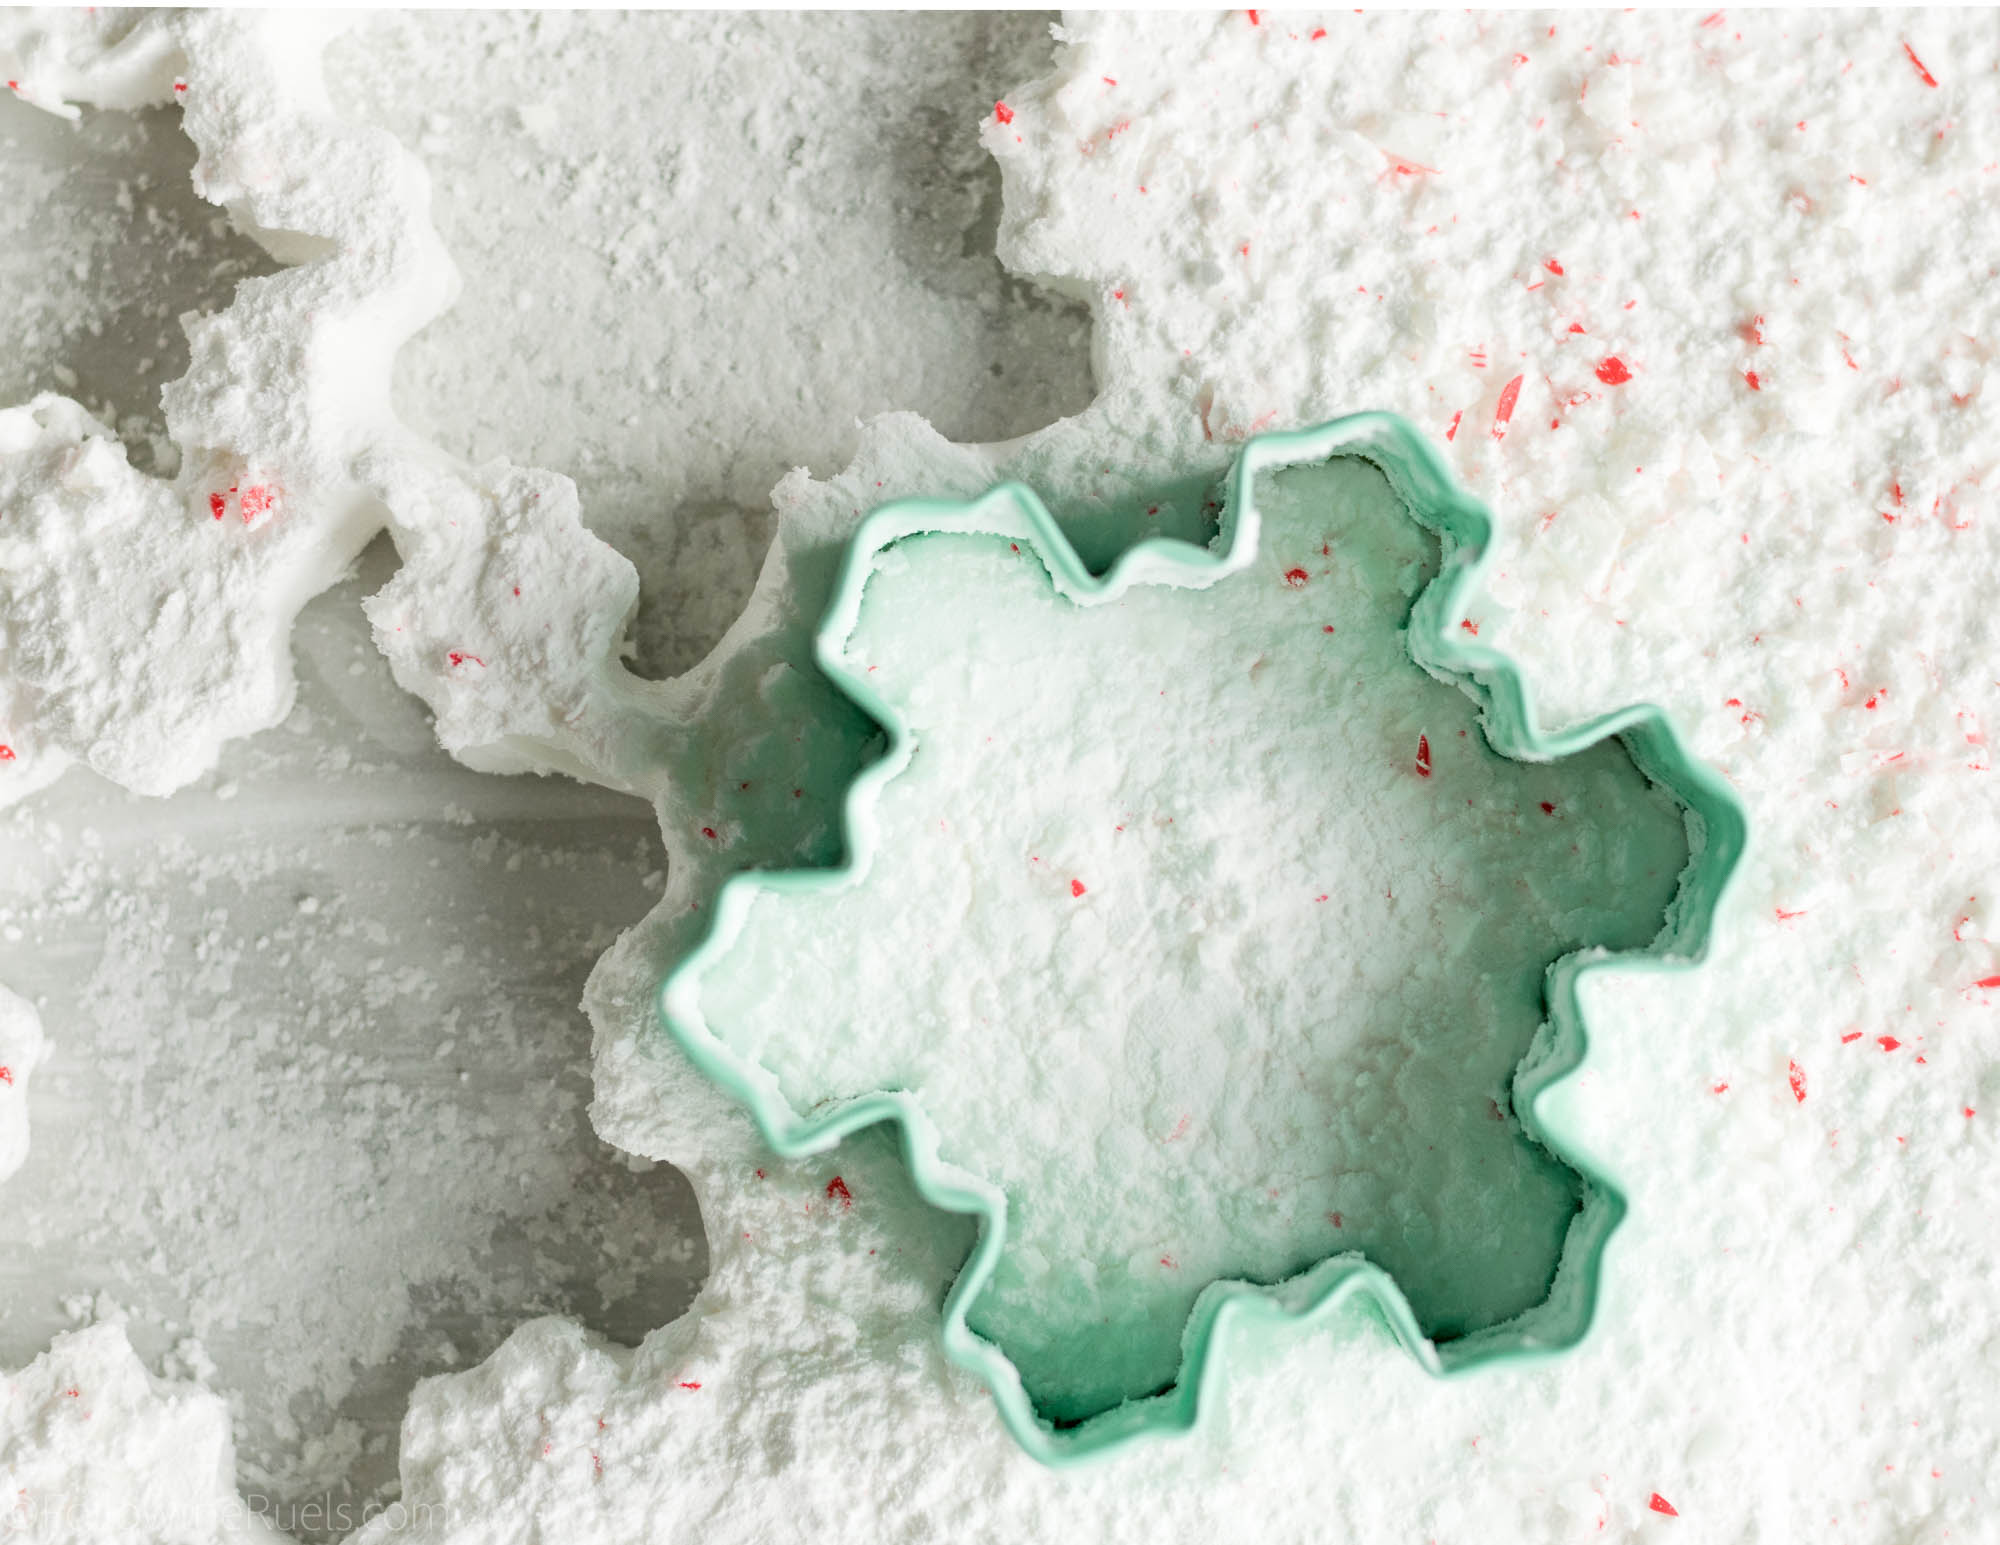
I cut out my marshmallows using various snowflake cookie cutters to make them extra festive, but I did spray them down with some baking spray beforehand so that they wouldn’t stick as much. 

You can cut them out in any shape you like. Candy canes would be fun! Or even just big squares or circles. Eventually, they are all just going to end up in a nice hot cup of hot cocoa!

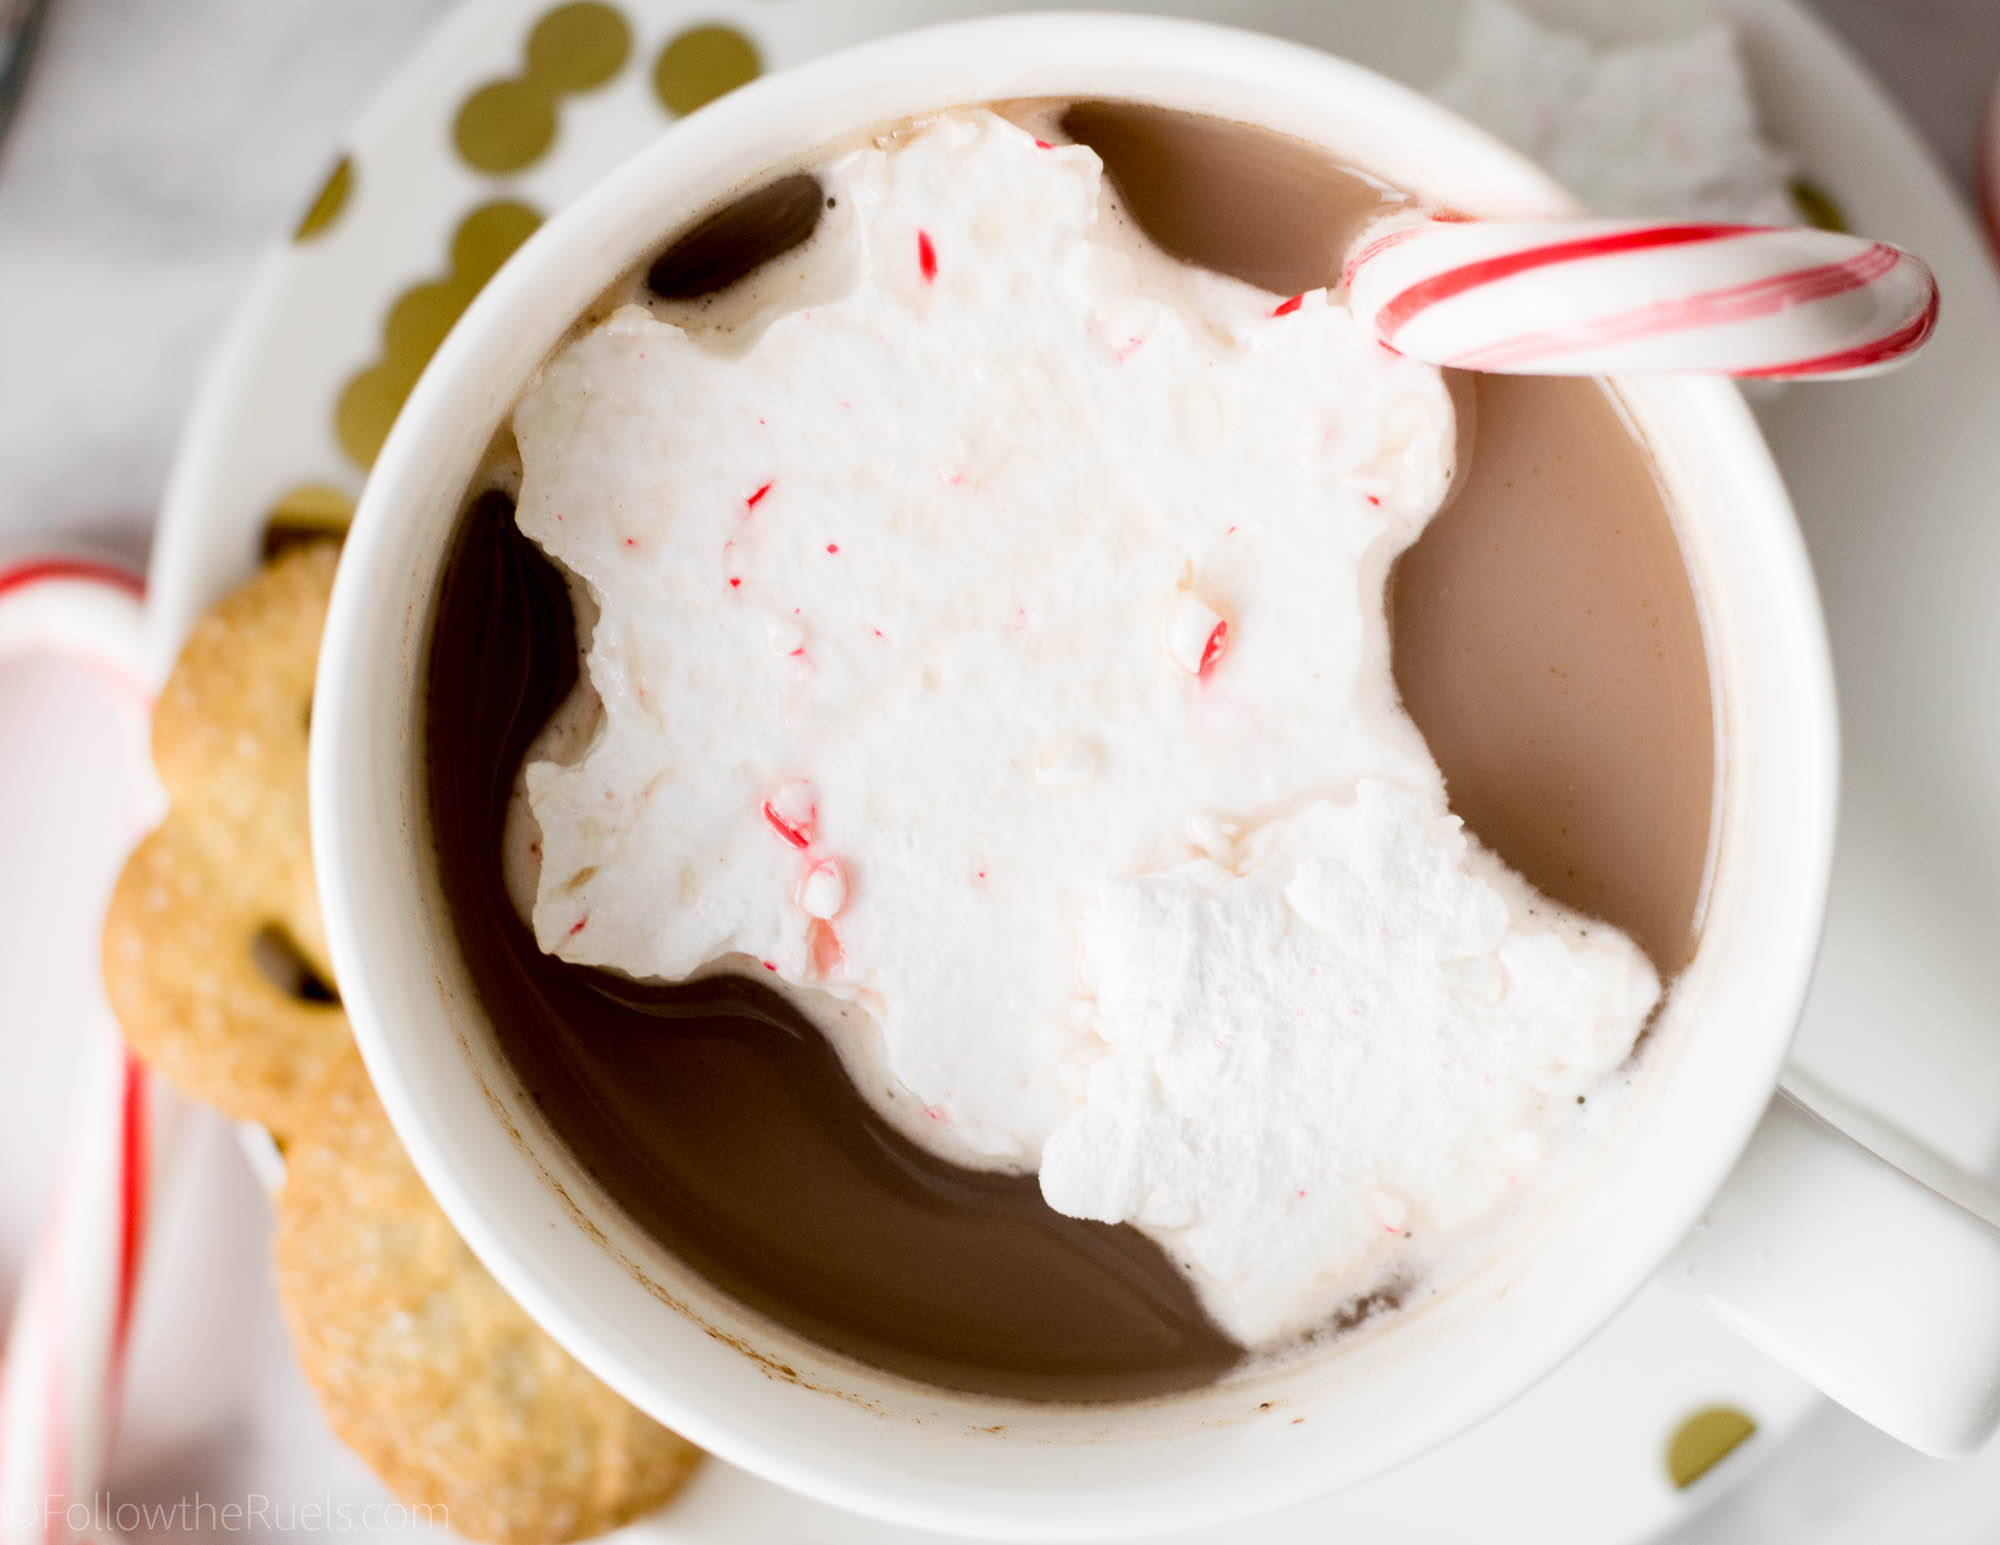
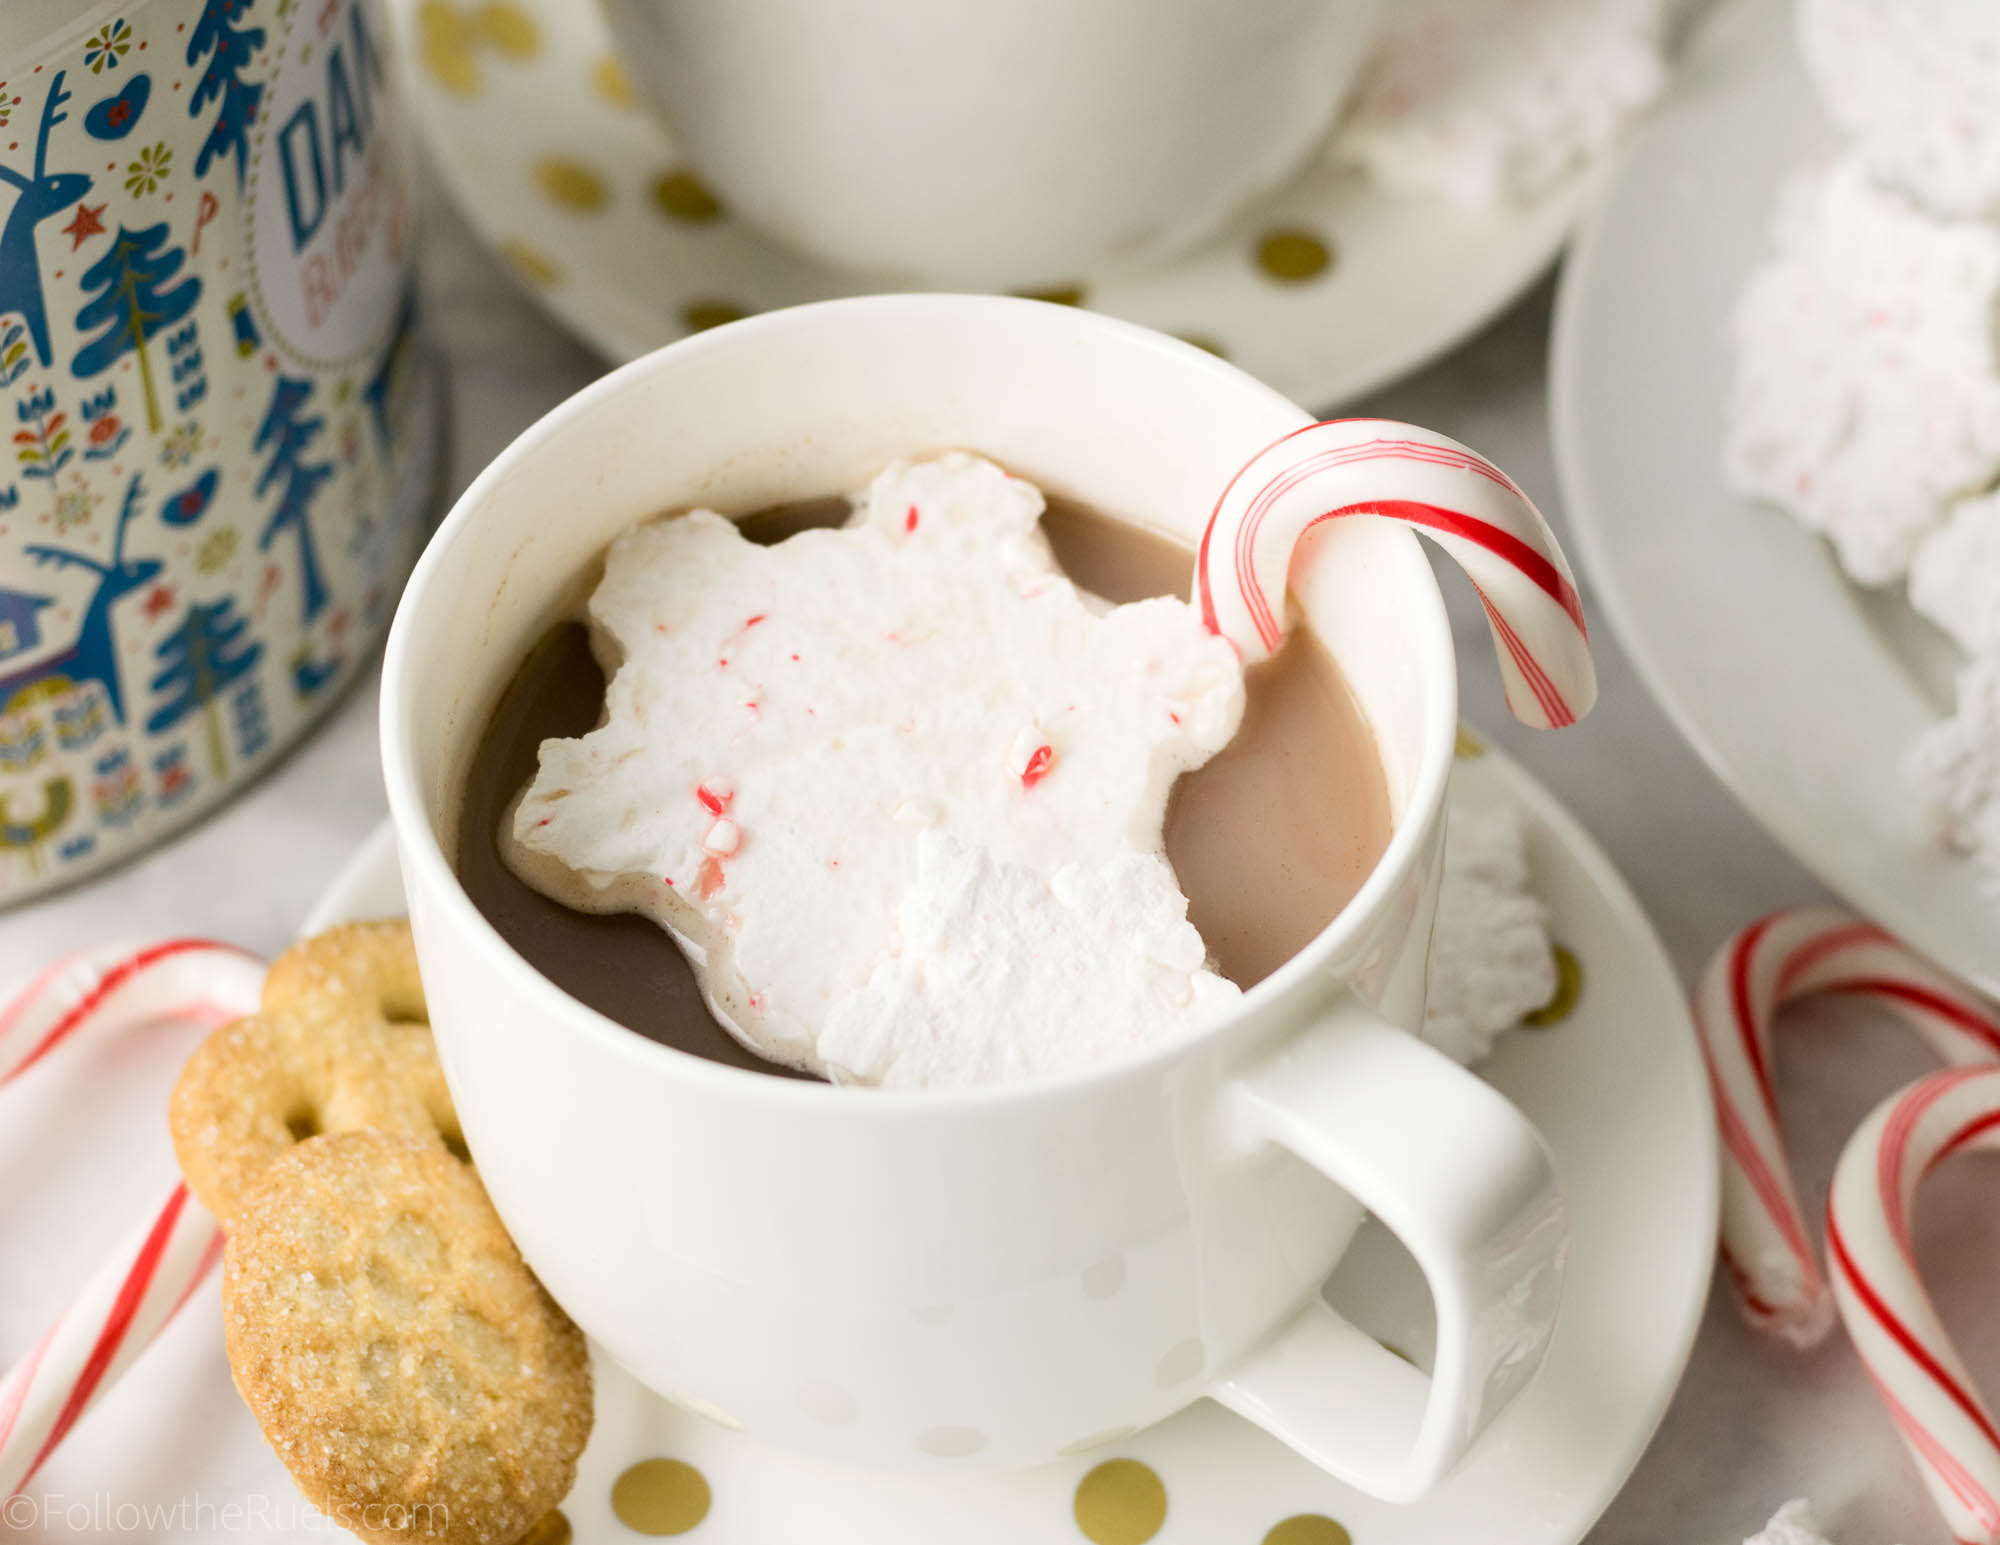
Which is exactly where my peppermint marshmallows ended up. 

I love that these marshmallows not only taste amazing on their own but when you add them to the hot cocoa, they lightly flavor it so that it becomes peppermint hot cocoa. It’s delightful!

Don’t just make these peppermint marshmallows for yourself, though. These would make a great gift or stocking stuffer! Marshmallows last quite a while, so as long as you store them in a bag, people can enjoy them long after the holidays!

However, I have no room to judge you if you keep these all for yourself. I didn’t share these with anyone! They didn’t last long enough. 

[yumprint-recipe id=’149′]
/ Filed In: Desserts, Eat, Other Sweets New
Tagged: candy canes, Christmas, cocoa, holidays, homemade, marshmallows, Peppermint

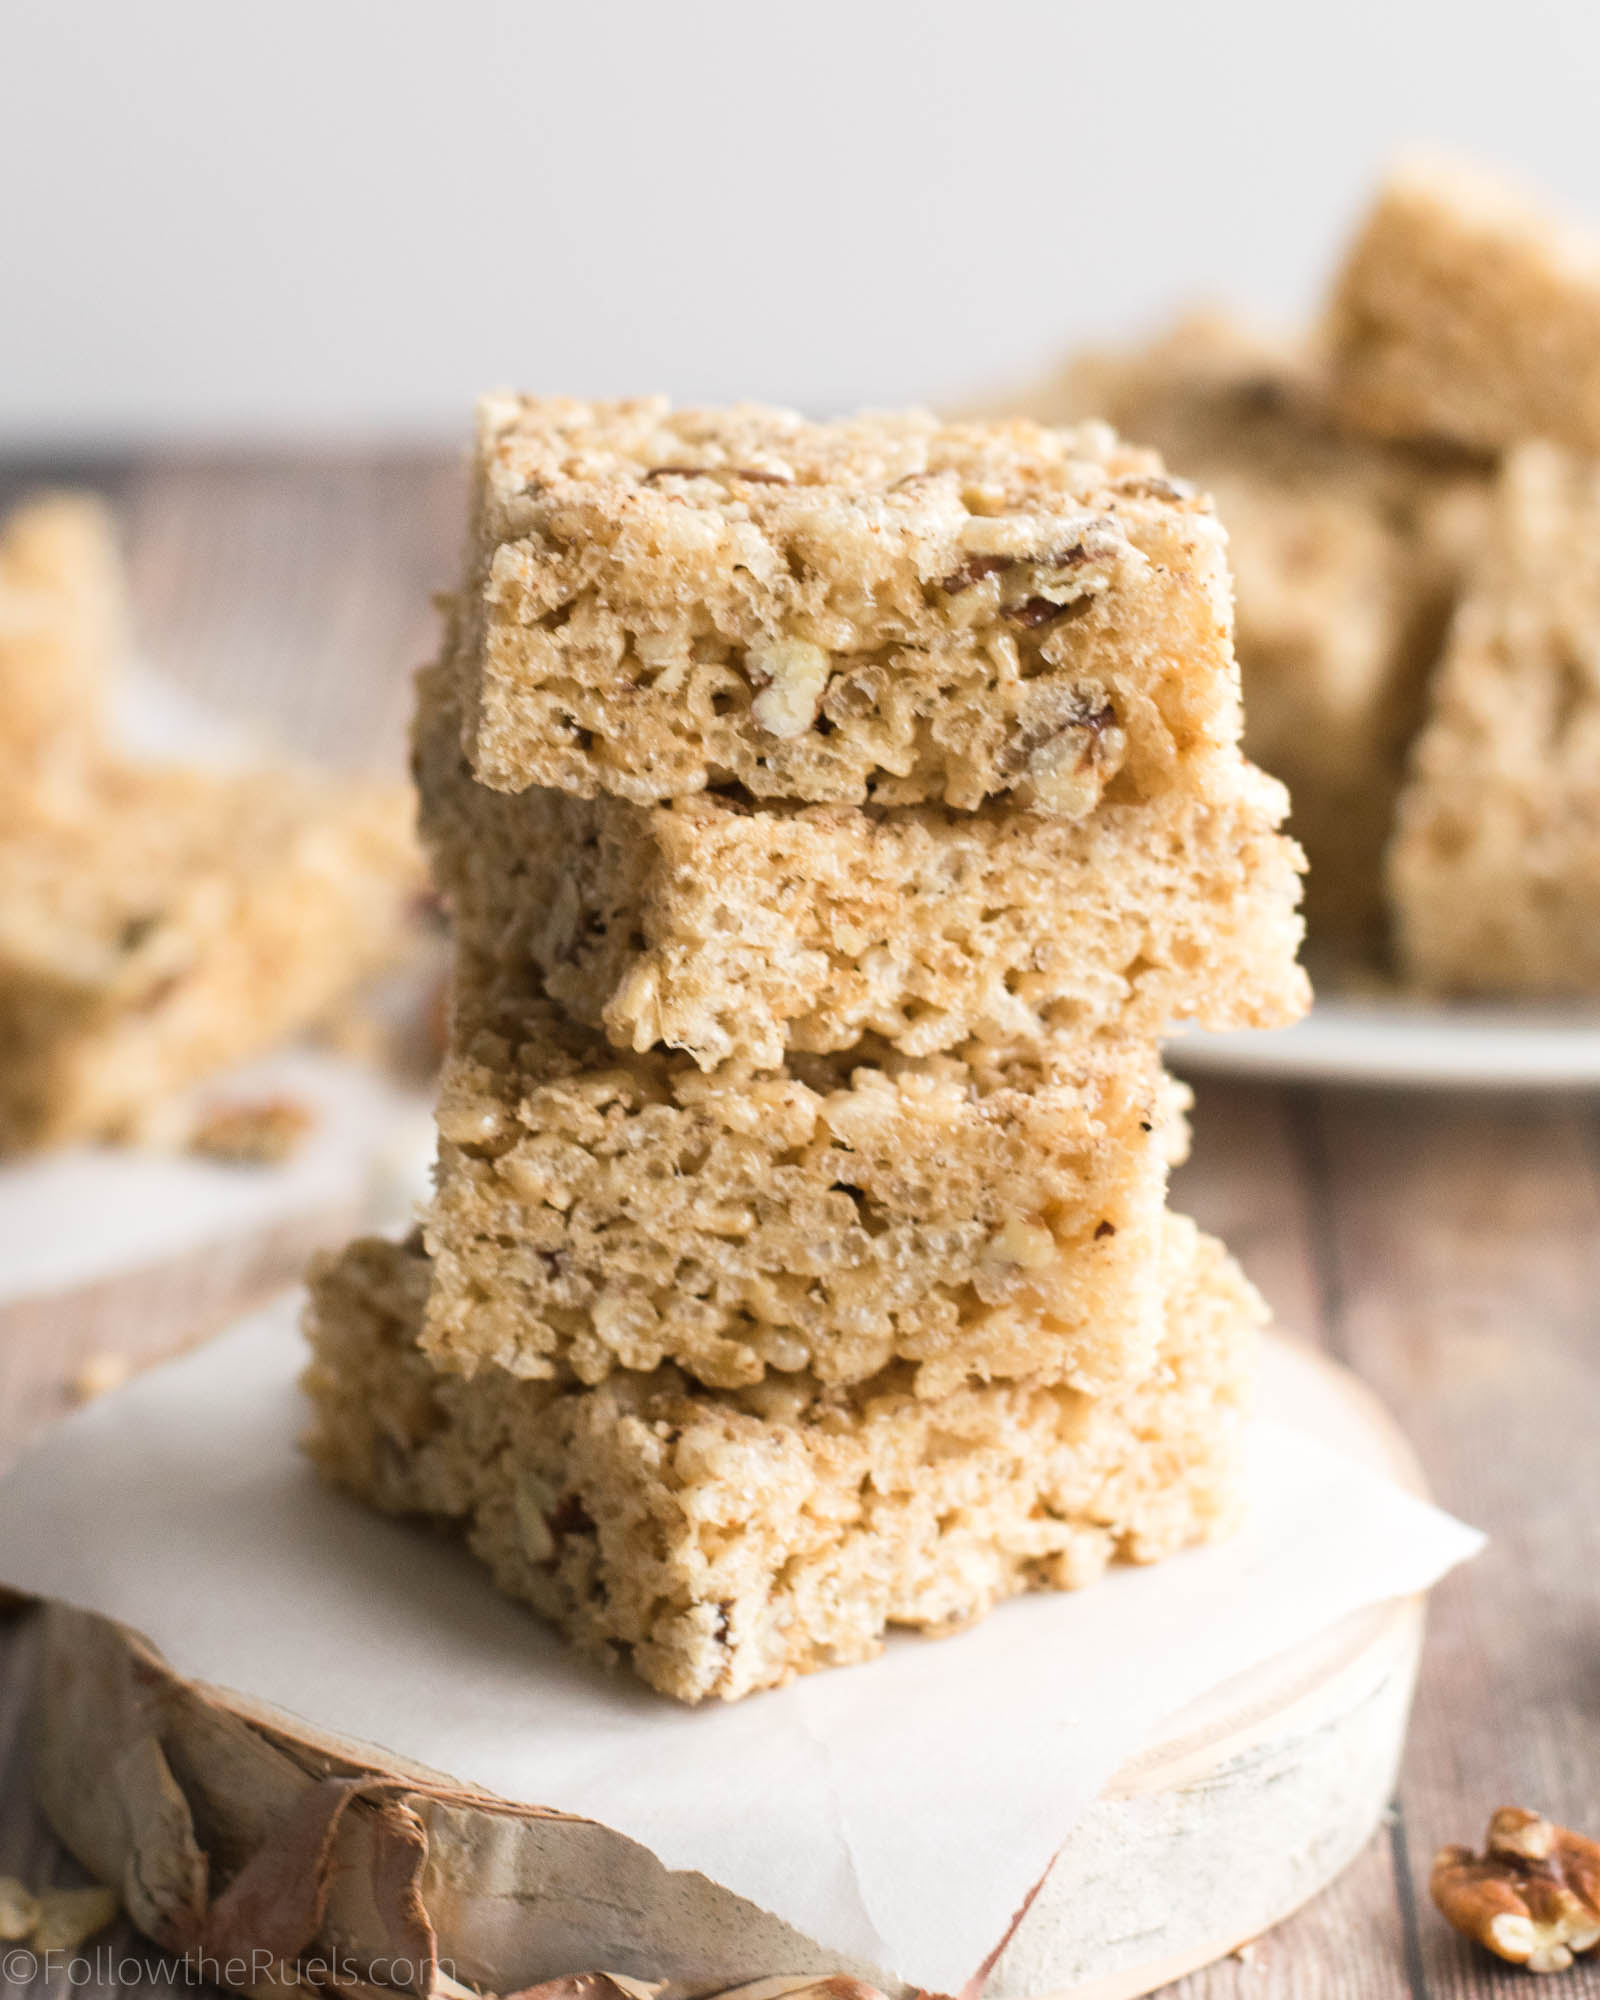
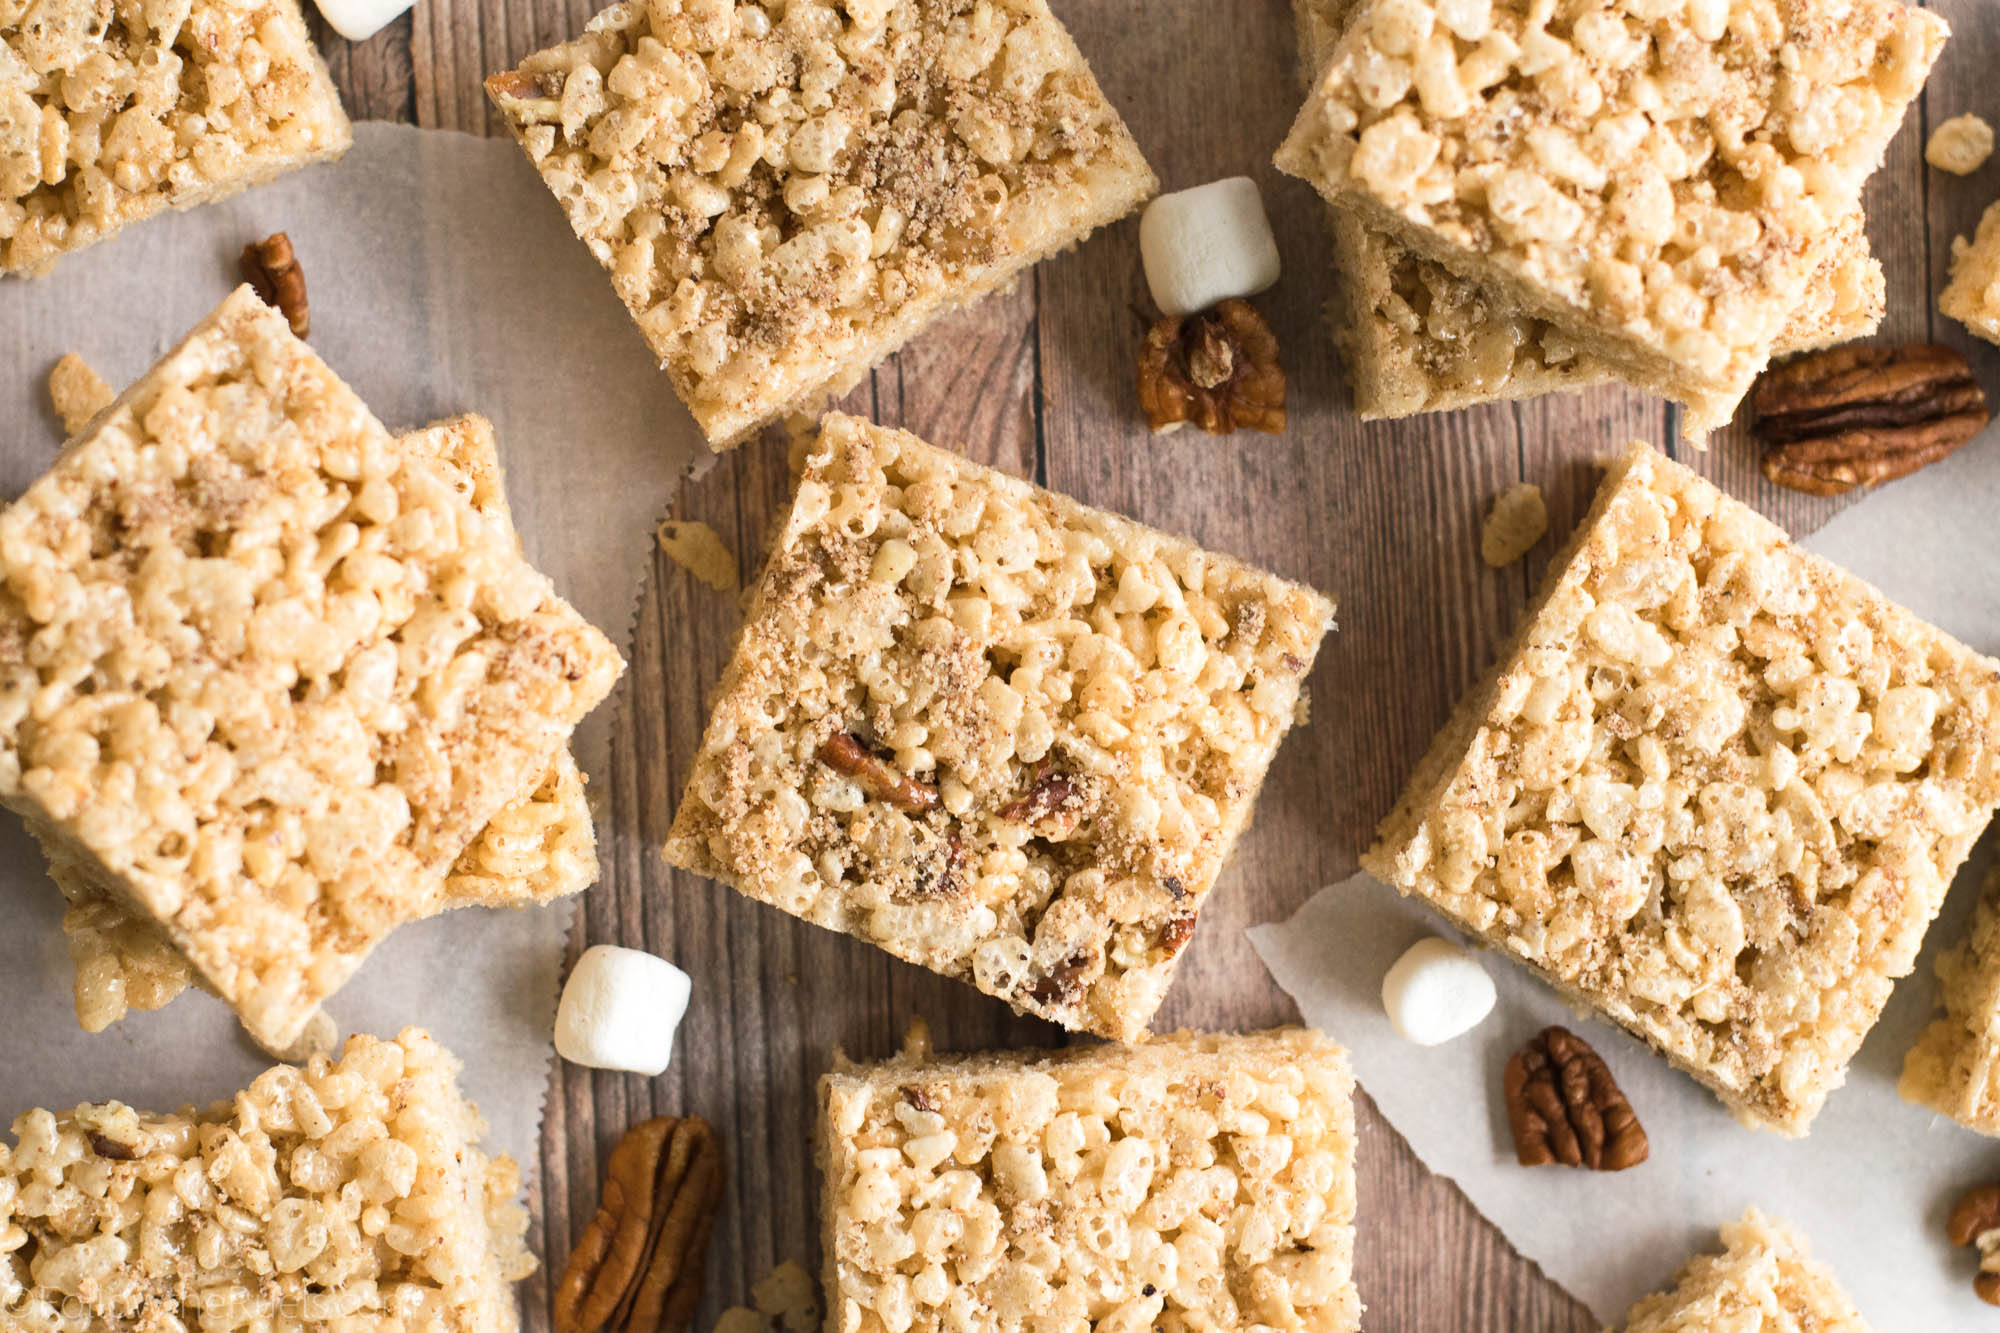
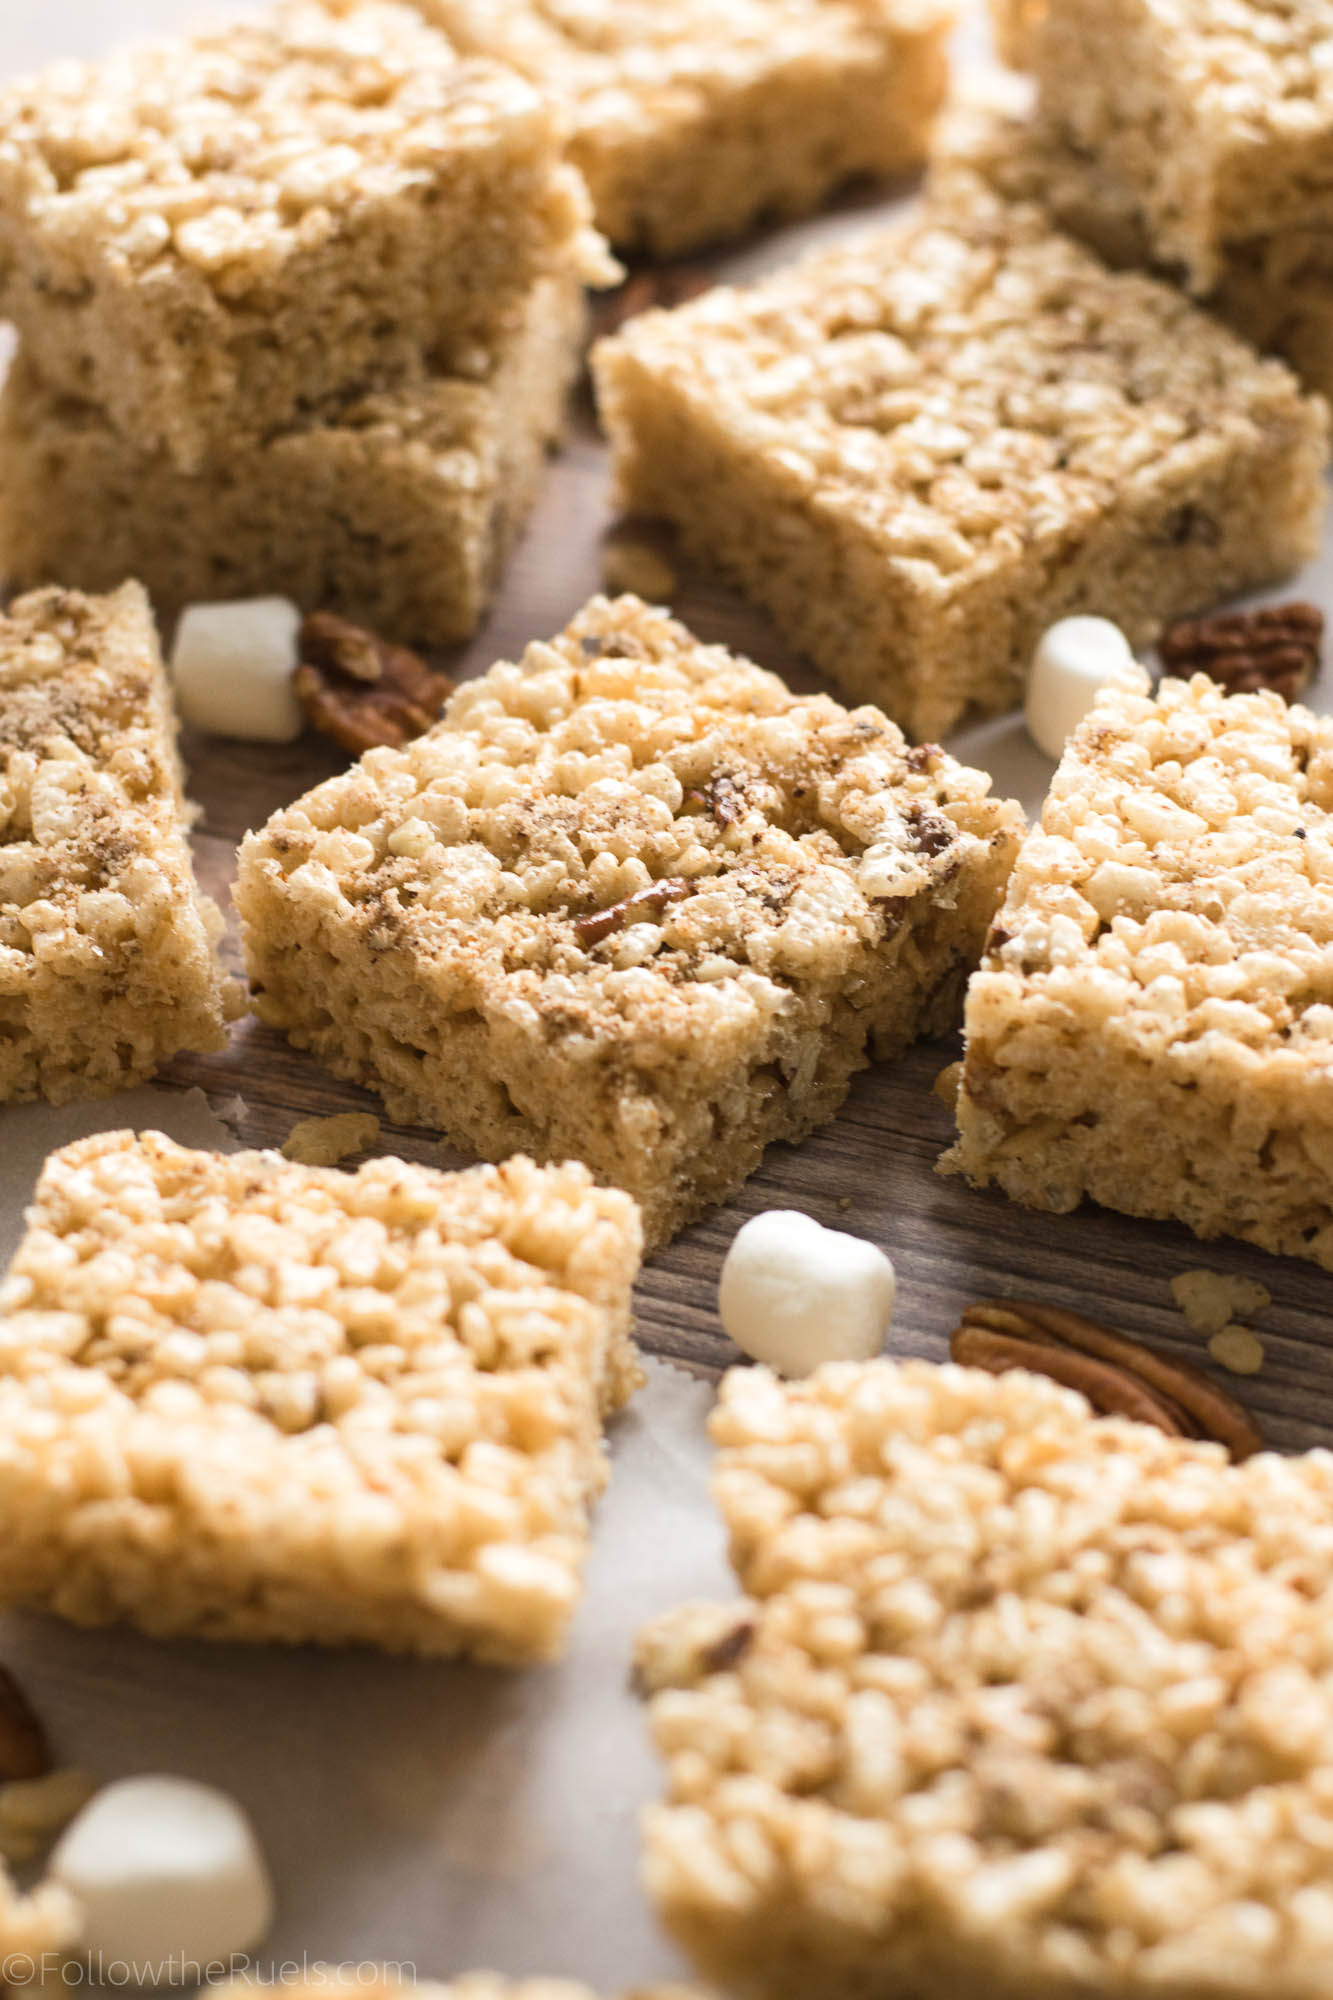
Maple Pecan Rice Krispie Treats

November 8, 2017

Who hasn’t had a Rice Krispie treat? At least here in the States, they were in just about every lunch box (remember those bright blue packages?) and at every bake sale. There is a good reason for that. They are heckin’ delicious! 

They are also incredibly addicting. Especially this maple-pecan version I made over the weekend. I told myself I could “try” just one to make sure they turned out well, and next thing I knew I had eaten 4. Even my husband, who is notoriously not a sweets person would grab one every time he walked through the kitchen. 

 Of course, classic Rice Krispie treats are good all by themselves. How can marshmallows and cereal be so good? (Sorry, dumb question. The answer, of course, is sugar.) But, man, these maple pecan Rice Krispie treats are sooooo much better! It’s not just because of the maple syrup and pecan pieces. But there are a few things I like to add or change from the classic recipe to really step up my RKT game. 


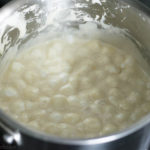
The first step in making extra delicious Rice Krispie treats?  Brown butter (you have heard me rave about brown butter here and here). Since the first step to making RKTs is melting butter, just take a few extra minutes to let it brown a bit. Browning butter is basically the same thing as forgetting you left butter on the stove. Except don’t totally forget about it. At a certain point, it will just become burned butter. And that probably doesn’t taste very good in RKTs.


The next tweak to the classic recipe is to add a flavoring. If I were making basic RKTs, I would add vanilla. Since I made a maple-pecan flavor, I added maple syrup. Adding vanilla or any other flavoring just classes it up a bit. These treats will taste more like they came from a bakery than made from a recipe off of the side of the box. 


The last little change is to add a dash of salt to the melted marshmallows. Unless you are using salted butter, then do not add salt! The salt helps balance out the sweetness, and trust me, there is a lot of sweetness. 

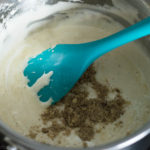
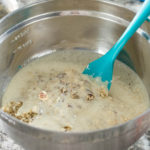
For my maple-pecan variety, I also added some pecans. To get that nutty flavor throughout the treats, I processed some of the pecans extra fine then poured them into the melted marshmallows. I also left some bigger chunks of pecans and folded them in with the cereal. 


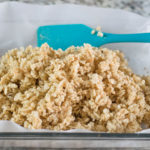
At this point in the process, just about all RKT recipes are the same. Dump the coated cereal into a pan and press it down to fill up the dish. 

Because these treats can be extra sticky, I prefer to line my casserole dish with some parchment paper. I know parchment can be a bit of a pain to work with since it never wants to stay in place in a dish that shape, but it will make clean up so much easier! 

Like all RKTs, the maple pecan Rice Krispie Treats don’t take very long to set. I recommend letting them sit for about 30 minutes before trying to cut them into pieces. If you know you aren’t going to be eating them right away, cover them with plastic wrap so that they don’t dry out too much.

As I mentioned above, these are addictingly good! And they would make an excellent addition to your Thanksgiving dessert line up. Give that pumpkin pie a run for it’s money!

[yumprint-recipe id=’142′]
/ Filed In: Bars and Brownies, Desserts, Eat, Other Sweets New
Tagged: brown butter, maple, marshmallows, no-bake, pecan, Rice Krispie treats

Peanut Butter and Jelly S’mores

August 18, 2017

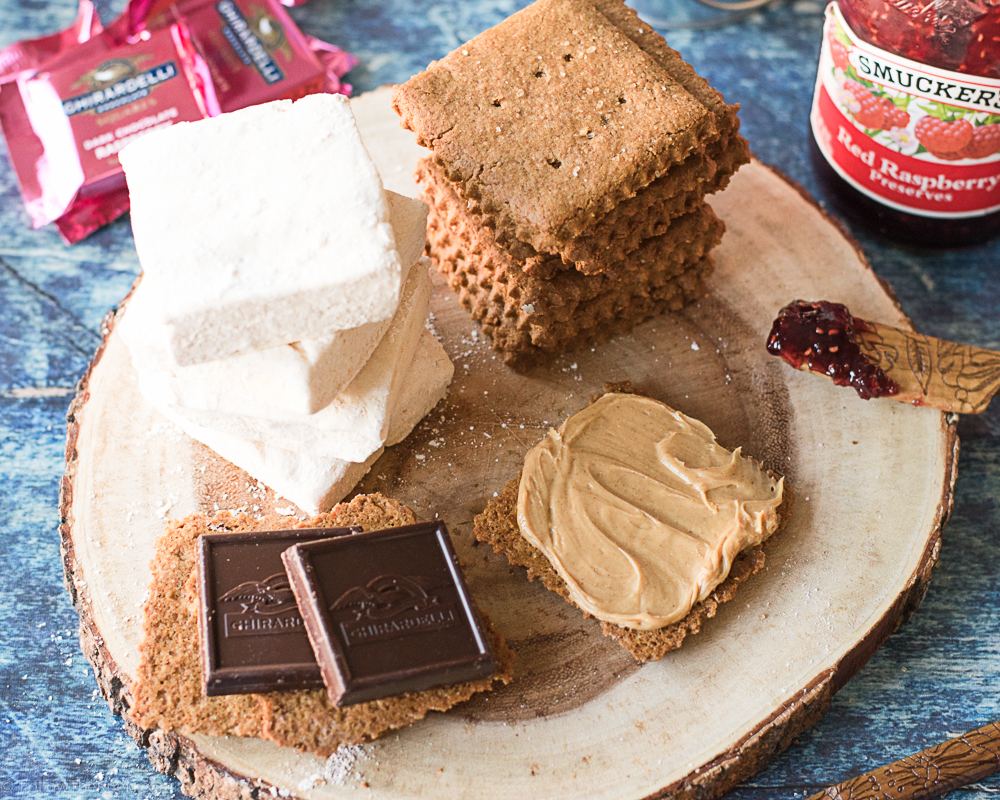
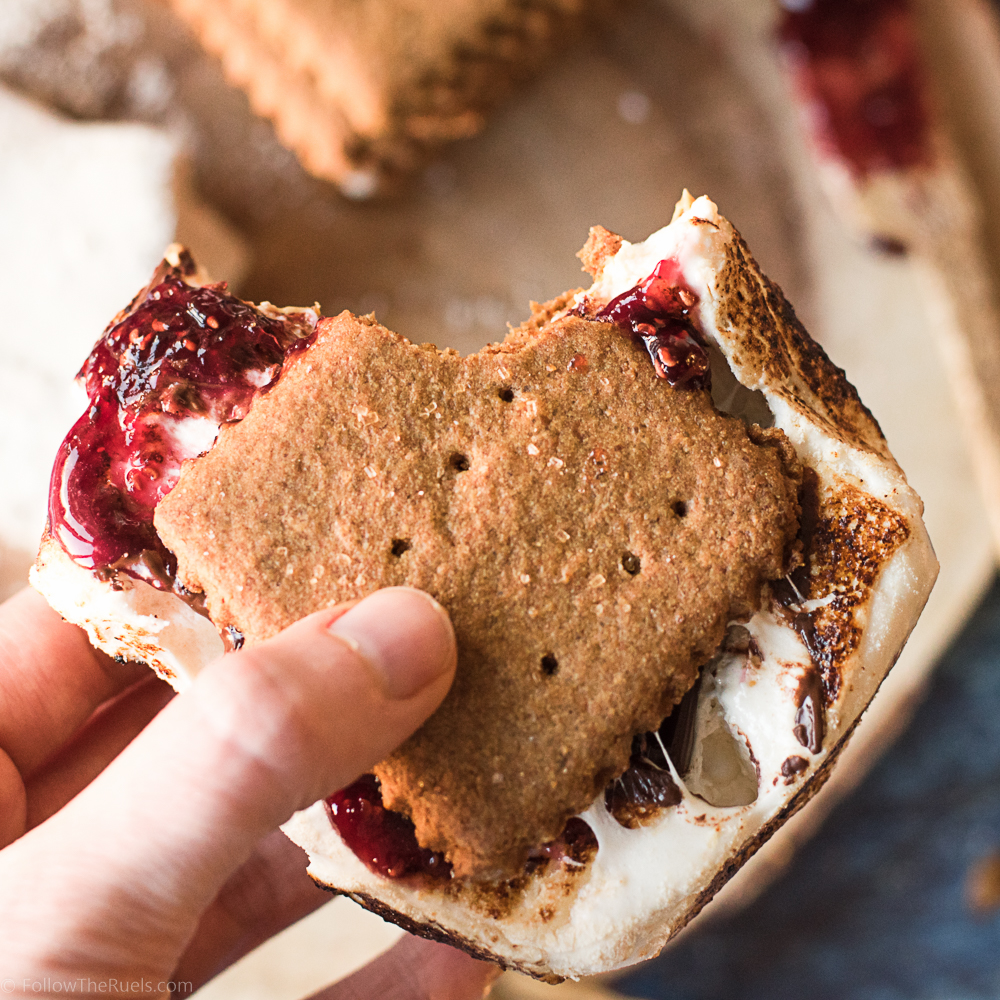
You all know I love peanut butter and jelly. So I wouldn’t be fooling anyone if I told you I just happened to come up with the pb&j s’mores on a whim. You guys know better. I knew exactly what I was going to do with my homemade graham crackers and marshmallows before I made them. 

It’s really the only reason I made peanut butter marshmallows. 

Actually, what inspired these s’mores were these raspberry filled Ghirardelli chocolate squares. They have a little Instagram contest going on to see who can use their chocolate squares in a s’more in the best/most unique way. I have seen a lot of other bloggers use their caramel filled squares, so I wanted to do something different. I spotted the raspberry squares at the store and I knew exactly what would go perfectly with them! Peanut butter!

But to be clear, this is in no way sponsored by Ghirardelli. This is just me throwing my s’mores into the proverbial hat (a.k.a the Instagram contest). 

Also to be clear, you absolutely do not have to use these Ghirardelli raspberry chocolate squares to have a kick-a pb&j s’mores.

You also do not need homemade graham crackers or peanut butter marshmallows. But they do help!

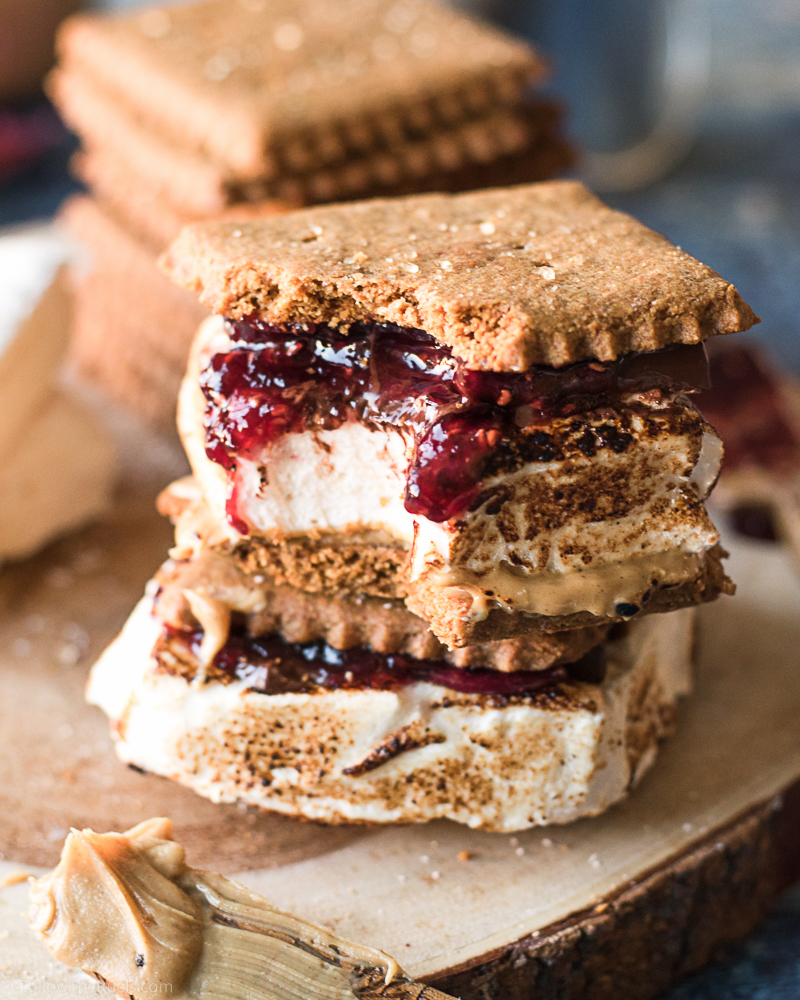
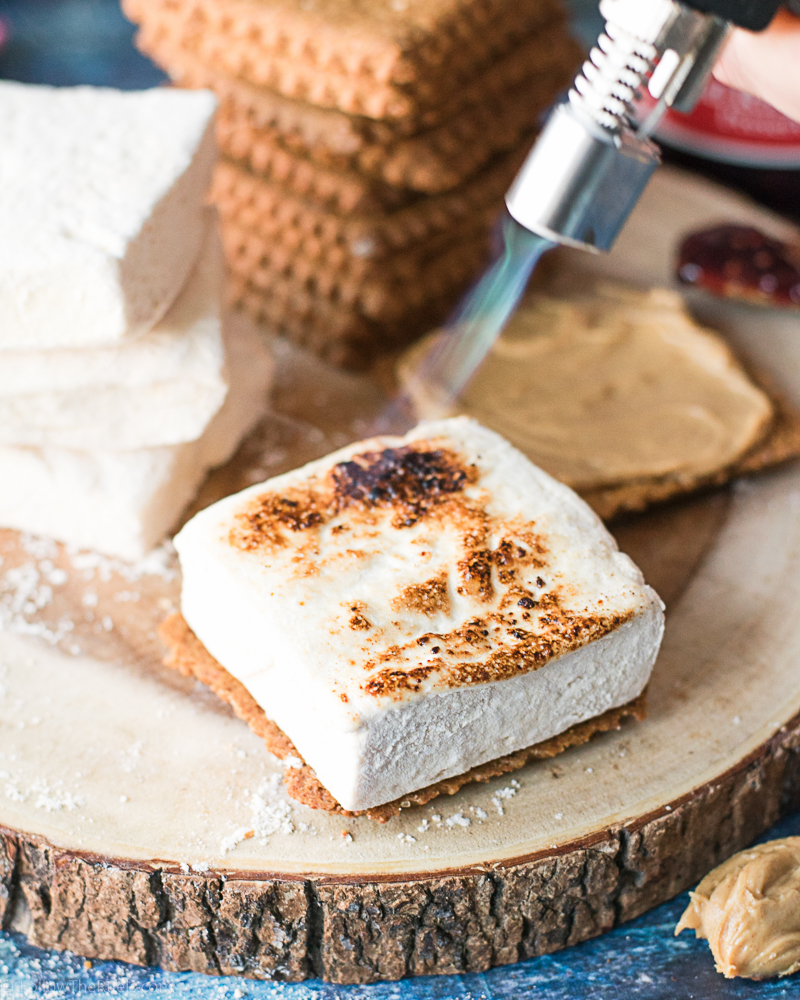
Start by slathering on a generous layer of peanut butter onto one graham cracker. Then roast up your marshmallow (preferably your homemade marshmallow) the best way you know how. If you have an open fire available, have at it! I, personally, like to use my handy dandy kitchen torch. 

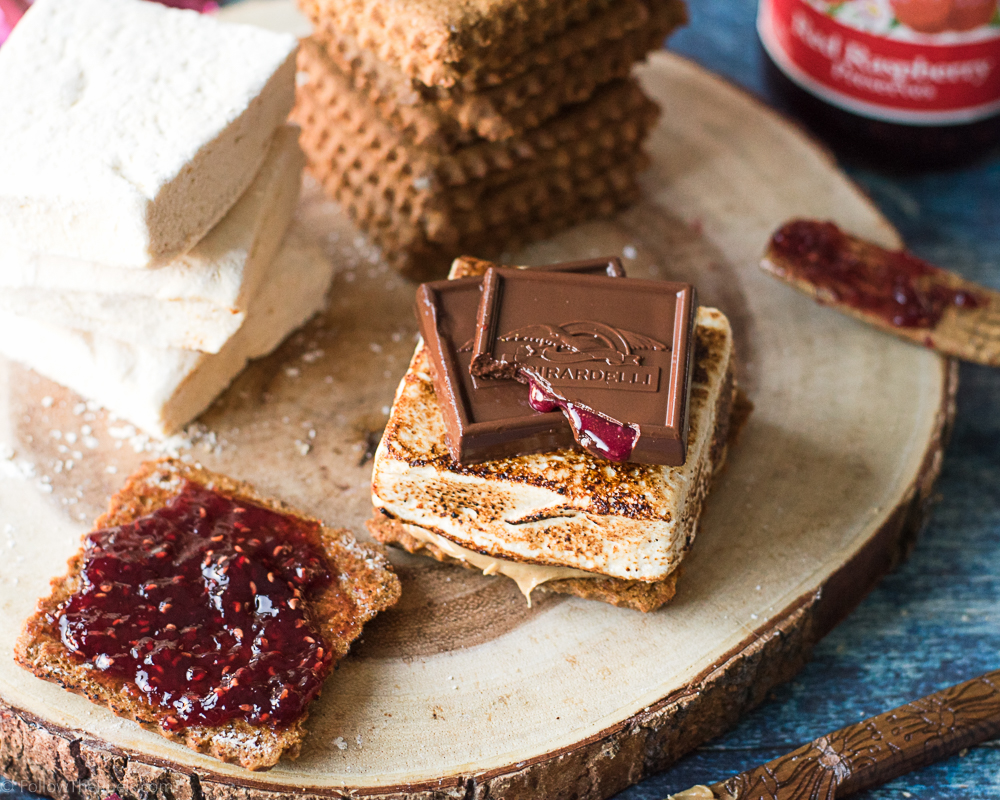
Once the marshmallow is toasty on all sides, place it on top of your peanut butter.

Top the marshmallow with your chocolate, then spread some raspberry jam (or jam of choice) on your other graham cracker. 

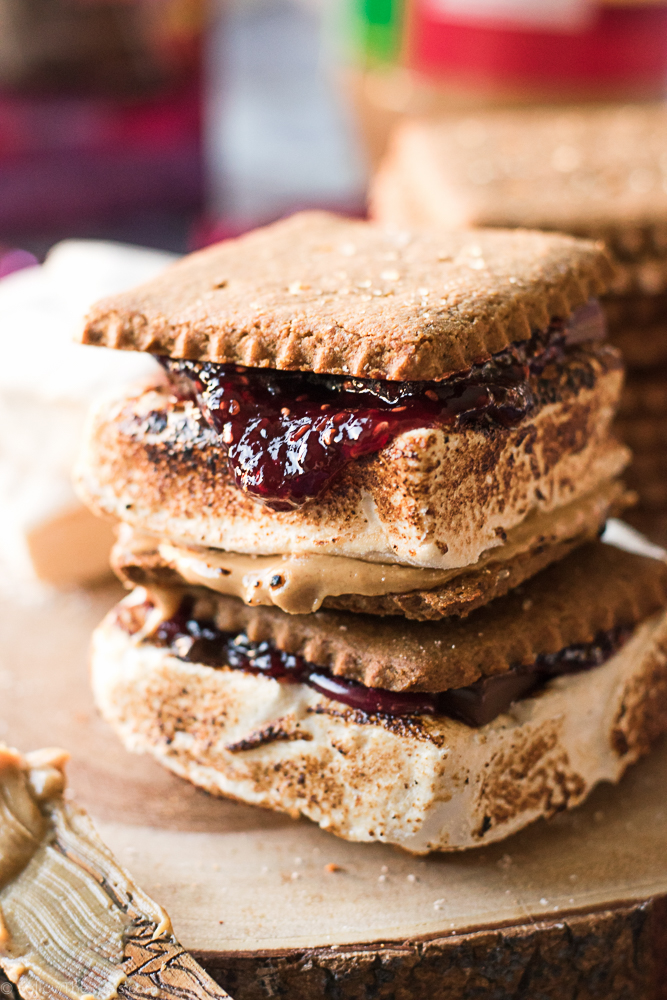
It’s like the best thing ever. How could it not be? Combining two childhood favorites the s’mores and the pb&j. 

I made the mistake of making these before dinner so I could take pictures. Then I promptly ate both of them (or most of both of them) completely ruining my dinner. 

Worth. It.

[yumprint-recipe id=’126′] 


/ Filed In: Cookies, Cookies New, Desserts, Eat
Tagged: Ghirardelli, graham crackers, marshmallows, pb&j, peanut butter, s'mores

Homemade Marshmallows (Four Ways!)

August 16, 2017

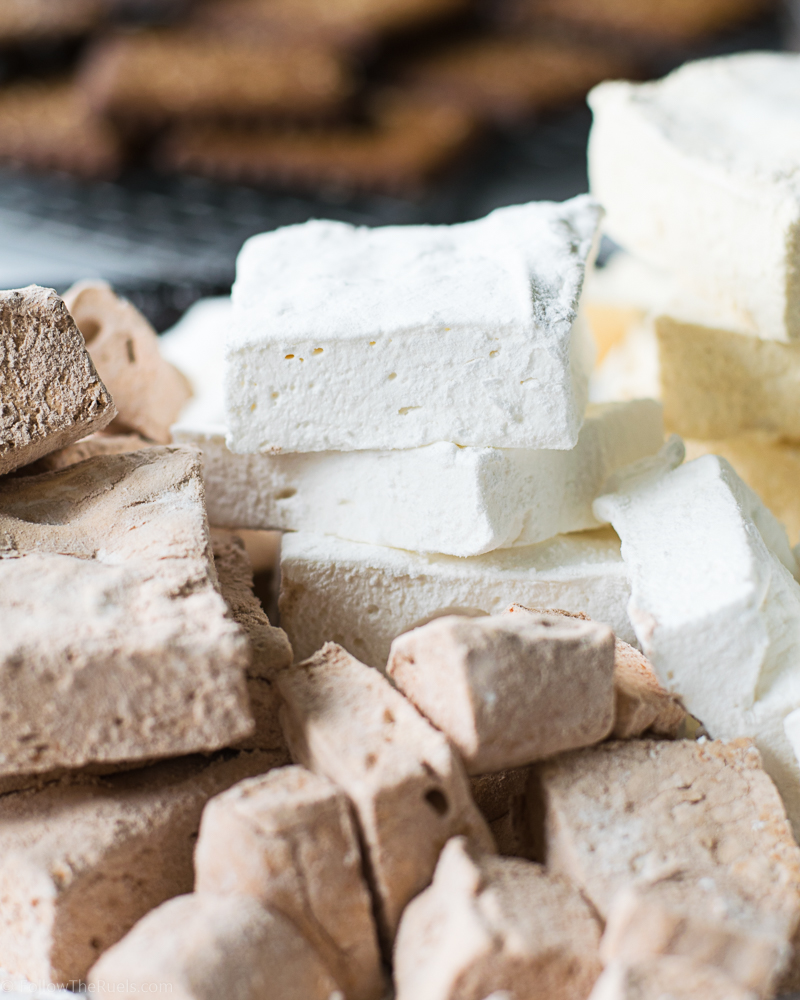
Making marshmallows is a bit like a conducting science experiment. At least that’s what my husband said when we made a batch together over the weekend. He was a bit astonished that we took powdered gelatin, mixed it with some water to make a very thick gel. Then mixed that at high speed with some hot liquefied sugar and somehow we created marshmallows. Something that doesn’t resemble either of the two main ingredients at all. 

It is kind of astonishing, isn’t it?

While it may seem more like a science experiment than baking, making marshmallows at home is a ton of fun! It would be a really fun thing to make with kids (with adult supervision of course because it does involve boiling sugar). Just be prepared for the stickiness. I still have marshmallow finger prints in random places around my kitchen. 

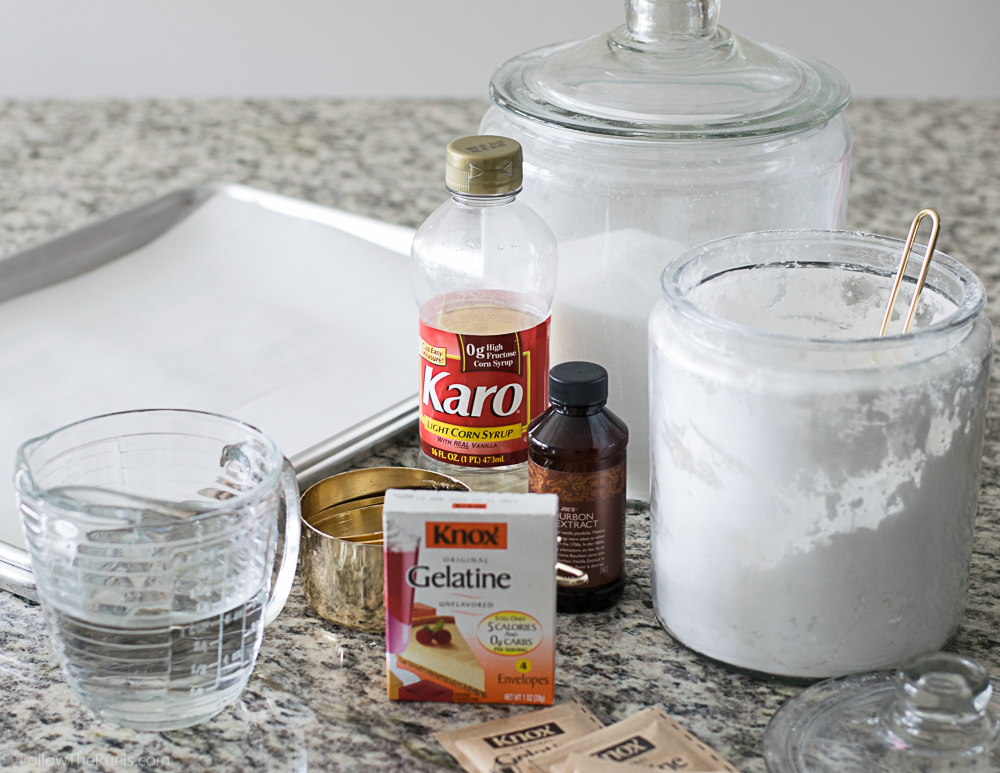
Marshmallows require only a few simple ingredients: gelatin (plain), corn syrup, and sugar. That’s it. Of course, you can add in flavorings like vanilla….or….

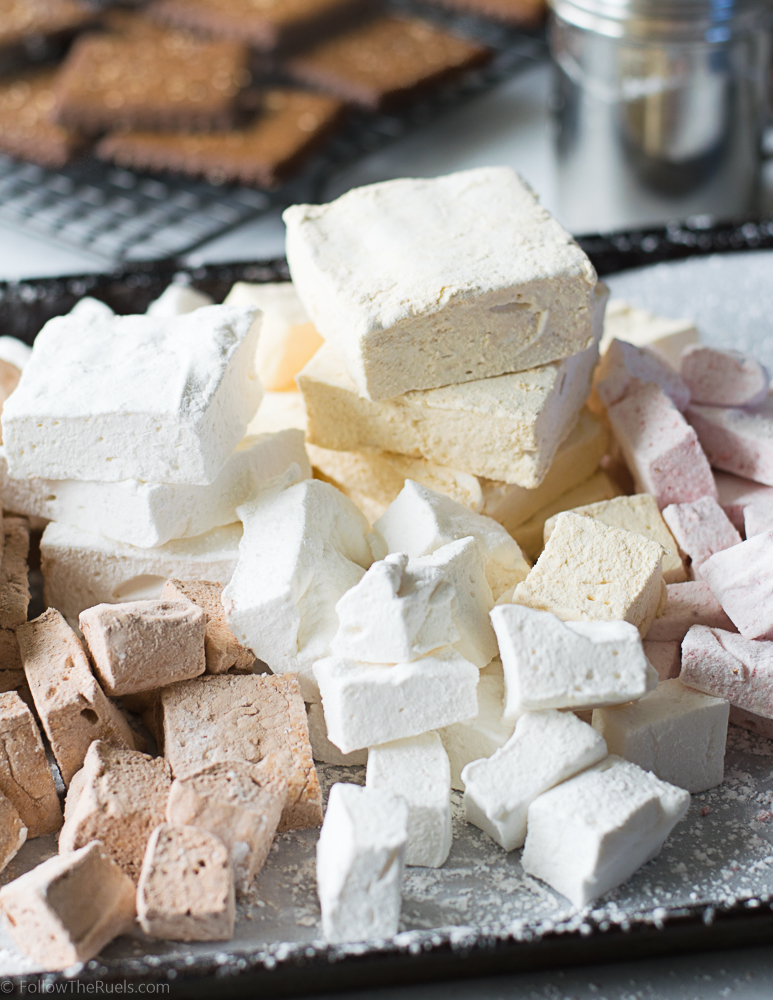
You can really step things up and make peanut butter, chocolate, and strawberry marshmallows like I did.

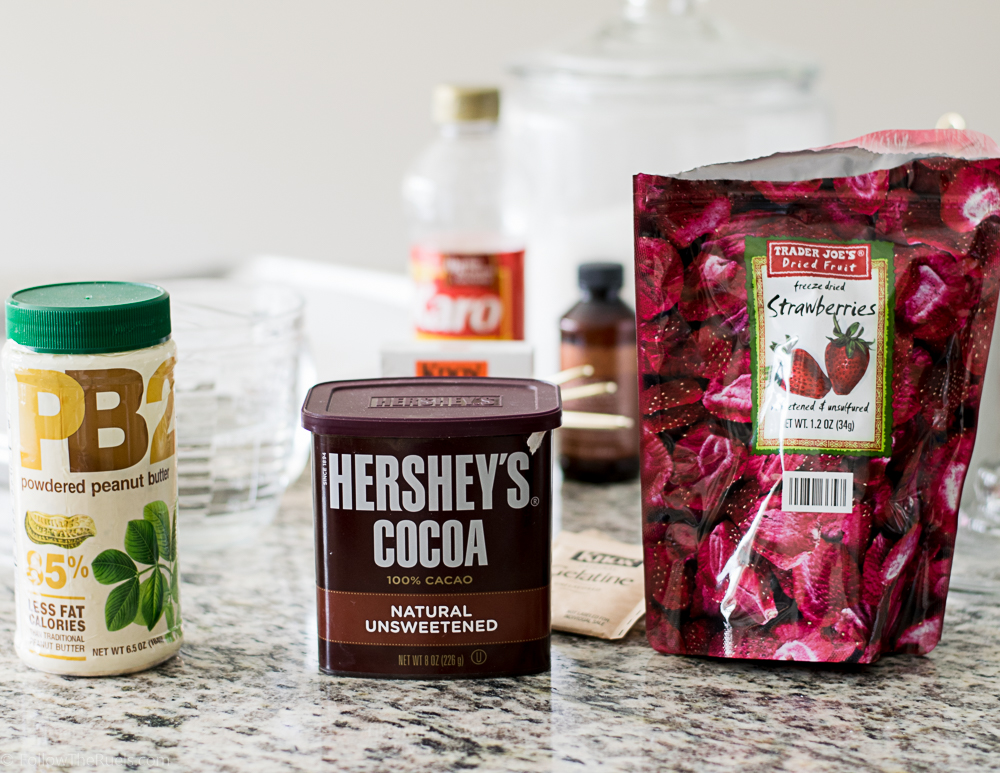
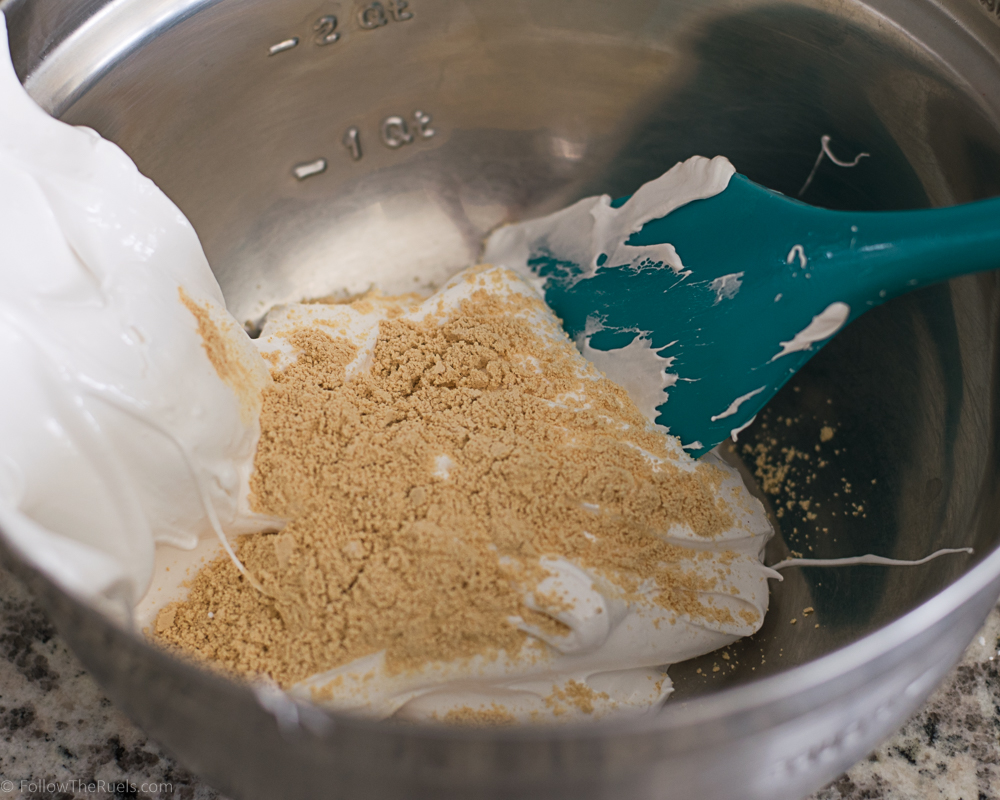
I knew that I wanted to make some different flavored marshmallows, not just plain old vanilla ones, and fortunately, I didn’t have to look far for my inspiration. I used peanut butter powder and cocoa powder to flavor the marshmallow mix peanut butter and chocolate flavored. Then I used freeze dried strawberries, that I ground up into a powder to mix it in the same way as the other powders. 

But I am getting a little ahead of myself…

Start by blooming your gelatin with half of the water in a bowl or measuring cup. I recommend doing this in a separate bowl or cup (unlike what I did in my first batch), because some of the gelatin may stick to the bottom of the bowl and will never get fully incorporated into the rest of the marshmallow. 

Meanwhile, what the gelatin is blooming away, bring the sugar, corn syrup, and water to a boil. A candy thermometer will come in really handy right about now because you want your mixture to come to 240 degrees.

With your mixer on low speed, drizzle the sugar mixture into the bowl with the gelatin. After everything is poured in, turn the speed up to high and get the party started!

After about ten to fifteen minutes the mixture should look a lot like a stiff meringue, except a lot stickier! The mixture should be thick, but still very light and airy. 

If you are flavoring your marshmallows with anything, now is the time to add that in. I added a couple tablespoons of peanut butter powder and mixed it into my marshmallow mix. I did the same with the cocoa powder and strawberry powder. 

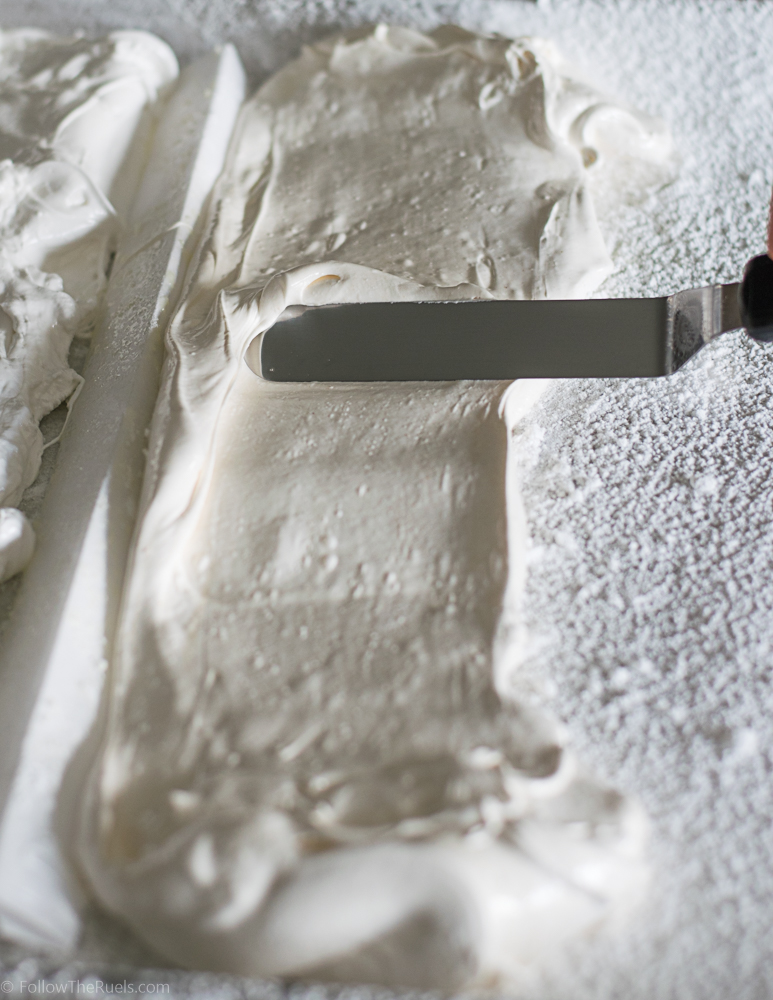
Forming the marshmallows may be the trickiest part of this whole process because the marshmallow is just so stubborn. It does not want to go where you want it to go, and it sticks to everything. I found that using a couple of well-oiled hands or an offset spatula works the best for spreading it out on to the pan.

Note that my pan is heavily dusted with powdered sugar. There is actually a layer of parchment under there, too, to make sure that nothing sticks!

Also, since I made several flavors, I sectioned off my pan with a piece of parchment so that the flavors wouldn’t stick together. If you plan on doing the same, I would recommend only try two flavors per batch.


Let the marshmallows sit overnight so they can dry out. Then you can cut them to whatever size you wish! Since my marshmallows were going to be used for s’mores, I cut them to fit my graham cracker. 


After your marshmallows are cut up however you like them, give them a toss in a bit more powdered sugar. If you flavored your marshmallows with any of the powders I used, add a teaspoon or two to your powdered sugar before tossing in your marshmallows. For instance, I added a teaspoon of cocoa powder to about a half a cup of powdered sugar then tossed in my chocolate marshmallows to make them extra chocolatey! And ensure that they marshmallows don’t stick to one another. But mostly the former. 

And voila! Homemade marshmallows! Nothin beat them! They are so soft and spongey. Even after a few days, they are still so soft and just melt in your mouth (I am currently eating left over marshmallows as I type. I work best on massive amounts of sugar.)

Even the plain vanilla ones are just better. But let me tell you, those peanut butter marshmallows are perfection! I brought some leftovers to a coworker who loves to drink hot cocoa (even in the Summers). He confirmed my suspicion that hot cocoa is 100% better with peanut butter marshmallows. I bet it would also be good with chocolate or strawberry marshmallows! Also, can imagine a s’more made with white chocolate and the strawberry marshmallows? Oh man, delish!

Now it’s time to go make some s’mores!

[show_shopthepost_widget id=”2785528″]

[yumprint-recipe id=’125′]

/ Filed In: Desserts, Eat, Other Sweets New
Tagged: cocoa powder, marshmallows, peanut butter, s'mores, strawberries

Mexican Hot Chocolate Cookies

August 26, 2016

Mexican Hot Chocolate Cookies

So this is actually an old recipe that I had published way back in the day. However, if you were to go back and look for it, the pictures won’t load and the recipe isn’t correct. Not all the helpful is it? I finally decided to take one for the team and make a batch of these yummy Mexican Hot Chocolate cookies so that I could post an updated recipe. 

It’s a hard job, but someone has to do it. 

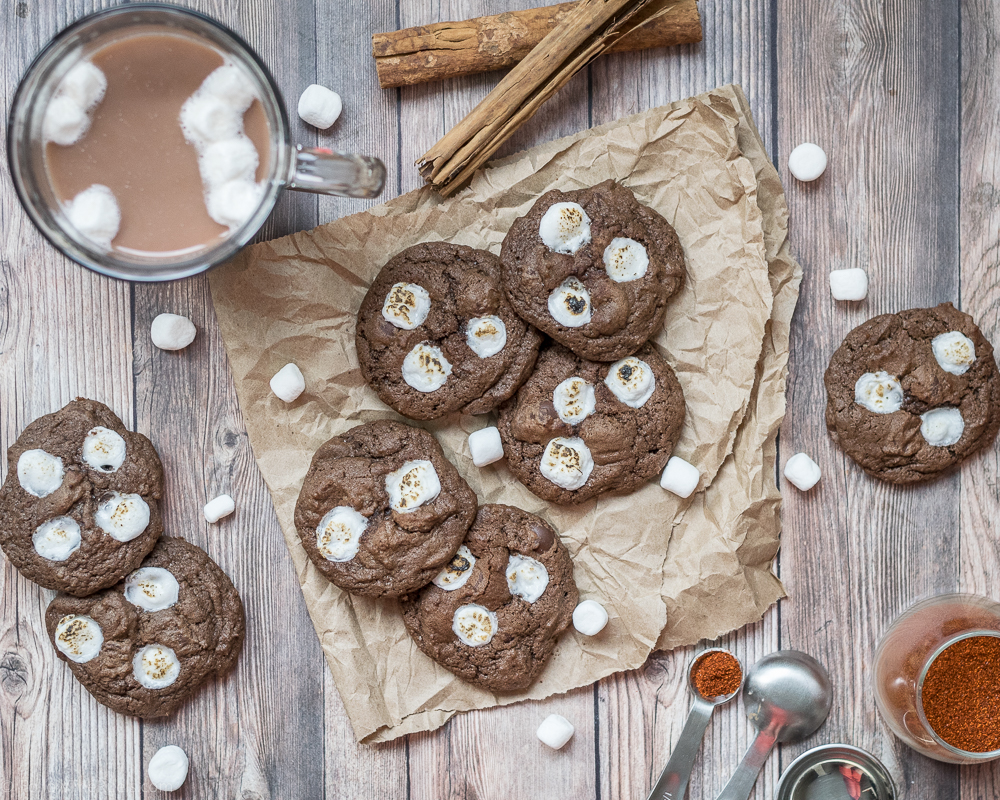
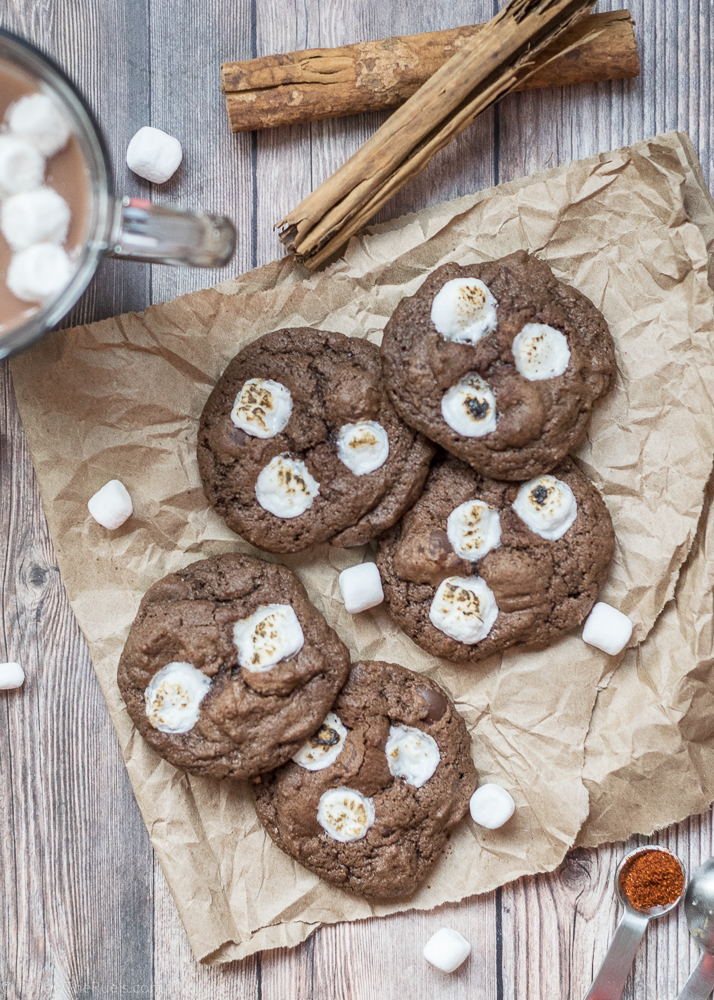
What I love about these cookies is that they are so unexpected. They look like a chocolate cookie, but they are so much more than that. They are definitely chocolatey. But they are also spicy! Not like “whoa, that’s hot” kind of spicy. Like a “hmmm…what is that flavor I’m tasting?” kind of spicy. Don’t worry, it totally works! The cinnamon and chocolate flavor combination is somewhat unusual, but they go together so well. The cinnamon almost makes the chocolate a little sweeter by balancing out the bitterness. 

Mexican Hot Cocoa Cookies-1

But the kicker is that teeny tiny bit of cayenne pepper that I throw in there, too. I don’t actually tell people that it’s in there because it’s not all that evident. No one is going to take a bite and immediately think there is cayenne pepper in the cookie. But its just that little but of heat that you pick up a the end that really makes these cookies interesting, in the most delicious sort of way. 

Mexican Hot Cocoa Cookies-5

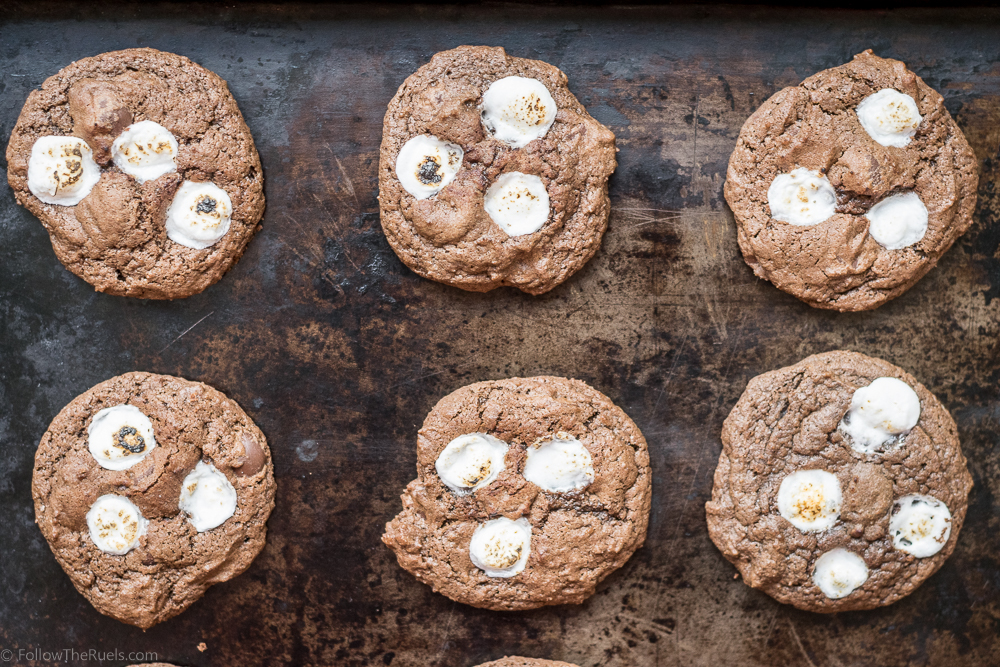
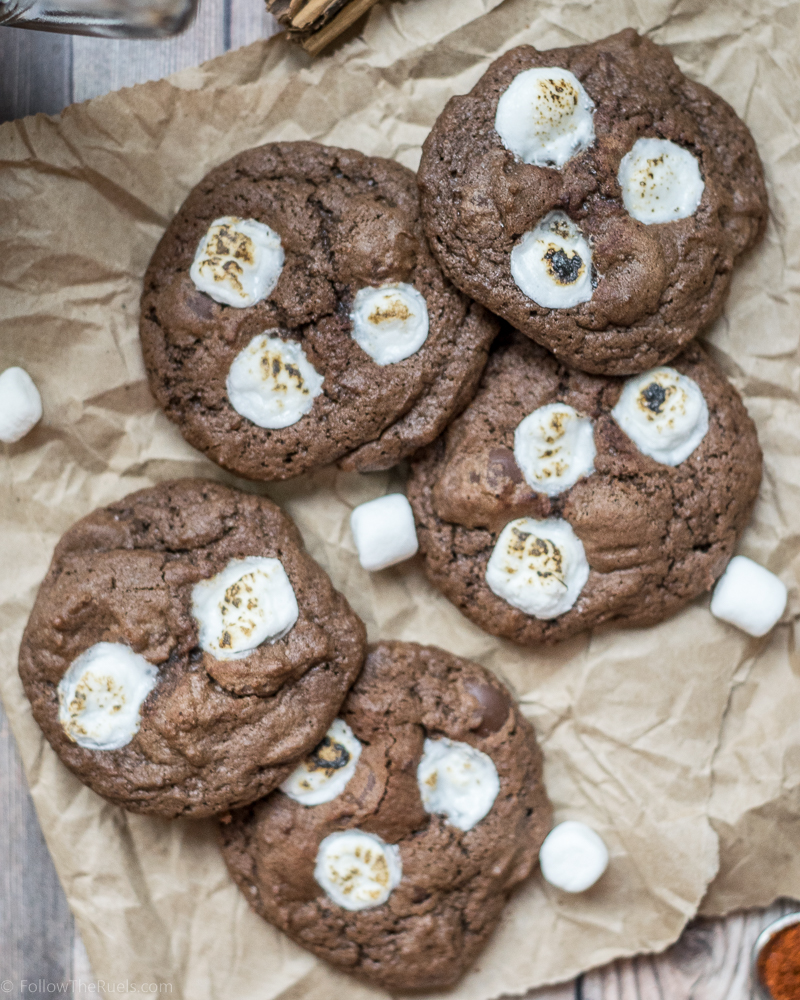
To add to the “hot chocolate factor” I of course add some marshmallows. Why the heck not!? Because marshmallows will melt completely if I threw them in with the batter, I actually just stick them on the top of the cookie when they are about 5 minutes away from being completely baked. The cookie is still soft and the marshmallow just sinks right in. The last 5 minutes of baking, the marshmallow puffs up and gets very soft. 

Mexican Hot Cocoa Cookies-3

These are definitely not your average cookie, but they are so good! Soft, rich, sweet, and a teeny bit spicy. If the extra spices make you nervous, you can omit them from the recipe and just make hot chocolate cookies. But I promise they won’t be as good!

[yumprint-recipe id=’174′] 

/ Filed In: Cookies, Cookies New, Desserts
Tagged: chocolate, cinnamon, cookies, hot cocoa, marshmallows

Follow

Hey There!

Hey there, I'm Lindsey. I'm a number cruncher by day and a home cook and baker by night. While I love to eat healthy and find fresh and healthy alternatives for my favorite foods, I will never turn down dessert! Life is all about moderation, right?

Recipes

  • All Recipes
  • Breakfast
  • Appetizers
  • Salads
  • Main Dishes
  • Side Dishes
  • Desserts
  • Drinks

Favorite Finds

[show_lookbook_widget id=”388783″]

Theme by 17th Avenue · Powered by WordPress & Genesis