• Home
  • Eat
    • Breakfast
    • Appetizers
    • Main Dishes
      • Chicken
      • Beef
      • Seafood
      • Healthy Dishes
      • Paleo Dishes
      • Salads
    • Desserts
      • Decorated Cookies
      • Cookies
      • Bars and Brownies
      • Cakes and Cupcakes
  • Shop
    • Cookie Decorating Supplies
    • Bakeware
    • Cookware
    • Kitchen Gadgets
    • House
  • About
    • Contact
    • Bucket List
  • Cookie Decorating 101

Follow the Ruels

4th of July Firework Cake

June 13, 2018

A lot of times, my motto is less is more. 

But not with this cake. The motto for this cake is MORE is MORE!

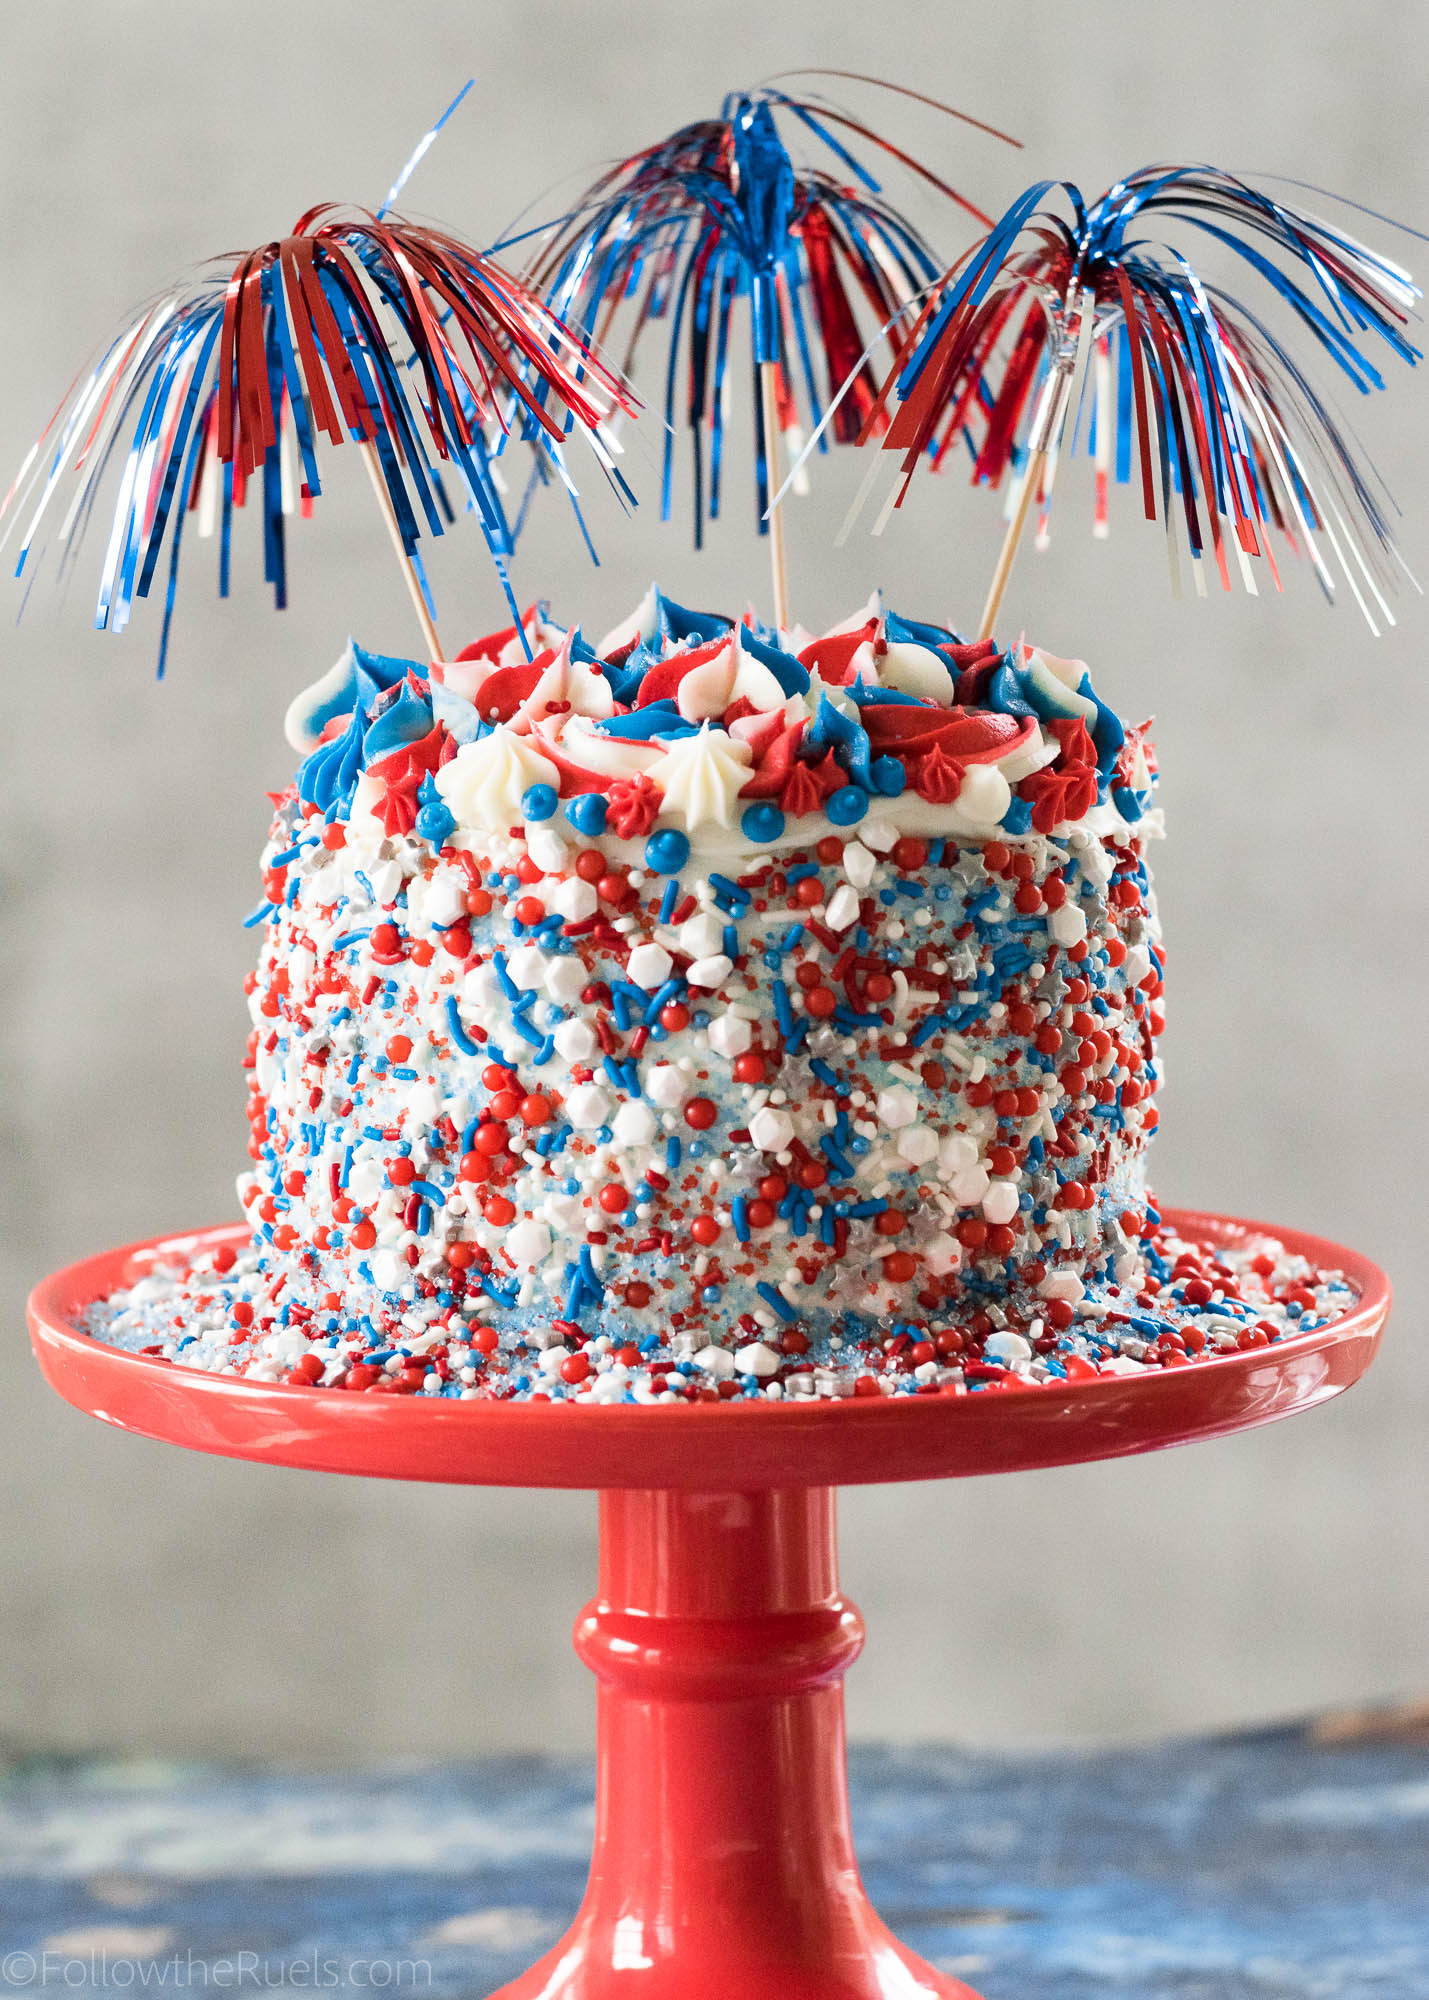
Which is perfect for 4th of July, and hence why I am calling it the 4th of July firework cake, because it reminds me of a firework. Just all the red, white, and blue, all over the place. 

Wilton Cakes was kind enough to send me one of their new cake decorating kits and I had so much fun coming up with this cake which was inspired by a few of the various cake designs they had in their book.

I decided to cover the entire sides of the cake in red, white, and blue sprinkles and then cover the top of the cake in red, white, and blue buttercream stars and rosettes. 

Other than the sprinkles, frosting, and food coloring, which I already had on hand, everything I used to decorate the cake came with the How to Decorate Cakes and Desserts Kit which made it incredibly easy to make!

How to Make It

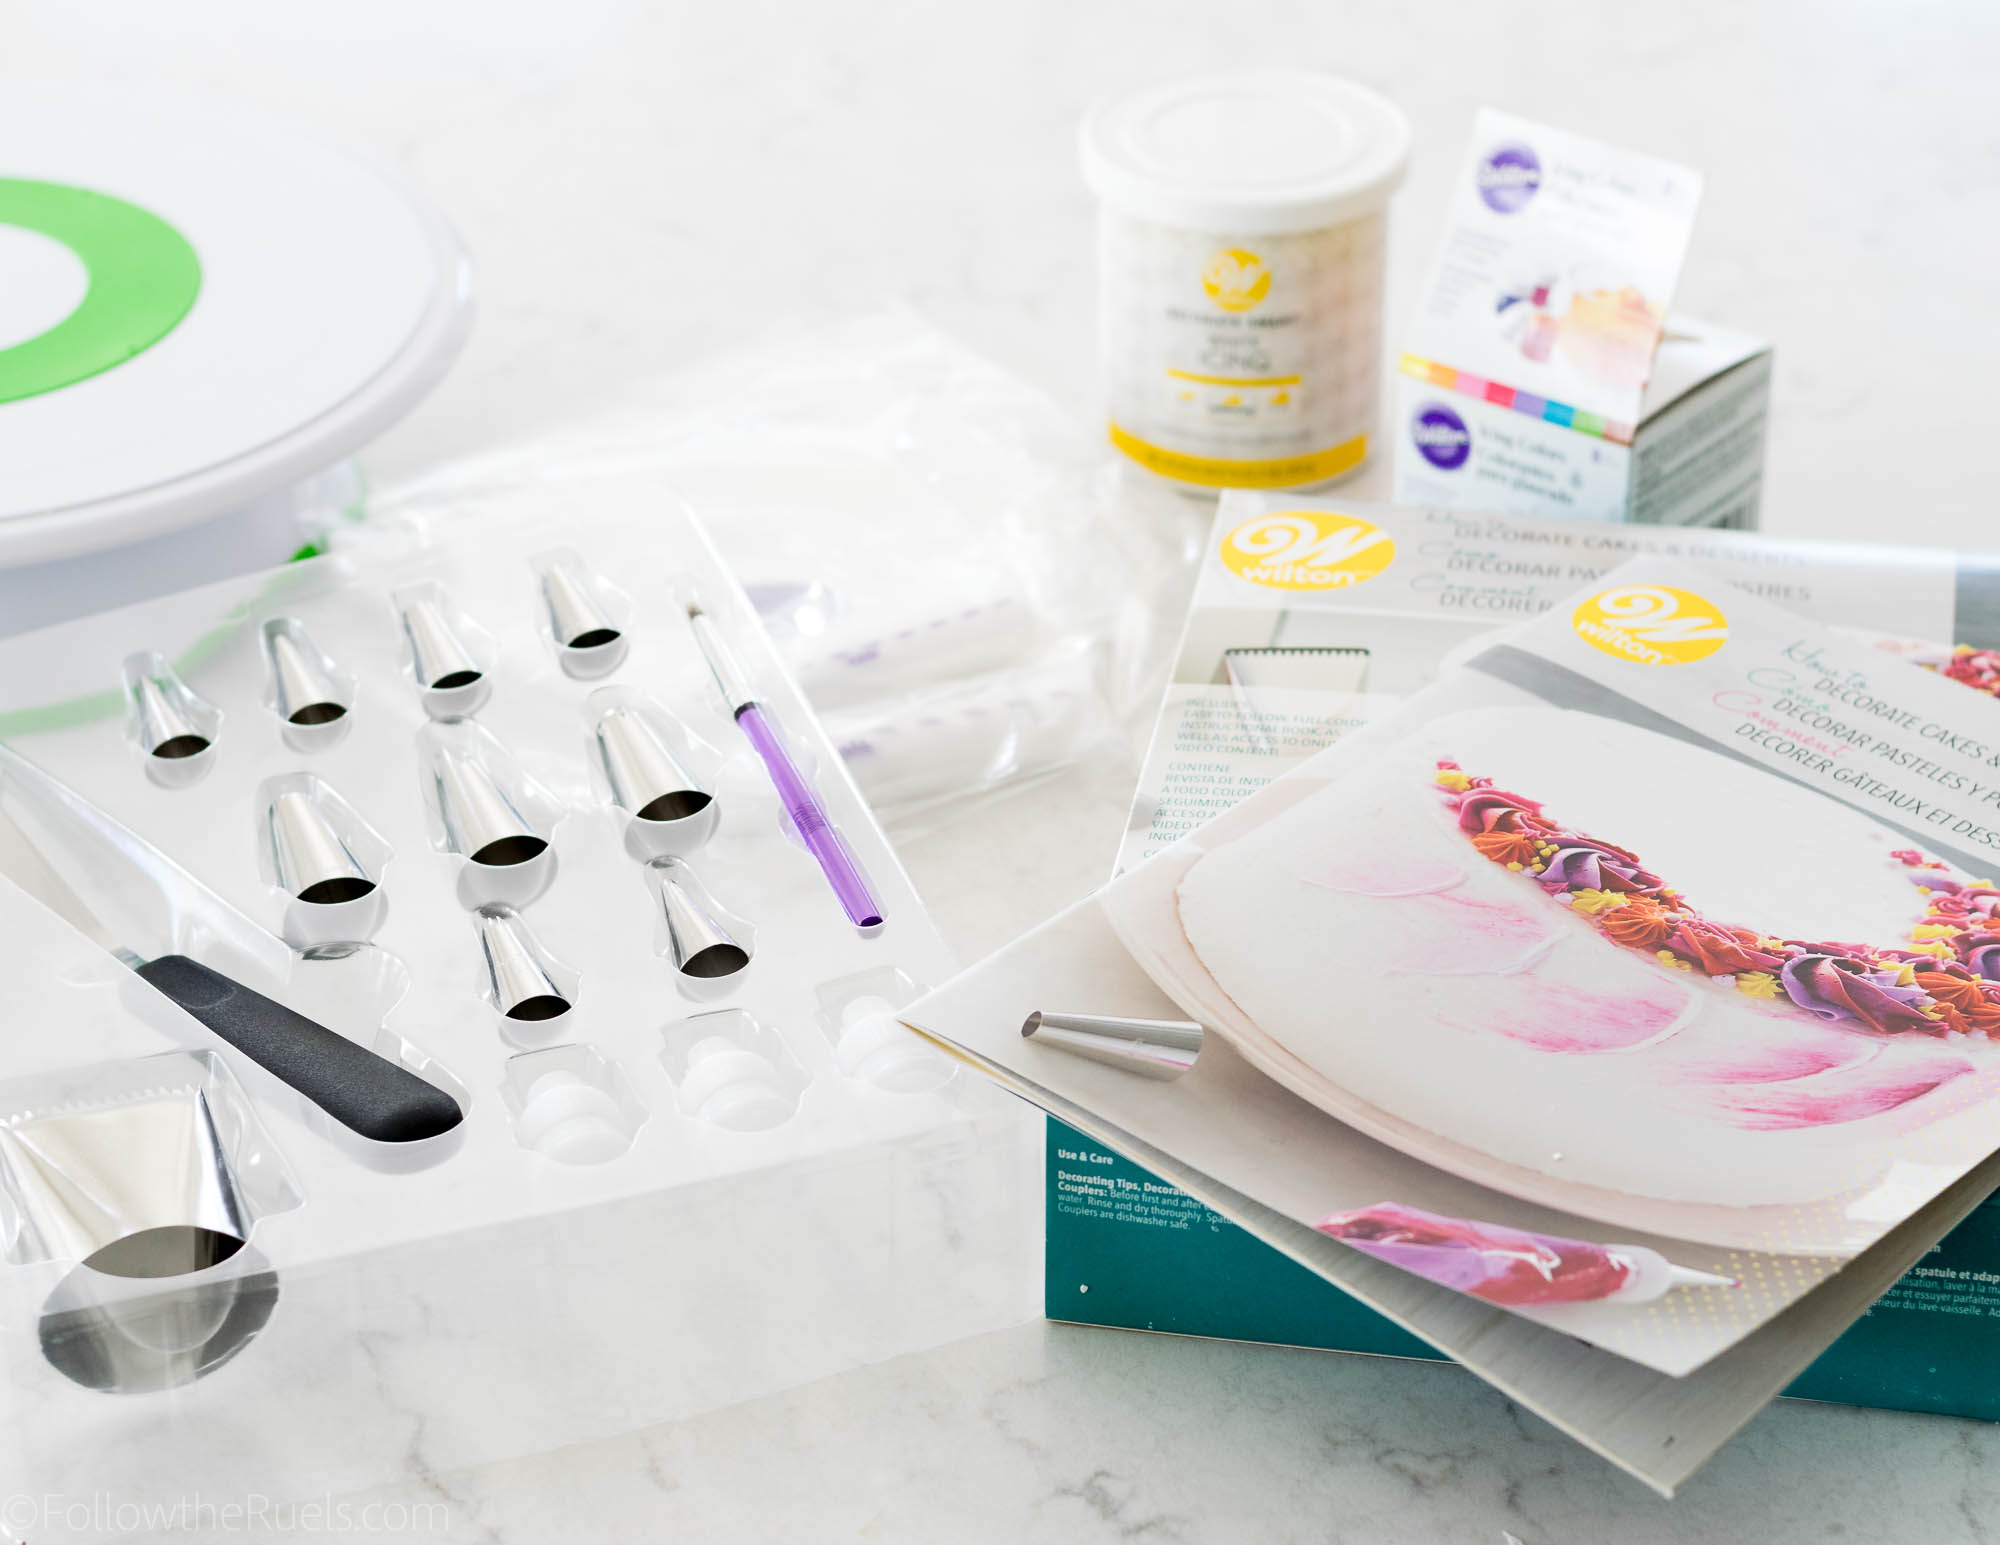
As I mentioned above, I used the How to Decorate Cakes and Desserts kit, which comes with an awesome instruction and inspiration book (below) and all the supplies you will need to decorate your cake.

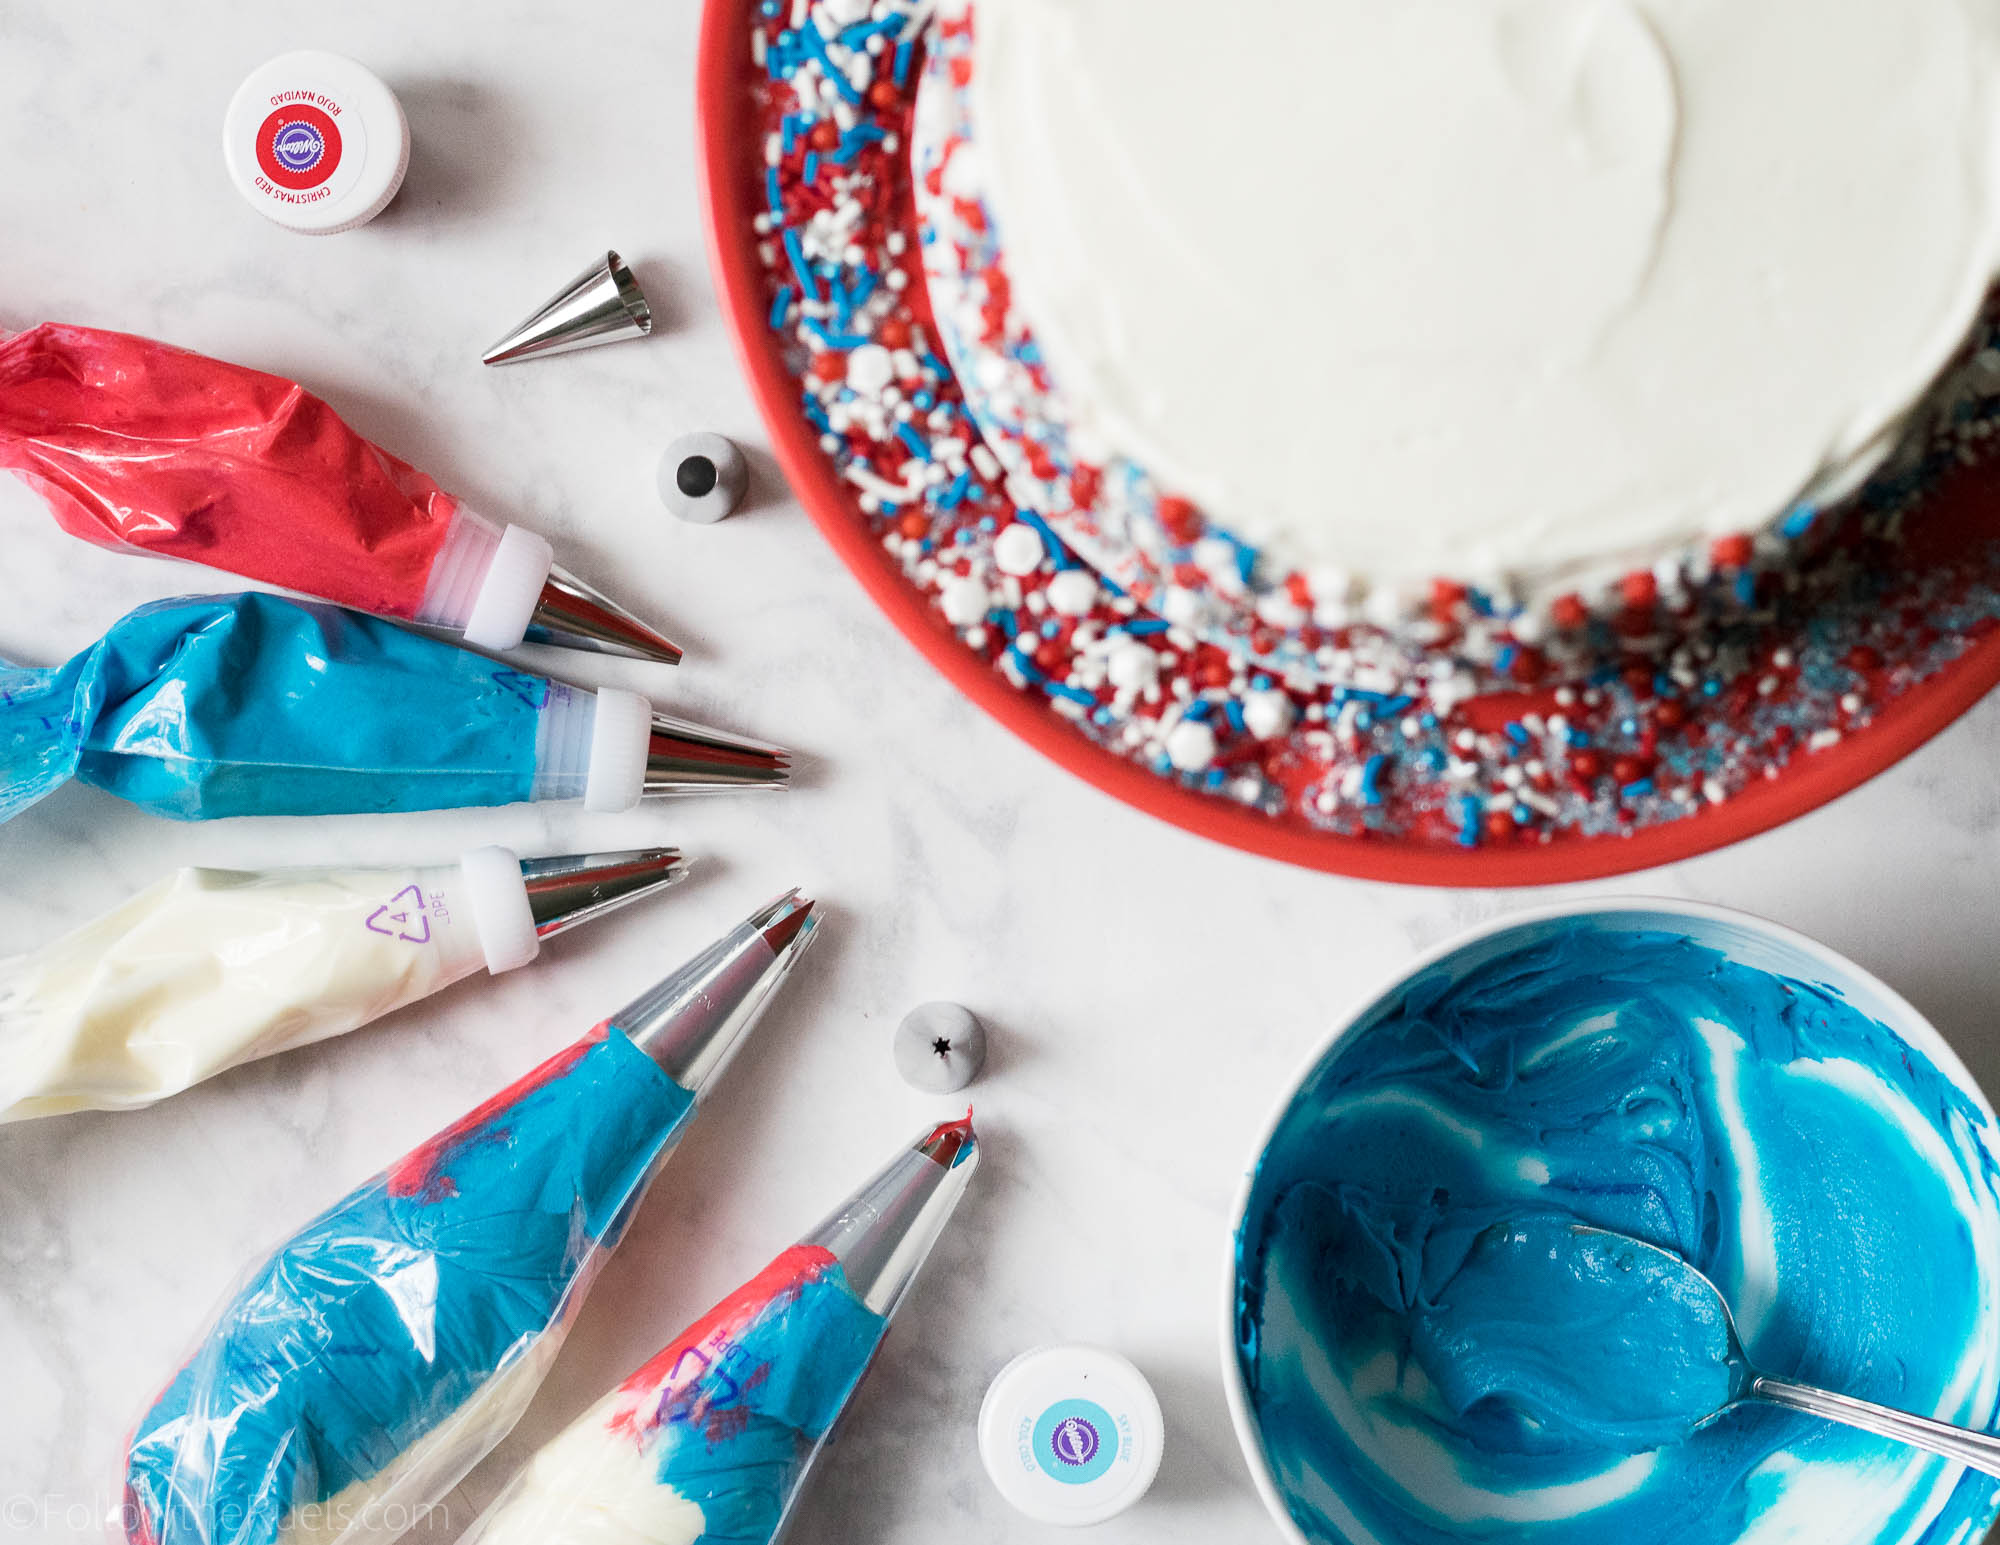
The kit also comes with 10 piping tips, 3 couplers, a spatula, decorating brush, and 24 piping bags in two different sizes. 

I also used their tiltable turntable, gel food coloring, and white buttercream icing. 


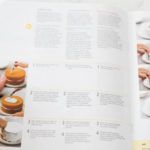
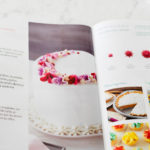
The instruction book shows you everything from how to bake your cake, cut your cake, layer your cake, and frost your cake. Since I am still learning how to decorate cakes, a lot of their instruction was very helpful.

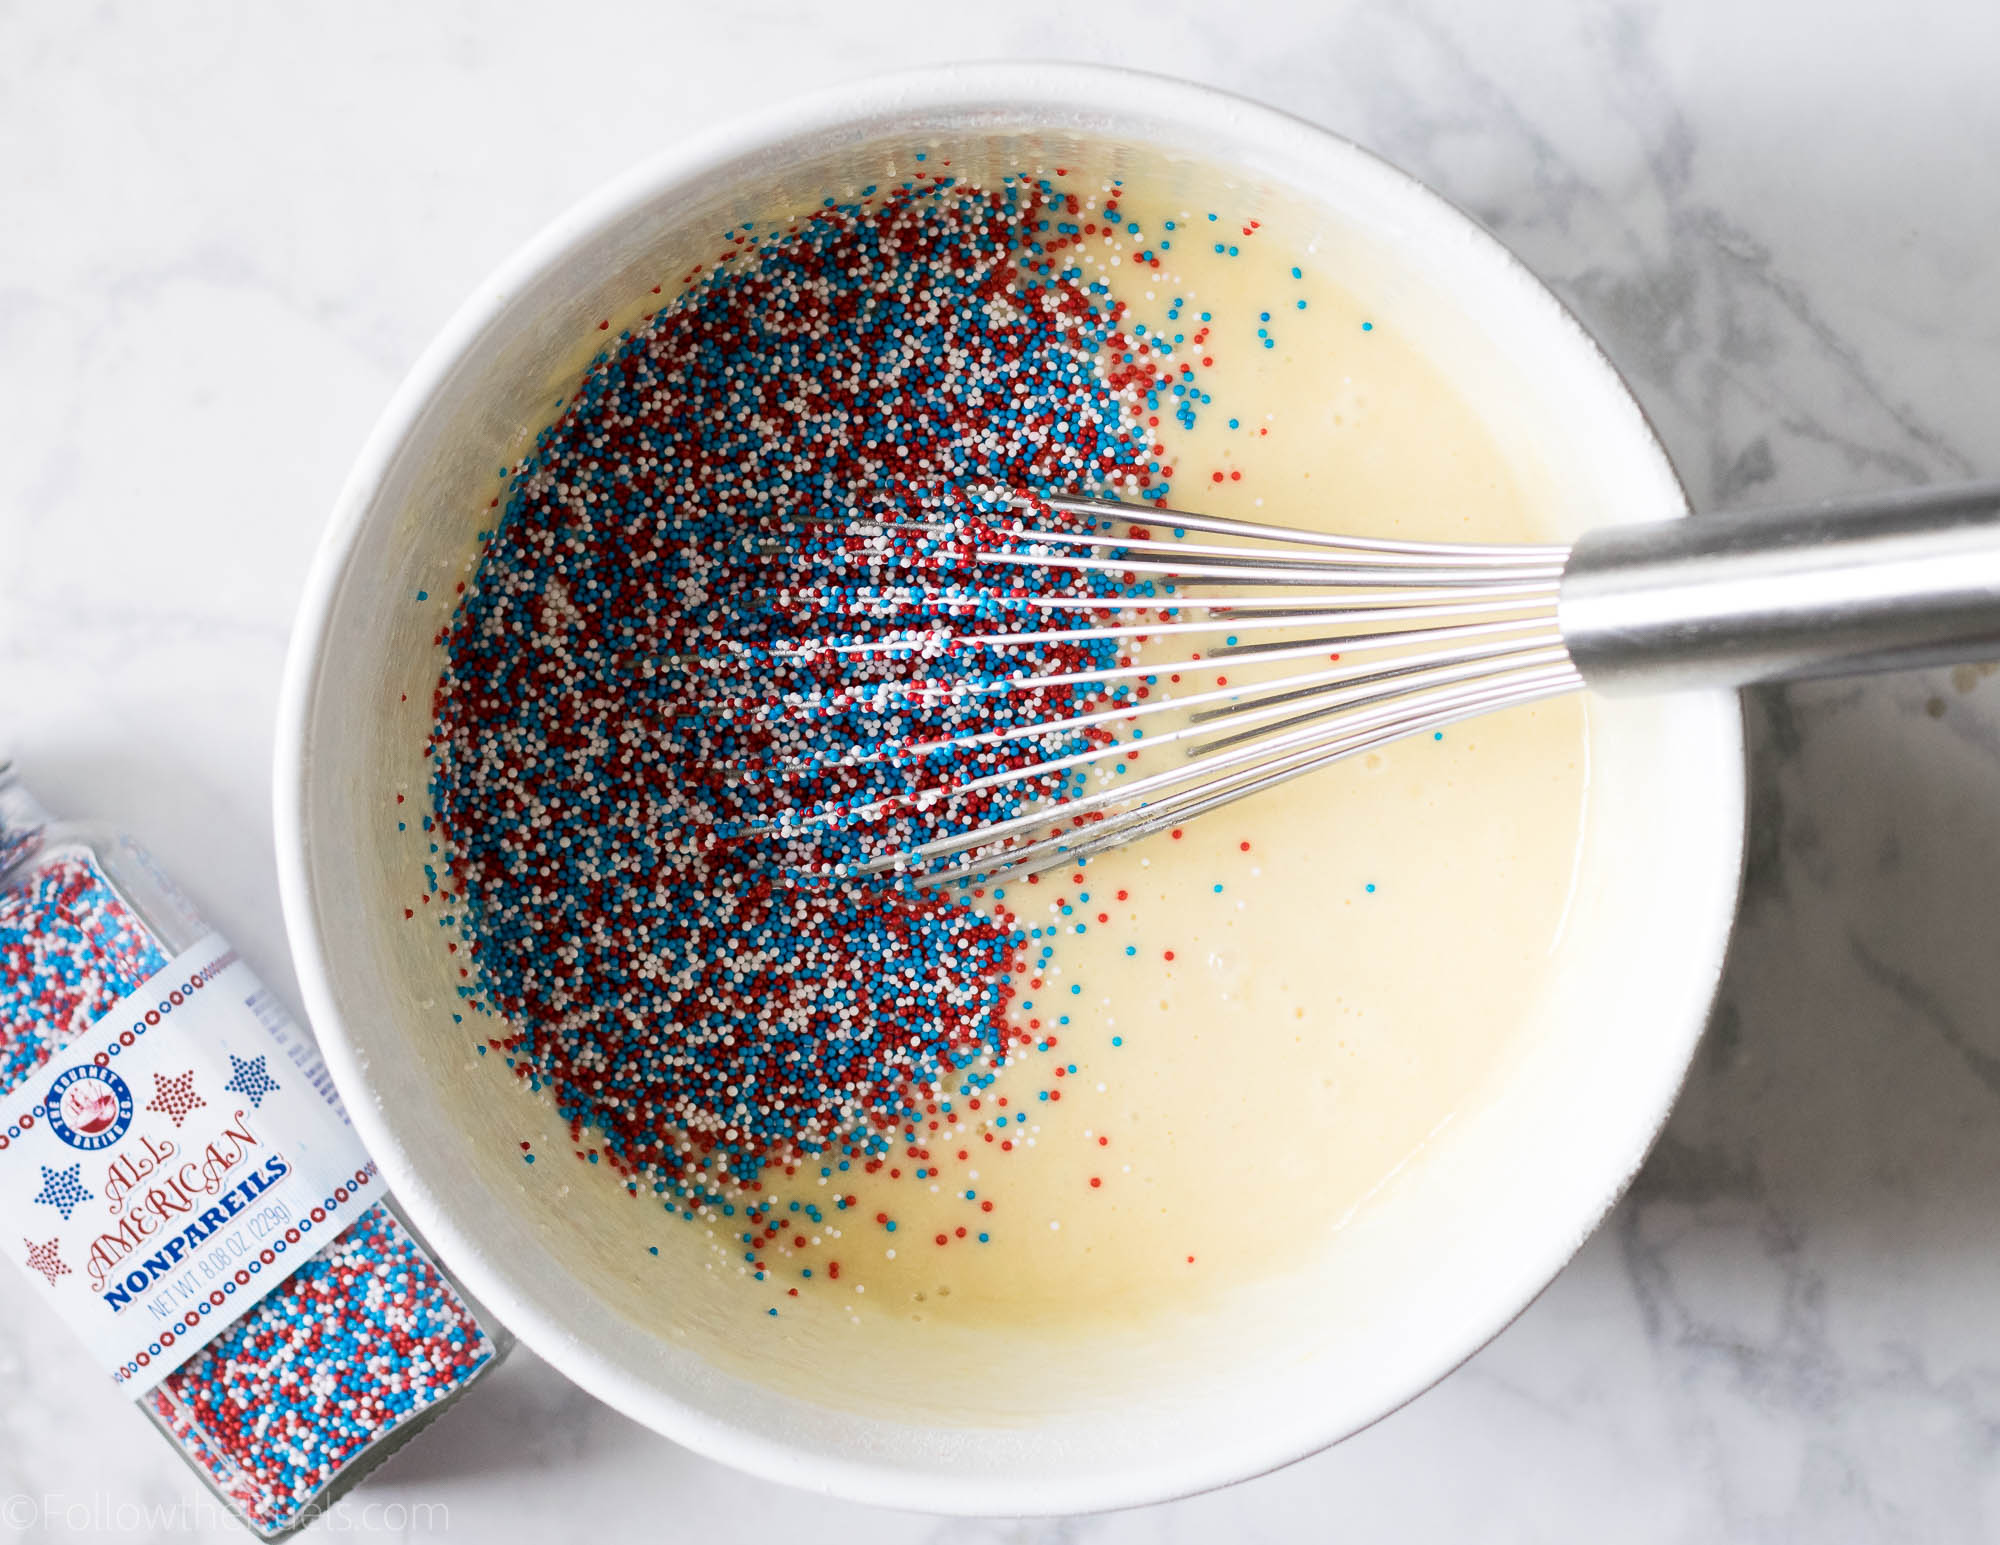
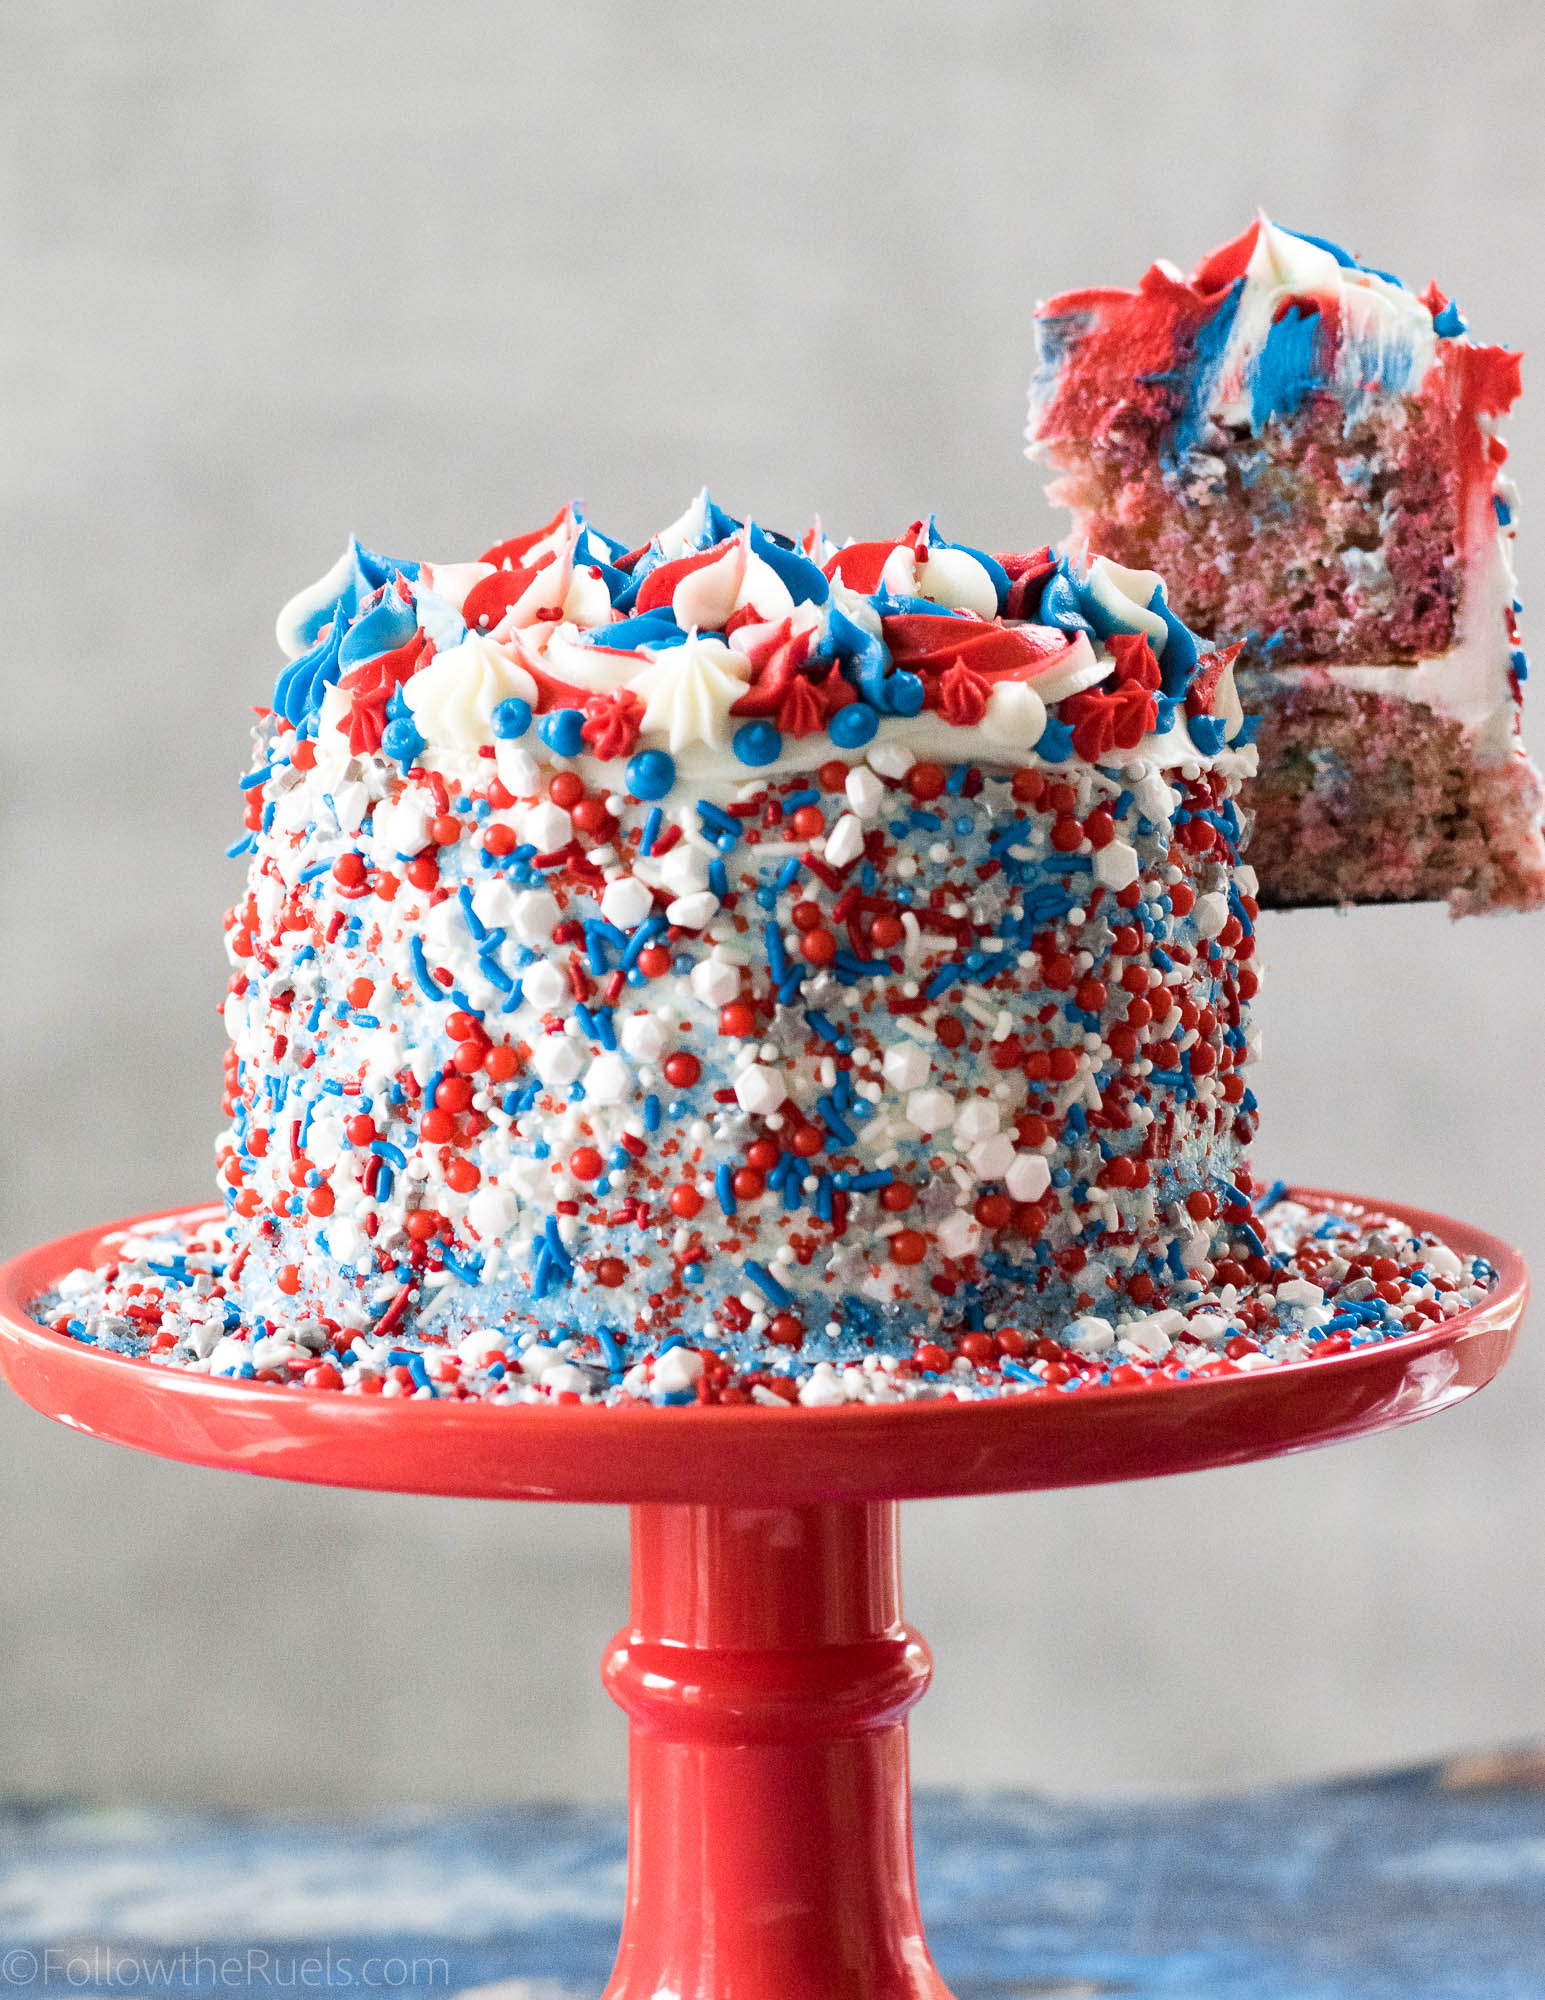
Since the theme for this cake is “more is more” I added these red, white, and blue non-pareliels to give it a marbled funfetti look. If you want a true funfetti look, I recommend using jimmies instead of nonpareils. 


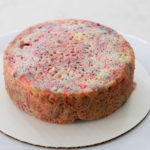
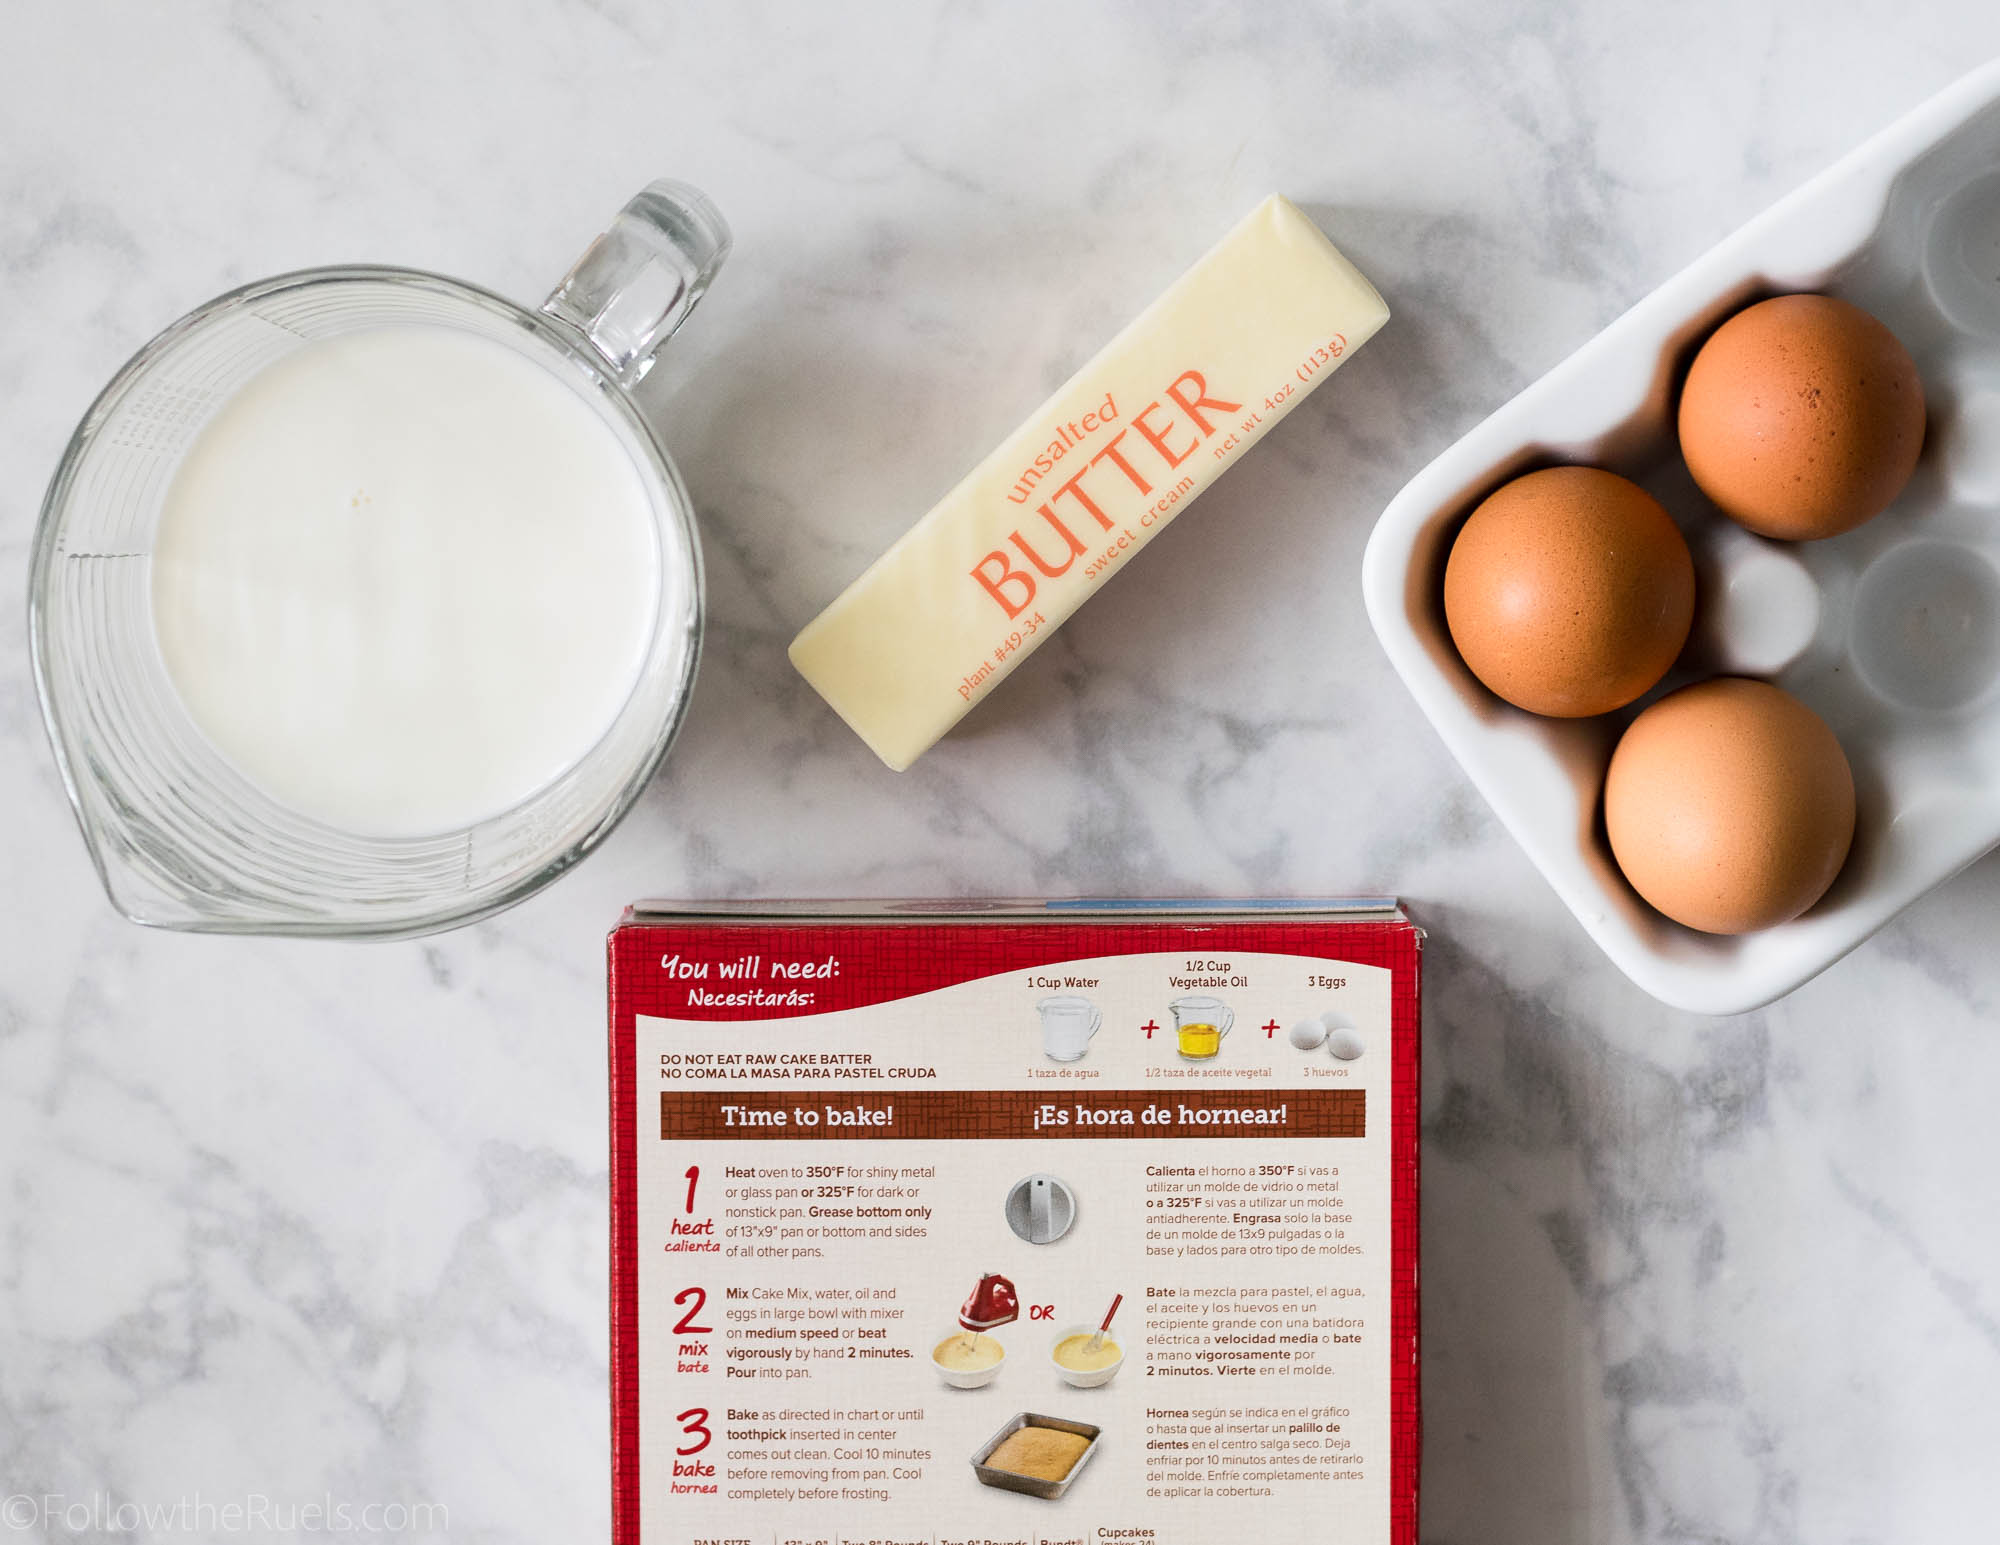
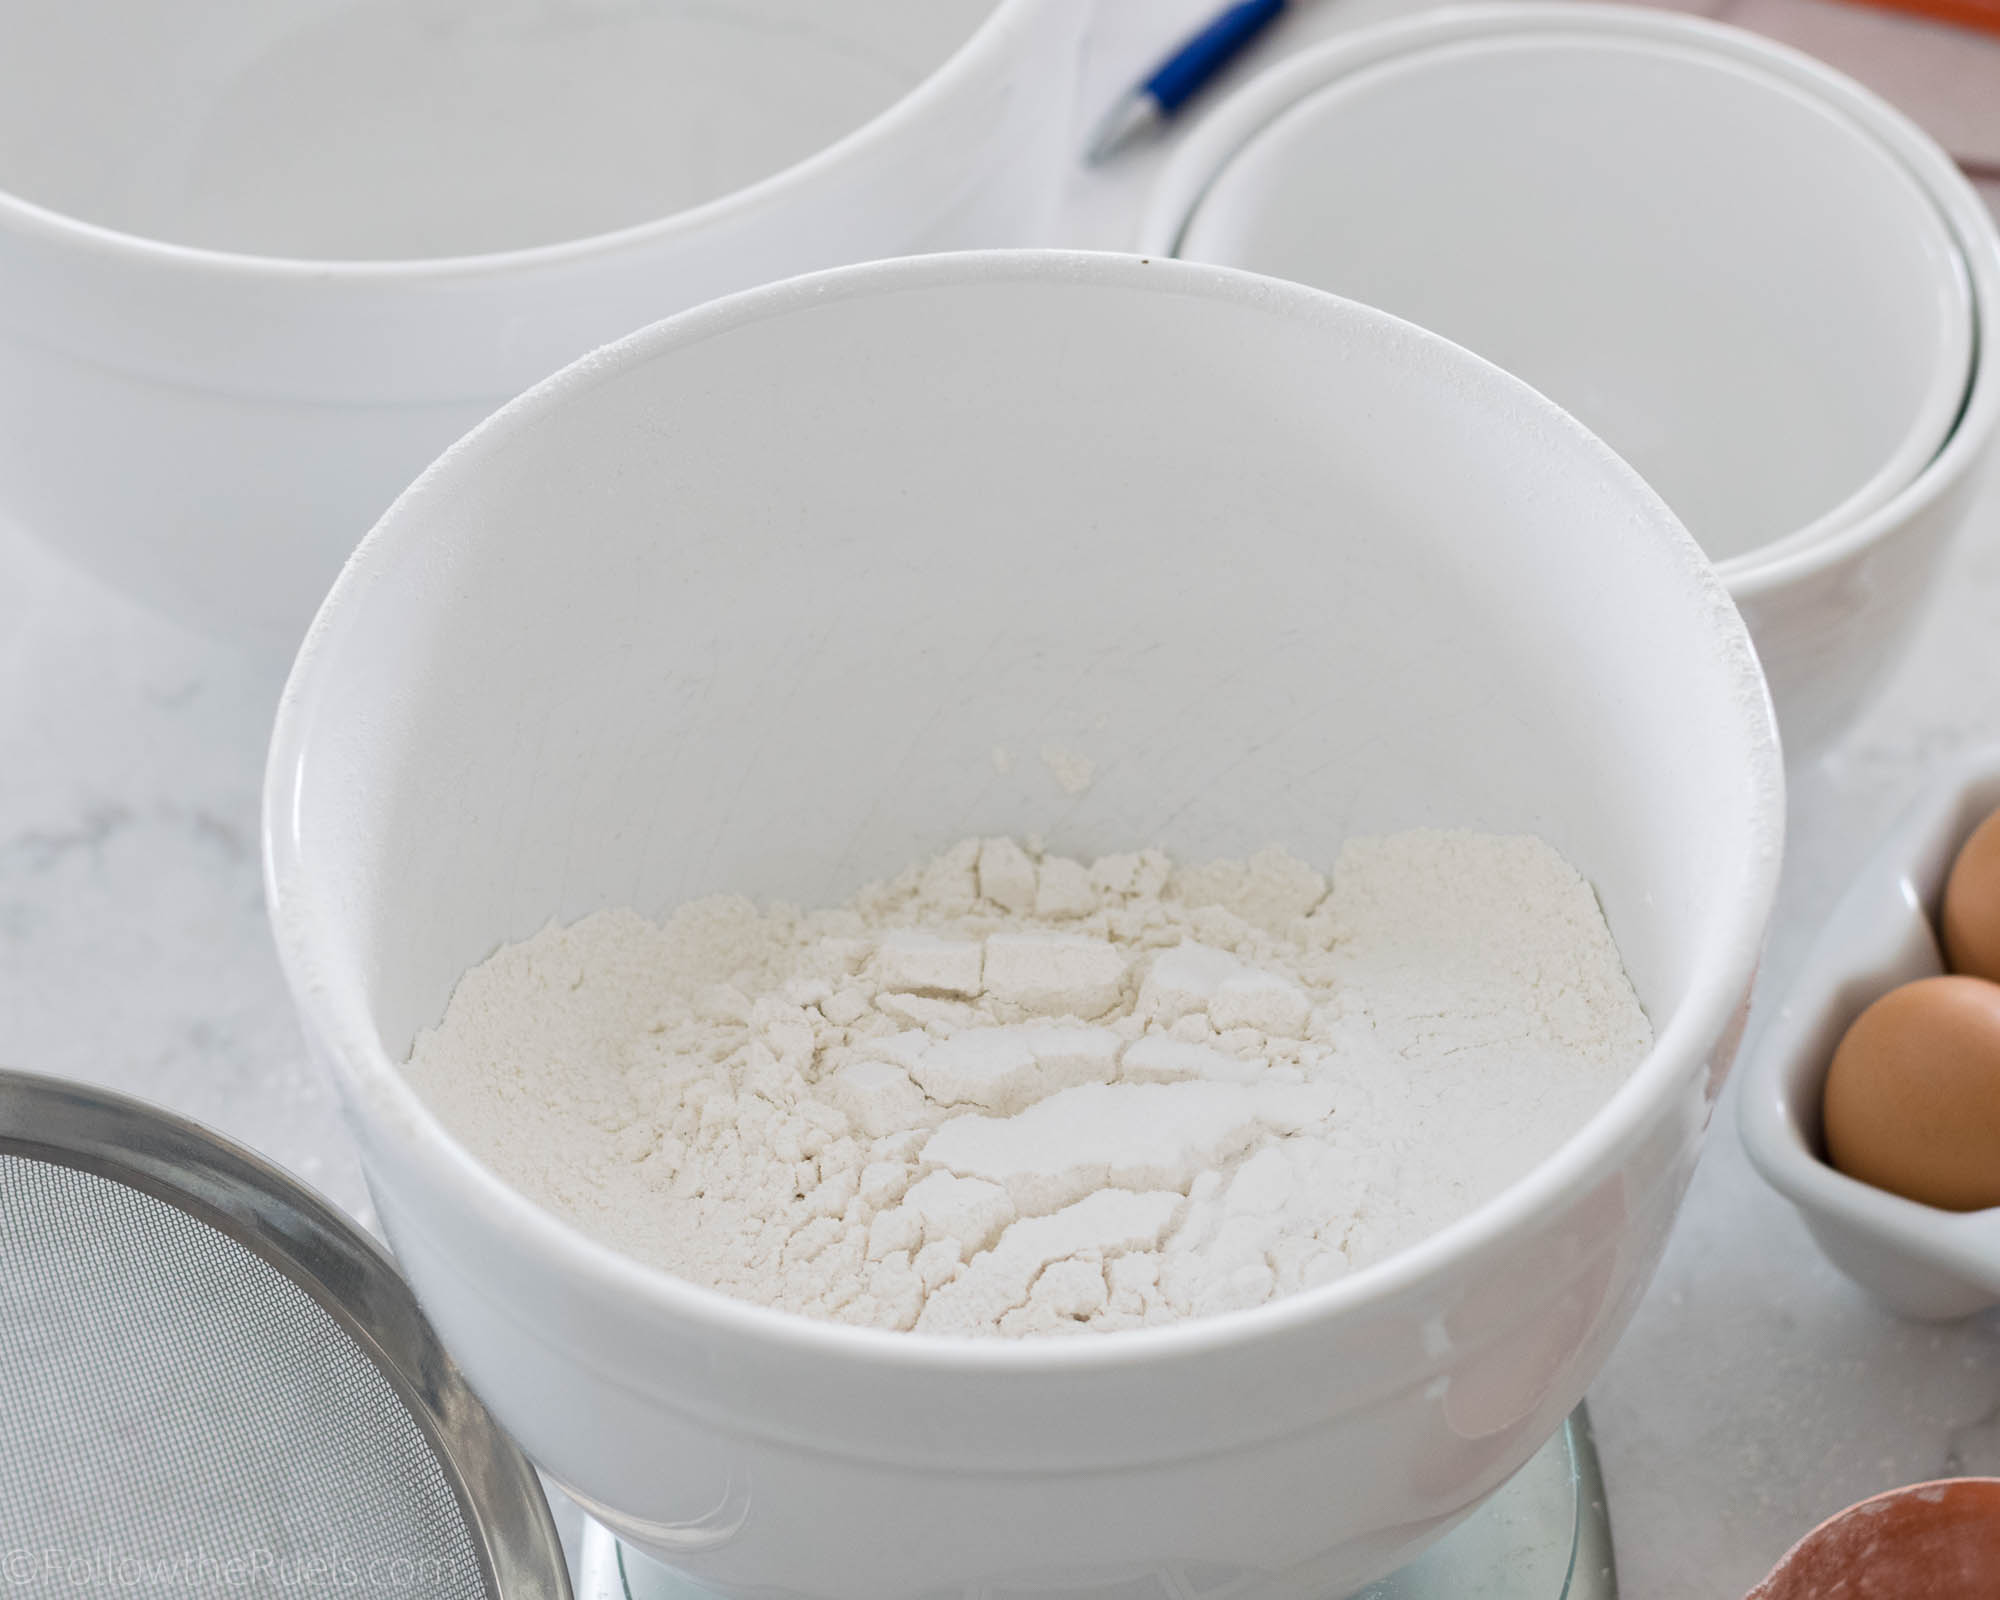
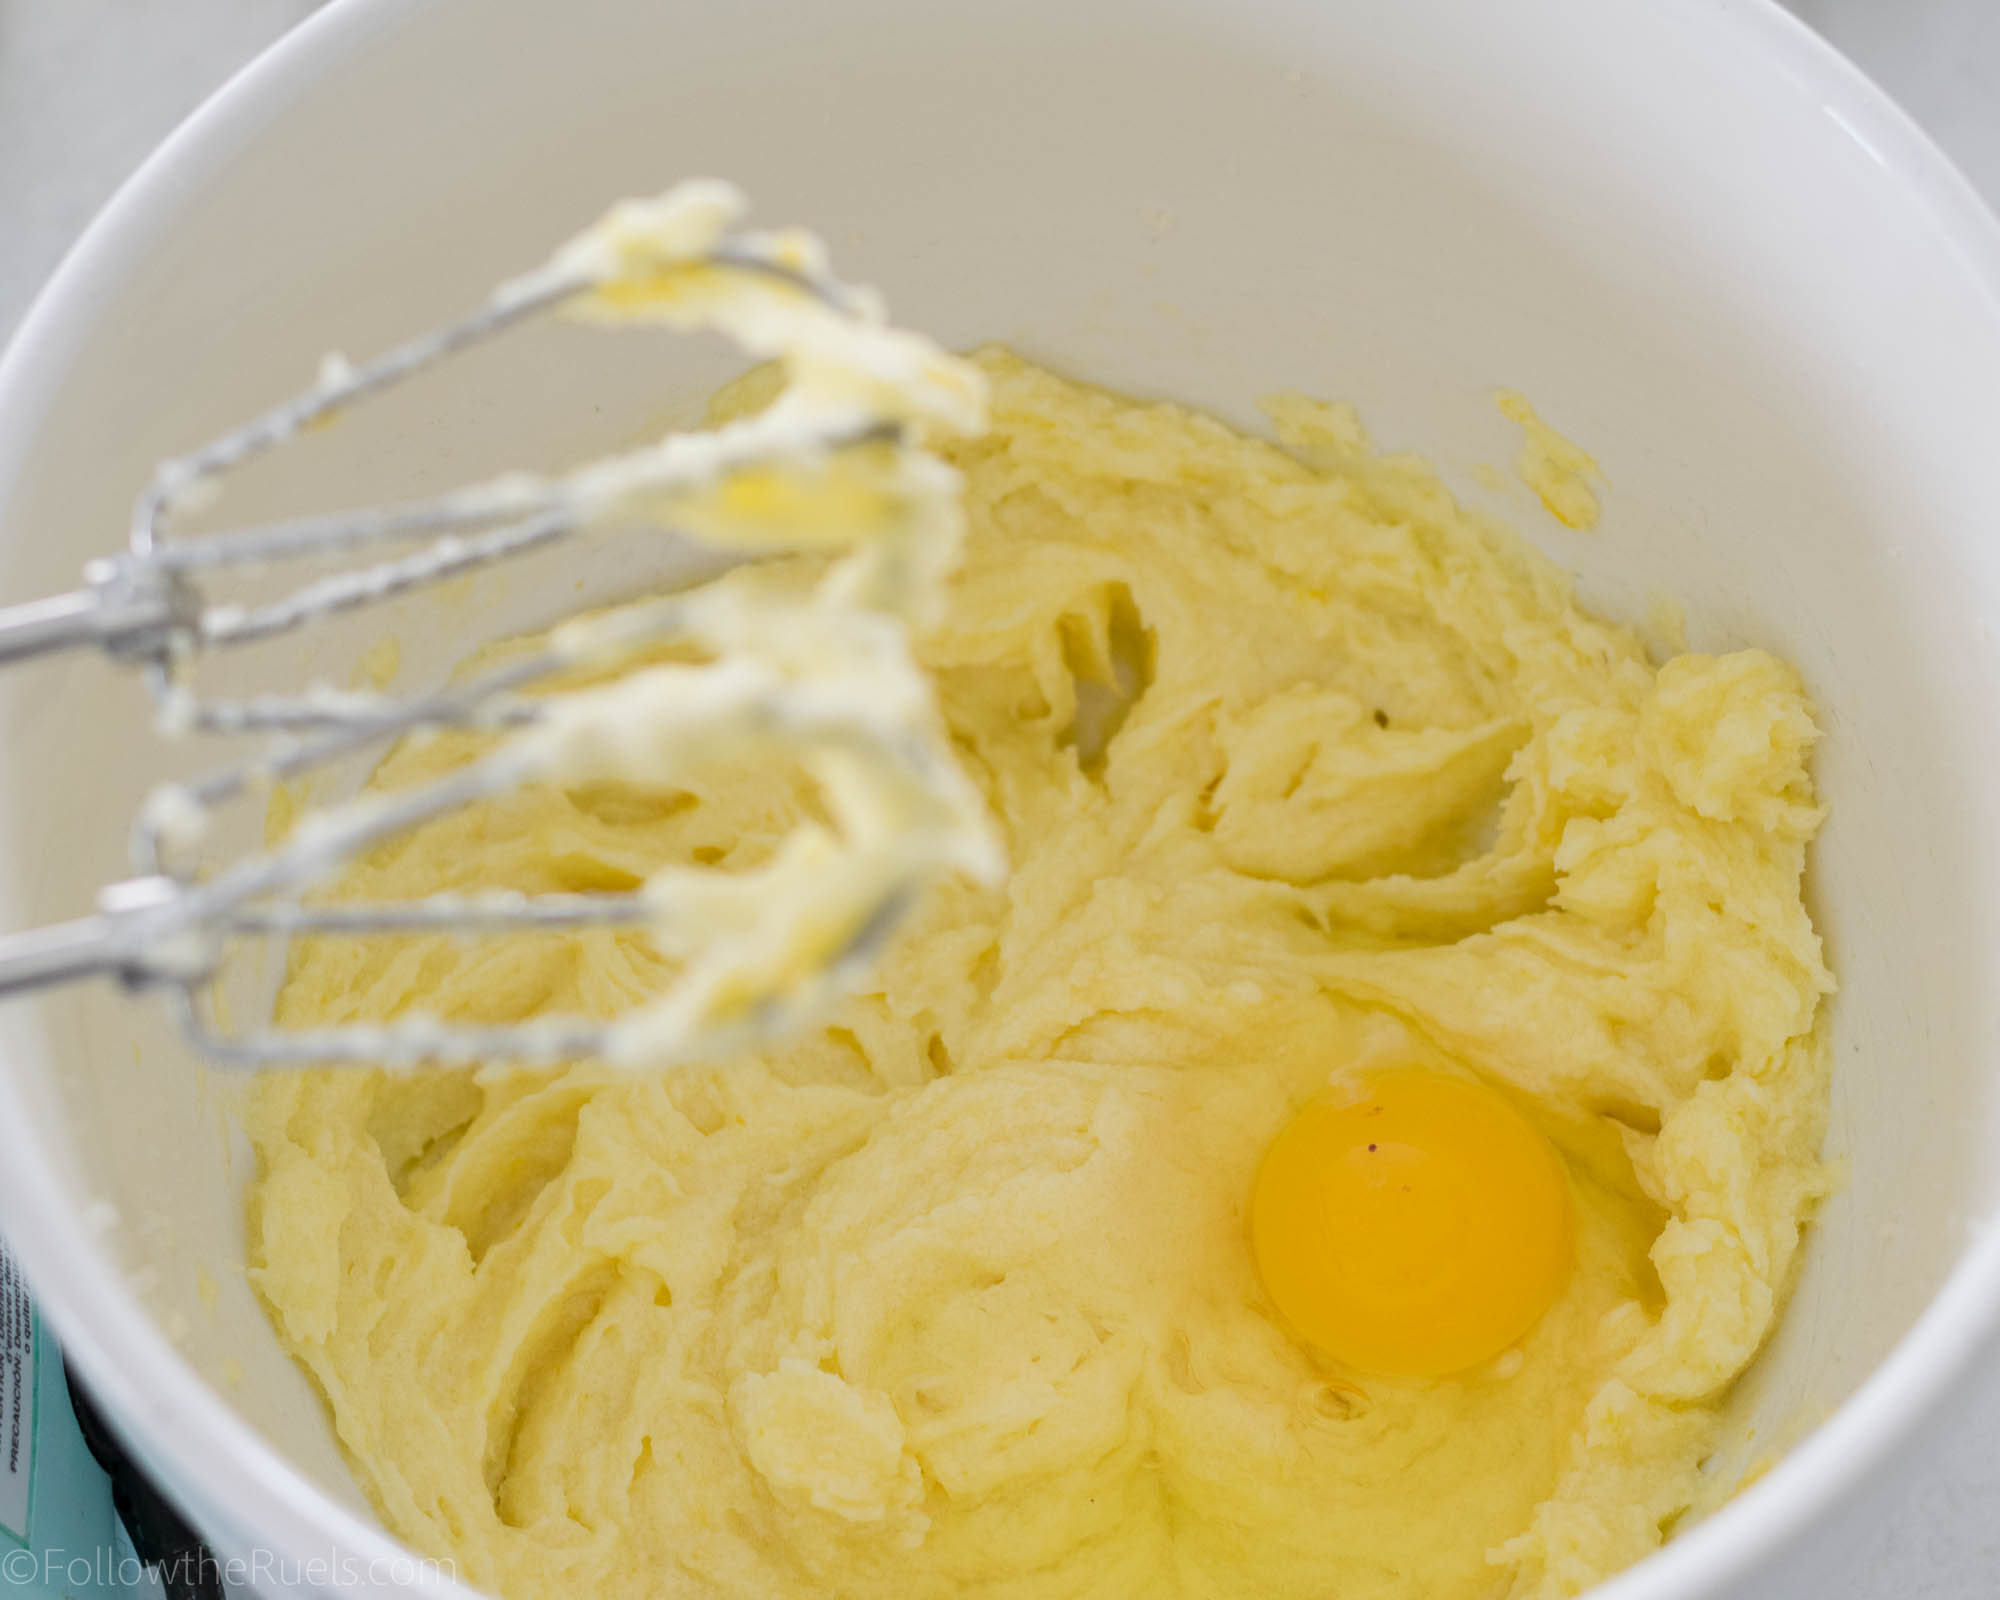
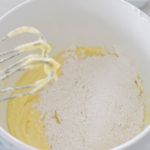
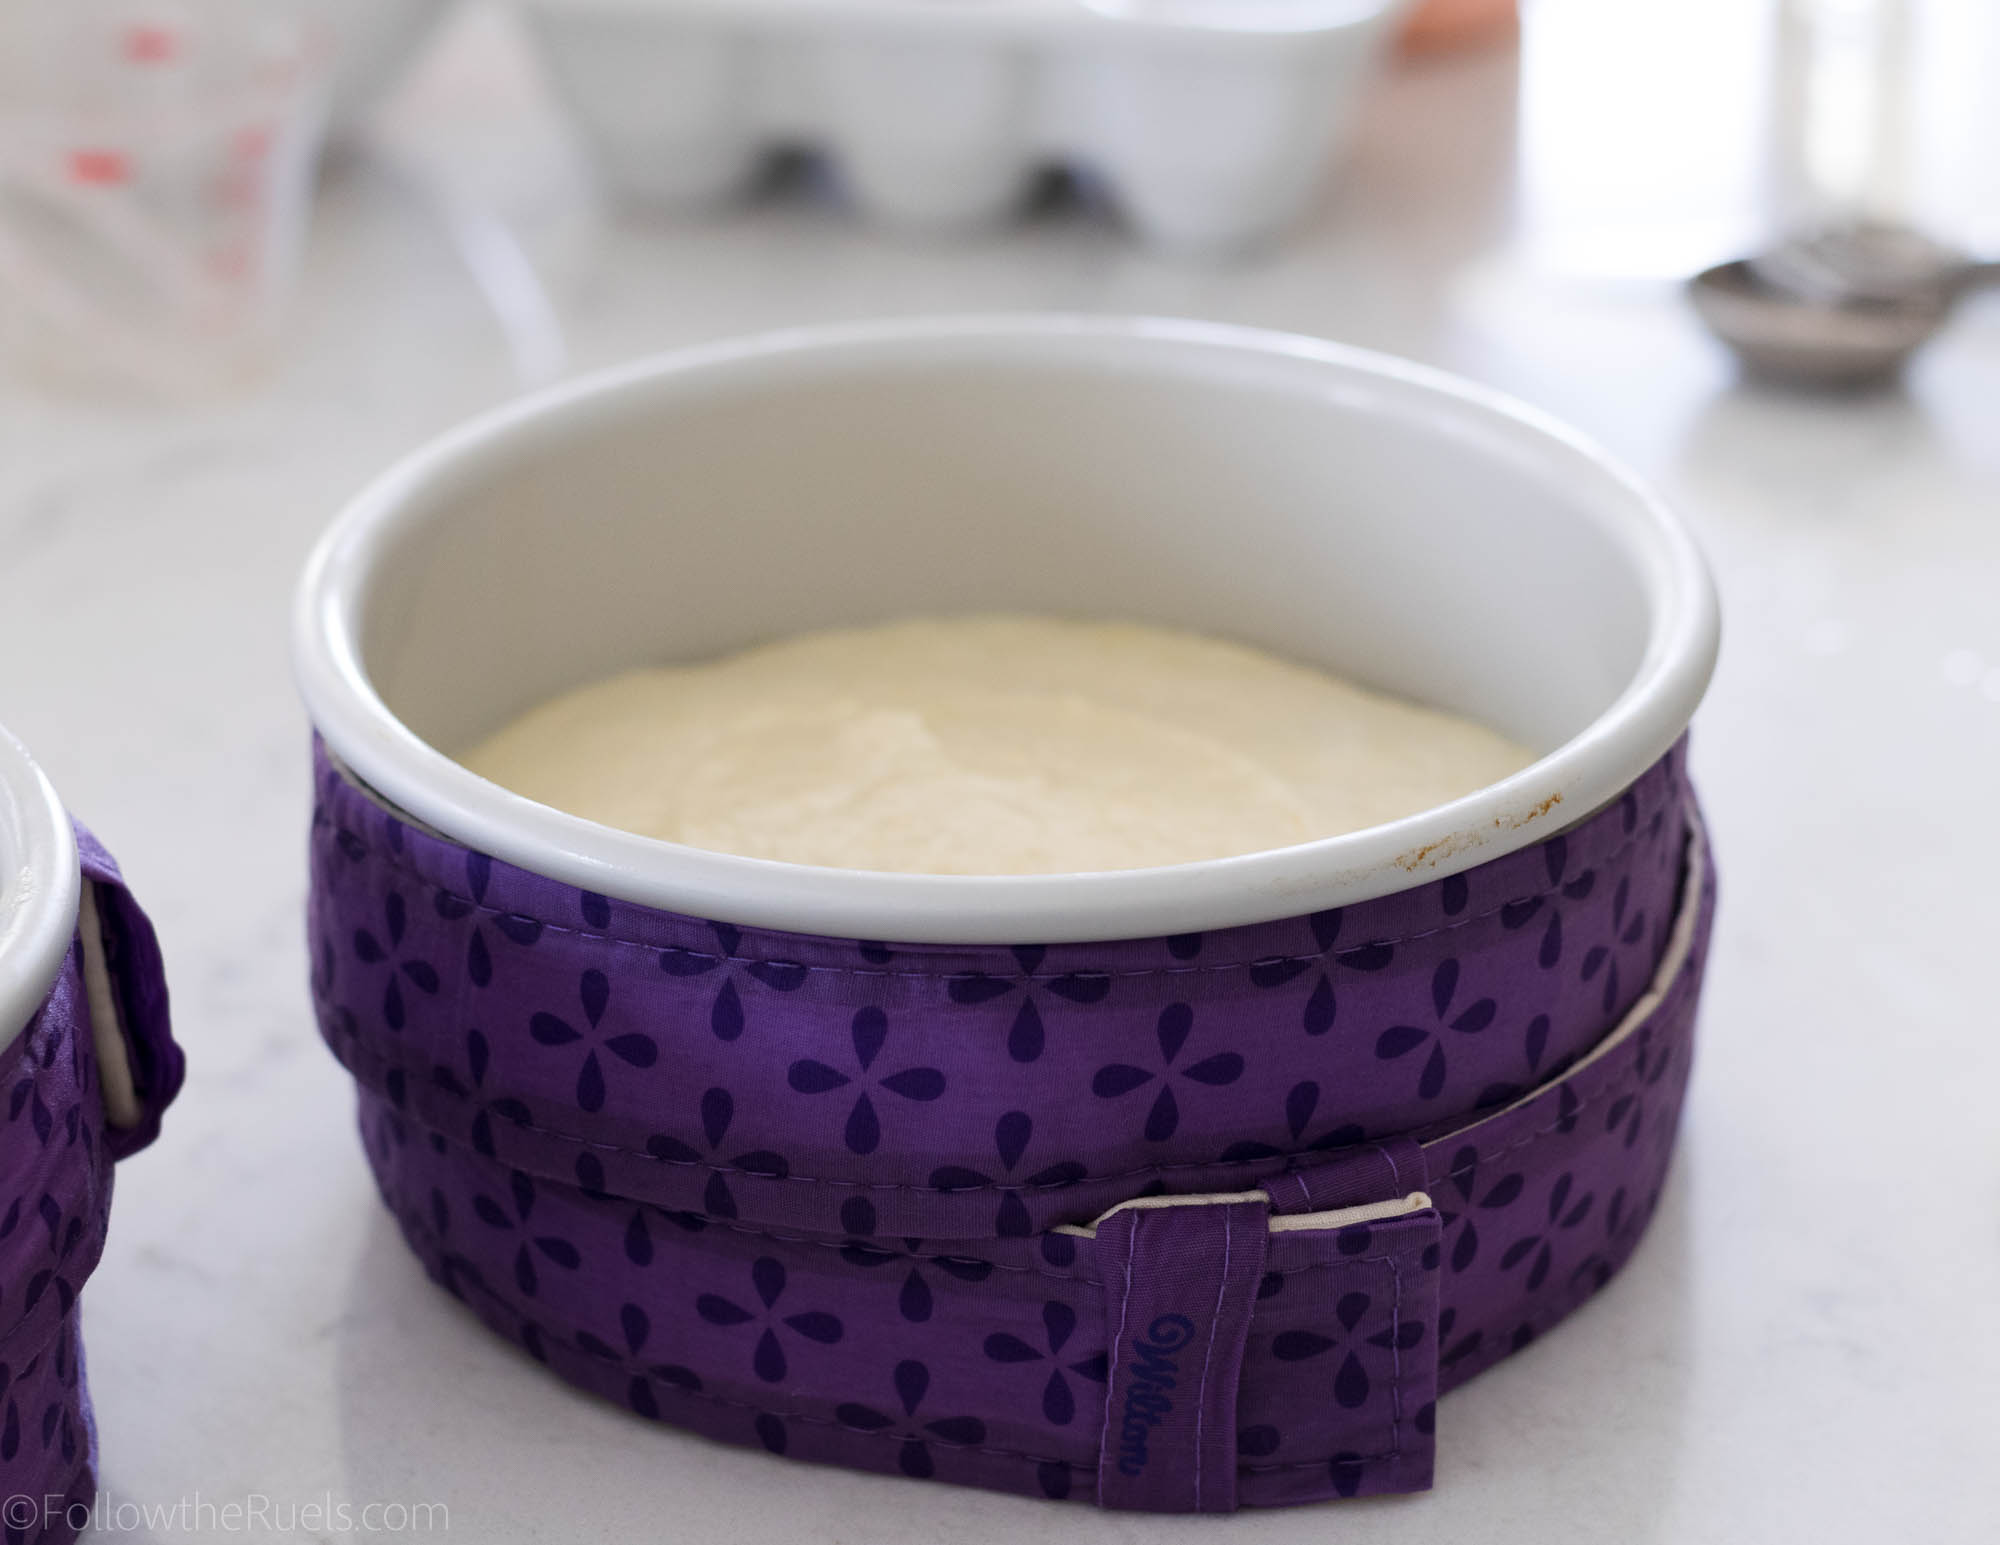
I used a box cake mix for this cake to make things easy on myself. You can see my tips for making a boxed cake mix taste homemade here. 

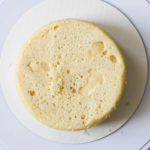
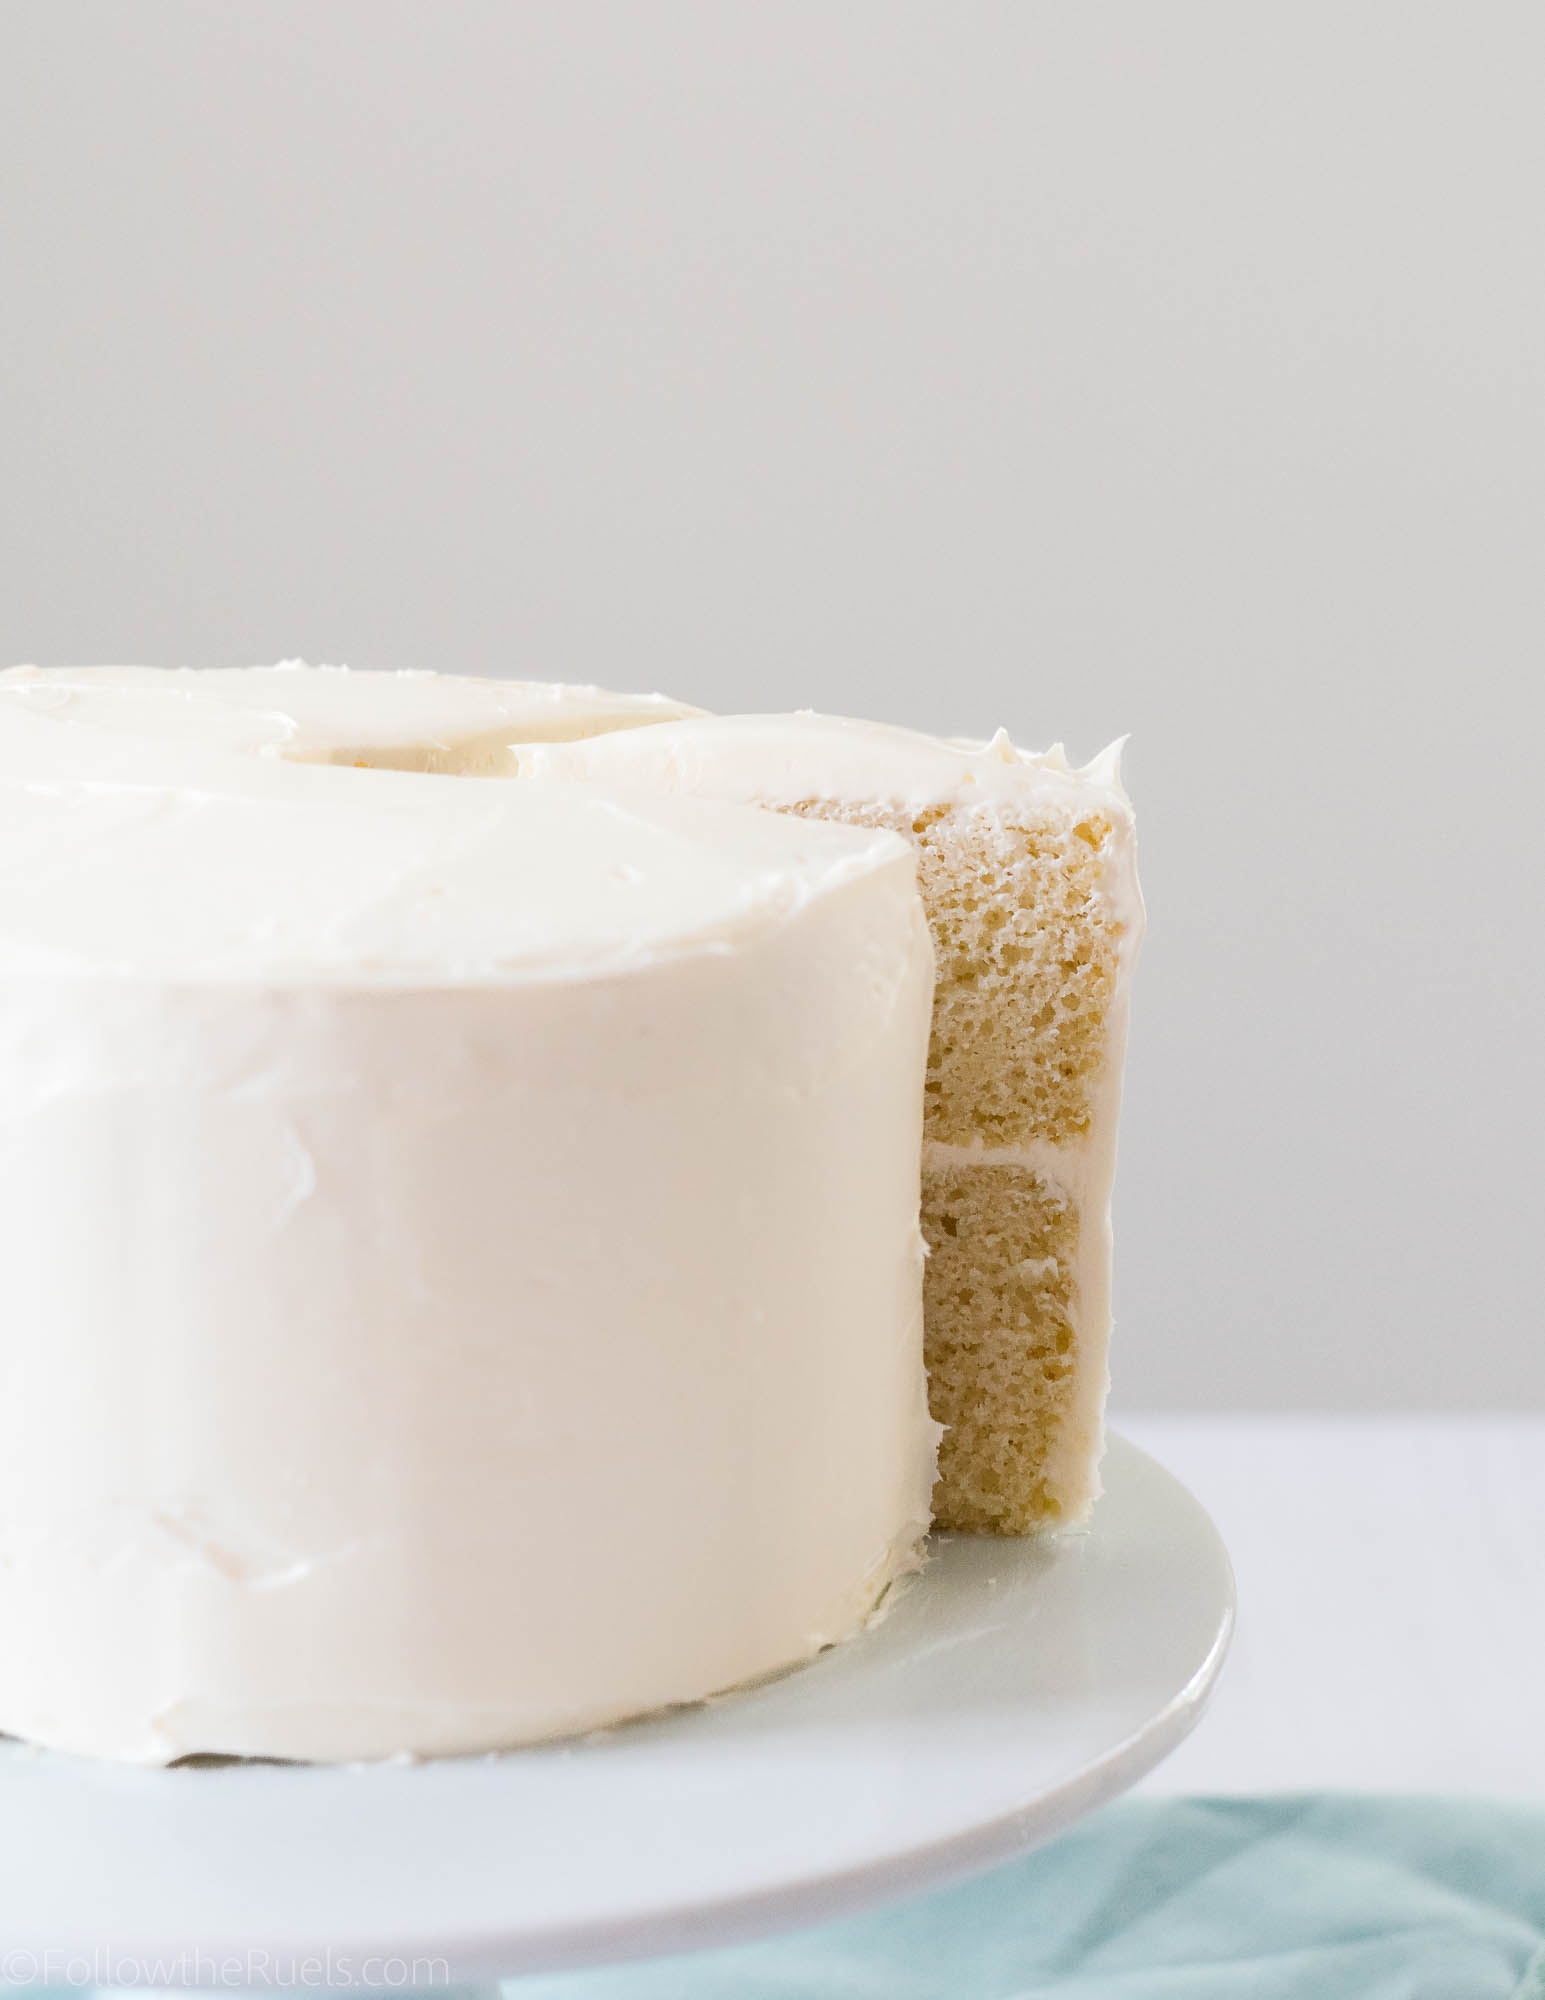
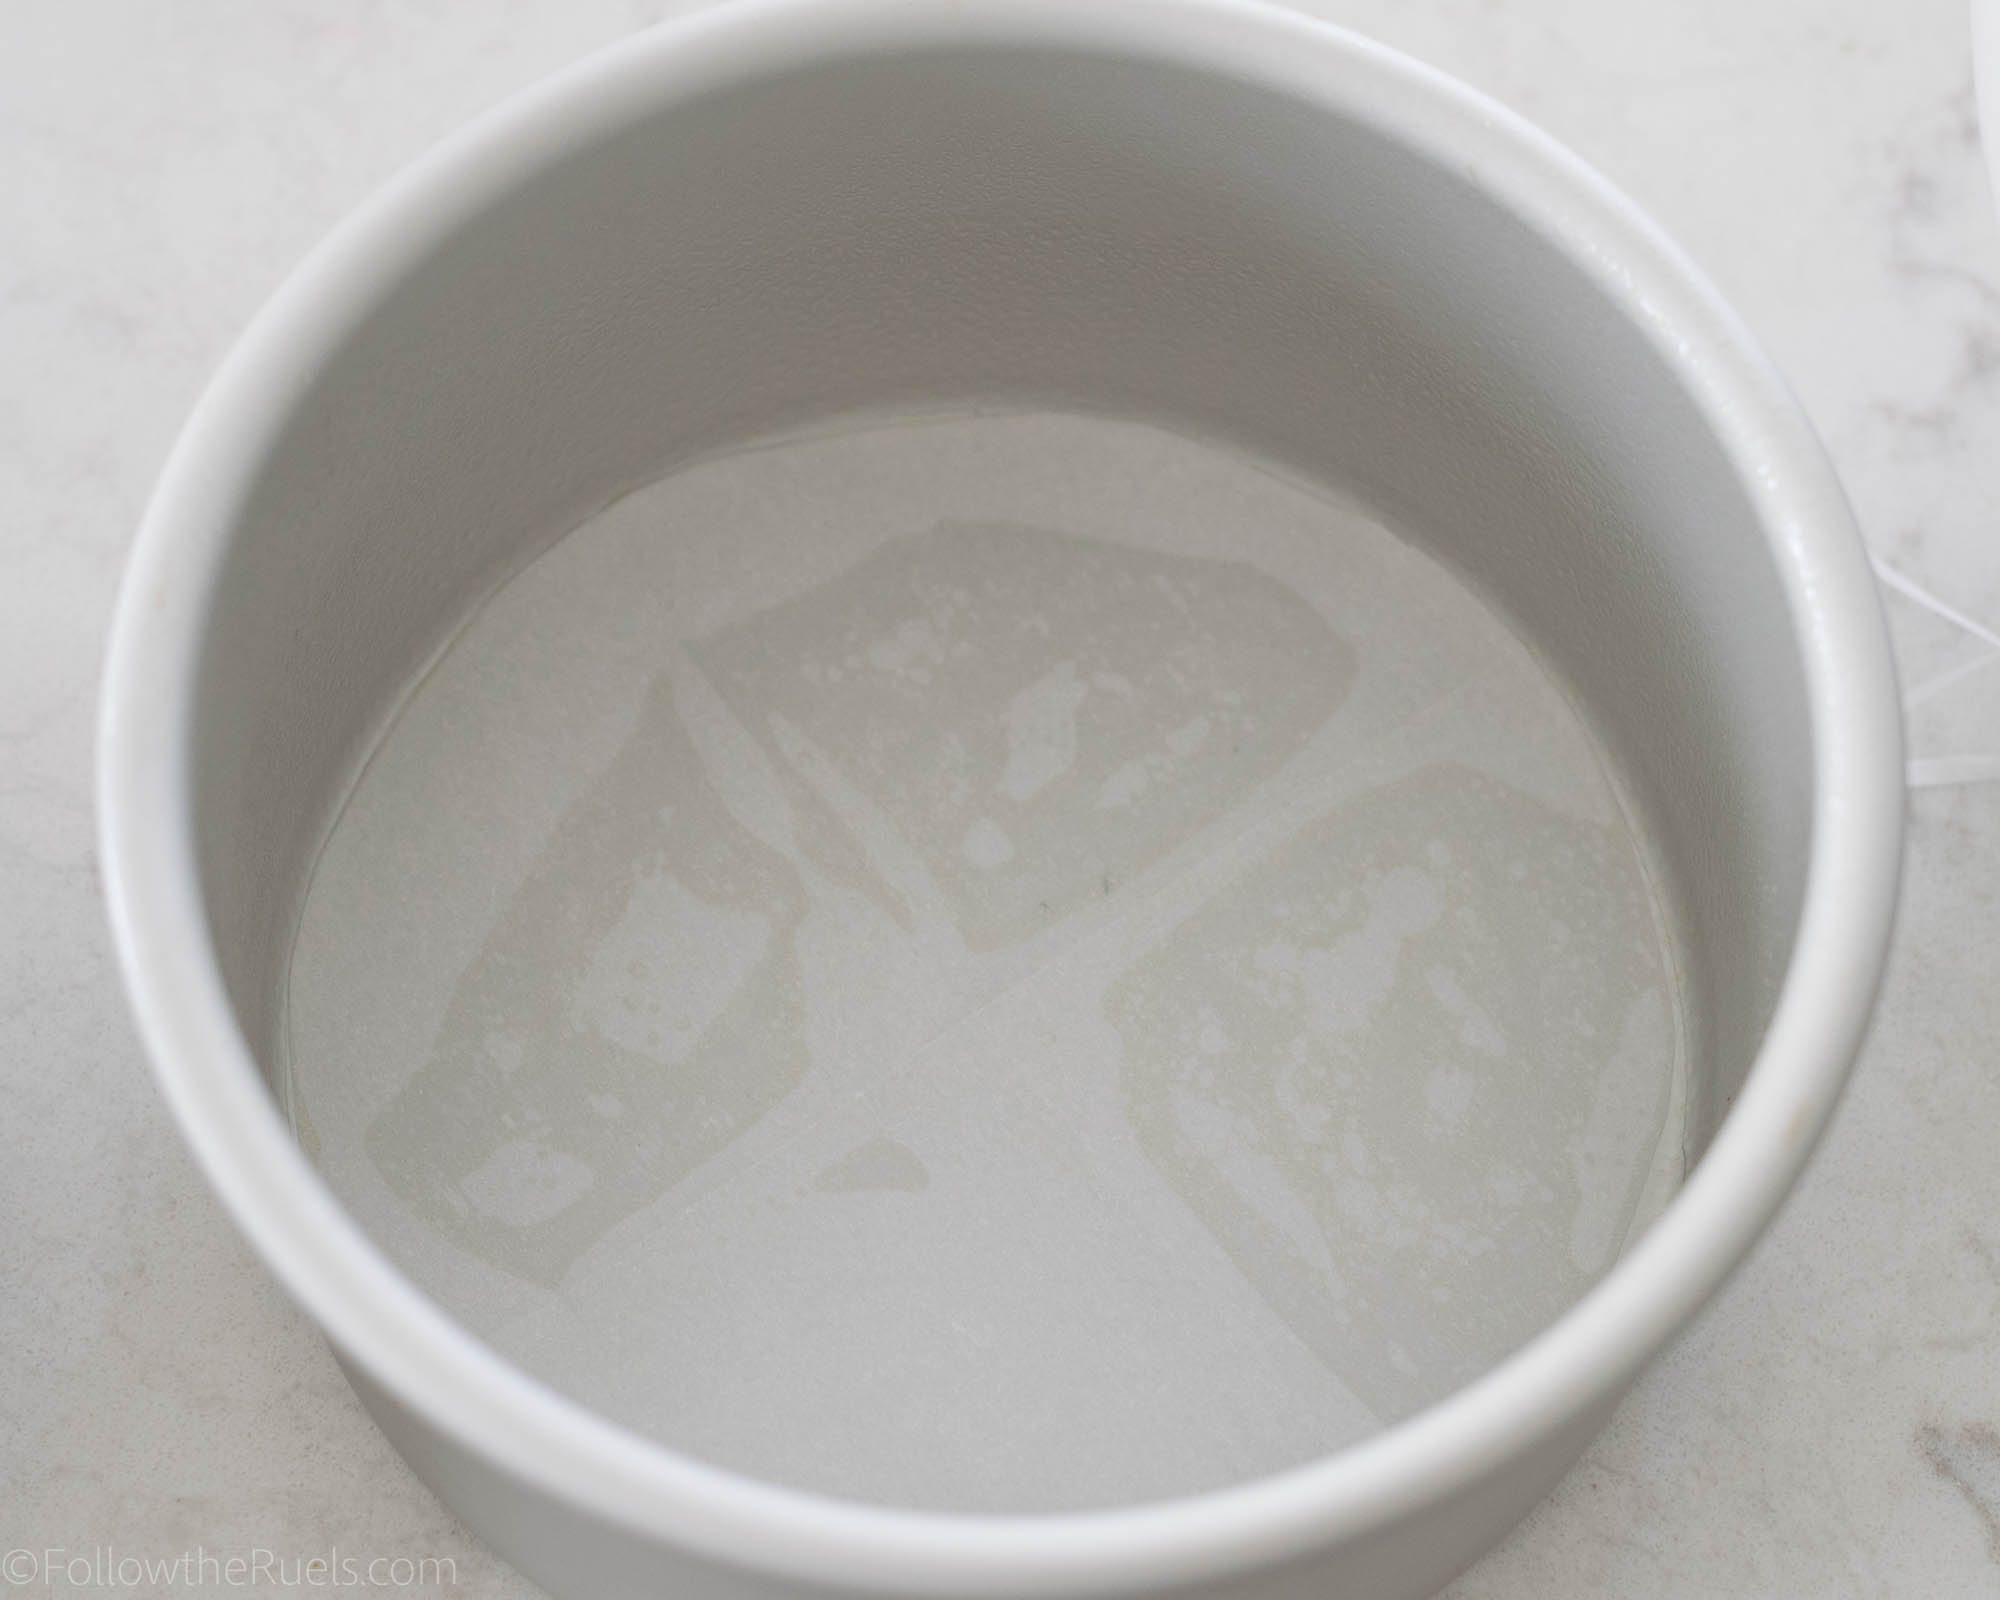
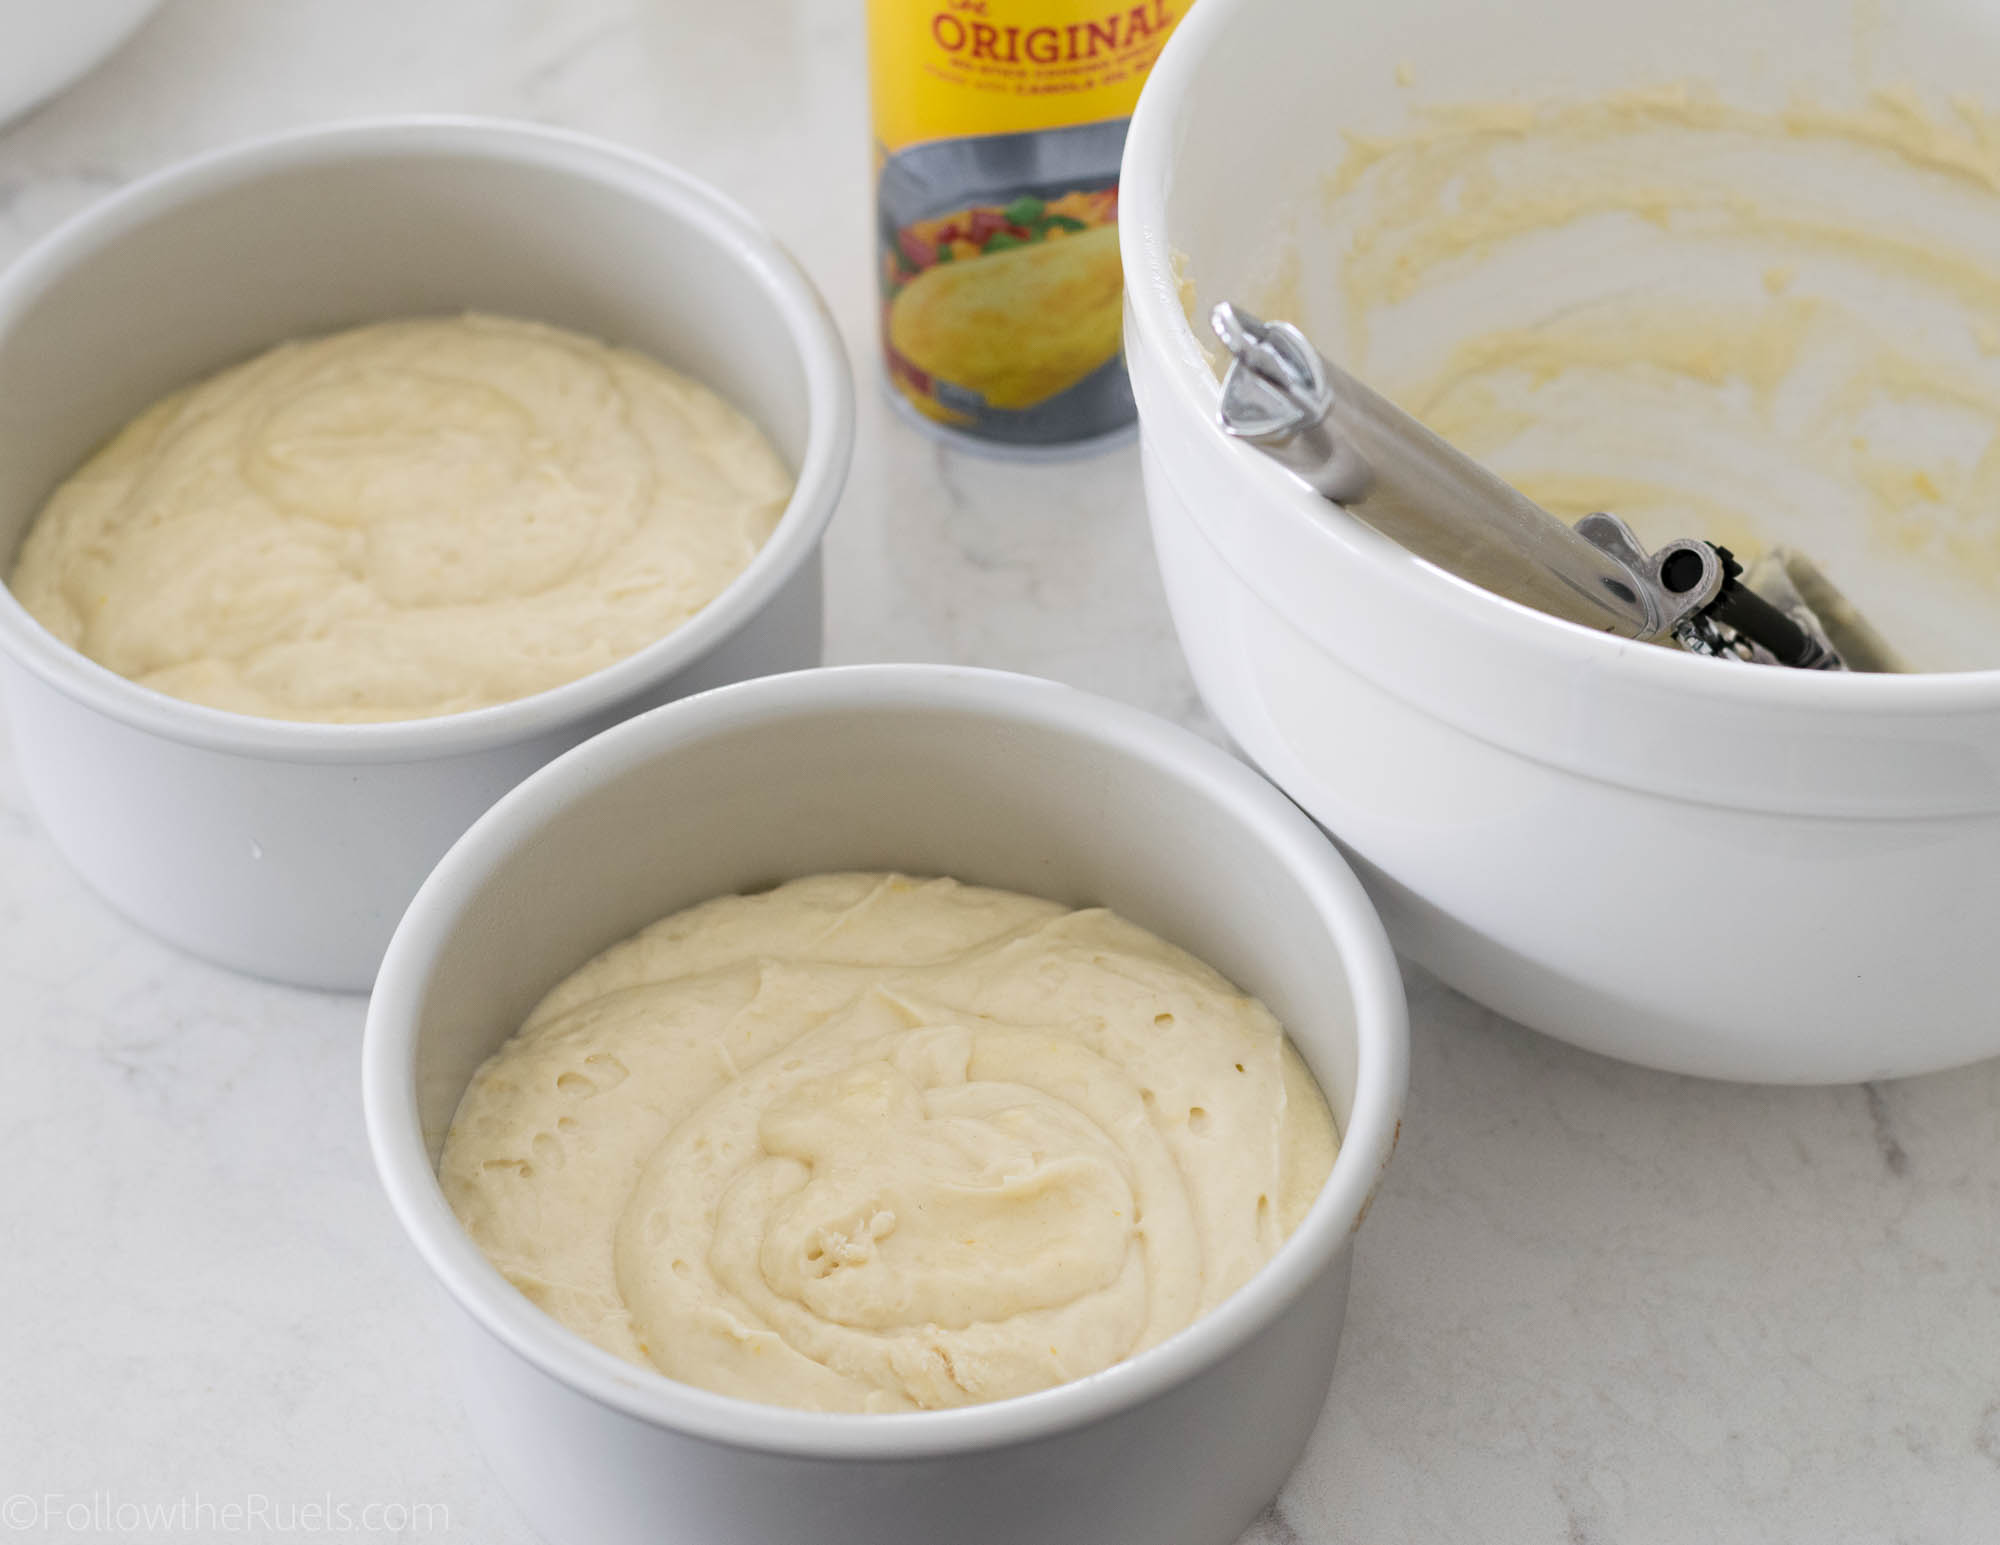
The cake is made up of two layers baked in a 6″ cake pan. For a larger cake, double the amount of batter and bake it in an 8″ or 9″ cake pan. 

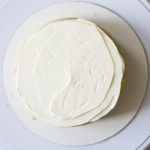
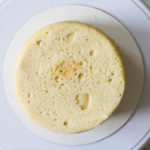
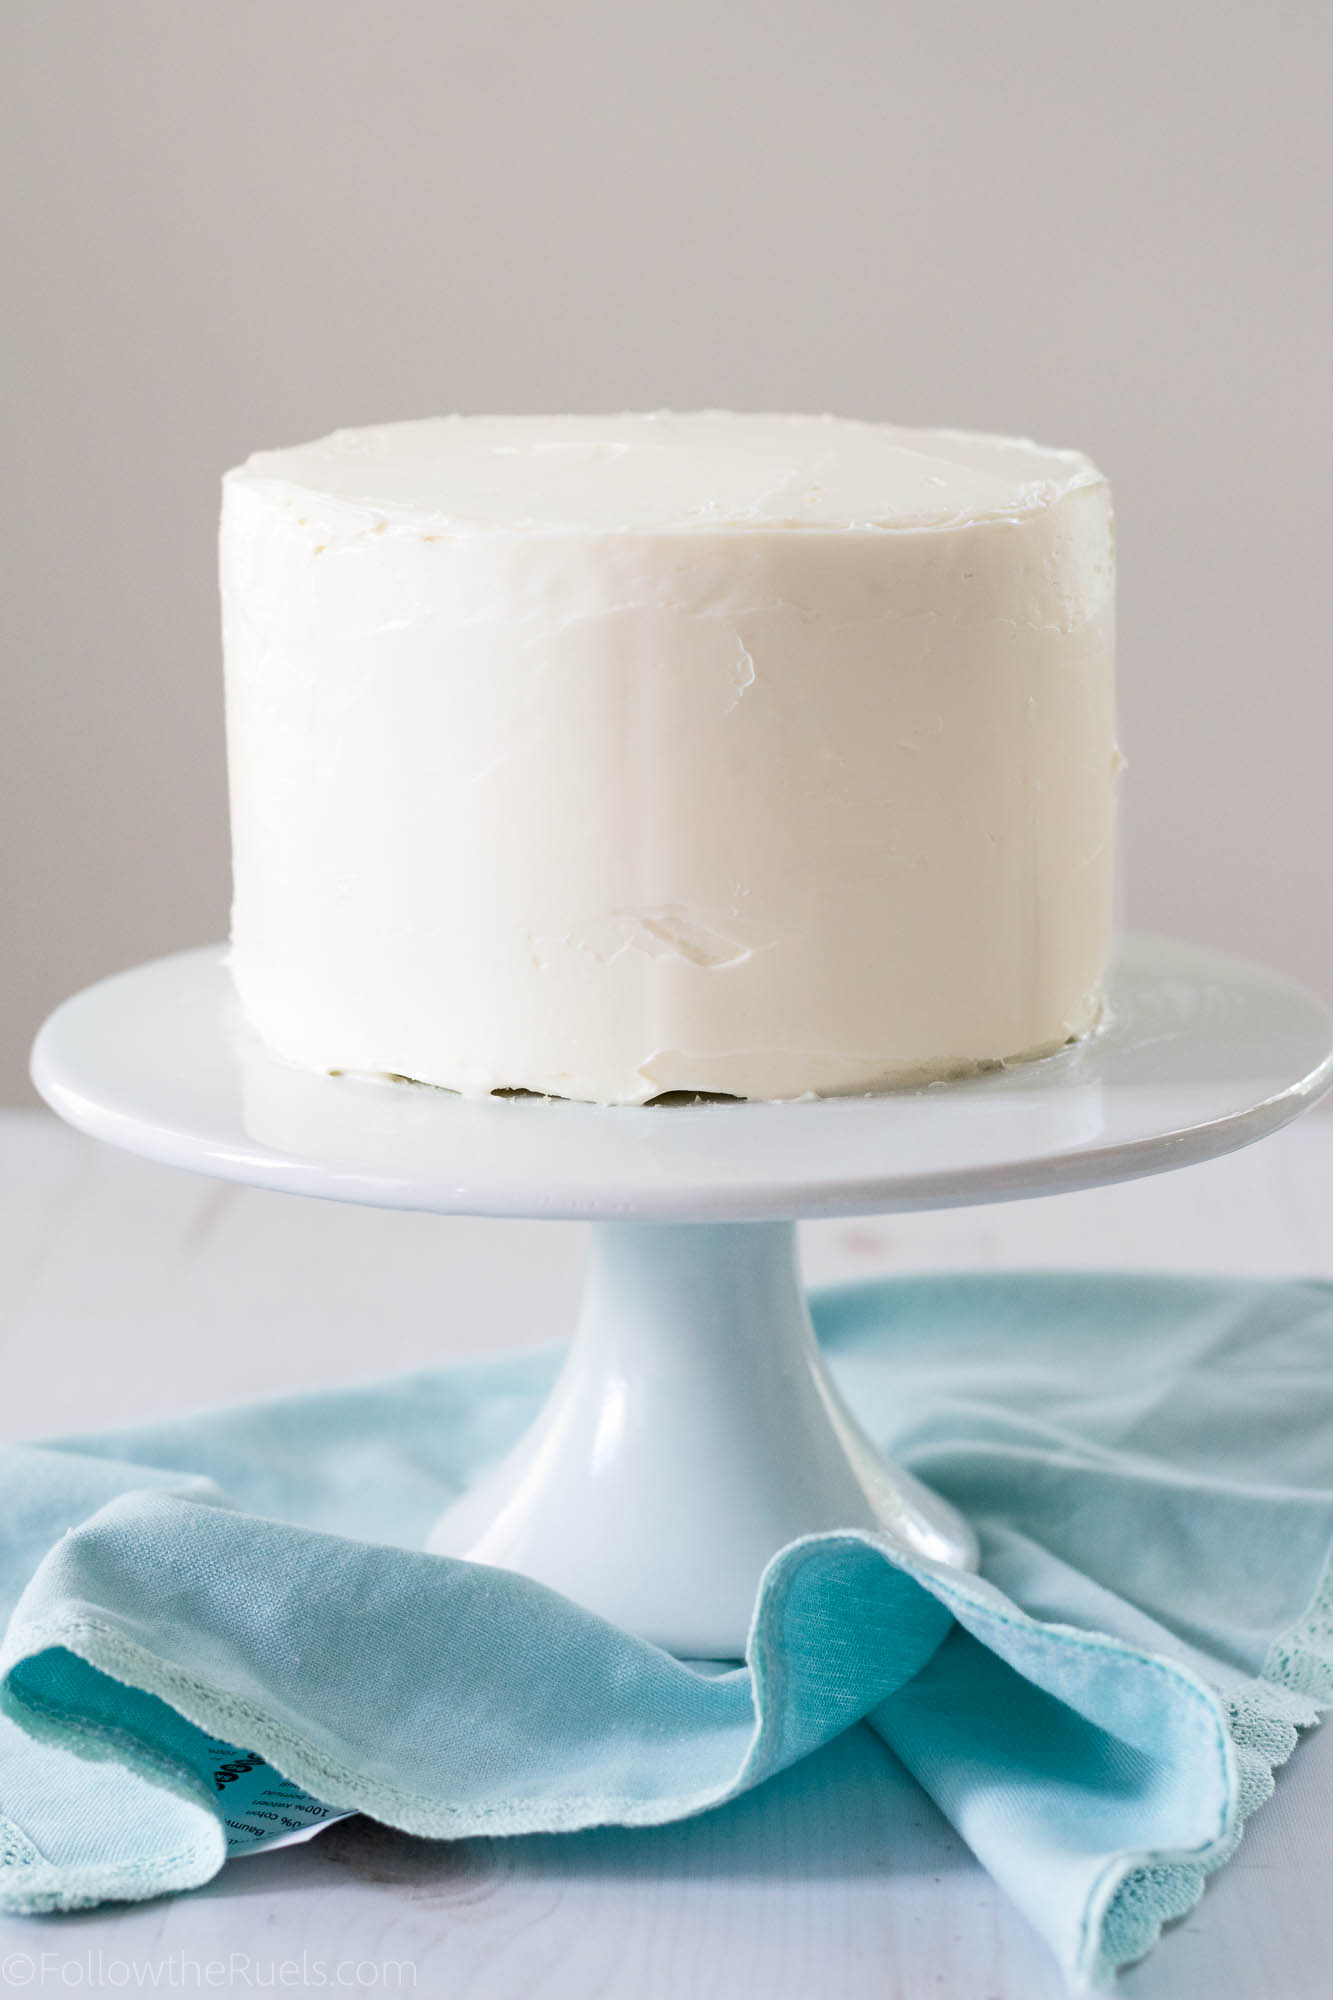
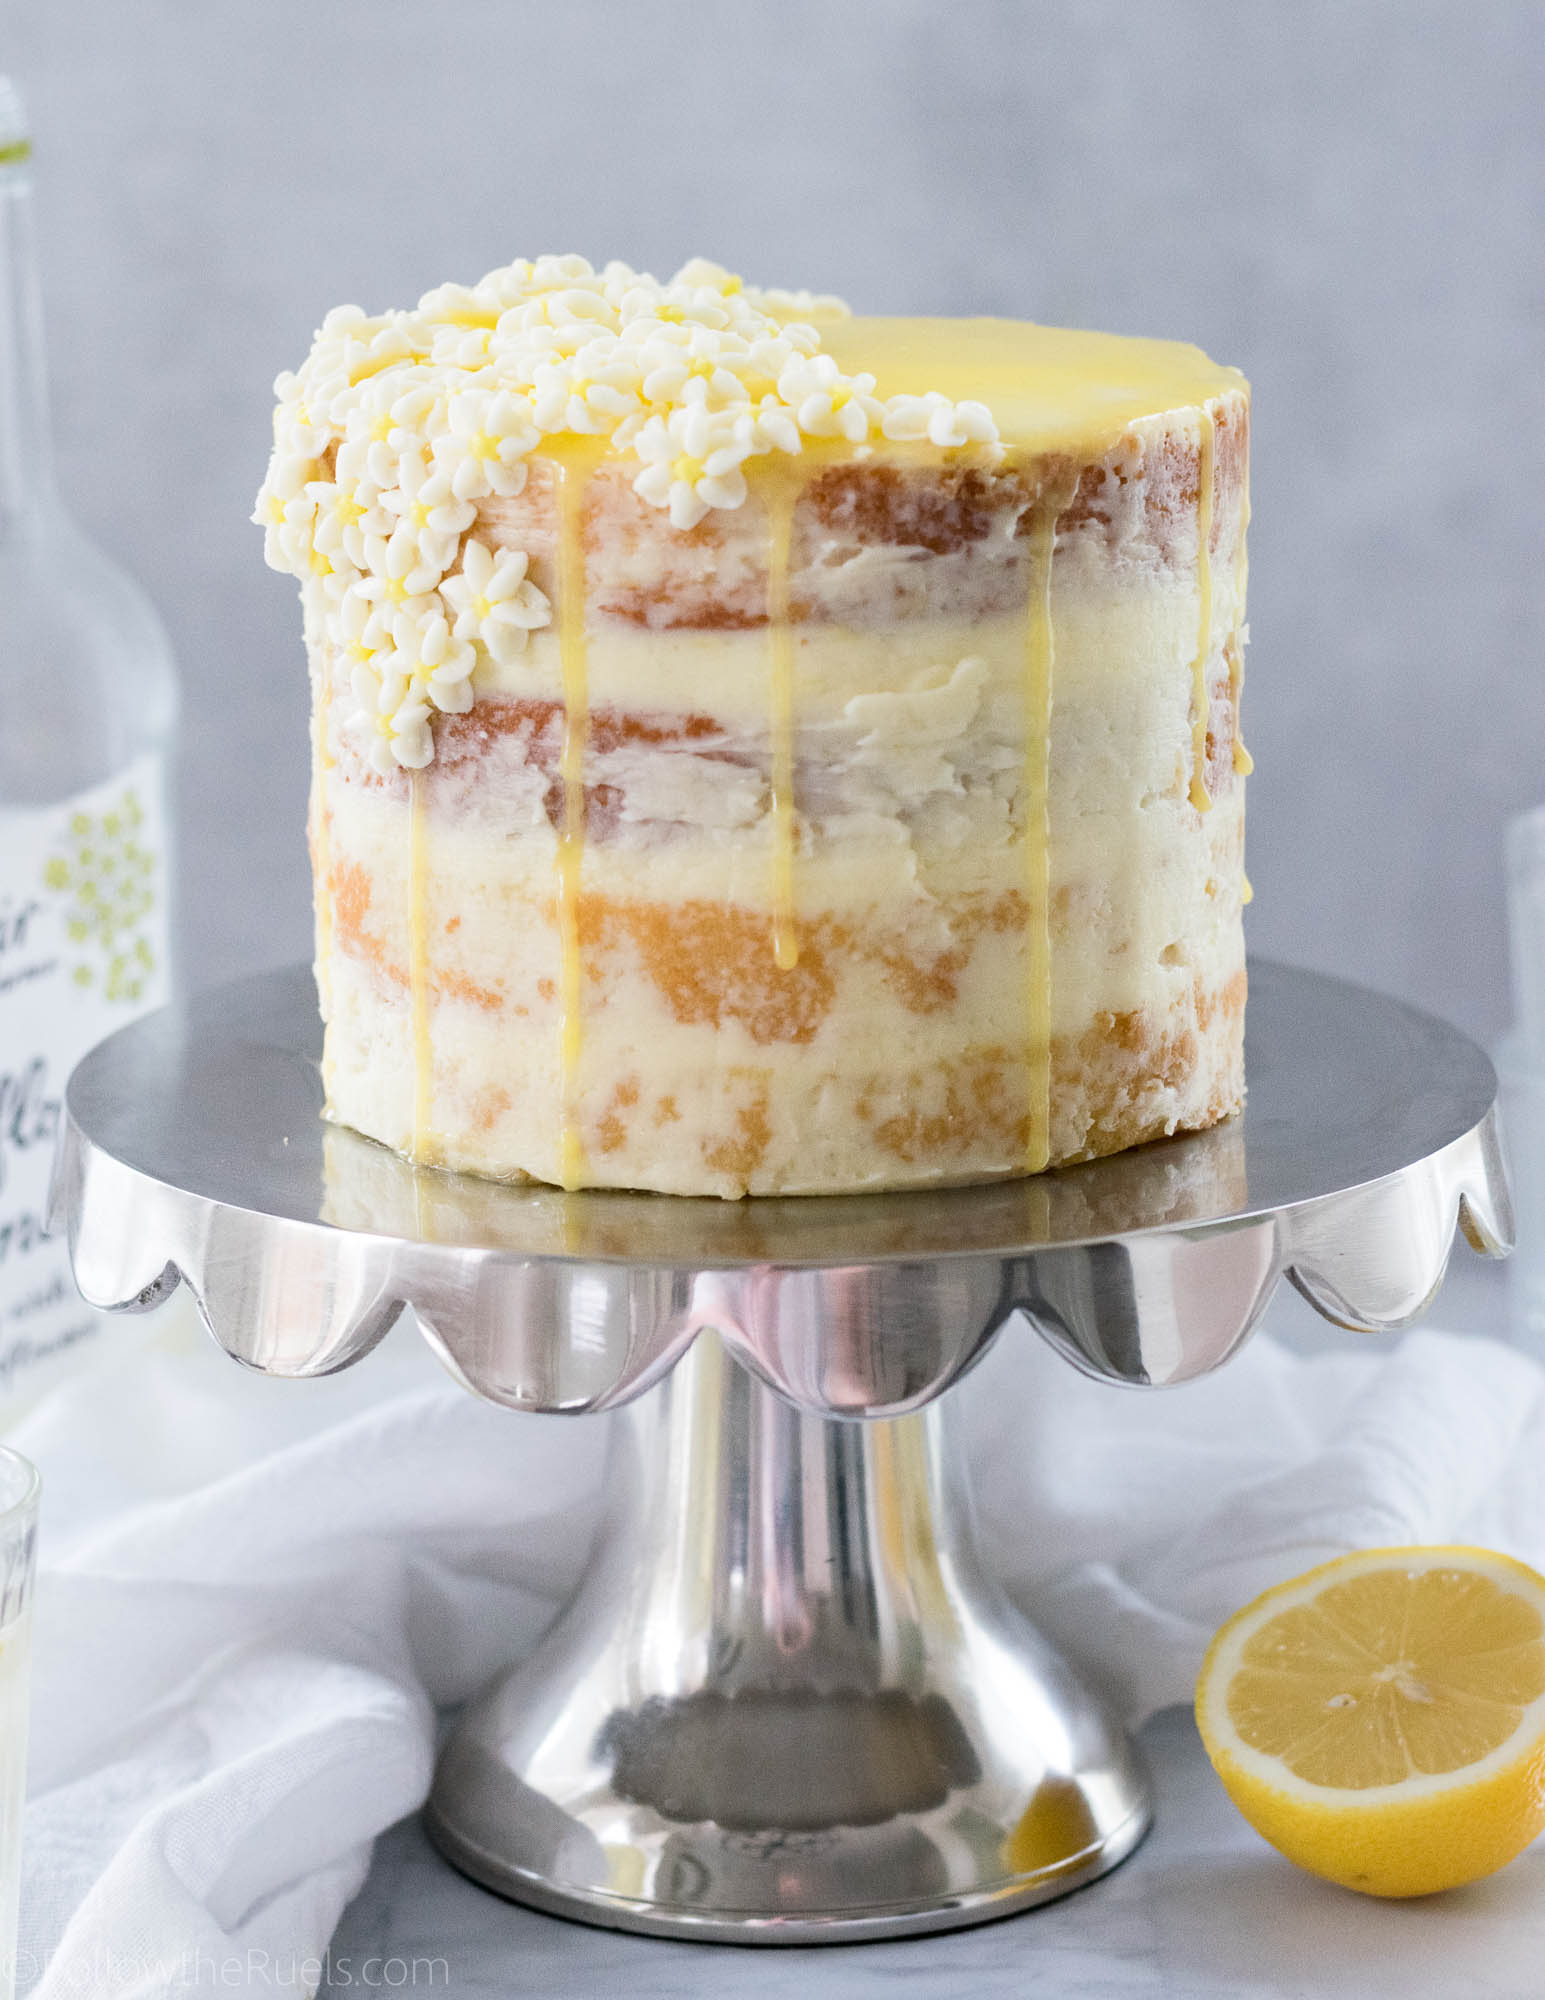
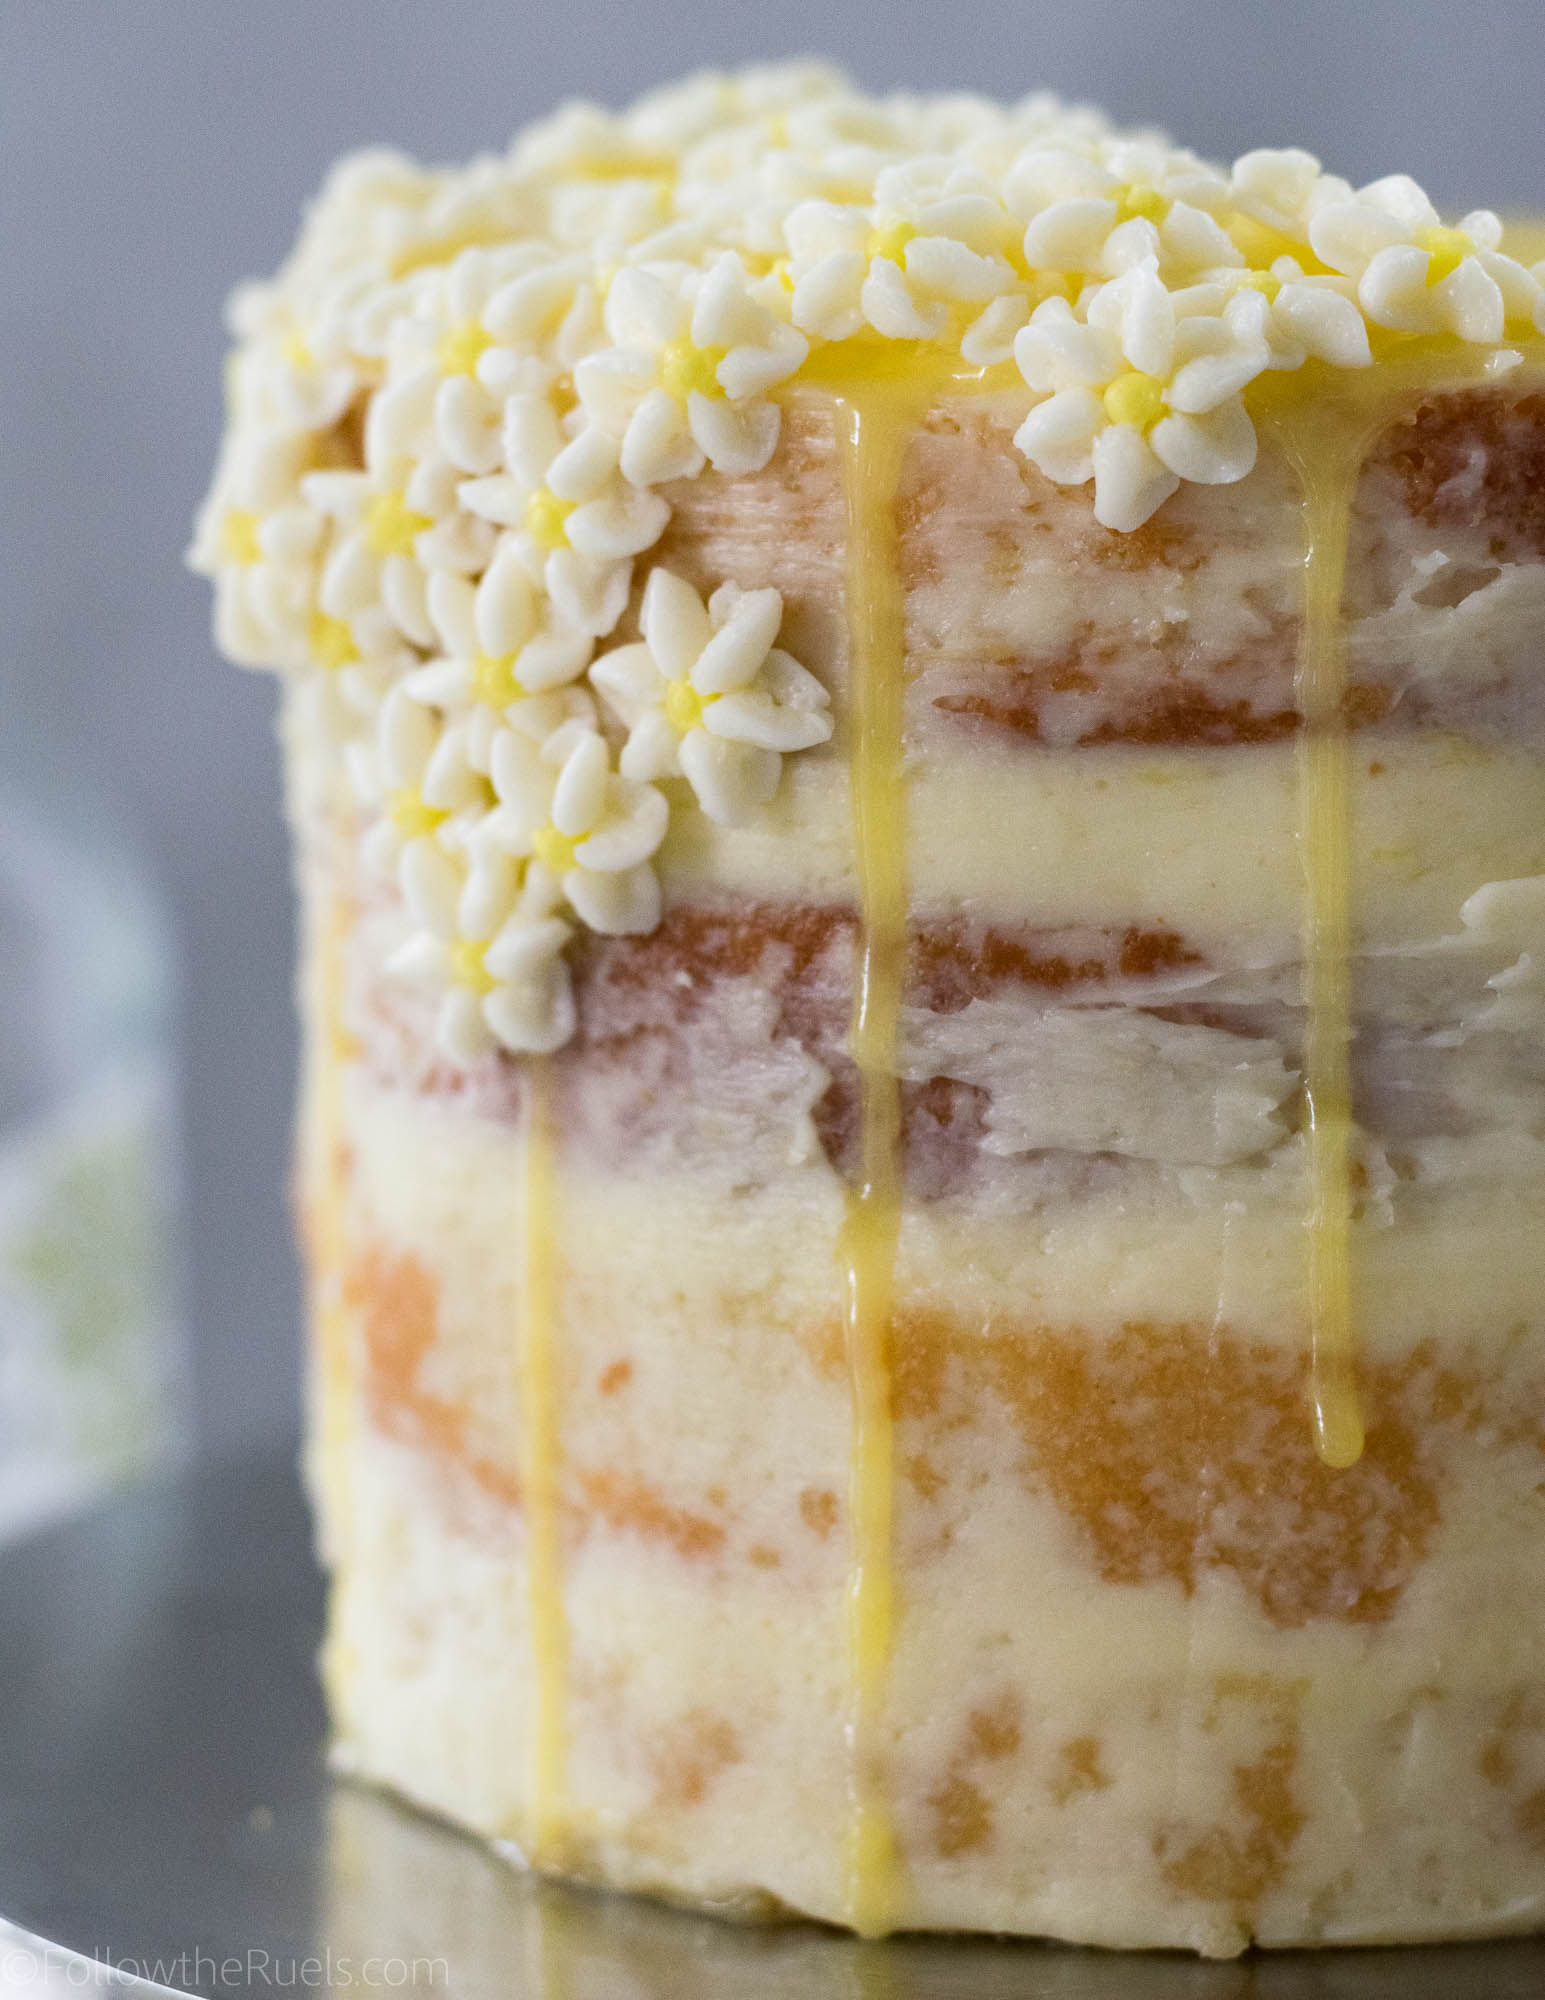
Once the cake is baked, cooled, and leveled, spread the buttercream icing over the first layer. Top with the second layer of cake and another layer of icing, this time spreading it around the entire cake to seal in the crumbs. 

Chill the cake for about 30 minutes. 

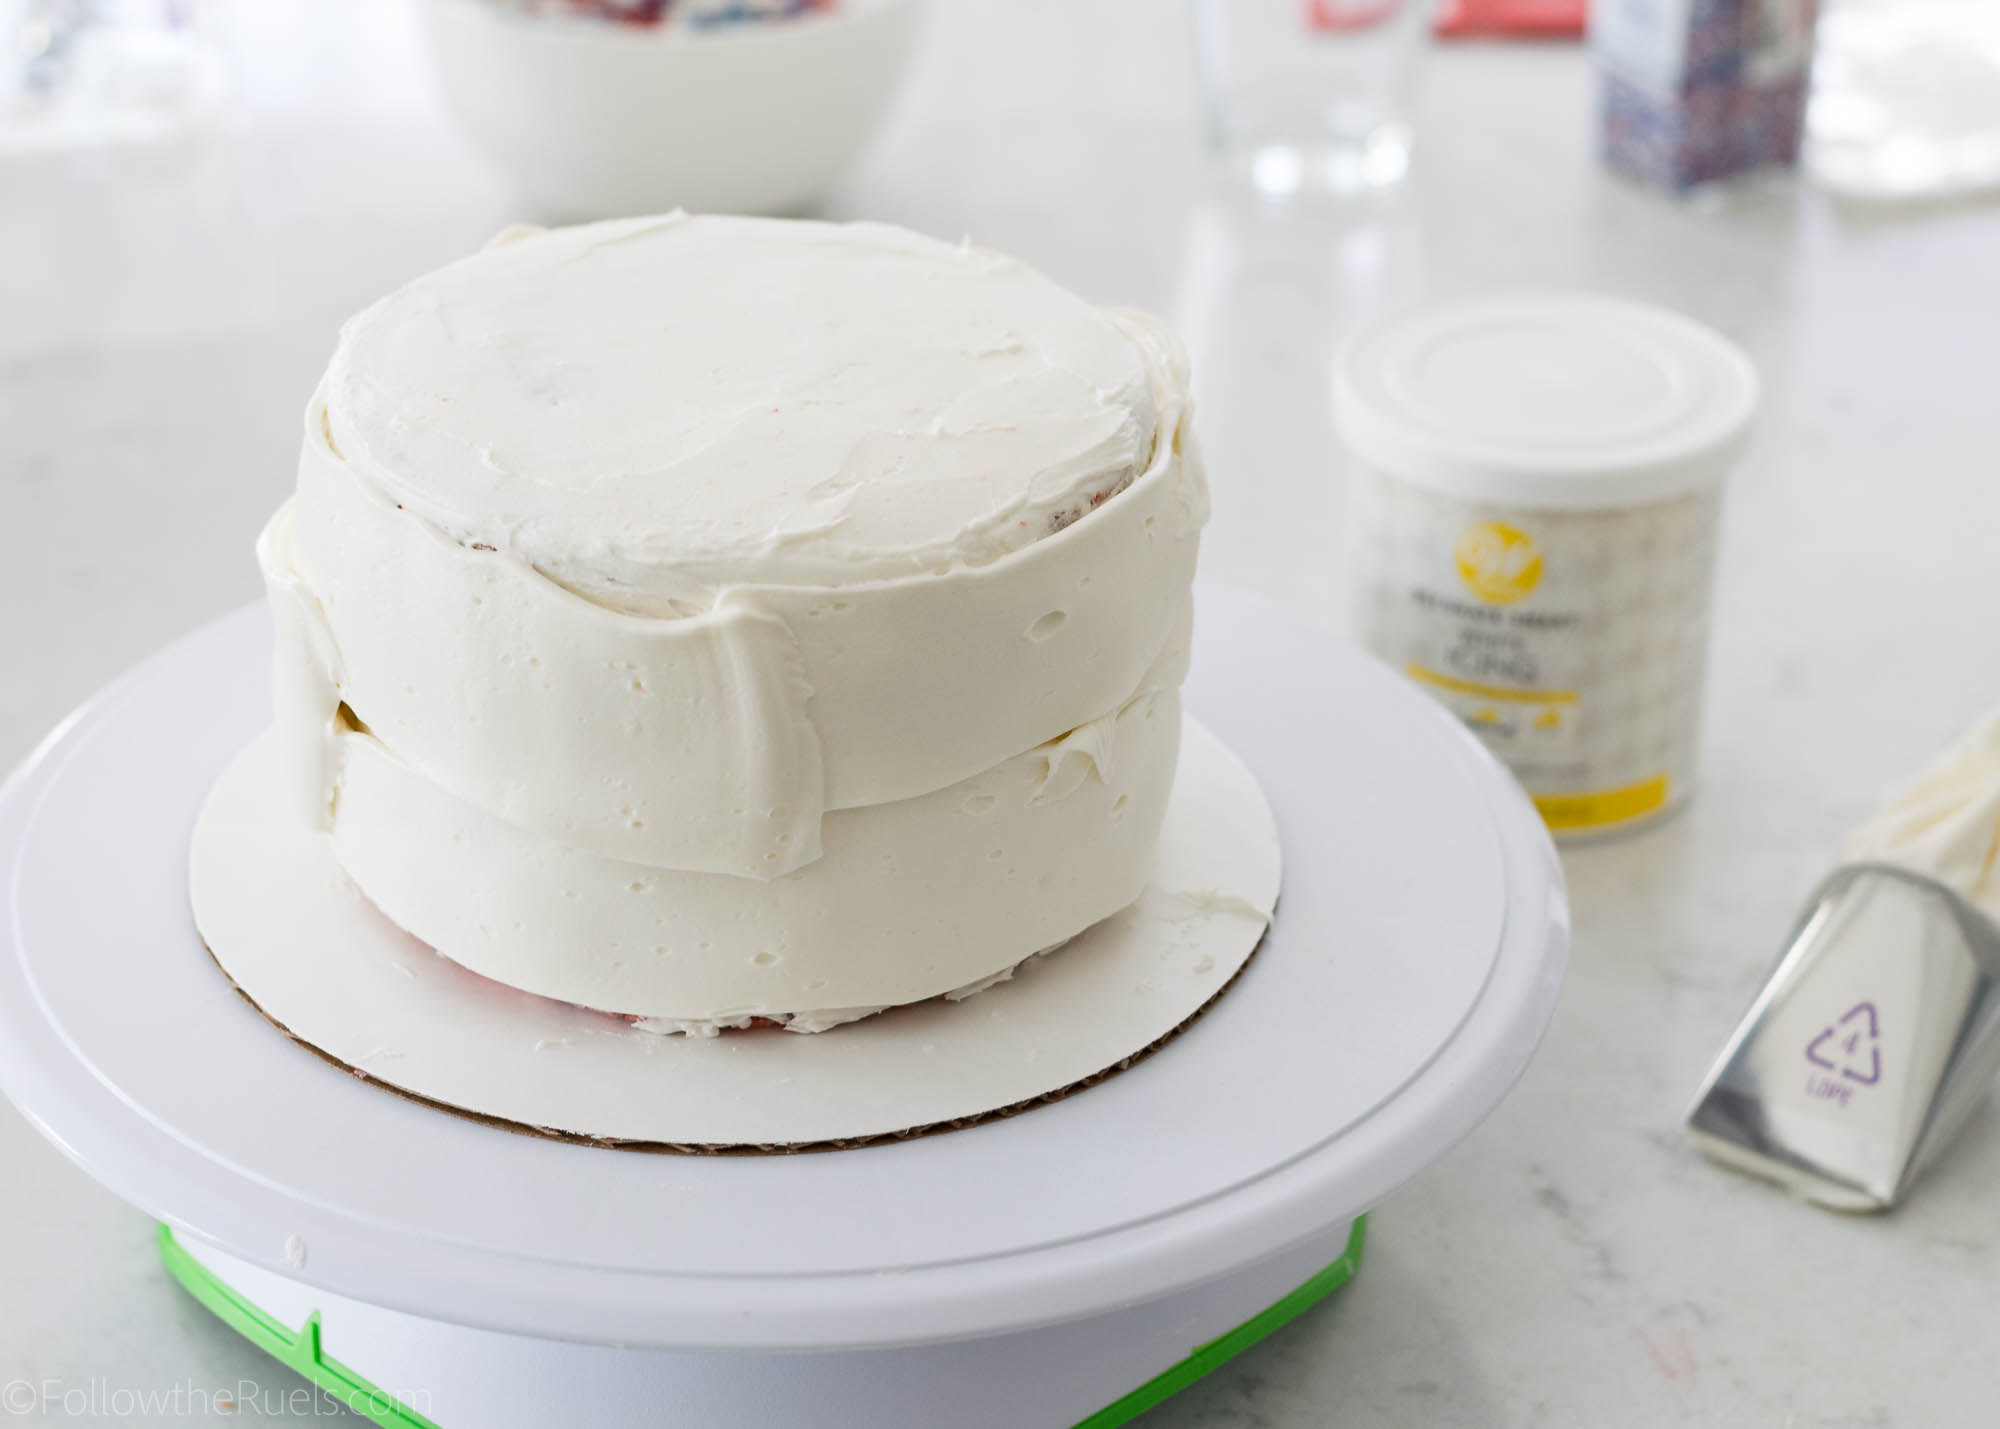
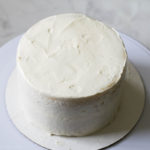
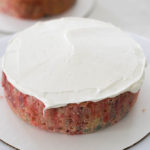
After the crumb coat has chilled, spoon the buttercream into a large piping bag fitted with the specialty tip 789. Pipe the buttercream around the sides of the cake so that there is a nice thick layer of icing. 

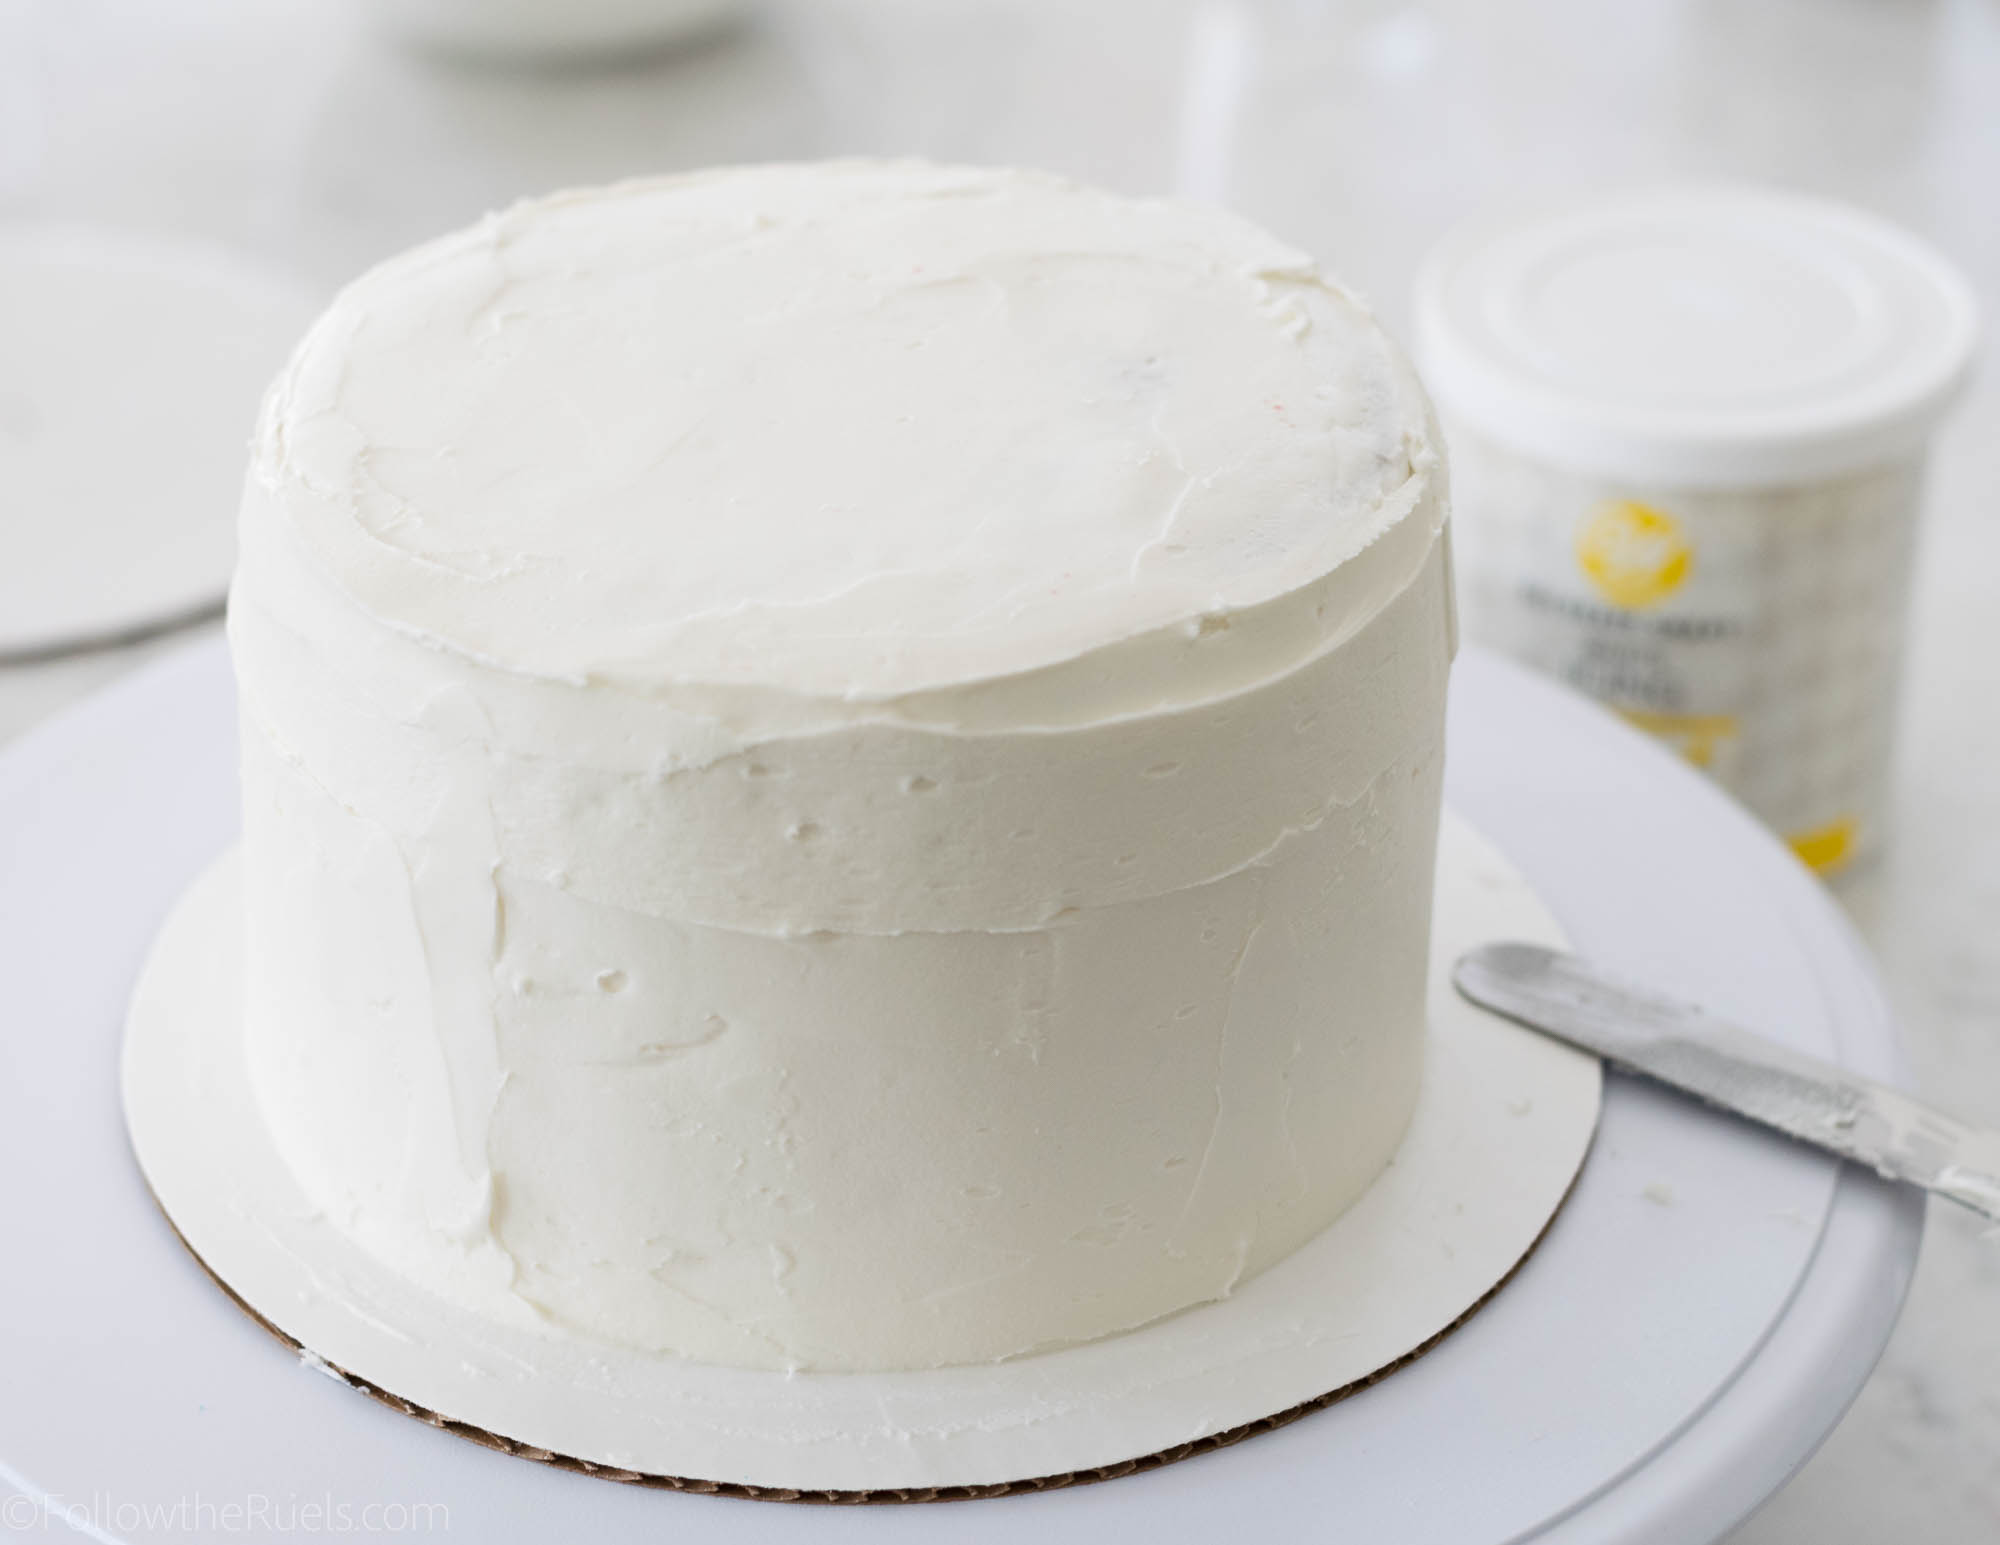
Use the off-set spatula to spread the icing around the cake. It doesn’t have to be pretty, because the sides will be covered with sprinkles. 

How to Decorate It

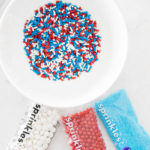
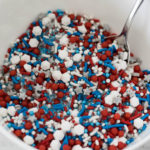
Speaking of sprinkles, mix together all the red, white, and blue sprinkles you can get your hands on. I like mixing together jimmies with some larger round sprinkles and sanding sugars. I also through in a few novelty sprinkles. 

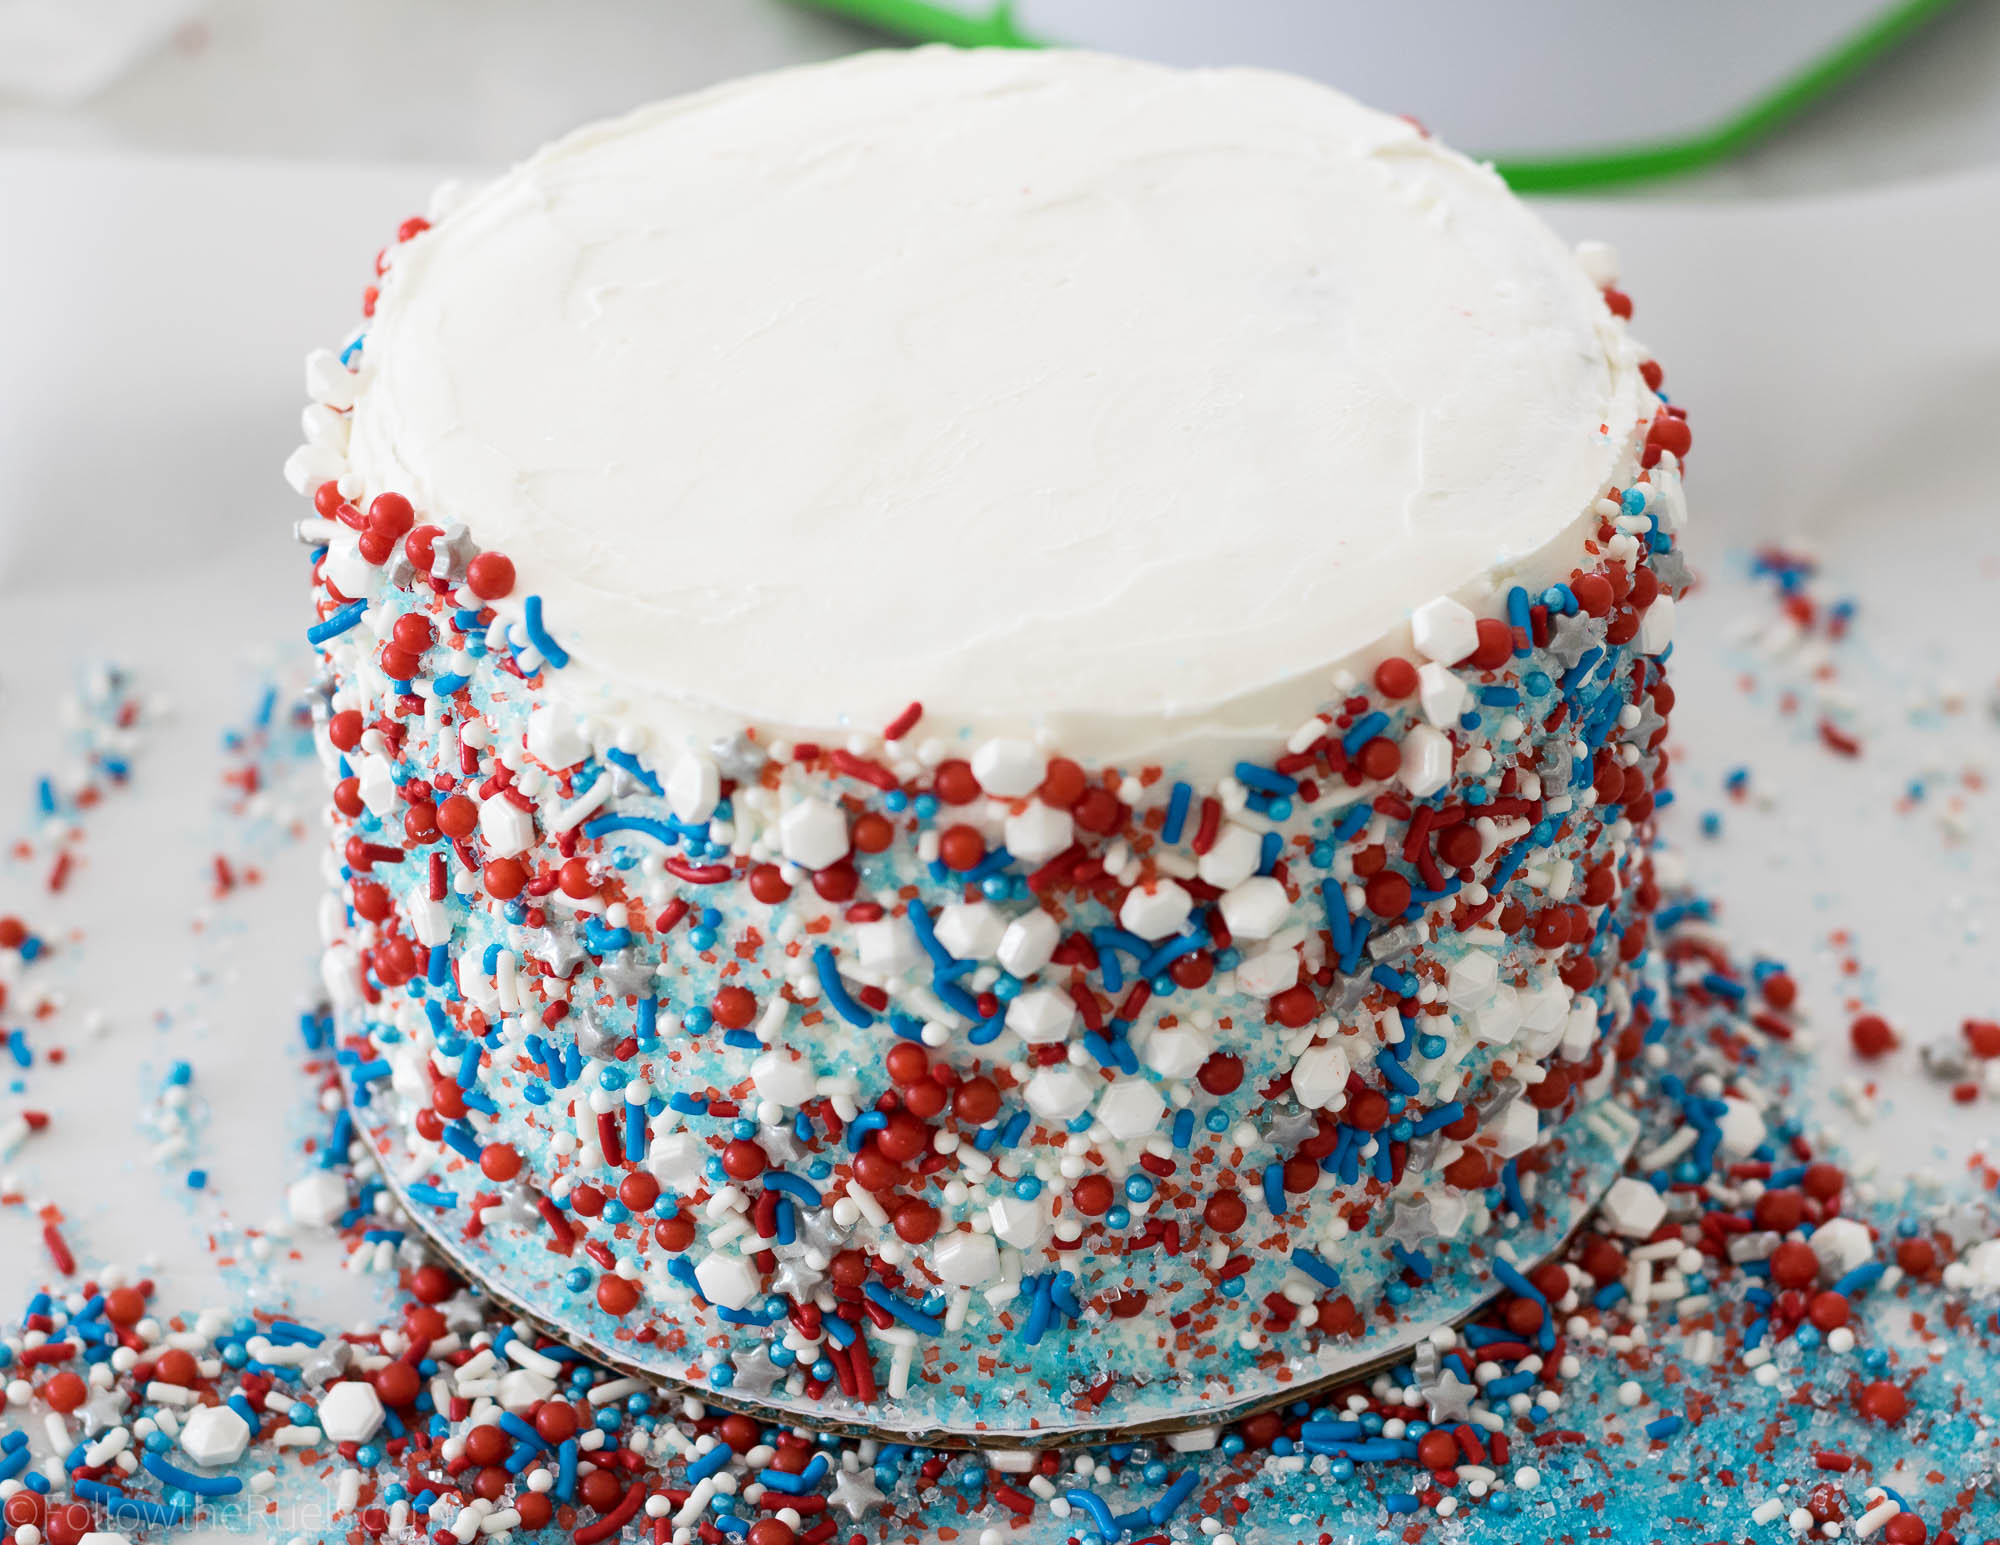
To cover the sides of the cake, place the cake in the center of a baking sheet covered with parchment. Pat the sprinkles all around the sides of the cake. Reuse any extra sprinkles that have fallen away.

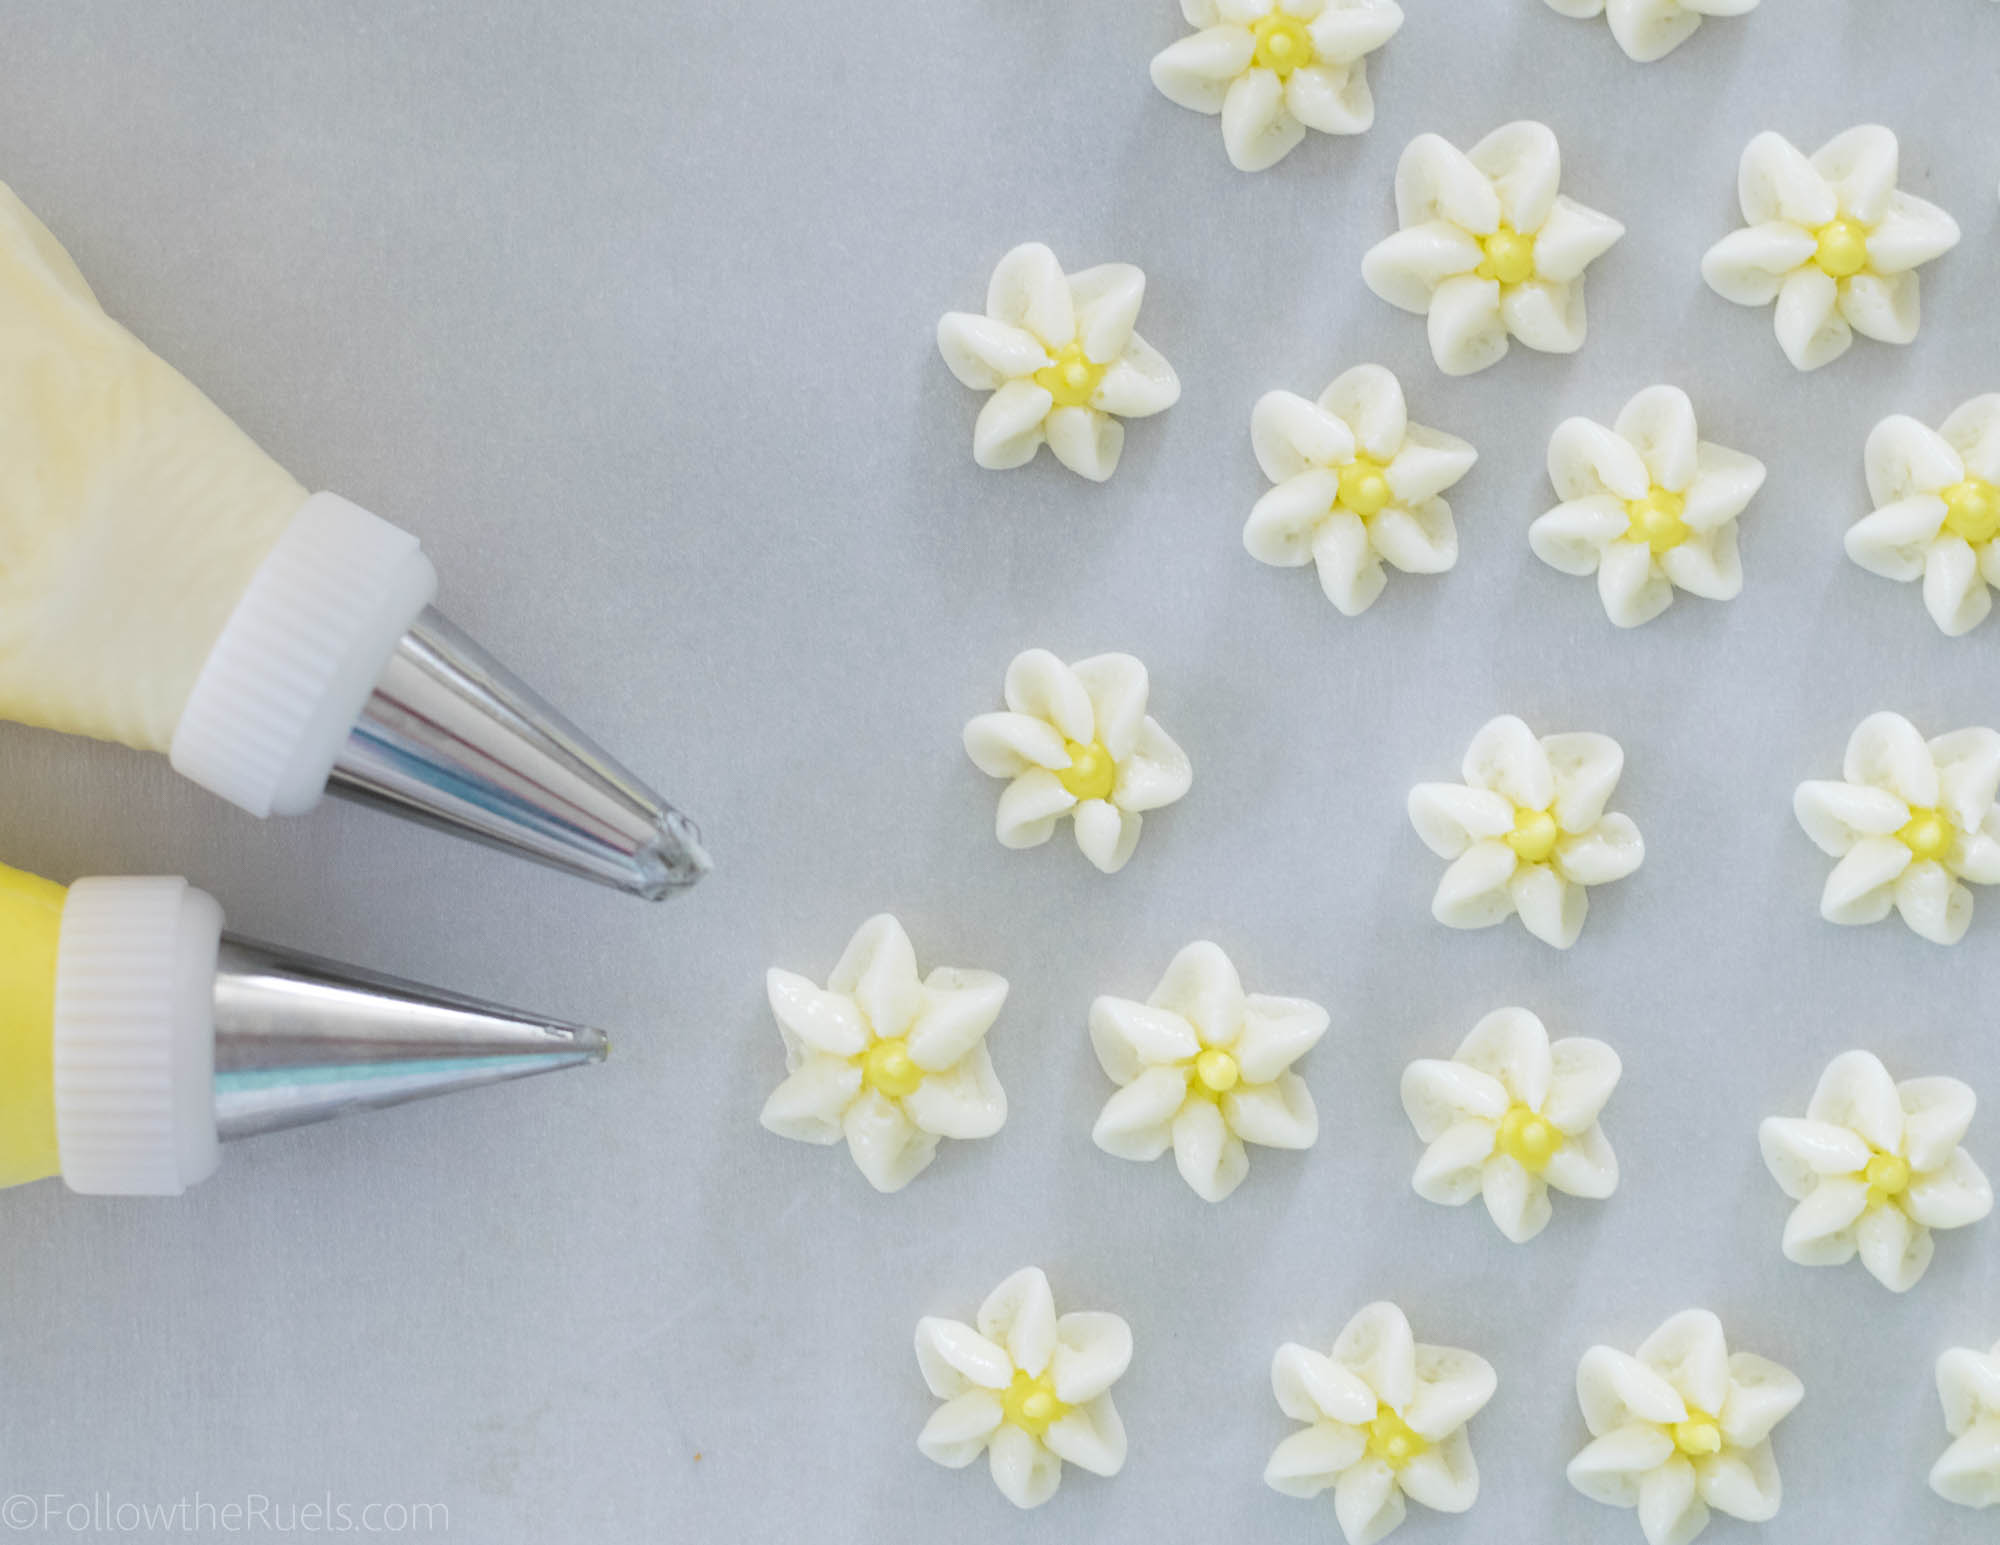
Finally, prepare the piping bags to decorate the top of the cake. 

For the larger piping tips (2D and 1M) mix together red, white, and blue icing by spreading lines of icing on a sheet of plastic wrap. Roll the plastic wrap into a tube, then feed the tube into the piping bag with the piping tip inside. You made need to cut off any excess plastic wrap so the icing flows through.

Then prepare three other piping bags, all fitted with a coupler and a smaller piping tip. Fill each one with a different color. 


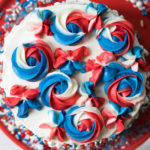
Start by piping the larger stars and rosettes first. Then fill in with the smaller decorations. Don’t be afraid to layer them on top of one another. Also feel free to change out the piping tips using the couplers to get lots of various shapes. 

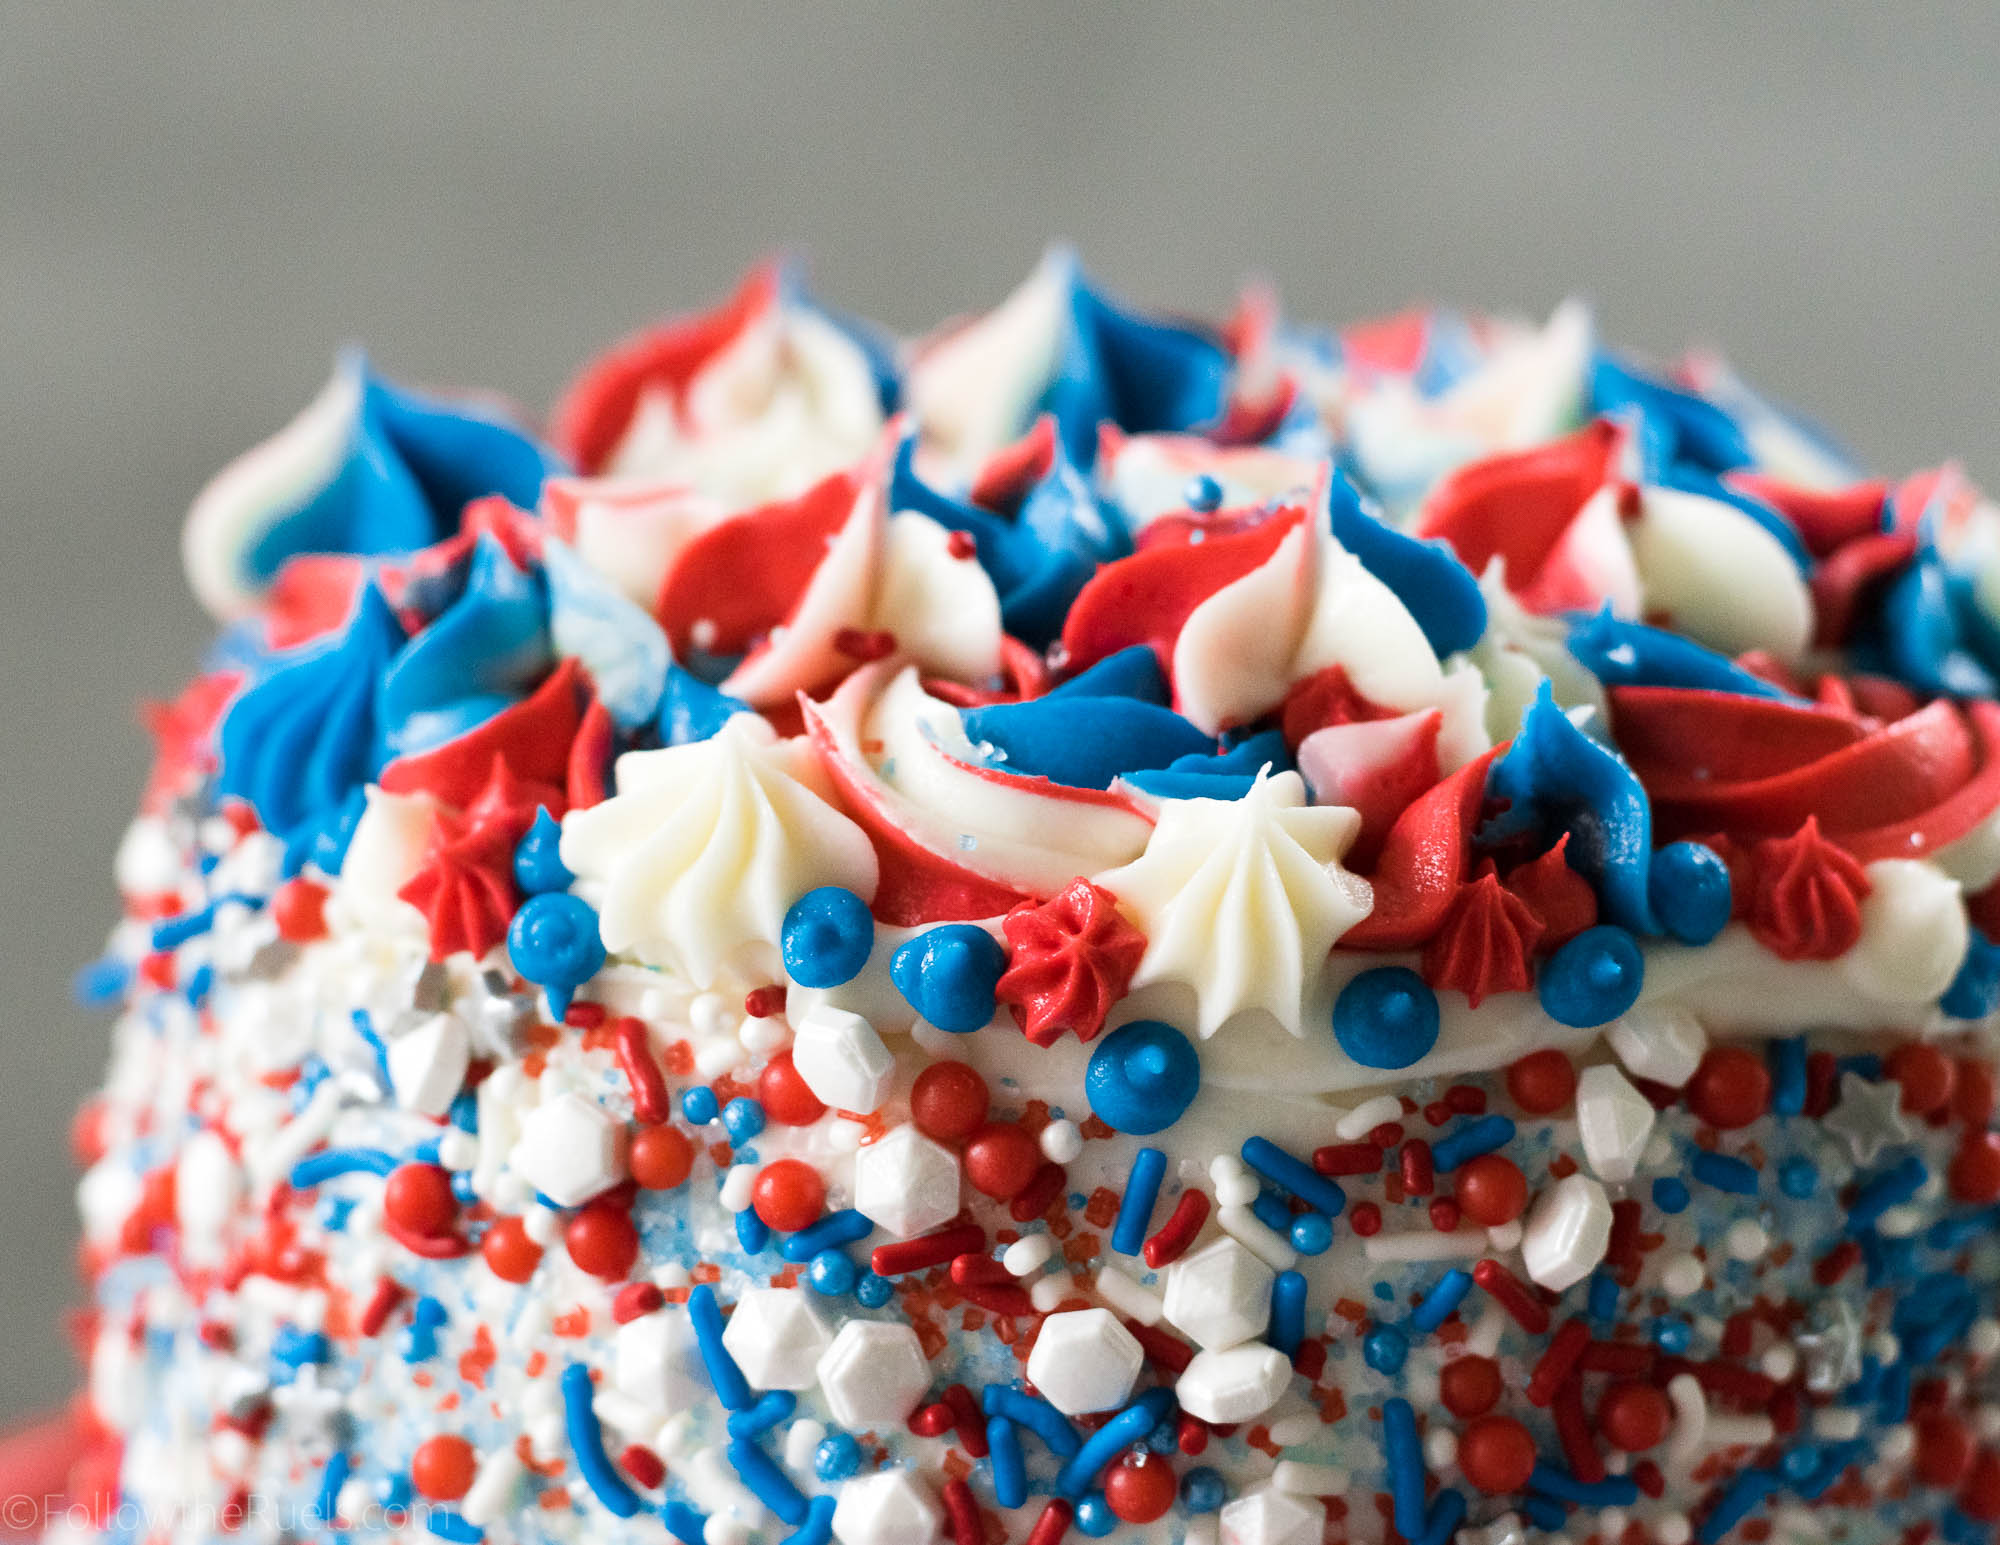
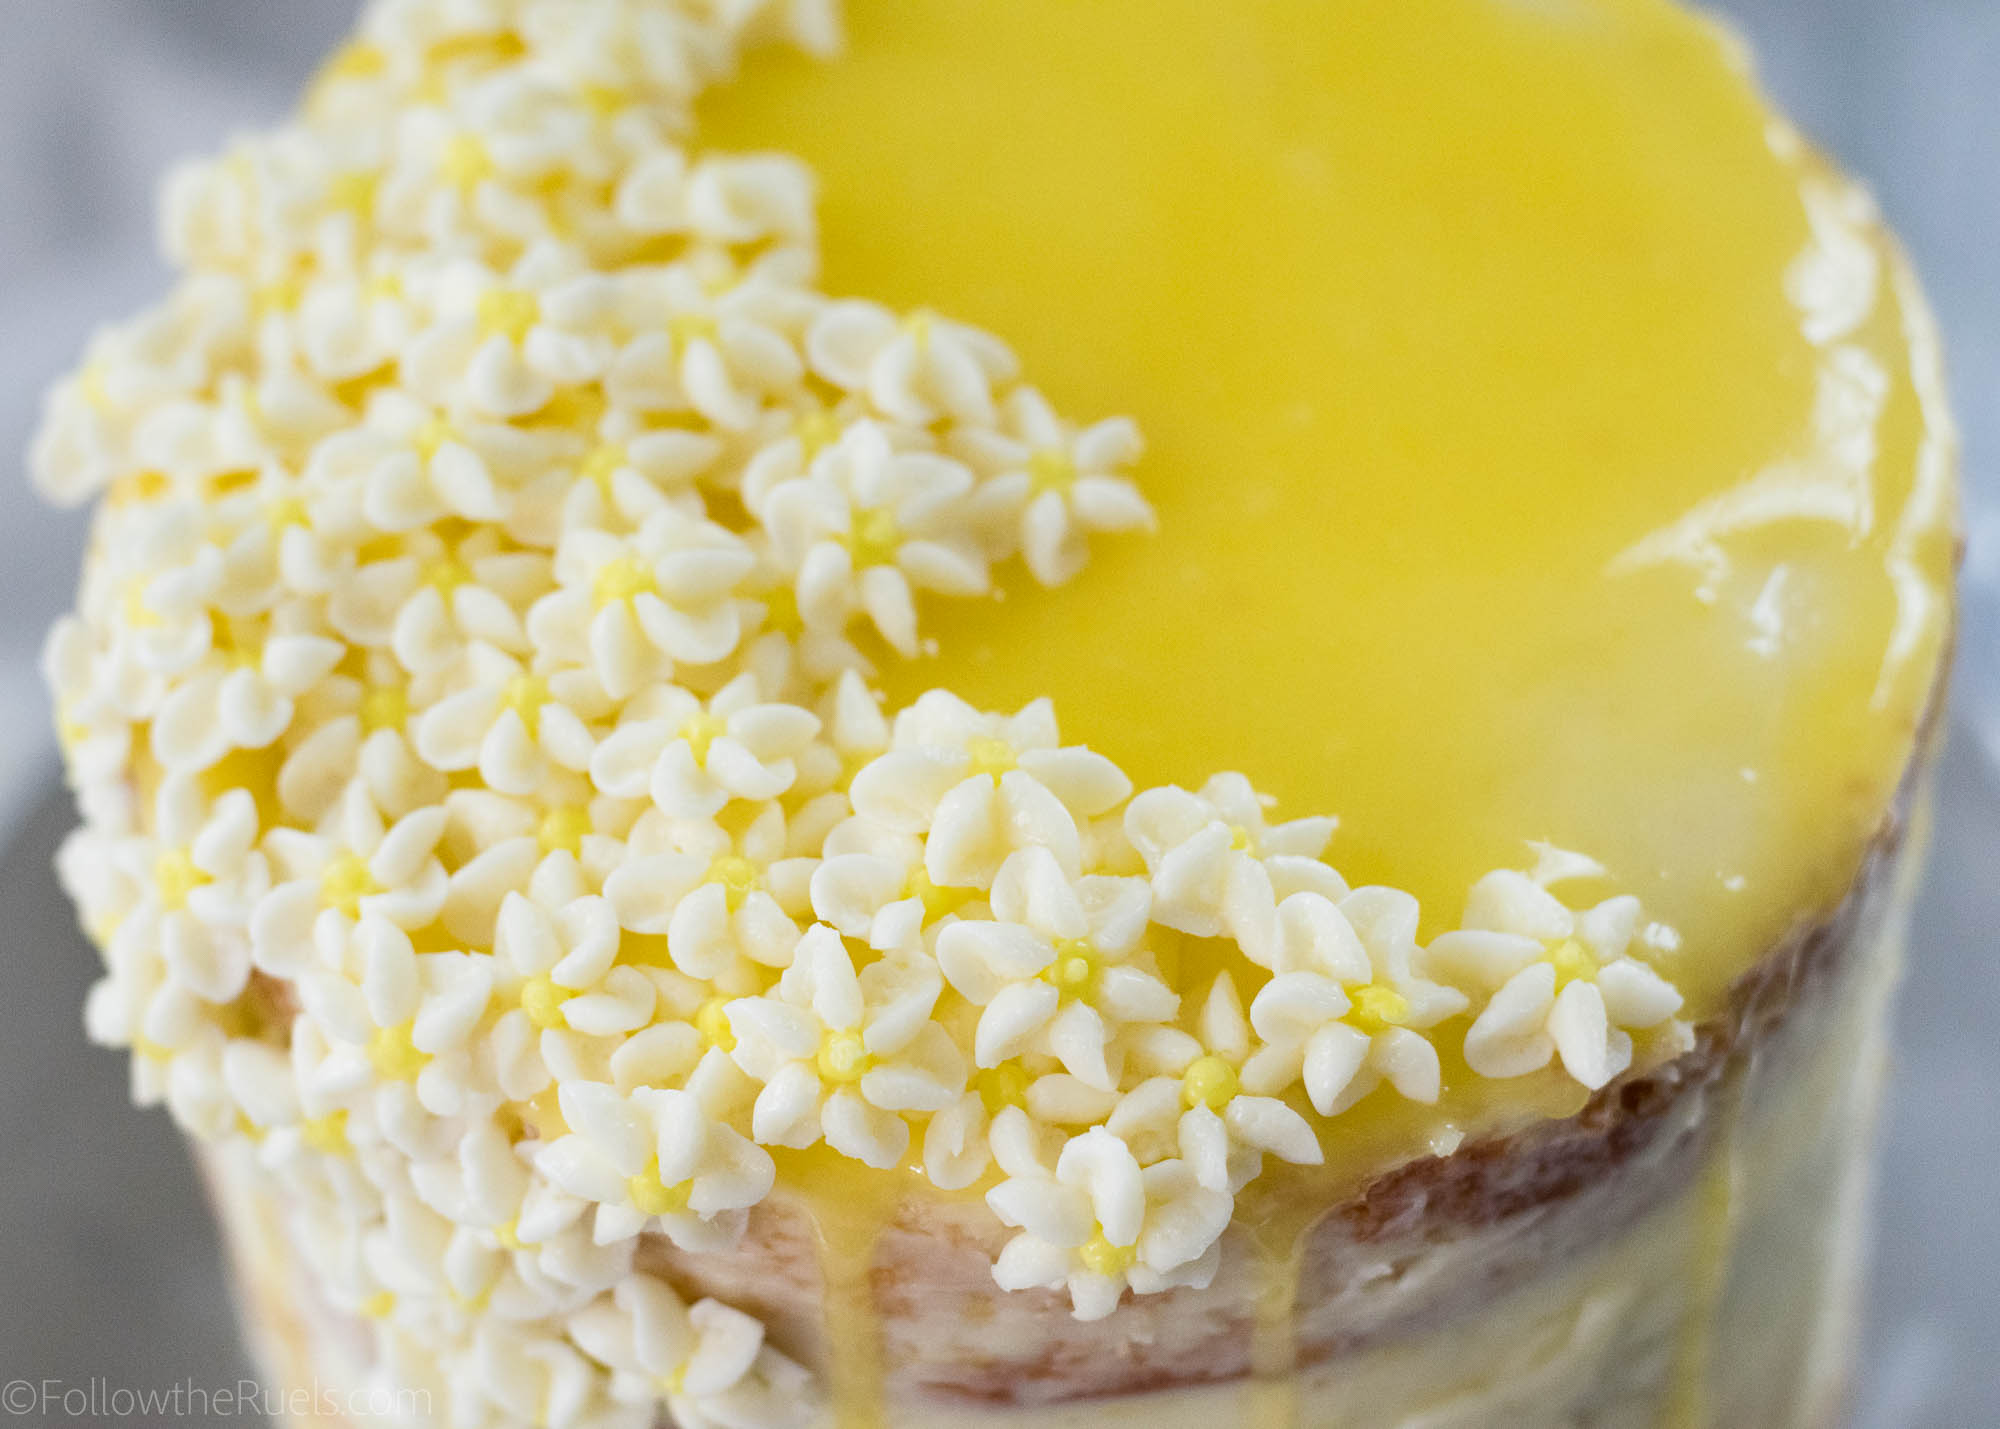
Once you are done, sprinkle a few sprinkles right on top. 

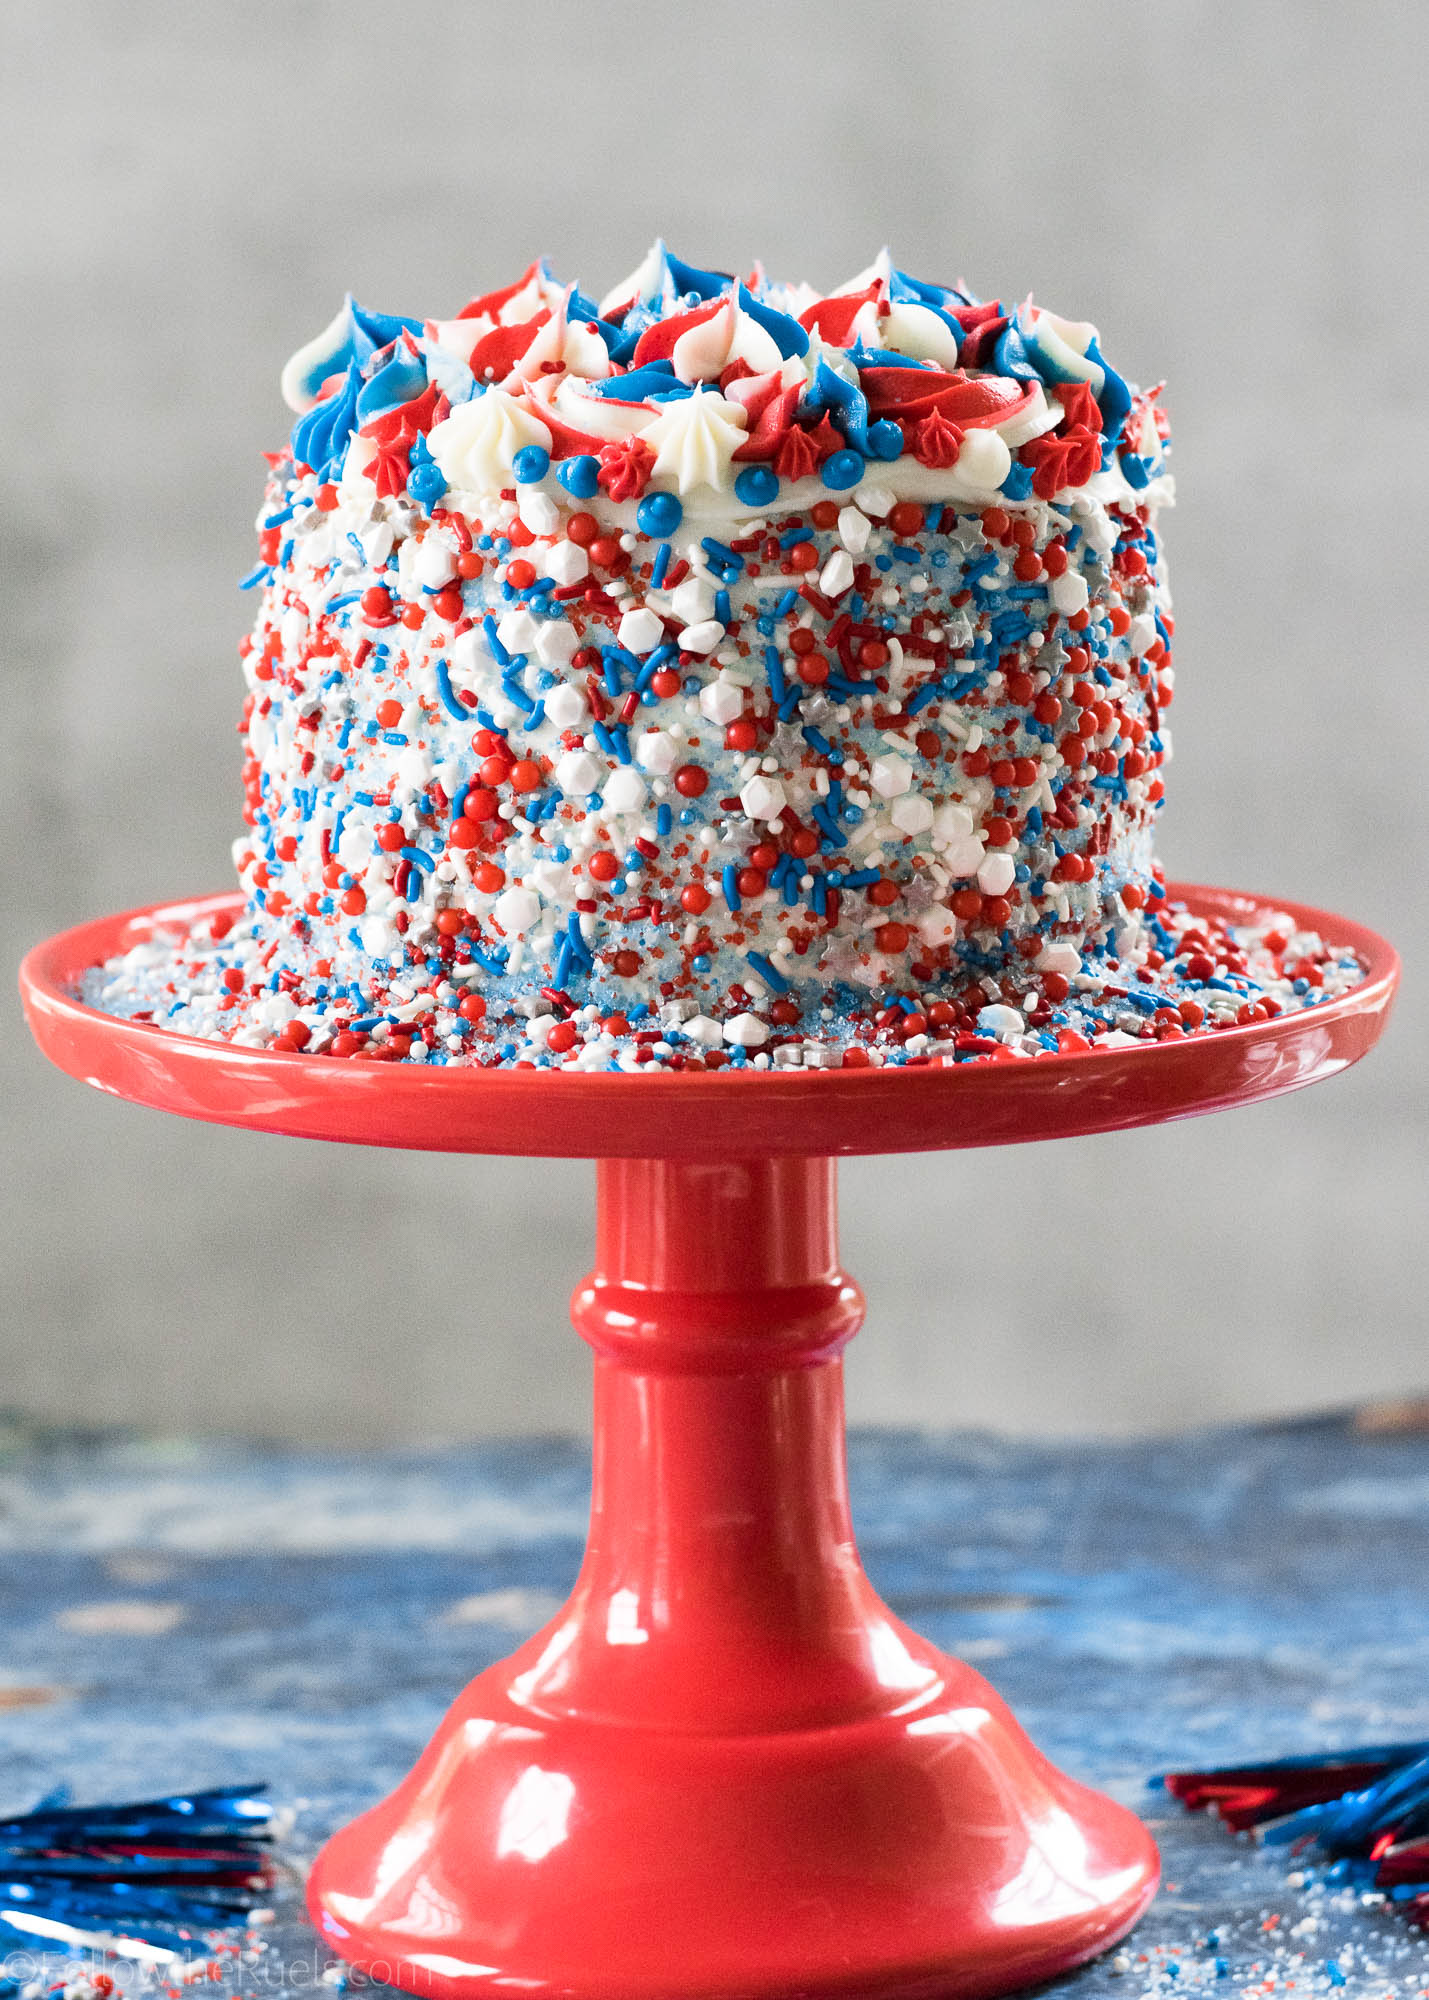
And viola! Your very own super patriotic cake! Perfect for 4th of July!

Supplies and Recipe

Follow my How to Make Boxed Cake Mix Taste Homemade tutorial for an easy semi-homemade cake. Or I highly recommend my vanilla cupcake recipe, which will make 1 6″ round two layer cake. Double to make a larger cake. 

  • How to Decorate Cakes and Desserts Kit: http://bit.ly/2xChT1U
  • Icing Gel Set: http://bit.ly/2xMNBd8
  • Turntable: http://bit.ly/2Hi9yjH
  • White Buttercream Icing: http://bit.ly/2kQK9F3
  • Red, white, and blue sprinkles: https://www.wilton.com/shop-sprinkles/


/ Filed In: Cakes and Cupcakes, Cakes New, Desserts, Eat
Tagged: 4th of July, cake, cake decorating, layer cake, patriotic, Summer

How to Make Boxed Cake Mix Taste Homemade

June 12, 2018

Even though I love making things from scratch, even I have my days where I don’t want to mess with measuring, leveling, etc. That’s why I turn to box mixes, particularly boxed cake mix, more often than I would like to admit.

However…

I rarely ever follow the exact recipe on the back of the box. 

Over the years, I have tinkered with that recipe so that I can have the best version of boxed cake mix that I can possibly have. It doesn’t require any more work, just a few different ingredients. Trust me, these ingredients make a world of difference. 

Instead of having a semi-dry, crumbly cake that you typically get from a boxed mix. The cake is super moist and has a lot more flavor. Sure it still has that distinct boxed cake mix taste, but there is something so nostalgic about it that I don’t really care. 

How to Make It

The first tip to making a boxed cake mix taste homemade is to swap out the oil and water. 

Tip #1: Use whole milk and melted butter in place of water and oil for a richer and moister cake. 

It doesn’t end there. 

Tip #2: Sift the cake mix before mixing in the wet ingredients. 

Have you ever noticed how lumpy cake mix is? Then you mix everything together and you still have dry clumps of the dry mix? That stuff doesn’t bake away, they are left in the cake so that you have these little pockets of powdery cake mix. 

Sifting the cake mix beforehand will quickly get rid of those lumps so that you have a nice smooth batter.

Once you add the wet ingredients into the dry ingredients, there is one last tip to making sure you have a delicious cake. 

Tip #3: Add in extra flavoring (i.e. vanilla, almond, lemon, etc.).

Using a high-quality extract or a natural juice/zest will help the cake taste more homemade.

Once you have everything mixed together into a batter, you can make this mix into anything from cupcakes, to a cake, to cake balls. 

In this instance, I baked this batter into a two-layer cake. 

Whenever I bake a cake in cake pans I always line the bottom of the pan in a sheet of parchment so that the cake releases from the pan with very little hassle. 


All that is left is to ice the cake. 

Now my last tip to making a boxed cake mix taste homemade is to avoid using the store-bought frosting. 

Tip#4: Frost the cake with homemade frosting.

You don’t have to make a fancy Swiss meringue buttercream. Even a basic American buttercream or cream cheese frosting will work. But please avoid using that store-bought stuff, which has a distinct flavor that makes that whole cake taste like it’s not homemade. 

And that’s all you need to know to make a boxed cake mix taste like a homemade cake! 

So for those who hate baking from scratch, you can still make a fabulous cake without all the extra work!

Recipe

[yumprint-recipe id=’183′]

/ Filed In: Cakes and Cupcakes, Cakes New, Desserts, Eat
Tagged: baking, cake, cake mix, homemade, layer cake, semi-homemade

Lemon Elderflower Cake

April 10, 2018

 What can I say about this lemon elderflower cake? Other than it didn’t turn out at all like I had expected. But, in the best way possible!

If you follow me on Instagram, then you already saw a sneak peek of this cake last week. In the comment, I mentioned that this is not what I had planned on the cake looking like. In my head, before I started, I had planned on this being a cake completely covered in a layer lemon buttercream frosting then topped with white and yellow buttercream flowers complete with buttercream leaves. 

Now, I am often overly ambitious when it comes to my baking projects which often leads to a last minute change of plans. In this case, it was just poor planning. I simply didn’t make enough buttercream! I couldn’t even cover the whole dang cake!

Whoops!

But in the end, I think the lack of buttercream led to this beautiful, simple, and rustic cake that perfectly embodies the actual cake within. The lemon elderflower cake layers are just that. Beautiful, simple, rustic, and delicious! The lemon flavor is dominant, but not overpowering and there is a hit of that sweet elderflower with each bite thanks in large part to the elderflower simple syrup that I drizzled over each layer. 

If you have never had elderflower flavored anything, then you may be a bit skeptical. Not to worry, it’s not an overly floral taste, like rose or lavender, so you won’t think you are eating soap. It really just provides an extra layer of sweetness and perfectly compliments the lemon.

However, if you are just not into elderflower at all, ditch it! Just make a lemon cake! It will still be wonderful!

How to Make It

The first step to making this cake, and any cake, really, is to sift the dry ingredients together. I used to skip this step, but now I know that this simple step really changes the texture of a cake. Sifting the flour creates a much lighter, less dense cake.


Set the flour aside and move on to the lemon. First zest one or two lemons until you have about 2 tablespoons of zest. Then squeeze the juice out of the lemon. You will be adding the lemon juice to the milk along with the elderflower liquor.

Speaking of which, if you have never had elderflower liqueur in a drink before, it is delicious! I don’t drink a lot to begin with, so I didn’t have any elderflower liqueur on hand. But I did find mini bottles at my local liquor store. I highly recommend just getting 1-2 mini bottles instead of 1 big bottle unless you plan on drinking the rest of it.

Now that we have that covered, lets move on to making the batter.

Cream together the butter and sugar then add in the lemon zest.

Mix in the eggs one at a time until they are completely incorporated into the butter. You don’t want the egg-butter mixture looking likes it’s separated or curdled.


Now mix in the dry and wet ingredients, alternating between the two. I like to add the dry ingredients in three parts and the wet ingredients in two. So it looks something like this: dry, wet, dry, wet, dry. Always start and end with dry.

One of my biggest cake tips I have for you is to line the bottom of the cake pay with parchment paper! This will make getting the cake out super easy even if the cake is still warm. I still recommend spraying the pans with baking spray, too. But this is just added insurance. 

Then portion the batter between the cake pans. I like to use a scale to make sure that the amount of batter in each one is pretty even. But that may be overkill. You can just eyeball it.

A new thing I tried with these cakes is using the Wilton Bake-even strips. Then insulate the cake pan so that ideally your cakes bake evenly on top (no weird dome that you have to slice off), and they don’t caramelize around the edges. 

Verdict: They sort of helped. One cake was very even, but slightly caramelized. One cake wasn’t as even but not at all caramelized. Overall, they turned out better than they would have without the strips, so it was well worth the money for these!

How to Assemble and Decorate the Cake

Then the cakes come out of the oven and they magically stack and decorate themselves! Isn’t that a fun trick!

Actually, this is where I really dropped the ball and stopped taking photos. I think because I was in such a tizzy over the buttercream that I didn’t get any photos of the actual decorating process. What a horrible blogger I am!

I did capture part of the decorating process, and that is the little flowers that I did manage to make!

These little guys were so easy to make with my #107 piping tip. You just press the tip to a sheet of parchment paper, squeeze, and turn your wrist slightly which produces the cute little drop flowers. Then I just dotted the center with a little yellow buttercream.

I put these in the freezer to harden while I worked on the rest of the cake. 

Actually, the rest of the cake was pretty easy to assemble.

Step 1: Cut the cake into two layers for four total layers (if you want, you can leave it as a two layer cake).

Step 2: Brush elderflower simple syrup over each of the cake layers (recipe and directions below)

Step 3: Spread a thin layer of buttercream on the first layer, top with some lemon curd (optional), then top with another cake layer. Repeat until all layers have been added.

Step 4: Spread buttercream all over the top and sides of the cake, then use an offset spatula or bench scraper to scrape the sides of the cake to create a naked cake look. Leave a thin layer of buttercream on top.

Step 5: Pour some lemon curd over the top of the cake and spread out to cover the top, pushing some of the curd over the edges. You may need to heat up your lemon curd to make it more liquid if you are using a store bought version.

Step 6: Add the flowers in whatever arrangement you like. Because they are frozen, they are easy to peel off the parchment and stick onto the cake.

Step 7: Admire your handy work!

Truly, this cake wasn’t hard to decorate and assemble once I realized my mistake and that I wouldn’t have enough buttercream to achieve the look I was after.

And, making naked cakes is really easy for even those with no cake decorating experience because you don’t have to worry about your frosting being perfect! Actually, you want it to look imperfect!

I, for one, like the limited buttercream on this cake because it lets the lemon elderflower cake shine through. 

Of course, if you are a frosting lover, you may want to double up on the buttercream recipe so you can cover your whole cake like I was supposed to!

Tools and Recipe

[show_shopthepost_widget id=”3095132″] 

[yumprint-recipe id=’170′]

/ Filed In: Cakes and Cupcakes, Cakes New, Desserts, Eat
Tagged: buttercream, buttercream flowers, cake, decorated cake, elderflower, layer cake, lemon, naked cake, Spring

The Best Ever Carrot Cake

March 6, 2018

I’ll admit, that up until recently, carrot cake was my least favorite of all the cakes. It wasn’t until I made this recipe that I completely changed my mind about carrot cake. Who knew that a cake packed with fruits and vegetables could be so delicious?

Not me!

But that is exactly what this cake is. Moist and oh so delicious!

How to Make It

Well, since I have made this recipe before, I thought it was only right to make a video so you can see for yourselves! Also, wait till the end to see how I decorated the cake (three different ways, although I only showed two). 

But in case you like pictures and words, here is a brief recap of how to make it.

First mix together the sugar, eggs, apple sauce, maple syrup, and vanilla extract.

Until it’s nice and smooth.

Sift in the dry ingredients: flour, baking soda, baking powder, cinnamon, nutmeg, and salt. Then mix until everything is incorporated. 

Fold in grated carrots, pineapple, coconut (preferably unsweetened), and chopped pecans. 

Then pour the batter into whichever vessel you would like to bake your cakes in. I have baked this in a sheet pan, a square pan, cupcake tin, even a waffle iron! But for this cake, I baked the cakes in two cake pans.

To make sure the cakes are even, I actually weigh the batter in each pan. OCD much? I am really not, but I just like knowing that my cakes will be as even as possible. 


Finally, decorate your cake however you wish! I highly recommend frosting the cake with cream cheese frosting, because that is really the best frosting for carrot cake. 

But if you prefer buttercream, I highly recommend this Swiss buttercream recipe, which is my absolute favorite. 

However you choose to frost this cake, or even if you leave it completely naked, you will love this cake. I can say that confidently as a former non-carrot cake lover. 

And, if you happen to have any leftover batter, you can make waffles with it!

[yumprint-recipe id=’164′]

/ Filed In: Cakes and Cupcakes, Cakes New, Desserts, Eat
Tagged: cake, cake decorating, carrot cake, layer cake, Spring

Follow

Hey There!

Hey there, I'm Lindsey. I'm a number cruncher by day and a home cook and baker by night. While I love to eat healthy and find fresh and healthy alternatives for my favorite foods, I will never turn down dessert! Life is all about moderation, right?

Recipes

  • All Recipes
  • Breakfast
  • Appetizers
  • Salads
  • Main Dishes
  • Side Dishes
  • Desserts
  • Drinks

Favorite Finds

[show_lookbook_widget id=”388783″]

Theme by 17th Avenue · Powered by WordPress & Genesis