• Home
  • Eat
    • Breakfast
    • Appetizers
    • Main Dishes
      • Chicken
      • Beef
      • Seafood
      • Healthy Dishes
      • Paleo Dishes
      • Salads
    • Desserts
      • Decorated Cookies
      • Cookies
      • Bars and Brownies
      • Cakes and Cupcakes
  • Shop
    • Cookie Decorating Supplies
    • Bakeware
    • Cookware
    • Kitchen Gadgets
    • House
  • About
    • Contact
    • Bucket List
  • Cookie Decorating 101

Follow the Ruels

Surprise Inside Gender Reveal Cake

July 20, 2018

Since gender reveal week is coming to a close, I guess it’s about time I reveal the gender. 

Some of you already know or have guessed. If you follow me on Instagram, then you may have seen my latest (and only) bump pic asking you whether you thought I was carrying high or low. A few were pretty certain you knew after I posted that picture. I guess my bump gives it away.

I also mentioned in the last post that I knew the gender of this baby before it was even born thanks to an old “wives tale” that my former boss used to preach to us anytime anyone we knew ended up pregnant. 

Here’s how it goes:

Because the gender of the baby is determined by the father (sperm), look at his family line. Is he the youngest of all girls? Is his dad one of four boys? If the male side of the family is dominated by girls, then there is a good chance you are having a girl. If it’s dominated by boys, well then you are having a boy.

I think this wives tale only really works well if there are lots of kids in the family and it heavily swings one way or the other. Otherwise, if the grandfather had an older sister, but dad has a younger sister, it may be a total crapshoot.

Luckily for me, Billy’s side of the family swings very heavily in one direction. 
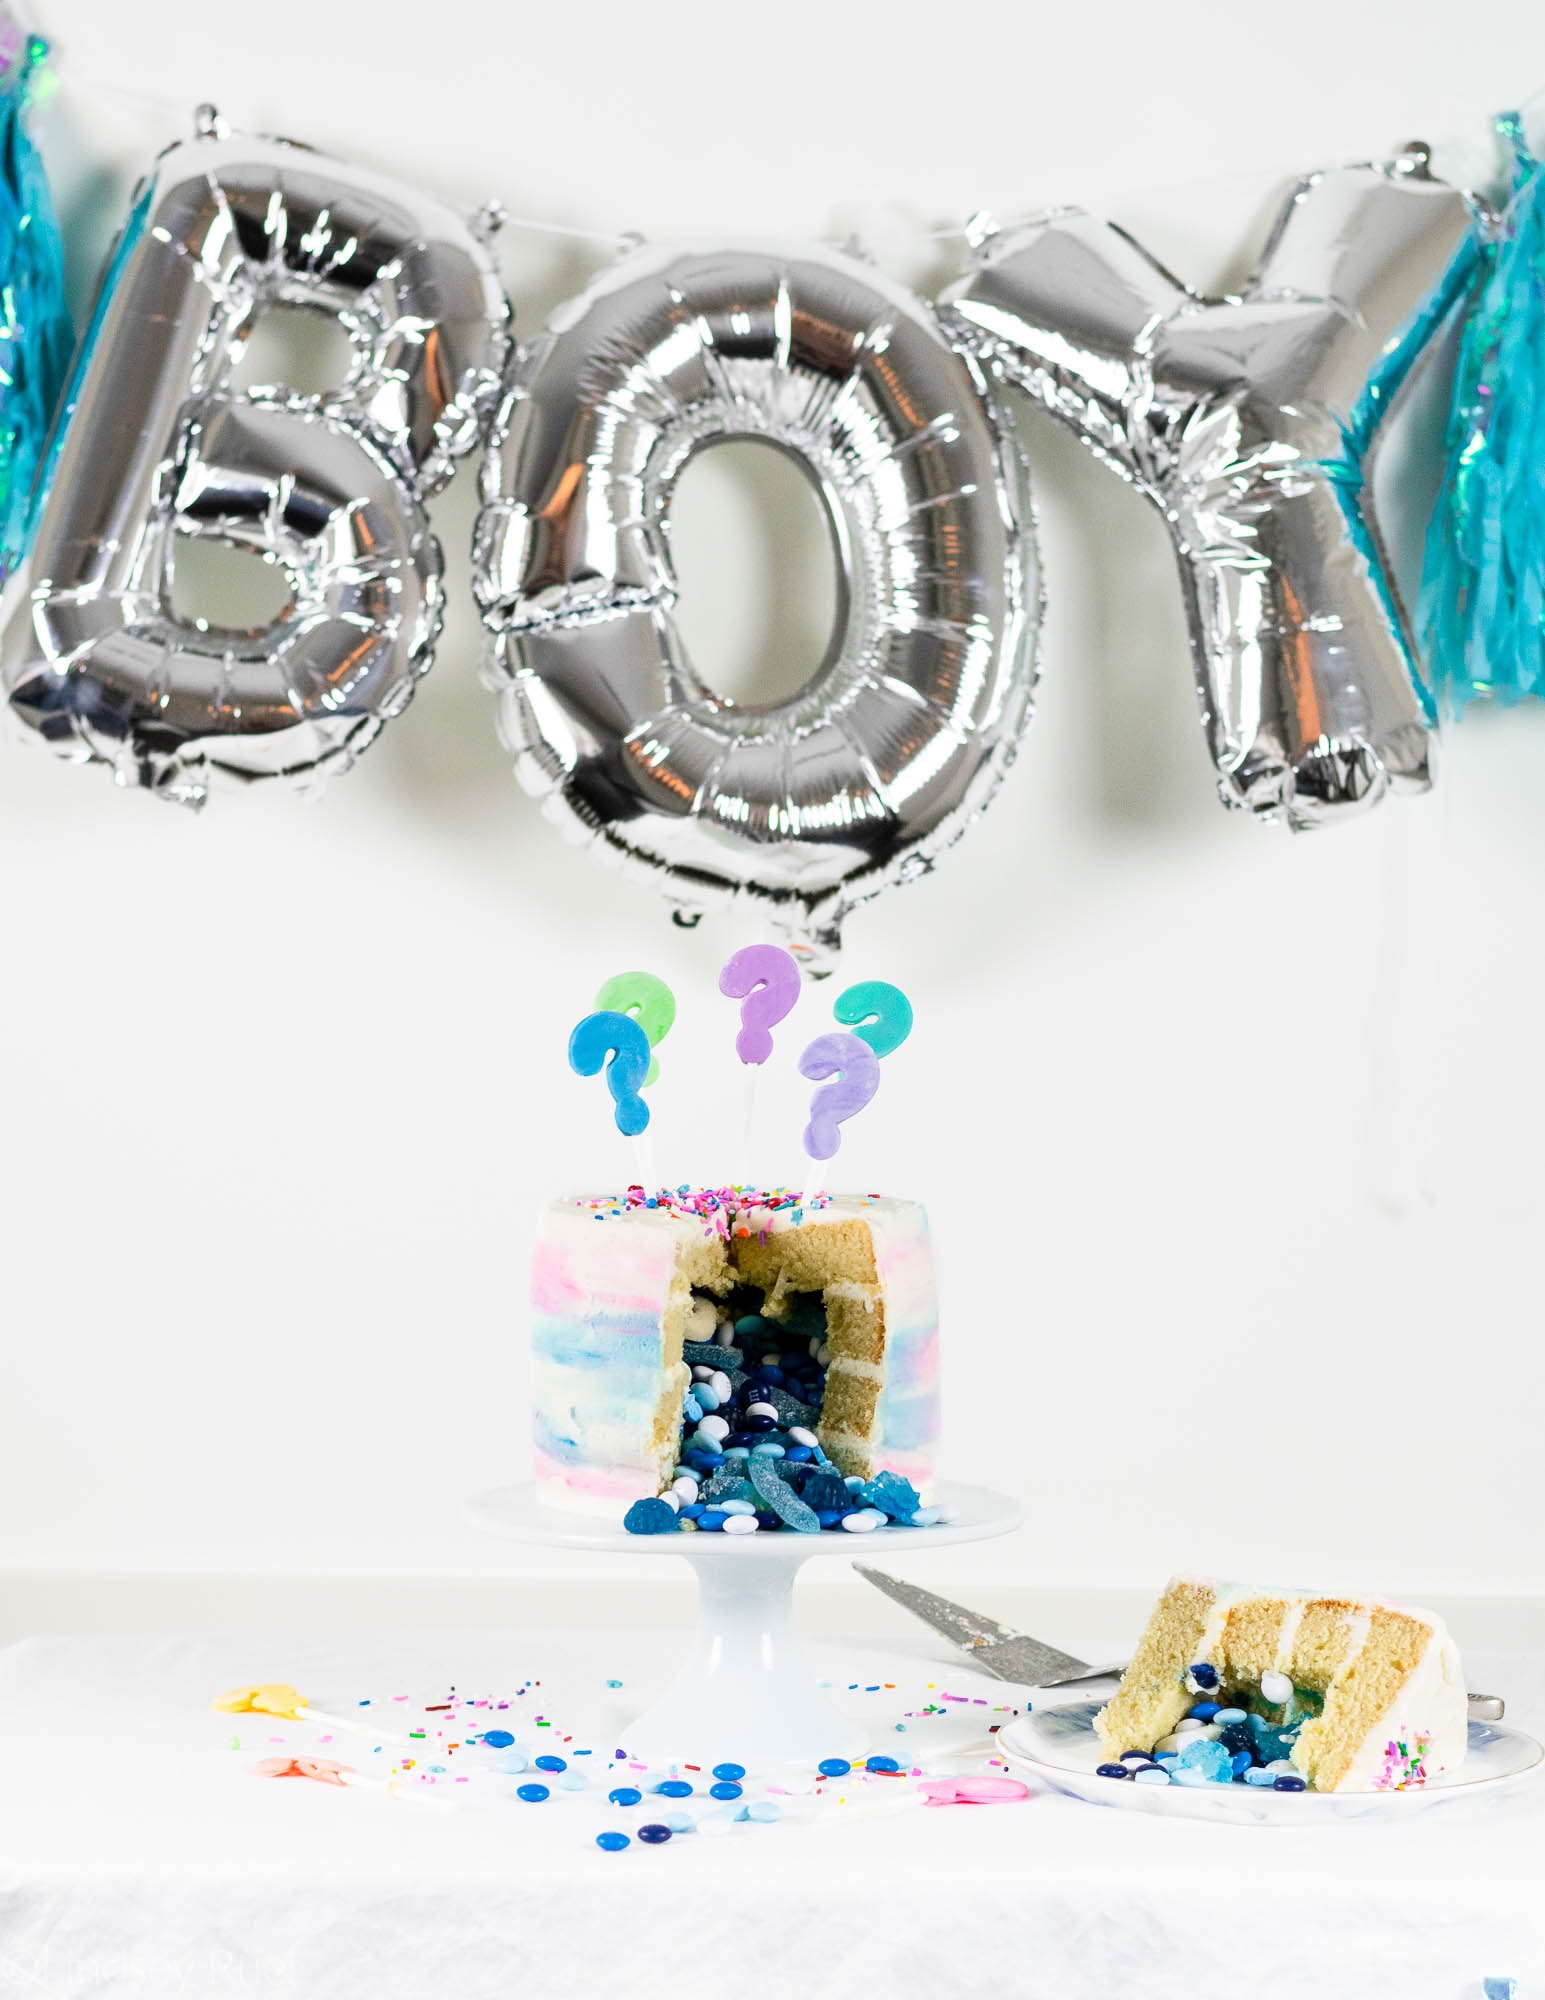
It’s a boy!! 

Because Billy’s family is pretty much all boys (I don’t think he has a single girl cousin on his dad’s side of the family), we were pretty sure we were having a boy. So when the nurse called us after my 12-week blood test with the news, we were not surprised in the least to hear the results!

Of course, we would have been happy with either, but we are thrilled for a boy. If we were having a girl, I just know she would have her dad wrapped around her finger the instant she was born. At least now this child stands a slight chance of not being completely spoiled by dad. 

We’ll leave the spoiling for the grandparents. 

Okay, enough about this baby boy. Let’s get to the cake!

Recipes and Supplies

The beauty of this cake is that you can make any flavor you like! The only thing that really matters is the color of the candies in the center. 

However, I will caution you against strawberry cake if you are having a boy. That may be a little confusing. 

For my cake, I made a simple vanilla cake recipe, adapted from my favorite cupcake recipe. You can find the recipe at the end of the post. 

You could also make a boxed cake because there is no shame in that. Here are my tips for making a boxed mix taste like a homemade cake. 

You just need enough cake to make at least 3 layers of cake, so that one layer can hold the candy center. A typical cake recipe can make a 3 tiered 6″ cake, but I would double most recipes if you want to make a bigger cake, such as a 8″ or 9″ cake. 

For reference, I made a 4 tiered 6″ cake. I doubled my cake recipe and had enough batter left over to make a few cupcakes. It would have been the perfect amount of batter to make a 4 tiered 8″ or 9″ cake. 

Aside from the actual cake, you will need the following:

  • 1-2 batches of buttercream (1 batch for a 2 tiered cake 6-9″ in diameter, 2 batches for a 3-4 tiered cake 6-9 inches in diameter)
  • Food coloring
  • Fondant
  • Lollipop sticks
  • Sprinkles
  • Assorted candies in pink or blue

I would also recommend the following to make your cake assembly and decorating much easier:

  • Cake turntable
  • Cake leveler
  • Piping bags
  • Offset spatula
  • Bench scraper

[show_shopthepost_widget id=”3217770″]

How to Make It
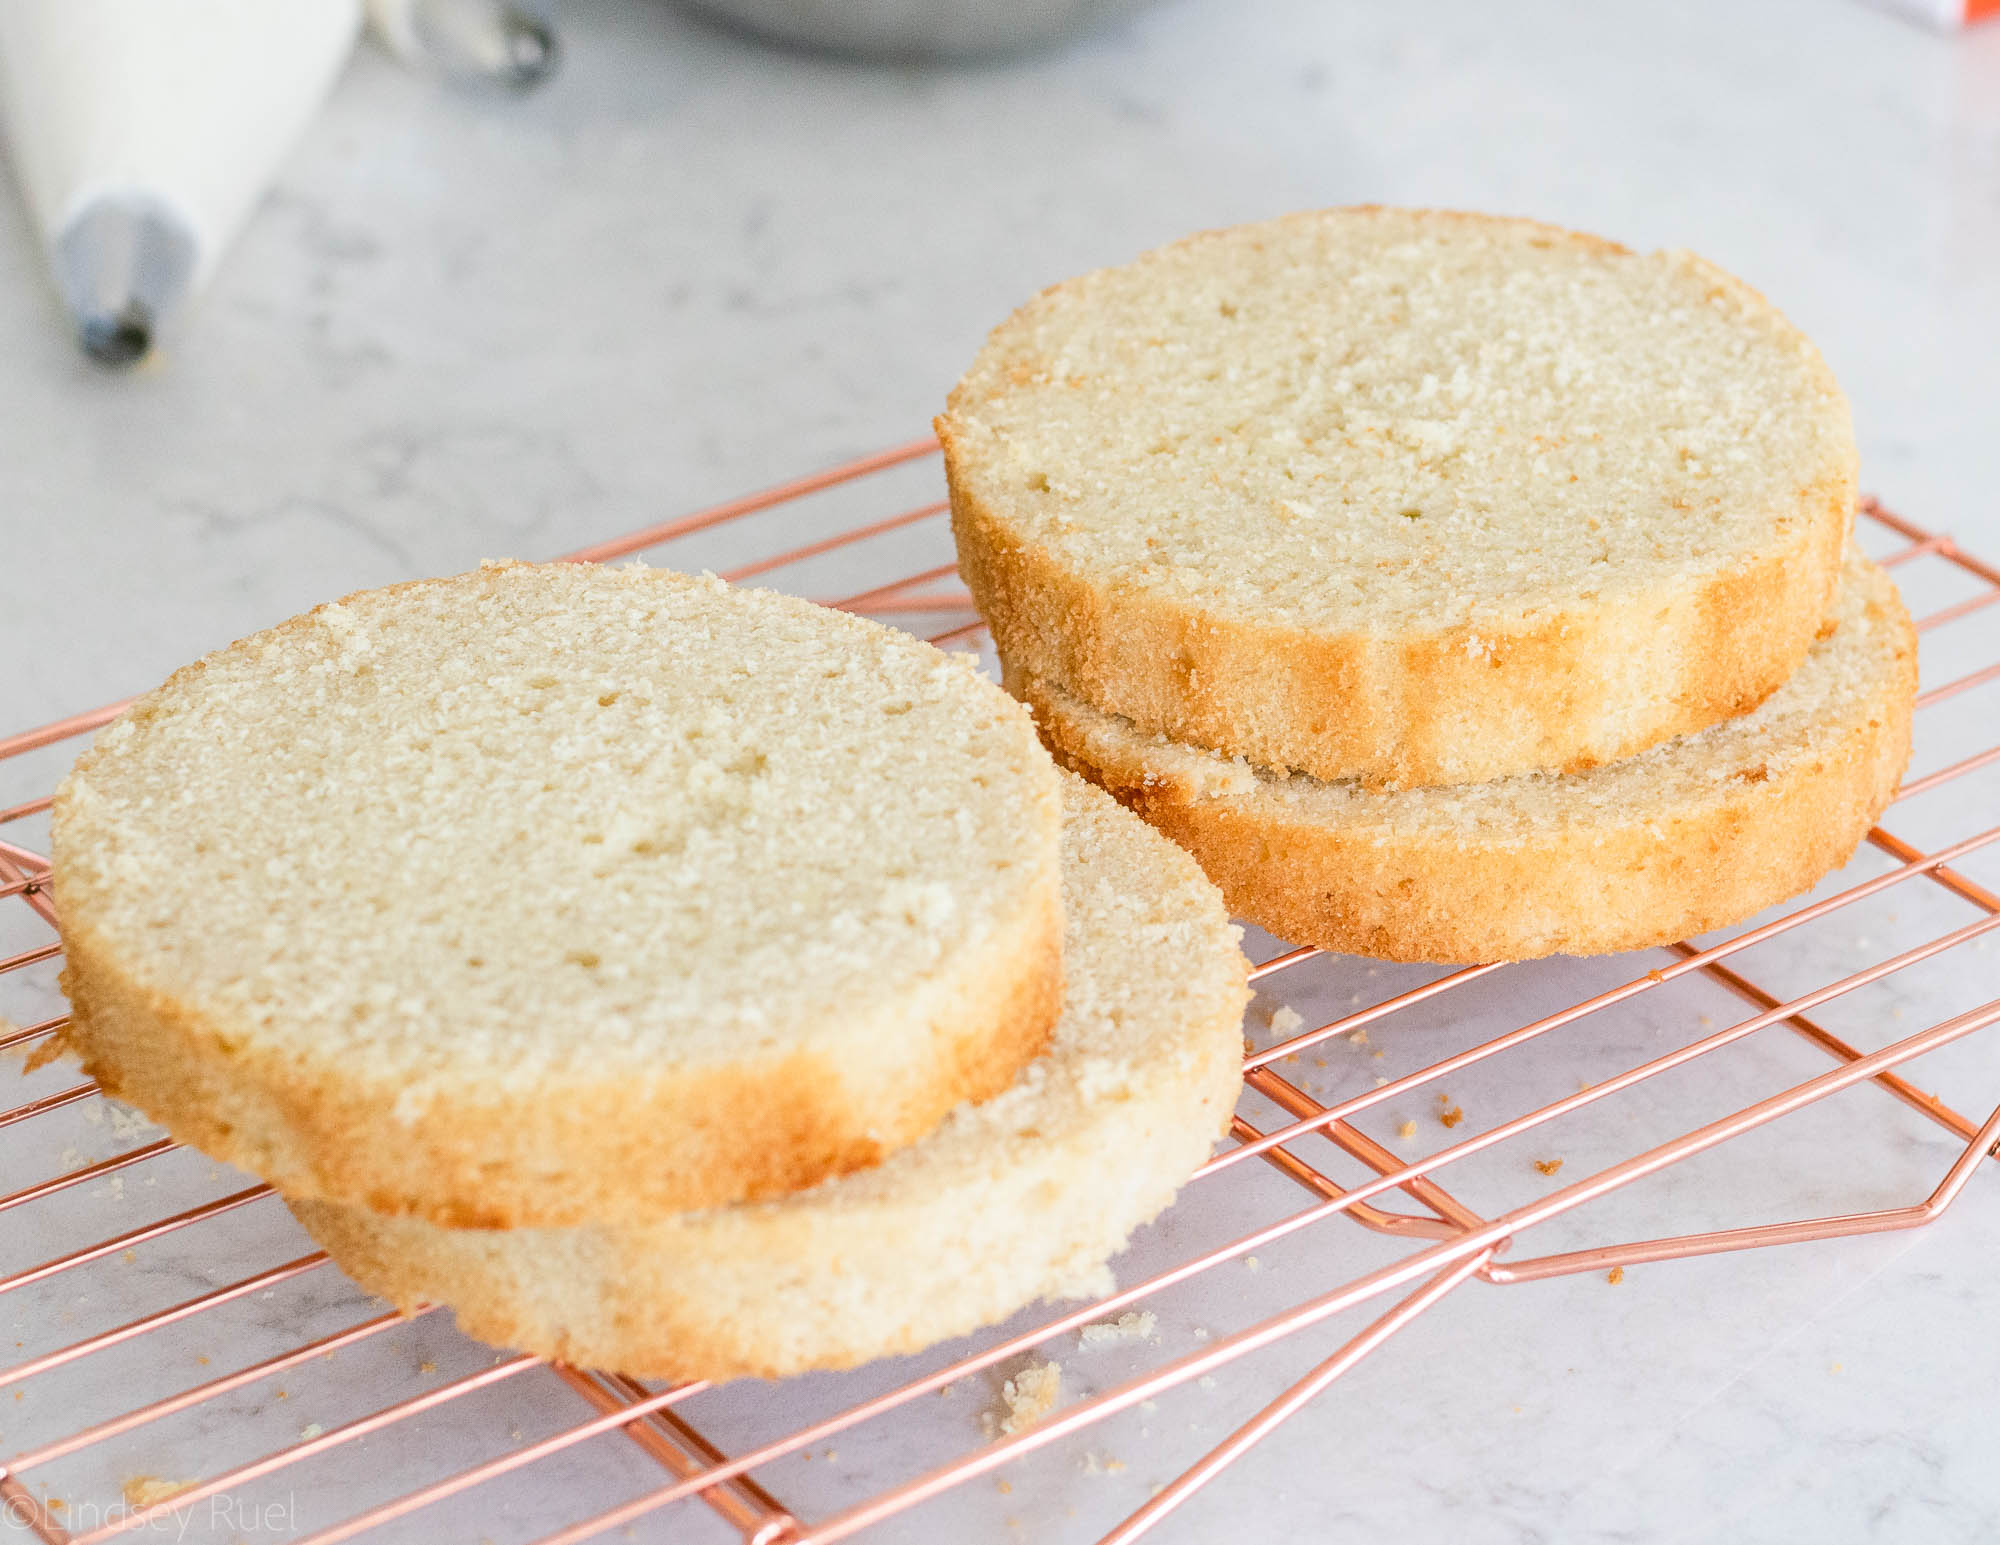
Start with your already baked cake. Level and divide the cake into however many layers you like. 

Tip: Chill your cake before you start cutting into it. It will cut much easier and will not produce as many crumbs.
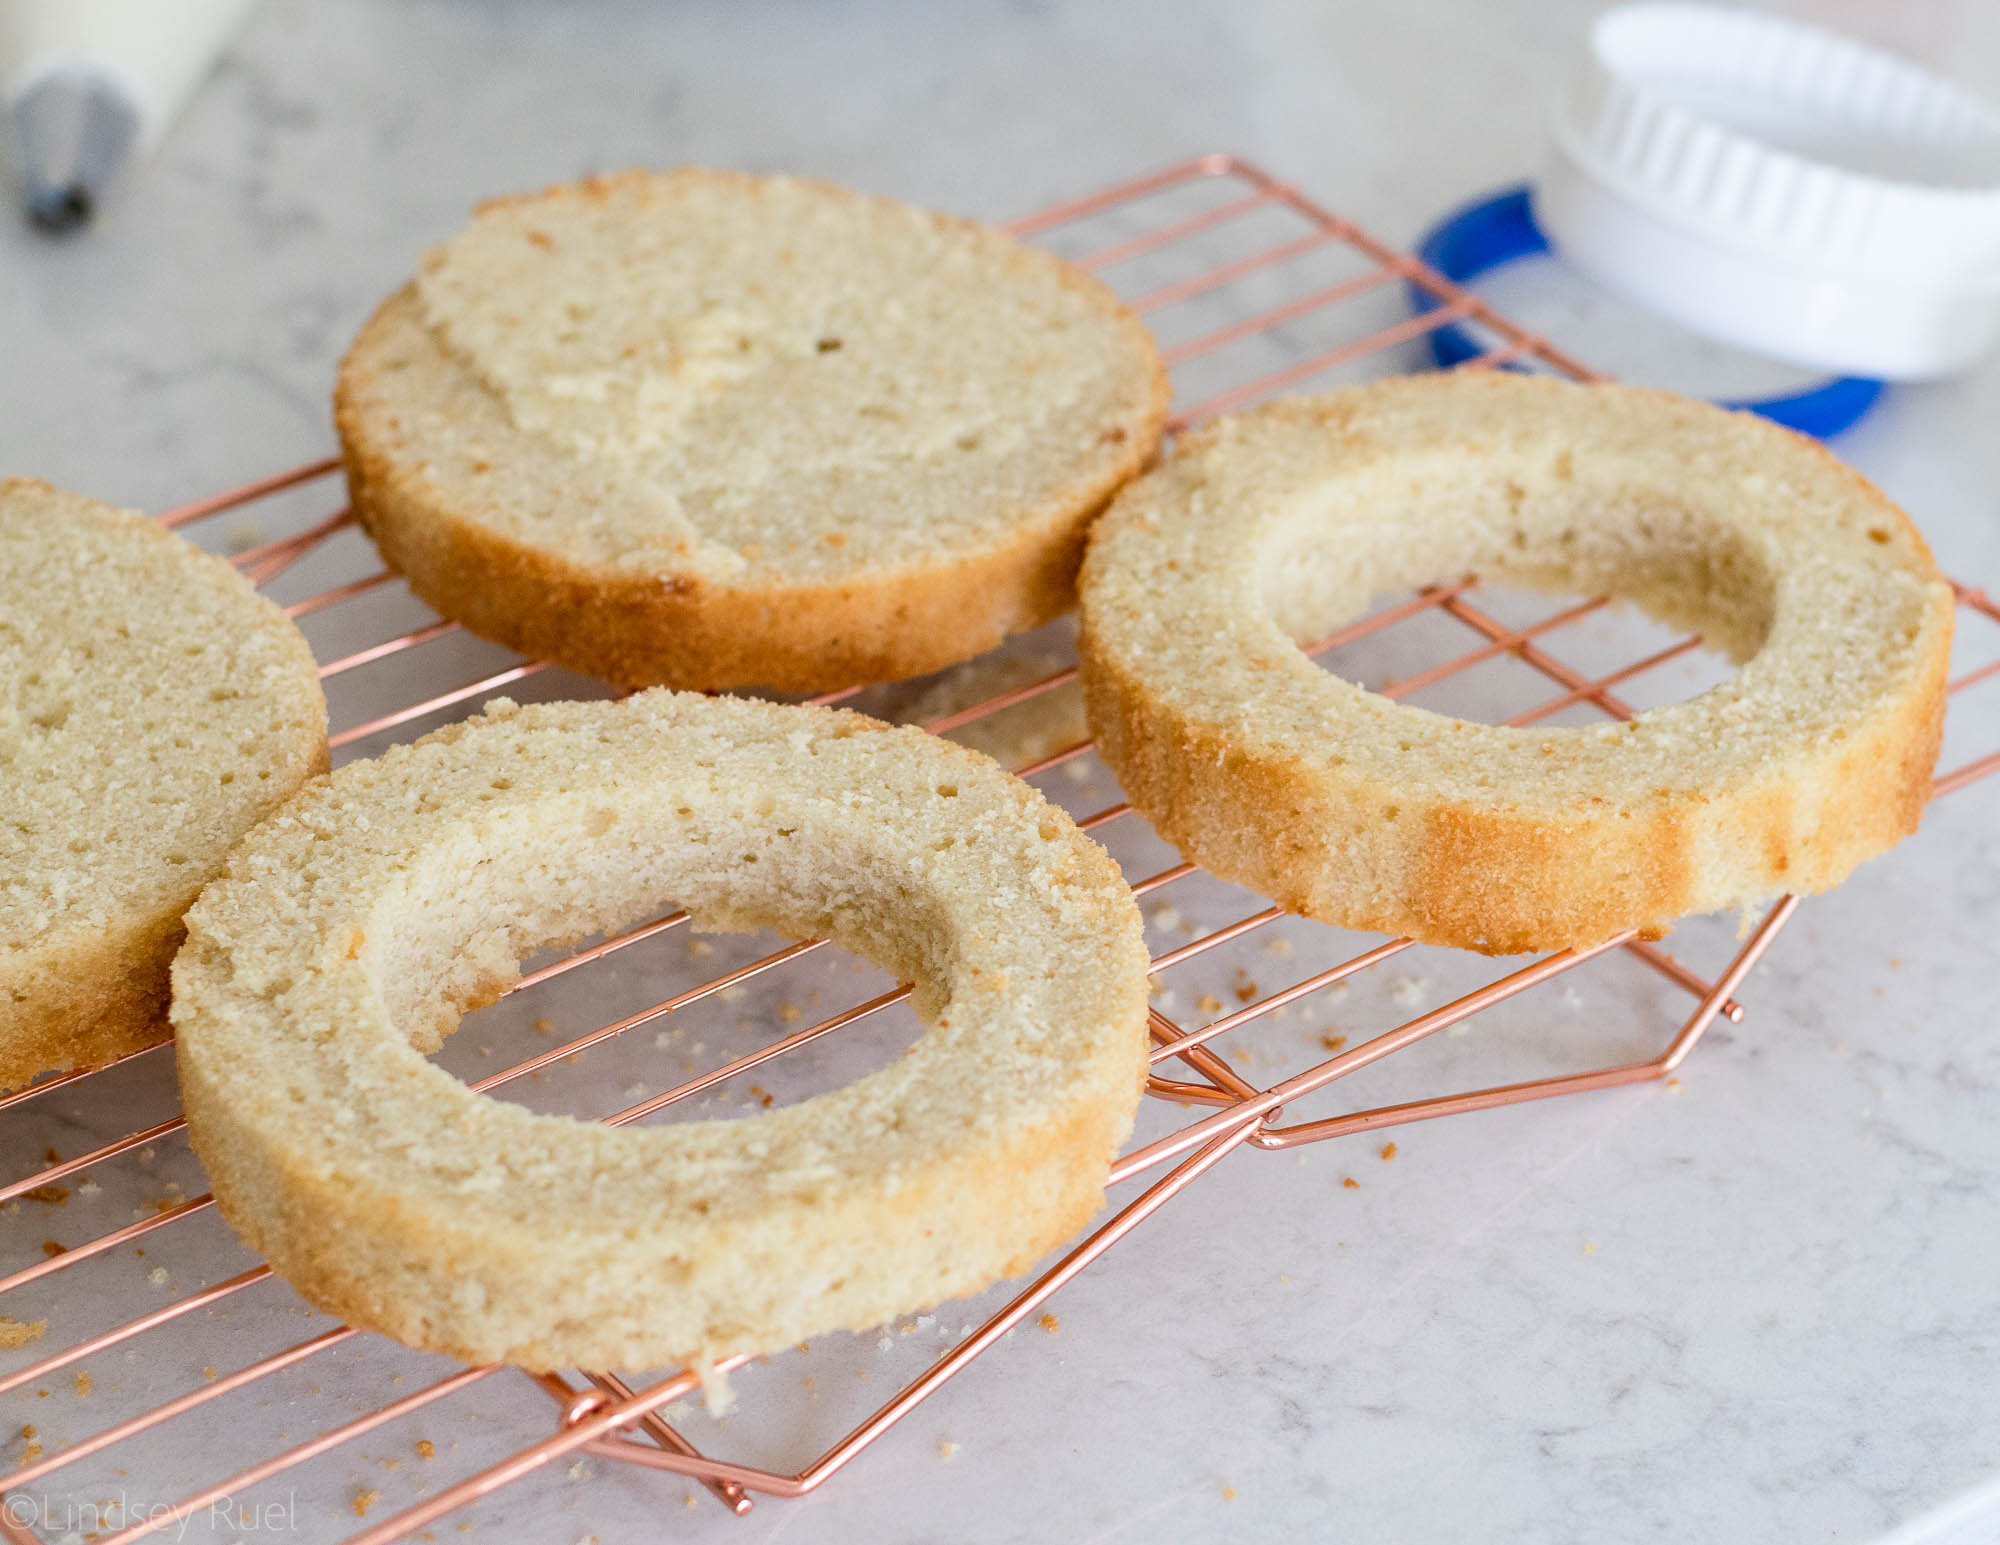
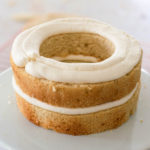
Identify your center layer or layers. Use a round cookie cutter to cut a circle in the center of the layer(s). 


To build the cake, start by placing the bottom layer on a cake board or cake stand. Afix it to the board or stand with a little buttercream. 

Then pipe a ring of buttercream around the edge of the cake as wide as the second layer. 

Place the second layer on repeat with the third layer.
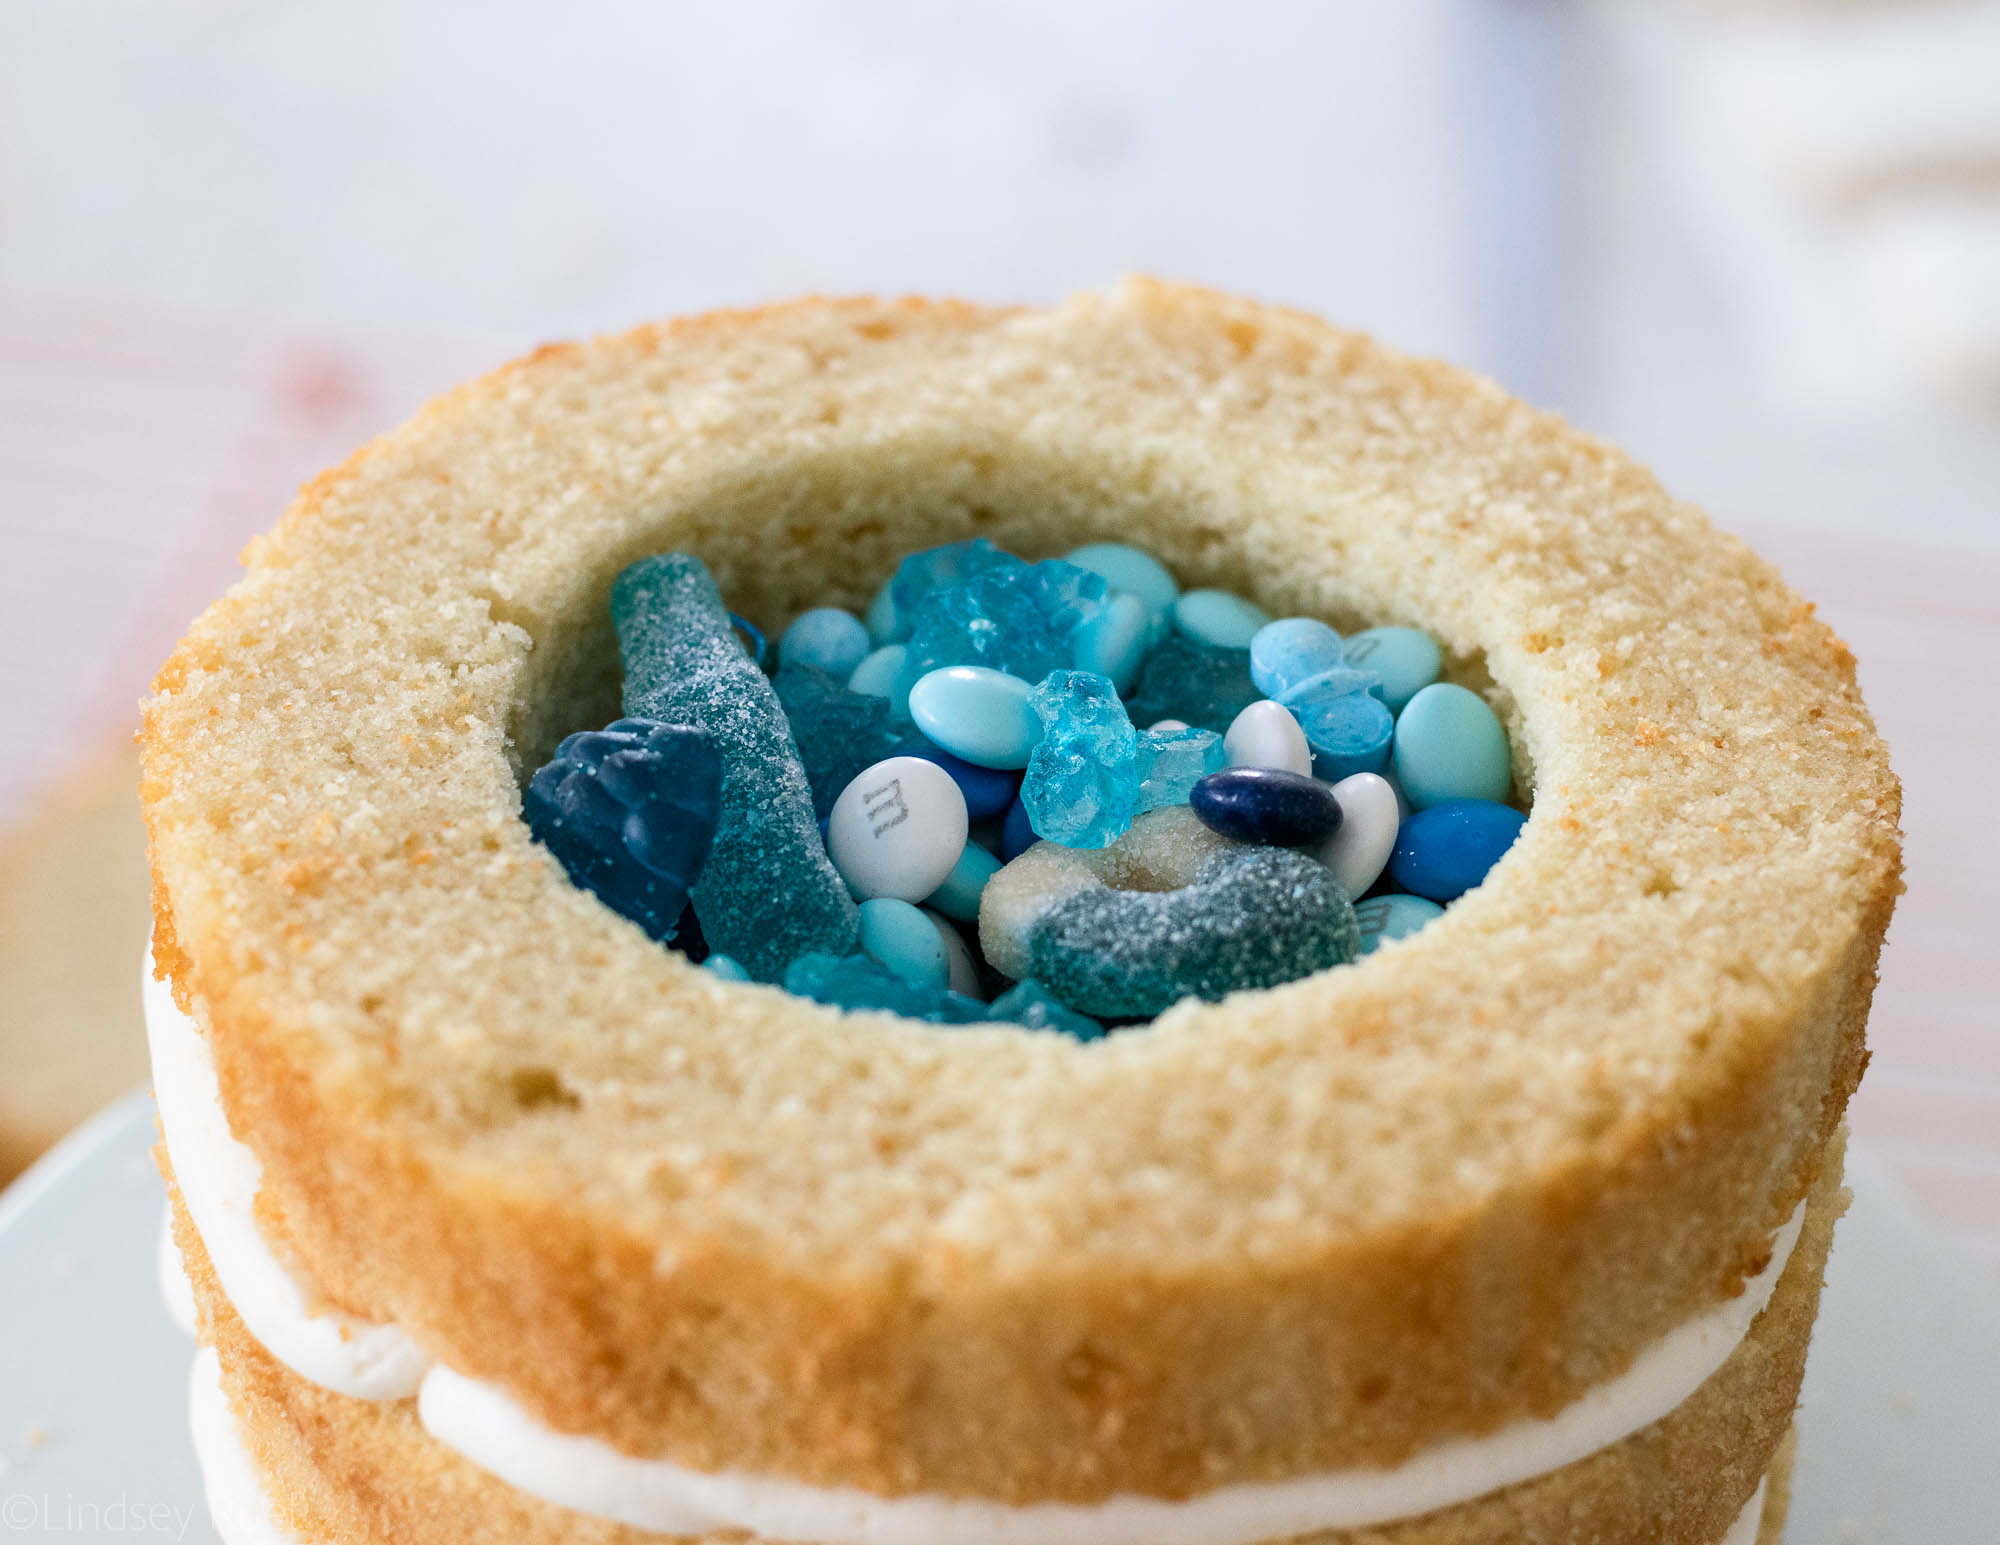
Fill the center hole with blue or pink candies. 

Tip: Hit up your local candy store that sells candy by color. Many sell M&Ms, Jelly Beans, and other goodies separated by color. That way you don’t have to go digging through a bag of M&Ms for just the blue or pink ones. 
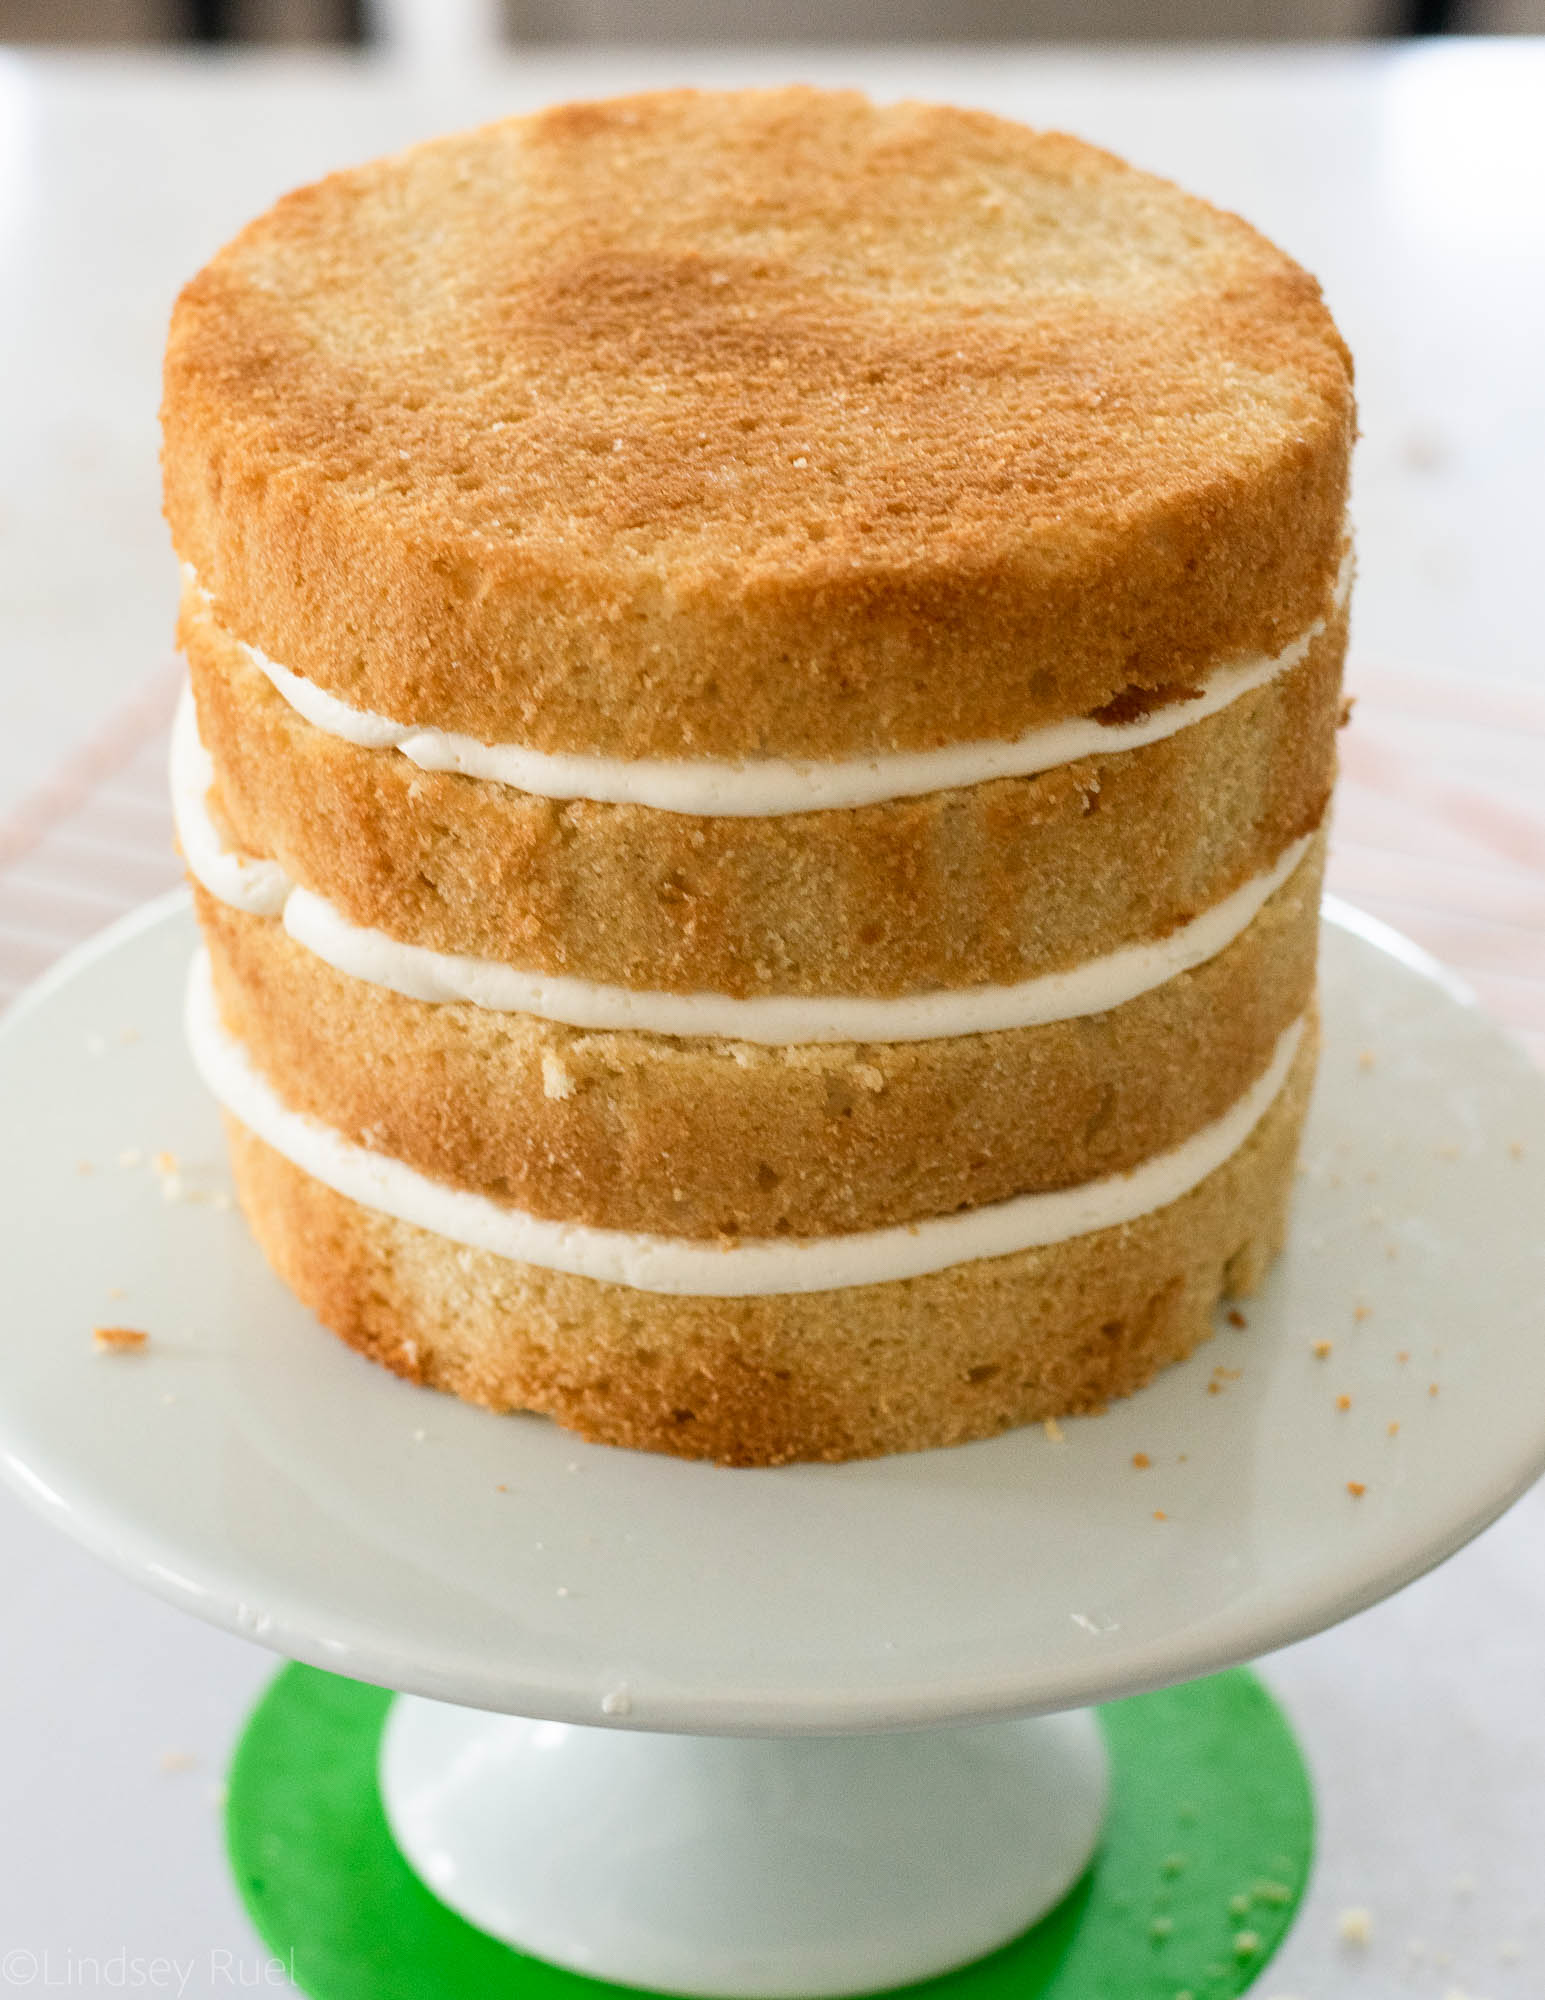
Top with the final layer of cake and press down to make sure all layers are secure and level.

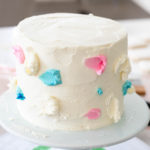
Cover the entire cake with a very thin layer of frosting to trap in all the crumbs then place back in the fridge to set for about 20 minutes. 
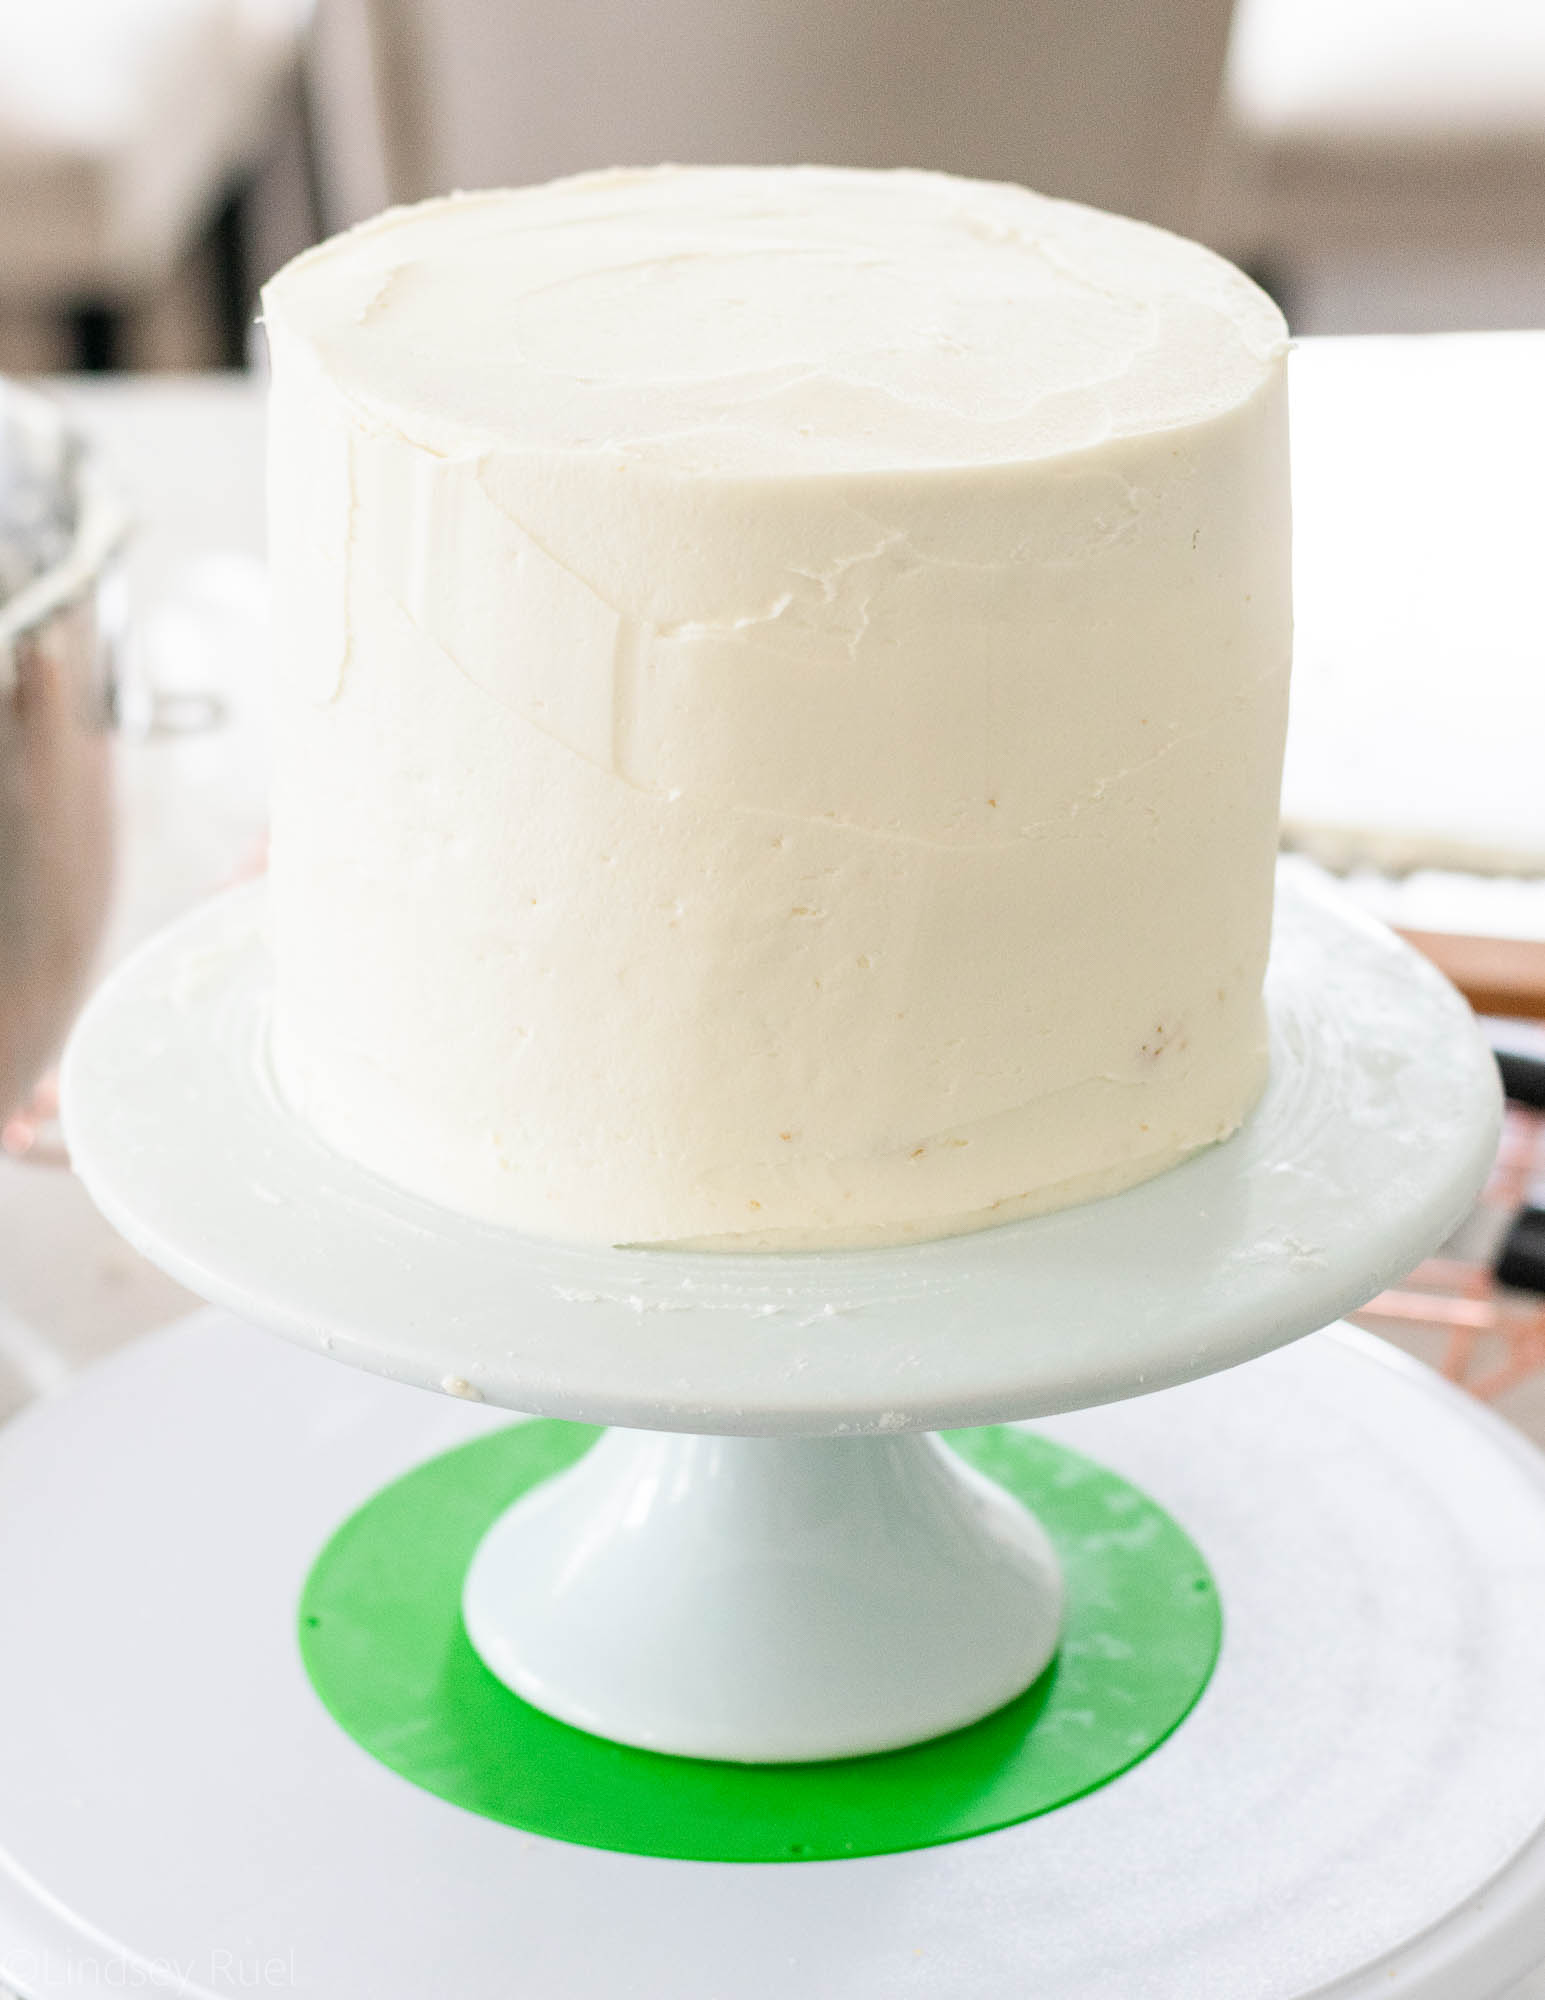
Once the cake is out of the fridge, cover the entire thing with a generous amount of frosting. The frosting doesn’t have to be perfect but make sure the entire cake is covered and it’s generally pretty square and level. 

Using a large spatula will make your life a lot easier in this endeavor!


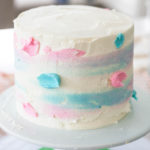
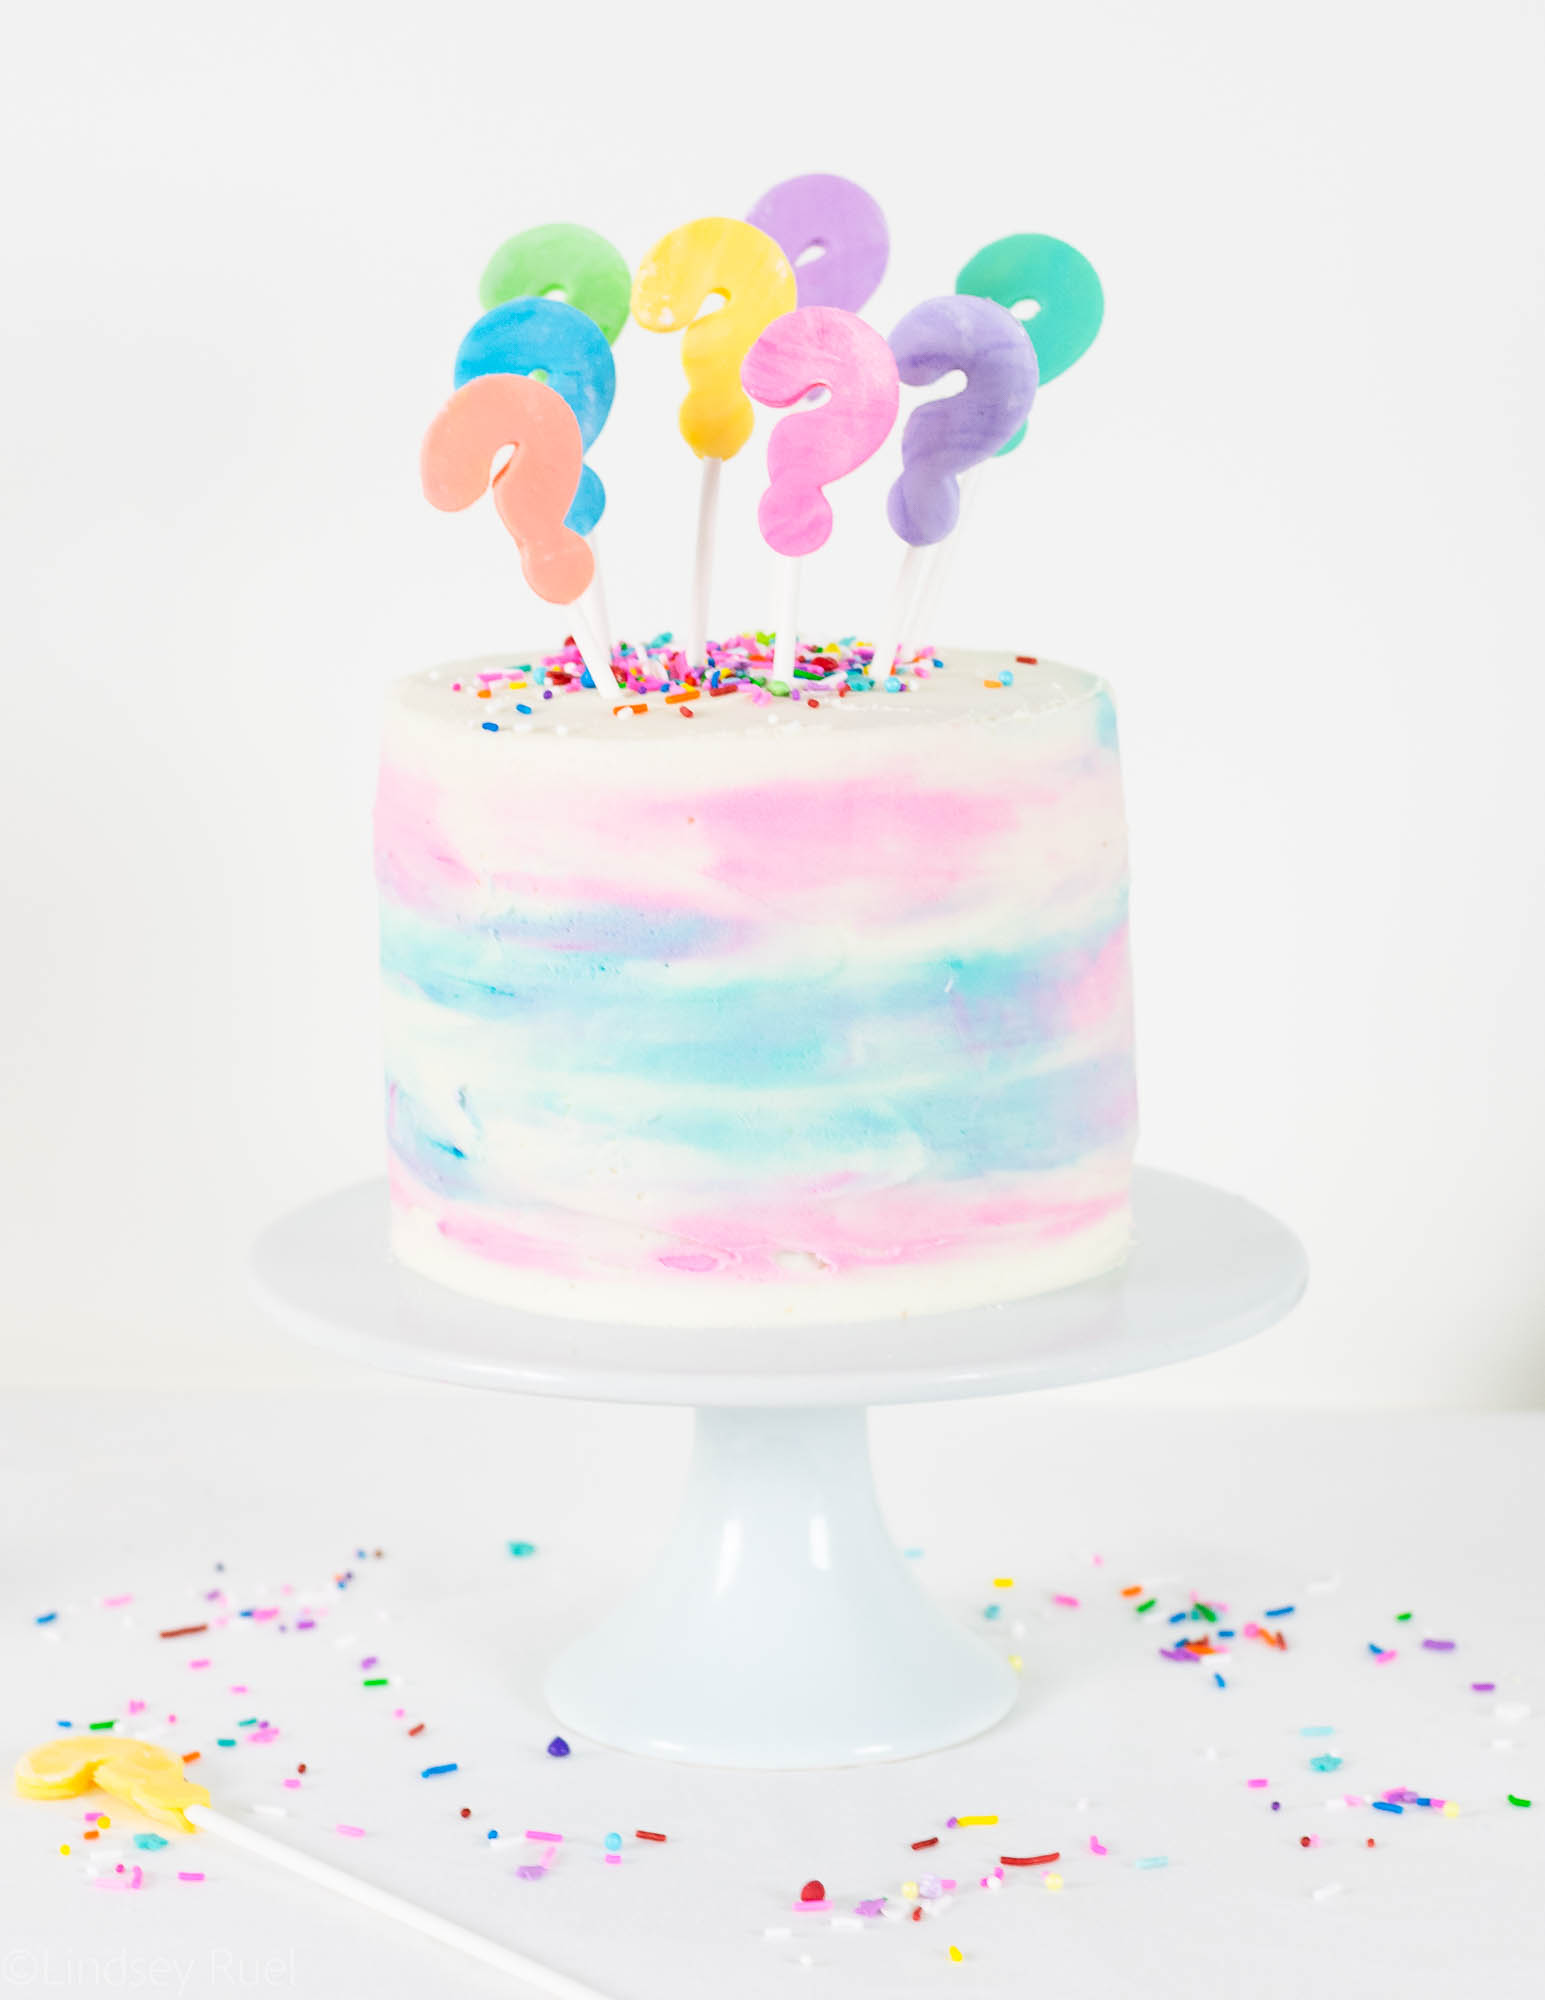
To get the pink and blue streaks, just tint a small amount of frosting pink and blue. Then add dots of frosting haphazardly around the cake. Use a spatula or bench scraper to then drag the icing around the cake in one big motion. 

If you want to add more color, add more dots of icing and repeat the process. 
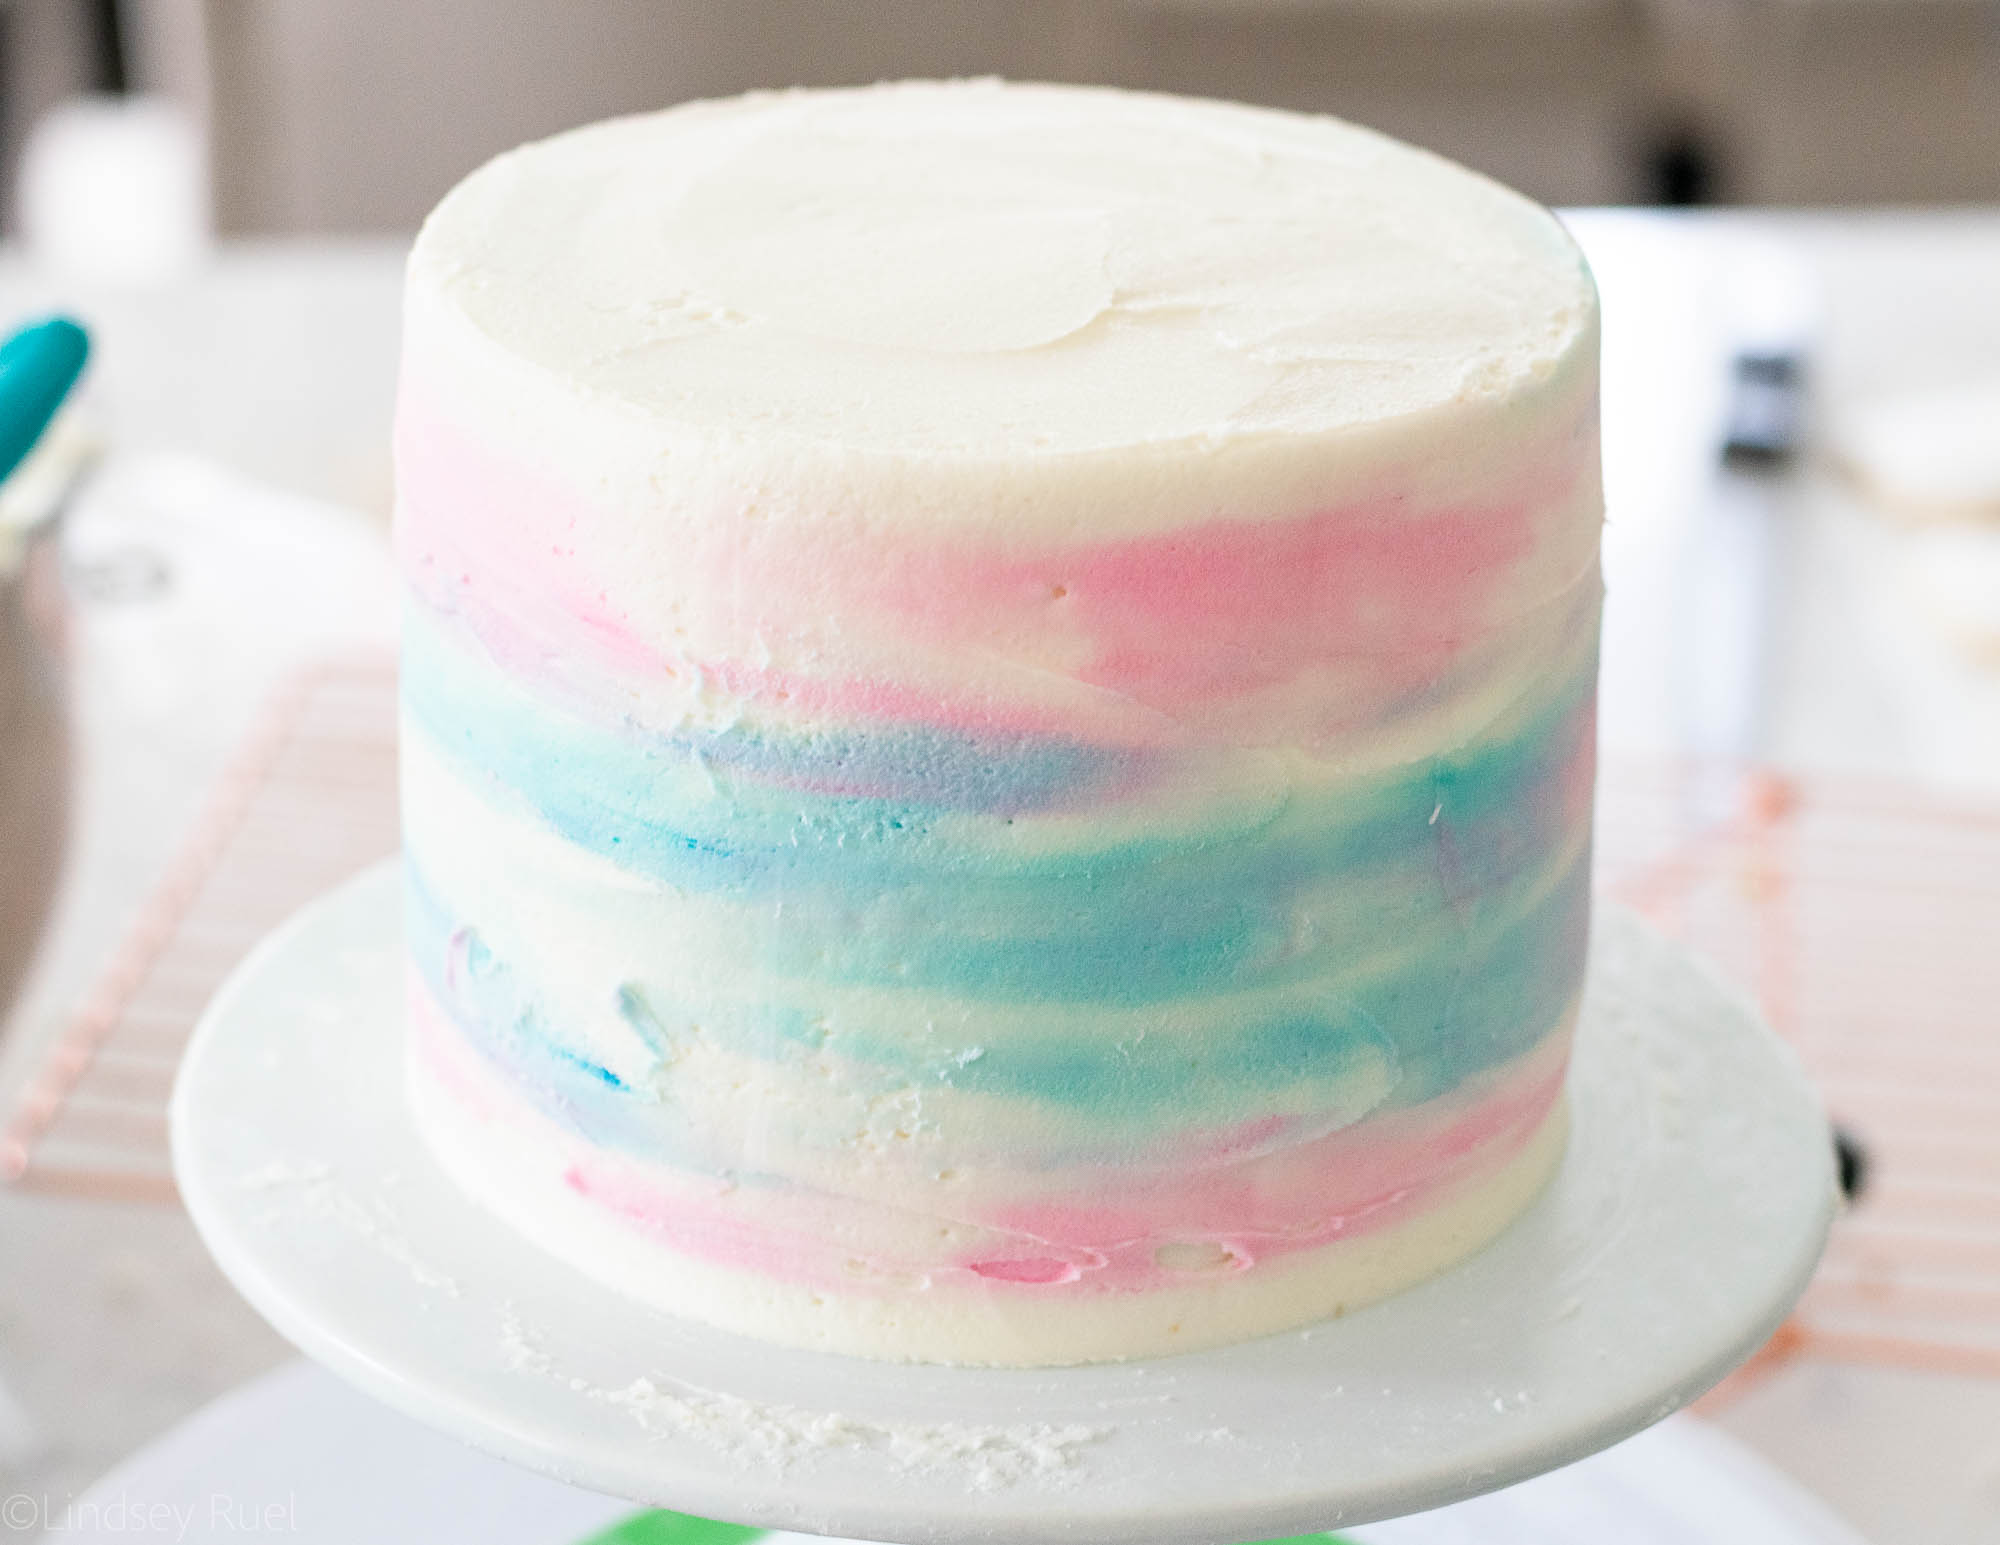
There is very little technique involved with this! Just keep spreading the frosting until you are happy with the results. 


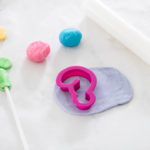
If you want to add a little something extra to the top of the cake, might I suggest these little fondant question marks!

I colored several small balls of white fondant with gel food coloring. Rolled them out and cut them with a question mark cookie cutter, then attached them to a lollipop stick. 

Place one cut out question mark backwards on your work surface, spread a bit of water on the back, place the stick in the center, then add the other question mark on top. Be sure to press down the edges and wrap the top question mark around the stick.

Let these sit out flat for at least an hour so they can dry and harden.
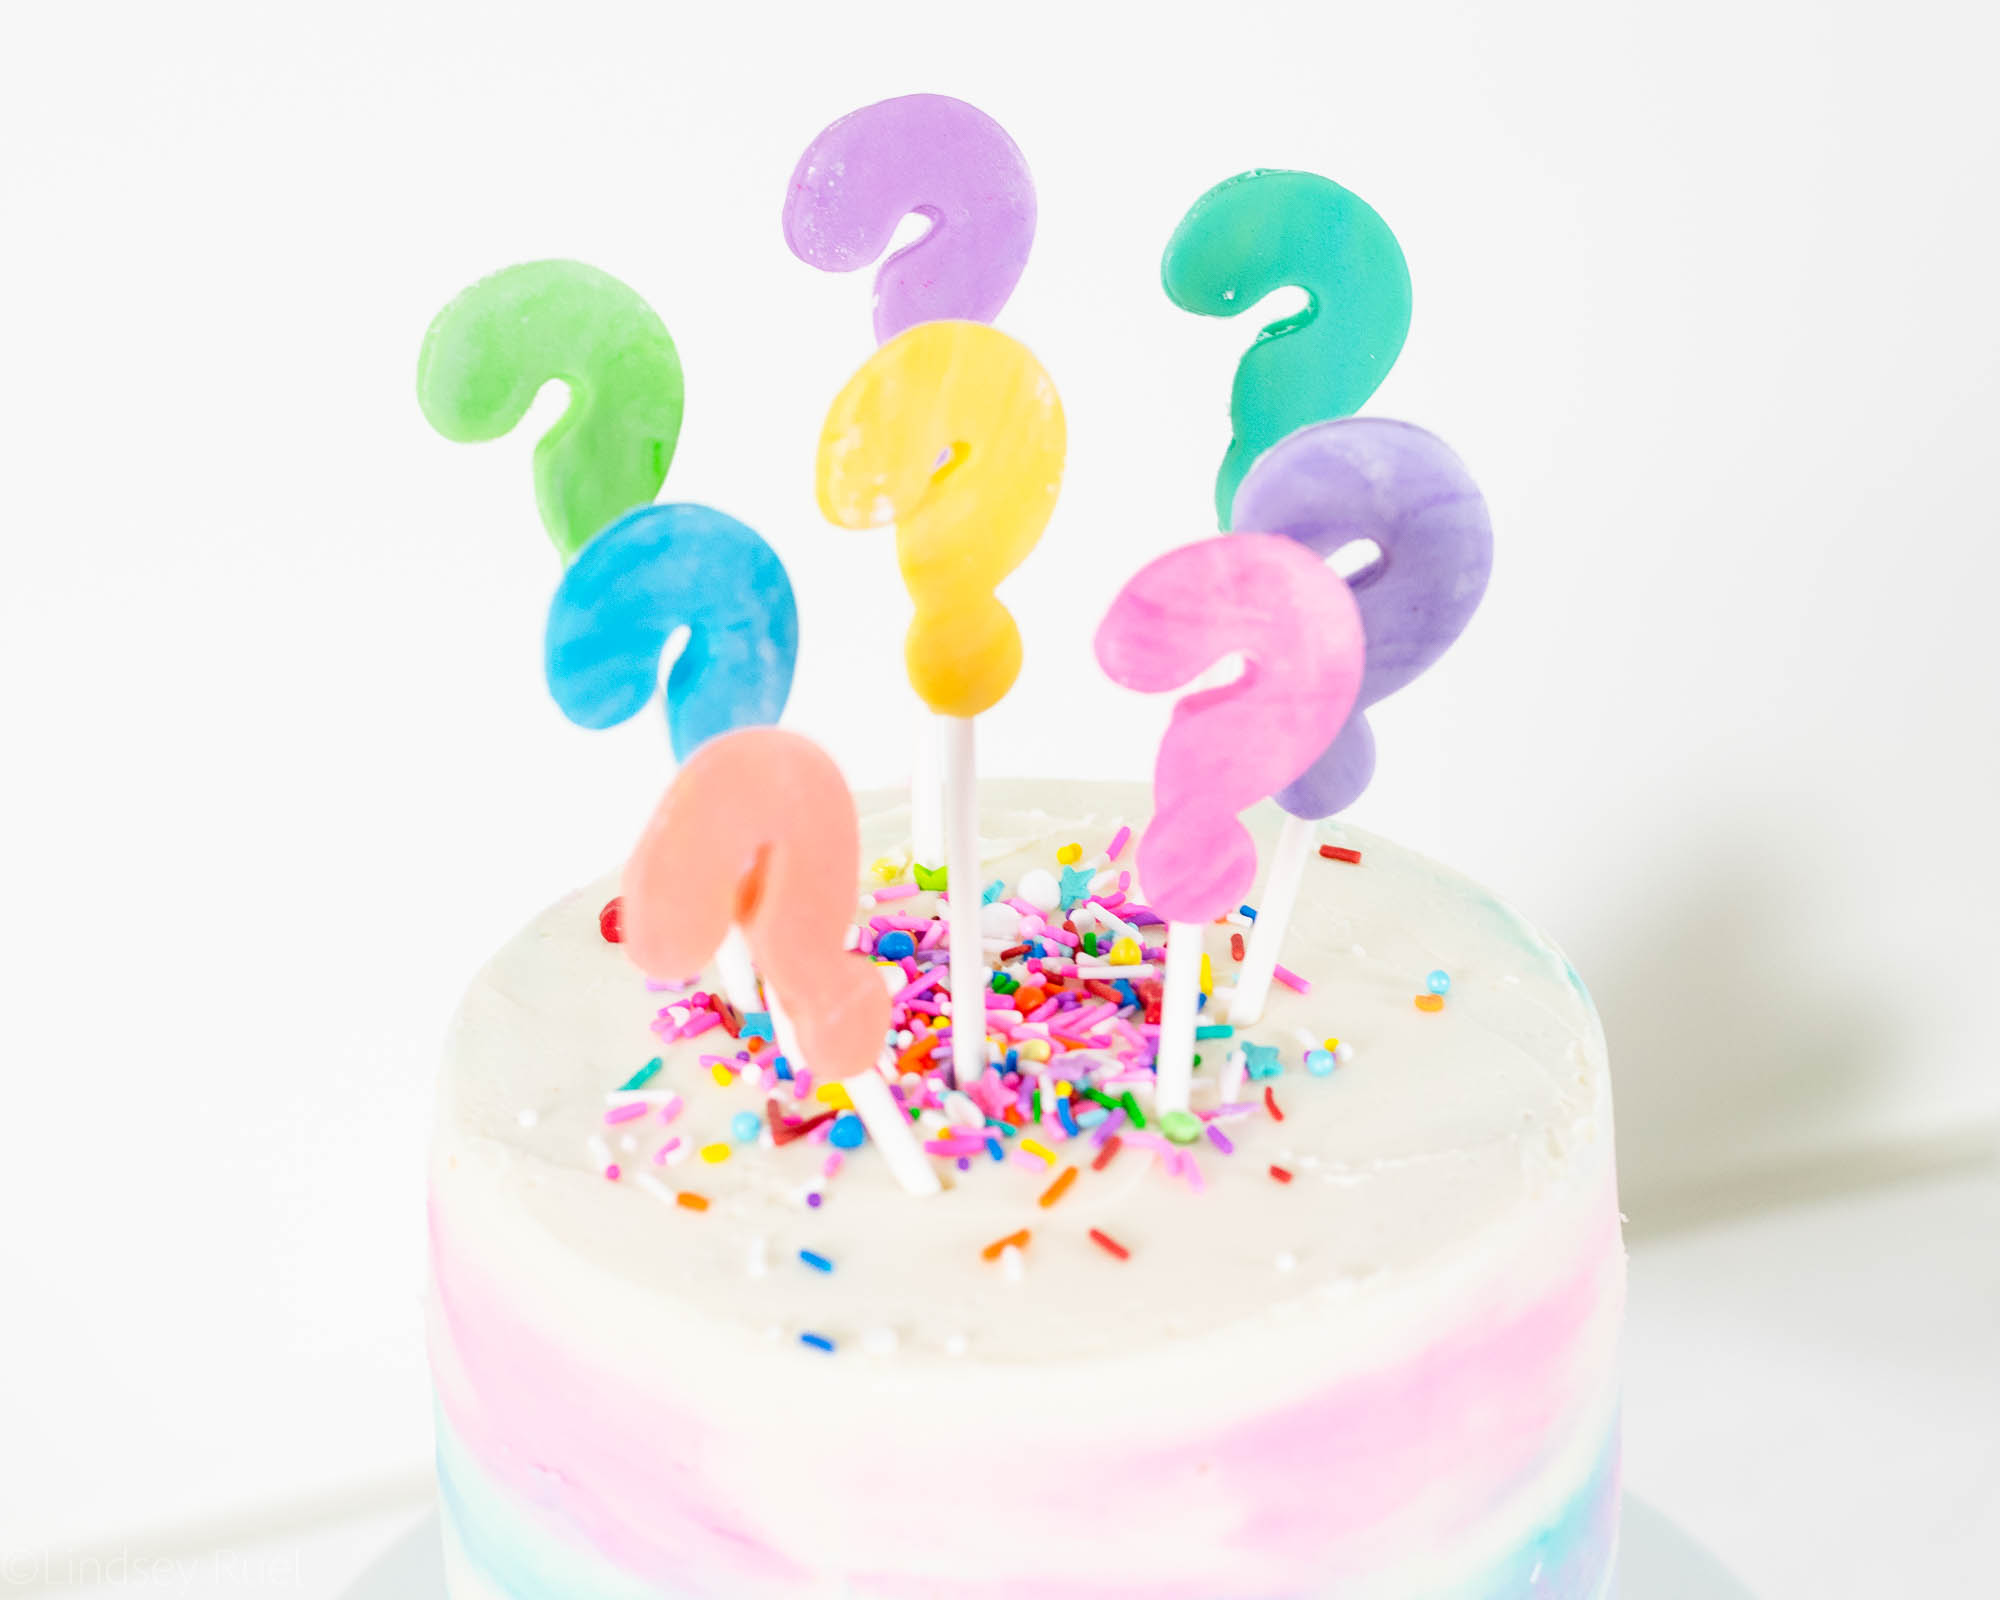
All that’s left to do is to add some sprinkles on top and stick the question marks in!
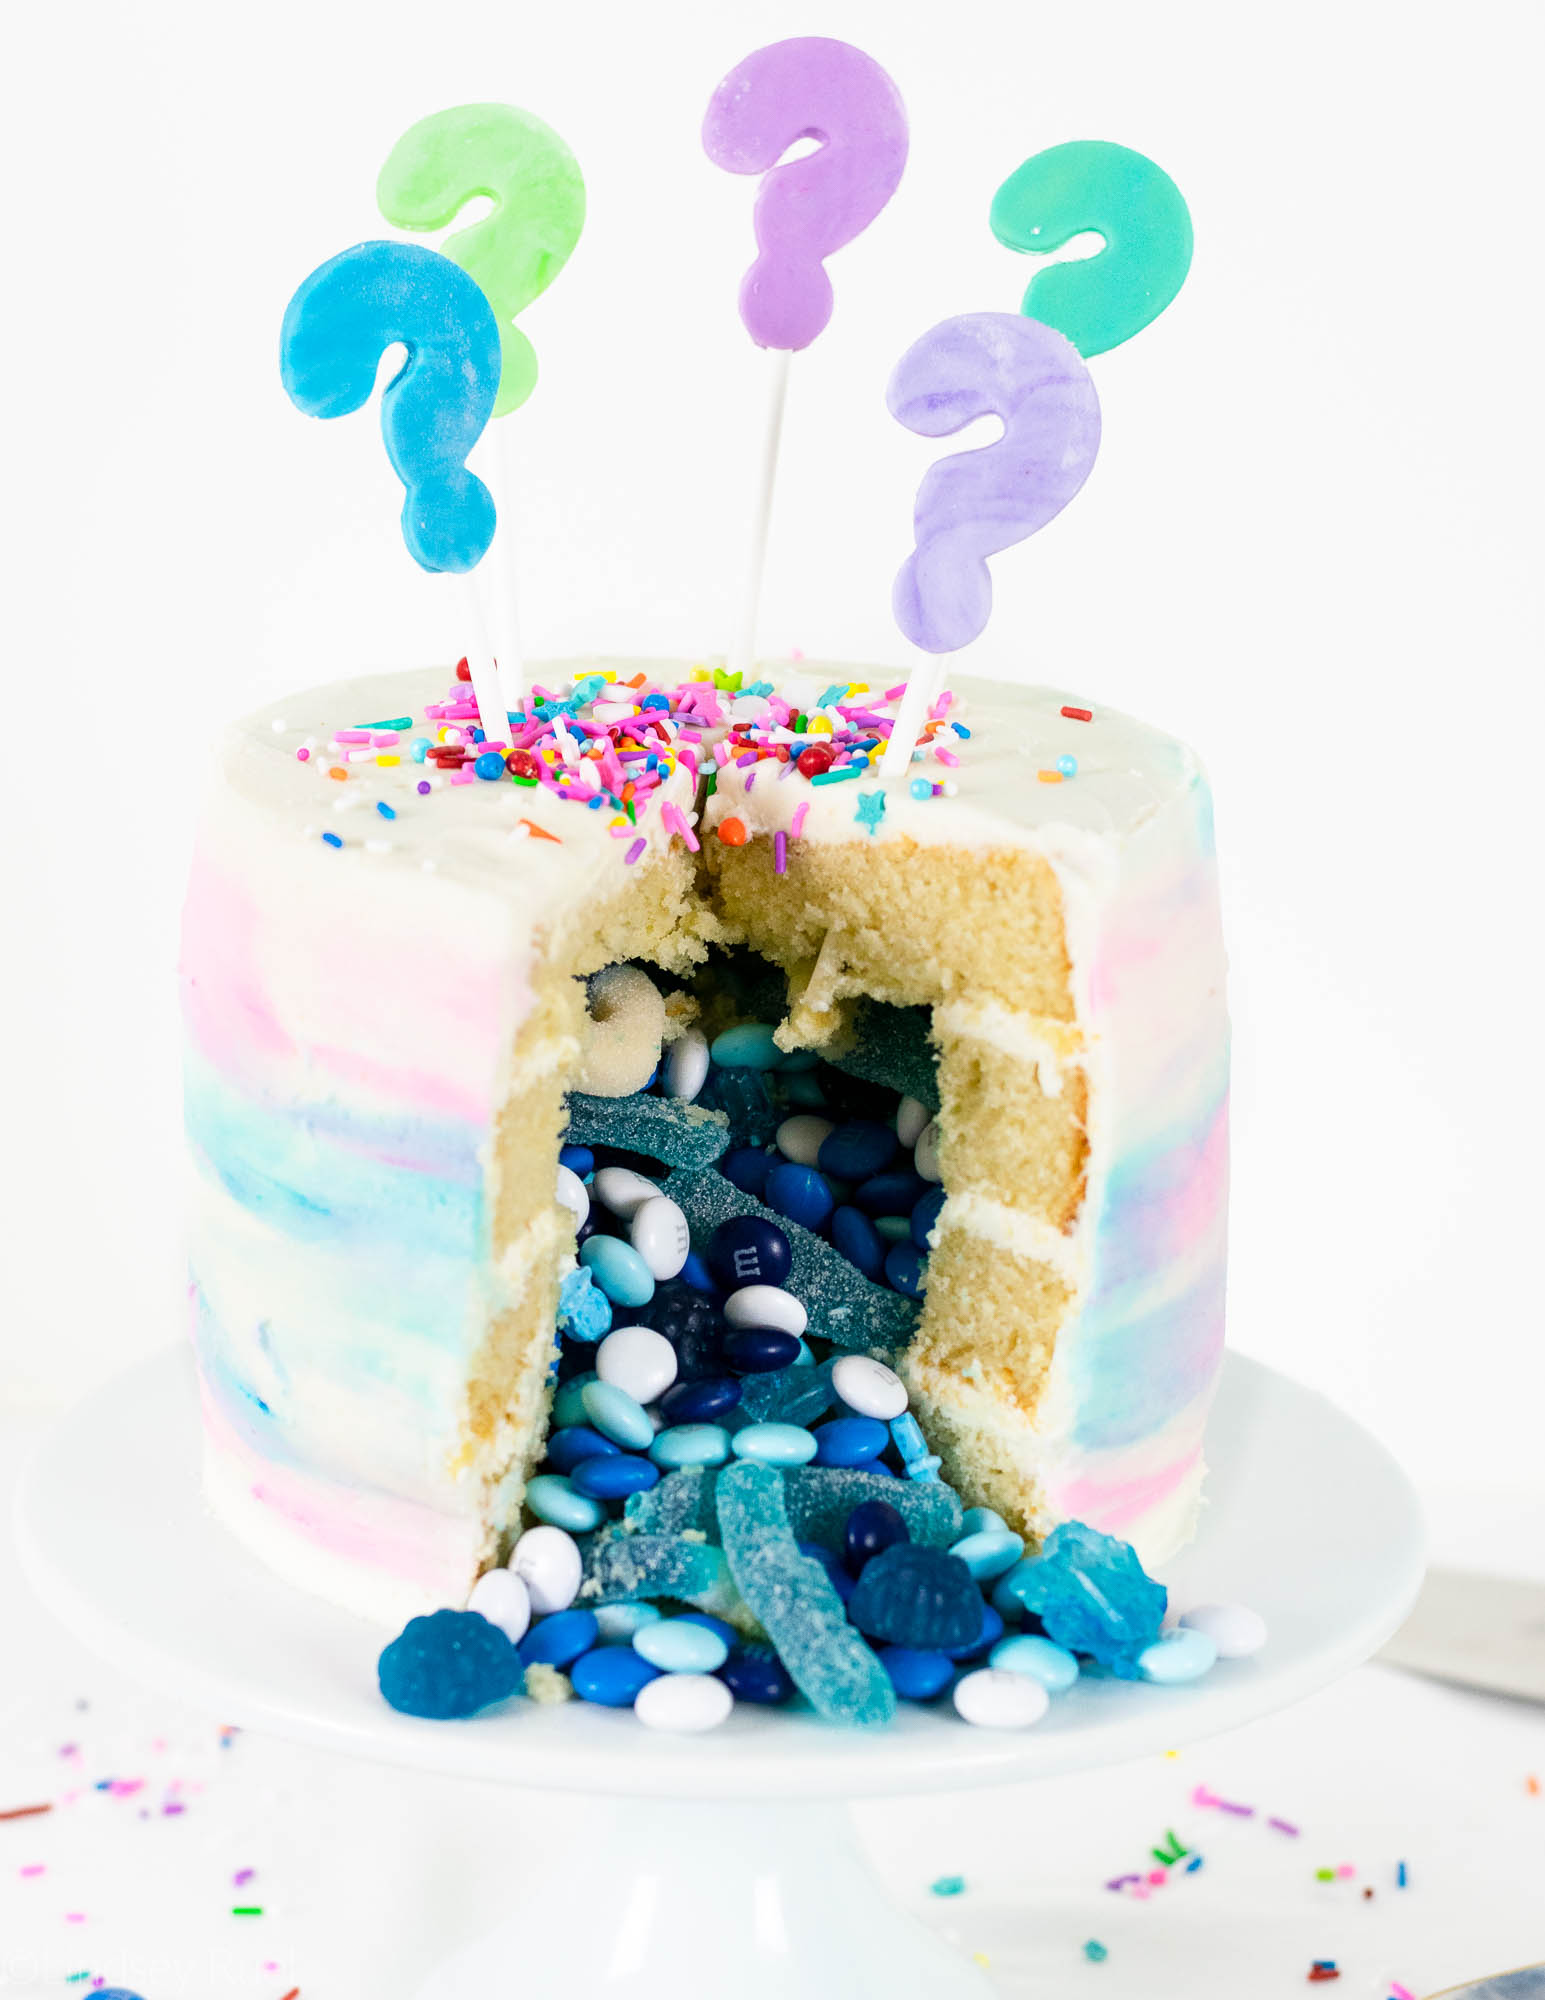
Oh…and cut into it!

That’s the best part.
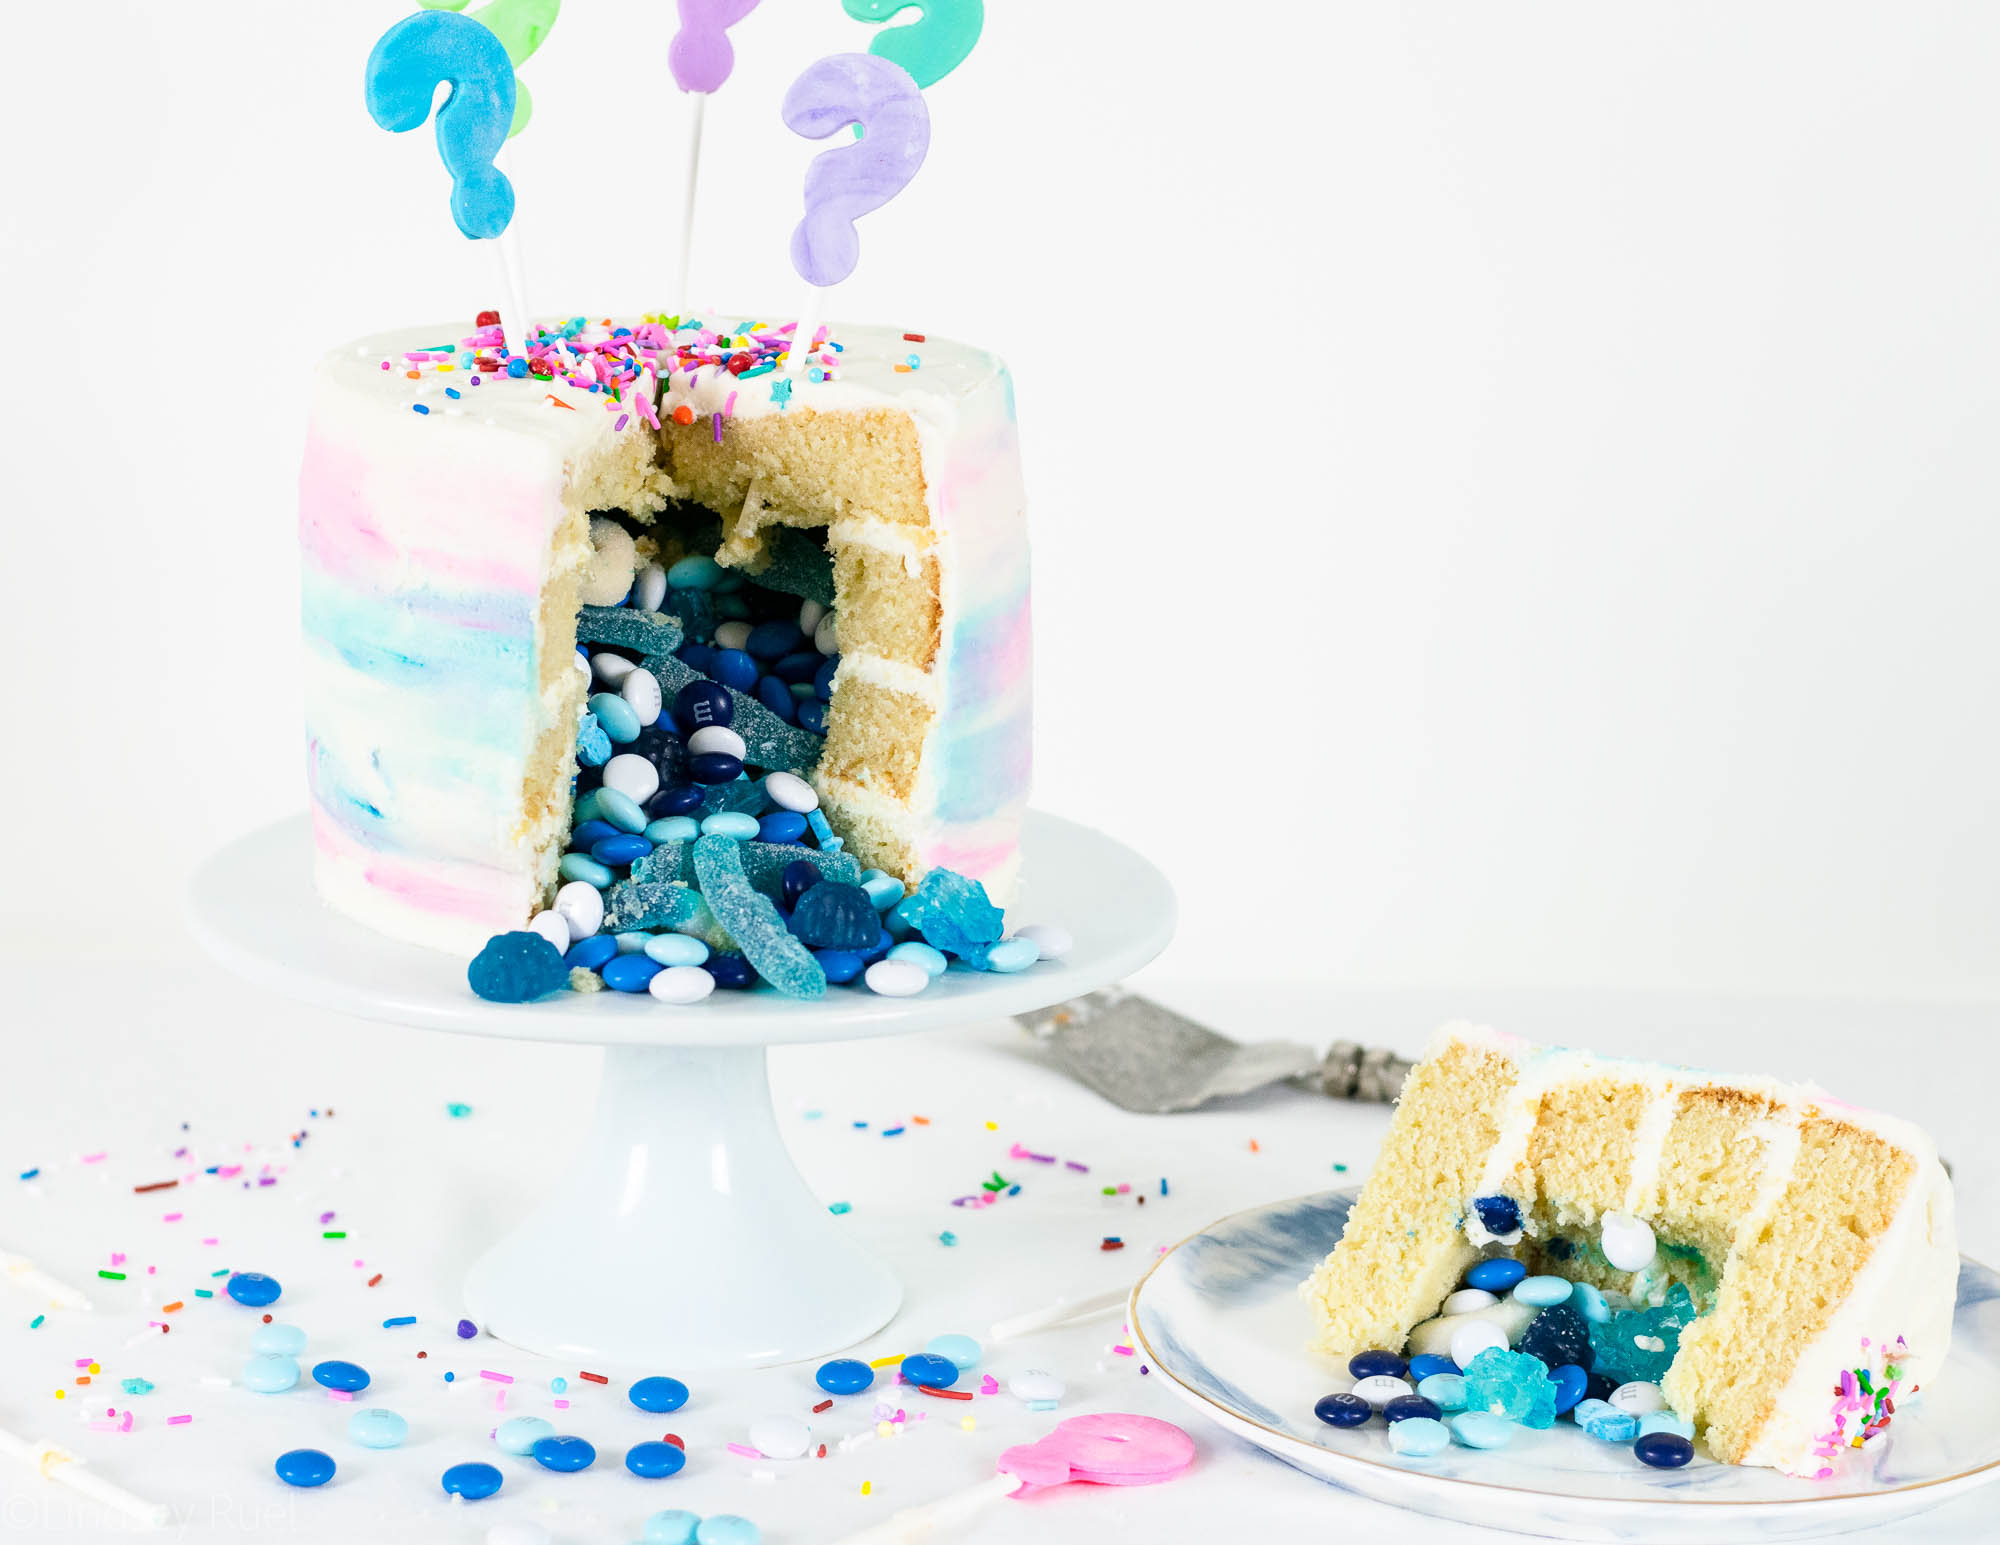
Which just slightly edges out eating it!

Vanilla Cake Recipe

[amd-yrecipe-recipe:167]
/ Filed In: Cakes and Cupcakes, Cakes New, Desserts, Eat
Tagged: baby, baby shower, cake, candy, decorated cake, gender reveal, Surprise Inside

Lemon Elderflower Cake

April 10, 2018

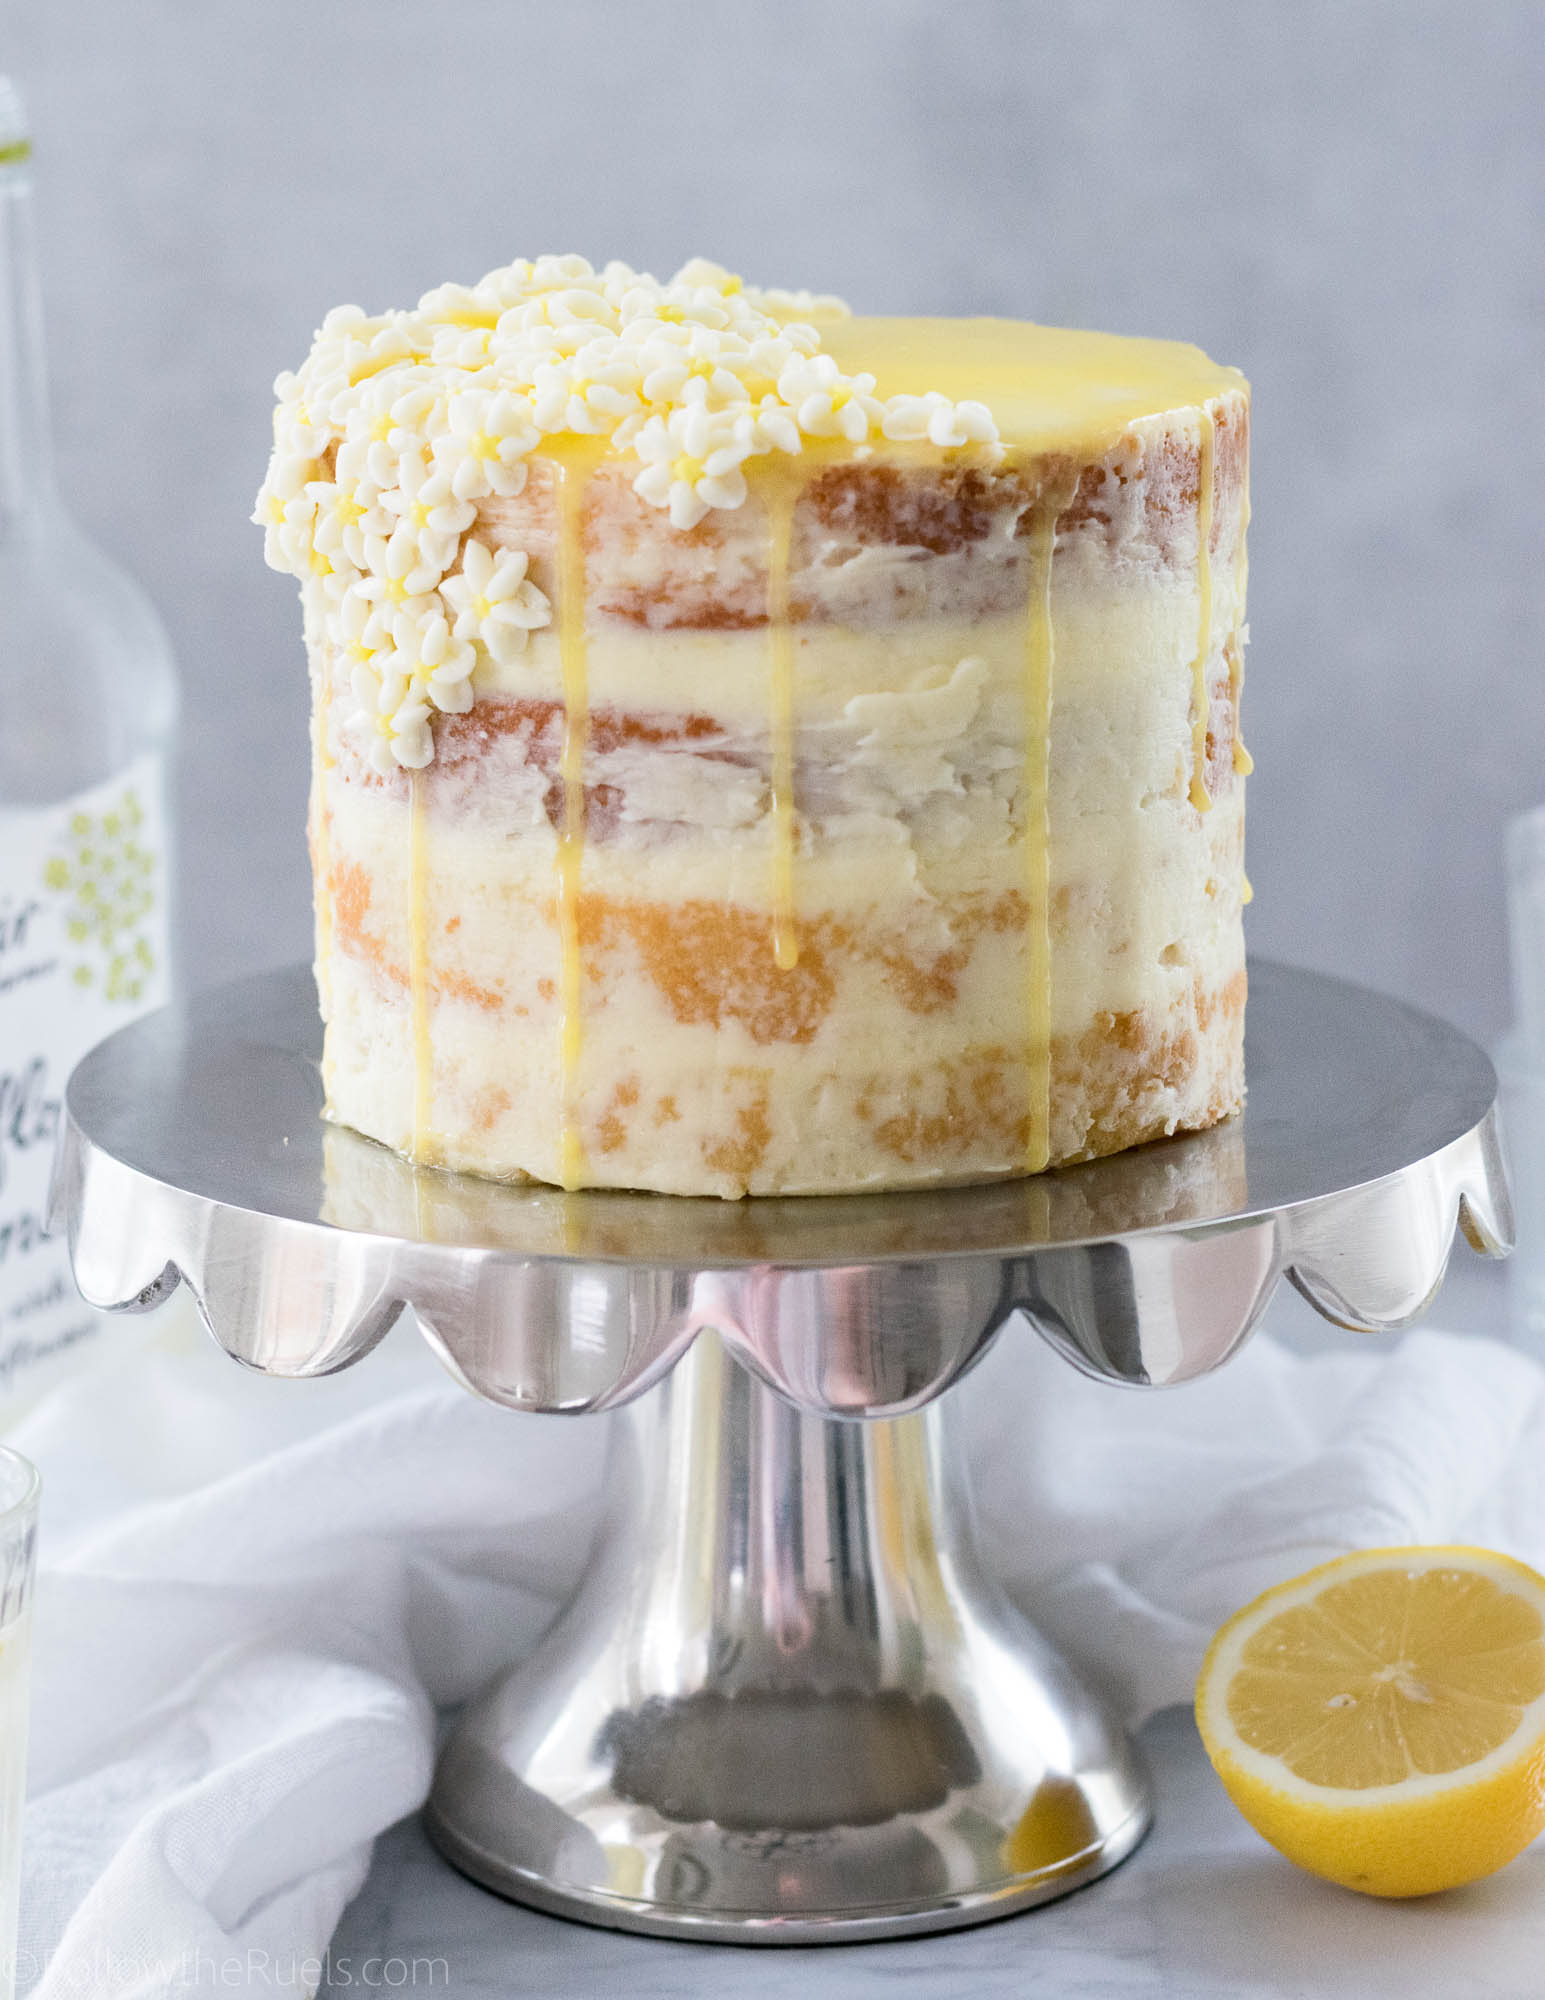
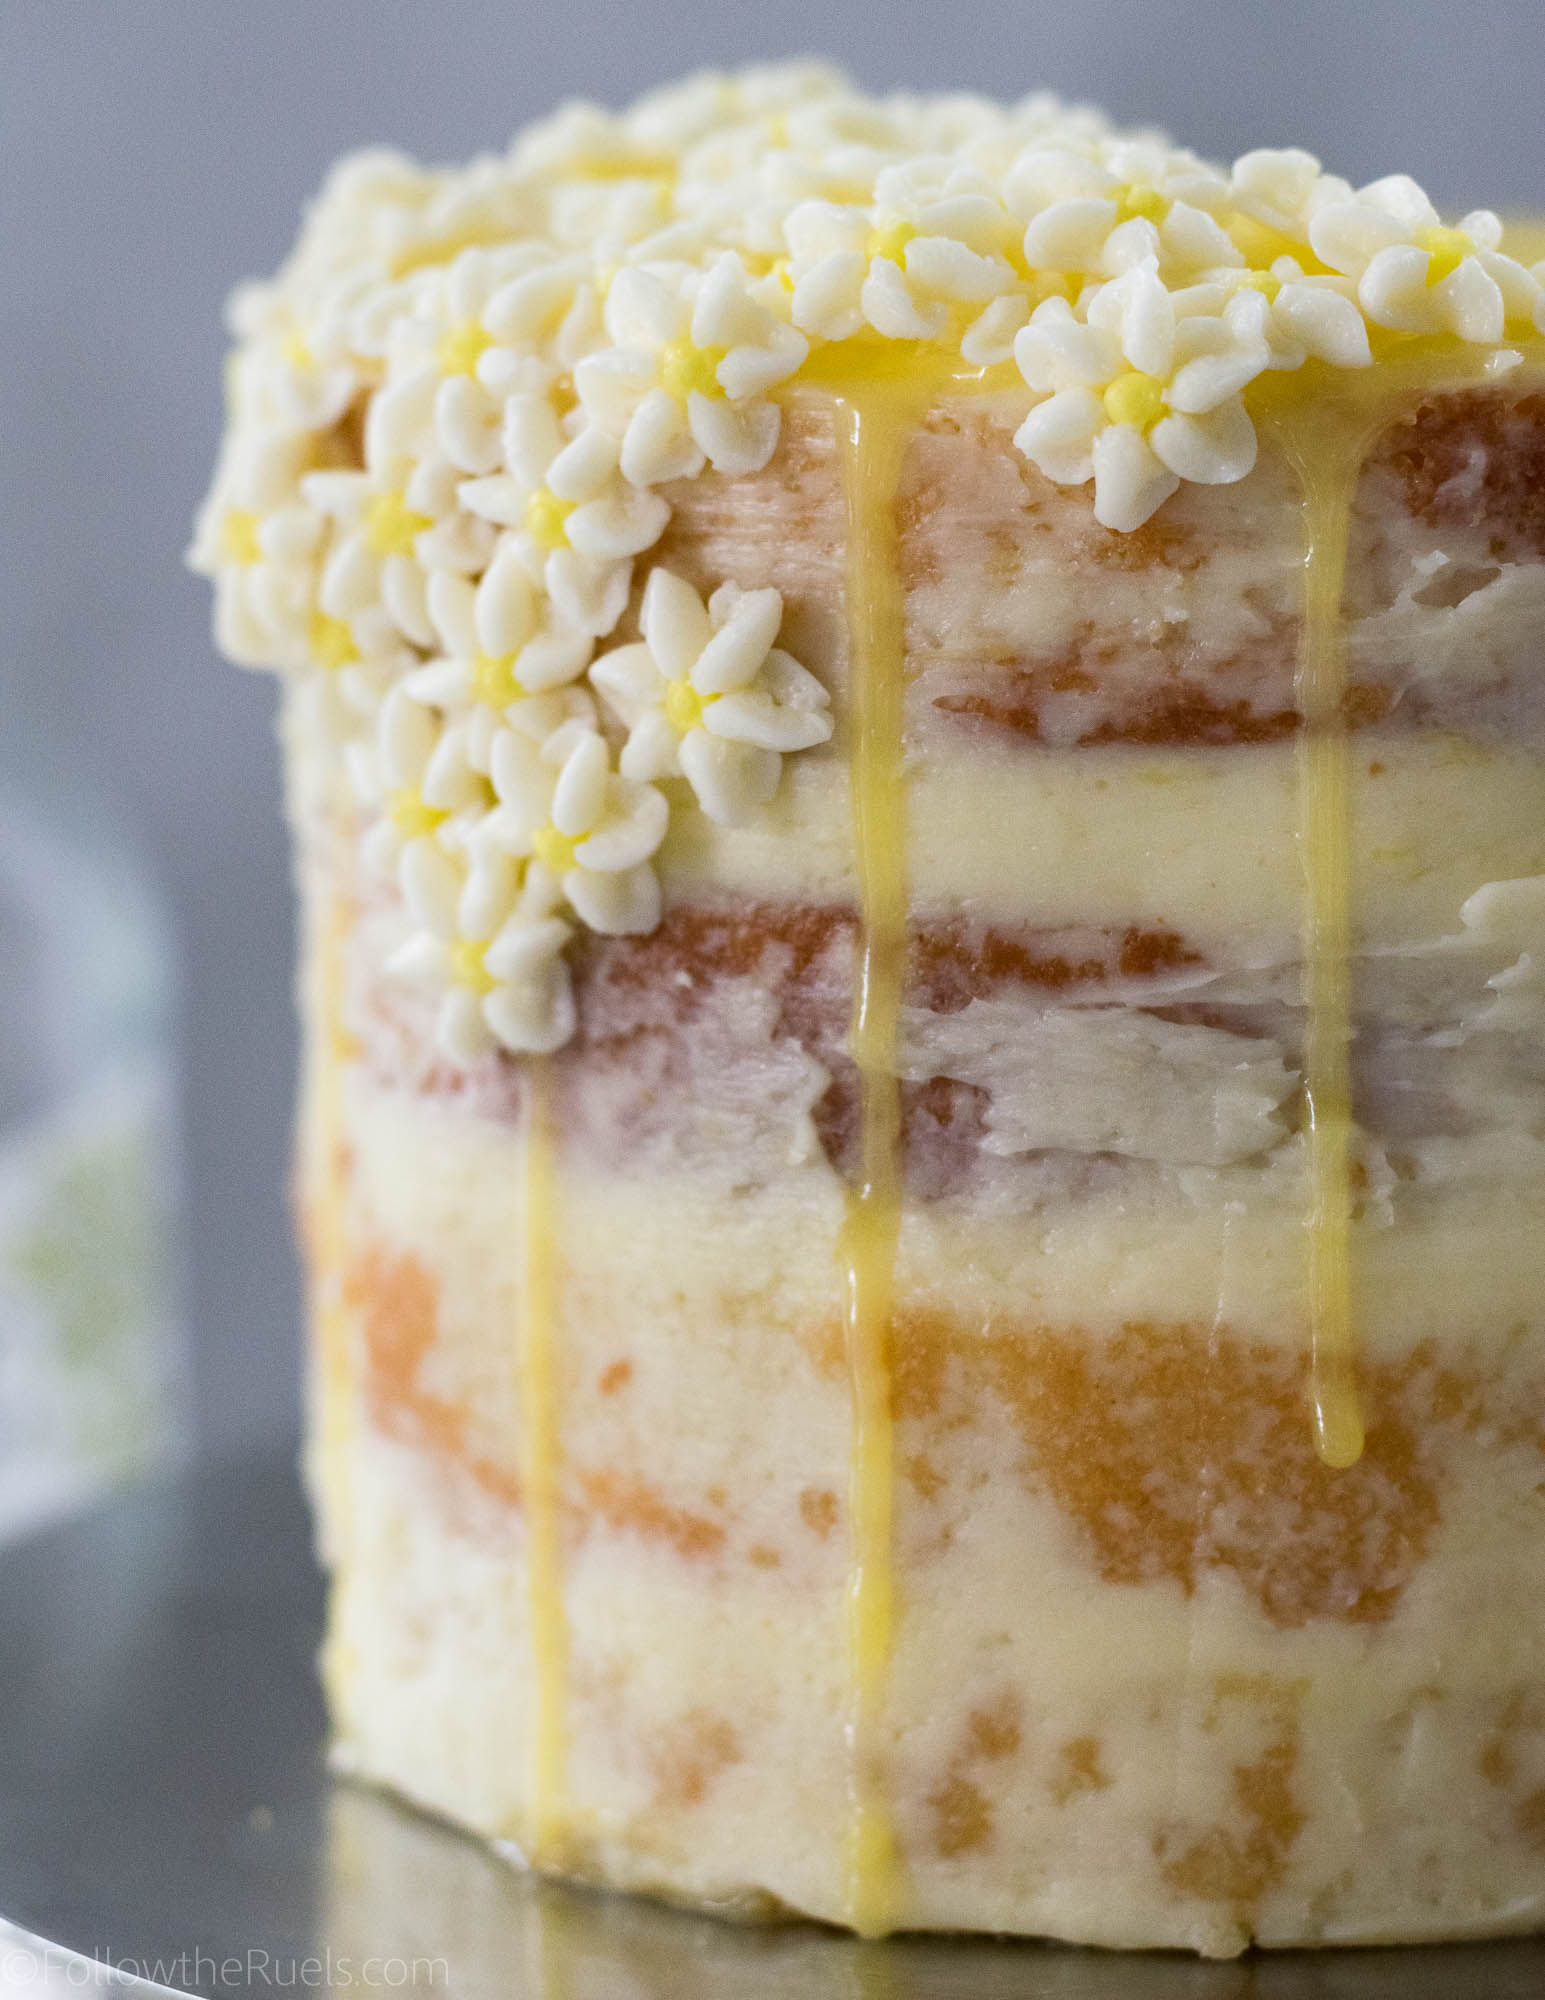
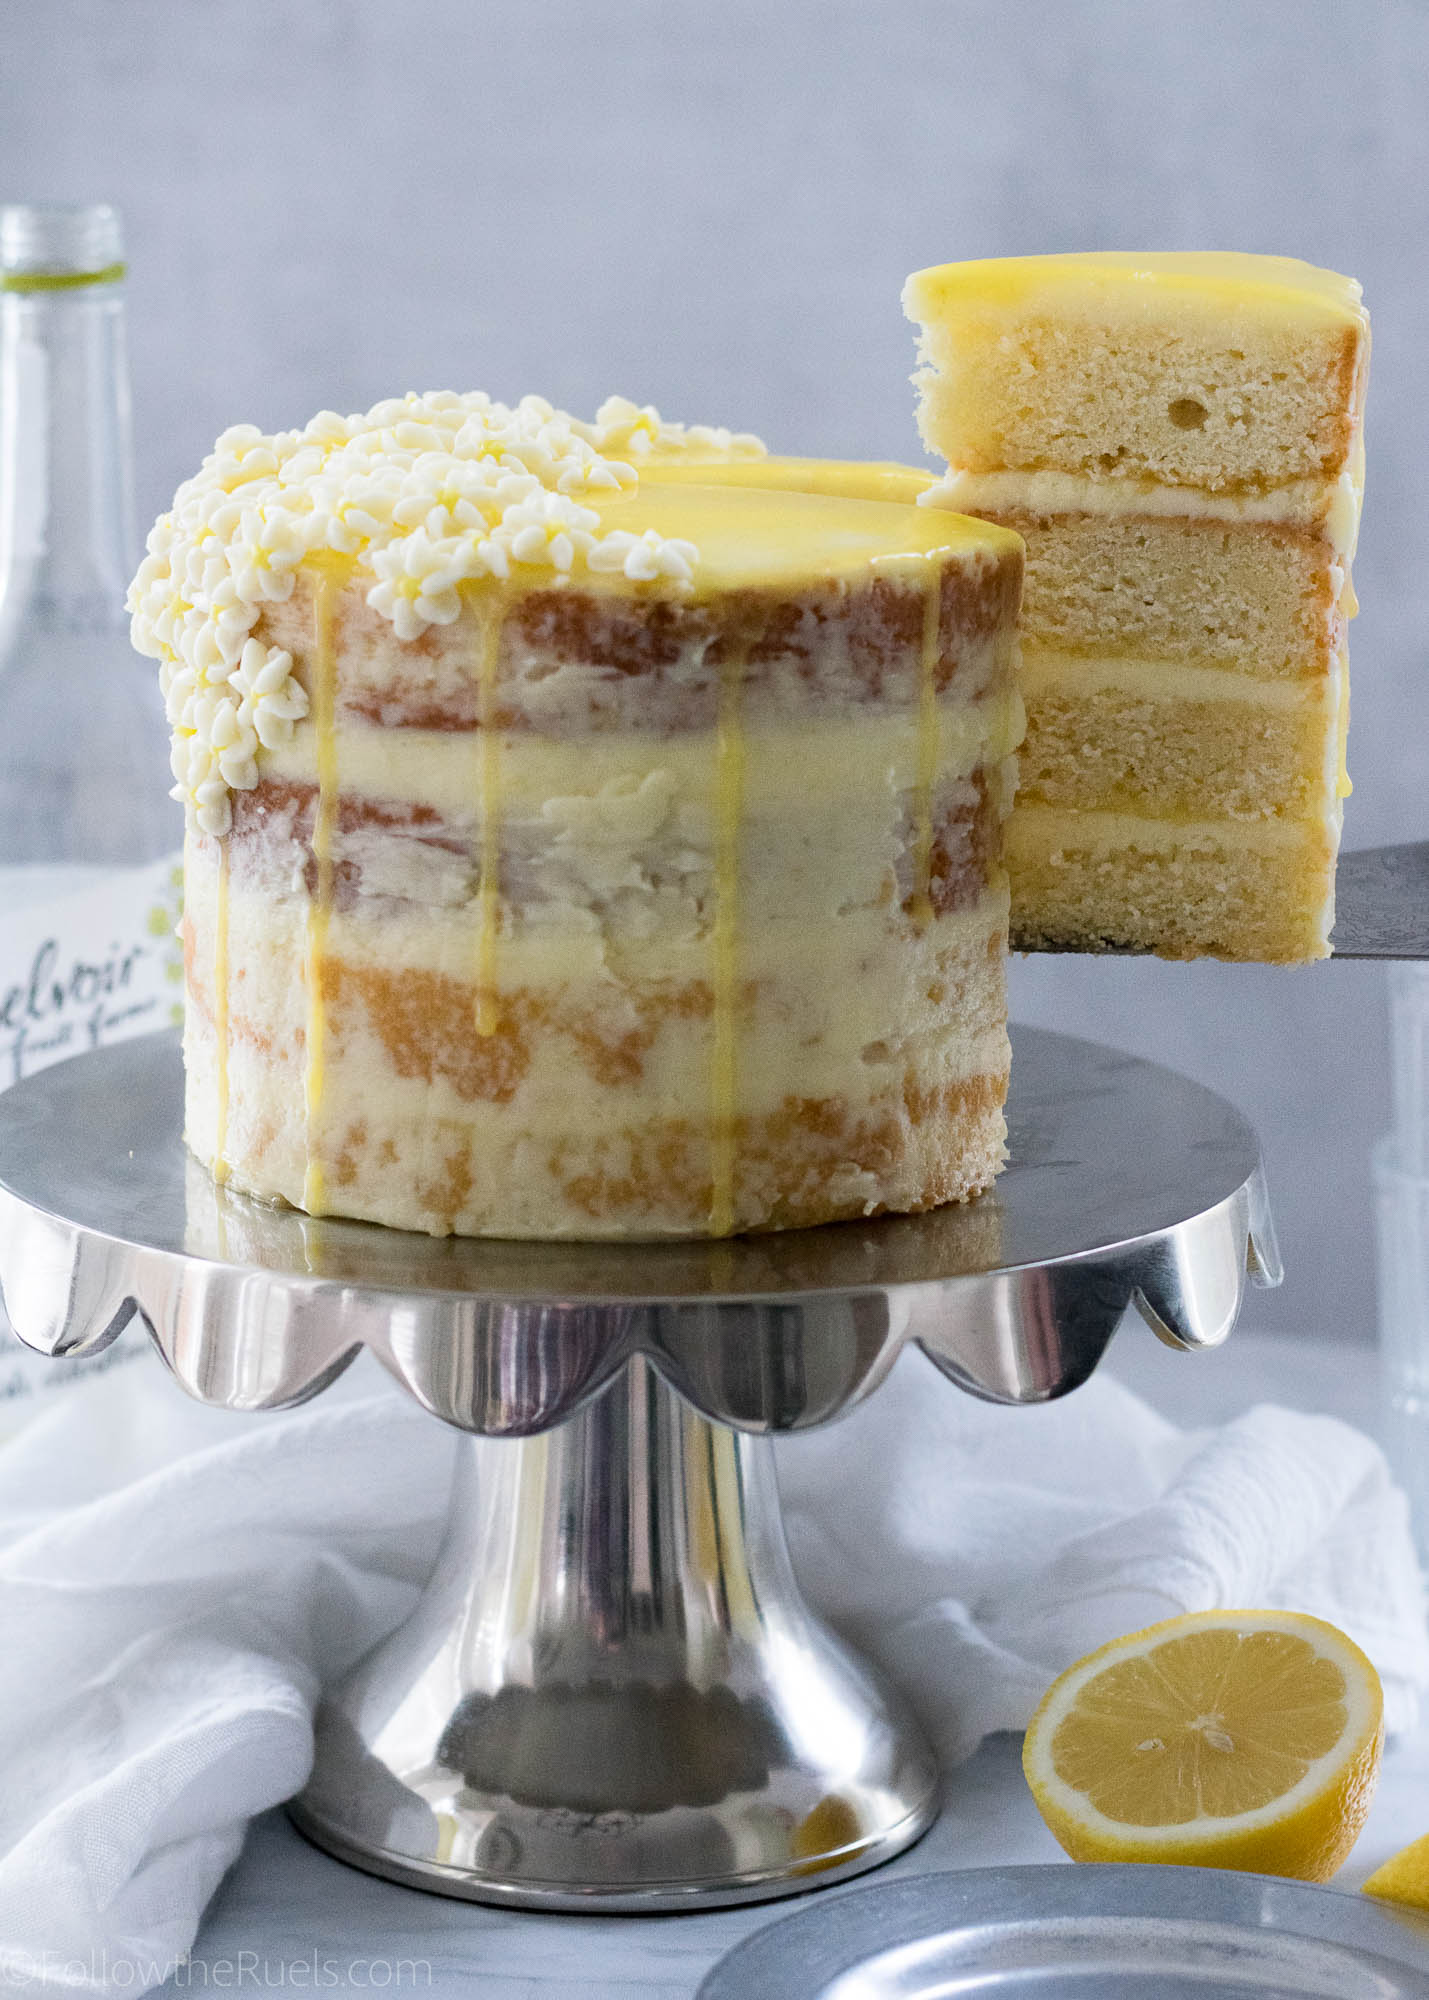
 What can I say about this lemon elderflower cake? Other than it didn’t turn out at all like I had expected. But, in the best way possible!

If you follow me on Instagram, then you already saw a sneak peek of this cake last week. In the comment, I mentioned that this is not what I had planned on the cake looking like. In my head, before I started, I had planned on this being a cake completely covered in a layer lemon buttercream frosting then topped with white and yellow buttercream flowers complete with buttercream leaves. 

Now, I am often overly ambitious when it comes to my baking projects which often leads to a last minute change of plans. In this case, it was just poor planning. I simply didn’t make enough buttercream! I couldn’t even cover the whole dang cake!

Whoops!

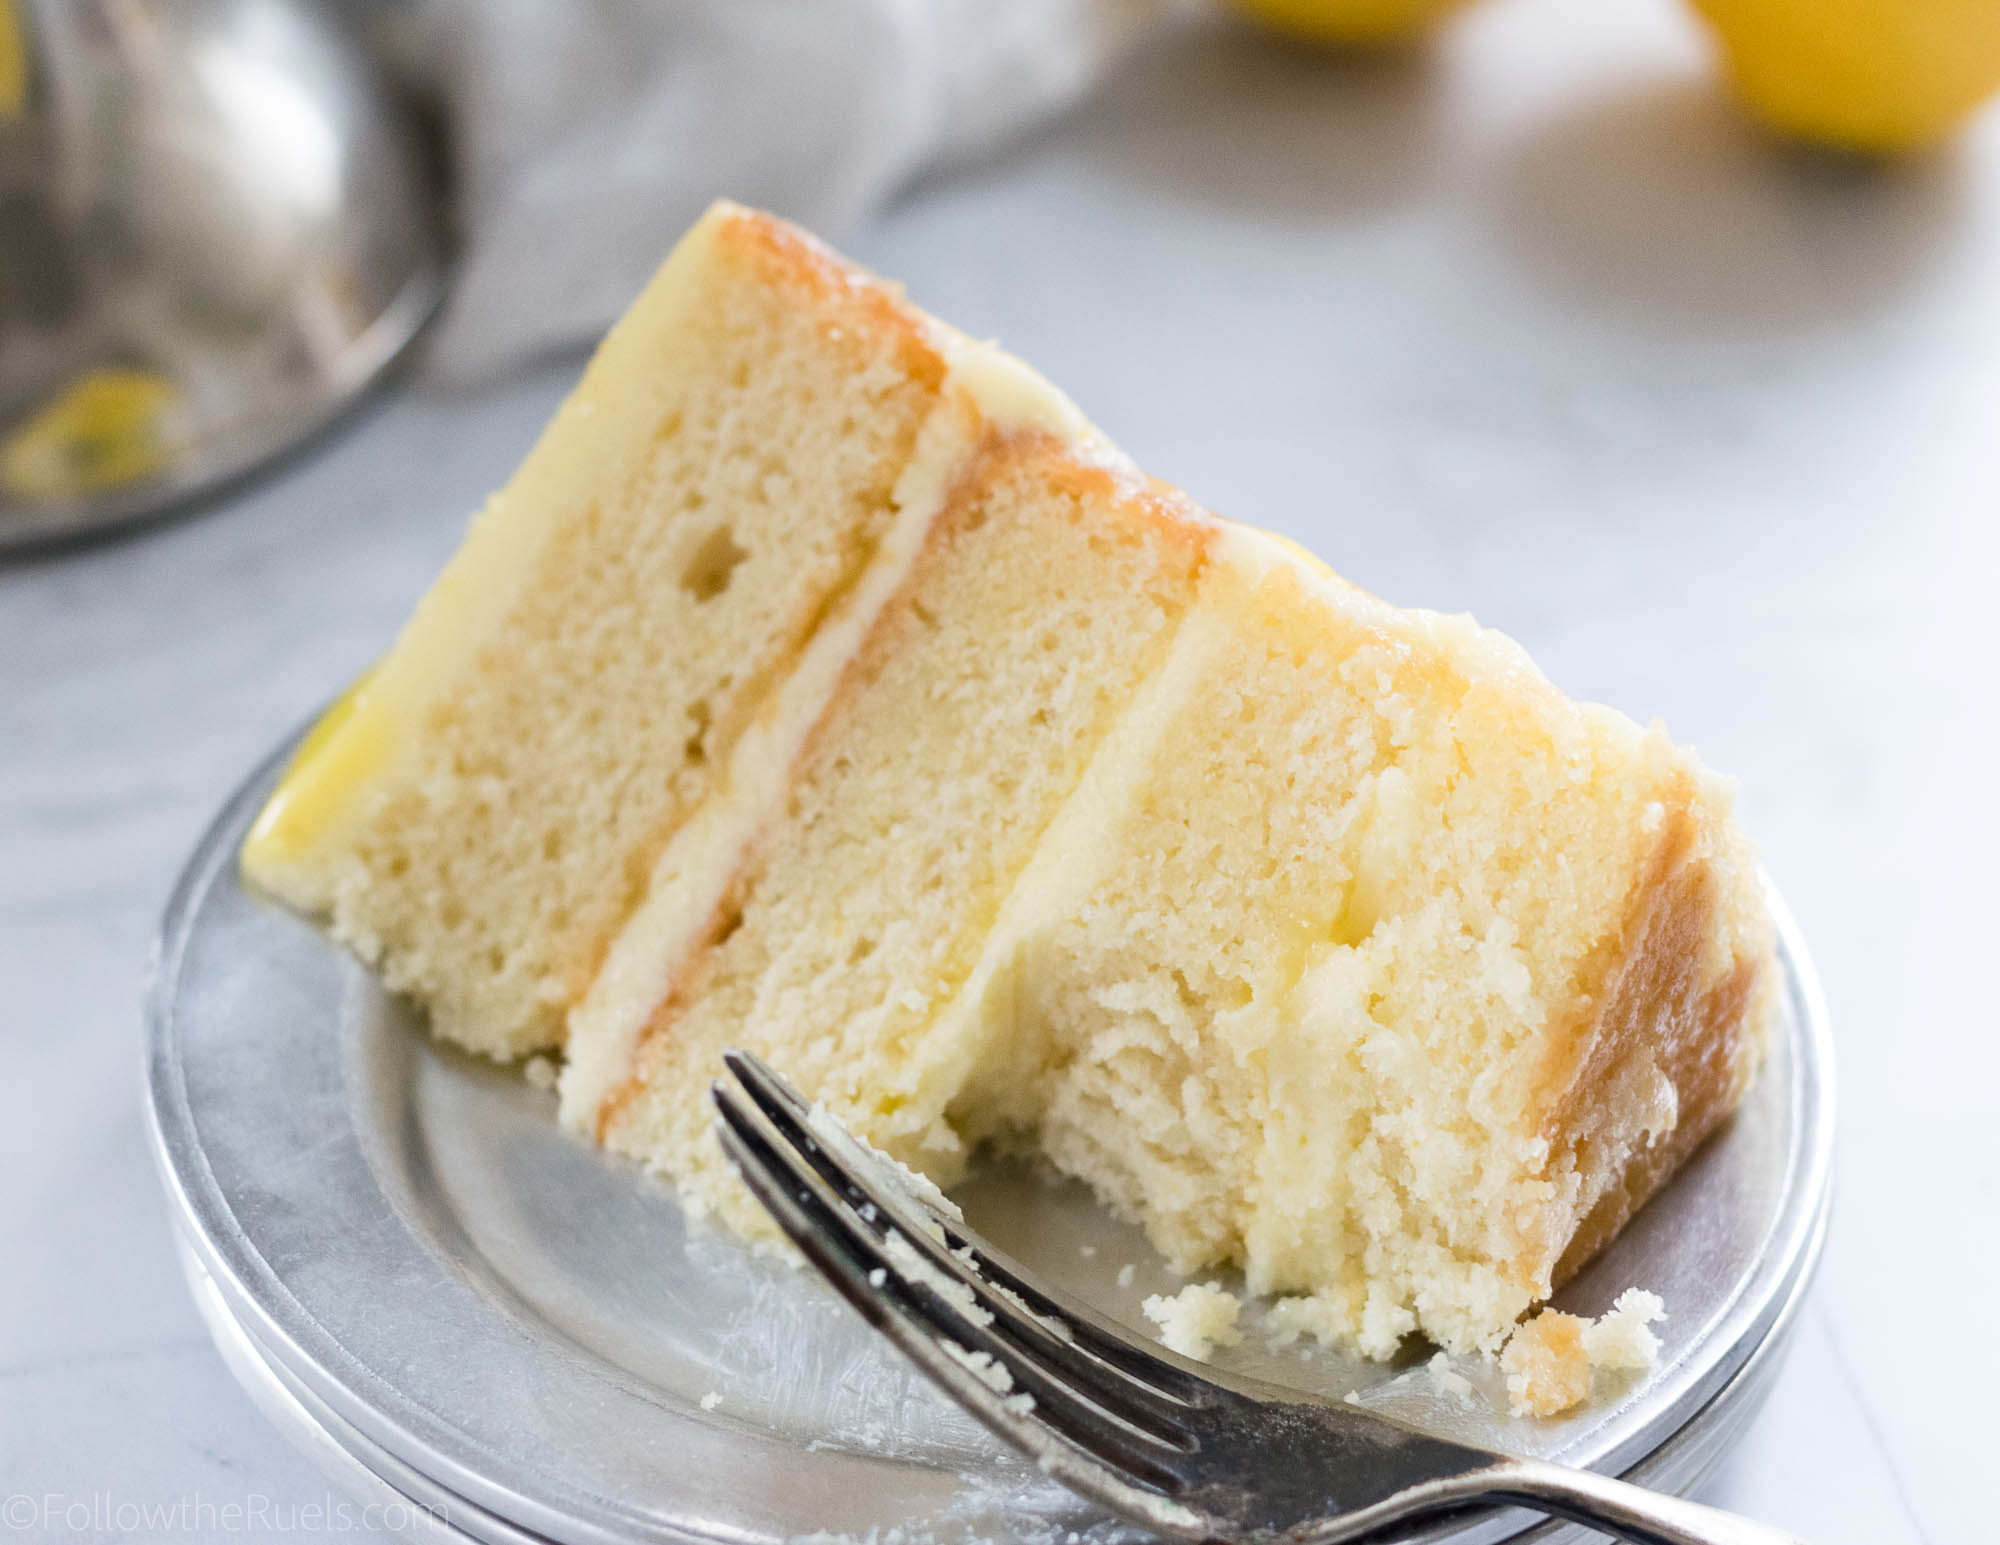
But in the end, I think the lack of buttercream led to this beautiful, simple, and rustic cake that perfectly embodies the actual cake within. The lemon elderflower cake layers are just that. Beautiful, simple, rustic, and delicious! The lemon flavor is dominant, but not overpowering and there is a hit of that sweet elderflower with each bite thanks in large part to the elderflower simple syrup that I drizzled over each layer. 

If you have never had elderflower flavored anything, then you may be a bit skeptical. Not to worry, it’s not an overly floral taste, like rose or lavender, so you won’t think you are eating soap. It really just provides an extra layer of sweetness and perfectly compliments the lemon.

However, if you are just not into elderflower at all, ditch it! Just make a lemon cake! It will still be wonderful!

How to Make It

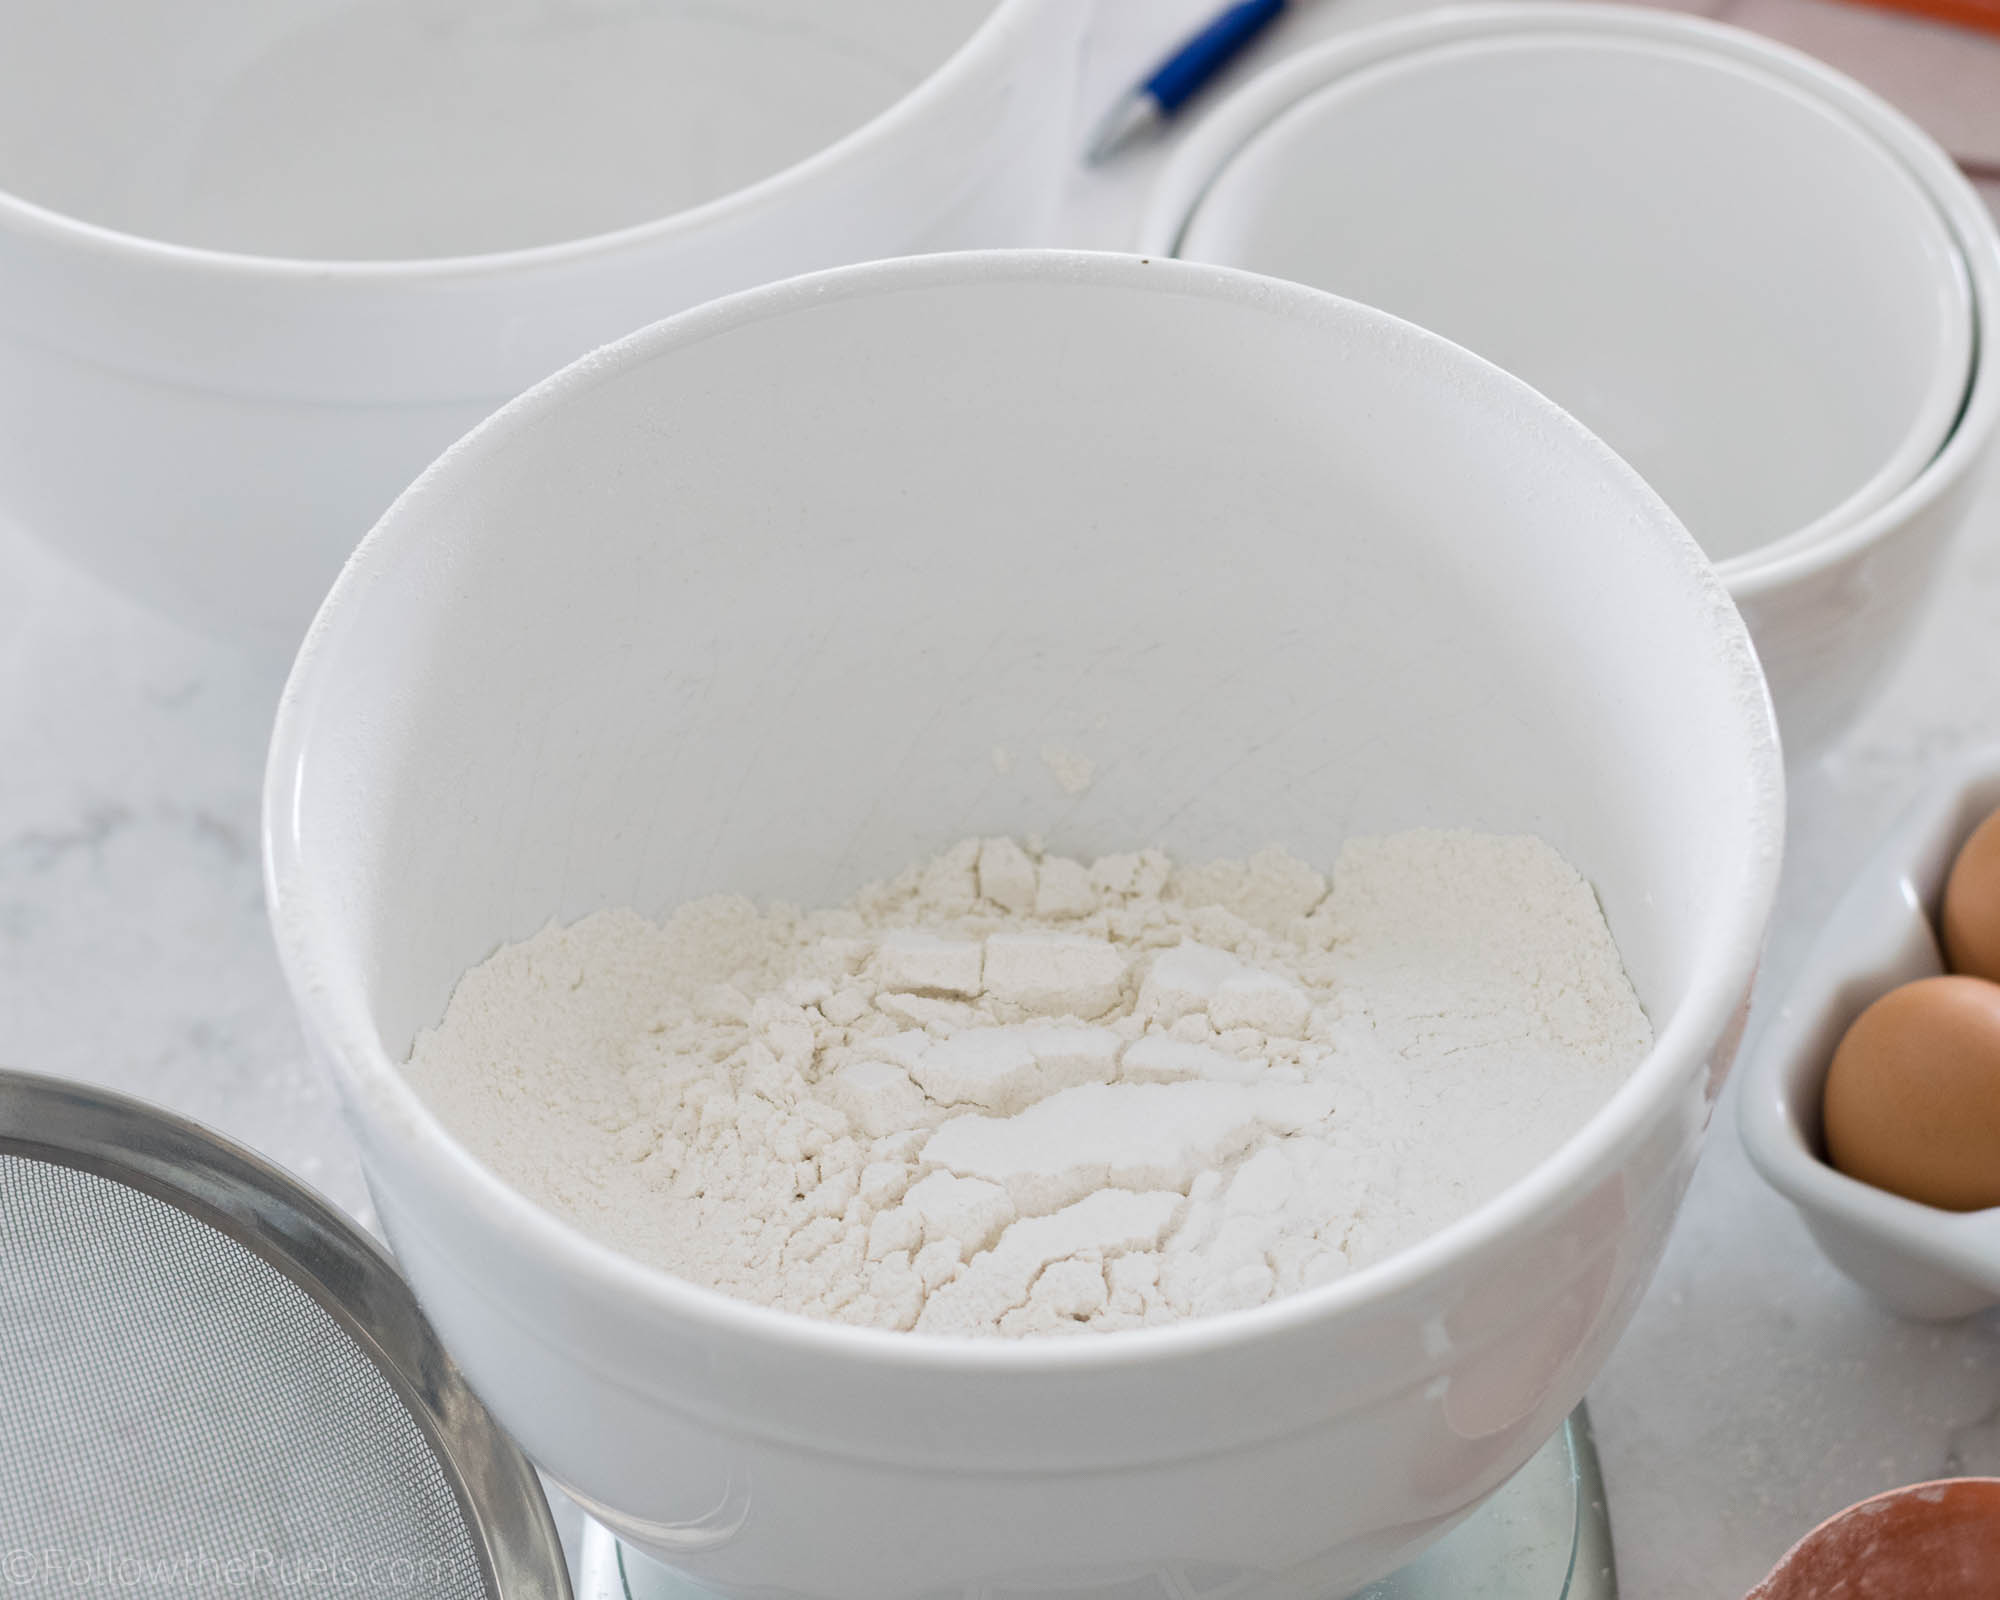
The first step to making this cake, and any cake, really, is to sift the dry ingredients together. I used to skip this step, but now I know that this simple step really changes the texture of a cake. Sifting the flour creates a much lighter, less dense cake.


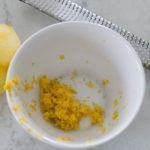
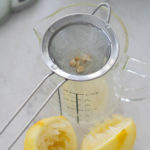
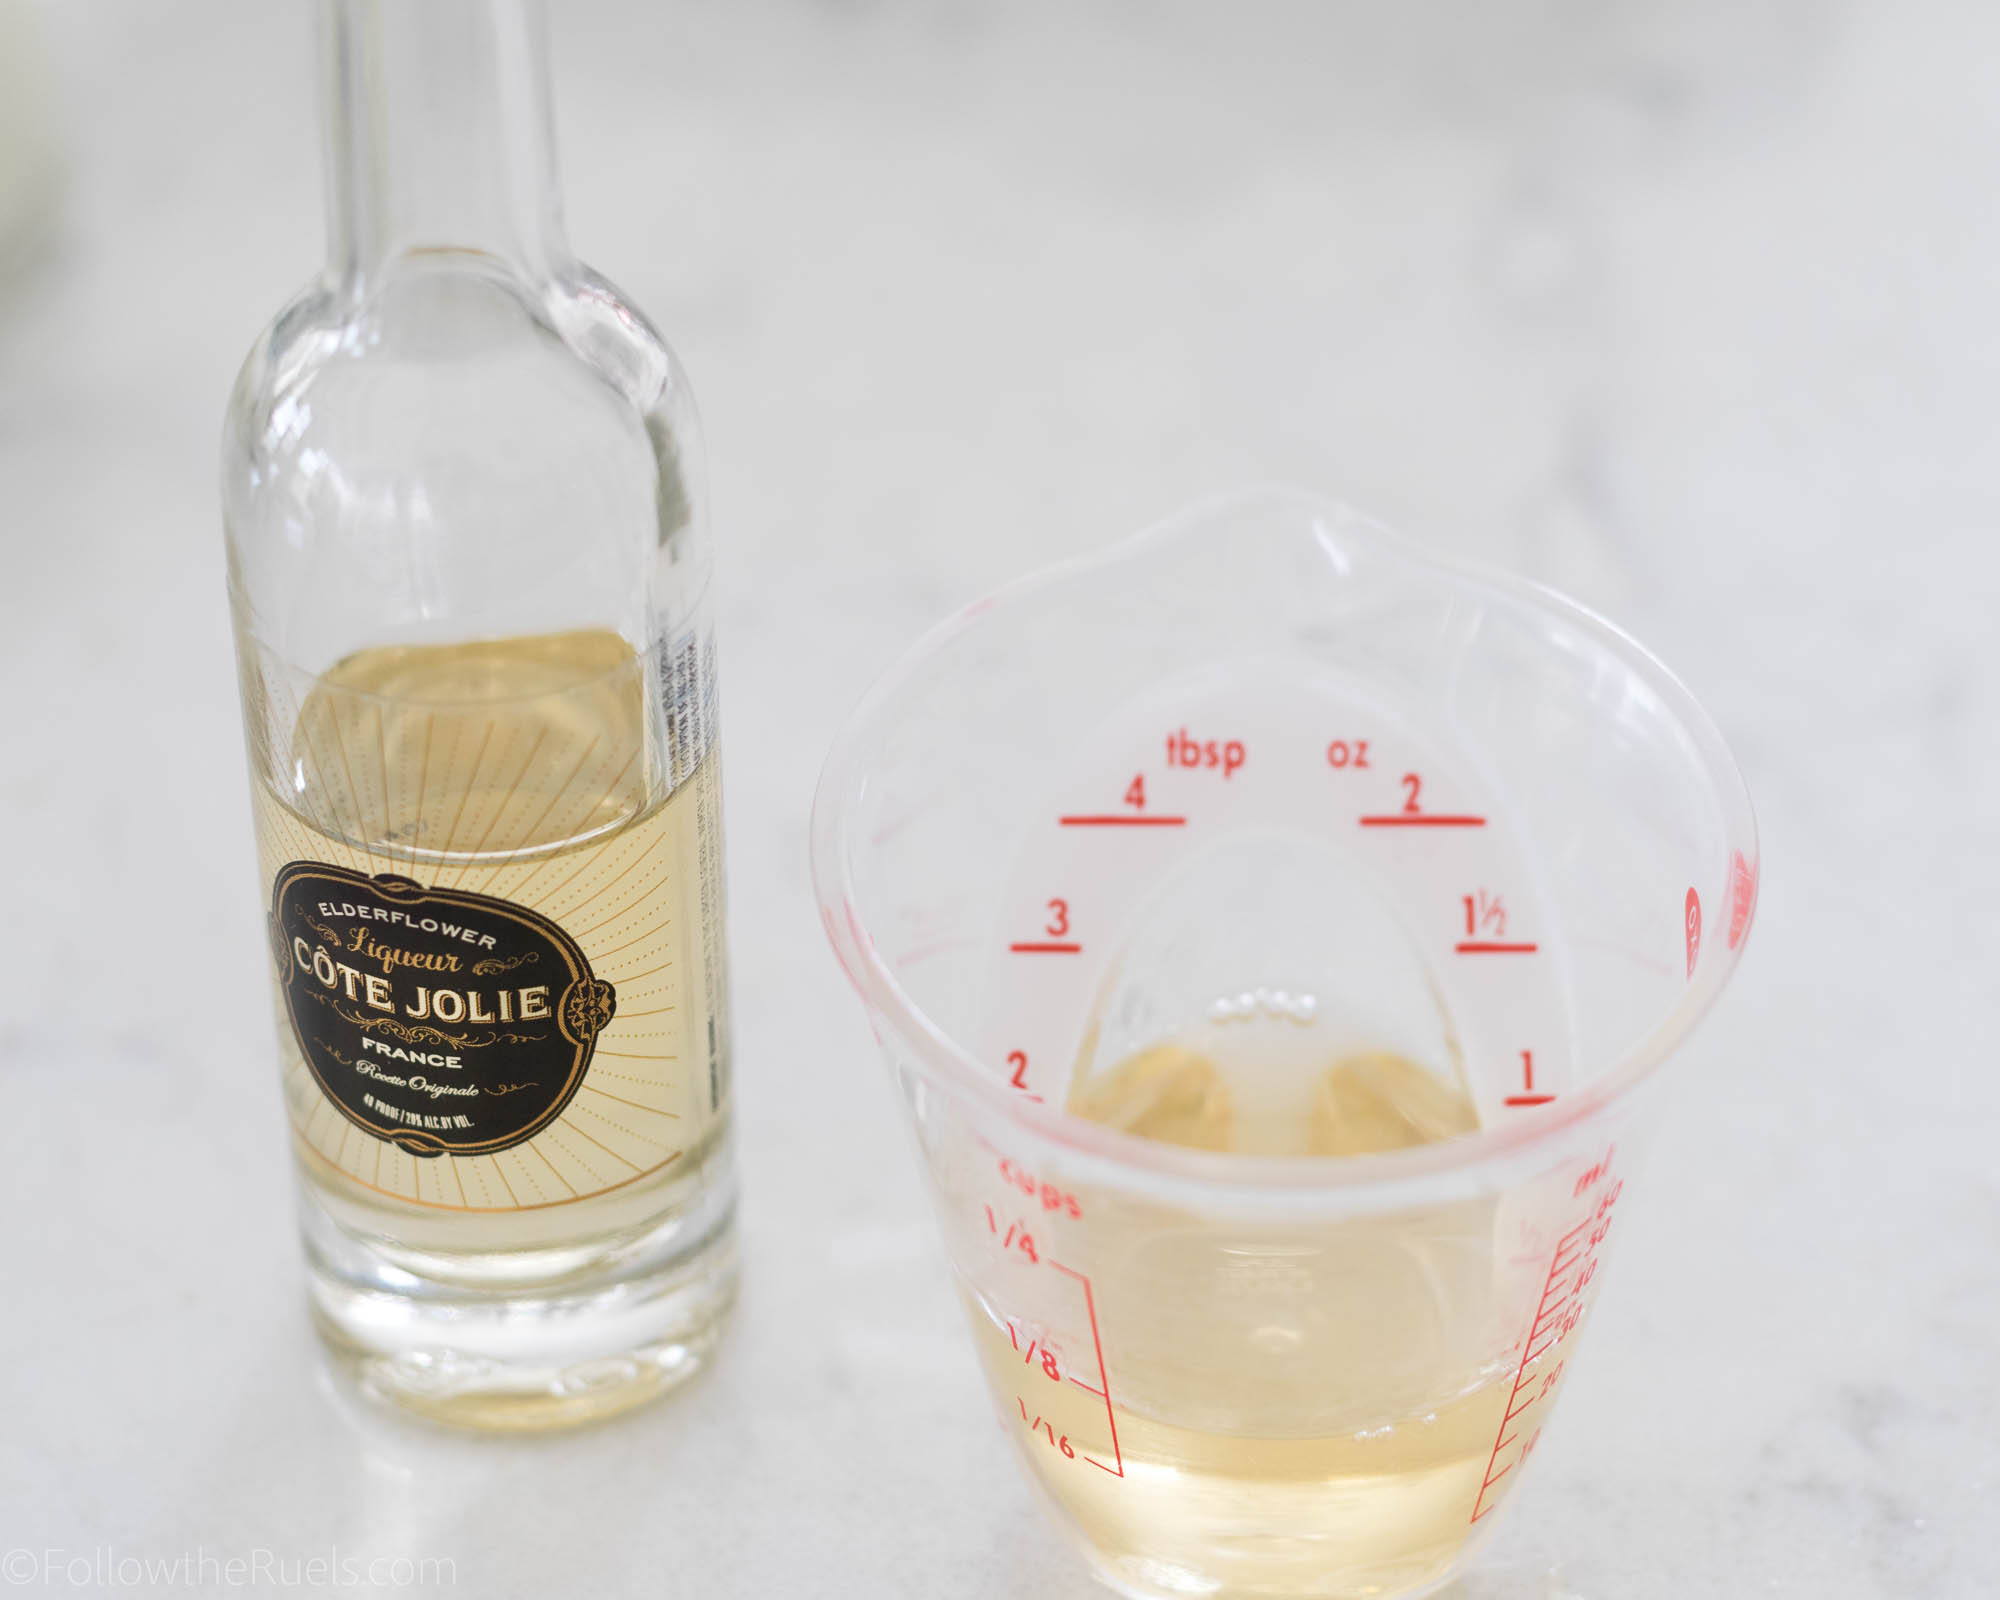
Set the flour aside and move on to the lemon. First zest one or two lemons until you have about 2 tablespoons of zest. Then squeeze the juice out of the lemon. You will be adding the lemon juice to the milk along with the elderflower liquor.

Speaking of which, if you have never had elderflower liqueur in a drink before, it is delicious! I don’t drink a lot to begin with, so I didn’t have any elderflower liqueur on hand. But I did find mini bottles at my local liquor store. I highly recommend just getting 1-2 mini bottles instead of 1 big bottle unless you plan on drinking the rest of it.

Now that we have that covered, lets move on to making the batter.

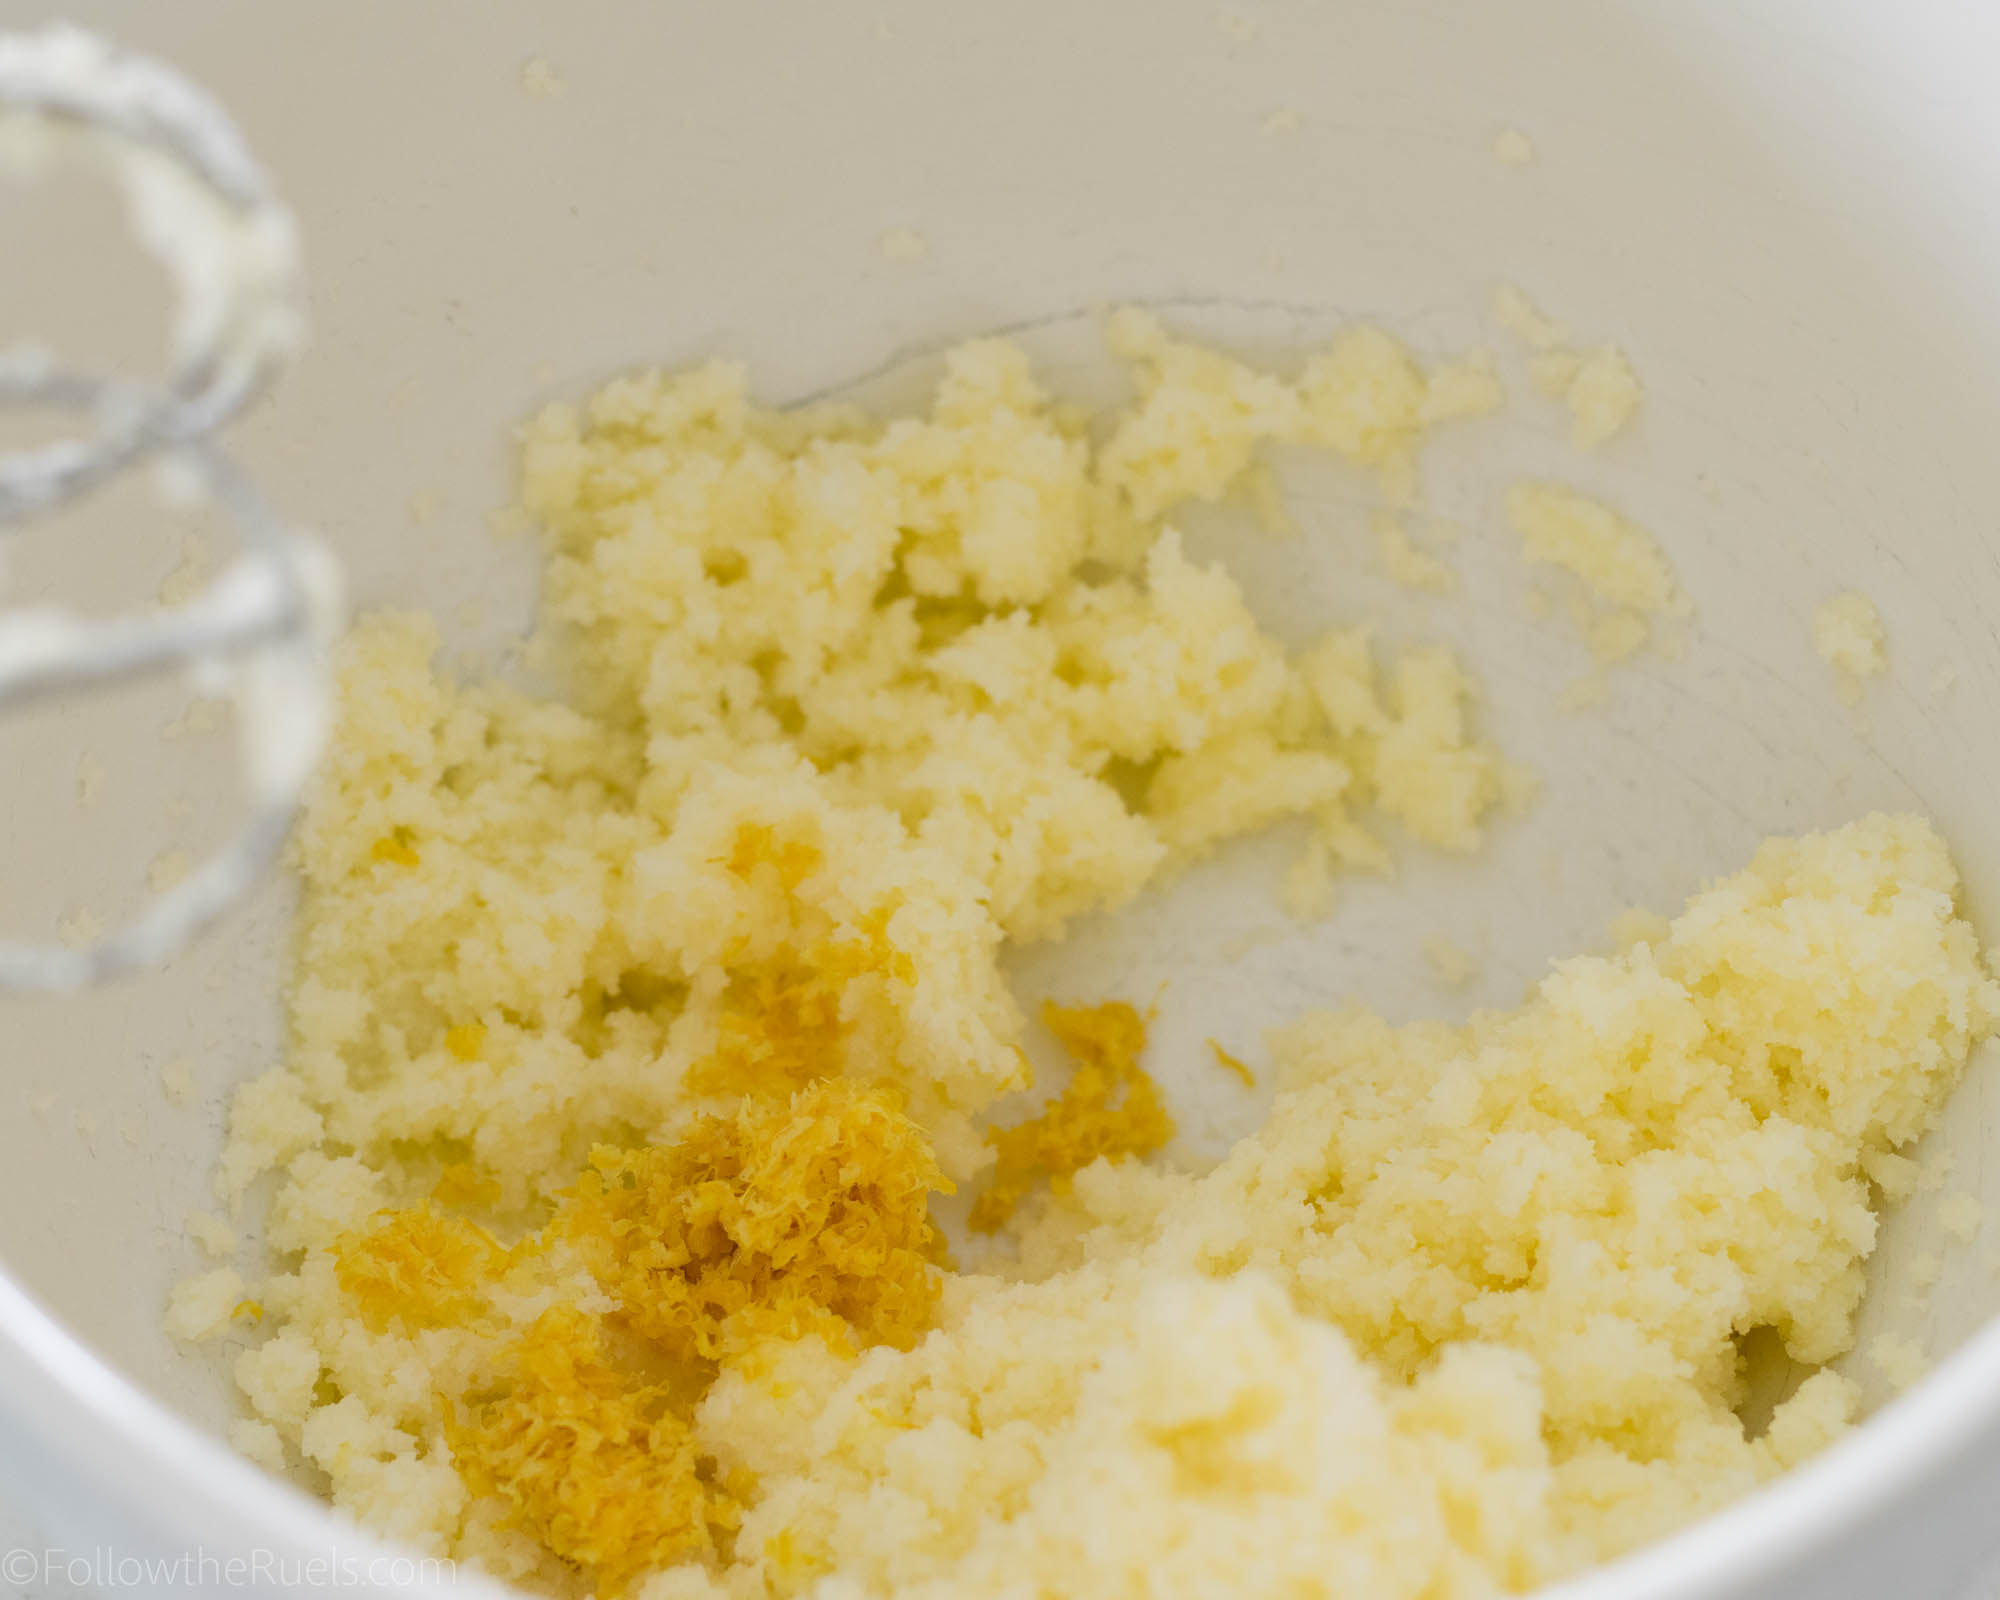
Cream together the butter and sugar then add in the lemon zest.

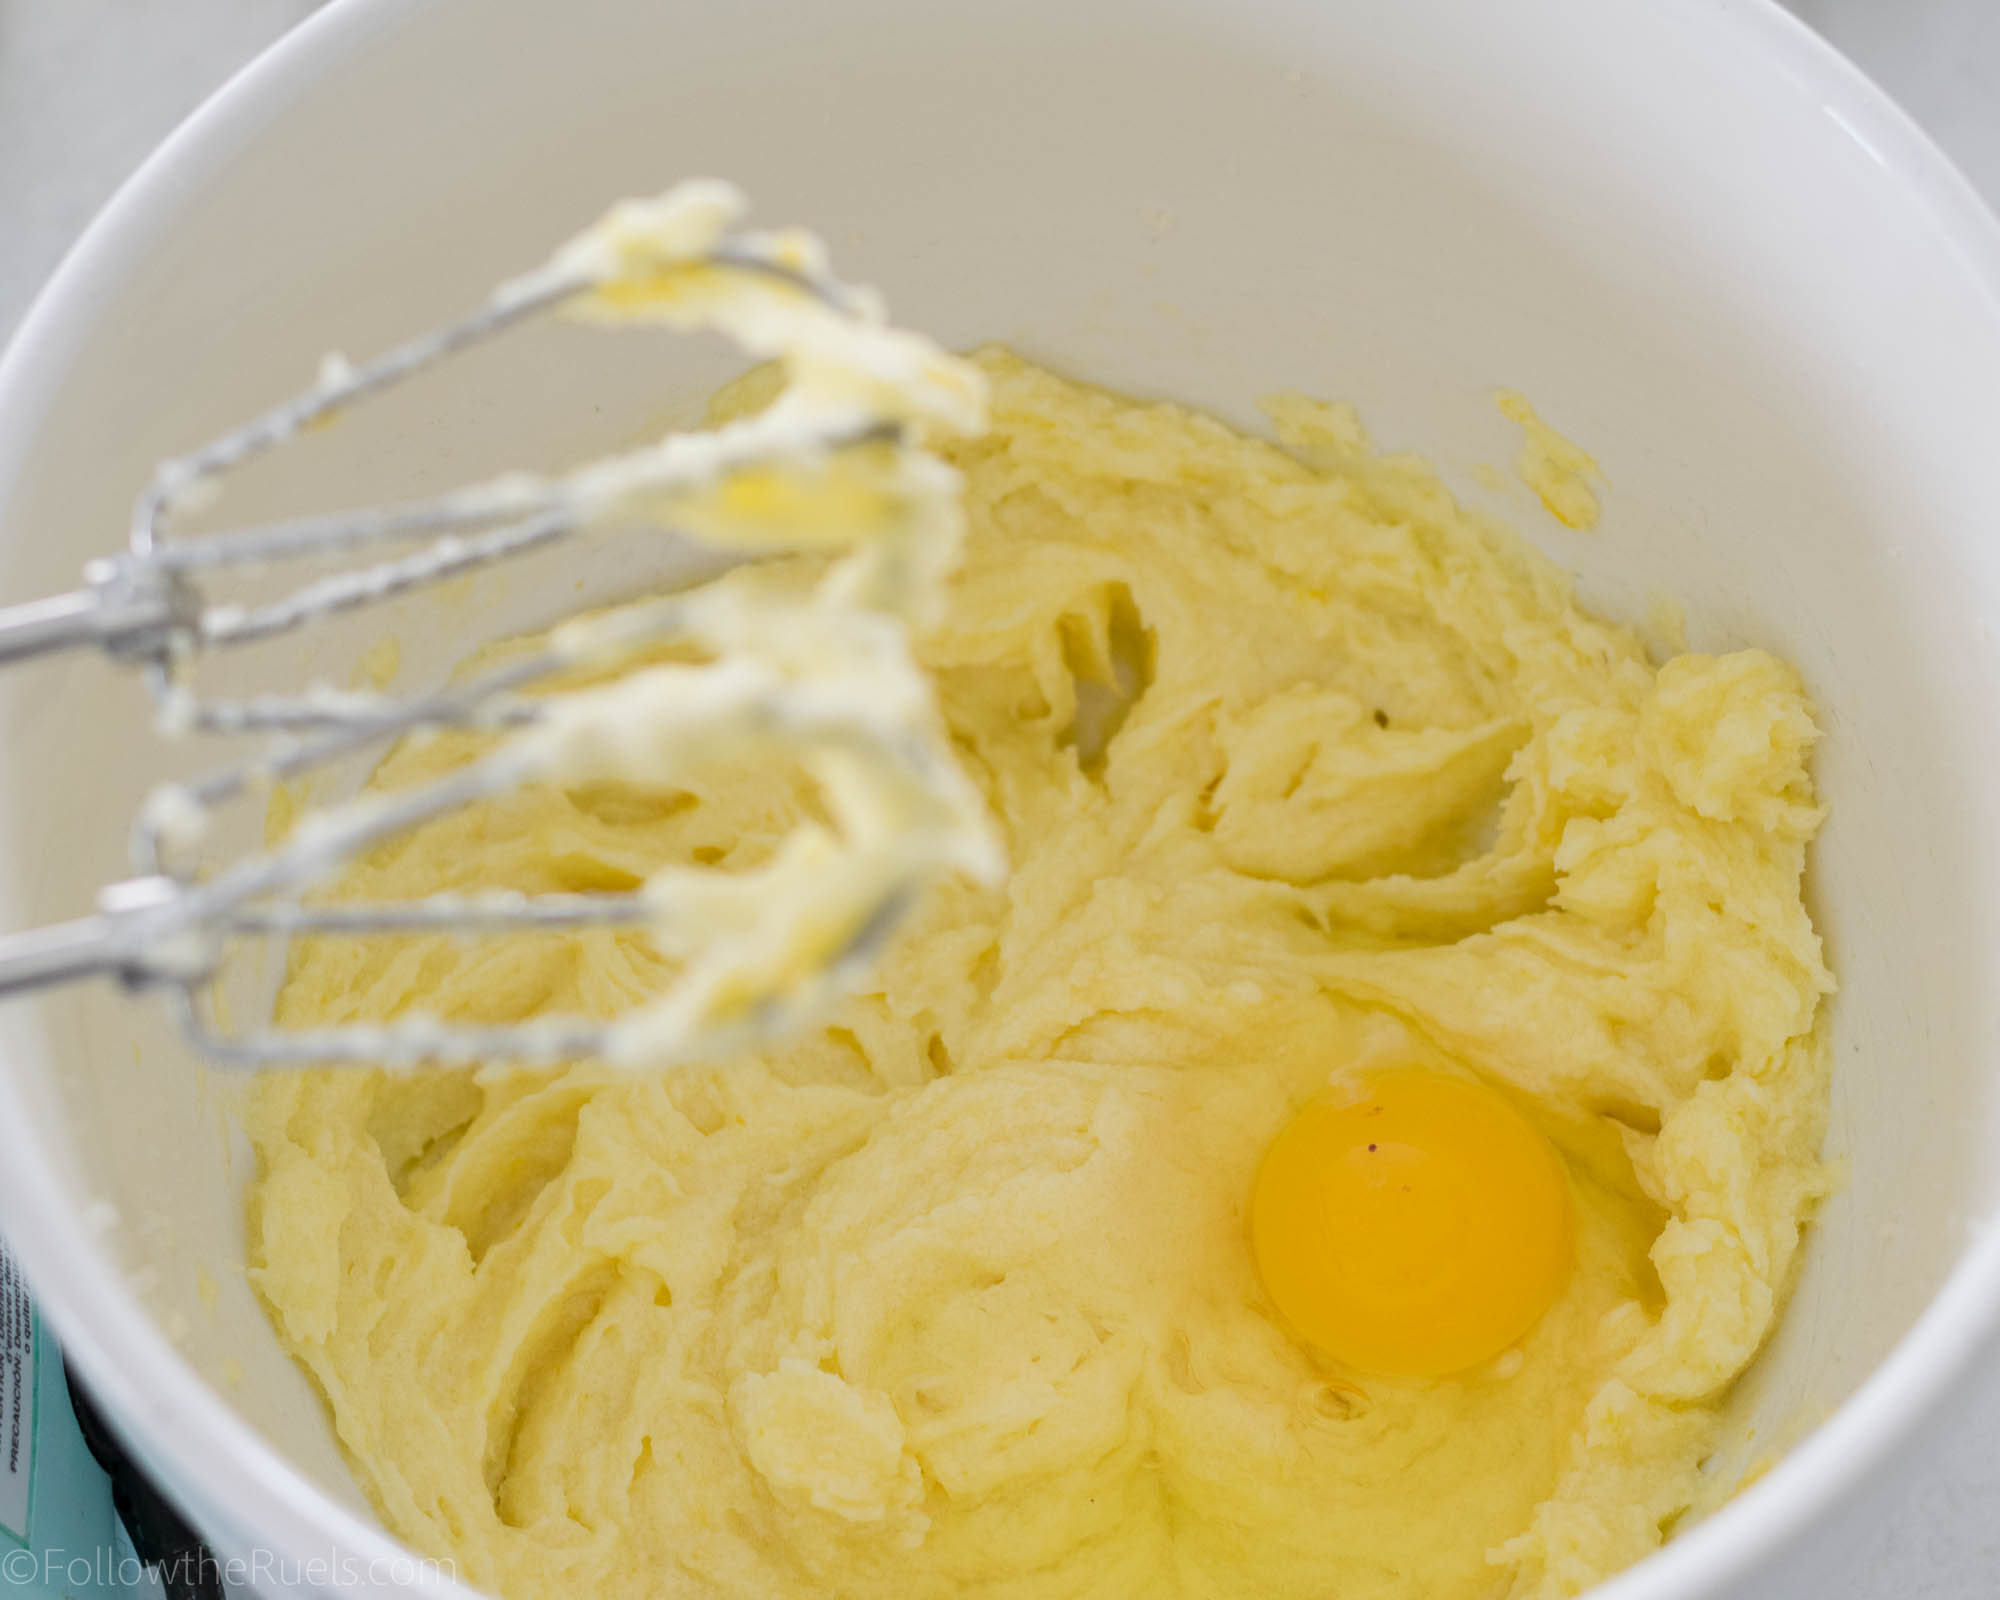
Mix in the eggs one at a time until they are completely incorporated into the butter. You don’t want the egg-butter mixture looking likes it’s separated or curdled.


Now mix in the dry and wet ingredients, alternating between the two. I like to add the dry ingredients in three parts and the wet ingredients in two. So it looks something like this: dry, wet, dry, wet, dry. Always start and end with dry.

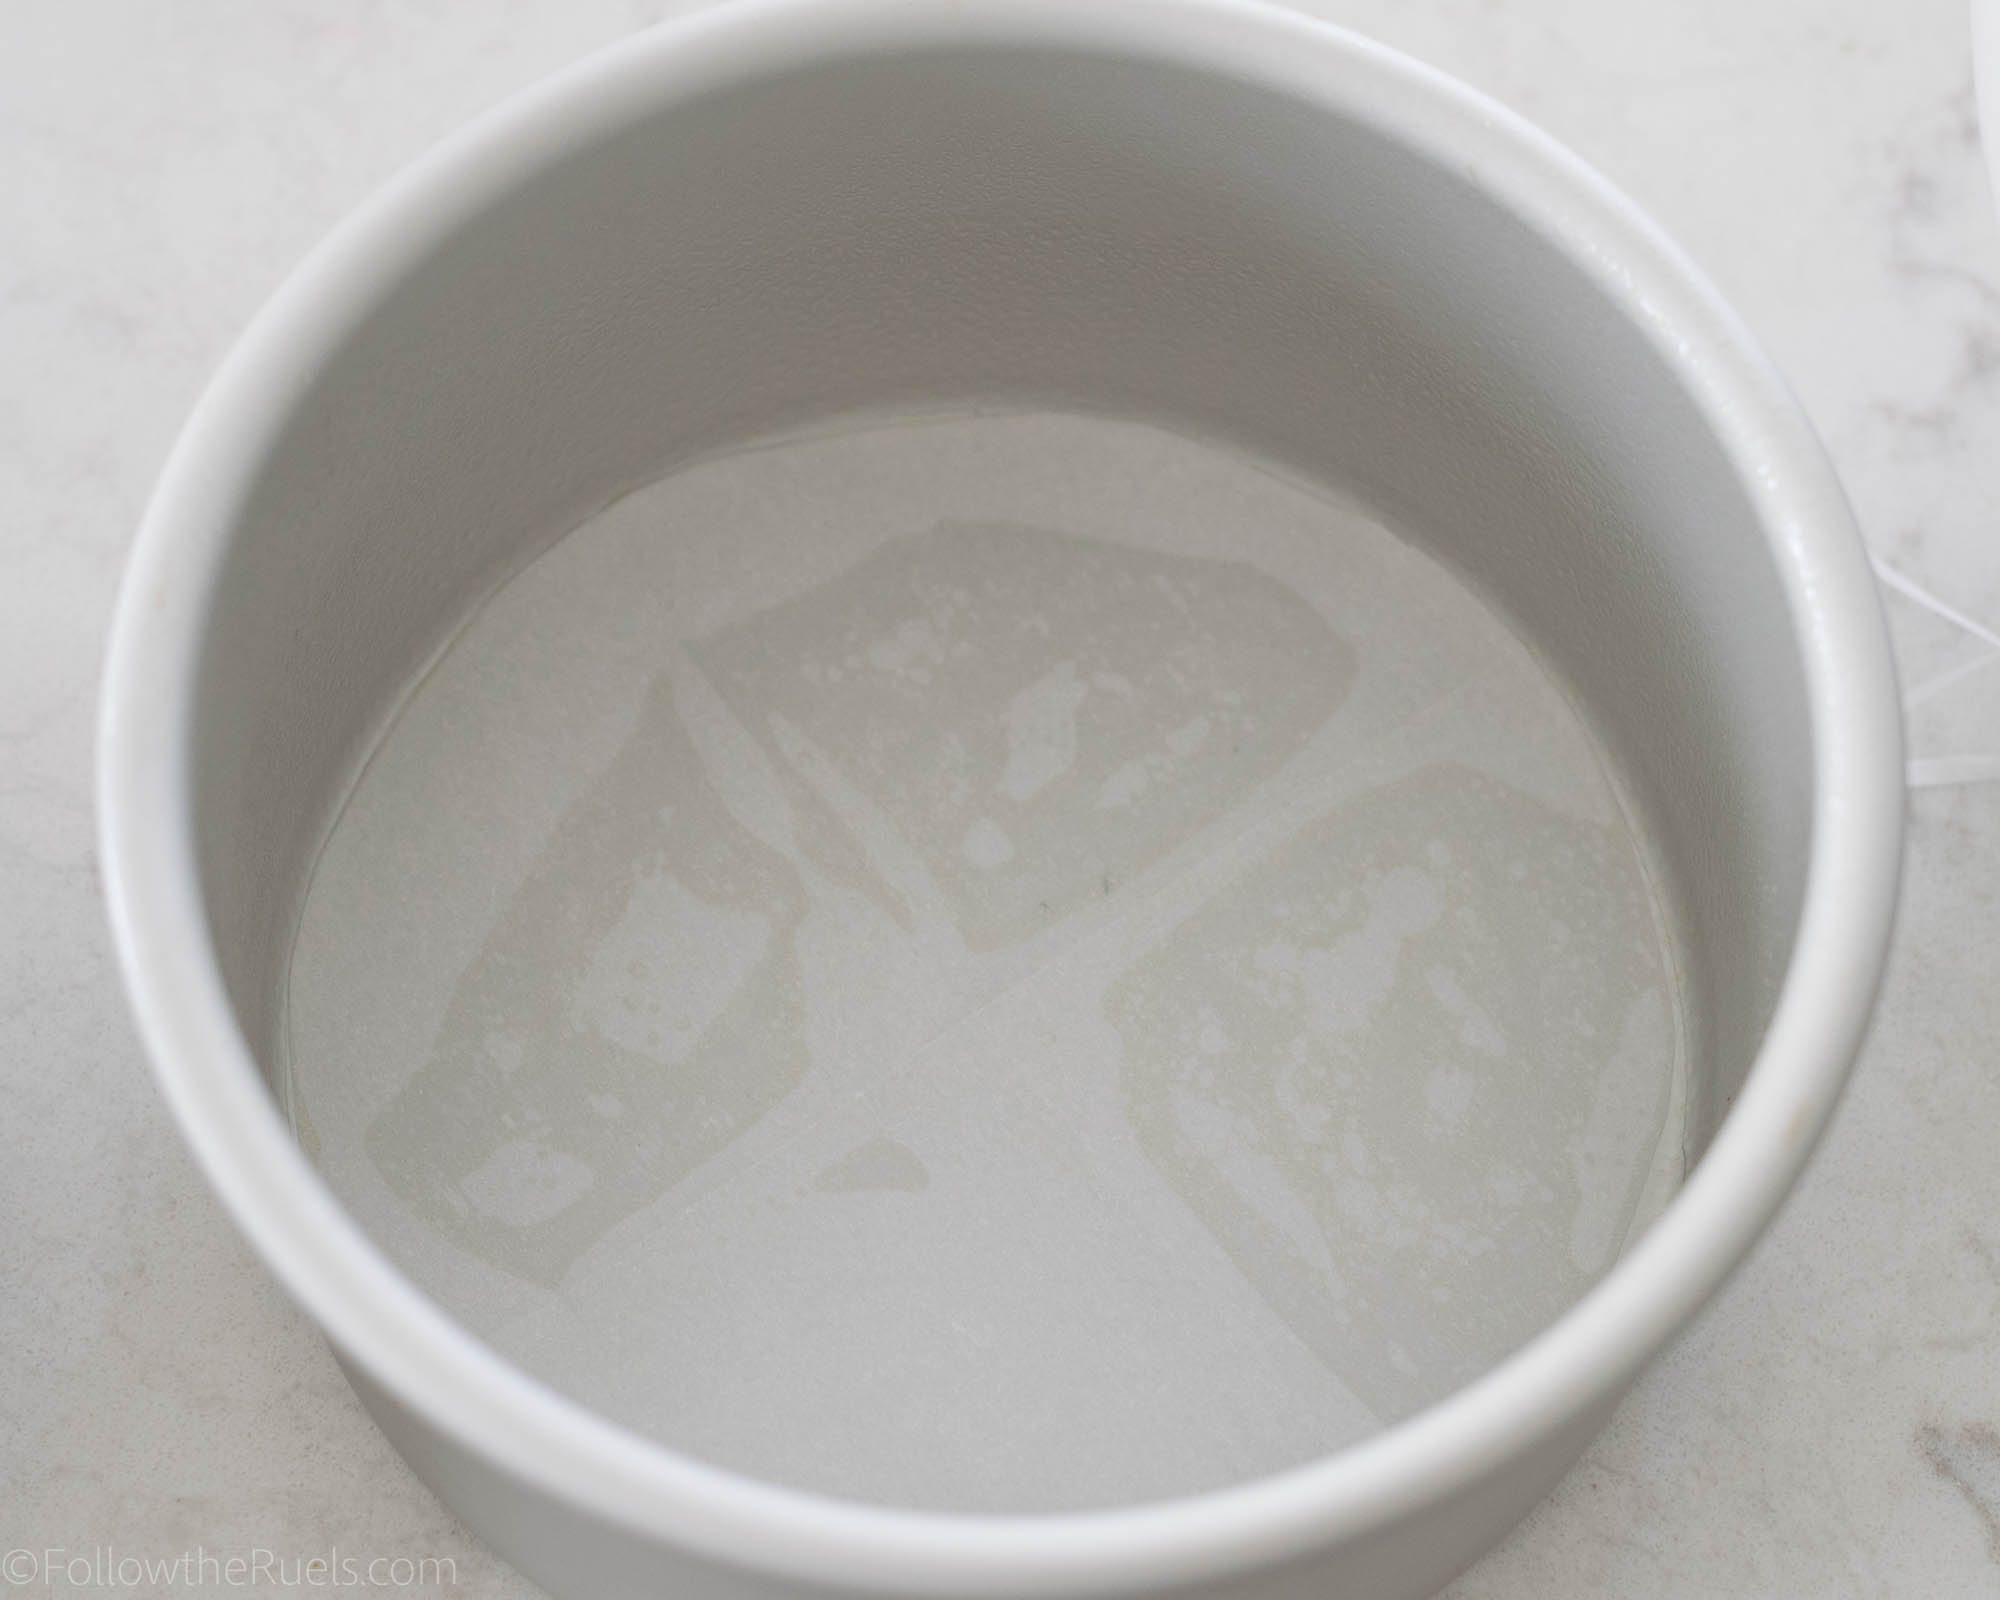
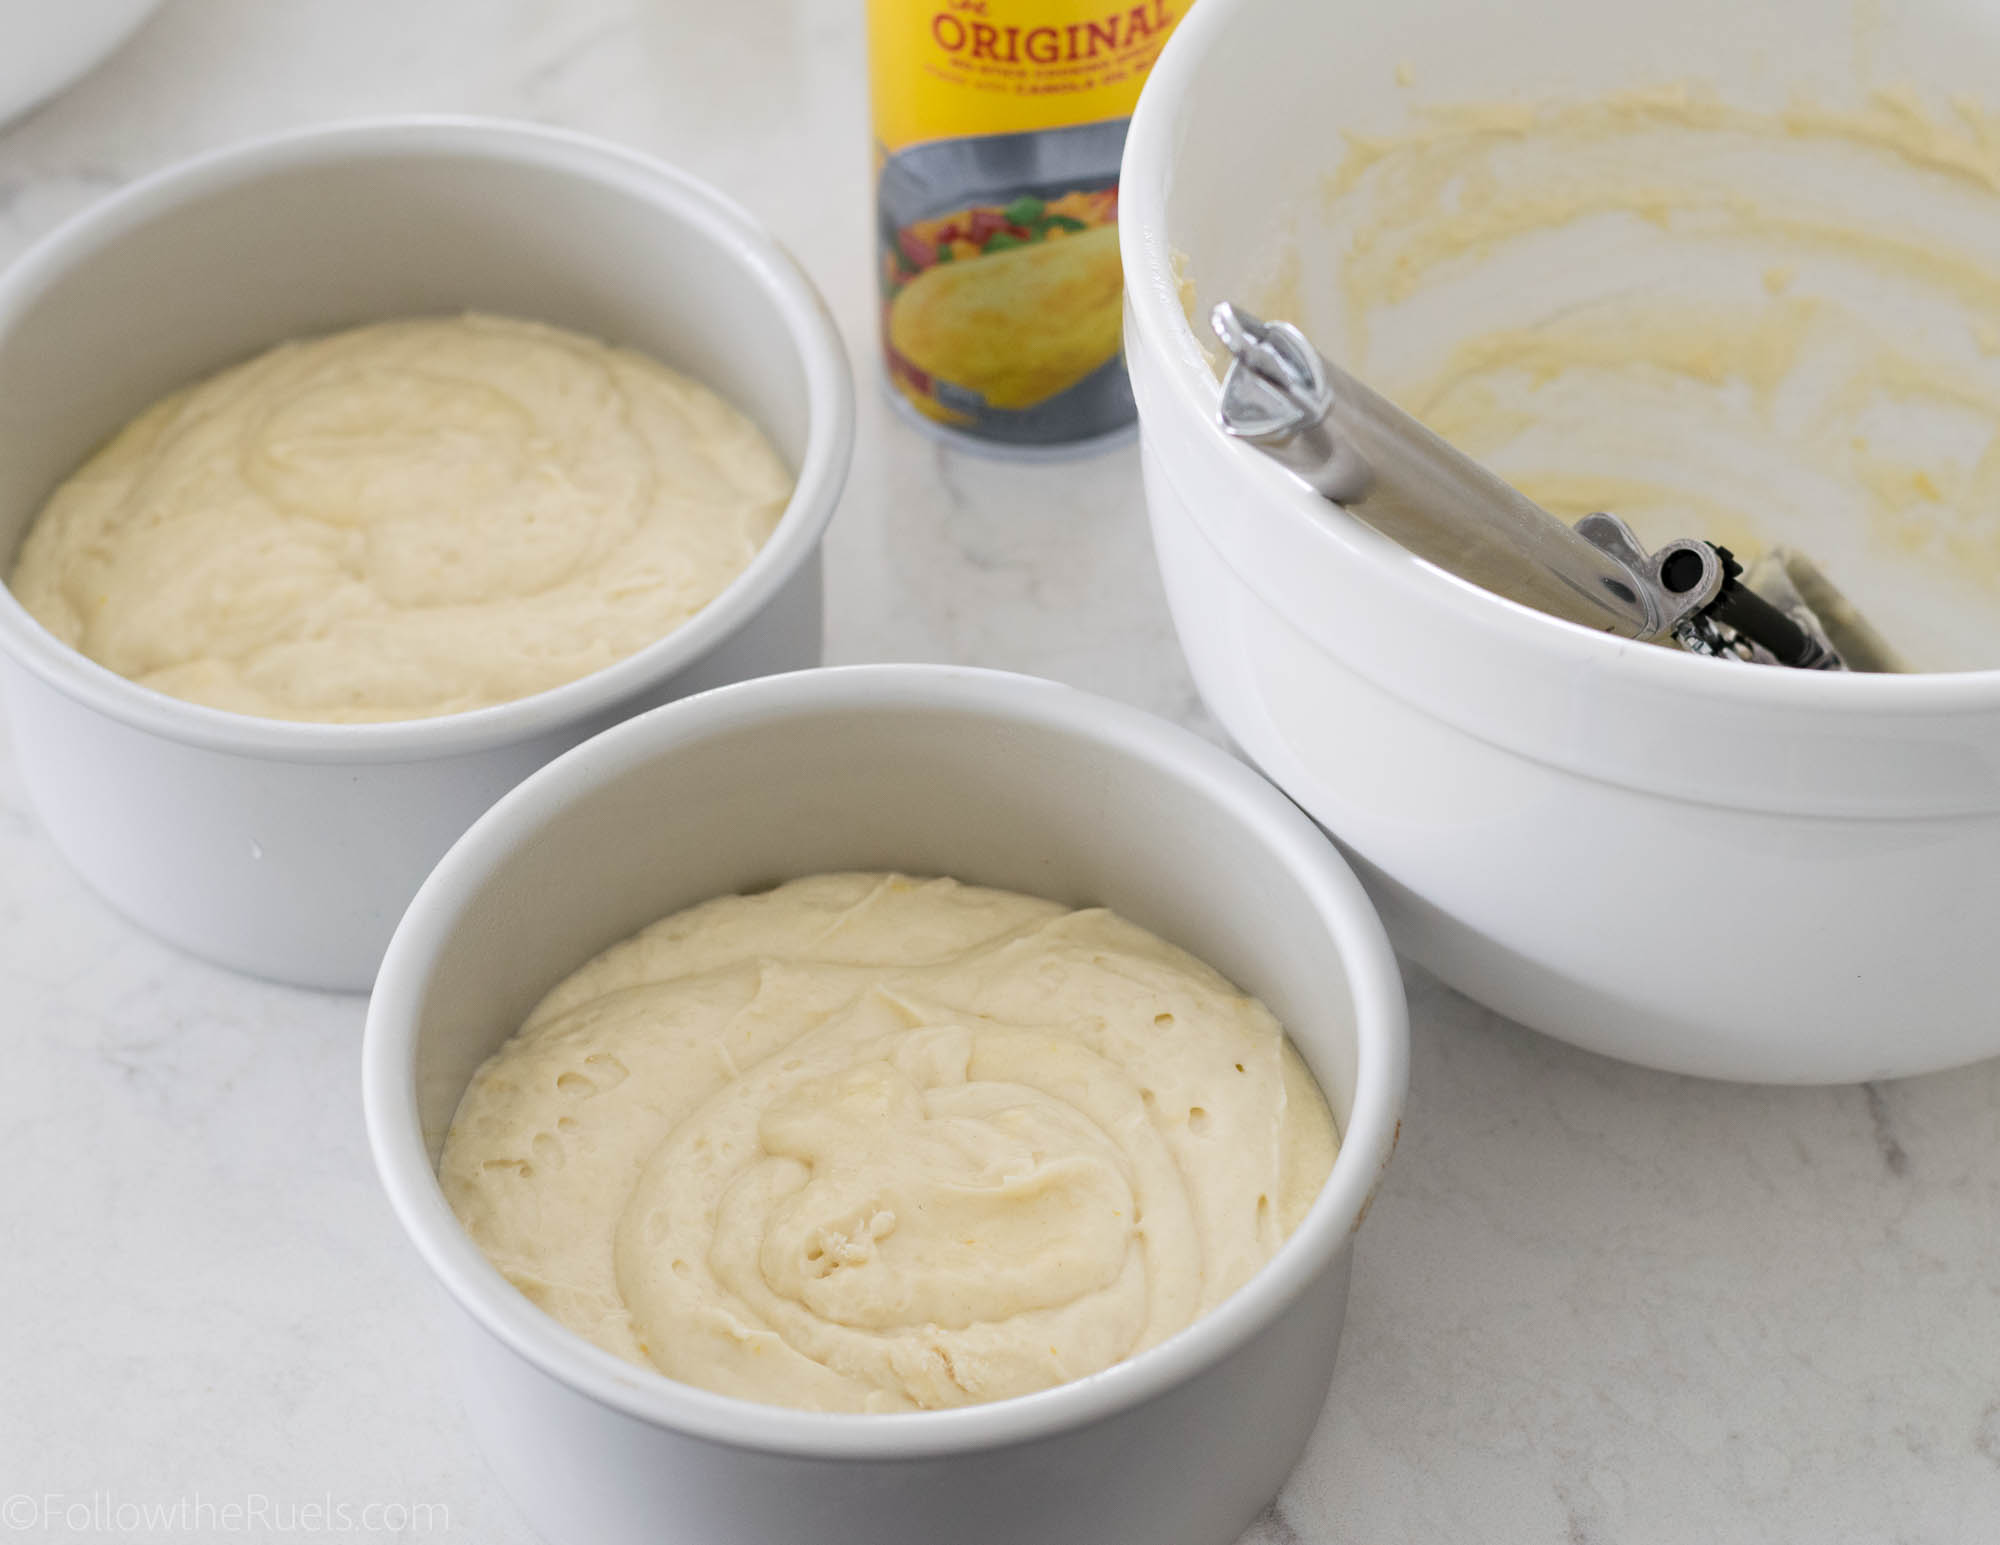
One of my biggest cake tips I have for you is to line the bottom of the cake pay with parchment paper! This will make getting the cake out super easy even if the cake is still warm. I still recommend spraying the pans with baking spray, too. But this is just added insurance. 

Then portion the batter between the cake pans. I like to use a scale to make sure that the amount of batter in each one is pretty even. But that may be overkill. You can just eyeball it.

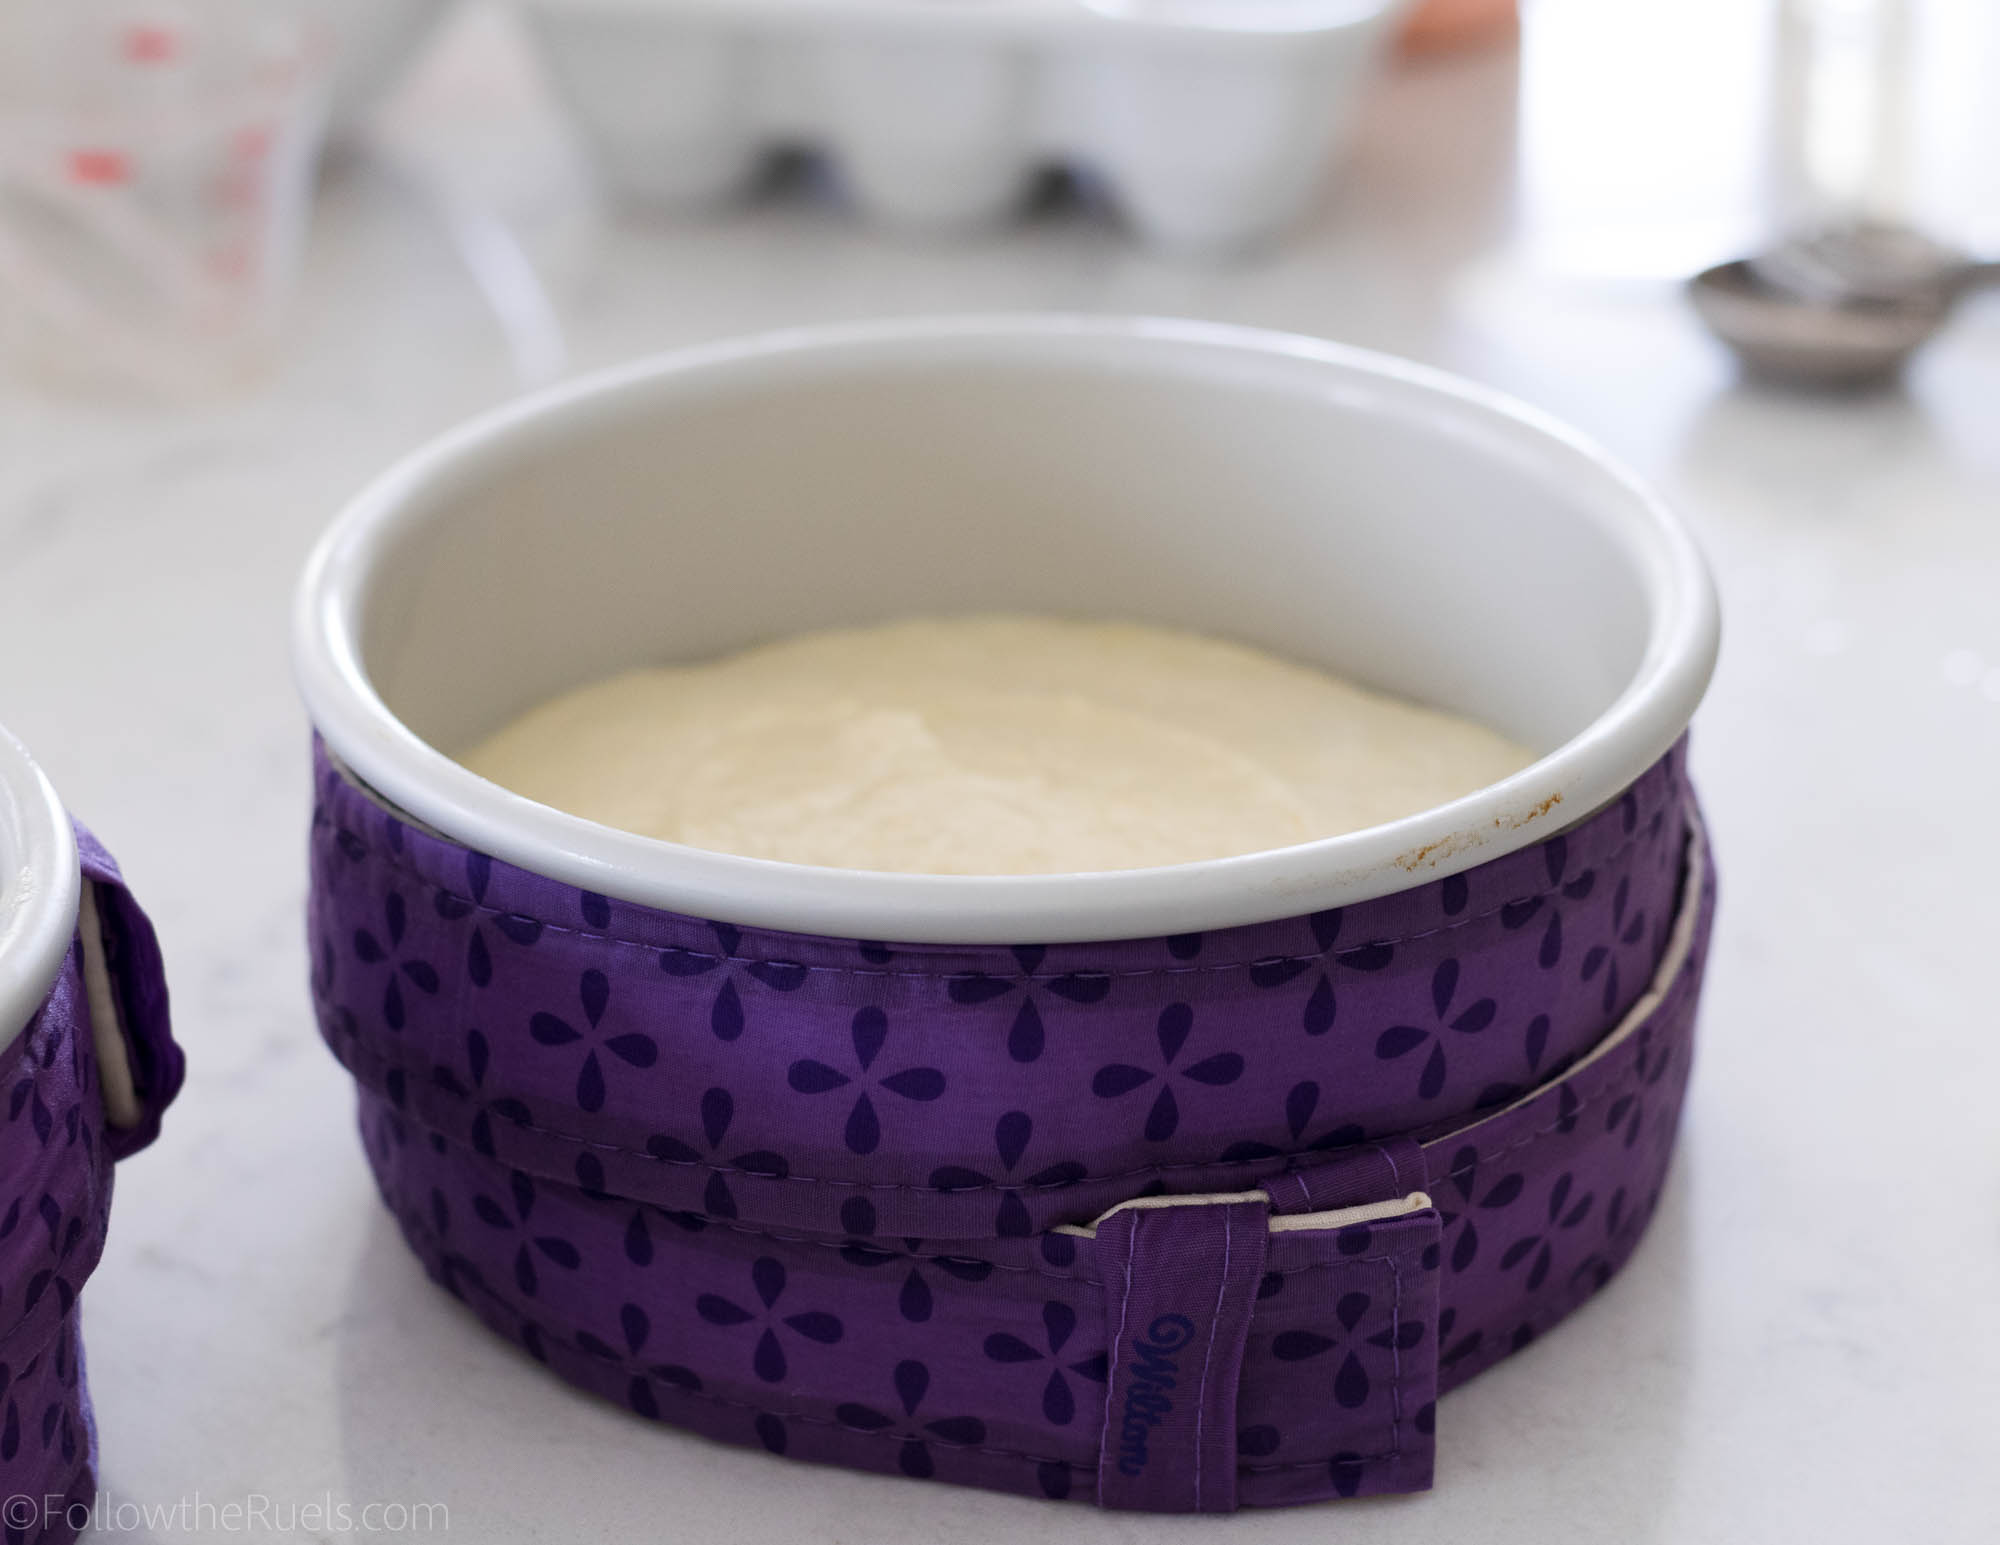
A new thing I tried with these cakes is using the Wilton Bake-even strips. Then insulate the cake pan so that ideally your cakes bake evenly on top (no weird dome that you have to slice off), and they don’t caramelize around the edges. 

Verdict: They sort of helped. One cake was very even, but slightly caramelized. One cake wasn’t as even but not at all caramelized. Overall, they turned out better than they would have without the strips, so it was well worth the money for these!

How to Assemble and Decorate the Cake

Then the cakes come out of the oven and they magically stack and decorate themselves! Isn’t that a fun trick!

Actually, this is where I really dropped the ball and stopped taking photos. I think because I was in such a tizzy over the buttercream that I didn’t get any photos of the actual decorating process. What a horrible blogger I am!

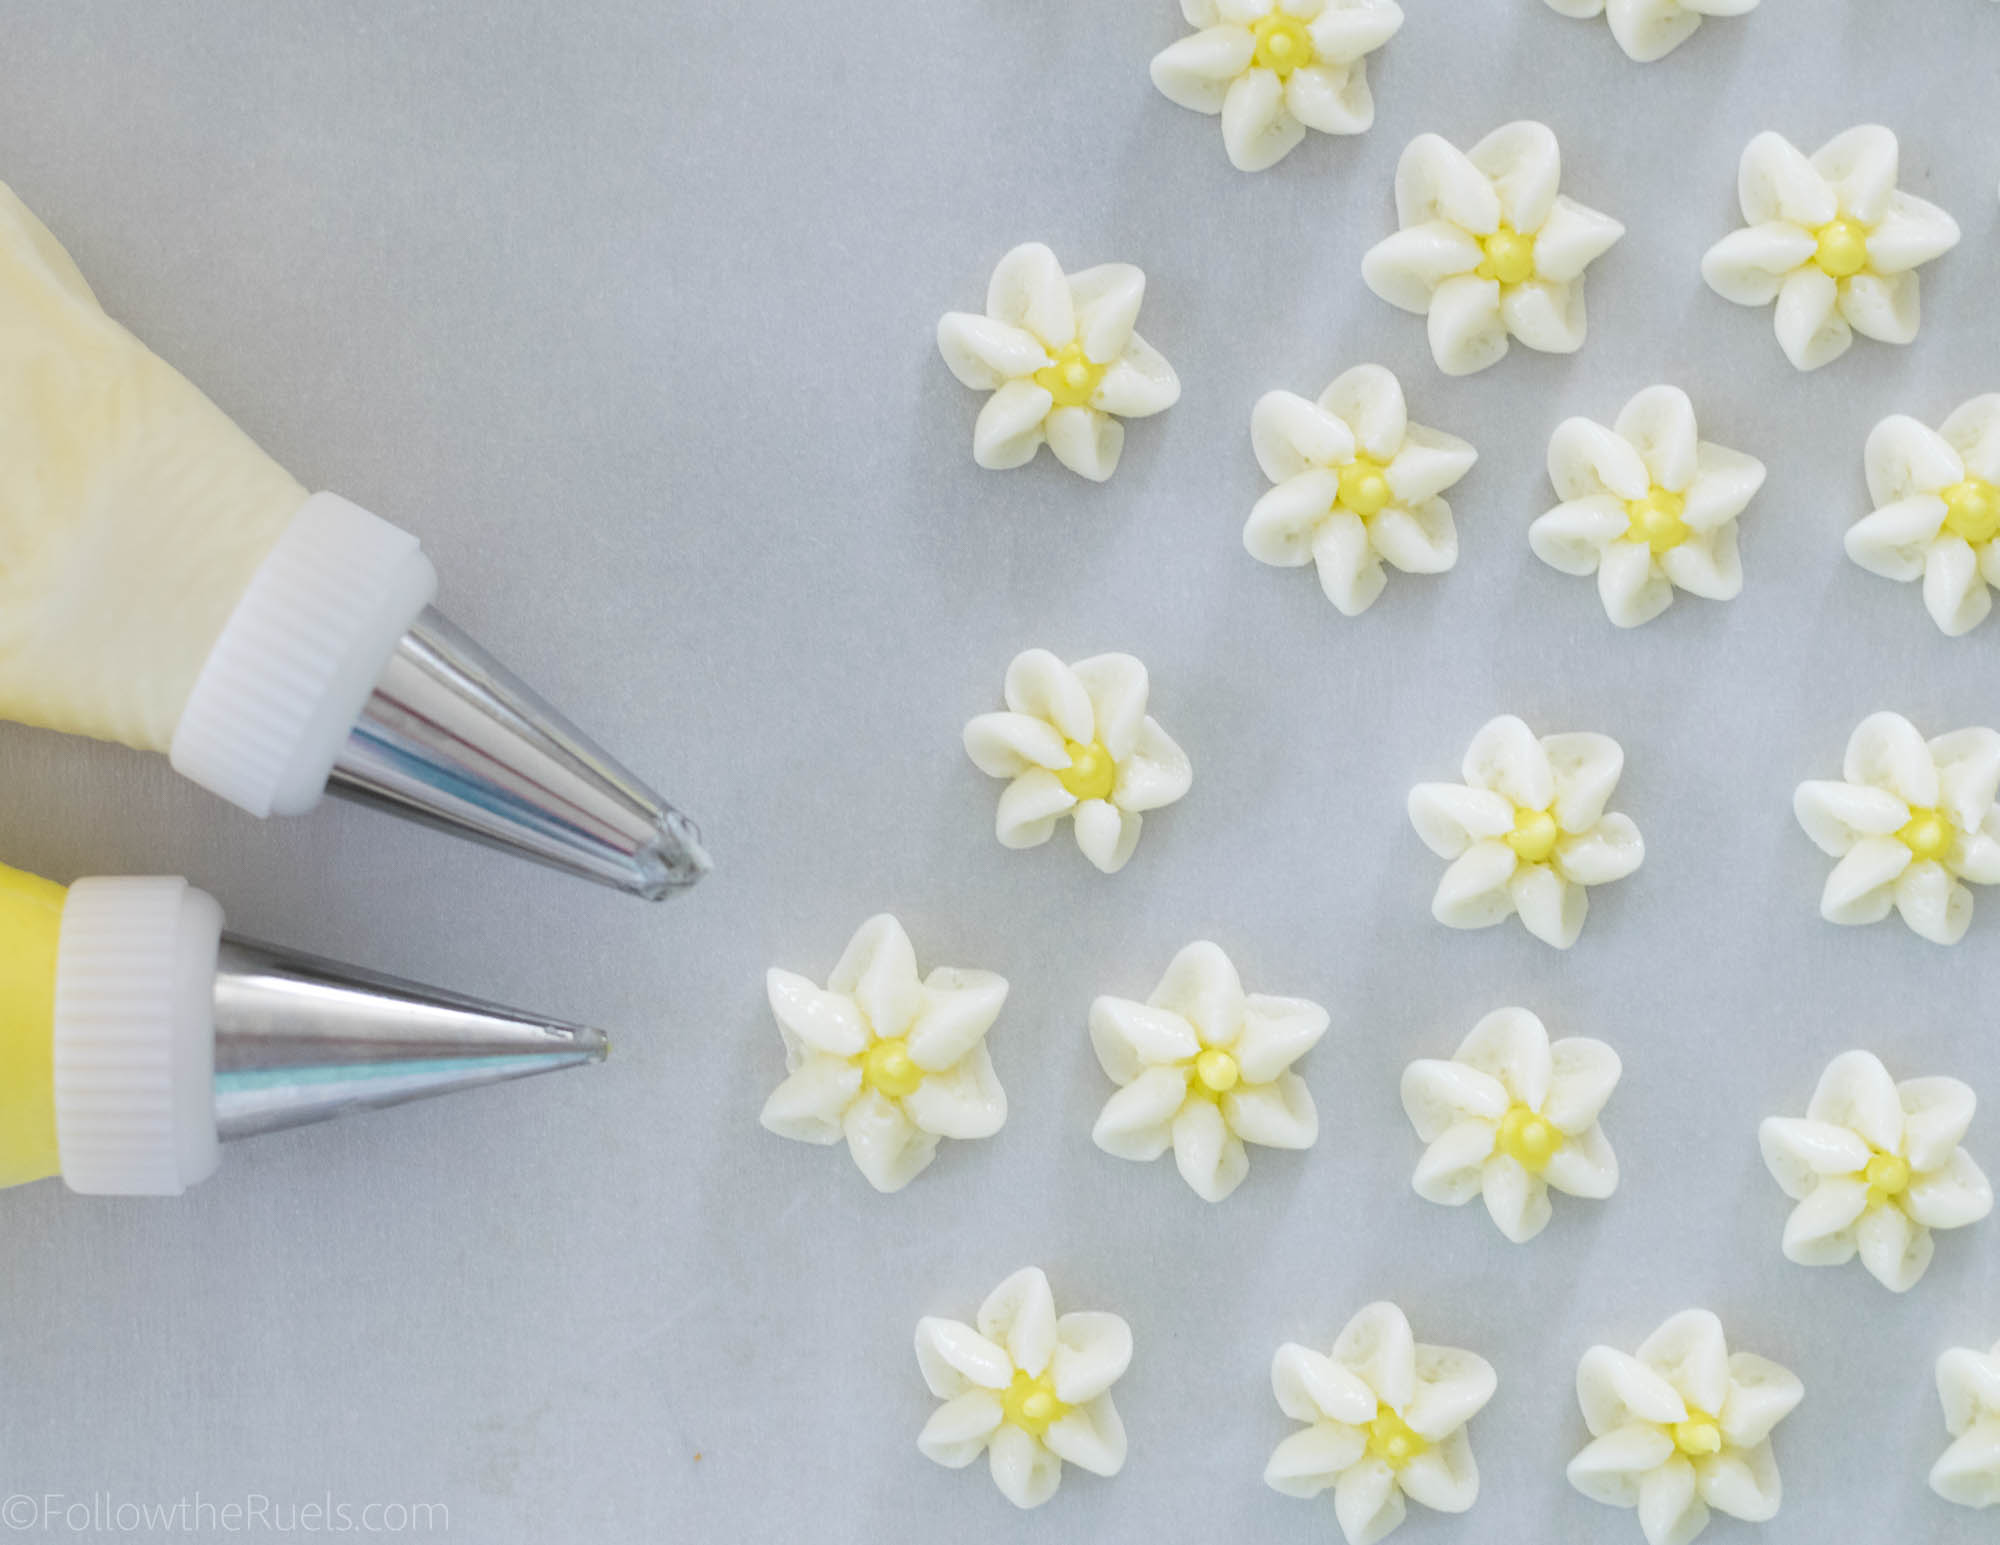
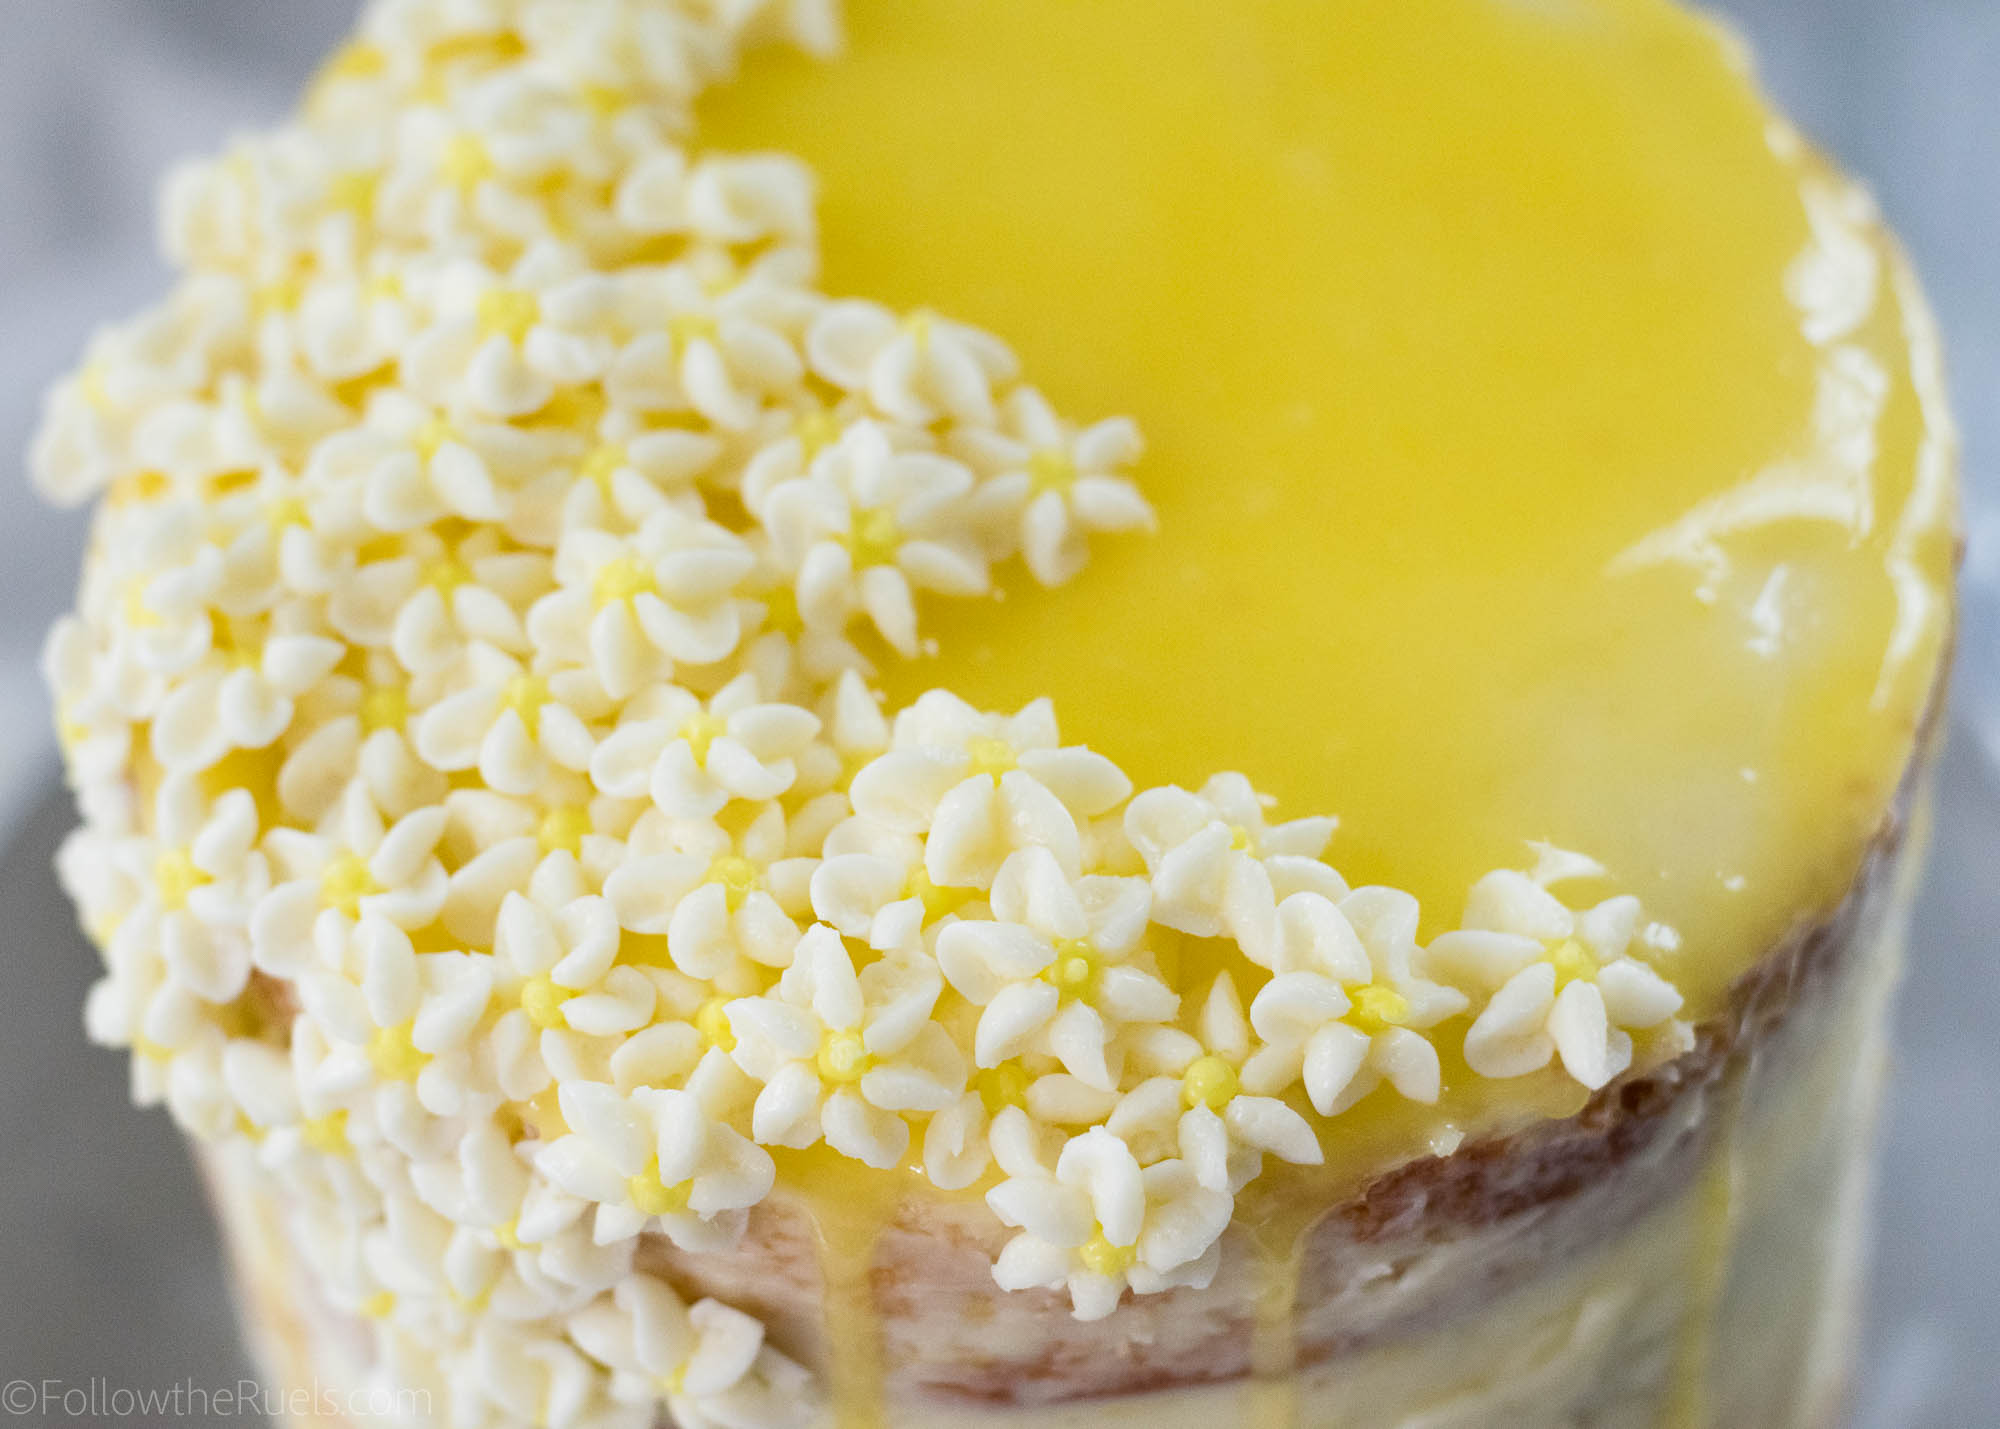
I did capture part of the decorating process, and that is the little flowers that I did manage to make!

These little guys were so easy to make with my #107 piping tip. You just press the tip to a sheet of parchment paper, squeeze, and turn your wrist slightly which produces the cute little drop flowers. Then I just dotted the center with a little yellow buttercream.

I put these in the freezer to harden while I worked on the rest of the cake. 

Actually, the rest of the cake was pretty easy to assemble.

Step 1: Cut the cake into two layers for four total layers (if you want, you can leave it as a two layer cake).

Step 2: Brush elderflower simple syrup over each of the cake layers (recipe and directions below)

Step 3: Spread a thin layer of buttercream on the first layer, top with some lemon curd (optional), then top with another cake layer. Repeat until all layers have been added.

Step 4: Spread buttercream all over the top and sides of the cake, then use an offset spatula or bench scraper to scrape the sides of the cake to create a naked cake look. Leave a thin layer of buttercream on top.

Step 5: Pour some lemon curd over the top of the cake and spread out to cover the top, pushing some of the curd over the edges. You may need to heat up your lemon curd to make it more liquid if you are using a store bought version.

Step 6: Add the flowers in whatever arrangement you like. Because they are frozen, they are easy to peel off the parchment and stick onto the cake.

Step 7: Admire your handy work!

Truly, this cake wasn’t hard to decorate and assemble once I realized my mistake and that I wouldn’t have enough buttercream to achieve the look I was after.

And, making naked cakes is really easy for even those with no cake decorating experience because you don’t have to worry about your frosting being perfect! Actually, you want it to look imperfect!

I, for one, like the limited buttercream on this cake because it lets the lemon elderflower cake shine through. 

Of course, if you are a frosting lover, you may want to double up on the buttercream recipe so you can cover your whole cake like I was supposed to!

Tools and Recipe

[show_shopthepost_widget id=”3095132″] 

[yumprint-recipe id=’170′]

/ Filed In: Cakes and Cupcakes, Cakes New, Desserts, Eat
Tagged: buttercream, buttercream flowers, cake, decorated cake, elderflower, layer cake, lemon, naked cake, Spring

Follow

Hey There!

Hey there, I'm Lindsey. I'm a number cruncher by day and a home cook and baker by night. While I love to eat healthy and find fresh and healthy alternatives for my favorite foods, I will never turn down dessert! Life is all about moderation, right?

Recipes

  • All Recipes
  • Breakfast
  • Appetizers
  • Salads
  • Main Dishes
  • Side Dishes
  • Desserts
  • Drinks

Favorite Finds

[show_lookbook_widget id=”388783″]

Theme by 17th Avenue · Powered by WordPress & Genesis