• Home
  • Eat
    • Breakfast
    • Appetizers
    • Main Dishes
      • Chicken
      • Beef
      • Seafood
      • Healthy Dishes
      • Paleo Dishes
      • Salads
    • Desserts
      • Decorated Cookies
      • Cookies
      • Bars and Brownies
      • Cakes and Cupcakes
  • Shop
    • Cookie Decorating Supplies
    • Bakeware
    • Cookware
    • Kitchen Gadgets
    • House
  • About
    • Contact
    • Bucket List
  • Cookie Decorating 101

Follow the Ruels

Gender Reveal Cupcakes

July 17, 2018

I have another gender reveal goodie for you today!

But if you read Monday’s cookie post, then you know that I am not quite giving away any secrets just yet. You will have to come back later this week for the actual gender reveal.

In the meantime, I thought it would be fun to go through some of those old wives’ tales to “predict” the baby’s gender. We’ll see which ones are right and which ones are wrong at the end of the week.

If you don’t care about any of that, just skip down to “Recipes and Supplies” to see how to make the cupcakes. 

Wives’ Tales
  1. Sweet vs. Salty. Sweet cravings mean you are having a girl; salty cravings means you are having a boy. Verdict: Boy.
  2. Morning sickness. Extreme morning sickness (i.e vomiting) means you are having a girl; mild morning sickness means a boy. Verdict: Boy
  3. Moody vs. Mellow. If you are moodier than usual, you are having a girl; less moody and more mellow then you are having a boy. Verdict: Boy
  4. Baby’s heart rate. It’s said that if the baby’s heart rate is faster than 140 BPM then it’s a girl. Last ultrasound had it clocking in at 145. Verdict: Girl
  5. Cold feet. Colder feet means you are having a boy. Warm feet means you are carrying a girl. Verdict: Girl
  6. The Skin Test. Oilier skin that is breaking out more than usual means it’s a girl. Dry skin means it’s a boy. Verdict: Boy
  7. Chinese Gender Calendar. This fun little calendar predicts gender by finding the intersection of the lunar age of mom at the time of conception and the month of conception. My lunar age is 27 (I am liking this lunar age thing) and the baby was conceived in March. Verdict: Boy
  8. Clumsiness. If you are clumsier than normal, then you are having a girl. If you are just are sure-footed then it’s a girl. Verdict: Girl
  9. Weight Gain. Gaining weight all over means you are having a girl. If the weight seems to be just in the tummy, it’s a boy. Verdict: Boy
  10. Foot Size. Growing feet indicate a boy, while feet that stay the same size indicate a girl. Verdict: Girl. 
  11. Sleep Position. Falling asleep (naturally) on your left side means it’s a boy. On the right side means it’s a girl. Verdict: Girl
  12. Carrying High vs. Low. Carrying hight means it’s a girl; carrying low means it’s a boy. Verdict: Boy? (Not really sure where I am carrying this baby)
  13. Ramzi Method. During an early (transvaginal) ultrasound you can see which side of the uterus the baby is forming. If it’s forming on the right side, it’s a boy. On the left side, it’s a girl. Flip the results if the ultrasound is done abdominally. Verdict: Girl
  14. Mayan Gender System. The Mayan’s used mom’s age at conception and year of conception to predict gender. If both are even or both are odd, then it’s a girl. If one is even and the other is odd, then it’s a boy. My age at conception was even (although my birthday was probably the next week) and the year was even. Verdict: Girl. But if we use my lunar age, then it’s a boy. 

Boy – 7

Girl – 7

I swear I didn’t plan it to come out 50/50! If you want to throw out the Mayan method because it’s somewhat inconclusive, then the remaining 13 wive’s tales favor a boy. But barely!

There were several other wives tales that I didn’t test. Most of them involved taking urine samples or eating lots of garlic. No thank you! If you want to see a full list of these wives tales, I highly recommend this post. It’s where I initially got this idea. 

There was one “wives tale” that I did use to predict baby’s gender. Actually, I predicted this baby’s gender years ago using this method. I will wait to tell you what that one is on Friday when I reveal the actual gender. 

Alright, enough about this baby…let’s get onto the cupcakes!

Recipes and Supplies

The beauty with these cupcakes is you can make just about any cupcake flavor you’d like! 

Sure, there are some exceptions like making a strawberry cake or anything tinted one color or another. But as long as the cake is a fairly neutral color (even chocolate would work) then it should work perfectly.

One note on chocolate: if you do decide to go this route, you will want to make a small batch of vanilla just for the centers so that they can be dyed one color or another. Of course, if it’s a girl you can make strawberry or red velvet for the centers. For a boy, blue velvet would also work. 

I have several recipes that can help you out in this respect:

  • My favorite vanilla cupcake recipe
  • An easy one bowl chocolate cupcake recipe
  • Red velvet cupcake recipe that doesn’t contain any unnatural food coloring
  • Or, if you want to go the boxed cake mix route, here are some tips to make it taste amazing!

For the frosting, I’d recommend sticking with something simple so that you can tint it various colors. Here are a couple options that will work well:

  • The absolute best buttercream frosting recipe (IMO)
  • A classic cream cheese frosting (if you want to do lots of detail, CC frosting isn’t as stiff and thus doesn’t hold details as well)

To assemble the cupcakes you will need:
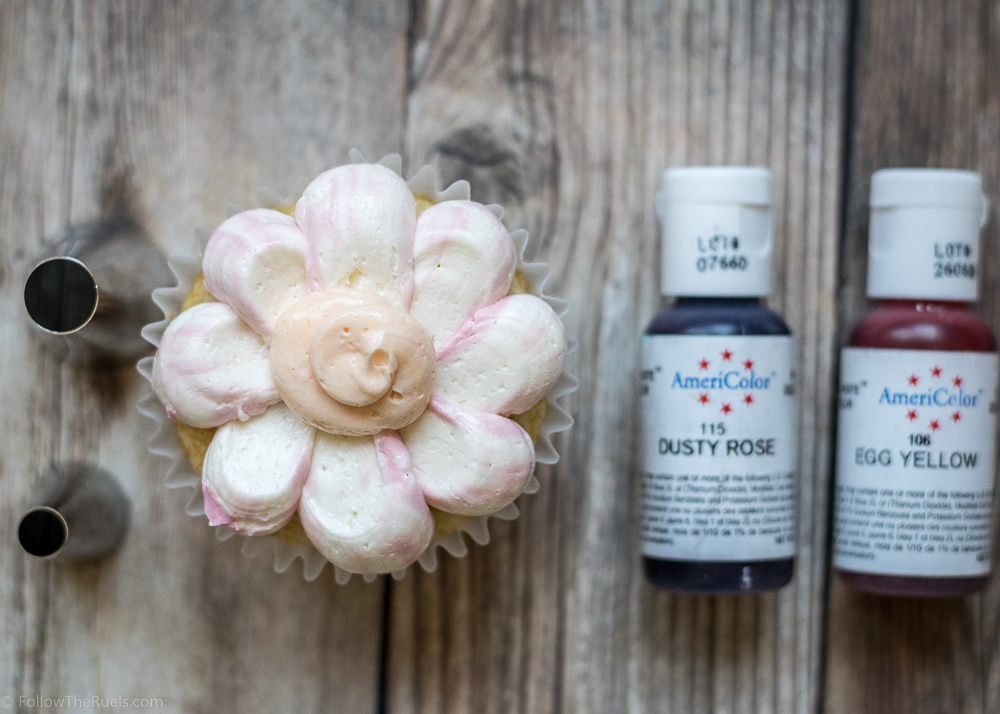
  • Food coloring
  • Cookie Cutter
  • Cupcake Tin
  • Cupcake Liners
  • Large Piping Bags
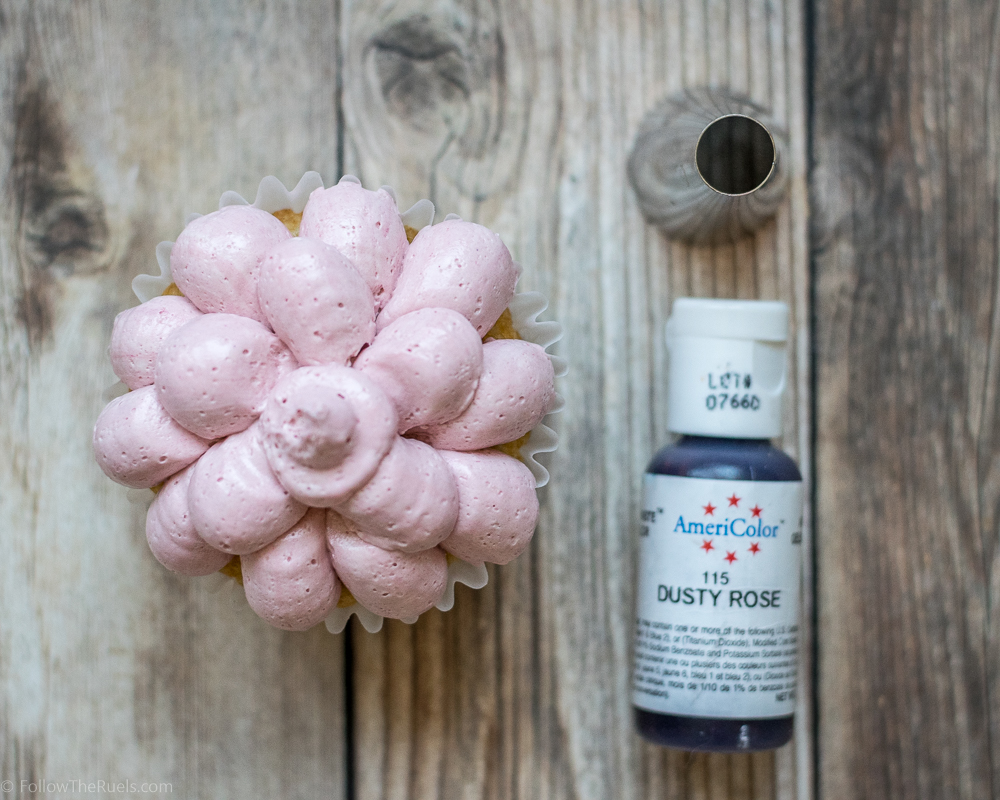
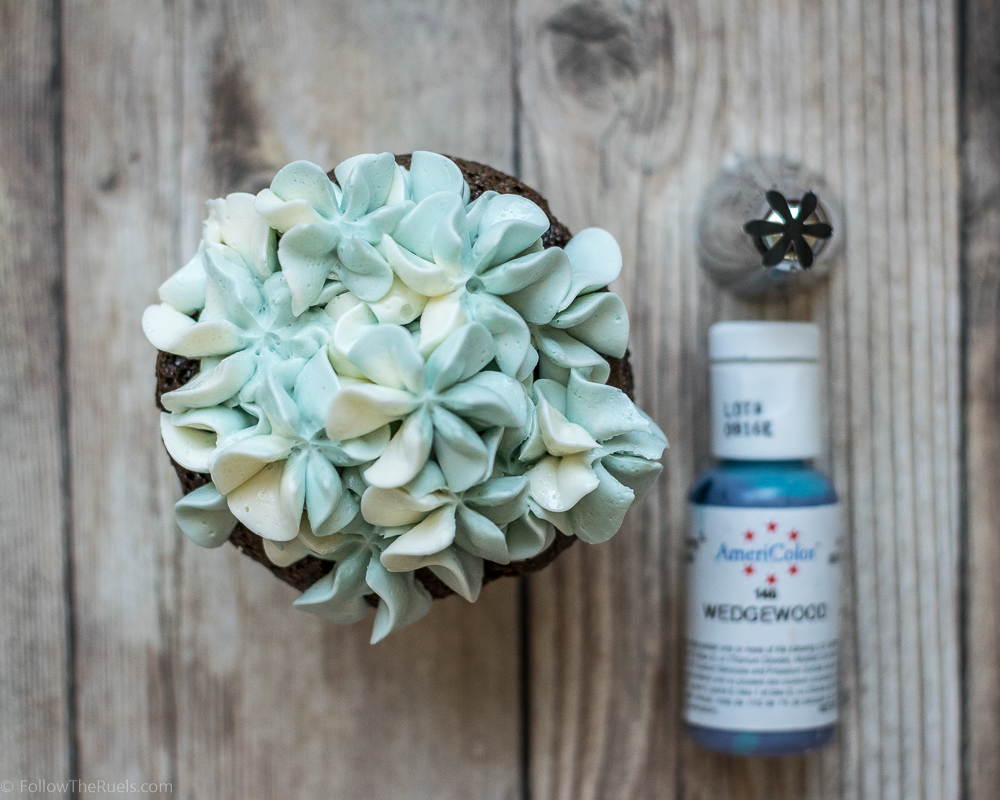
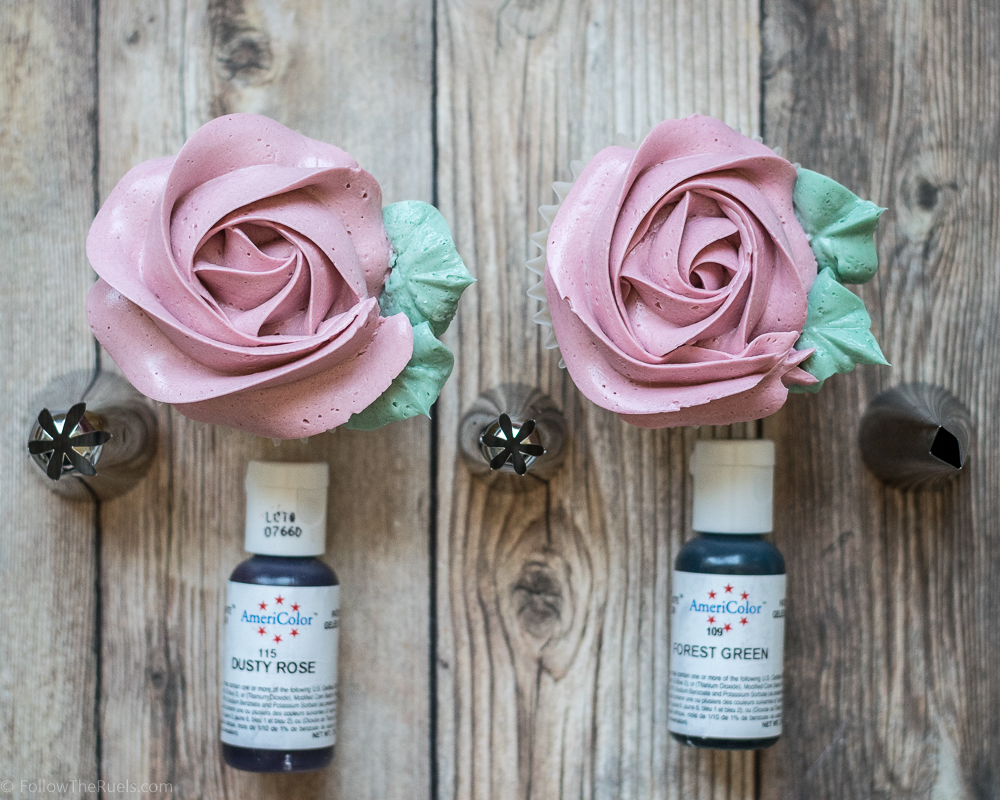
  • Piping Tips: #1A, 1M, and 2D (or any large round and star piping tips)
  • Sprinkles

[show_shopthepost_widget id=”3212668″]

How to Make Them

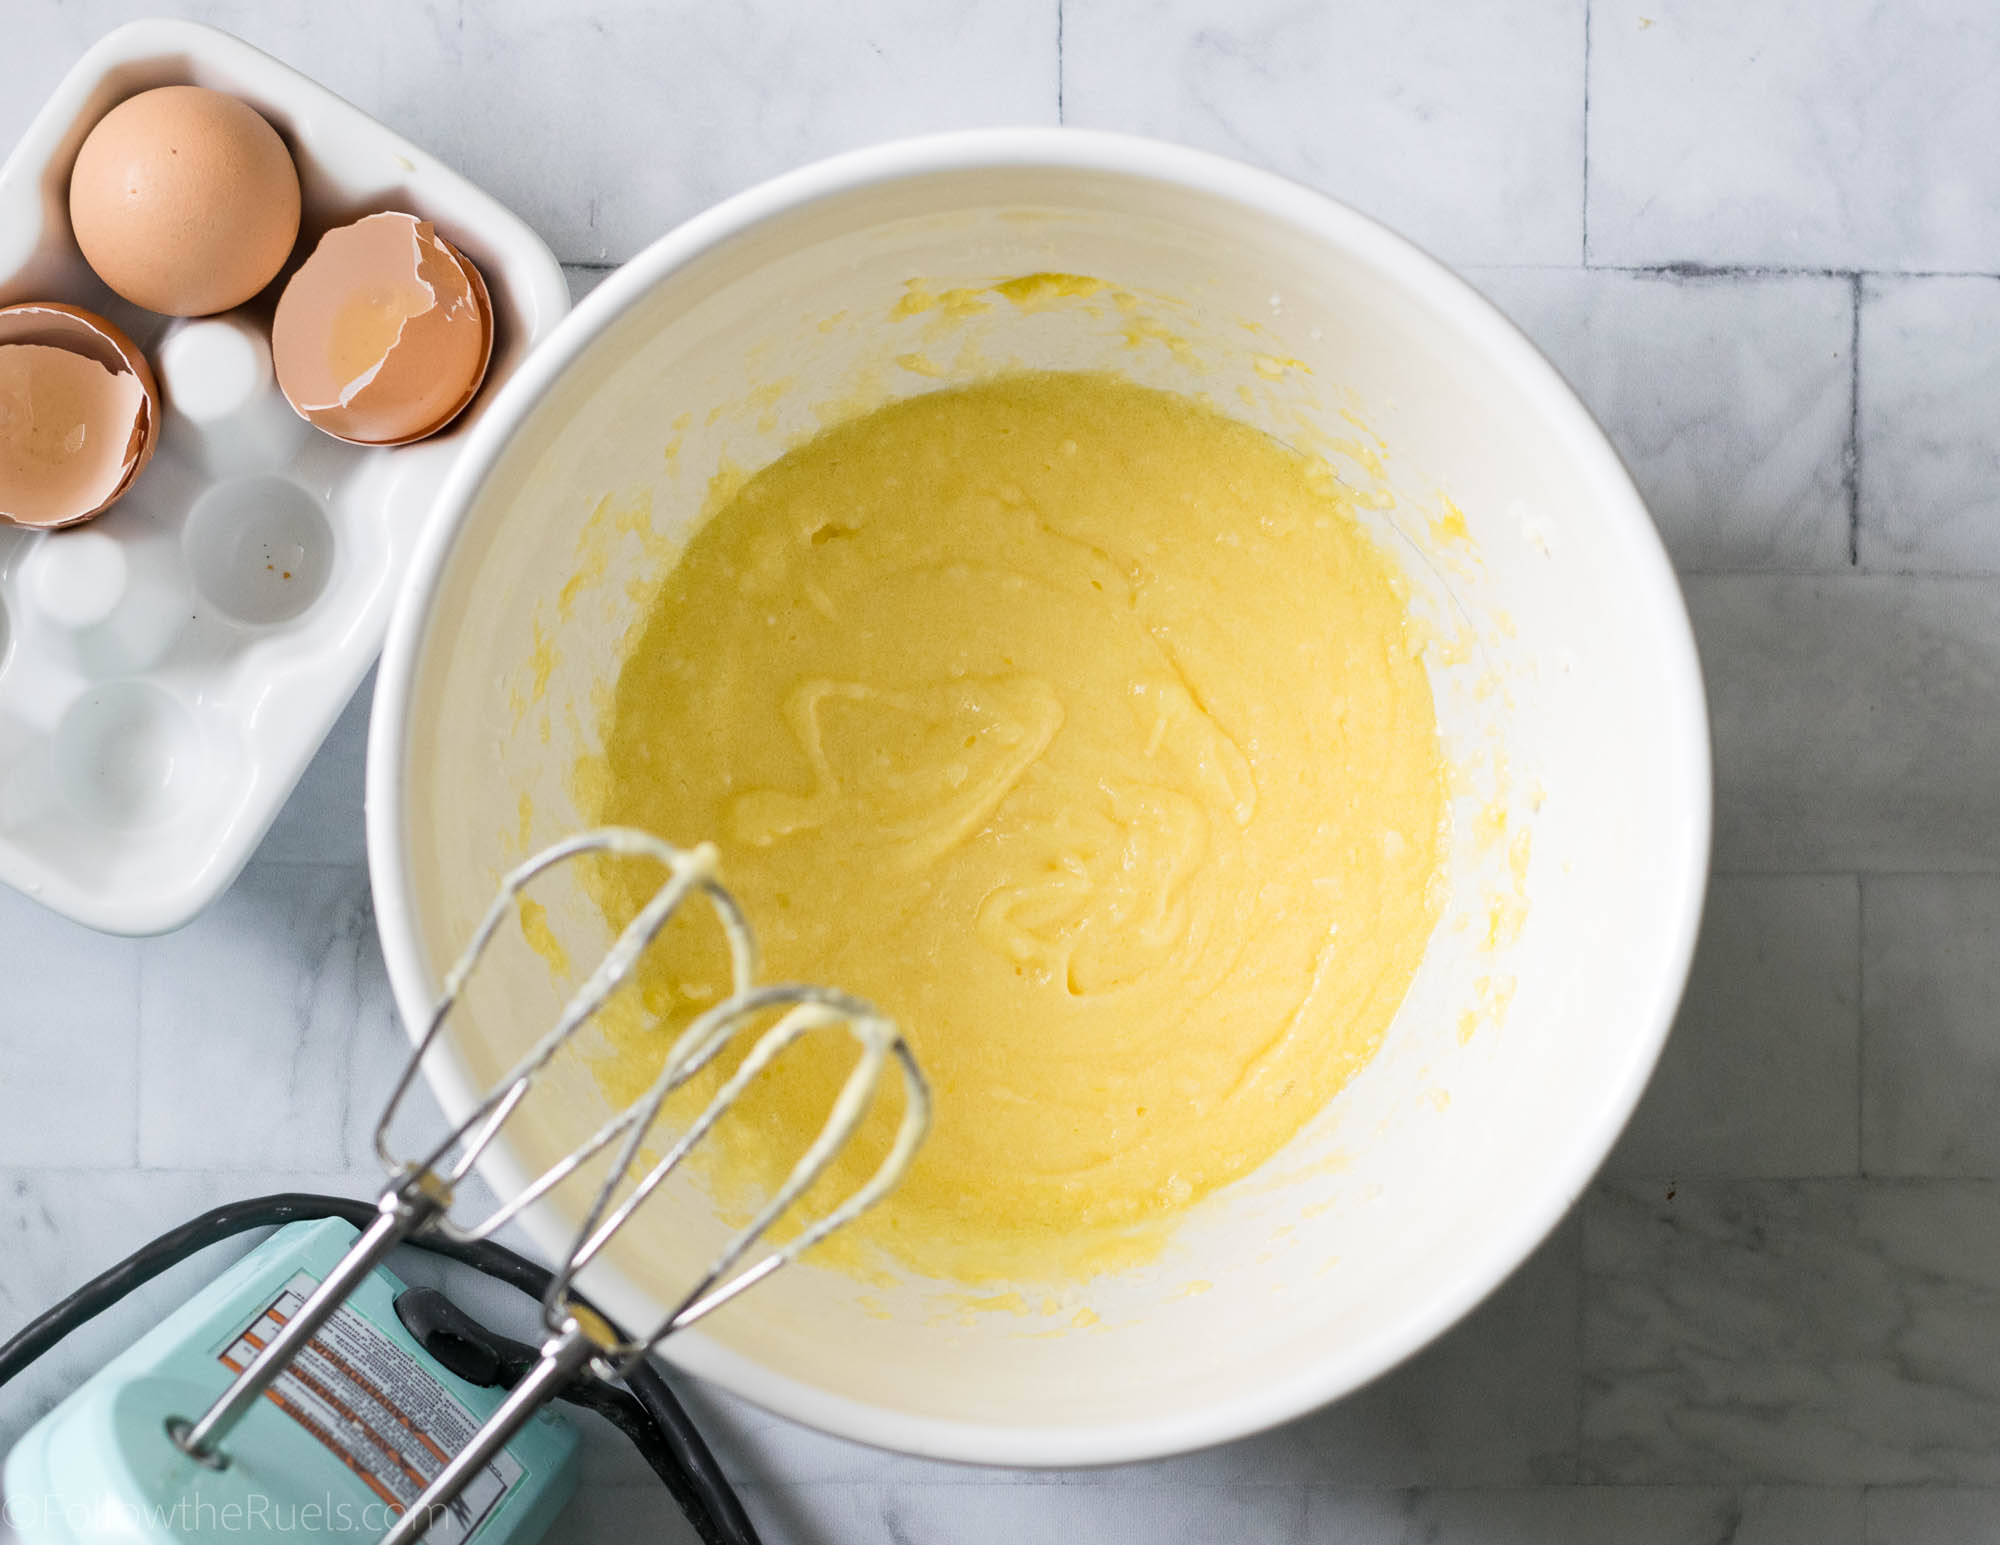
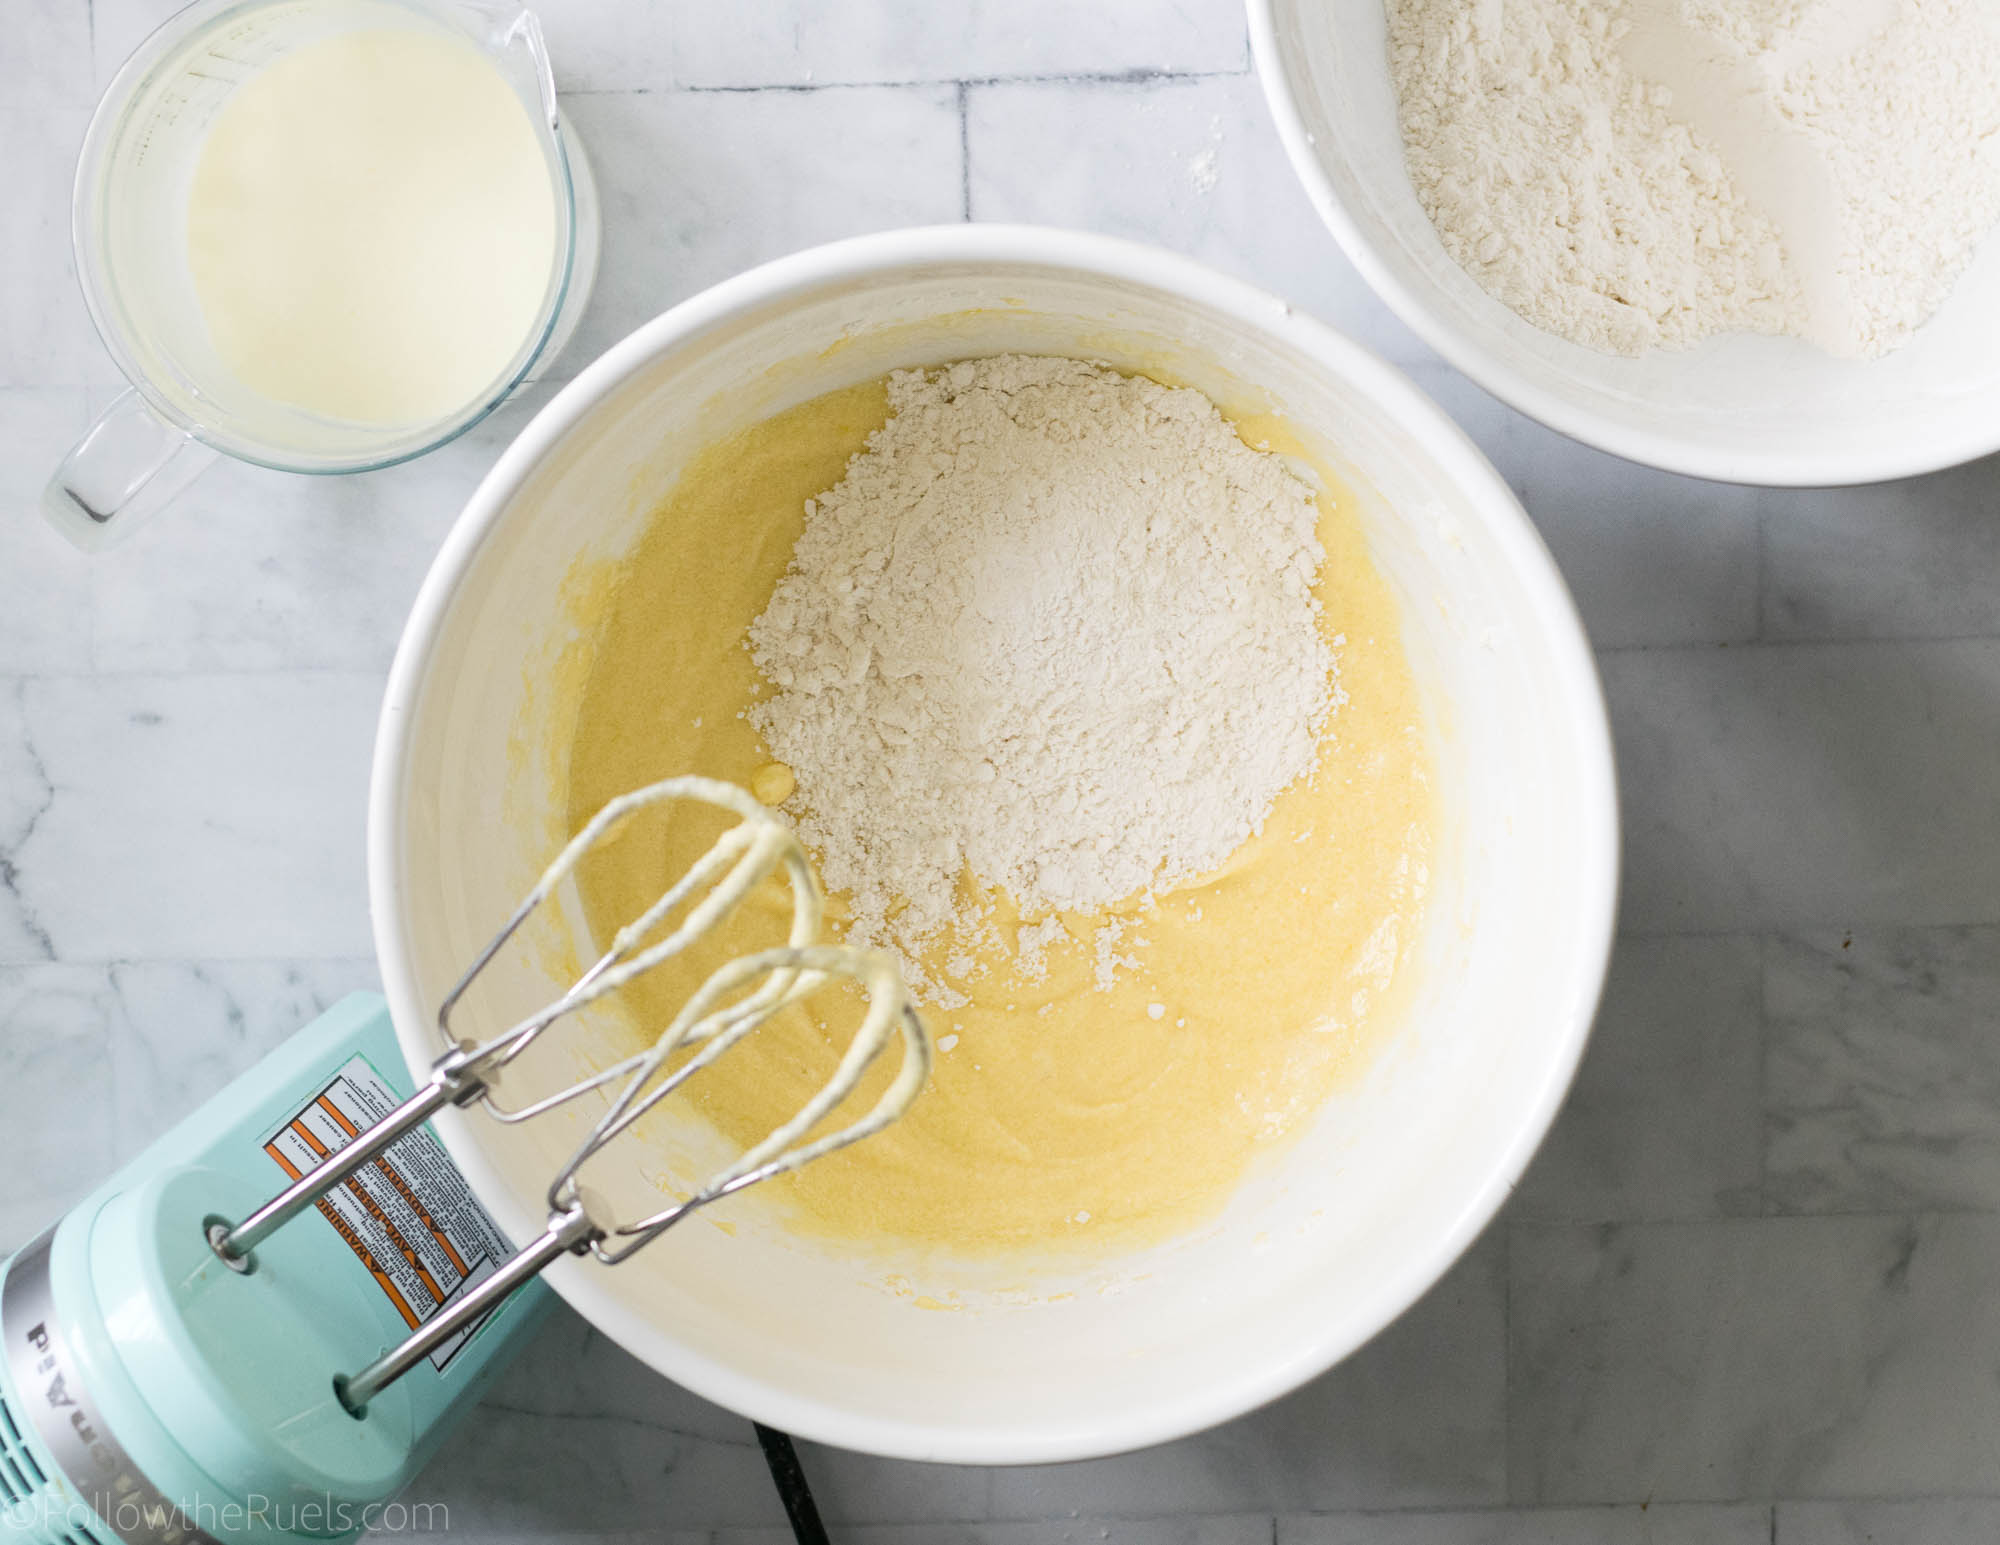
Start by making your cupcake batter. 

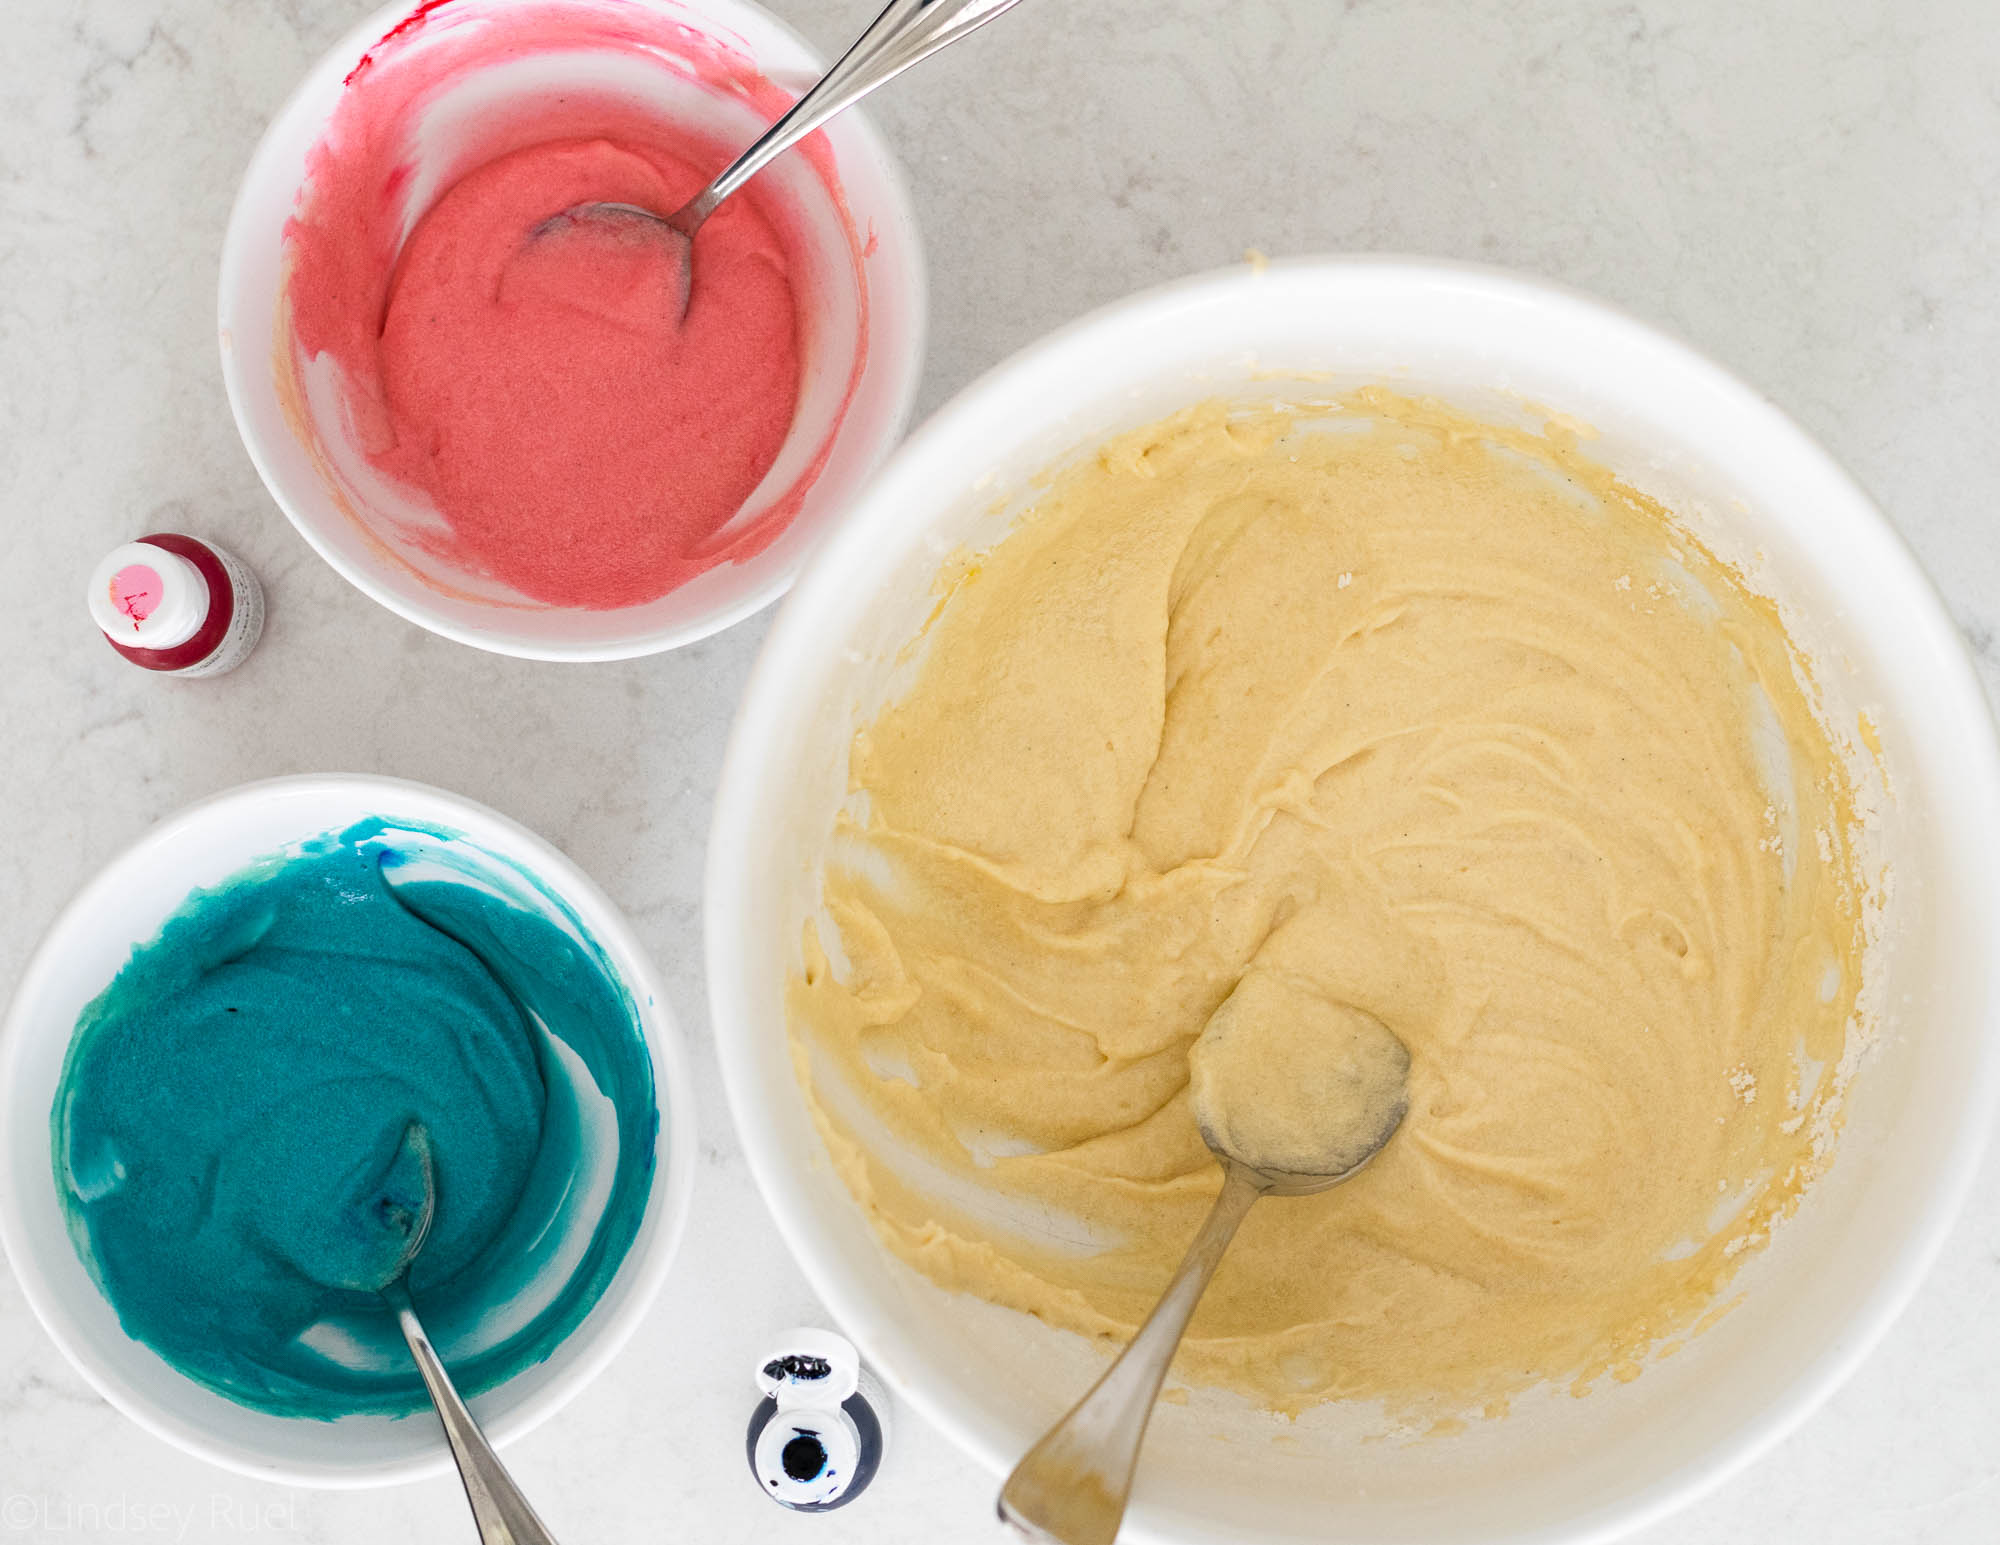
From the main batch of batter remove about 1 cup of batter and tint it the desired color. 

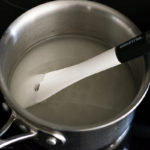
Pour the dyed batter into some sort of baking dish. It can be a small cake pan, sheet pan, or even several cupcake tins. You at least want whatever you are baking to be 1/2 inch thick. Bake the small batch of cake for 15-20 minutes, depending on size of the baking dish, or until the cake is fully baked. 

Remove the cake from the oven and let cool completely. To make cutting out the shape even easier, chill the cake for about 3o minutes. 

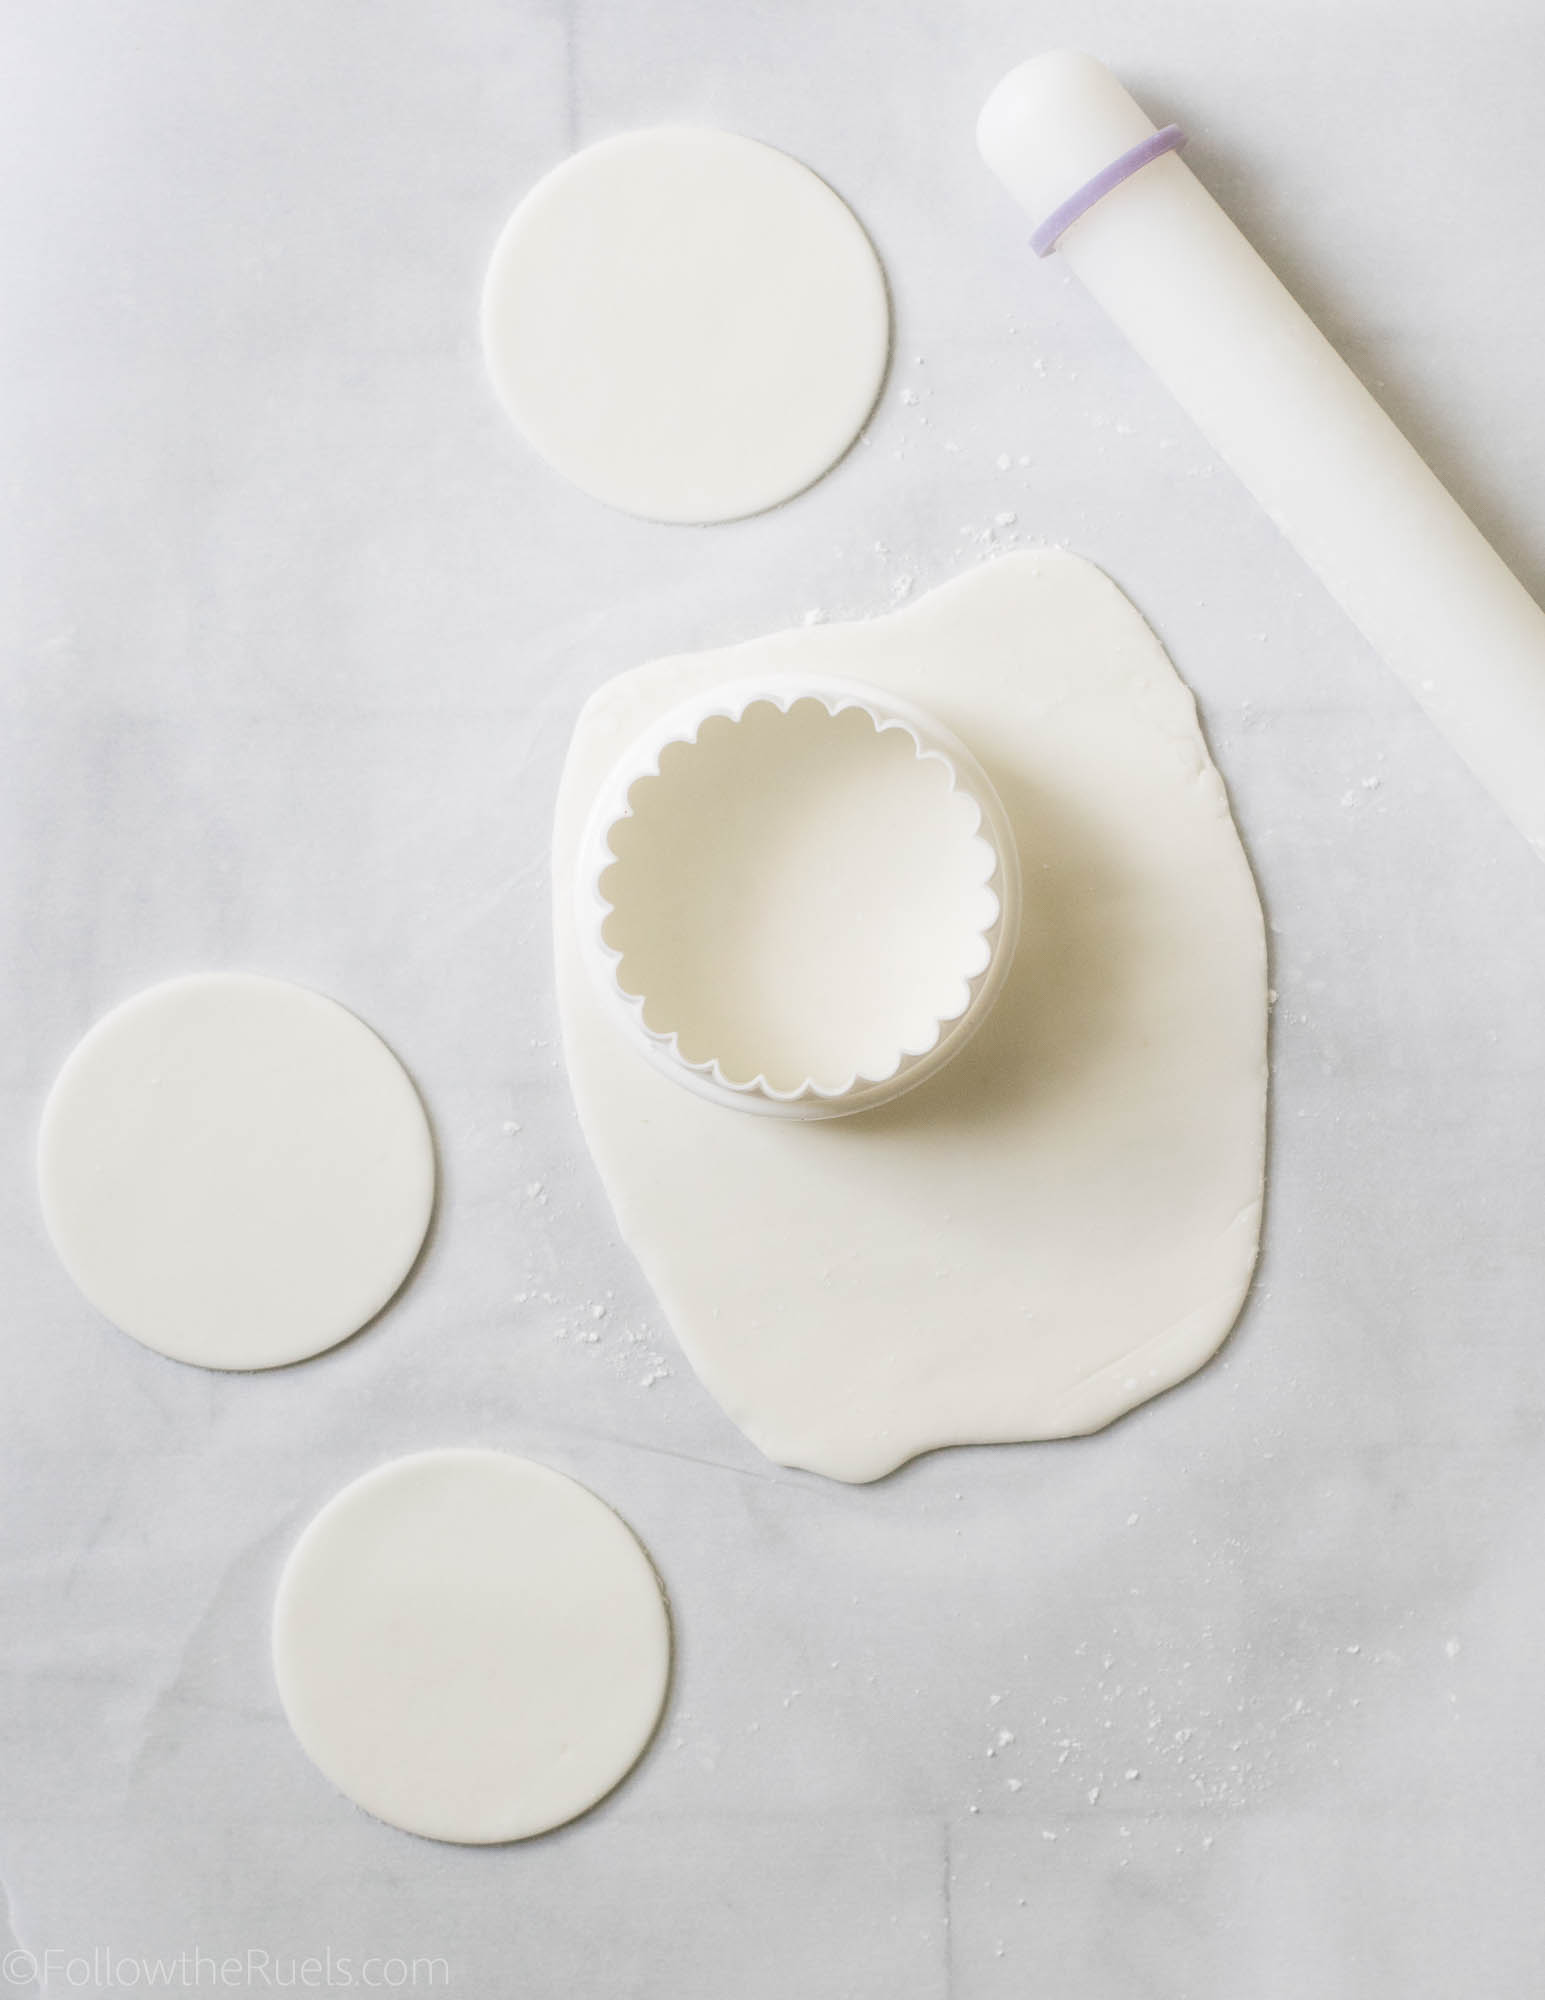
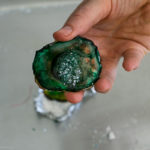
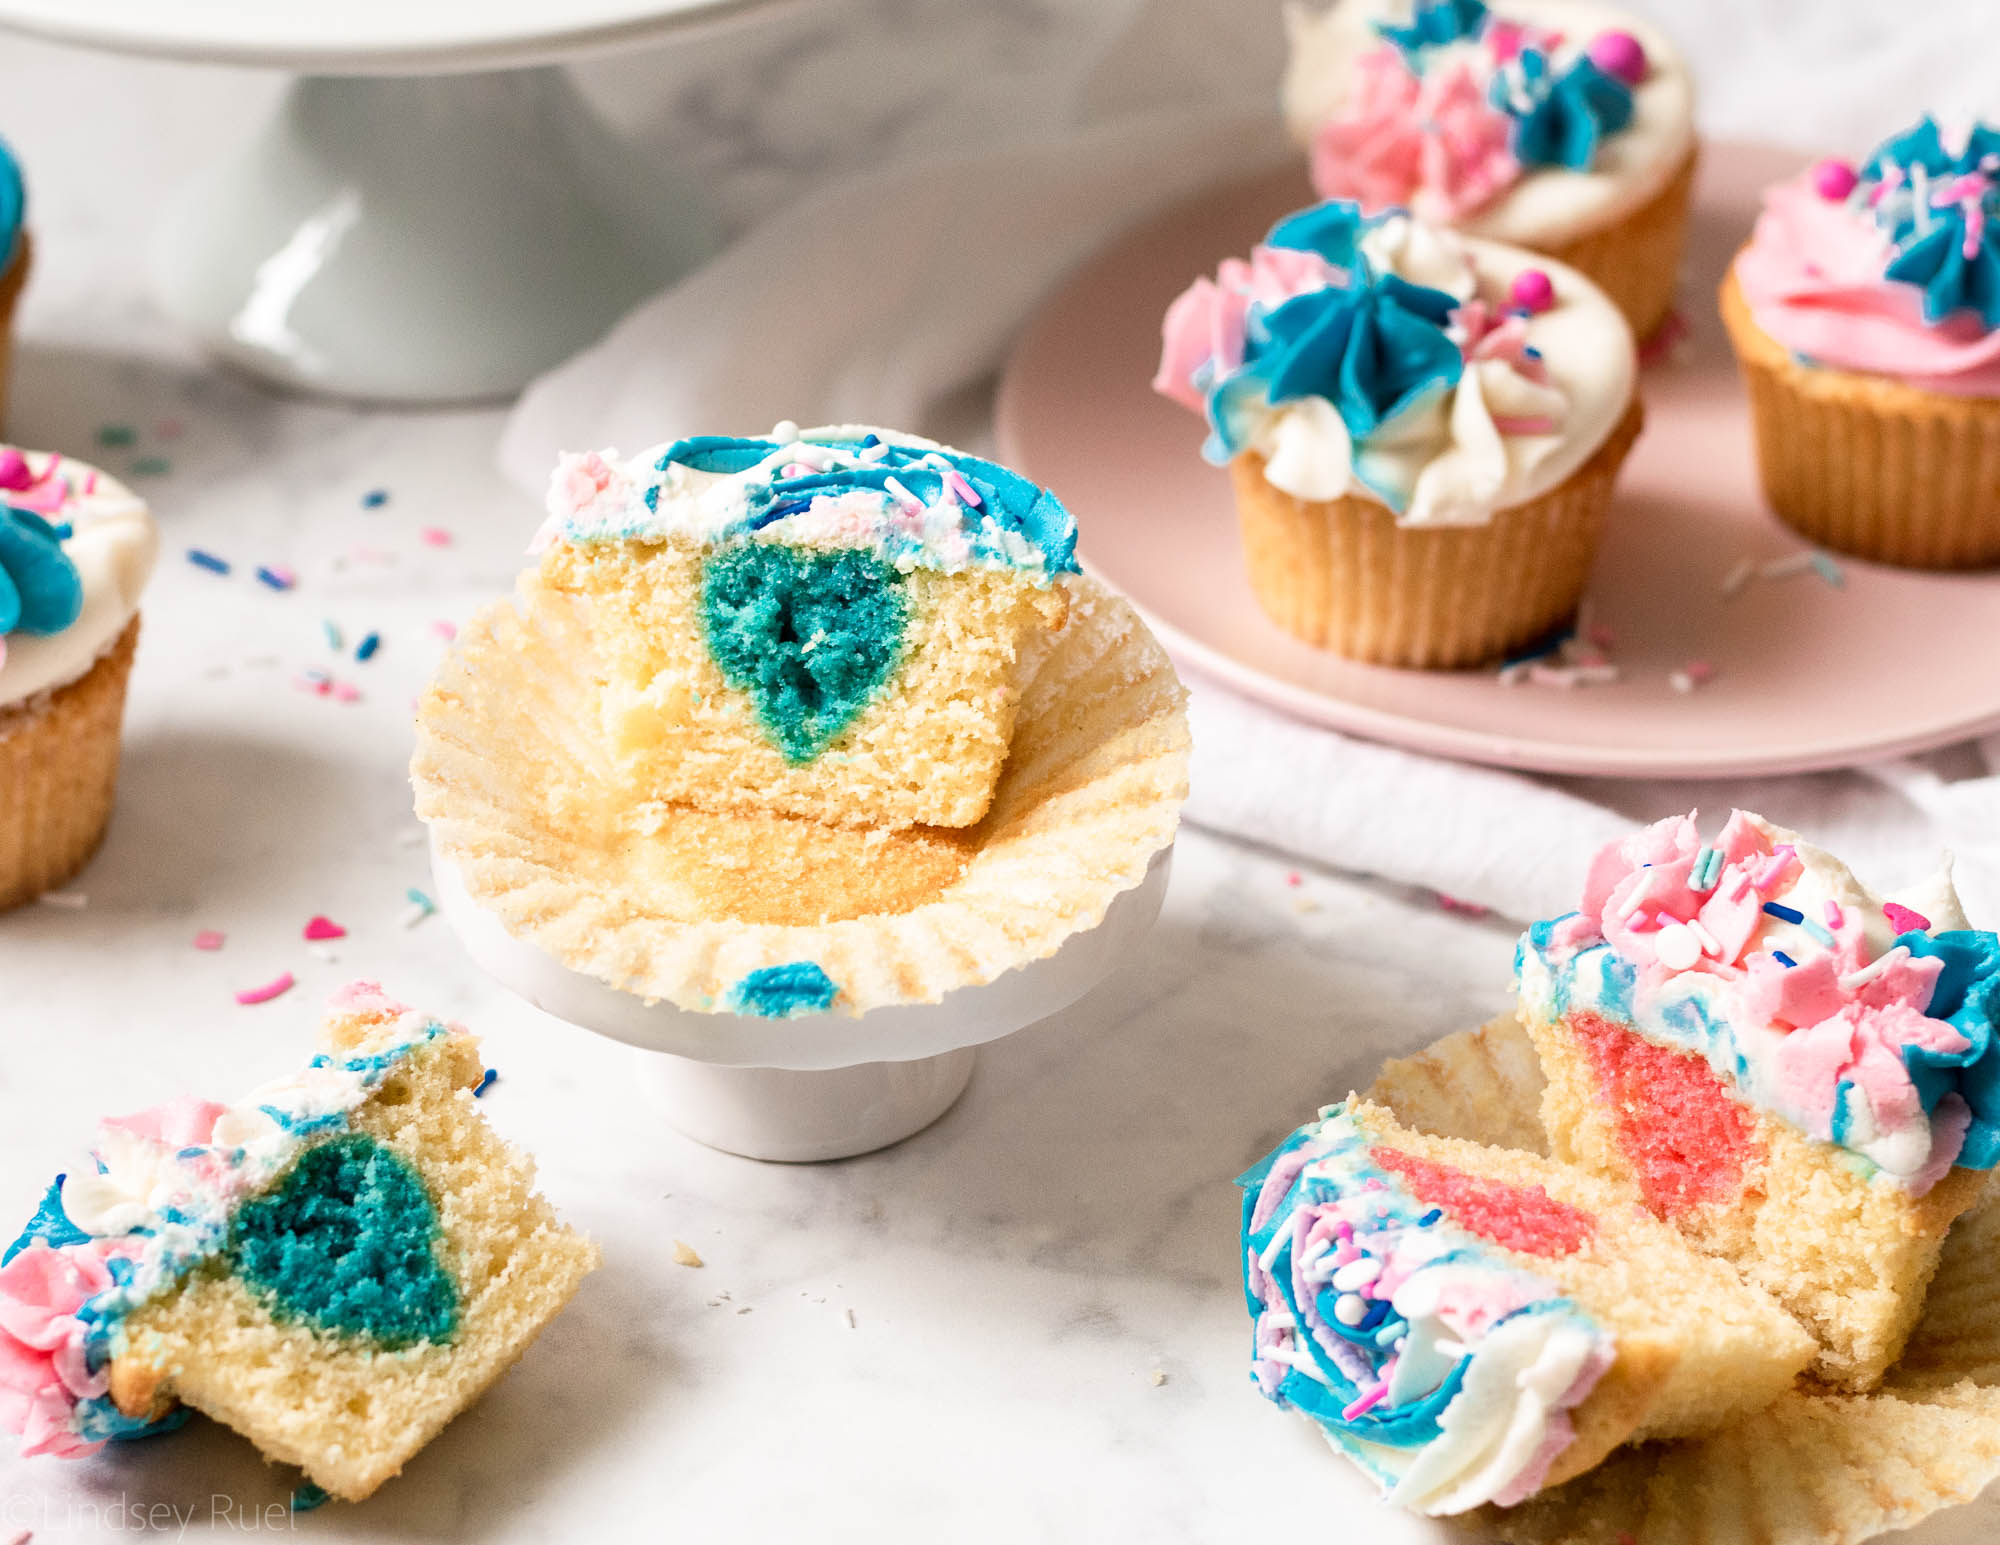
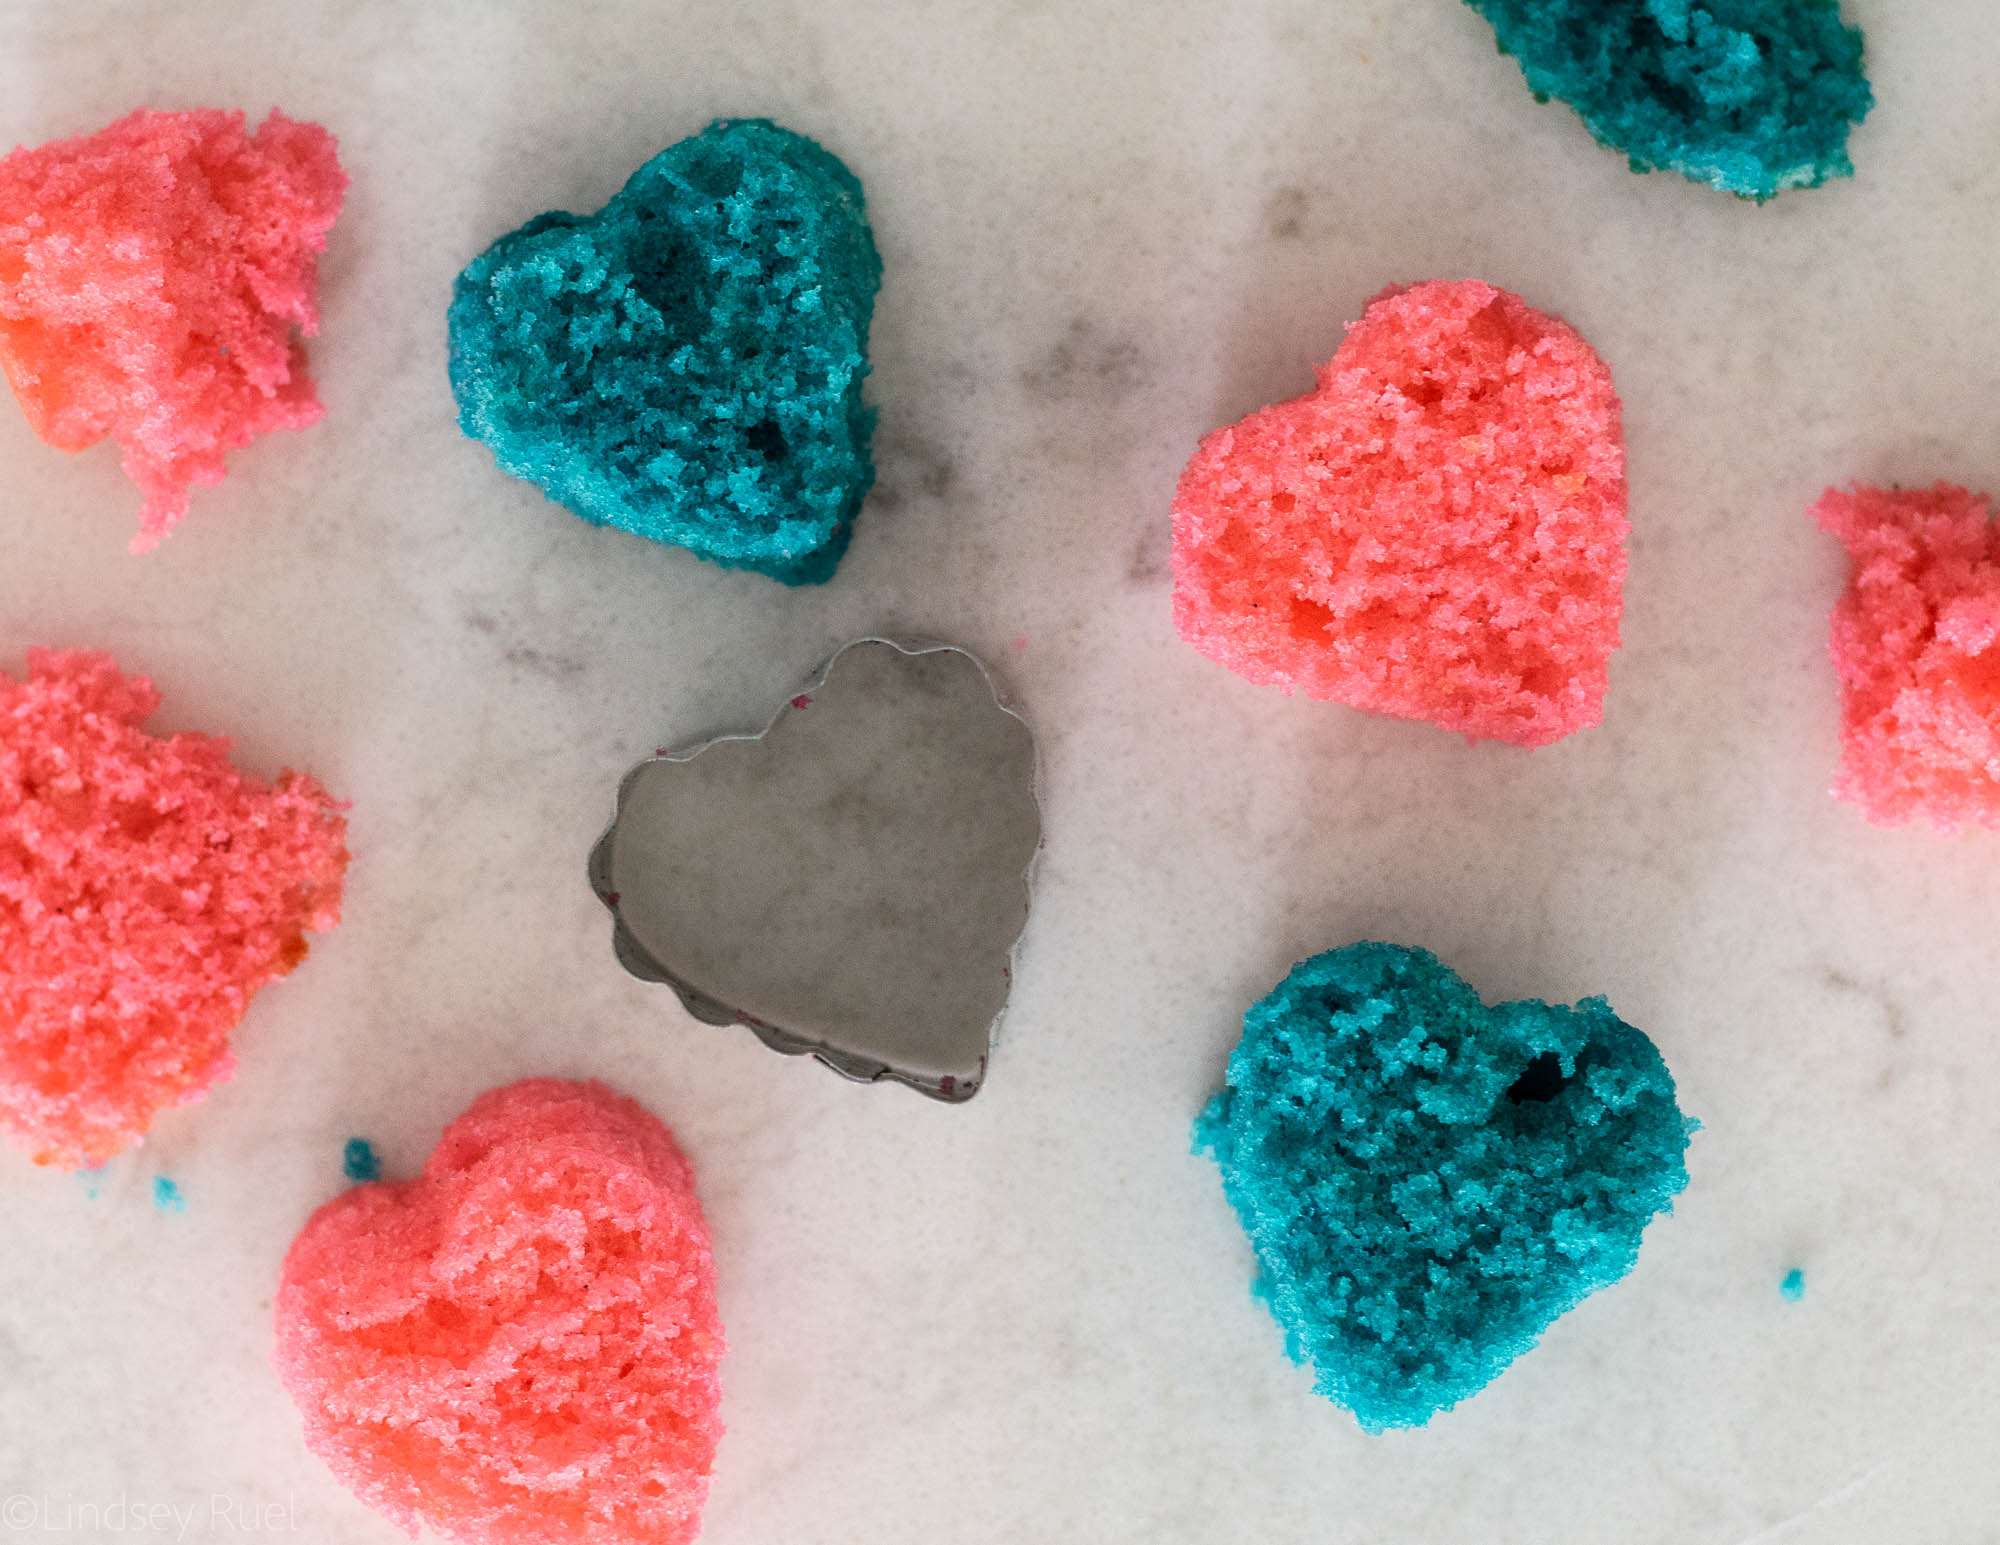
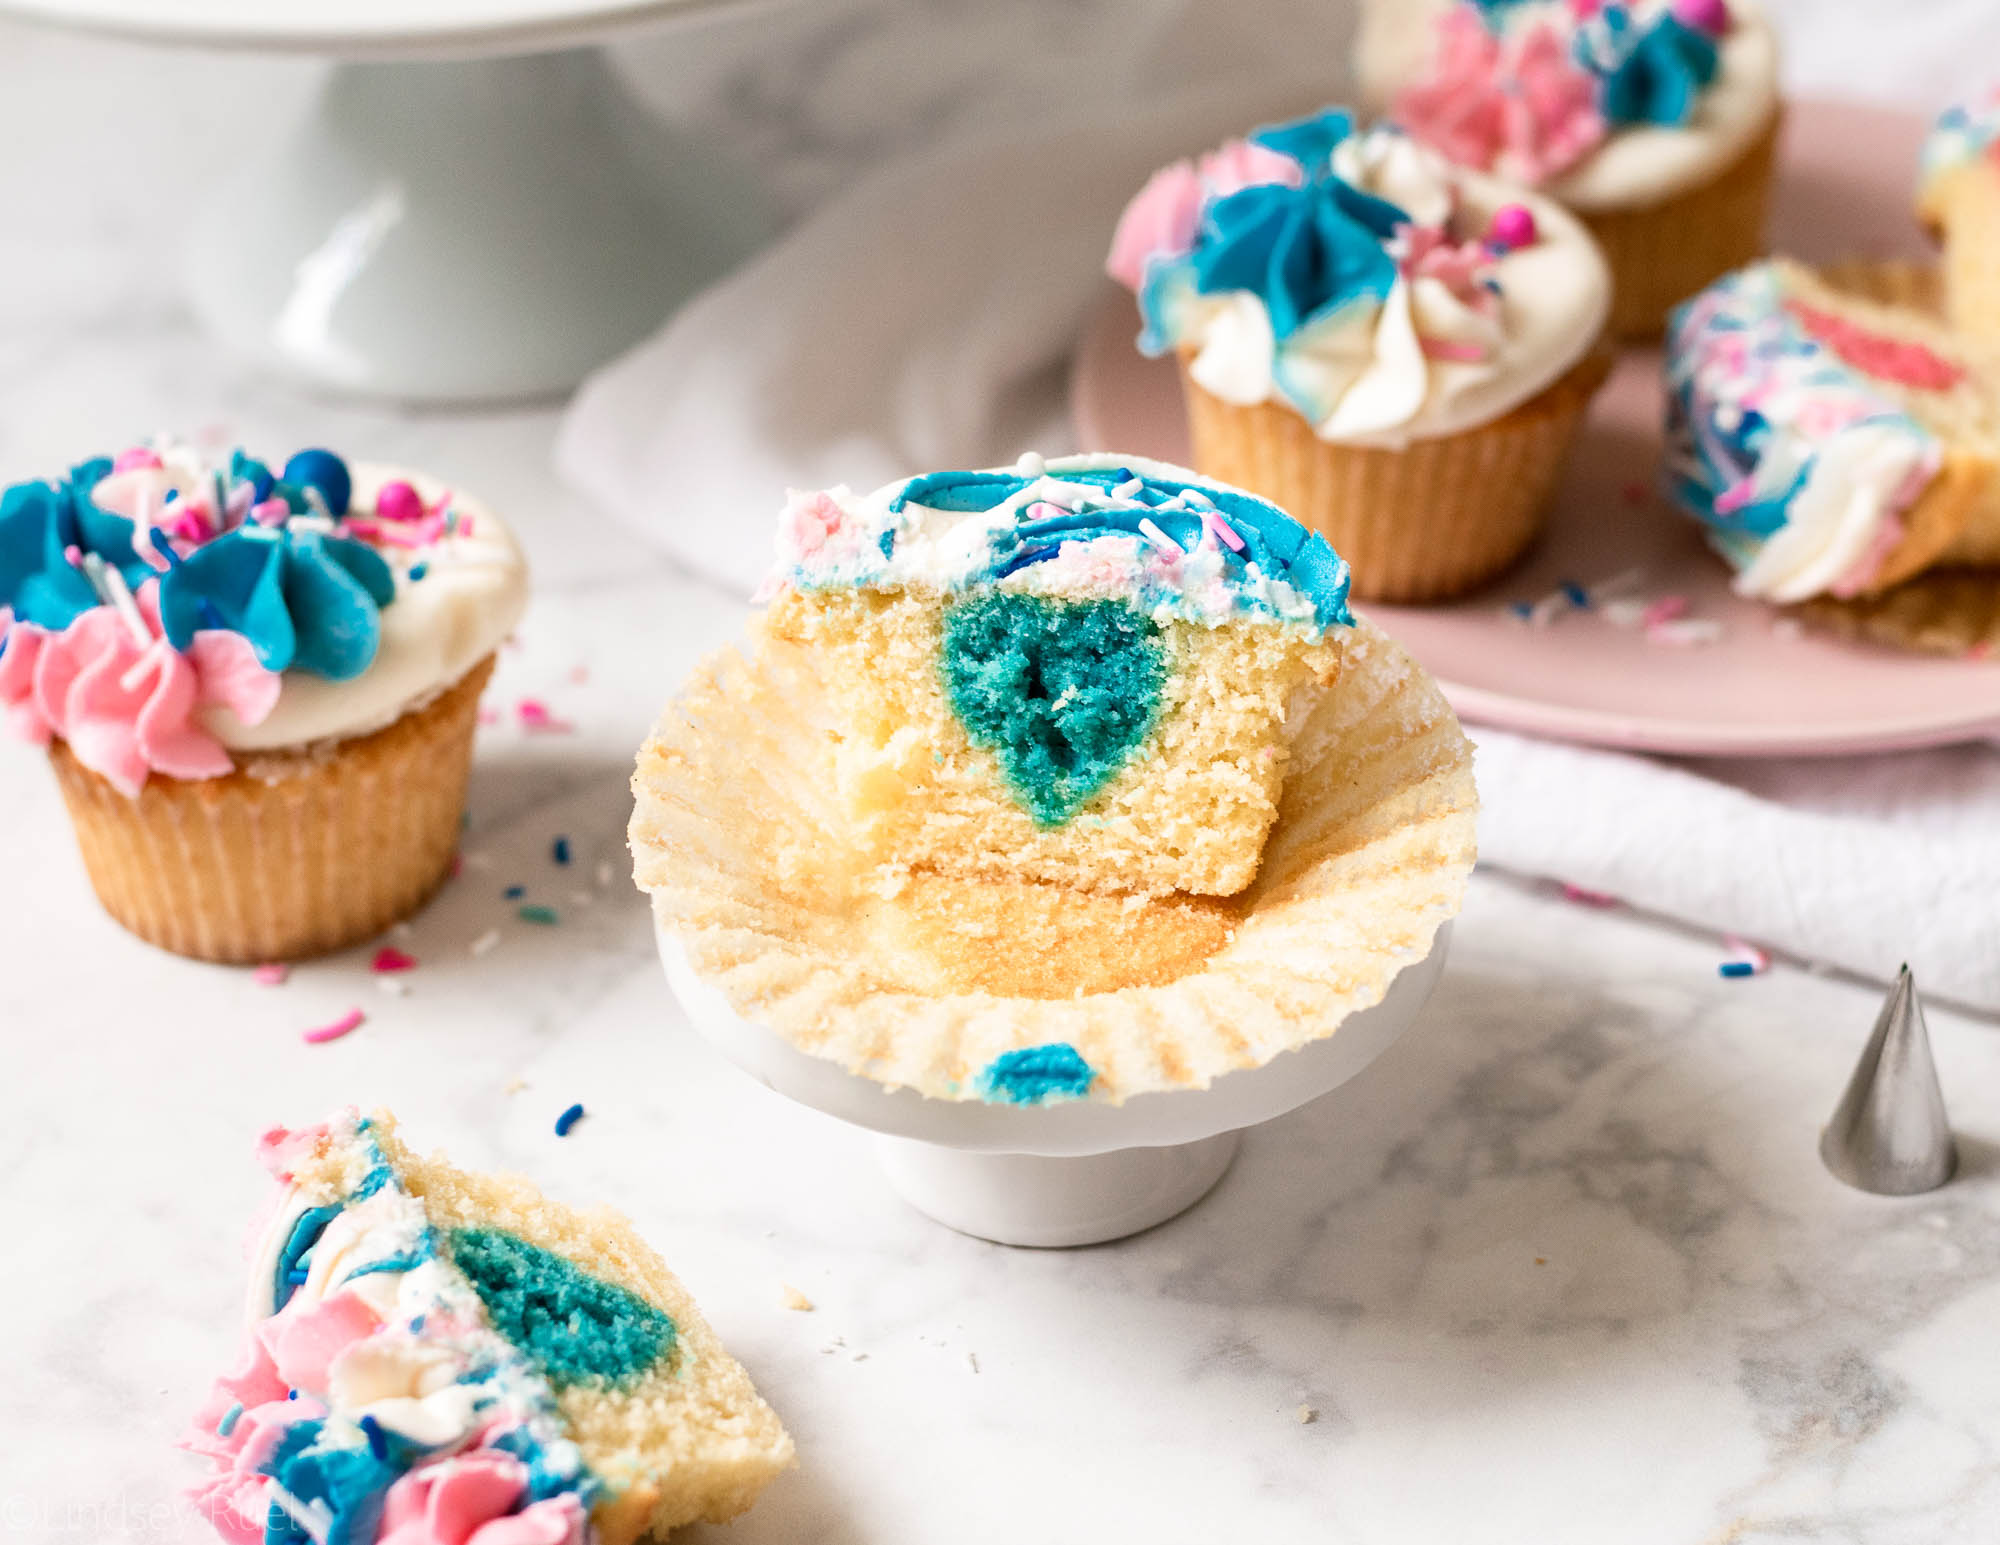
If the cake was baked in one flat layer, then just use a small cookie cutter in your preferred shape to cut out the centers. If you make cupcakes, slice the cupcake horizontally into 2-3 slices, then cut into shape.


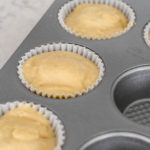
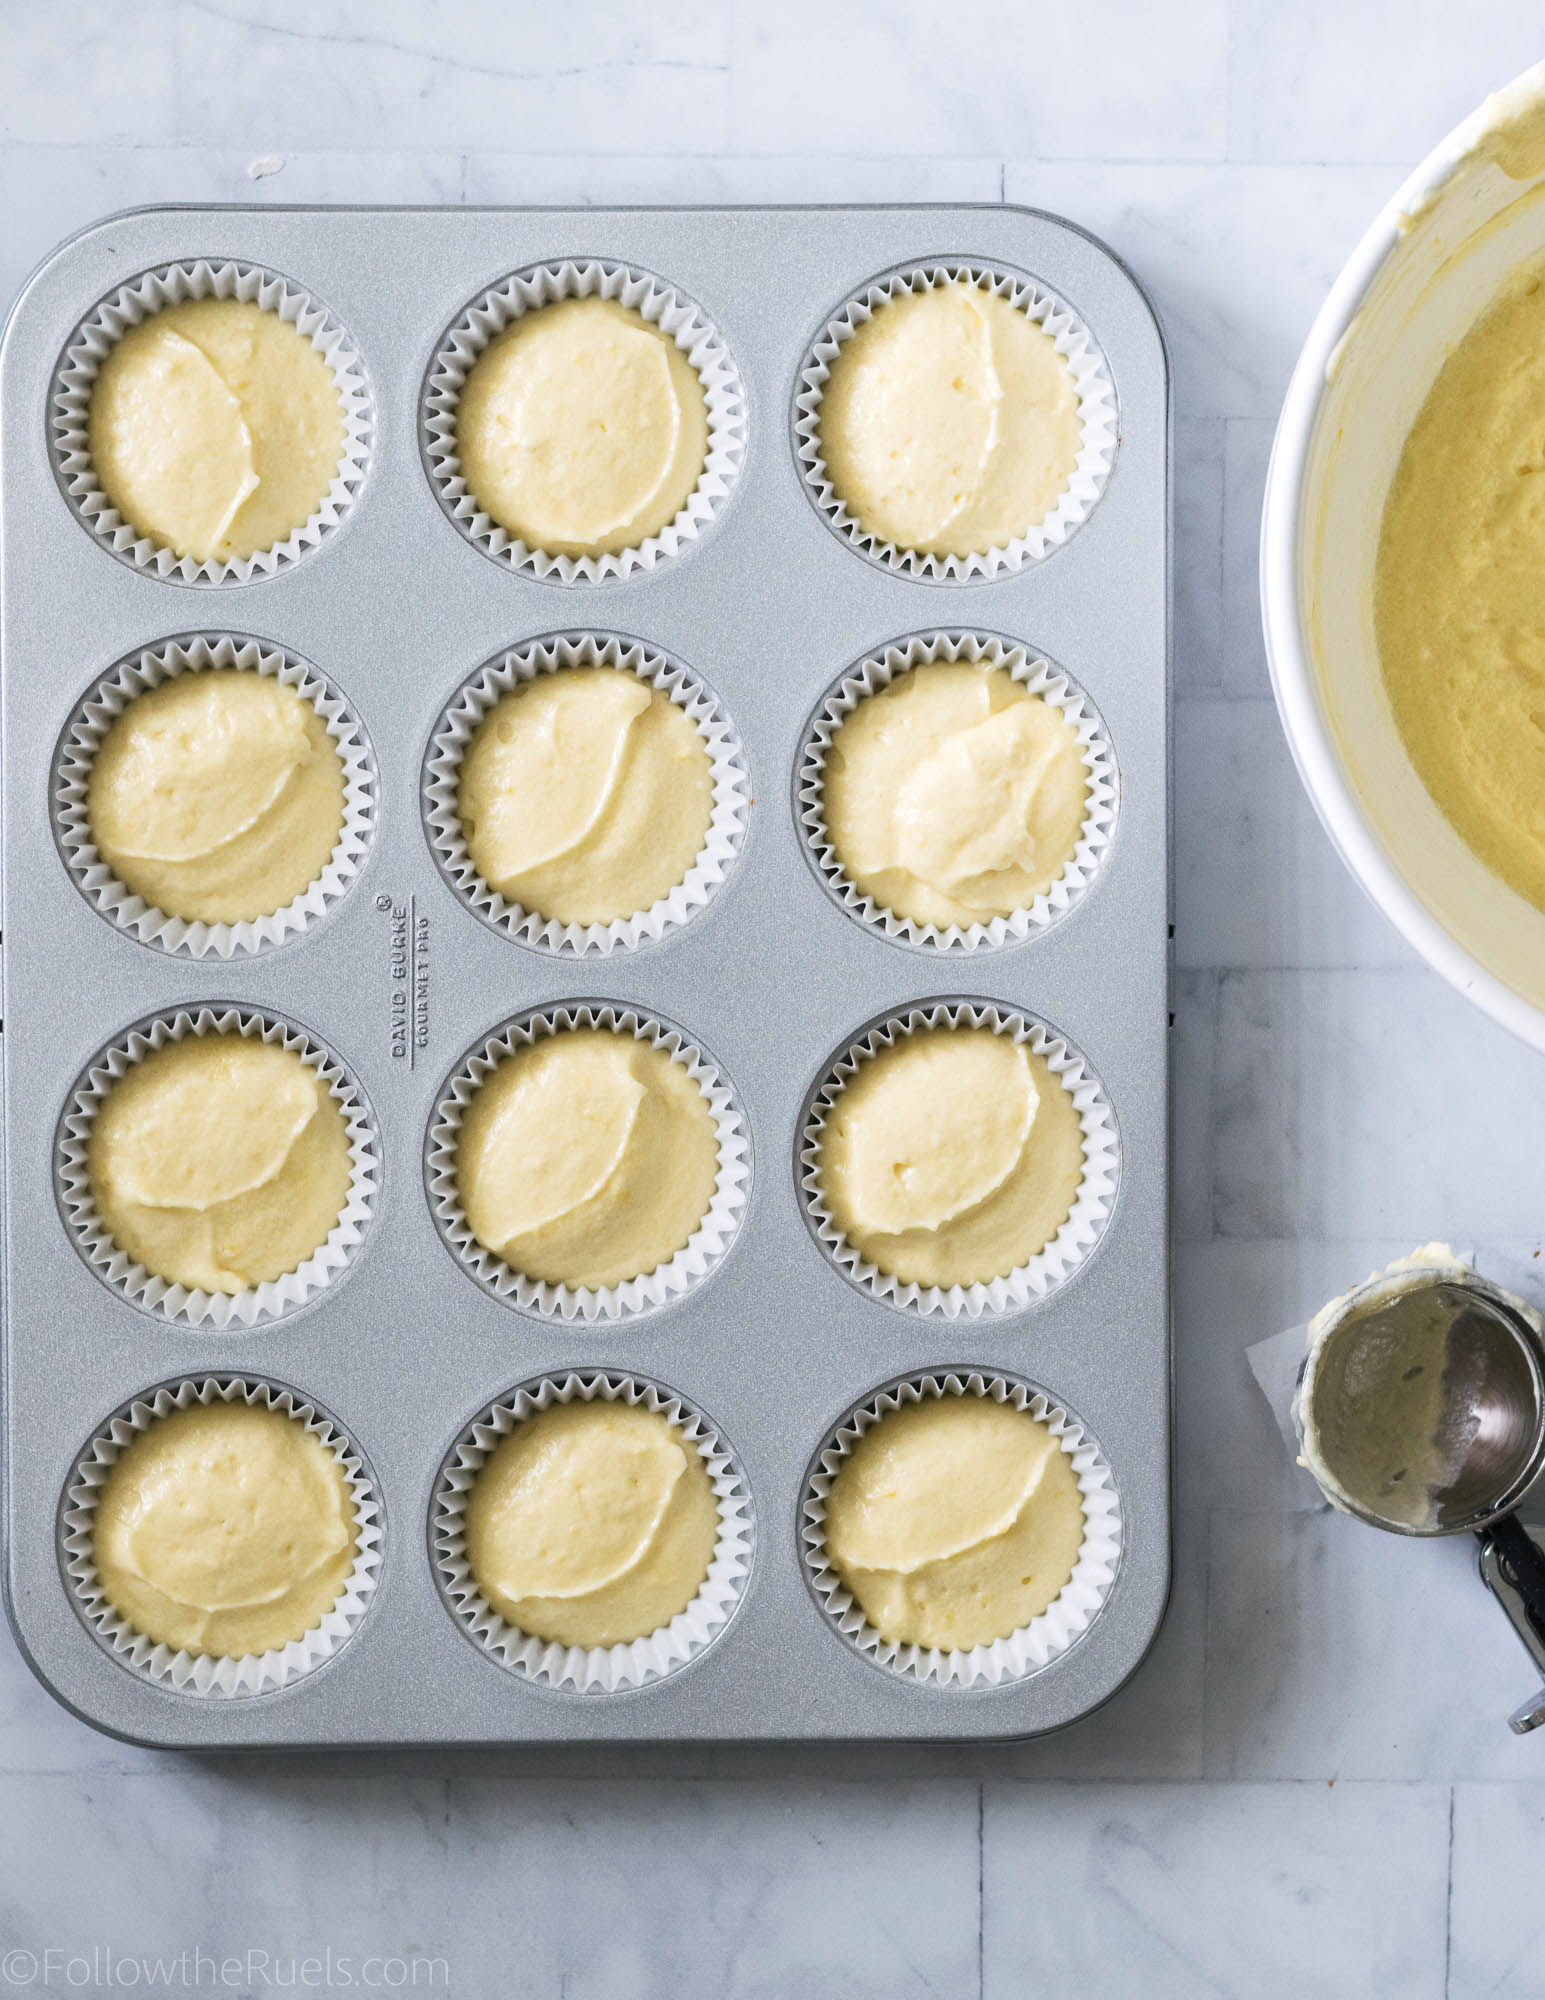
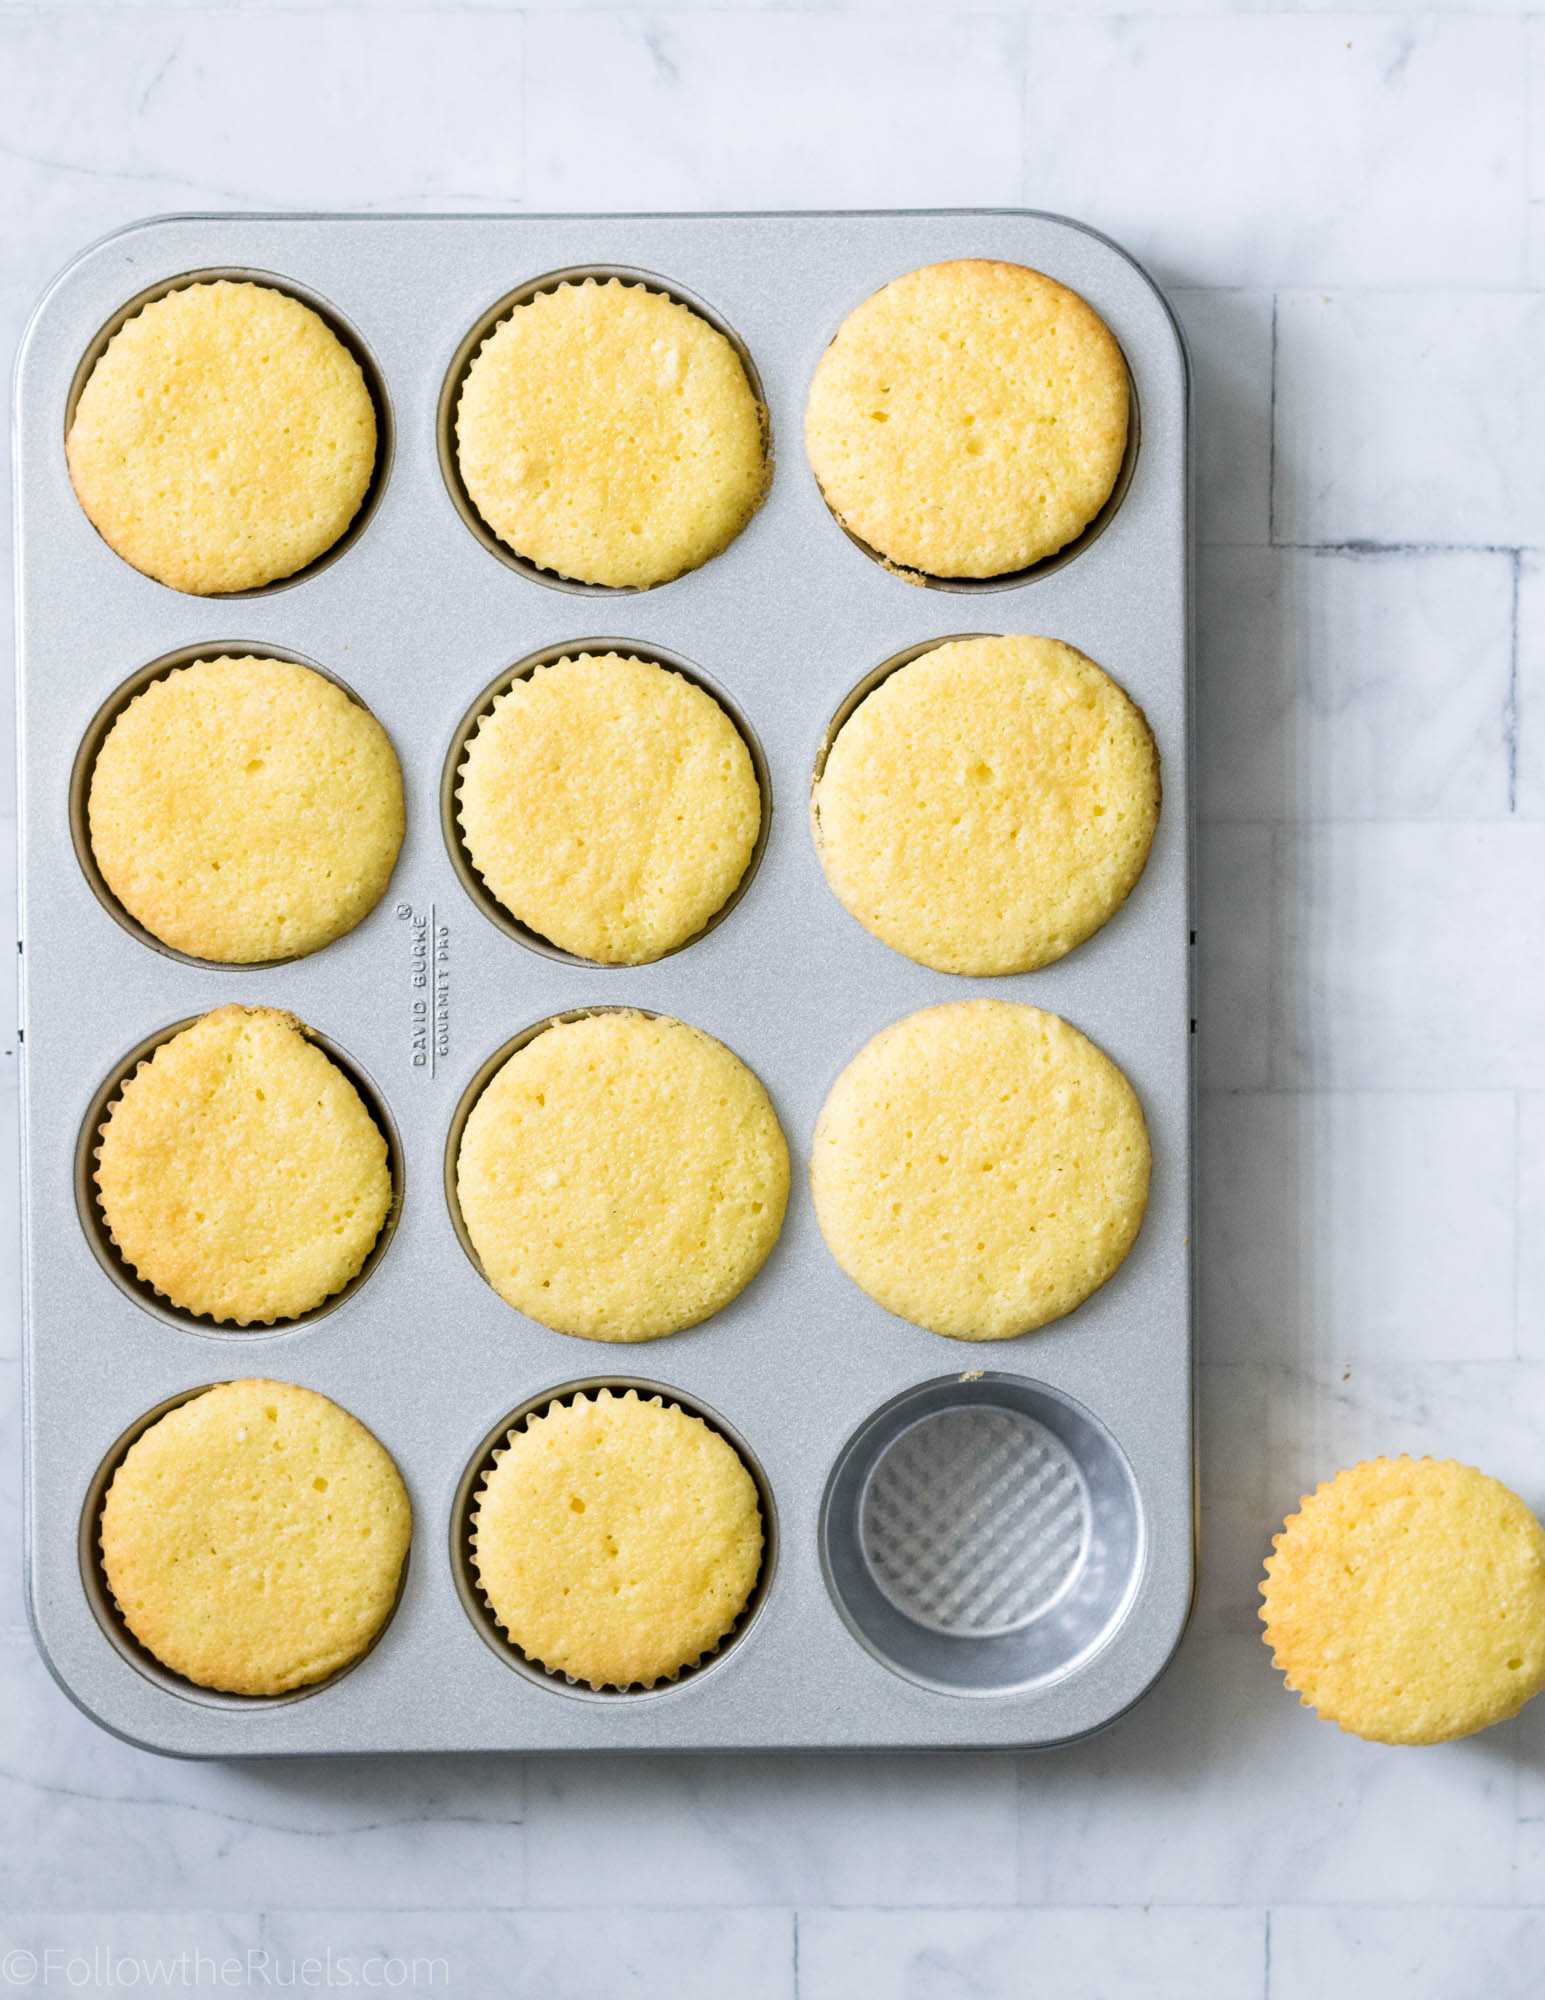
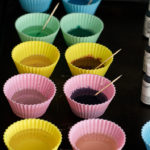
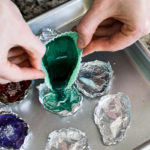
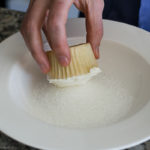
To assemble the rest of the cupcake, spoon a small amount of batter into the bottom of a lined cupcake tray. It should be enough to cover the bottom. Place the cut out cake into the batter, then spoon more batter on top so that it is covered. You don’t want to overfill your cupcake tin (like I did). So try to keep it about 2/3rds of the way full. 

Bake the cupcakes for 20-25 minutes, or until the edges are slightly golden and a toothpick comes out mostly clean. 

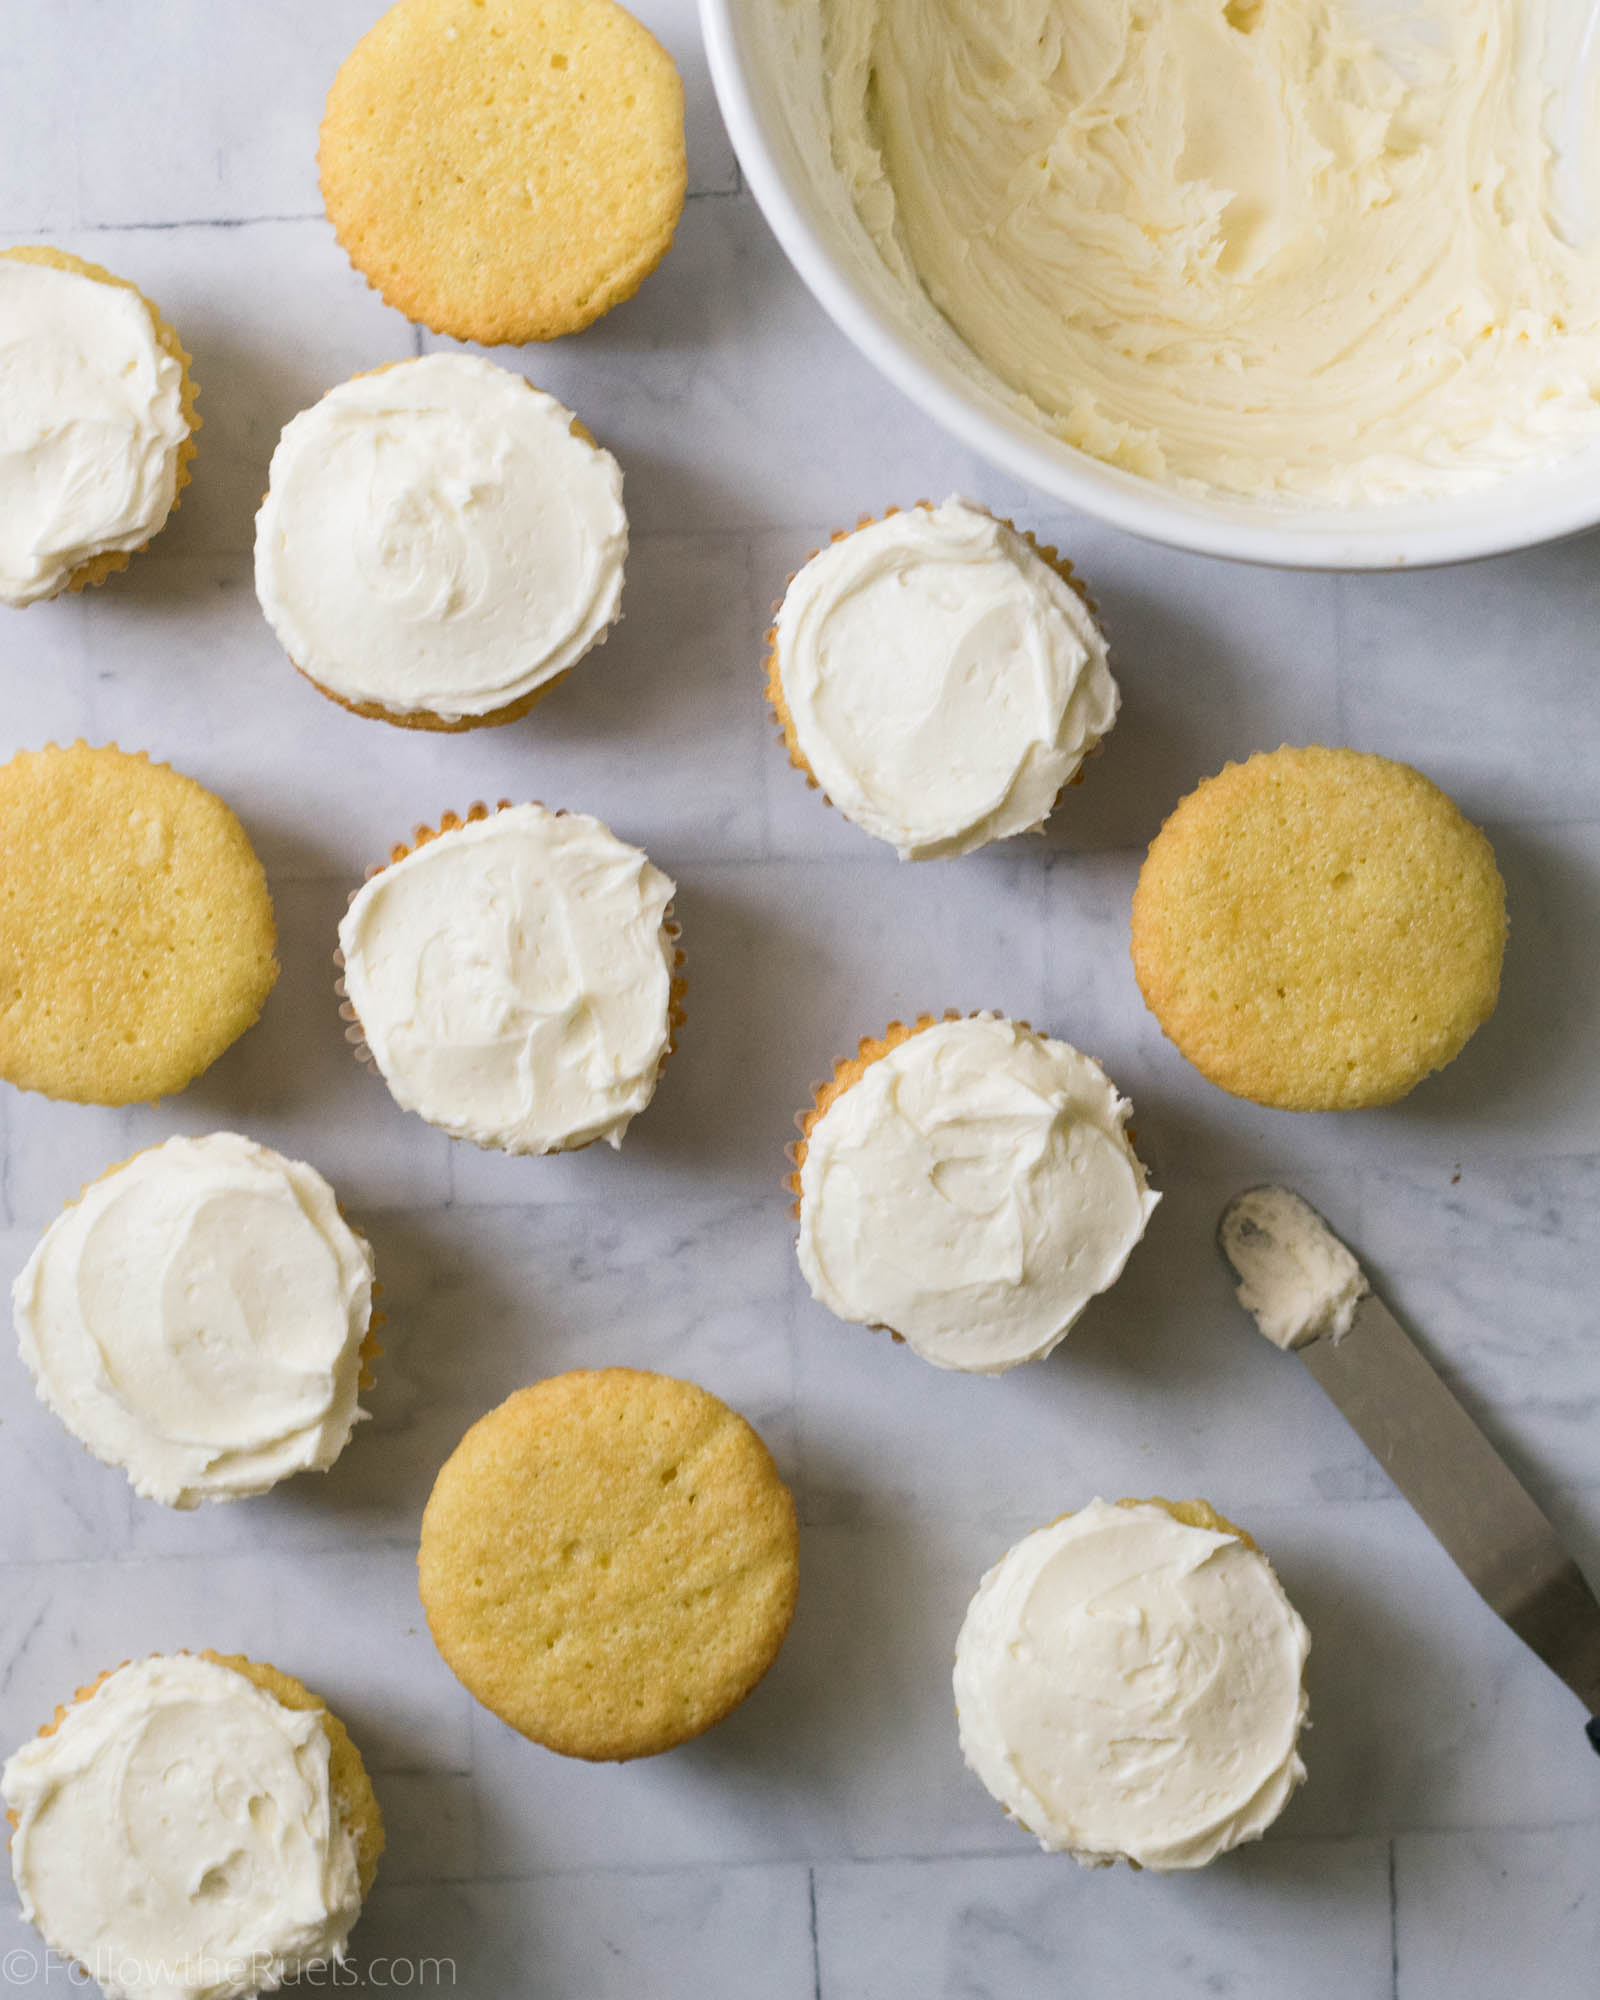
While the cupcakes cool, make your frosting. 

You can make your favorite frosting recipe, but if you don’t have one, here’s mine! It’s a delicious Swiss Meringue Buttercream that is light, airy, and not too sweet. 

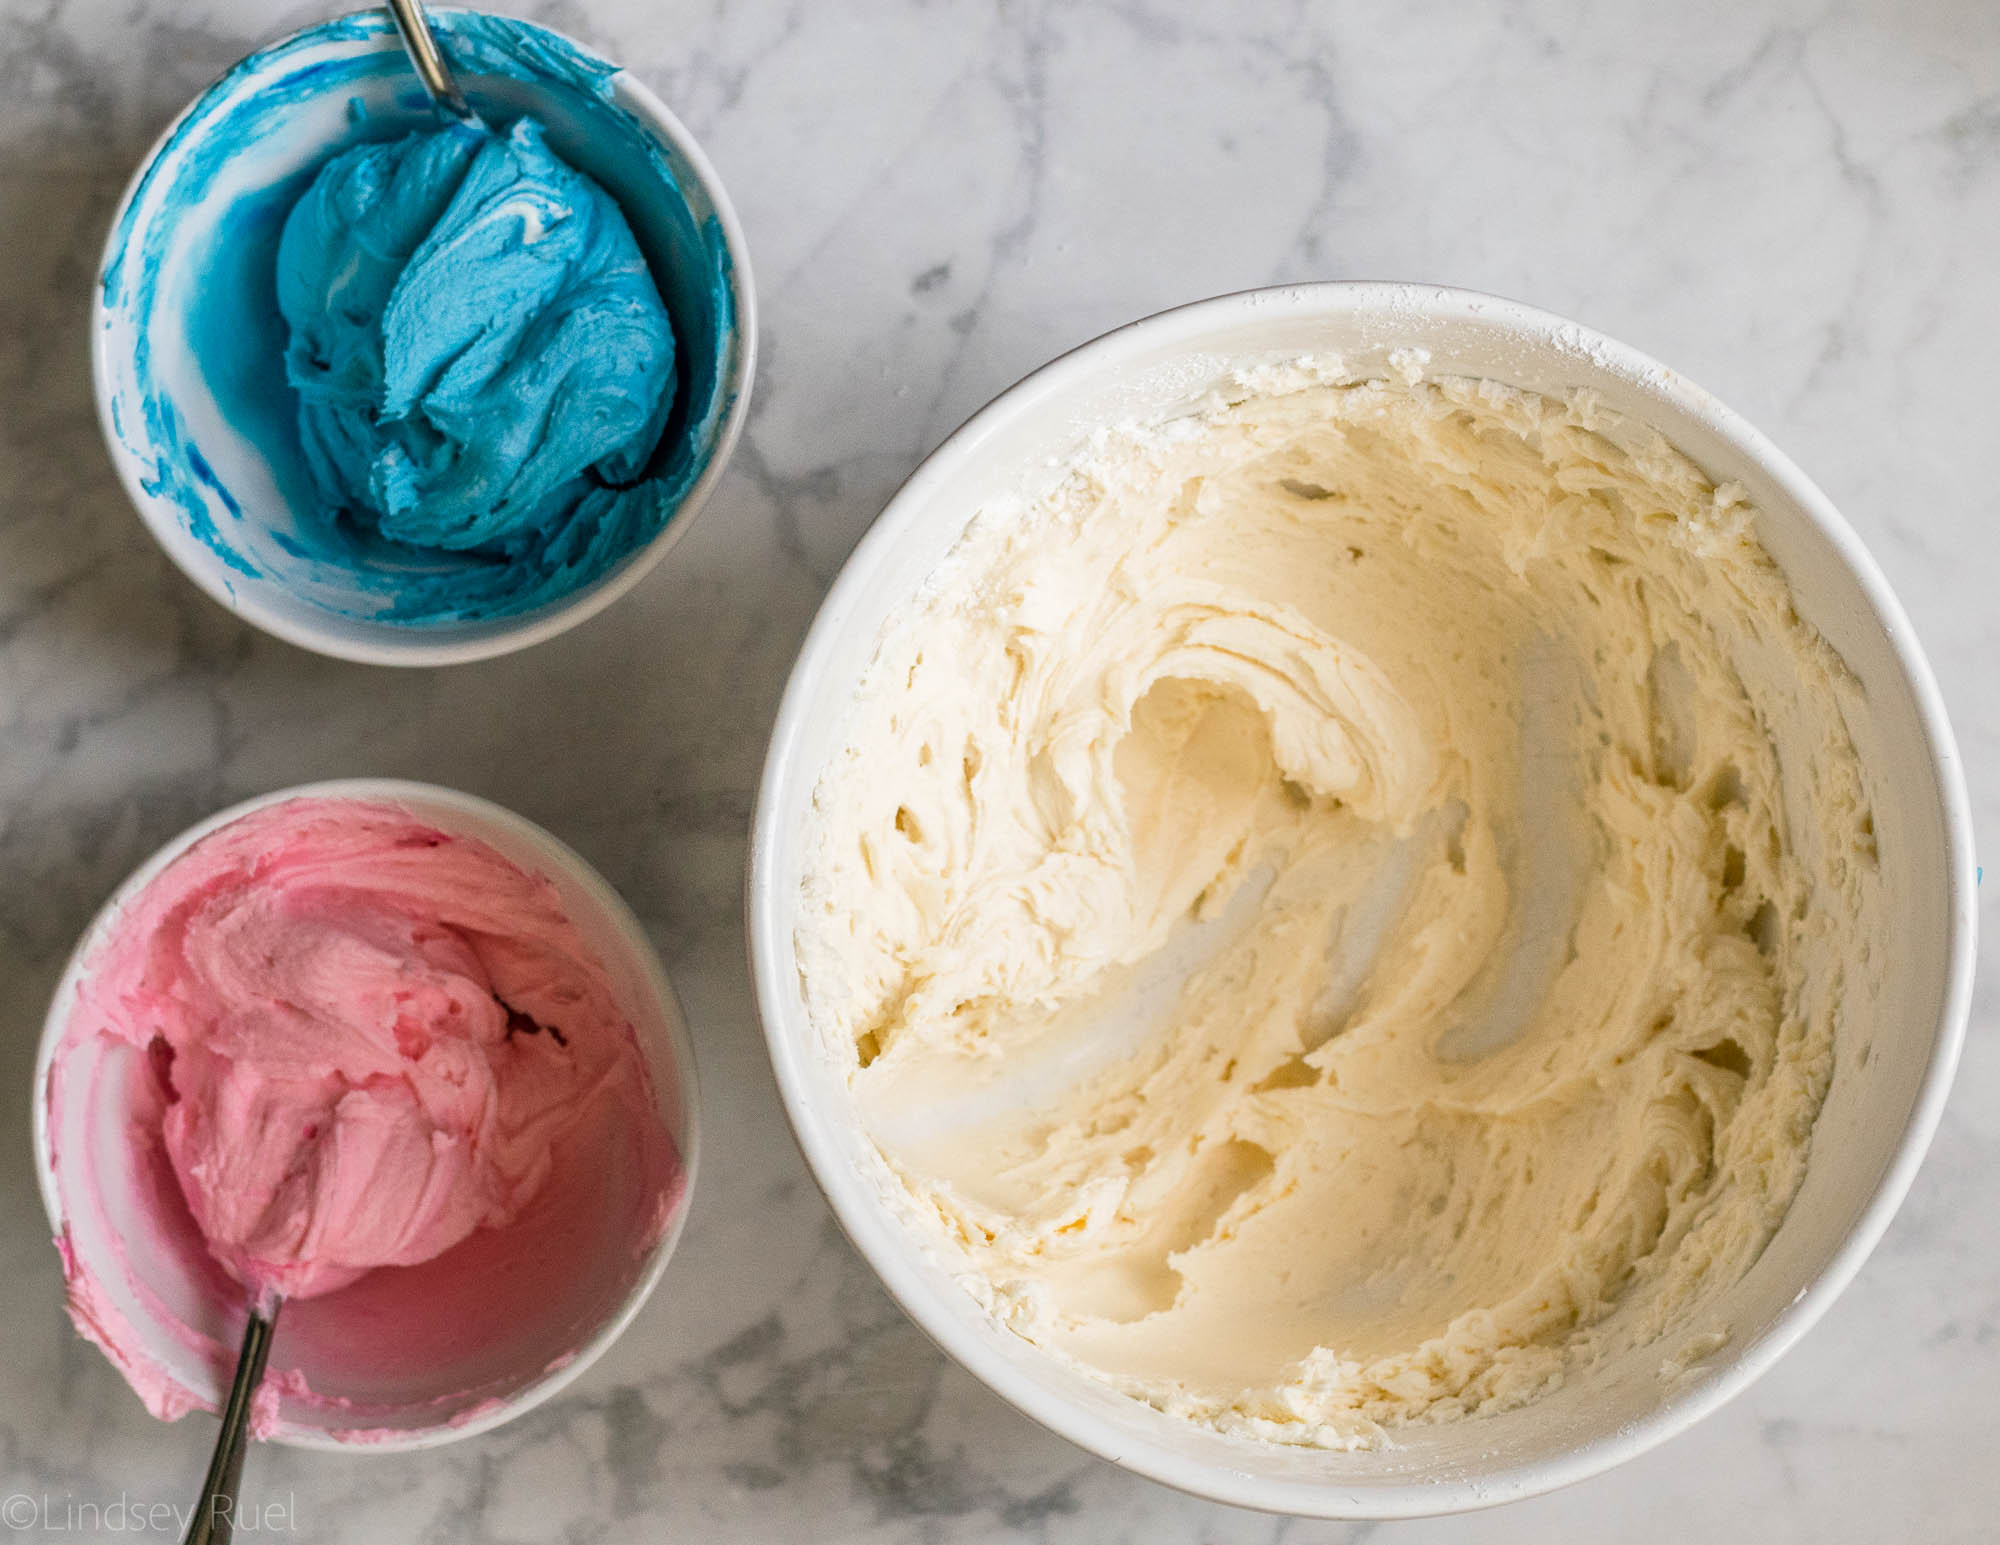
To top these cupcakes, you will want both pink and blue frosting. Remove about 2 cups of frosting from the main batch and place 1 cup in two separate bowls. Tint one blue and one pink.


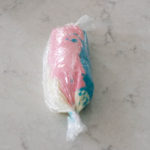
To get that swirled effect in the frosting, lay out a sheet of plastic wrap on your work surface. Spread a thick layer of pink, white, and blue in a line. Then roll up the plastic wrap in a tube and twist the ends. Snip off one end and place the whole tube into a piping bag fitted with your desired piping tip. 


Place the extra frosting into separate bags fitted with different styles of tips. 

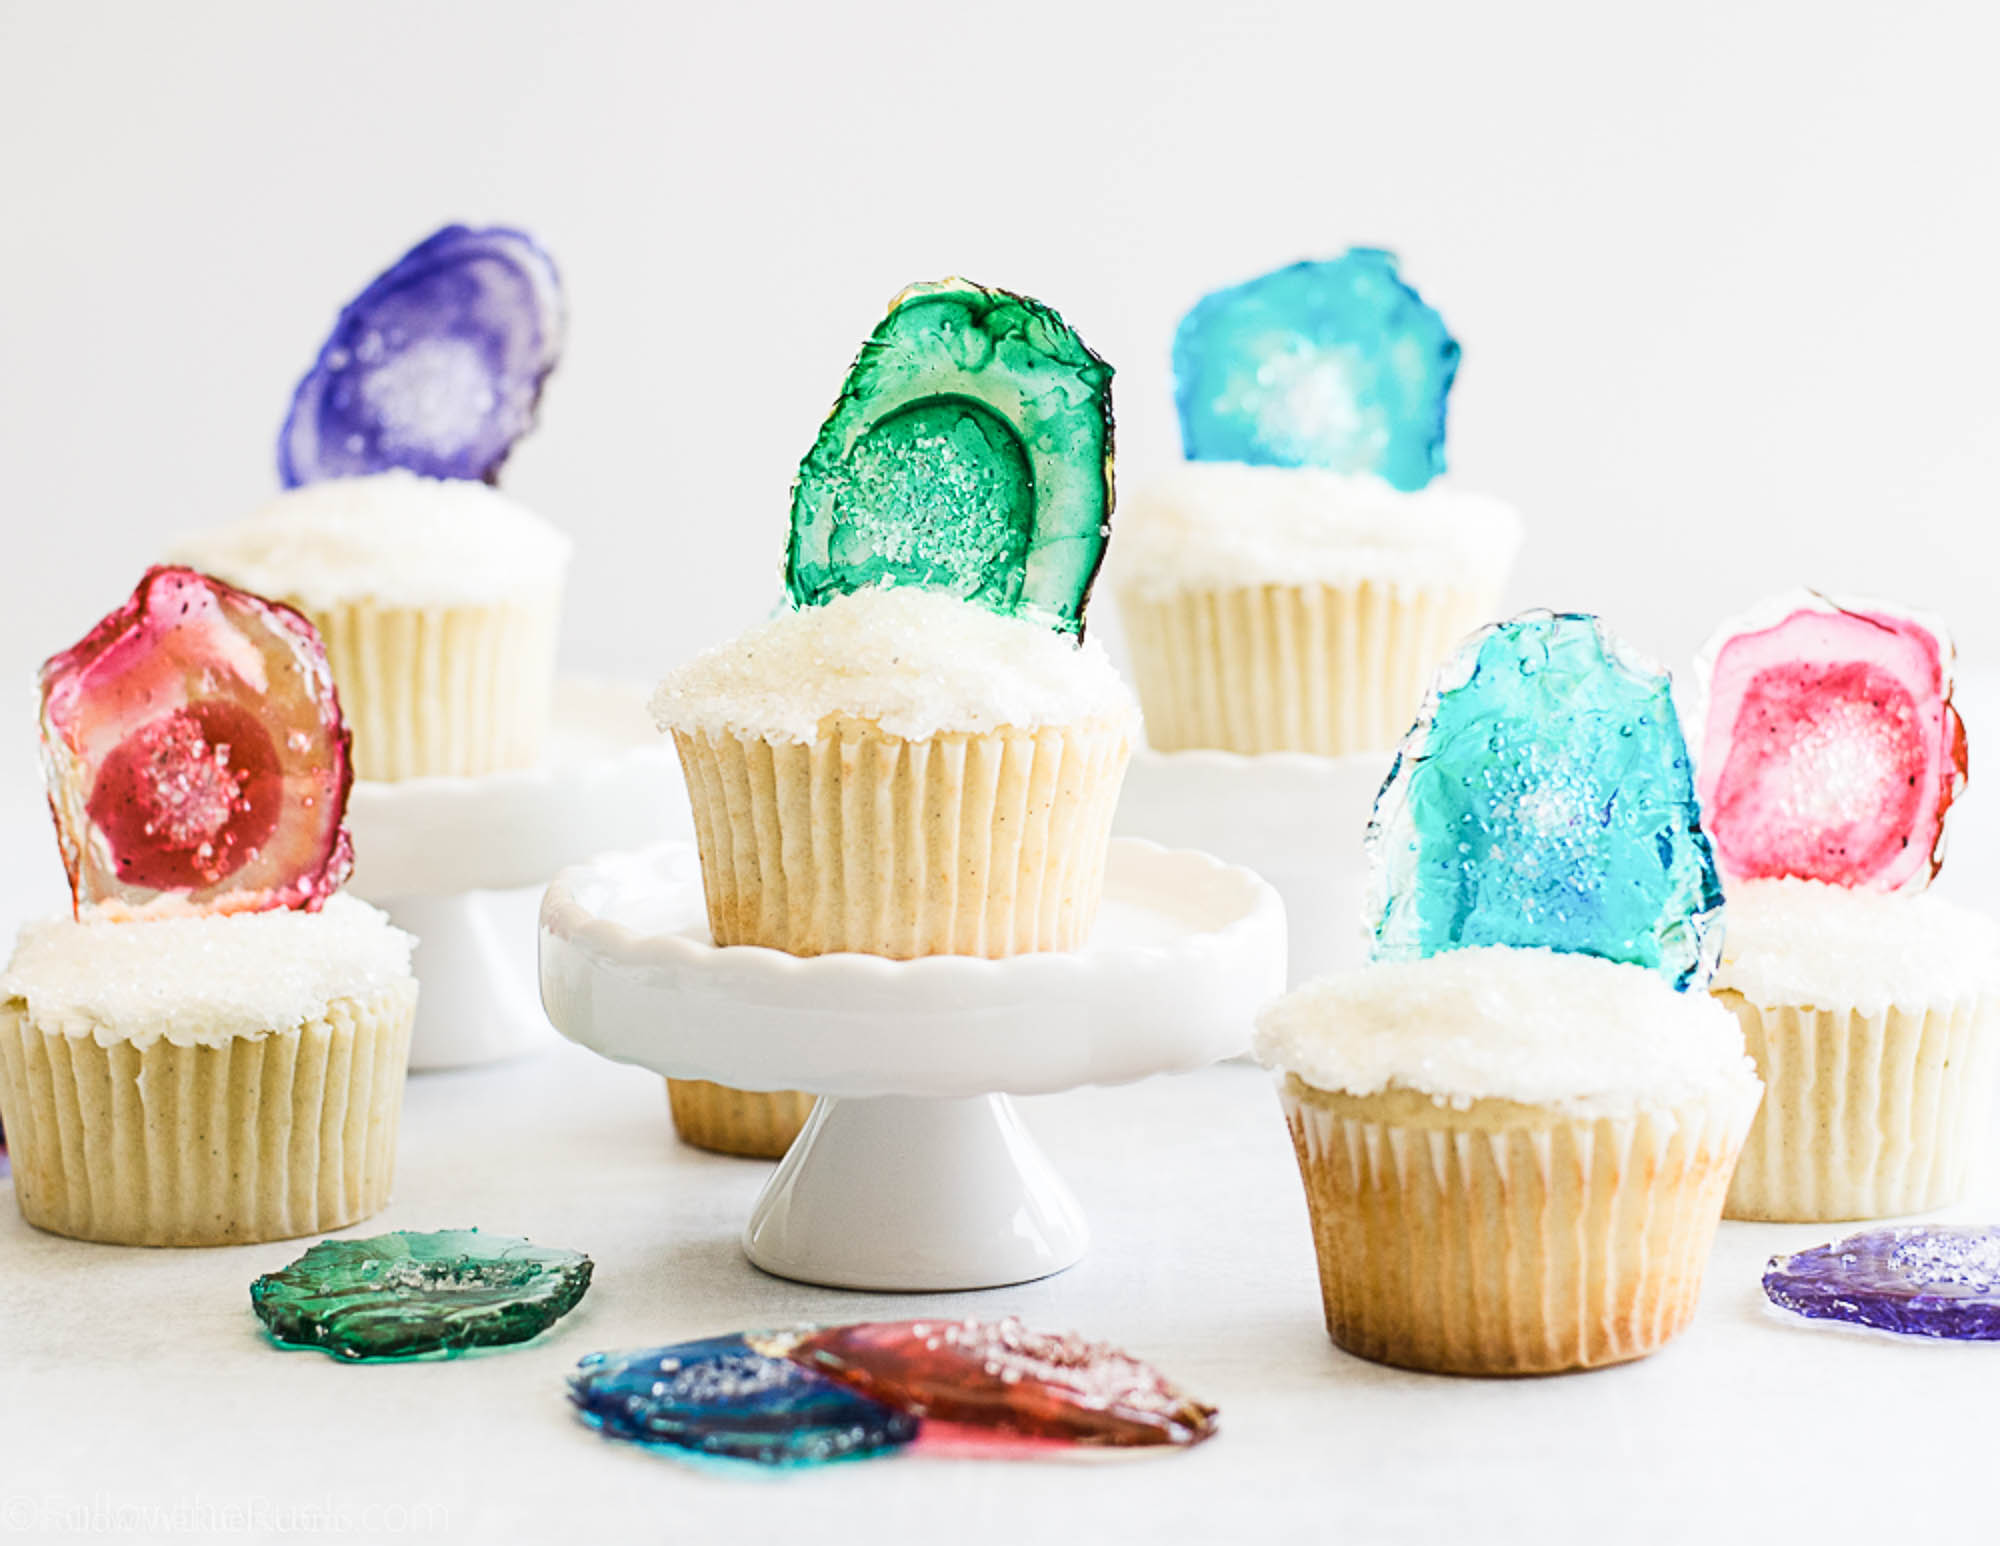
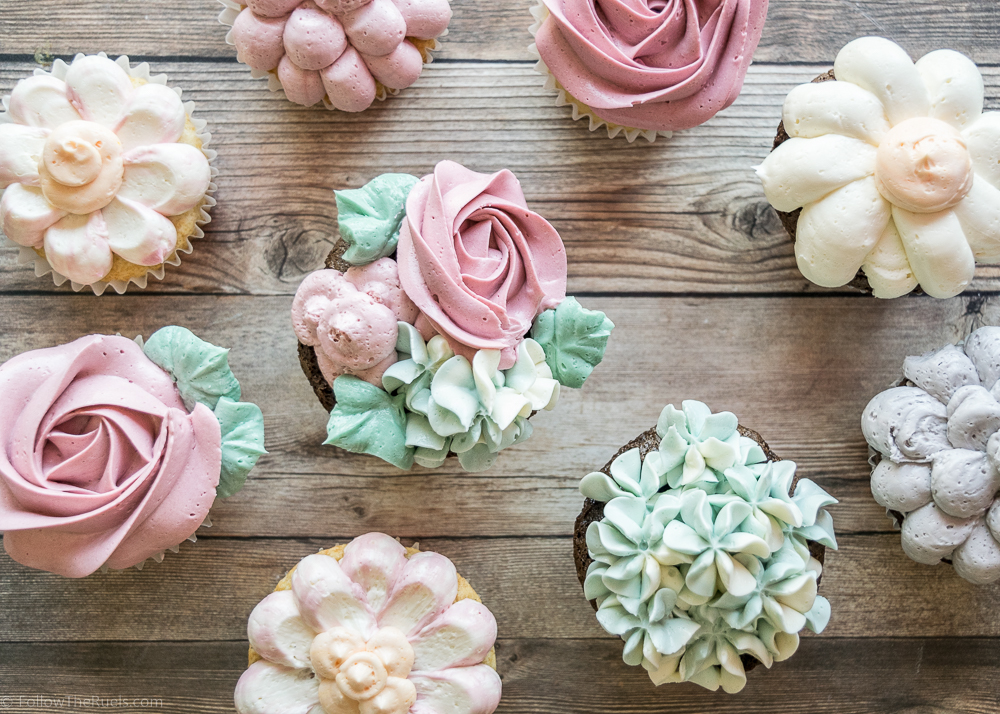
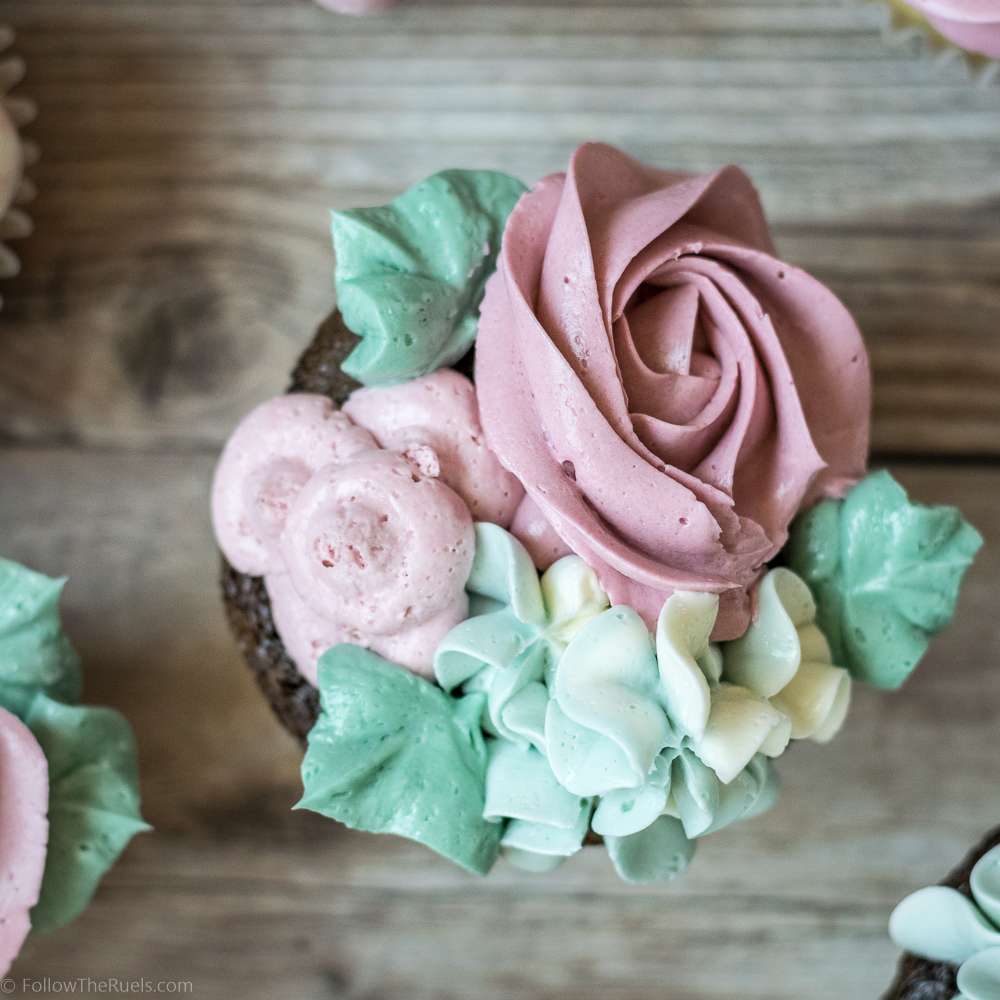
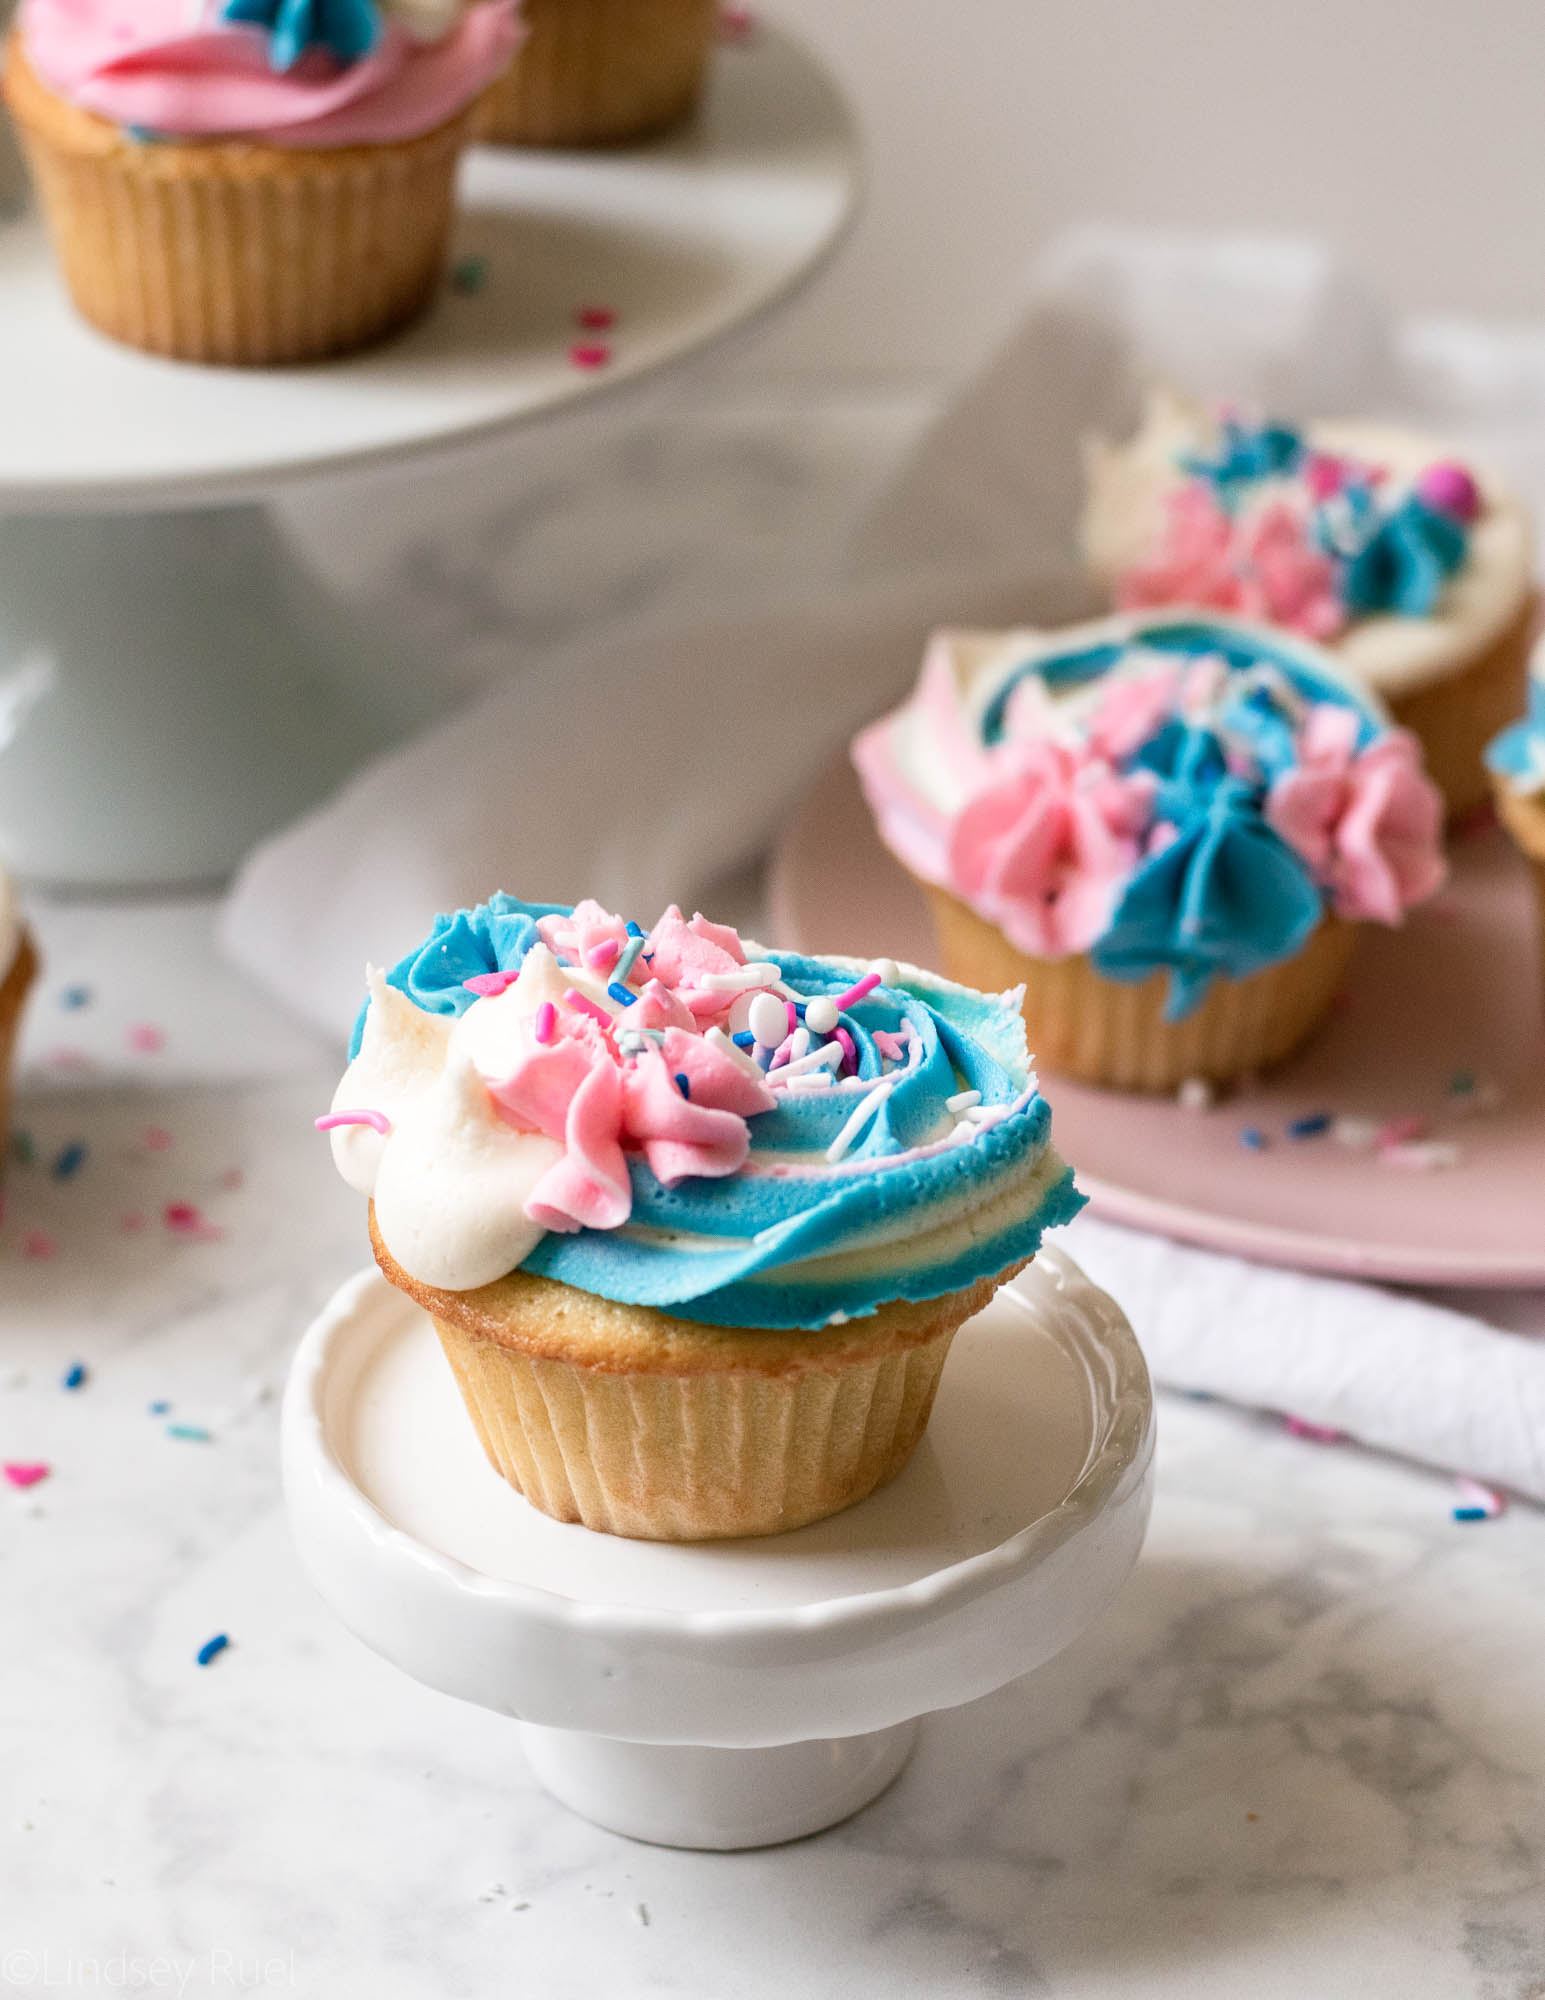
To create a fun frosting decoration, I like to pipe the multicolored frosting in a spiral on top of the cupcake. Then I use the other colors to pipe little stars or dots around one side. 

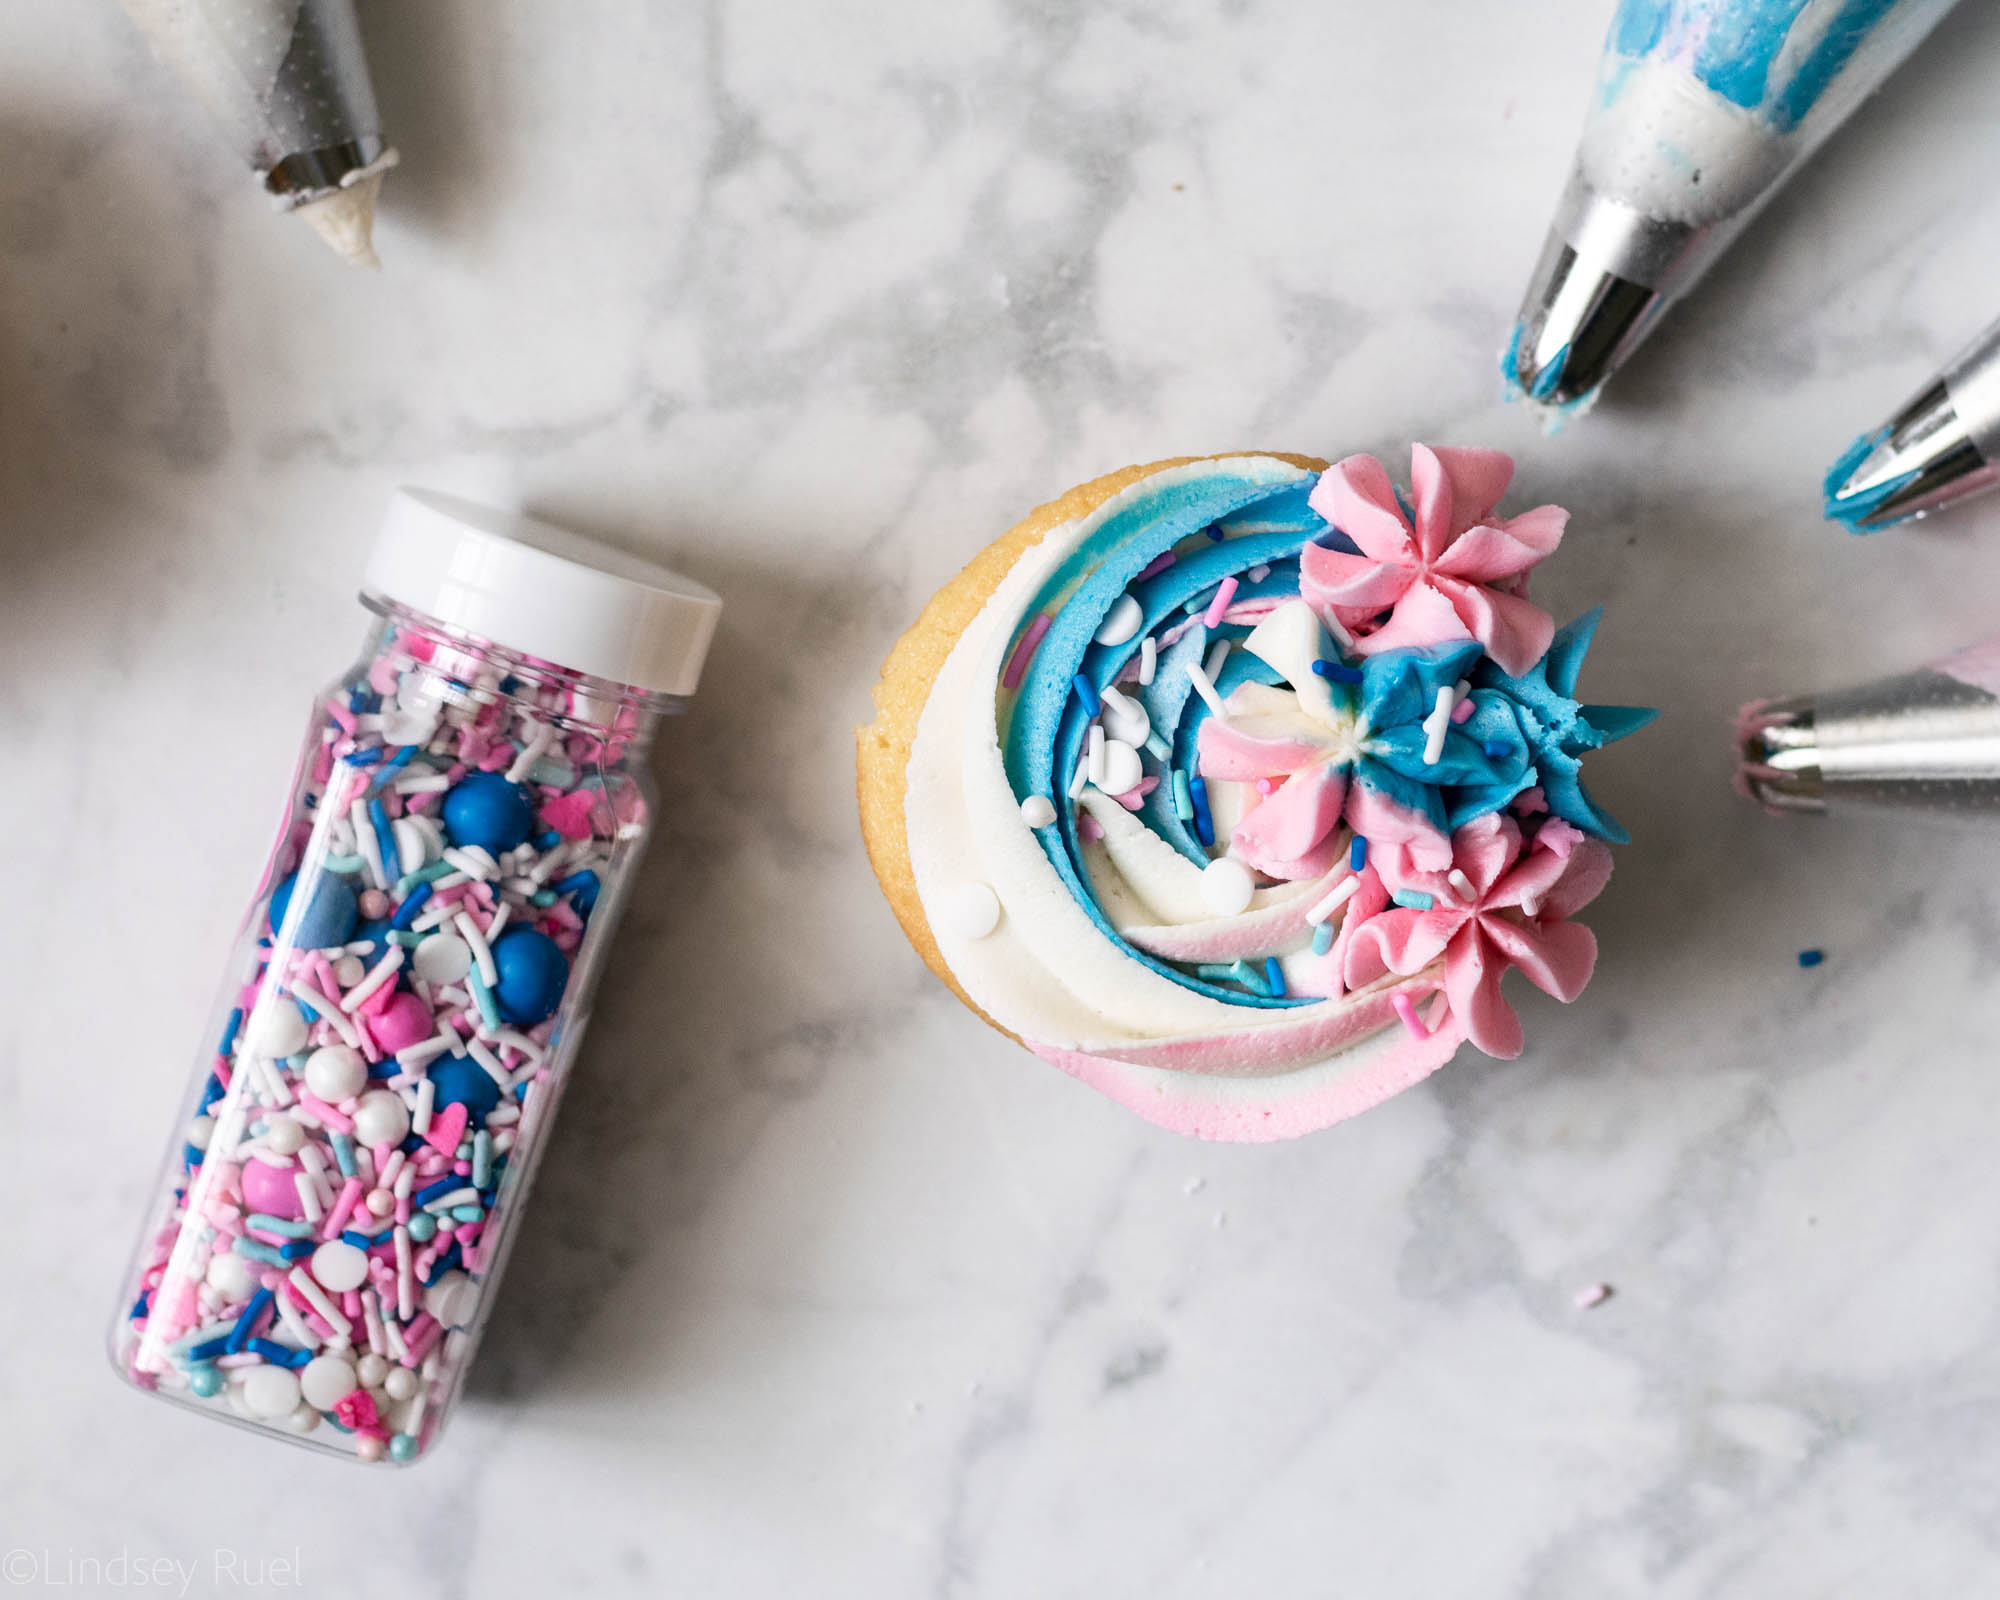
Add some extra decoration by adding some multicolored sprinkles on top. 

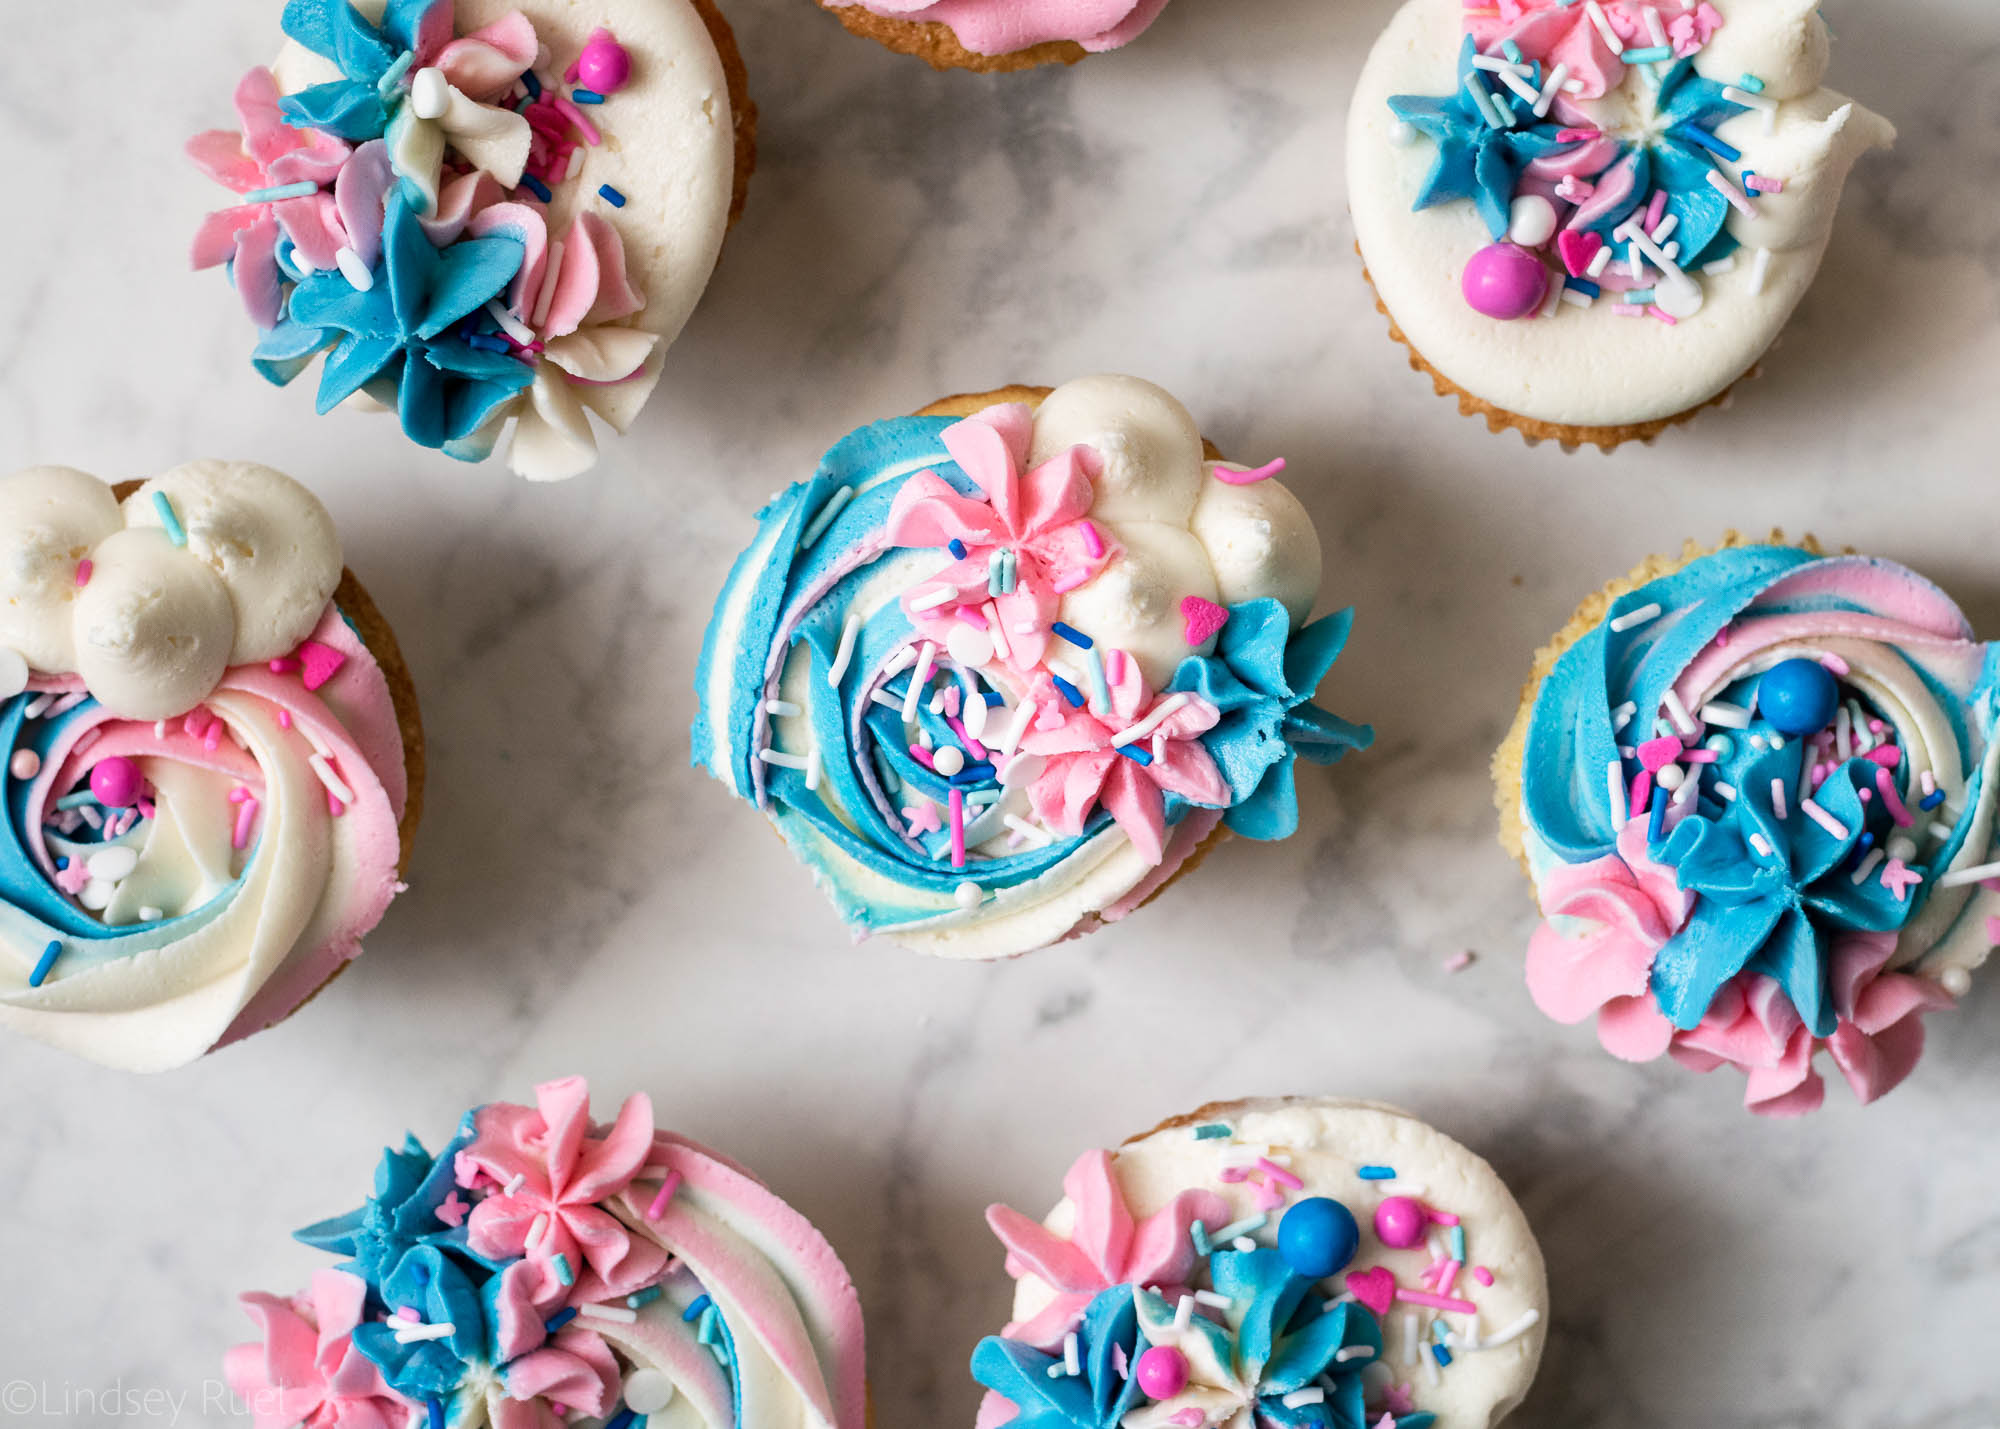
Have fun with the decoration. There isn’t any rhyme reason to it. I just tried to get each cupcake to be equally blue and pink. But you could also keep them stark white if you wanted!

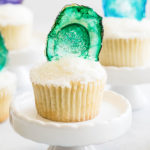
These cupcakes are just as easy to make two of as it would be to make a full dozen (or more), so I think these would be the perfect way to announce the gender to friends and family. Everyone can have their own cupcake and when the bit in they will get to see what color’s inside!

What do you think? Totally doable, right? I think they would be a great addition to any baby shower or gender reveal party!

/ Filed In: Cakes and Cupcakes, Cakes New, Desserts, Eat
Tagged: cupcake decorating, cupcakes, frosting, gender reveal, Surprise Inside

Limoncello Cupcakes with Fondant Topper

June 5, 2018

Since we are headed off to Italy, I have been getting into the spirit with all things Italian. I have been taking Italian lessons with Duolingo, doing some very in-depth research (eating) of the various types of pasta and pizza, and have been finding ways to incorporate my favorite Italian liquor into anything I can think of.

Hense these limoncello cupcakes that just as delicious as they are nice to look at!

How to Make Them

To make the cupcakes, start by getting all your ducks in a row. It will make the cake making process so much easier. 

First combine the butter, sugar, and lemon zest. In a separate bowl mix together the dry ingredients. Then in another bowl or measuring cup combine the wet ingredients. 

Cream together the butter and sugar until light and fluffy. Then mix in the eggs one at a time. 

Alternate mixing in the dry and wet ingredients, starting and ending with the dry. For me, I like to do this in five parts: dry, wet, dry, wet, dry. 

Portion the batter into the muffin tin so that each cup is about 2/3rds full. I like using an ice cream scoop because it makes this step so much easier. 

Bake until they are just a little bit golden around the edges or until a toothpick stuck into the center of the cupcake comes out clean. 

As an optional step to really impart more limoncello flavor into the cupcakes, you can brush the tops of the cupcakes with a little bit of limoncello. Not only will you get a tad more flavor (and a little kick!), but it will ensure that the cupcakes stay nice and moist.

How to Decorate Them

Decorating, for me, is the best part. And these limoncello cupcakes are actually really simple to decorate thanks to the fondant topper.

Start by rolling out some fondant so that it’s about 1/8th to 1/4th inch thick. Then cut out with a round cutter about the diameter of the top of the cupcake.

Paint the fondant using a combination of food coloring and clear alcohol (I use vodka) to create a paint similar to watercolor. 

From here, let your creativity shine and paint whatever you like. I personally like to paint the basic shapes first, let that layer of paint dry a bit, then paint in additional details on top. One thing to know about painting on fondant is that it can get gummy if you use too much liquid. Just keep that in mind as you are painting or painting over another color.

Once the paint has dried (which will only take a few minutes), you can add the fondant toppers to the cupcakes. First spread on a bit of buttercream over the top of the cupcake. It doesn’t have to be pretty, but I recommend trying to get the top as even as possible.

Then lay the fondant circle right on top.

Gently press down the fondant so that it is firmly attached to the buttercream and is laying flat. 

And there you have it. Super delicious, beautiful, but easy to make limoncello cupcakes! In my mind, it’s the perfect way to get excited for our Italian adventure!

Supplies and Recipe

[show_shopthepost_widget id=”3139899″]

[yumprint-recipe id=’179′]

/ Filed In: Cakes and Cupcakes, Cakes New, Eat
Tagged: cake, cupcake decorating, cupcakes, fondant, fondant topper, lemon, limoncello

Candy Agate Cupcake Toppers

September 28, 2017

Afer making these agate slice cookies not too long ago, I became a bit obsessed with geodes and agates. I watched countless videos of people making beautiful geode cakes. I even watched people paint agate slices on all sorts of things. Since geode cakes have sort of been perfected (I mean, come on, this is just ridiculously amazing), I set out on trying to make agate cupcake toppers. These are the things I think about, guys. Not about world peace or solving the debt crisis…how to make a candy agate to put on top of a cupcake.  

It took several attempts and quite a few burned fingers, but I finally found a method that worked the best.

In my first attempt, I tried crushing candies like I have seen other people do online. That worked out okay, but they didn’t seem all that realistic. For my second attempt, I used isomalt, which is a fancy form of sugar that a lot of bakers use. Again, it worked okay, but it still wasn’t the effect I was looking for. I also ran out of isomalt, so it may have eventually worked for me, but I couldn’t keep experimenting.

In the end, it was plain old sugar that worked best for me! I boiled water, corn syrup, and sugar until it reached that “hard crack” temperature, then I dyed it a bunch of different colors and layered the colors together. 

Here, I’ll just show you!

The very first thing I did was to make molds for my agates out of tin foil. I made them all different shapes with rough, uneven edges. I sprayed each mold down with a bit of baking spray so that the sugar wouldn’t stick to the foil.


Next, I worked on the sugar. I boiled together the sugar, corn syrup, and water until it reached 300 degrees. Then I poured it into individual silicon muffin cups (which came in super handy!) and tinted each one a different color. Some I made a dark shade, others I made a very light shade. I also left a couple plain.

Keep in mind, if you decide to make these yourself, that the sugar does start to cool and harden relatively quickly. Each time I made an agate, I reheated the colors I was working with in the microwave until they were easily pourable. If they are too hard, not only will they not pour very easily but they won’t create those concentric rings of color. 


To make the agate slice, I poured one of the colors into the center of the foil mold. The candy should be hot enough that it starts to fill the surface. Then I poured a darker shade of the color into the center. I followed that with either the clear or light shade of the same color and alternated a couple of times until candy filled the mold. 

While the candy was still hot, I sprinkled some very coarse clear sanding sugar right into the middle and used a toothpick to press them into the candy. 


The candy itself cools in just a matter of minutes. Once they were completely hardened and cool to the touch, I peeled the foil away from the candy to reveal one beautiful agate cupcake topper!


For the cupcake itself, I kept it pretty simple. I didn’t want to take anything away from the candy agate. I spread on a bit of buttercream frosting, then dunked it into a bowl of the coarse sanding sugar and stuck the agate right on top.

Maybe I had lowered my expectations after my previous two failed attempts, but I was actually a bit blown away by how cool they turned out. I love how the colors flow together and the light can shine right through them. 


While they don’t look exactly like agate slices, they definitely look like some sort of really awesome gem or geode. I could definitely see these topping cupcakes for lots of different occasions. I made my favorite vanilla cupcakes with my favorite buttercream frosting for these to keep it simple. But you could make any flavor you like. I think people will be so impressed with the cupcake toppers, they won’t even care what kind of cake is underneath!
[show_shopthepost_widget id=”2835175″]

[yumprint-recipe id=’135′]

/ Filed In: Cakes and Cupcakes, Cakes New, Desserts, Eat
Tagged: agate, cake decorating, candy, cupcake decorating, cupcake topper, sugar

How to Make Floral Inspired Cupcakes

April 21, 2017

Decorating cakes and cupcakes has been my latest obsession. I have been jumping on every opportunity to make cupcakes for friends just to practice and hone my skills. 

I’ve actually found that for the most part, decorating cupcakes (I won’t speak to cakes since I haven’t had as much experience with them) is MUCH easier than decorating cookies. It requires a lot less time. And you have license to be a little more abstract with your decoration, particularly flowers. 

Of course, you could make some super realistic looking flowers or decorations that I am sure would challenge my previous theory, but for now, this girl is perfectly happy sticking to some fun and easy ways to decorate cupcakes! 

Which is why I thought I should show you my 5 favorite cupcake decorations! They are all “floral inspired”. I don’t want to call them flowers, because like I said below, you may have to really use your imagination to consider them flowers. But when paired all together, they look like a beautiful bouquet!

This is kind of a tiered flower with two layers of petals and dot in the middle. For this flower I used a big round tip, like a 2A. For bigger petals use a 1A, smaller use a 12. 

These hydrangea inspired cupcakes are my favorite because they are just so easy! Using a 2D tip, you just dot the top of the cupcake in these pretty little flowers. They piping tip does all the work for you!

And because hydrangeas are typically multicolored, I like to add multiple colors of icing into one piping bag so that every flower has a little of each color. I recommend sticking with 2 colors, and not doing any more than three unless you are going for a specific look. 

This rose decoration is one that I make a lot, even when I am not going for a floral inspired cupcake. It’s just such a beautiful cupcake decoration. But when you add a couple leaves, boom! it’s a rose!

For these cupcakes, use a 1B or 2B (any closed star tip) and make spiral on top of the cupcake. The 1B will give you a more open rose, like the one on the left. The 2B or smaller tip will give you a tighter rose, like the one on the right. 

For the leaves, use a 366 or any large leaf tip. Leaves are really easy to make. You just press the tip into the side of the flower, squeeze a blob of icing out of the tip while gradually moving the tip away from the cupcake. Then stop squeezing and swiftly pull the tip away creating a little tip.

This daisy looking cupcake is very similar to the cupcake at the very top except there is only one layer of petals. I also used a bigger round tip, a 1A, to create the fatter petals and a 12 tip to make the yellow center. But again, any big round tip will work!

To create the multicolored petals, I wiped a little bit of pink icing on one side of a piping bag, then filled the bag with the white icing. That way, just a bit of pink would streak the petals as the were piped out of the bag. 

Now this is my favorite cupcake. It combined the flowers that are on each of the cupcakes into one bouquet! I like to start with the rose, since it’s the biggest, then surround with hydrangeas, dots, and leaves. With these, you can really do anything you want! Be creative! 

See, you can totally make these. Just use your favorite cupcake recipe (here’s one!) and your favorite buttercream recipe (I’ll be sharing mine soon!) and get to decorating! 

To see a list of all the tools and ingredients I used for these cupcakes, see below (Note: this post contains affiliate links, which means every time you follow the link and purchase something, I get a small commission which I’ll probably use to buy more butter, sugar, and piping bags)


[show_shopthepost_widget id=”2636651″]

/ Filed In: Cakes and Cupcakes, Cakes New, Eat
Tagged: buttercream, cake, cake decorating, cupcake decorating, cupcakes, decorating, frosting

Follow

Hey There!

Hey there, I'm Lindsey. I'm a number cruncher by day and a home cook and baker by night. While I love to eat healthy and find fresh and healthy alternatives for my favorite foods, I will never turn down dessert! Life is all about moderation, right?

Recipes

  • All Recipes
  • Breakfast
  • Appetizers
  • Salads
  • Main Dishes
  • Side Dishes
  • Desserts
  • Drinks

Favorite Finds

[show_lookbook_widget id=”388783″]

Theme by 17th Avenue · Powered by WordPress & Genesis