Disclaimer: Wilton provided me with their new decorating kits and other supplies in exchange for a blog post about their new products. However, all thoughts and opinions in this post are my own.
Fondant isn’t just for wedding cakes anymore!
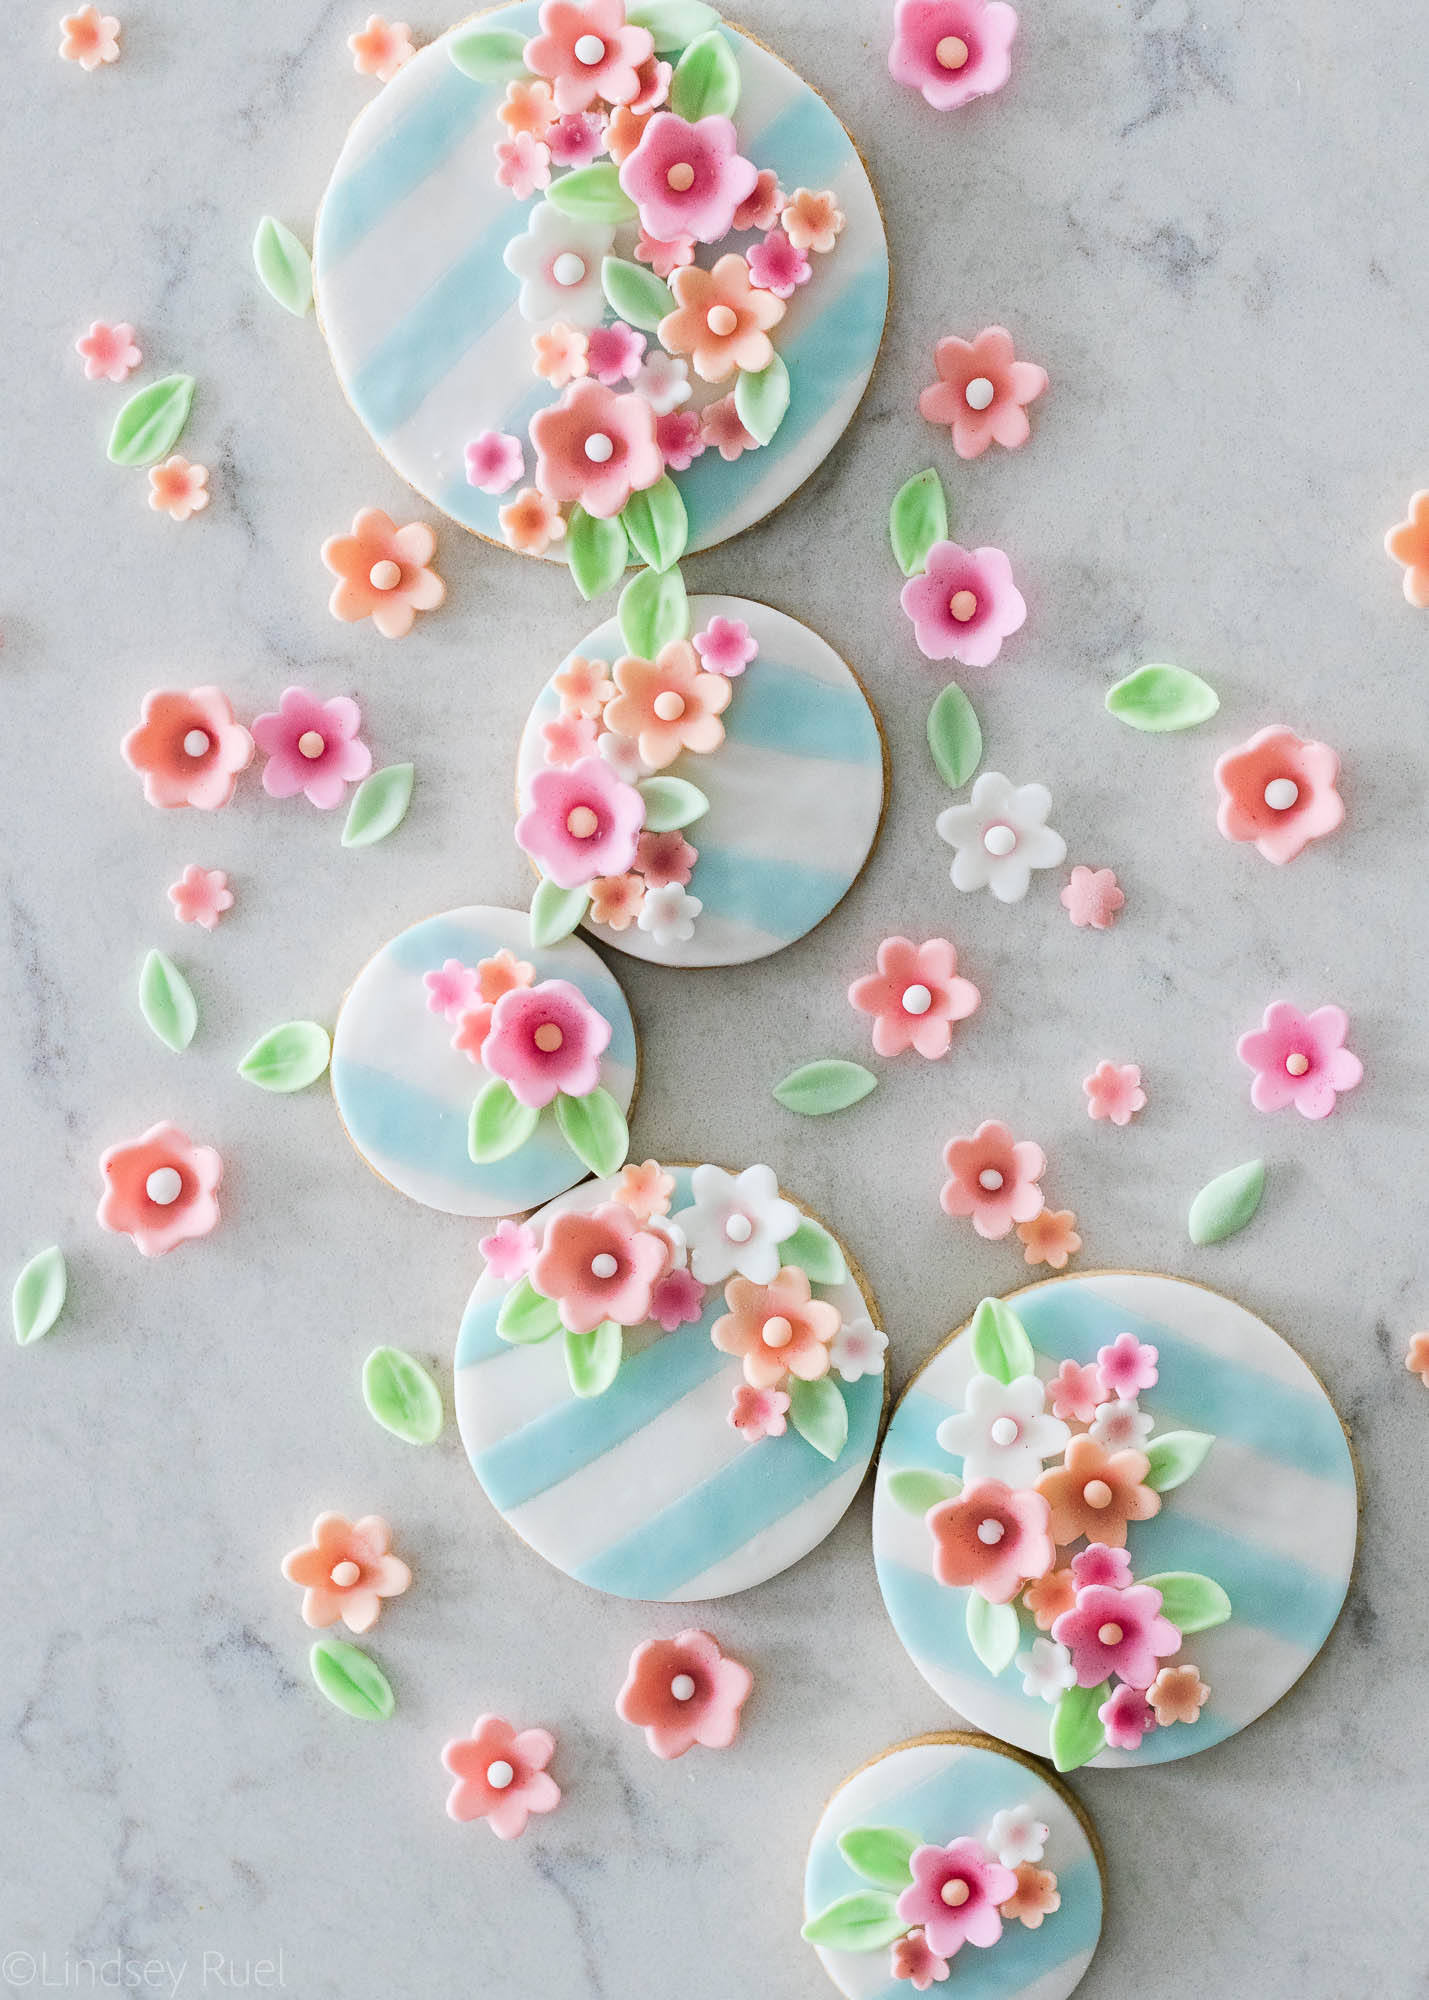
Well, you guys know that already. I have been using fondant on cookies for a while now (exhibit 1, 2, 3). But these cookies take fondant to a whole new level, IMO, thanks to the Wilton Fondant Shapes and Cutout Kit.
I was so inspired by the photo on the front of the box that I was dying to make a similar cake. But, sometimes I need to know my strengths (and weaknesses), and I knew I could execute a similar look on a cookie.
The cookies were a lot of fun to create, and actually kind of therapeutic. Working with fondant is a lot like working with modeling clay. It can be very forgiving and if you mess up, you can just roll it up and try again. These cookies are definitely something that just about anyone can recreate with the right tools!
How to Make Them
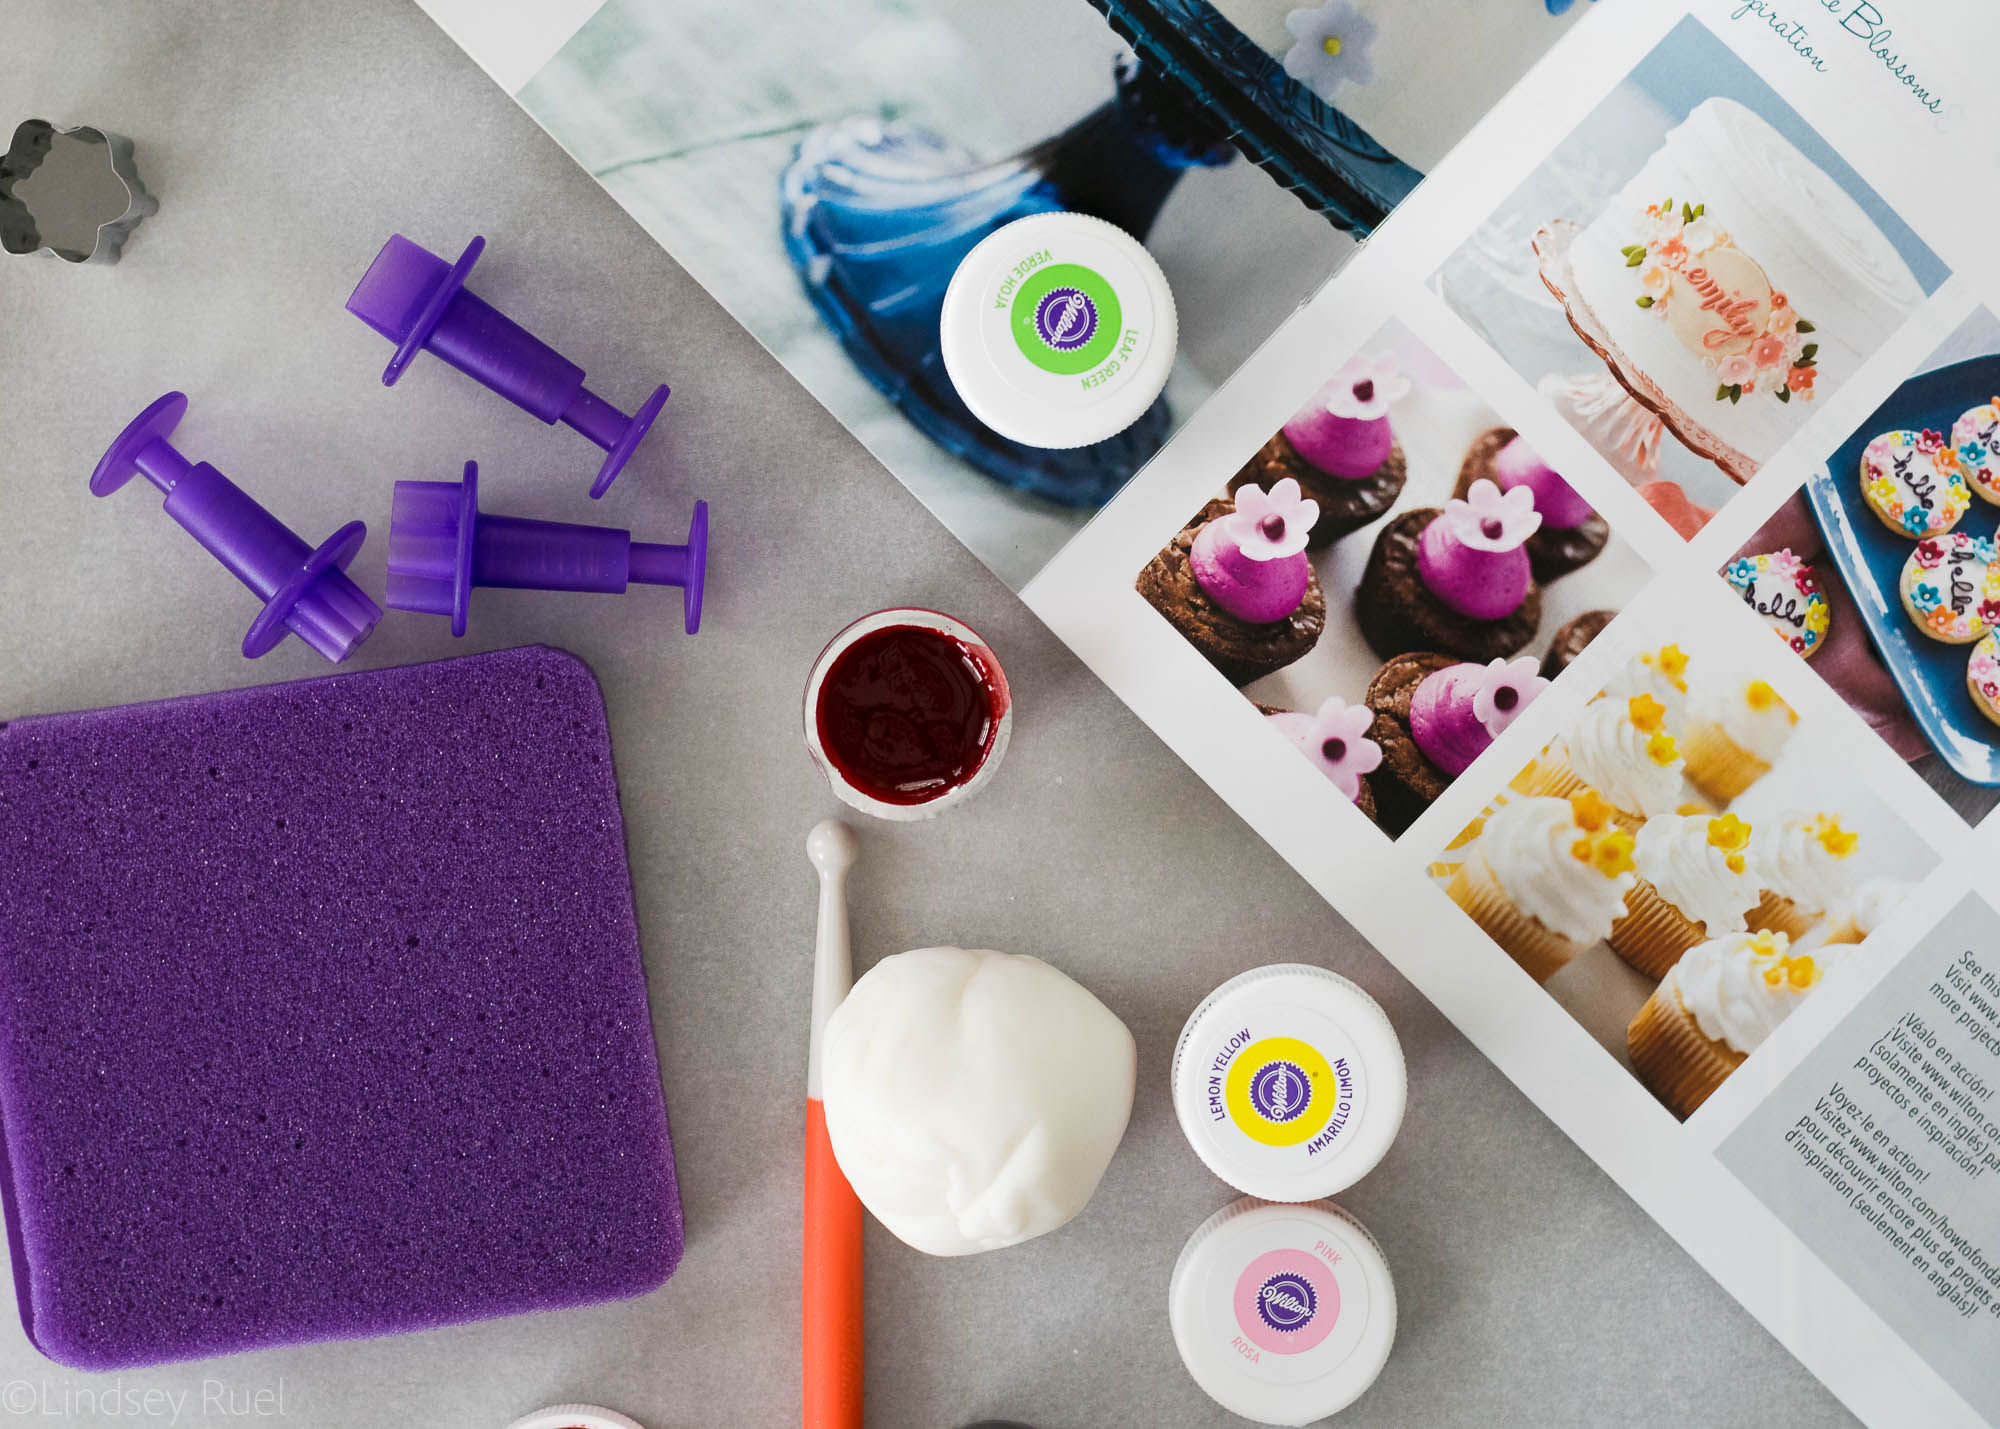
Start by dying fondant in the desired shades of colors. A little fondant goes a long way, so you may only need a gumball (or smaller) -sized ball of fondant per color.
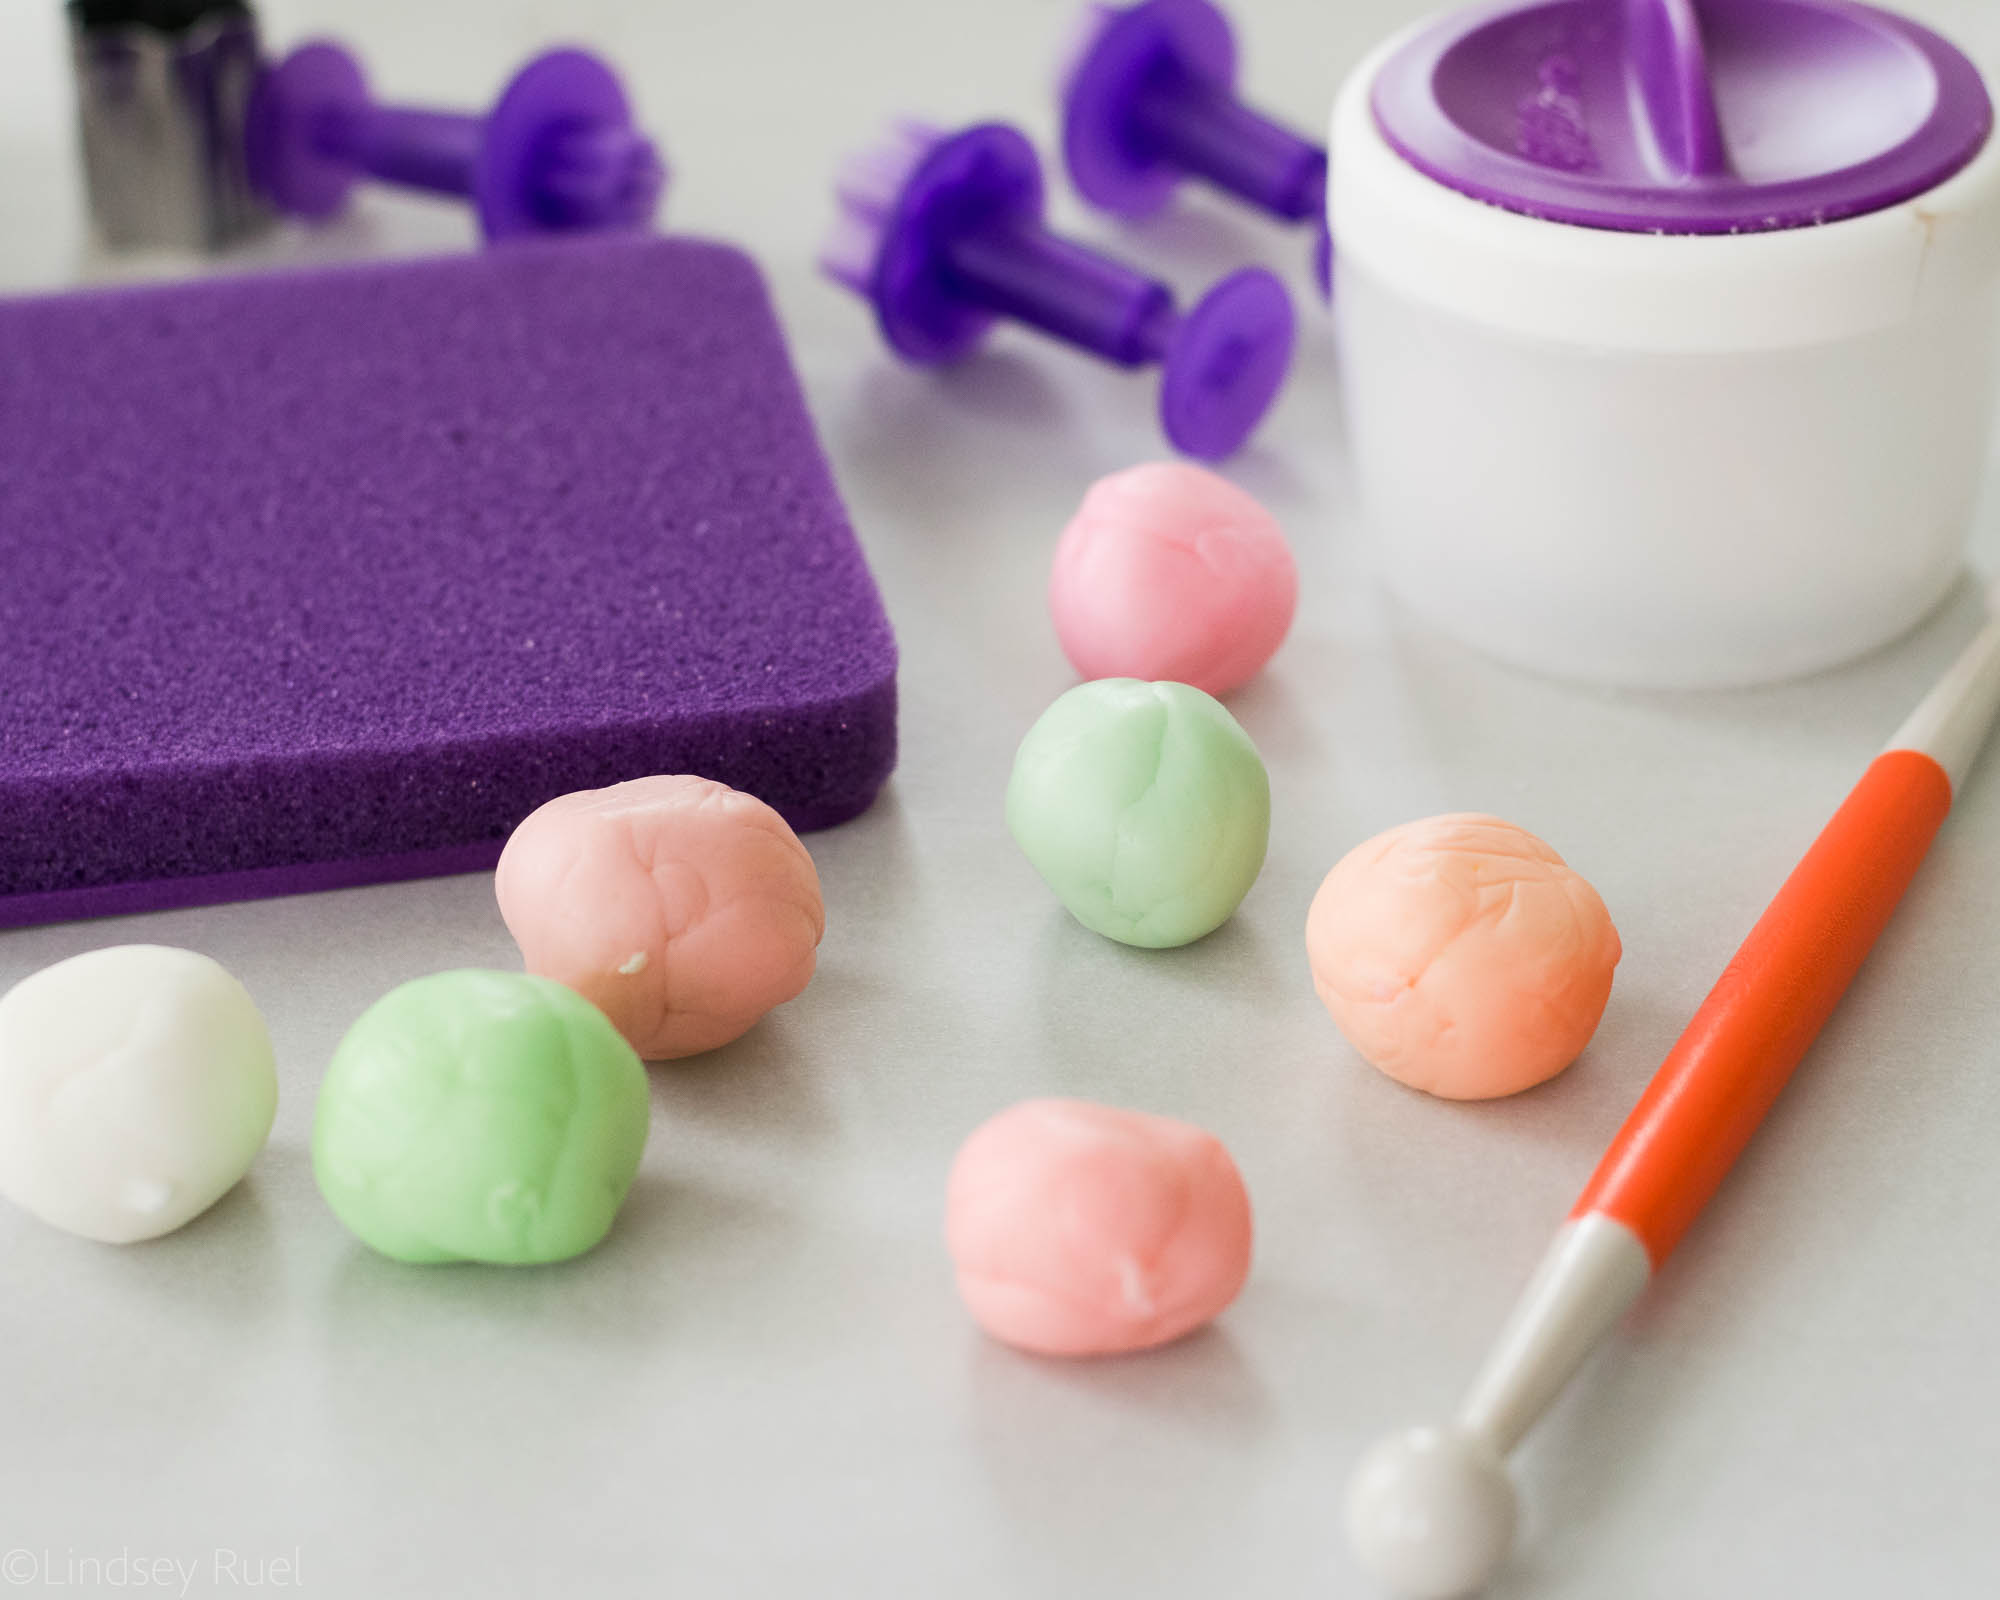
To dye the fondant, dab a tiny amount of gel food coloring onto the fondant. Then using your hands, stretch and knead the fondant until the color is evenly incorporated. If the color is too light, add additional food coloring.
Tip: Use food-safe gloves to prevent getting food coloring all over your skin.
Roll out the fondant with the fondant roller and the thinnest of the roller bands. Punch out various sized flowers and leaves.
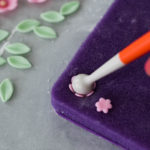
Place the cut-out flowers onto the foam and press down using the ball tool to create a more dimensional flower.
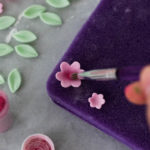
To add some more dimension and color, brush some pink luster dust in the center of the flower. Add a little ball of the same or different color fondant to the center of the flower. Attach with a dab of water.
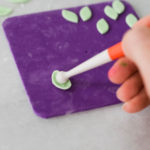
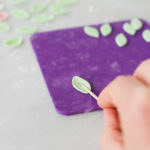
To add a little more detail to the leaves, use the smaller end of the ball tool to roll around the edges. Use a toothpick to add a little line down the center.
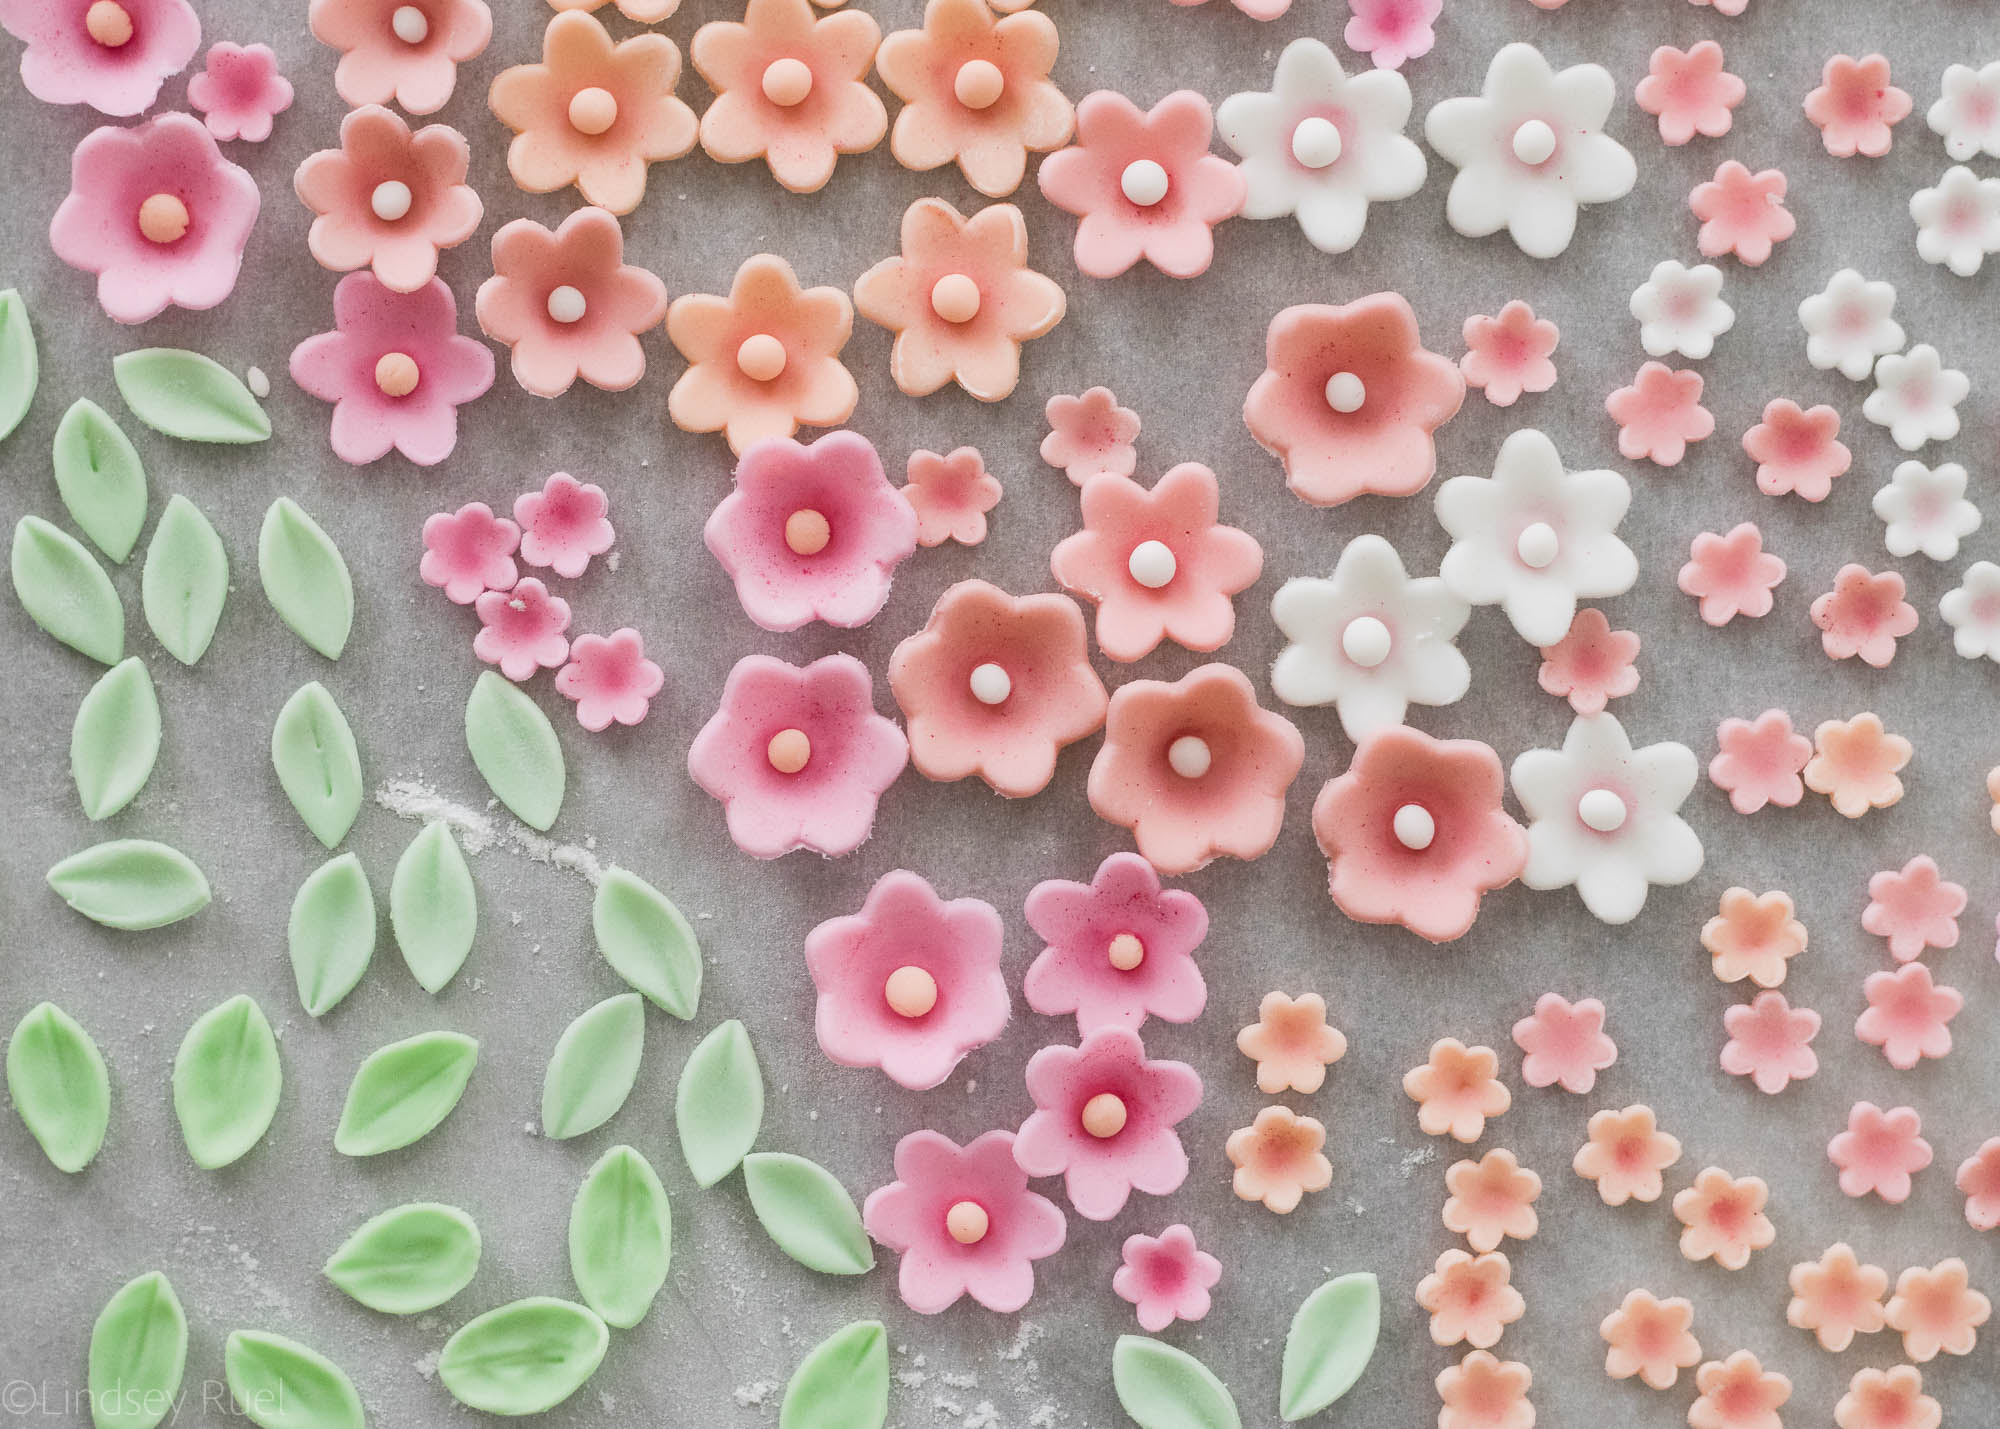
Allow to dry and harden while you work on the next step.
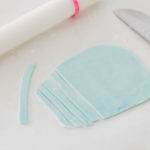
To create the striped fondant, dye a small ball of fondant a light blue (or your color of choice). Roll out the blue fondant using the fondant roller, then cut into equal sized strips.
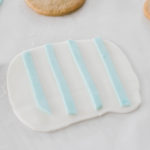
Roll out the plain white fondant and attach the strips of colored fondant with a little bit of water.
Place a piece of parchment on top of the fondant and roll out the fondant with the fondant roller and widest fondant roller guide.
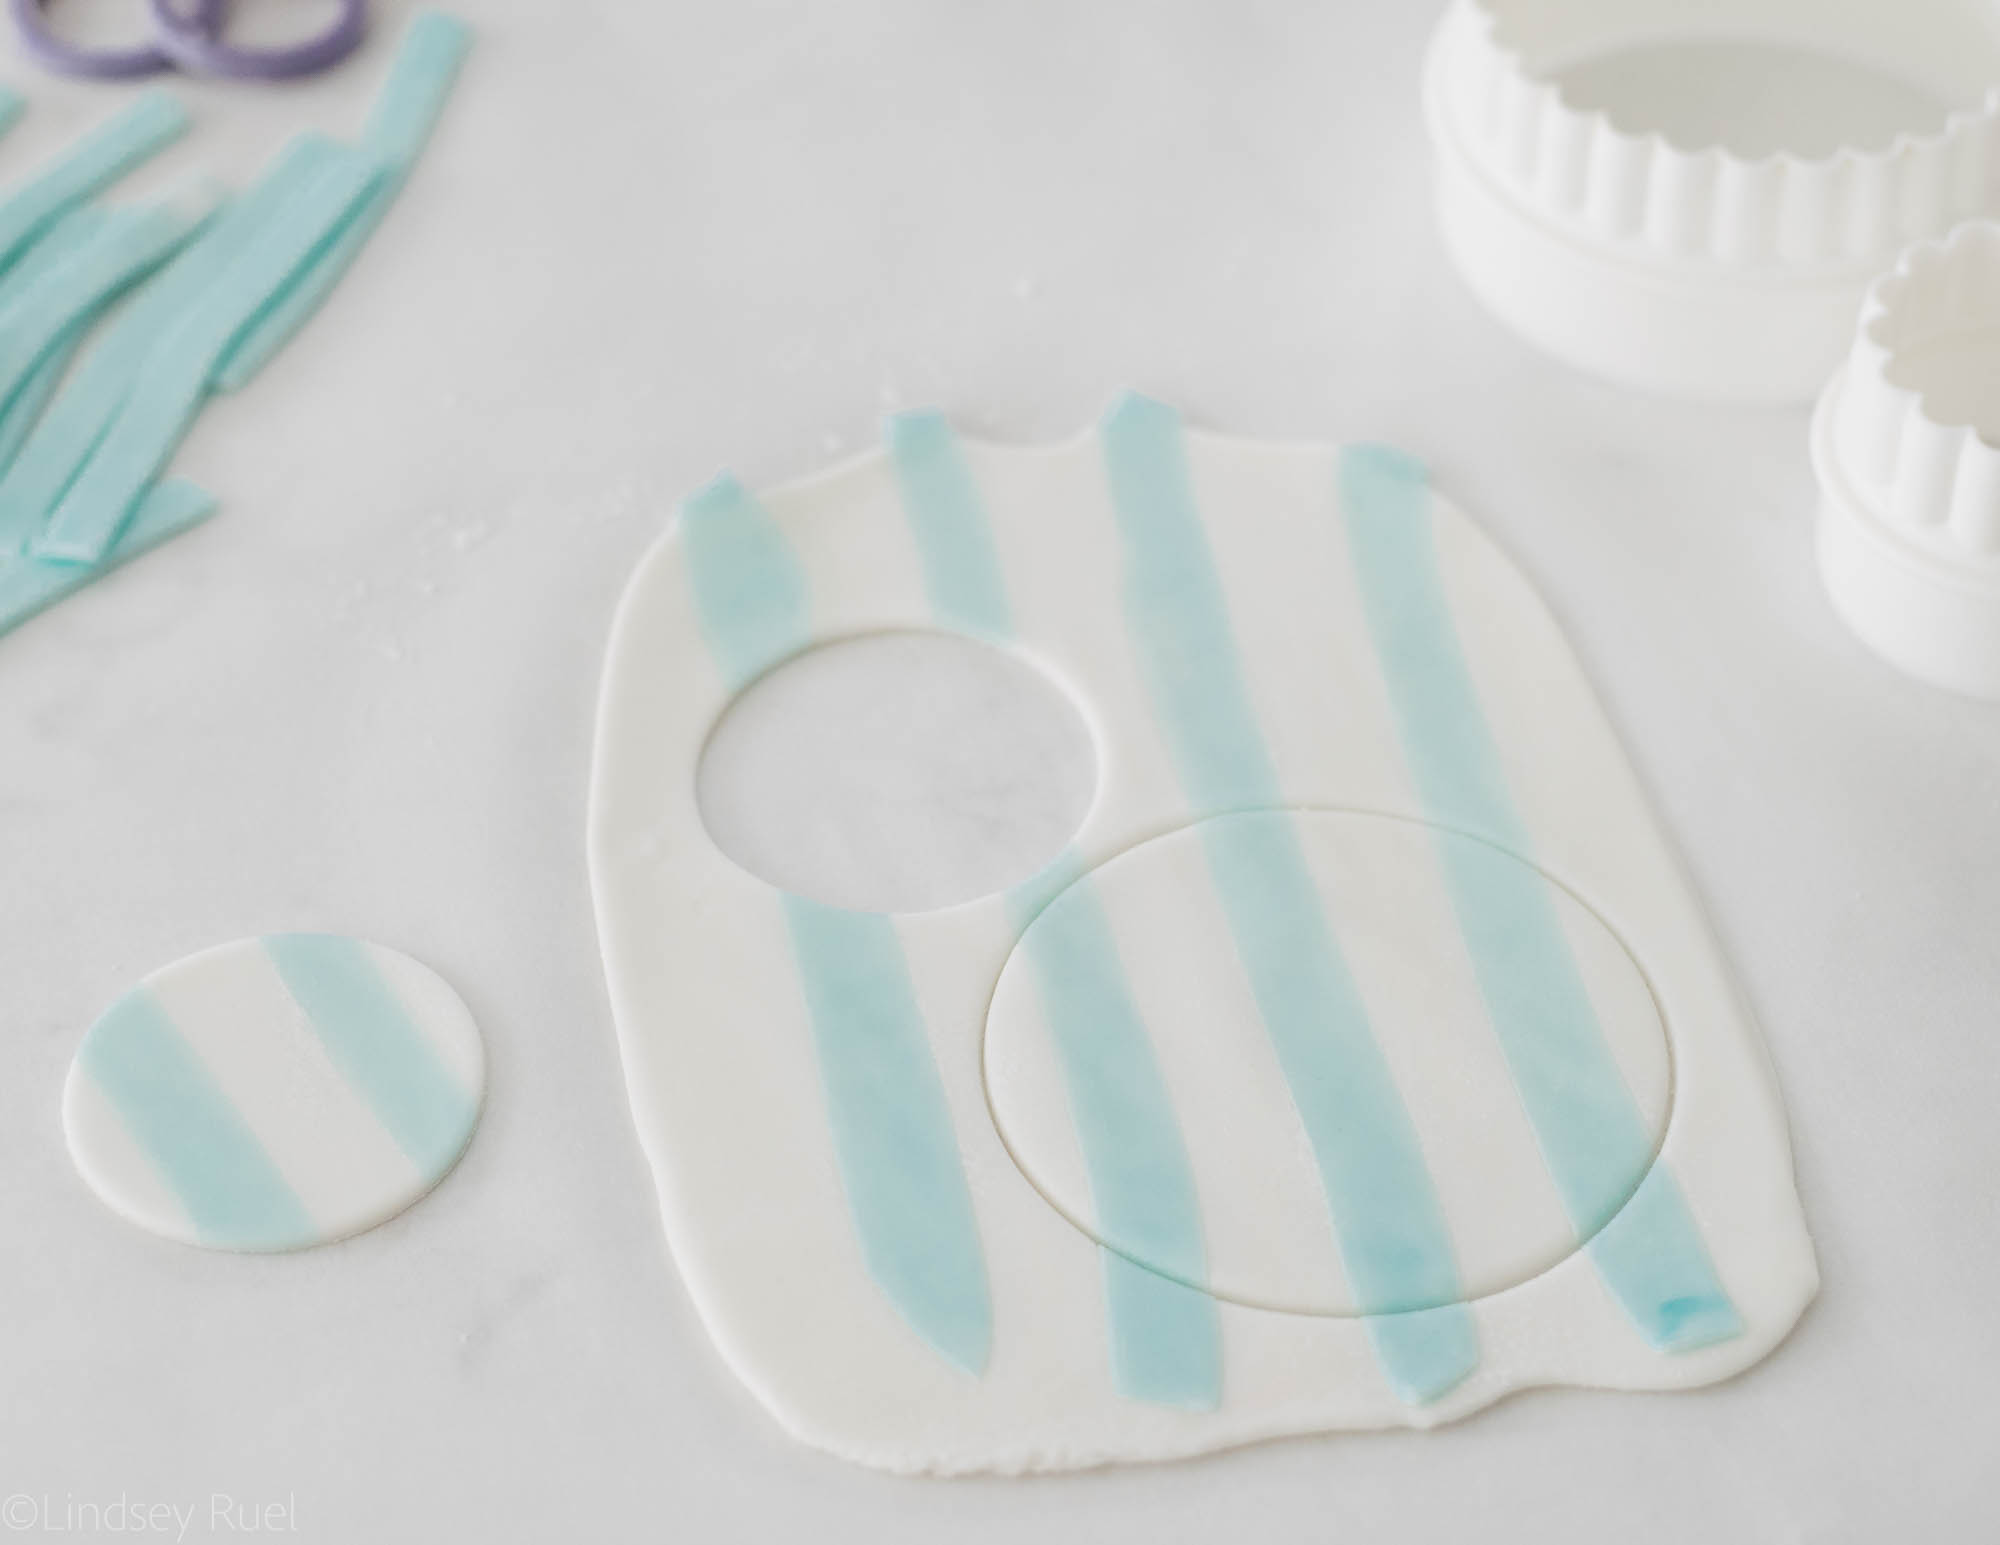
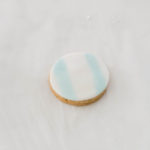
Cut out the fondant using the same sized cookie cutter as the cookies the fondant will be placed on.
Tip: Work in small batches because once your roll out the striped fondant, you will not be able to re-roll it and maintain the stripes.
Attach the fondant to the cookie by brushing a little bit of water onto the back of the fondant then sticking it to the cookie. Use your finger to smooth out the top and edges of the fondant.
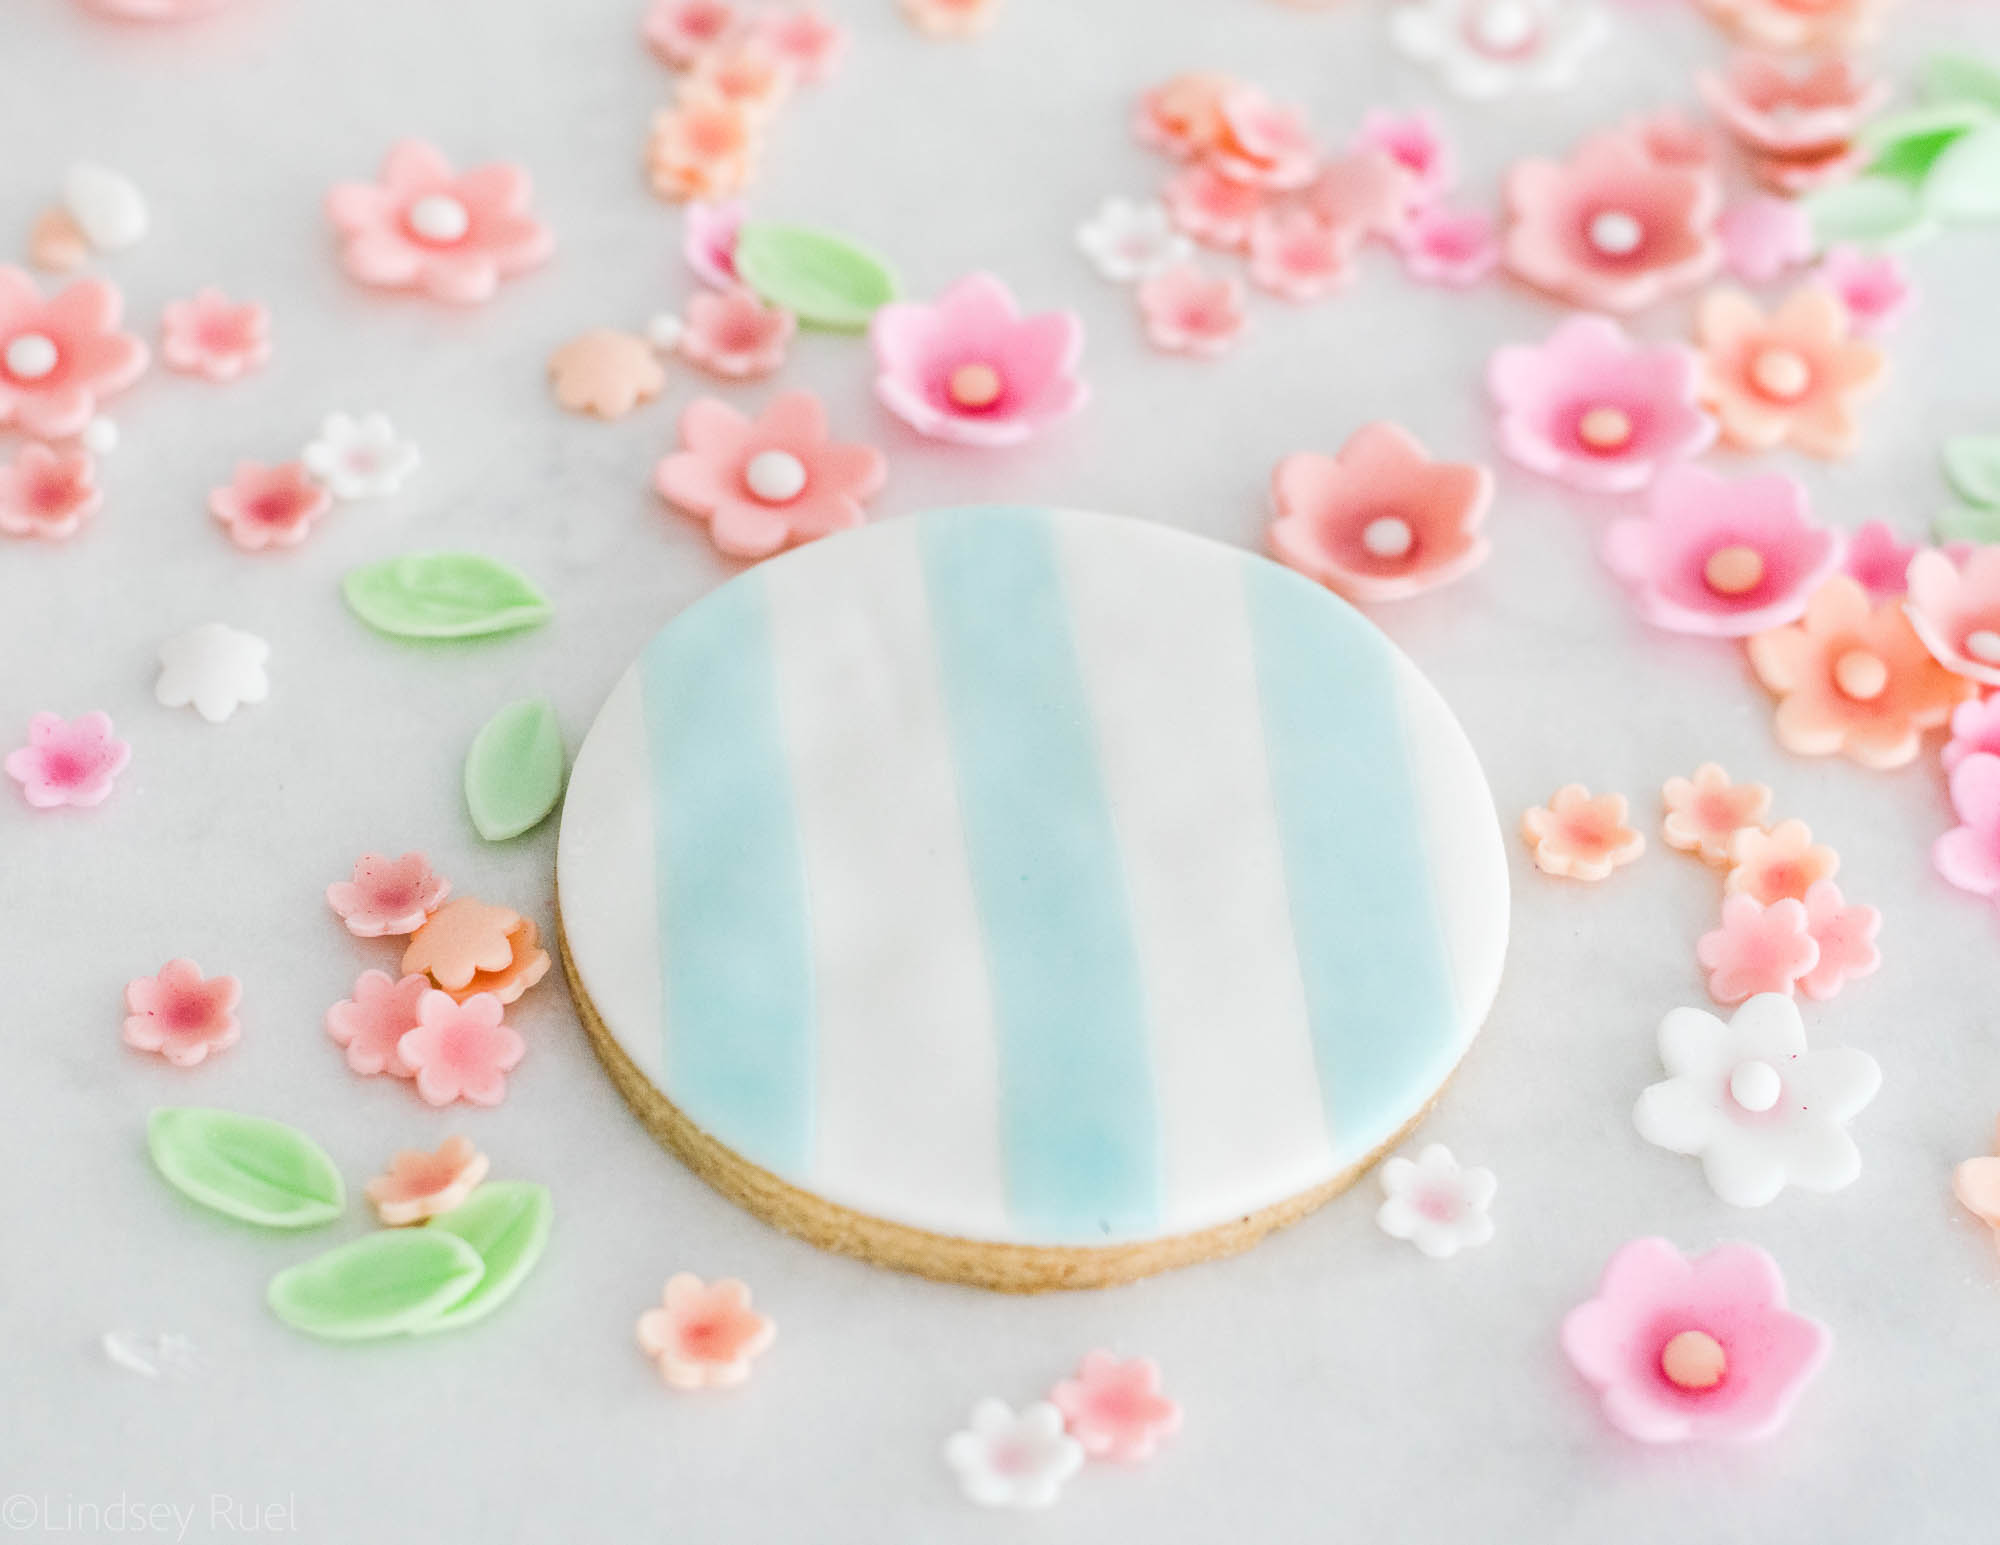
There is not a lot of rhyme or reason for placing the flowers on the cookie. I like to start by adding the biggest flowers first, then adding smaller flowers around it.
I also like to make sure that the arrangement is asymmetrical. So if there is one large center flower with two small flowers on one side, I won’t add two flowers to the other. I will make sure the two sides are not balanced which will make it look a bit more natural.
“Glue” the flowers onto the cookies with a bit of stiff consistency royal icing.
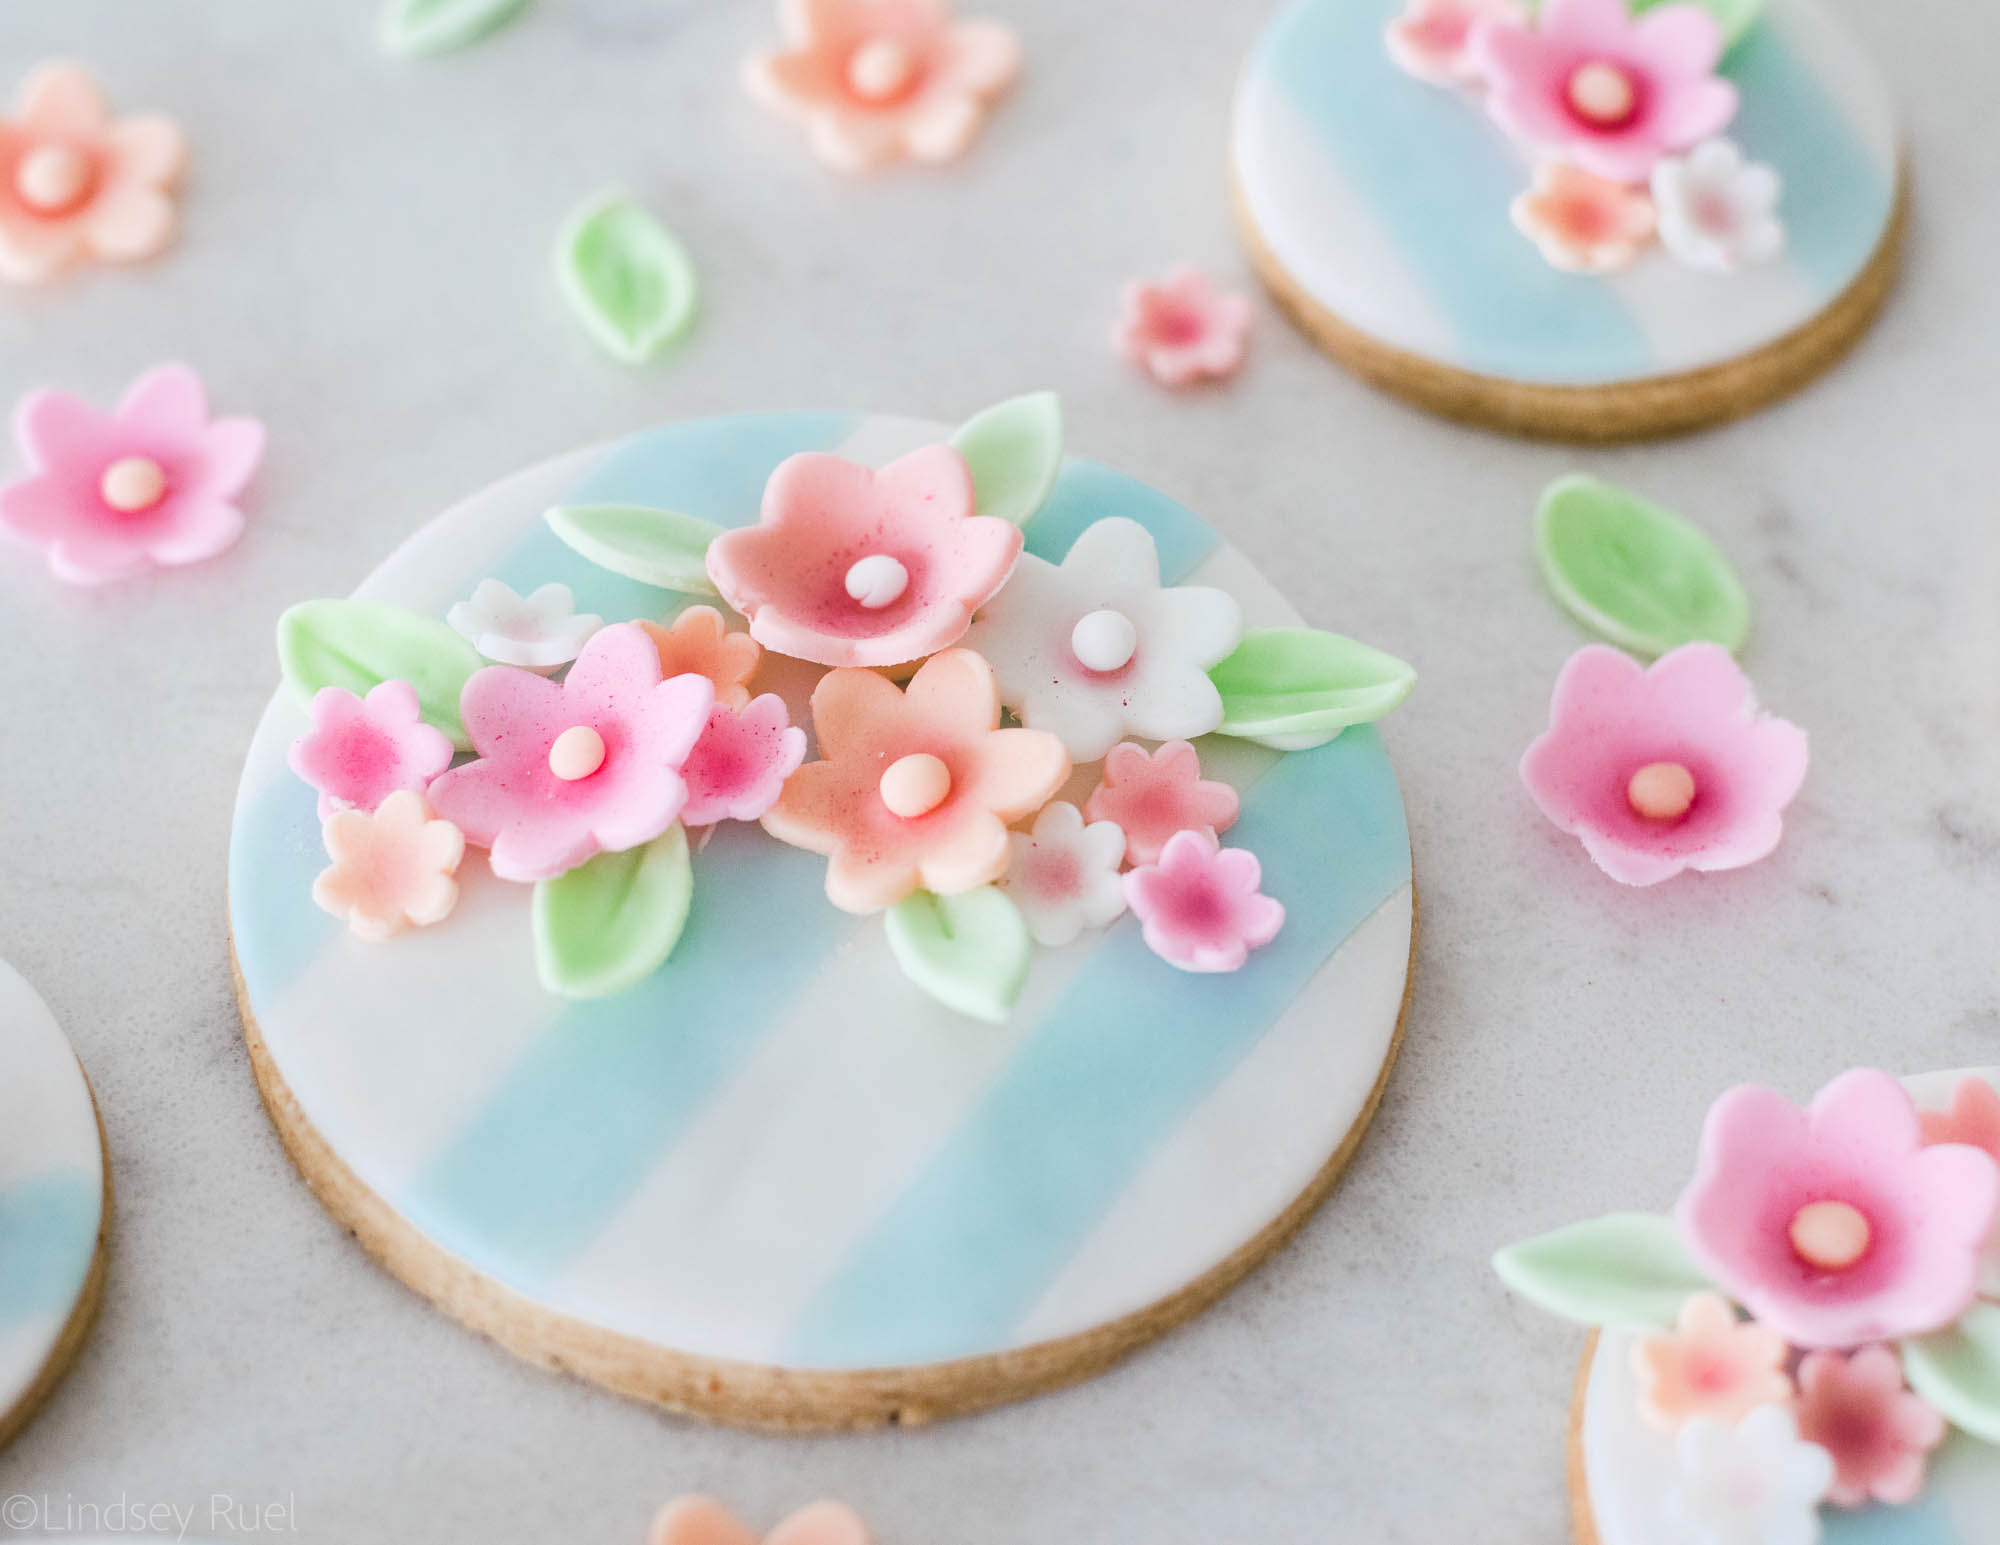
Layer the flowers and leaves until you are happy with the arrangement. Allow the royal icing to dry for about 15-20 minutes before stacking or packaging.
Tools and Recipes
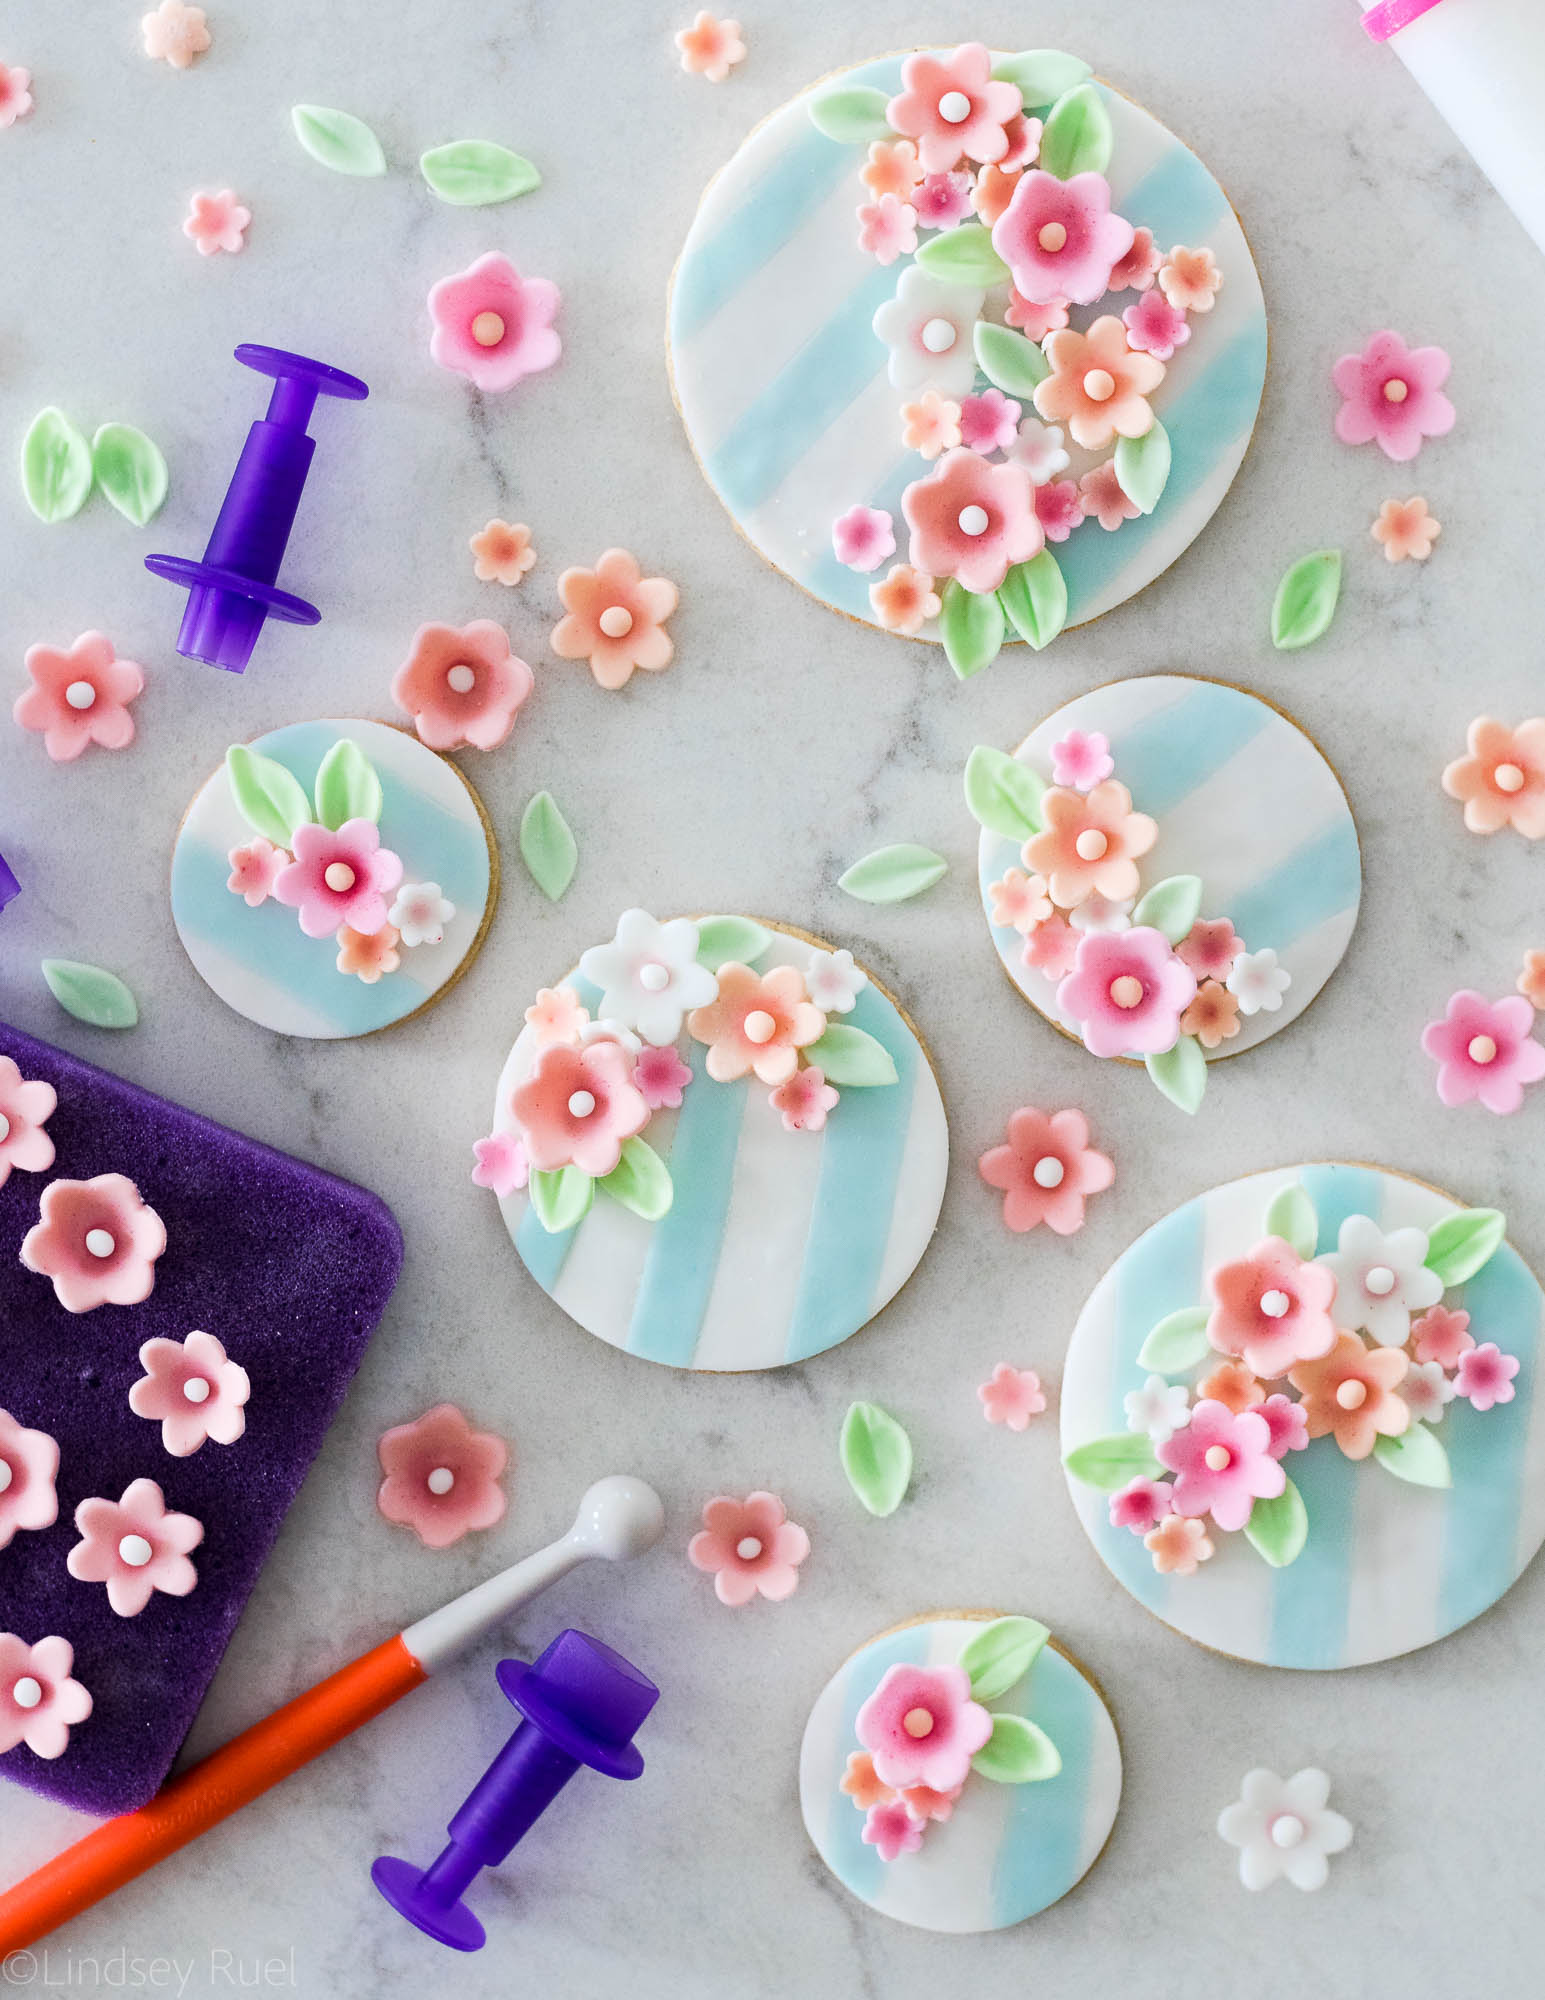
As I mentioned above, almost all of the tools I used came from the How to Decorate with Fondant Shapes and Cut-Outs including the fondant cutters, the fondant roller, the ball tool, and the foam.
I also used Wilton fondant in white and their gel food coloring, both of which I already had on hand but they had provided me with extras.
For the exact colors of the flowers and leaves, I used very small amounts of the following colors:
- Pink + Red
- Pink + Brown
- Pink + Orange + Brown
- Orange + Pink
- Leaf Green + Blue
- Leaf Green + Brown
Then, of course, I left one ball of fondant just plain white. In all of the cases, the first color listed was the main color, then I added a tiny amount of the second color just to add a different tint. It’s a little bit of trial and error.
The cookies themselves were made with a version of my favorite sugar cookie recipe. I am still working on perfecting the flavor, but my basic cookie is always a winner. Or you could try the lavender-vanilla recipe (scroll to the bottom of the post for the recipe) for a nice floral twist.
