• Home
  • Eat
    • Breakfast
    • Appetizers
    • Main Dishes
      • Chicken
      • Beef
      • Seafood
      • Healthy Dishes
      • Paleo Dishes
      • Salads
    • Desserts
      • Decorated Cookies
      • Cookies
      • Bars and Brownies
      • Cakes and Cupcakes
  • Shop
    • Cookie Decorating Supplies
    • Bakeware
    • Cookware
    • Kitchen Gadgets
    • House
  • About
    • Contact
    • Bucket List
  • Cookie Decorating 101

Follow the Ruels

Liege Waffles (the Real Belgian Waffle)

May 9, 2018

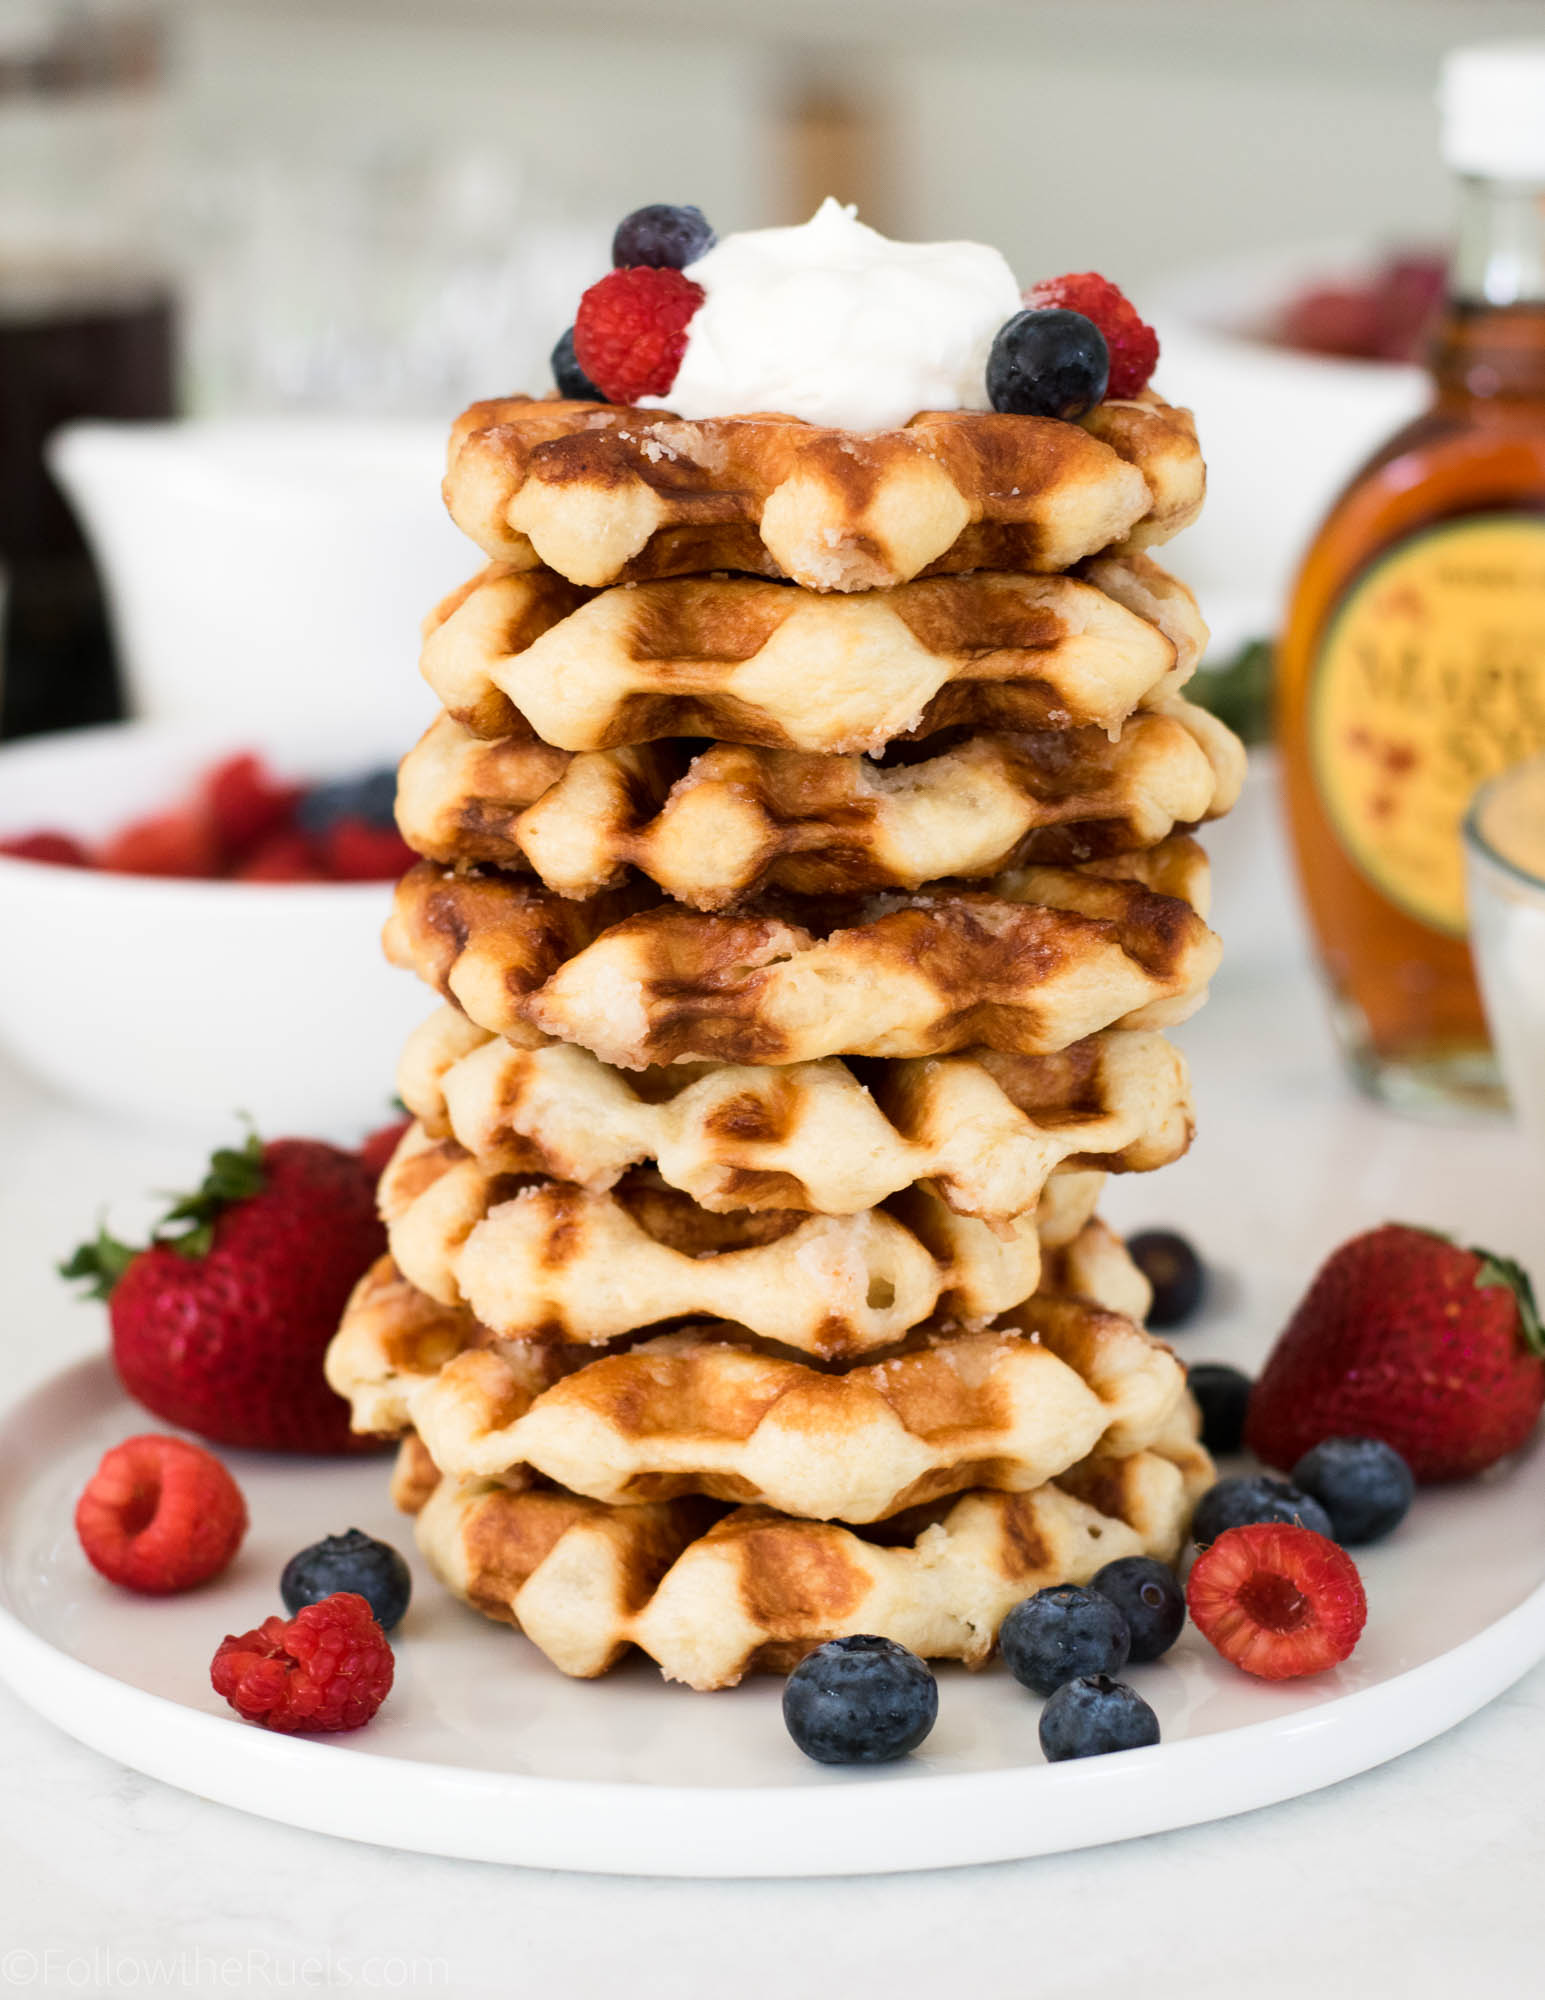
You haven’t had a true Belgian waffle until you have had a Liege waffle. You have probably had lots of waffles masquerading as “Belgian”, but they are a bunch of liars! Liege waffles are the one and only Belgian waffle and are a little different than your classic waffle. They aren’t light and fluffy like the waffles you are used to. They are crispy on the outsides and flakey on the inside.

The signature ingredient in Liege waffles is pearl sugar, which is large bits of sugar that melt into the waffle and caramelize on the outside. The melted sugar on the inside of the waffle create layers of dough and sugar which make these waffles almost pastry-like. 

Because they aren’t as soft and light as a traditional waffle, they can be made ahead of time and reheated very easily. They would make the perfect brunch food for Mother’s Day, Easter, a baby or bridal shower, you name it!

How to Make Them

One other thing that makes liege waffles a bit different than any other waffle is that they are made with yeast. Which means the first thing you have to do is bloom the yeast.


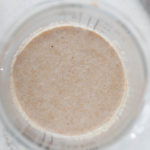
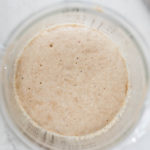
Mix yeast with warm milk and a bit of sugar until it bubbles up into a foam.

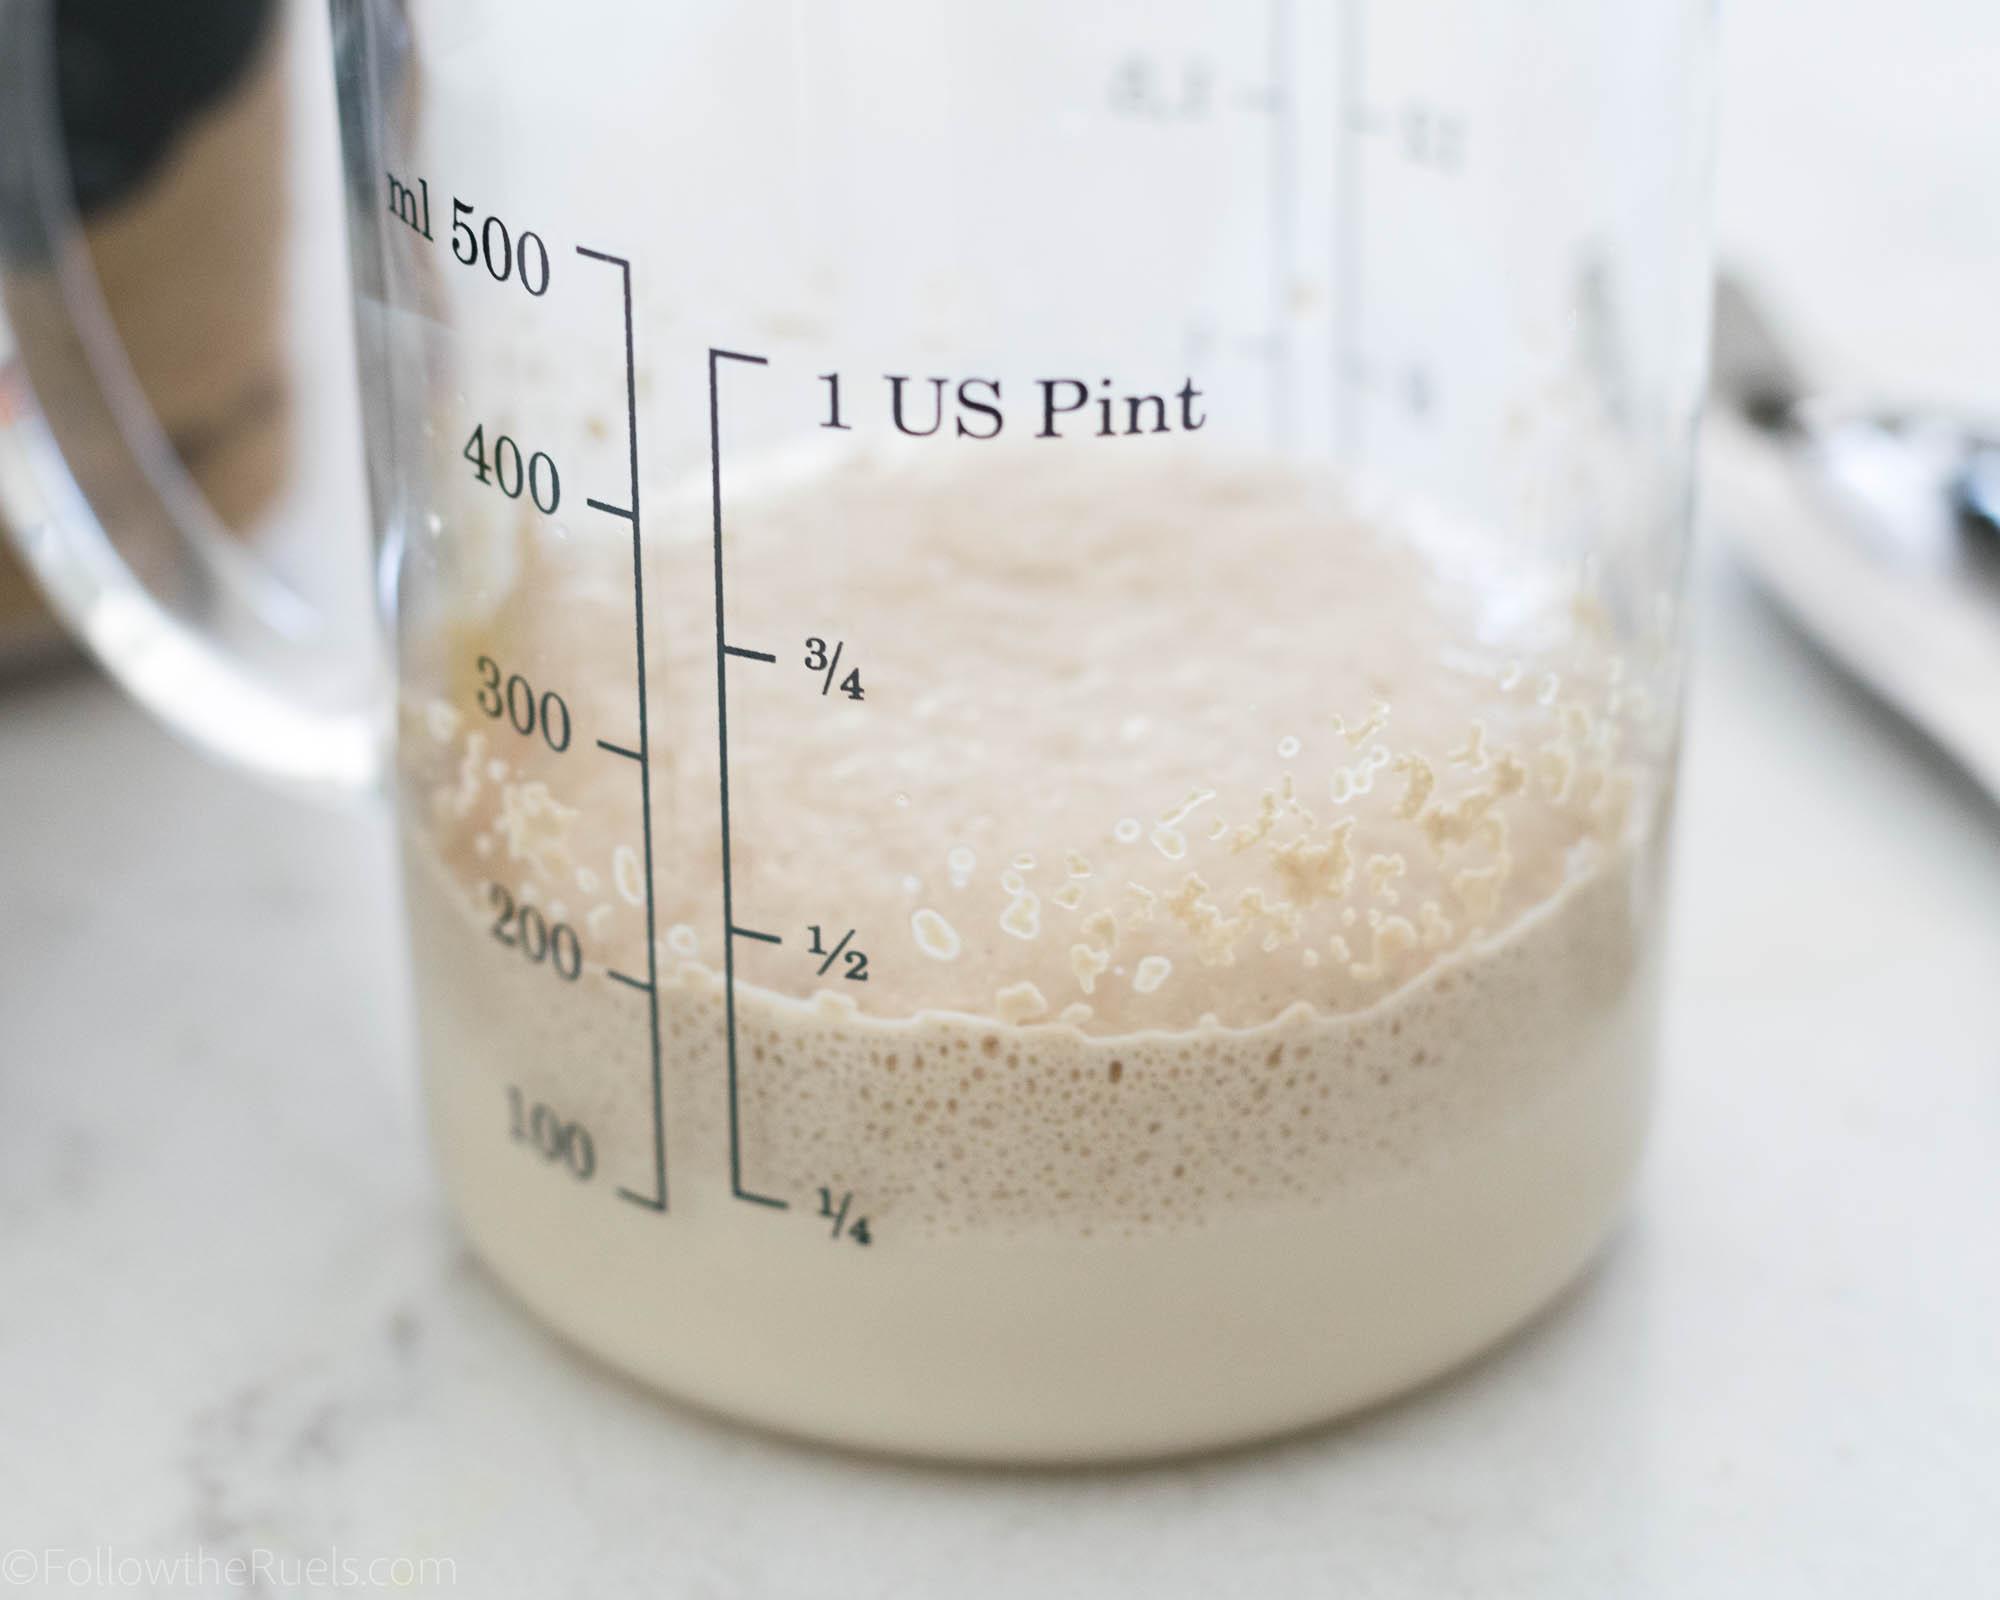
Make sure that the milk isn’t too hot. Anything over 110 degrees F will kill the yeast. 

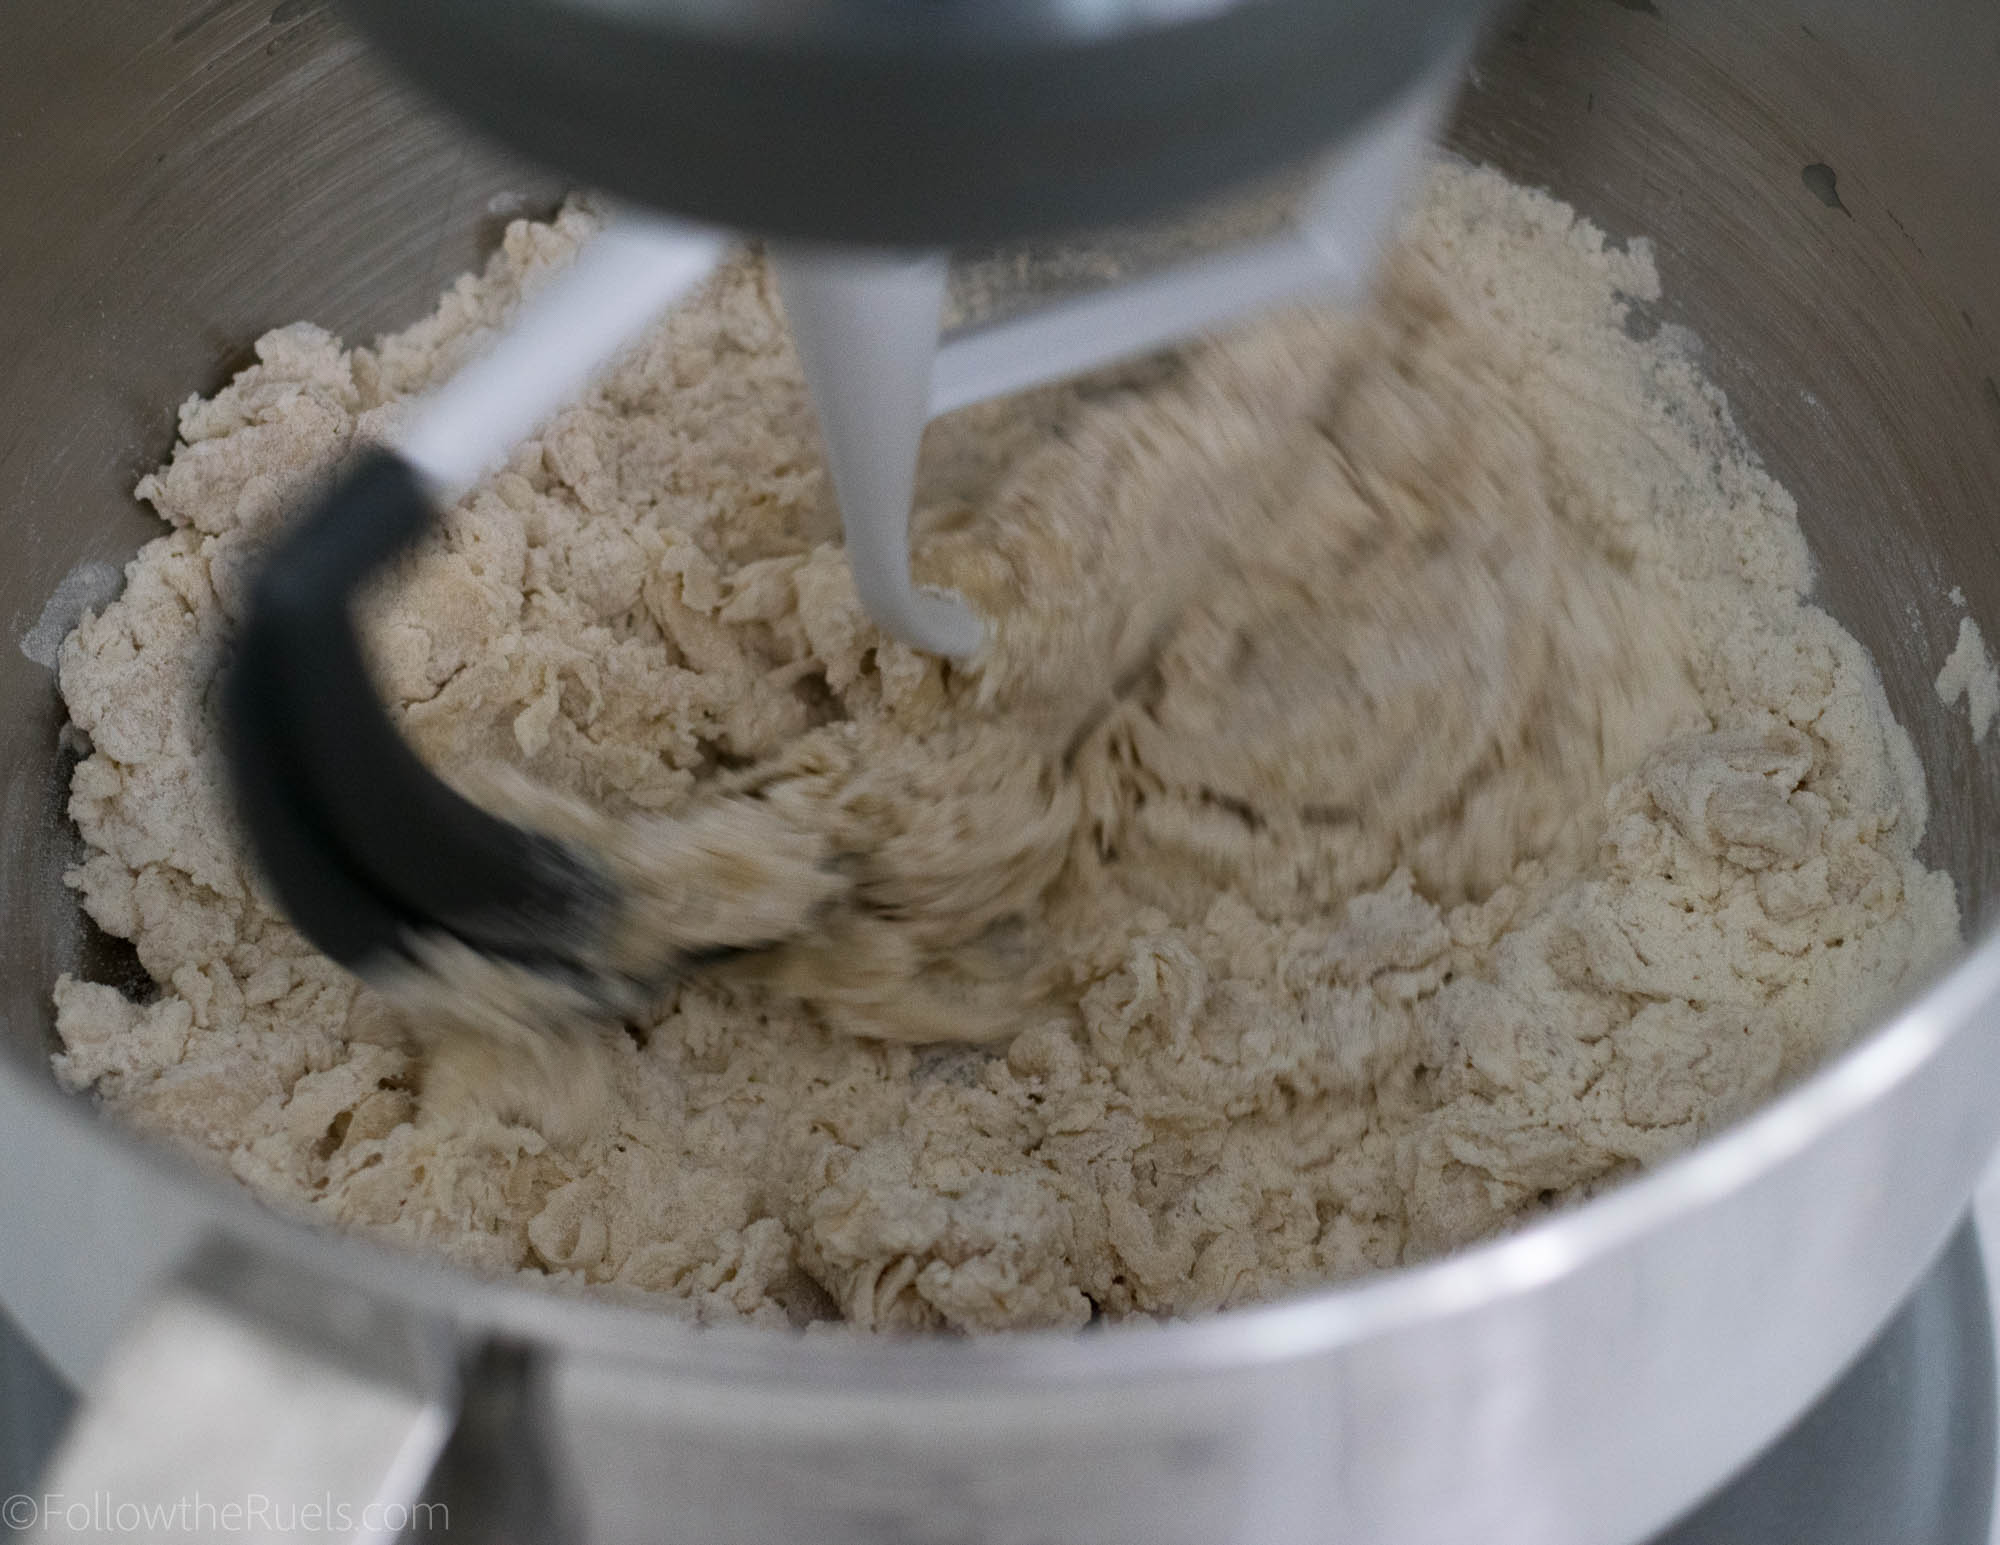
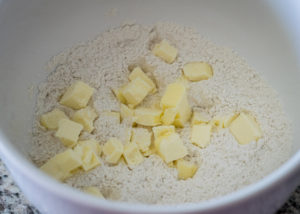
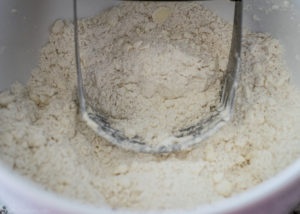
Next, mix the yeast and milk mixture with flour to form a very dry, crumbly dough.

I recommend using bread flour if you have it available as it has more gluten and will puff up even more. 


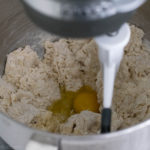
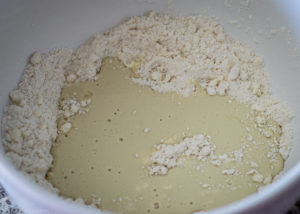
Then add in the egg and butter.

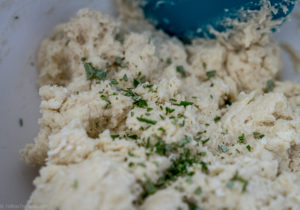
The resulting dough will be very sticky and loose. You can keep kneading it in a stand mixer with a dough hook, or…

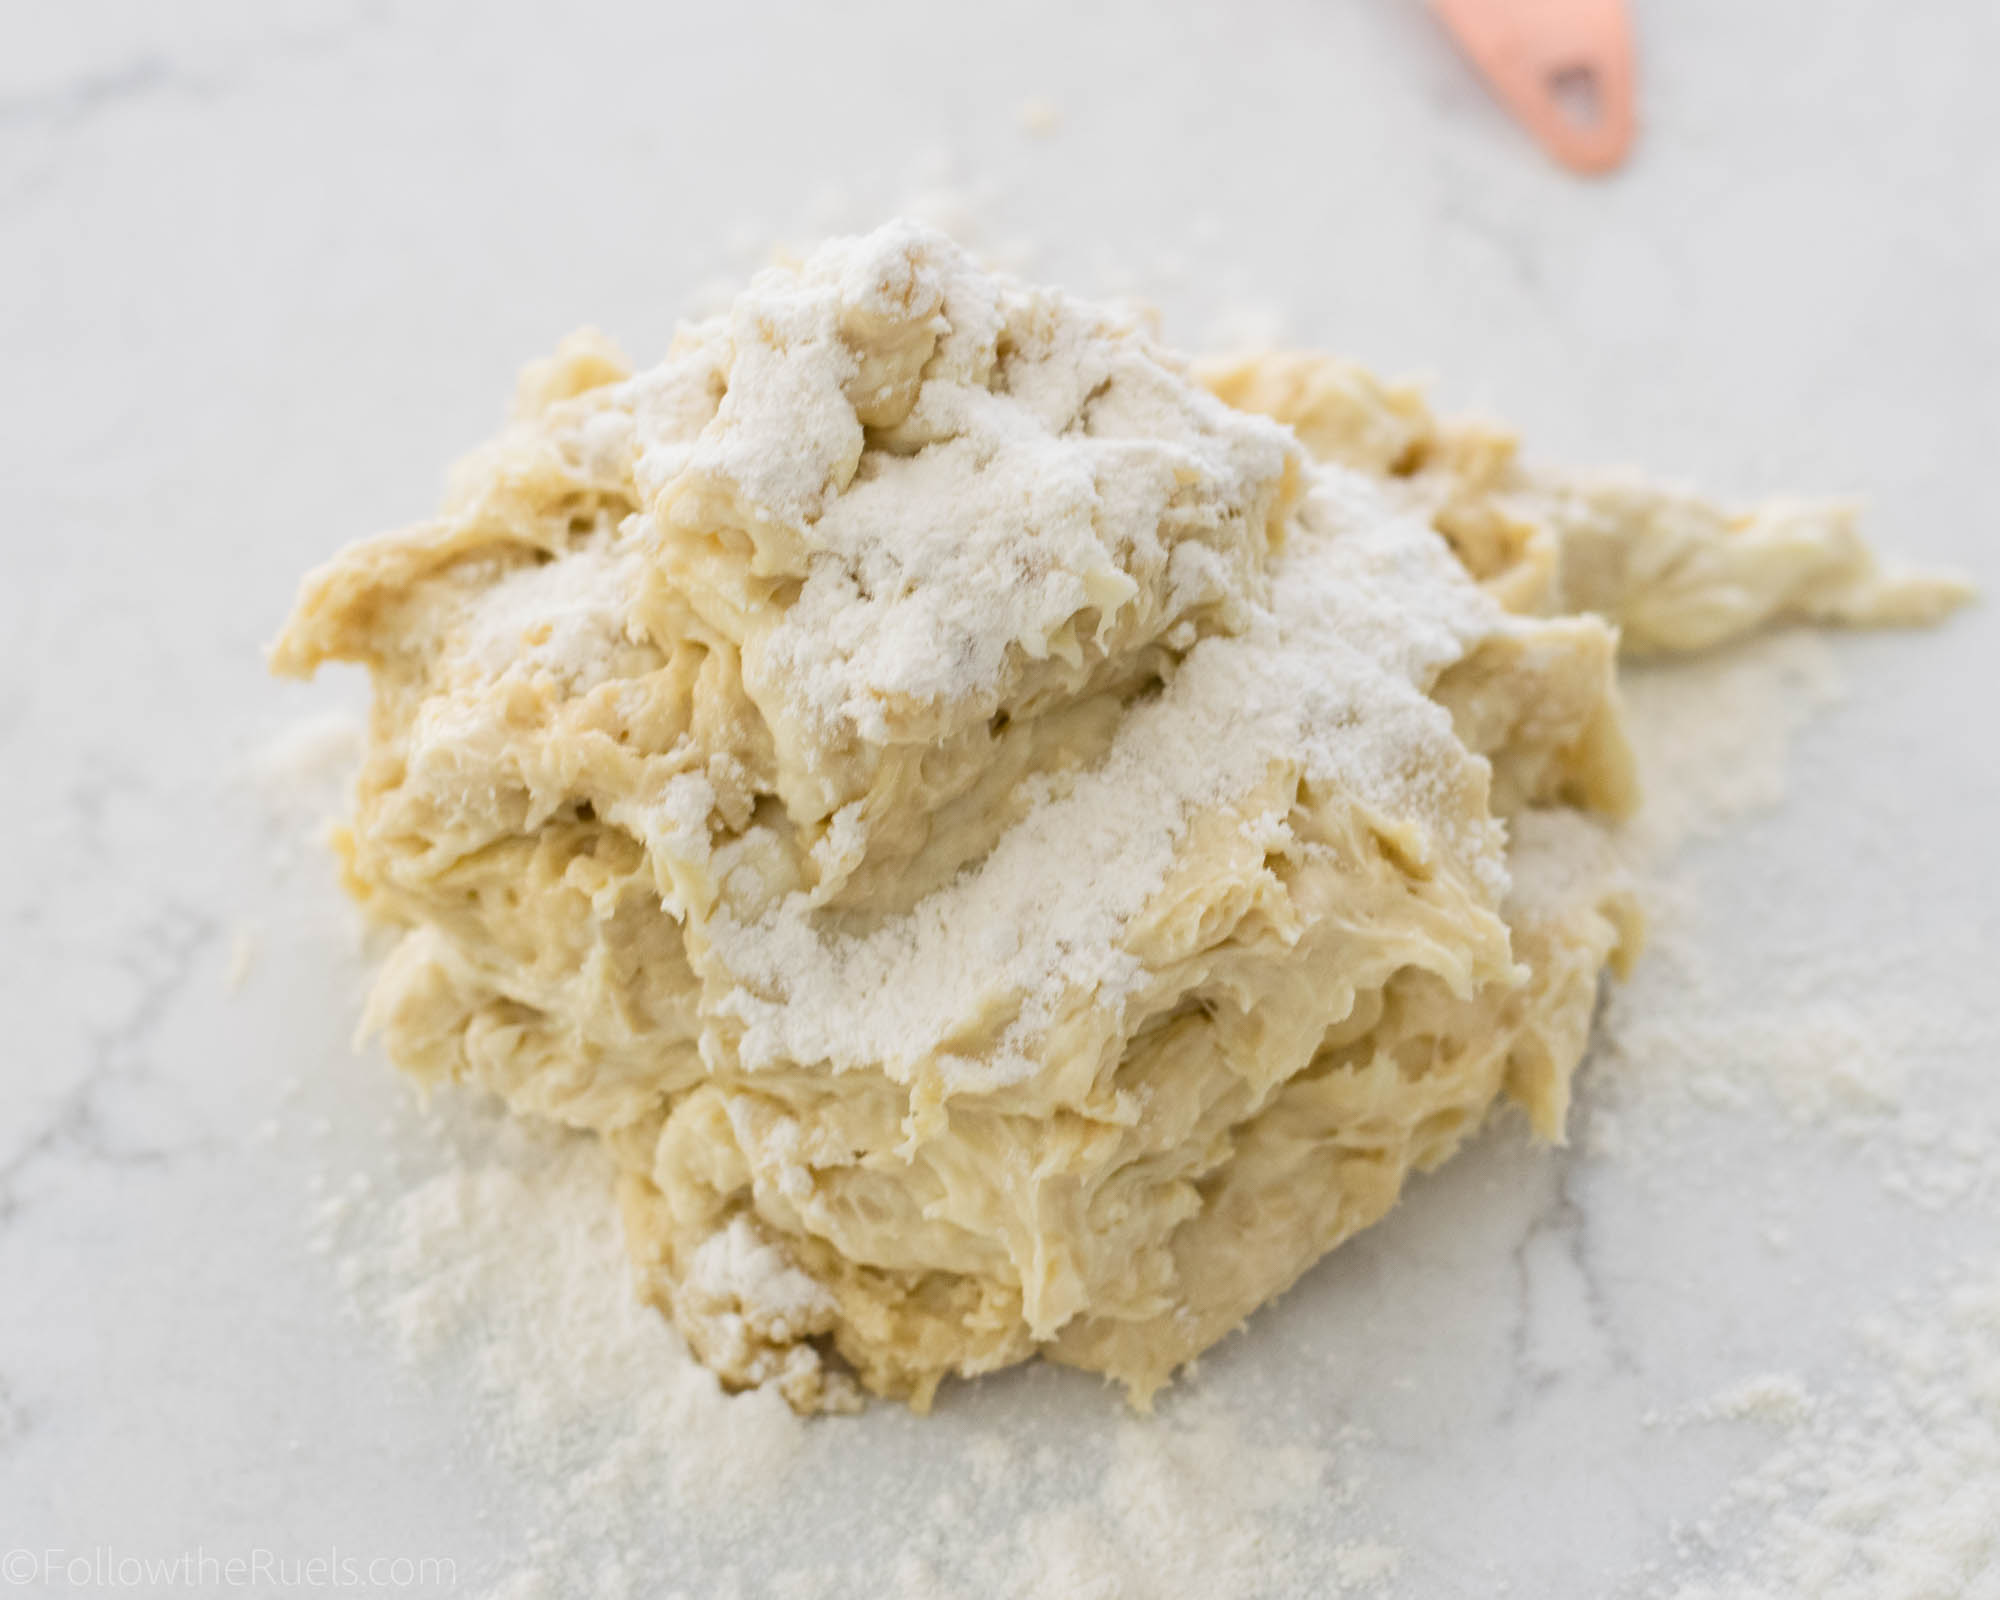
…turn it out onto a clean counter top and knead by hand with a little bit of extra flour. This is the messier, but much more fun version!

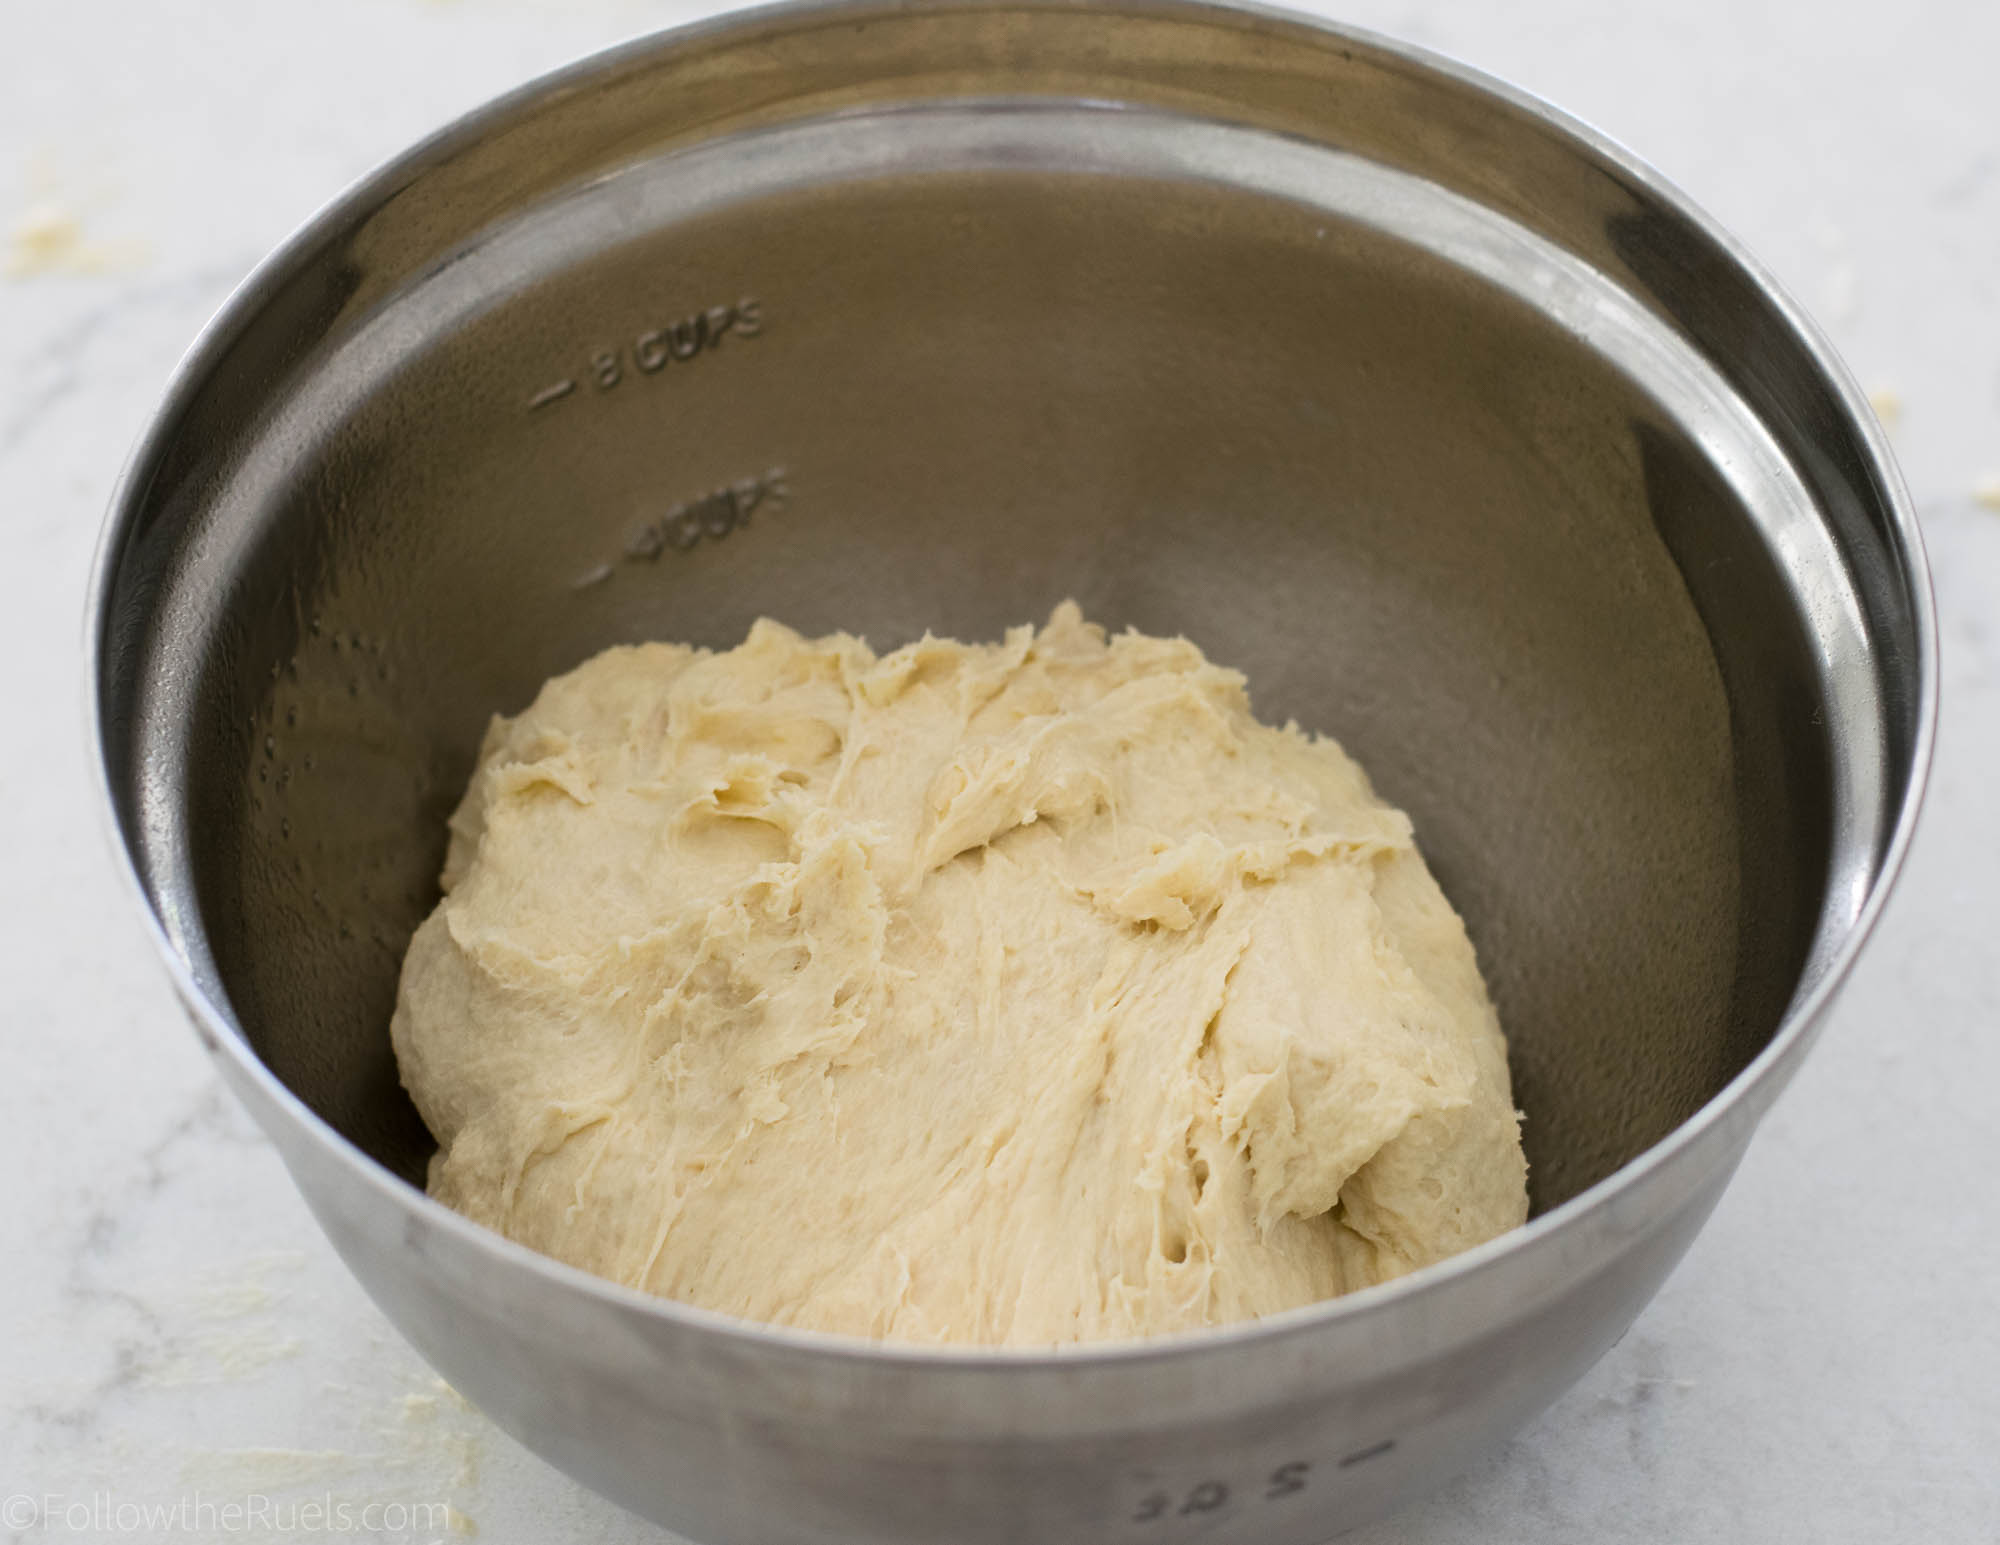
Once it’s been kneaded for about 5 minutes, form it into a ball and place it in a greased bowl. Cover with a dish towel or plastic wrap and let rise until doubled in size. 

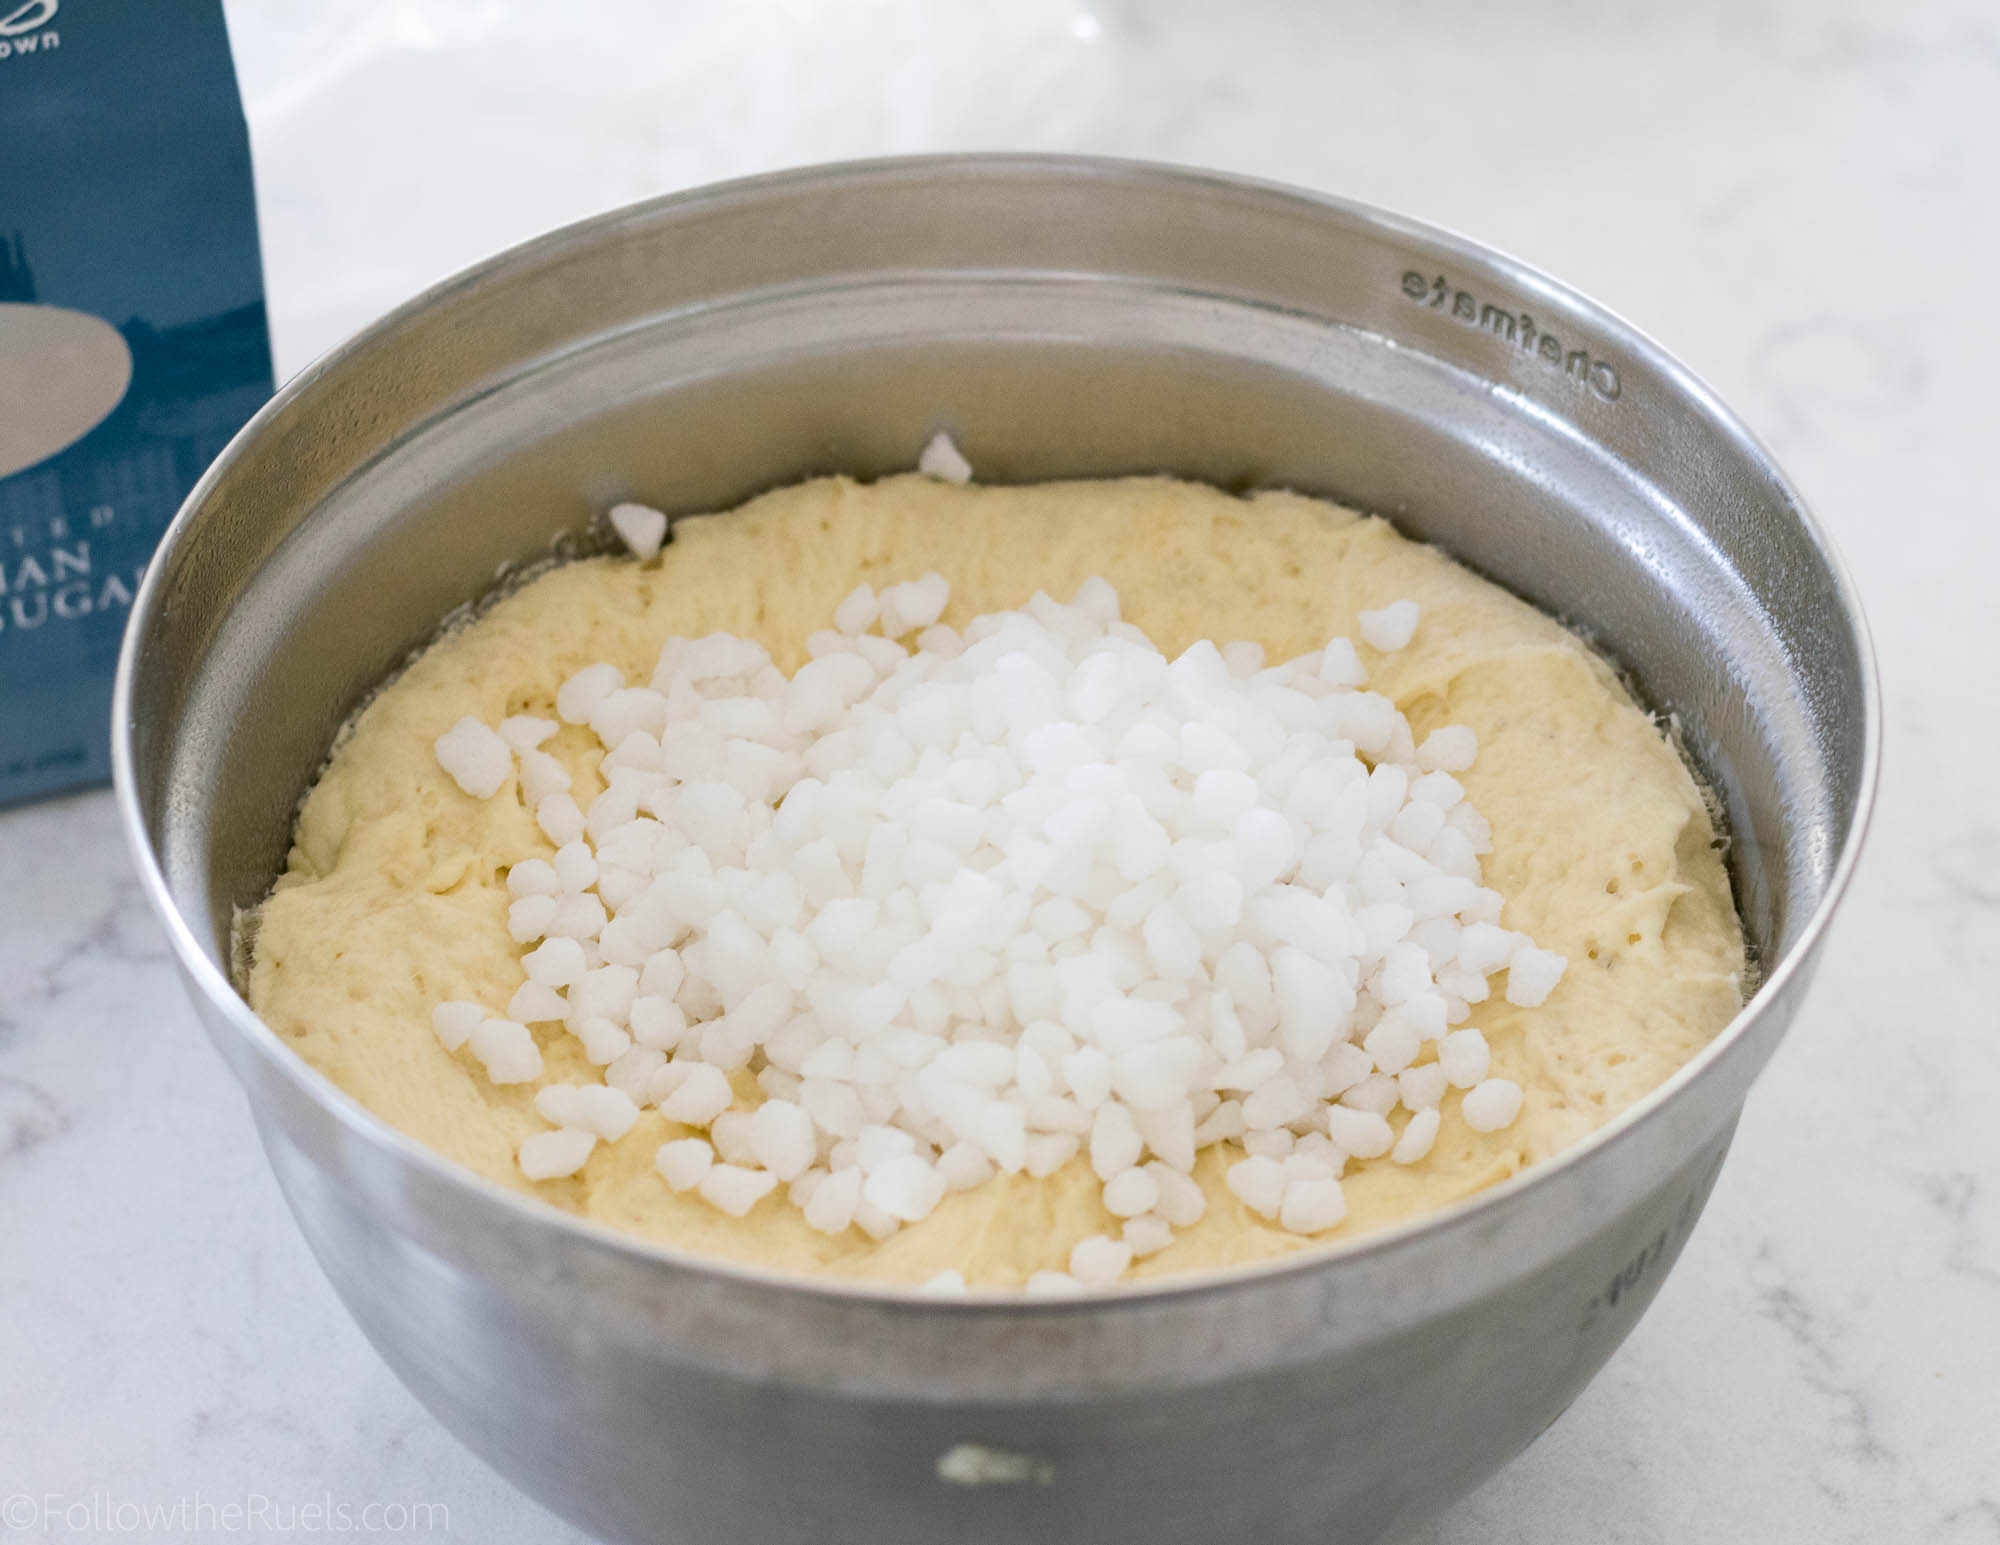
Once the dough has proofed, mix in the pearl sugar until it is completely incorporated. 

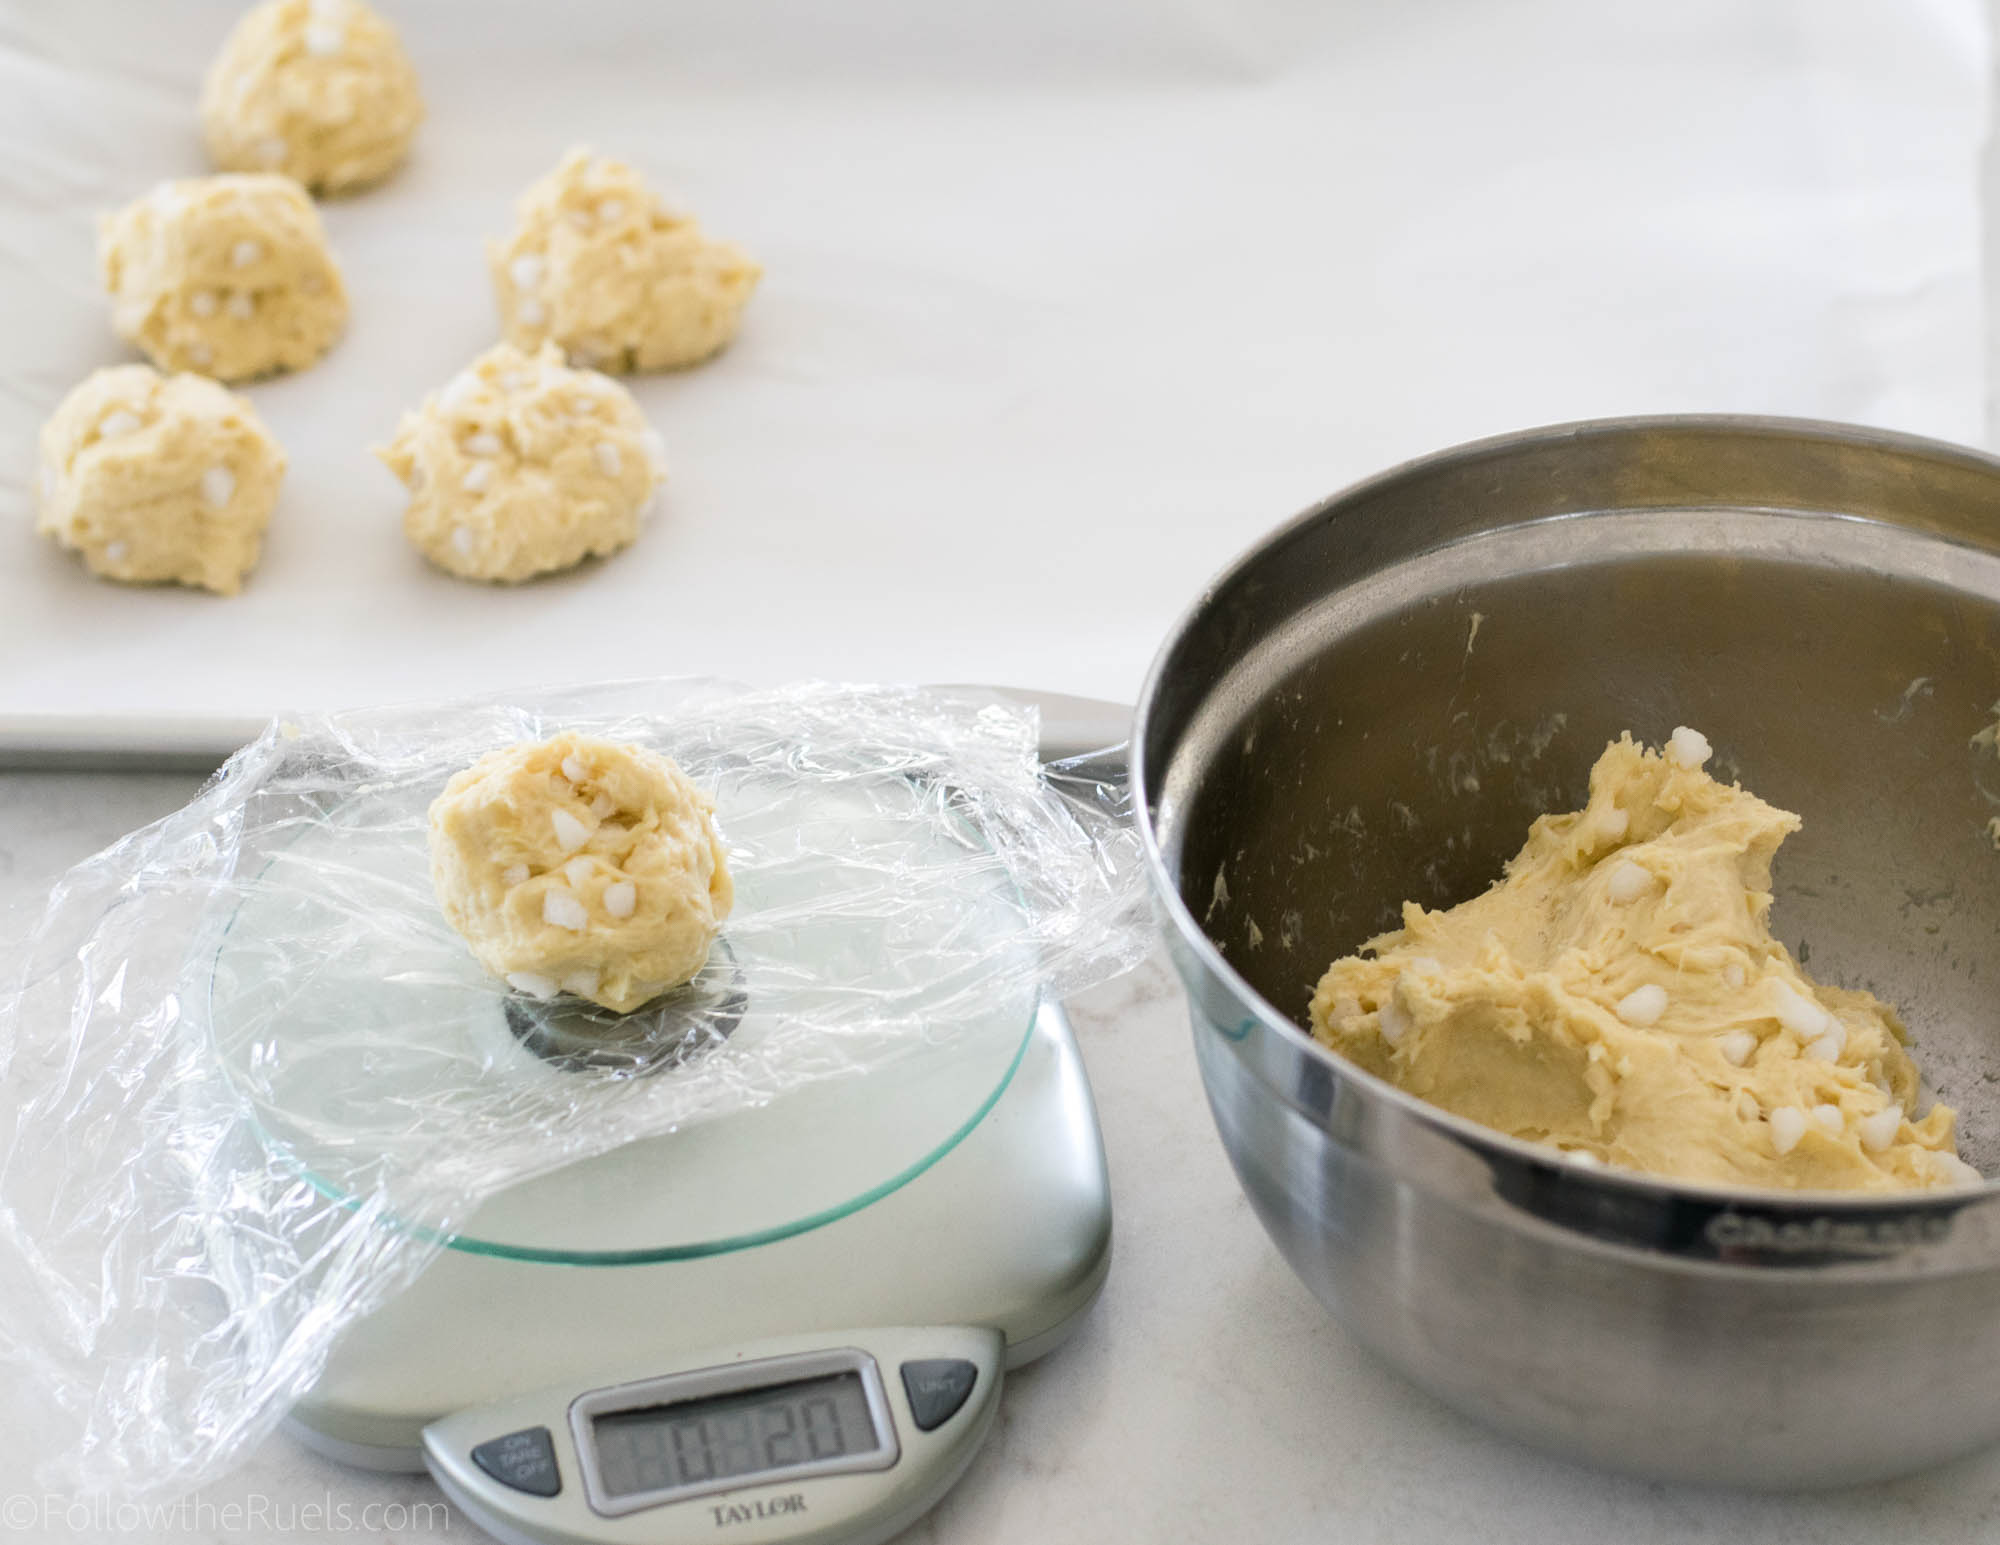
Then form the dough into individual balls of dough. I think that a 2-ounce piece of dough makes the perfect sized waffle. 

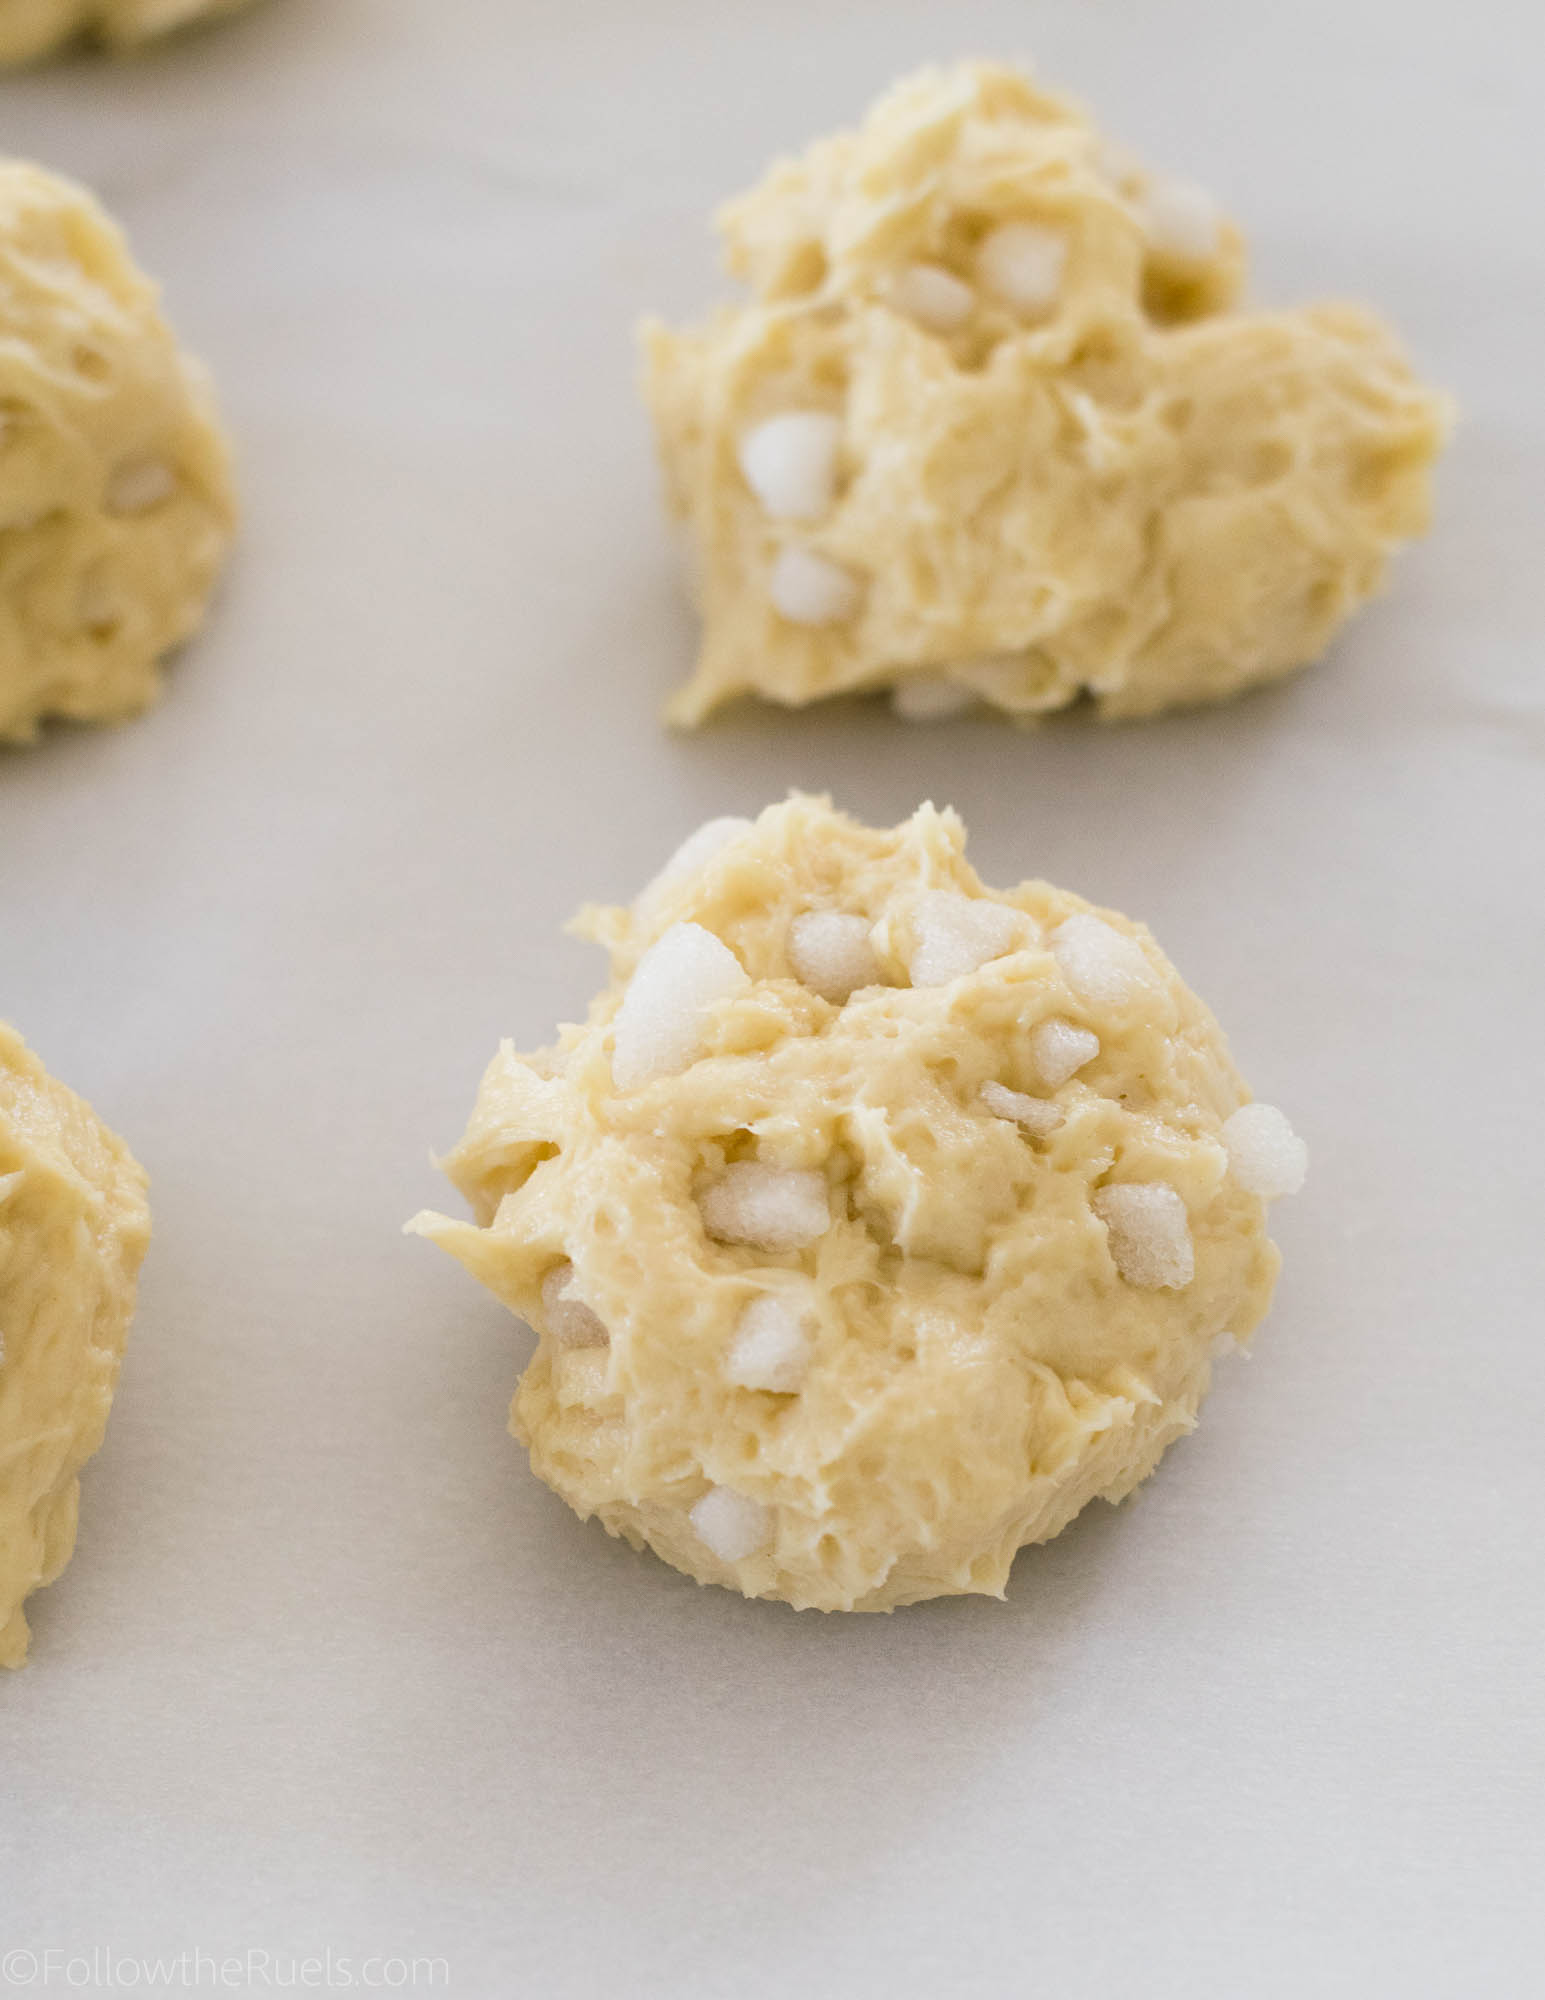
Let the dough rise again for another 15 minutes while the waffle iron heats up.

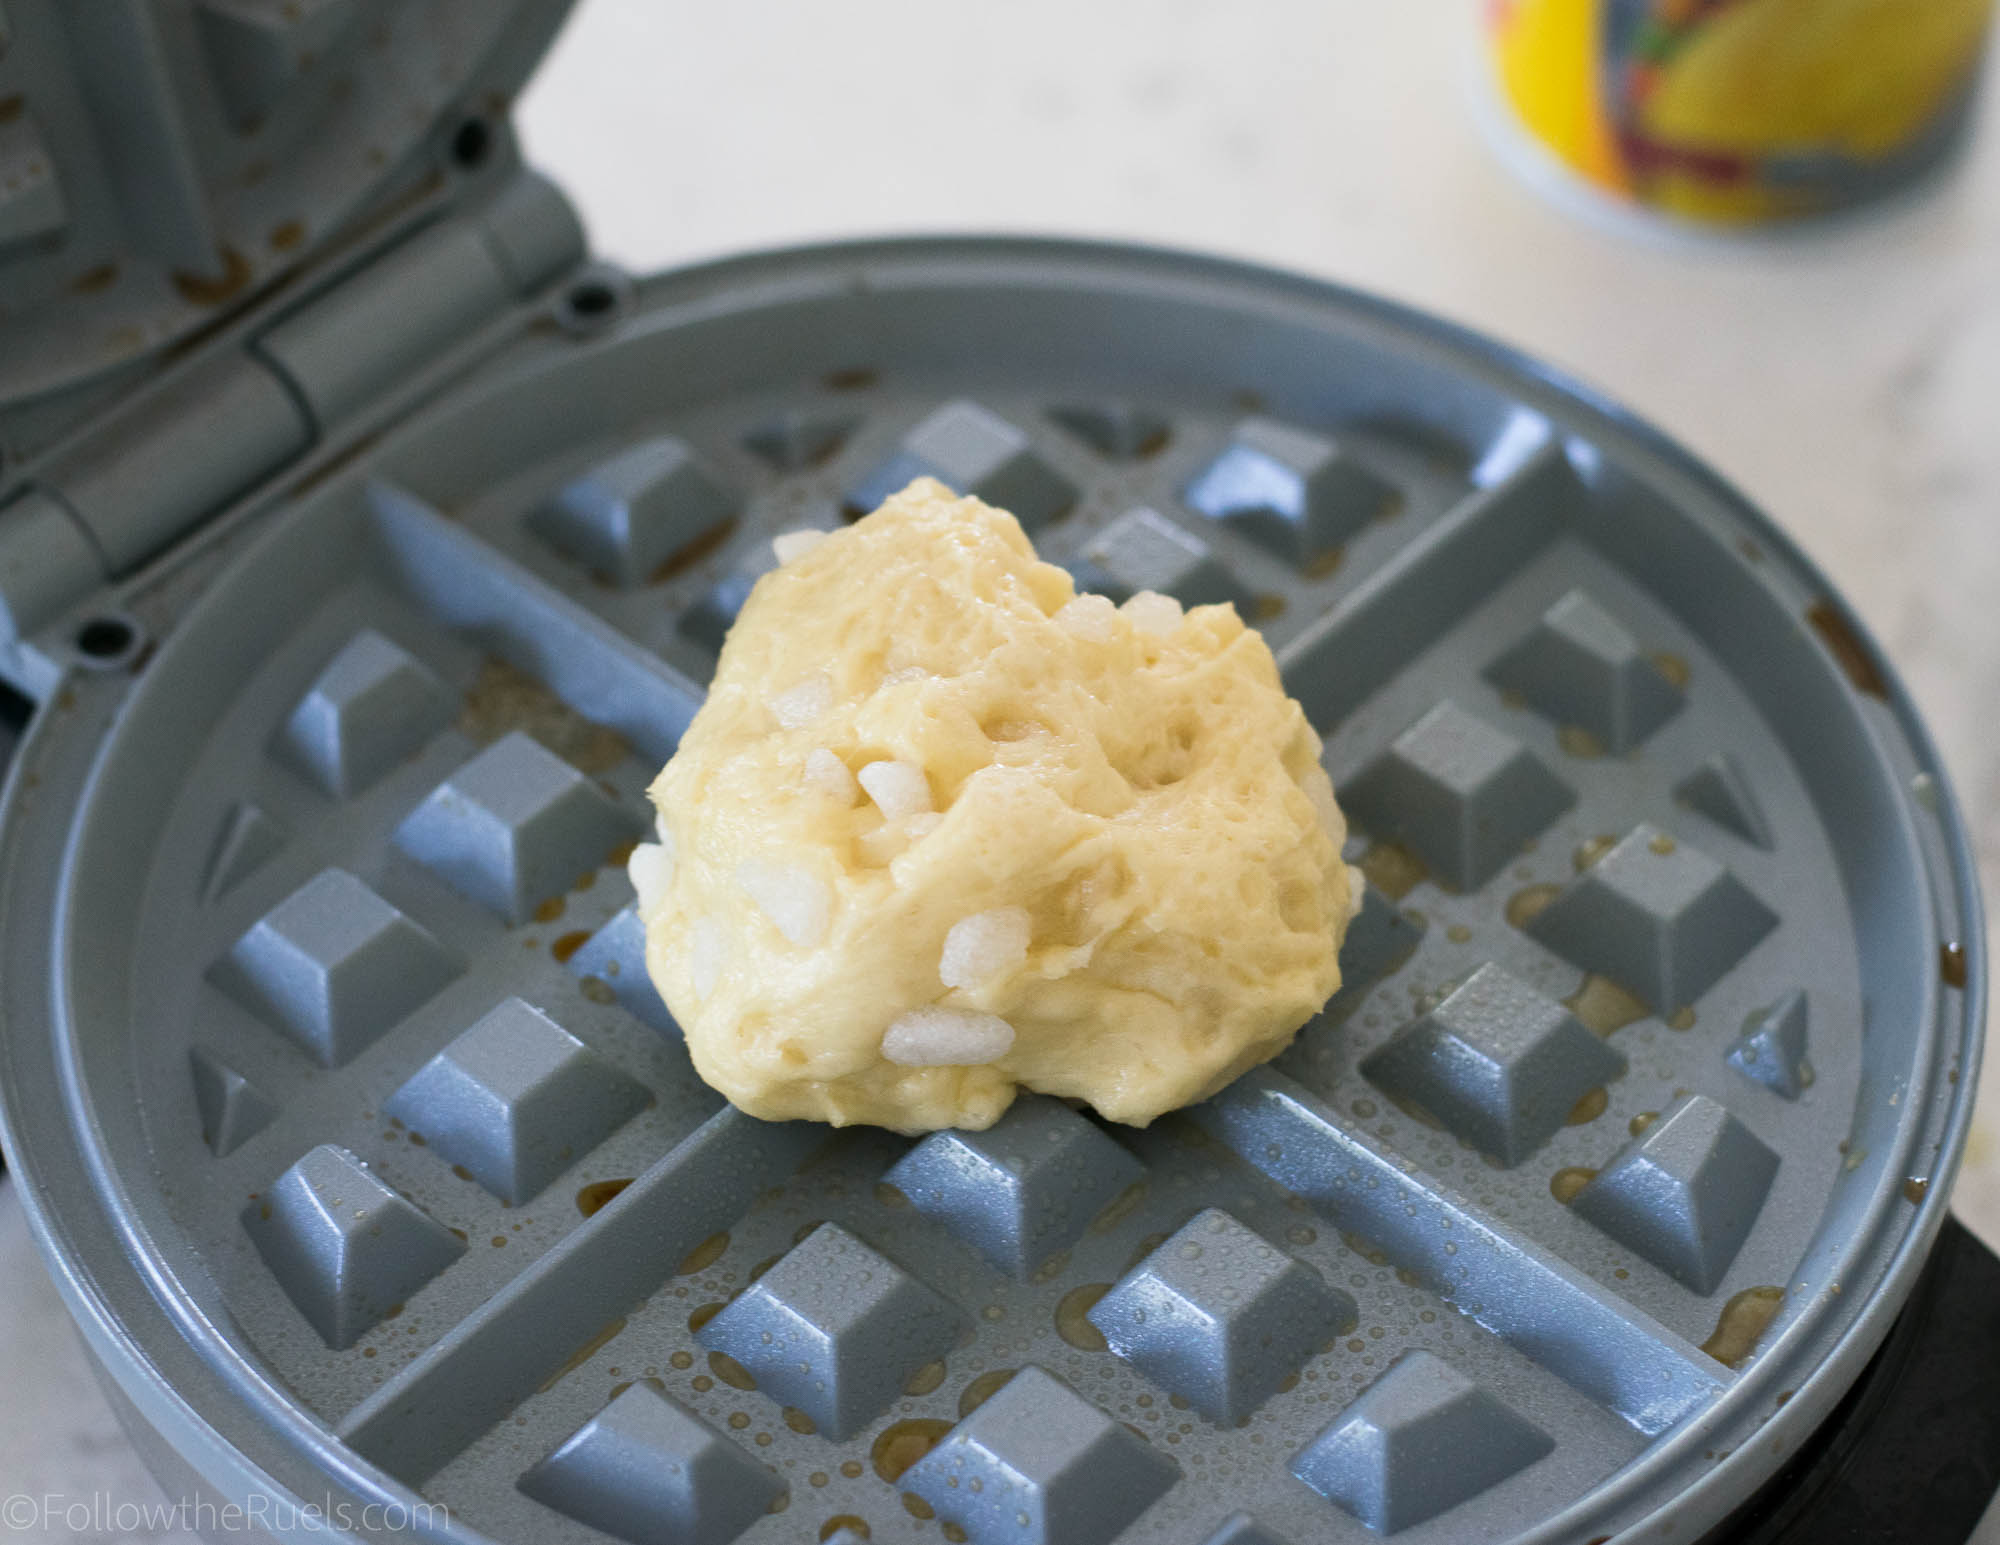
Before each waffle, spray down the waffle iron with a little nonstick cooking spray to ensure the waffle doesn’t stick. 

Cook for about 5-7 minutes, or until the waffles are golden brown on each side and the sugar on the surface has melted. 

These waffles can be made ahead of time and reheated in the oven at 300 degrees. Or you can keep them warm in a 250 degree oven until they are ready to eat.

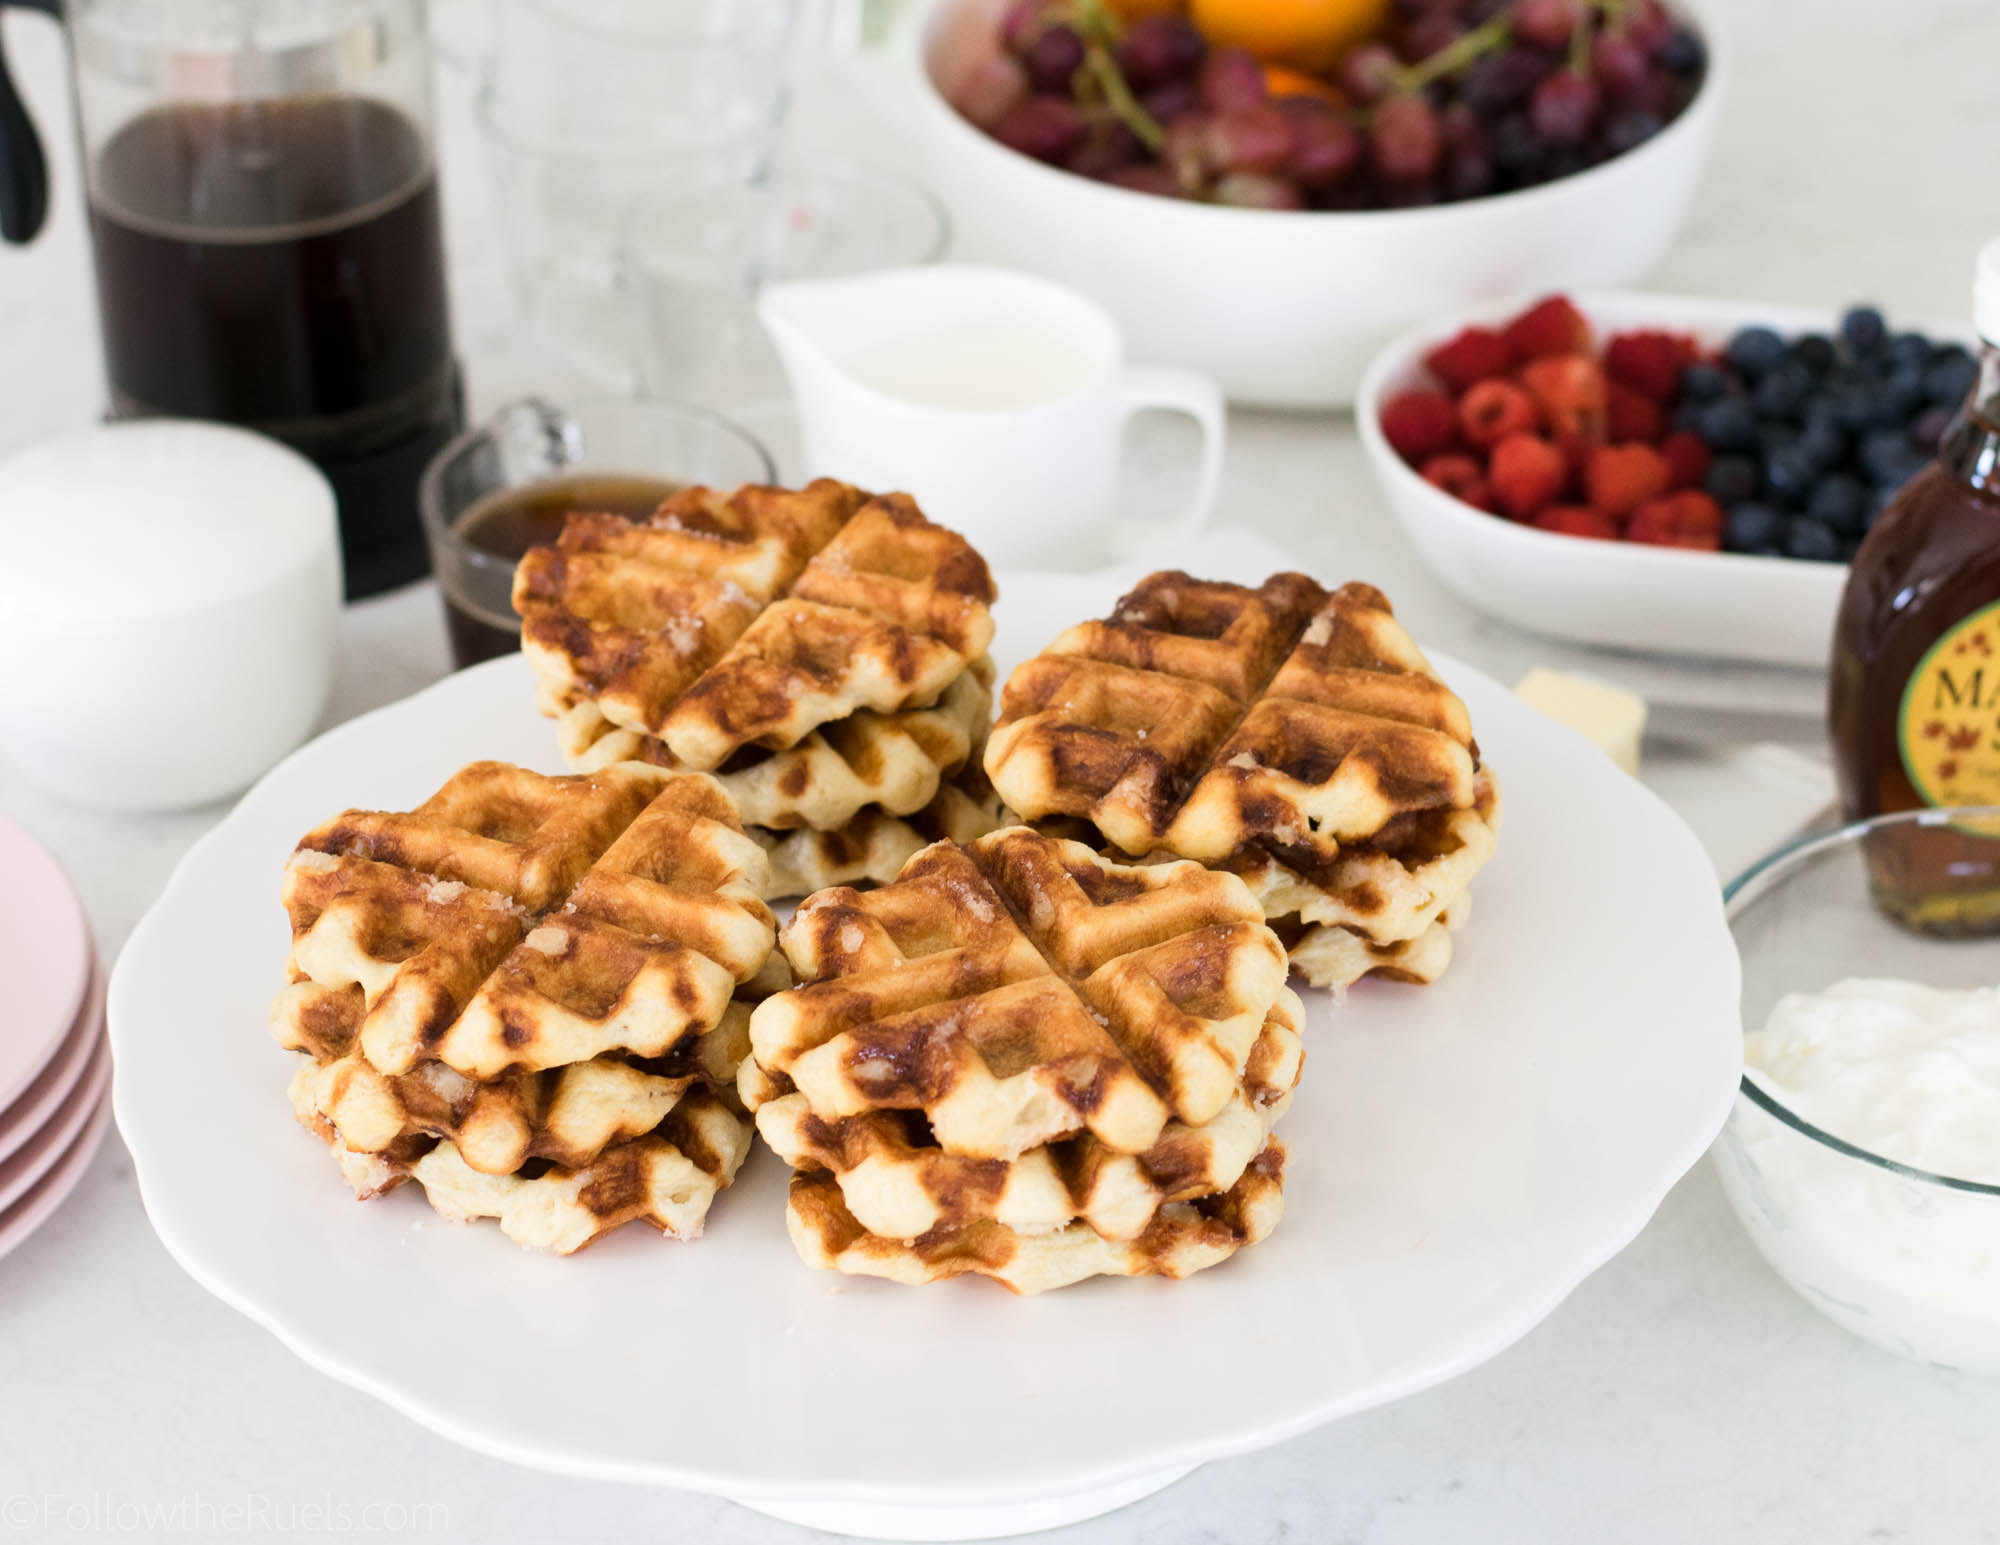
Because this recipe makes about a dozen waffles, it is the perfect dish to make for an easy brunch! Just set out the waffles with some fruit, berries, and other toppings and you have yourself your very own Belgian waffle bar!

I personally like my waffles with a bit of whipped cream and chocolate sauce. 

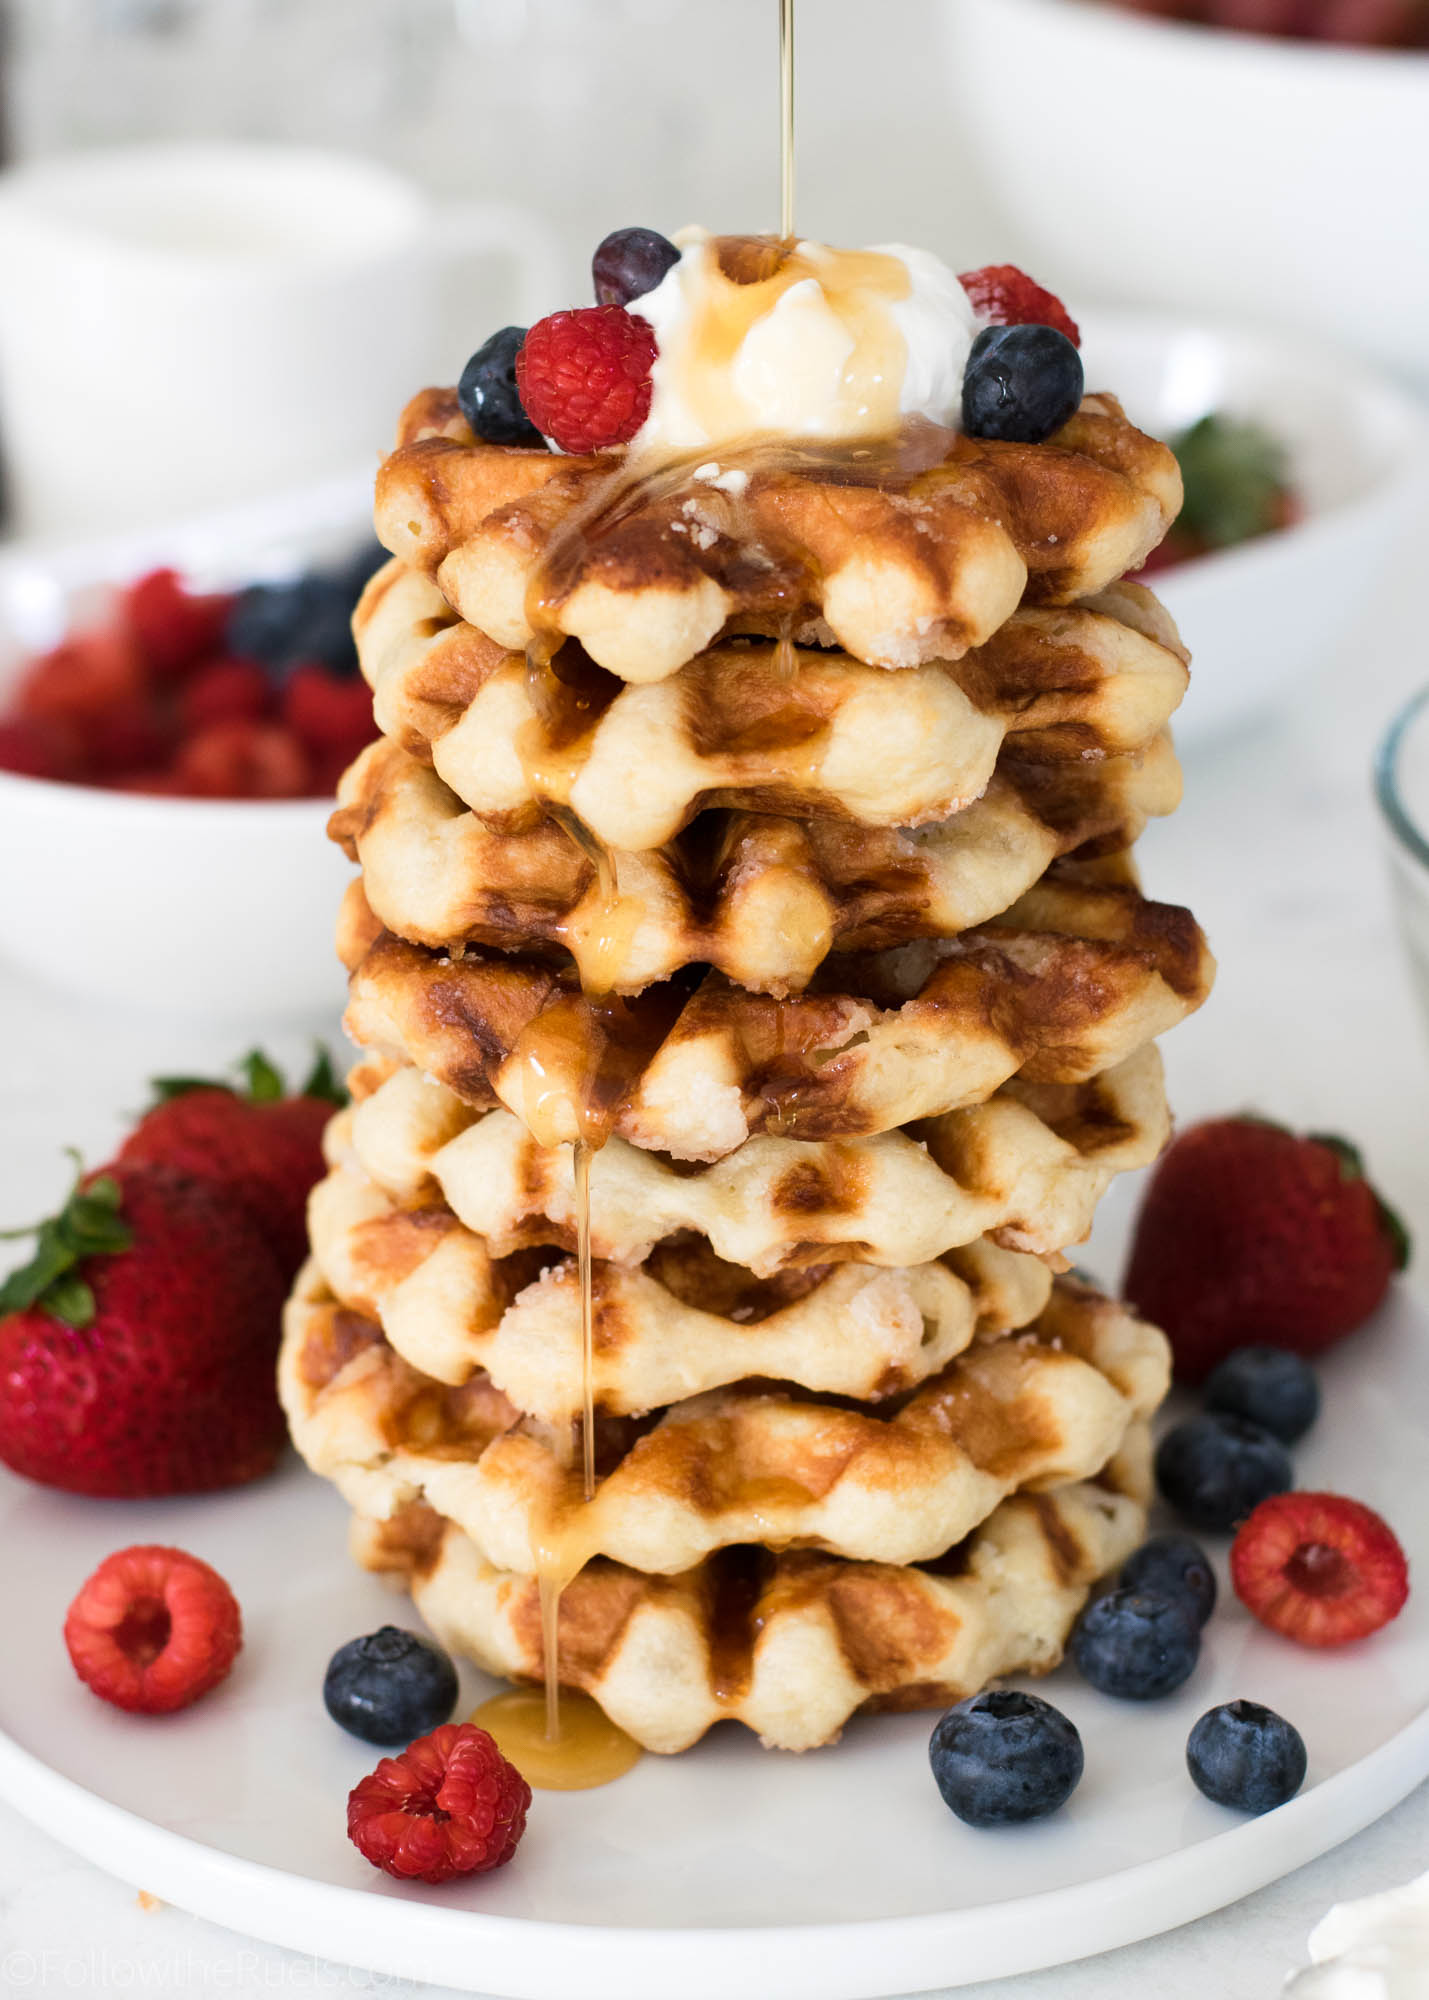
Or you can go with the more traditional butter and maple syrup combination!

Either way, you are in for a treat! These waffles are unlike any other waffle you have had.  

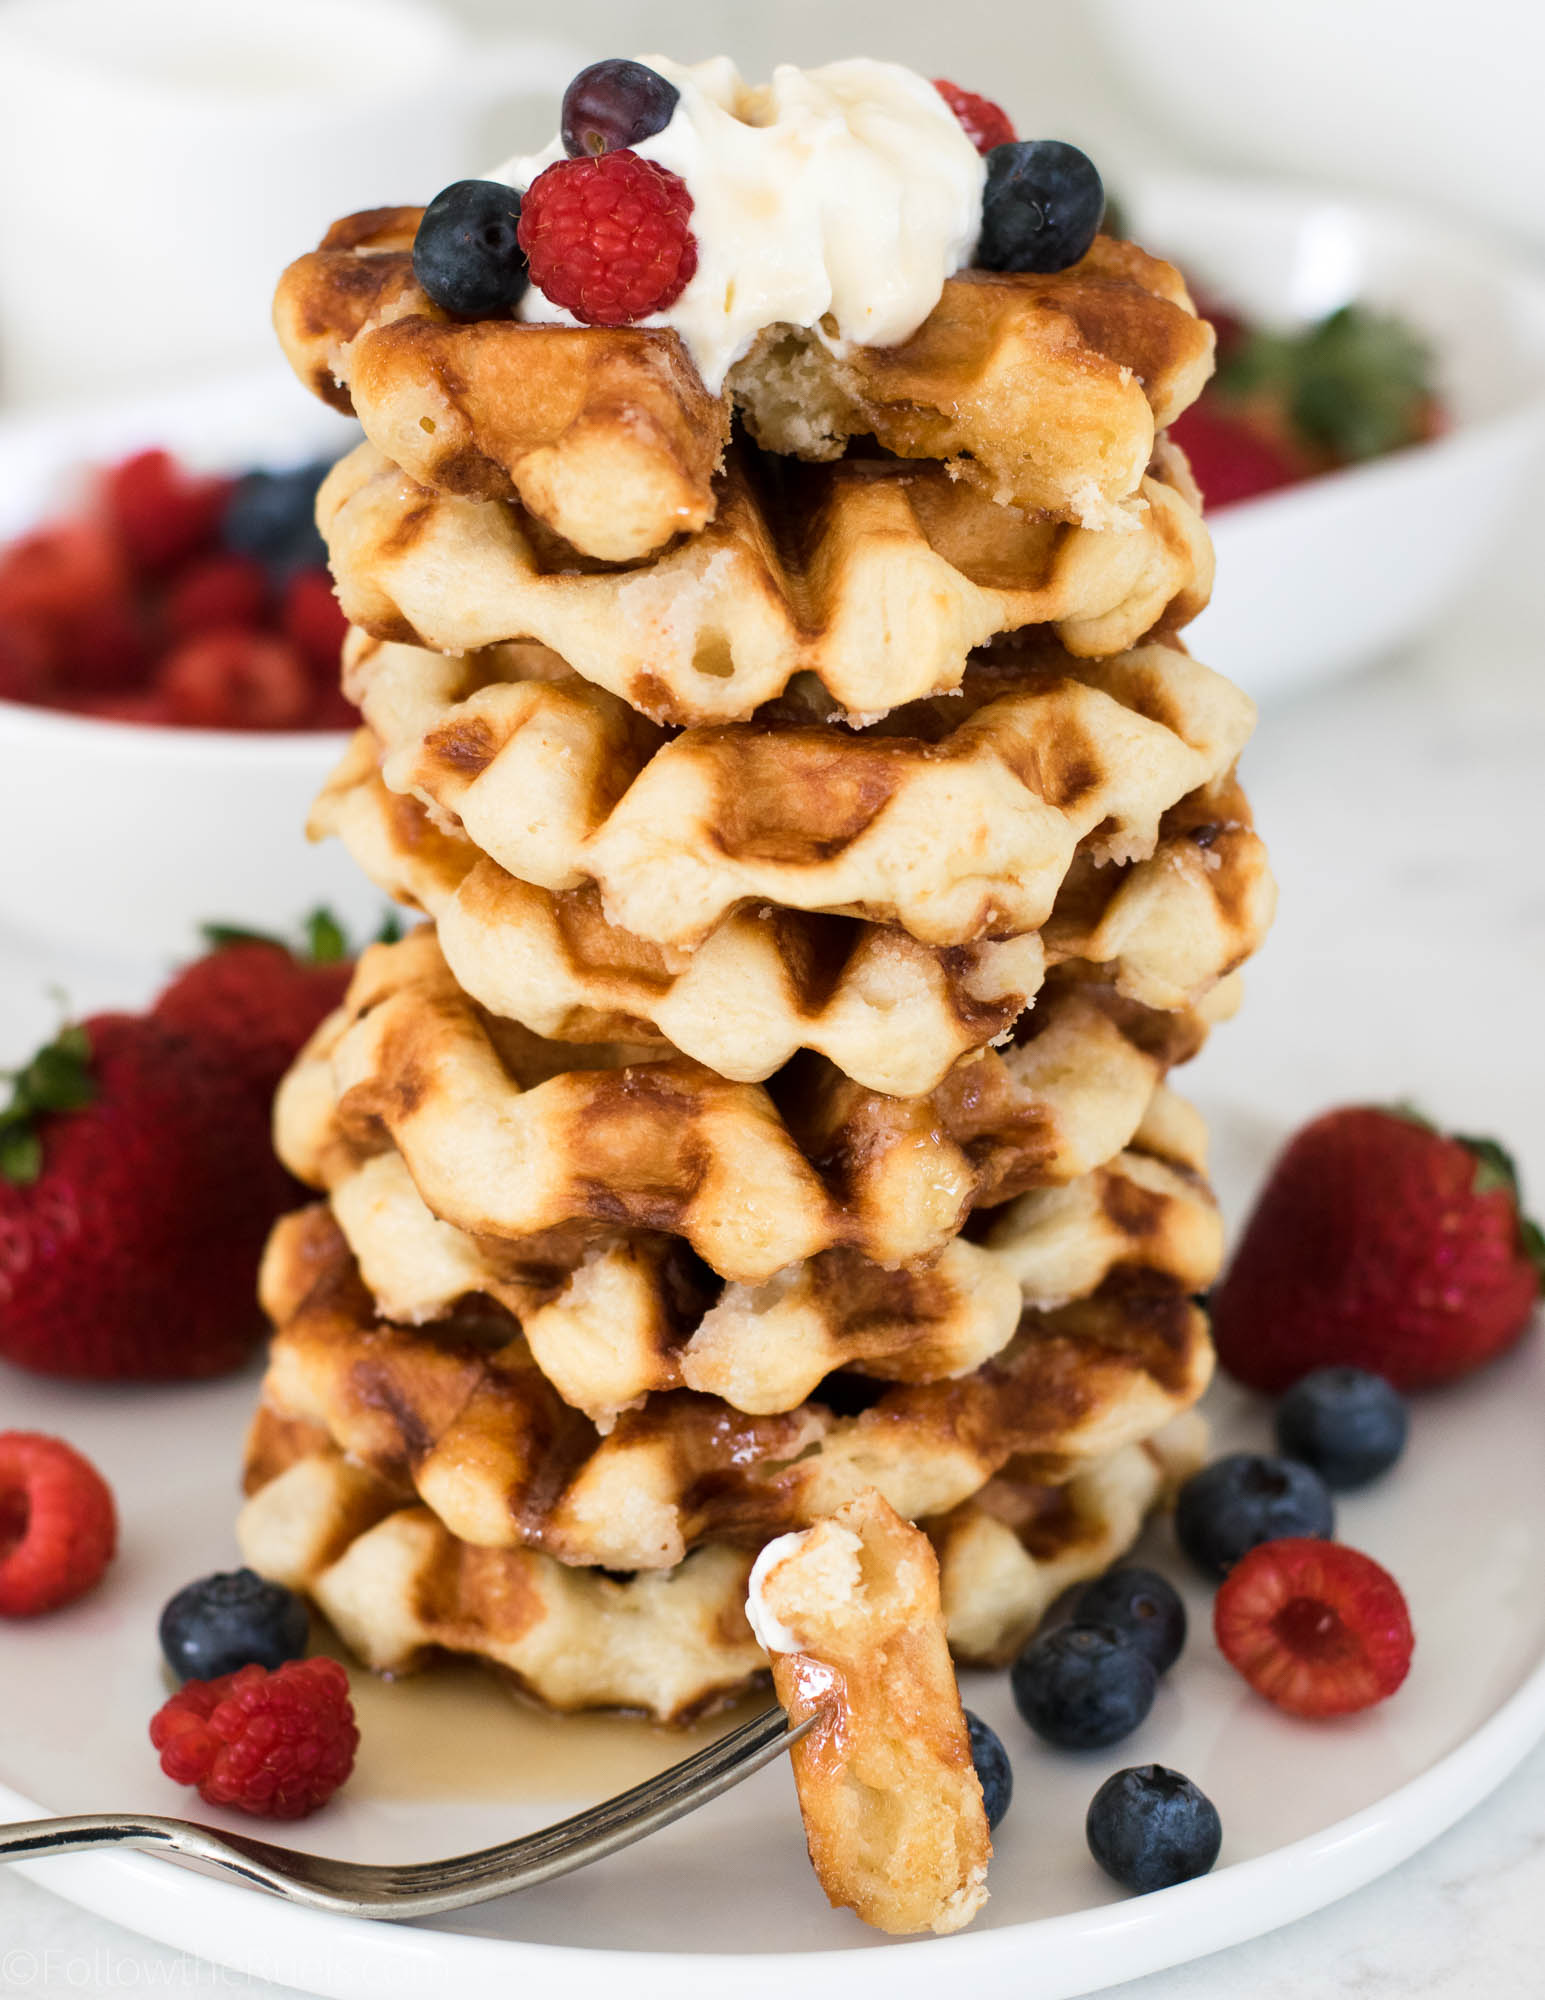
And if you don’t feel like serving them for lots of people, they save very easily in the freezer. Just pull one out and defrost it as you like! It makes for a very easy and decadent breakfast (or dessert)!

Supplies and Recipe

[show_shopthepost_widget id=”3129815″]

[yumprint-recipe id=’176′]

/ Filed In: Breakfast, Eat, Other Sweets New
Tagged: Belgian waffle, breakfast, liege waffle, pastry, pearl sugar, waffle, waffle iron

Pretty Rosette Peach Tartlets

August 5, 2016

Pretty Peach Tartlets

If you are looking for an impressive dessert you can bring to your Summer parties, I have got the recipe for you! Don’t let these little peach tartlets fool you, they are actually really easy to make and only require six ingredients. 

Peaches

Puff Pastry

Mascarpone

Sugar

Cinnamon

Nutmeg

I’m sure it wasn’t the ingredient list that concerned you about this recipe. What you are probably thinking to yourself is, “there is no way I can make these look like a rosette!”. Ok, you may not be thinking that, but that’s what I was thinking. I was willing to give it a try, but was convinced that they would end up looking like crap. 

Sure the first one wasn’t my best, but I got the hang of it really quickly!

I’ll show you exactly how I made them. 


First, I sliced a couple peaches into very thin slices. Like, I sliced them just about as thin as I could. In hindsight, using a mandolin would have been a good idea to get consistently sliced peaches. 

Next, I unfolded a puff pastry sheet and rolled it out so that it was pretty thin (it should be thinner than what you see in this picture). Then I cut it into 6 strips. I spread out the mascarpone mixture onto each strip. 


Now comes the tricky part (hint: it’s not that tricky). To make the pretty rosette pattern with the peaches, I layered the peach slices one on top of the other along one half of the puff pastry strip making sure that a significant portion of the top of the peach was sticking out. On some of the tartlets, I added a second layer of peach slices just below the first. Not only did it help me use up all my peach slices, but the ratio of peach to puff pastry was much better. 

Then I folded the other half of the puff pastry up and rolled the entire thing into a tight spiral. The trick to getting the peaches to roll is to put your thinner peach slices on the end that will be in the center and the thicker ones on the outside. 

Easy peach tartlets

I placed each of the tartlets in a muffin tin then sprinkled some more sugar and nutmeg over the top of the peaches. All that was left to do was bake them and pray they still look like rosettes afterwards. 

Pretty rosette peach tartlets

And once they were out of the oven I breathed out a big ol’ sigh of relief because they turned out super cute! Not to mention, they are delicious with a side of some vanilla ice cream!

Don’t they look like they just walked out of a bakery? You could totally impress your friends with these pastries, don’t you think?

[amd-yrecipe-recipe:63]


/ Filed In: Desserts, Eat
Tagged: dessert, muffin tin, pastry, peach, puff pastry, Summer, tart

Roasted Strawberry and Rosemary Scones

May 20, 2016

Roasted Strawberry and Rosemary Scones

Leave it to me to find breakfast inspiration from a drink. Last week we had friends in town which is all the excuse I needed to indulge in a fancy cocktail. We took them out to one of our favorite restaurants that is more of a speak-easy bar than a restaurant, so you can probably imagine how great the drinks are. I can’t even tell you what I ordered except that it had muddled strawberry and a rosemary sprig. I would have never thought to put the two together before, but they were delicious! As I was taking my first sip I immediately thought that this would make a great scone or muffin recipe. Minus the gin, of course. 

I didn’t just want this to be any old strawberry scone, so along with a hint of rosemary, I roasted the strawberries for an extra, unexpected flavor. Roasted strawberries are just a little bit sweeter, softer, and since the juice has had a chance to cook out, they mix in perfectly with the scone dough so that it isn’t too soggy

Roasted Strawberry and Rosemary Scones
Roasted Strawberry

The rest of the scone recipe is pretty basic, almost like a biscuit dough. Cubes of butter are cut into the flour and sugar and then mixed with milk, an egg, and some vanilla. I have ruined a few scone recipes before by over mixing the dough, so now I know that it’s okay if the dough is a little lumpy. In fact, it’s preferred. All those little lumps of butter will melt and make the scones light and flaky!


Right at the end, I mixed in some chopped up fresh rosemary leaves and the roasted strawberries. Typically I roll out the dough and cut it into rounds, like biscuits (0r you could cut them into wedges). In an attempt to be a little rustic (and because I was lazy), I just dropped  spoonfuls of the dough onto a baking sheet. And then because they looked a little too rustic once baked, I camouflaged them with a drizzle of strawberry glaze made with the reserved strawberry juice and some powdered sugar. 


I will admit, I was a little nervous about the rosemary in a sweet and fruity scone, but it just worked! Normally I pair rosemary with garlic so I think of it as a savory herb, but now I know it doesn’t have to be. 

Roasted Strawberry Scones

But if that doesn’t convince you, you can just drop the rosemary all together and just make these roasted strawberry scones, instead. They will still be delicious!

Roasted Strawberry and Rosemary Scones

Also, if you haven’t signed up for Yummly, I would highly recommend it! It’s a great way to find and collect recipes. If you are on Yummly, I would really appreciate it if you “Yum” my recipe,by clicking that little orange button.

[amd-yrecipe-recipe:33]


/ Filed In: Breakfast, Eat, Other Sweets New
Tagged: breakfast, pastry, rosemary, scone, strawberry

Follow

Hey There!

Hey there, I'm Lindsey. I'm a number cruncher by day and a home cook and baker by night. While I love to eat healthy and find fresh and healthy alternatives for my favorite foods, I will never turn down dessert! Life is all about moderation, right?

Recipes

  • All Recipes
  • Breakfast
  • Appetizers
  • Salads
  • Main Dishes
  • Side Dishes
  • Desserts
  • Drinks

Favorite Finds

[show_lookbook_widget id=”388783″]

Theme by 17th Avenue · Powered by WordPress & Genesis