• Home
  • Eat
    • Breakfast
    • Appetizers
    • Main Dishes
      • Chicken
      • Beef
      • Seafood
      • Healthy Dishes
      • Paleo Dishes
      • Salads
    • Desserts
      • Decorated Cookies
      • Cookies
      • Bars and Brownies
      • Cakes and Cupcakes
  • Shop
    • Cookie Decorating Supplies
    • Bakeware
    • Cookware
    • Kitchen Gadgets
    • House
  • About
    • Contact
    • Bucket List
  • Cookie Decorating 101

Follow the Ruels

How to Make the Perfect Zucchini Noodles

January 6, 2017

So I made the mistake of making my first grocery store trip on Monday, February 2nd at 4:00 pm. You know who else was doing their grocery shopping at that very moment? 

EVERYONE!

I should have known how crazy the store would be when 1) I couldn’t find a parking spot, and 2) couldn’t find a shopping cart. Once I got inside, I couldn’t find anything on my list! The store was cleaned out! Well, not completely. Just of all the healthy stuff. It’s almost like everyone had started a diet or something…

Once I realized they were out of zucchini, I just upped and left. Apparently everyone and there mother plans on cooking with zucchini this week. And I have a sneaking suspicion they will be making zucchini noodles!

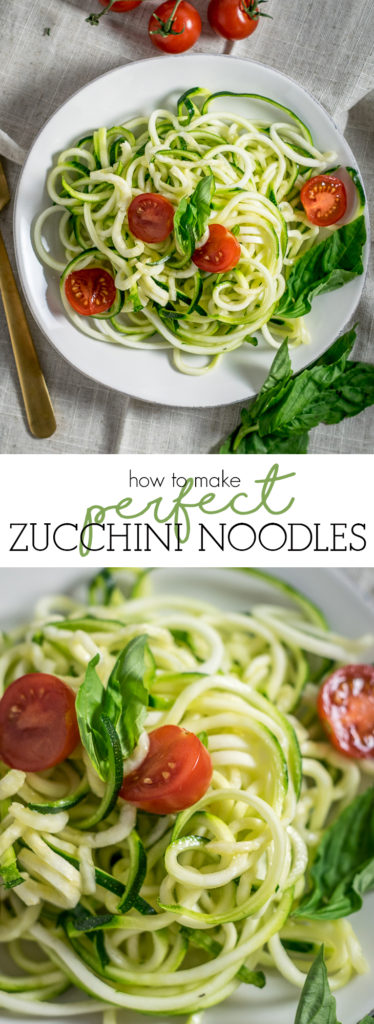
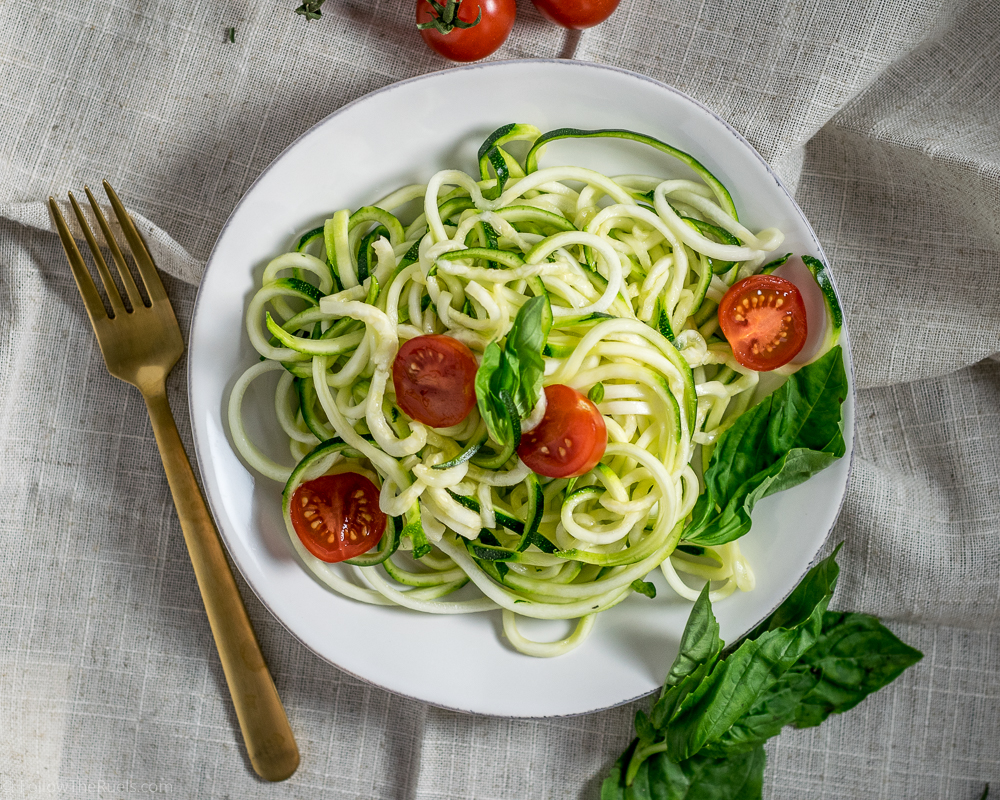
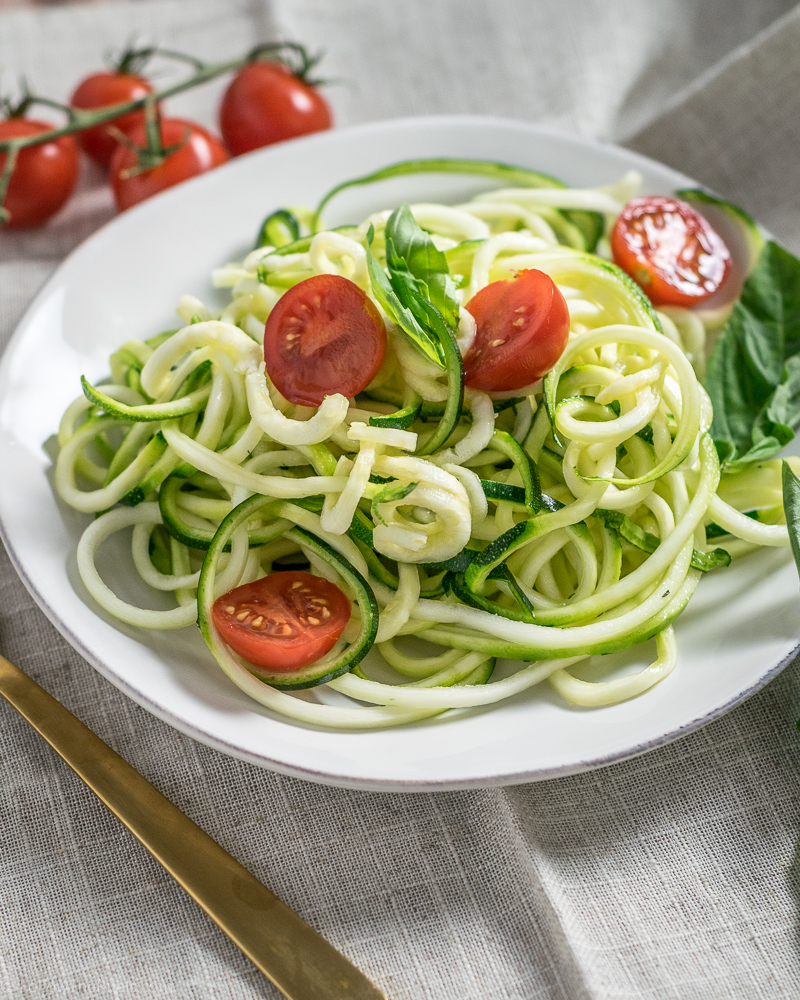
Sounds like the perfect time to share my method for making the perfect zucchini noodles!

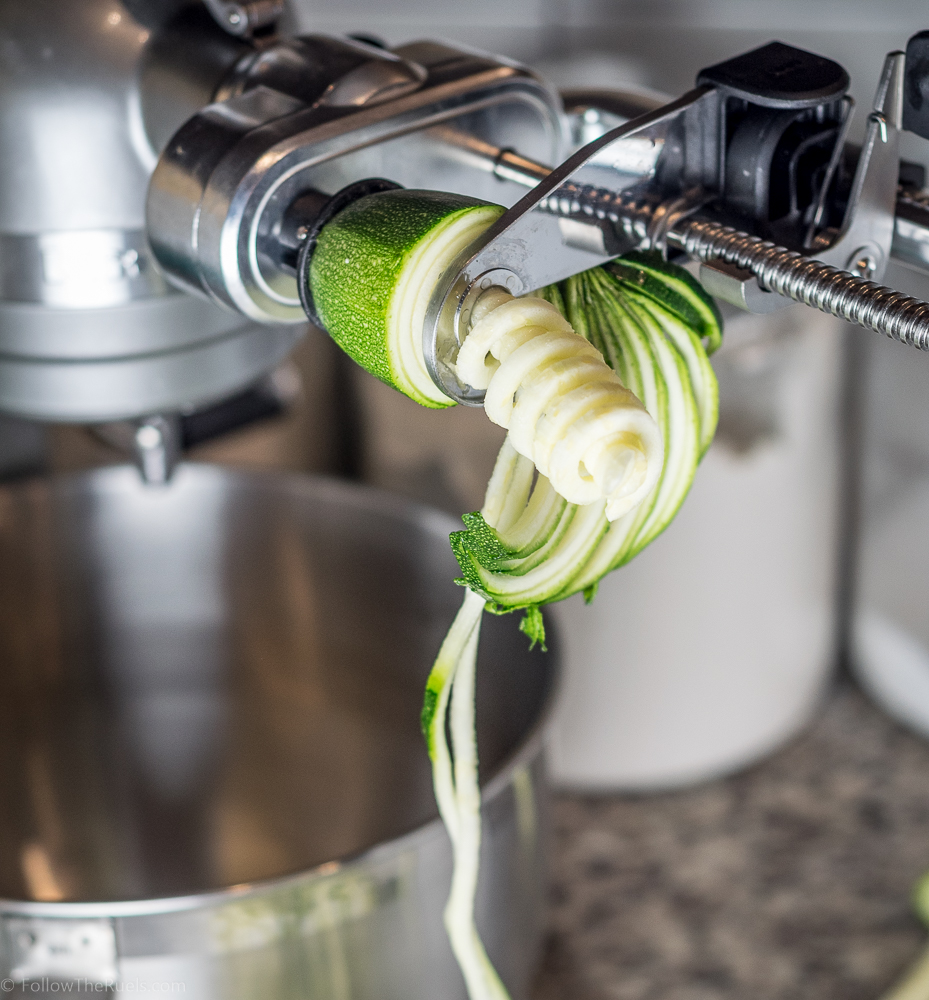
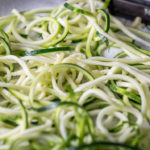
My method for making zucchini noodles starts out just like any other…by spiralizing the zucchini. I use my Kitchen-Aid attachment, but you can use counter-top or a handheld spiralizer if you want something a bit more budget friendly.

My advice, start with the handheld version, which you can get for under $10, just to make sure you like zucchini noodles. If you do, you can consider upgrading to another device.  


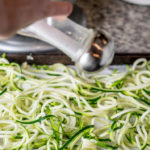
After all the zucchini has been spiralized, I lay them down on a couple layers of paper towels then sprinkle them with salt. The salt actually draws out some of the moisture which helps reduce the sliminess of the zucchini noodles. 

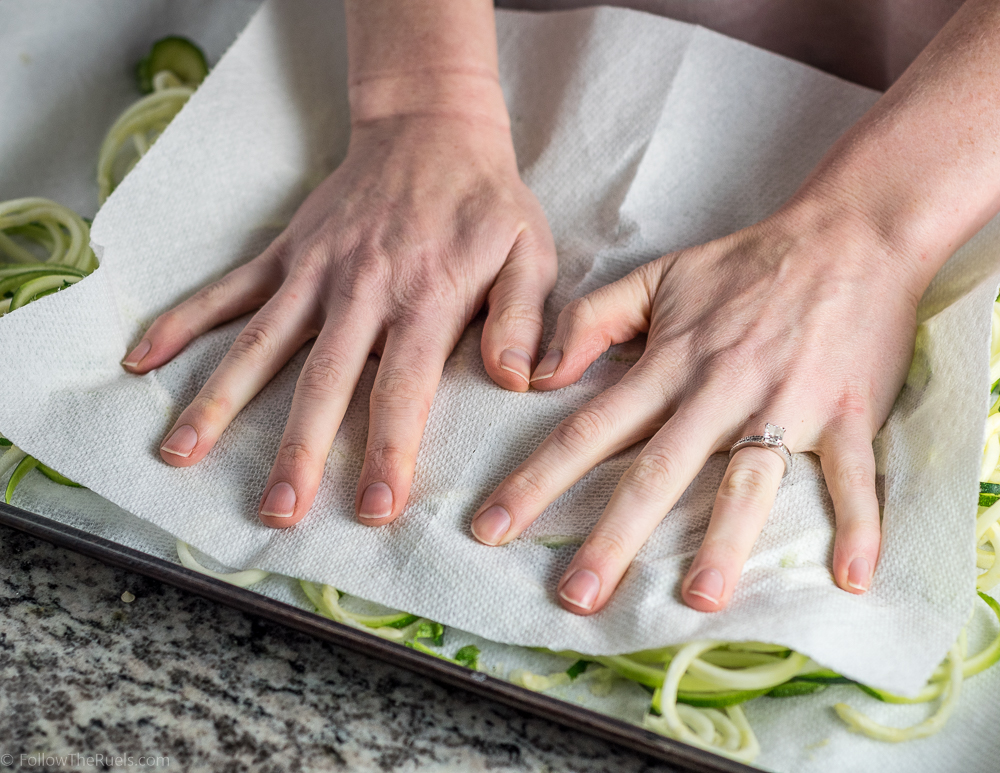
Then, to get rid of that moisture, I press some paper towels into the noodles to soak up all that zucchini juice. 


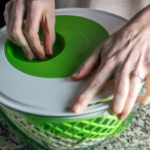
Now this next step, which I think is key, comes from the genius that is my husband. He always hears me complain about how my zucchini noodles are soggy, no matter what I do. So he came up with the bright idea of spinning them through a salad spinner!

I thought he was a little crazy at first, but I was amazed at how much extra water came out of those noodles! Soggy noodles no more!!

From this point, there are several ways I like to cook my zucchini noodles. 

  1. Saute them – The primary way I cook my zucchini noodles is by sauteing them in a teaspoon of oil (especially herb infused oil) for just a few minutes. 
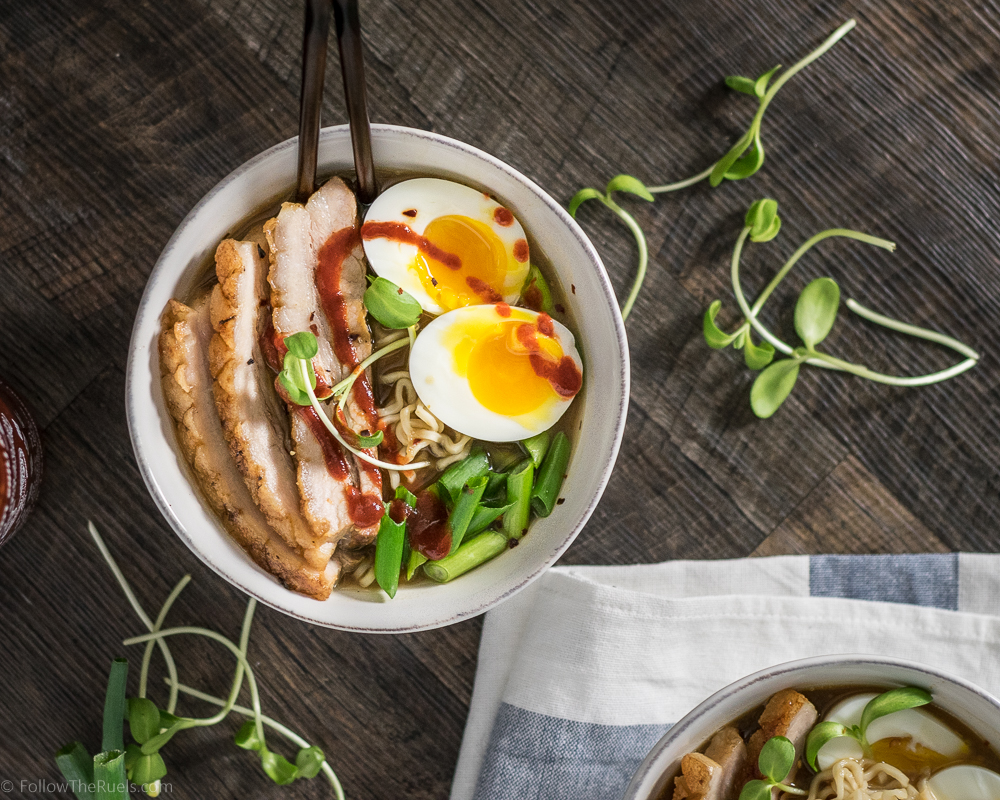
  2. Blanch them – I only cook my noodles this way if I am adding them to soup or something else that’s already pretty soggy. 
  3. Don’t cook them – Zucchini noodles are also good raw! I like to add raw zucchini noodles to salads for some fun textures. 

So there you have it, my method for ensuring that I have perfect zucchini noodles every time! And if you need some inspiration for some zucchini noodles recipes, I have quite a few coming to the blog soon!

[amd-yrecipe-recipe:113]

PIN NOW, MAKE LATER

/ Filed In: aug 2018 savory new, Eat, Healthy Dishes, Other Savories New
Tagged: low-carb, noodles, Paleo, zoodles, zucchini

Pork Belly Ramen Bowl

November 14, 2016

Pork Belly Ramen Bowl

One of my husband’s and my favorite date-night restaurants is a little ramen spot up the road from us. I am pretty sure they have the best ramen in town, but that may be because there are no other ramen restaurants around here. Not that it takes away from how good this place is, it’s fantastic! The only “problem” is that it’s incredibly small (only a few indoor tables) and wildly popular, which makes it almost impossible to get a hot bowl of ramen these days. 

So what do I do when I want a bowl of ramen but can’t get one? I make it myself!

I didn’t want to make just any old cup of noodles. I wanted my ramen to be good. Which is a little bit more difficult to do at home when time and ingredients are somewhat limited. At that ramen spot up the road, I imagine that they spend hours cooking their broth and use some exotic ingredients I can’t pick up at the local super market. 

Despite all that, I was determined to make it work and to make a rich and delicious broth for my ramen without laboring over it for hours.

To intensify some of the flavors, I used a method that it sometimes used when making pho broth: charring the vegetables then adding them to the broth. To cut down on time, I used store bought chicken broth instead of making my own. 


I started the broth by sauteing some shiitake mushrooms and garlic in sesame oil. Then I added the charred vegetables (onion, leeks, and ginger) and the stock. I let the stock simmer for quite a few hours so that all the flavors would meld together.

Even though the broth is the foundation of a good bowl of ramen. For me, the star of the show is the pork. In this case, pork belly! So while the stock was on the stove, bubbling away, I went off to make my pork belly.

I had never attempted pork belly at home, so before I did anything I did tons or research (thank you, Internet!). Did you know there are about a dozen (or more) different ways to make pork belly? You can smoke it, grill it, roast it, braise it, sous vide it…you get the idea. A more traditional, Japanese way of cooking pork belly would be to braise it. Braising is also probably the most fool proof method.

Pork Belly

But I also wanted that fatty layer right under the skin to be nice and crispy. To me, that’s the best part of the pork belly! To get the skin extra crispy, I pricked it with a fork to make hundreds of tiny holes. Then I rubbed some salt on top and let that sit out for about 30 minutes so that it could draw out all the moisture. After 30 minutes were up, I patted it down with a paper towel to sop up any of that moisture, and then scored the top of the fat layer with a knife in a cross hatch pattern. 

While the pork was resting, I prepared the pan and all the ingredients going to braise the pork belly in. I wanted lots of flavor to find there way into the meat to make it soft and delicious. I used a combination of leeks, garlic, ginger, and lemon grass then I plopped (that’s the scientific word, right?) the pork belly, fat side down, into the pan so that it was nice and crispy. After about 5 or so minutes, about the point my kitchen started to smell like bacon, I flipped it over and then ladled in some of the broth that was on the stove. I only added enough broth to immerse about half the pork belly. I wanted that top fatty layer exposed to roast and get crispy, and the meaty half to braise and get tender. Then the entire pan went into the oven to cook for about an hour. 

Braised Pork Belly

The good thing about ramen is that, while it sounds really time consuming (I mean, it’s no 30 minute meal), most of it is just waiting around for everything to cook. All of those flavors in the broth and pork belly need some time to develop. So it was at this point I just kicked back and relaxed for about an hour. I guess I could have cleaned up the mess I had made, but I left that for my husband to have fun with later. 

At just about the time the pork belly was about to come out of the oven, I put a pot of water on the stove to start boiling. I used the same pot to soft boil the eggs and to cook the ramen.


Once the pork belly was out of then oven and had a chance to rest a bit, I used a serrated knife to slice it into half-inch thick pieces. The skin on top was really dry and crispy, so it took a bit of effort to get the knife through the top layer. Then once it got down to the meat, it cut right through it like butter.  

Pork Belly Ramen Bowl

And the last step in this day long adventure in ramen making was to assemble the bowls. I started with the noodles, fresh out of their pot of boiling water, then ladled on some of the broth, until the bowl was almost full. I added a generous helping of the pork belly on top of the noodles, as well as the soft boiled egg, some scallions, and pea shoots. 

Homemade Pork Belly Ramen Bowl

Since my husband likes his ramen on the spicy side, I added some sriracha on top for him. 

Homemade Pork Belly Ramen Bowl

But this definitely didn’t need the extra flavor! There was so much flavor packed into the broth and the pork belly that my taste buds were overloaded. It was so rich and delicious, it was hard not to eat the entire bowl. And yet, because it is so rich and delicious it was almost impossible to fit that much food in my stomach. I was stuffed! It lulled us both into a nice food coma, and we ended up falling asleep on the couch with Netflix still on. 

This is what marriage is kids. Stuffing your face with ramen and falling asleep to cheesy 90s movies. Sounds like the perfect date night to me! 

PIN NOW, MAKE LATER

Homemade Pork Belly Ramen Bowl

[amd-yrecipe-recipe:93]

/ Filed In: Eat, Main Dishes, Other Savories New
Tagged: Japanese, noodles, pork, pork belly, ramen, soup

Follow

Hey There!

Hey there, I'm Lindsey. I'm a number cruncher by day and a home cook and baker by night. While I love to eat healthy and find fresh and healthy alternatives for my favorite foods, I will never turn down dessert! Life is all about moderation, right?

Recipes

  • All Recipes
  • Breakfast
  • Appetizers
  • Salads
  • Main Dishes
  • Side Dishes
  • Desserts
  • Drinks

Favorite Finds

[show_lookbook_widget id=”388783″]

Theme by 17th Avenue · Powered by WordPress & Genesis