• Home
  • Eat
    • Breakfast
    • Appetizers
    • Main Dishes
      • Chicken
      • Beef
      • Seafood
      • Healthy Dishes
      • Paleo Dishes
      • Salads
    • Desserts
      • Decorated Cookies
      • Cookies
      • Bars and Brownies
      • Cakes and Cupcakes
  • Shop
    • Cookie Decorating Supplies
    • Bakeware
    • Cookware
    • Kitchen Gadgets
    • House
  • About
    • Contact
    • Bucket List
  • Cookie Decorating 101

Follow the Ruels

Embossed Marbled Sugar Cookies

March 28, 2018

There comes a time when even I get a little tired of decorating cookies. And that time comes after decorating (1,2,3,4,5,6) six different sets of Easter-ish cookies. I just needed a little break from all that icing. 

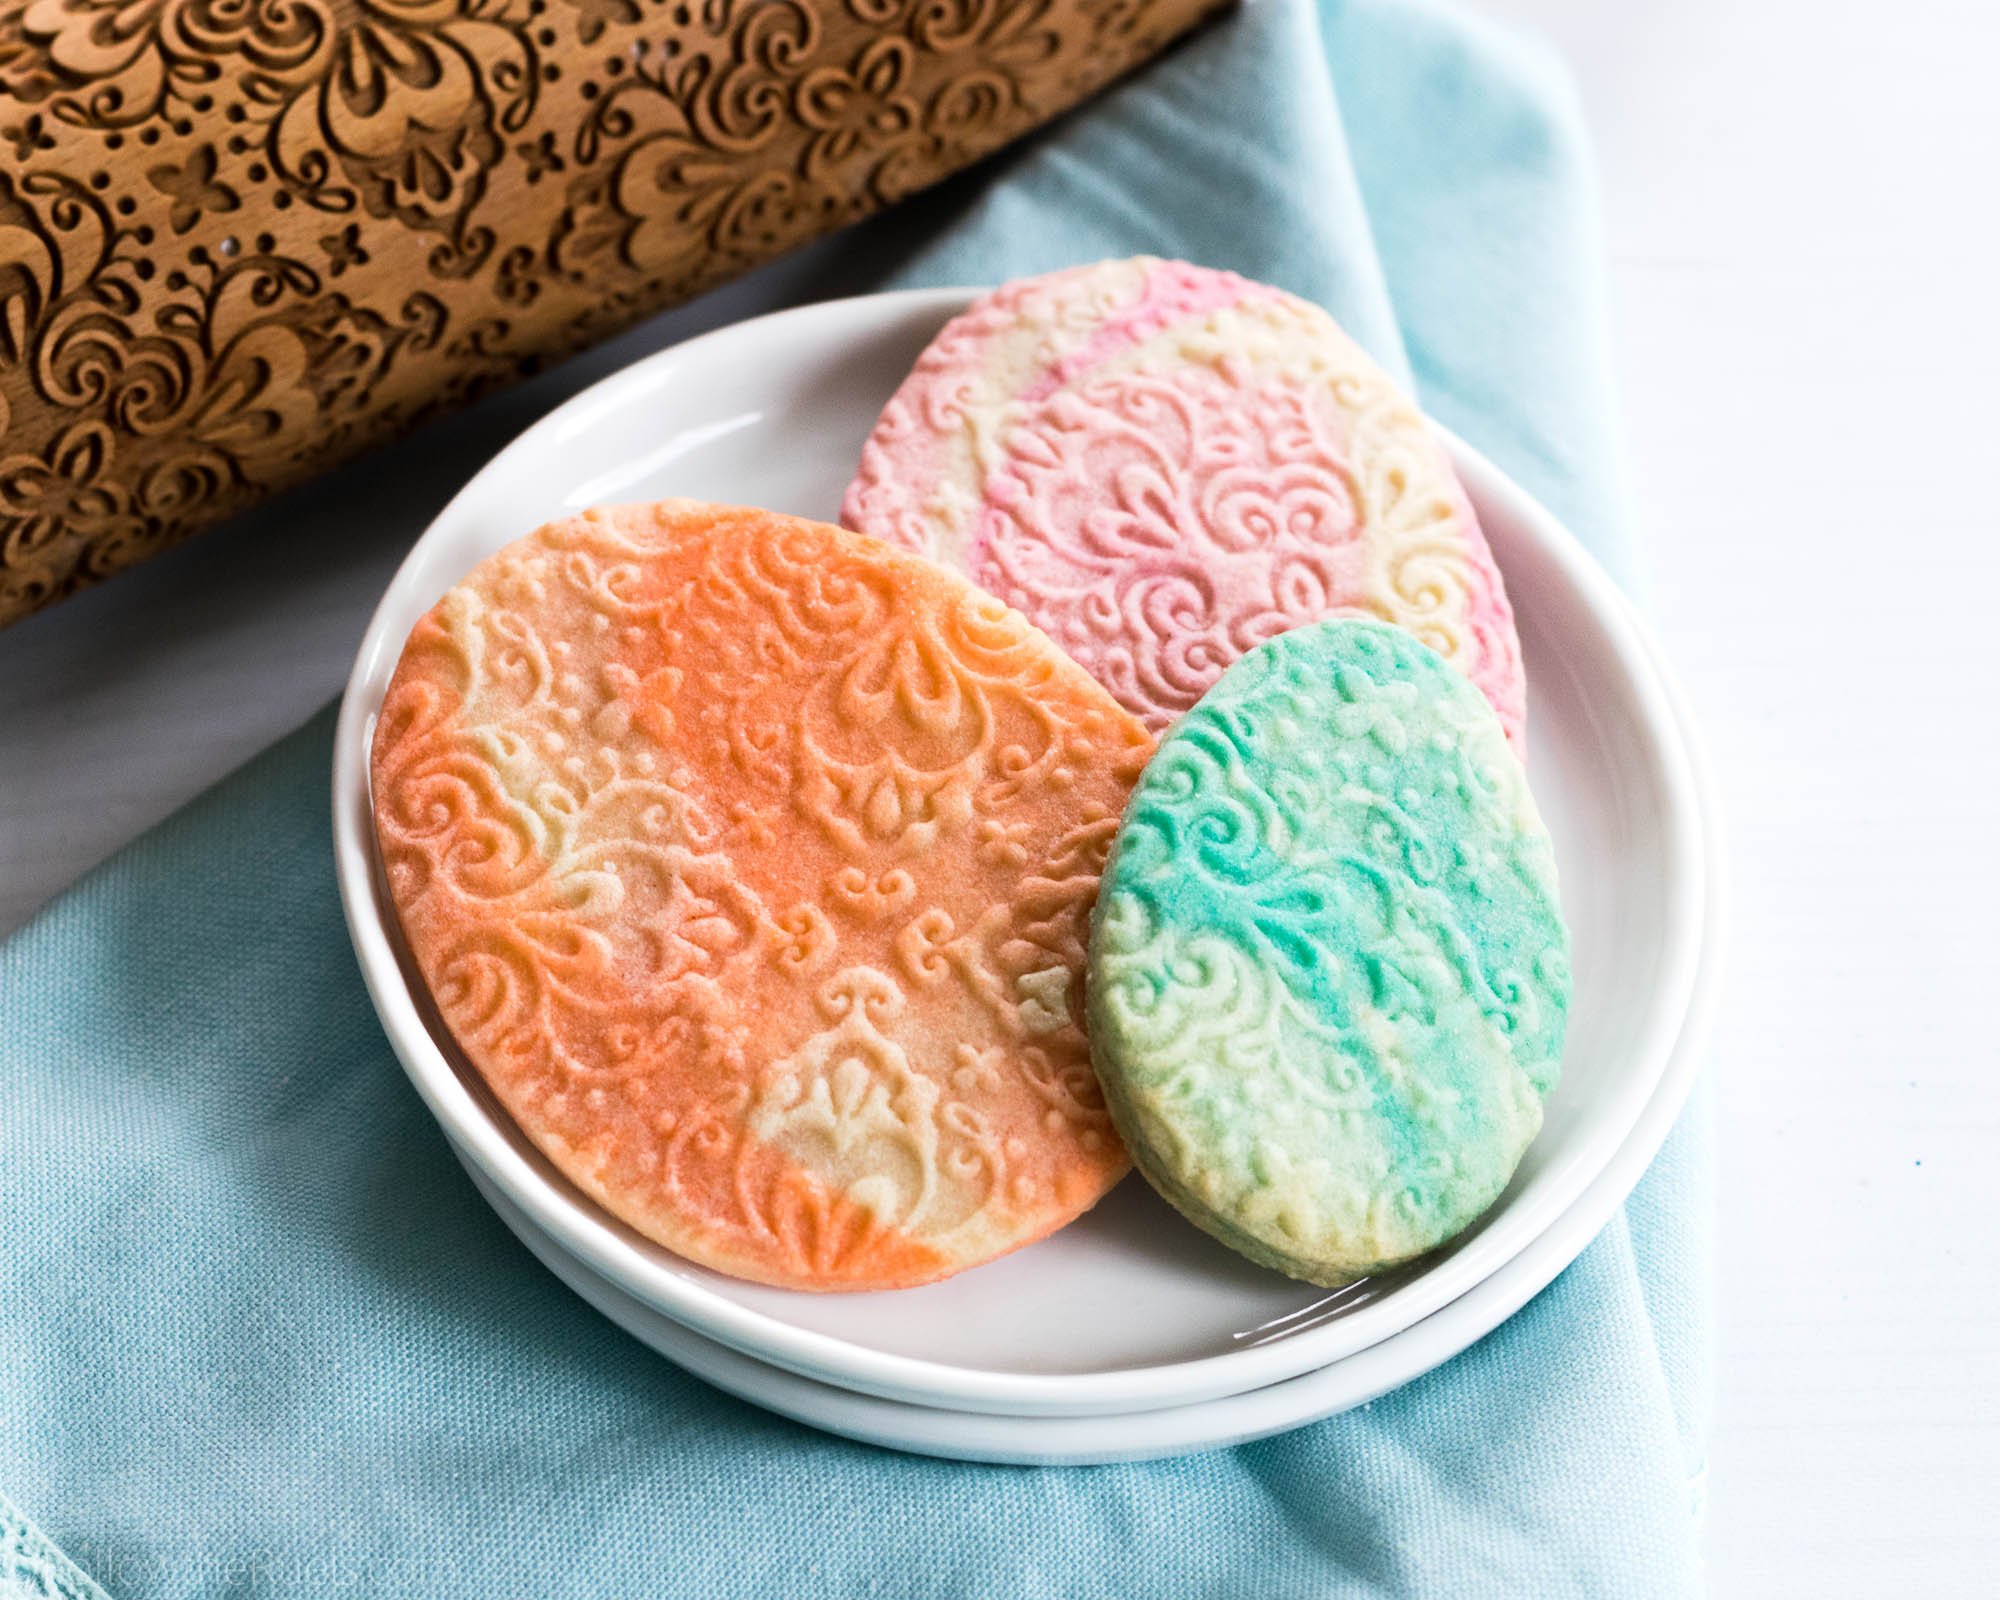
Thankfully, you don’t need icing to make a pretty cookie. In the case of the embossed marbled sugar cookies you just need an engraved rolling pin and some food coloring!

How to Make Them

These are so easy, guys, and a great baking project for the kiddos! 

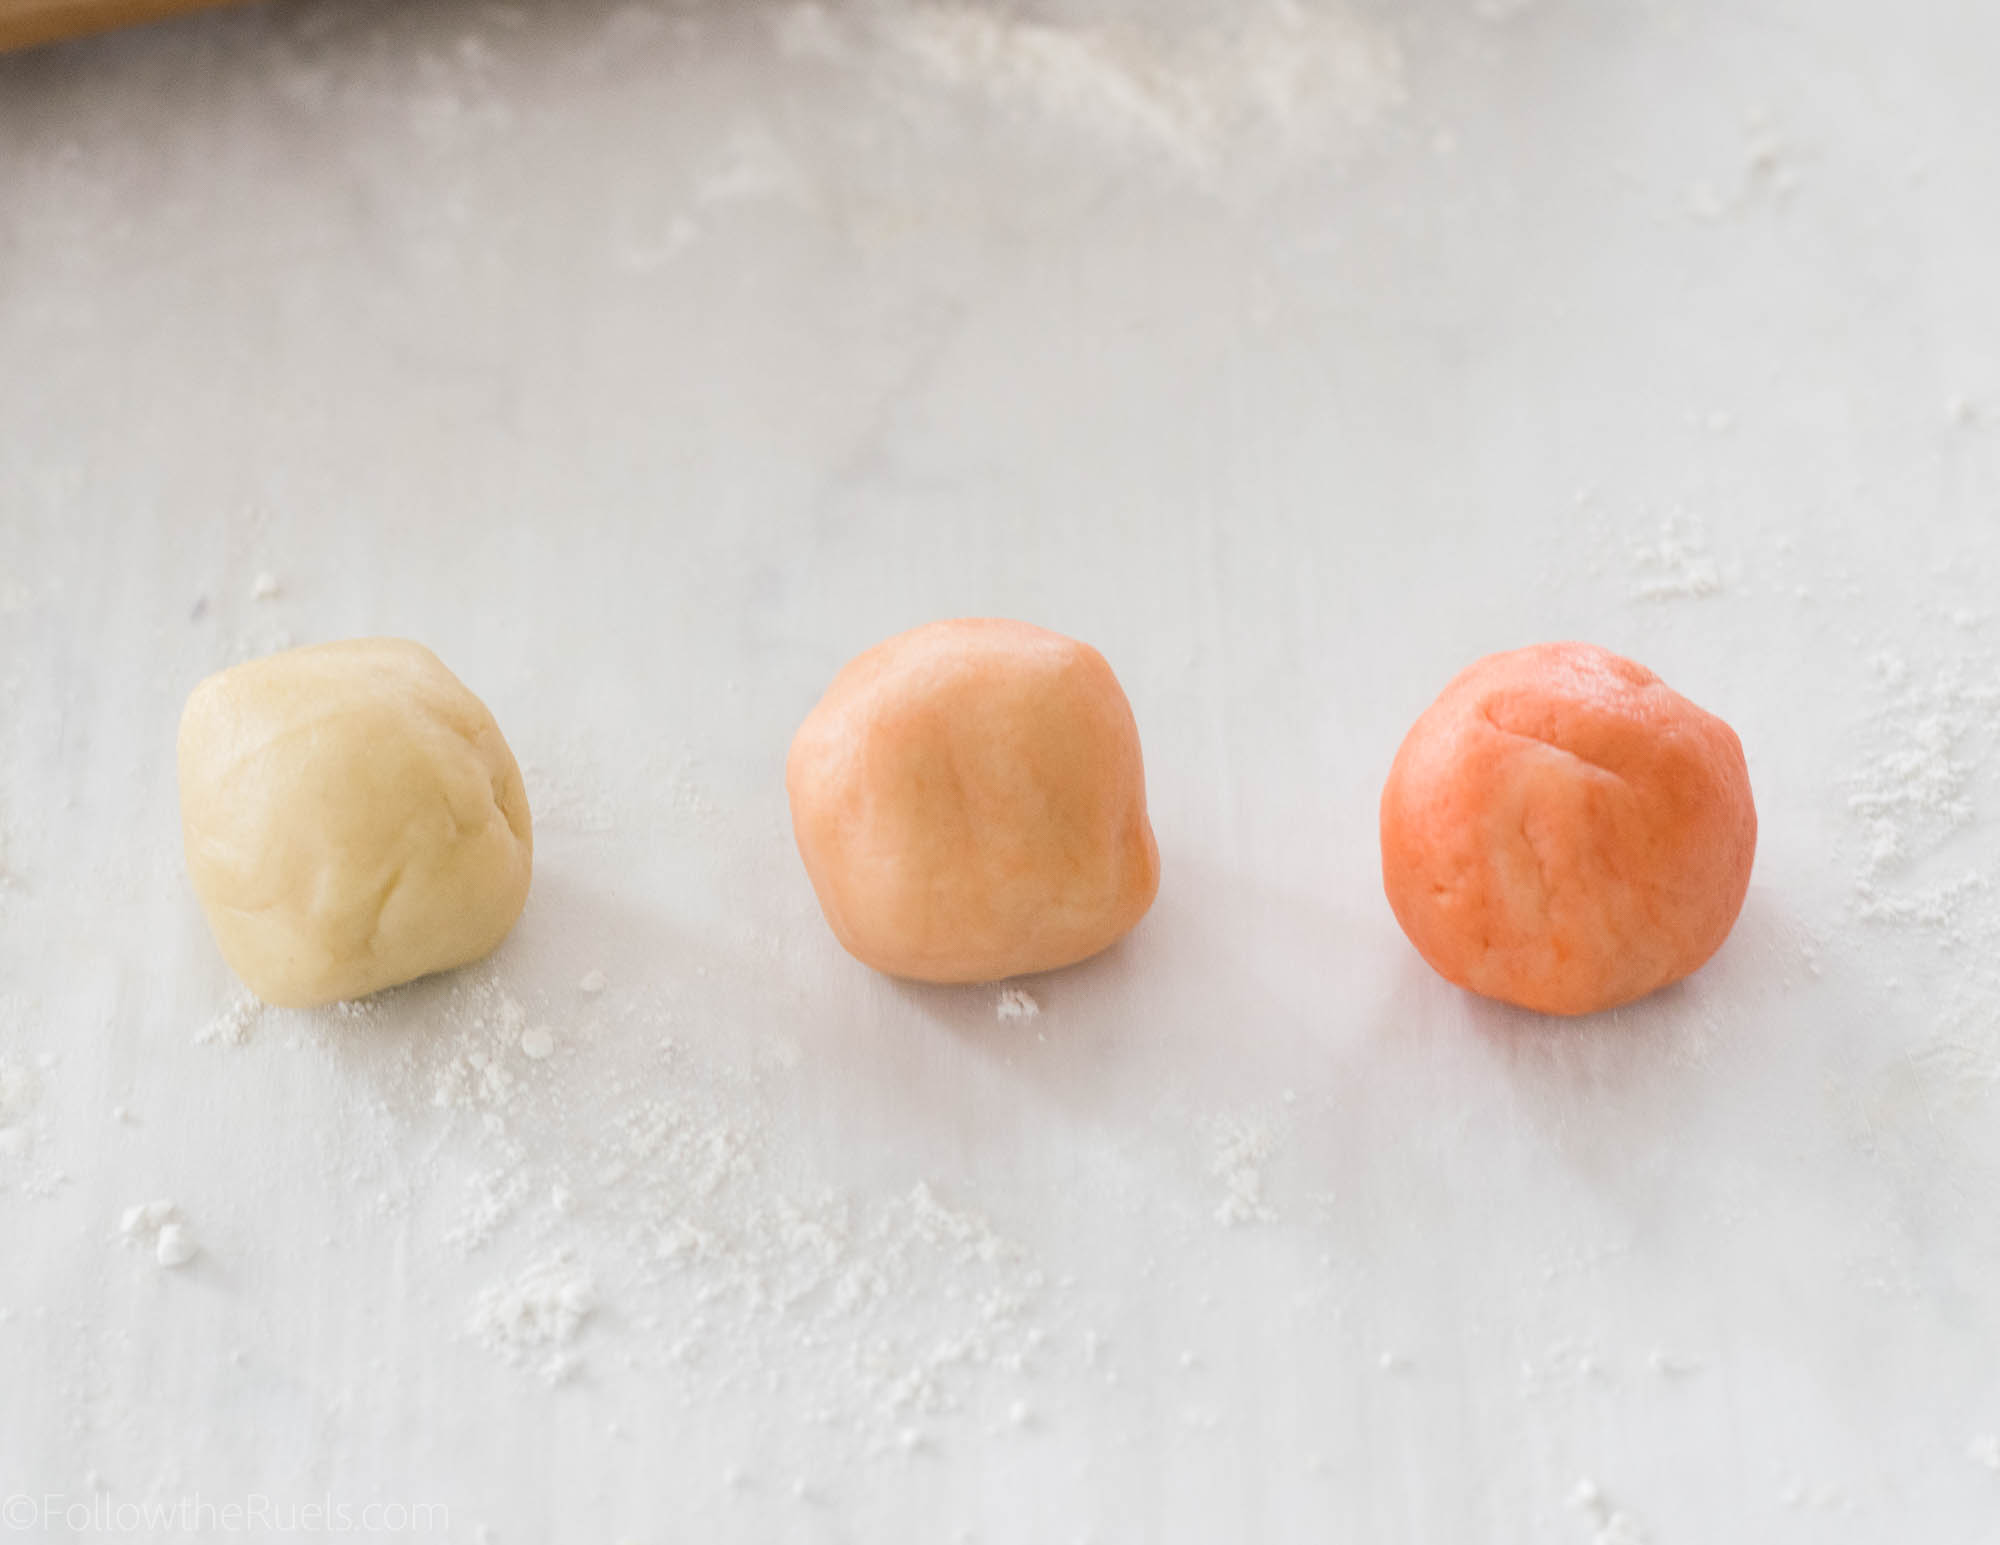
Start by separating your dough out into thirds. Dye one of the thirds a dark shade of your favorite color, dye one a light shade, and leave one totally plain. 

In my case, I added about 2 drops of gel food coloring to my darker ball, and a tiny drop to the light ball. I worked the dough between my fingers until the food coloring was completely mixed in.

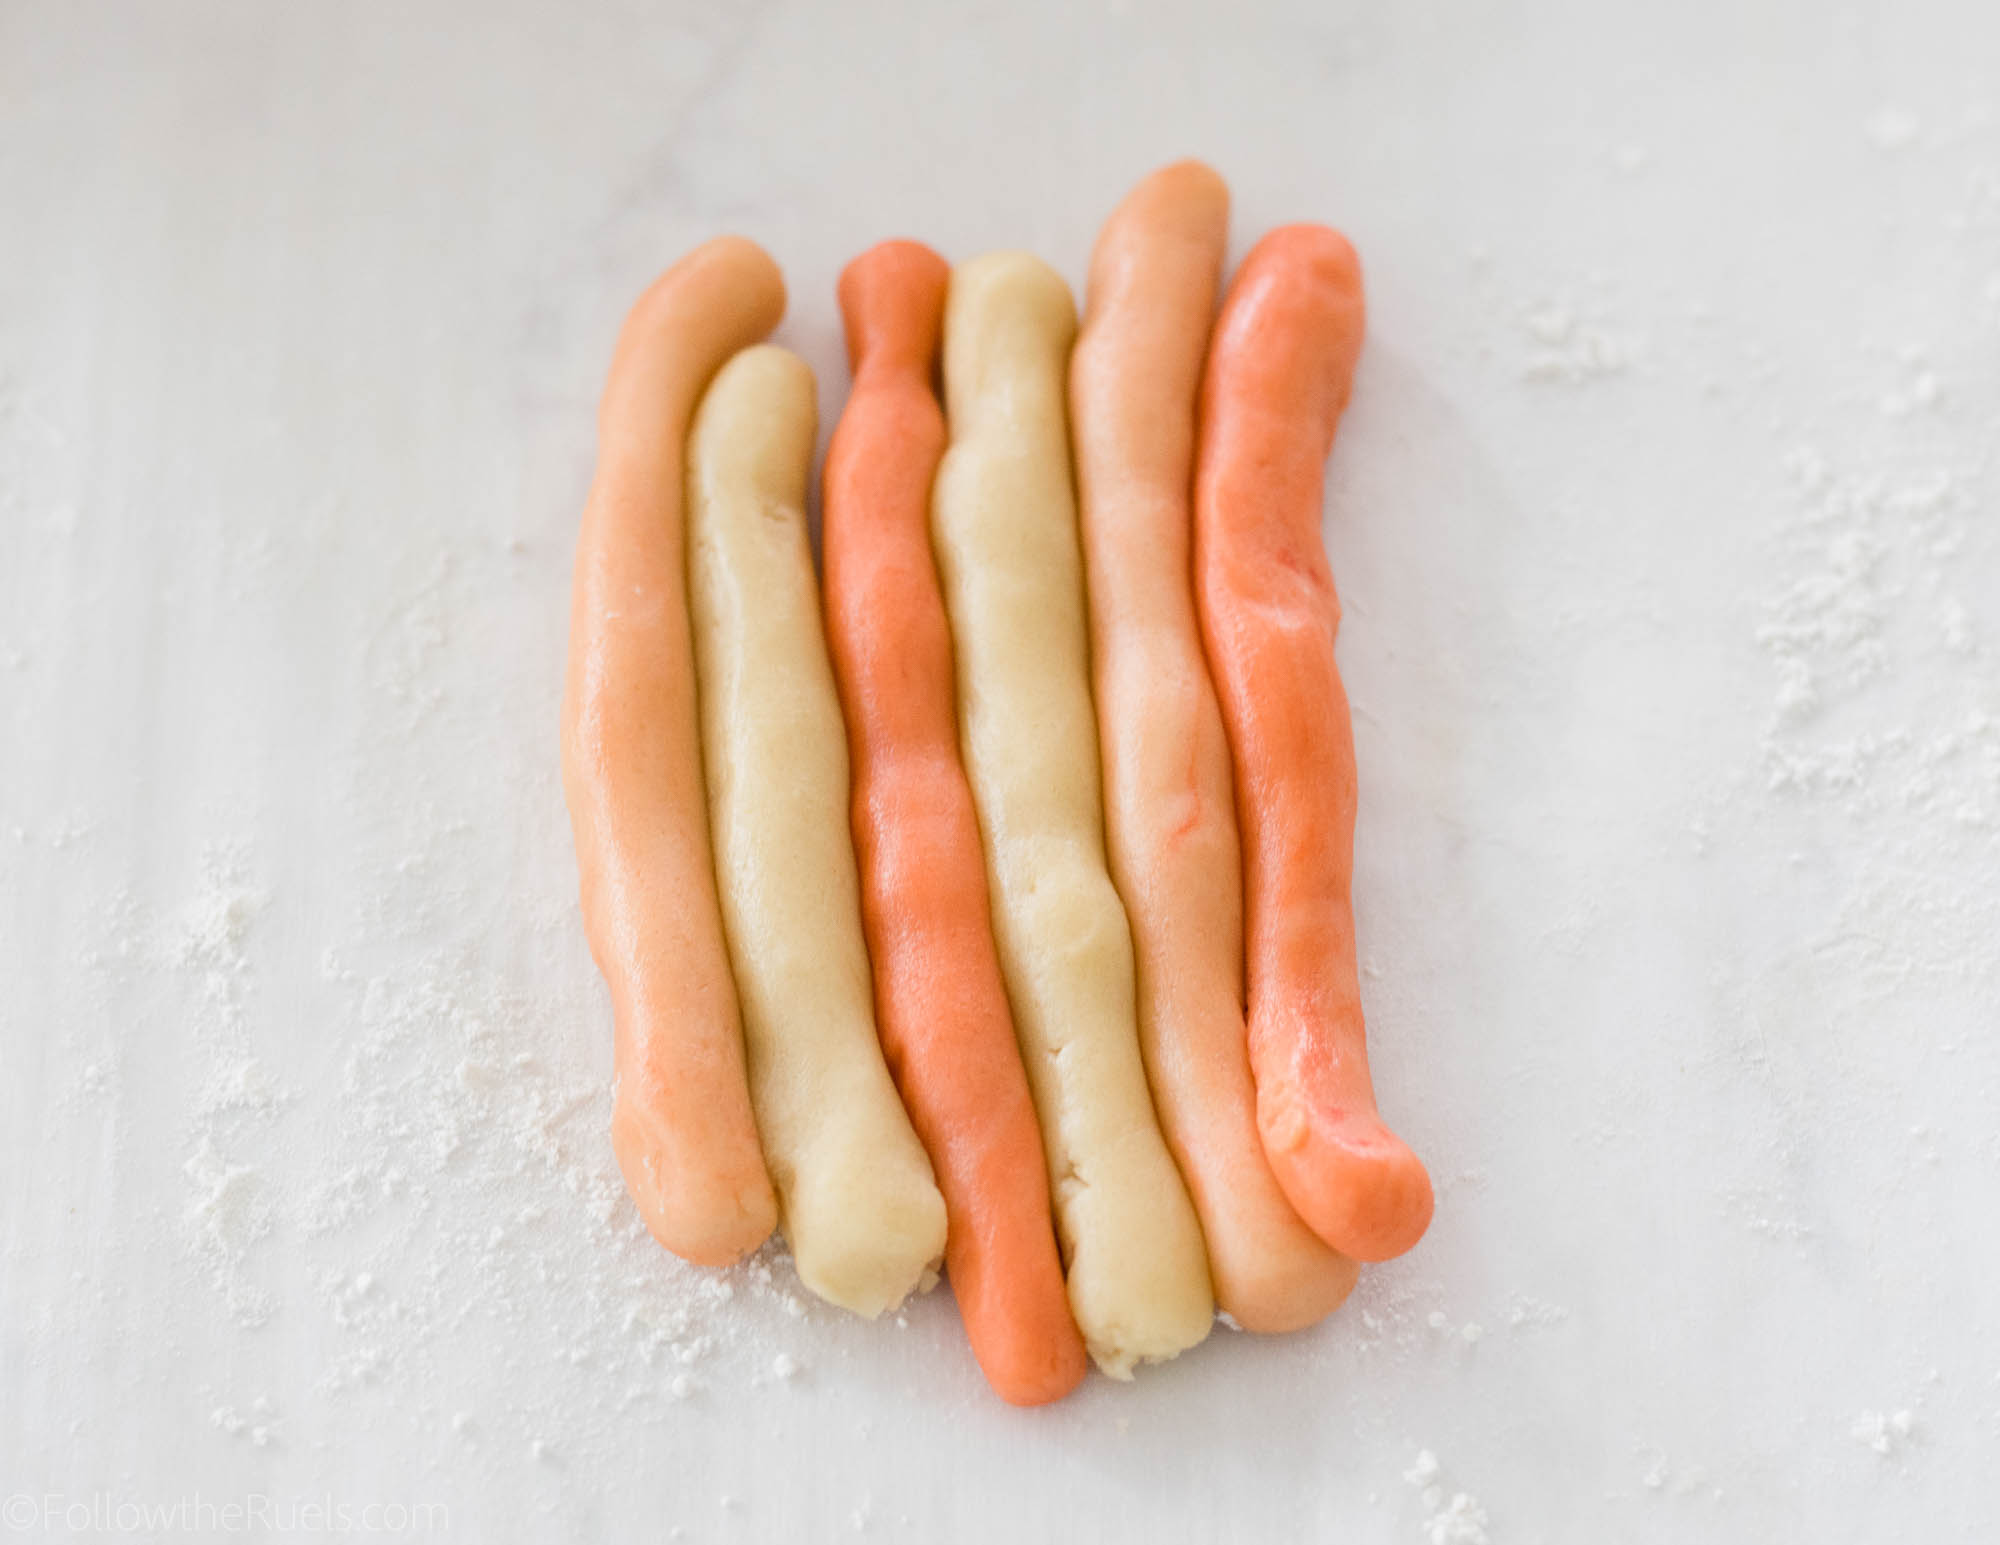
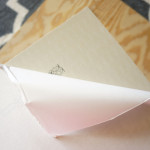
Roll the balls into strips and lay all the strips next to each other. Then fold the strips in to form one big cookie dough sausage. I am pretty sure that’s a technical term. Don’t look it up.

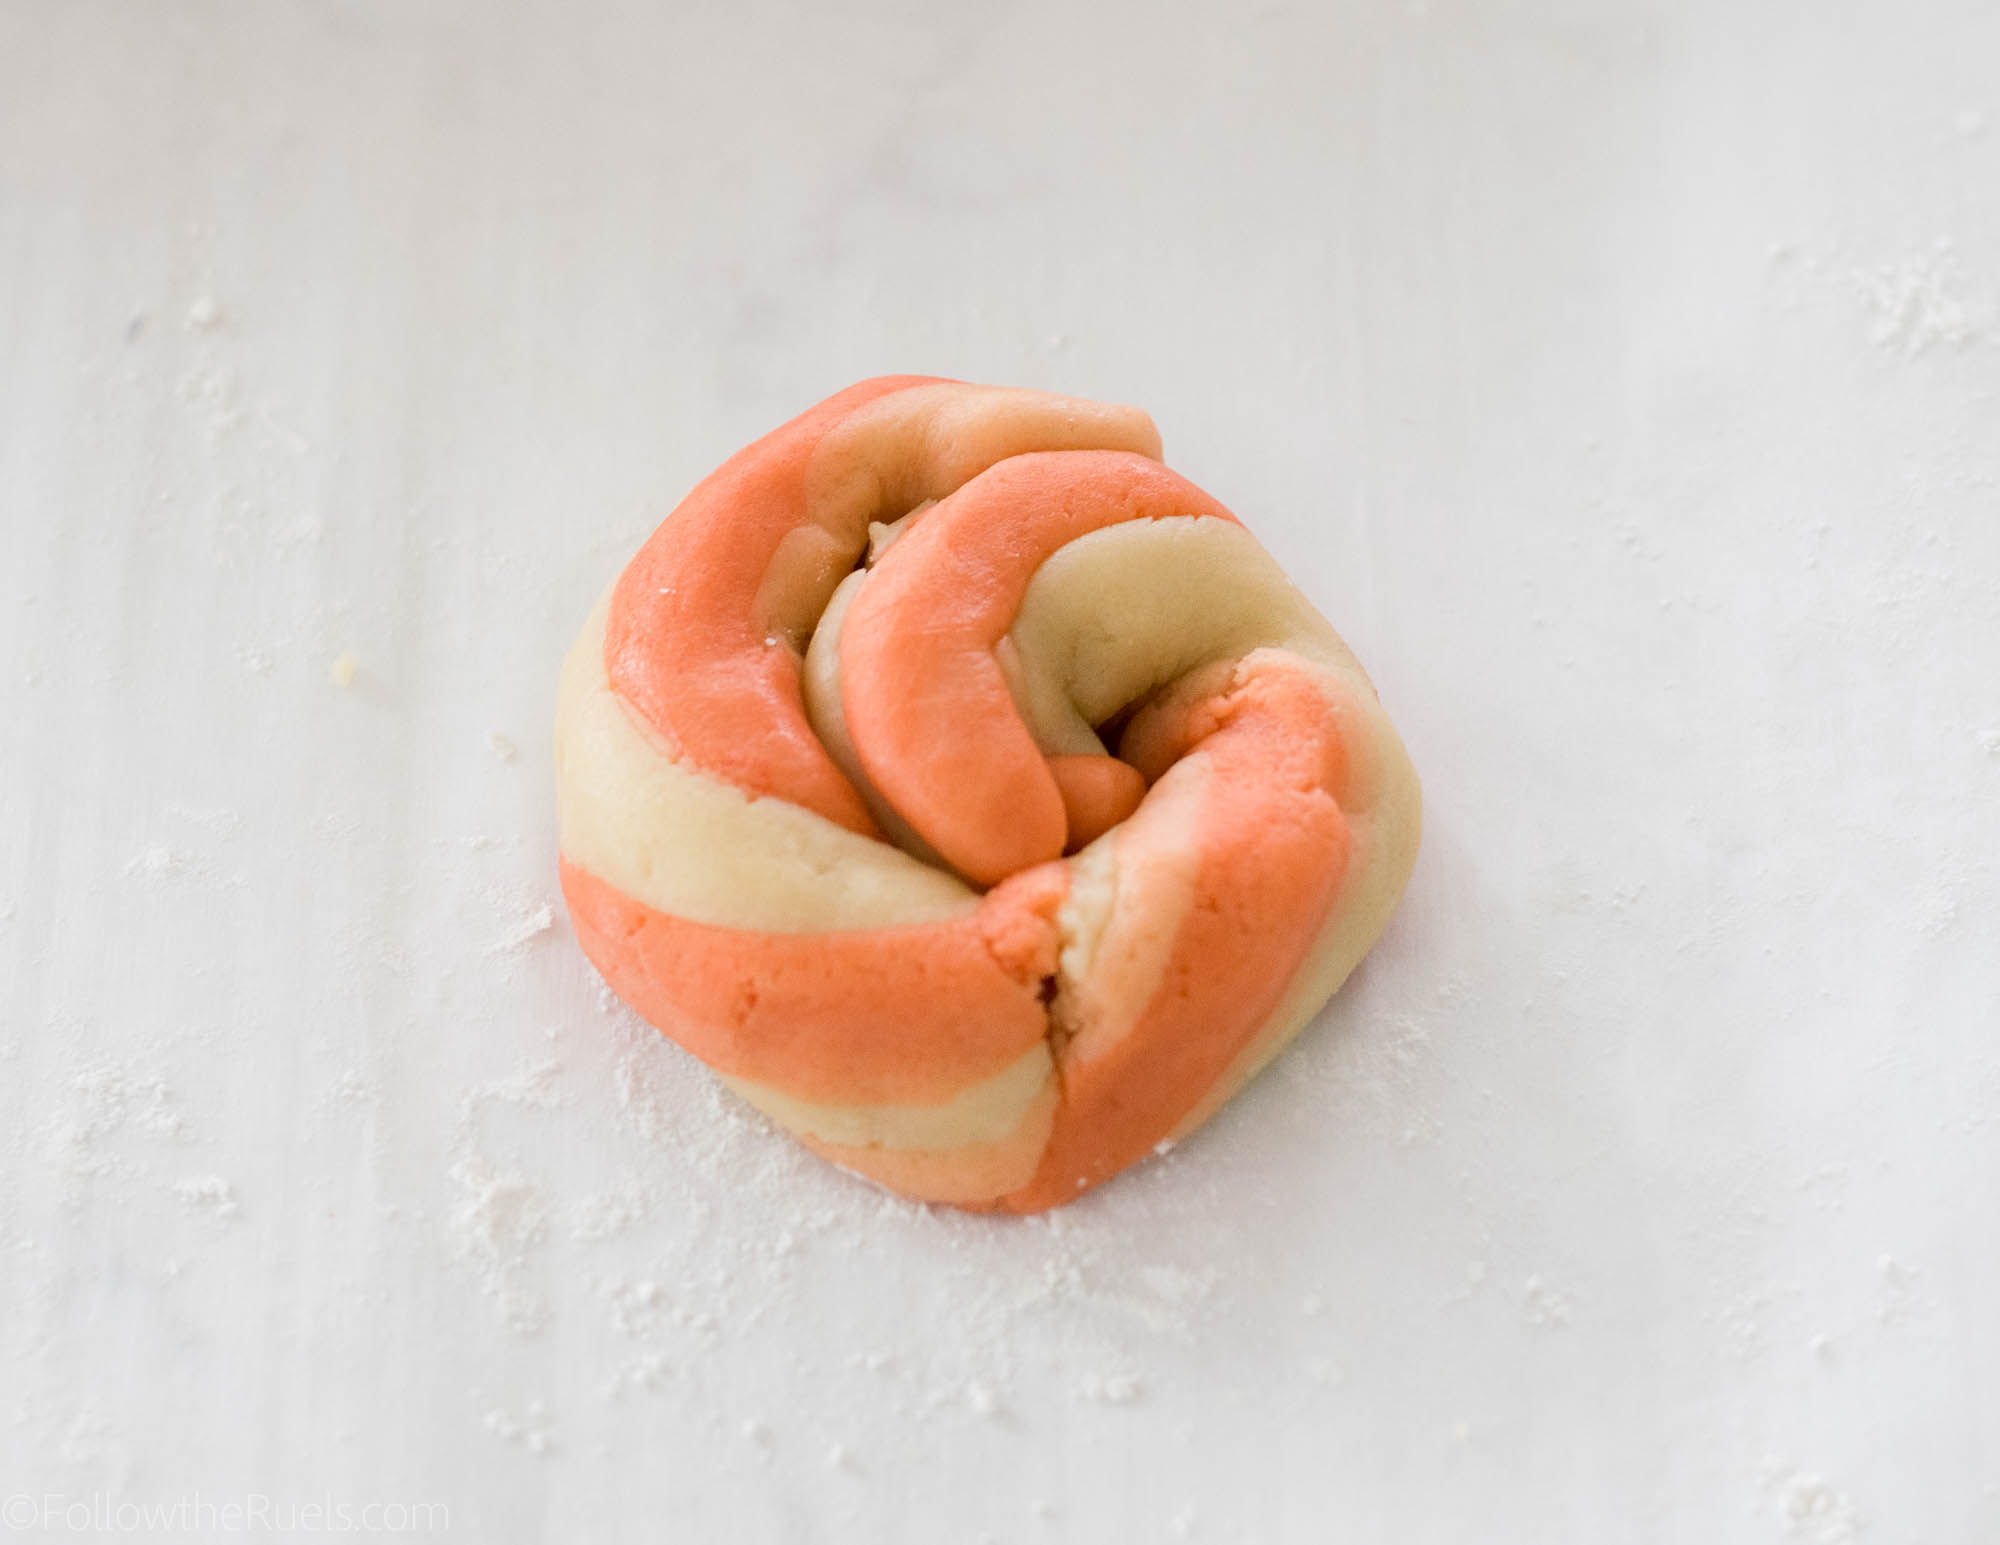
Give the cookie dough a twist and a turn to marble all the colors together. 


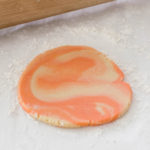
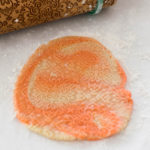
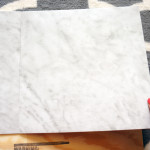
Then roll the dough out with a normal rolling pin before rolling over it with the engraved rolling pin.

Now, I have come up with a super awesome trick that will ensure that you get a good roll every time!

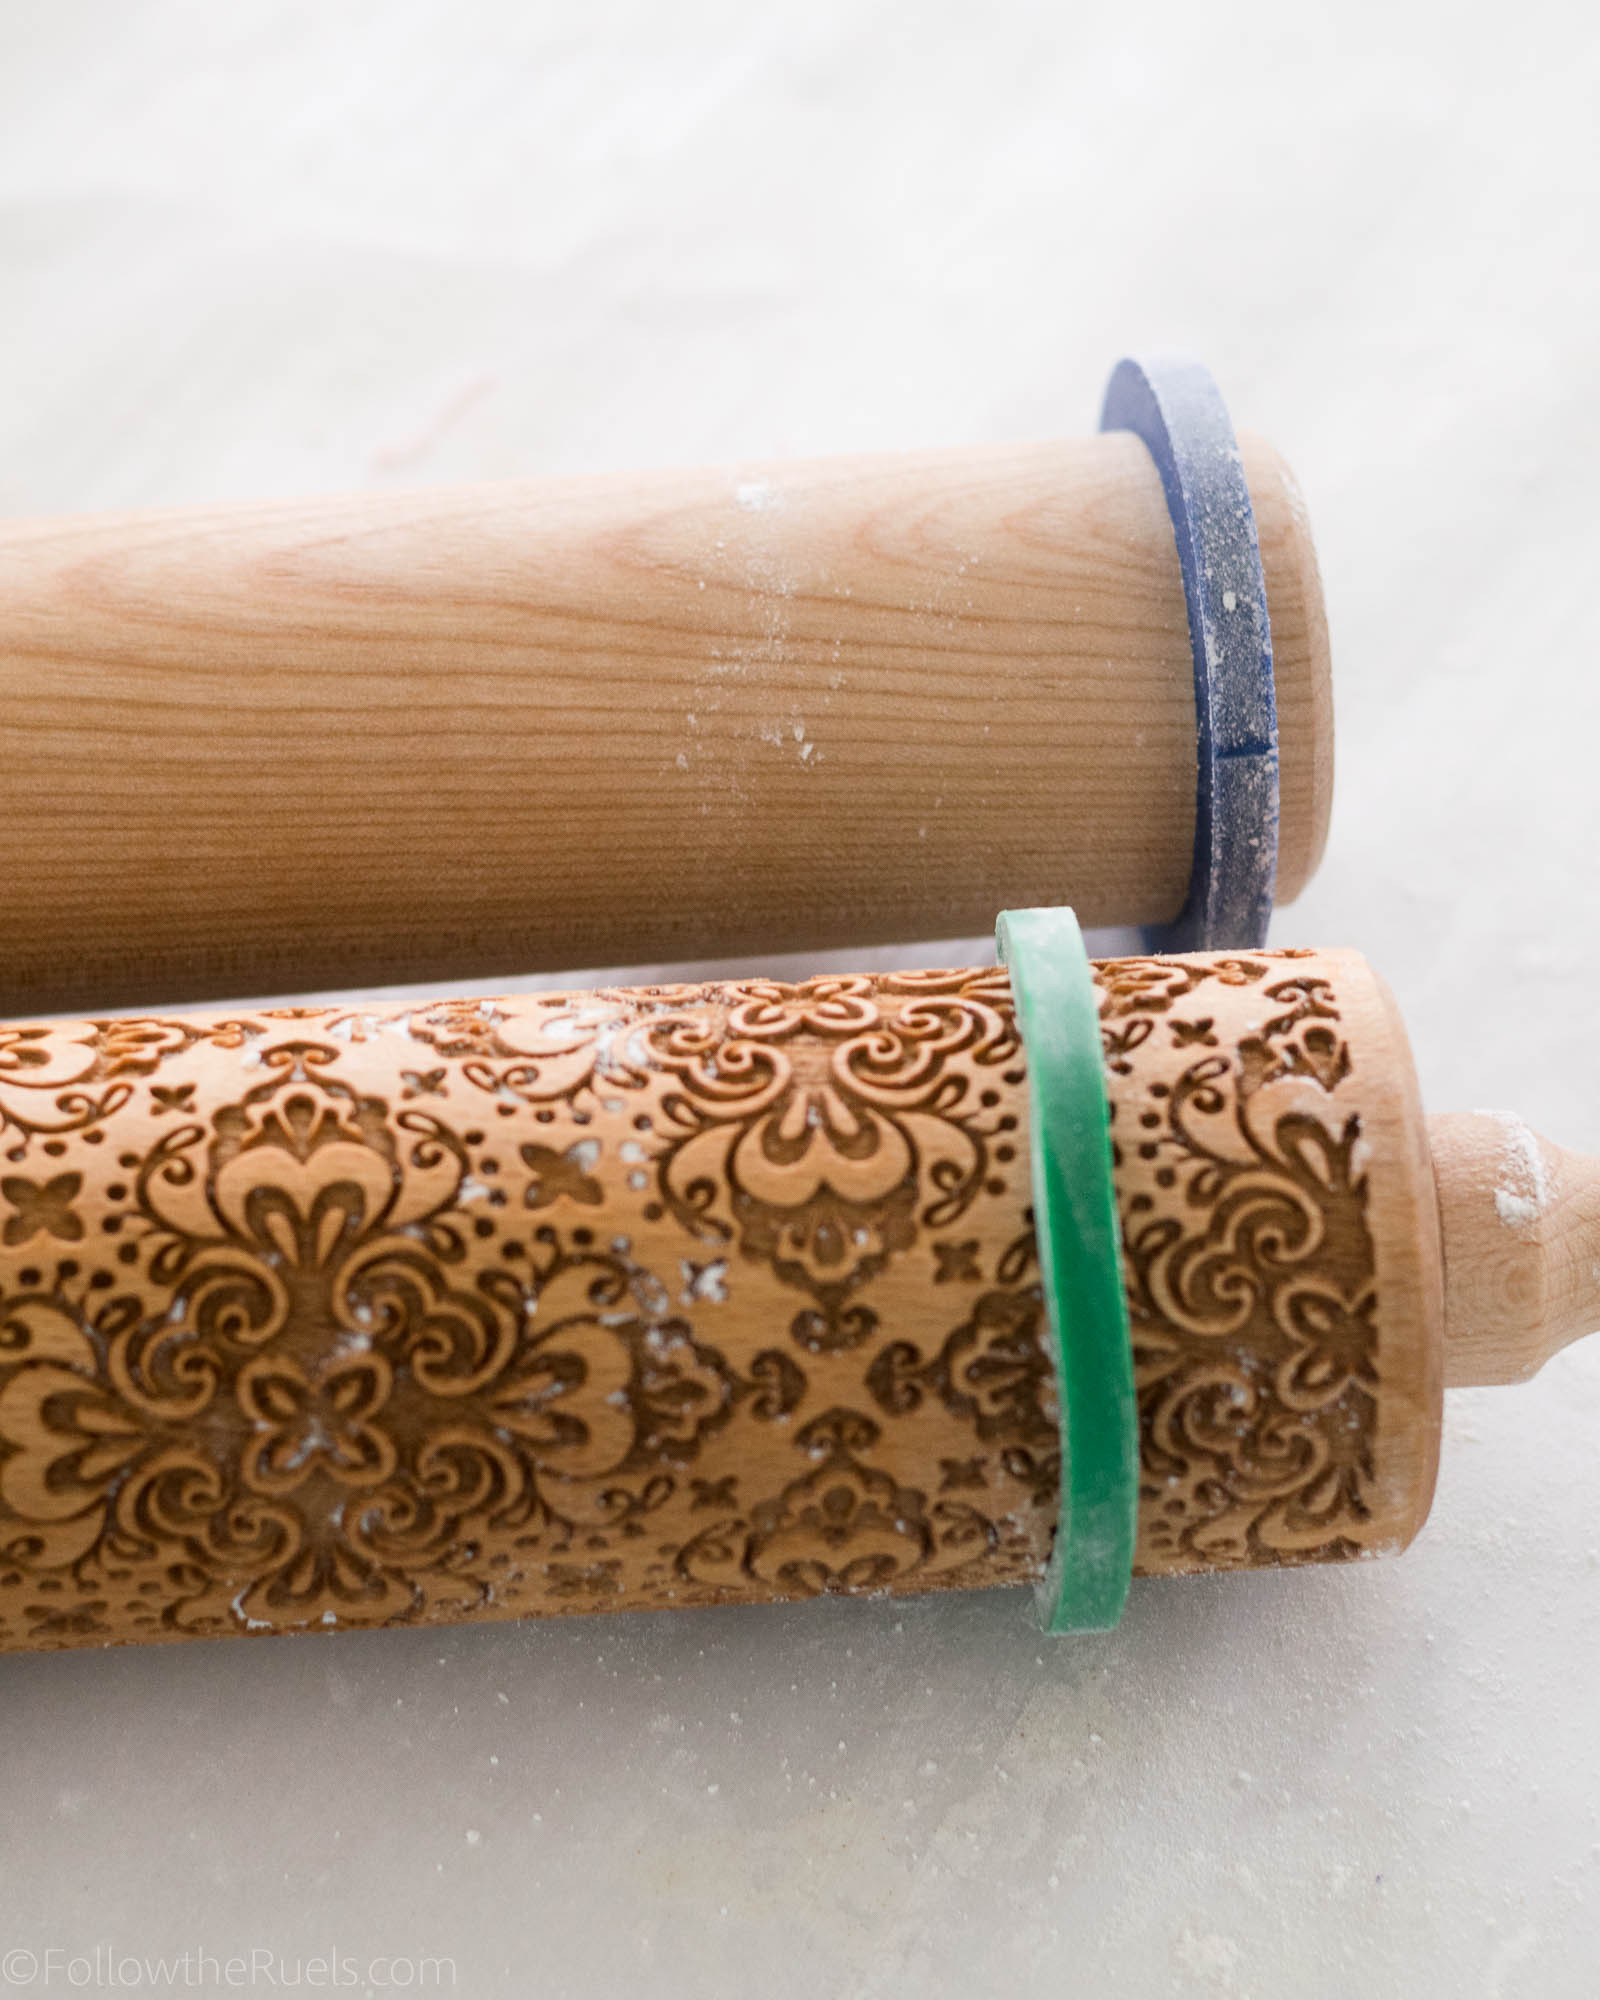
Add rolling pin bands (if you have them) to both your normal rolling pin and your engraved rolling pin. Add the thickest band you have to the normal pin, and the next thickest to the engraved pin.

This will ensure that you put just the right amount of pressure on the cookie dough to get a perfectly embossed cookie.

Before I figured out this trick my cookies were coming out very unevenly and I wasn’t putting enough pressure on the cookie dough with the engraved rolling pin so the pattern wasn’t coming out well.

You definitely want to be able to see all the details of the rolling pin because the cookie will flatten a bit in the oven.

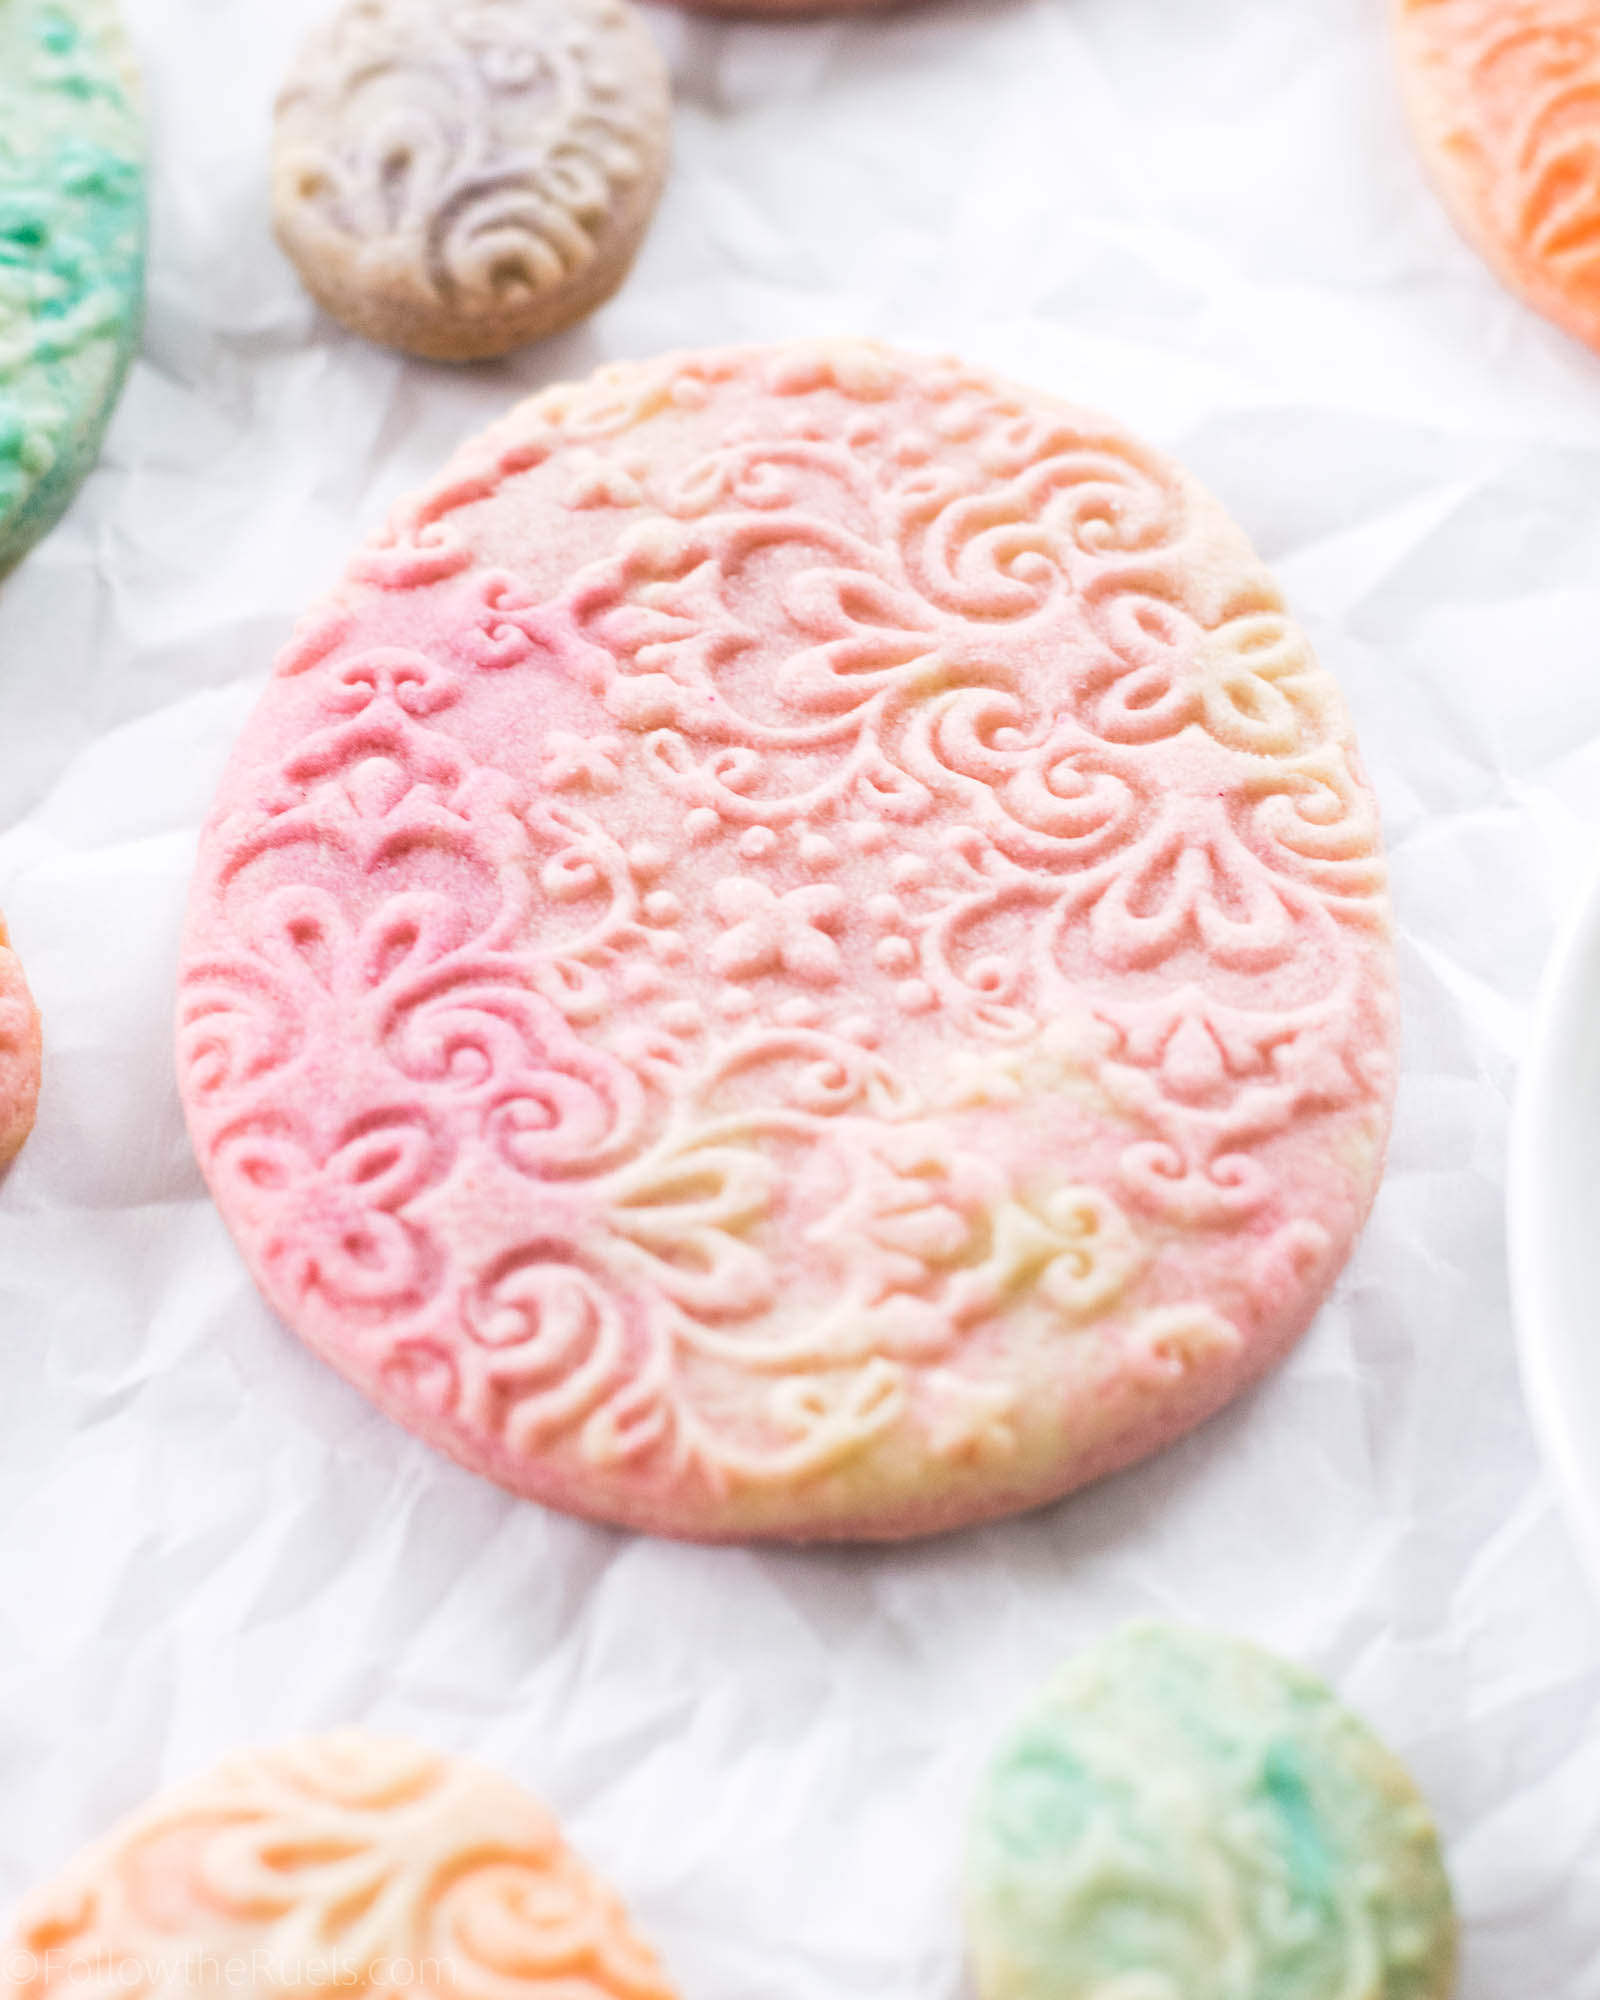
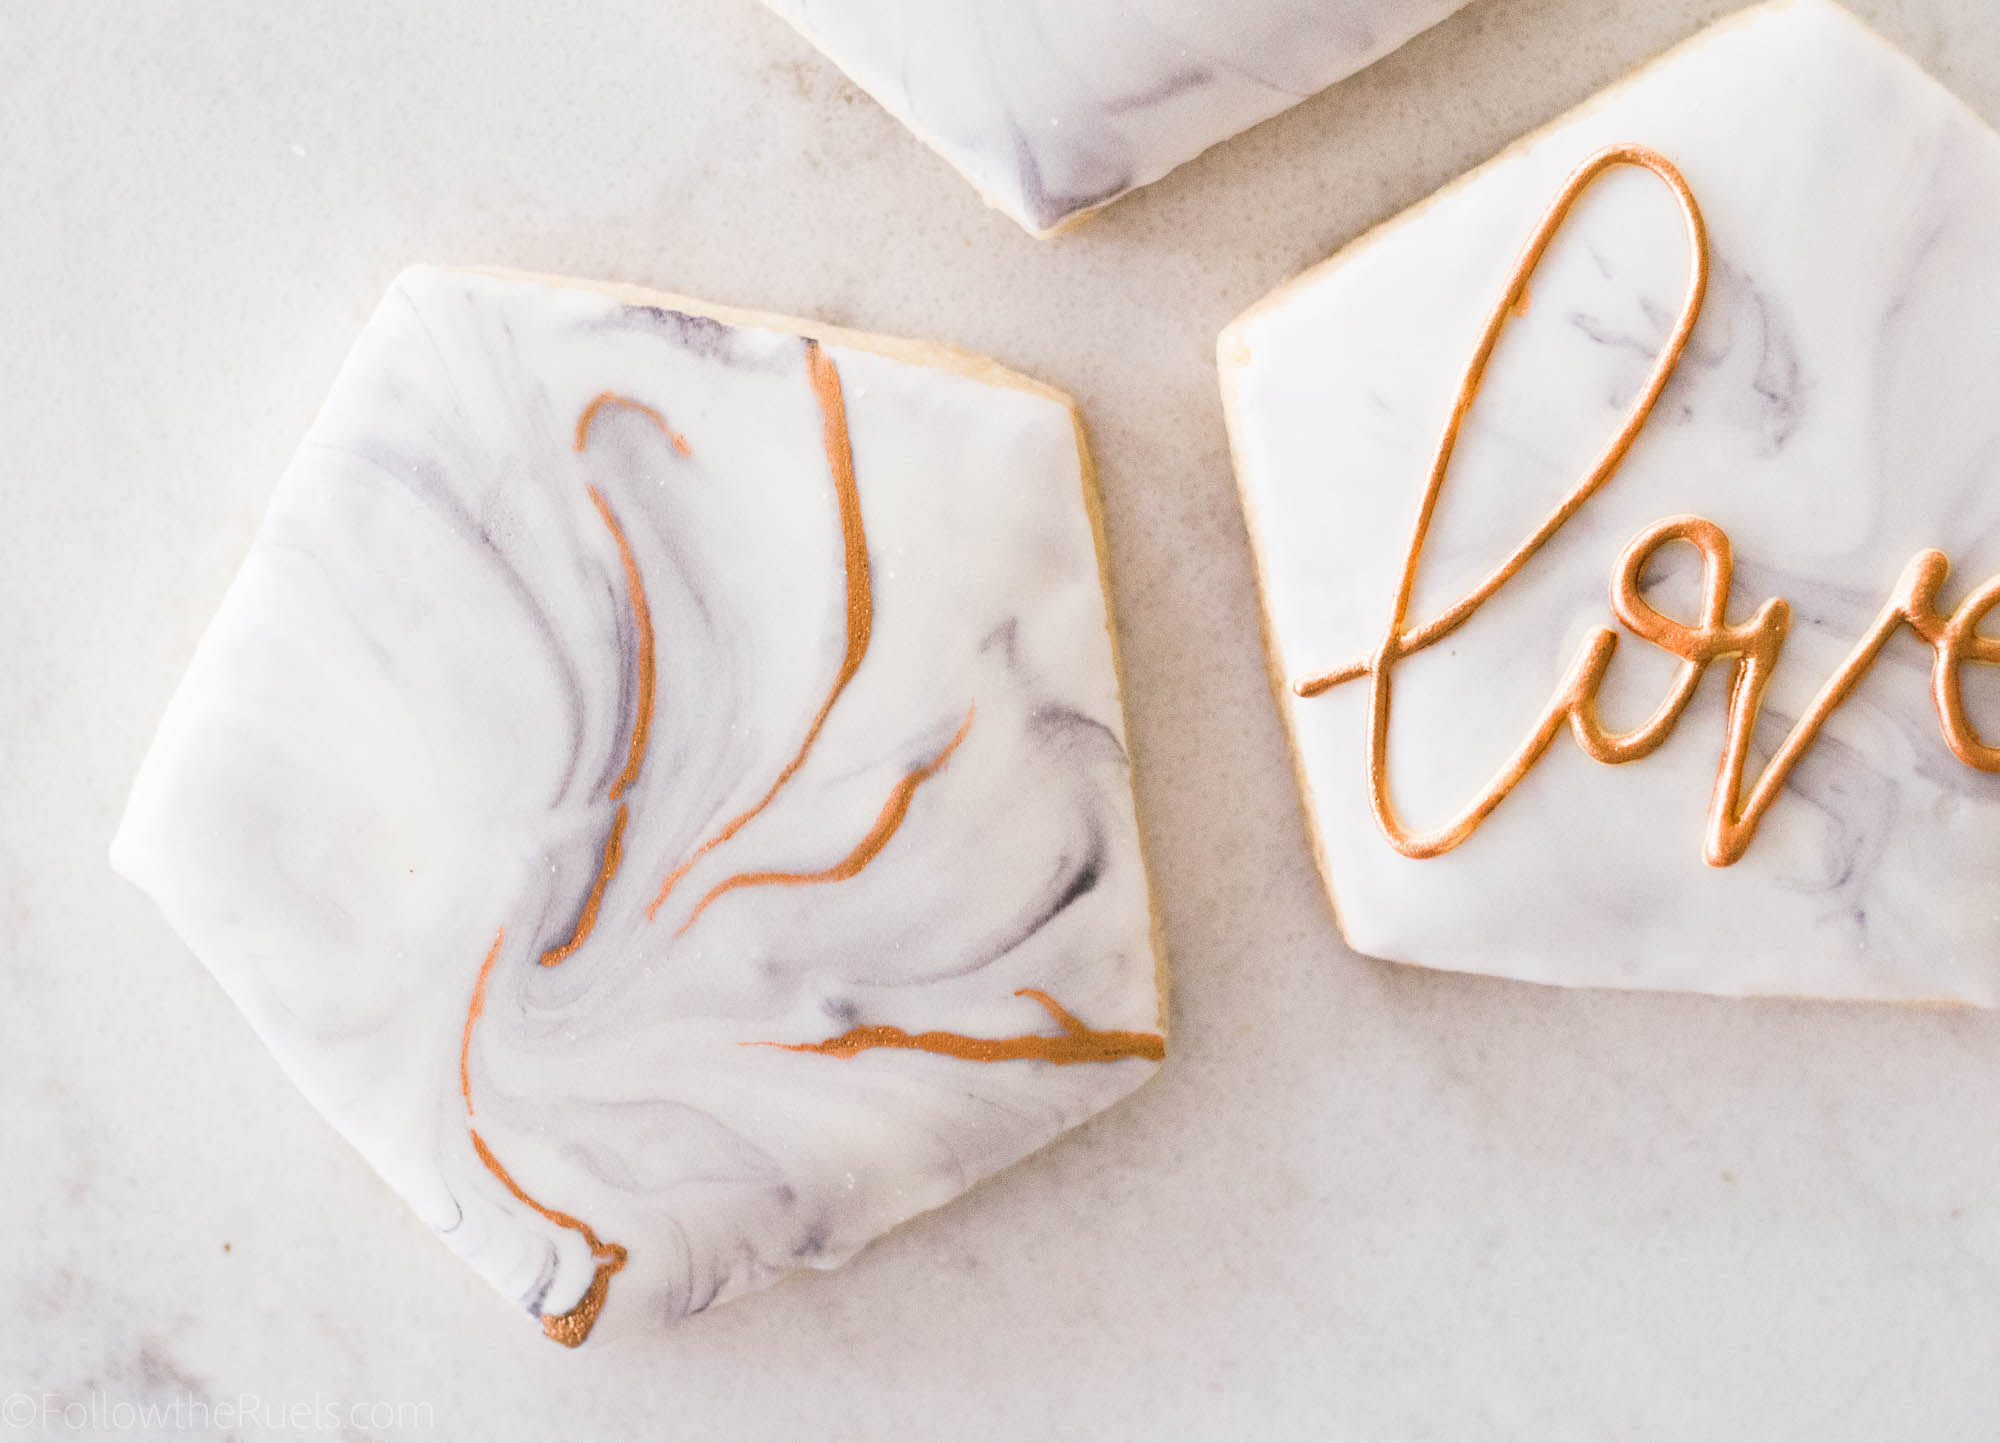
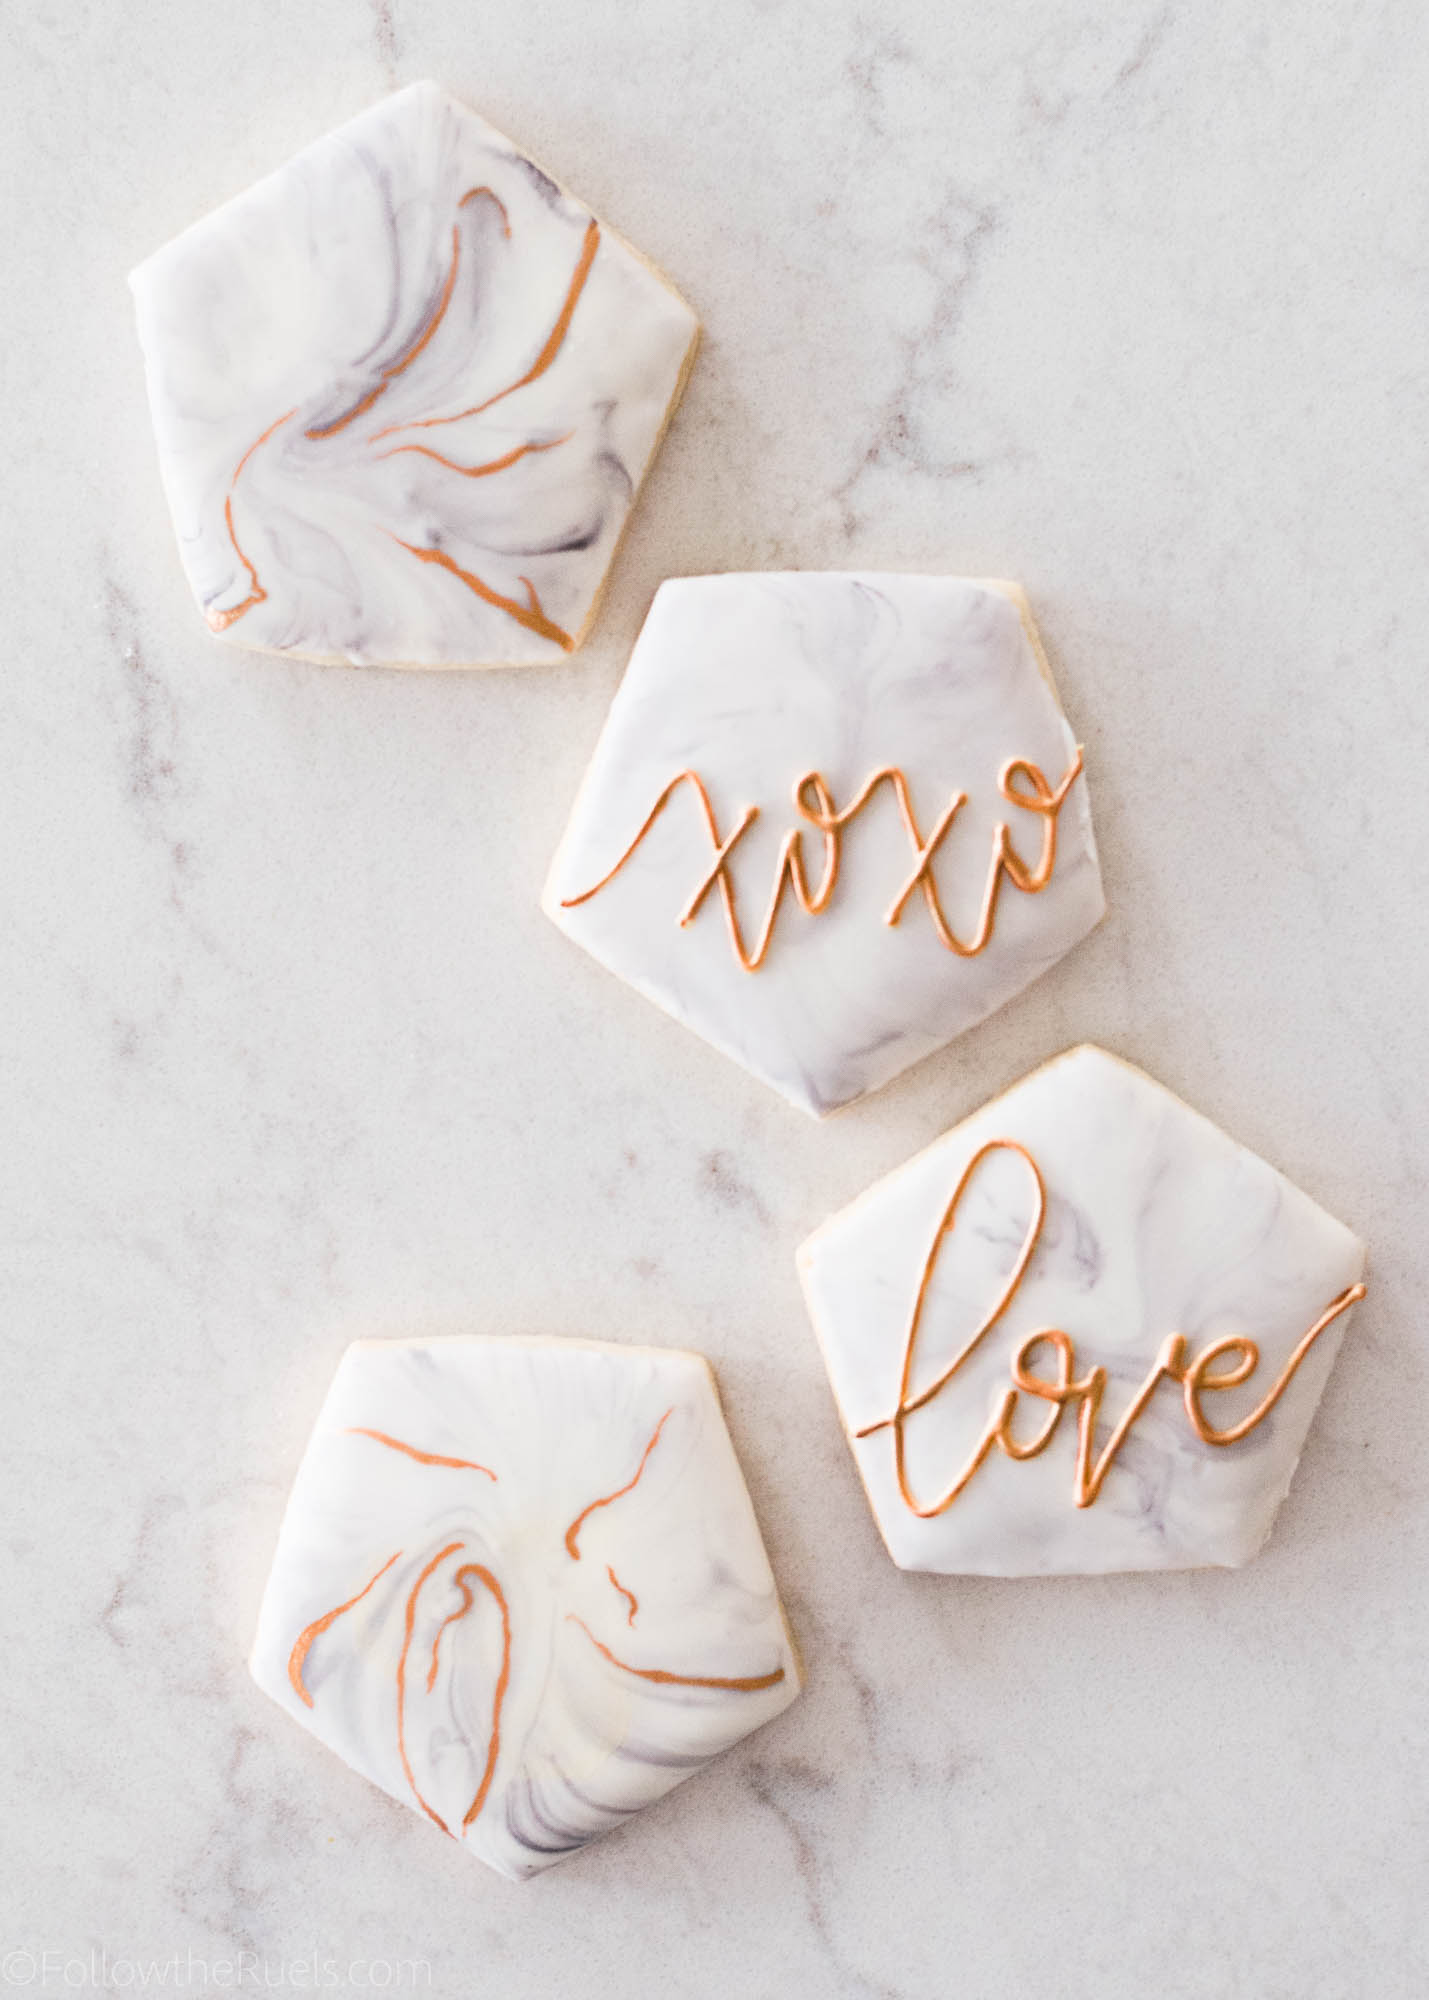
But if you roll it well, you will have beautiful embossed marbled sugar cookies that are perfect for Easter or any time of year. Just change the shape of your cookie cutter and you have yourself a pretty birthday cookie, 4th of July cookie, Christmas cookie….the possibilities are endless.

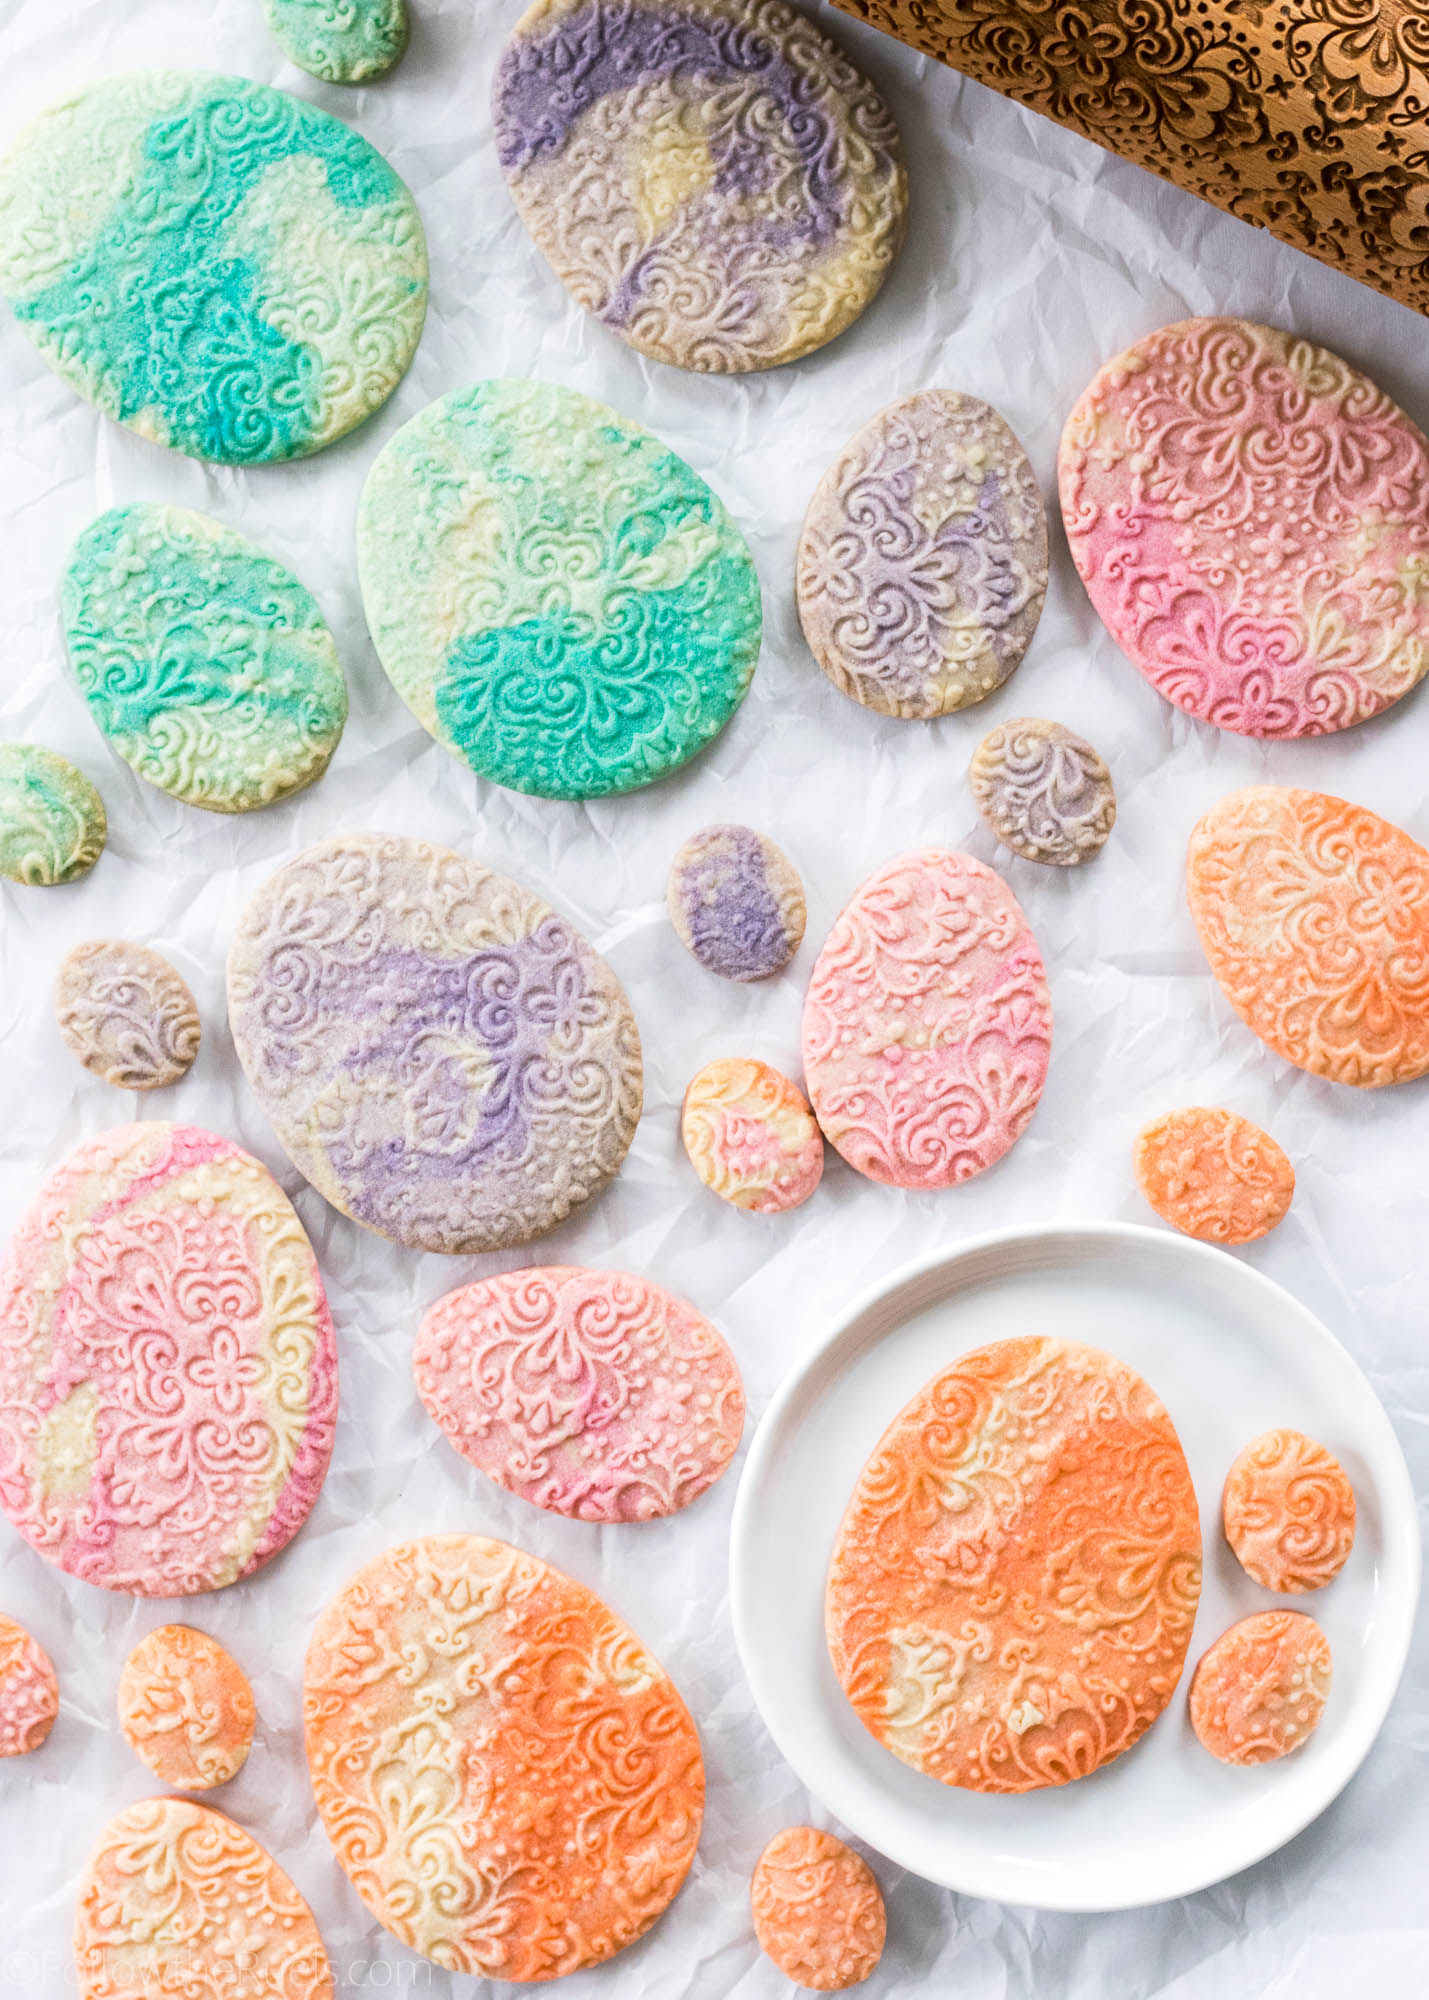
I just really like these for Easter. The marbled effect of the dough makes them sort of look like eggs that have been dyed the old-fashioned way. And the embossing makes them look very elegant and refined. 

Recommended Tools

[show_shopthepost_widget id=”3079756″]
 

Recipe

[yumprint-recipe id=’168′]

/ Filed In: Cookies New, Decorated Cookies, Desserts, Eat
Tagged: Easter, embossed, kid friendly, marble, pastels, sugar cookies

How to Make Marbled Cookies

February 14, 2018

Okay, guys, this has been a much requested and long awaited tutorial! I promised to show you how to make marbled cookies back when I made one of my first videos ever, the Laduree Macarons. But today is the day. Consider it my Valentine’s Day gift to you!

Marbling cookies is one of my absolute favorite decorating techniques because it’s just so gosh darn easy. Literally, anyone can do it. I know I say that a lot (because I believe anyone can really do anything) but I really mean it this time. 

There is absolutely no method, no skill, no nothing involved. If you can squeeze, stir, and dip you can make these marbled cookies

How to Make Them

You heard me. Squeeze, stir, and dip? Got it? 

Lesson over. 

Just kidding!! I figured a video of me making marbled cookies would probably help!

One thing I will mention because I didn’t make it clear in the video is that the white, grey, and black icings are all flood consistency icing. You want the icing to be very fluid so that it settles into a flat surface on top of the cookie. 

Tools Needed:

Another reason to love these cookies is that you don’t really need anything special to make them, as you can see in the video. Everything you will need I bet you already have at home.

  • A shallow bowl
  • Zip top bags or piping bags
  • Toothpicks or scribe tool
  • Food coloring

If you did want to get all fancy and paint some gold on top, this is my favorite gold paint. 

Alright, raise your hand if you think you can make these cookies. Everyone’s hand should be up!

But I highly encourage you to have fun with this technique and play with the colors and the amount of color. As I mentioned in the video, you can do lots of different things with this and just make it your own!

As usual, I made my favorite sugar cookie recipe and royal icing recipe. 

[show_shopthepost_widget id=”3029178″] 

/ Filed In: Cookie Decorating 101, Cookies New, Decorated Cookies, Desserts, Eat
Tagged: cookie decorating, marble, marble and gold, royal icing, sugar cookies

DIY Double Sided Photo Board

May 15, 2014

BBC Photo Board10I have learned over time that producing good food is only half the battle to being a good food blogger. My food could be the best food around, but if my pictures suck then no one will be be drawn to the blog or the recipes. Unfortunately for me, I do not live in a house with a beautiful, spacious kitchen flooded with natural light. I live in an apartment where the nearest window is about 20 ft from the stove. And let me tell you, florescent lights do not product pretty pictures. Most of the time, I am shuttling my food back and forth, through our living room (trying not to spill), and awkwardly positioning myself to get the right light and composition for my pictures. Usually I just use foam board to place my plates or food. But that is so boring. I love all these other bloggers pictures that they take on their beautiful granite counters or rustic wood tables. So I decided to make my own granite counter top and rustic wood table.

BBC Photo Board11I could have purchased a slab of marble and some solid wood planks, but I don’t have the space in my apartment to store that kind of stuff, nor did I want to spend that kind of money. Instead I purchased a 2′ x 2′ wood board ($6), 4 1′ x 1′ white marble laminate tiles ($1 each), and 2 4′ x 6″ wood laminate planks ($2 each).


The total cost of the materials as a little bit over $15. It could end up being a little more or less depending on the type or style of tiles you get. Putting it together was super easy. I peeled paper backing off the tile, and squared the first tile to the corner of the board. The rest of the tiles easily fit around the first one. With the longer wood laminate boards, I just cut them in half with a normal pair of scissors and lined up the original edge (not the cut edge) along the edge of the board.

BBC Photo Board9BBC Photo Board8In the end, I couldn’t be more pleased! Each side turned out really well and now I have two distinct styles to use for my pictures. I am partial to the wood board side, but I know the “marble” side will get plenty of use as well.

DOUBLE SIDED PHOTO BOARD

MATERIALS

1 2′ x 2′ quarter inch or thicker wood board

4 1′ x 1′ faux granite laminate tiles

2 4′ x 6″ faux wood laminate planks

DIRECTIONS

1. Remove the paper backing from the tile exposing the adhesive. Place the tile square along the edge of the board. Press down firmly.

2. Place the remaining 3 tiles firmly along the edge of the first tile, ensuring the the seam between the tile is minimal.

3. Flip the board over. Cut the wood planks in half using scissors. Place the first plank square along the bottom and side edge of the board.

4. Repeat with remaining pieces.

/ Filed In: Uncategorized
Tagged: DIY, marble, photo, wood

Follow

Hey There!

Hey there, I'm Lindsey. I'm a number cruncher by day and a home cook and baker by night. While I love to eat healthy and find fresh and healthy alternatives for my favorite foods, I will never turn down dessert! Life is all about moderation, right?

Recipes

  • All Recipes
  • Breakfast
  • Appetizers
  • Salads
  • Main Dishes
  • Side Dishes
  • Desserts
  • Drinks

Favorite Finds

[show_lookbook_widget id=”388783″]

Theme by 17th Avenue · Powered by WordPress & Genesis