A Thanksgiving table isn’t complete without pumpkin pie, right?
Well, can I admit something to you? This is a safe space right? Pumpkin pie….is not….my favorite.
There, I said it. If this were grade school and we were picking teams for kickball, pumpkin pie would be the kid in class I picke last.
I think it’s because I had a bad experience with pumpkin pie as a kid that I just haven’t completely gotten over. But I have made some major progress over the years. For instance, I have jumped on board the pumpkin spice bandwagon, just like every other millennial female. Also, I do a lot of baking with pumpkin. It’s just when it’s in pie form, well, that’s when I lose interest.
Until….
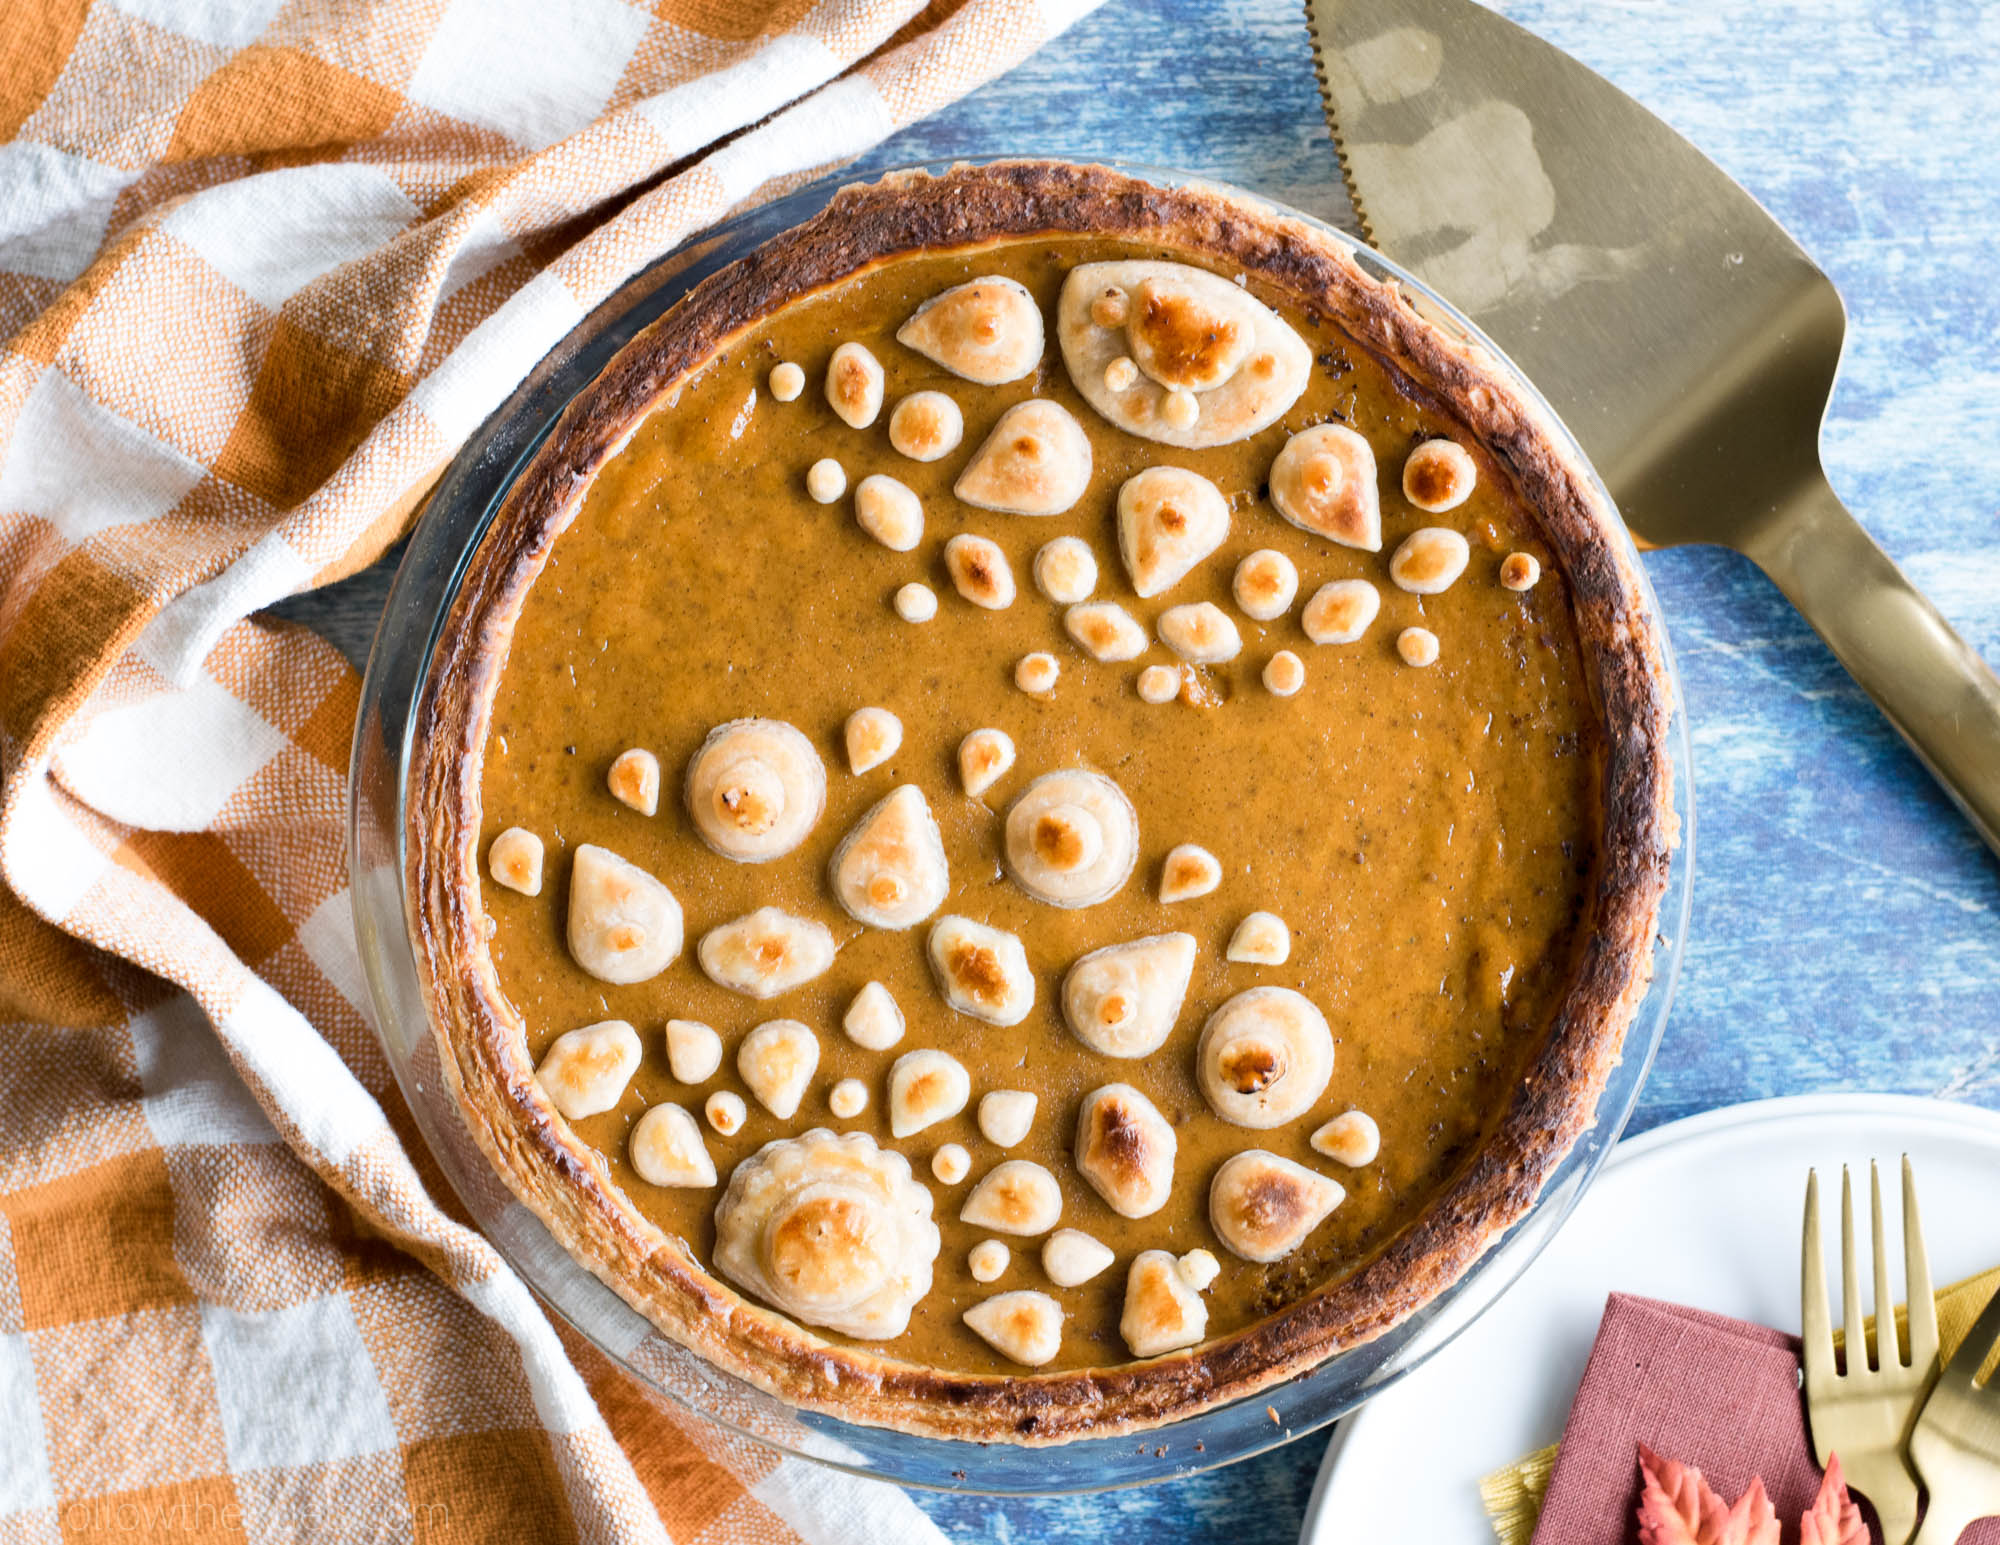
This chai spiced pumpkin pie. This pie was a turning point for me. While chai spice is essentially pumpkin pie spice with some cardamom, the added cardamom takes the average pumpkin pie to the next level!
This chai spiced pumpkin pie would not be picked last for my kickball team.
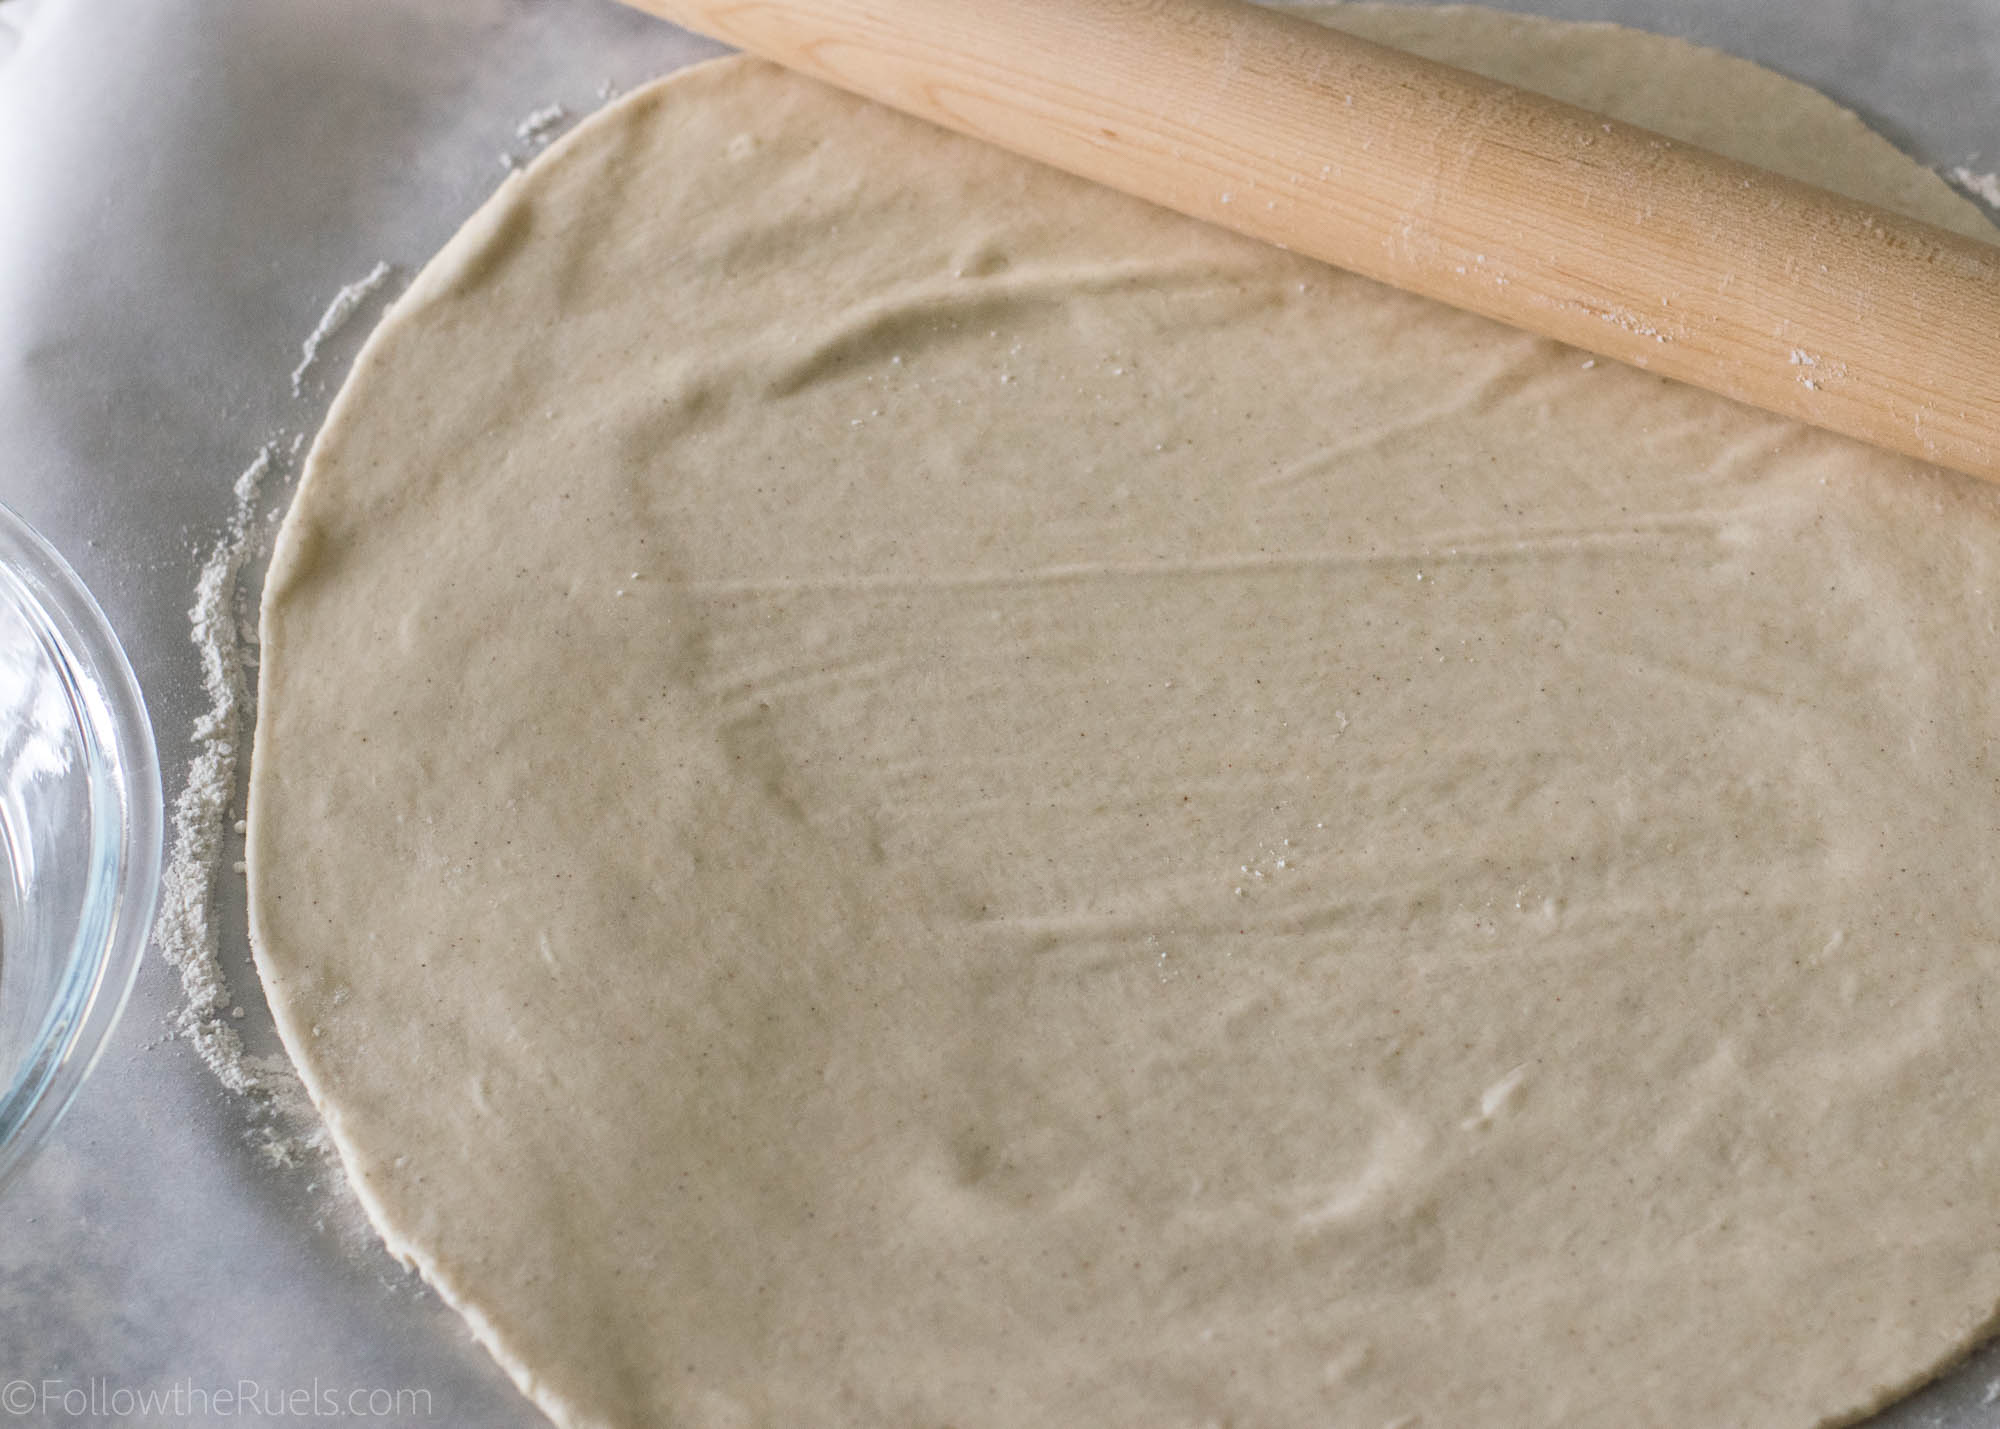
I will also admit to you (again, safe space), that I was debating over whether to use store-bought pie crust or make my own. Clearly, you can see which one won. And I am glad it did. It offered me the opportunity to add ever more chai spice to the pie crust!
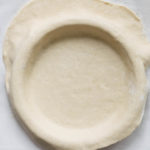
Making pie crust really isn’t all that hard. Actually, my version is pretty easy because I let the food processor do all the work for me (work smarter, not harder, kids). After the pie dough has a chance to chill in the fridge for a bit, all you got to do is roll it out and trim it.
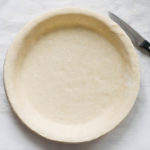
Next is a very crucial step. How crucial? Well, do you want a soggy bottom pie or a not crispy crust pie? No one wants a soggy bottom, so to avoid that you must partially bake your pie crust. It only takes a few minutes. Just cover your pie crust with a layer of foil or parchment and fill it with pie weights. Pop it in the oven for about 20 minutes, and you will have a just barely cooked pie crust. But it’s enough that once you add your super wet filling, it will be able to crisp up even more while it bakes.
Meanwhile, you can make your filling!
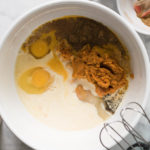
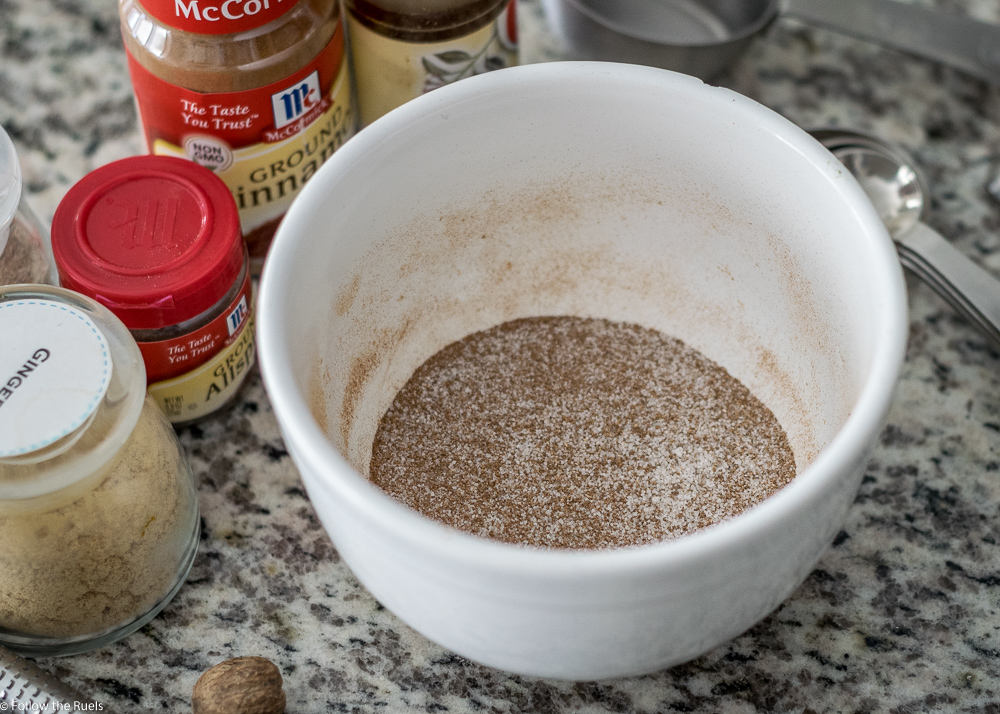
The filling for this pie is almost exactly like the classic pumpkin pie. Except in place of pumpkin pie spice, I added chai spices. For those of you who aren’t familiar, chai spice contains:
- Cardamom
- Cinnamon
- Ginger
- Clove
Sometimes it also contains nutmeg or allspice. In this case, since I was adding it to a pumpkin pie, I did add both. I also added a bit of tumeric to boost that color. It doesn’t add a whole lot of flavor, so you can easily leave that out.
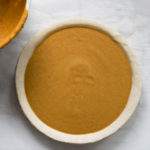
Once all the filling ingredients are mixed up and smooth, pour it into your partially baked pie crust and then pop it back into the oven.
While the oven bakes, kick back and relax. Have a glass of wine. Or get back to work concocting some sort of pie cruat design to put on top.
It’s clear which one I did.
If you are like me, and follow a lot of bakers on Instagram, you may be seeing a lot of amazing pie crust designs. I absolutely love them! However, since I rarely make pies, I never get to recreate my favorite pie crust designs.
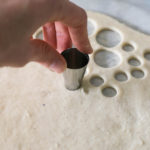
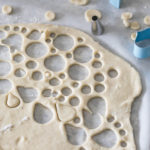
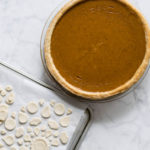
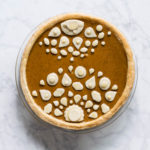
This pumpkin pie created an opportunity to do my very own pie crust design. Since I was making a chai spiced pumpkin pie, I wanted to create a simple mandala-like design on top. I used my extra pie crust to make various shapes, mostly circles (using the ends of my #10 piping tip) and tear drops (using a clay cutter from the craft store). I assembled them in the design i wanted on a piece of parchment, then put them in the freezer to chill.
Trouble is, pumpkin pie (or any custard pie), isn’t the best pie to add a crust design on top. If you put pie crust on top of the pumpkin pie filling, the pieces will just sink to the bottom. But if I am one thing, it’s persistent stubborn, and I will get it done no matter what.
There are two methods to adding a crust design on top of a custard pie.
1. Bake the pie until it is almost done, mostly set from the crust in, then take the pie out and add your pie dough design on top. Then put it back in the oven to continue baking. (This is what I did)
2. Bake the pie dough pieces seperately in the oven. Then when both the pie crust pieces and the pie itself are completly baked, remove from the oven and assemble. (This is what I wish I had done.)
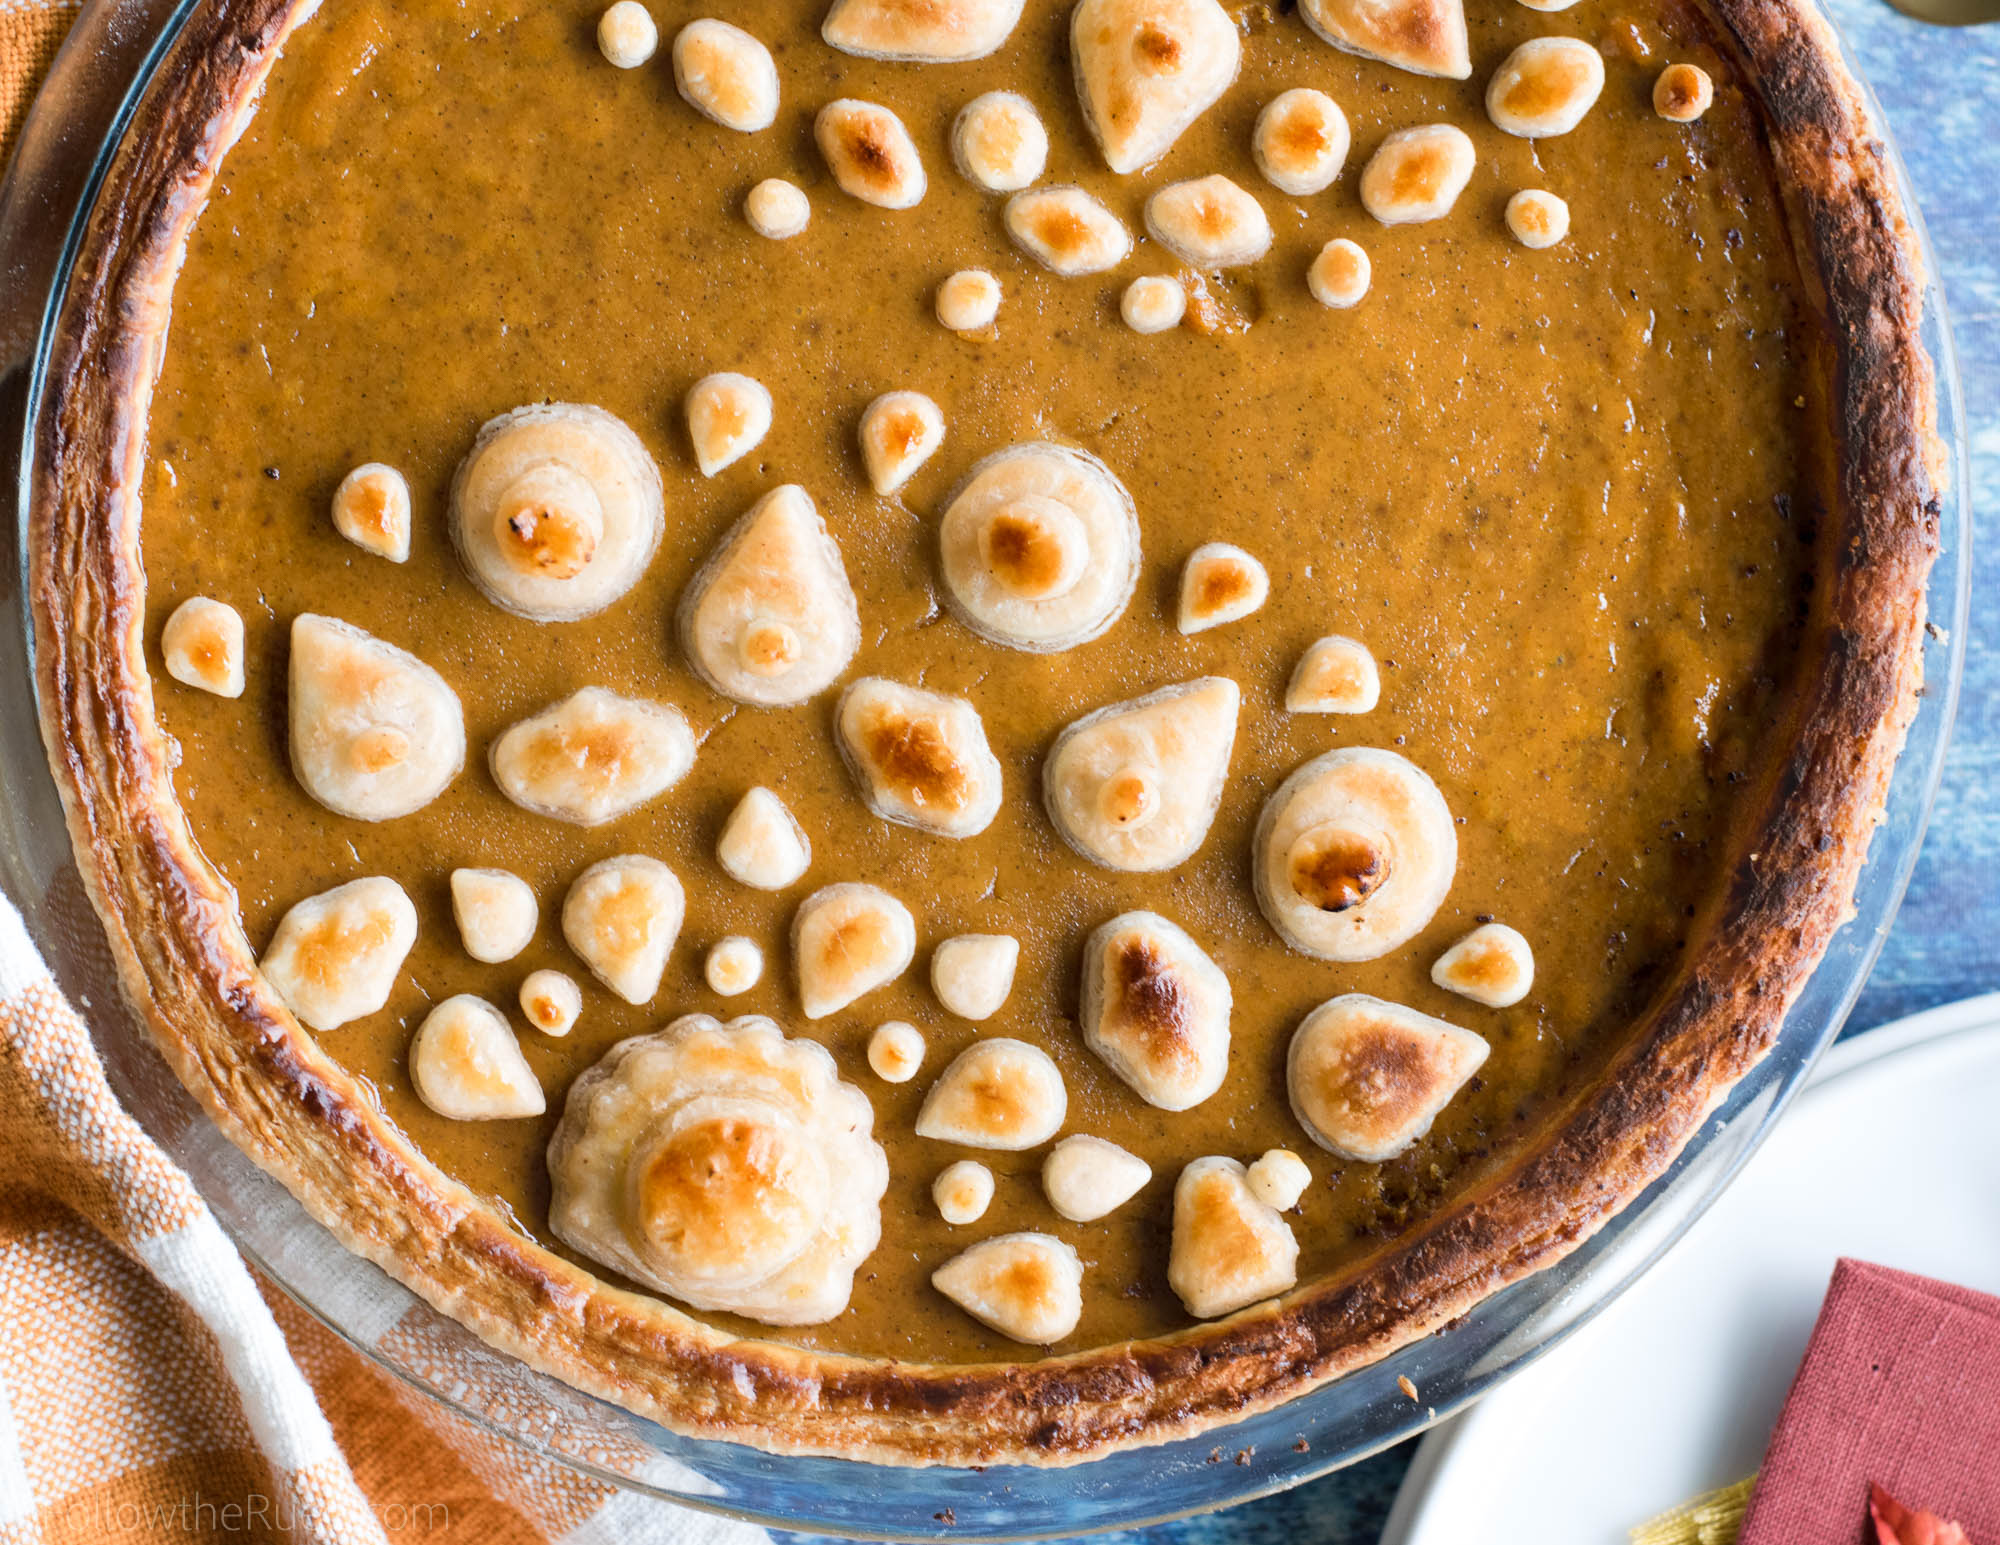
Either way, the pie turned out beautiful and delicious! And the latter is what’s most important.
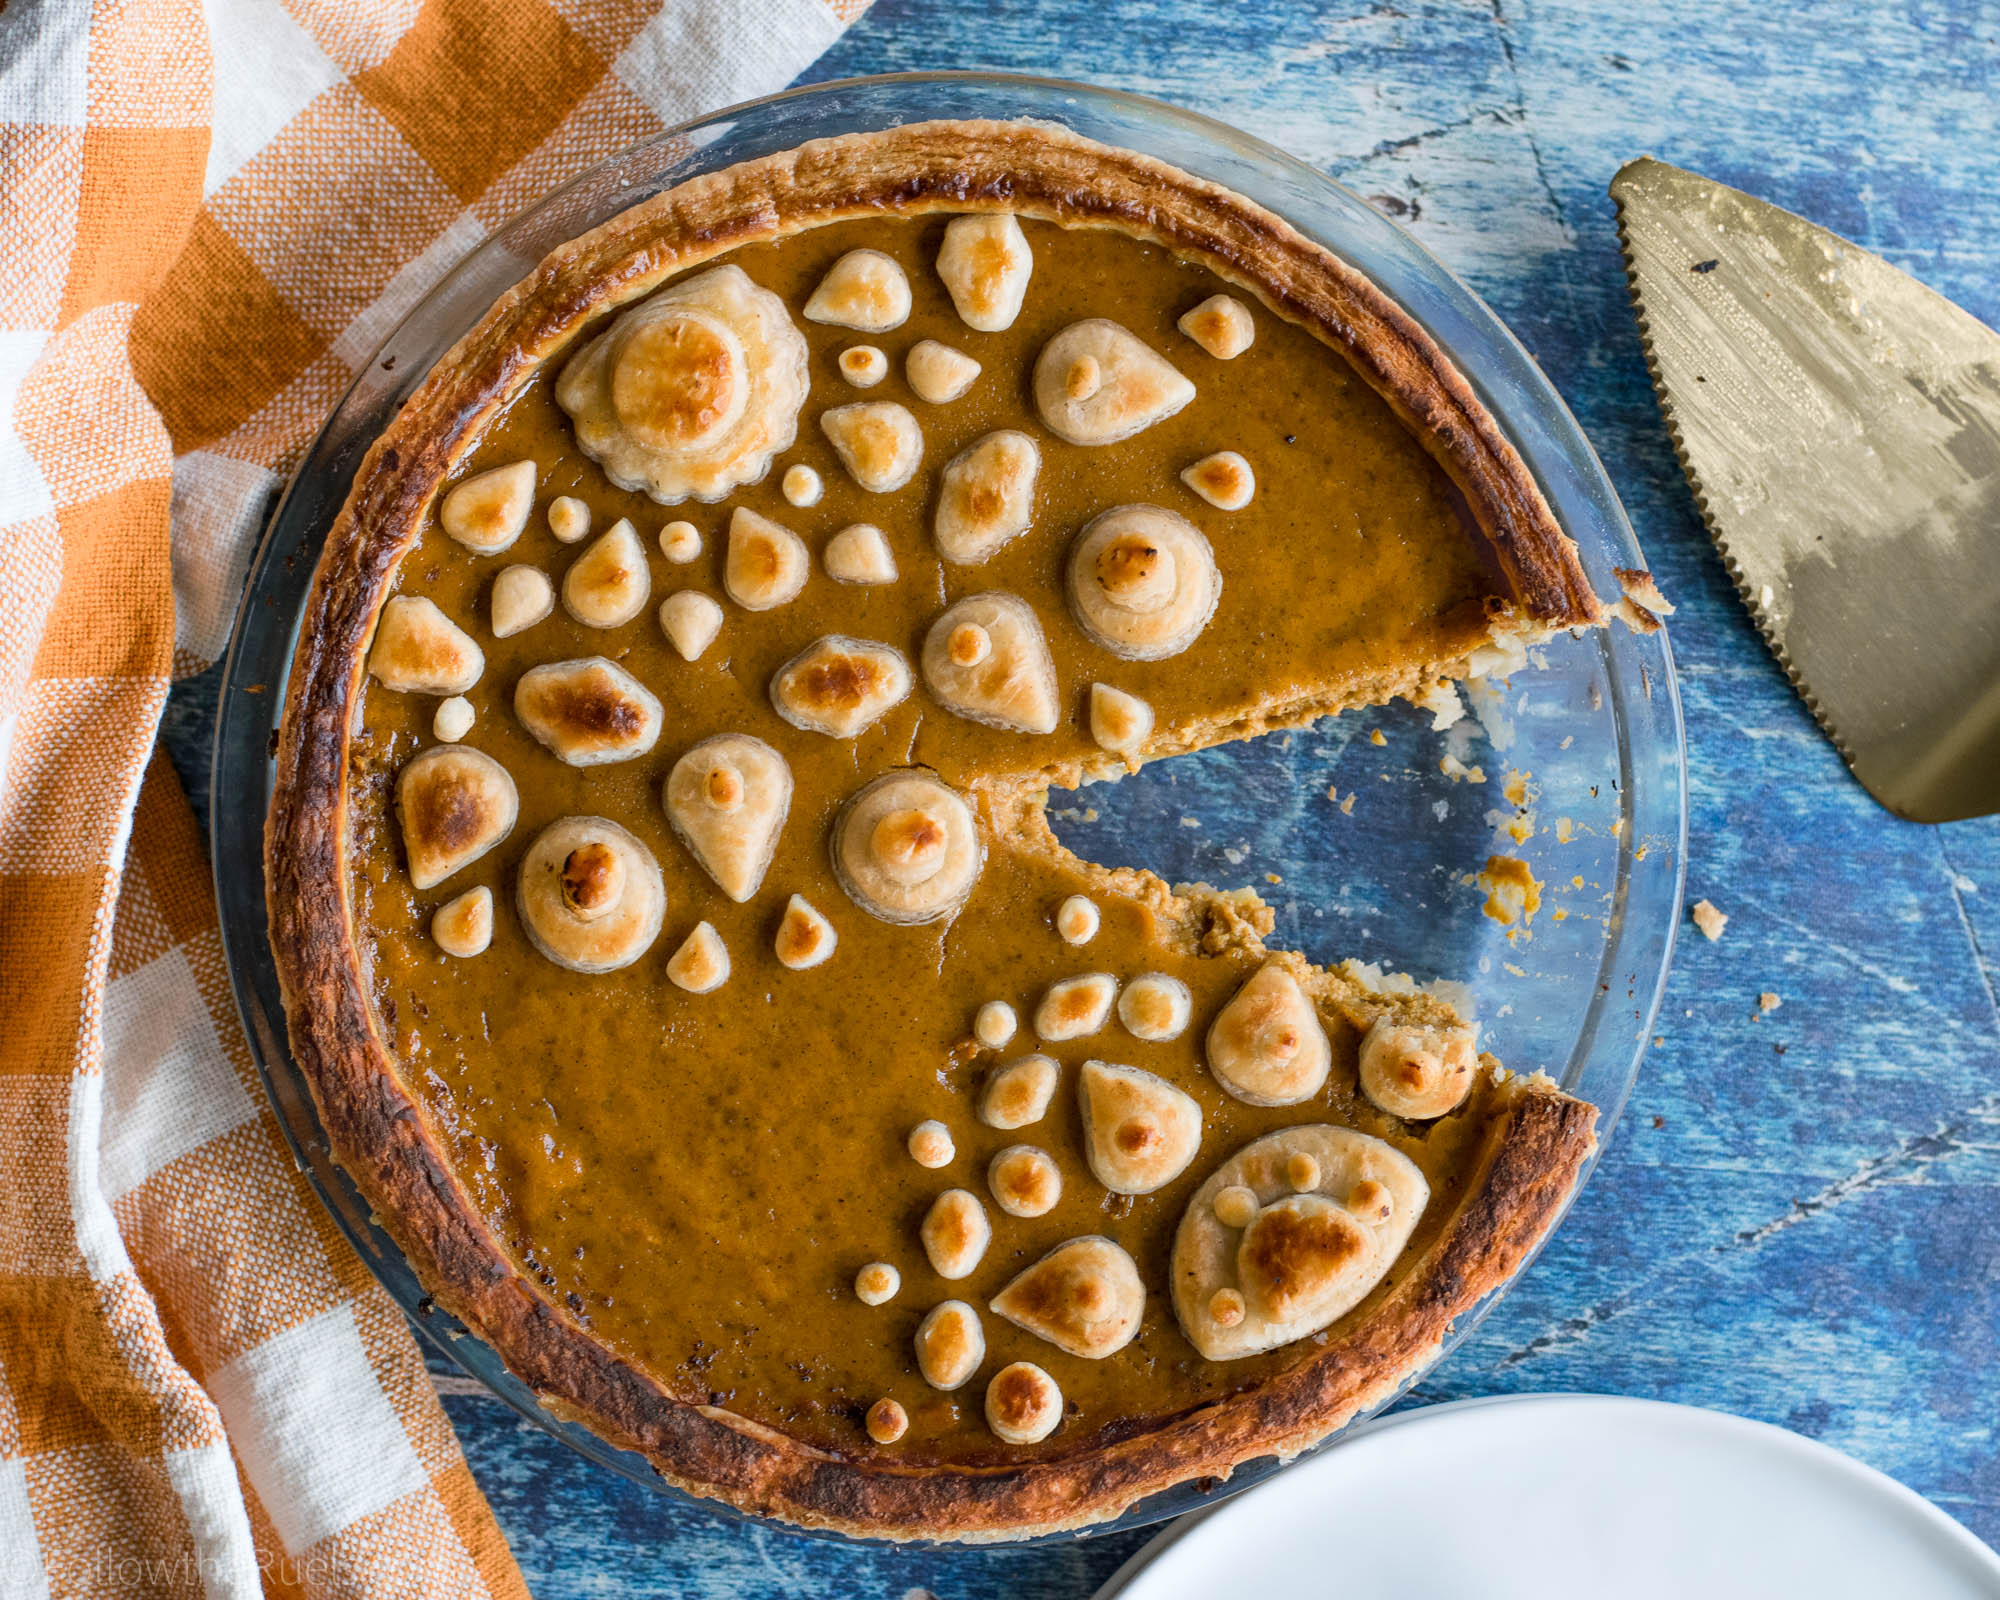
And boy is it! I have never finished even a slice of pumpkin pie before. With this pie, I not only finished 1 slice, I had another. I also may or may have also eaten it straight from the pan. Don’t judge. We all have our weaknesses. Mine is dessert.
[yumprint-recipe id=’143′]
