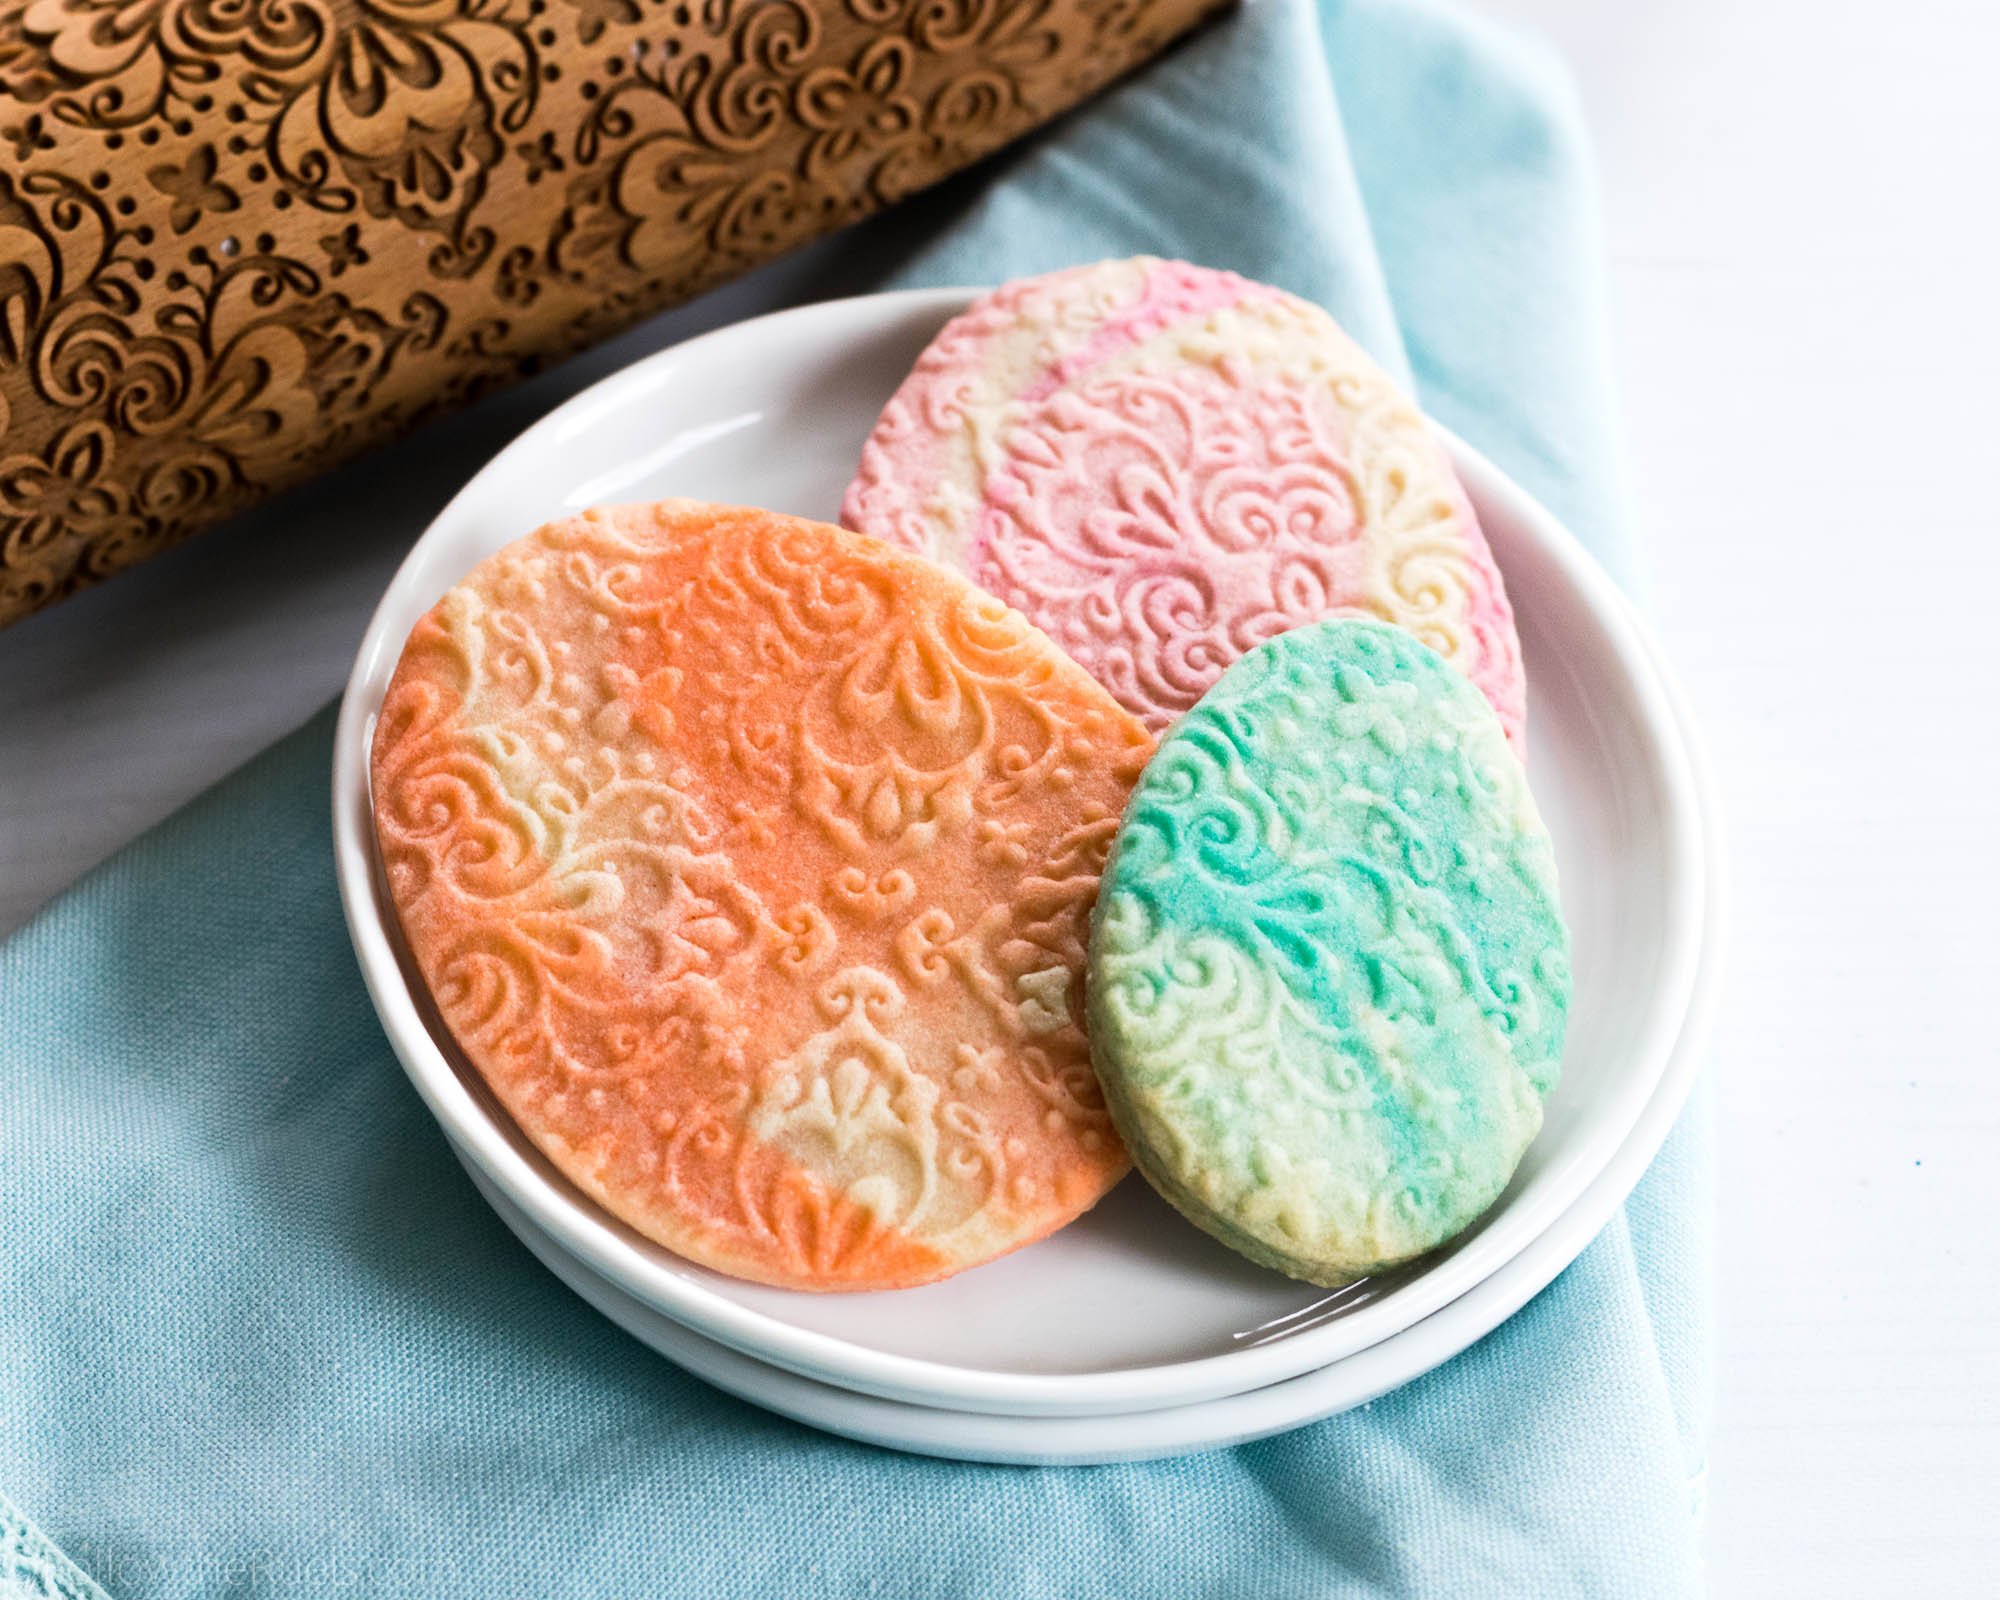
There comes a time when even I get a little tired of decorating cookies. And that time comes after decorating (1,2,3,4,5,6) six different sets of Easter-ish cookies. I just needed a little break from all that icing.
Thankfully, you don’t need icing to make a pretty cookie. In the case of the embossed marbled sugar cookies you just need an engraved rolling pin and some food coloring!
How to Make Them
These are so easy, guys, and a great baking project for the kiddos!
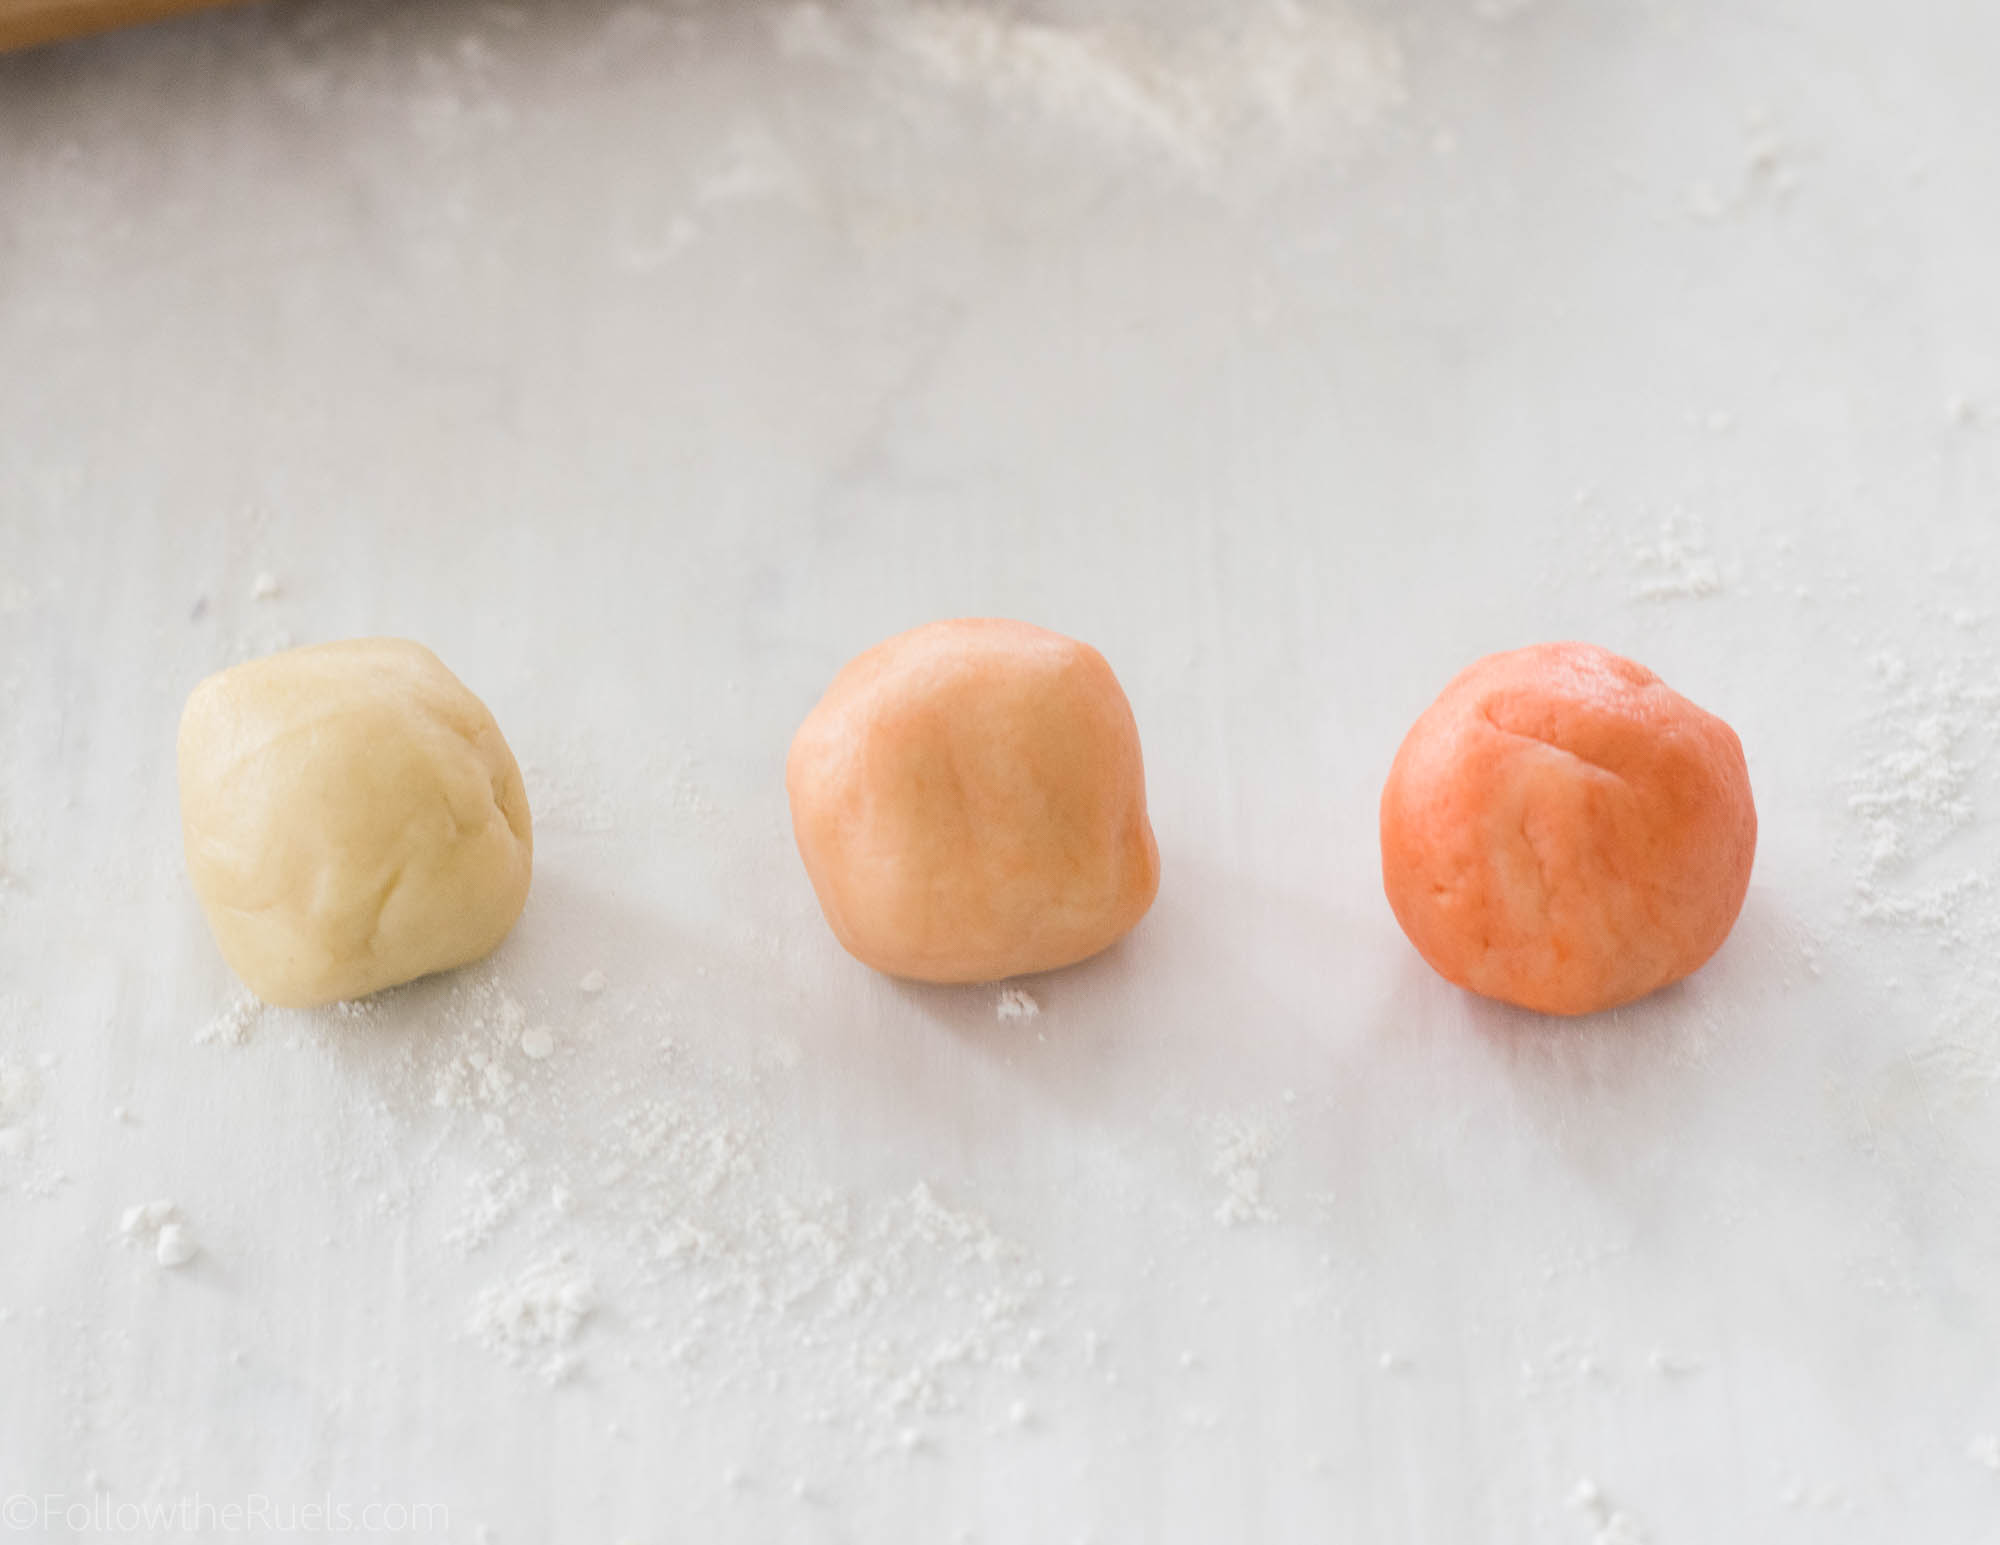
Start by separating your dough out into thirds. Dye one of the thirds a dark shade of your favorite color, dye one a light shade, and leave one totally plain.
In my case, I added about 2 drops of gel food coloring to my darker ball, and a tiny drop to the light ball. I worked the dough between my fingers until the food coloring was completely mixed in.
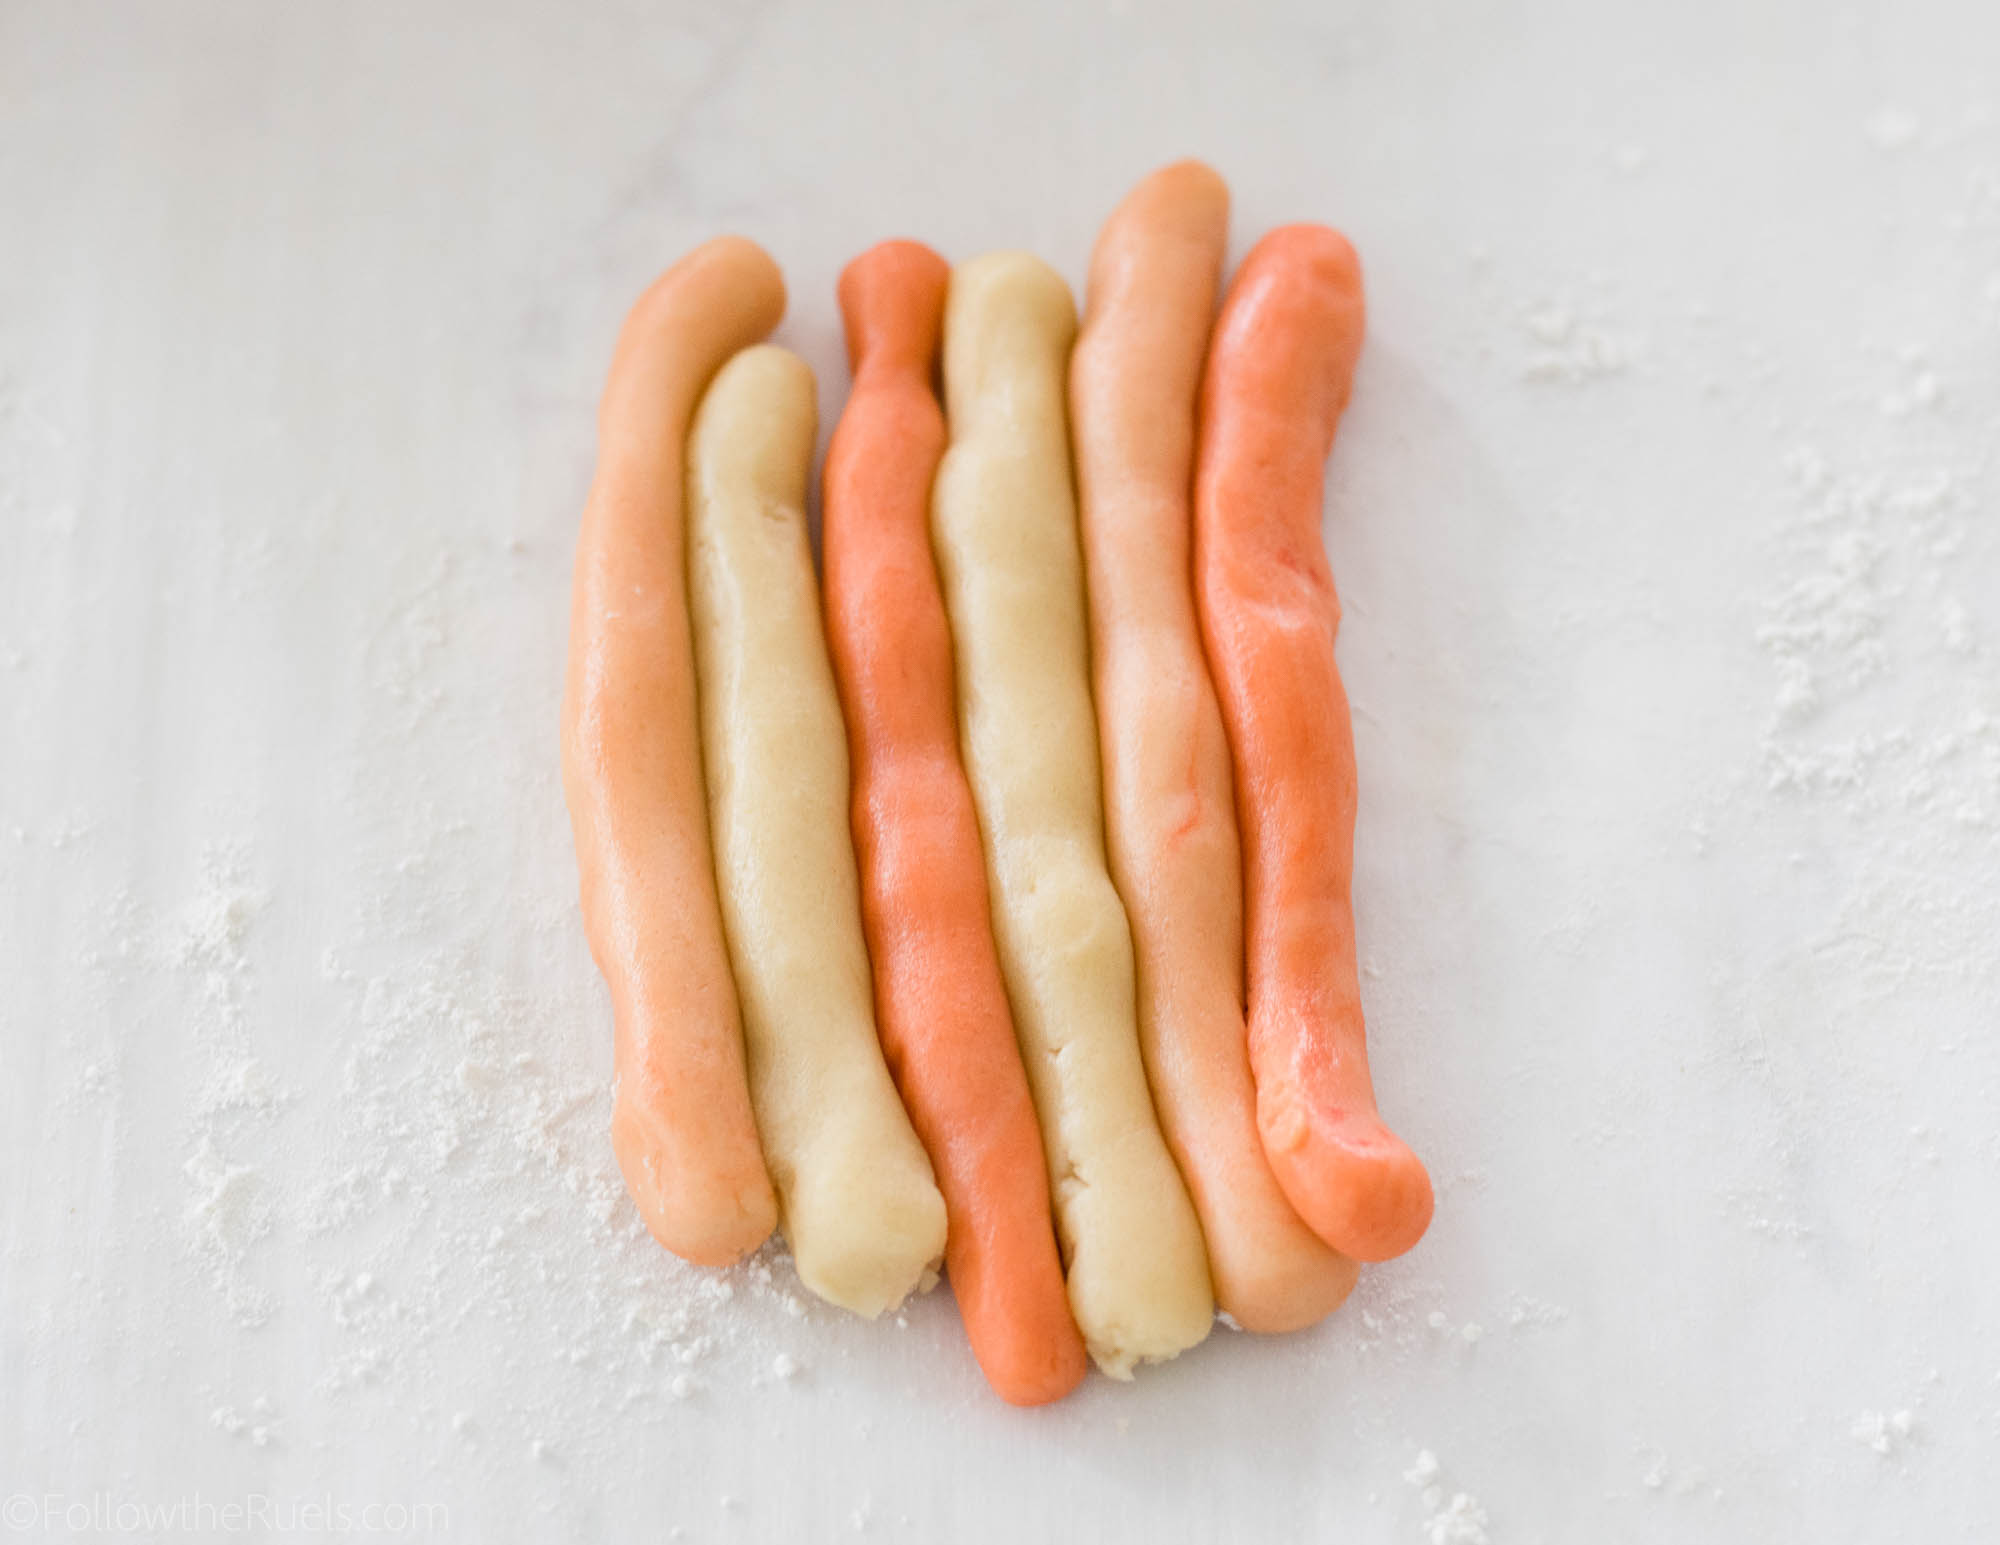
Roll the balls into strips and lay all the strips next to each other. Then fold the strips in to form one big cookie dough sausage. I am pretty sure that’s a technical term. Don’t look it up.
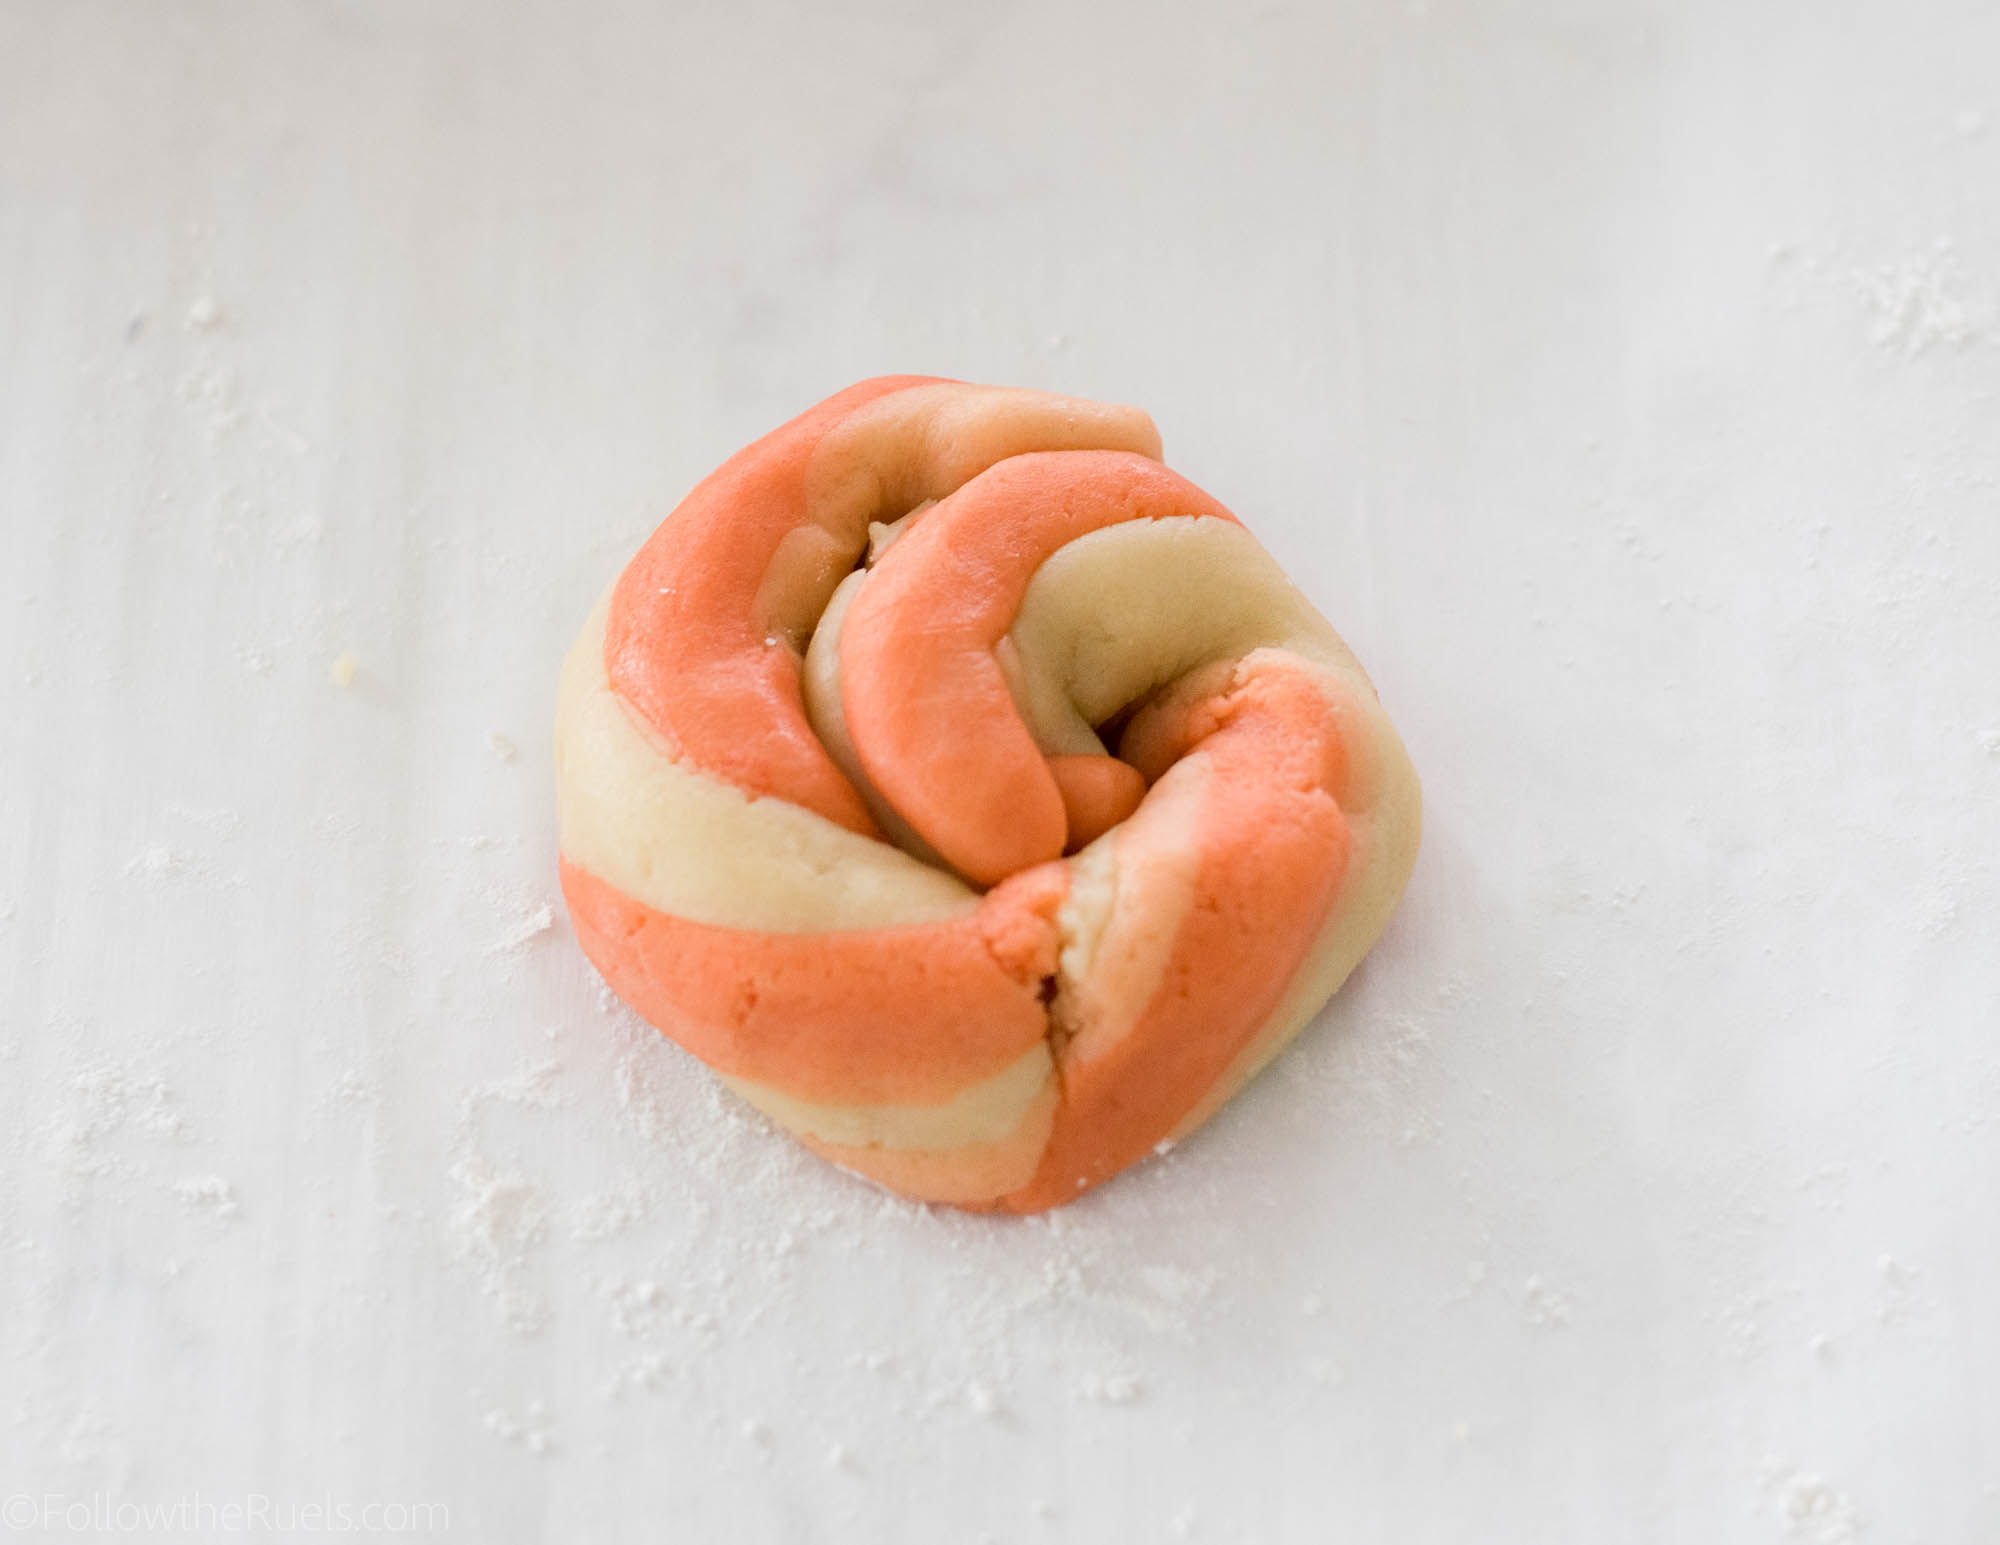
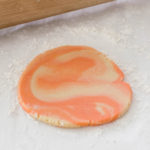
Give the cookie dough a twist and a turn to marble all the colors together.
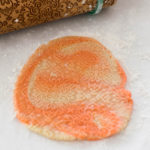
Then roll the dough out with a normal rolling pin before rolling over it with the engraved rolling pin.
Now, I have come up with a super awesome trick that will ensure that you get a good roll every time!
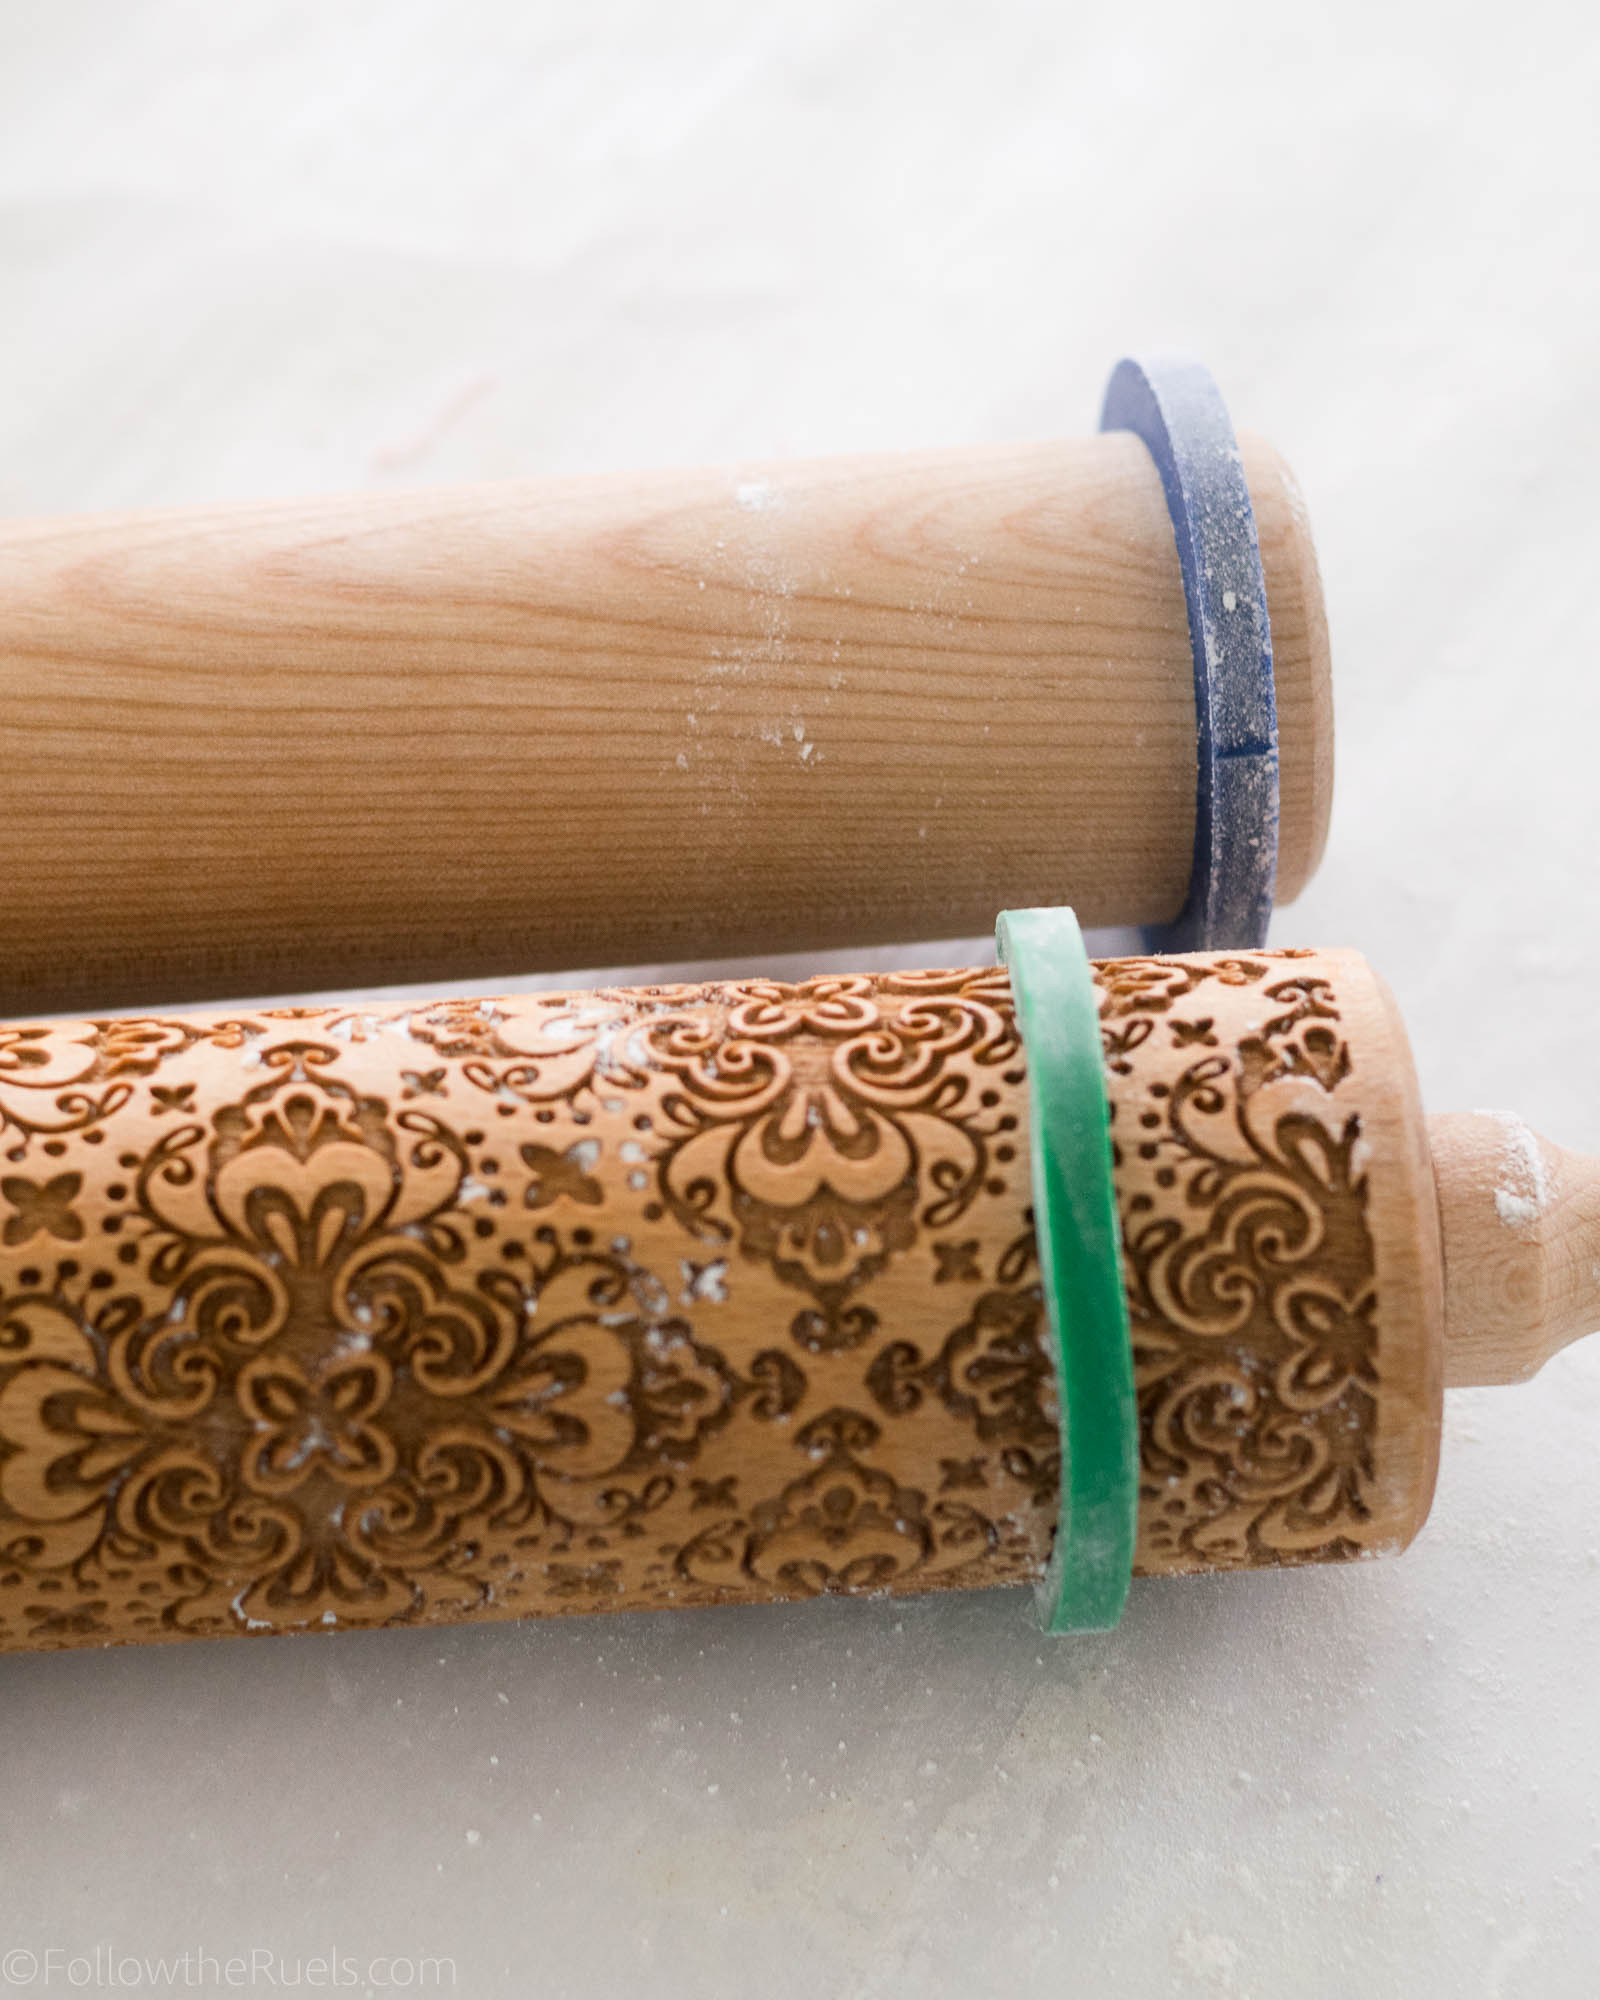
Add rolling pin bands (if you have them) to both your normal rolling pin and your engraved rolling pin. Add the thickest band you have to the normal pin, and the next thickest to the engraved pin.
This will ensure that you put just the right amount of pressure on the cookie dough to get a perfectly embossed cookie.
Before I figured out this trick my cookies were coming out very unevenly and I wasn’t putting enough pressure on the cookie dough with the engraved rolling pin so the pattern wasn’t coming out well.
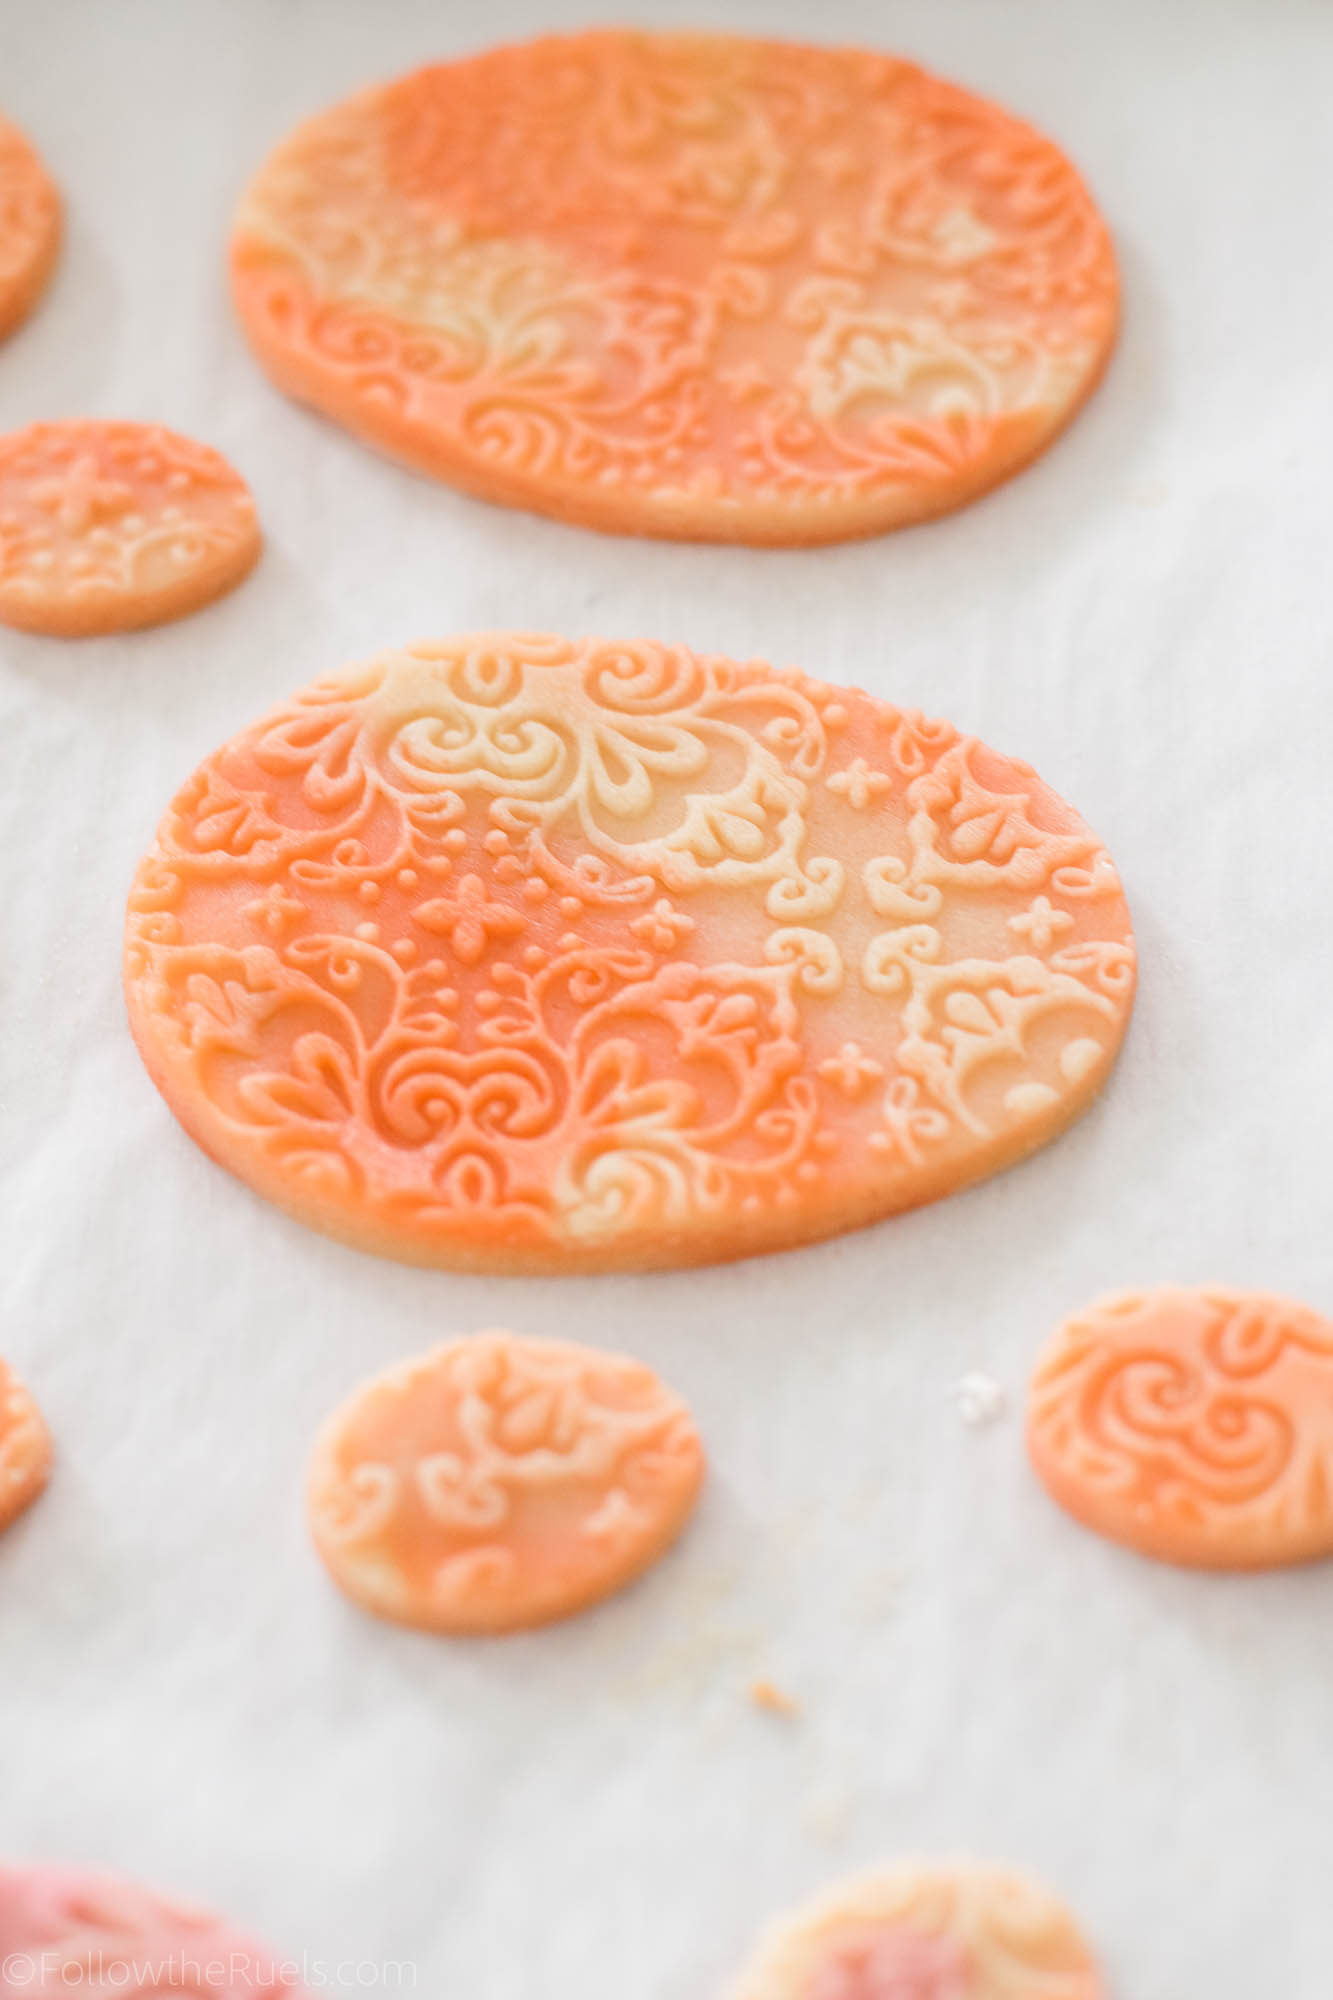
You definitely want to be able to see all the details of the rolling pin because the cookie will flatten a bit in the oven.
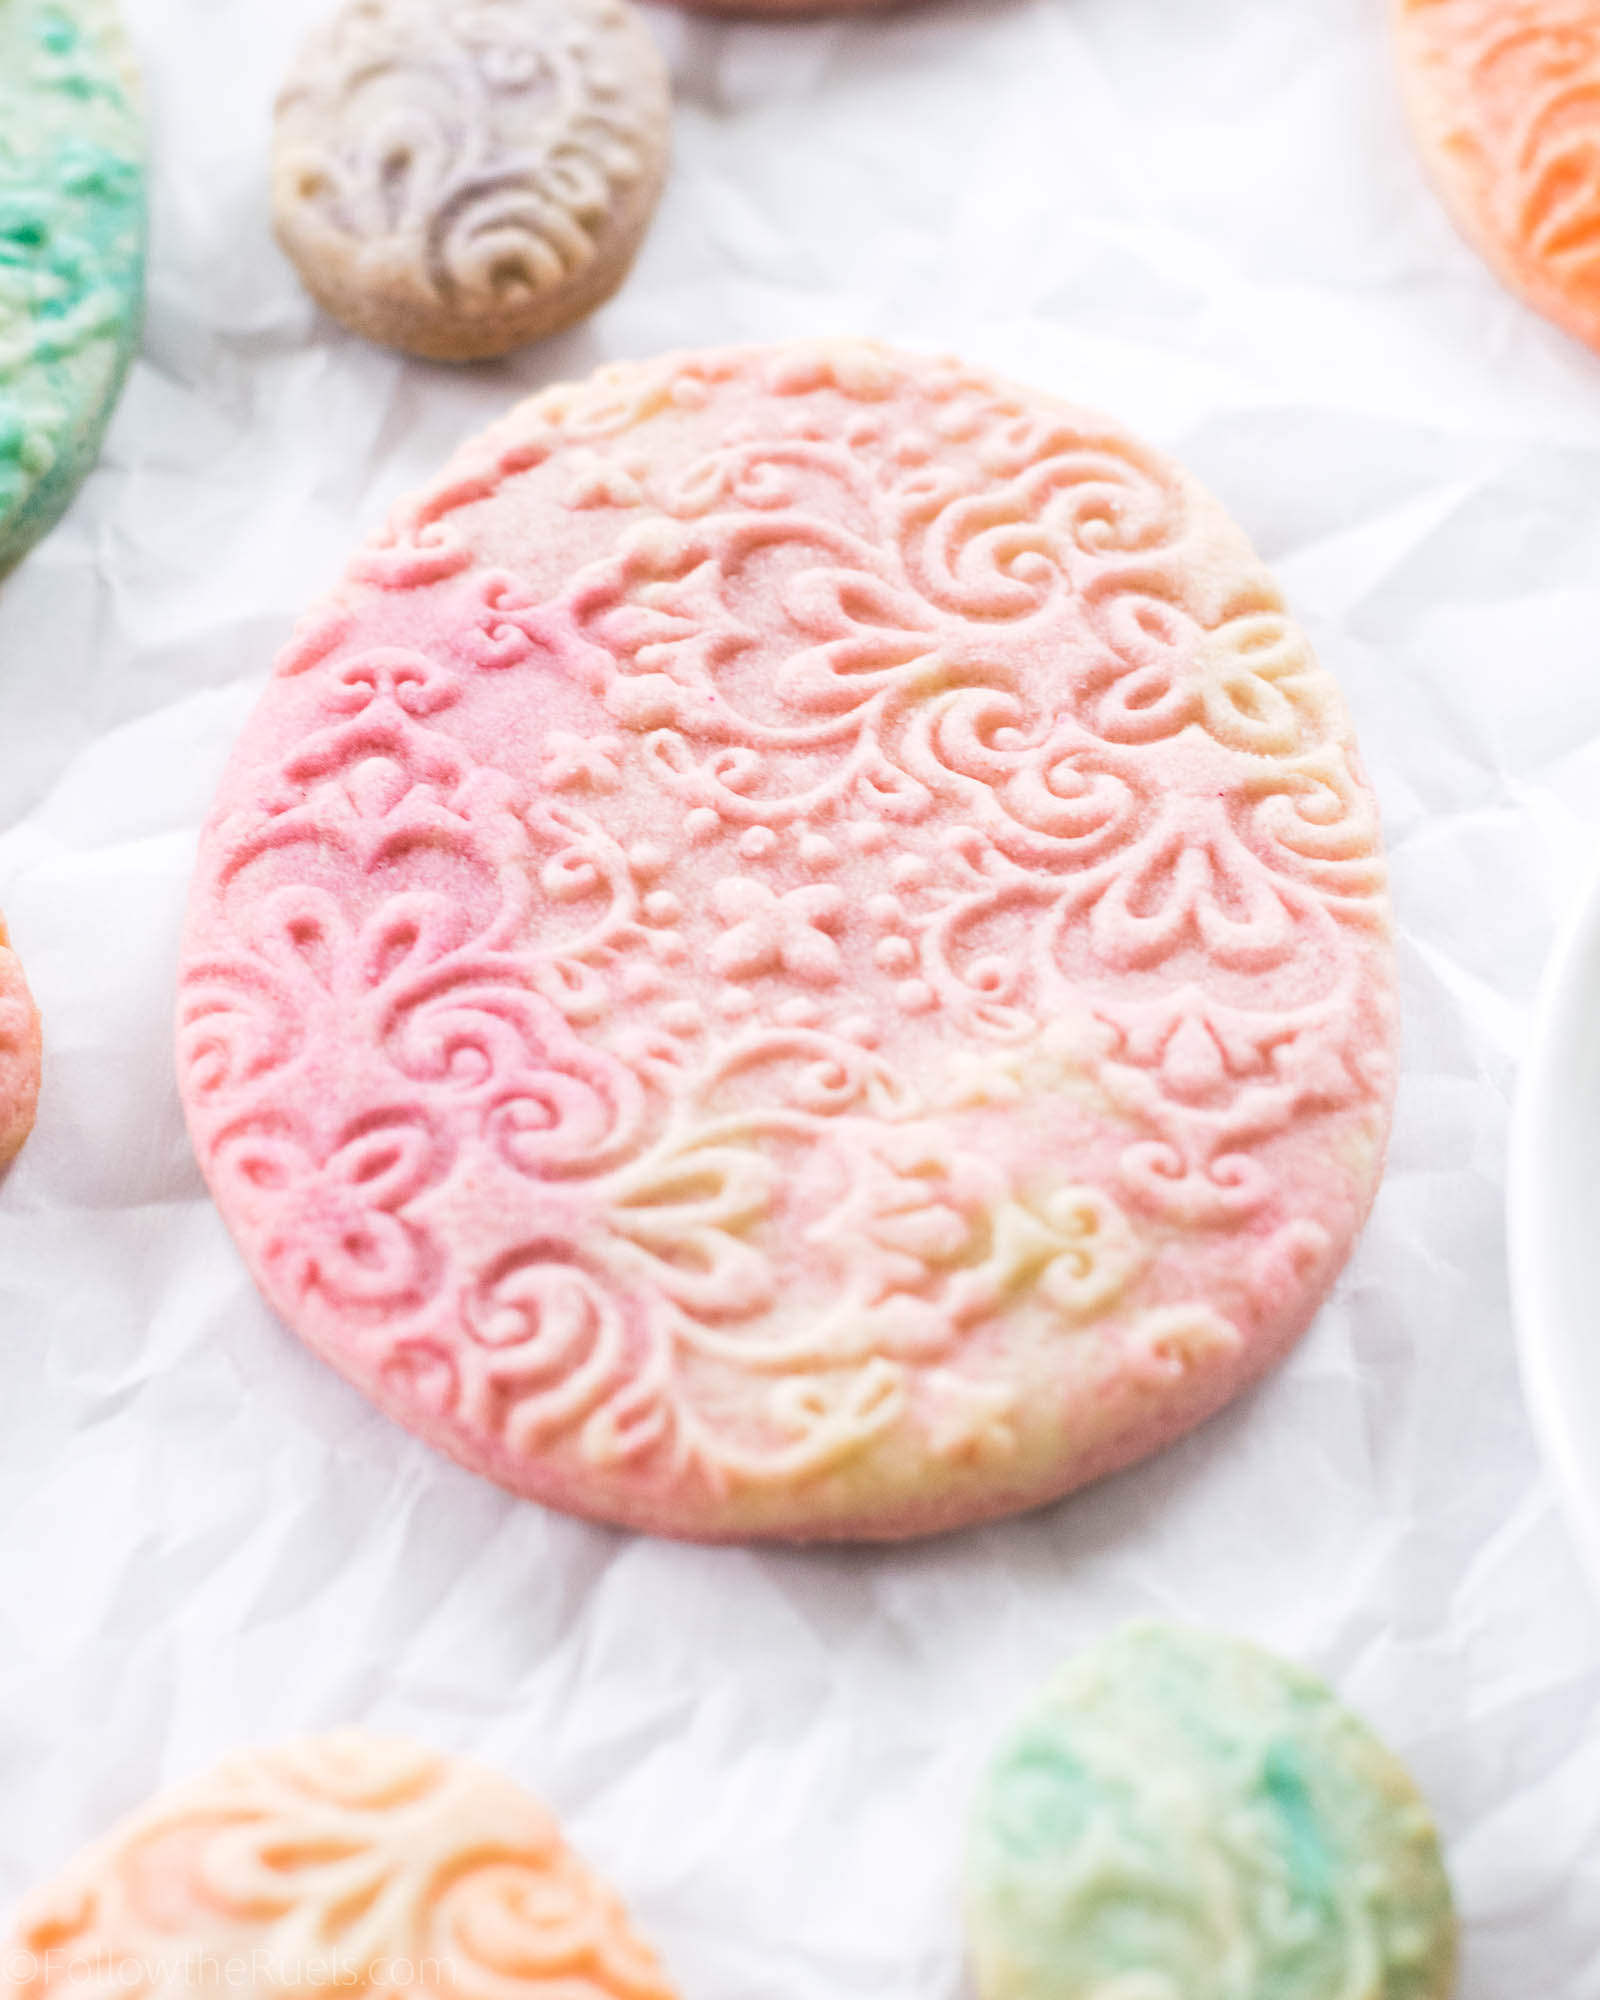
But if you roll it well, you will have beautiful embossed marbled sugar cookies that are perfect for Easter or any time of year. Just change the shape of your cookie cutter and you have yourself a pretty birthday cookie, 4th of July cookie, Christmas cookie….the possibilities are endless.
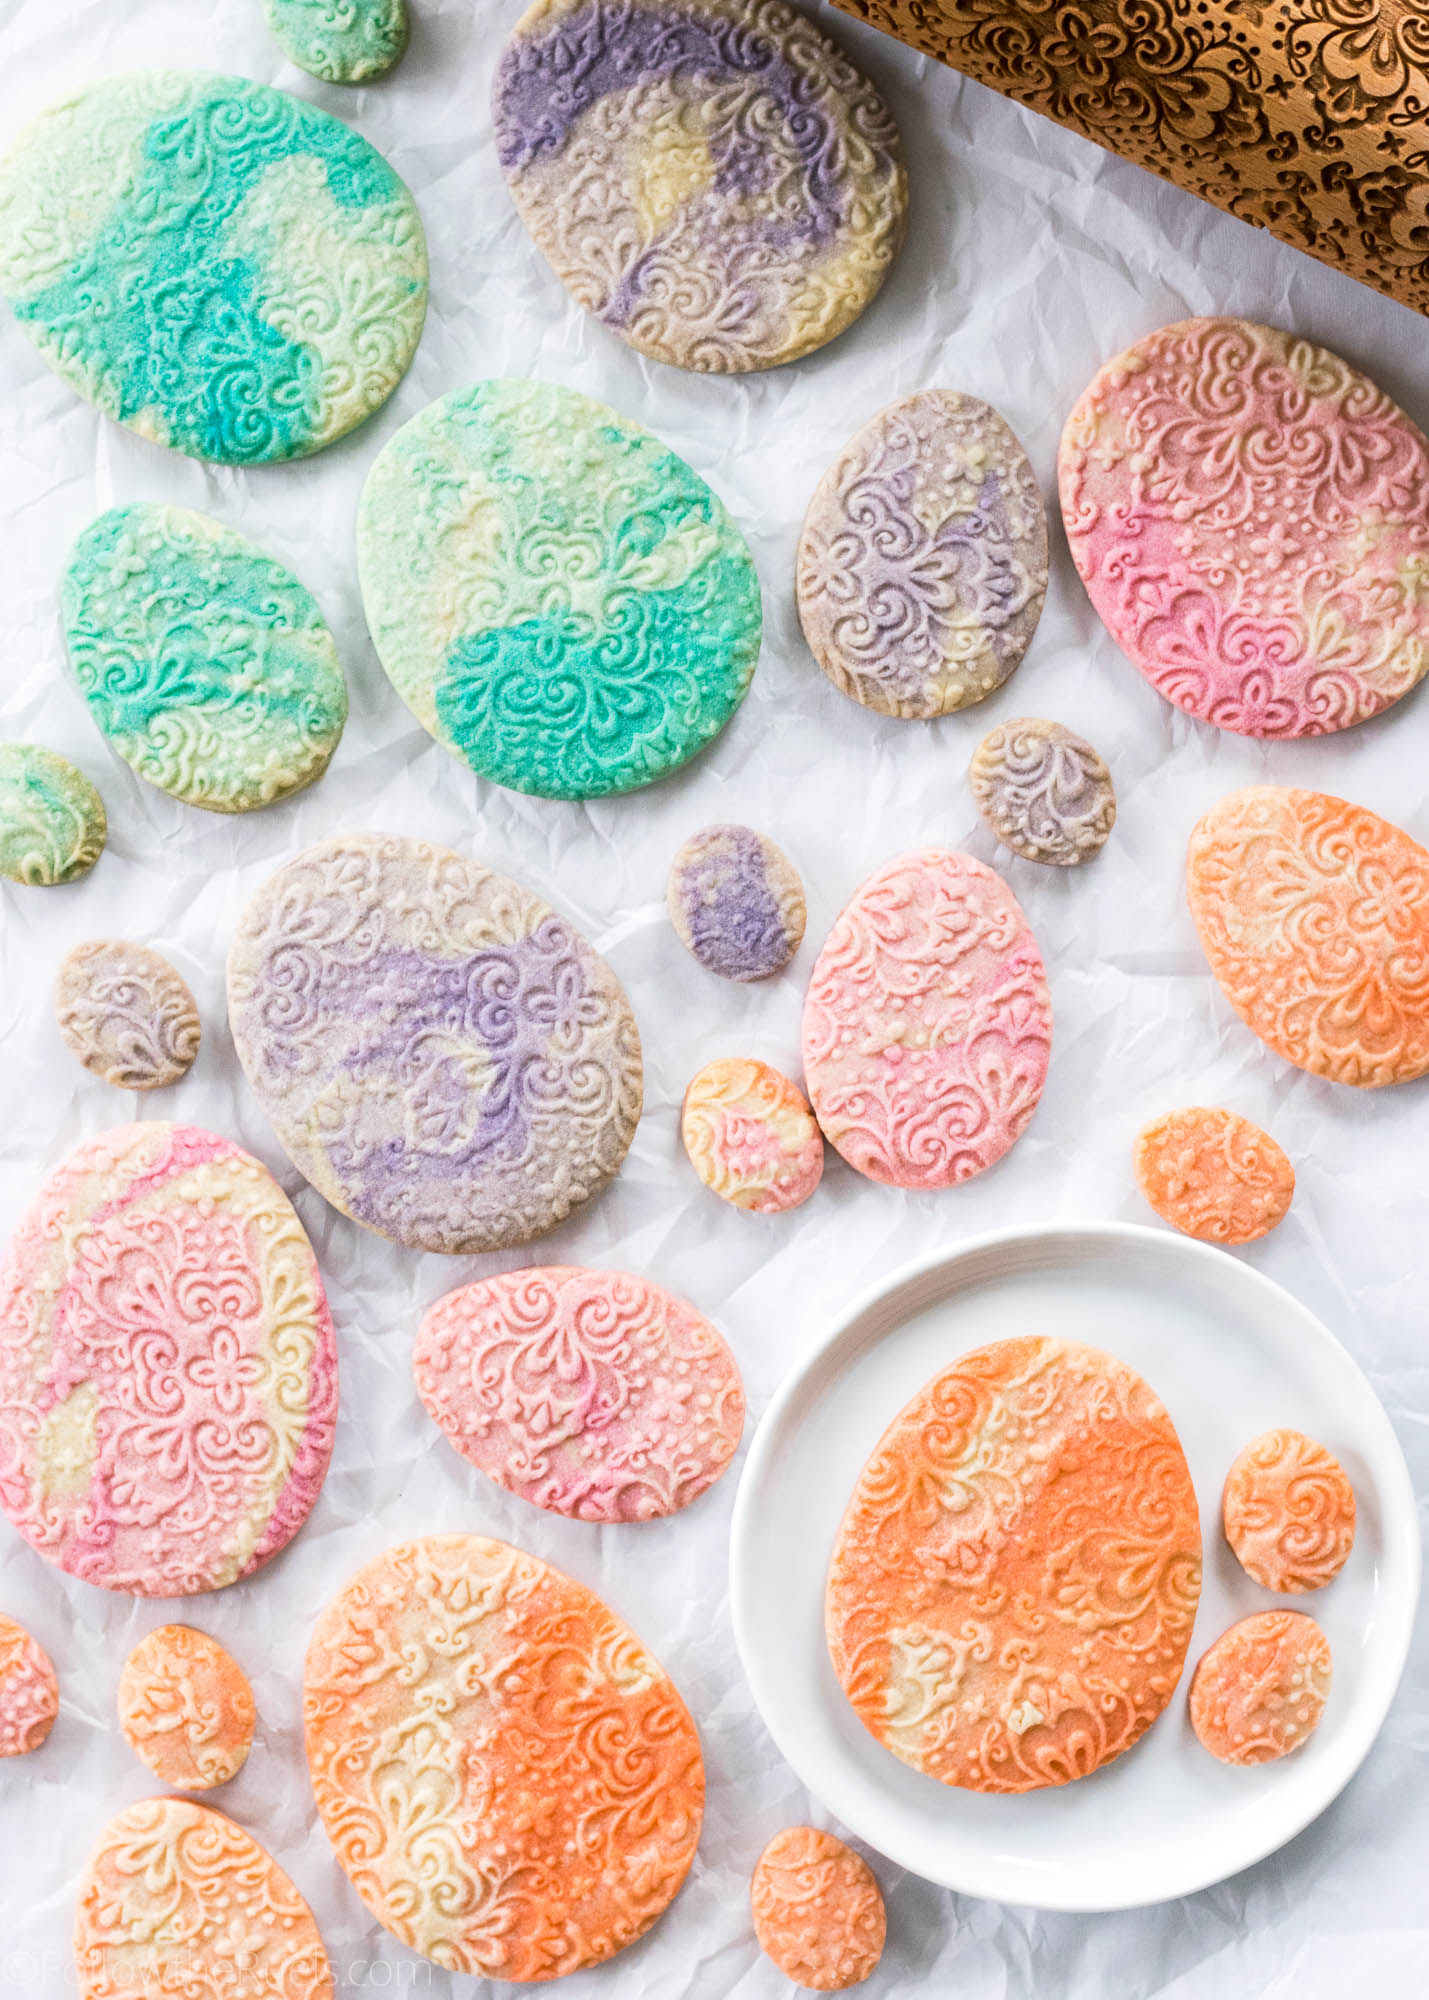
I just really like these for Easter. The marbled effect of the dough makes them sort of look like eggs that have been dyed the old-fashioned way. And the embossing makes them look very elegant and refined.
Recommended Tools
[show_shopthepost_widget id=”3079756″]
Recipe
[yumprint-recipe id=’168′]
That is a wonderful idea! I bought an embossed rolling pin before Christmas but I couldn’t get the cookies to come out the right way–I love your idea of using the different bands! I was squishing my cookies into oblivion trying to get the design in there. I can’t wait to try this!
Thanks Kathy! Yes, I struggled with the embossed rolling pin, too. The bands help A TON! I will never not use the bands when embossing.
Wow, such a great idea. Thank you so much for sharing, I have a question if you don’t mind. I would love to figure out a way to put a very thin coat of royal icing on my embossed cookies that would still show the embossing well. Do you have any suggestions?
That’s a great question. Adding icing on top may reduce the appearance of the embossing. I could only suggest making a very thin icing/glaze and dipping the top of the cookie into the icing so that it’s a very thin layer on top. I haven’t tried this, so I can’t assure you it will work.
Hi, love the embossed look on the cookies. I have seen for sale rolling pins for icing fondant – Can you tell me if these would do the same thing as the wooden rolling pins for cookie dough? Didn’t want to purchase them and they don’t work! Many thanks, Leah
Yes, the fondant rolling pins should work the same way as the wooden rolling pins. They just tend to be a little smaller so you may have to work in smaller batches.