• Home
  • Eat
    • Breakfast
    • Appetizers
    • Main Dishes
      • Chicken
      • Beef
      • Seafood
      • Healthy Dishes
      • Paleo Dishes
      • Salads
    • Desserts
      • Decorated Cookies
      • Cookies
      • Bars and Brownies
      • Cakes and Cupcakes
  • Shop
    • Cookie Decorating Supplies
    • Bakeware
    • Cookware
    • Kitchen Gadgets
    • House
  • About
    • Contact
    • Bucket List
  • Cookie Decorating 101

Follow the Ruels

No Bake Cookie Dough Fudge

August 2, 2018

One of the things I miss the most since learning I was pregnant is licking the bowl! Since I do a lot of baking, you can only imagine how many cookie dough and cake batter covered bowls I have had to leave behind. It’s taken a lot of will-power but somehow I have made it 5 months. 

Finally, I decided to give in to my indulgence! Well, sort of. 

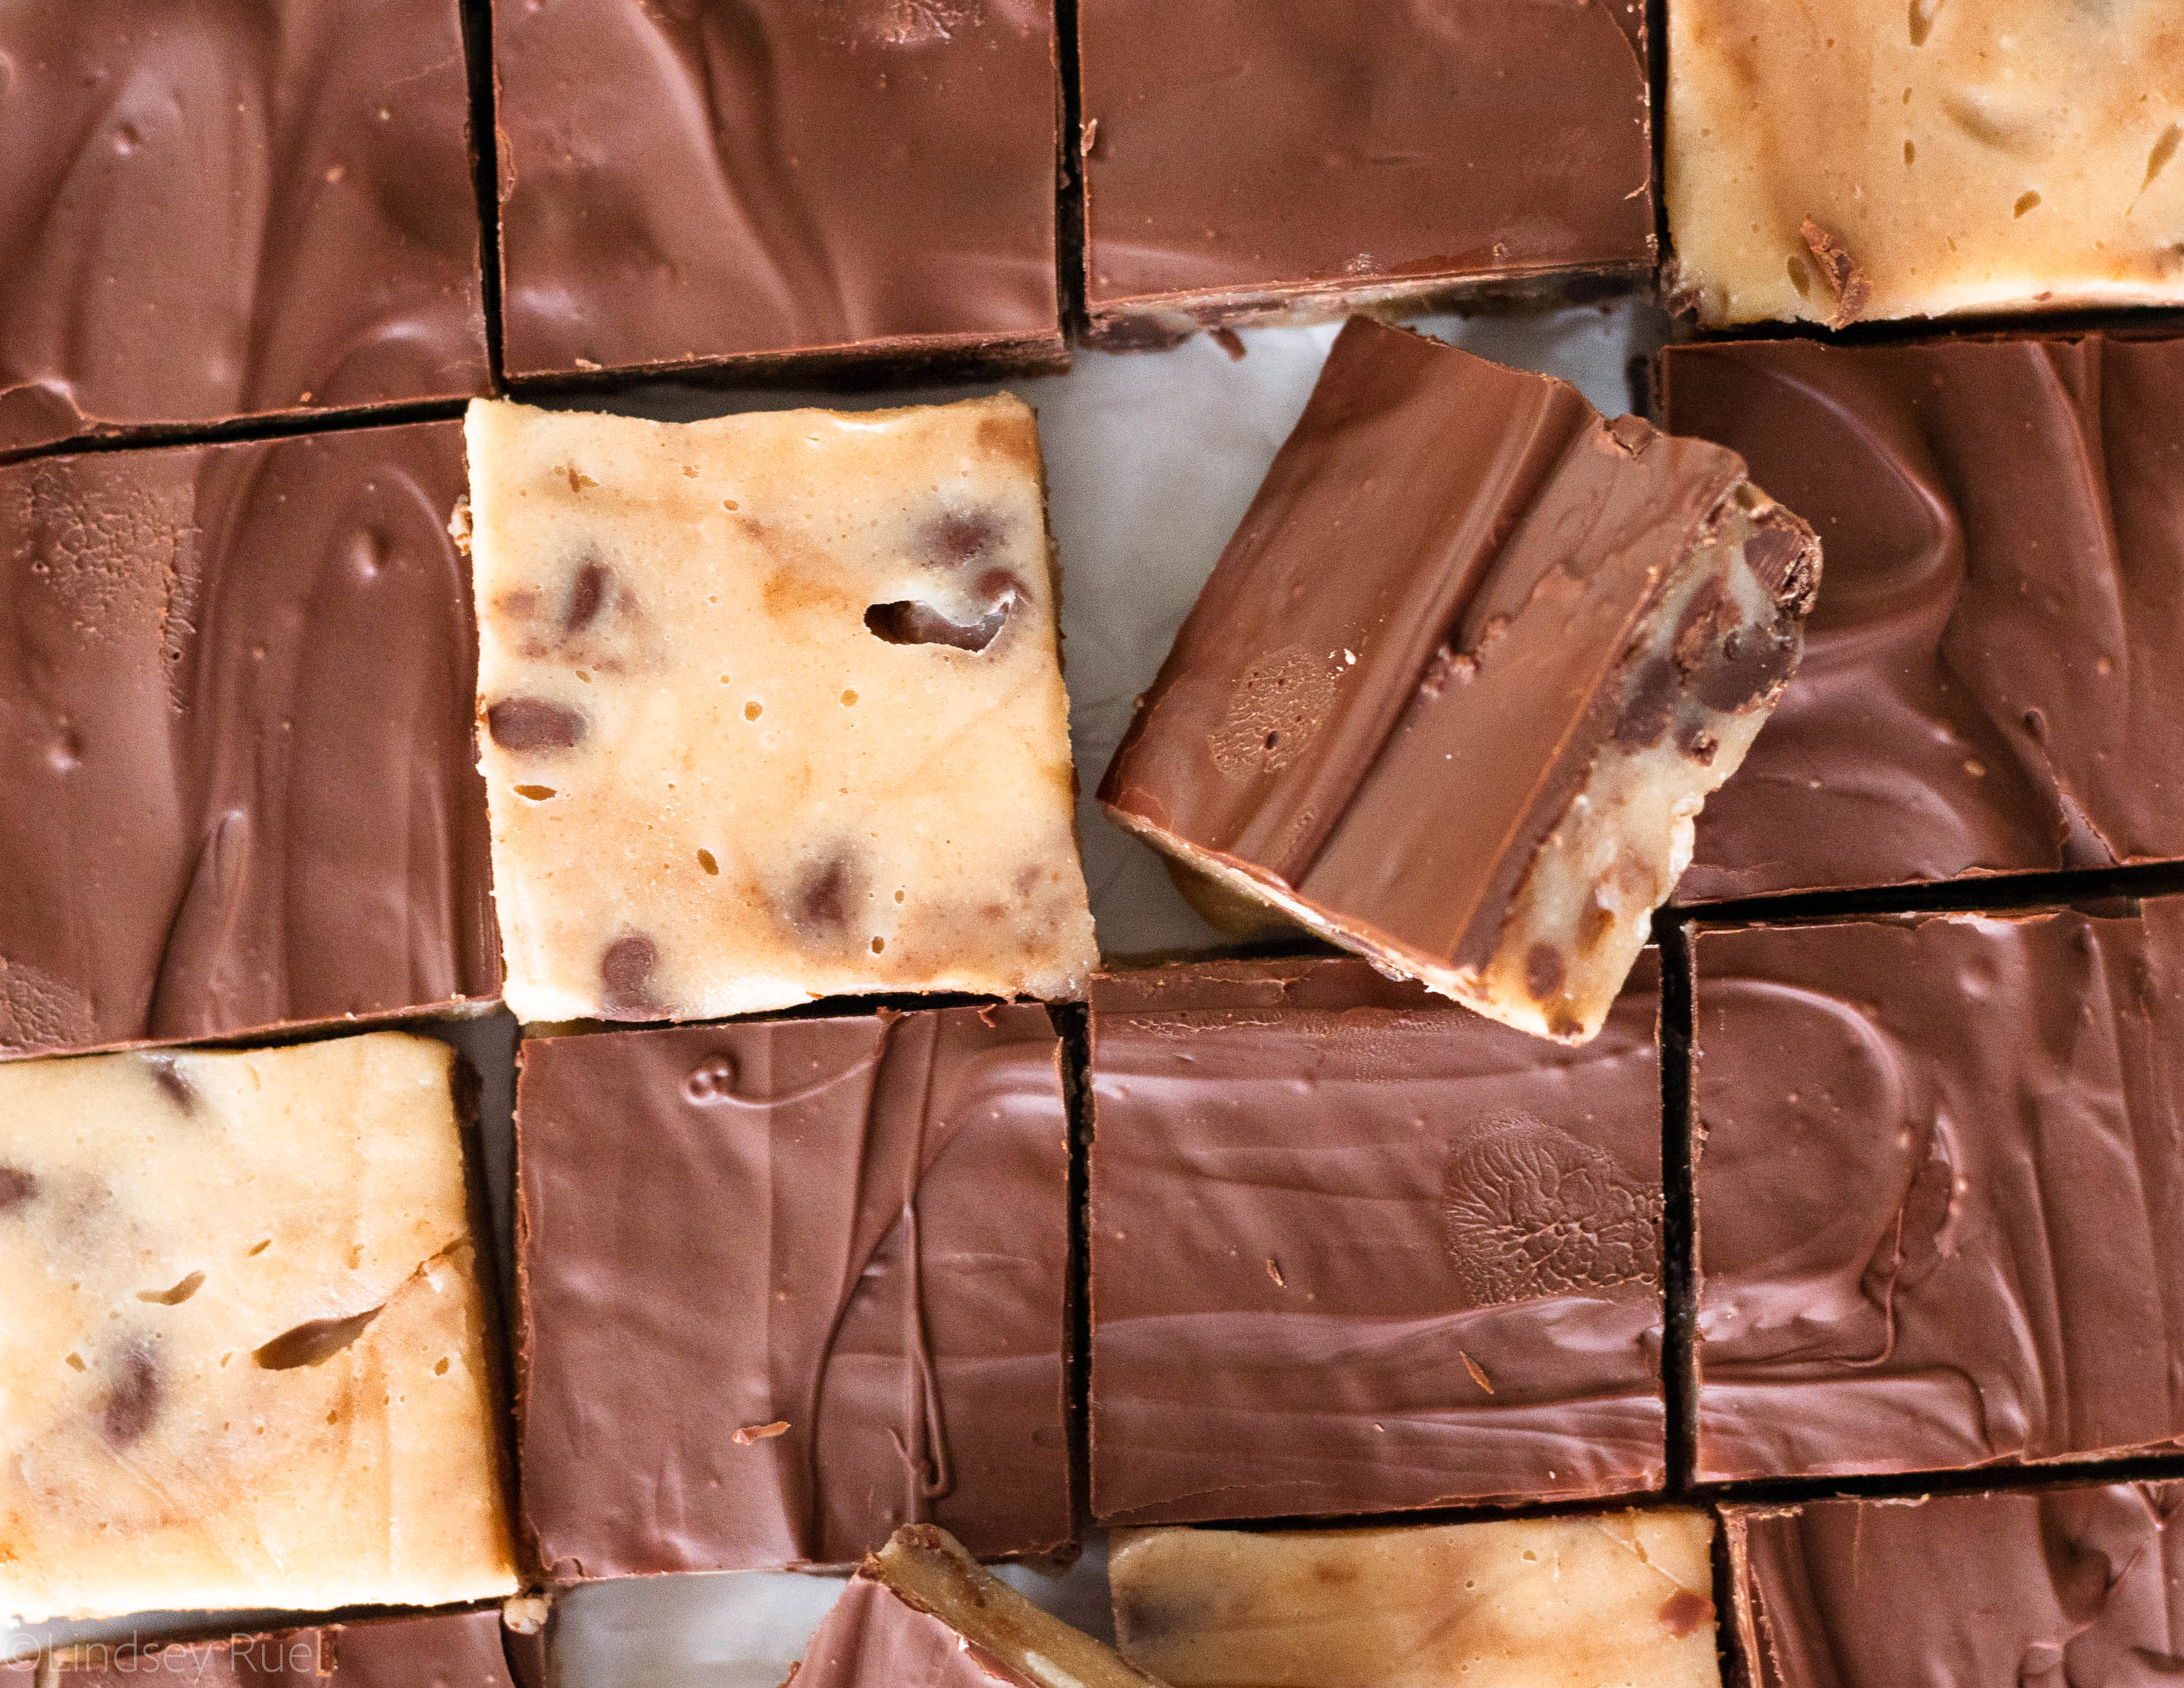
Instead of licking the dirty, cookie dough covered bowl, I decided I needed to make my own version of edible cookie dough. Thus we have the no-bake cookie dough fudge!

It’s basically like eating little squares of cookie dough, but with absolutely none of the risk! This way I can have the best of both worlds!

How to Make It

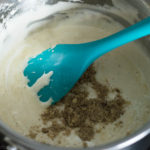
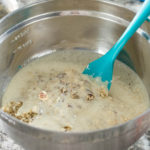
In a small saucepan, stir together flour and sweetened condensed milk. Place it over medium heat and add in butter. As the butter melts, stir it into the flour.

Then add in the brown sugar and vanilla and stir until you have a nice smooth mixture. 

The purpose of doing this over the stove instead of just in a bowl is two-fold. 

  1. Raw flour can actually pose a risk of salmonella as well, thus you should always heat it up before adding it into a raw mixture like this.
  2. Buy melting all the ingredients together, you ensure that you have a smooth, non-gritty fudge.
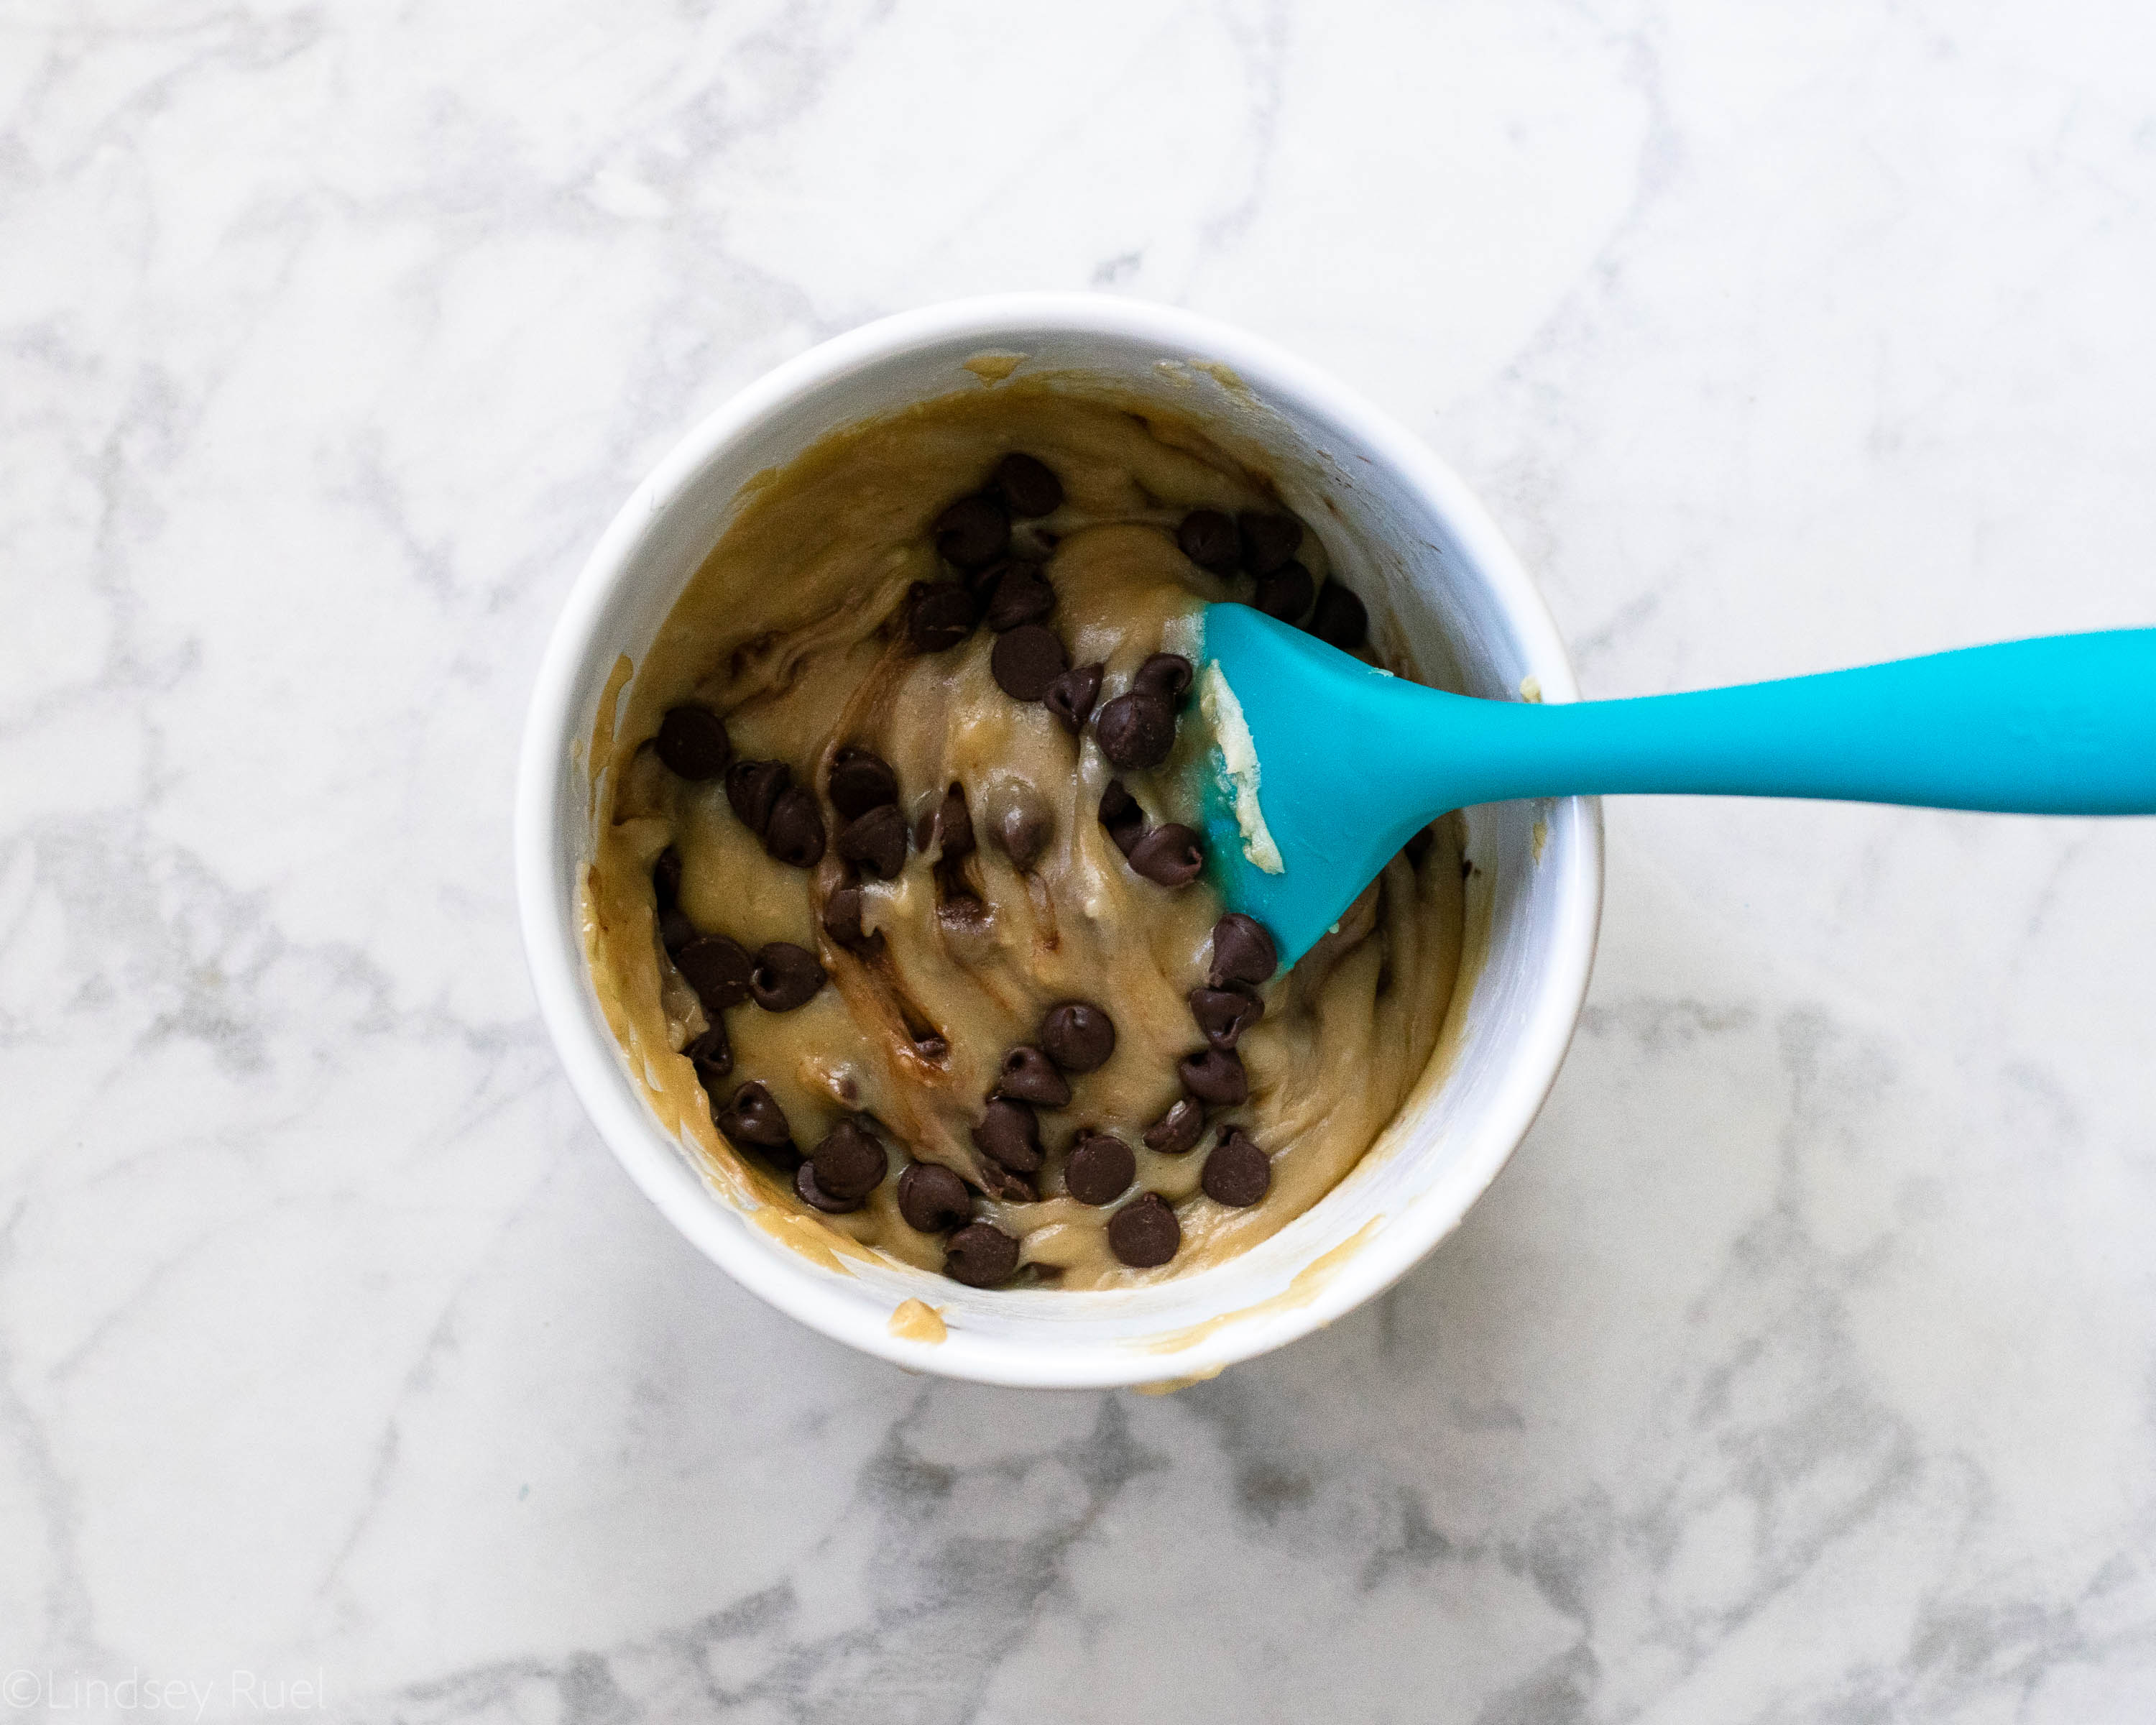
Let the mixture cool a bit, then add in your chocolate chips.
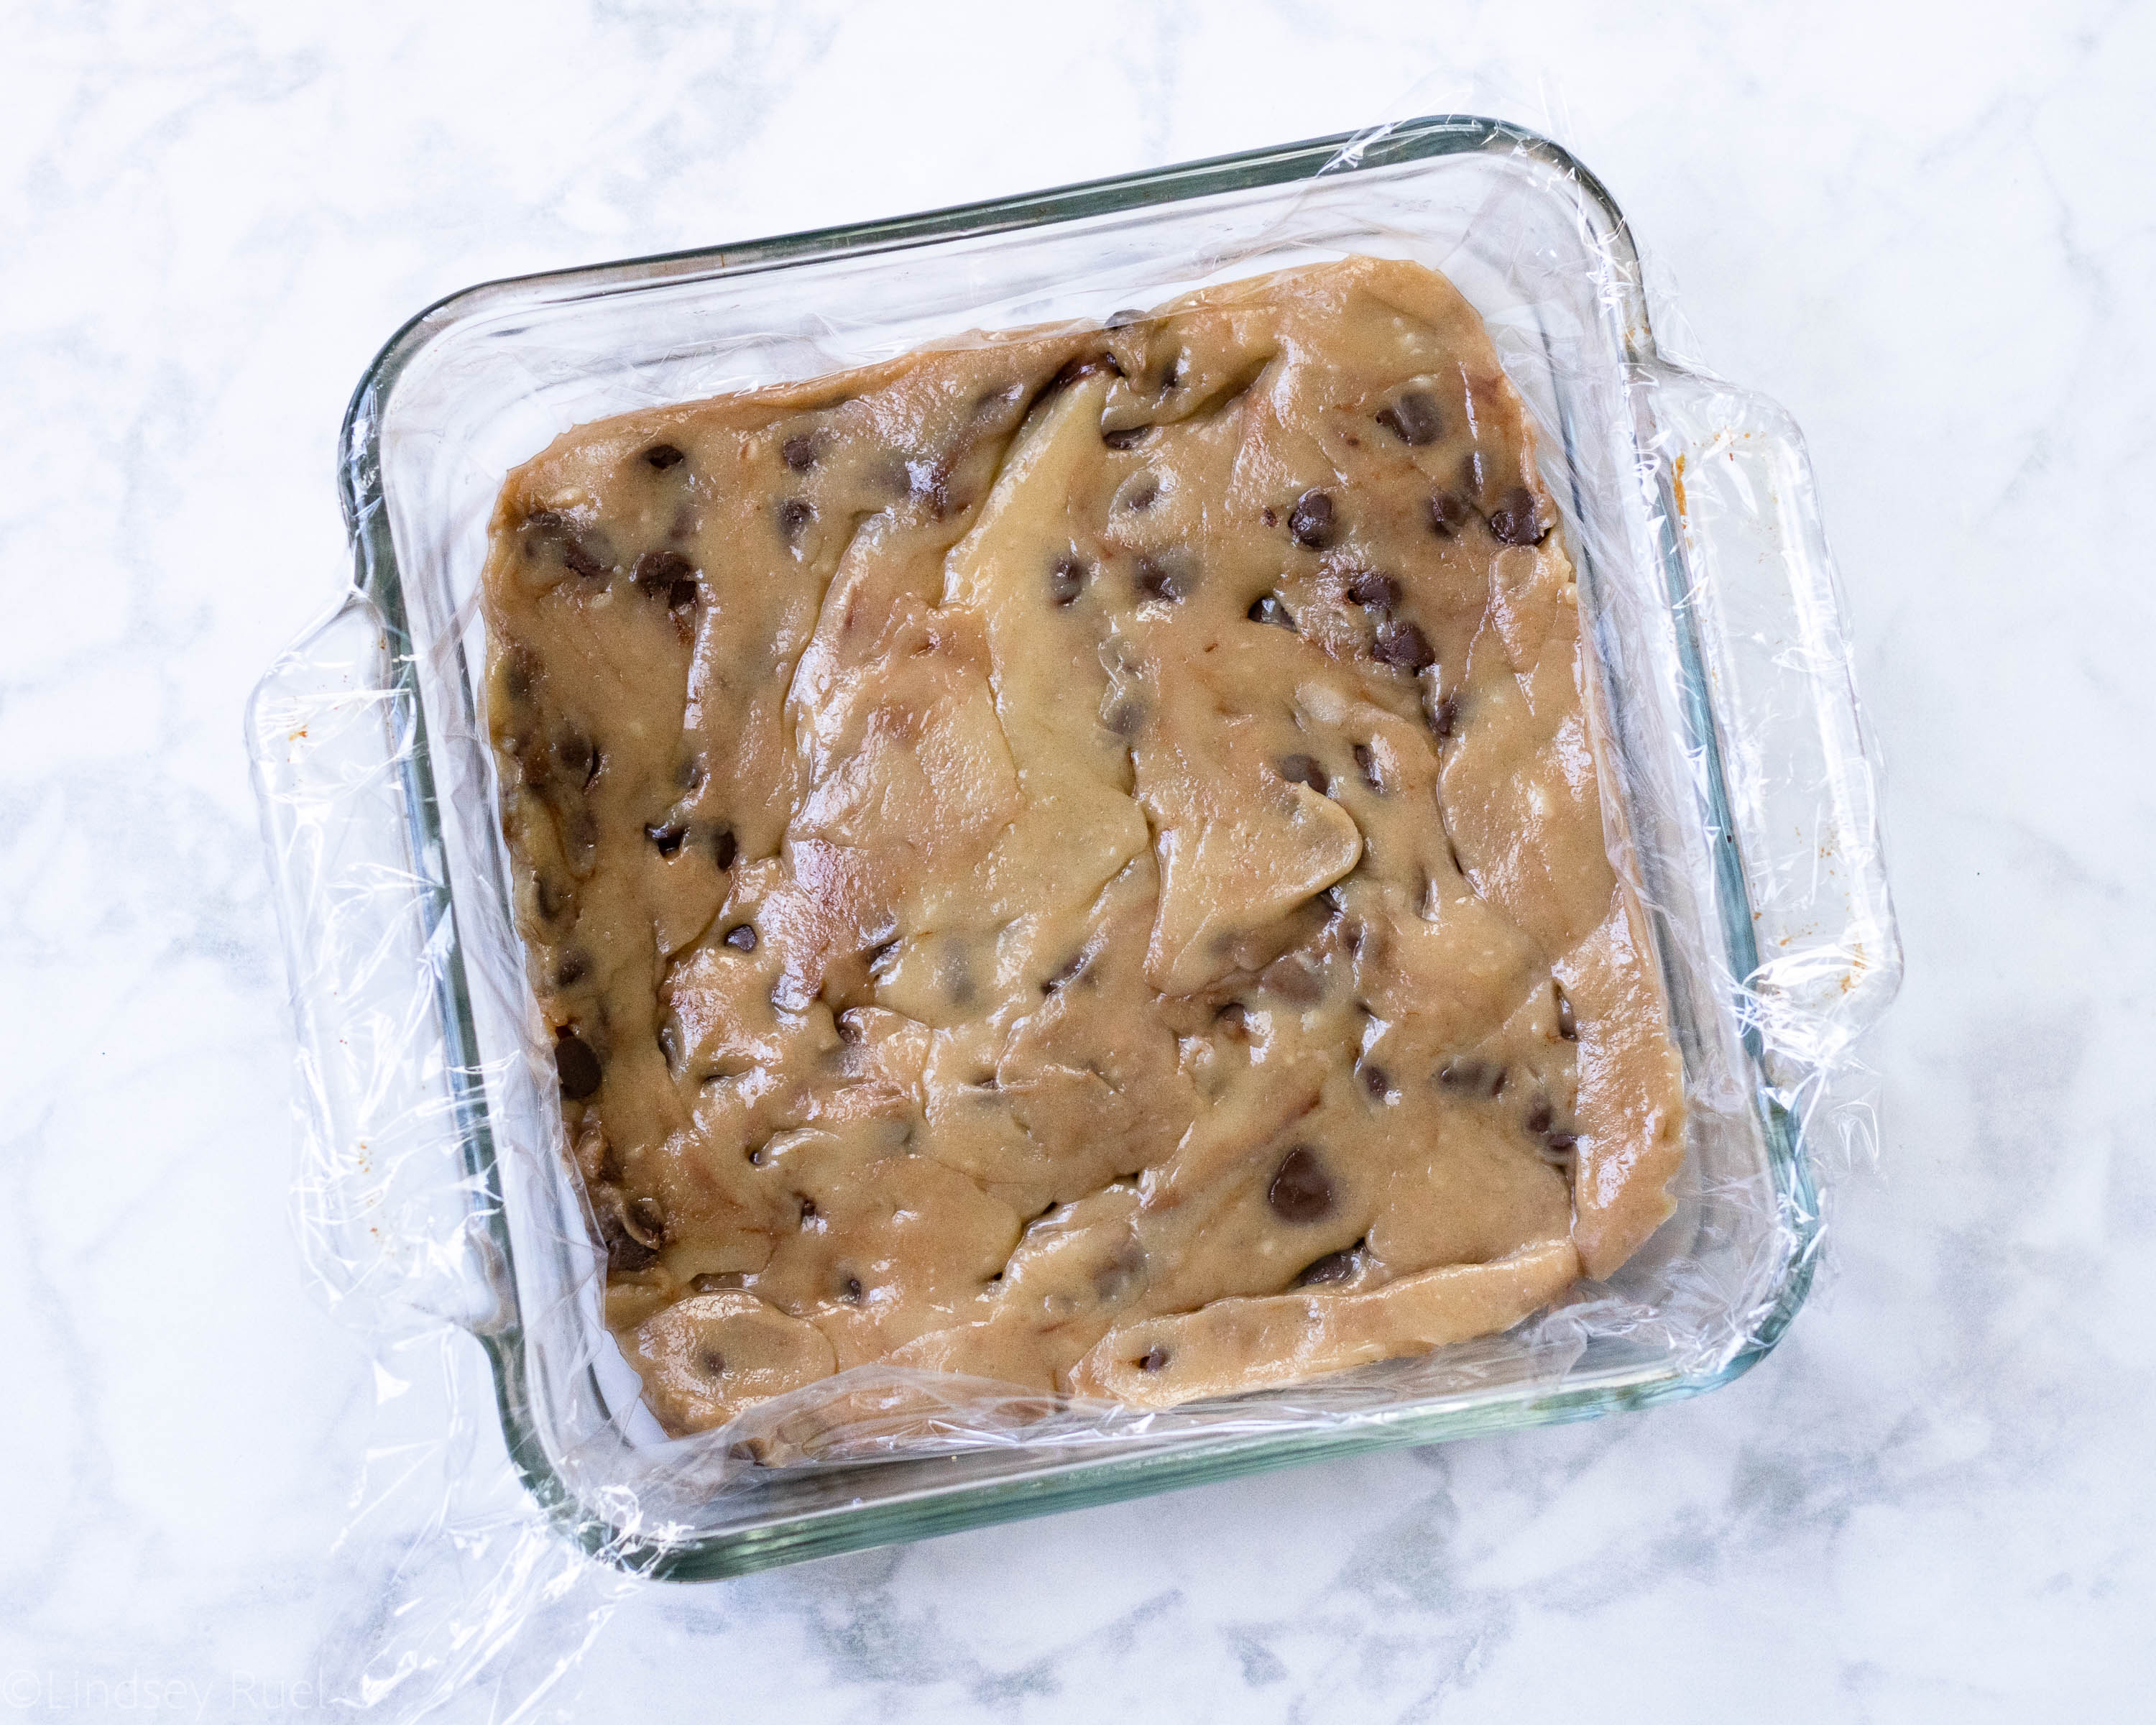
Transfer the fudge to a baking dish and pack down to form a nice smooth surface. Cover the surface with plastic wrap, then let it chill in the fridge for at least an hour.
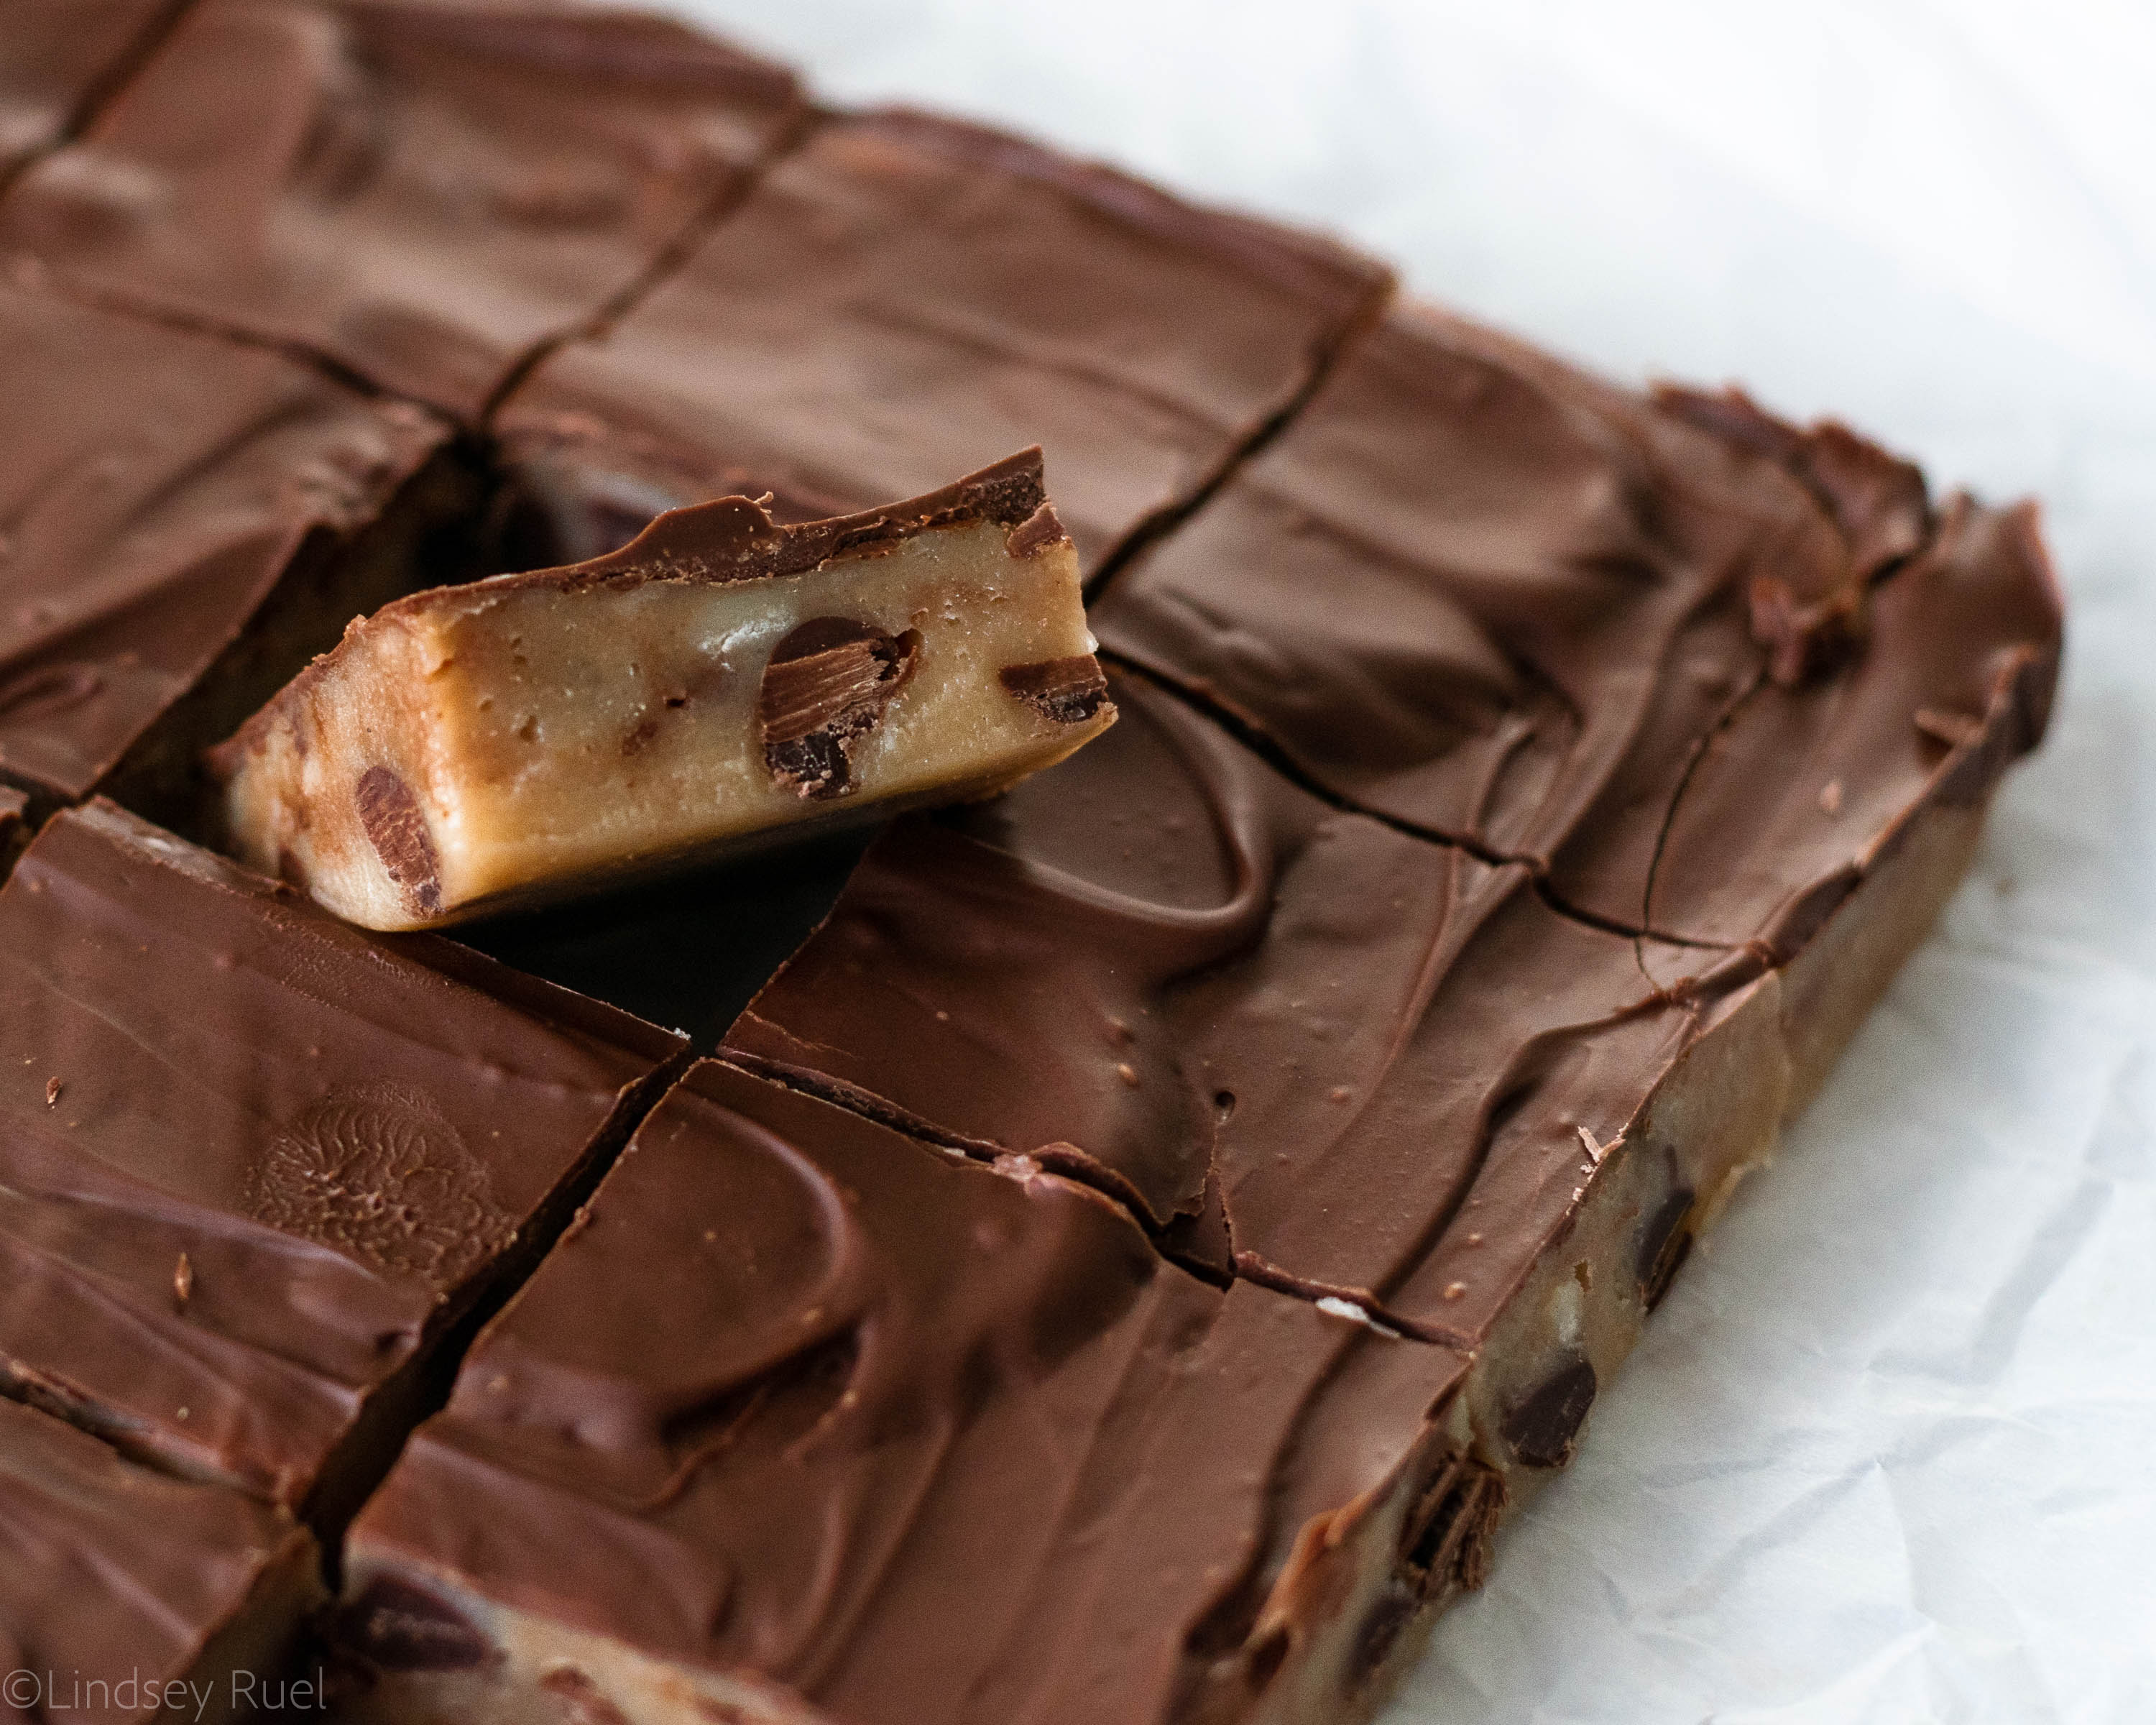
Once it’s chilled you can cover it with a layer of chocolate, or you can just cut it up into pieces and serve immediately!
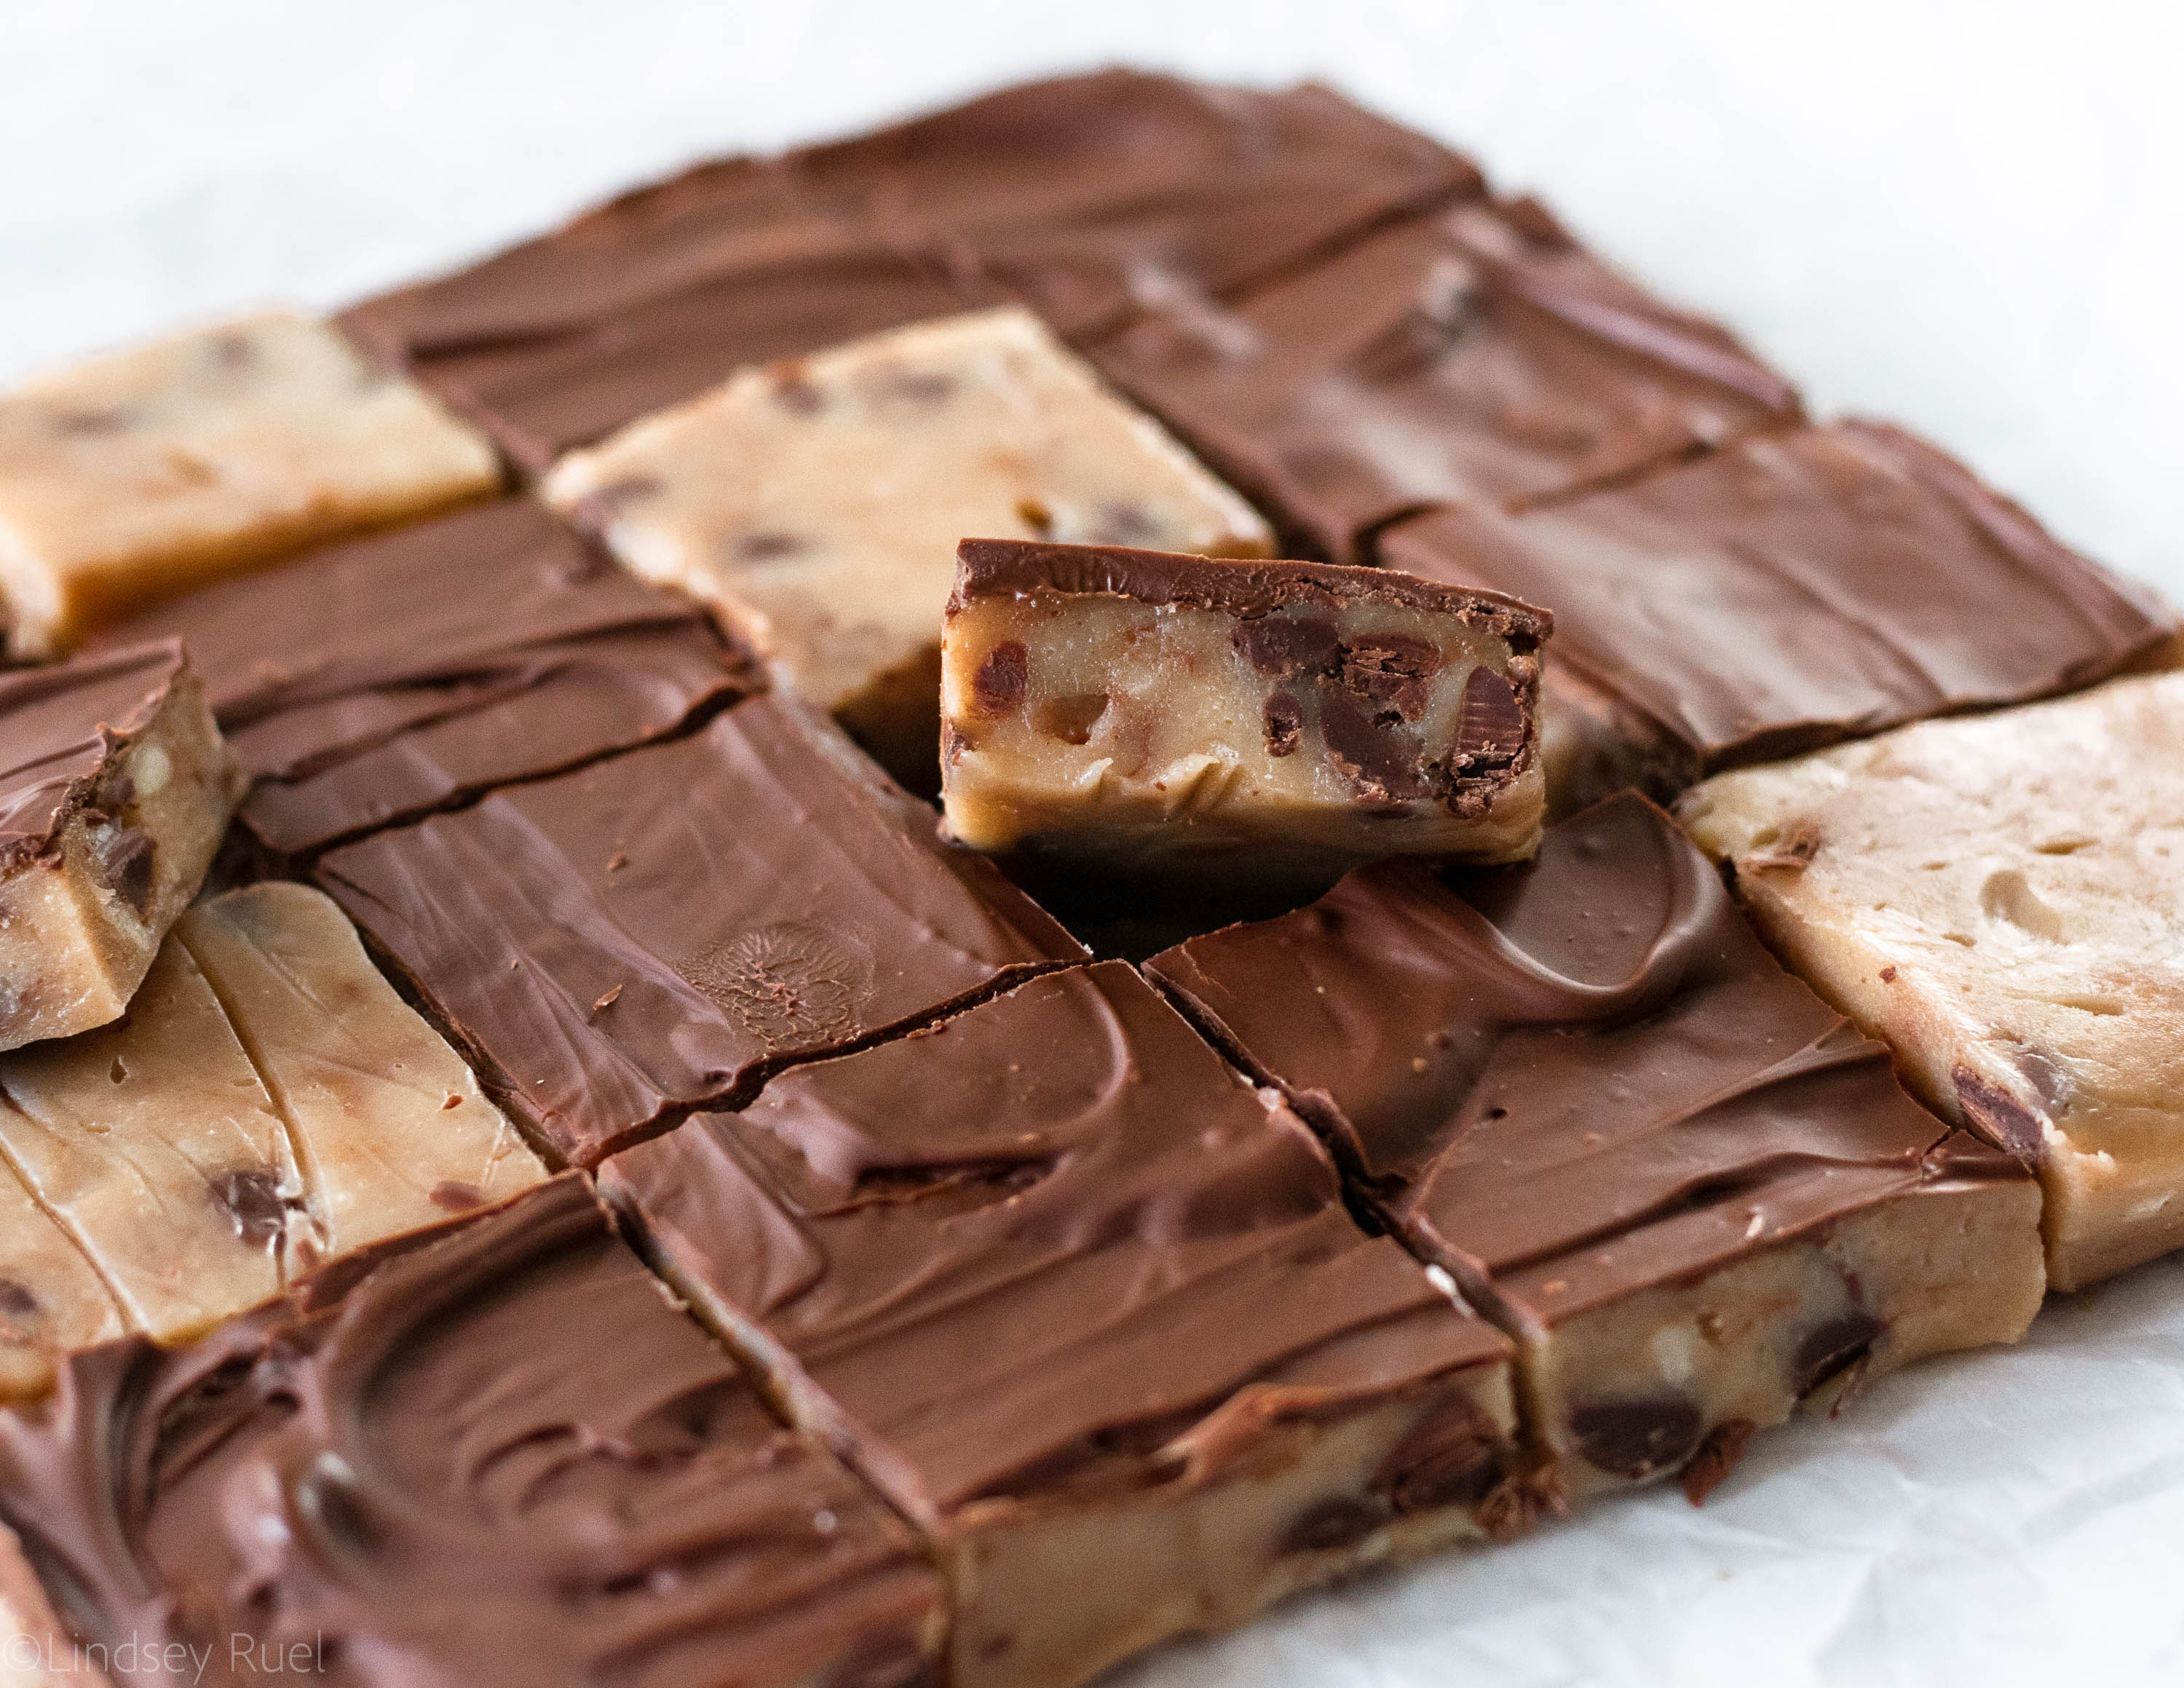
And a little goes a long way! I bet that just one little square will be enough to satisfy your craving for cookie dough!

Recipe

[amd-yrecipe-recipe:168]
 

/ Filed In: Bars and Brownies, Desserts, Eat, Other Sweets New
Tagged: bars, chocolate, cookie dough, fudge, no-bake

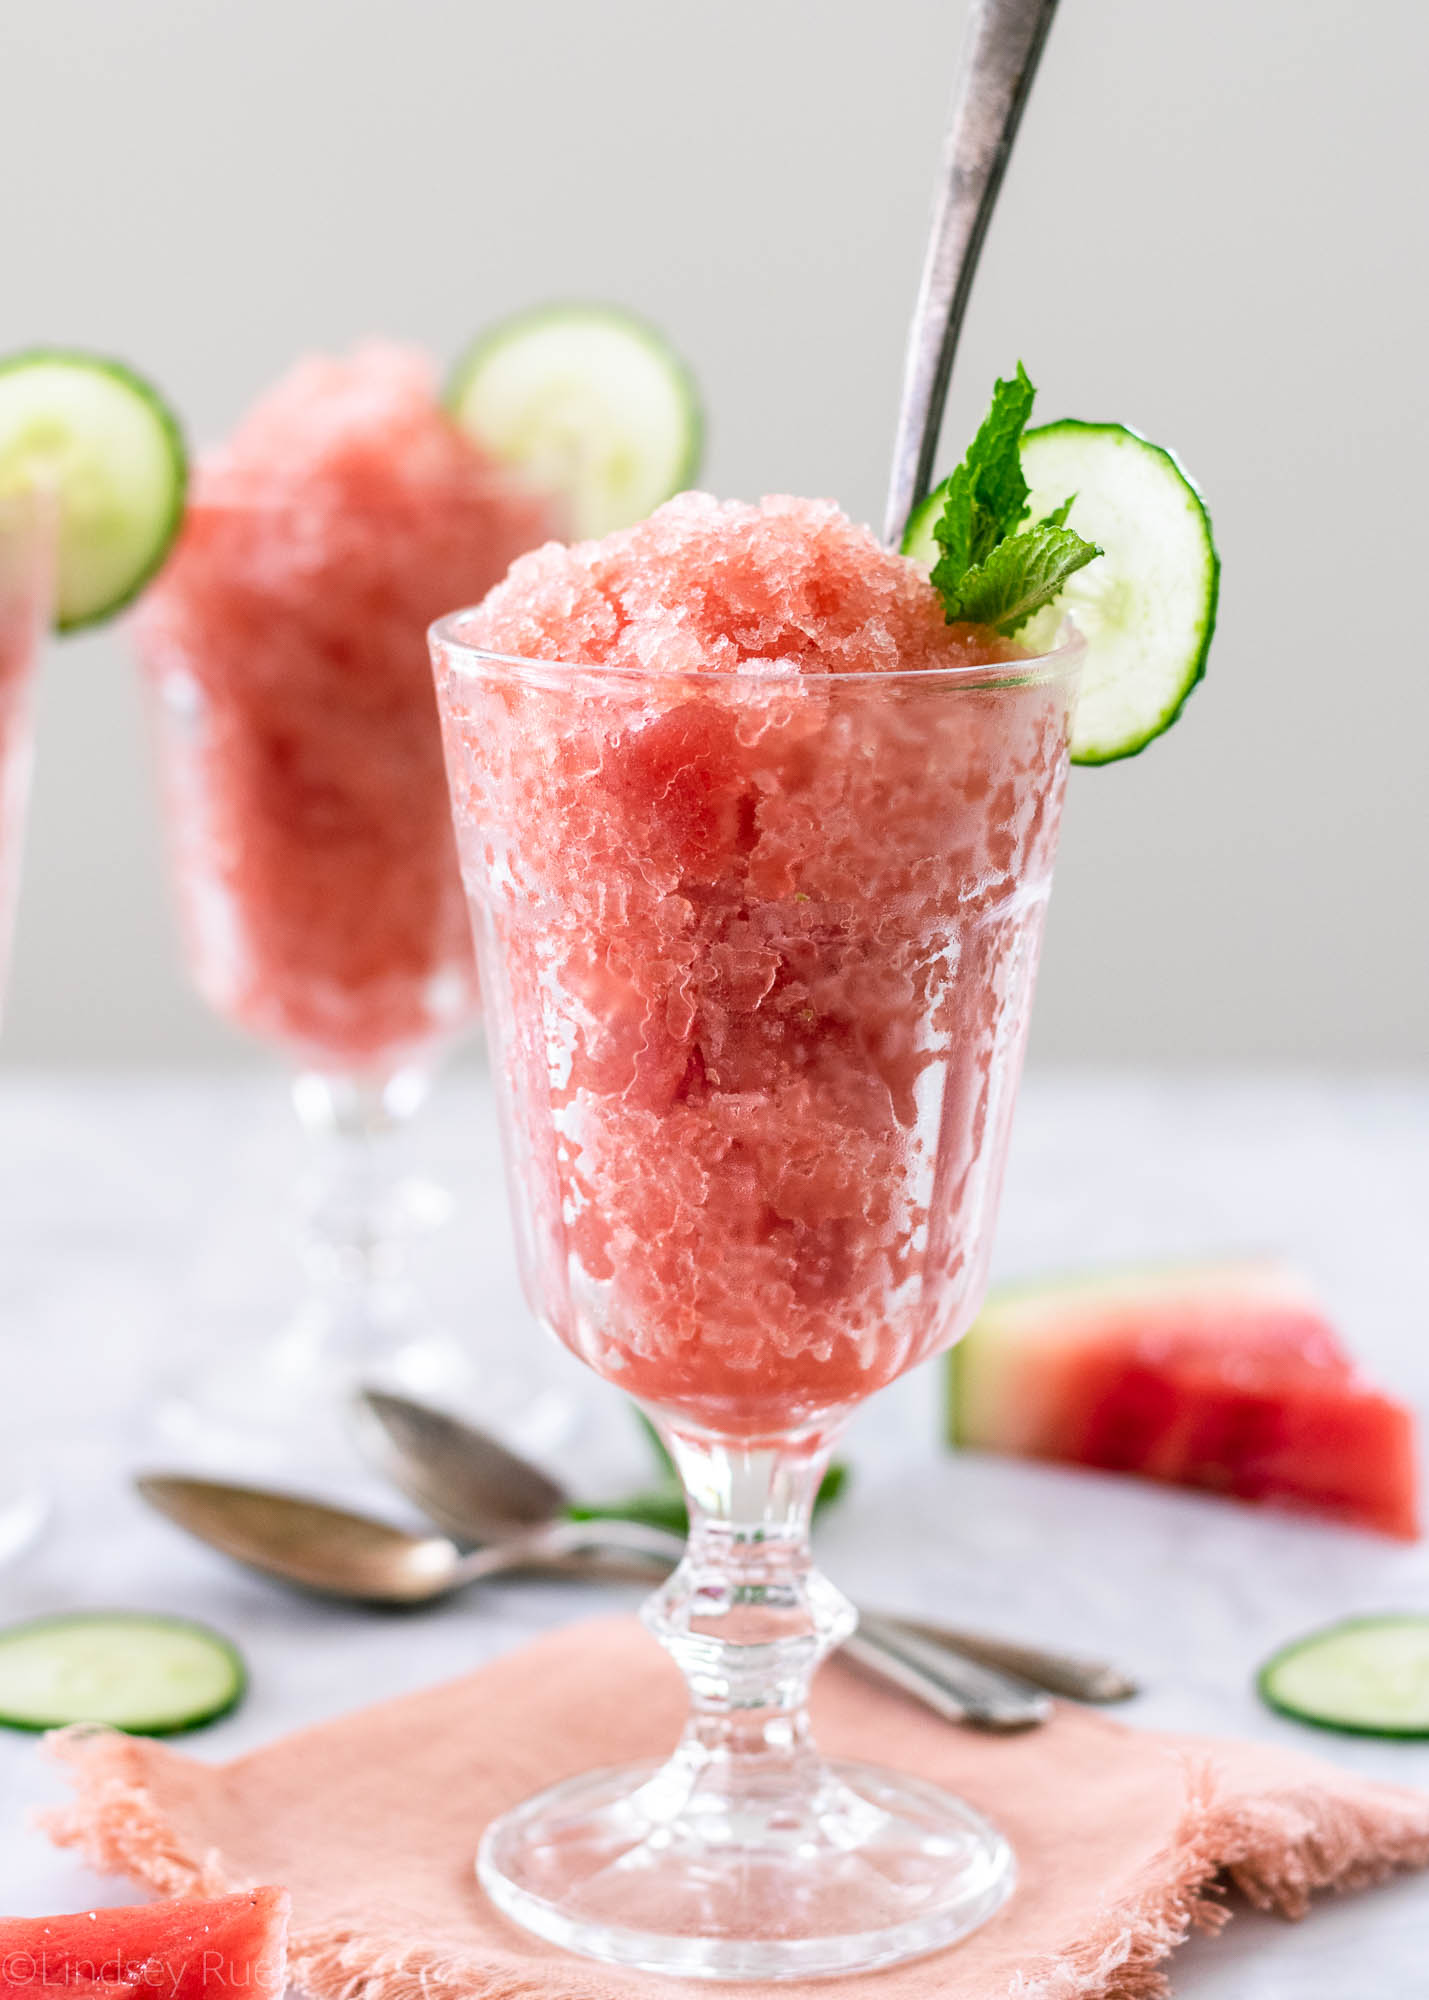
Watermelon Cucumber Granita

July 11, 2018


There comes a time every Summer when I just dread turning on the oven. 

It’s already so hot outside and the AC is struggling to keep up; why would add any more heat to its load? 

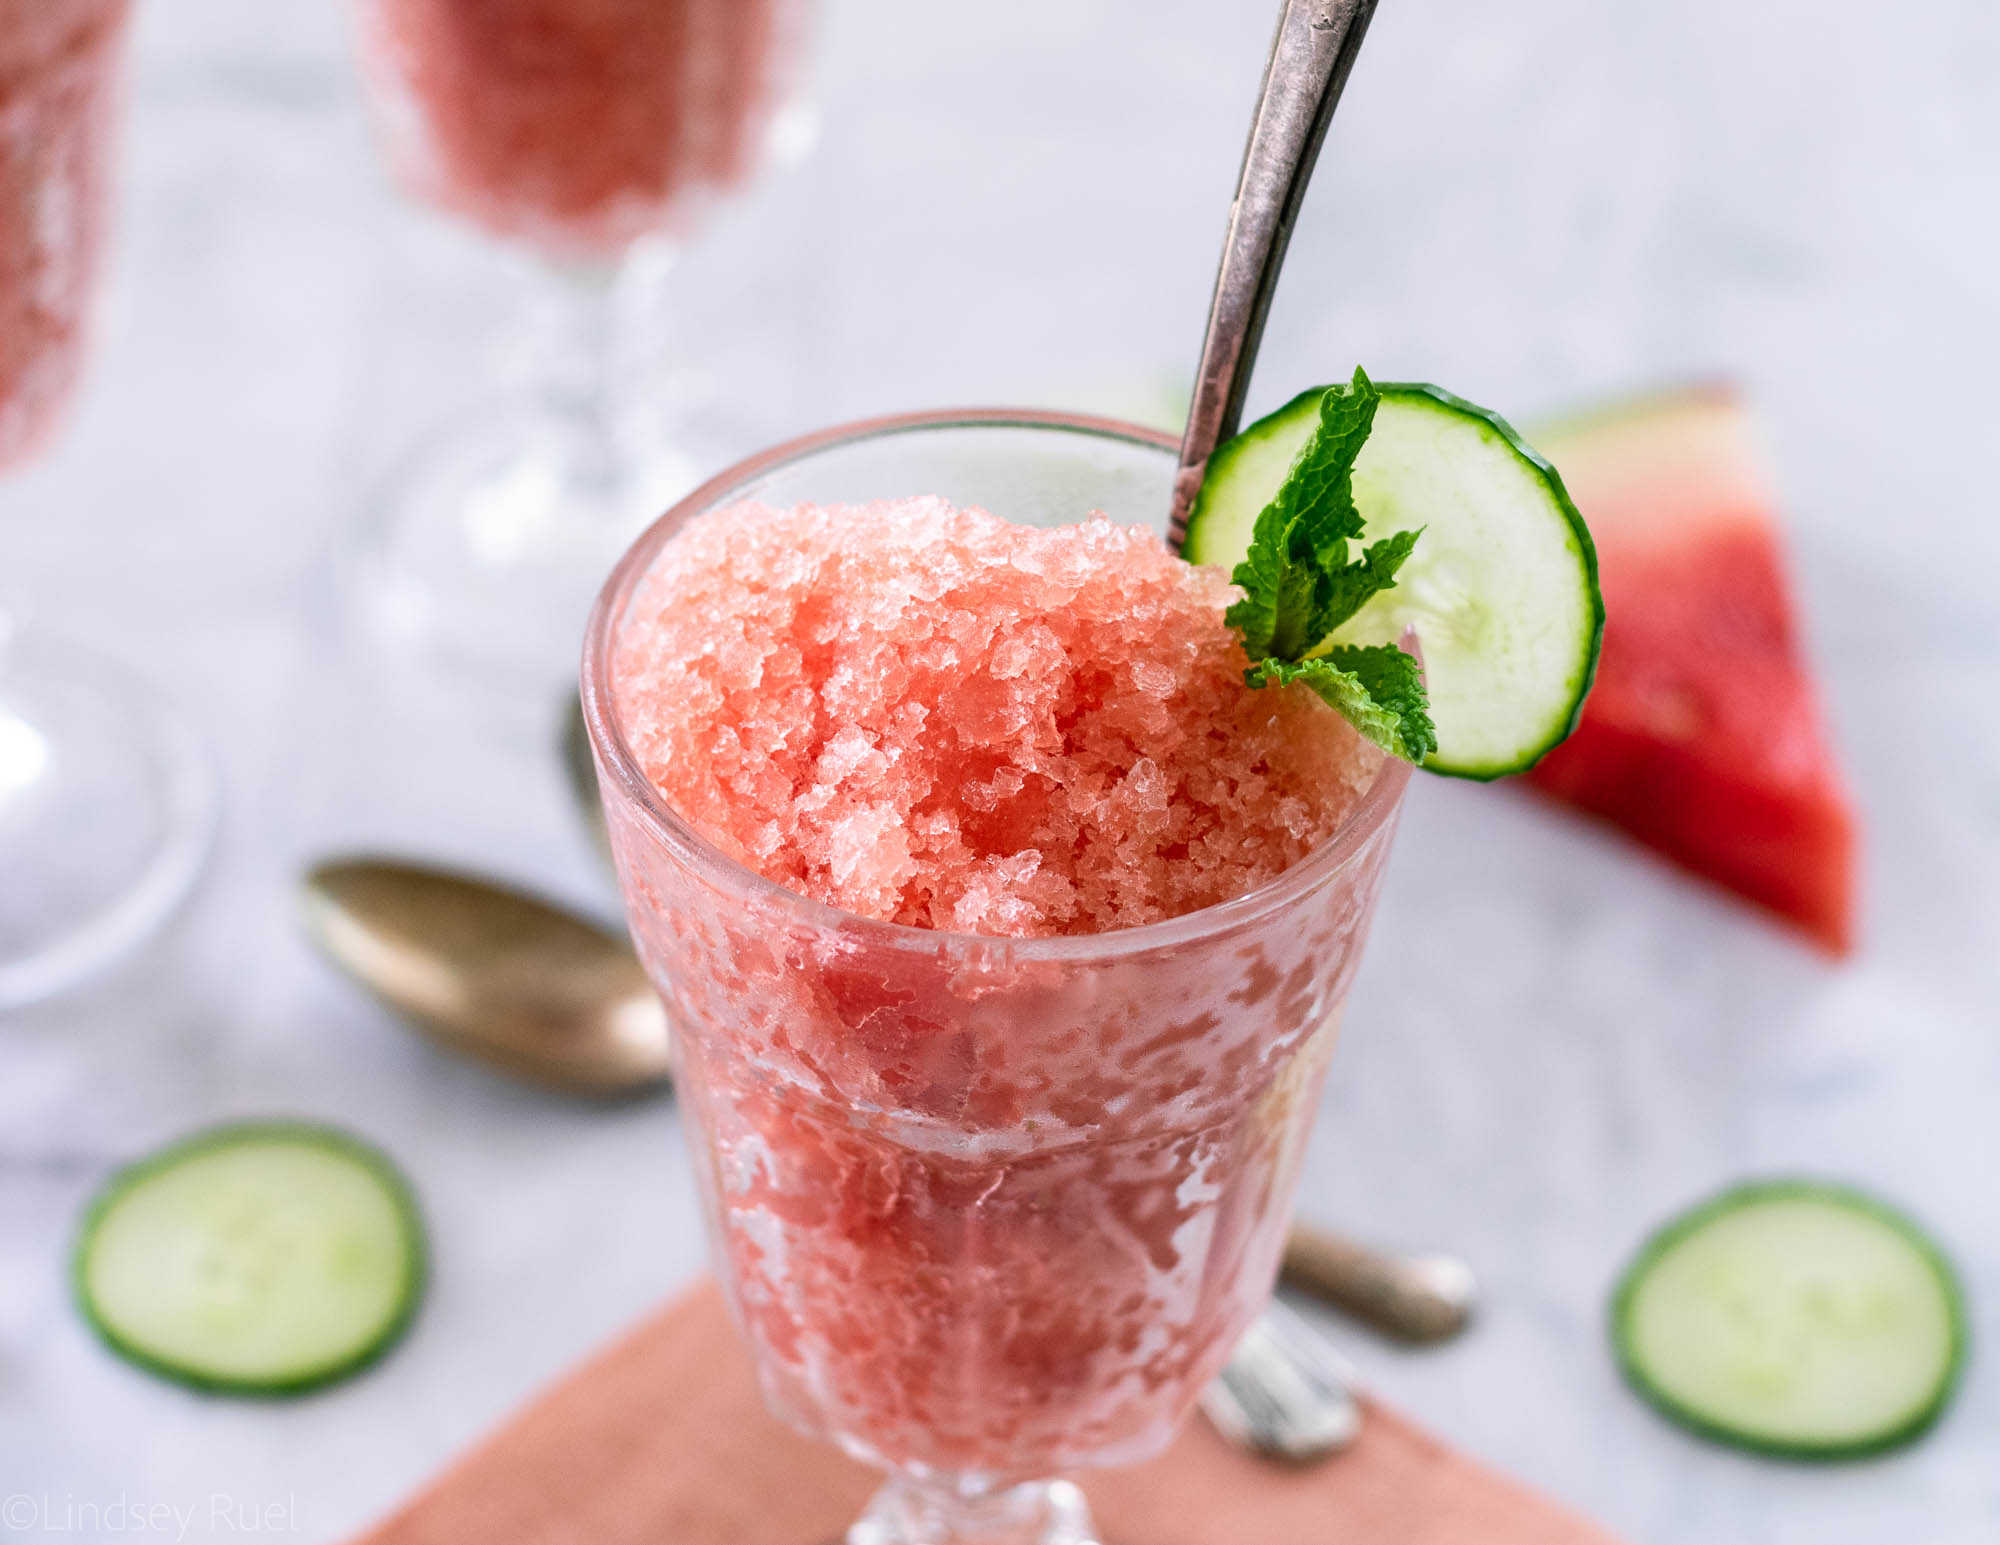
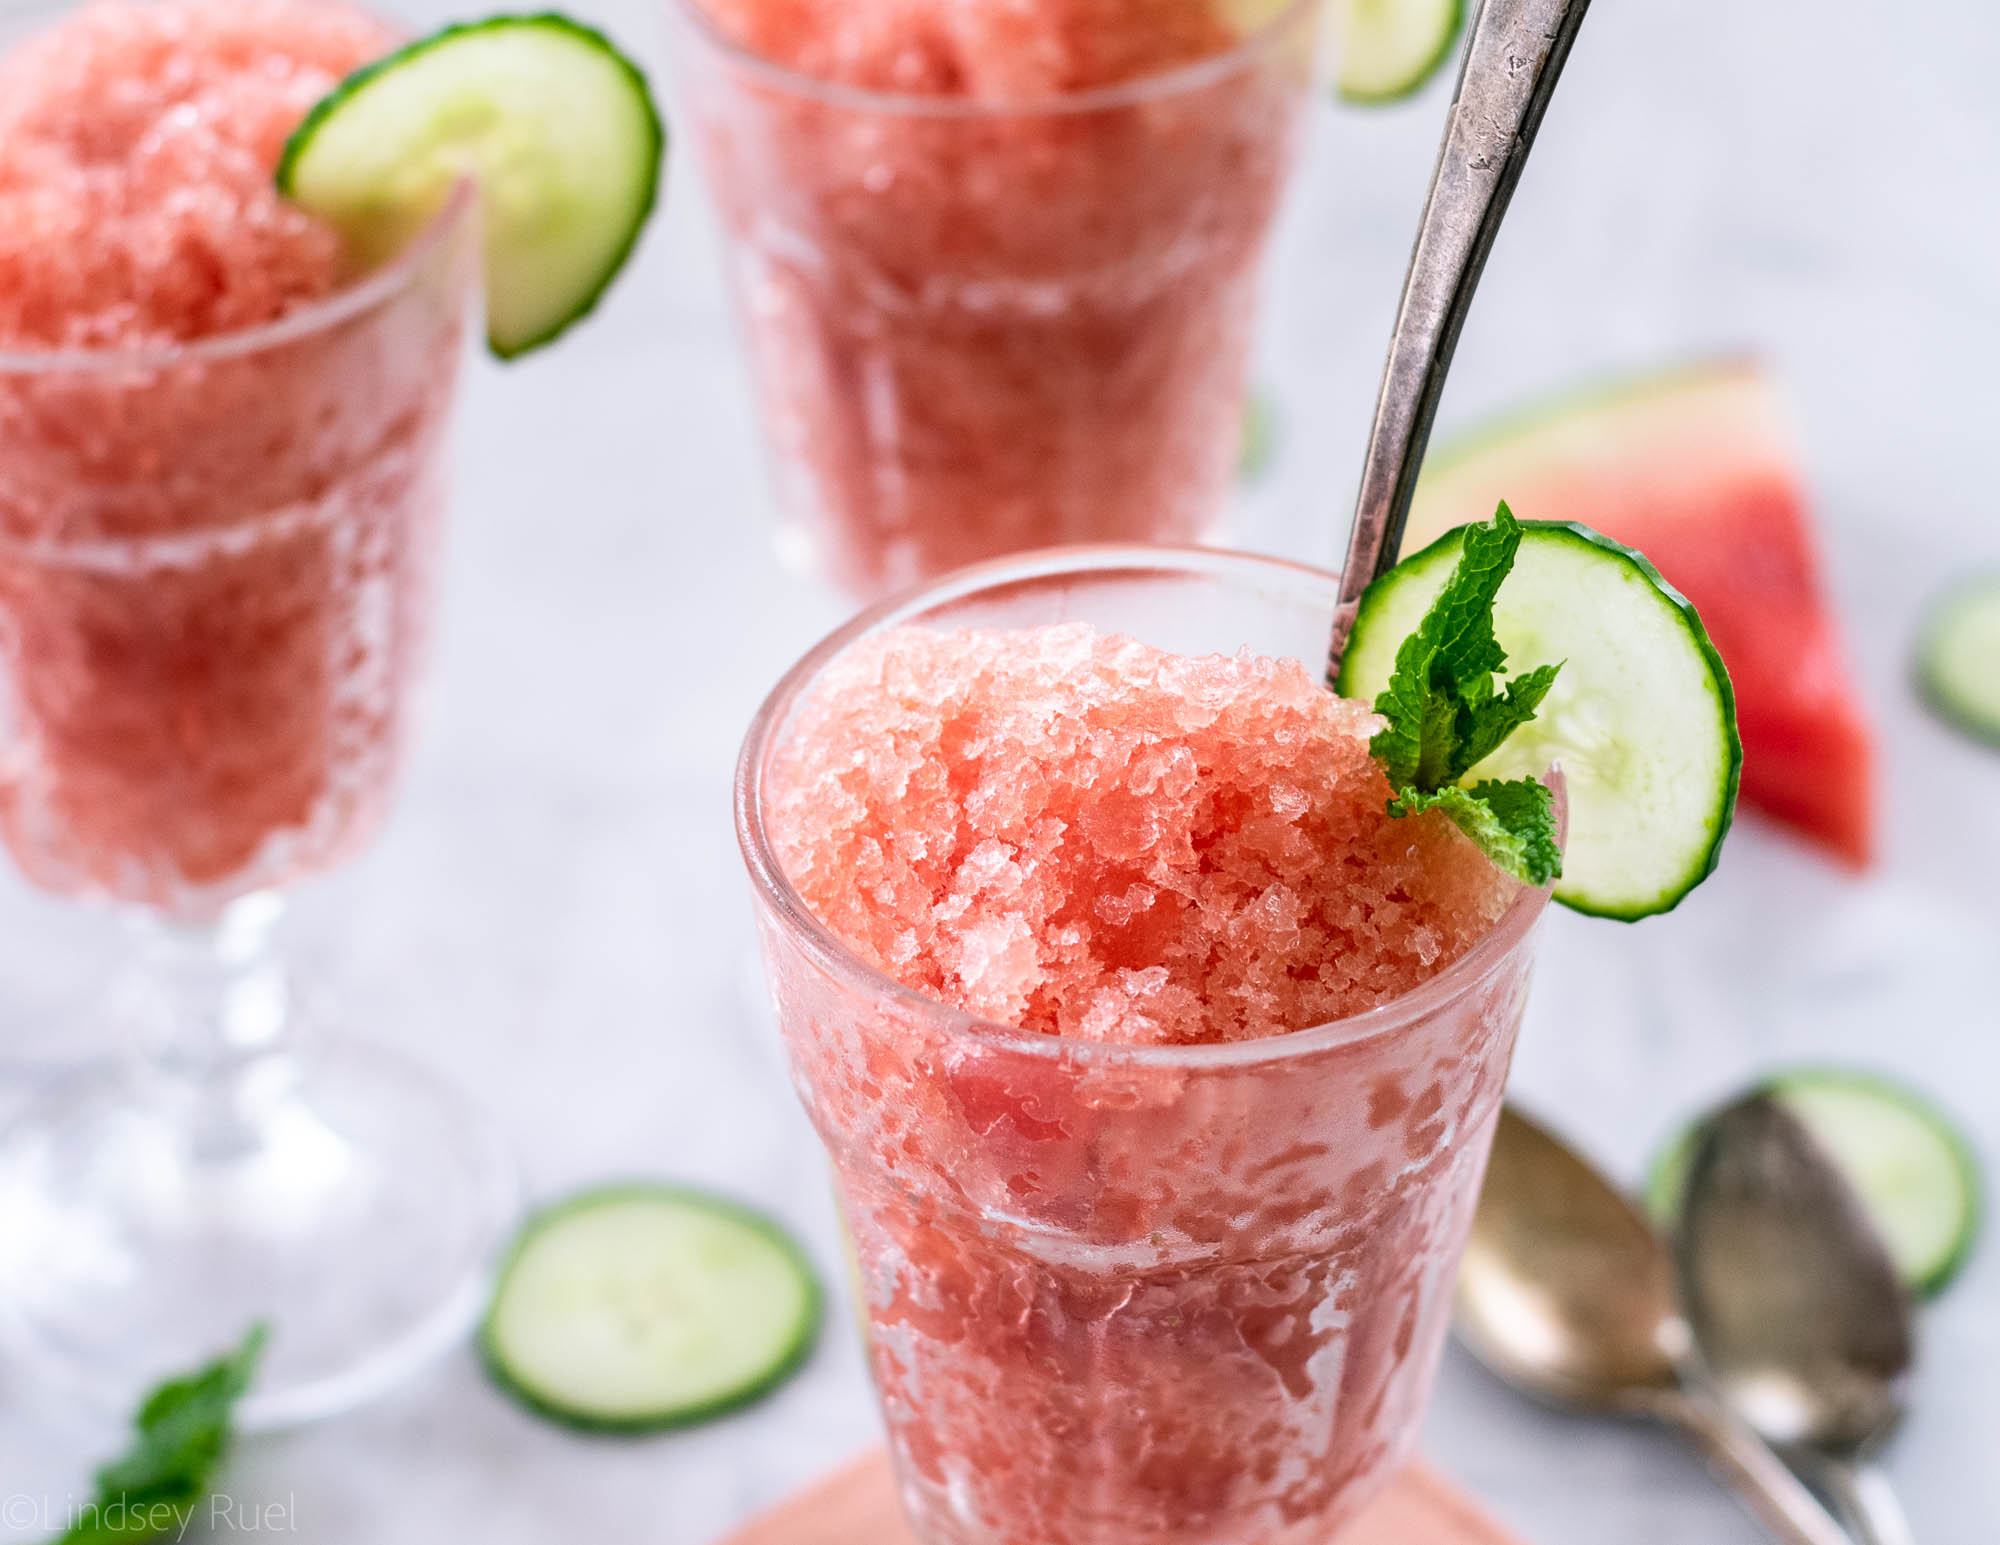
Granita is the perfect thing to make when you want to avoid using your oven but still want something sweet. It’s super refreshing (especially this watermelon cucumber granita) and super easy to make!

How to Make It

Start by chopping up a bunch of watermelon and cucumber. For something like this, you can leave the skin on the cucumber if you’d like. It will just get filtered out later. 


Add all the fruit and veg to a blender or food processor. The juice of a lime (or lemon), and just enough water to get the blender to do its job. If your watermelon is juicy enough, you may not need any!

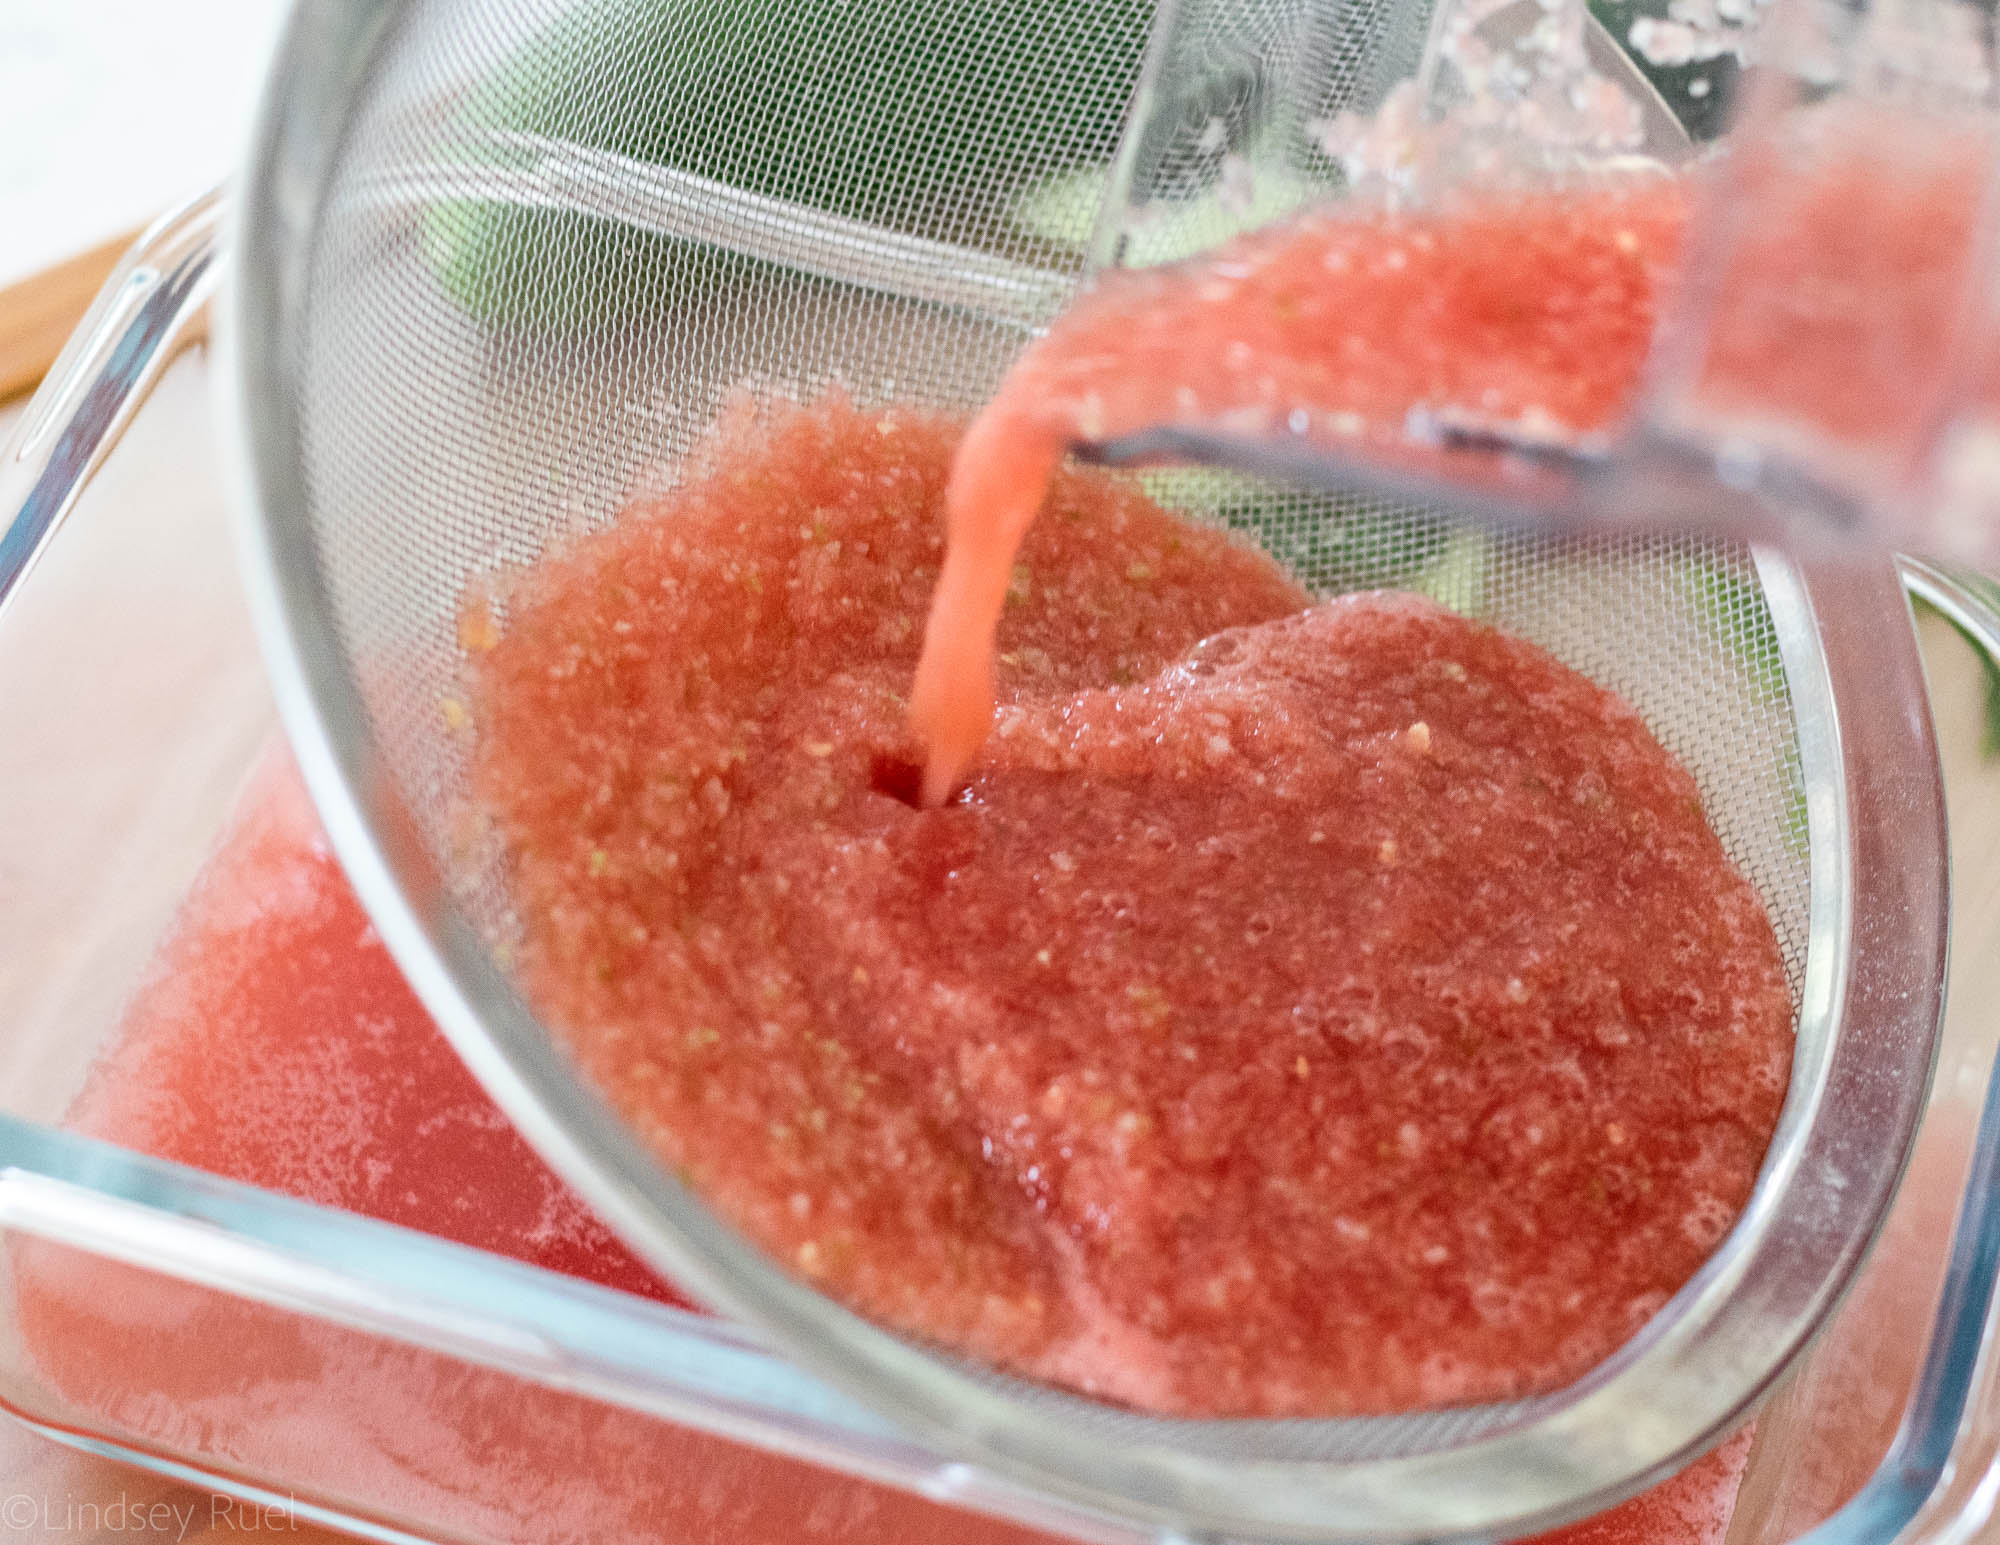
Pour the blended mixture through a sieve to strain out all the pulp.

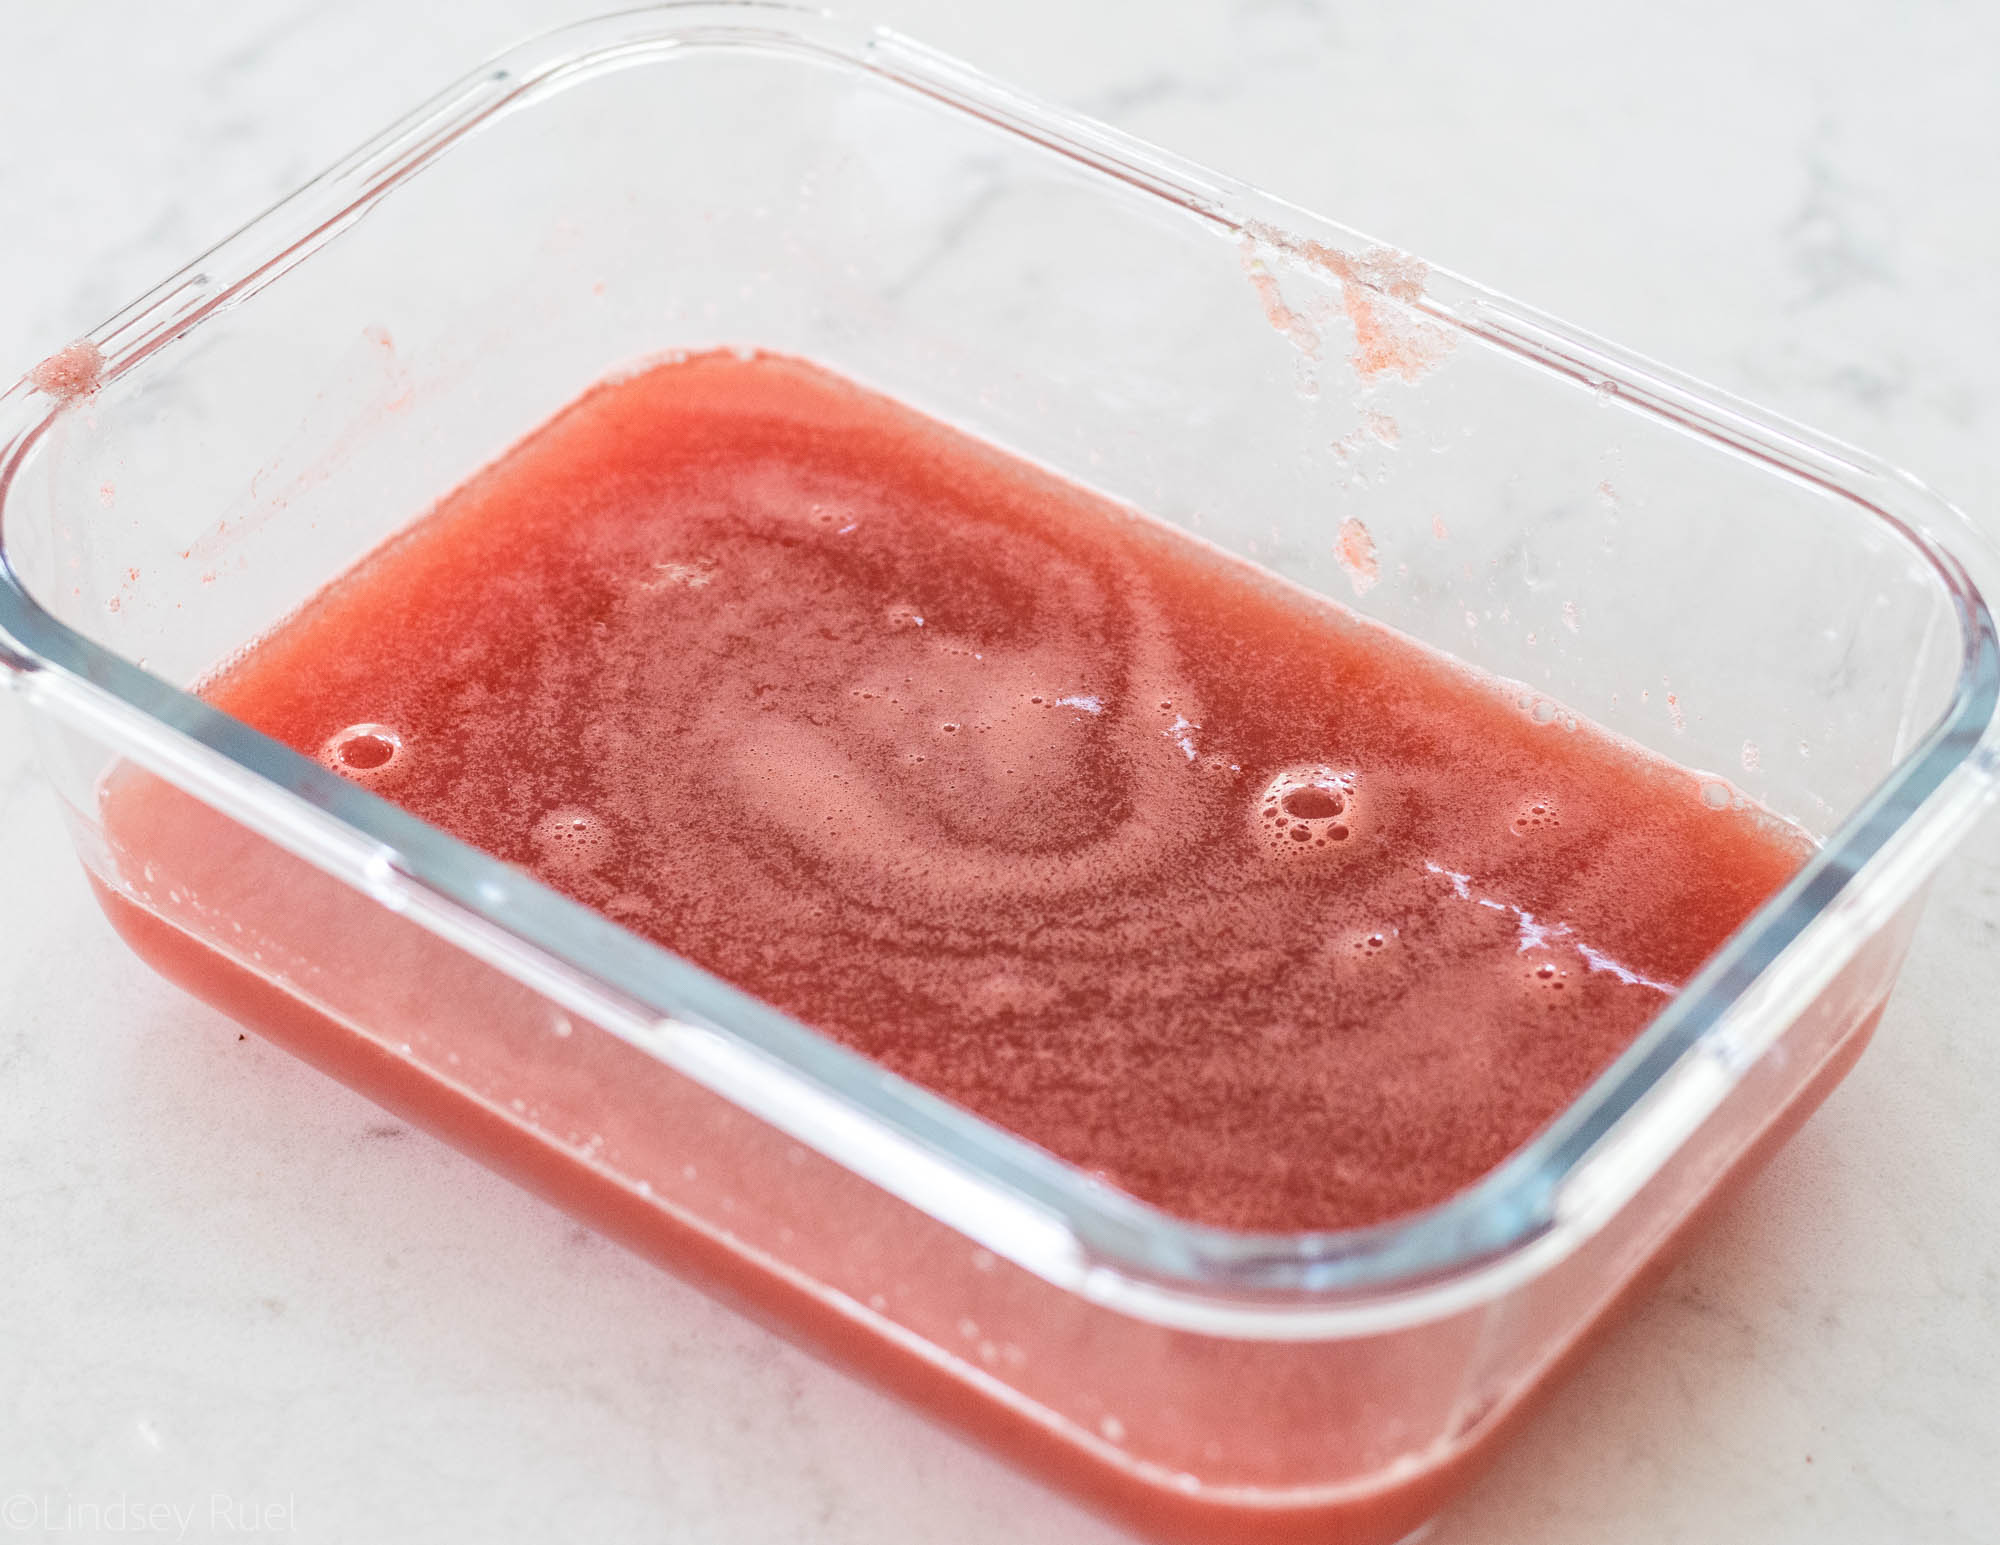
You should be left with a beautiful red juice that is seriously delicious.

Honestly, you can stop right here and pour this over a couple ice cubes for a refreshing Summer beverage. 

But let’s continue turning this into watermelon cucumber granita, shall we?


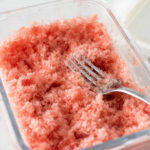
Pour the juice into a shallow dish and then place it in the fridge. Every 2 hours or so (or every time you remember), take the dish out and scrape a fork over the surface. For the first few hours, it may seem like you aren’t doing much. Once it starts to set up you will start making really fine ice crystals. 

It doesn’t take too long to completely freeze leaving you with a beautiful (did I mention healthy?) dessert!

I like to eat this watermelon cucumber granita all on its own. However, it would also be delicious alongside some vanilla ice cream or whipped cream if you need something a bit richer.

It will definitely help you beat the Summer heat!

Supplies and Recipe

[show_shopthepost_widget id=”3199502″]

[yumprint-recipe id=’189′] 


/ Filed In: Desserts, Eat, Healthy Dishes, Other Sweets New
Tagged: cucumber, frozen, granita, ice, no-bake, Summer, watermelon

Maple Pecan Rice Krispie Treats

November 8, 2017

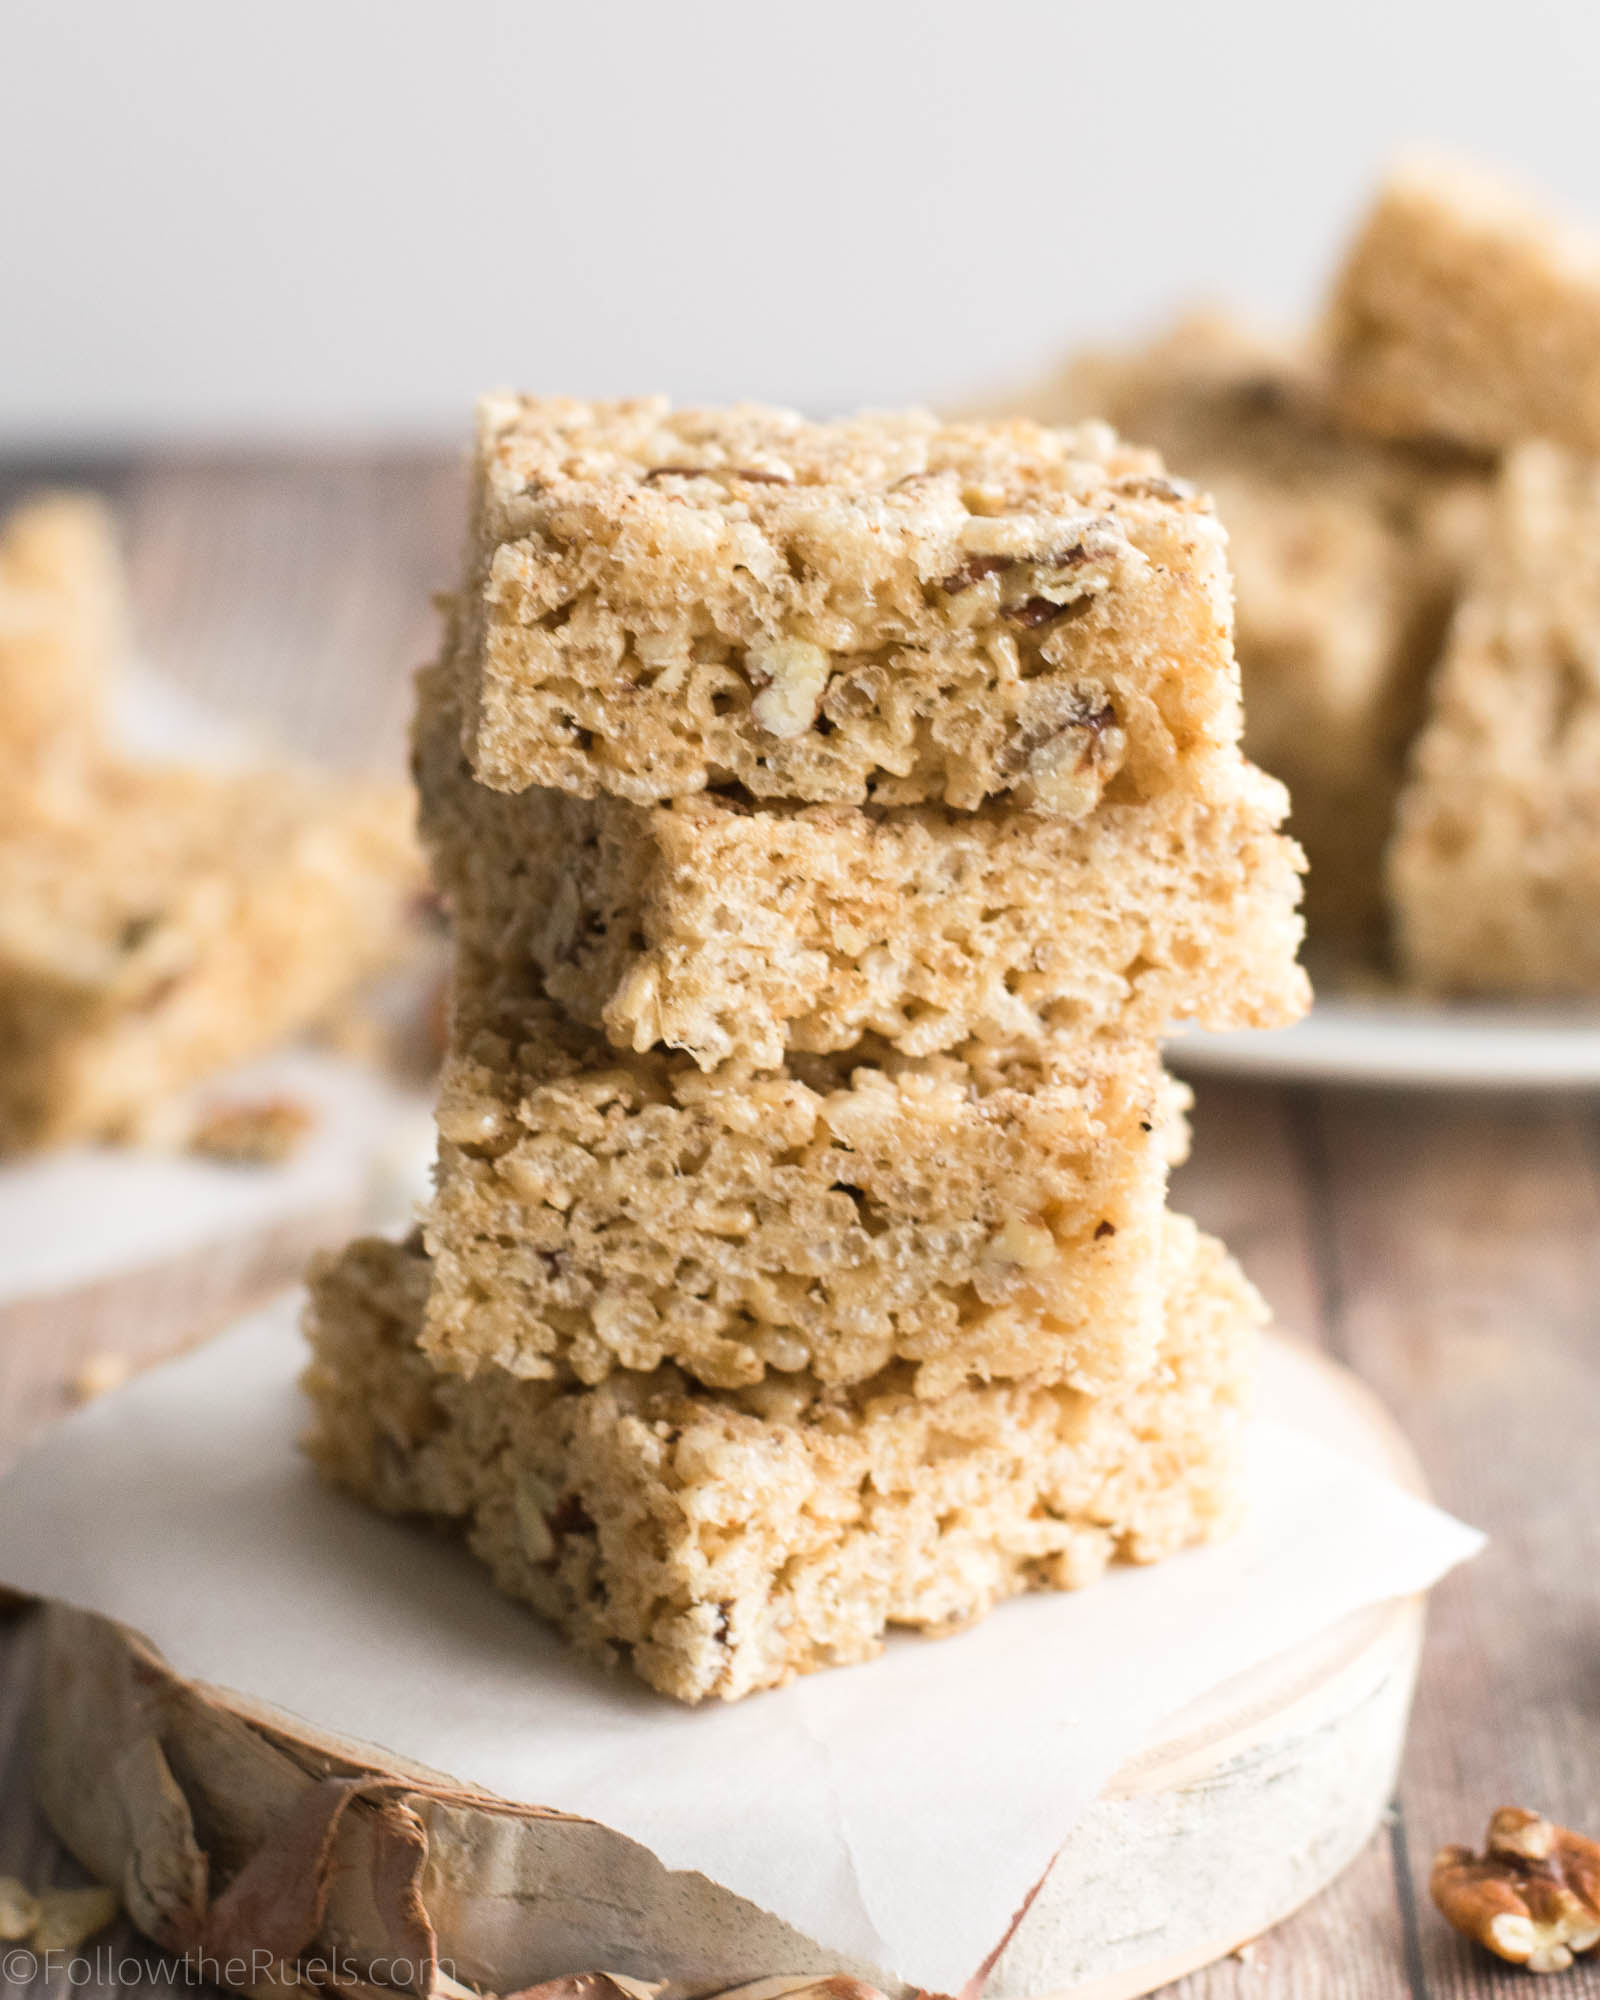
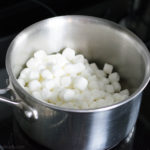
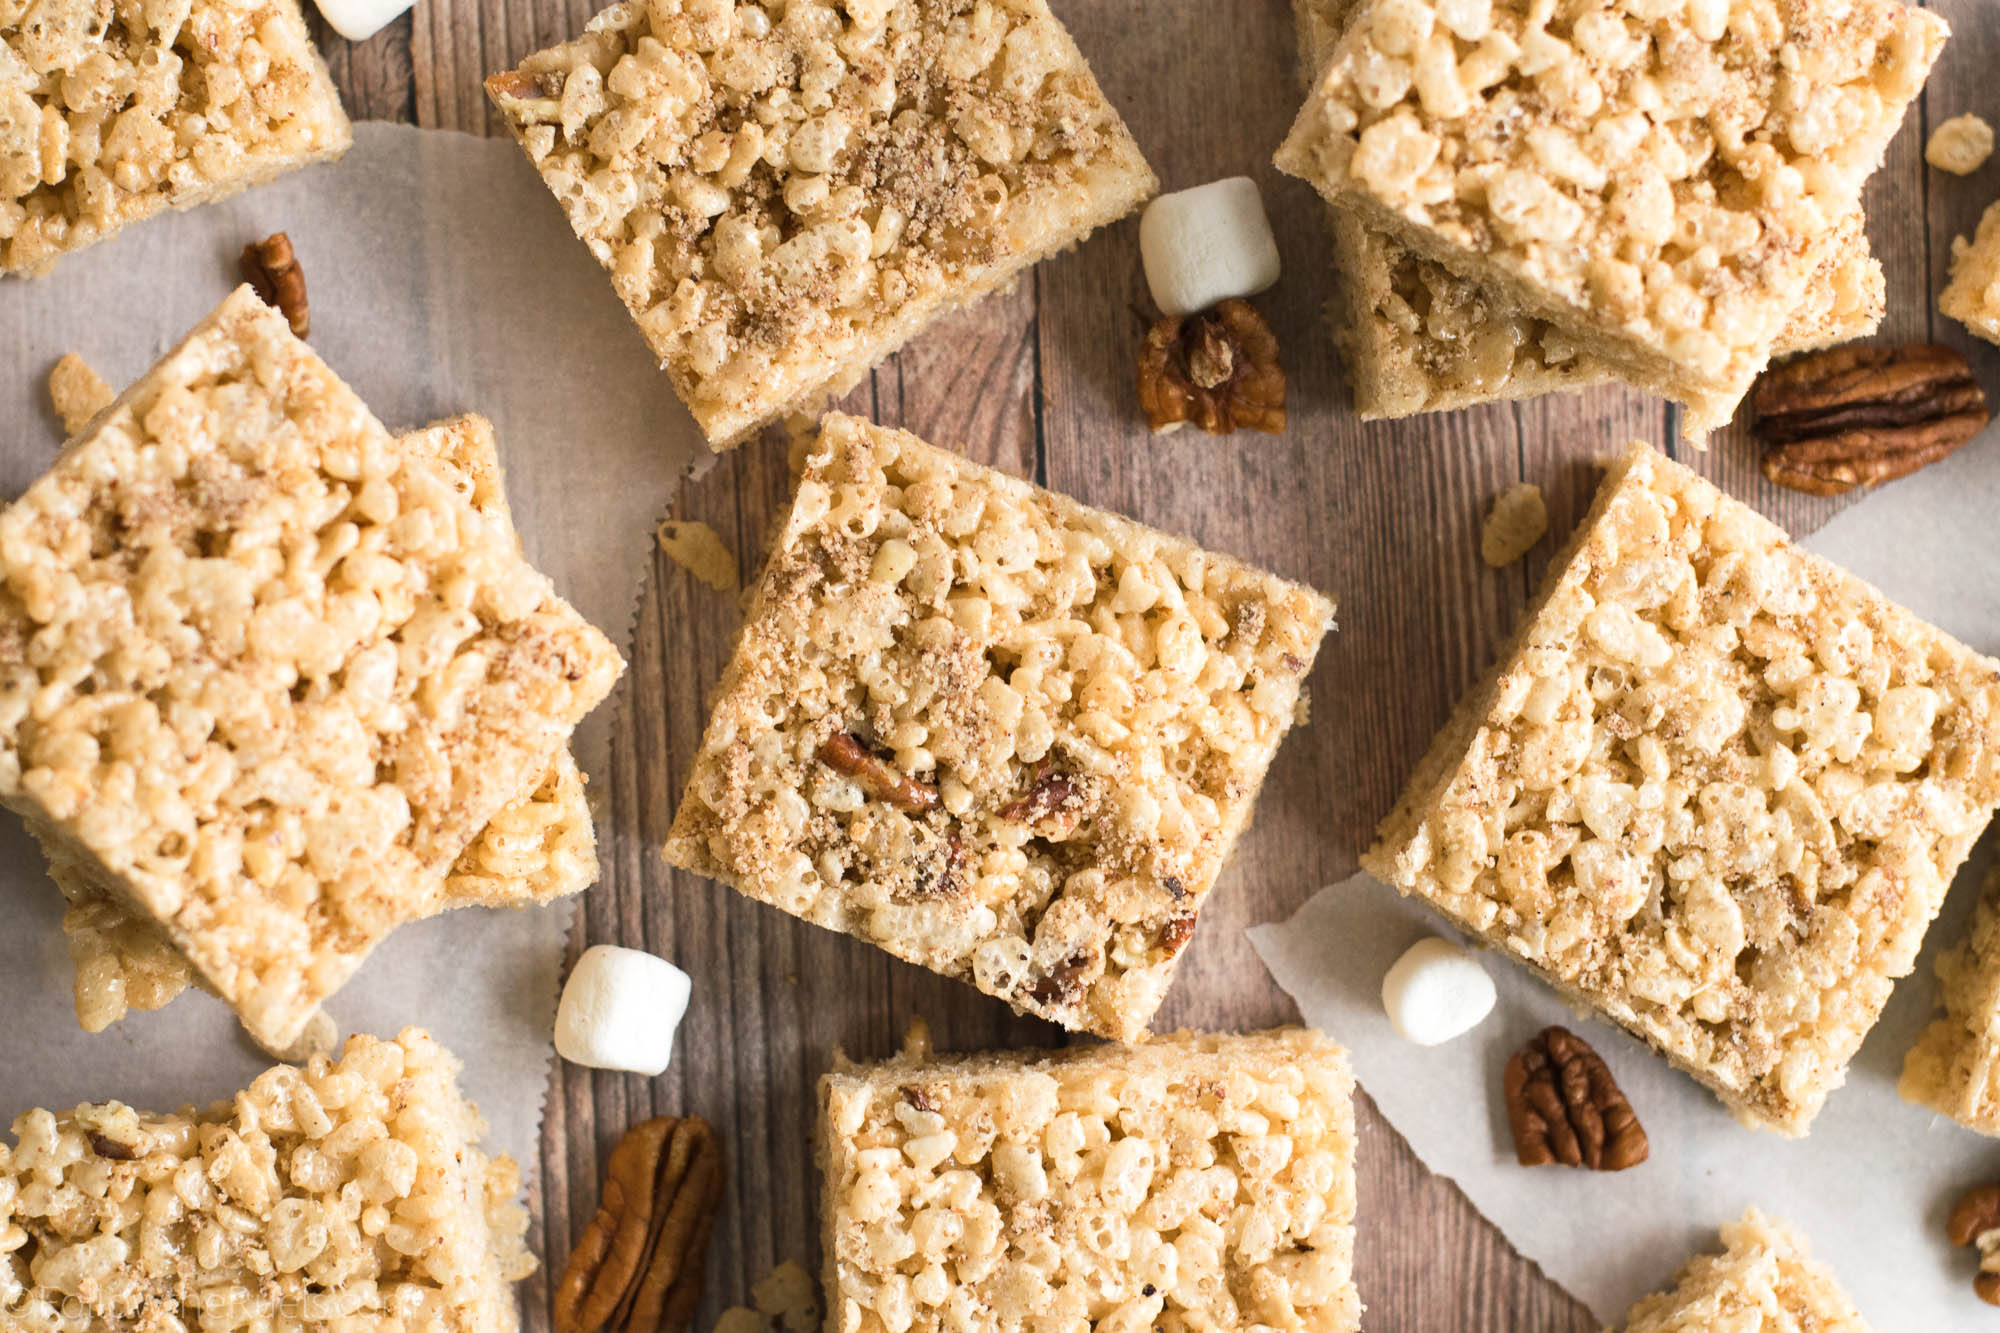
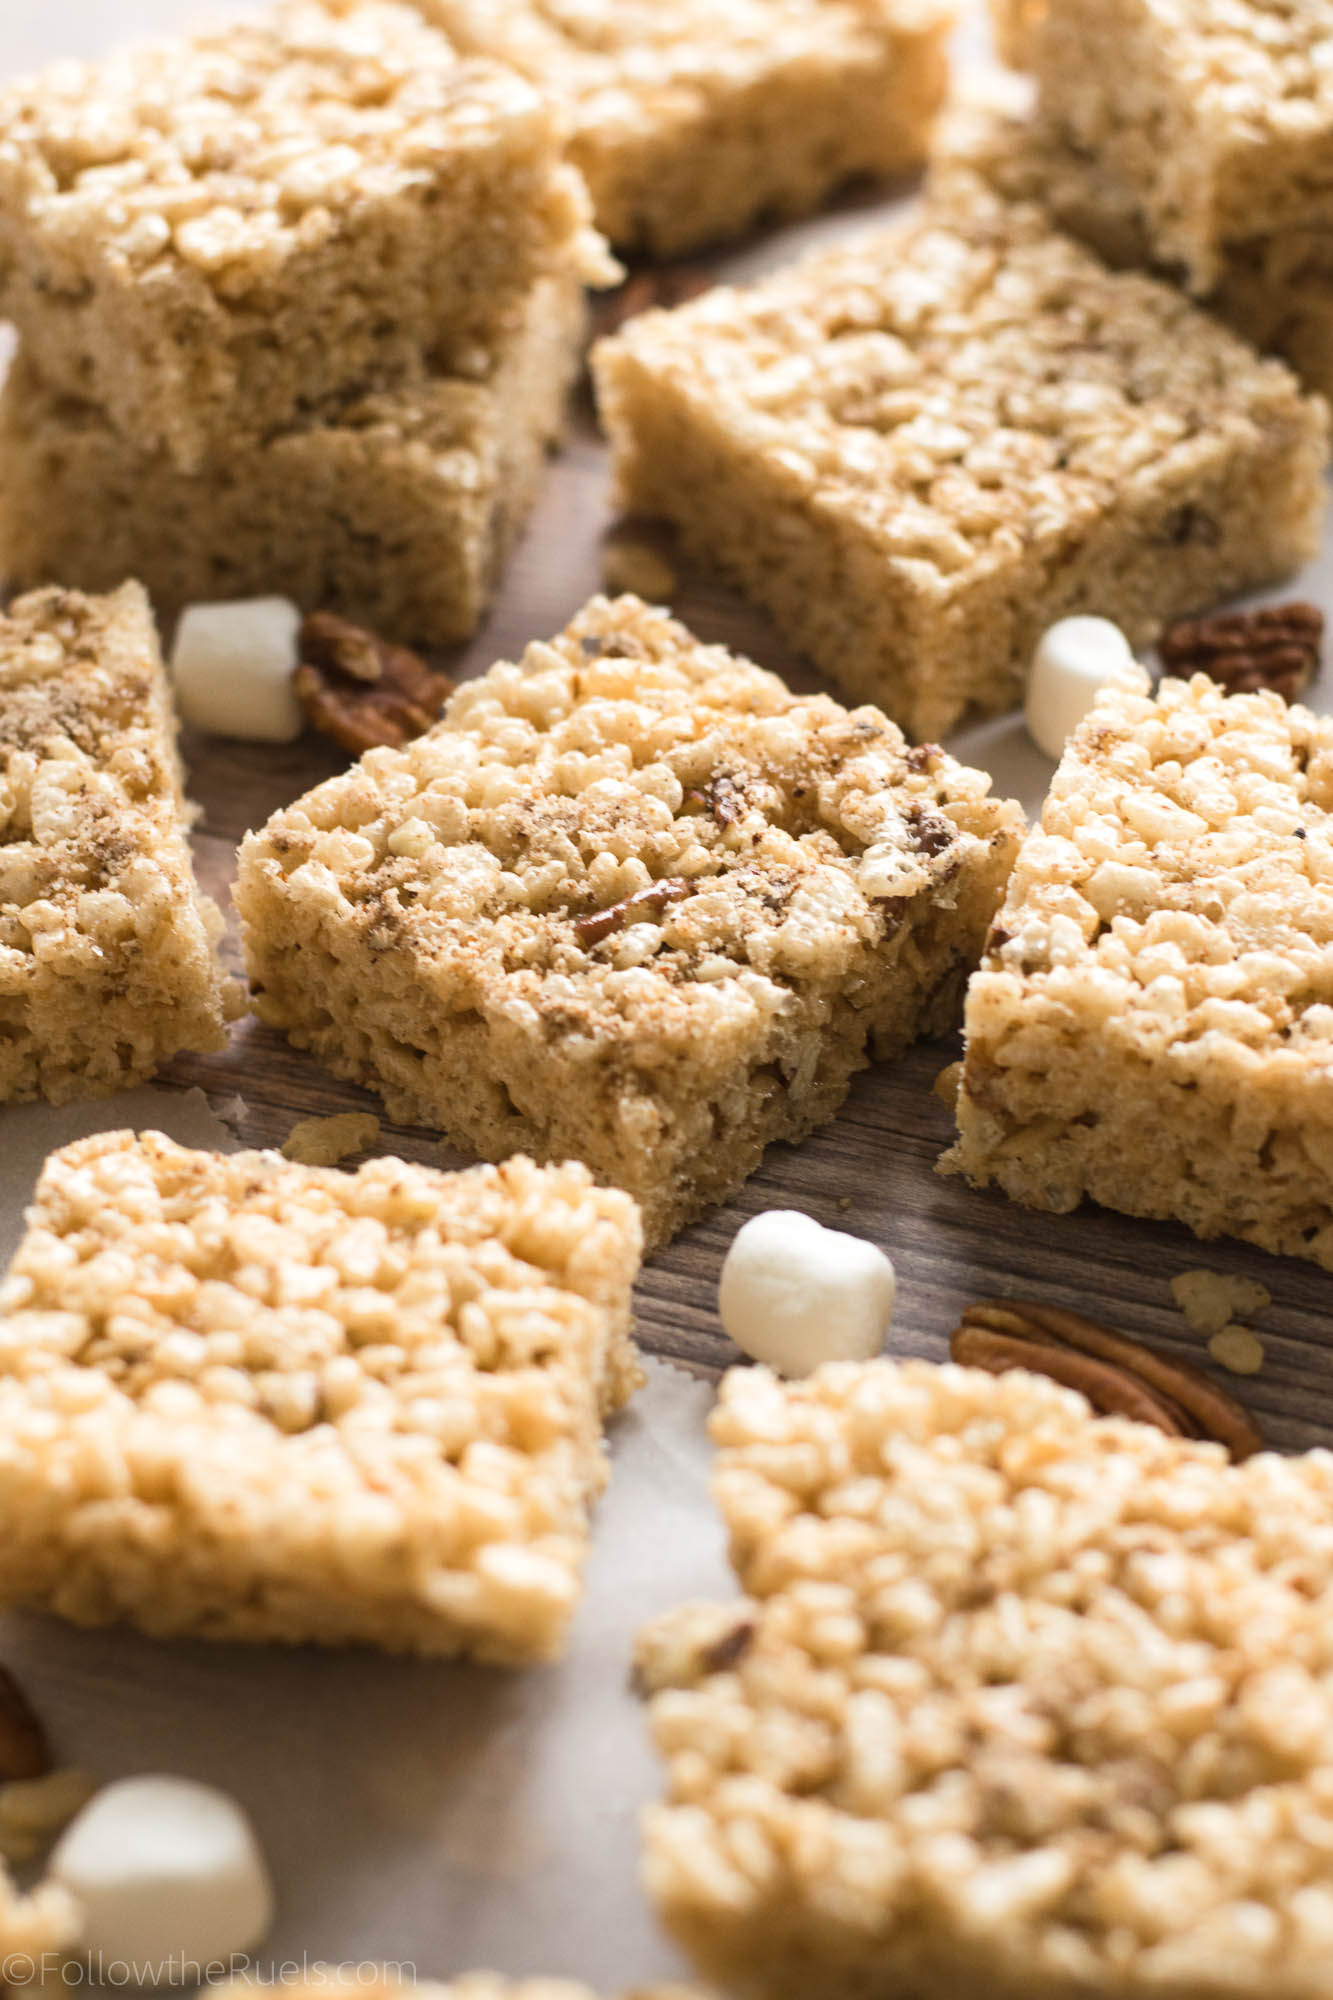
Who hasn’t had a Rice Krispie treat? At least here in the States, they were in just about every lunch box (remember those bright blue packages?) and at every bake sale. There is a good reason for that. They are heckin’ delicious! 

They are also incredibly addicting. Especially this maple-pecan version I made over the weekend. I told myself I could “try” just one to make sure they turned out well, and next thing I knew I had eaten 4. Even my husband, who is notoriously not a sweets person would grab one every time he walked through the kitchen. 

 Of course, classic Rice Krispie treats are good all by themselves. How can marshmallows and cereal be so good? (Sorry, dumb question. The answer, of course, is sugar.) But, man, these maple pecan Rice Krispie treats are sooooo much better! It’s not just because of the maple syrup and pecan pieces. But there are a few things I like to add or change from the classic recipe to really step up my RKT game. 


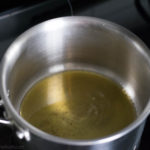
The first step in making extra delicious Rice Krispie treats?  Brown butter (you have heard me rave about brown butter here and here). Since the first step to making RKTs is melting butter, just take a few extra minutes to let it brown a bit. Browning butter is basically the same thing as forgetting you left butter on the stove. Except don’t totally forget about it. At a certain point, it will just become burned butter. And that probably doesn’t taste very good in RKTs.


The next tweak to the classic recipe is to add a flavoring. If I were making basic RKTs, I would add vanilla. Since I made a maple-pecan flavor, I added maple syrup. Adding vanilla or any other flavoring just classes it up a bit. These treats will taste more like they came from a bakery than made from a recipe off of the side of the box. 


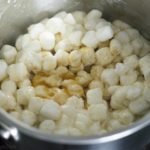
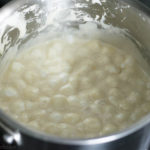
The last little change is to add a dash of salt to the melted marshmallows. Unless you are using salted butter, then do not add salt! The salt helps balance out the sweetness, and trust me, there is a lot of sweetness. 

For my maple-pecan variety, I also added some pecans. To get that nutty flavor throughout the treats, I processed some of the pecans extra fine then poured them into the melted marshmallows. I also left some bigger chunks of pecans and folded them in with the cereal. 


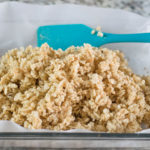
At this point in the process, just about all RKT recipes are the same. Dump the coated cereal into a pan and press it down to fill up the dish. 

Because these treats can be extra sticky, I prefer to line my casserole dish with some parchment paper. I know parchment can be a bit of a pain to work with since it never wants to stay in place in a dish that shape, but it will make clean up so much easier! 

Like all RKTs, the maple pecan Rice Krispie Treats don’t take very long to set. I recommend letting them sit for about 30 minutes before trying to cut them into pieces. If you know you aren’t going to be eating them right away, cover them with plastic wrap so that they don’t dry out too much.

As I mentioned above, these are addictingly good! And they would make an excellent addition to your Thanksgiving dessert line up. Give that pumpkin pie a run for it’s money!

[yumprint-recipe id=’142′]

/ Filed In: Bars and Brownies, Desserts, Eat, Other Sweets New
Tagged: brown butter, maple, marshmallows, no-bake, pecan, Rice Krispie treats

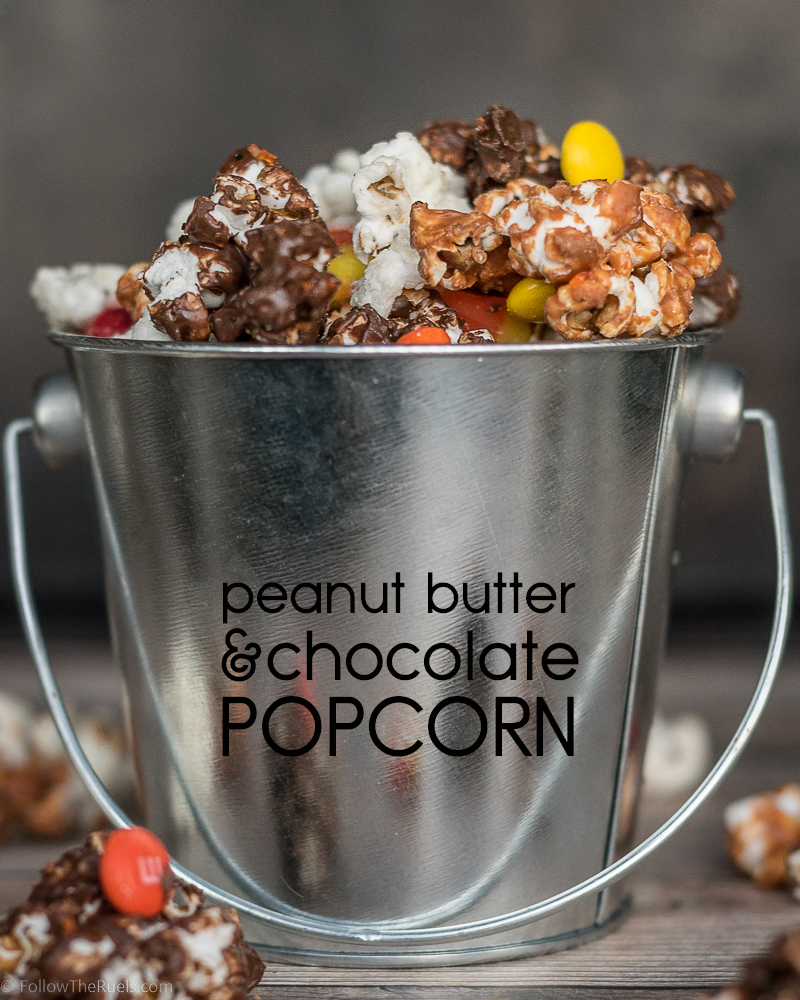
Peanut Butter Chocolate Popcorn

October 31, 2016

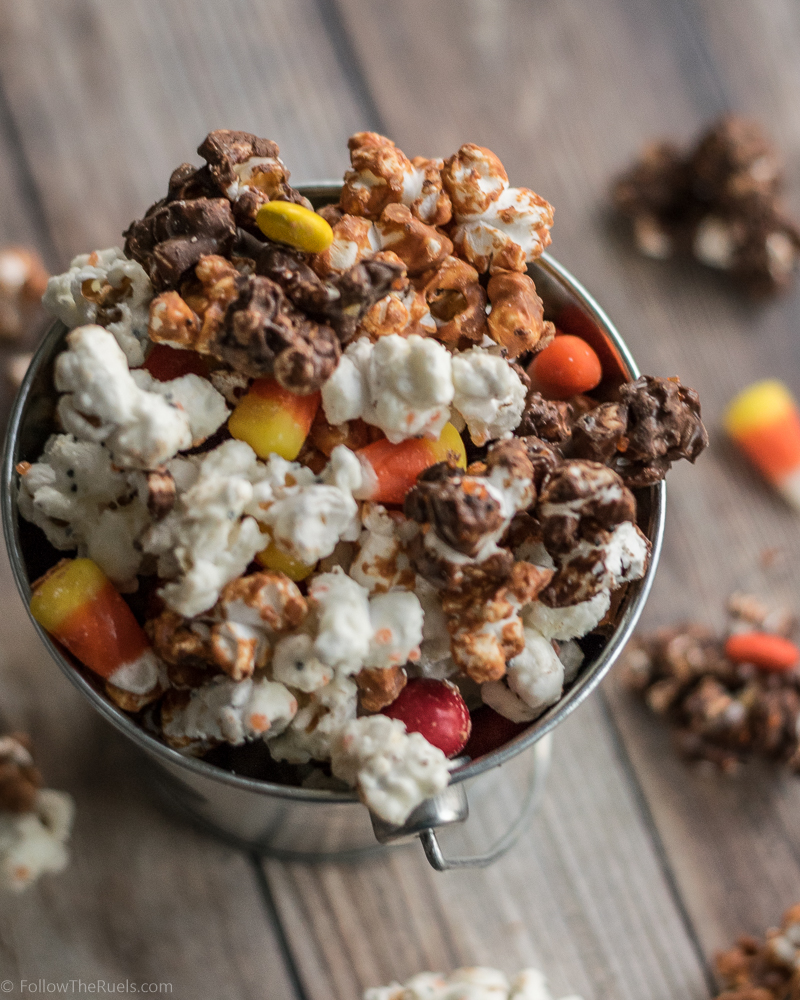
Peanut Butter Chocolate Popcorn

Do you need a last minute treat to make for Halloween? I’ve got you covered! 

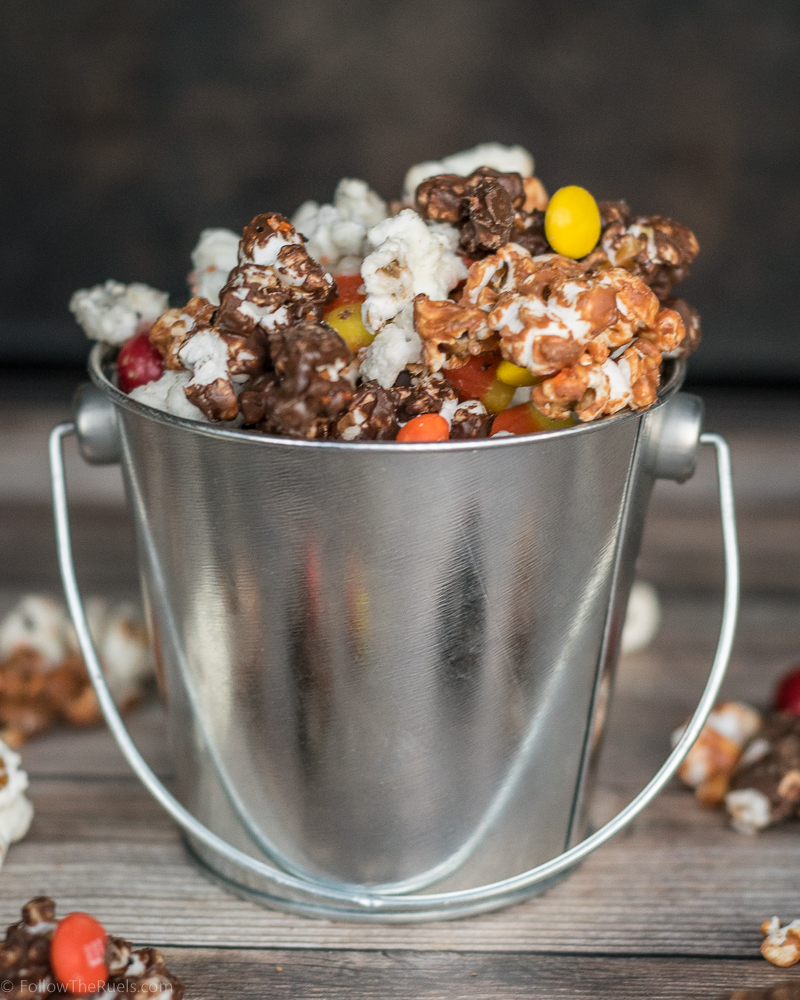
This peanut butter chocolate popcorn mix was something I mixed up at the last minute for a pumpkin carving party last night. I has just spend the weekend baking cookies for a baby shower and my cookie decorating class, so the last thing I wanted to do was bake something. Since one of my favorite holiday treats involves popcorn and melted chocolate, I figured I could adapt that to make it more suitable for Halloween. 


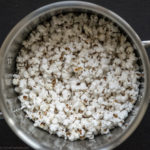
I started by popping 1/4 cup of popcorn kernels over the stove (which will make approx. 6 cups of popcorn). You could always pop the popcorn with an air popper, or use the microwave popcorn, but I think stove-popped popcorn tasted a little bit better. 

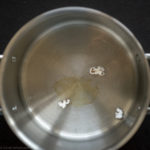
To pop the popcorn on the stove, I start by putting the oil and a couple kernels in the bottom of a stock pot and place it over medium heat. Once the kernels have popped, I know the oil had heated up enough to pop the rest of the kernels. I add the rest of them in, put the top on the pot, give it a good shake, and let them pop away. When I don’t hear any more popping, I remove the pot from the heat.


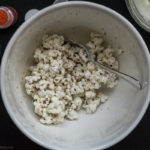
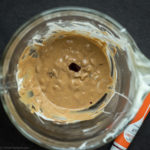
For the toppings, I used white chocolate, bittersweet chocolate, and peanut butter chips. I wanted it to look white, orange, and black, so I added a bit of orange food coloring to the peanut butter to brighten it up a bit. I also ended up mixing in some white chocolate because it was looking a little too dark. 


Once all the popcorn was coated in chocolate or peanut butter, I dumped it all out on a sheet of parchment to harden. I also too the opportunity, while the chocolate was still wet, to add in some sprinkles and candies. I used orange and black sprinkles, candy corns, and M&Ms. Reese’s piece would have also have been good in this (But, I didn’t want to buy the giant bag of them, knowing I would only use a handful. I would just send up eating the rest…probably in one sitting. I certainly didn’t need that.)

After the chocolate was hardened, I tossed all the popcorn together. That way each bit contains a bit of chocolate and peanut butter! 

Peanut Butter and Chocolate Popcorn

The popcorn mix came out just as I had hoped. It was perfectly festive, and most importantly, very tasty! It made a great little treat to snack on while we carved pumpkins. If you want to make this in the last remaining hours of Halloween, you could serve it in a bowl or in little treat bags, which would be very cute. 

If you happen to read this after Halloween, you can still make this recipe! Just skip the food coloring in the peanut butter chips and swap out the Halloween-themed candy! Peanut butter chocolate popcorn is good all year long!

PIN NOW, MAKE LATER

peanut-butter-chocolate-popcorn-pin

[amd-yrecipe-recipe:90]

/ Filed In: Desserts, Eat
Tagged: candy, candy corn, chocolate, Halloween, no-bake, peanut butter, popcorn

Follow

Hey There!

Hey there, I'm Lindsey. I'm a number cruncher by day and a home cook and baker by night. While I love to eat healthy and find fresh and healthy alternatives for my favorite foods, I will never turn down dessert! Life is all about moderation, right?

Recipes

  • All Recipes
  • Breakfast
  • Appetizers
  • Salads
  • Main Dishes
  • Side Dishes
  • Desserts
  • Drinks

Favorite Finds

[show_lookbook_widget id=”388783″]

Theme by 17th Avenue · Powered by WordPress & Genesis