• Home
  • Eat
    • Breakfast
    • Appetizers
    • Main Dishes
      • Chicken
      • Beef
      • Seafood
      • Healthy Dishes
      • Paleo Dishes
      • Salads
    • Desserts
      • Decorated Cookies
      • Cookies
      • Bars and Brownies
      • Cakes and Cupcakes
  • Shop
    • Cookie Decorating Supplies
    • Bakeware
    • Cookware
    • Kitchen Gadgets
    • House
  • About
    • Contact
    • Bucket List
  • Cookie Decorating 101

Follow the Ruels

Homemade Whole Wheat Pita Bread

March 24, 2017

Guys, do you know how easy it is to make pita bread at home? Okay, so maybe “easy” isn’t the right word. It’s totally doable, though. If you can make pizza dough, you can definitely make pita bread.

When you really think about it, they are almost exactly the same thing. Pita bread is just a smaller version of pizza dough and the recipes are practically identical. 

I tell you all this so that you are not intimidated by the pita bread. Of course if pizza dough intimidates you, then this isn’t helping. Don’t you worry though; I have a whole blog post that will get you over that real quick.


Like most bread, it all starts with the yeast. If you haven’t worked with yeast much, it may seem a bit scary. But don’t worry, I got you. I will teach you everything you need to know right now. 

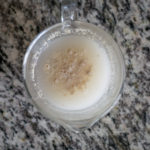
Yeast thrives in a warm, sweet environment. So as long as you give the yeast a little bit of sugar (honey counts) and heat it up a bit, your yeast will do whatever you want (not unlike myself). 

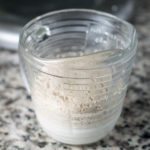
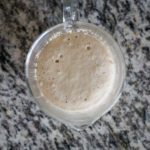
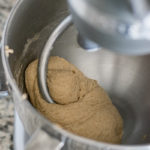
I stir my yeast into water that is about 100 degrees (it feels just warm to the touch, not hot!) with a bit of sugar dissolved in. After about 10 minutes, it should be foamy, like you see in the picture above. 


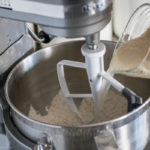
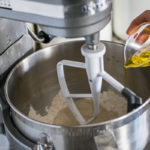
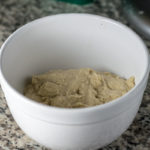
The yeast mixture is poured into a mixture of flour, baking soda, and salt along with a bit of olive oil. 


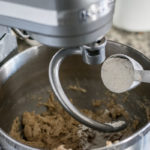
After a it gets all mixed together, it will be a bit of a shaggy mess. Now it’s time to get kneading. You can have your stand mixer do the work for your, or you can roll up your sleeves and do the dirty work yourself. Knead the dough until the shaggy dough becomes a smooth, elastic ball of dough. 

At this point you would transfer the dough to a greased bowl so that it can proof until it’s doubled in size. This is the part I always forget to take pictures of, so you are just going to have to trust me on this. 


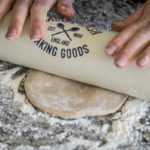
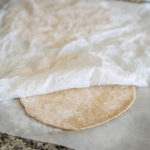
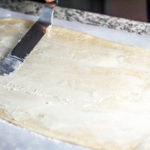
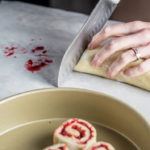
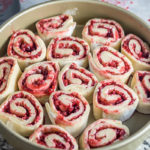
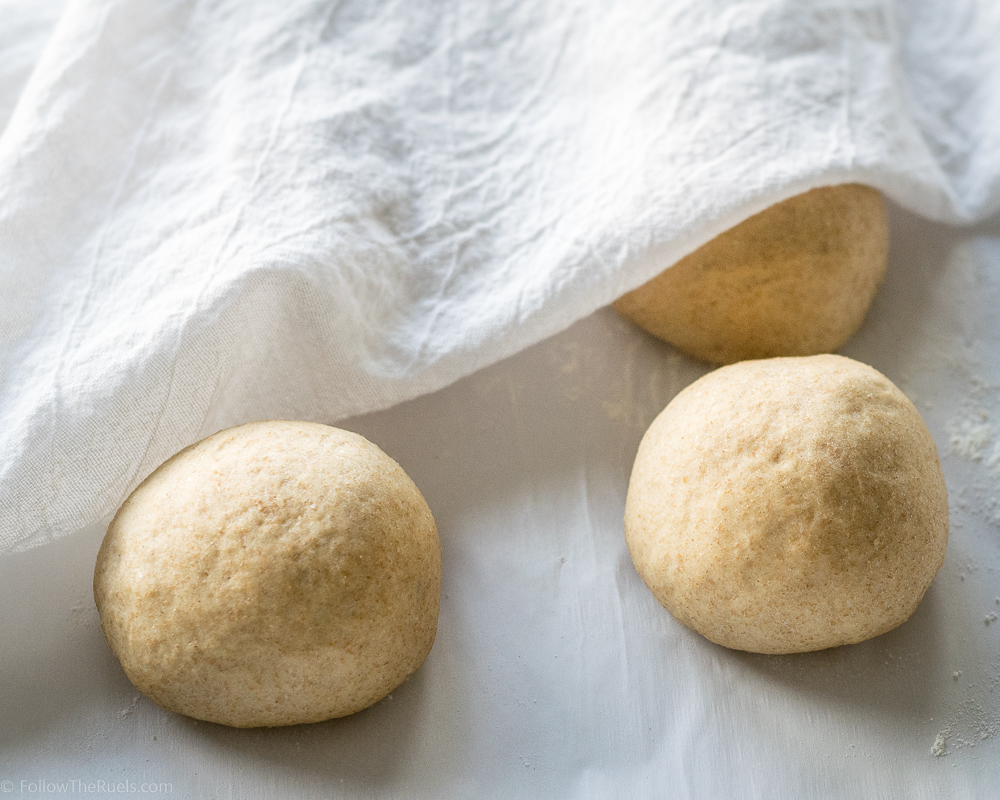
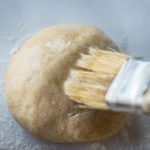
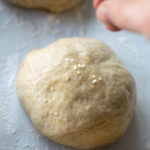
After the dough has proofed, divide the dough into 6-8 smaller balls of dough and roll out into discs. Lay the discs out under a damp cloth and let proof for another 10 minutes or so.

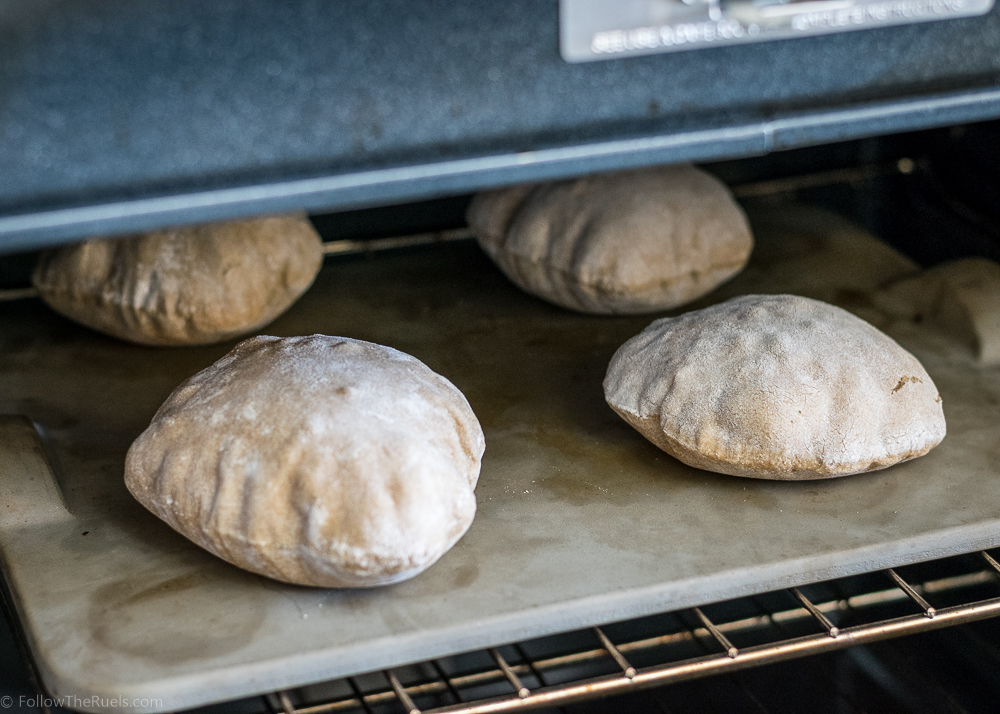
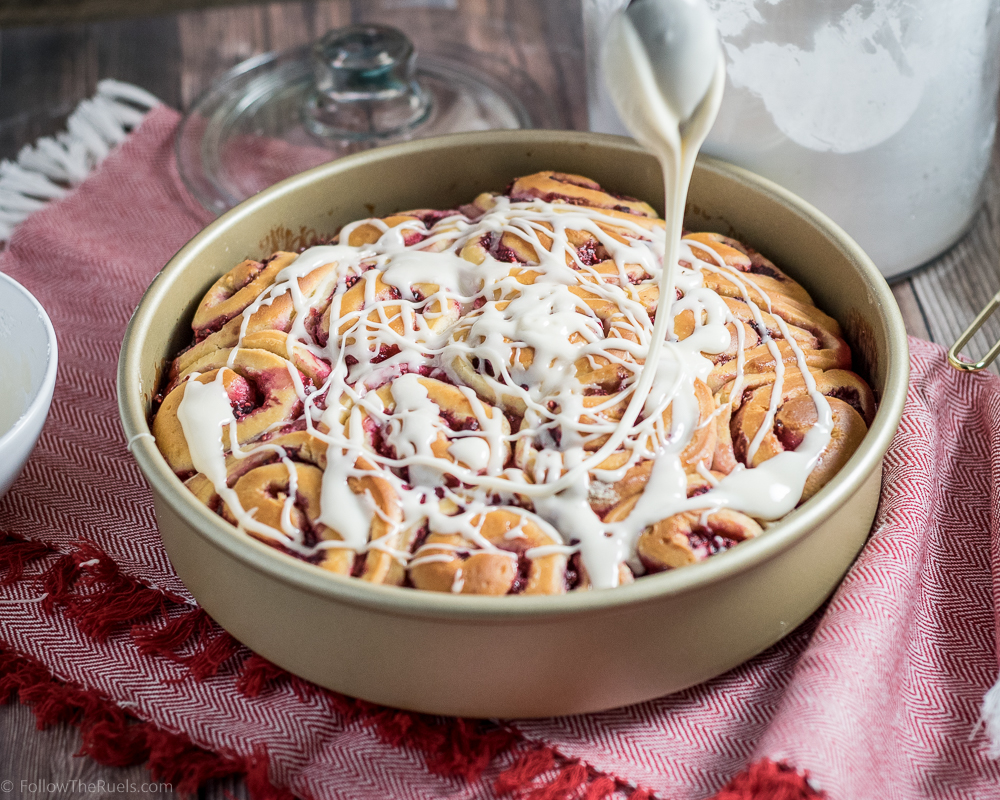
Now is the fun part! Baking them! It is so fun to watch them puff up into these huge bread balloons. 

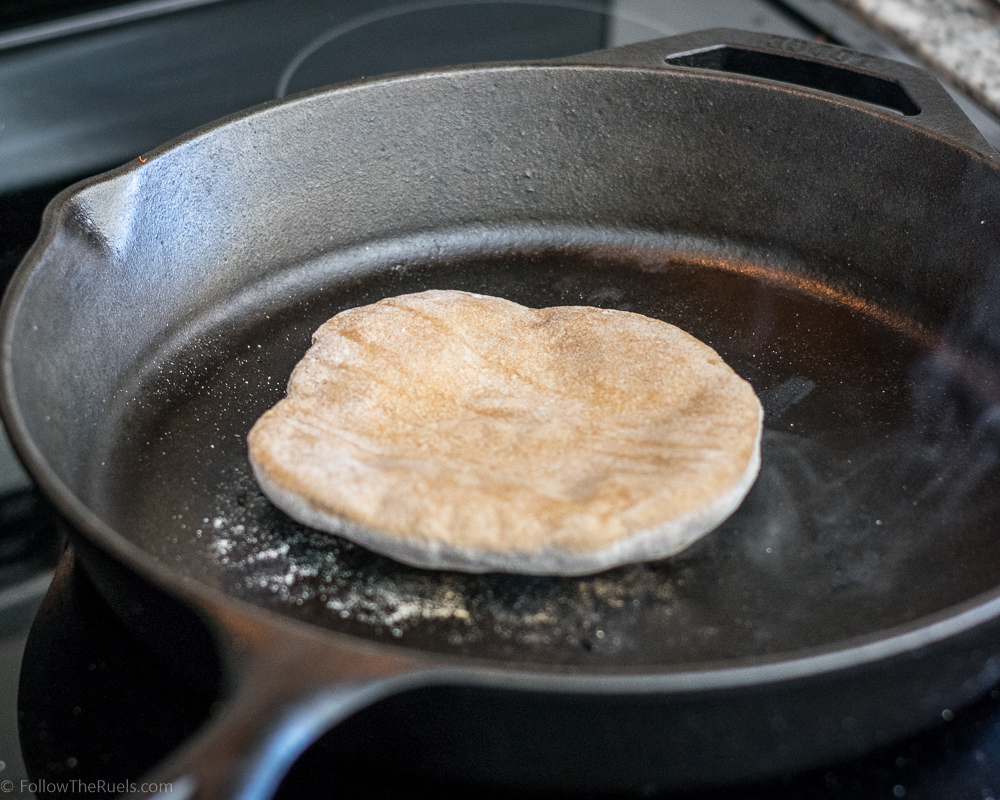
If you want a little extra color and char on the pita, throw them on a hot skillet and cook for another minute or so on each side. 

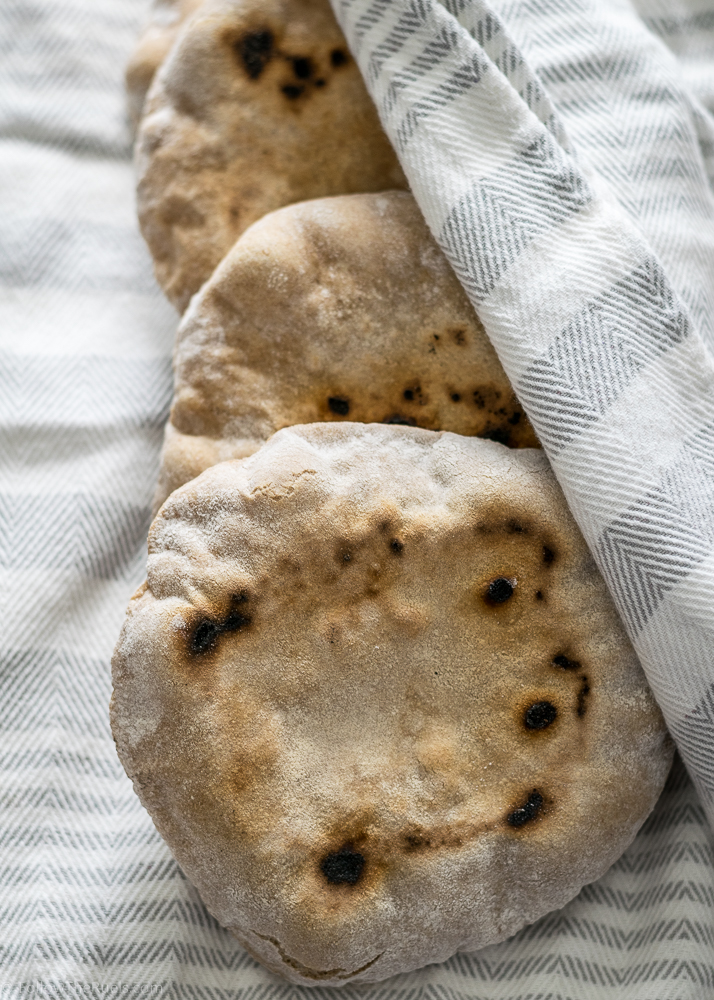
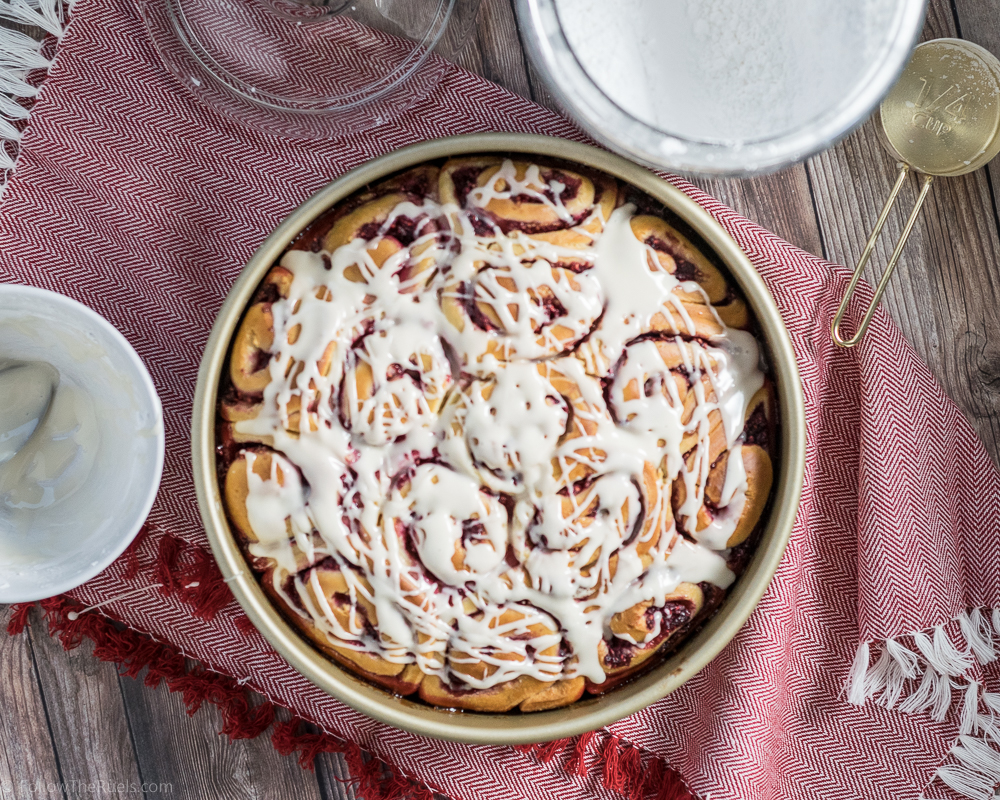
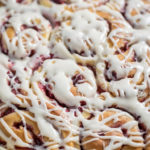
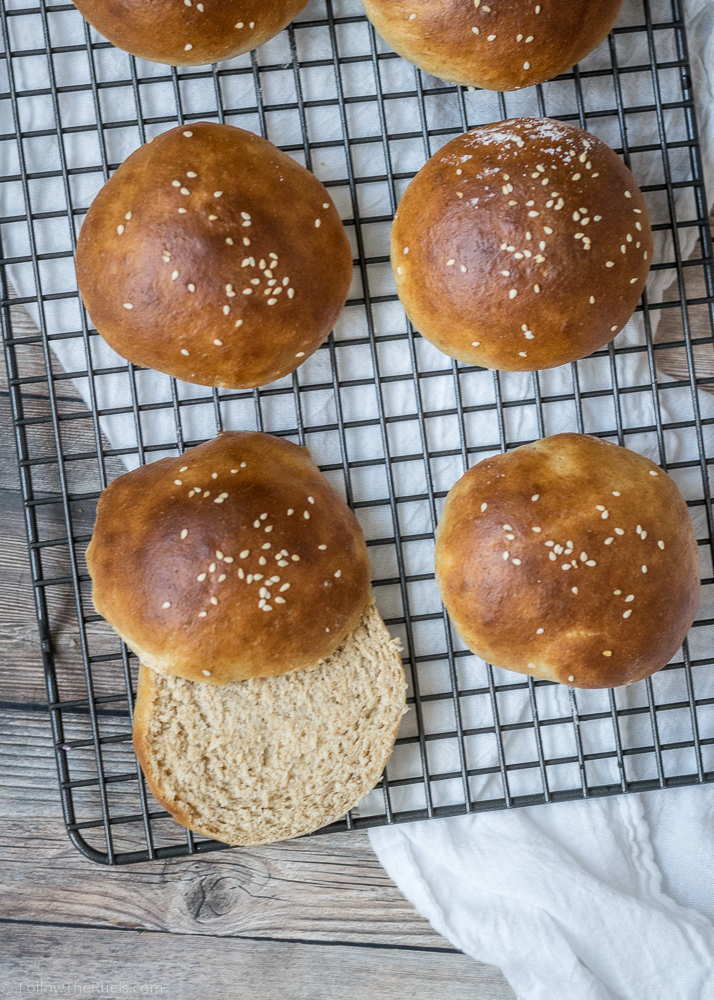
Now you have prefect little pita pockets. Because they puffed right up in the oven, they will turn right into pockets once you cut open one end or cut them in half. 

Also, like most things, I prefer these homemade pitas much more than the store bought ones. Especially right out of the oven! Delish! 

[amd-yrecipe-recipe:143]

/ Filed In: Eat
Tagged: bread, dough, pita, pita bread, whole wheat, yeast

Raspberry Sweet Rolls

January 20, 2017

If there is one thing that I don’t have to worry about when I go home and visit my parents it’s going hungry. We are always well fed no matter where we go; especially at my dad and stepmom’s house. My stepmom is a serious cook! And she spoils us rotten with her amazing baked goods. 

While we were home for the holidays she whipped up a batch of raspberry sweet rolls. I don’t think I had ever had raspberry sweet rolls before, but I was an instant believer. With every bite I was picking her brain on how she made them. “Did you use jam for the filling?” “Did you add any butter?” 

I knew I had to try these once I got home!


The dough is pretty much what you would use to make cinnamon rolls. This is basically a cinnamon roll after all…just without the cinnamon.

I activated the yeast in some warm milk, then mixed that in with some butter, sugar, eggs, and flour. After kneading the dough for about 5 minutes, I placed it in a separate bowl to double in size. 


Once the dough was proofed, I dumped it out onto the counter that I had lined with parchment and flour to prevent the dough from sticking. I then rolled it out into a large rectangle and spread some softened butter over top.


To get the tiny pieces of raspberries, I used my stepmom’s trick and put the frozen berries in a bag, then whacked the crap out of them with a rolling pin. It’s great for stress relief! The raspberries just break apart into tiny little raspberry pellets. Which makes them perfect for sprinkling on top of the dough.


On top of the raspberries, I sprinkled on some of the sugar and a pinch of cinnamon. Then I rolled the dough into a tight spiral from one end to another. 


I cut the spiral into 2″ discs and placed them in a baking dish, or in my case a cake pan, to bake. In retrospect, I wish I would have used a square or rectangular pan so that they had more room to spread out while they baked. 

Once out of the oven, I drizzled a simple glaze over the tops and let the drip down into all the nooks and crannies. What is great about these rolls is that they aren’t too sweet, so the glaze perfectly compliments the tart raspberries. 


These raspberry sweet rolls actually reminded me of the Entemann’s Coffee cake my mom used to buy at the store when I was little. And I mean that in the best way possible. I loved that stuff! 

I really just loved the bright raspberry filling that just tasted so fresh since it is pretty much just raspberries and a bit of sugar. I also loved the sweet and soft rolls. Everything about these was really just delicious. And dare I say, almost as good as my stepmoms?!? 

Okay, I probably shouldn’t get ahead of myself. But they were close!

[amd-yrecipe-recipe:119]

/ Filed In: Breakfast, Eat, Other Sweets New
Tagged: breakfast rolls, dough, glaze, raspberry, yeast

Homemade Whole Wheat Burger Buns

August 31, 2016

Homemade Whole Wheat Burger Buns

I can’t believe this is my first time attempting to make burger buns. Gosh, they couldn’t have been easier! Like pizza dough or tortillas, it is now one of those things I will think twice about before buying from the grocery store. Sure it takes a bit more time to make from scratch, but the investment pays significant dividends in taste (and quality).

What used to intimidate me about making breads at home was the yeast. Sometimes the yeast was good, sometimes it wasn’t and I wouldn’t really know until after I had put in all the work. Well let me share with you my tips for using yeast: 1) freeze your yeast so it keeps longer, 2) sugar your water so that the yeast has something to feed on, and 3) create more acidity which the yeast likes. 

Sometimes it’s not always possible to do #3, like in pizza dough, for instance. But it’s really easy to do with burger buns. I actually mixed the yeast in a mixture of water, buttermilk, and sugar that I had warmed up in the microwave. Boy, let me tell you that yeast went crazy! It loved that sugary, acidic mixture! And it created some nice springy dough that formed the perfect buns and proofed pretty quickly.

Homemade Burger Buns

This is helpful because that means I can make these burger buns in under an hour. Once I had mixed and kneaded the dough, I formed them into even balls. I then left the dough balls out on the counter to rise a bit while I went back to work in the kitchen getting the rest of dinner prepared.  


I let these bad boys rise until they expanded to about the size of a standard burger bun, which took me about 20 minutes. They will puff up quite a bit in the oven, but they won’t get much wider (if that make sense) so make sure you like the size of them before baking. 

Homemade Burger Buns

And let me tell you, your kitchen will smell amazing while these bake. They should make a candle that smells like fresh baked bread. I would love for my house to smell like that every day. 

Anyways….

Because of the egg wash on top, I knew they were ready when they turned nice and golden brown on top. I was totally tempted to cut right into one while it was warm, but I restrained myself. If I had done that, they might have still been a little moist in the center instead of nice and light and spongy. So it’s really important to let them cool completely.

Burger Buns-10

But once they are cool, I cut them in half then toasted them a bit in the oven so they got even more crispy. I used these particular buns for some smokey sloppy joes, which I will be sharing soon. Of course they would be good with burgers of all kinds, chicken breast, and anything else you want to turn into a sandwich!

[amd-yrecipe-recipe:73]

/ Filed In: Eat, Main Dishes, Other Savories New
Tagged: bread, buns, burger, dough, whole wheat

Follow

Hey There!

Hey there, I'm Lindsey. I'm a number cruncher by day and a home cook and baker by night. While I love to eat healthy and find fresh and healthy alternatives for my favorite foods, I will never turn down dessert! Life is all about moderation, right?

Recipes

  • All Recipes
  • Breakfast
  • Appetizers
  • Salads
  • Main Dishes
  • Side Dishes
  • Desserts
  • Drinks

Favorite Finds

[show_lookbook_widget id=”388783″]

Theme by 17th Avenue · Powered by WordPress & Genesis