• Home
  • Eat
    • Breakfast
    • Appetizers
    • Main Dishes
      • Chicken
      • Beef
      • Seafood
      • Healthy Dishes
      • Paleo Dishes
      • Salads
    • Desserts
      • Decorated Cookies
      • Cookies
      • Bars and Brownies
      • Cakes and Cupcakes
  • Shop
    • Cookie Decorating Supplies
    • Bakeware
    • Cookware
    • Kitchen Gadgets
    • House
  • About
    • Contact
    • Bucket List
  • Cookie Decorating 101

Follow the Ruels

Easy Coloring Book Cookies for Easter

March 30, 2018

If you are looking for a fun activity to make with the kiddos over the Easter weekend, I’ve got you covered! Check out these super easy and oh-so-cute coloring book cookies in some favorite Easter shapes. These cookies were both a lot of fun for me to make and to color. 

Why yes, I did color these in myself. I didn’t have any kids to test these out on, and I don’t think it would have gone over well if I had asked strangers to borrow theirs. Don’t worry, these particular cookies are off to Texas and will hopefully make it in time for Easter. 

How to Make Them

The first thing to making these cookies is to cover them with white icing or fondant. I used fondant because fondant is a little bit more forgiving when it comes to painting on cookies. For instance, if you add too much watercolor to dried royal icing, the icing will degrade and make a crater in the cookie. With the fondant, it will just get a little gummy, but will eventually dry as normal.

To cover the cookie with fondant, all you do is roll out the fondant with a fondant roller or rolling pin, cut out the cookie with the same cookie cutter used to cut out the cookie, brush some water on the back, and stick it to the cookie. Viola! 

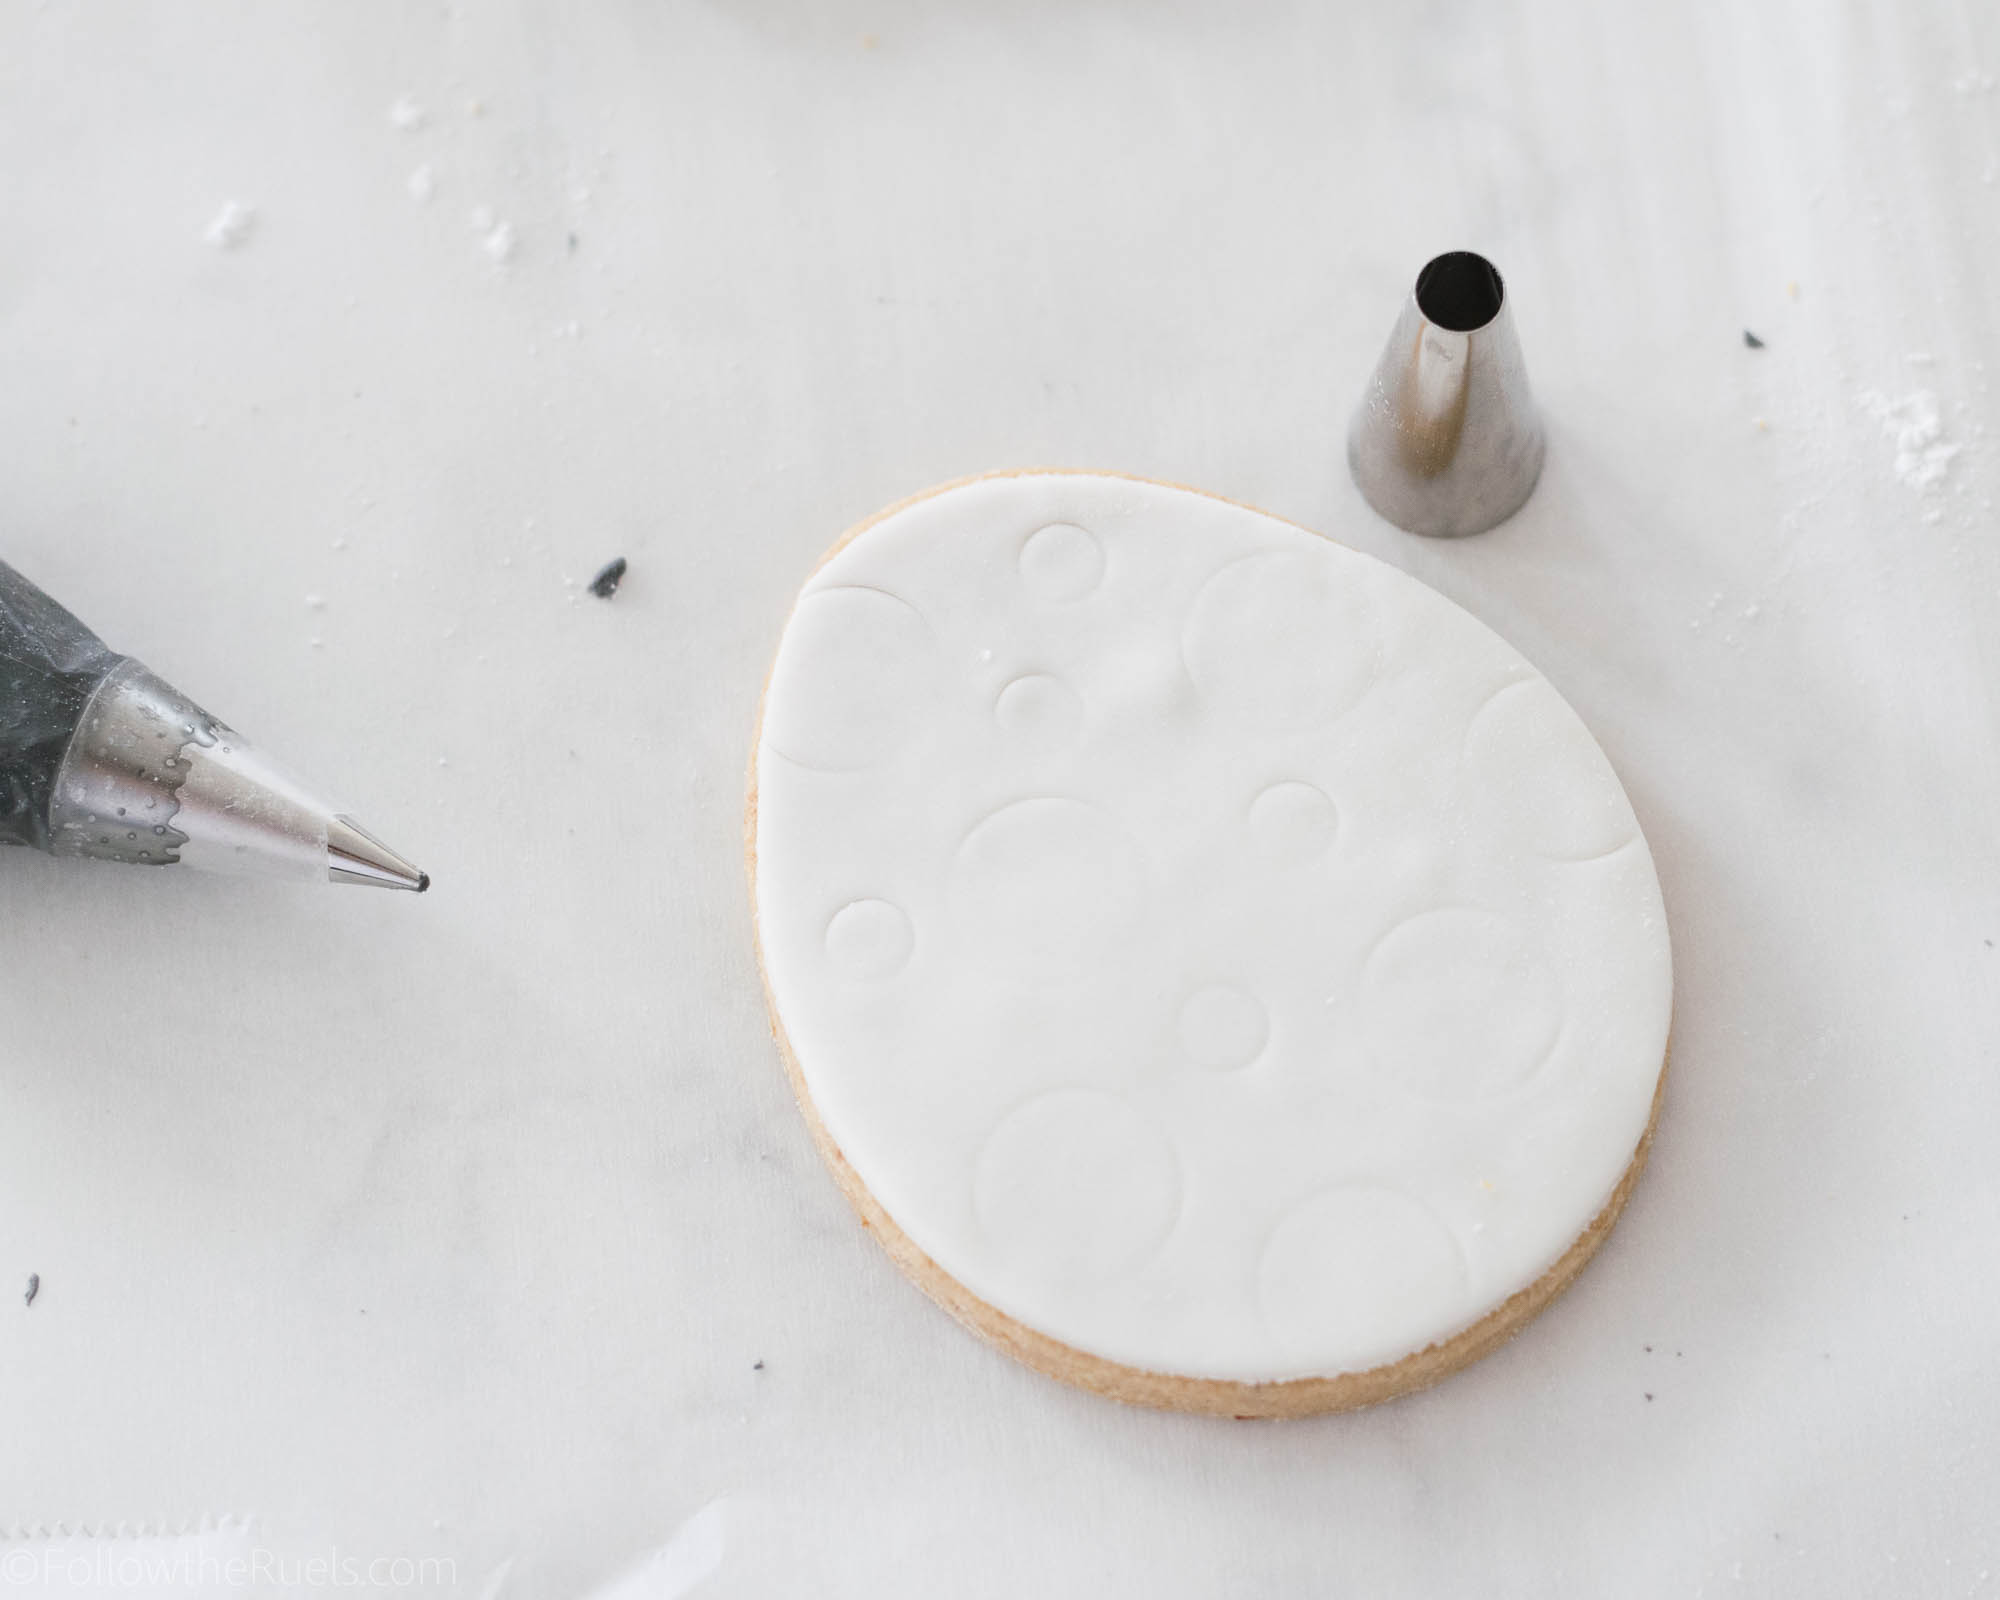
The best part, you don’t have to wait for the cookie to dry. Also, the fondant is still a bit malleable for several minutes, so you can imprint shapes or images onto it to trace later! 

Okay, I know not everyone is a fondant fan, so if I still haven’t convinced you and you would prefer to ice the cookies, I recommend this post that details how to achieve the perfect iced cookies. 

If you are team fondant, this post gives much better instruction on how to attach the fondant to the cookie.

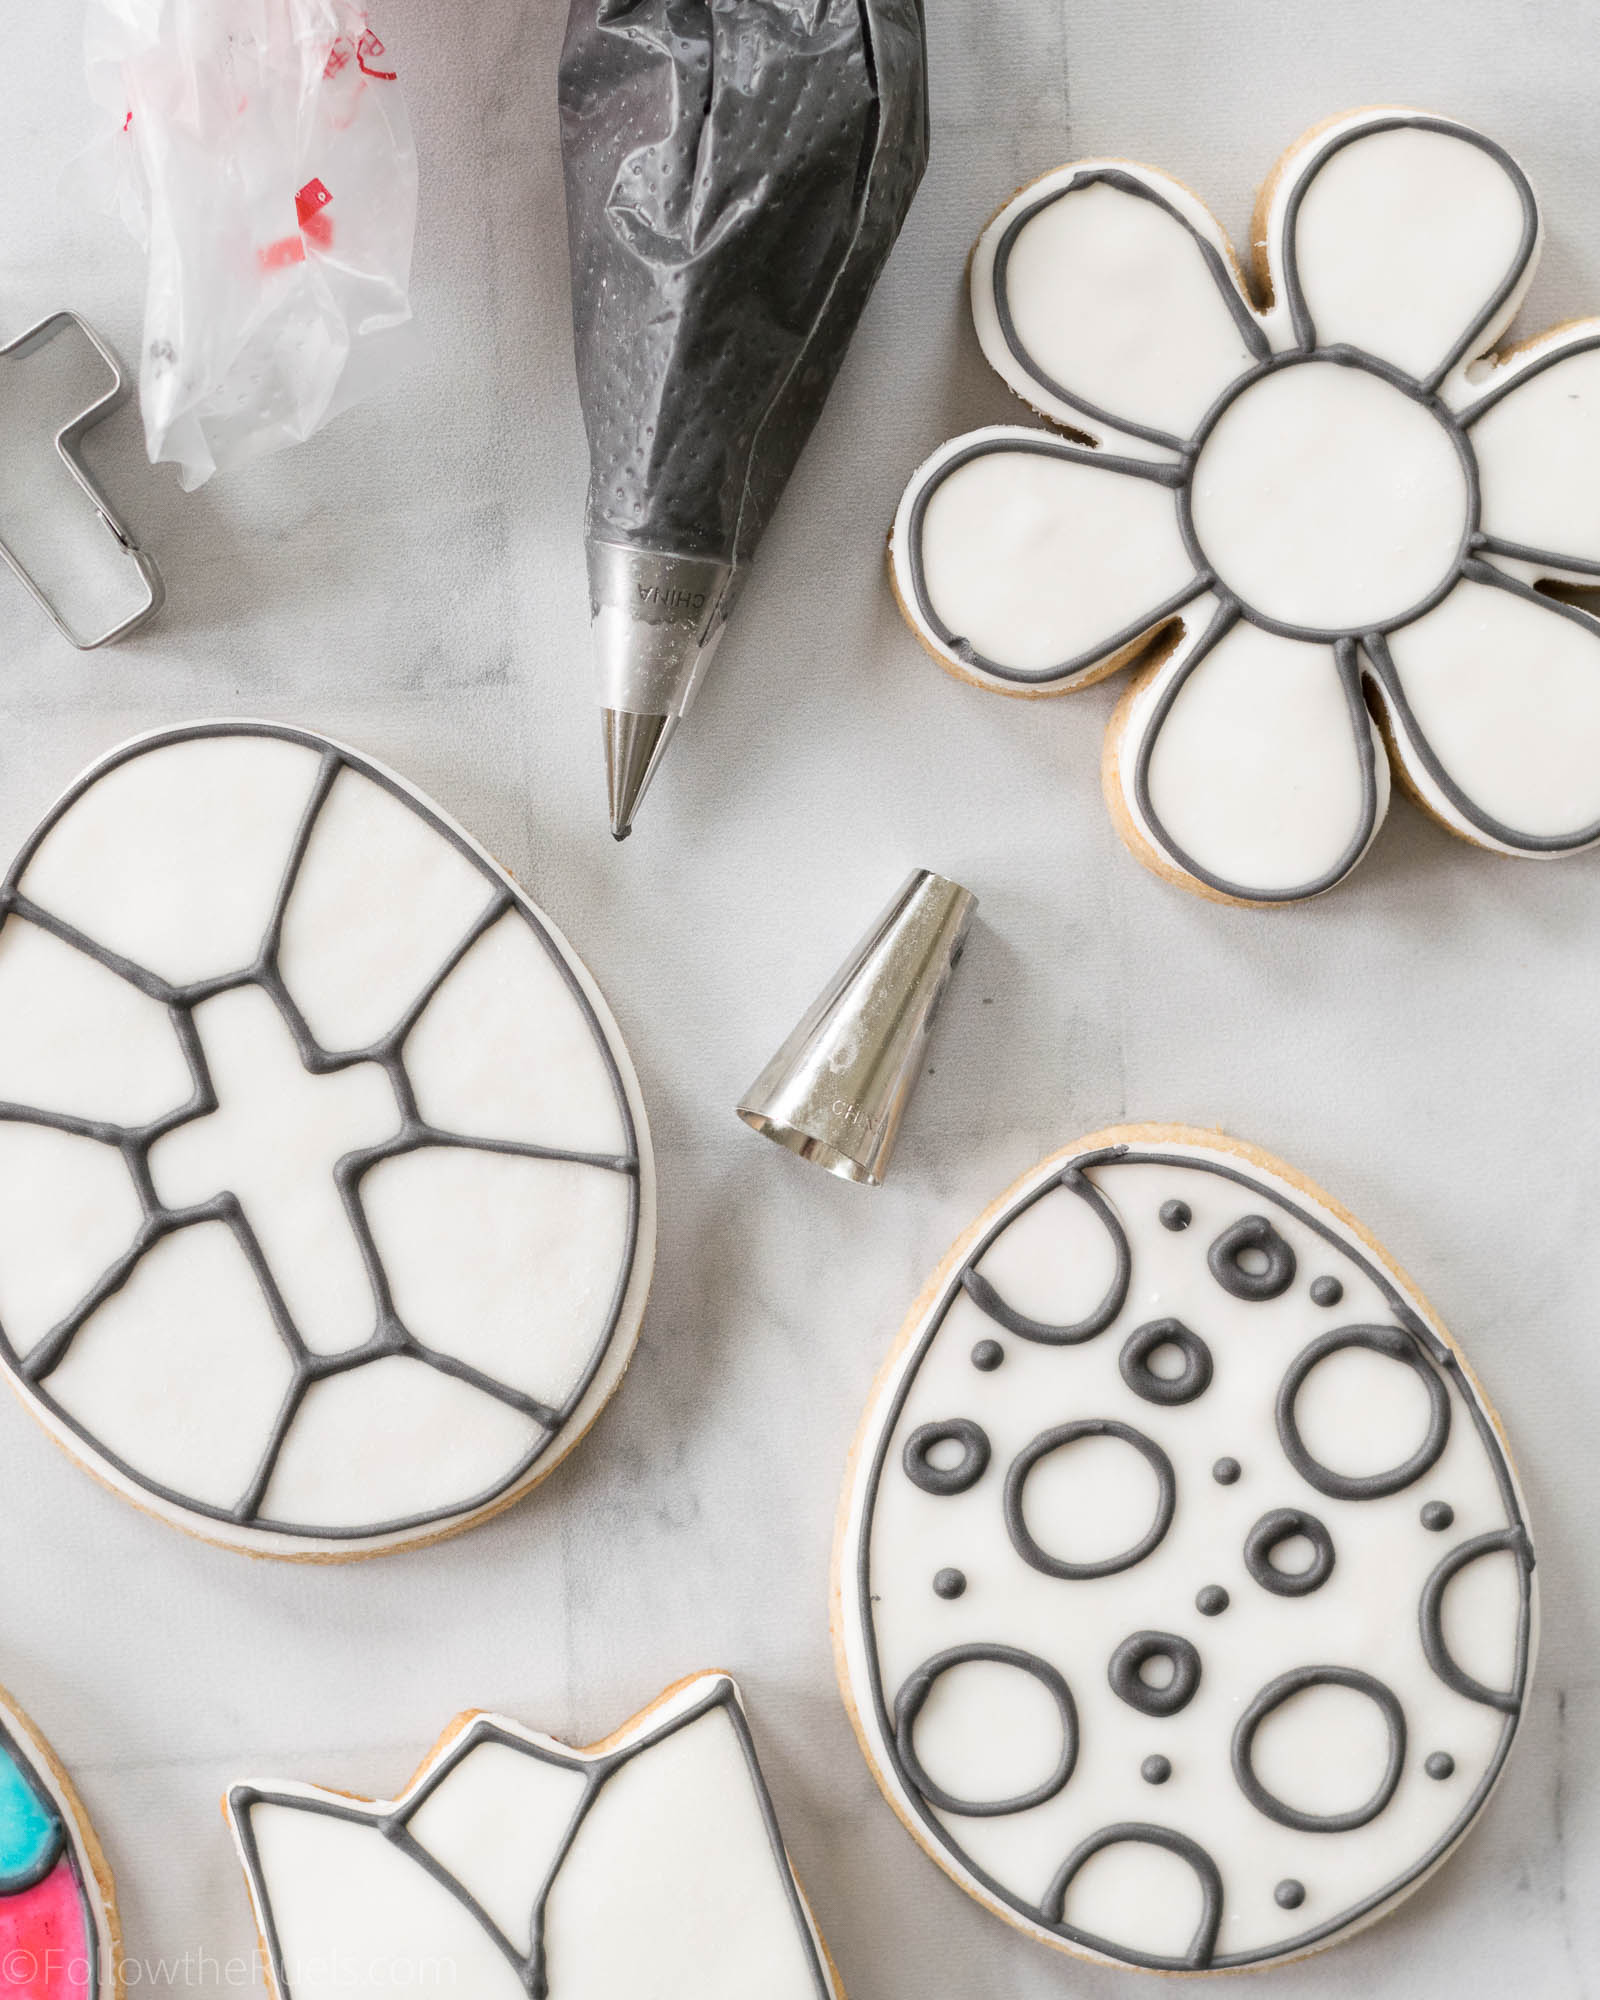
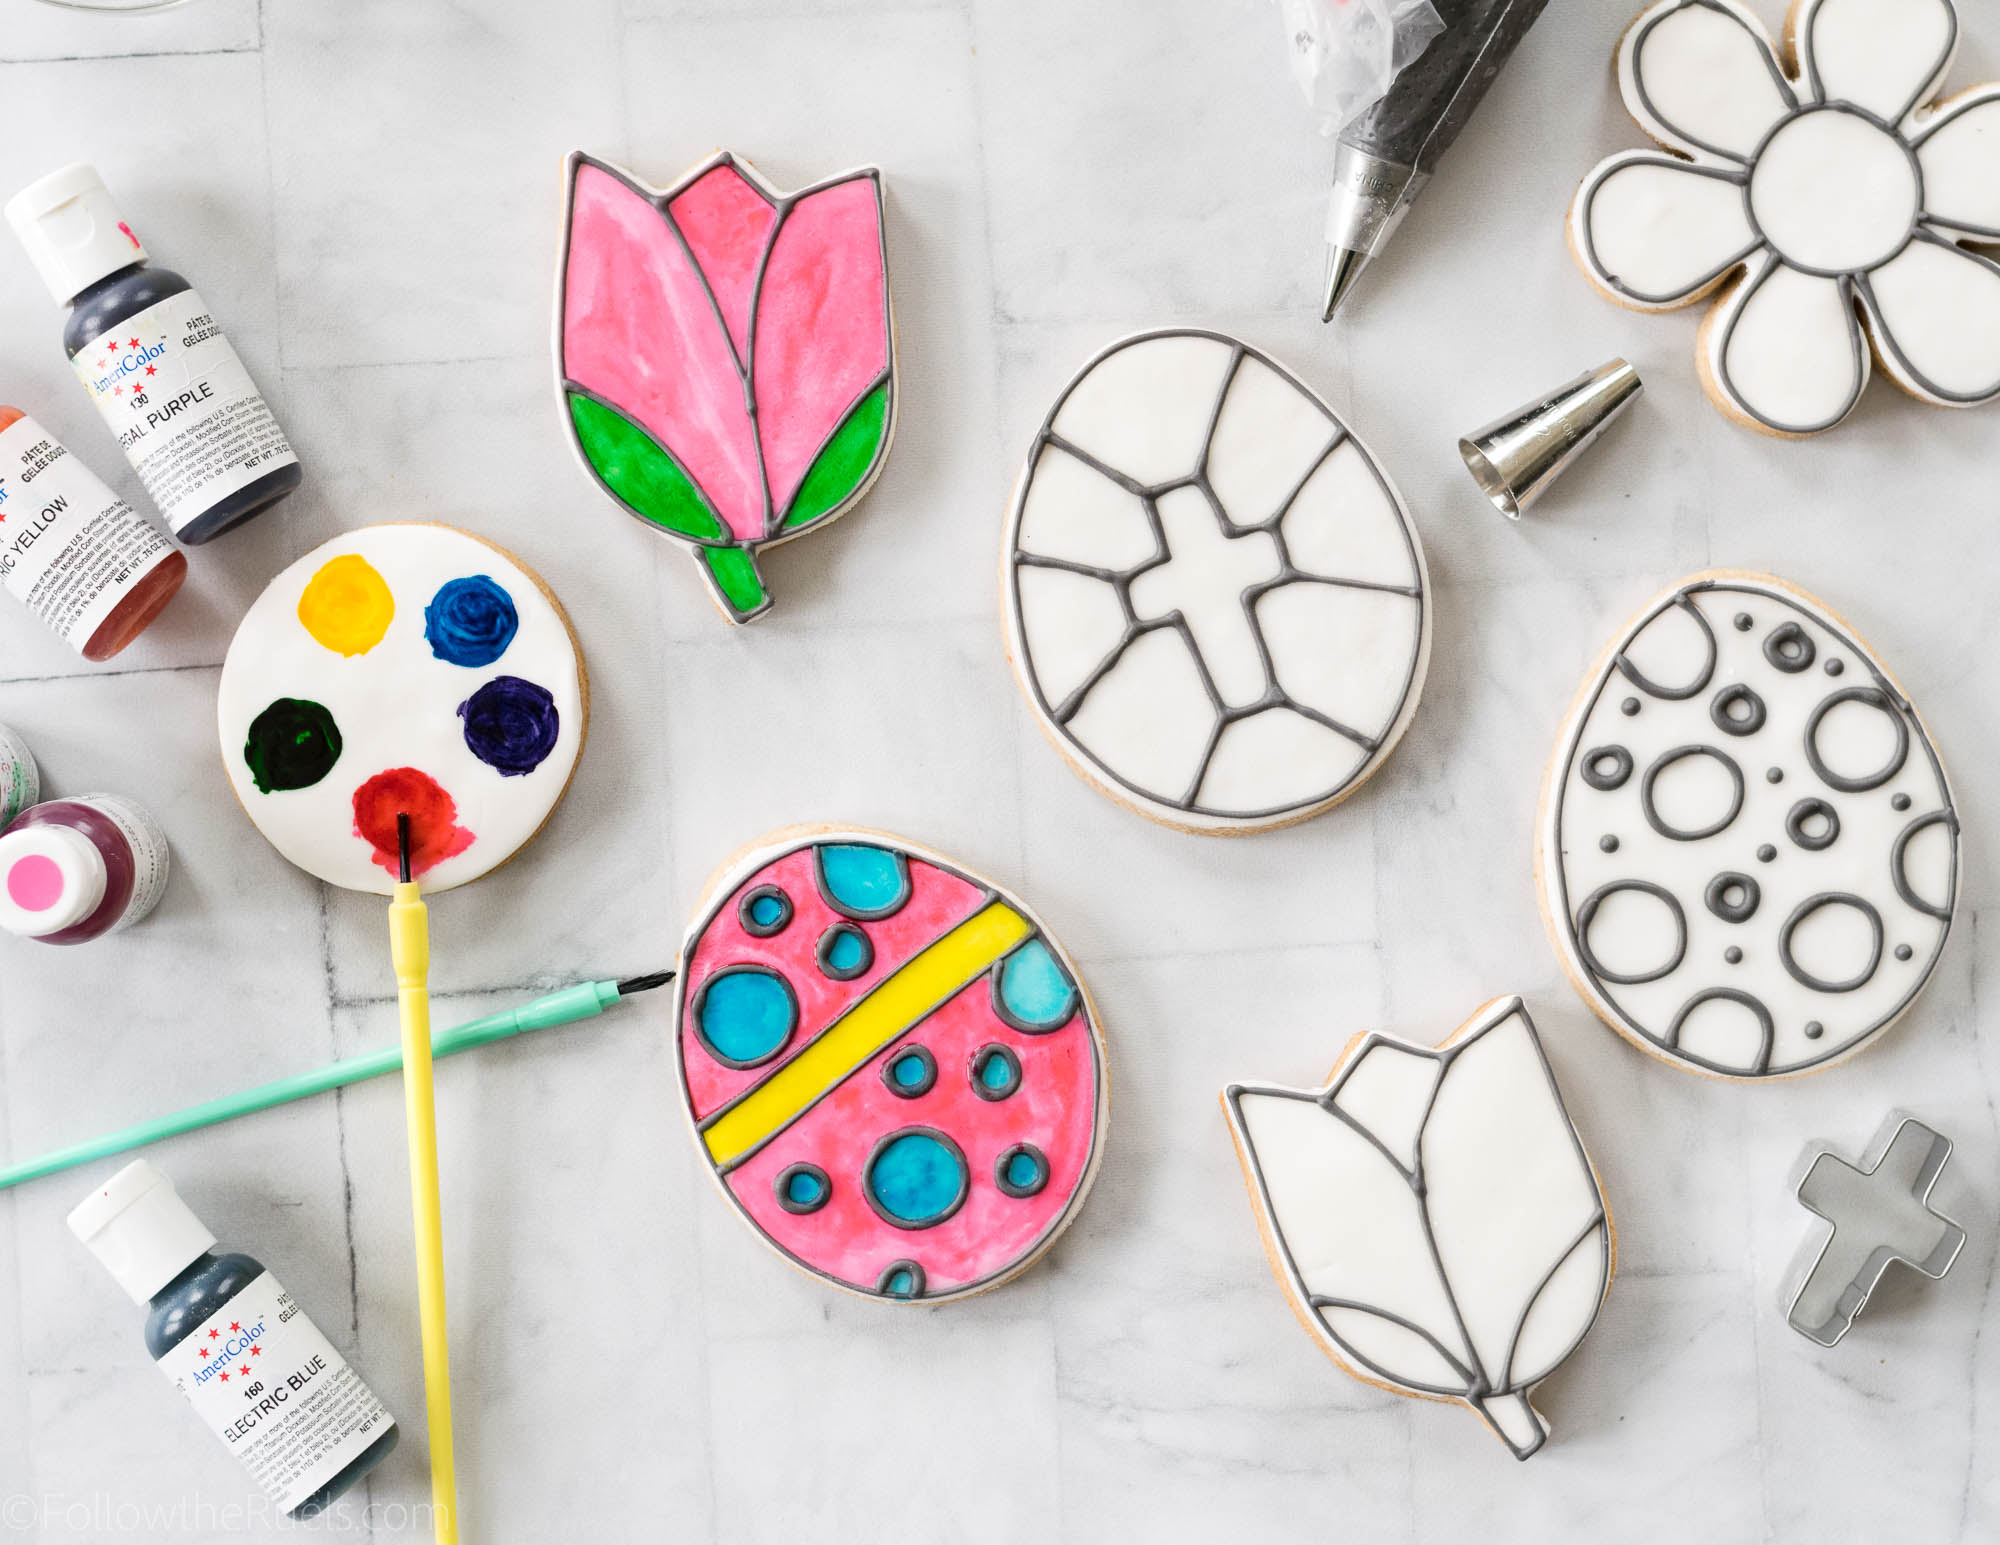
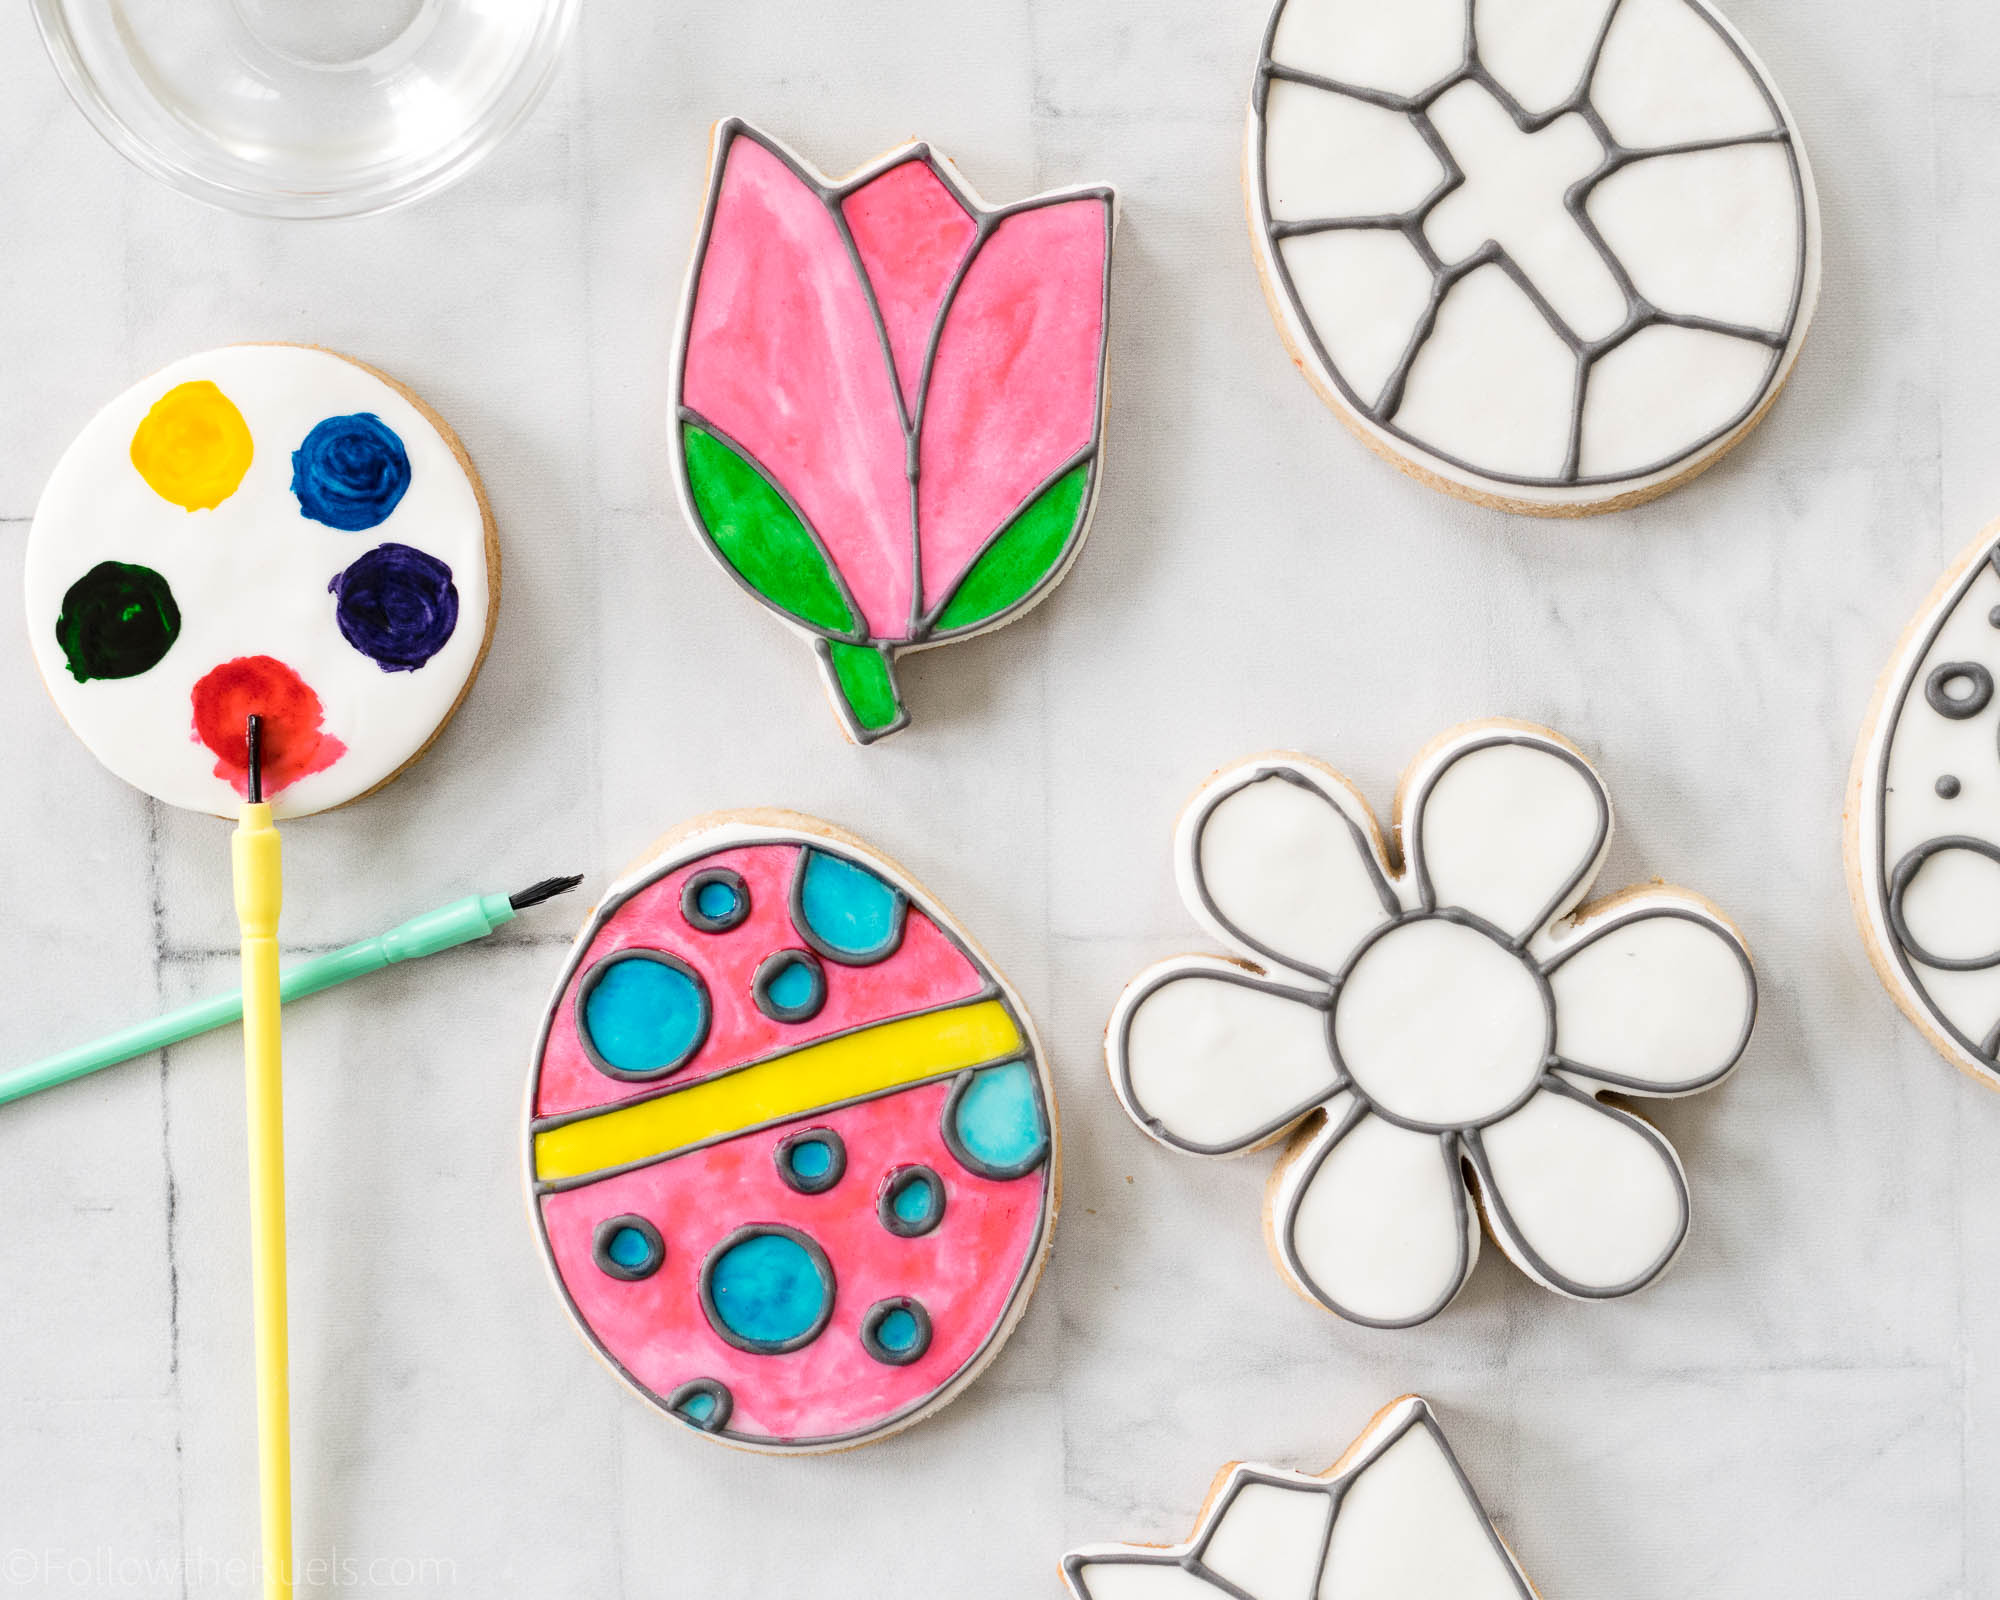
Once the cookies are iced or covered in fondant, outline the cookie with black piping consistency icing and create the image or shapes you desire. Depending on the age of the kids you are making these for, you may want to tailor your images to be more or less detailed. 

The great thing about using icing for this part, as opposed to drawing it with a black food marker, is that you have created barriers so that the kiddos are forced to stay within the lines. 

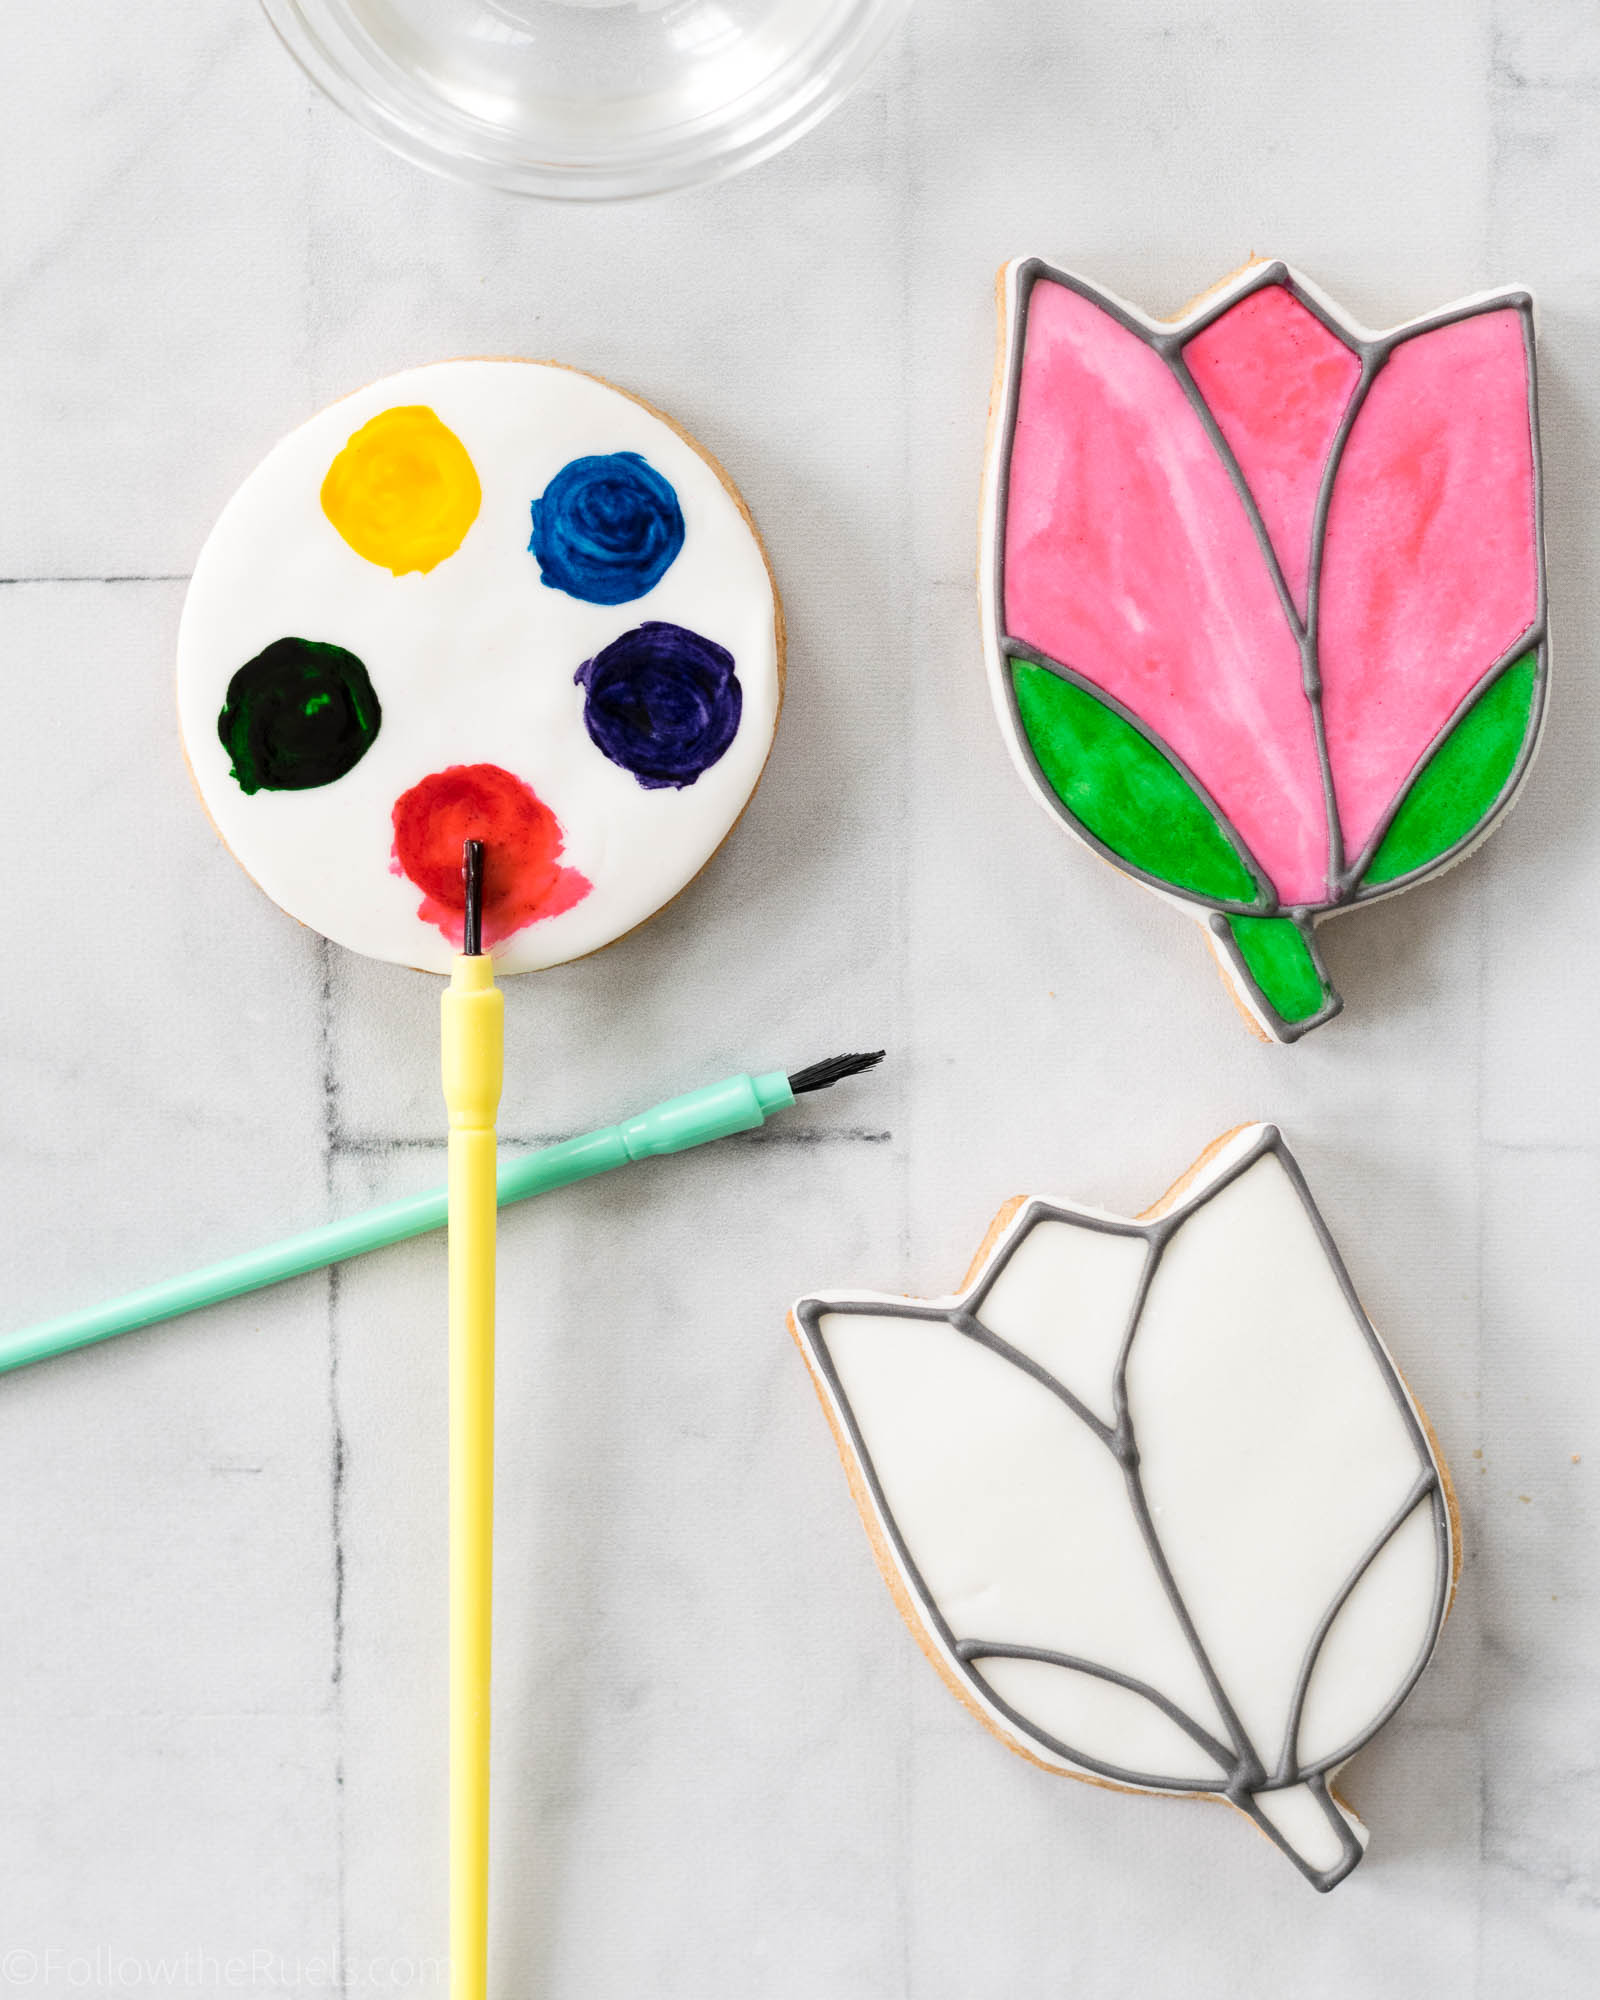
Finally, you will also want to create a little paint pallet for the kids to use. To make the pallet, I brushed drops of gel food coloring on a round cookie, then spread them out with a paint brush*. If you are transporting these cookies in any way, you will want to wait for the food coloring to dry before moving. They will still be a little tacky, but they should be dry in about 20 minutes. 

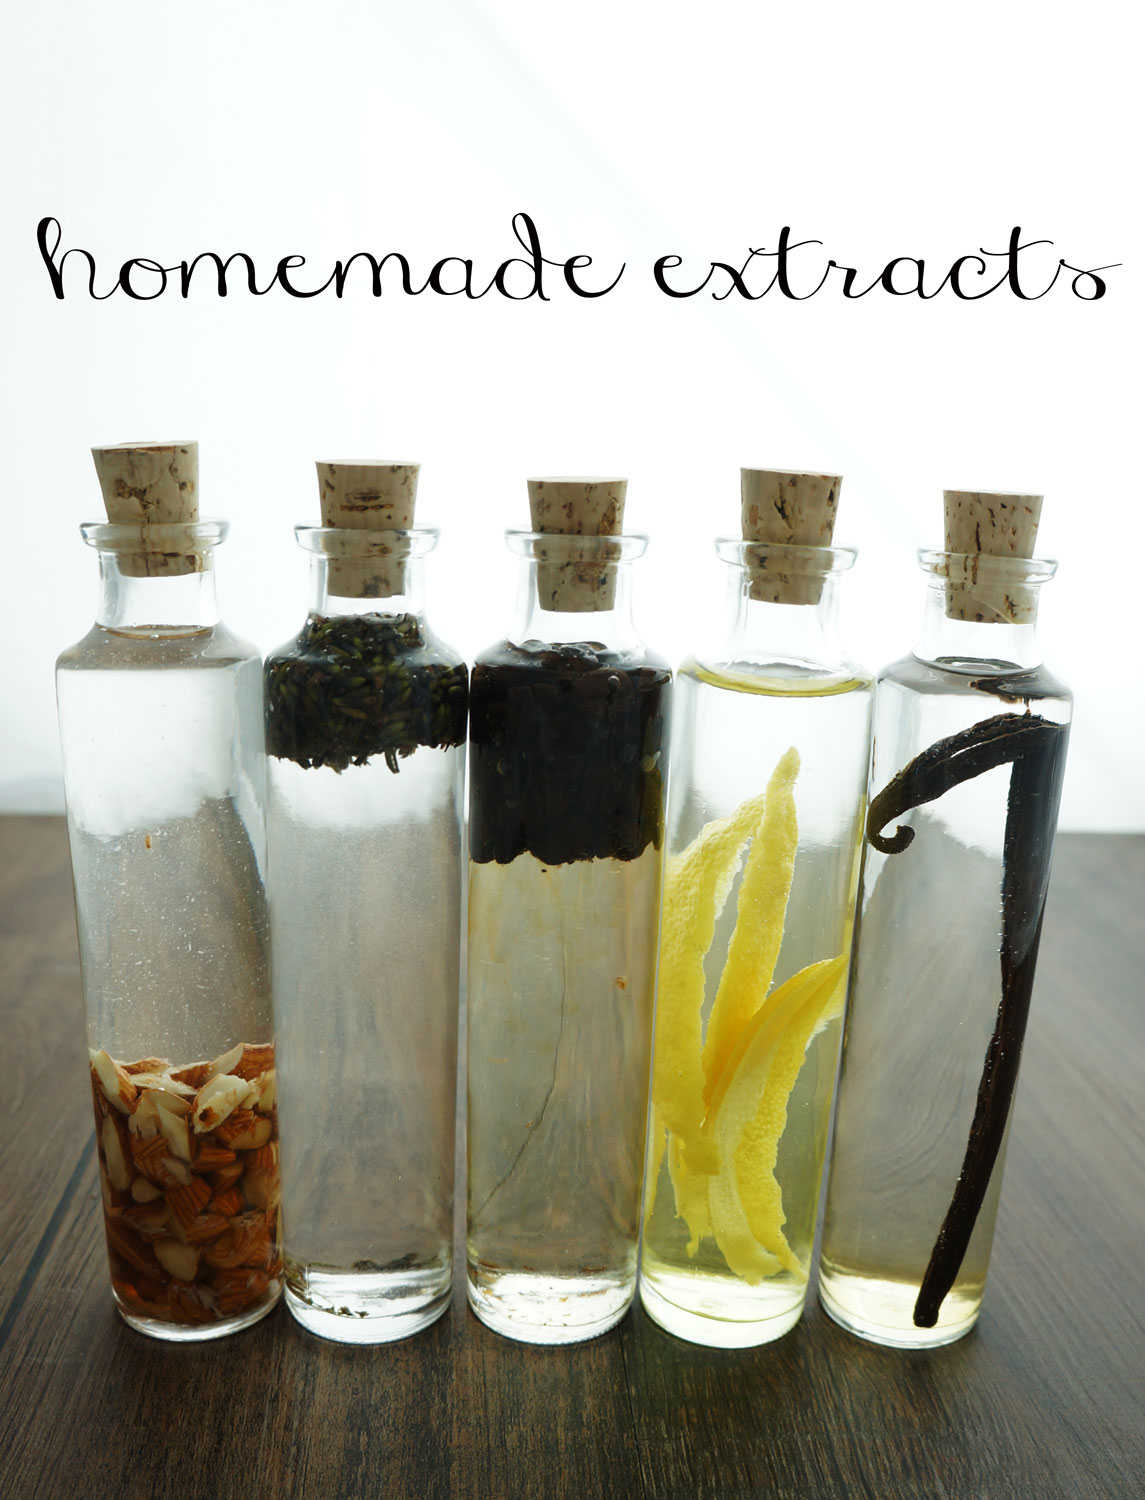
Finally, to paint these cookies, pour a small amount of clear extract (like almond) or clear alcohol (like vodka) (don’t worry, the alcohol evaporates after it is painted so the kids will not actually be ingesting it!) into a bowl and let the kids dip the paint brush into the extract, then brush into the color of their choosing. Then they can paint away!

If I were a kid, I would have lots of fun with the activity. Heck, I’m an adult and I had fun making these cookies!

Instructions

If you would like to print out instructions for your kids or other parents, feel free to copy the text below. 

  • Pour a small amount of clear extract or clear alcohol (don’t worry, the alcohol will evaporate before the kids eat it!) into a small bowl.
  • Wet the brush in the extract then brush over the color on the color pallet.
  • Paint over the cookie as desired.
  • If you run out of color, mix a little food coloring with the clear extract to make more.
  • Have fun!
Recipes and Tools 

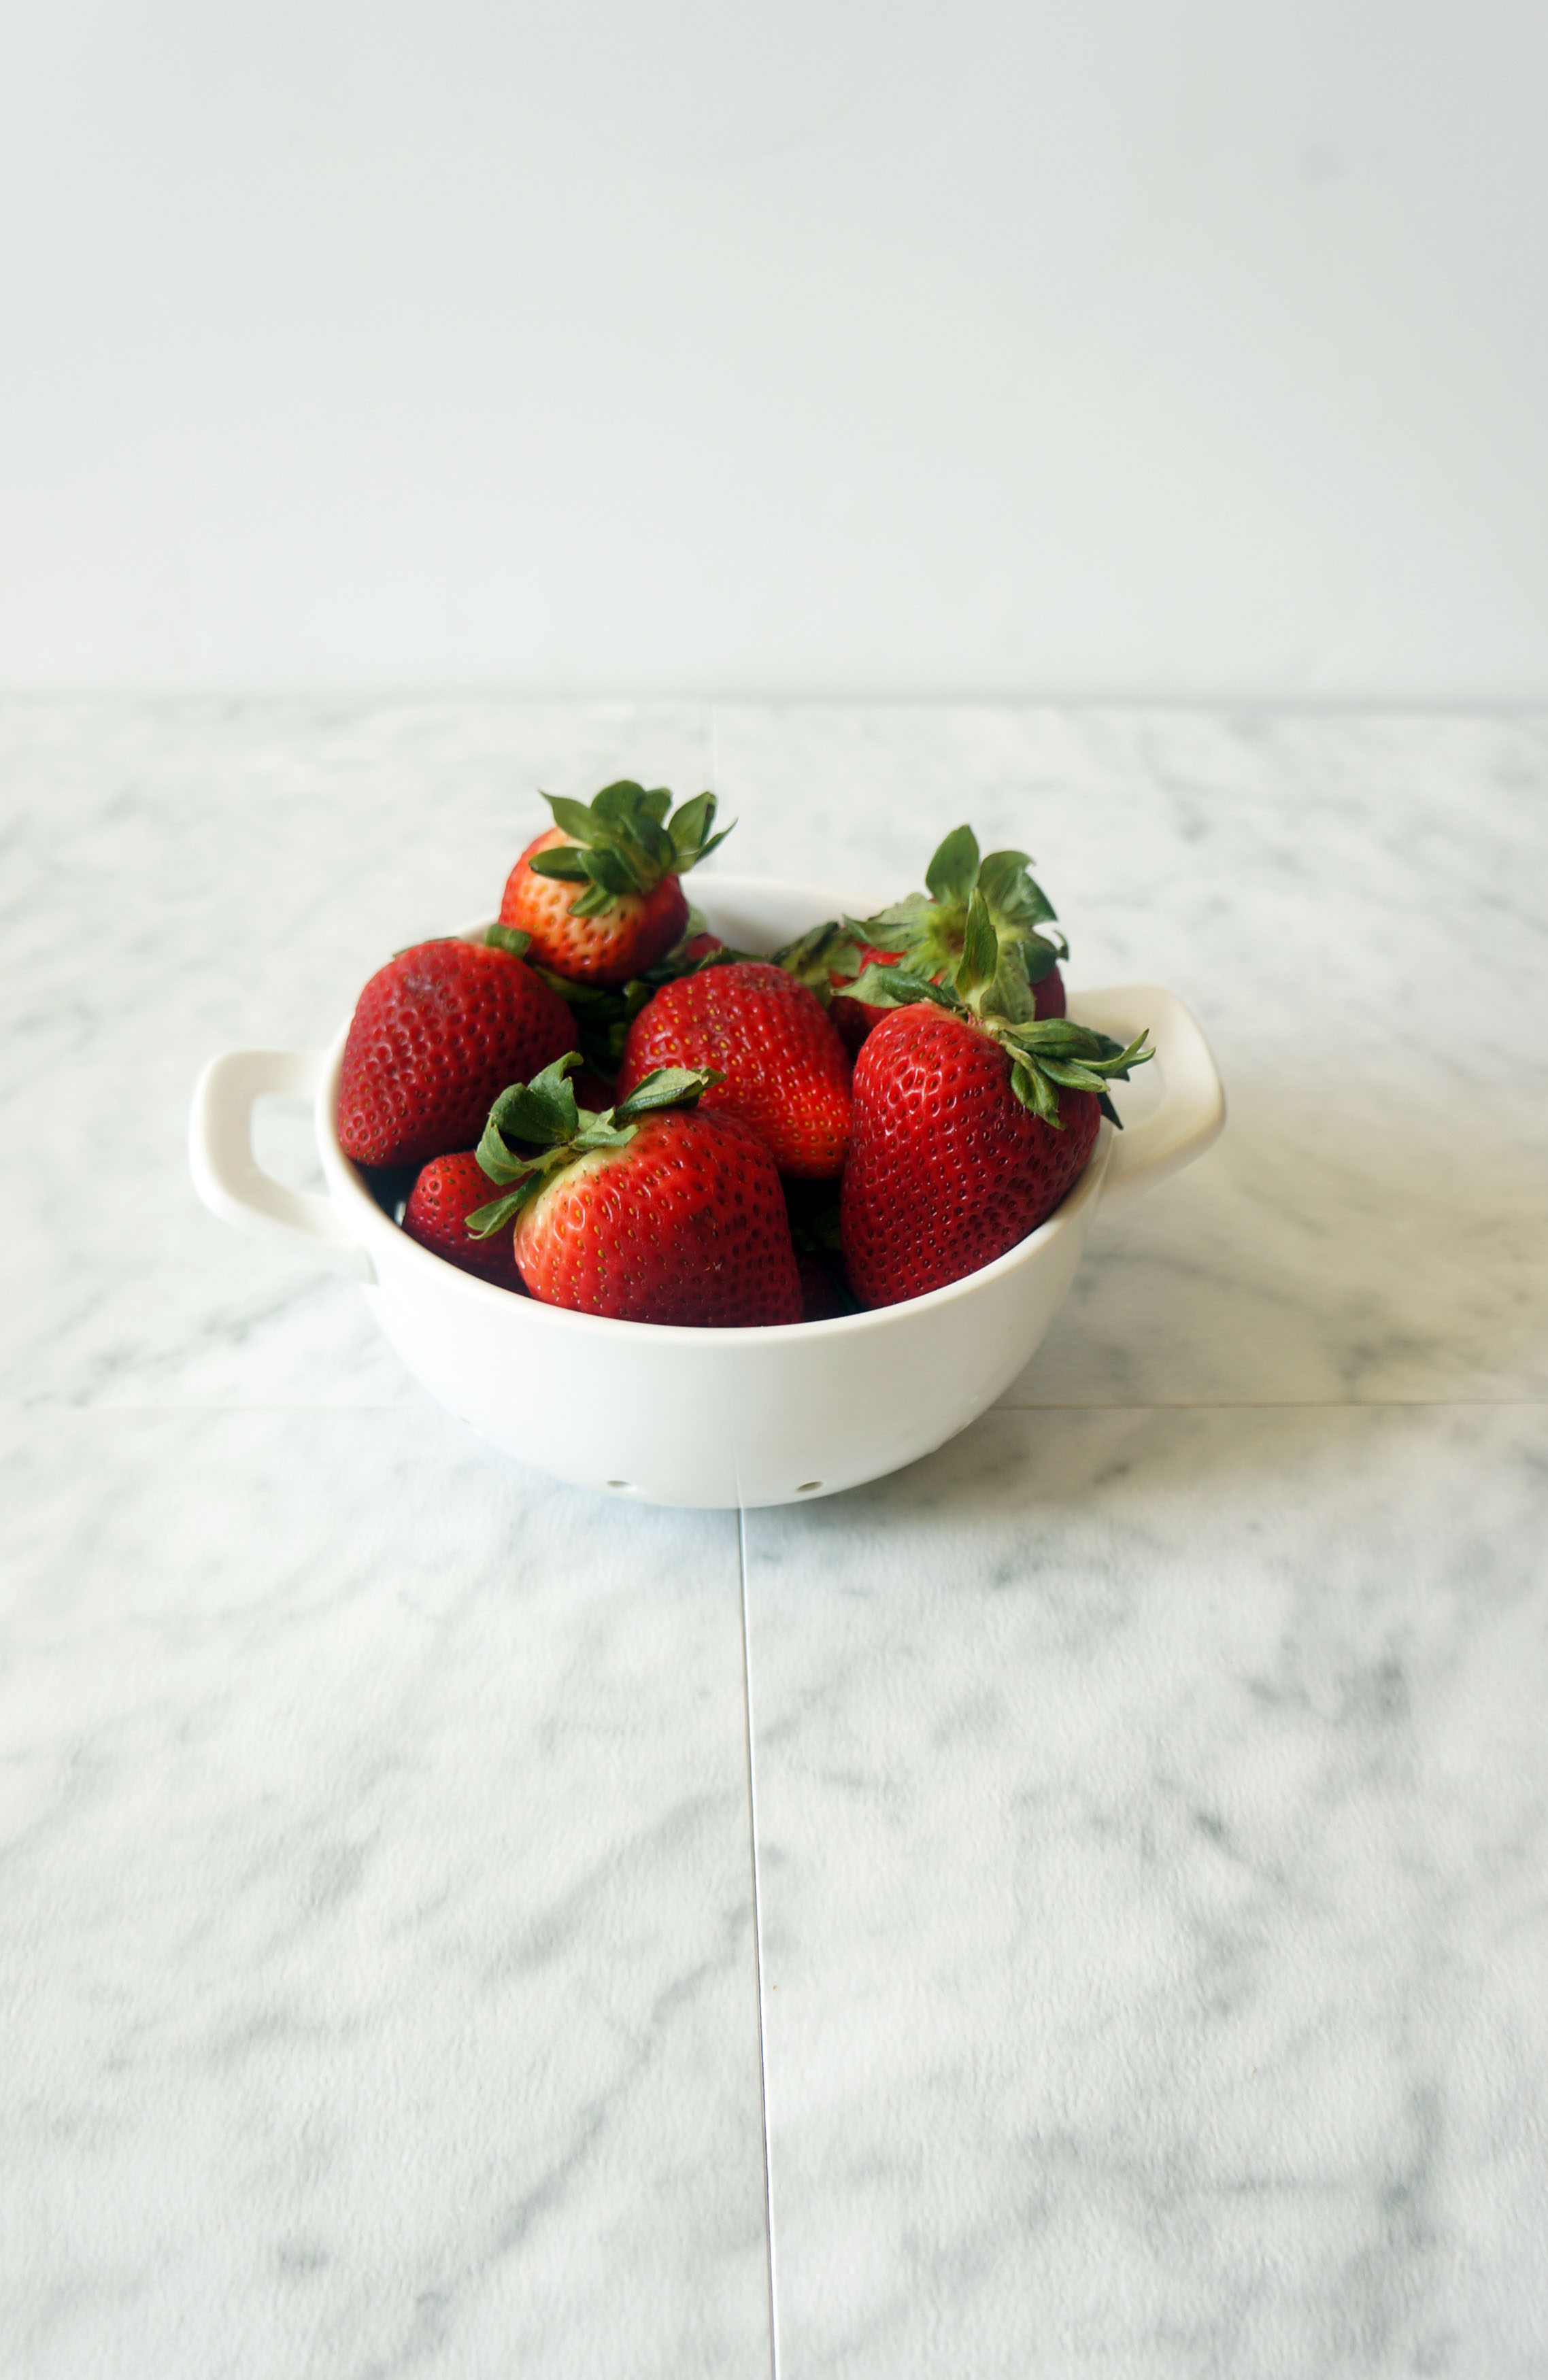
I switched it up a bit with these cookies and decided to make a cross between my sugar-free whole wheat sugar cookies and my strawberry honey sugar cookies from my Summer collection. Essentially, I made the strawberry honey cookies, substituted agave for half of the sugar, and added in whole wheat flour. They were delish! And I think kids and parents alike will like these because they are tasty and they have less sugar than your average sugar cookie. 

But if you don’t want to buy my Summer cookie collection recipes (I get it), the basic sugar-free cookie is still amazing! Or you can keep it old school and make my favorite sugar cookies. Don’t be afraid to mix it up a bit and add any flavors you like. I think lemon zest or lemon extract would be great for Spring!

You will also want to make a batch of royal icing for the black outlines. You only need a small amount, so I would recommend only making about half a batch (and you will still have some left over).

*Only use paint brushes that have been used on food. Never use paint brushes that have actually come into contact with paint. Its okay to use normal craft brushes, but Wilton makes a set especially for food. I have included them below!

[show_shopthepost_widget id=”3081503″] 

/ Filed In: Cookies New, Decorated Cookies, Desserts, Eat
Tagged: Coloring, cookies, DIY, Easter, kid friendly, painting

DIY Striped Bow Hat

April 27, 2016

DIY Striped Bow Hat

Last Summer I saw several bloggers with the cutest straw hats with big bows on them. After looking up their hats to see if I could snag my own, I was a little shocked to see that they were all well over $50 (like this, this, and this one). For someone who doesn’t wear hats that often and doesn’t have their own fashion blog, there was no way I was shelling out that kind of cash for my own bow hat. 

Then just last weekend I stumbled upon a cute, plain straw hat that was just begging for some adornment. I was delighted to see that the hat itself was only $15, and I knew I could find some ribbon for about $5, which meant I could have my very own bow hat for only $20. That is definitely more up my alley!

I picked up some navy and white striped ribbon at Joanns fabric, then immediately came home and went to work! I was so pleased with the results, I am already planning on picking up some gingham or plain ribbon so I can make some alternate bows for the hat. Here’s how you can make your own:

Bow Hat-4

Items needed:

  • 1 hat (mine is a bowler style straw hat by Free Press)
  • Approx 48″ of 1 1/2″ wide ribbon (or wider)
  • Thread (doesn’t have to match the ribbon)
  • Needle
  • Pins
  • Scissors
  • Fabric glue or a hot glue gun
  • Lighter or match
  • Iron (optional)

Instructions:

ONE| Start by wrapping the ribbon around the circumference of the crown of the hat, angling the ribbon down a little where the ribbon ends overlap to prevent some of the gaping between the ribbon and the hat. Pin in place

TWO| With a dot of glue, glue the end together, then fold the bottom of the seam up and glue again to create a bunched look. If the ribbon is thick, use an iron to help create the fold. If using fabric glue, keep a pin in until the glue sets.


THREE| To begin making the bow, roll out about 16″ of ribbon, but do not cut it. Create a big loop with the ribbon, folding one end over the other.

FOUR| Thread a needle with about 4 inches of thread. Find the center of the bow and pinch together, then run the needle through the folded ribbon.

FIVE| Wrap the extra thread around the center and tie it off. 


SIX| Cut a smaller piece of the ribbon, about 2 inches long. Fold in the sides and wrap it around the center of the bow covering the thread. Glue one end on top of the other.

SEVEN| Cut the tails of the bow at a 45 degree angle to the desired length. Use a lighter or a match to lightly melt the ends of the ribbon and prevent fraying. 


EIGHT| Place a small amount of glue on the back of the knot portion of the bow. Press the bow onto the band on the hat to cover the seam. 

NINE| Put the hat on and rock it!

DIY Striped Bow Straw Hat

Like I said above, I can’t wait to make some extra bows so I can switch out the bands to go with some other outfits. I will definitely be putting this hat to use a lot this Summer!


/ Filed In: Wear
Tagged: bow, DIY, hat, stripes

Homemade Extracts

September 1, 2014

Extracts2If you are an avid baker, you may already be familiar with how easy it is to make vanilla extract. But that is not the only extract that can be easily (and cheaply) made at home! A few weeks ago, I tried my hand at making several different types of homemade extracts, which I am happy to report, pretty much all turned out well.

Extracts5I started by washing and drying 5 glass bottles I purchased at the container store. I just washed them out with soap and water, then I dried them in a warm oven. This not only makes sure they are bone dry, but they also get sterilized in the process.

Extracts4Once the glasses were nice and dry, I filled them up with a pretty arbitrary amount of chopped almonds, lavender, coffee beans, lemon peel, and vanilla beans. Making extract isn’t really an exact science. The more of ingredients you put in the bottle, the more intense the flavor will be. But you can also get an intense flavor by letting those ingredients sit in the vodka for a longer period of time.

Extracts3Then I just topped off each bottle with vodka. It doesn’t have to be the best vodka around, but don’t go too cheap. You want to make sure that the extract tastes like coffee or vanilla, not flavored vodka.

Extracts6Unfortunately, unlike other recipes, you won’t be able to enjoy this one for at least 4-6 weeks. To get a rich and flavorful extract, the vanilla beans, coffee beans, almonds, lemon peel, lavender buds, etc. need to sit and release their flavor for quite a while. But if you are patient, you will have yourself some great, homemade extracts that can be used for any of your baking purposes.


For some of the extracts, you may want to strain out beans/buds/nuts. For instance, I strained out the coffee beans, almonds, and lavender buds. But I kept the vanilla bean and lemon peel. Both are big enough that they won’t be poured out when I use the extract. Plus, I can keep topping off the bottle after use.

Extracts10Homemade extracts make an awesome holiday gift! If you get started now, you can have them ready in time for Christmas (or well before)!

Just a side note, the coffee extract is very strong so use sparingly. And the almond extract is not as strong as the store bough variety. Honestly, I will probably stick with my store-bought almond extract.

Have you made any other type of extract?

[yumprint-recipe id=’44’] 

/ Filed In: Eat, Make
Tagged: almond, coffee, DIY, extracts, gift, lanvender, lemon, vanilla

DIY Double Sided Photo Board

May 15, 2014

BBC Photo Board10I have learned over time that producing good food is only half the battle to being a good food blogger. My food could be the best food around, but if my pictures suck then no one will be be drawn to the blog or the recipes. Unfortunately for me, I do not live in a house with a beautiful, spacious kitchen flooded with natural light. I live in an apartment where the nearest window is about 20 ft from the stove. And let me tell you, florescent lights do not product pretty pictures. Most of the time, I am shuttling my food back and forth, through our living room (trying not to spill), and awkwardly positioning myself to get the right light and composition for my pictures. Usually I just use foam board to place my plates or food. But that is so boring. I love all these other bloggers pictures that they take on their beautiful granite counters or rustic wood tables. So I decided to make my own granite counter top and rustic wood table.

BBC Photo Board11I could have purchased a slab of marble and some solid wood planks, but I don’t have the space in my apartment to store that kind of stuff, nor did I want to spend that kind of money. Instead I purchased a 2′ x 2′ wood board ($6), 4 1′ x 1′ white marble laminate tiles ($1 each), and 2 4′ x 6″ wood laminate planks ($2 each).


The total cost of the materials as a little bit over $15. It could end up being a little more or less depending on the type or style of tiles you get. Putting it together was super easy. I peeled paper backing off the tile, and squared the first tile to the corner of the board. The rest of the tiles easily fit around the first one. With the longer wood laminate boards, I just cut them in half with a normal pair of scissors and lined up the original edge (not the cut edge) along the edge of the board.

BBC Photo Board9BBC Photo Board8In the end, I couldn’t be more pleased! Each side turned out really well and now I have two distinct styles to use for my pictures. I am partial to the wood board side, but I know the “marble” side will get plenty of use as well.

DOUBLE SIDED PHOTO BOARD

MATERIALS

1 2′ x 2′ quarter inch or thicker wood board

4 1′ x 1′ faux granite laminate tiles

2 4′ x 6″ faux wood laminate planks

DIRECTIONS

1. Remove the paper backing from the tile exposing the adhesive. Place the tile square along the edge of the board. Press down firmly.

2. Place the remaining 3 tiles firmly along the edge of the first tile, ensuring the the seam between the tile is minimal.

3. Flip the board over. Cut the wood planks in half using scissors. Place the first plank square along the bottom and side edge of the board.

4. Repeat with remaining pieces.

/ Filed In: Uncategorized
Tagged: DIY, marble, photo, wood

Follow

Hey There!

Hey there, I'm Lindsey. I'm a number cruncher by day and a home cook and baker by night. While I love to eat healthy and find fresh and healthy alternatives for my favorite foods, I will never turn down dessert! Life is all about moderation, right?

Recipes

  • All Recipes
  • Breakfast
  • Appetizers
  • Salads
  • Main Dishes
  • Side Dishes
  • Desserts
  • Drinks

Favorite Finds

[show_lookbook_widget id=”388783″]

Theme by 17th Avenue · Powered by WordPress & Genesis