• Home
  • Eat
    • Breakfast
    • Appetizers
    • Main Dishes
      • Chicken
      • Beef
      • Seafood
      • Healthy Dishes
      • Paleo Dishes
      • Salads
    • Desserts
      • Decorated Cookies
      • Cookies
      • Bars and Brownies
      • Cakes and Cupcakes
  • Shop
    • Cookie Decorating Supplies
    • Bakeware
    • Cookware
    • Kitchen Gadgets
    • House
  • About
    • Contact
    • Bucket List
  • Cookie Decorating 101

Follow the Ruels

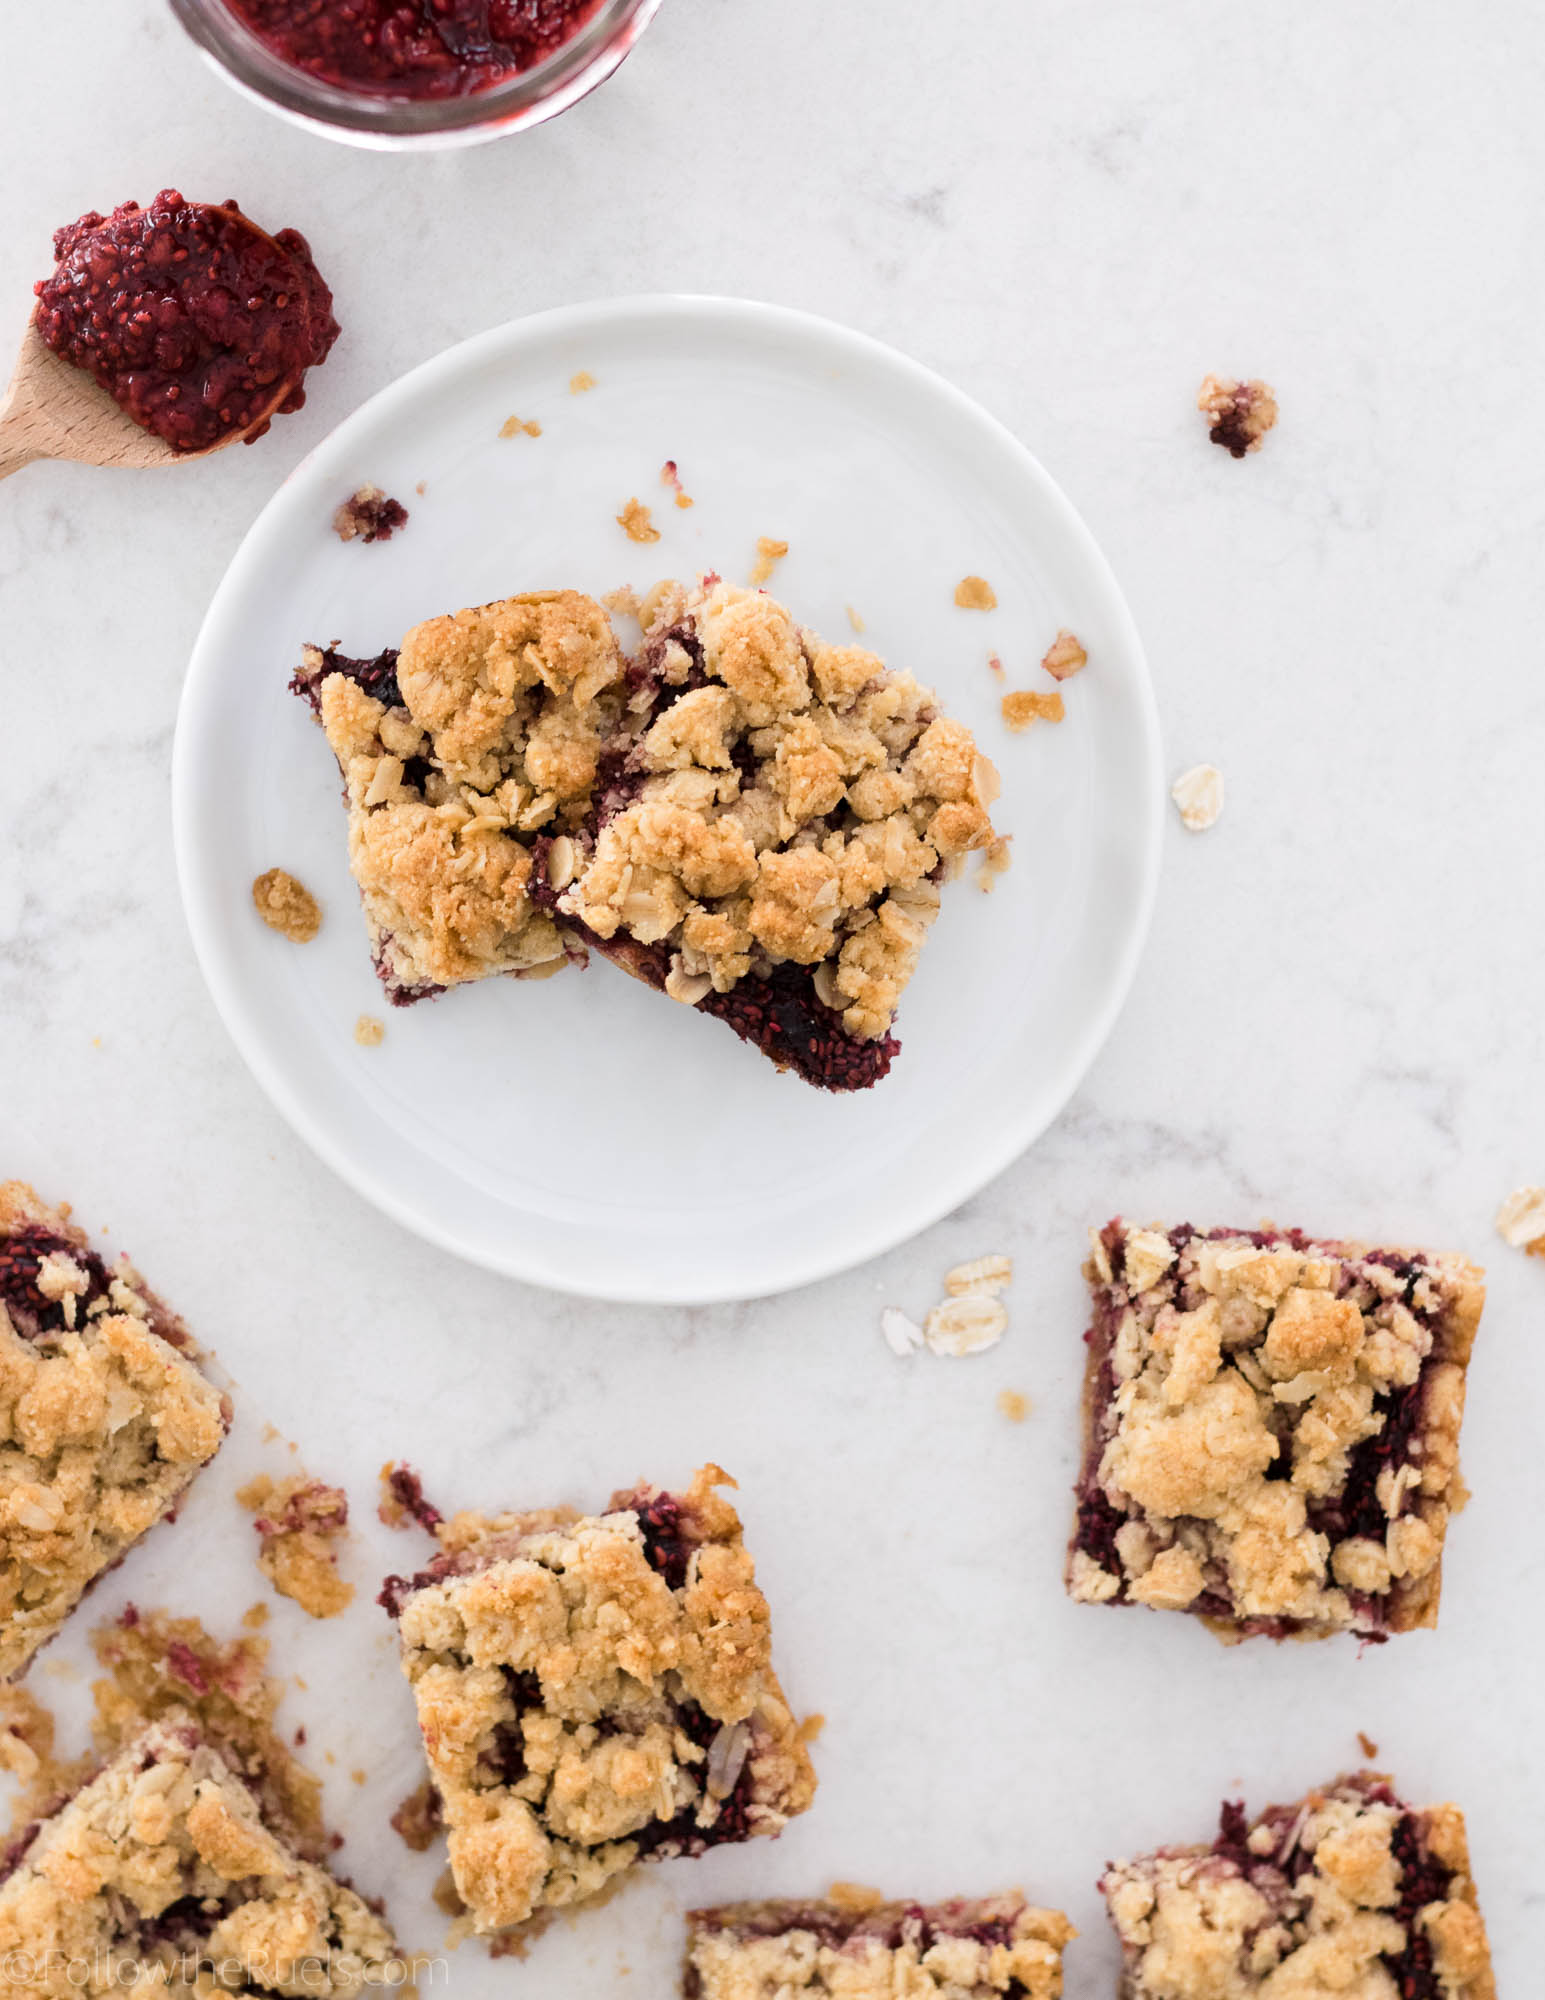
Raspberry Oatmeal Bars

May 1, 2018

I have been looking for a little sweet treat that was both delicious and moderately healthy. I emphasize moderately. Basically, something that I could eat for breakfast and not feel totally guilty. 

Well, I think I found just what I was looking for in these raspberry oatmeal bars!

What makes them a tad healthier than your garden variety oatmeal bars is that they are made with almond meal instead of flour and I made my own raspberry jam with chia seeds, so it has absolutely no sugar! I’d say that almost qualifies as a breakfast food. 

How to Make Them
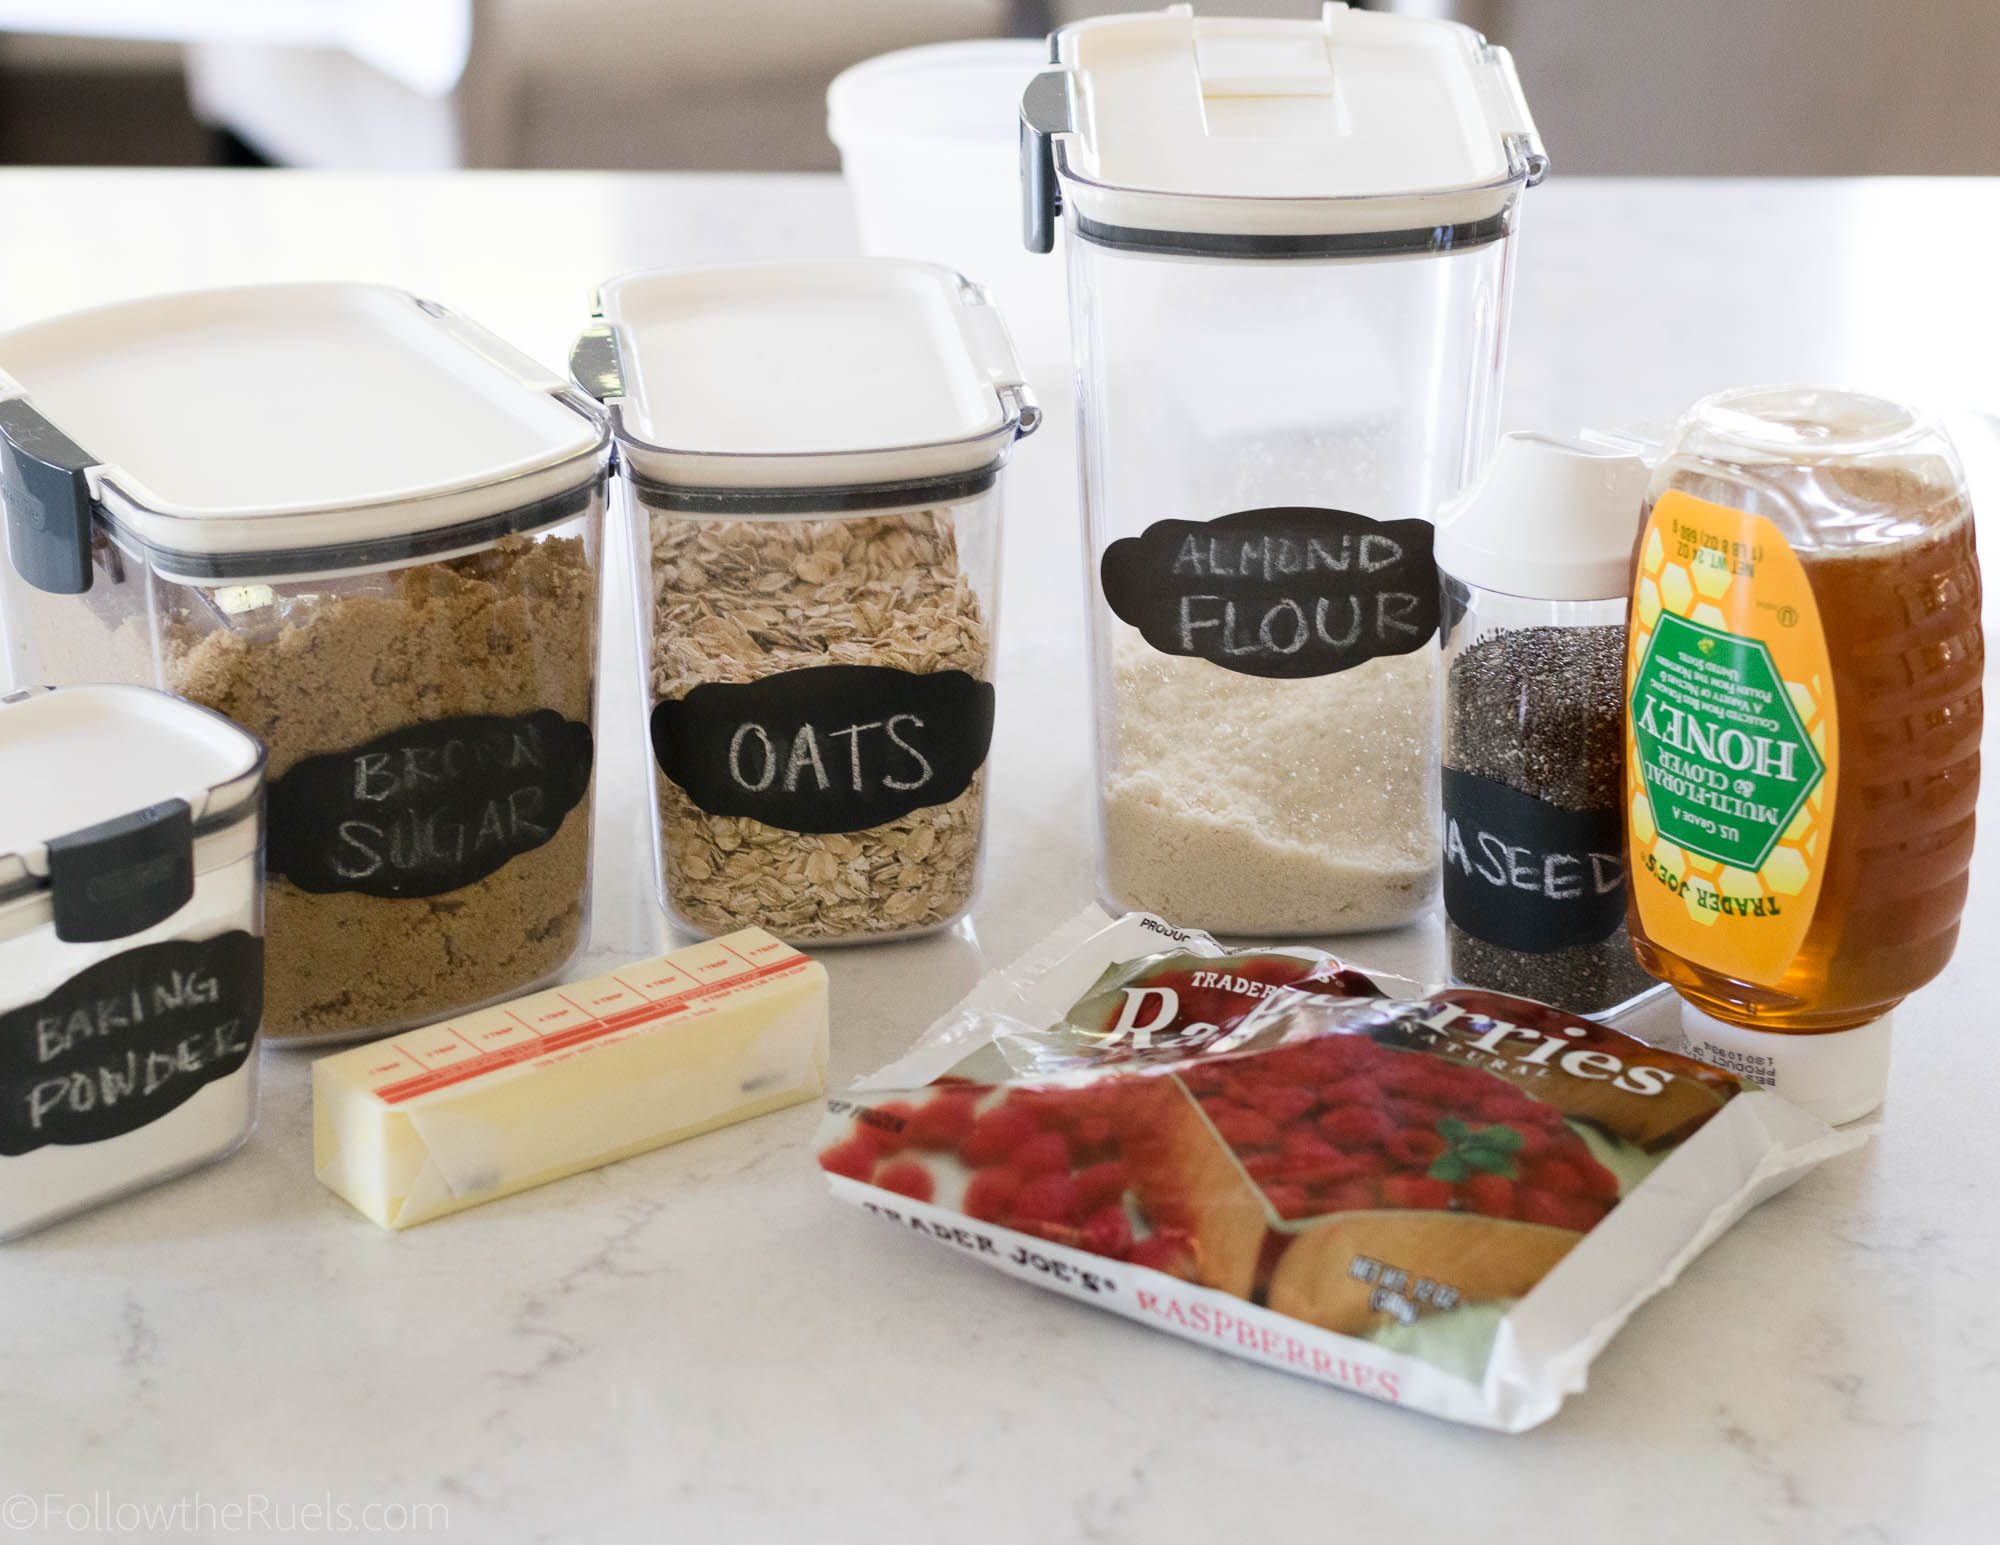
These oatmeal bars are very easy to make, even considering you have to make your own jam. Technically, you don’t have to. You can just use a regular raspberry jam. But I like the idea of making my own because I can control the sweetness of it. And it’s much easier to make than you’d think. 


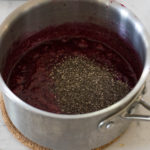
In a small sauce pan, bring frozen raspberries, lemon juice, and honey to a simmer. Let simmer for 5-10 minutes until it has thickened slightly. Then remove from the heat and stir in the chia seeds. After about 20 minutes, the mixture will thicken even more, but won’t be quite the consistency of a normal jam.

While the jam thickens, move on to the oatmeal part of the bars.
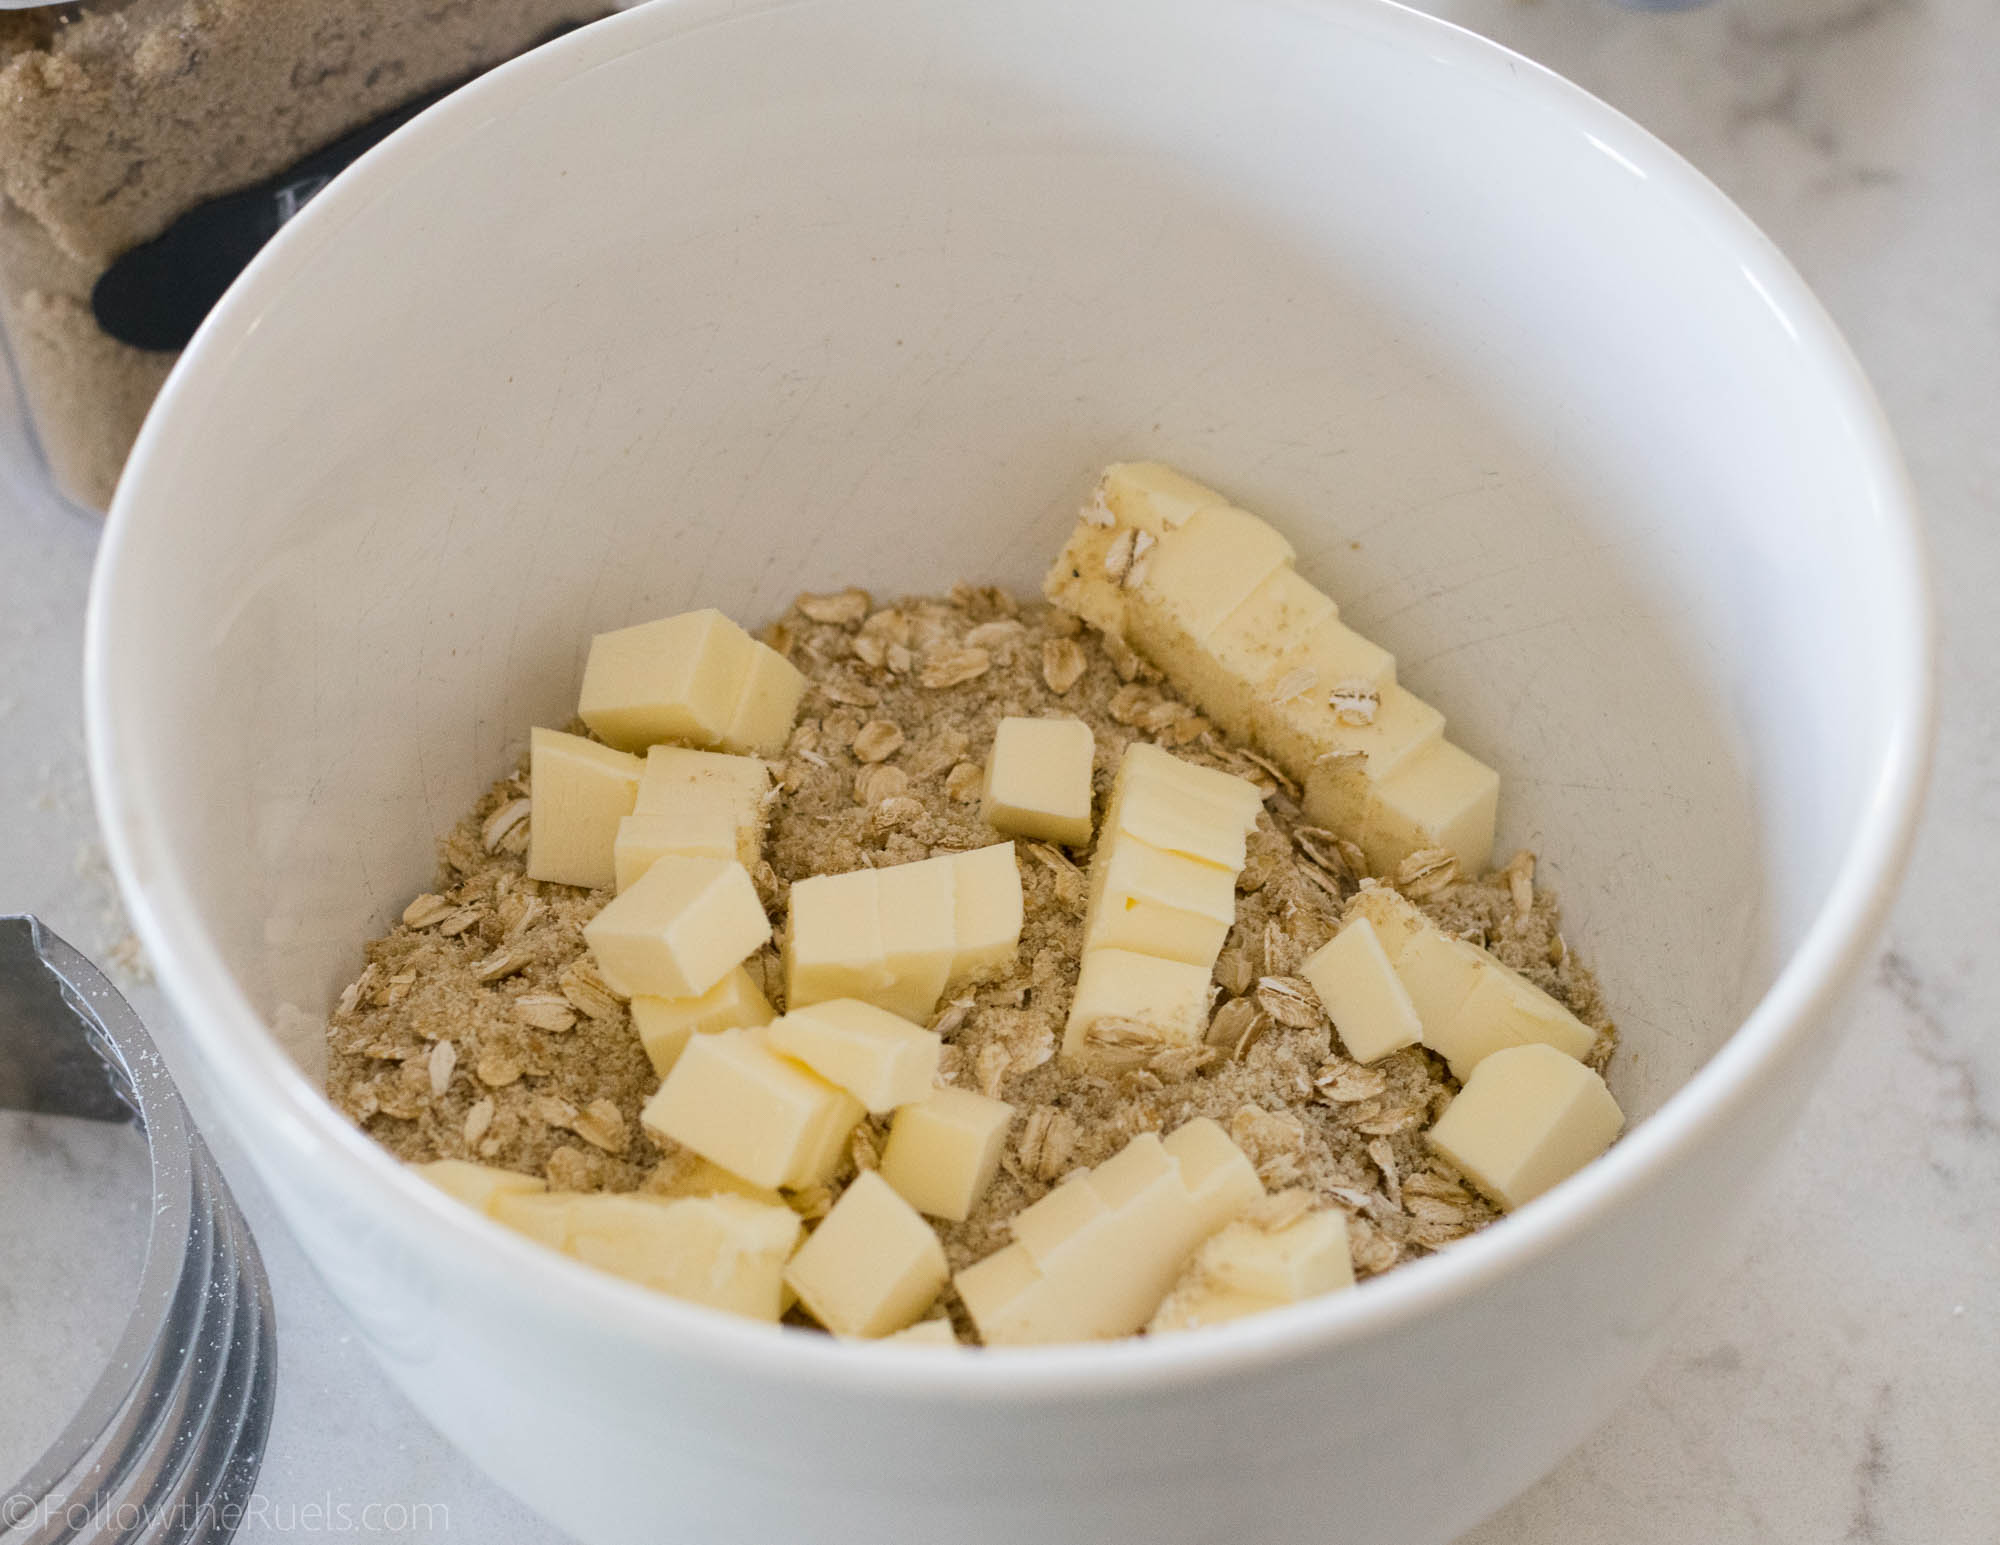
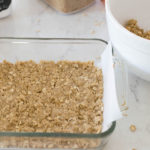
Combine almond meal, oats, brown sugar, and salt in a large bowl, then add cubes of cold butter. 
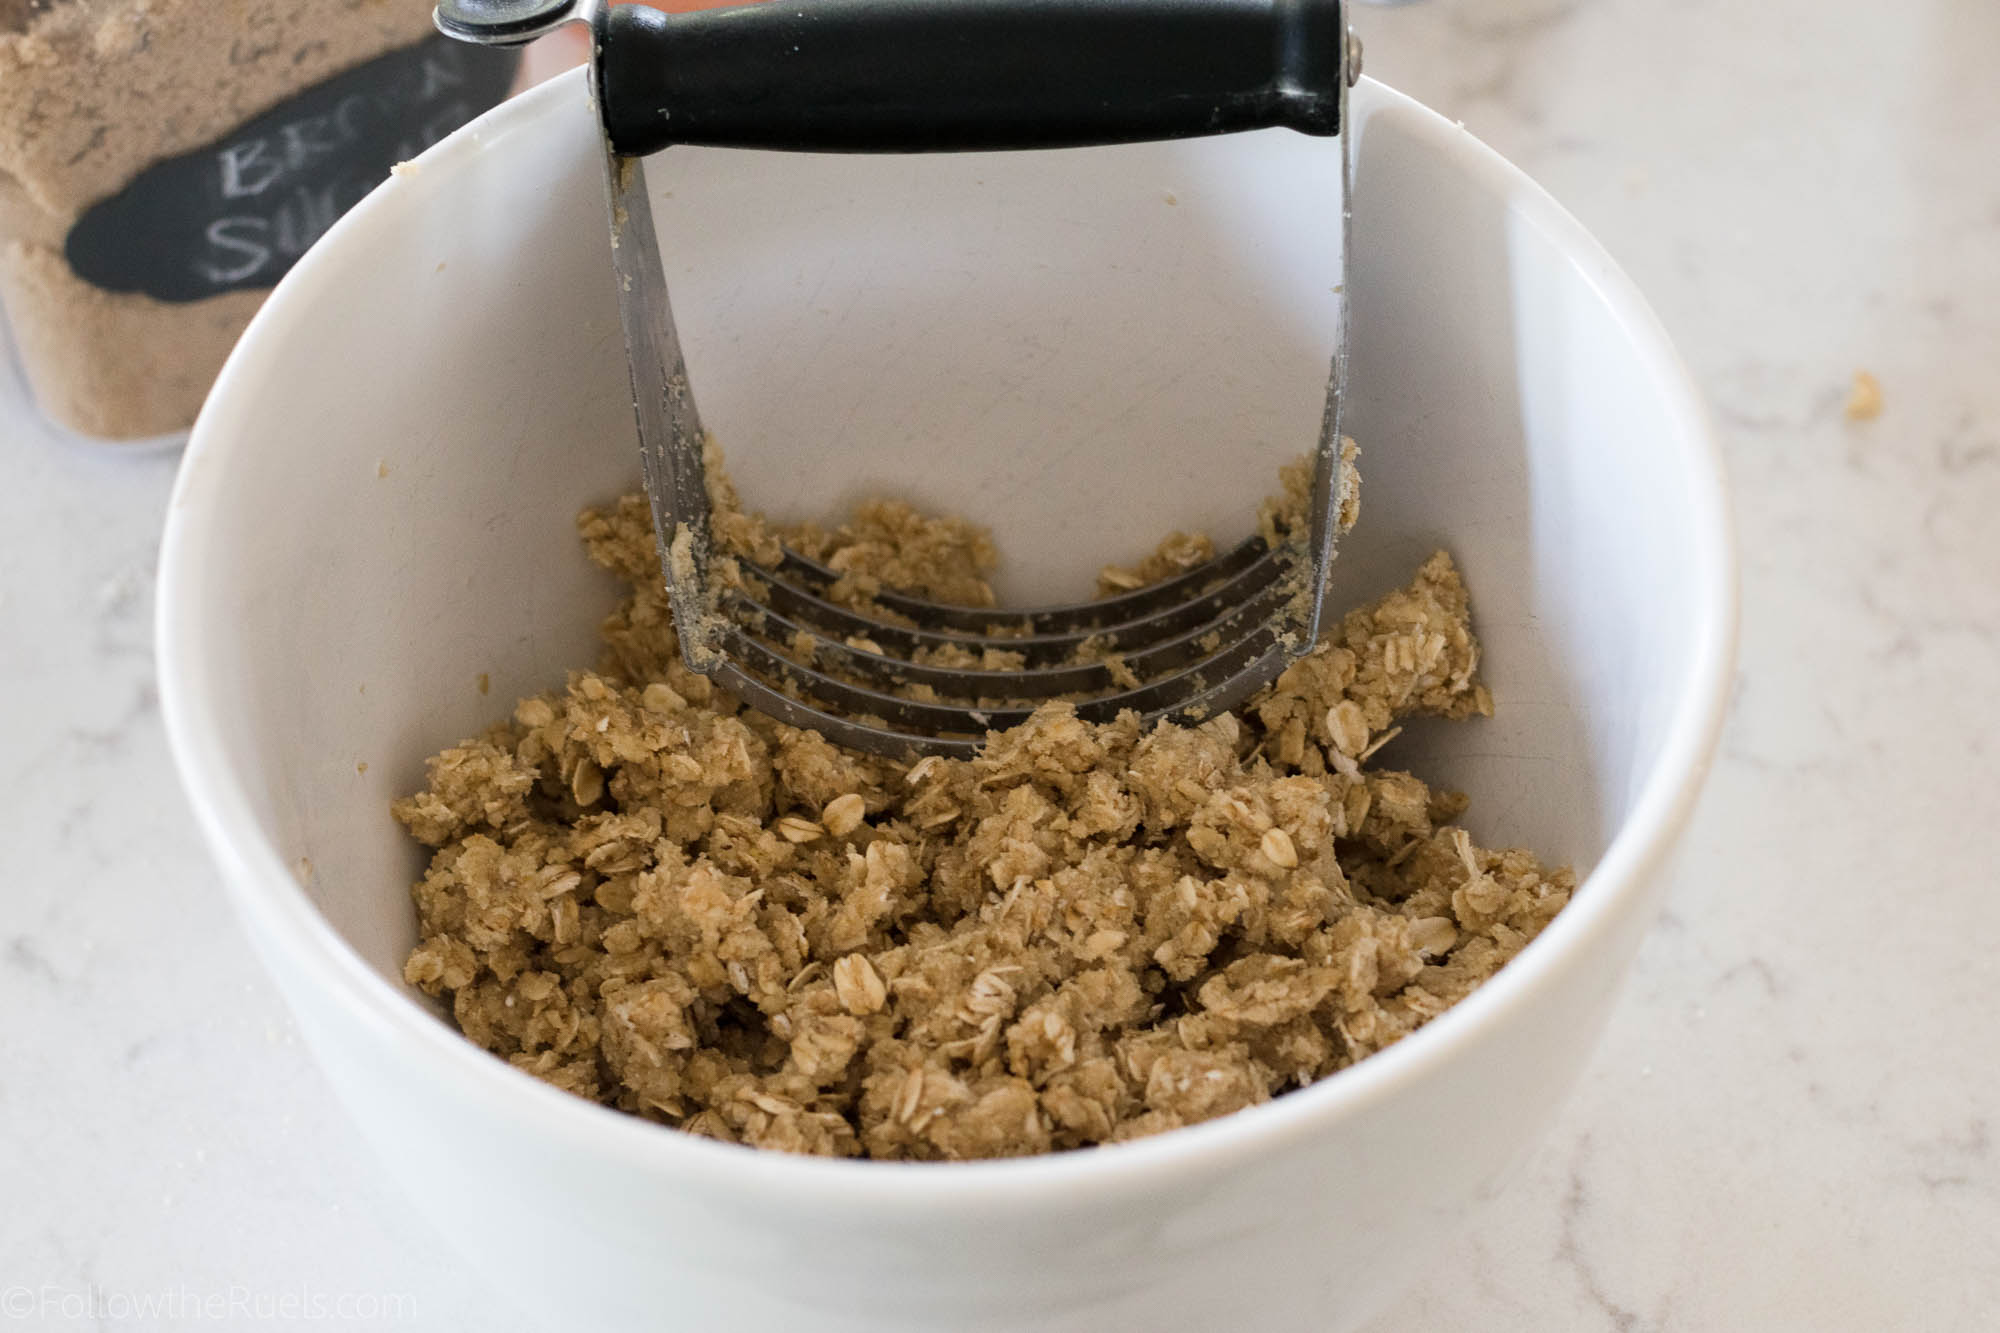
Use a pastry cutter or your hands to cut the butter into the dry ingredients until it forms a coarse crumble.


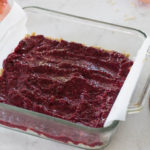
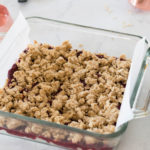
To assemble the oatmeal bars, first pat half (or more than half) of the oatmeal mixture into the bottom of a square pan. Then pour some or all of the jam on top. Lastly crumble the rest of the oatmeal mixture on top. You don’t need to form a solid layer, just sprinkle the rest overtop and pat down gently.
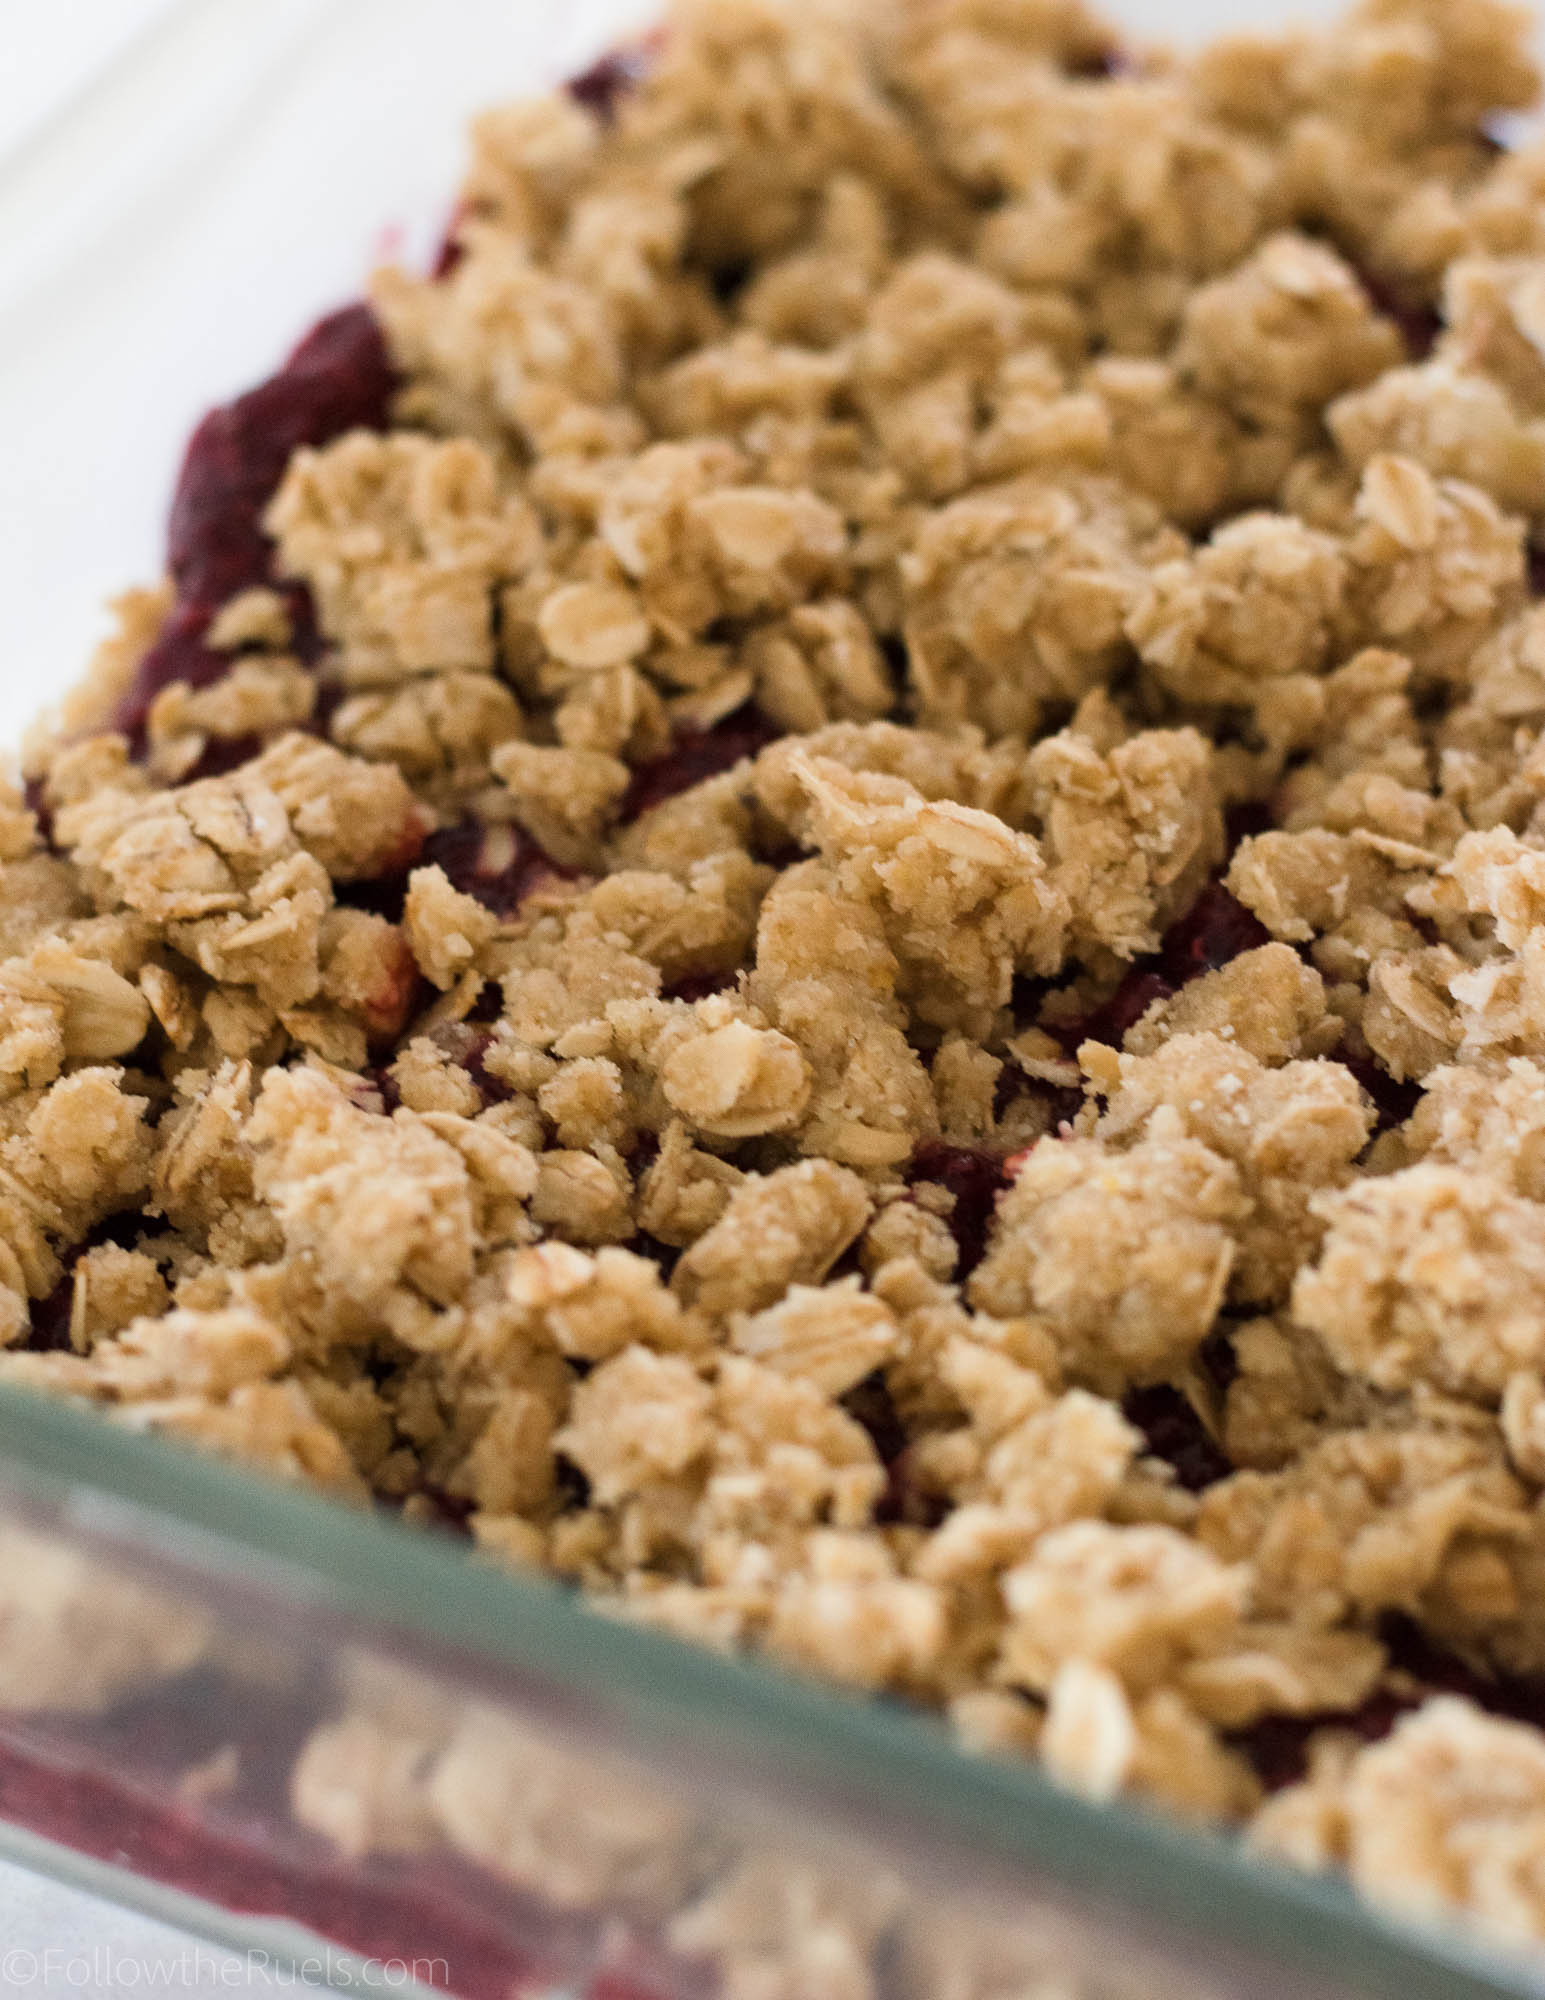
Pop the pan in a 350 degree oven for 30 to 40 minutes, or until the oatmeal crumble on top has turned a lovely shade of golden brown.
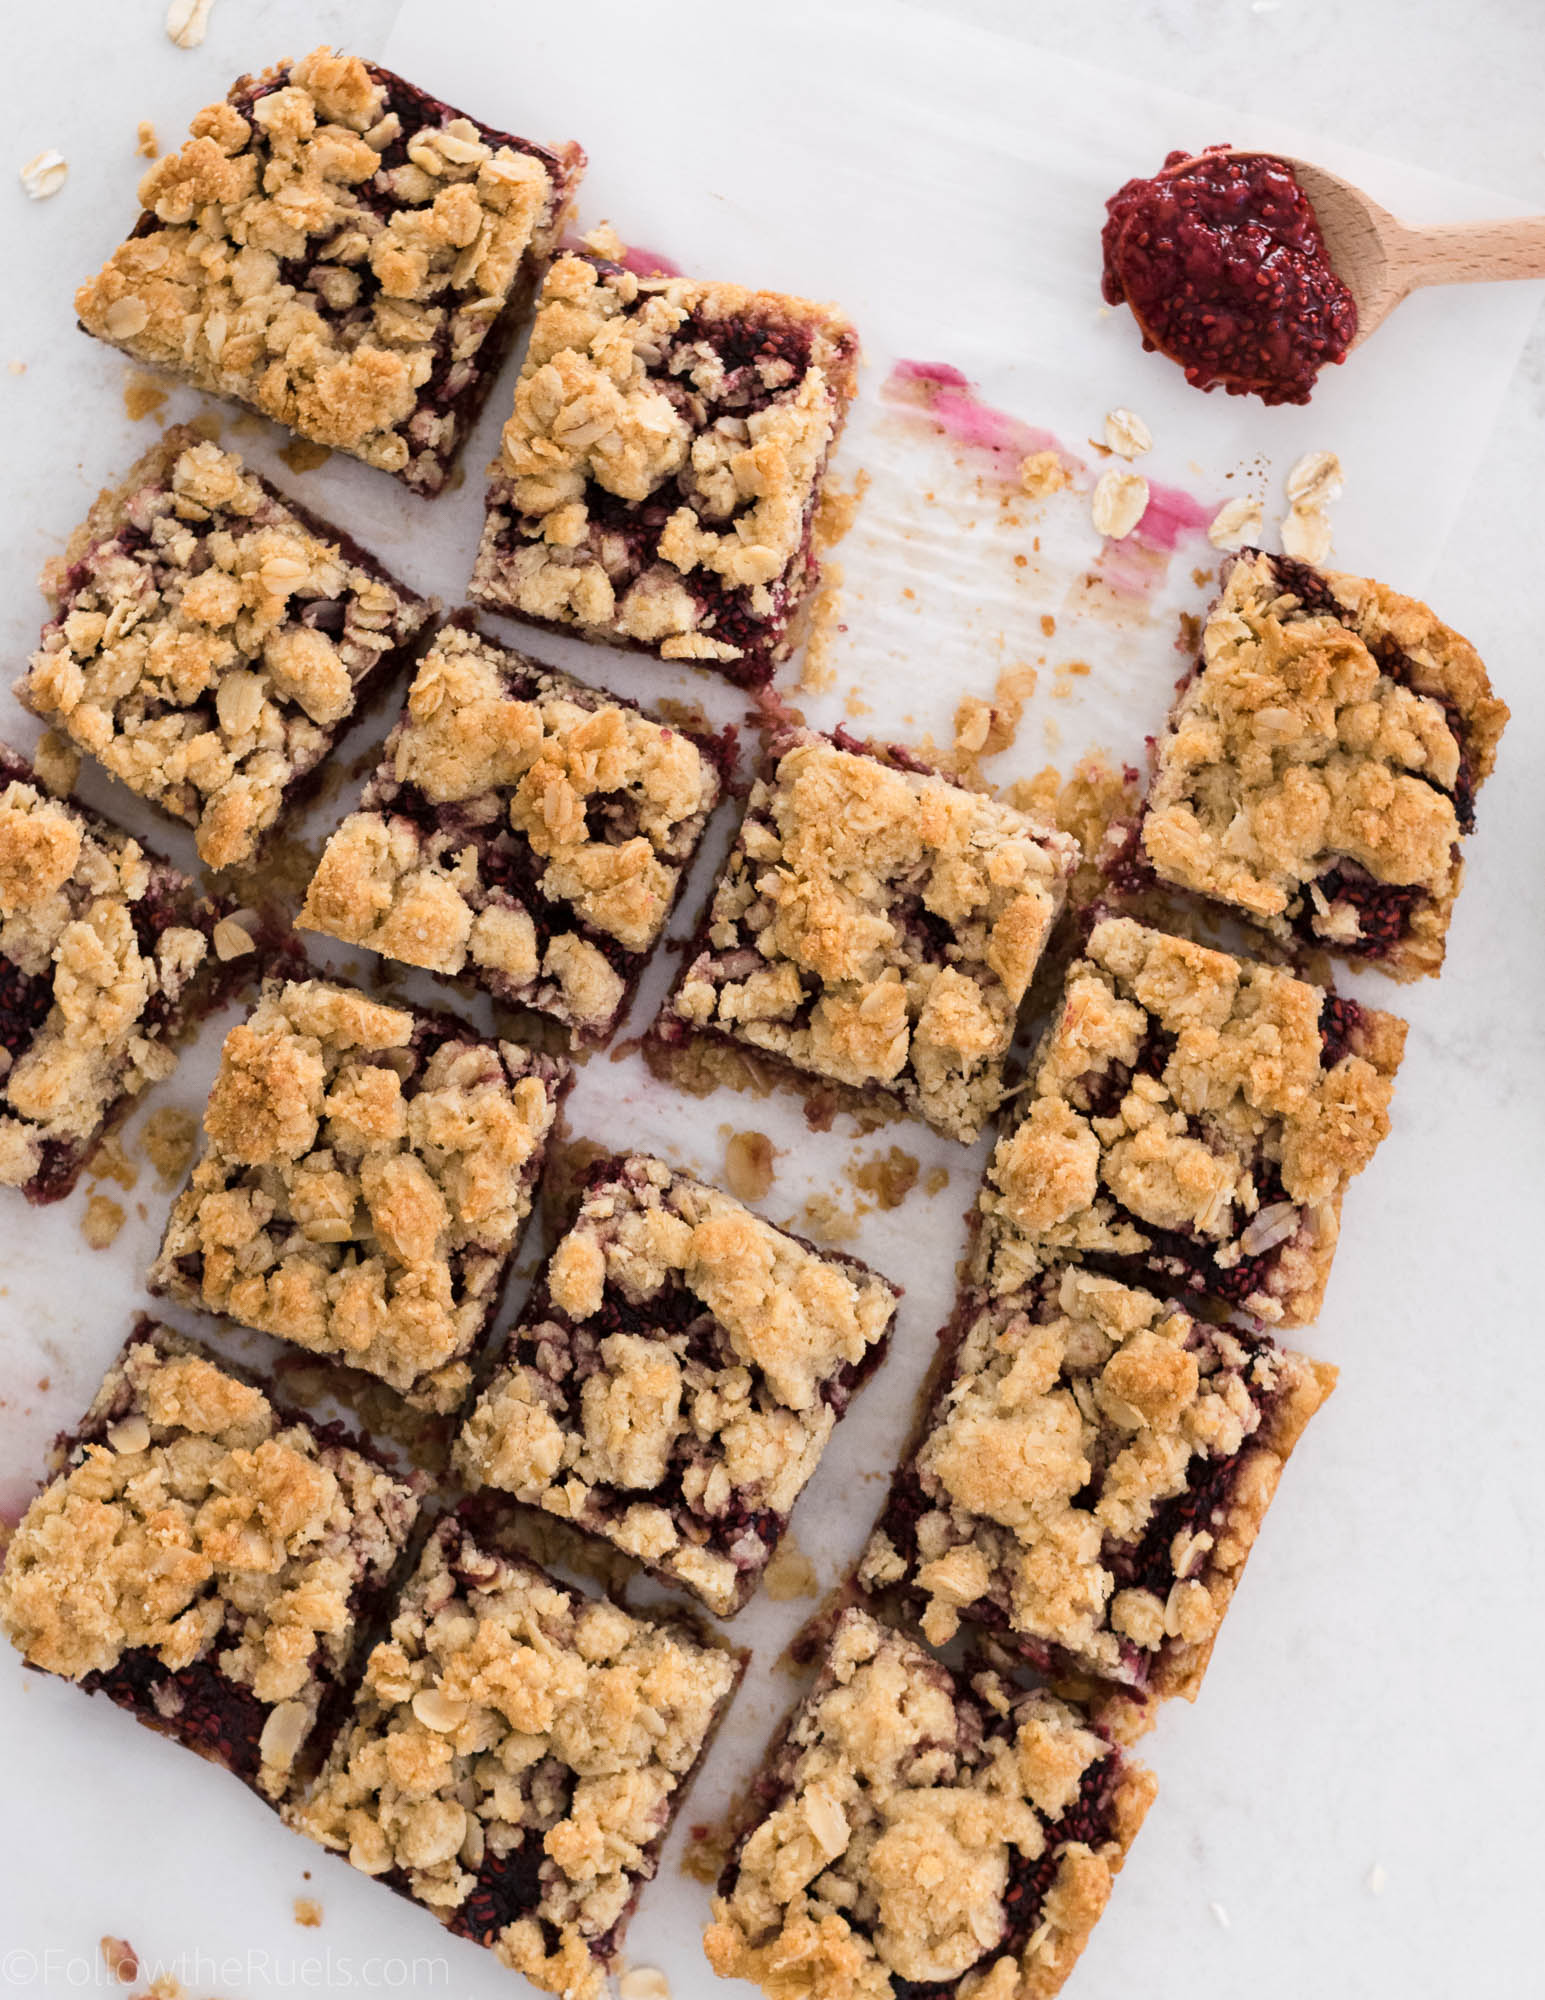
After they come out of the oven, let them cool on the counter for at least an hour. I would recommend making them at night then leaving them out until the morning. It will ensure that the jam has settled making them easier to cut. 
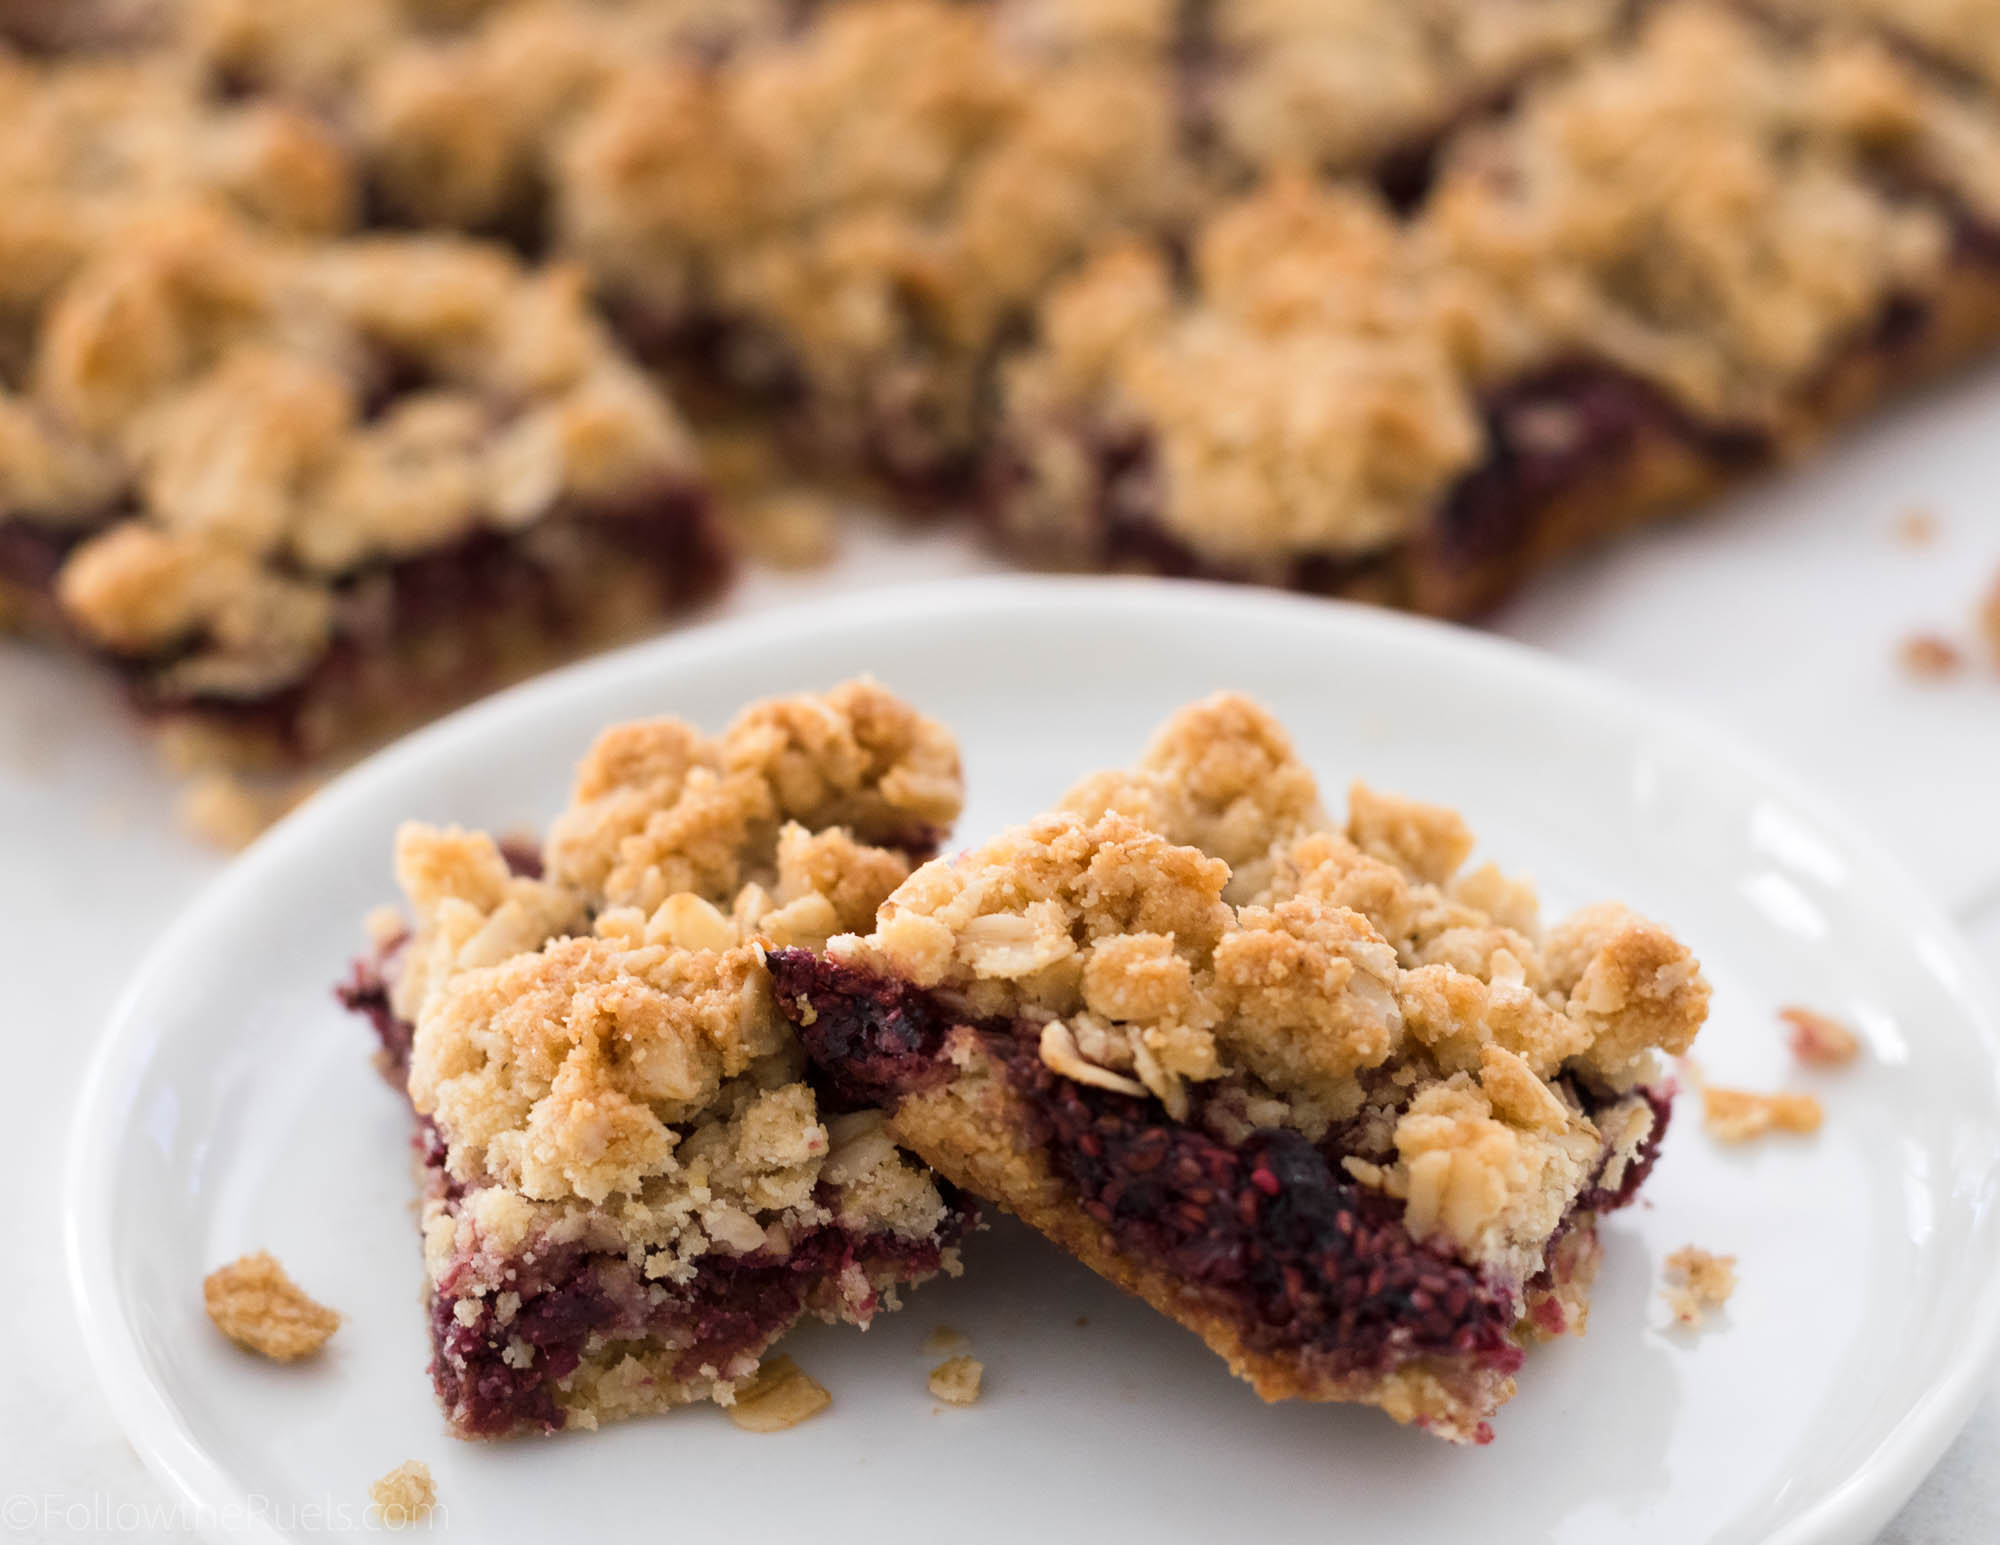
I know it will be hard to leave them be, but it will be worth it, I promise. The jam layer will be slightly more solid and not drip out everywhere, and the crumbs on top will be nice and crunchy. 

Your reward will be these perfectly crumbly and sweet raspberry oatmeal bars. I happen to love that the raspberry layer isn’t overly sweet, so it perfectly balances the sweeter and nuttier oatmeal crust. Of course, feel free to substitute your favorite store-bought jam or swap out the raspberries for another favorite berry!

Supplies and Recipe

[show_shopthepost_widget id=”3120801″]

[yumprint-recipe id=’172′]
/ Filed In: Bars and Brownies, Desserts, Eat, Other Sweets New
Tagged: almond meal, bars, chia seeds, healthy, low-sugar, oatmeal, raspberry

Beautiful Fruit Tart with Almond Crust

April 11, 2018

I have now made this tart three times, and in my opinion, it keeps getting better. After each fruit tart, I learn something new to make it a little better. For instance, for the first fruit tart, I made a shortbread crust. Something super simple and super delicious. 

For the second version of this tart, I decided to make a Thomas Keller tart crust recipe. My neighbors, who have had this tart each time it was made, told me they liked the first crust better! So for the third (and final) tart, I made the original shortbread-like crust but kept the delicious mascarpone filling that everyone loved in the second. 

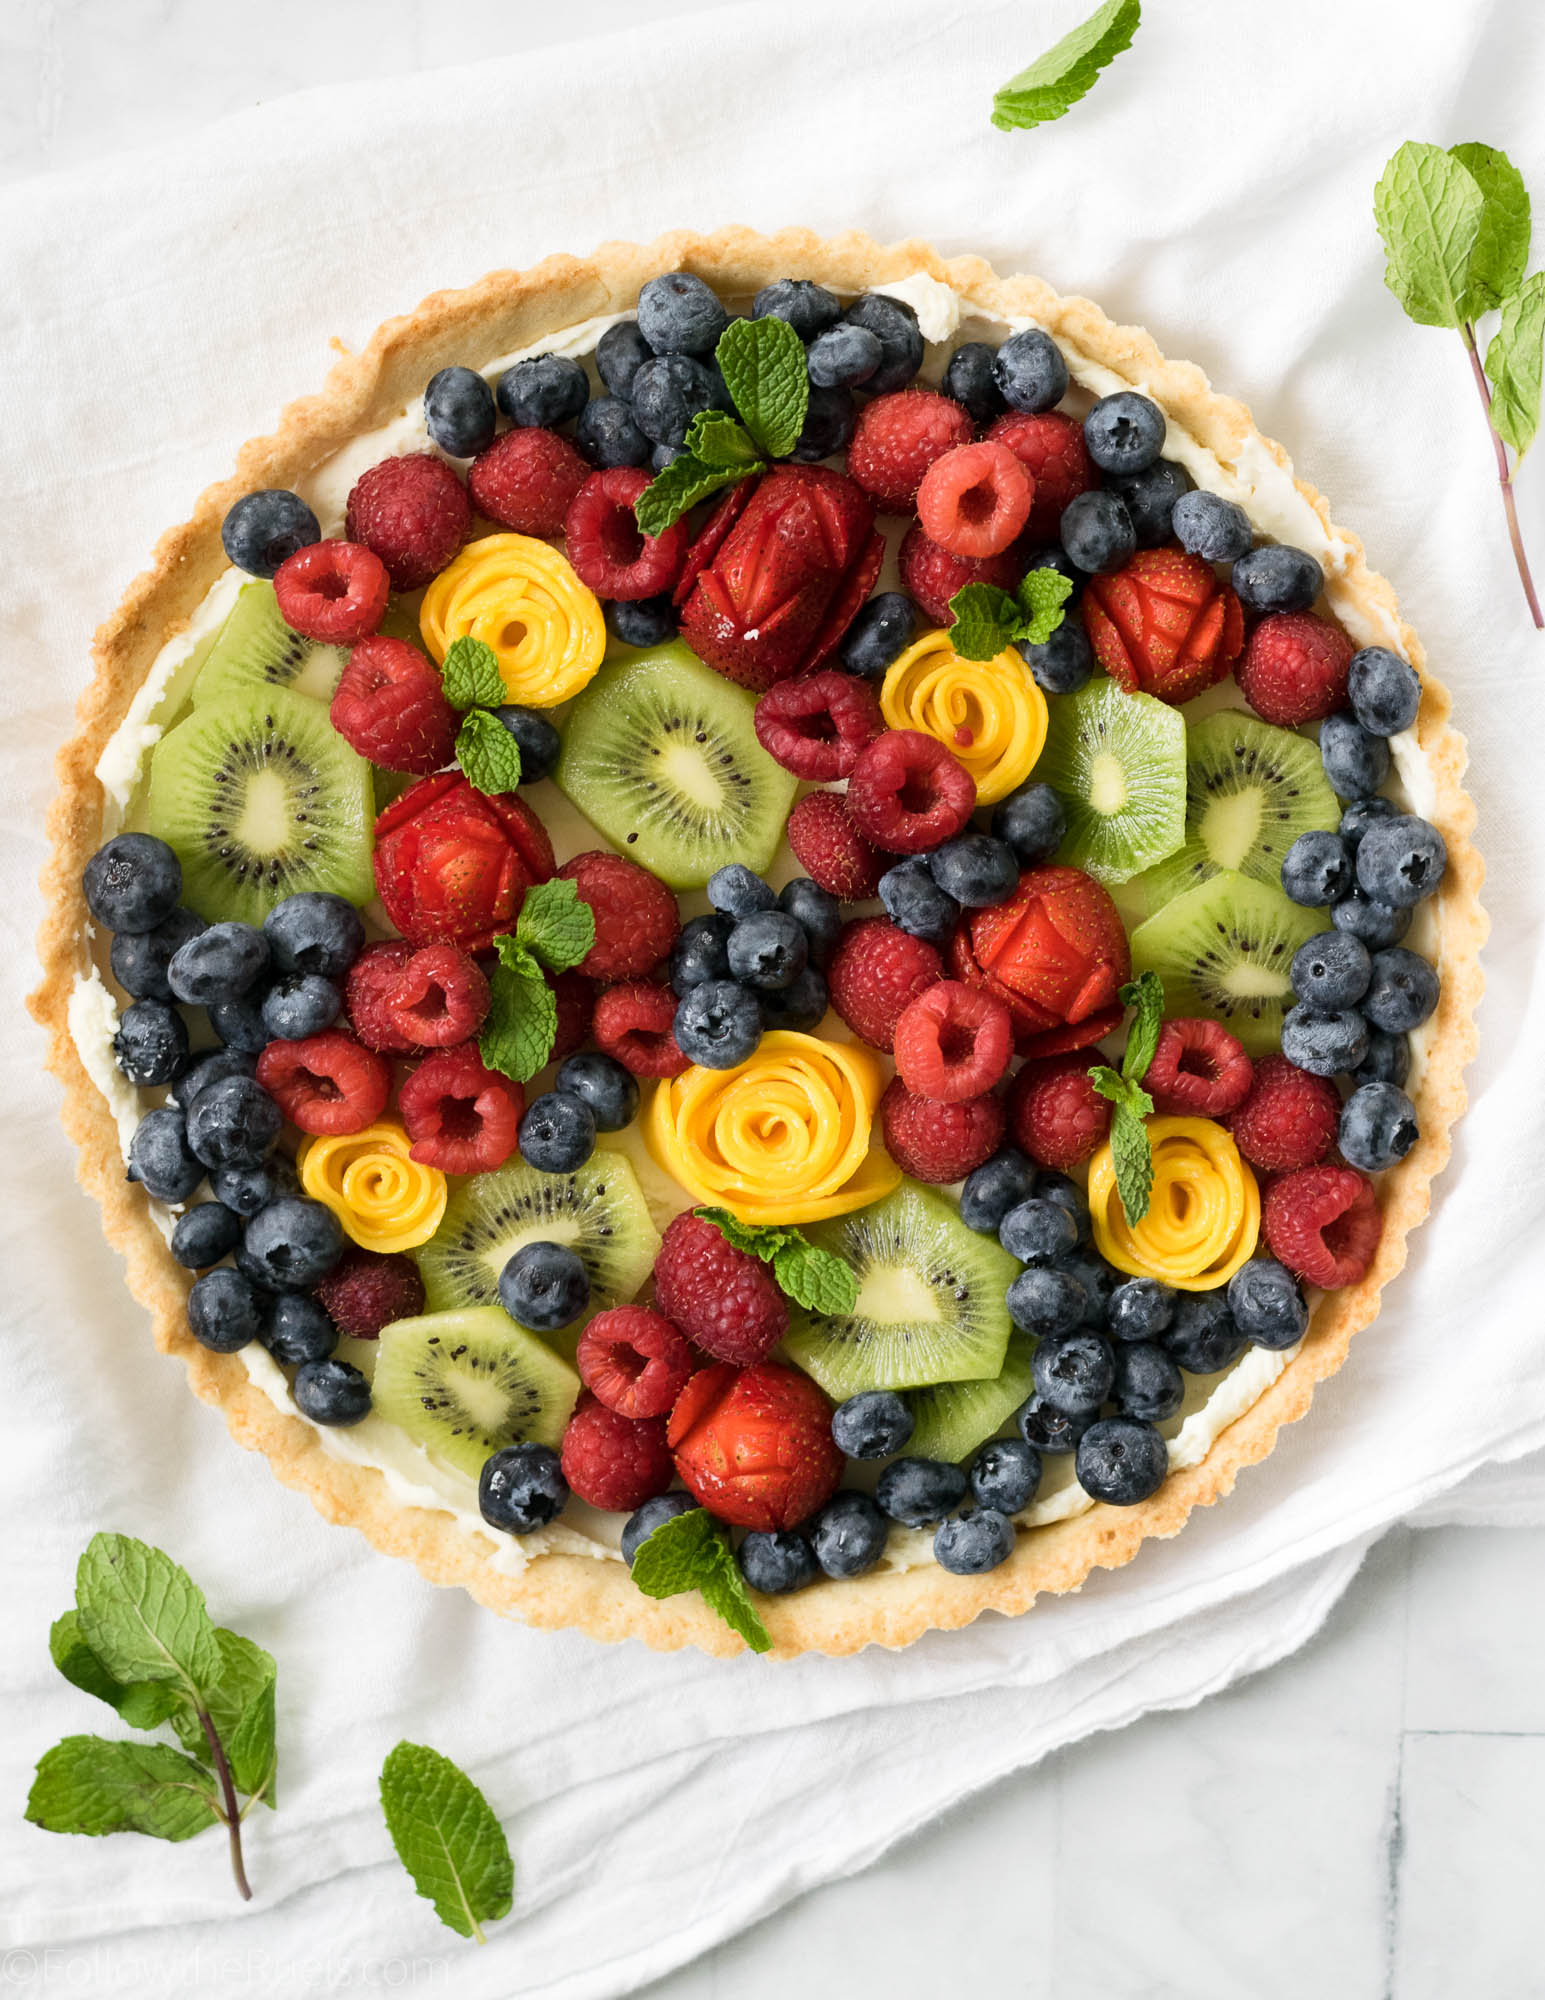
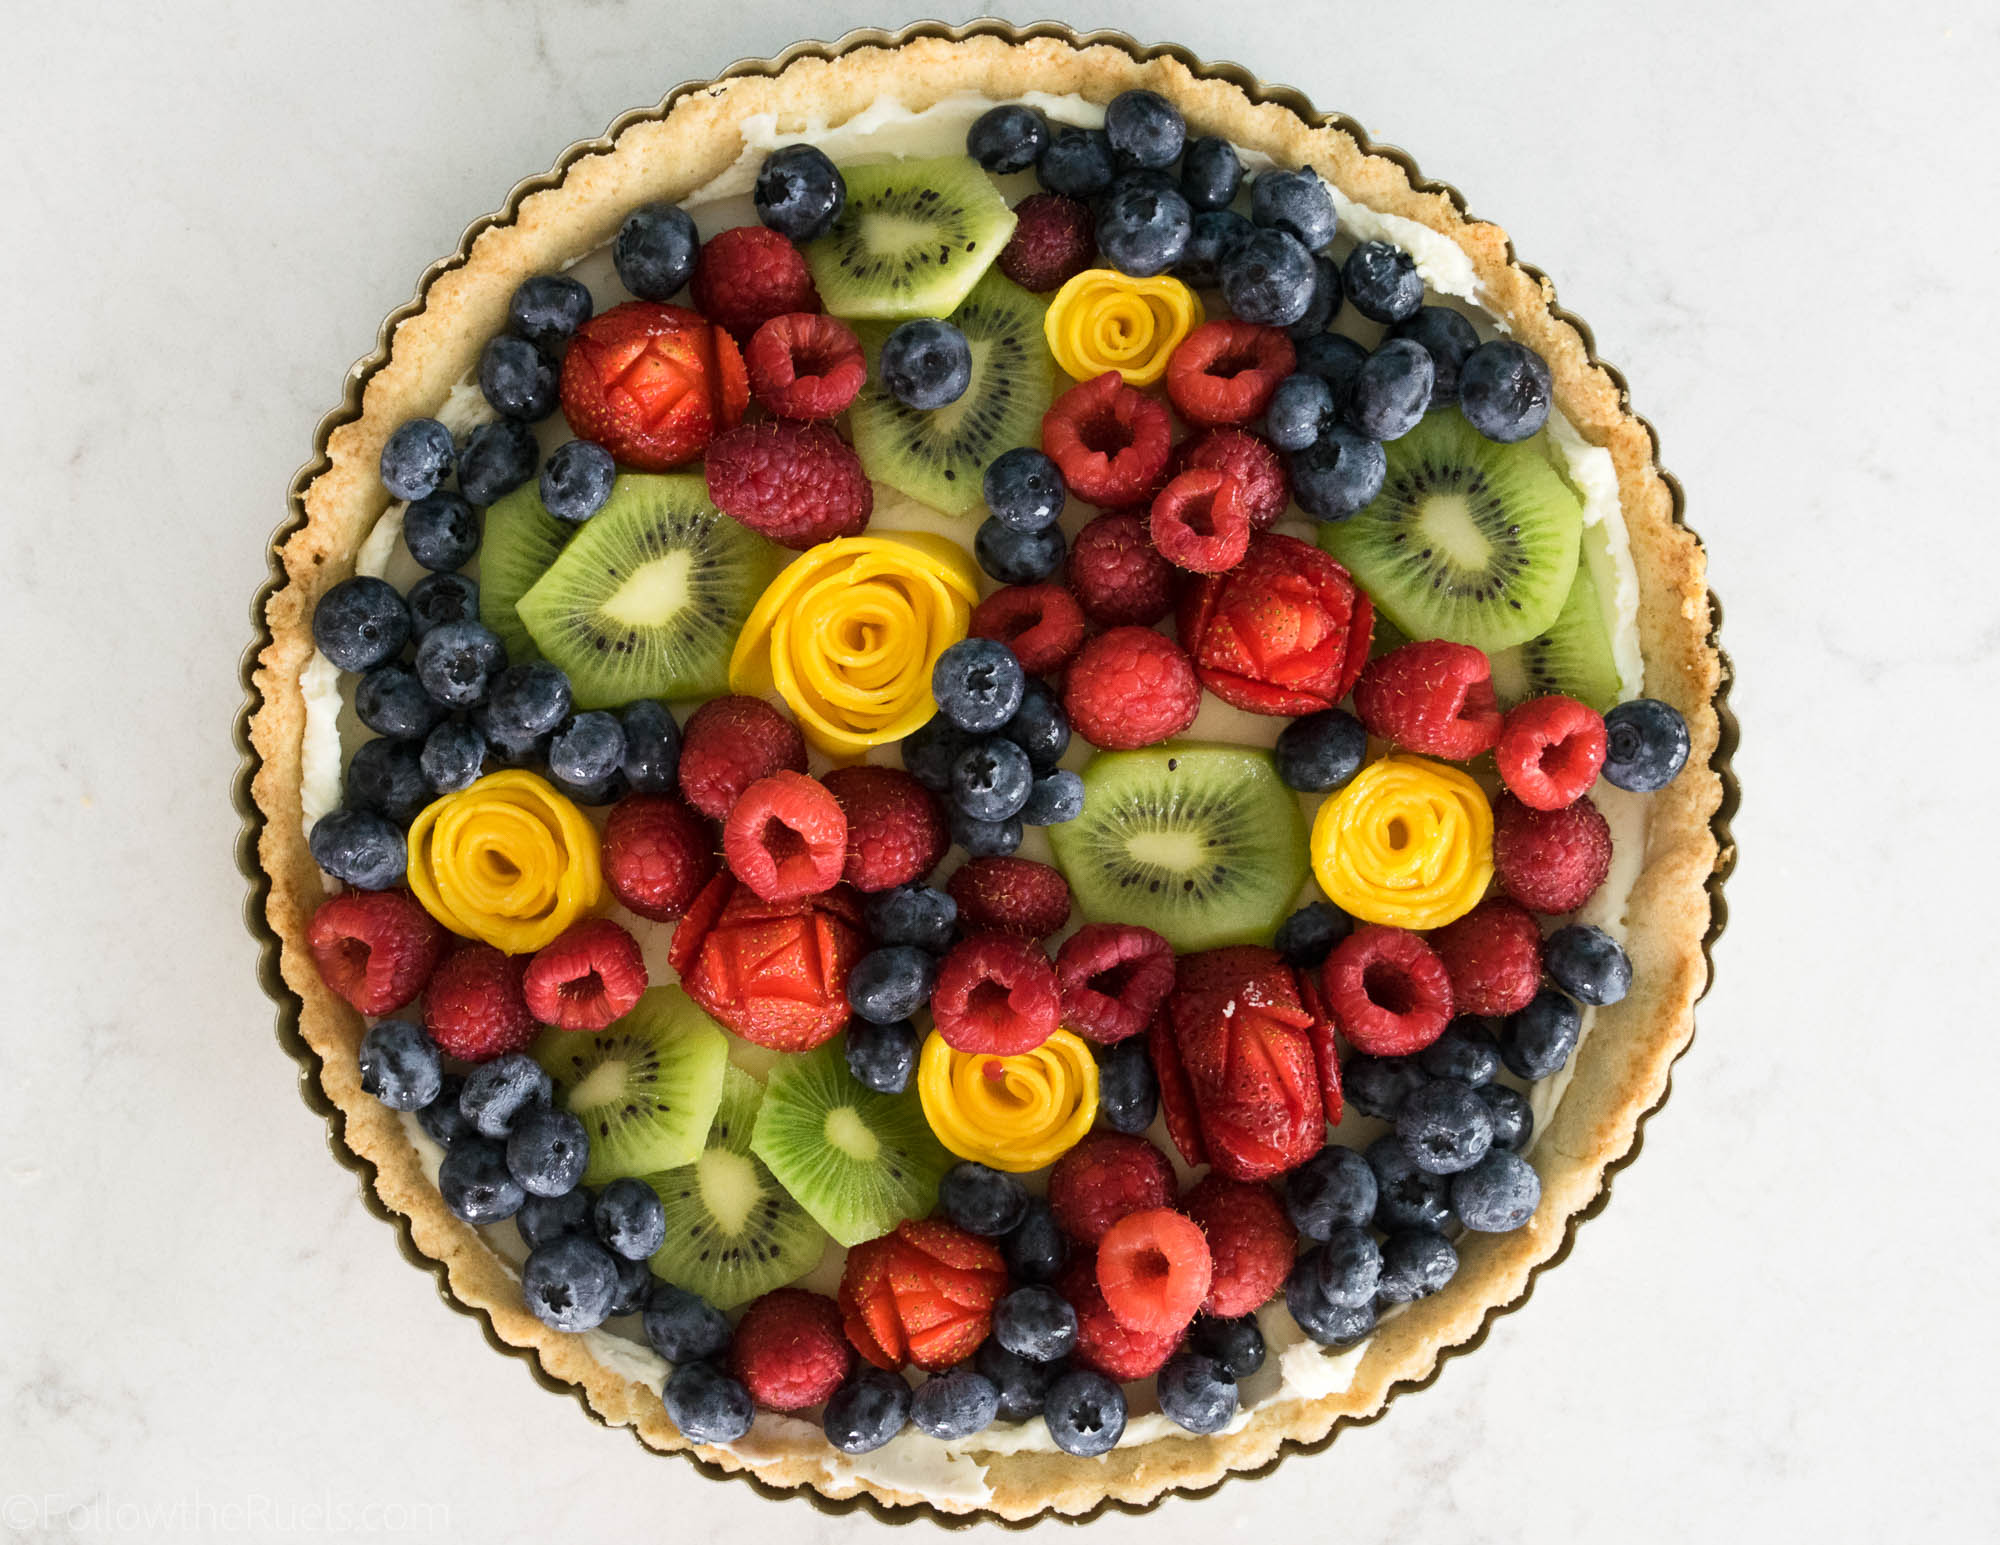
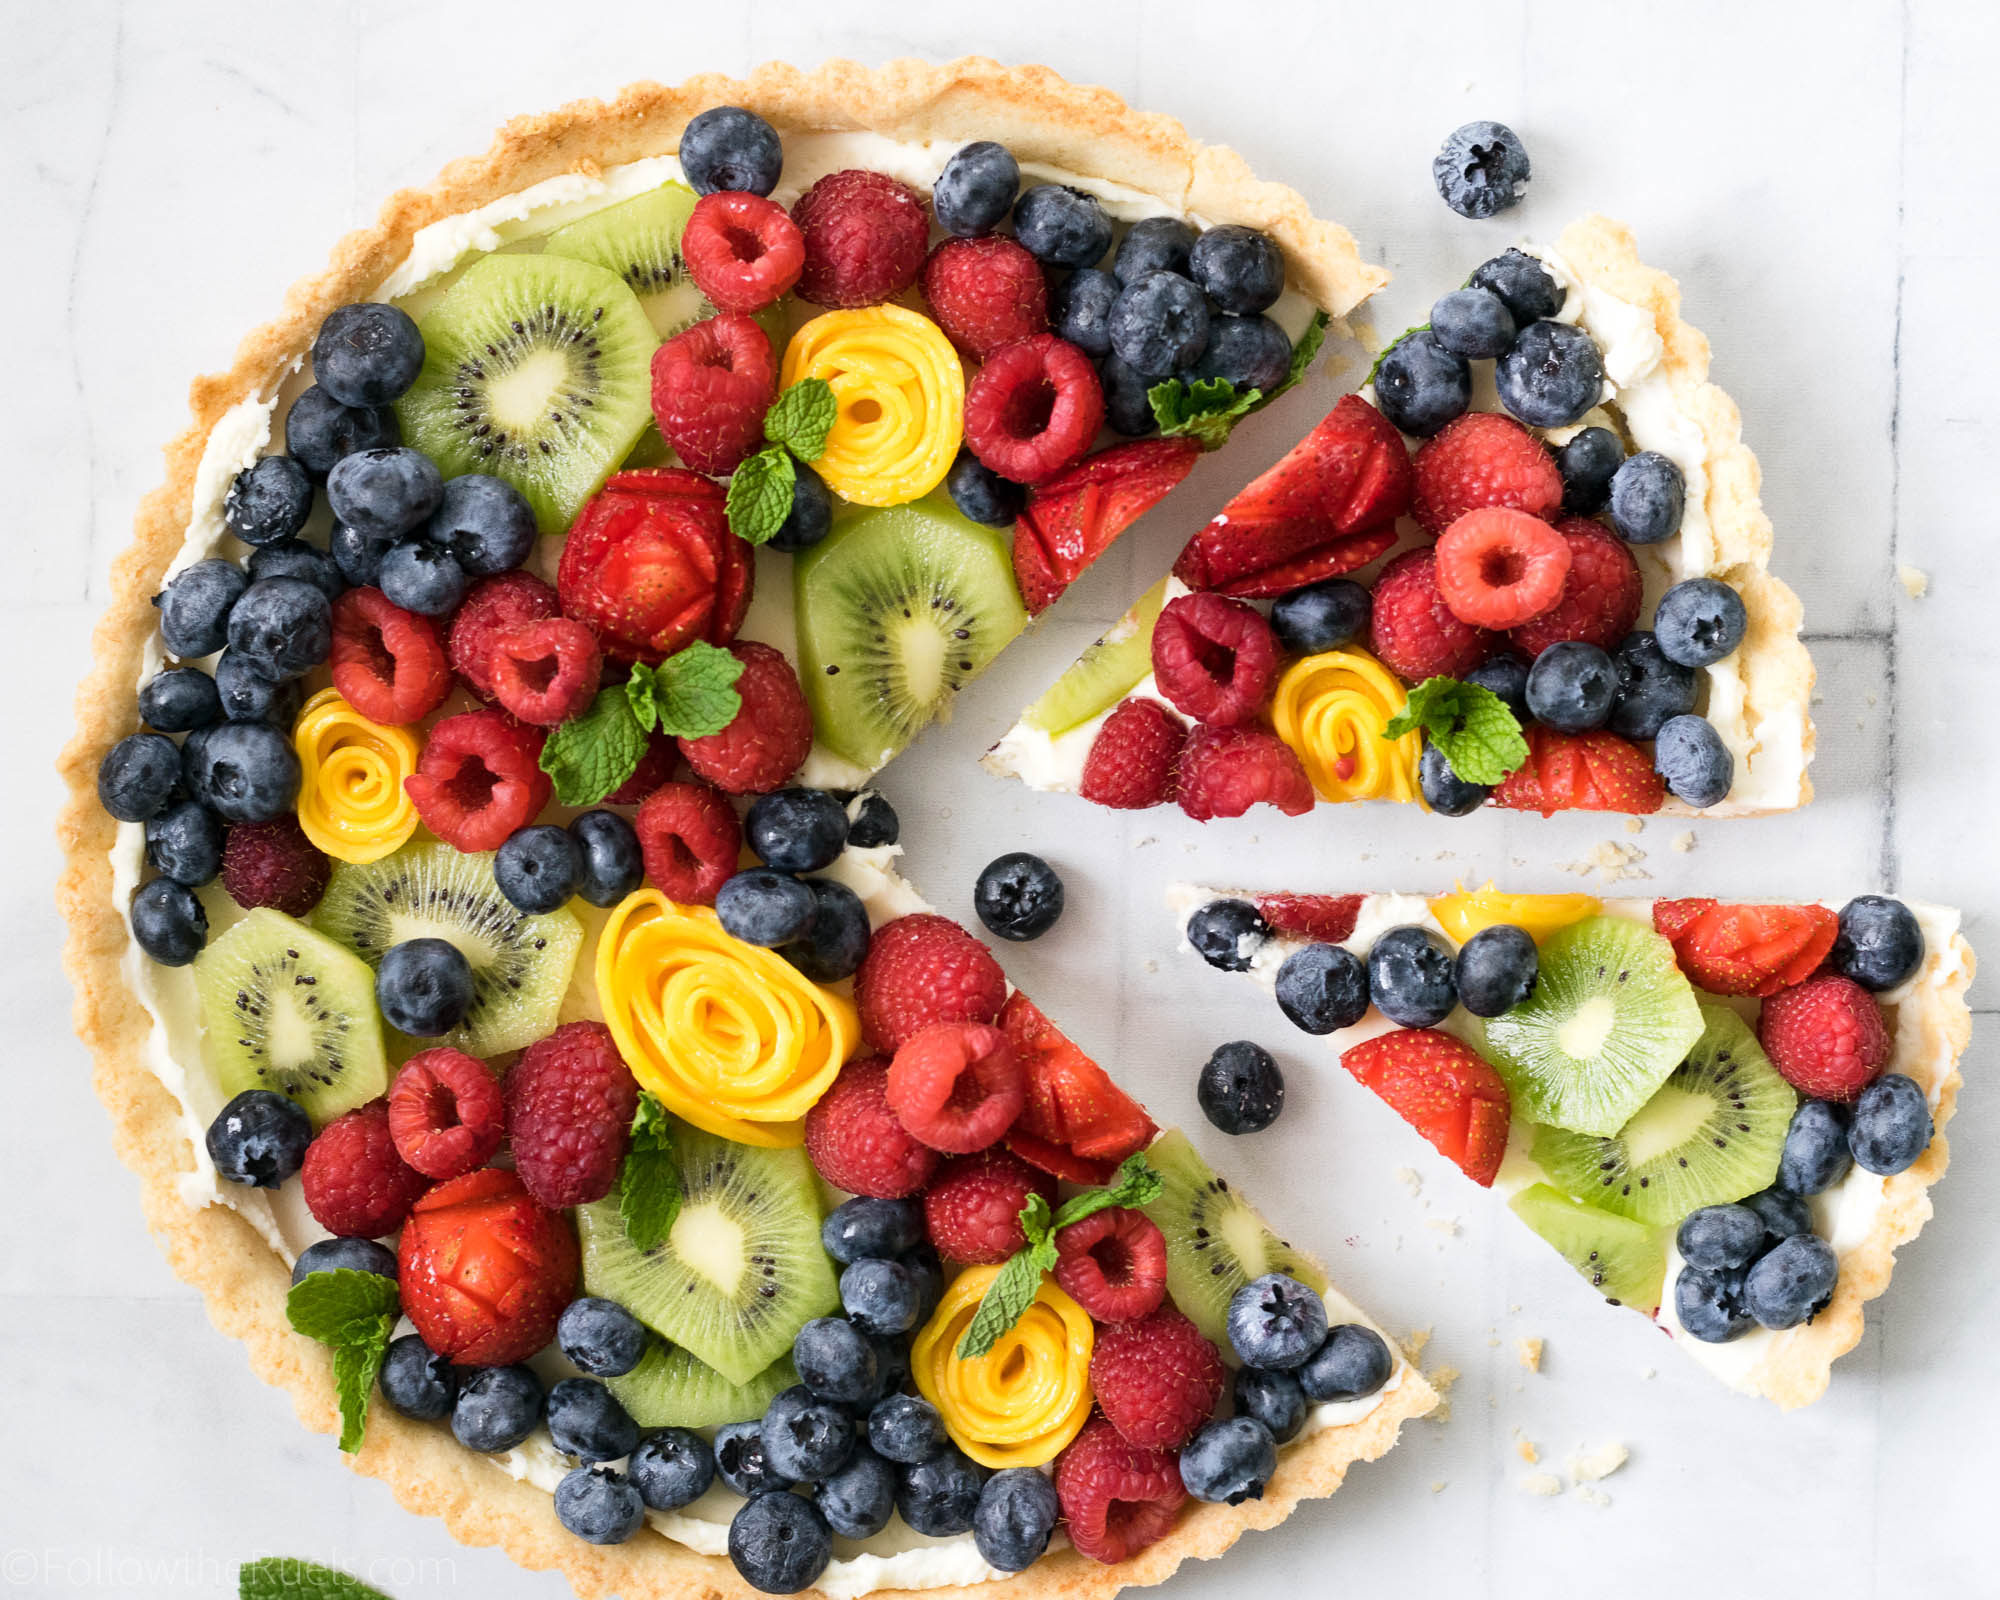
However, we all know what makes this beautiful fruit tart so eye-catching! The fruit! I really stepped up my game when I made this for Easter and decided to make some pretty fruit flowers instead of just piling on the fruit. It was a hit! Adding the extra details to this tart makes it look very professional and sophisticated when (just between you and me), it’s SUPER easy to make!

I will even allow shortcuts to the recipe. For instance, don’t want to make your own tart shell? Buy one premade, use a frozen pie crust, use store bought cookie dough, or make a quick graham cracker crust! Sure, it won’t taste quite the same as the one I made, but I guarantee it will still be delicious. 

There aren’t really any shortcuts for the filling since it’s just mascarpone and sugar mixed together. But, if you wanted to make it a tad healthier, you could use vanilla Greek yogurt instead.

All I am saying is that this post is more about how to assemble a beautiful fruit tart than it is about making one from scratch. However, if you are interested in the later, I’ve got you covered with the recipe down below!

How to Make It

For those who are interested in how to make the tart shell and the filling, read on. If you just want to see how I created the flowers, skip to the next section!

The tart shell is a cross between a shortbread cookie, pie dough, and the super fancy tart shell that Thomas Keller makes. 

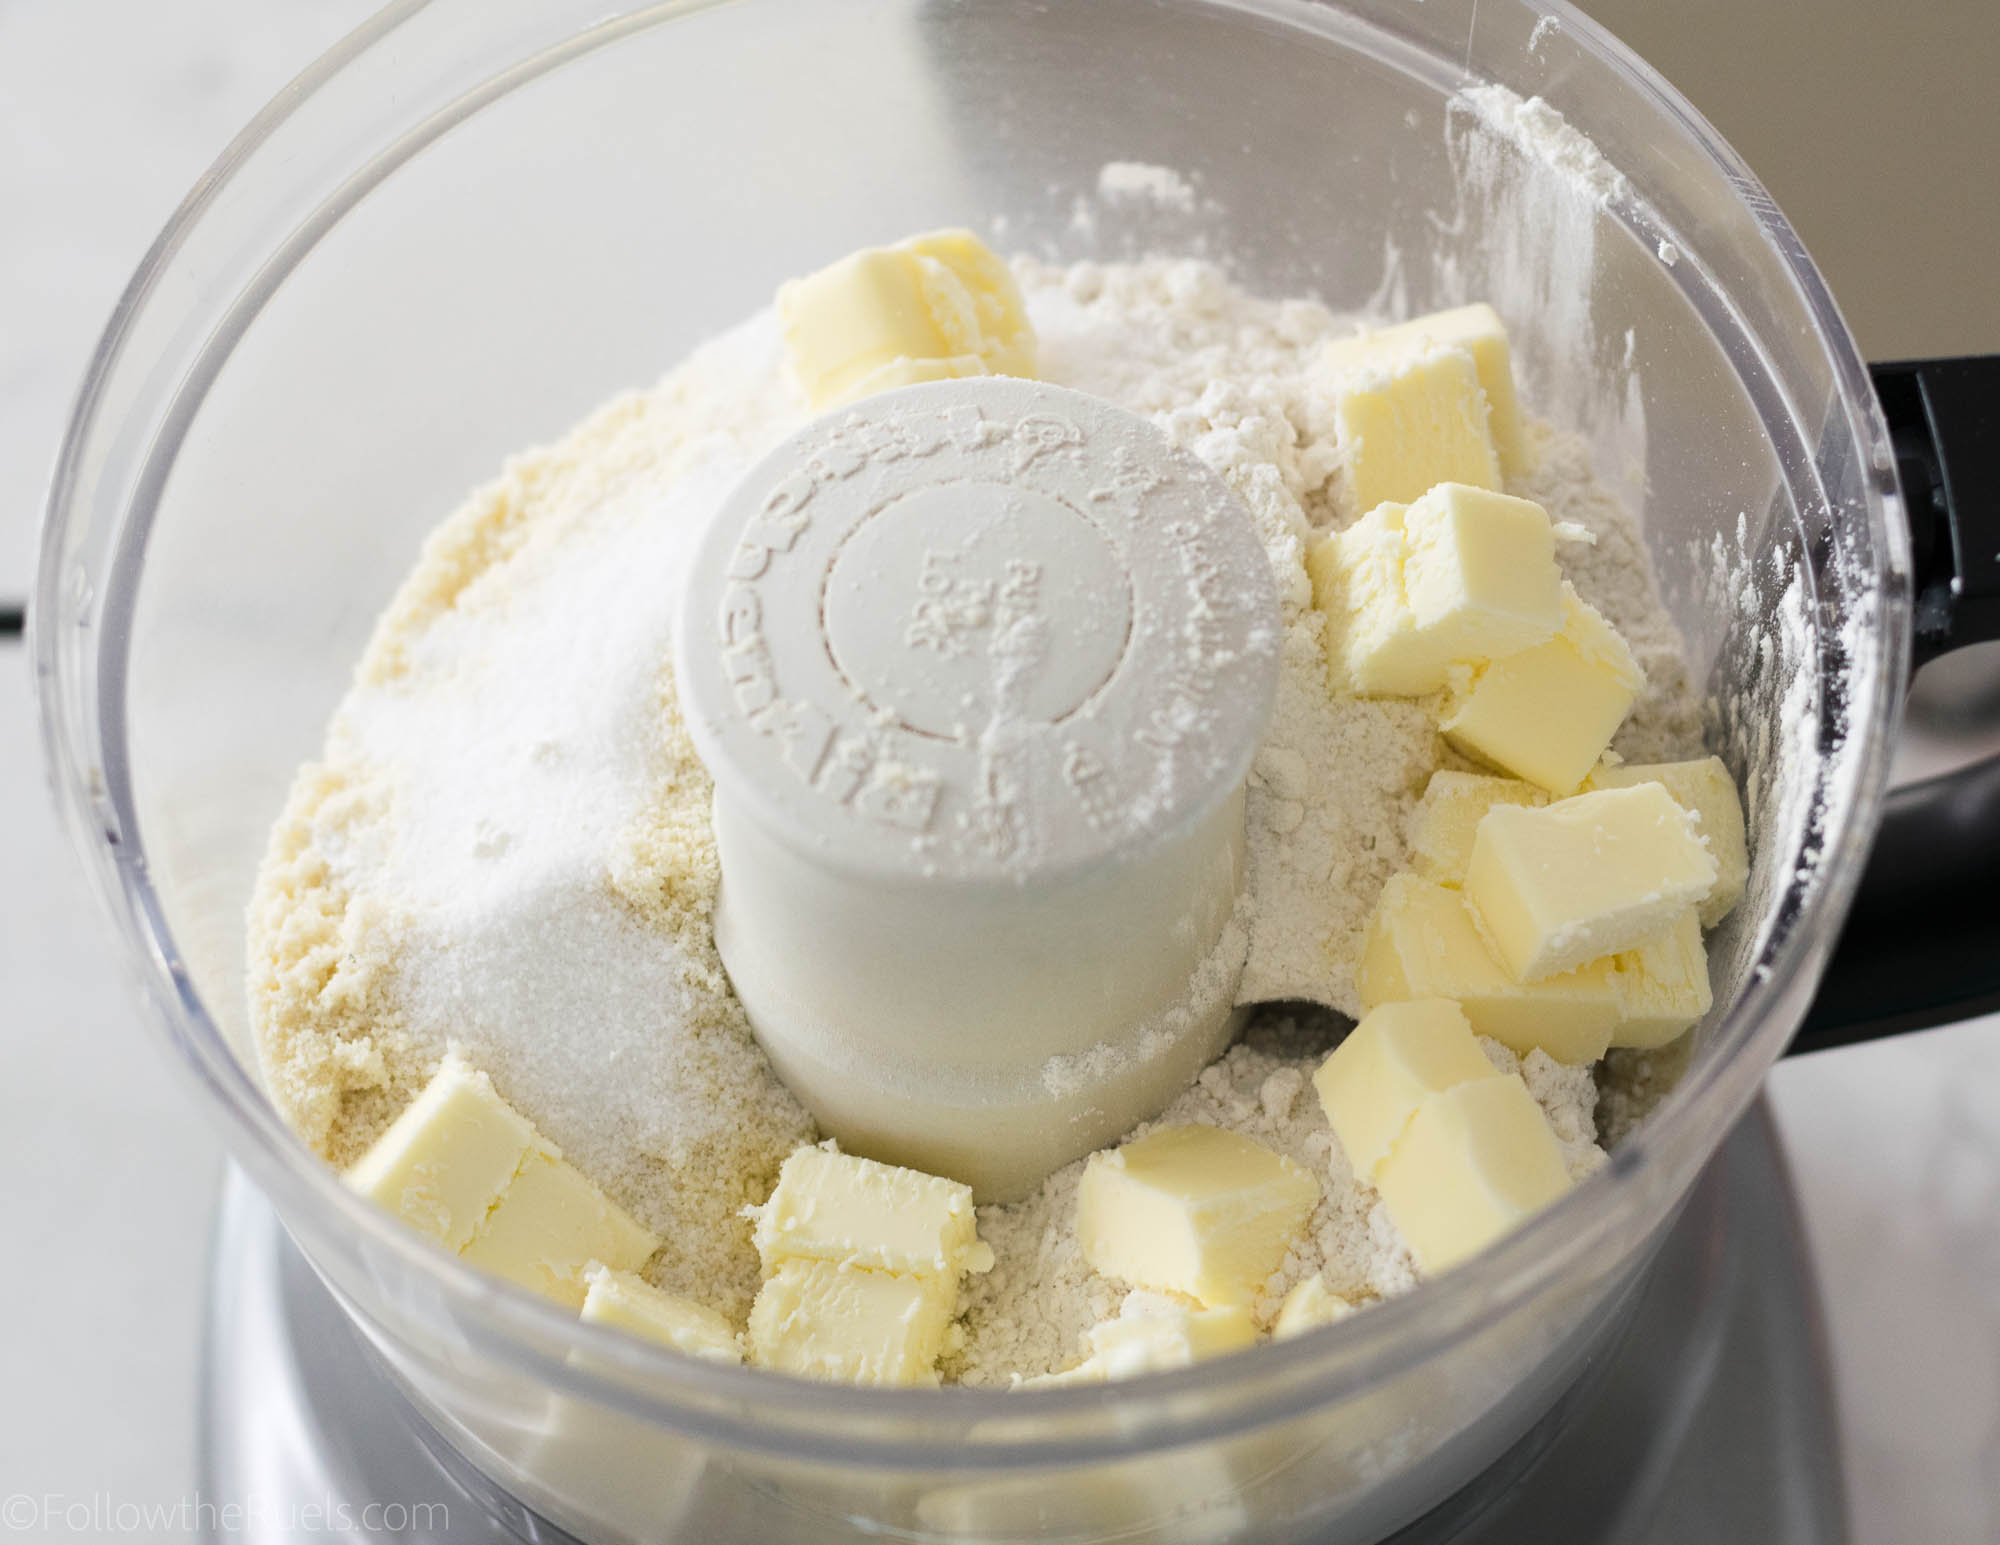
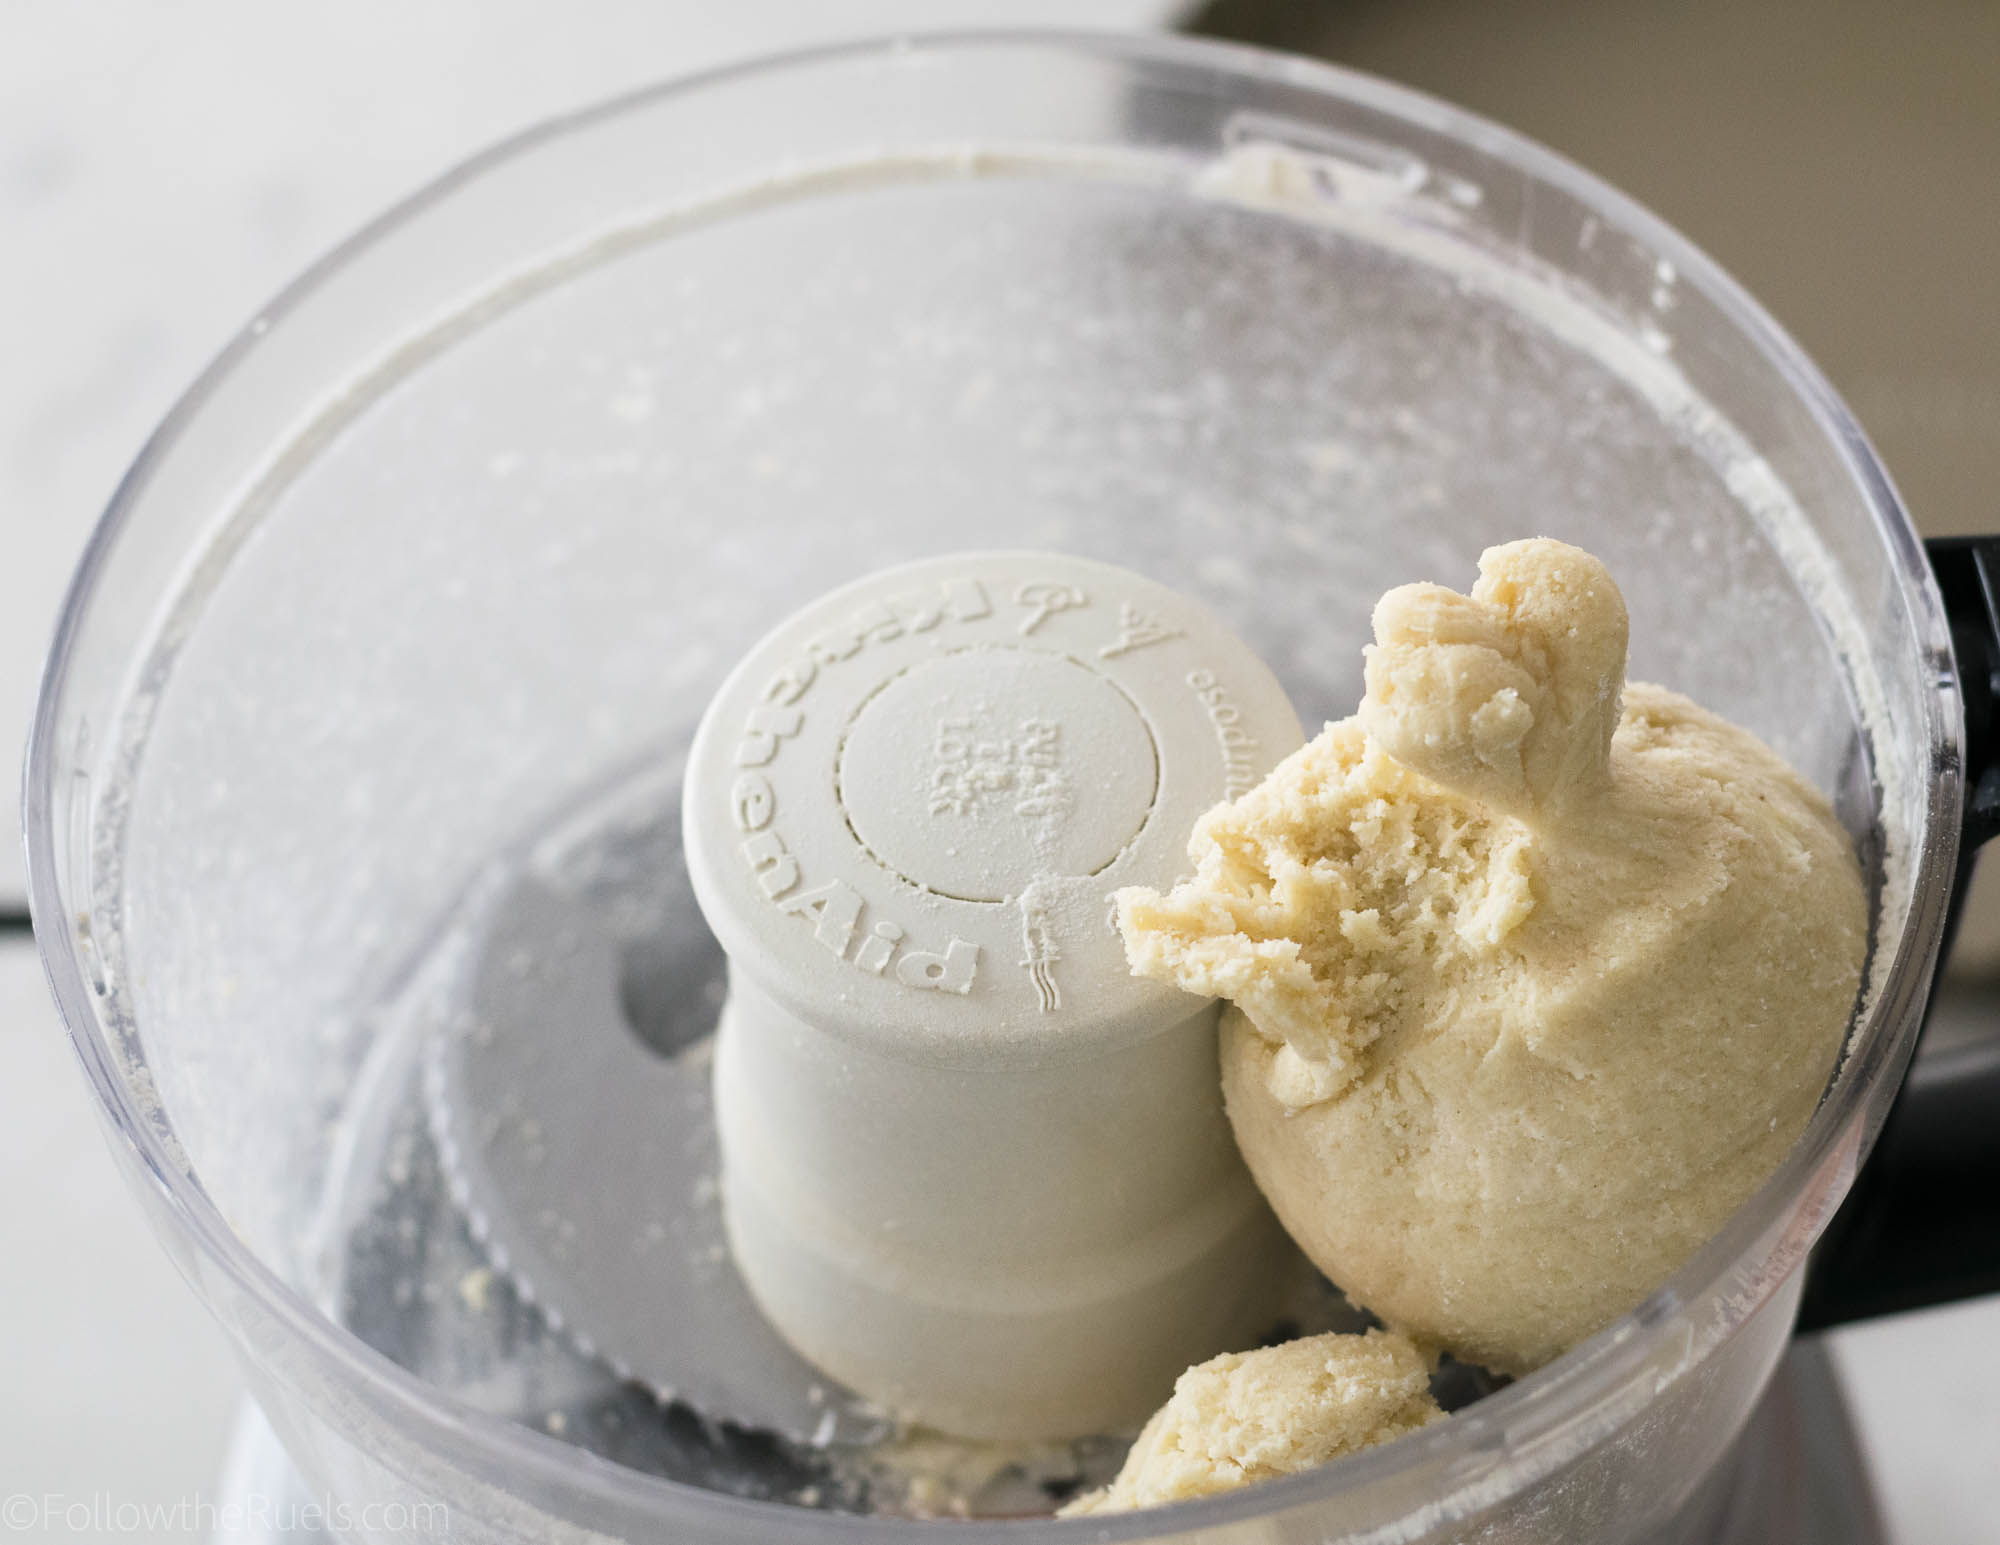
Combine almond flour, all-purpose flour, sugar, butter, salt, and a teeny bit of water in a food processor and pulse until the dough forms a loose ball.

Like this!

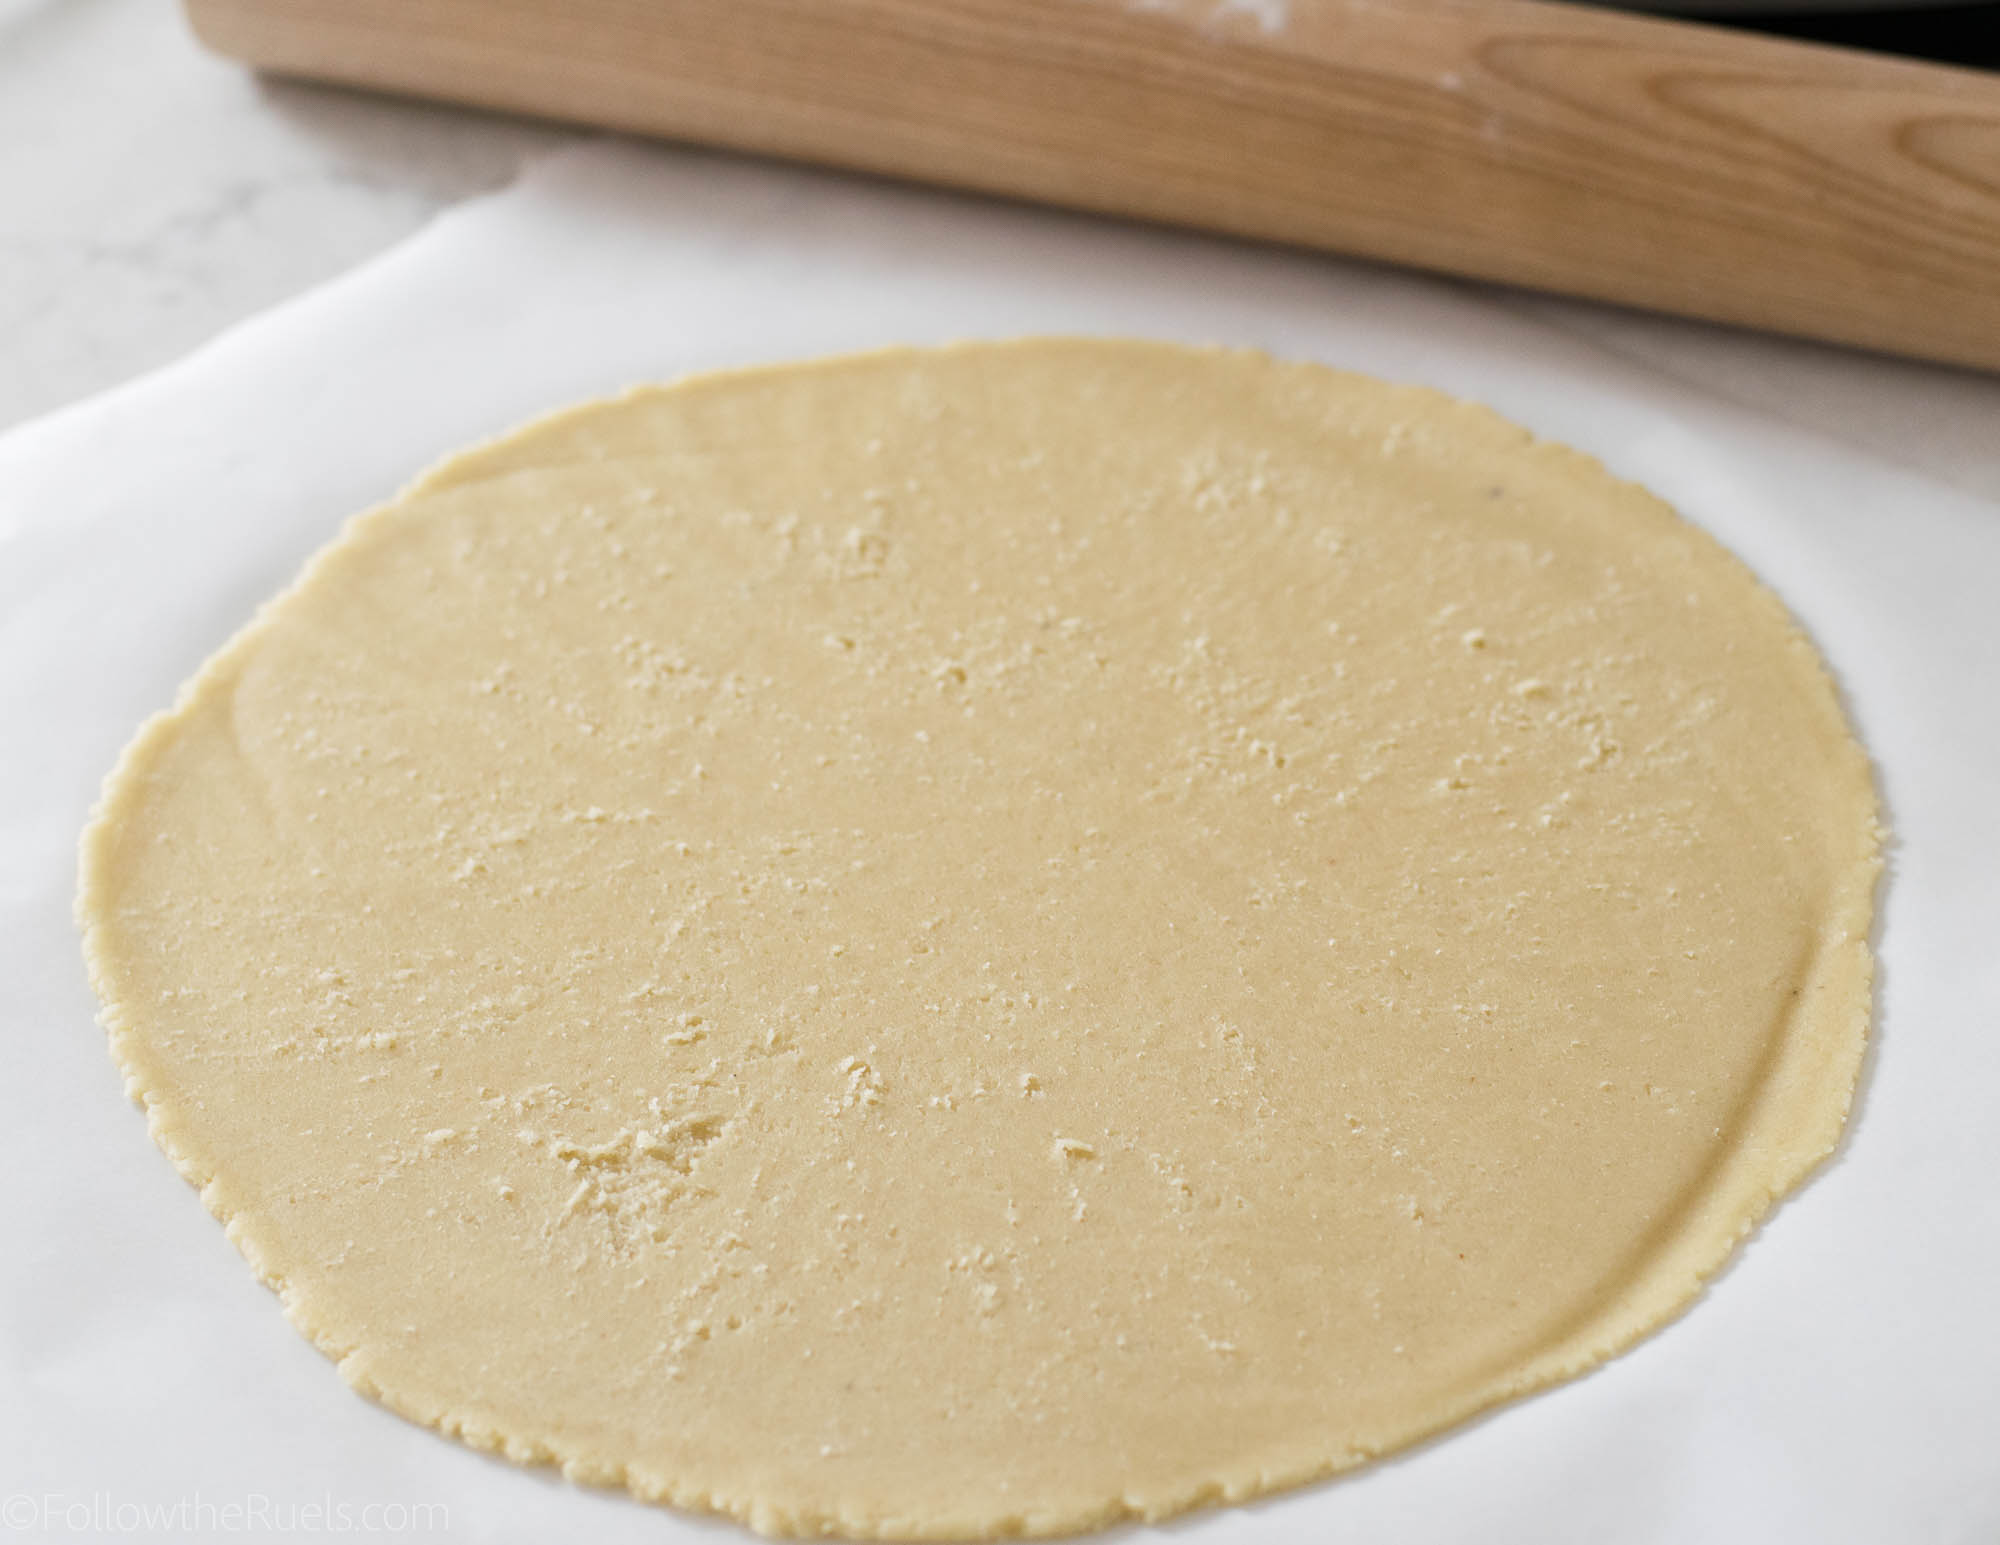
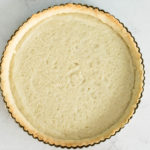
Roll out the dough between two sheets of parchment until it’s big enough to cover the bottom and sides of your tart pan.

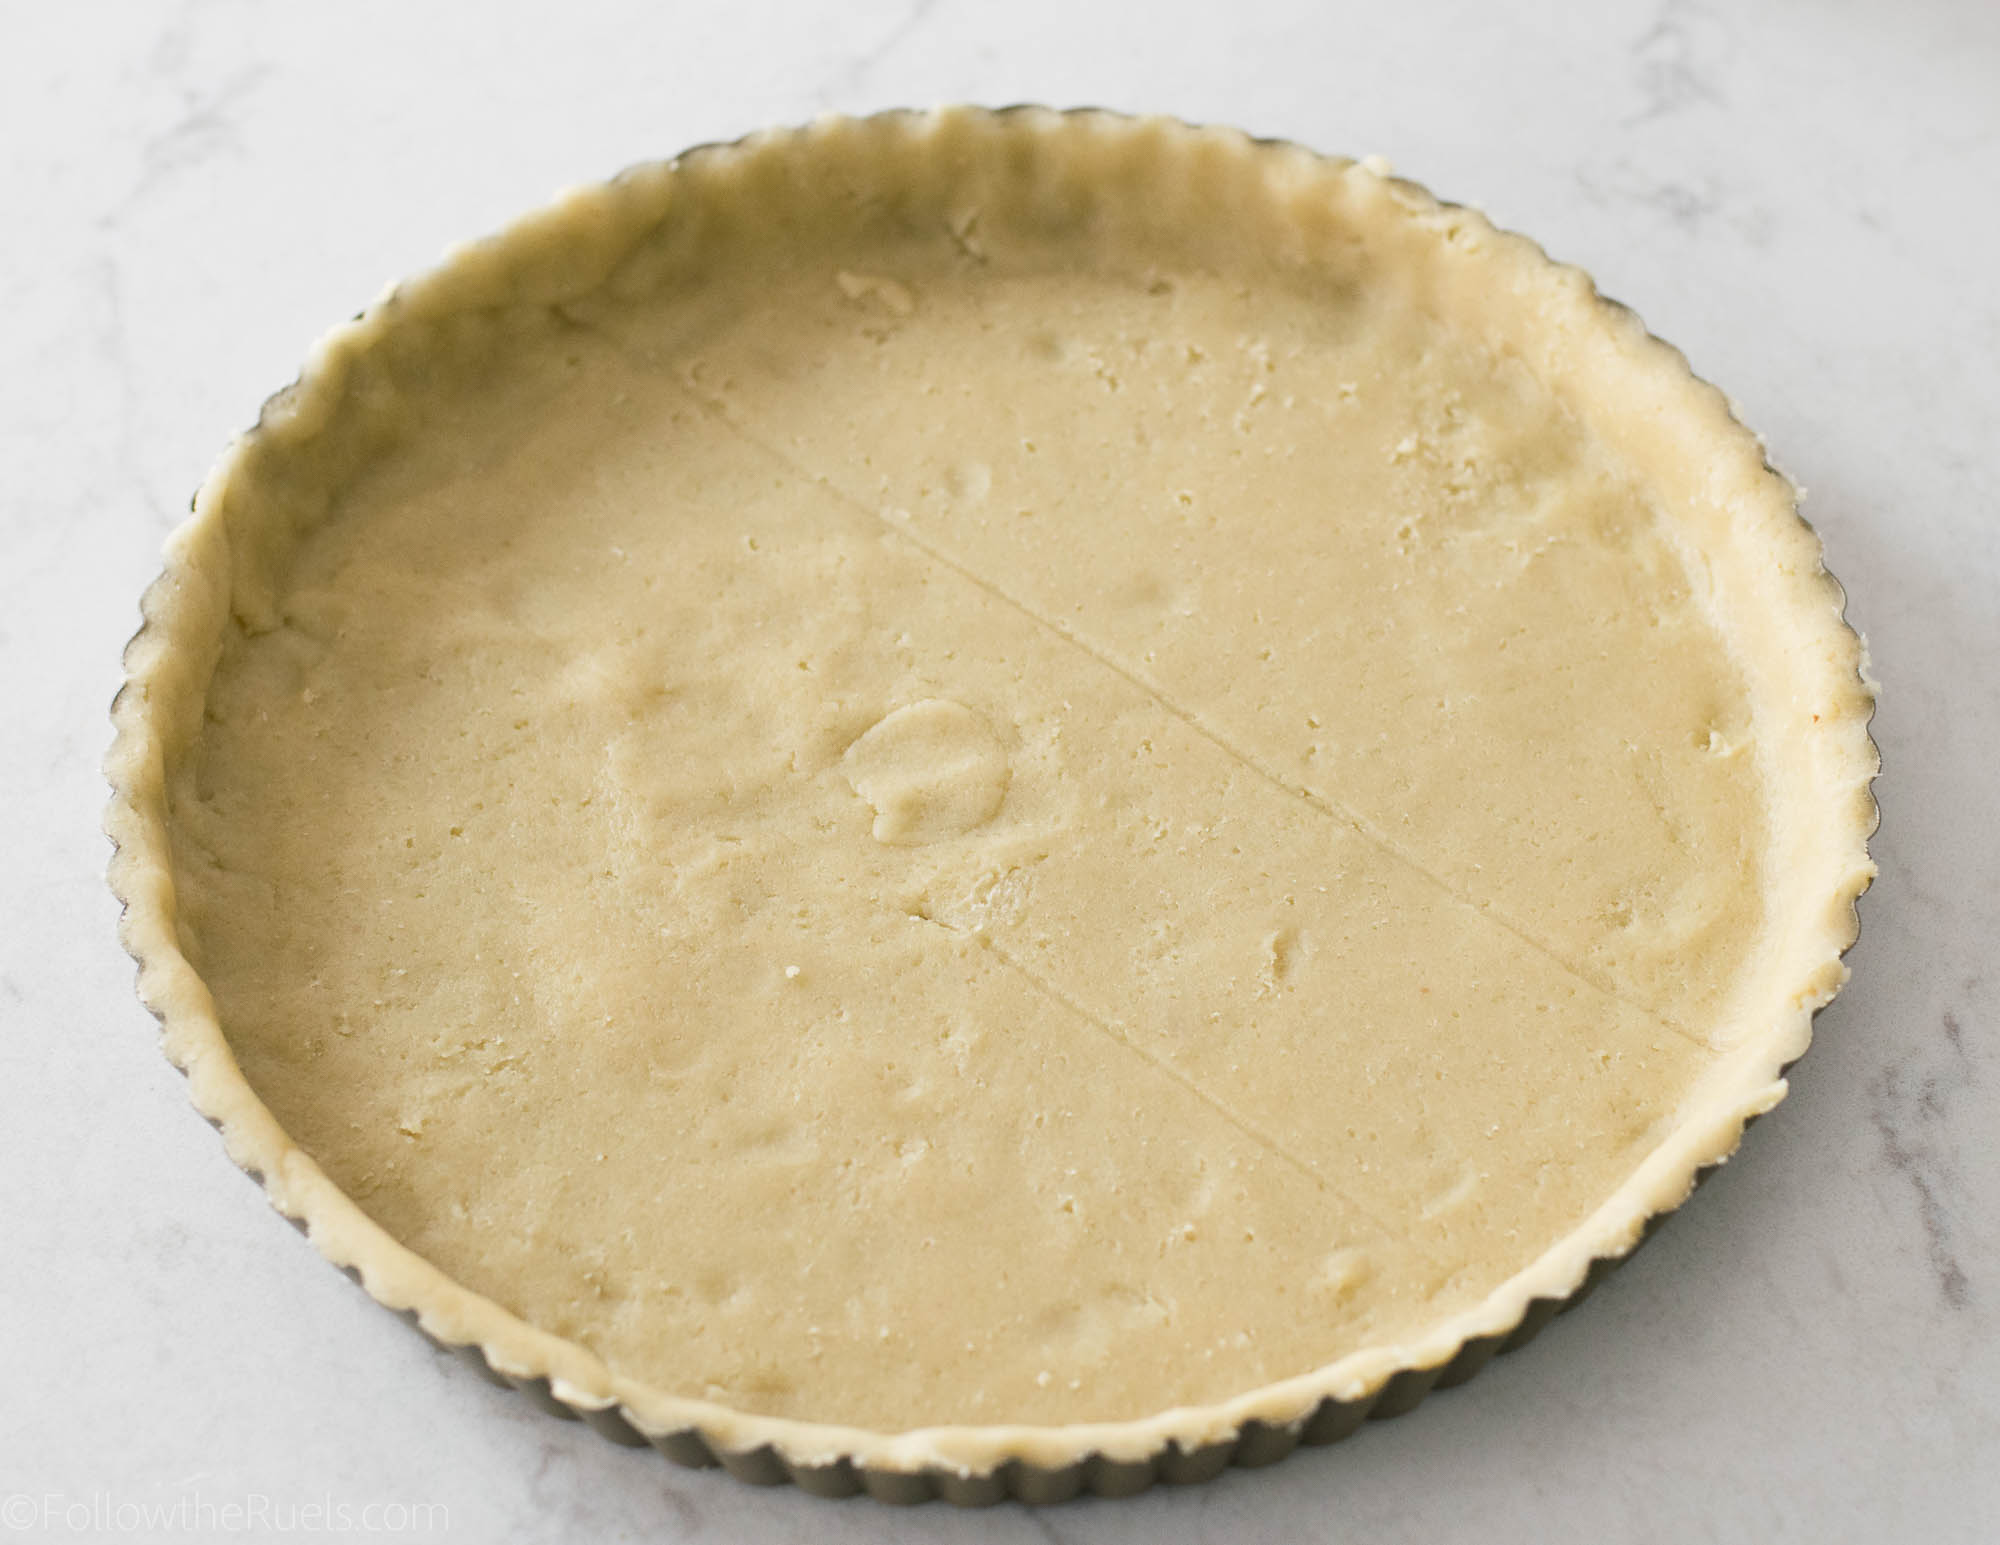
Press the dough into the bottom and along the sides of the pan, then cut off any excess.

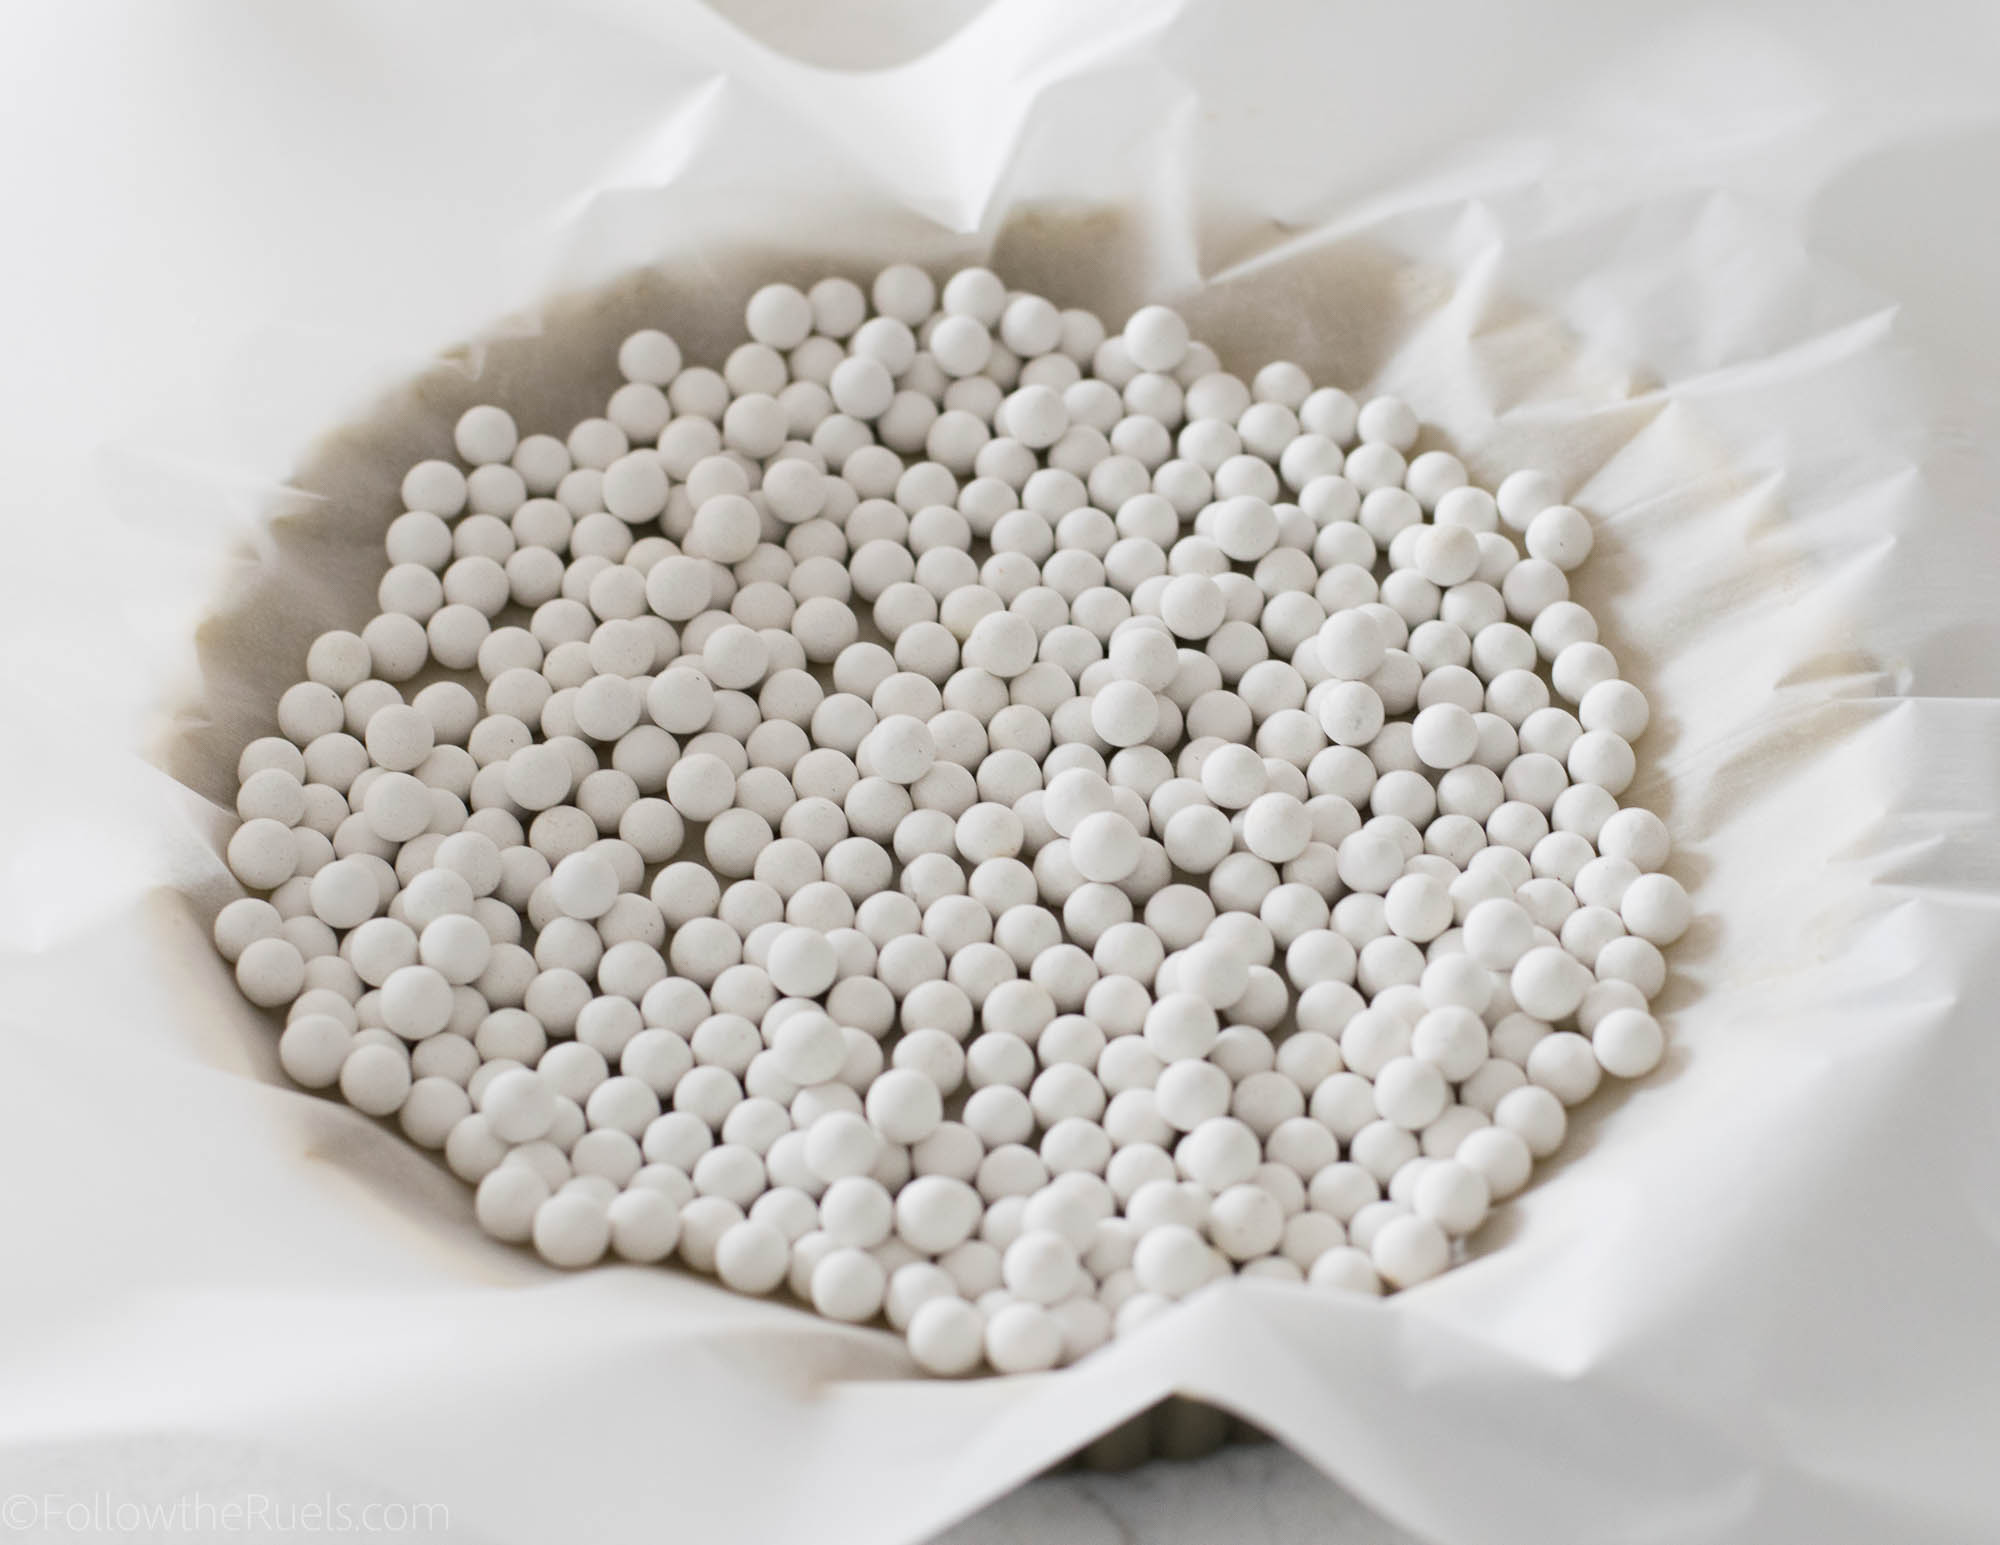
Add a sheet of parchment and then pour on pie weights, dry beans, or rice. Bake in the oven for about 15 minutes, then remove the pie weights and bake for an additional 10.


While the tart shell bakes, make the filling. 

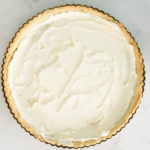
Mix together mascarpone, sugar, and vanilla until it’s light and fluffy.


Once the tart shell has baked and cooled, spread the filling into the bottom of the tart shell. 

Now it’s time to assemble!

How to Assemble a Beautiful Fruit Tart

The hard part is creating the fruit flowers. It did take me a few tries to get the strawberries down, but they are pretty easy once you get the hang of it. 

The mango flowers are even easier, provided the mangos aren’t too slippery. My mango was very juicy which made the slices a bit harder to roll. But they still aren’t very hard to make. 

Like with any flower arrangement, whether on a cookie or on a wreath, I recommend using an odd number of the same type of anything. So I have 5 strawberry flowers and 5 mango flowers. I also have 5 clusters of kiwi. That wasn’t an accident. That was very much on purpose. Odd numbers are more pleasing to the eye so they make this fruit tart look very organic and natural, rather than staged.

However, the best thing about this fruit tart is EATING IT!

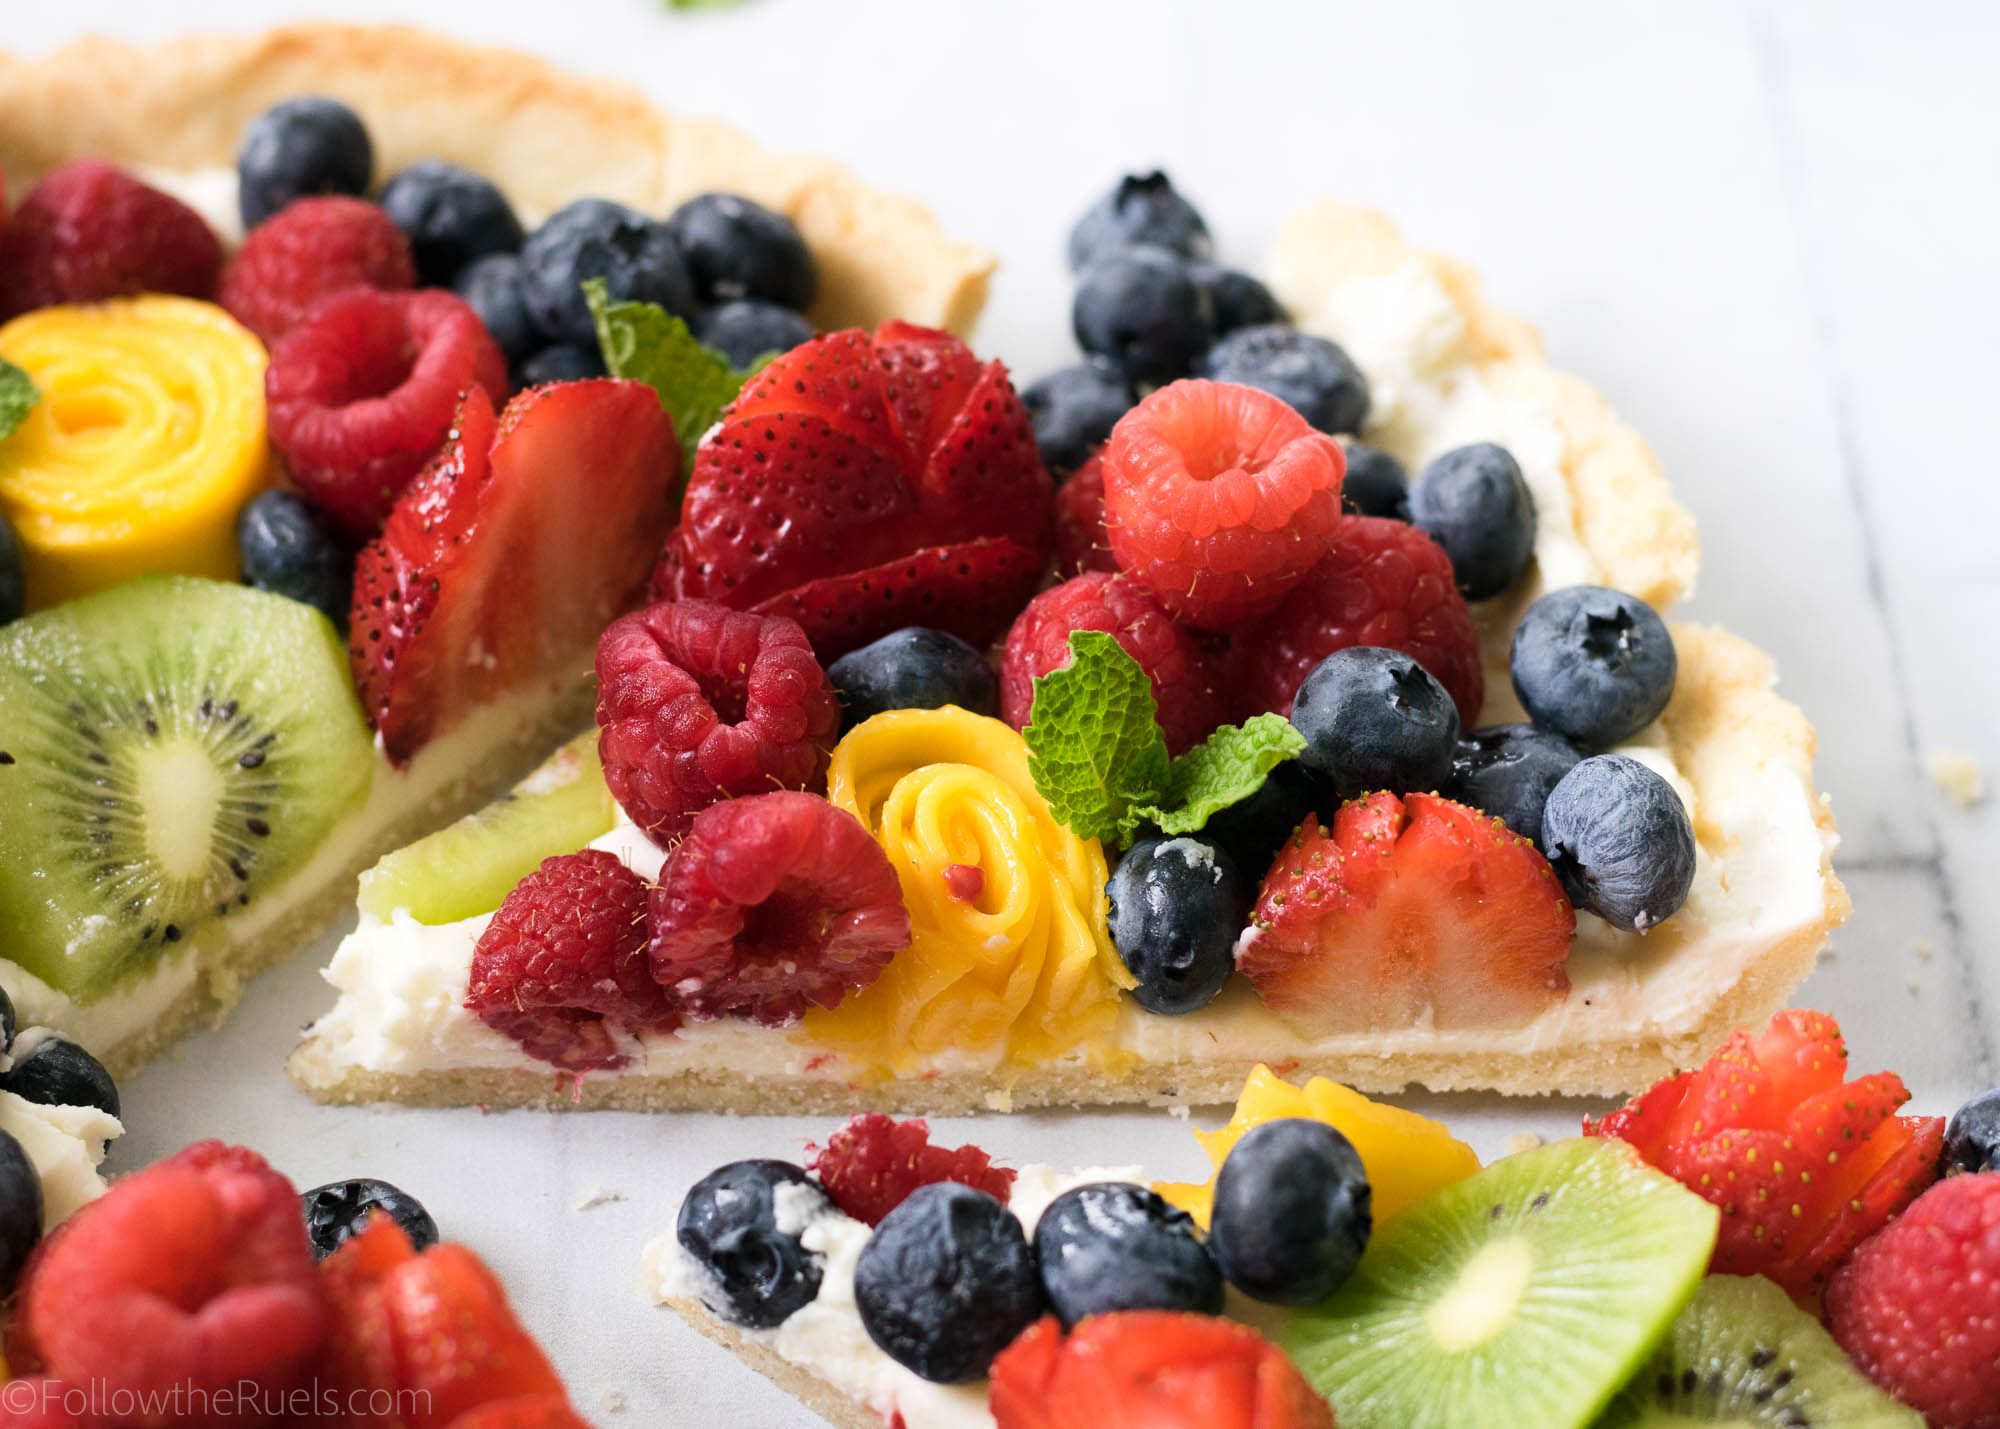
It is so delicious! It’s simple, not overpowering, but still incredibly flavorful because of all of the fruit flavors on the top of the tart. I absolutely love this combination of fruit because you have a mix of tart fruits, like kiwi and raspberry, with sweeter fruits like the blueberry, strawberry, and mango. There are also so many different textures, it all comes together to create the perfect dessert!

I guess I shouldn’t be surprised when my neighbors keep requesting this tart for any of our get-togethers!

Tools and Recipe

[show_shopthepost_widget id=”3096992″]

[yumprint-recipe id=’171′]

/ Filed In: Desserts, Eat, Other Sweets New, Pies and Tarts
Tagged: almond meal, baking, dessert, fruit, fruit flowers, fruit tart, kiwi, mango, strawberry

Gluten Free Sugar Cookie Recipe

March 3, 2017

There are a lot of cookie recipes on this little blog of mine. Lots. I have at least 4 different versions of my favorite sugar cookie recipe. But what I haven’t had until now is a gluten free sugar cookie recipe!

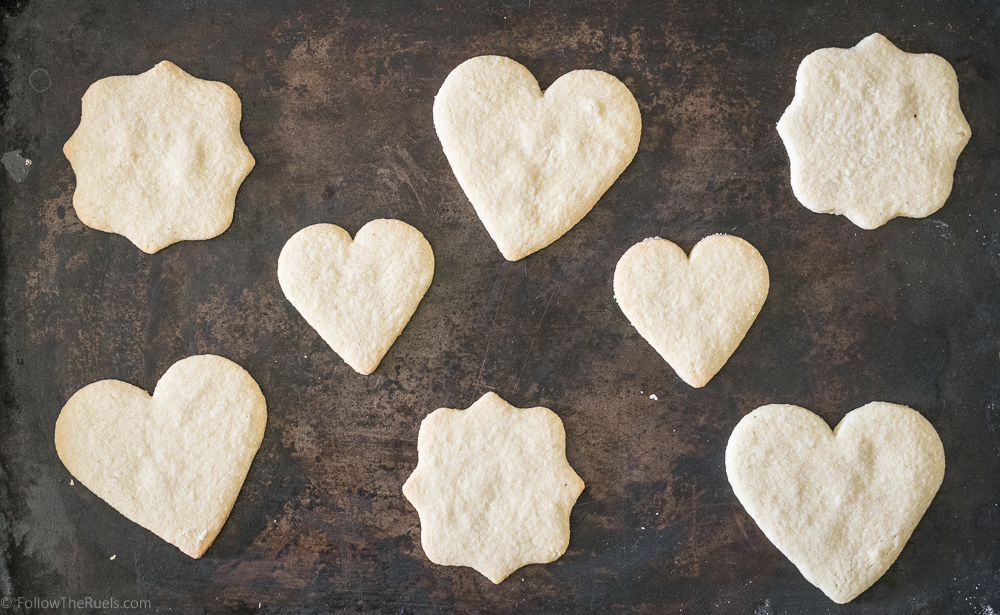
This recipe actually came about through my cookie decorating classes! I had a couple girls in my Halloween class ask if I could make them gluten free cookies instead of my normal sugar cookies. Never one to turn down a challenge, I obliged. While that first batch of gluten free sugar cookies were okay, I knew they could be better!

The perfectionist in me kicked in (it lays pretty dormant throughout most of the year, and really only makes an appearance when cookies are involved) and I knew I had to find the perfect gluten free sugar cookie recipe

I essentially put aside a weekend, canceled all my plans (I had none) to devote myself to this baking challenge. Fortunately, it only took a couple hours on a Saturday (which means I had the recipe of the day to catch up on my DVR…adulting, am I right?). The 4th recipe turned out to be so good I didn’t feel like I need to experiment any further. 

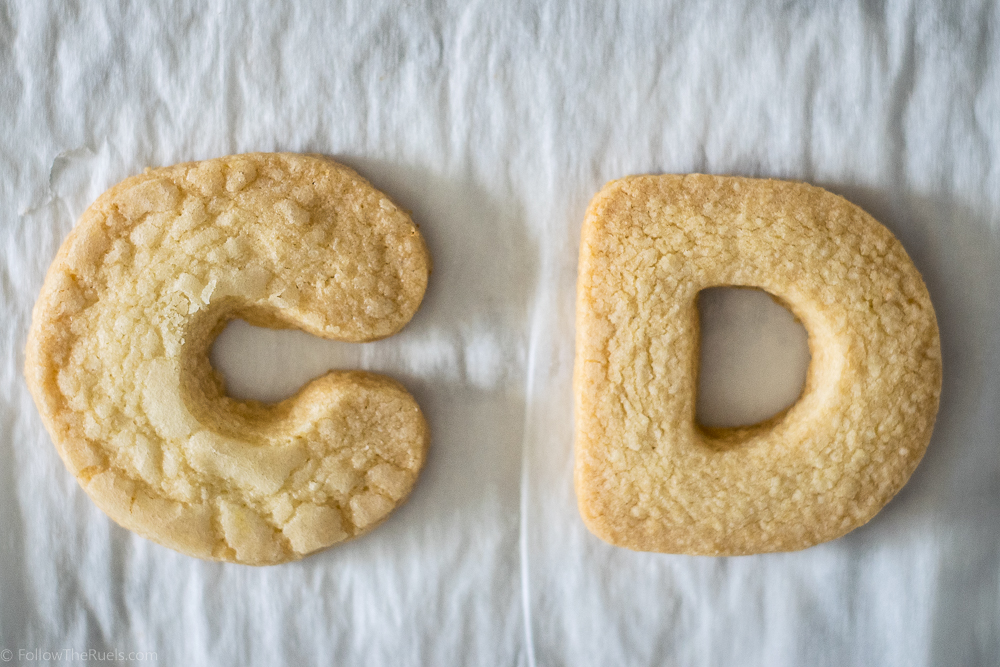
But before I get ahead of myself, let’s discuss these four cookies, shall we?

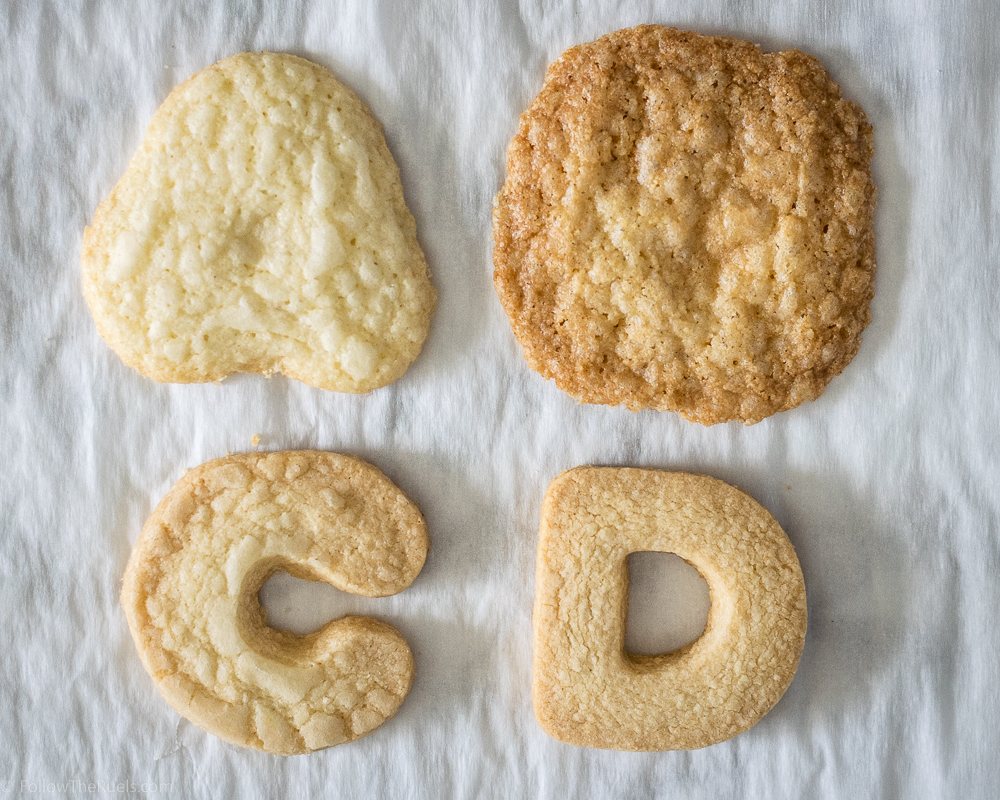
Trial A:

Recipe: 4 parts GF flour to 1 part almond meal, plus a bit of baking powder. 

Results: A crumbly cookie that completely lost it’s shape when baking. 

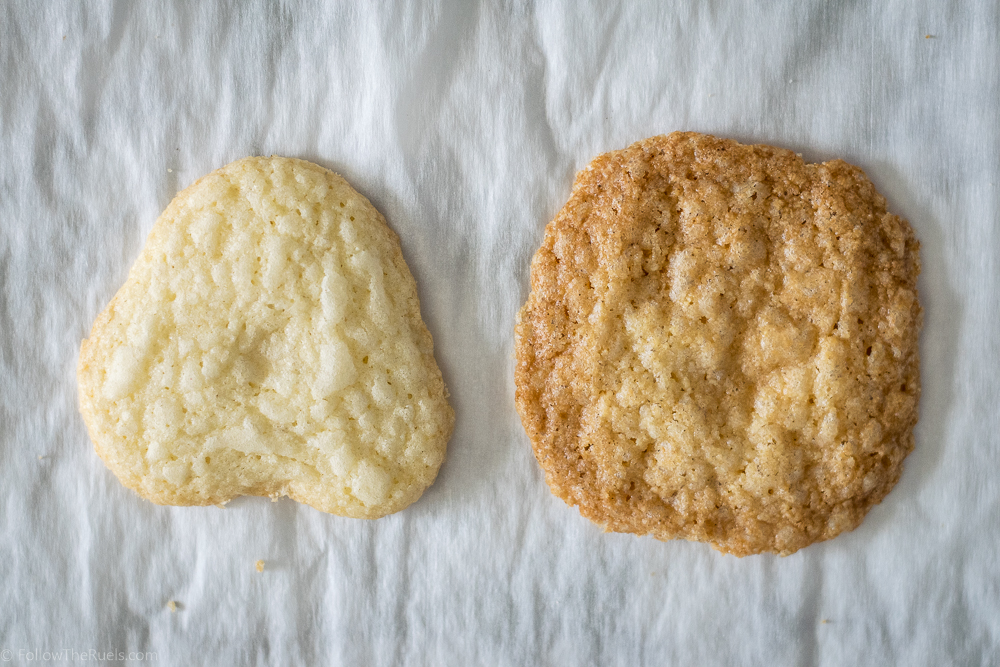
Trial B:

Recipe: Half GF flour and half almond meal, plus baking powder. Also, baked 5 minutes longer than A.

Results: A big ol’ disaster! 

Trial C:

Recipe: Doubled the GF flour from recipe A and eliminated the baking powder. 

Results: The shape is a lot better, but the taste and texture are still a bit off. 

Trial D:

Recipe: Increased the amounts of both GF flour and almond meal from recipe B, keeping the ratio roughly 50/50, and eliminated the baking powder. 

Results: A delicious cookie with perfect edges and a great texture (although slightly over-baked)

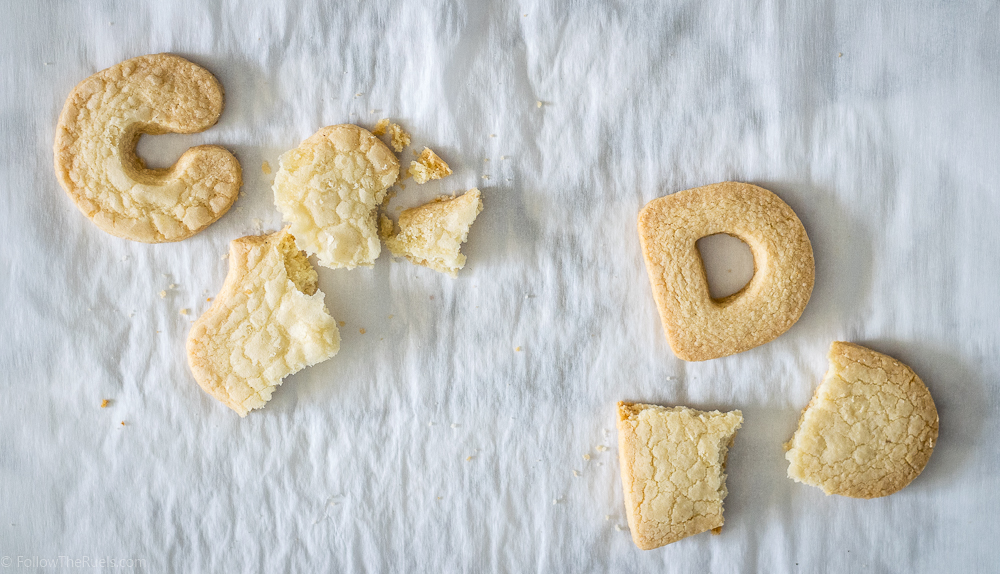
Clearly recipe D was the winner! And really, it all came down to the texture. I could tell the minute I started rolling out the dough for Trial D. The dough felt like my normal sugar cookie dough. It wasn’t too soft or delicate. It rolled out really well and clearly made the best cookie. 


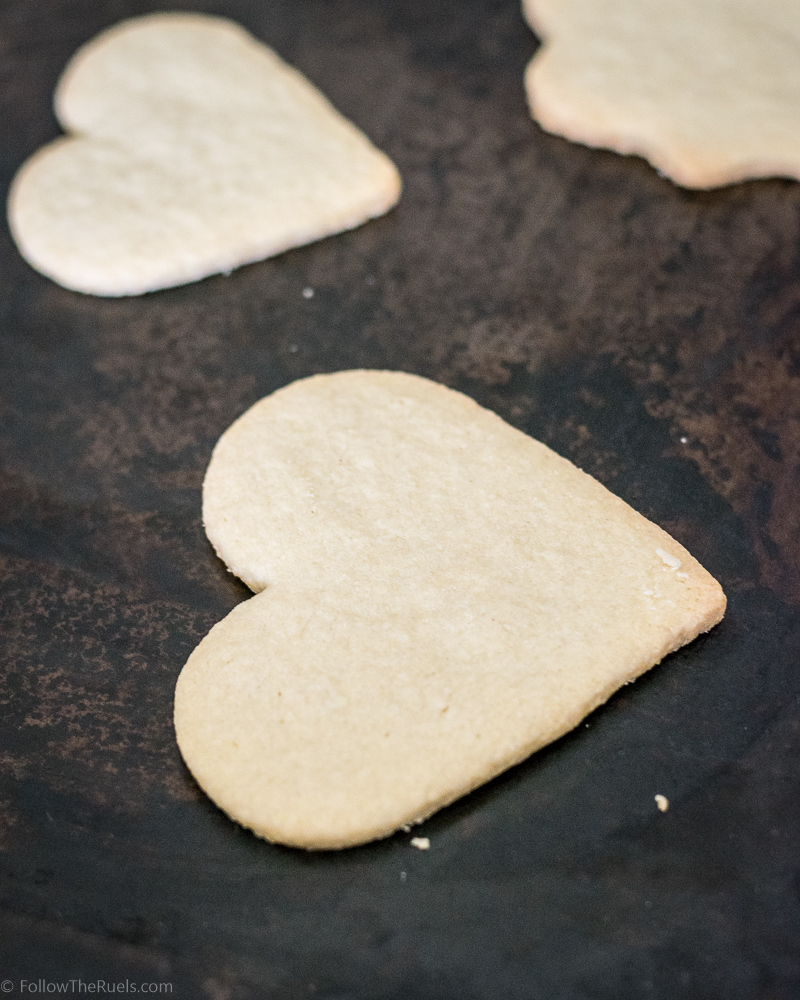
You can see the difference in texture in the pictures above. When I tried to break C in half, the cookie just kinda fell apart. When I broke D in half, it did just that! I don’t know about you but I don’t like my cookies to crumble into a pile of sand after every bite. Gross!

Okay, enough of the nerdy recipe experimenting stuff. Let’s get to the actual recipe!


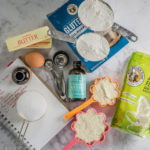
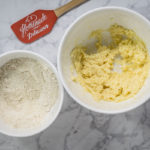
This recipe starts like my favorite sugar cookie recipe, with butter and sugar, eggs and vanilla. I also added almond extract (my favorite of all the extracts) because it’s delicious and it compliments the almond flavor that will already be in the cookie. Then, like I said above, I mix in an even ratio of gluten free flour and almond meal until I had a pretty solid ball of dough. Something that would feel tacky to the touch but not so soft that your finger sinks right into it. If you think your dough is too soft, add more almond meal.

Baking these cookies is really no different that any other sugar cookie. I did chill the dough for at least 30 minutes before I rolled it out. This dough will inherently be a little bit softer than normal dough, so you may want to work in small batches, keeping the unused dough in the fridge.

I baked the cookies at 350 degrees for 10-12 minutes. I watched them closely after the 10 minute mark because I really didn’t want them to over bake. If they over bake the dry out even more and they get kind of scaly on top (you can see what I am talking about in the picture of the broken D cookie above). Just as soon as they barely start to brown on the edges, it’s time to take them out!

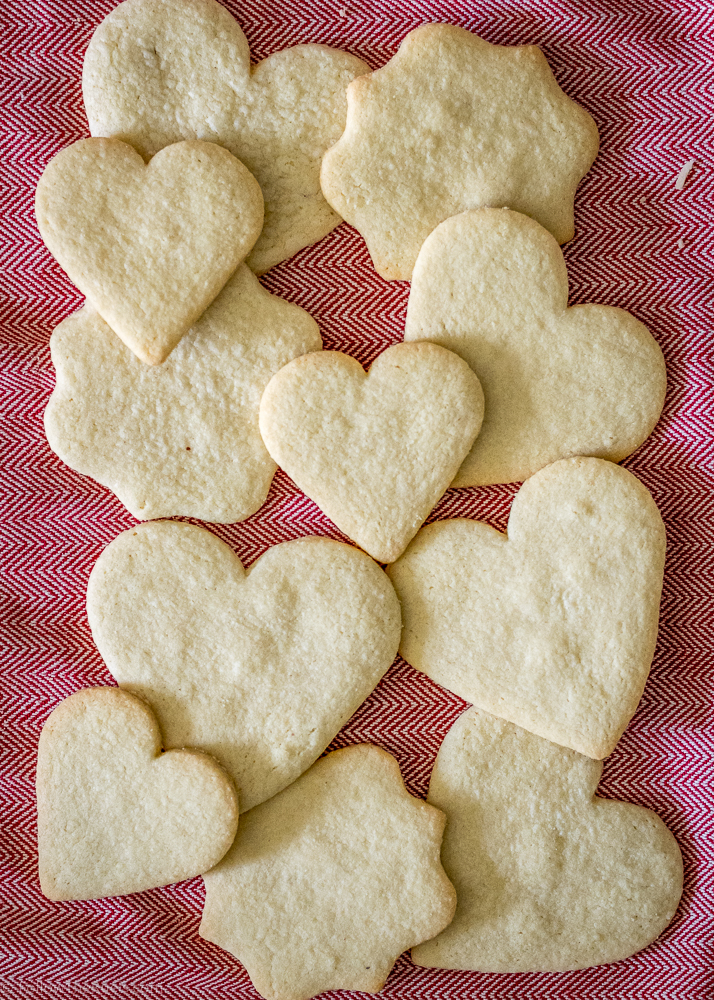
The resulting cookies are delicious and slightly nutty thanks to all that almond meal. I think they would make a great substitute for any sugar cookie for those of you who have cut out gluten from your diet for one reason or another. Even as someone who does not have a gluten intolerance, I gladly taste tested these cookie over and over again.

It was all in the name of science. 🙂

[amd-yrecipe-recipe:136]

PRODUCTS USED:

 [show_shopthepost_widget id=”2479028″]

/ Filed In: Cookies, Cookies New, Eat
Tagged: almond meal, cookie decorating, cookies, gluten free, King Arthur, sugar cookies, vanilla

Follow

Hey There!

Hey there, I'm Lindsey. I'm a number cruncher by day and a home cook and baker by night. While I love to eat healthy and find fresh and healthy alternatives for my favorite foods, I will never turn down dessert! Life is all about moderation, right?

Recipes

  • All Recipes
  • Breakfast
  • Appetizers
  • Salads
  • Main Dishes
  • Side Dishes
  • Desserts
  • Drinks

Favorite Finds

[show_lookbook_widget id=”388783″]

Theme by 17th Avenue · Powered by WordPress & Genesis