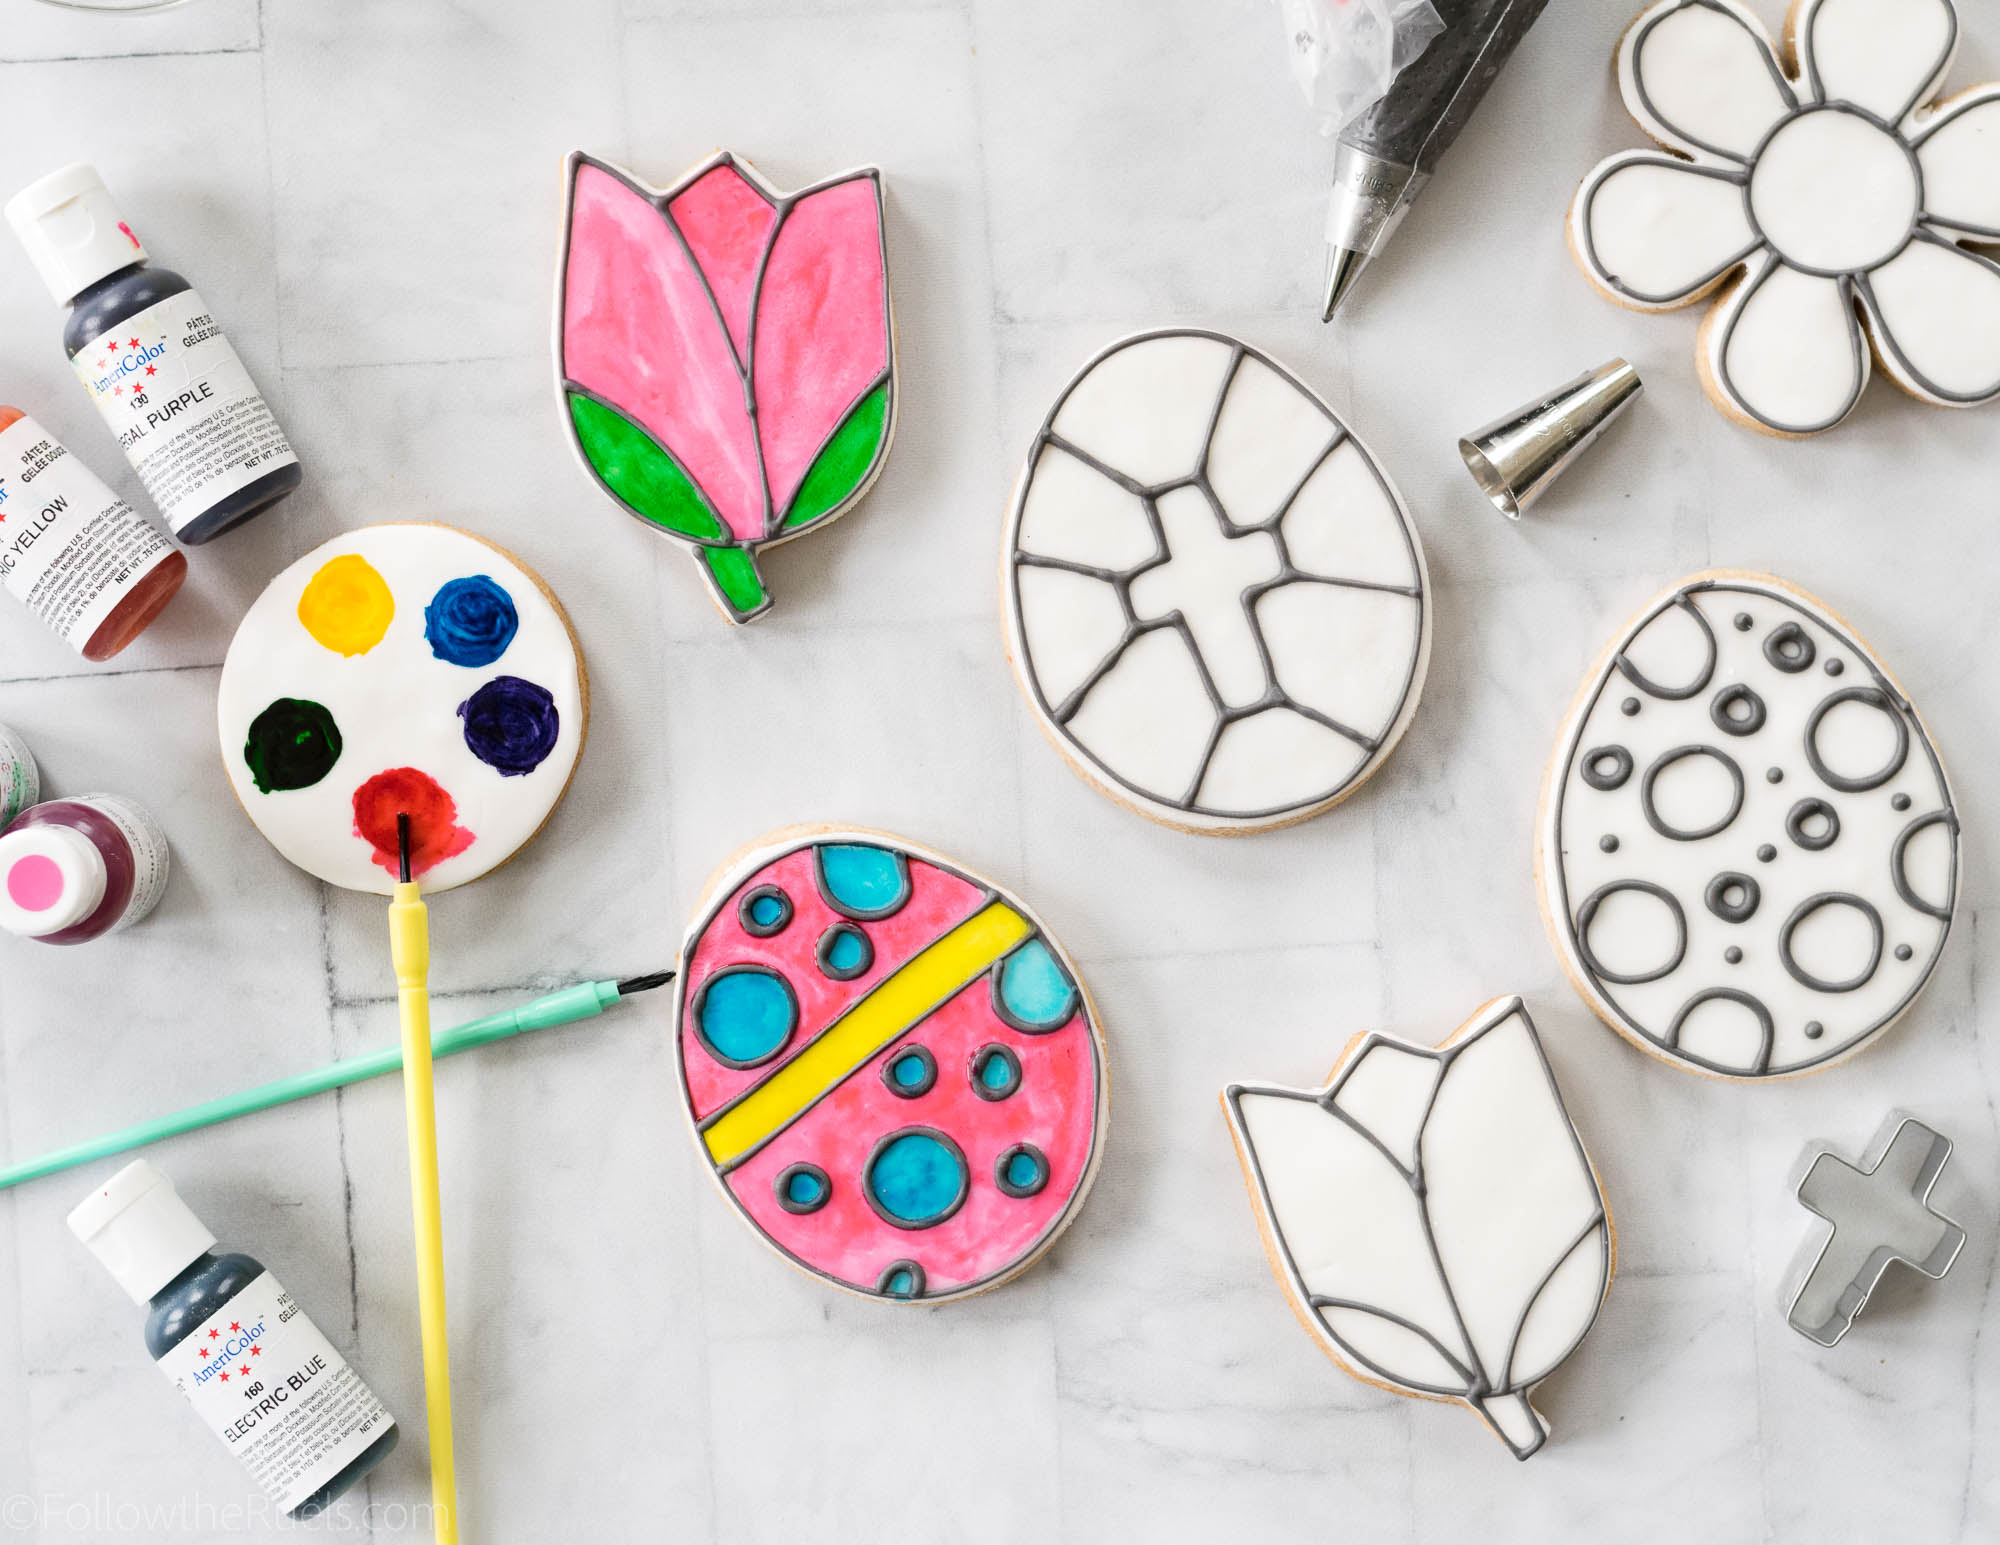
If you are looking for a fun activity to make with the kiddos over the Easter weekend, I’ve got you covered! Check out these super easy and oh-so-cute coloring book cookies in some favorite Easter shapes. These cookies were both a lot of fun for me to make and to color.
Why yes, I did color these in myself. I didn’t have any kids to test these out on, and I don’t think it would have gone over well if I had asked strangers to borrow theirs. Don’t worry, these particular cookies are off to Texas and will hopefully make it in time for Easter.
How to Make Them
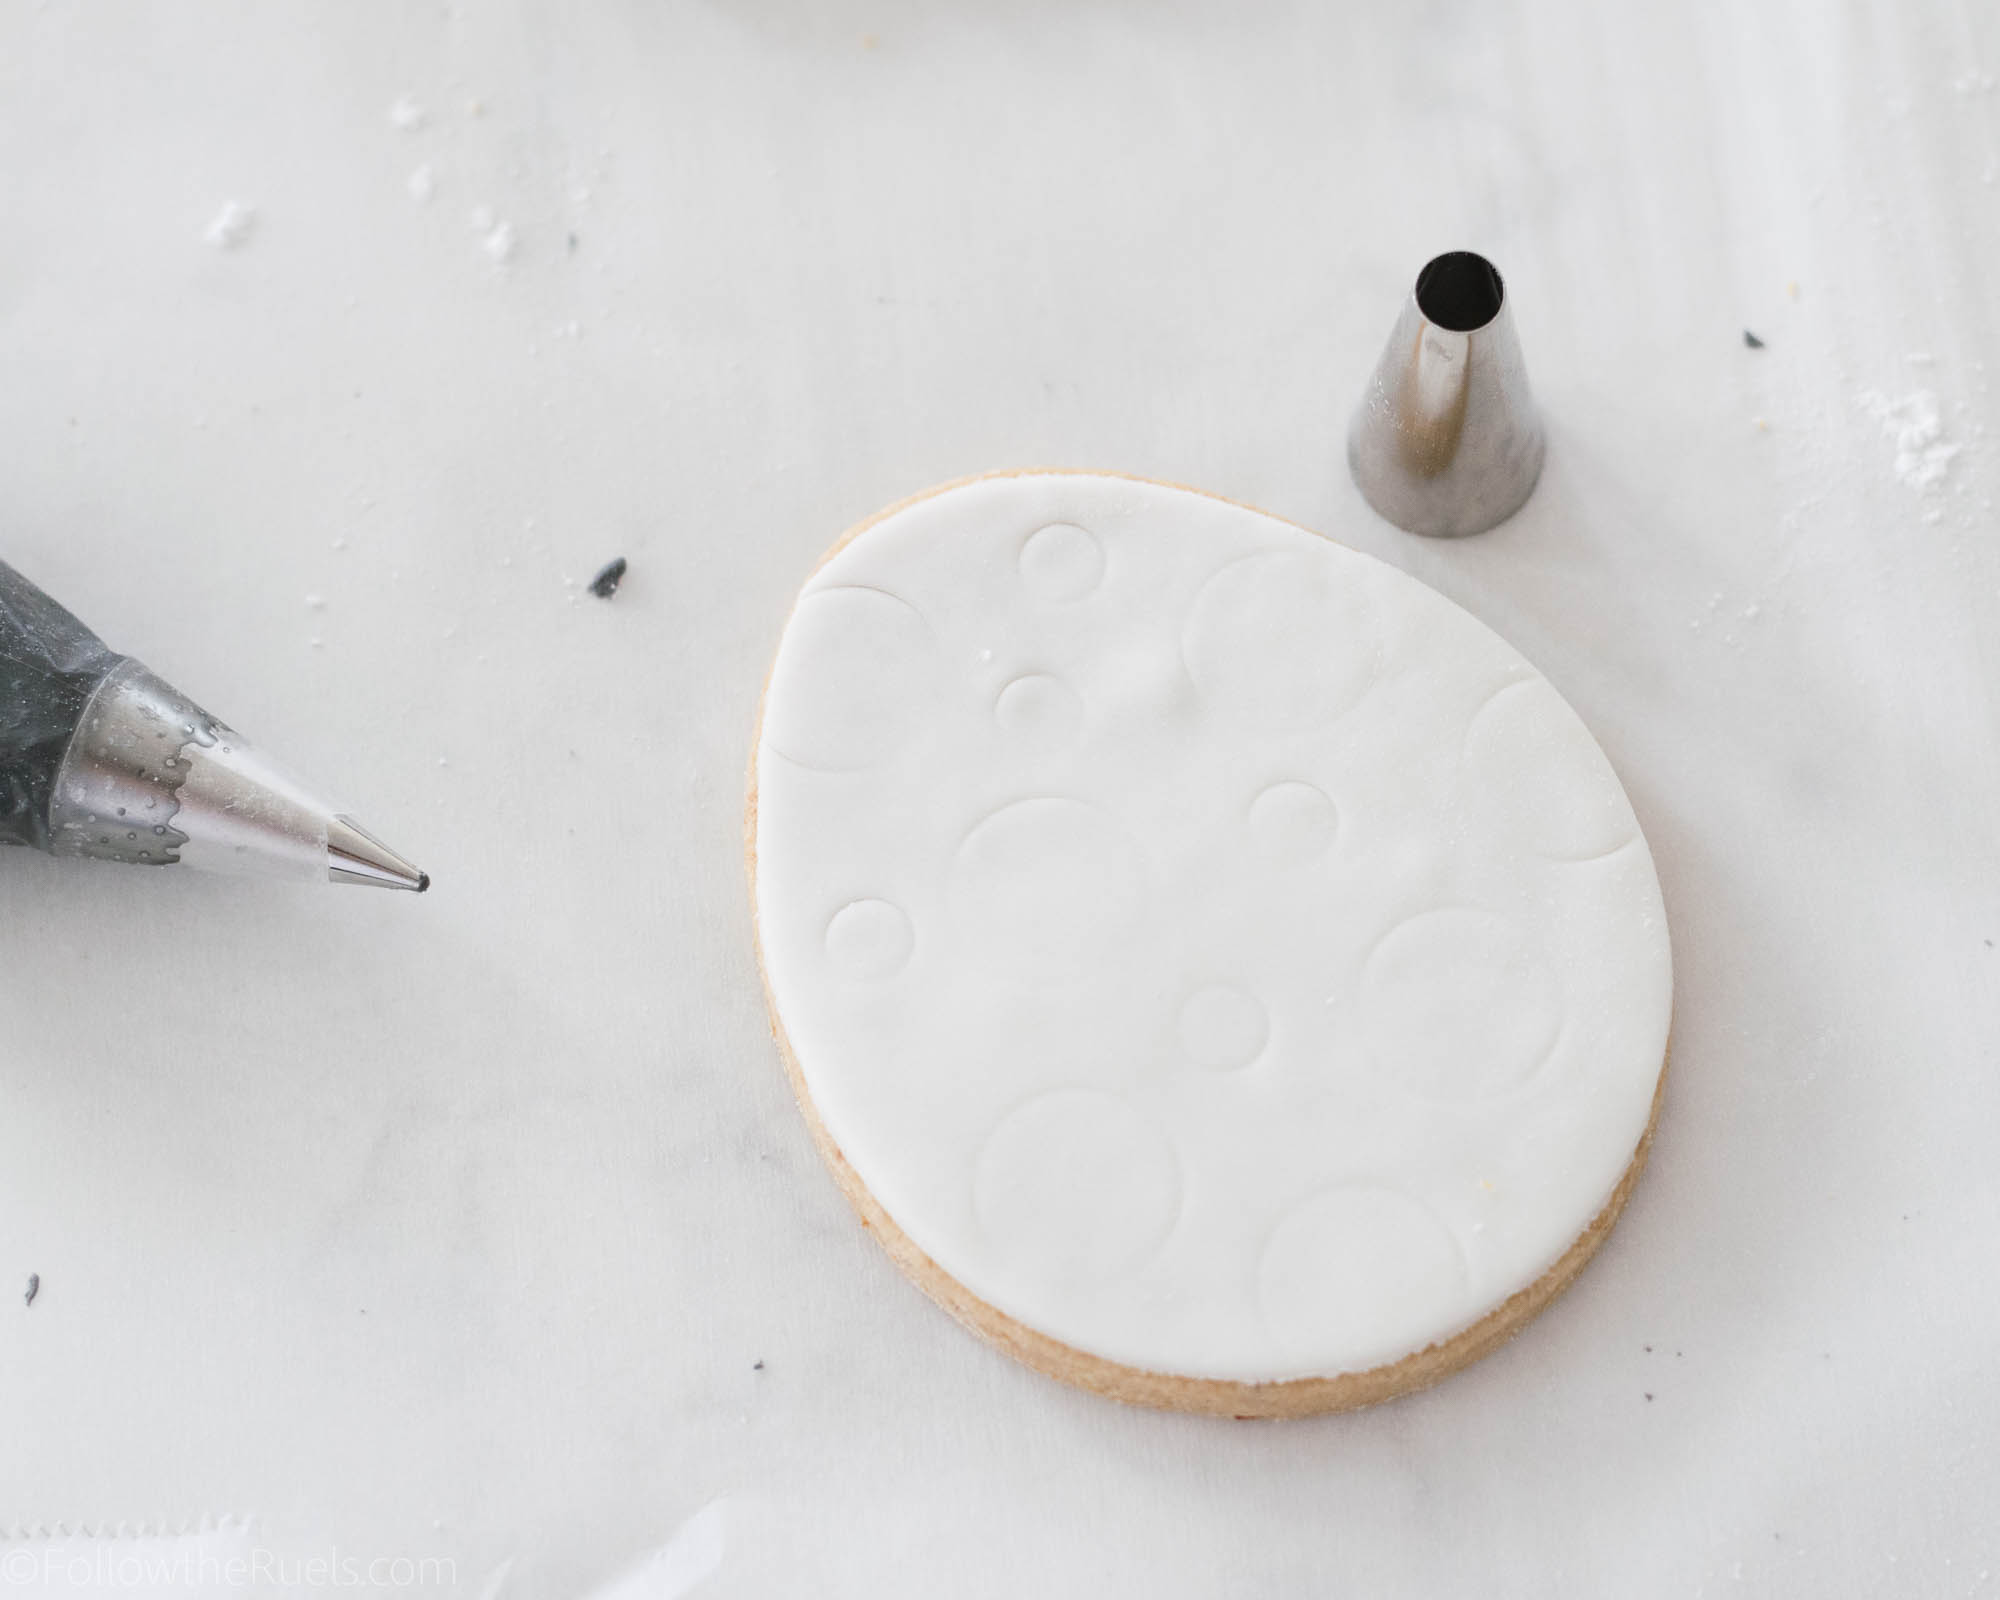
The first thing to making these cookies is to cover them with white icing or fondant. I used fondant because fondant is a little bit more forgiving when it comes to painting on cookies. For instance, if you add too much watercolor to dried royal icing, the icing will degrade and make a crater in the cookie. With the fondant, it will just get a little gummy, but will eventually dry as normal.
To cover the cookie with fondant, all you do is roll out the fondant with a fondant roller or rolling pin, cut out the cookie with the same cookie cutter used to cut out the cookie, brush some water on the back, and stick it to the cookie. Viola!
The best part, you don’t have to wait for the cookie to dry. Also, the fondant is still a bit malleable for several minutes, so you can imprint shapes or images onto it to trace later!
Okay, I know not everyone is a fondant fan, so if I still haven’t convinced you and you would prefer to ice the cookies, I recommend this post that details how to achieve the perfect iced cookies.
If you are team fondant, this post gives much better instruction on how to attach the fondant to the cookie.
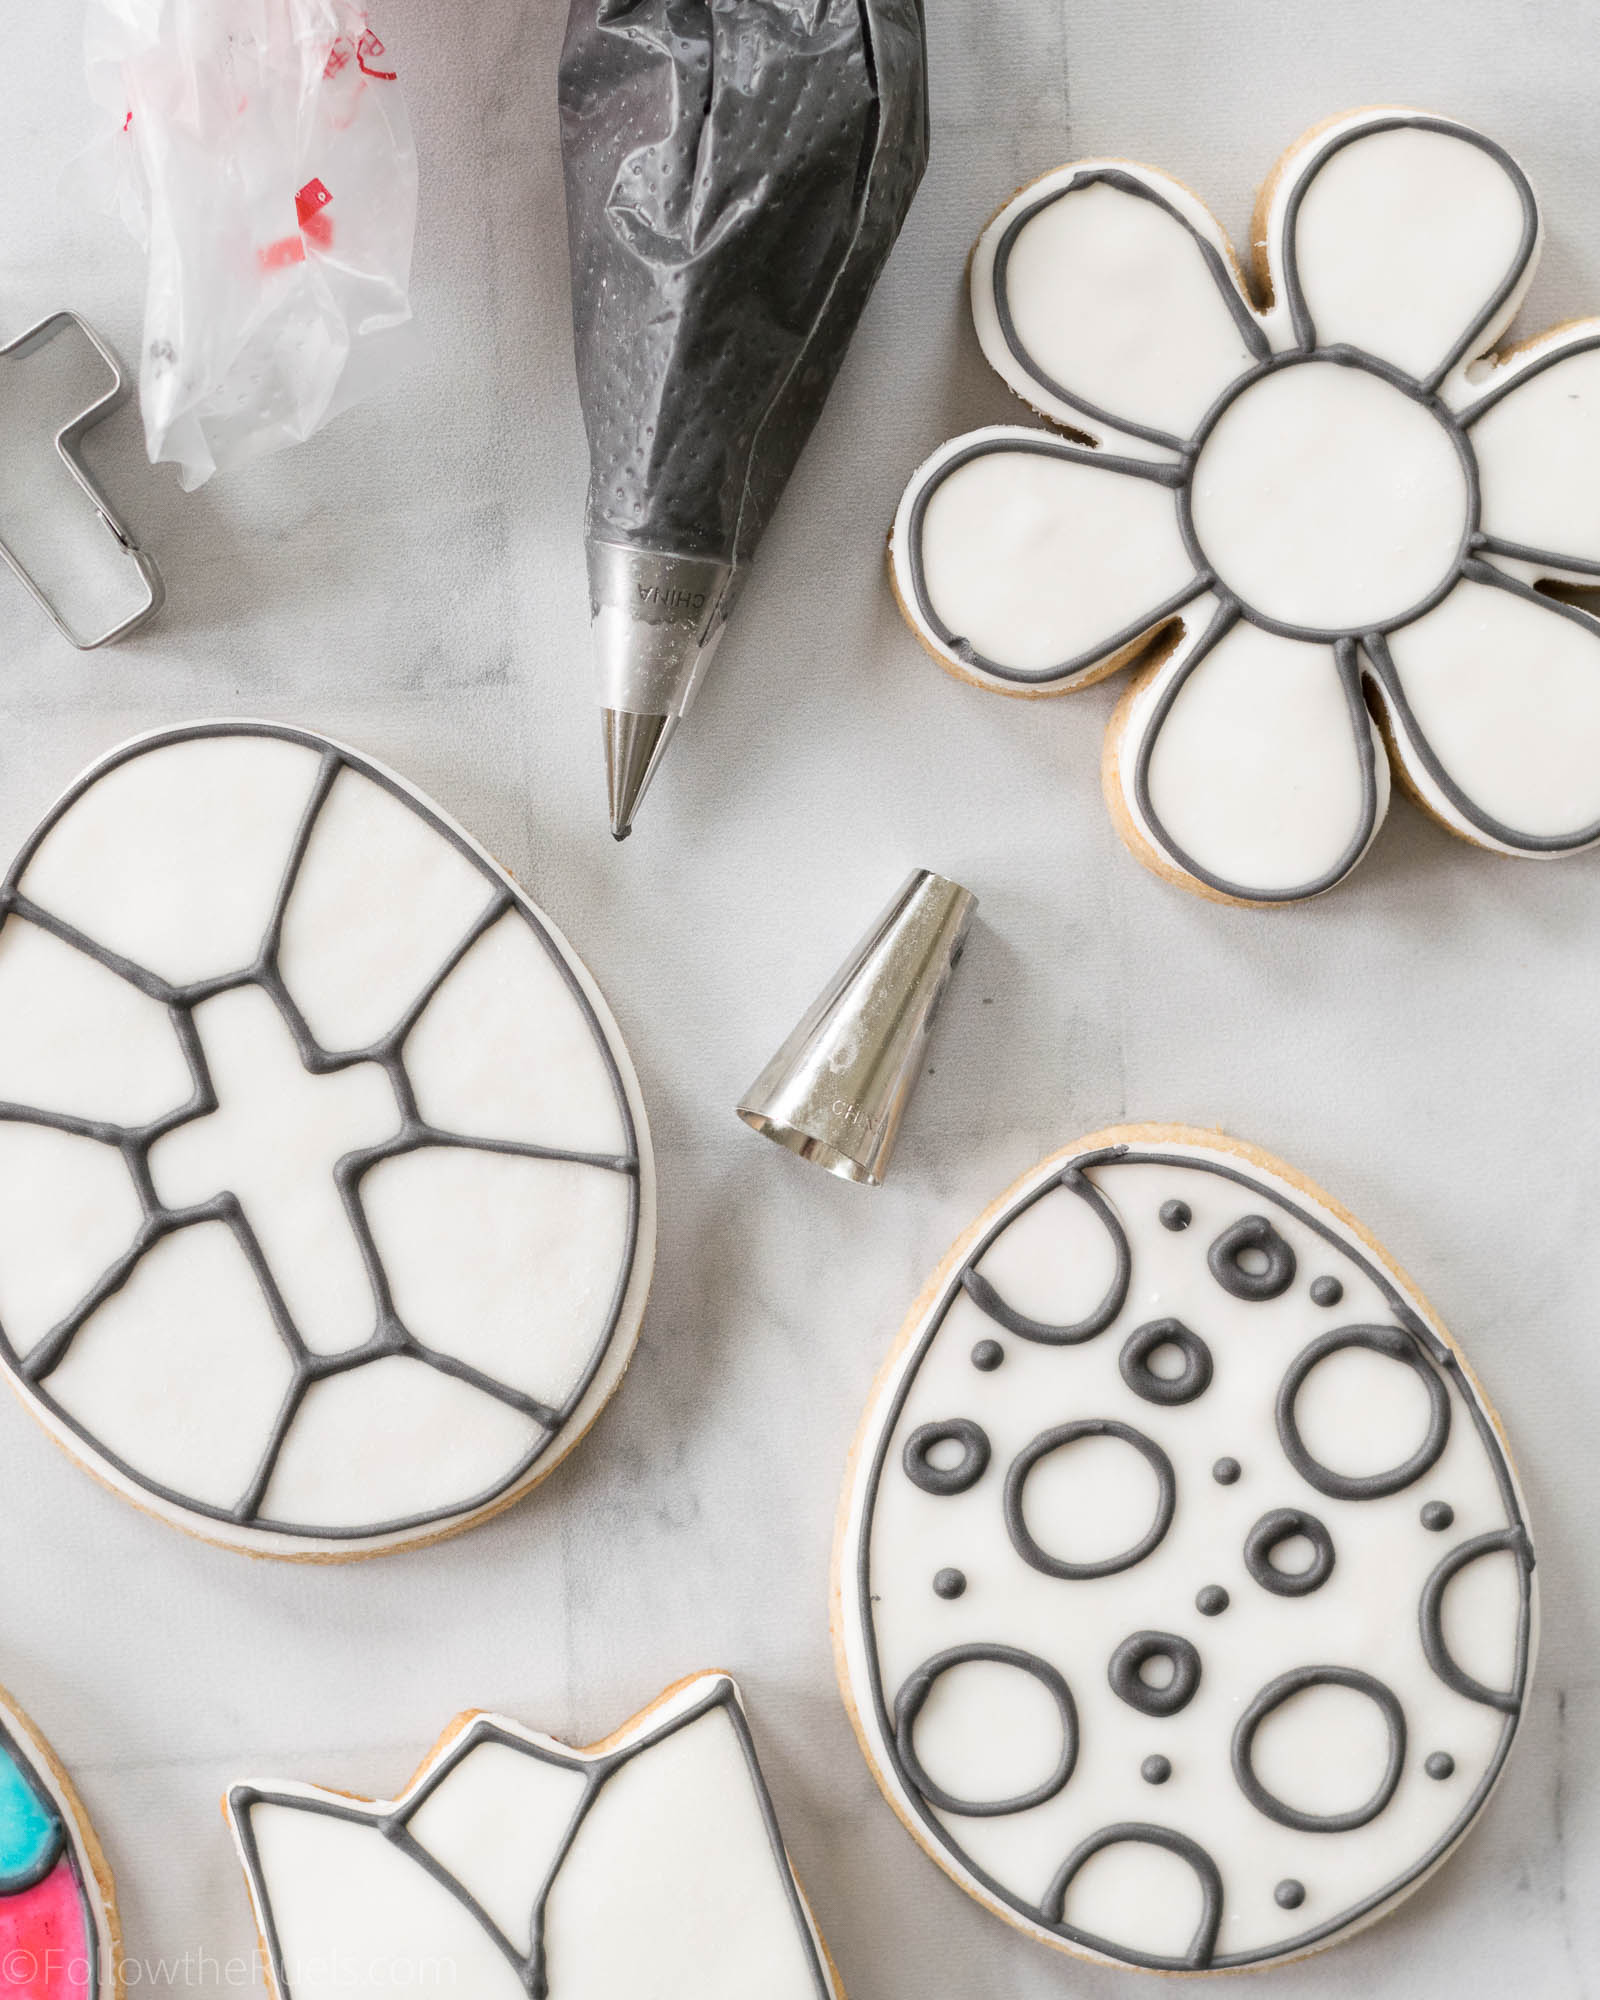
Once the cookies are iced or covered in fondant, outline the cookie with black piping consistency icing and create the image or shapes you desire. Depending on the age of the kids you are making these for, you may want to tailor your images to be more or less detailed.
The great thing about using icing for this part, as opposed to drawing it with a black food marker, is that you have created barriers so that the kiddos are forced to stay within the lines.
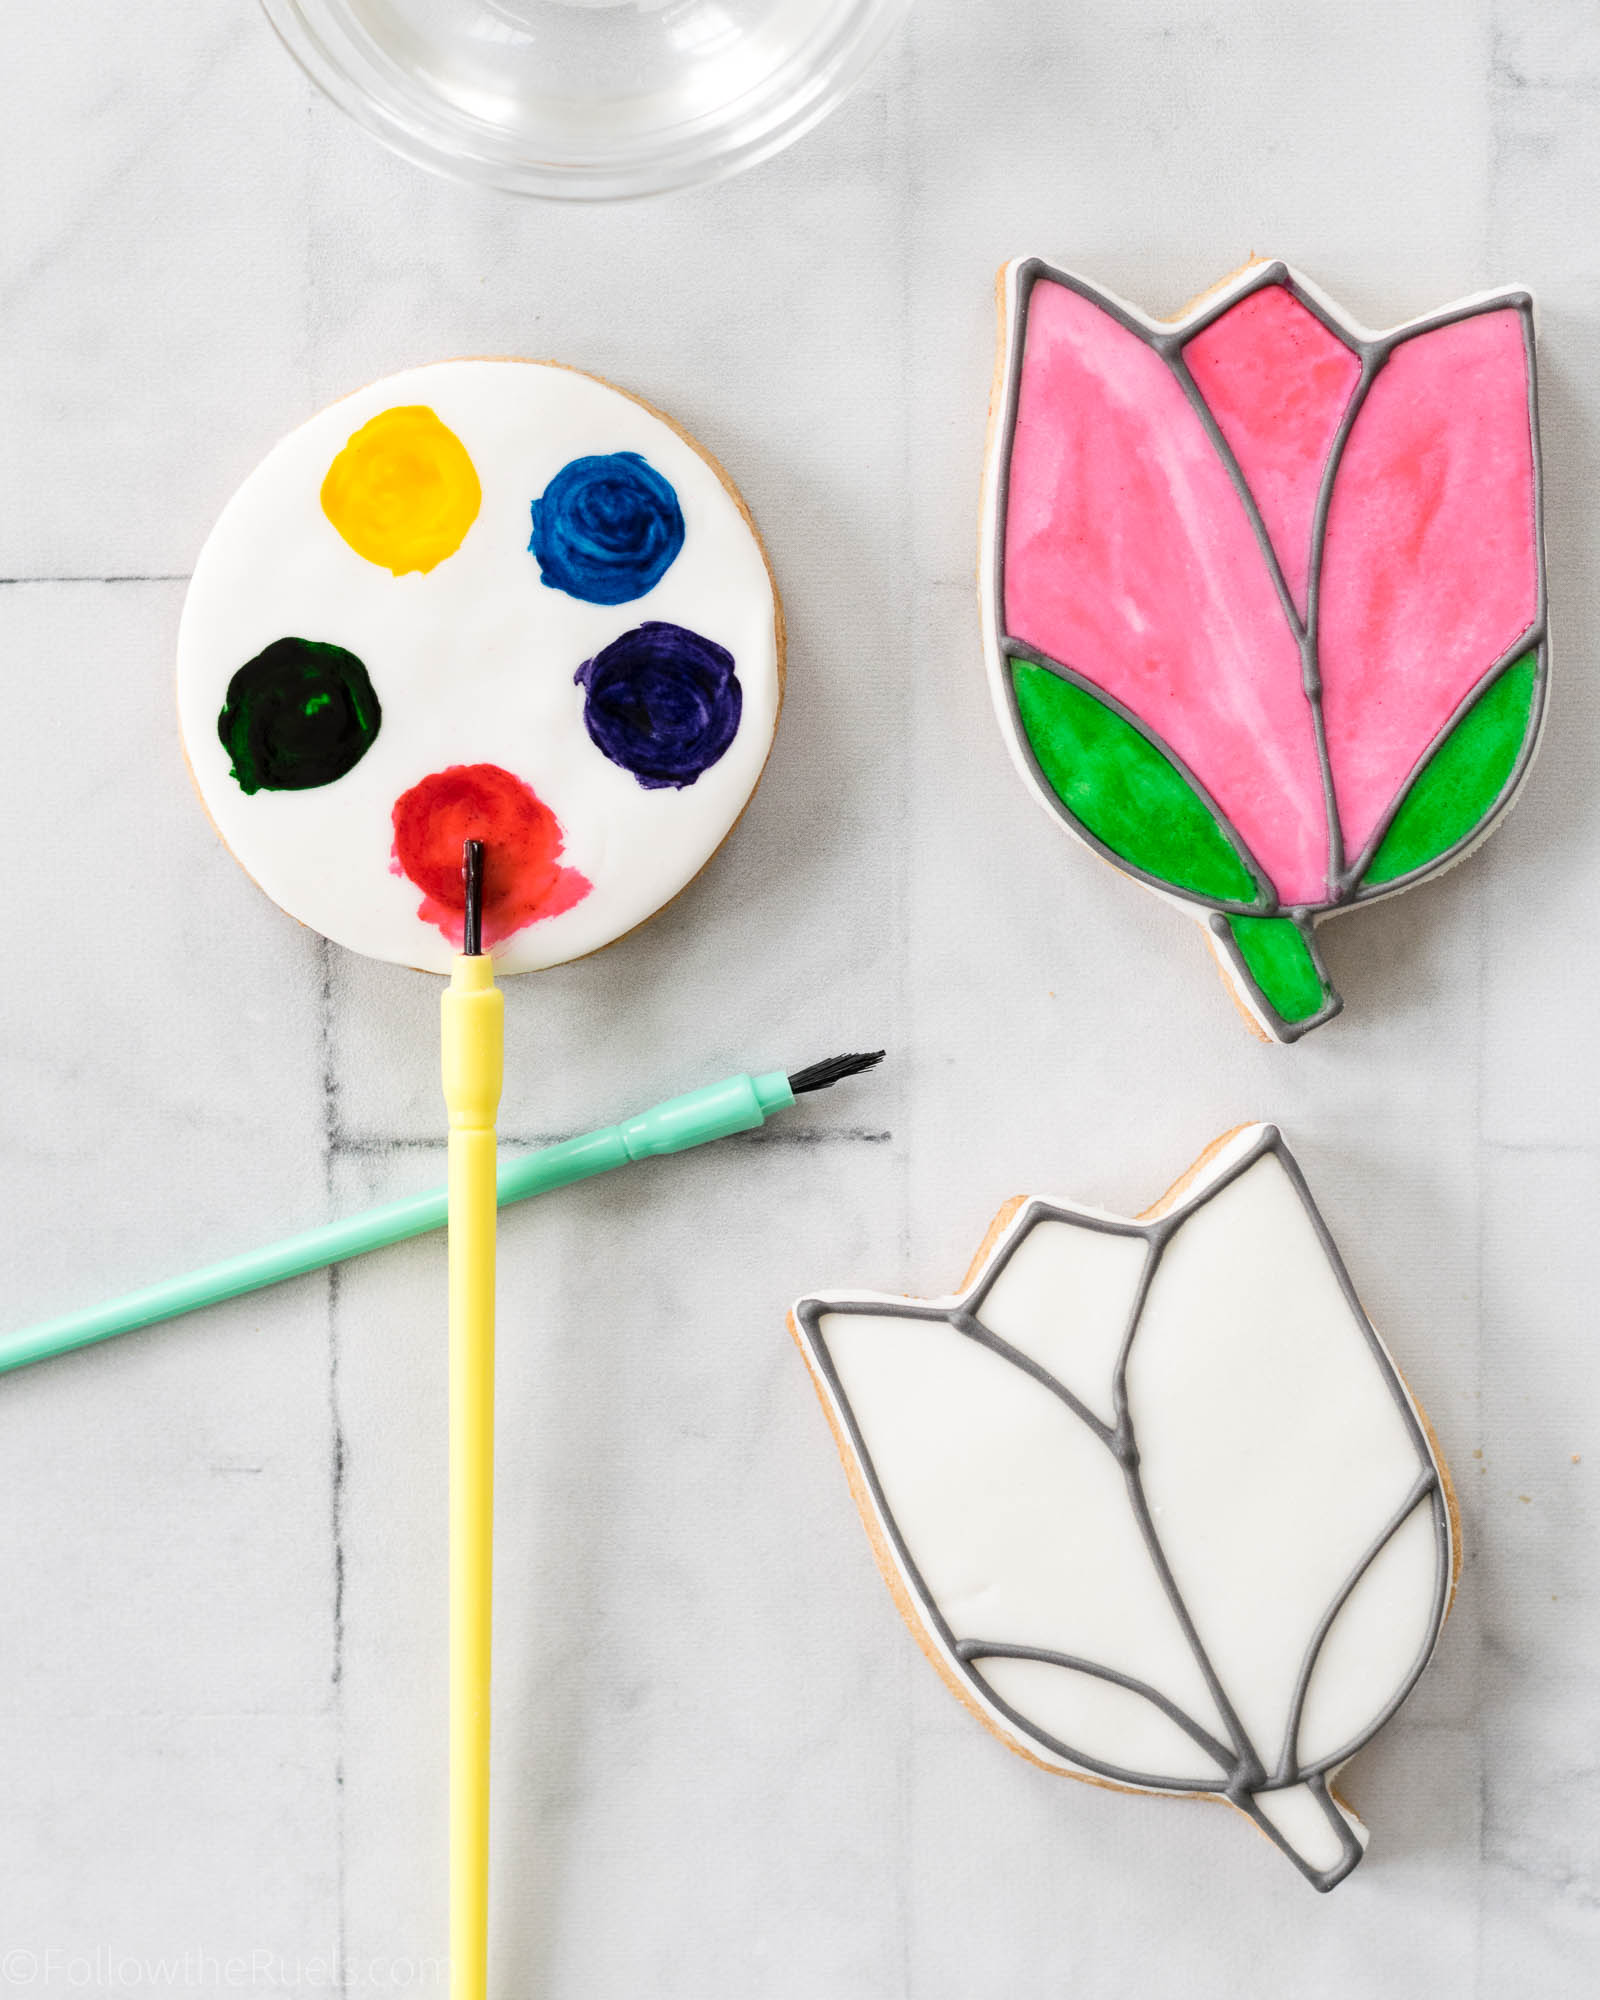
Finally, you will also want to create a little paint pallet for the kids to use. To make the pallet, I brushed drops of gel food coloring on a round cookie, then spread them out with a paint brush*. If you are transporting these cookies in any way, you will want to wait for the food coloring to dry before moving. They will still be a little tacky, but they should be dry in about 20 minutes.
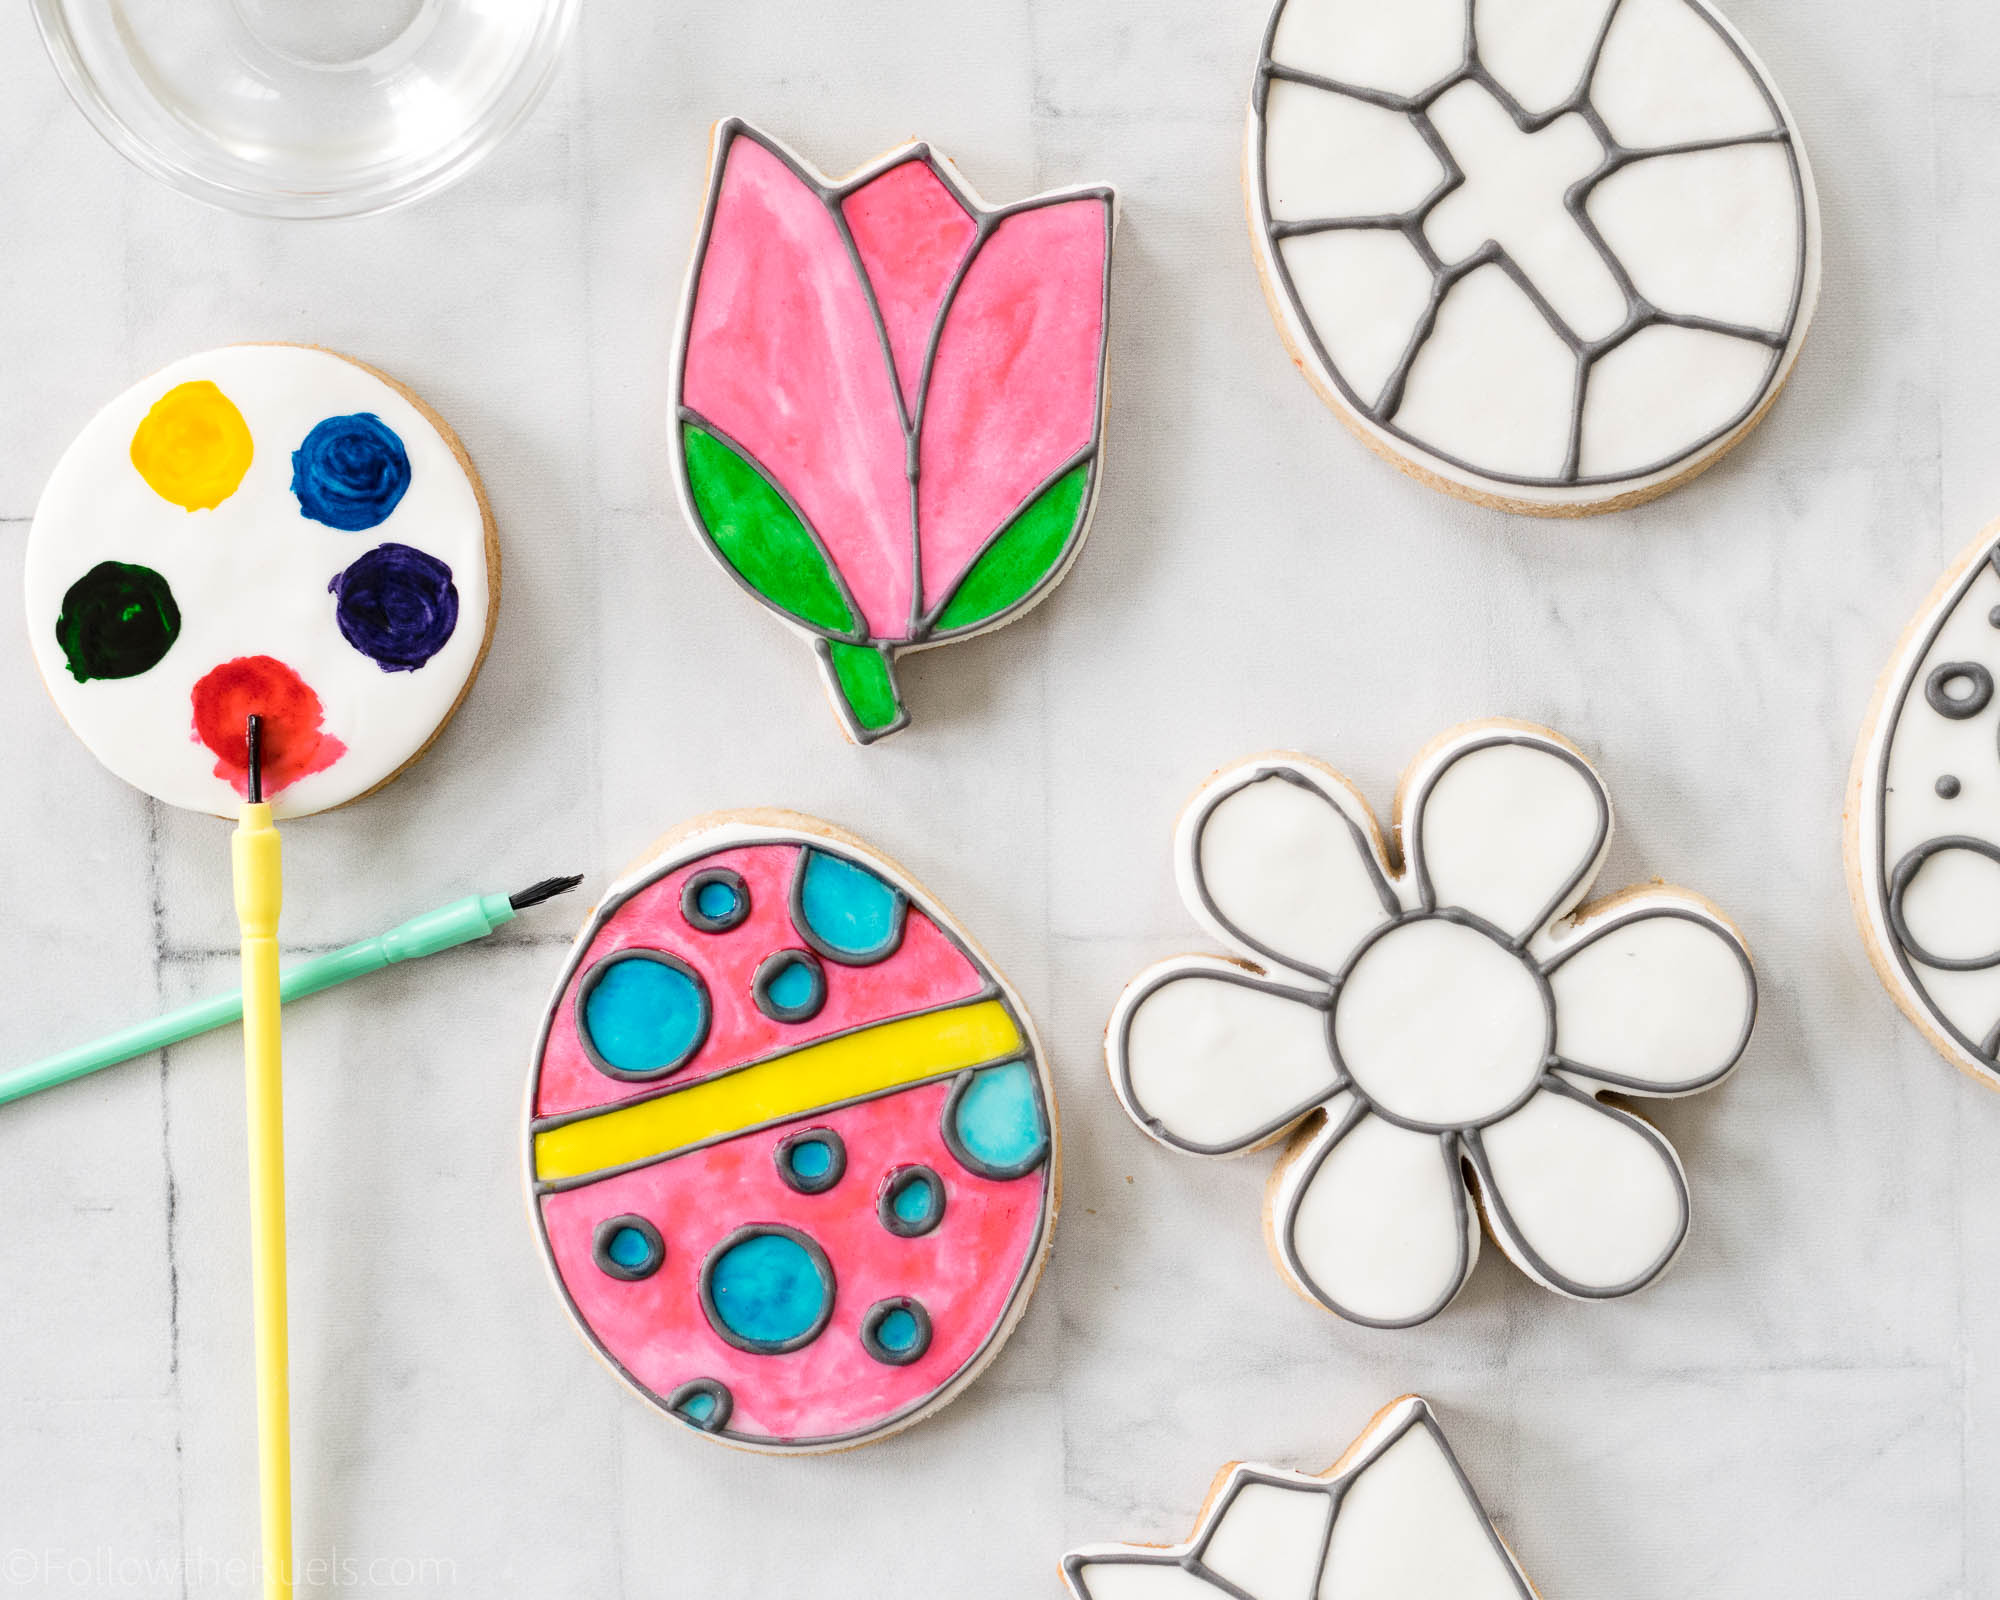
Finally, to paint these cookies, pour a small amount of clear extract (like almond) or clear alcohol (like vodka) (don’t worry, the alcohol evaporates after it is painted so the kids will not actually be ingesting it!) into a bowl and let the kids dip the paint brush into the extract, then brush into the color of their choosing. Then they can paint away!
If I were a kid, I would have lots of fun with the activity. Heck, I’m an adult and I had fun making these cookies!
Instructions
If you would like to print out instructions for your kids or other parents, feel free to copy the text below.
- Pour a small amount of clear extract or clear alcohol (don’t worry, the alcohol will evaporate before the kids eat it!) into a small bowl.
- Wet the brush in the extract then brush over the color on the color pallet.
- Paint over the cookie as desired.
- If you run out of color, mix a little food coloring with the clear extract to make more.
- Have fun!
Recipes and Tools
I switched it up a bit with these cookies and decided to make a cross between my sugar-free whole wheat sugar cookies and my strawberry honey sugar cookies from my Summer collection. Essentially, I made the strawberry honey cookies, substituted agave for half of the sugar, and added in whole wheat flour. They were delish! And I think kids and parents alike will like these because they are tasty and they have less sugar than your average sugar cookie.
But if you don’t want to buy my Summer cookie collection recipes (I get it), the basic sugar-free cookie is still amazing! Or you can keep it old school and make my favorite sugar cookies. Don’t be afraid to mix it up a bit and add any flavors you like. I think lemon zest or lemon extract would be great for Spring!
You will also want to make a batch of royal icing for the black outlines. You only need a small amount, so I would recommend only making about half a batch (and you will still have some left over).
*Only use paint brushes that have been used on food. Never use paint brushes that have actually come into contact with paint. Its okay to use normal craft brushes, but Wilton makes a set especially for food. I have included them below!
[show_shopthepost_widget id=”3081503″]