I feel bad for Thanksgiving. As soon as the page has been turned on October and Halloween is over, everyone sets their sights on Christmas. Starbucks already has their red cups out, Christmas decorations are front and center at just about every store, and I have already seen a few people put up their lights and trees.
And even though I love Christmas as much as the next person, lets pump the breaks here folks and give Thanksgiving it’s fair share! And even though Thanksgiving is really all about the food (nothing wrong with that), it should also be a time to reflect on everything that we are thankful for.
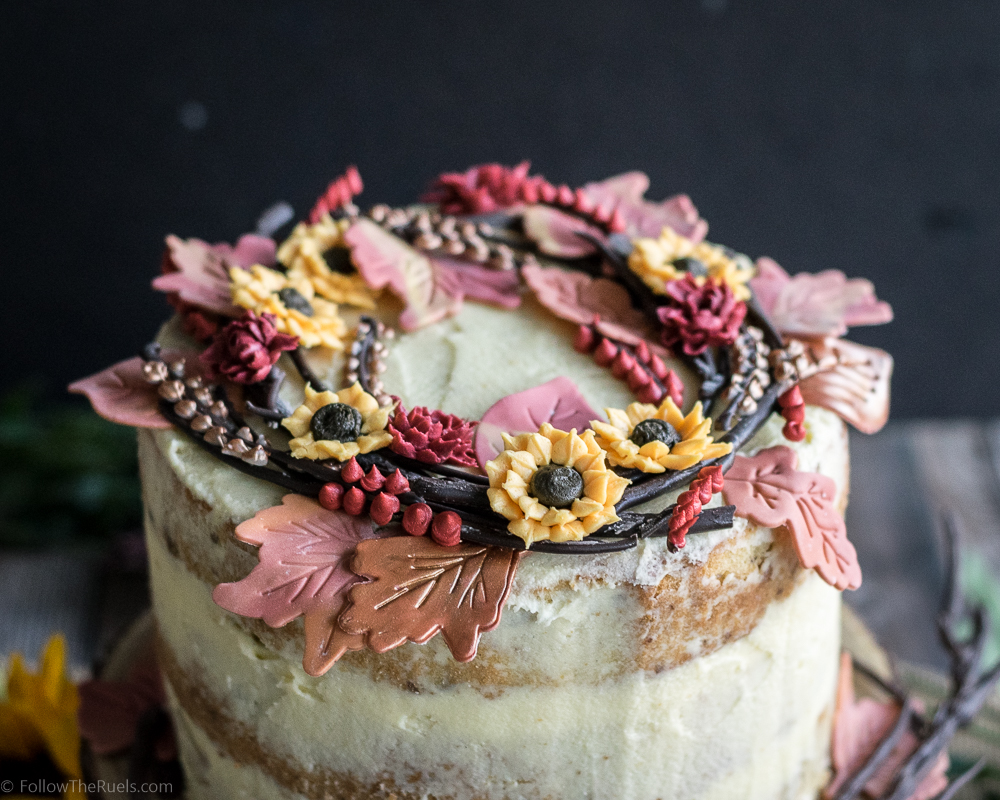
One thing I am definitely thankful for is this cake! I know I say everything I make is good (well, not everything, but anything that ends up on the blog), but this cake is AMAZING. And I don’t throw that term around all willy nilly. I mean it!
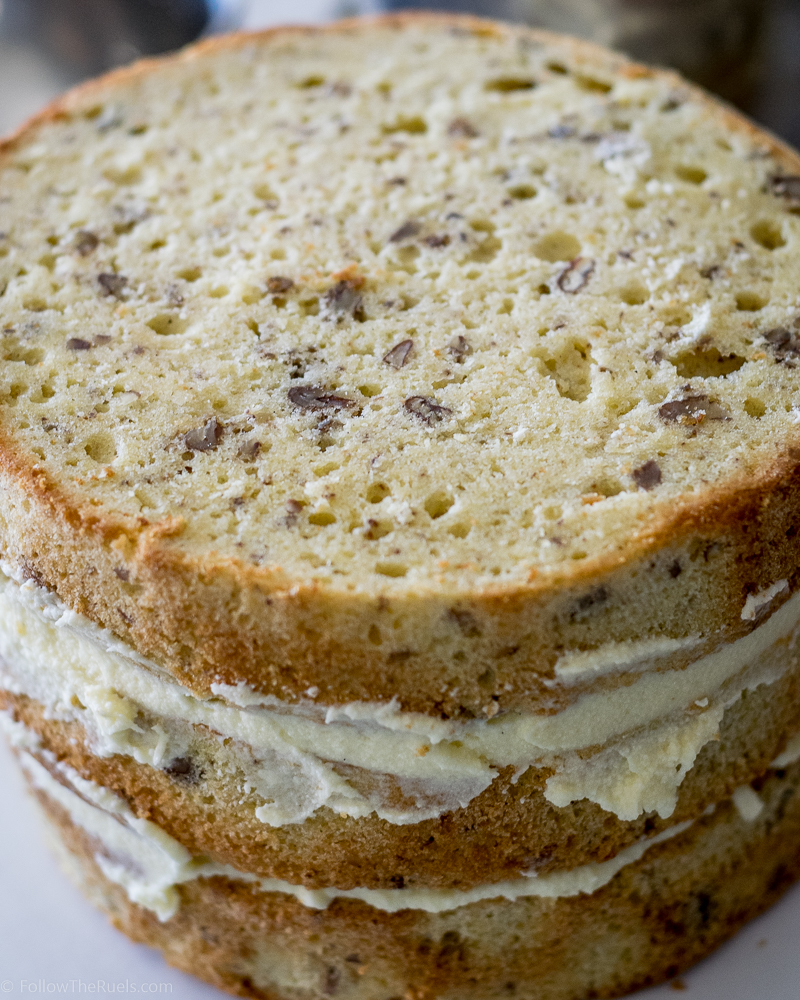
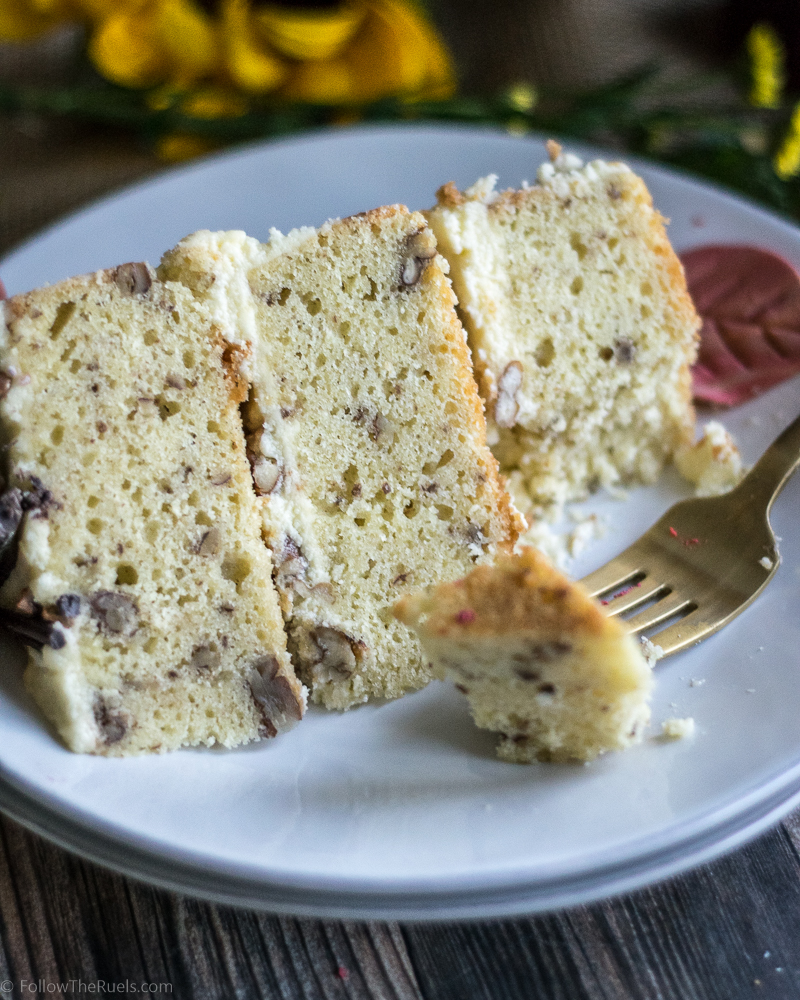
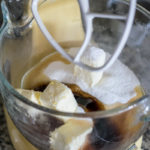
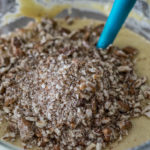
I started with a basic vanilla cake, but I swapped out some of the sugar for maple syrup and then folded in some toasted pecans. When I tasted the batter, I was actually a little disappointed in the maple flavor. It just wasn’t popping like I thought it would. Then, when I stated a bite after it had baked, that maple flavor really exploded!
The cake by itself tastes like a stack of pancakes that has been drenched in butter and maple syrup. I mean….come on! How could you refuse a slice of that? The pecans not only add a nice crunch, but that deliciously nutty, buttery flavor.
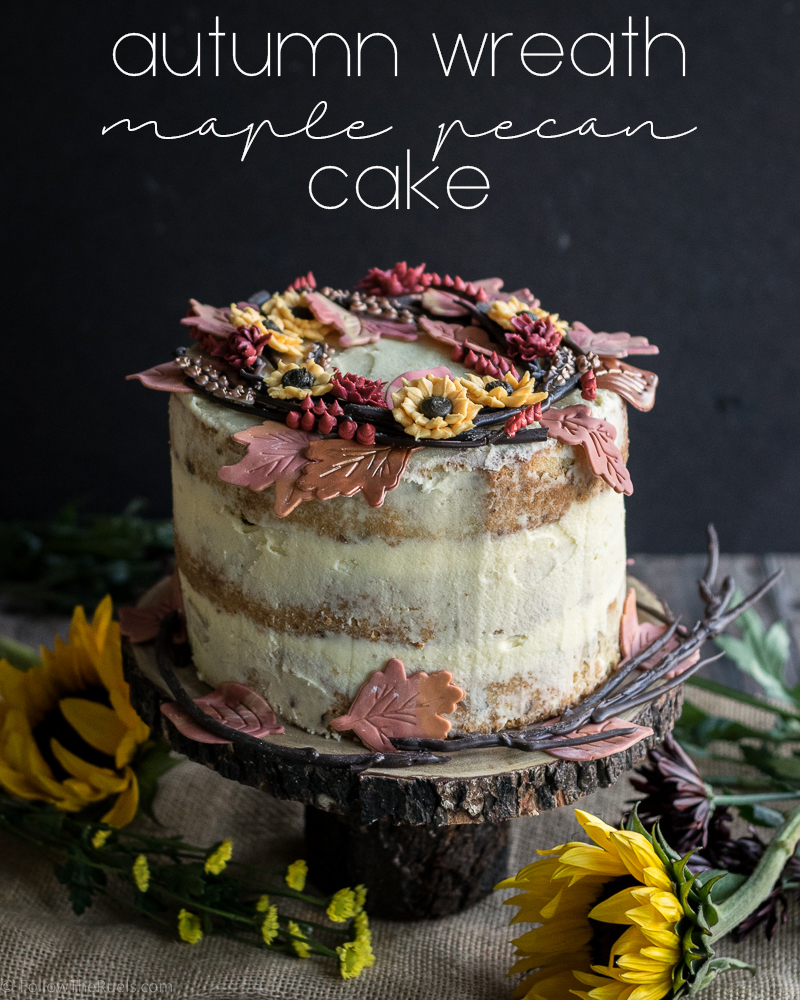
But it’s not just about the cake flavor, its also about the decoration. This is the first time I had really attempted to decorate a cake this elaborately. Just like with cookie decorating, I picked up most of my tricks from watching lots and lots of You Tube videos (you can learn anything on YouTube). One of my favorite channels is How To Cake It! You must watch her videos, she is amazing!
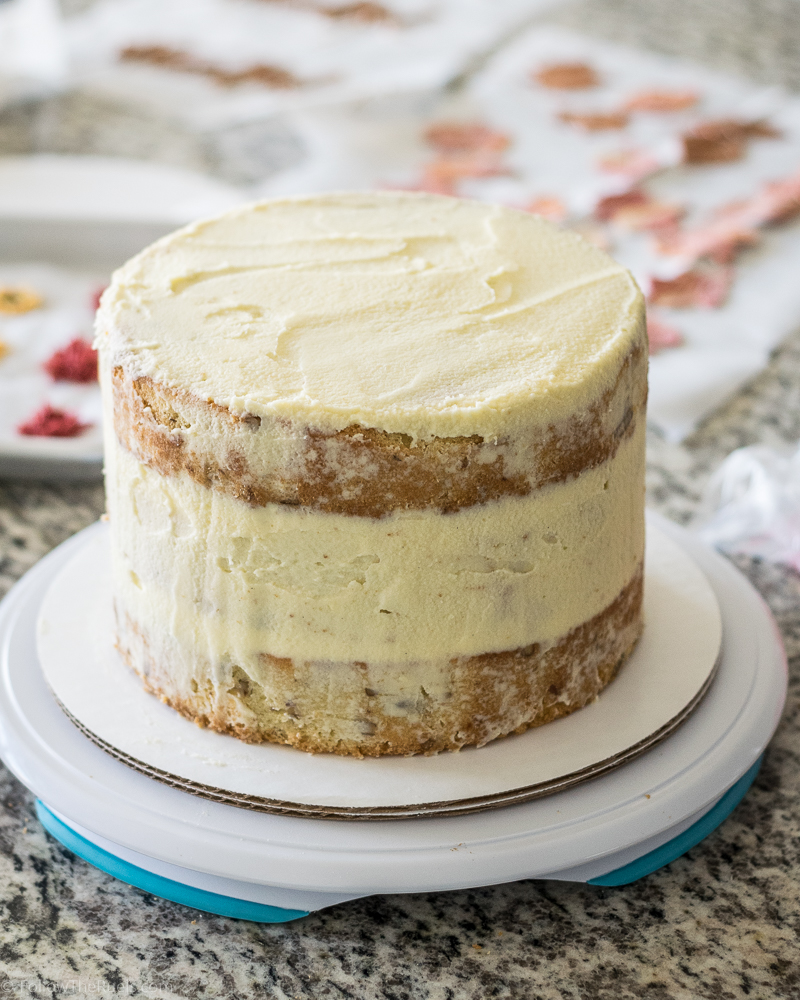
Anyways, I started by leveling all my cakes and removing the caramelized edges. Because I wanted this to be a “naked” cake, I wanted all the edges to look perfect and to be able to see the little pecan pieces through the buttercream.
In between each layer, I spread on a generous portion of Italian meringue buttercream and the scattered on some toasted pecan pieces. Once all the layers had been stacked up, I topped it off with the rest of the buttercream and spread the excess down the sides of the cake. I made sure to fill in any gaps between the layers. Then, with a bench scraper, I scraped off all the excess.
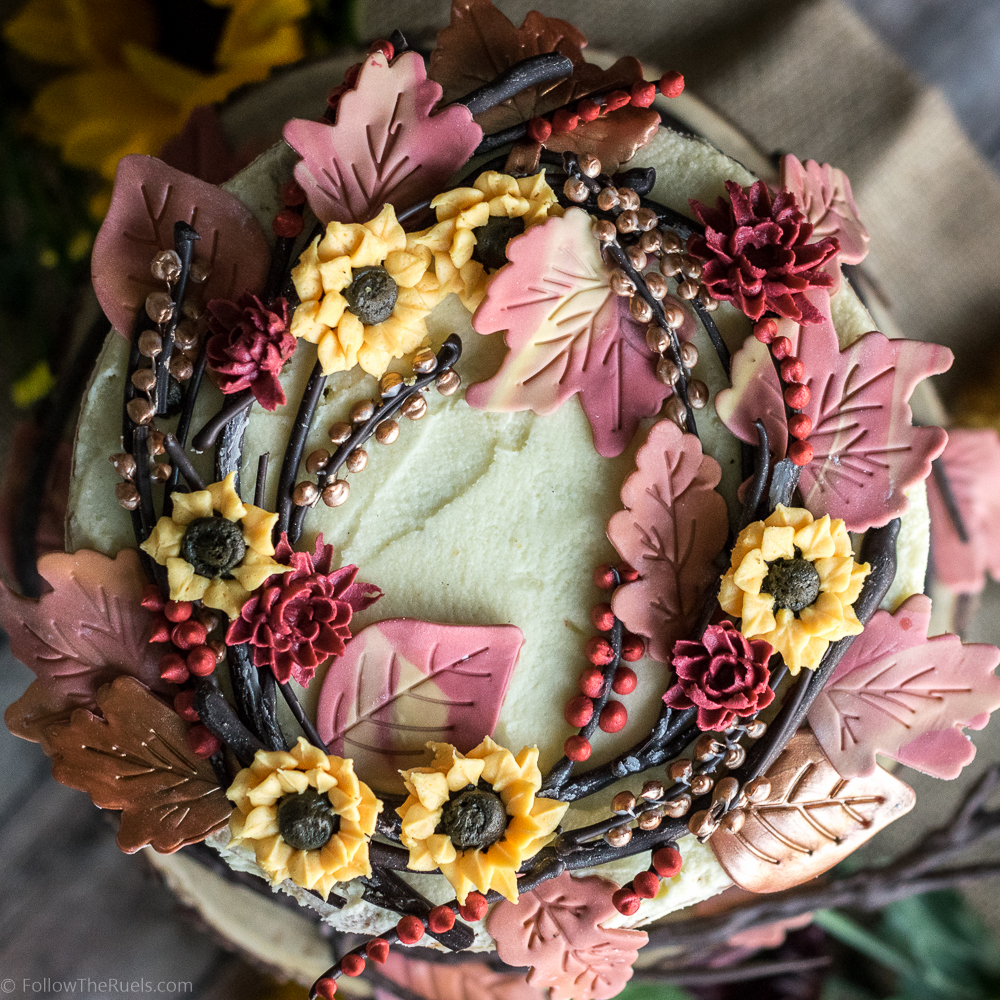
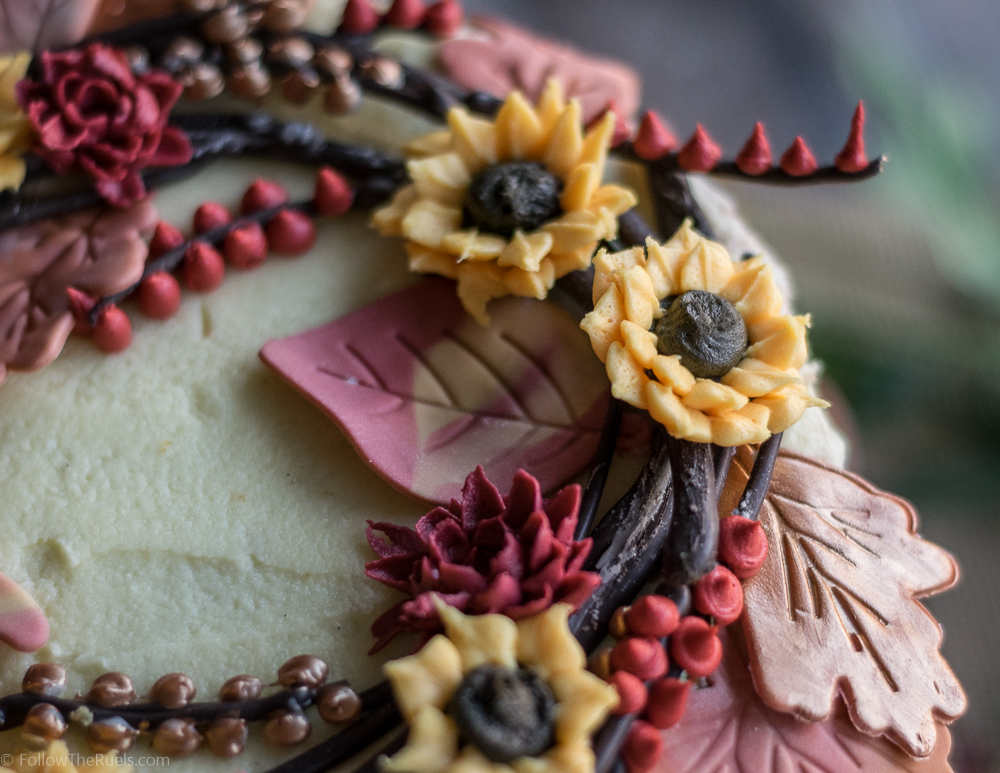
While the cake chilled in the fridge, I made the wreath decorations. The leaves are made out of various colors of fondant rolled together and cut out with some leaf shaped pie crust cutters. The branches are made out of melted chocolate, piped out to fit on top of the cake. And the flowers are piped out with buttercream using some really awesome techniques that were also learned from YouTube.
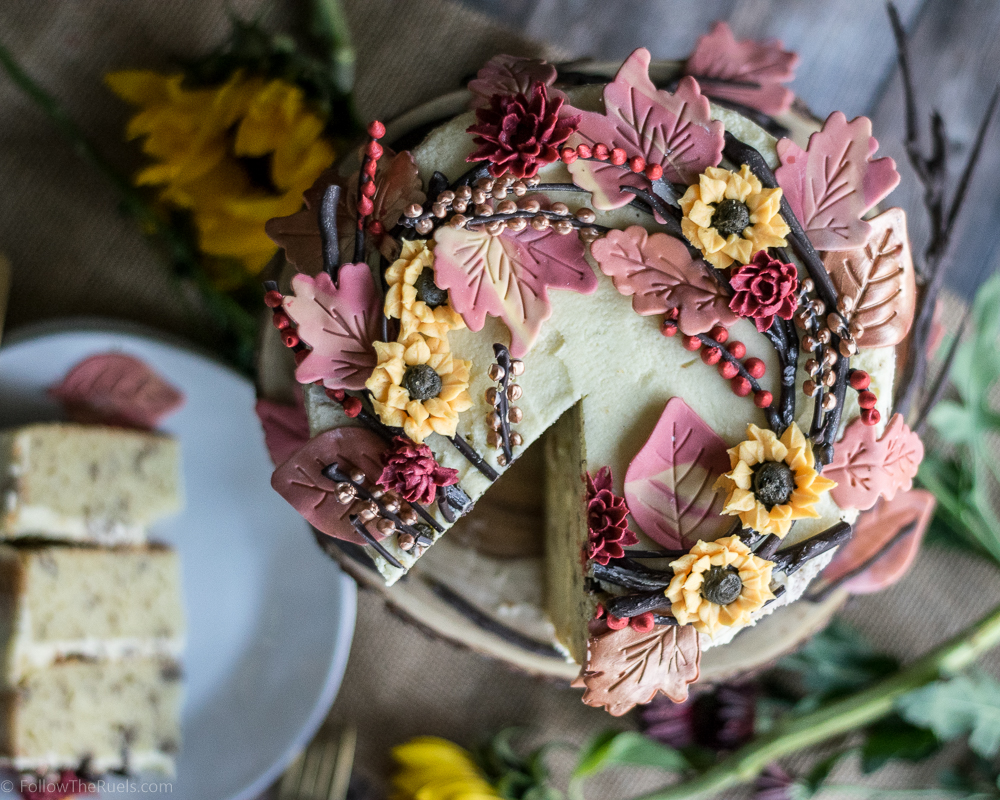
Once the branches had hardened and the flowers were hard from the freezer, I assembled everything into a wreath! Doesn’t it look pretty!
I think it would be perfect as the center piece for a Thanksgiving or Friendsgiving dinner! Or just make the cake (sans decor) and eat it anytime. Trust me…you won’t regret it.
You can watch how I made the cake in the short video below. I apologize in advance for the poor quality, I am still learning how to work my new camera and the editing software. But I am hoping to do a lot more videos, since that is practically how I learned everything I know. 😉
PIN NOW, MAKE LATER
[amd-yrecipe-recipe:96]
So pretty! I love the fall colours you incorporated. 🙂
Thanks so much Kayleigh!
Beautiful cake!
such a beautiful cake! I love how you decorated it!
stop by and chat with me 🙂 http://storybookapothecary.com/