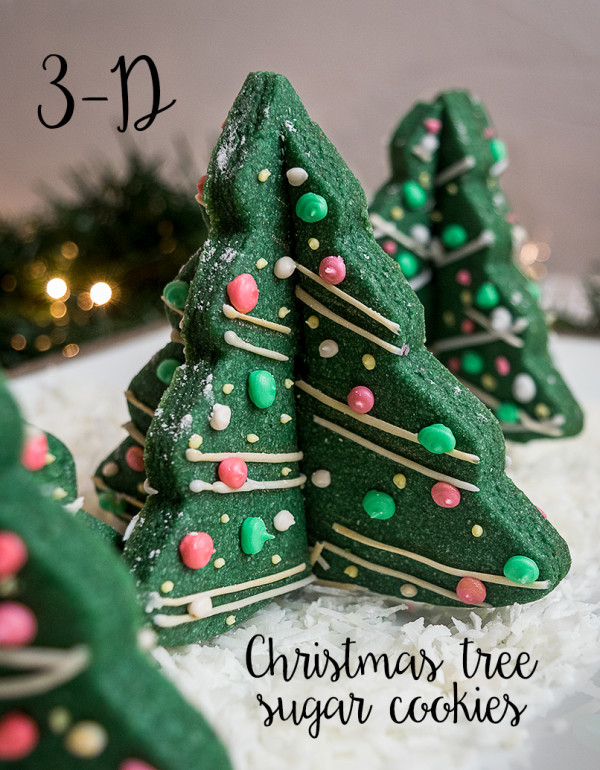
I am not totally sure what sparked this little baking project, but just before Thanksgiving I thought to myself that it would be fun to try to make a 3-D cookie. I have seen some cookie cutters that make 3-D animal cookies, like lions that stand on 4 legs – you get the idea. But I wanted to do something more Christmas-y.
Of course, you can’t just turn any cookie shape into a 3-D cookie, it has to be something that has a wide base and can easily stand on it’s own. Which makes the Christmas tree the perfect cookie shape for this project!
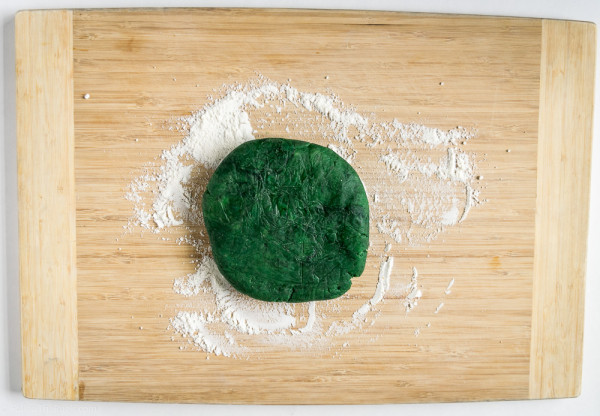
I started by dying my dough green. The very first attempt (there were 3, total), involved using a plain sugar cooking and icing the cookie. Guess, what, that didn’t work. So instead, I just dyed the cookie green, making the icing much easier!
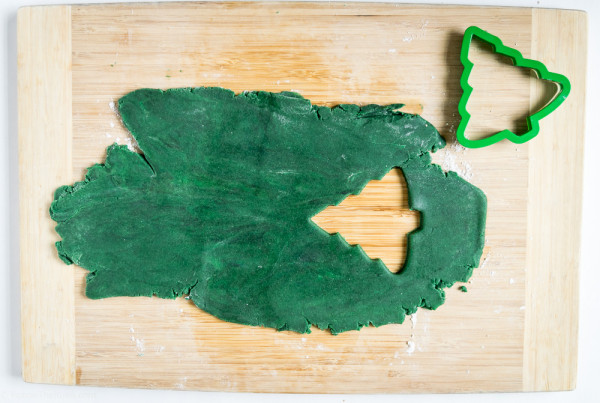
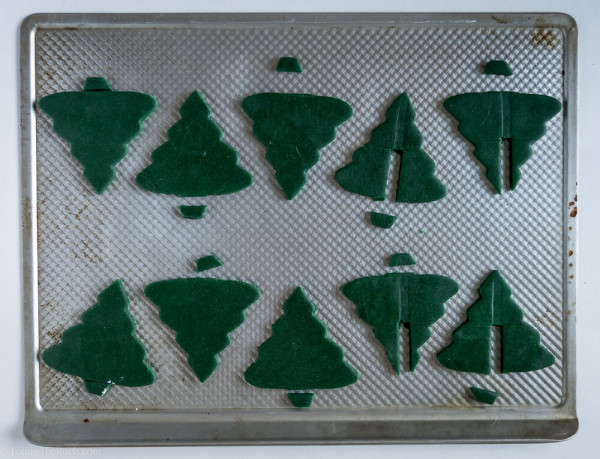
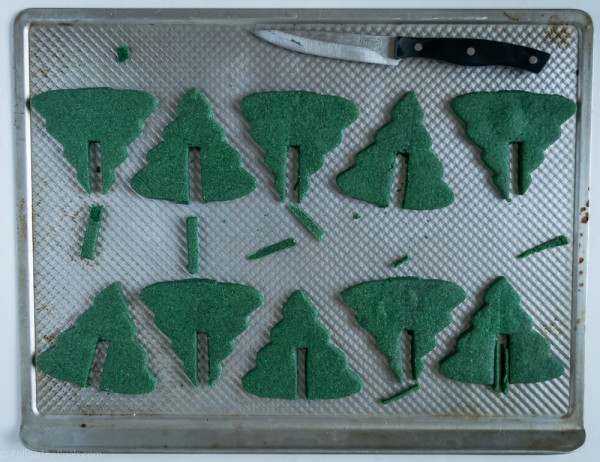
I then rolled out the cookies to about 1/3″ thickness (I use these rolling pin bands), and cut them into Christmas tree shapes. I moved the cut out dough to a baking sheet then cut out the slots so that I could fit two cookies together. I also cut off the stump of the tree so that the cookie could stand a lot easier.
To get the slots right, you want to find the center of the cookie, both vertically and horizontally. Use a knife or toothpick to mark the spot. You then want to mark off how wide you want the slot to be, which should be slightly wider than the cookie’s thickness. If the cookie is 1/3″, then the slot should be about 1/2″, or maybe a tad smaller. Use the knife to cut the slot from the center point. For half the cookies, you will cut from the center, down. The other half, from the center, up.
You can remove the cut piece of dough if you want, but the cookie will expand slightly and you will have to cut it again after it’s baked. I learned after attempt 2 that it was better to just cut out the slot, but leave the dough there and bake the cookie whole. Immediately after the cookies have baked, go back in with a sharp knife and recut the slot and remove the piece of cookie. Make sense? If you look at the picture above, it what I did with the two cookies on the far left.
Once they have baked, fit the cookies together by placing one cookie perpendicular to the other and sliding together. If some don’t fit, you can use a sharp knife to shave down the edges.
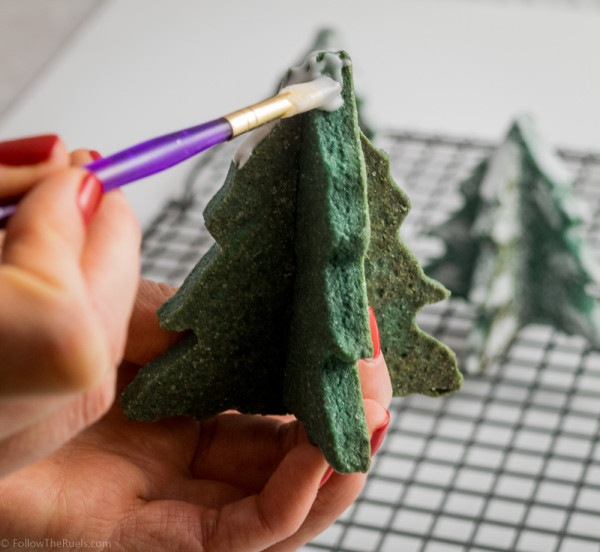
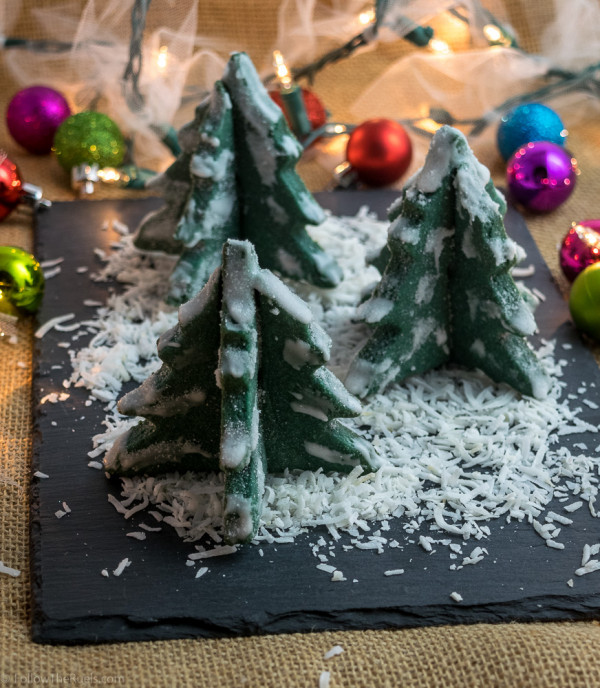
The just decorate them however you want! I decorated mine two different ways. One was more of a snow covered tree. I painted white royal icing over the tops of the trees and on the tips of each limb. I think sprinkled sugar all over the wet icing to make it look like snow.
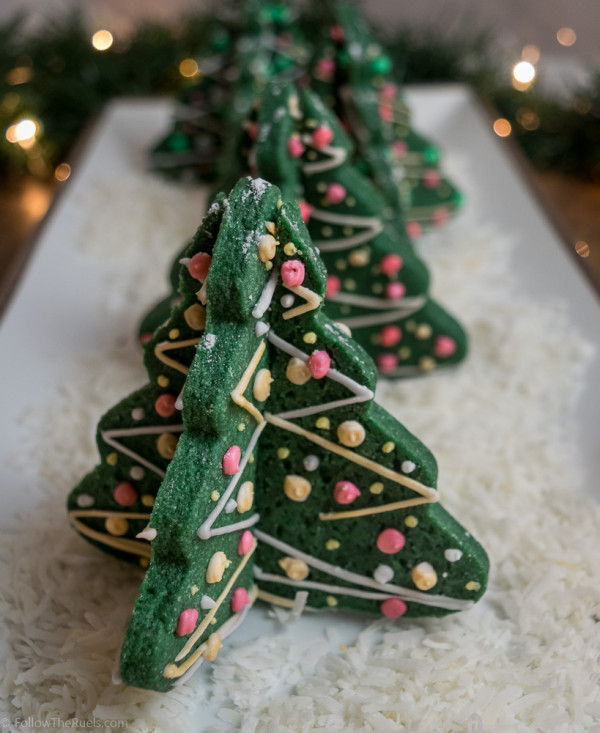
The other was more of a decorated tree. I used royal icing to ice on ornaments, garland, and lights! It was pretty simple, and nothing special. I am sure all of you could make these look super cute! My only advice is do not decorate the center of the cookie that crosses with the other cookie. If you try to put your cookies together once the icing is dry, they won’t fit anymore.
For these cookies, I used my basic sugar cookie dough with a few drops of green, a touch of blue, and a bit of black, to get that dark evergreen tree green. For the icing, I used this recipe.
I hope you give these a try this holiday season! I think these would be so fun to make with kids! And they just display themselves!
Genius! What a great idea to make your cookies so unique! Pinning and sharing, love love love this!
Thanks so much Katie!!
These cookies are just adorable and would work great as a table place card and dessert!
That is such a good idea! Thanks Julie!
These are SO SO CUTE! I am definitely putting these on the #holidaybaking list! I can’t wait to take them to work. #FoodieFriDIY
Thanks so much Christie!
So cute! Thank you for sharing at Create • Share • Inspire. I hope to see you back tonight!
Alicia
Thanks Alicia!