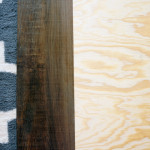
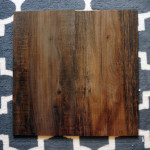
 I have learned over time that producing good food is only half the battle to being a good food blogger. My food could be the best food around, but if my pictures suck then no one will be be drawn to the blog or the recipes. Unfortunately for me, I do not live in a house with a beautiful, spacious kitchen flooded with natural light. I live in an apartment where the nearest window is about 20 ft from the stove. And let me tell you, florescent lights do not product pretty pictures. Most of the time, I am shuttling my food back and forth, through our living room (trying not to spill), and awkwardly positioning myself to get the right light and composition for my pictures. Usually I just use foam board to place my plates or food. But that is so boring. I love all these other bloggers pictures that they take on their beautiful granite counters or rustic wood tables. So I decided to make my own granite counter top and rustic wood table.
 I could have purchased a slab of marble and some solid wood planks, but I don’t have the space in my apartment to store that kind of stuff, nor did I want to spend that kind of money. Instead I purchased a 2′ x 2′ wood board ($6), 4 1′ x 1′ white marble laminate tiles ($1 each), and 2 4′ x 6″ wood laminate planks ($2 each).
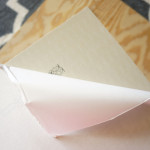
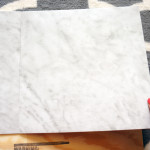
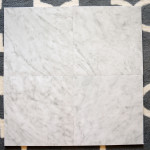
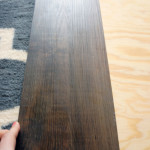
The total cost of the materials as a little bit over $15. It could end up being a little more or less depending on the type or style of tiles you get. Putting it together was super easy. I peeled paper backing off the tile, and squared the first tile to the corner of the board. The rest of the tiles easily fit around the first one. With the longer wood laminate boards, I just cut them in half with a normal pair of scissors and lined up the original edge (not the cut edge) along the edge of the board.
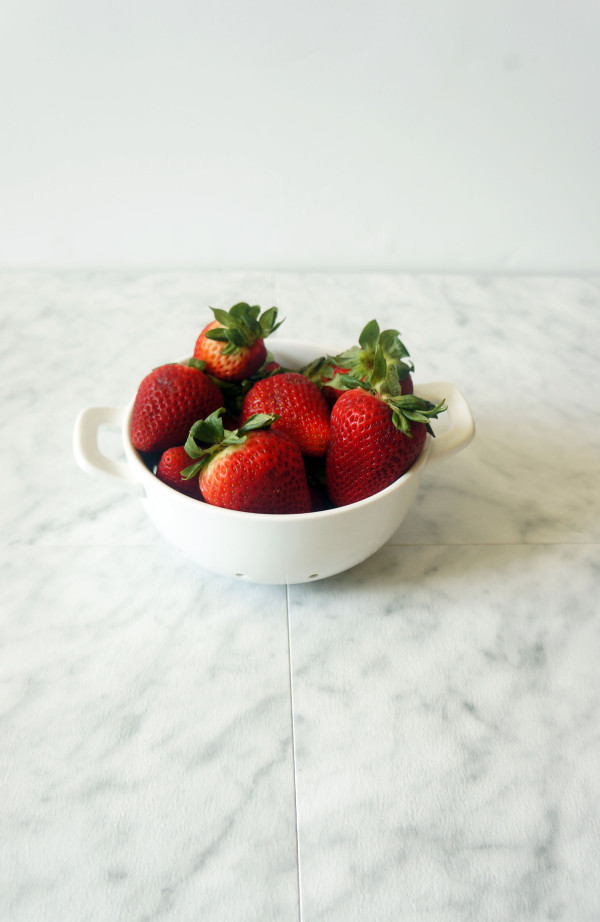
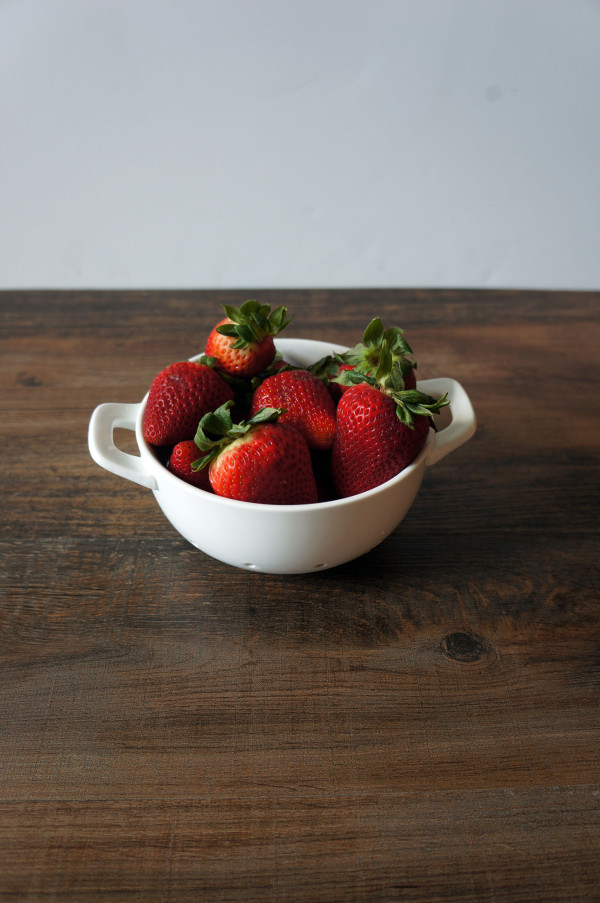 In the end, I couldn’t be more pleased! Each side turned out really well and now I have two distinct styles to use for my pictures. I am partial to the wood board side, but I know the “marble” side will get plenty of use as well.
DOUBLE SIDED PHOTO BOARD
MATERIALS
1 2′ x 2′ quarter inch or thicker wood board
4 1′ x 1′ faux granite laminate tiles
2 4′ x 6″ faux wood laminate planks
DIRECTIONS
1. Remove the paper backing from the tile exposing the adhesive. Place the tile square along the edge of the board. Press down firmly.
2. Place the remaining 3 tiles firmly along the edge of the first tile, ensuring the the seam between the tile is minimal.
3. Flip the board over. Cut the wood planks in half using scissors. Place the first plank square along the bottom and side edge of the board.
4. Repeat with remaining pieces.
