• Home
  • Eat
    • Breakfast
    • Appetizers
    • Main Dishes
      • Chicken
      • Beef
      • Seafood
      • Healthy Dishes
      • Paleo Dishes
      • Salads
    • Desserts
      • Decorated Cookies
      • Cookies
      • Bars and Brownies
      • Cakes and Cupcakes
  • Shop
    • Cookie Decorating Supplies
    • Bakeware
    • Cookware
    • Kitchen Gadgets
    • House
  • About
    • Contact
    • Bucket List
  • Cookie Decorating 101

Follow the Ruels

Black and White Double Chocolate Chip Cookies

May 2, 2018

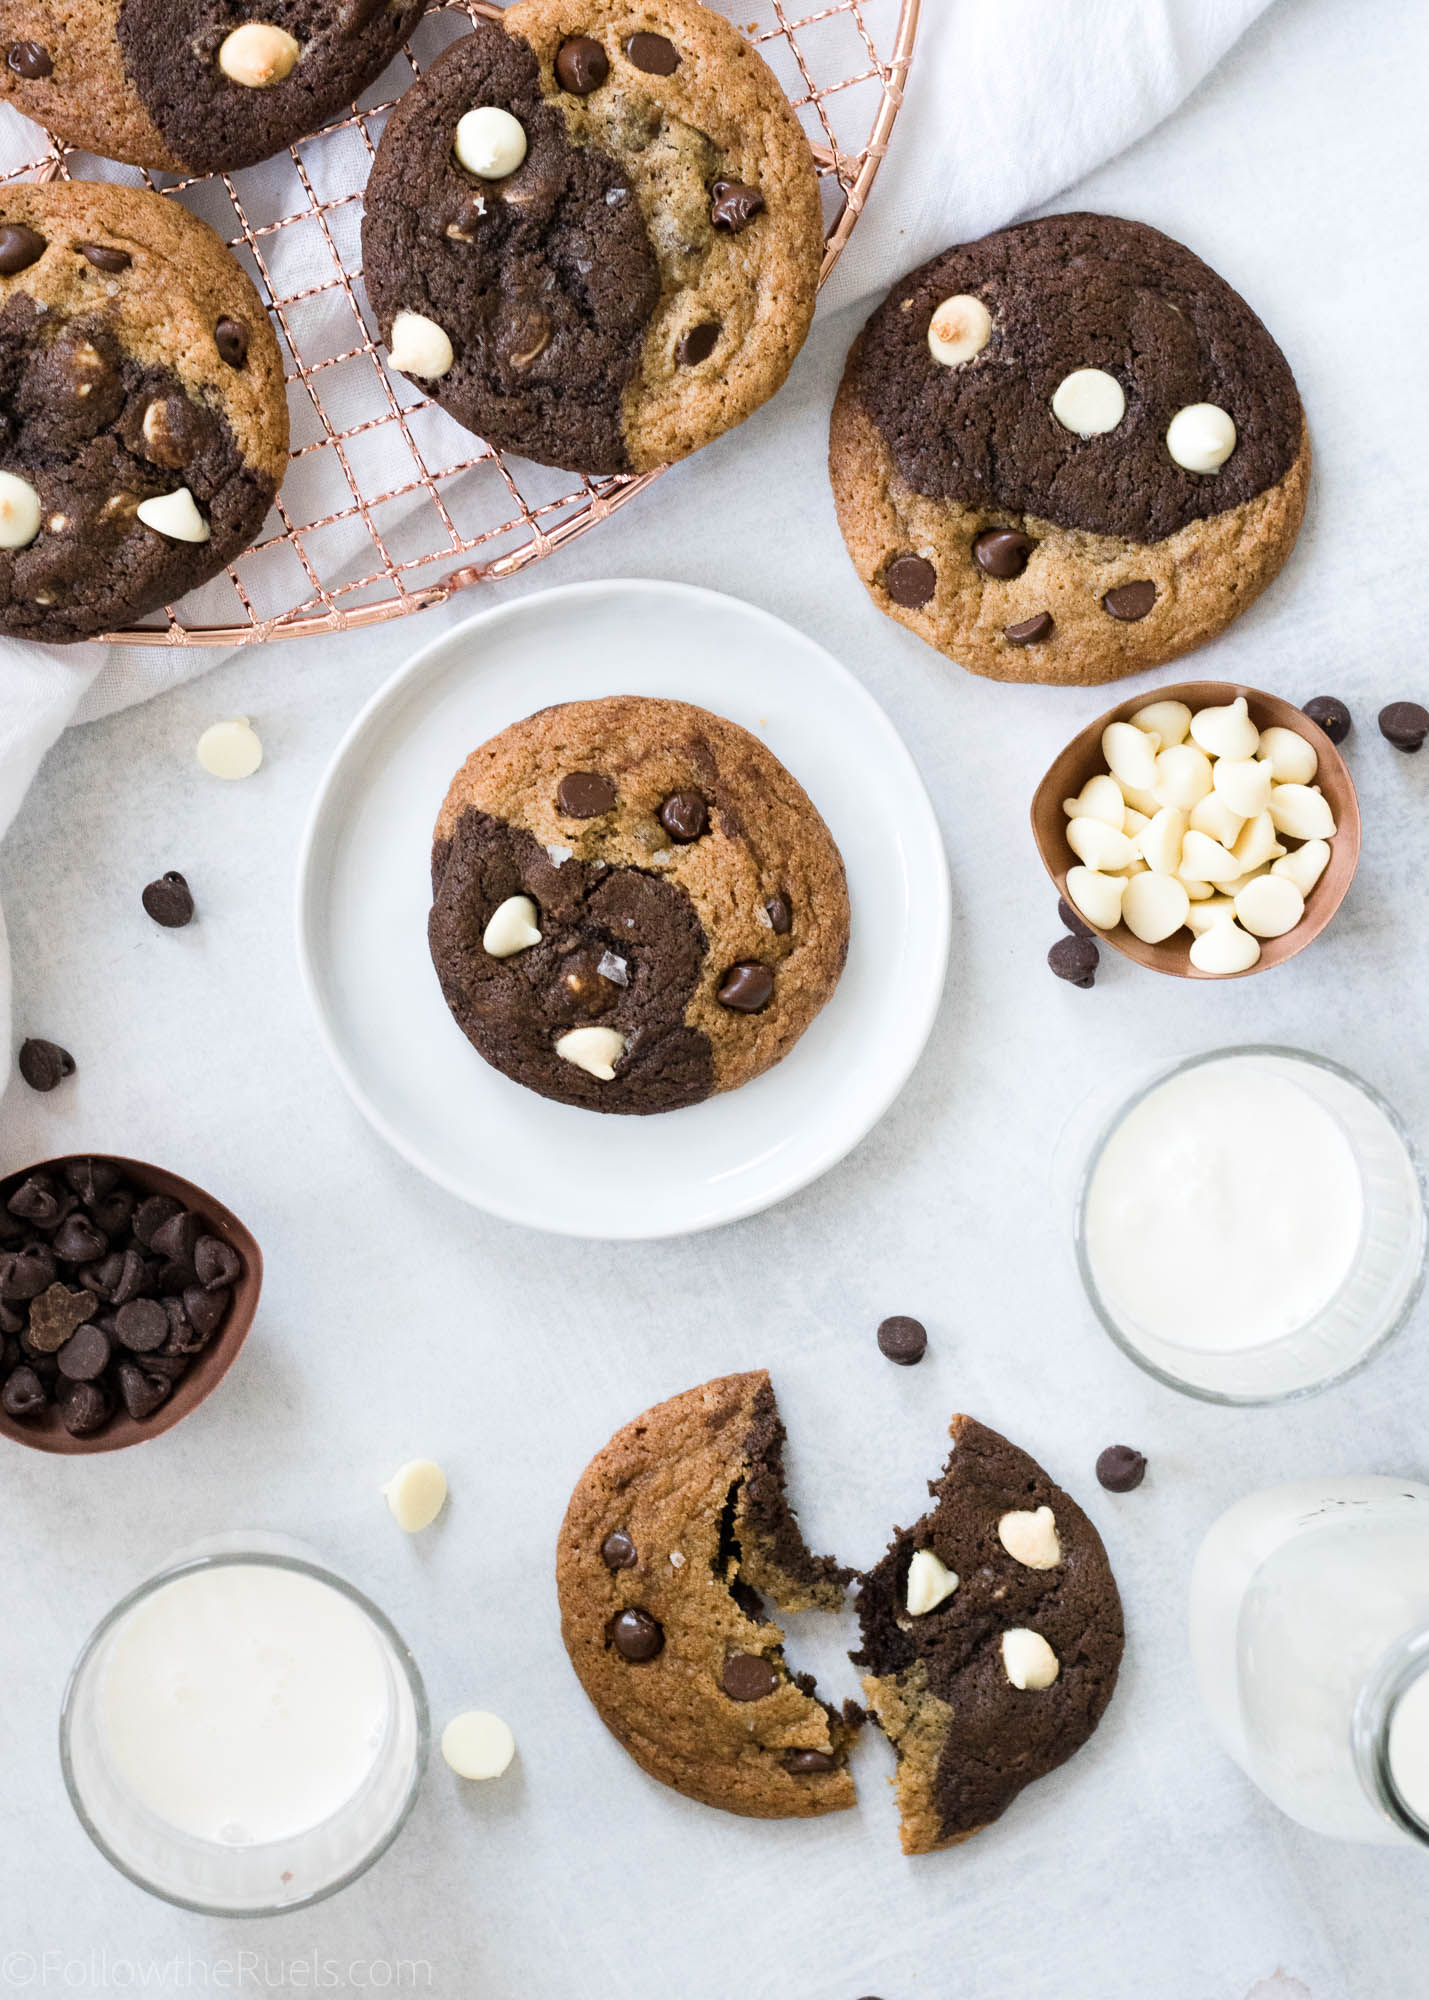
Can’t decide between a classic chocolate chip cookie, and a reverse chocolate chip cookie (chocolate cookie with white chocolate chips)? Well, you don’t have to! Instead, make these ying-yang-esque cookies which combine them both to make a black and white double chocolate chip cookie. 

Boy, that’s a mouthful. And so are the cookies!

If you follow me on Instagram, you may have caught my Instagram story about how my husband gave these cookies his stamp of approval. Normally, he is not a sweets eater. He is constantly turning down my invitation to try any of my baked goods. 

However, these cookies caught his eye and he asked me if he could have one (color me shocked!). After his first bite he said, “Wow, these are actually pretty good.” 

Actually pretty good. Now that’s a seal of approval if I have ever heard one. 

But really, these are so delicious. I love the combination of the classic cookie and it’s mirror image. There are so many layers of chocolate flavor, from the cocoa powder in the chocolate cookie, to the semi-sweet chips, to the super sweet white chocolate. Like I said, they are a mouthful in the best way possible!
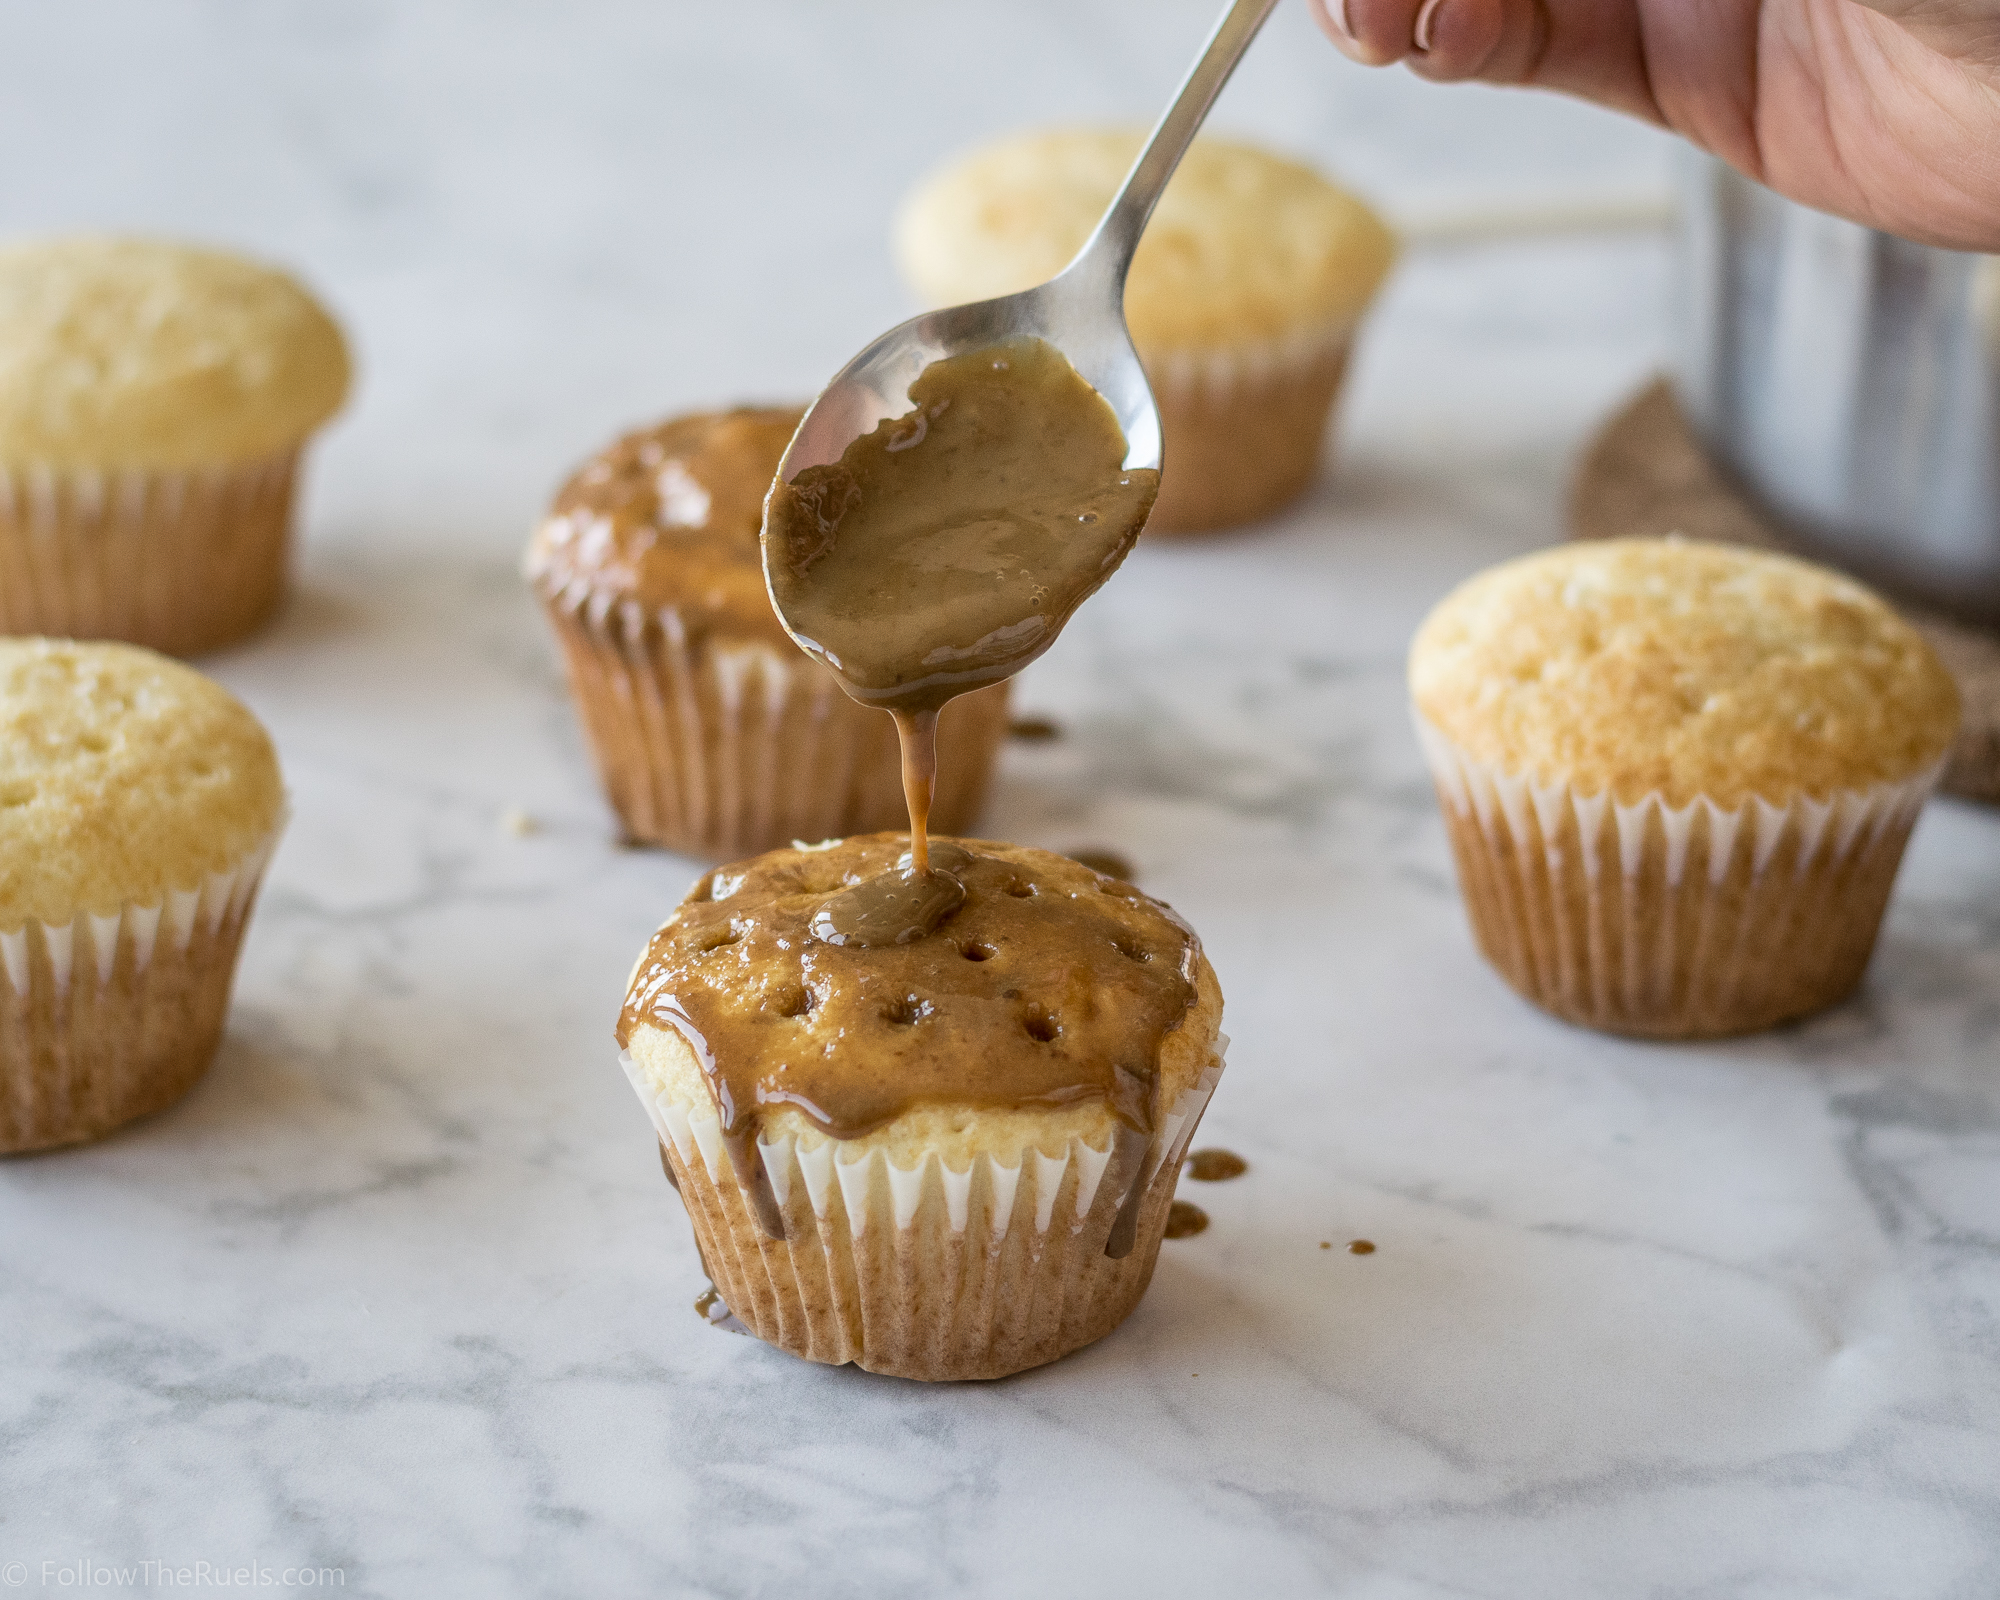
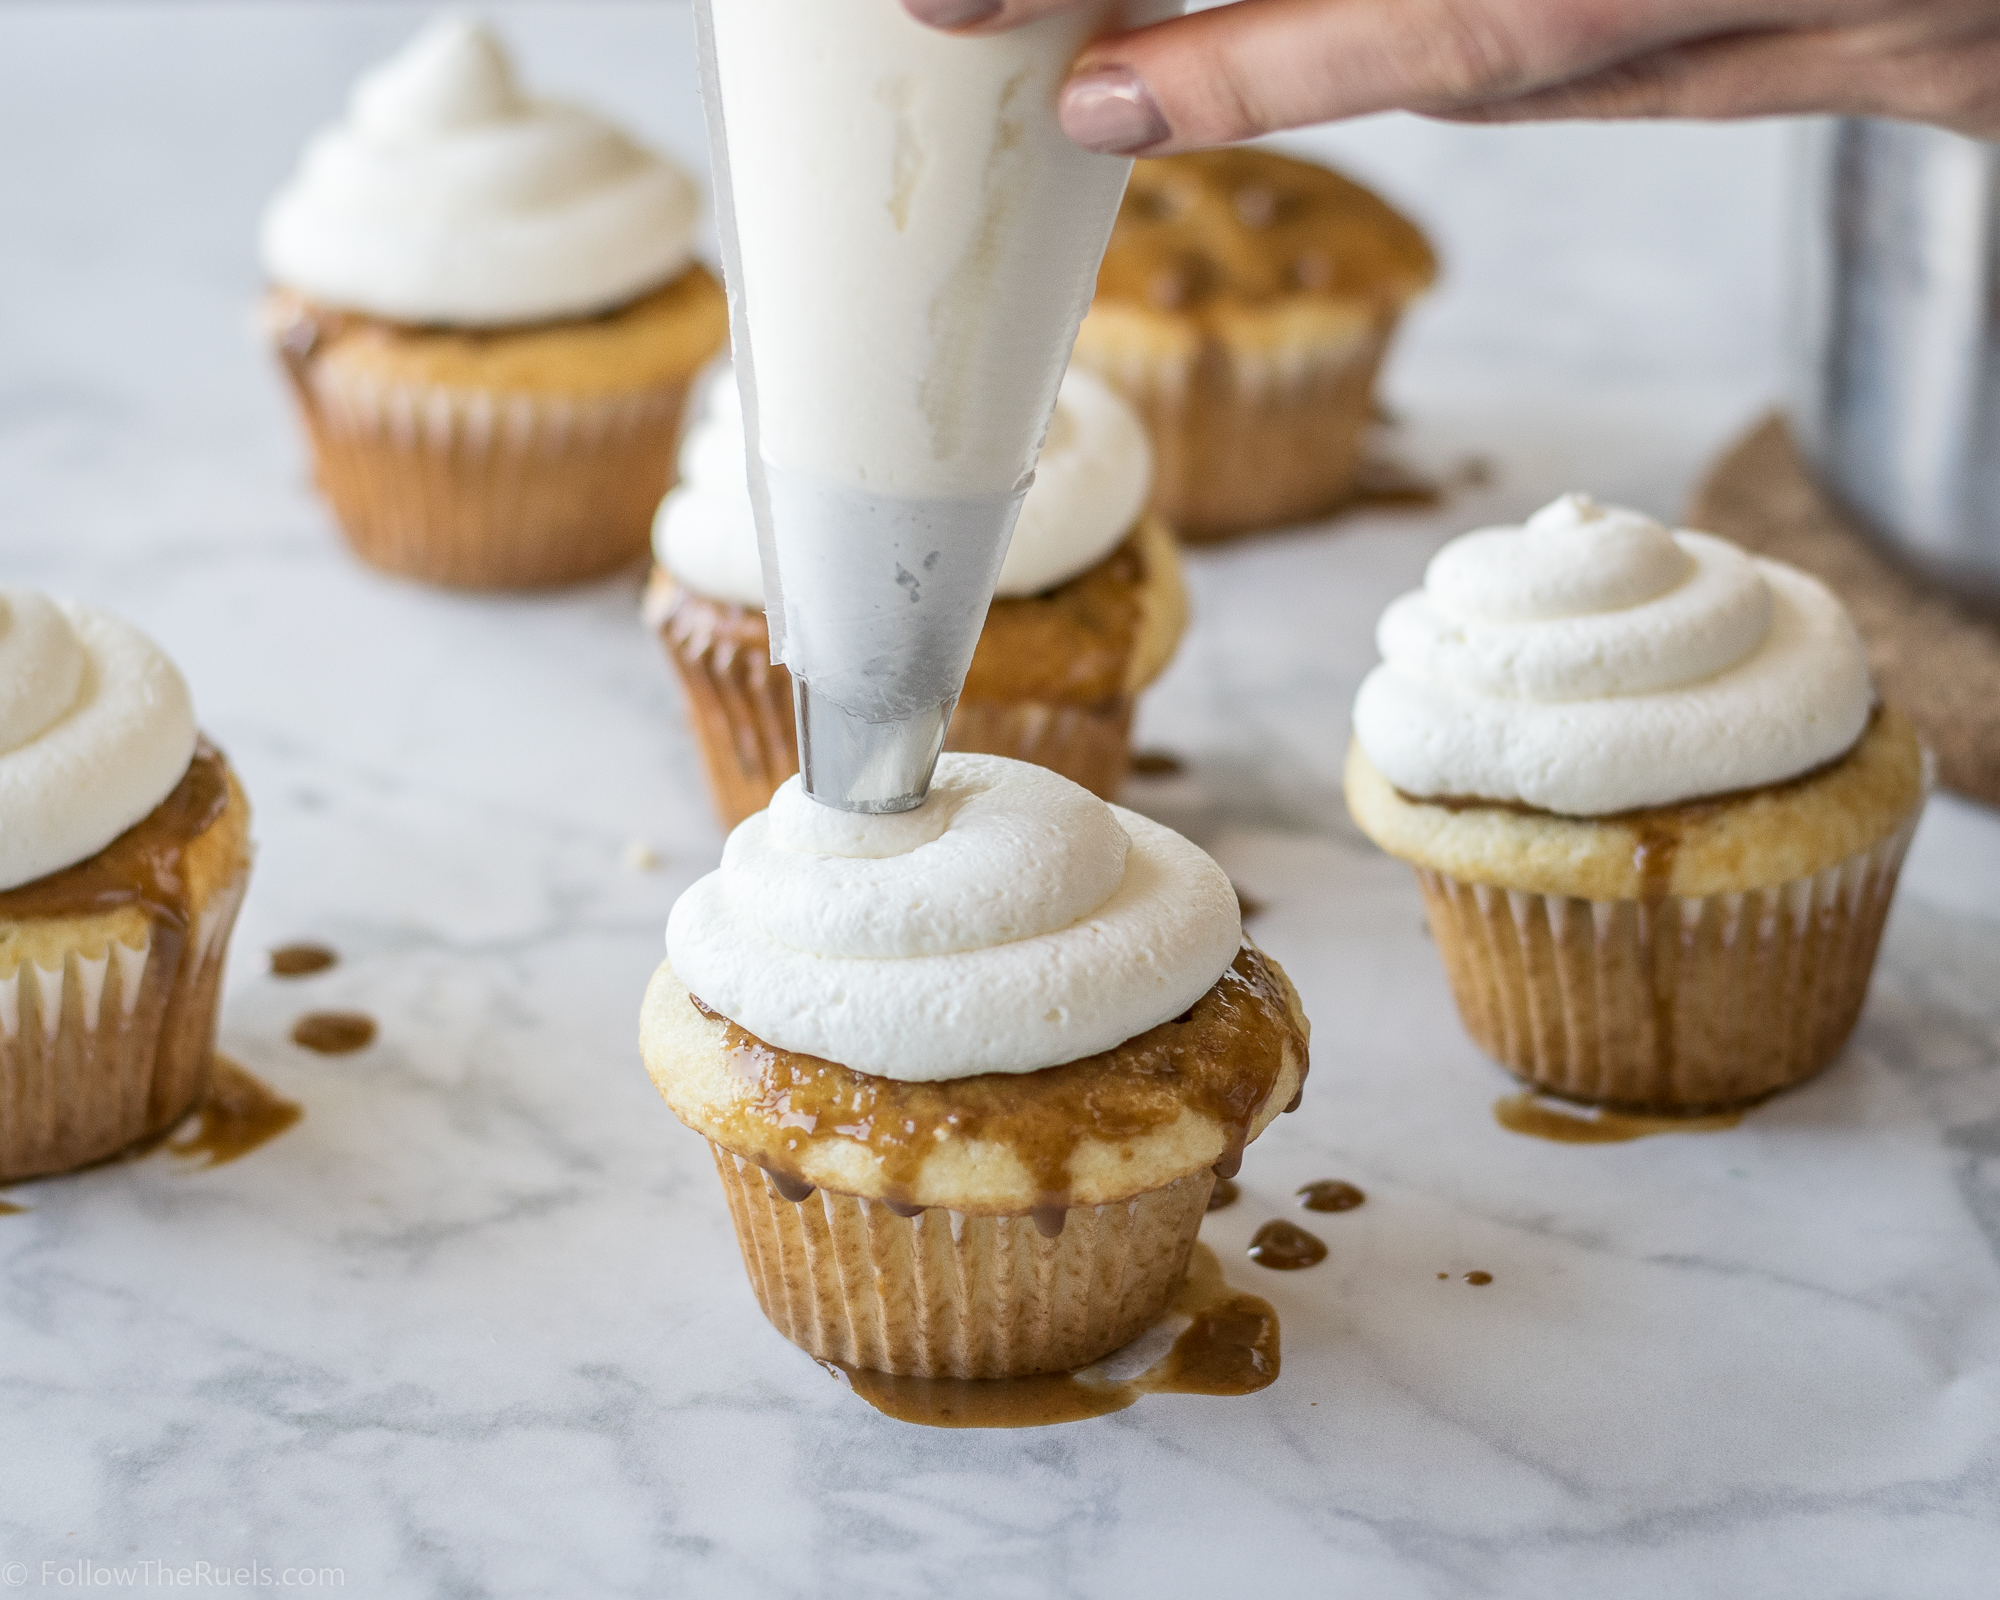
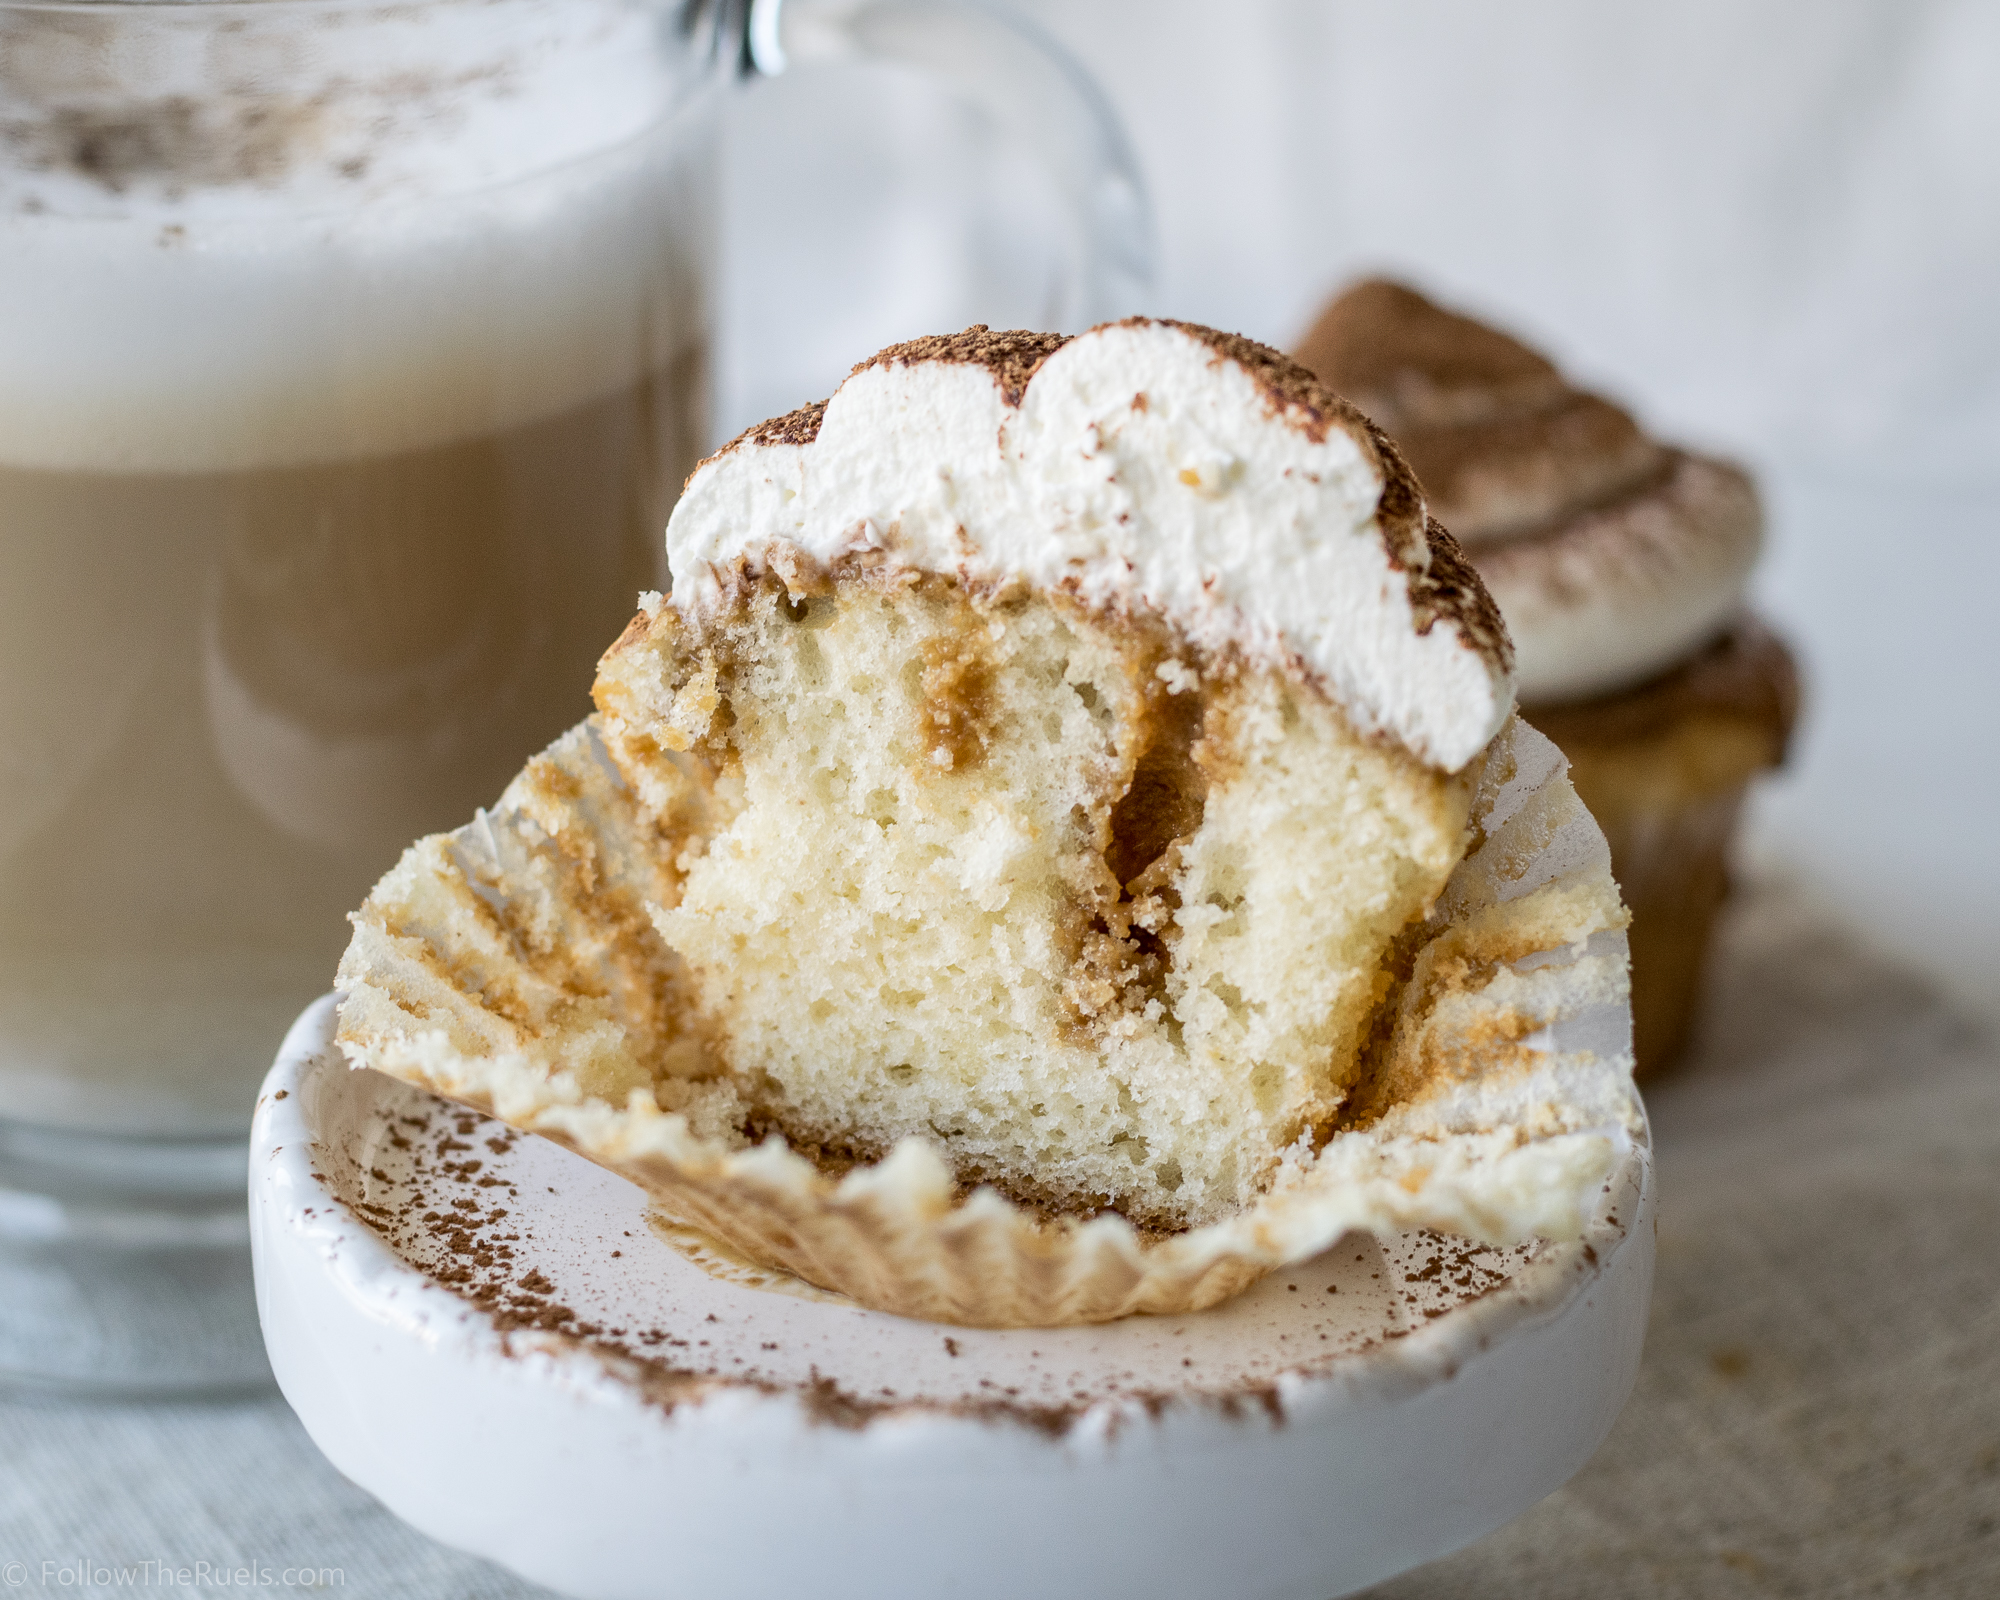
How to Make Them

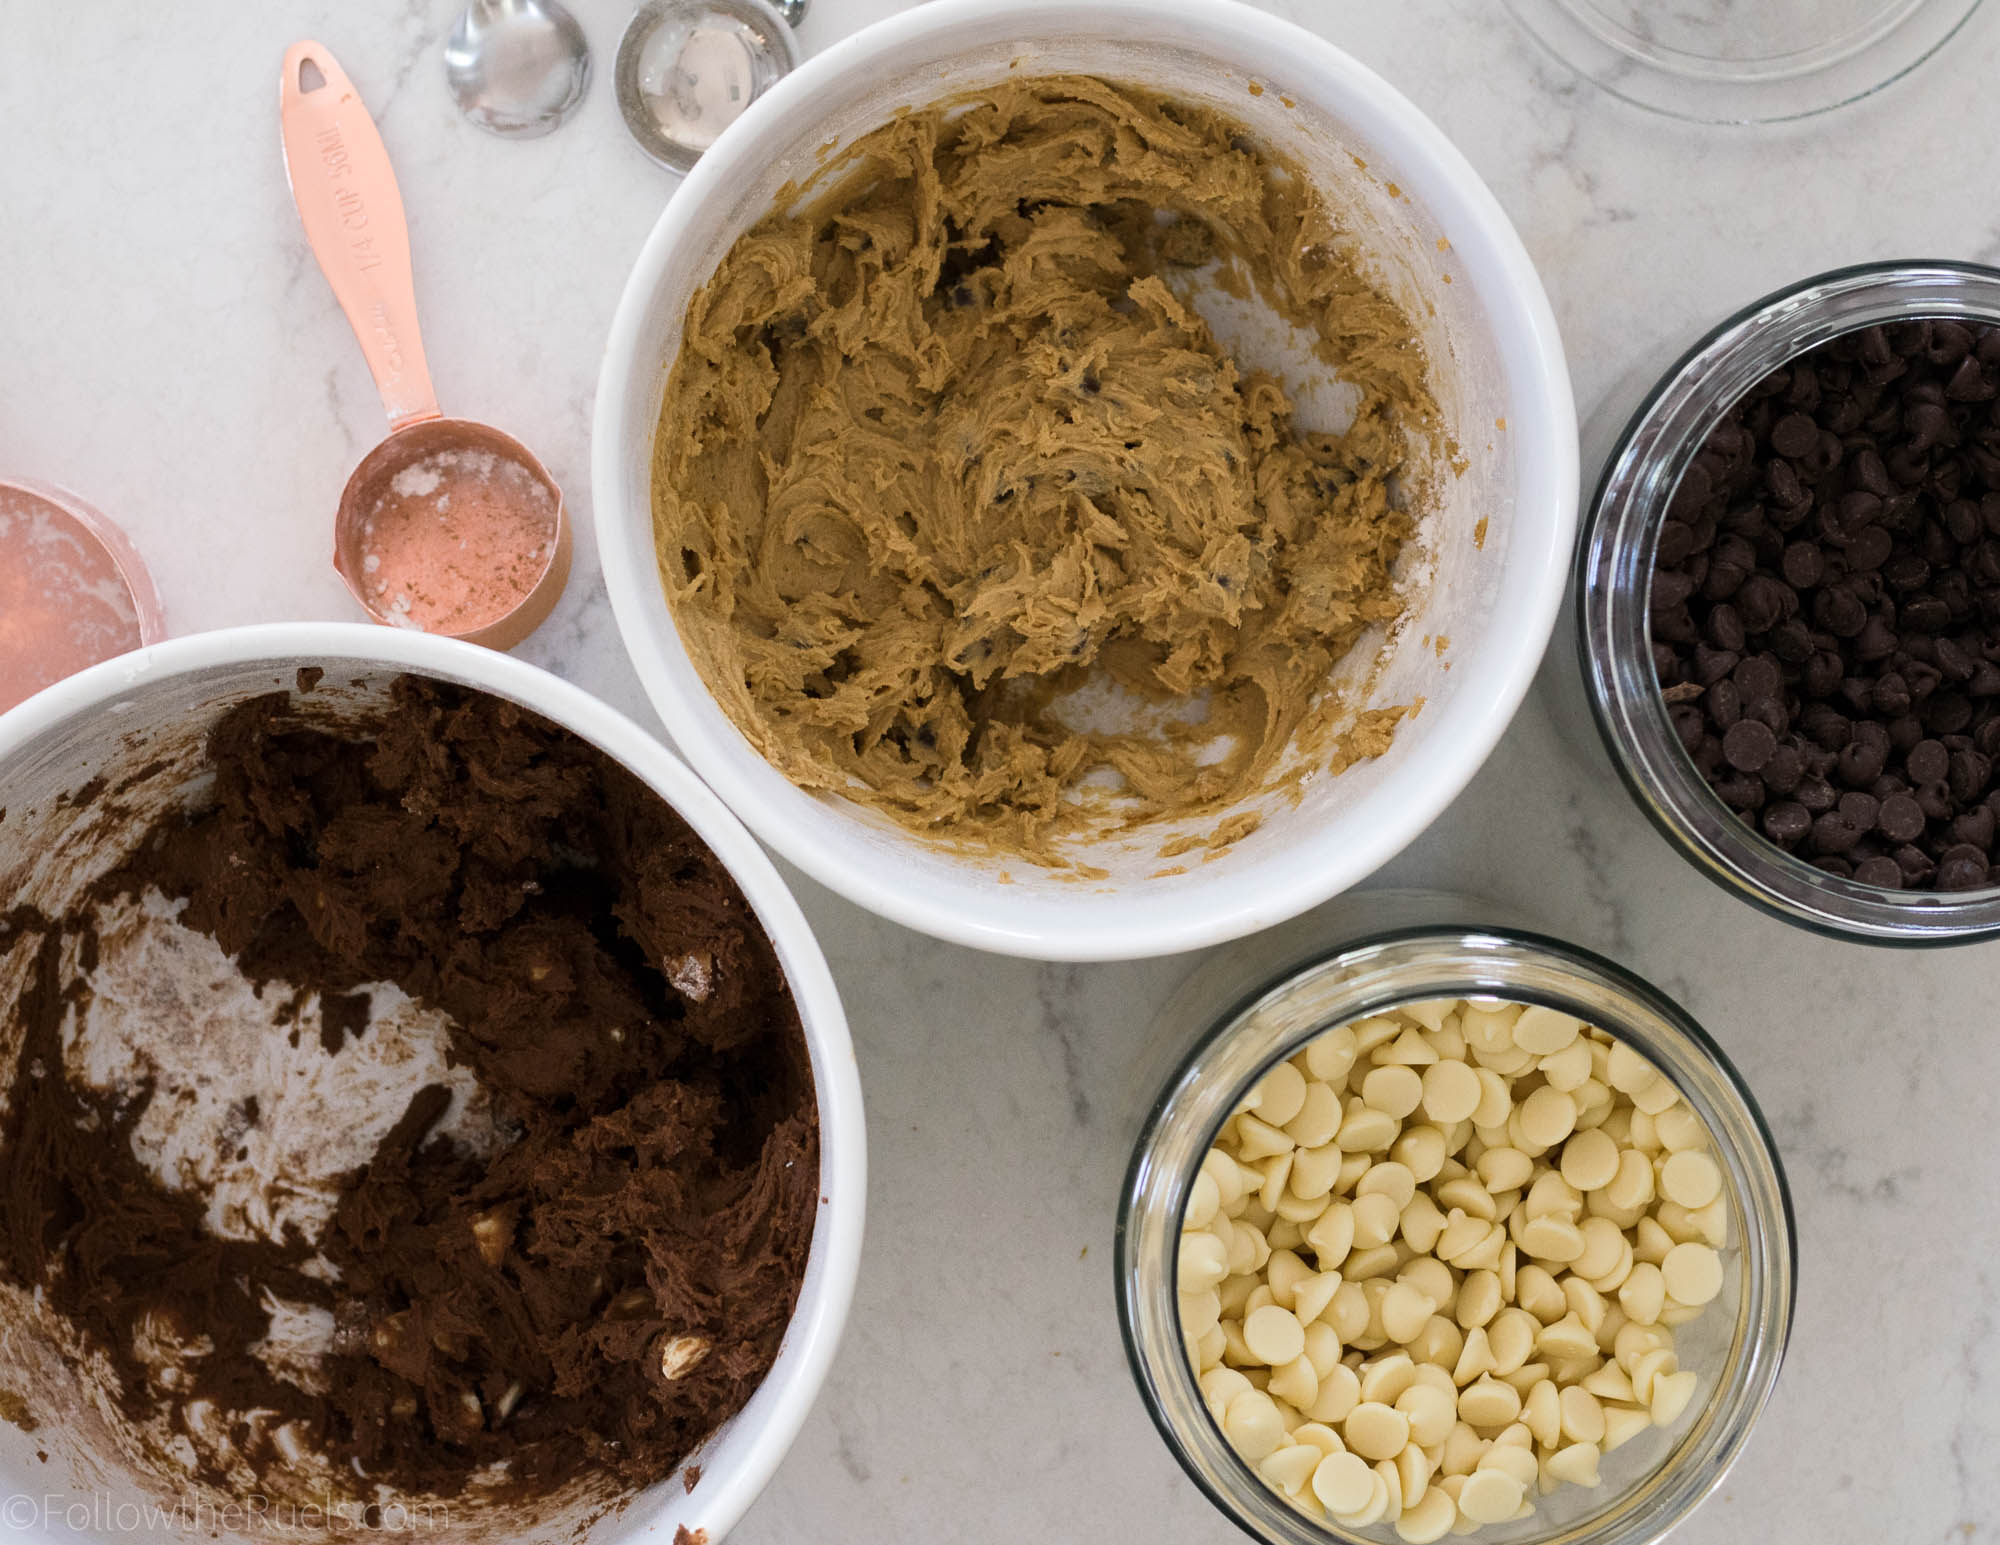
If you have ever made chocolate chip cookie dough before, you are in luck because that training will come in handy for these cookies. You will not only make one, but two chocolate chip cookie doughs which will be combined together to make these black and white double chocolate chip cookies. 

Spoon about 1 tbsp of dough onto the a baking sheet, then spoon the same amount of the other dough right next to it. 

I like to use this cookie dough scoop which makes the perfect sized cookie.

Roll the both of the cookie dough balls together to form one ball of dough. Then sprinkle a little bit of flaky sea salt on top (because every chocolate chip cookie needs a bit of sea salt). 

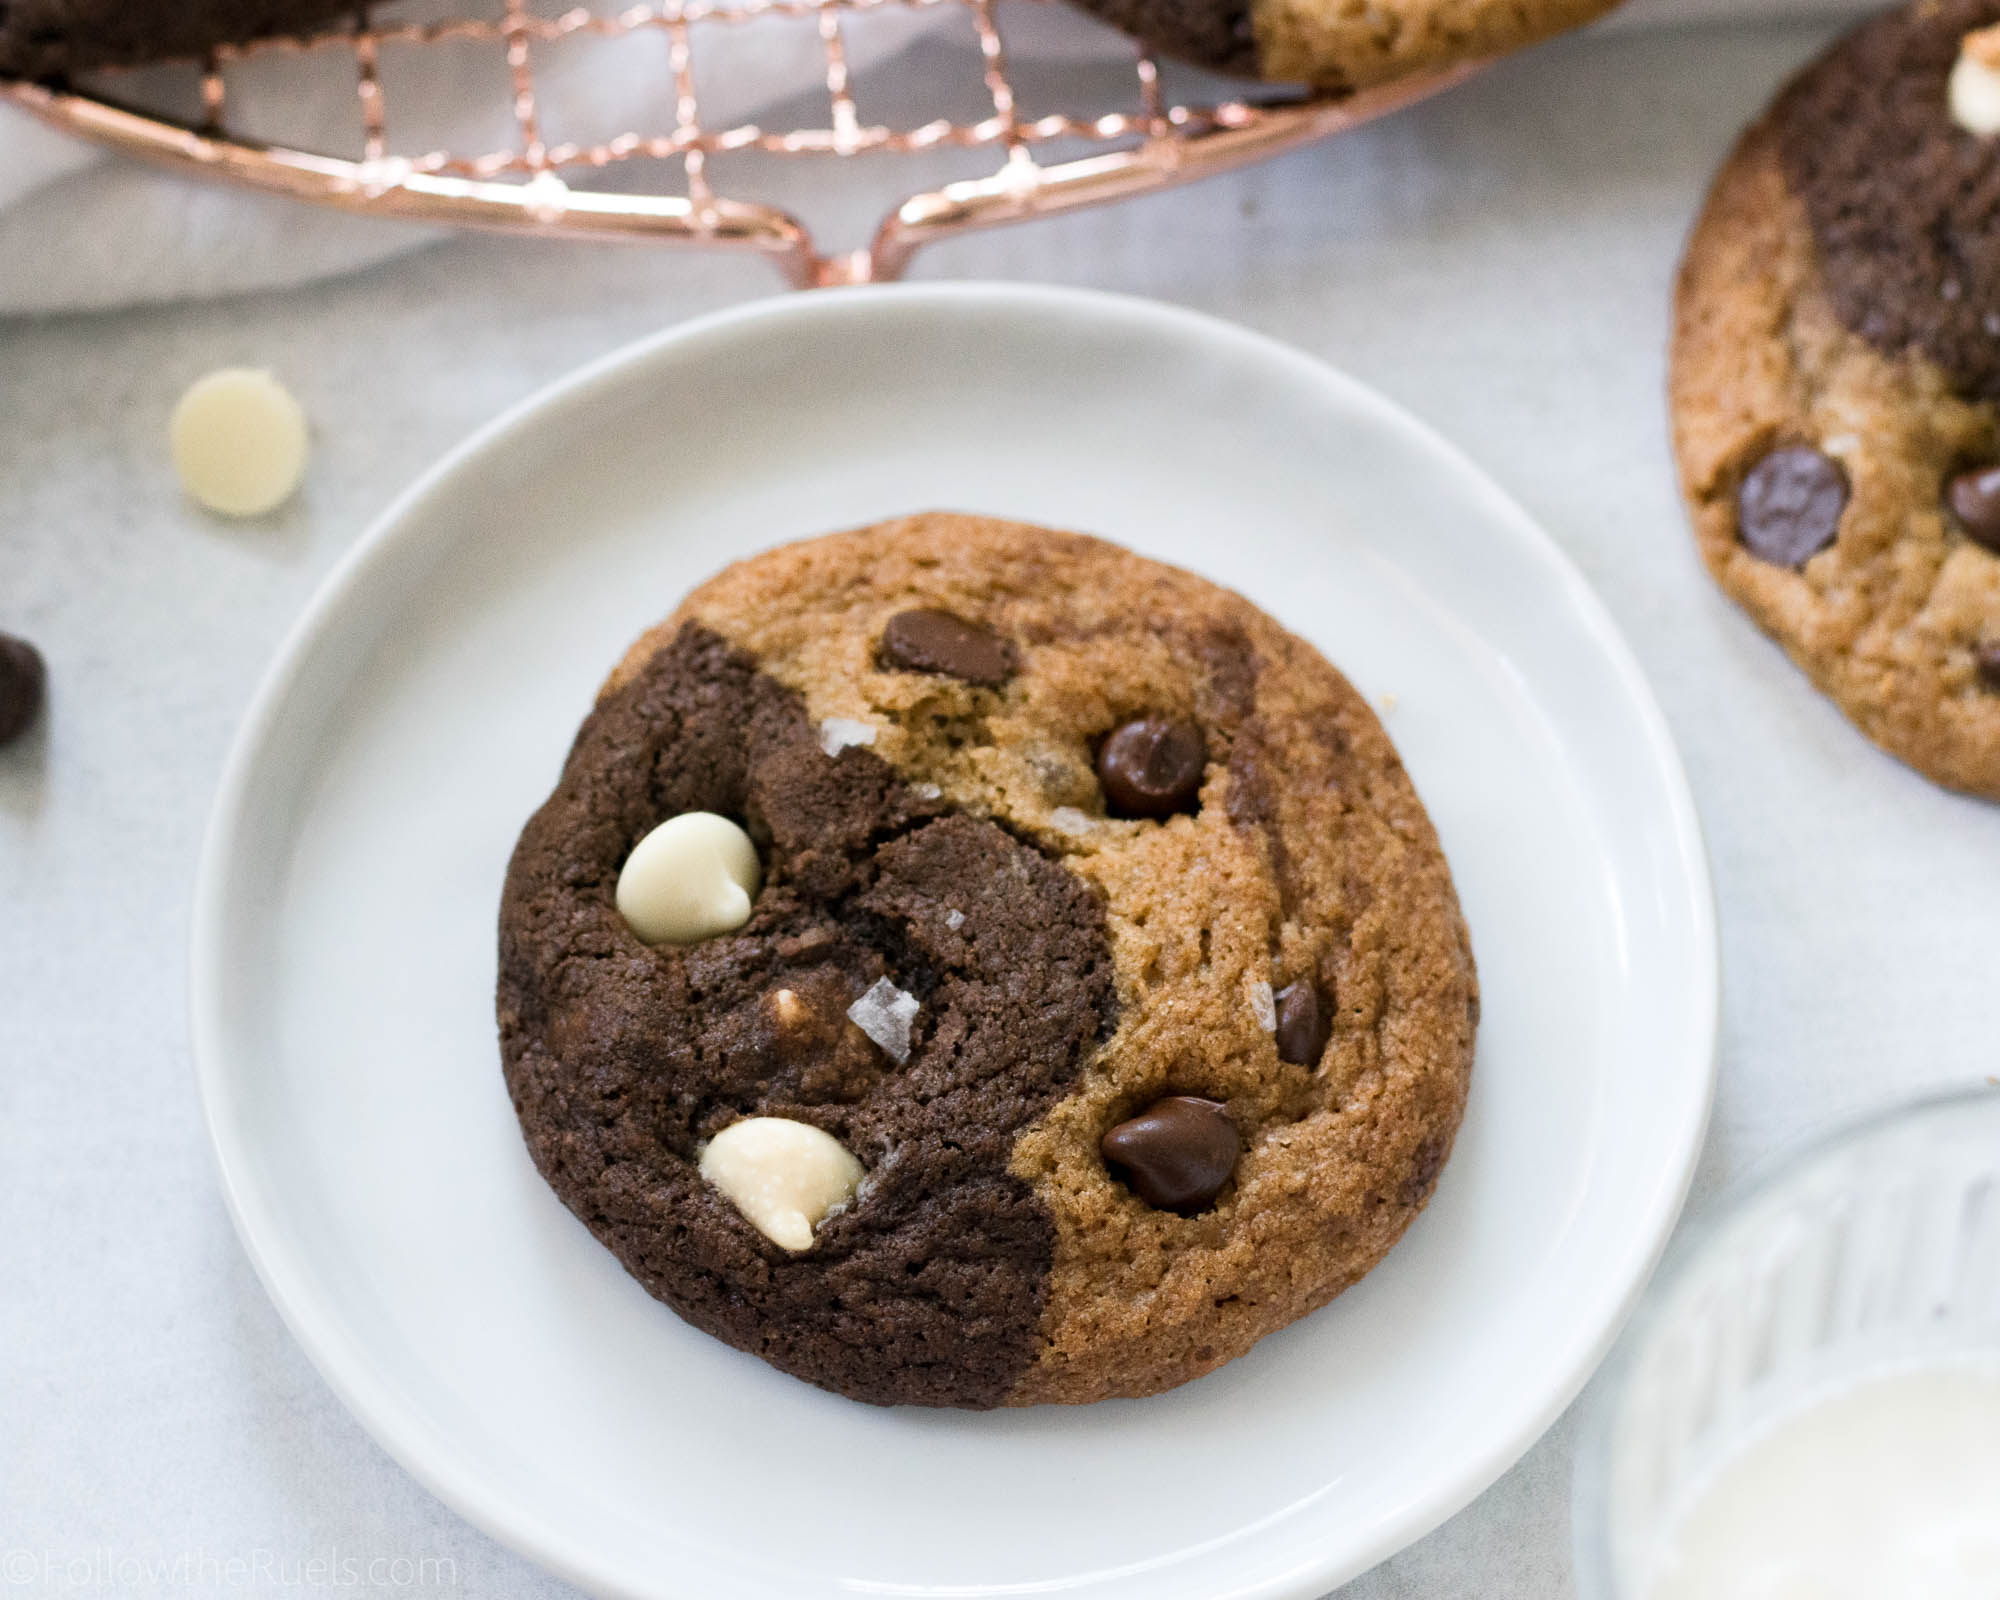
Once they come out of the oven, the cookies will form this ying and yang of chocolate and non-chocolate cookies. 

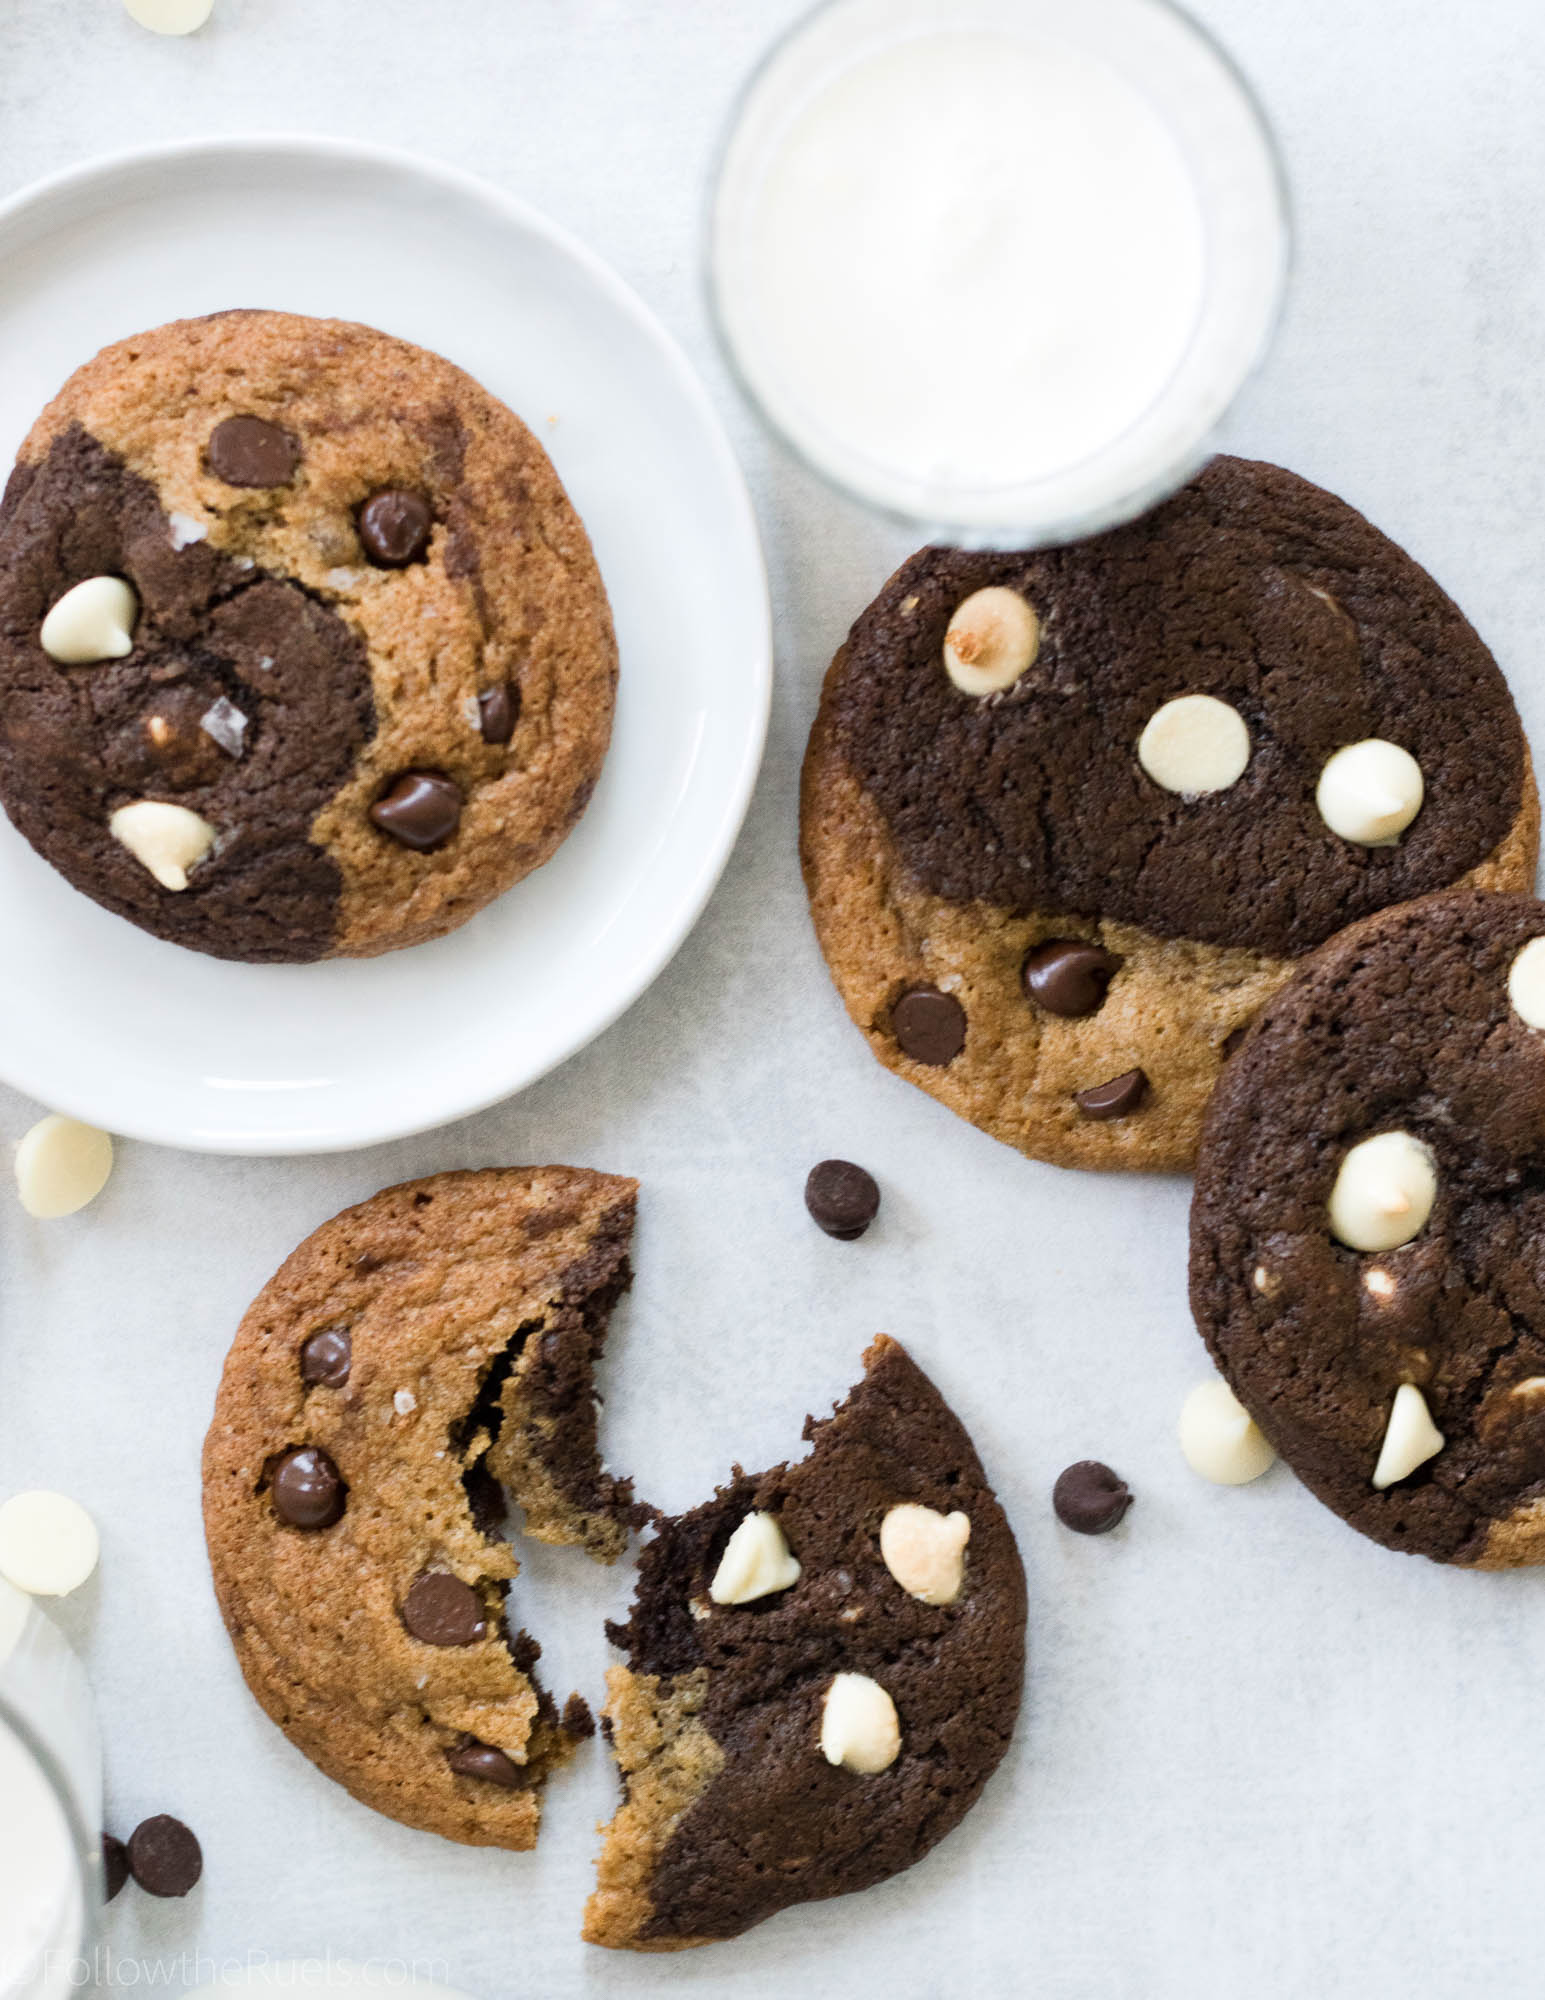
But together they form this wonderfully delicious cookie that combines all of the best types of chocolate. 

Supplies and Recipe

[show_shopthepost_widget id=”3122363″]

[yumprint-recipe id=’173′]

/ Filed In: Cookies, Cookies New, Desserts, Eat
Tagged: chocolate, chocolate chip cookies, chocolate chips, cocoa powder, cookies, white chocolate

Homemade Marshmallows (Four Ways!)

August 16, 2017

Making marshmallows is a bit like a conducting science experiment. At least that’s what my husband said when we made a batch together over the weekend. He was a bit astonished that we took powdered gelatin, mixed it with some water to make a very thick gel. Then mixed that at high speed with some hot liquefied sugar and somehow we created marshmallows. Something that doesn’t resemble either of the two main ingredients at all. 

It is kind of astonishing, isn’t it?

While it may seem more like a science experiment than baking, making marshmallows at home is a ton of fun! It would be a really fun thing to make with kids (with adult supervision of course because it does involve boiling sugar). Just be prepared for the stickiness. I still have marshmallow finger prints in random places around my kitchen. 

Marshmallows require only a few simple ingredients: gelatin (plain), corn syrup, and sugar. That’s it. Of course, you can add in flavorings like vanilla….or….

You can really step things up and make peanut butter, chocolate, and strawberry marshmallows like I did.

I knew that I wanted to make some different flavored marshmallows, not just plain old vanilla ones, and fortunately, I didn’t have to look far for my inspiration. I used peanut butter powder and cocoa powder to flavor the marshmallow mix peanut butter and chocolate flavored. Then I used freeze dried strawberries, that I ground up into a powder to mix it in the same way as the other powders. 

But I am getting a little ahead of myself…

Start by blooming your gelatin with half of the water in a bowl or measuring cup. I recommend doing this in a separate bowl or cup (unlike what I did in my first batch), because some of the gelatin may stick to the bottom of the bowl and will never get fully incorporated into the rest of the marshmallow. 

Meanwhile, what the gelatin is blooming away, bring the sugar, corn syrup, and water to a boil. A candy thermometer will come in really handy right about now because you want your mixture to come to 240 degrees.

With your mixer on low speed, drizzle the sugar mixture into the bowl with the gelatin. After everything is poured in, turn the speed up to high and get the party started!

After about ten to fifteen minutes the mixture should look a lot like a stiff meringue, except a lot stickier! The mixture should be thick, but still very light and airy. 

If you are flavoring your marshmallows with anything, now is the time to add that in. I added a couple tablespoons of peanut butter powder and mixed it into my marshmallow mix. I did the same with the cocoa powder and strawberry powder. 

Forming the marshmallows may be the trickiest part of this whole process because the marshmallow is just so stubborn. It does not want to go where you want it to go, and it sticks to everything. I found that using a couple of well-oiled hands or an offset spatula works the best for spreading it out on to the pan.

Note that my pan is heavily dusted with powdered sugar. There is actually a layer of parchment under there, too, to make sure that nothing sticks!

Also, since I made several flavors, I sectioned off my pan with a piece of parchment so that the flavors wouldn’t stick together. If you plan on doing the same, I would recommend only try two flavors per batch.


Let the marshmallows sit overnight so they can dry out. Then you can cut them to whatever size you wish! Since my marshmallows were going to be used for s’mores, I cut them to fit my graham cracker. 


After your marshmallows are cut up however you like them, give them a toss in a bit more powdered sugar. If you flavored your marshmallows with any of the powders I used, add a teaspoon or two to your powdered sugar before tossing in your marshmallows. For instance, I added a teaspoon of cocoa powder to about a half a cup of powdered sugar then tossed in my chocolate marshmallows to make them extra chocolatey! And ensure that they marshmallows don’t stick to one another. But mostly the former. 

And voila! Homemade marshmallows! Nothin beat them! They are so soft and spongey. Even after a few days, they are still so soft and just melt in your mouth (I am currently eating left over marshmallows as I type. I work best on massive amounts of sugar.)

Even the plain vanilla ones are just better. But let me tell you, those peanut butter marshmallows are perfection! I brought some leftovers to a coworker who loves to drink hot cocoa (even in the Summers). He confirmed my suspicion that hot cocoa is 100% better with peanut butter marshmallows. I bet it would also be good with chocolate or strawberry marshmallows! Also, can imagine a s’more made with white chocolate and the strawberry marshmallows? Oh man, delish!

Now it’s time to go make some s’mores!

[show_shopthepost_widget id=”2785528″]

[yumprint-recipe id=’125′]

/ Filed In: Desserts, Eat, Other Sweets New
Tagged: cocoa powder, marshmallows, peanut butter, s'mores, strawberries

Tiramisu Cupcakes

February 27, 2017

I have a pretty high standard for tiramisu. My former boss was married to an Italian chef. Not just a chef who specialized in Italian cuisine, a chef who worked in Italy his entire career until he met his wife. You know he made some pretty mean tiramisu. So yeah…the bar is high.

And this is probably where I should tell you that these tiramisu cupcakes are just as good as my former boss’s Italian chef husband’s tiramisu (say that 5 times fast). Yeah…they aren’t (dude, his tiramisu is legit). But, they are pretty dang good! And just a tad easier. 

Instead of ladyfingers, I made my favorite vanilla cake, which just so happens to be Trader Joe’s vanilla bean cake mix (don’t hate!). Once they were nice and cooled, I poked a couple holes into cupcakes using some left over (unused) chopsticks.

Then I poured over an espresso cream over top, which soaked right into those holes faster than I can put back a cup of coffee on Monday morning. 

Next, I topped off these coffee-soaked cakes with a whipped cream-marscarpone icing. Which, as you may guess is made up of whipped cream and marscarpone cheese (and a bit of sugar, of course).

Tiramisu isn’t tiramisu without a hint of chocolate. Like traditional tiramisu, I dusted the tops of each cupcake with some cocoa powder. 

Pretty easy right?! I would much rather make these tiramisu cupcakes than actual tiramisu. There’s almost no assembly required.

And if you are wondering why in the heck did I poke all those holes? 

That’s why! All that creamy-coffeey (making up words over here) goodness works it’s way right down into the cupcake which makes the cakes super moist and extremely flavorful. Like having a shot of espresso along with your cake. 

The best (and only) way to have a shot of espresso, in my opinion. 

[amd-yrecipe-recipe:134]

/ Filed In: Cakes and Cupcakes, Cakes New, Desserts, Eat
Tagged: cocoa powder, coffee, cupcakes, espresso, marscarpone, poke cake, tiramisu

Follow

Hey There!

Hey there, I'm Lindsey. I'm a number cruncher by day and a home cook and baker by night. While I love to eat healthy and find fresh and healthy alternatives for my favorite foods, I will never turn down dessert! Life is all about moderation, right?

Recipes

  • All Recipes
  • Breakfast
  • Appetizers
  • Salads
  • Main Dishes
  • Side Dishes
  • Desserts
  • Drinks

Favorite Finds

[show_lookbook_widget id=”388783″]

Theme by 17th Avenue · Powered by WordPress & Genesis