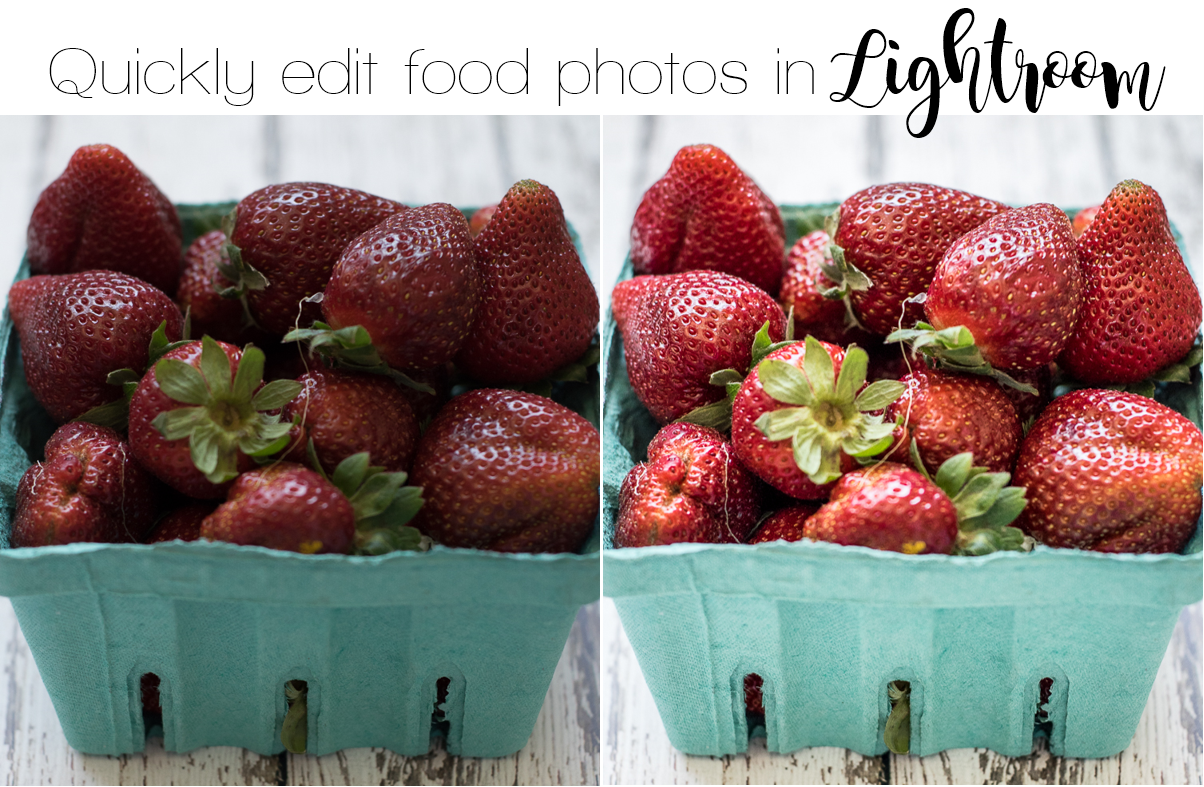
I will preface this whole post by reminding you that I am not a photography or photo editing expert. But I have spent the past few years trying to learn as much as I can about taking good photos and how to use Lightroom and Photoshop. While I still have a lot to learn, I feel like I have learned so much about editing food photos in the past few months that I wanted to share my process with you.
The best thing about using Lightroom is how quick it makes the process of editing photos. Blogging isn’t my full time job, so I don’t have a ton of extra time to dedicate to editing. In the past, it would take me a few minutes per photo to get it up to the quality that I wanted. Now it just takes me seconds!
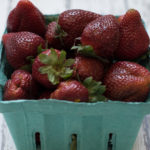
- Before
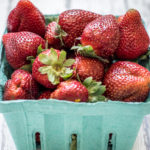
- After
I wanted to show you exactly what I did to enhance the picture above. While Lightroom is my primary application for photo editing, I will do some additional editing in Photoshop if I need to. Typically all I will do is add text and add a high pass filter. But Lightroom is truly the workhorse in editing my pictures.
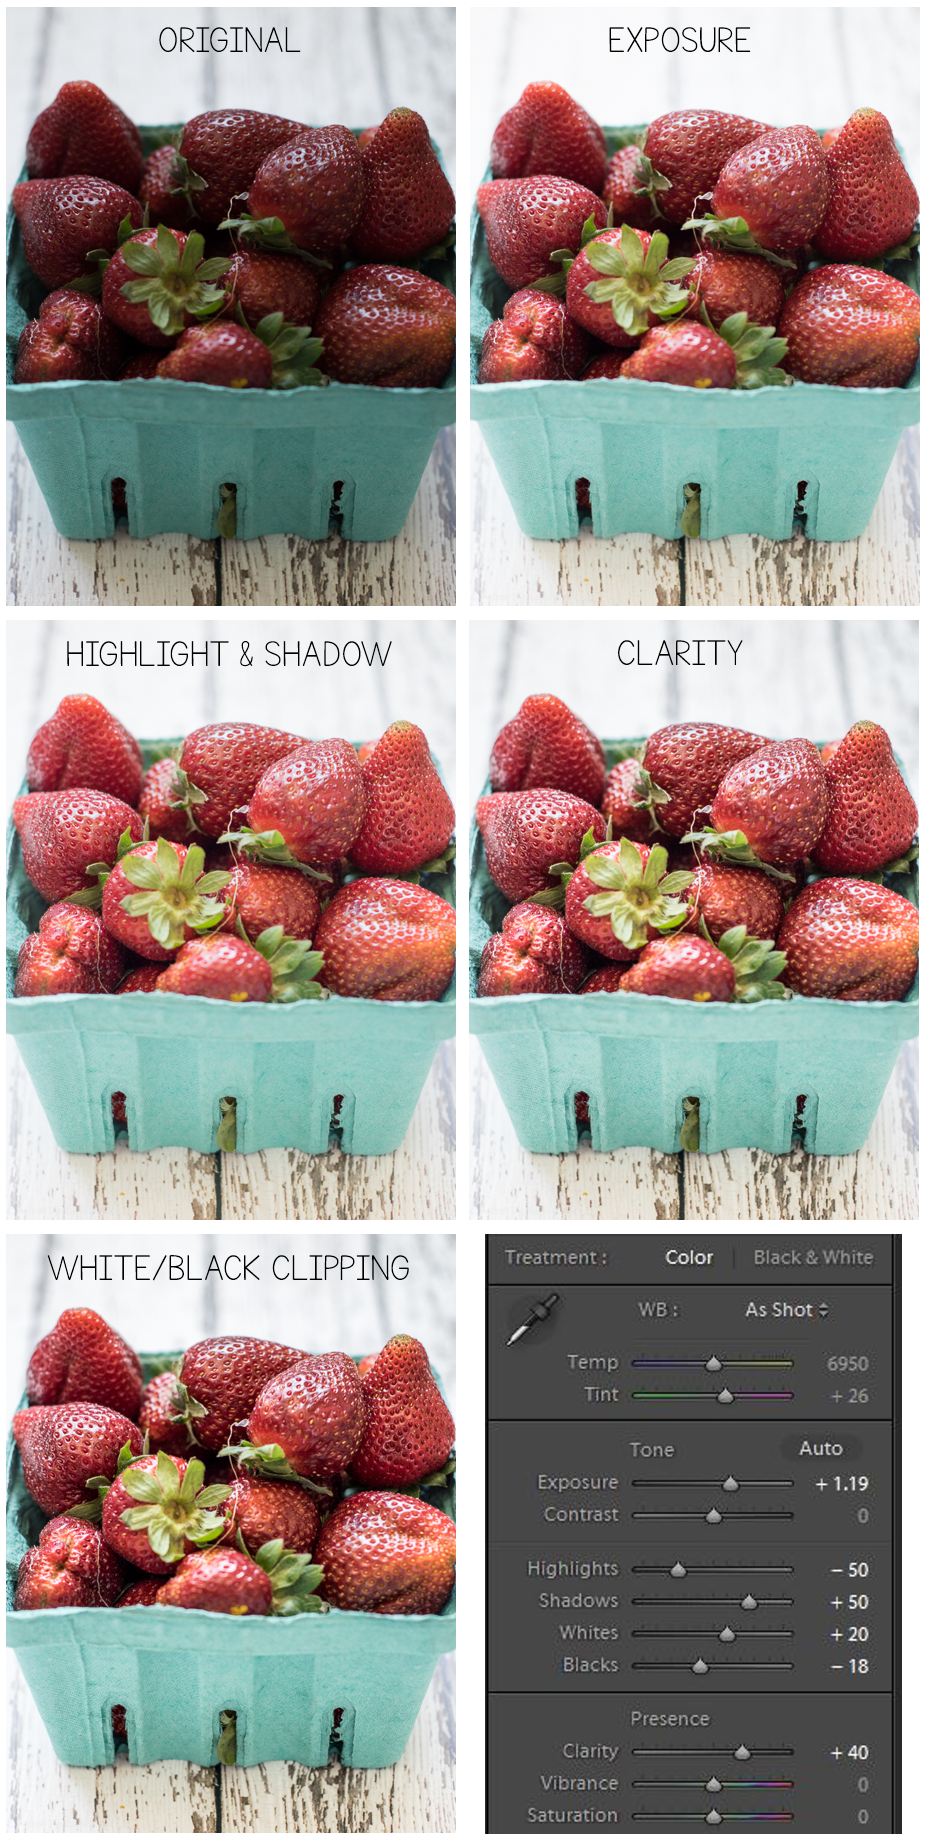
The first set of edits I make are all in the “Basic” window on the right hand side of the interface. Since most of my pictures come out underexposed, I adjust the exposure first. From there I take my highlights down to -50 and shadows up to +50. Doing this brings out some of the details that might be hiding in the shadows or highlights of the picture. I then adjust clarity which I find makes the food really pop. If this were a picture of a person, I would NOT adjust clarity. This would only bring out all the fine lines and skin texture. But for food it’s great! Lastly, I adjust the black and white clippings. I find that these edits make the colors so much richer.
You may be wondering how I know just how much to adjust. Well, the highlights, shadows, and clarity are almost always the same on all of my pictures. To adjust the exposure and white/black clipping I start by letting Lightroom auto-adjust for me. To do that I hold the SHIFT key then double click the word “Exposure”, “Whites”, or “Blacks”. If the auto-adjustments are too much, or not enough, I then adjust it from there. But a lot of times it adjusts the picture perfectly.
There are a couple other adjustments I make that add some subtle difference to the picture.
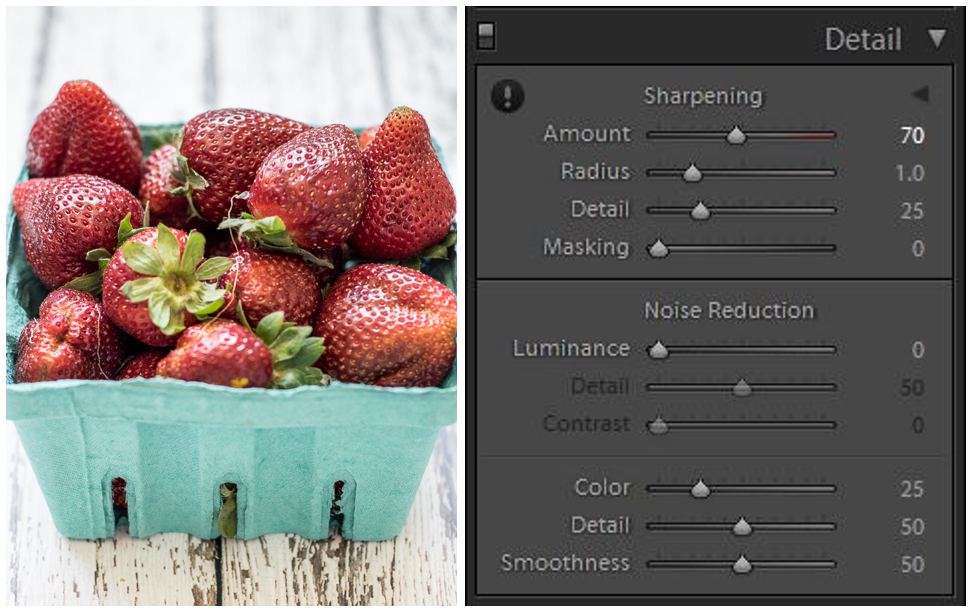
I always sharpen all of my pictures to 70. This adds even more detail to the picture and brings out the texture of the food, like the seeds in the strawberries. Again, if this were a picture of a person, I would sharpen it to only about 40 and also adjust the Luminance which will soften the picture slightly.
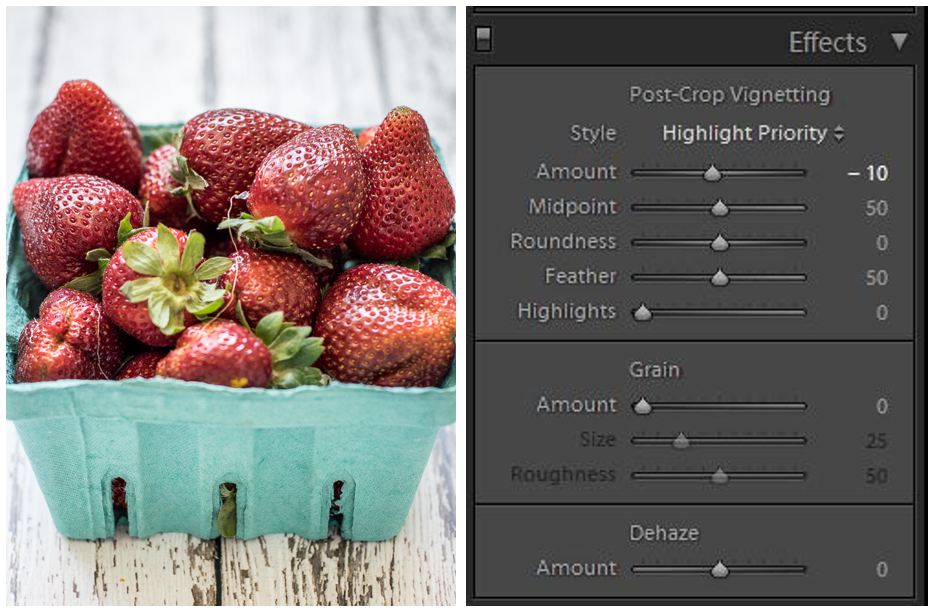
One of the last things I do is to add a slight vignette, only bumping it down to -10. Sometimes I will make it more severe, but -10 is where I start. Vignetting darkens the outer corners of the picture, drawing the eye toward the center.
I also make sure to enable profile corrections under the “Lens Corrections” drop down. This didn’t change my picture at all since my current lens is pretty good. But there was a significant difference when I used my old 18-55mm lens (I now use a 50mm lens). Even though I know it probably won’t change my pictures, I still make the correction just in case.
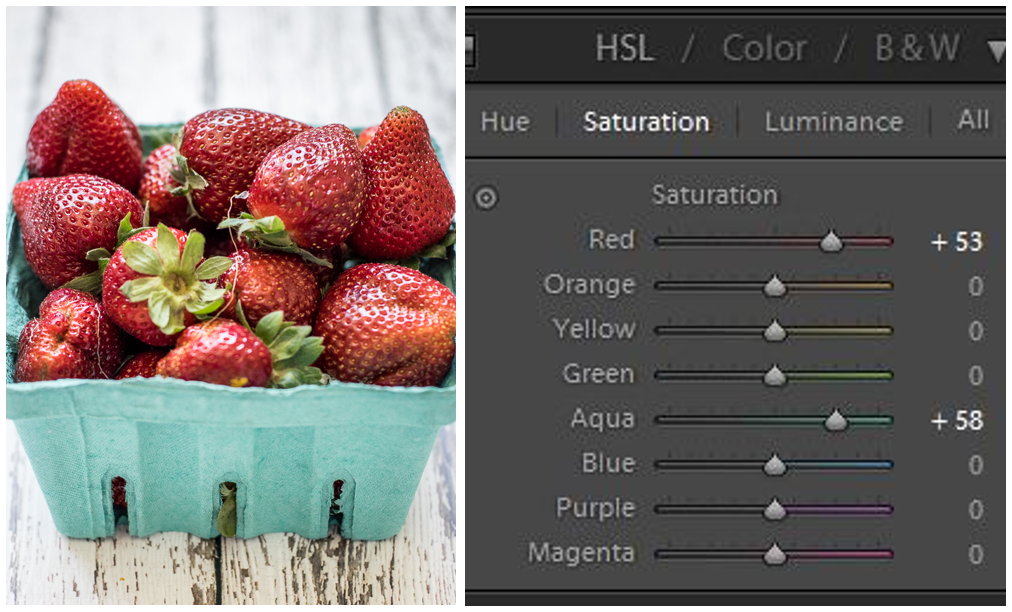
There is one more adjustment that I will make every so often. It’s adjusting the color. I don’t do this in a lot on my pictures, but I wanted to show you how it can be done. For this picture, I wanted to make the red of the strawberries and the blue of the carton more saturated. So I went to the HSL drop down, clicked over to “Saturation” and adjust both Red and Aqua up until I was pleased with the color. I also adjusted the Red hue slightly by making it more of a blue-red instead of a yellow-red by adjusting the scale in the ‘Hue’ menu.
All of these adjustments may seem like a lot of work, but actually they only take me a few seconds. How, you ask? As I mentioned above, I make the exact same adjustments on all my pictures. I always adjust highlights to -50, shadows to +50, clarity to 40, sharpening to 70, and post-crop vignette to -10 (as well as add the Lens Correction).
Instead of making each of the additional changes to all my pictures, I just created a Preset.
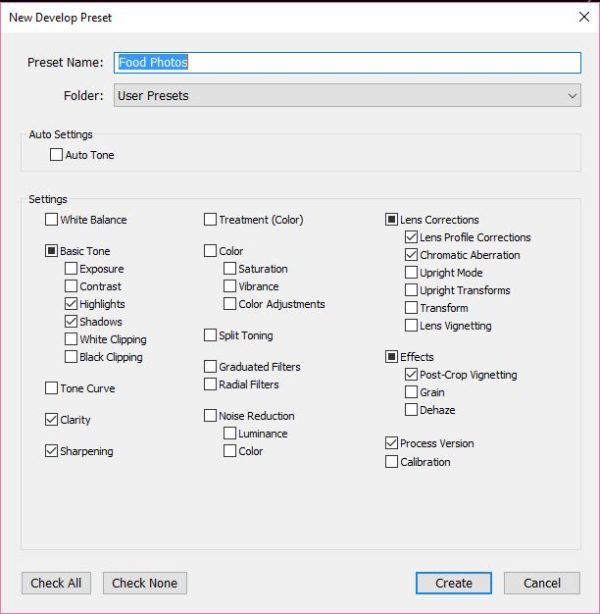
To create a preset, edit a photo with all the adjustment you like. Then create a new preset (CTL+SHIFT+N) and select each setting you want the preset to copy from the picture you just edited. You can see that I selected highlights, shadows, clarity, sharpening, etc. What I didn’t select was exposure or white/black clipping, since these adjustments depend on the lighting of each individual picture (i.e. some pictures won’t need additional exposure).
Thus, for most of my pictures I make four clicks – the preset, exposure, white clipping, and black clipping. And remember, for the last three, I rely on the auto-adjustment function which also saves a ton of time (hold the SHIFT key and double click the word). I timed myself while editing a recent photo and it only took me 32 seconds to make all the edits. Sometimes it’s even faster, so lets say it averages out to 30 seconds a picture. That means I can edit 10 photos (I rarely use more than 10 photos in a post) in 5 minutes.
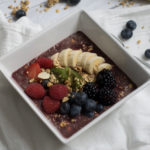
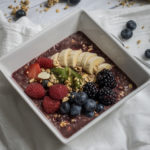
Here are some other before and after shots only after adding the preset edits, not editing the exposure or white/black clippings. You can see how much detail it brings out in the pictures (look at the berries in the acai bowl and the texture of the tortilla).
- Before
- After Preset
- Before
- After Preset
I hope I have helped some of you out there who are struggling to learn how to use Lightroom, or are frustrated by how long editing photos can take. I hear you, it can be time consuming. But if you learn what you like in your pictures, create a preset, and learn some short cuts, you can cut your editing time down significantly! Now that I have do so, I actually enjoy editing, and seeing all my pictures really come to life during the process.
