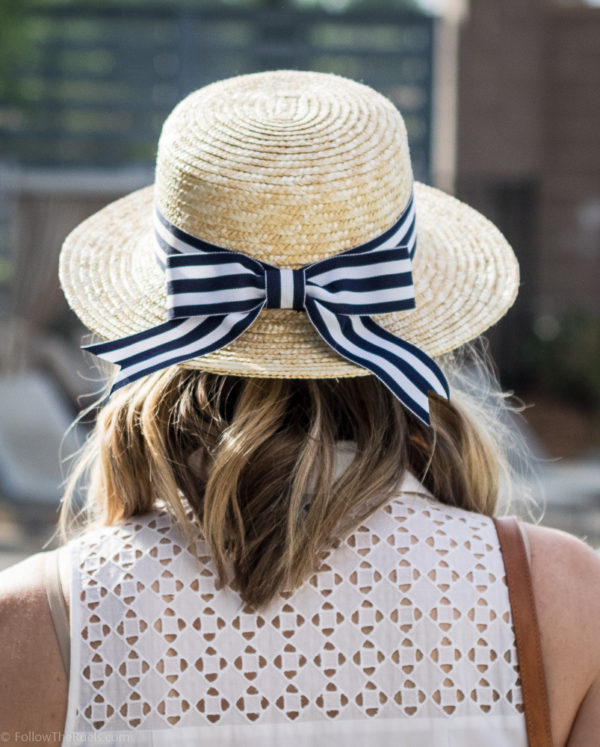
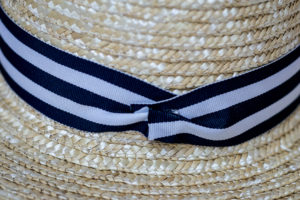
Last Summer I saw several bloggers with the cutest straw hats with big bows on them. After looking up their hats to see if I could snag my own, I was a little shocked to see that they were all well over $50 (like this, this, and this one). For someone who doesn’t wear hats that often and doesn’t have their own fashion blog, there was no way I was shelling out that kind of cash for my own bow hat.
Then just last weekend I stumbled upon a cute, plain straw hat that was just begging for some adornment. I was delighted to see that the hat itself was only $15, and I knew I could find some ribbon for about $5, which meant I could have my very own bow hat for only $20. That is definitely more up my alley!
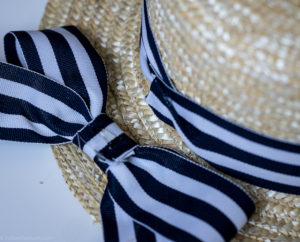
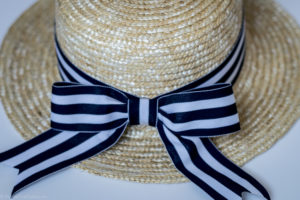
I picked up some navy and white striped ribbon at Joanns fabric, then immediately came home and went to work! I was so pleased with the results, I am already planning on picking up some gingham or plain ribbon so I can make some alternate bows for the hat. Here’s how you can make your own:
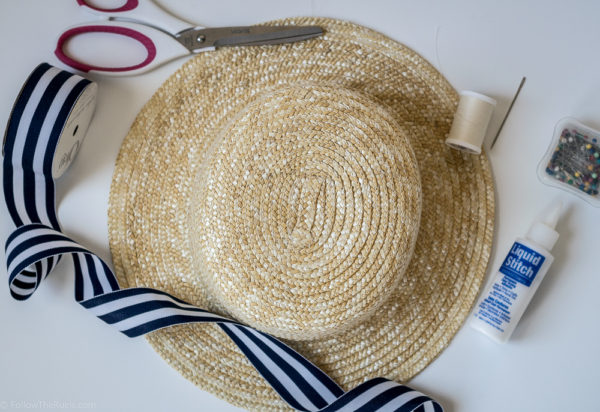
Items needed:
- 1 hat (mine is a bowler style straw hat by Free Press)
- Approx 48″ of 1 1/2″ wide ribbon (or wider)
- Thread (doesn’t have to match the ribbon)
- Needle
- Pins
- Scissors
- Fabric glue or a hot glue gun
- Lighter or match
- Iron (optional)
Instructions:
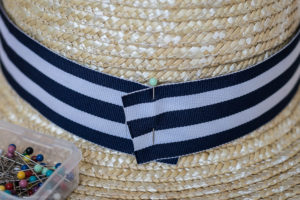
ONE| Start by wrapping the ribbon around the circumference of the crown of the hat, angling the ribbon down a little where the ribbon ends overlap to prevent some of the gaping between the ribbon and the hat. Pin in place
TWO| With a dot of glue, glue the end together, then fold the bottom of the seam up and glue again to create a bunched look. If the ribbon is thick, use an iron to help create the fold. If using fabric glue, keep a pin in until the glue sets.
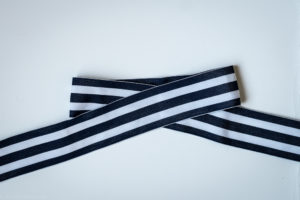
THREE| To begin making the bow, roll out about 16″ of ribbon, but do not cut it. Create a big loop with the ribbon, folding one end over the other.
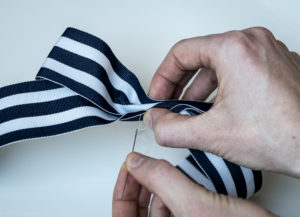
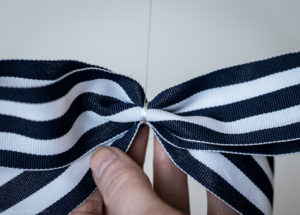
FOUR| Thread a needle with about 4 inches of thread. Find the center of the bow and pinch together, then run the needle through the folded ribbon.
FIVE| Wrap the extra thread around the center and tie it off.
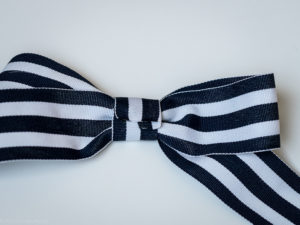
SIX| Cut a smaller piece of the ribbon, about 2 inches long. Fold in the sides and wrap it around the center of the bow covering the thread. Glue one end on top of the other.
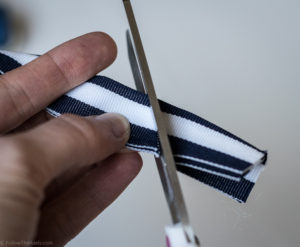
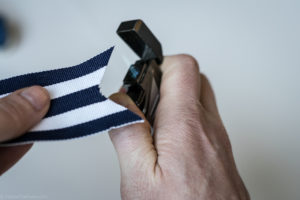
SEVEN| Cut the tails of the bow at a 45 degree angle to the desired length. Use a lighter or a match to lightly melt the ends of the ribbon and prevent fraying.
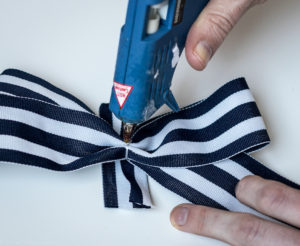
EIGHT| Place a small amount of glue on the back of the knot portion of the bow. Press the bow onto the band on the hat to cover the seam.
NINE| Put the hat on and rock it!
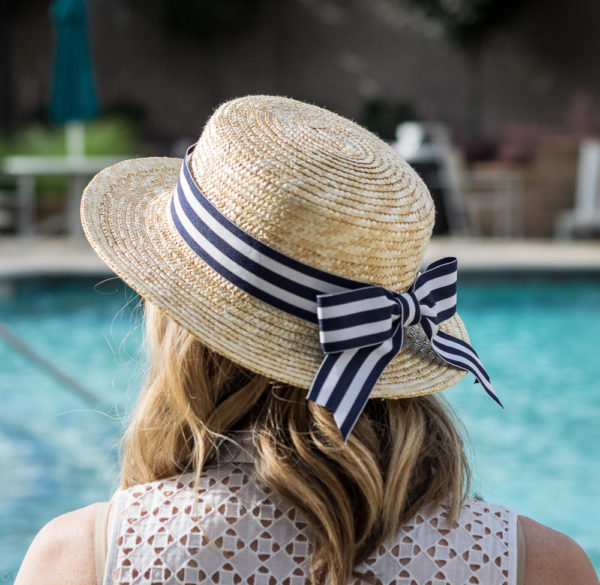
Like I said above, I can’t wait to make some extra bows so I can switch out the bands to go with some other outfits. I will definitely be putting this hat to use a lot this Summer!
I’ve been searching for one of these hats! This is so creative and cheap. Thank you!
I hope you decide to make your own! I am sure it will be so adorable and so much cheaper than anything you can buy!